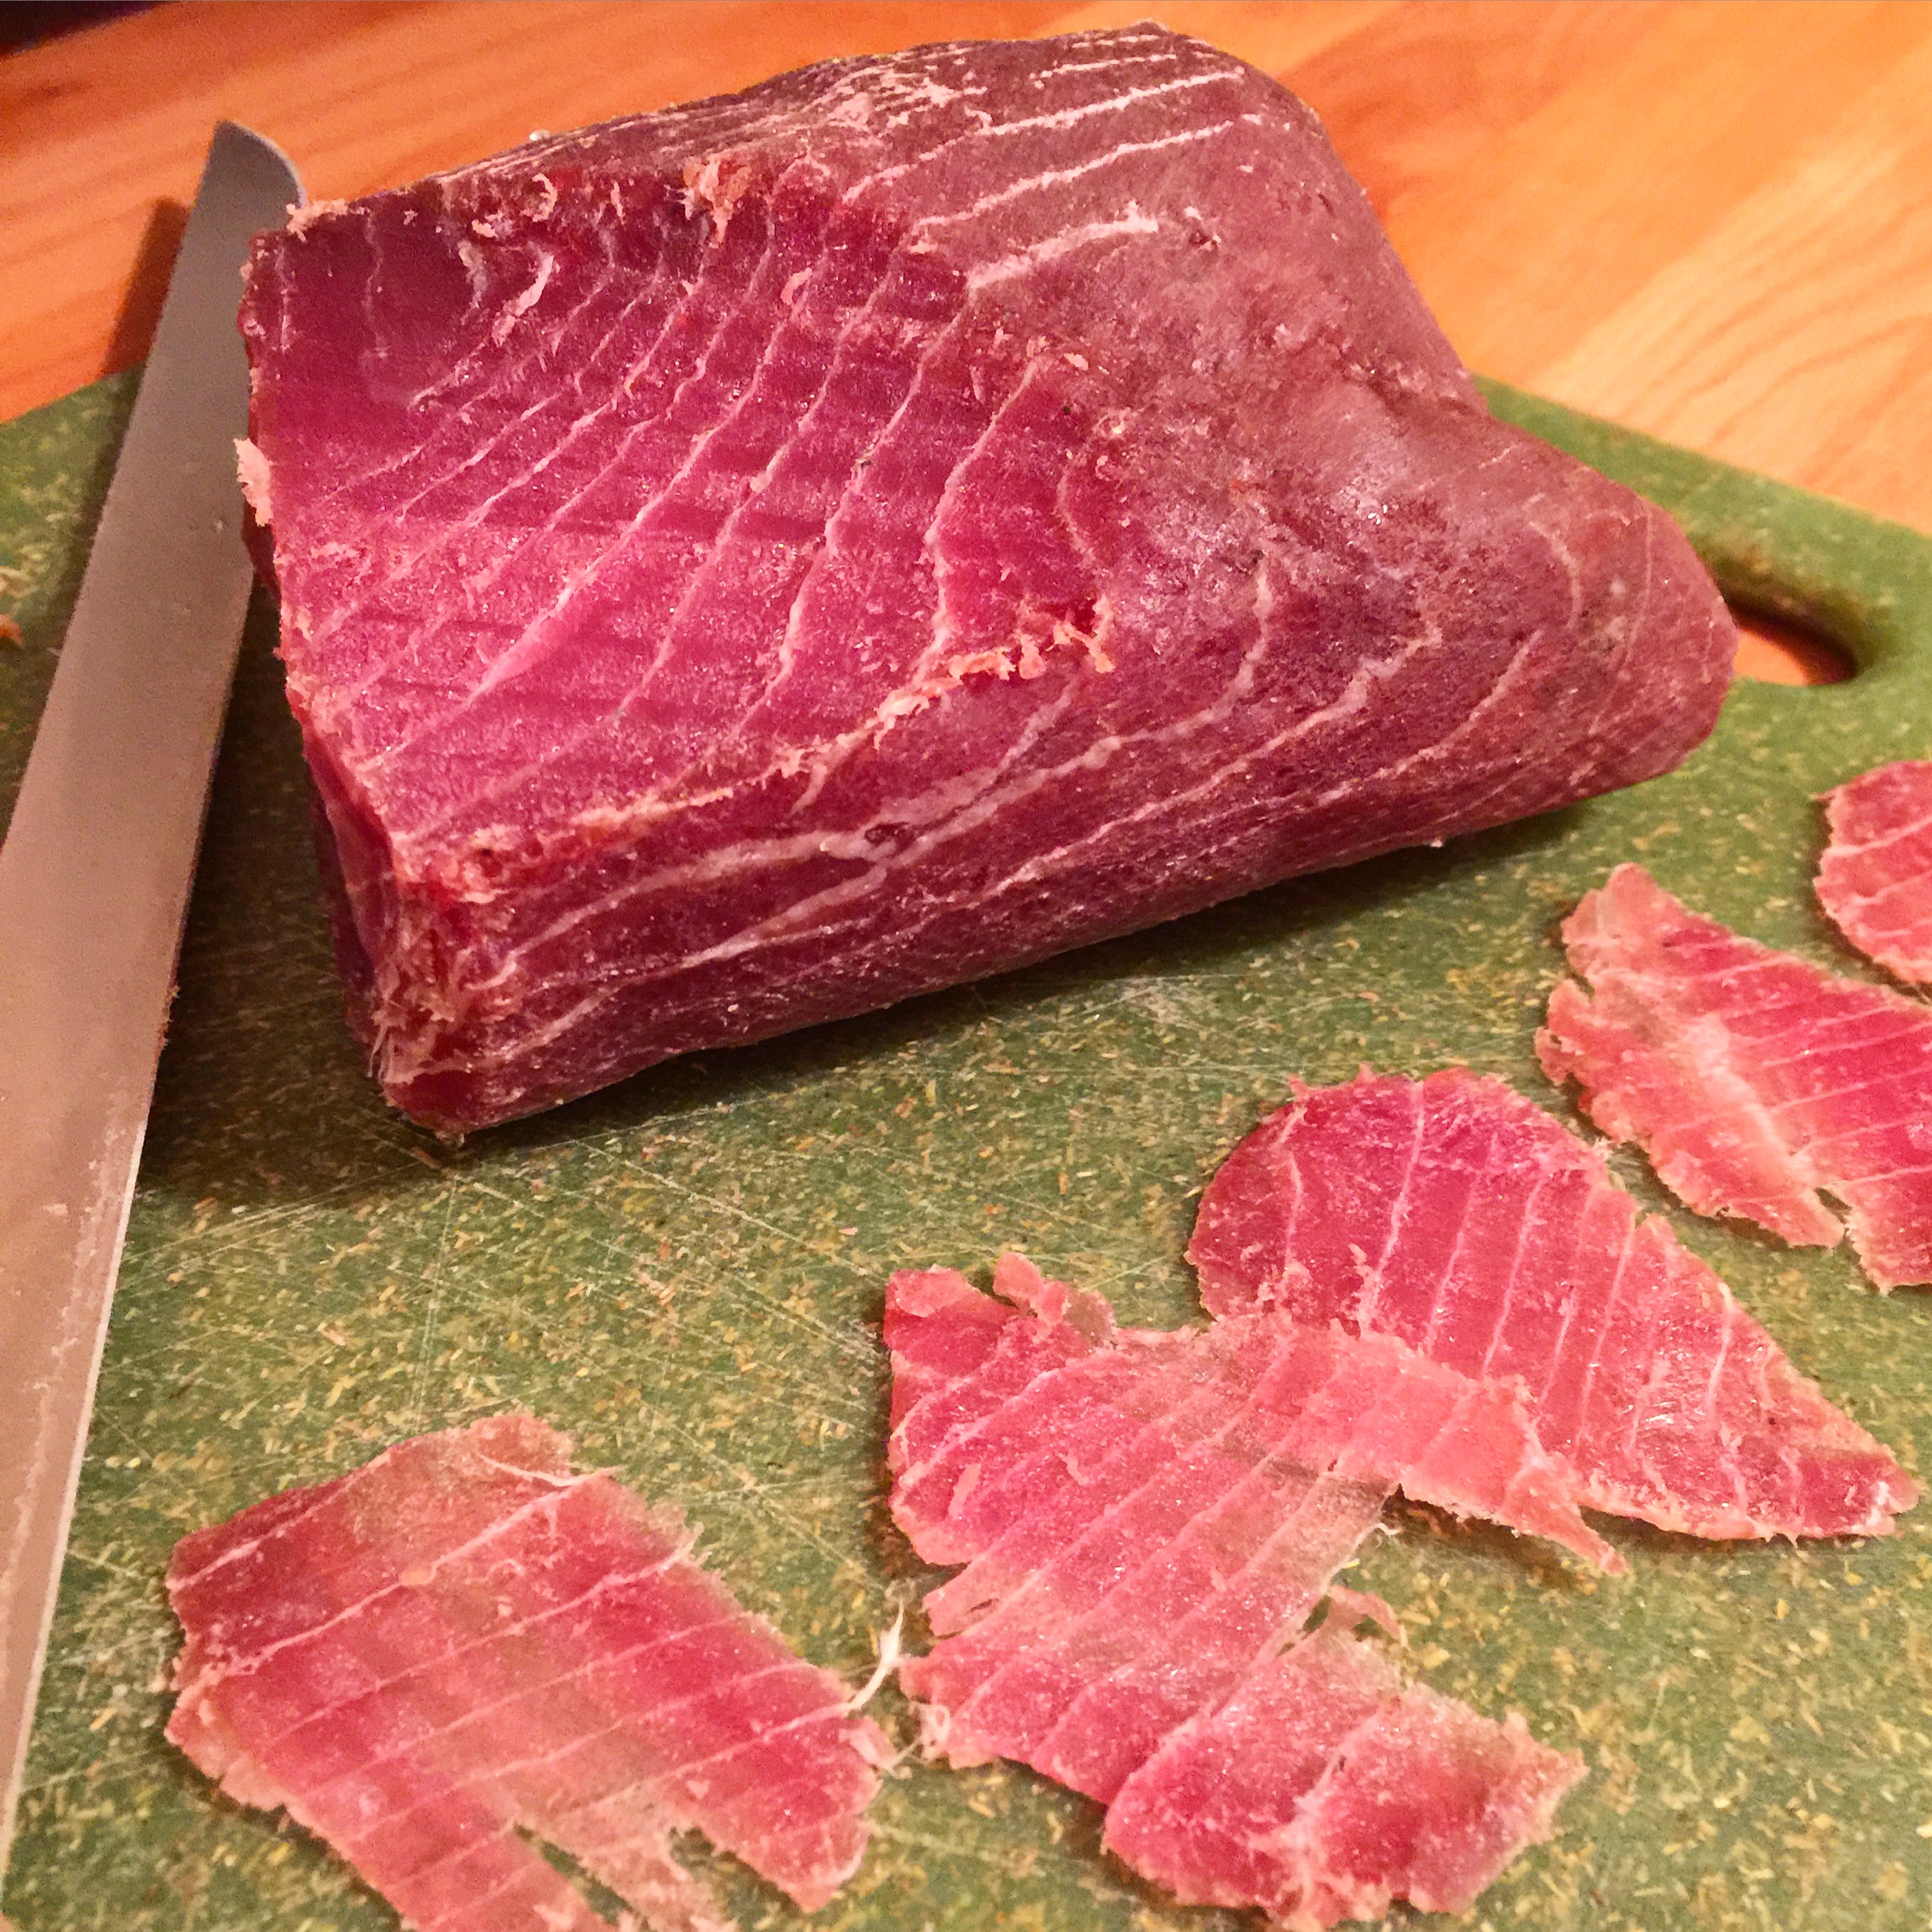
Traditionally, bresaola has been made with lean pieces of beef. This is because with traditional curing methods the beef fat gets oxidized fairly easily and it goes rancid (compared to pork fat, where this process happens much more slowly). Traditional methods didn’t have many ways to reduce this oxidation, so they used beef without much fat for preservations sake.

However, using modern methods we can eliminate some of the oxidation that occurs. We use nitrates, refrigeration, and vacuum sealing to limit and slow down the oxidation process.
One method that people use to prevent beef fat oxidation is the addition of vitamin E or α-tocopherol to their products. This can be done by adding α-tocopherol powder or something called rosemary extract, which despite its name, does not give a particularly rosemary-ish flavor to the meat. Vitamin E acts as an antioxidant and can slow down beef fat oxidation. However, I have not tried this method yet. Simply by using my regular modern curing procedure, I have been able to avoid beef fat rancidity.
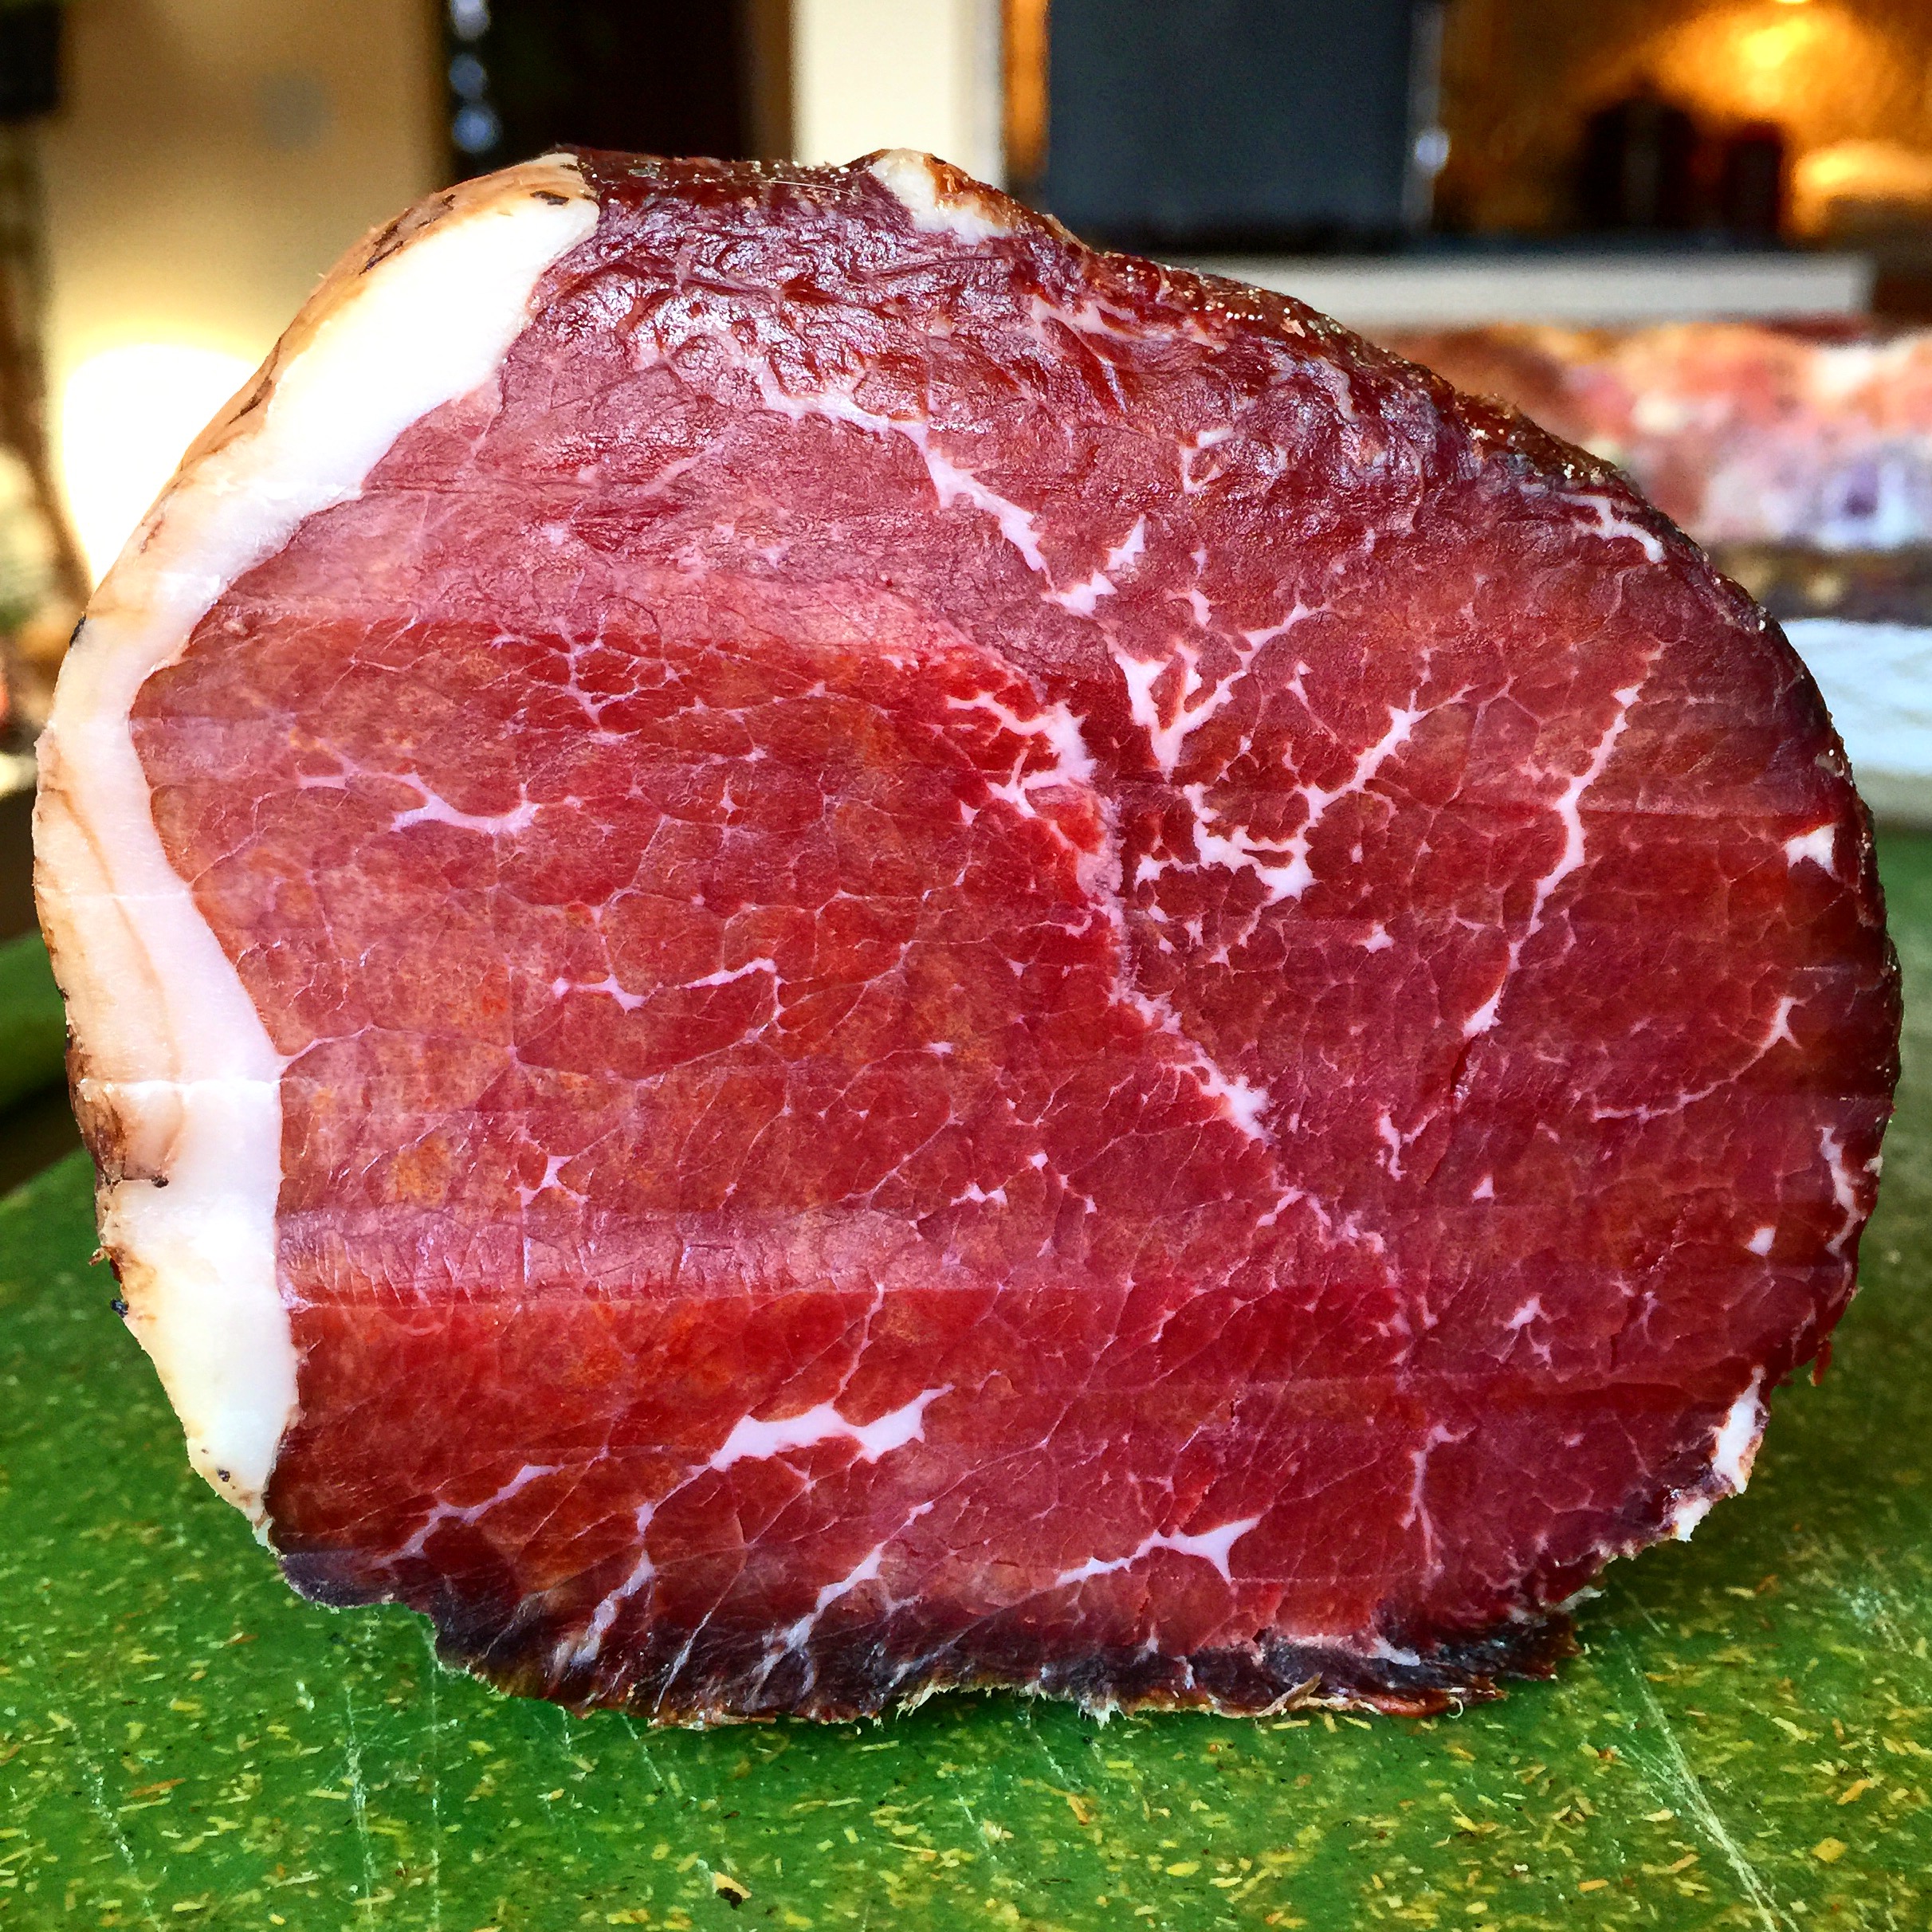
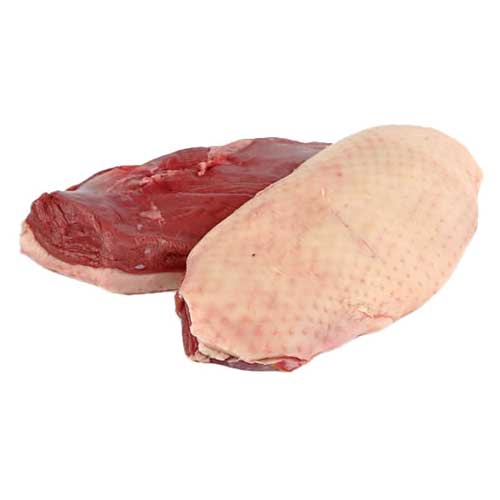
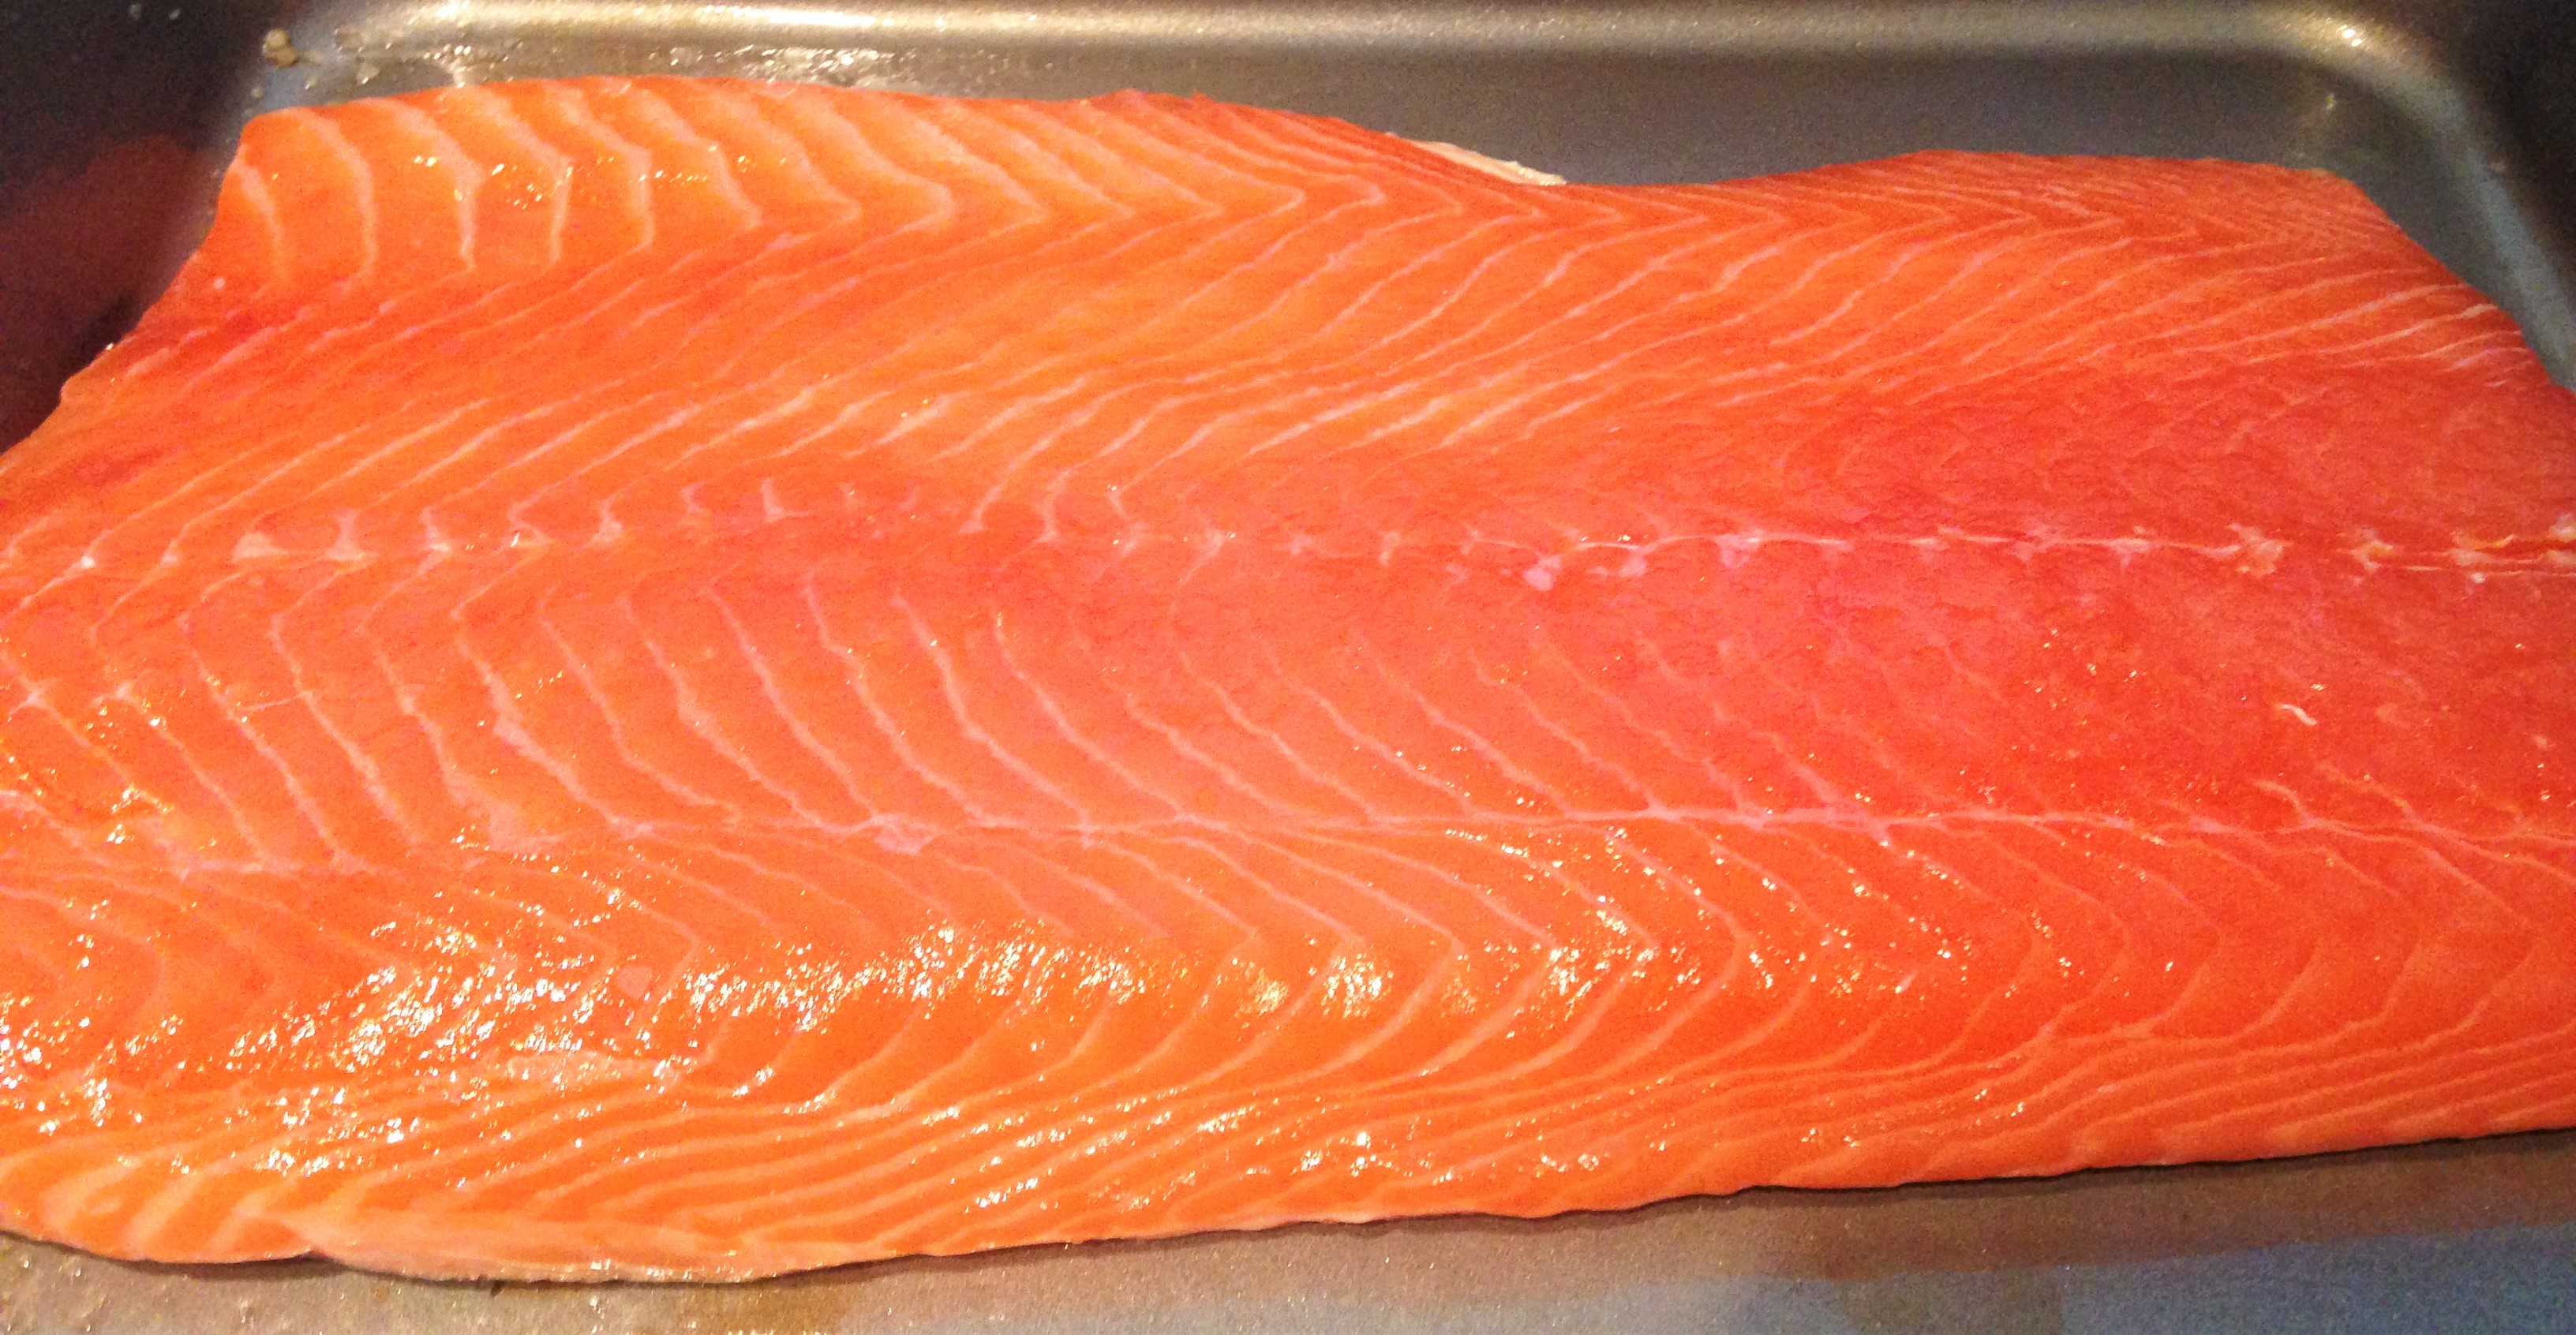
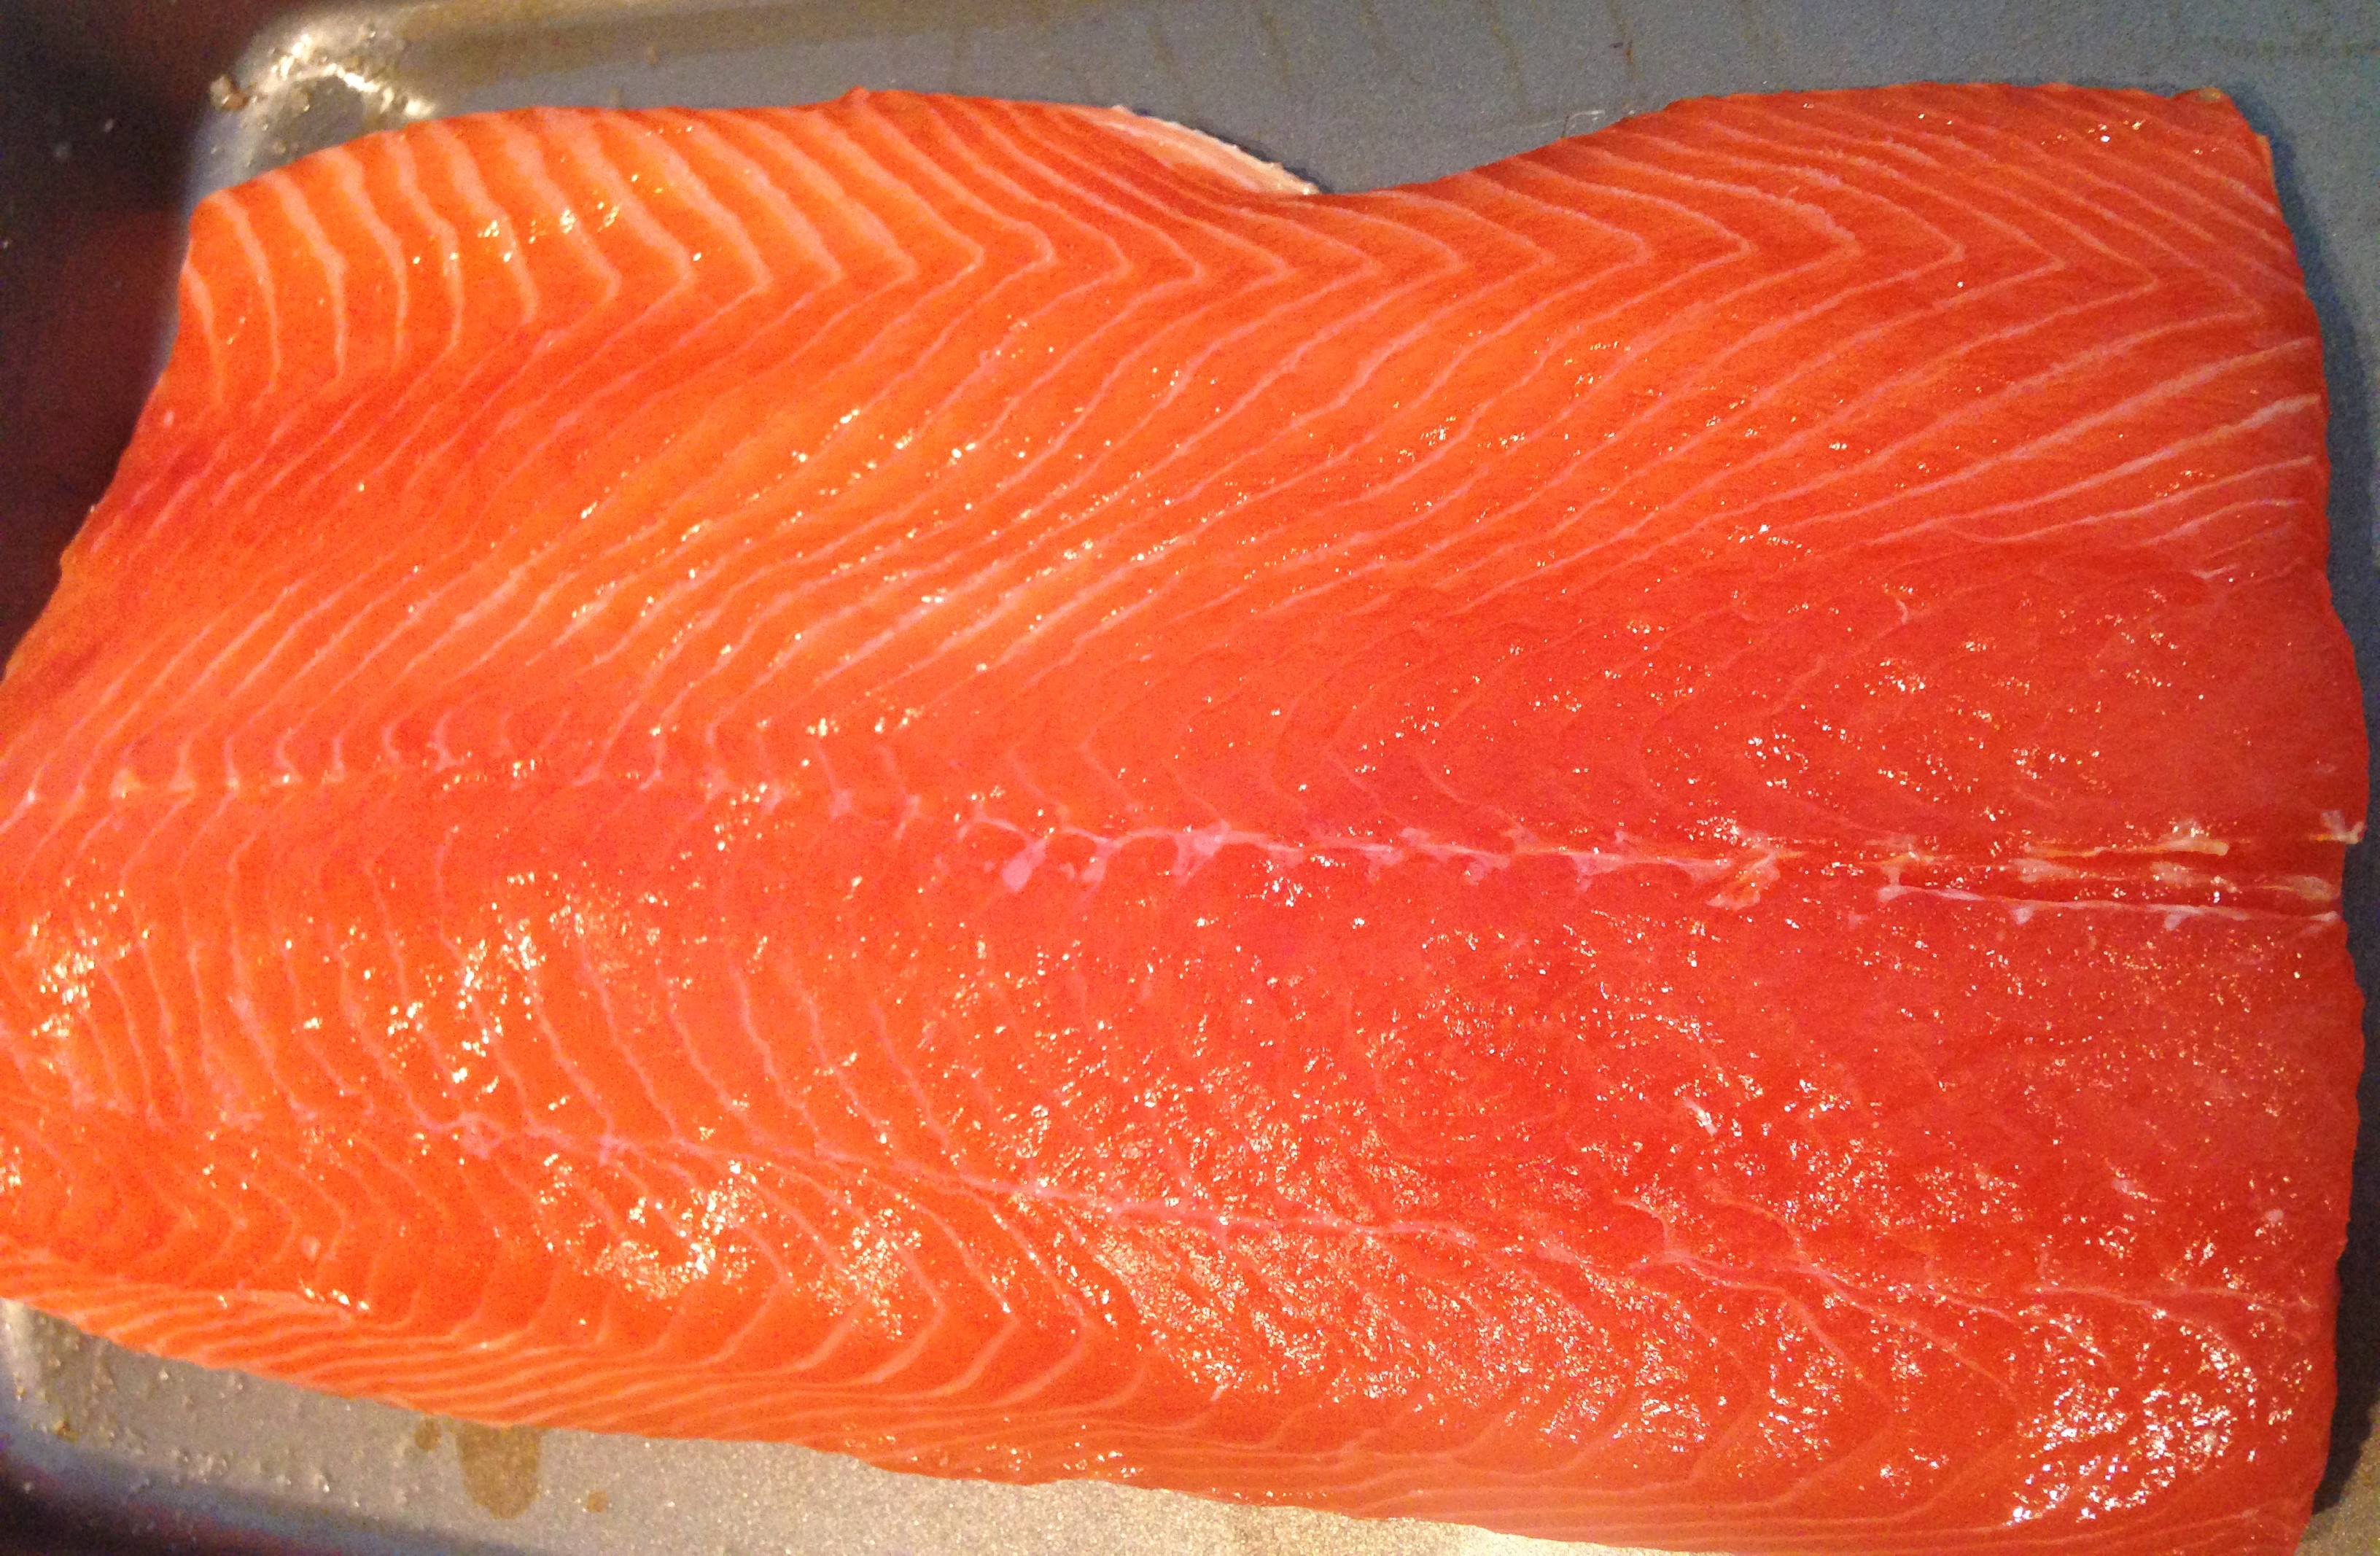
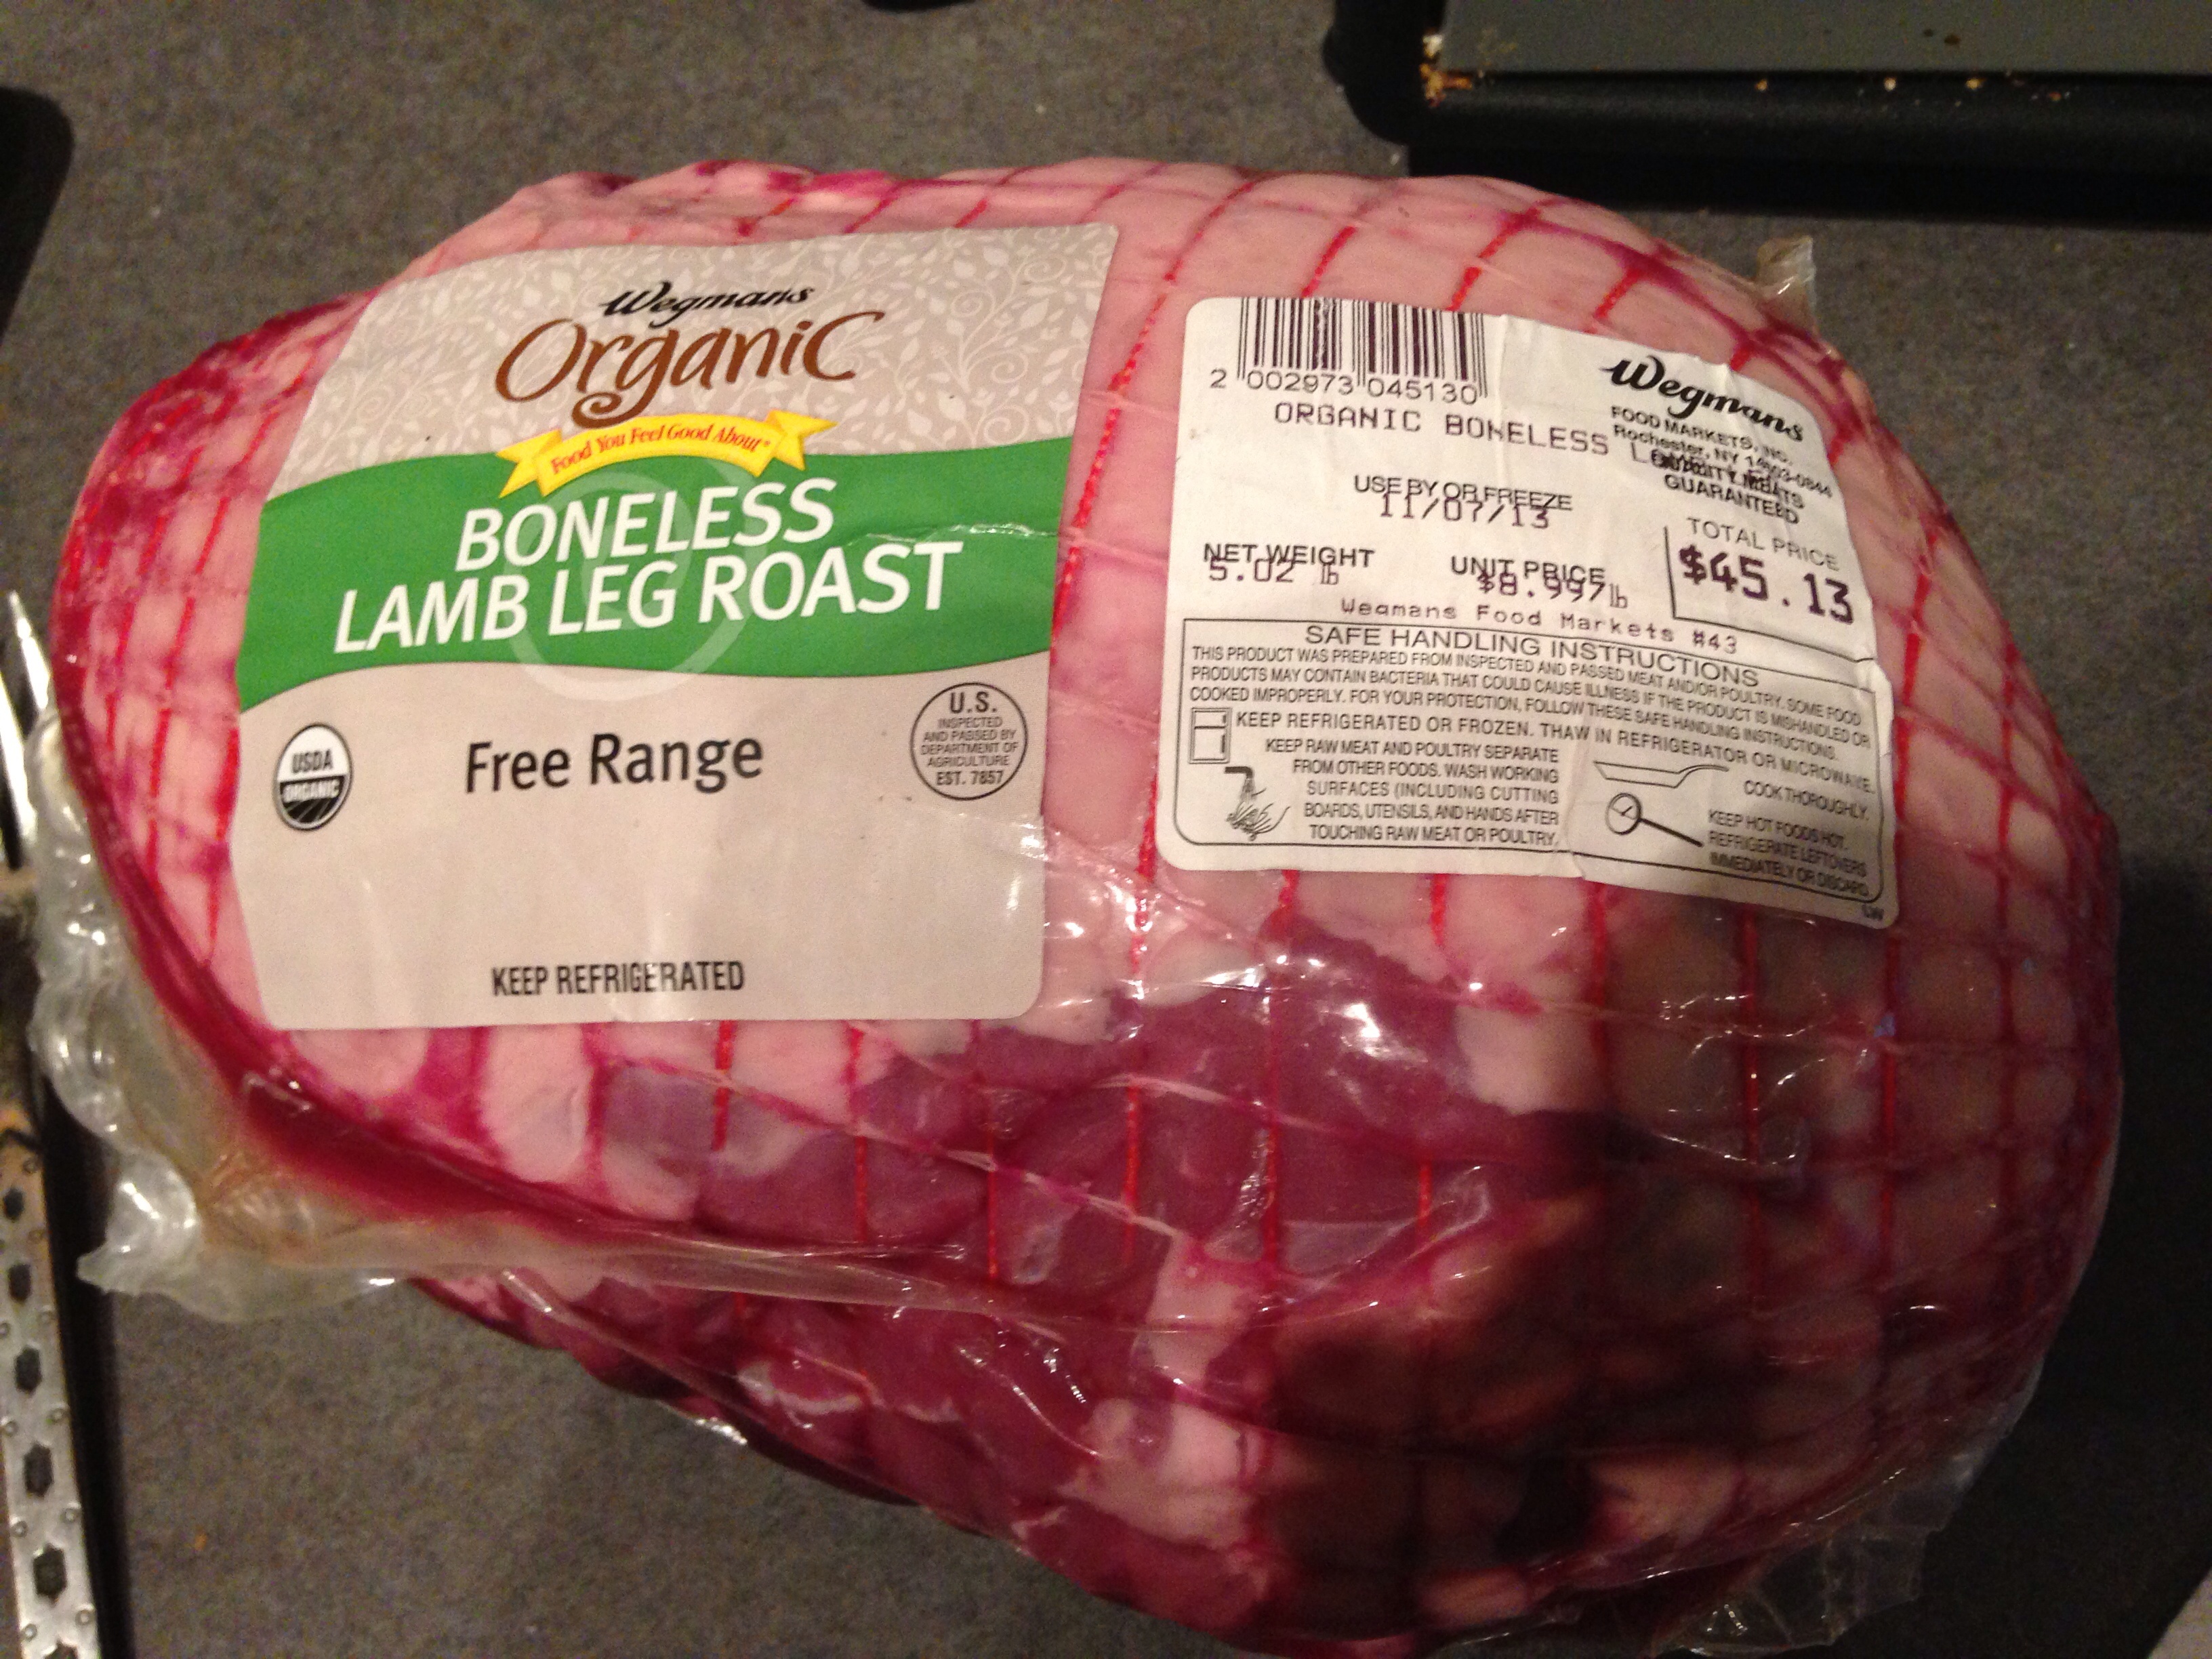
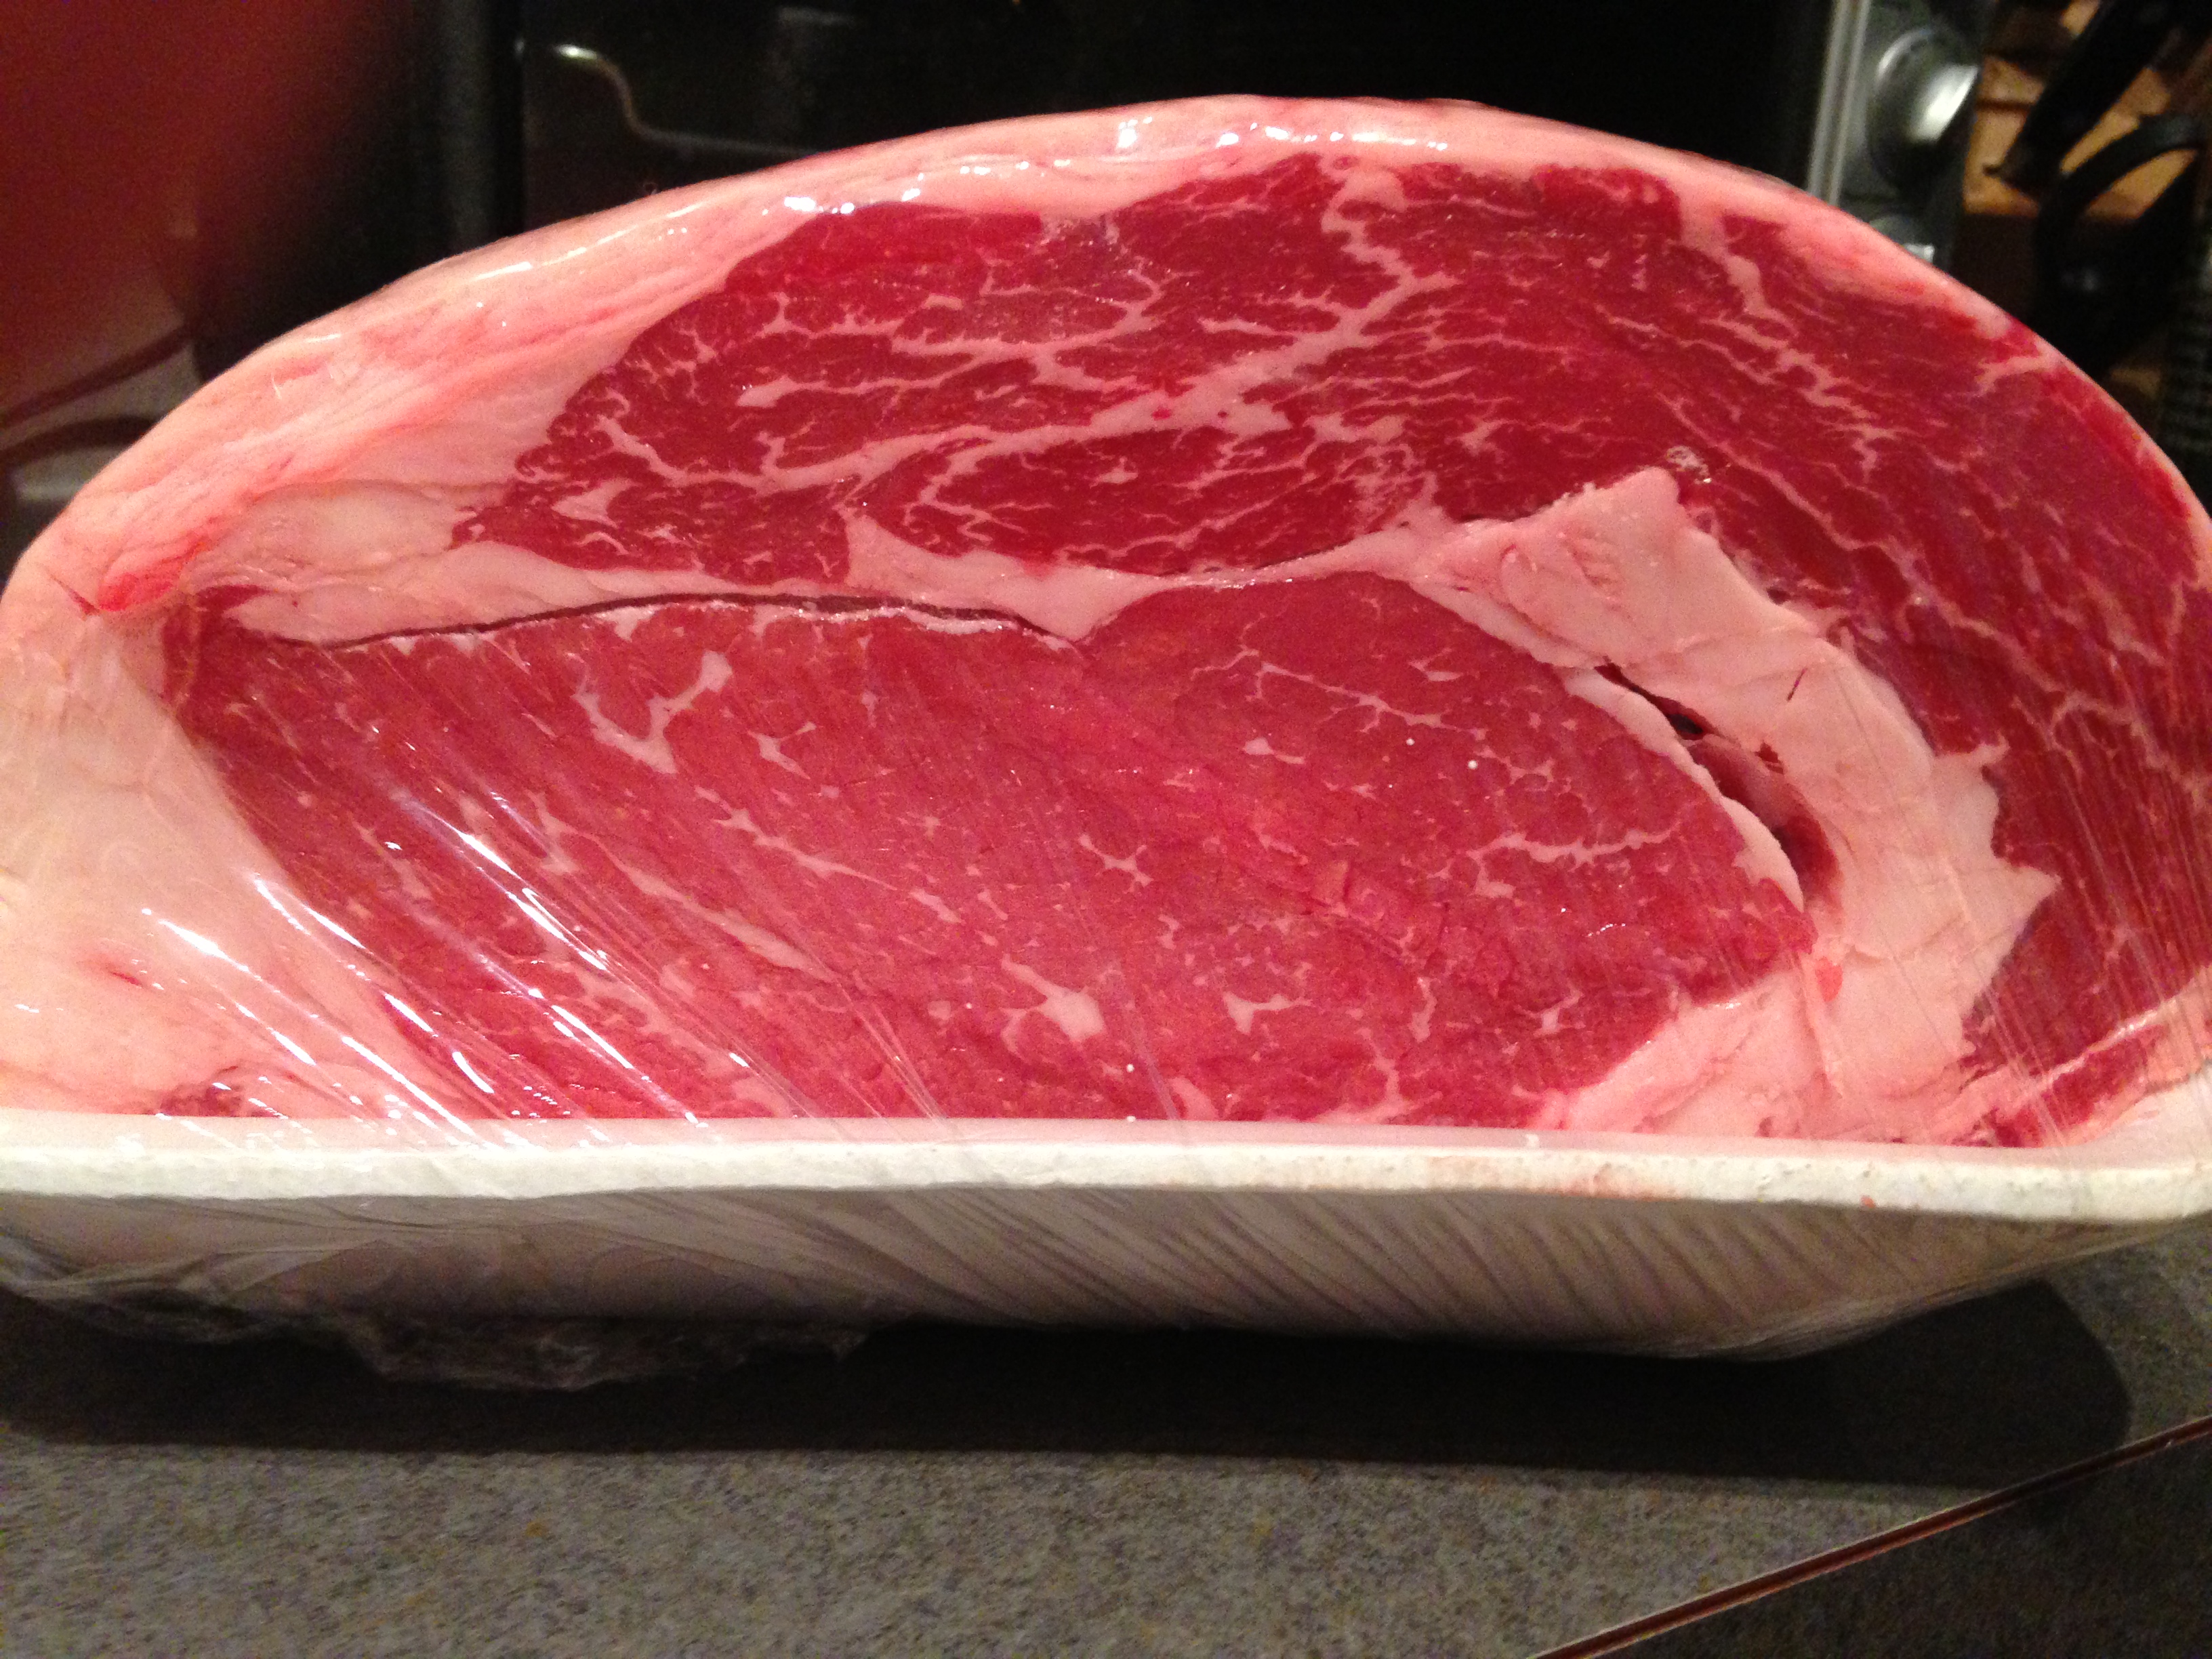
Being able to prevent beef fat rancidity opens up a whole new world of meat curing. Cuts of beef that are high in fat that have traditionally never been cured are now able to be easily cured and enjoyed. I have been eyeing up the fatty ribeye roast cut for a while, and eventually made the jump to curing it once I found a particularly appealing ribeye roast at my local Costco.
The process of making a ribeye bresaola is not very different from my traditional method, but I will detail below the steps that I took.
Curing (3 weeks):
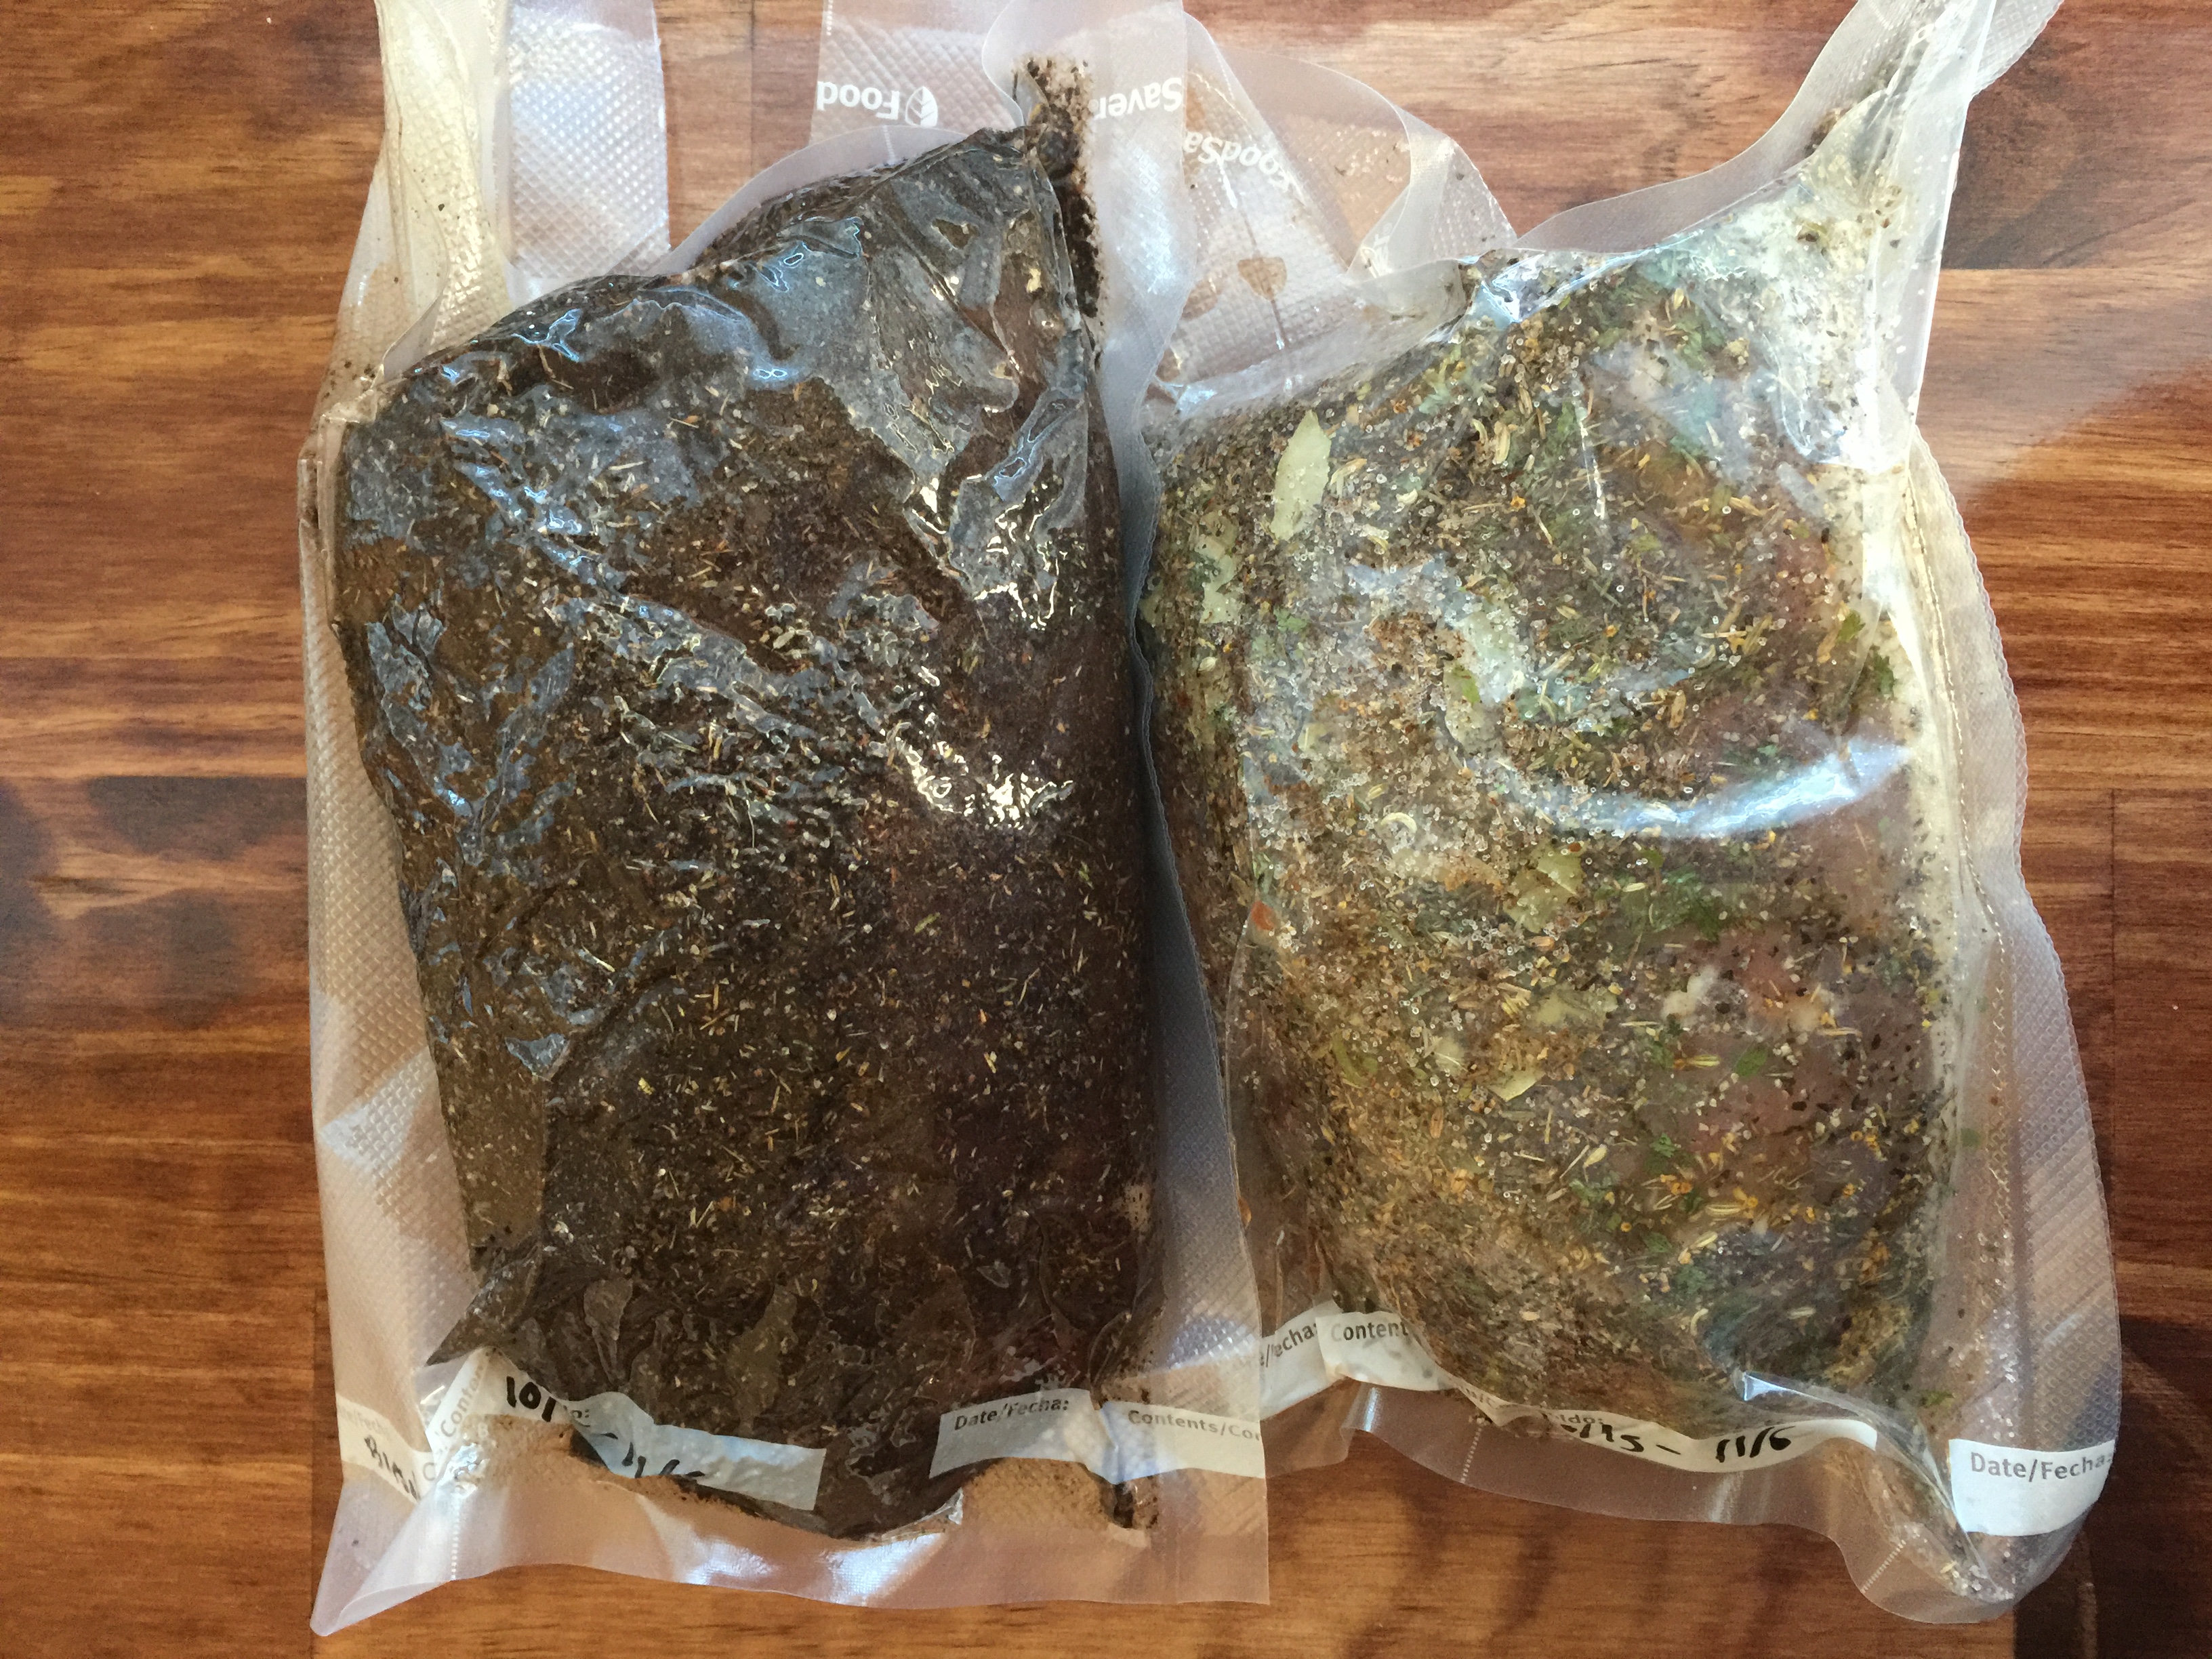
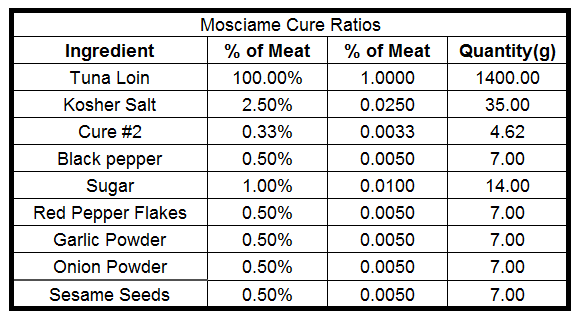
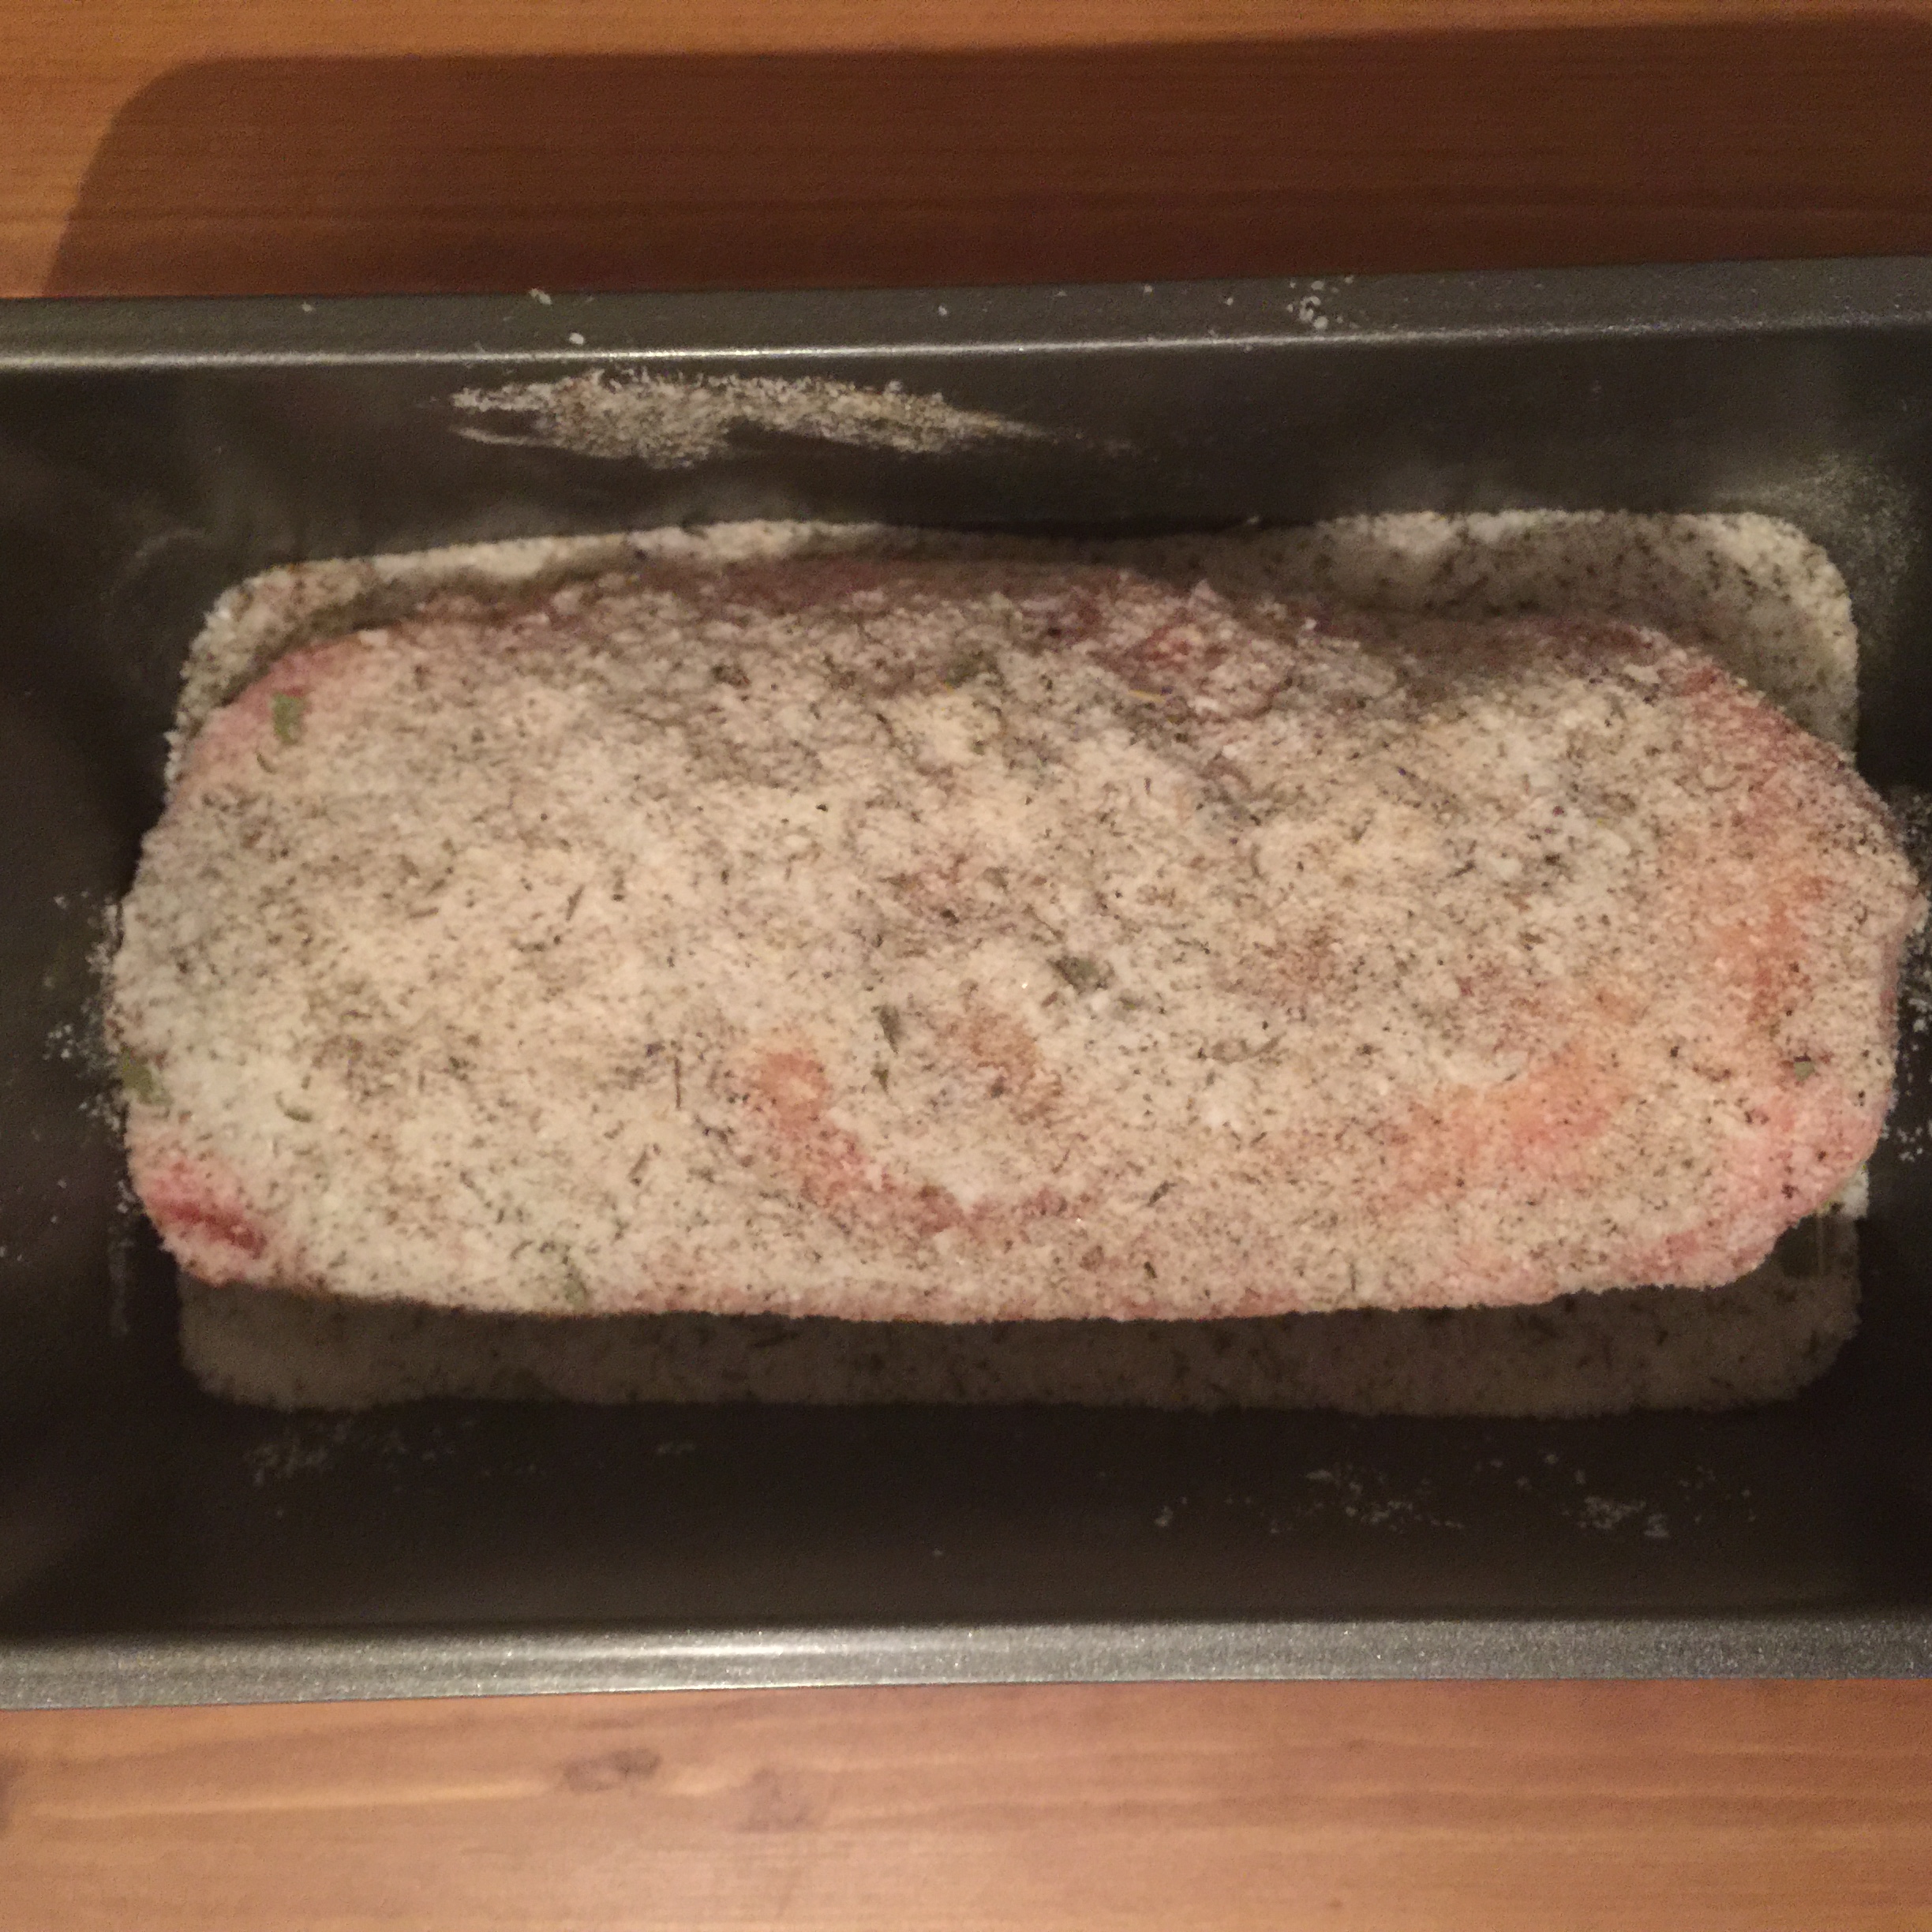
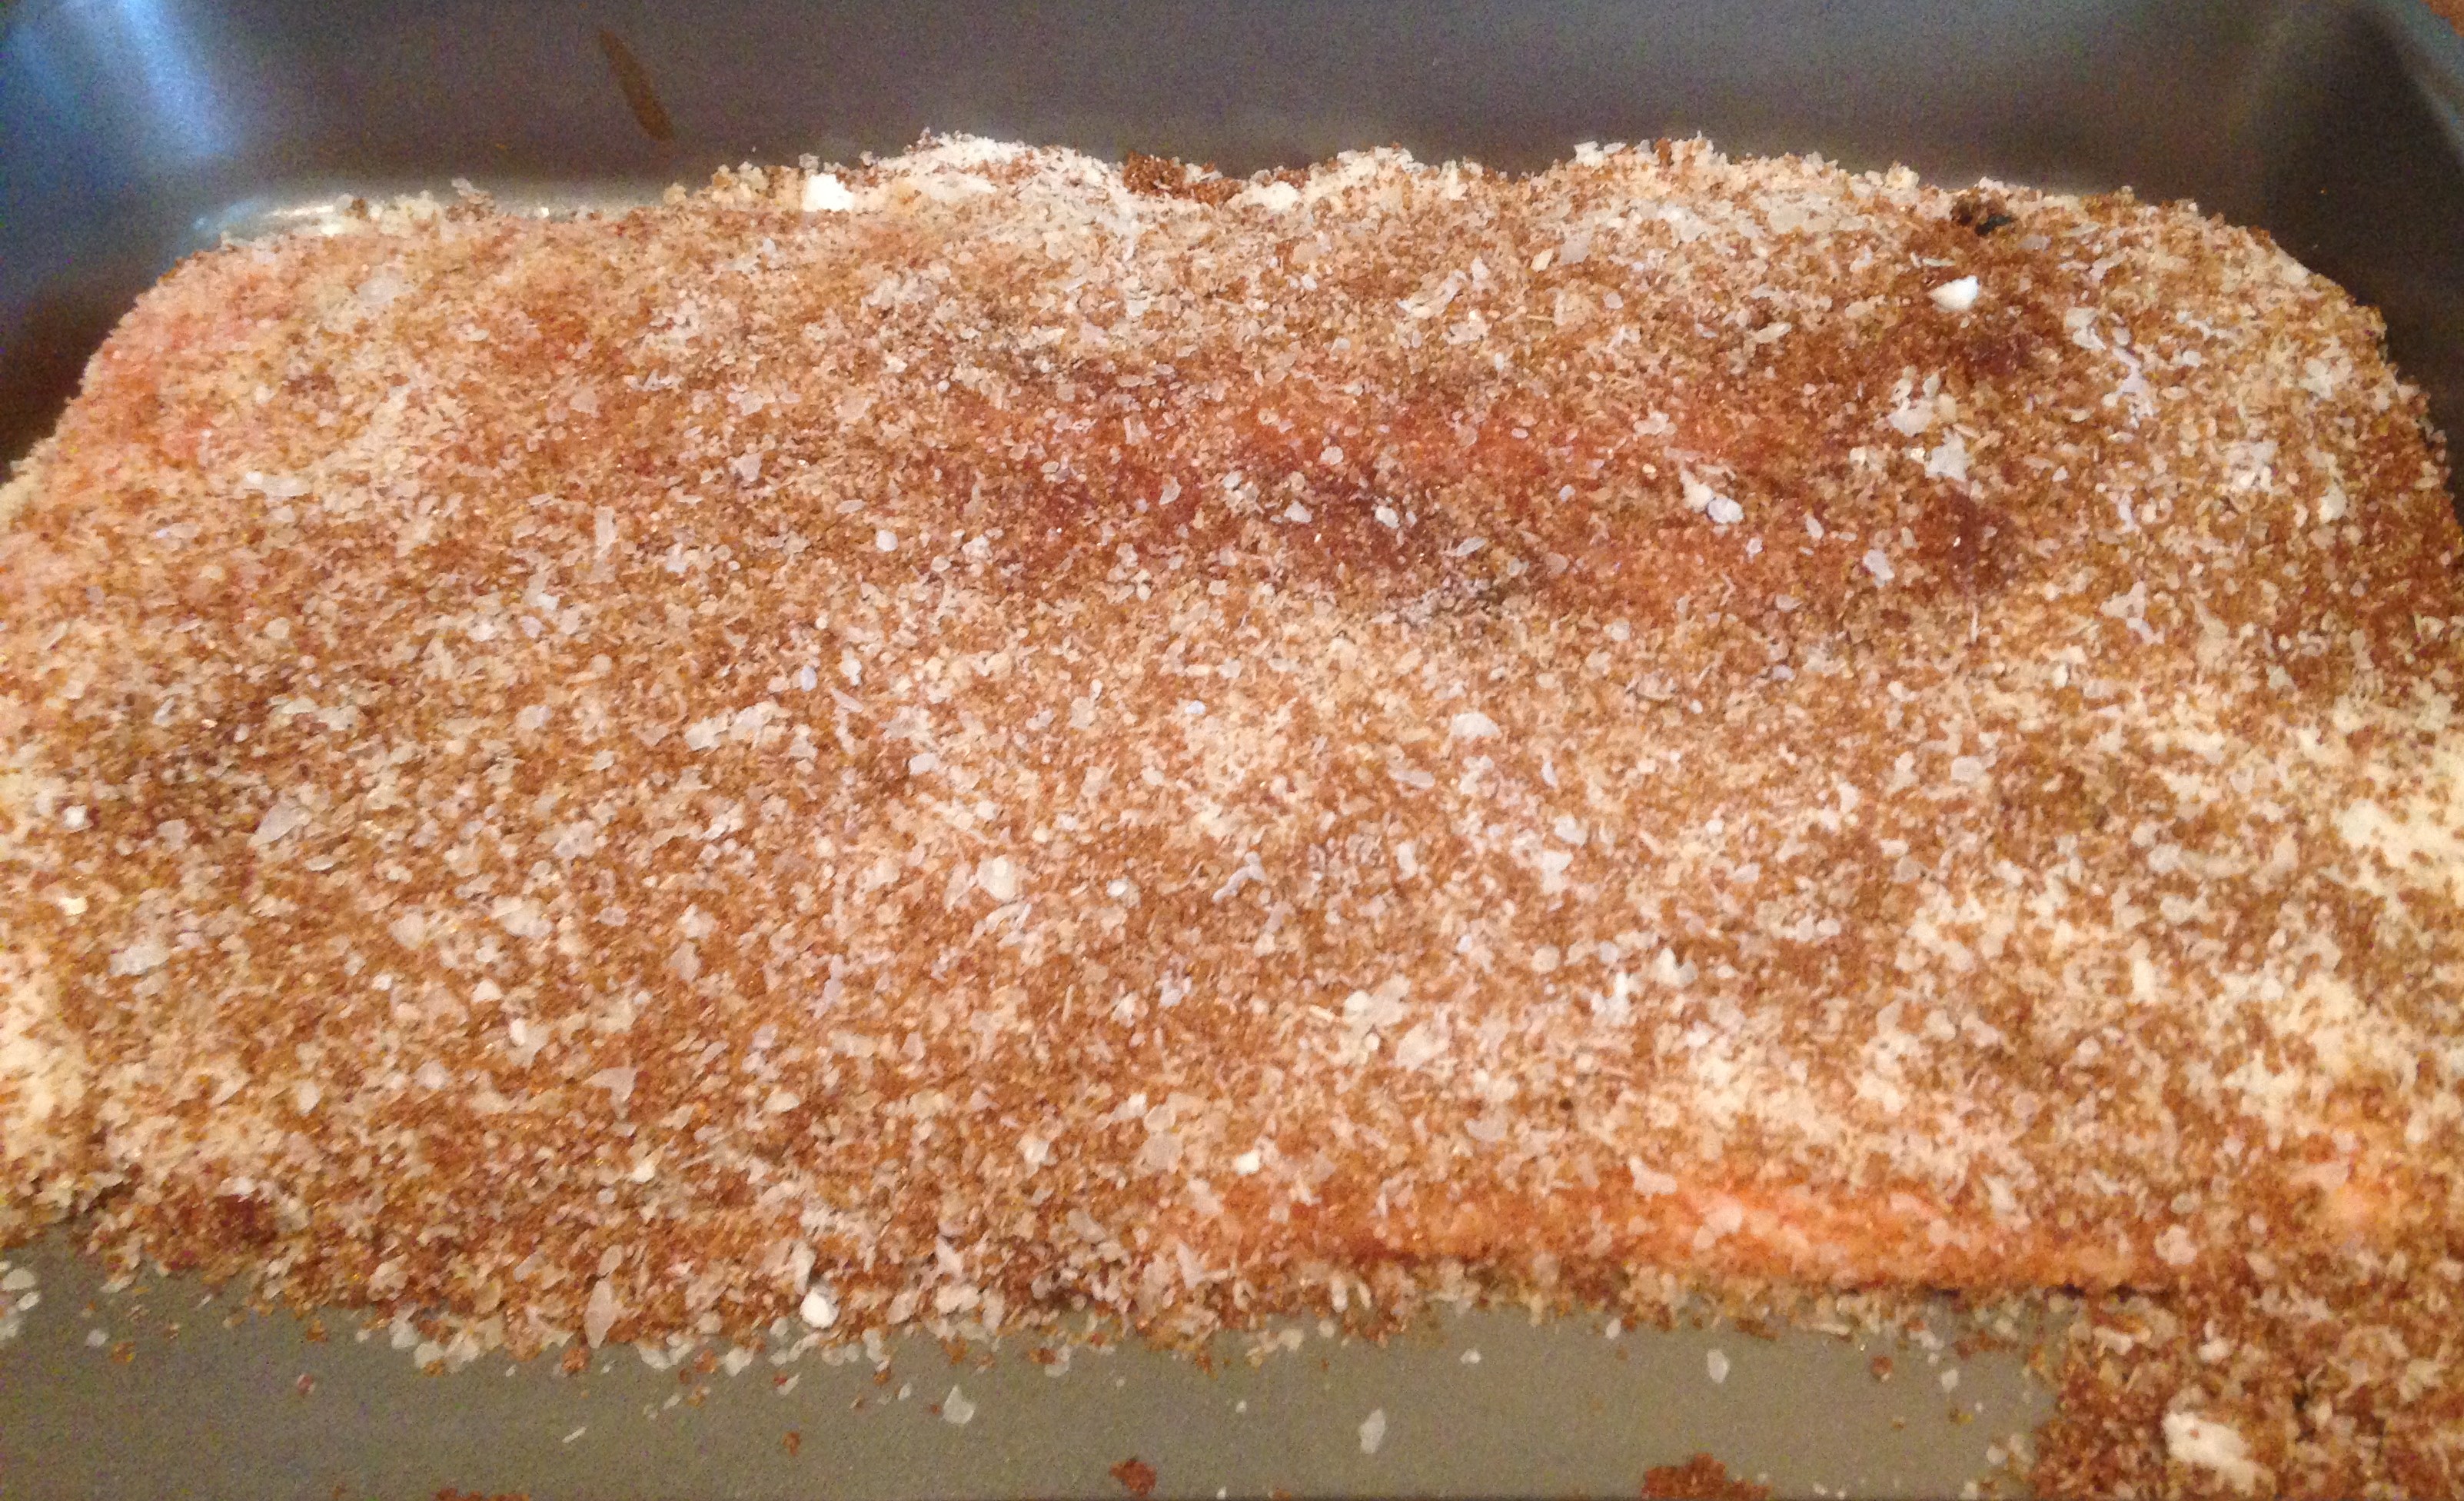
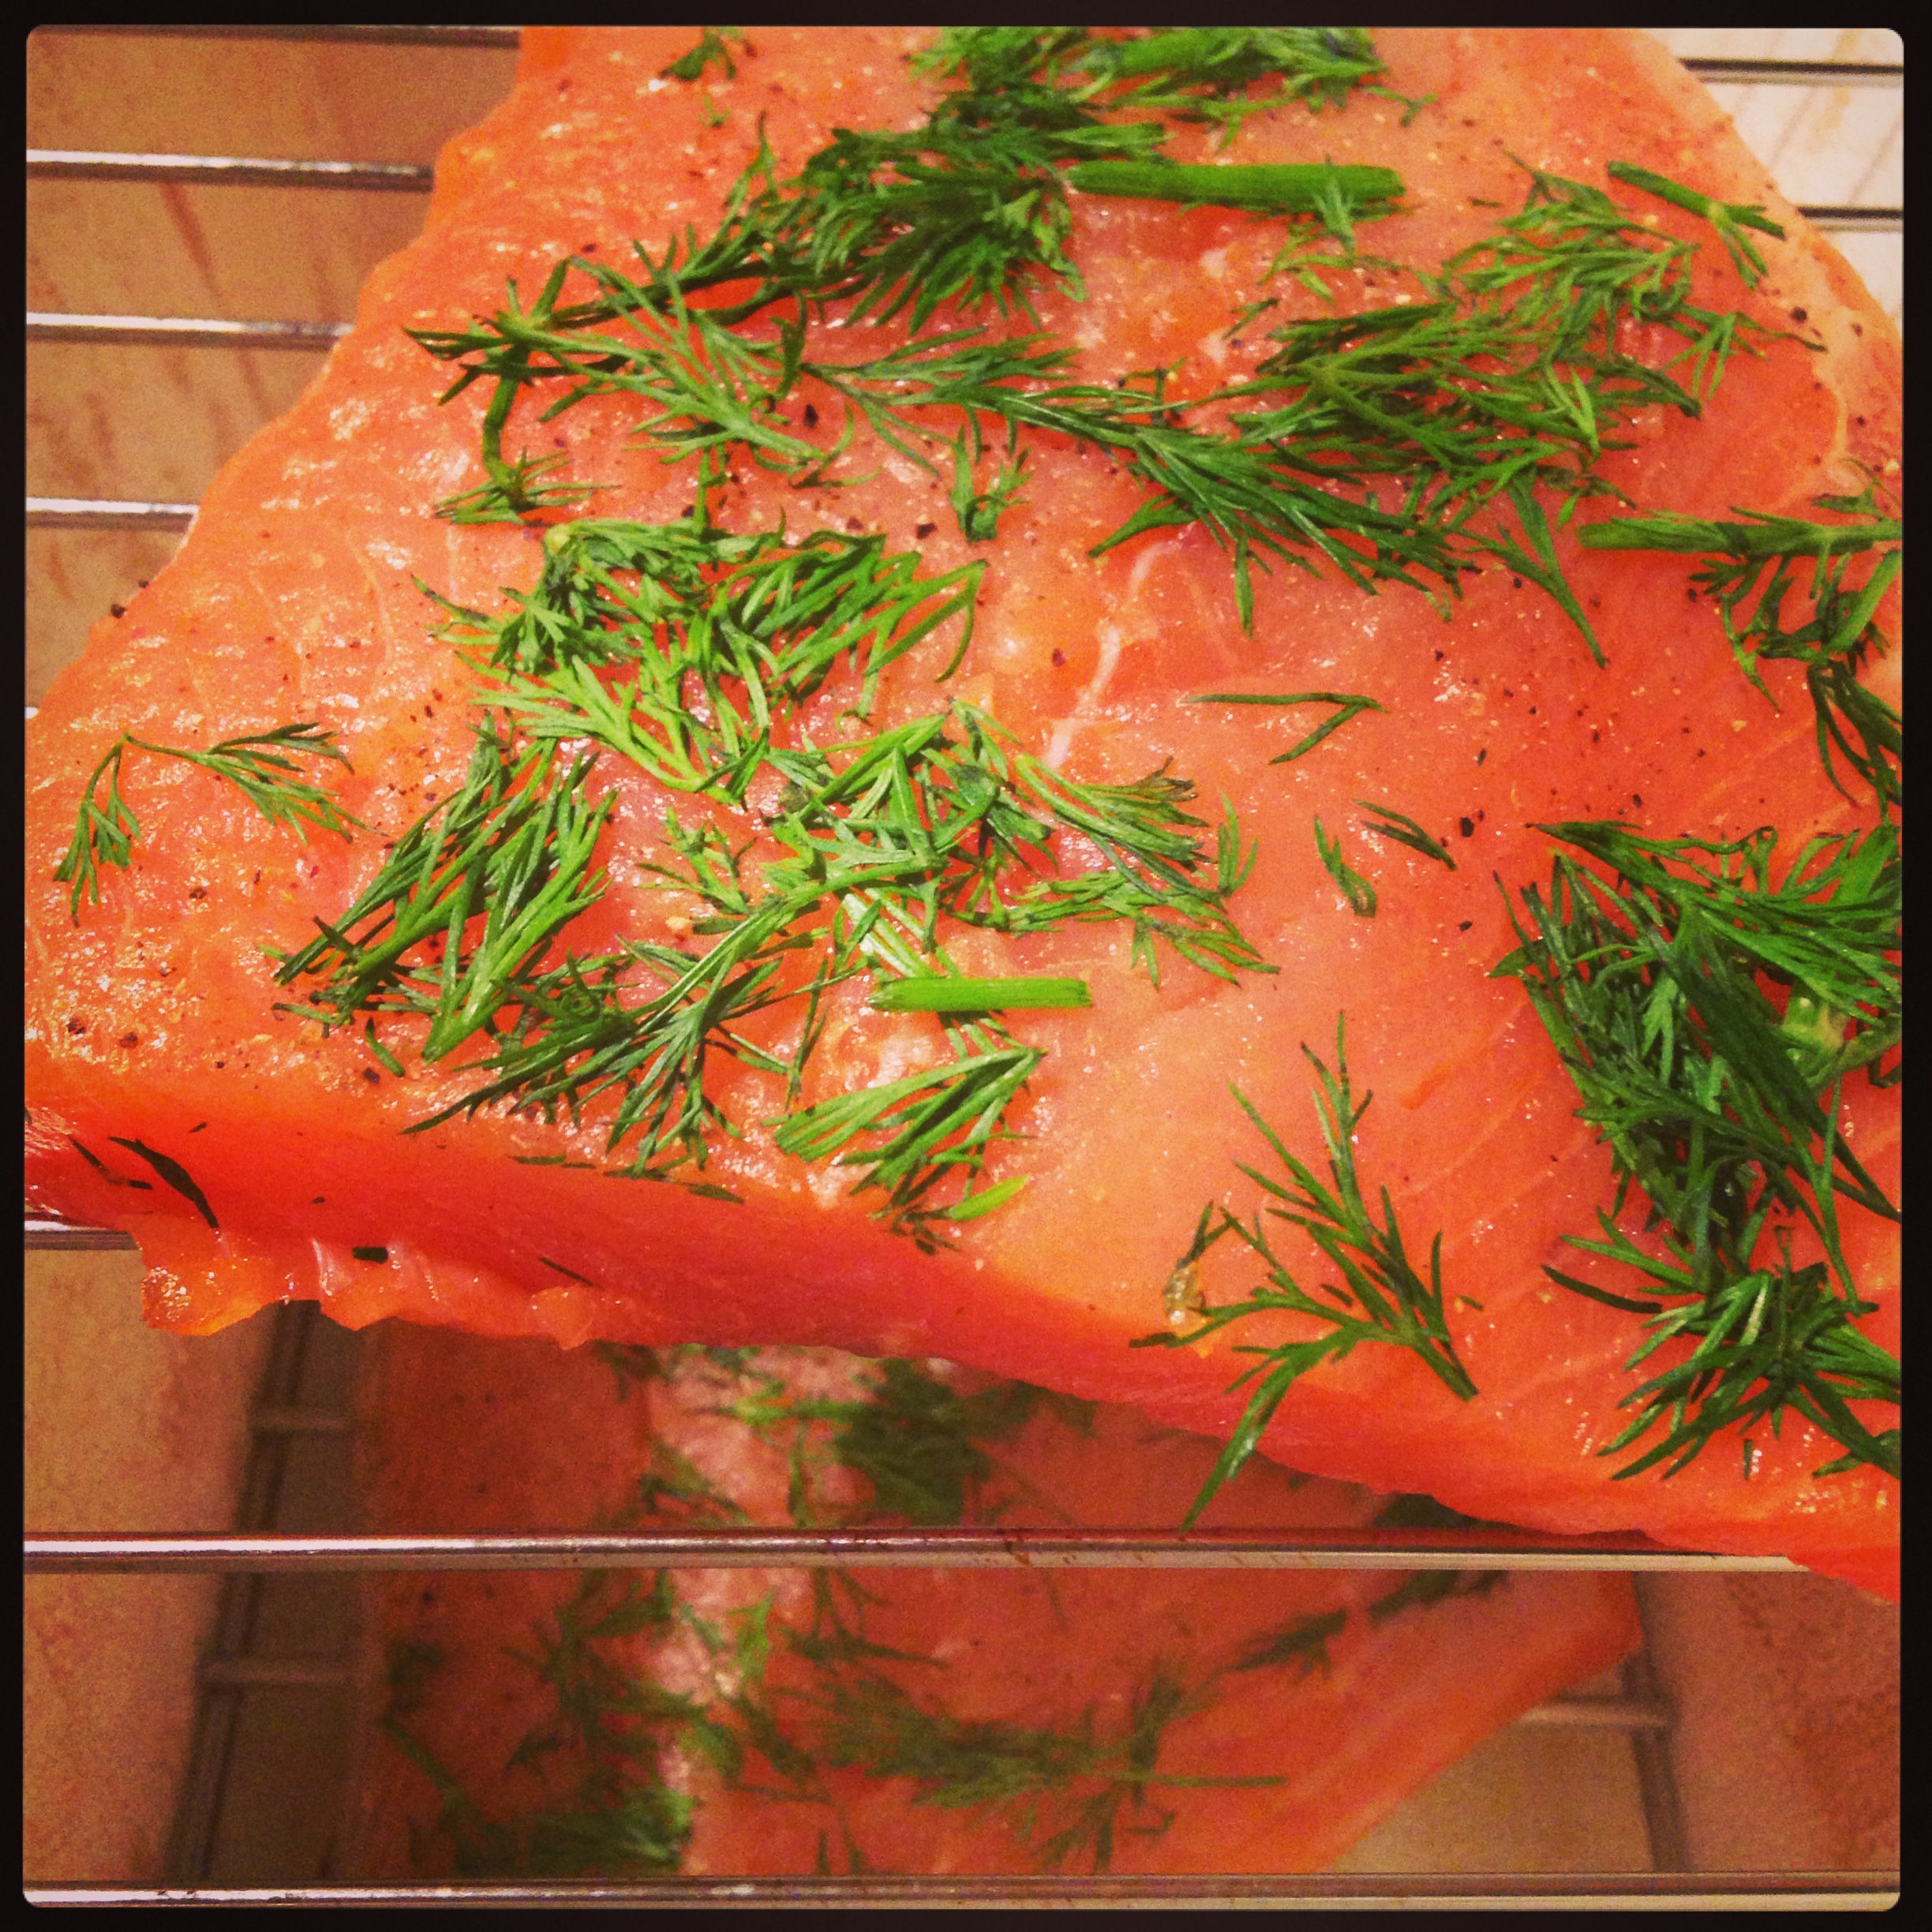
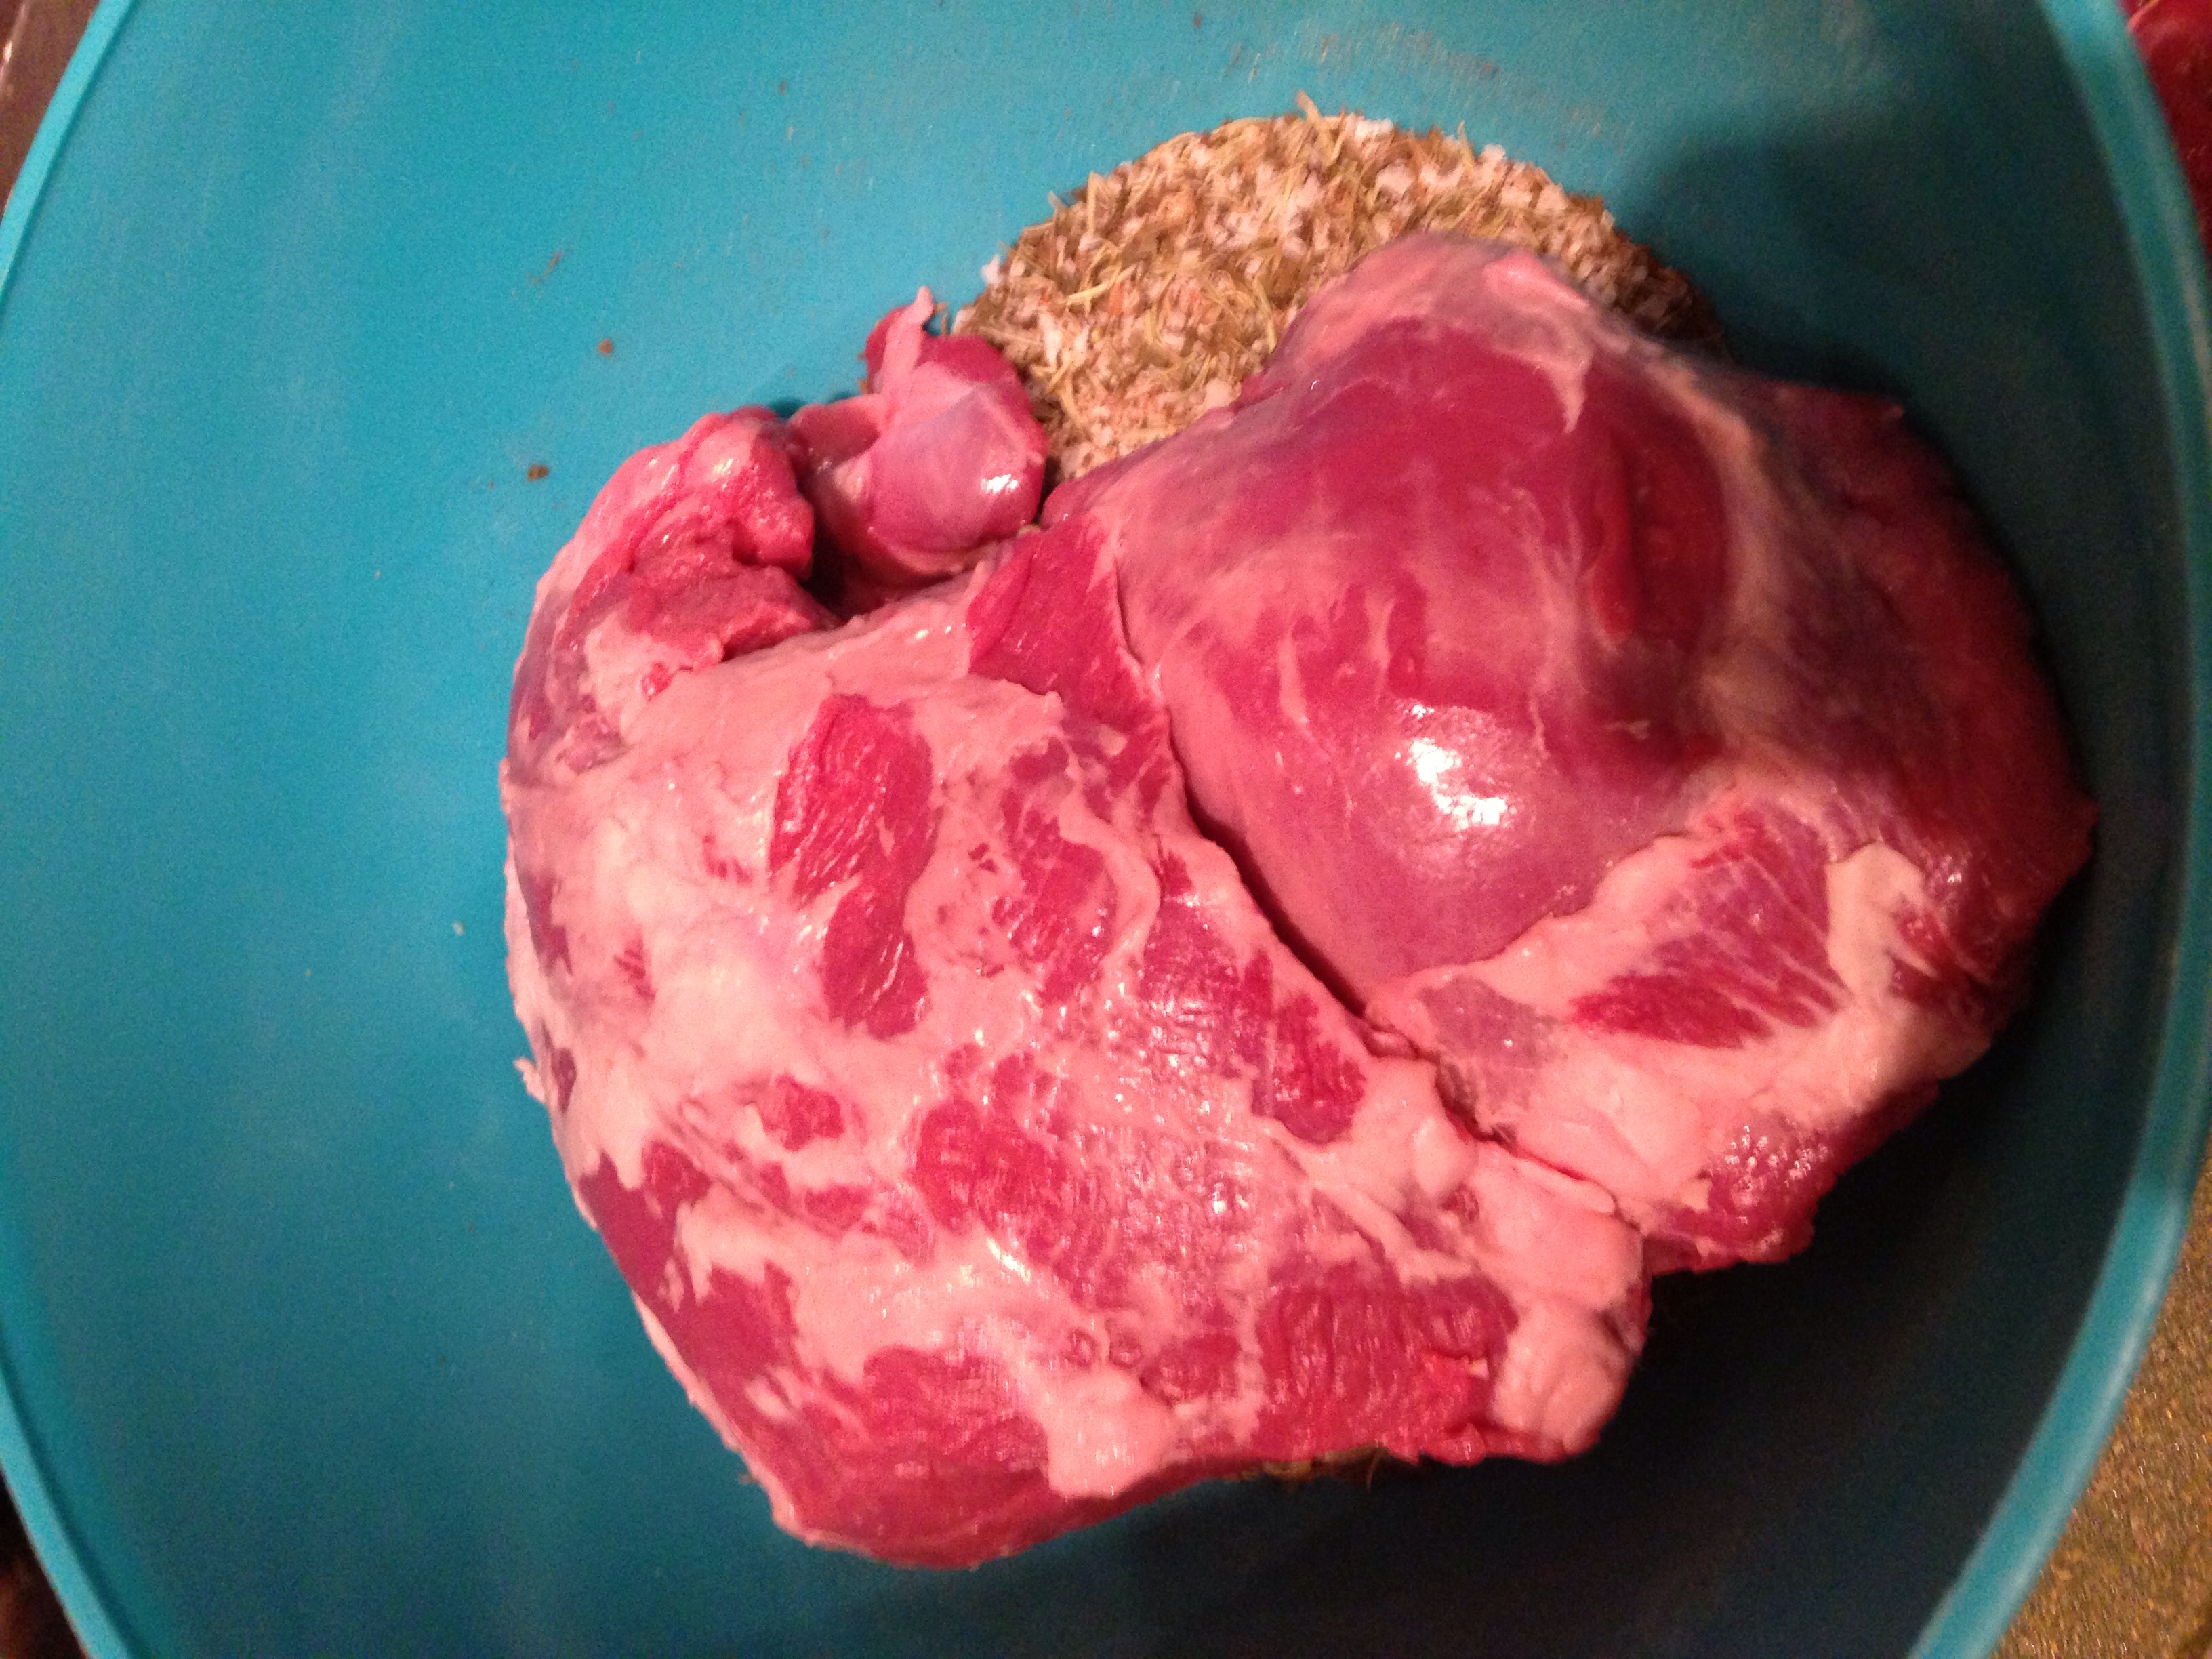
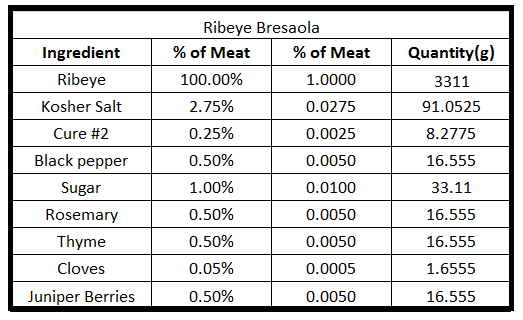
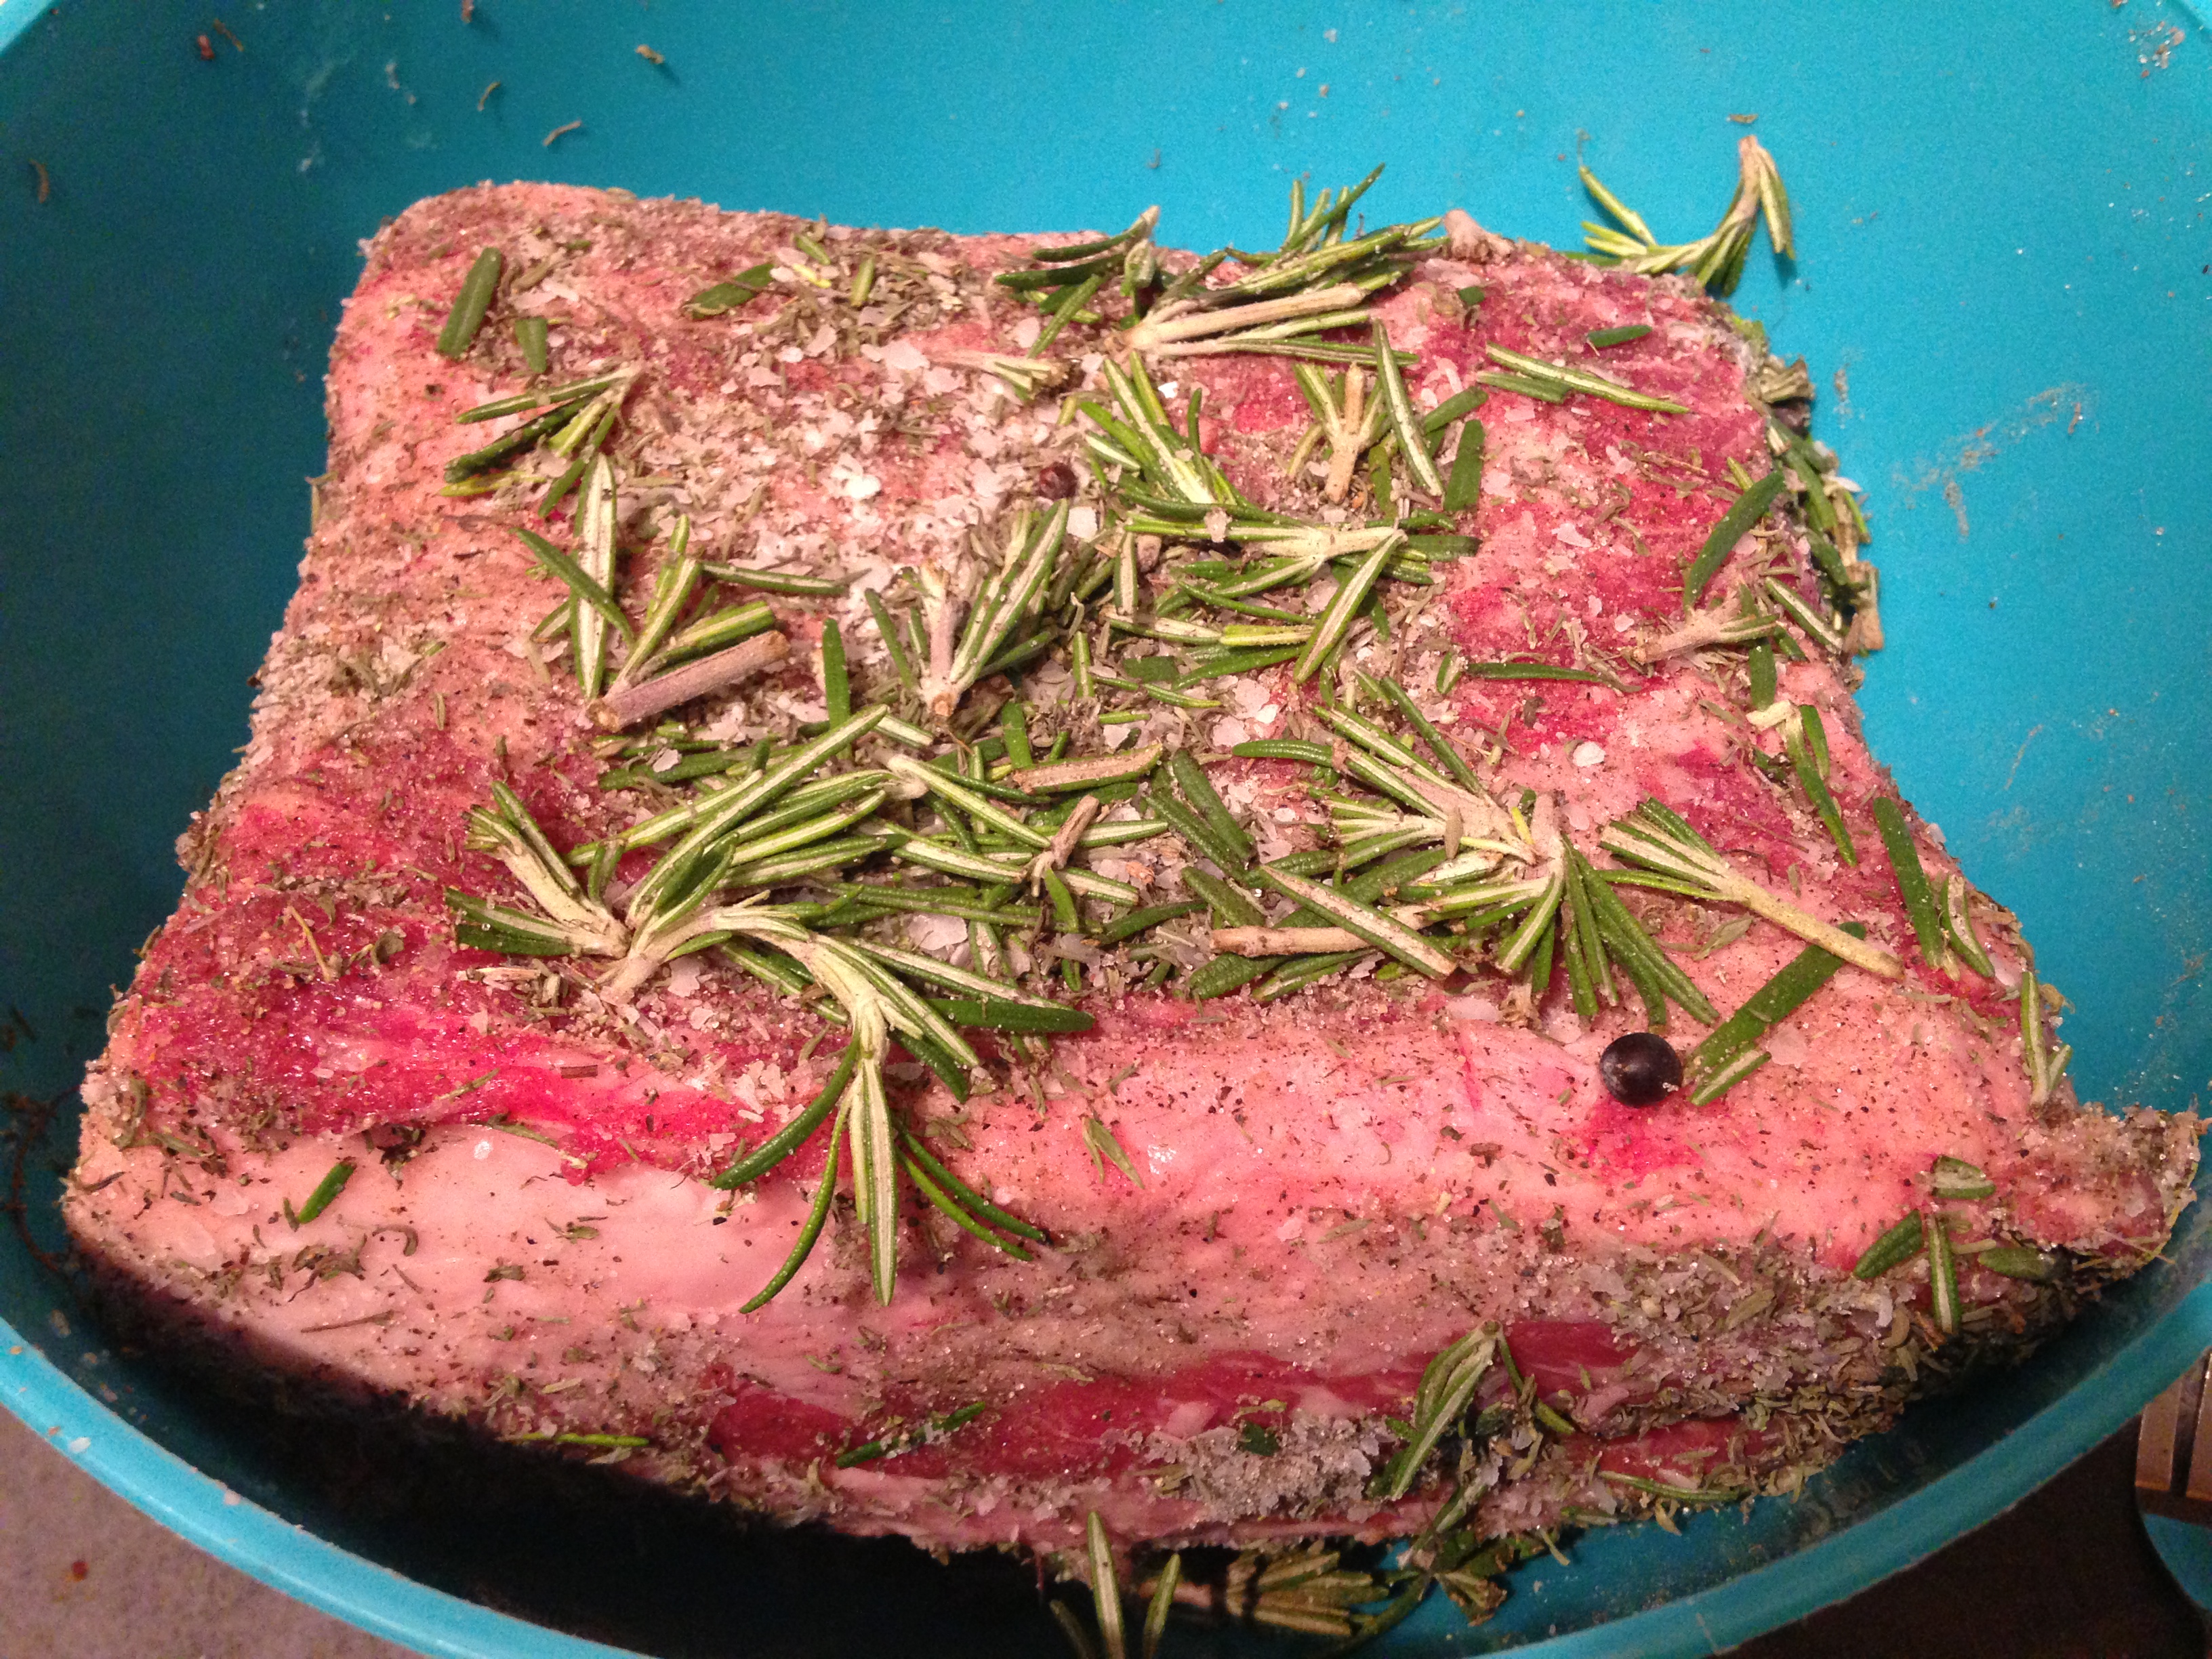
I followed my traditional bresaola recipe for the meat. I have updated the cure information to reflect my currently used ratios.
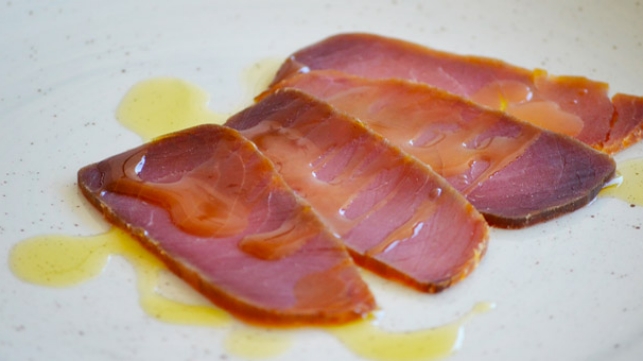
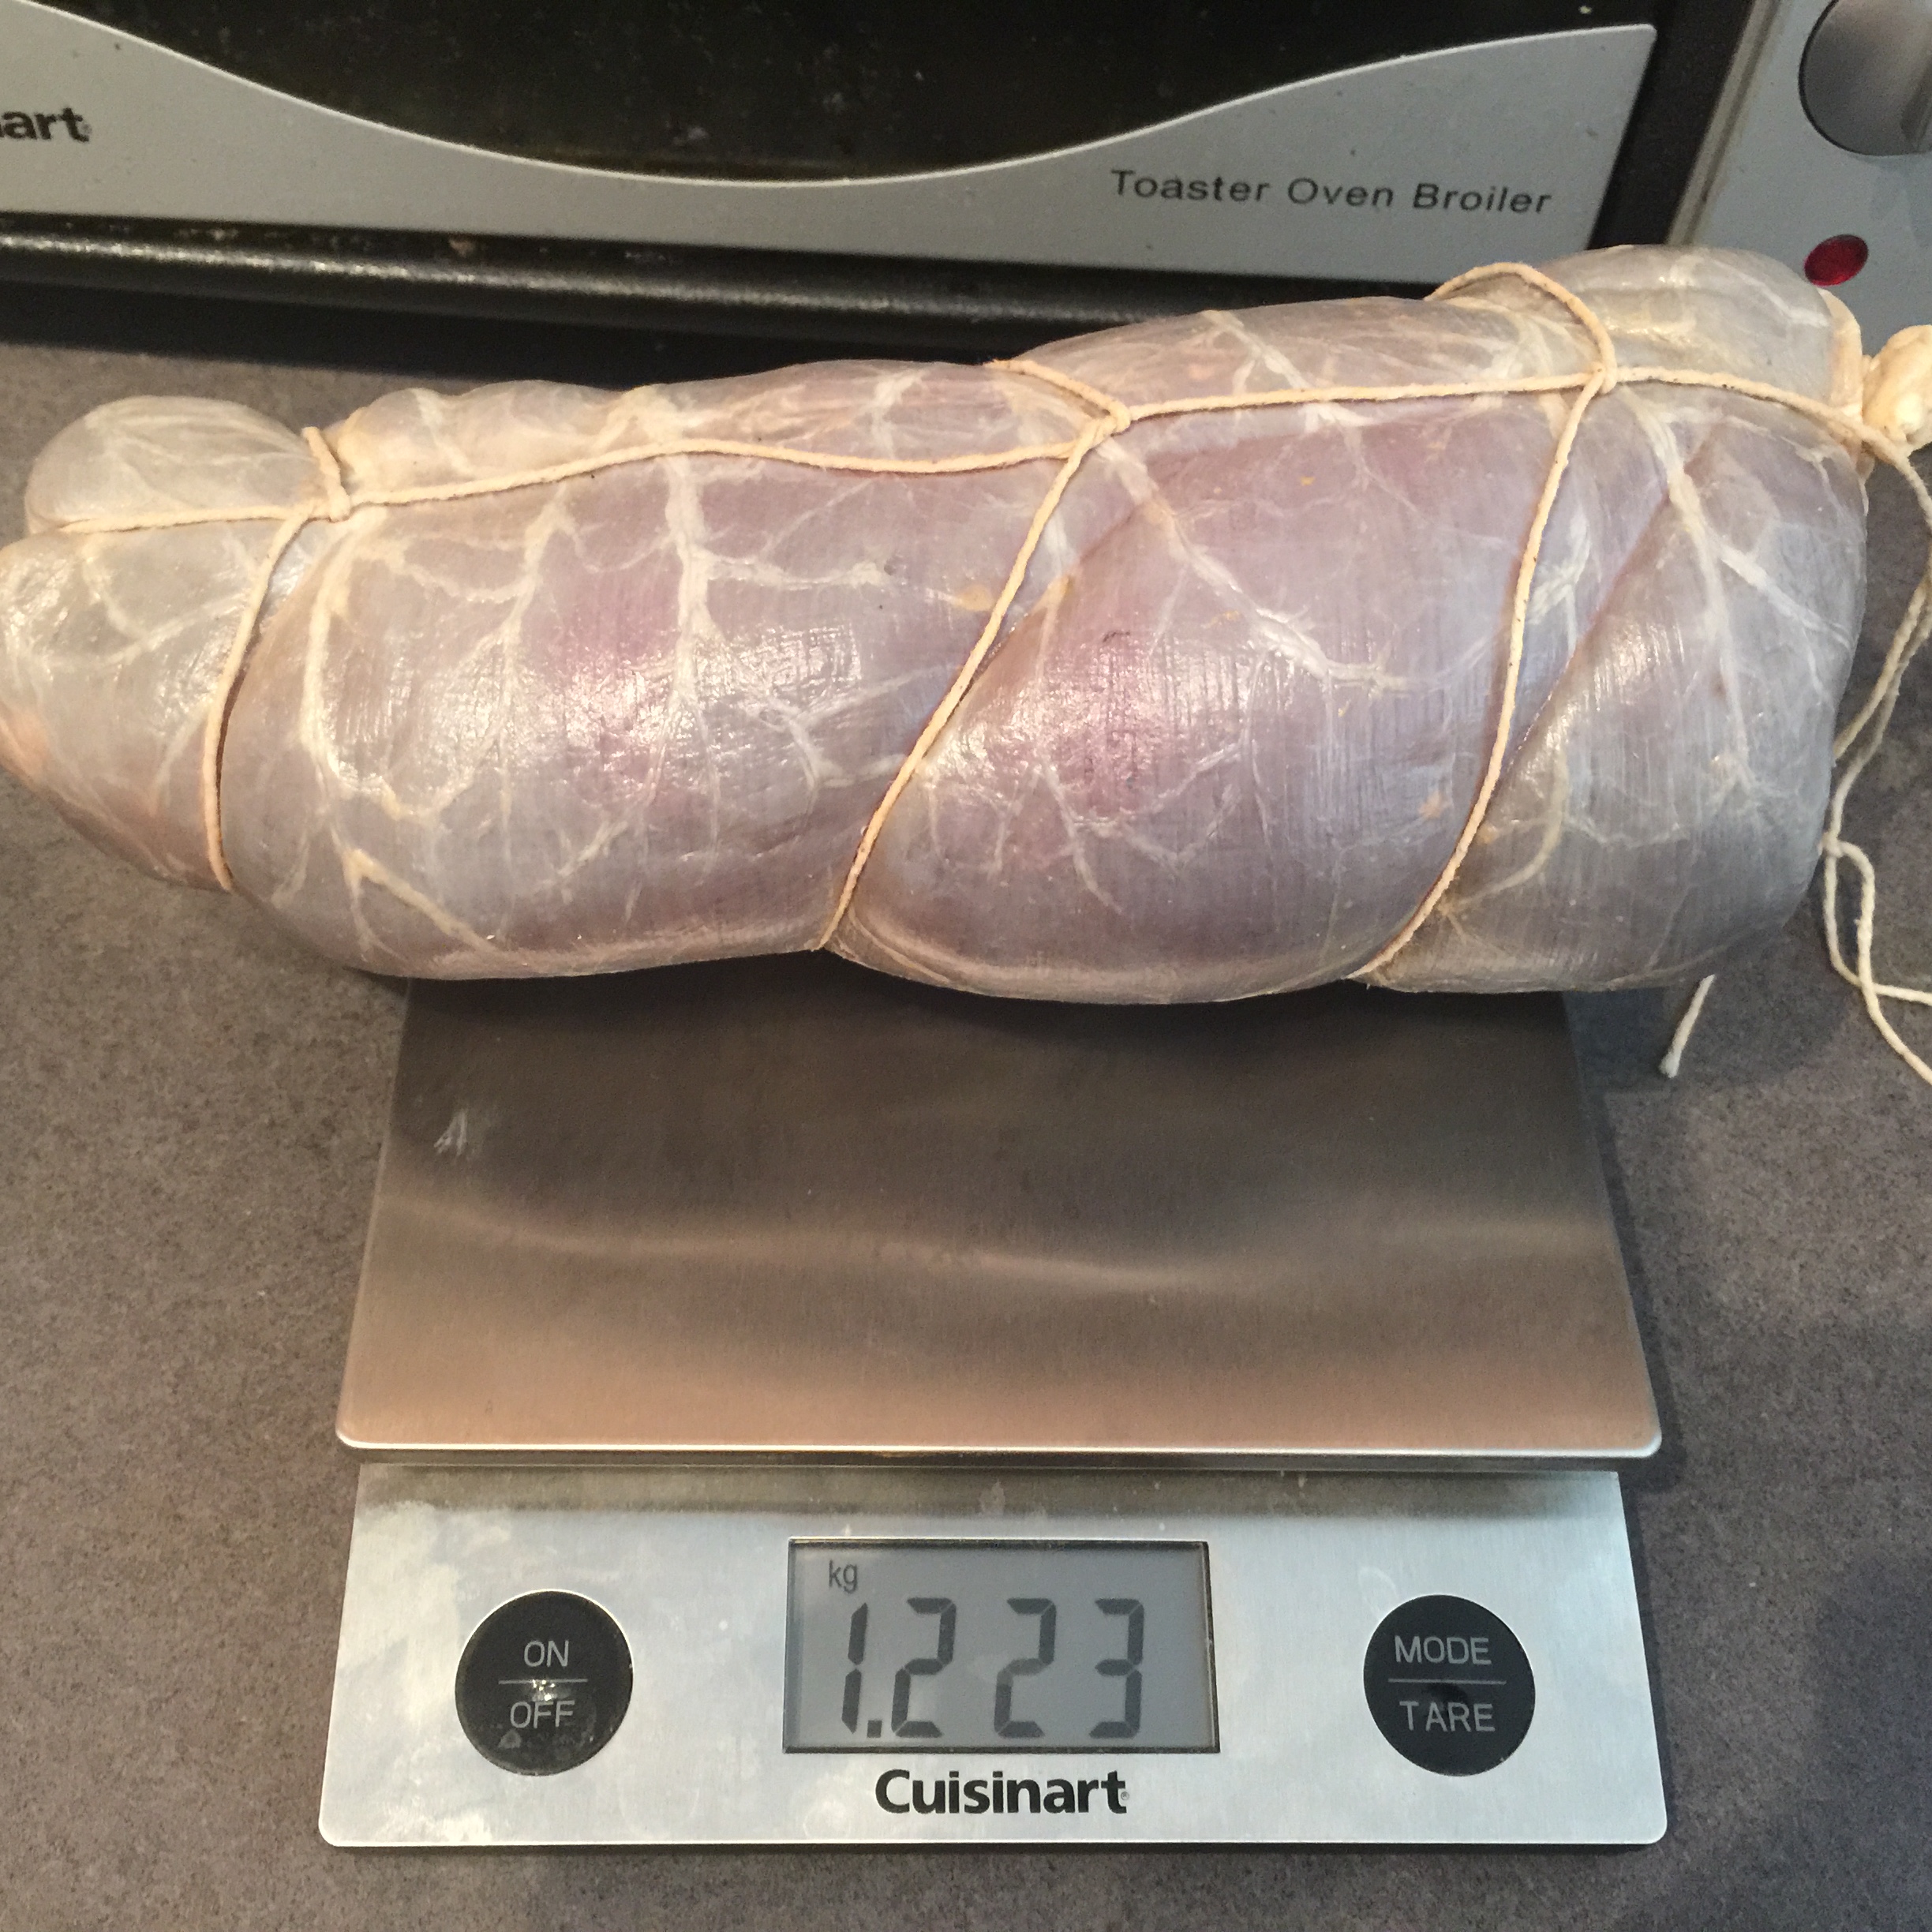
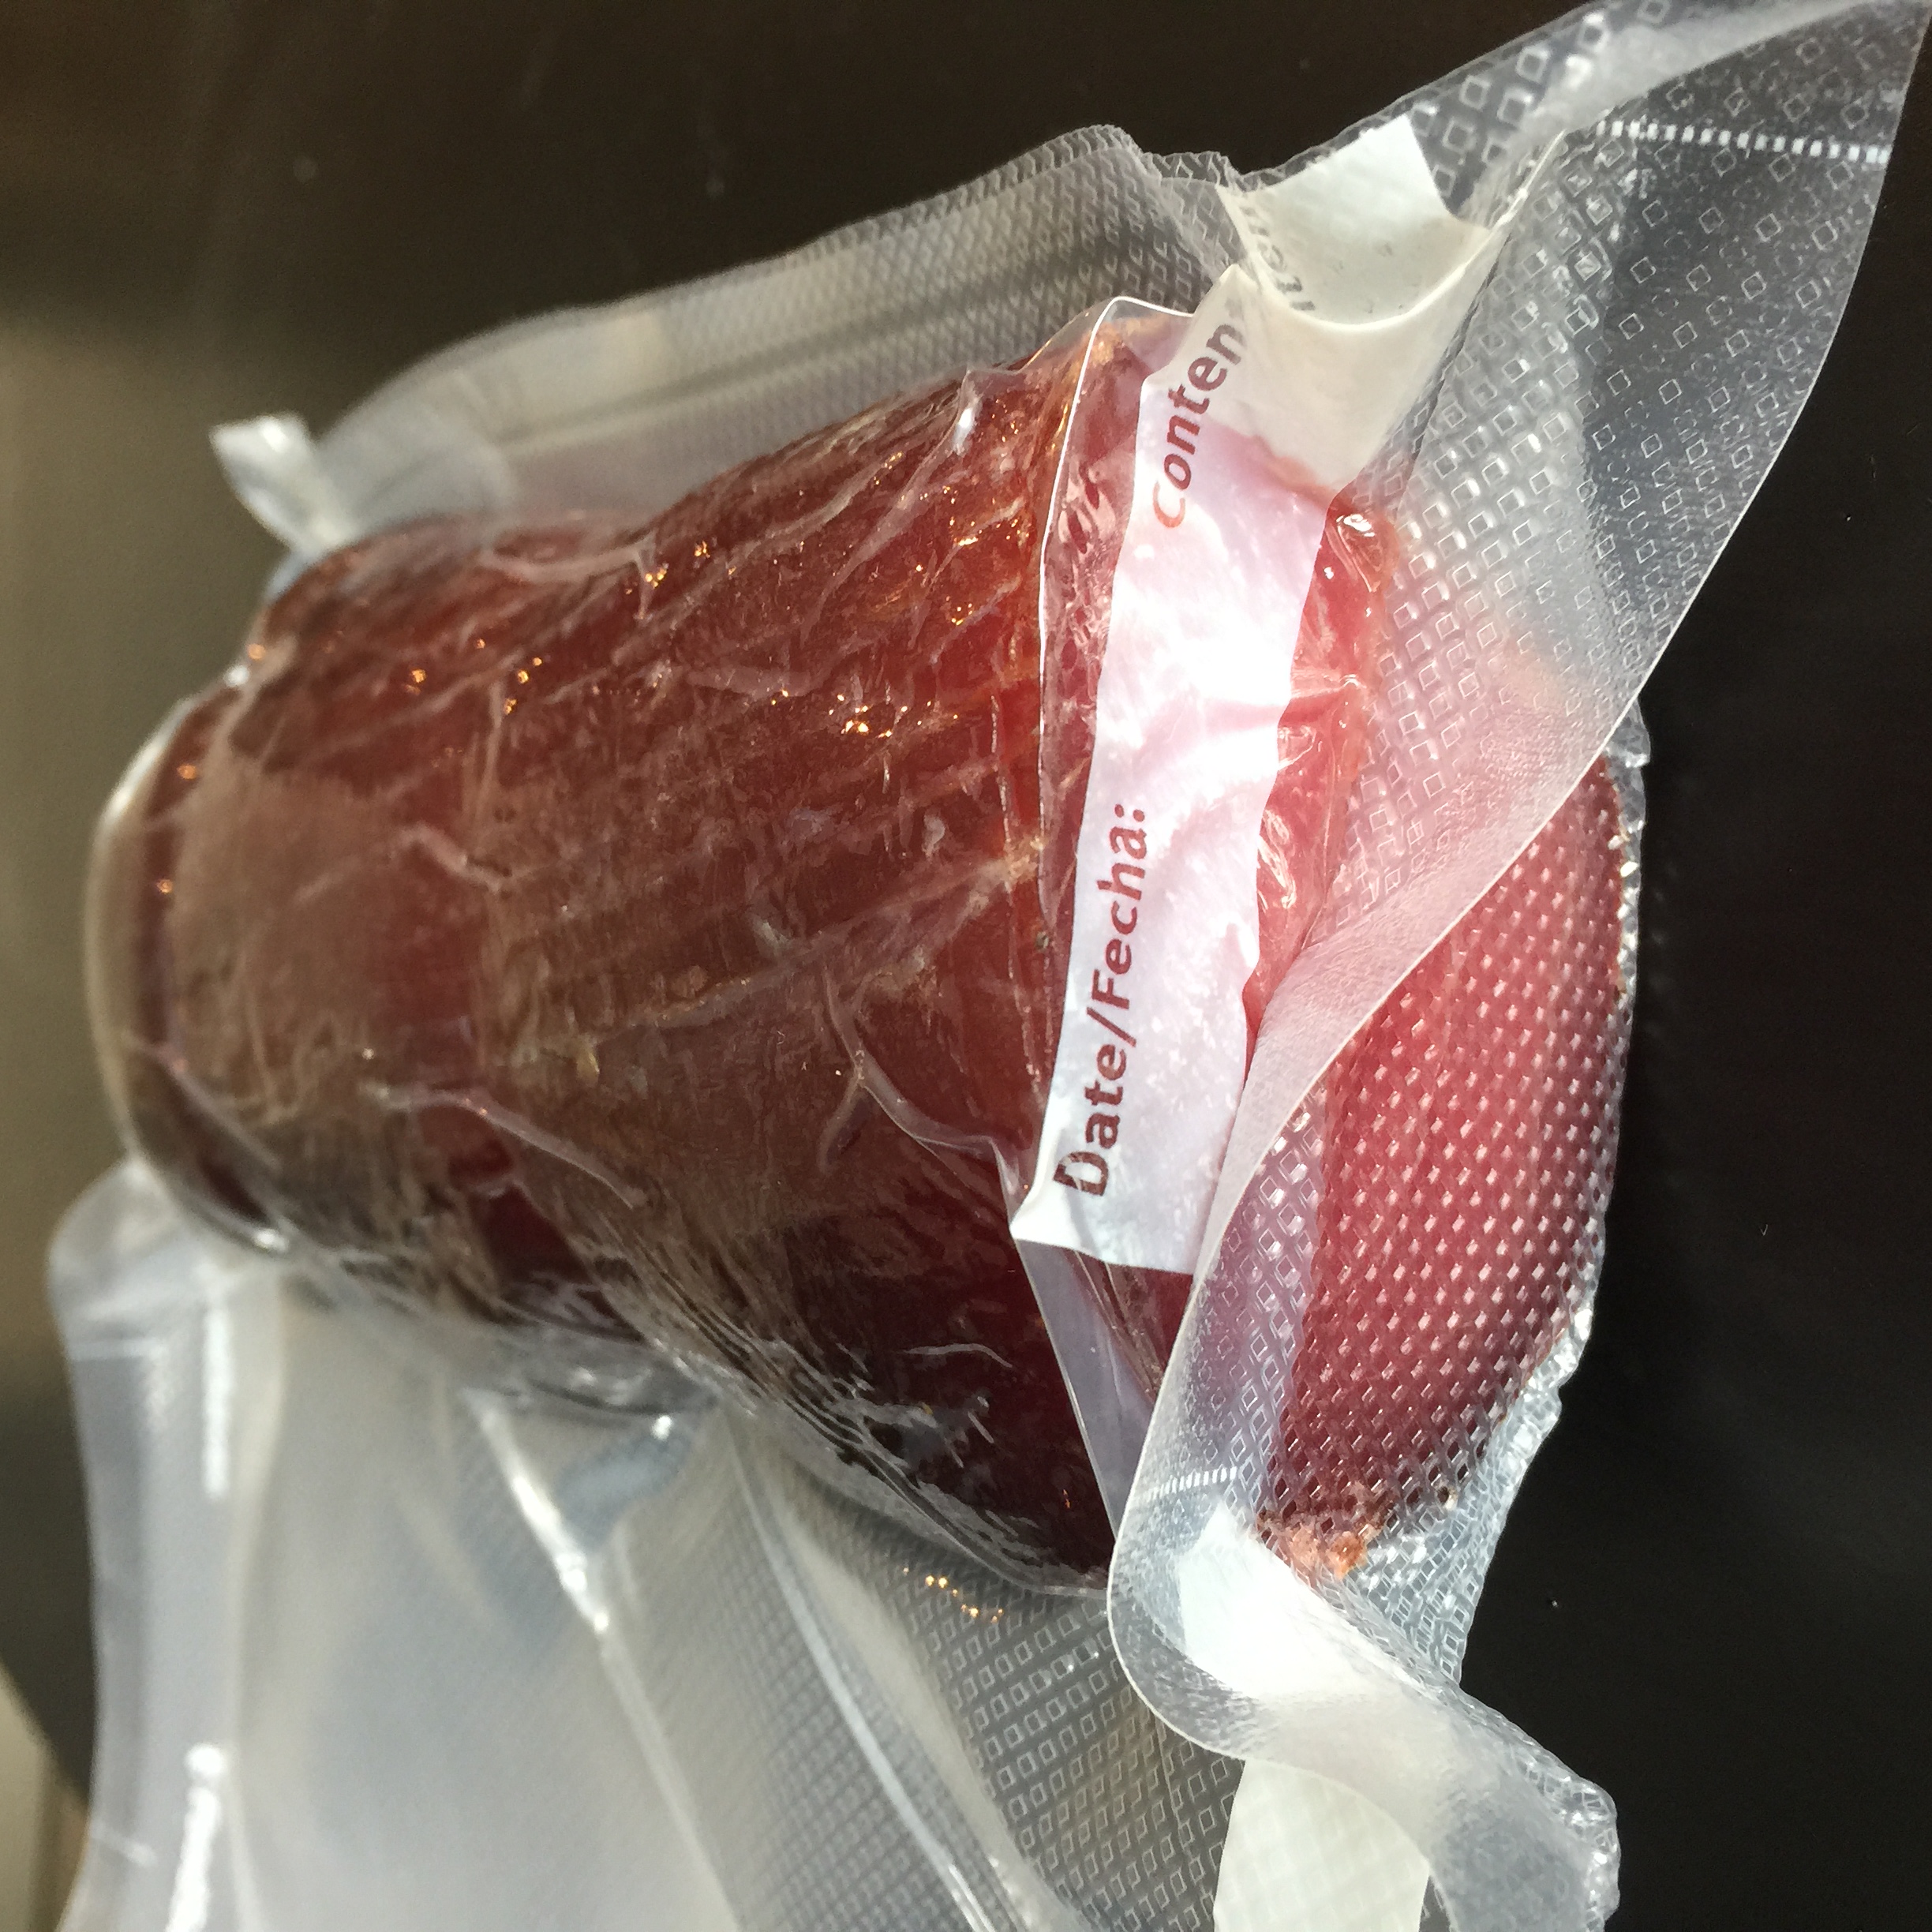
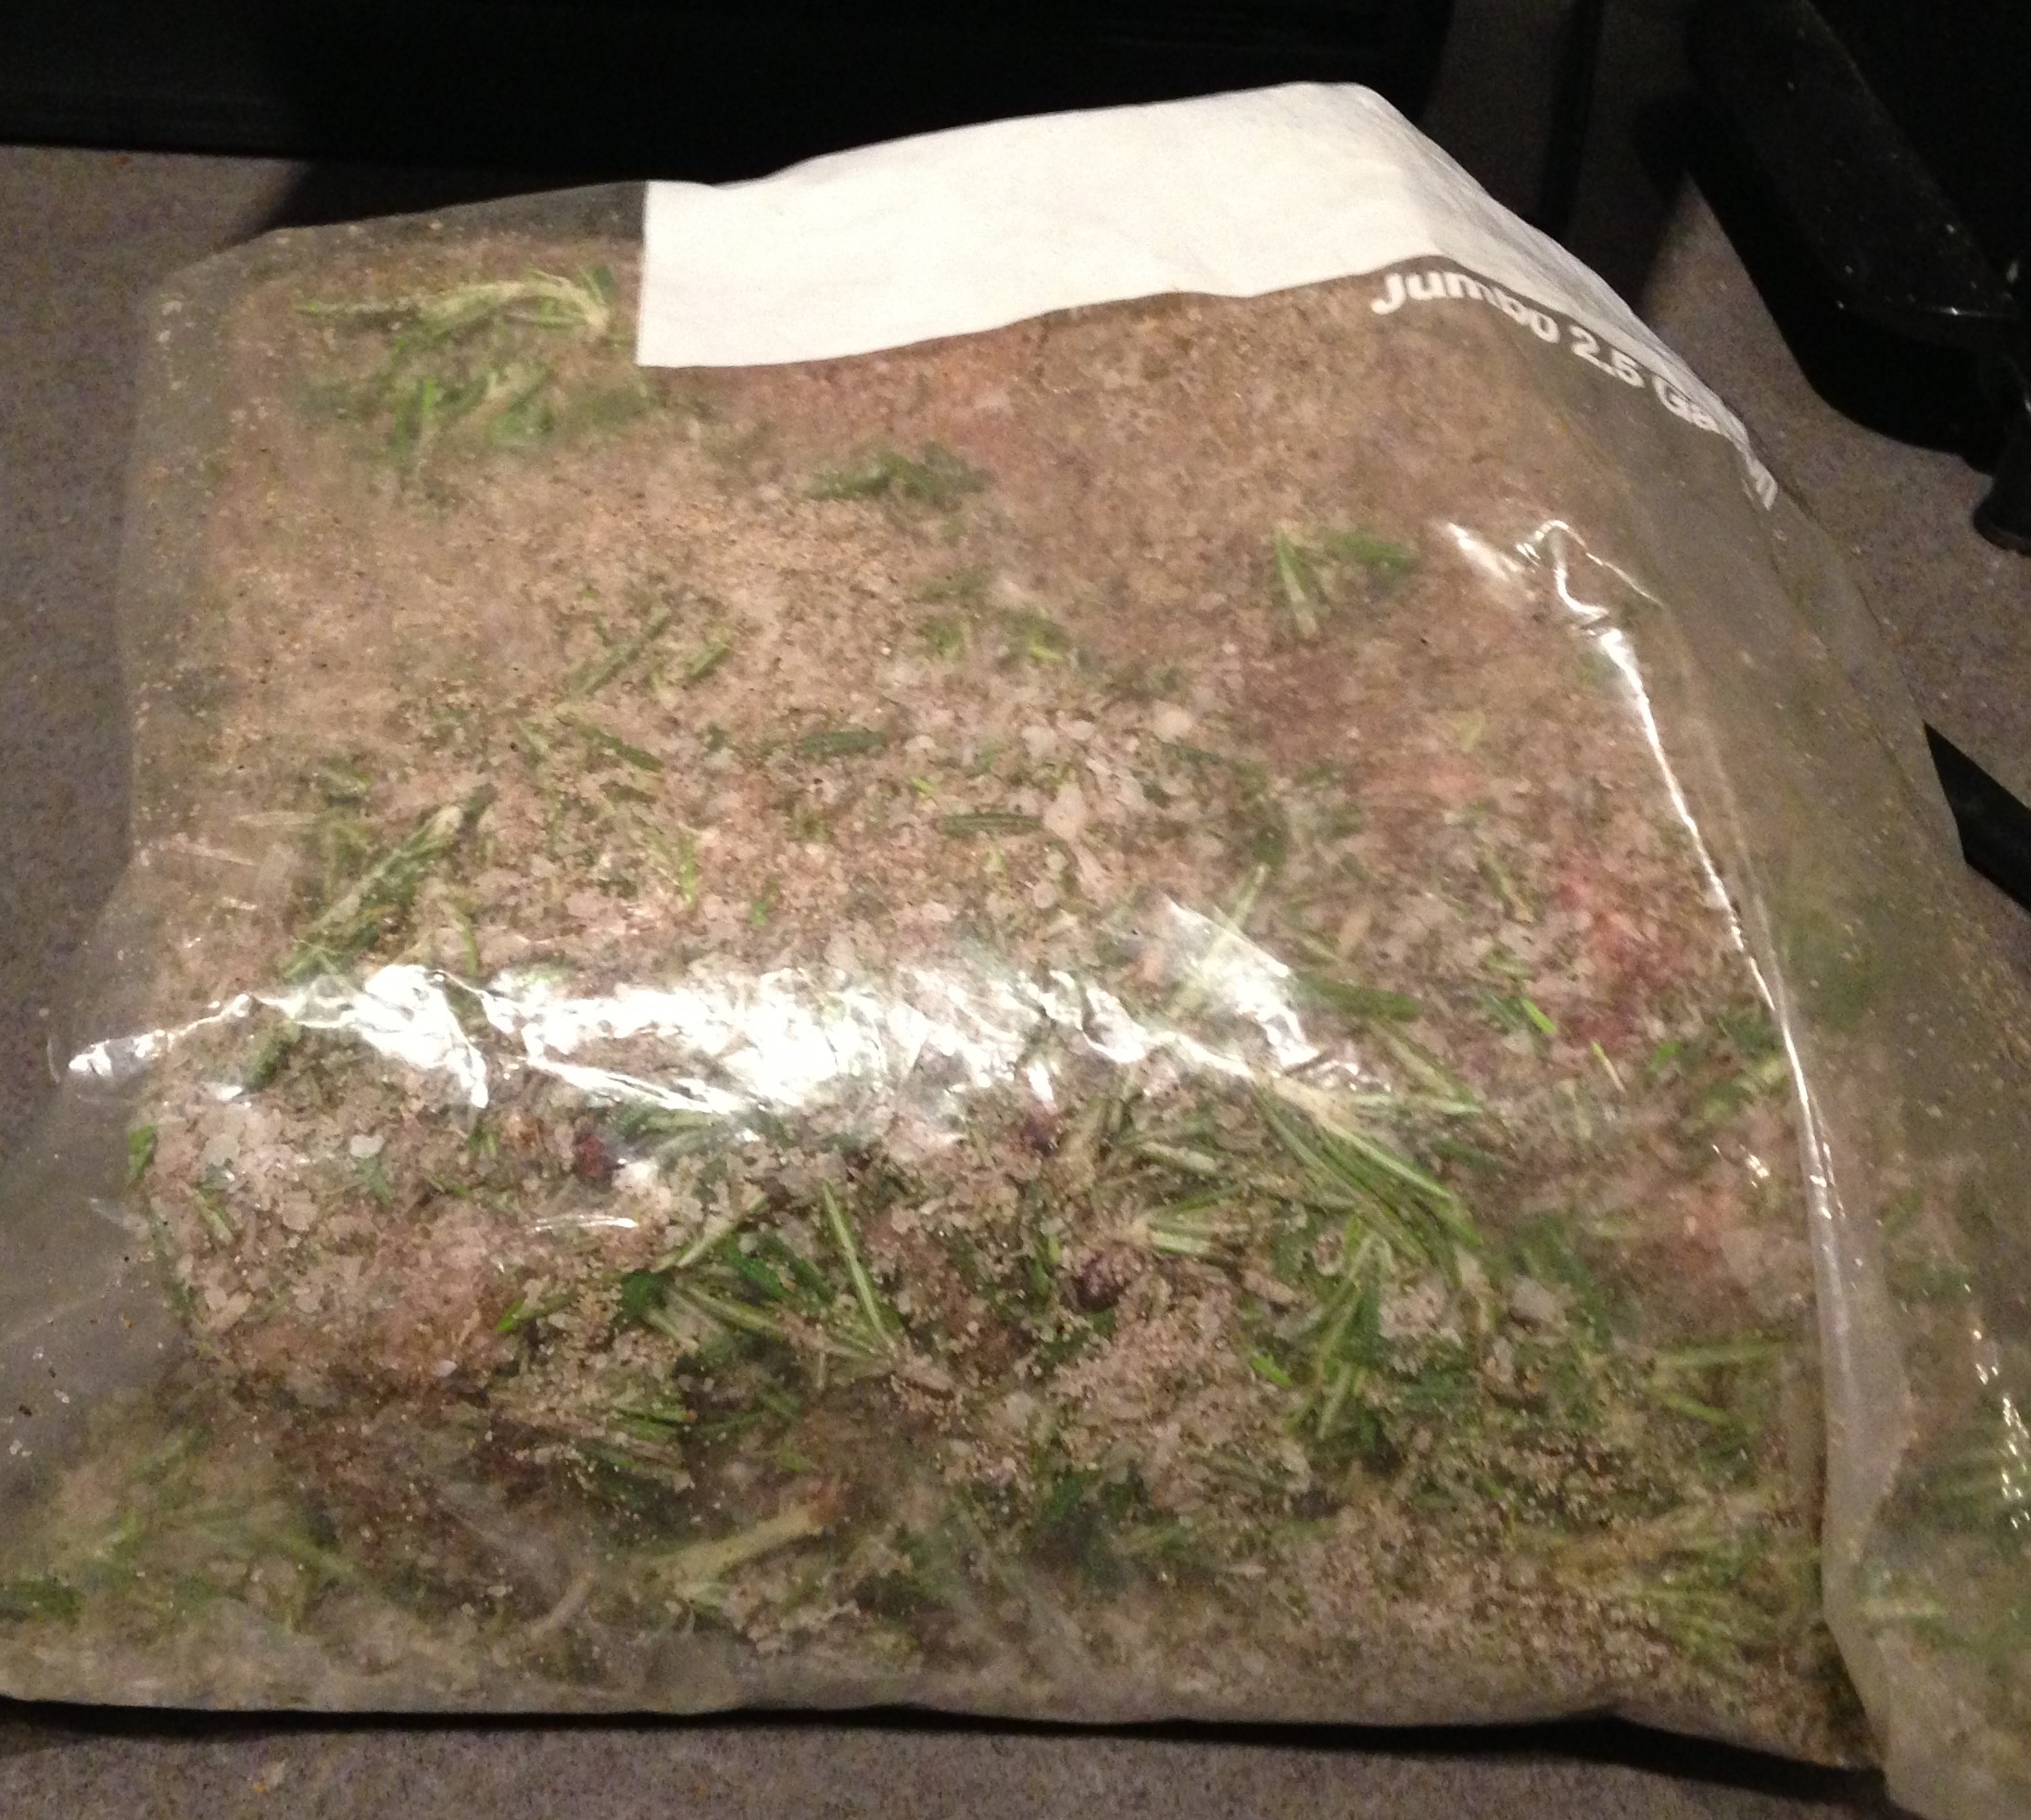
I cured my meat in a ziplock bag due to its larger and bulkier size. In addition, in order to make sure that my equilibrium cure had time to penetrate the entire cut of meat, I extended the time in the cure up to 3 weeks.
Casing (1 hour):
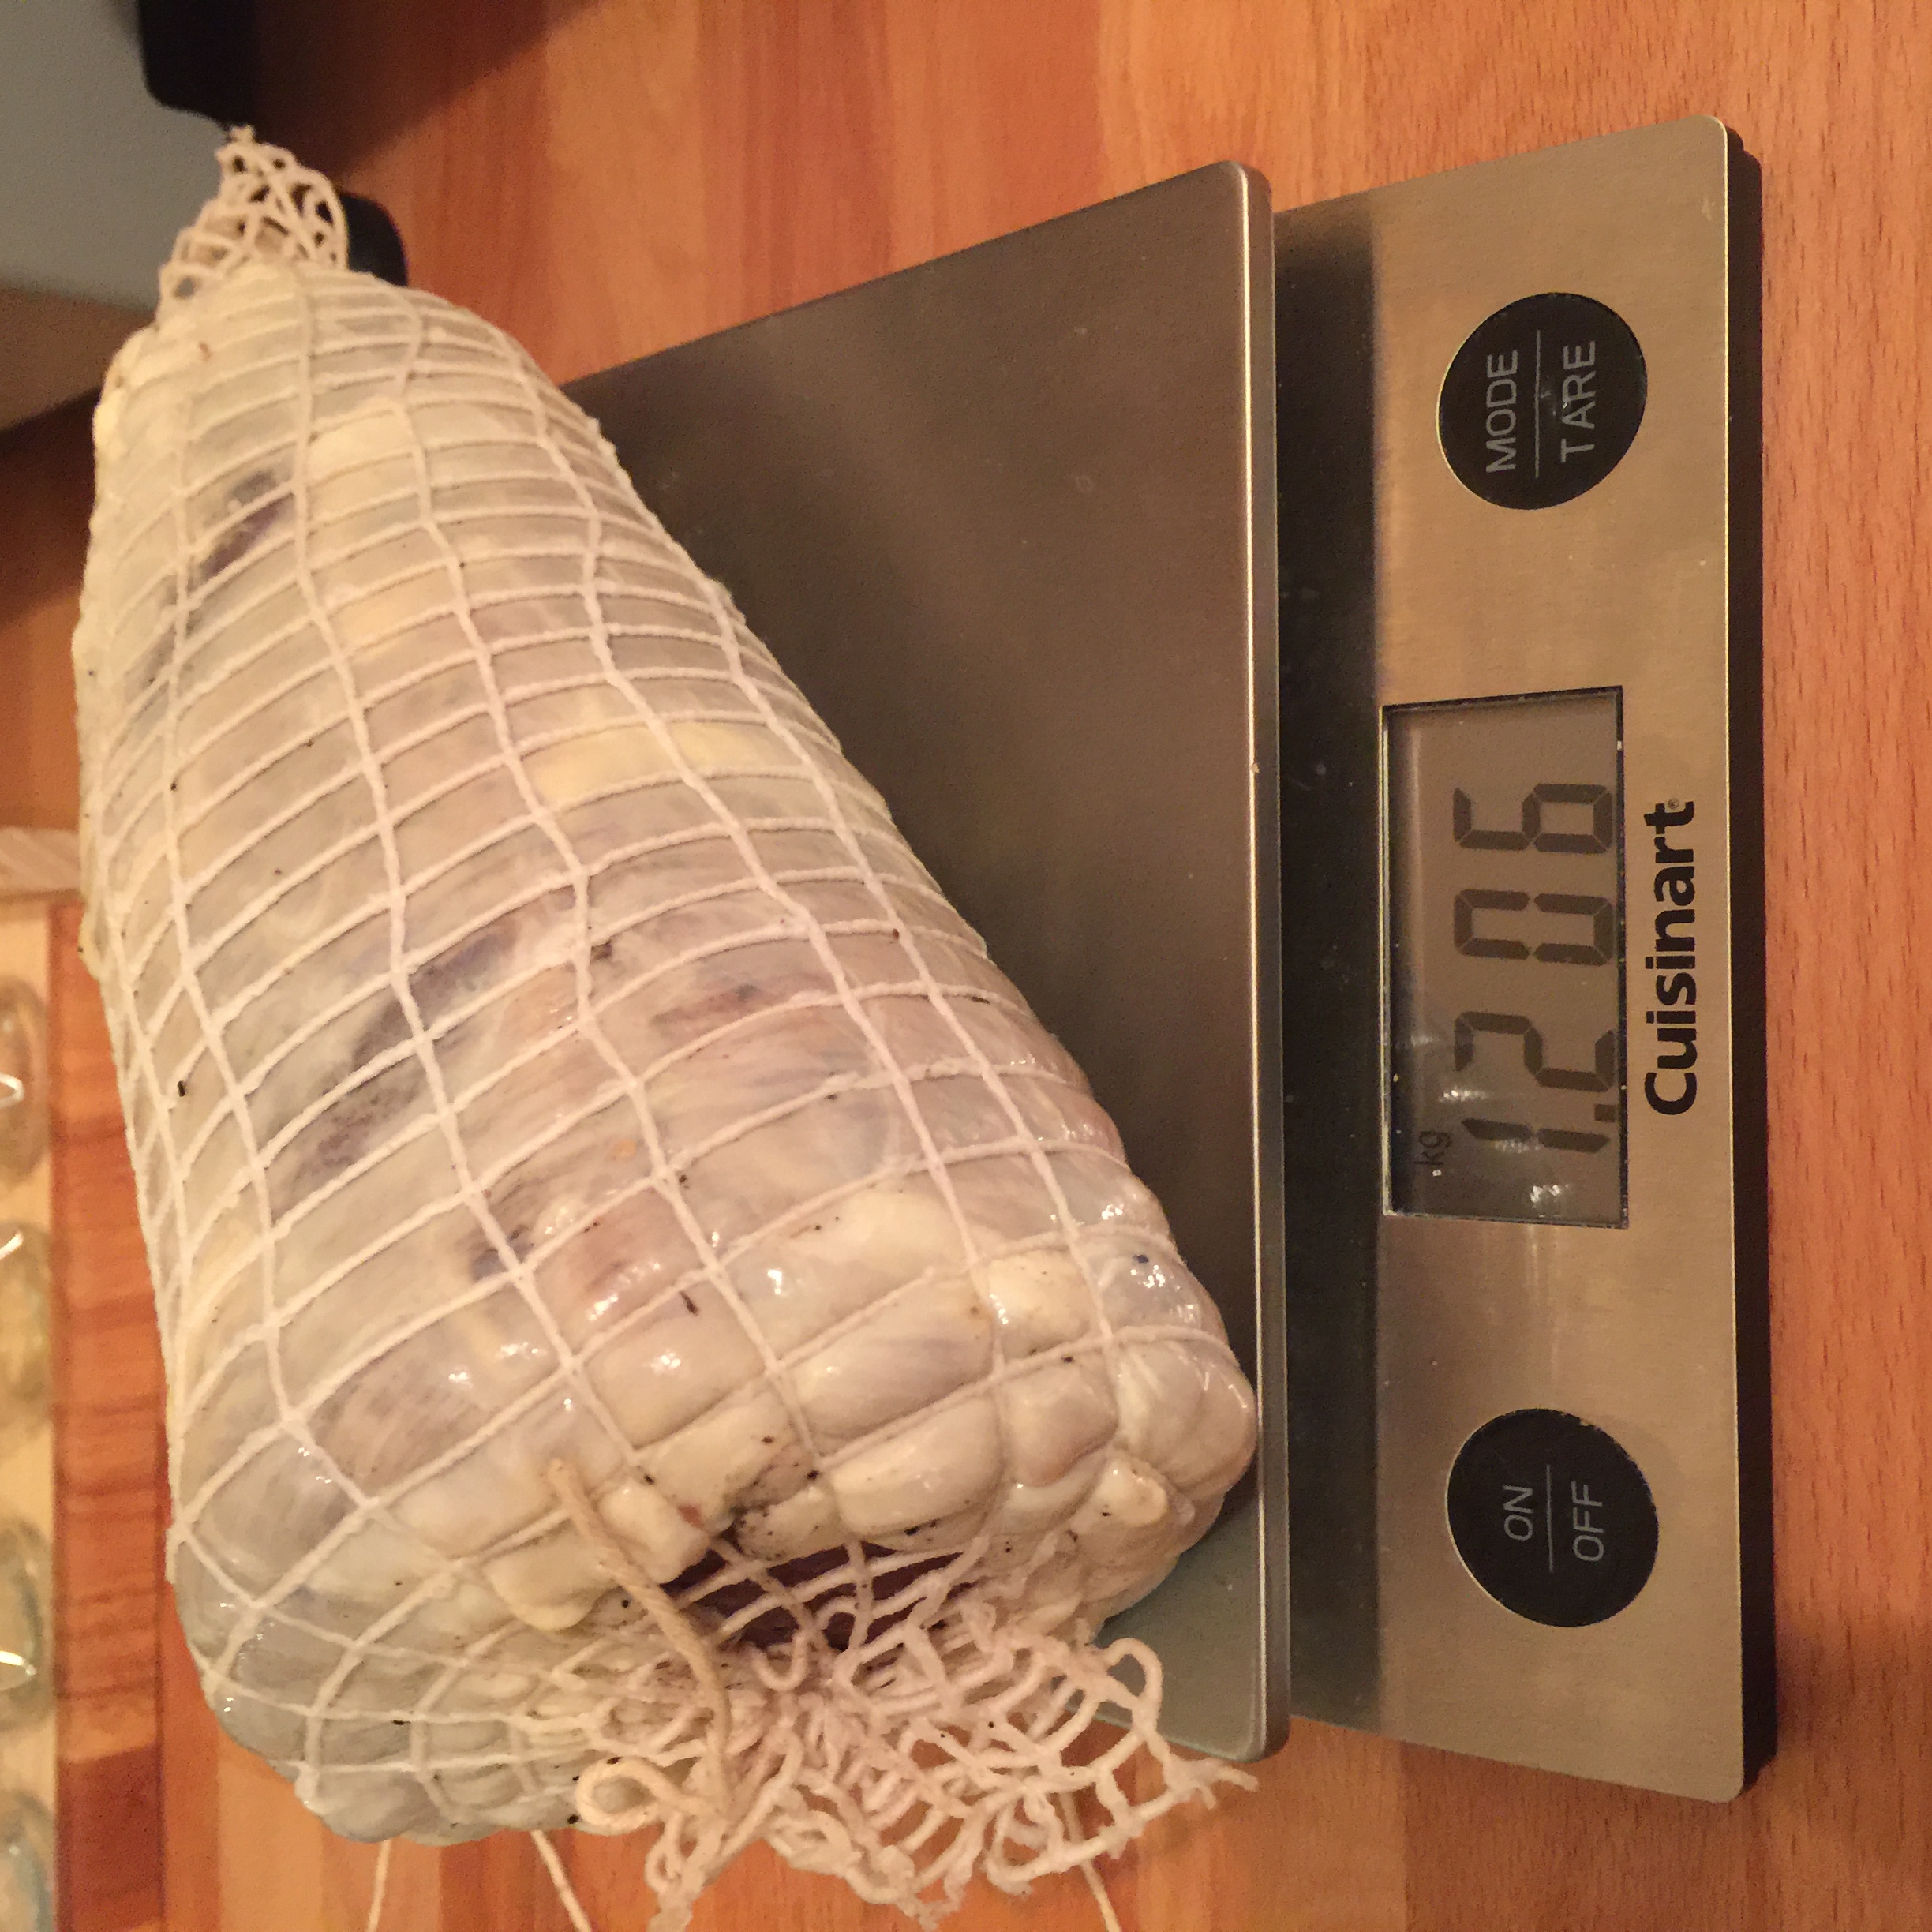
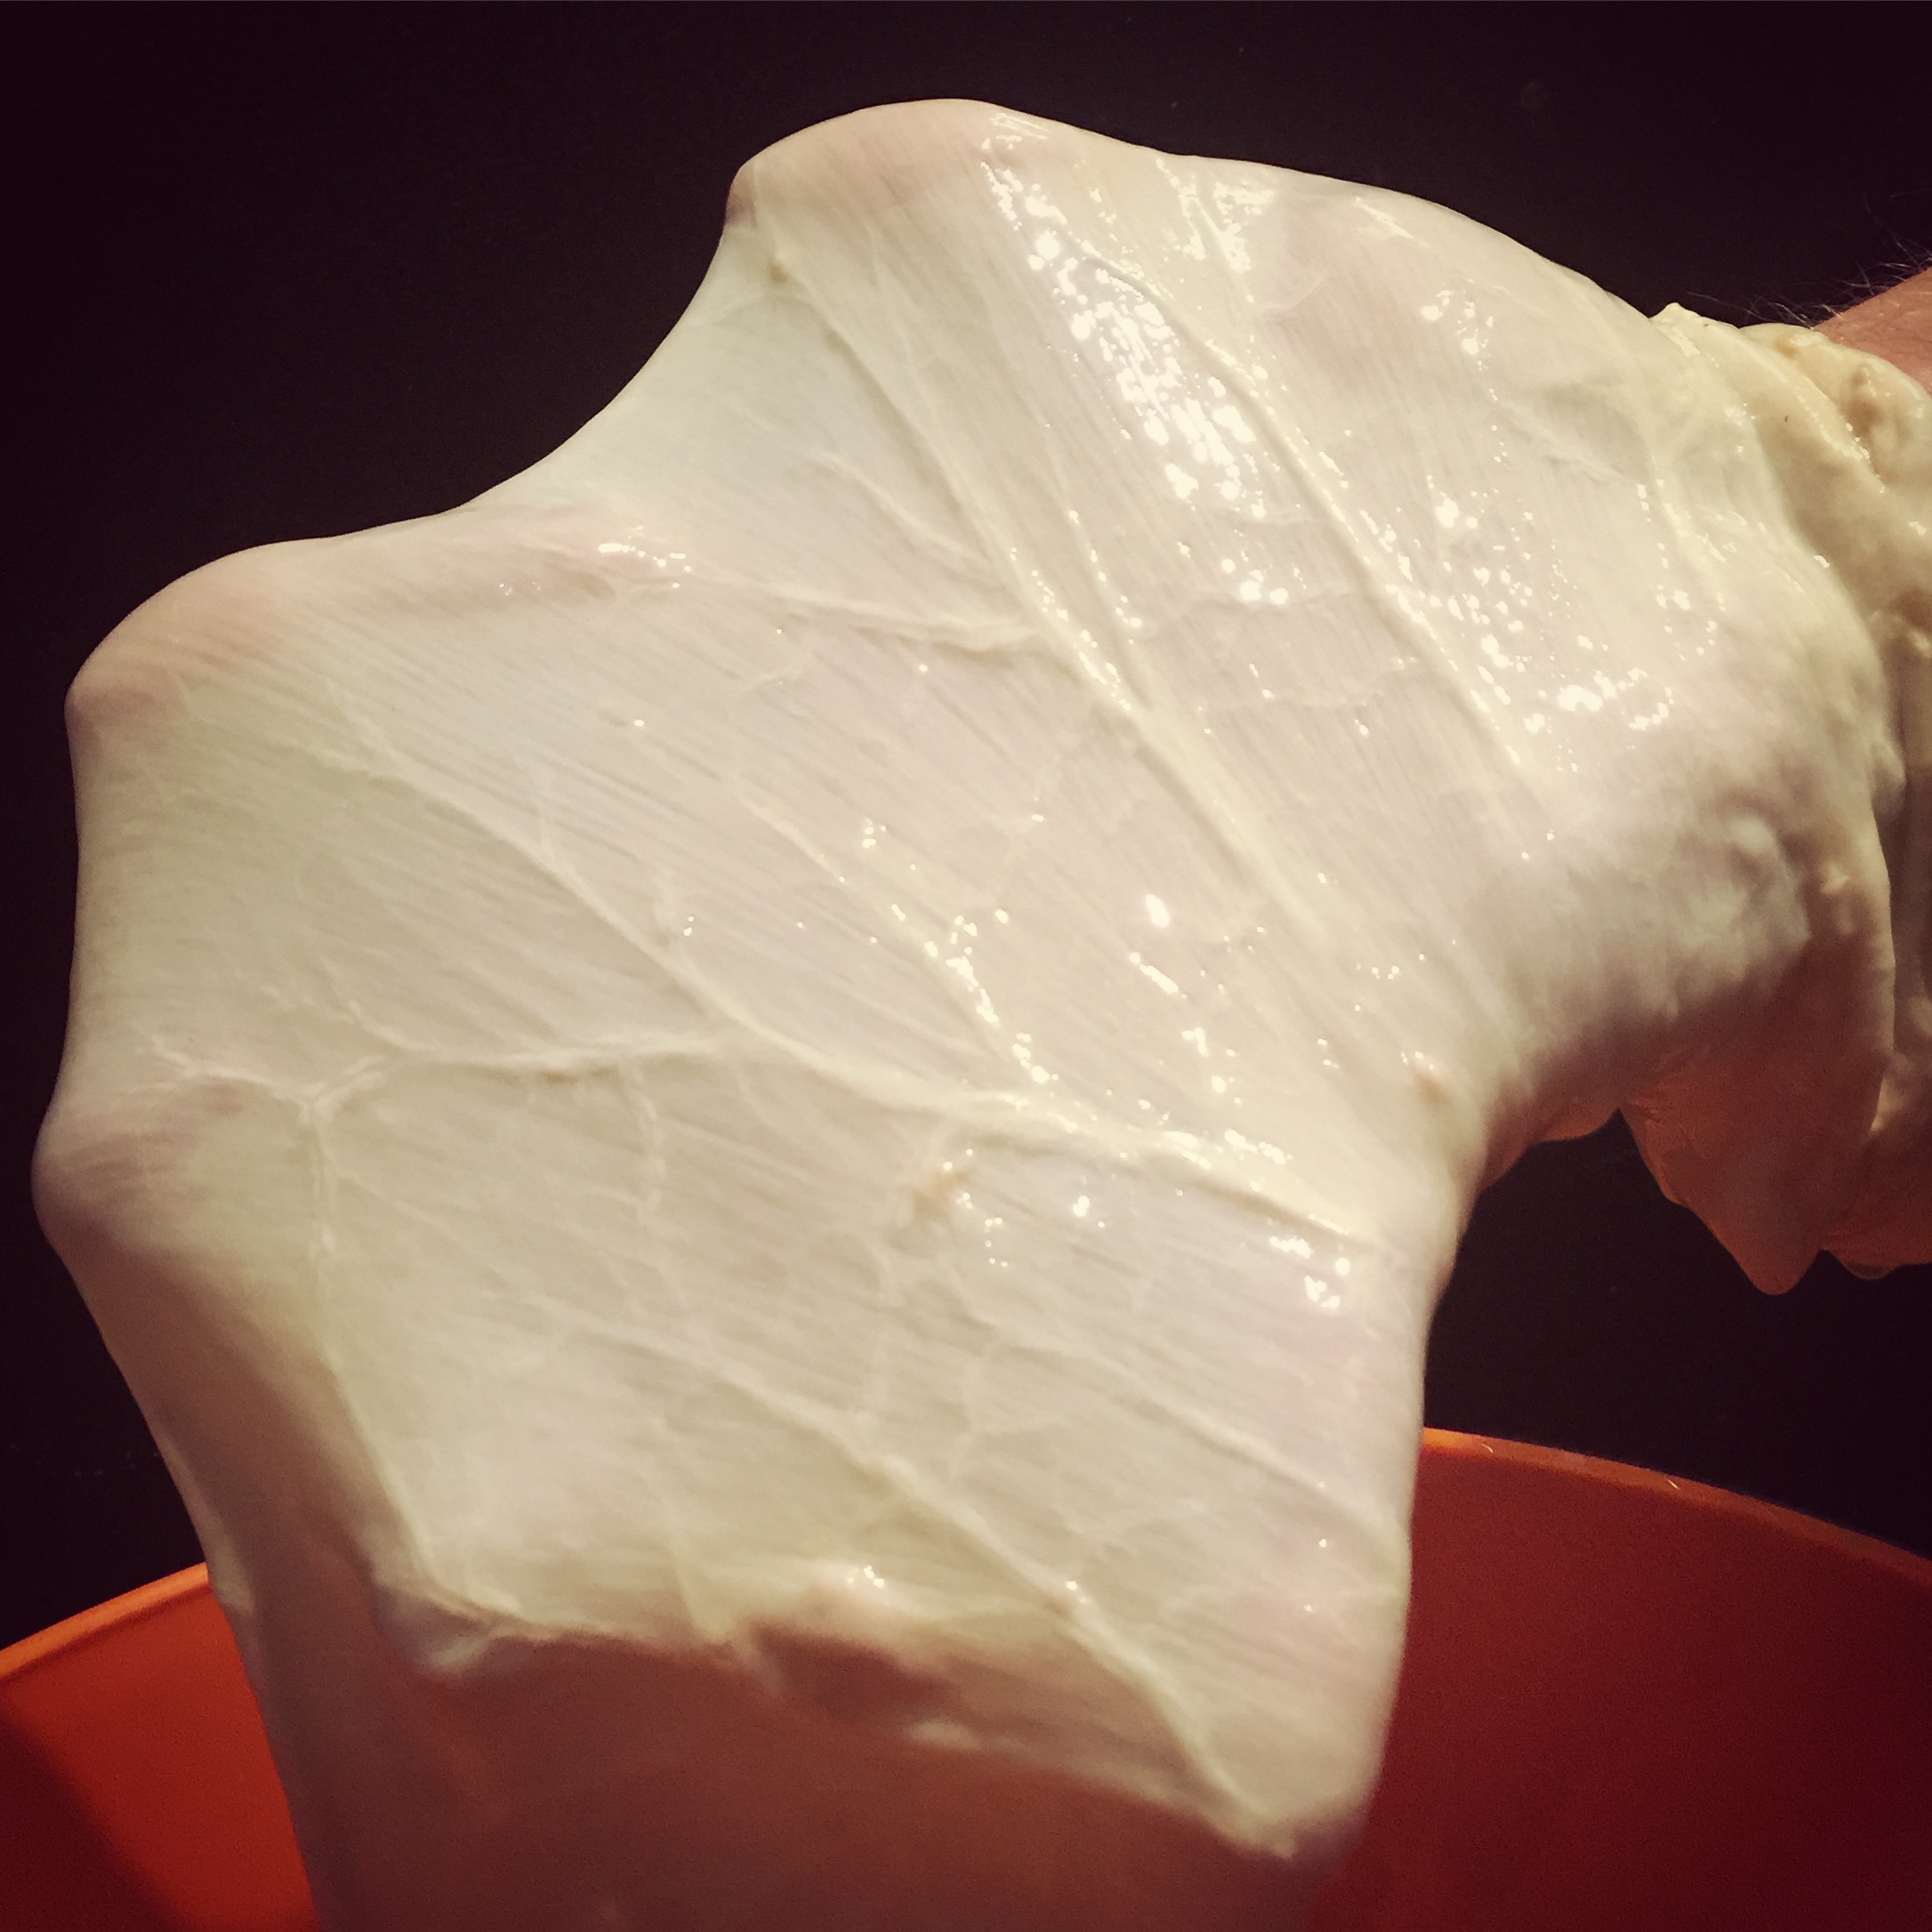
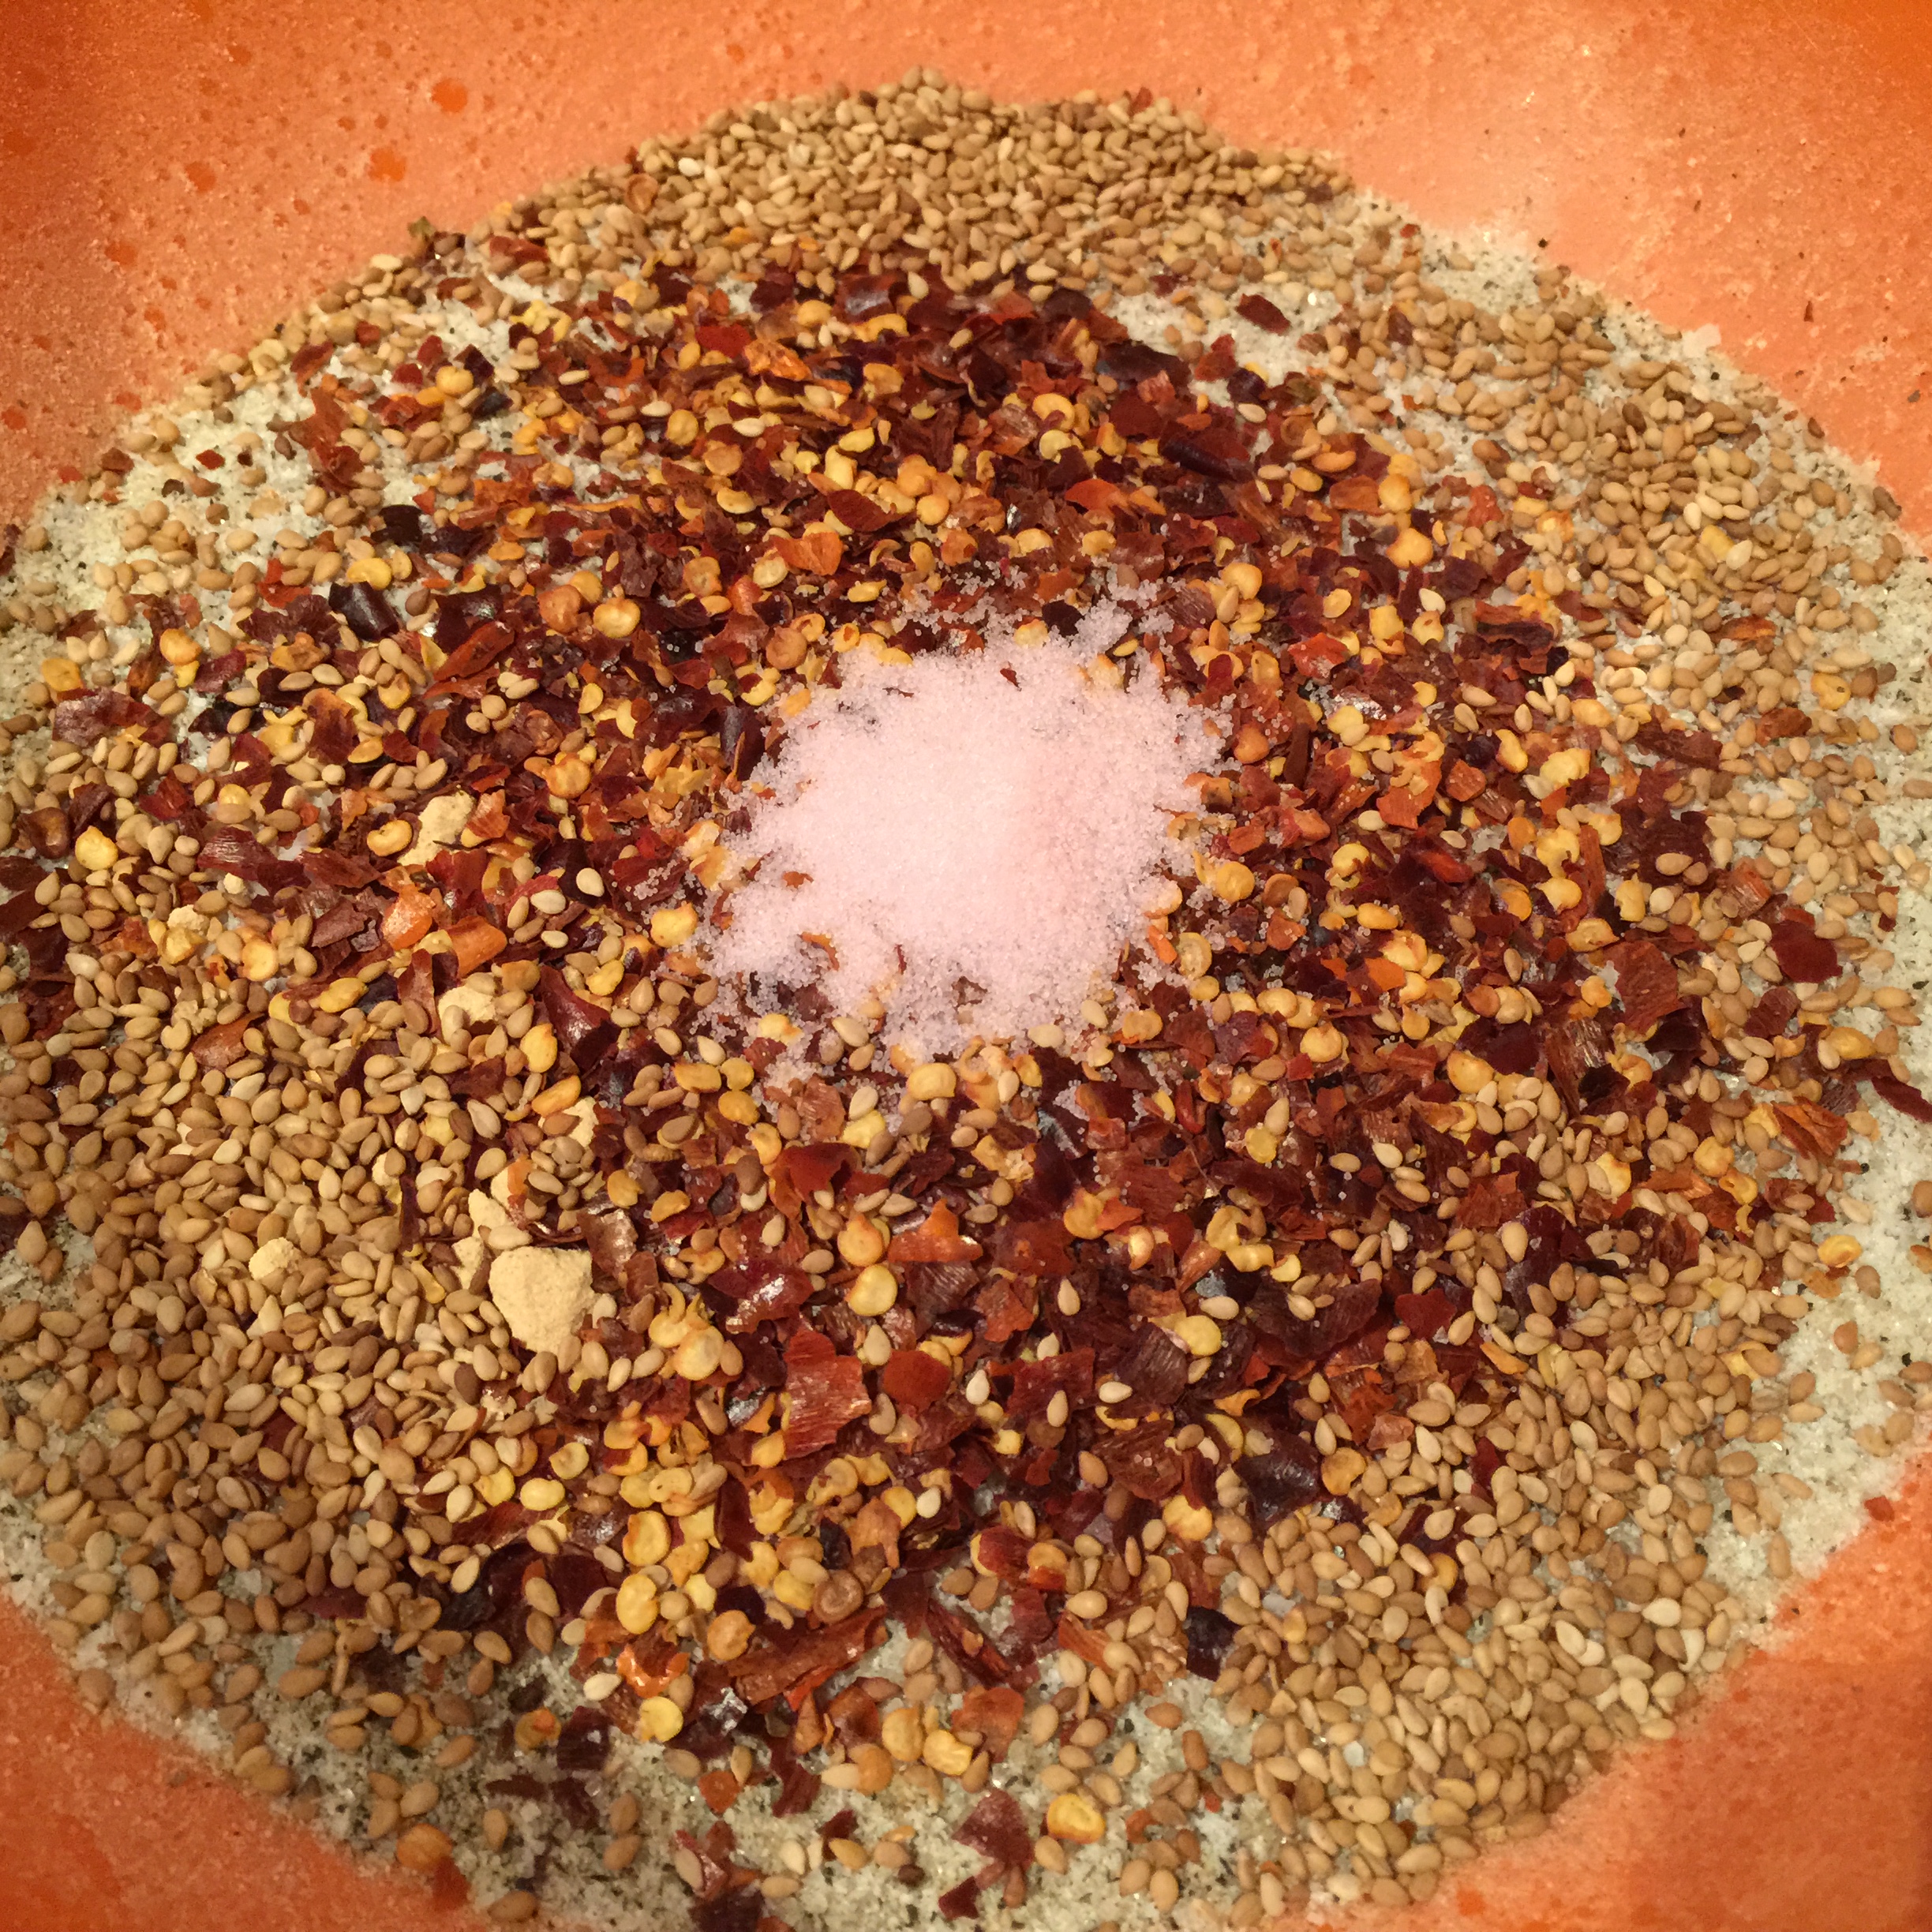
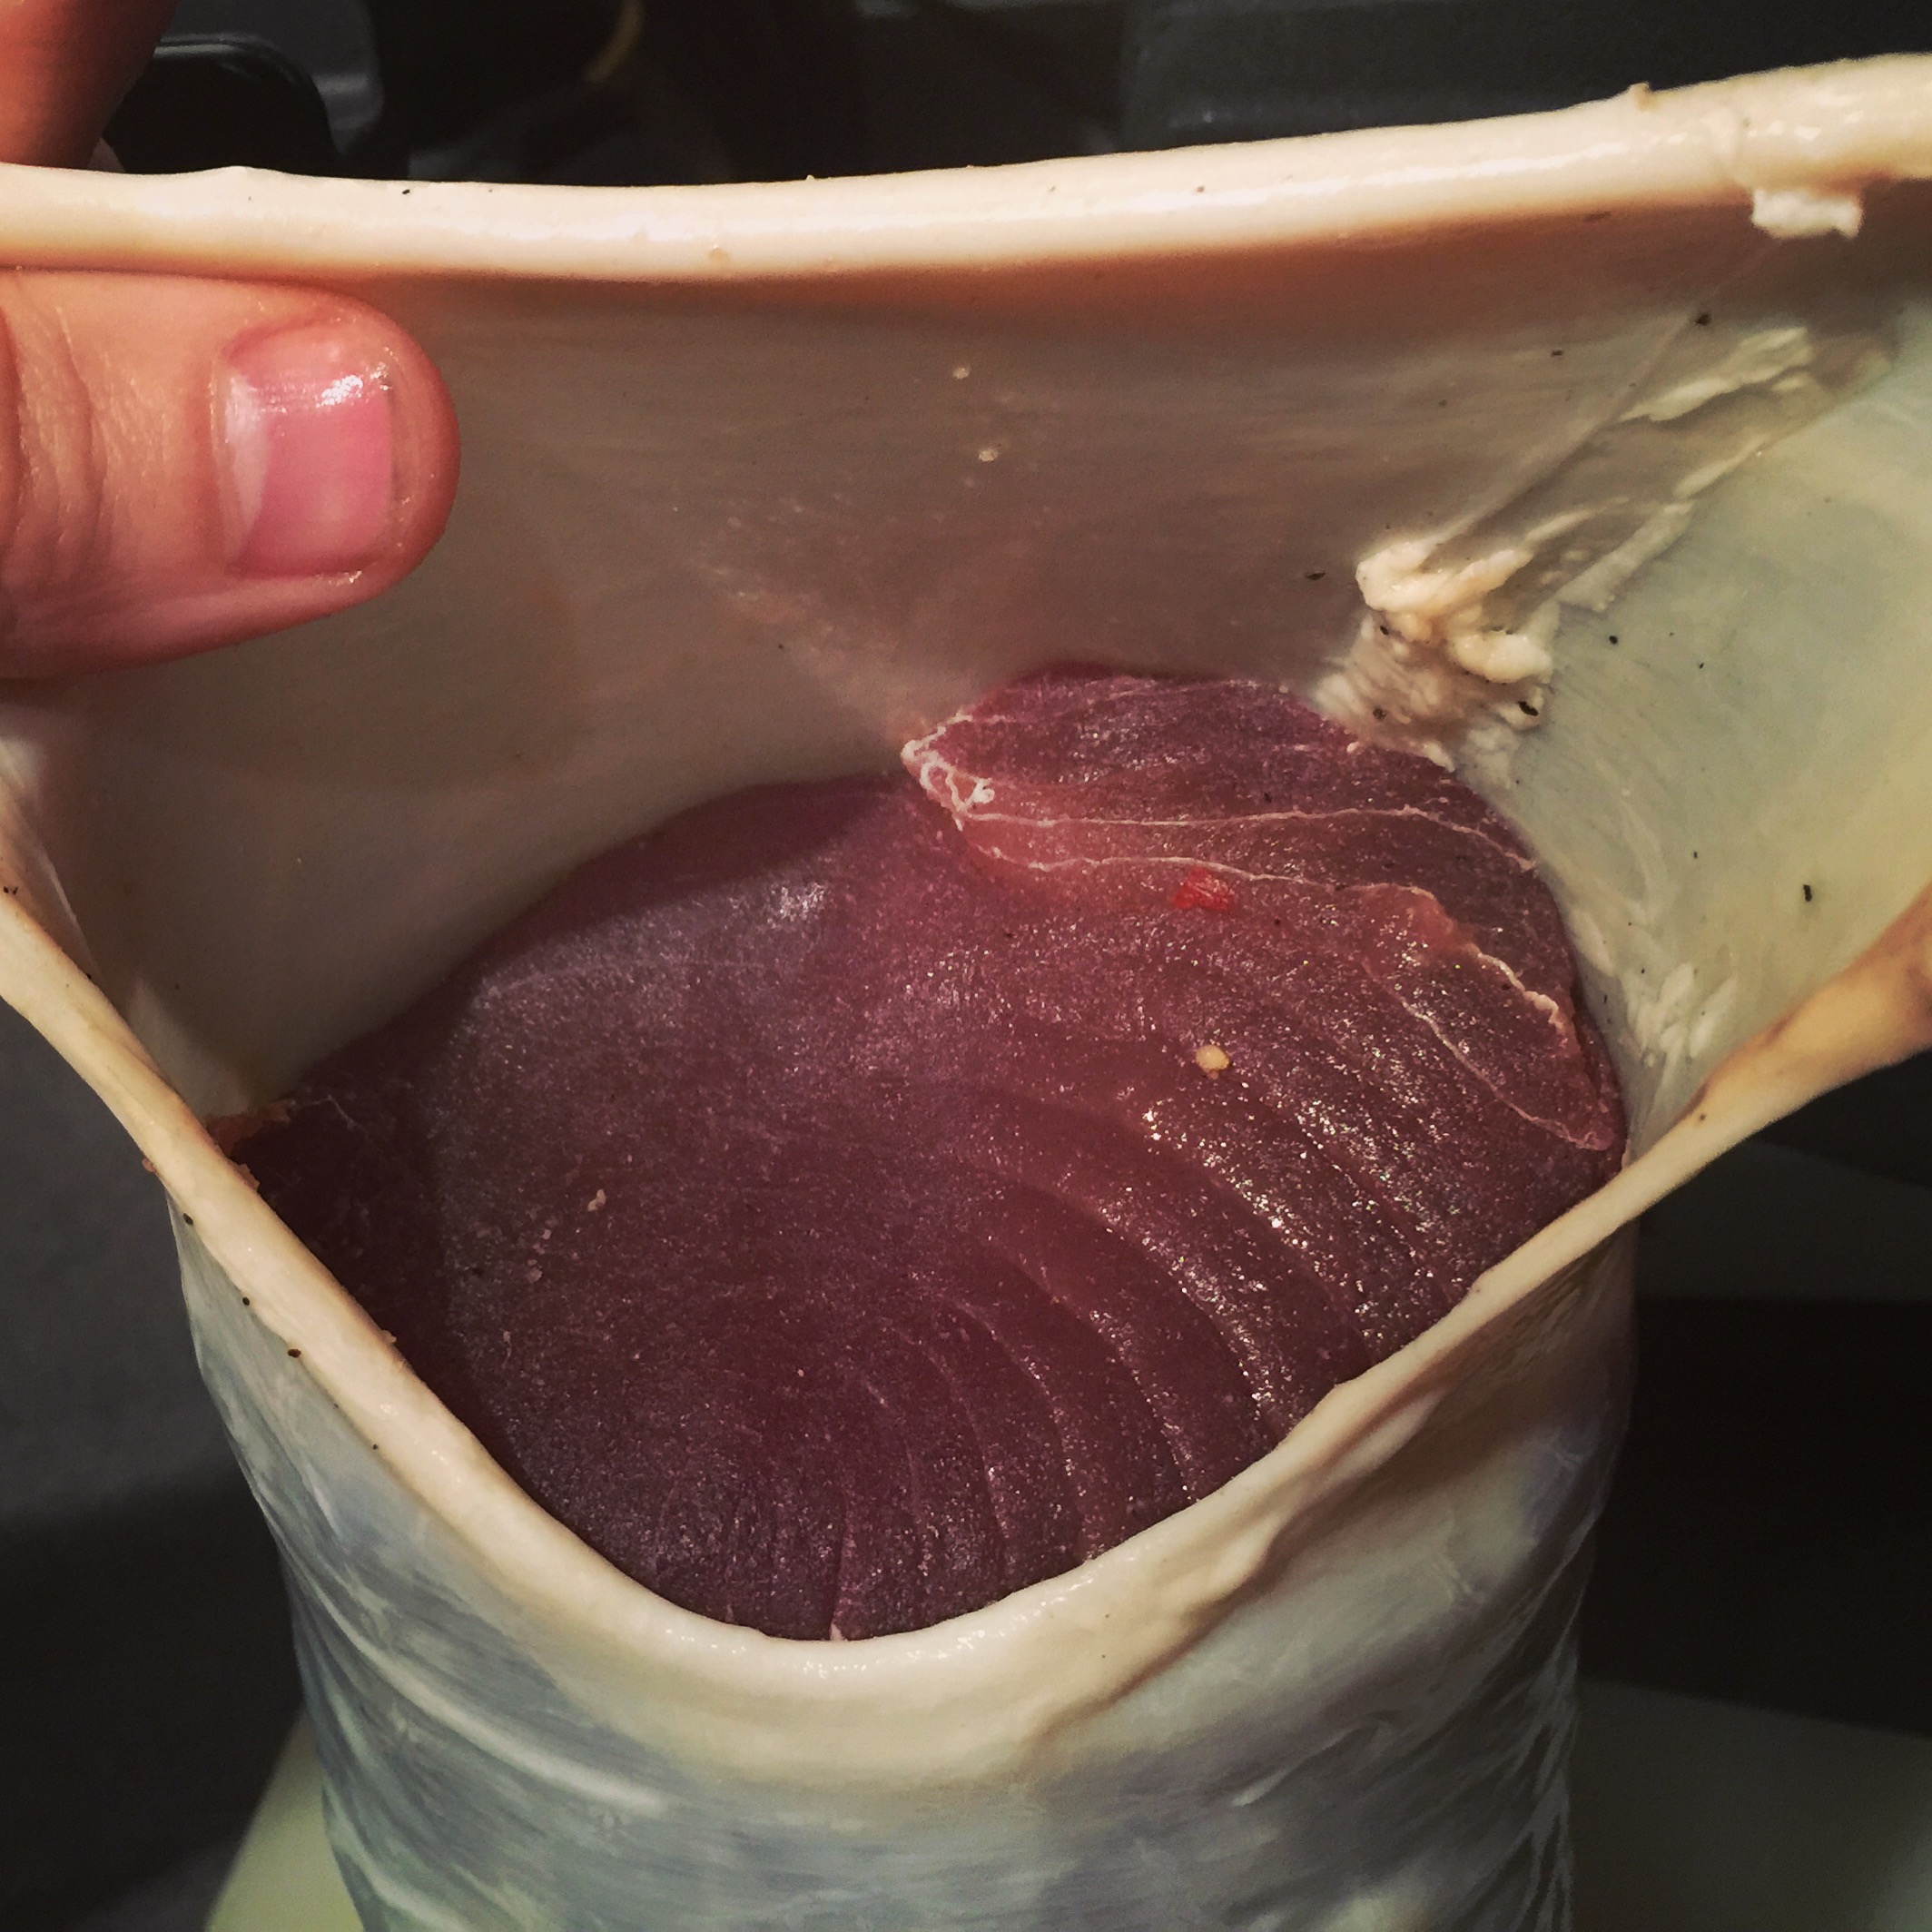
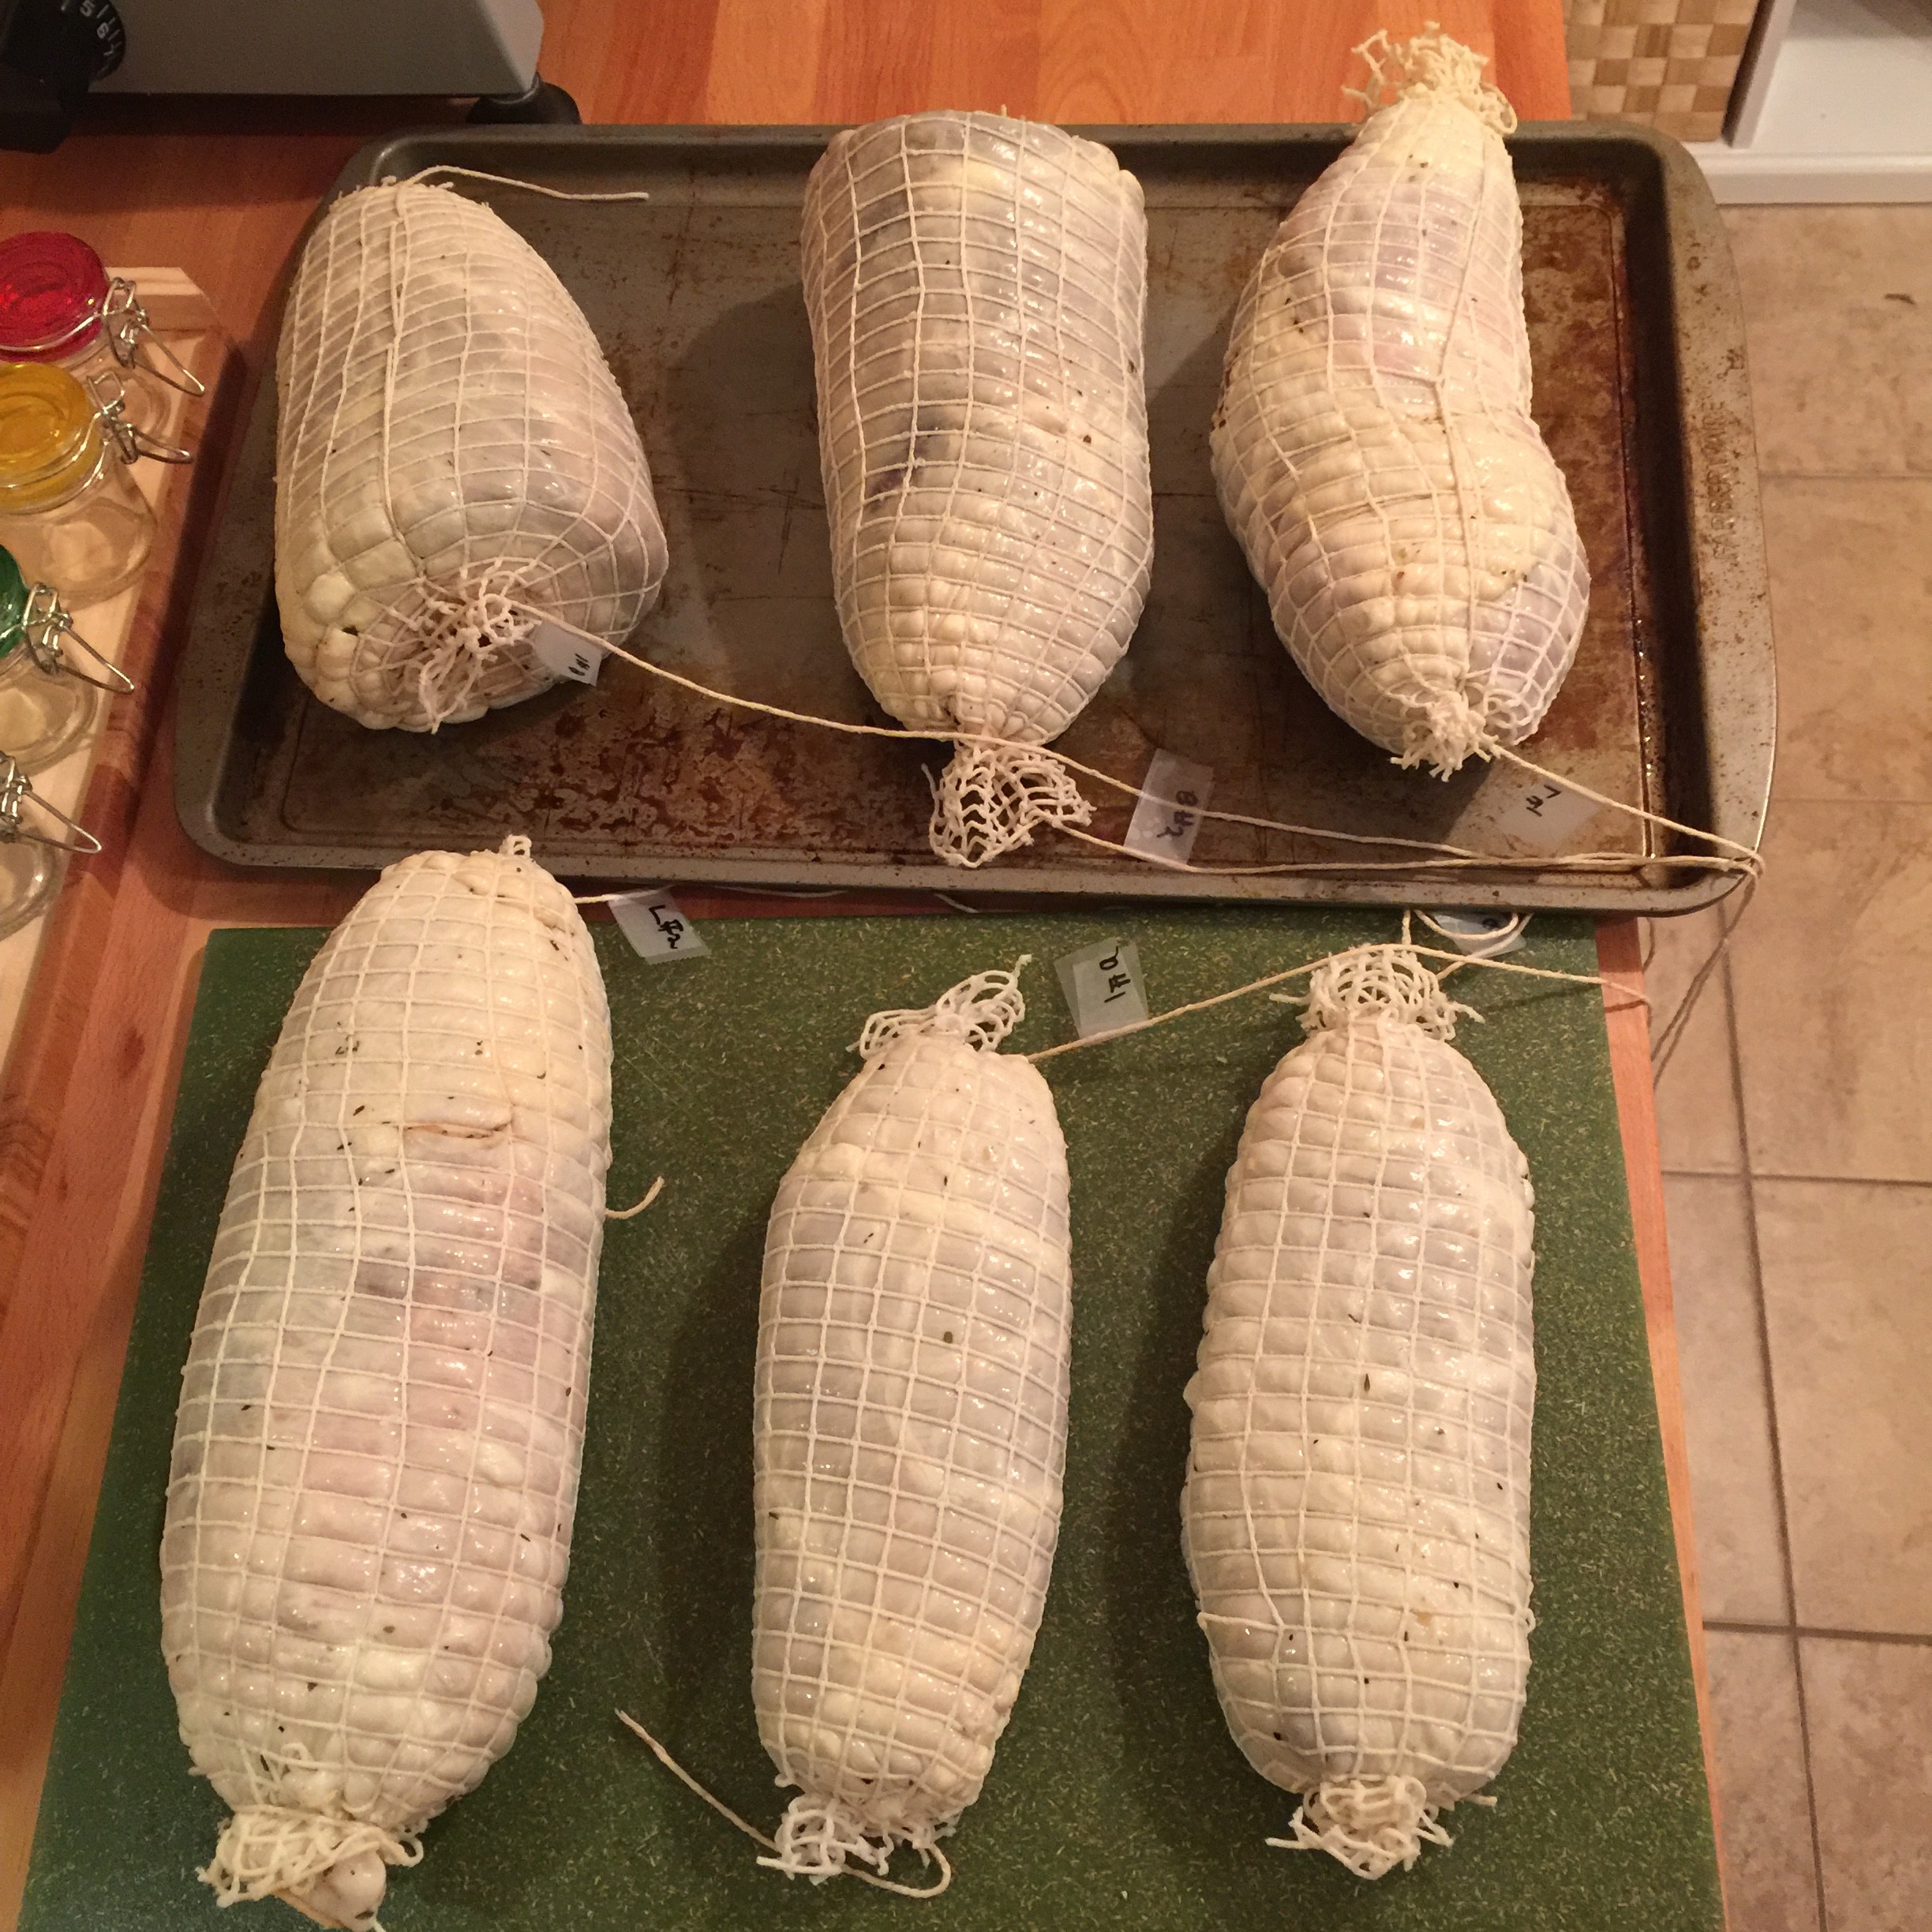
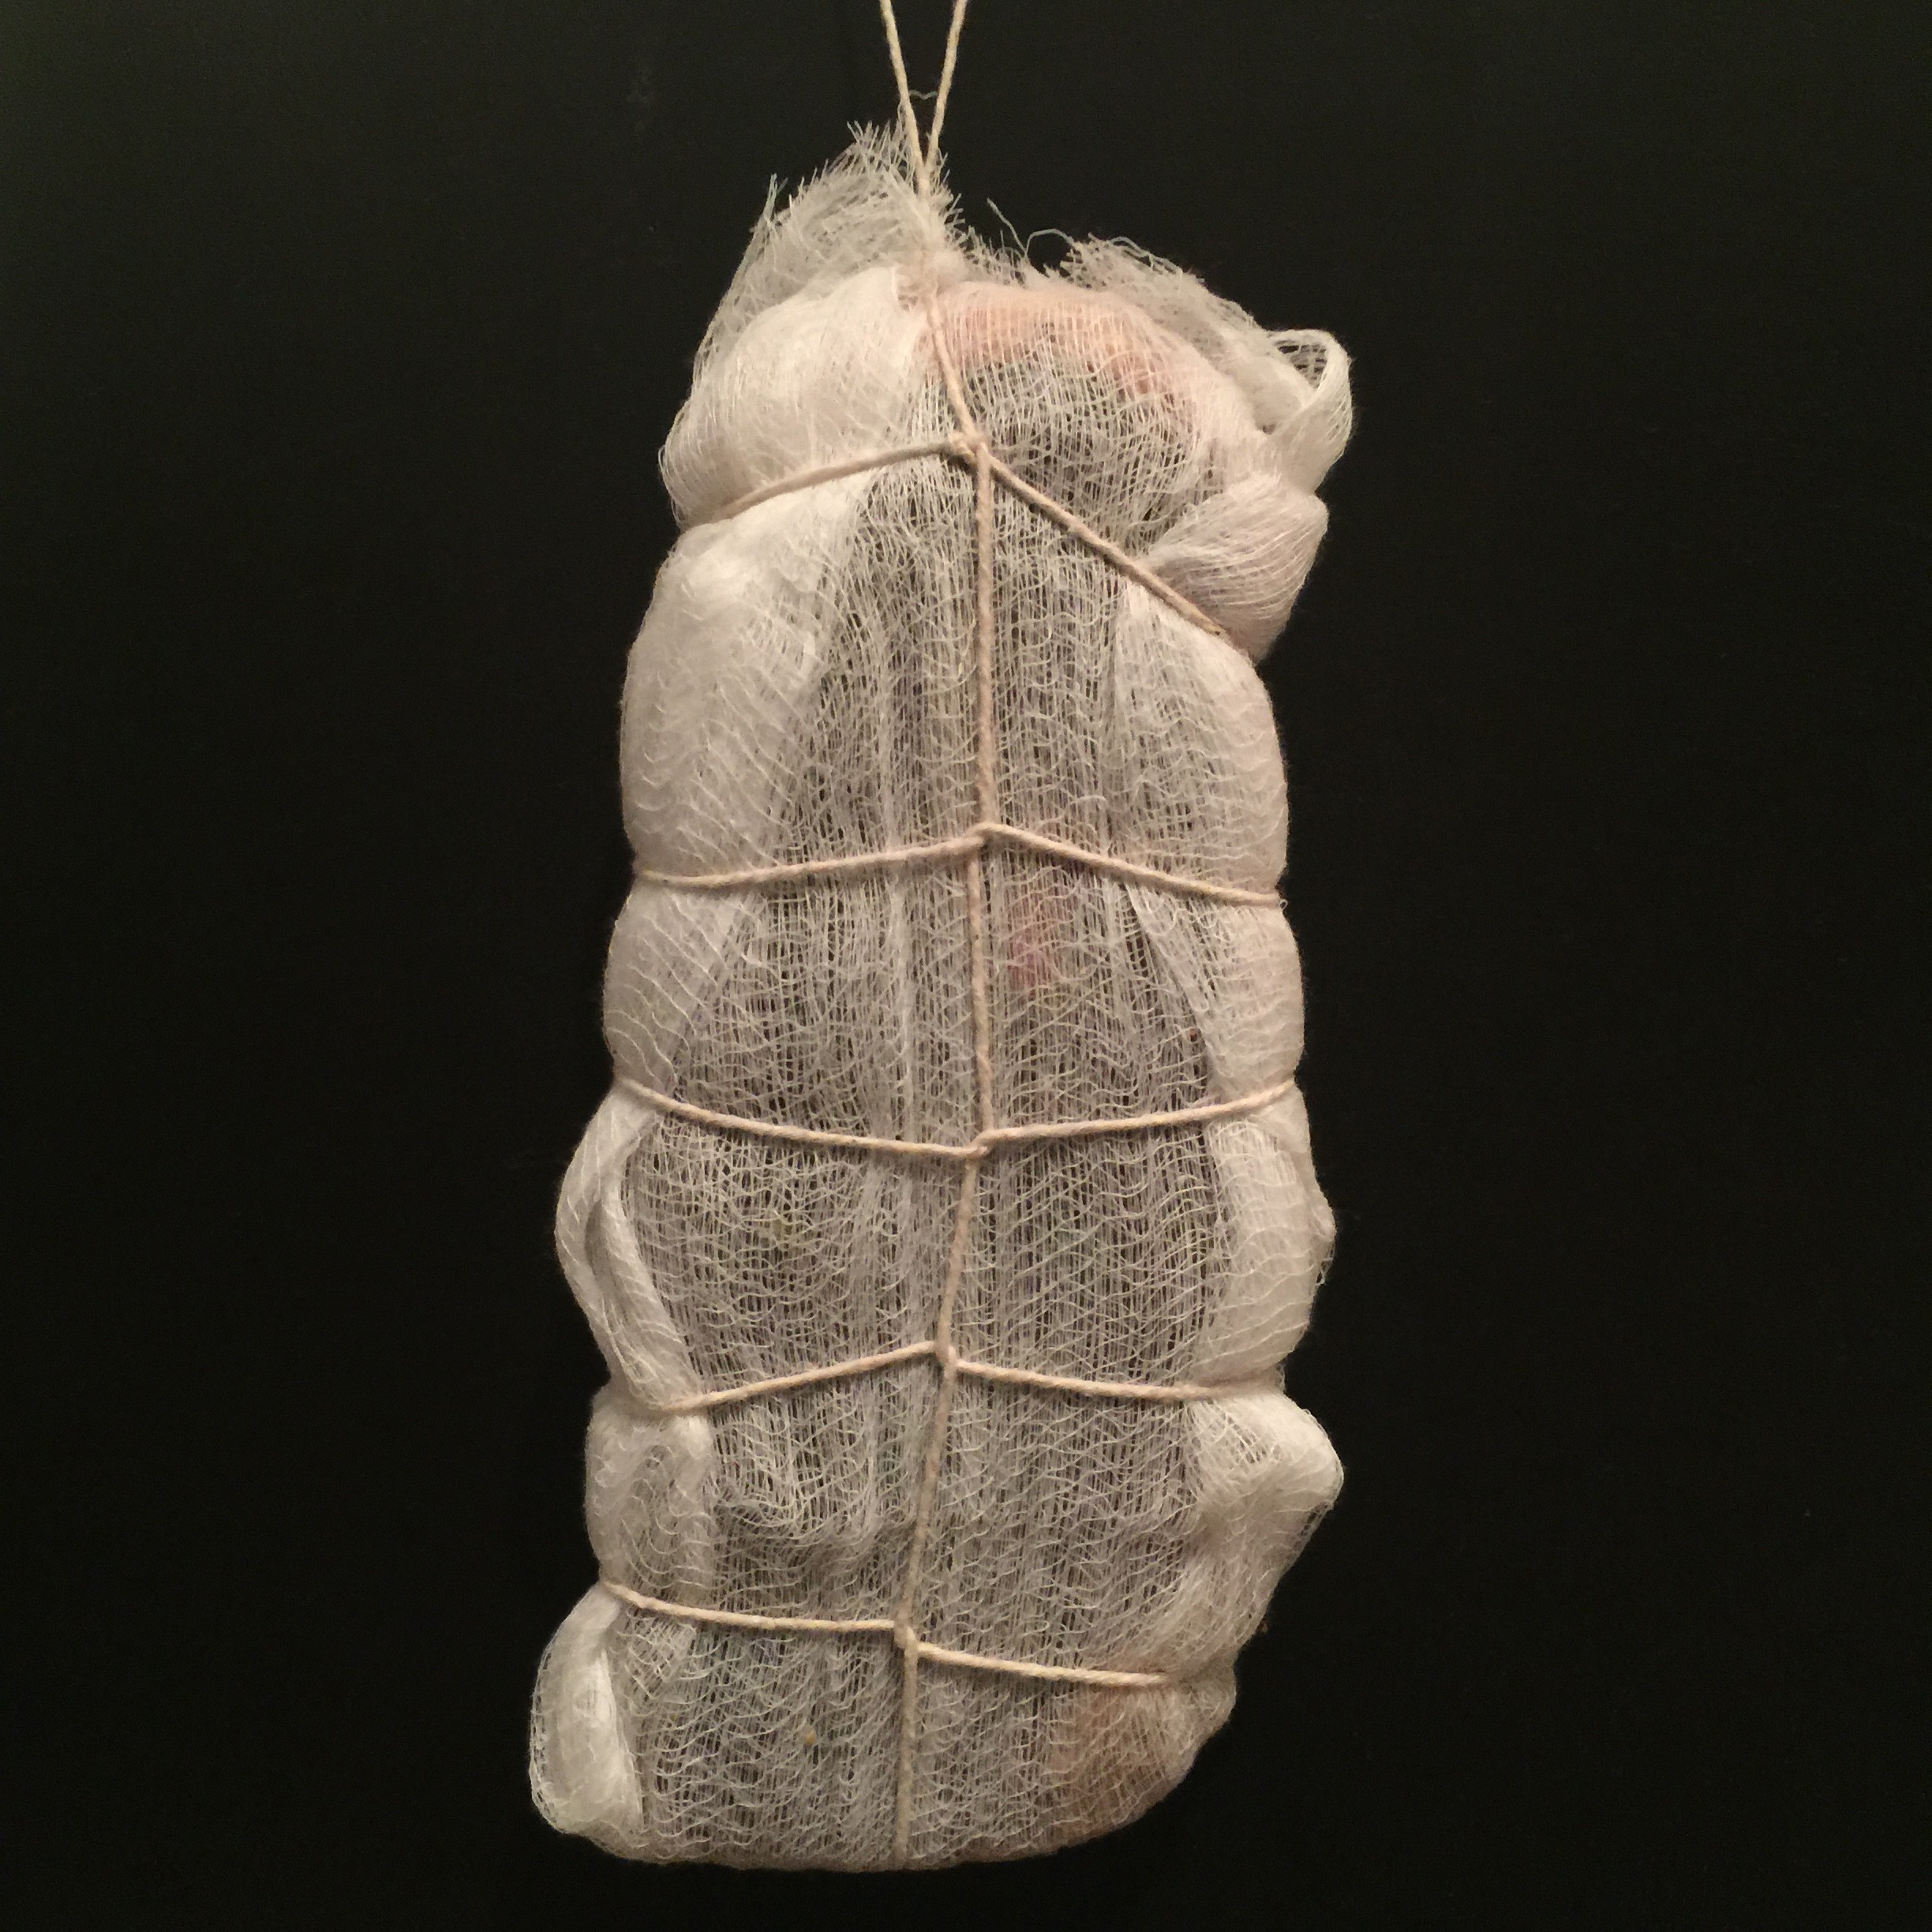
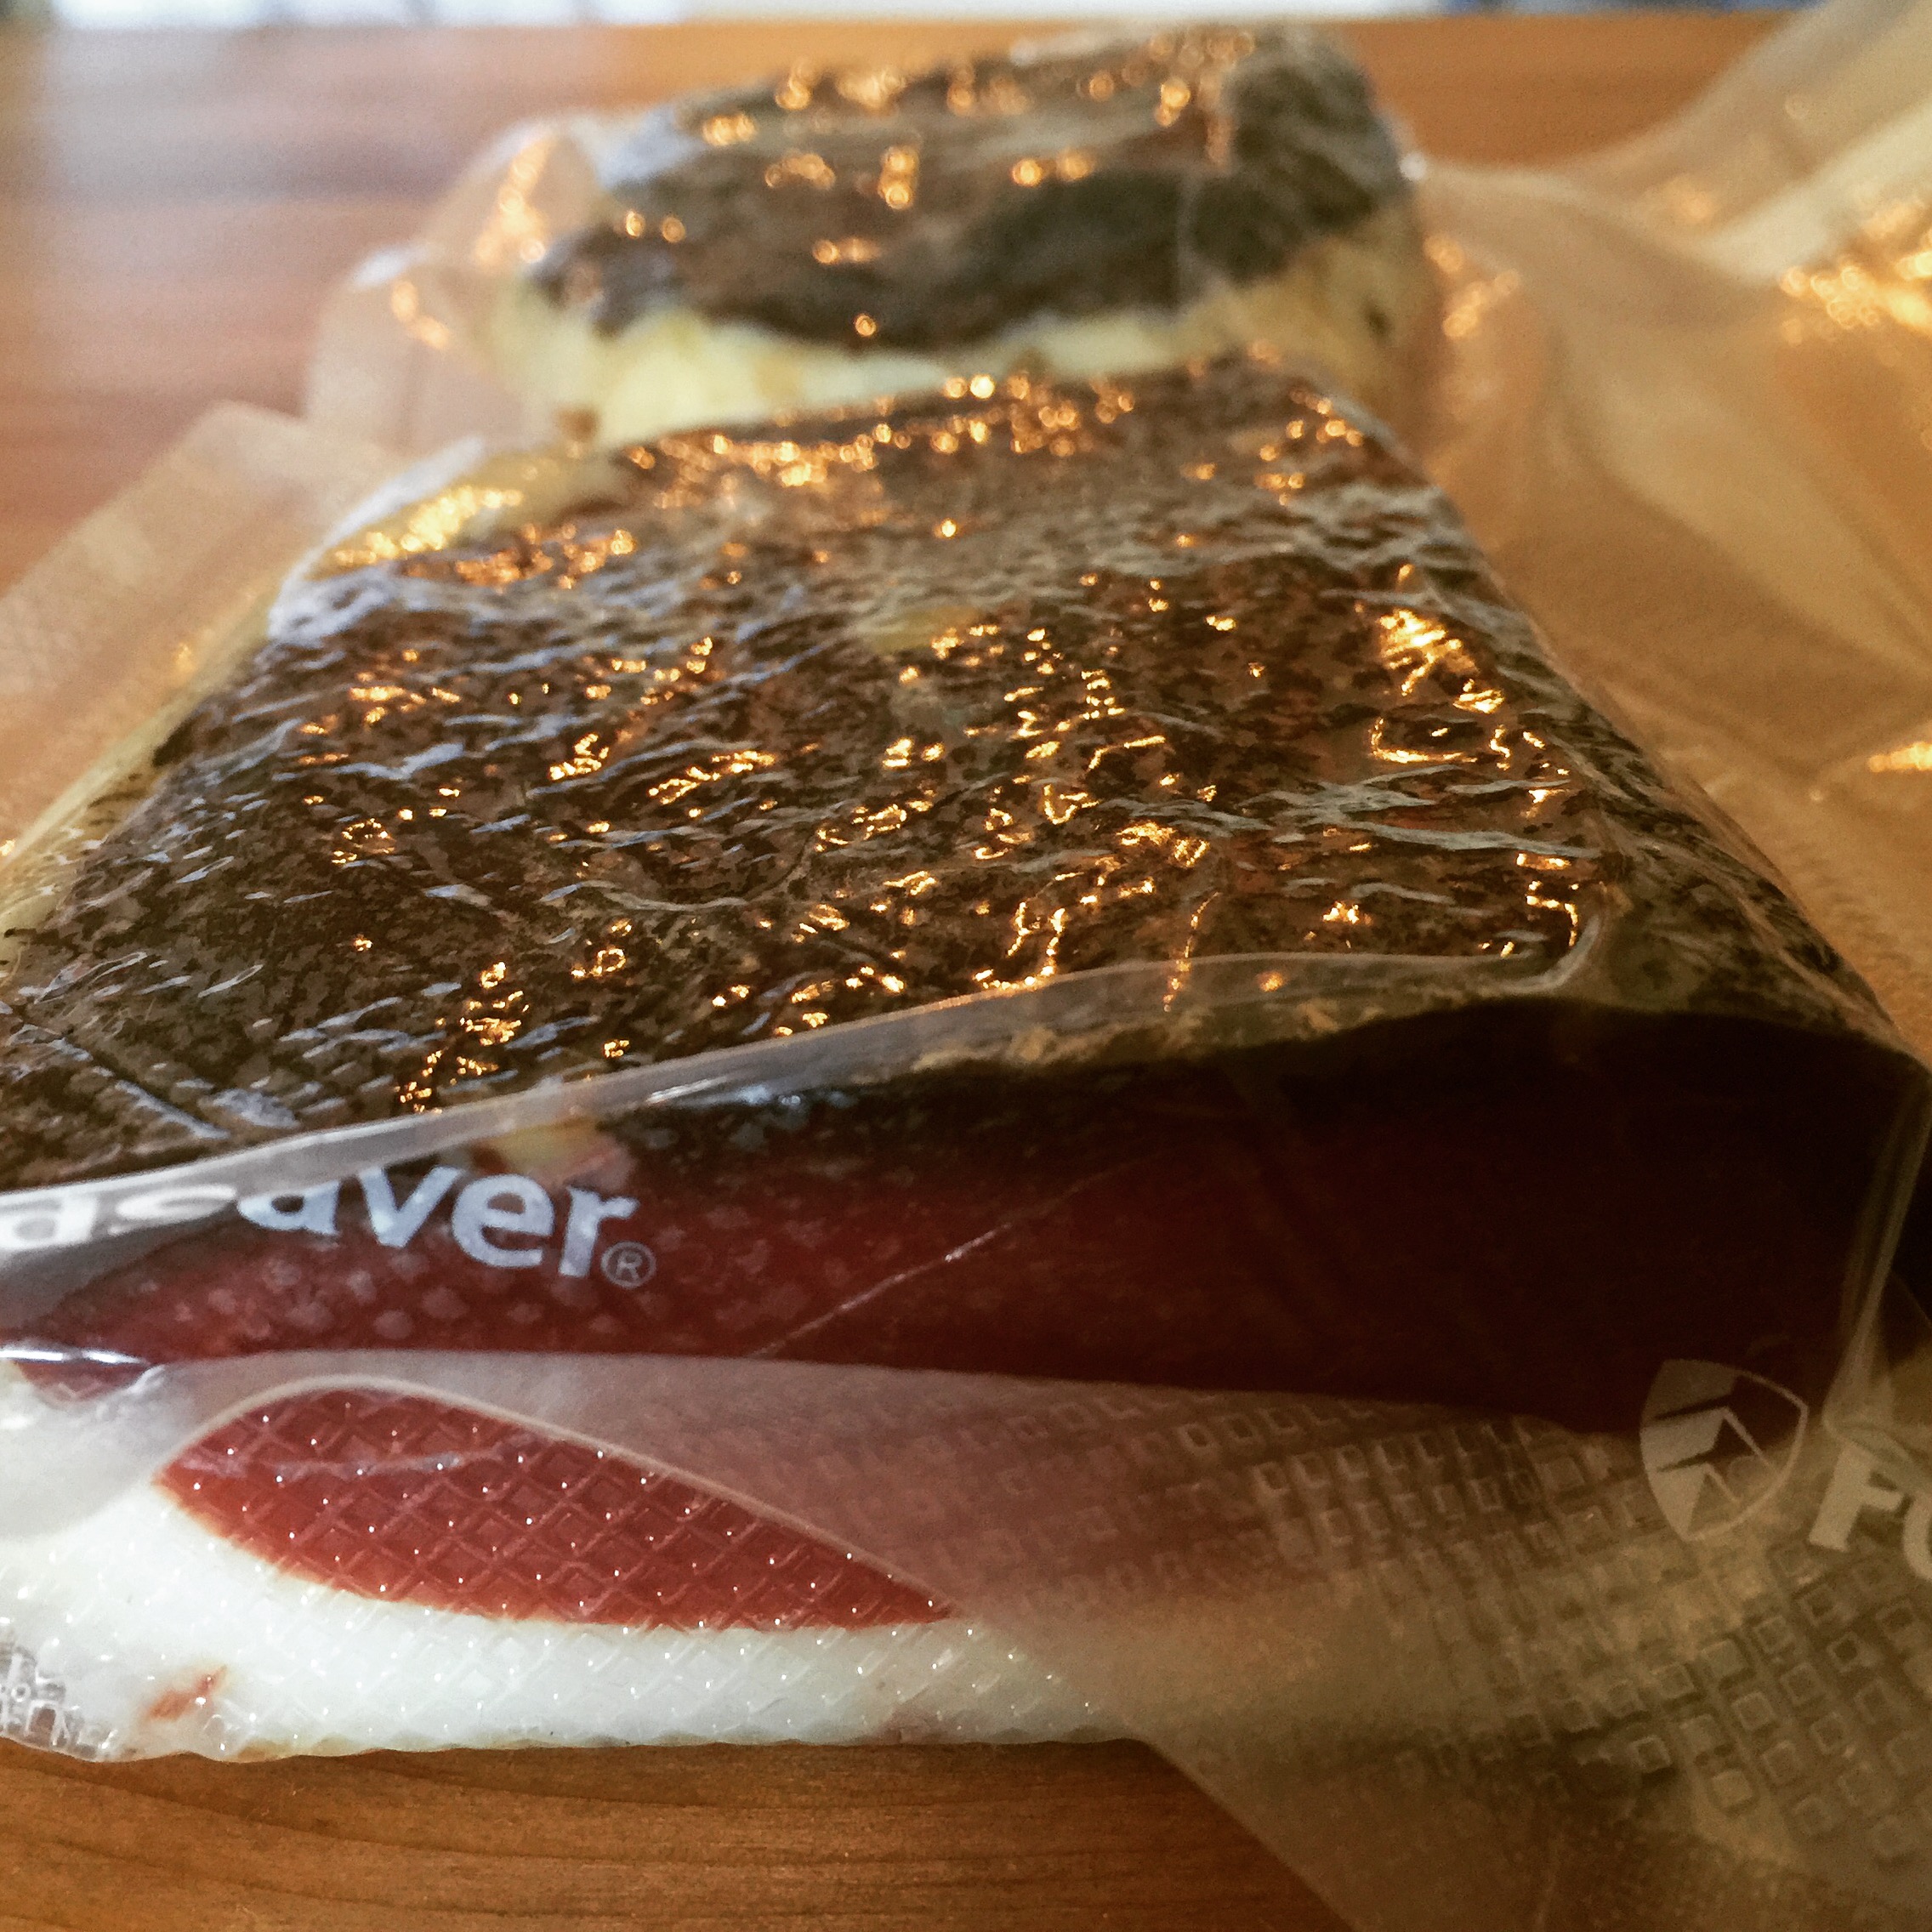
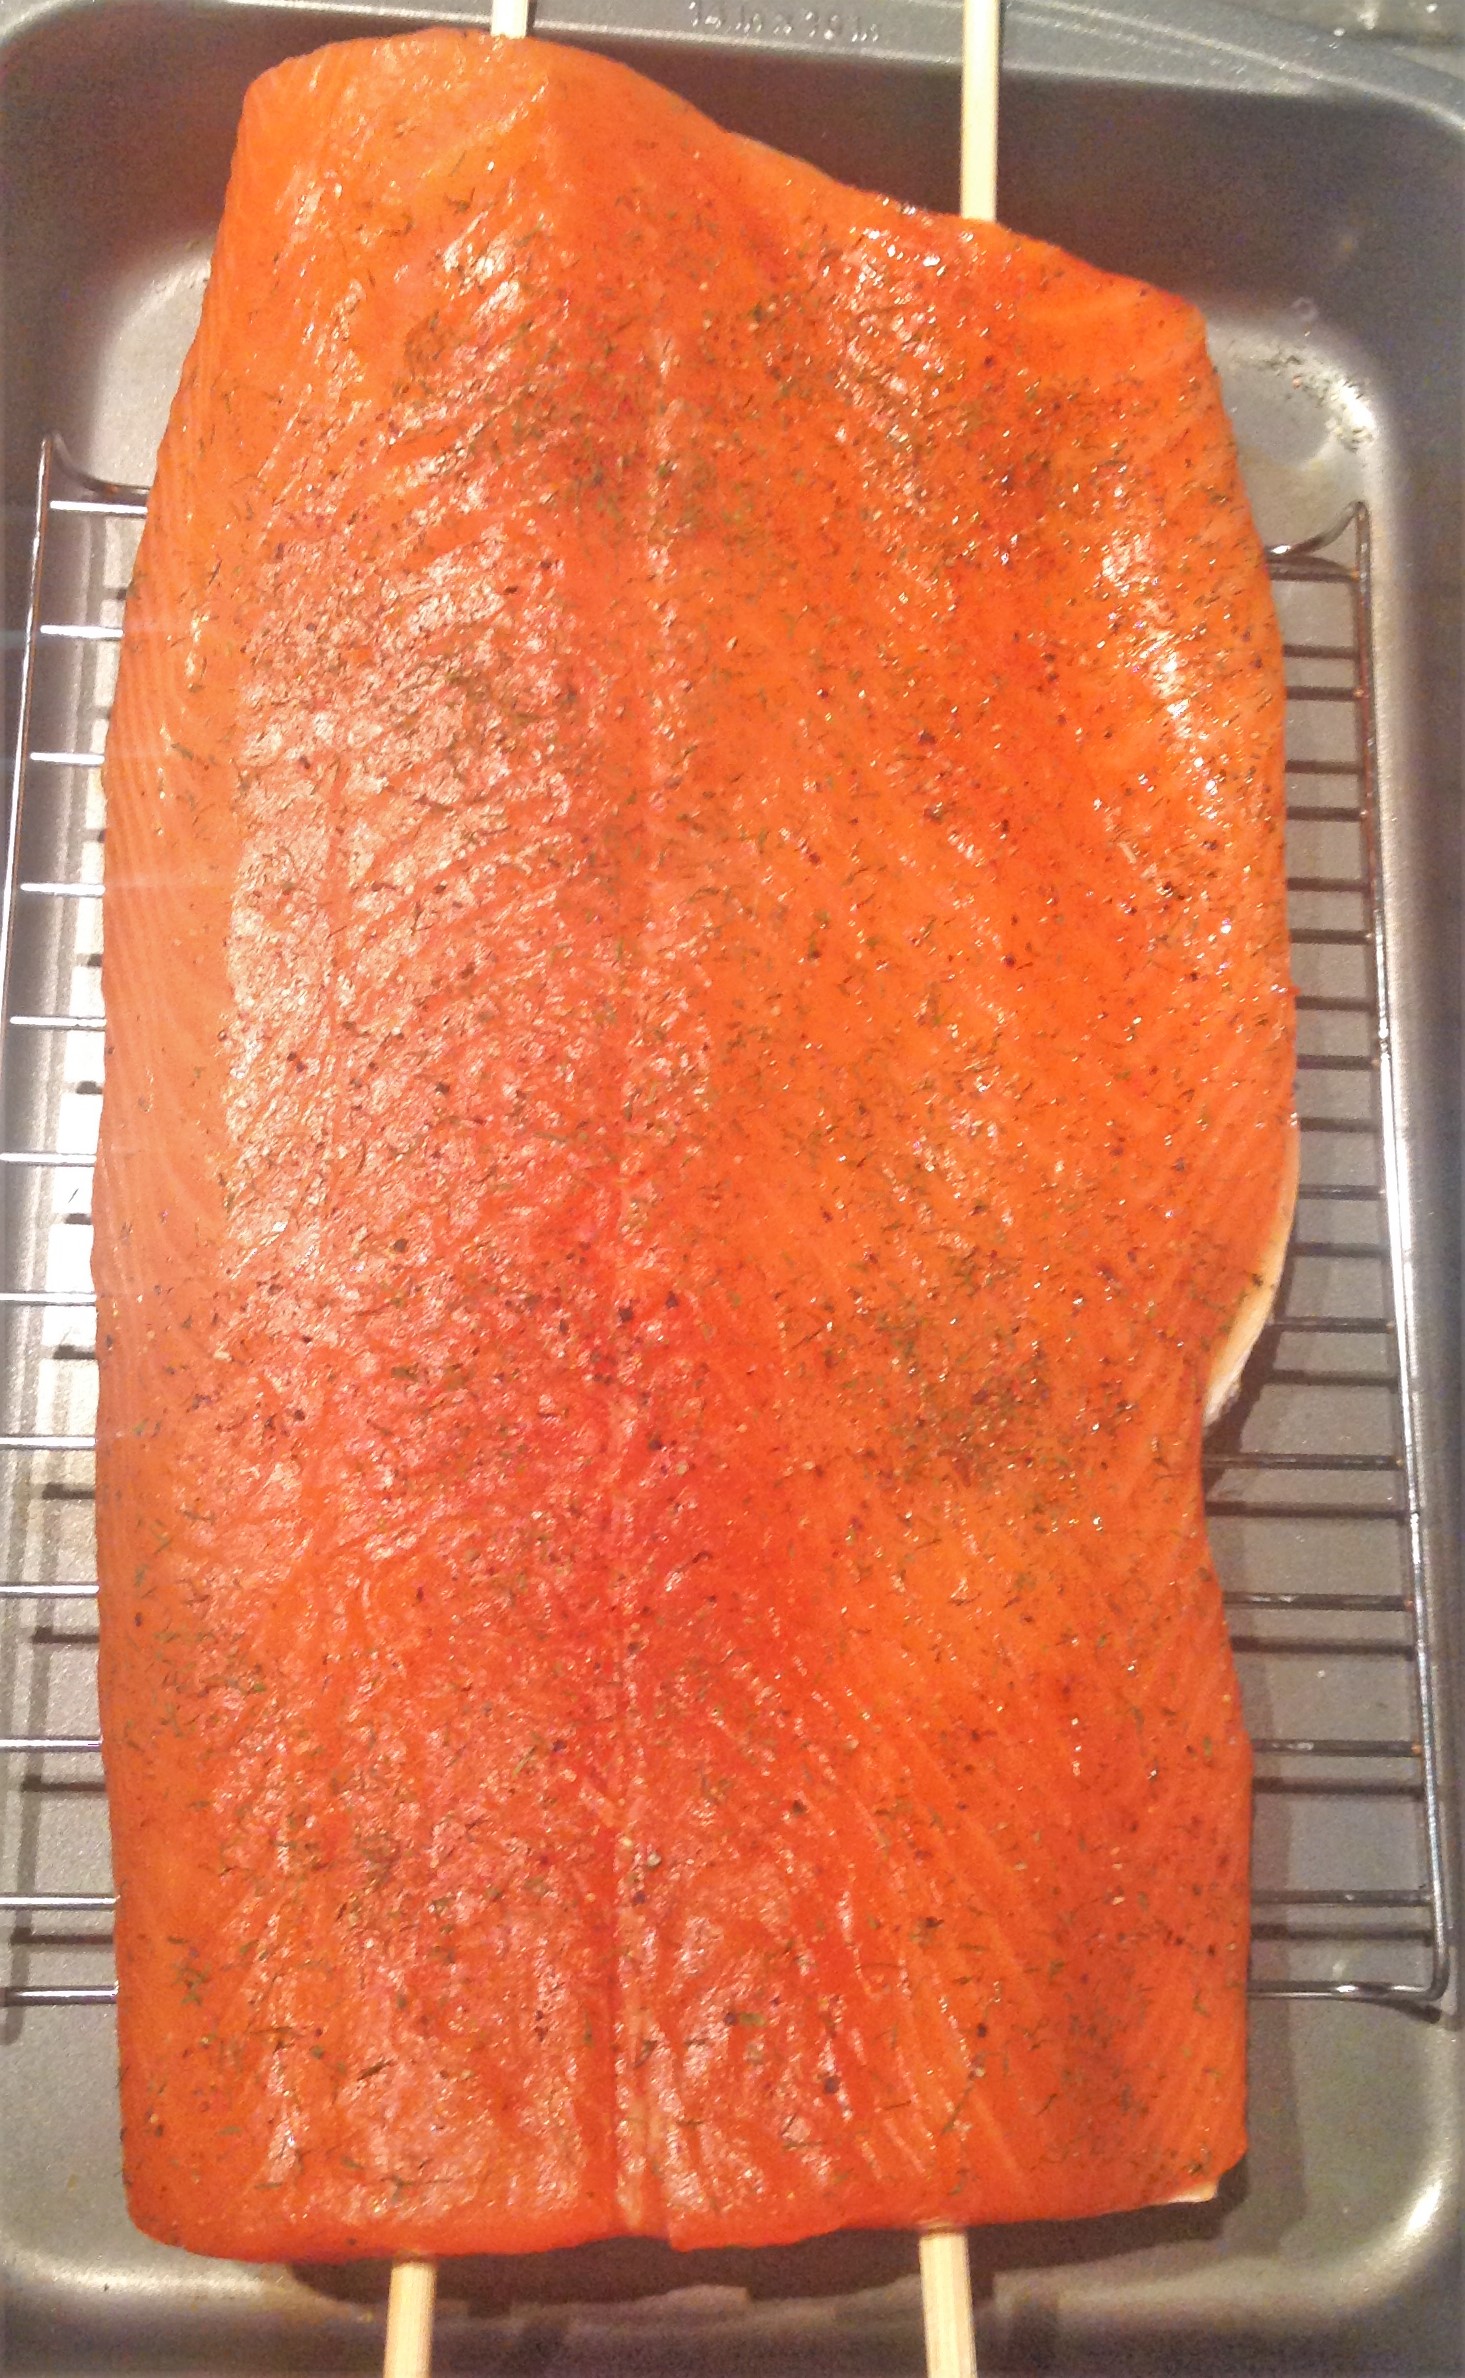
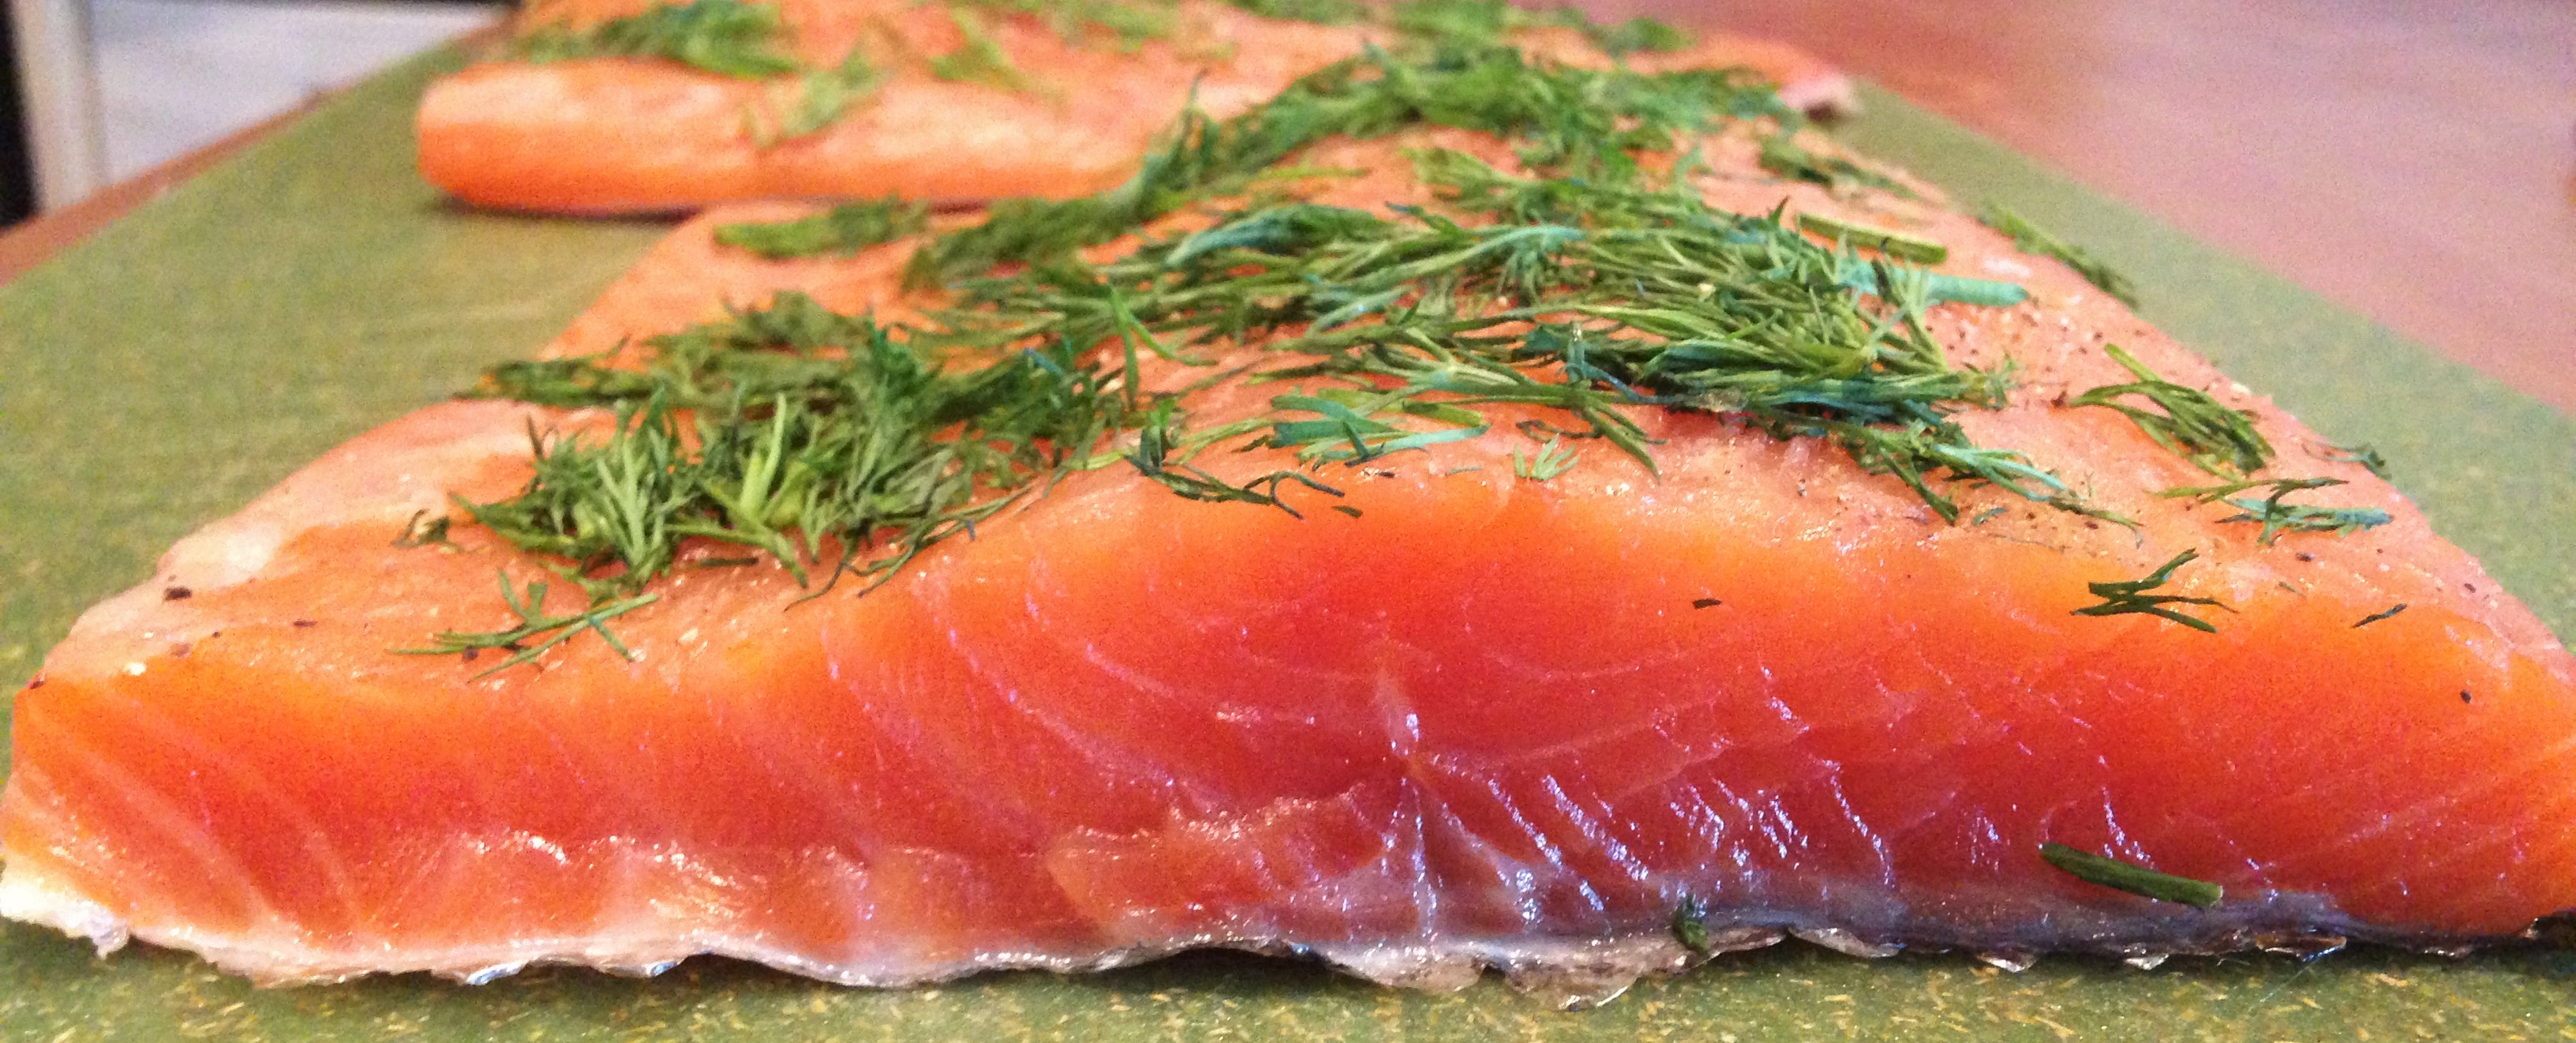
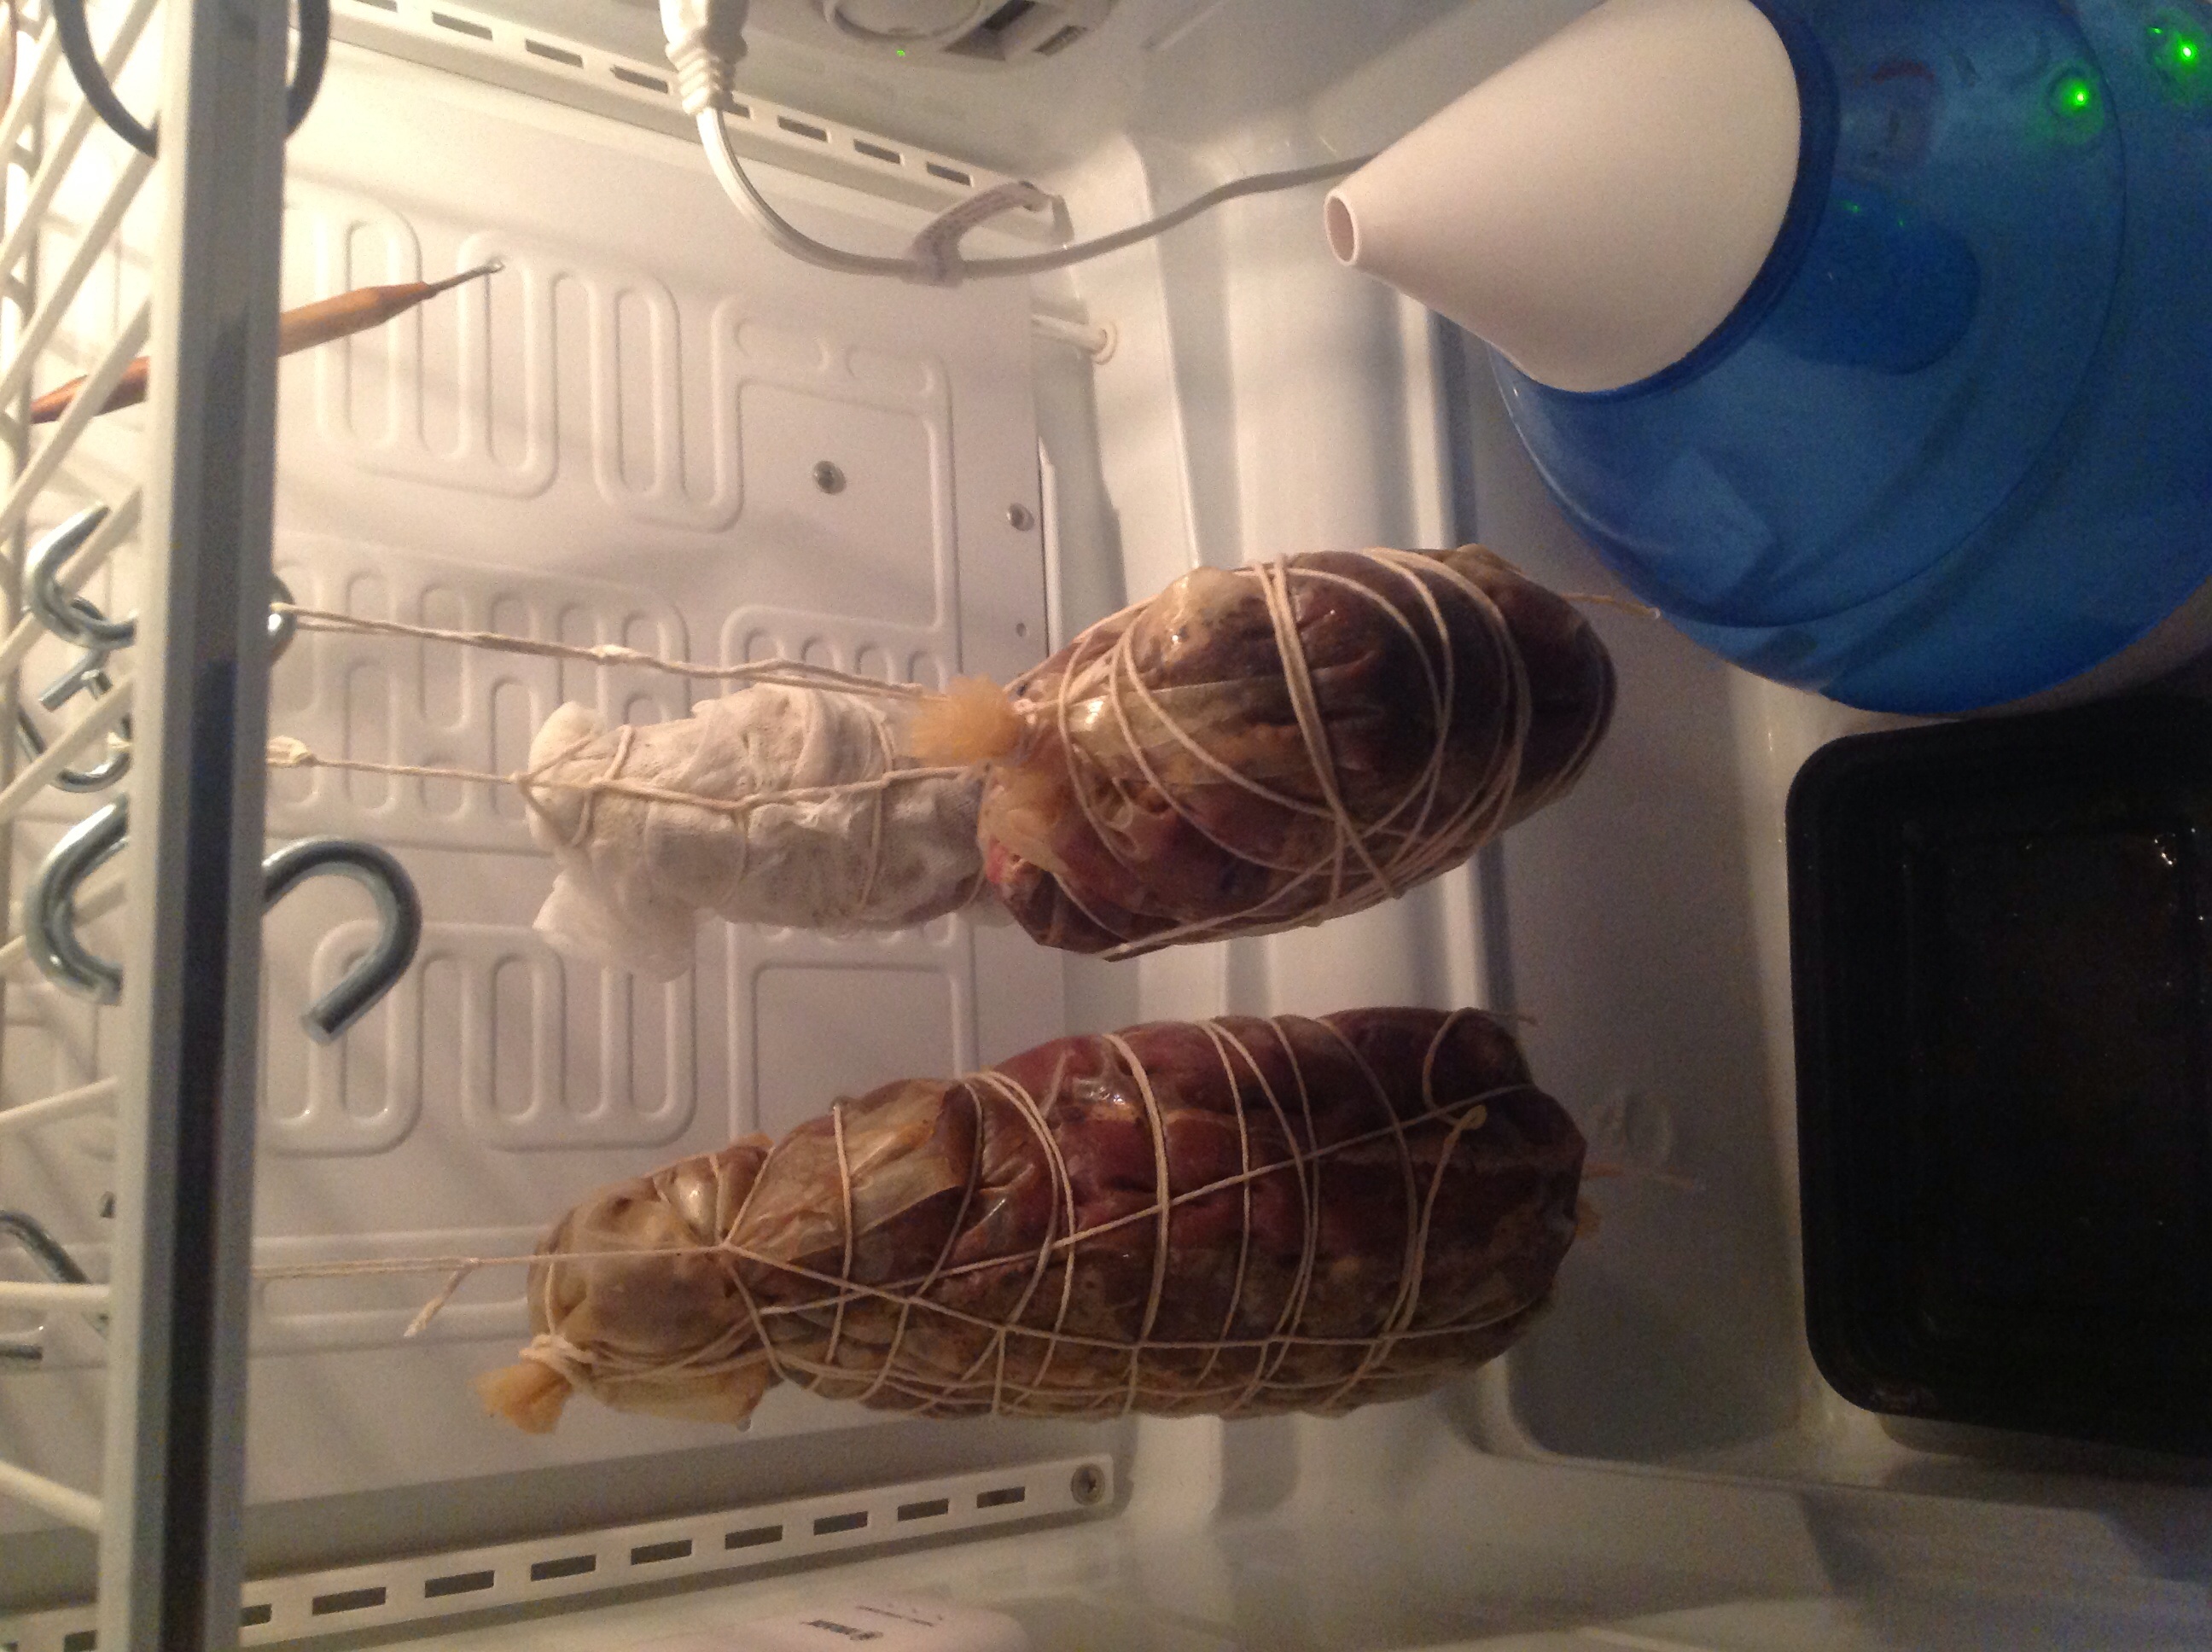
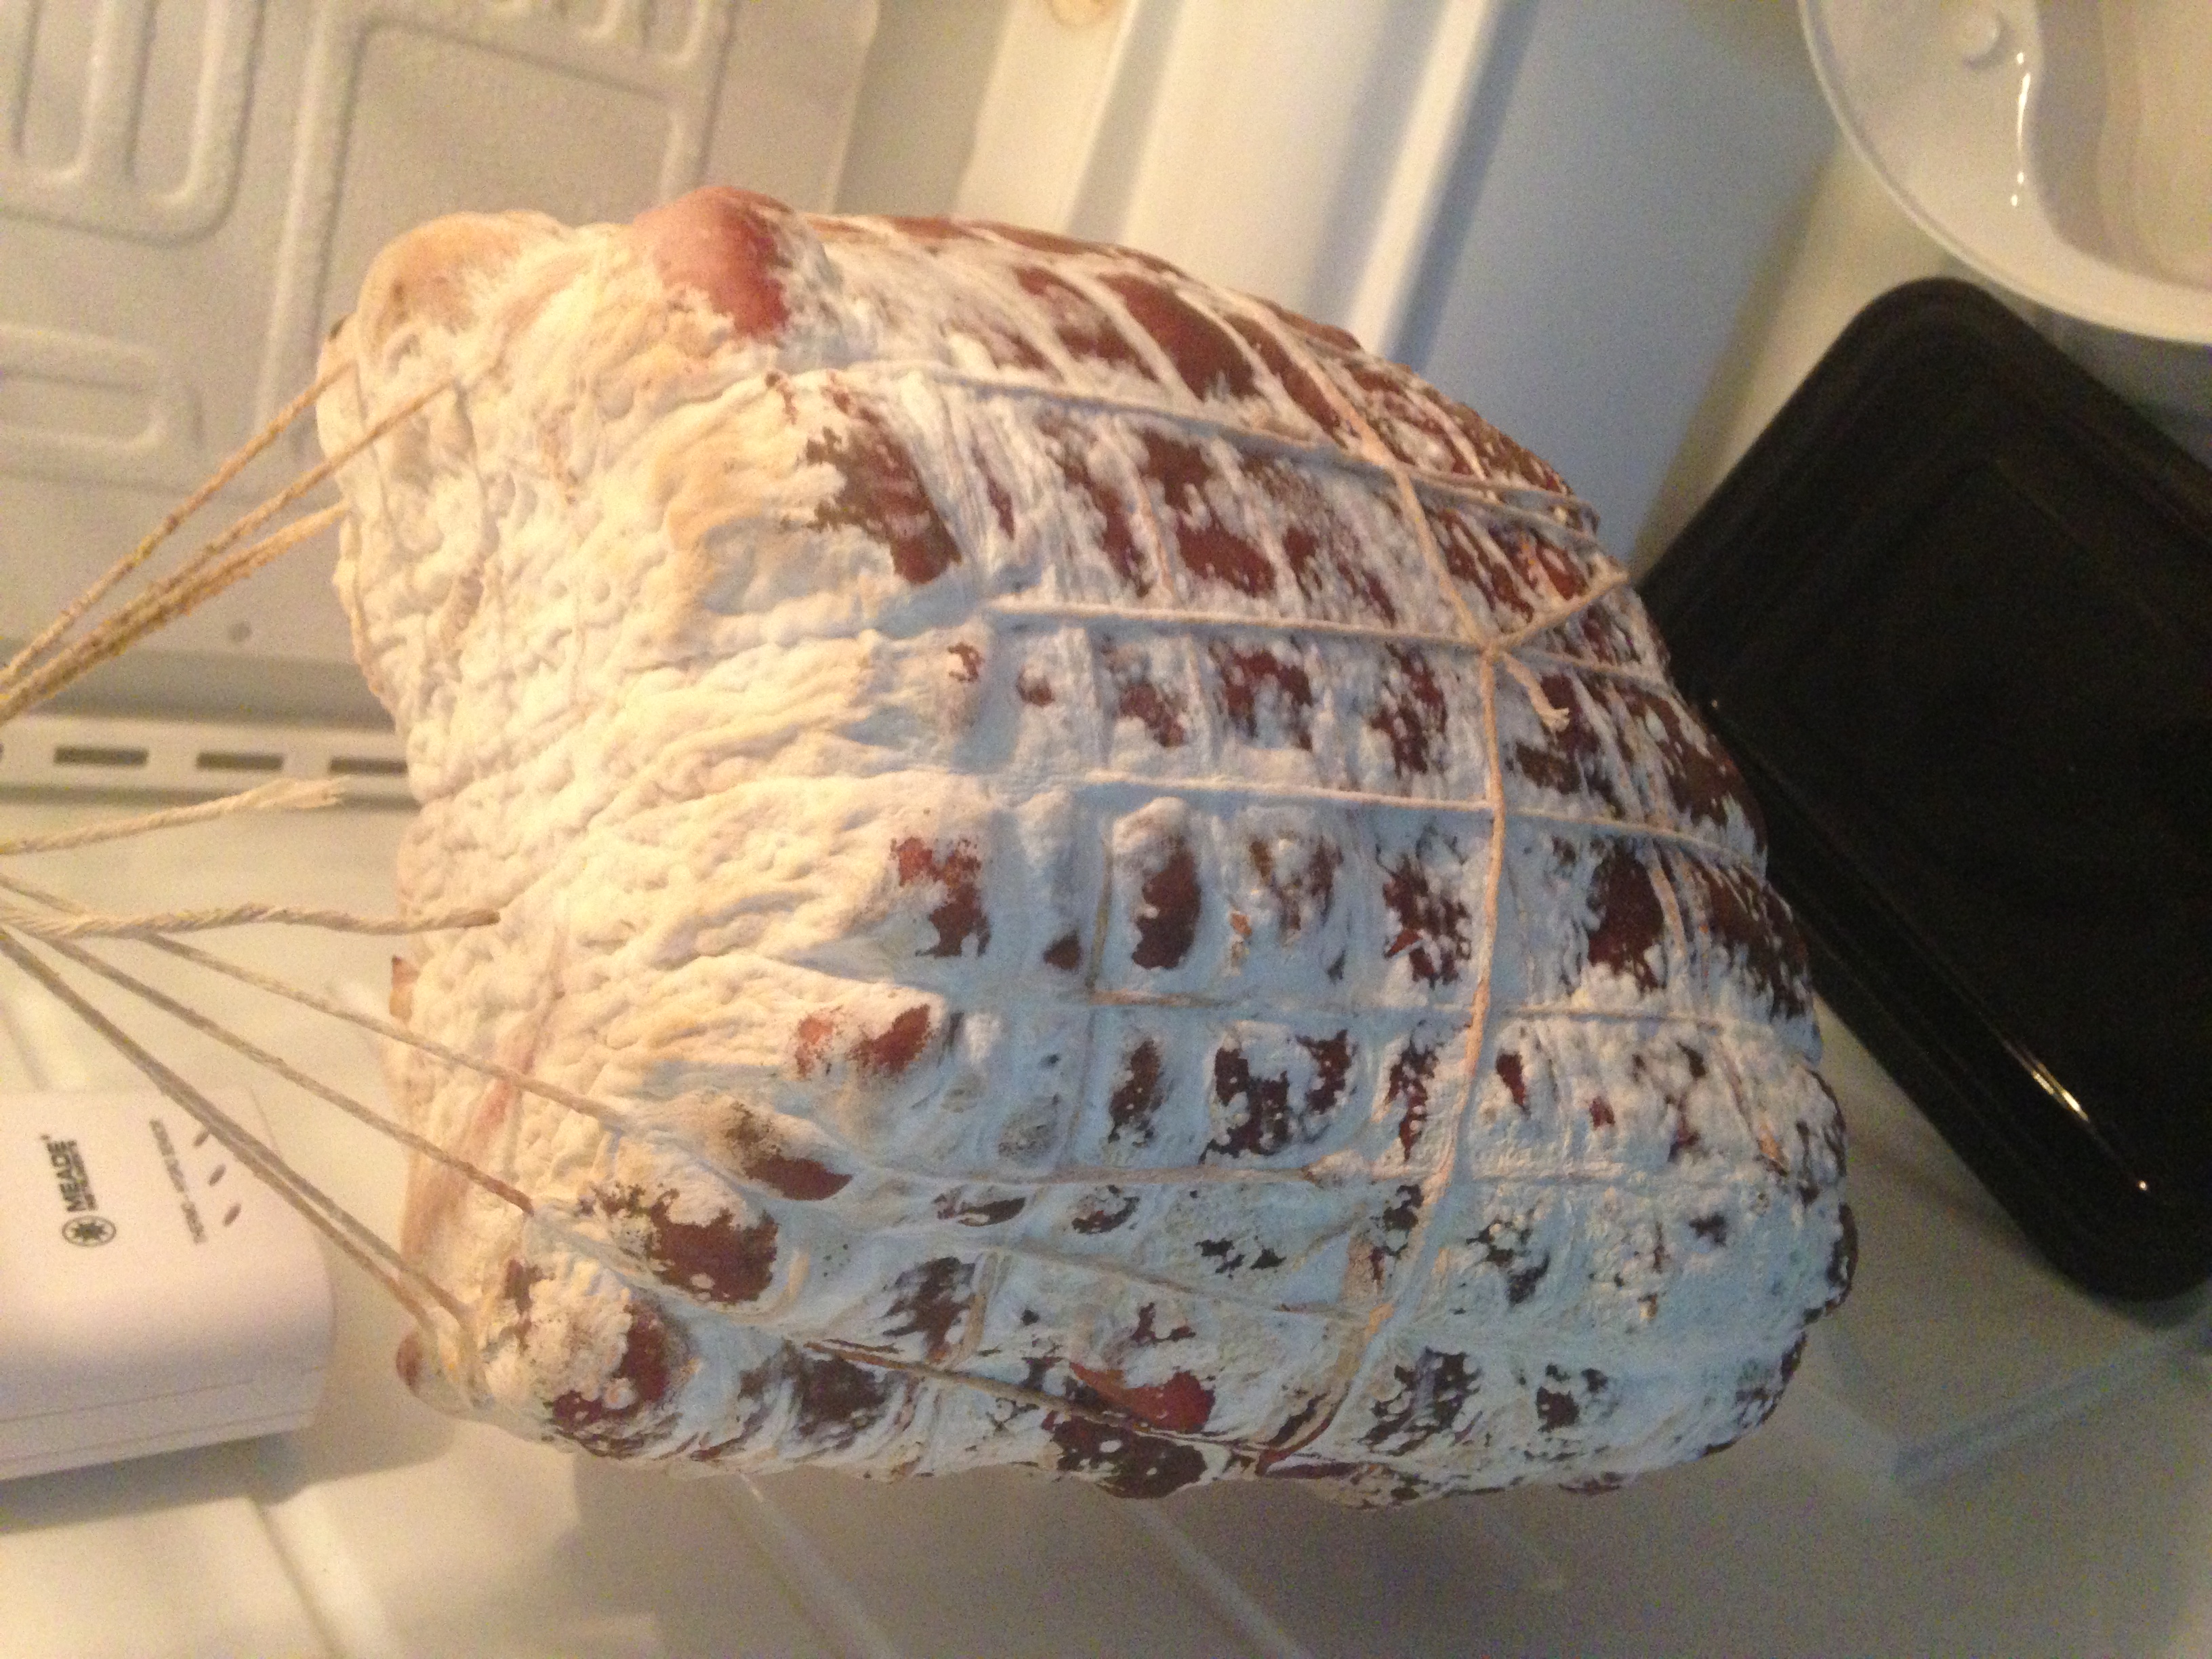
As I’ve said before, I love using beef bung casings for my whole muscle cured meats. For this one, we cut open beef middles and used them to wrap the meat. After the ribeye bresaola was cased, we used a toothpick was used to puncture any air holes.
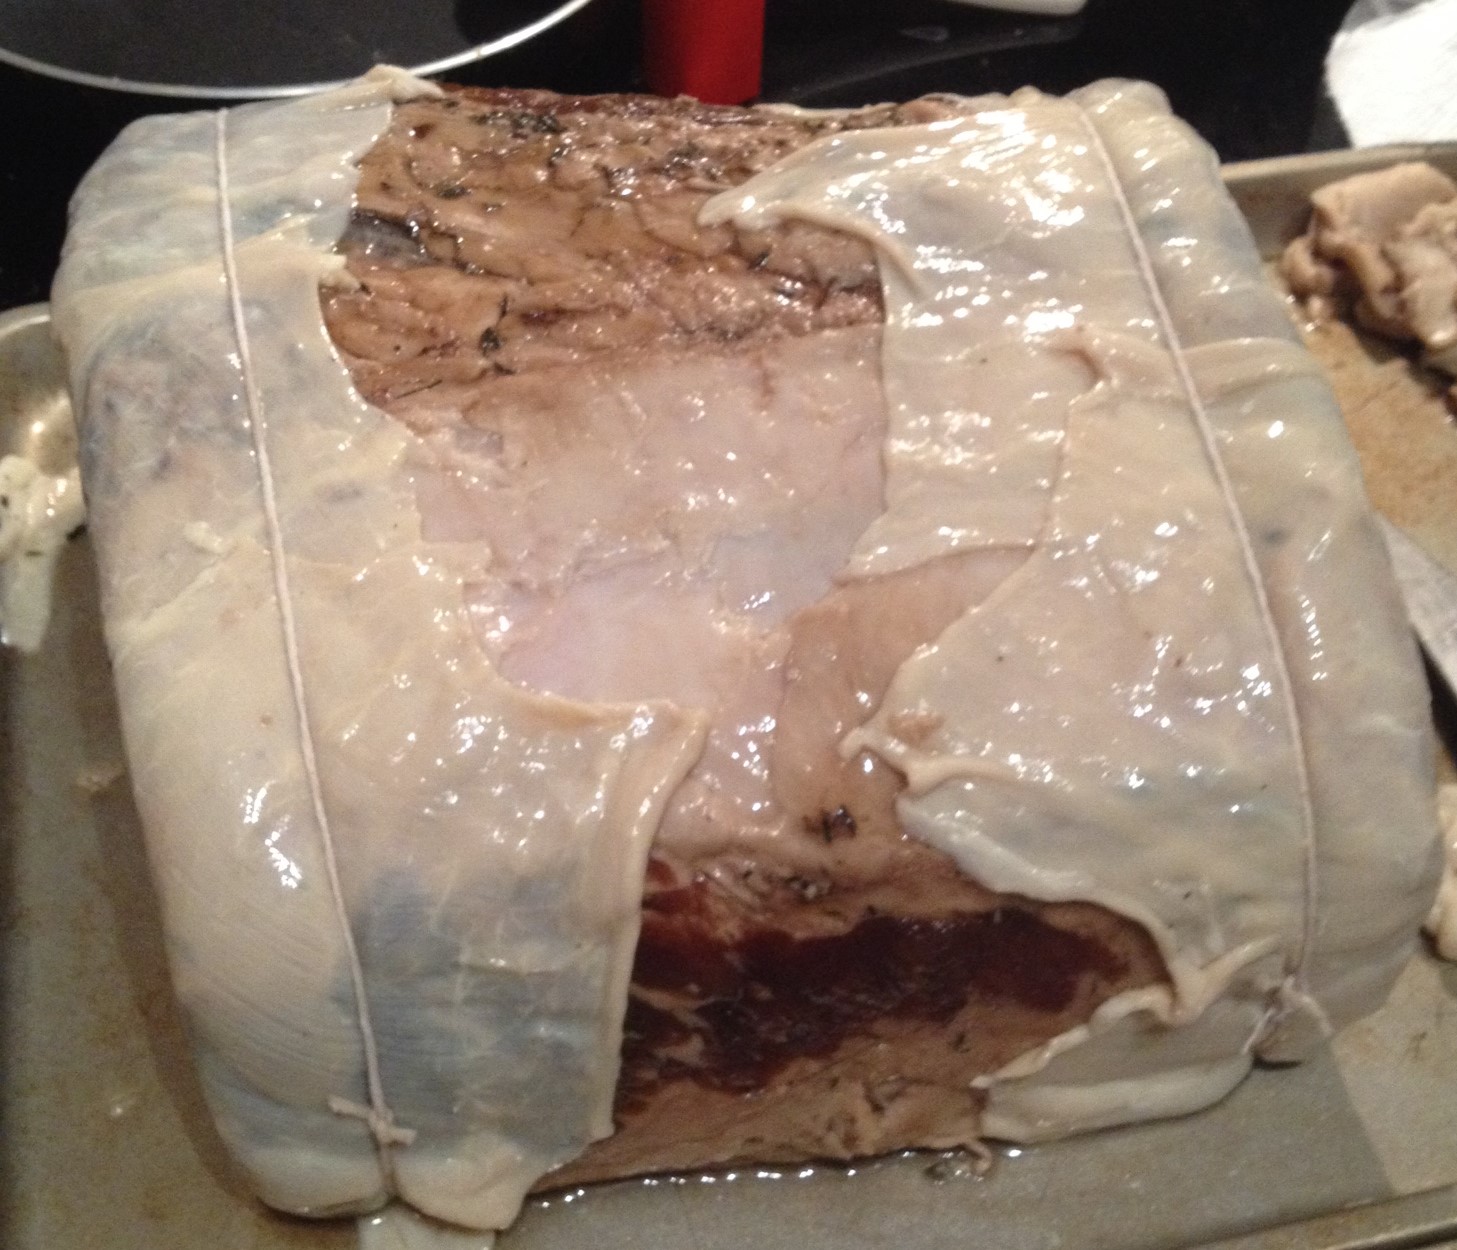
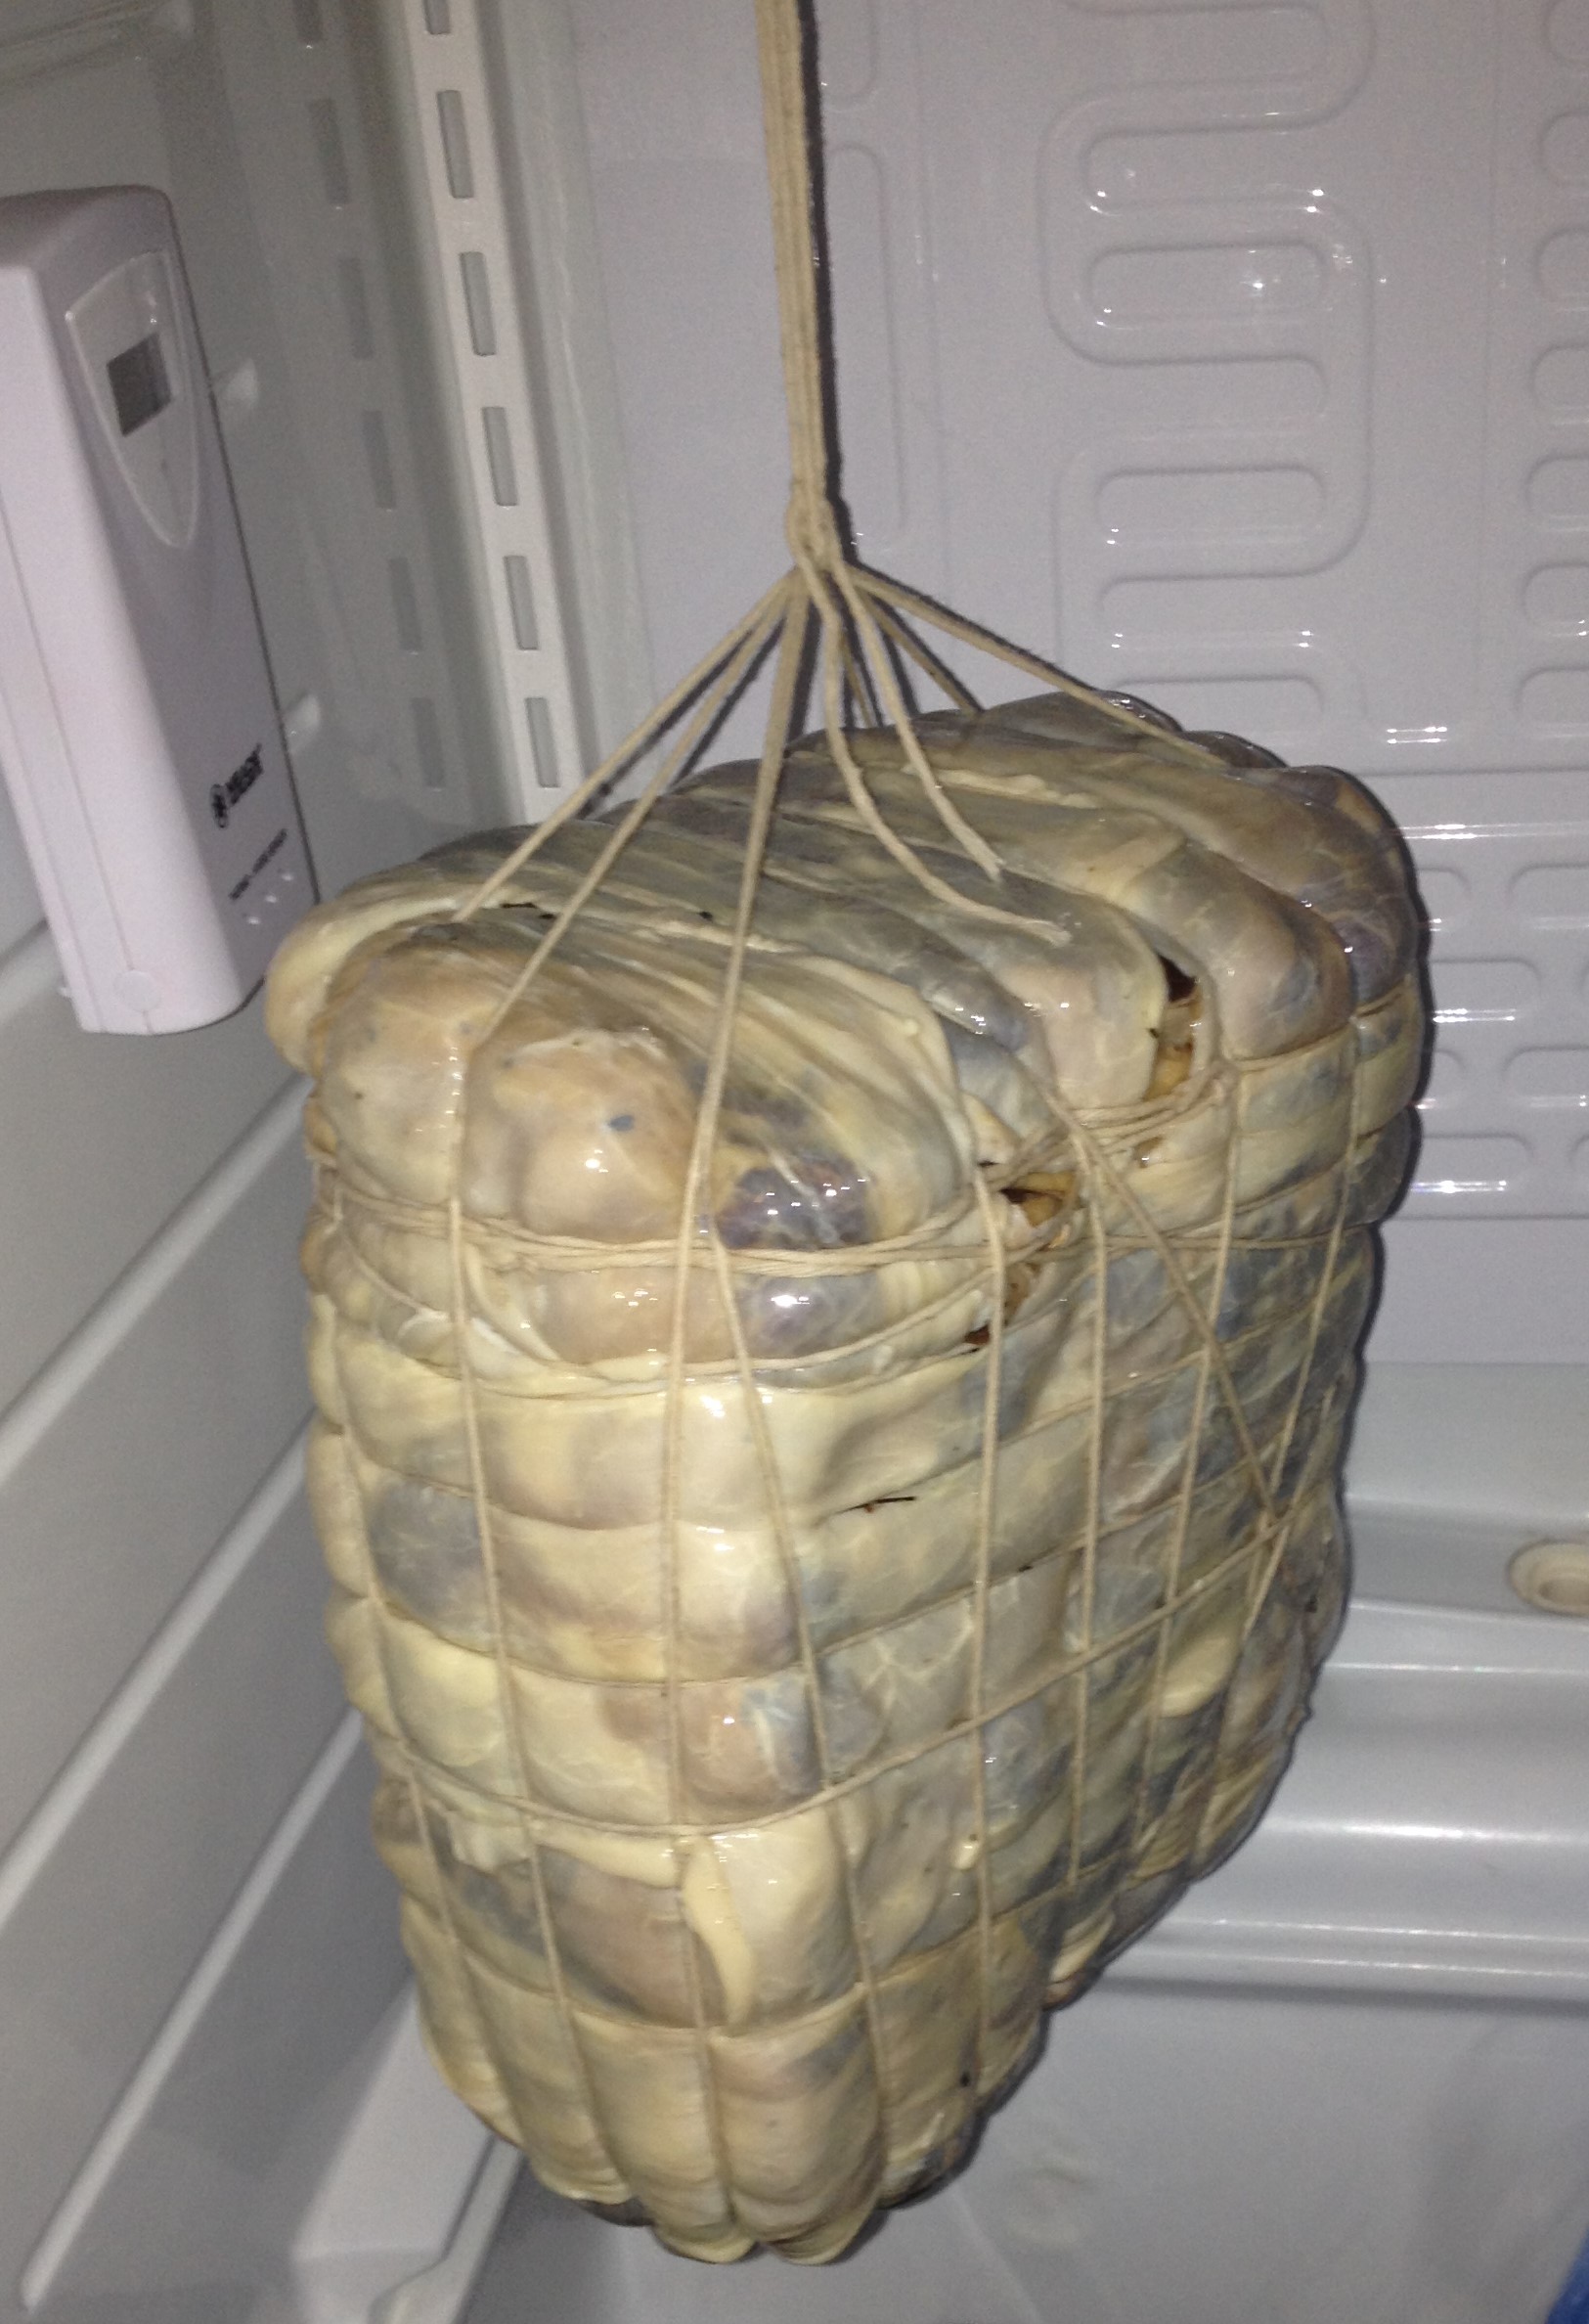
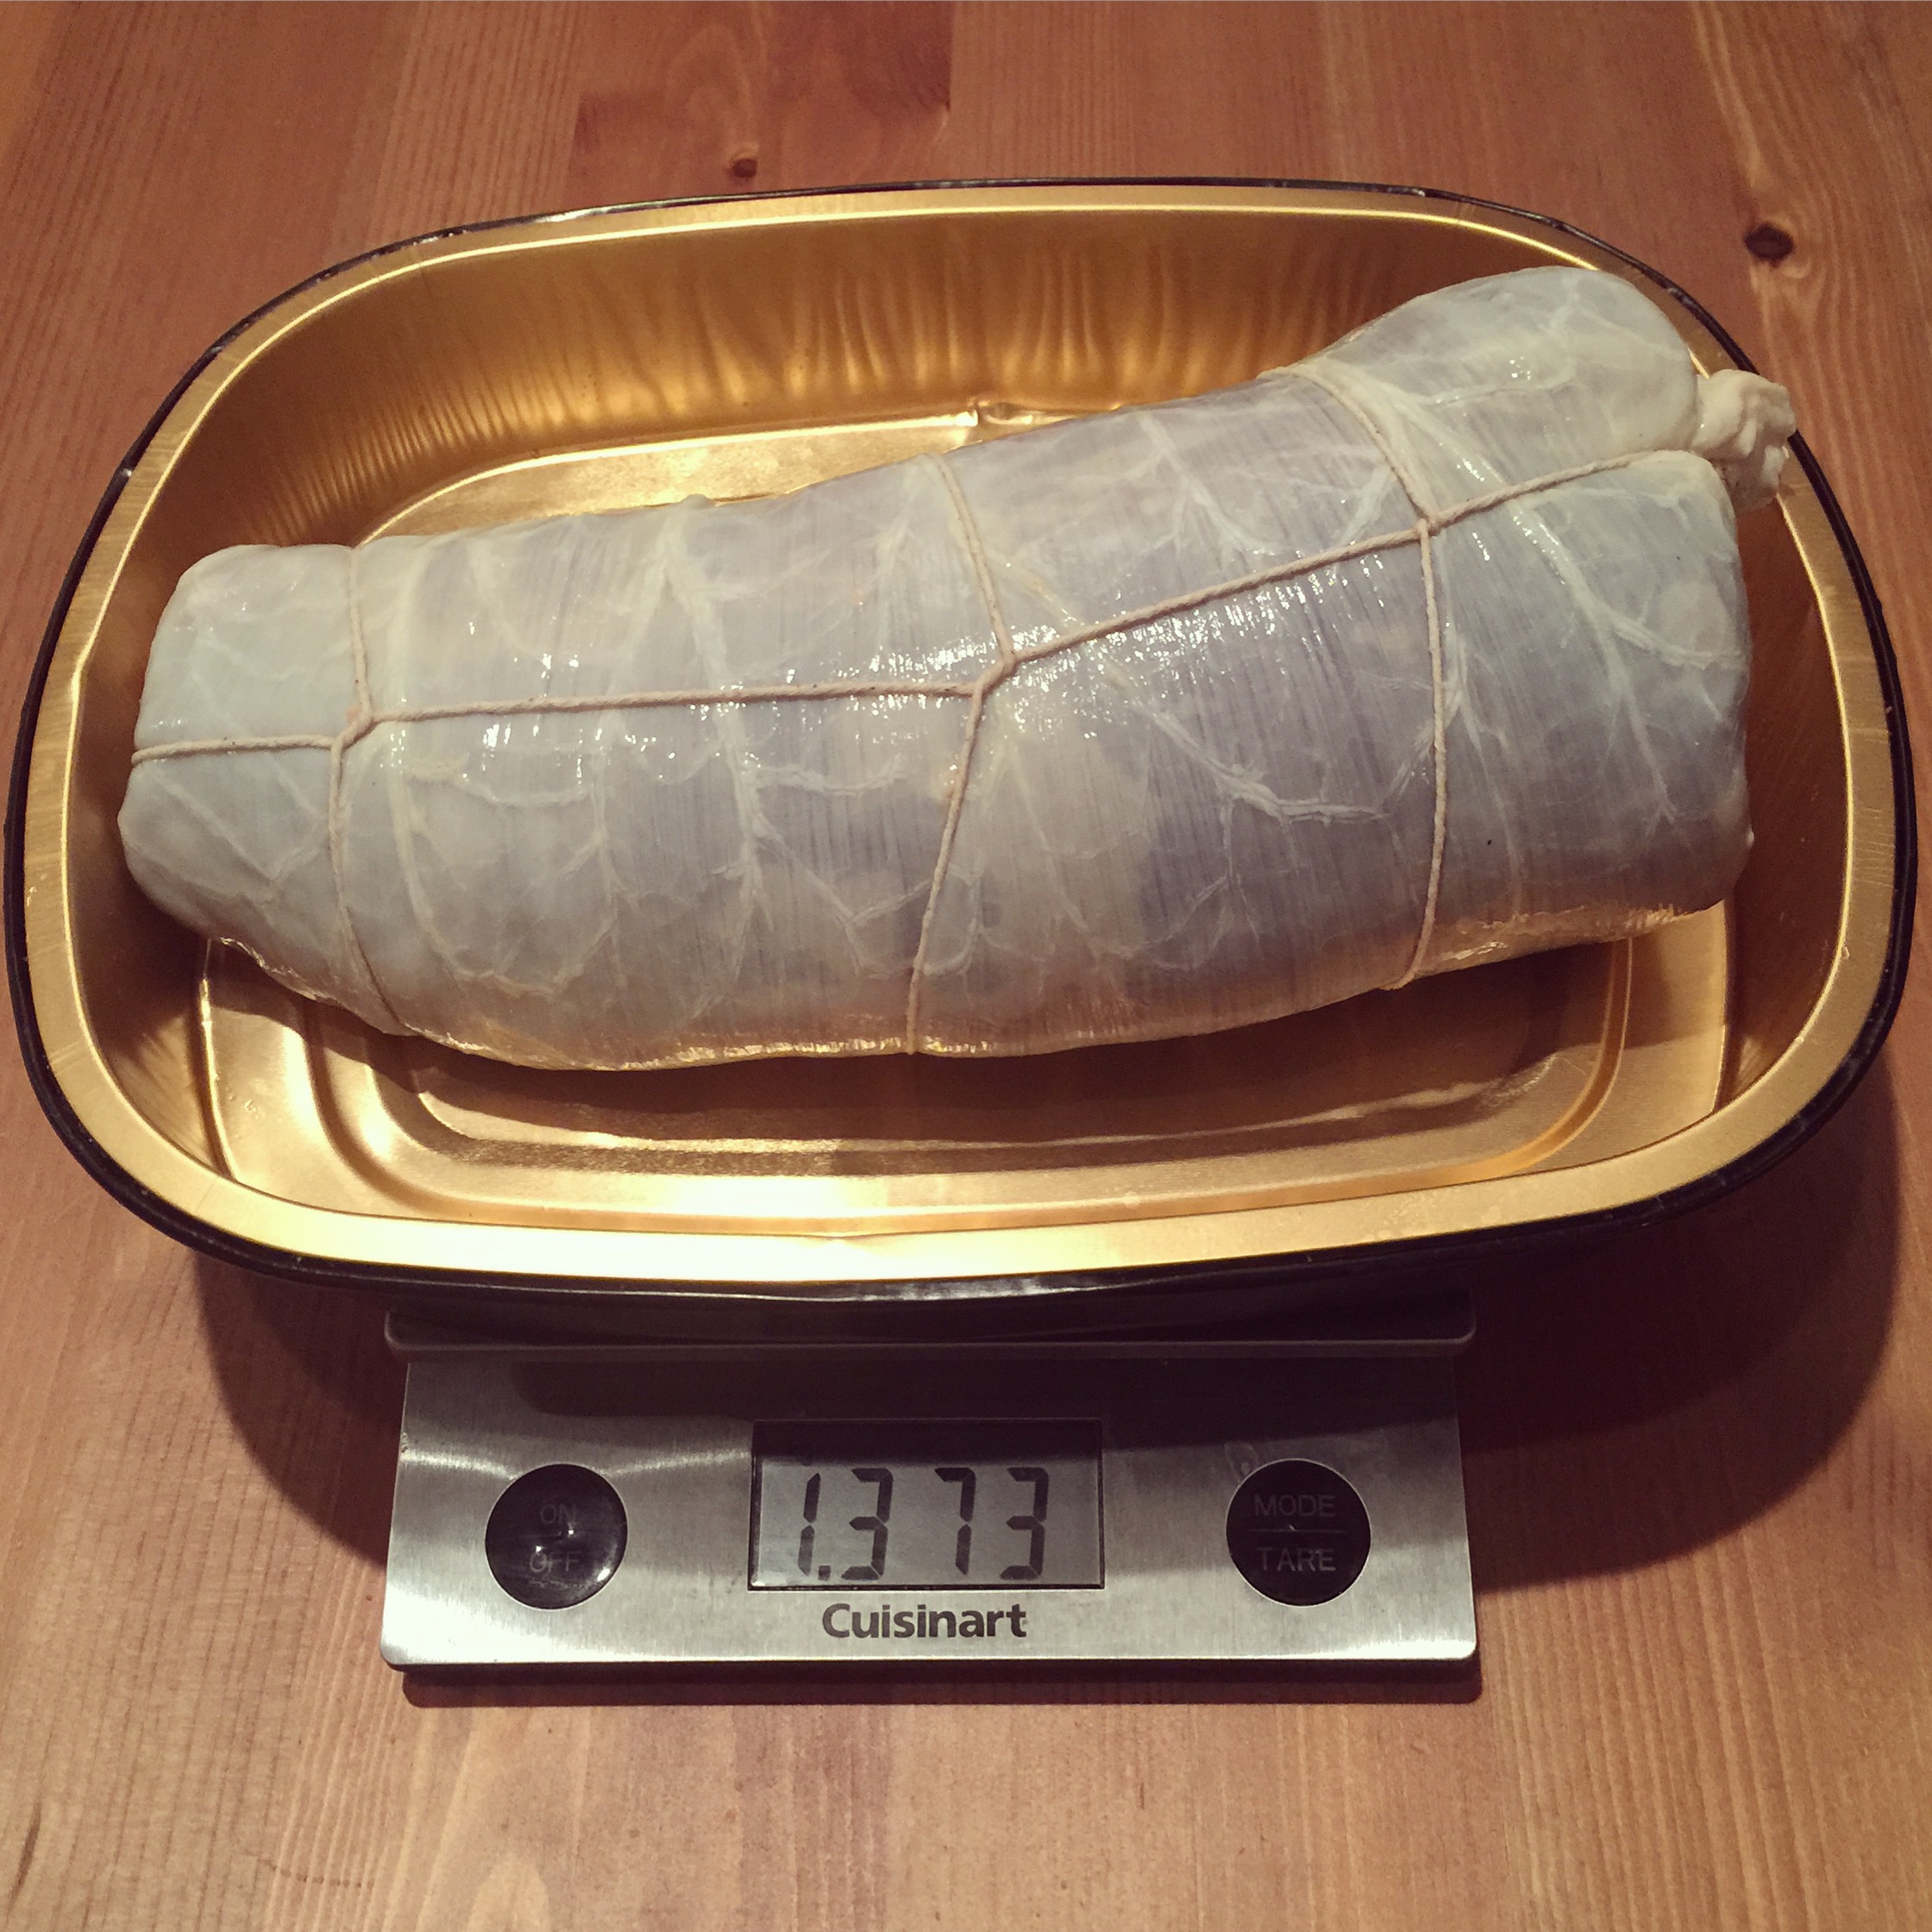
We used butcher string to tie it up and get it ready to hang. We sprayed it was a solution of Bactoferm Mold 600 (a single strain culture that contains freeze-dried form spores of Penicillium nalgiovense). This promotes beneficial mold growth and tends to keep any potentially dangerous mold growths at bay.
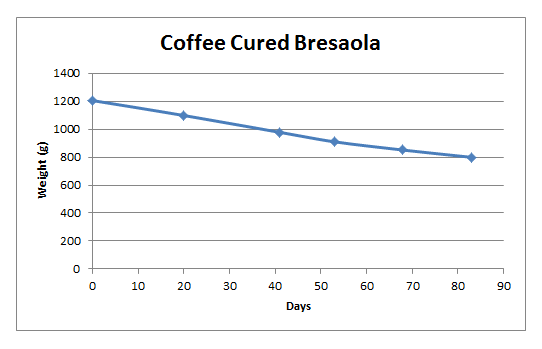
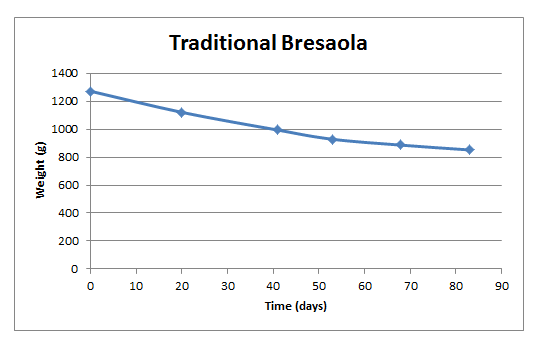
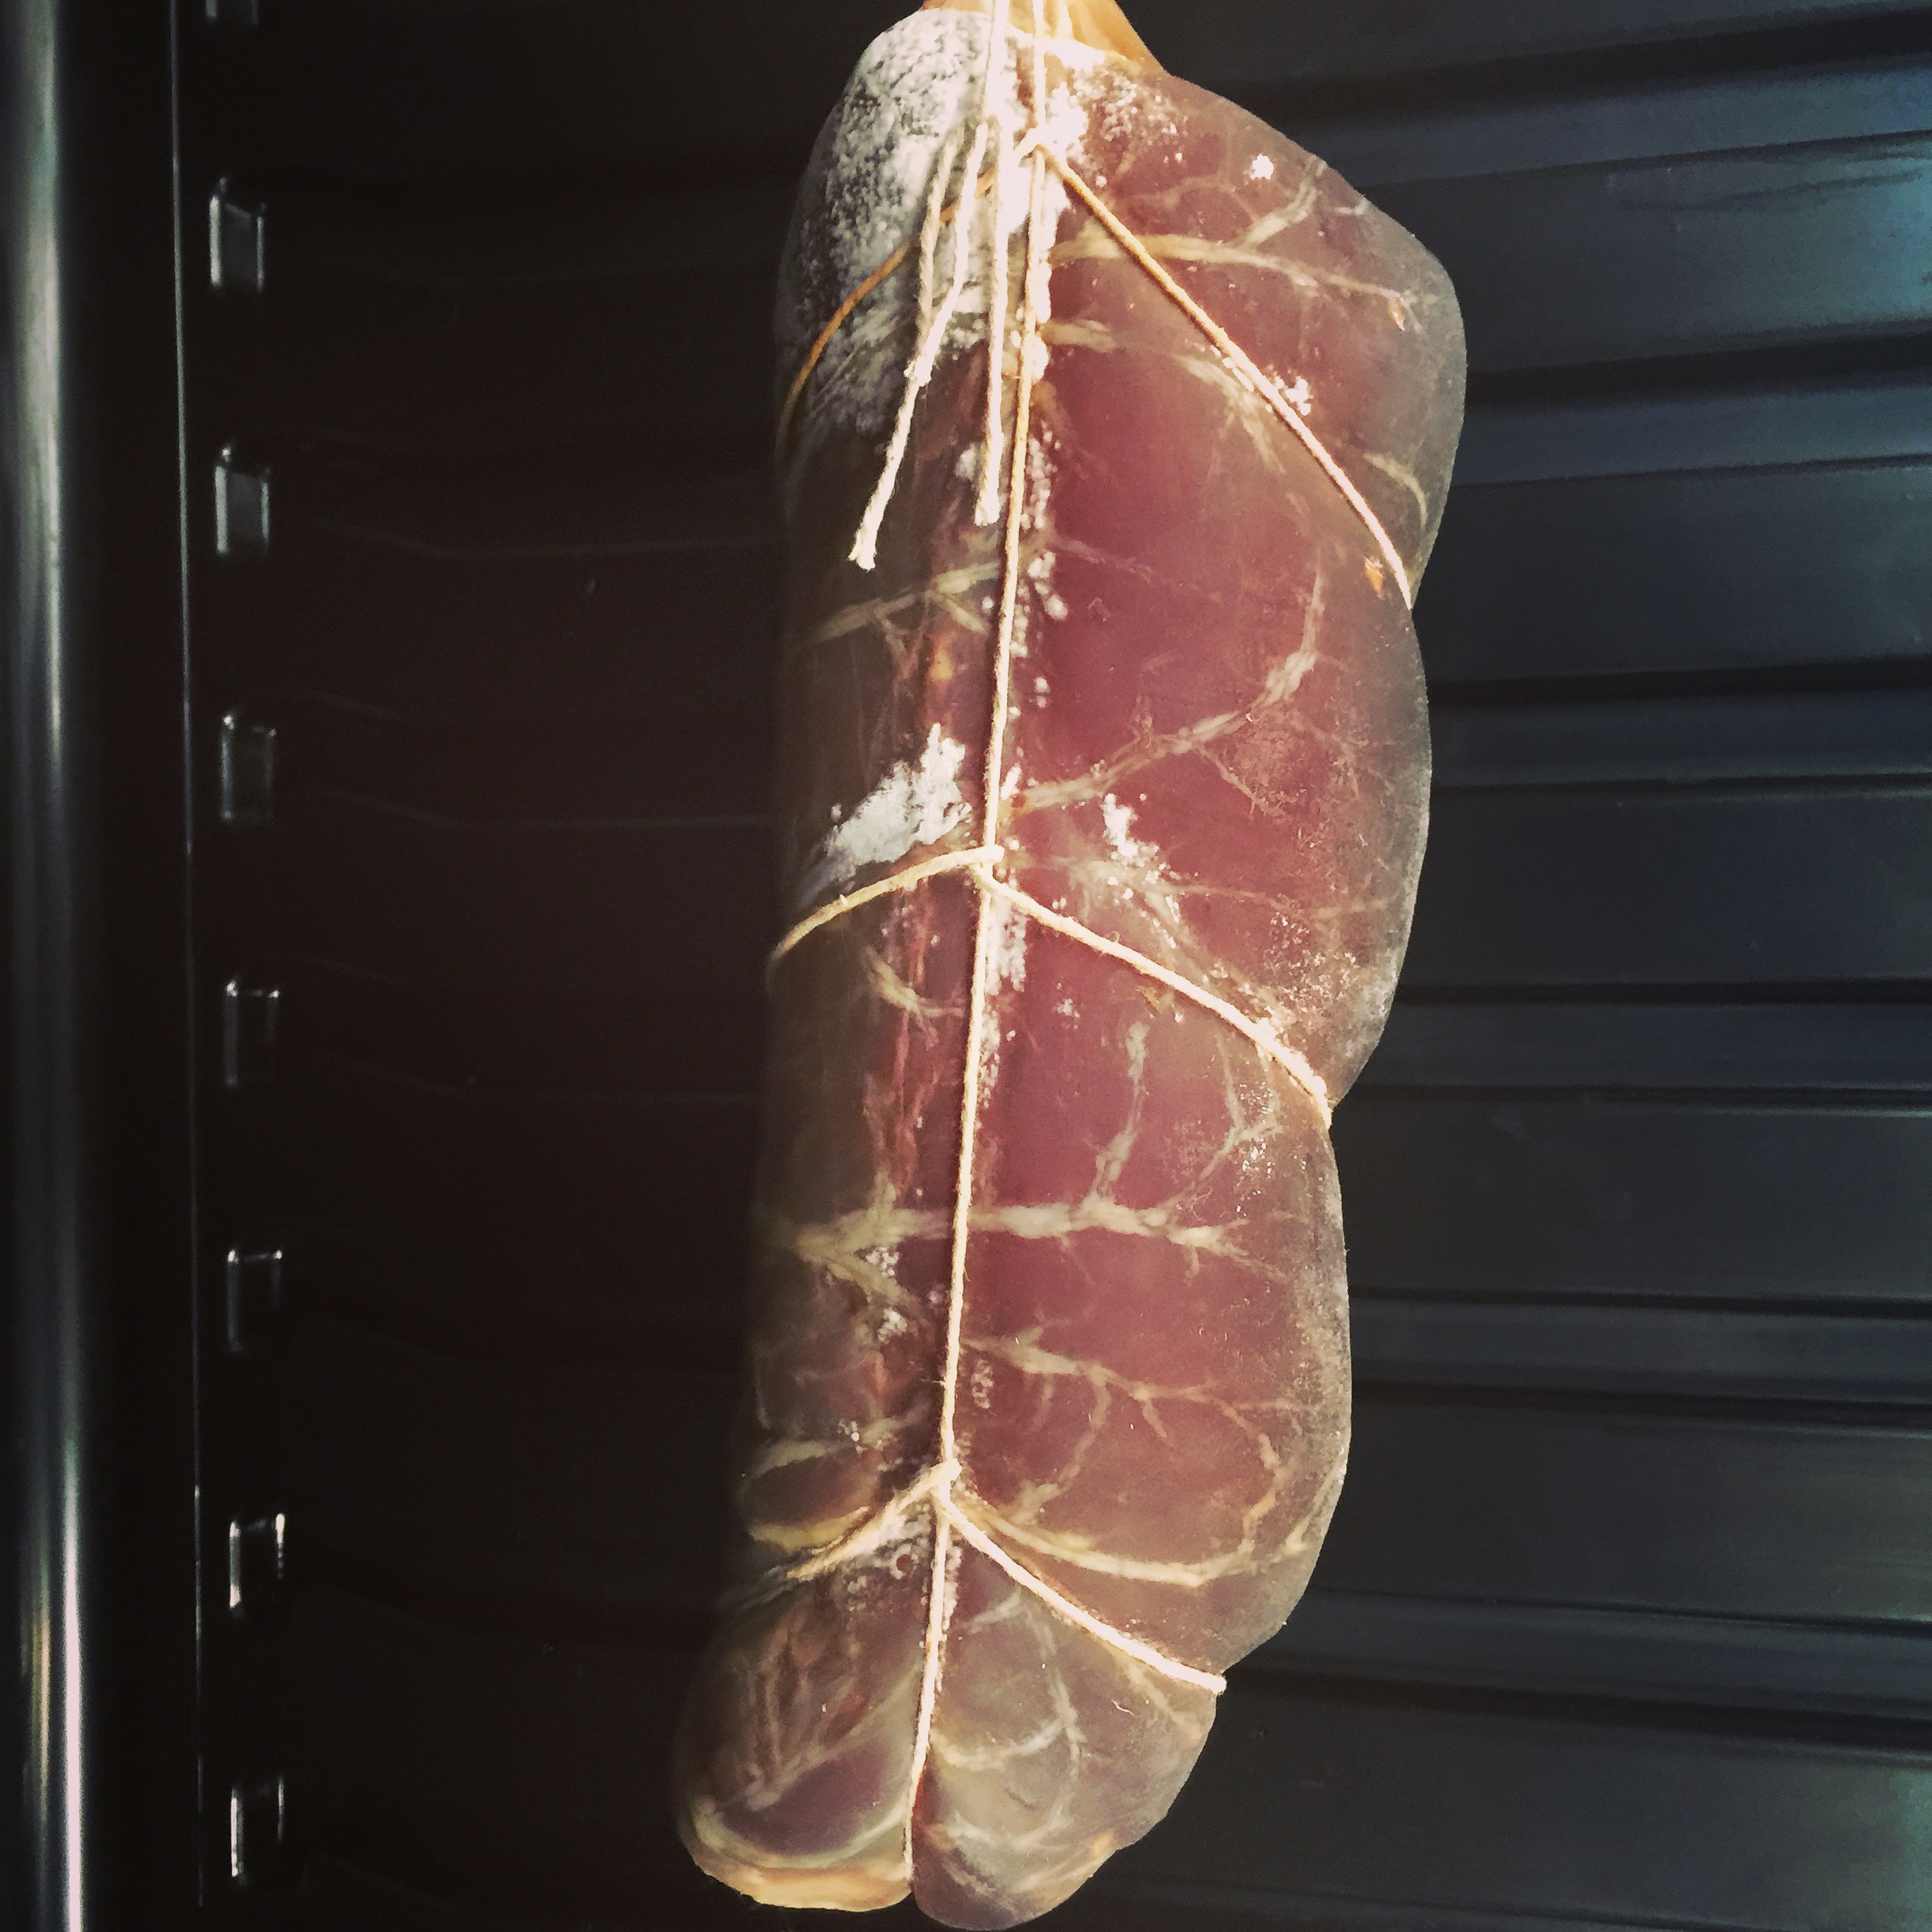
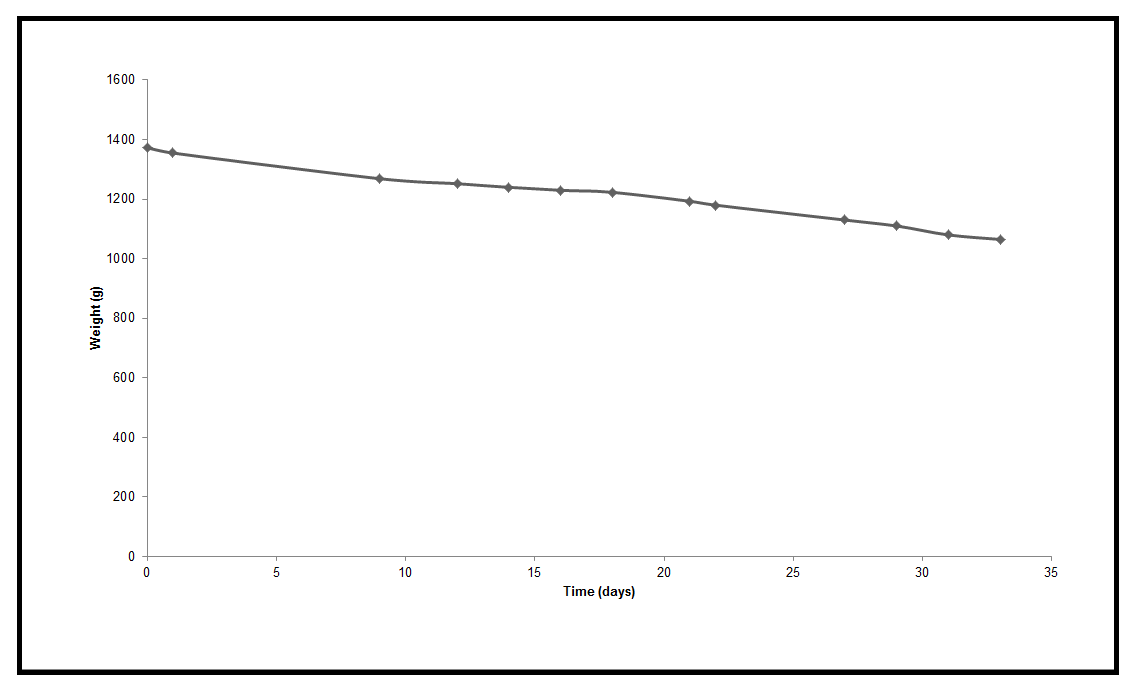
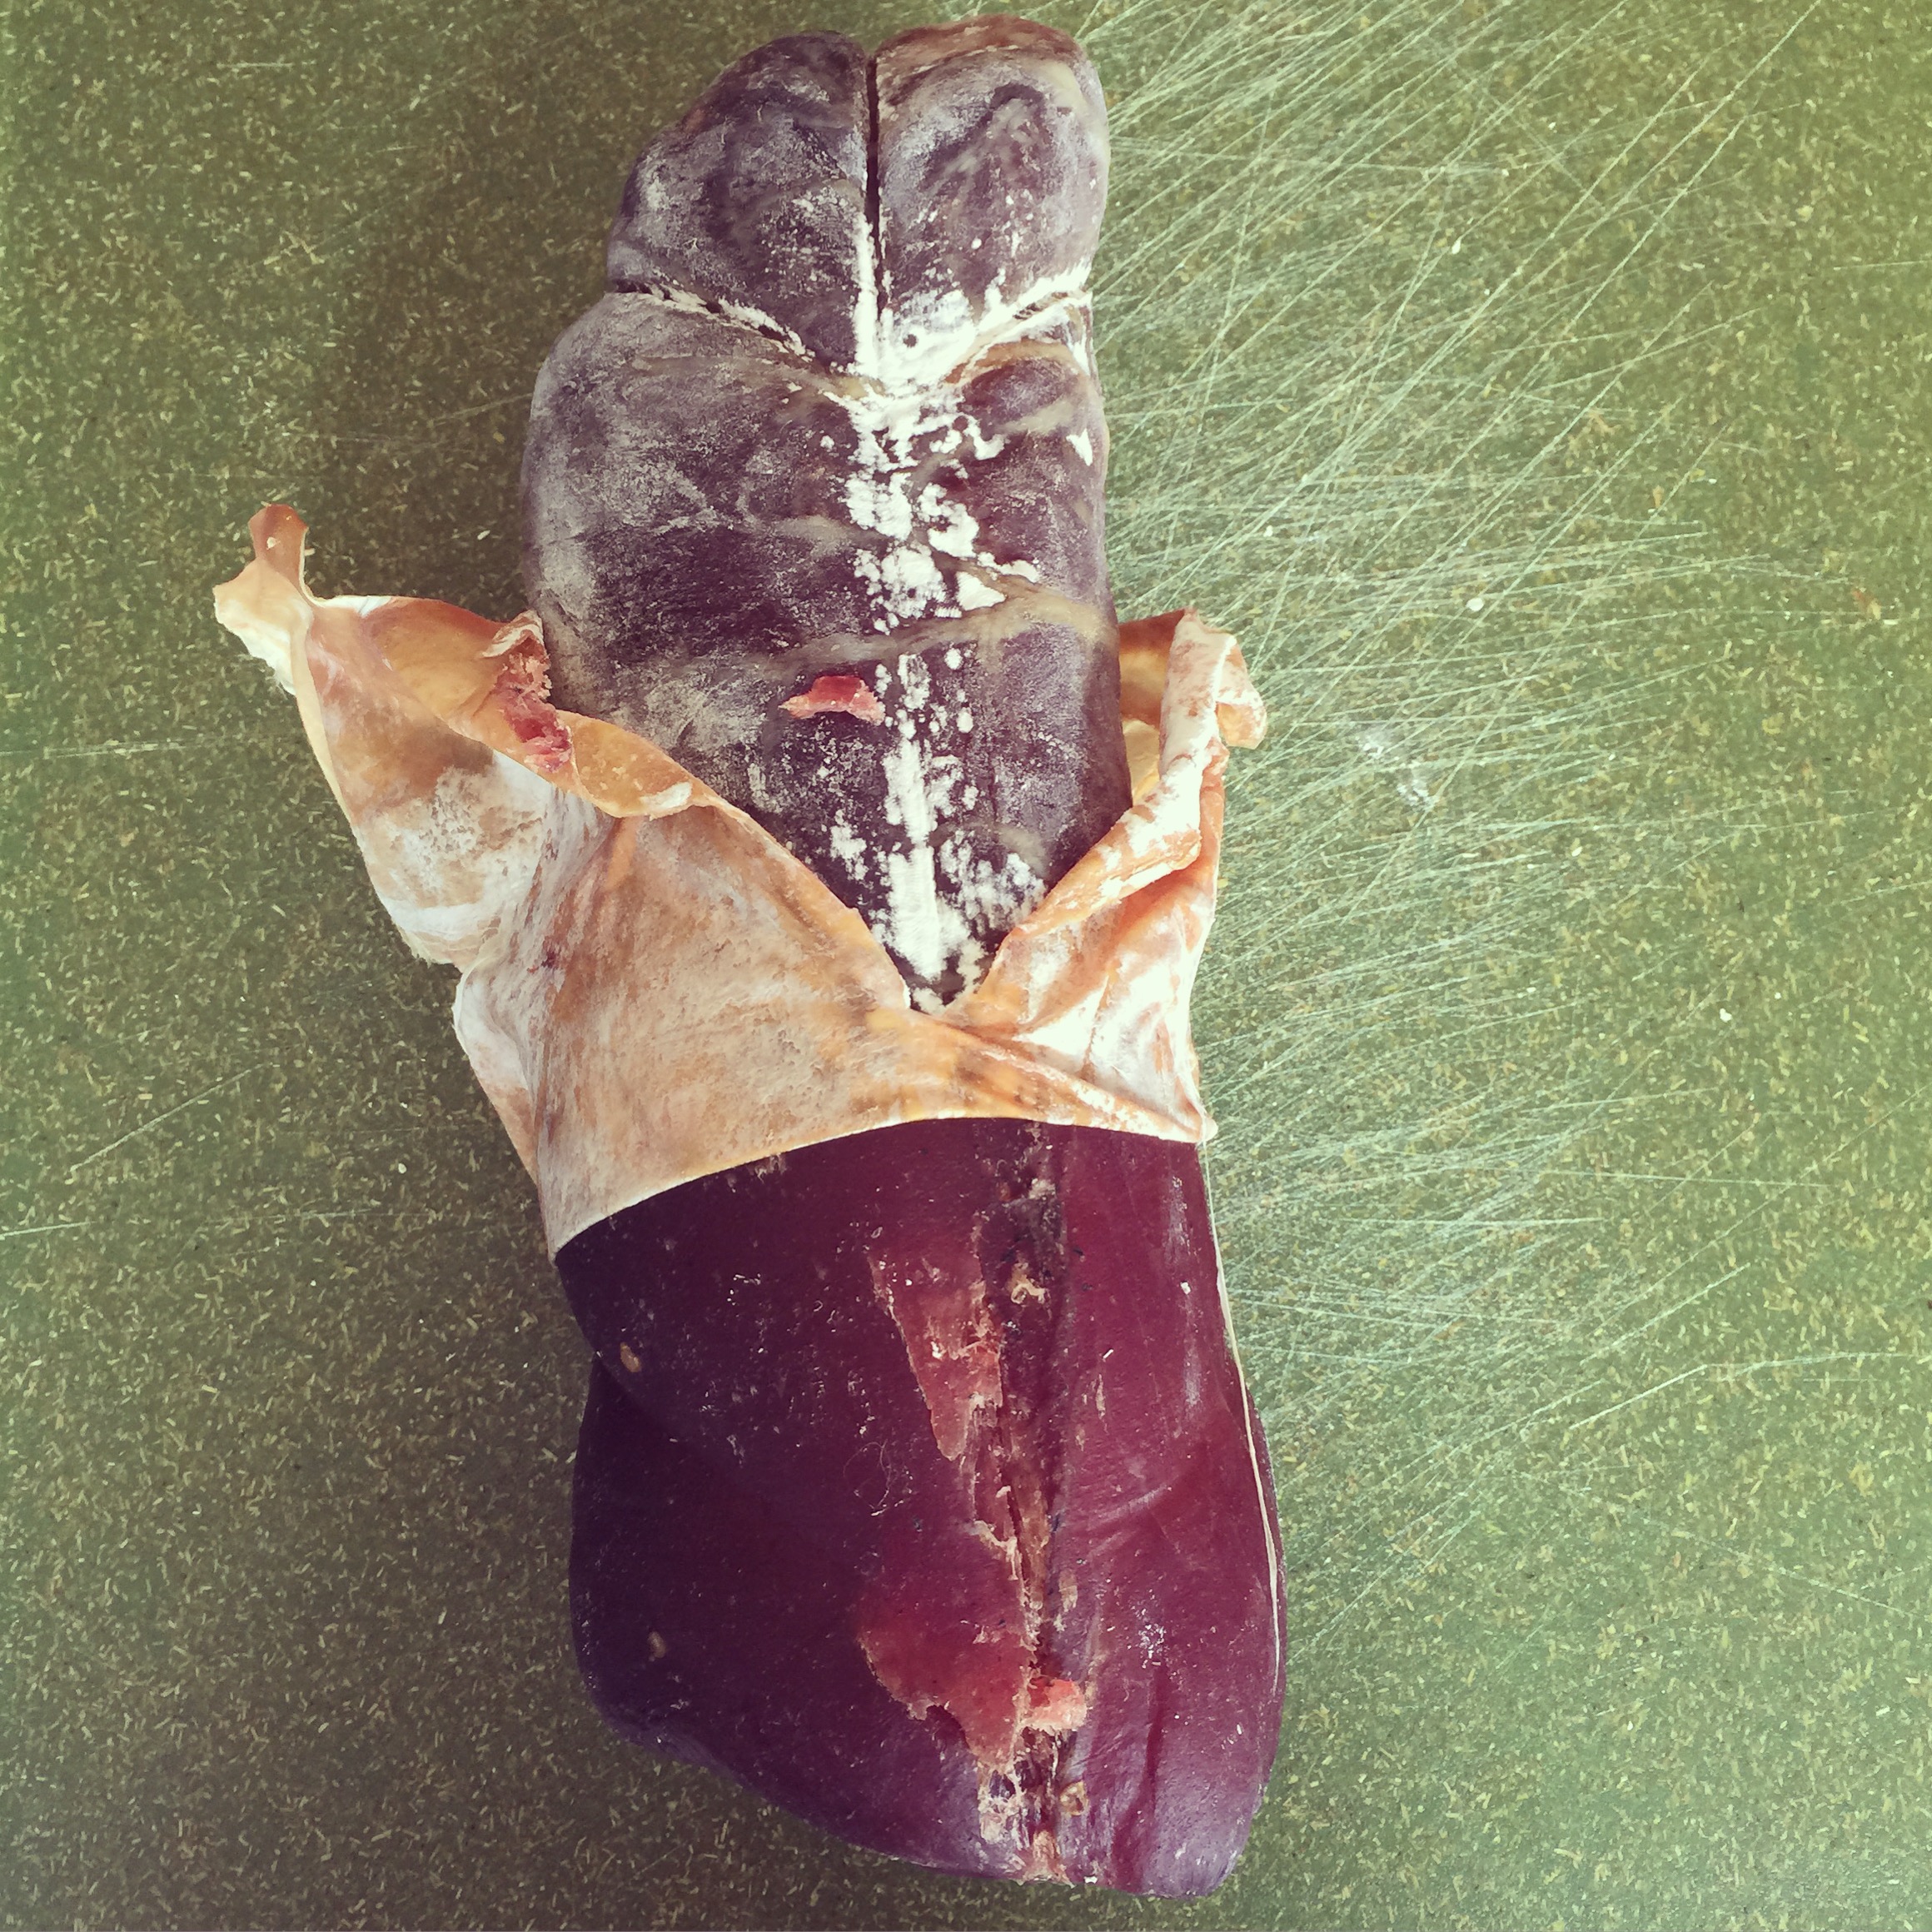
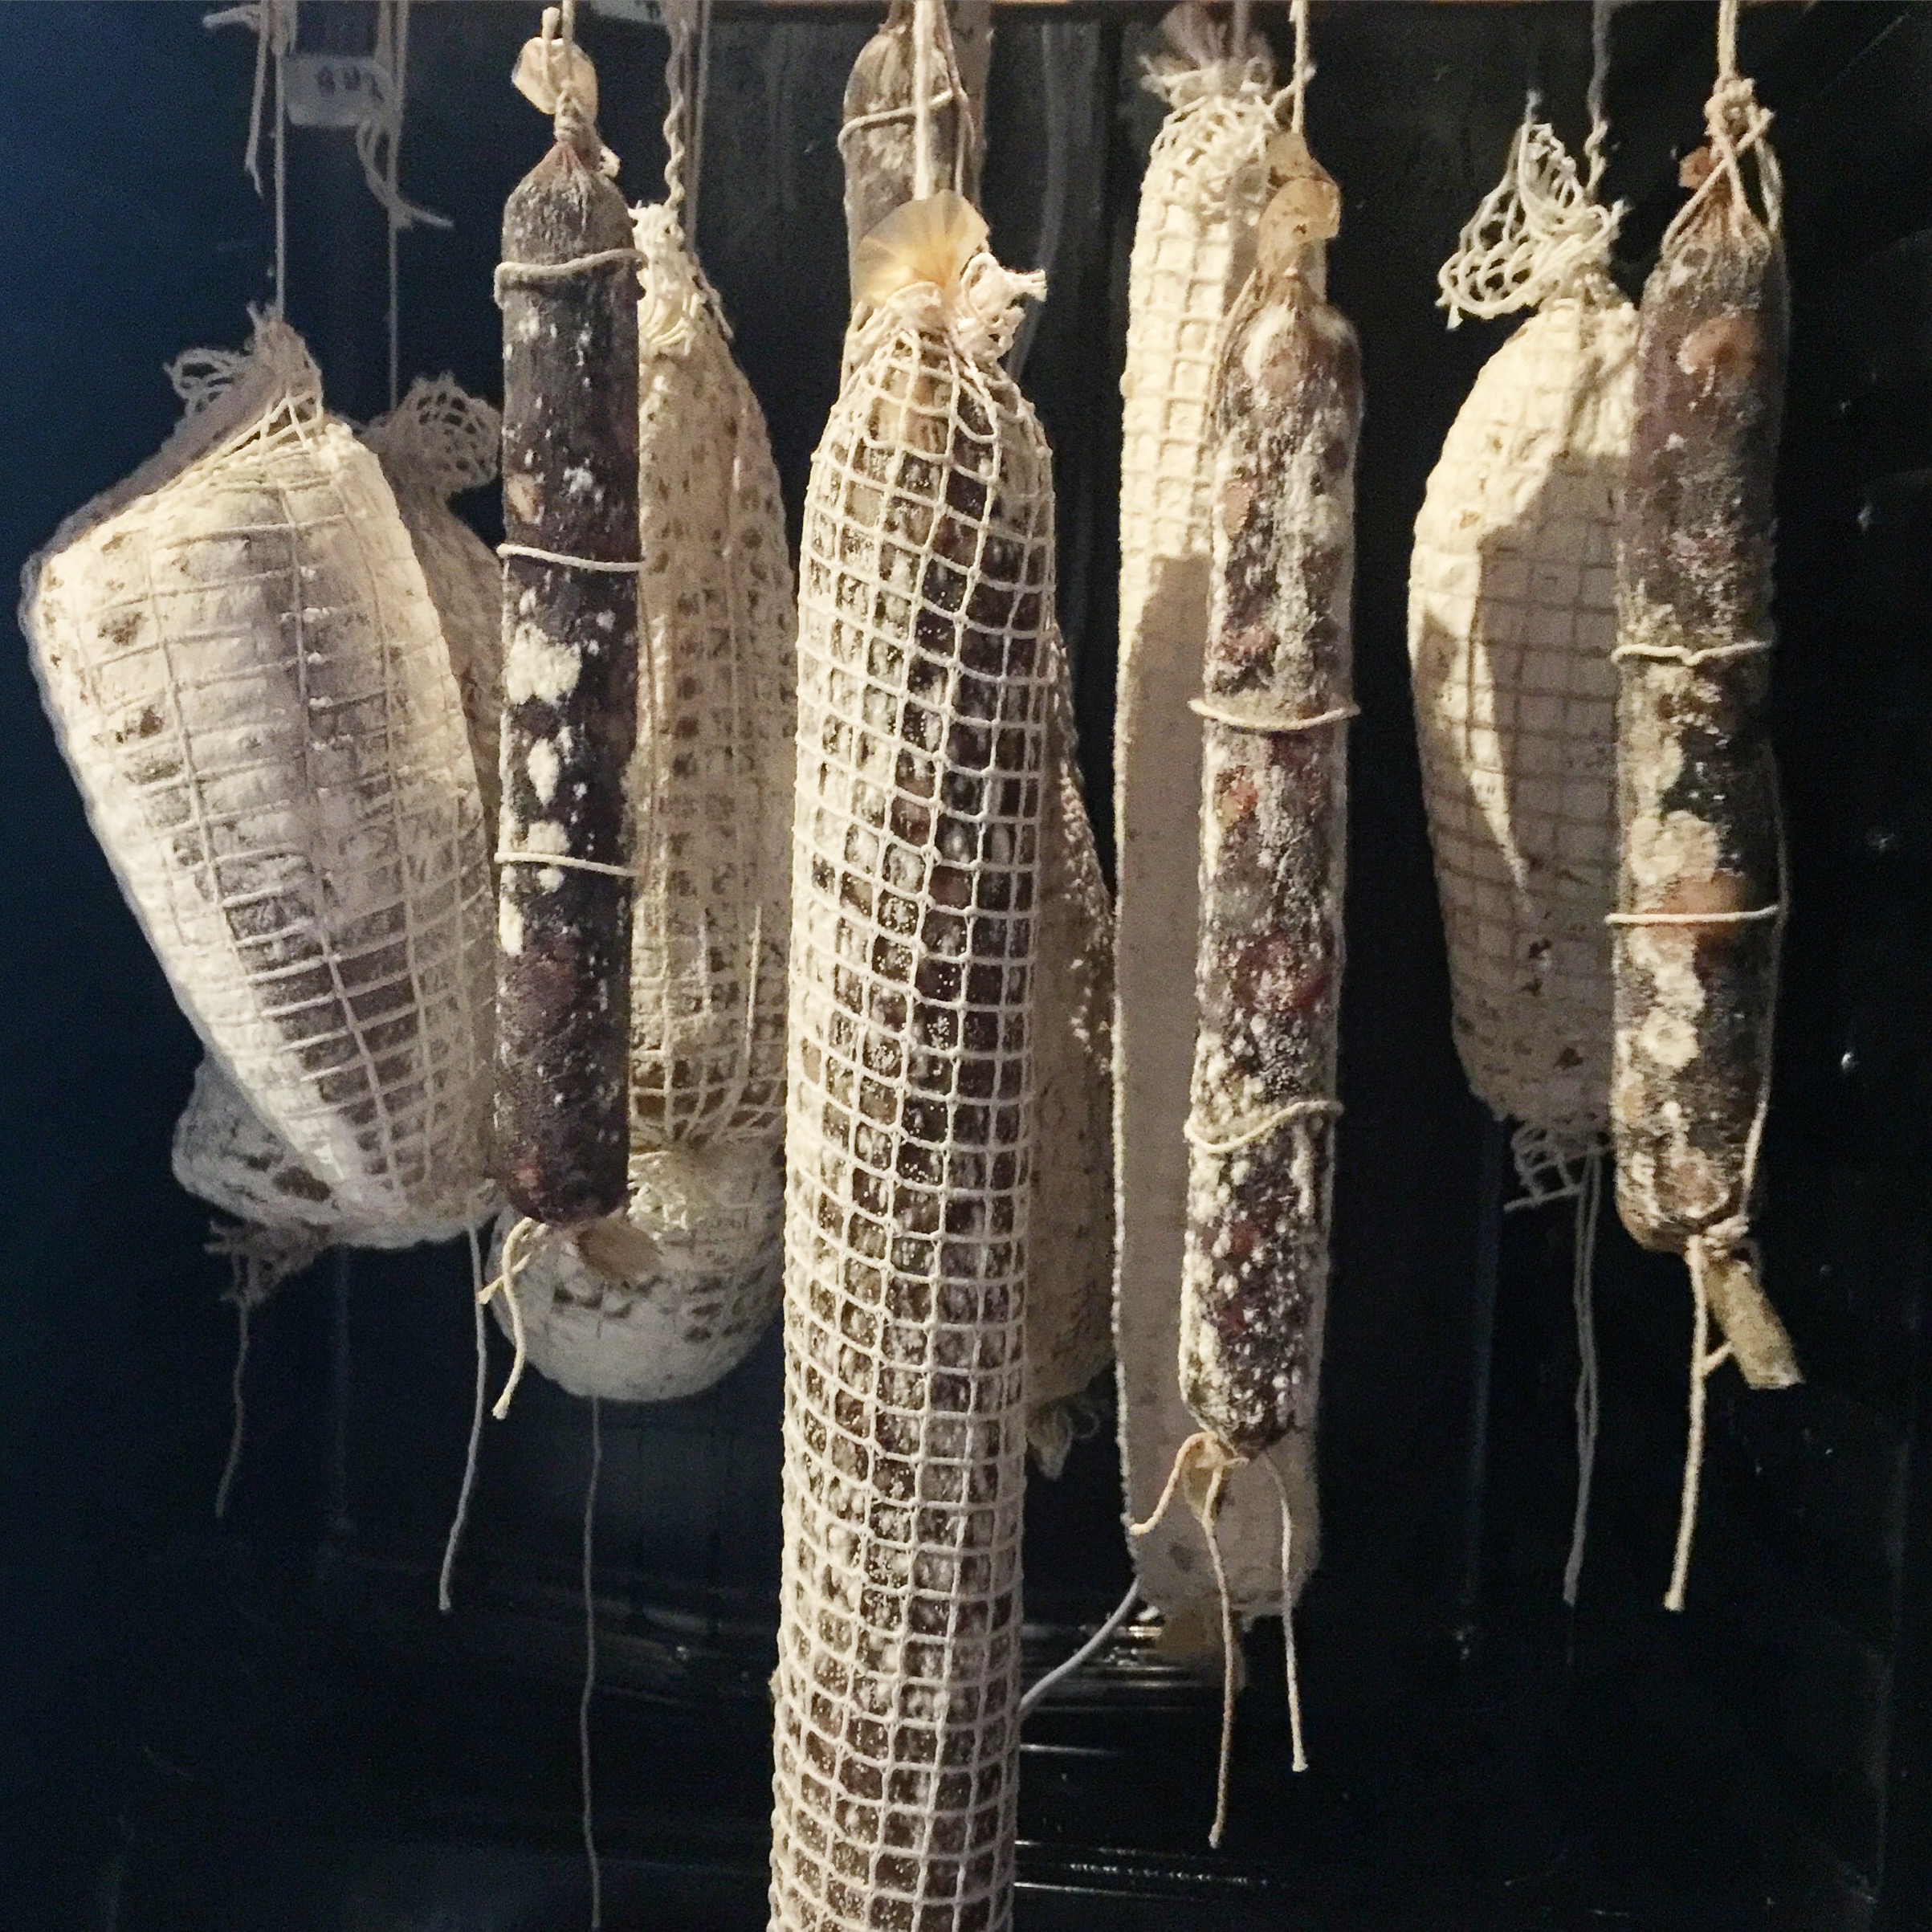
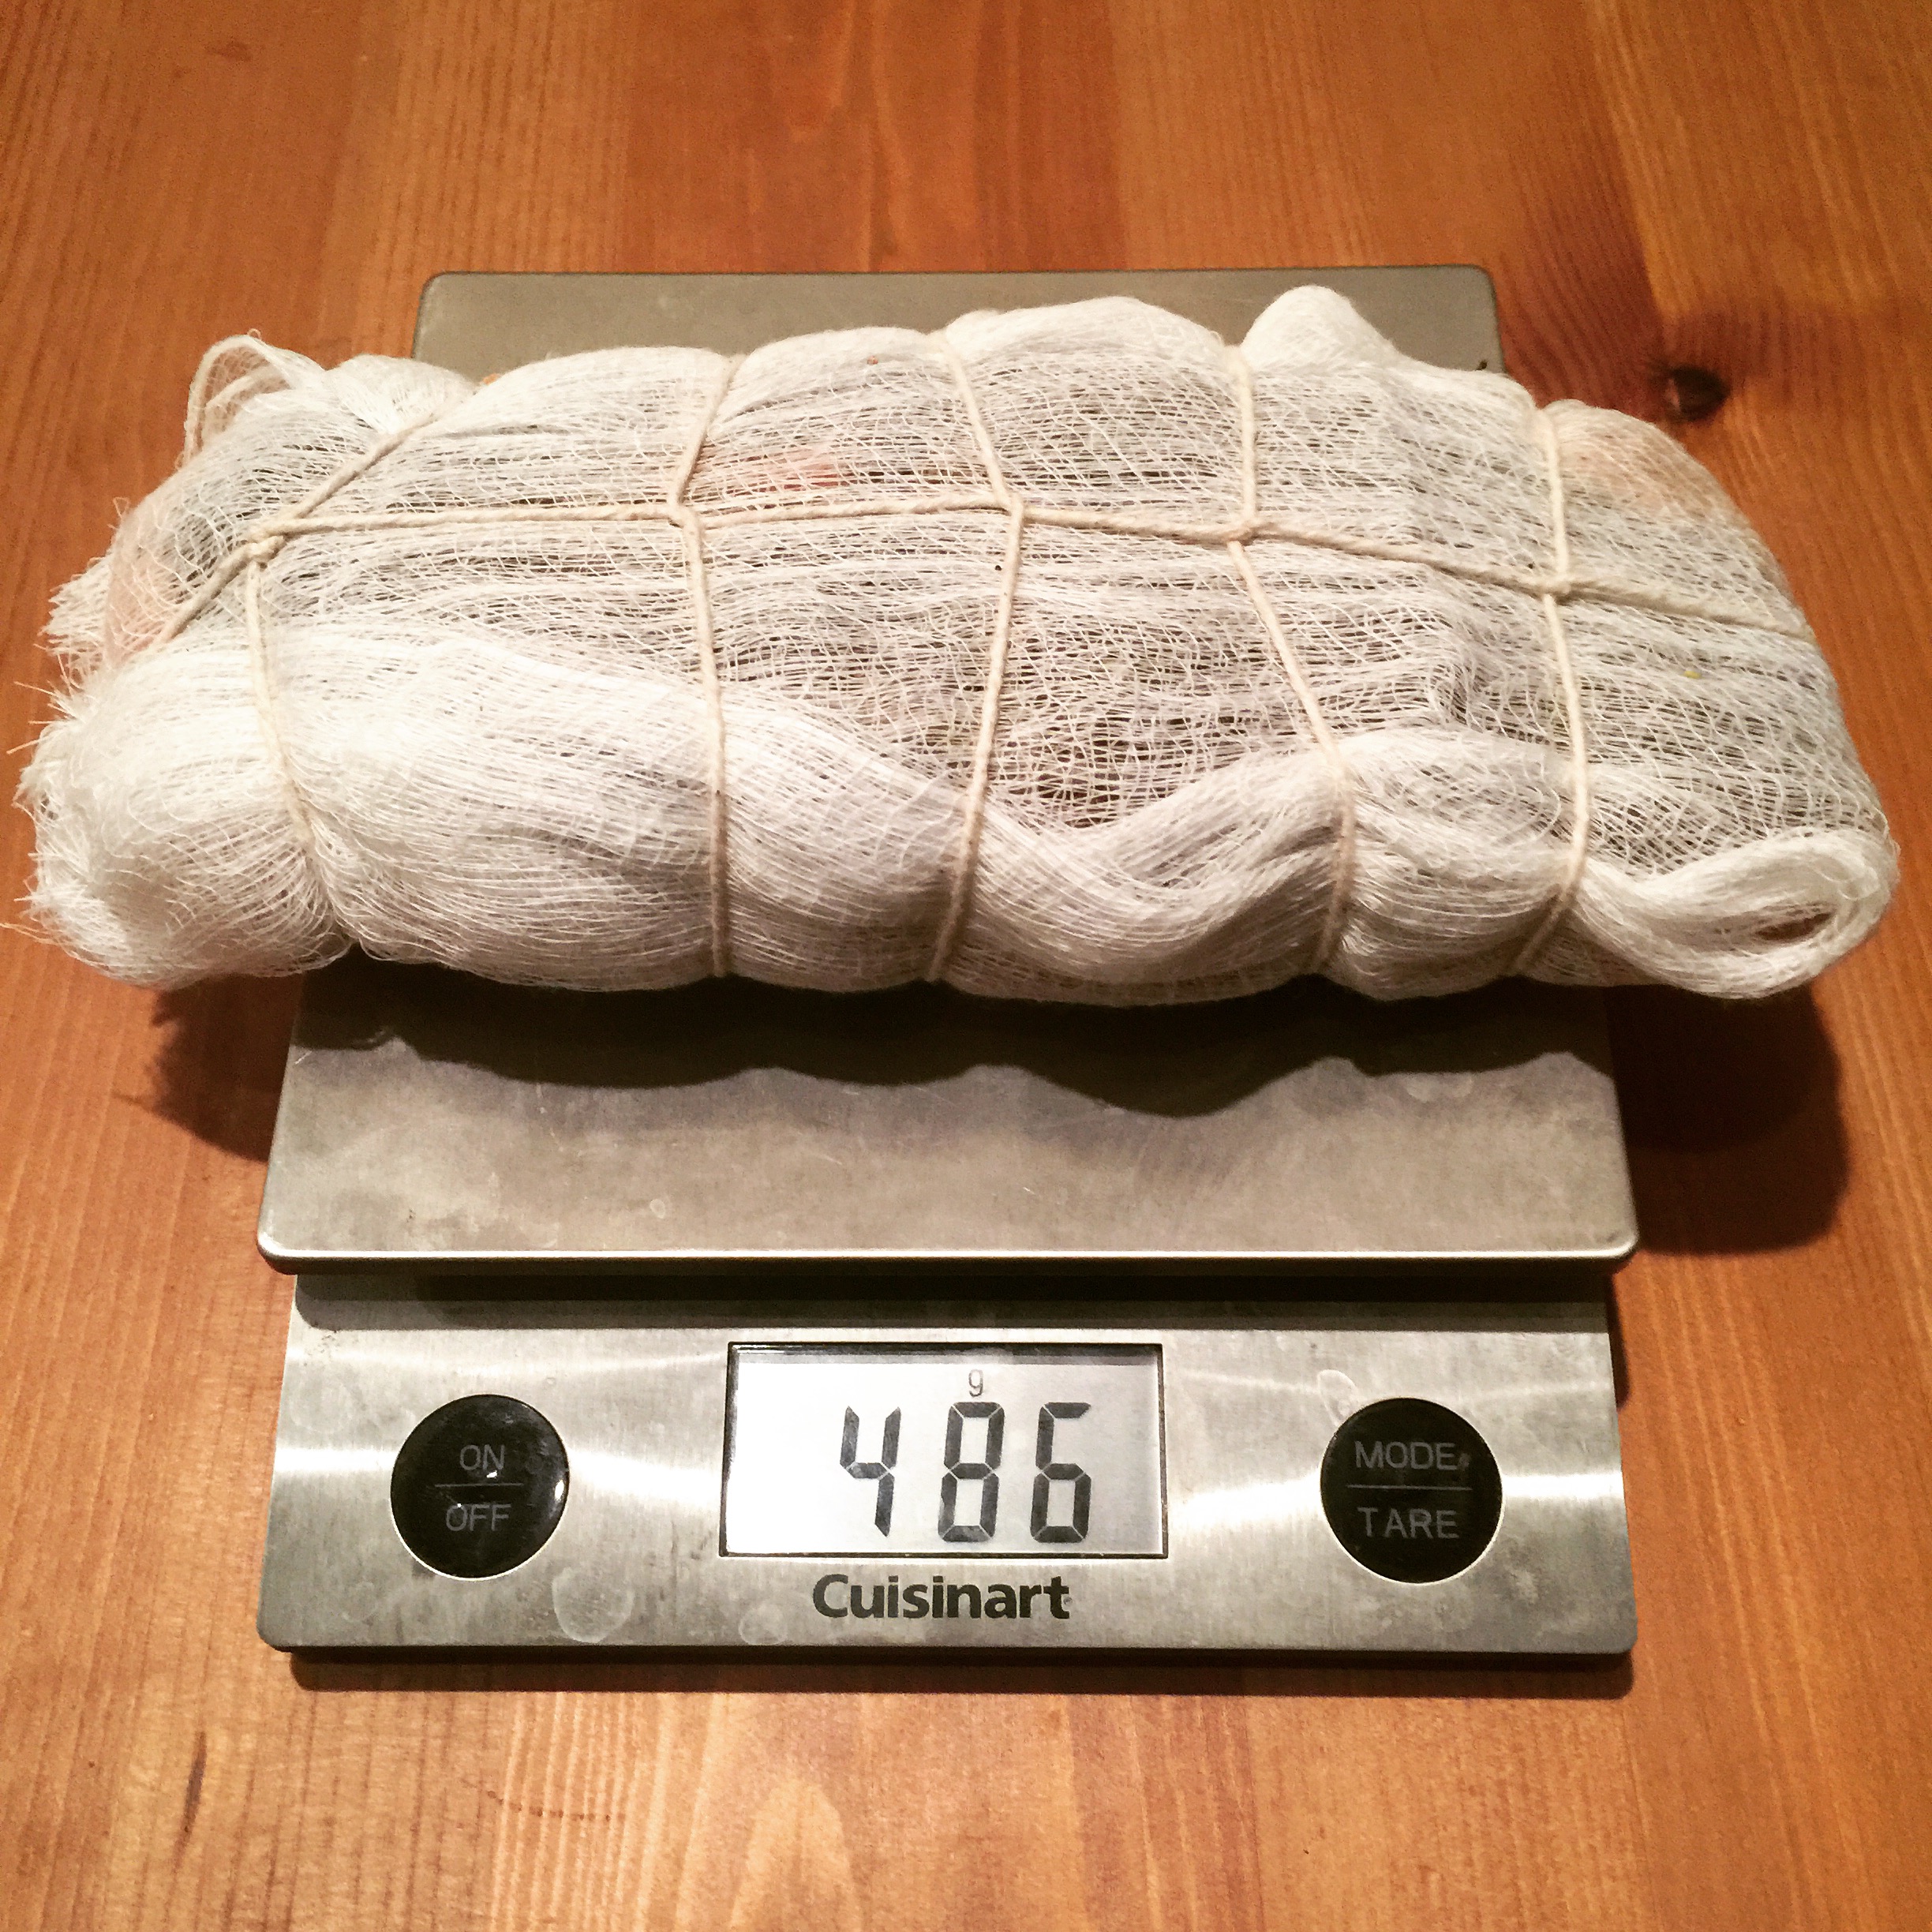
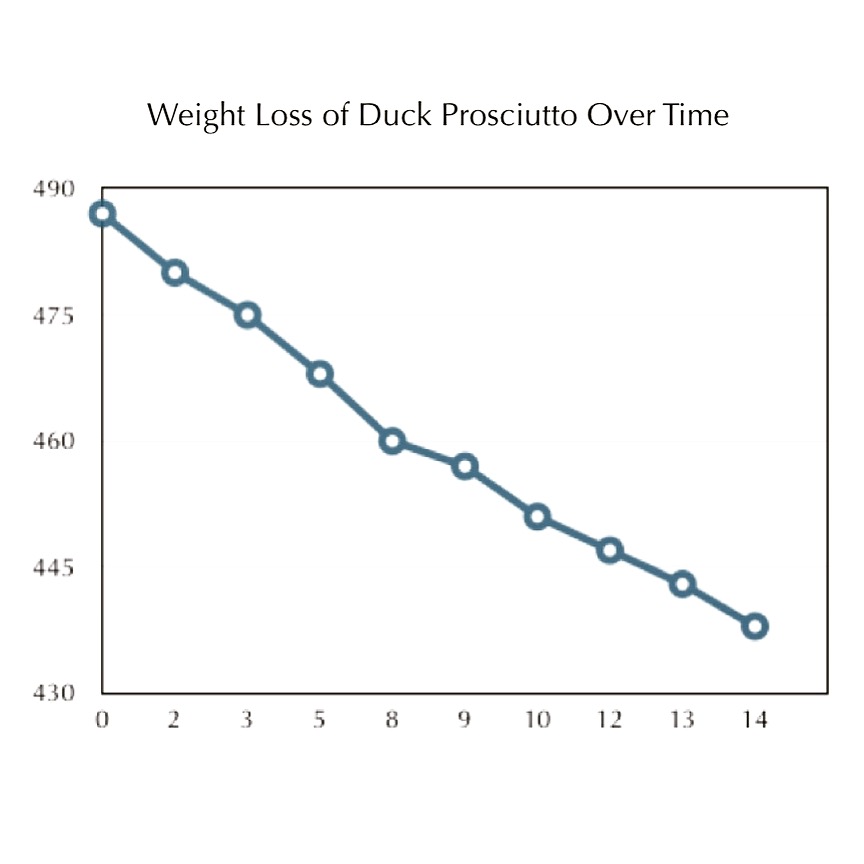
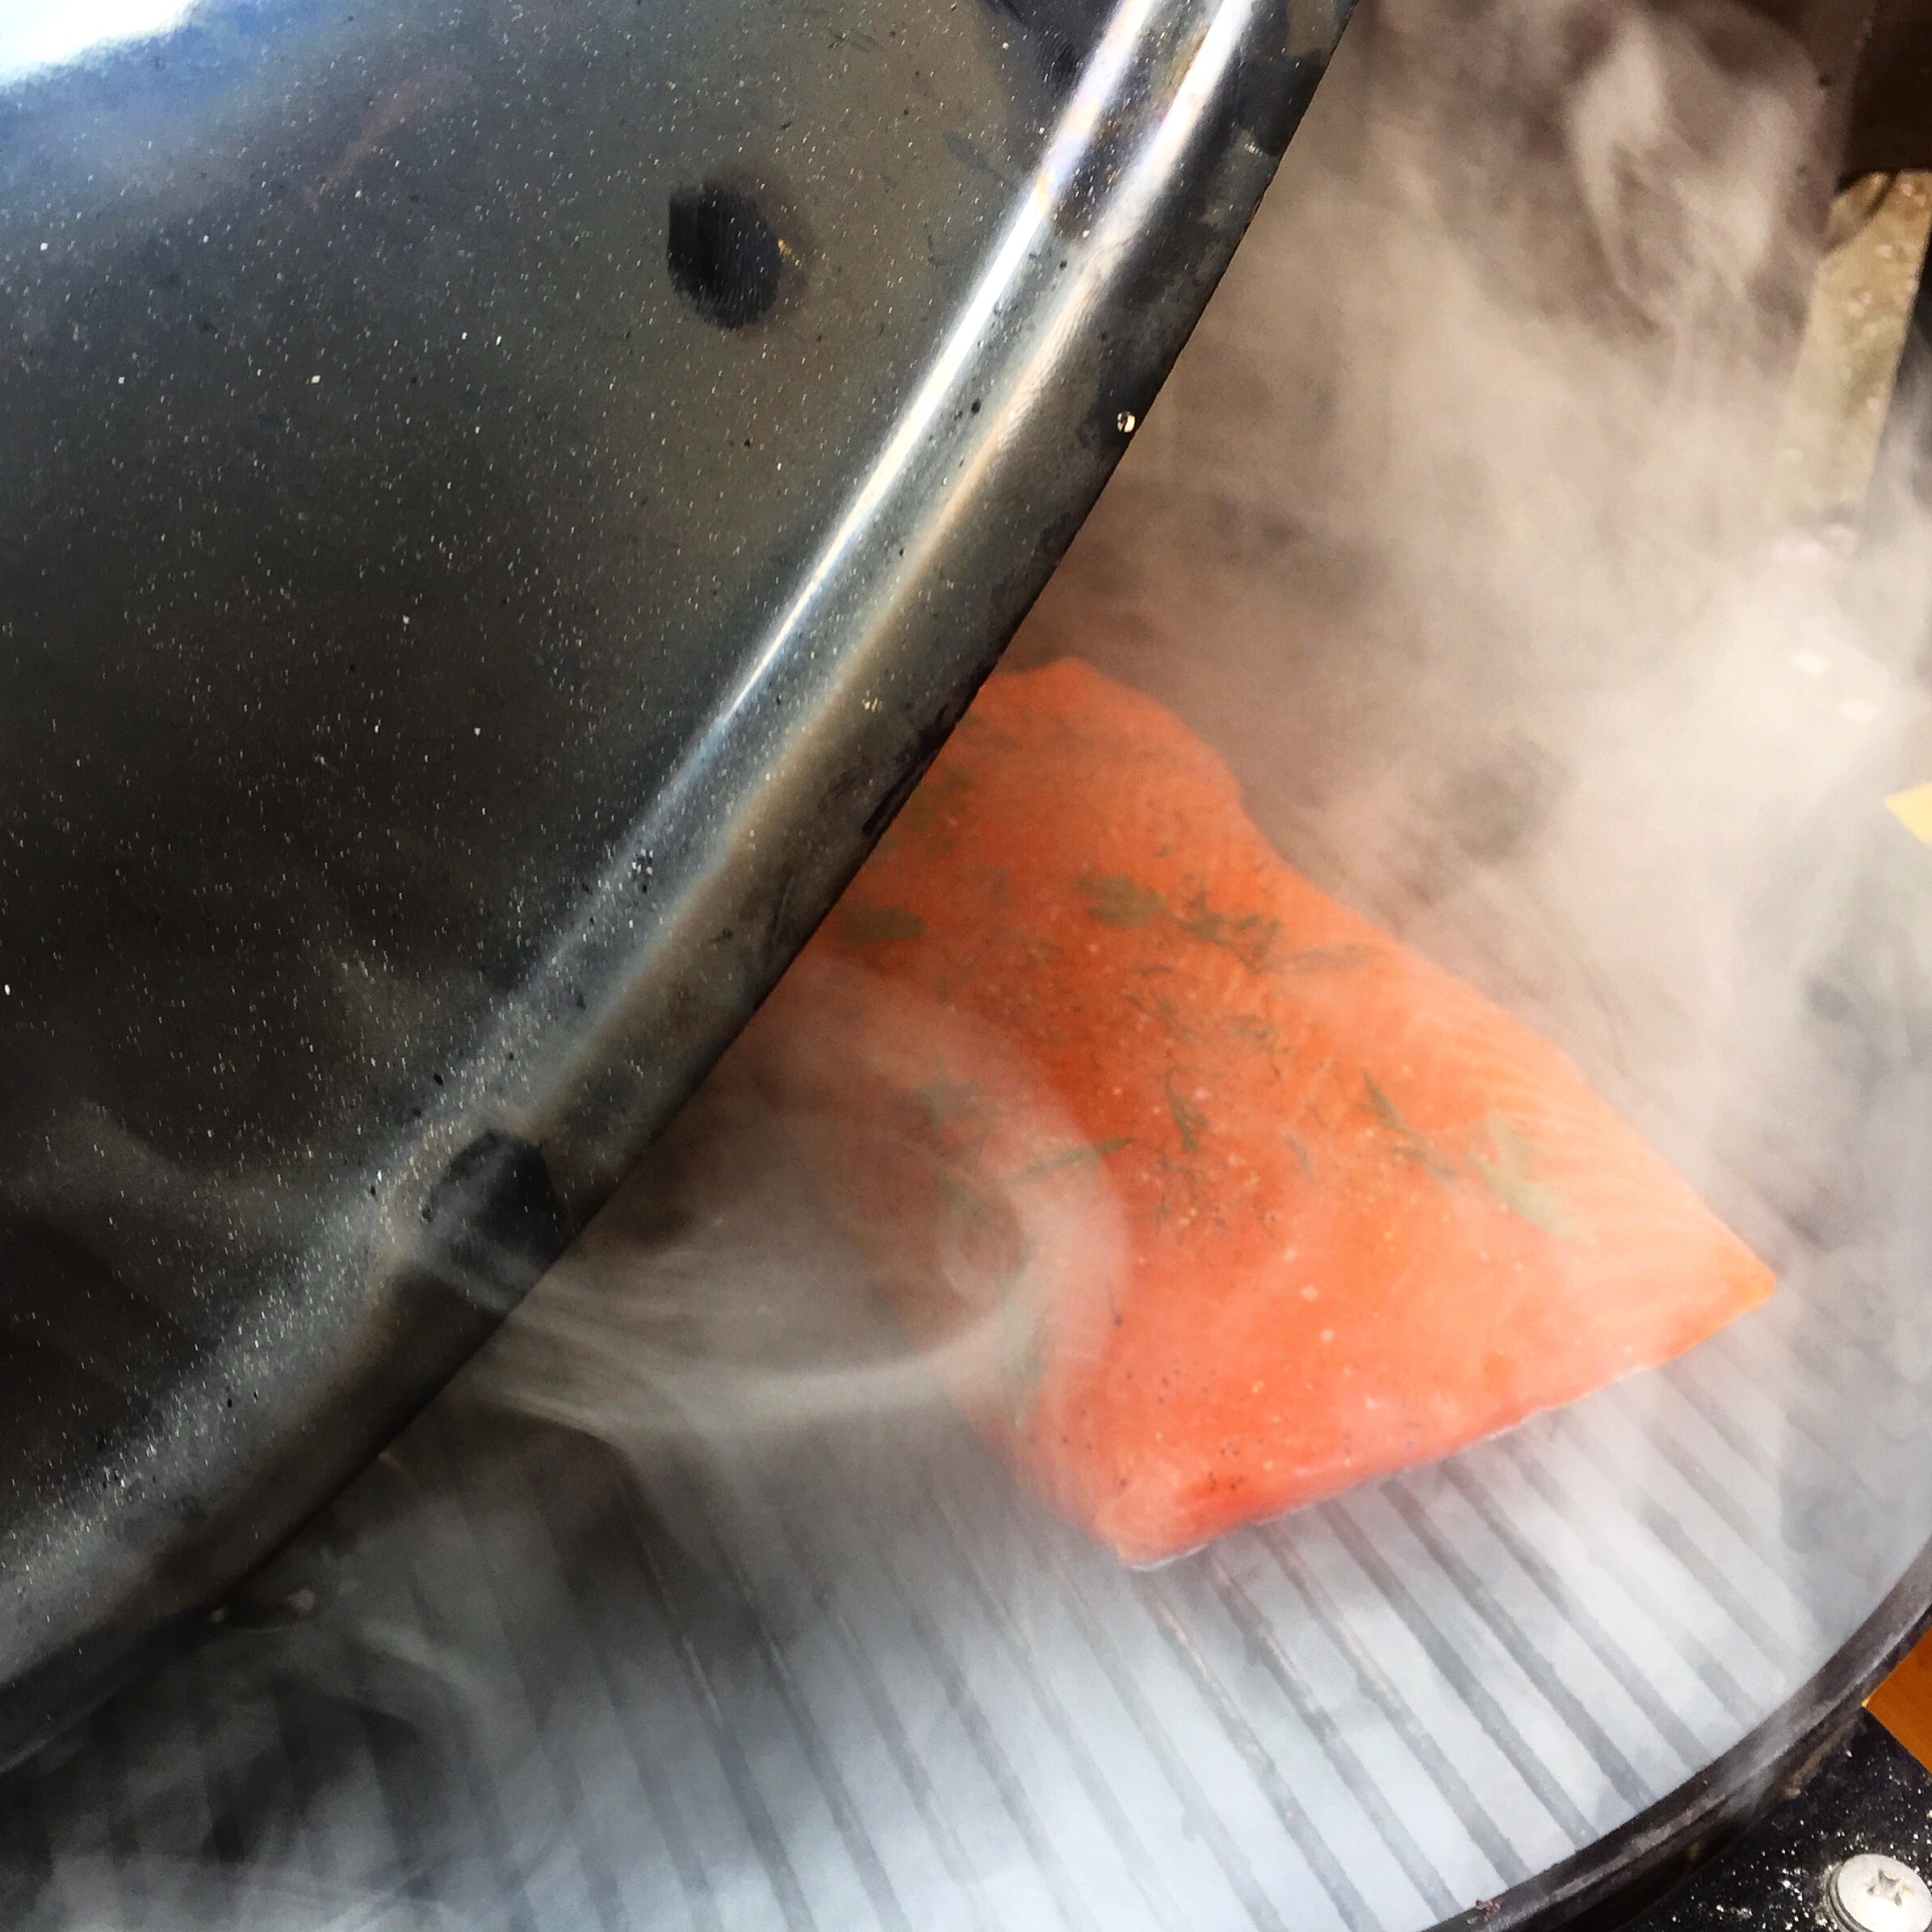
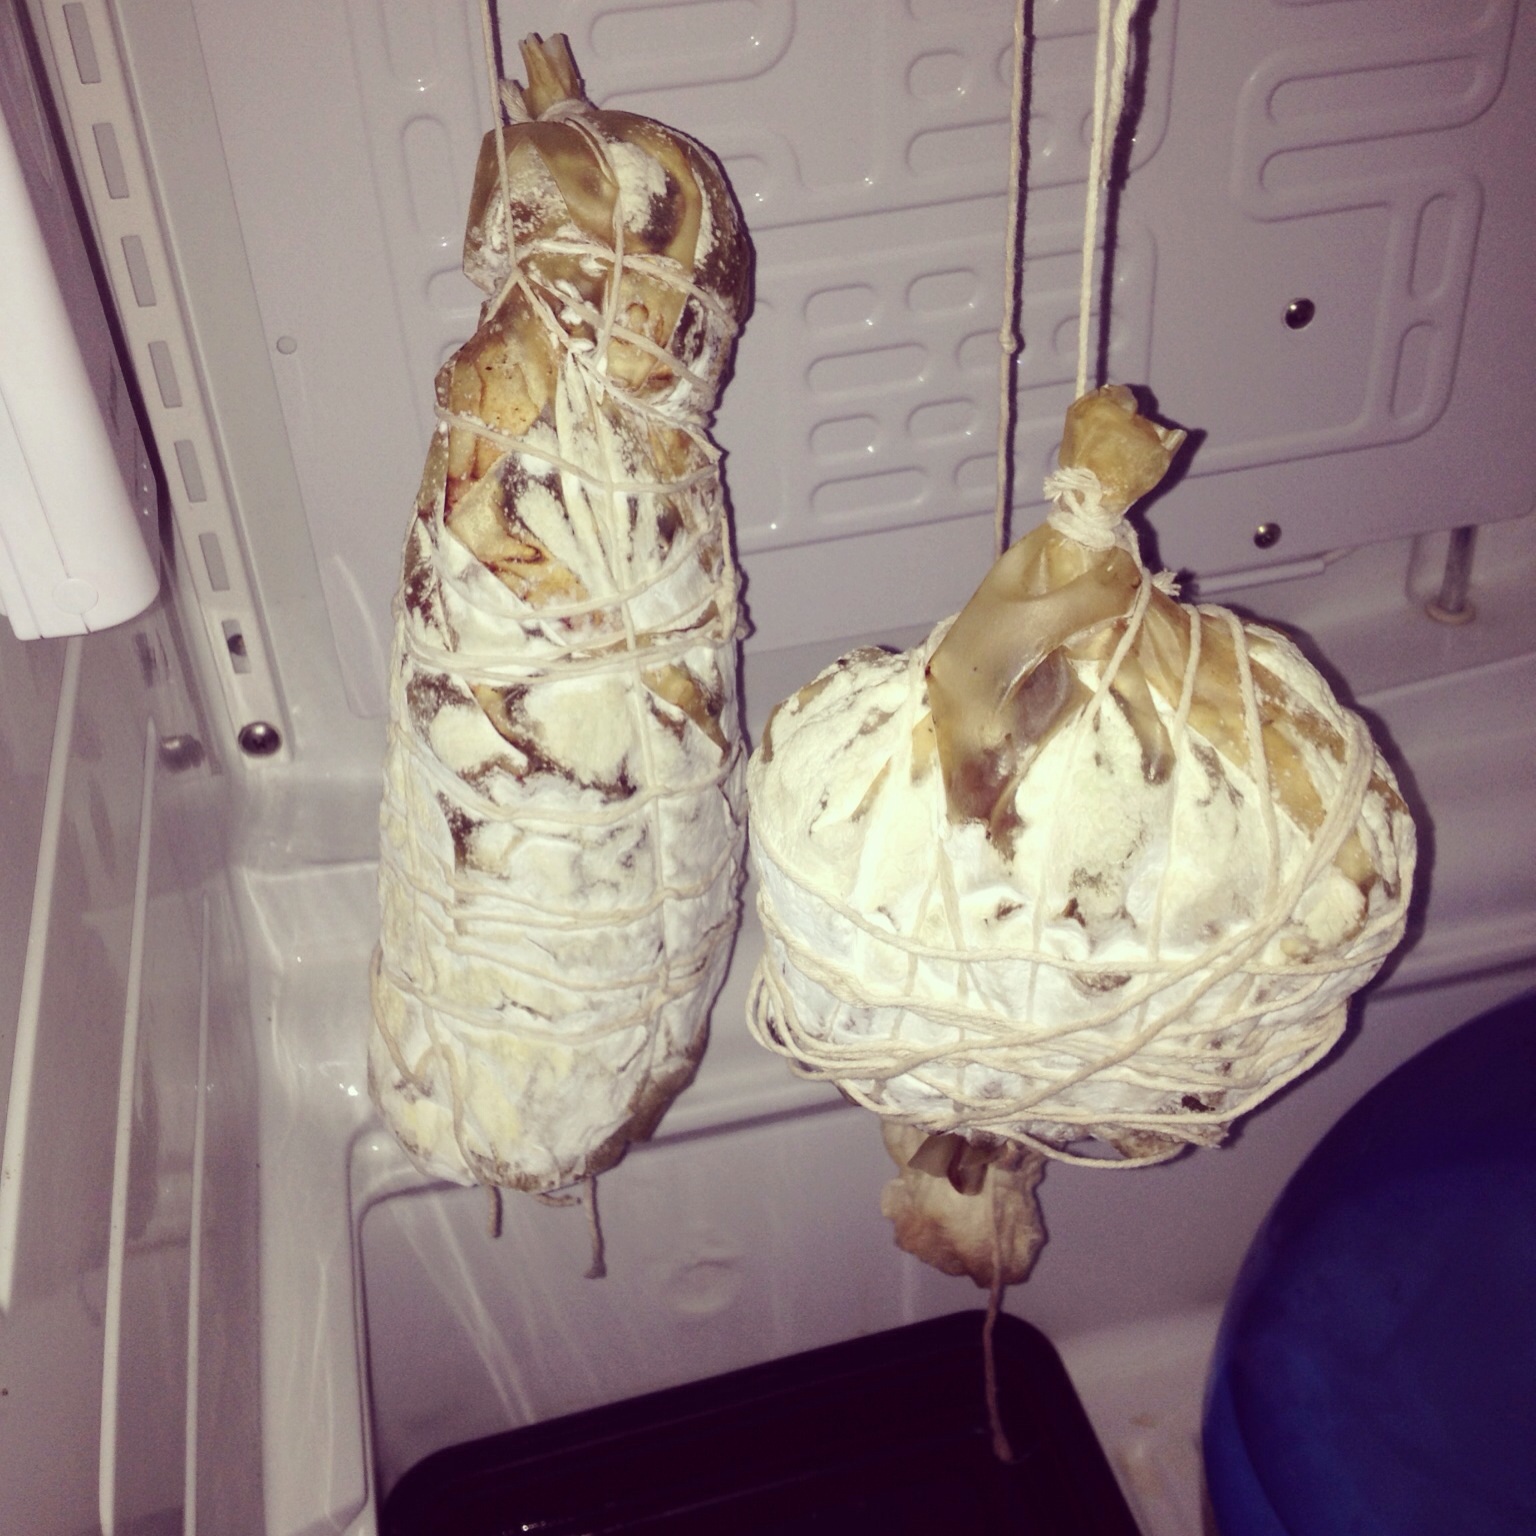
Drying (1 month+, until 30% of weight is lost):
Temperature: 54F/12C, Humidity: 70-80% RH
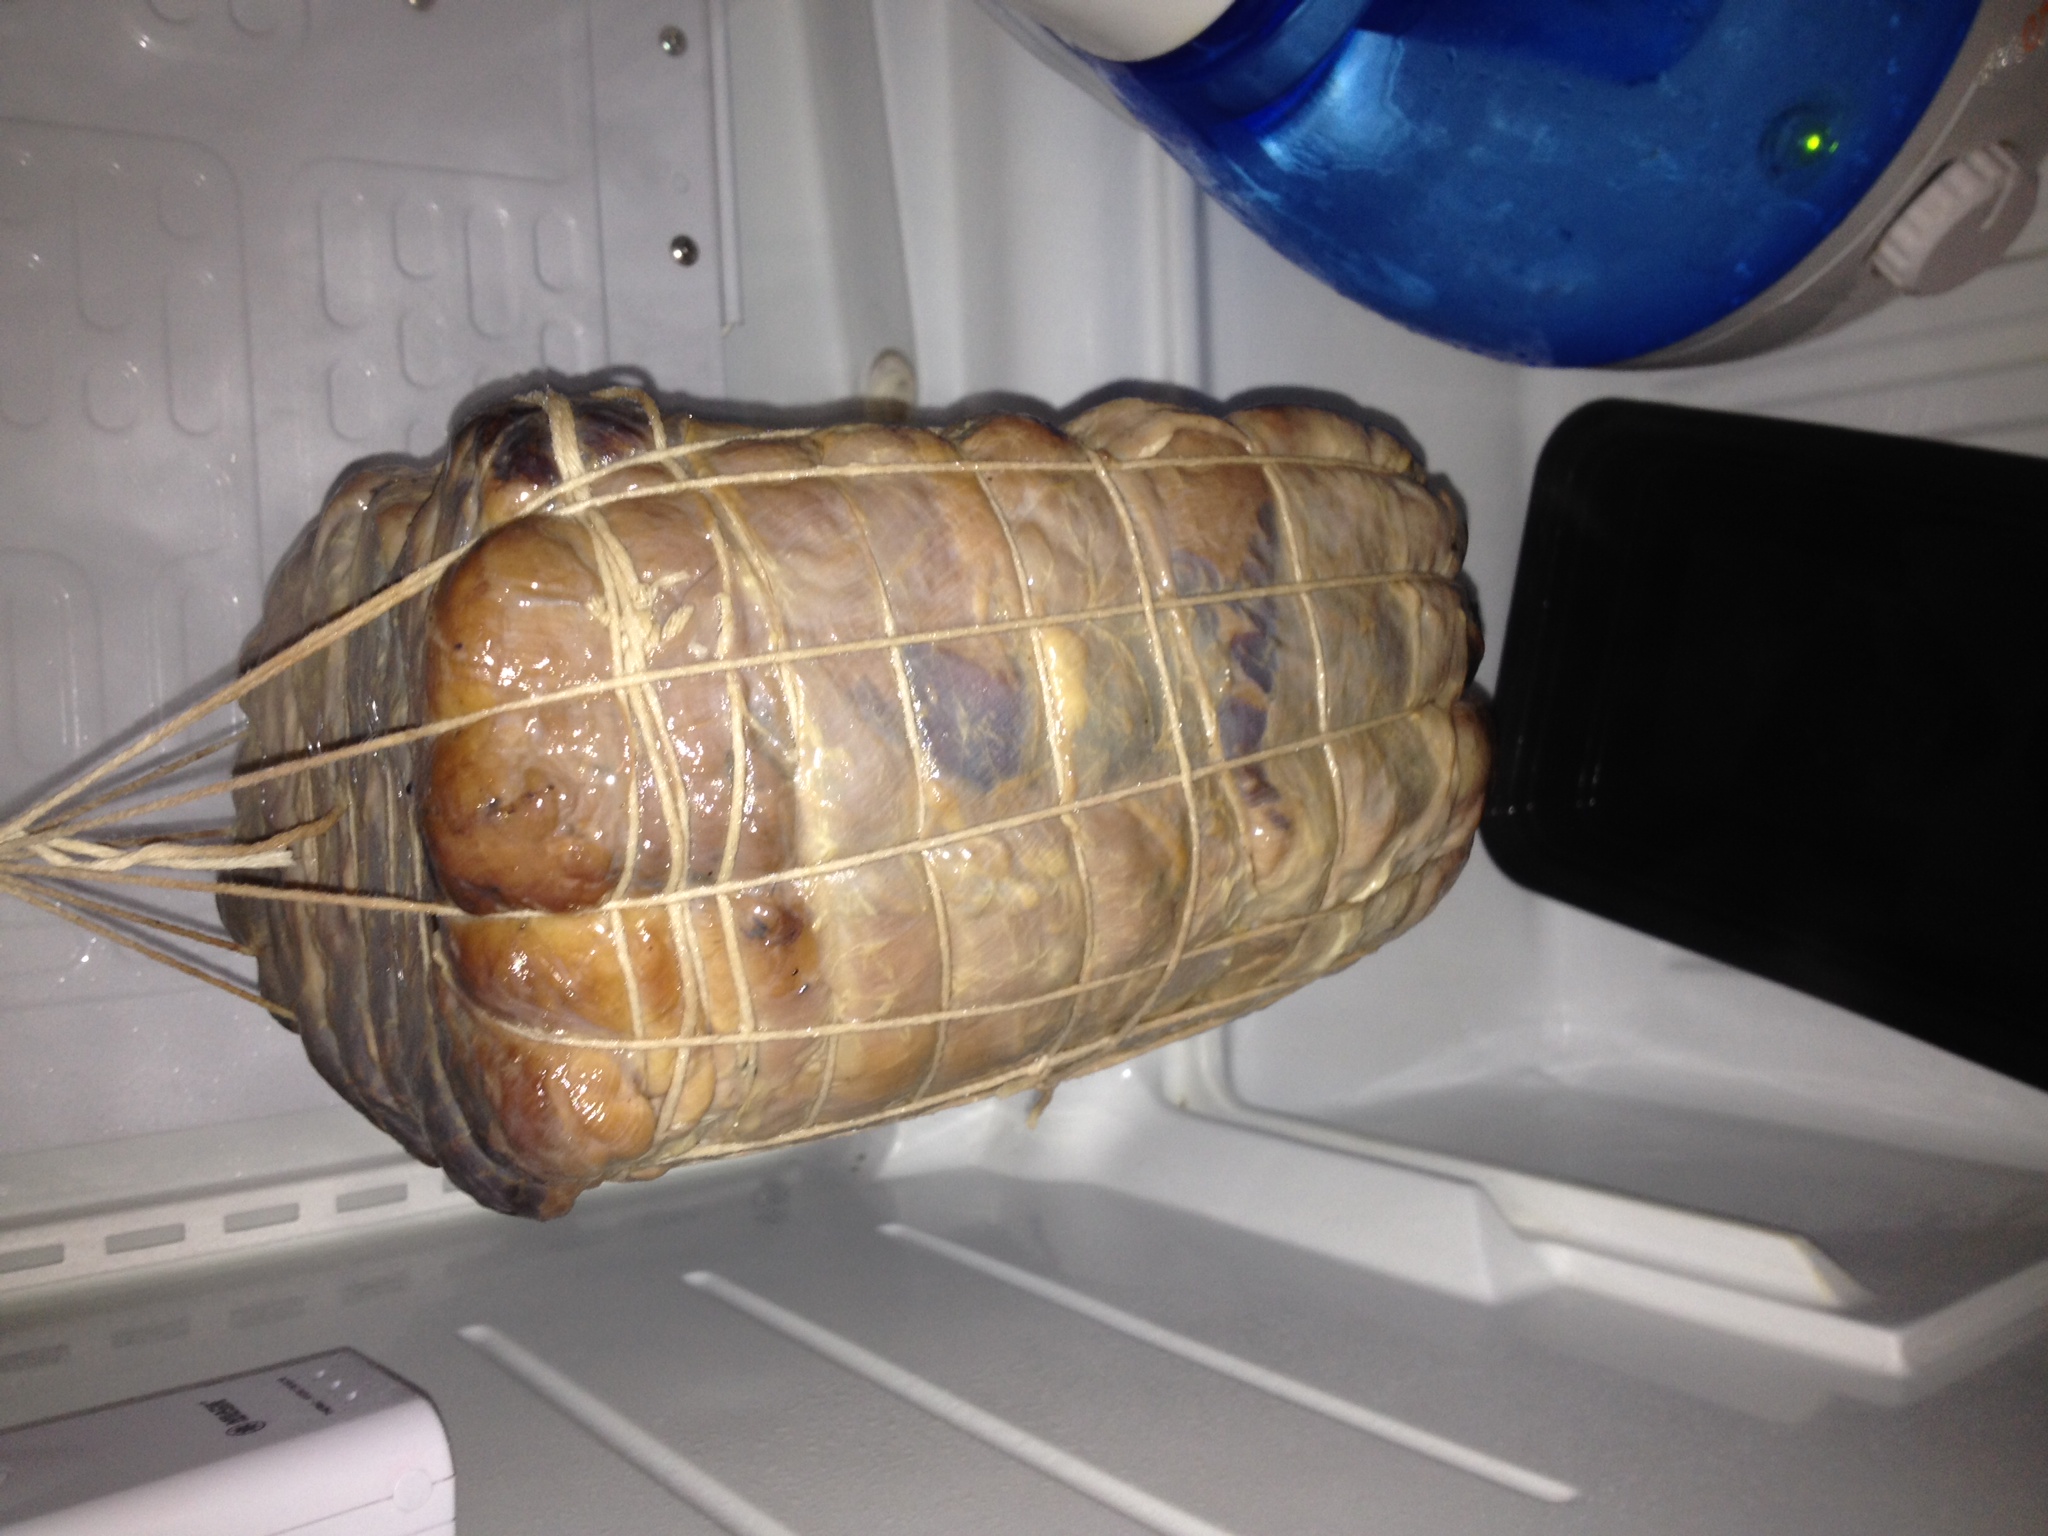
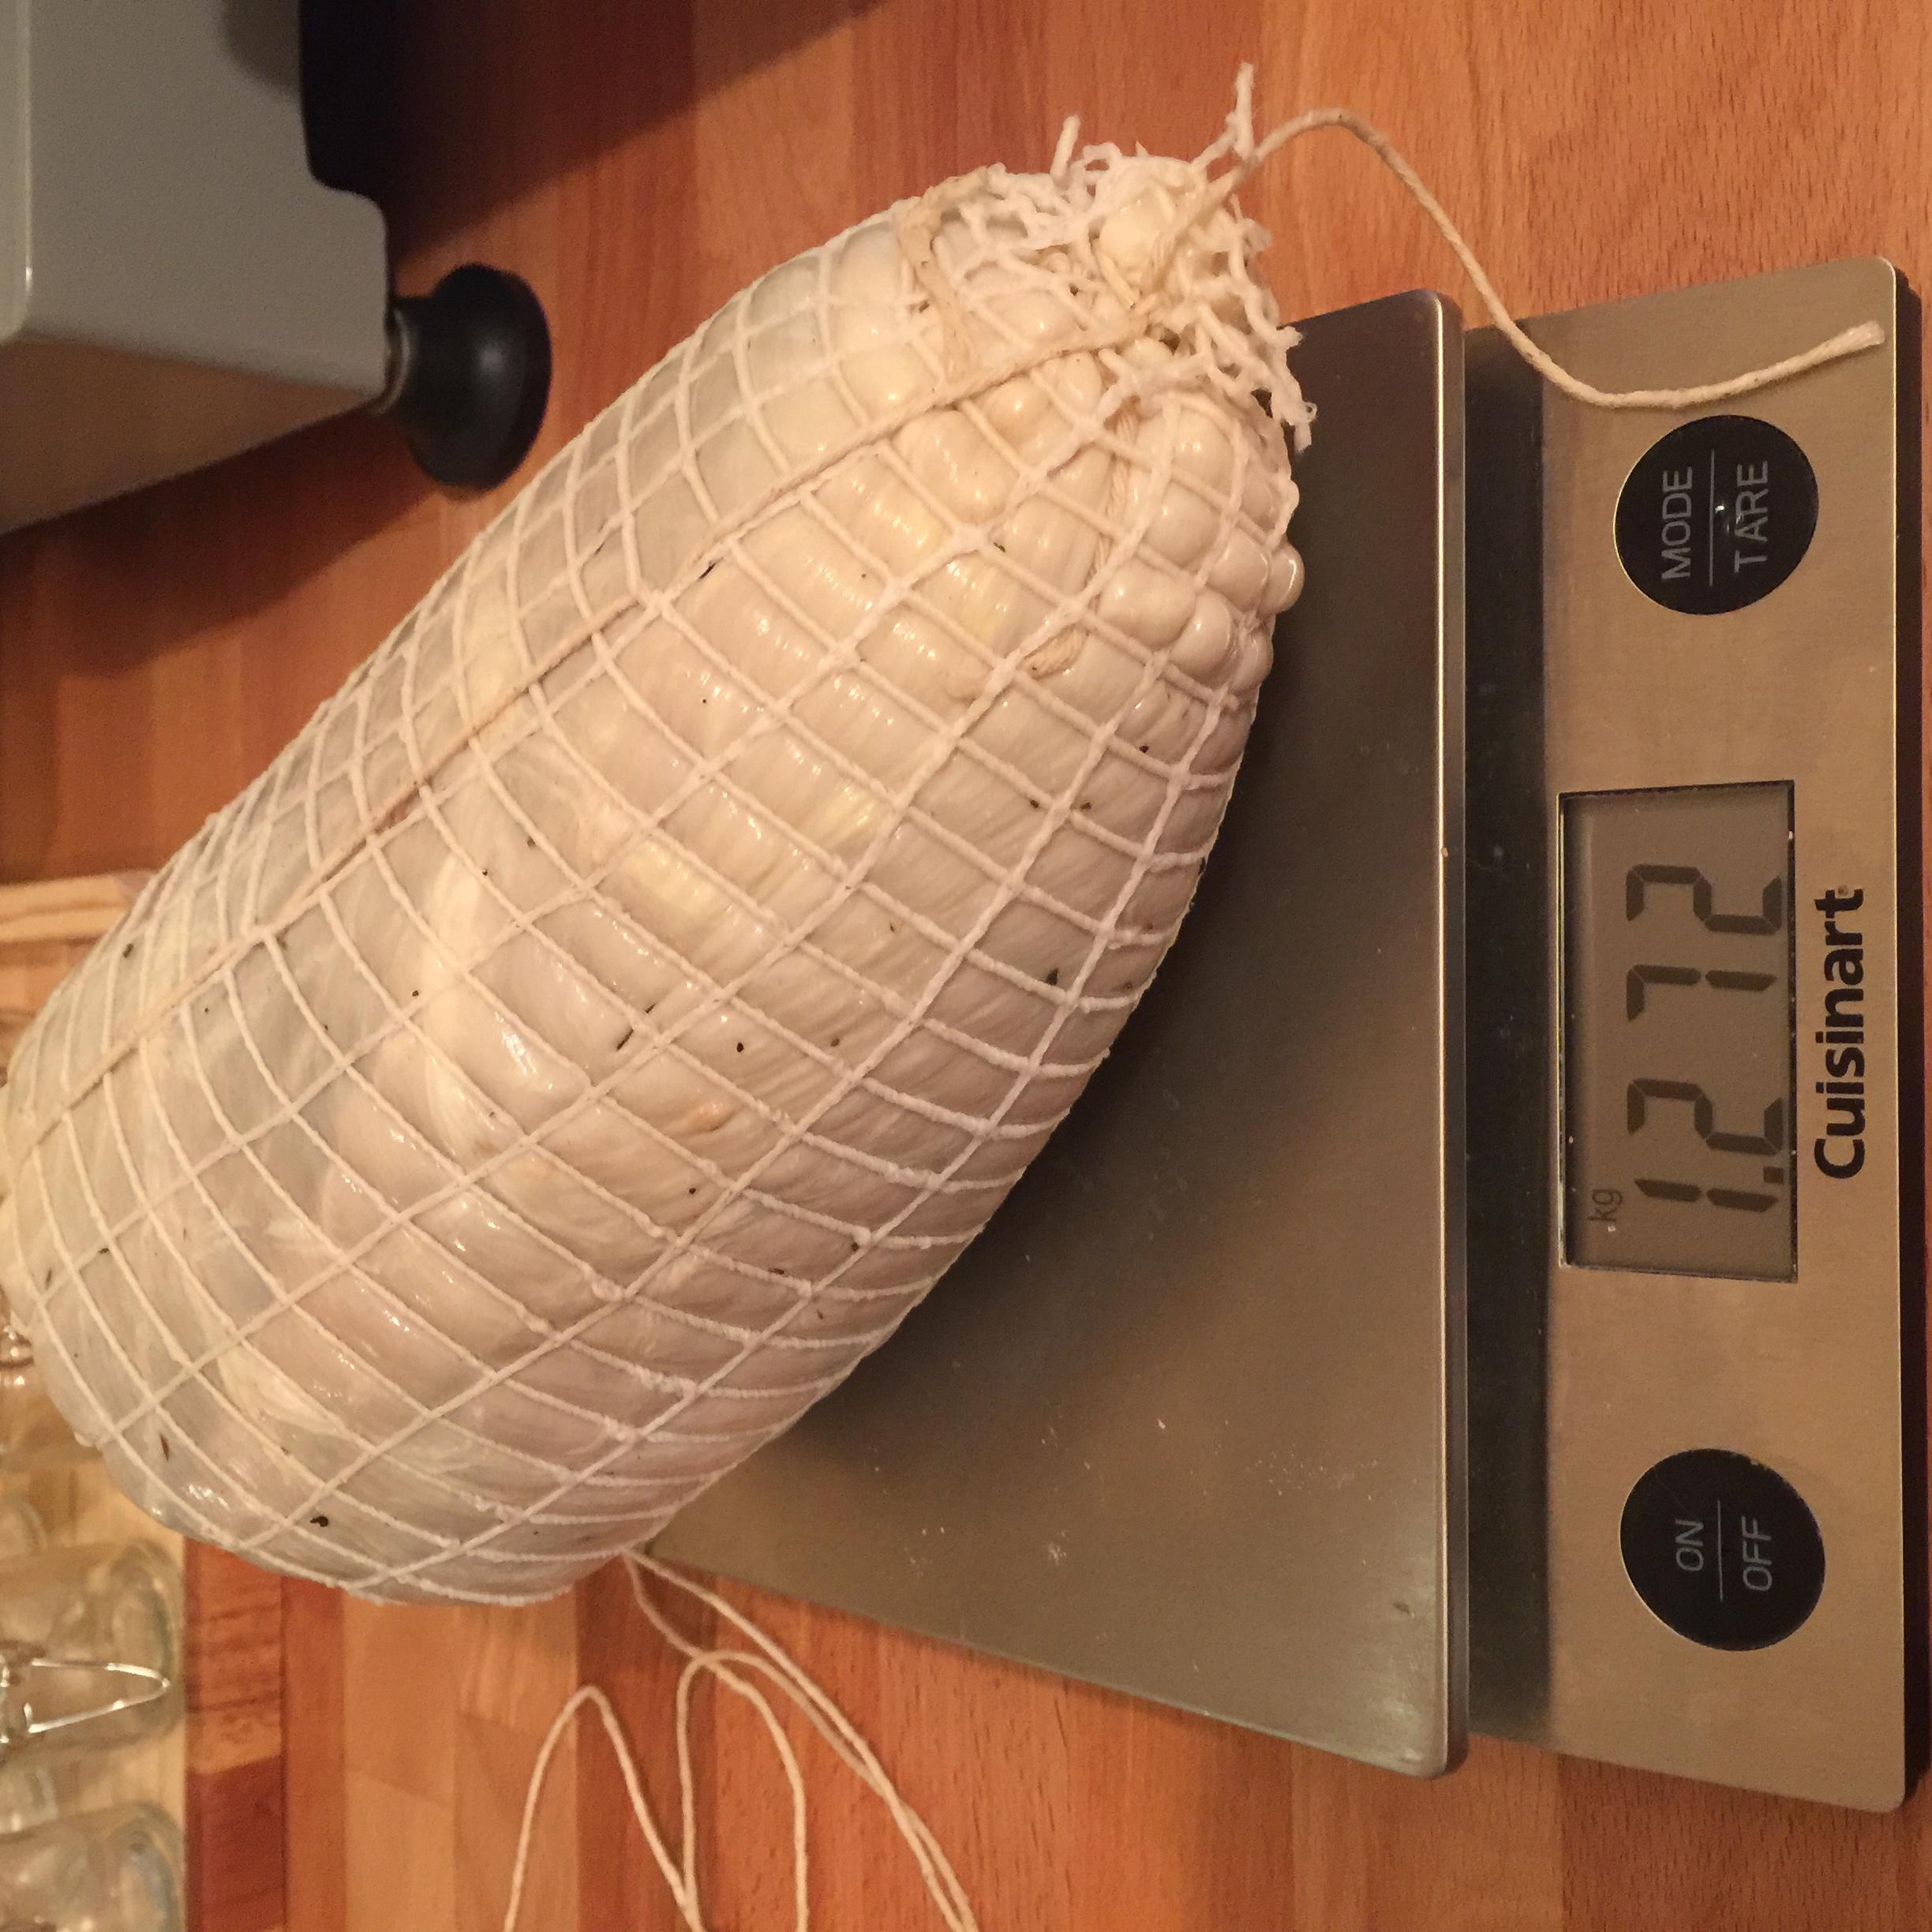
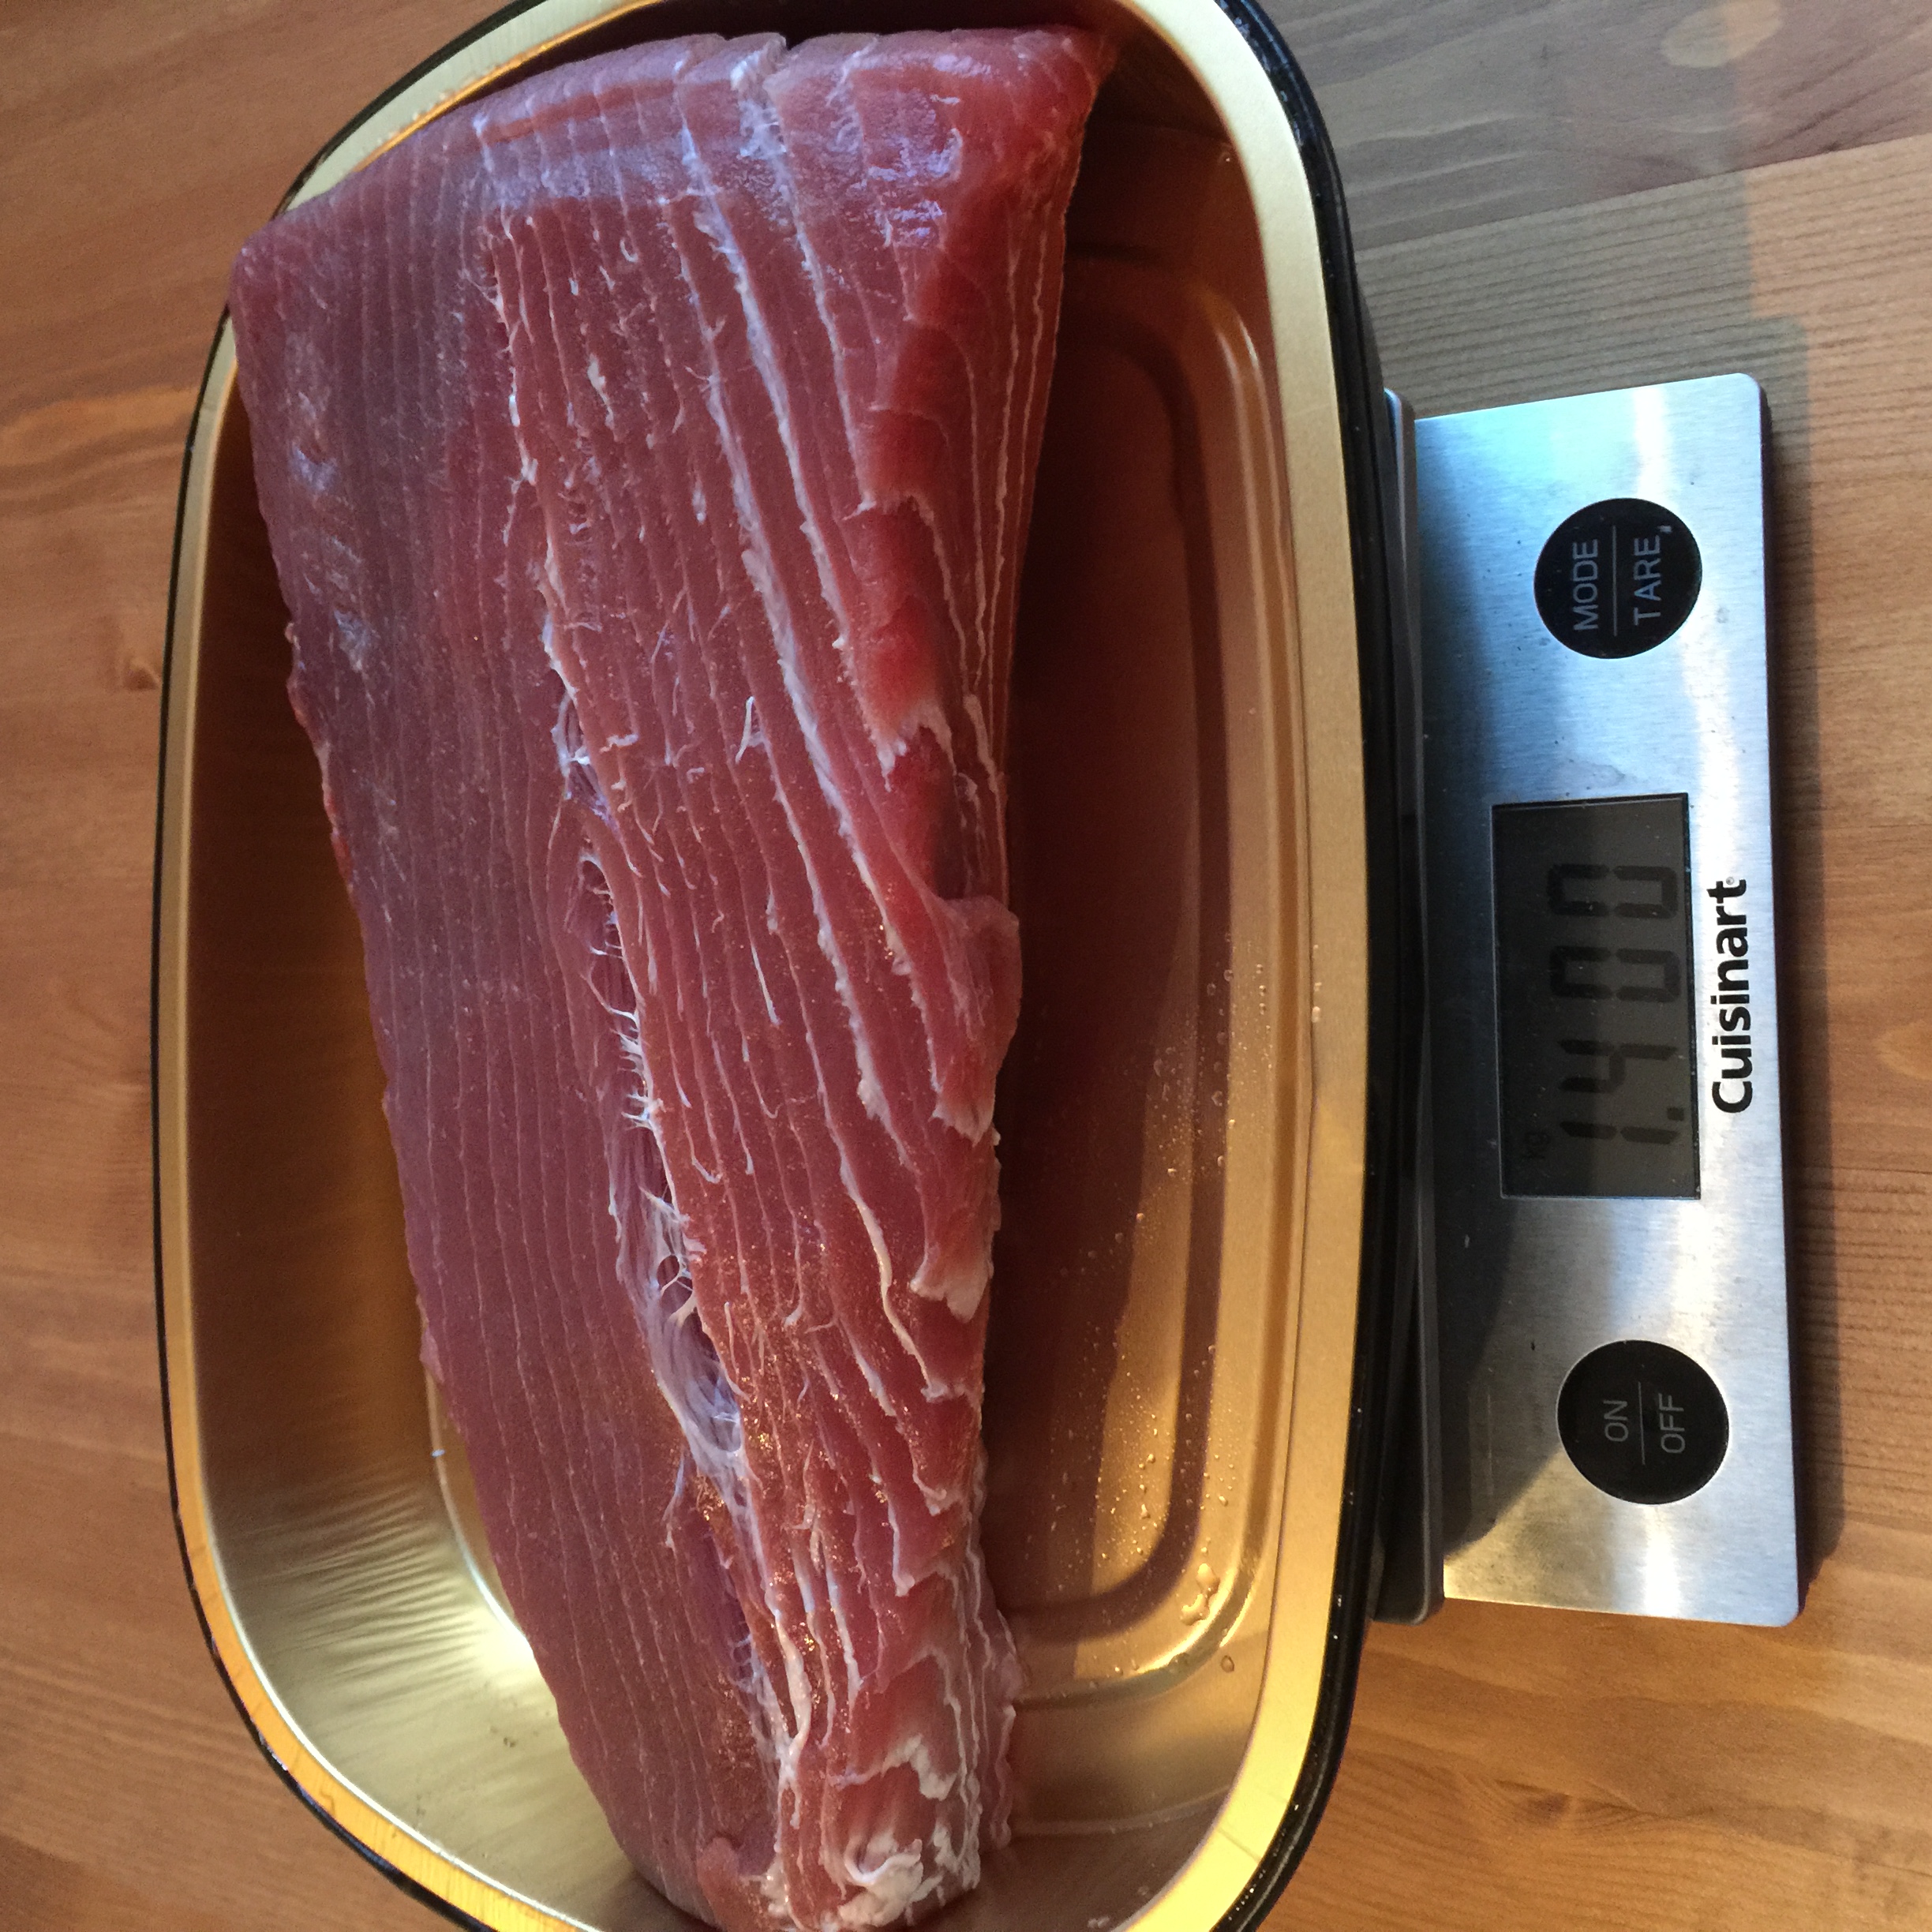
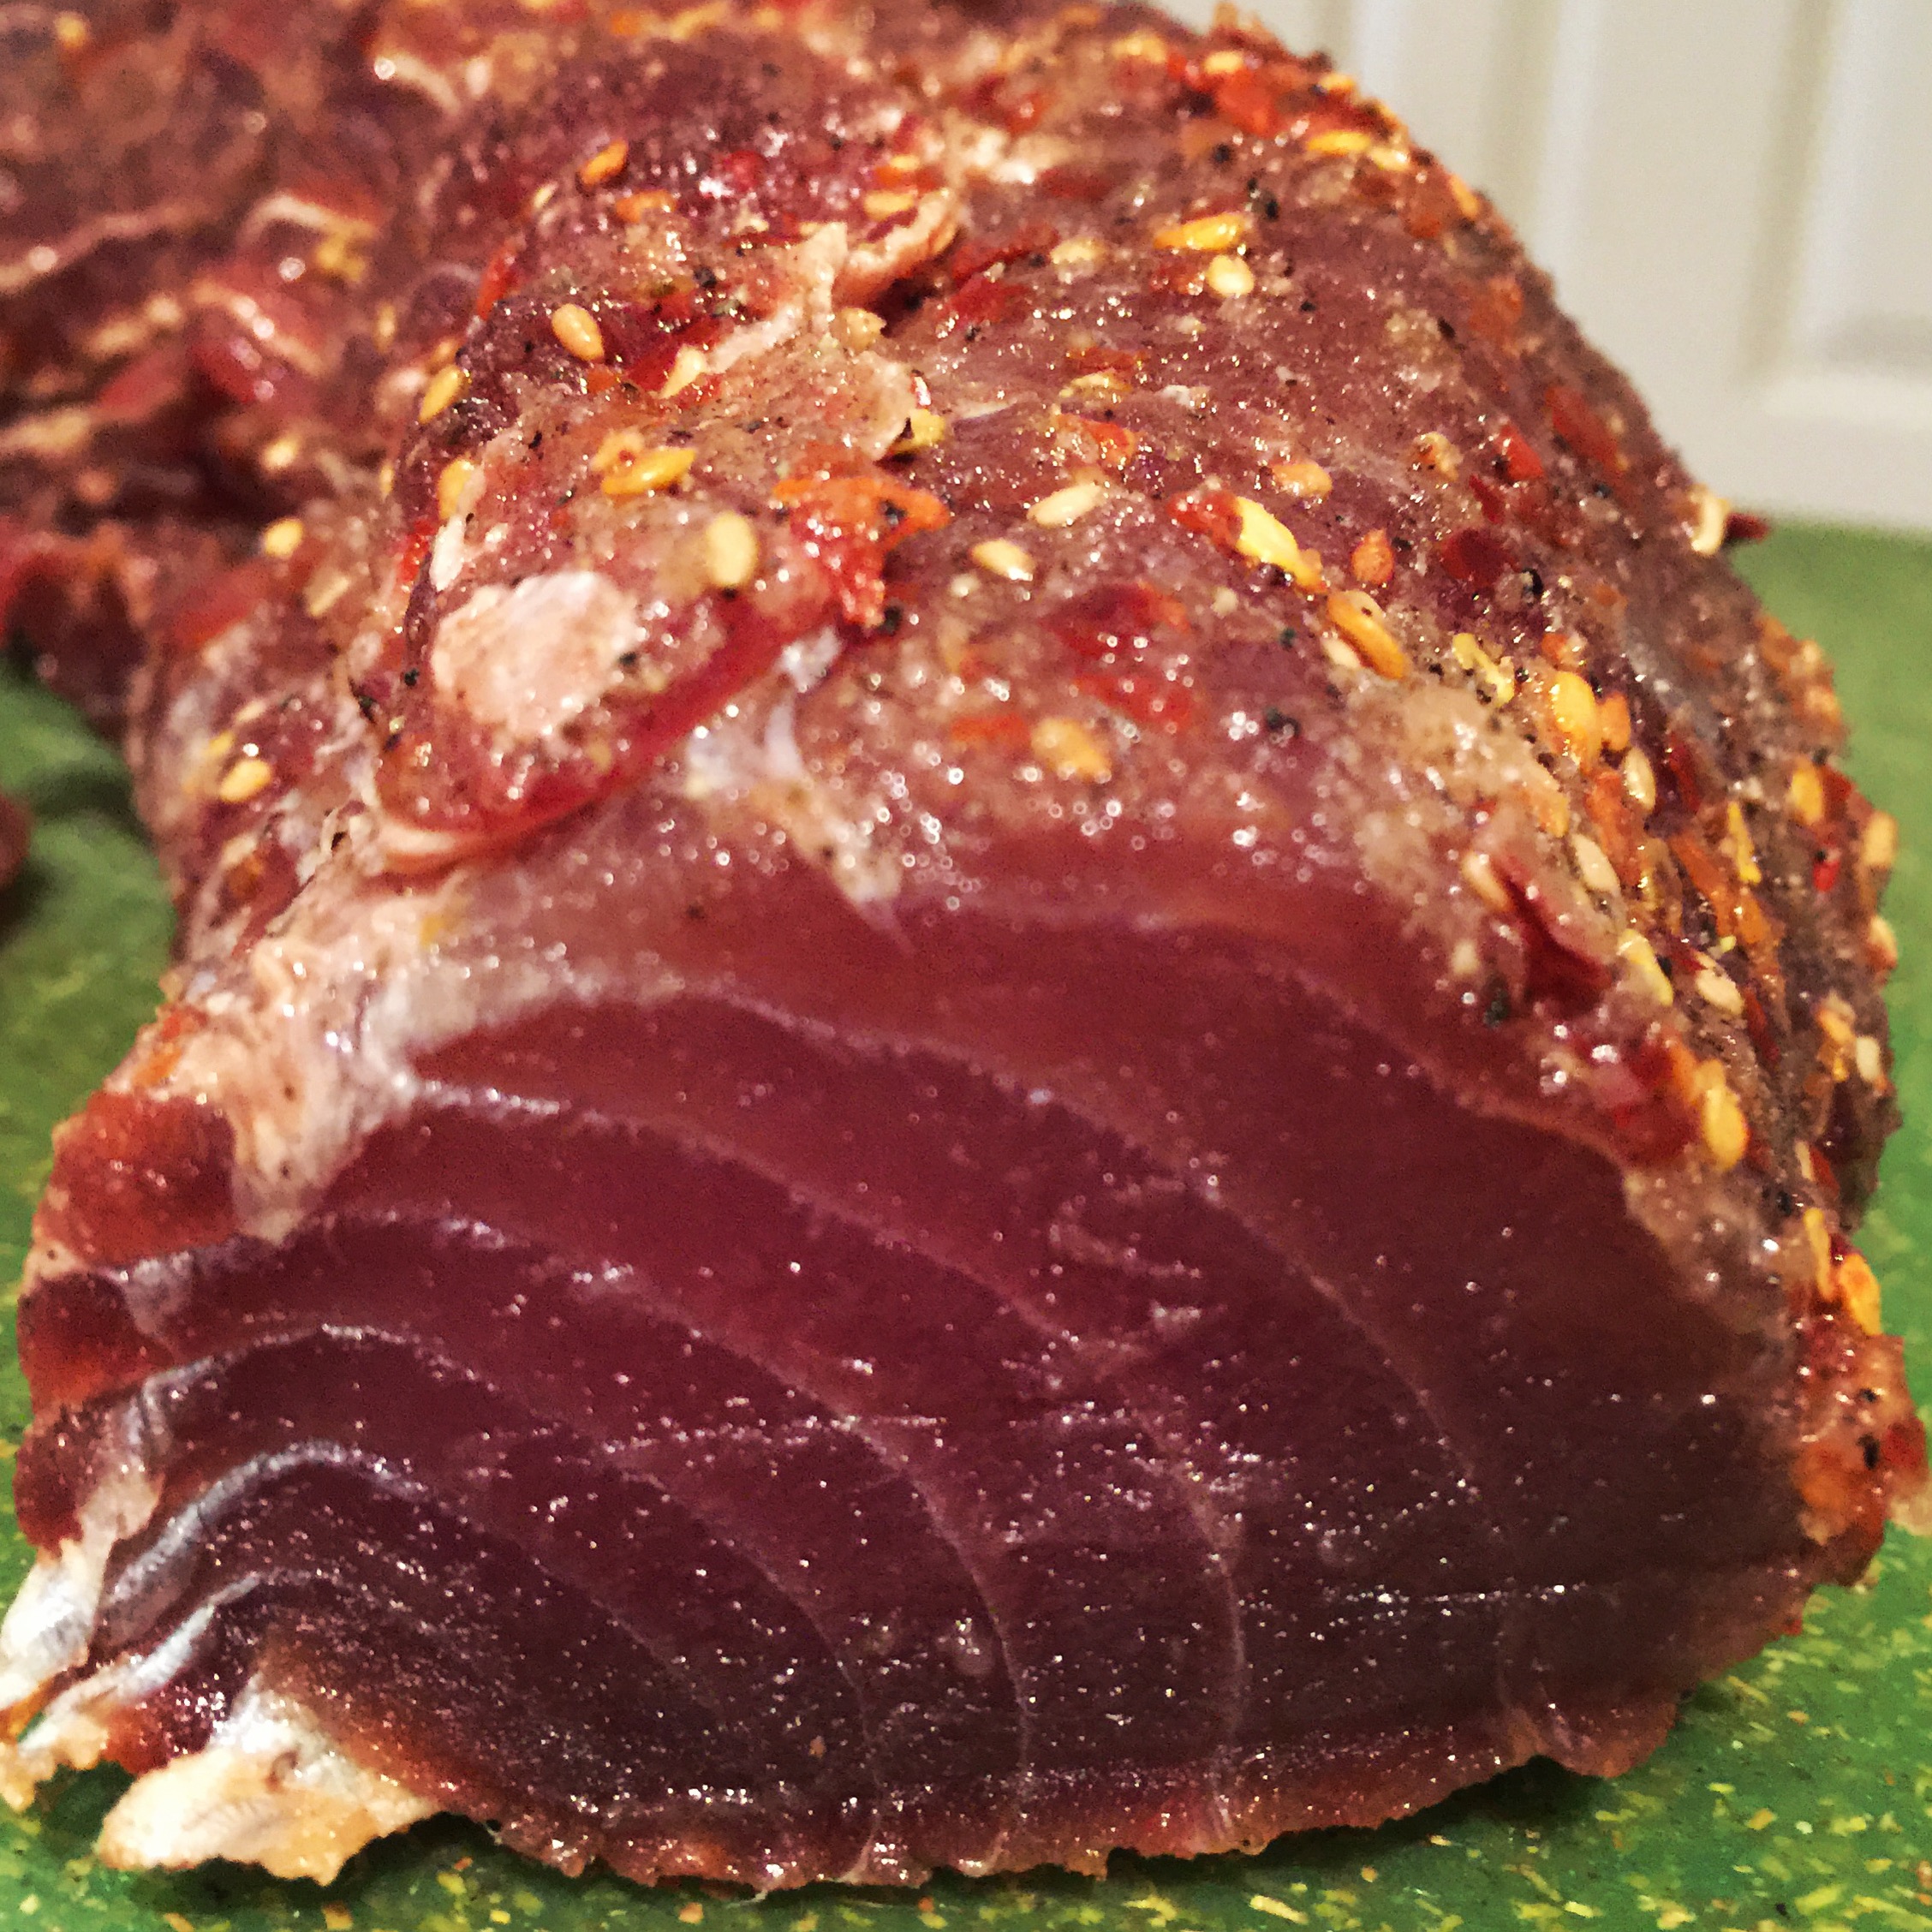
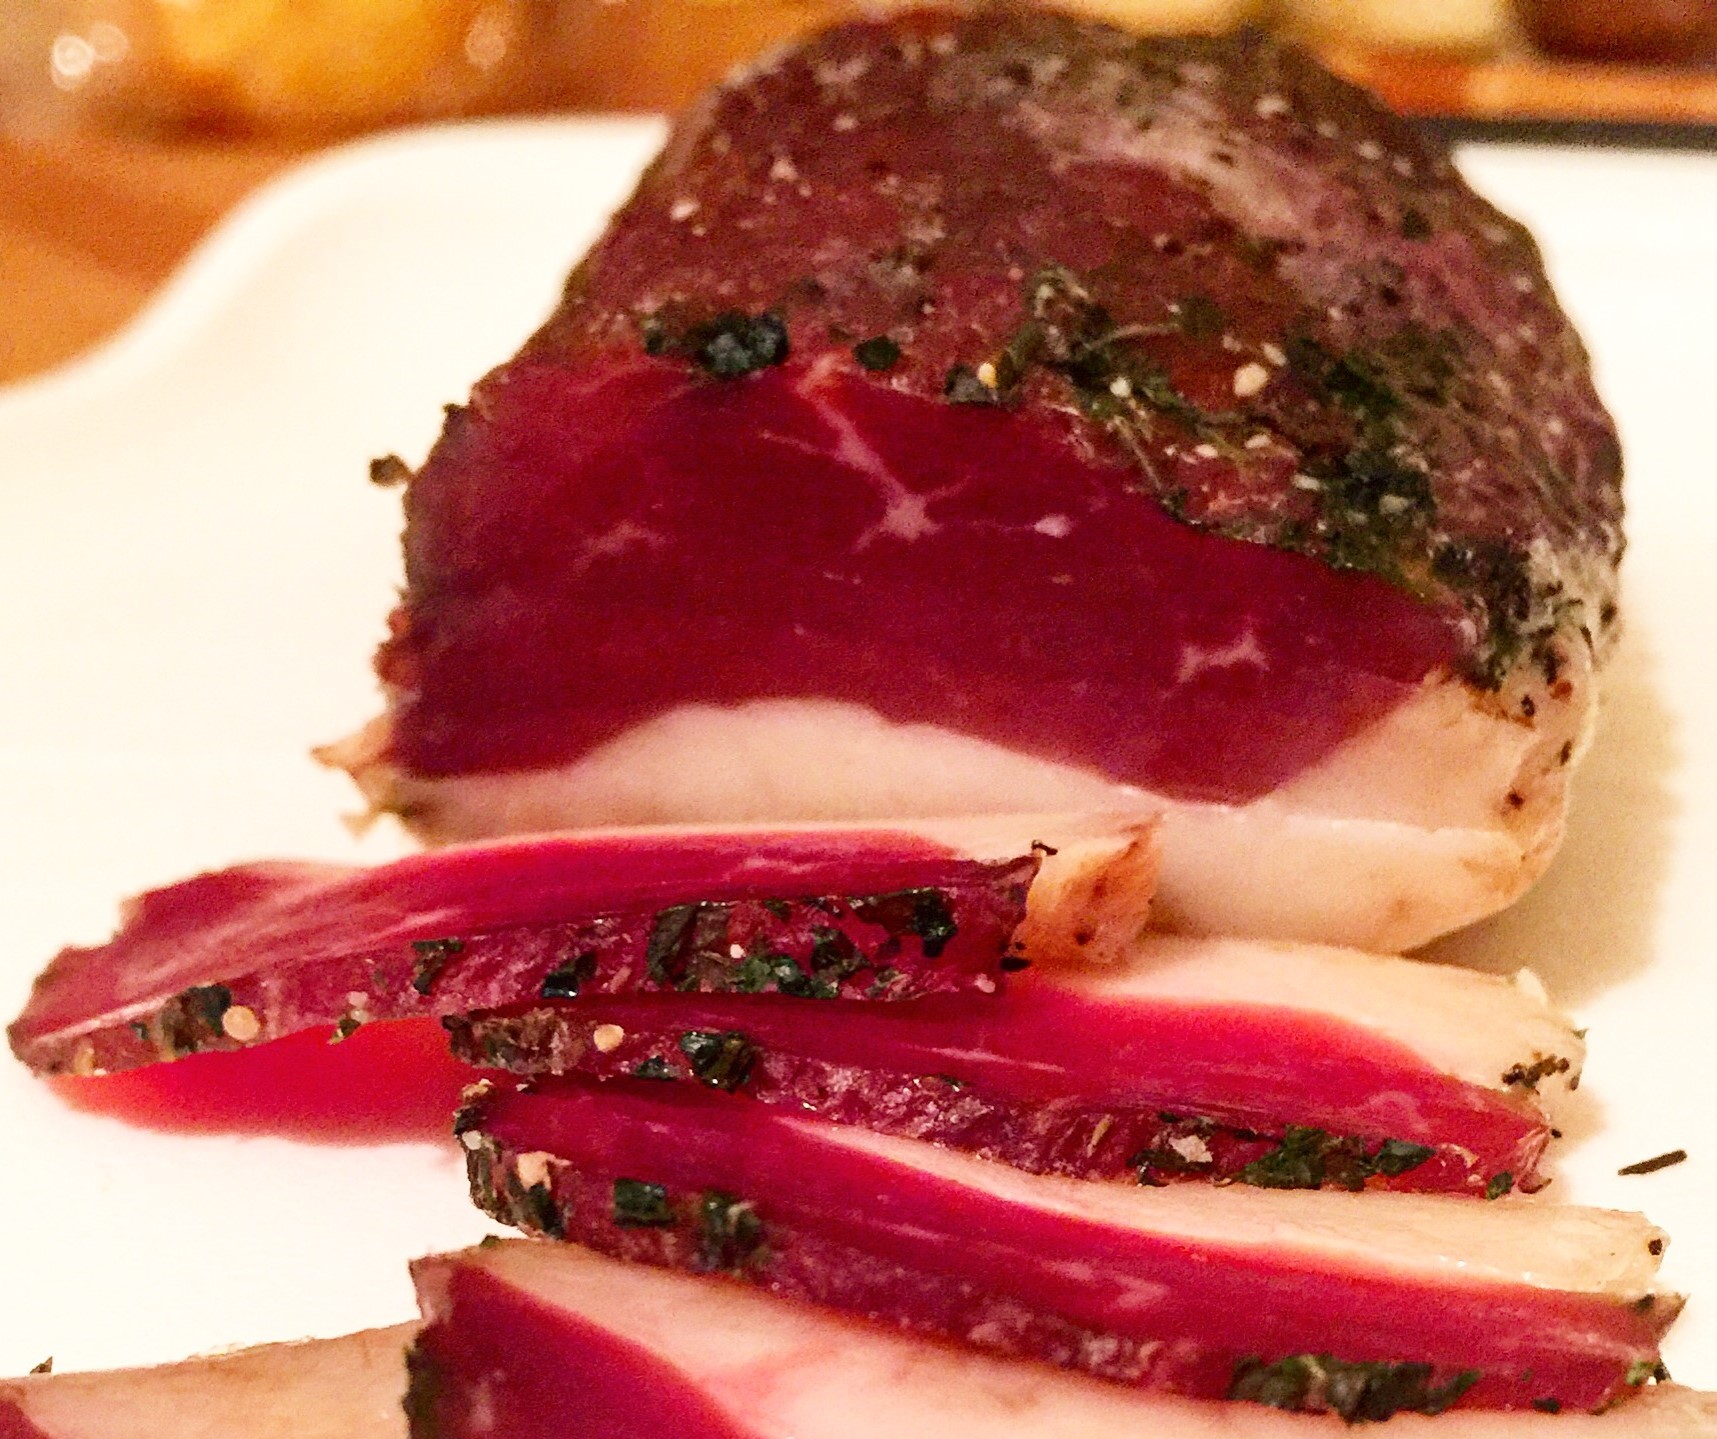
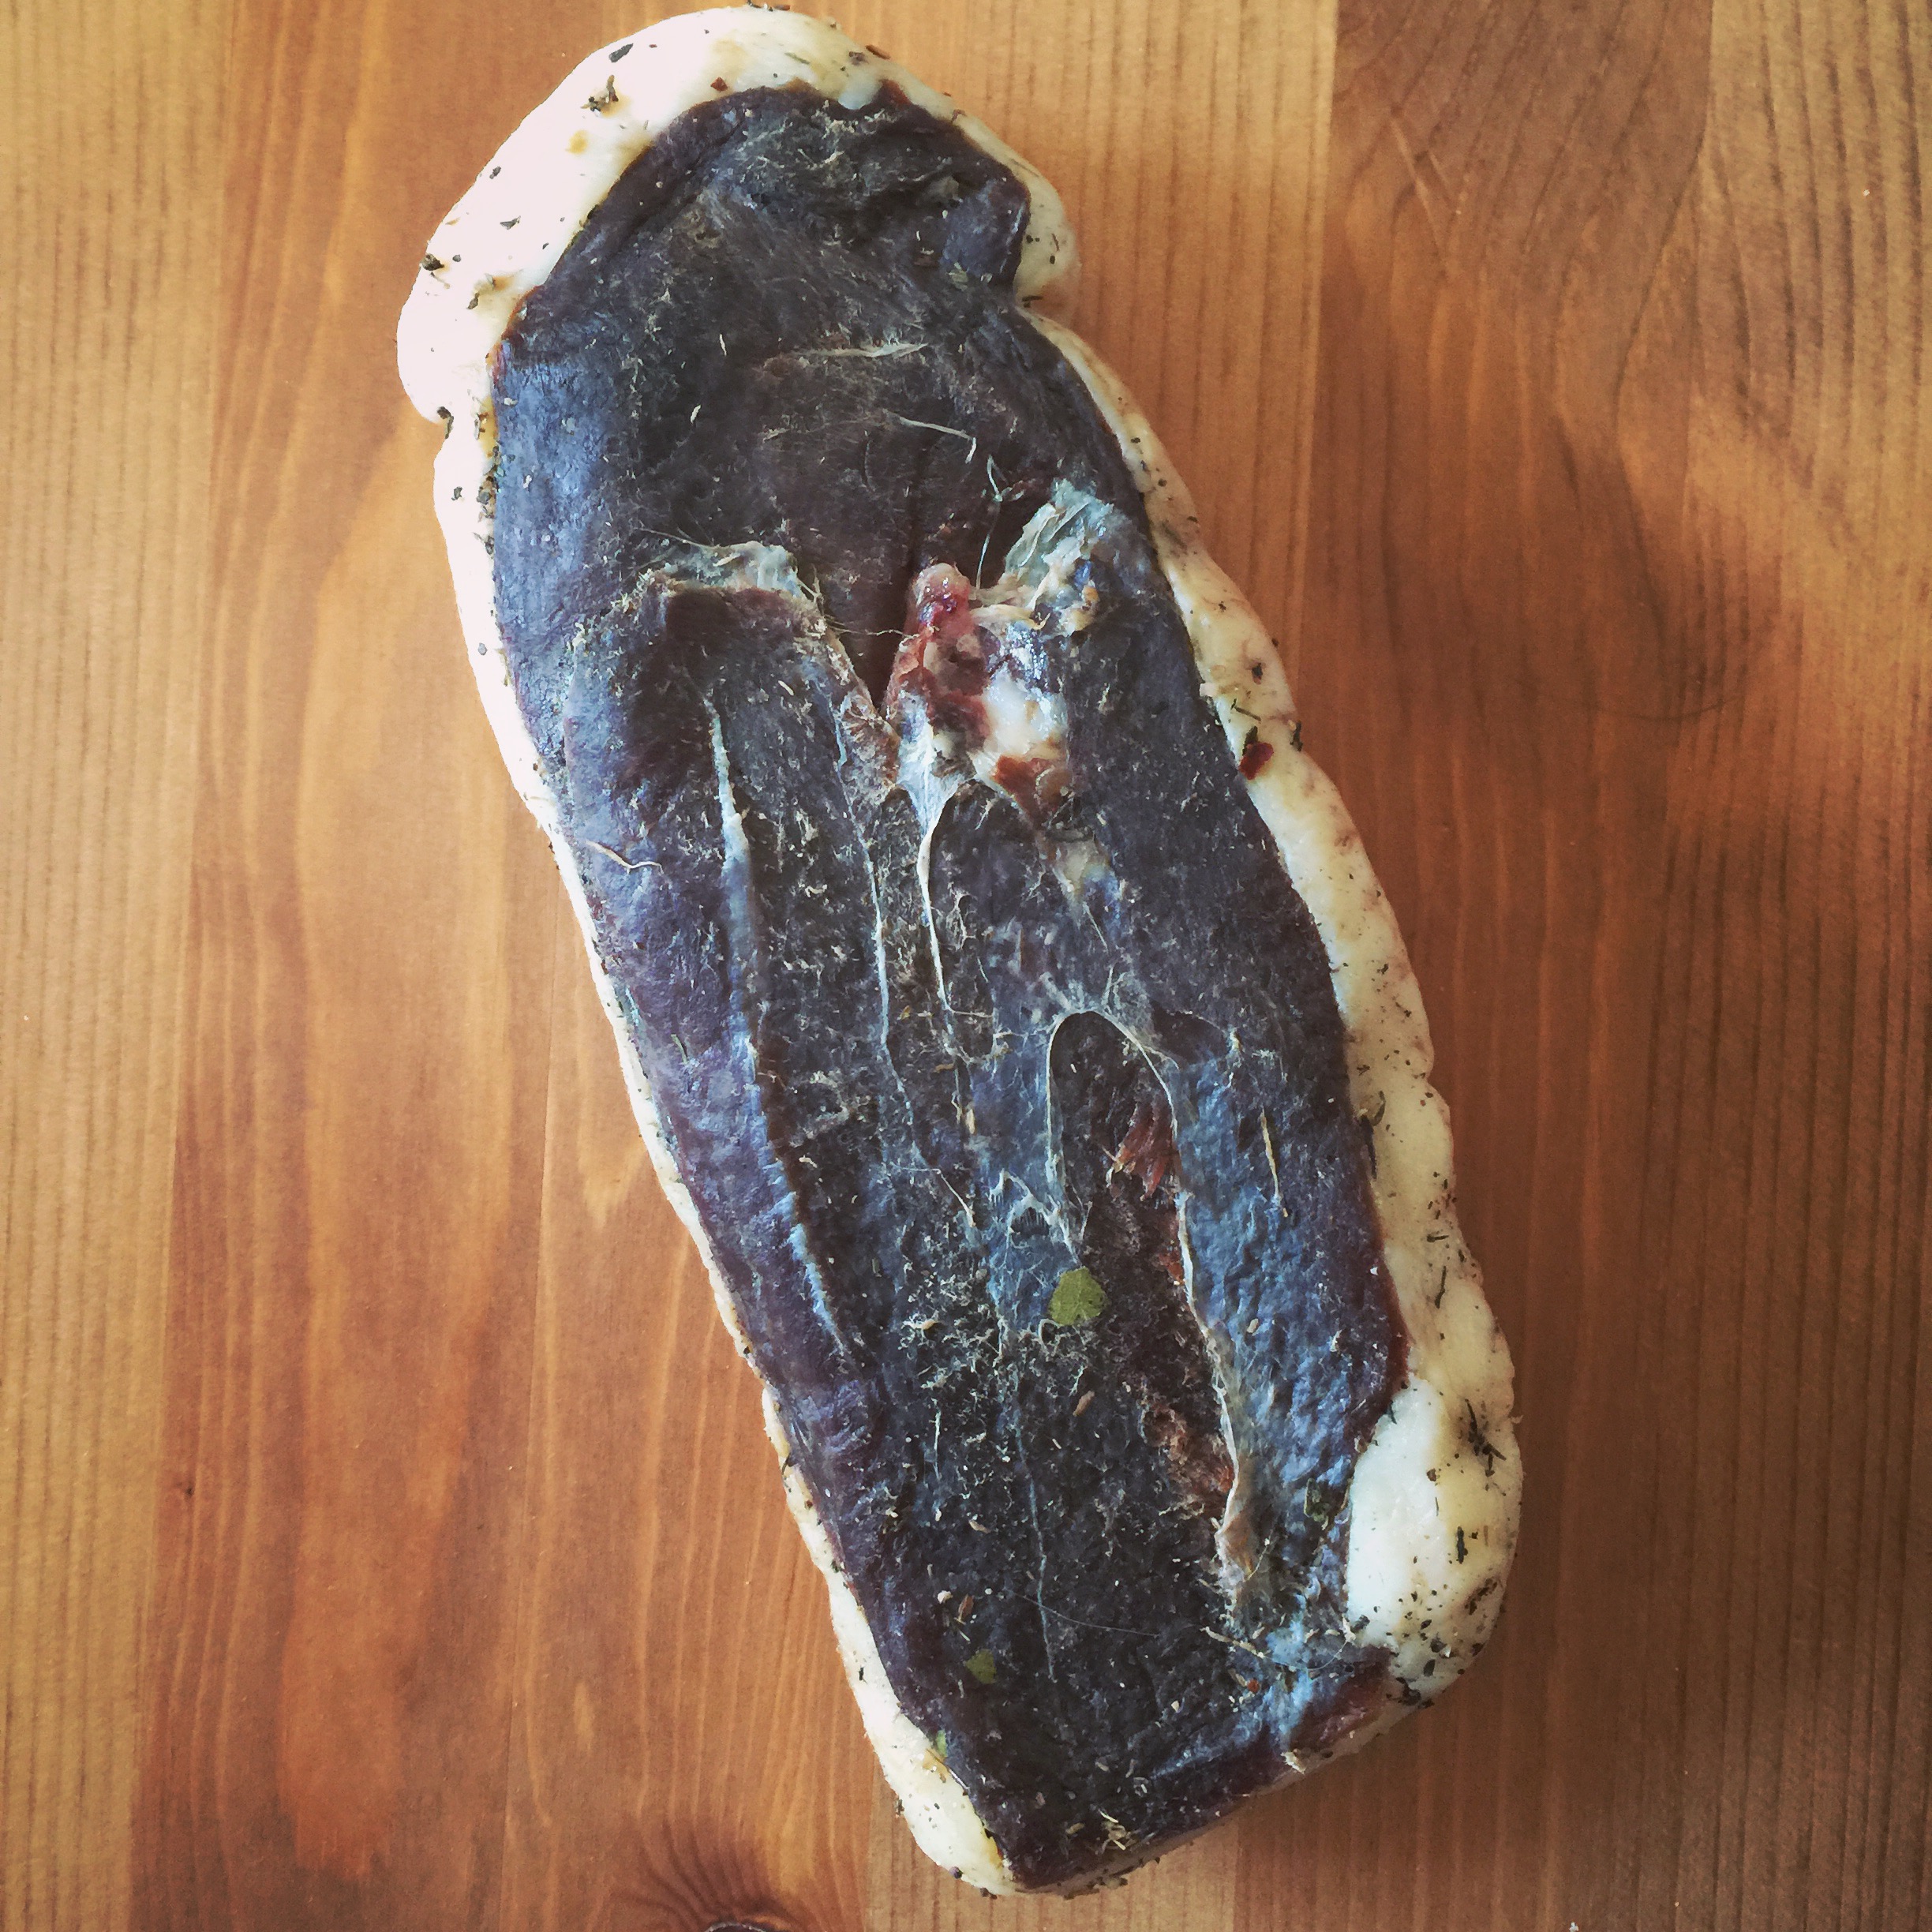
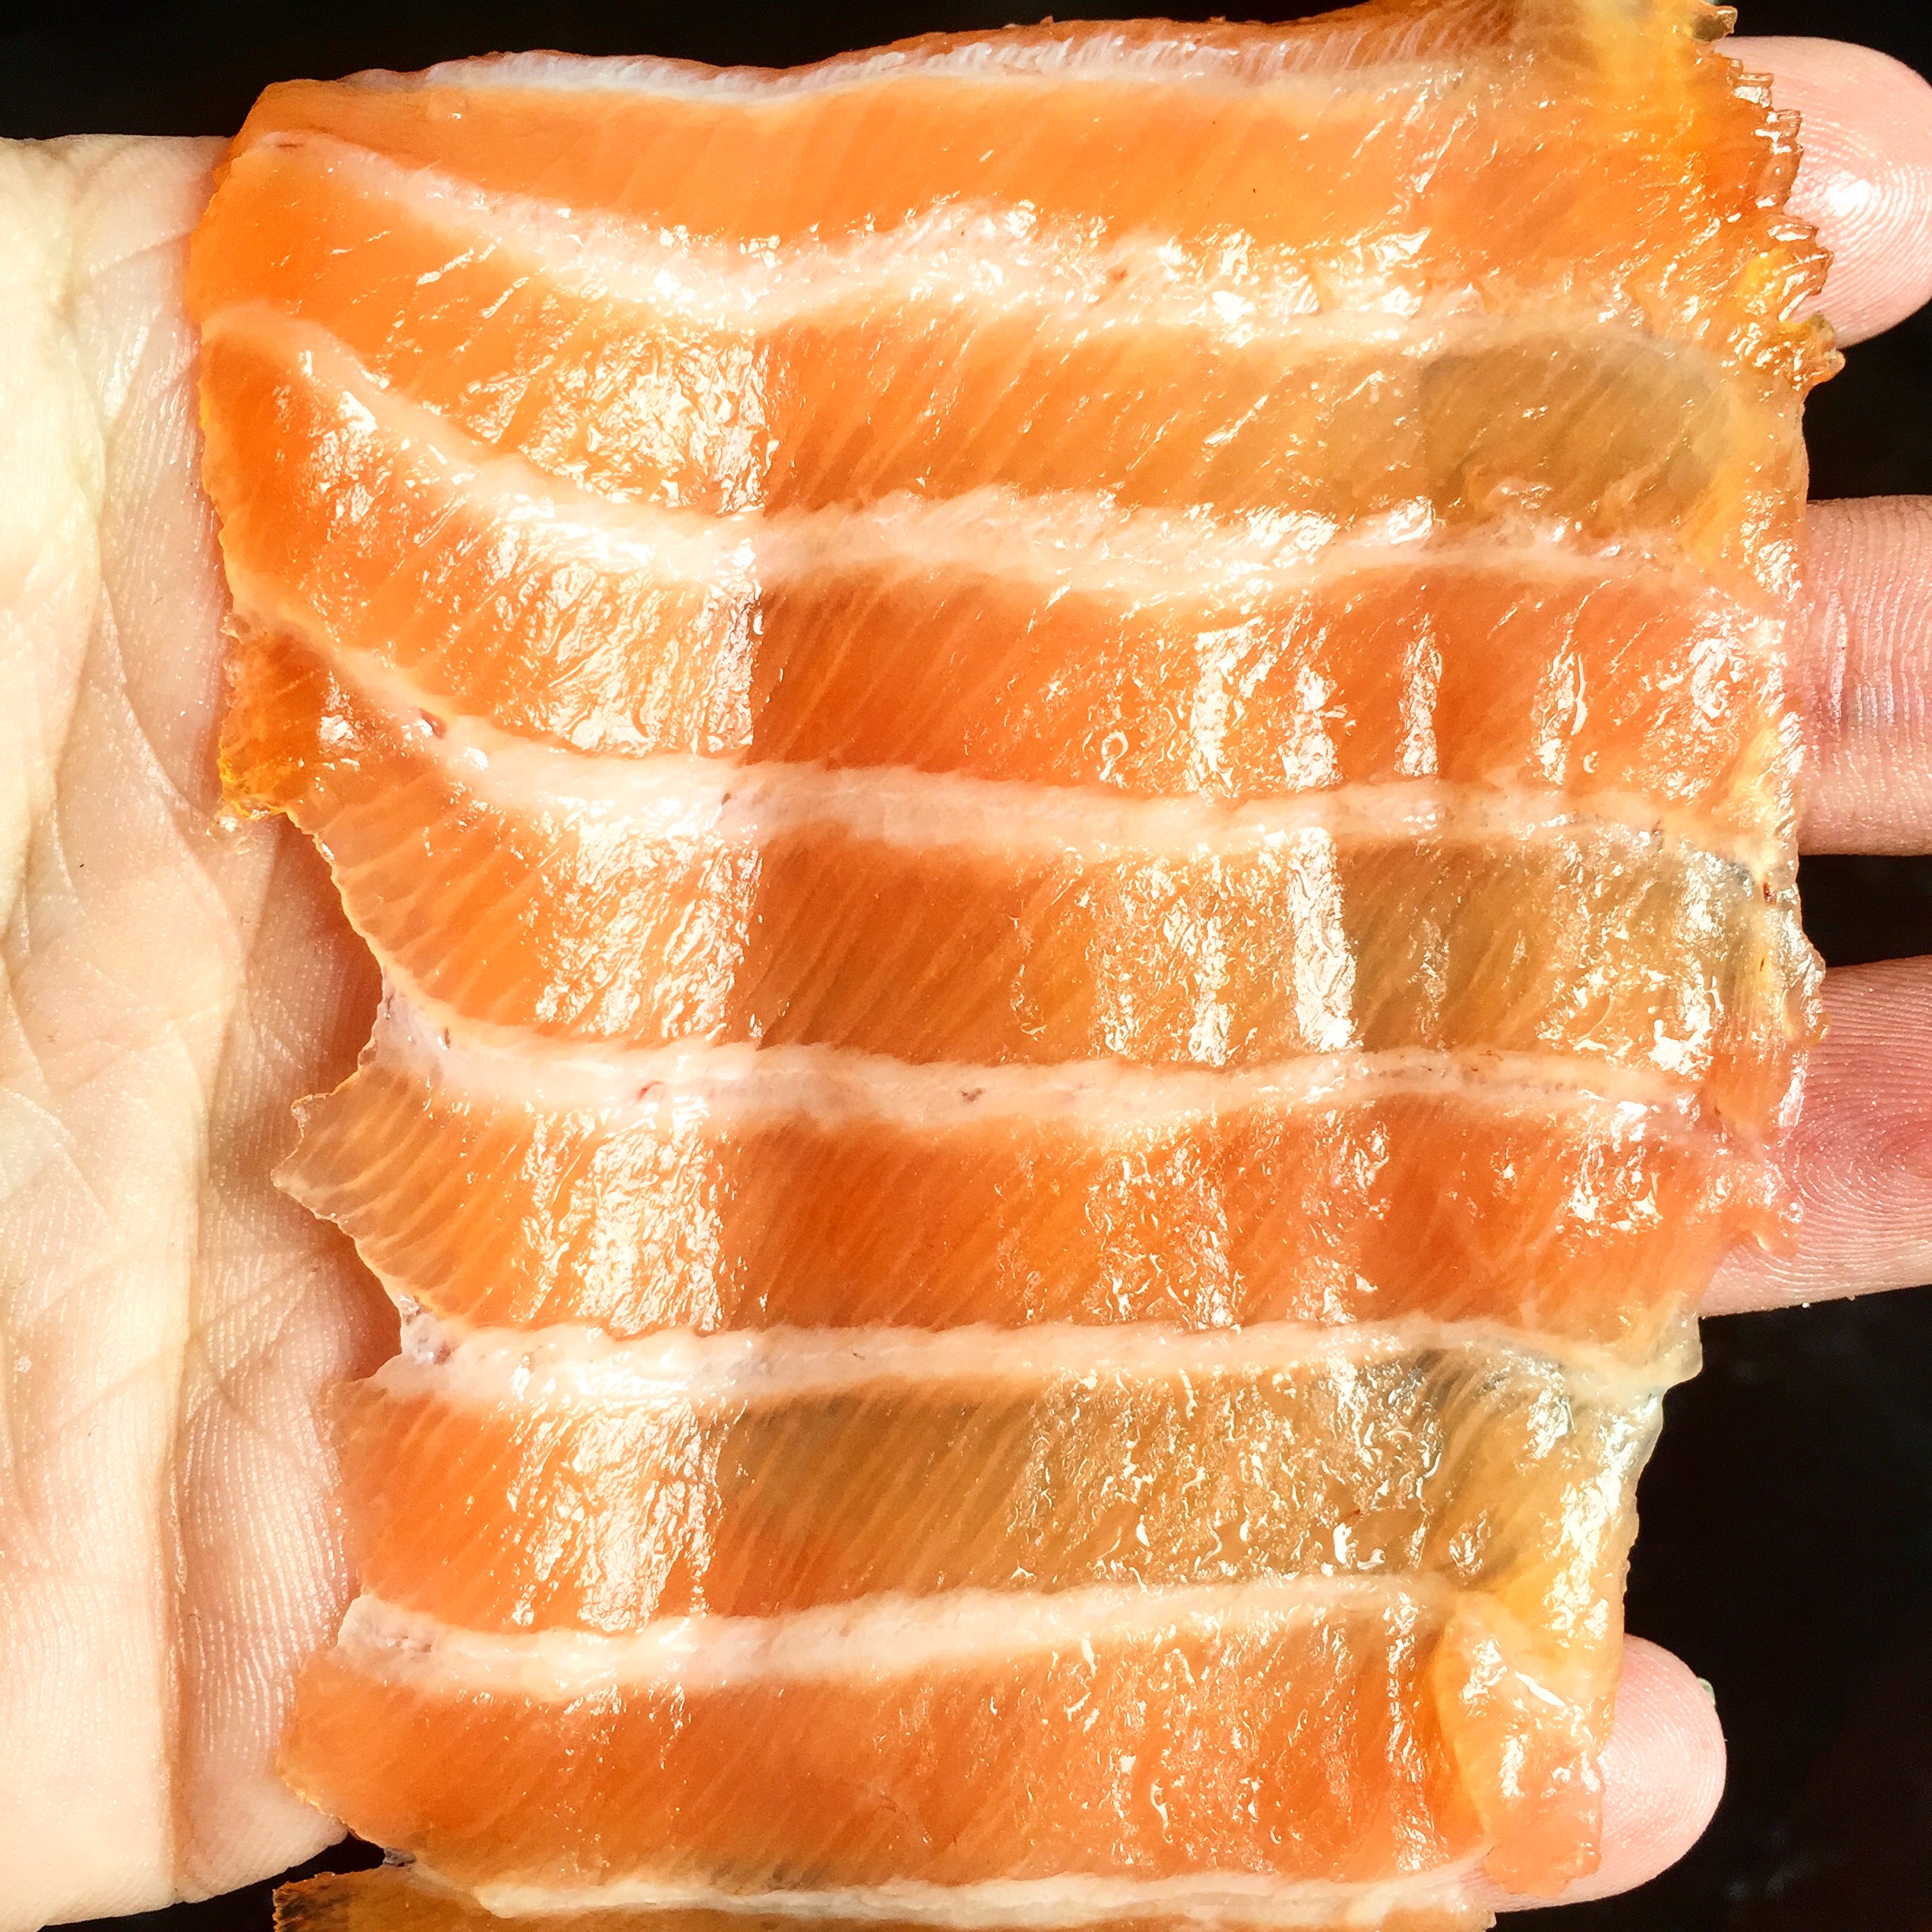
After casing, the ribeye bresaola was put directly into the curing chamber. This one took a little bit longer, which was expected due to its large size and higher fat content. Fat doesn’t lose water weight like muscle meat does, so products with higher fat content tend to lose less weight.
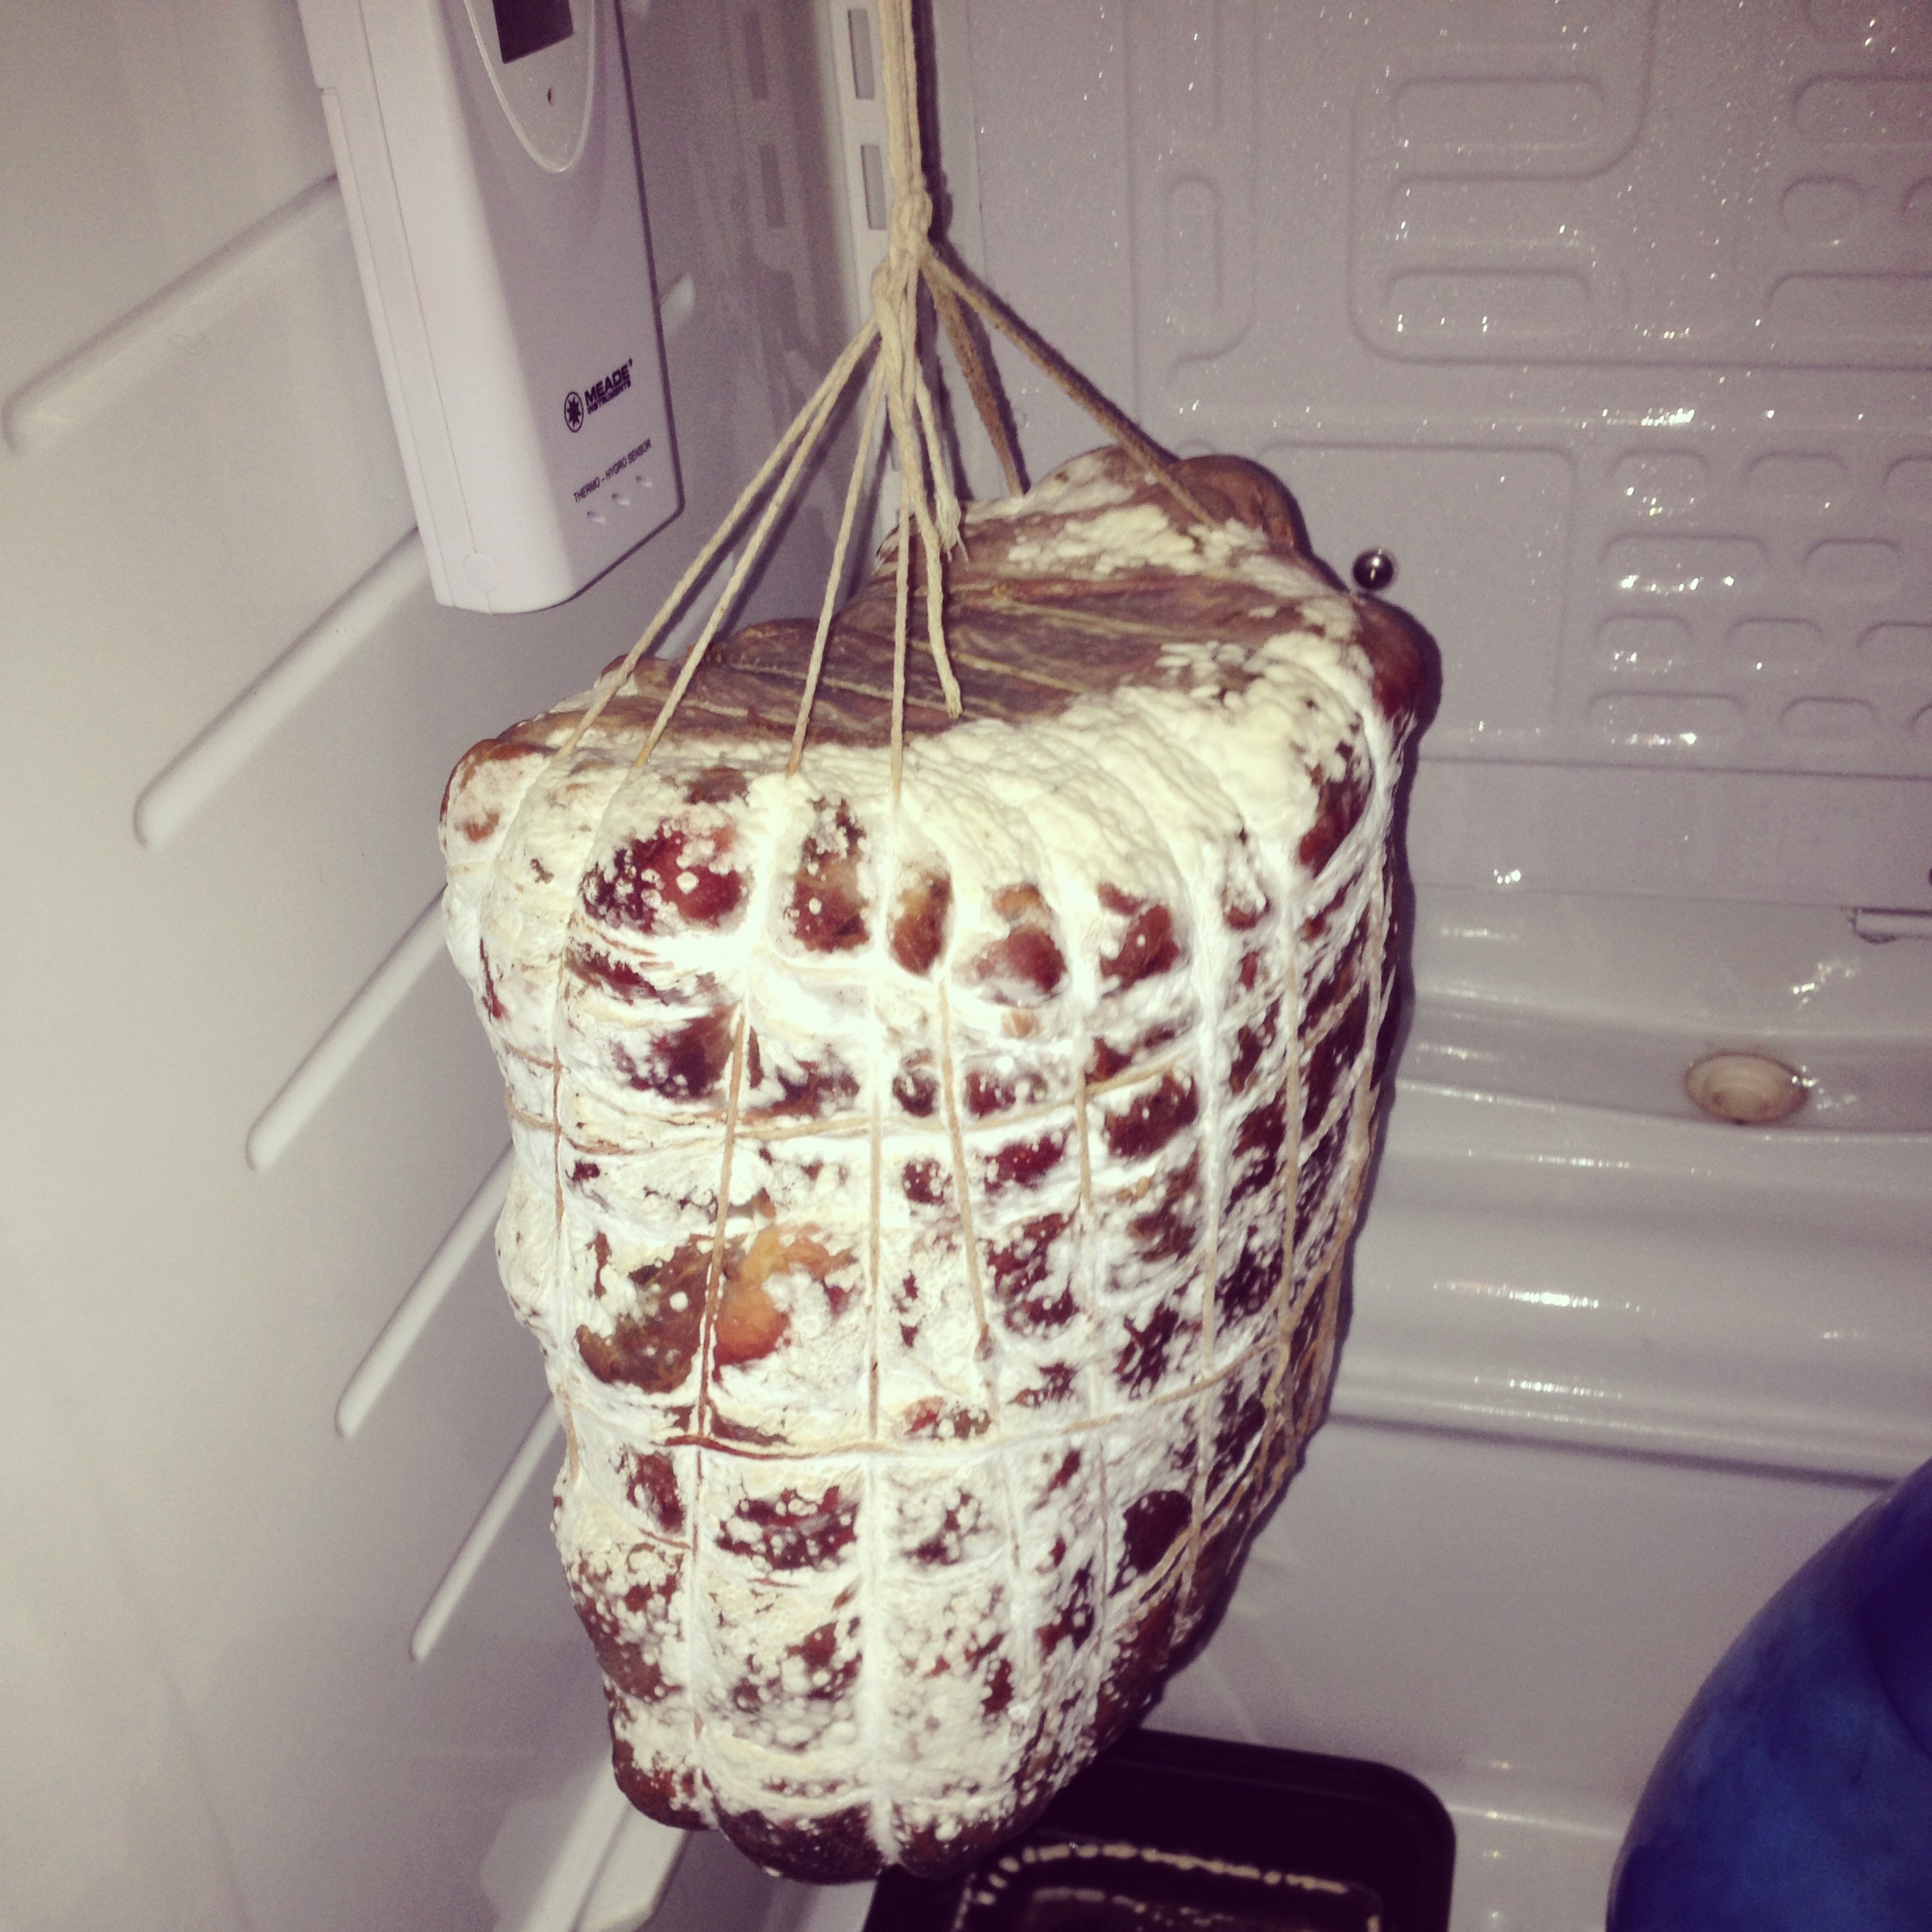
Eventually, the meat lost ~30% of its initial weight, and was pulled from the chamber.
Tasting:
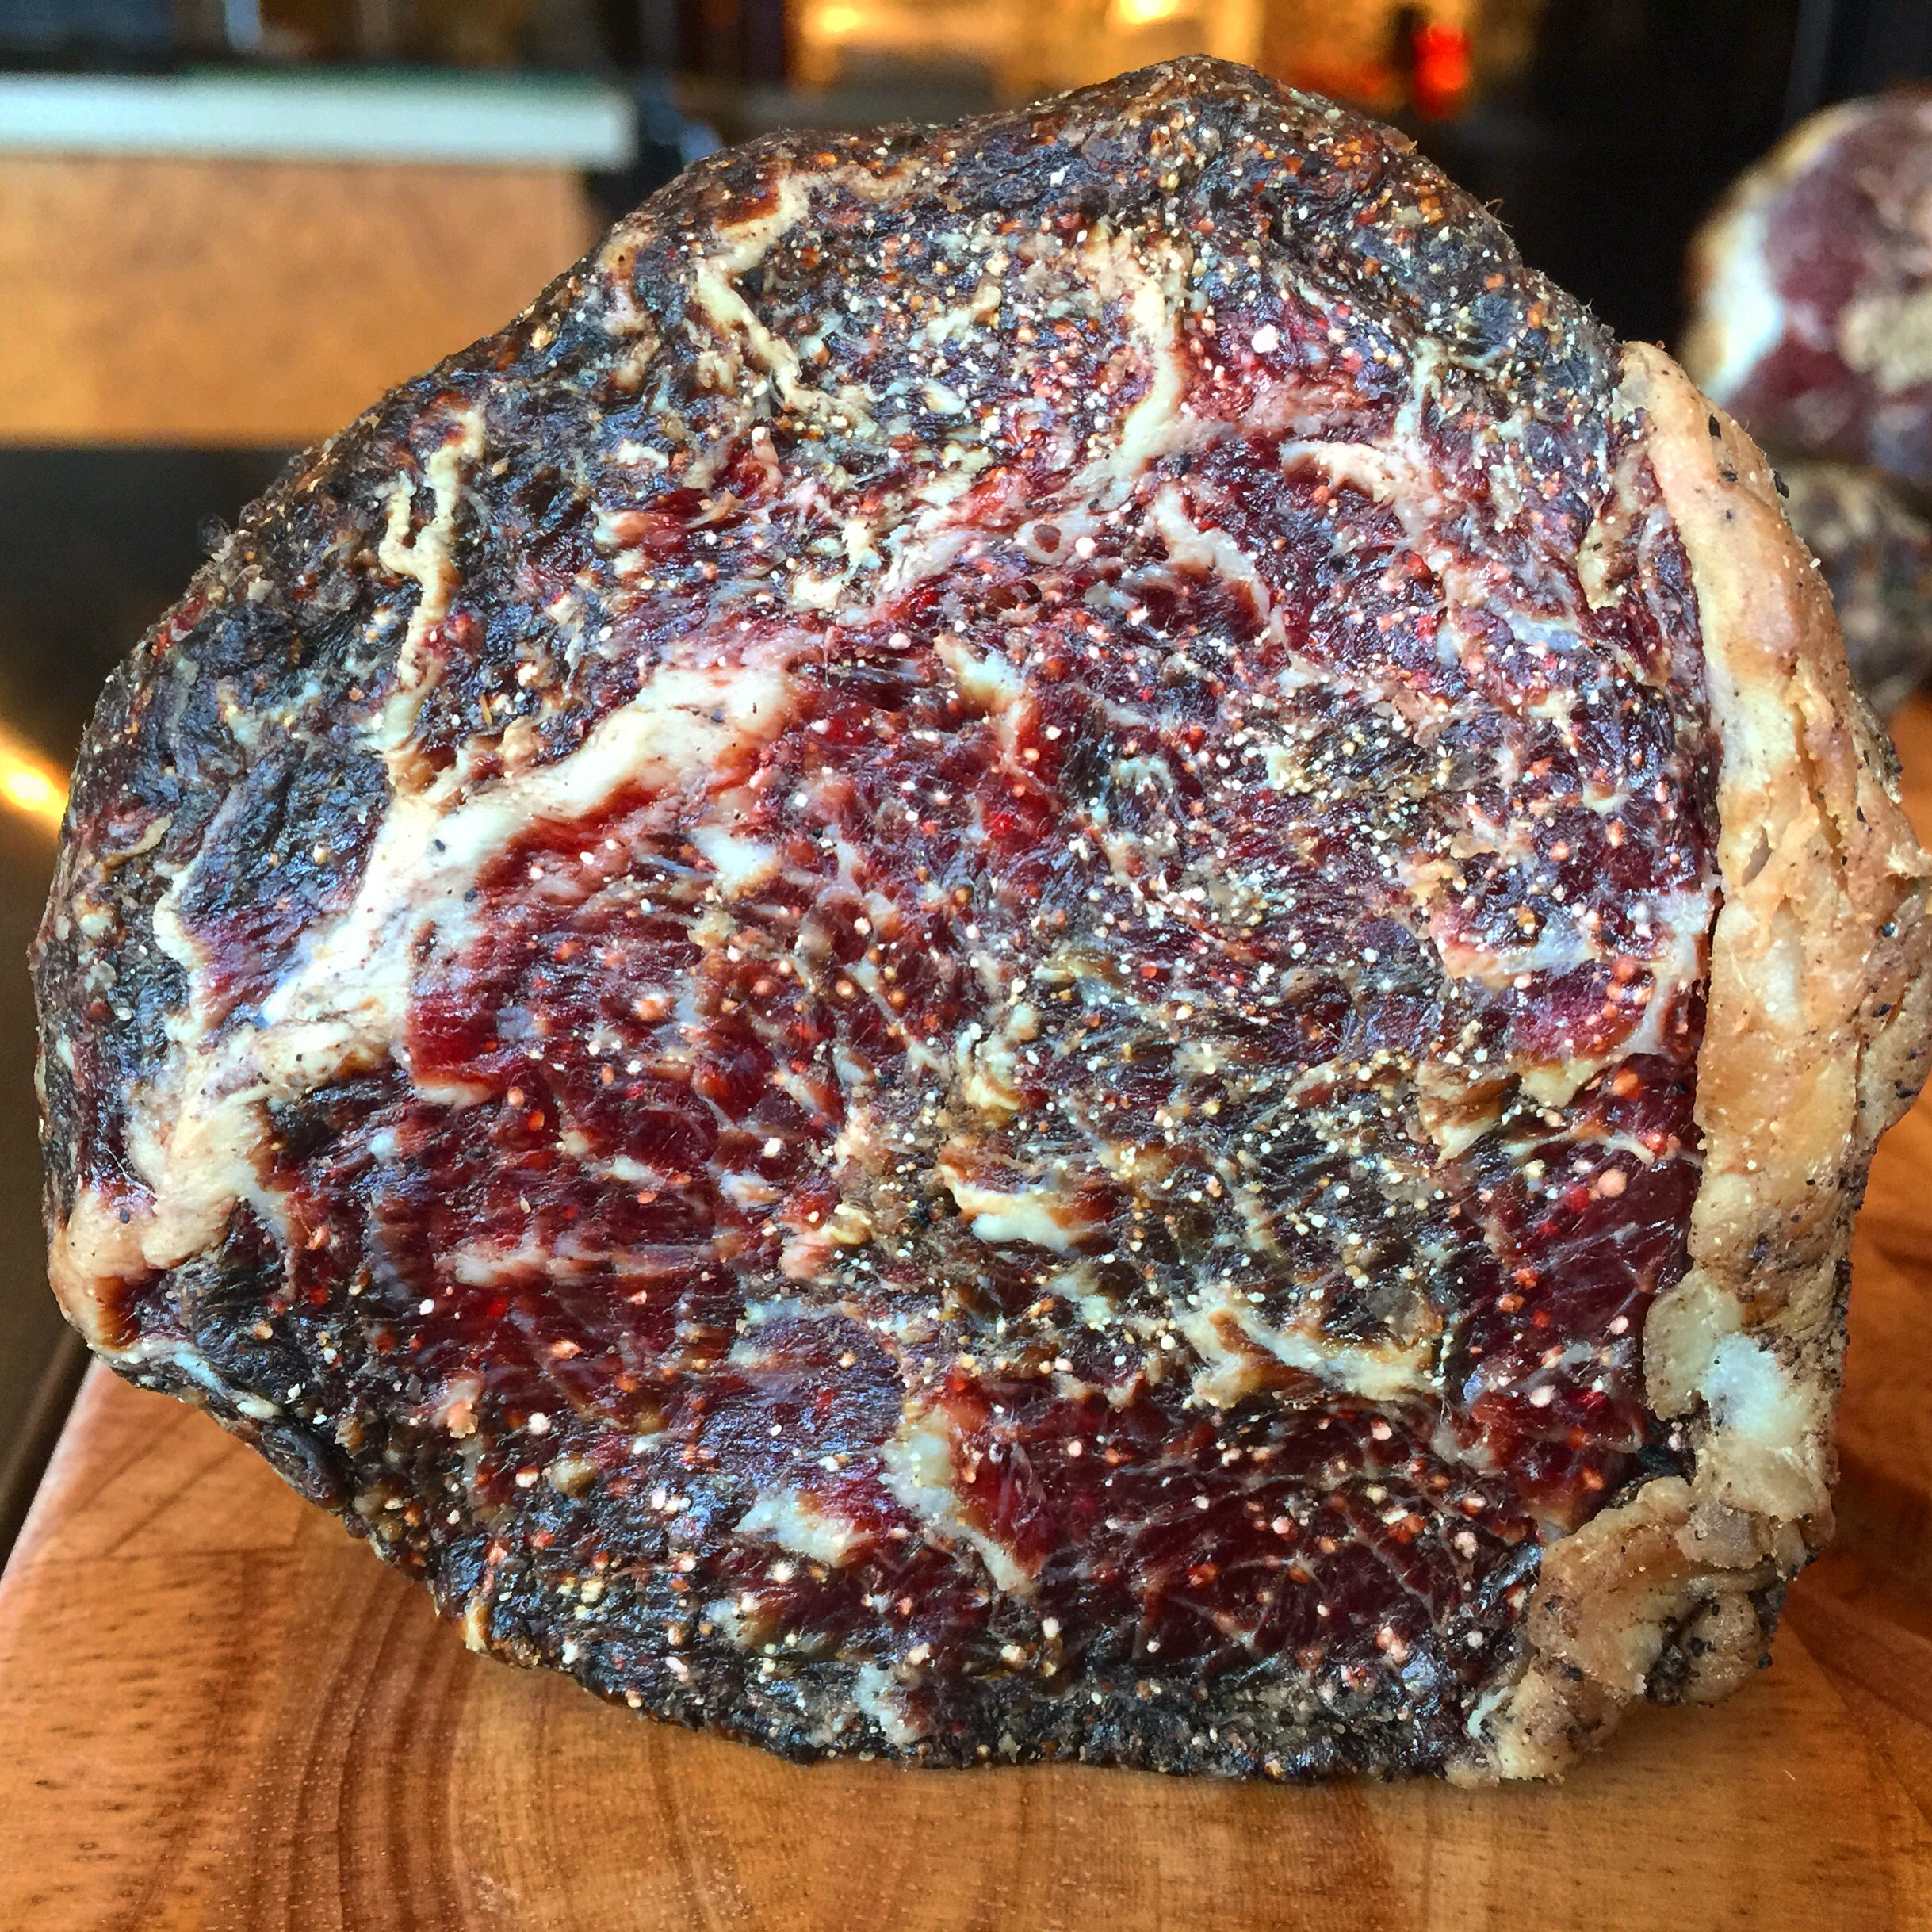
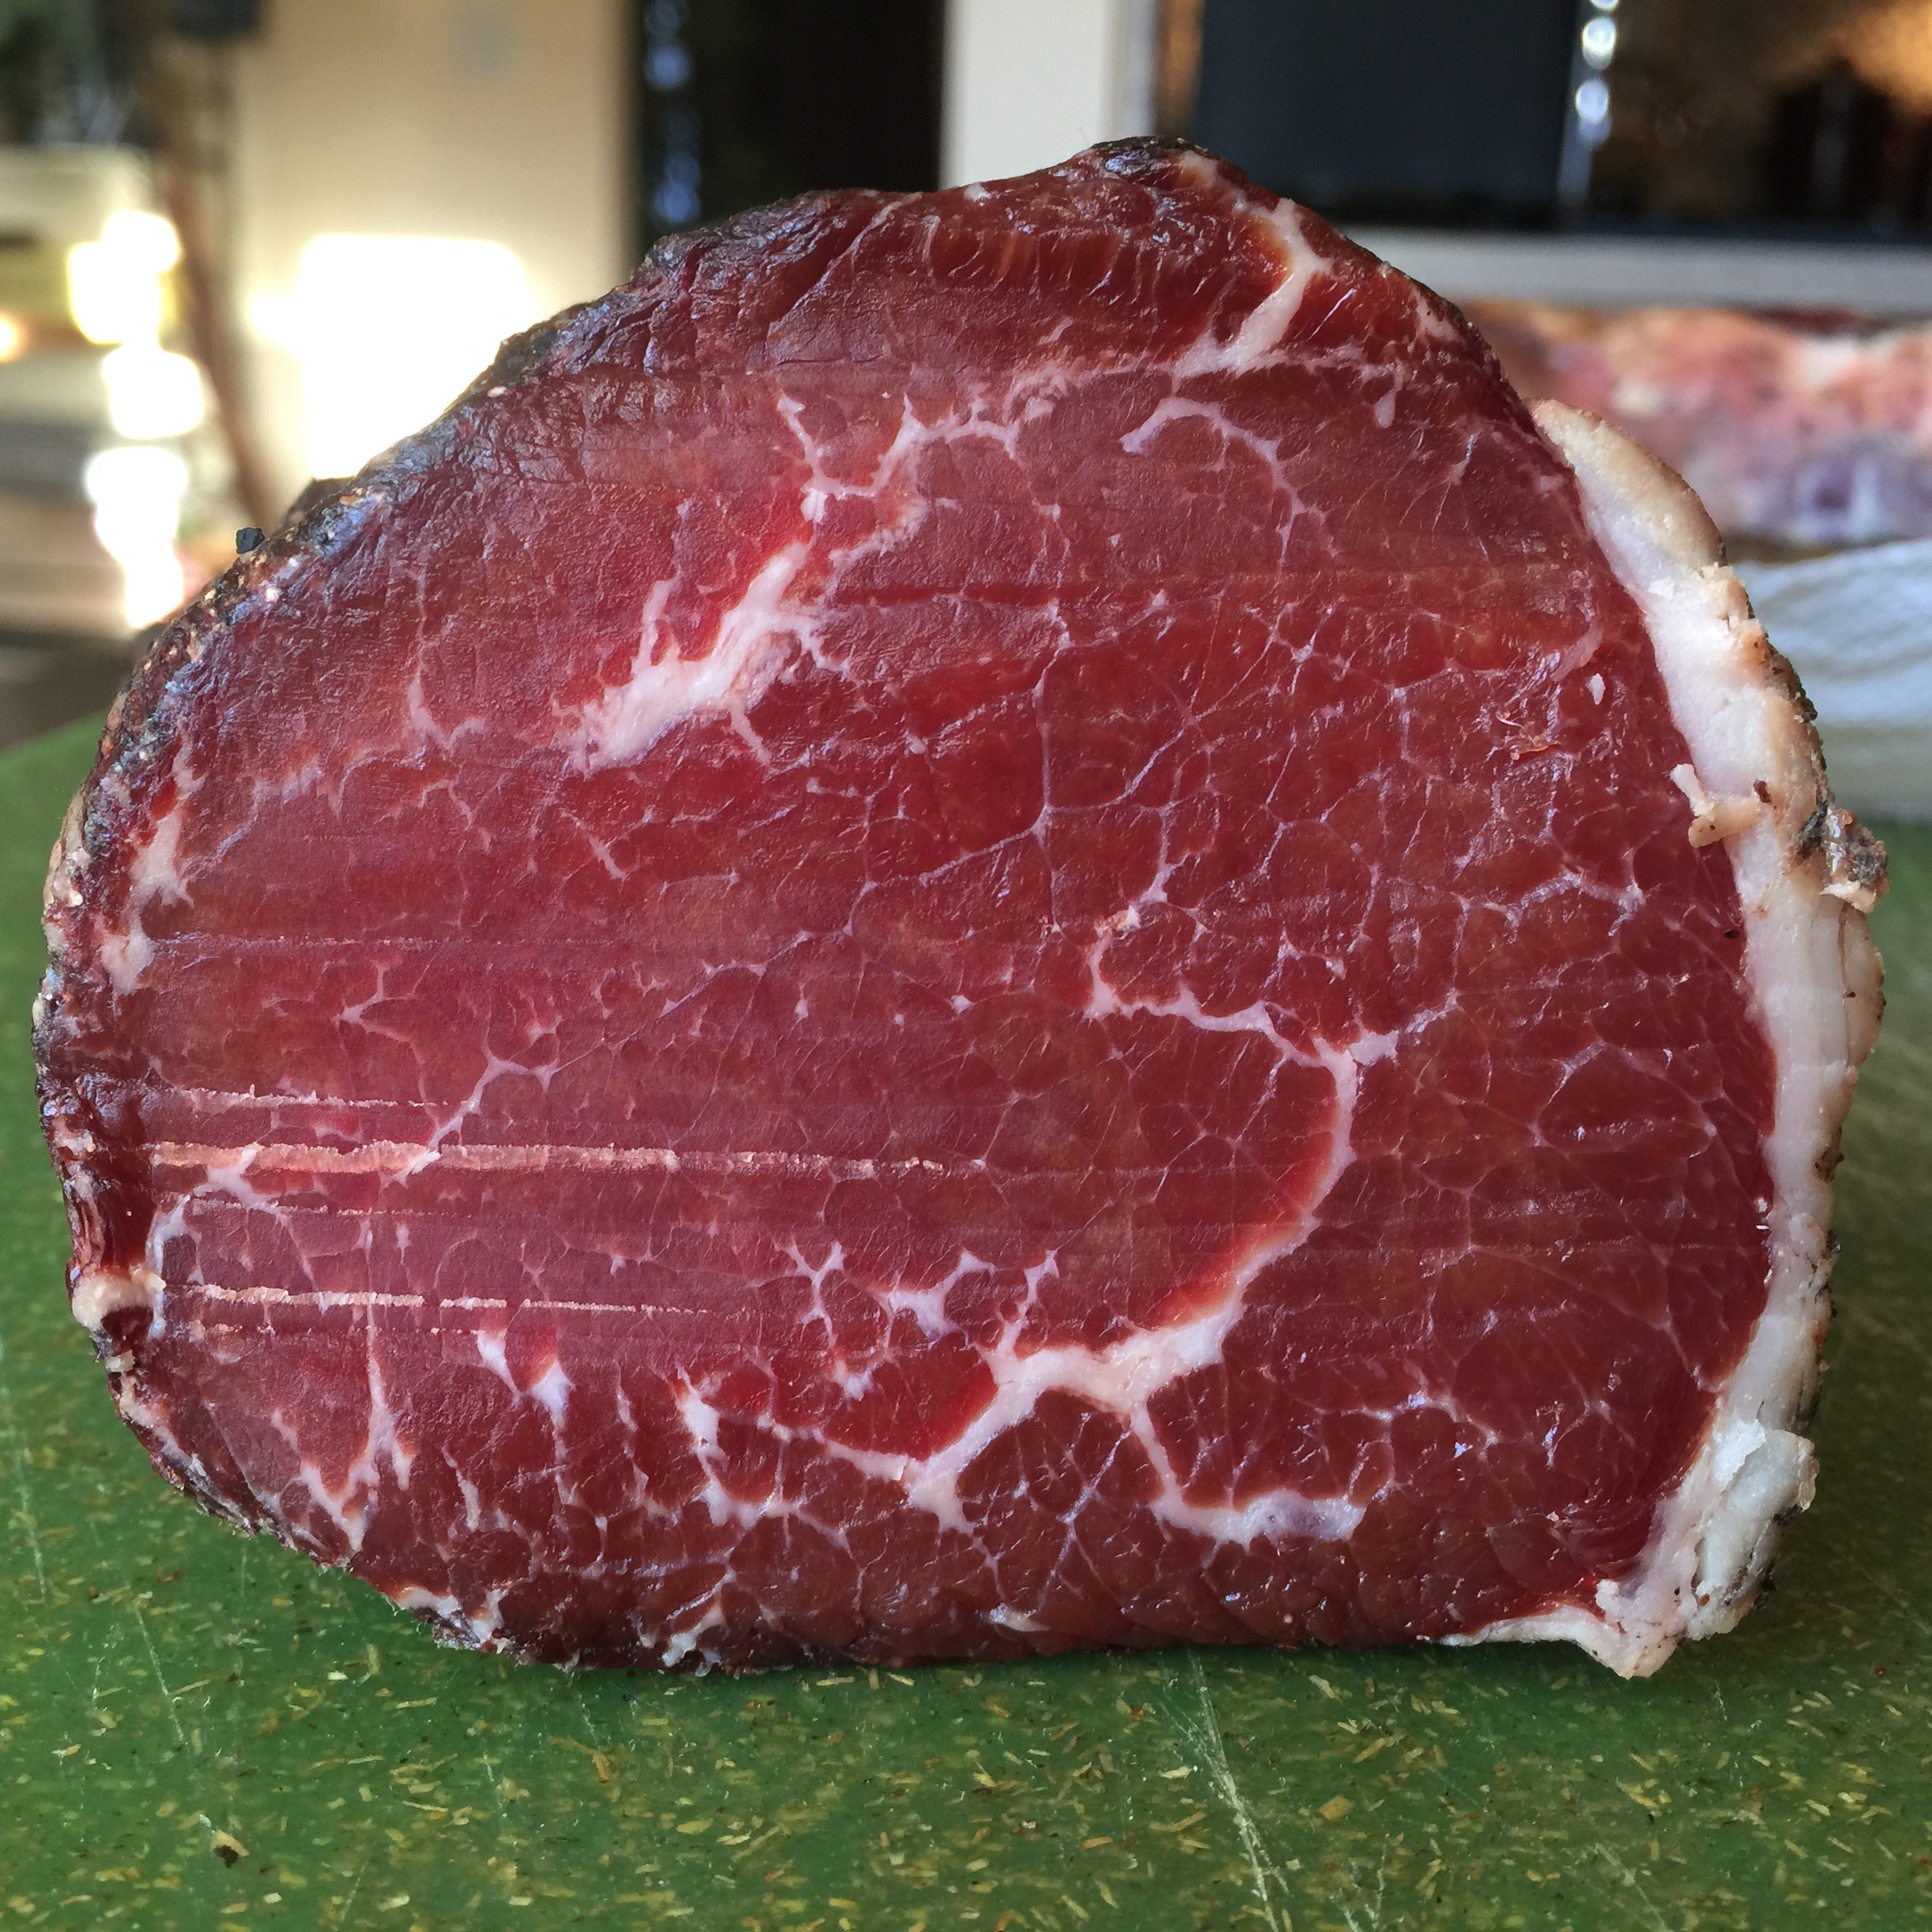
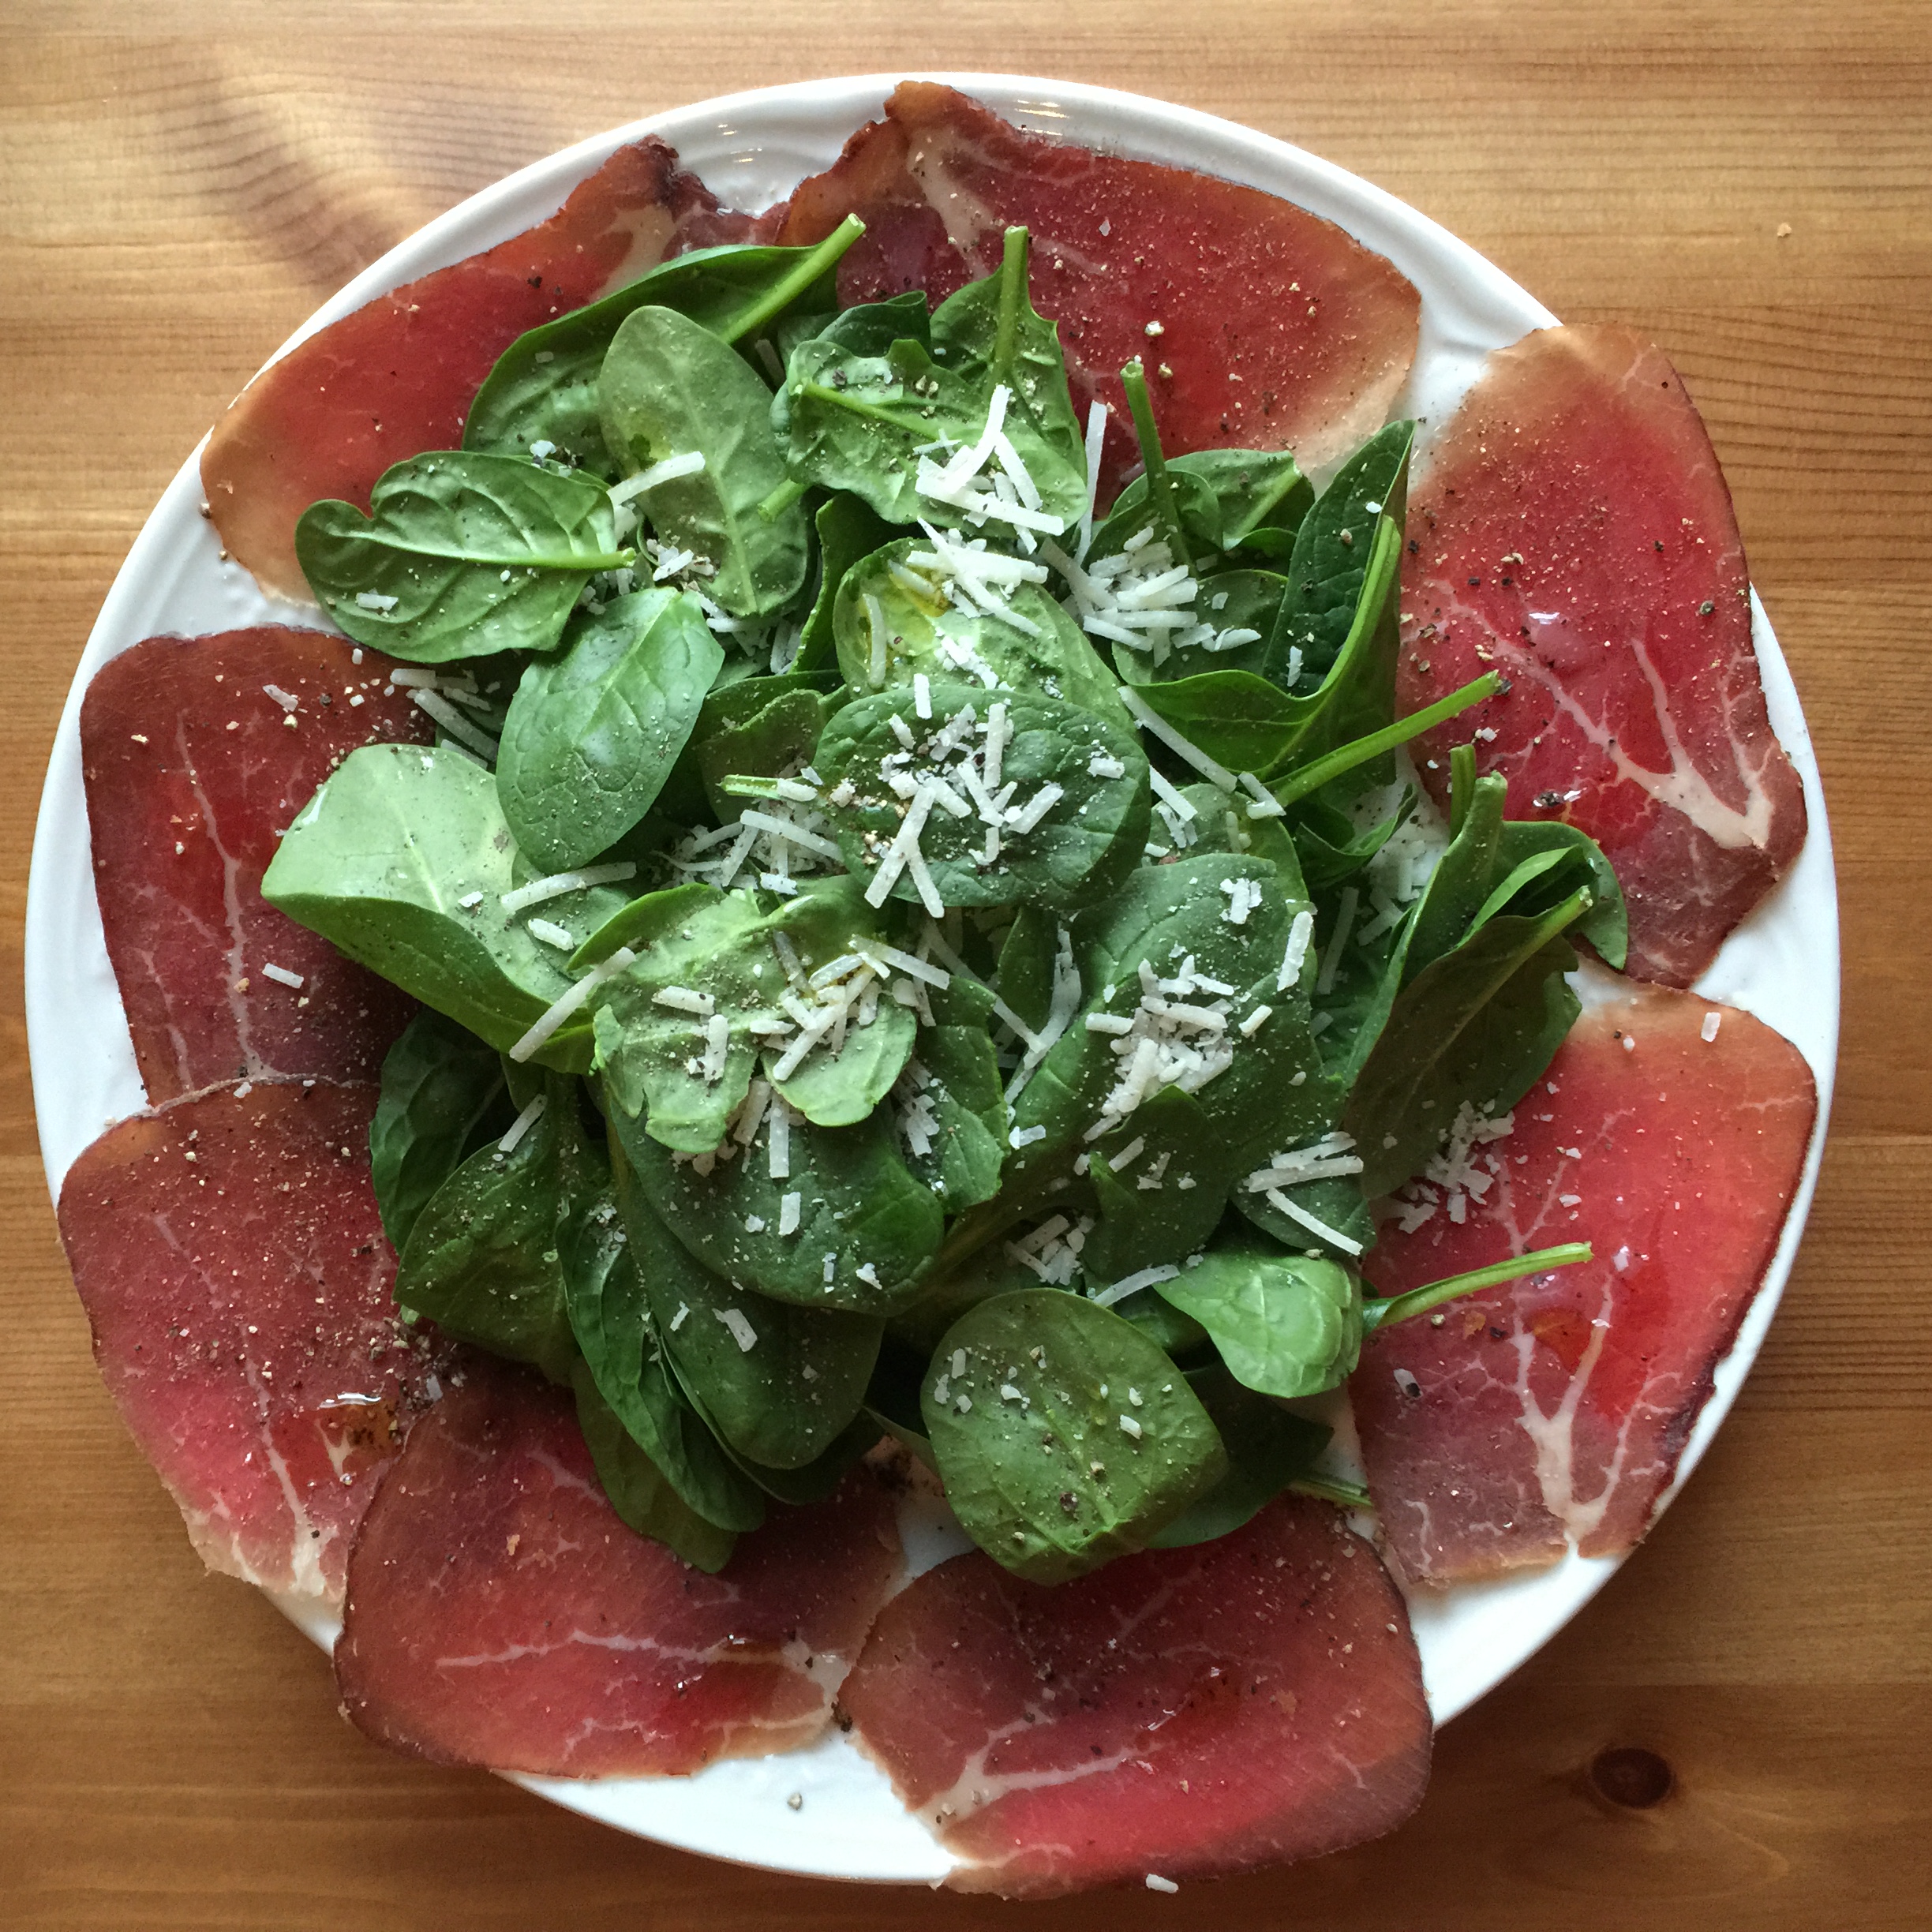
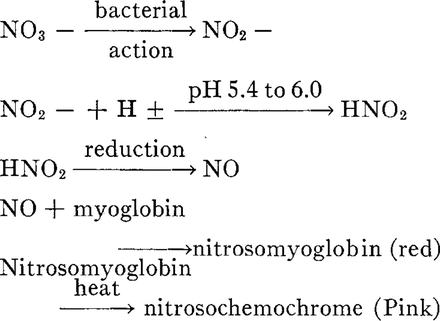
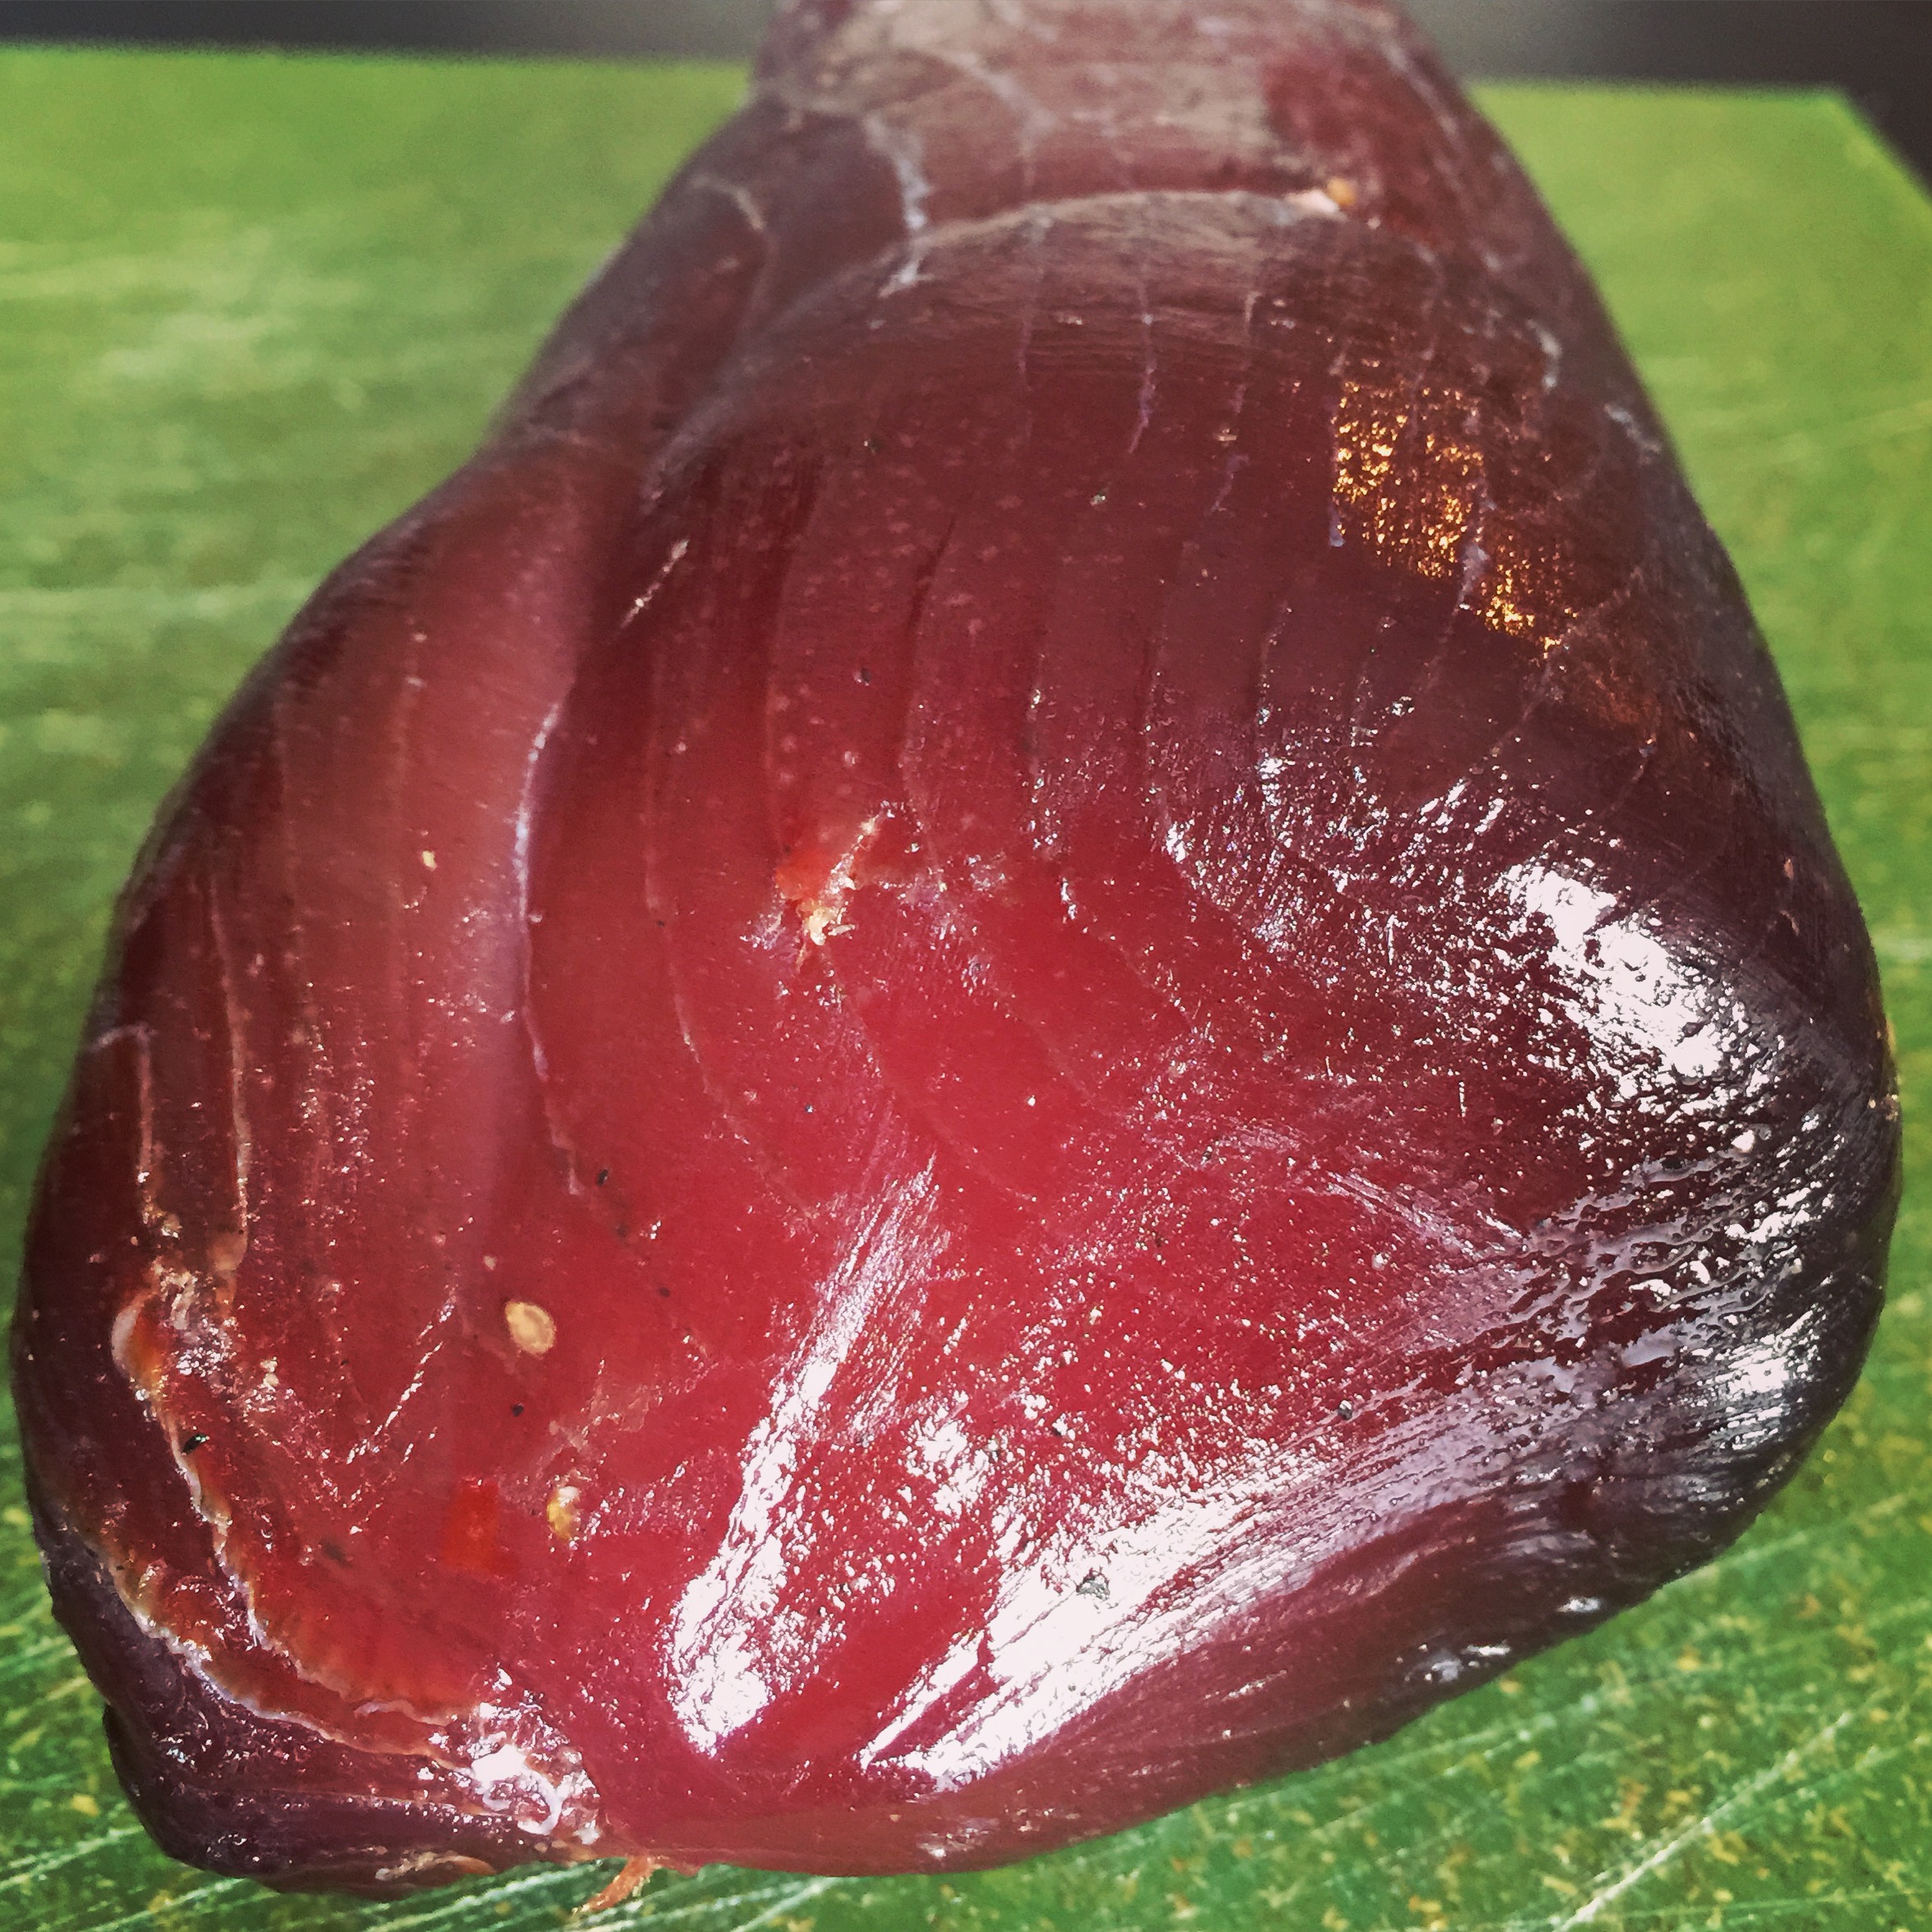
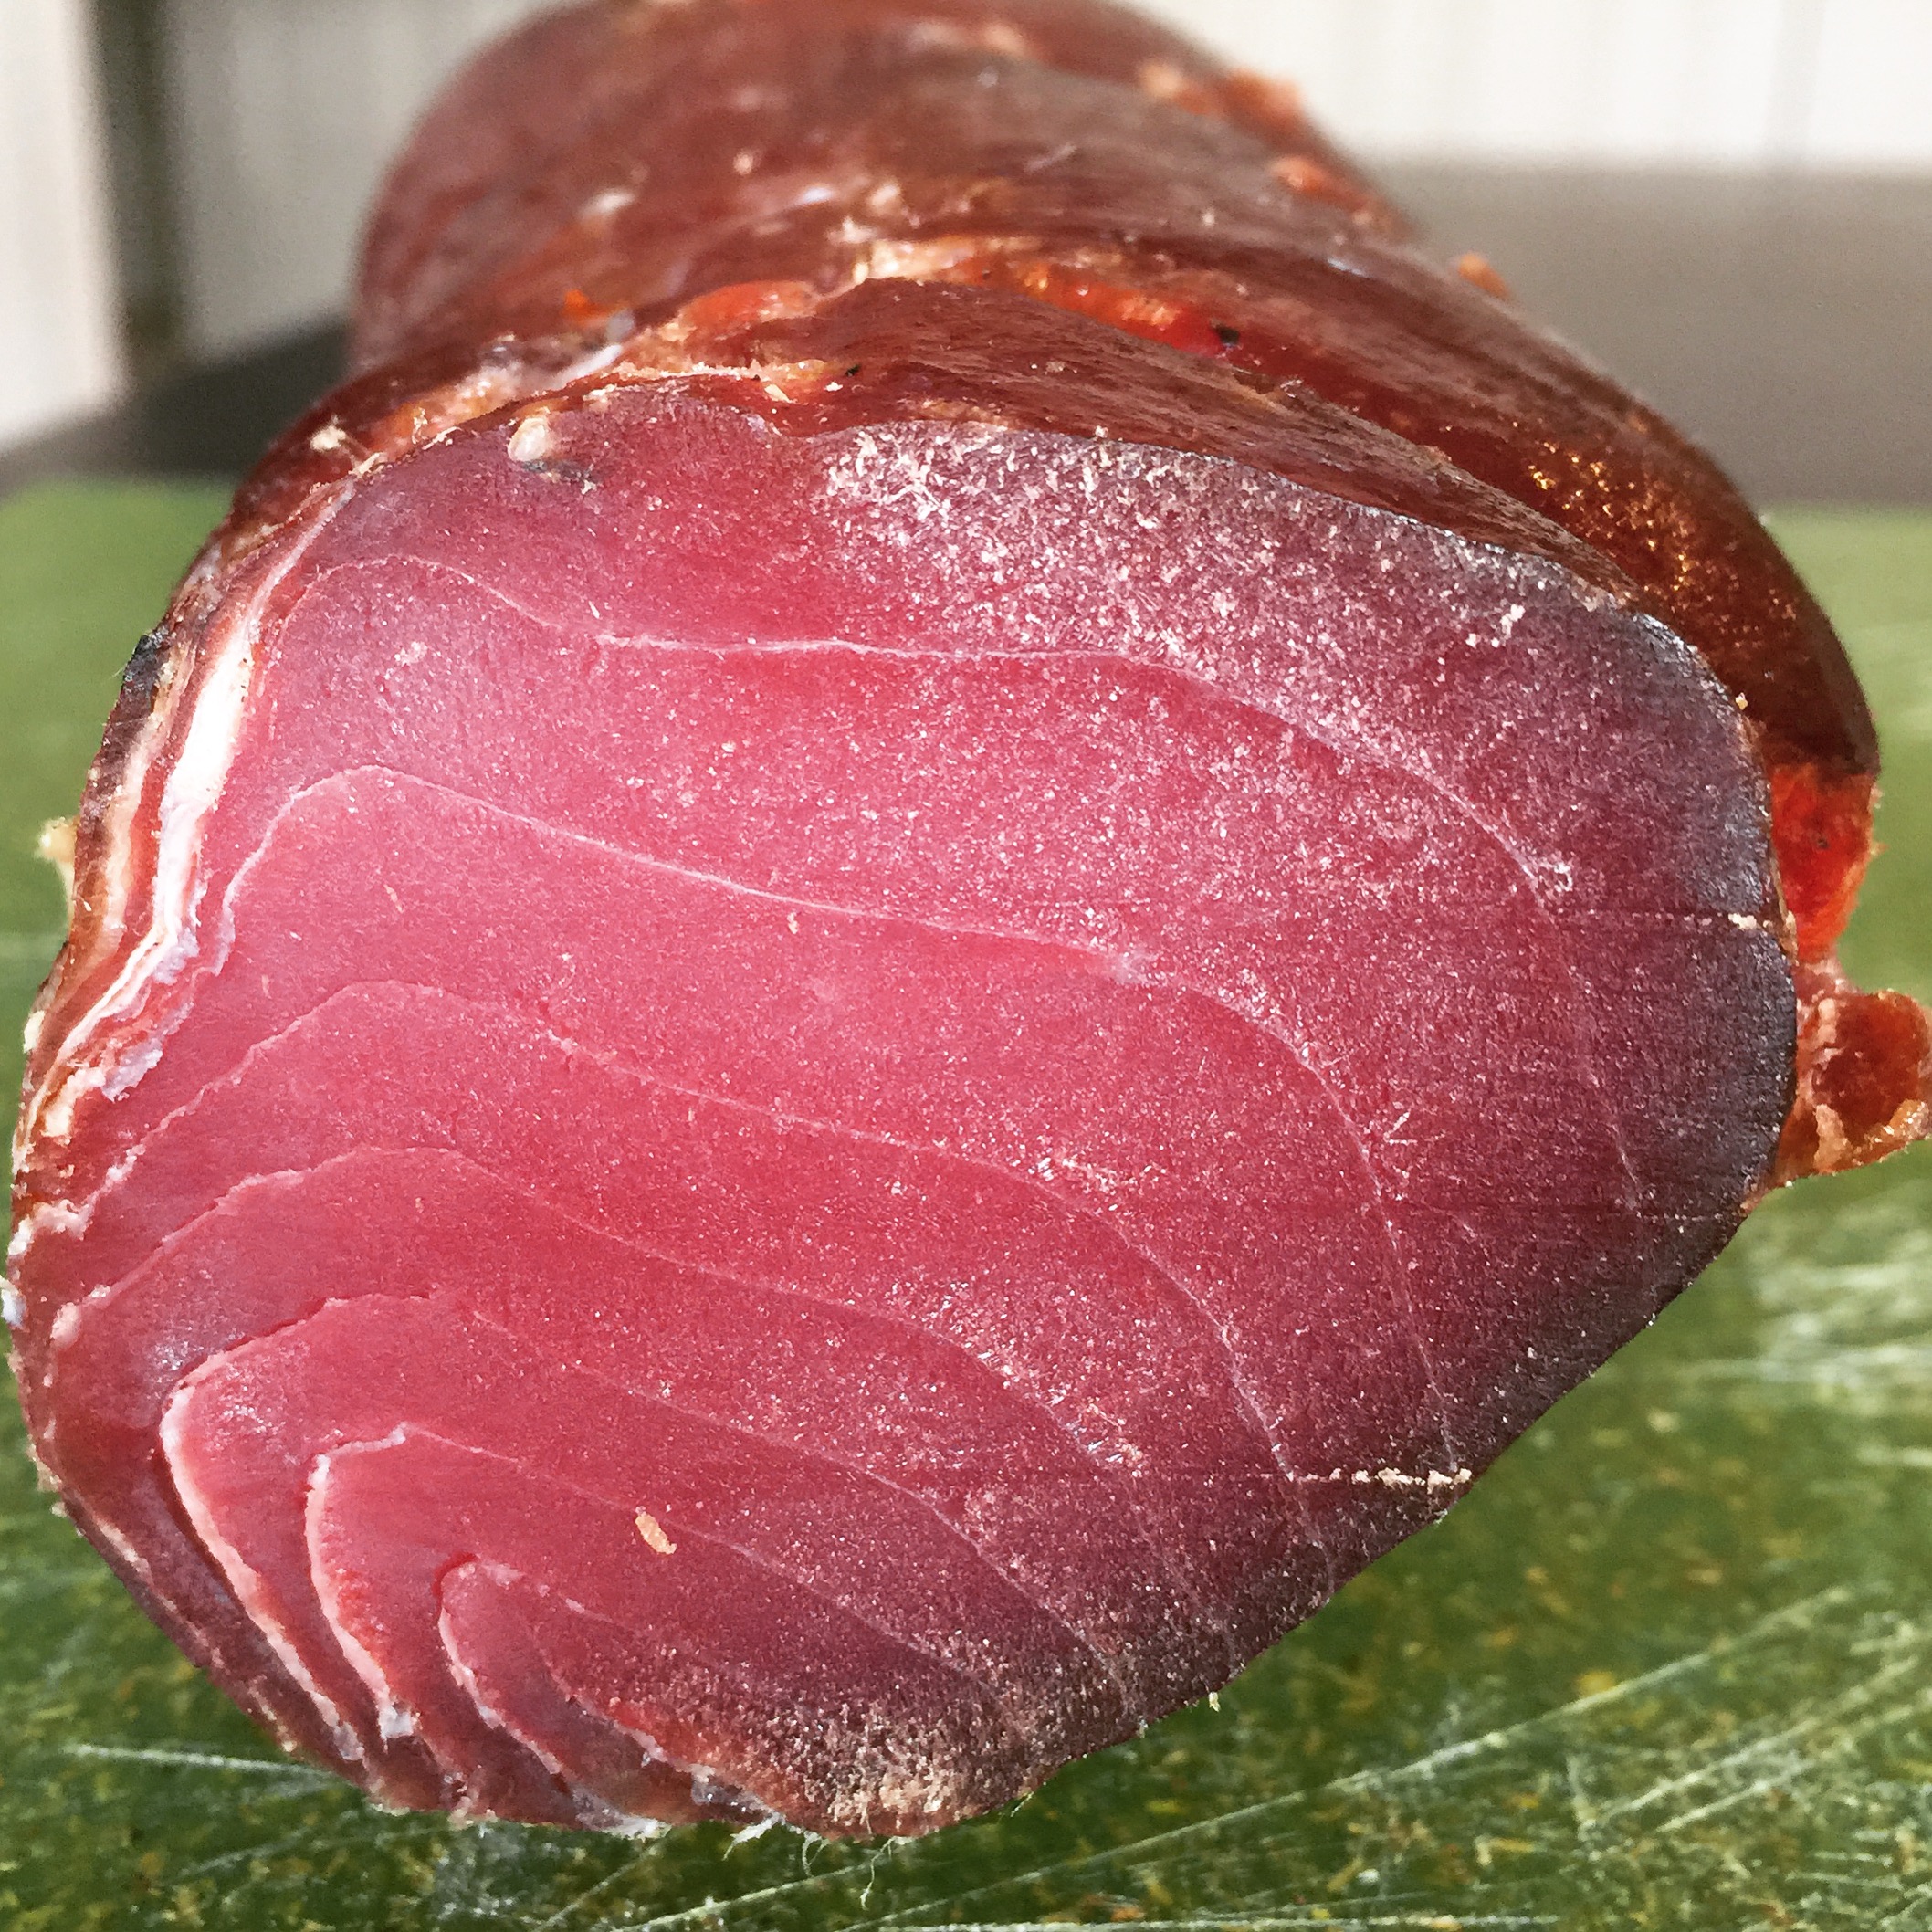
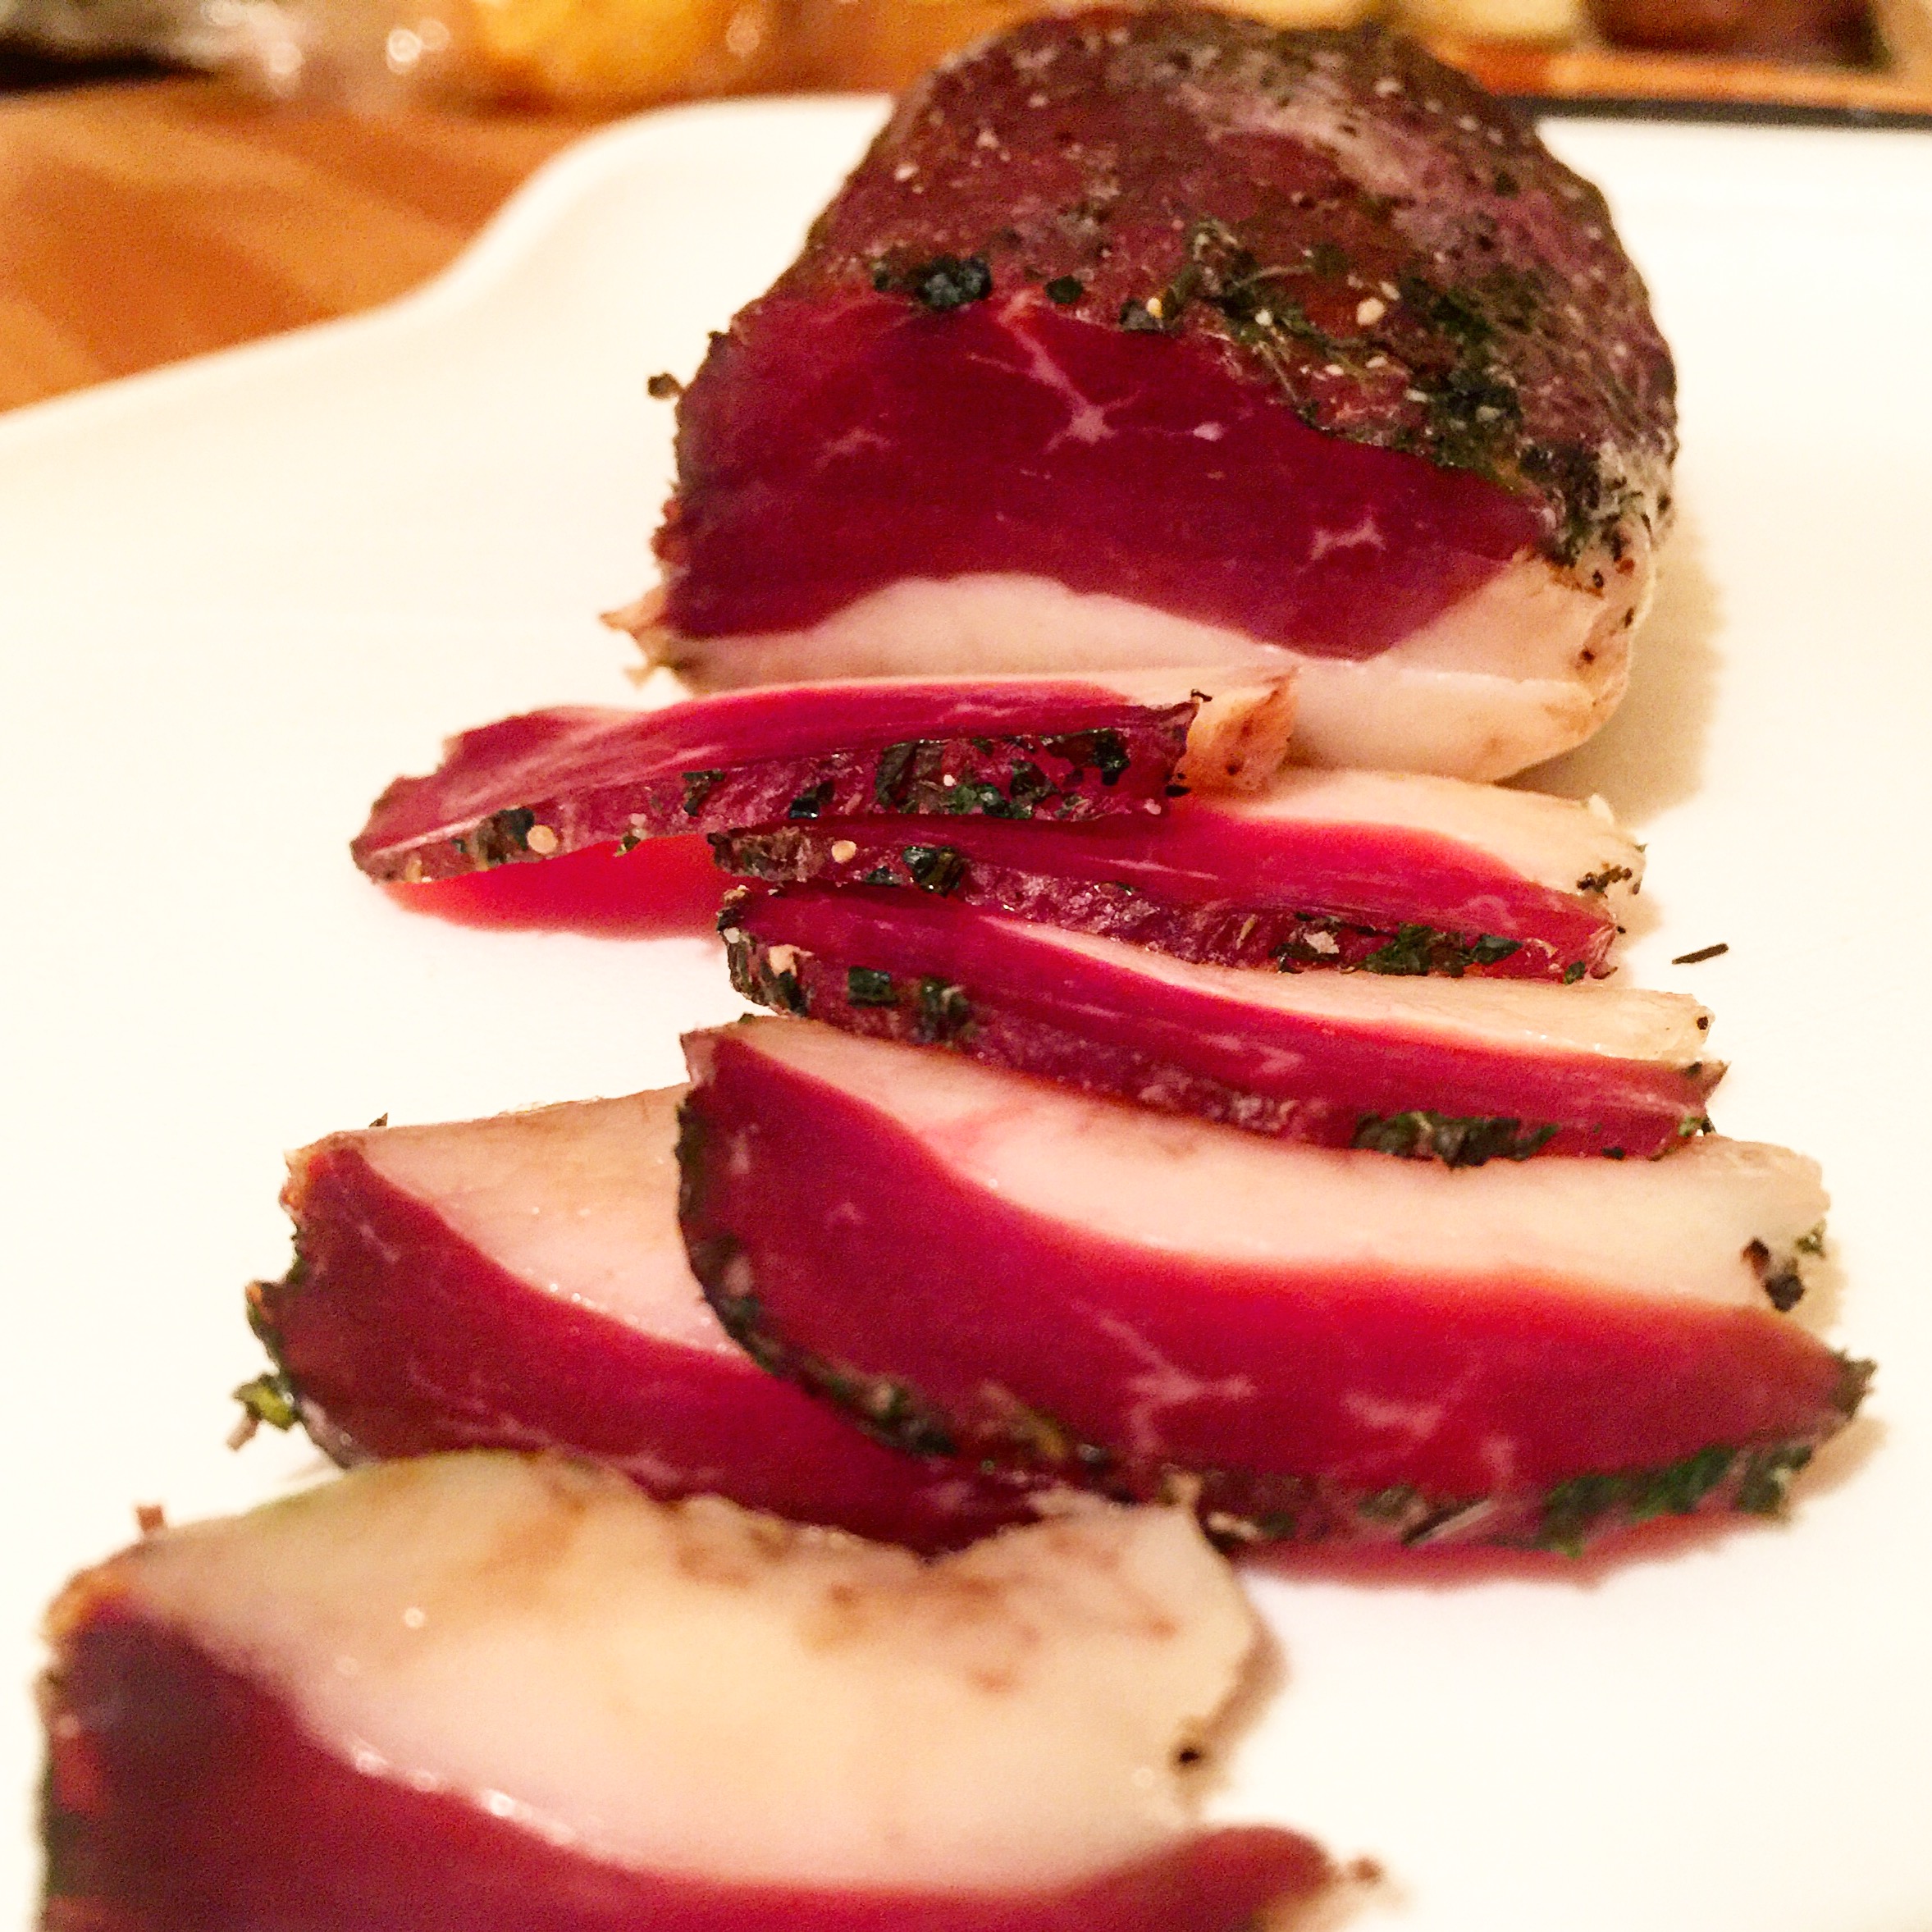
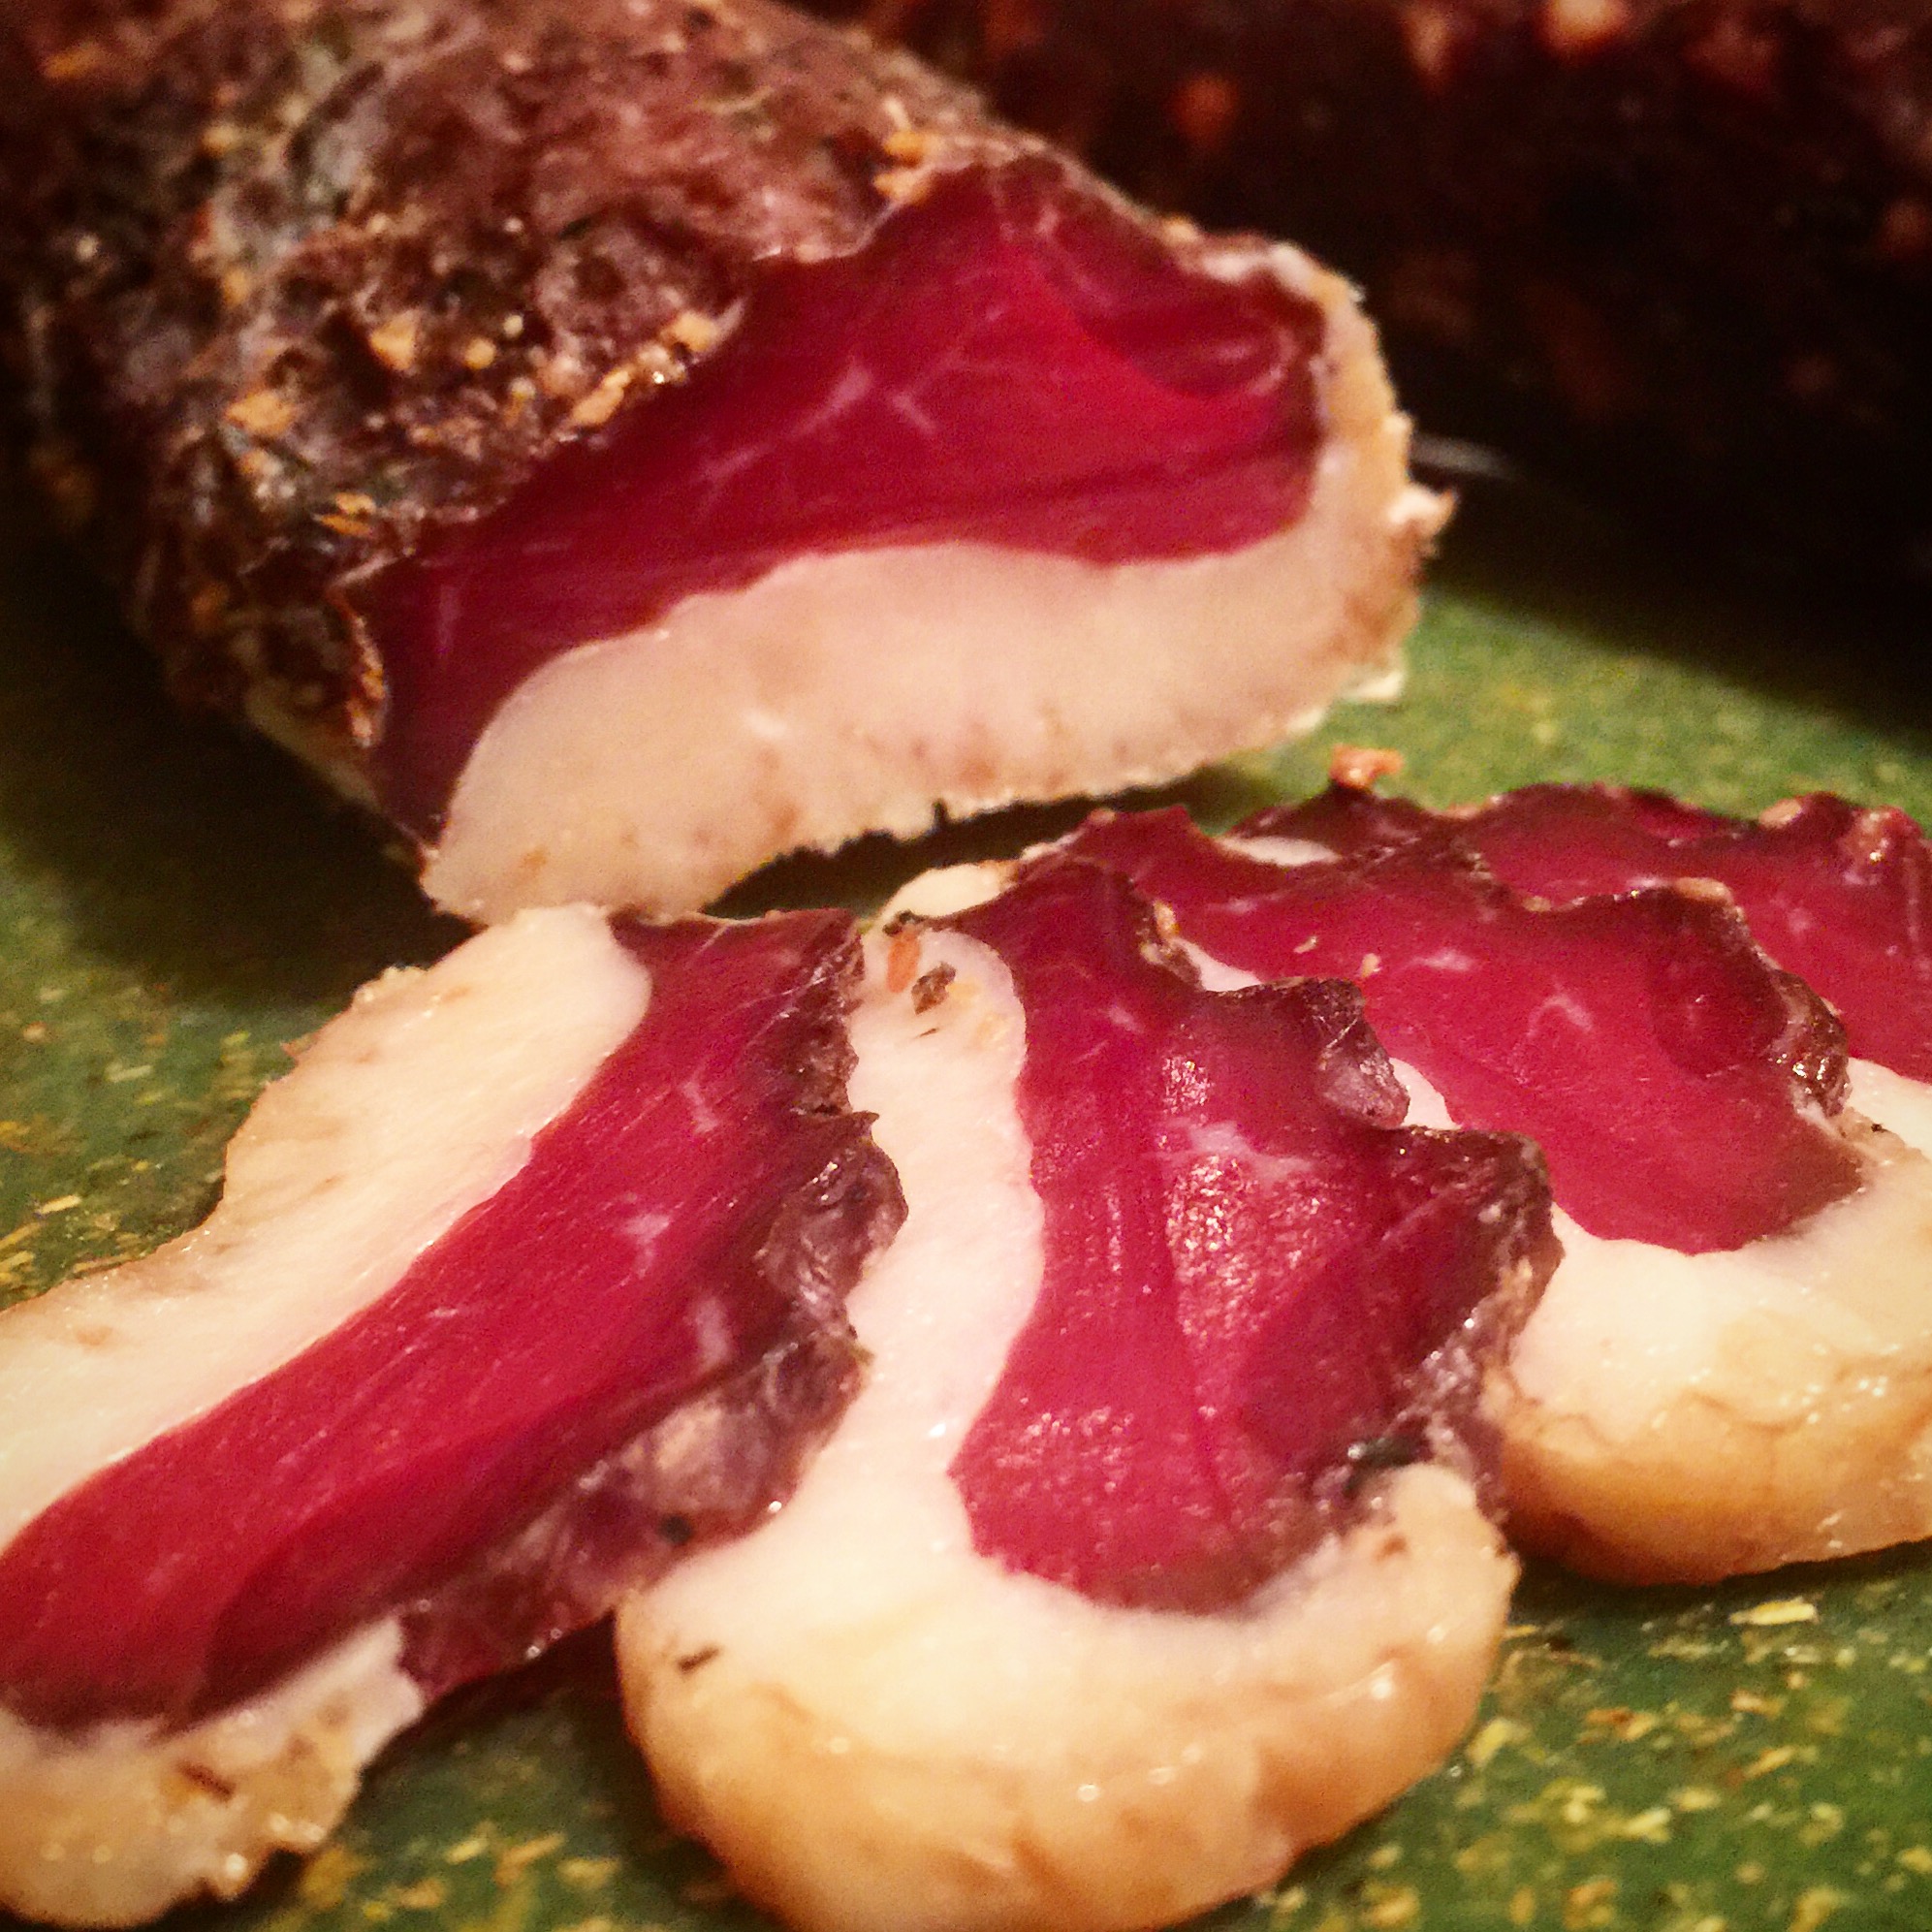
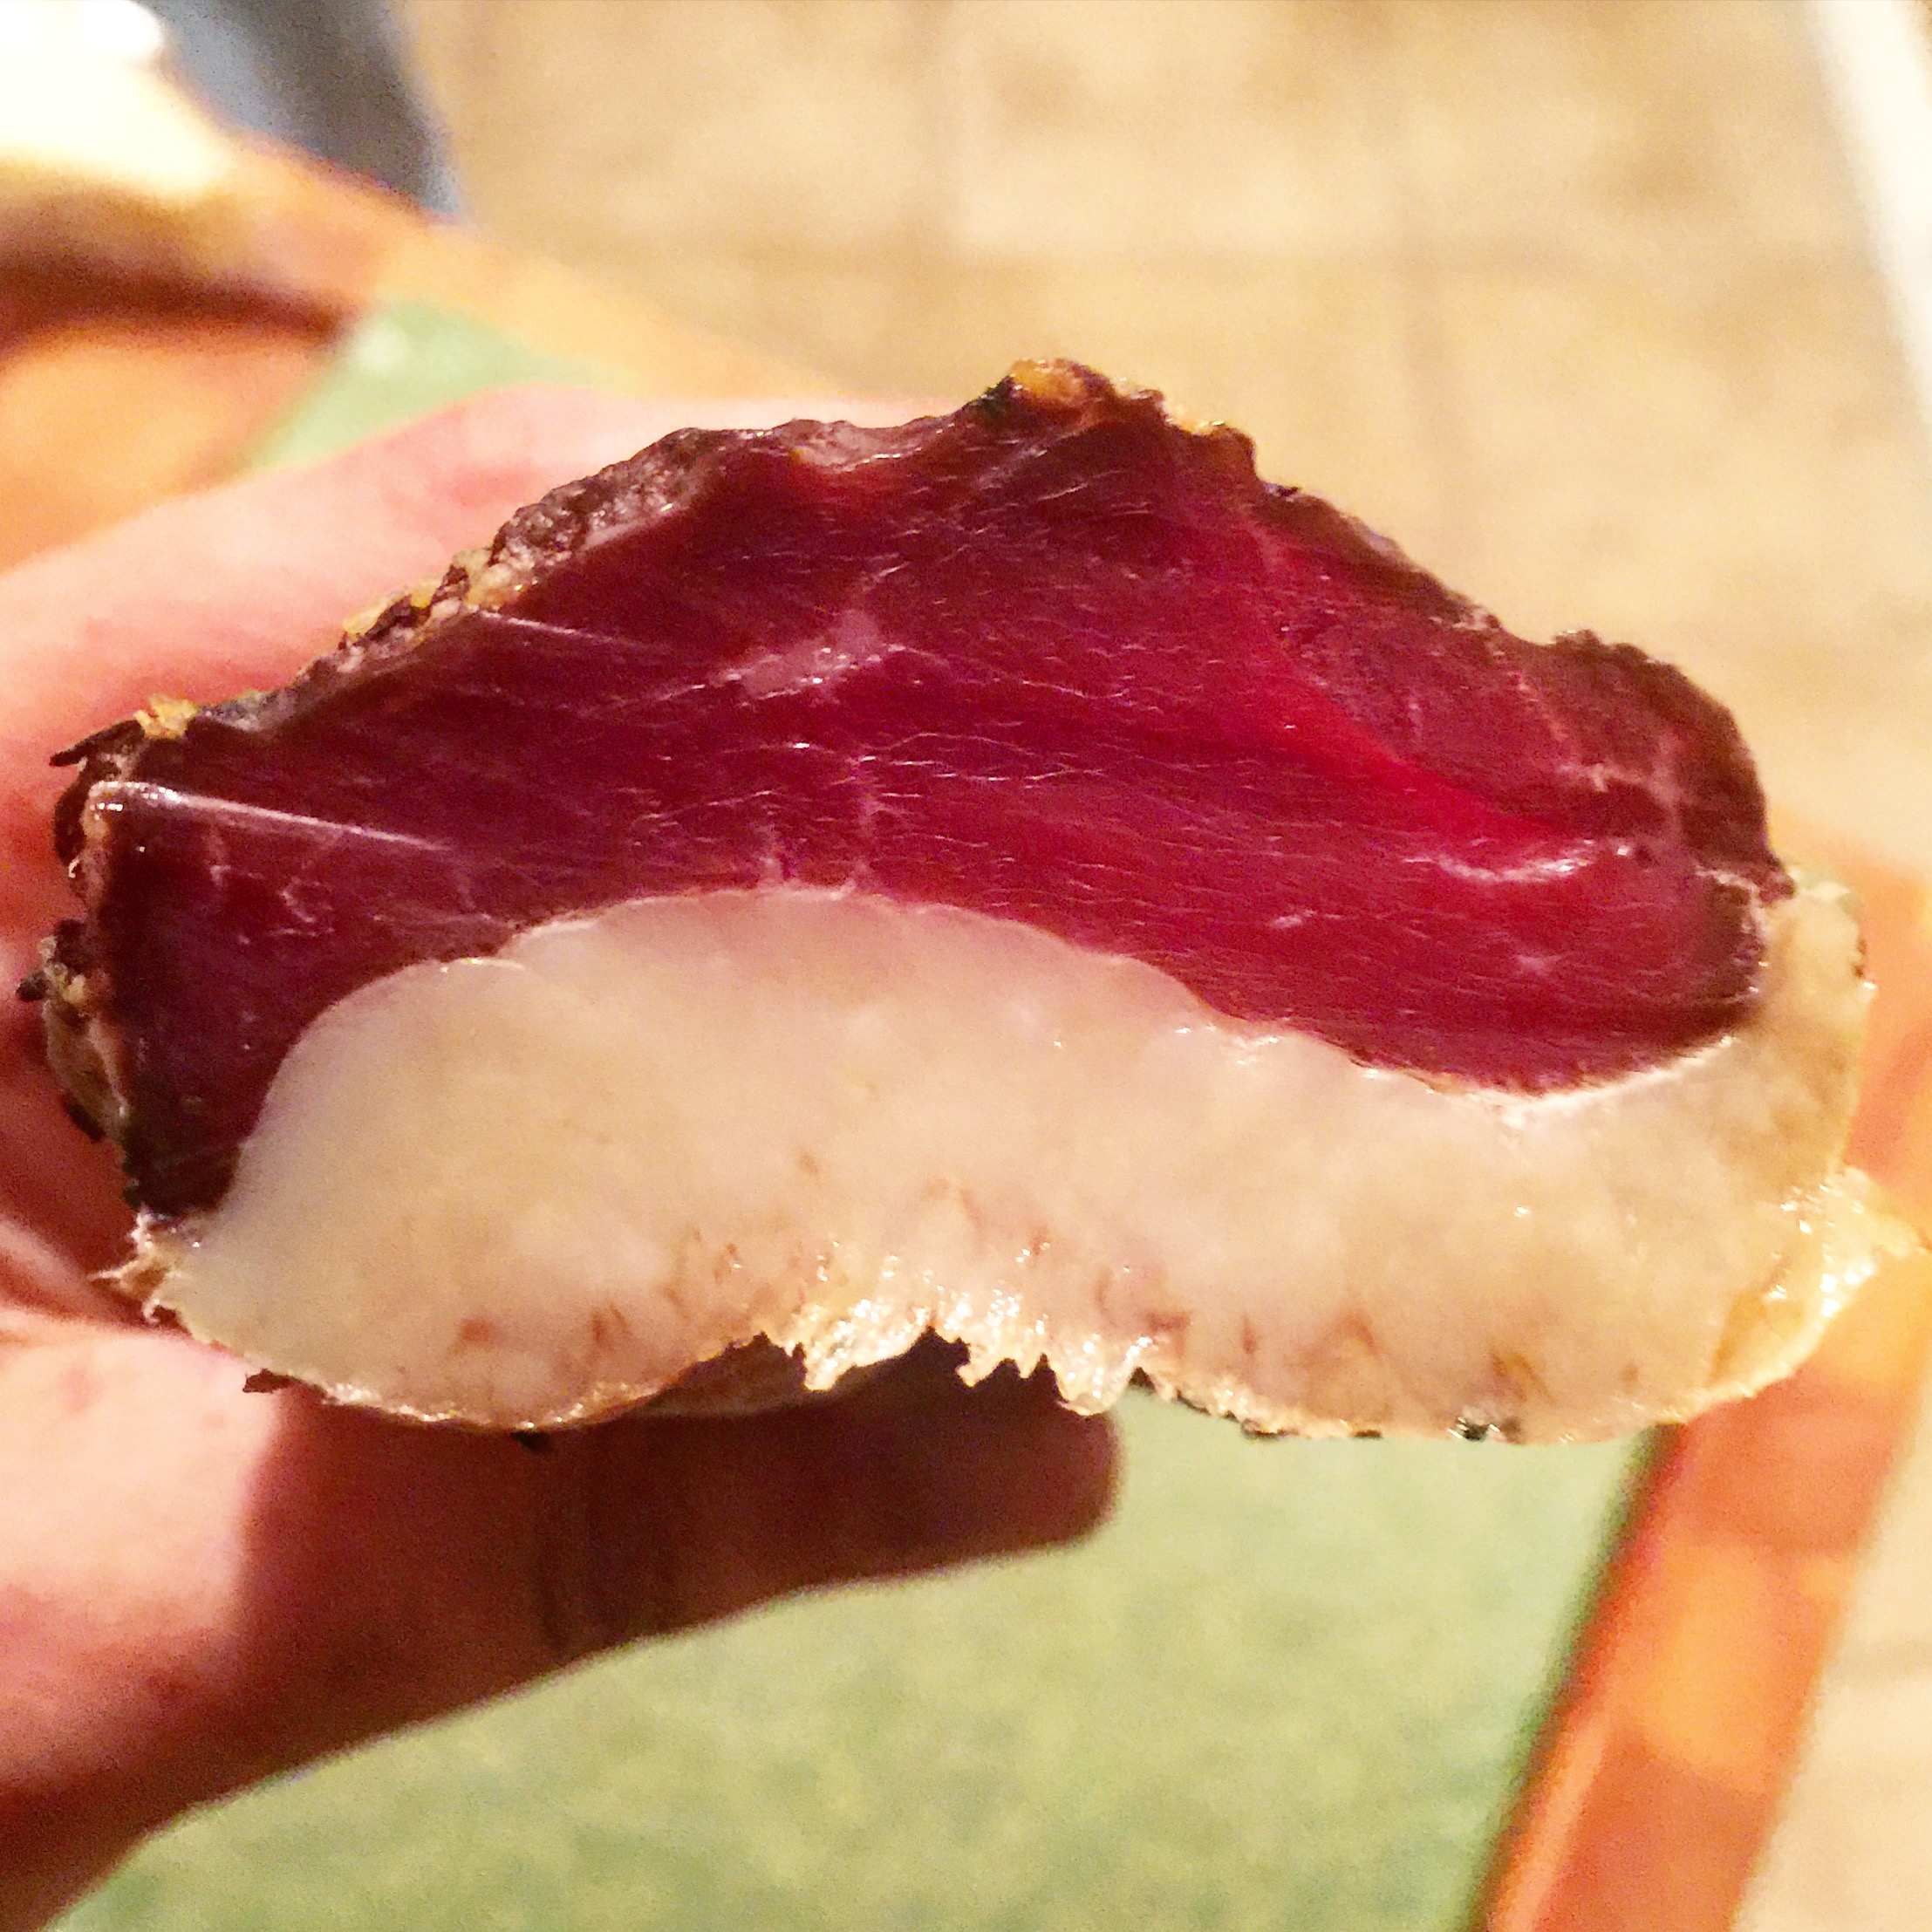
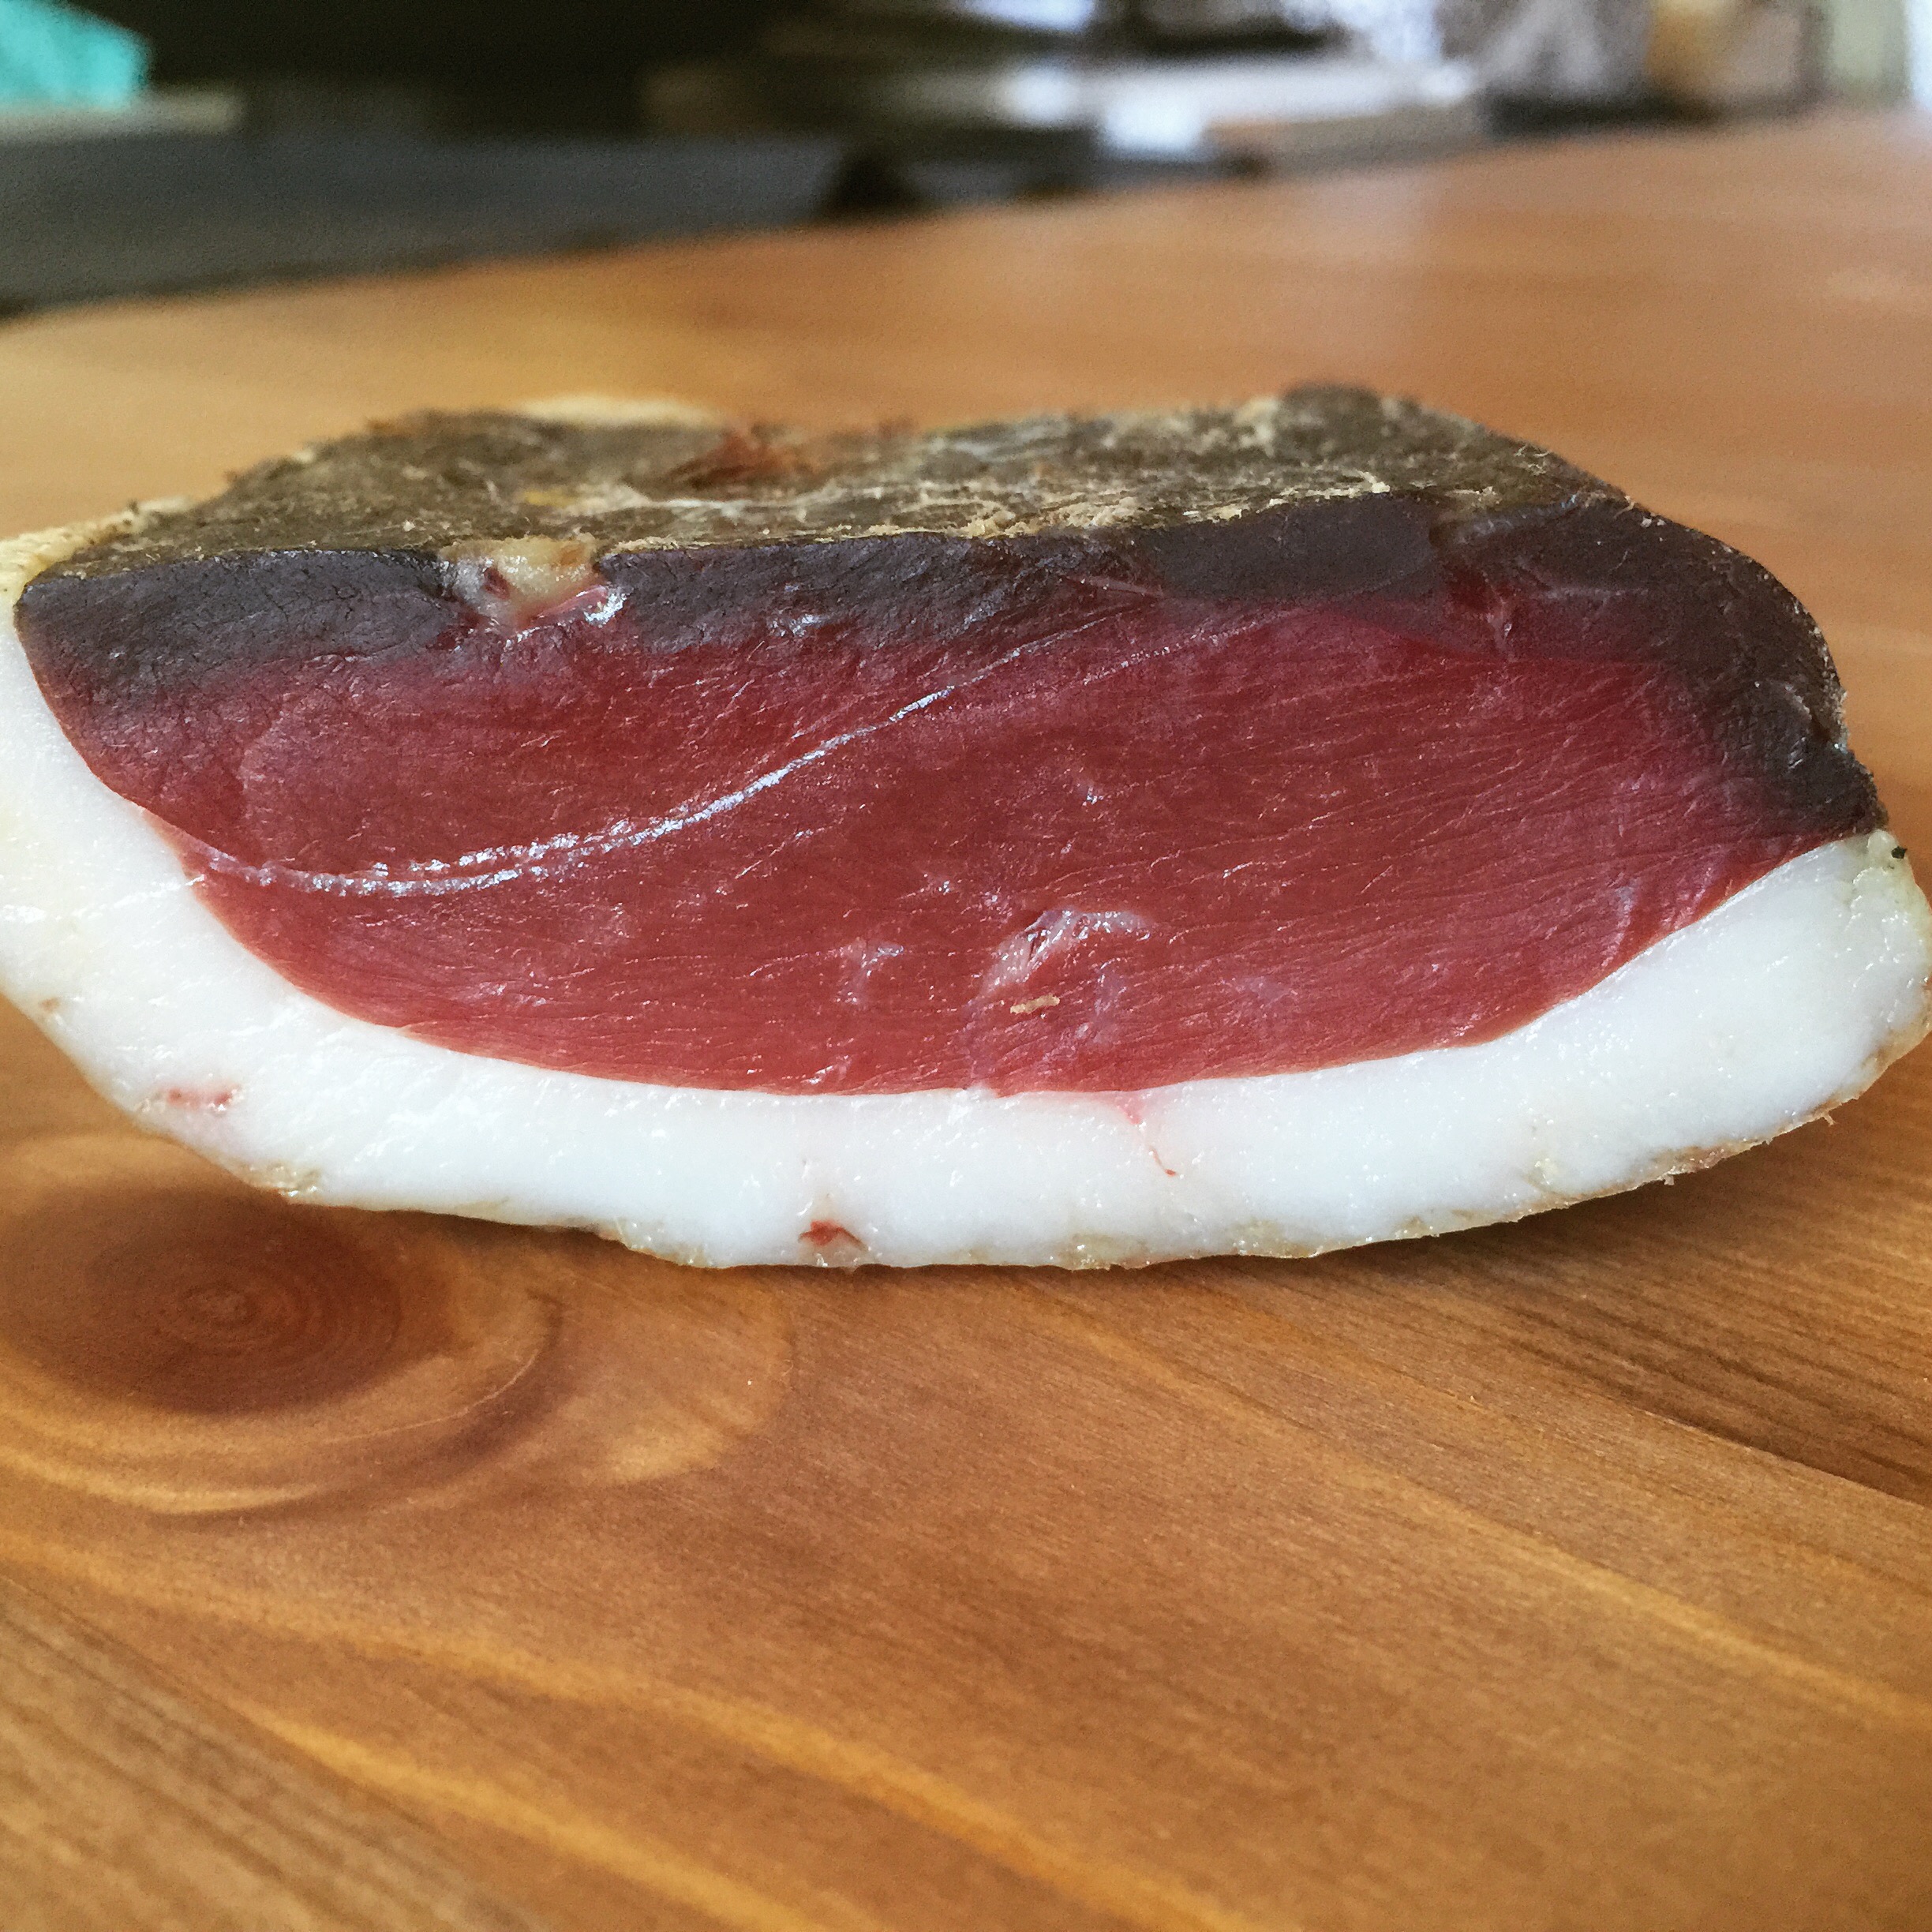
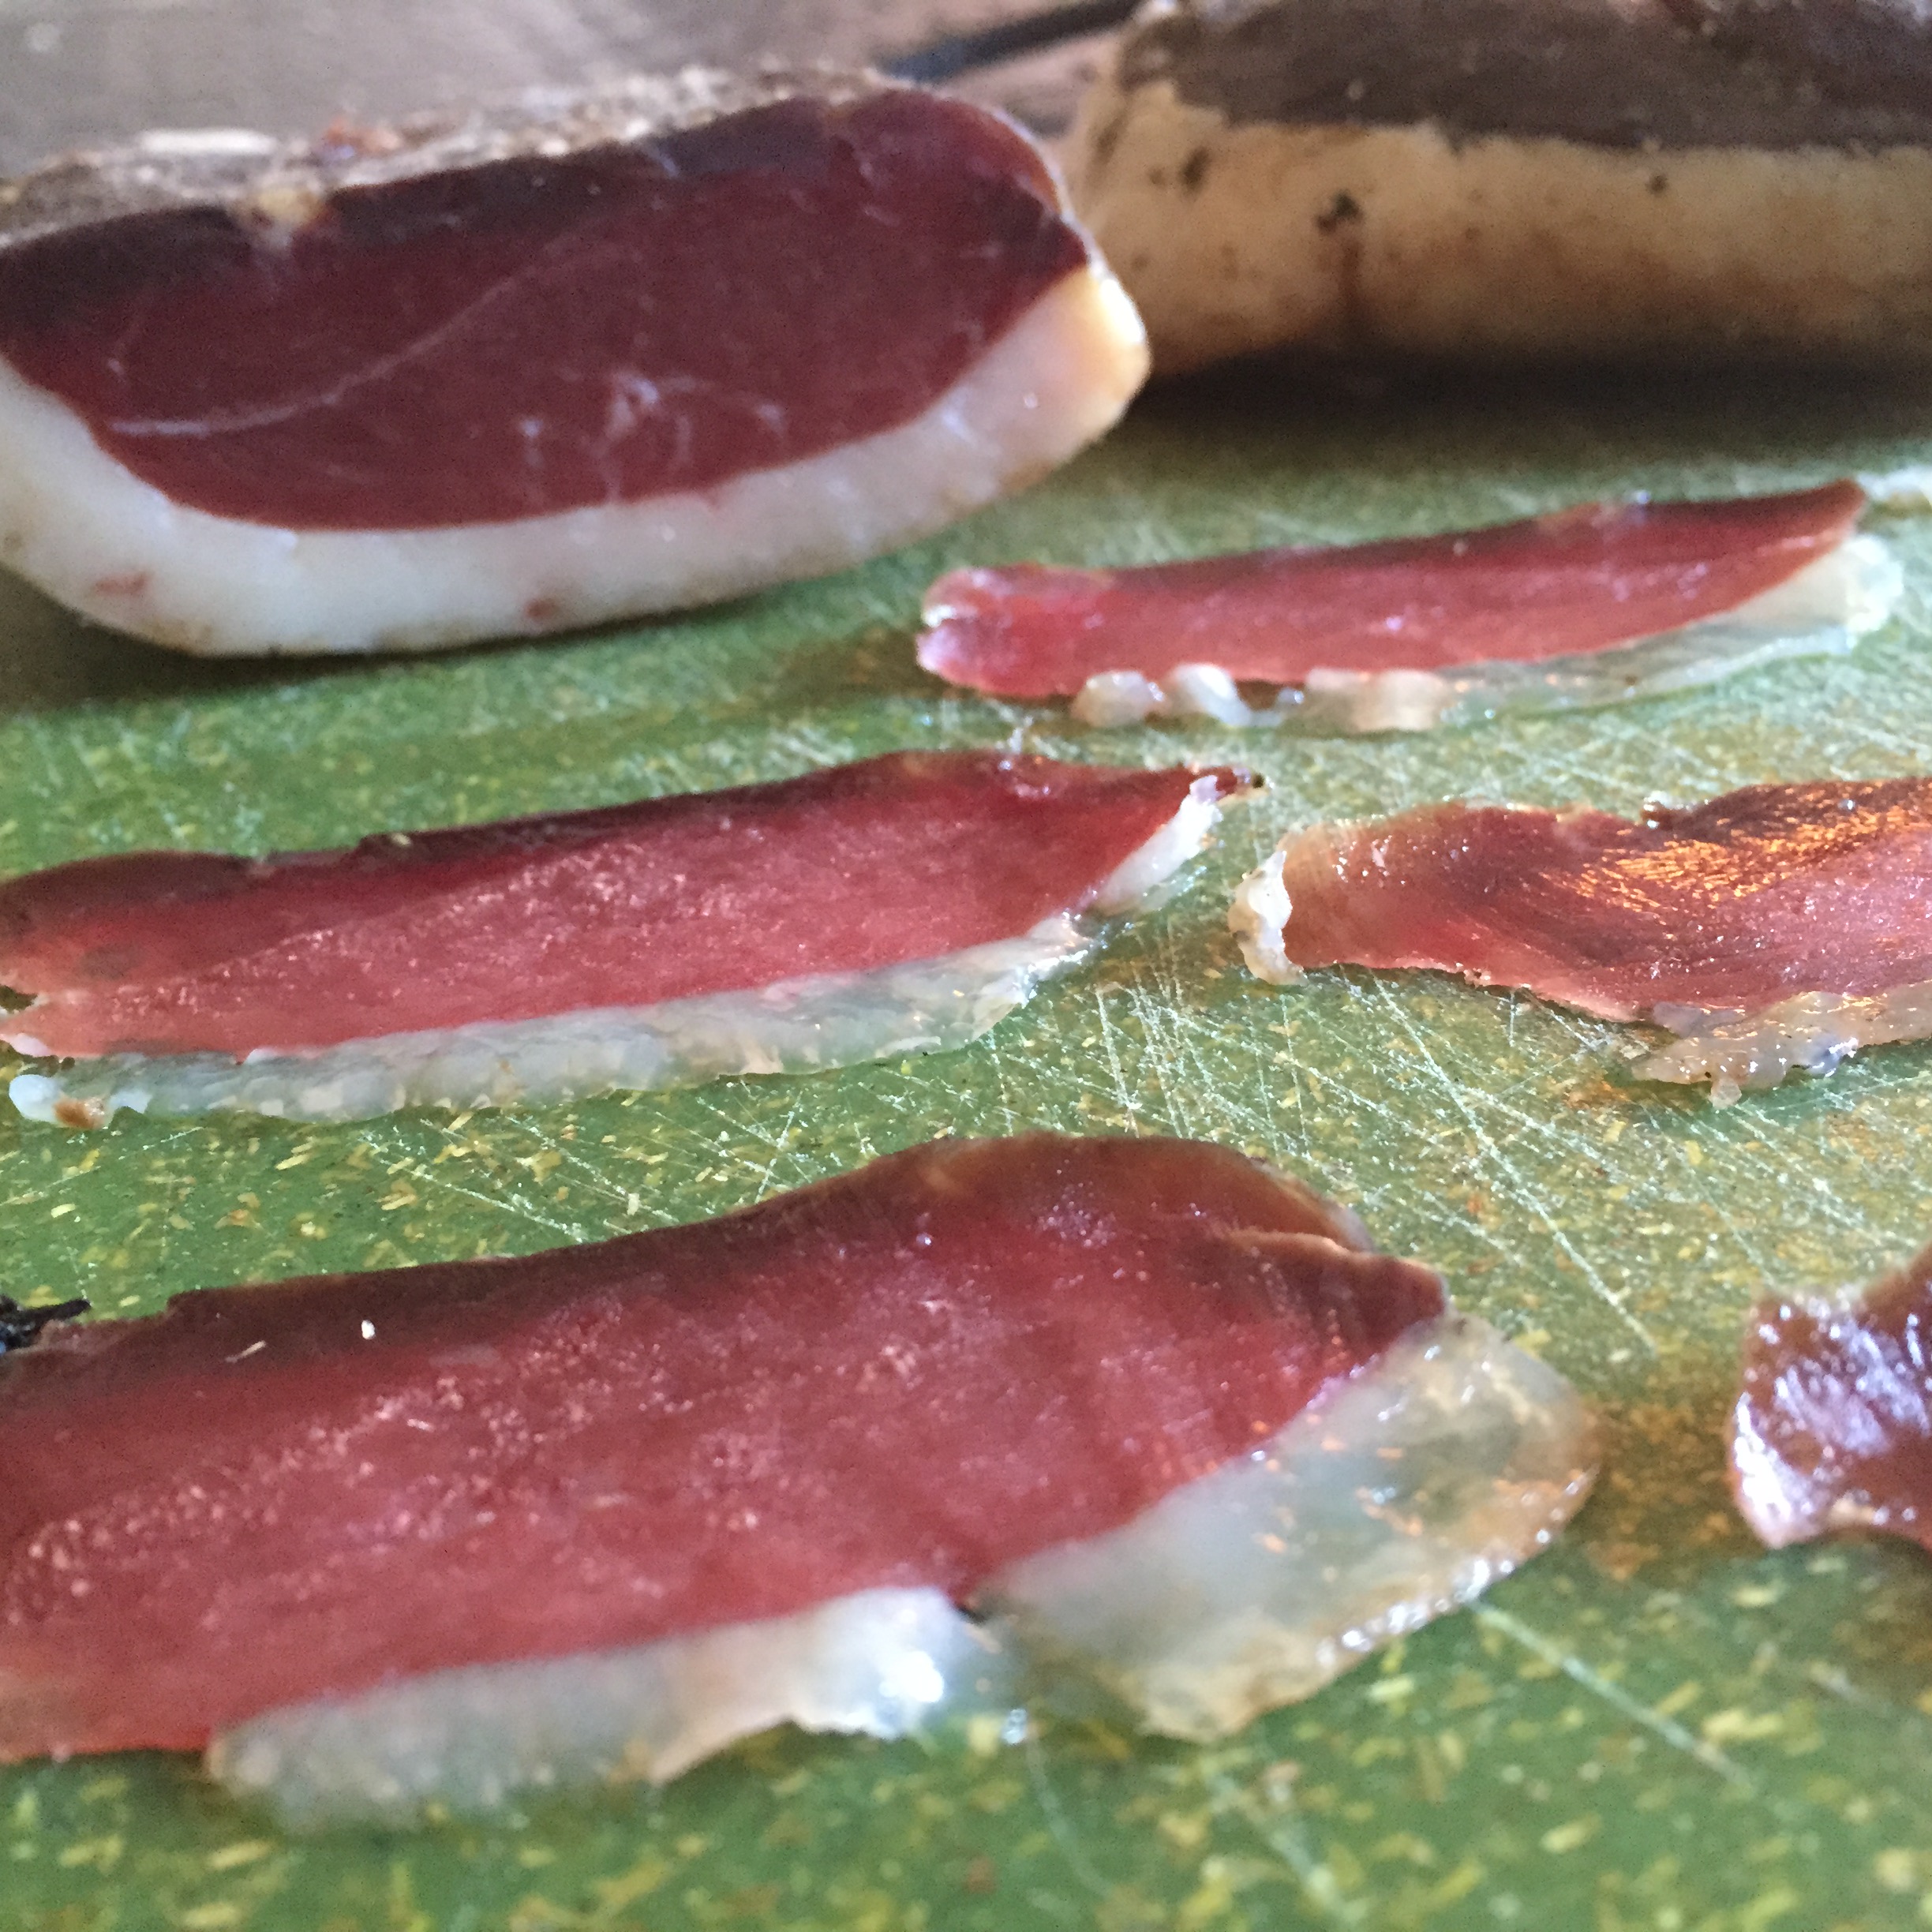
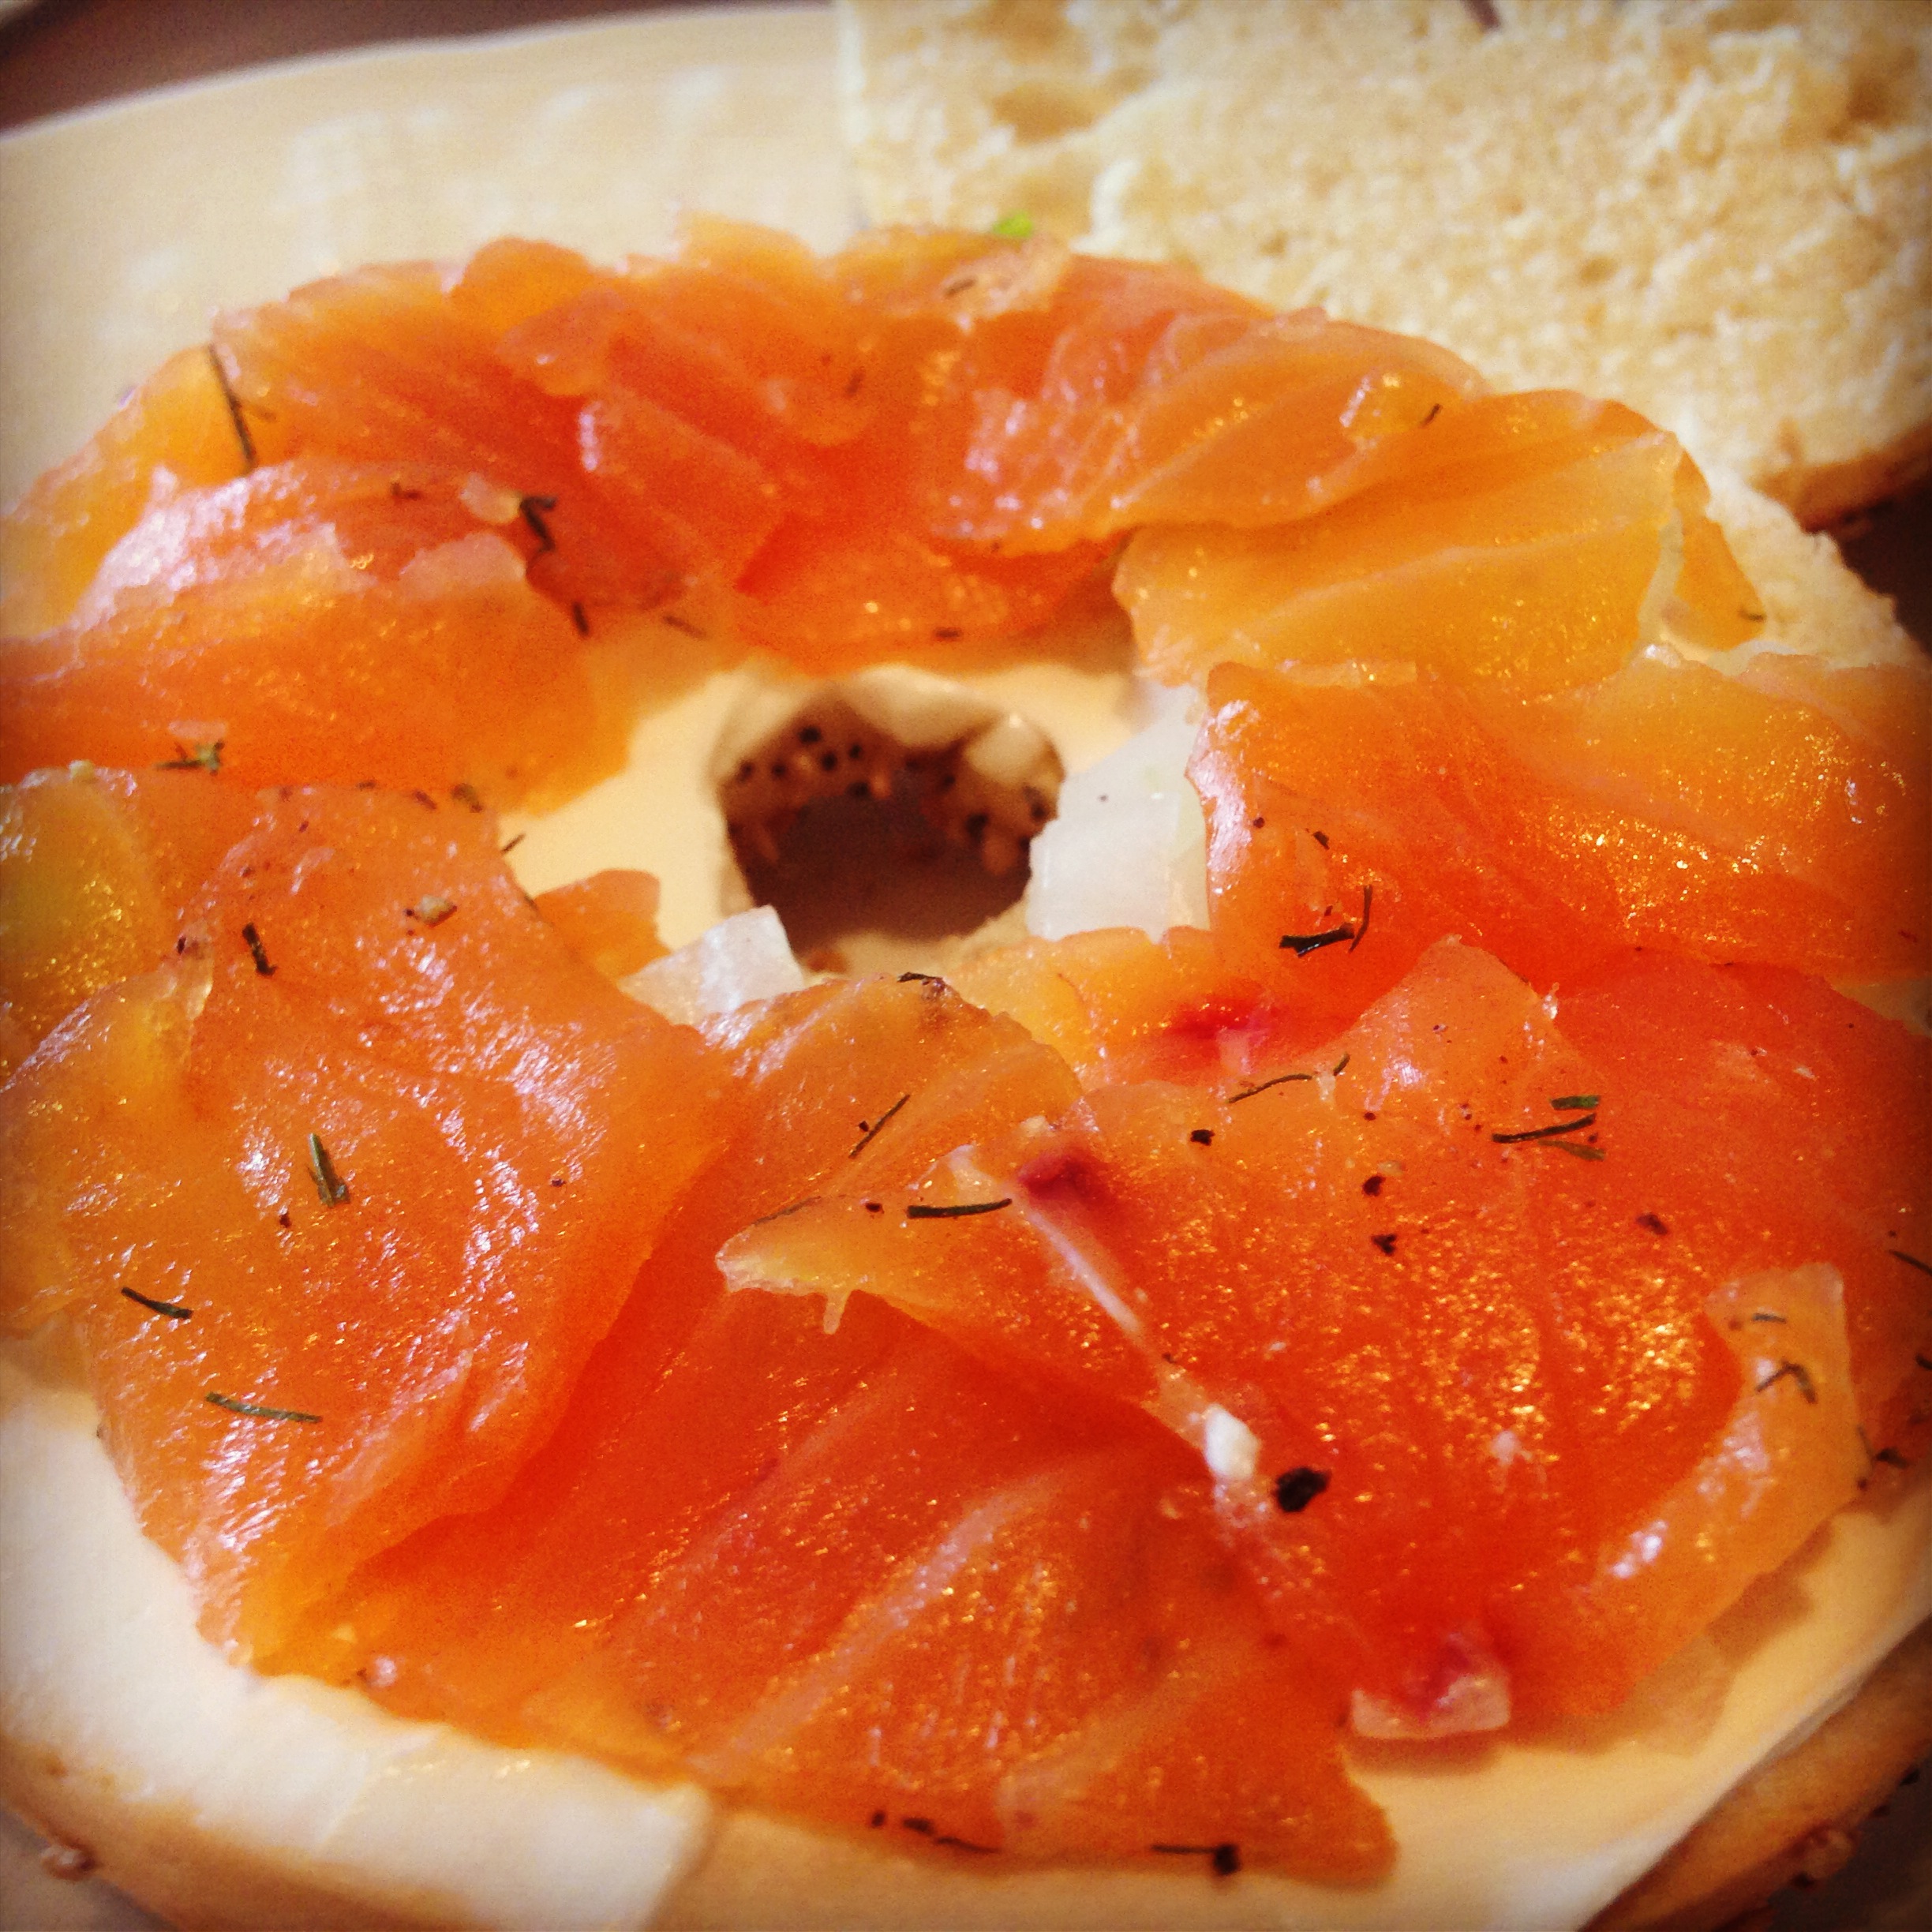
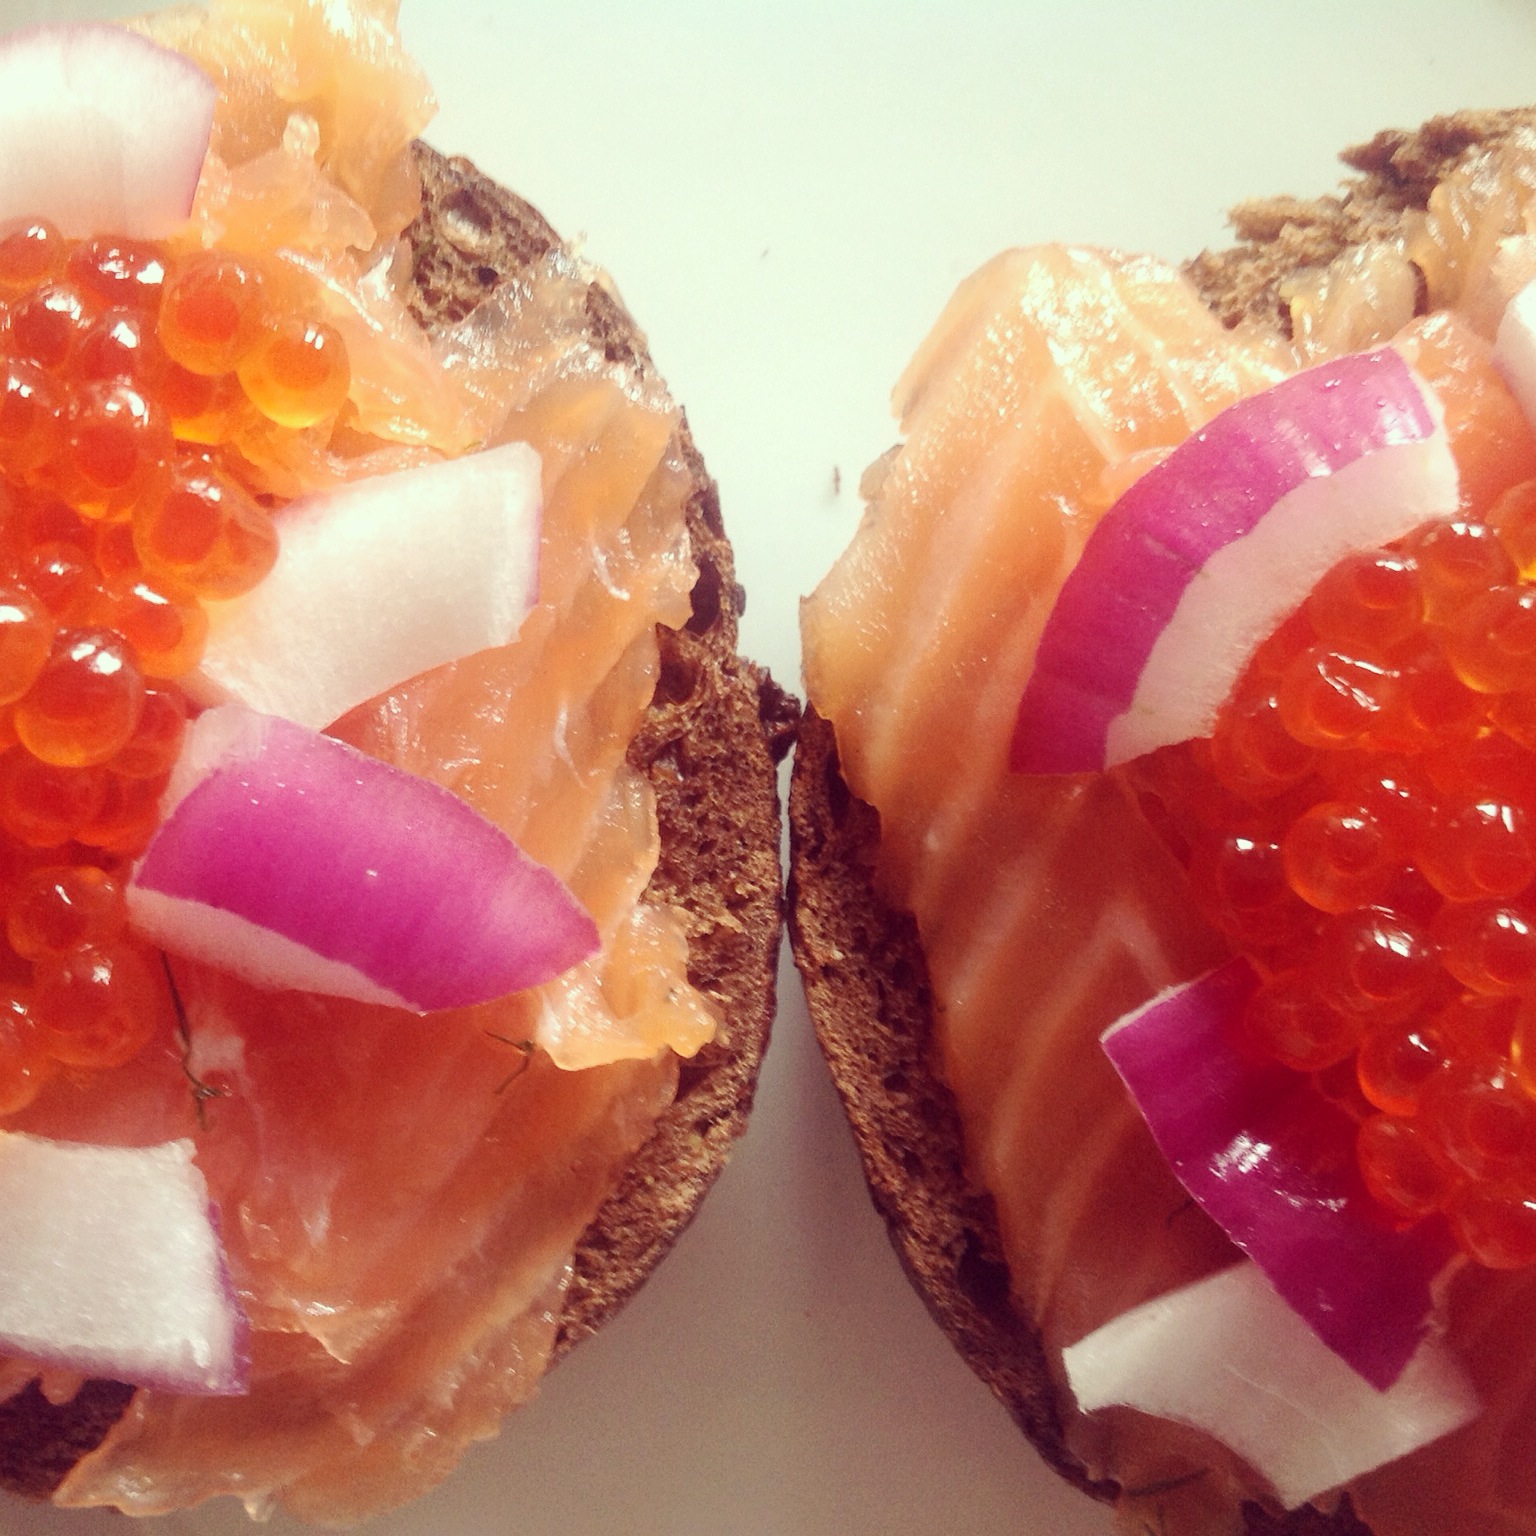
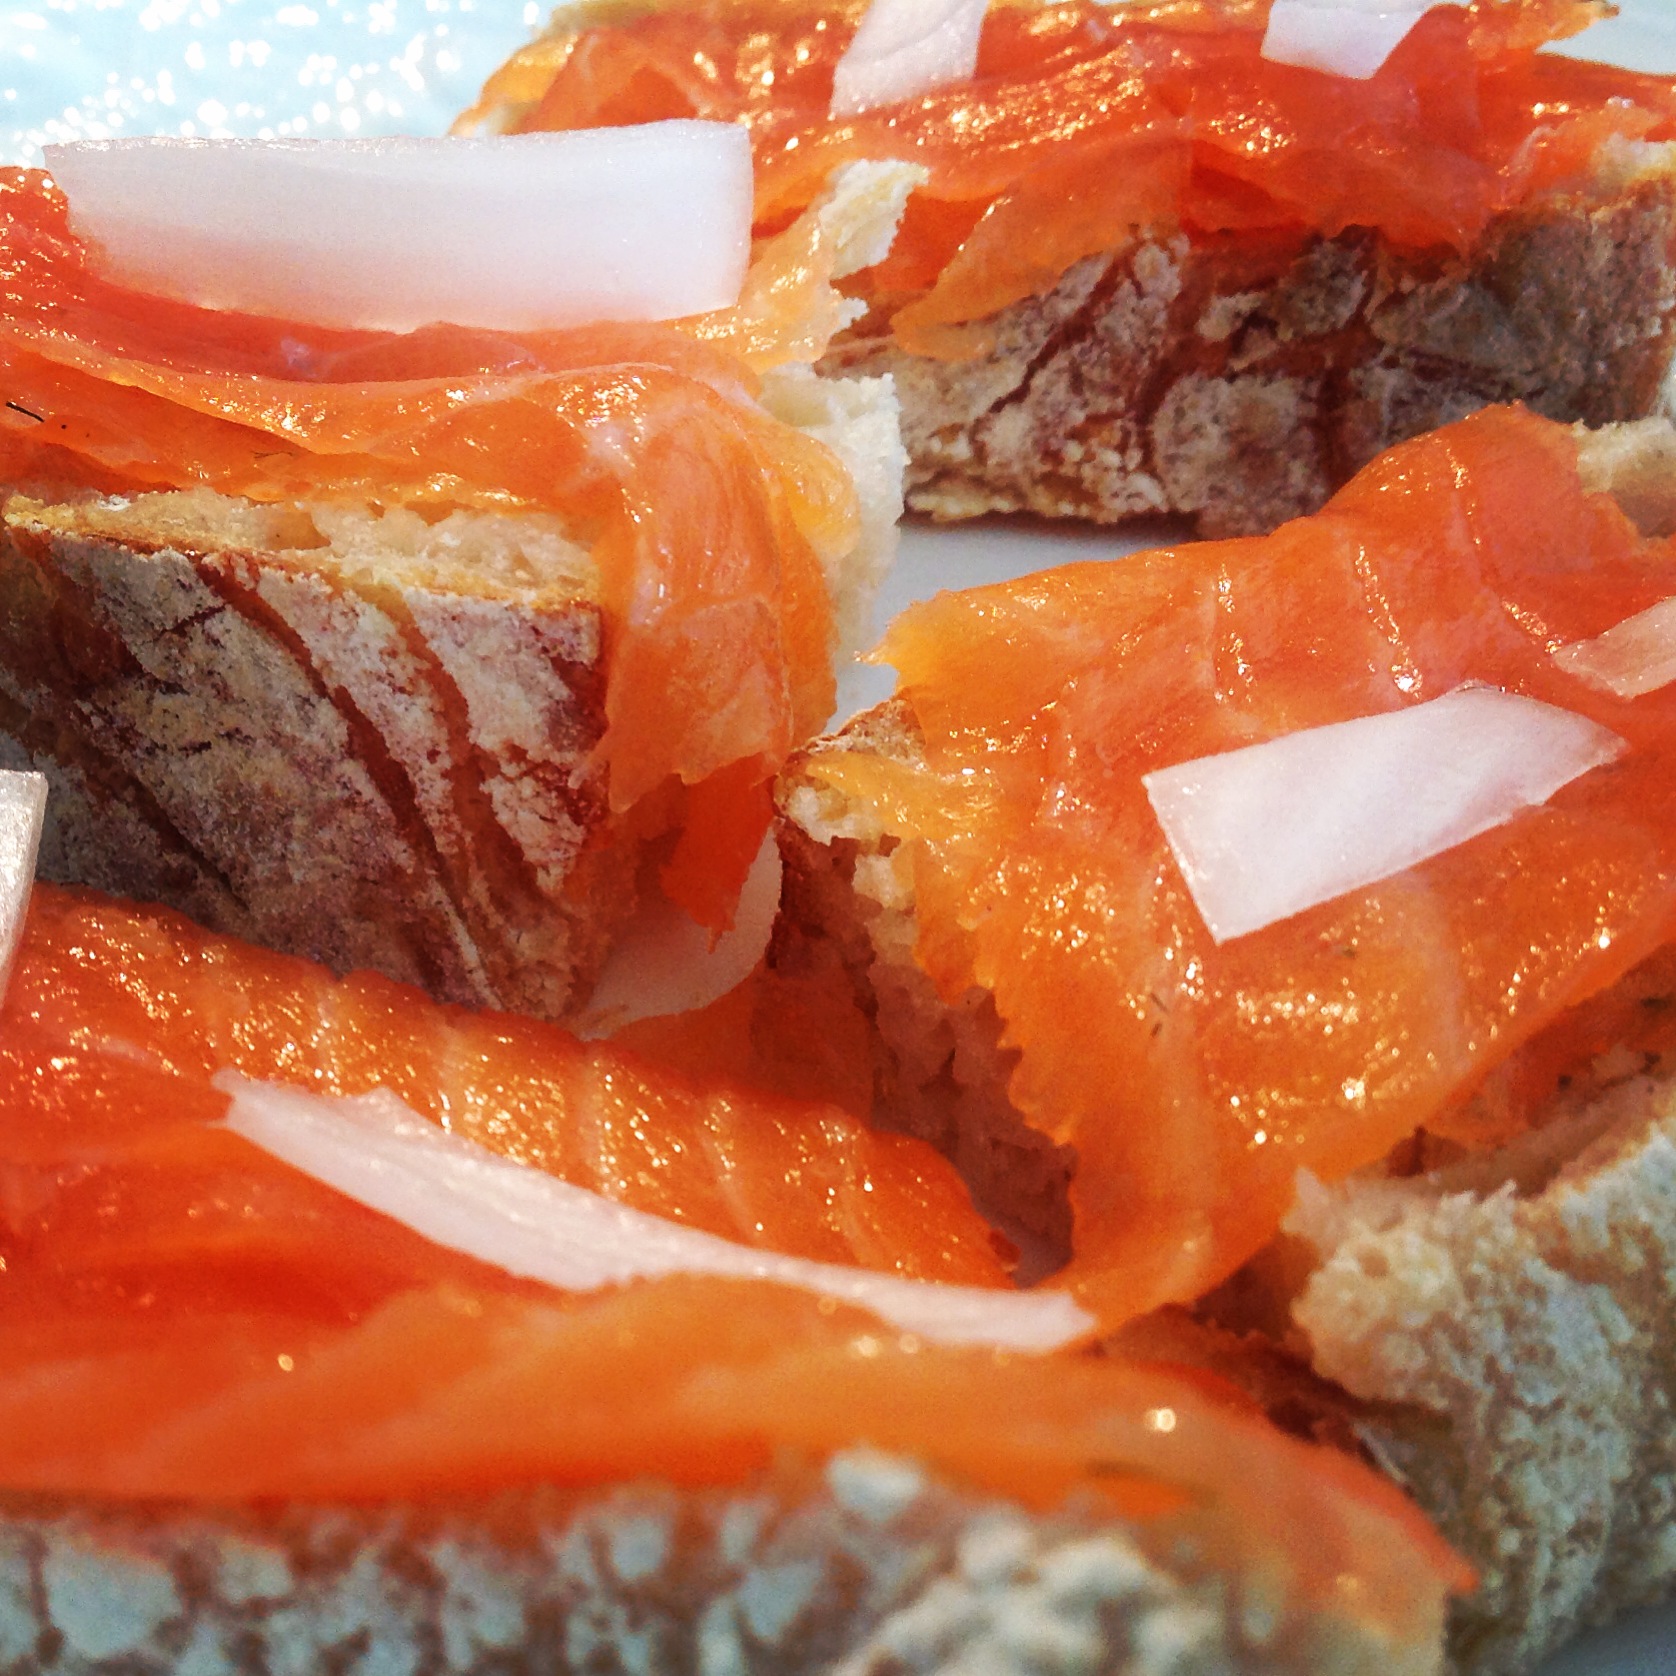
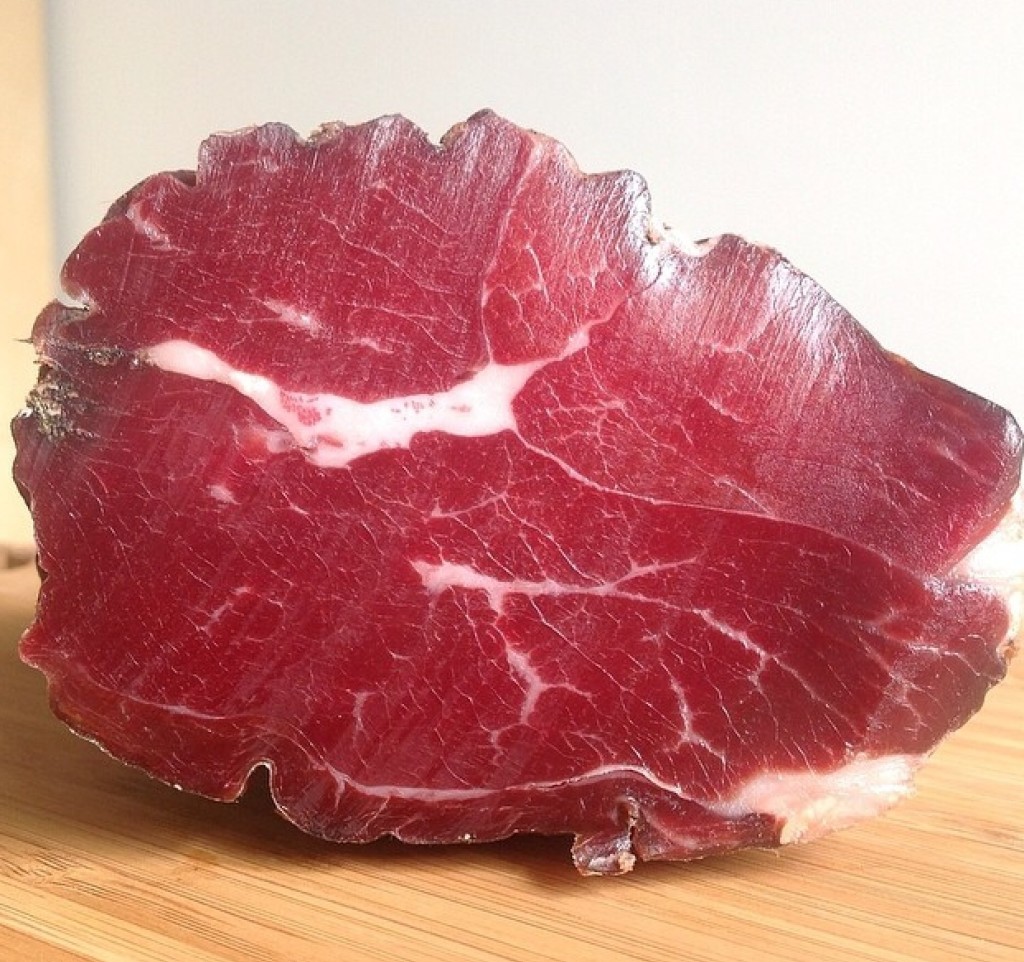
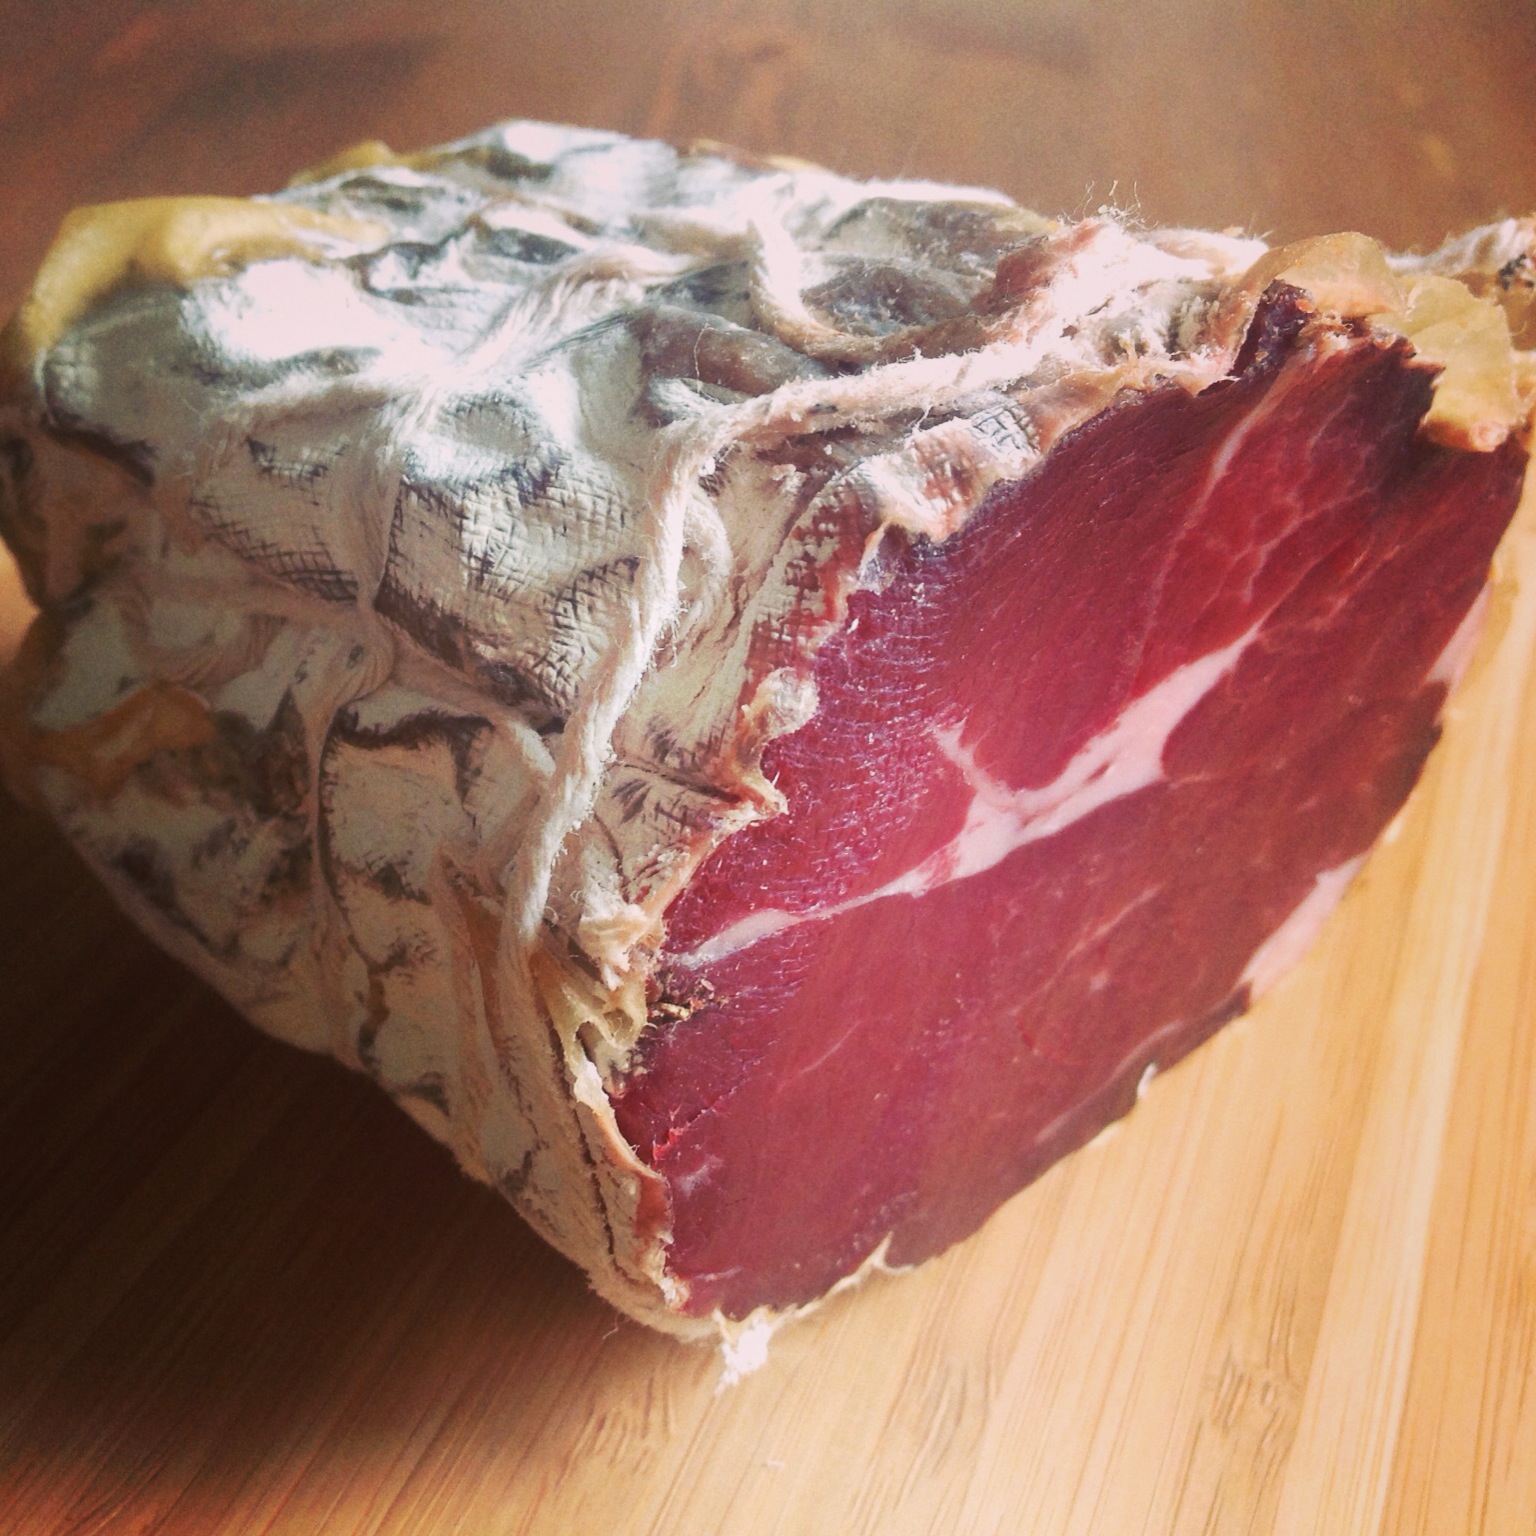
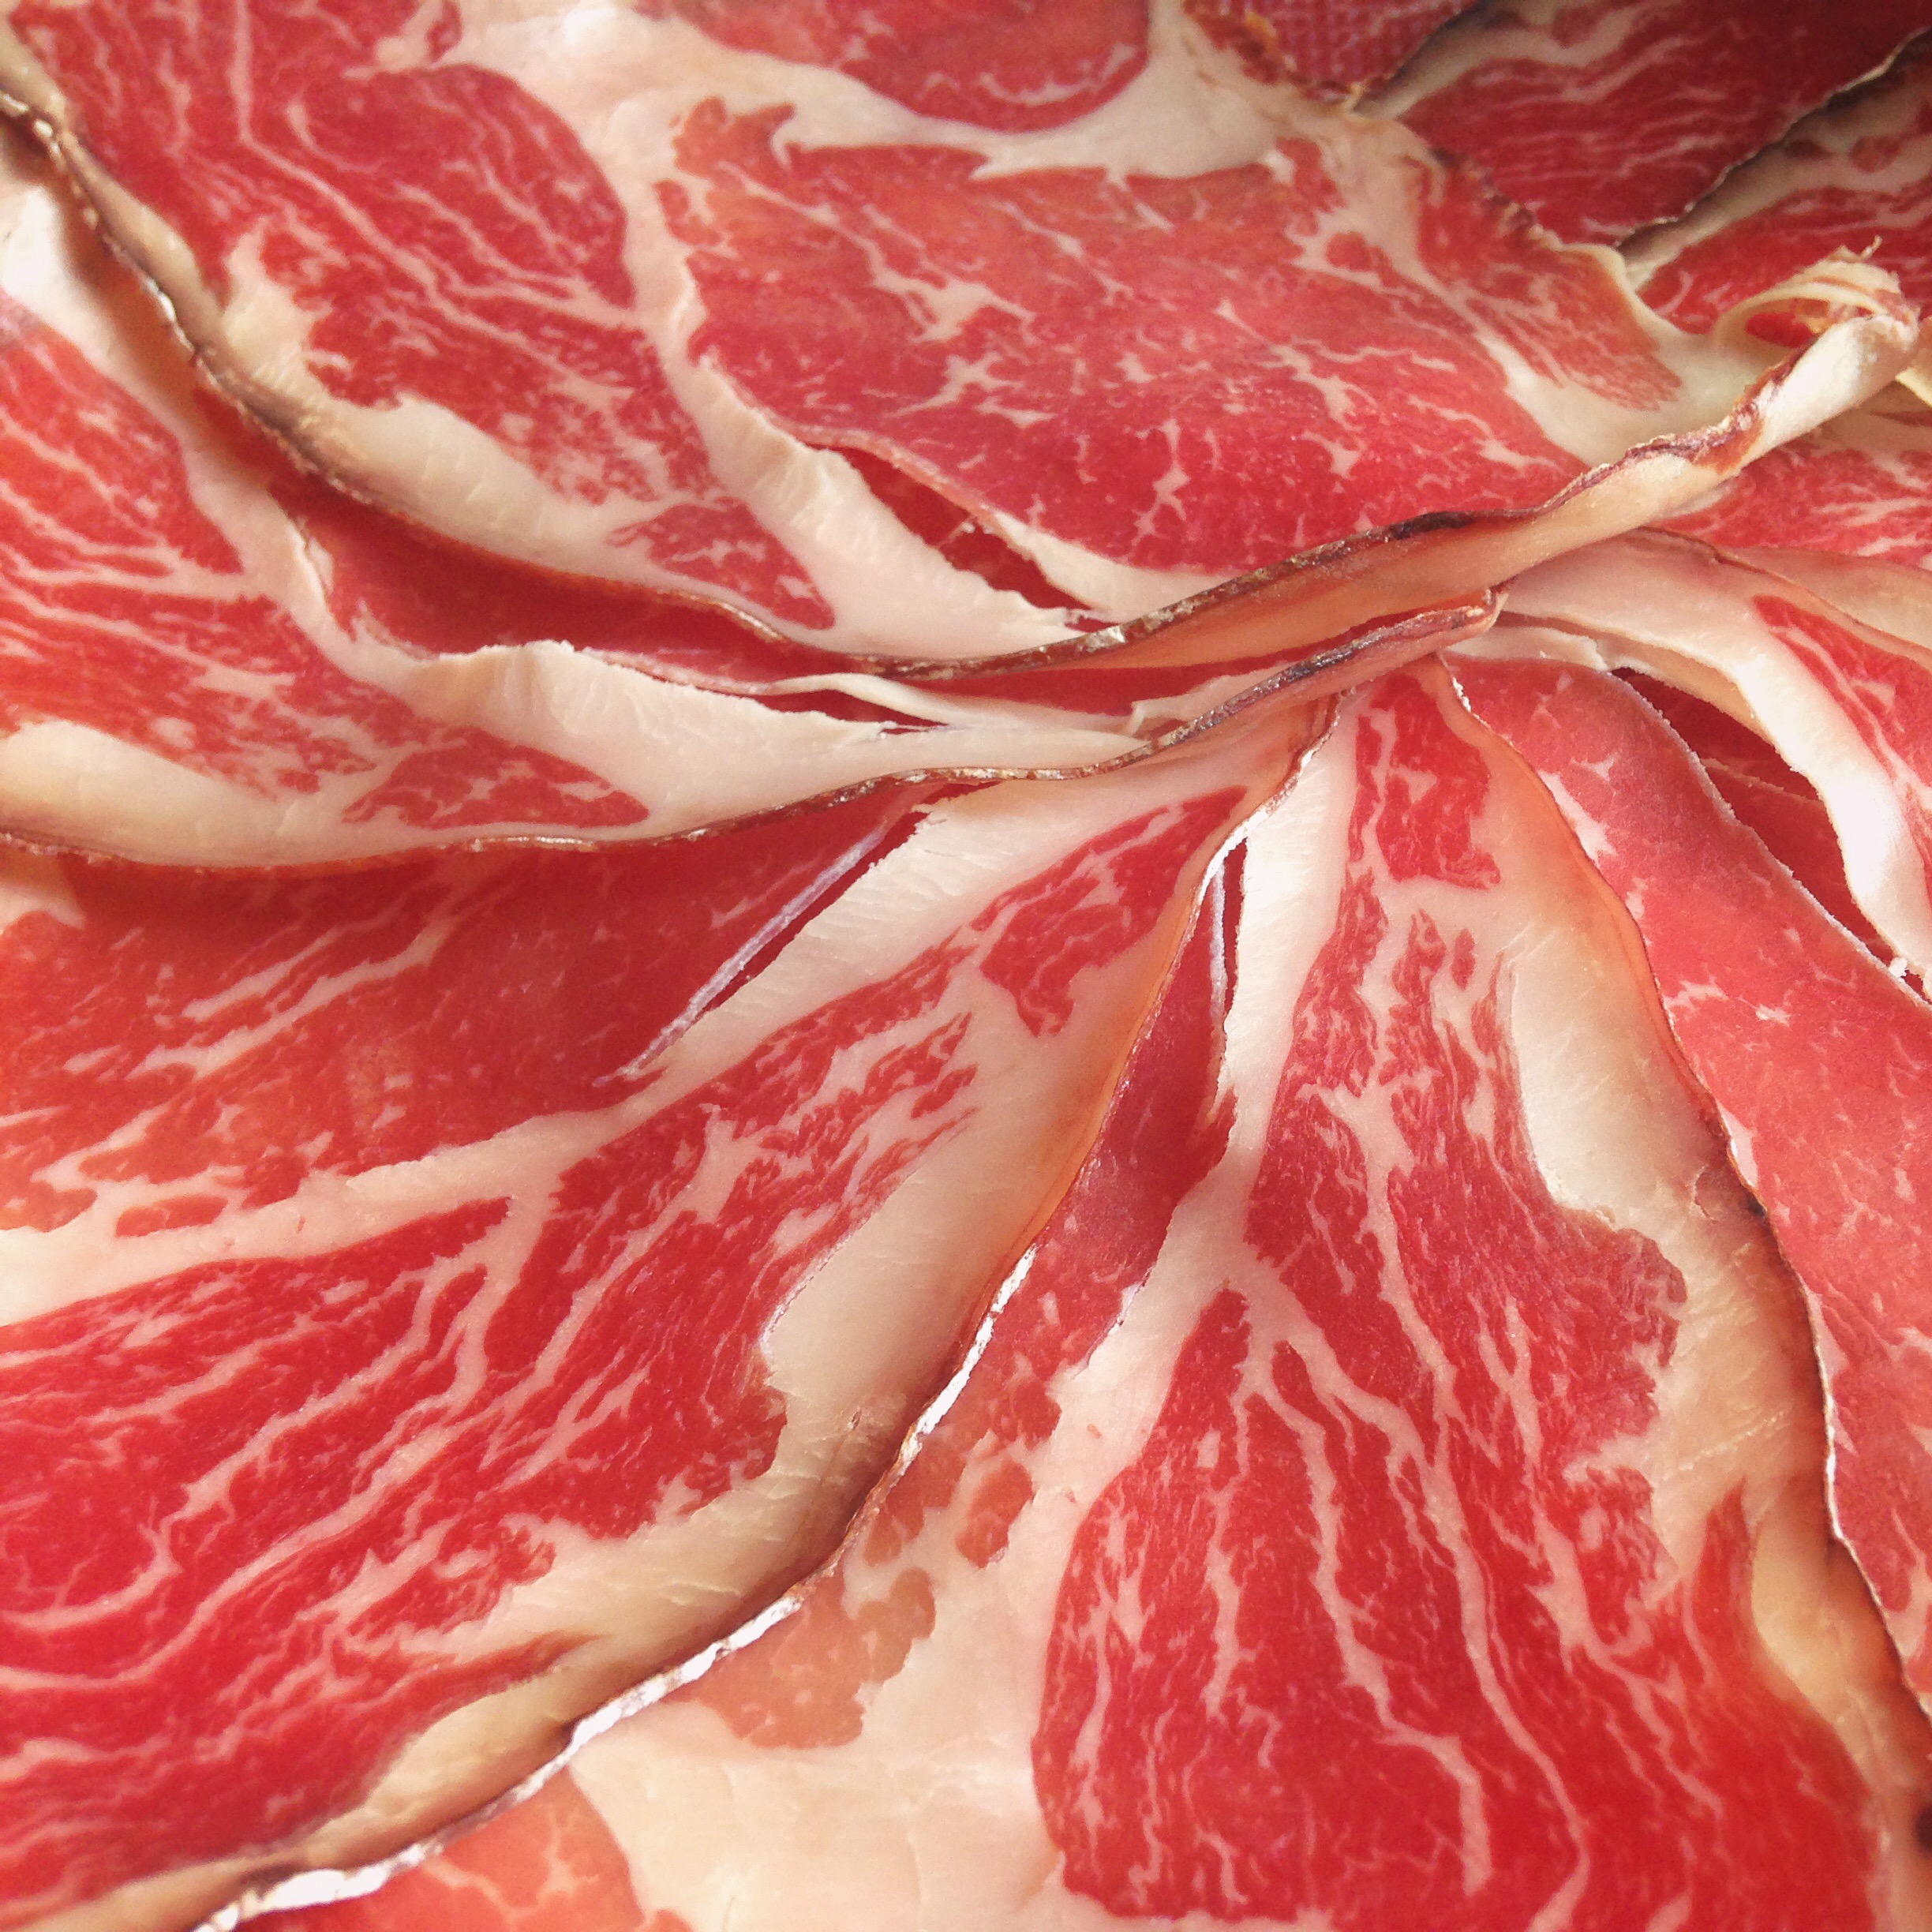
This end product was an awesome and unique experience. Fat is really an essential part of what makes cured meats taste so good, and this was no exception.
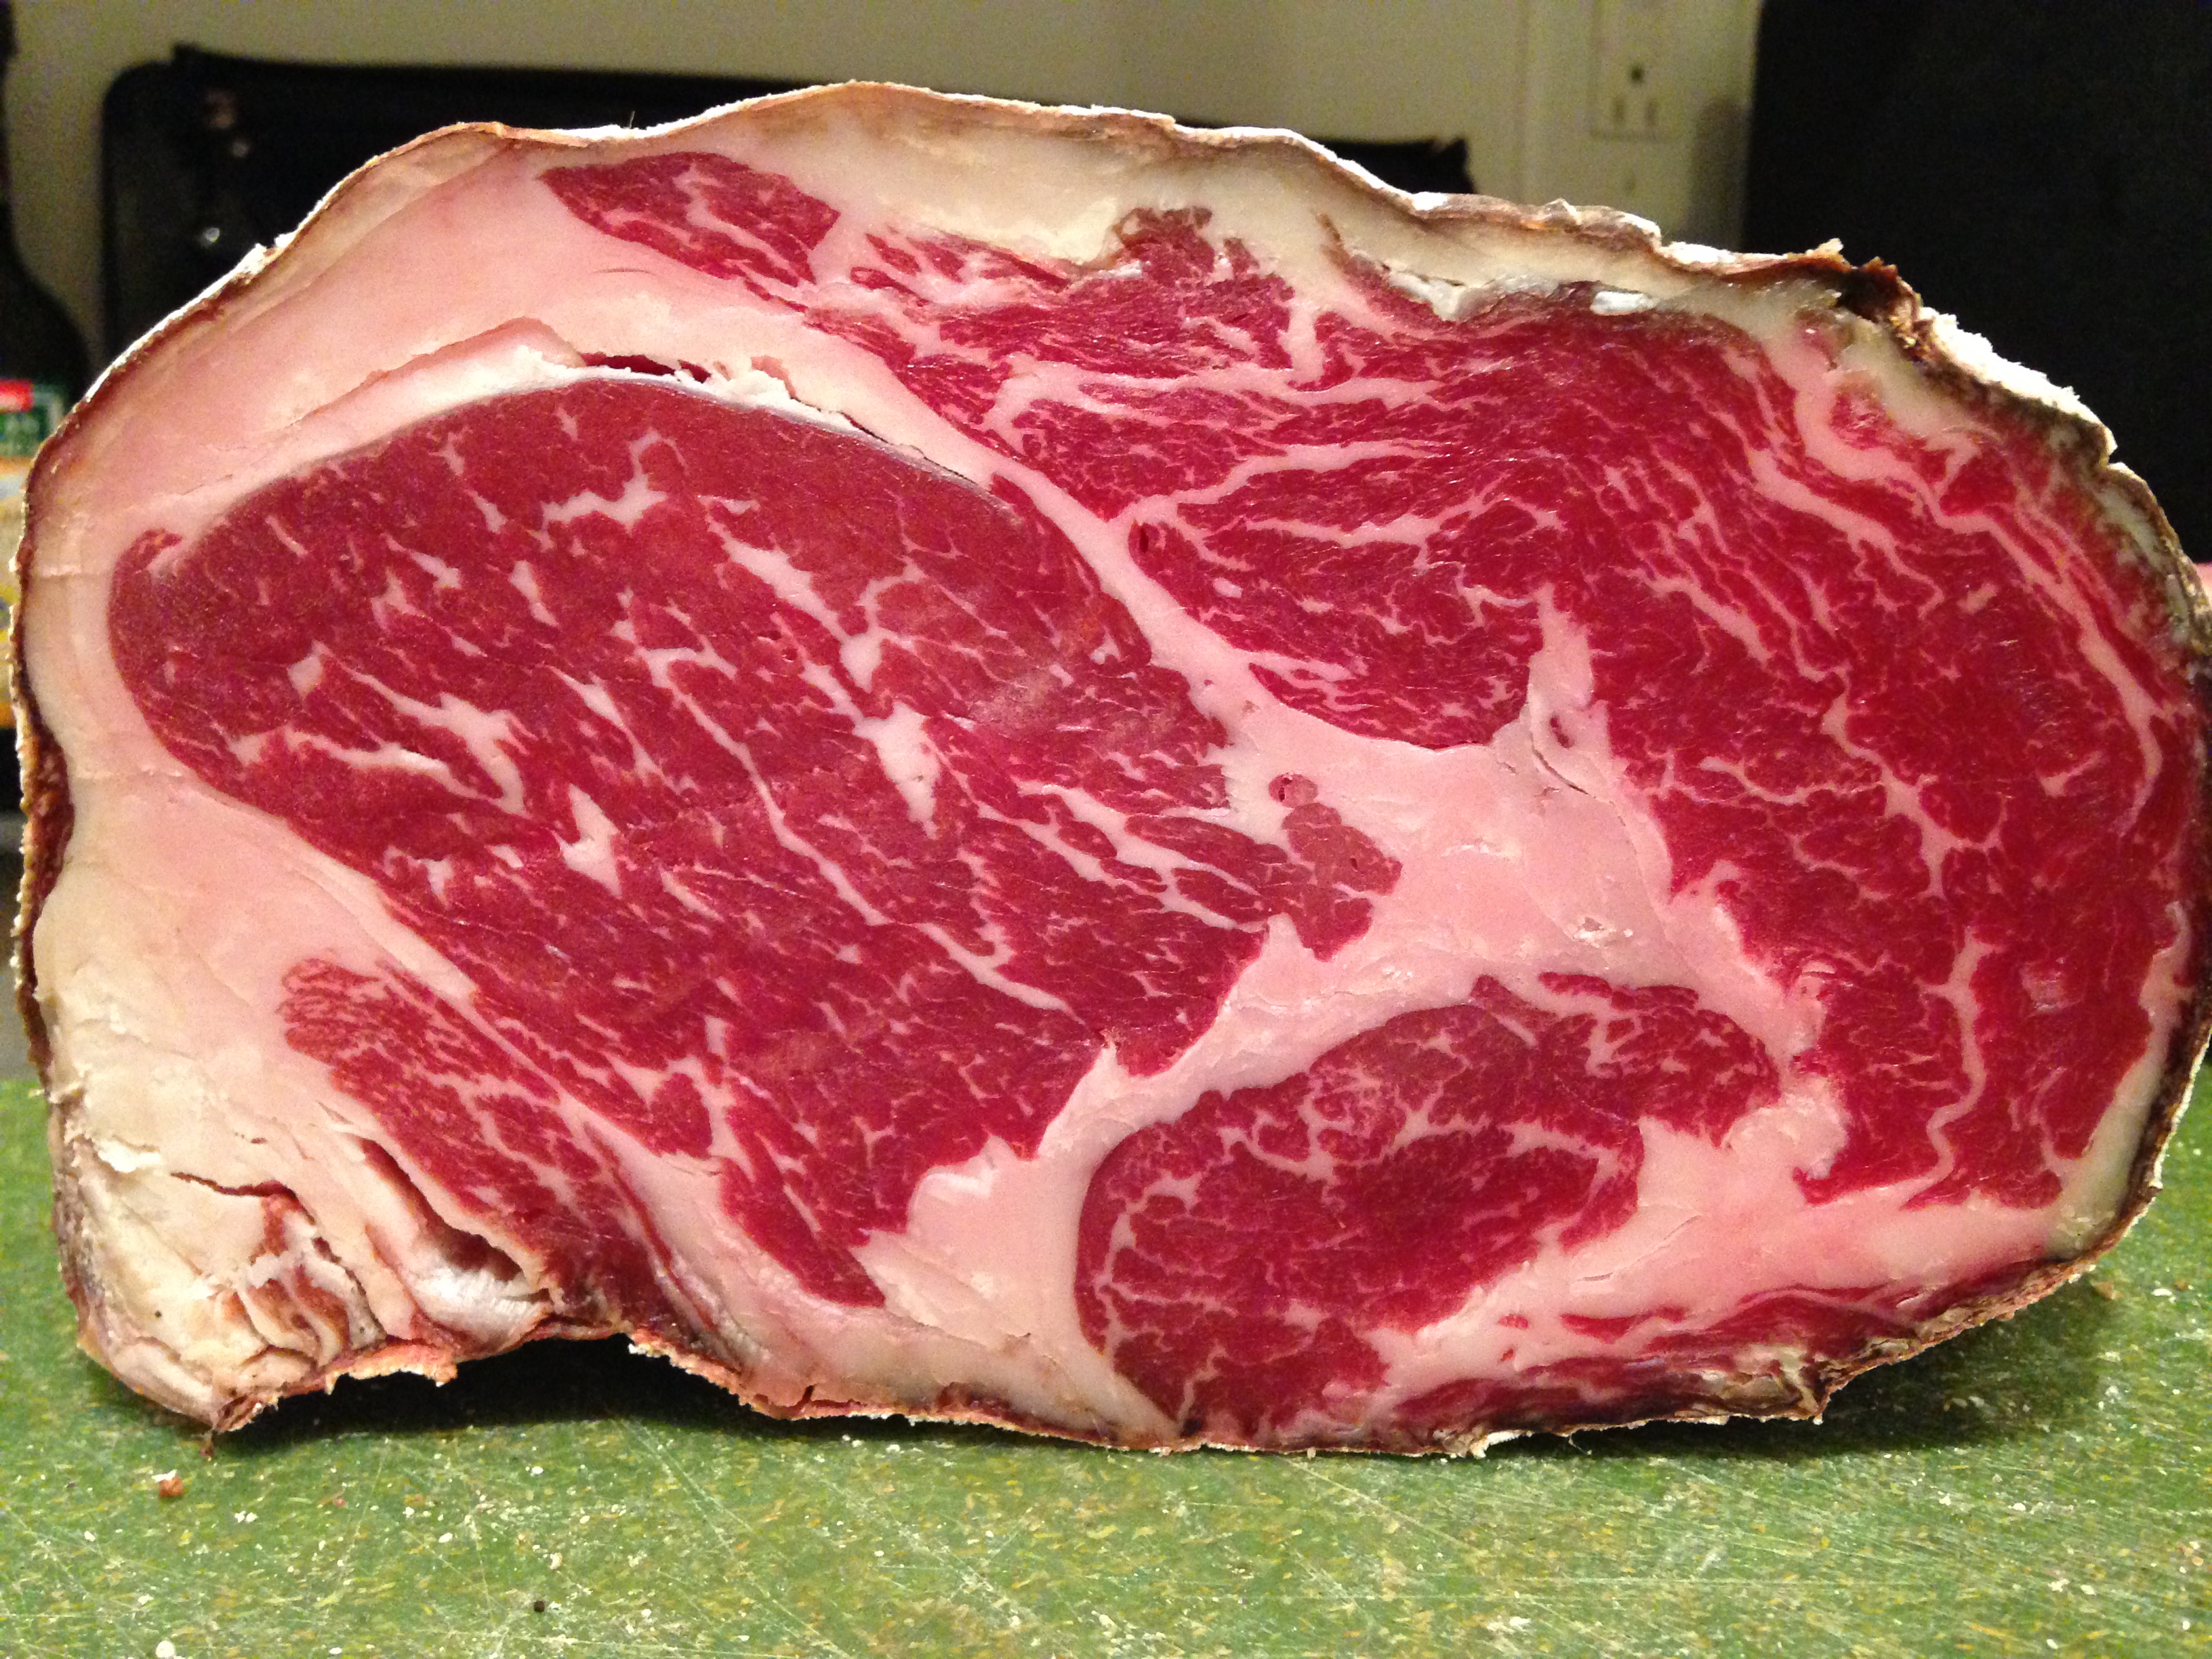
Having fat in a beef bresaola product really enhances its flavor and made it a more complex product.
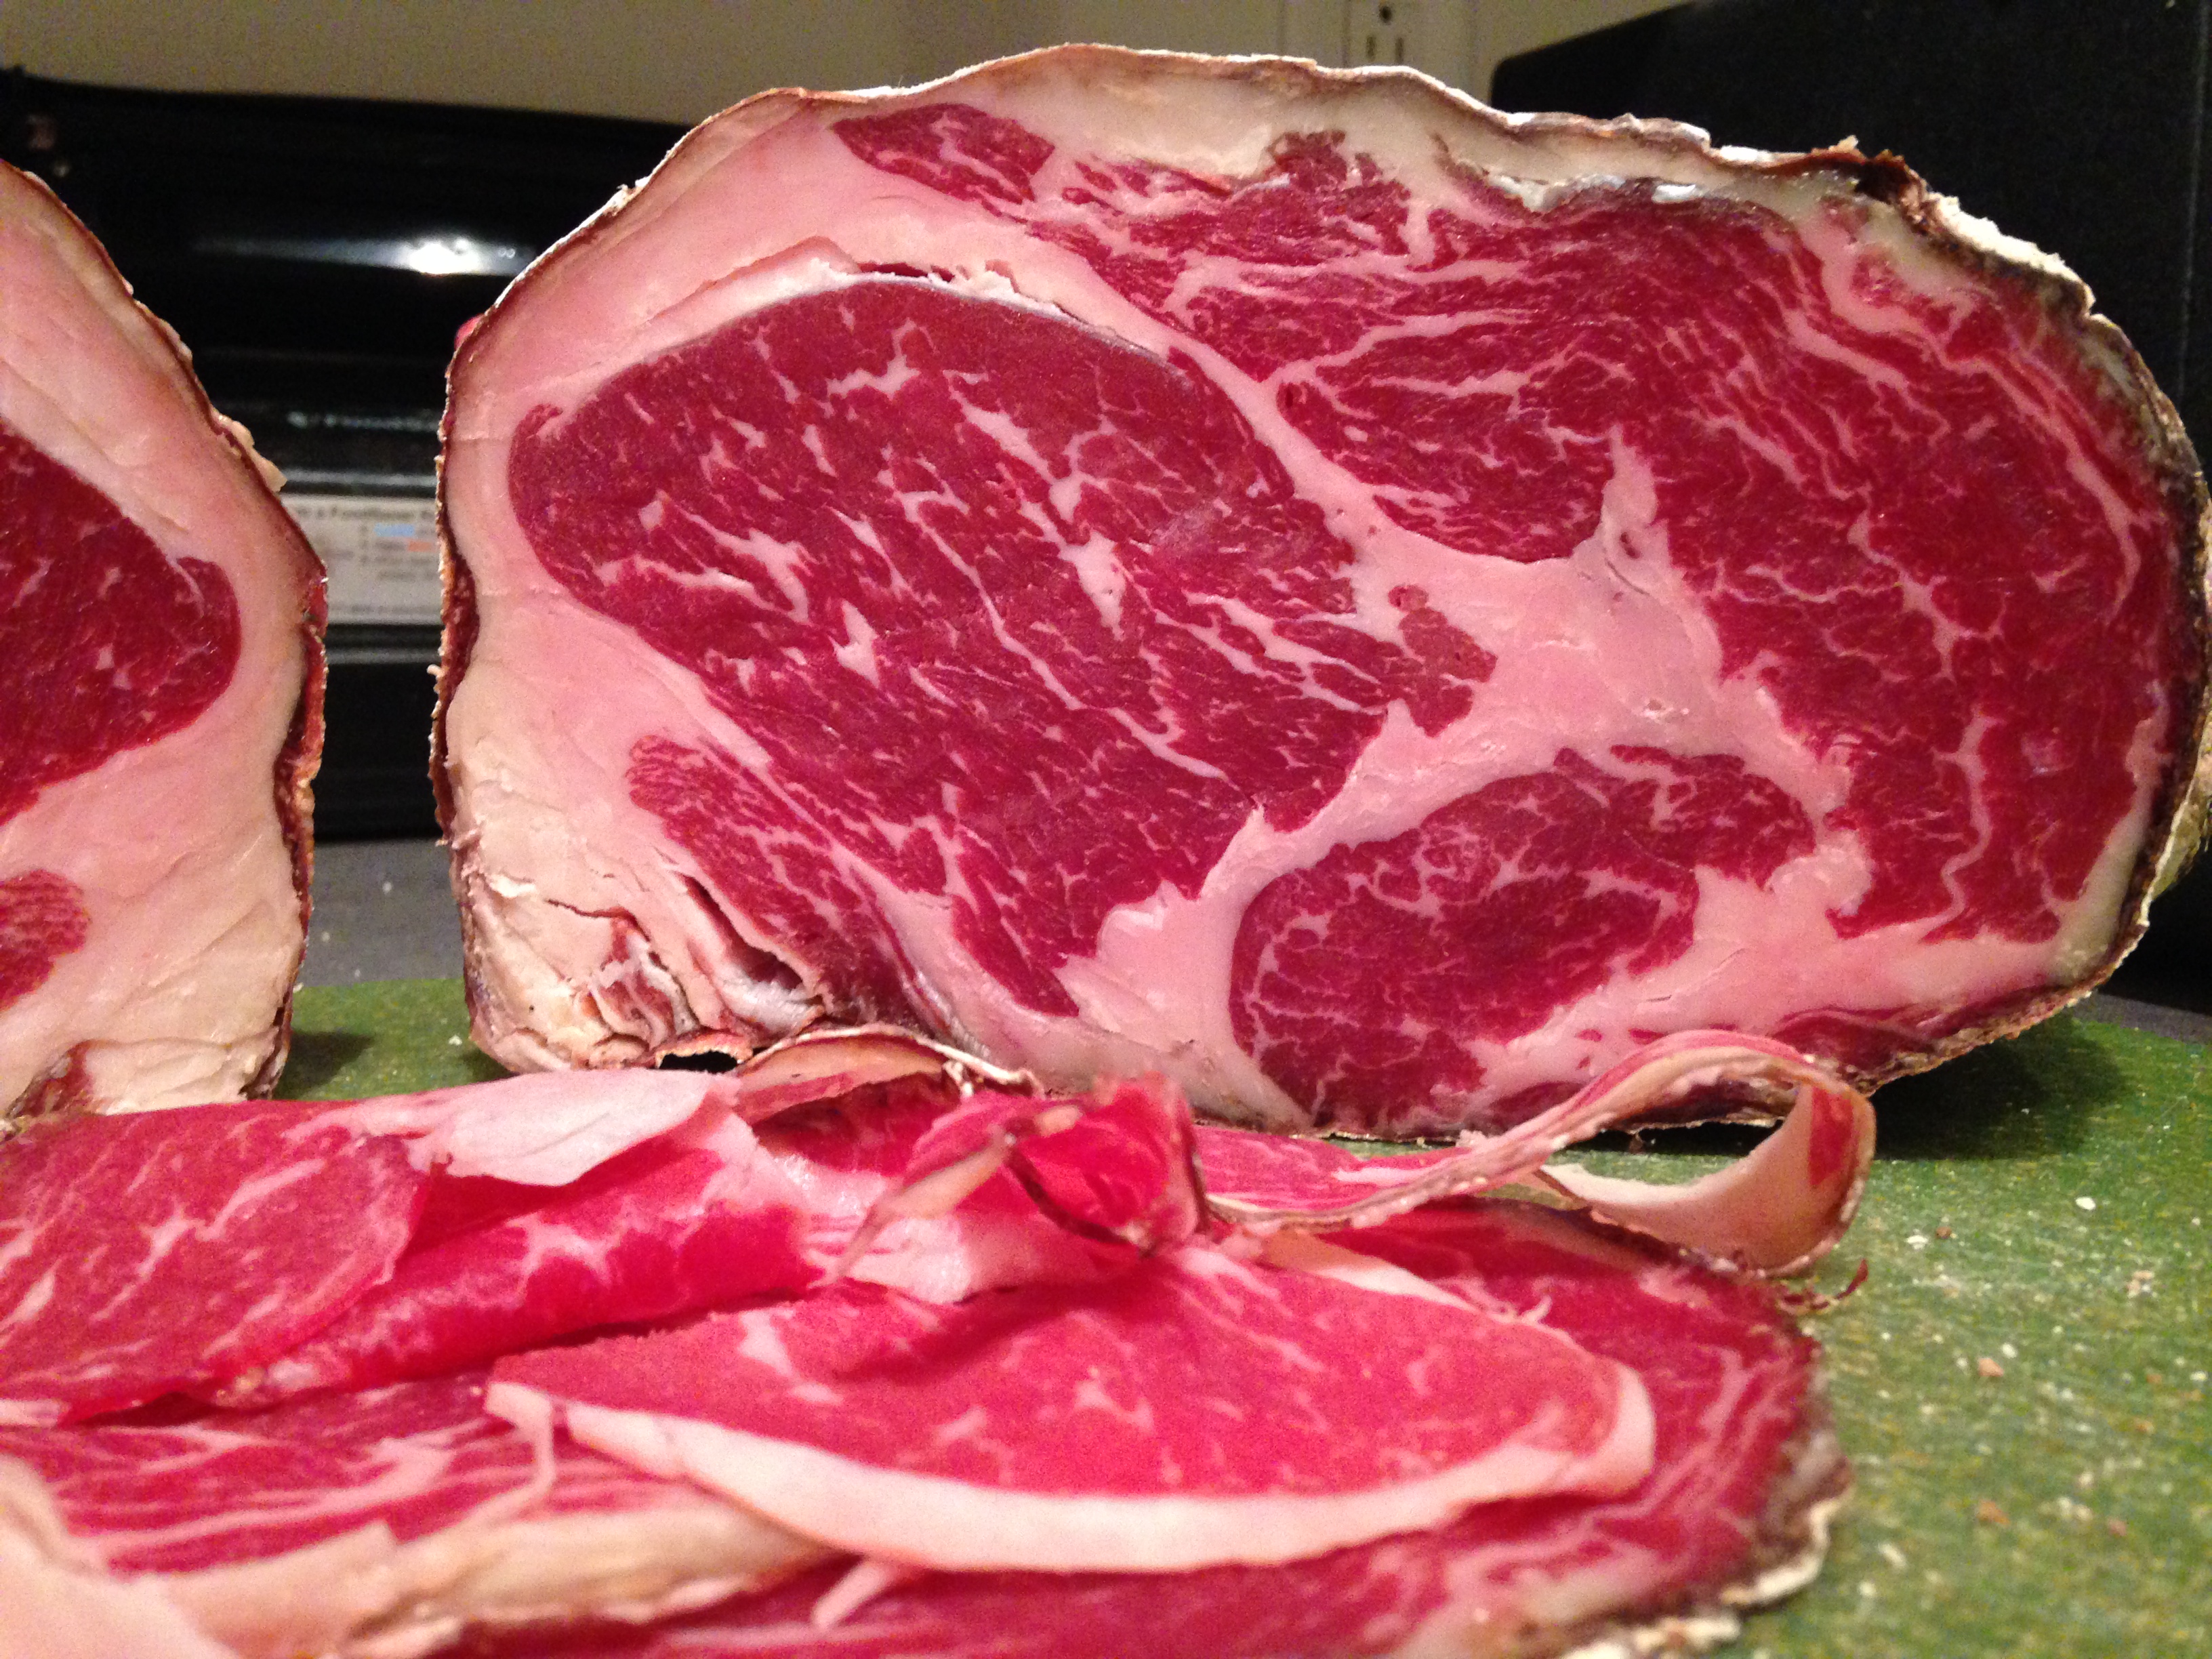
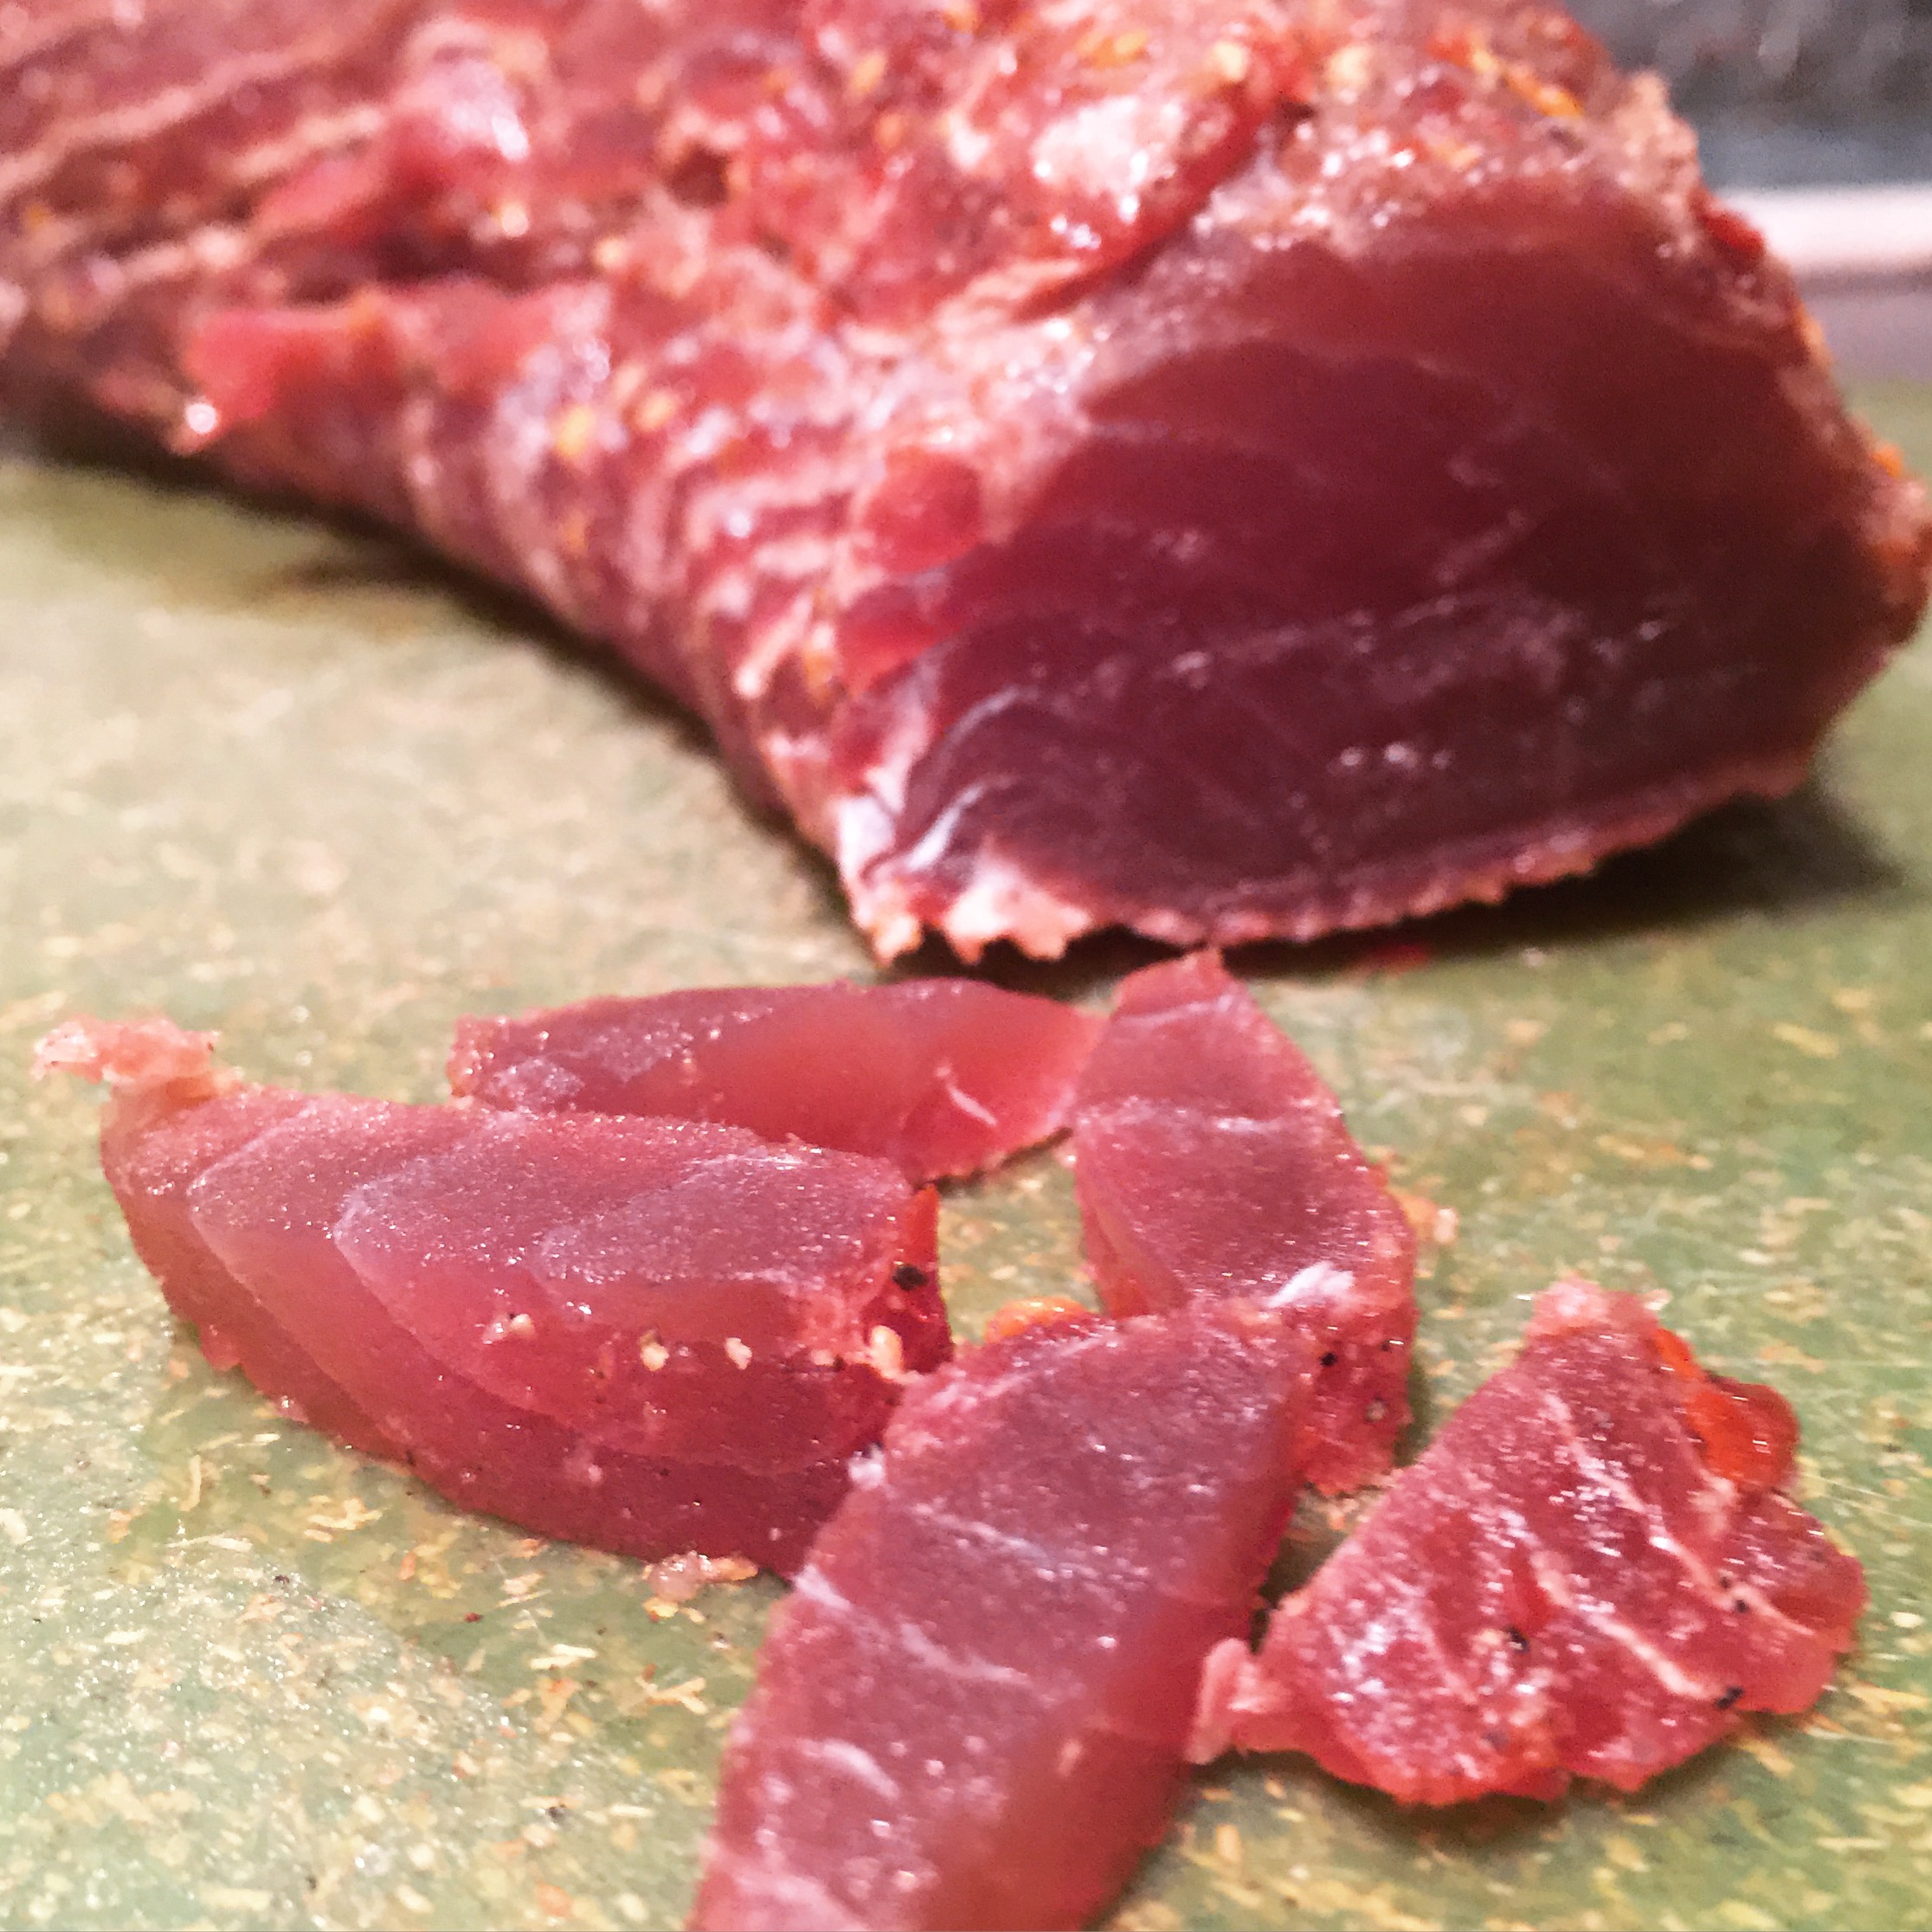
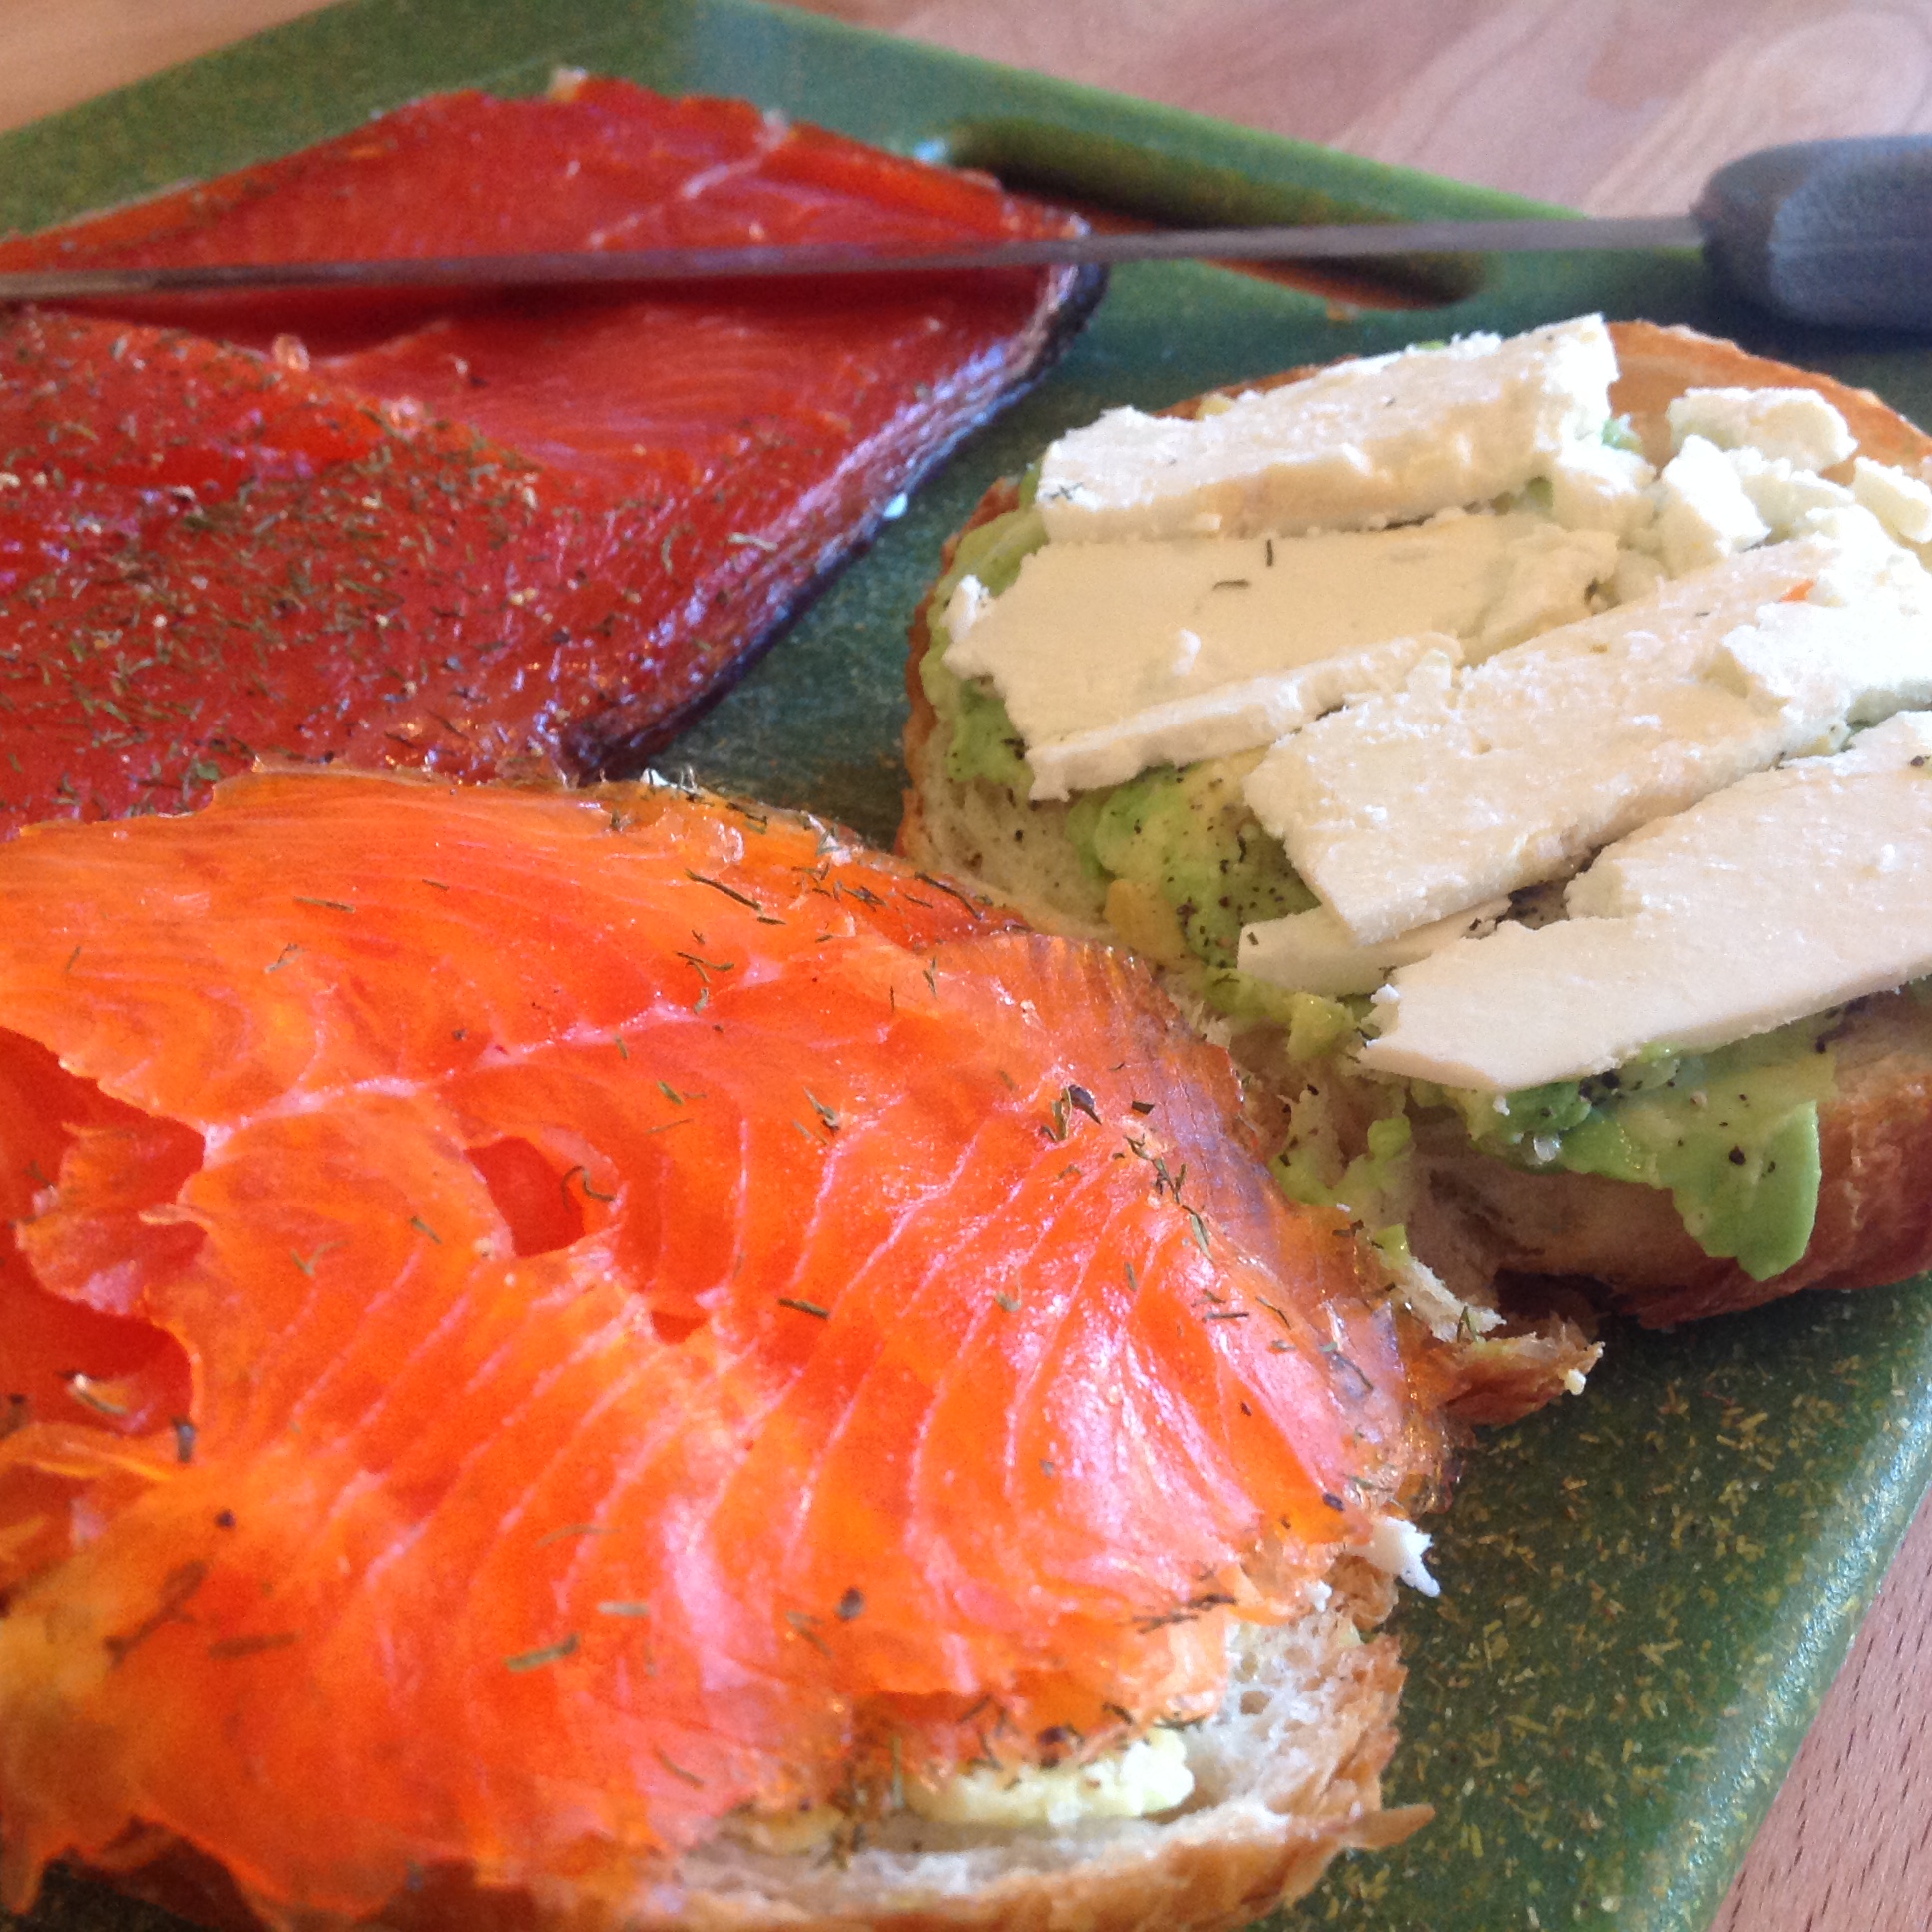
Because beef fat has a higher melting point, or slip melting point as the scientific literature refers to it as, it doesn’t melt at room temperature like most pork fat will. I found that leaving the meat out for an hour or so before serving helped to make the fat more delectable, giving it a better mouthfeel. In a future post, I will discuss the melting points of different fats and their pros and cons for different products.
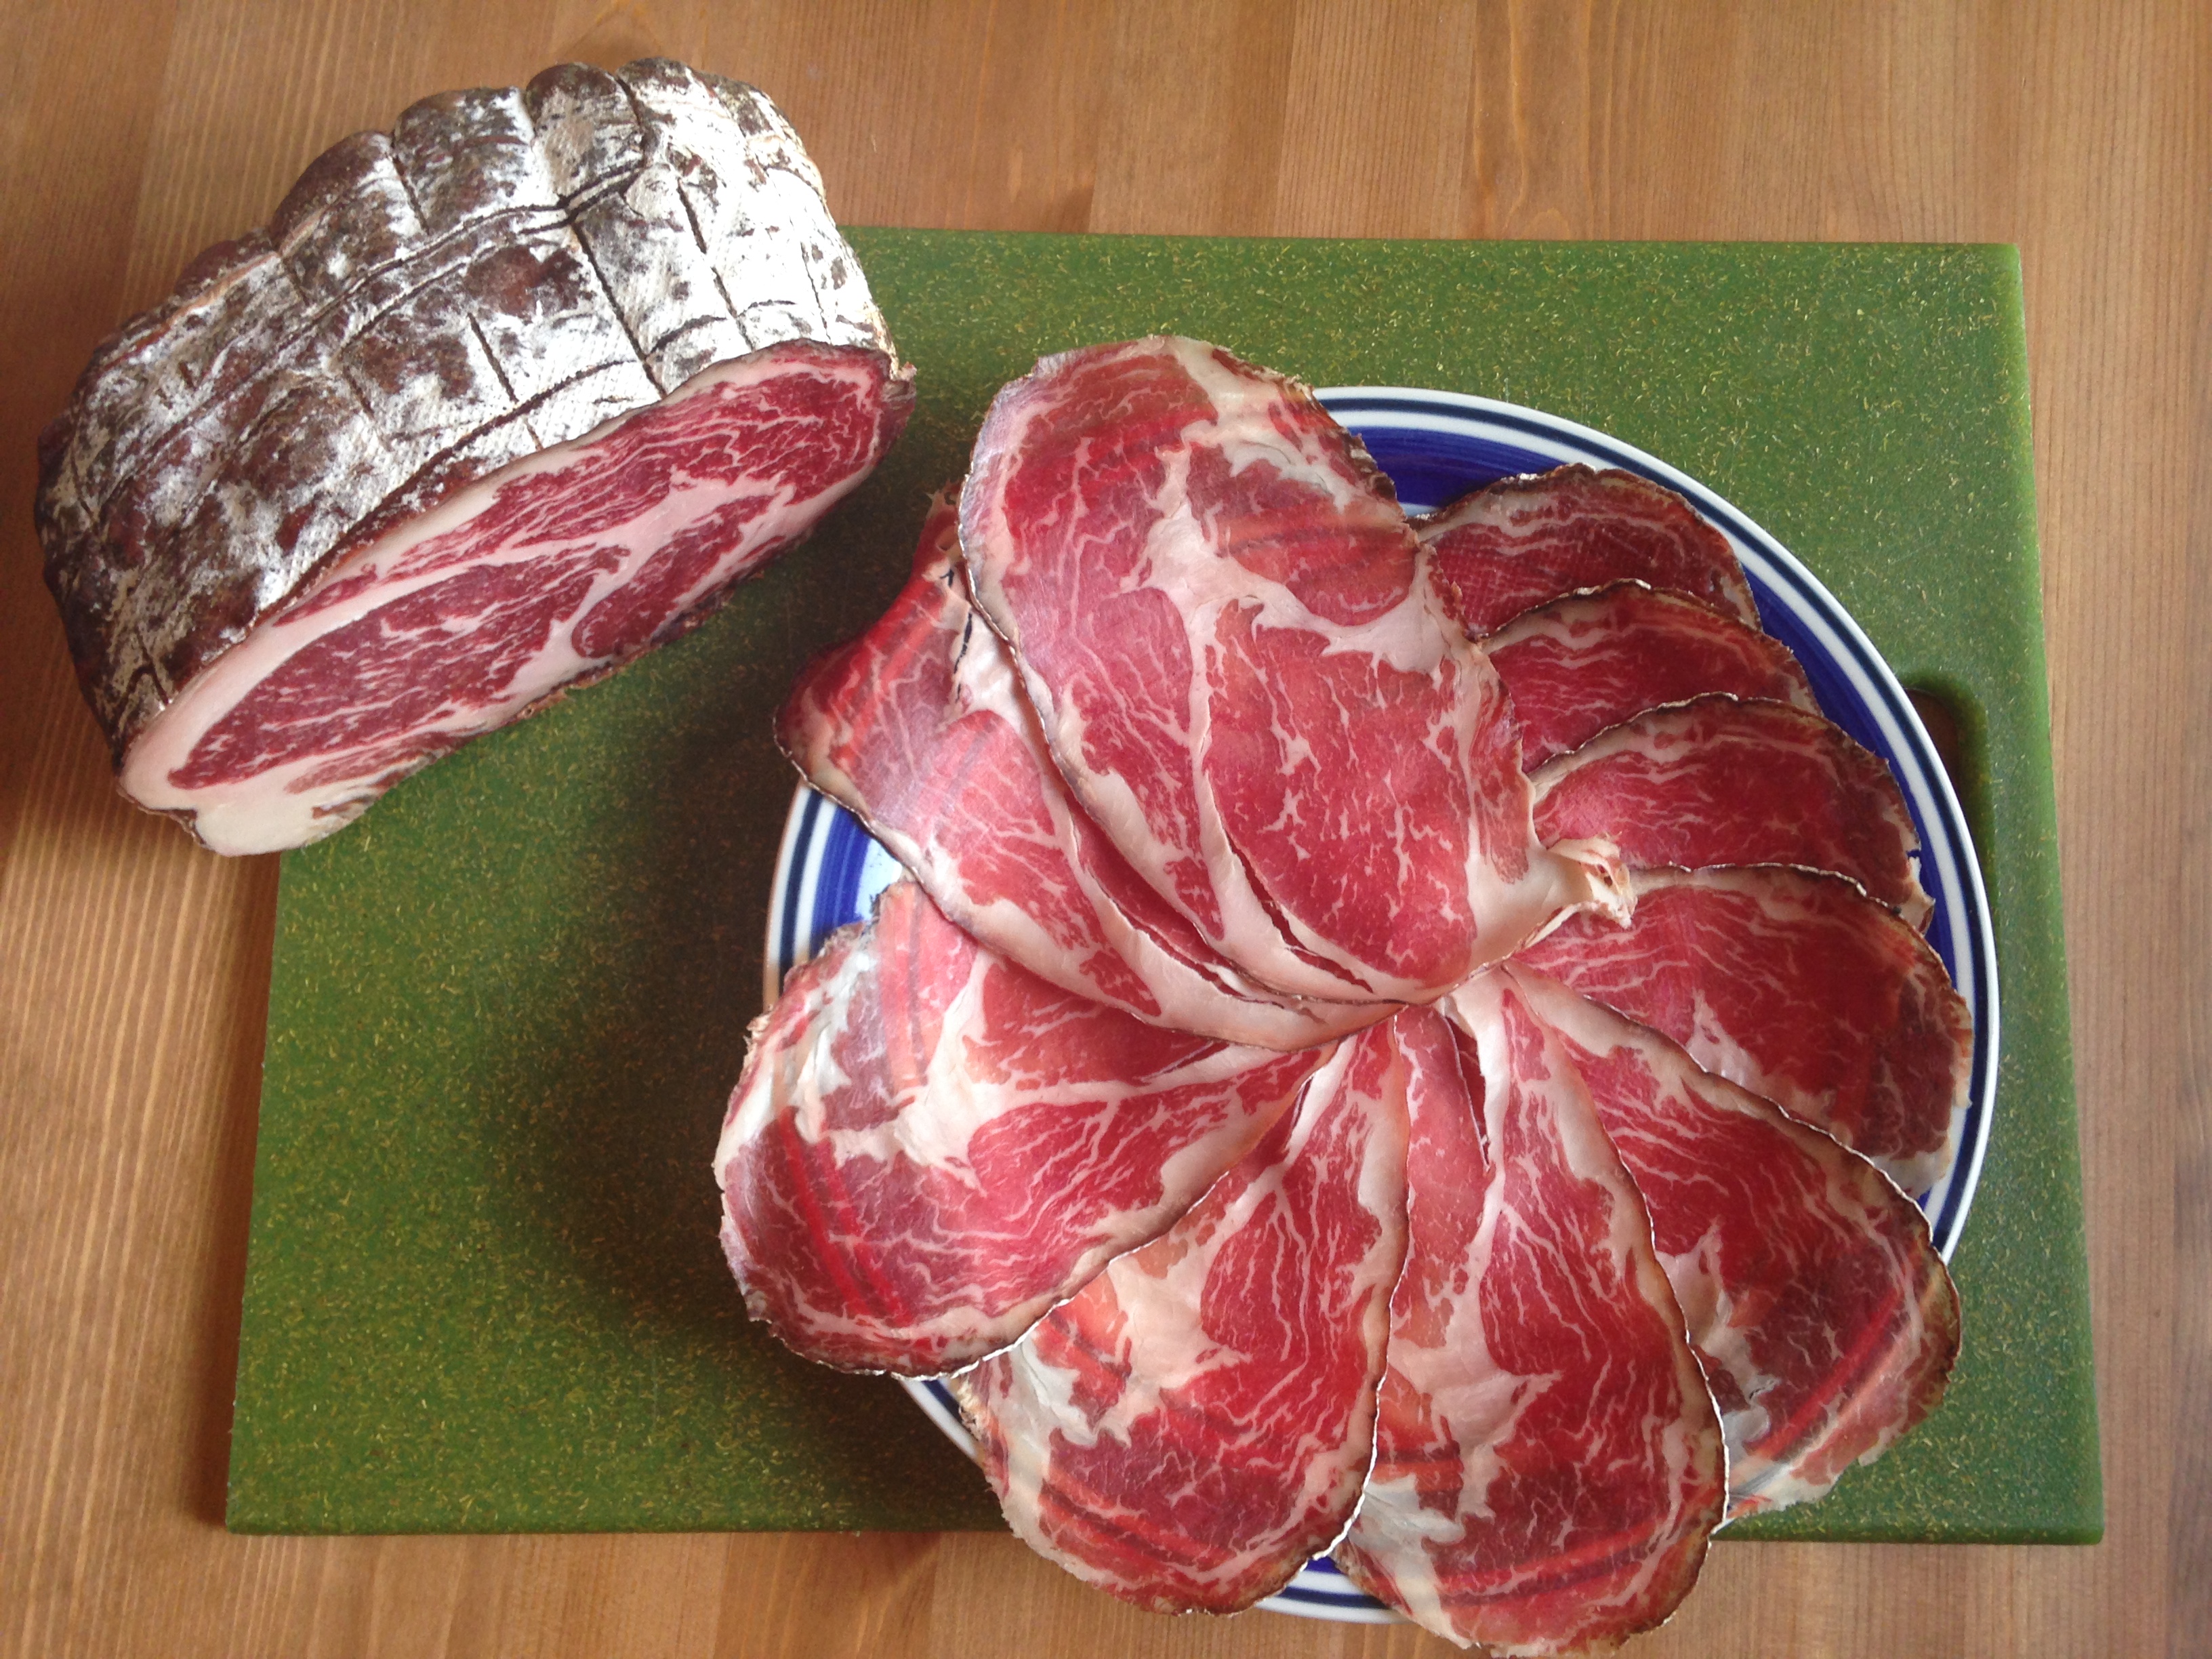
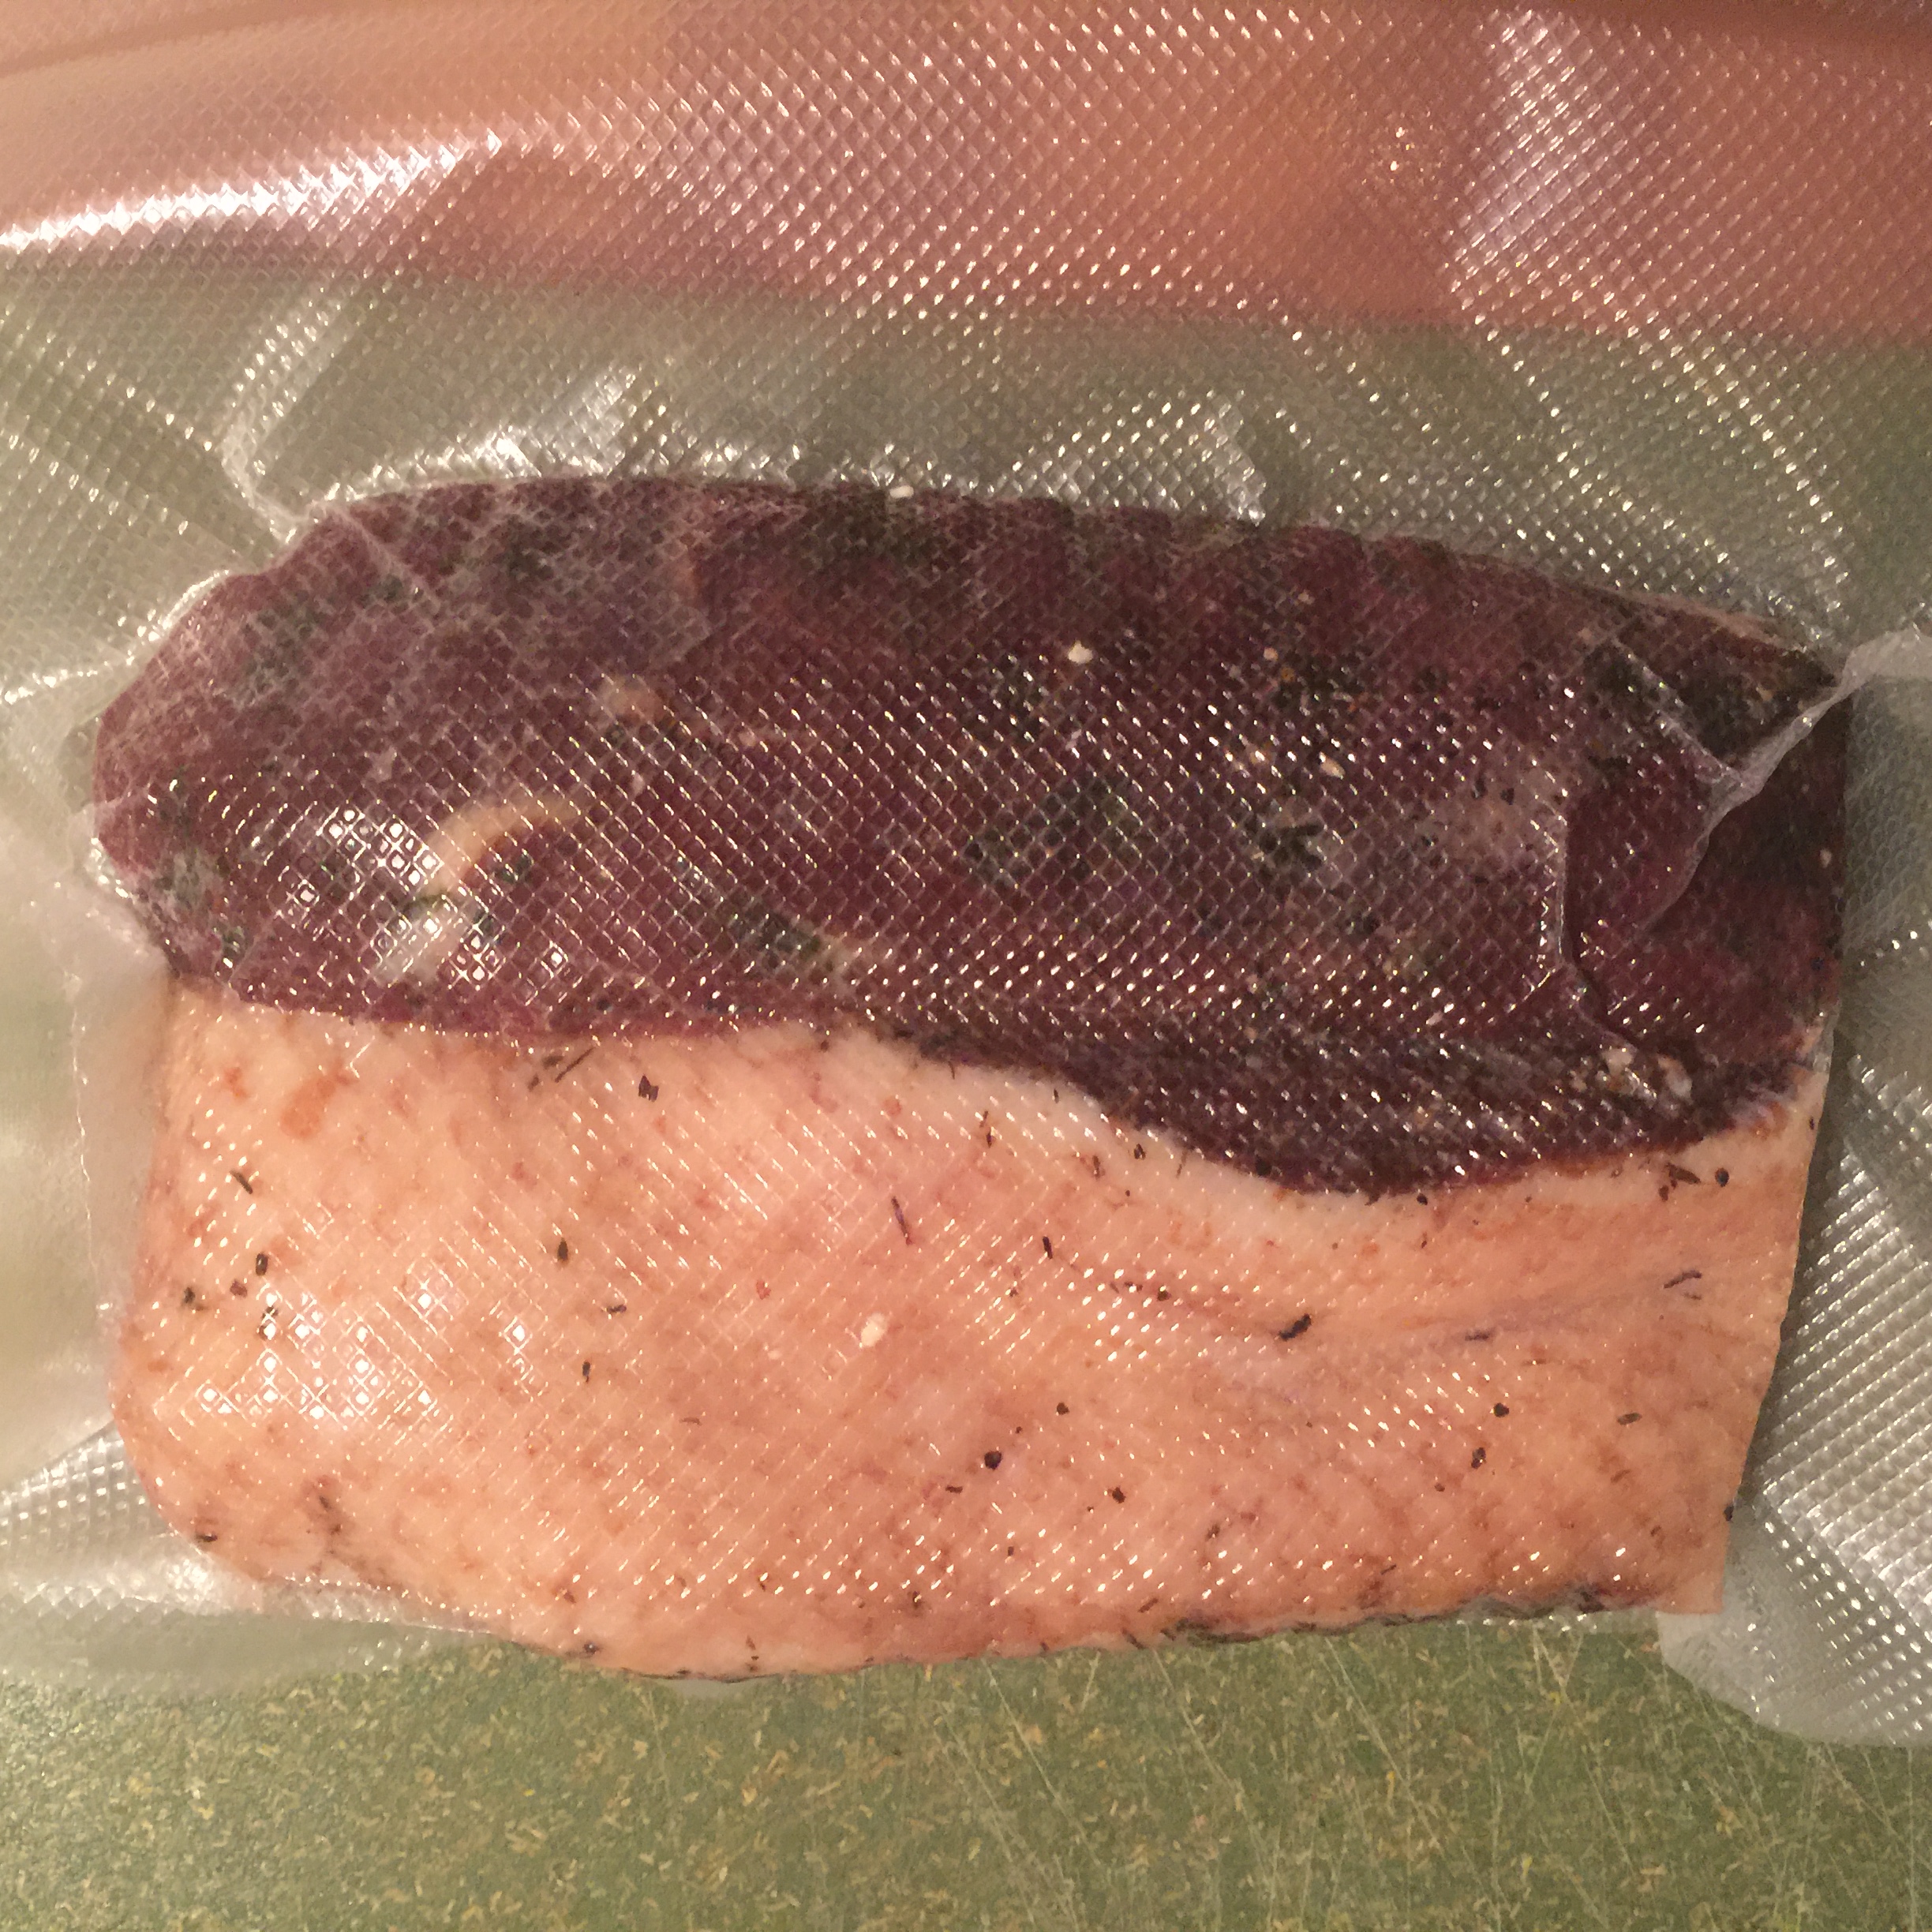
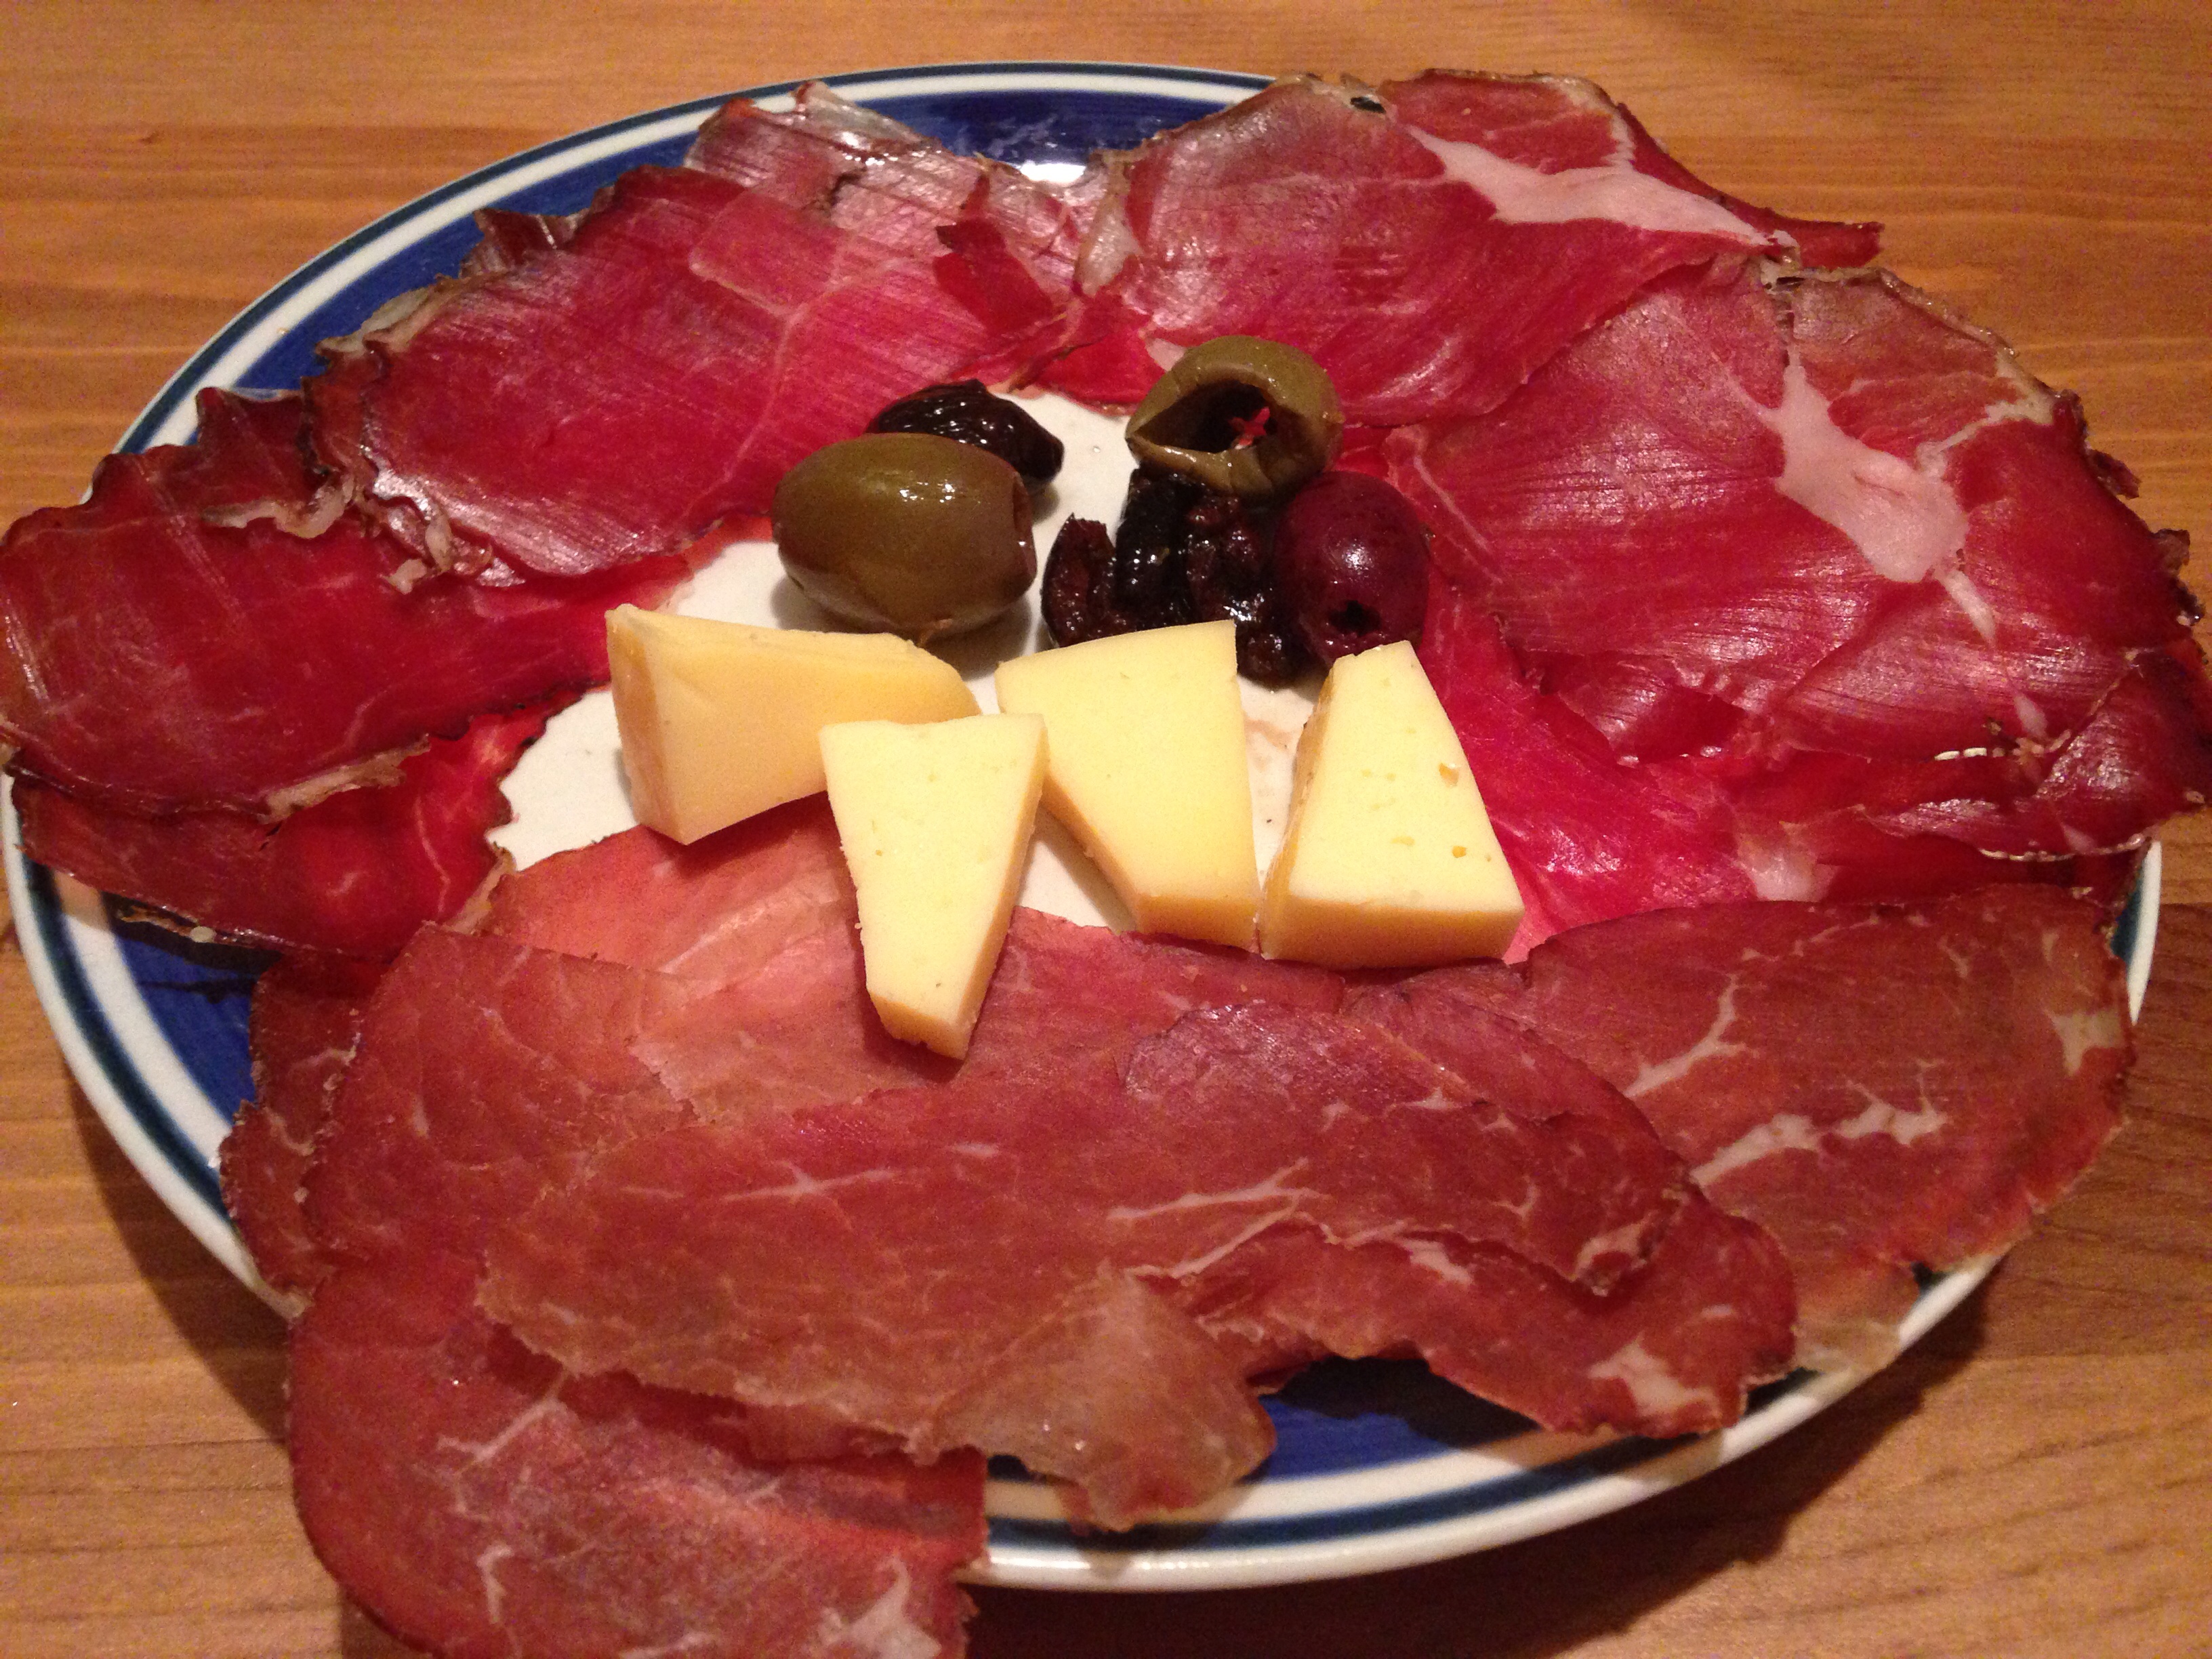
Overall, I thought this was a great experiment. I have it stored vacuumed sealed in my fridge, and pull it out for an occasional treat every now and then. If you haven’t done a fatty bresaola yet but have been eyeing up some fattier beef cuts, or have some on hand, go ahead. You might just love it.
Disclaimer: Meat curing is a hobby that comes with inherent risks. We can all do things to limit this risk by educating ourselves about the process and the utilizing the safest known methods to create our products. This website is for educational purposes only, and all experimentation should be done at each individuals own risk.