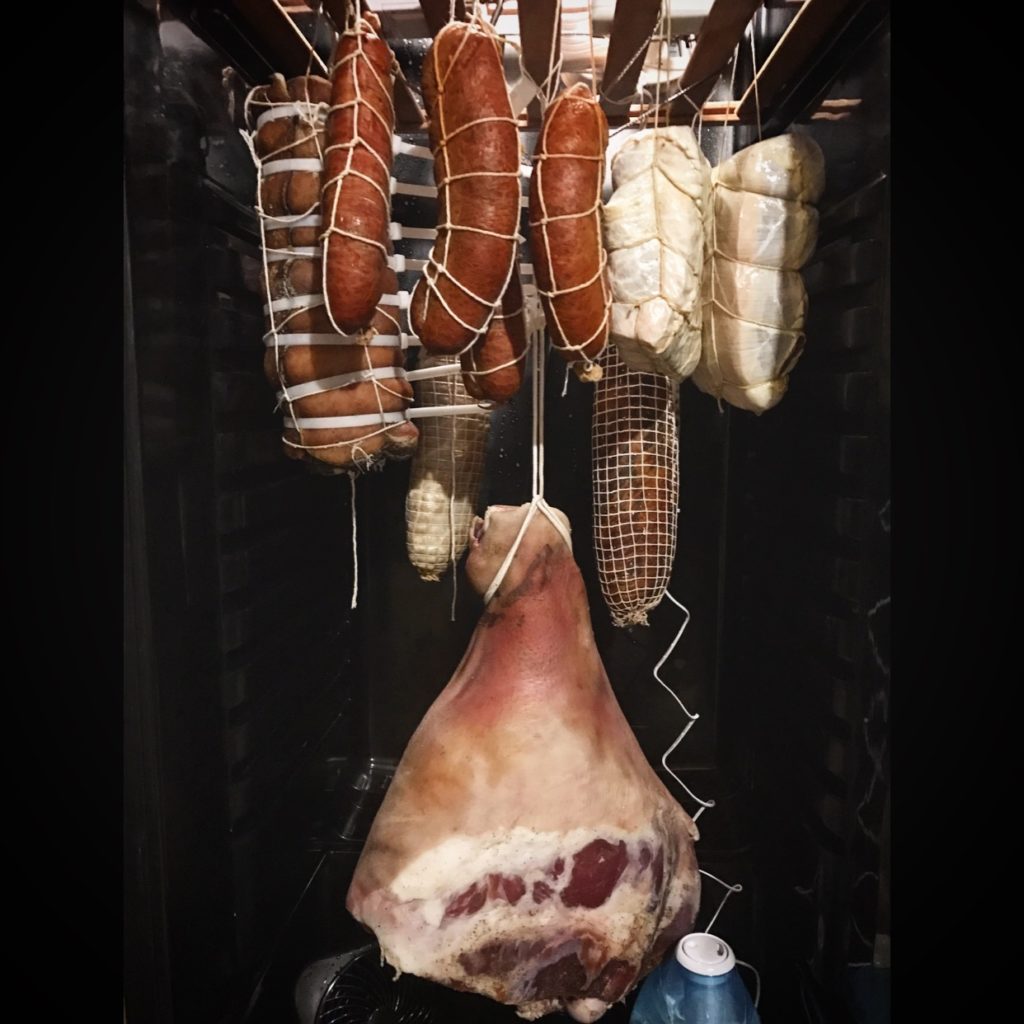
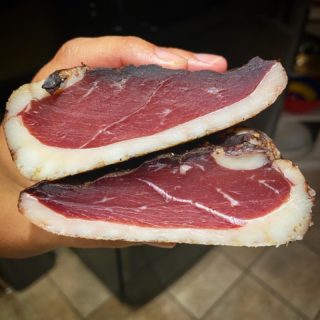
…without a curing chamber
It’s been quite a few years since I started on my meat curing journey, and in that time I have worked with a number of different at home set ups. From the start, I had a re-vamped mini fridge turned into a curing chamber, the construction of which I have detailed on this site.
I then upgraded to a slightly modified wine fridge, which had the advantage of more space and a temperature range which included my target dry curing temperature of 55F, so that they only thing that needed to be added was a humidifier on a hygrostat and an internal fan, to be turned on and off as needed.

But I’ve also spent time away from my curing chambers, and had to learn how to make do without them. I imagine this is much the case for anyone who is “char-curious”, but who doesn’t have a home with a built-in curing chamber. To this end, I’ve decided to create this NO CHAMBER DIY Charcuterie Guide for beginners who are interested in getting their feet wet, but who haven’t made the decision to go all in yet and make/buy a curing chamber.
Before starting off here, I suggest every beginner read the short primers I have on both whole muscle and salami charcuterie.
If you’ve done your research, read the primers, and you’re ready to build/buy your own curing chamber, look here no further! Navigate to the other areas of the website for inspiration. But if you’ve read all that and thought to yourself, “Hey, this is cool, but I can’t make a curing chamber work for me right now,” then keep reading here. To start thinking about planning for your DIY charcuterie projects without a curing chamber, take a look at the the planning guide.
Once you’re prepared to start your NO CHAMBER DIY charcuterie project, navigate back to this page for featured posts of my most recent projects.
