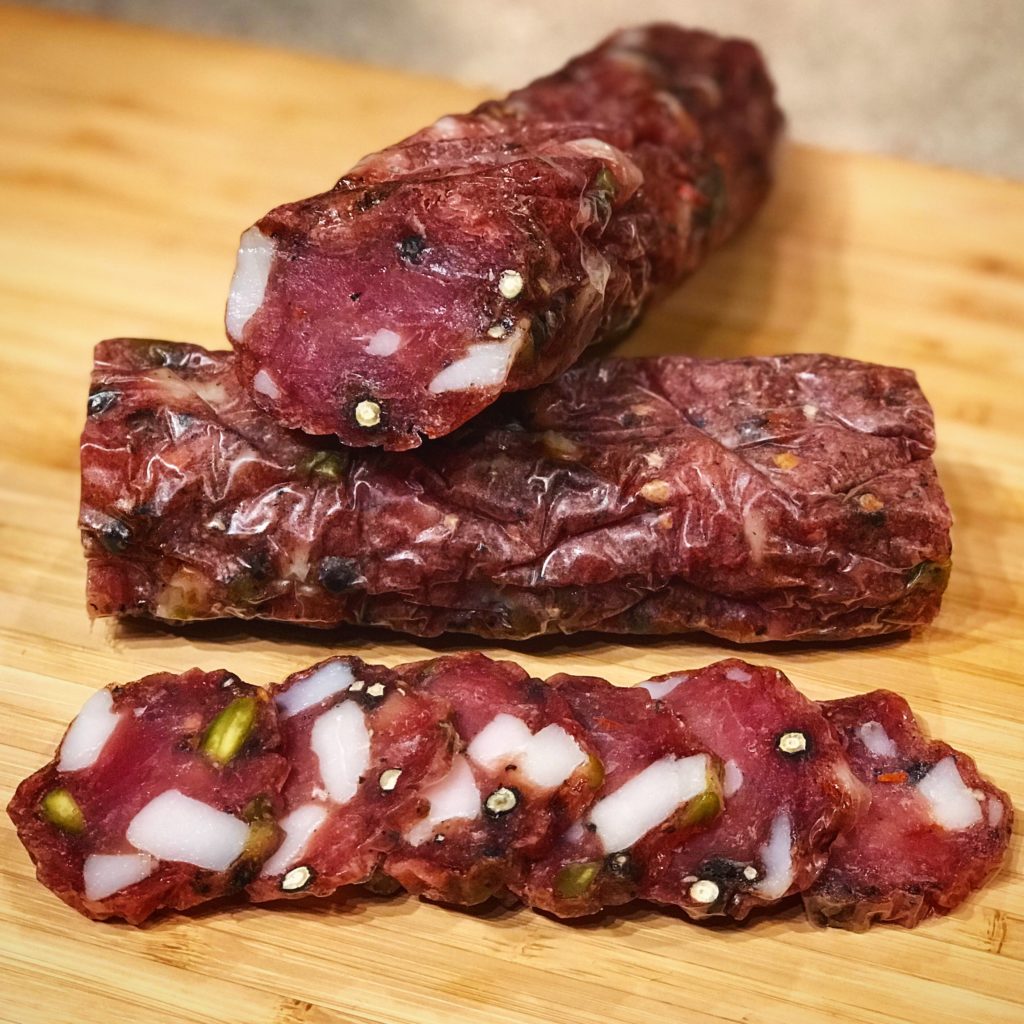
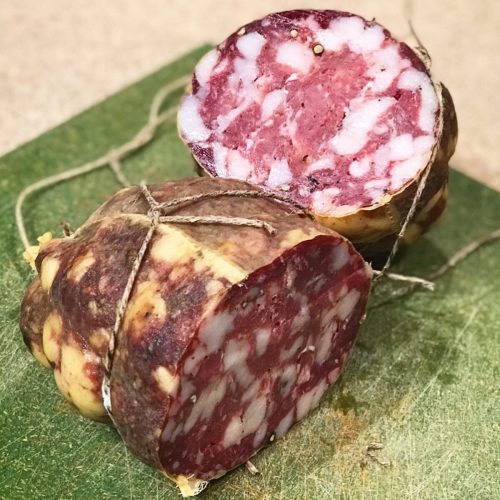
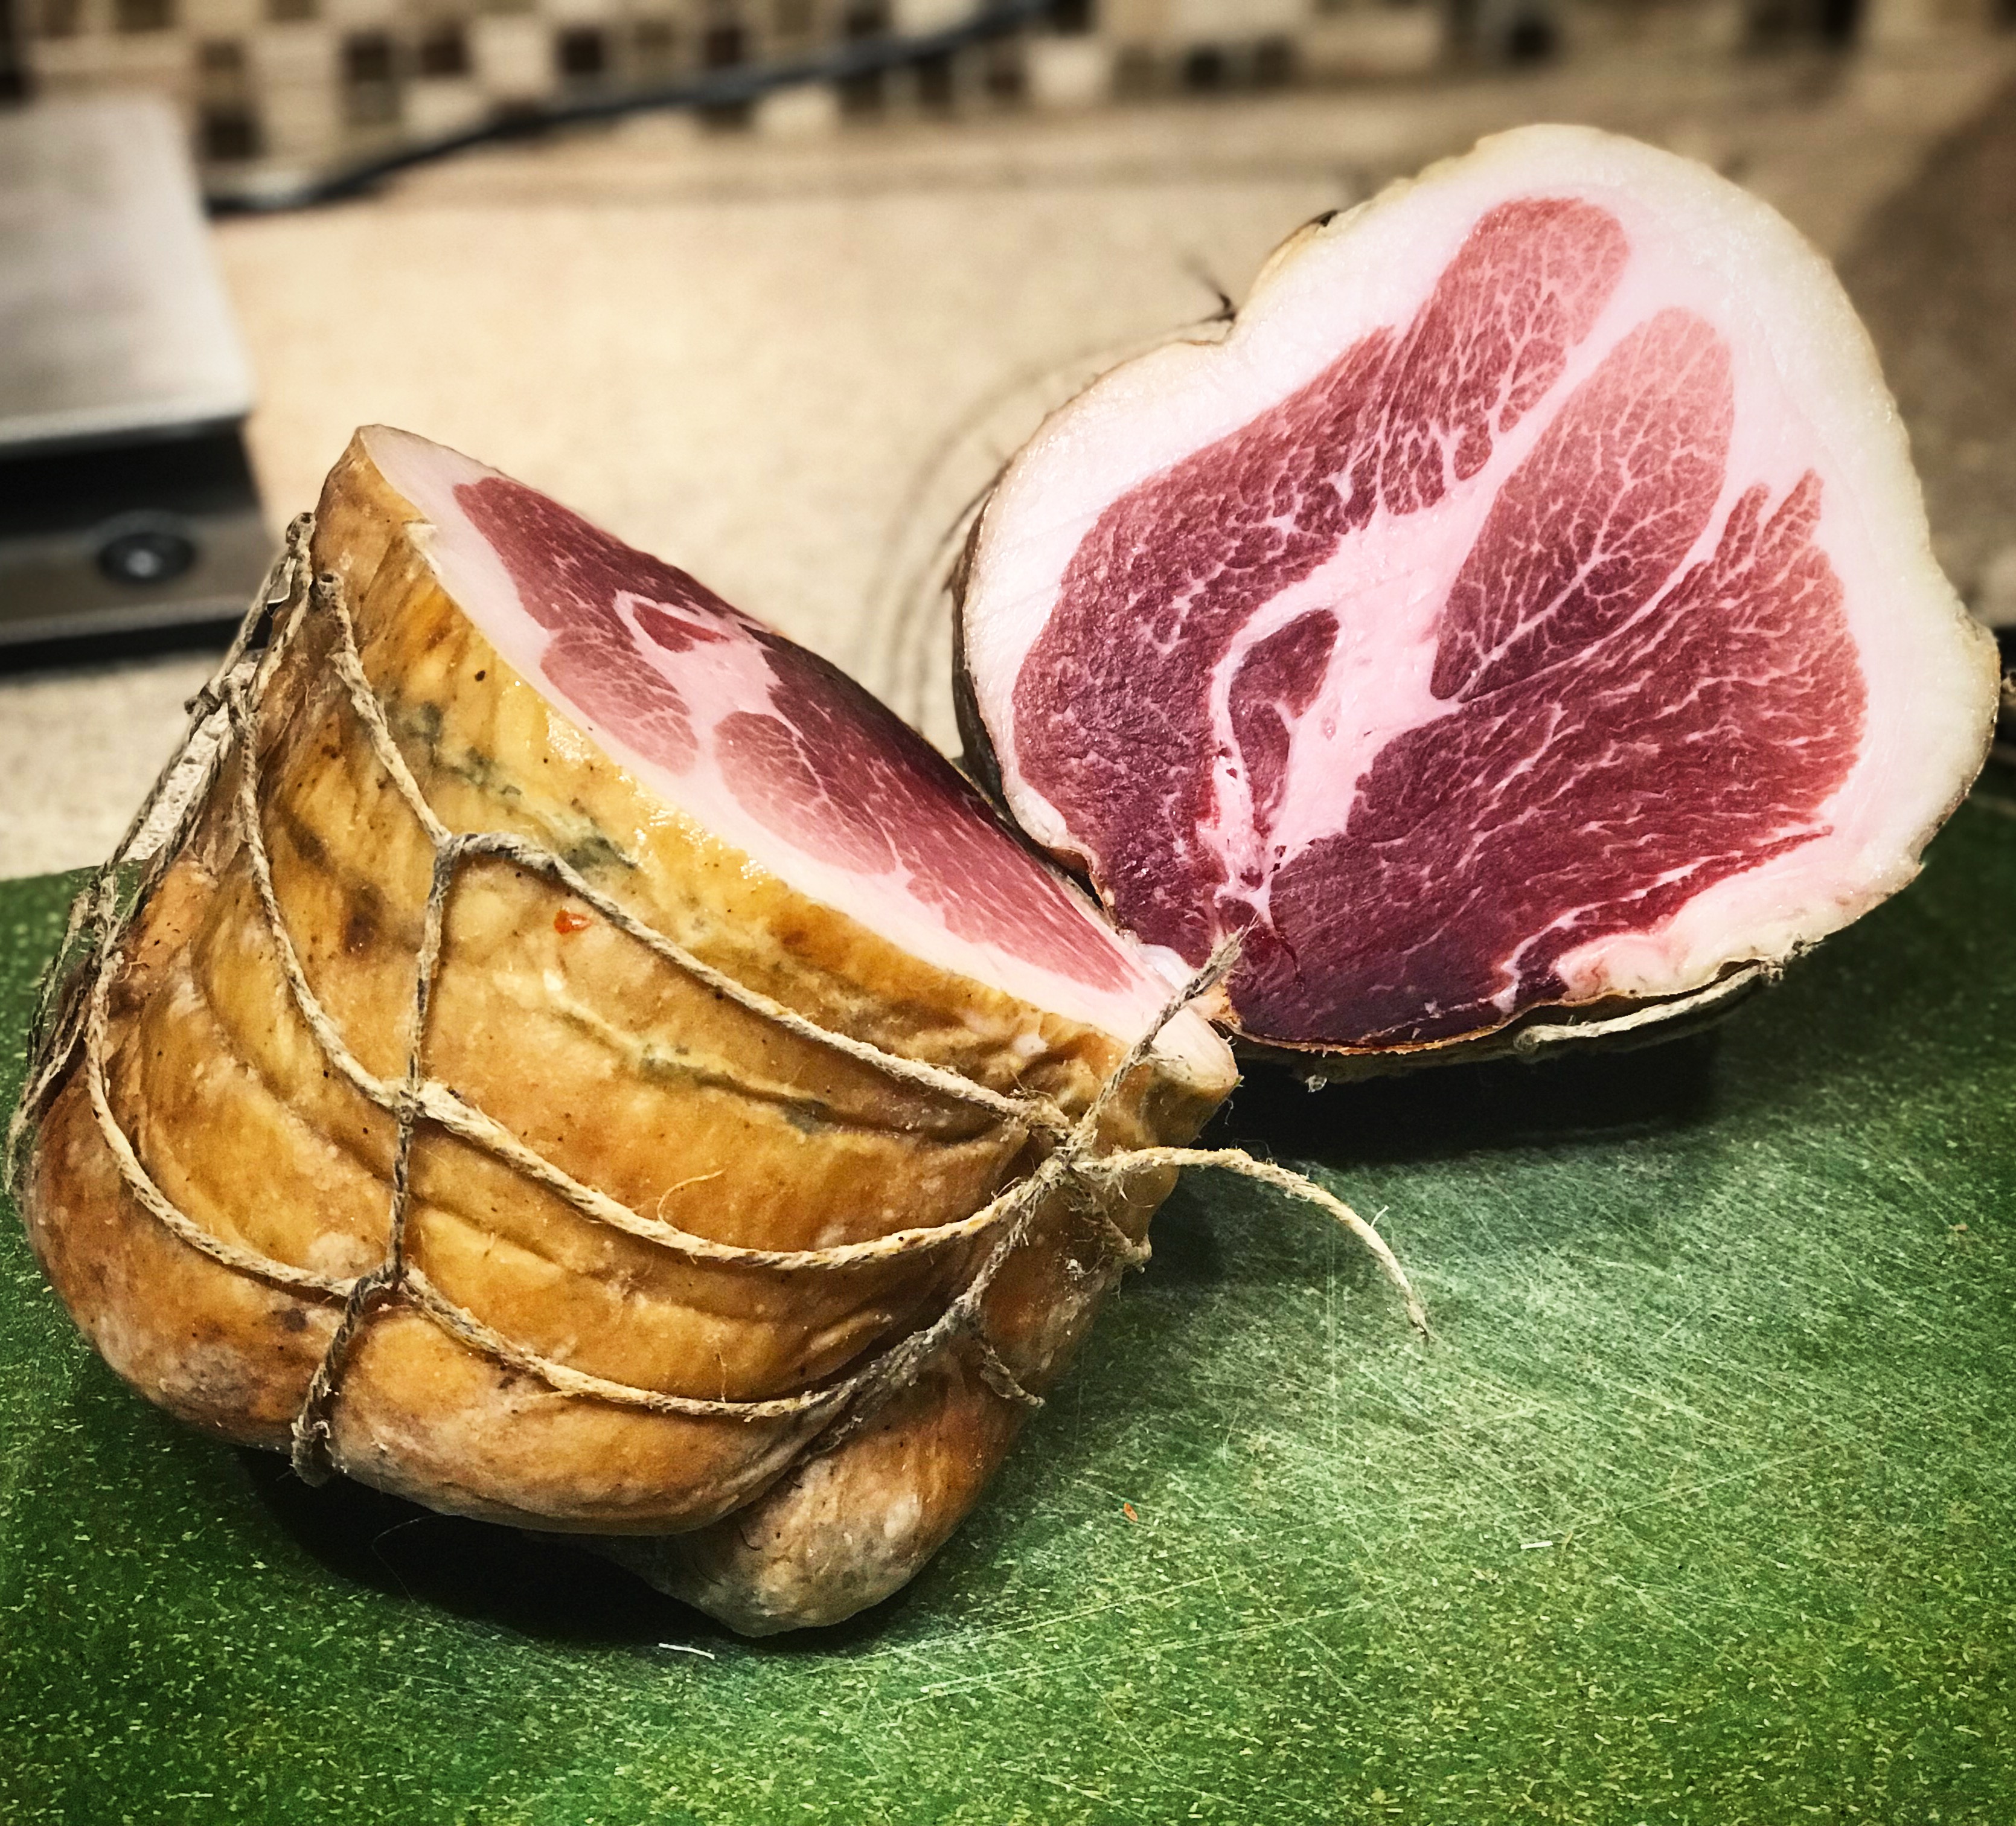
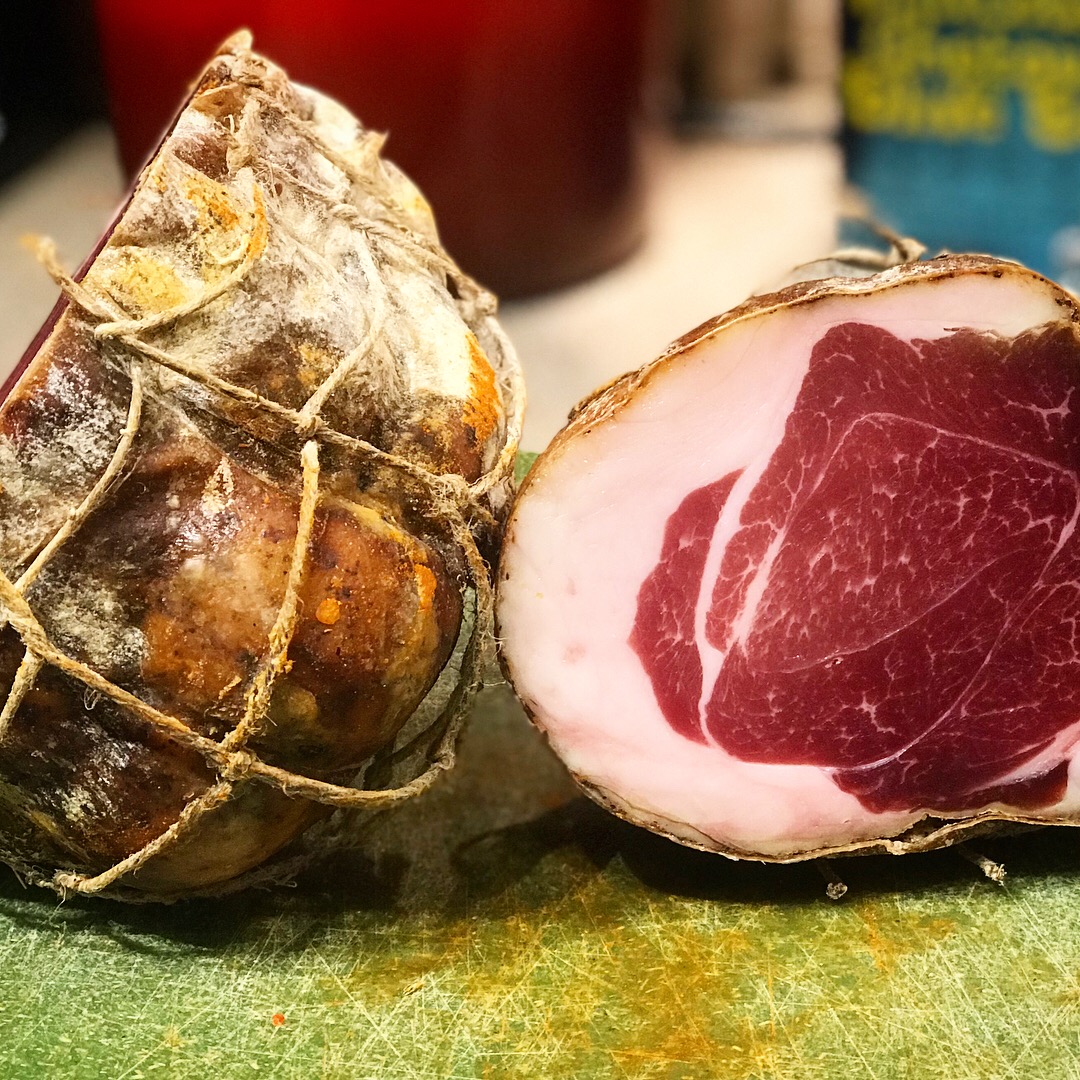
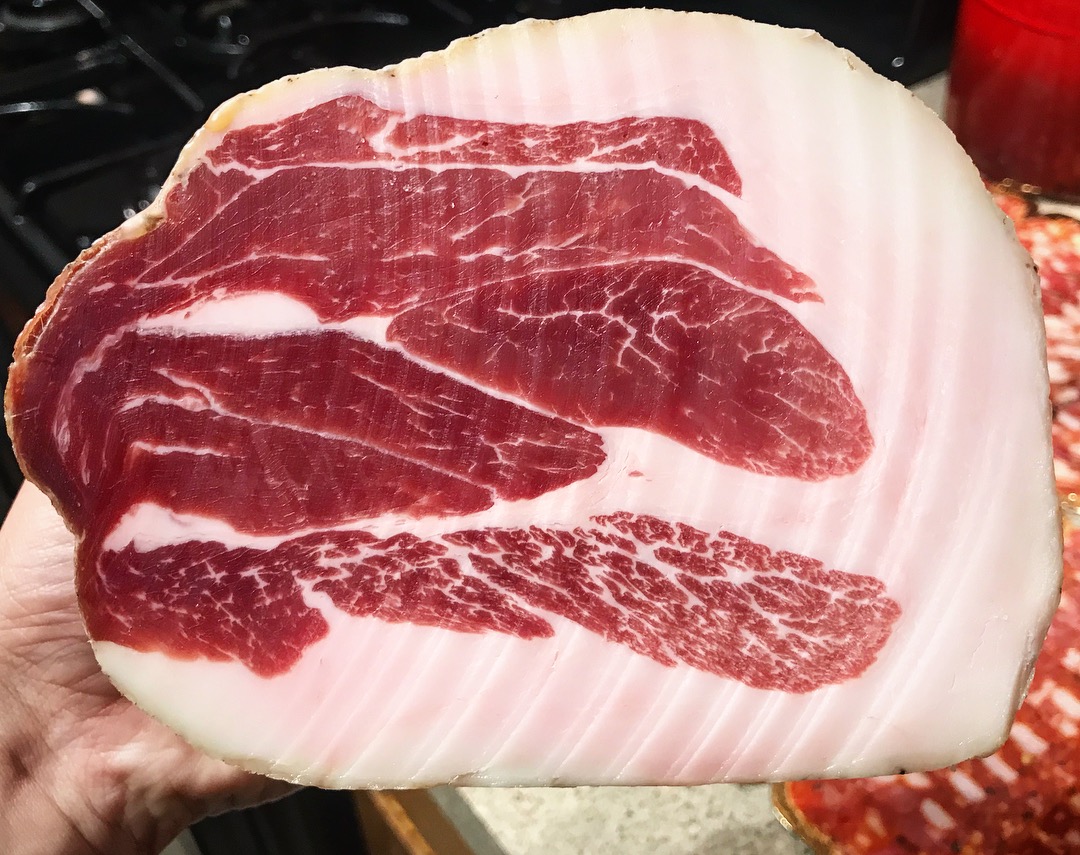
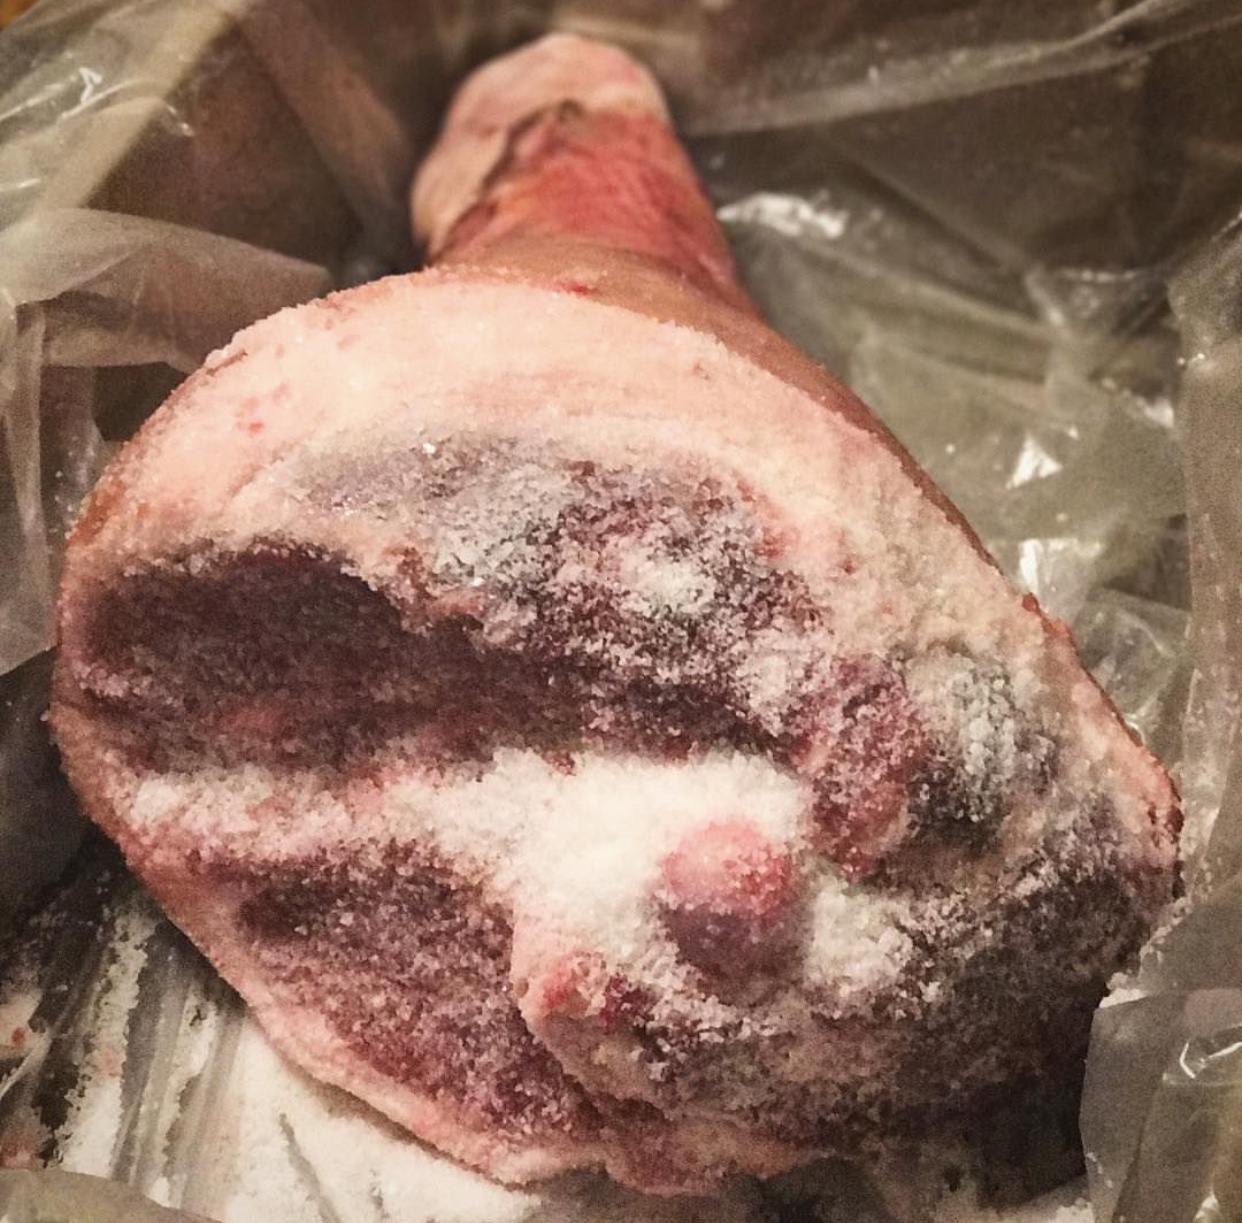
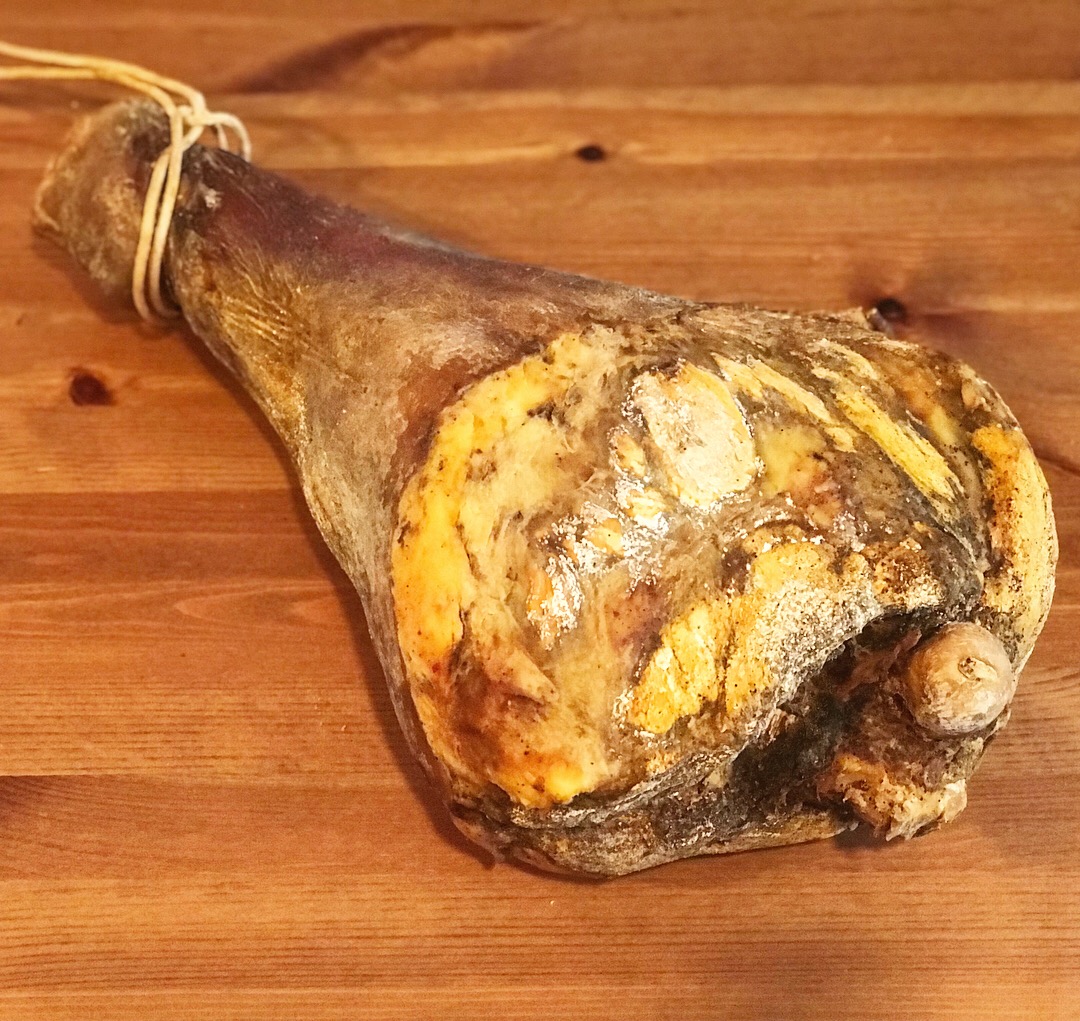
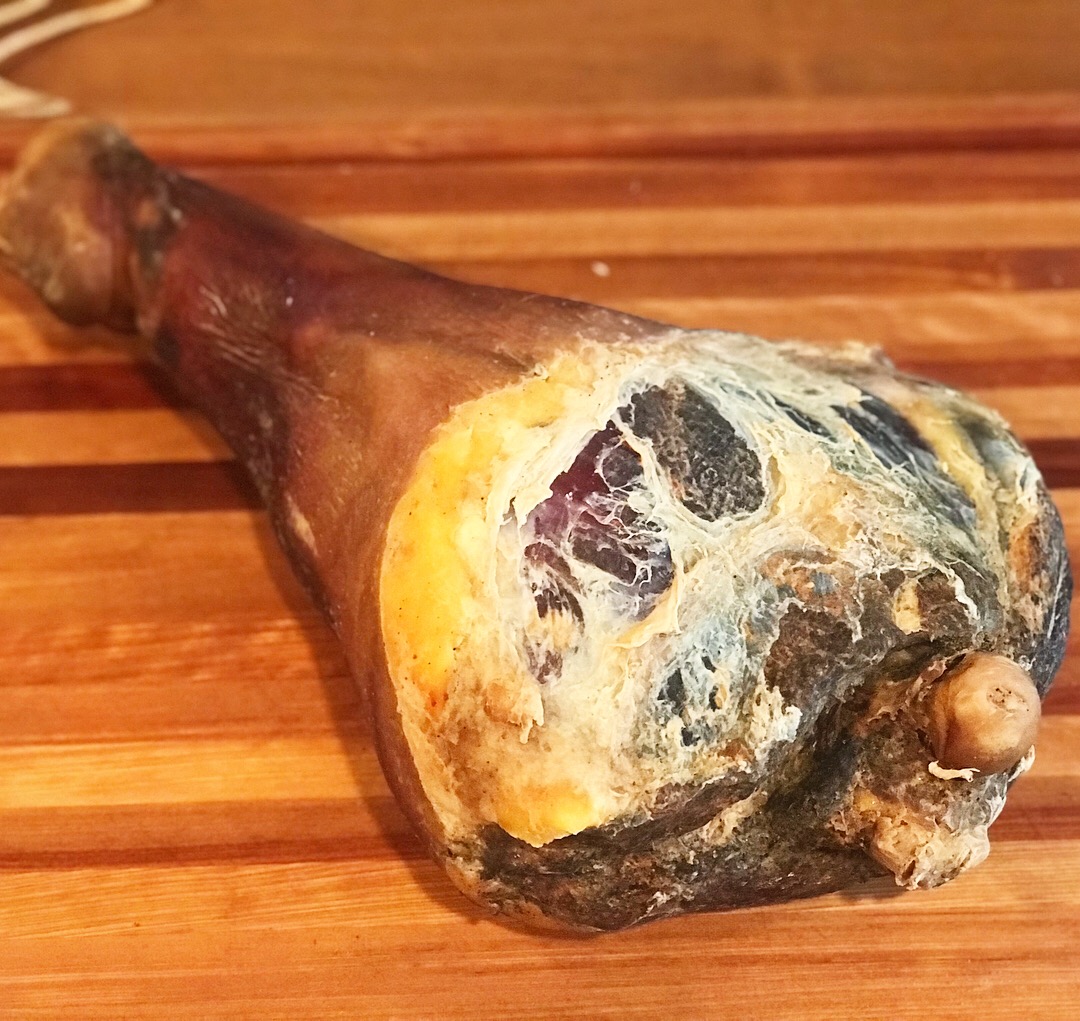
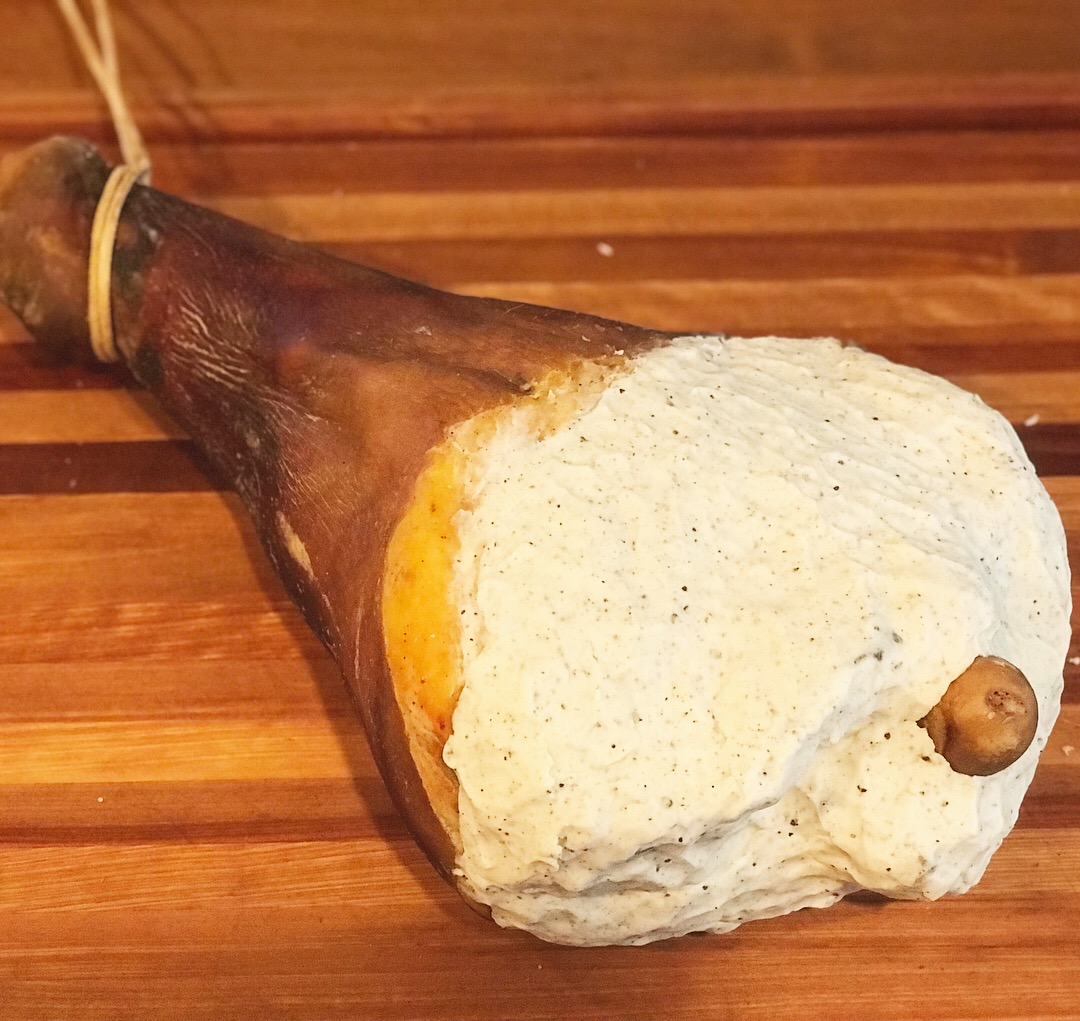
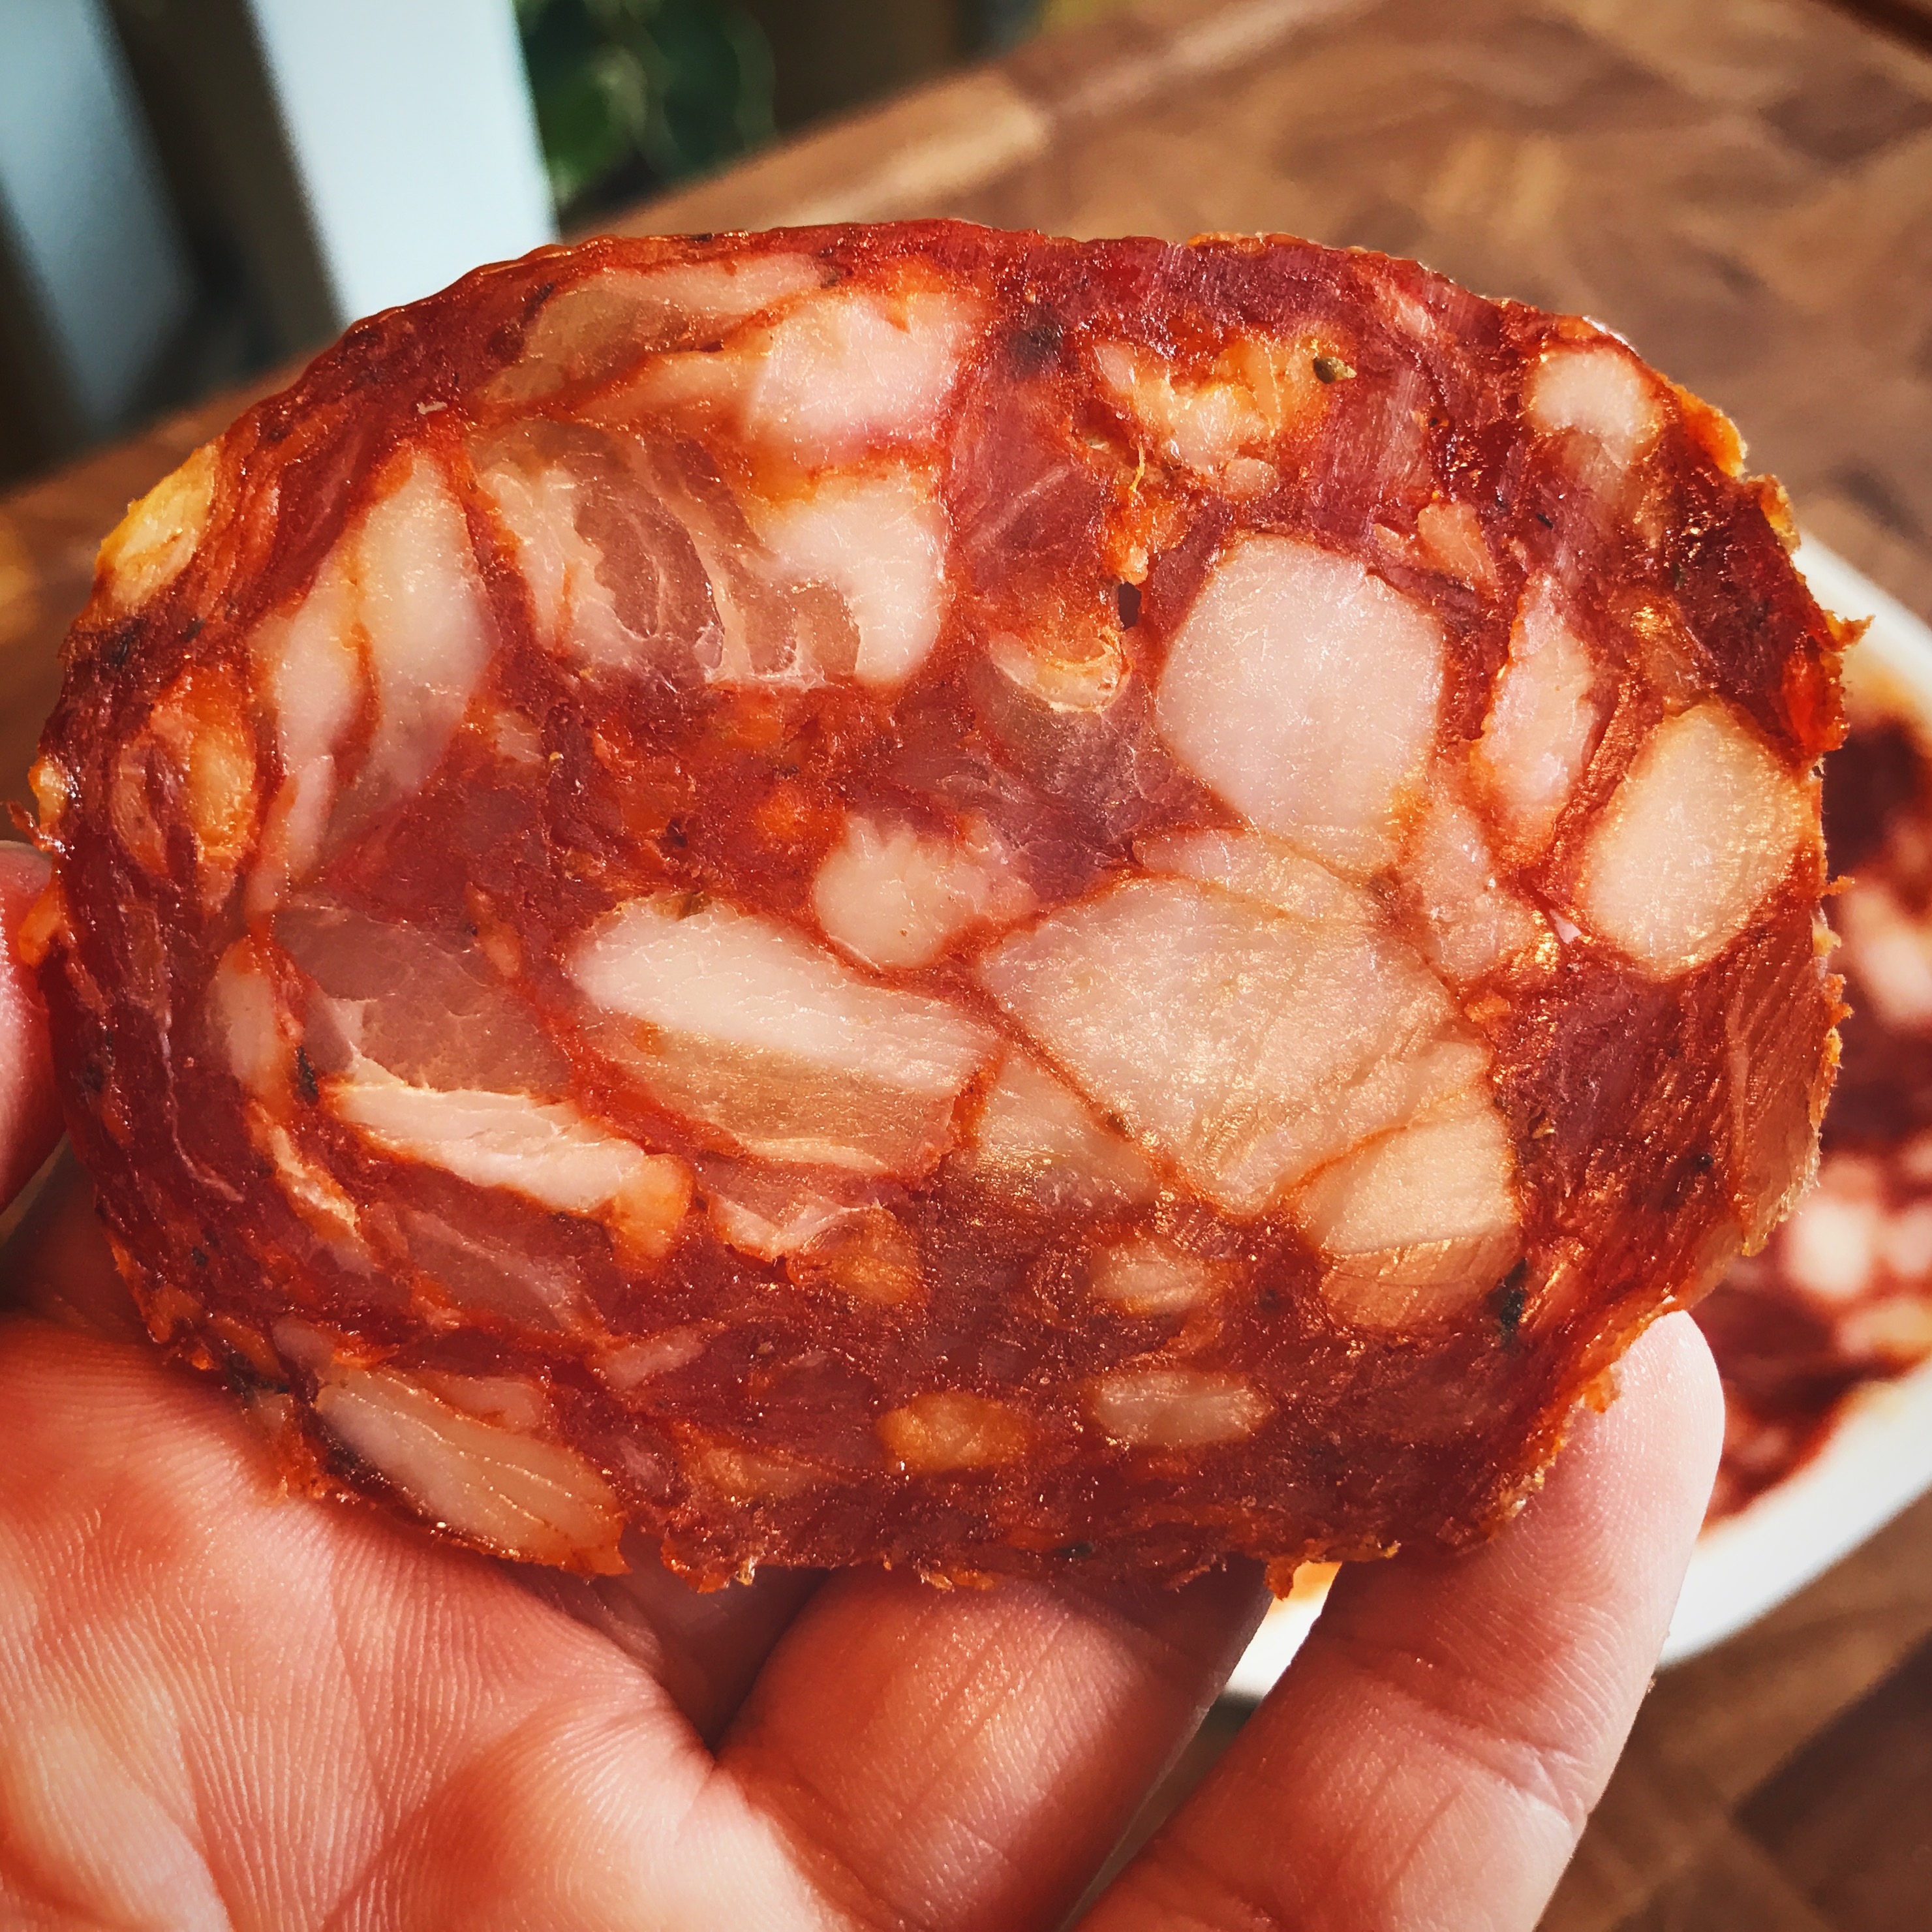
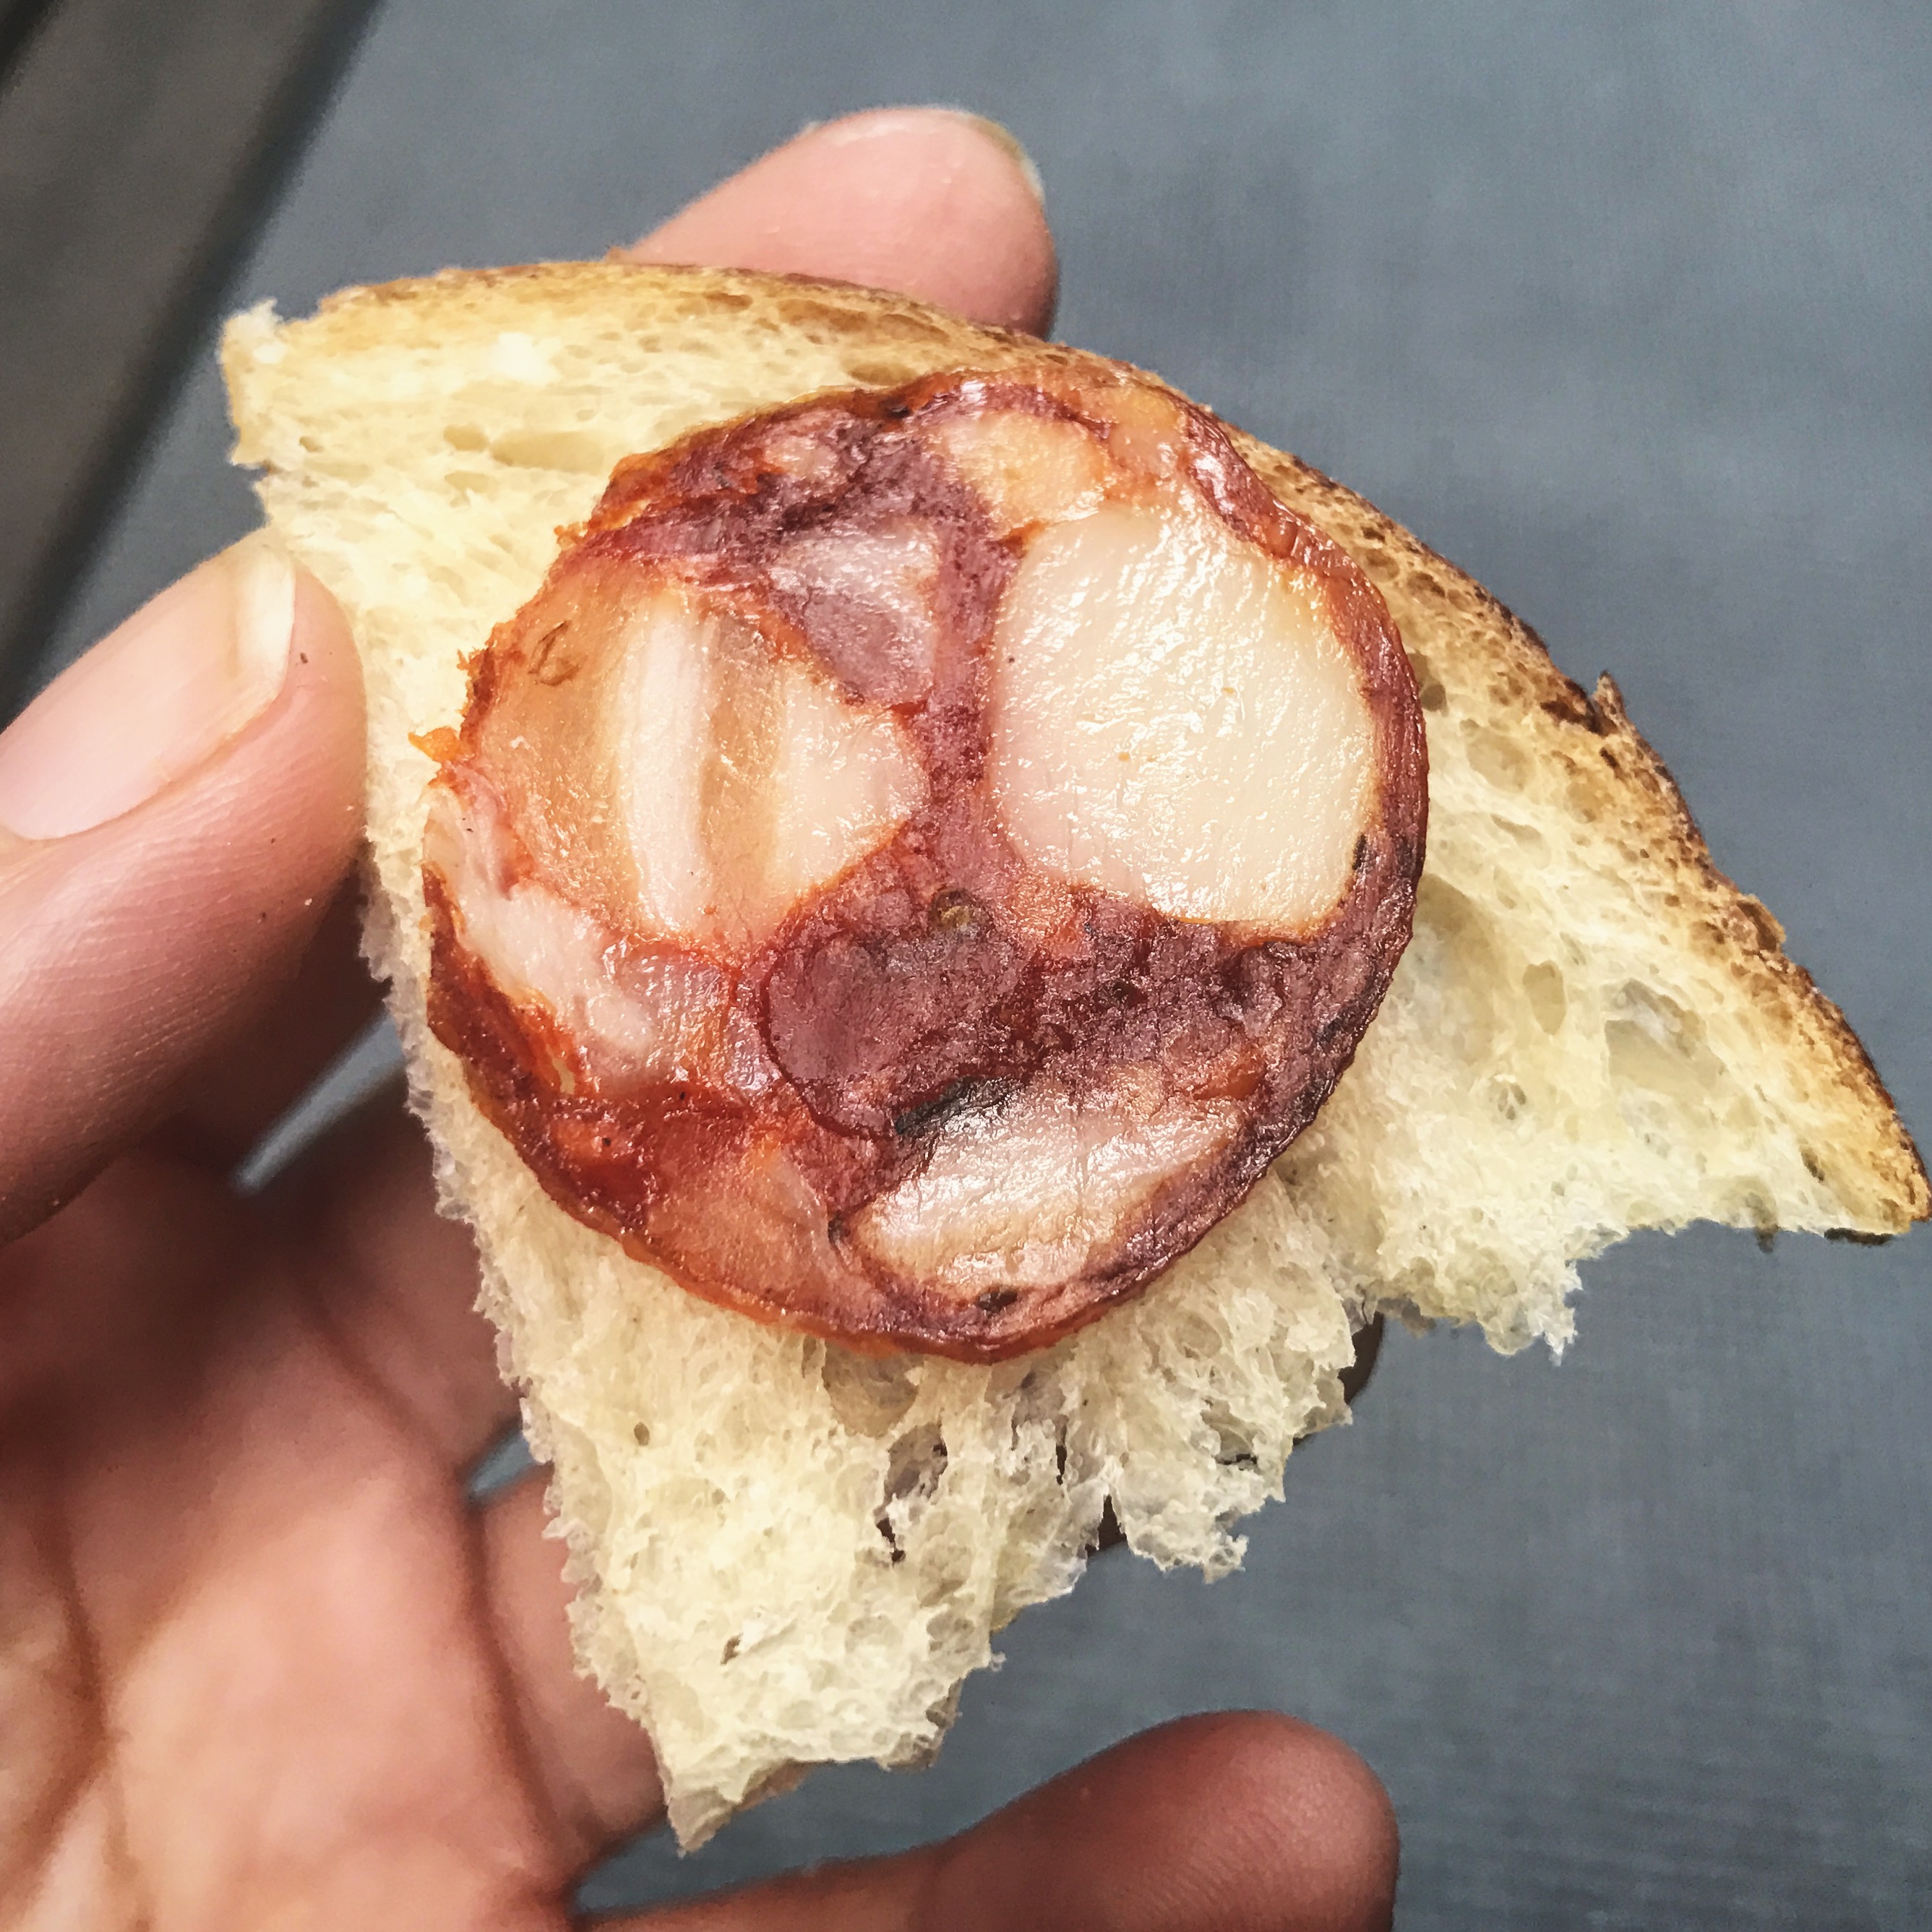
For this project, I decided to make a 100% lamb salami using trim left over from butchering out the lamb culatello from a leg of lamb, discussed in a previous post. A lot of times, lamb salami uses pork fat due to its mild flavor and low slip melting point which helps it to “melt on your tongue”. However, there is no reason not to use the lamb fat itself, one just needs to be aware that when enjoying this salami, you want to let it warm to room temperature+ before eating it for the most enjoyable mouth feel experience.
The Meat
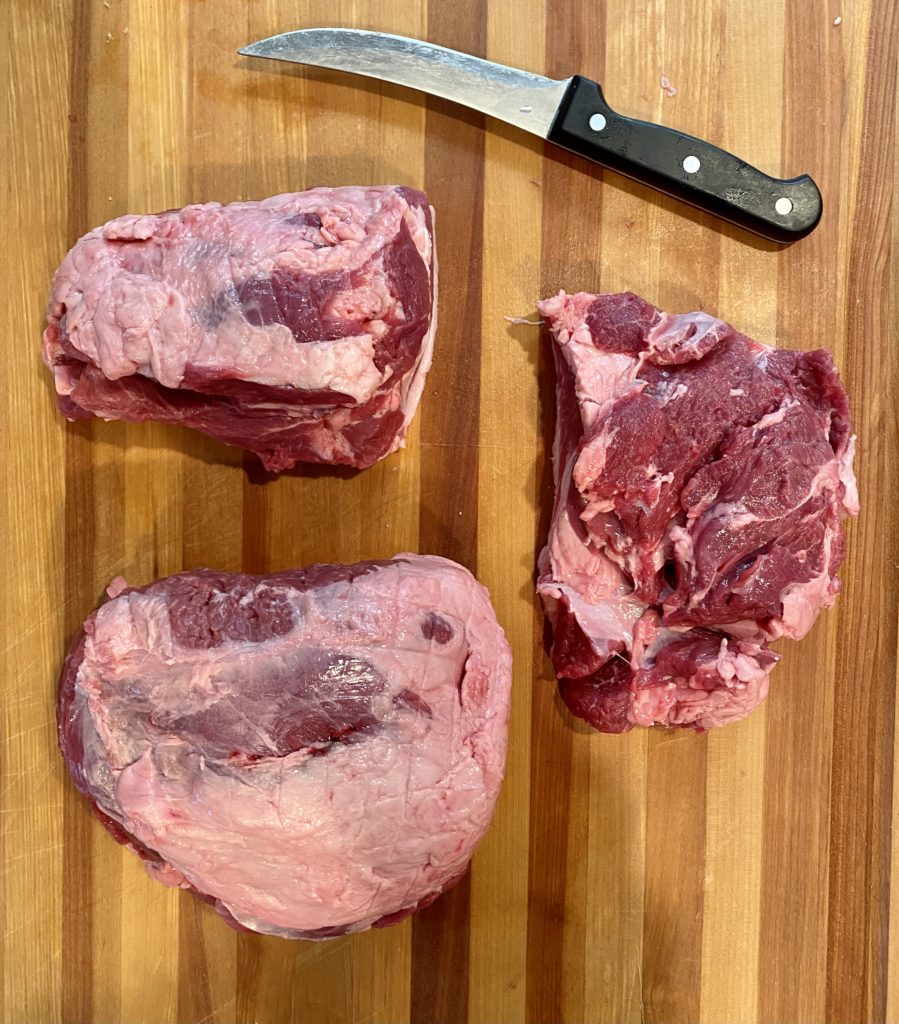
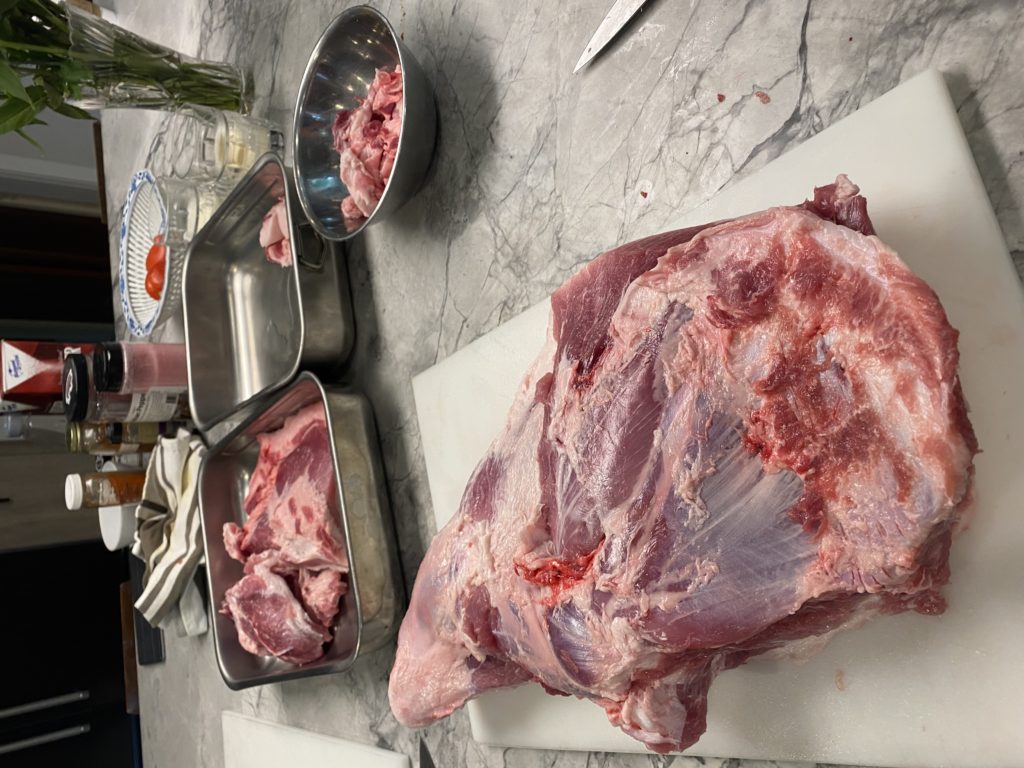
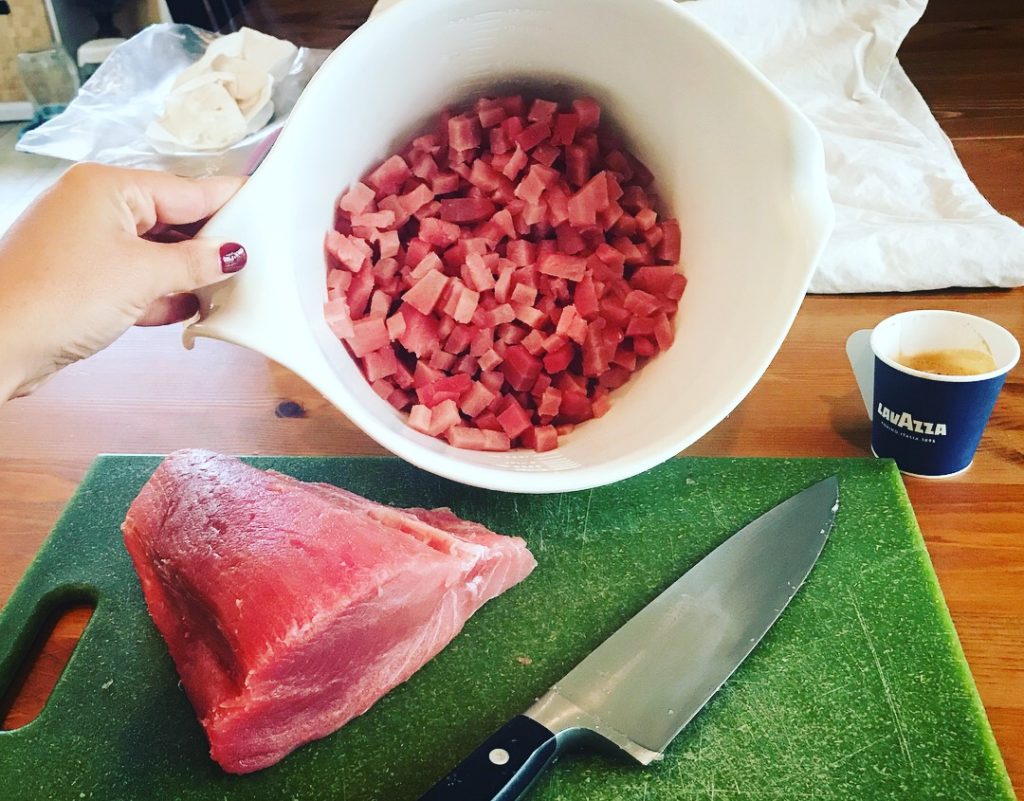
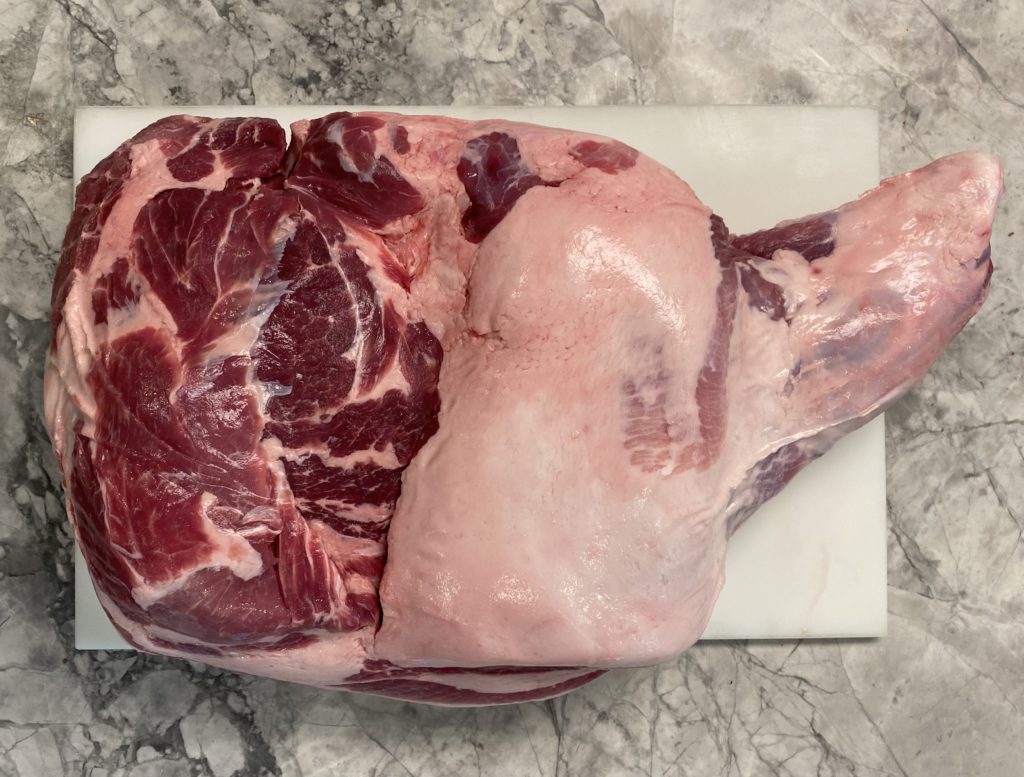
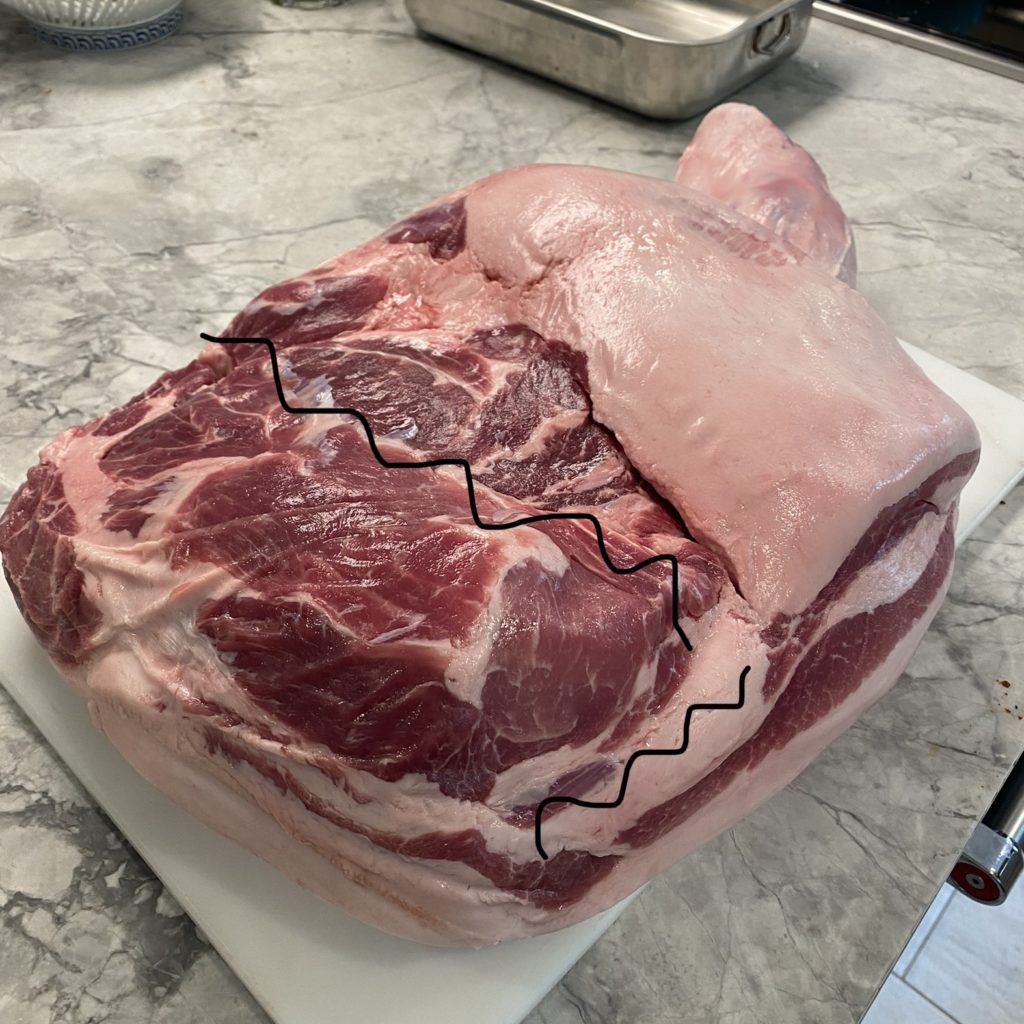
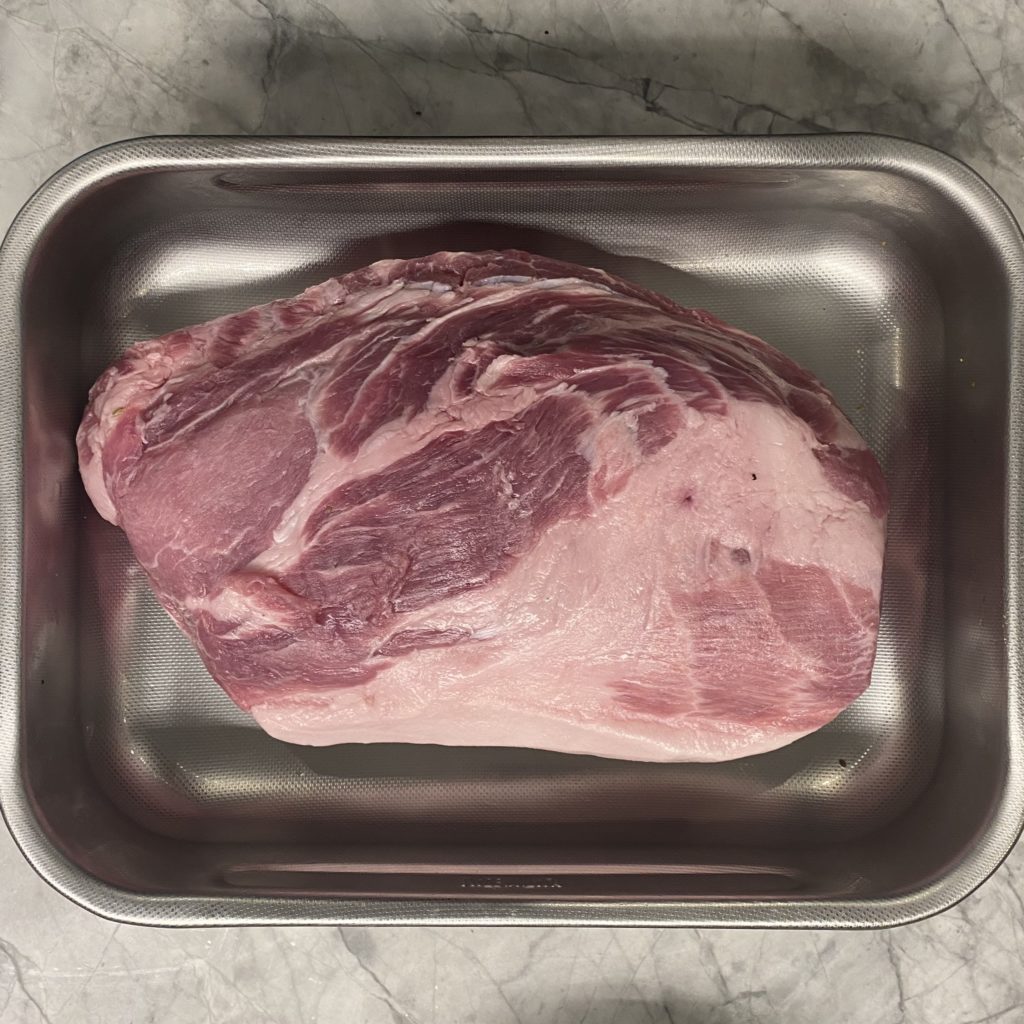
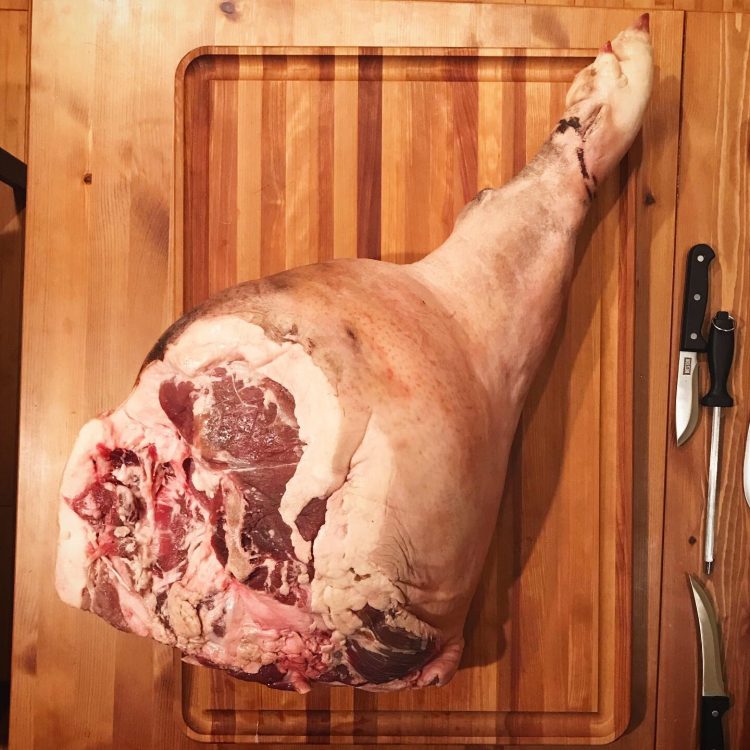
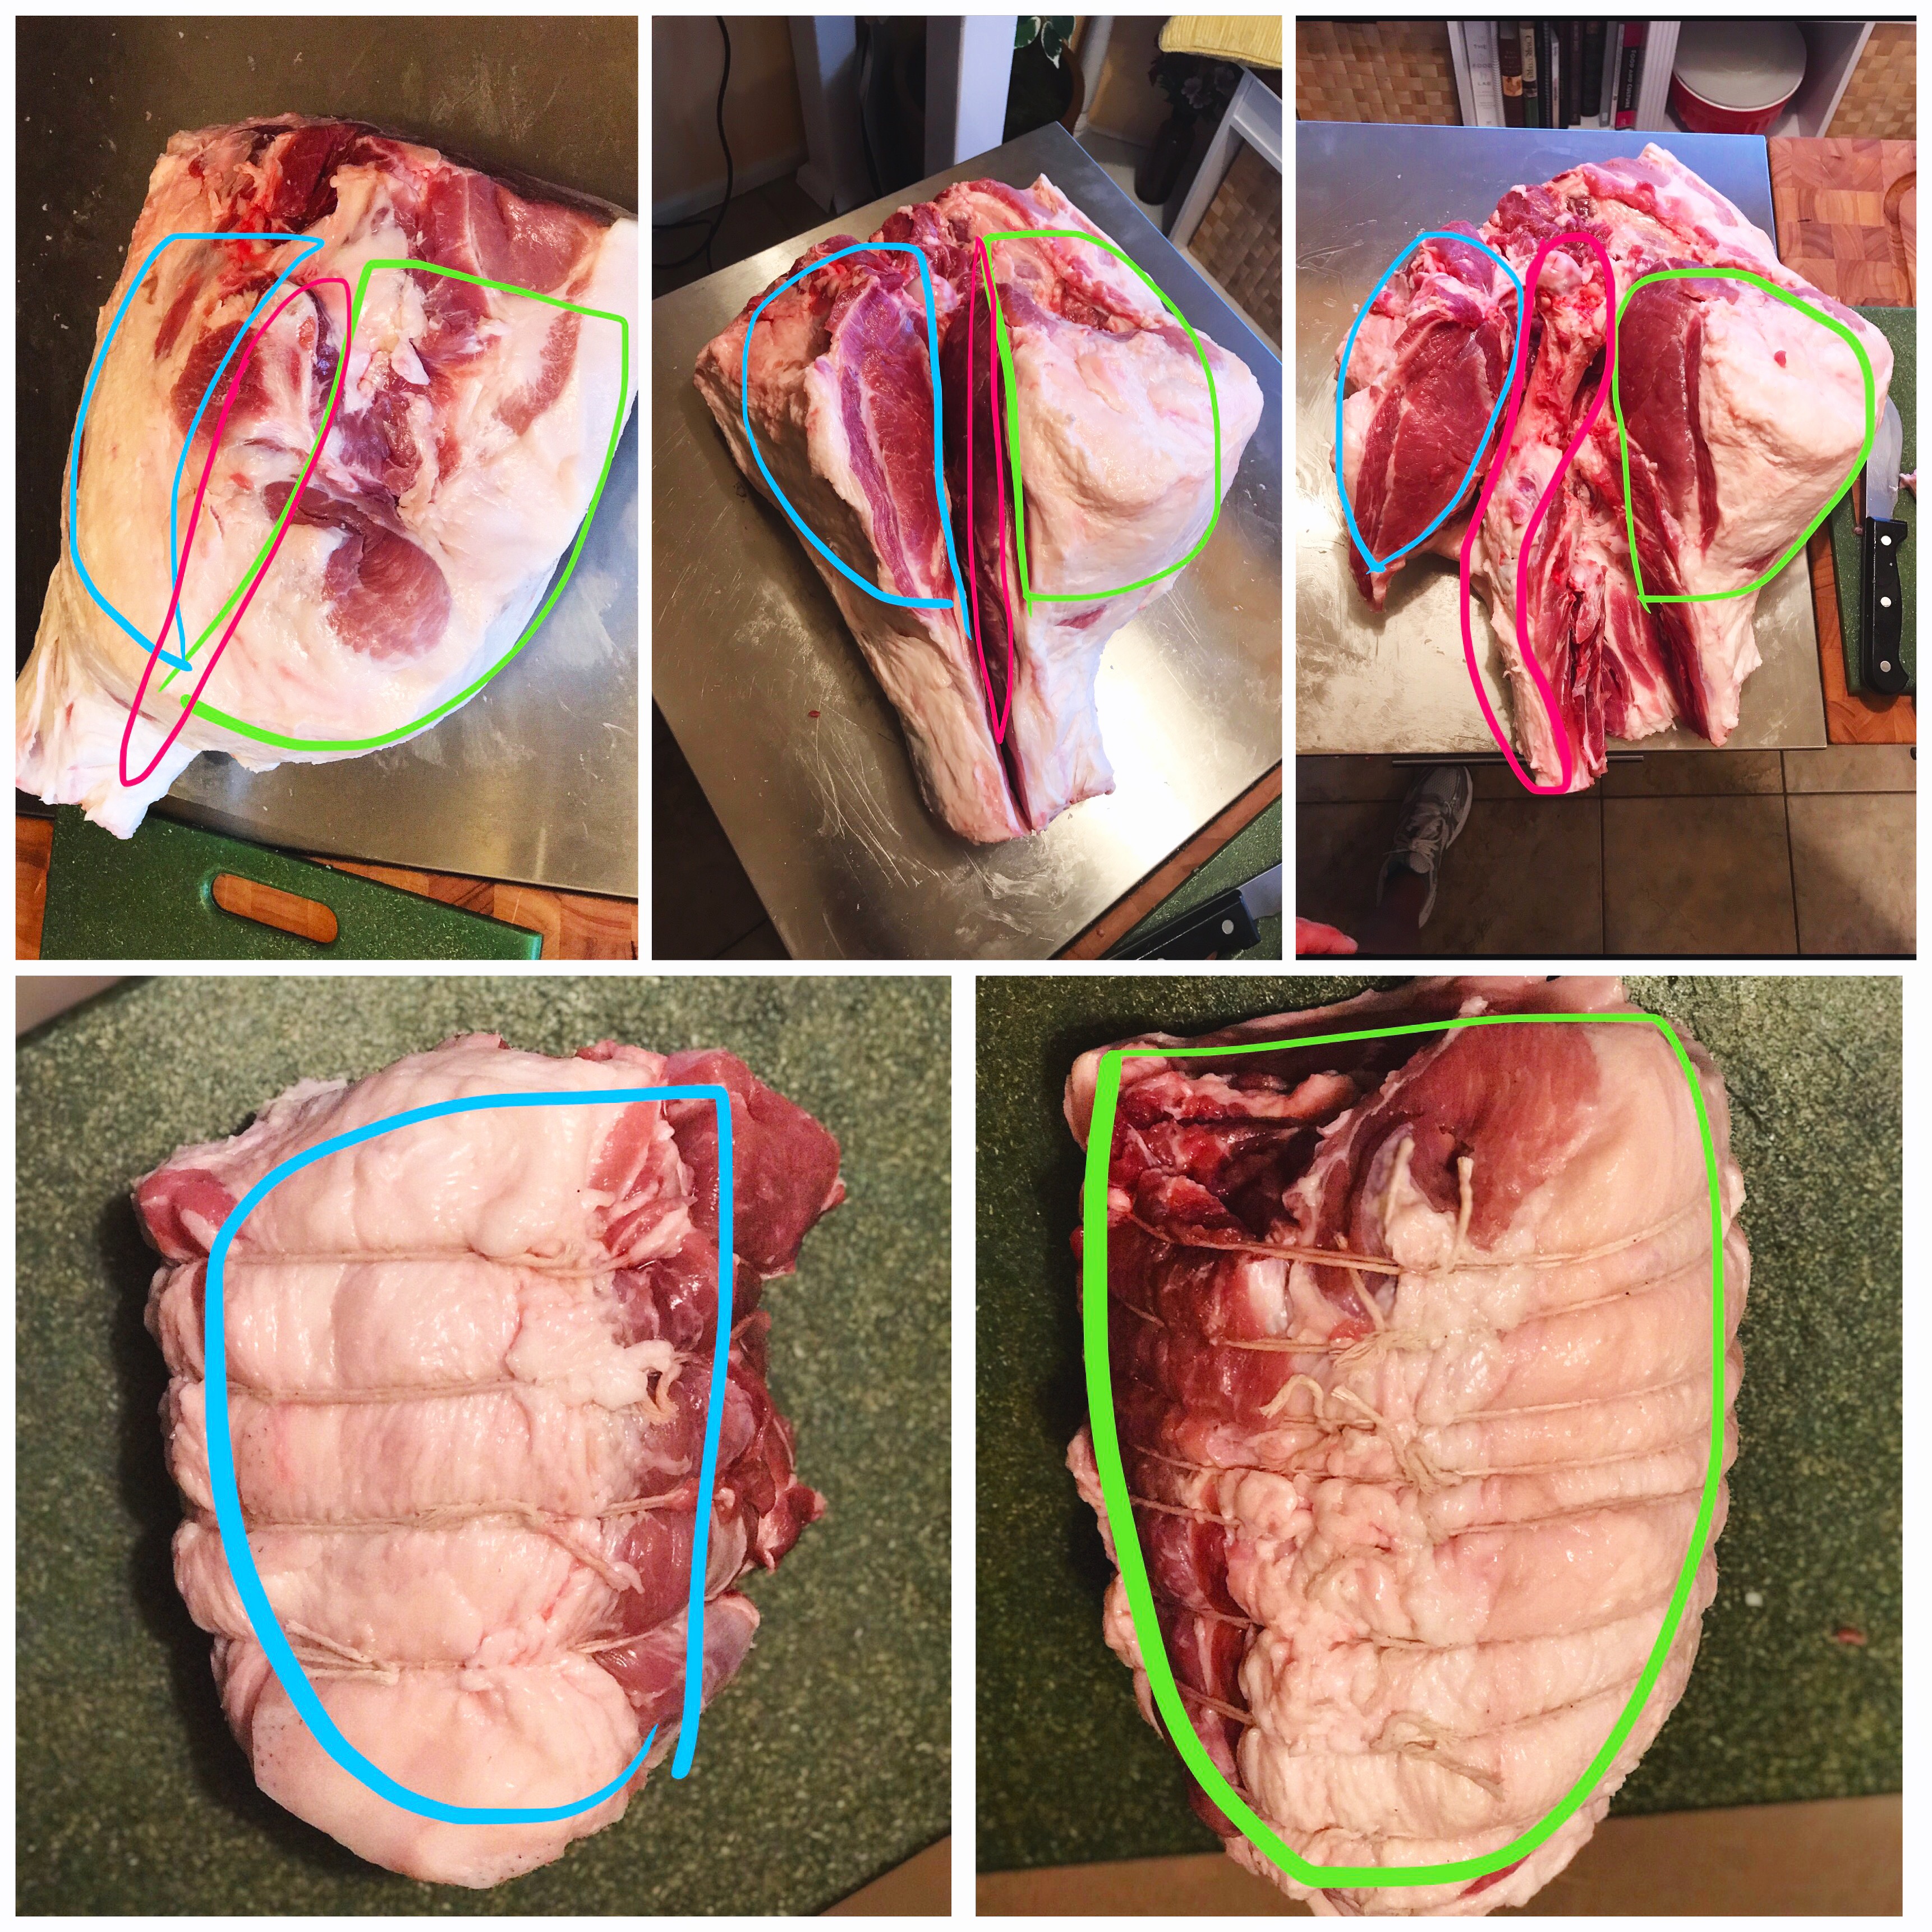
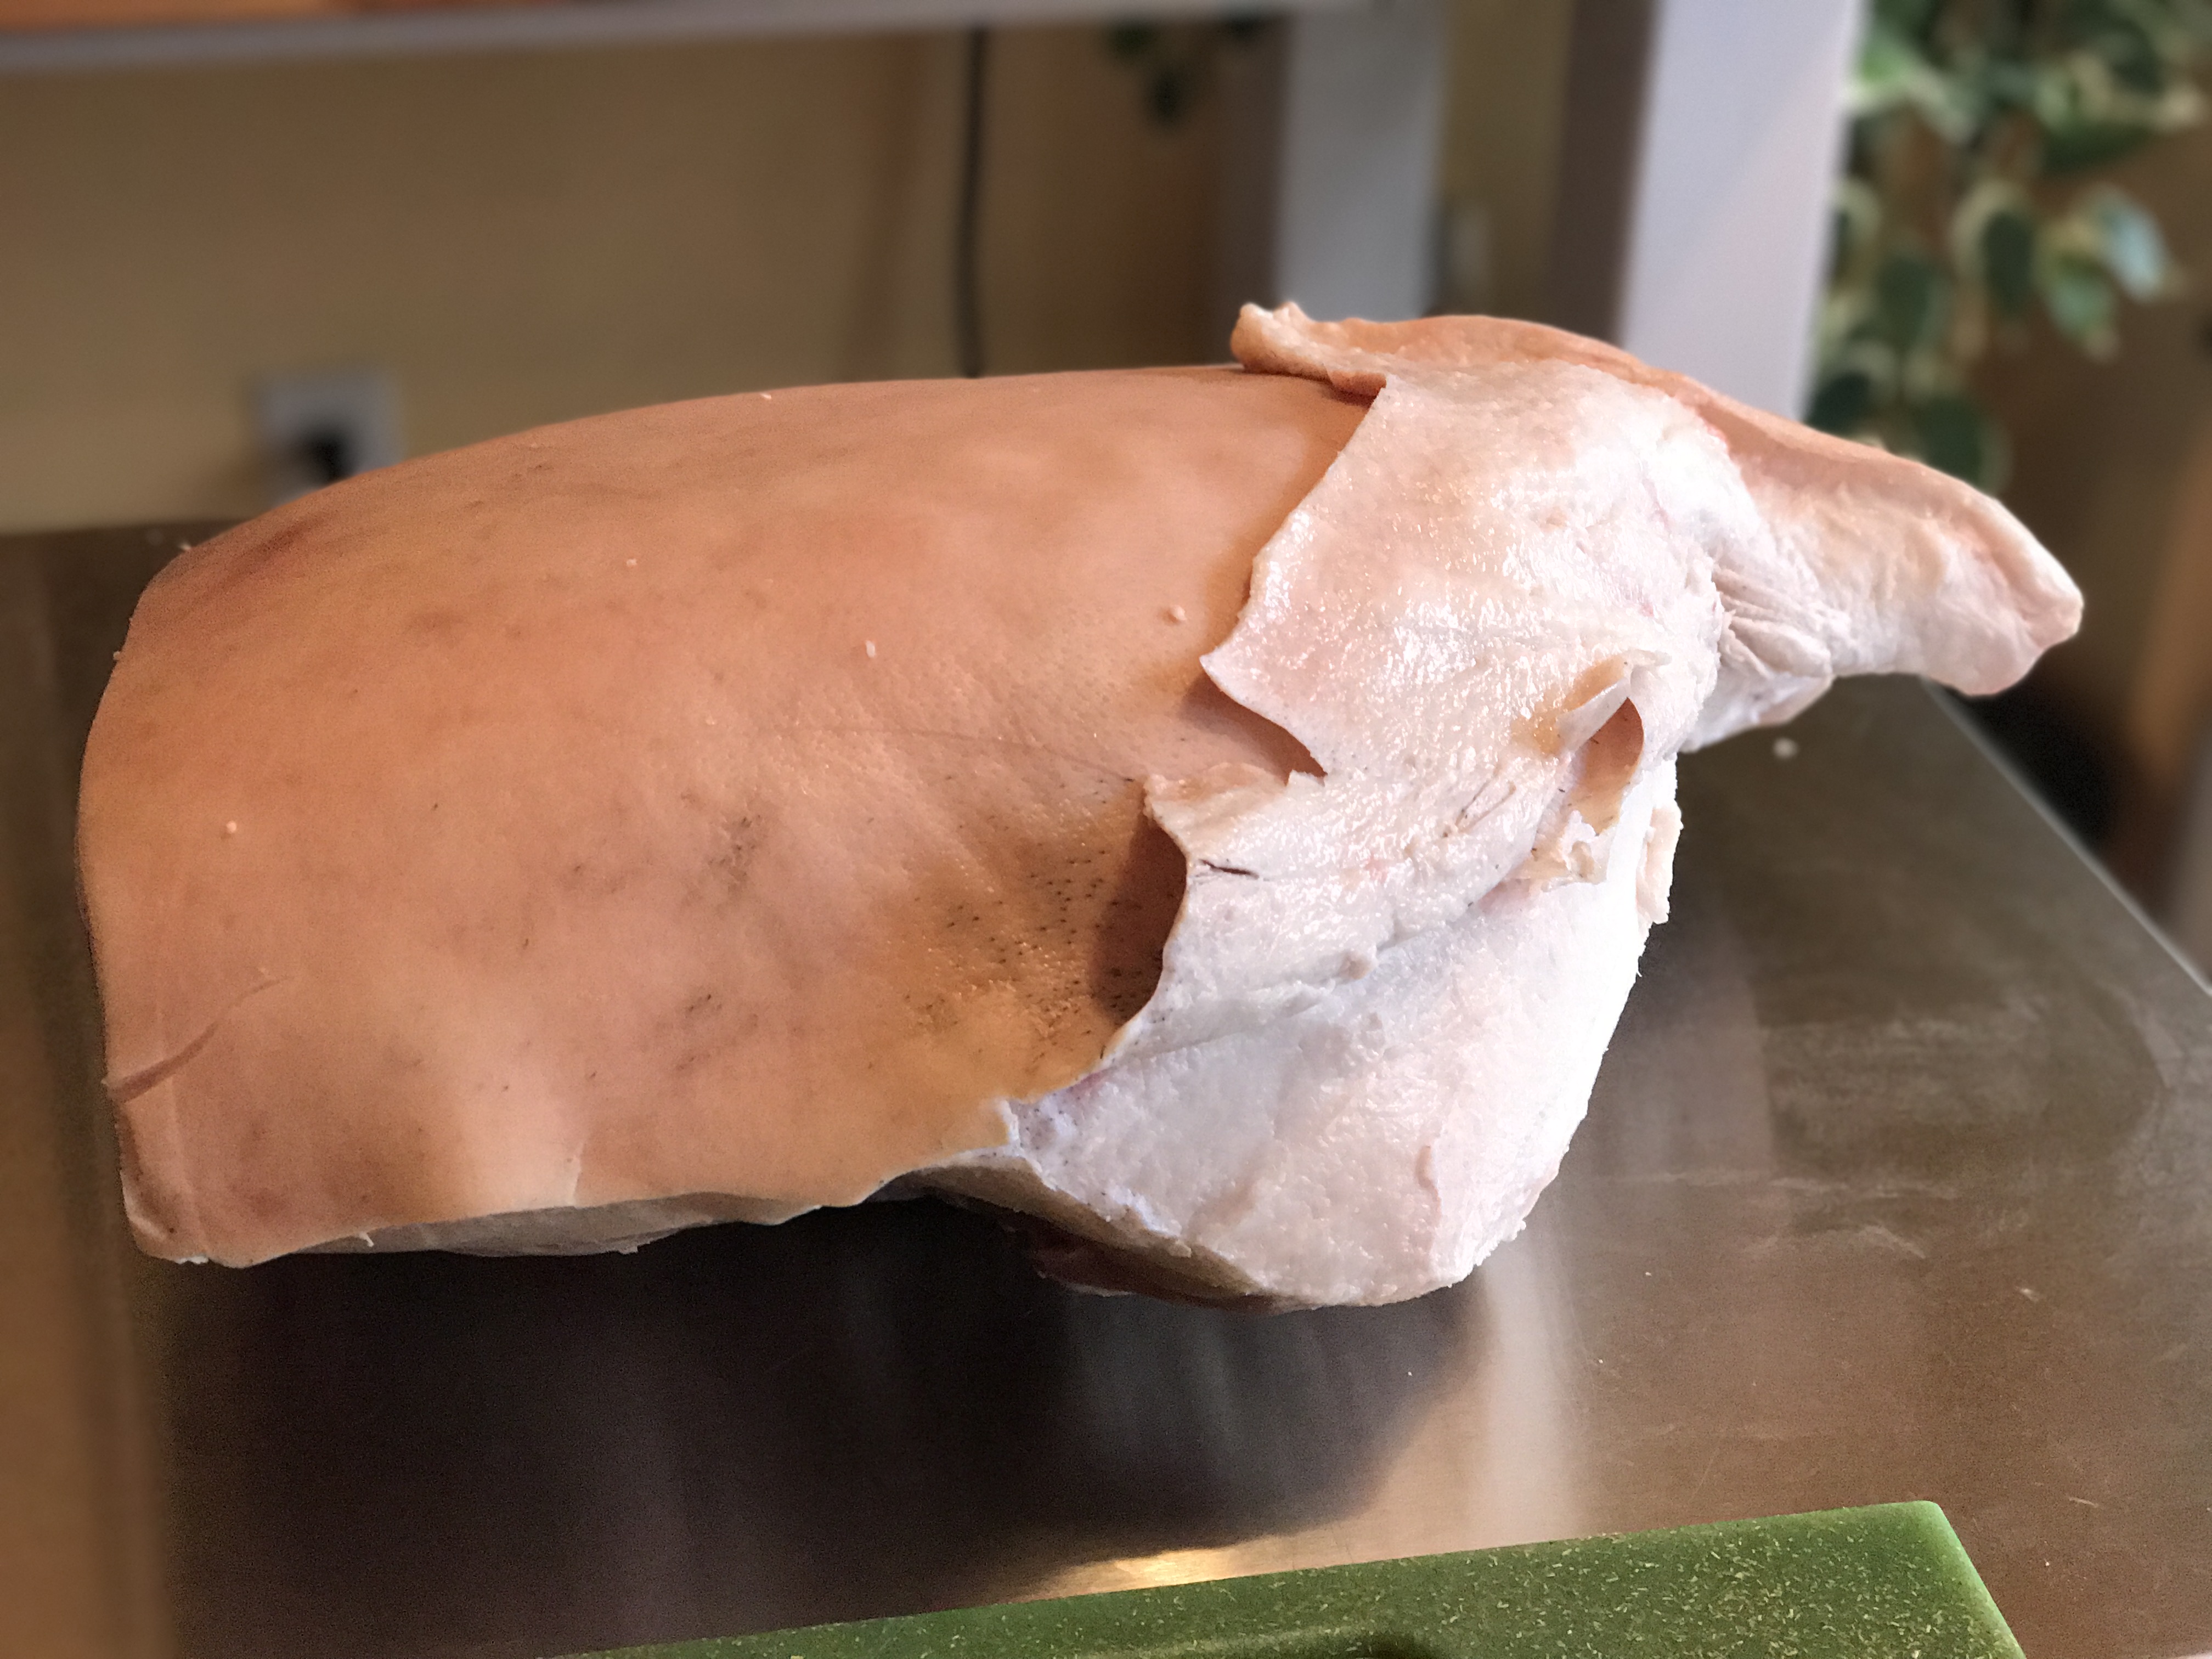
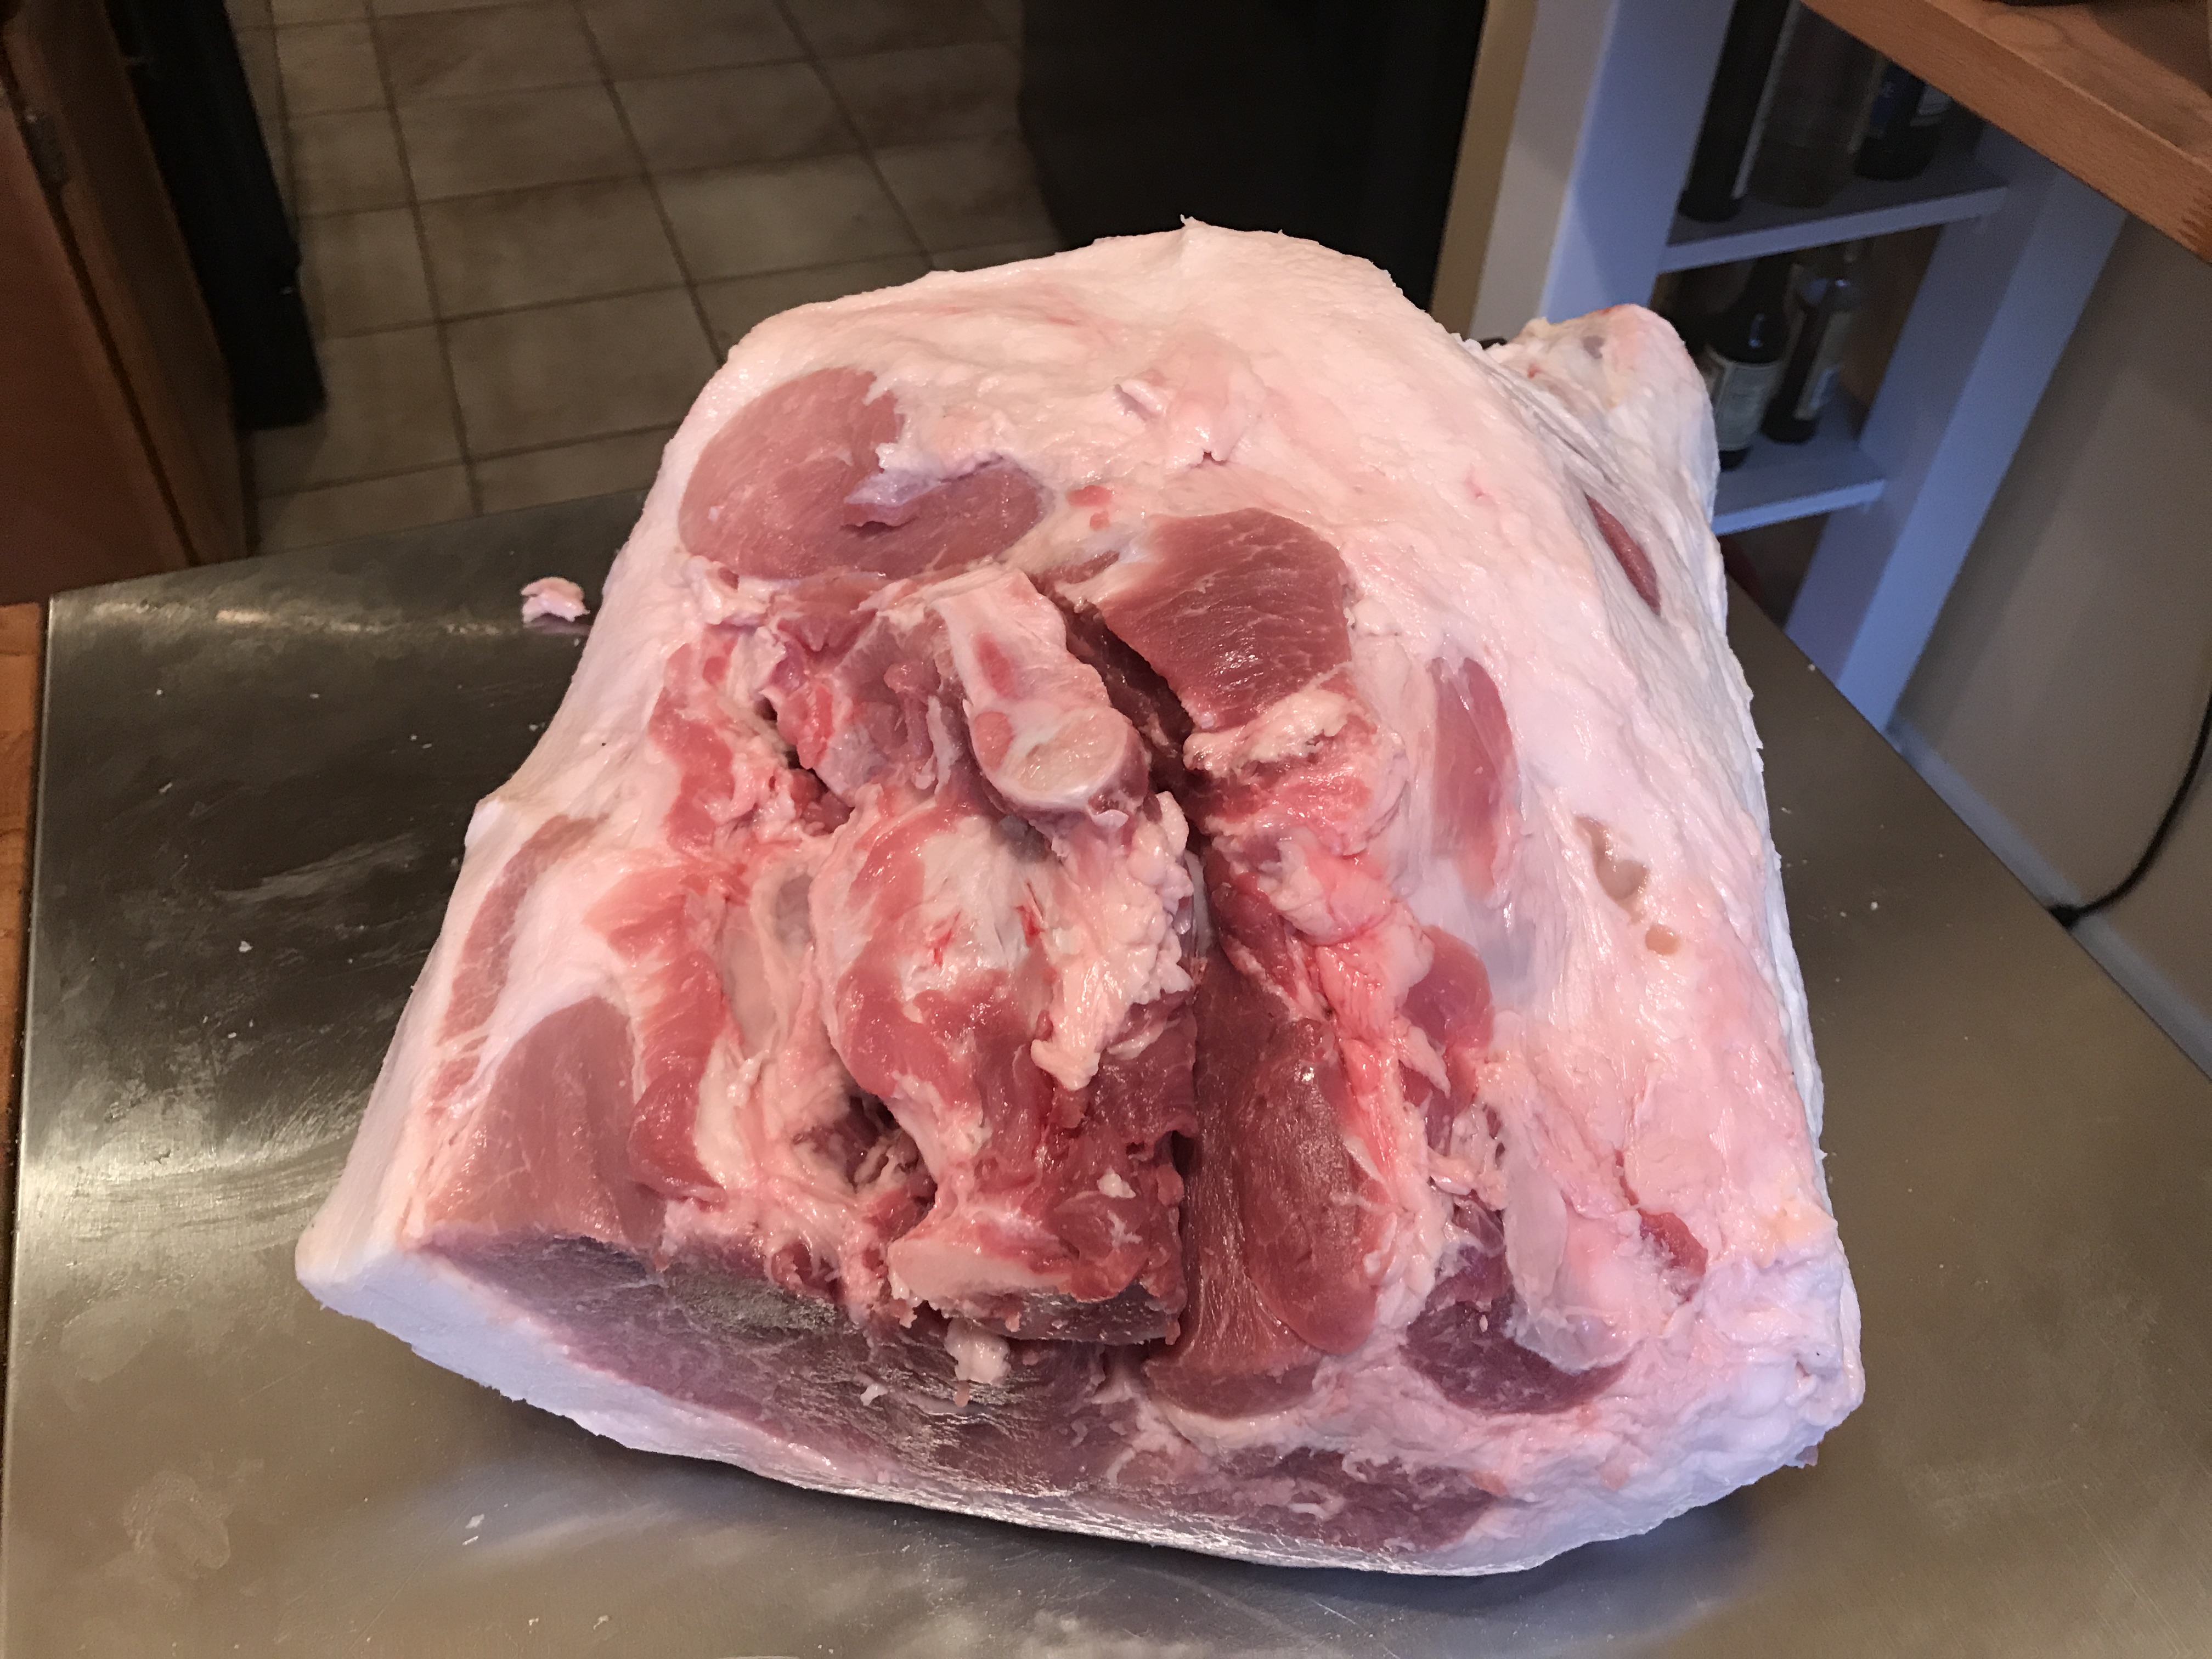
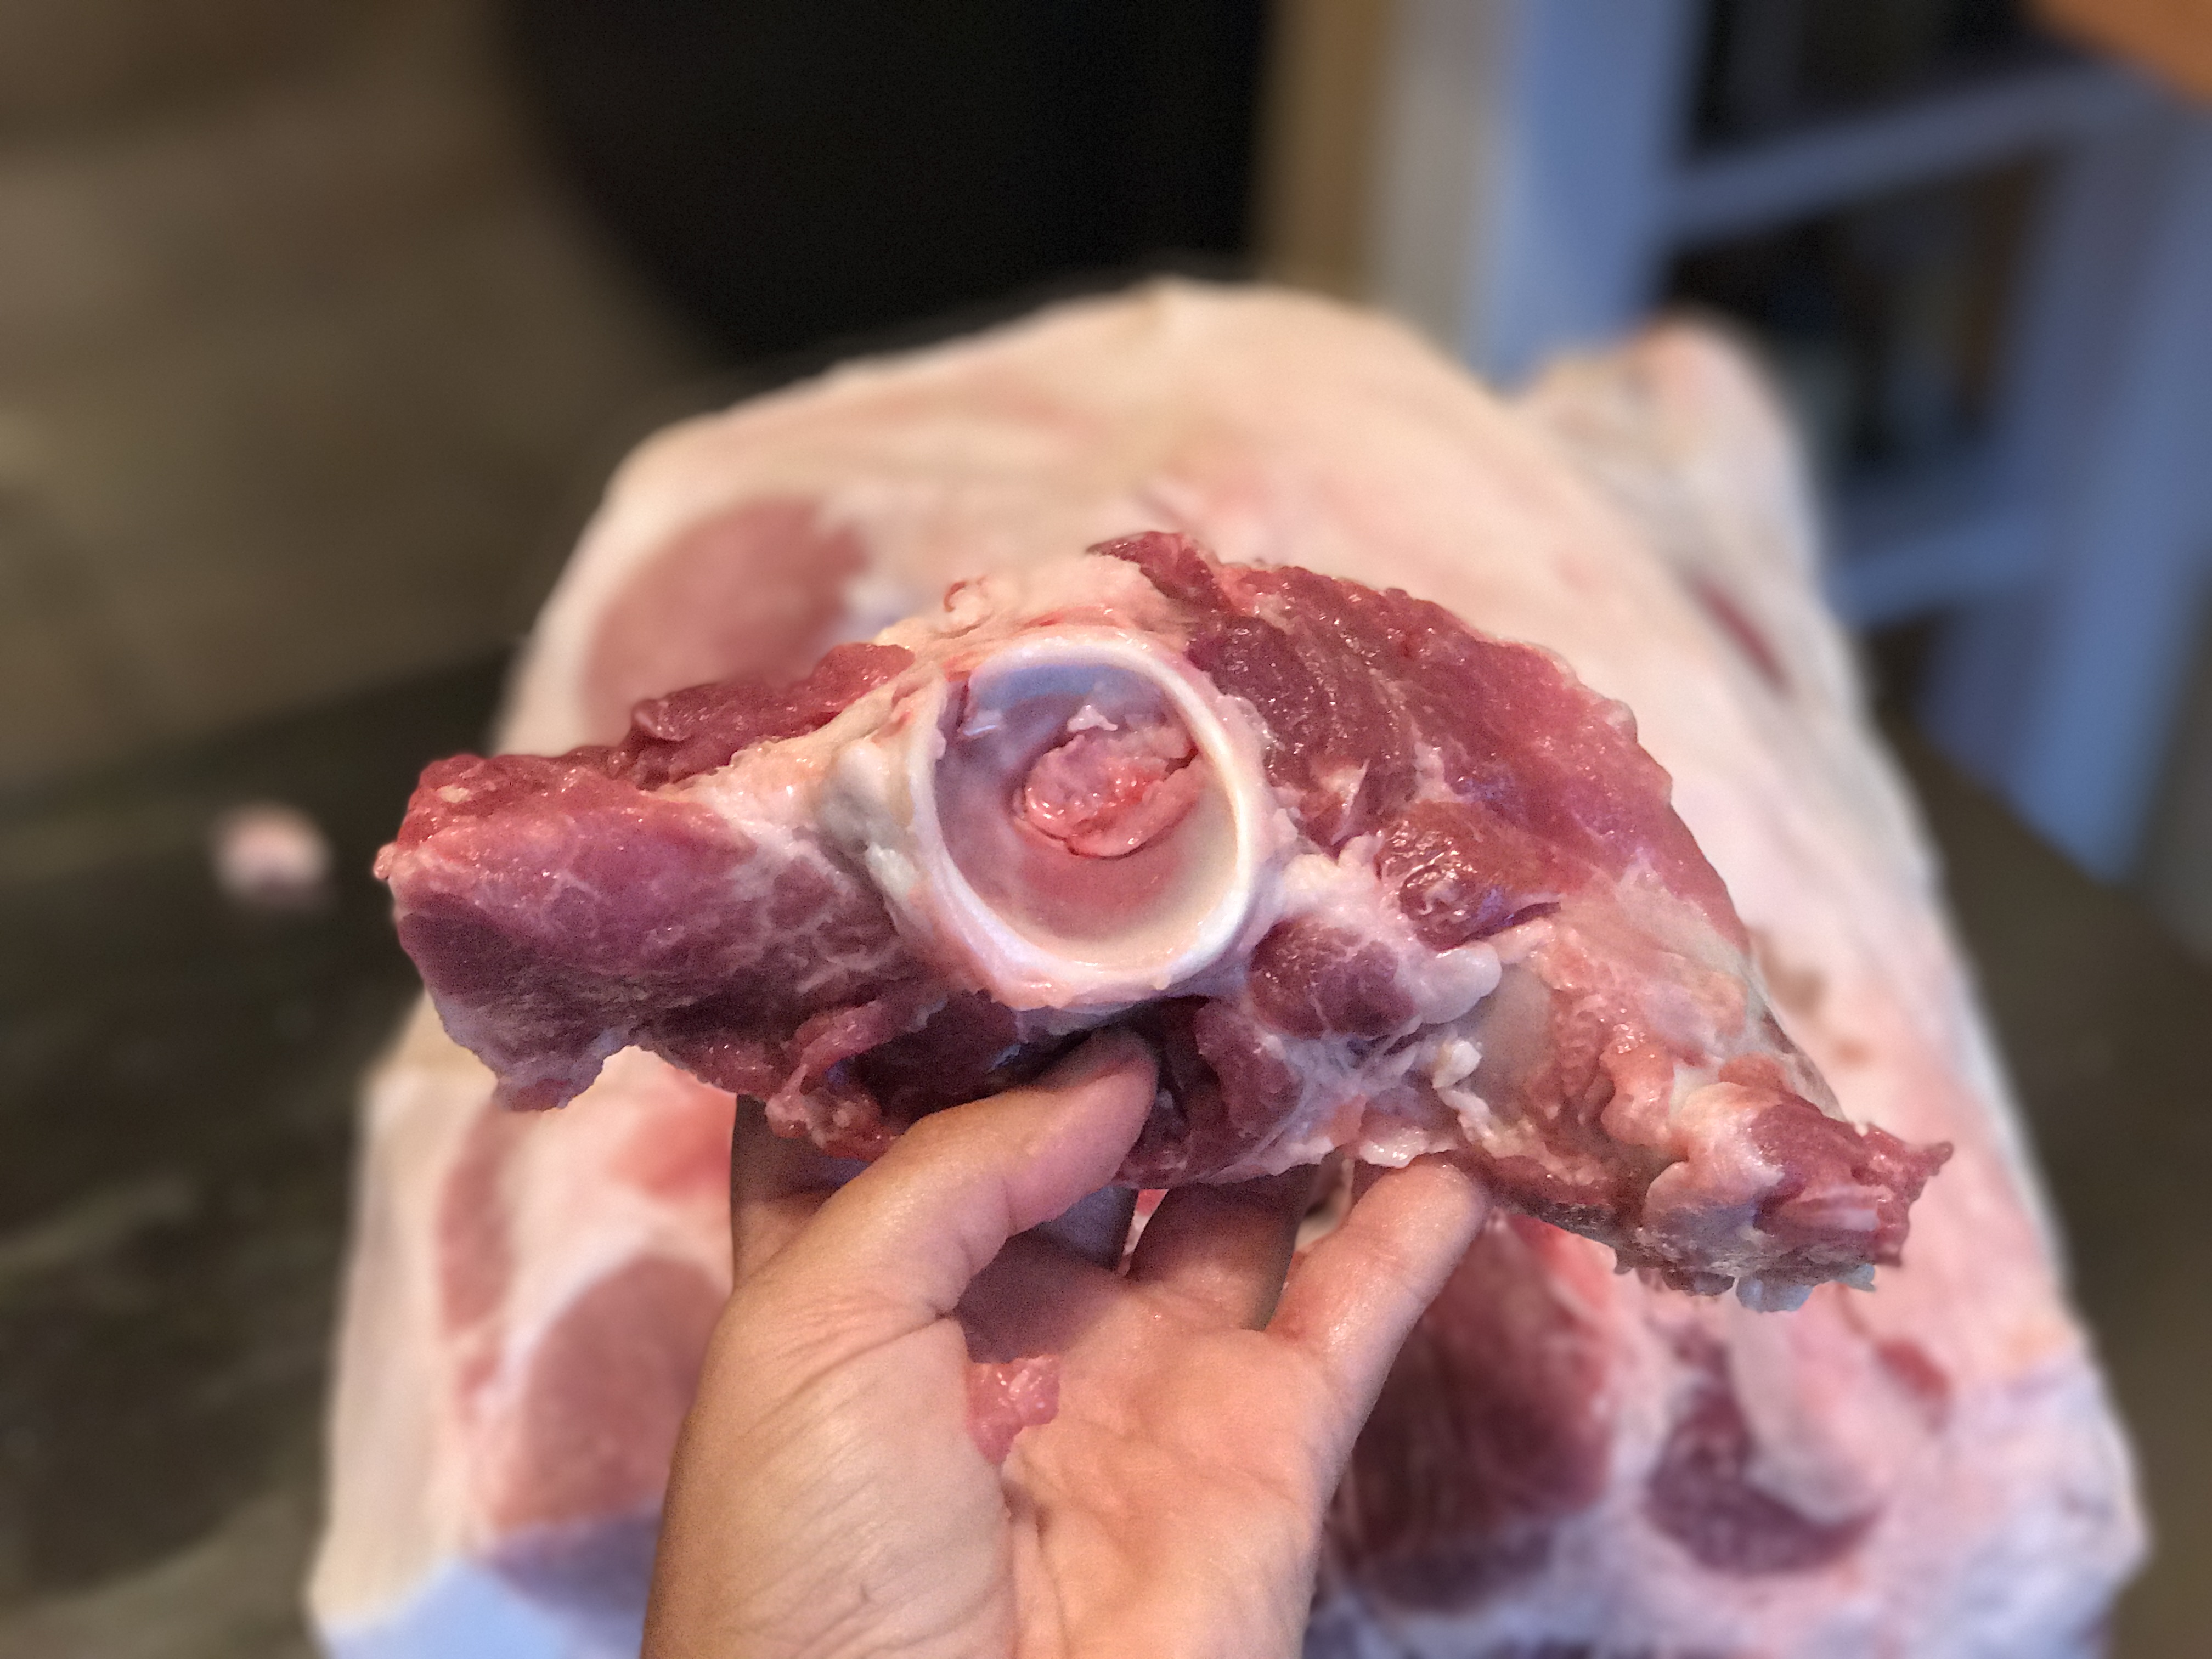
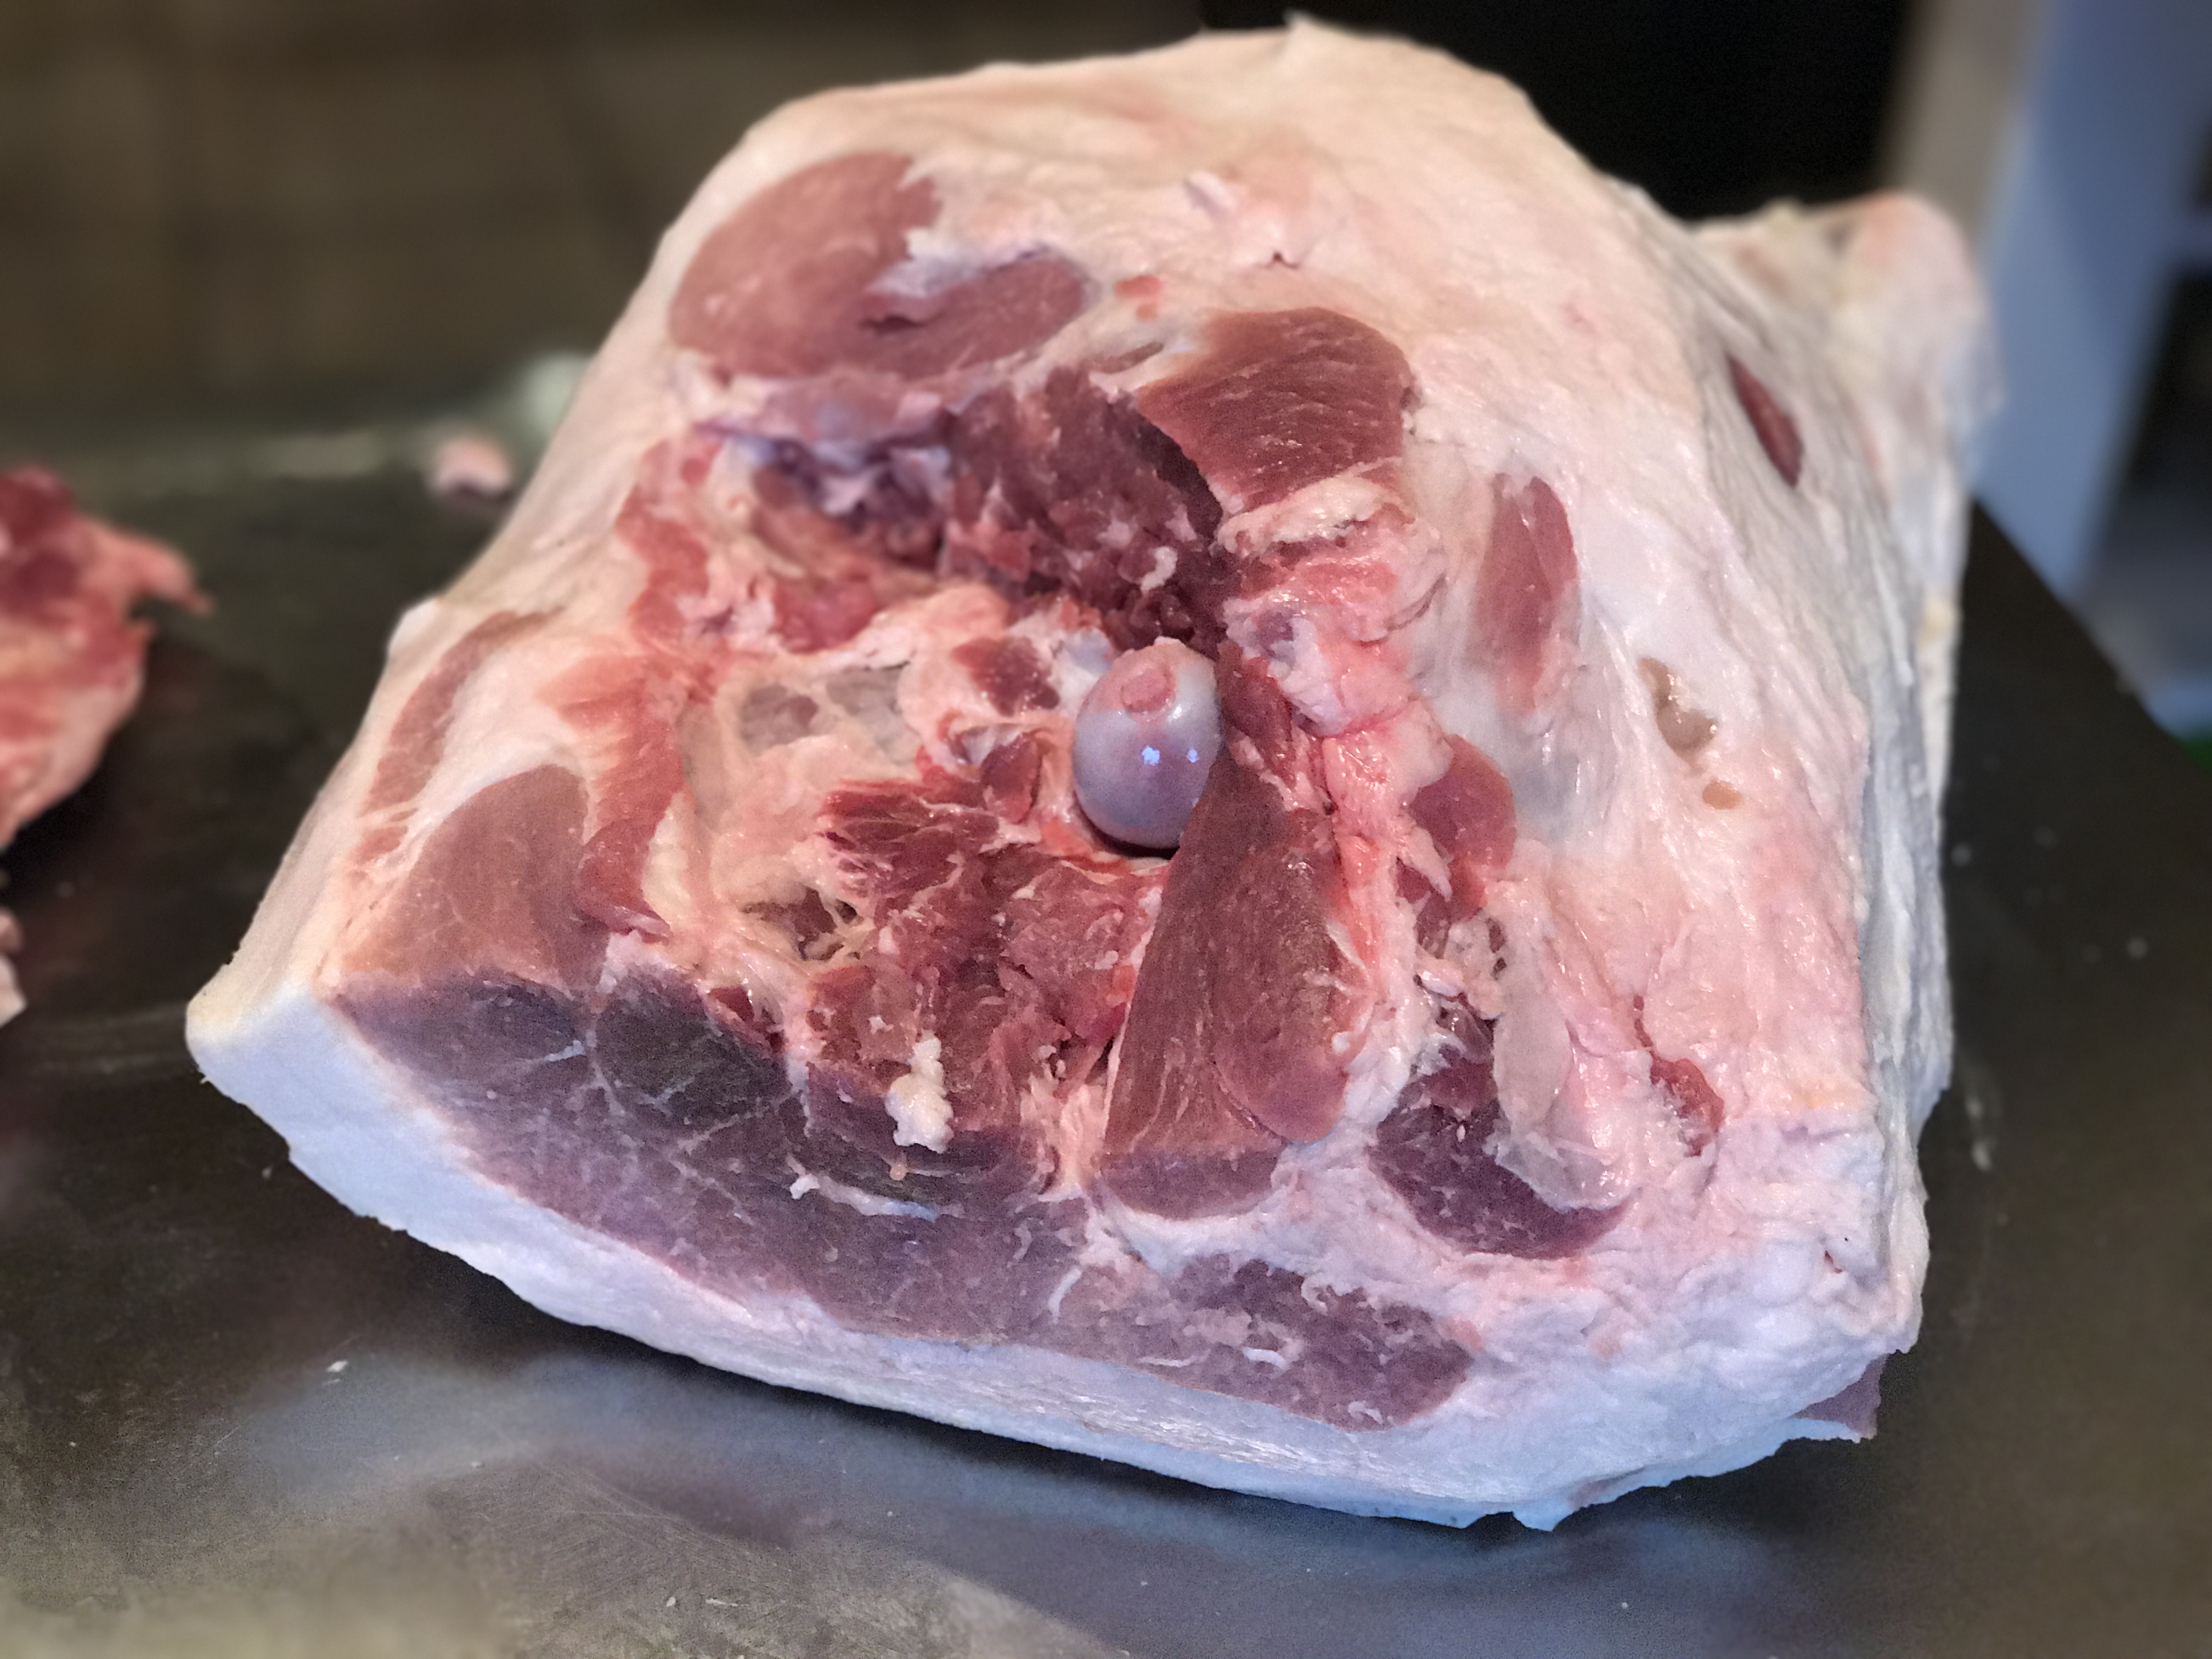
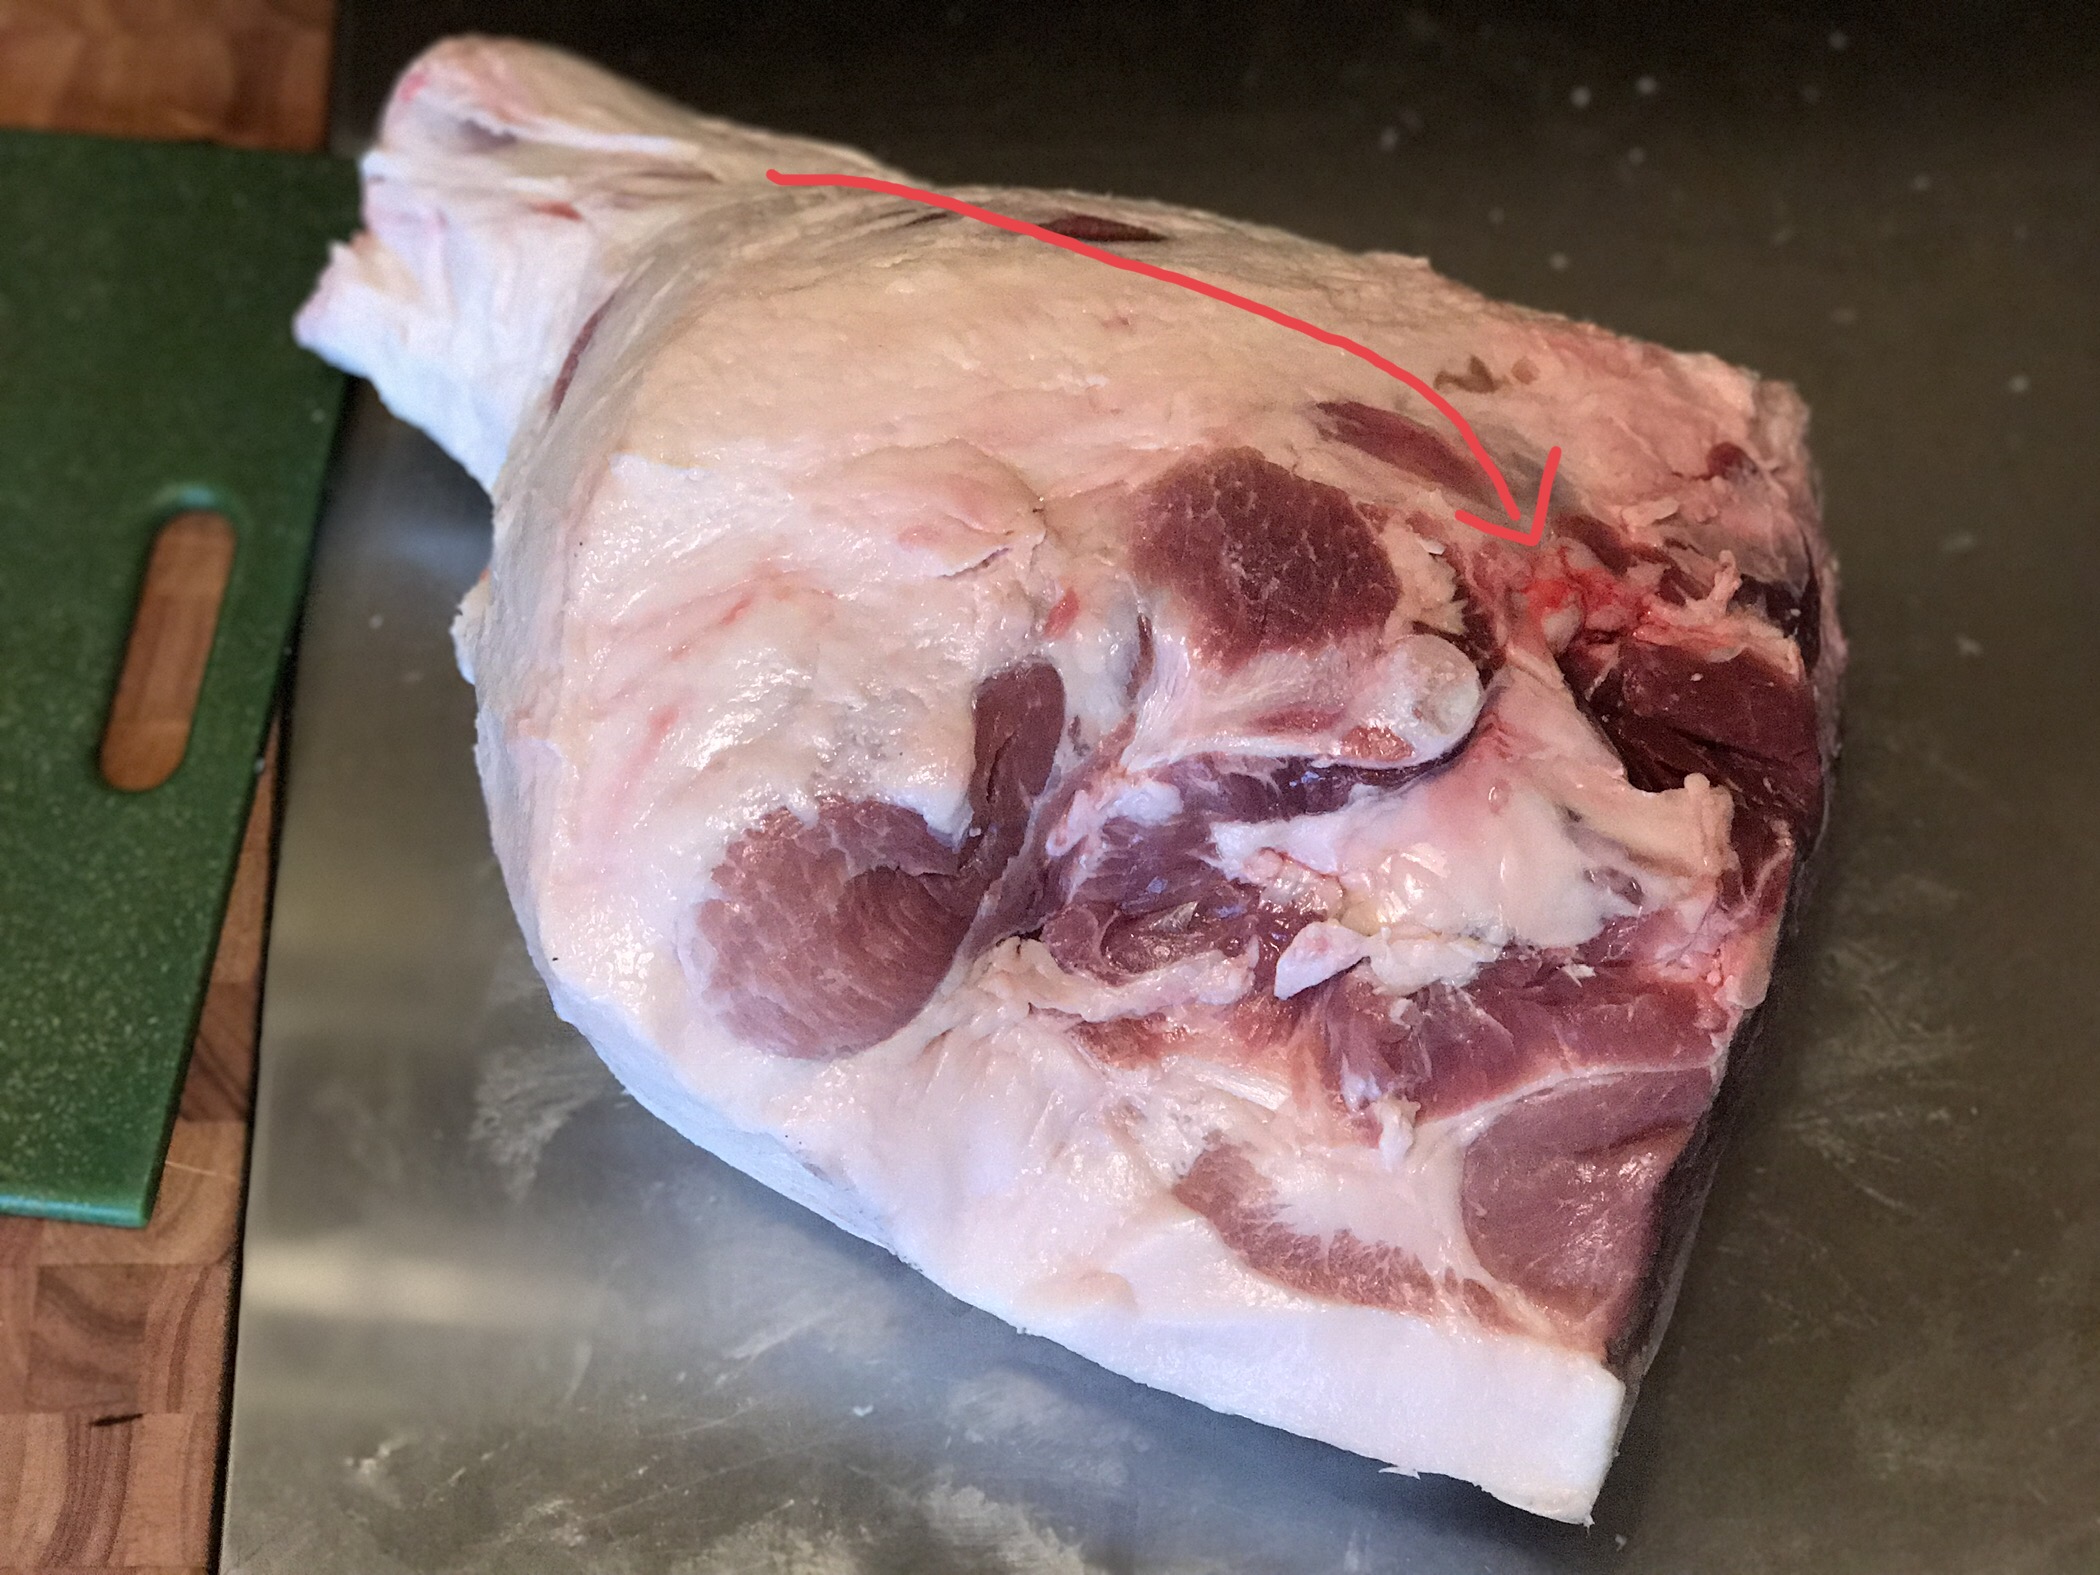
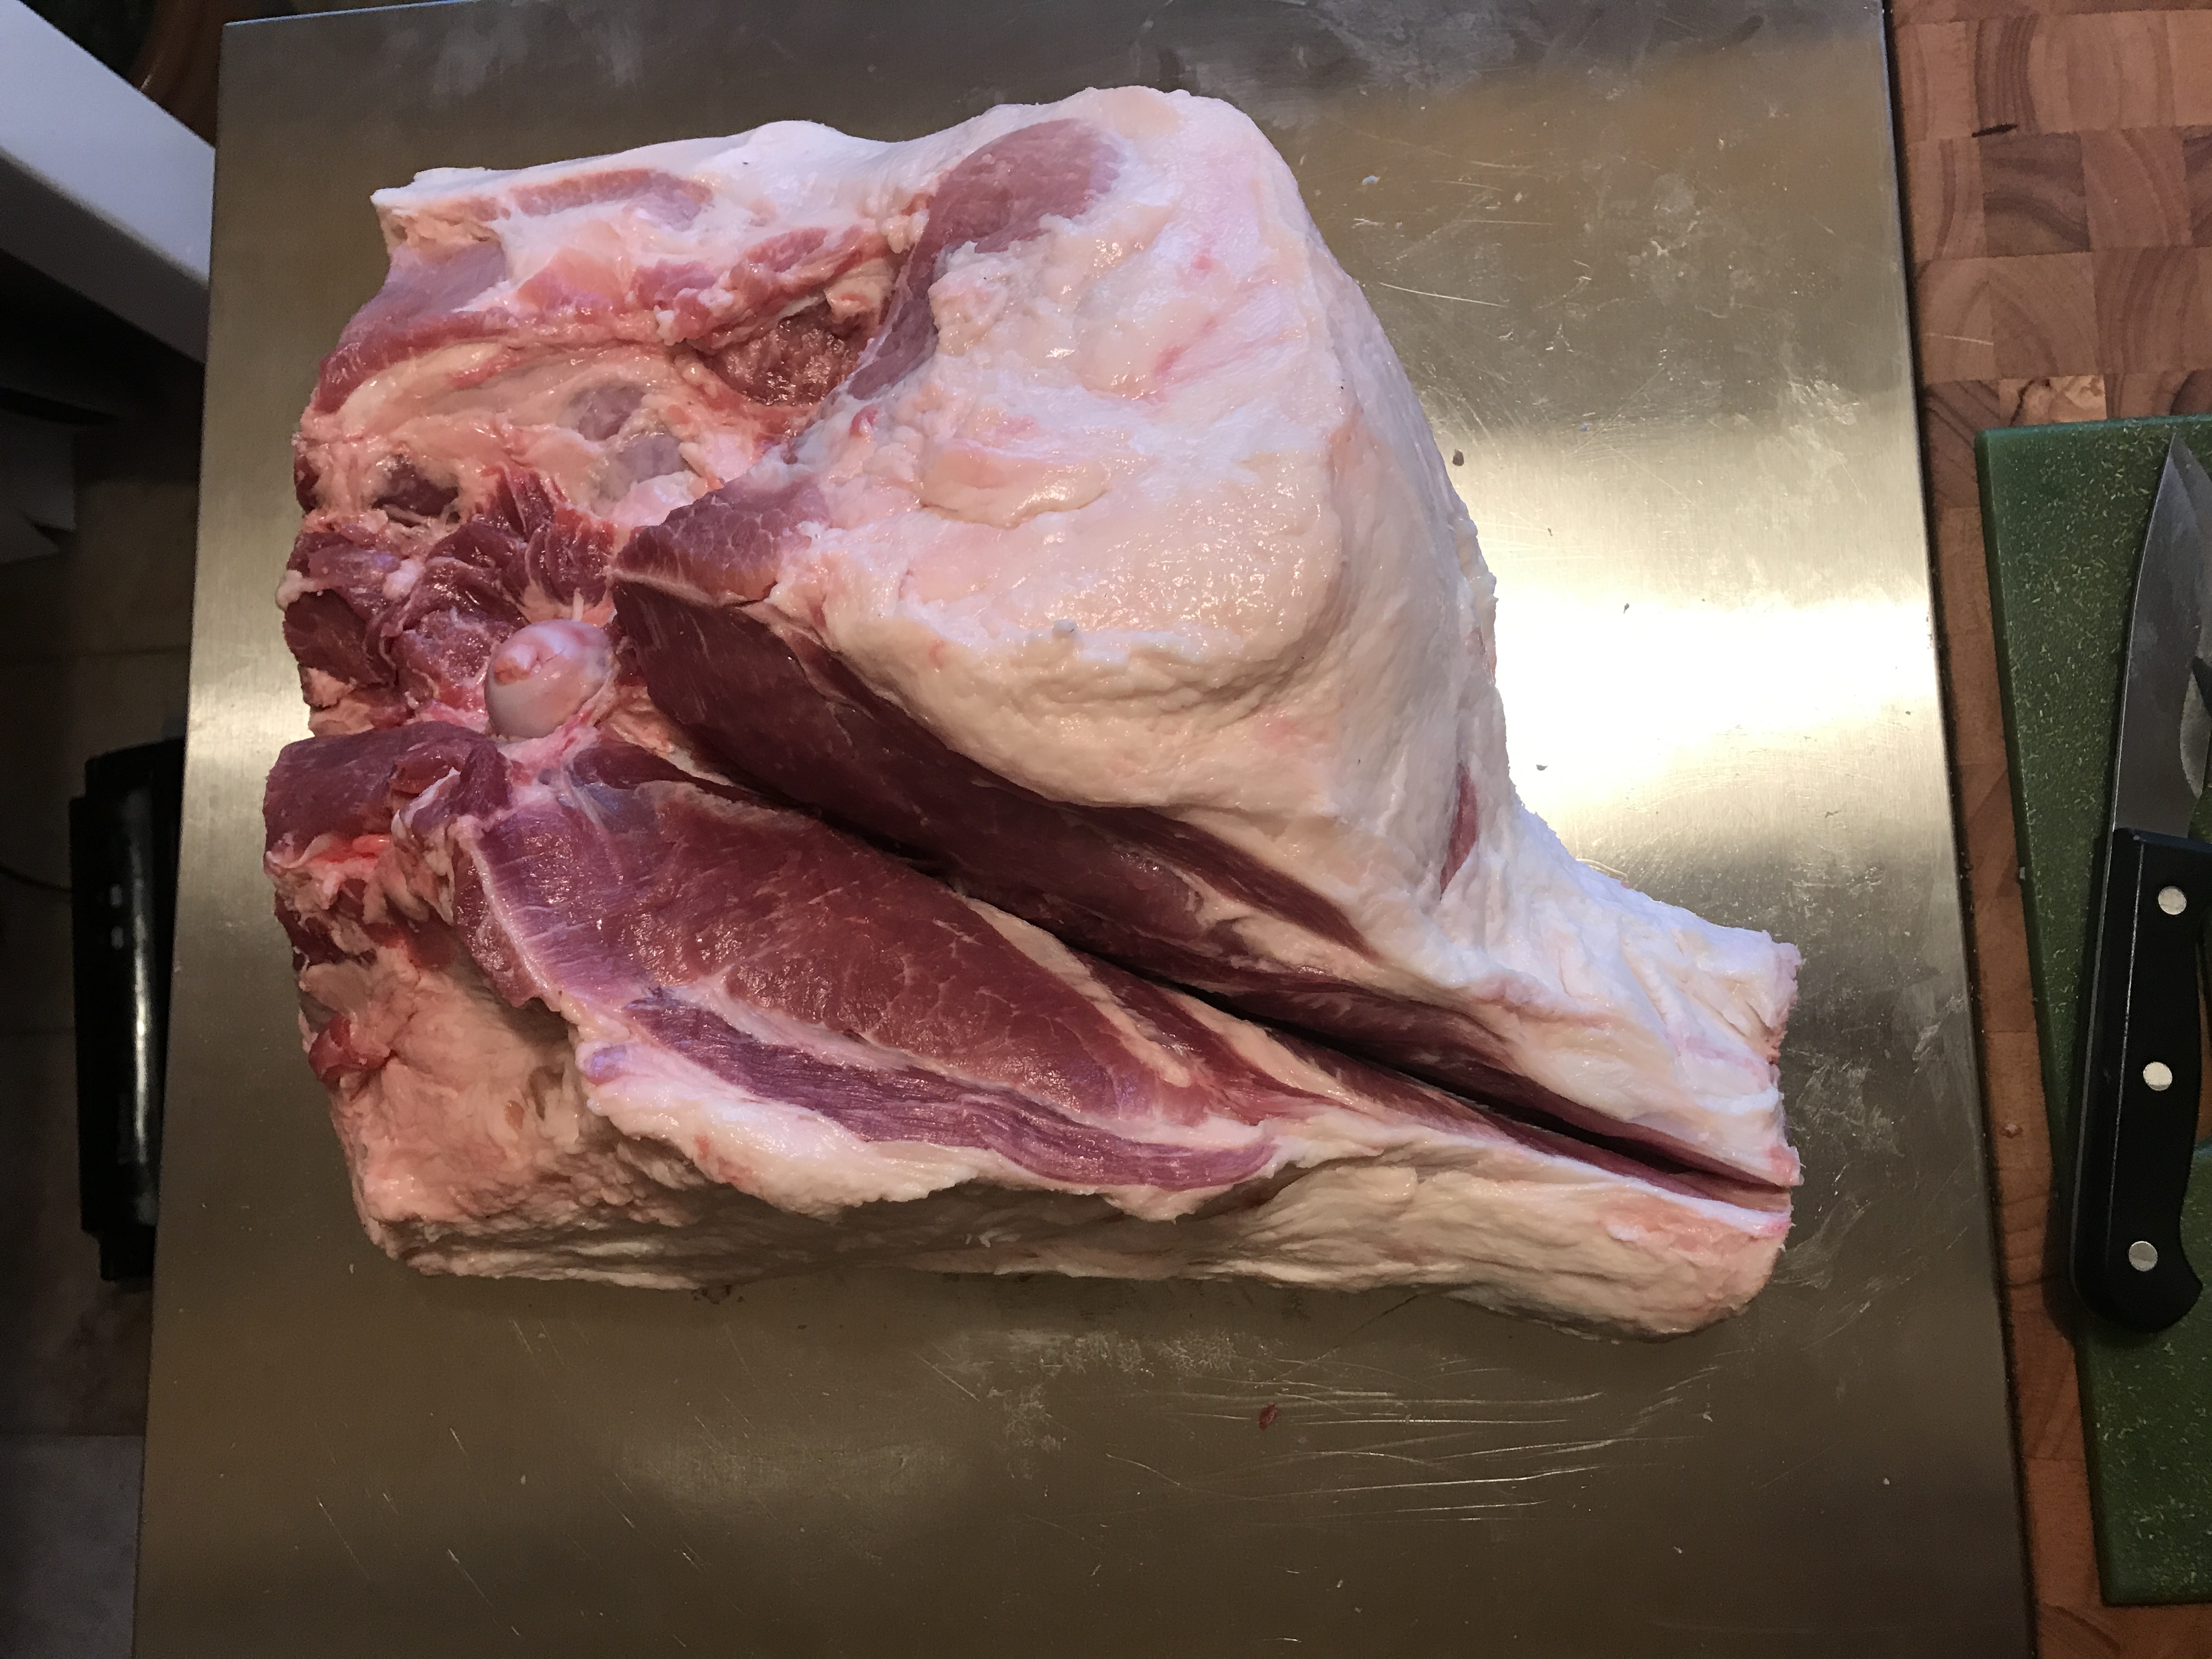
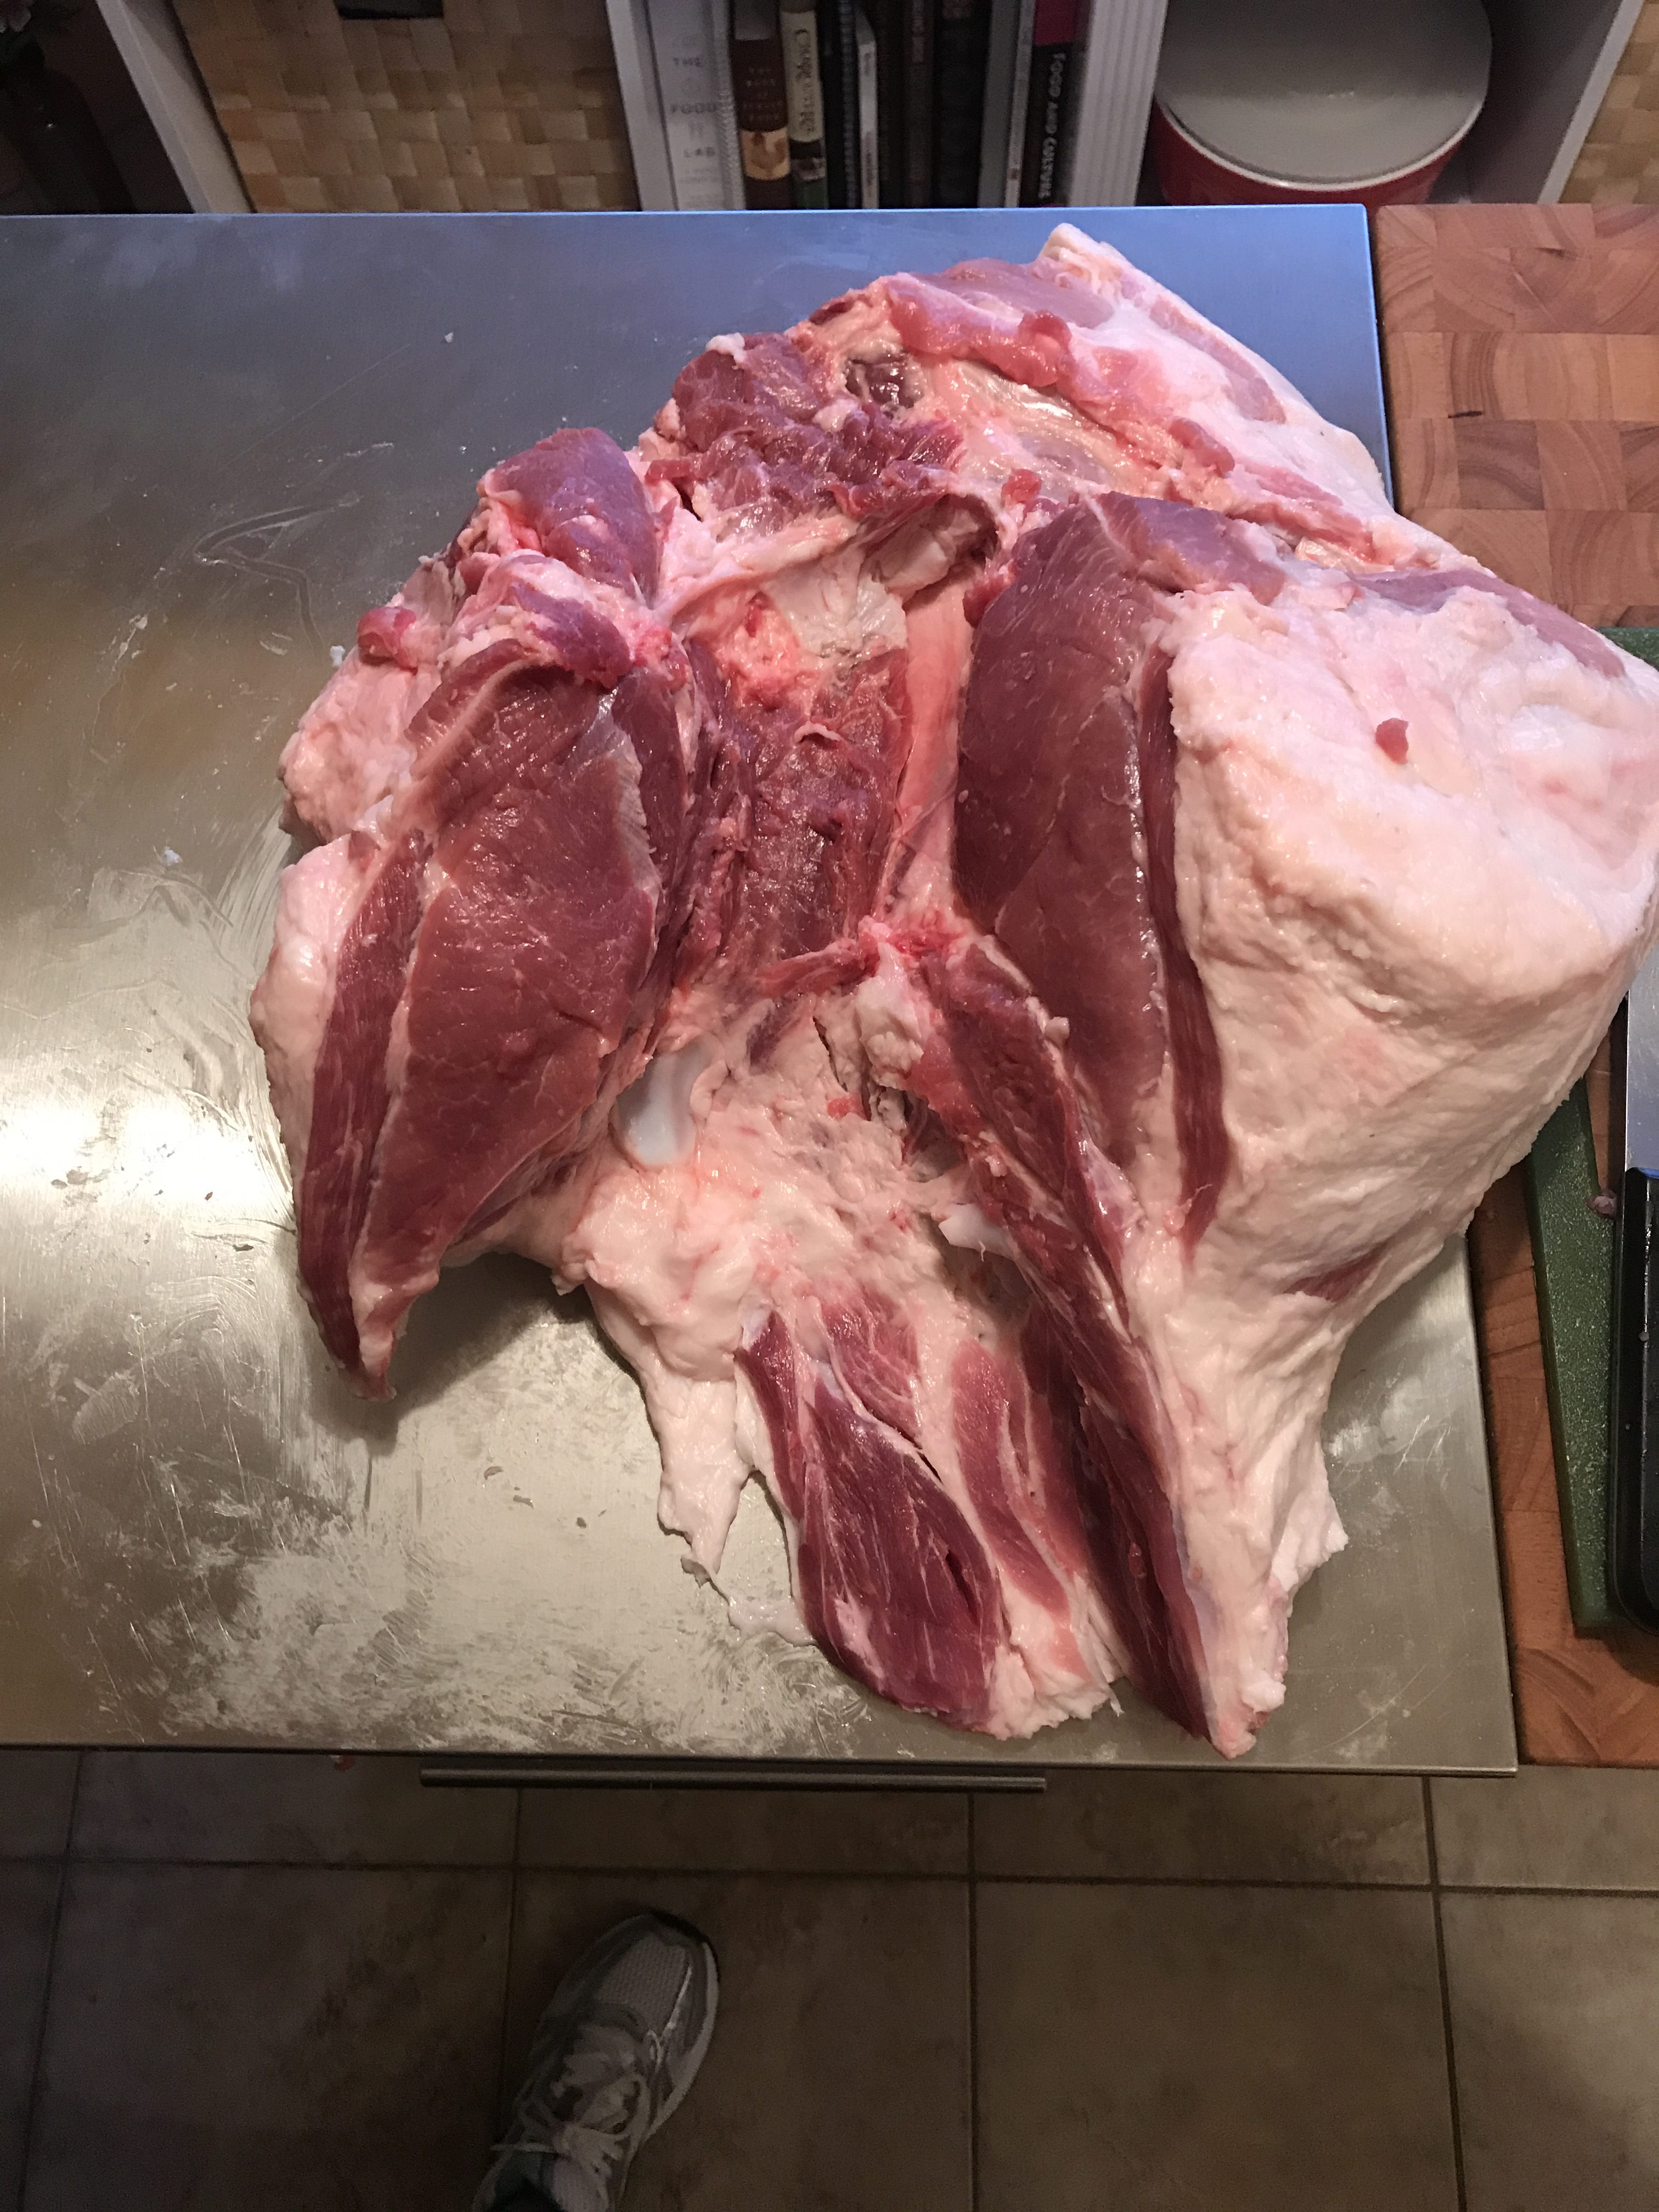
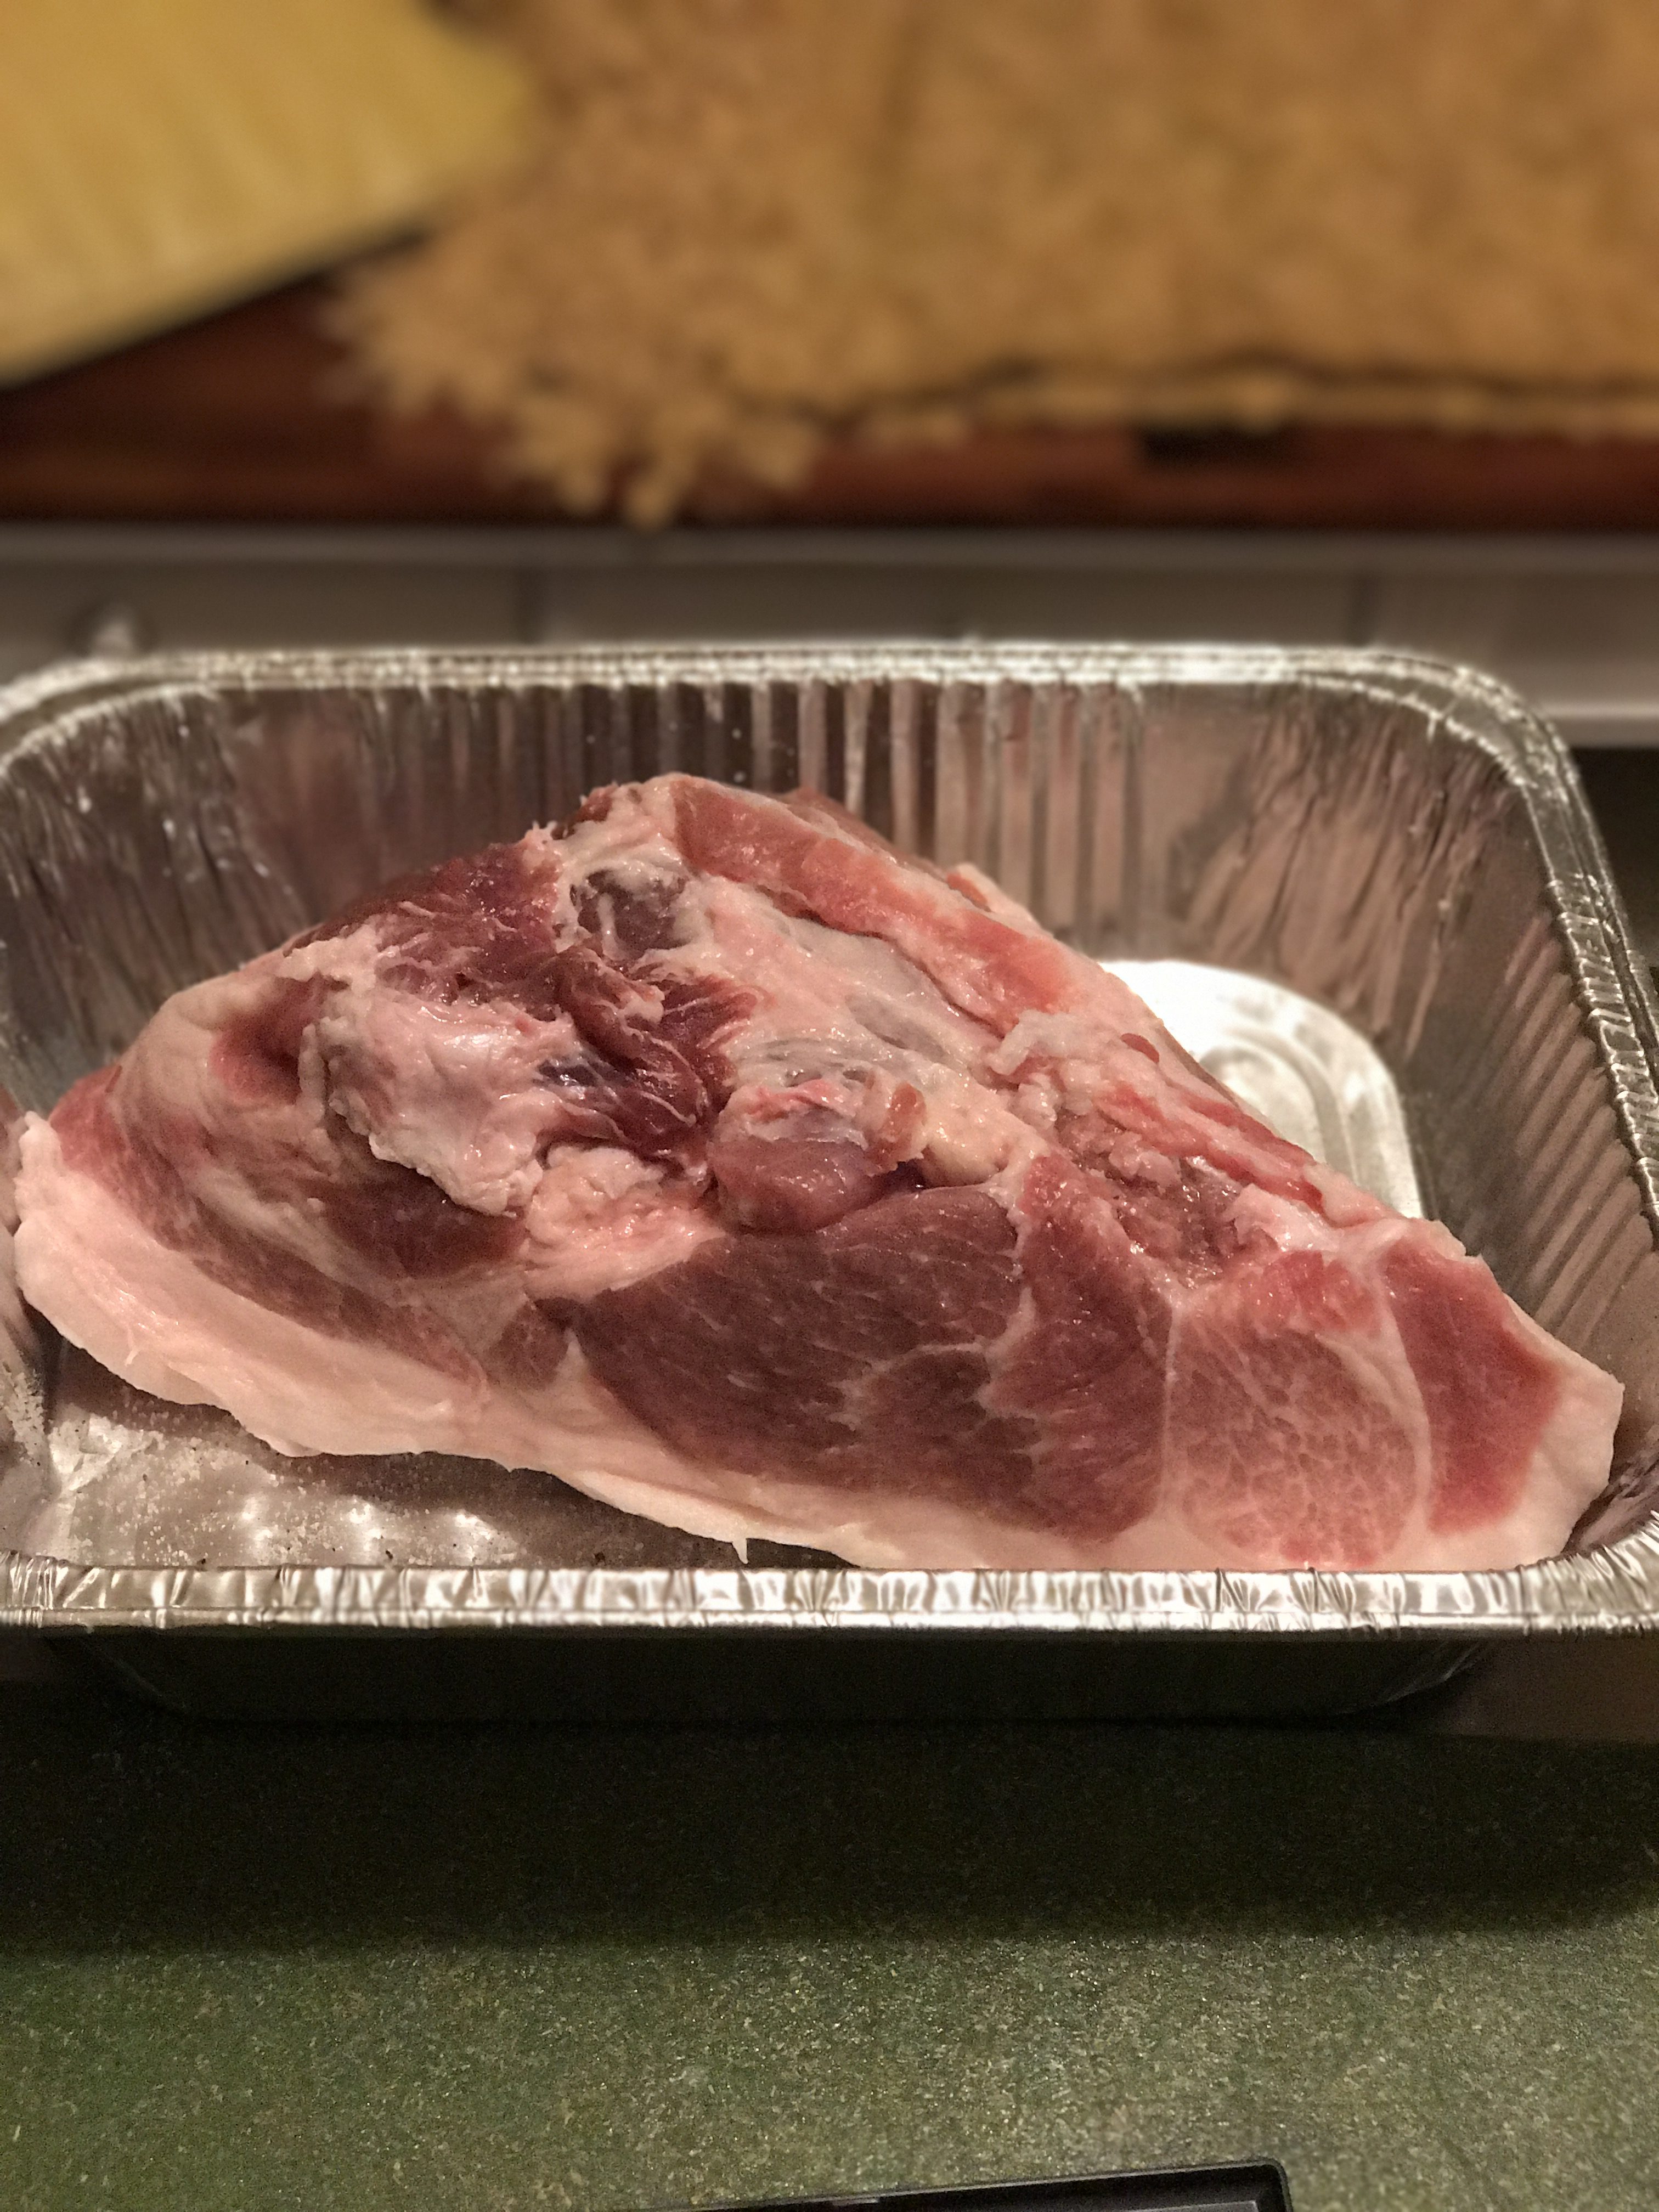
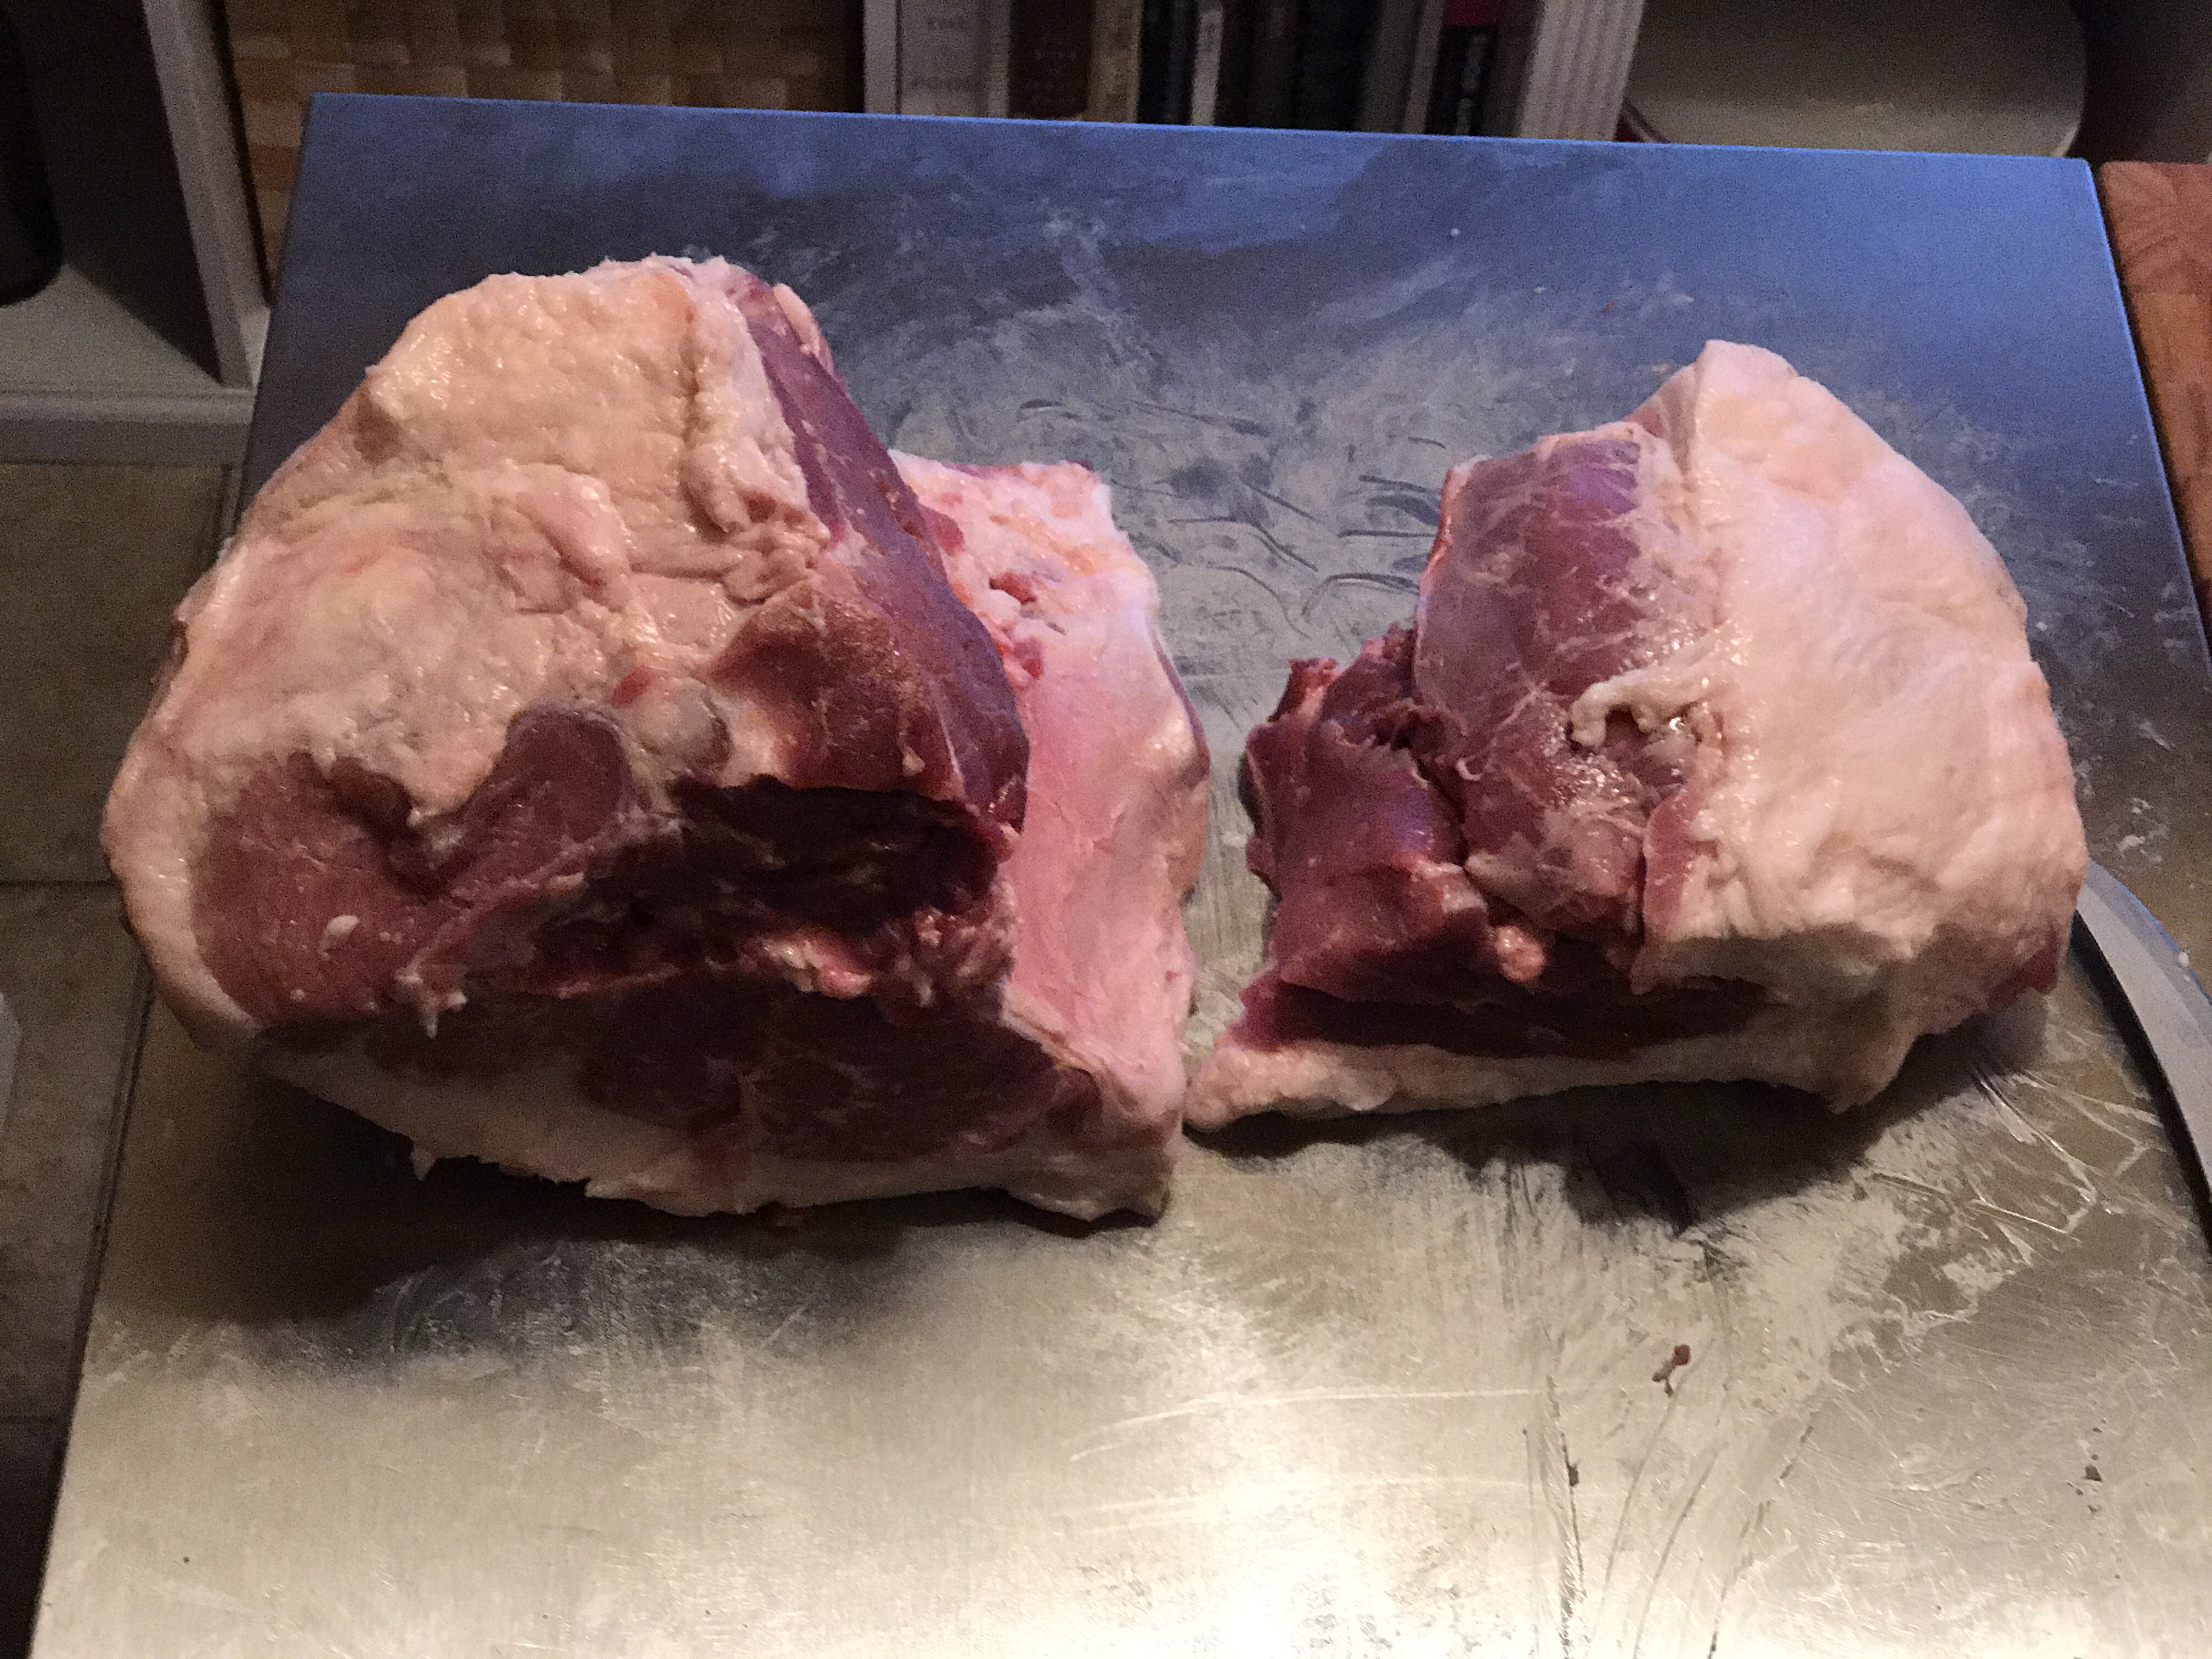
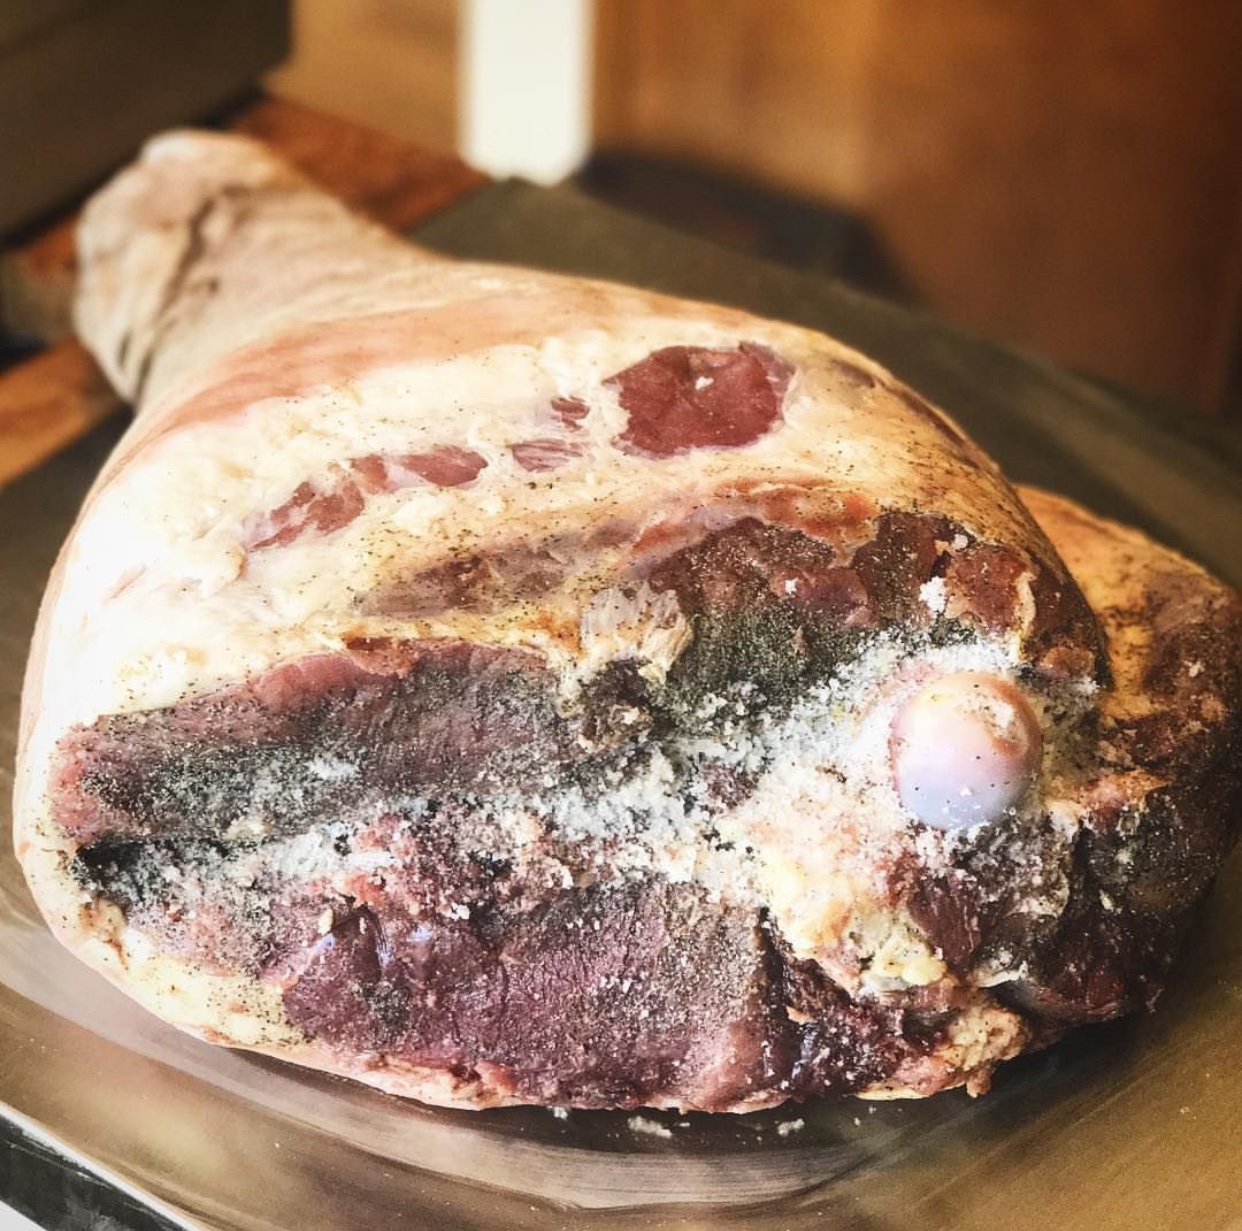
As mentioned, the meat for this salami came from the leg of lamb butchered for lamb culatello.
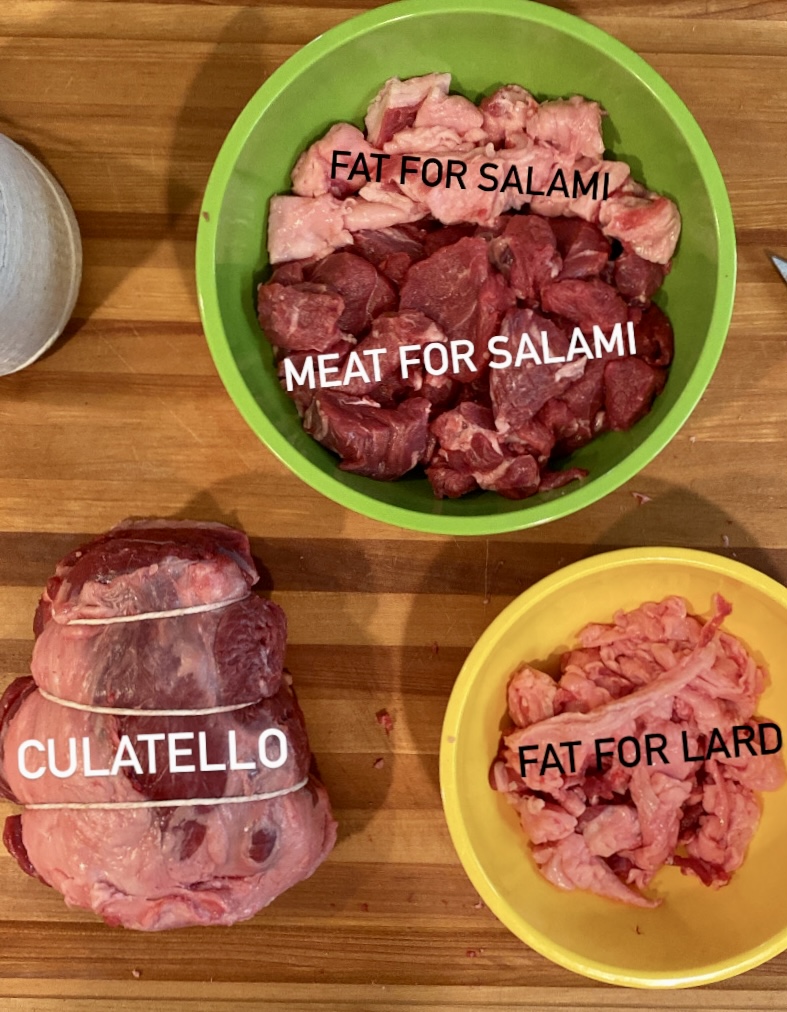
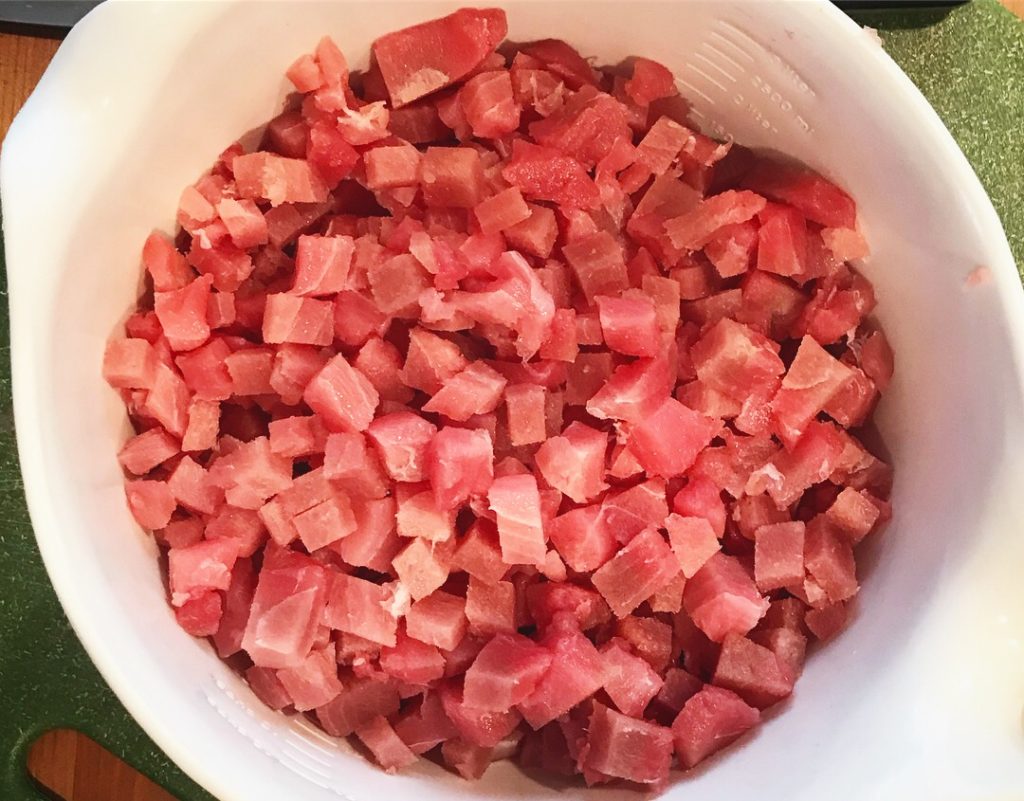
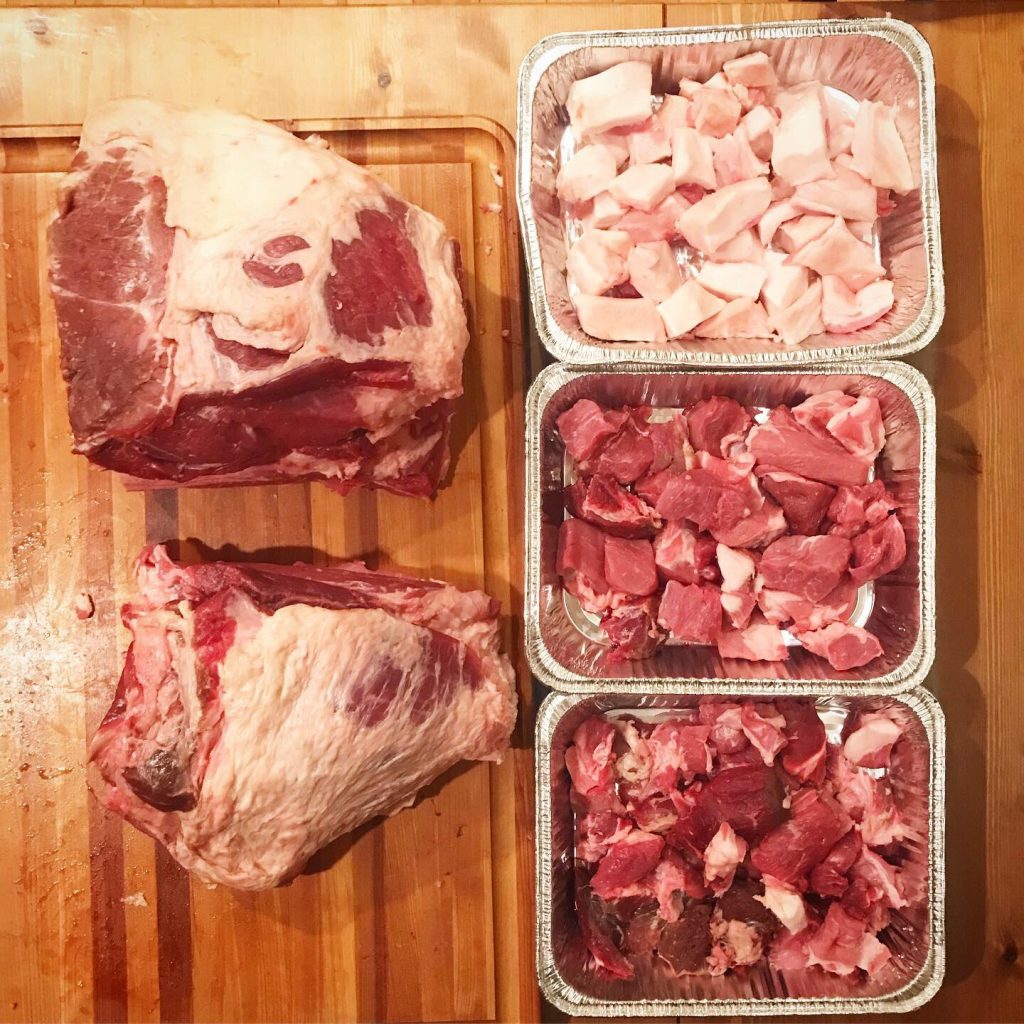
The meat/fat ratio for this was based on what I butchered from the leg, which was closer to 80/20 than my usual ratio of 70/30. I par-froze the meat at this point, to make sure it was cold for the next steps.
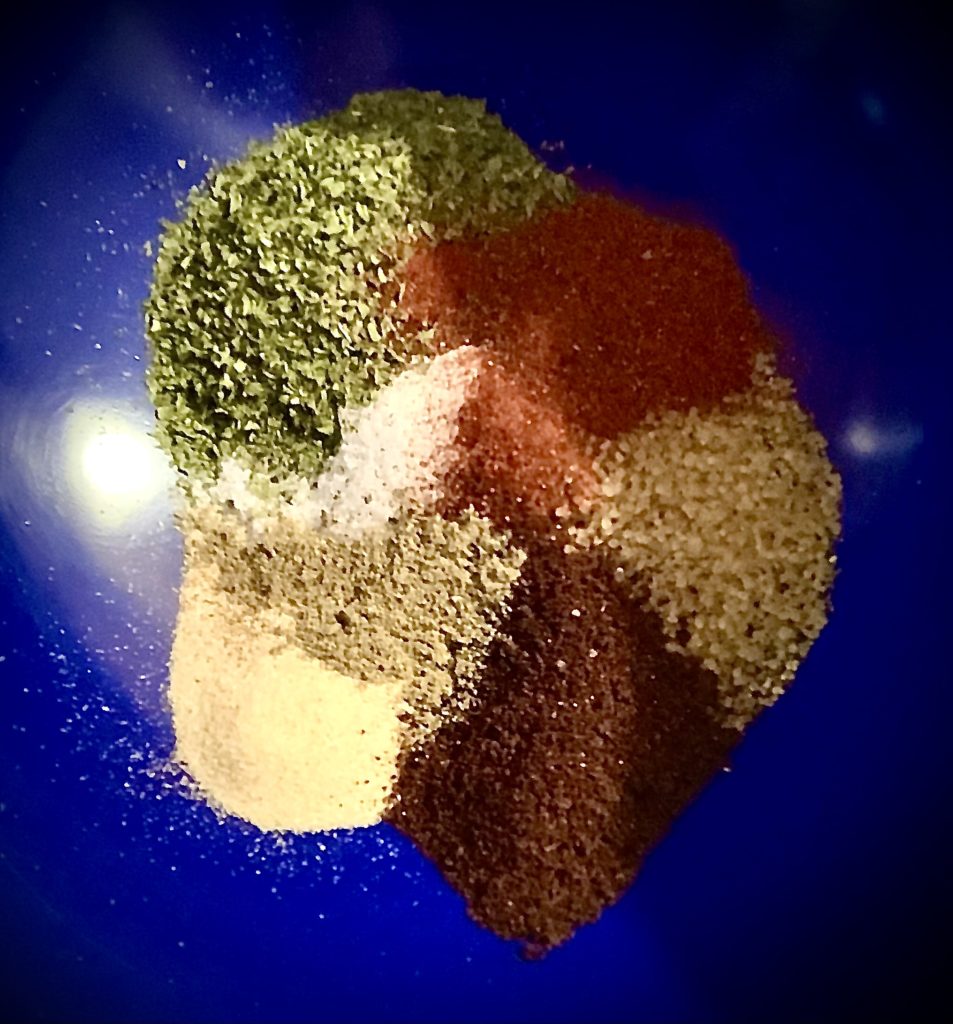
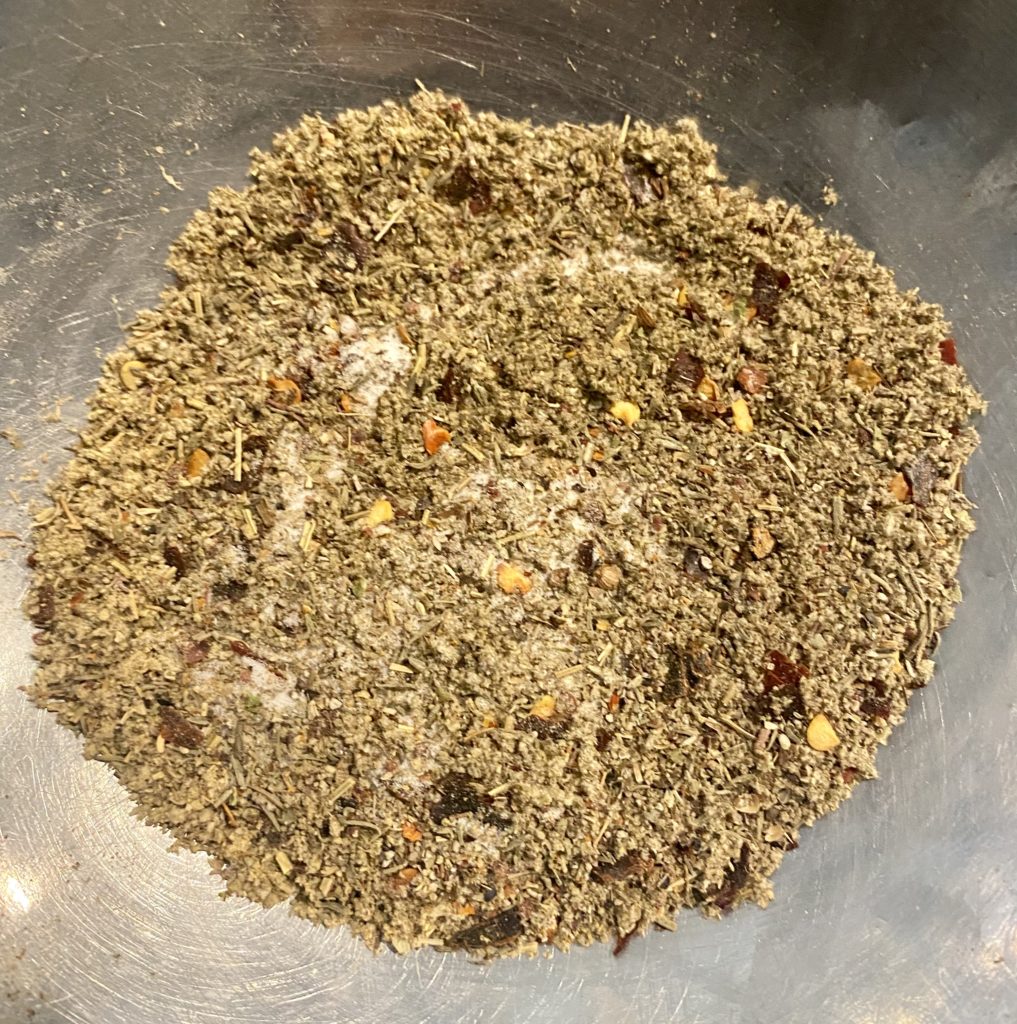
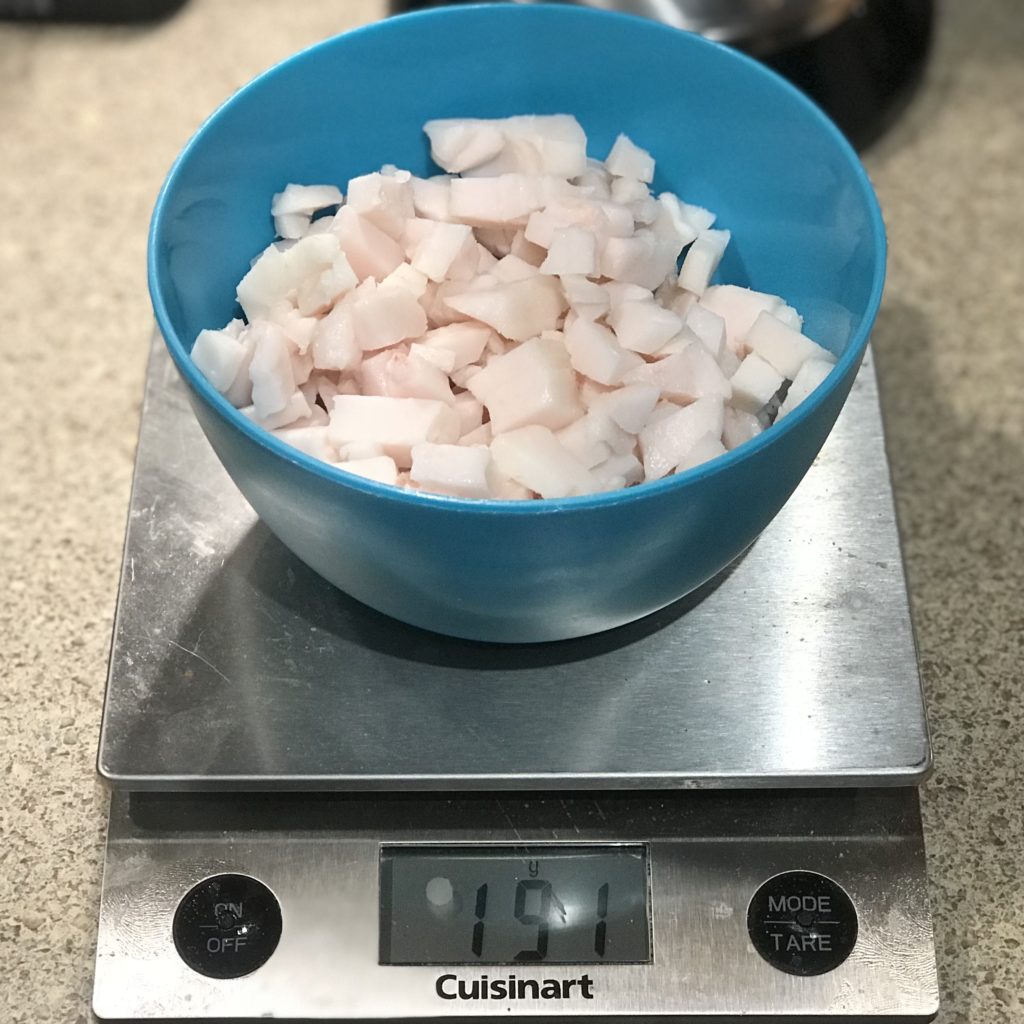
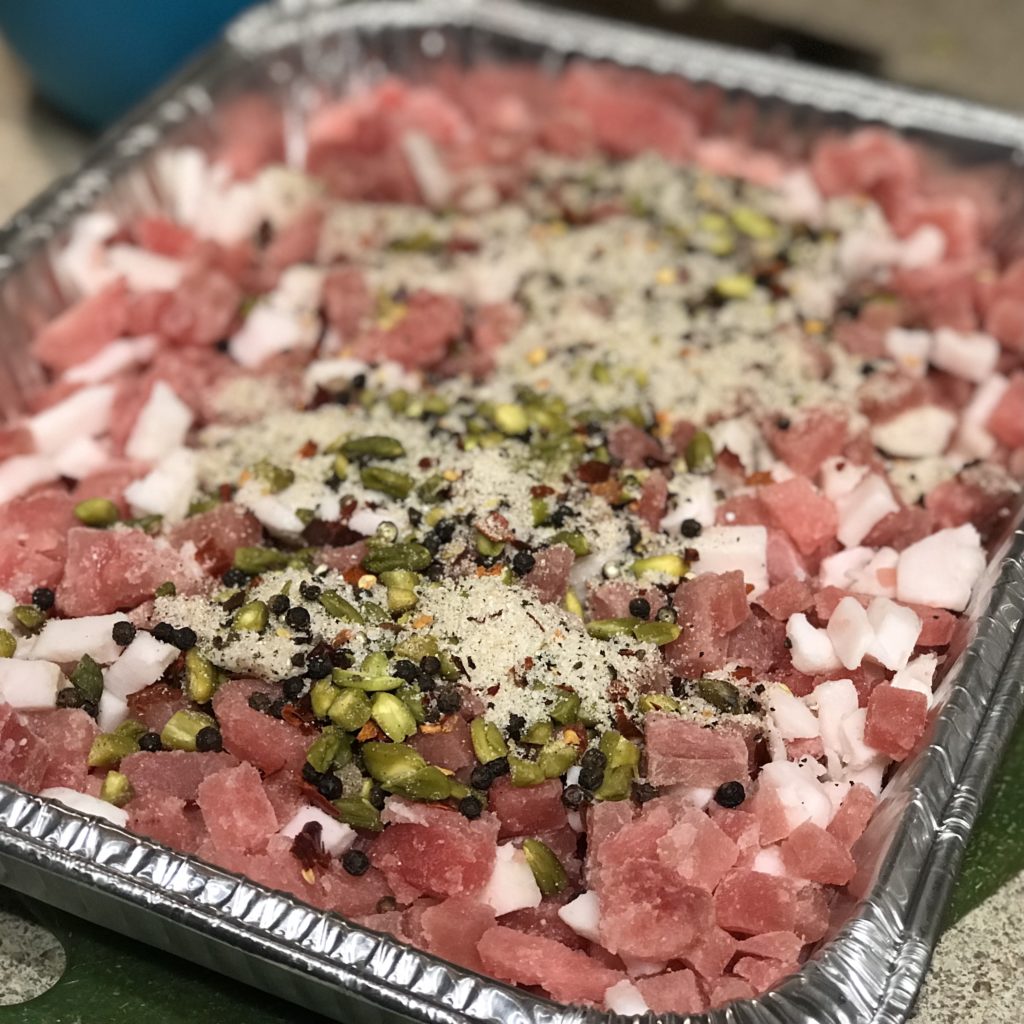
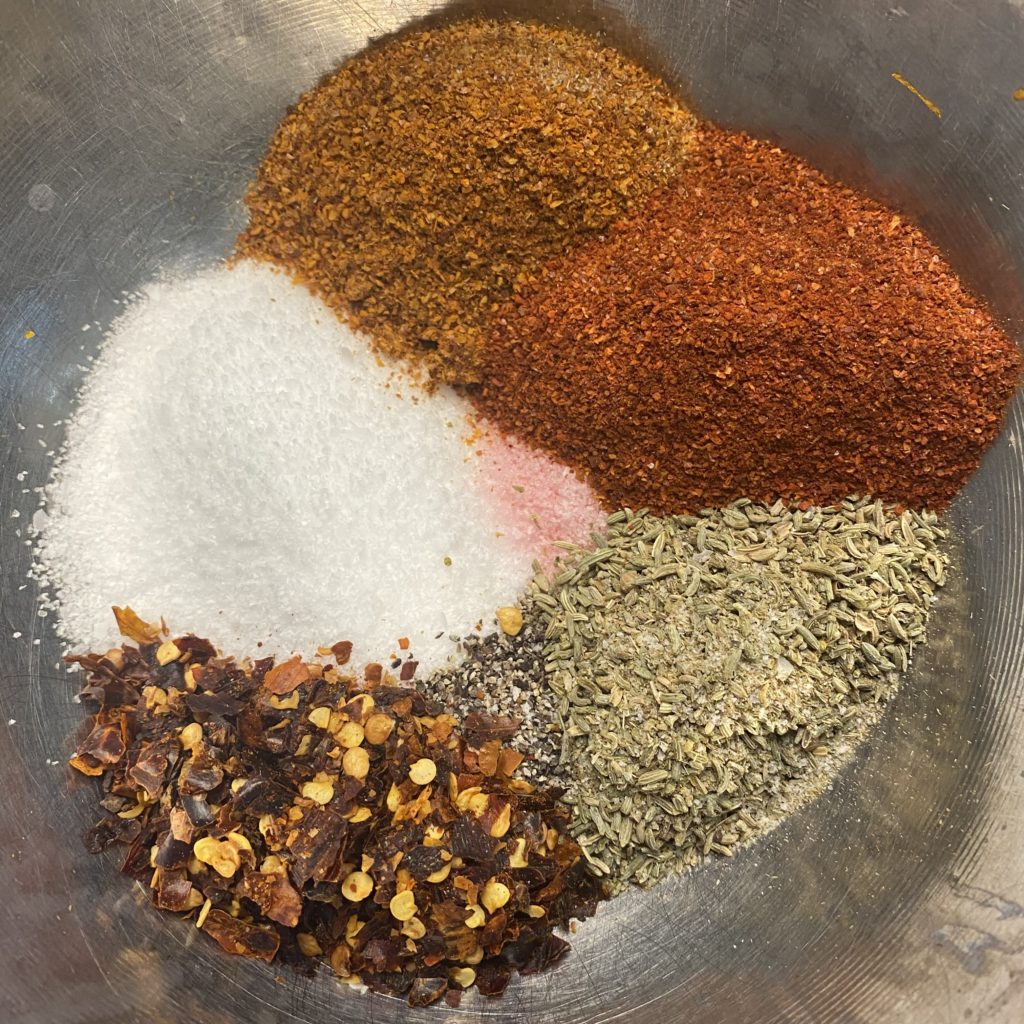
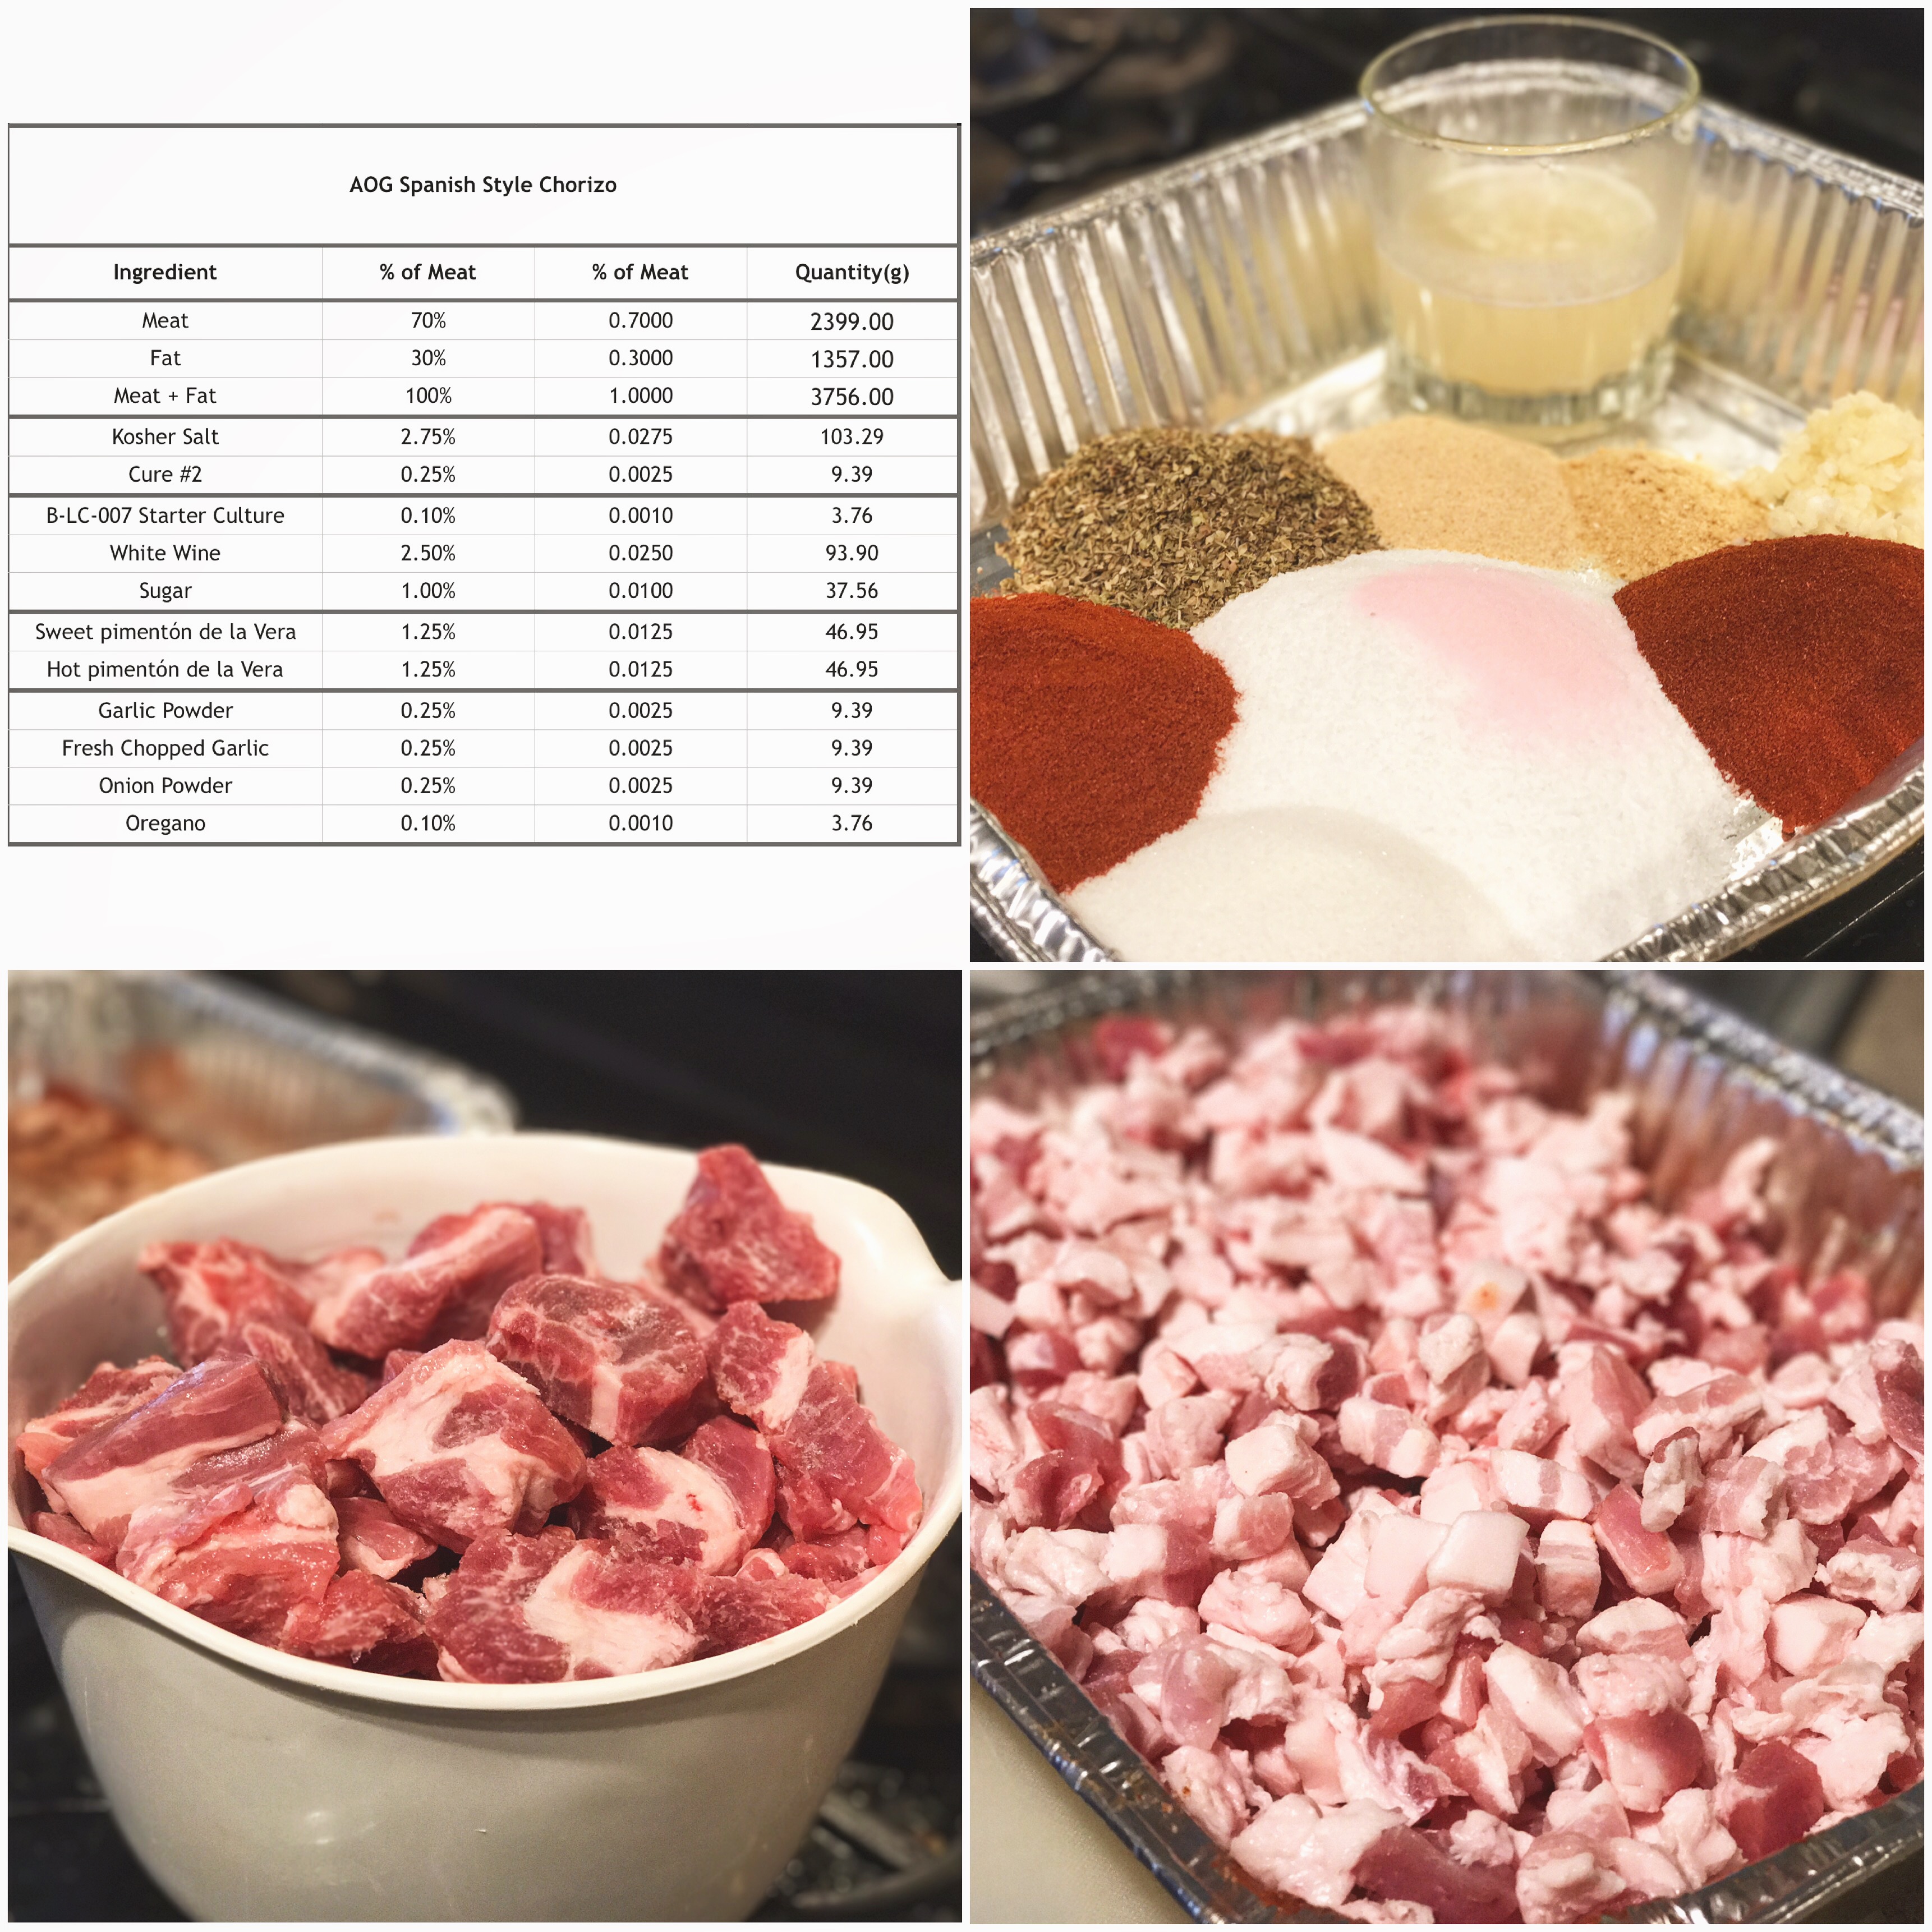
The Spices
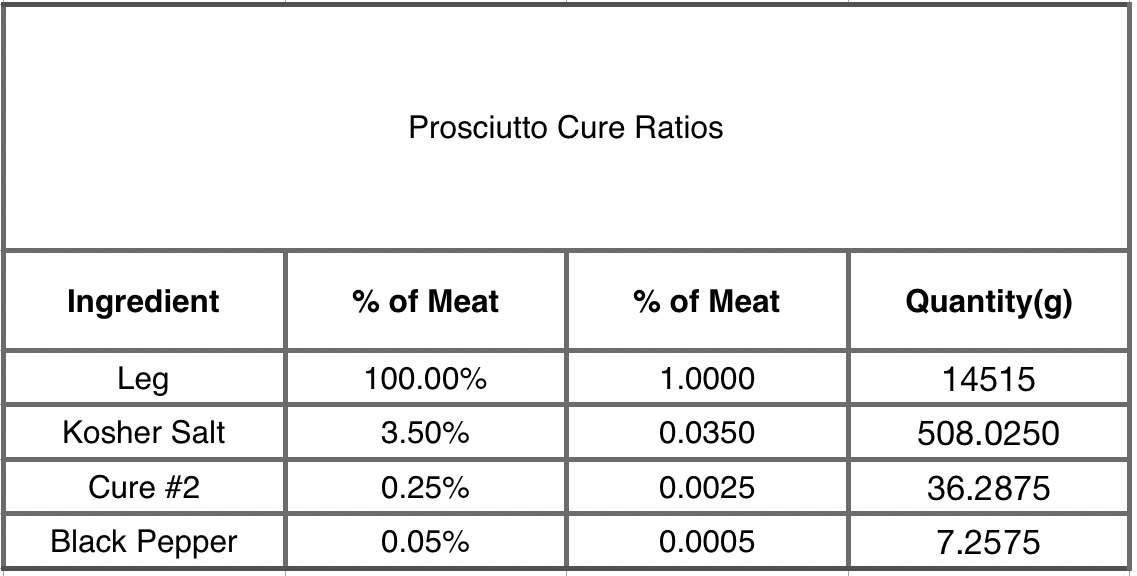
Weigh the lean and fat separately if possible, shooting for 15-30% fat relative to lean, and insert them into the appropriate spaces below on the spreadsheet and it will calculate the necessary amounts of the cure ingredients. (If you have eyeballed the fat/lean ratio, then just insert the total weight into the Meat+Fat cell.)
*Please use common sense. Make sure the spreadsheet is working properly for you and double check any calculations that don’t seem right.
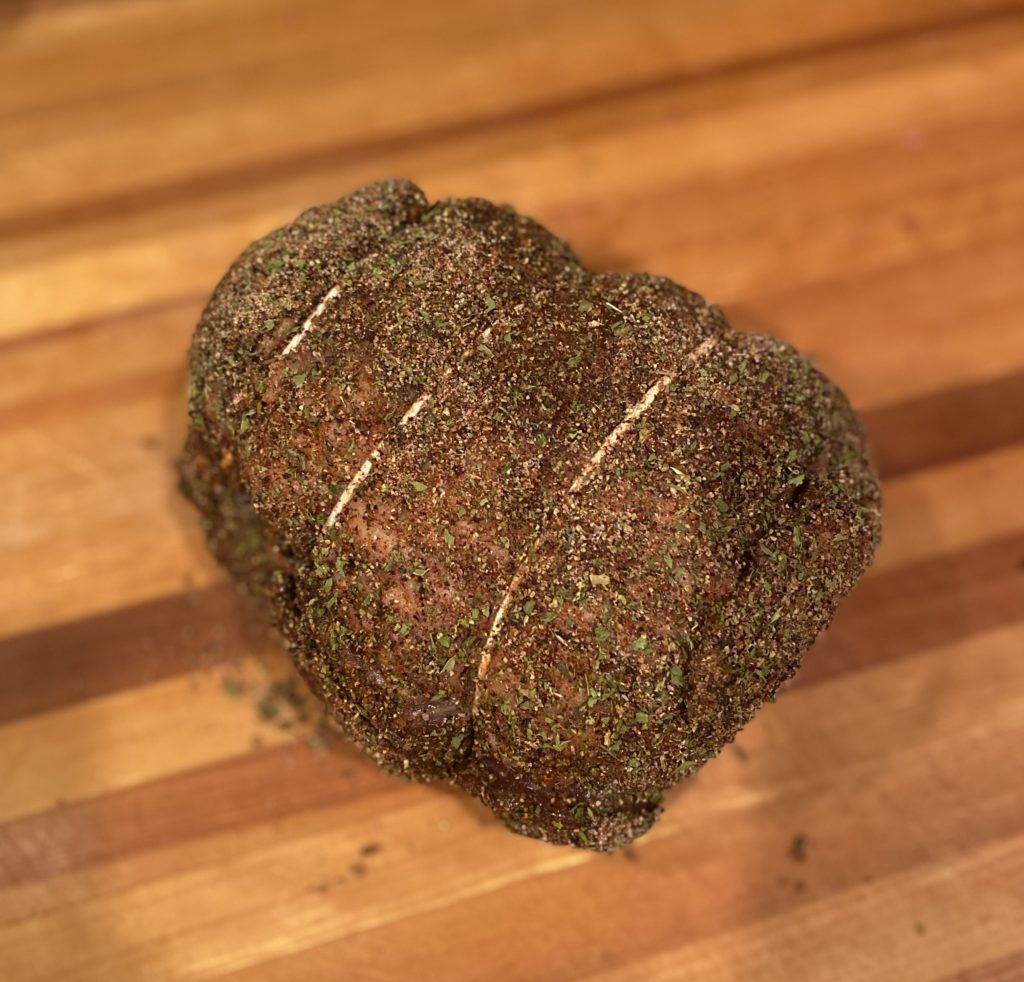
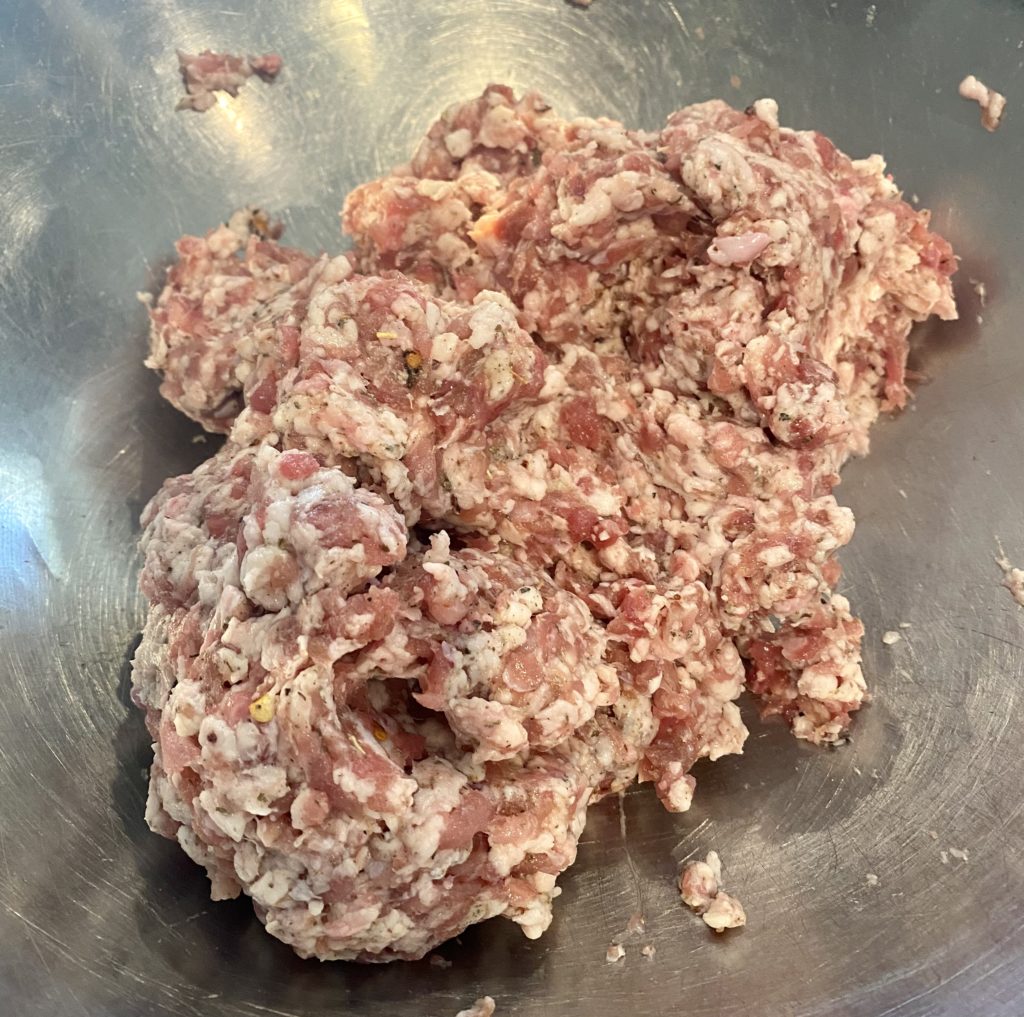
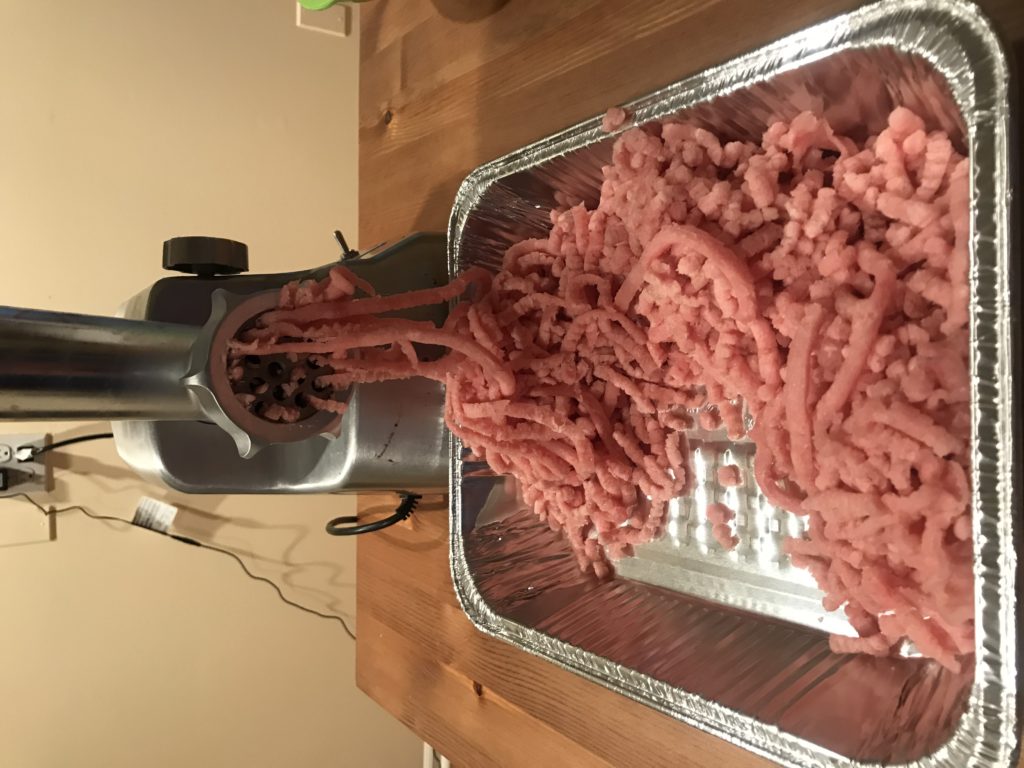
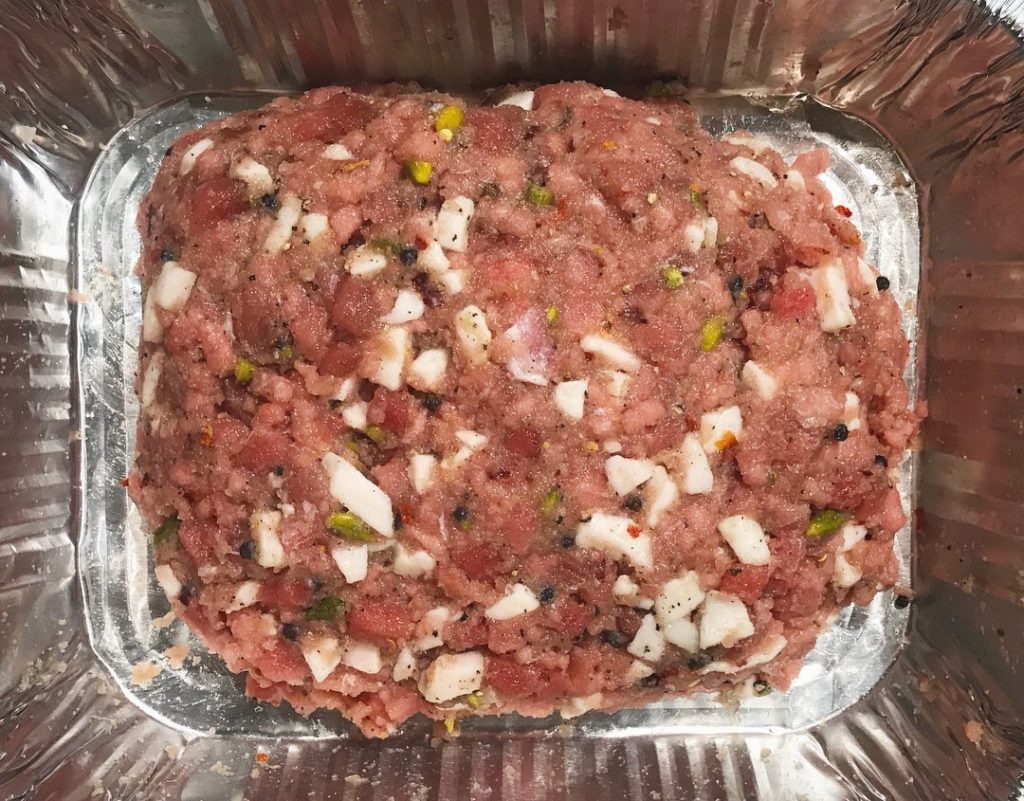
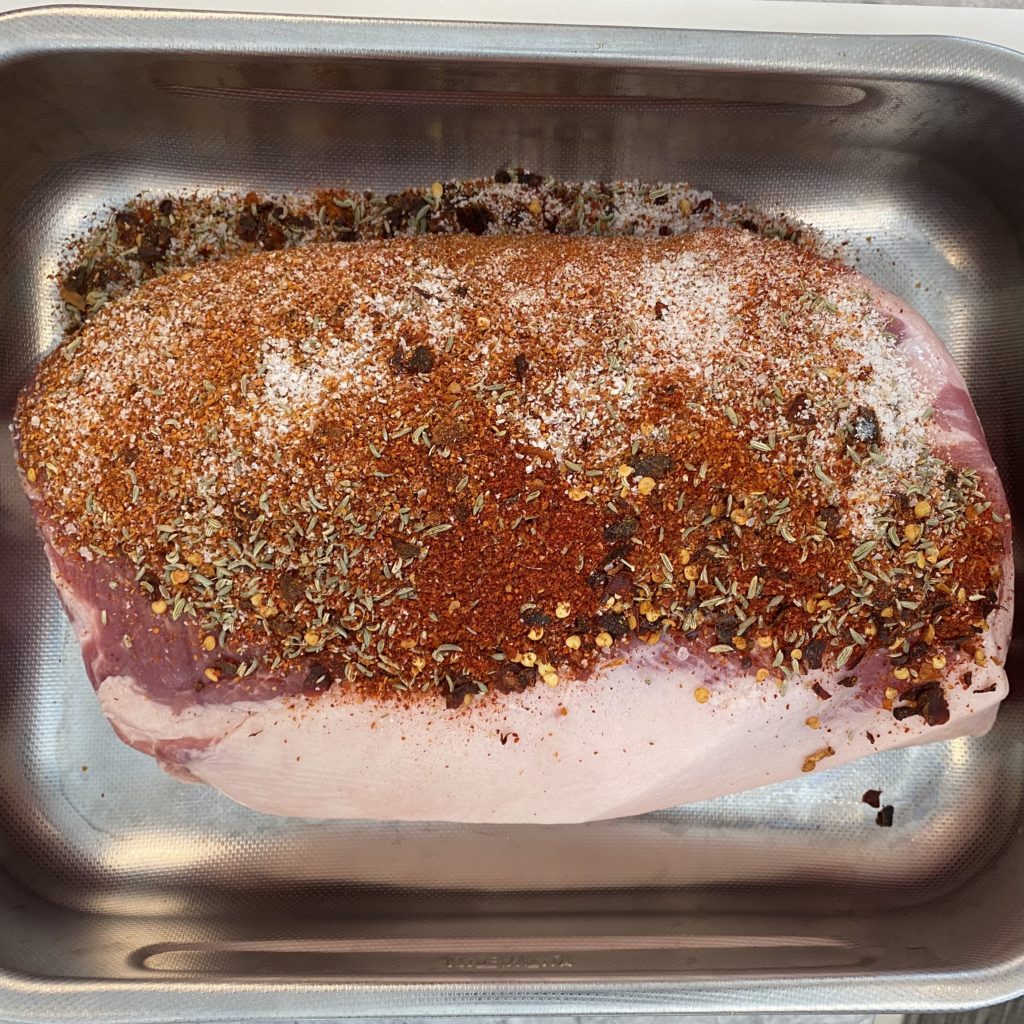
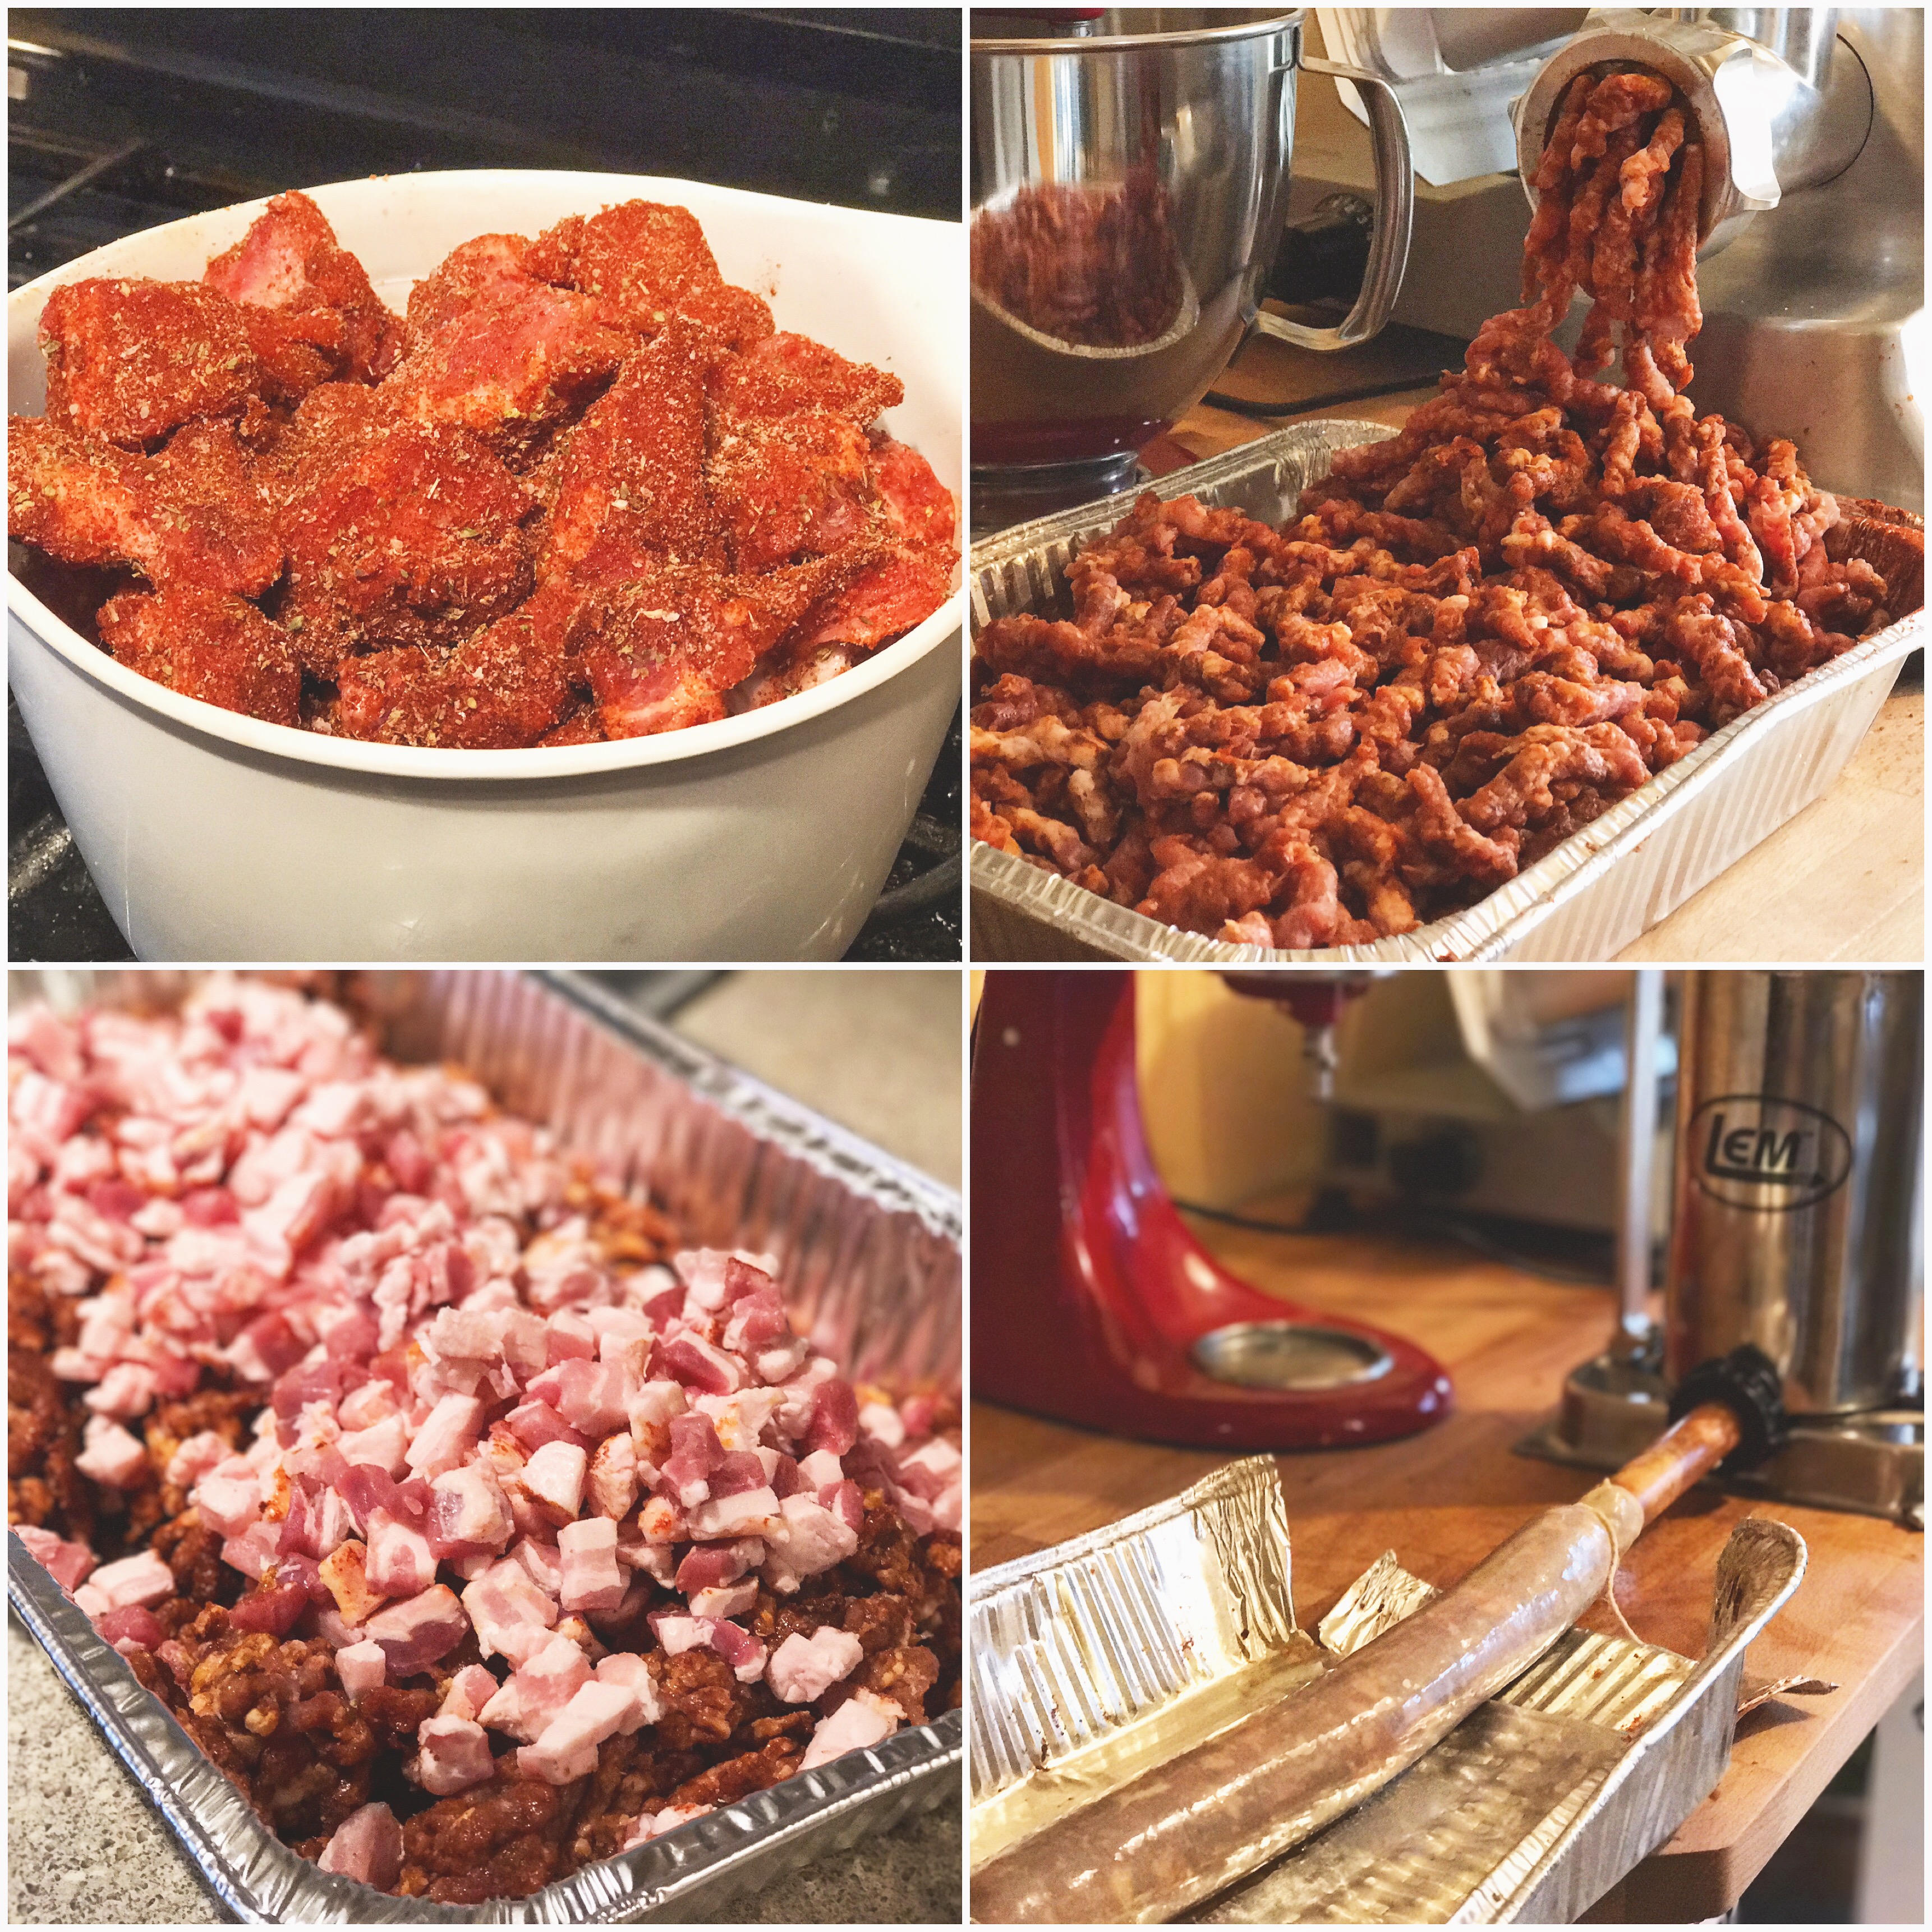
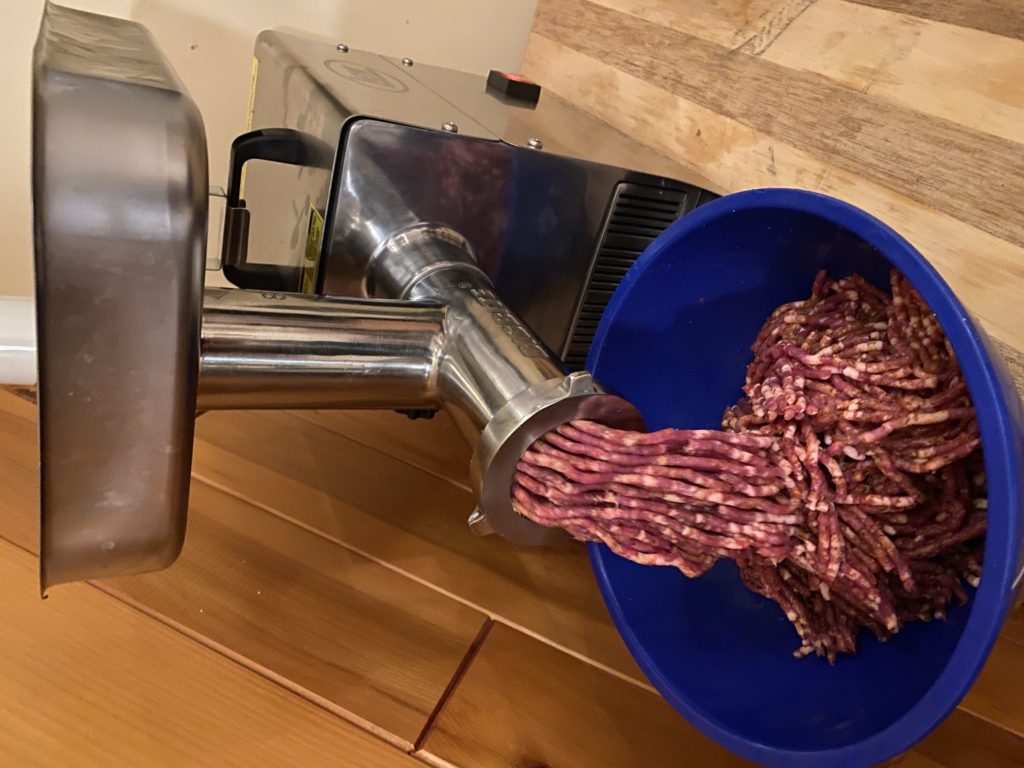
Grinding
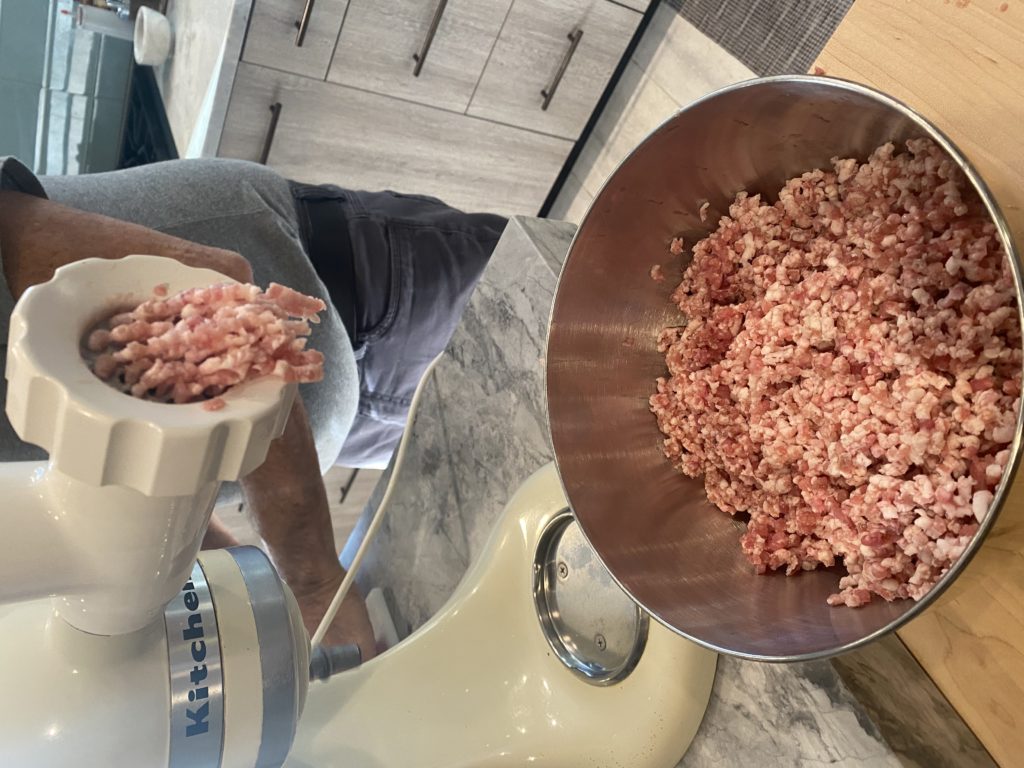
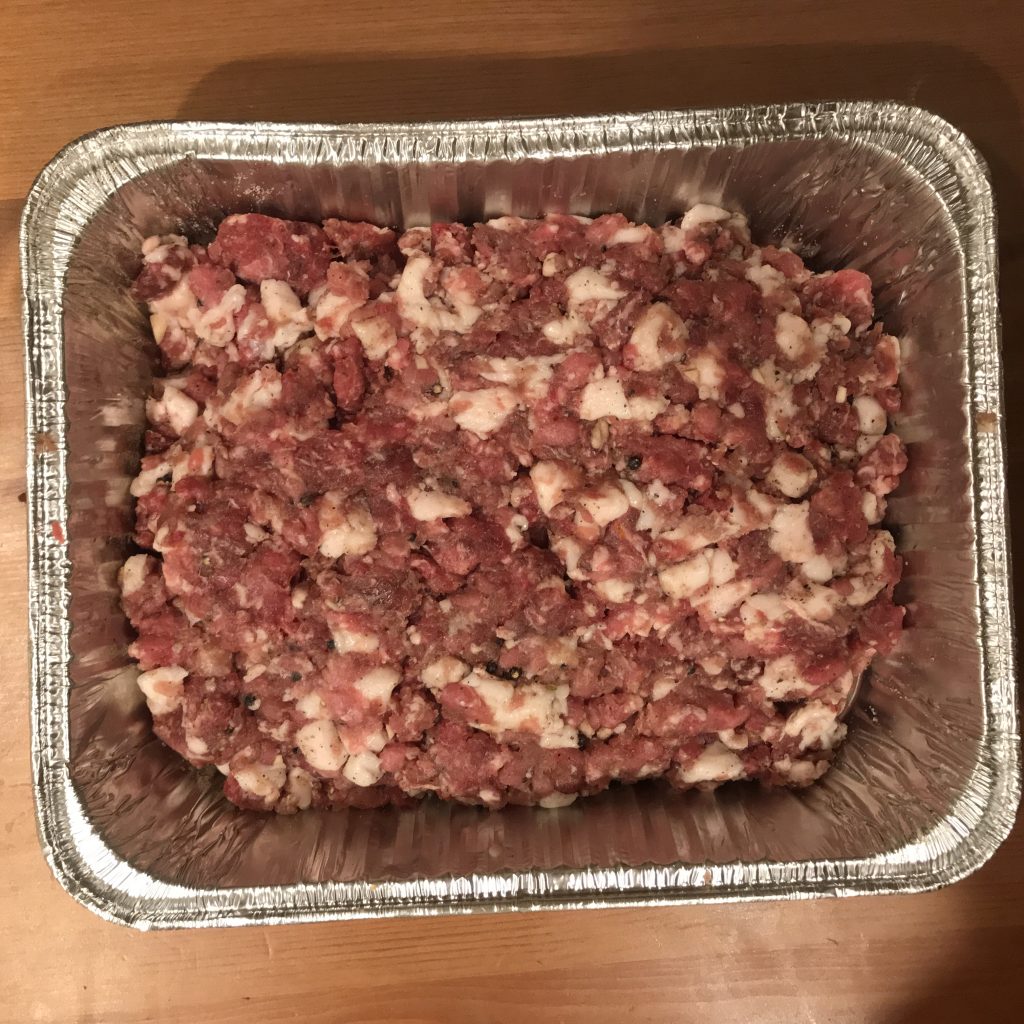
Both the lean meat and the fat that were pre-mixed with the spices were ground on the medium-fine die.
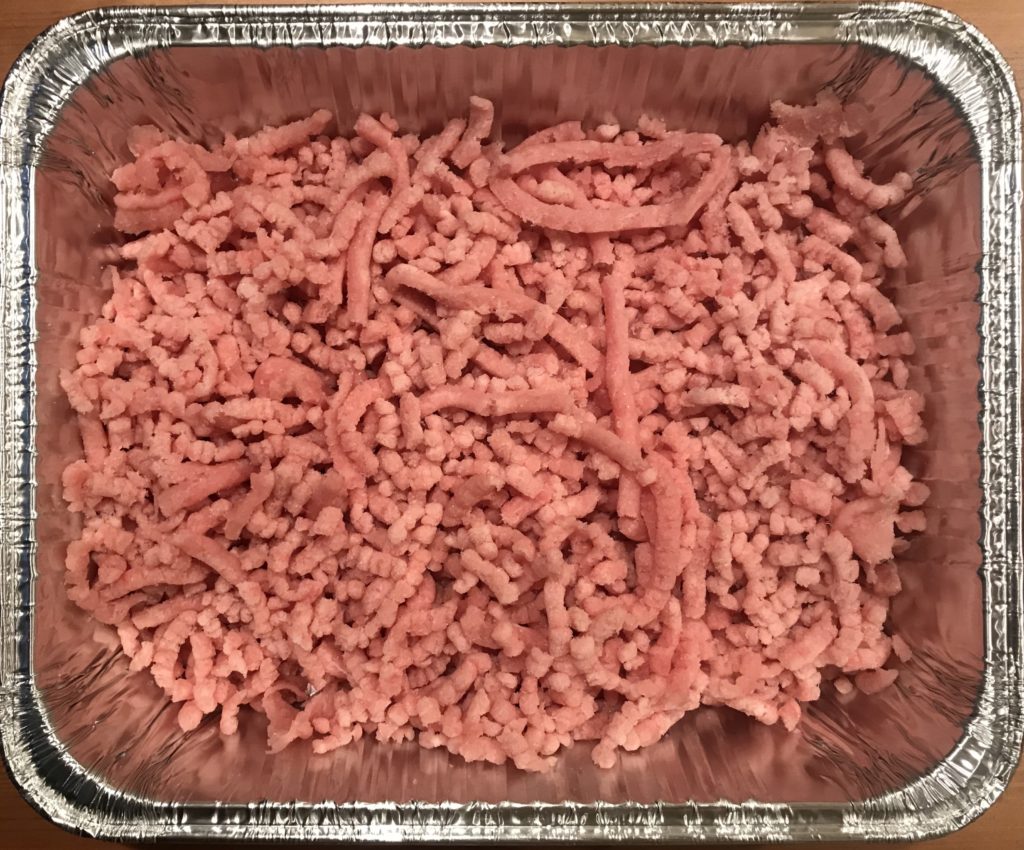
Mixing
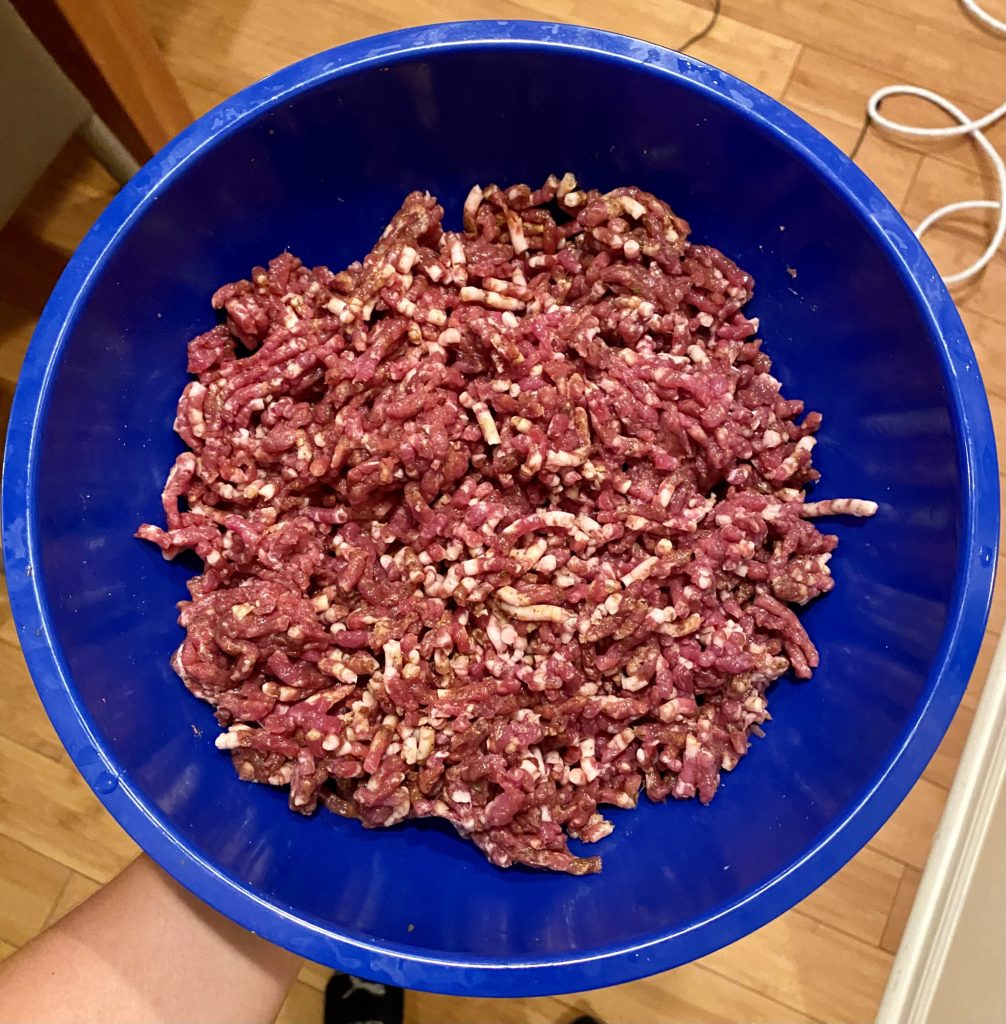
After you have ground the meat, keeping everything cold, you should have some next particle definition. Make sure to keep everything cold during mixing to maintain this.
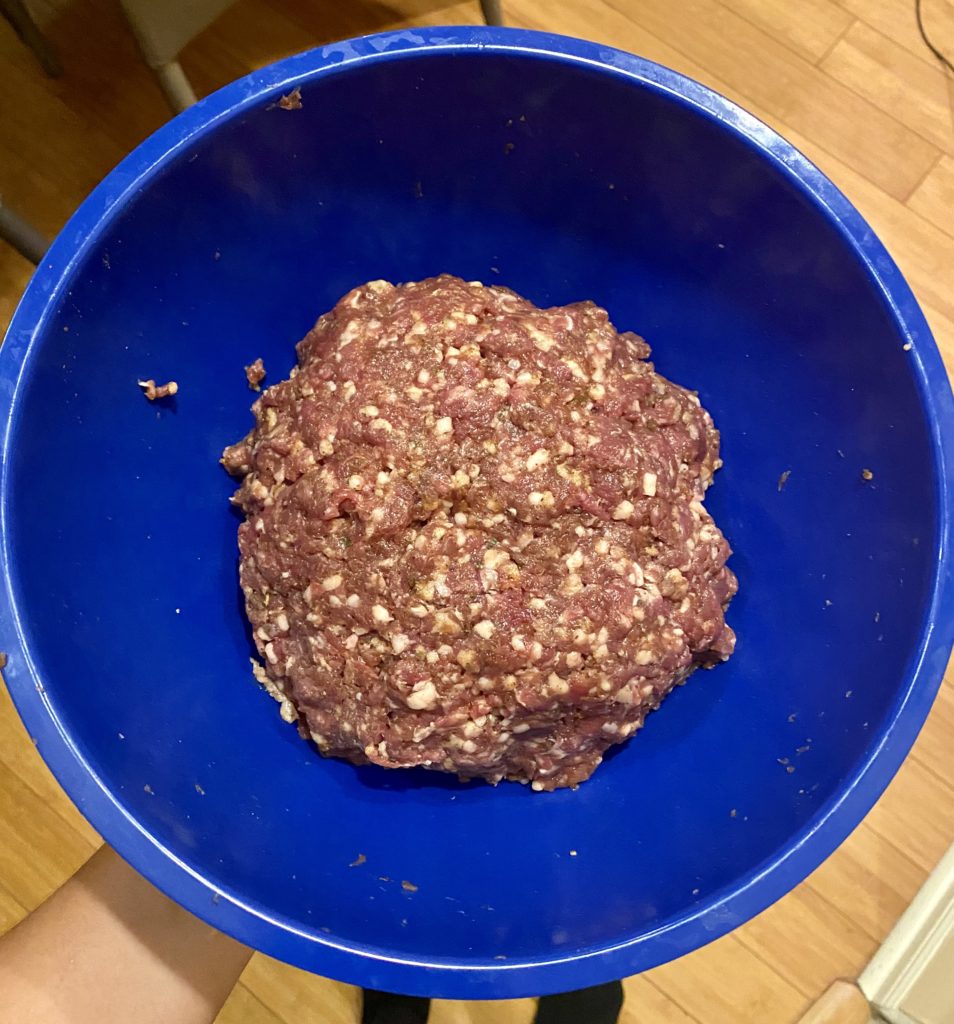
Make sure to mix this all well.
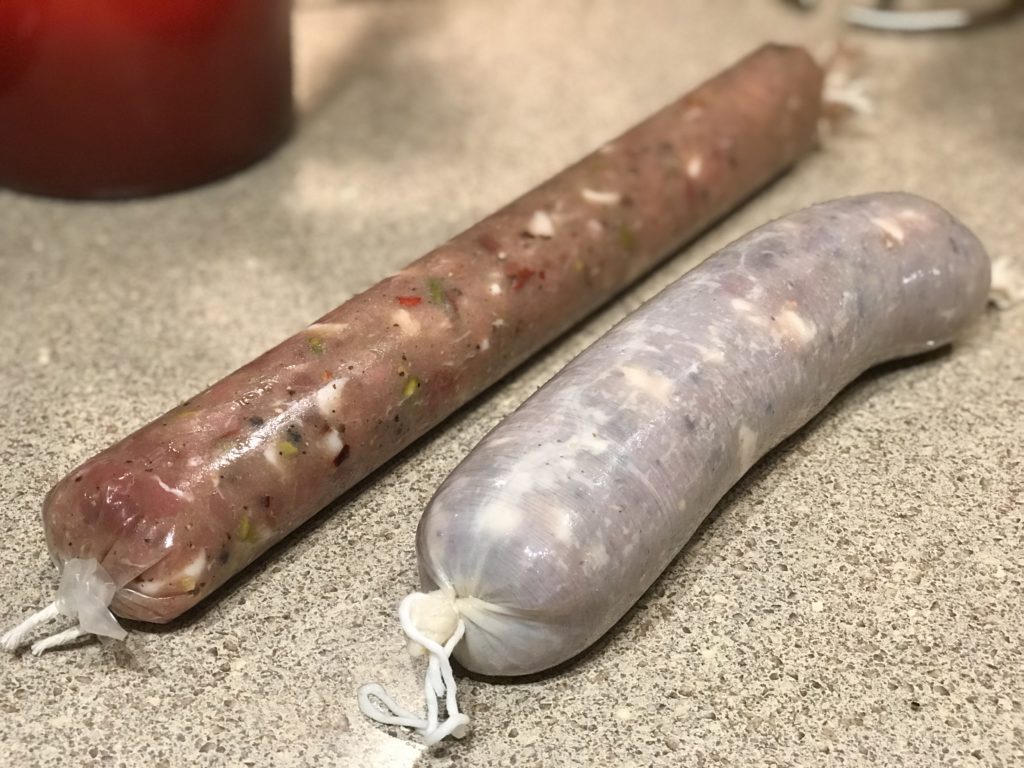
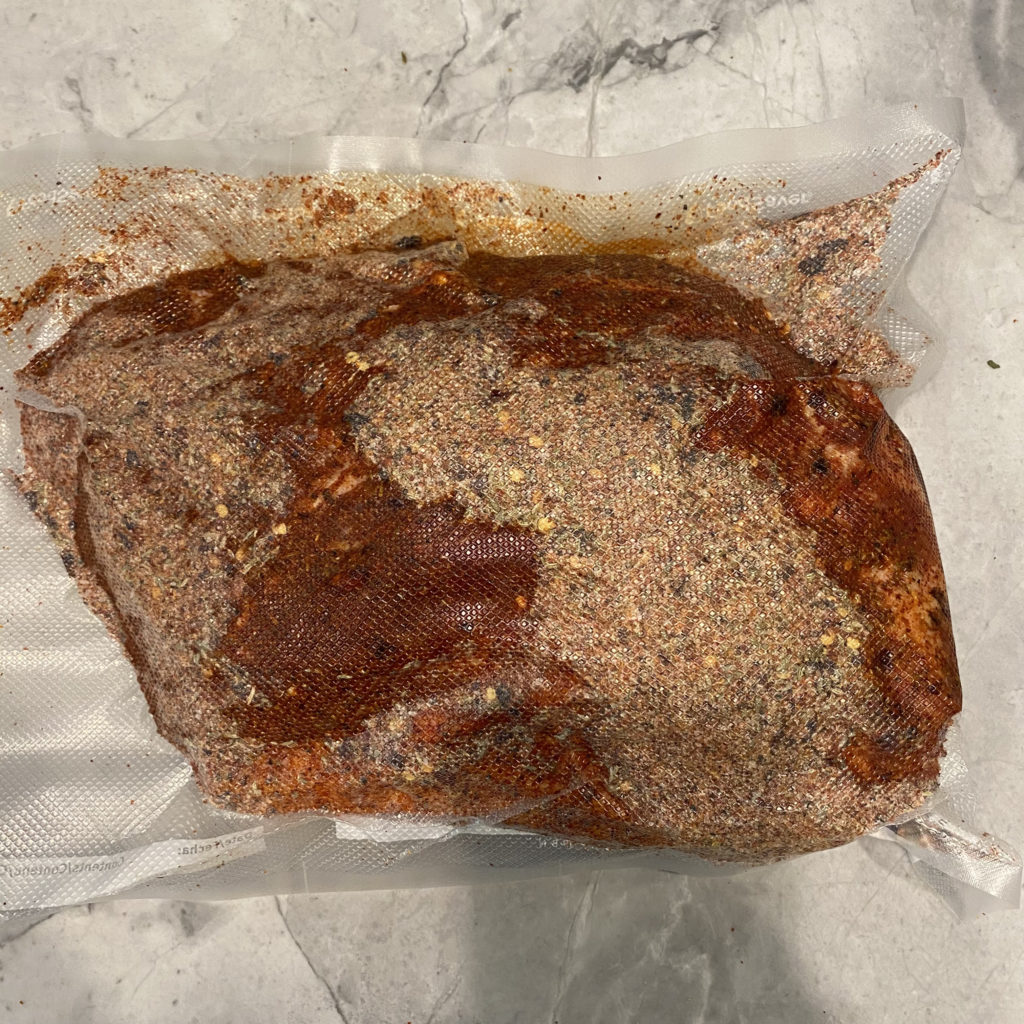
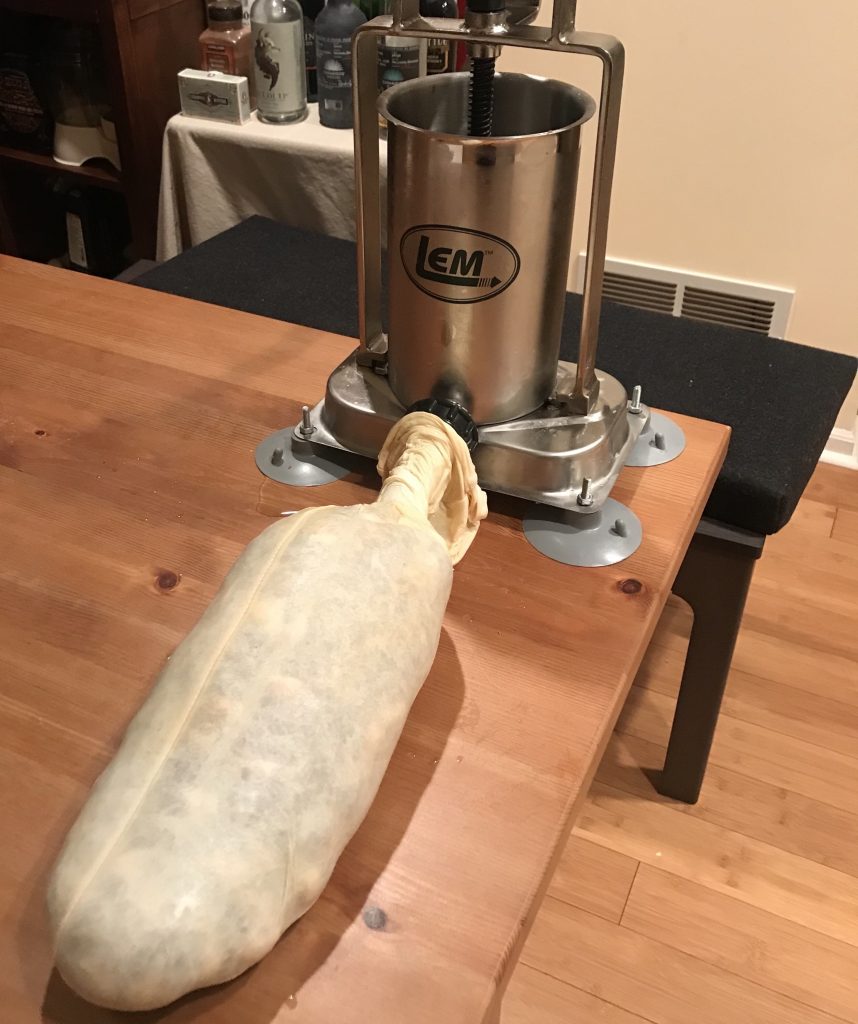
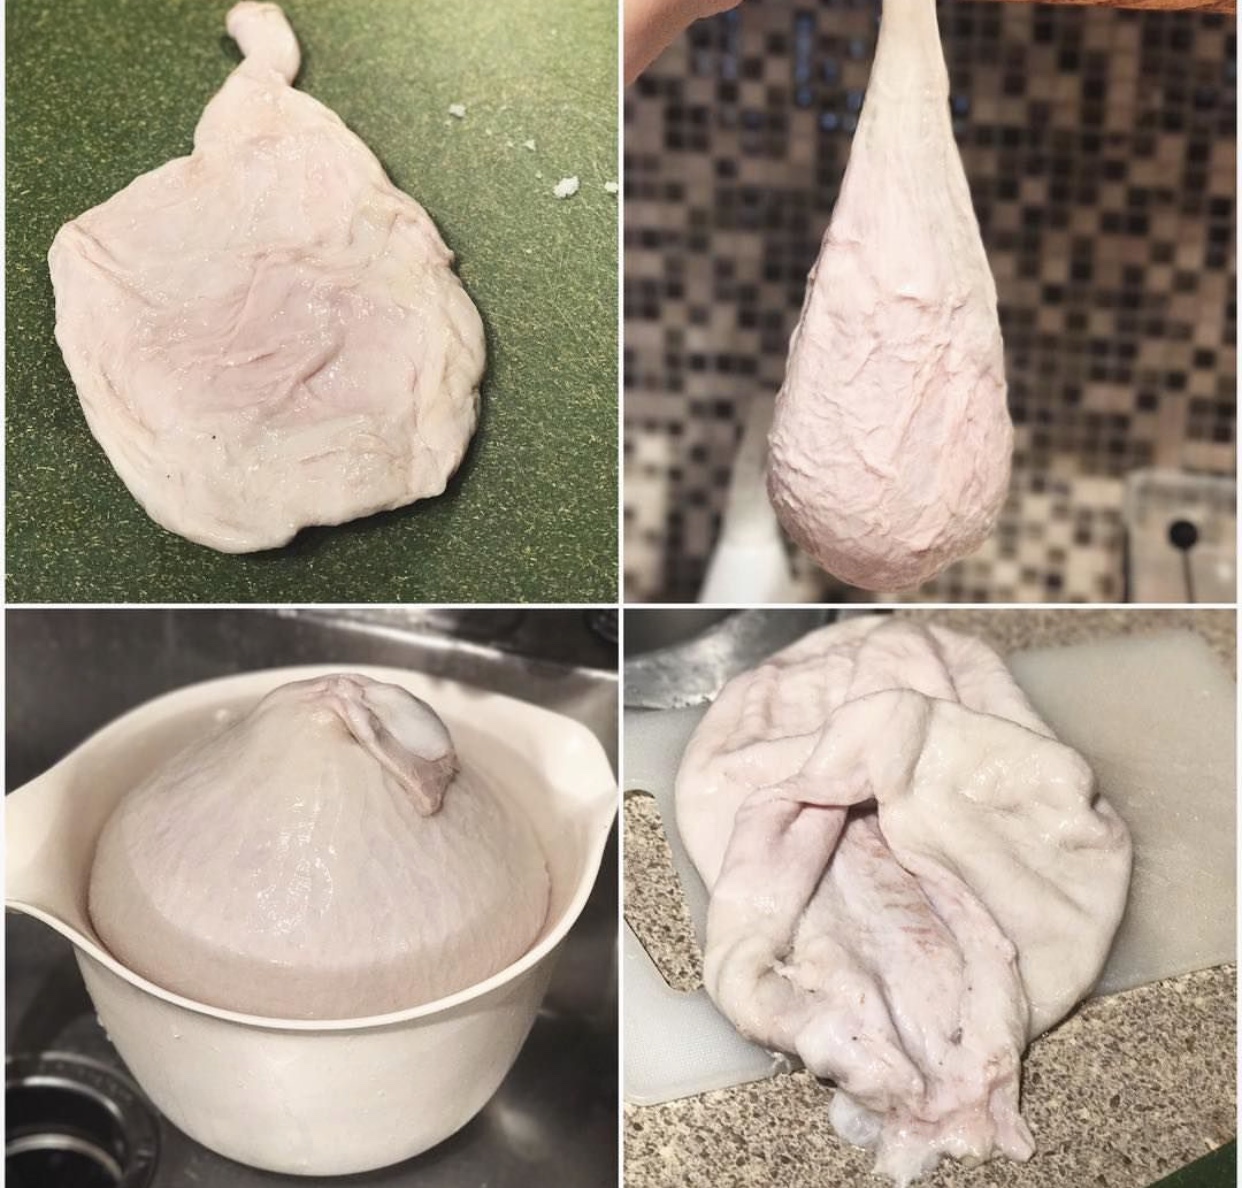
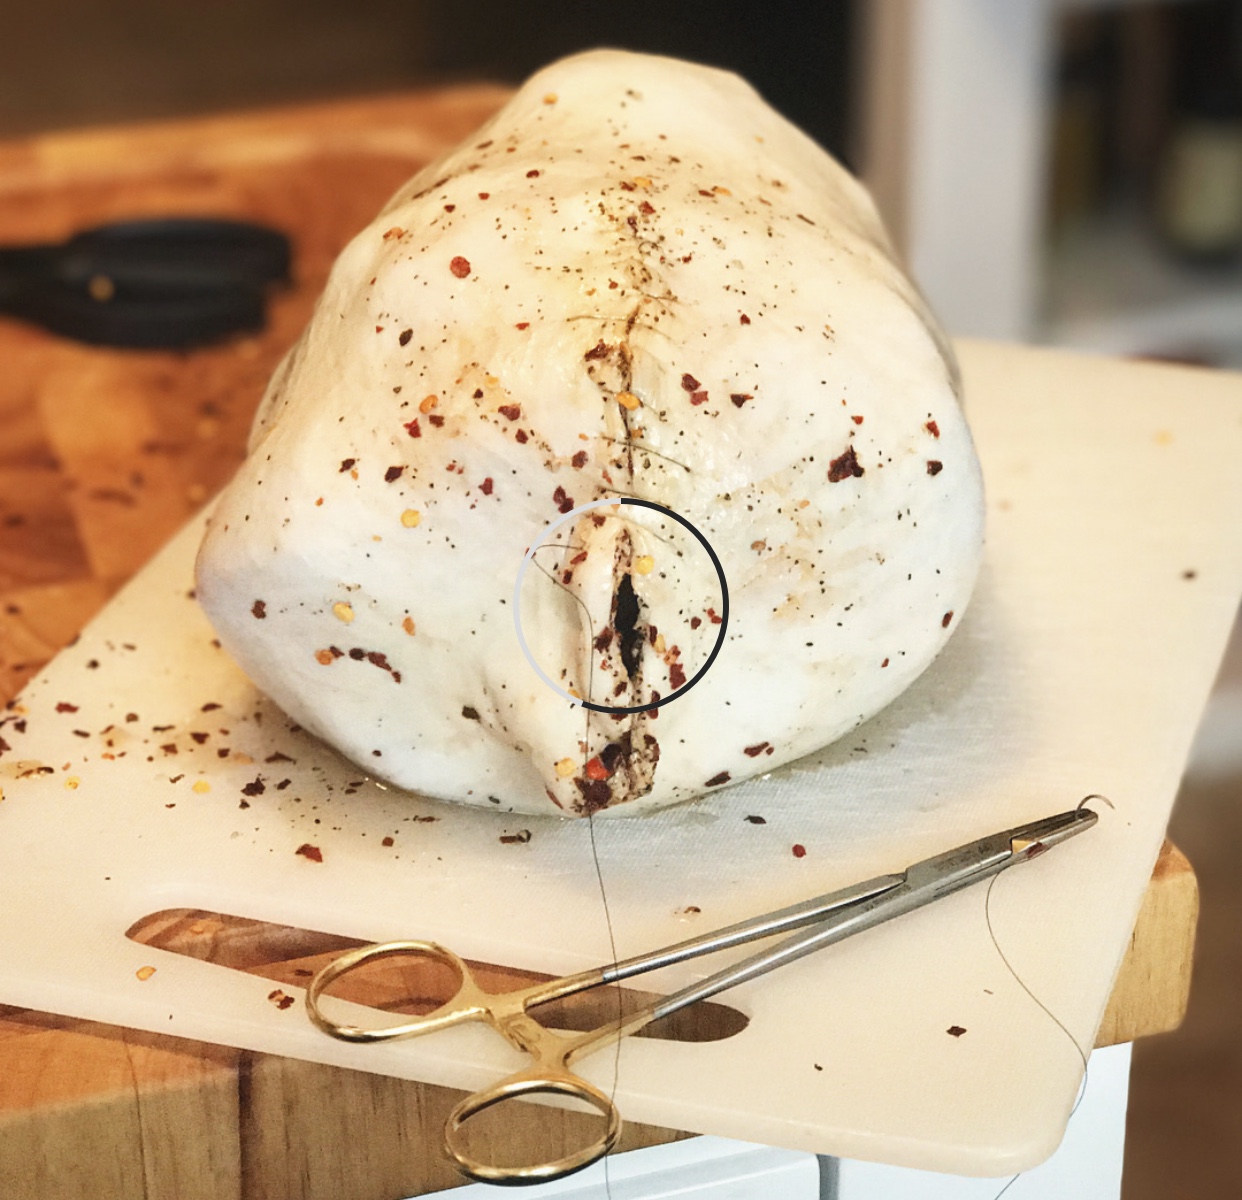
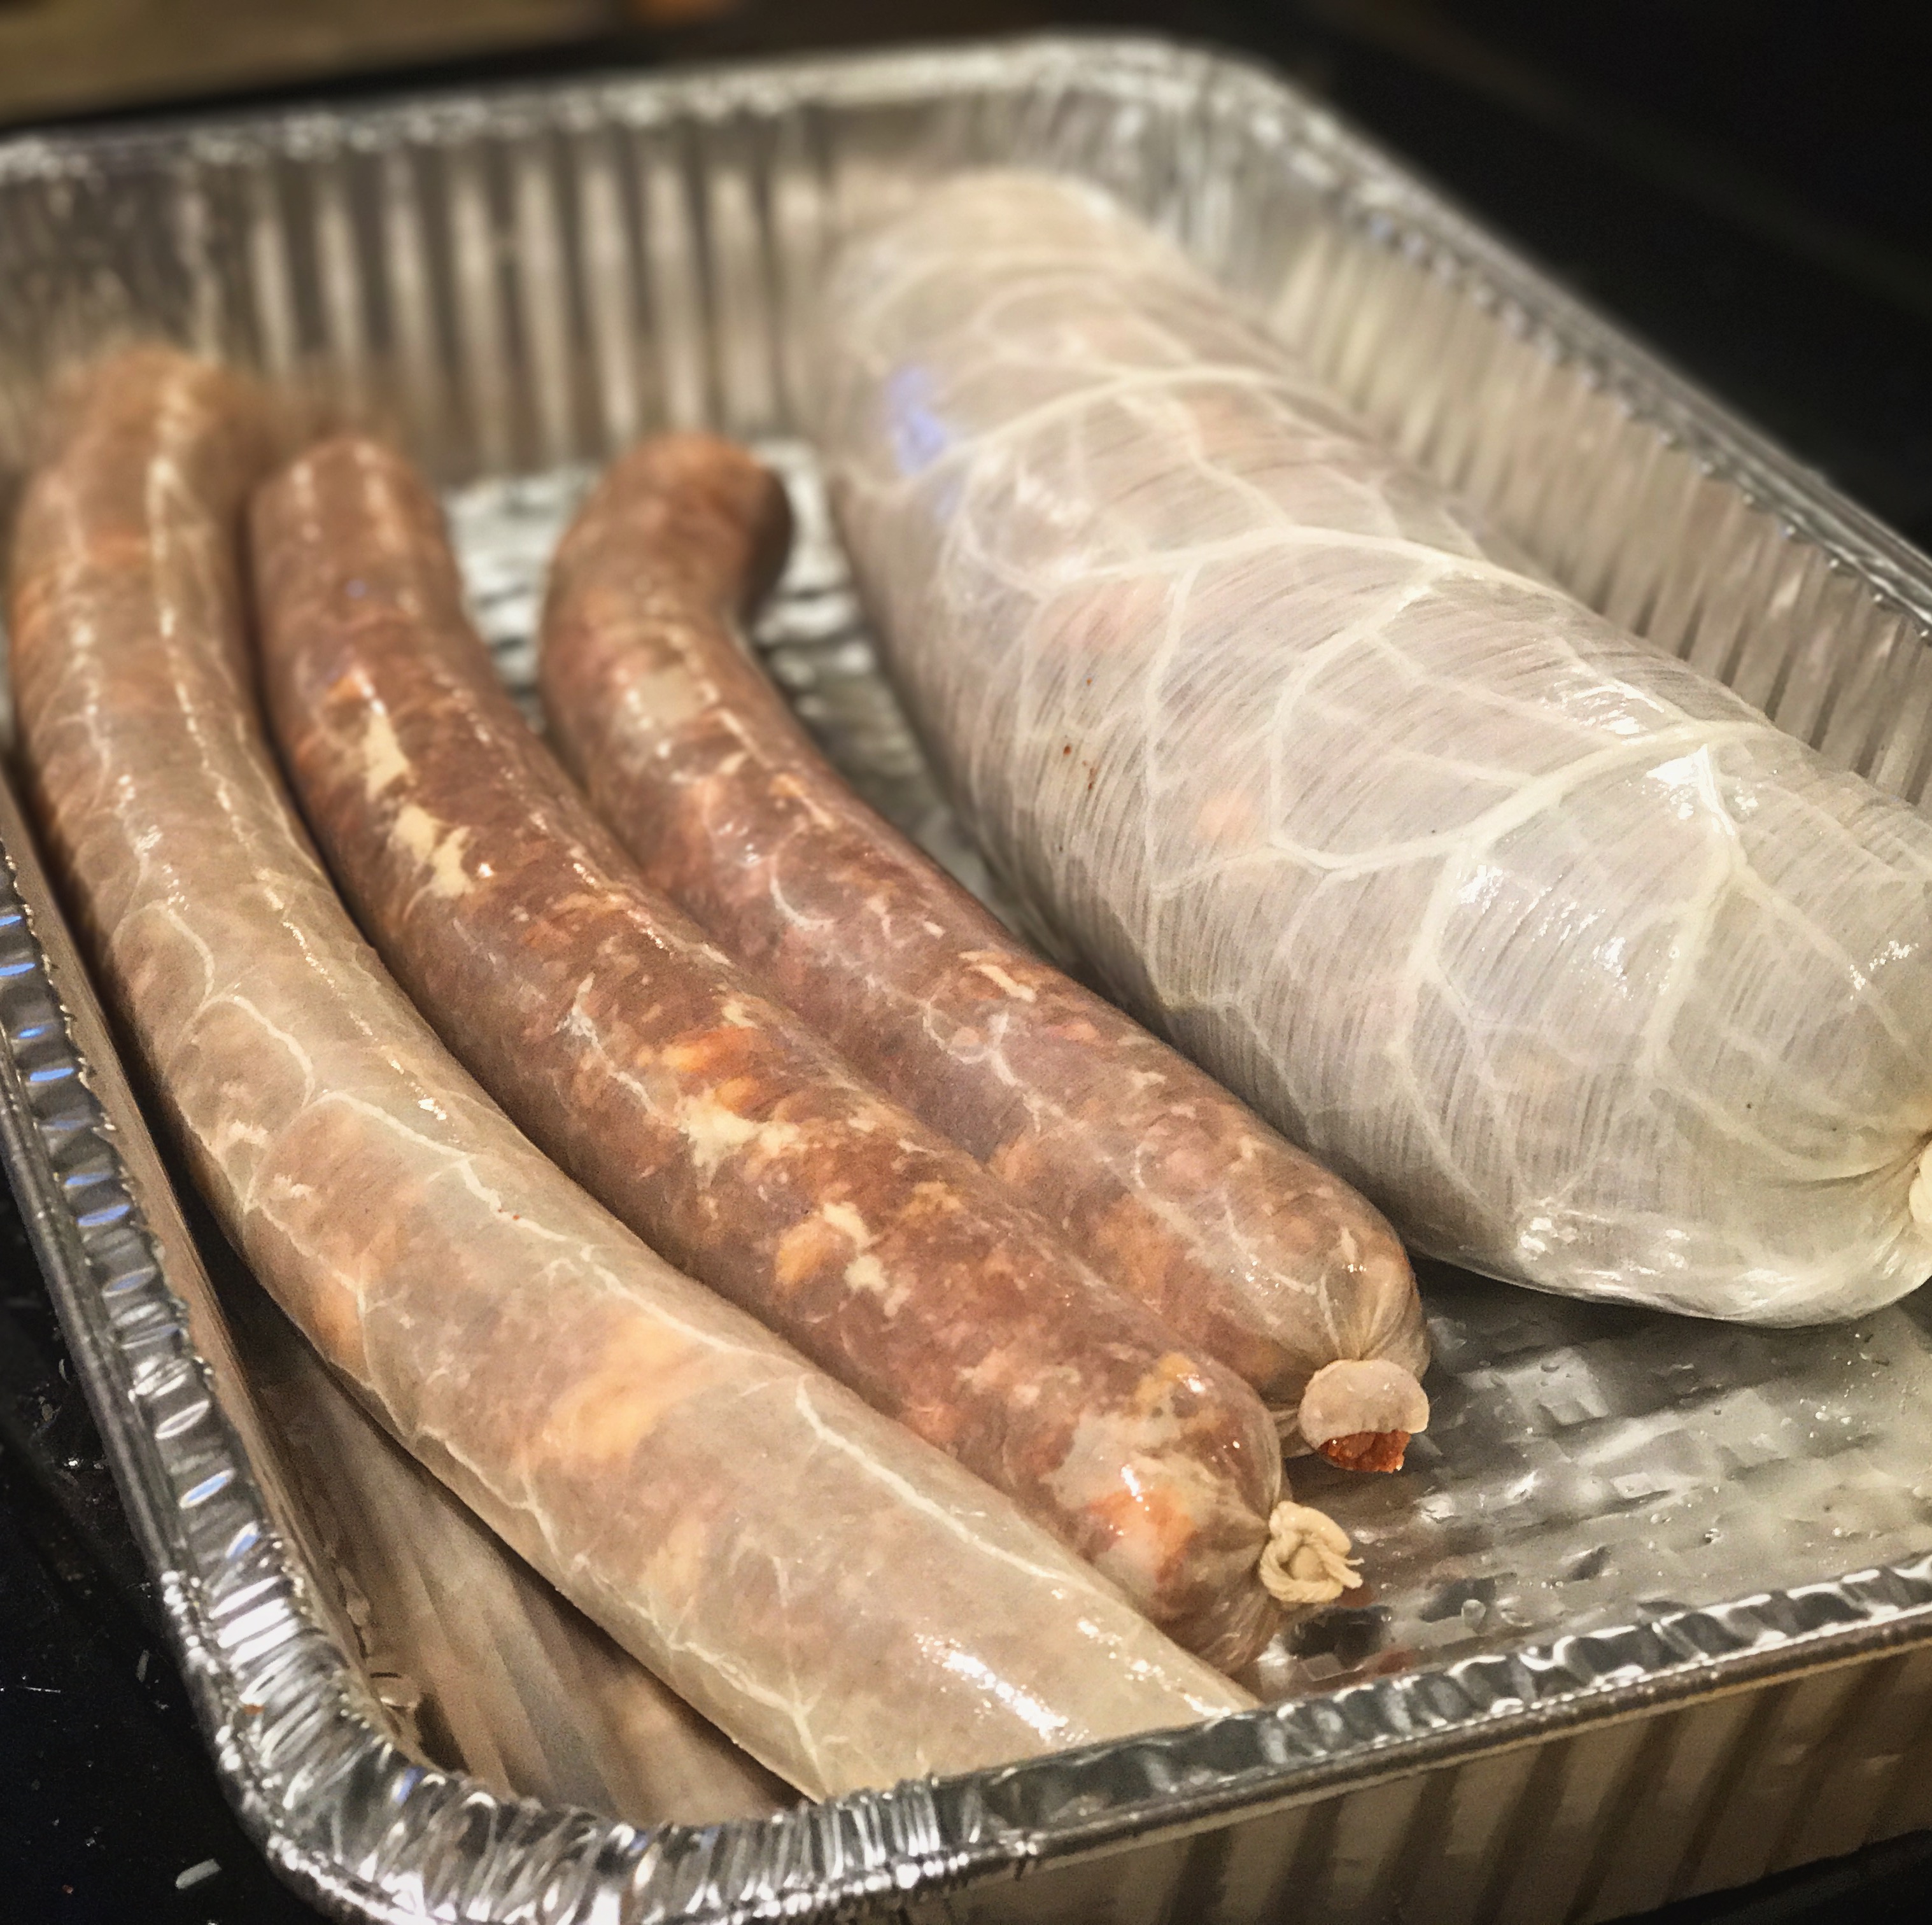
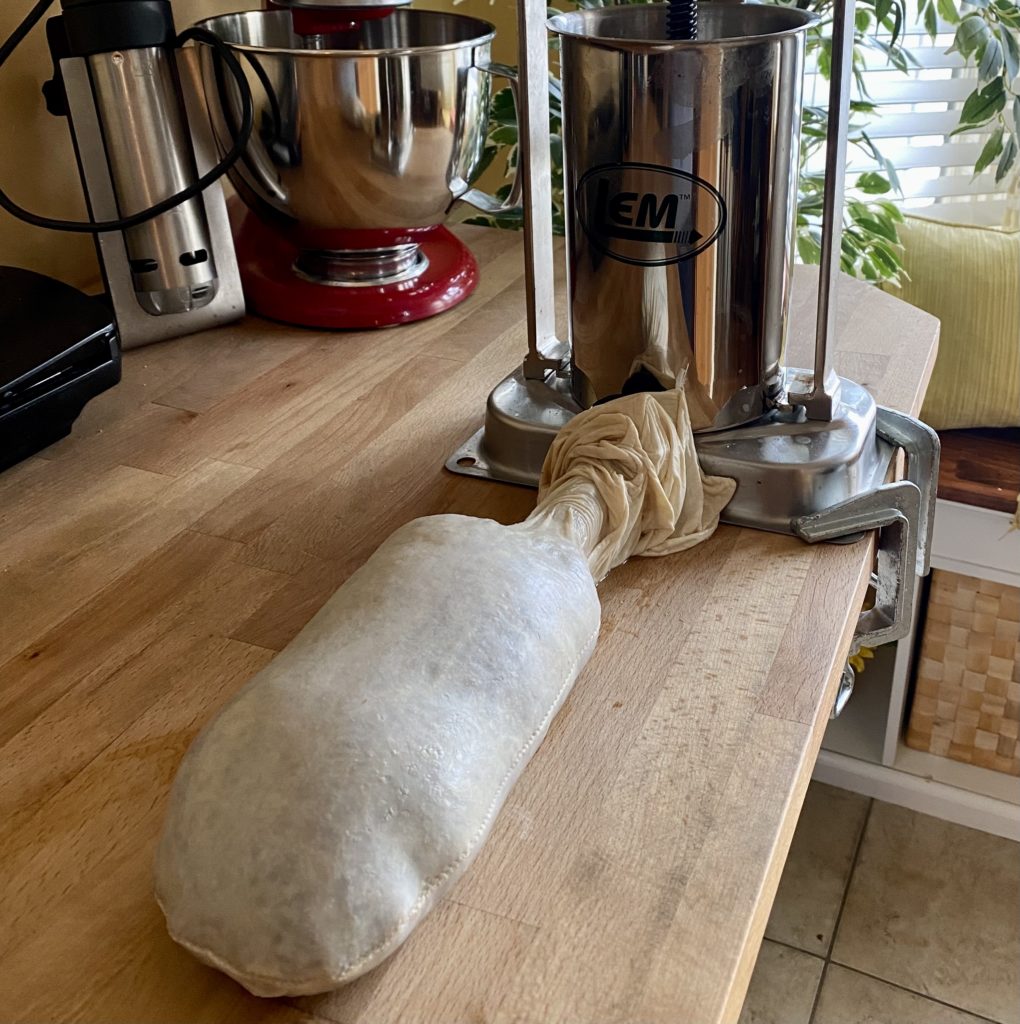
Stuffing
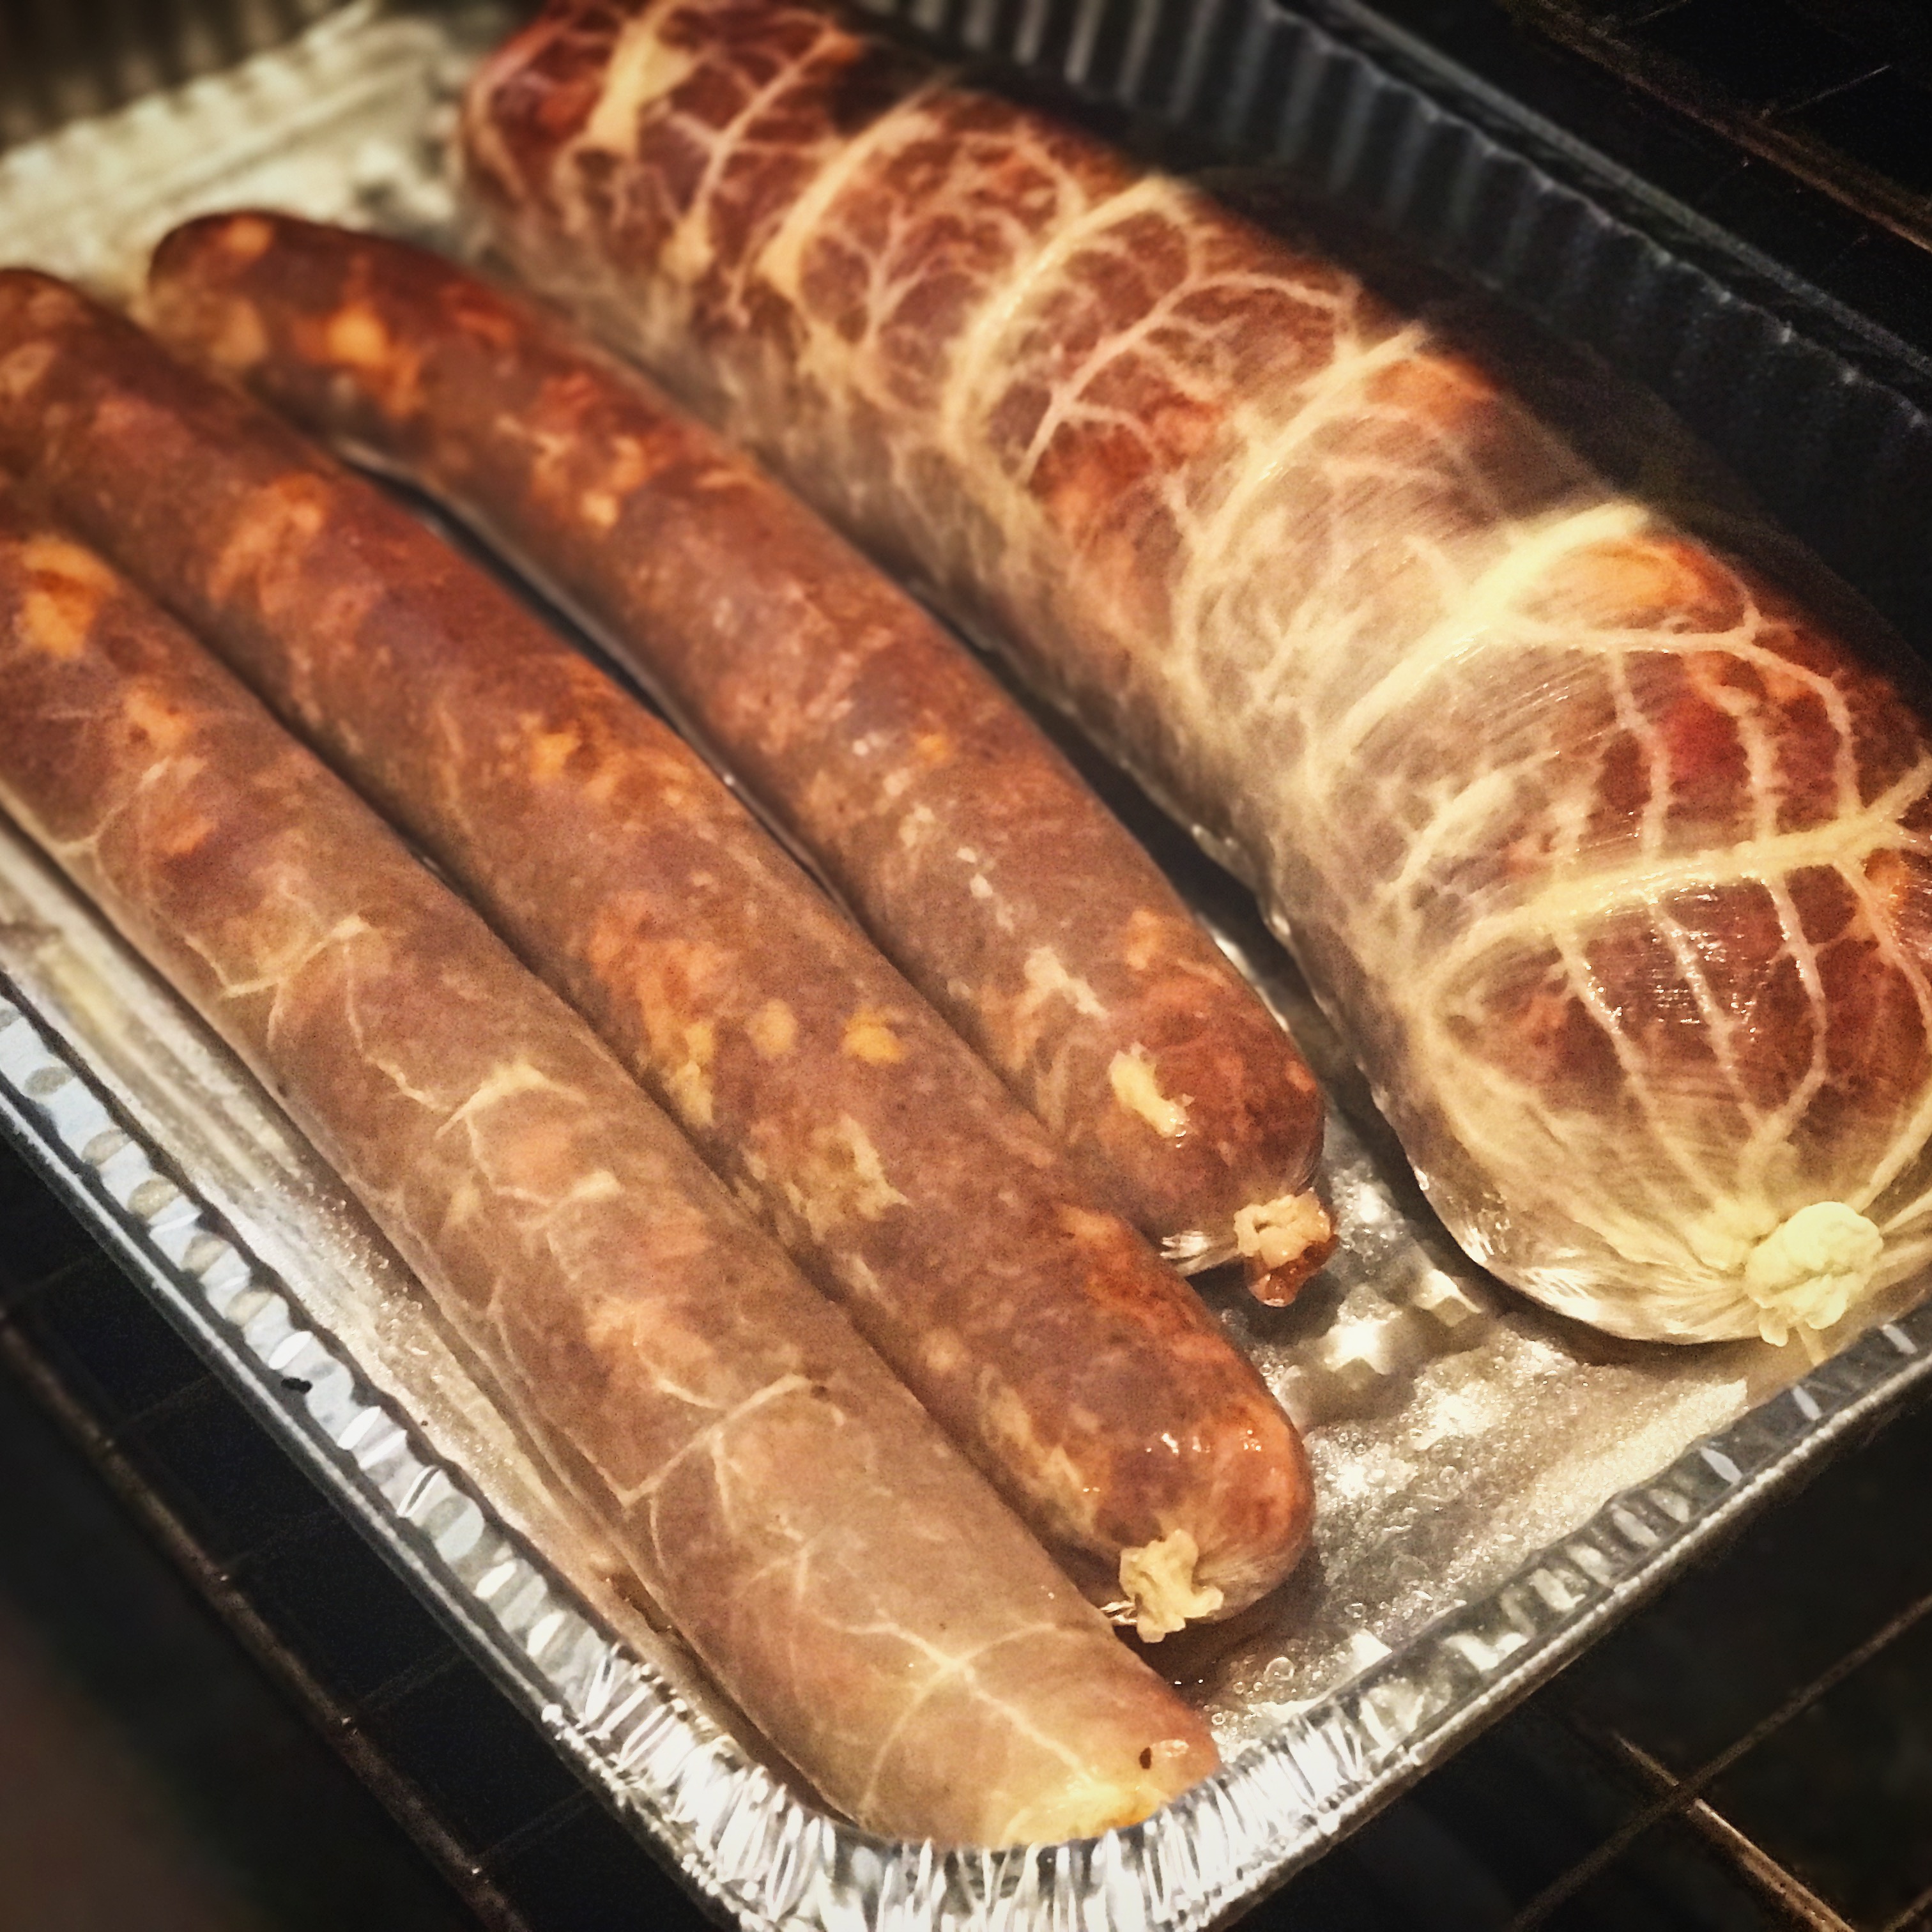
After you are done, it’s time to stuff! Get the farce loaded into the stuffer, and pick a casing that you like. For this I used a sewn hog after end which is a nice and wide casing.
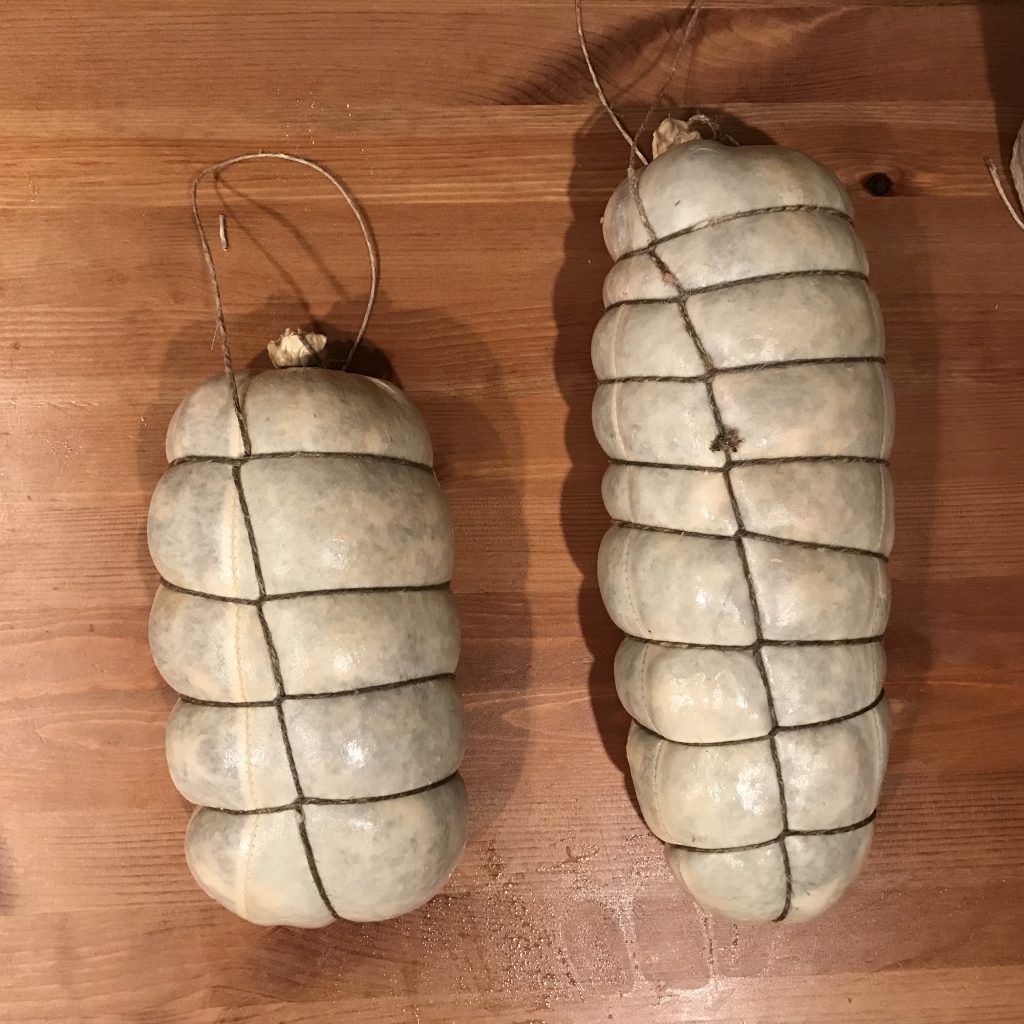
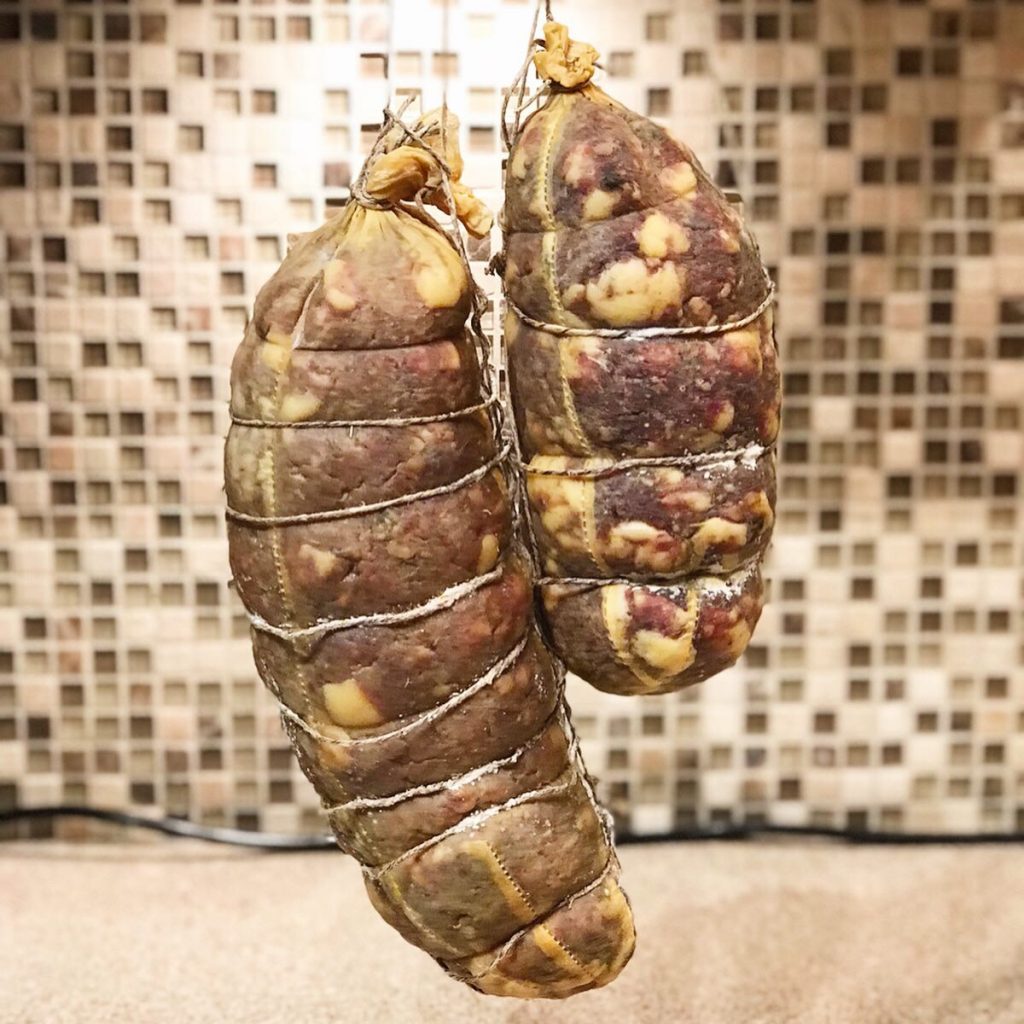
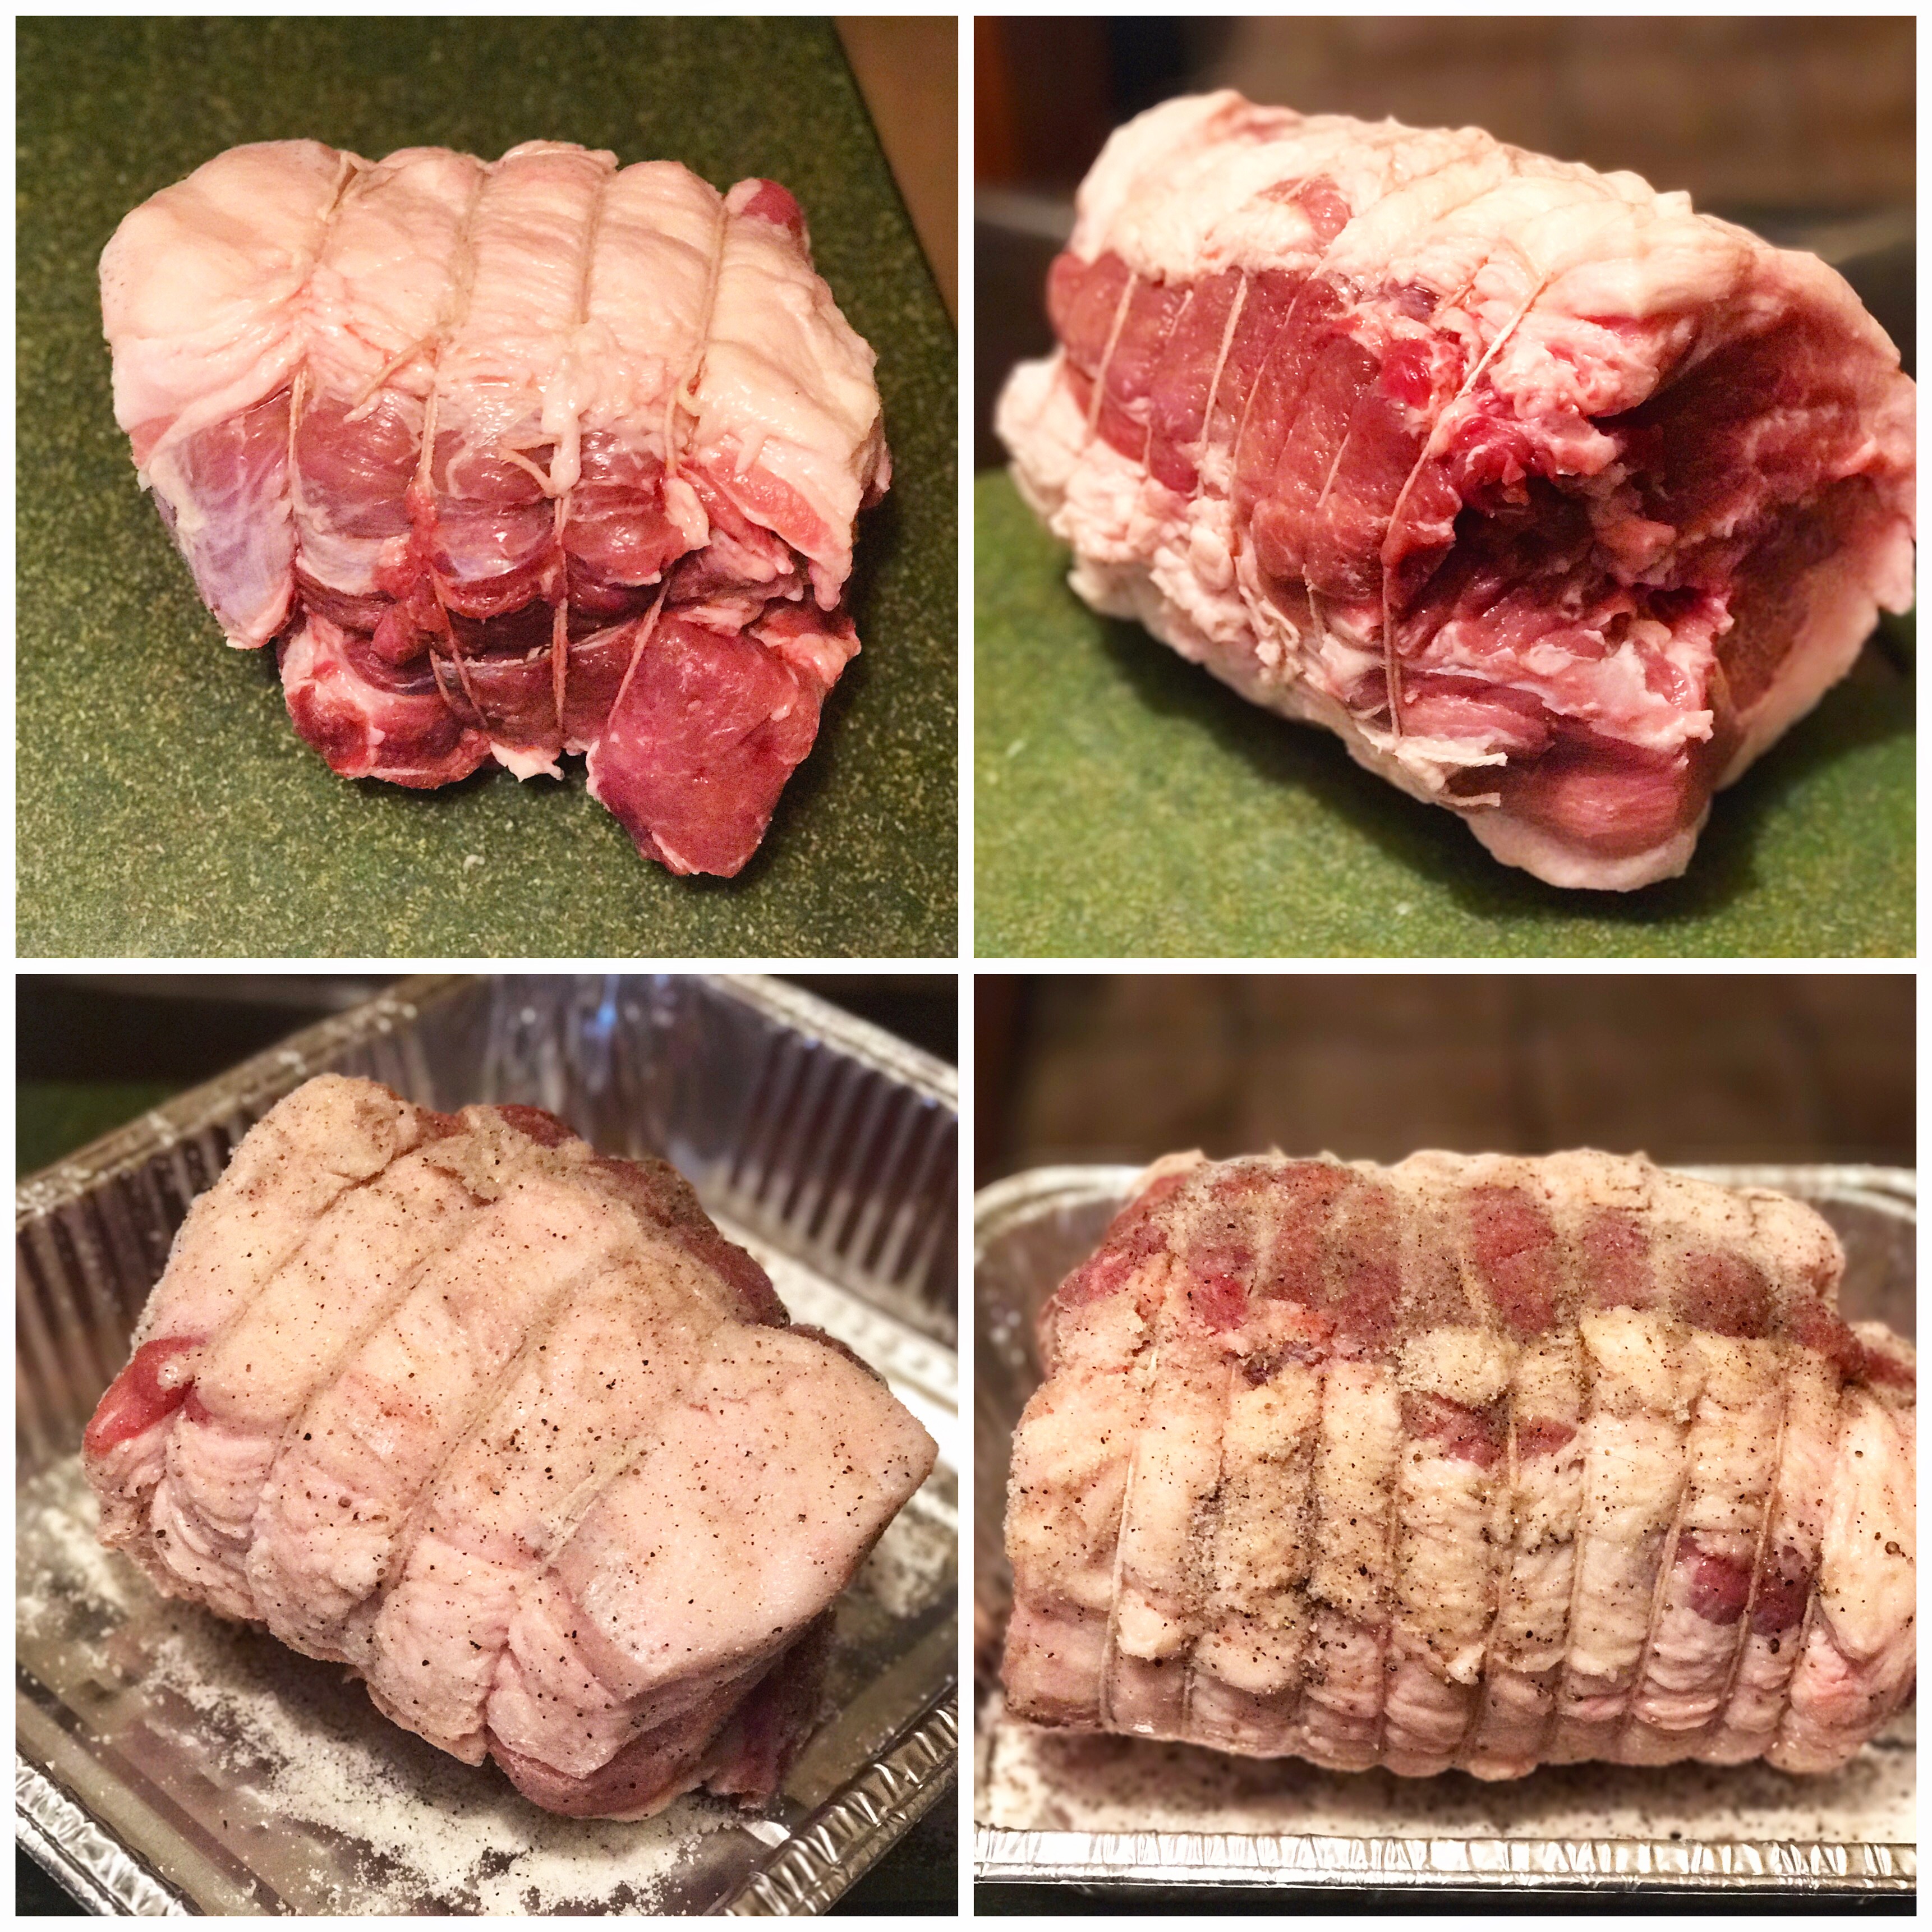
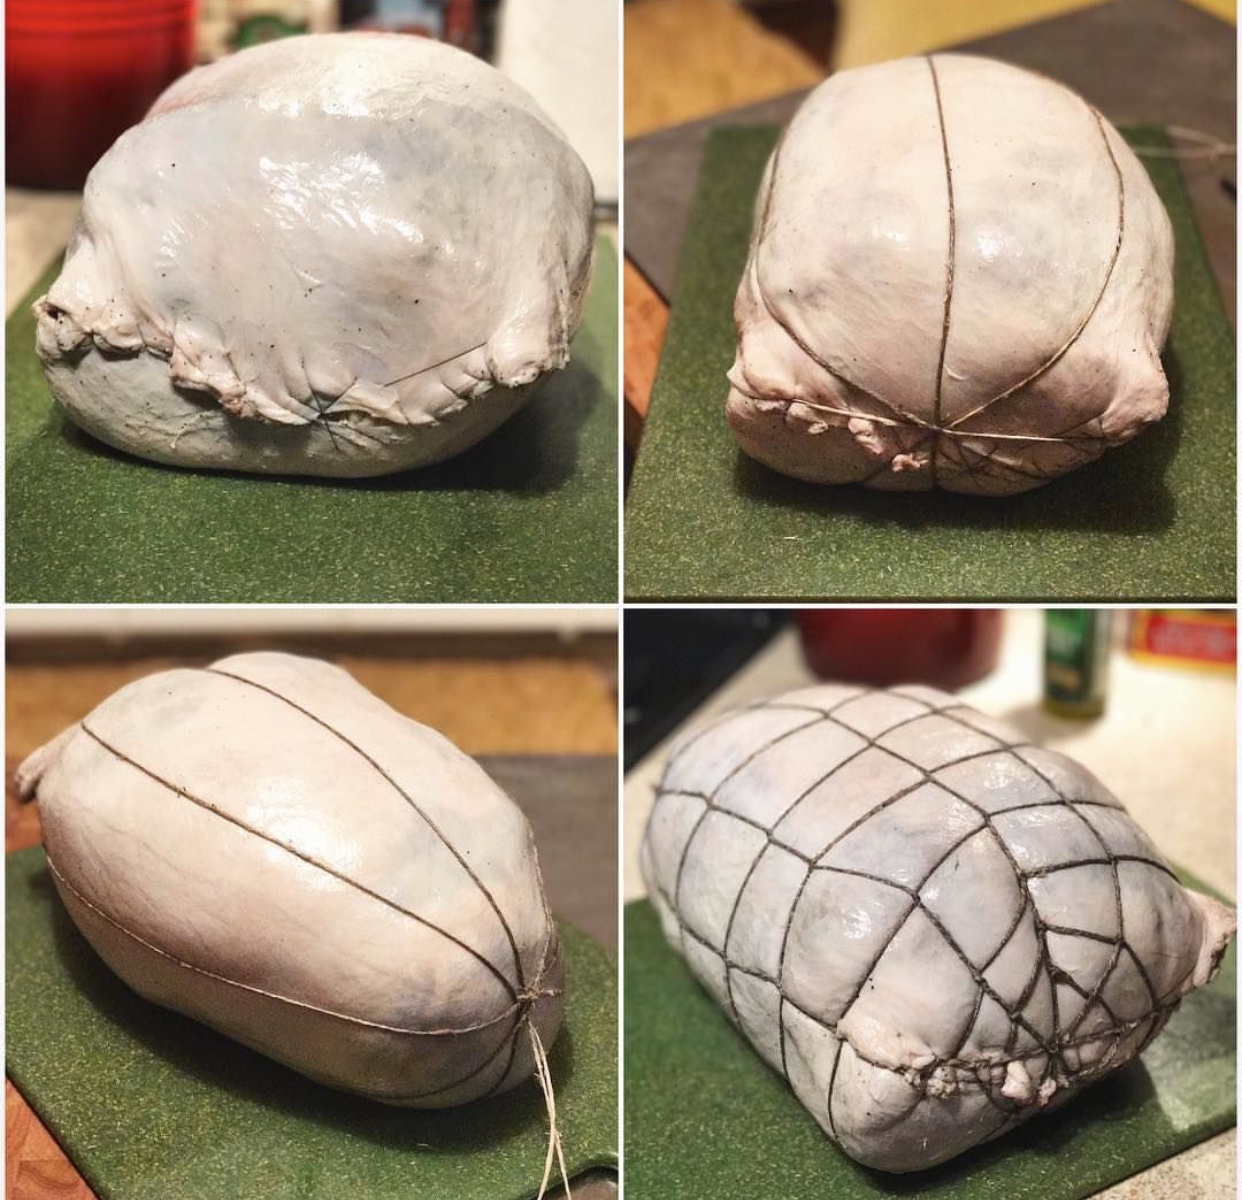
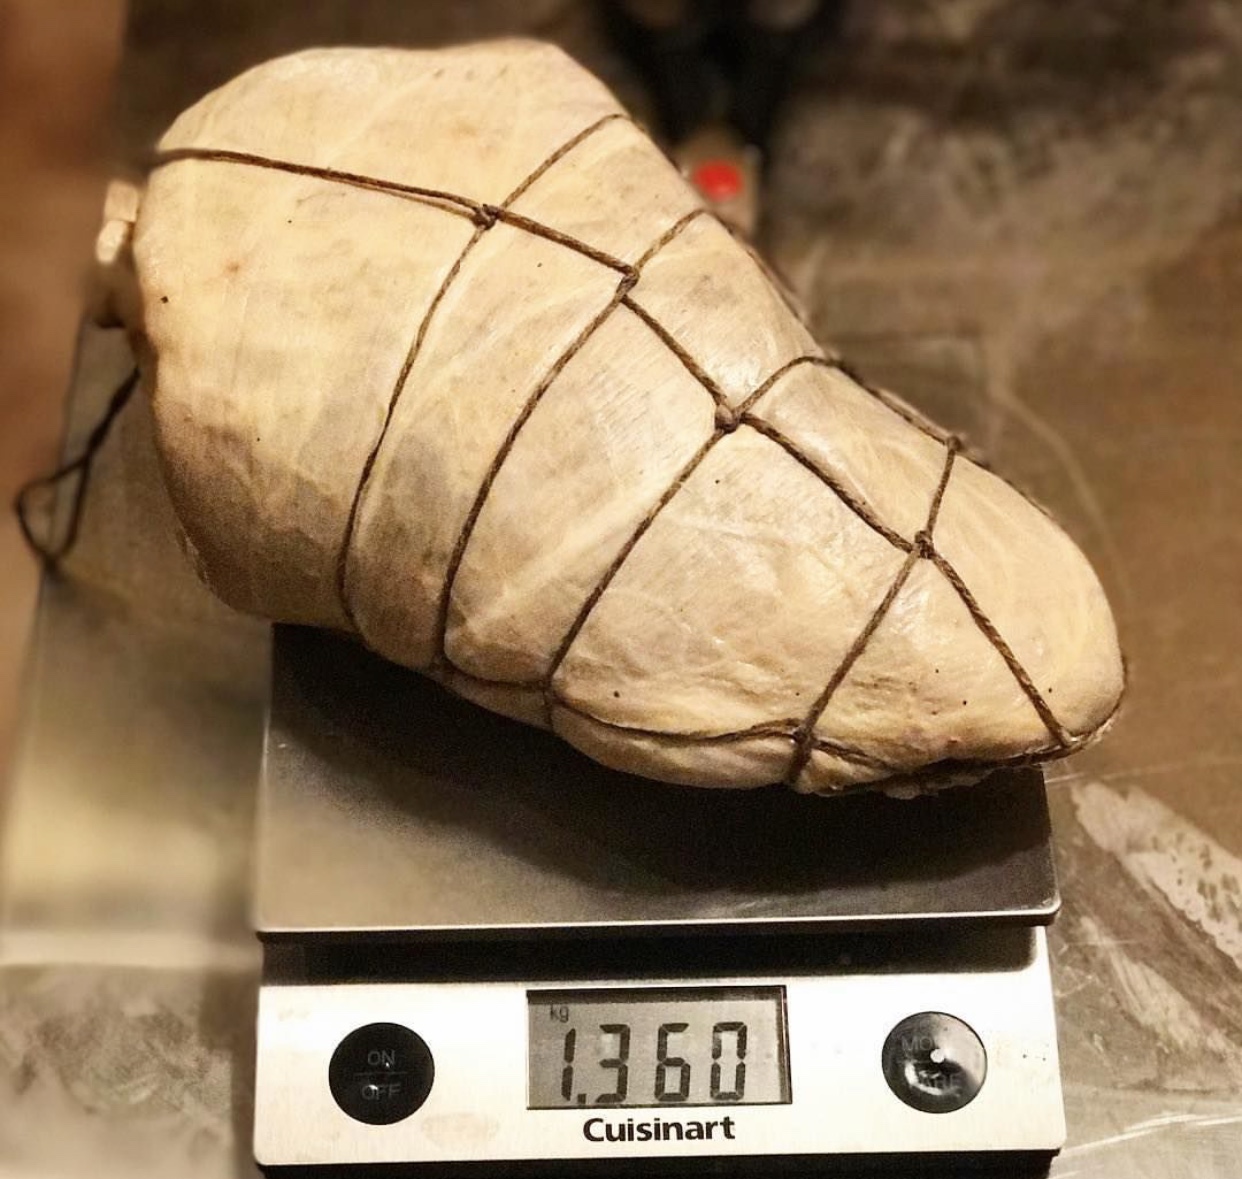
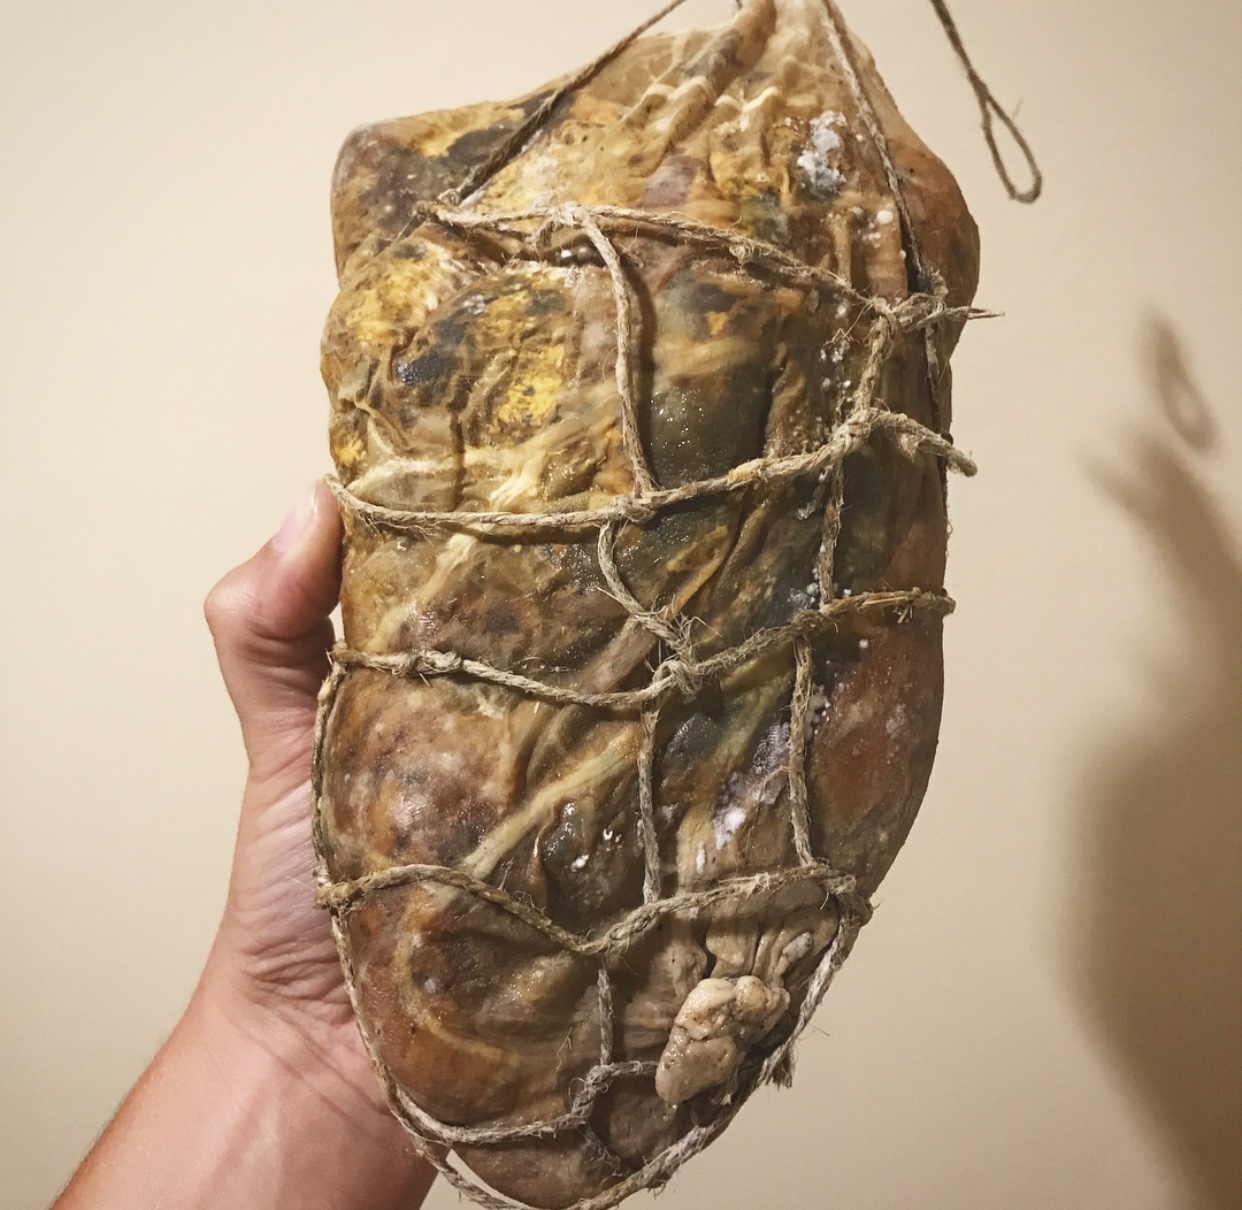
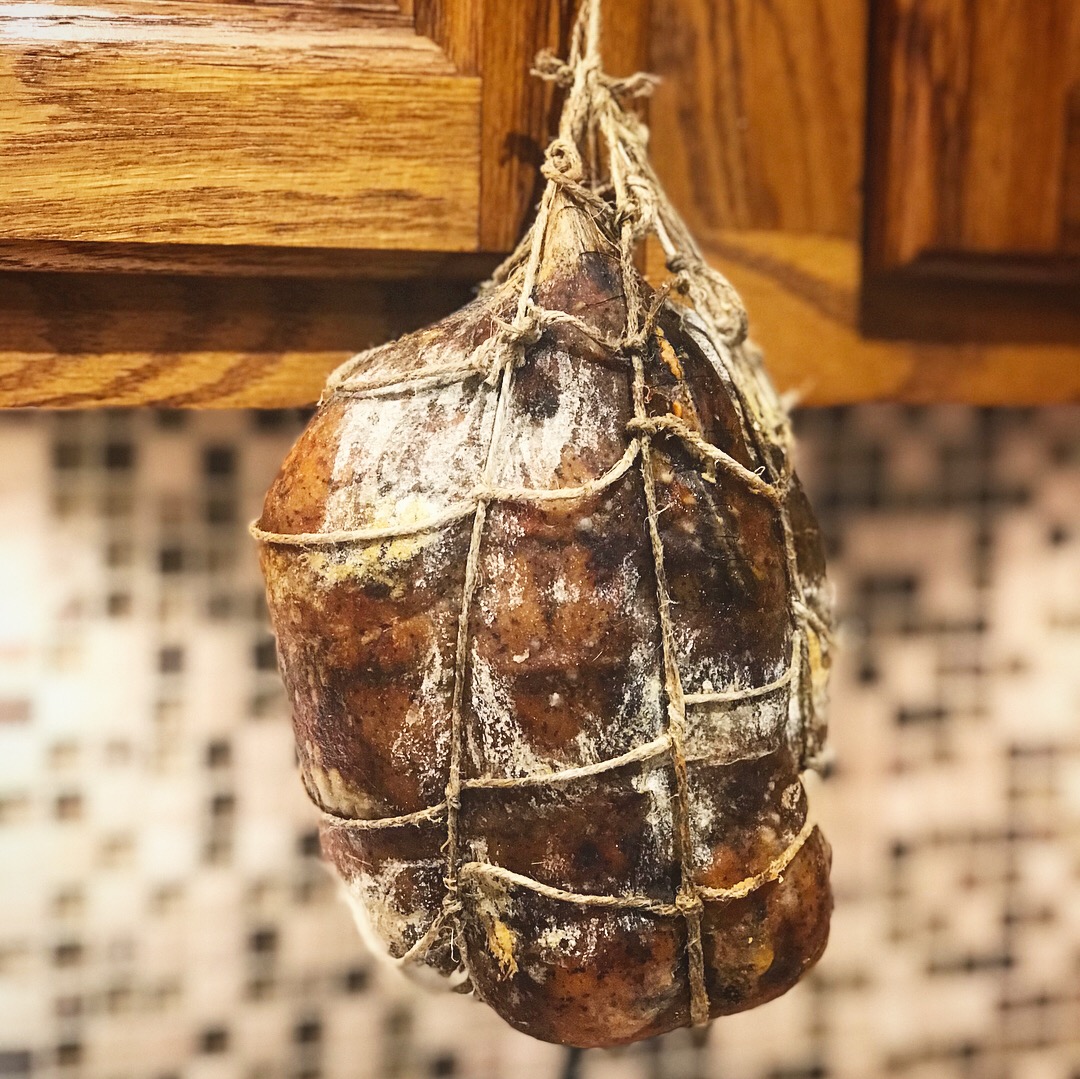
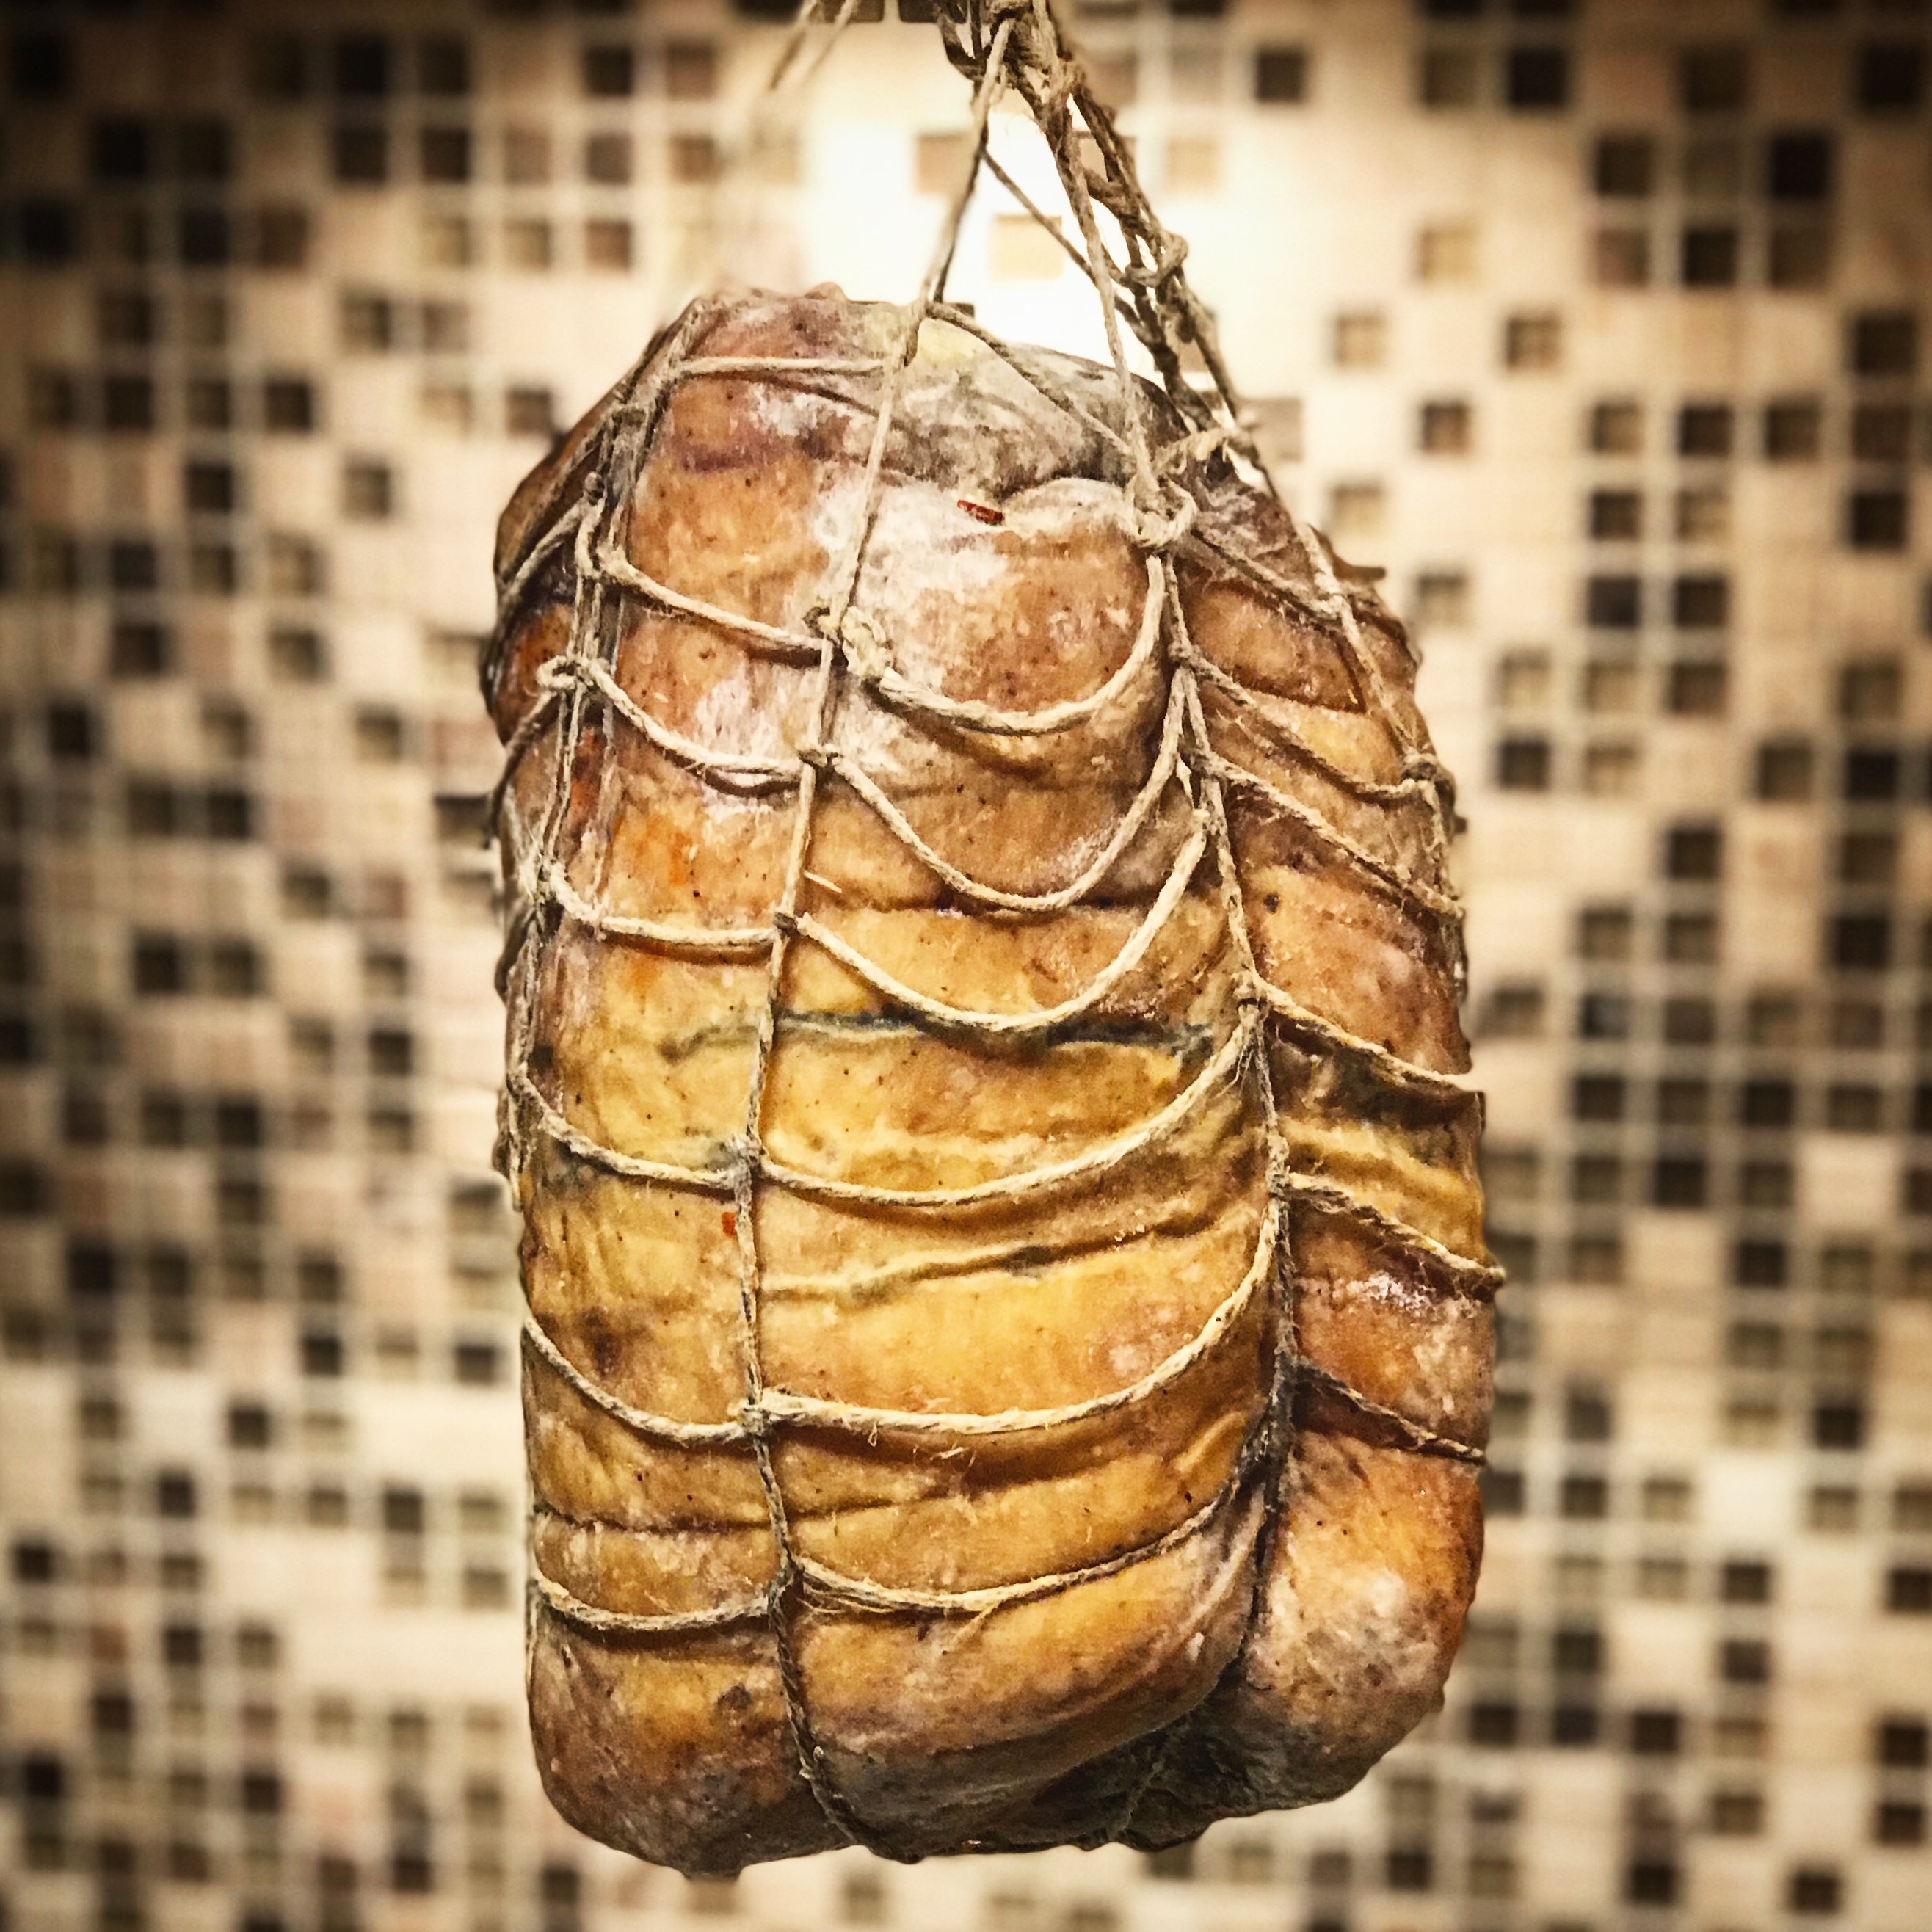
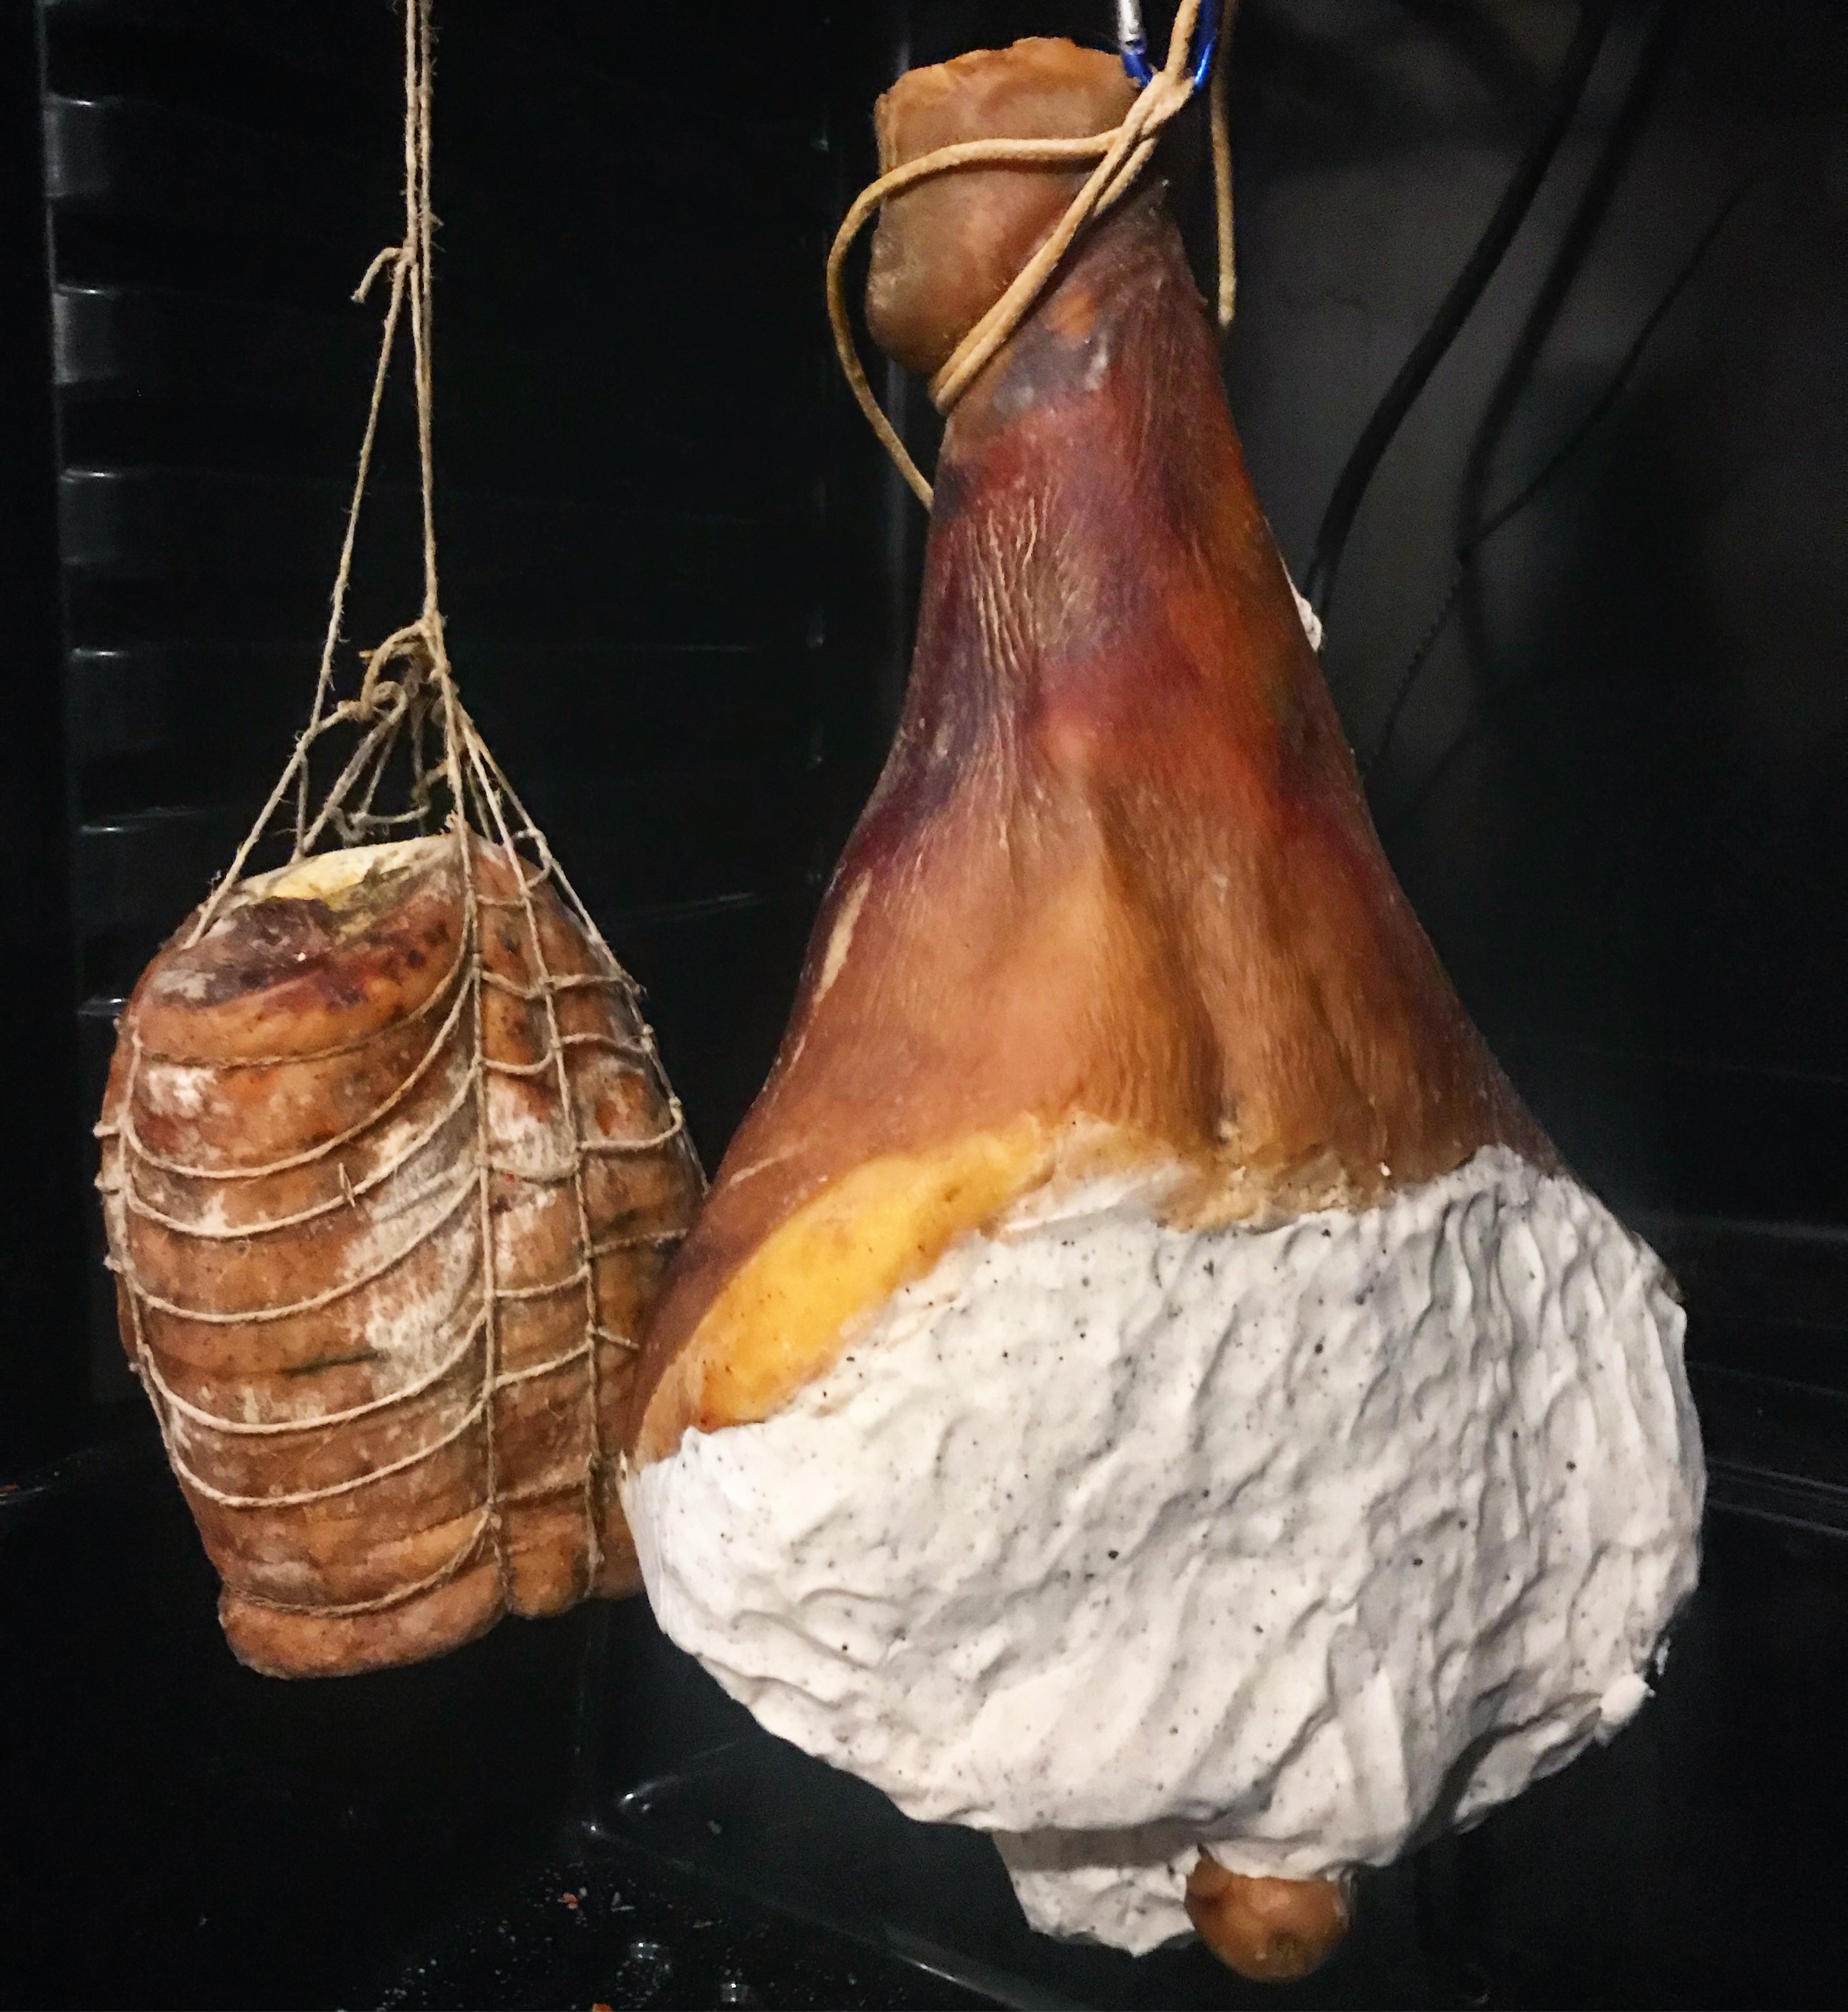
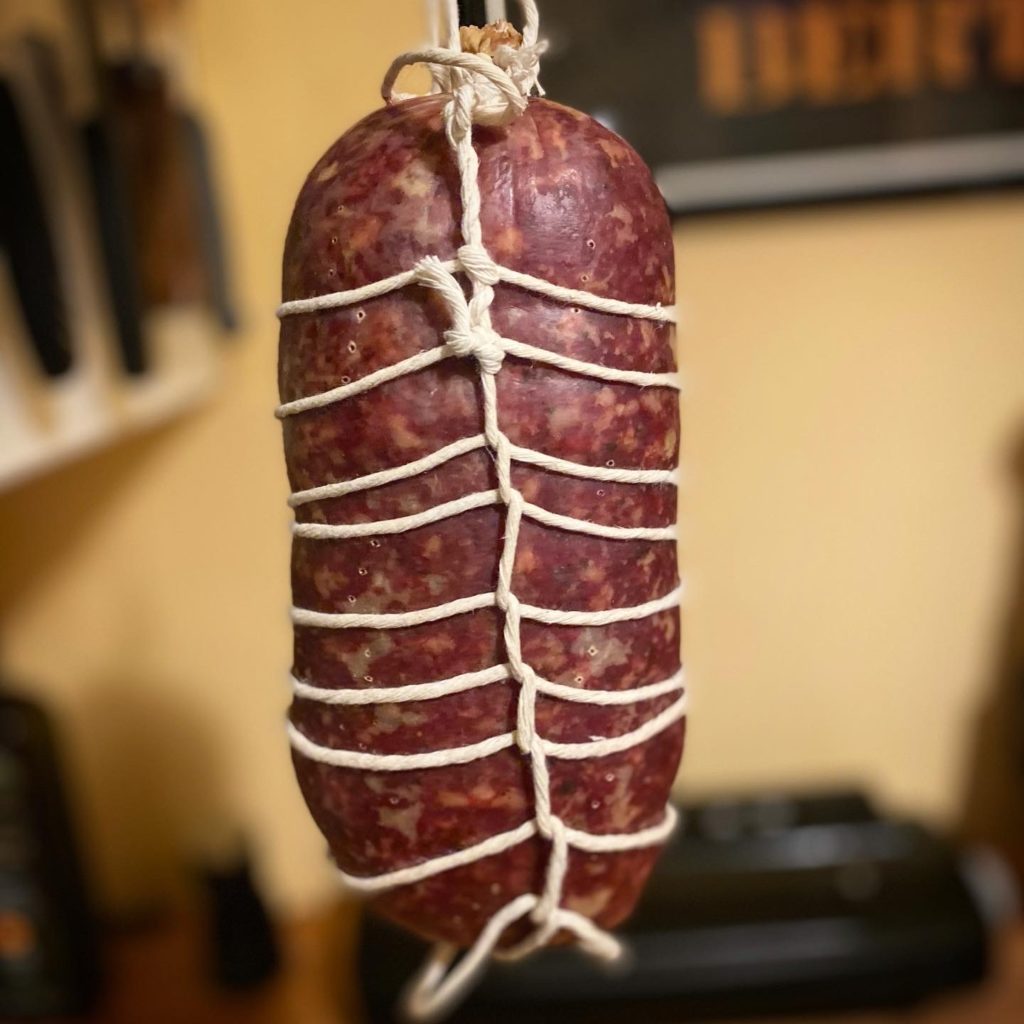
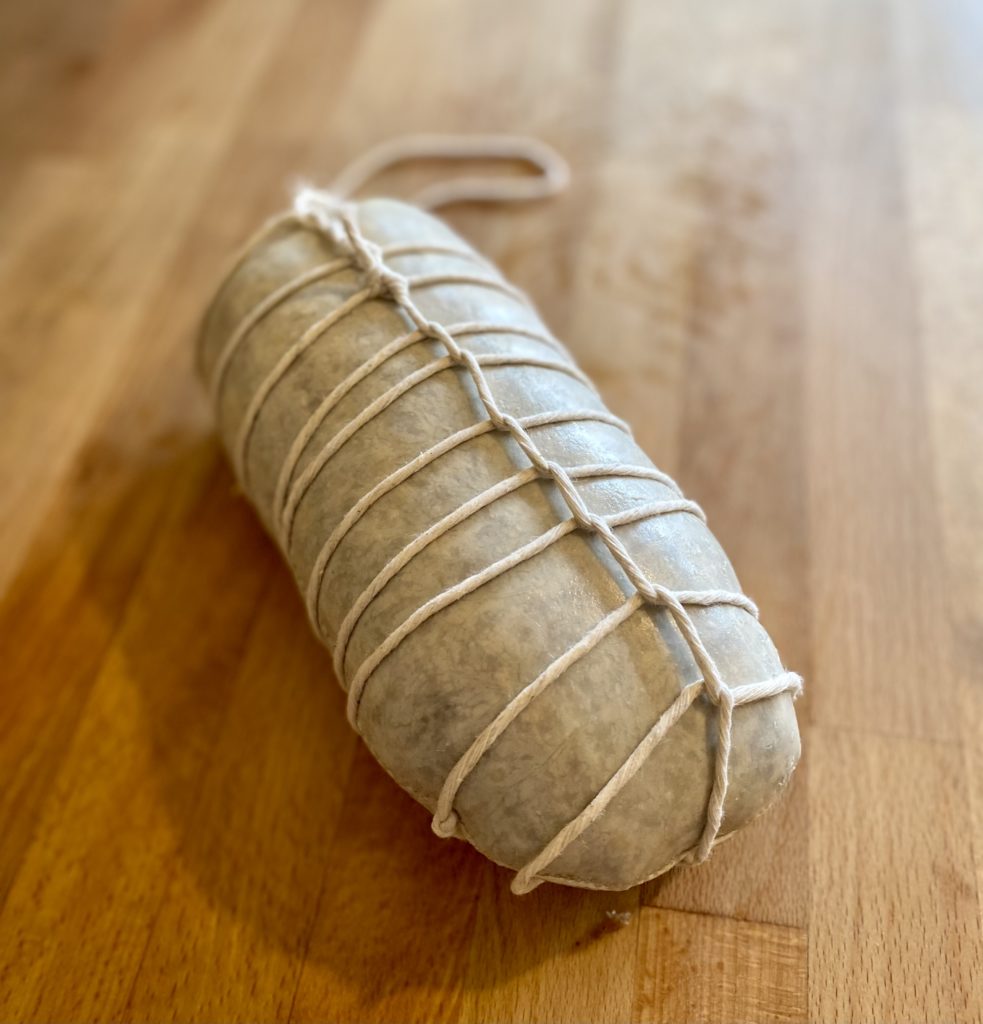
Tying
After the salami has been stuffed, you can tie it up to get it a nice shape and get it ready to hang in the curing chamber.
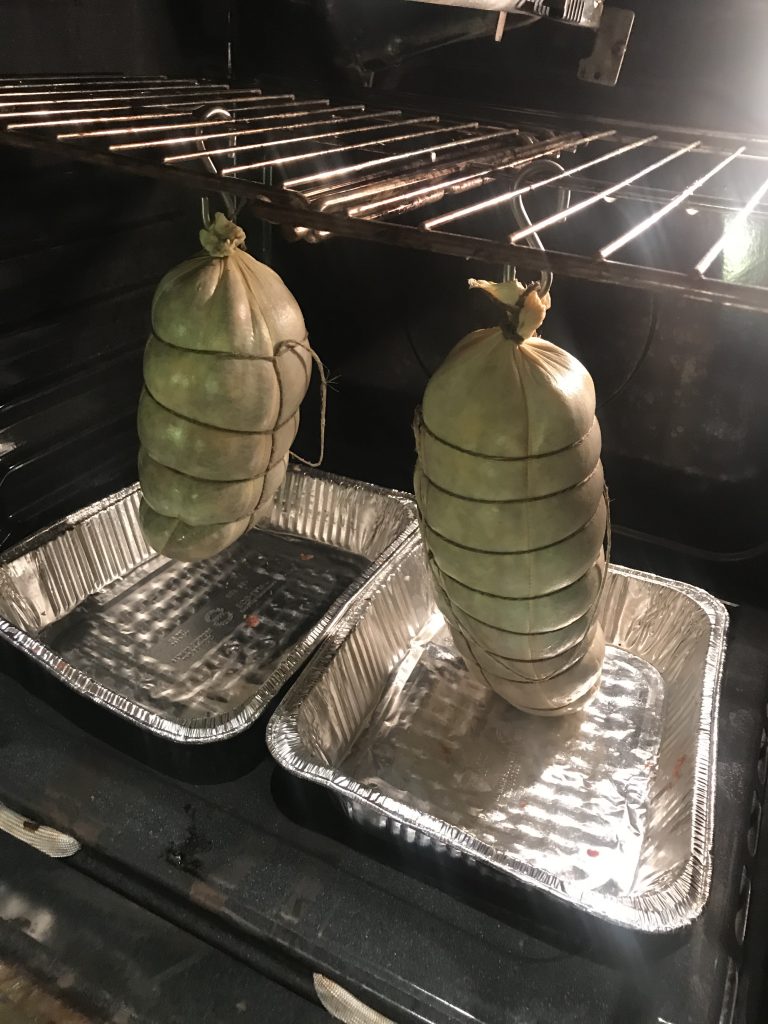
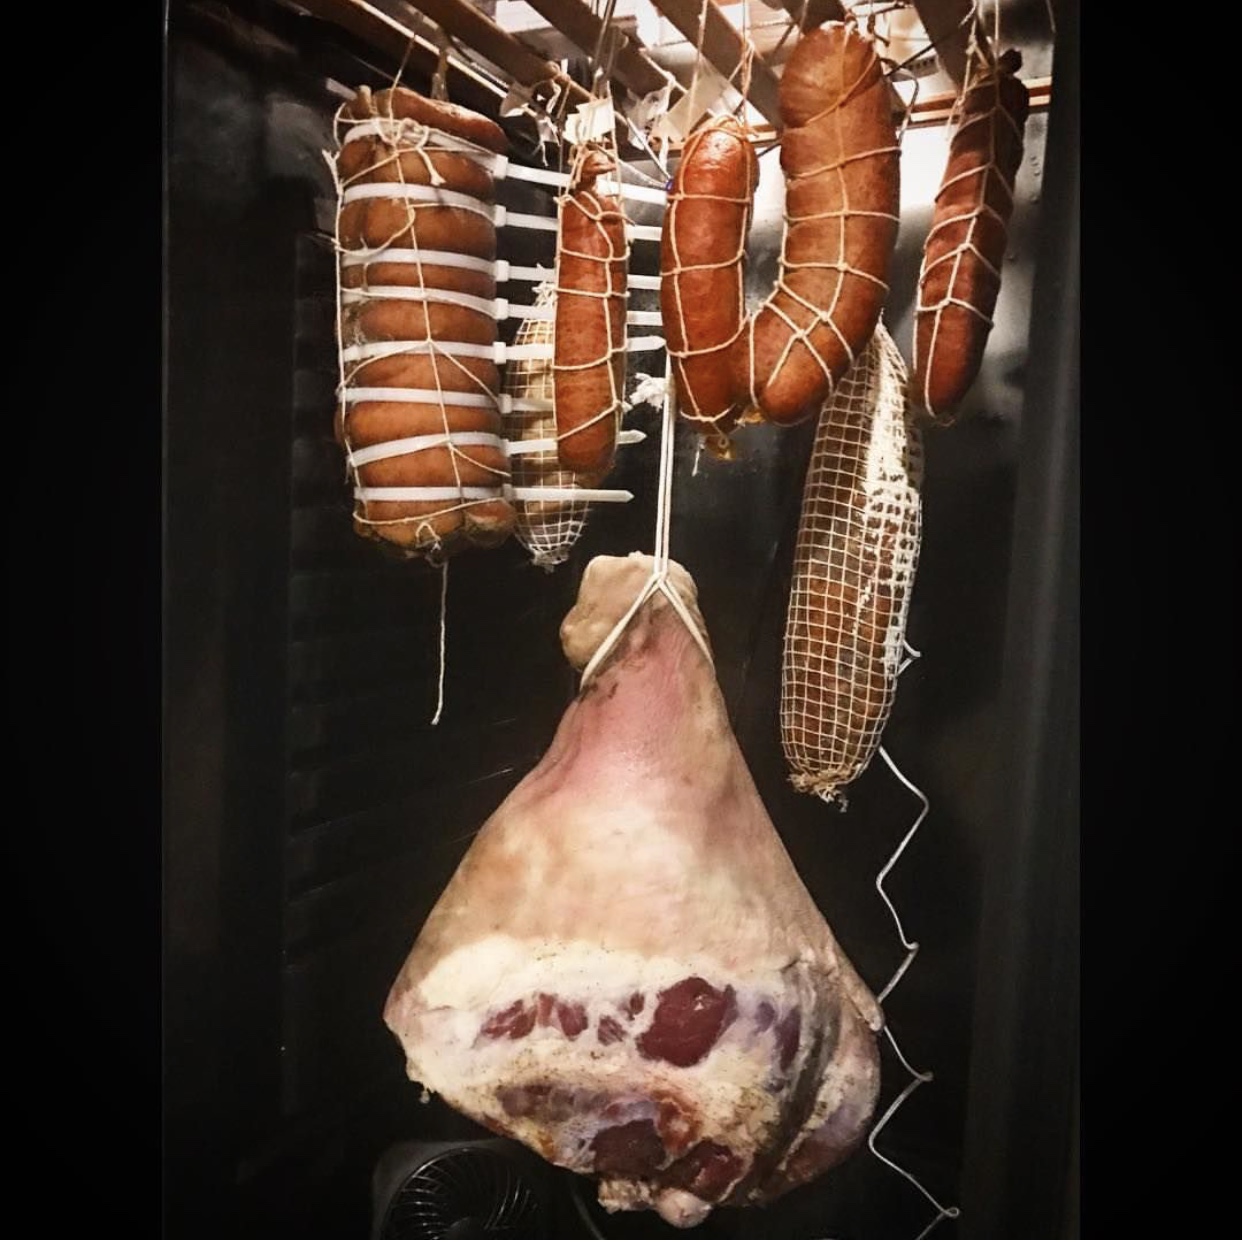
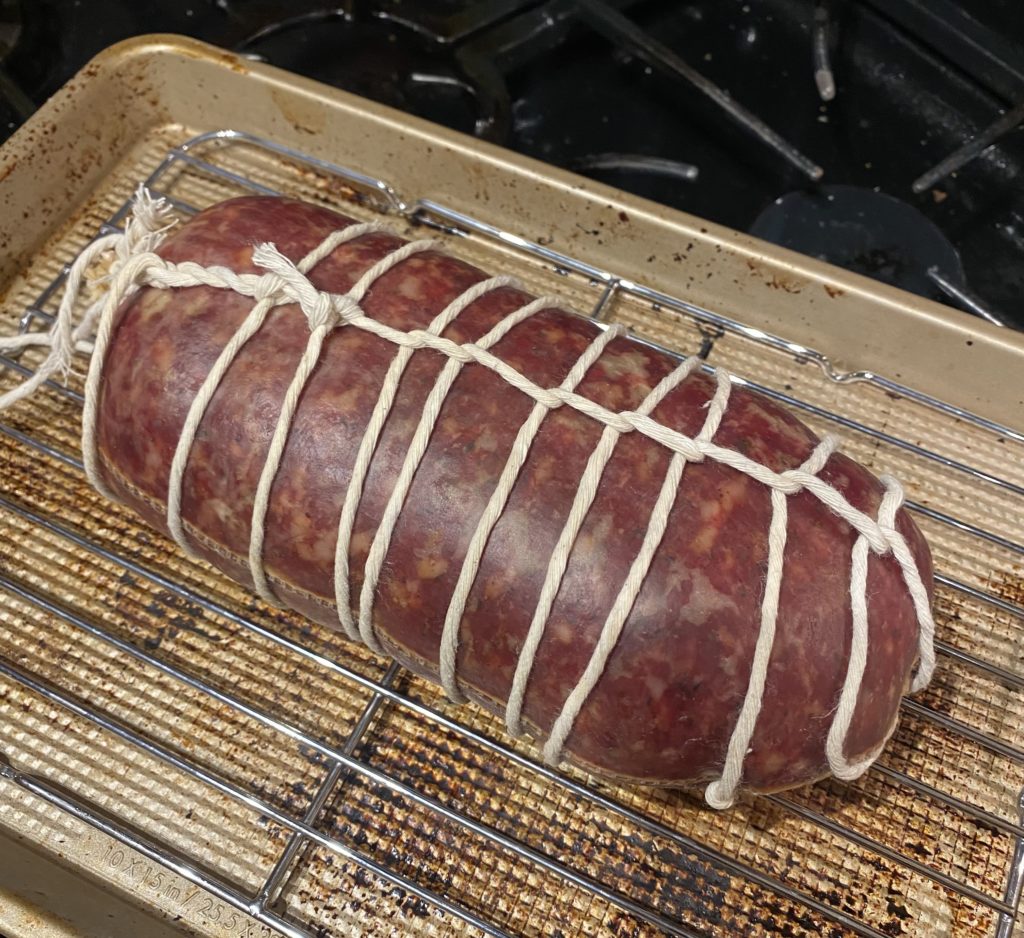
Fermentation
(Done in the oven (off) with the light on… using a spray bottle to add in humidity. Conditions are around 21C/70F and high relative humidity for 48 hours)
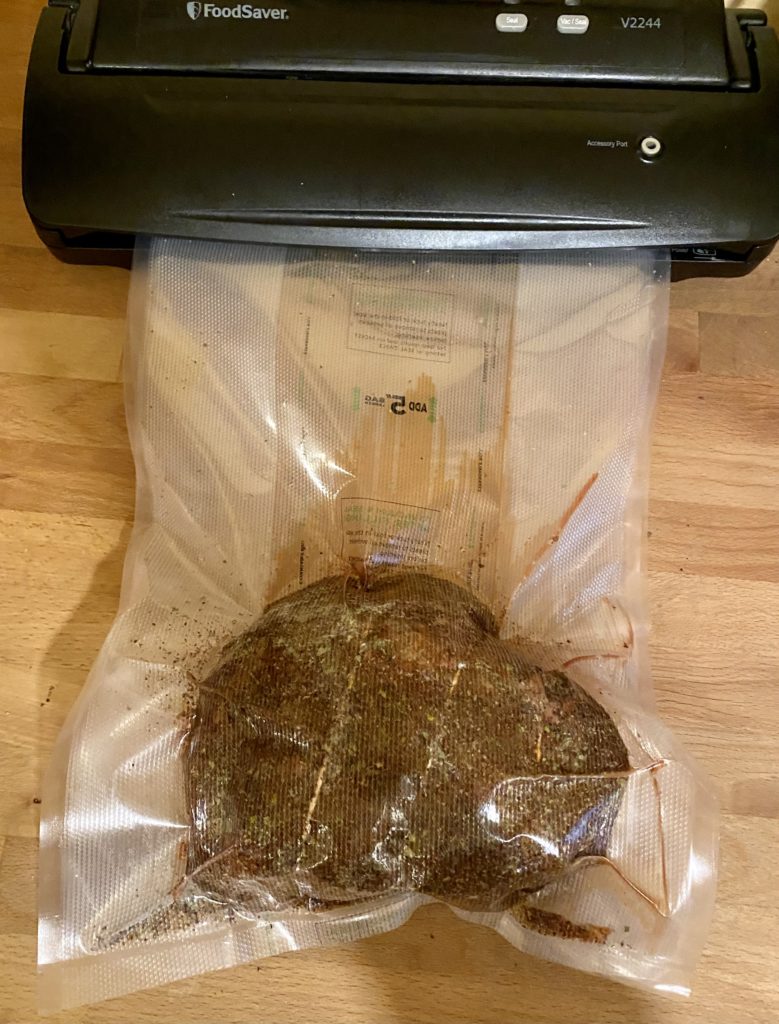
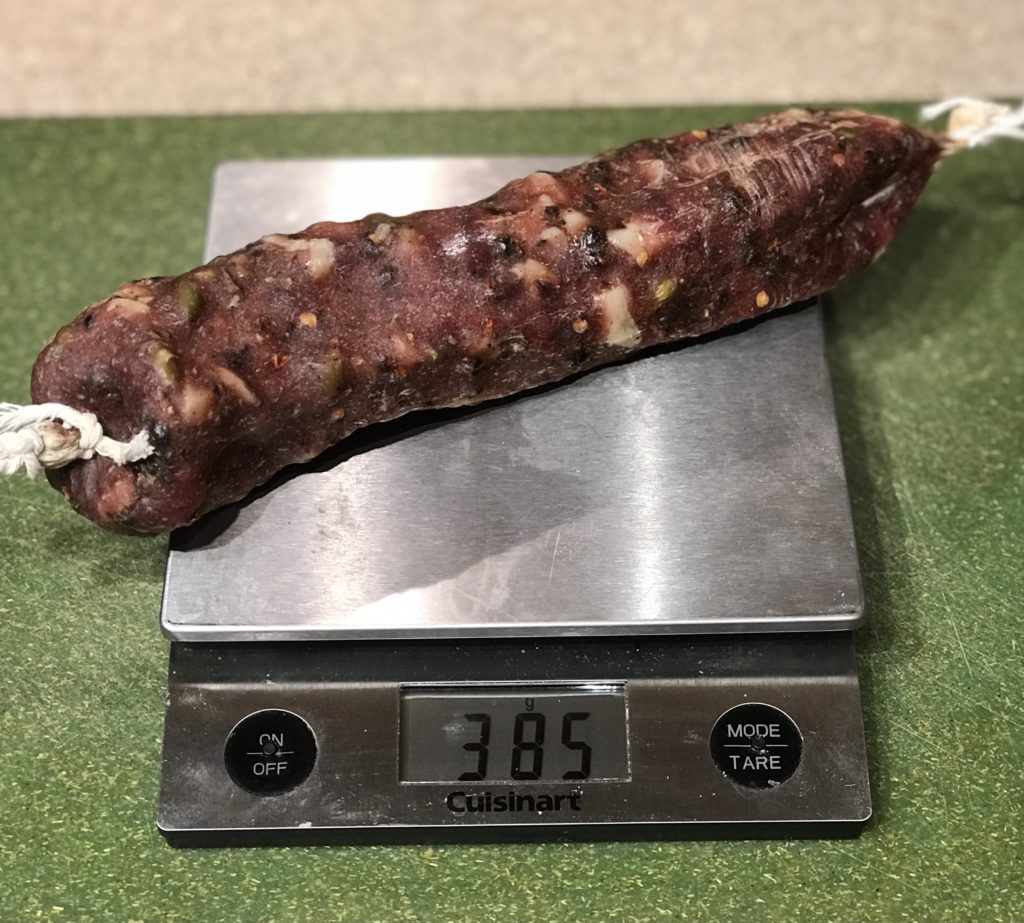
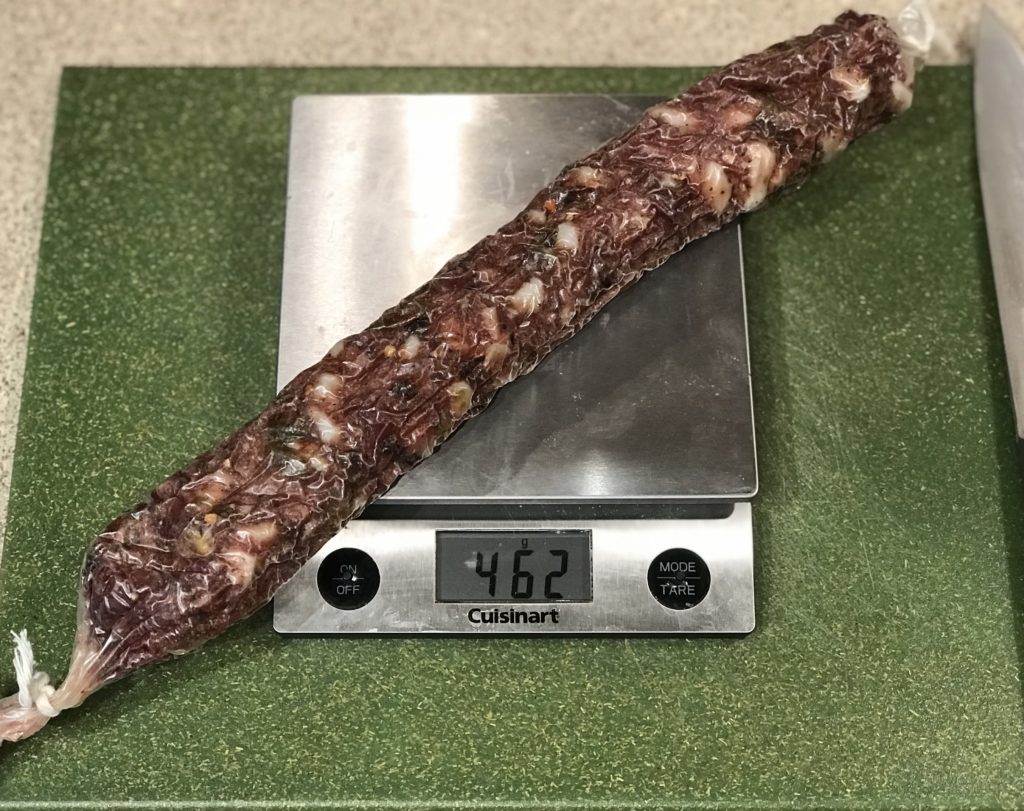
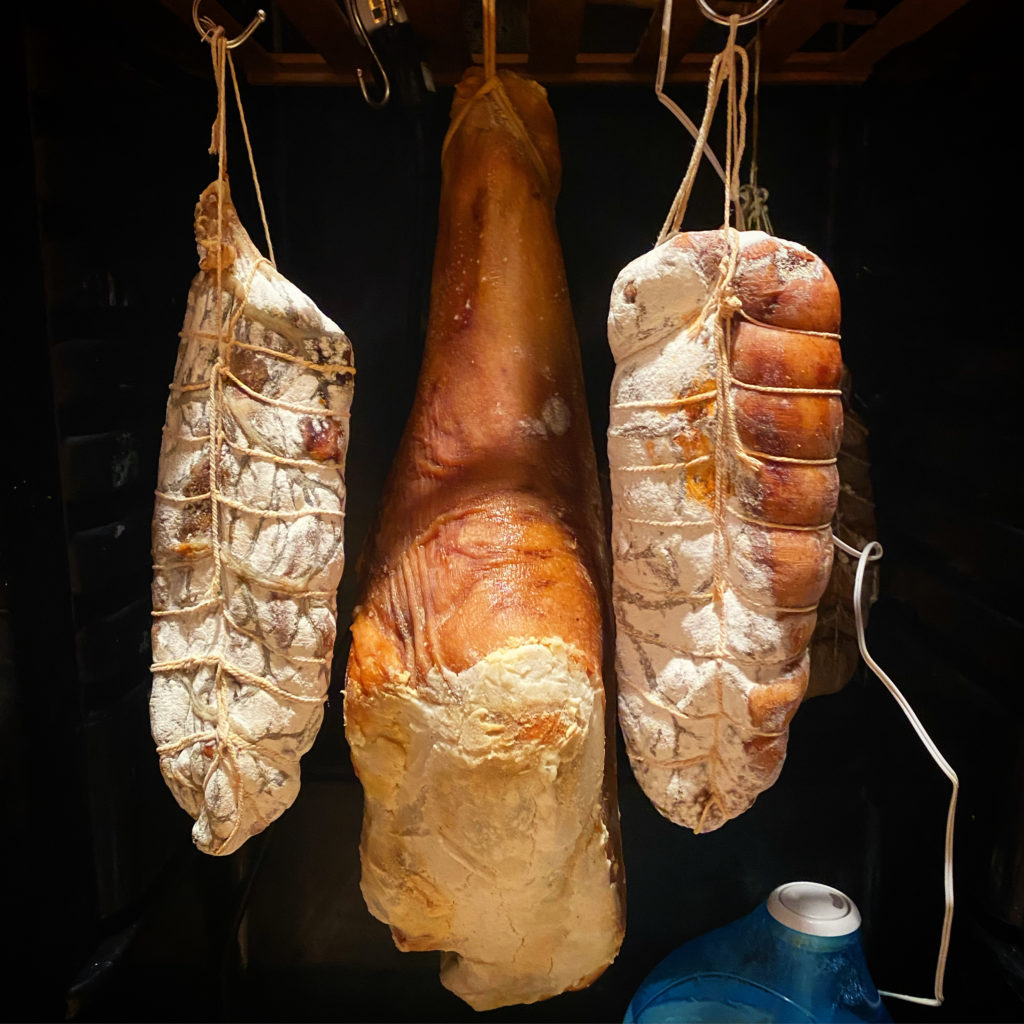
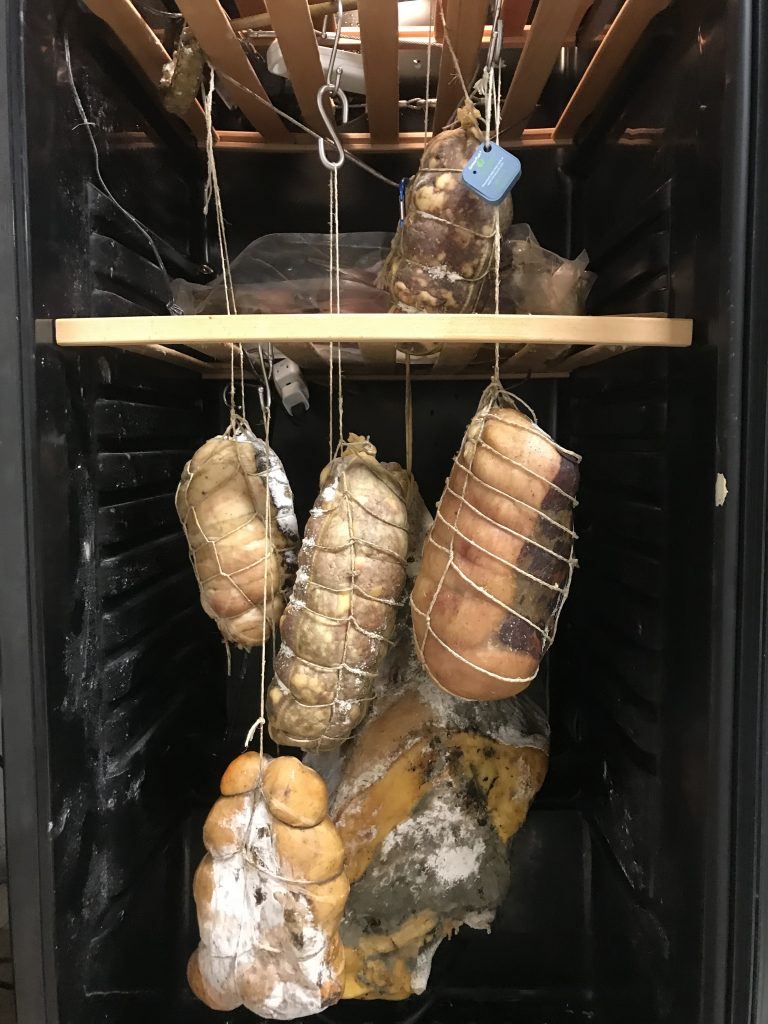
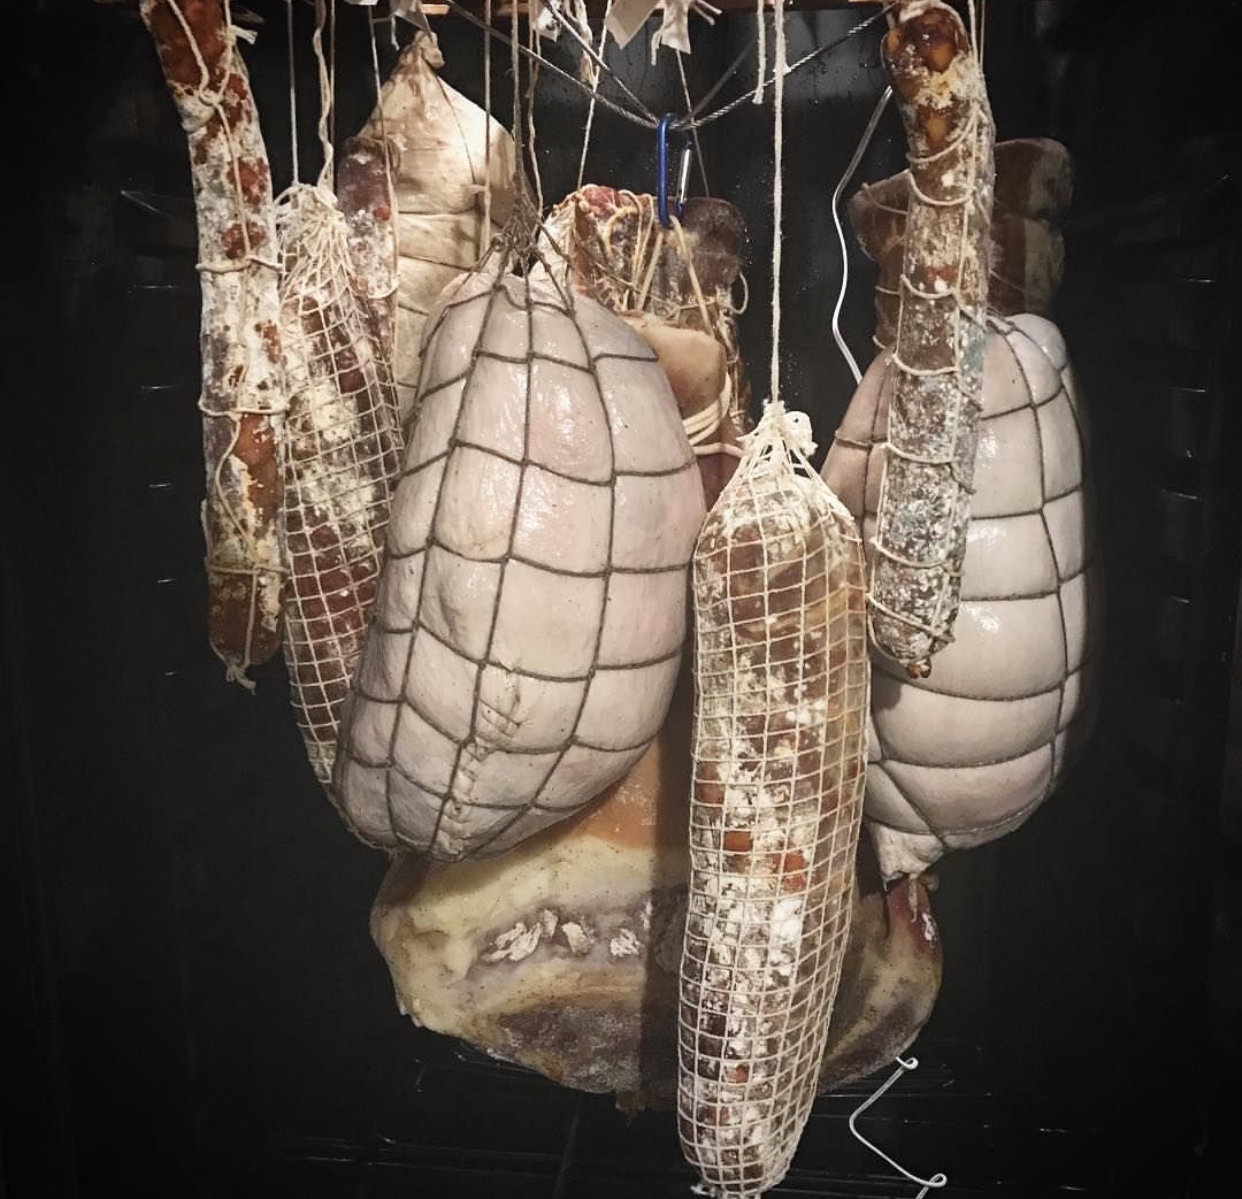
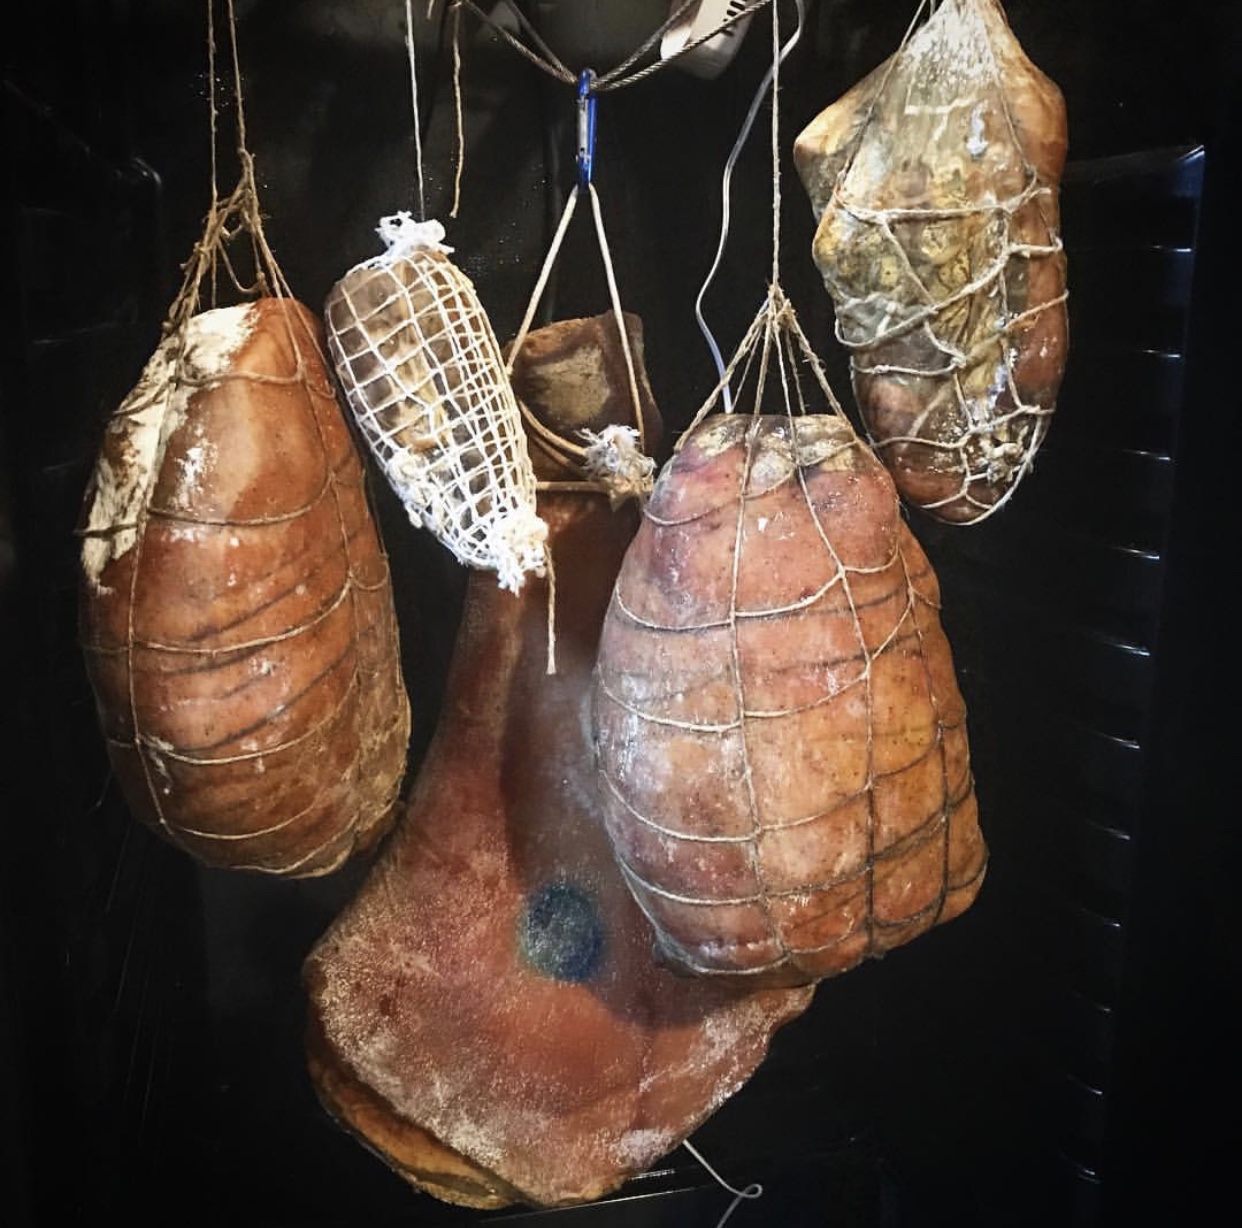
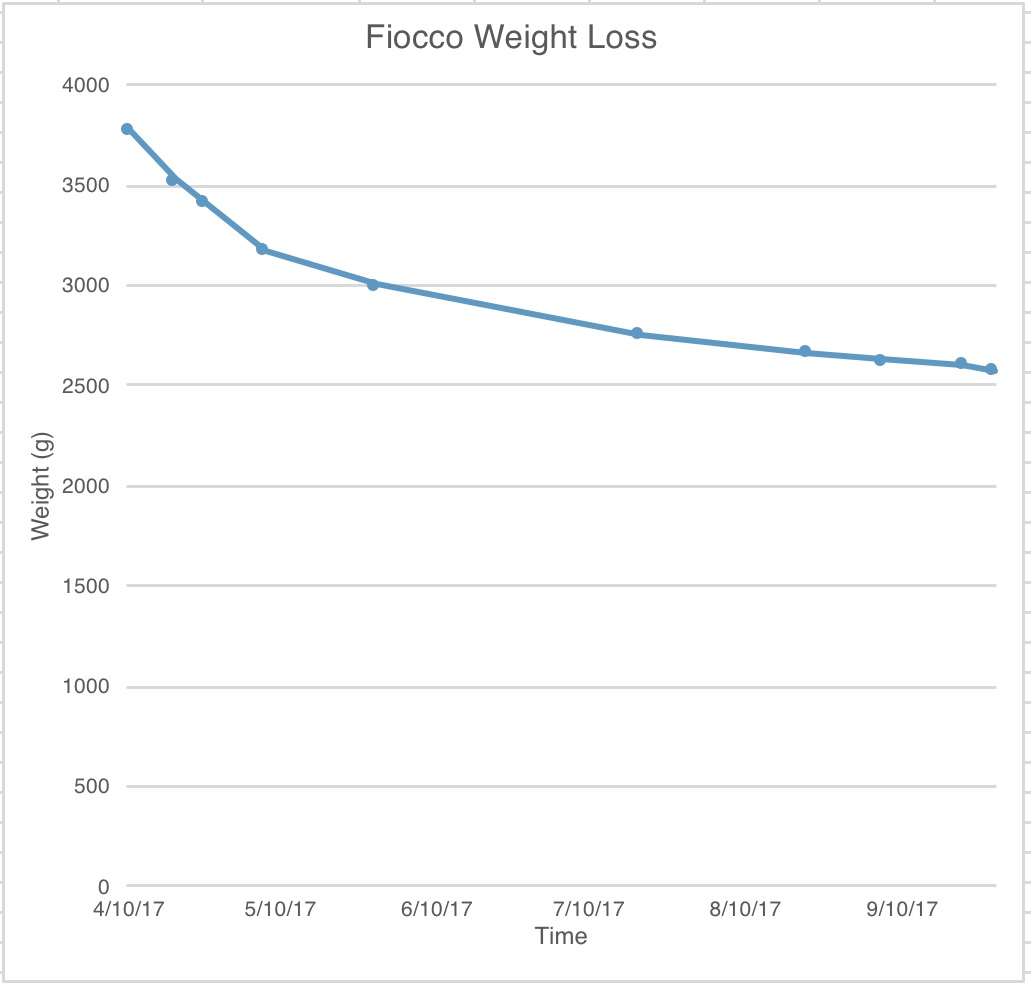
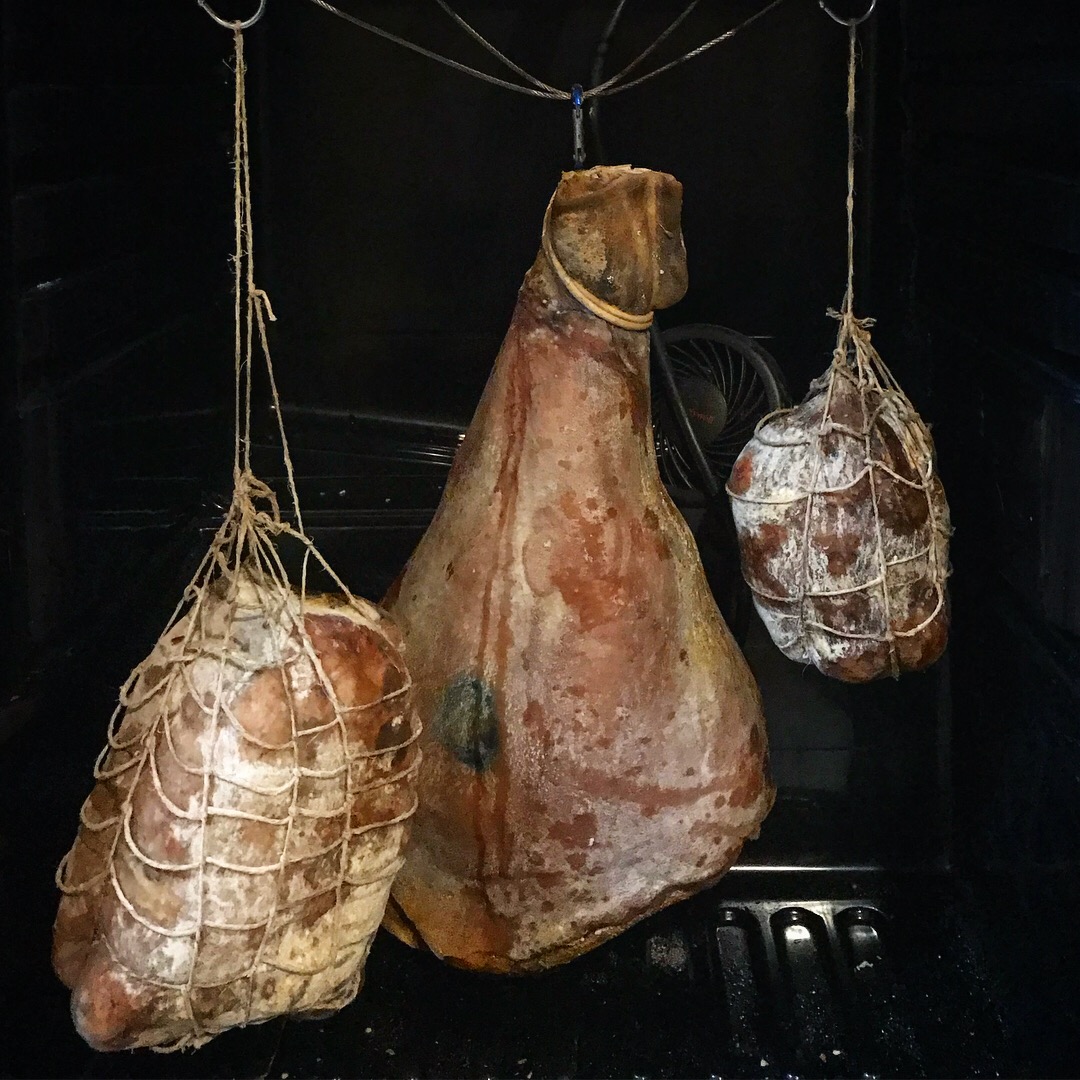
Drying
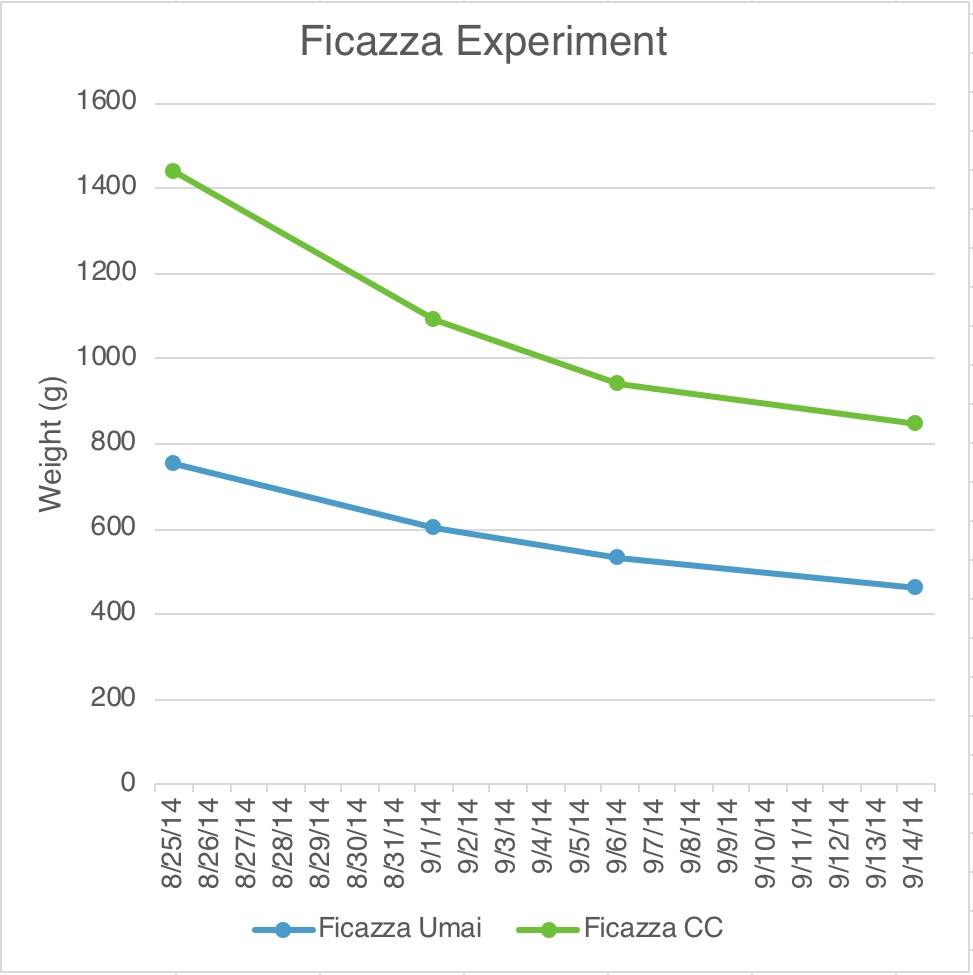
(Drying conditions in the curing chamber: 13C/55F and 70% RH, Drying conditions with UMAI bag 4C/40F and variable humidity)
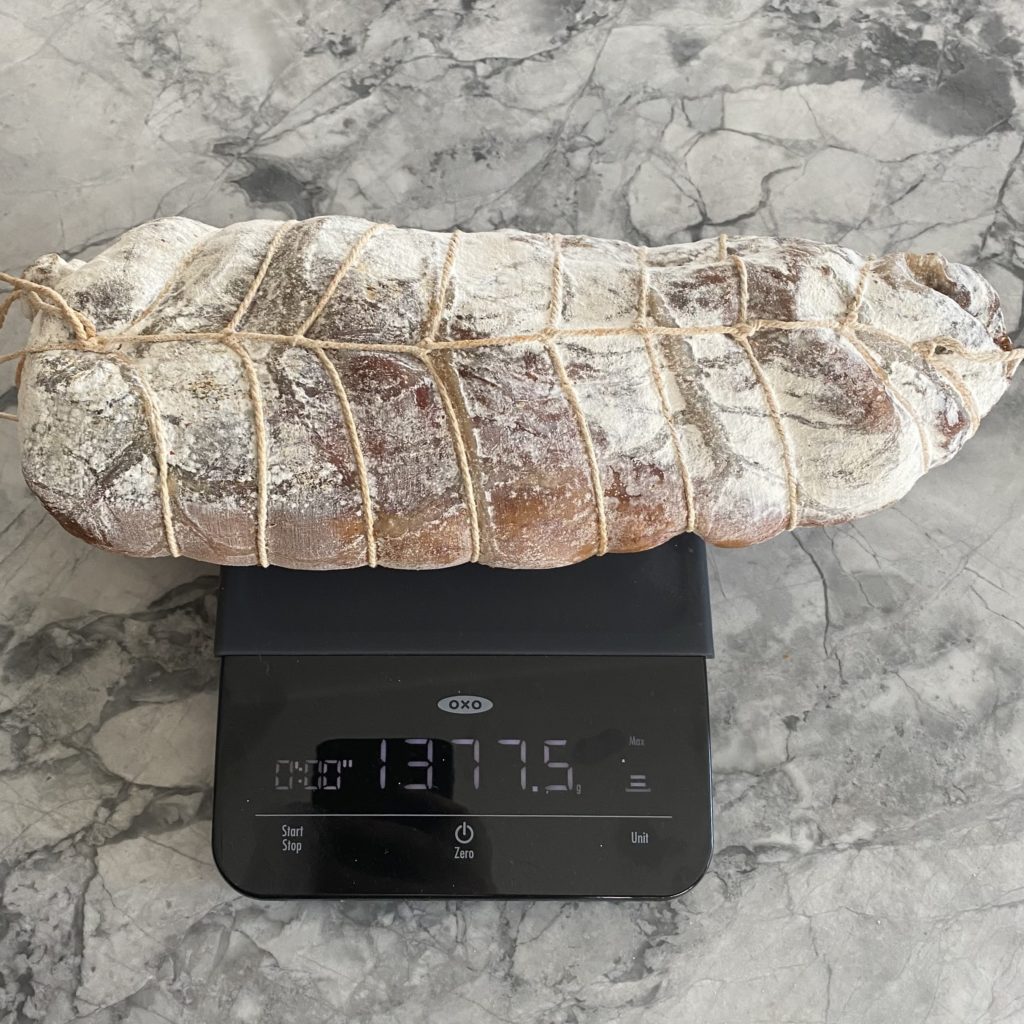
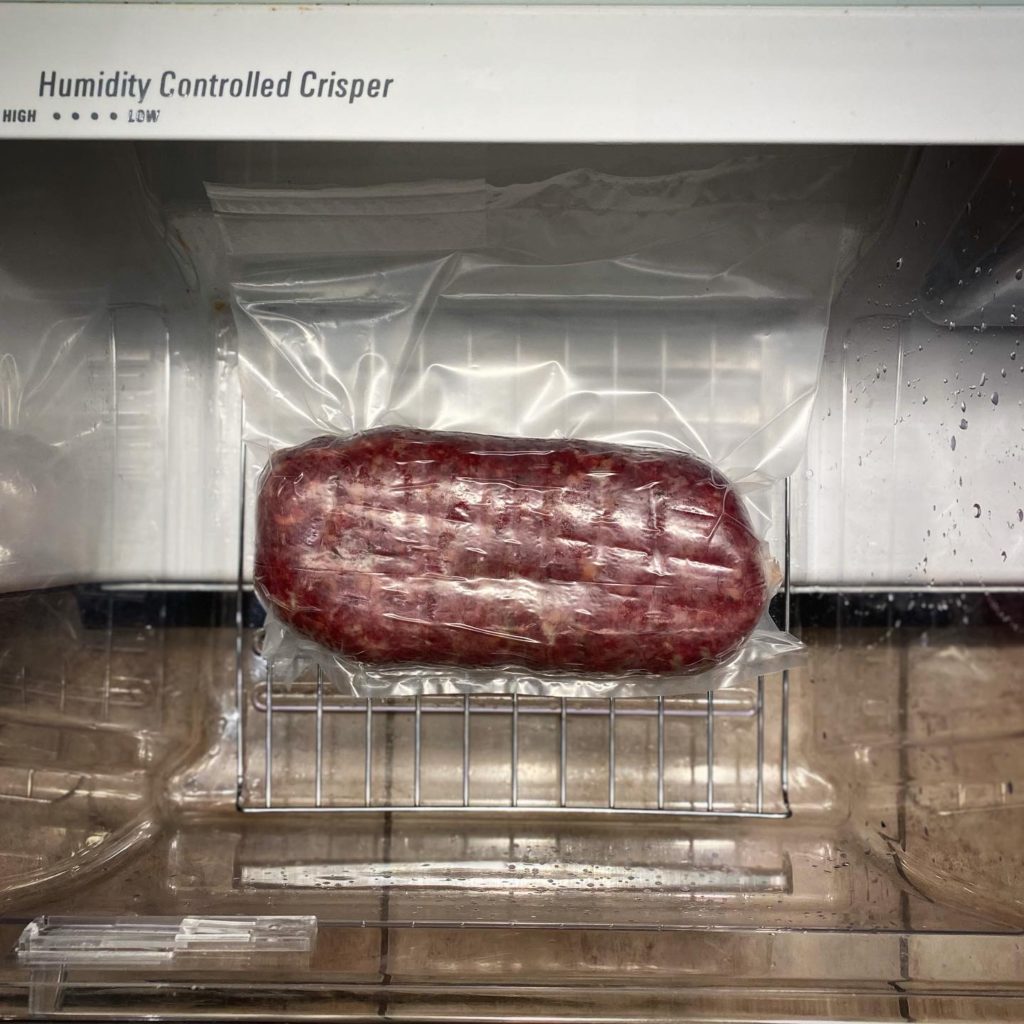
At this point, you’re ready to move this into your chamber. I ran into some issues and wasn’t able to this as expected, so instead, I cased it in an UMAI bag.
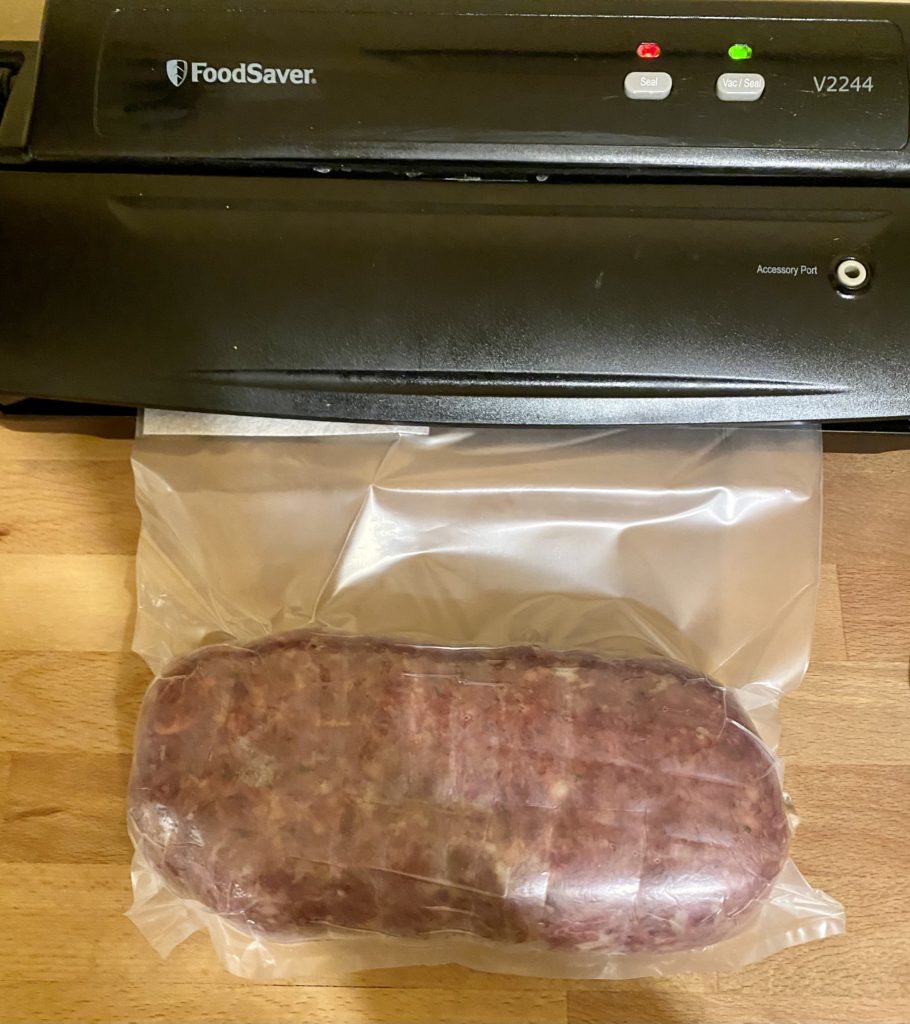
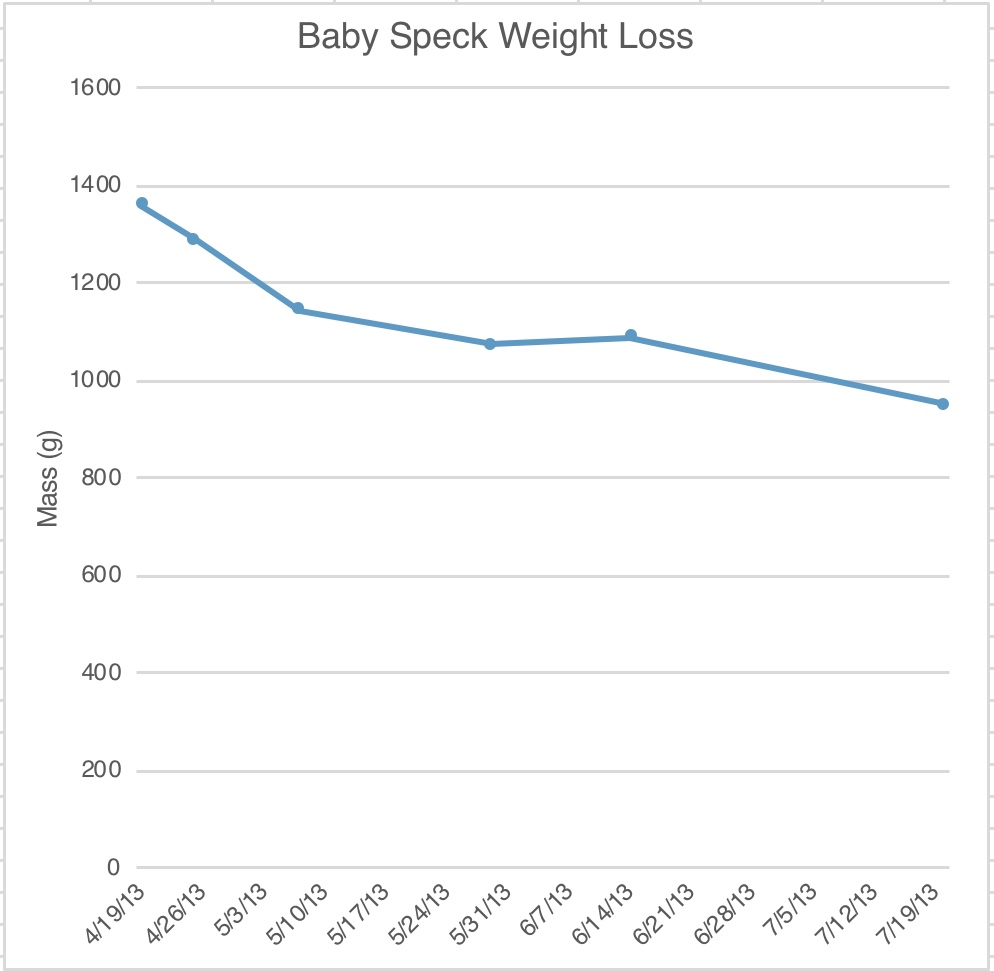
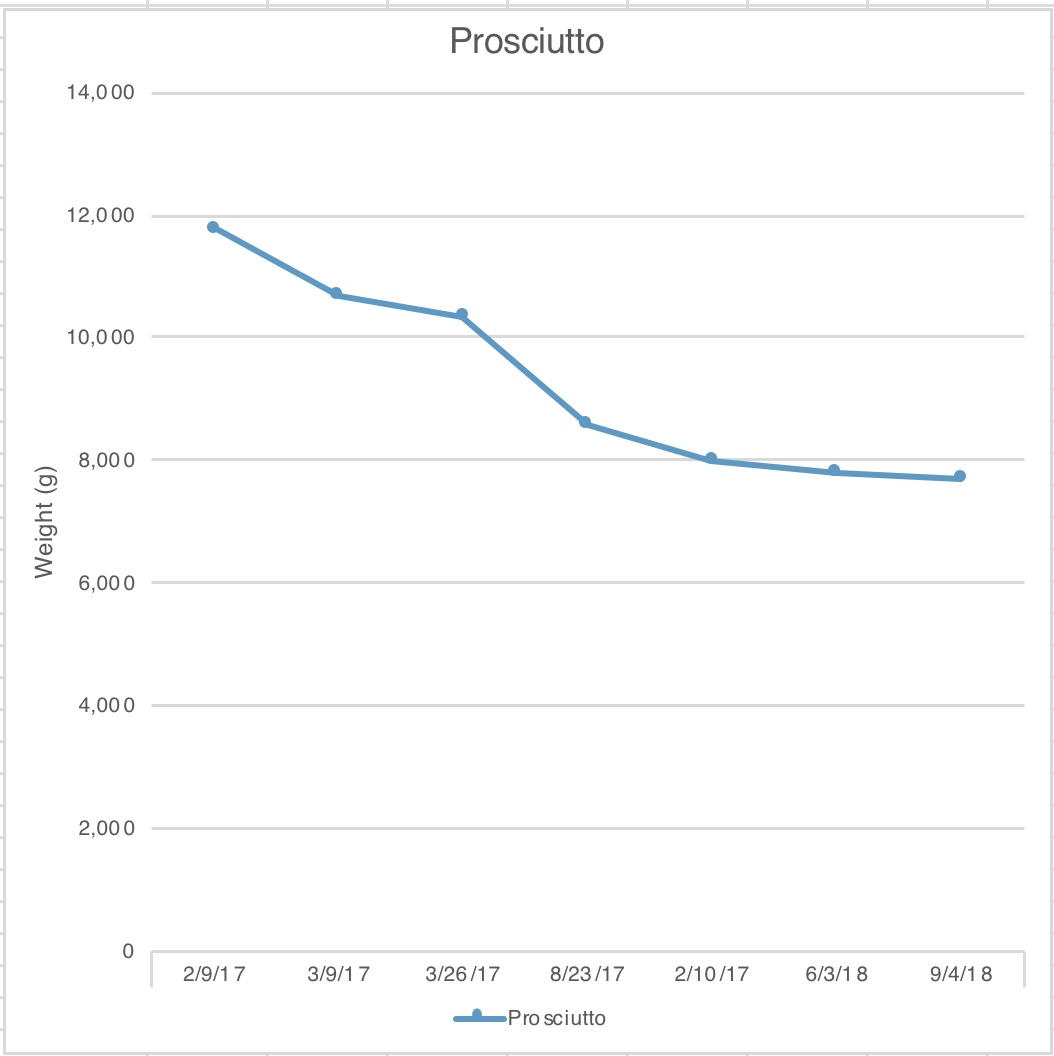
Using a metal rack, I set up a nice micro-environment for it in the vegetable drawer in the fridge. It can stay here until it loses 30-45% of its initial weight, or I can move it to the curing chamber at any point.
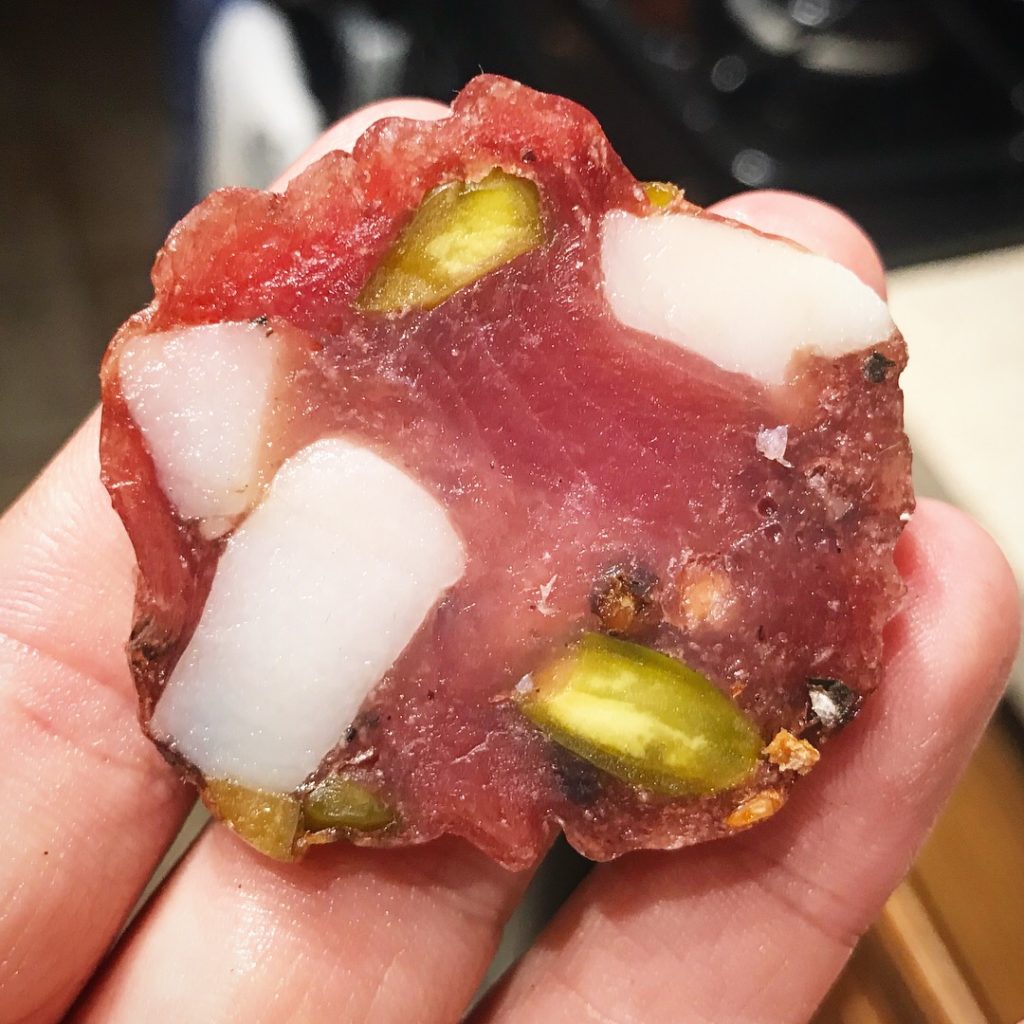
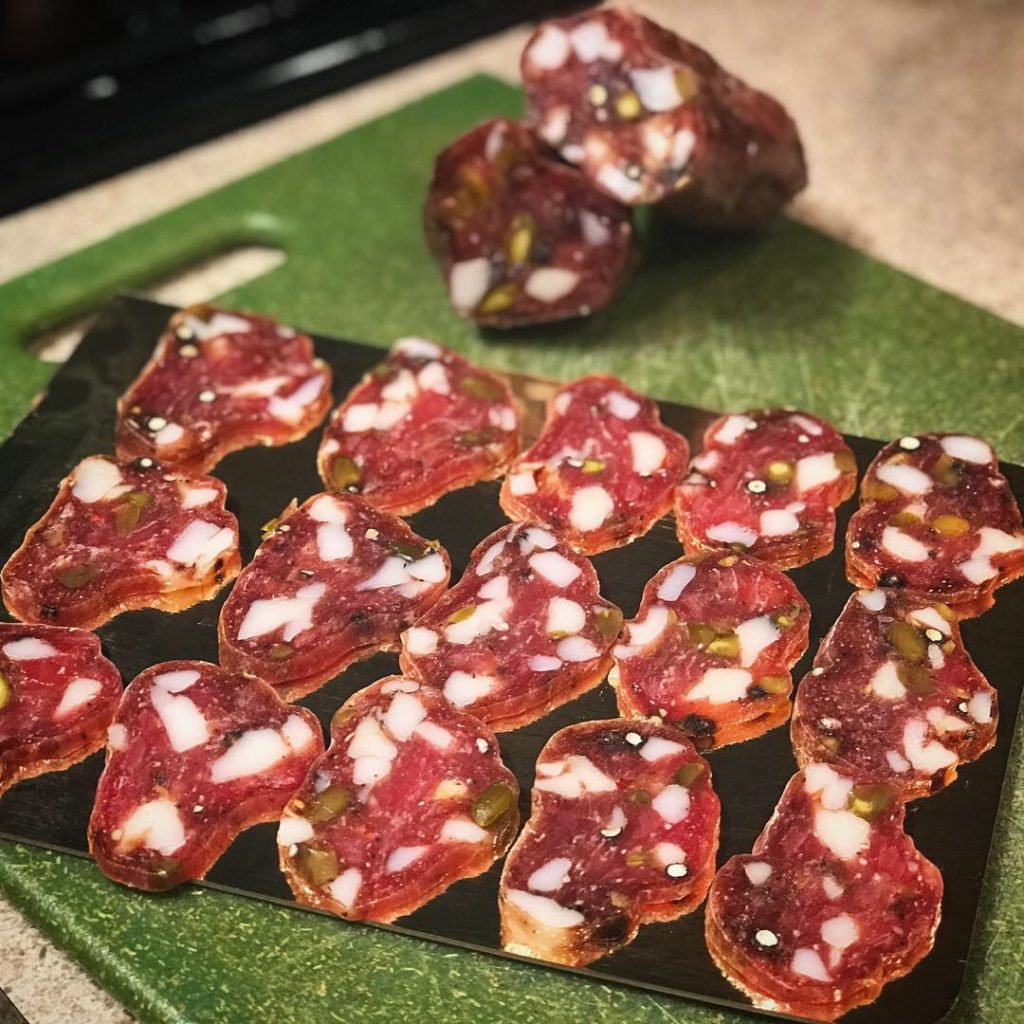
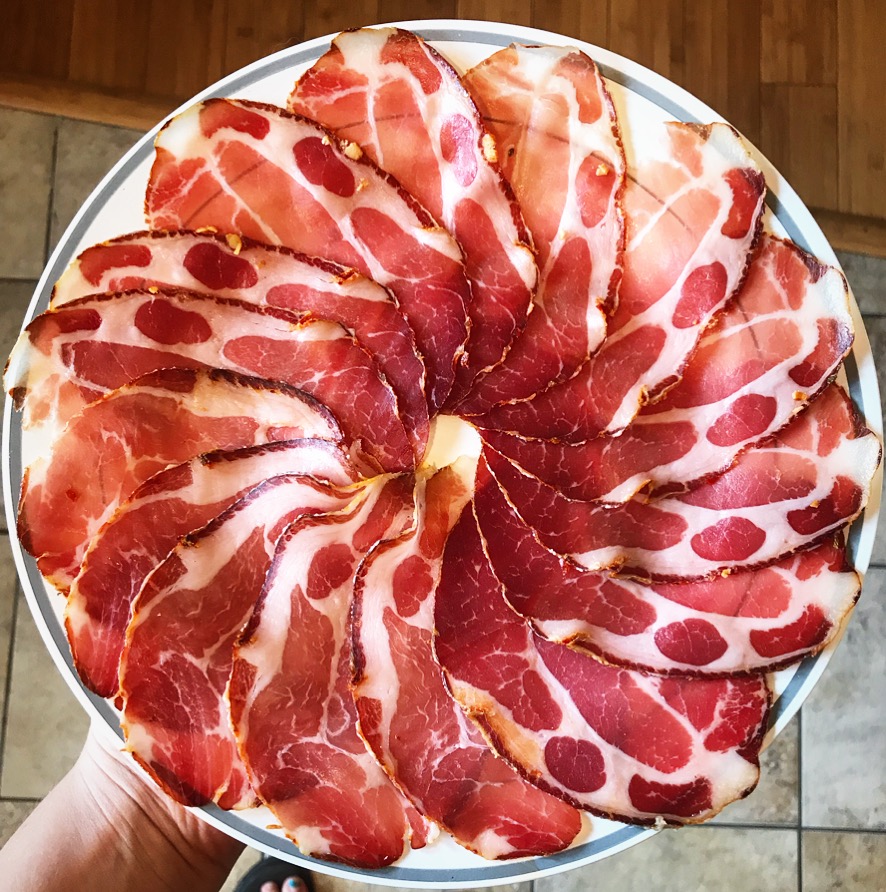
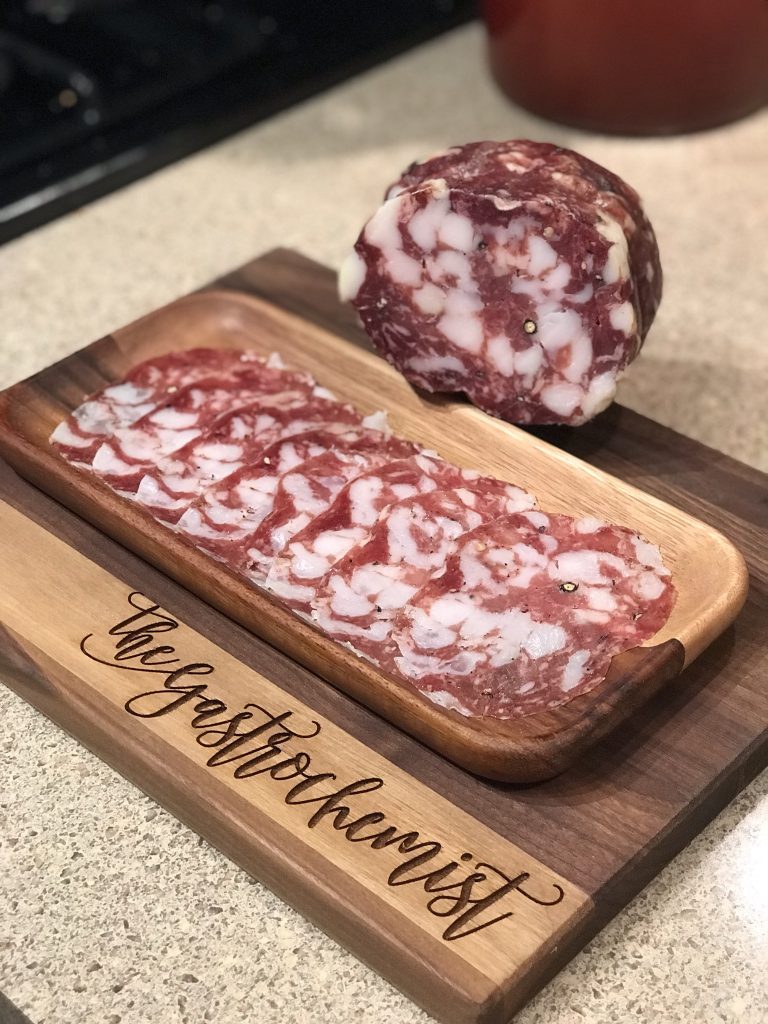
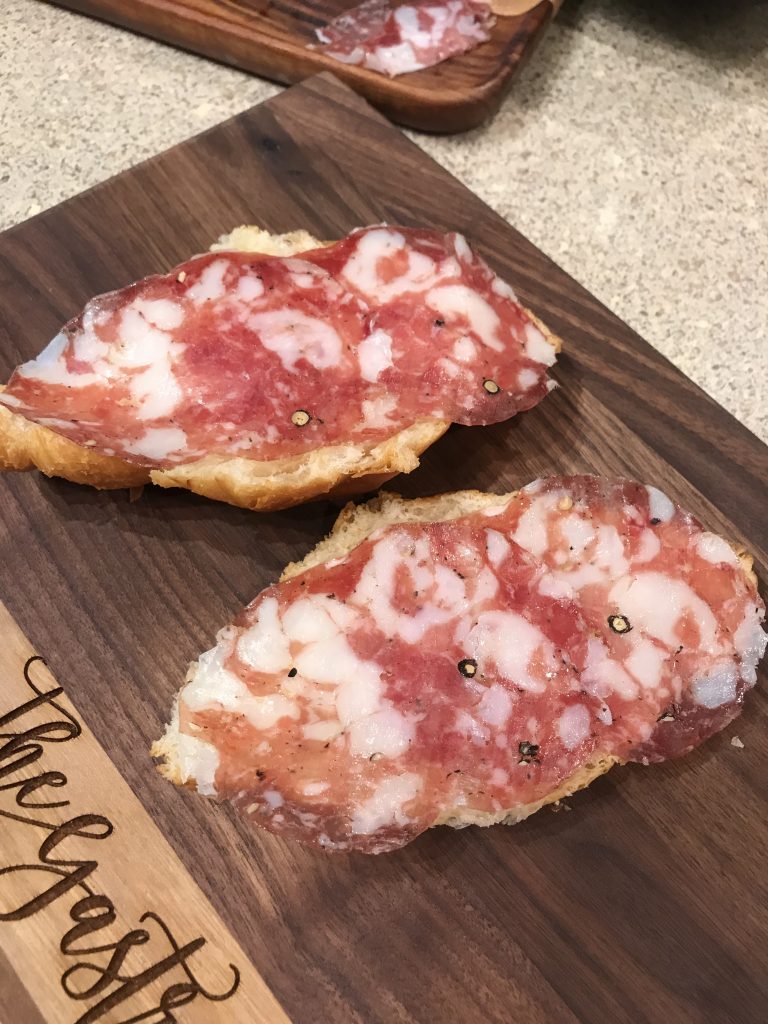
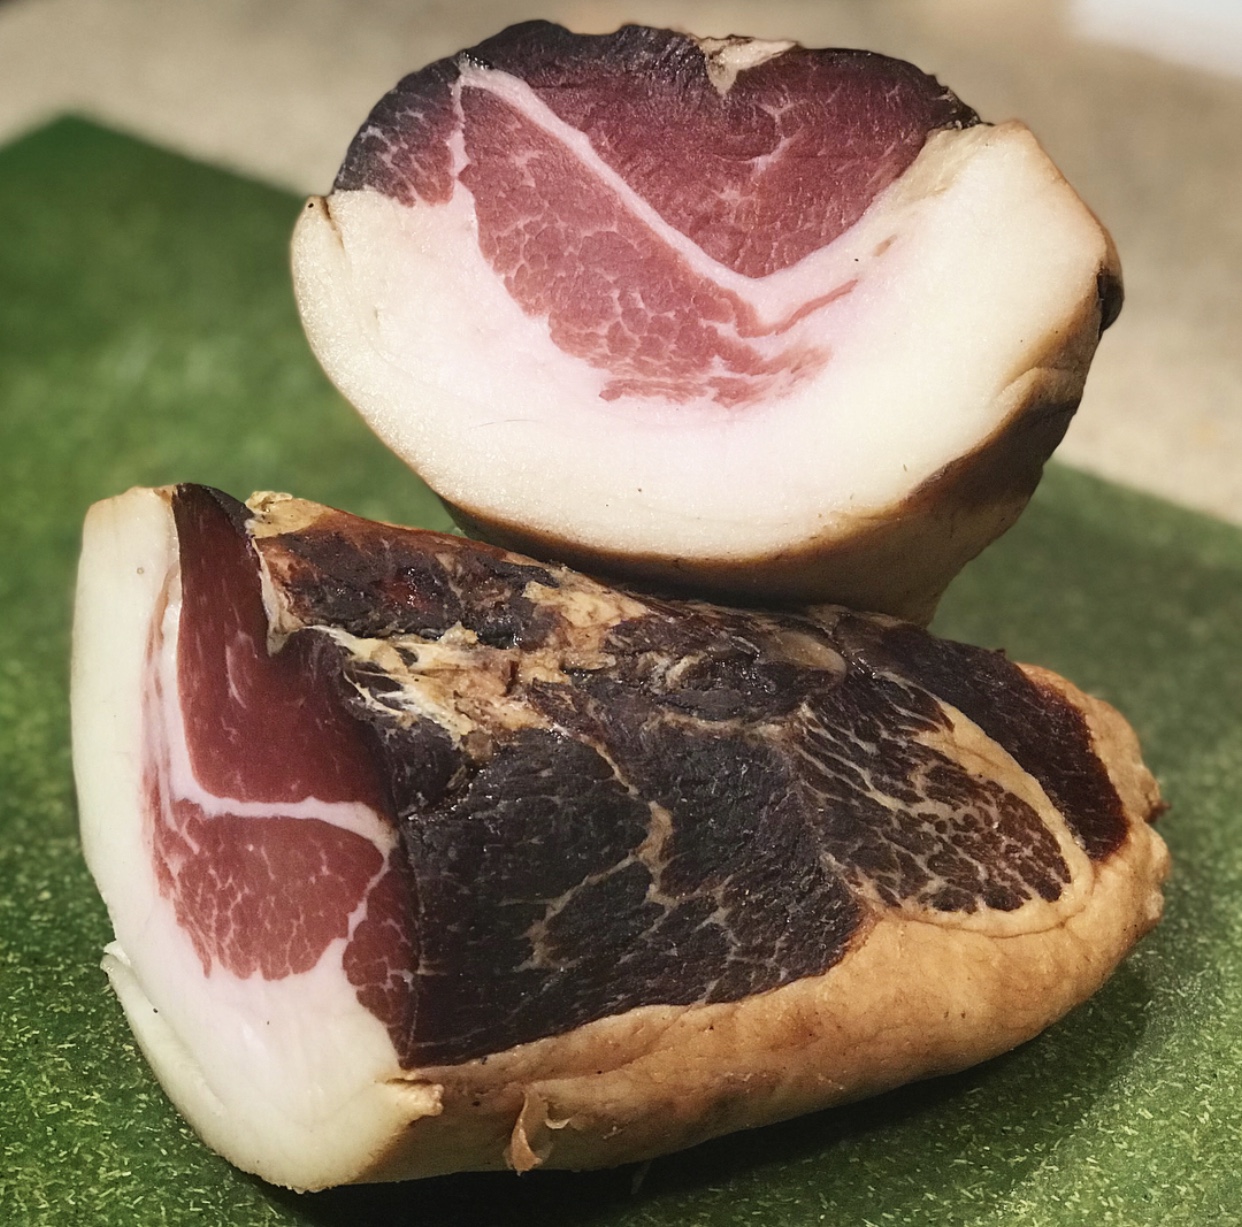
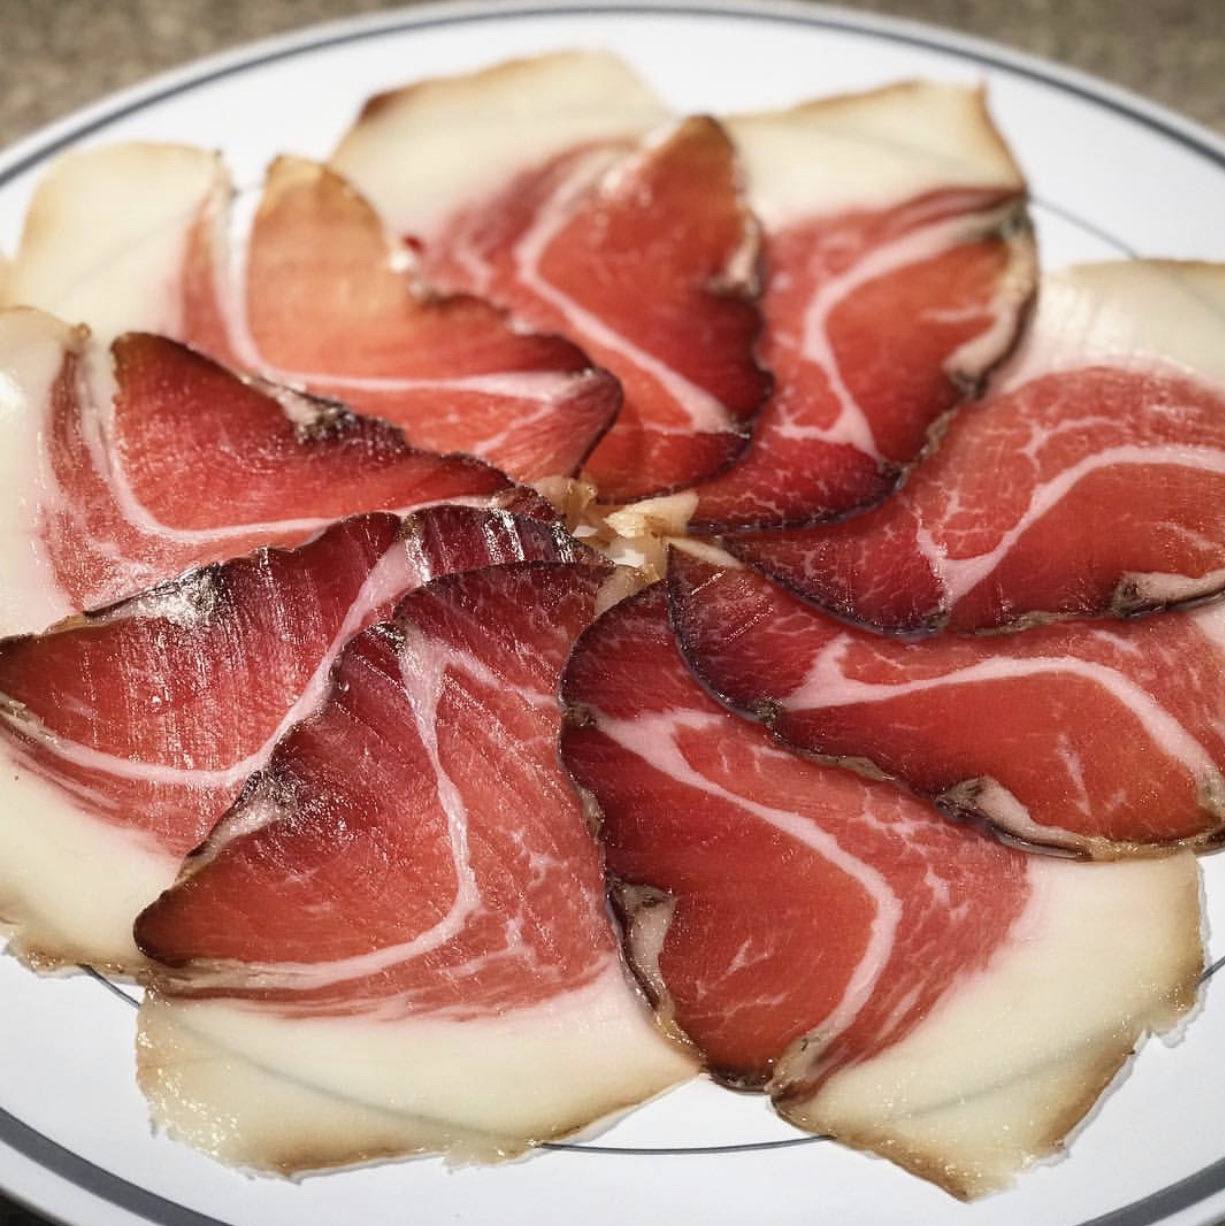
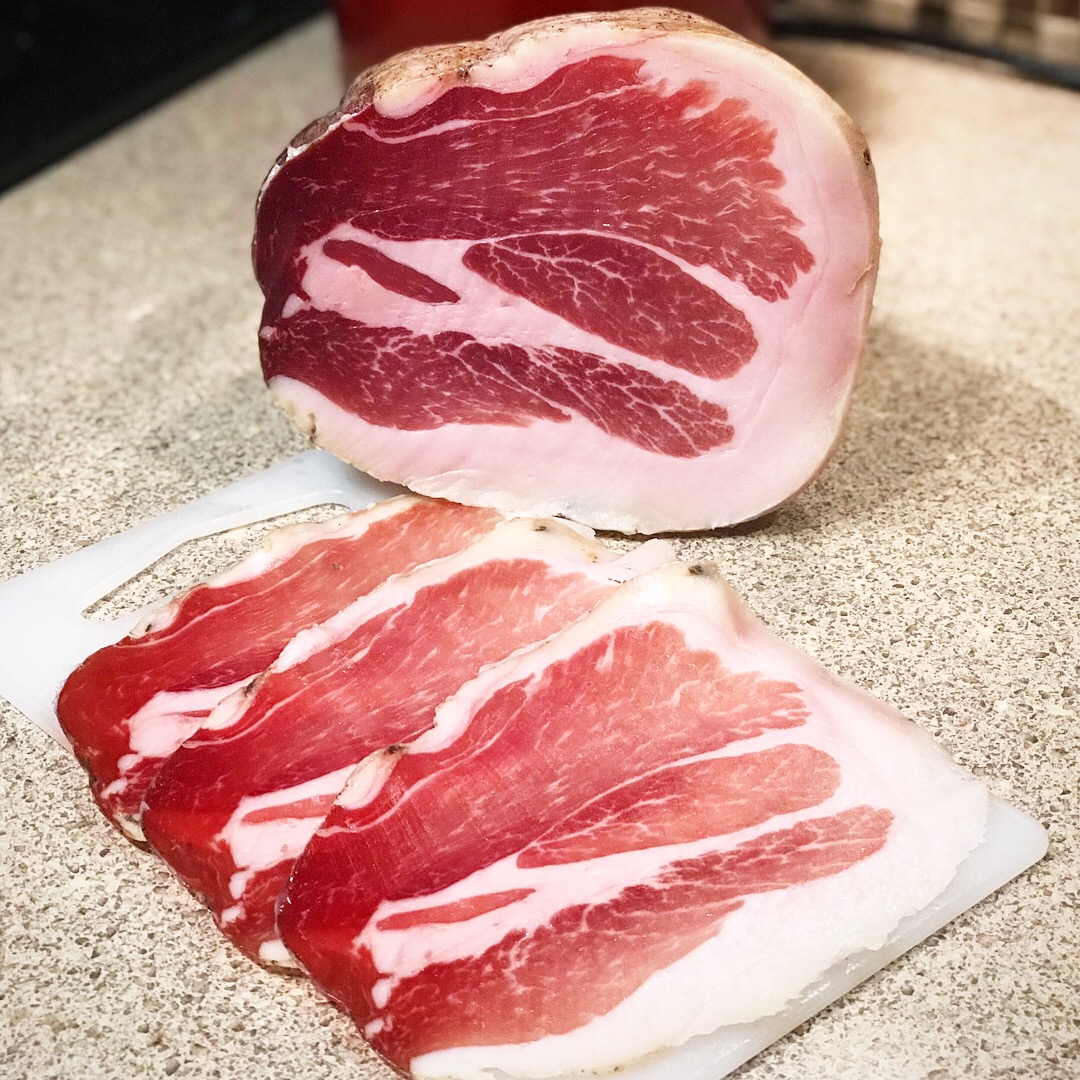
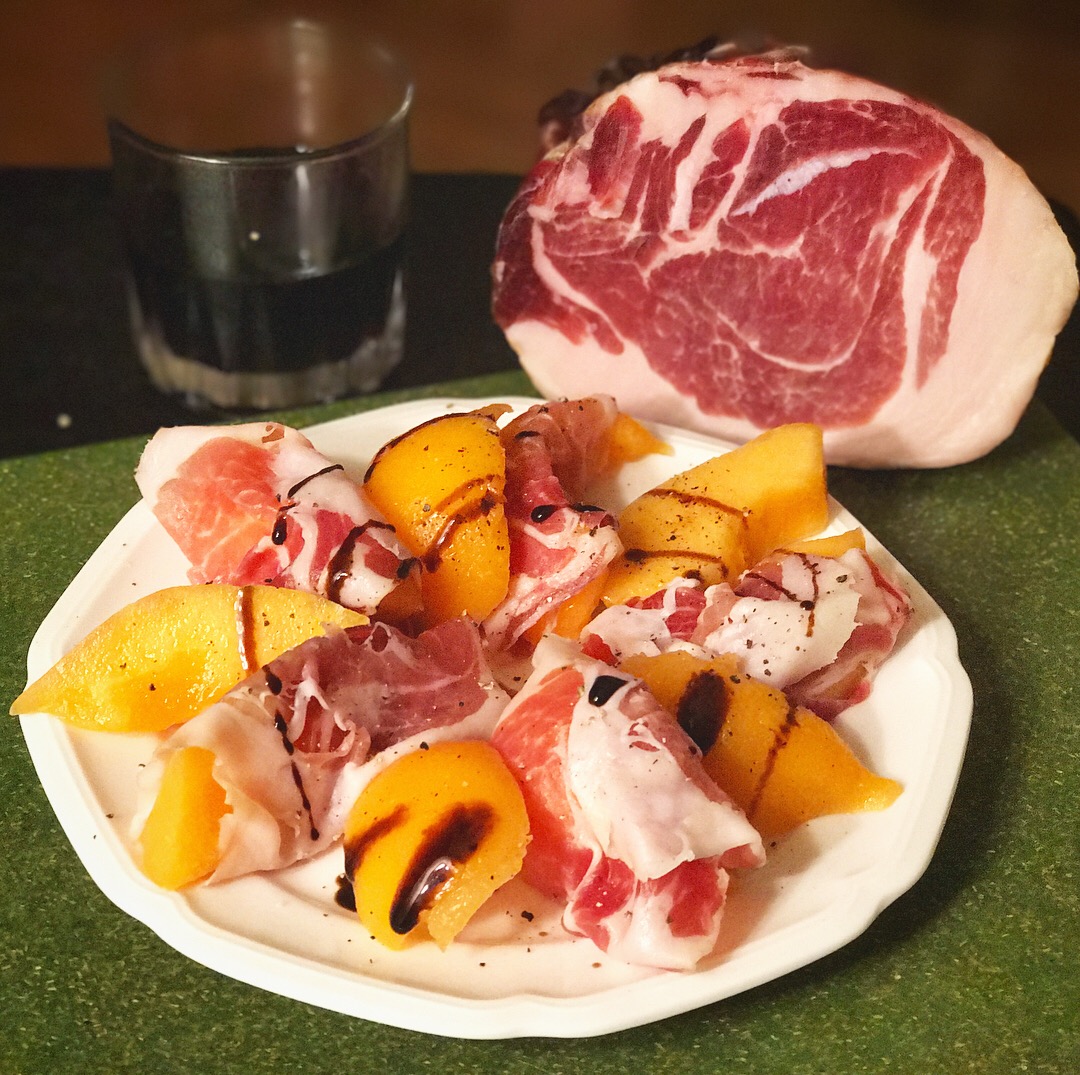
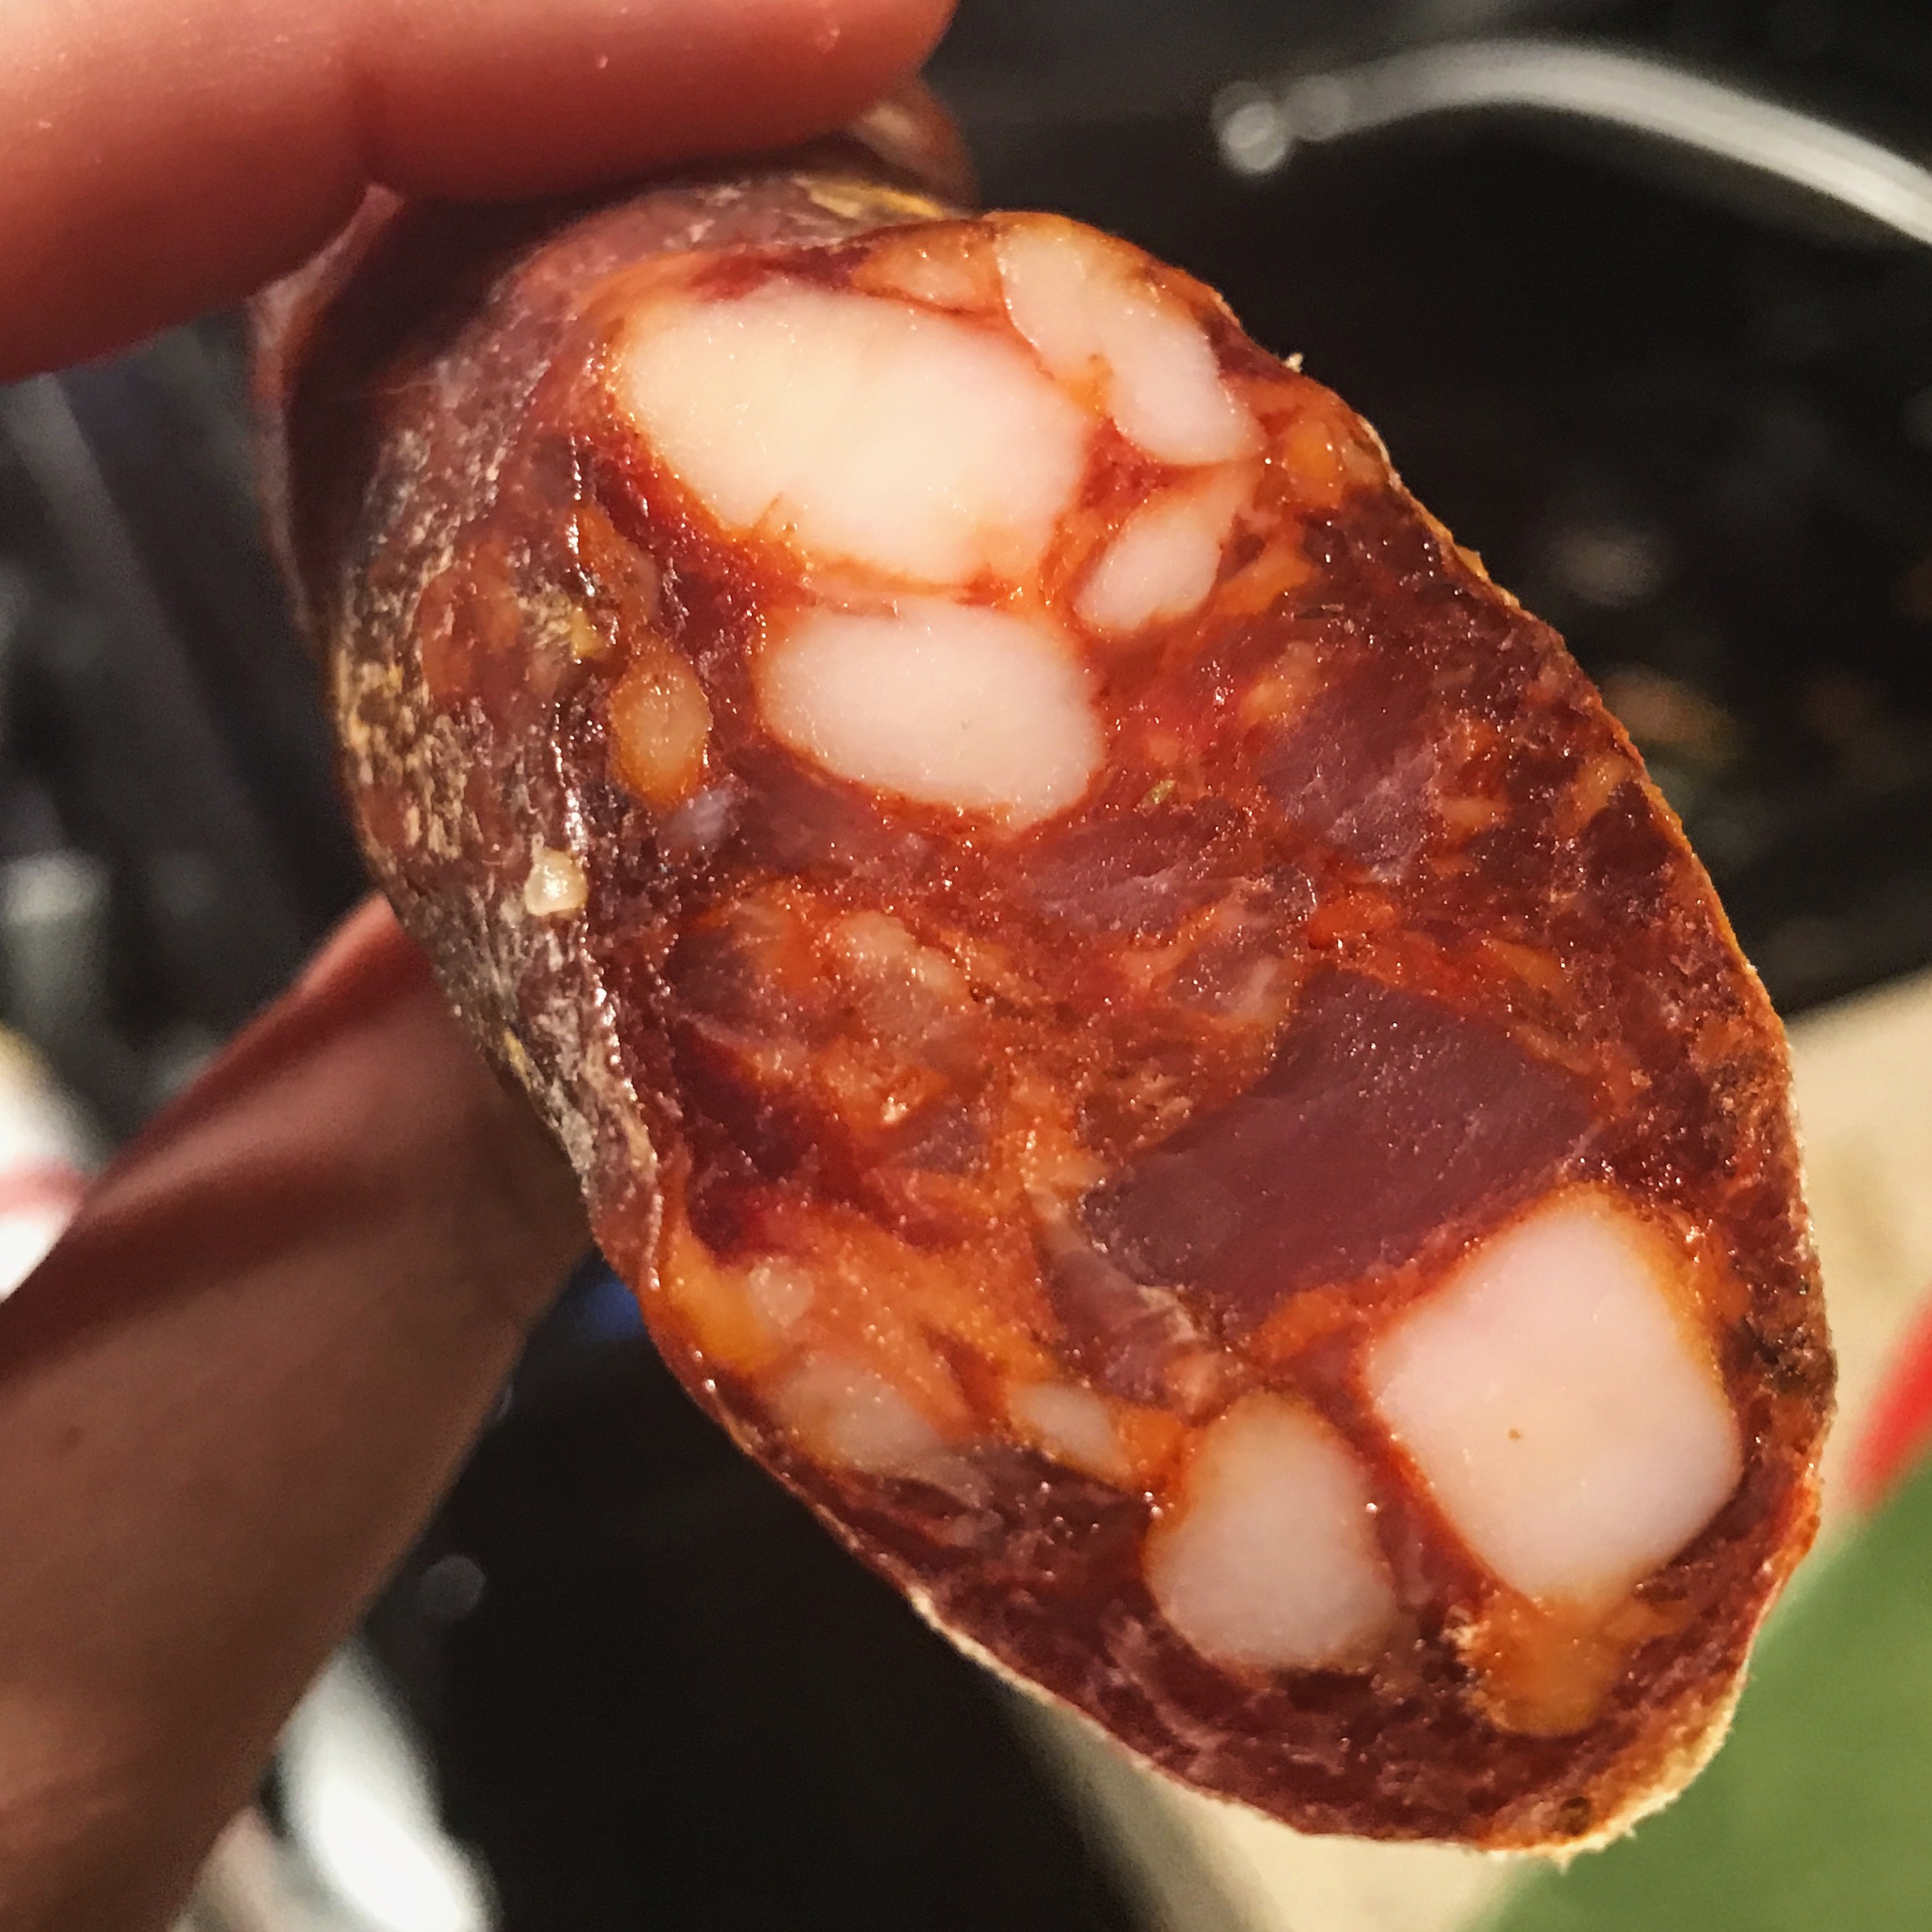
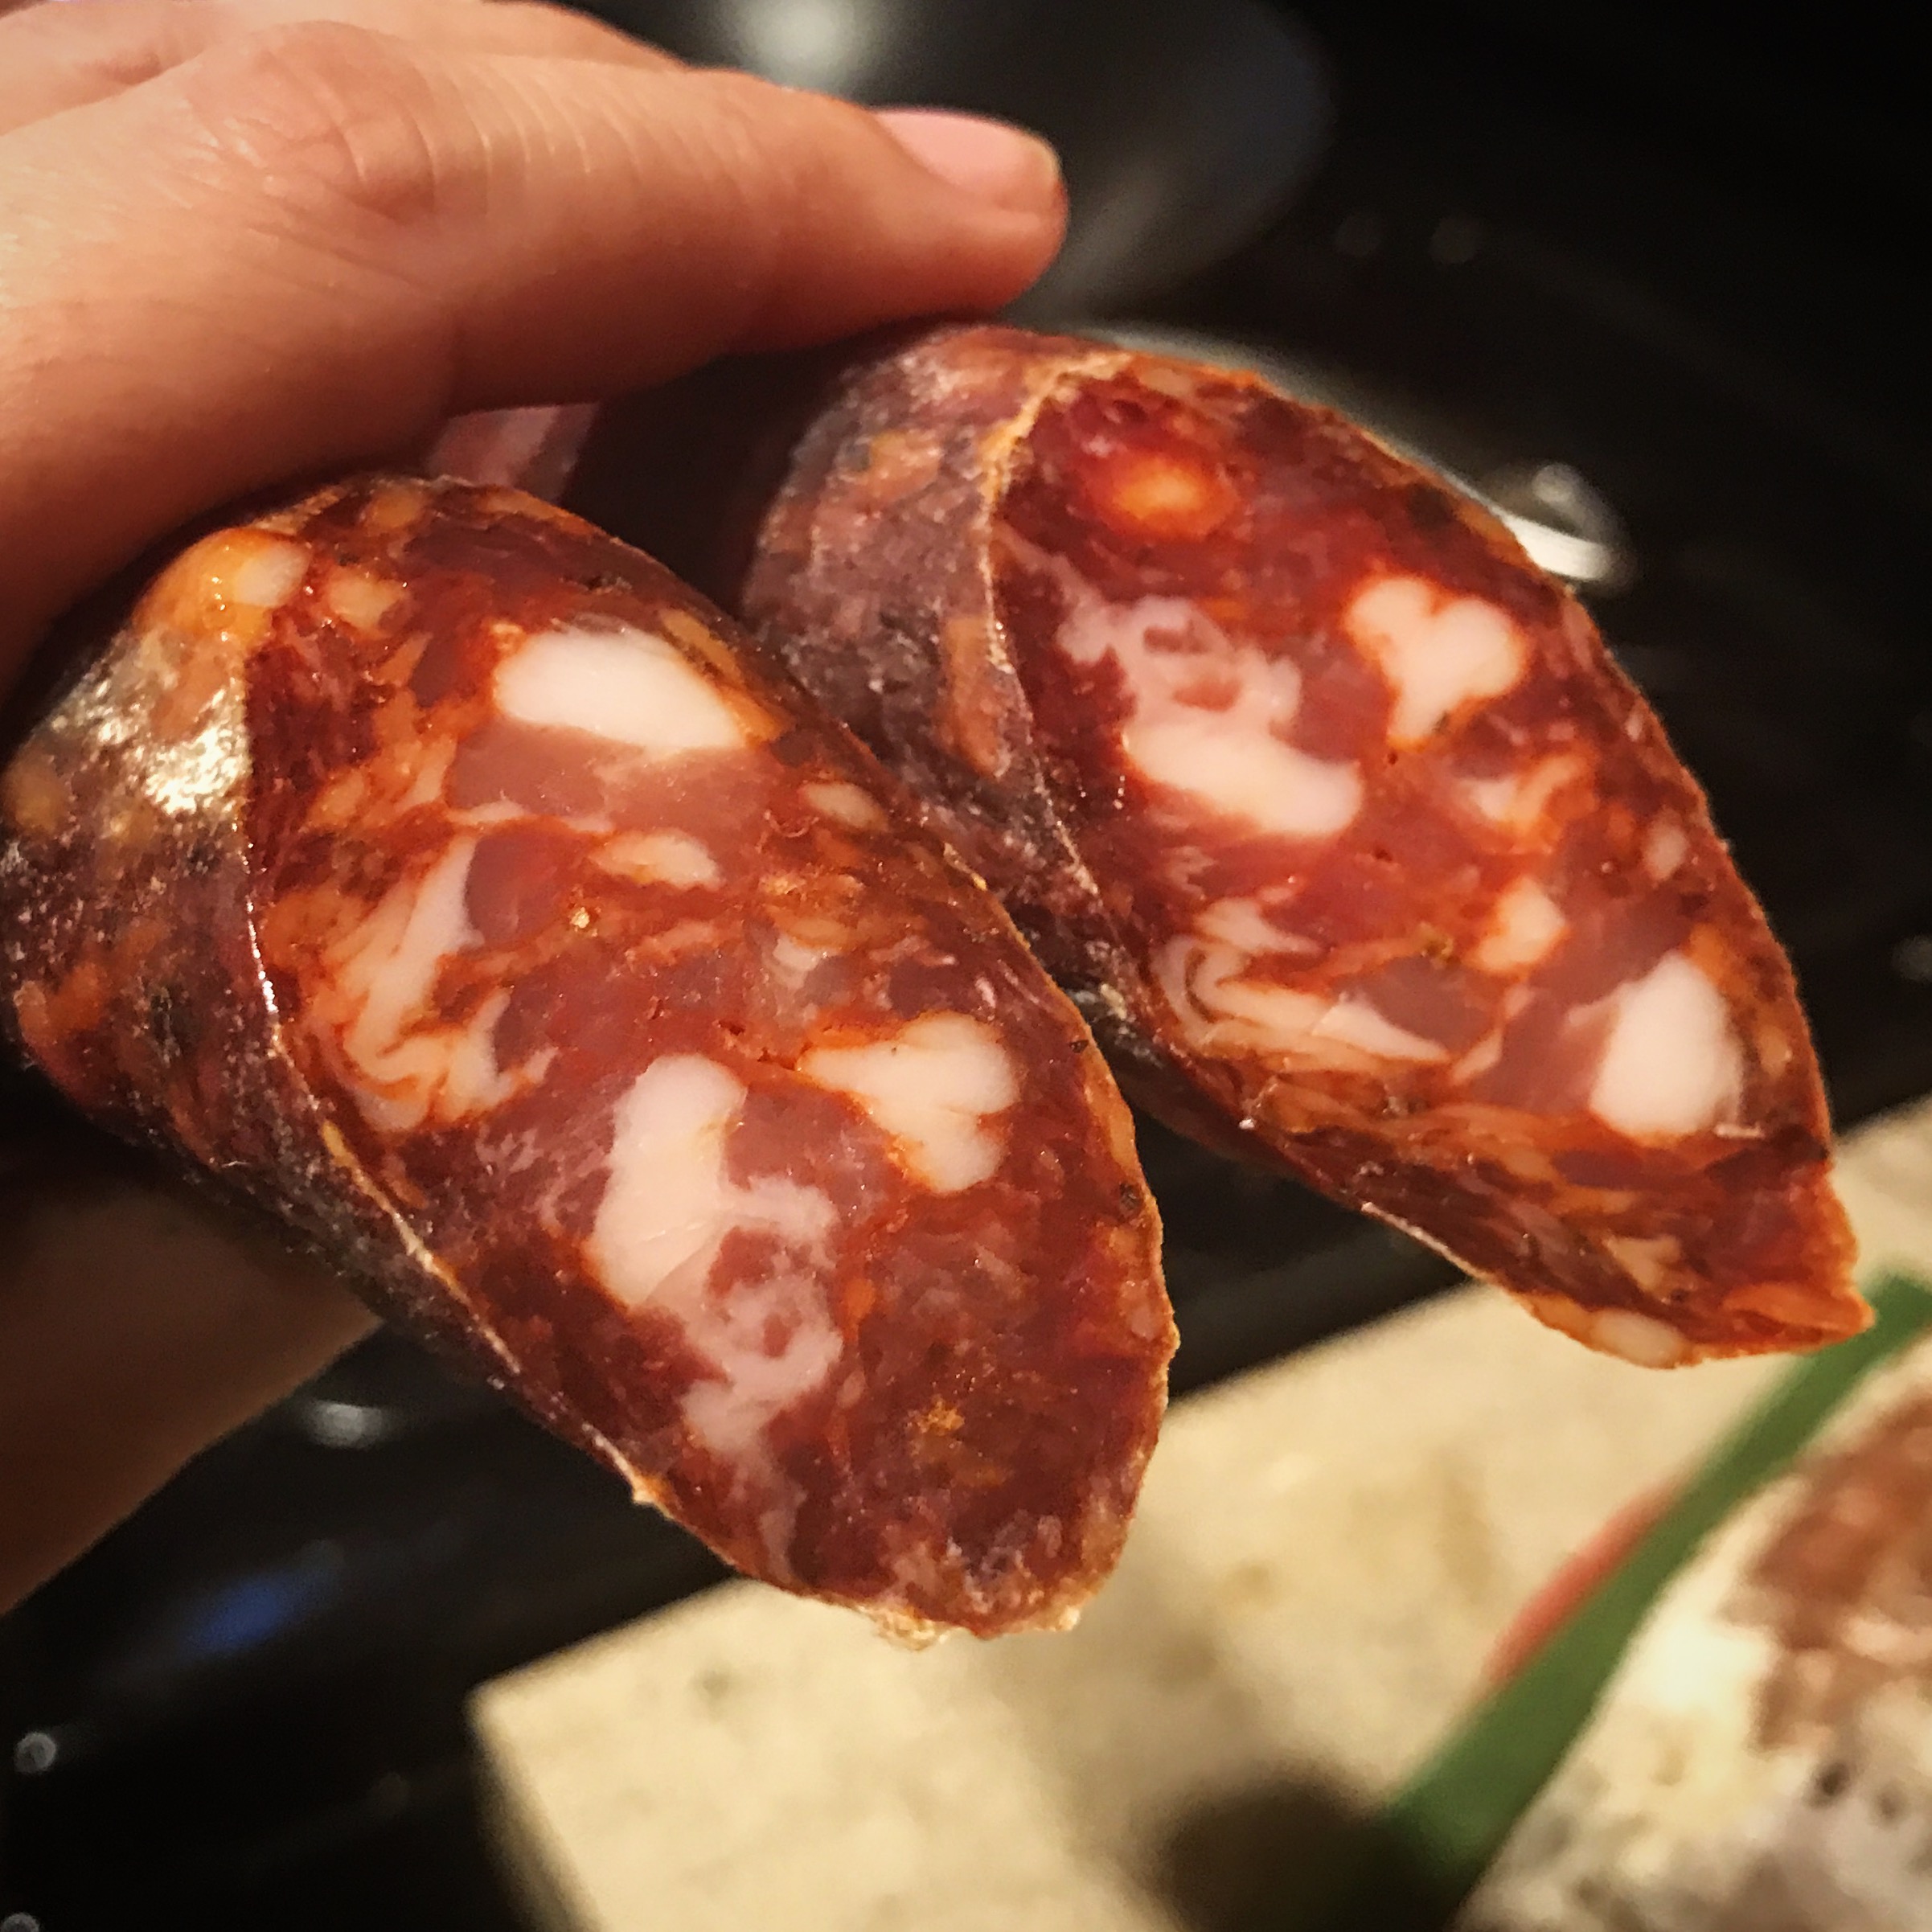
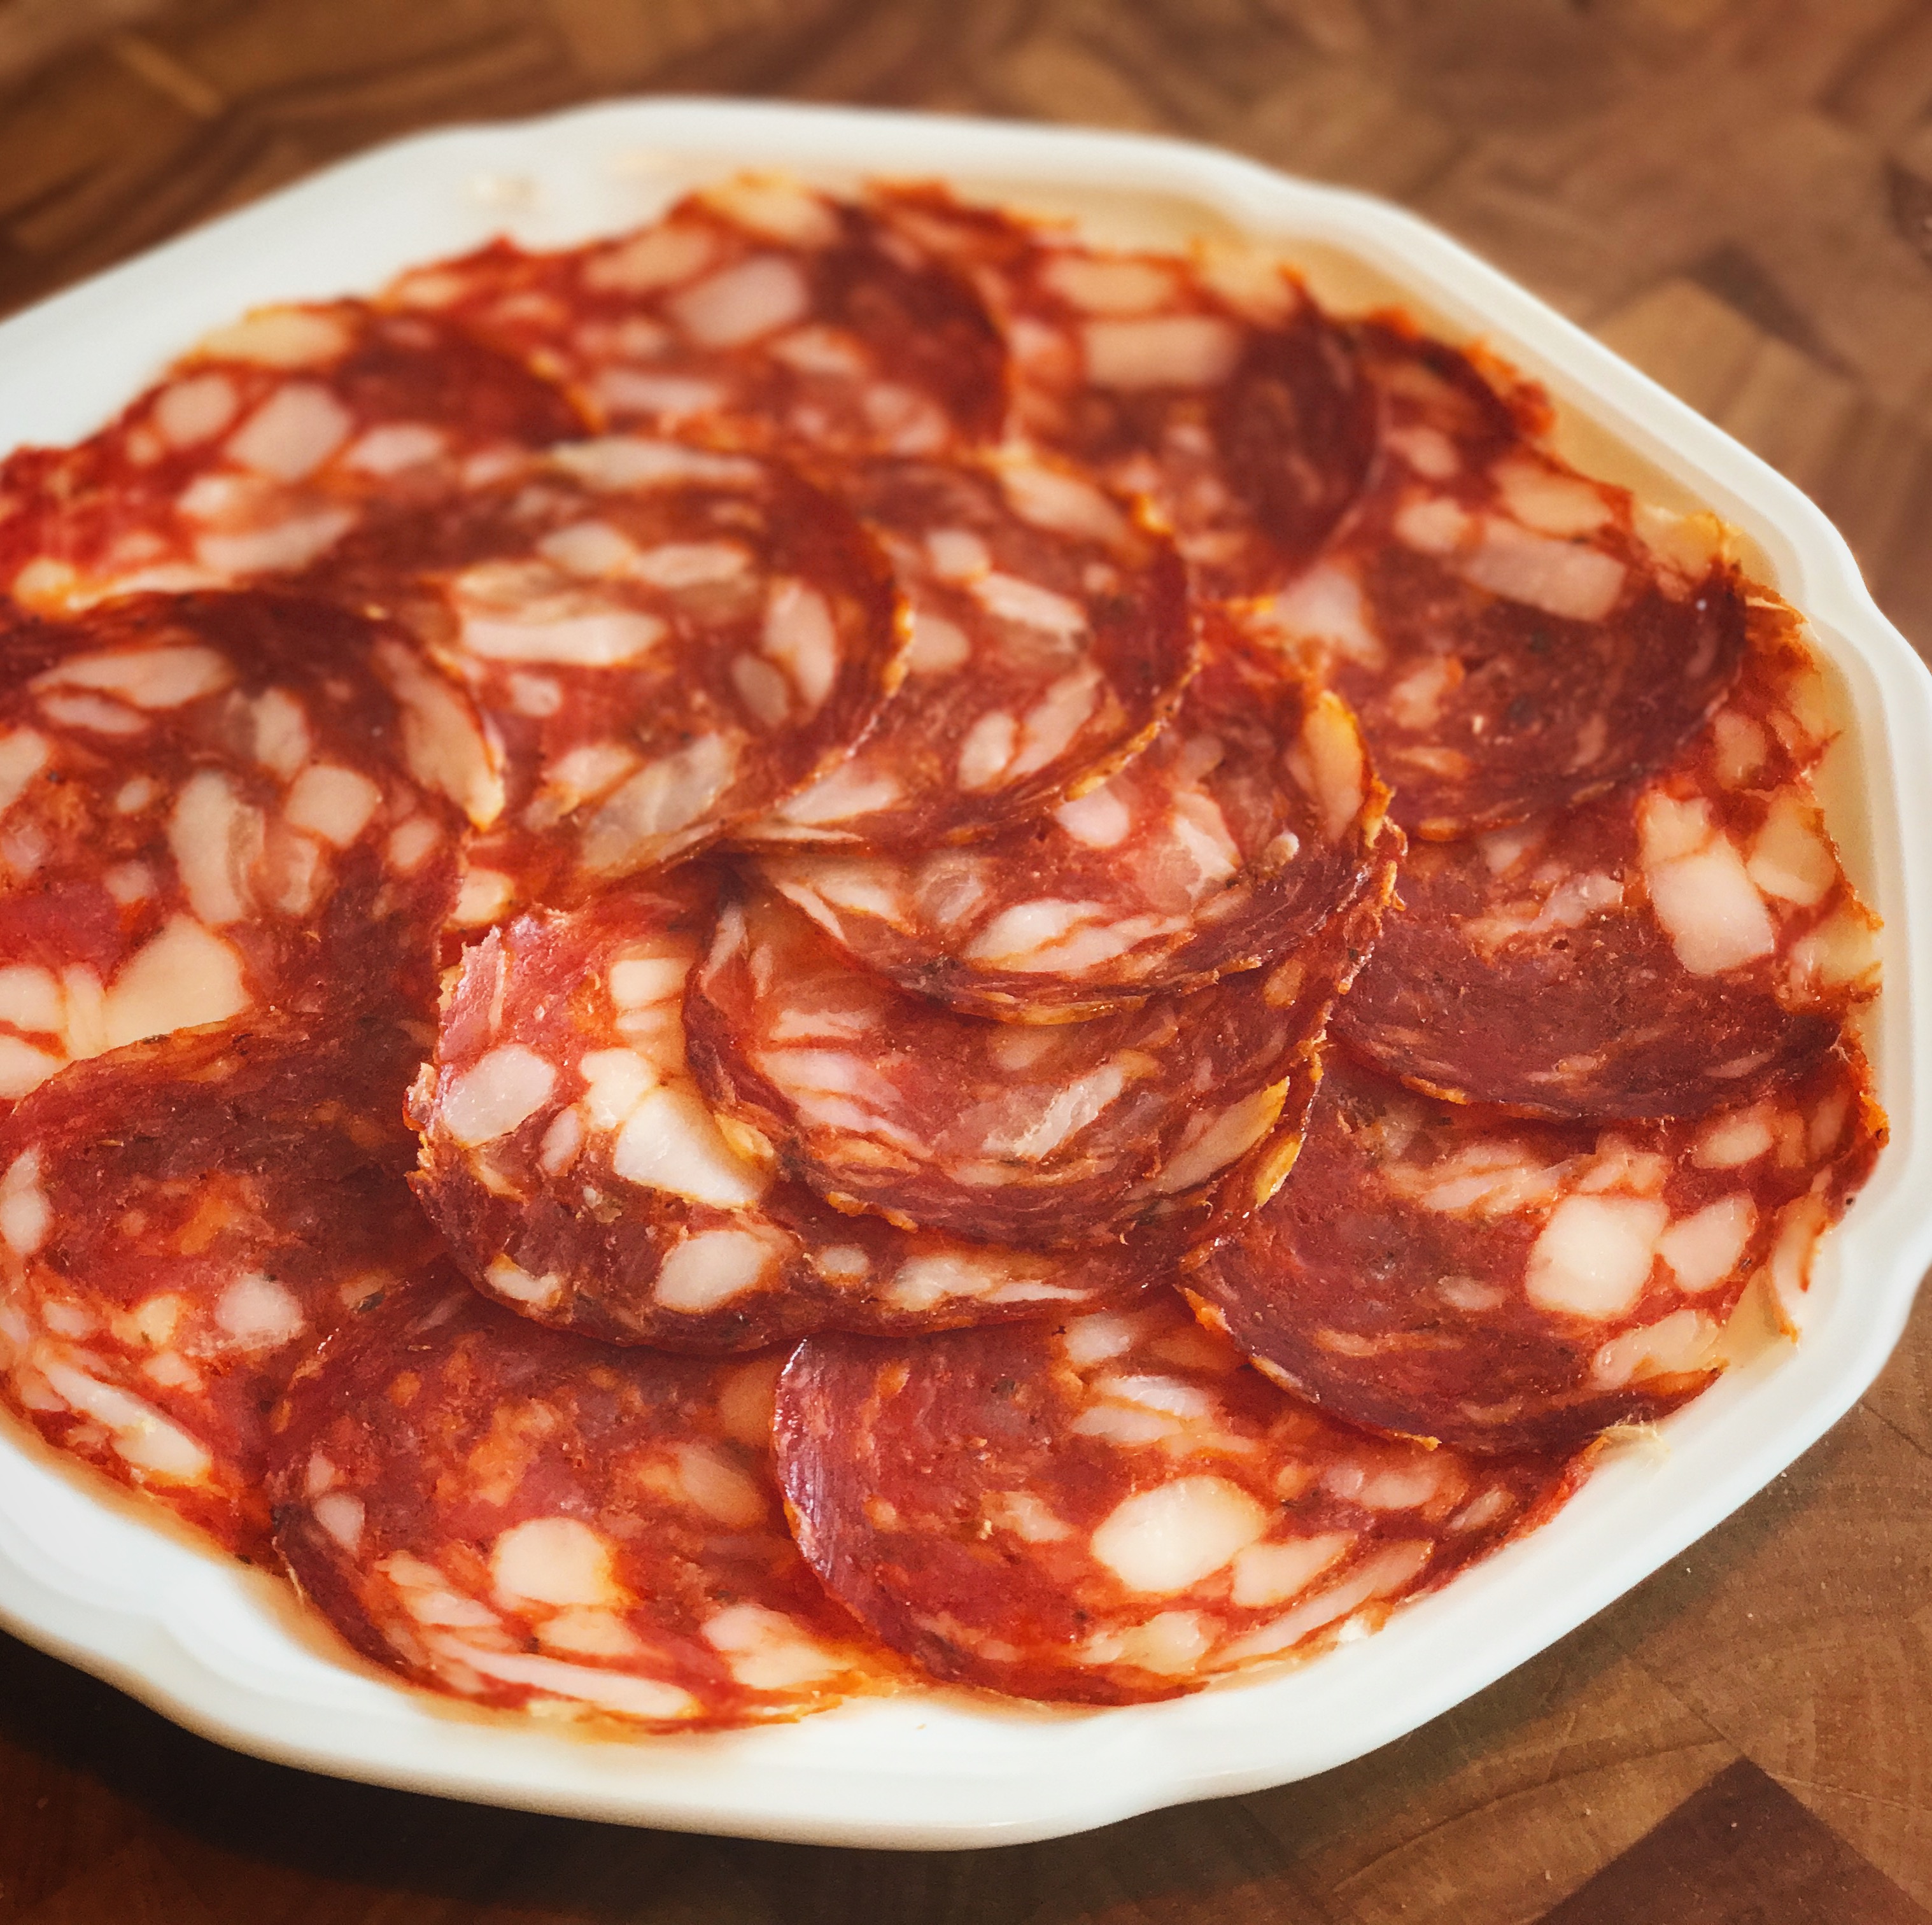
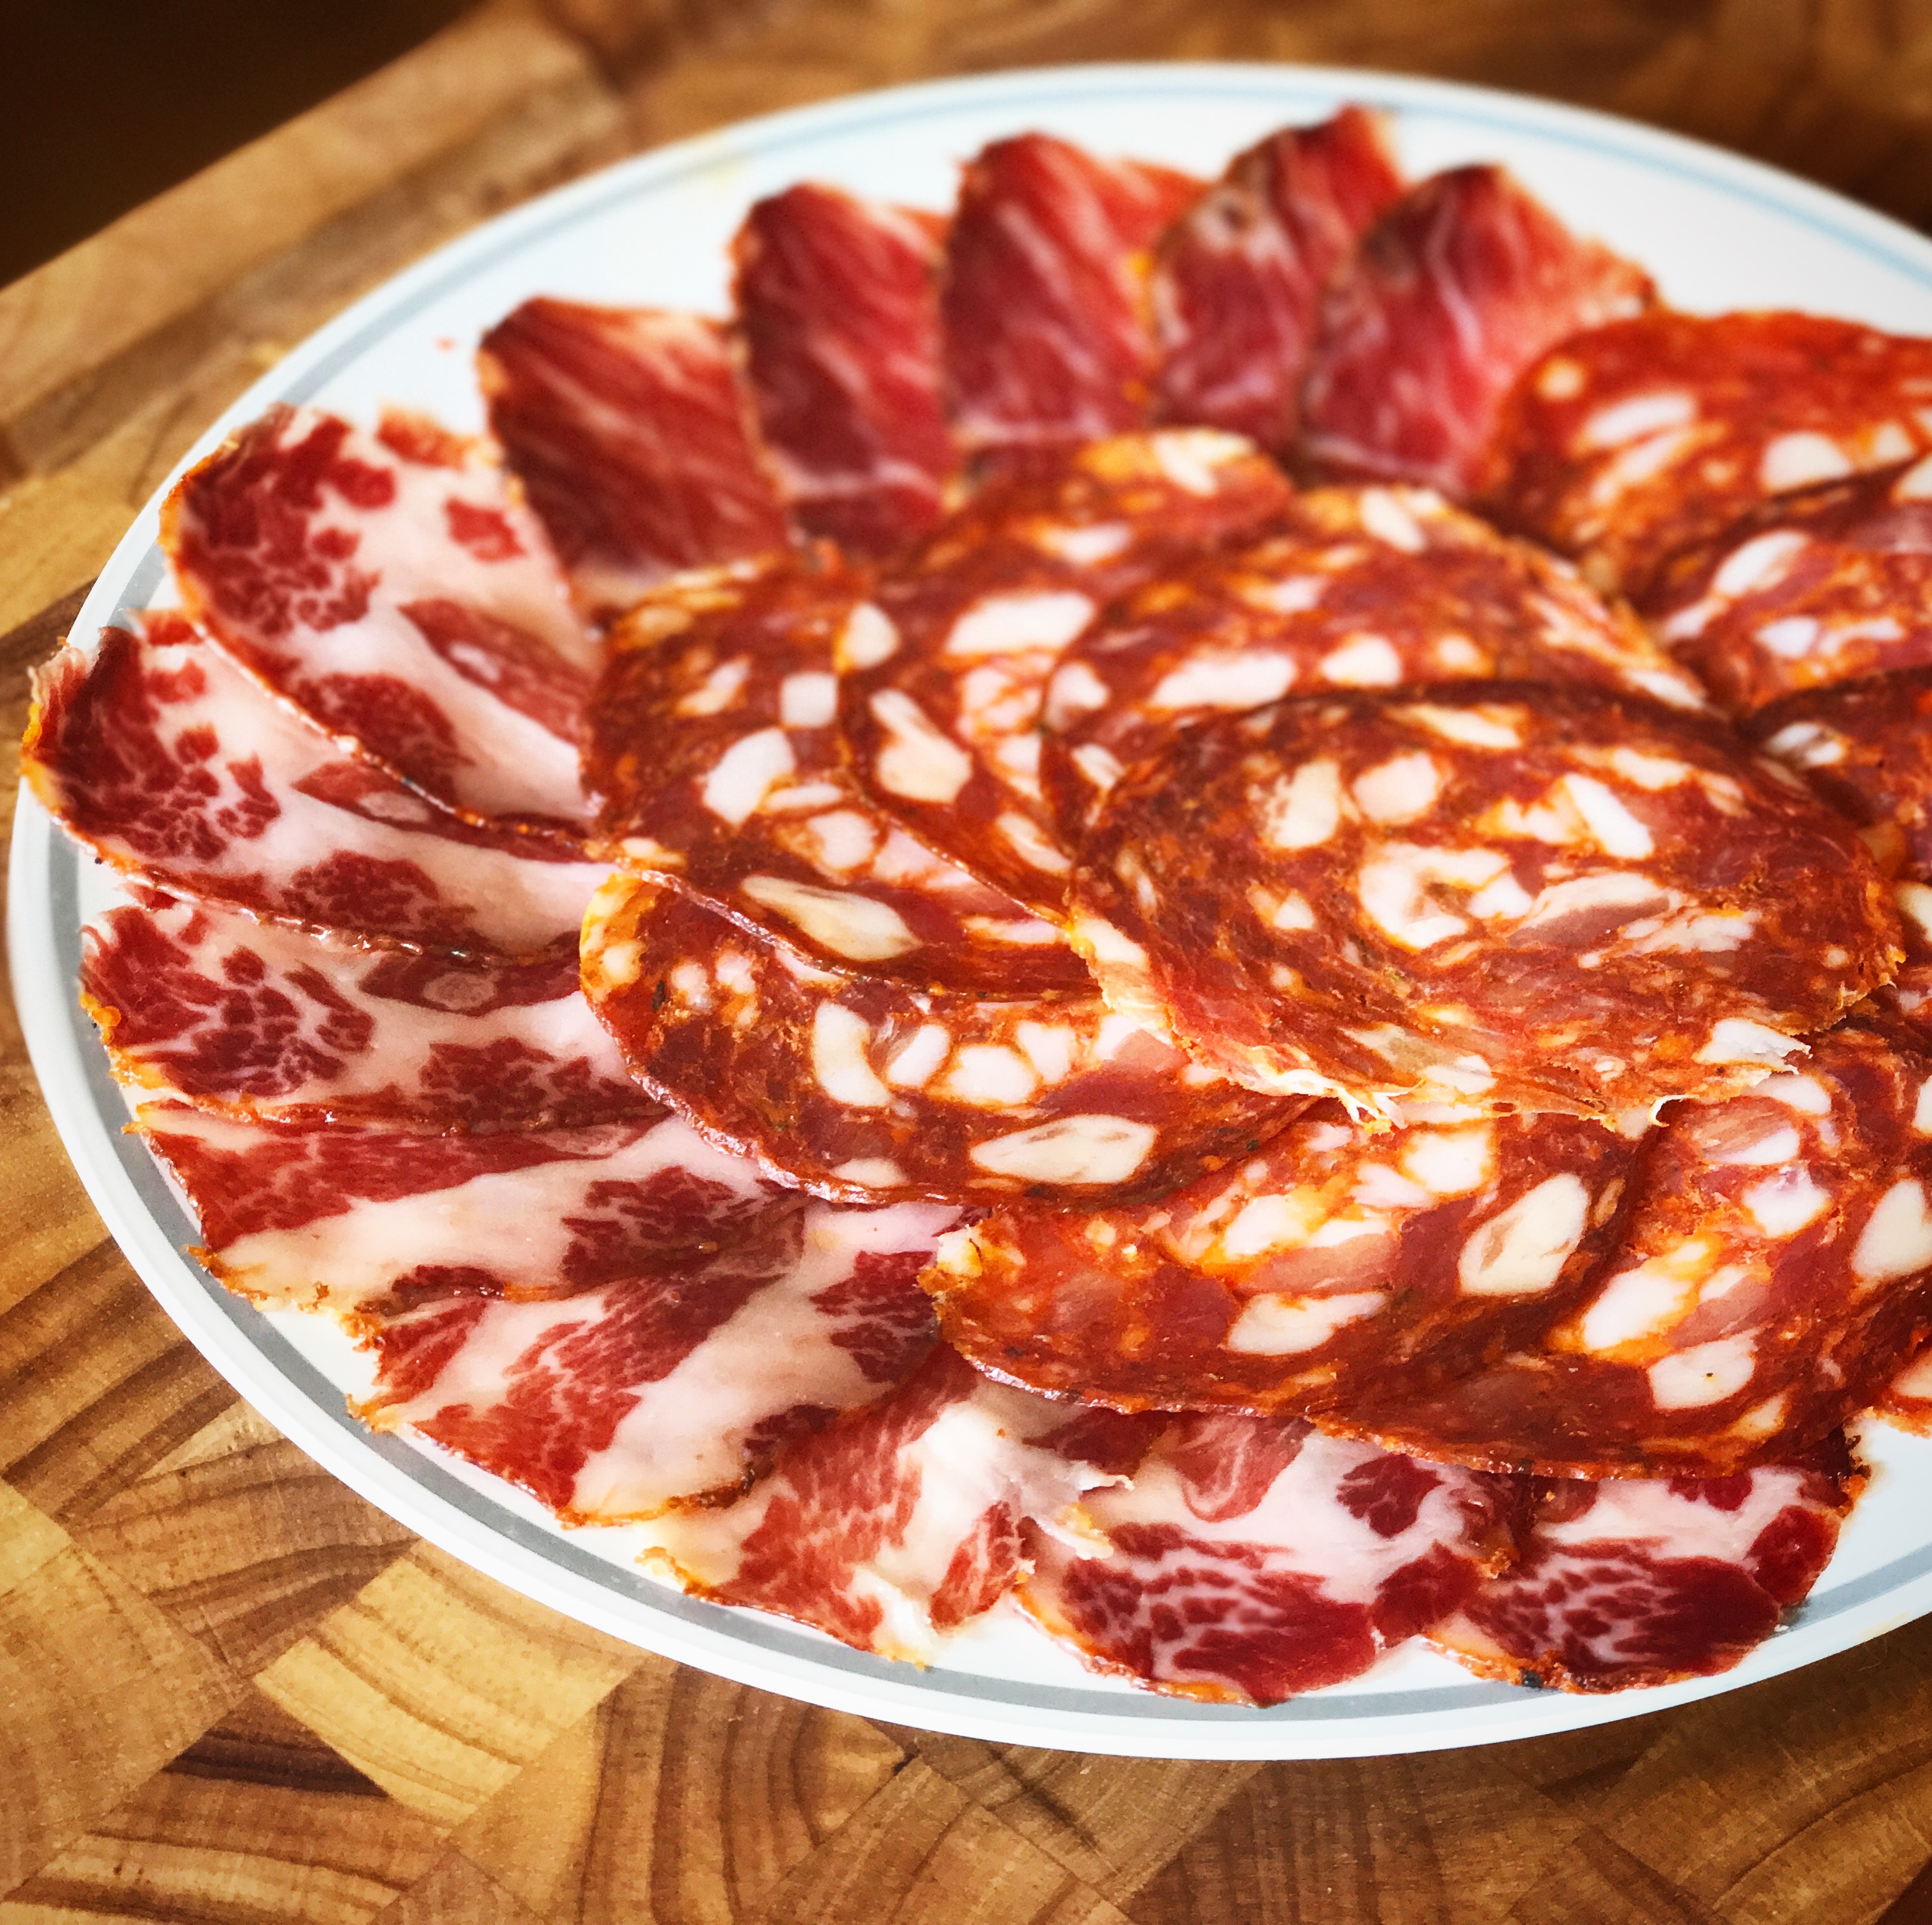
Tasting
To be continued!