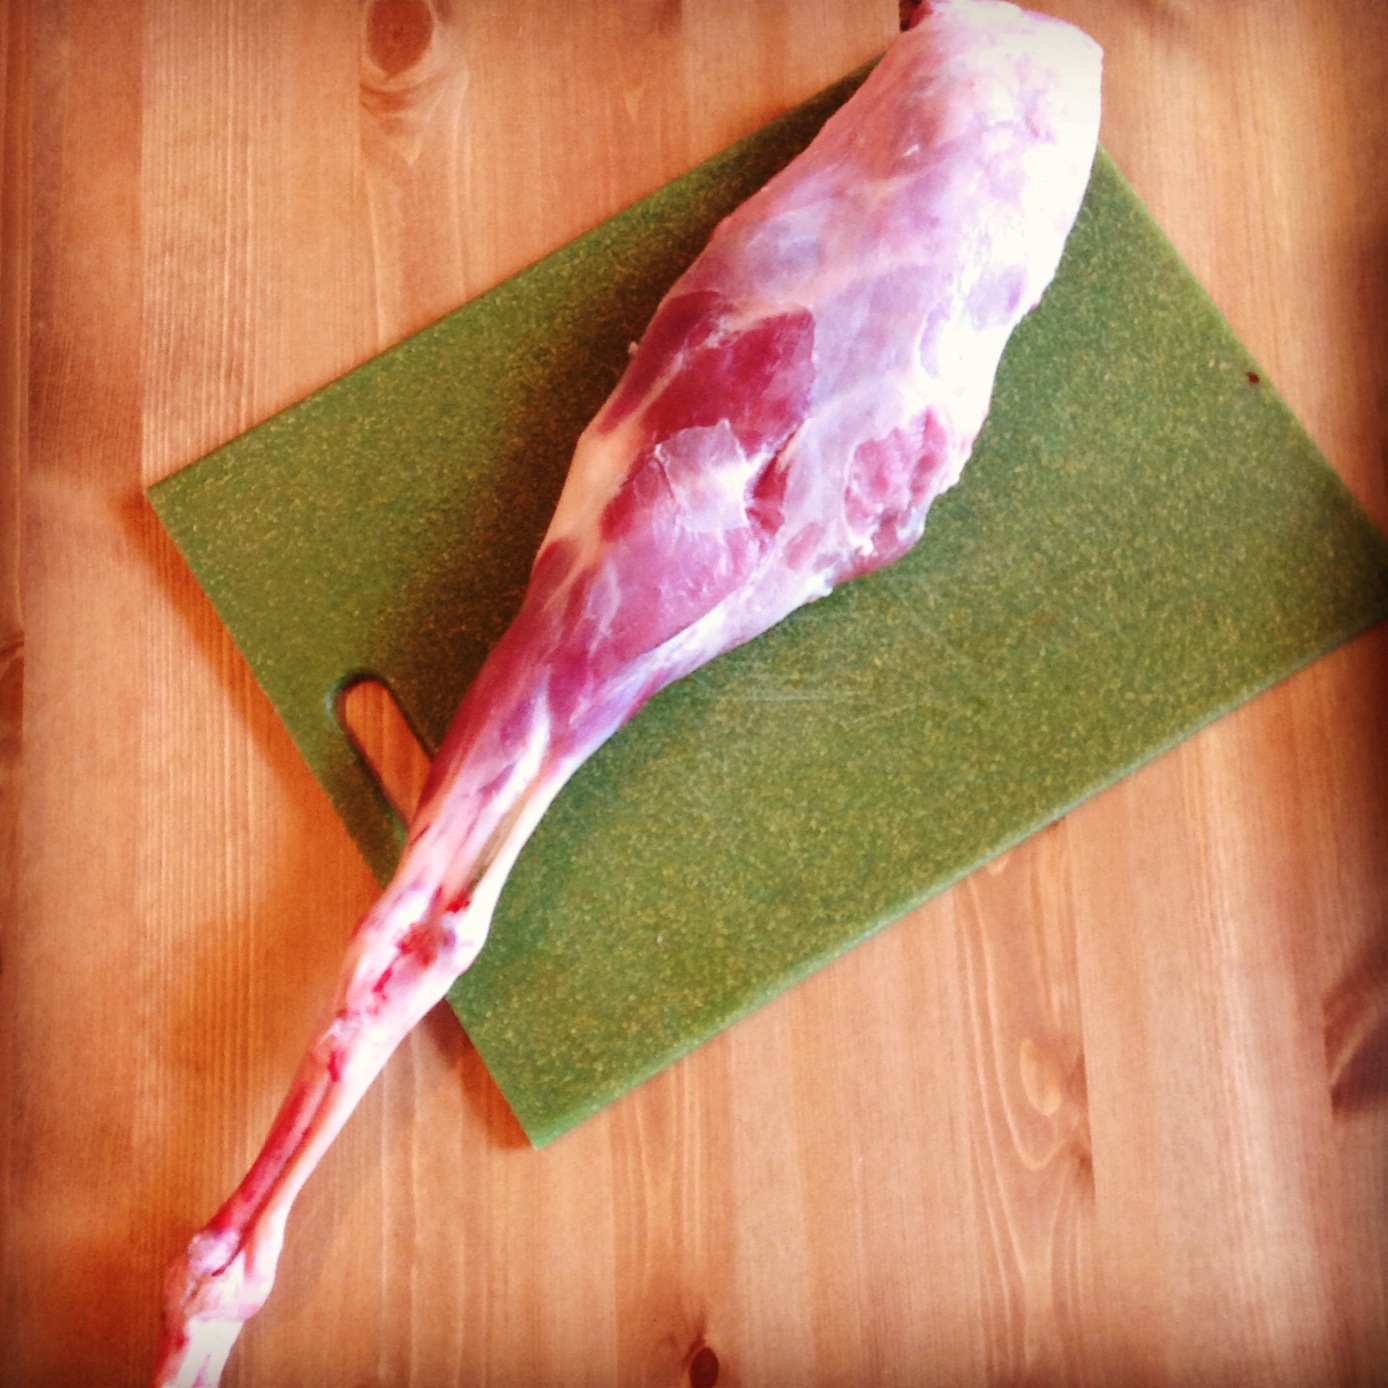
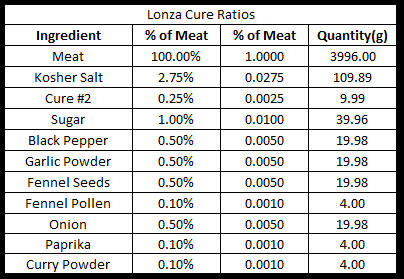
Lomo. Lonza. Lonzino. Not a magical spell or the conjugation of a foreign word, but some of the different names that cured pork loin goes by. In this post, I will discuss a basic lonza that I have cured with your regular, run of the mill pork loin from Costco. I used an interesting spice mix which I have used before and really come to like for this type of product. One of the cool things about meat curing is that fantastic starting products yield fantastic end products, but adequate starting predicts still yield great final products. I am a huge fan of buying great quality, responsibly raised meat from local farmers that you know. However, this isn’t always an option, and Costco still has pretty good quality meat that is great for meat curing experiments.
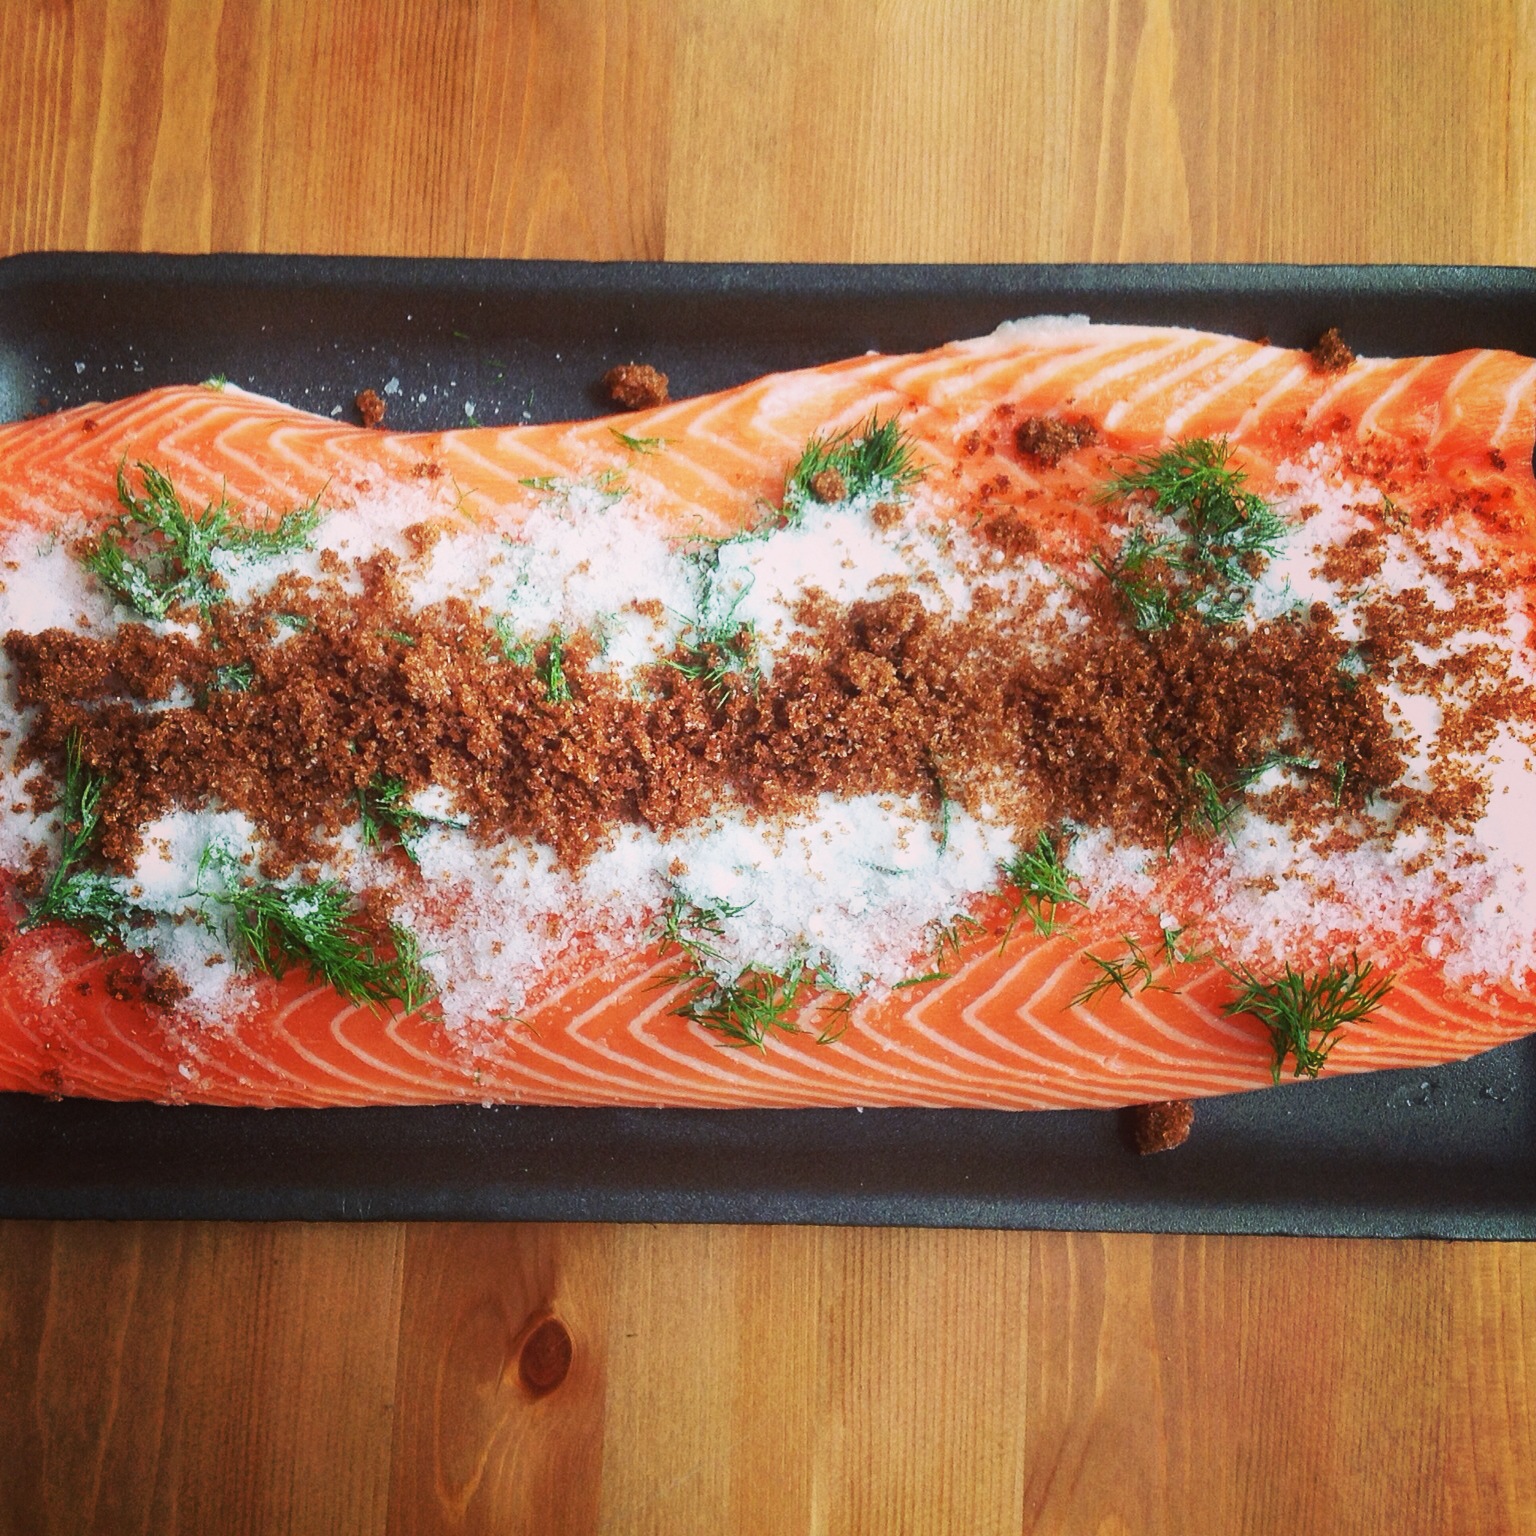
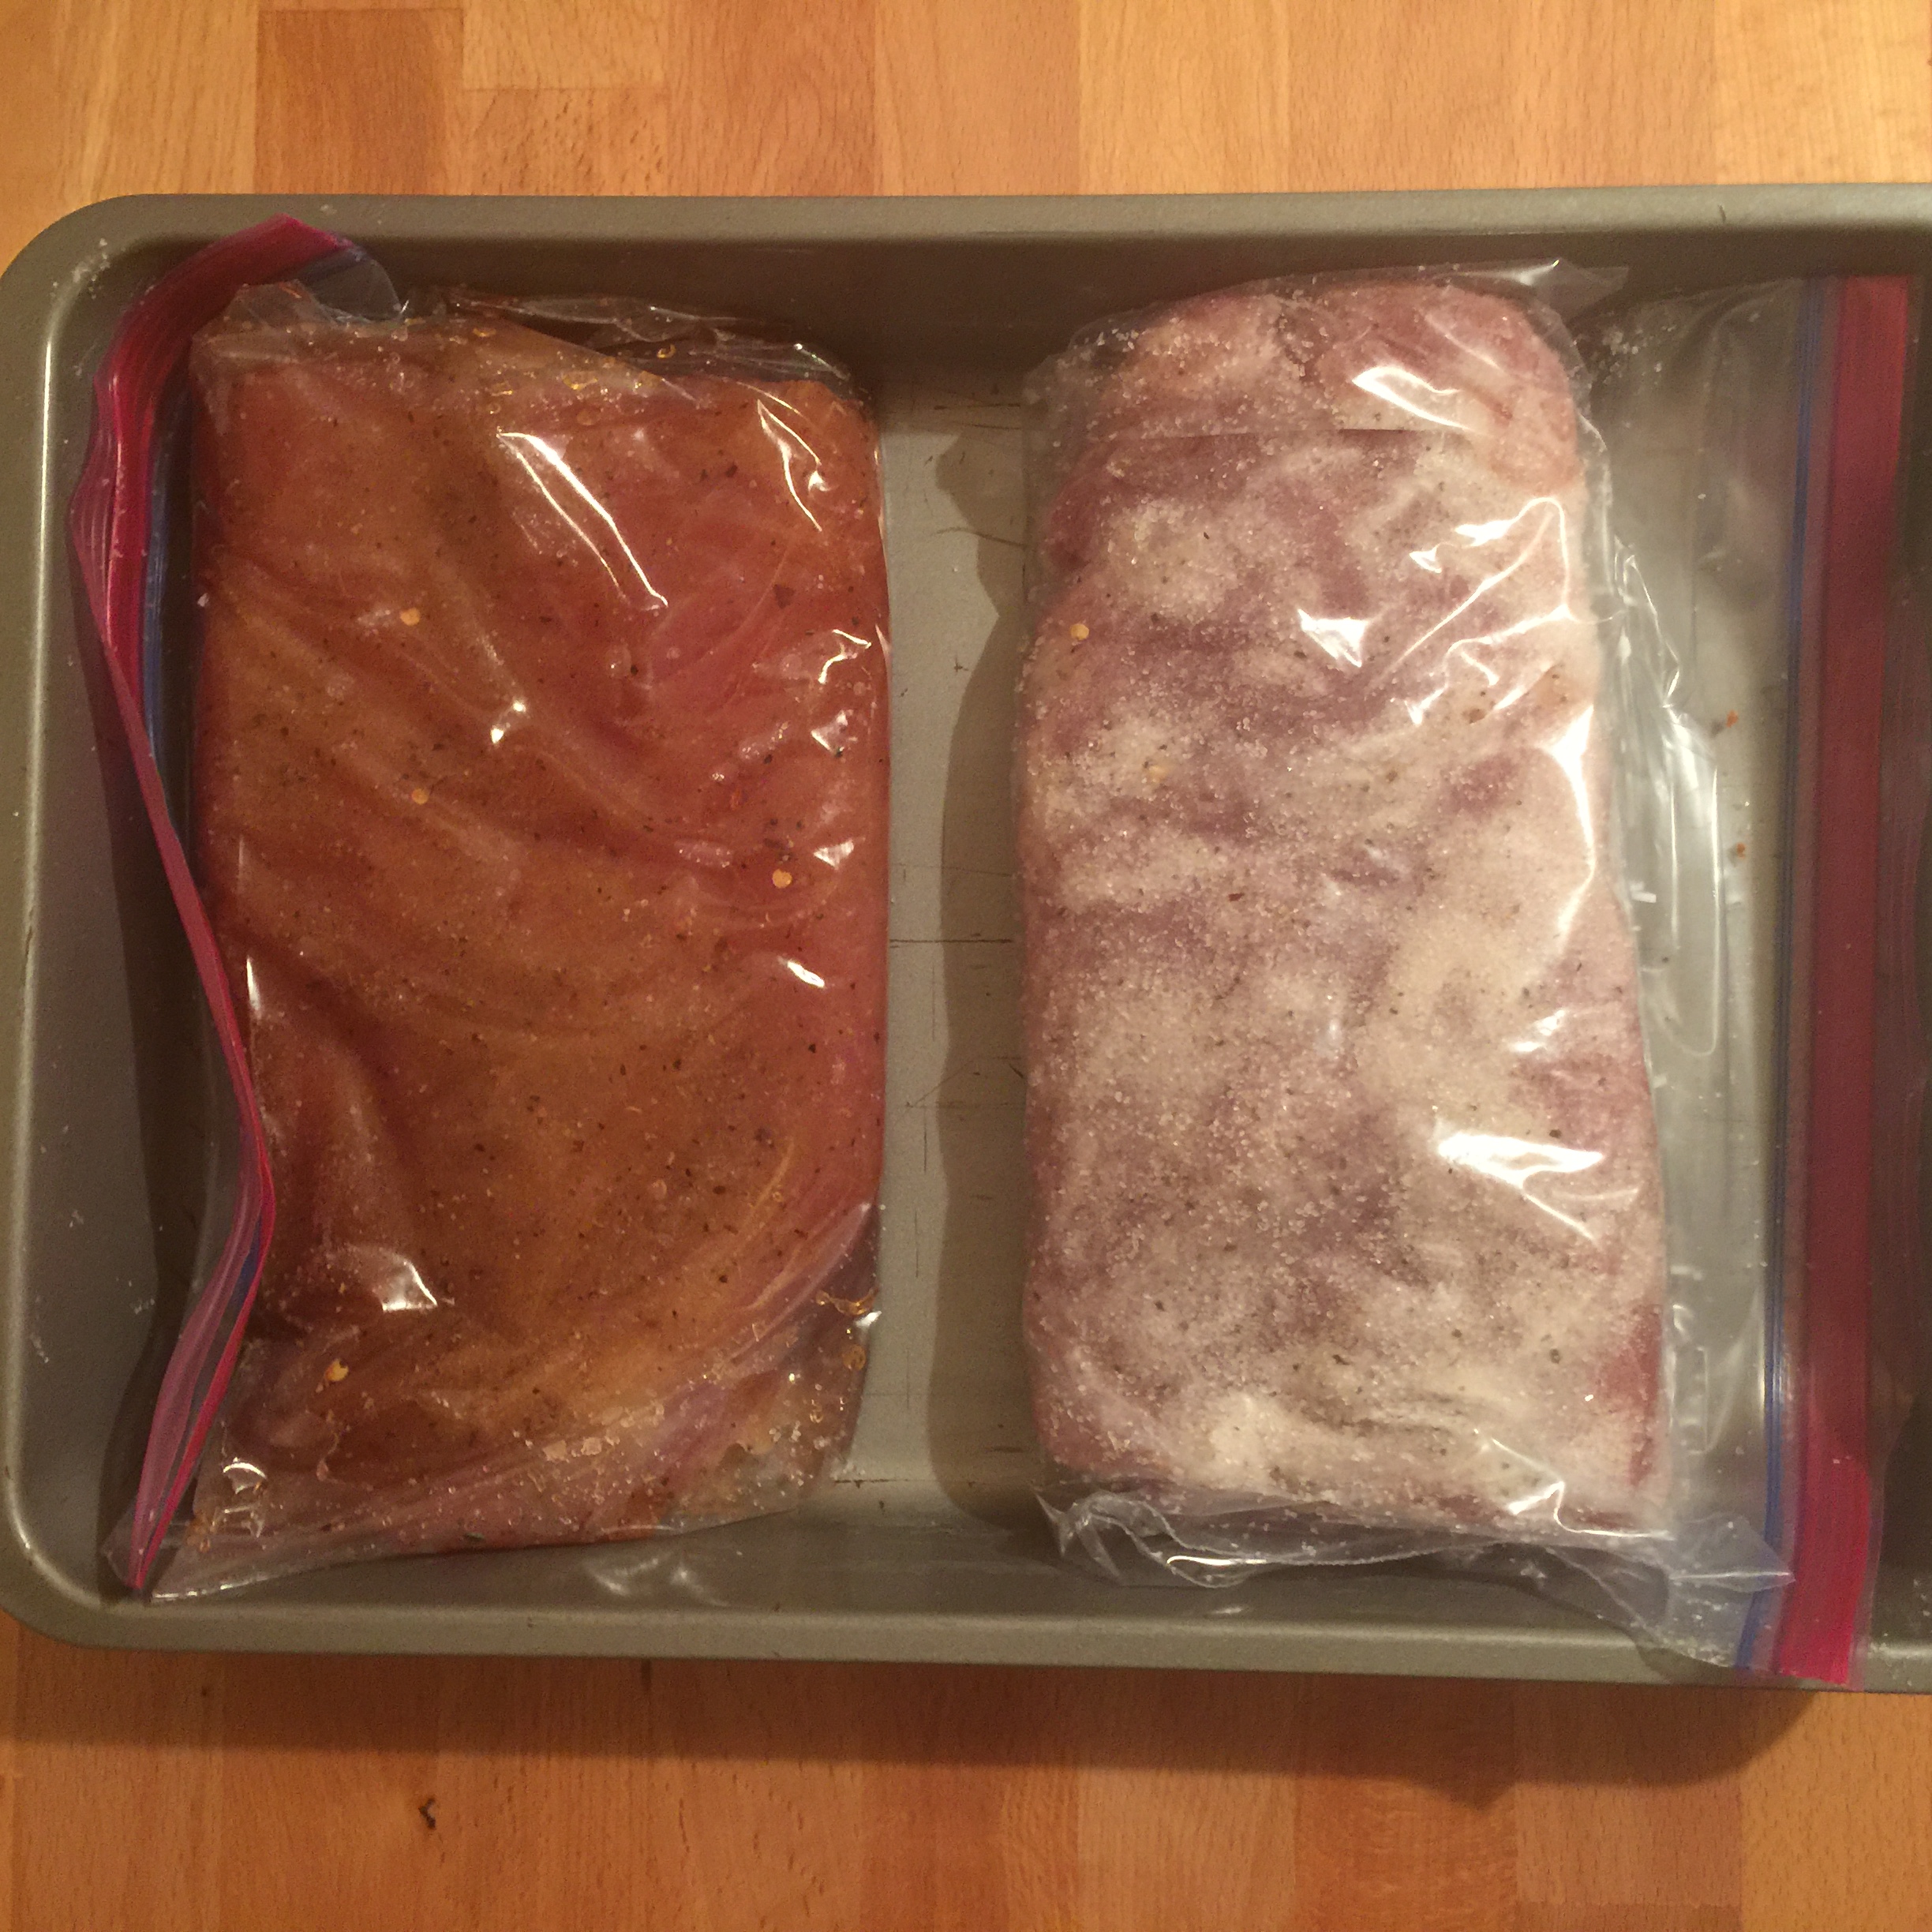
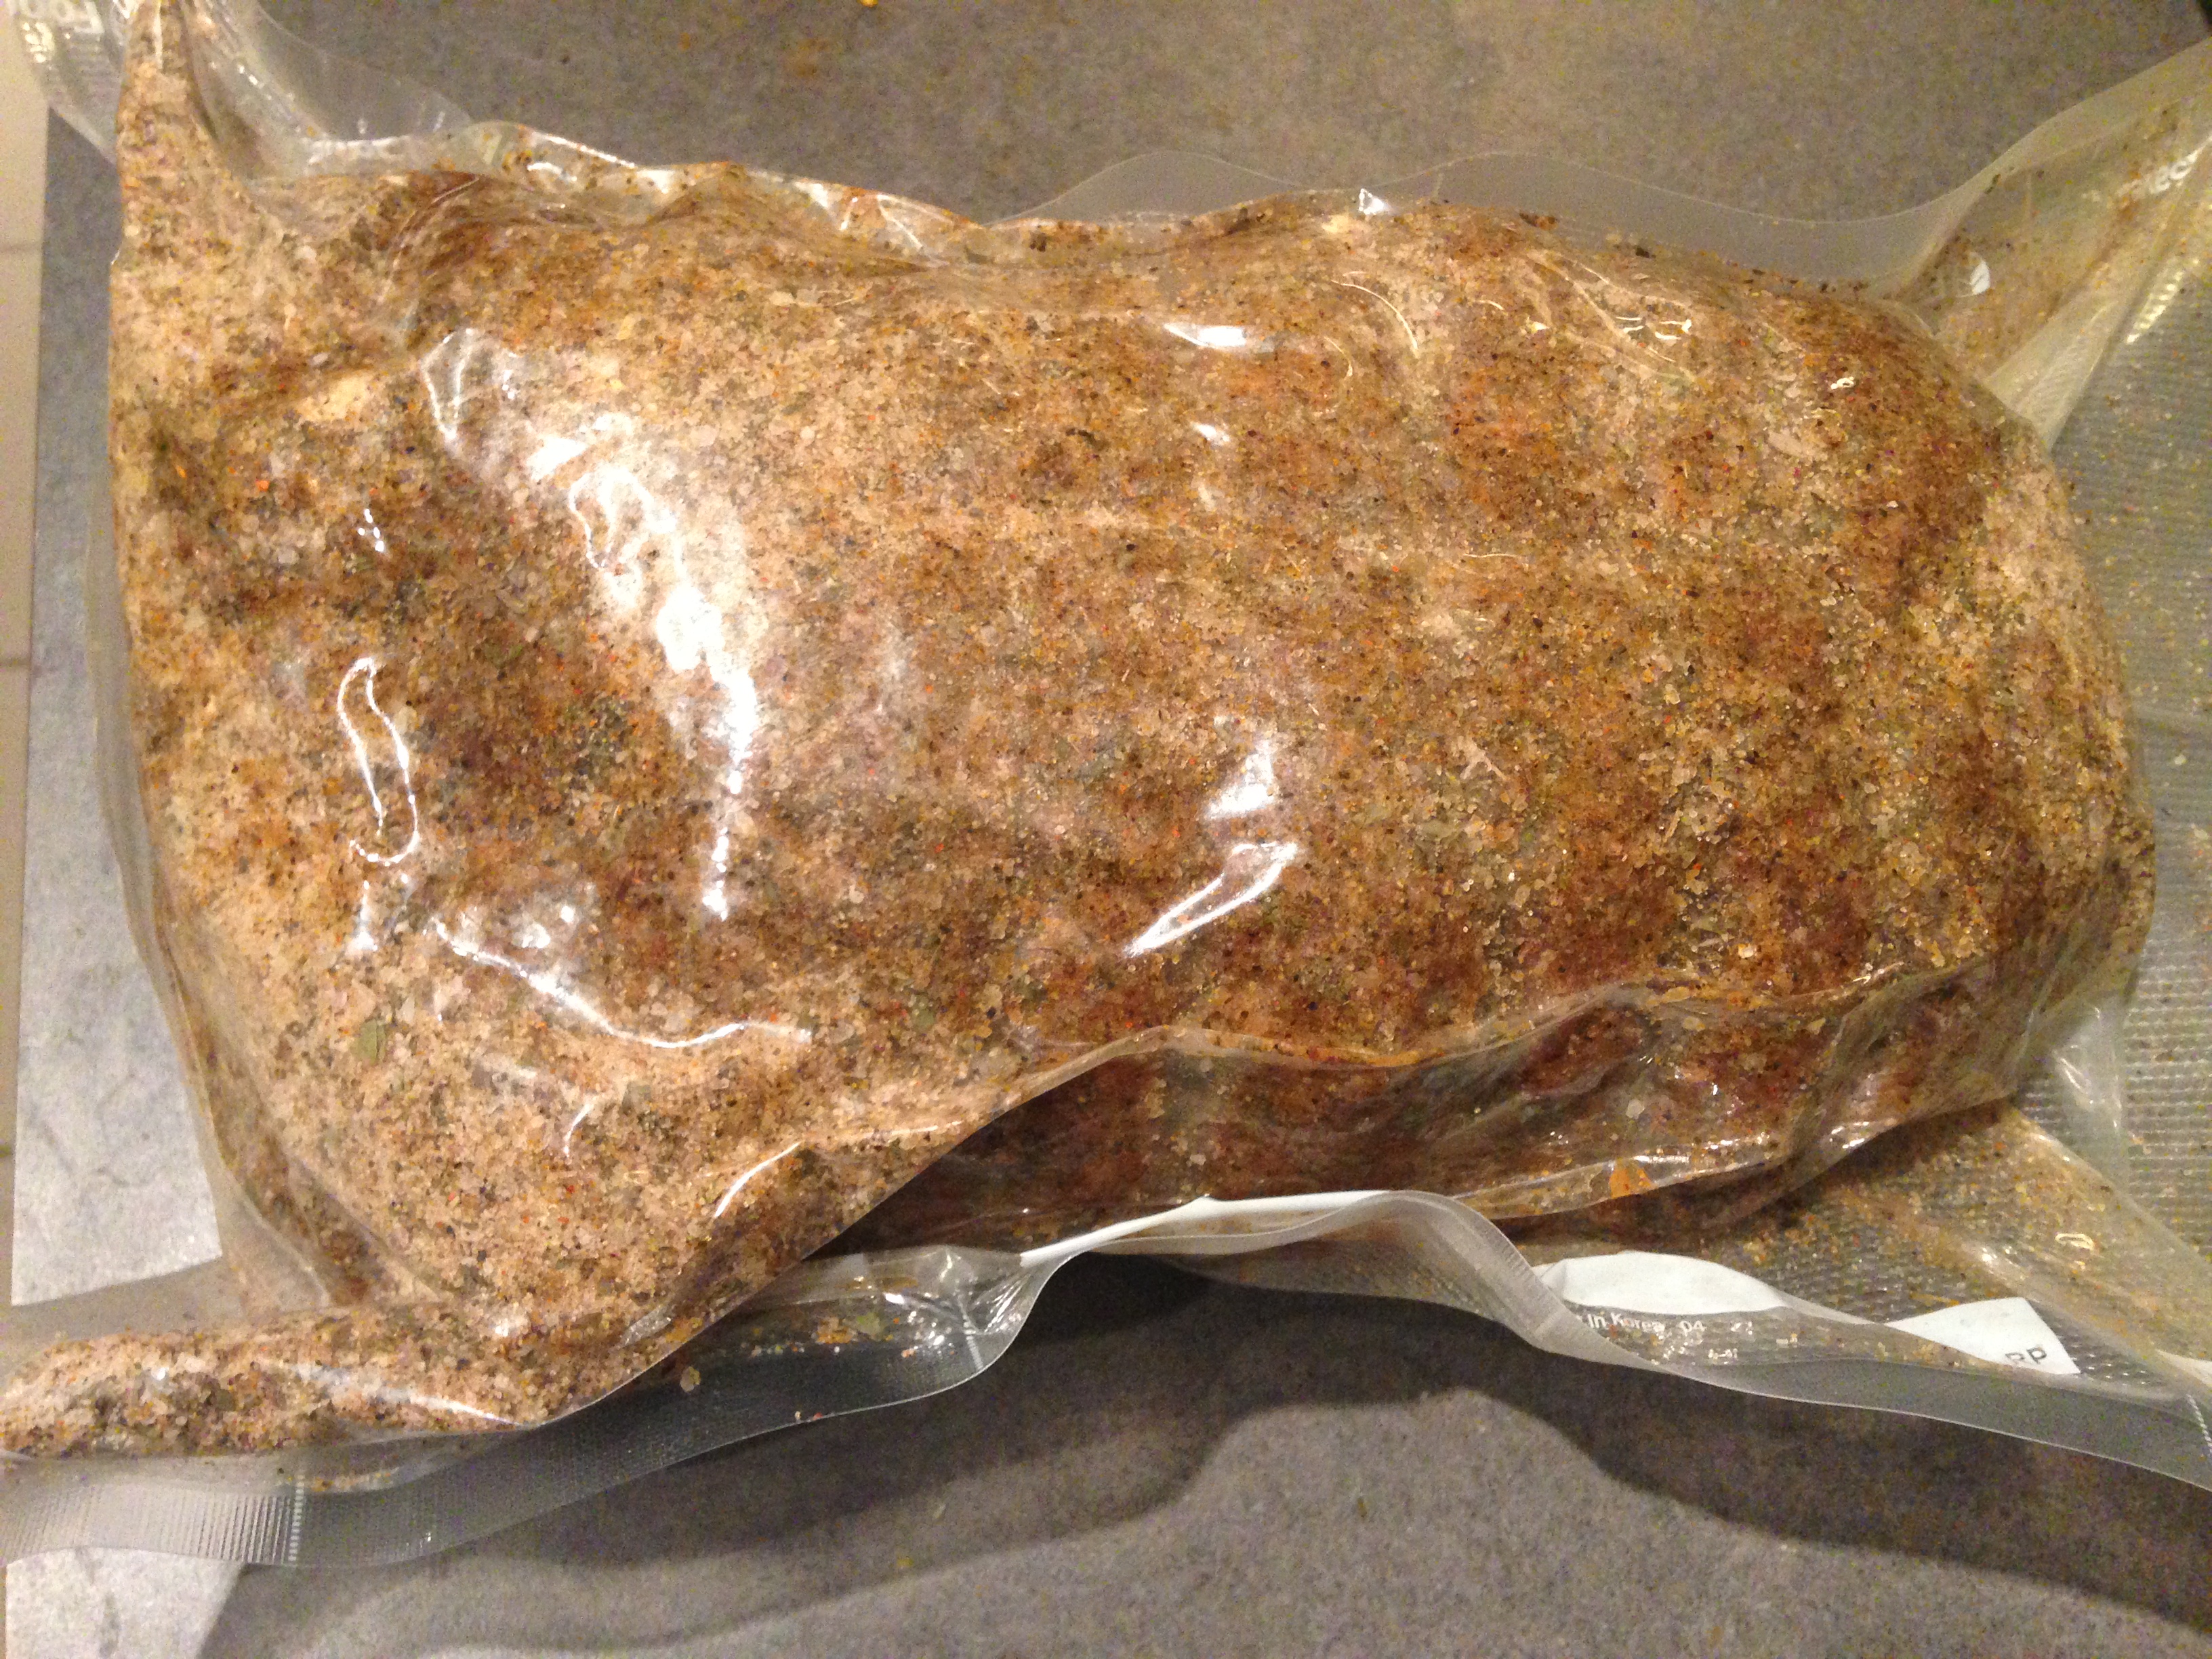
Curing (3+ weeks):
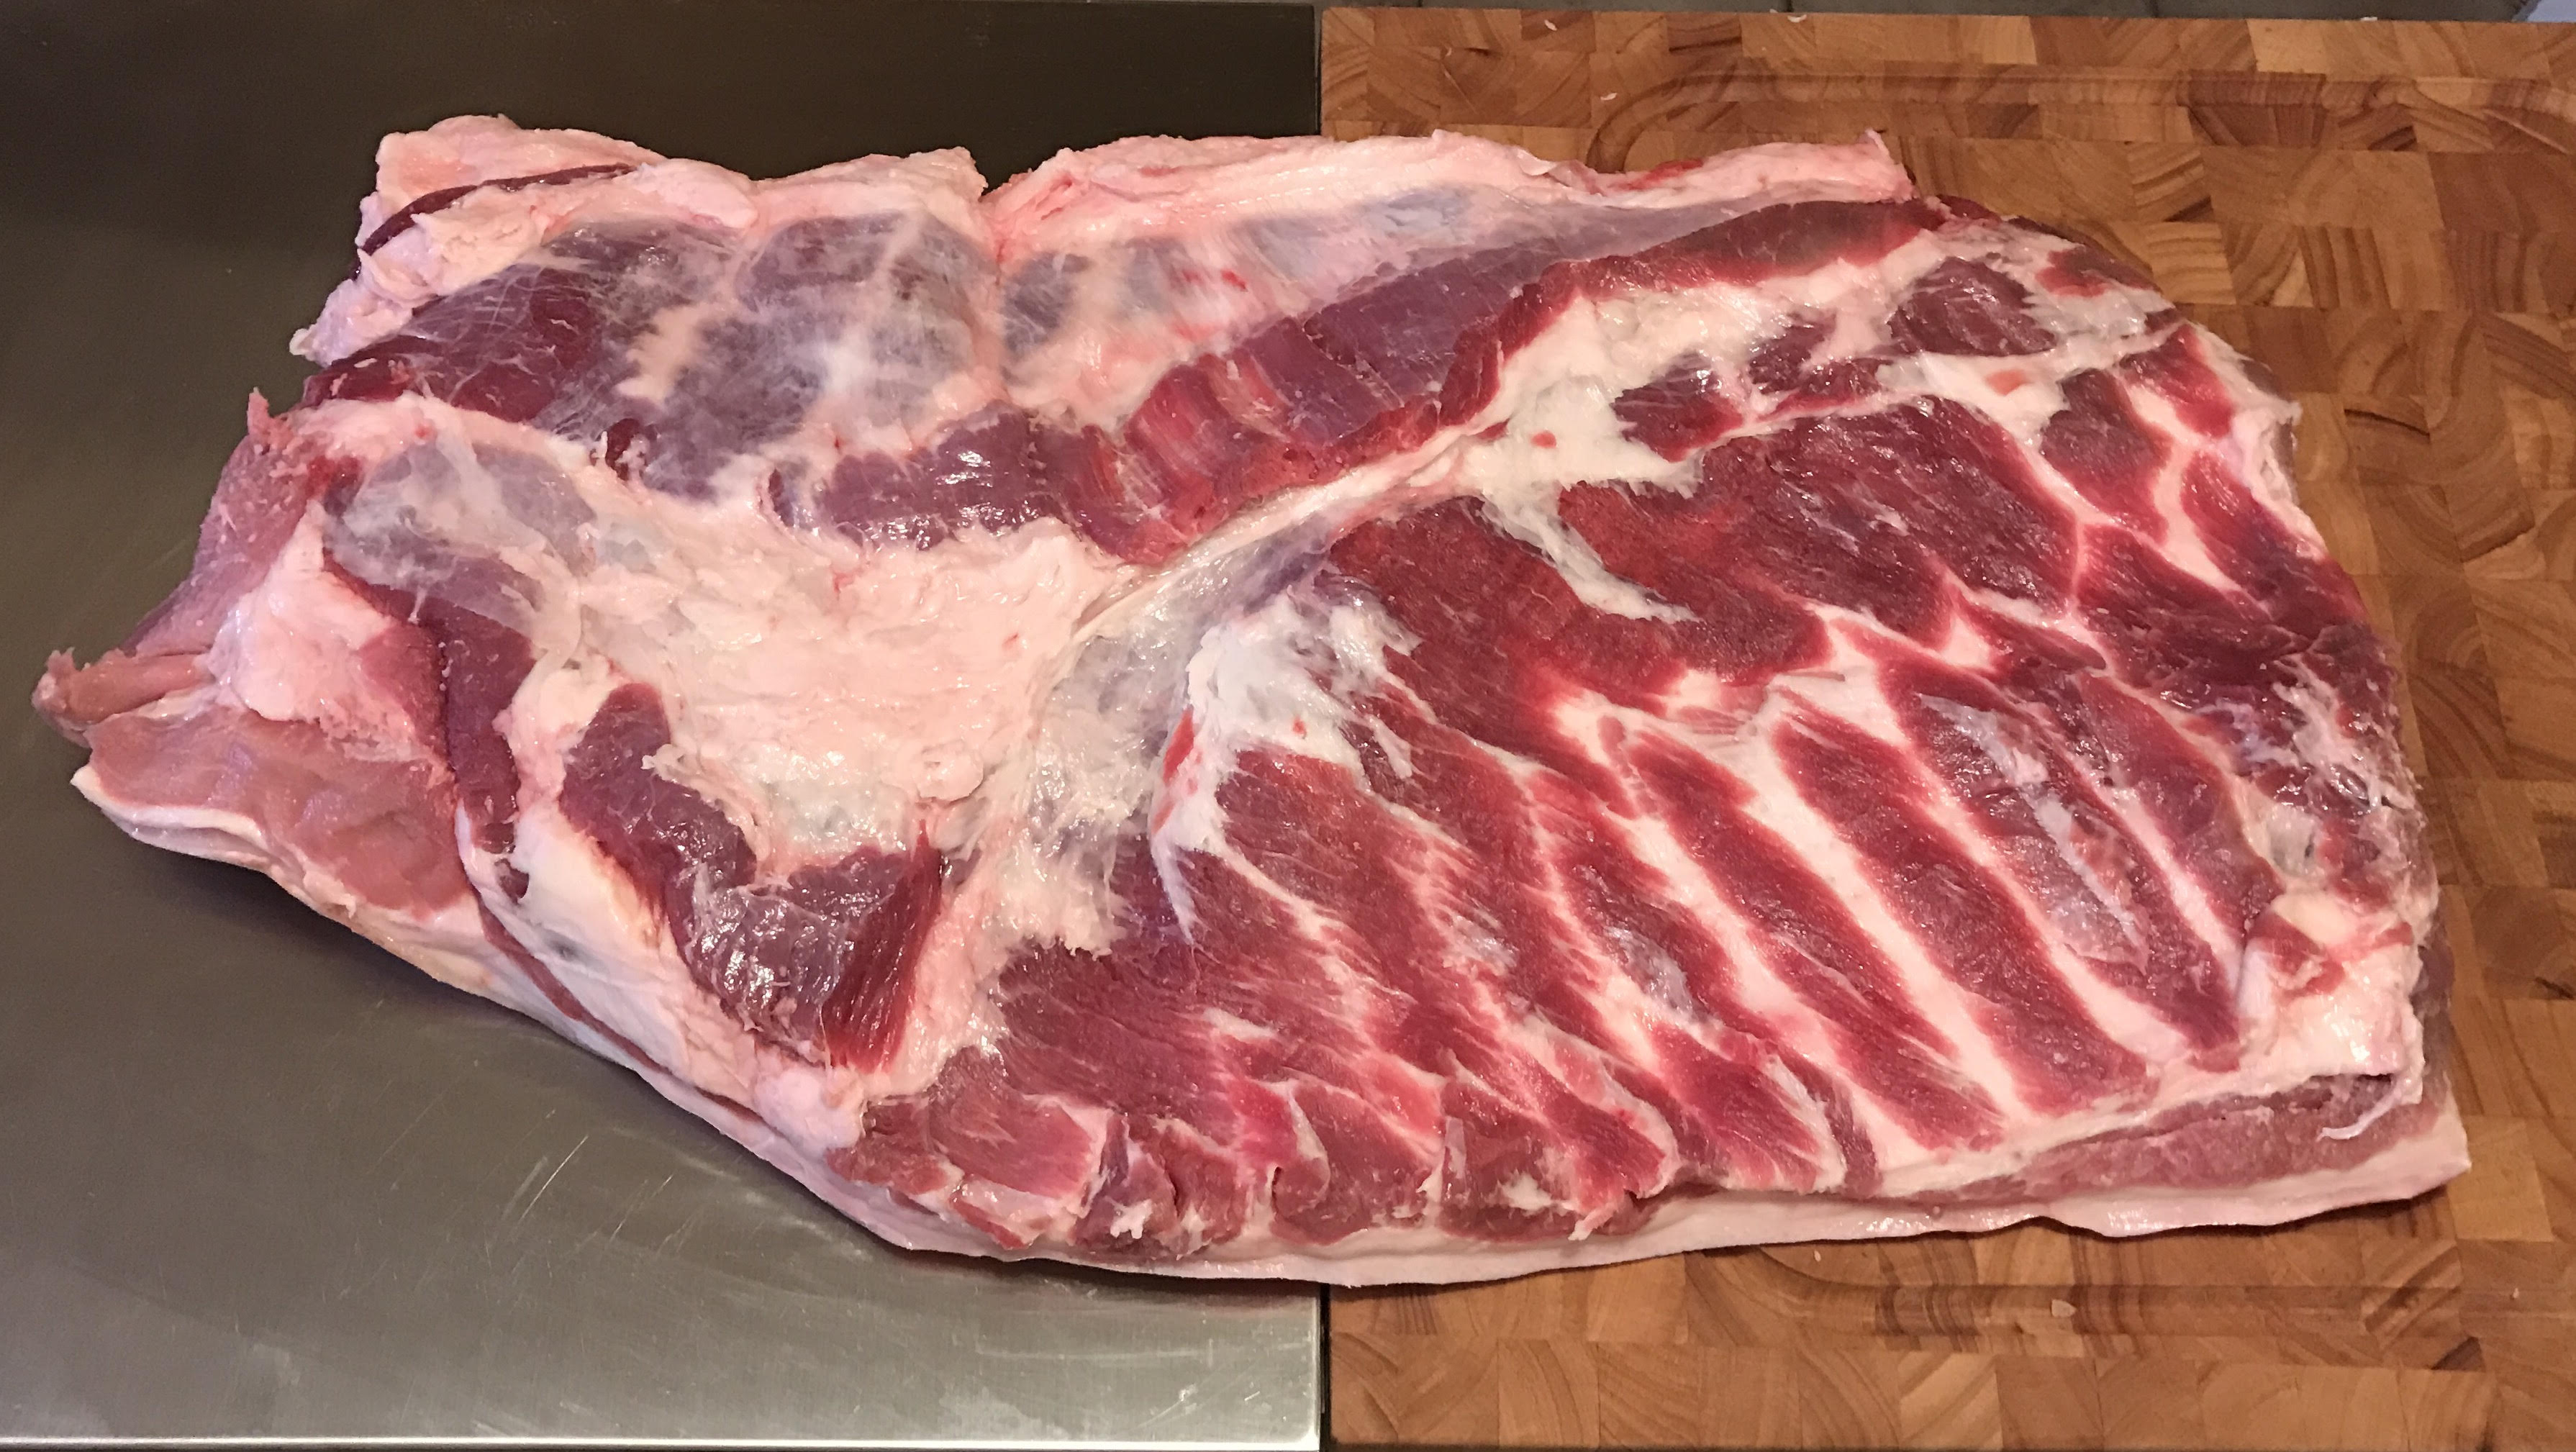
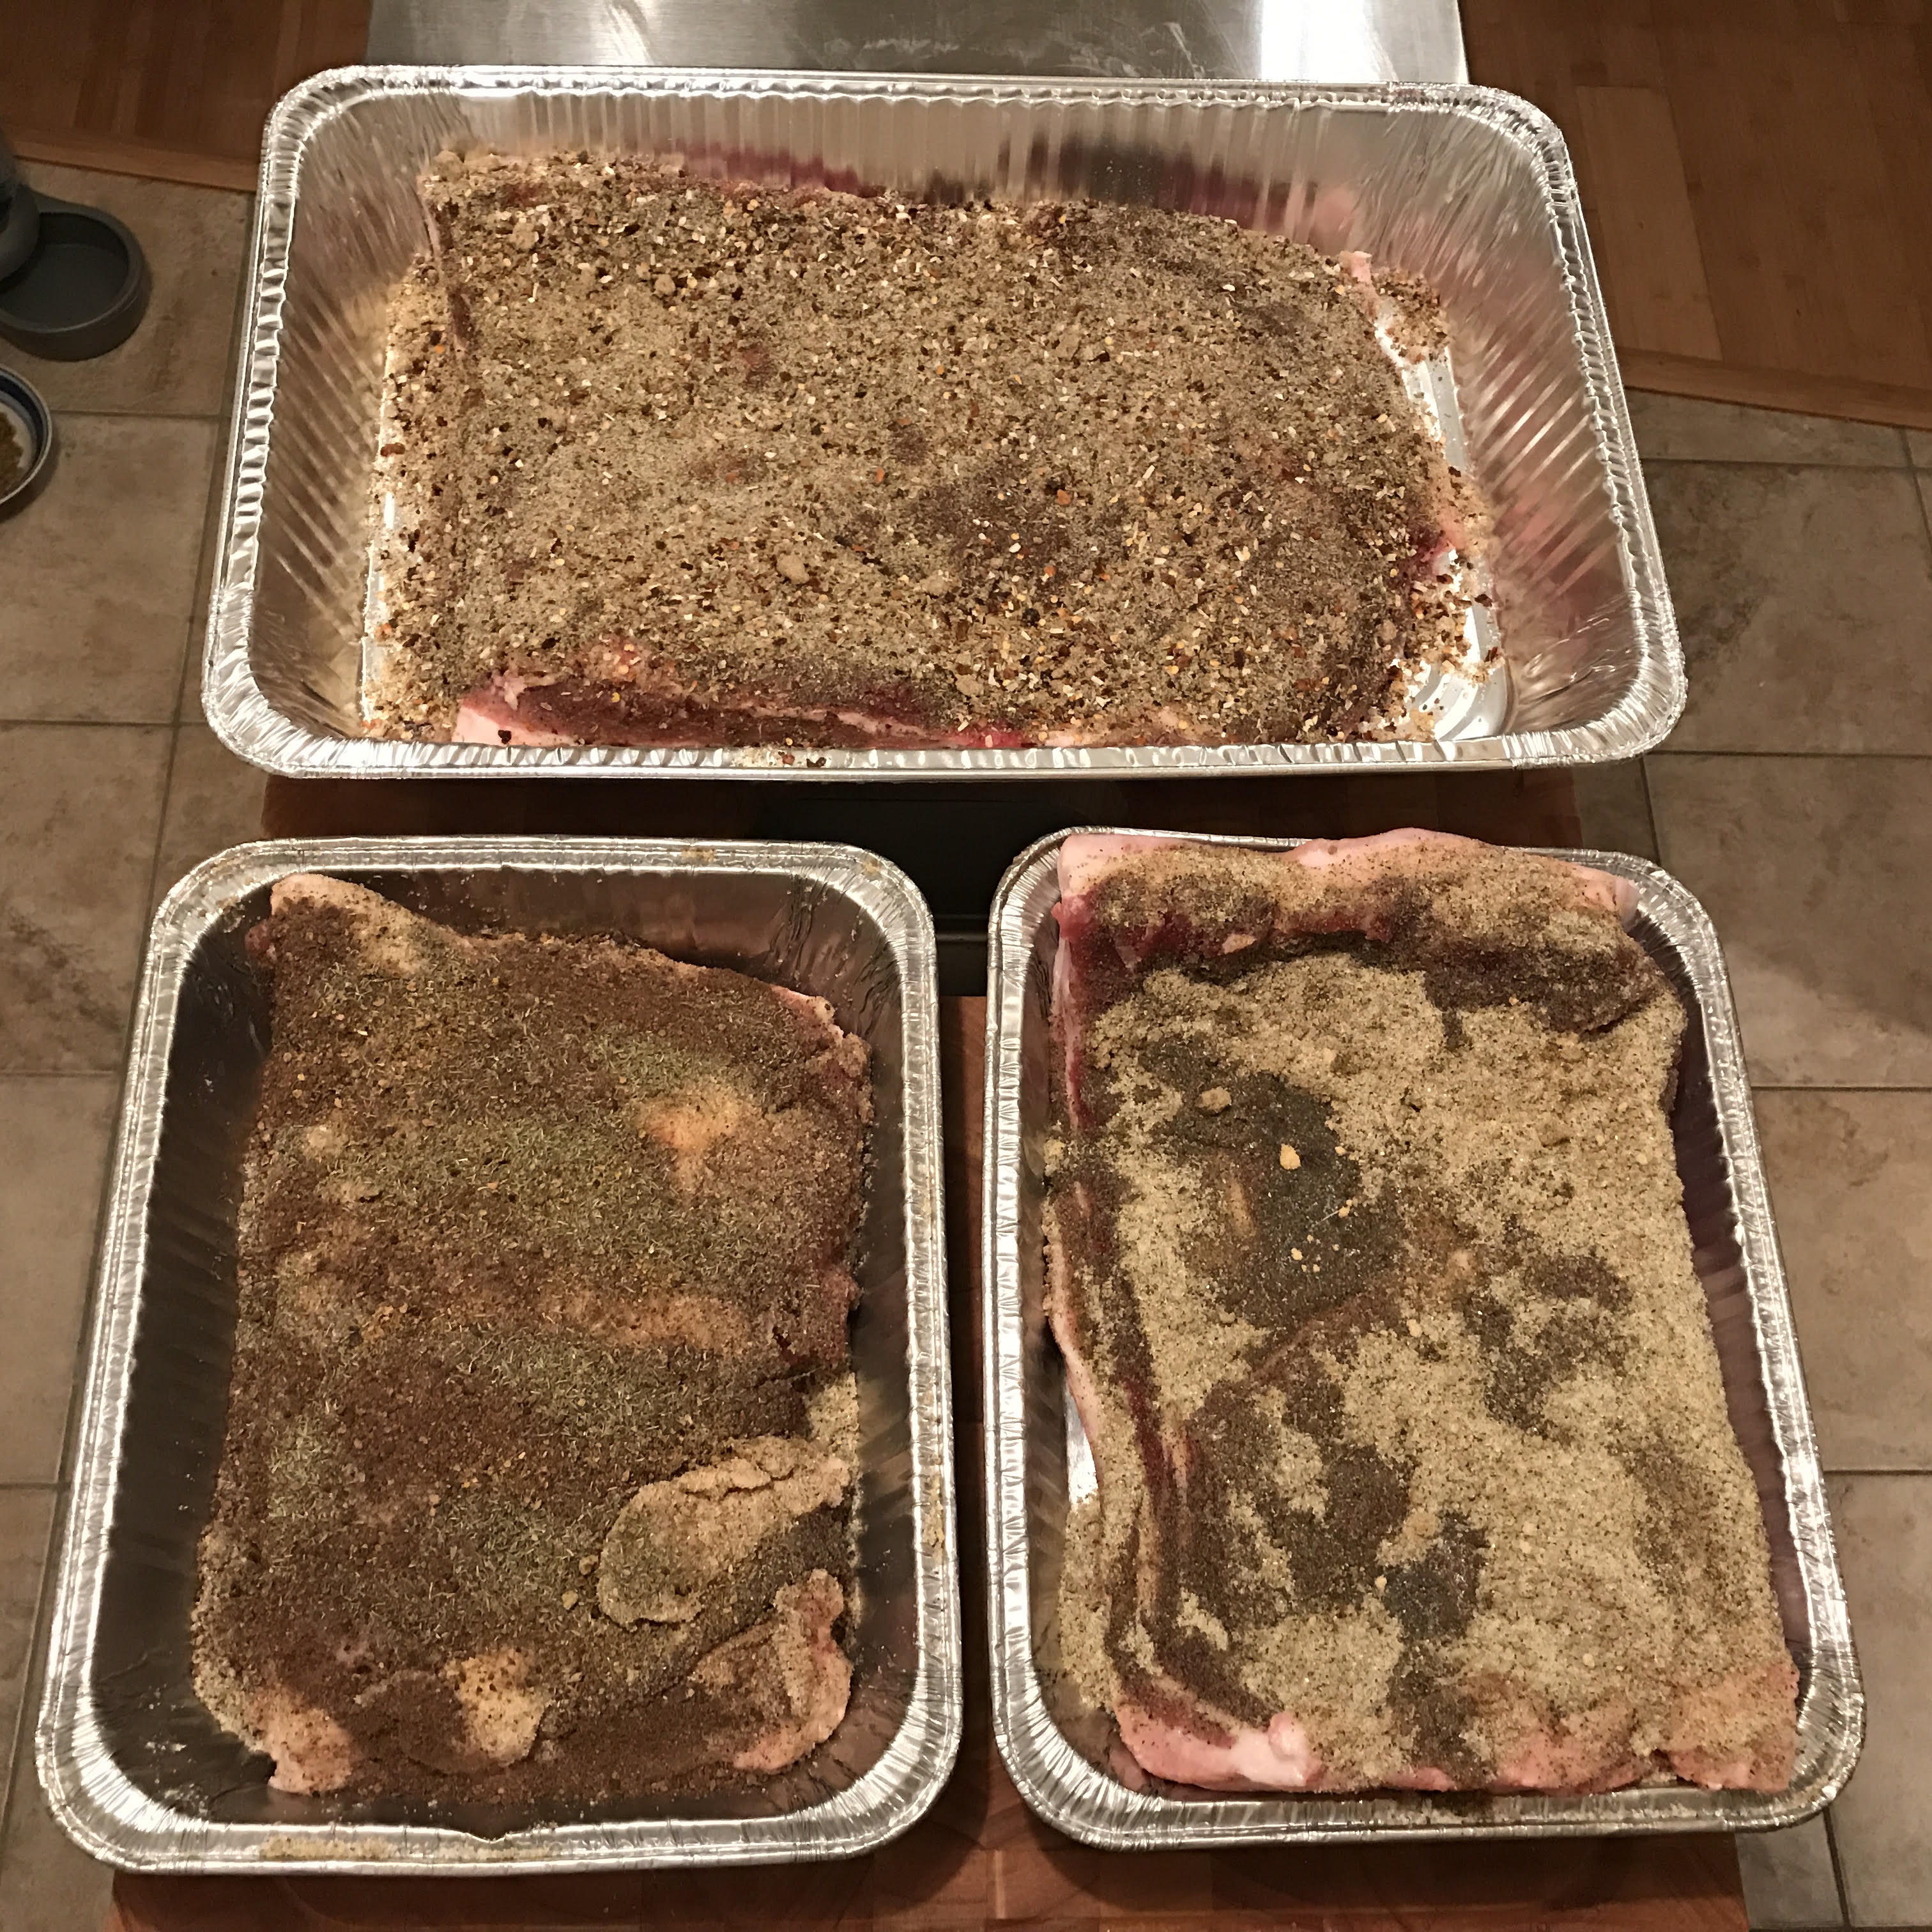
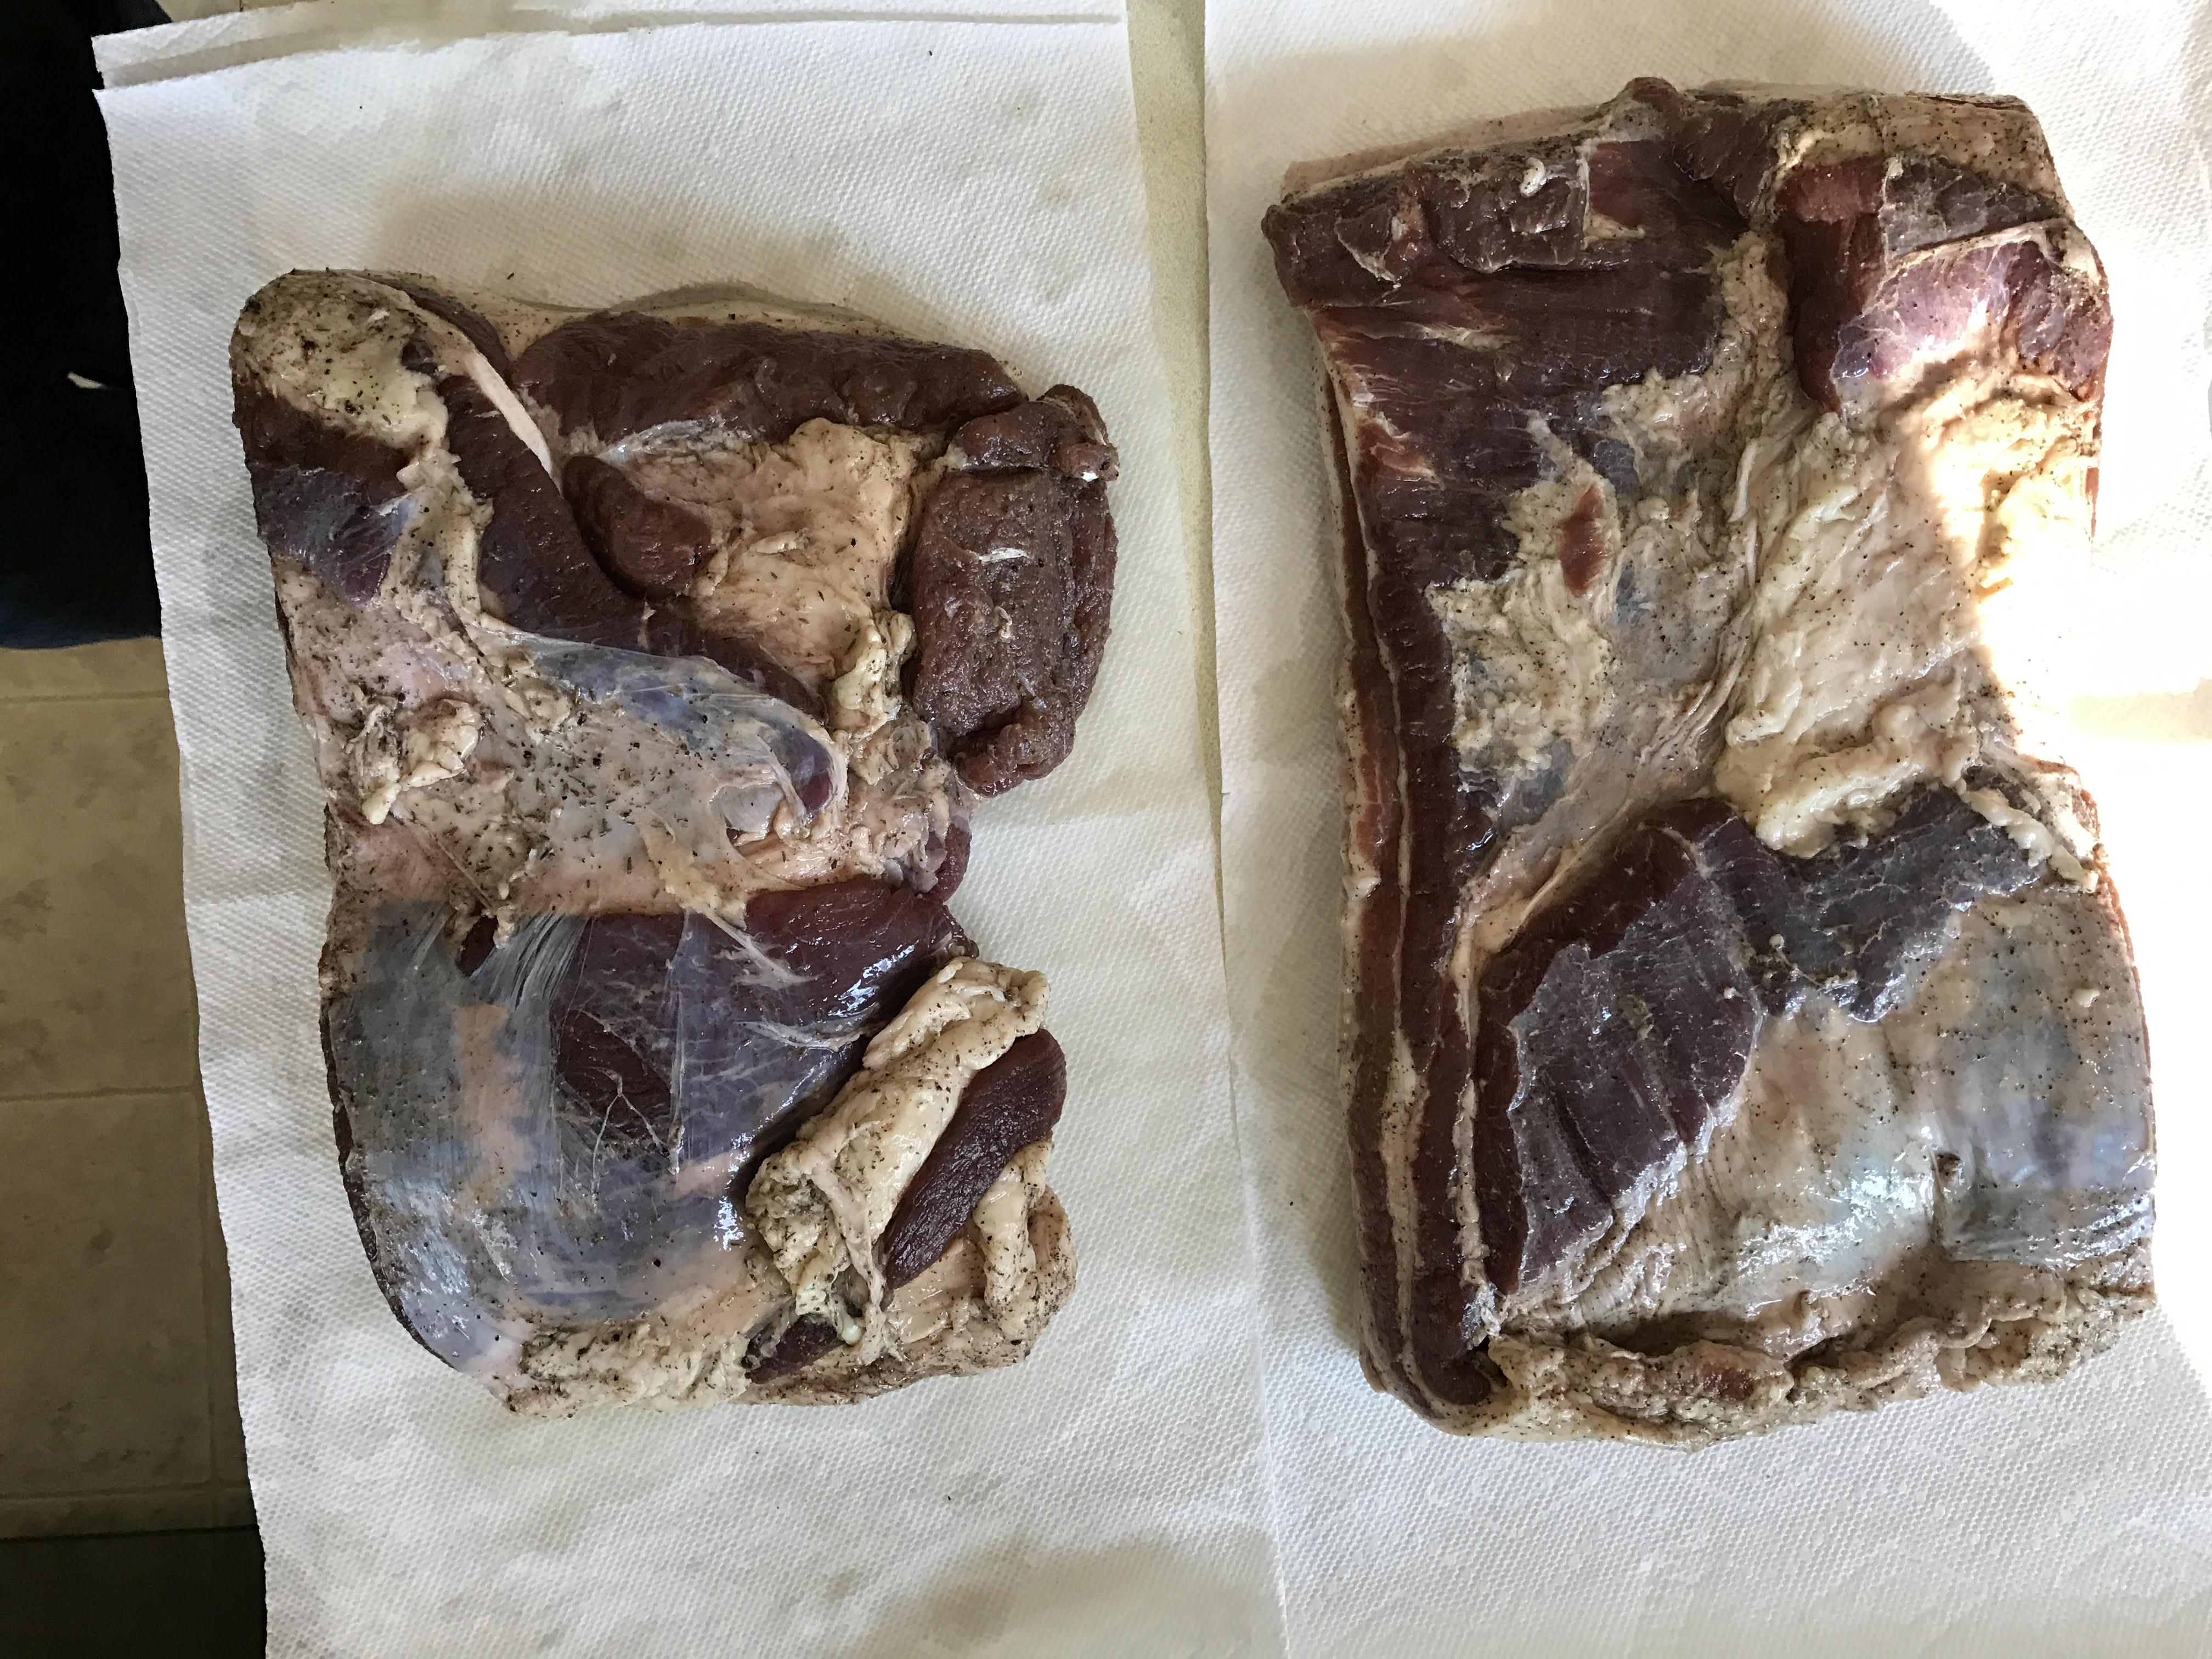
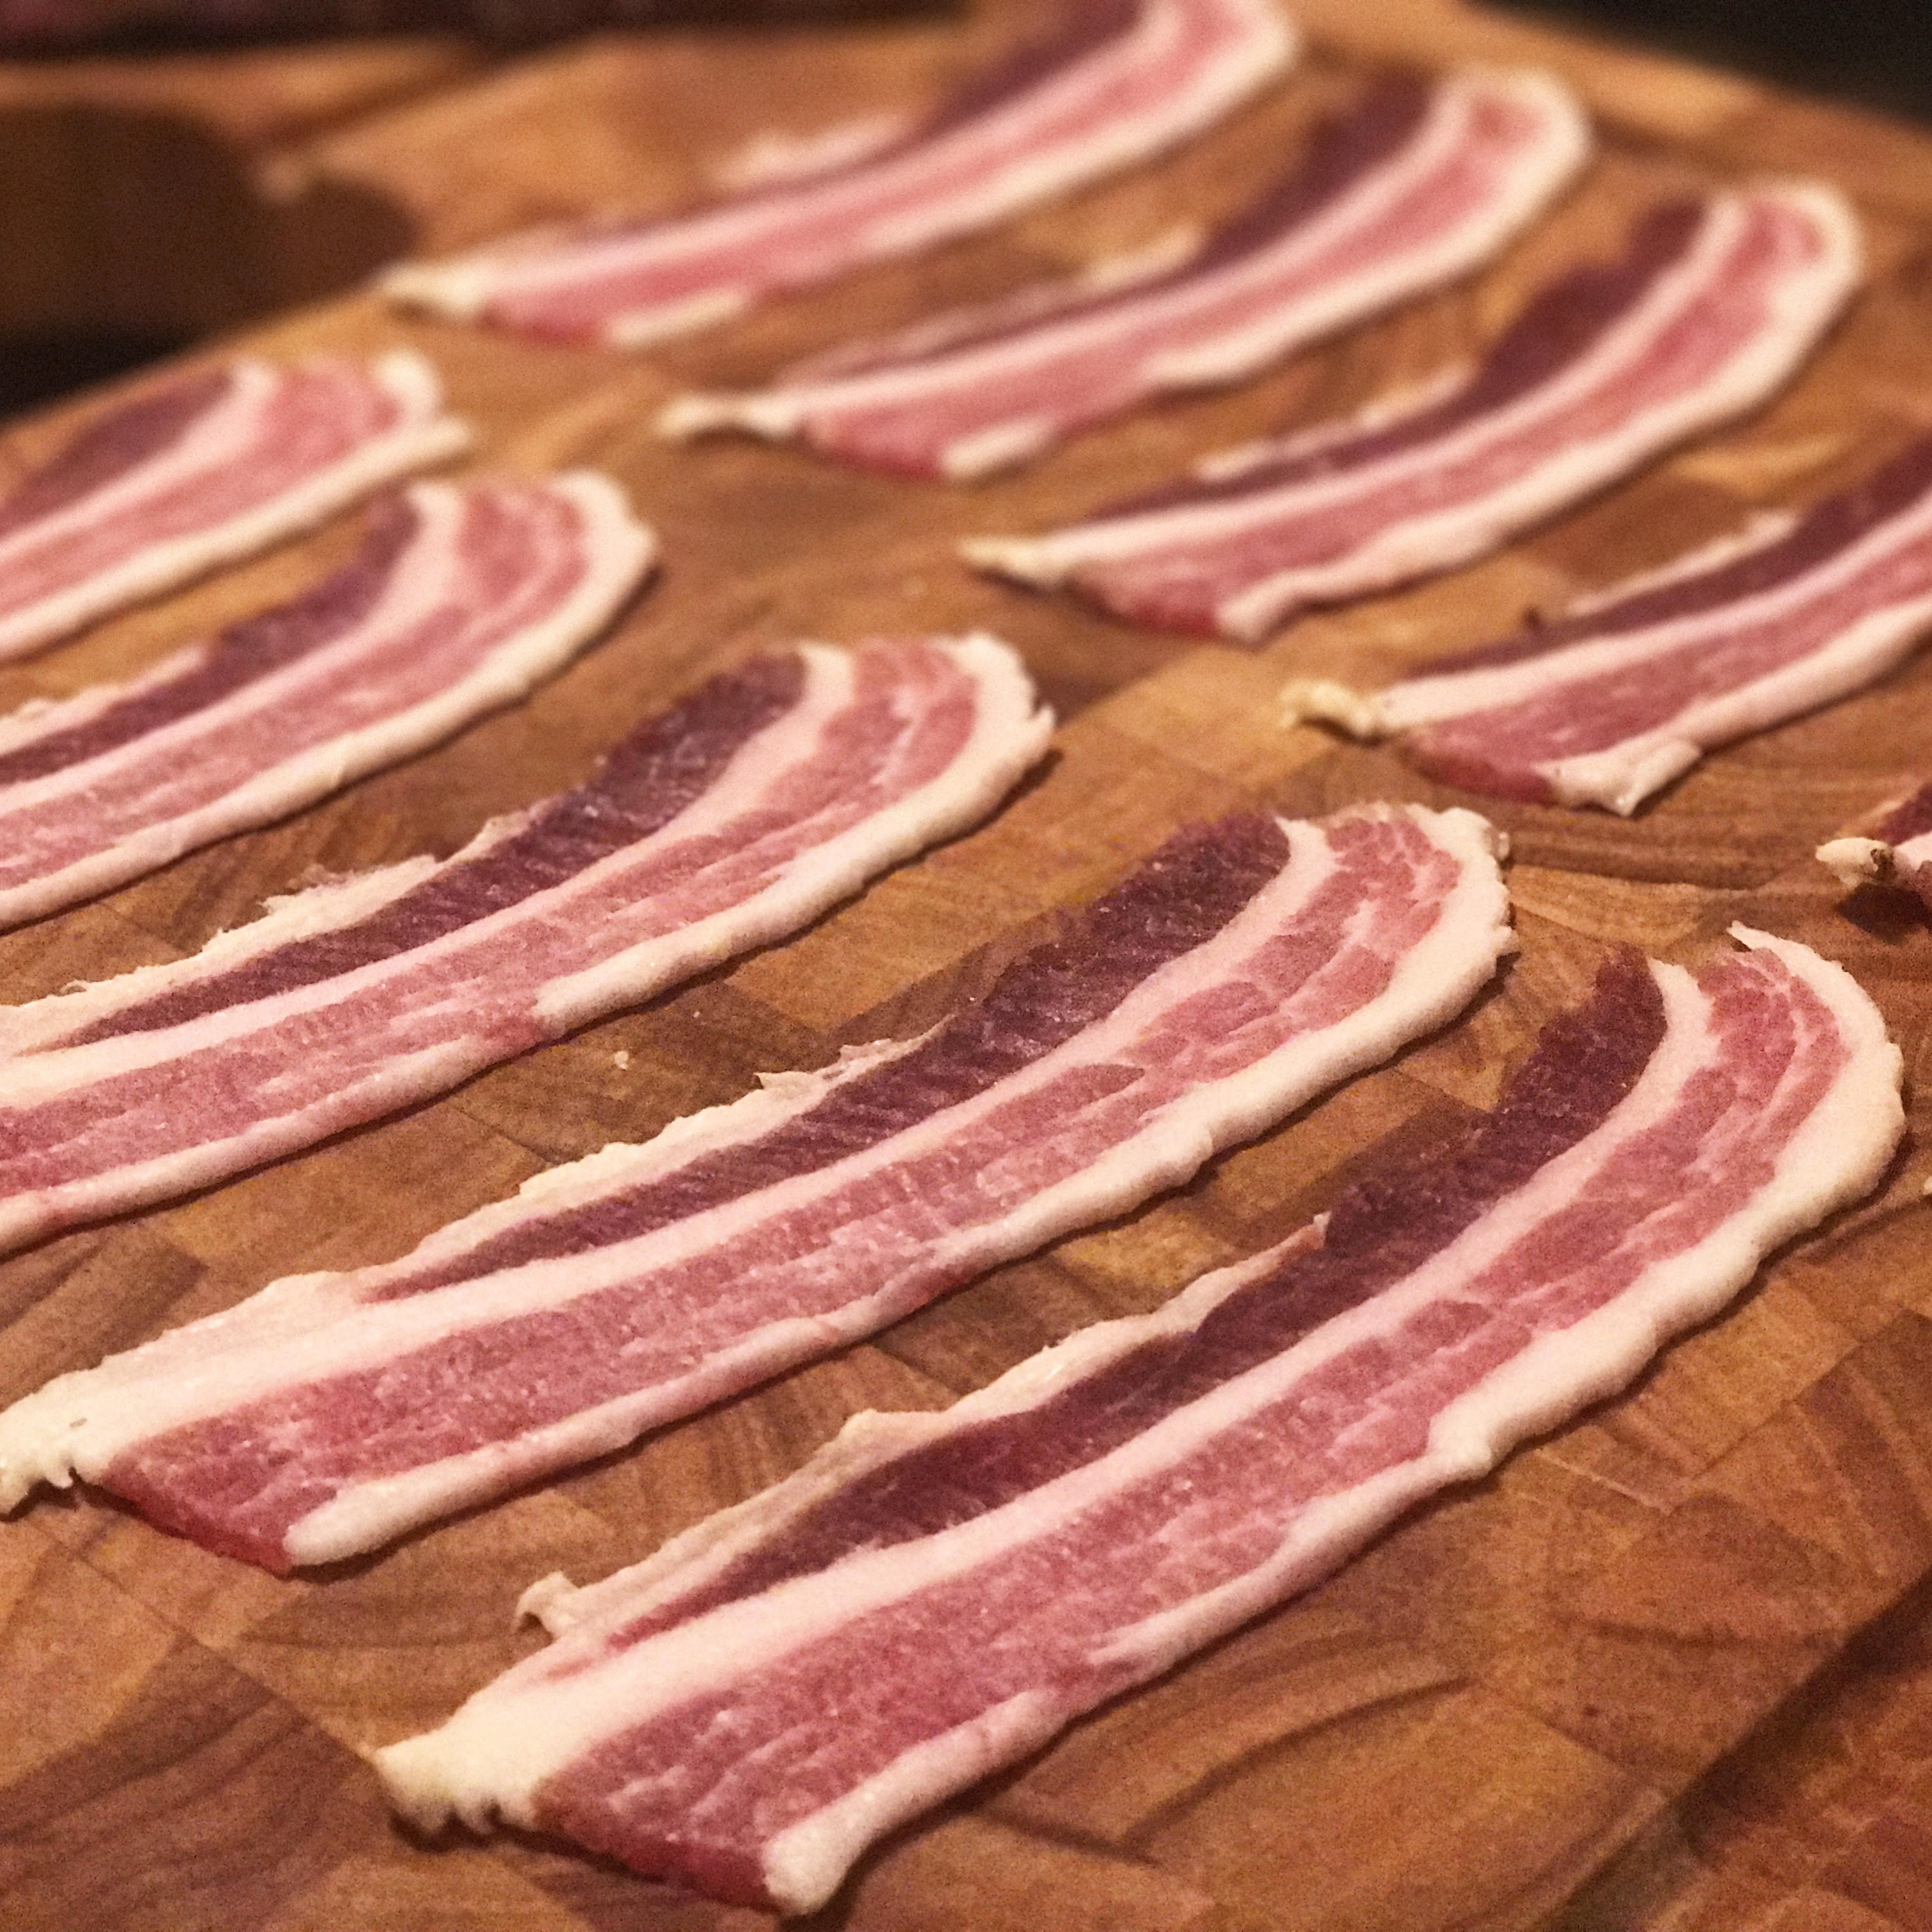
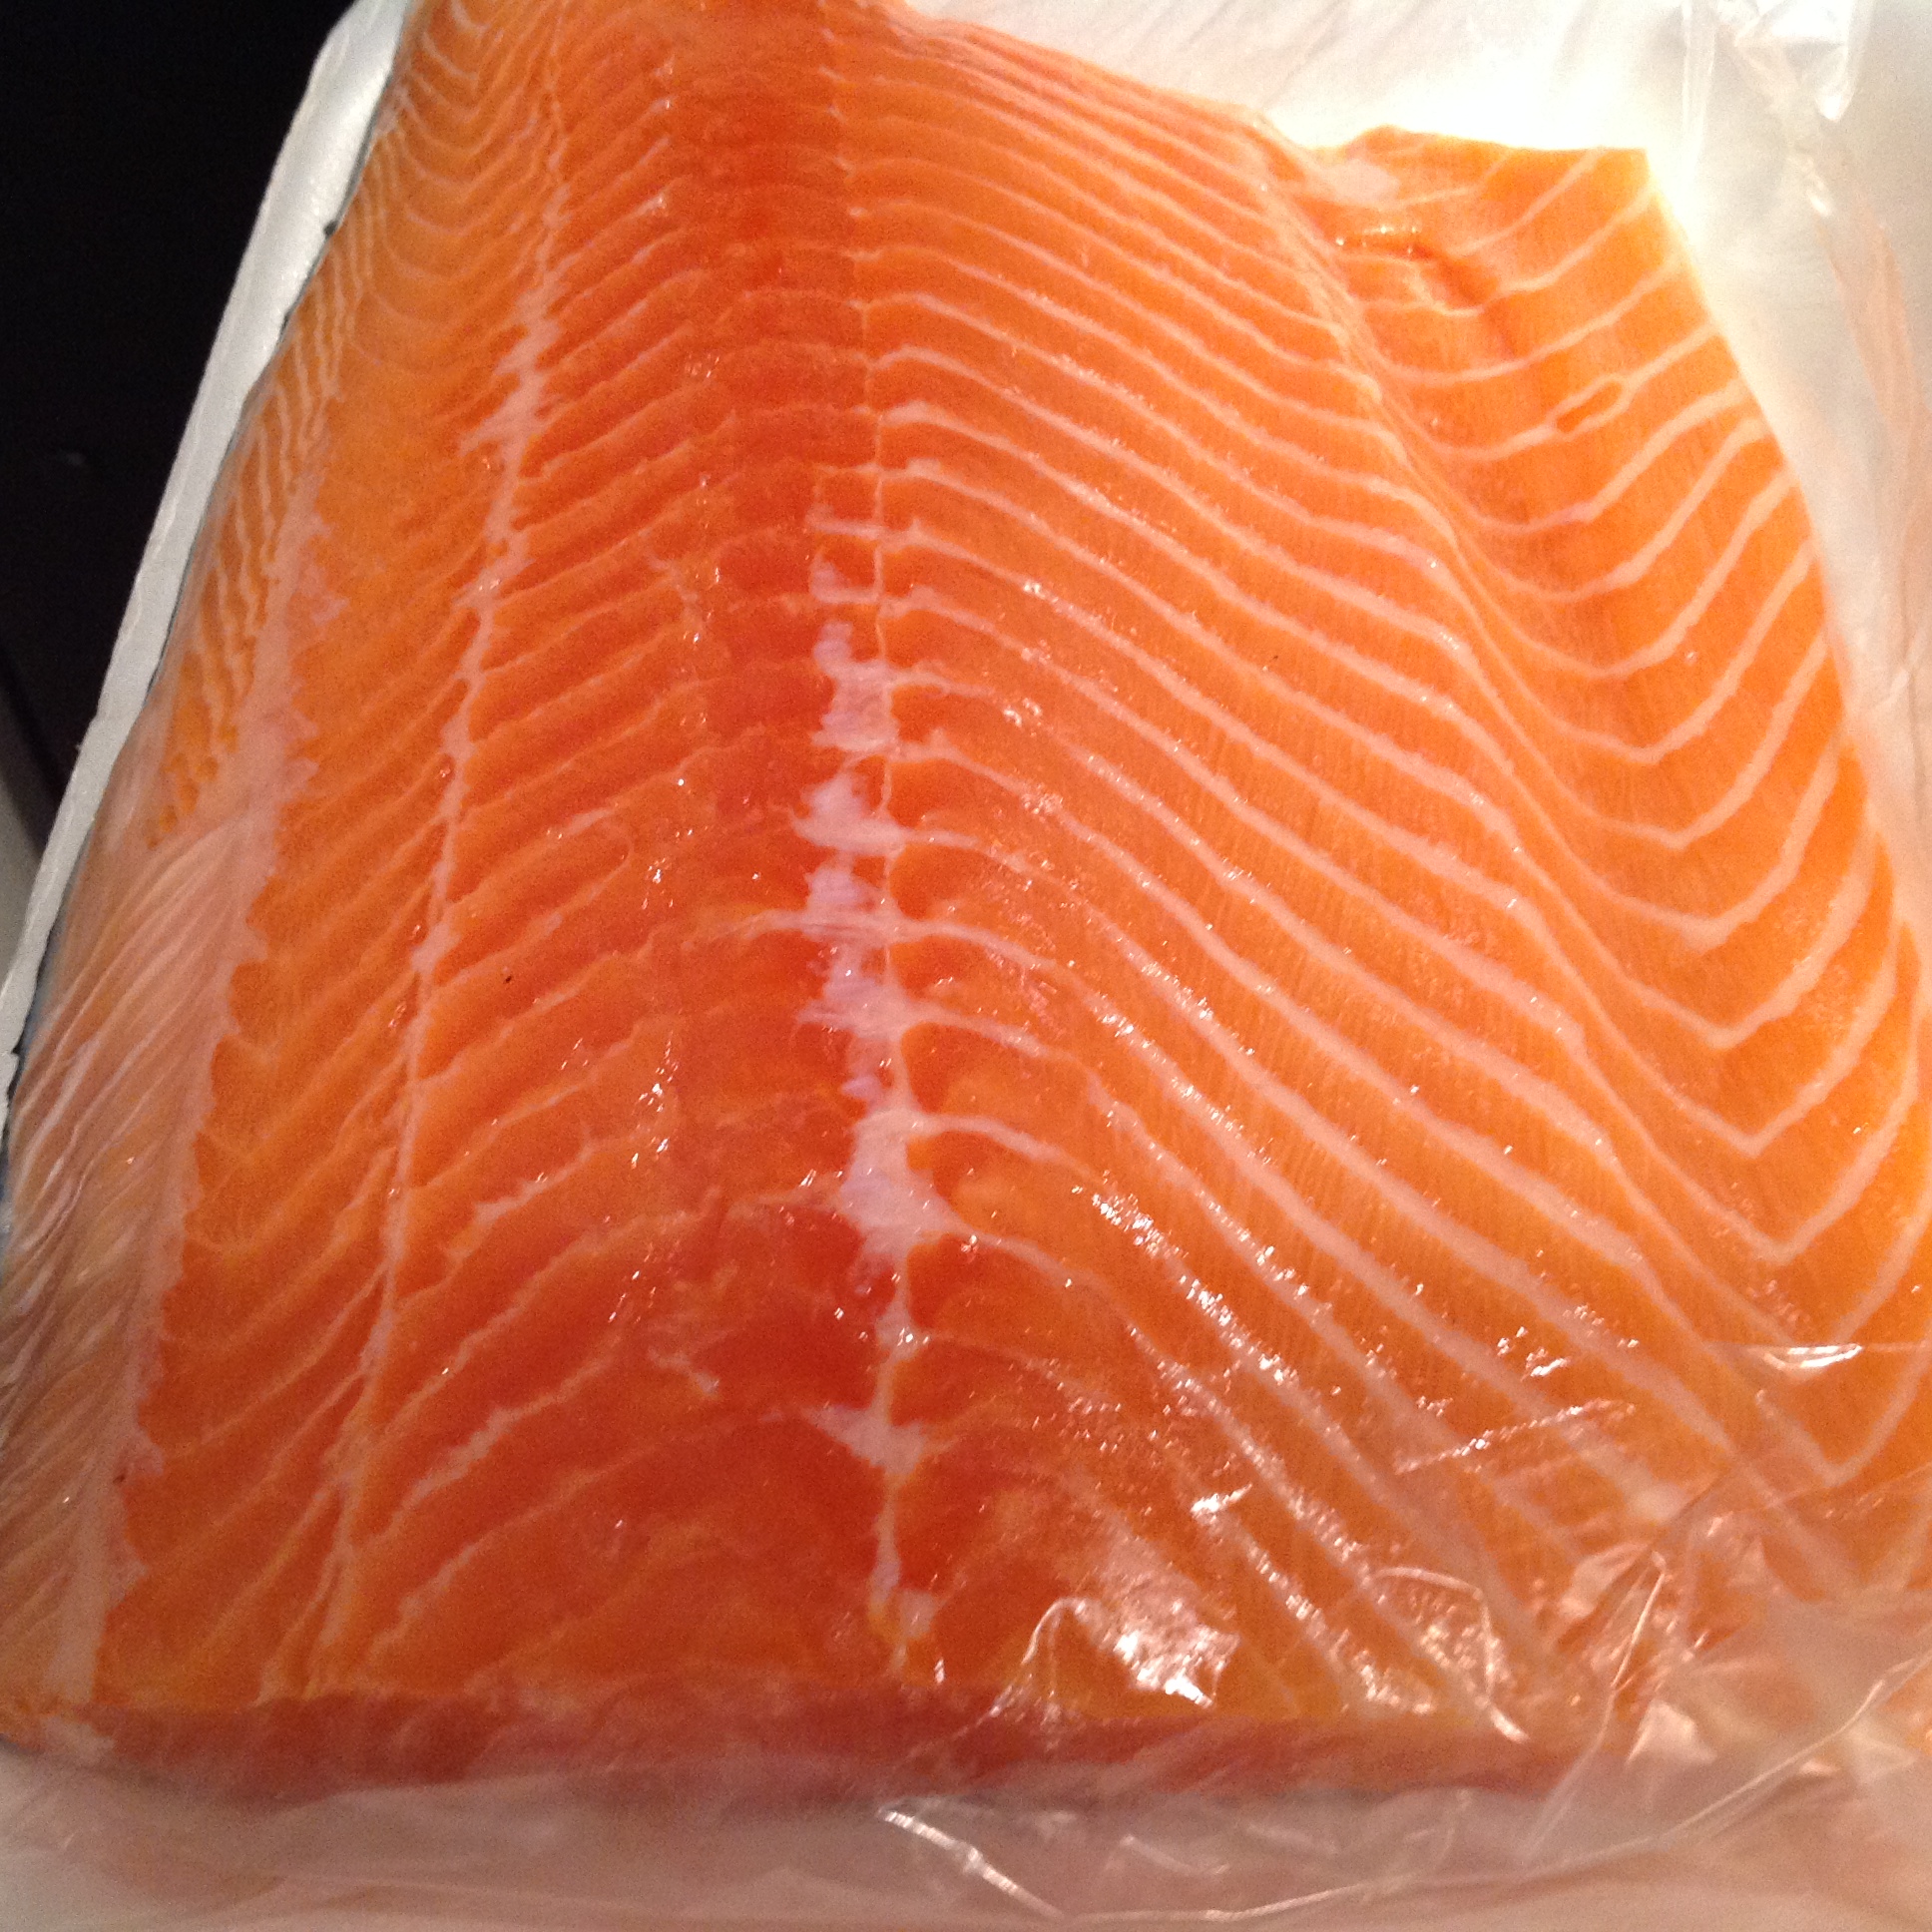
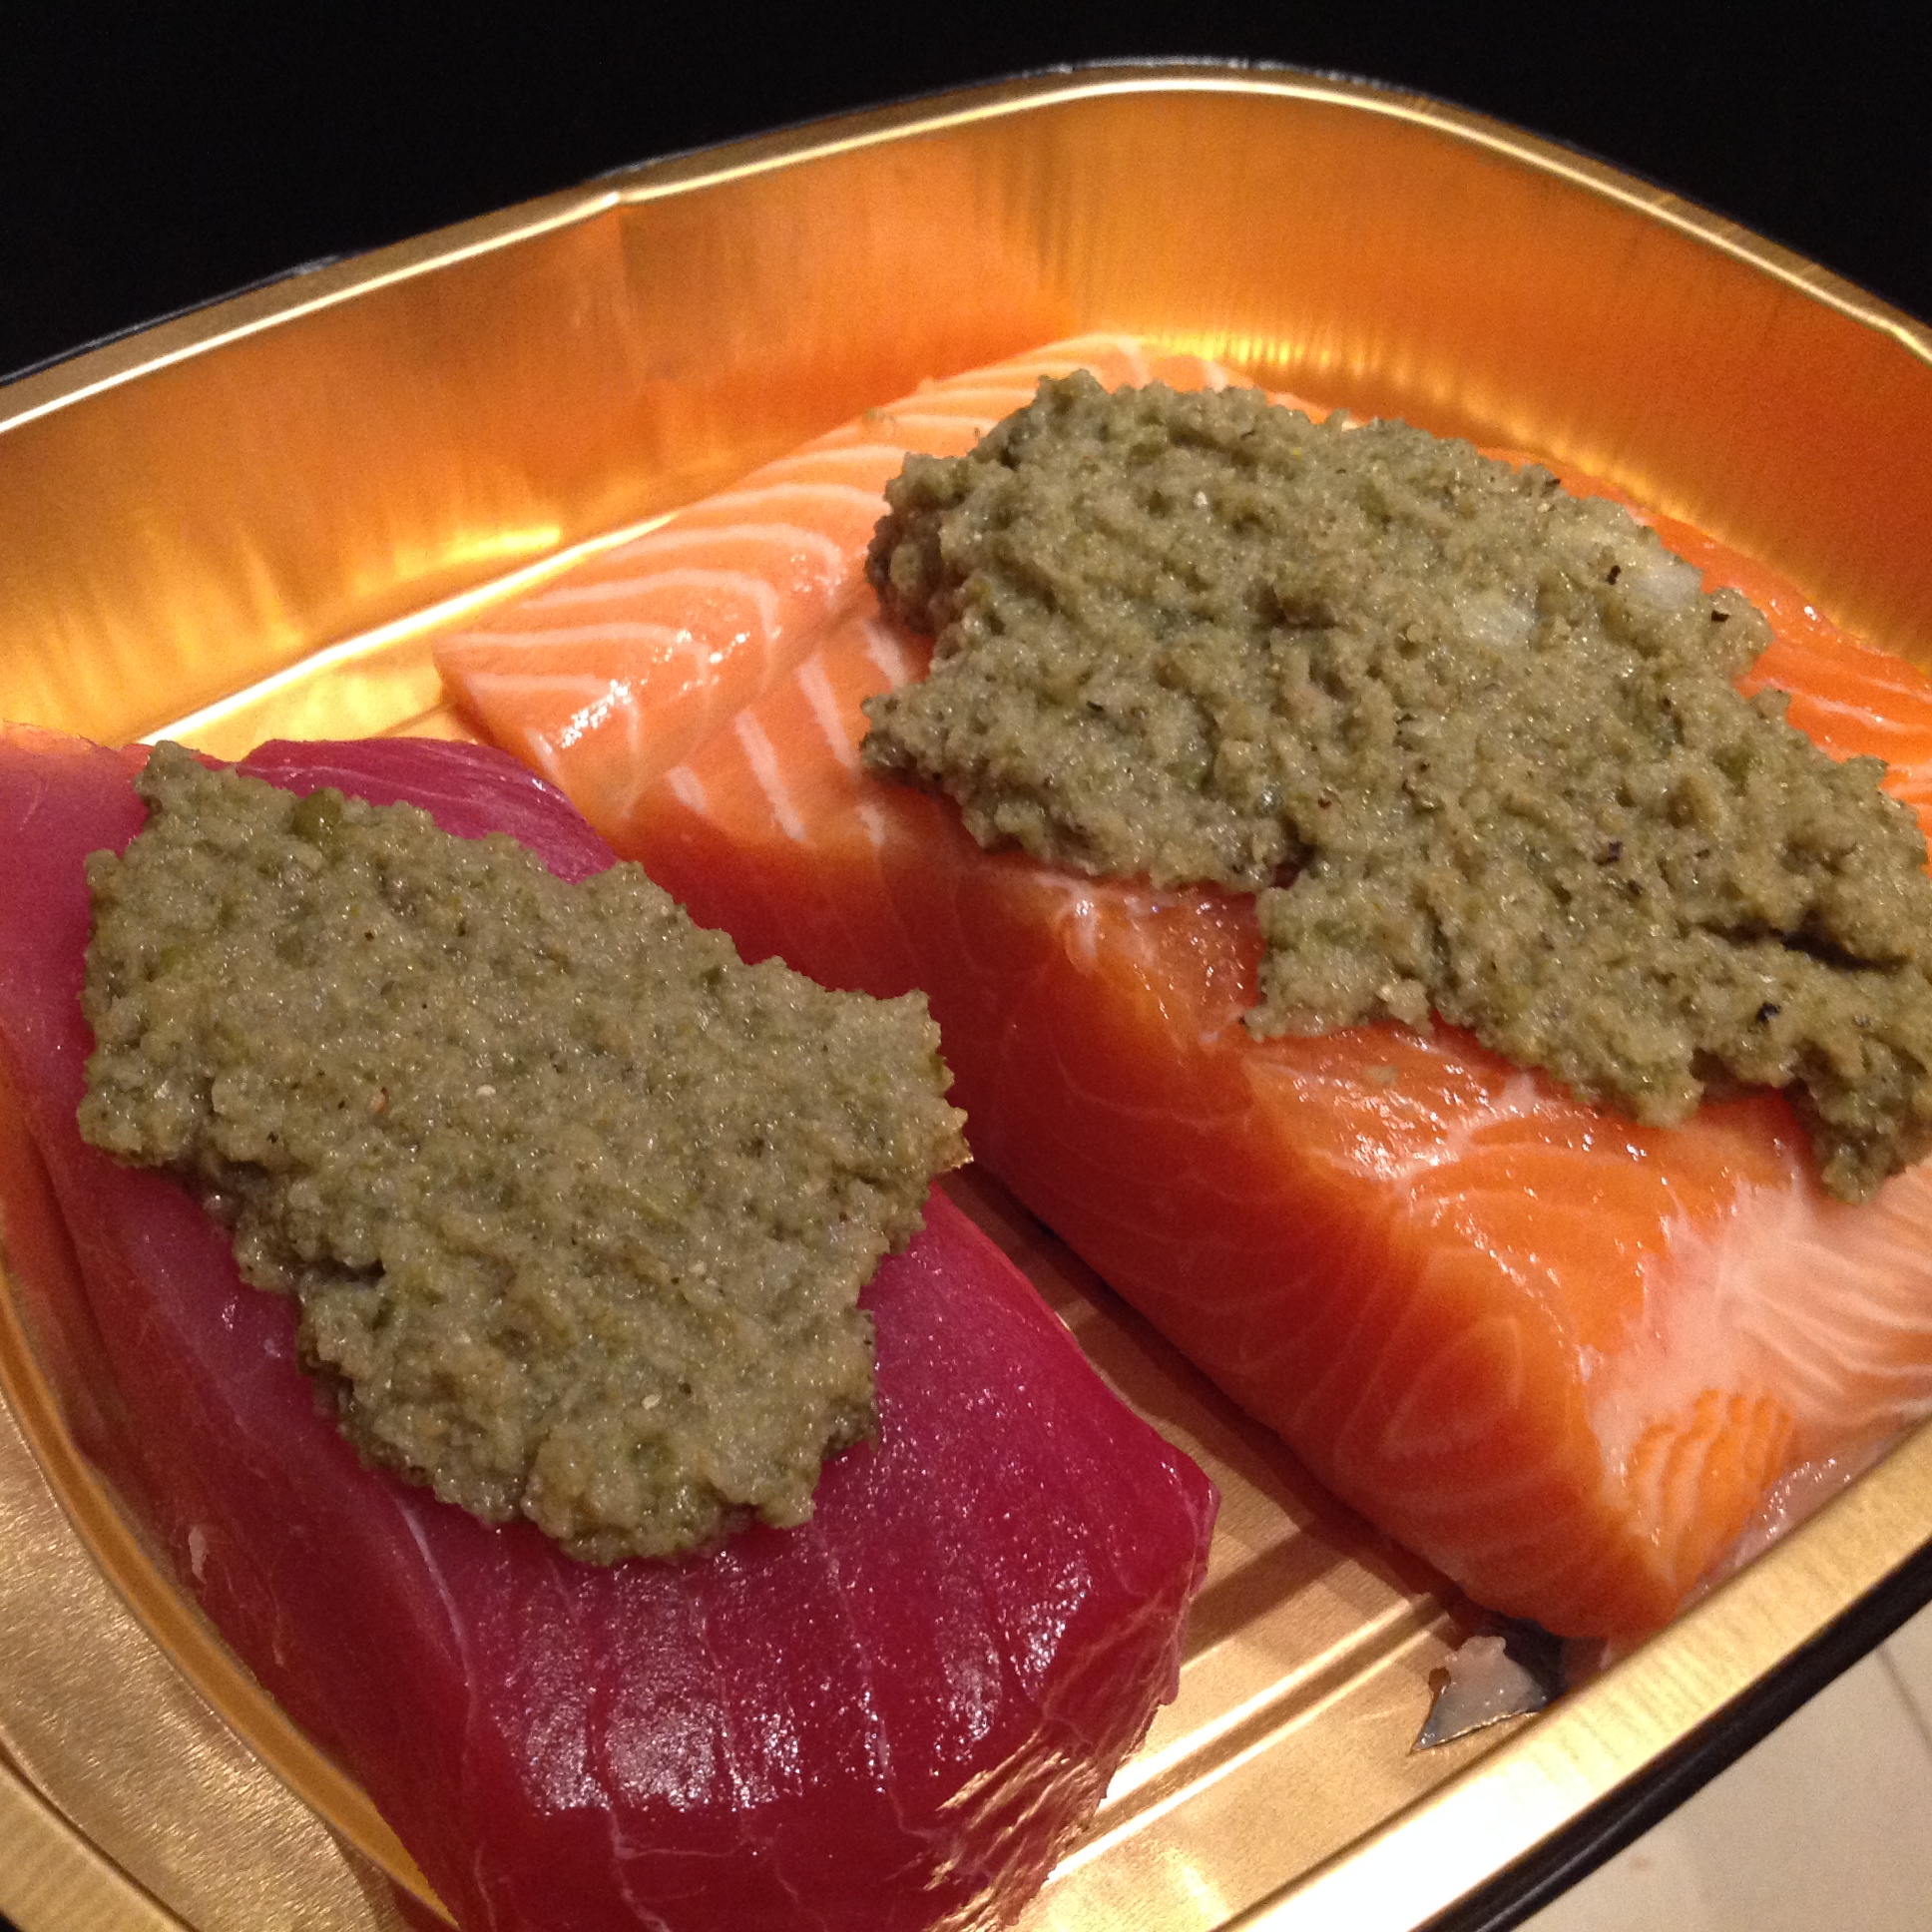
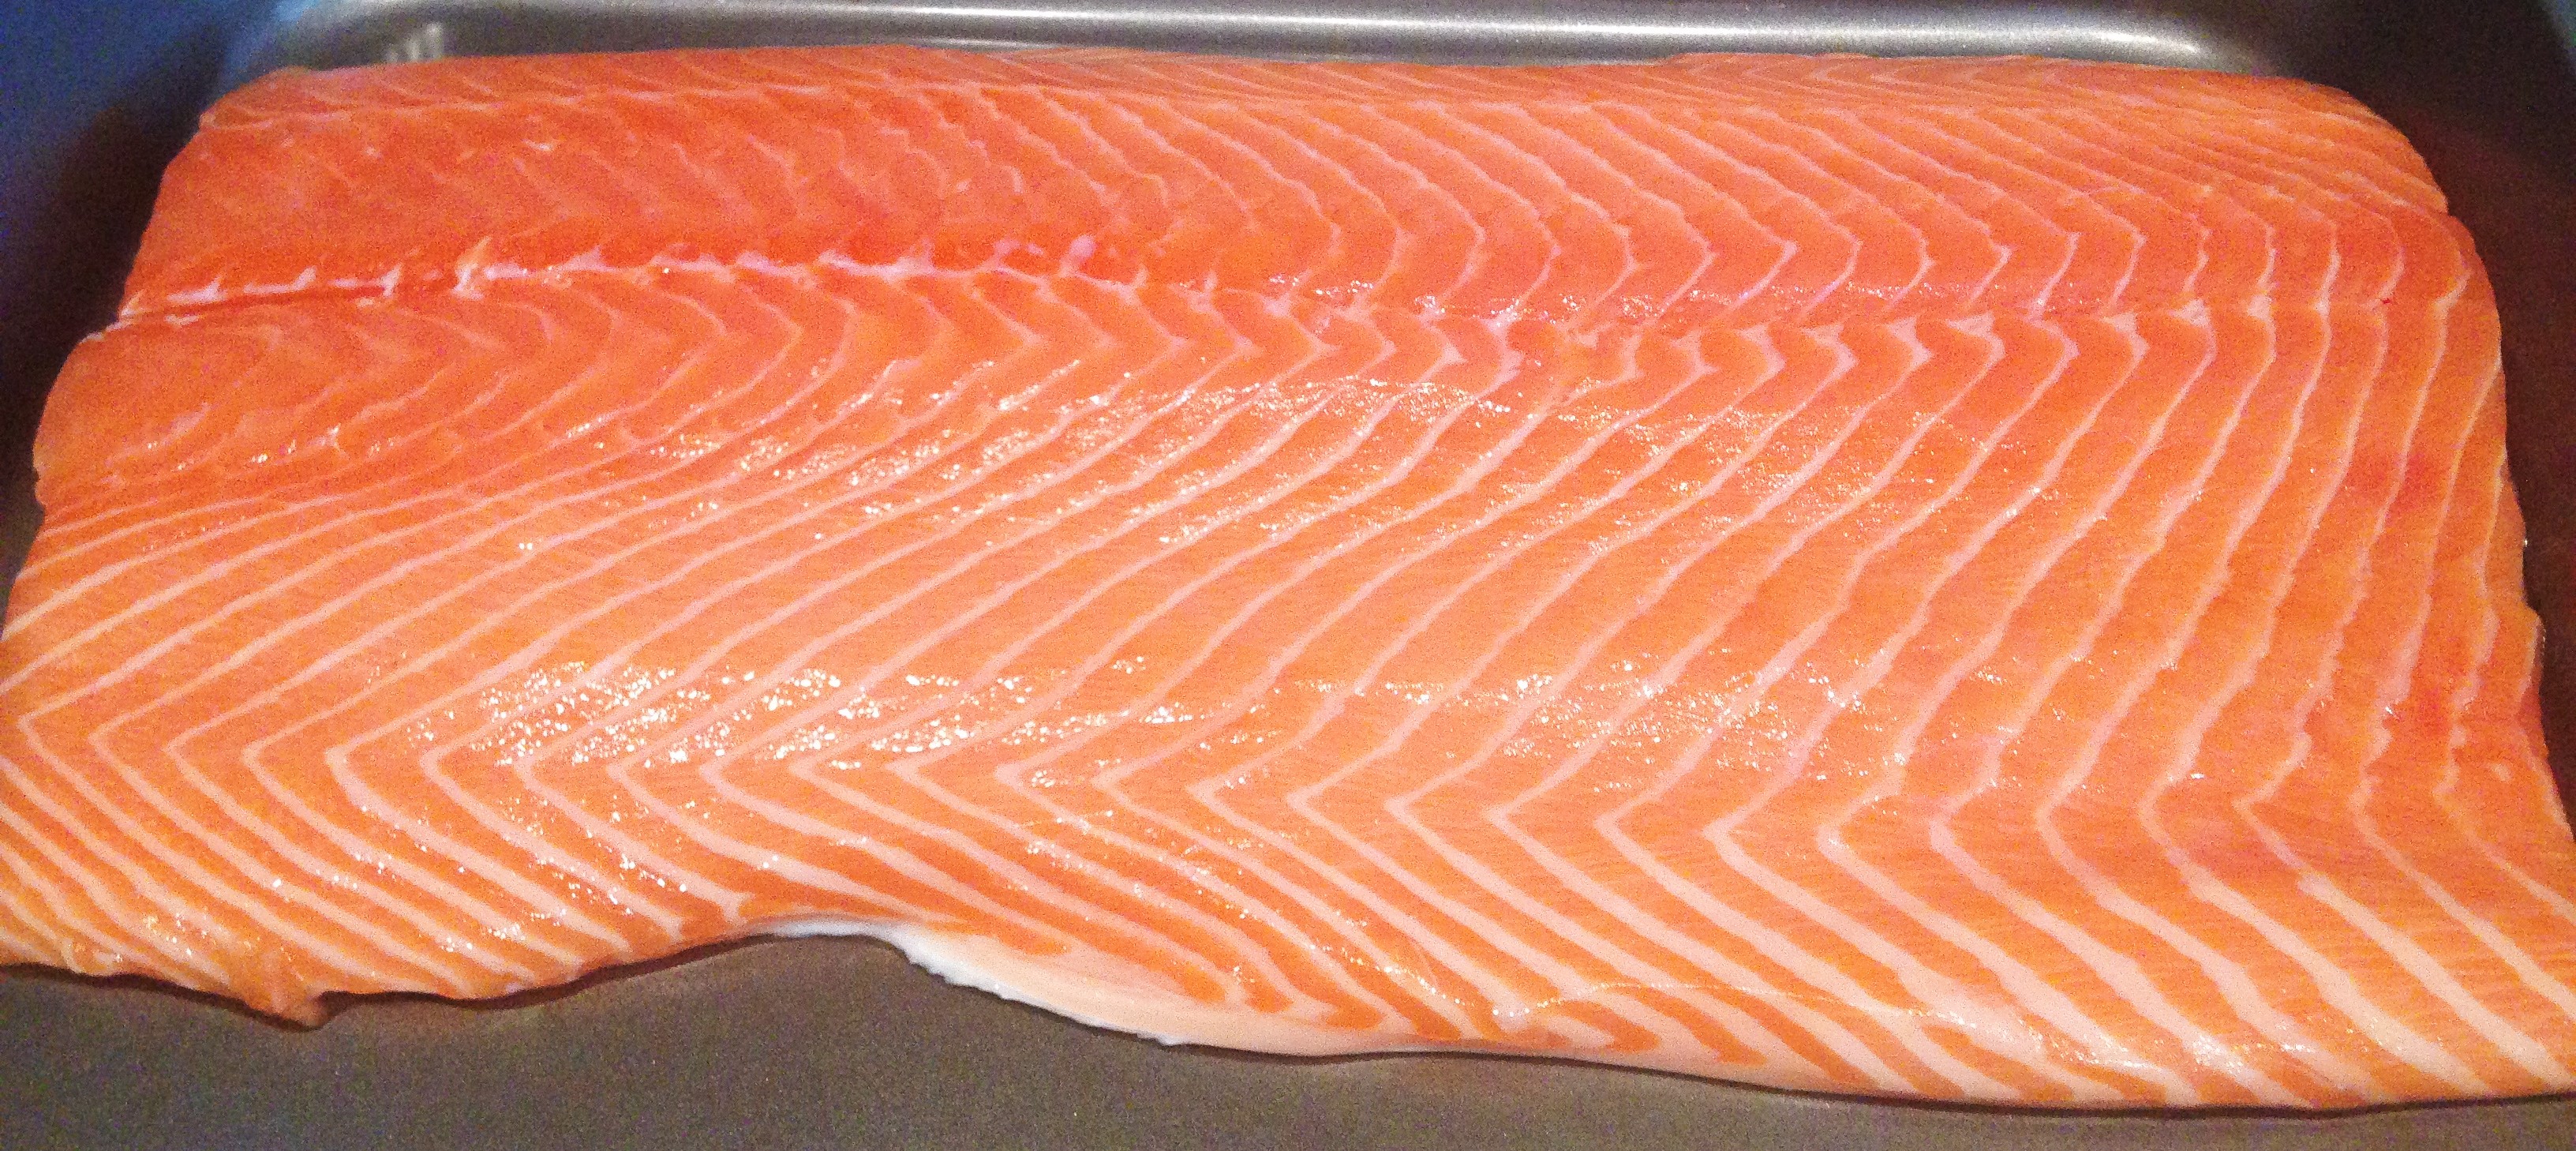
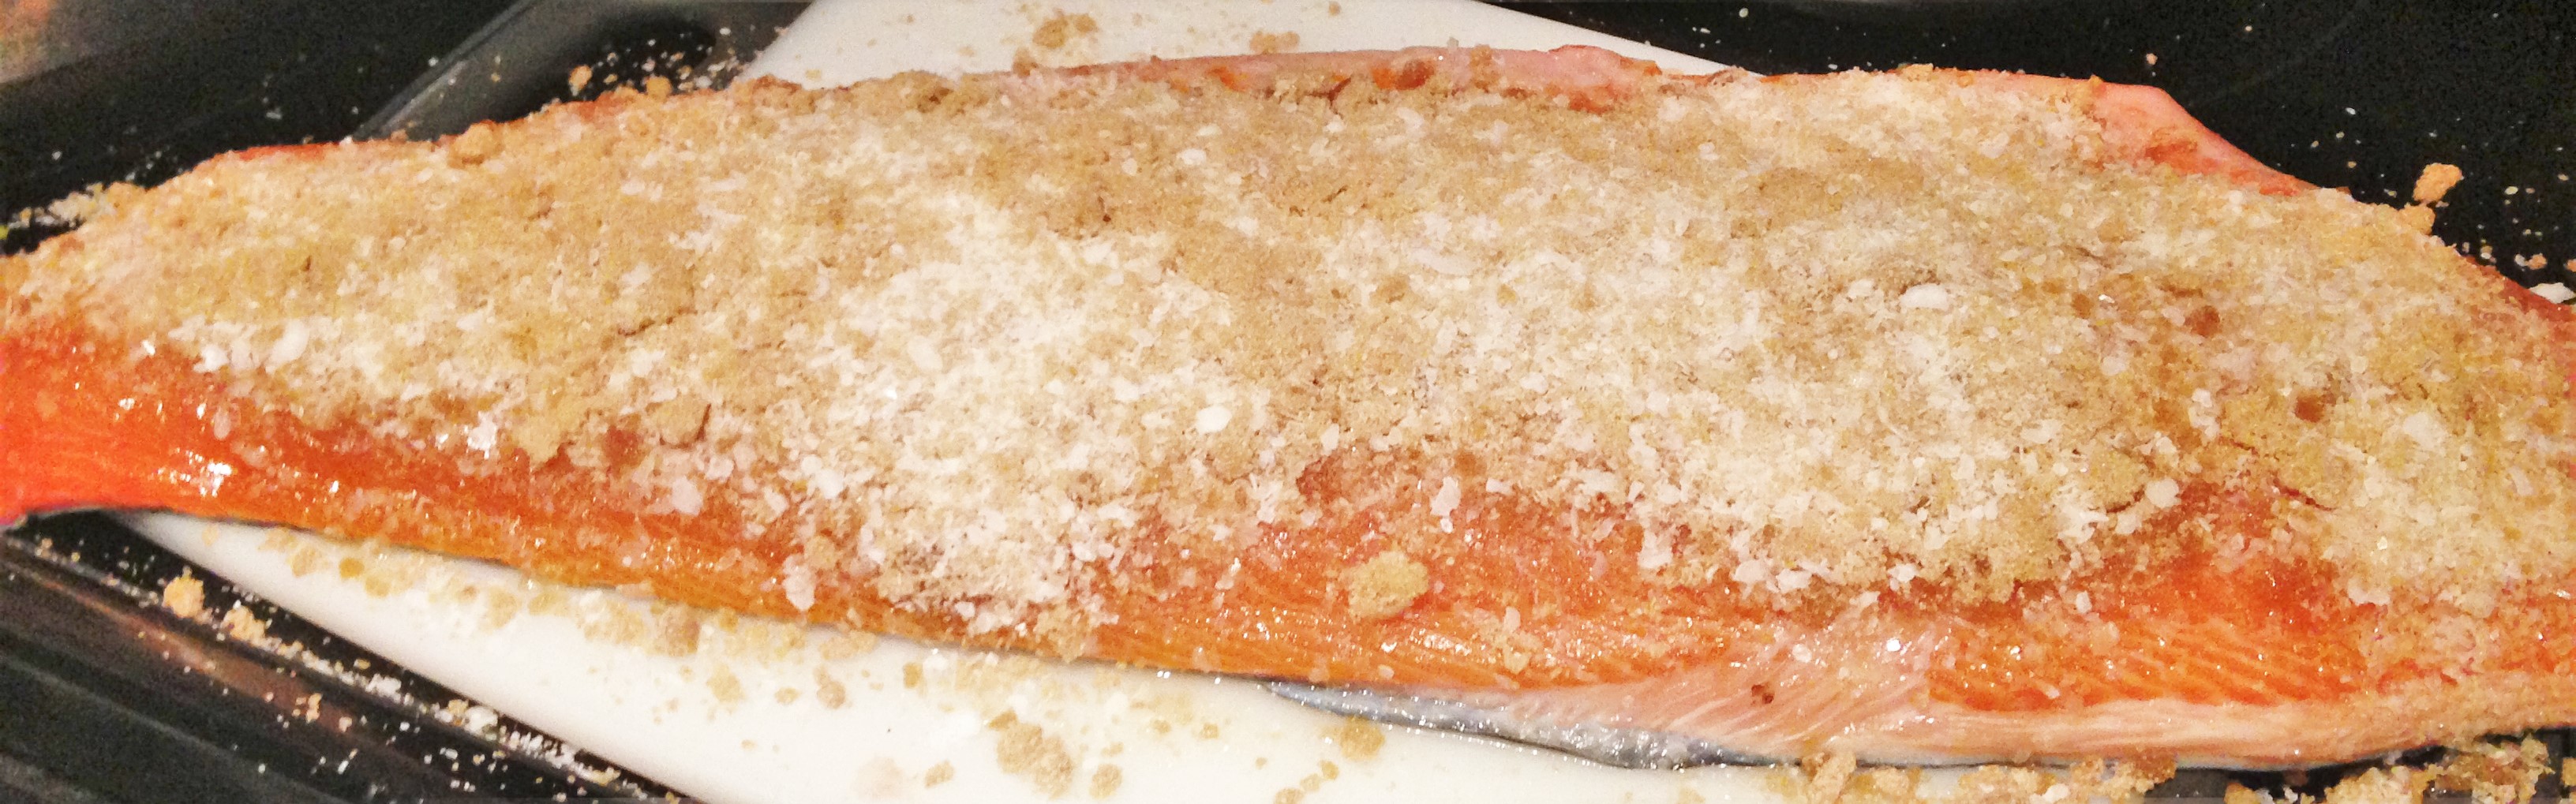
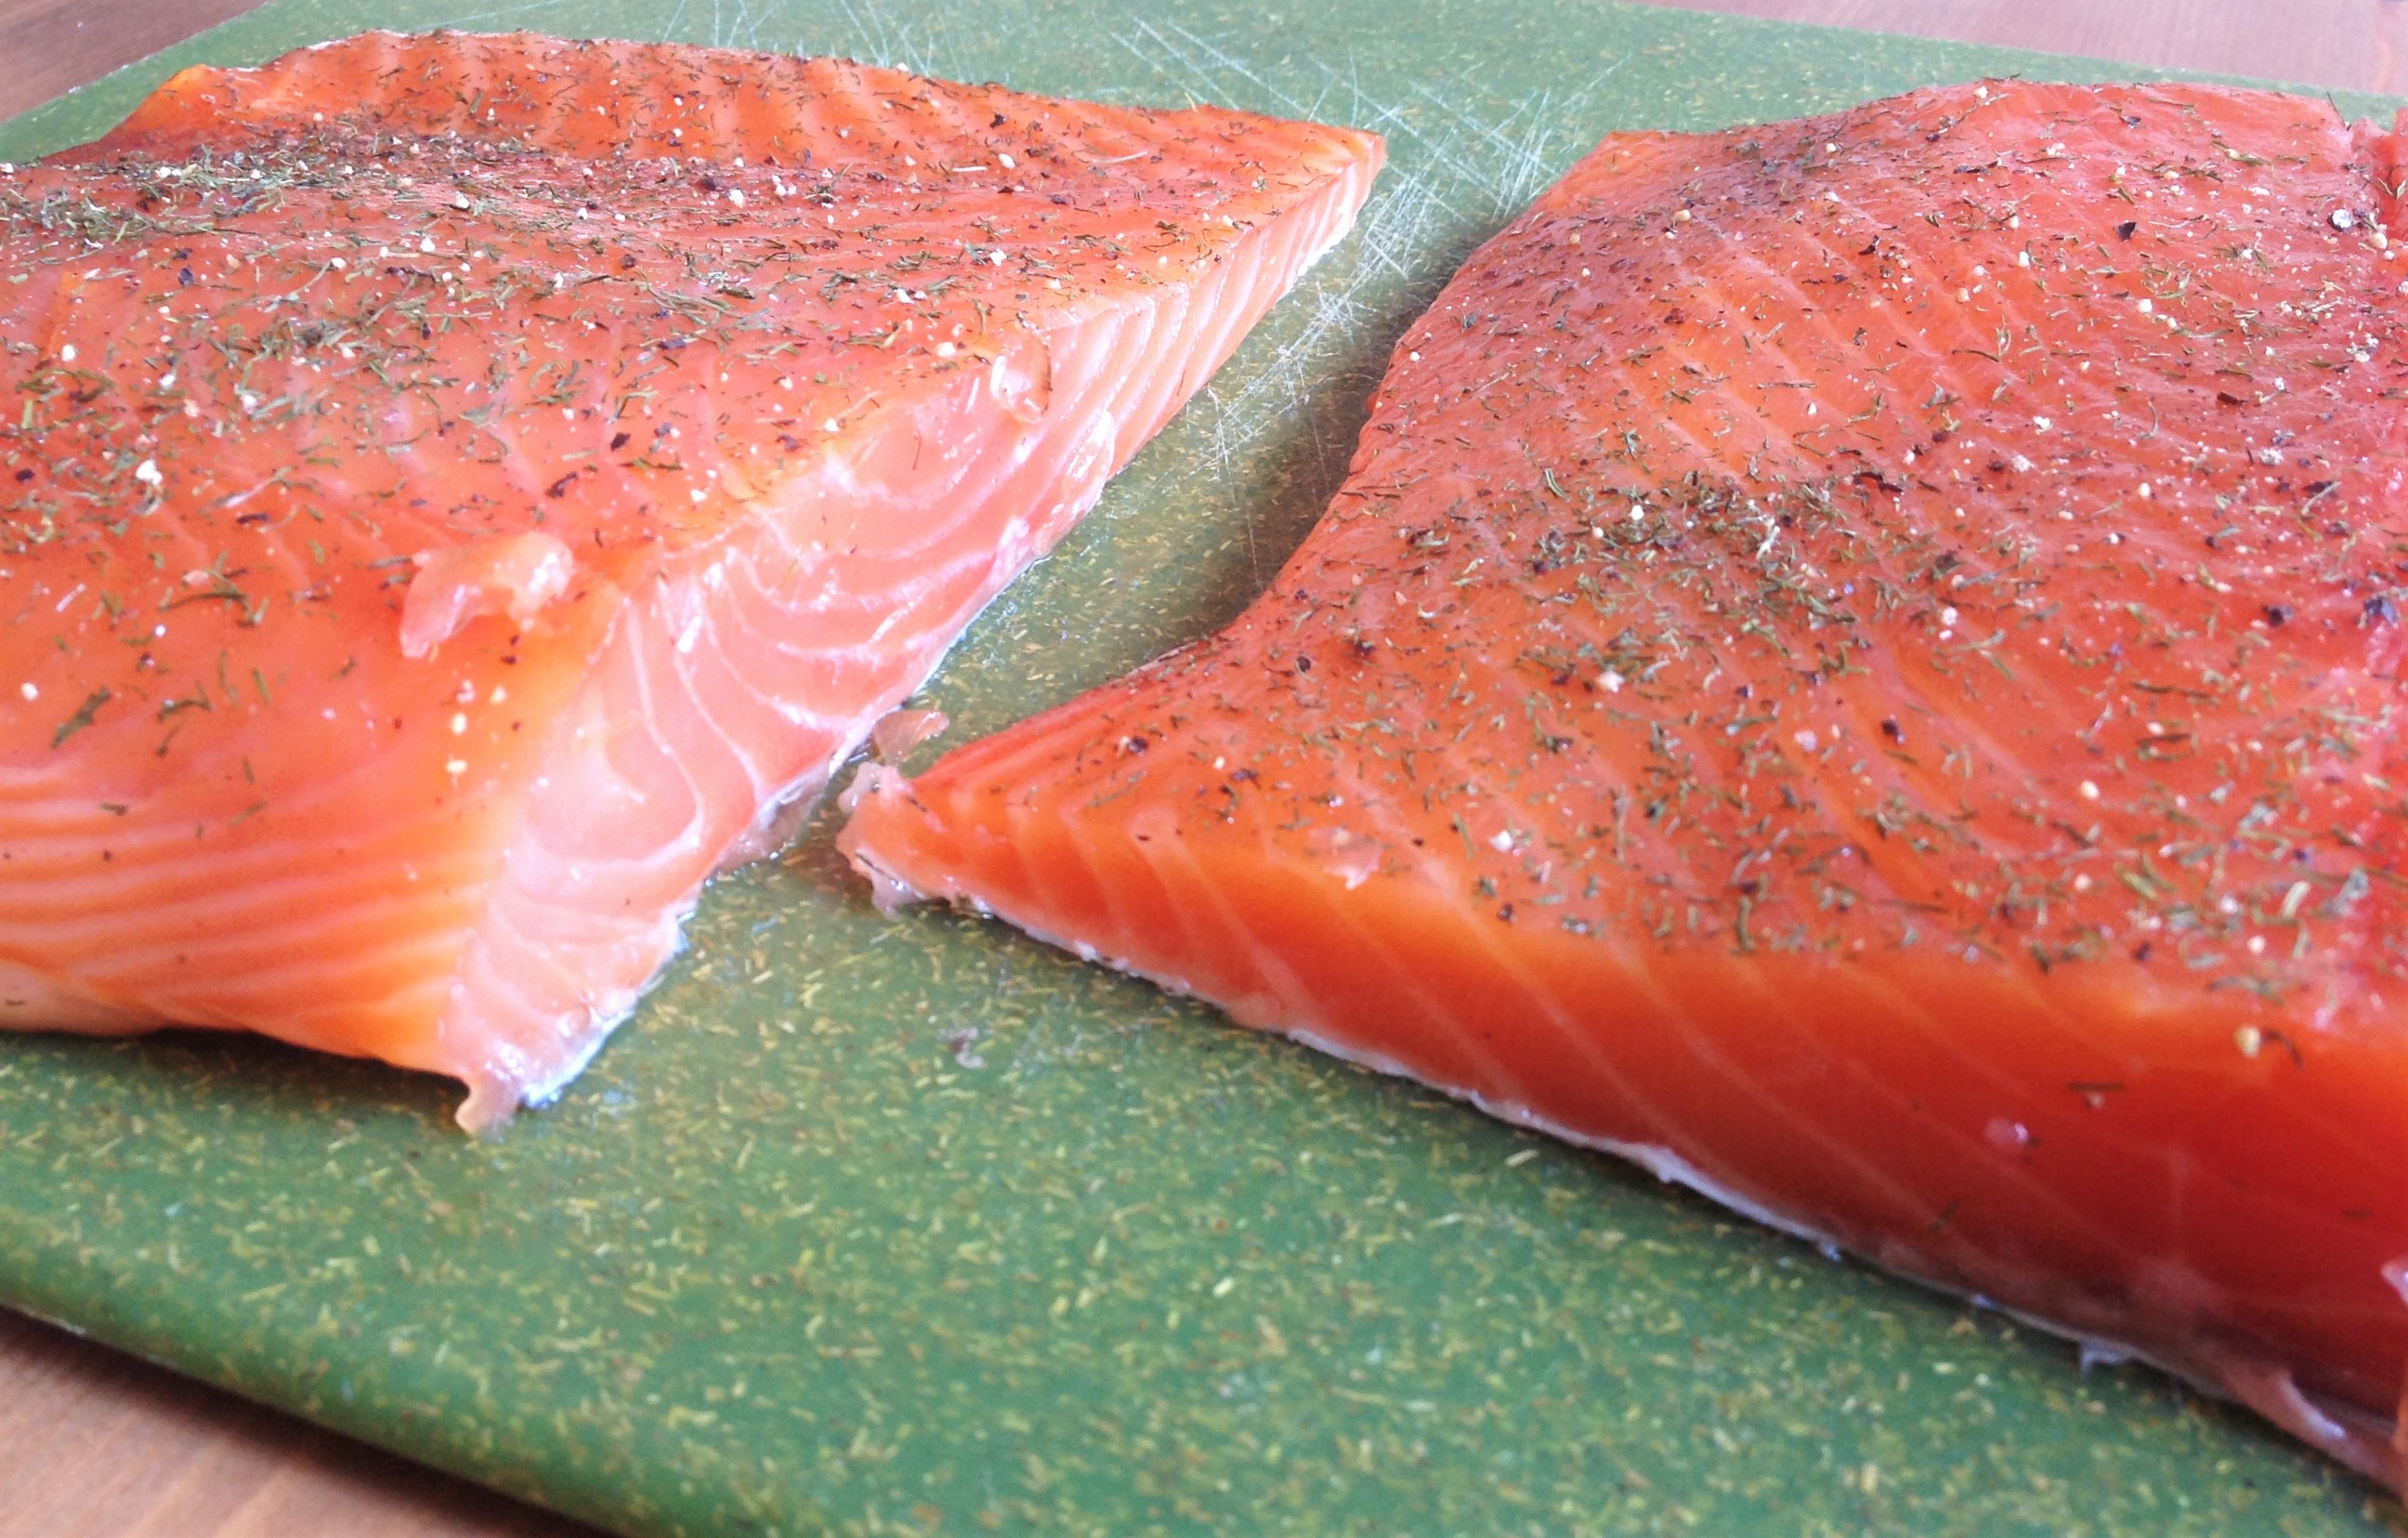
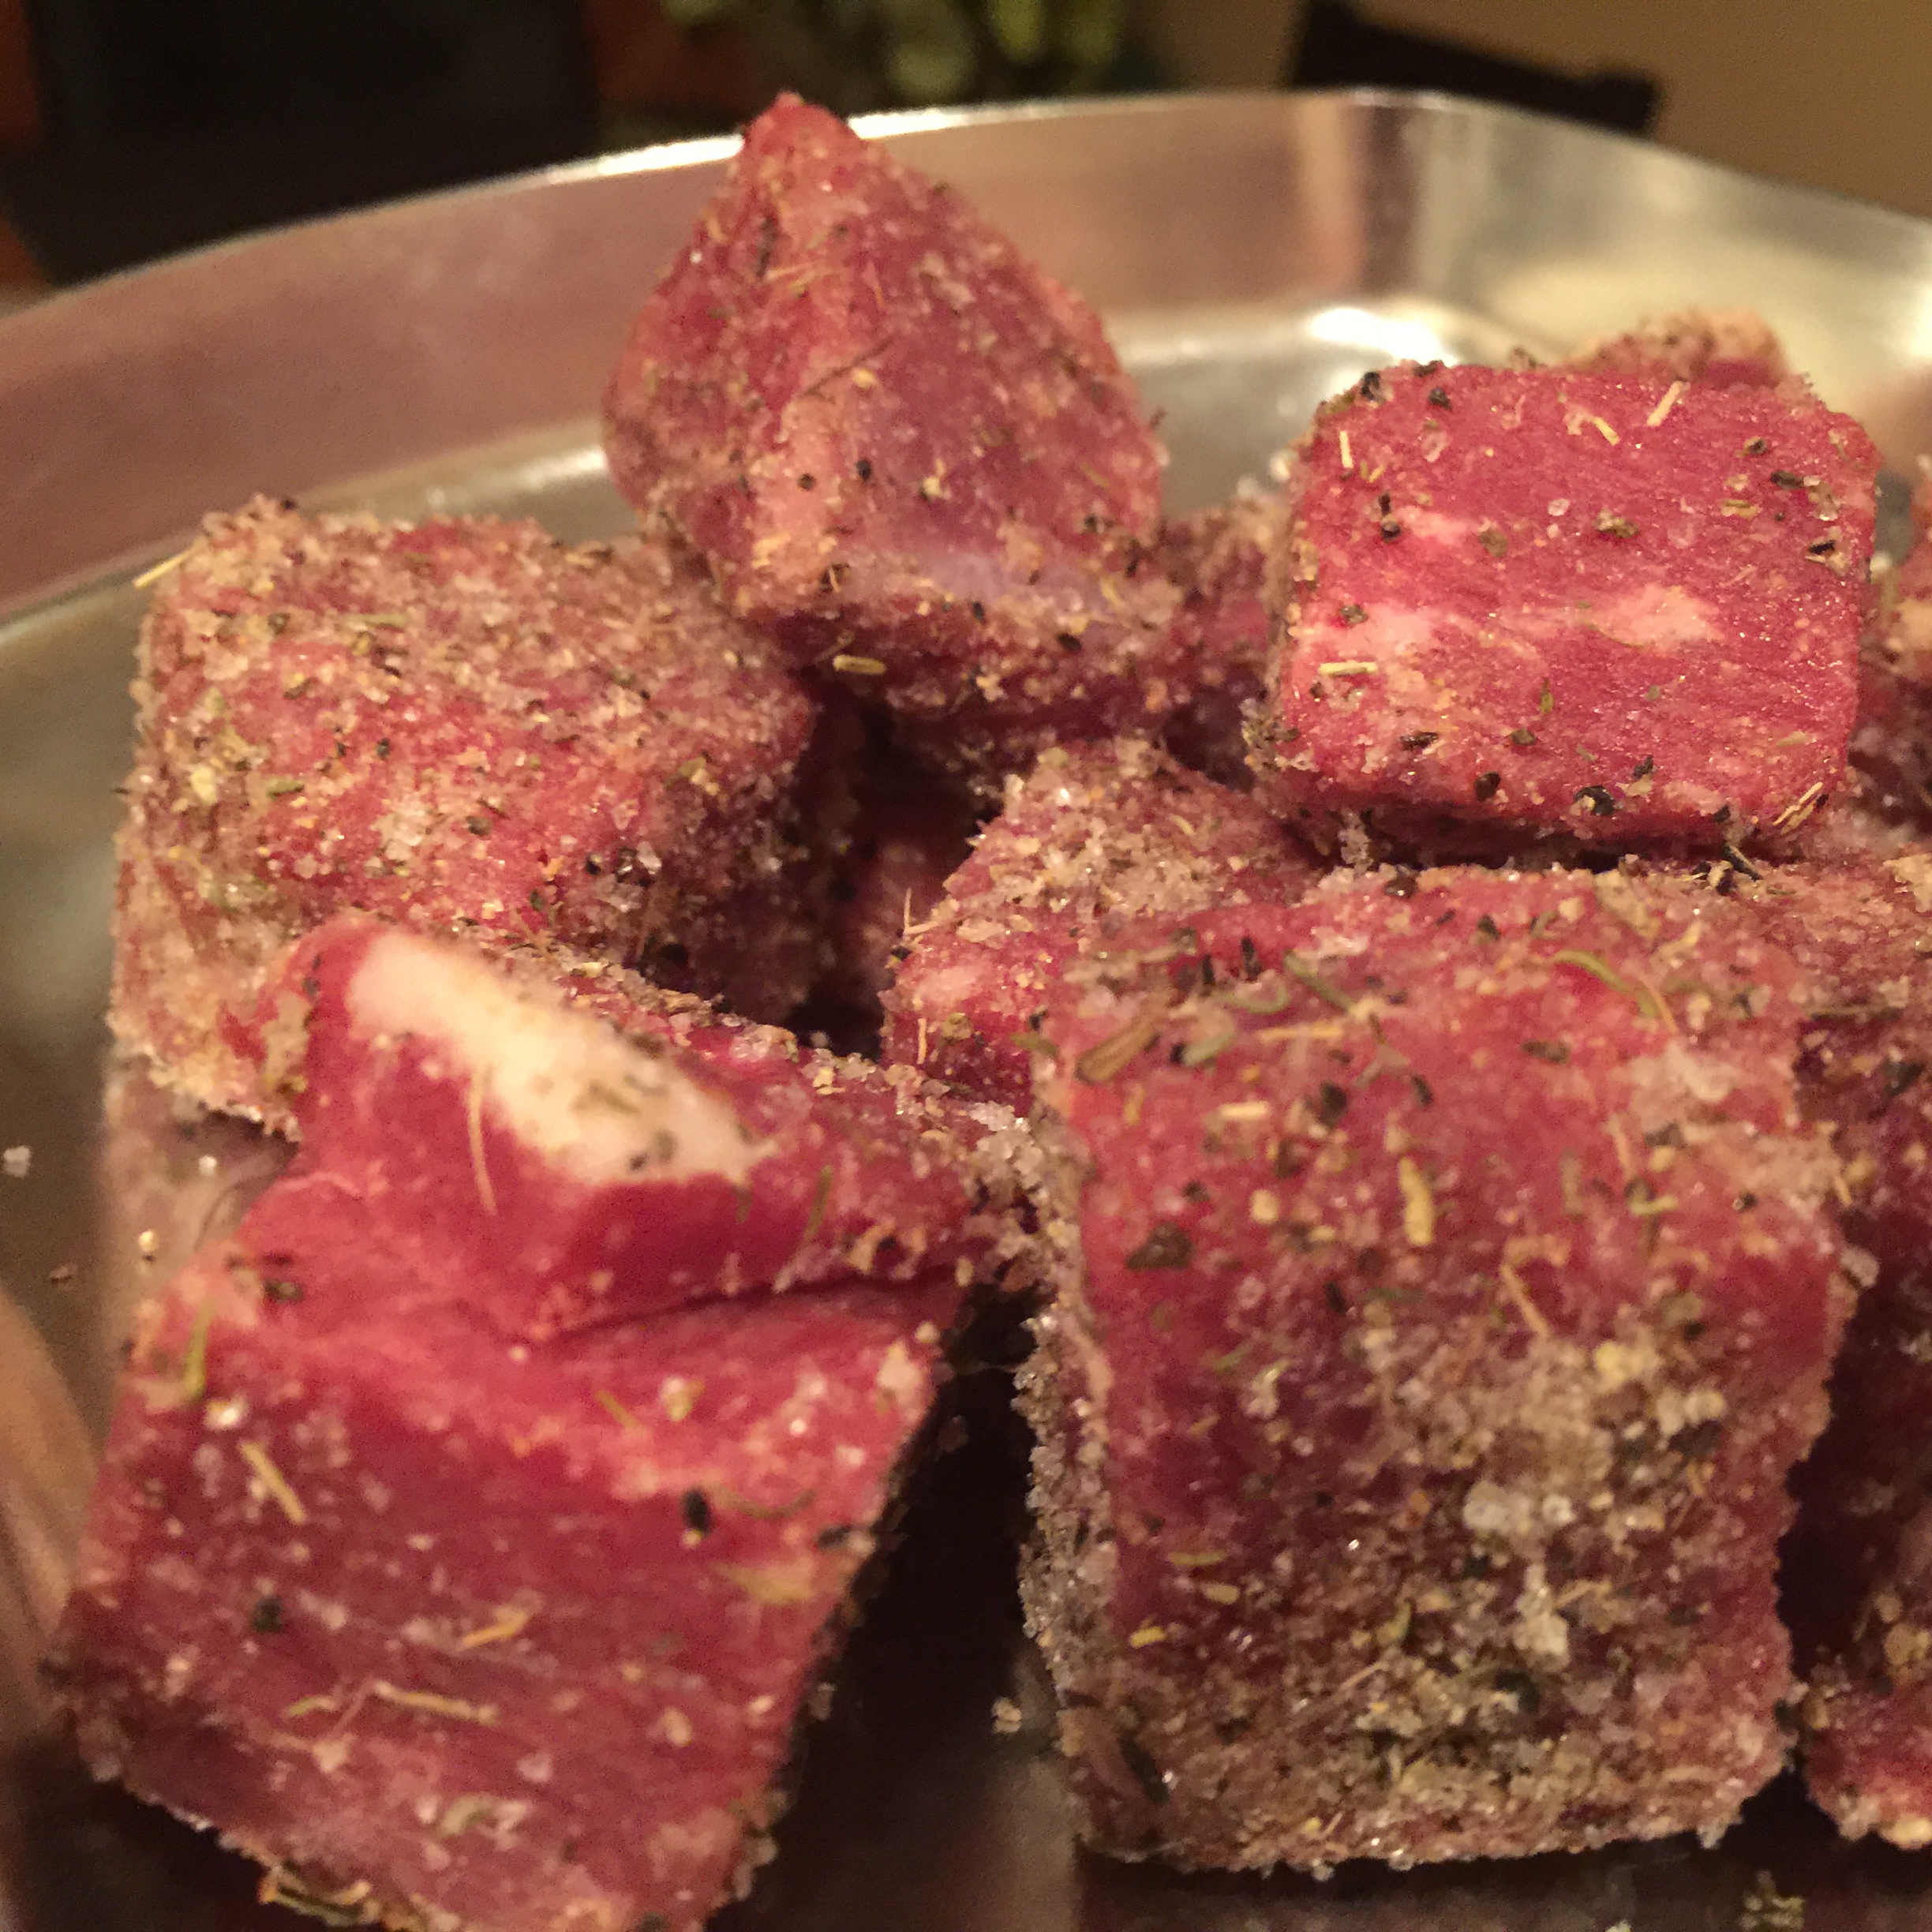
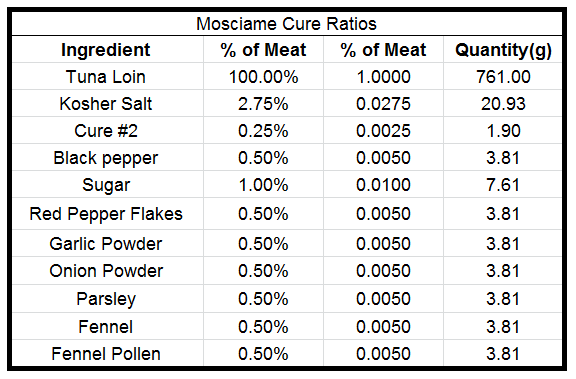
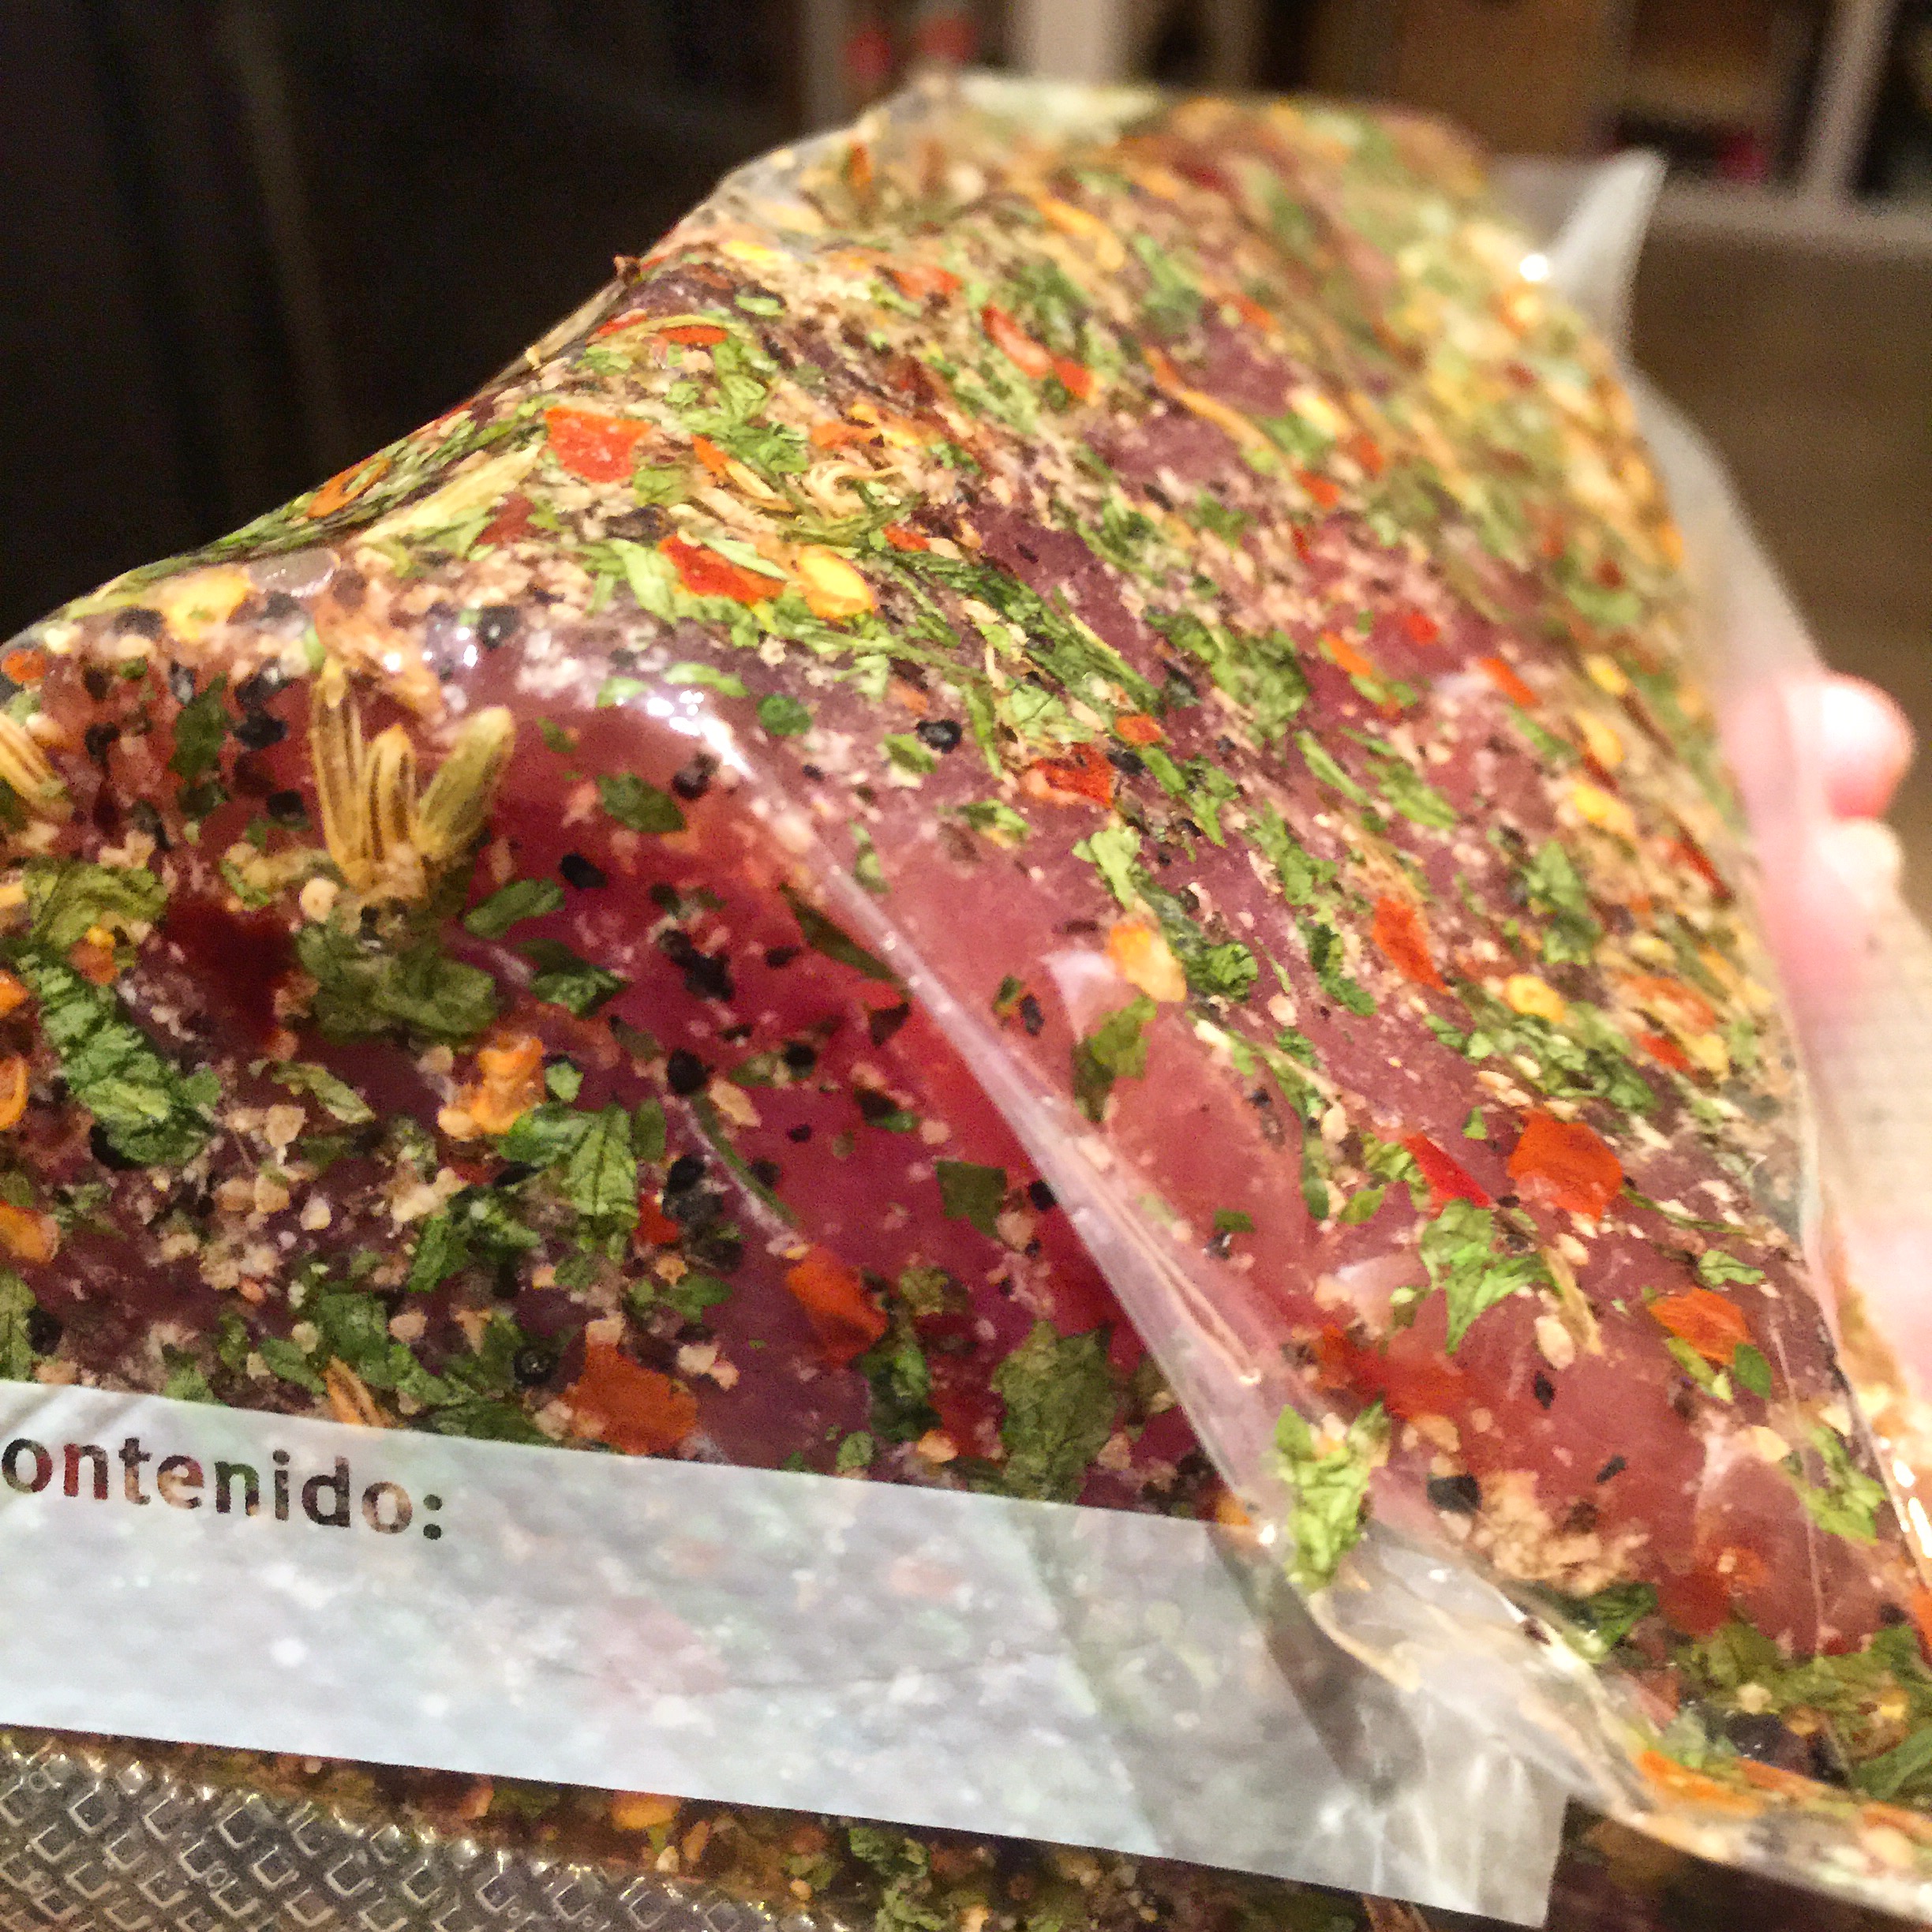
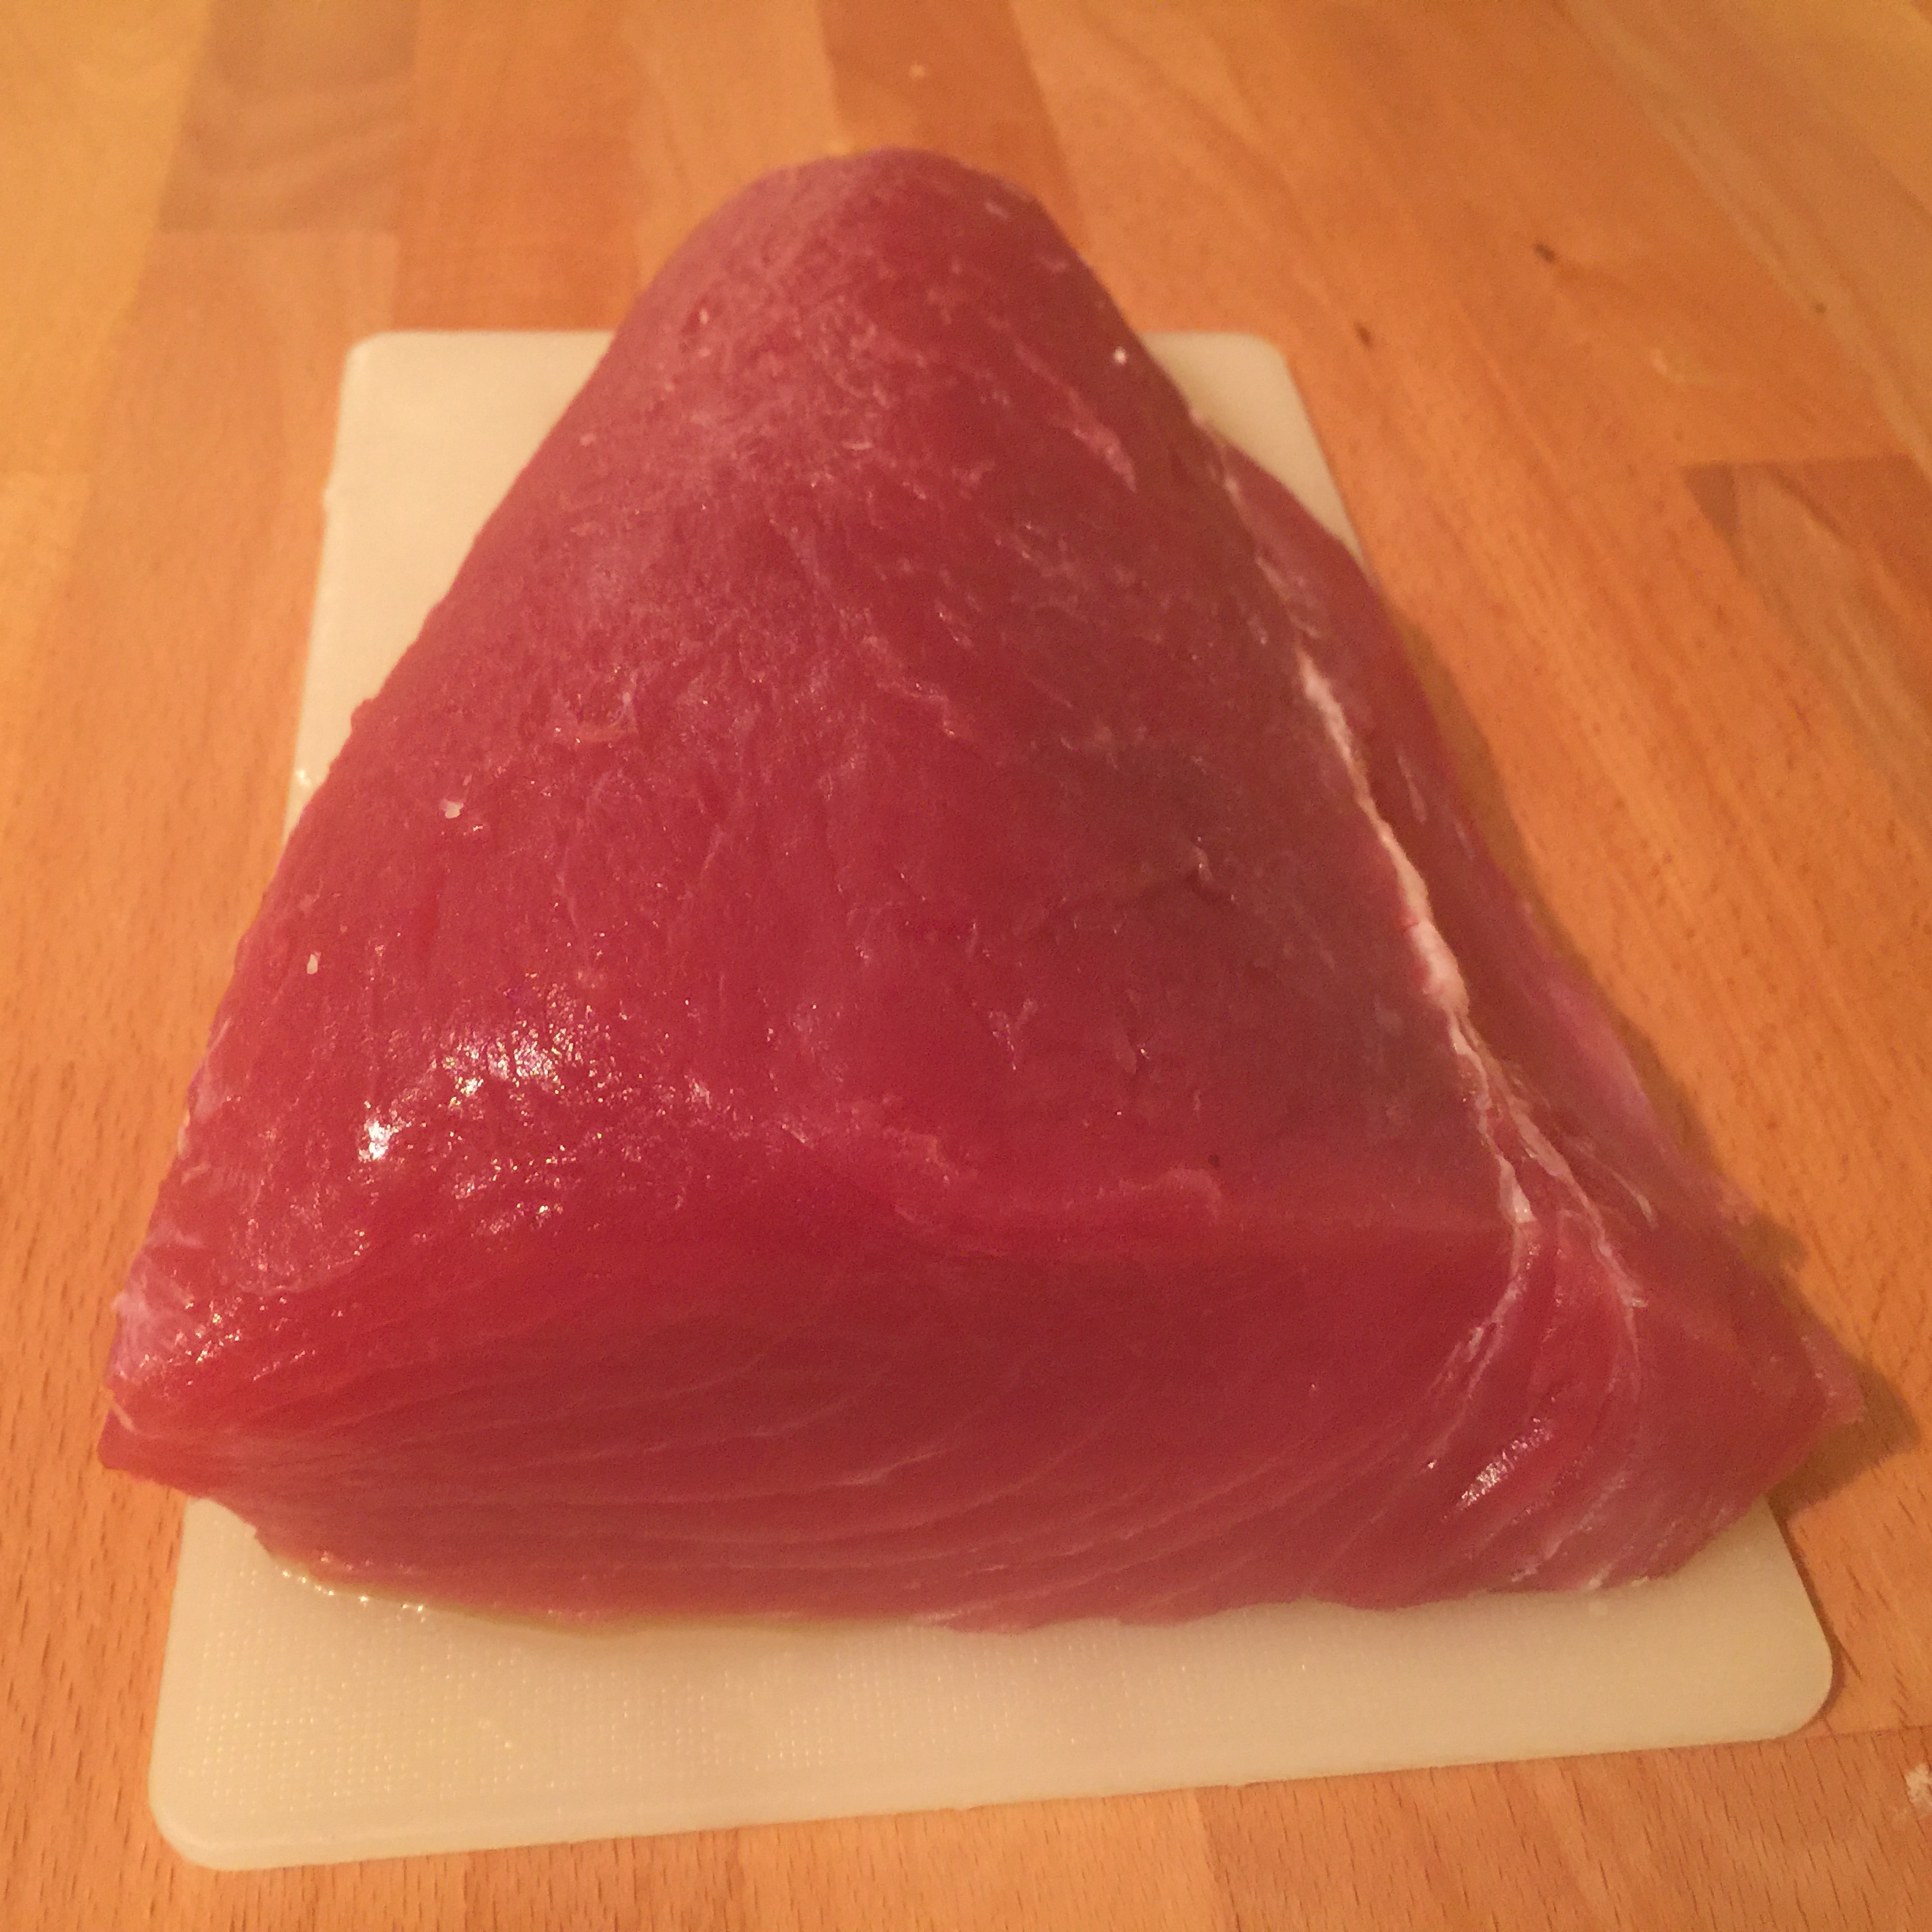
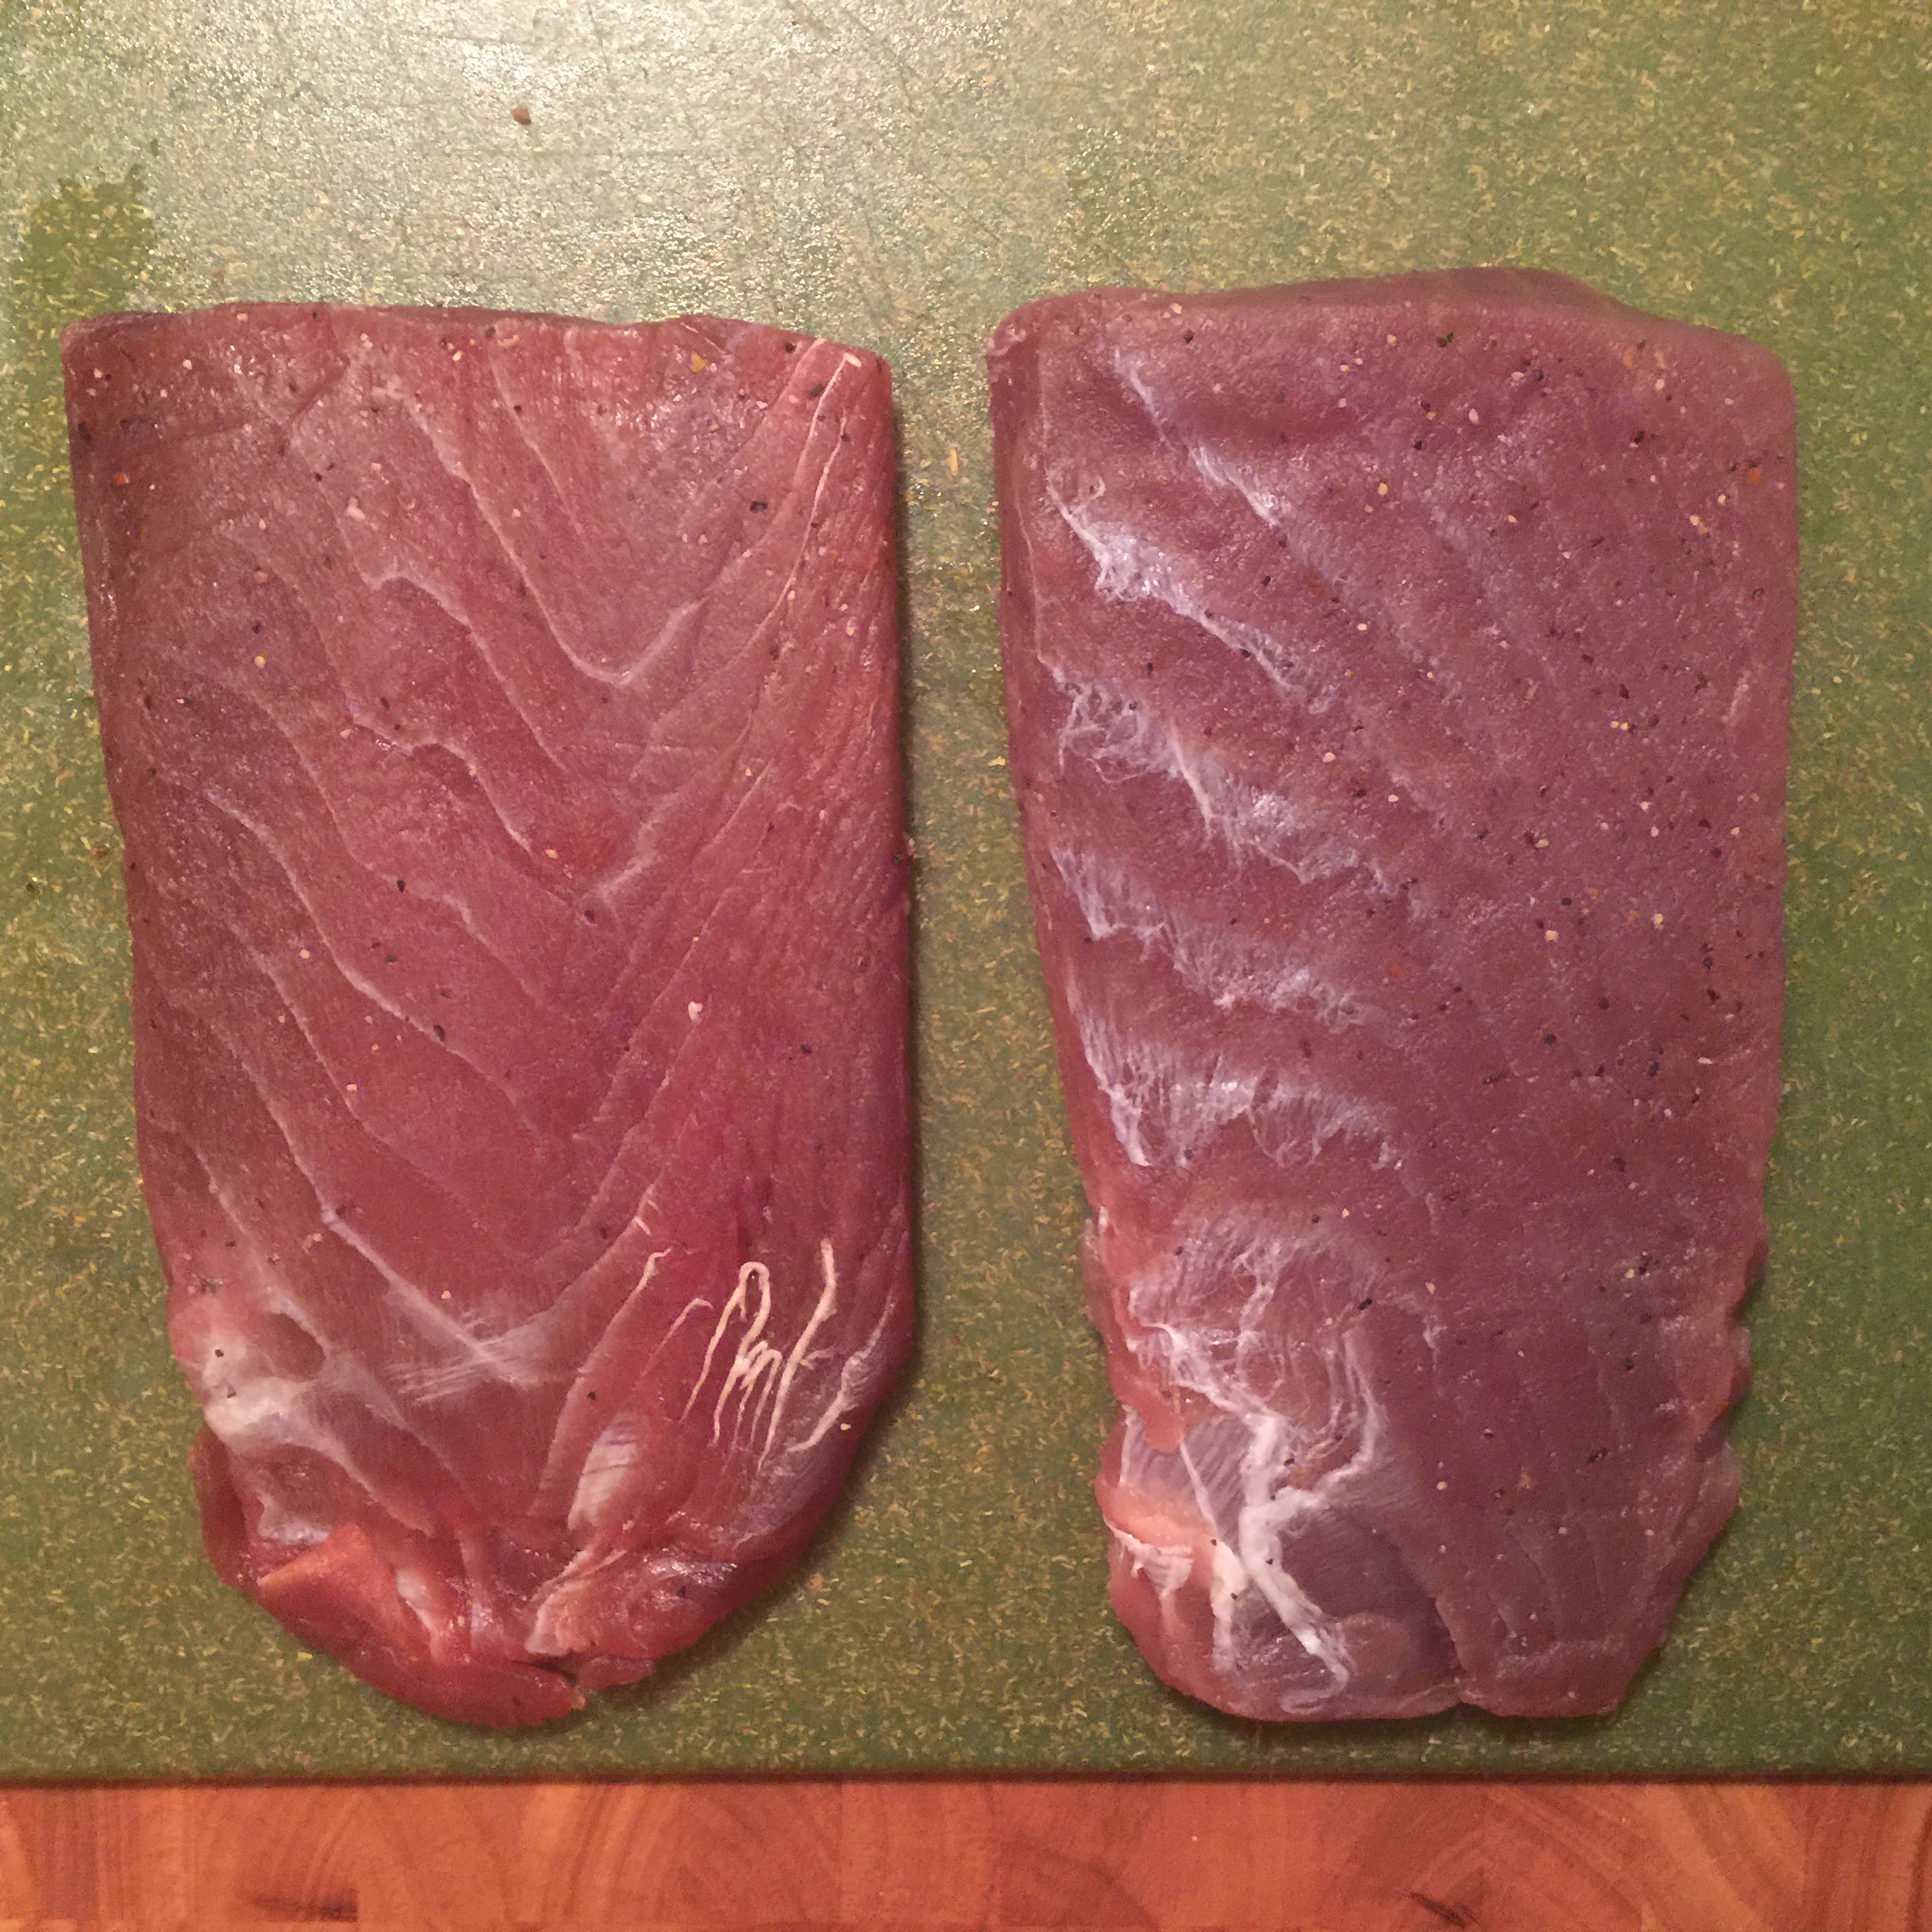
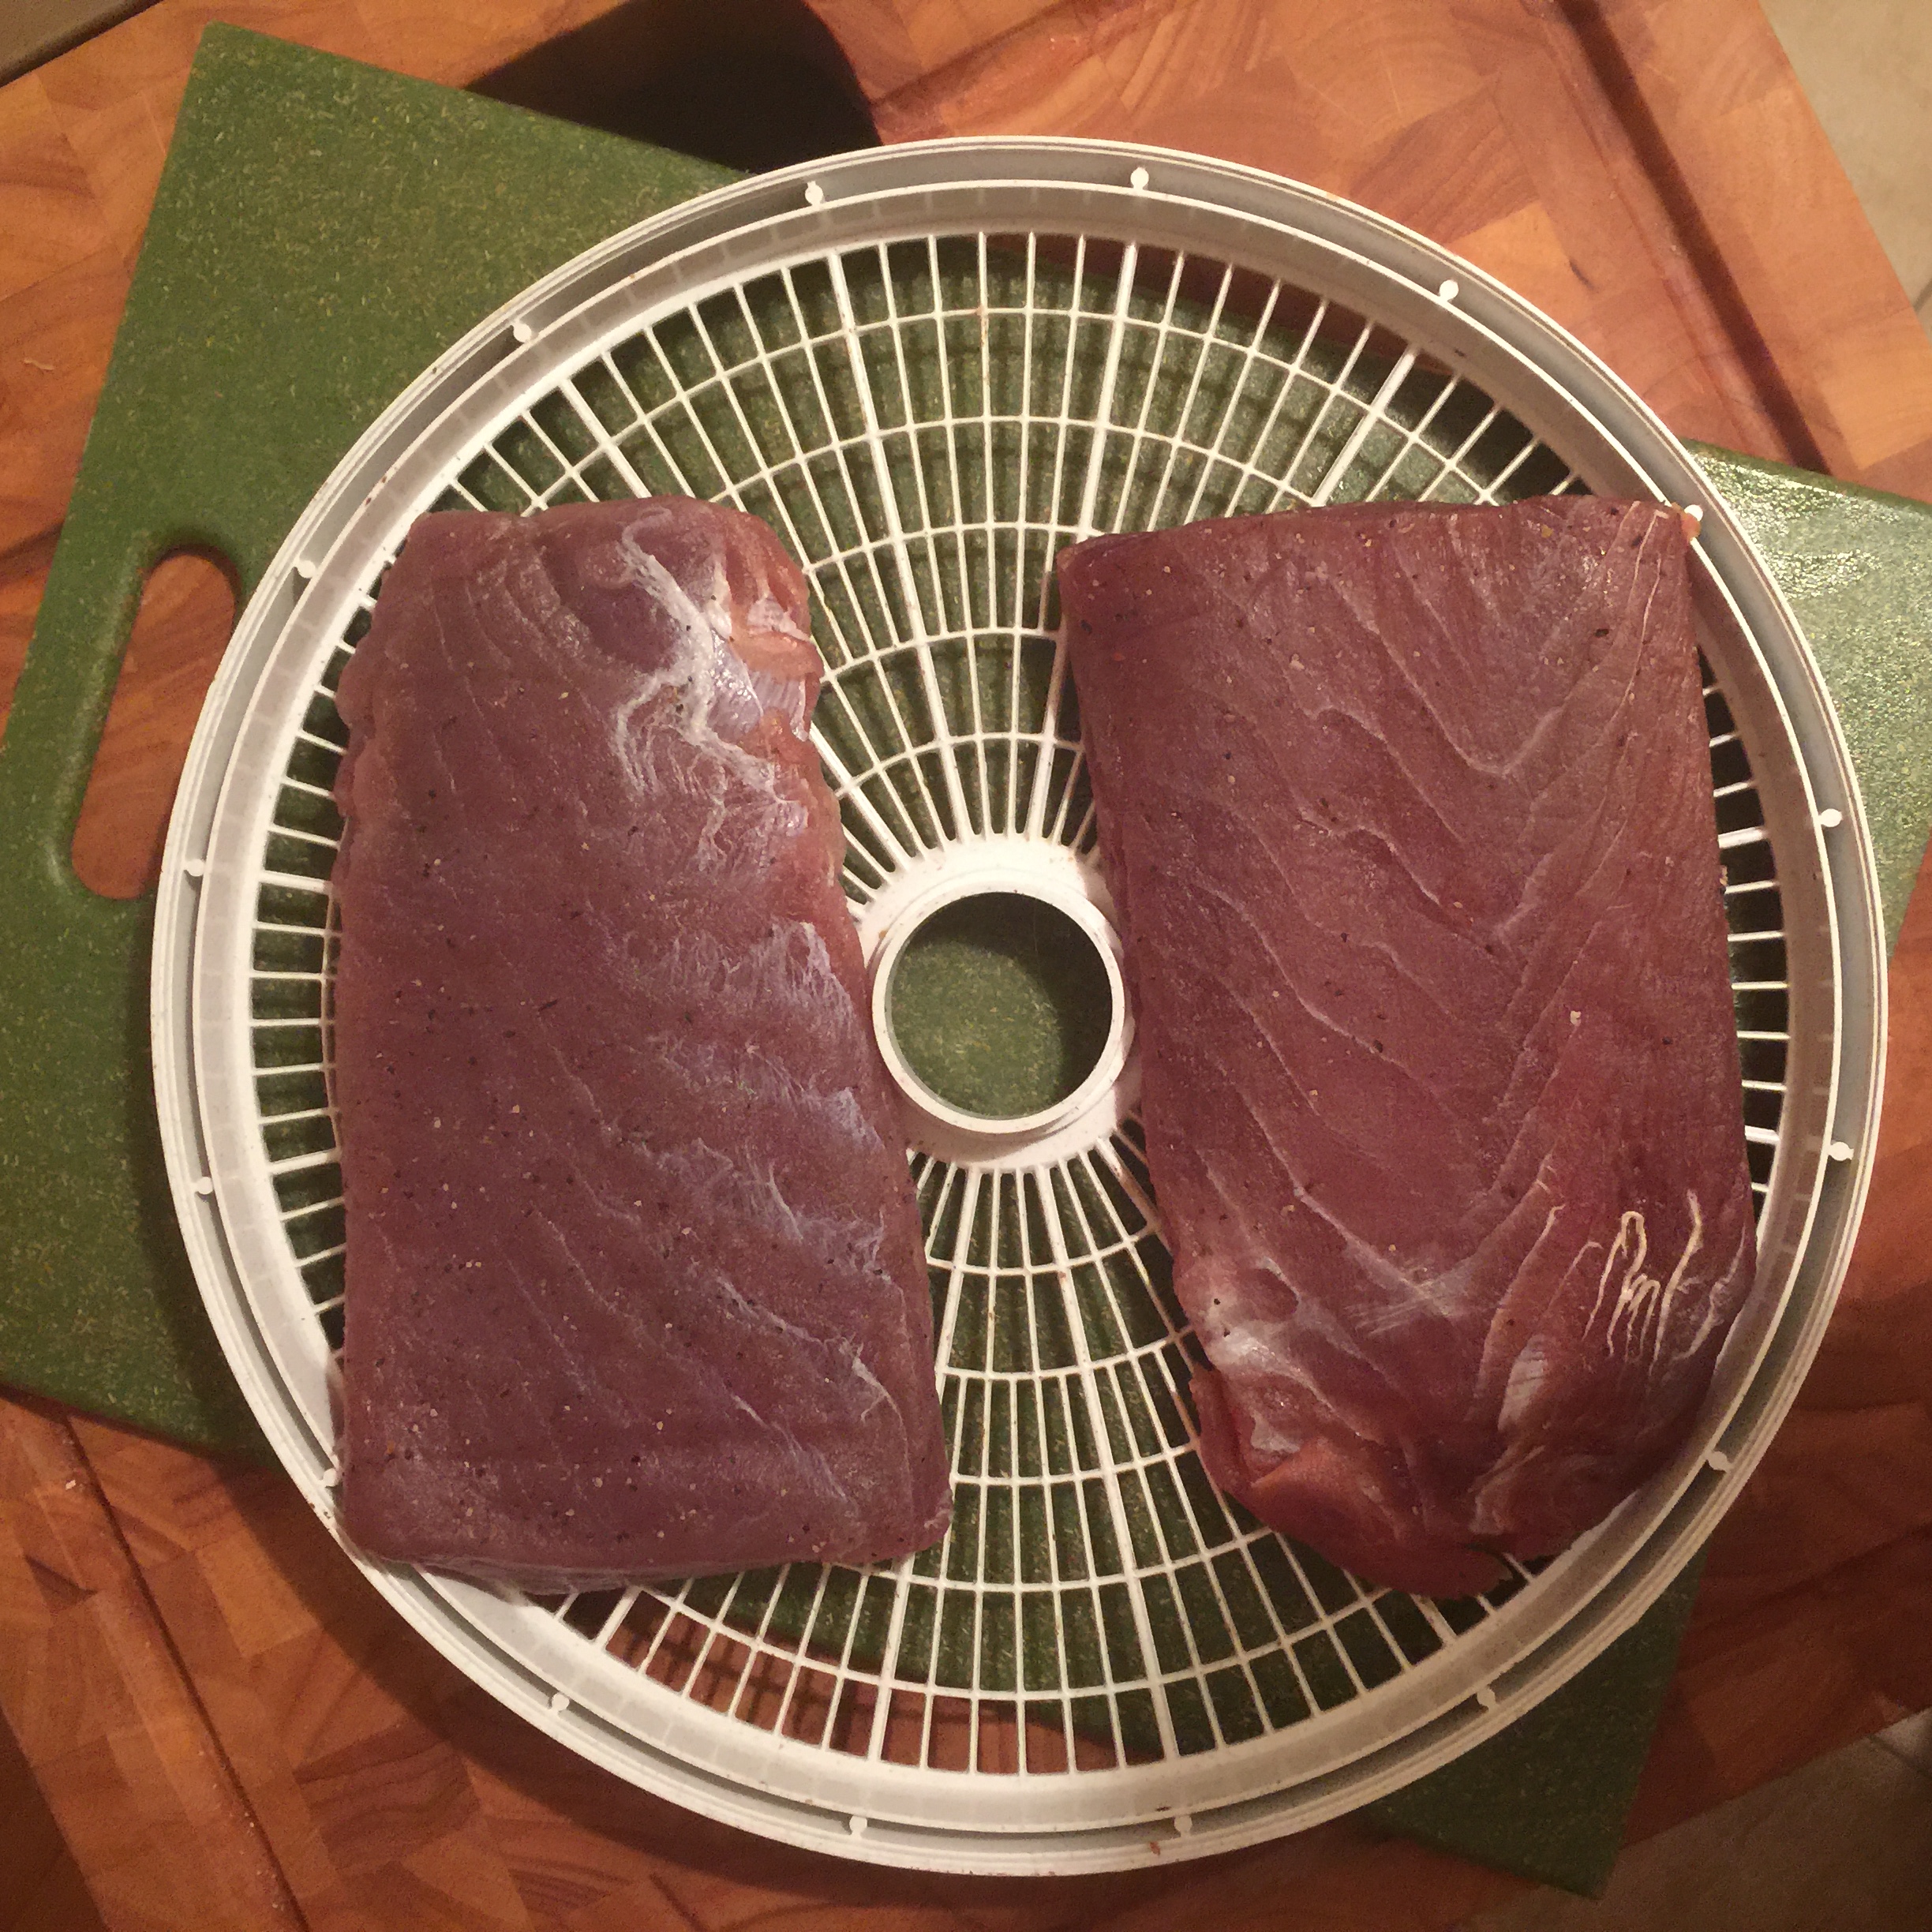
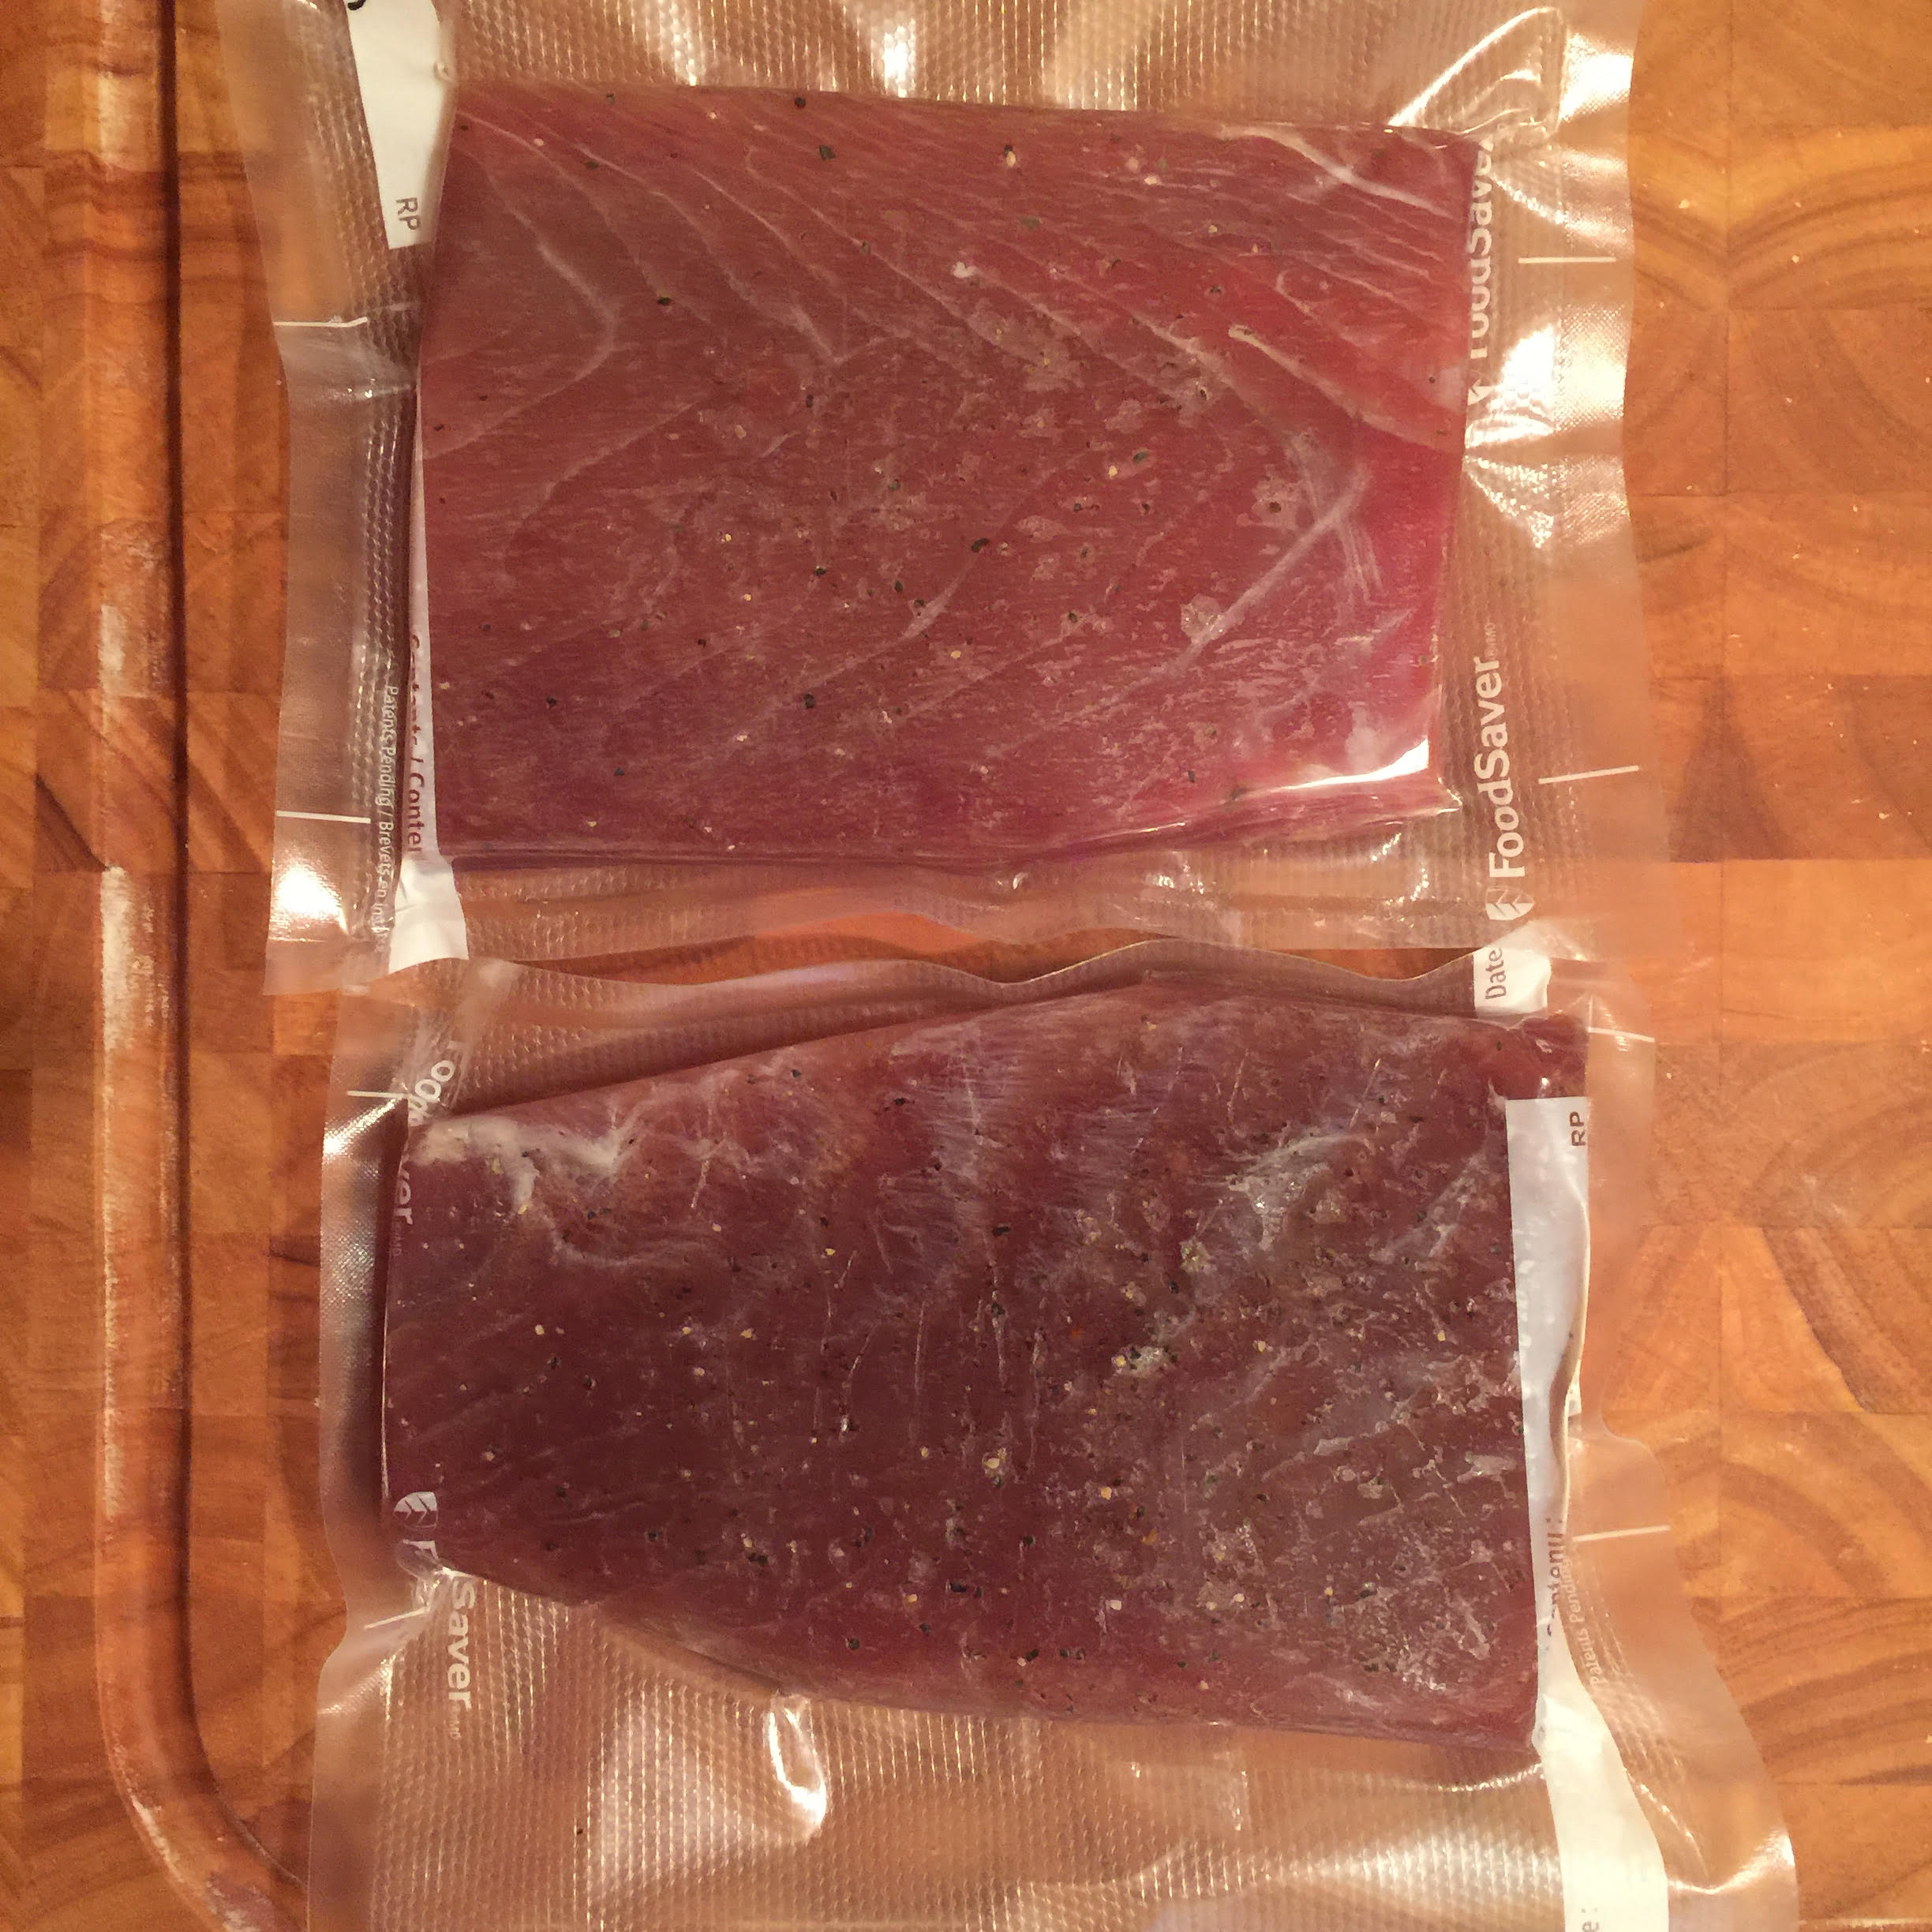
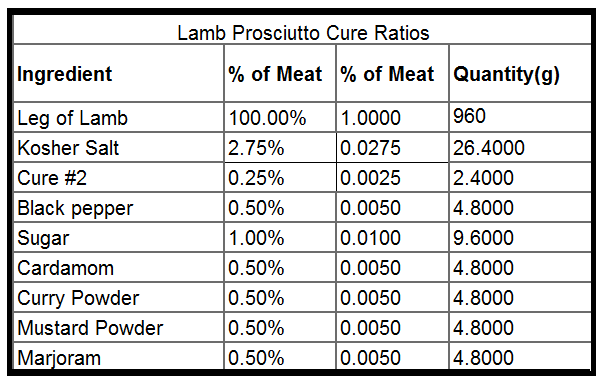
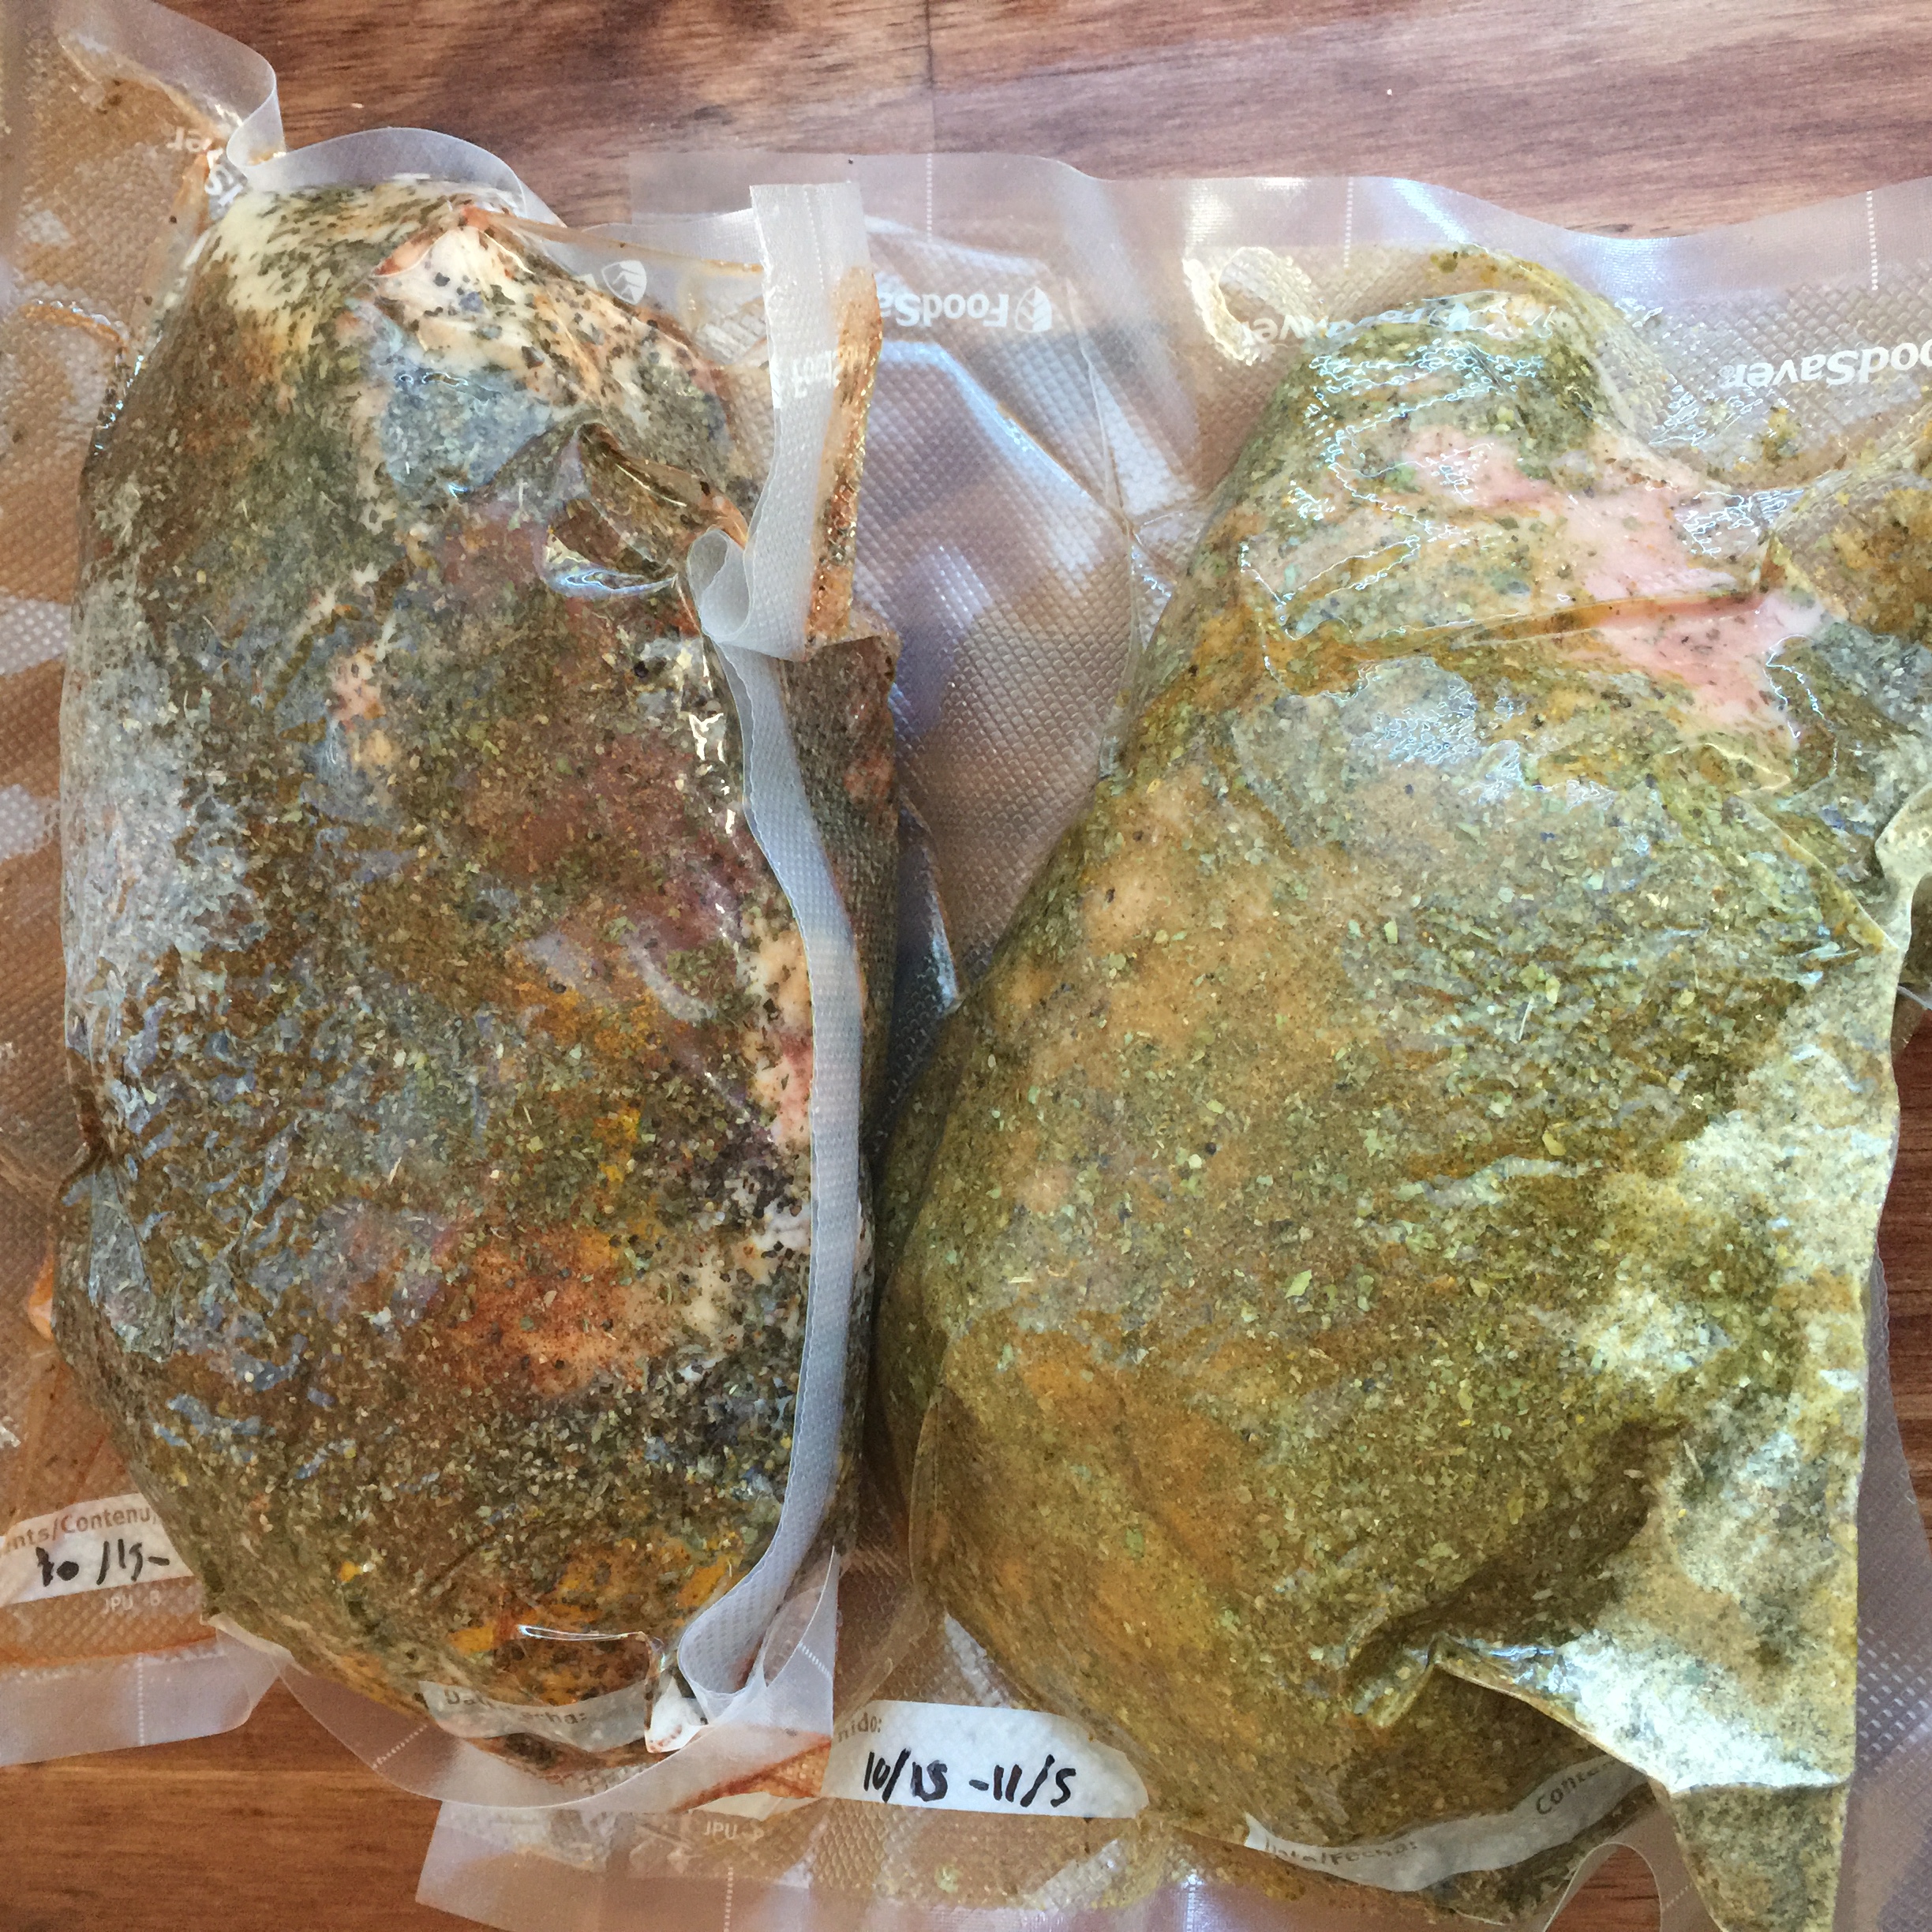
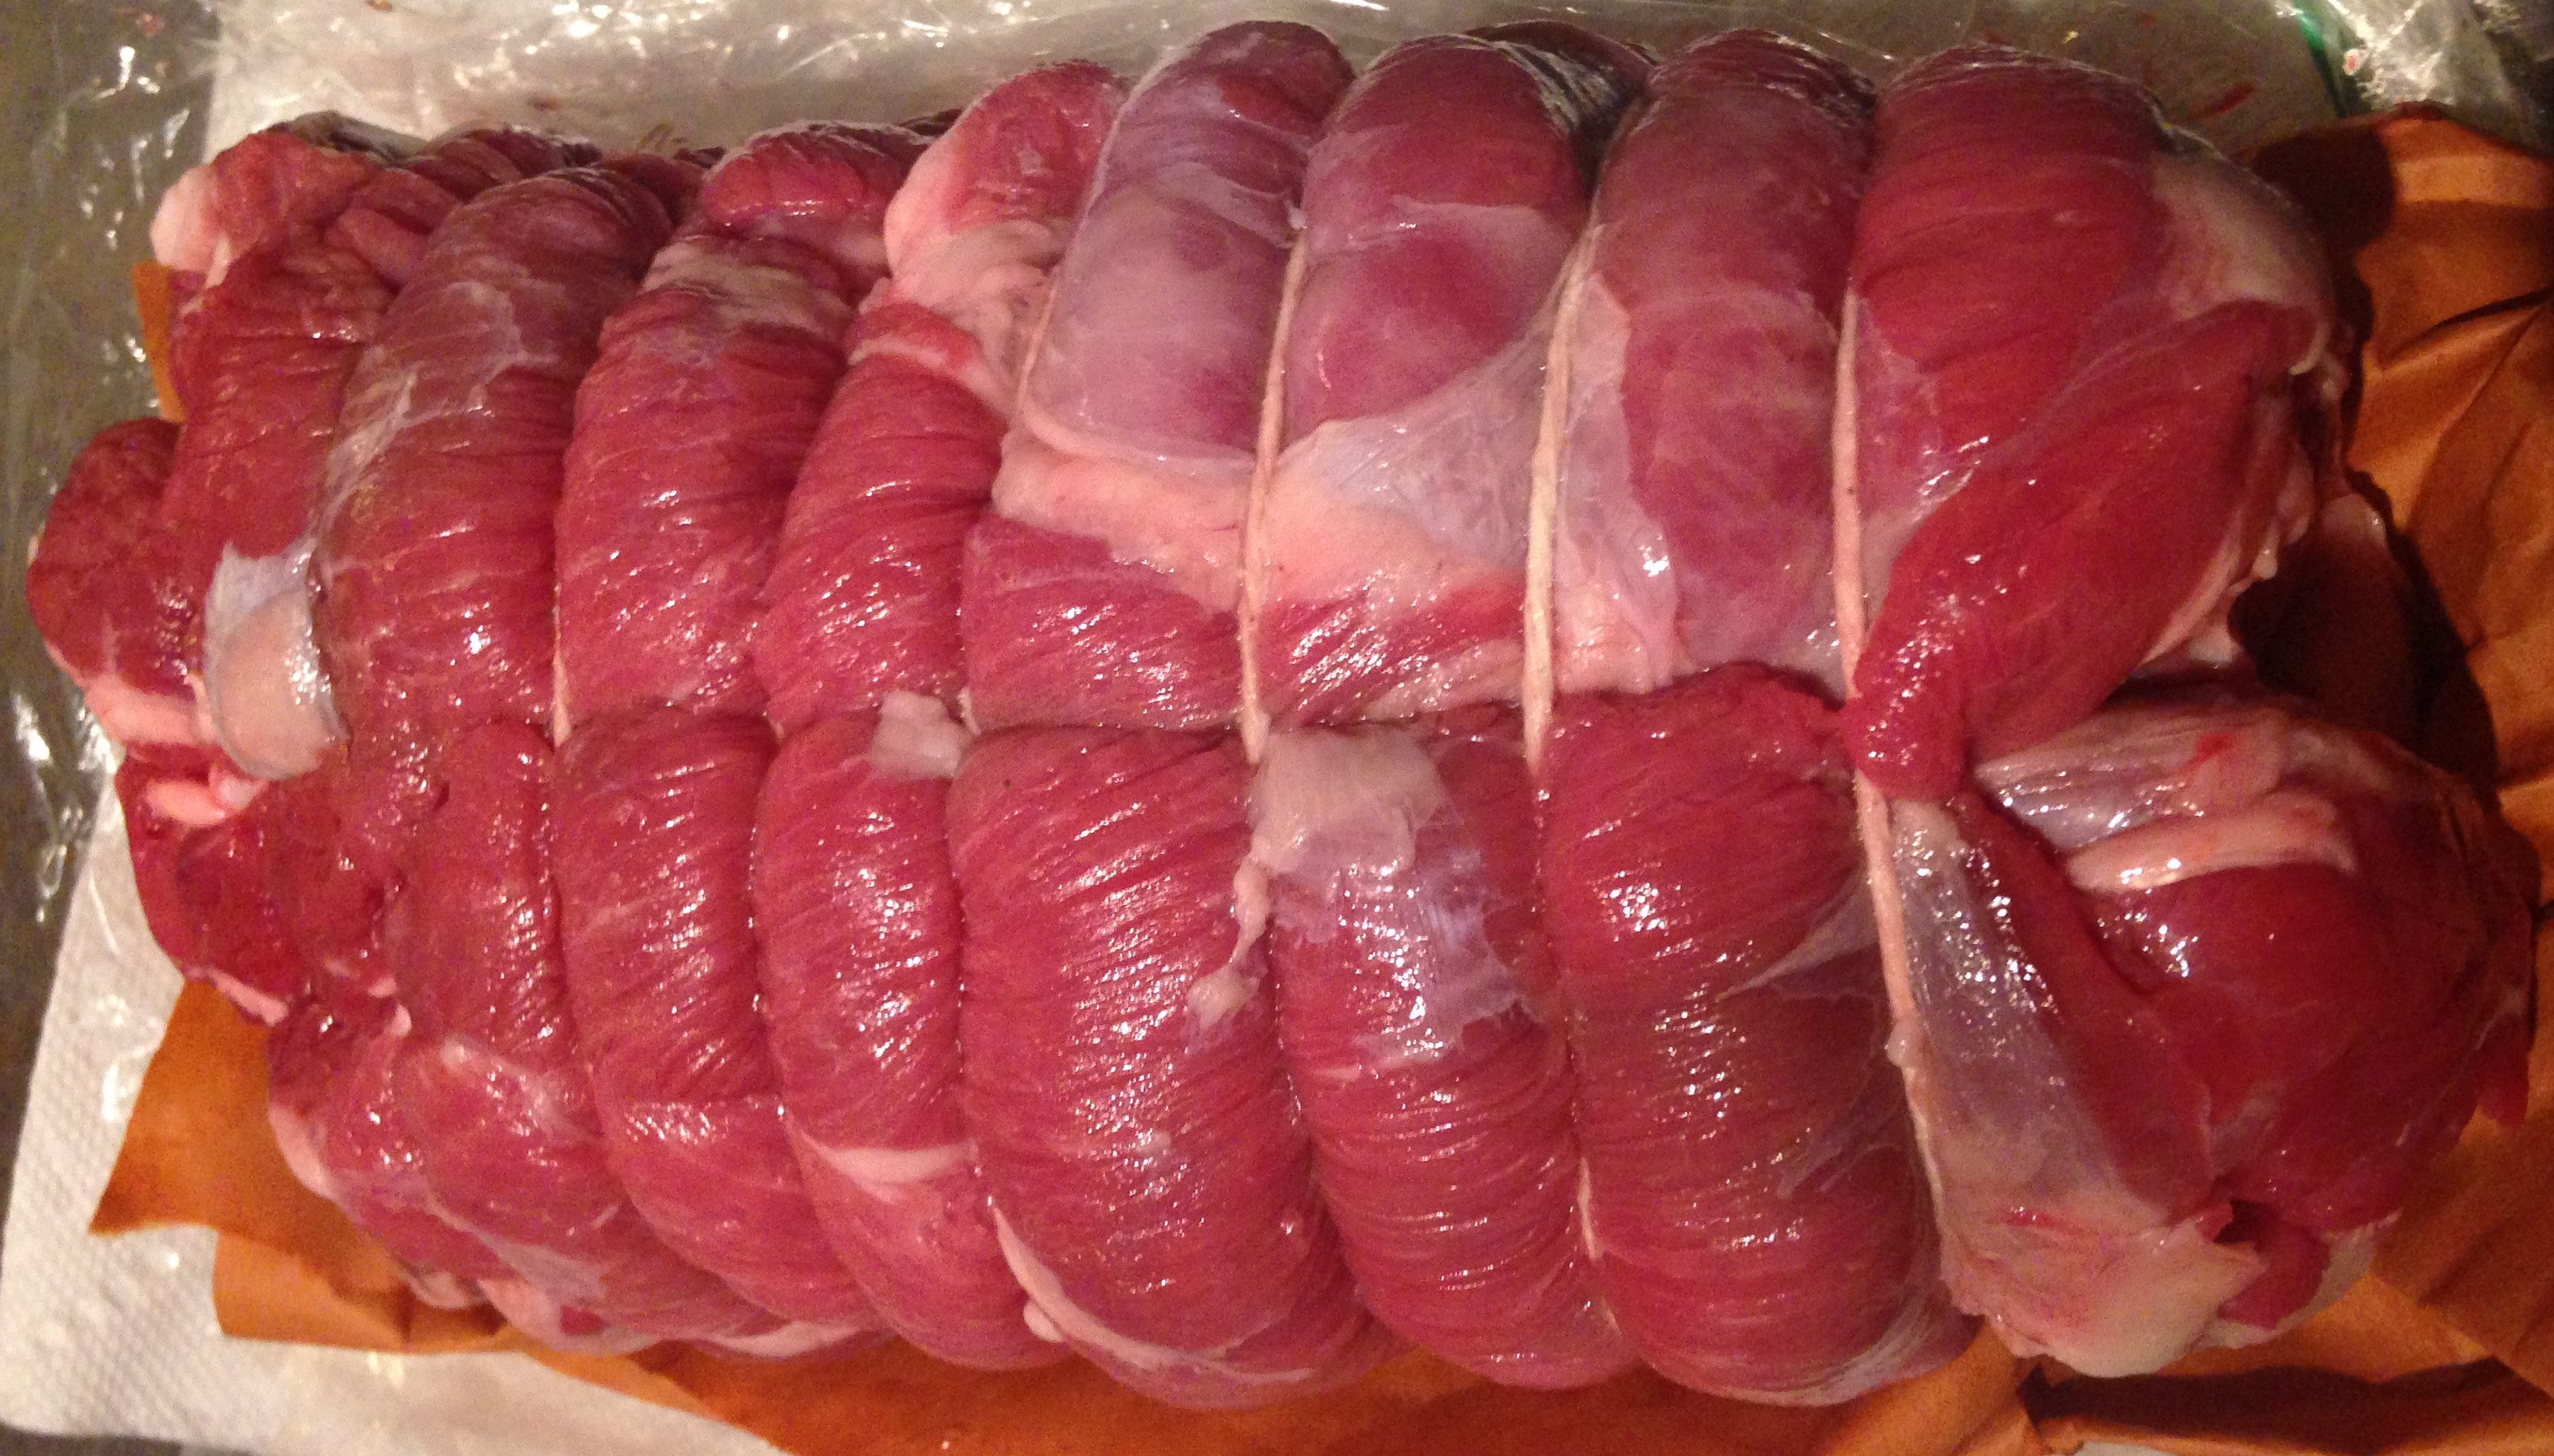
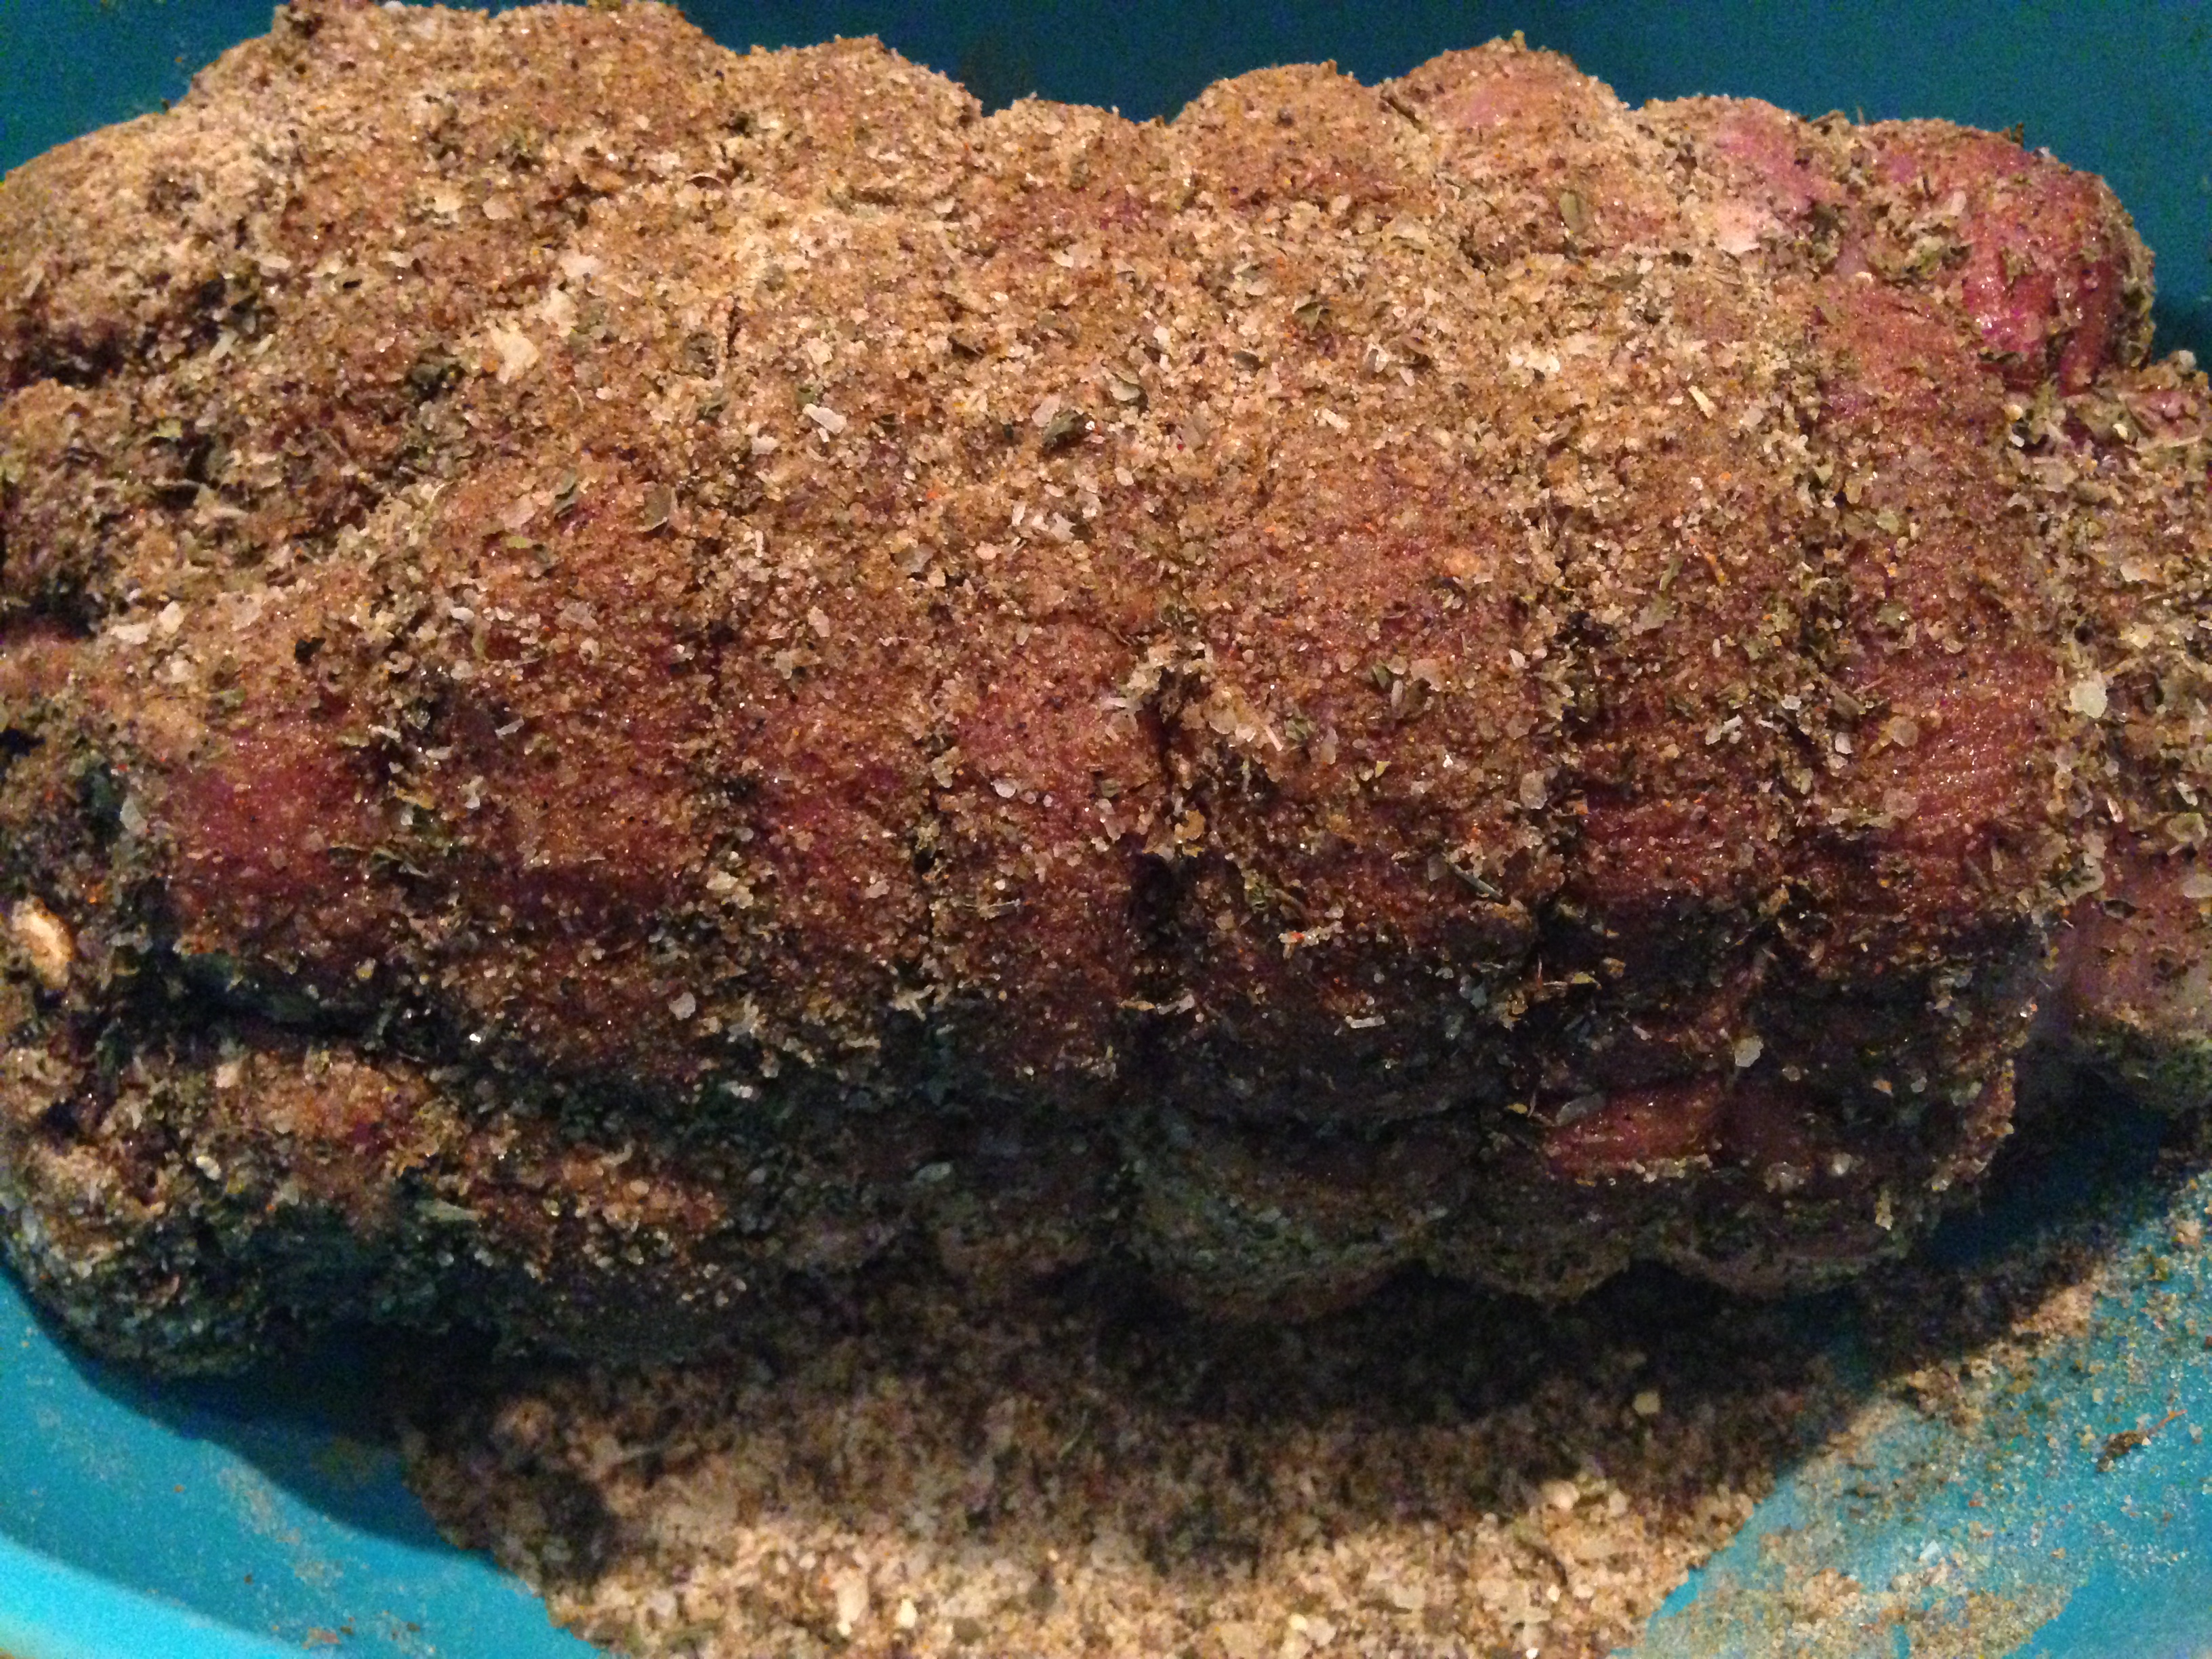
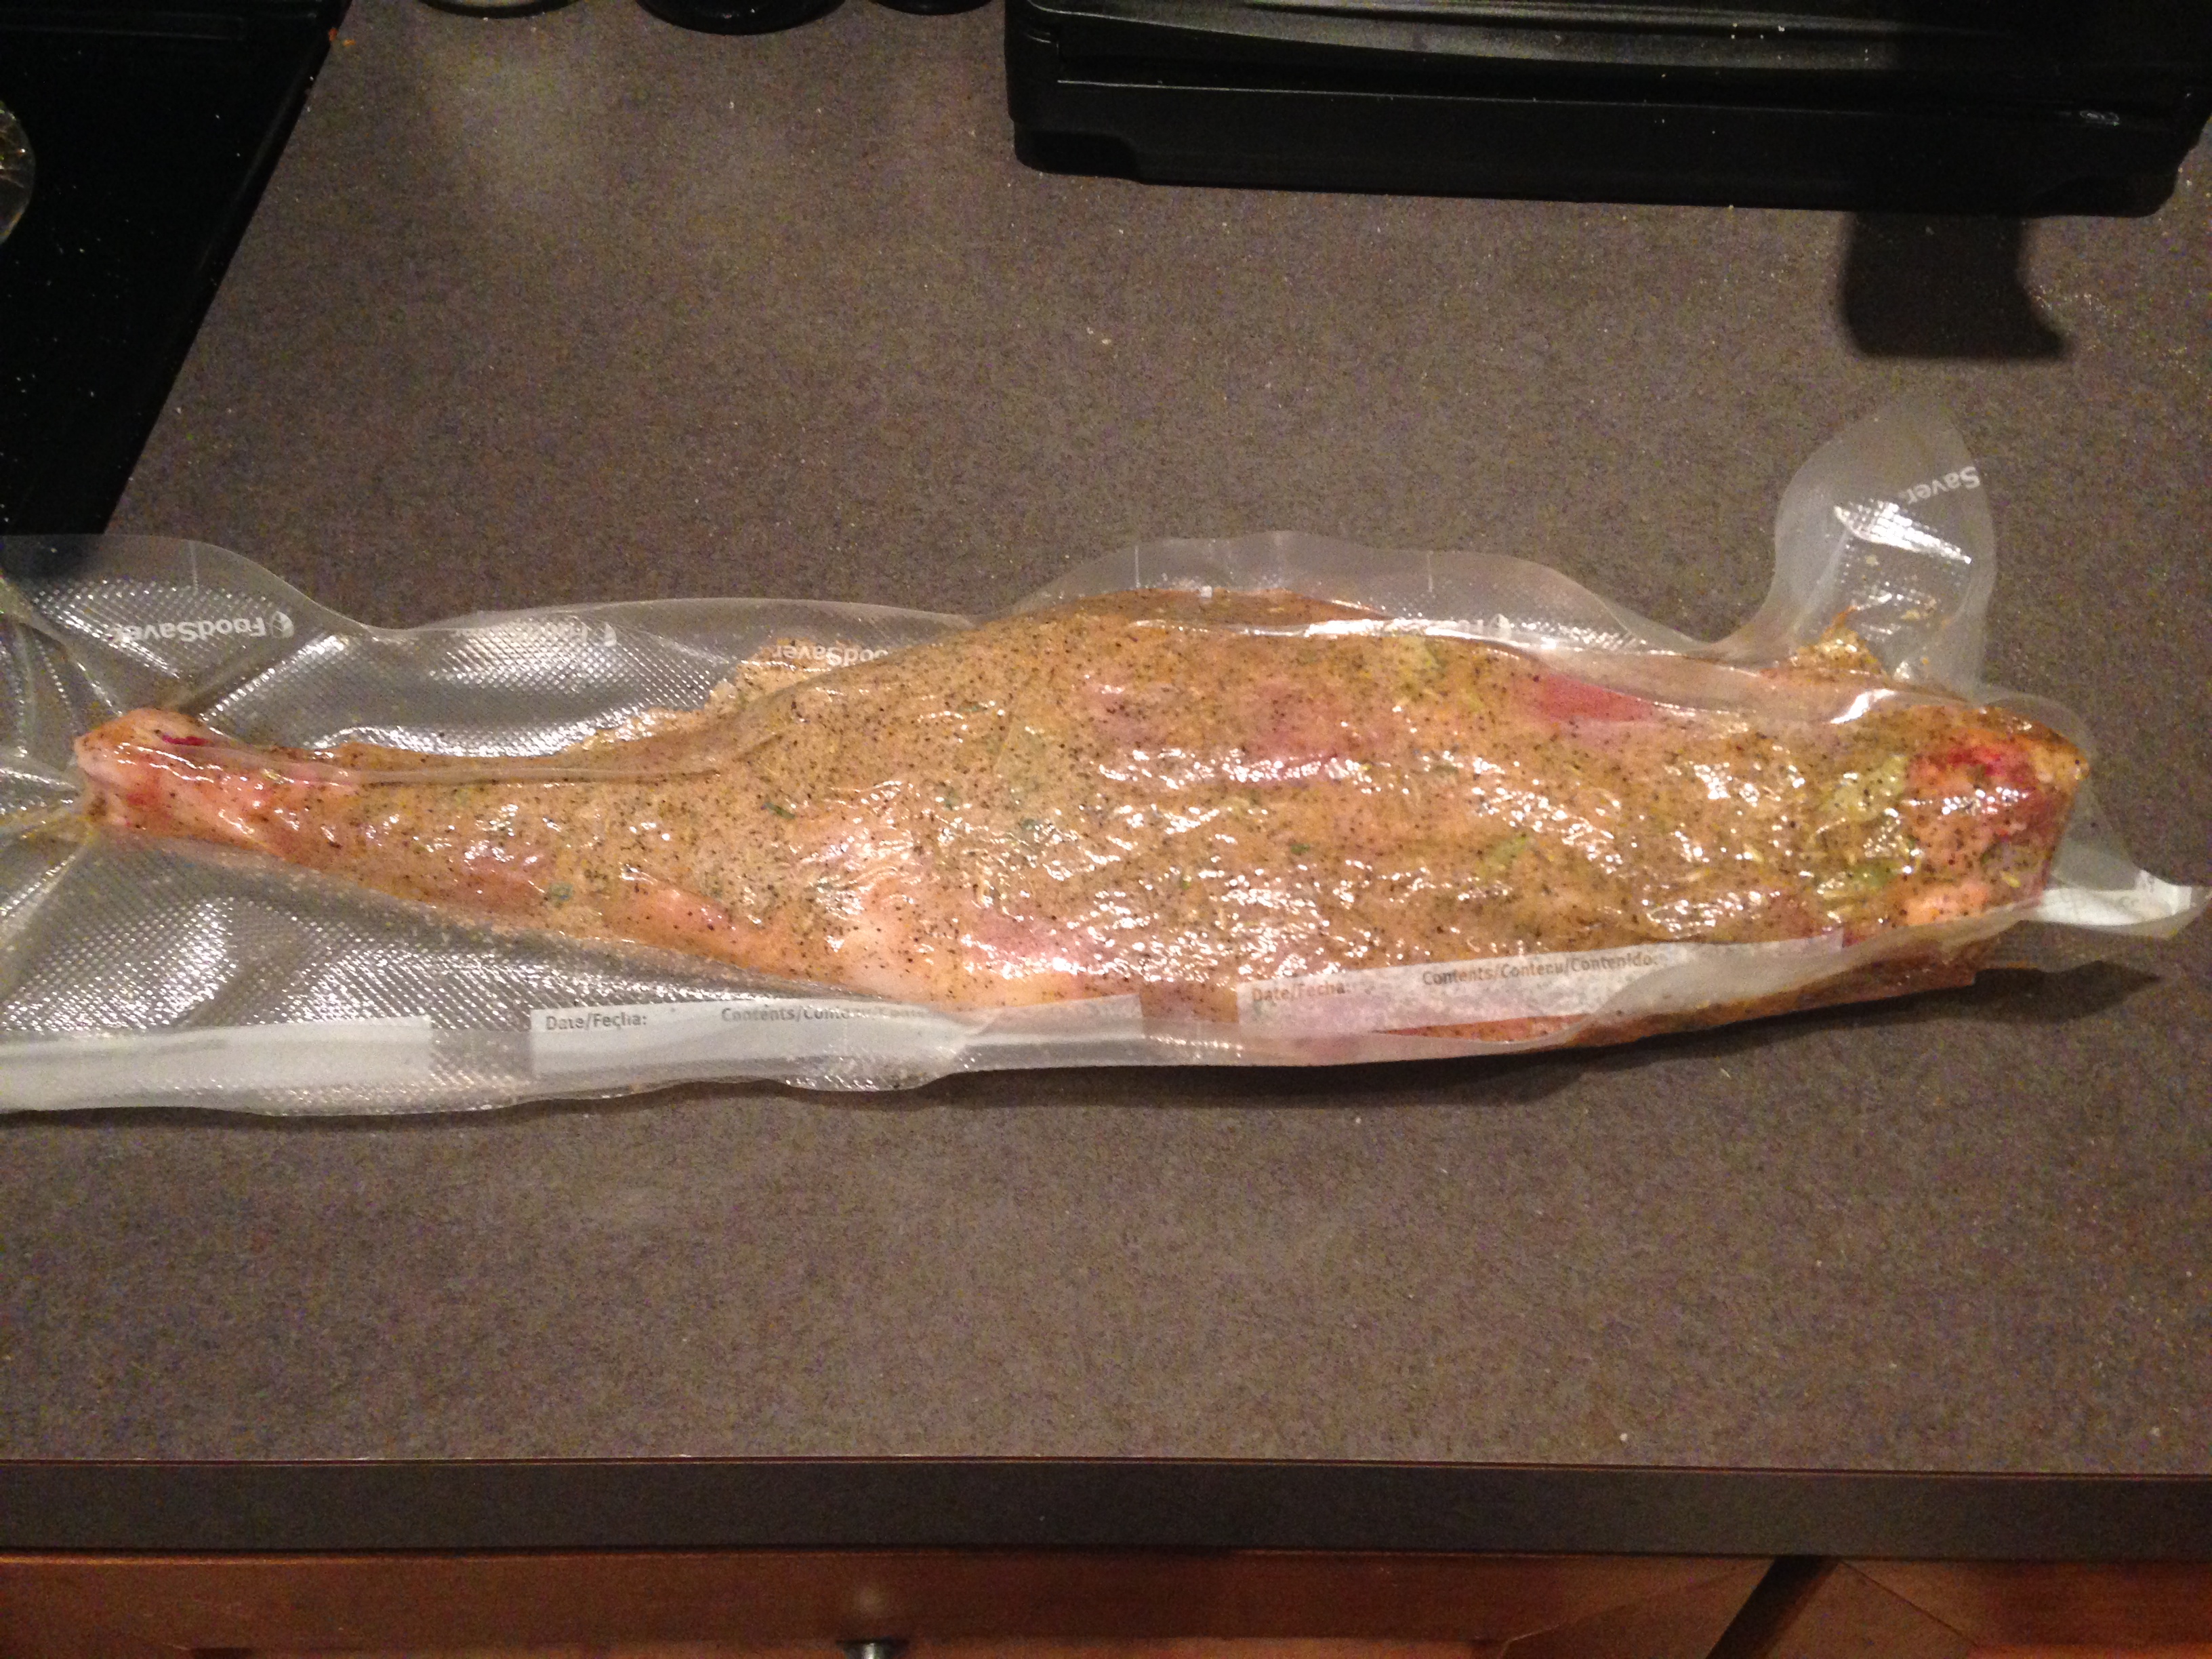
The pork loin was rinsed and dried before the cure was added. It was allowed to cure for 4 weeks in the fridge.
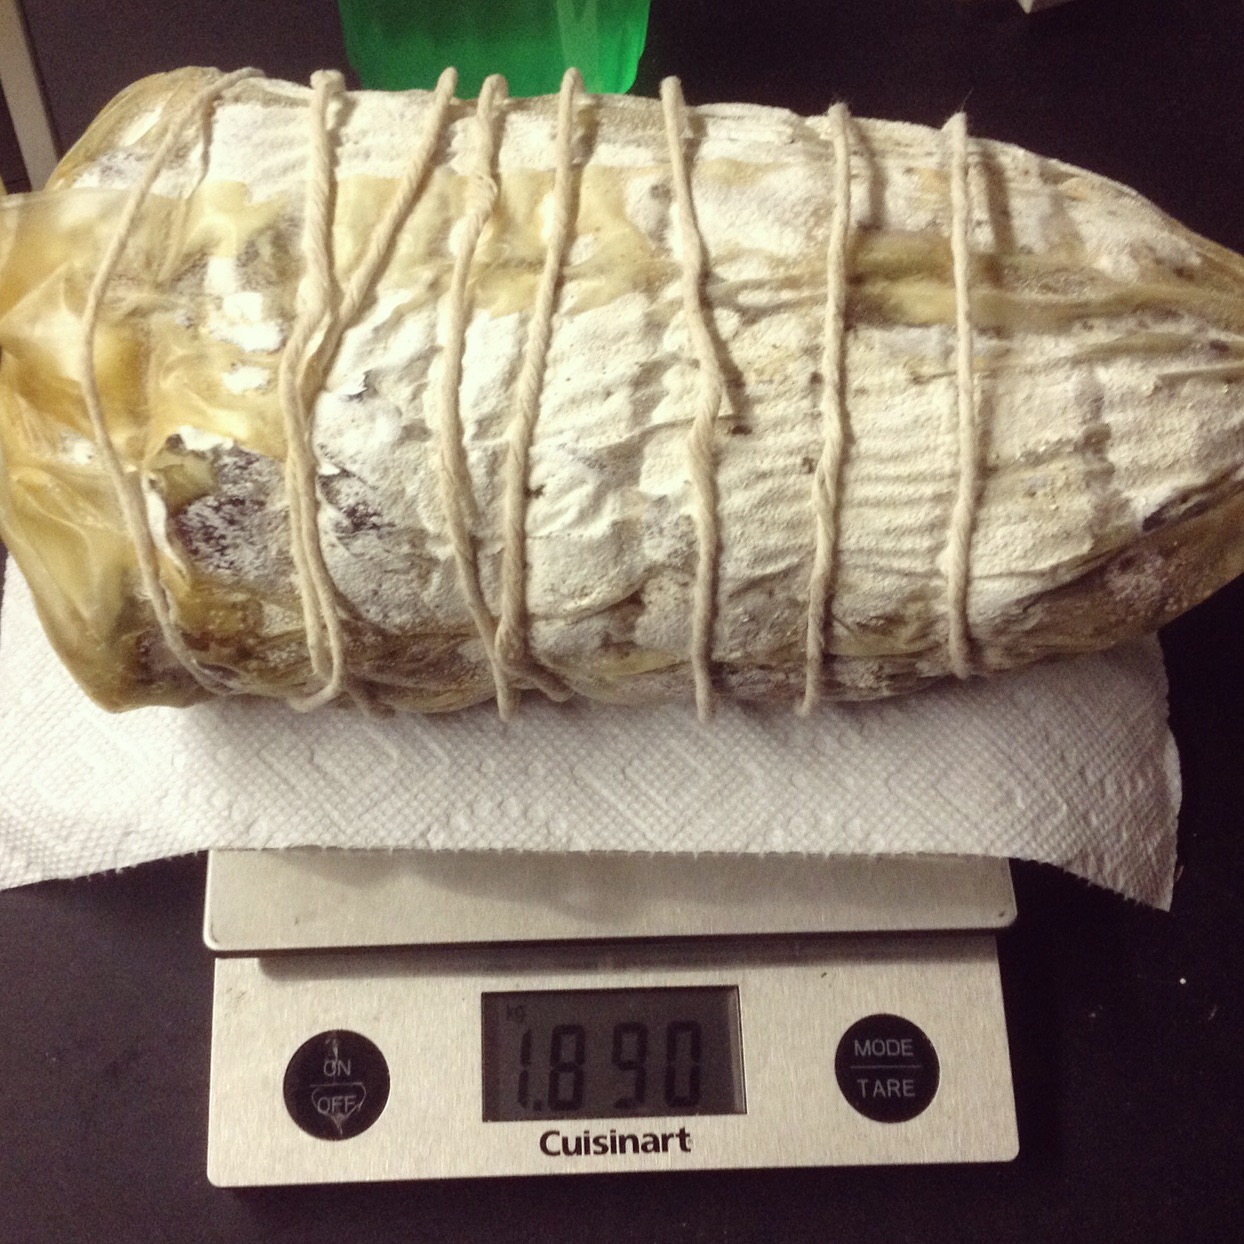
Casing (1 hour):
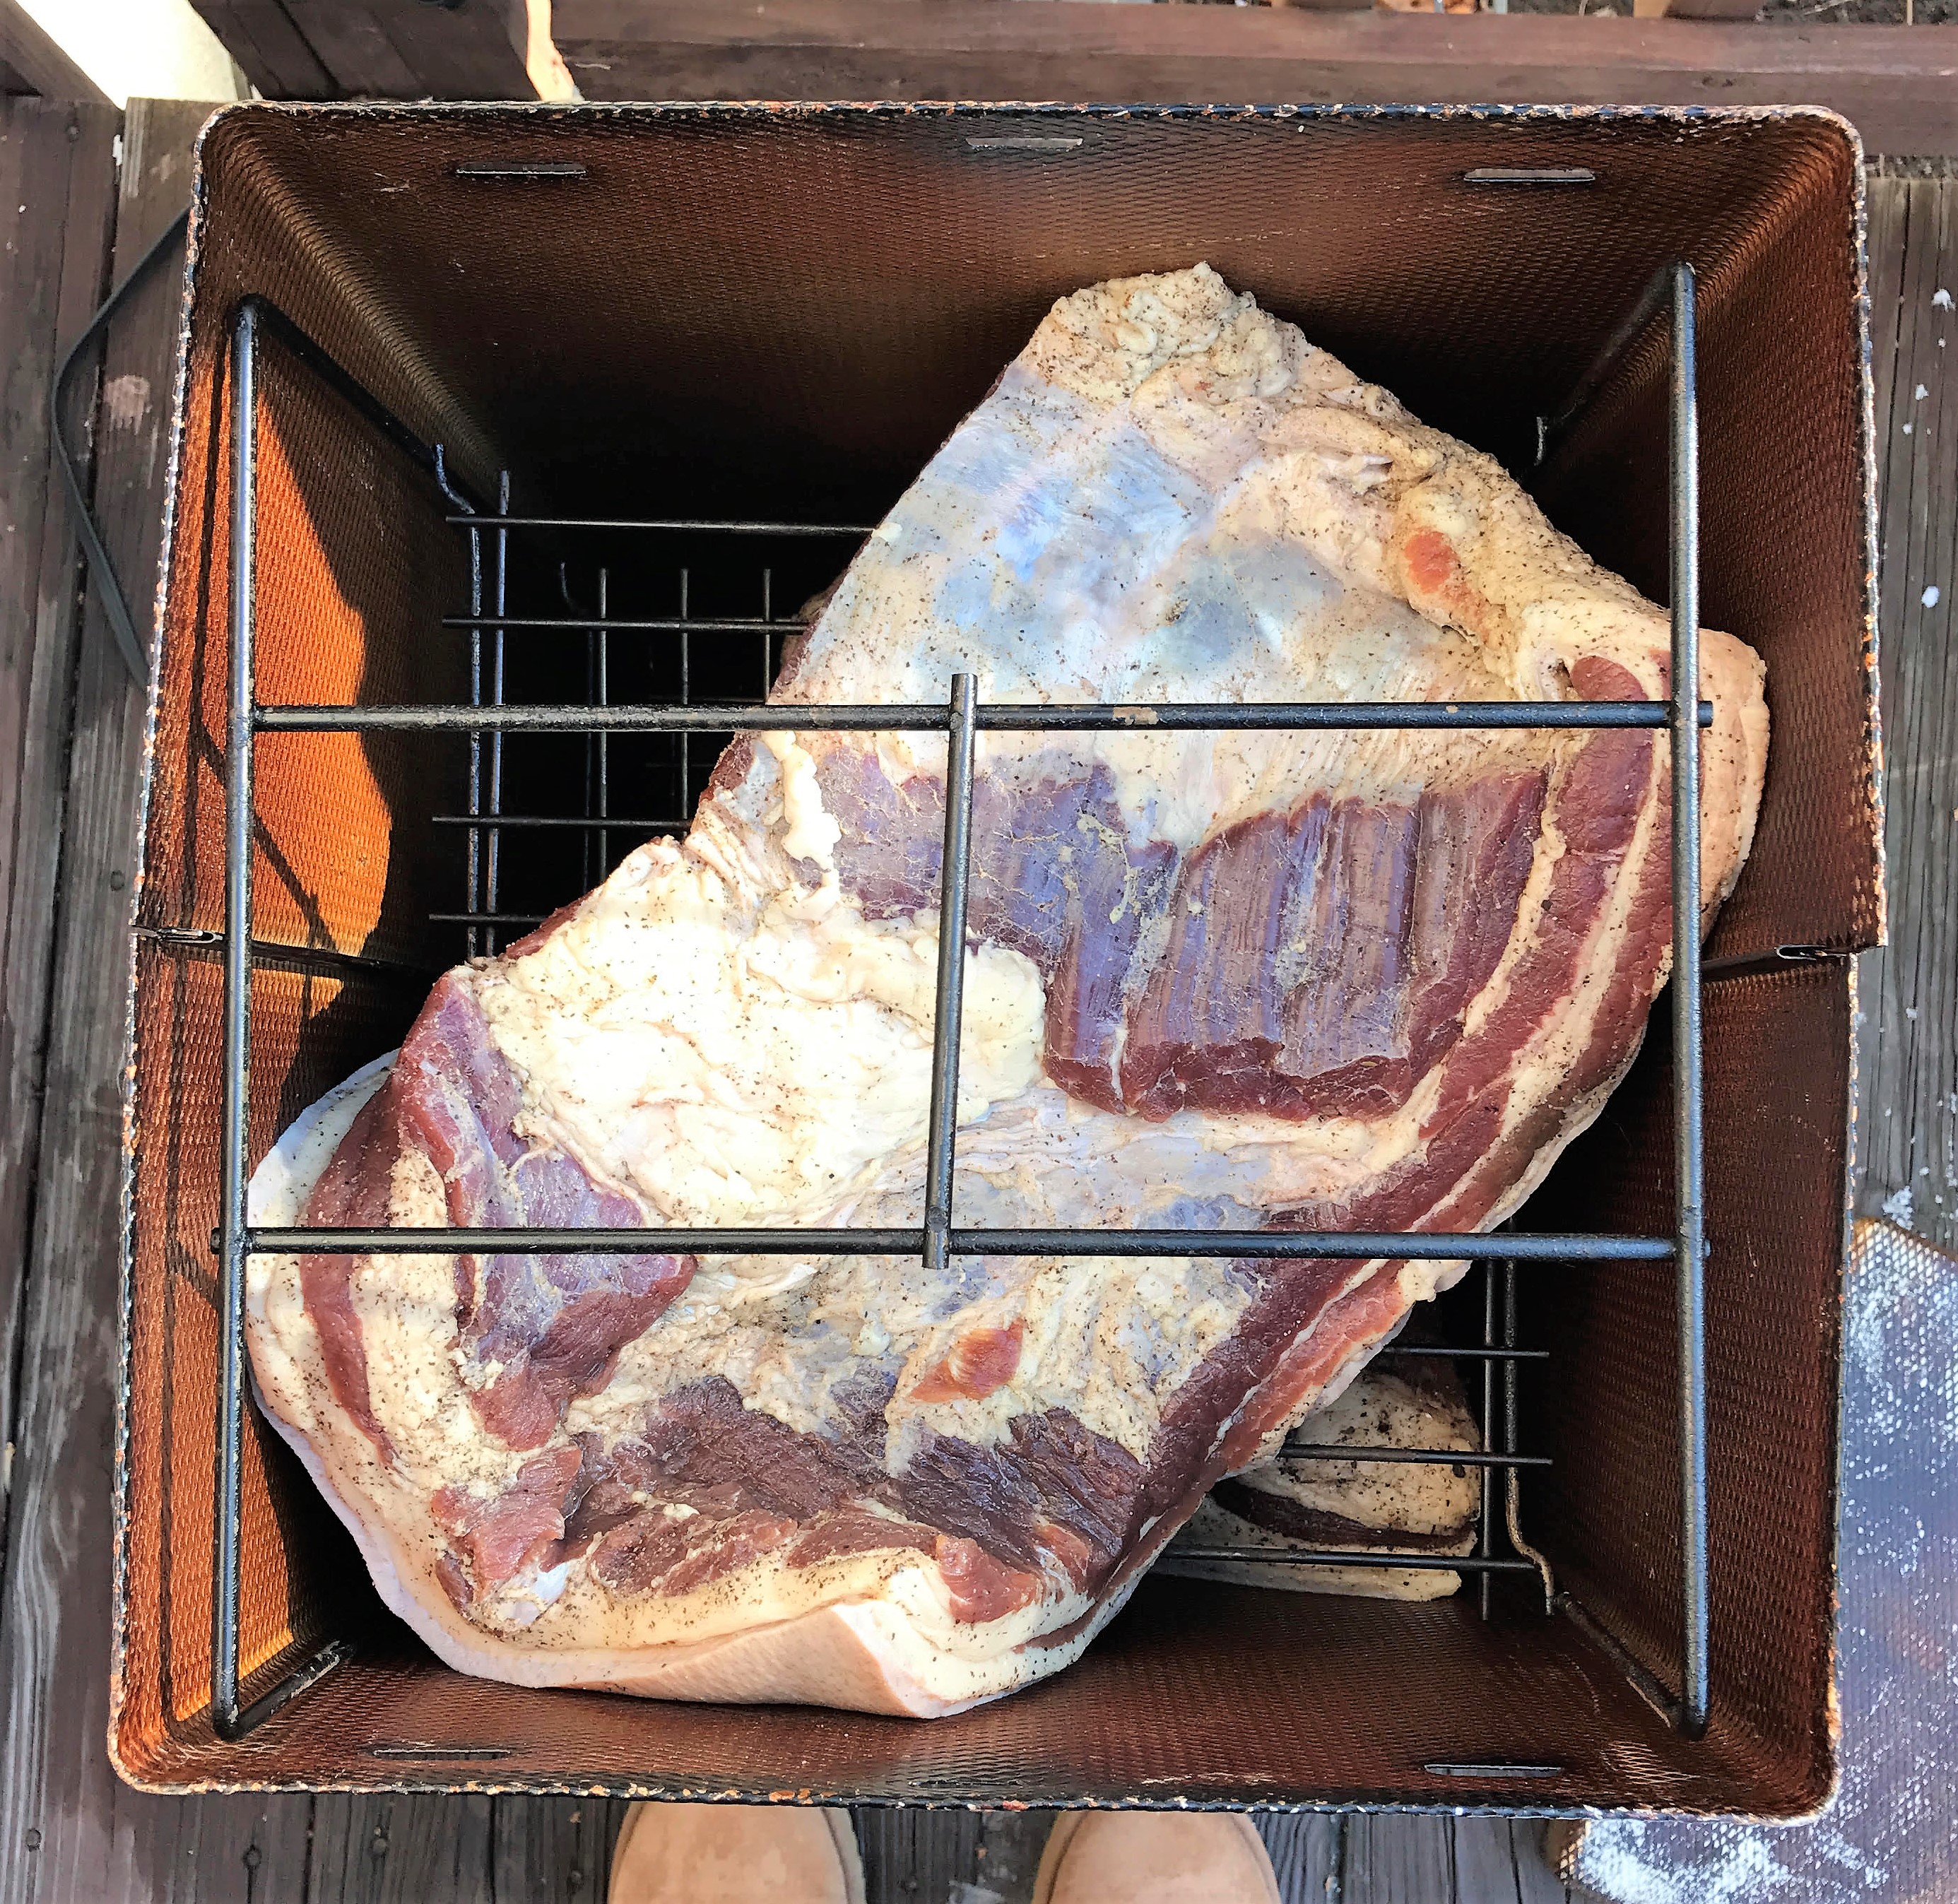
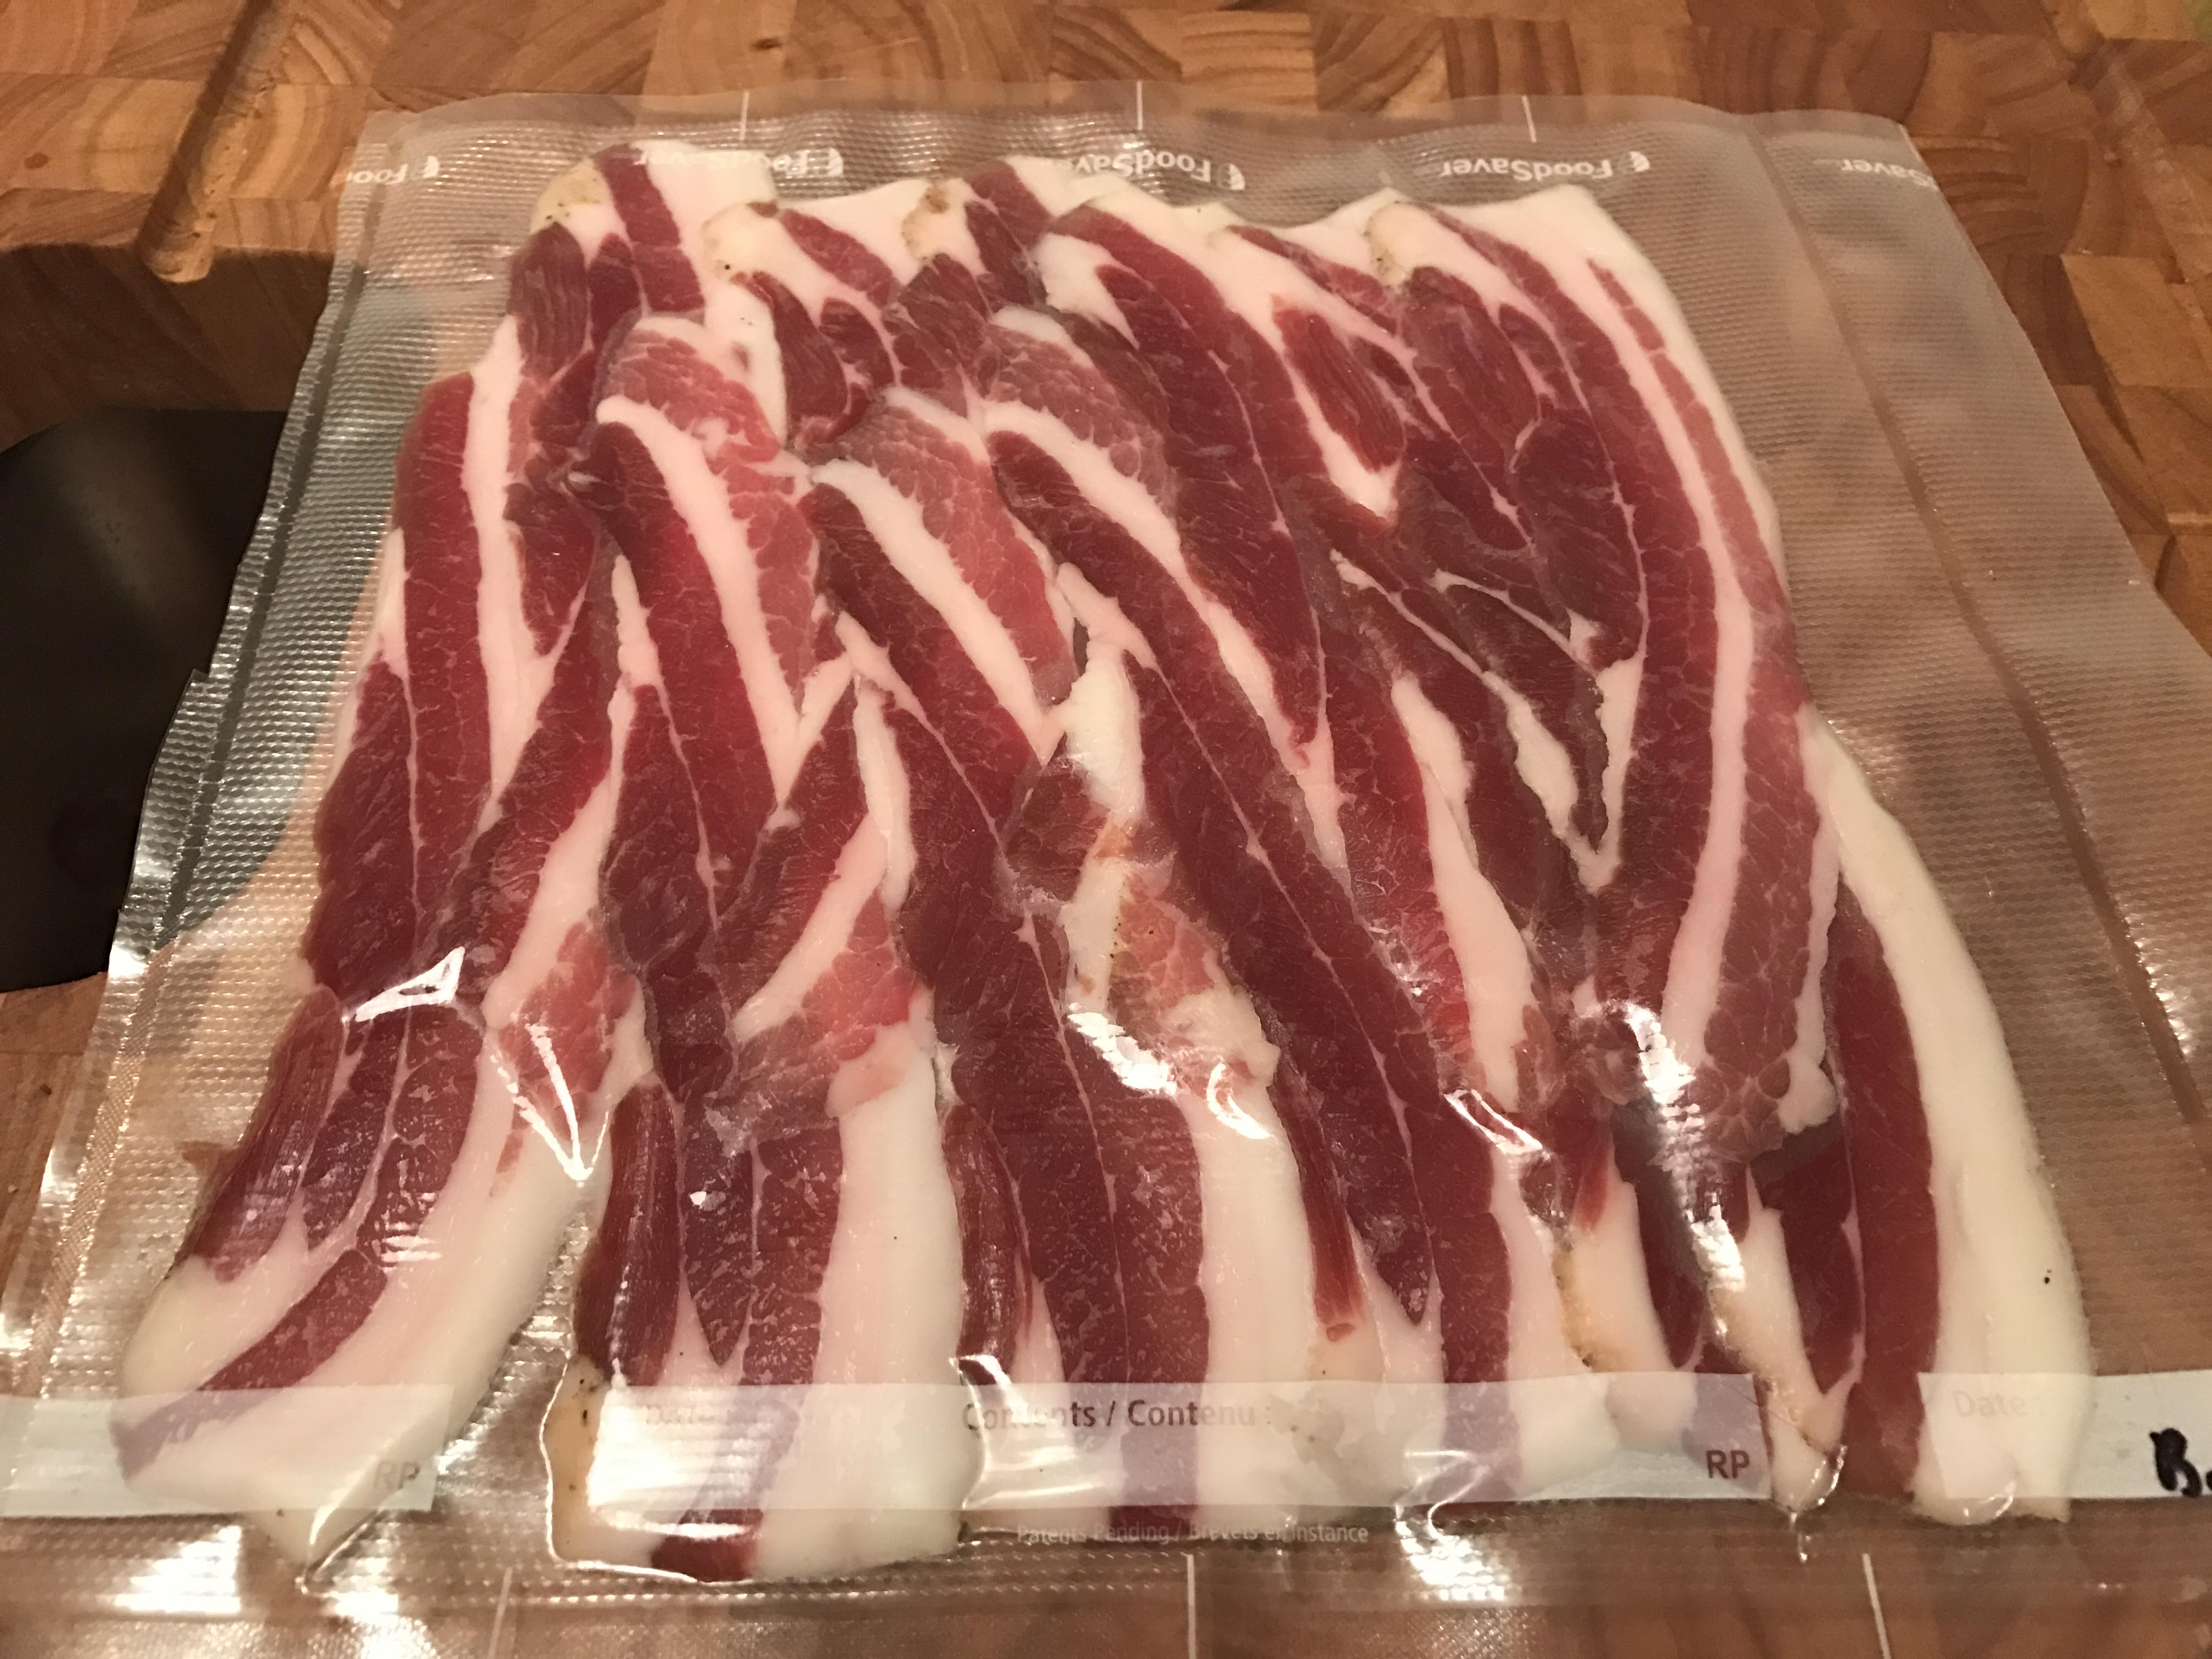
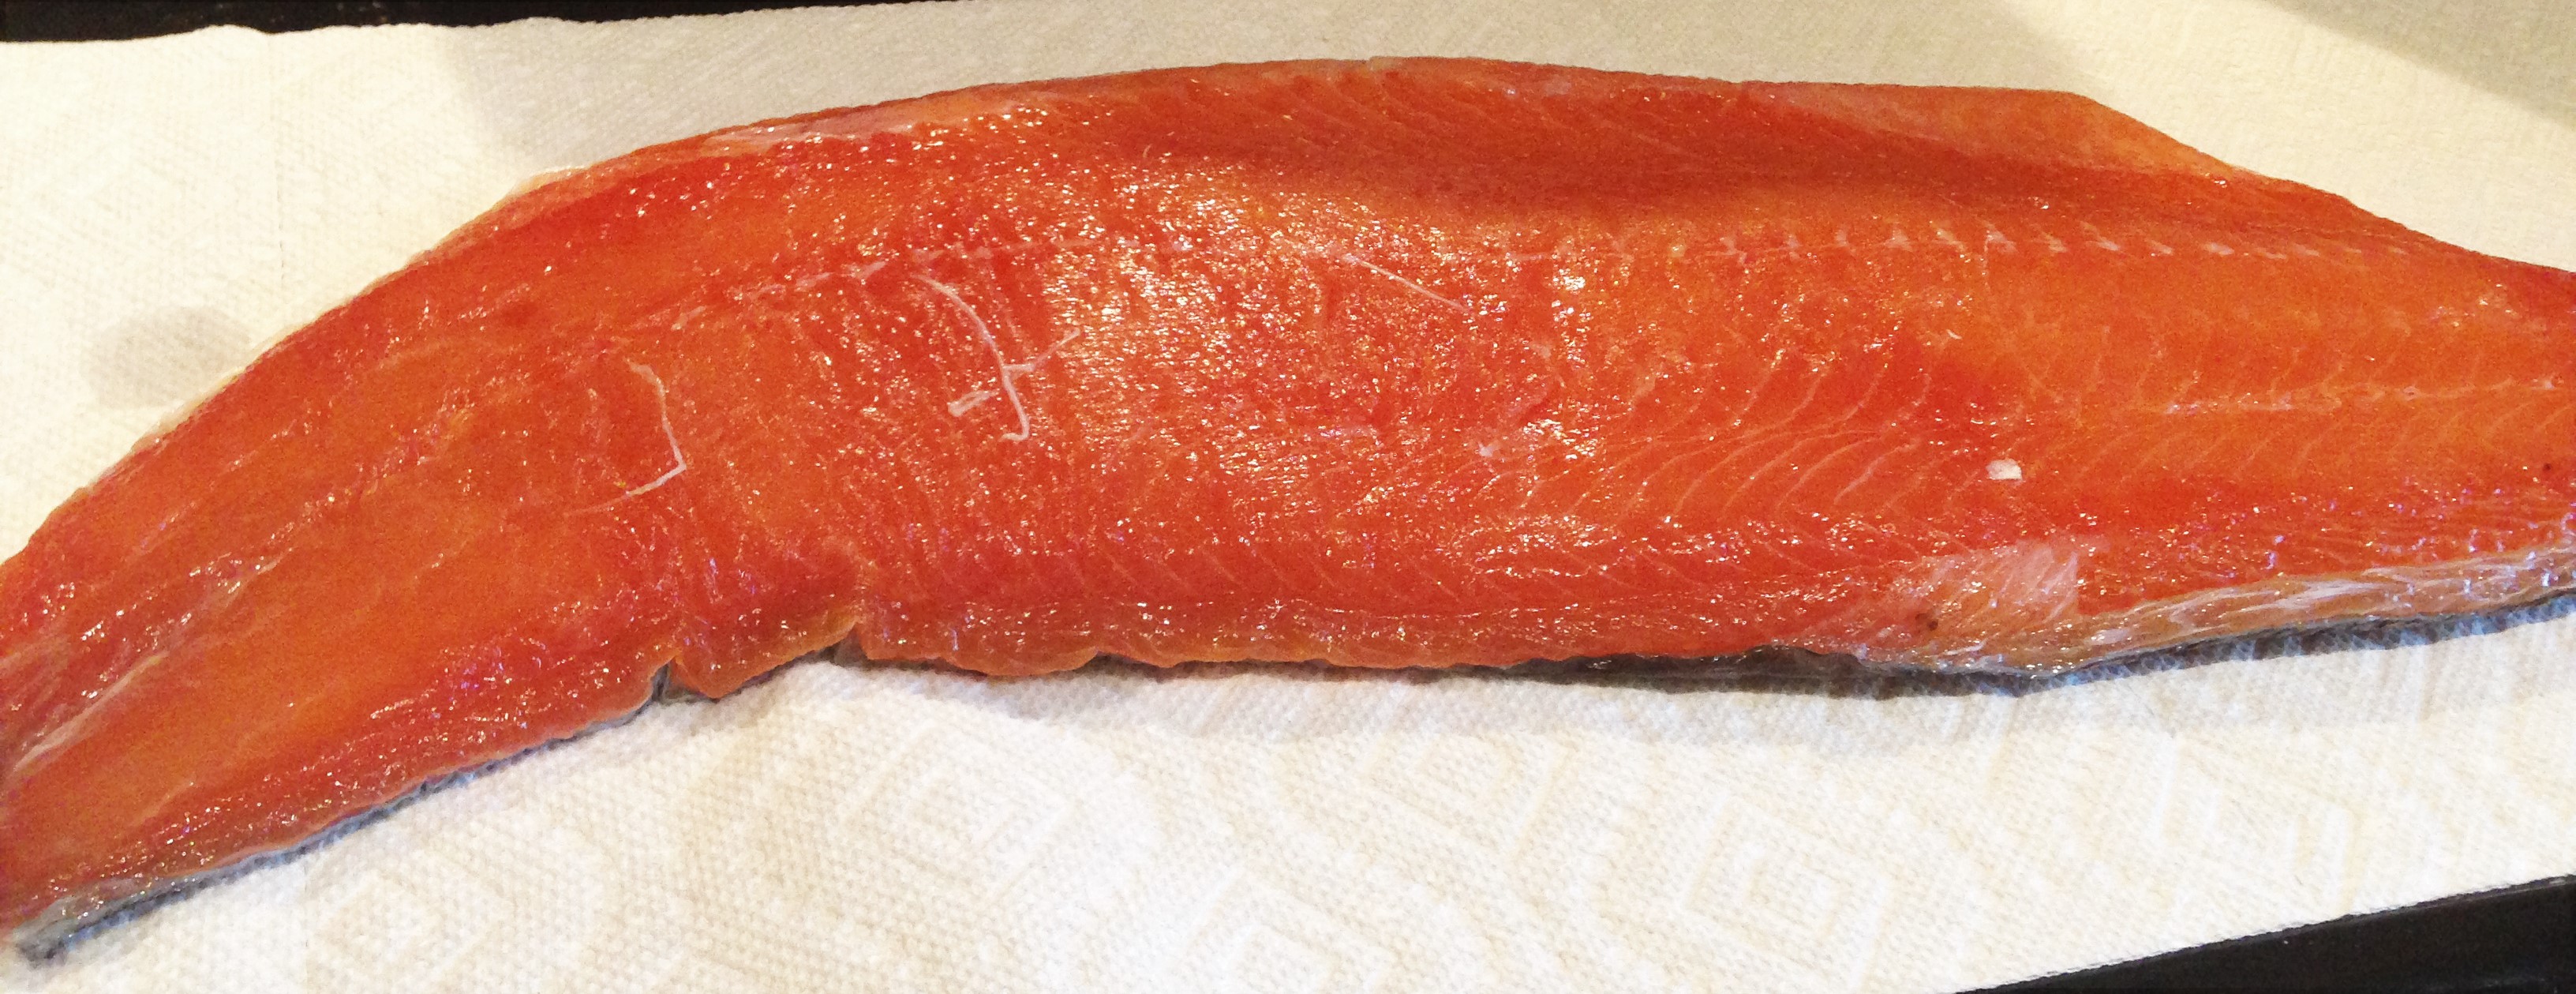
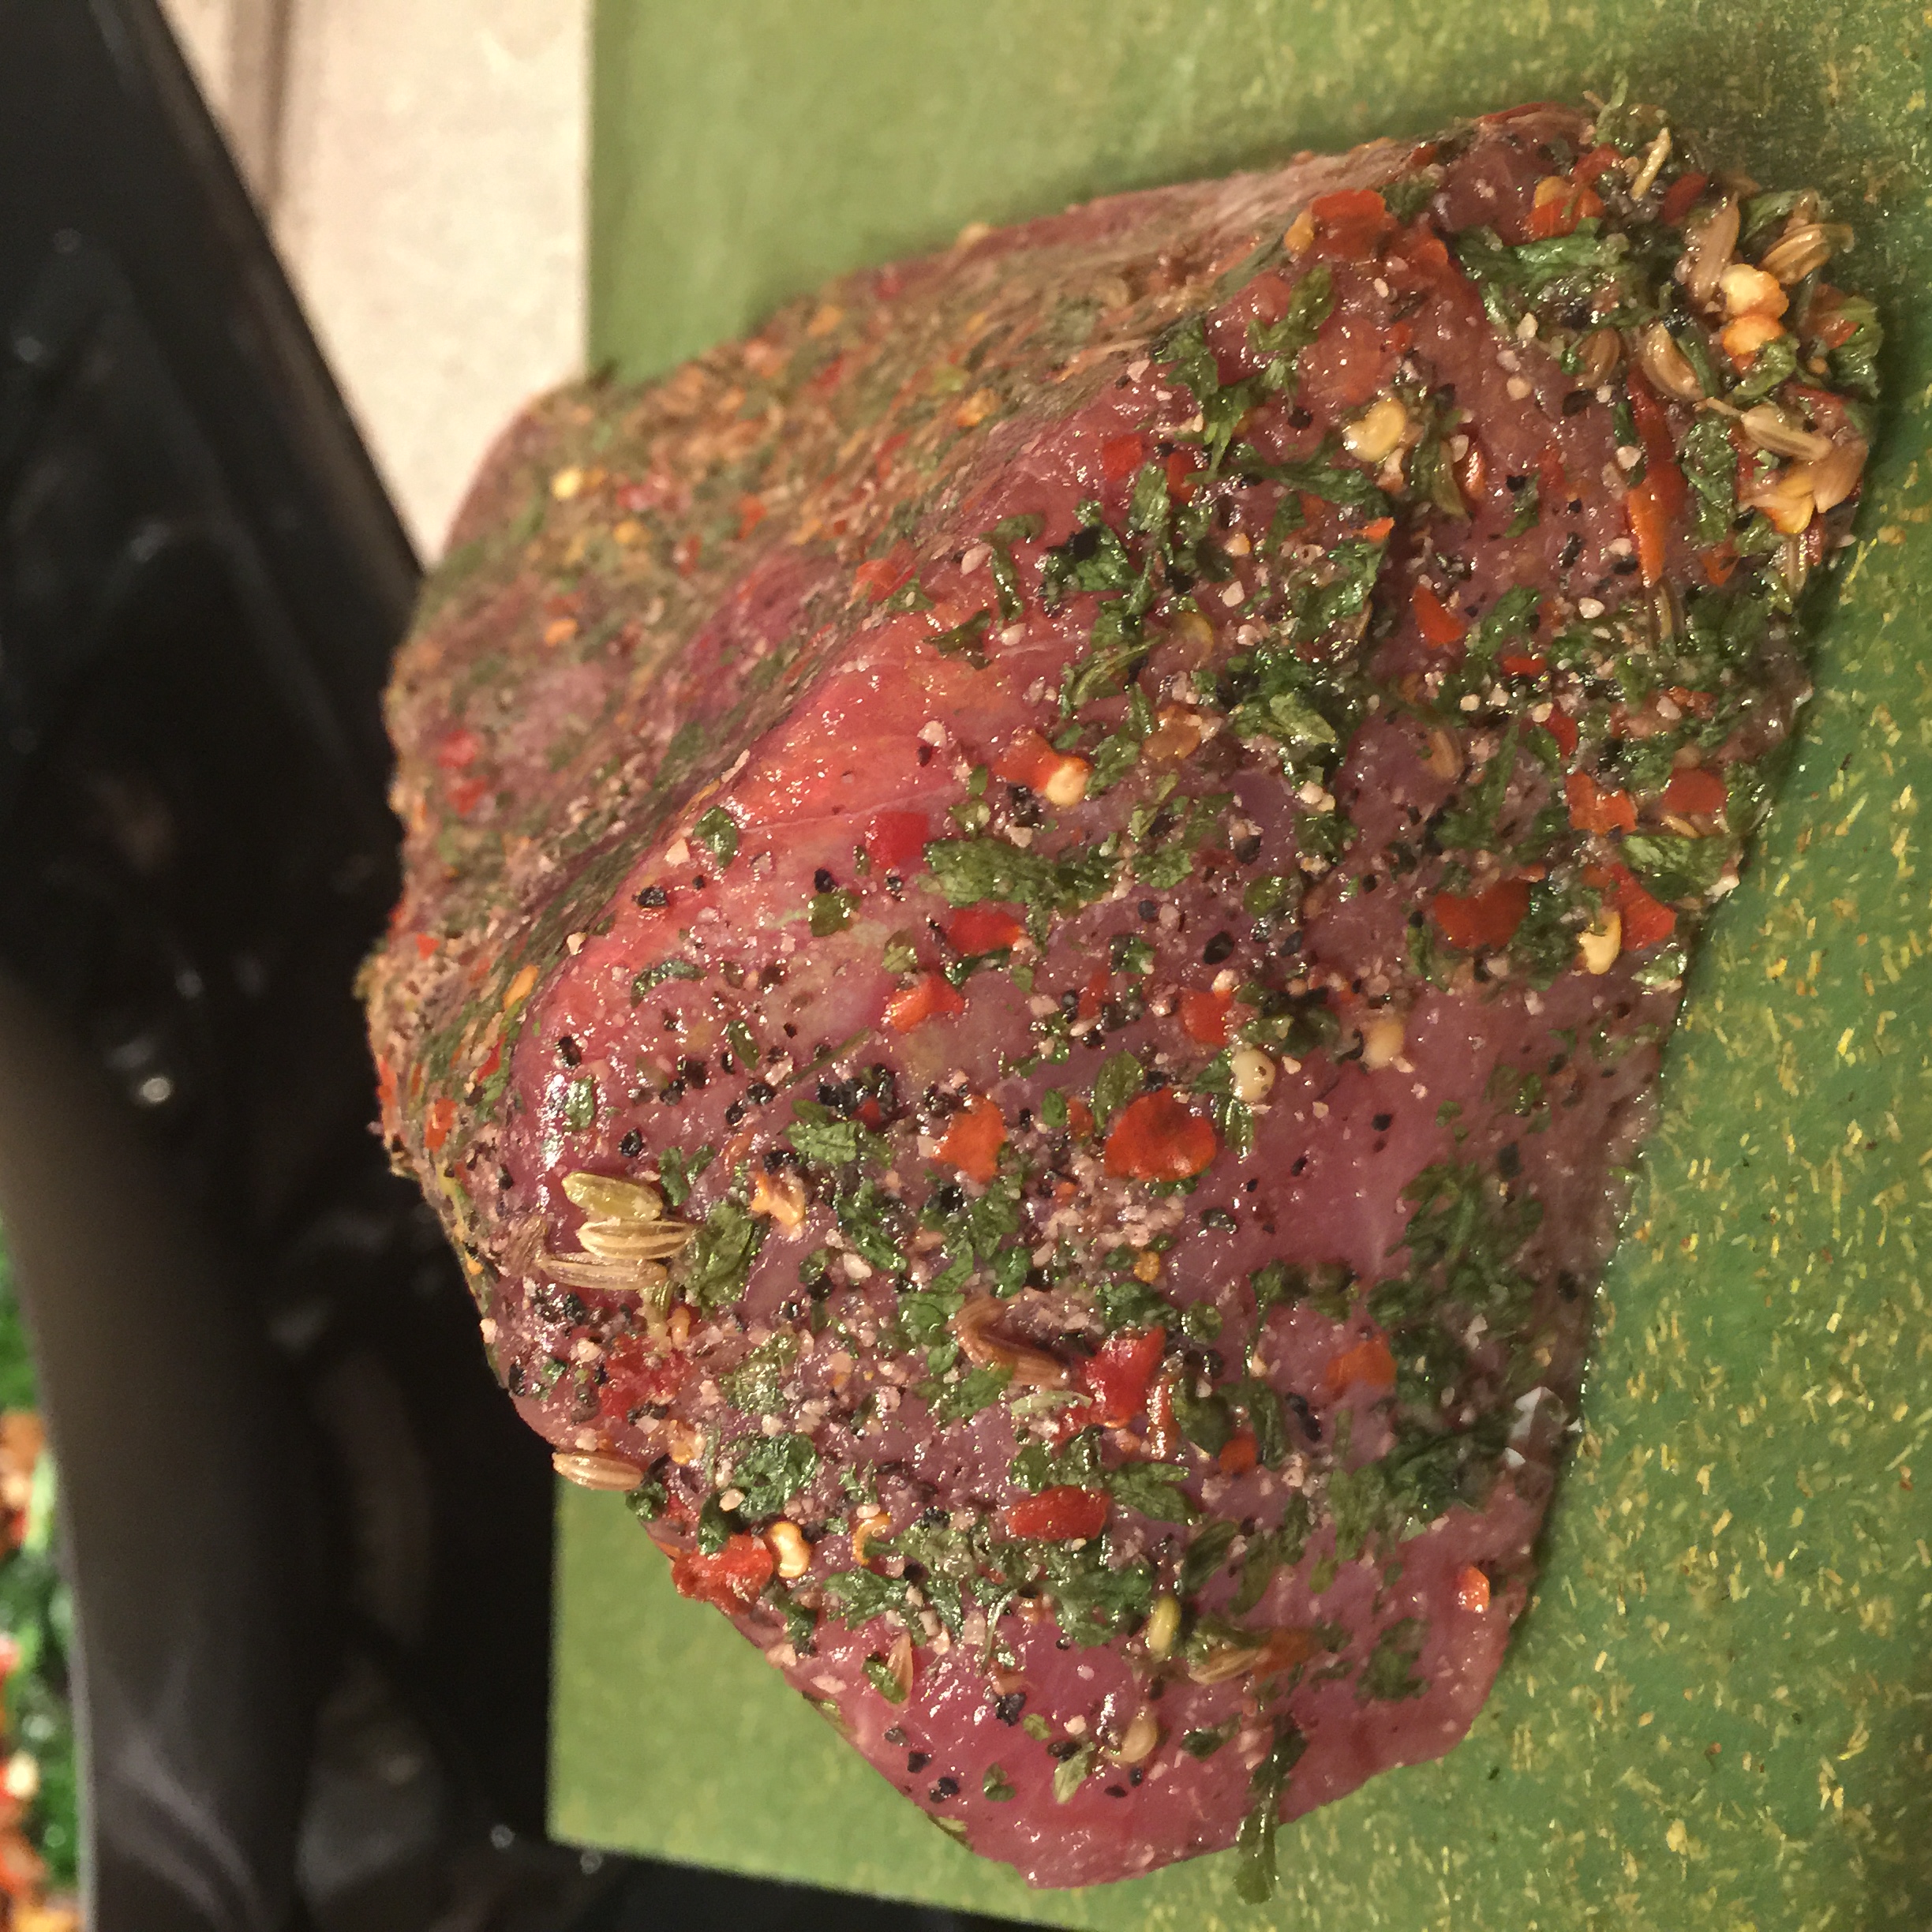
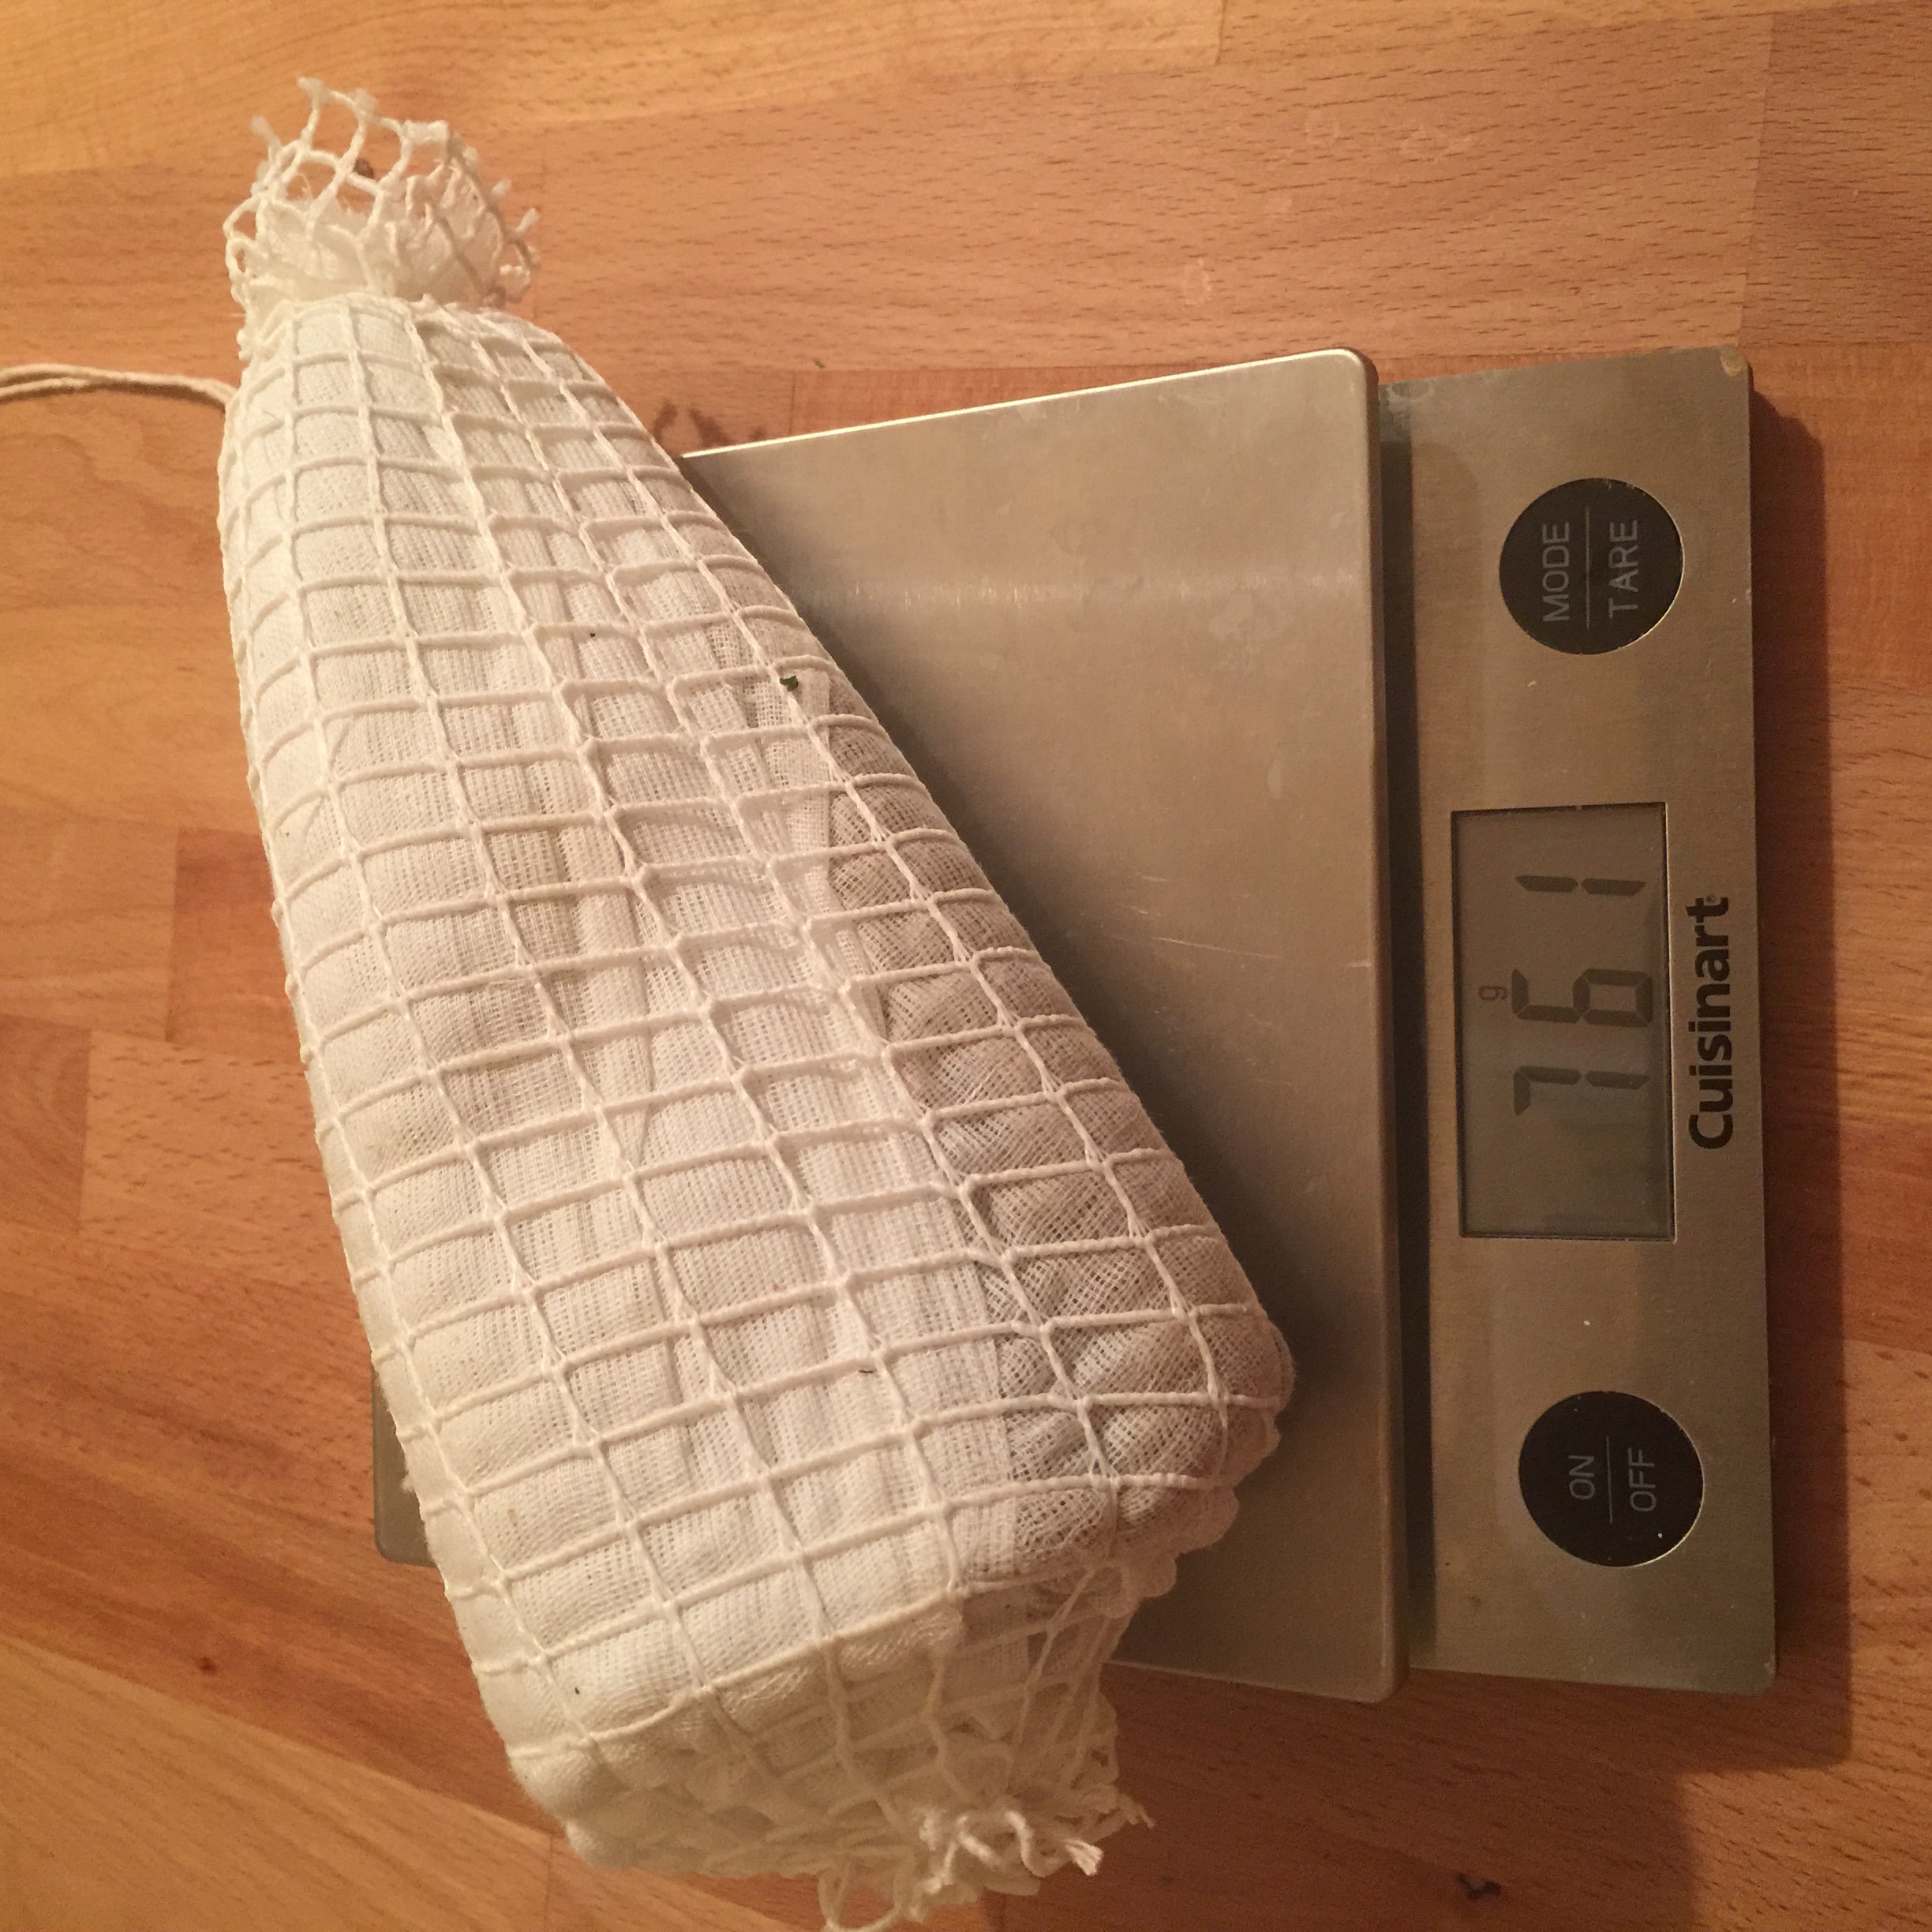
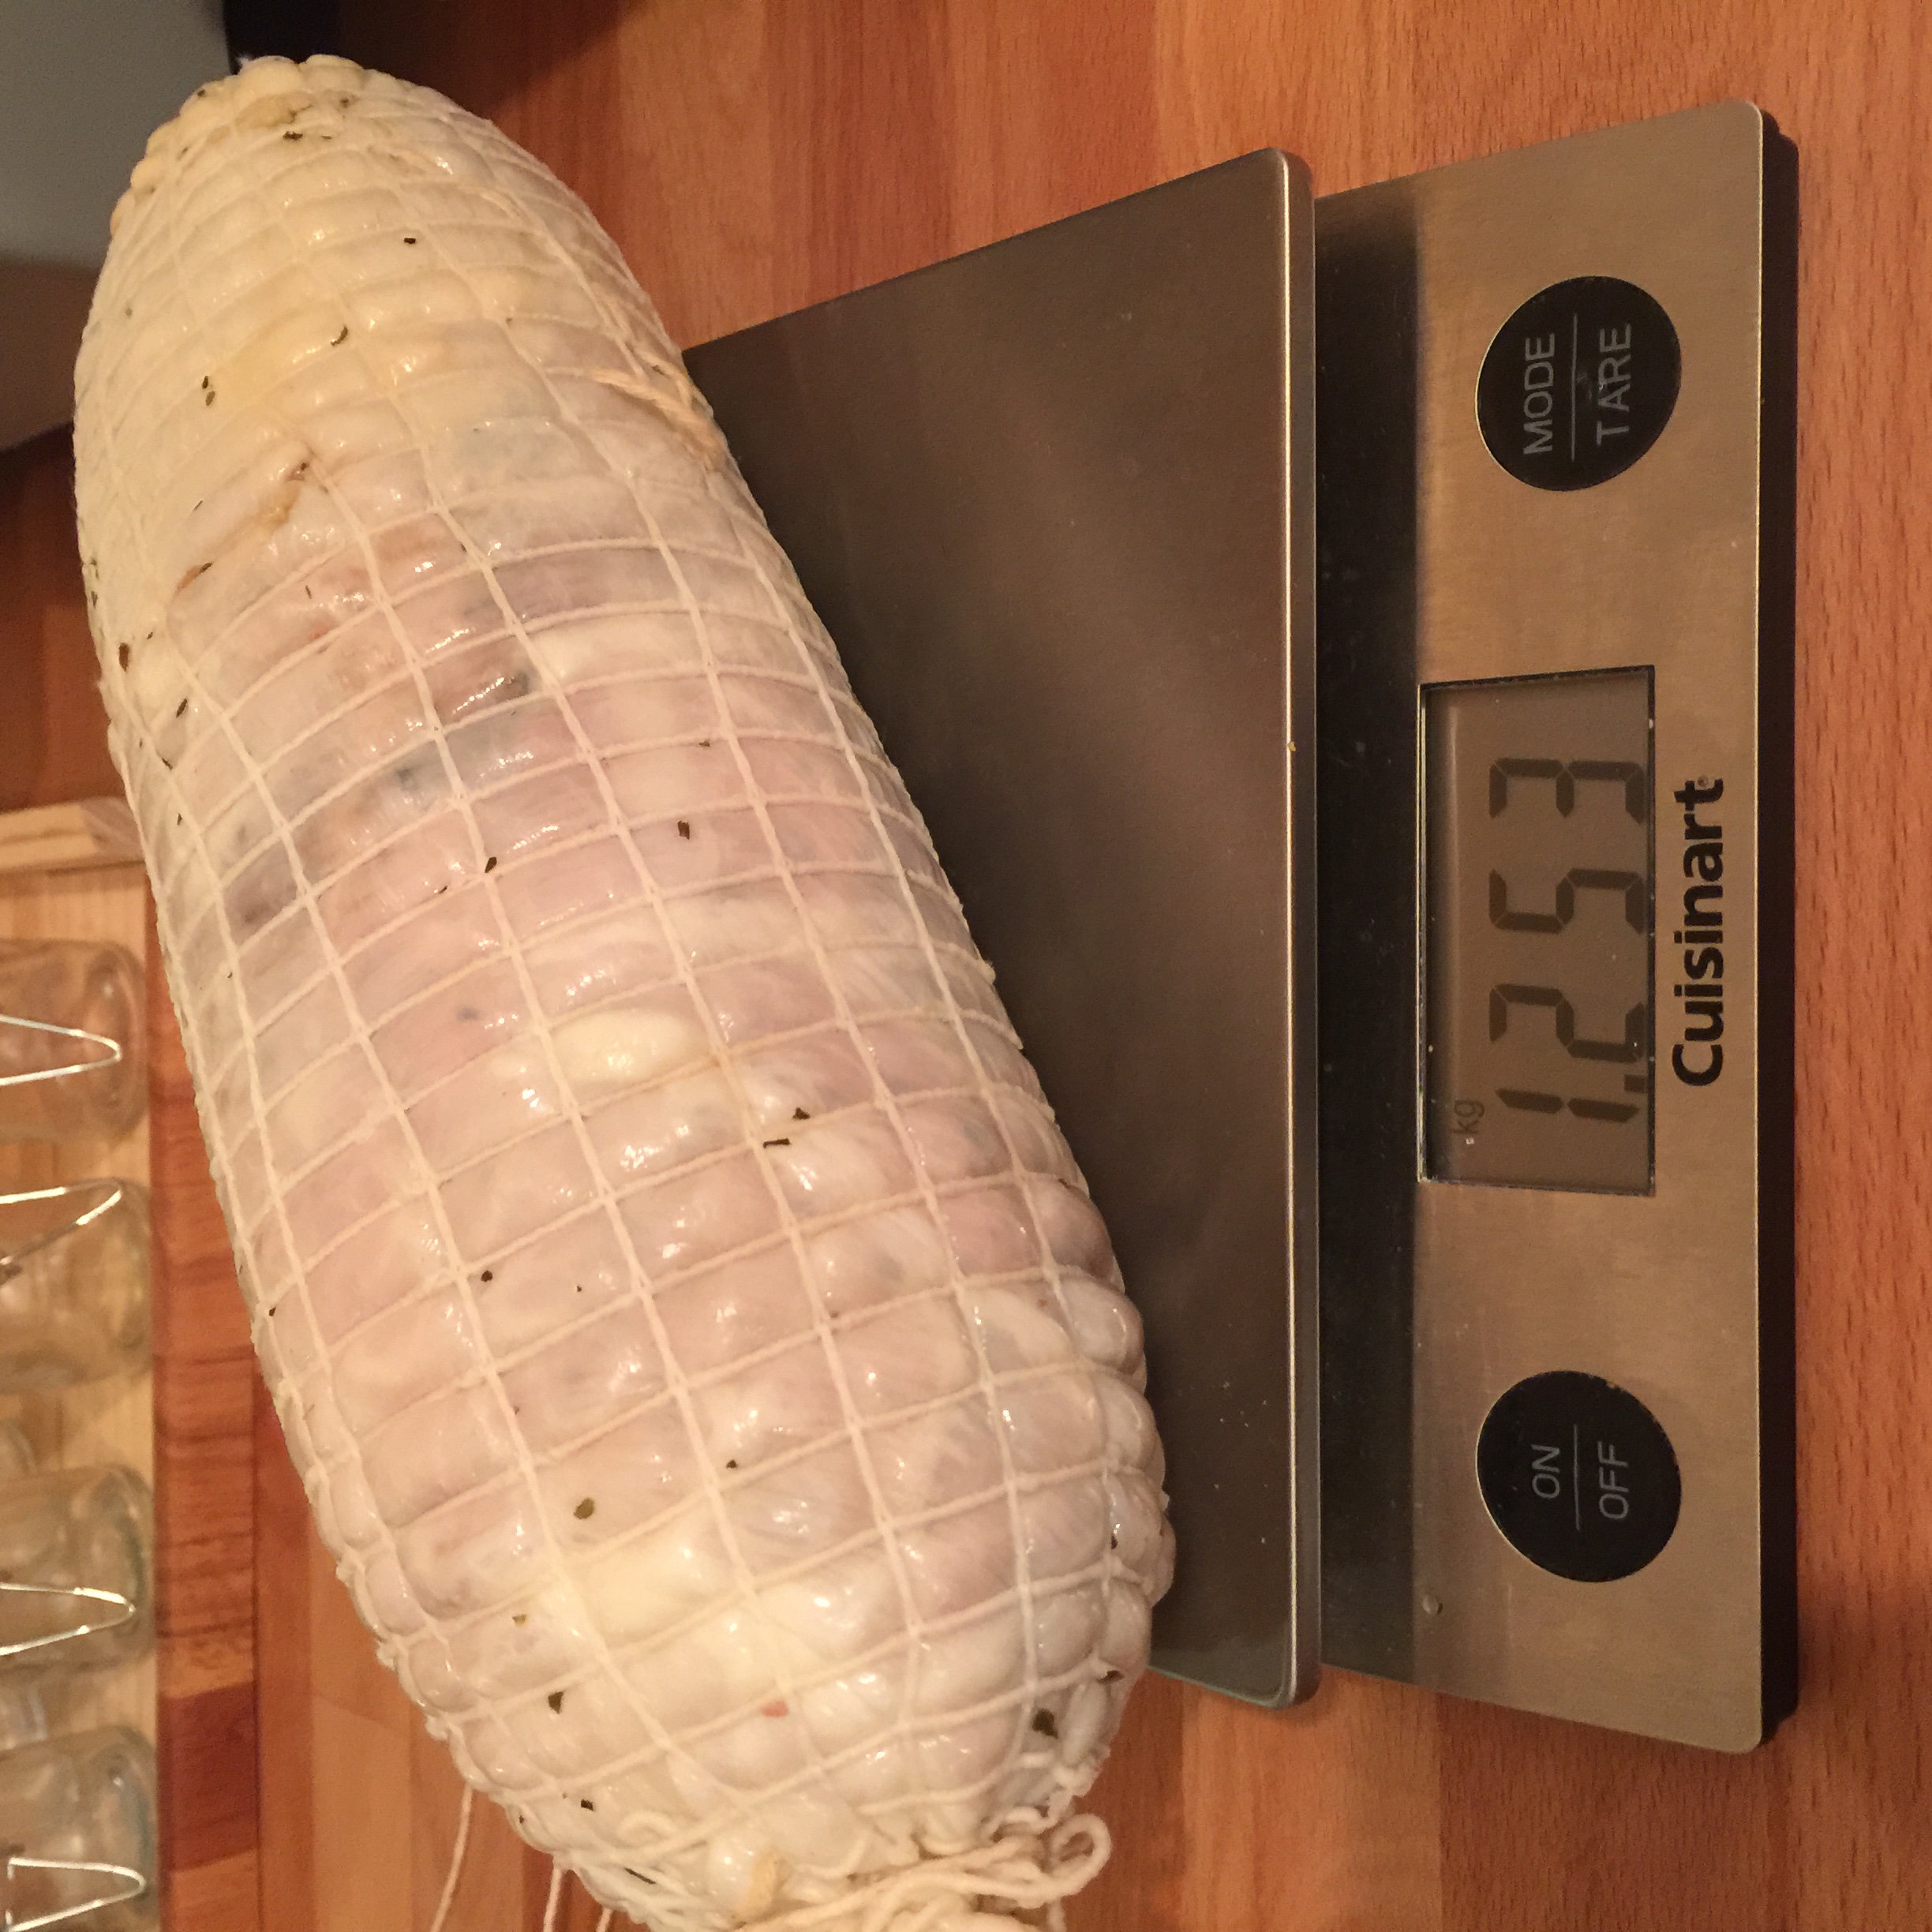
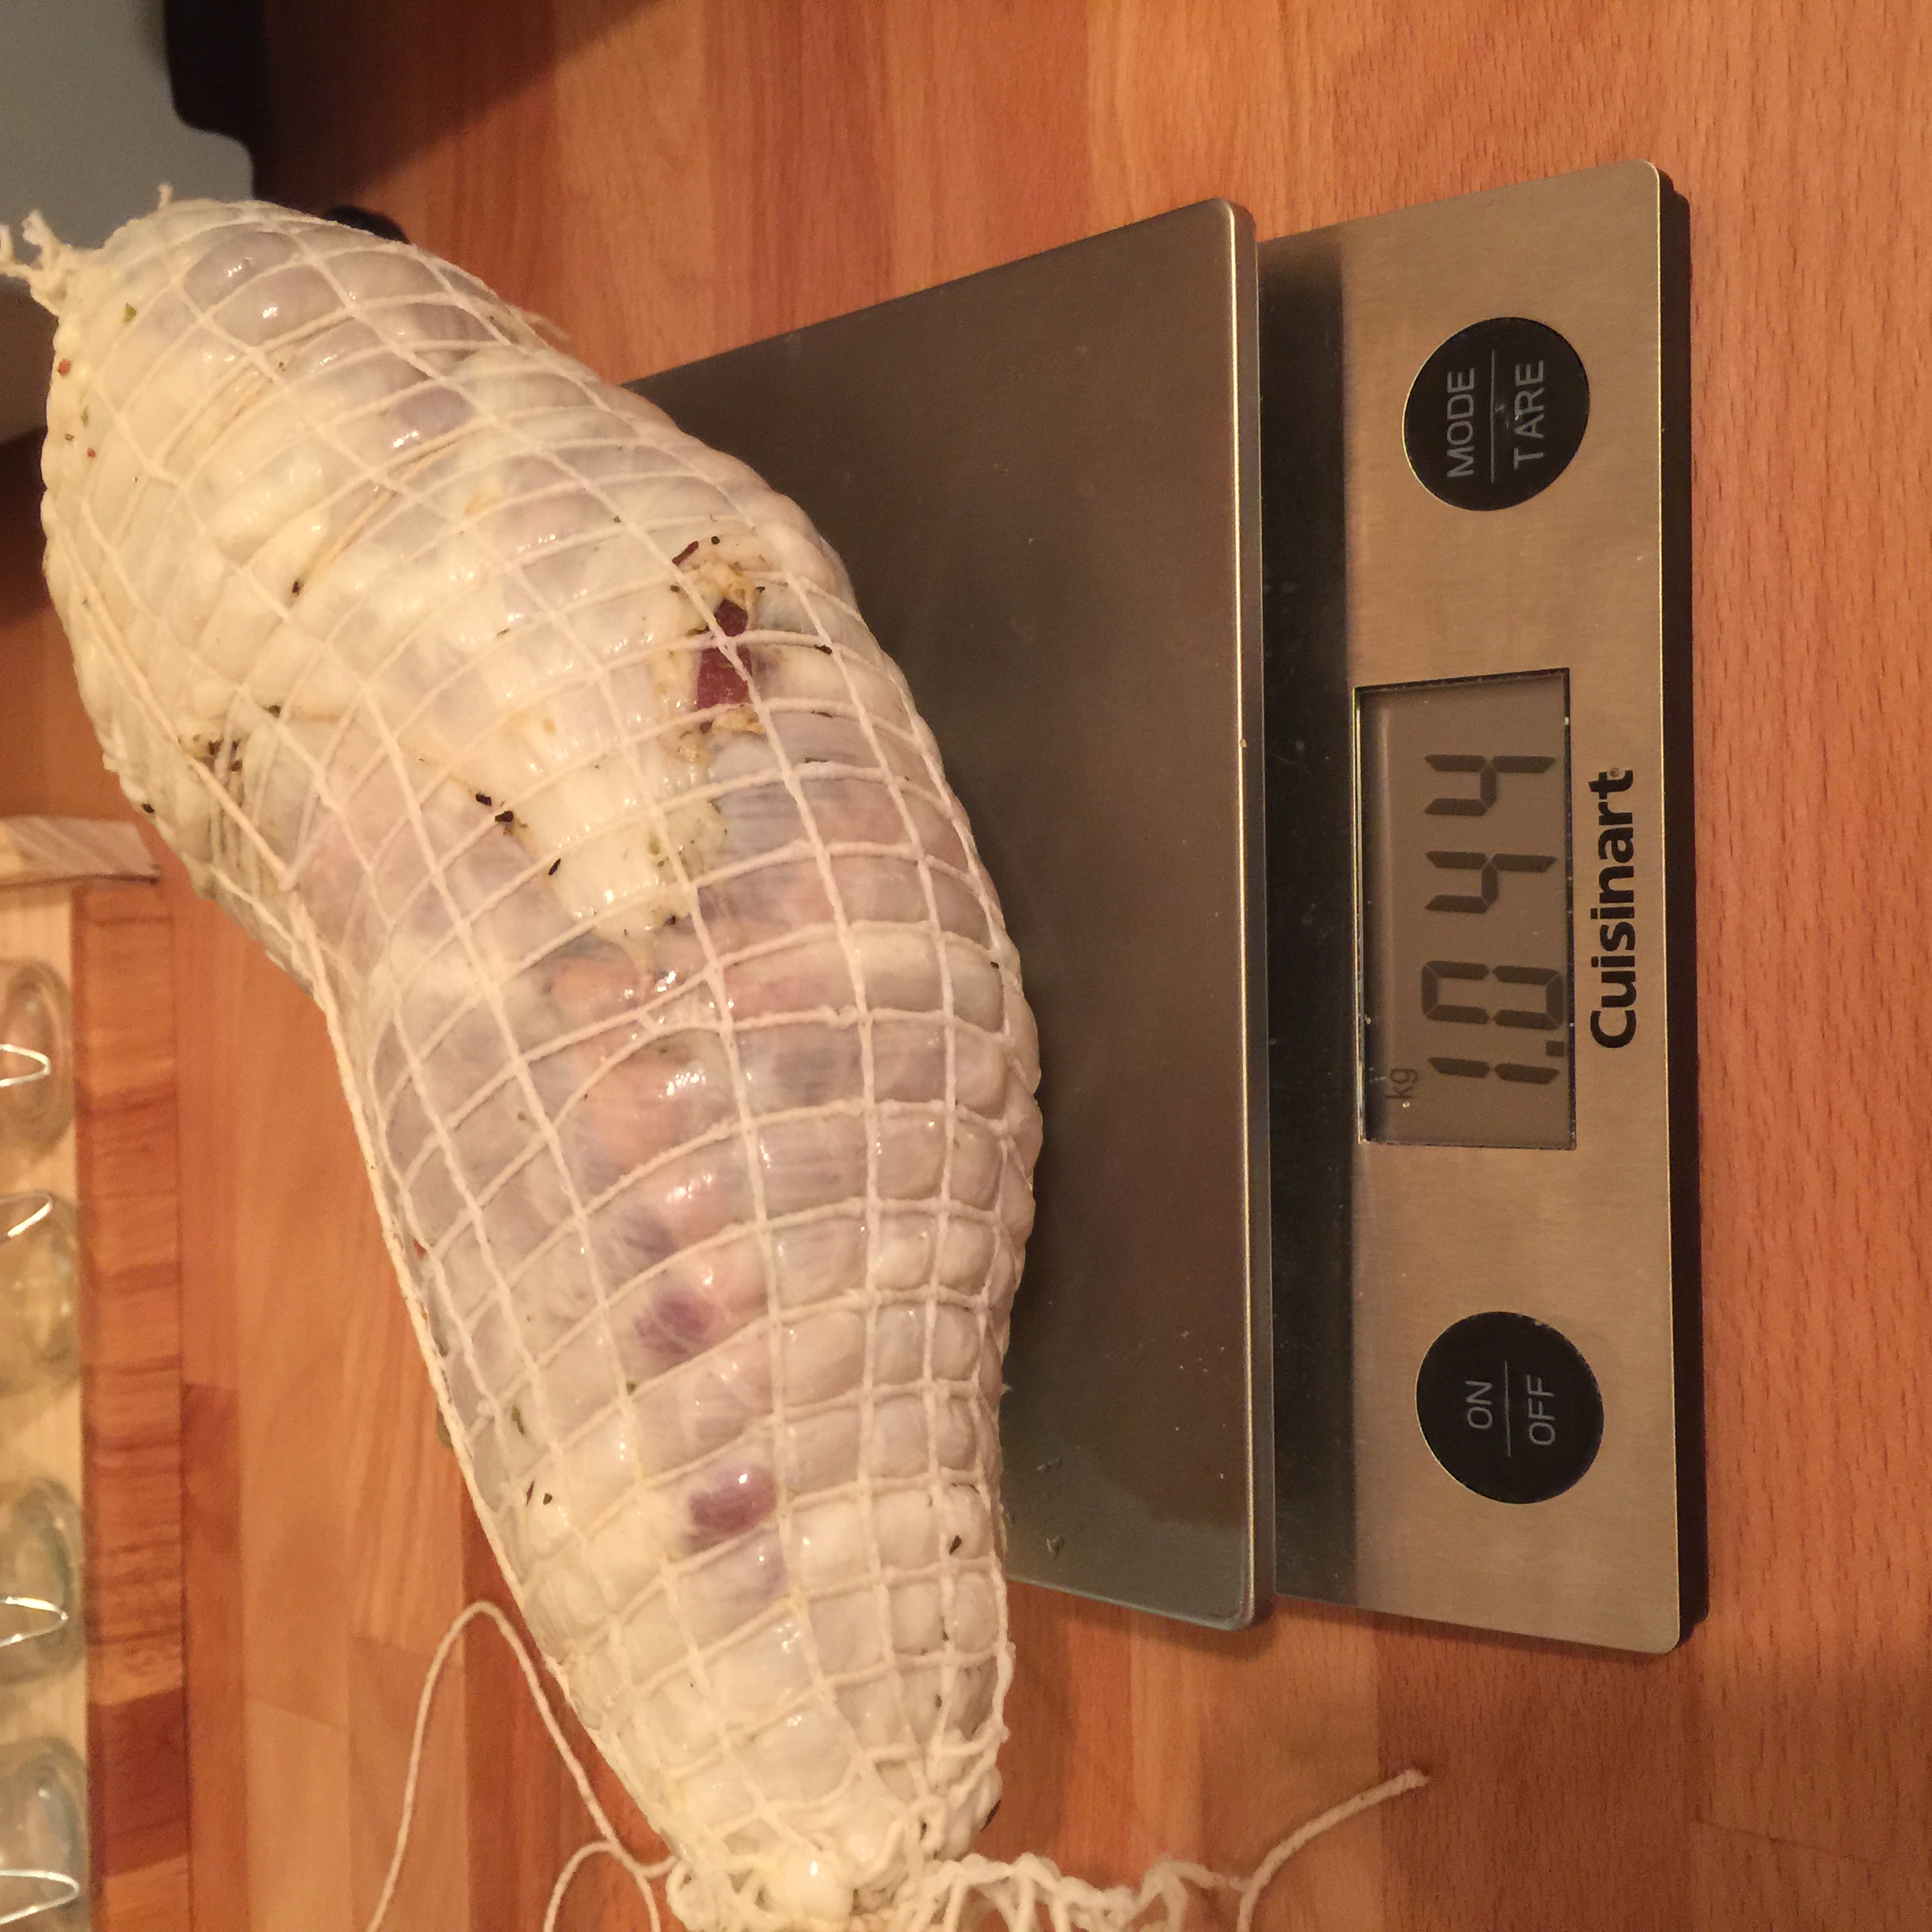
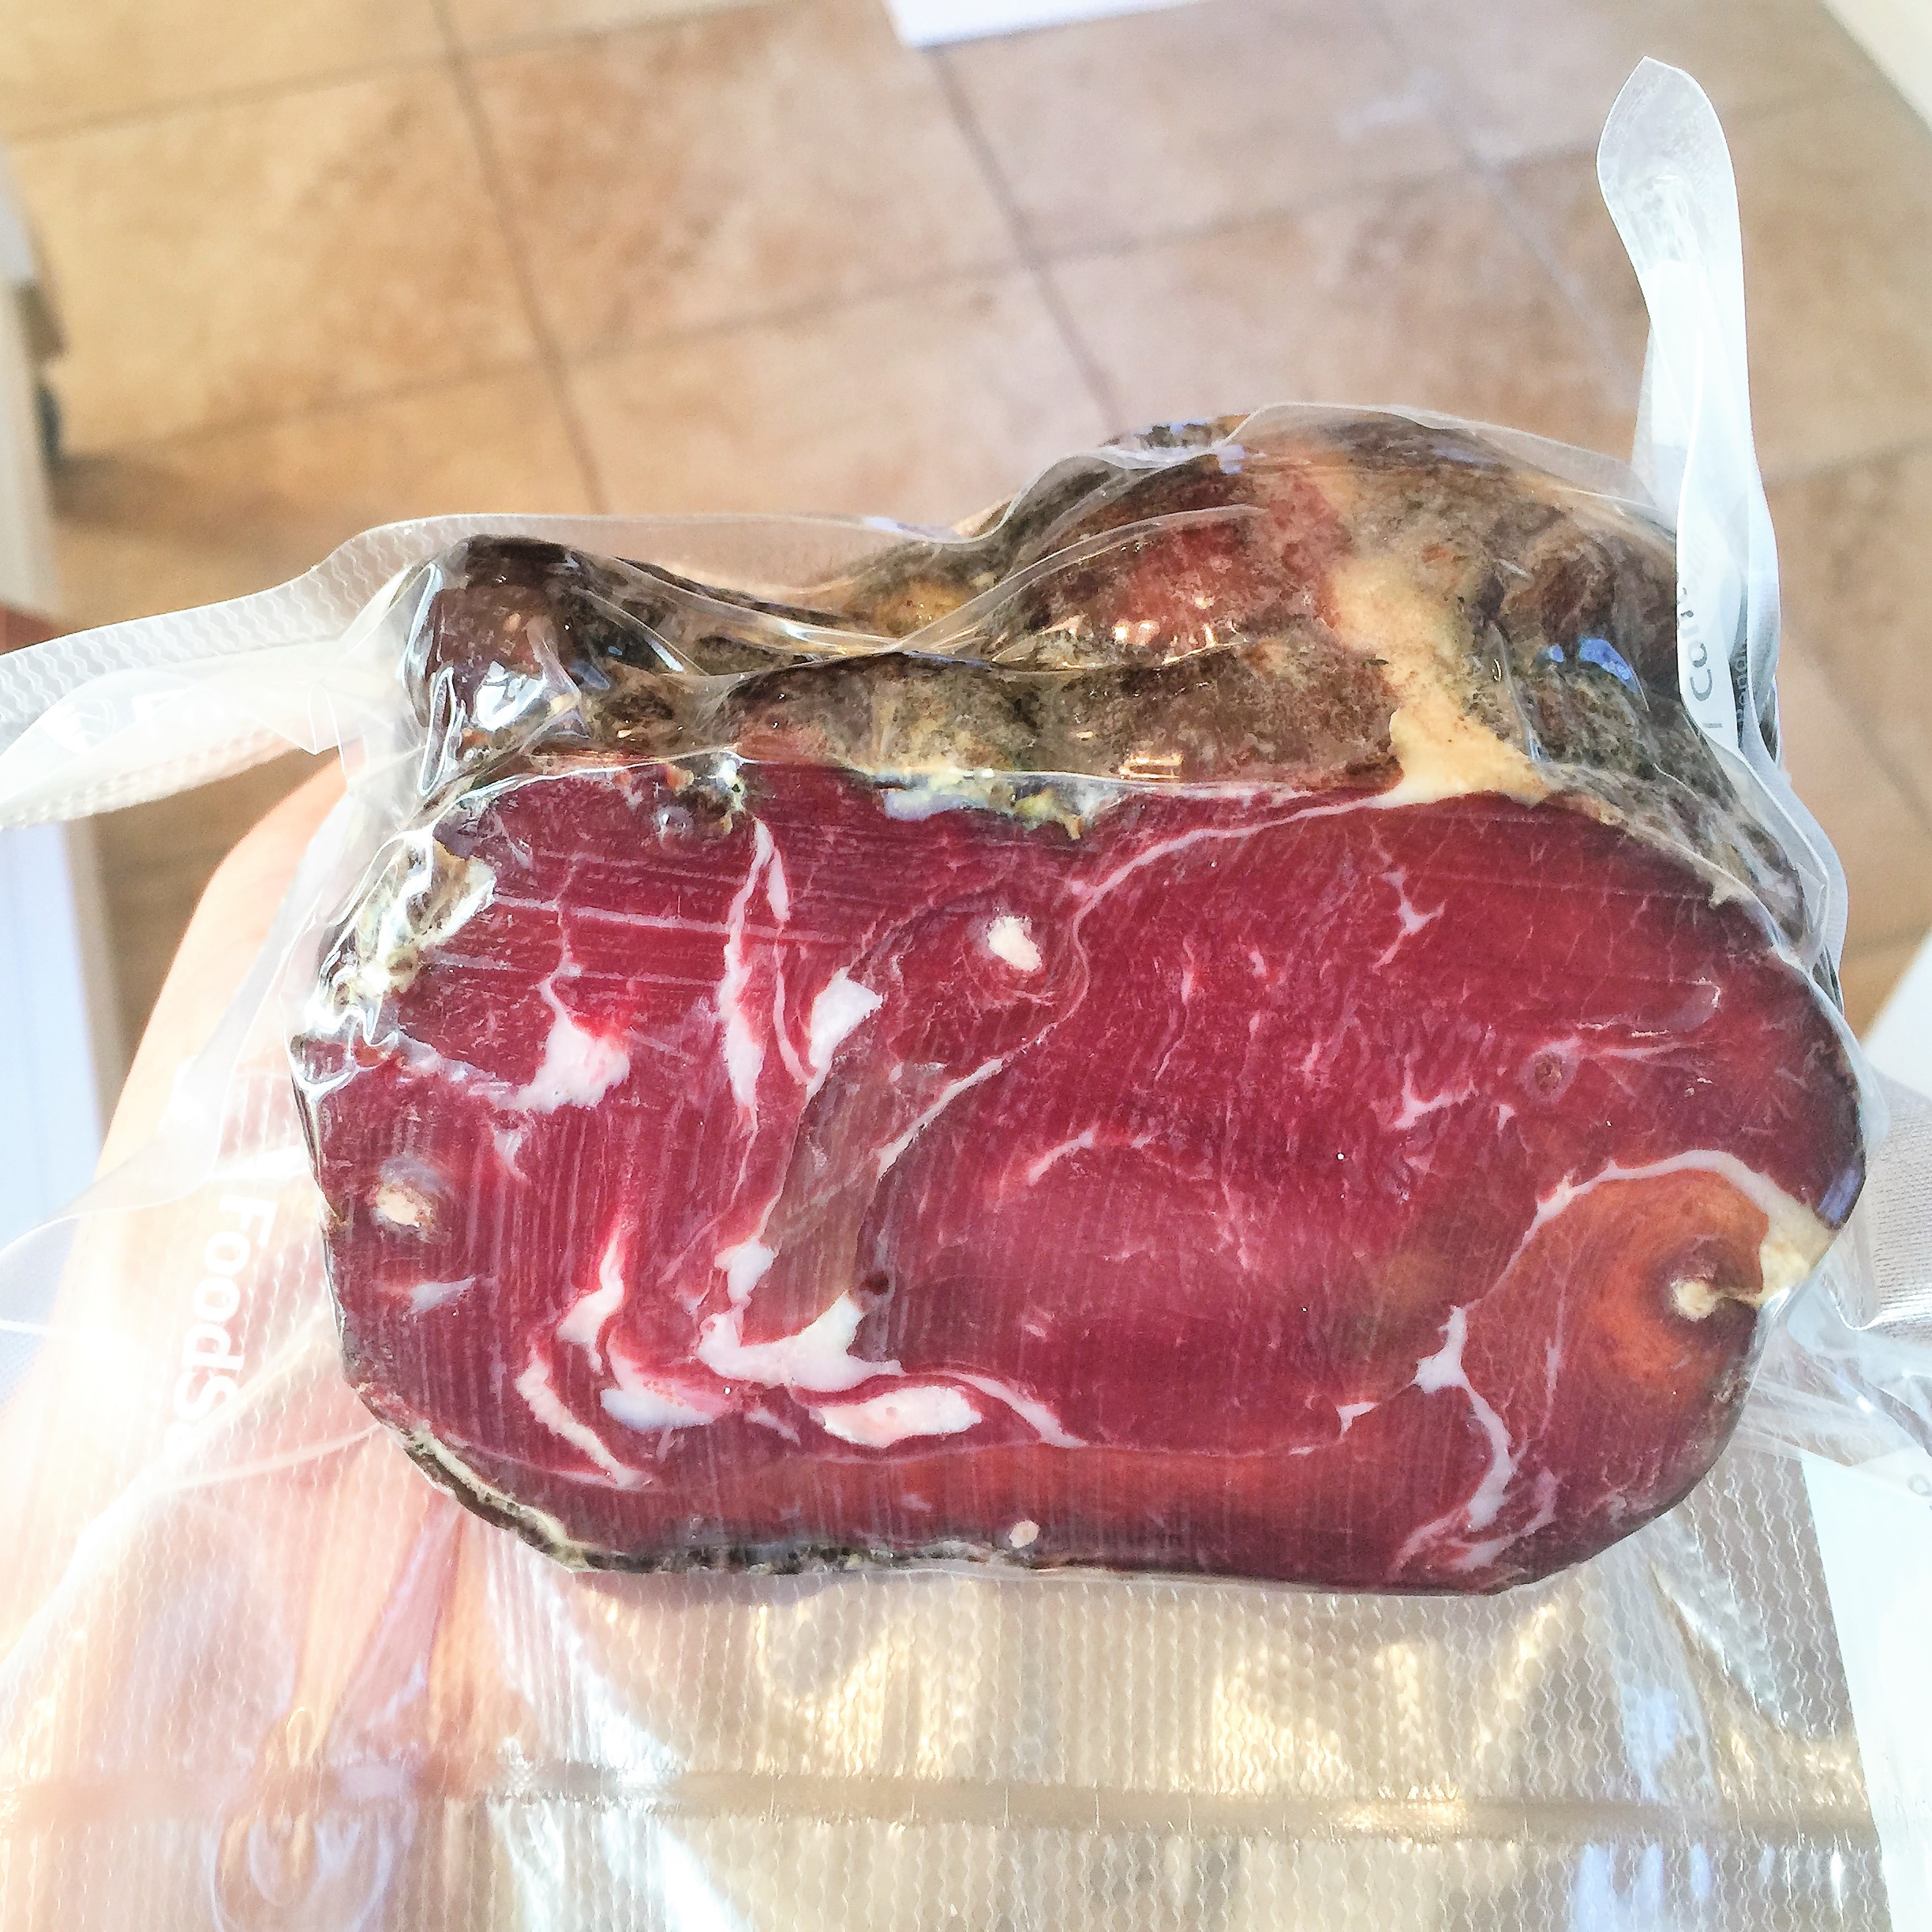
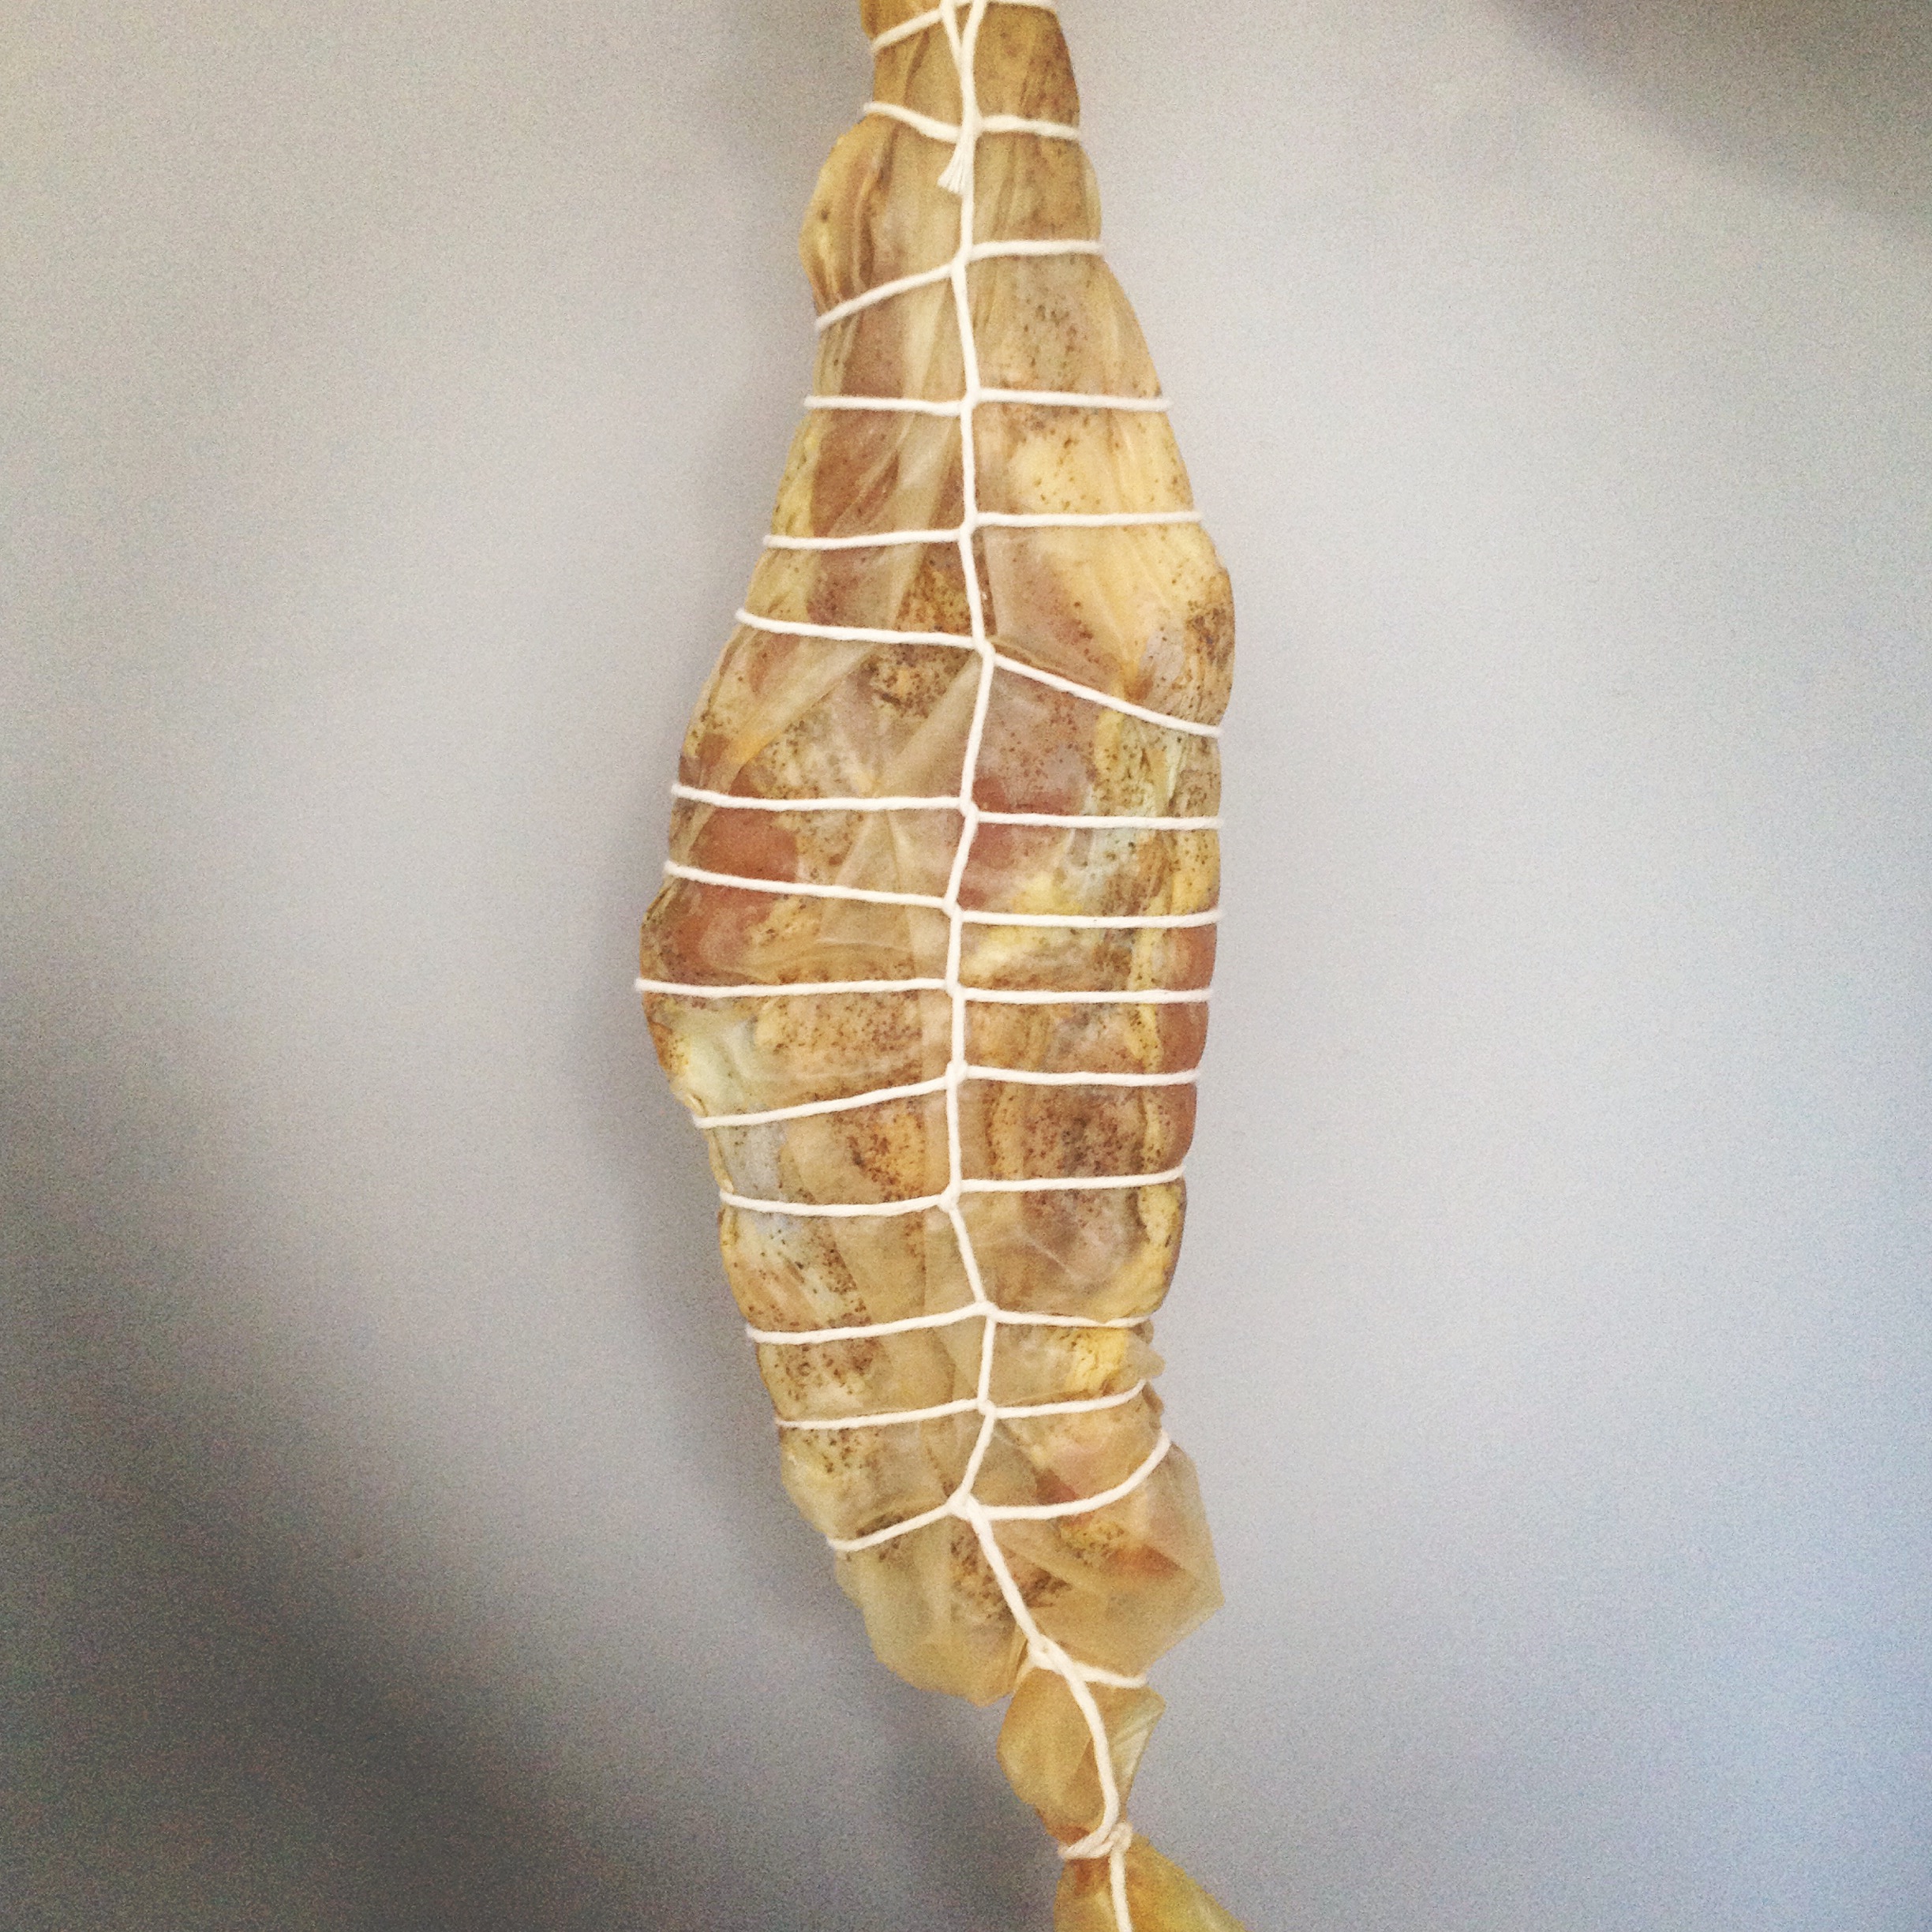
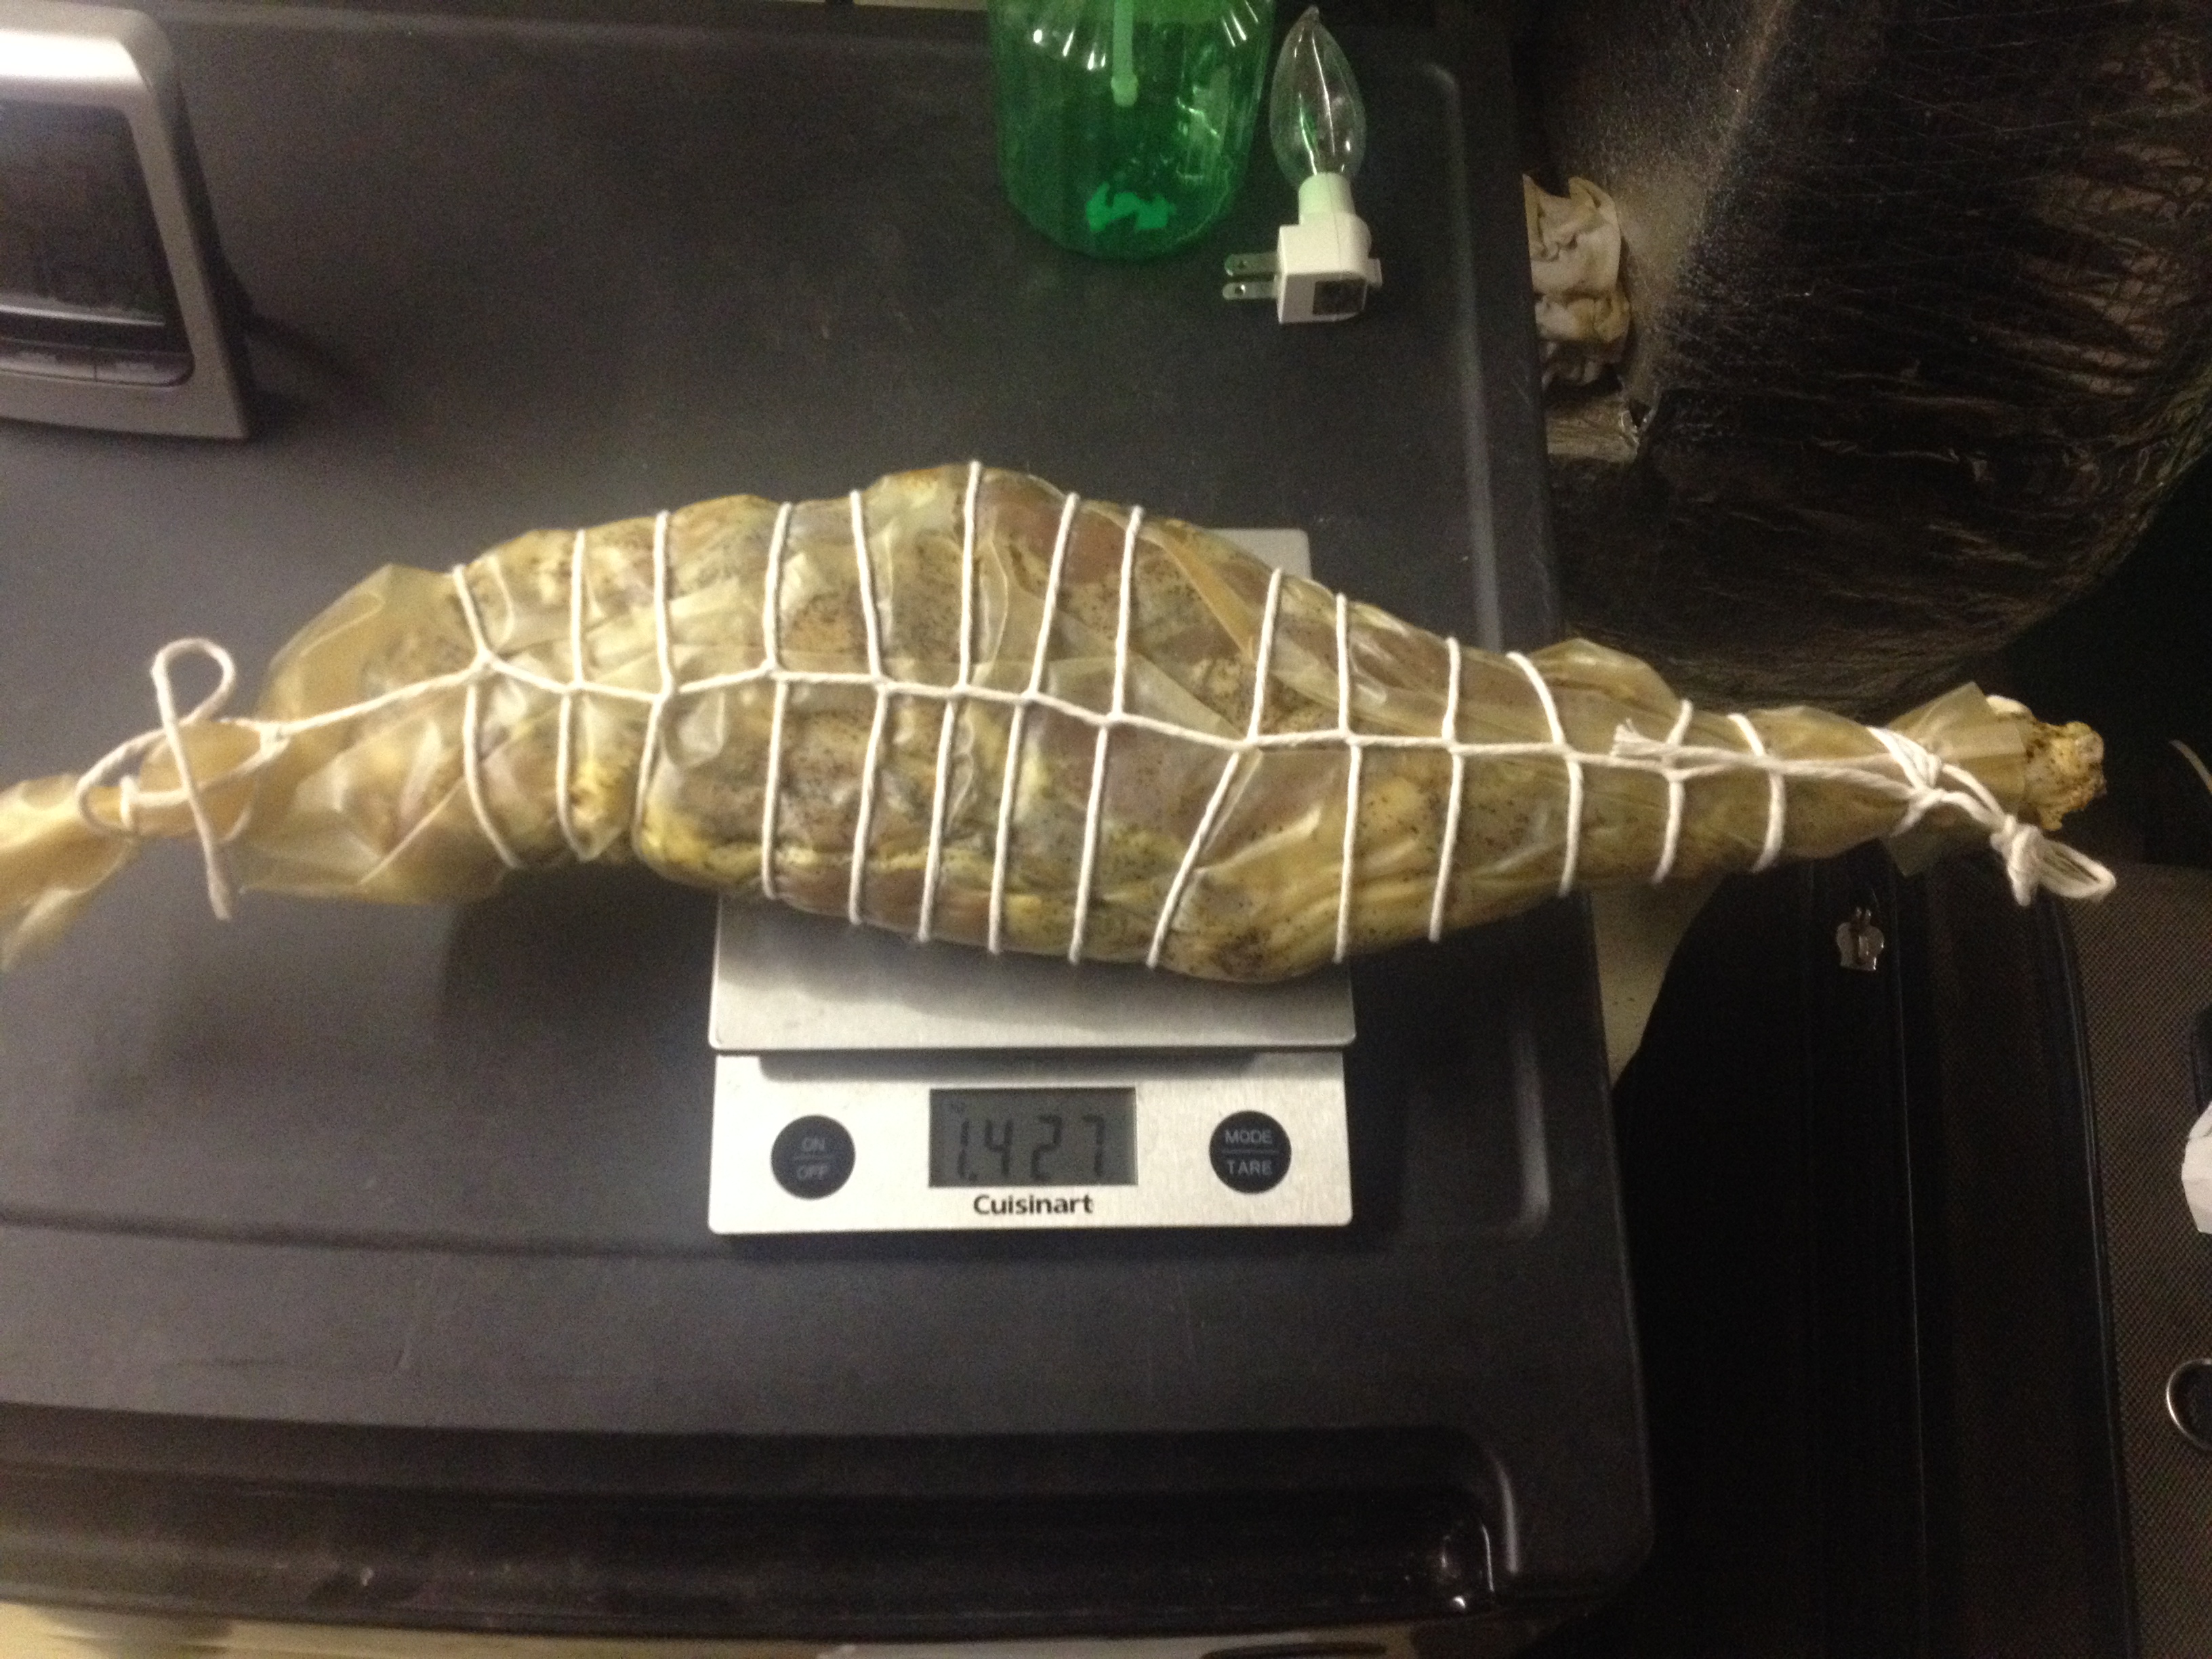
The cured pork loin was taken out of the cure after about a month. It was rinsed off and patted dry. It was then cased in a beef bung casing.
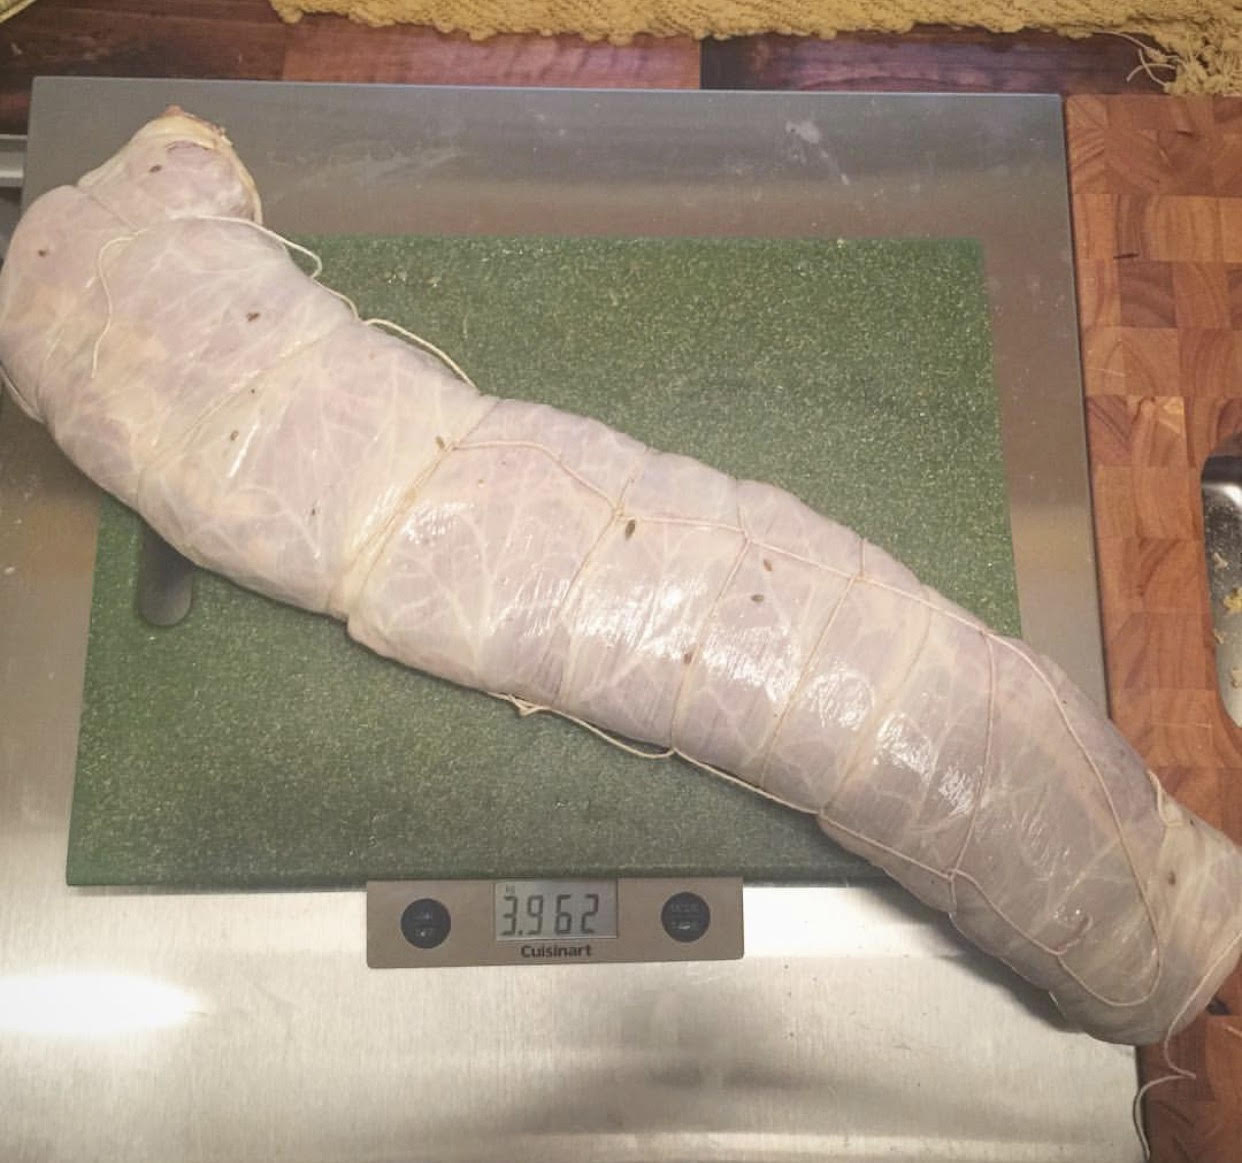
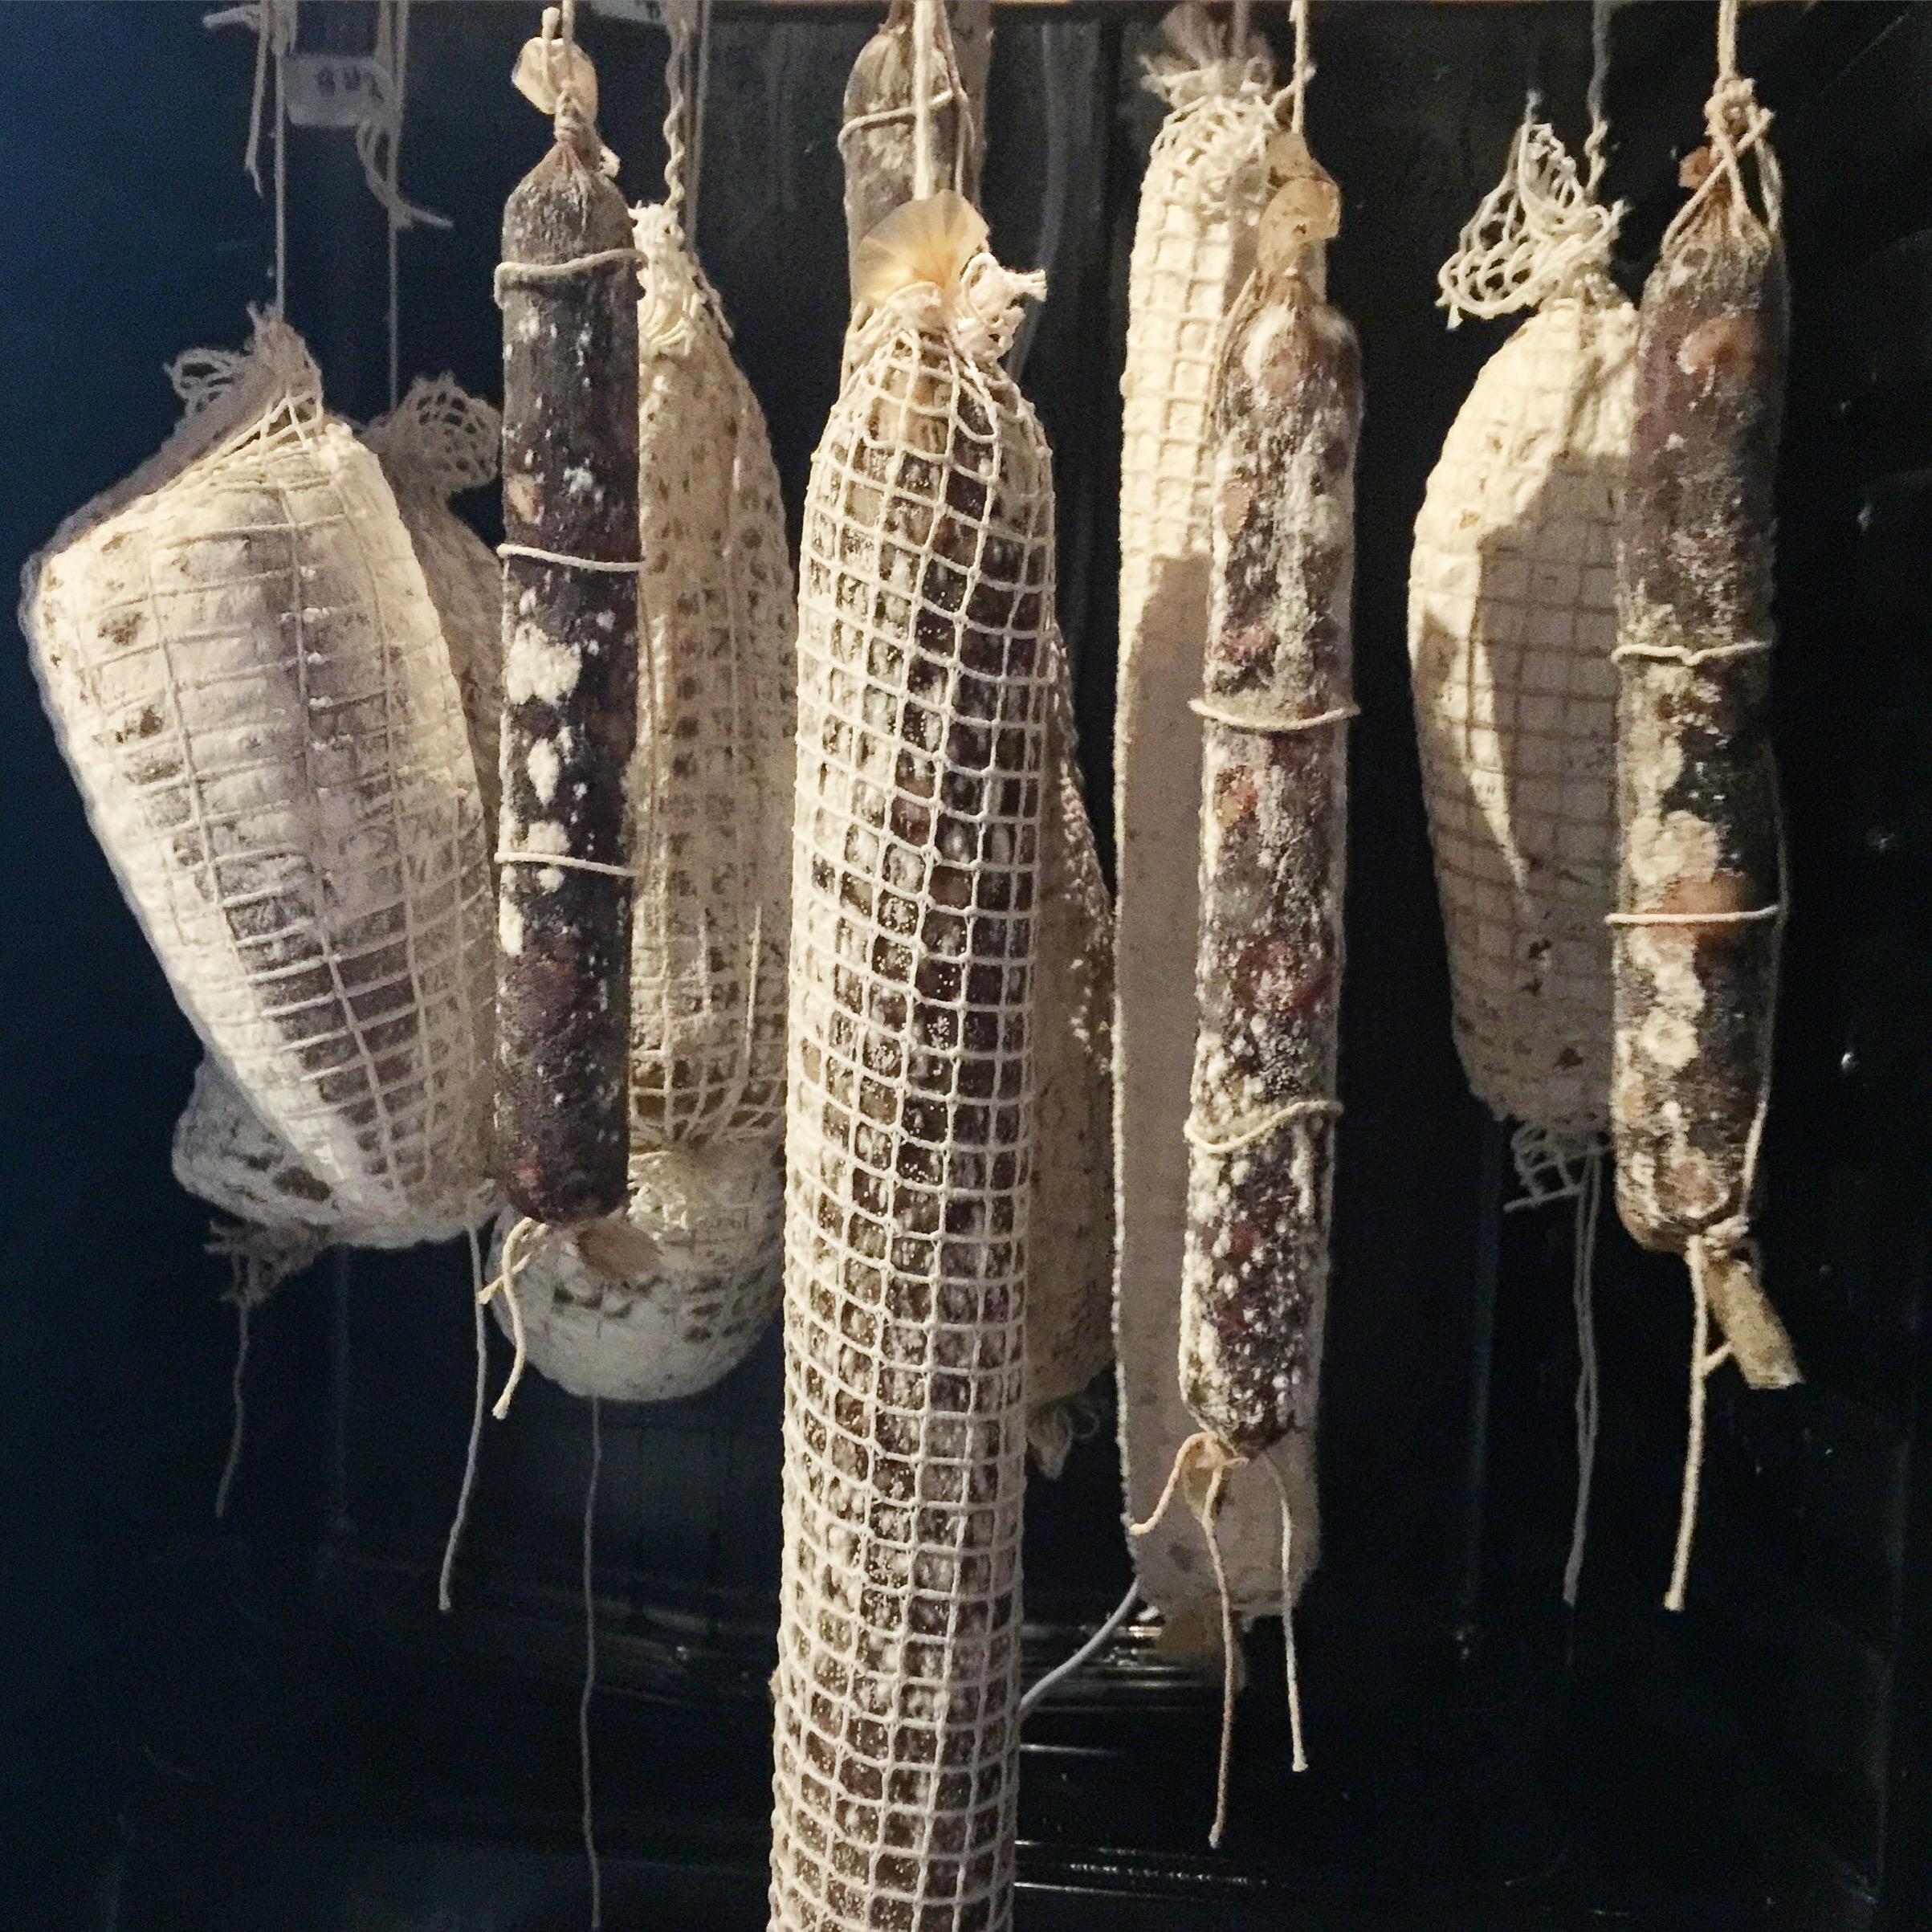
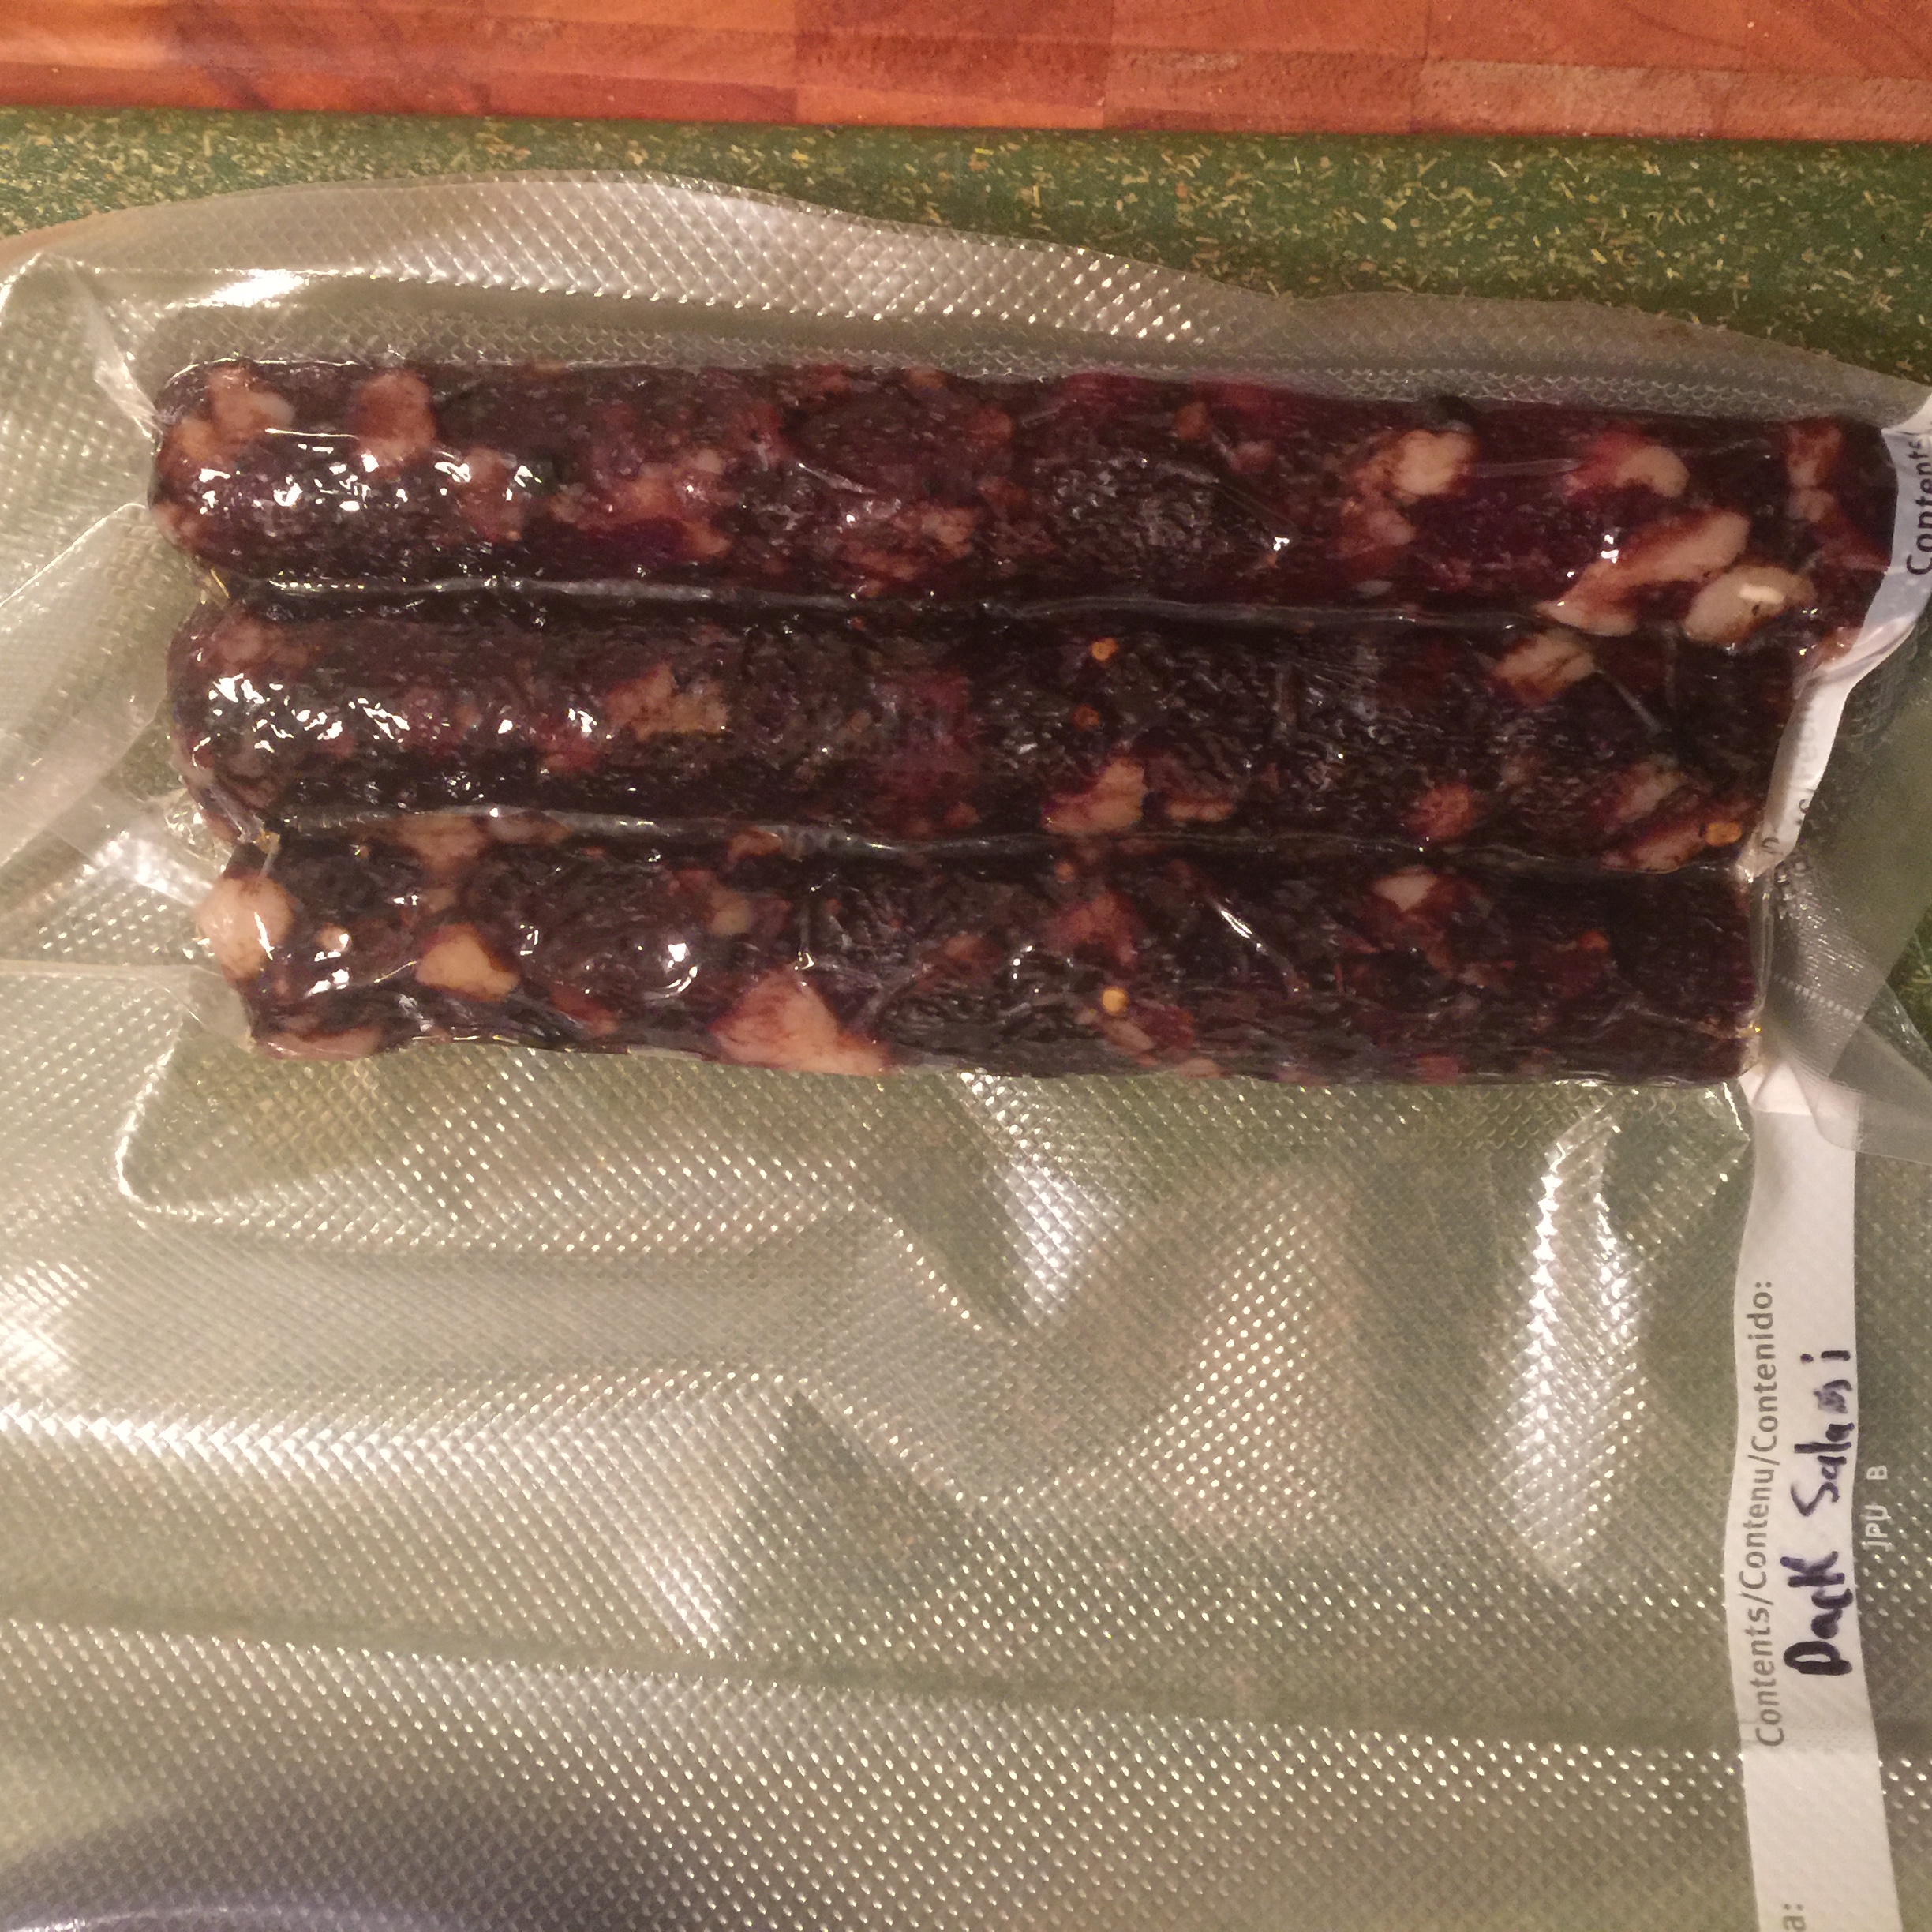
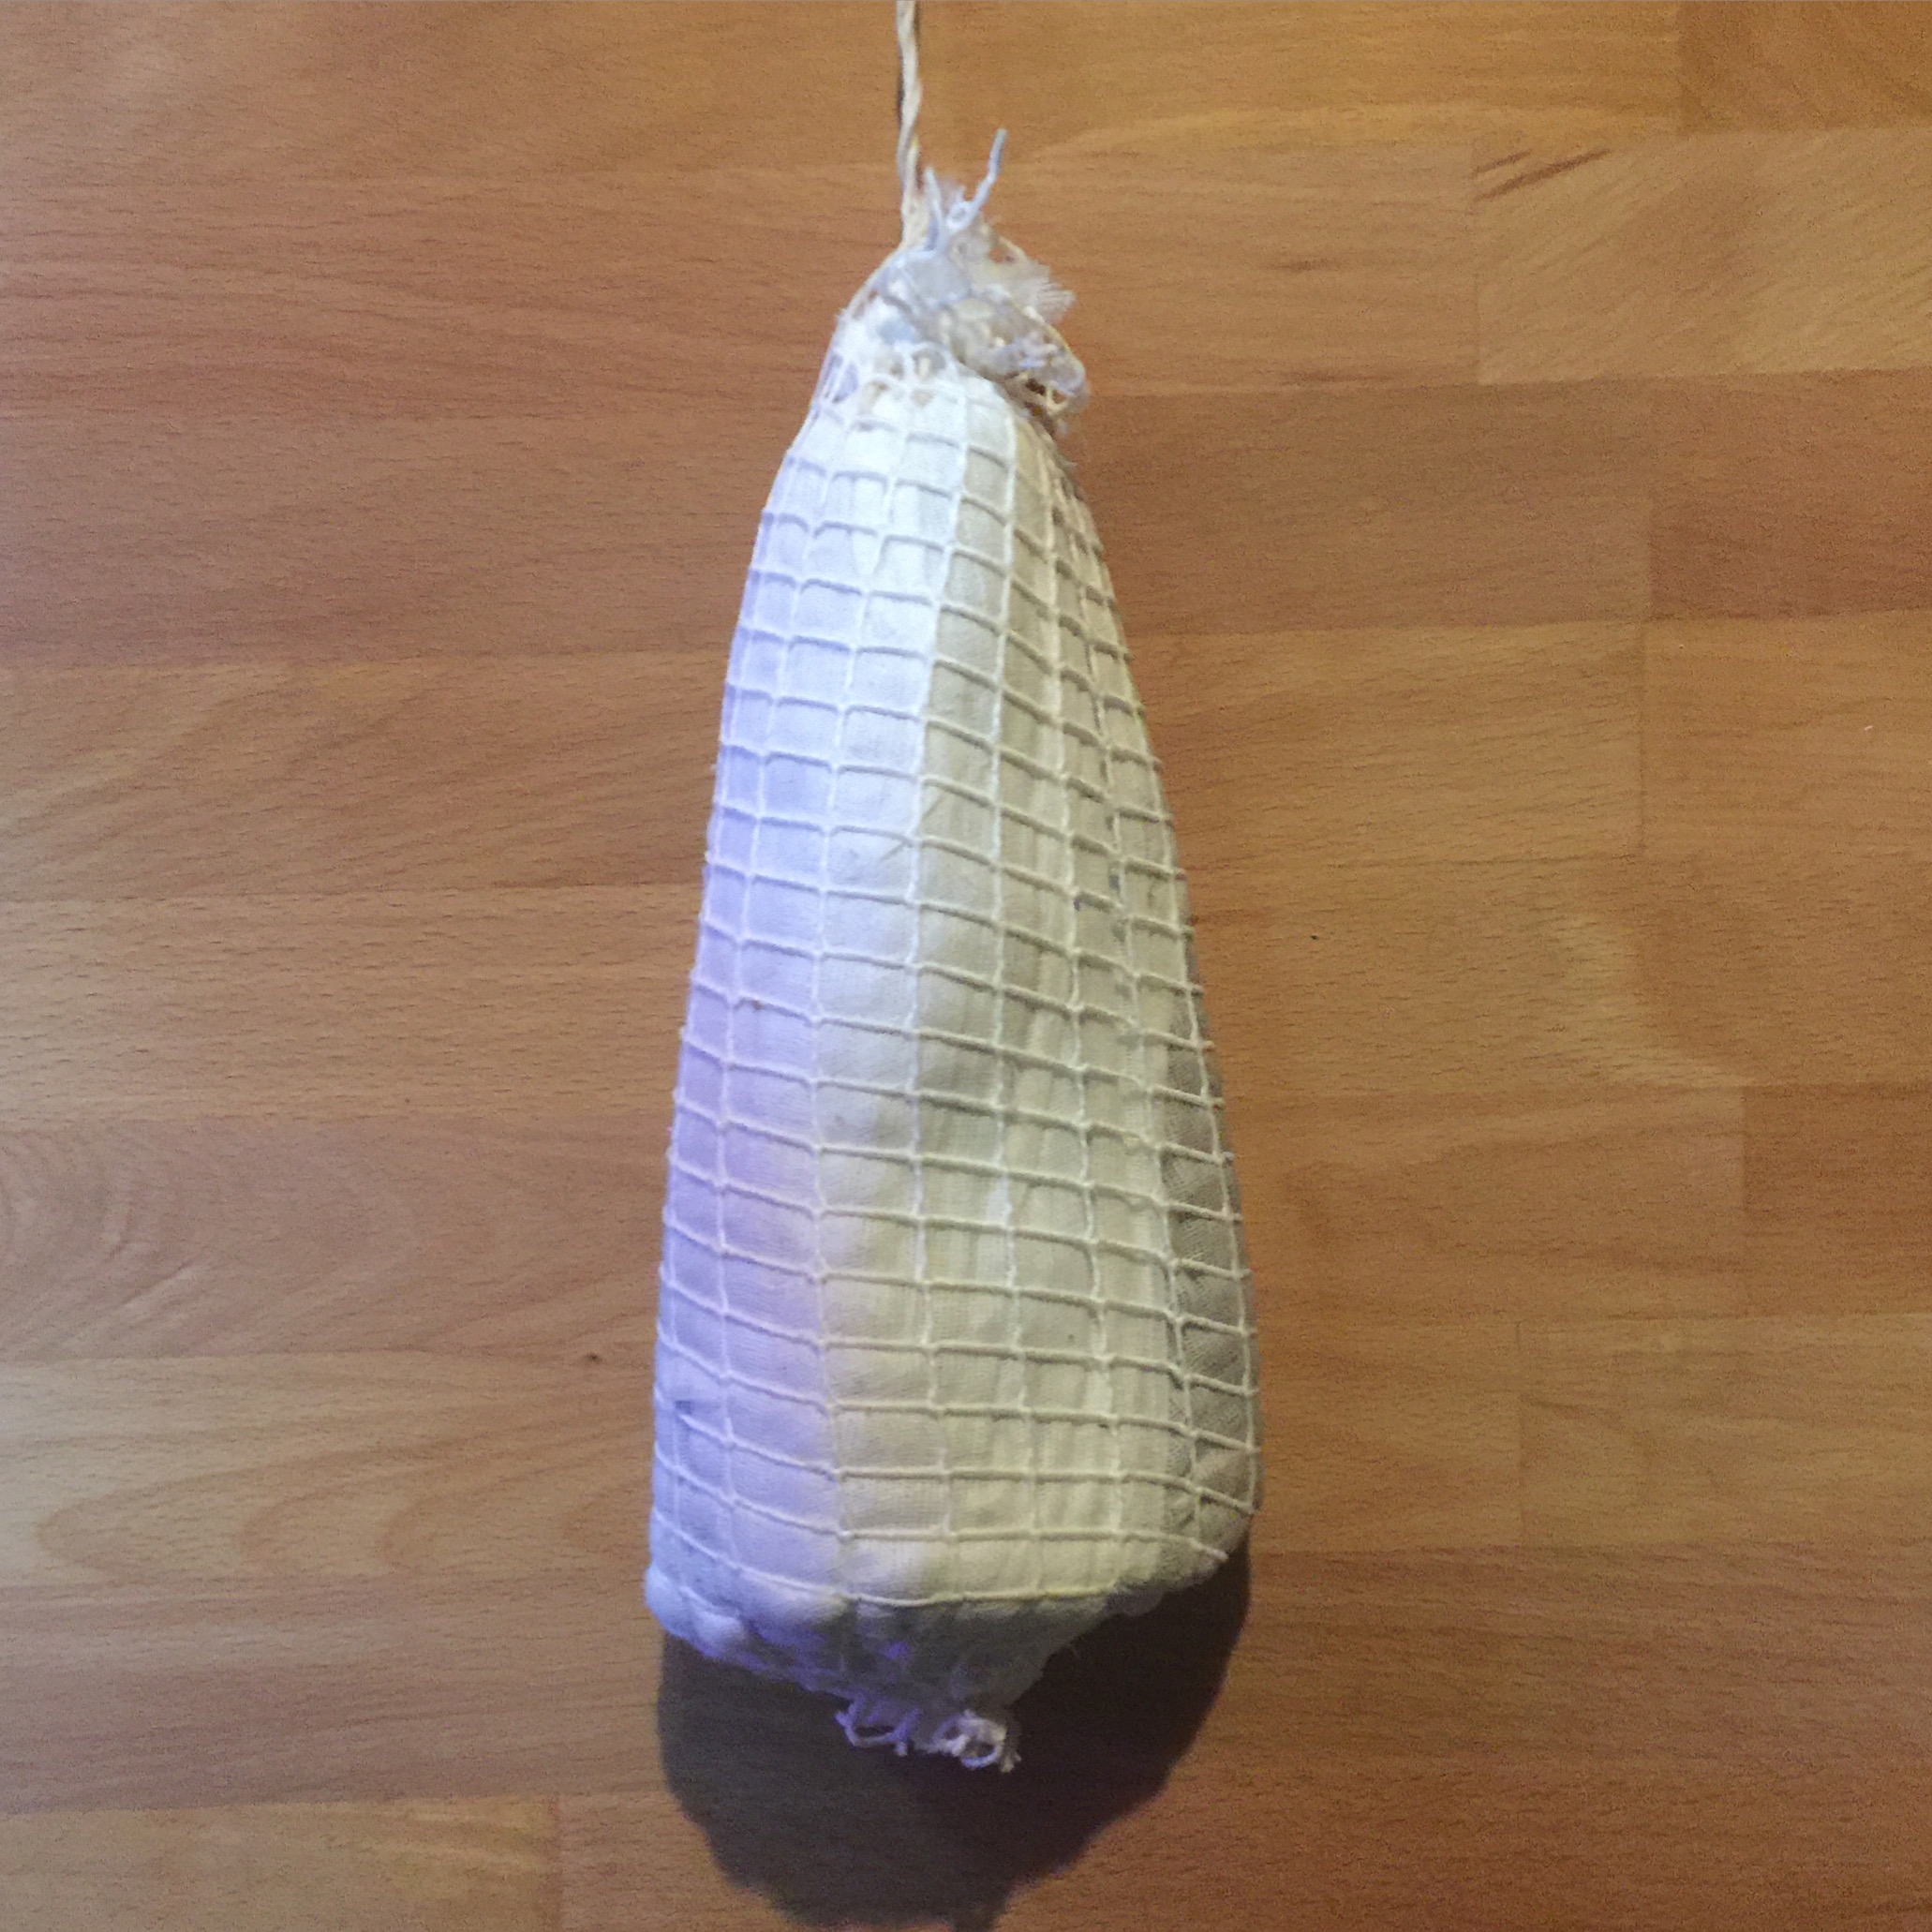
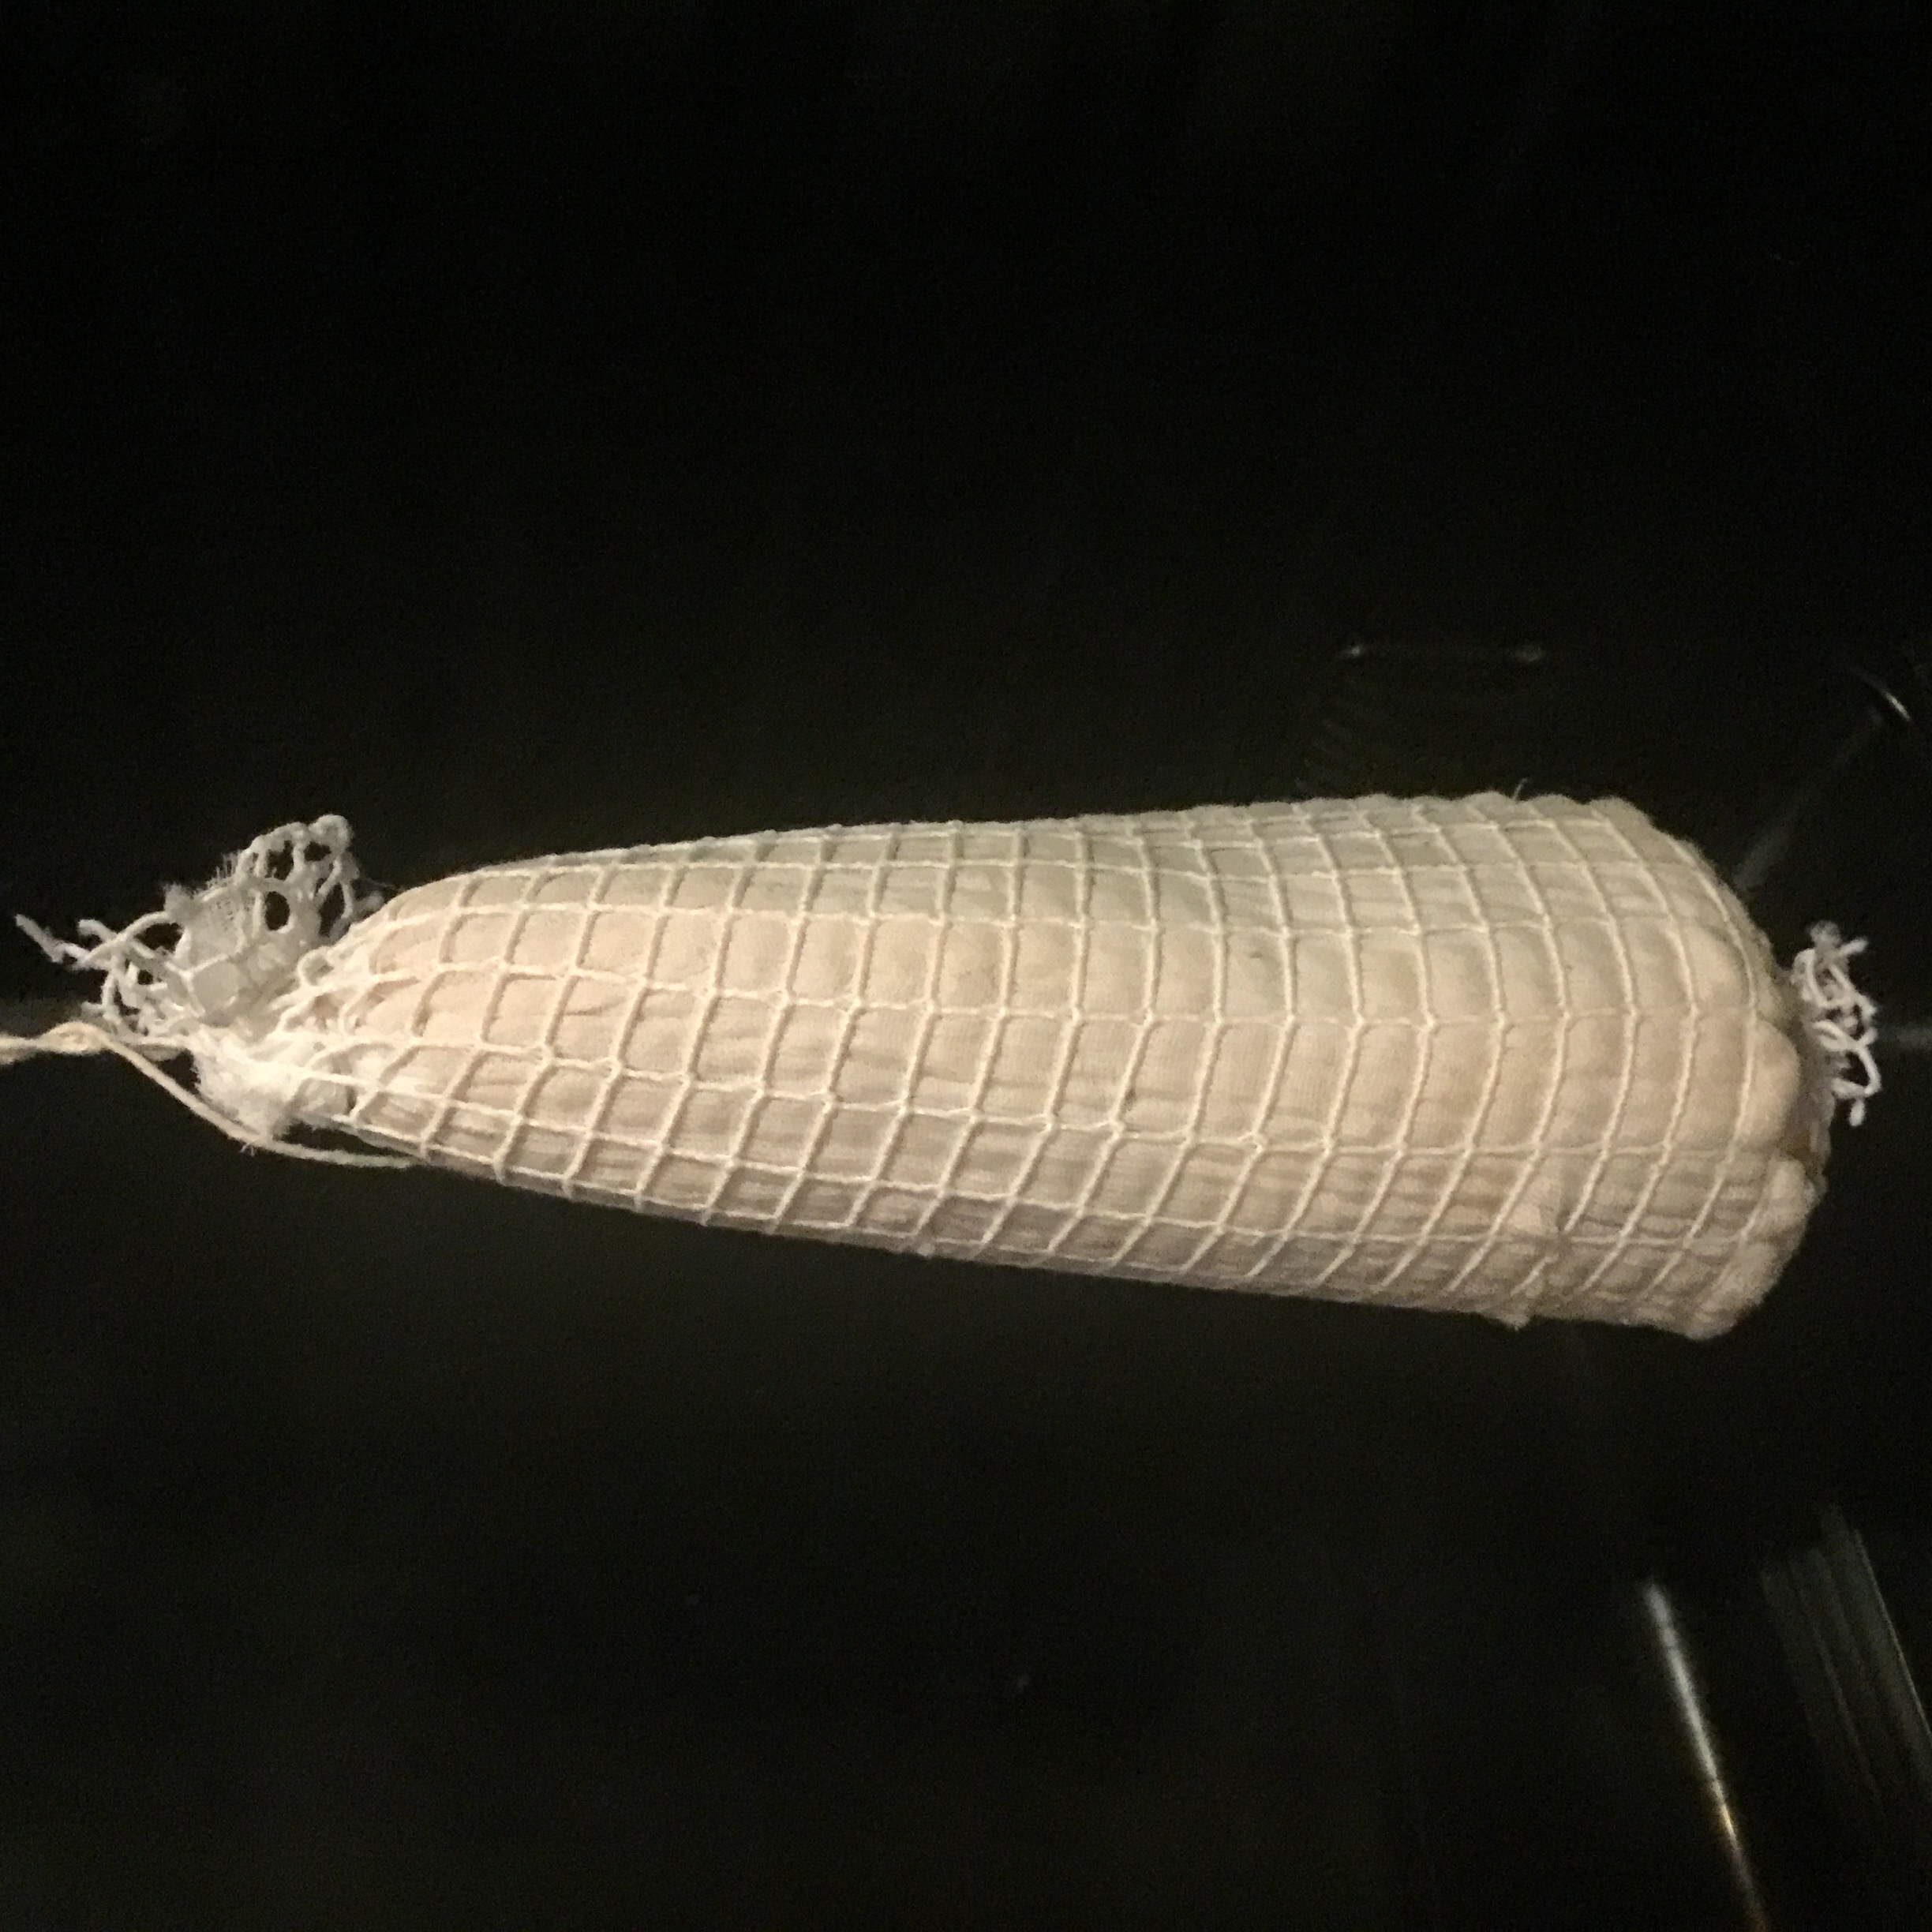
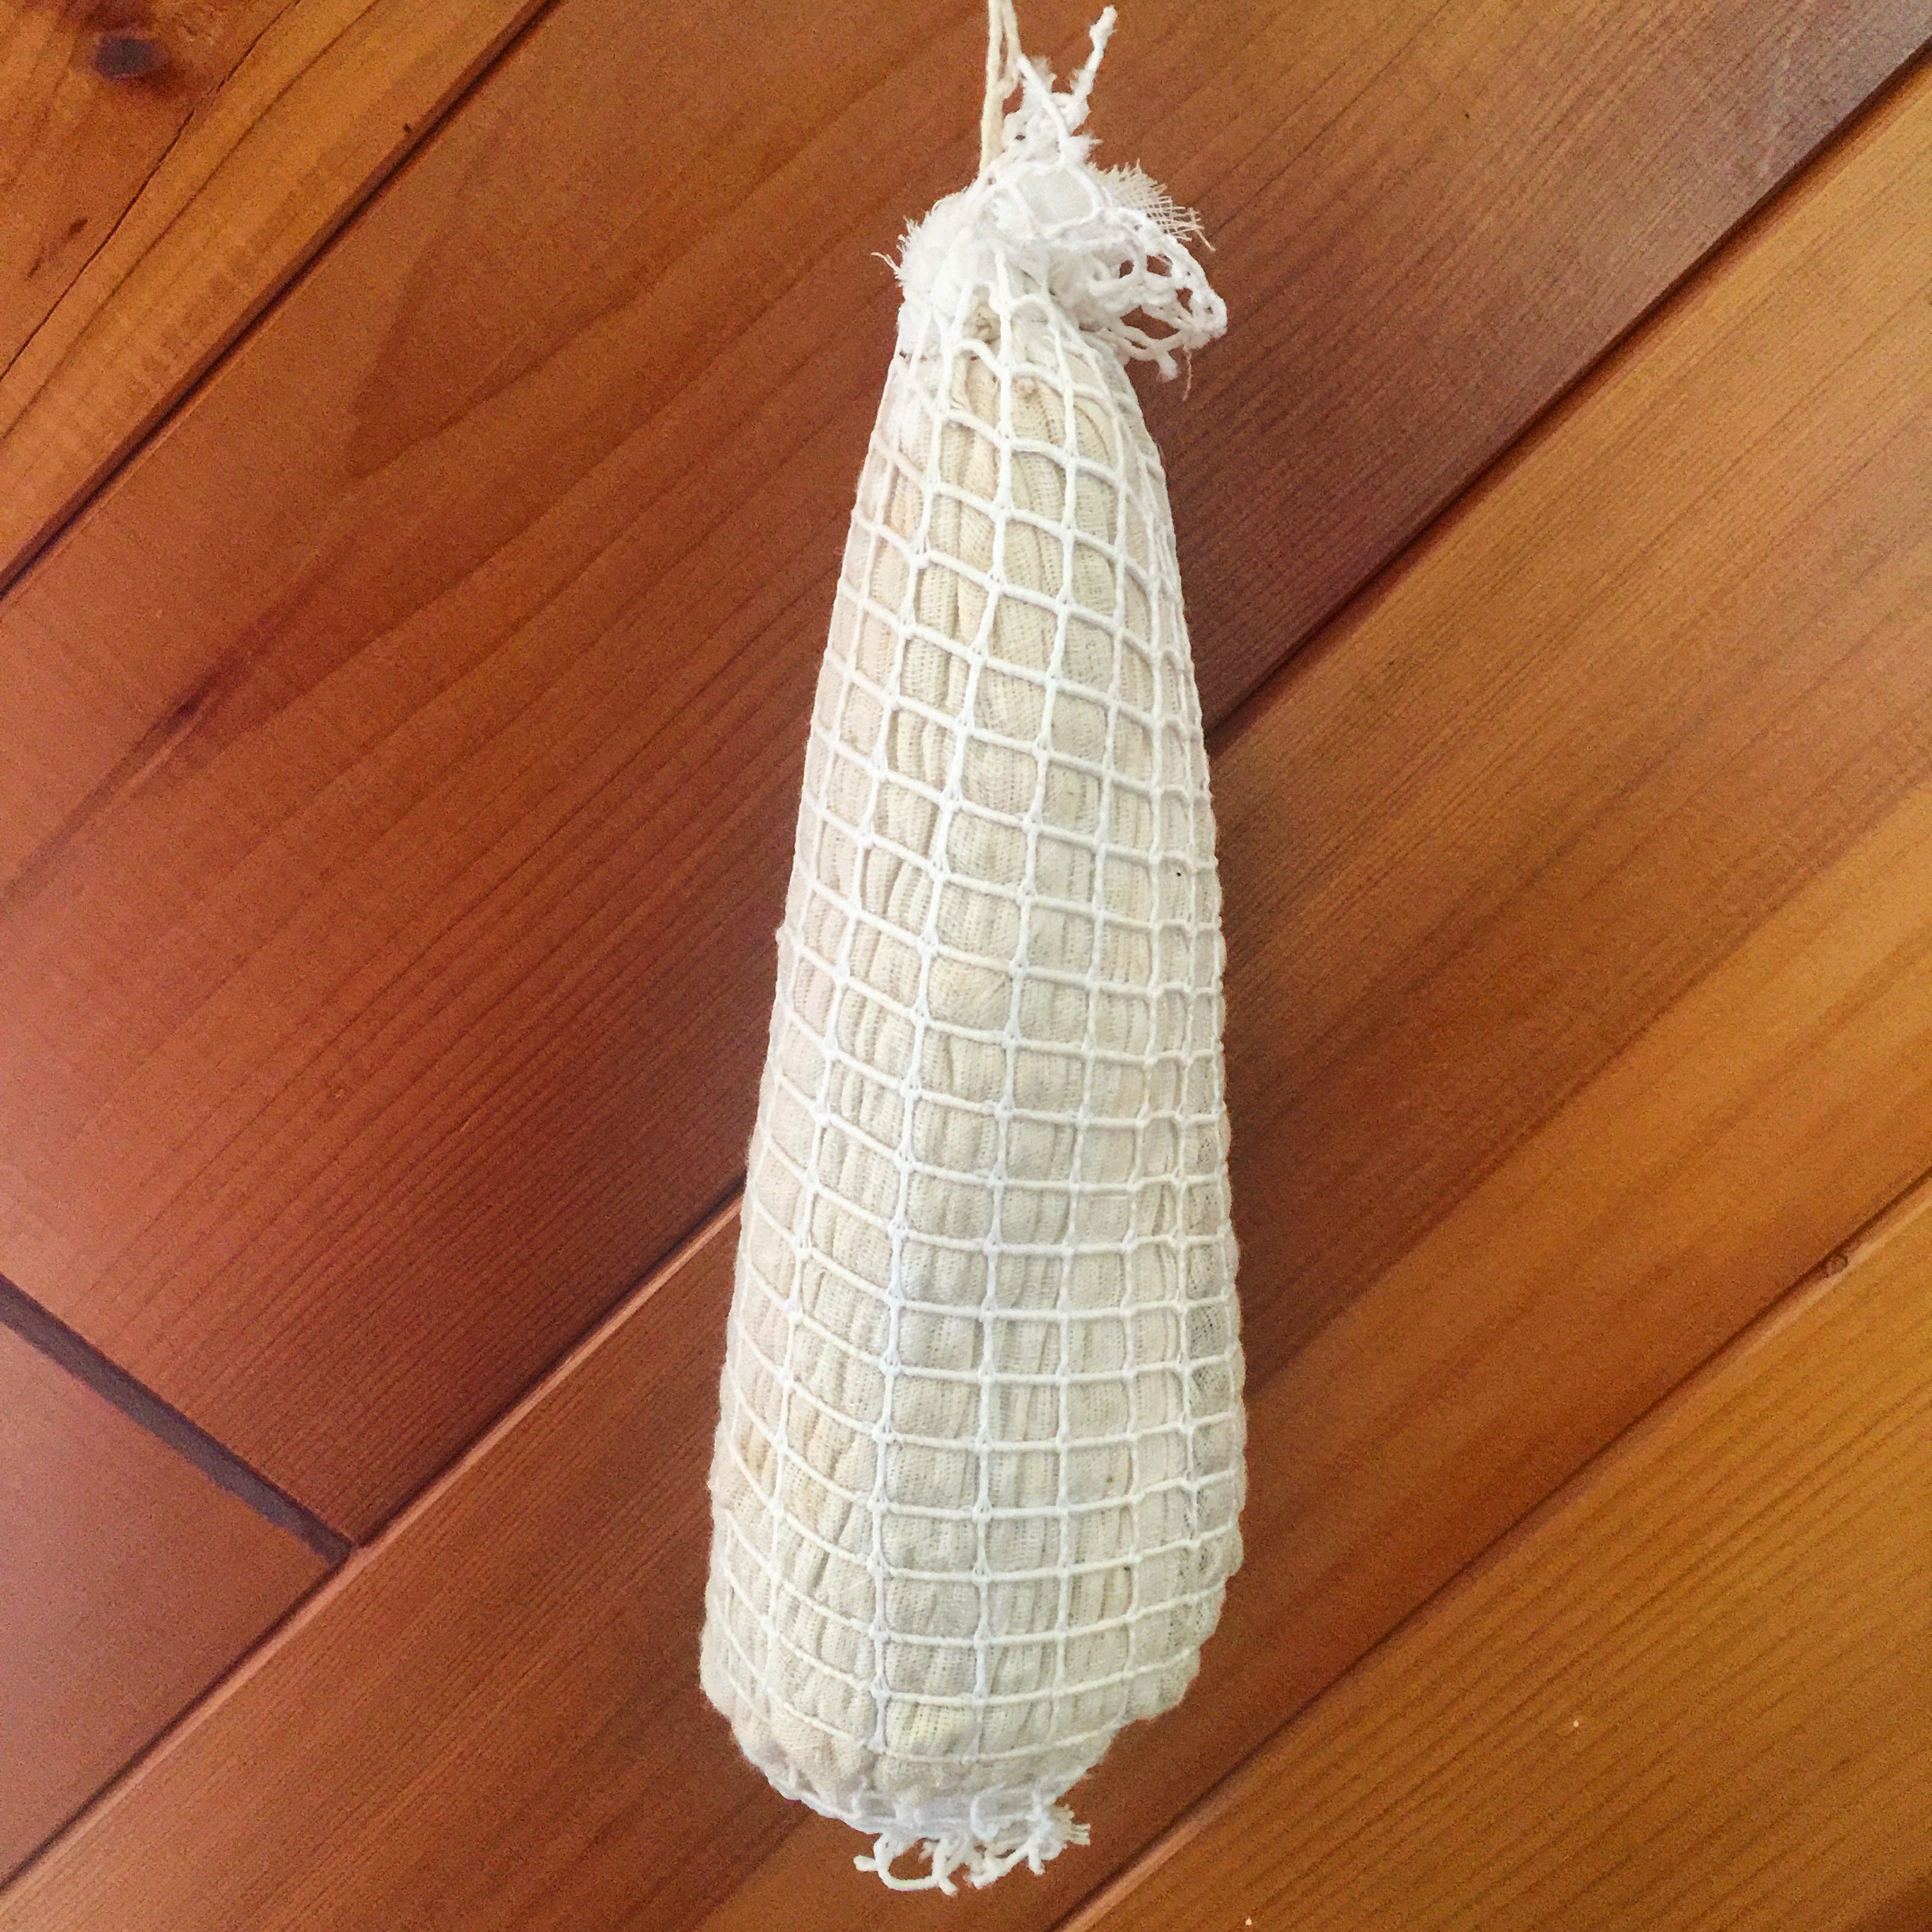
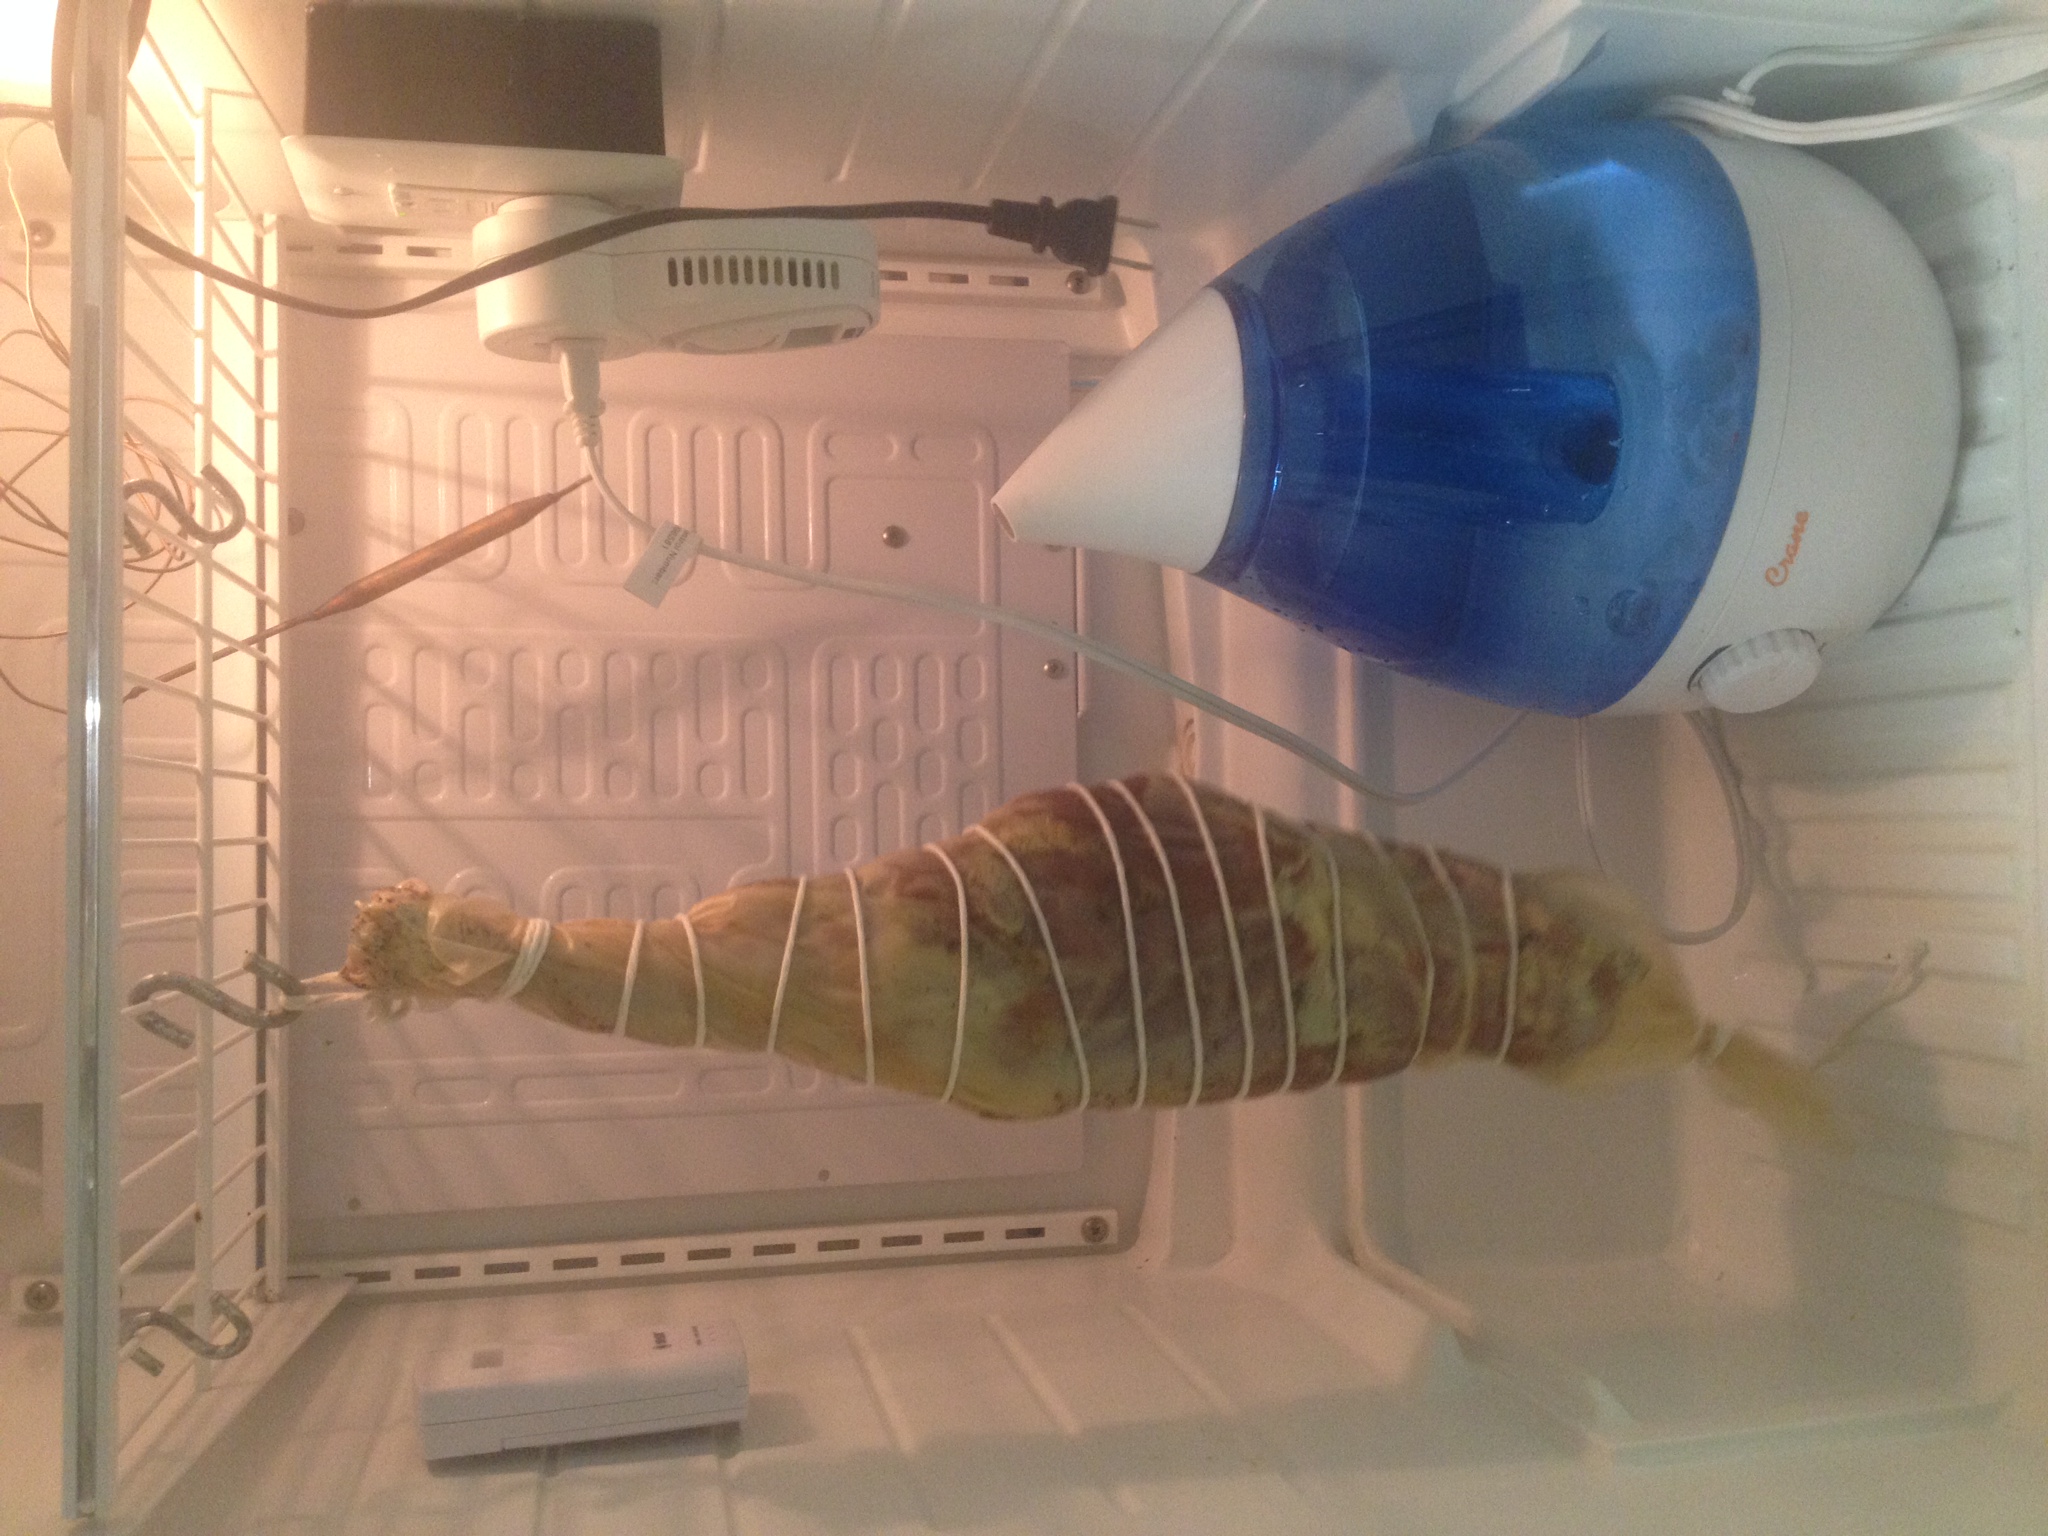
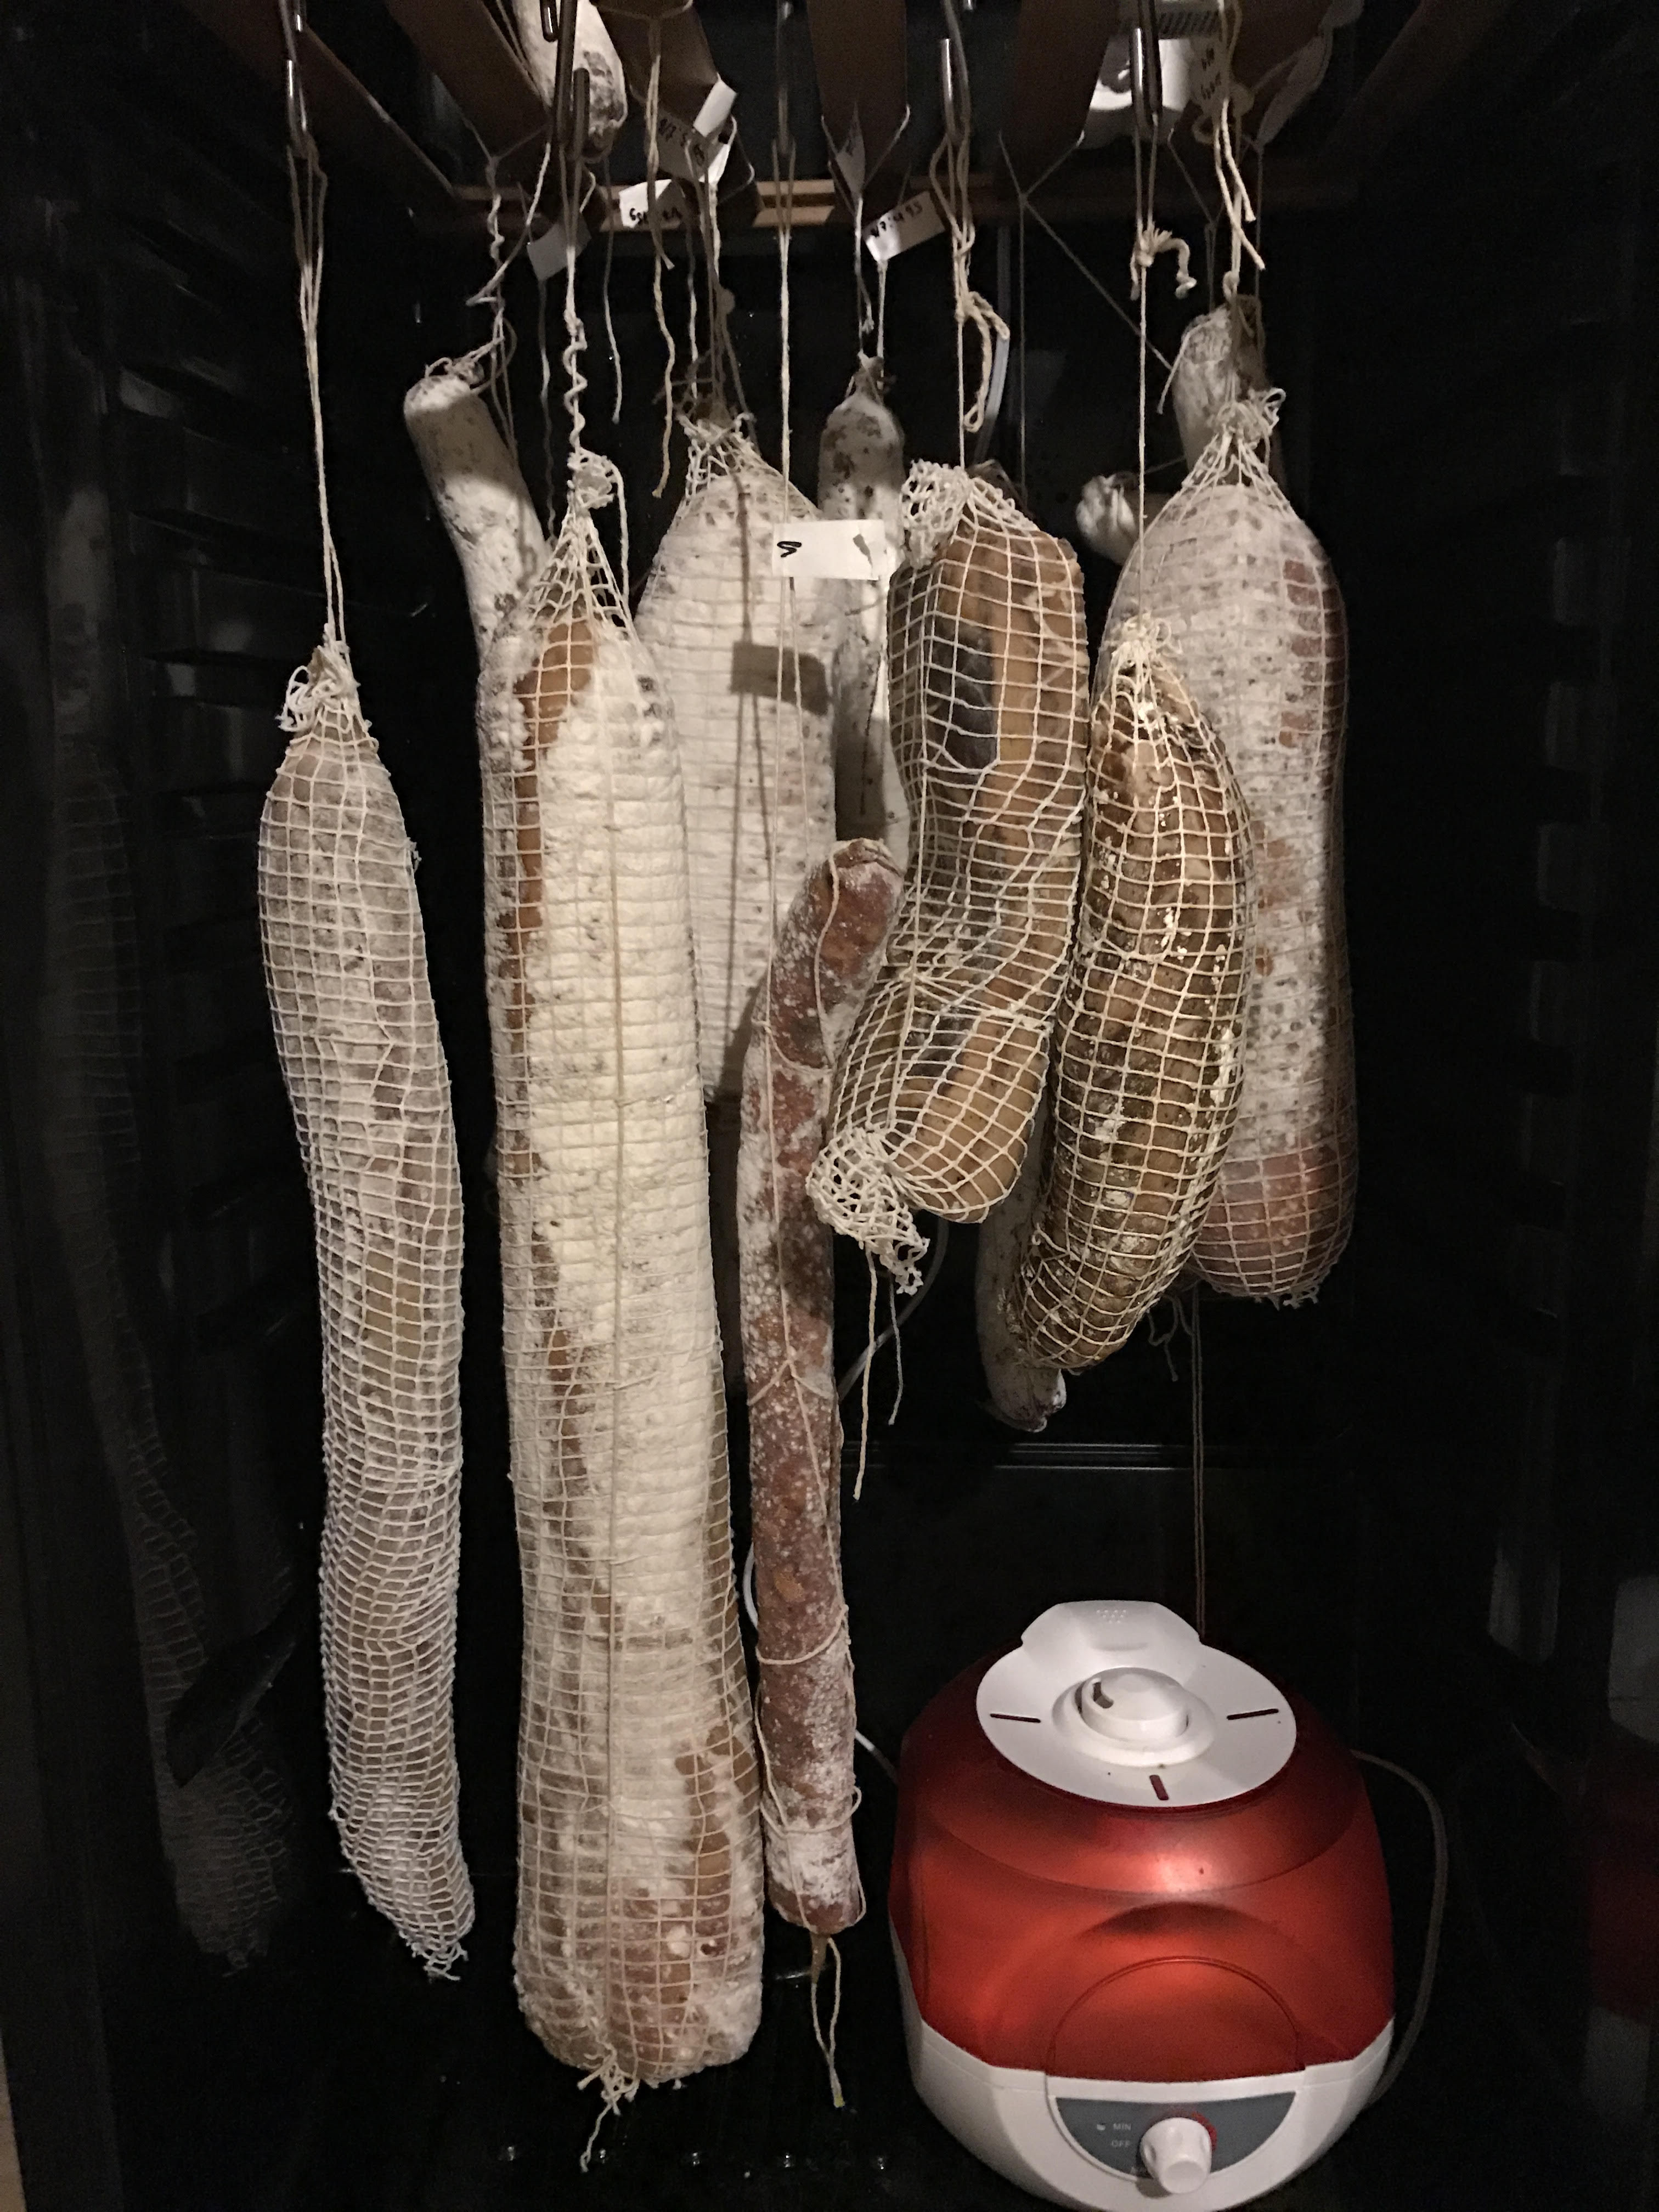
After netting, it was hung in the curing chamber and allowed to dry.
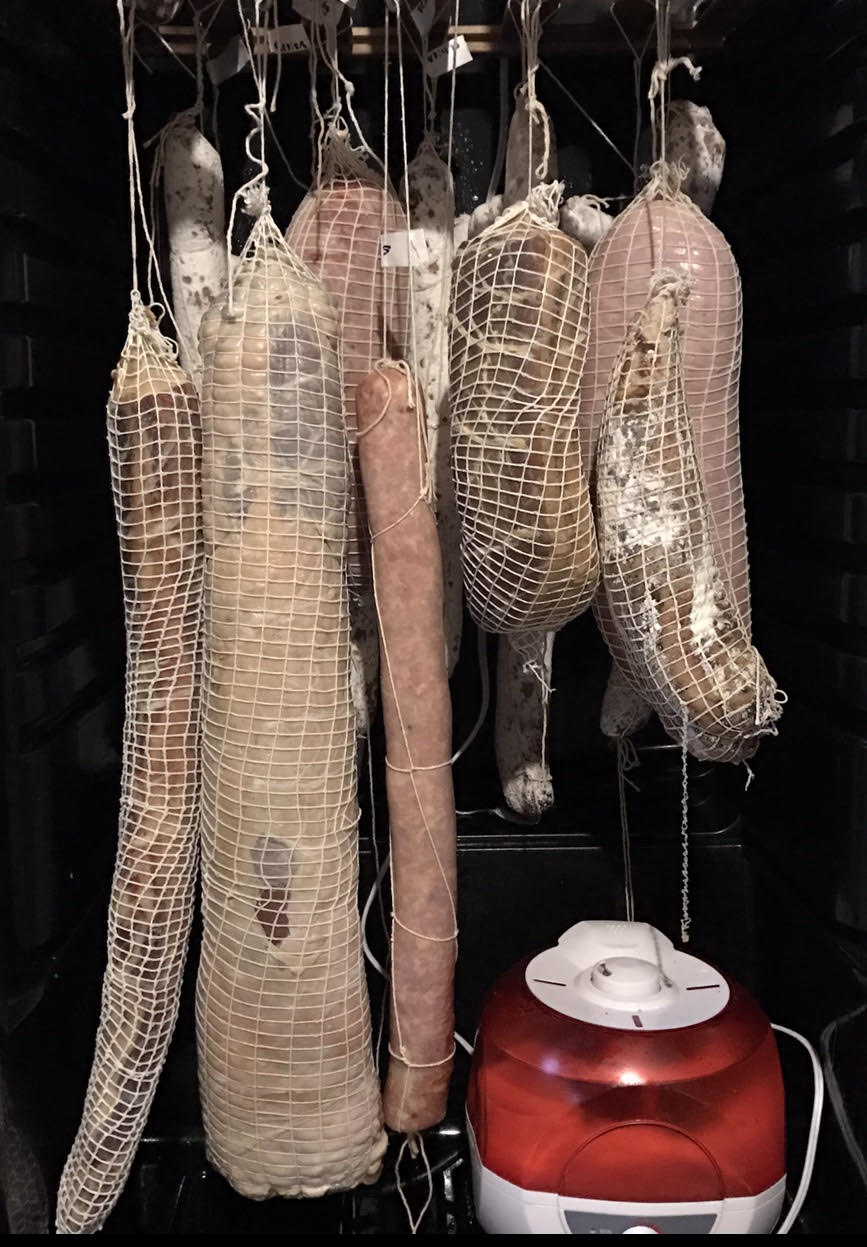
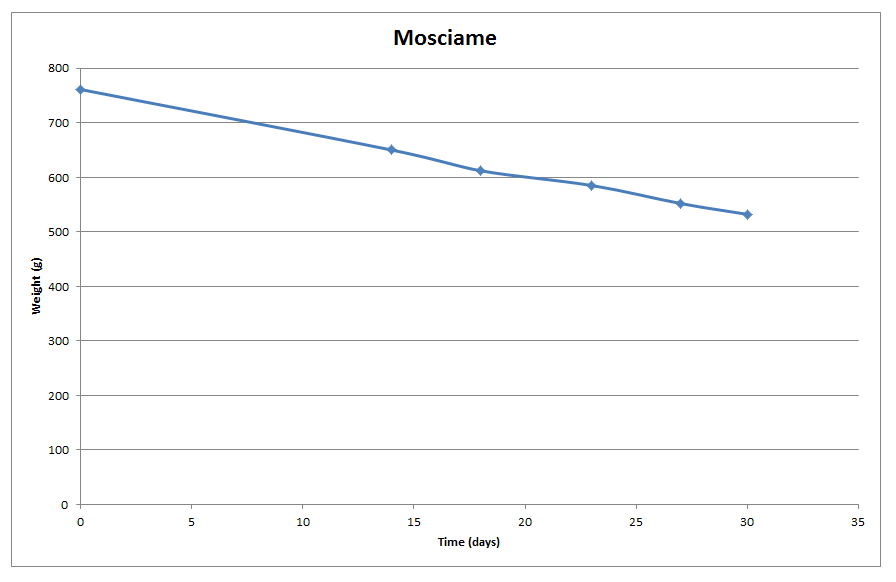
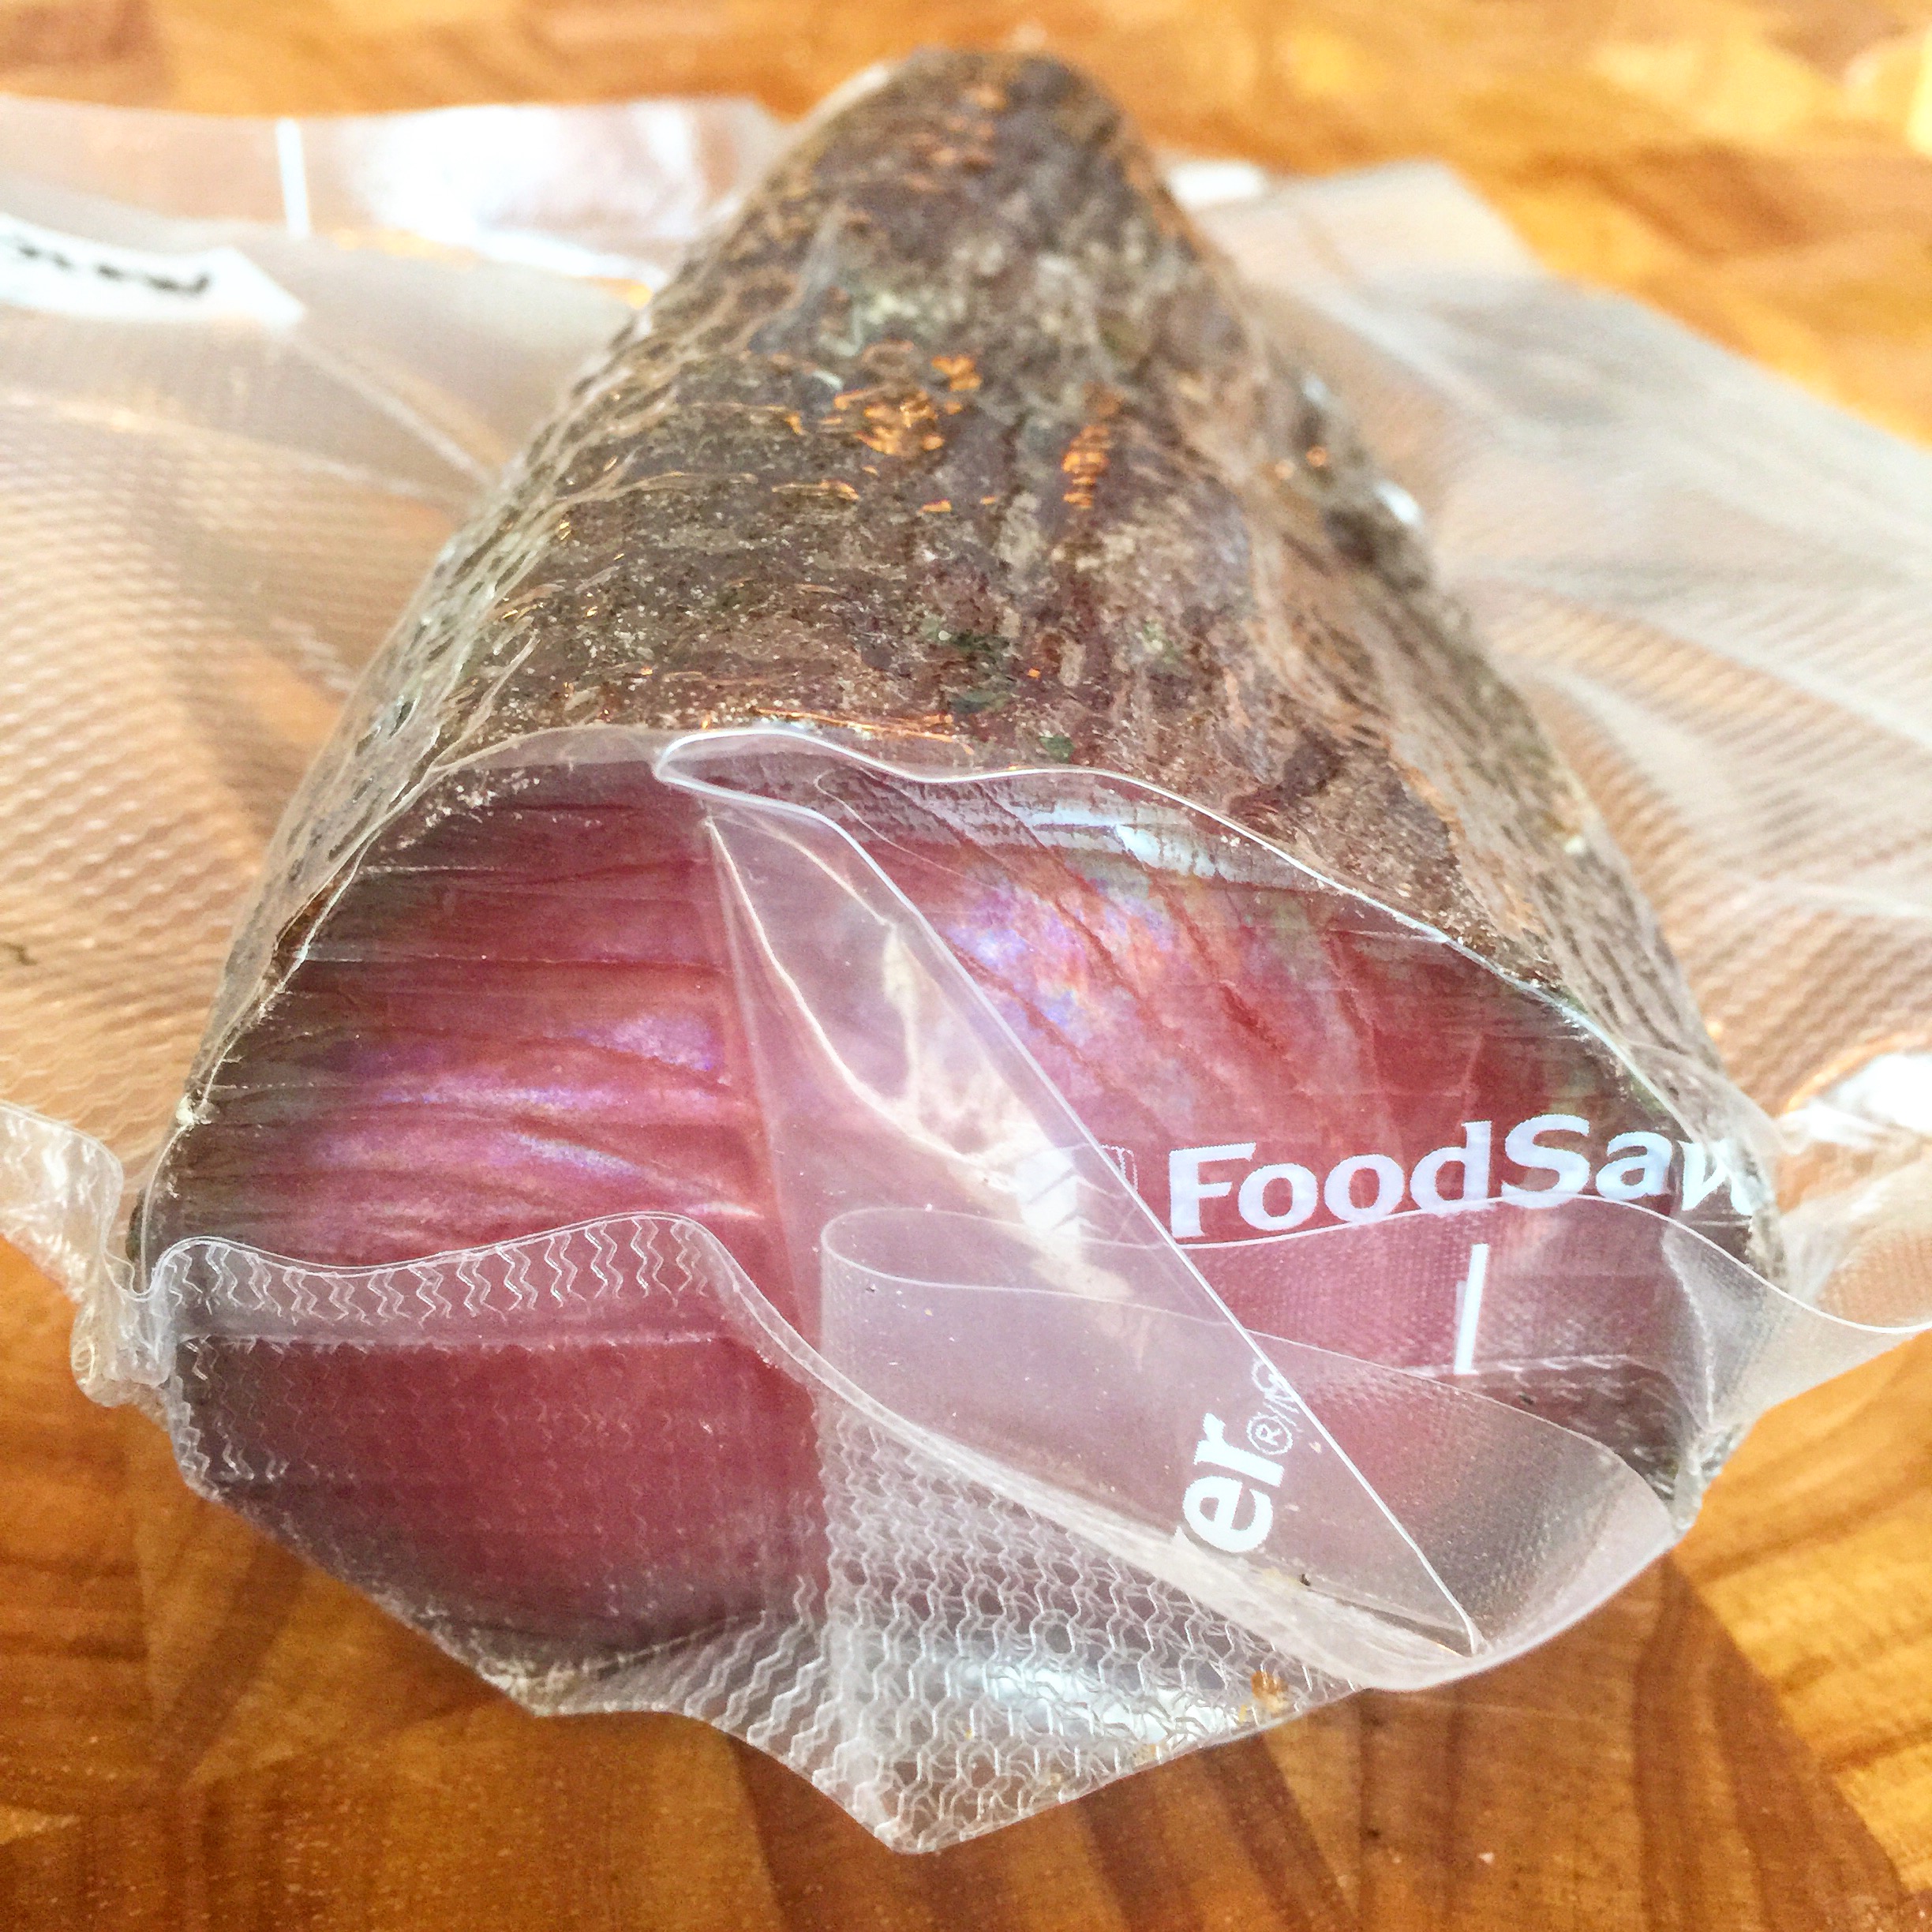
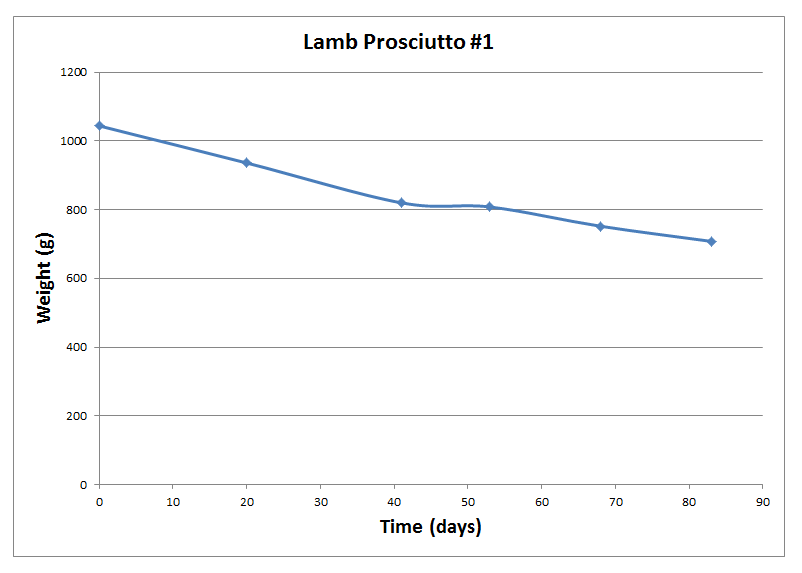
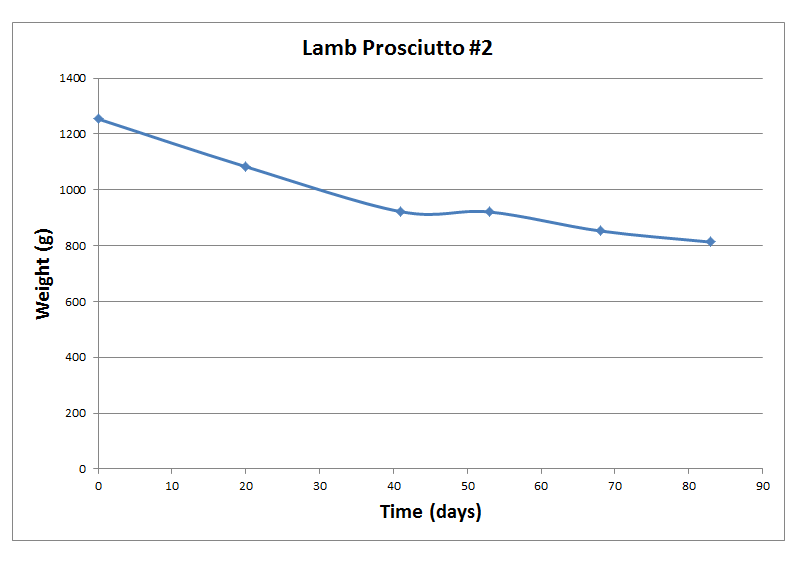
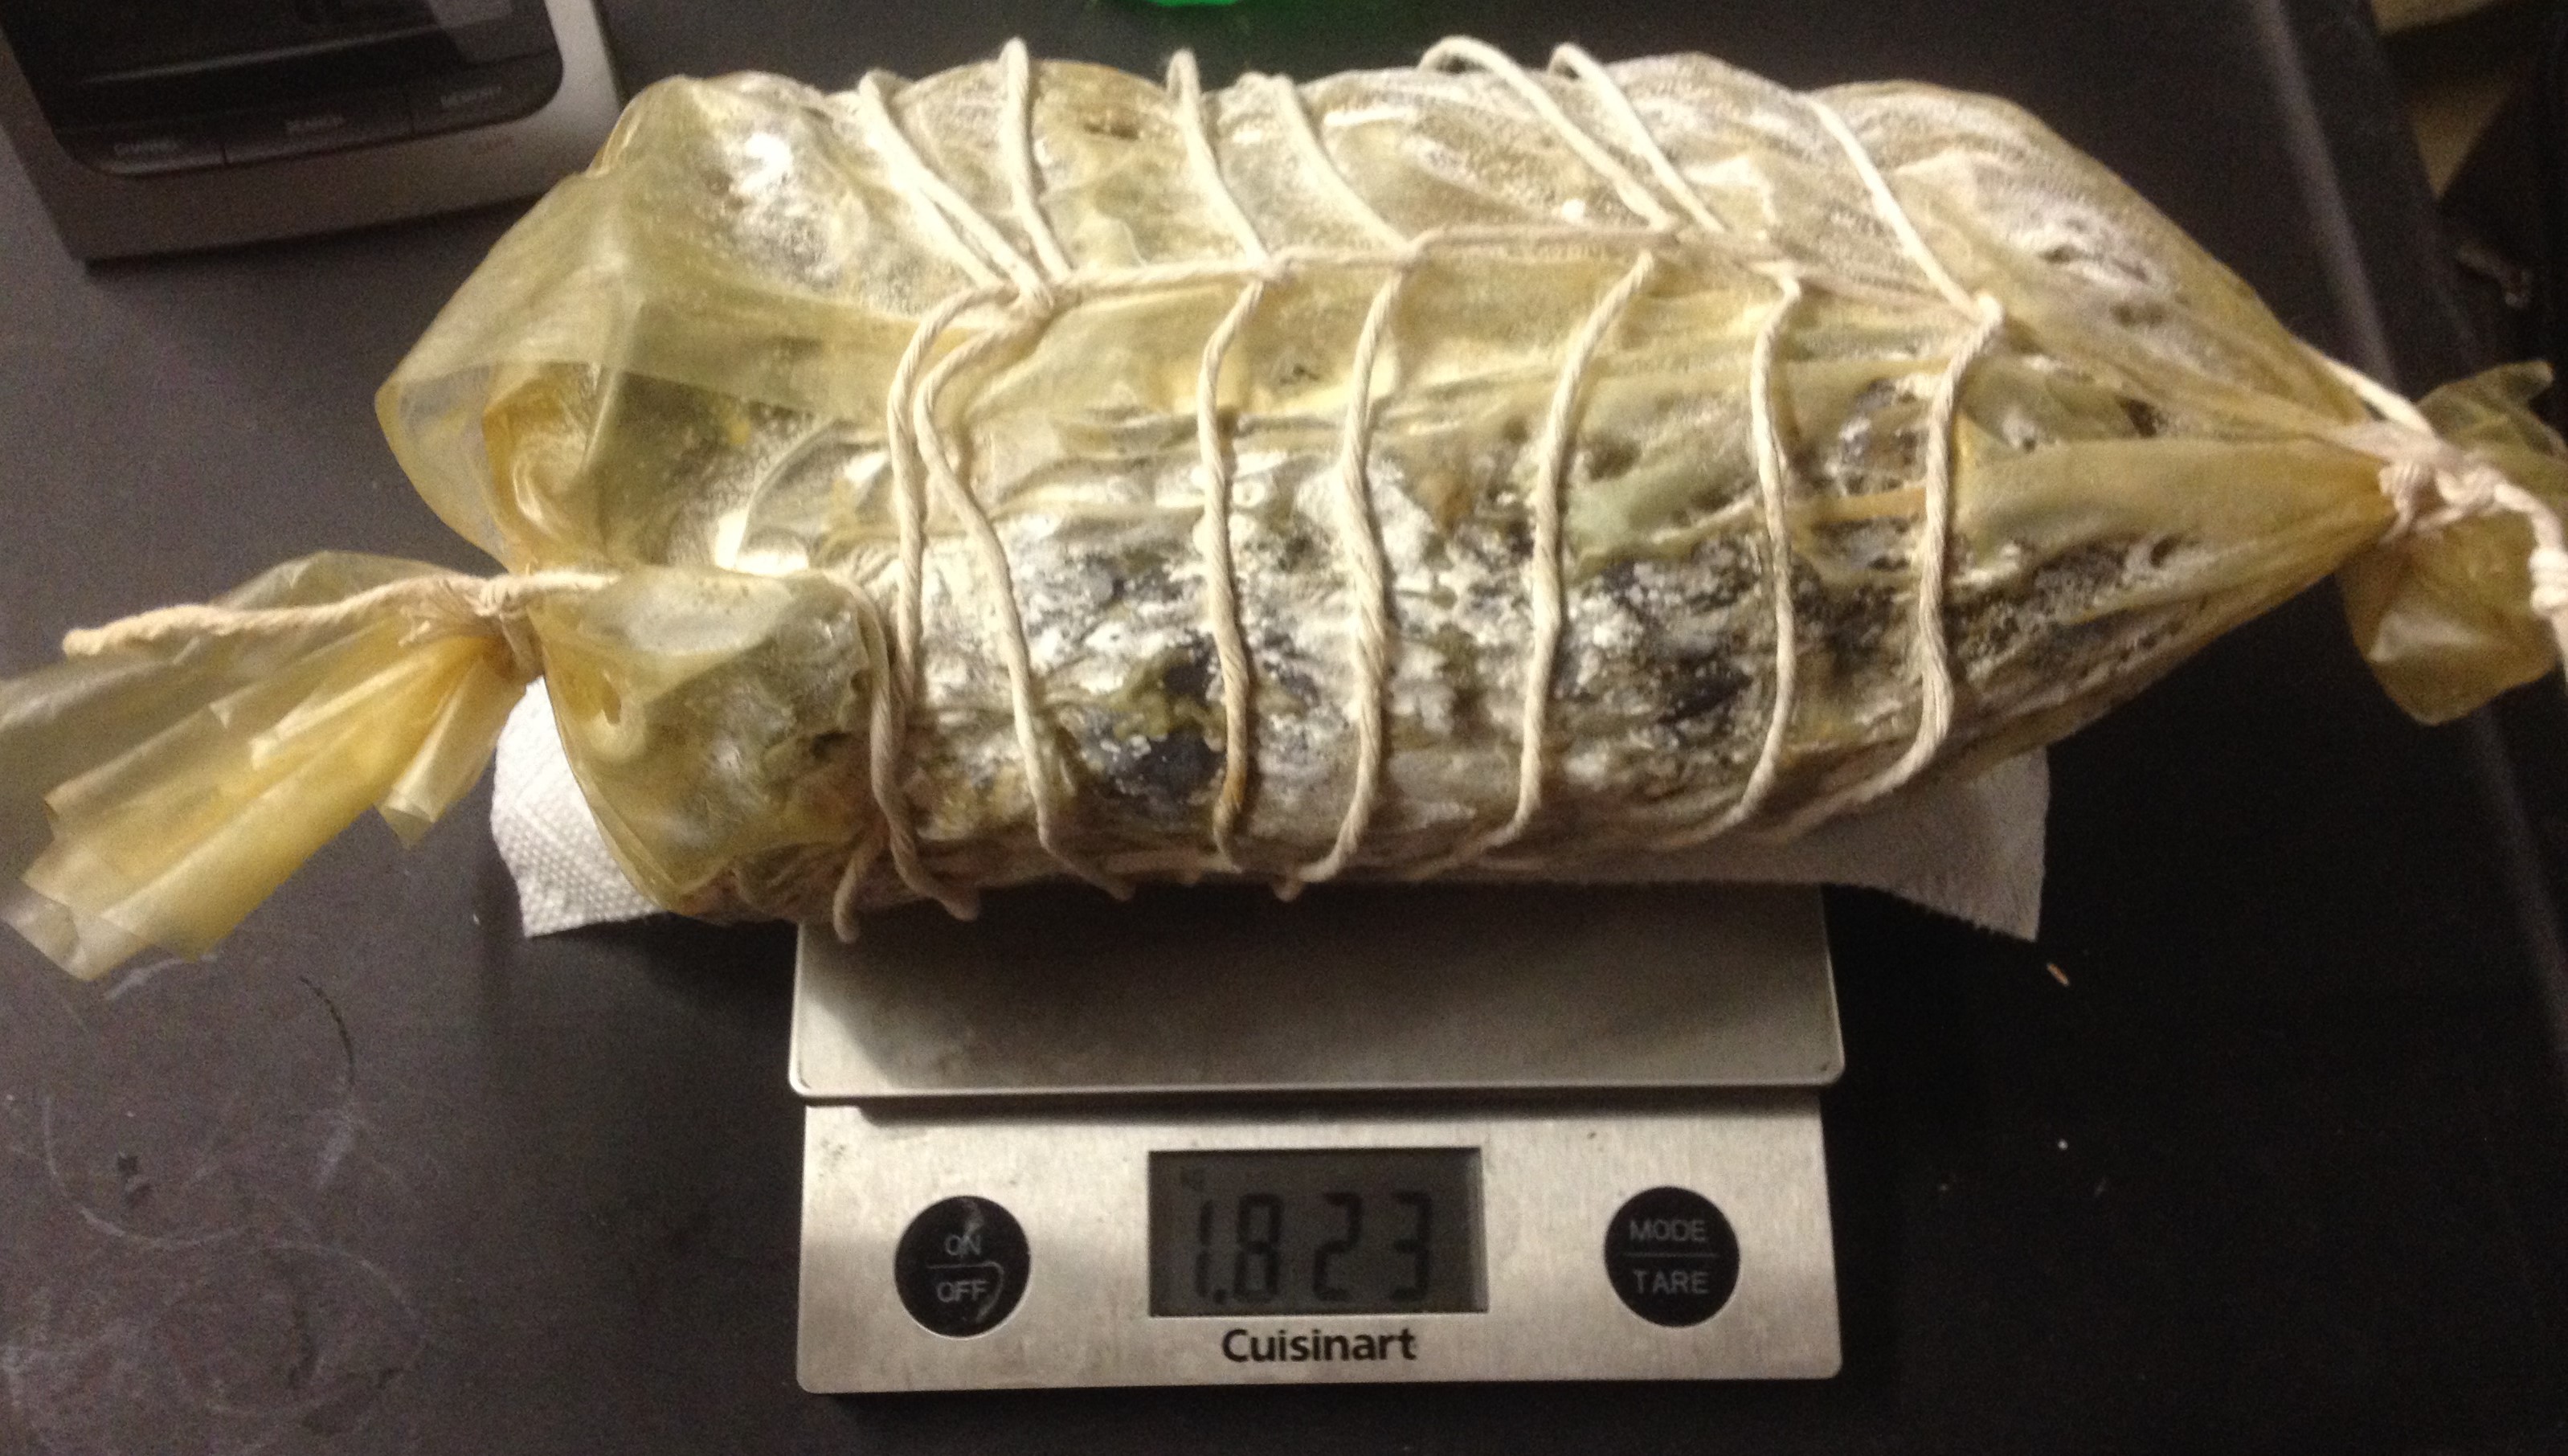
Drying (3+ months):
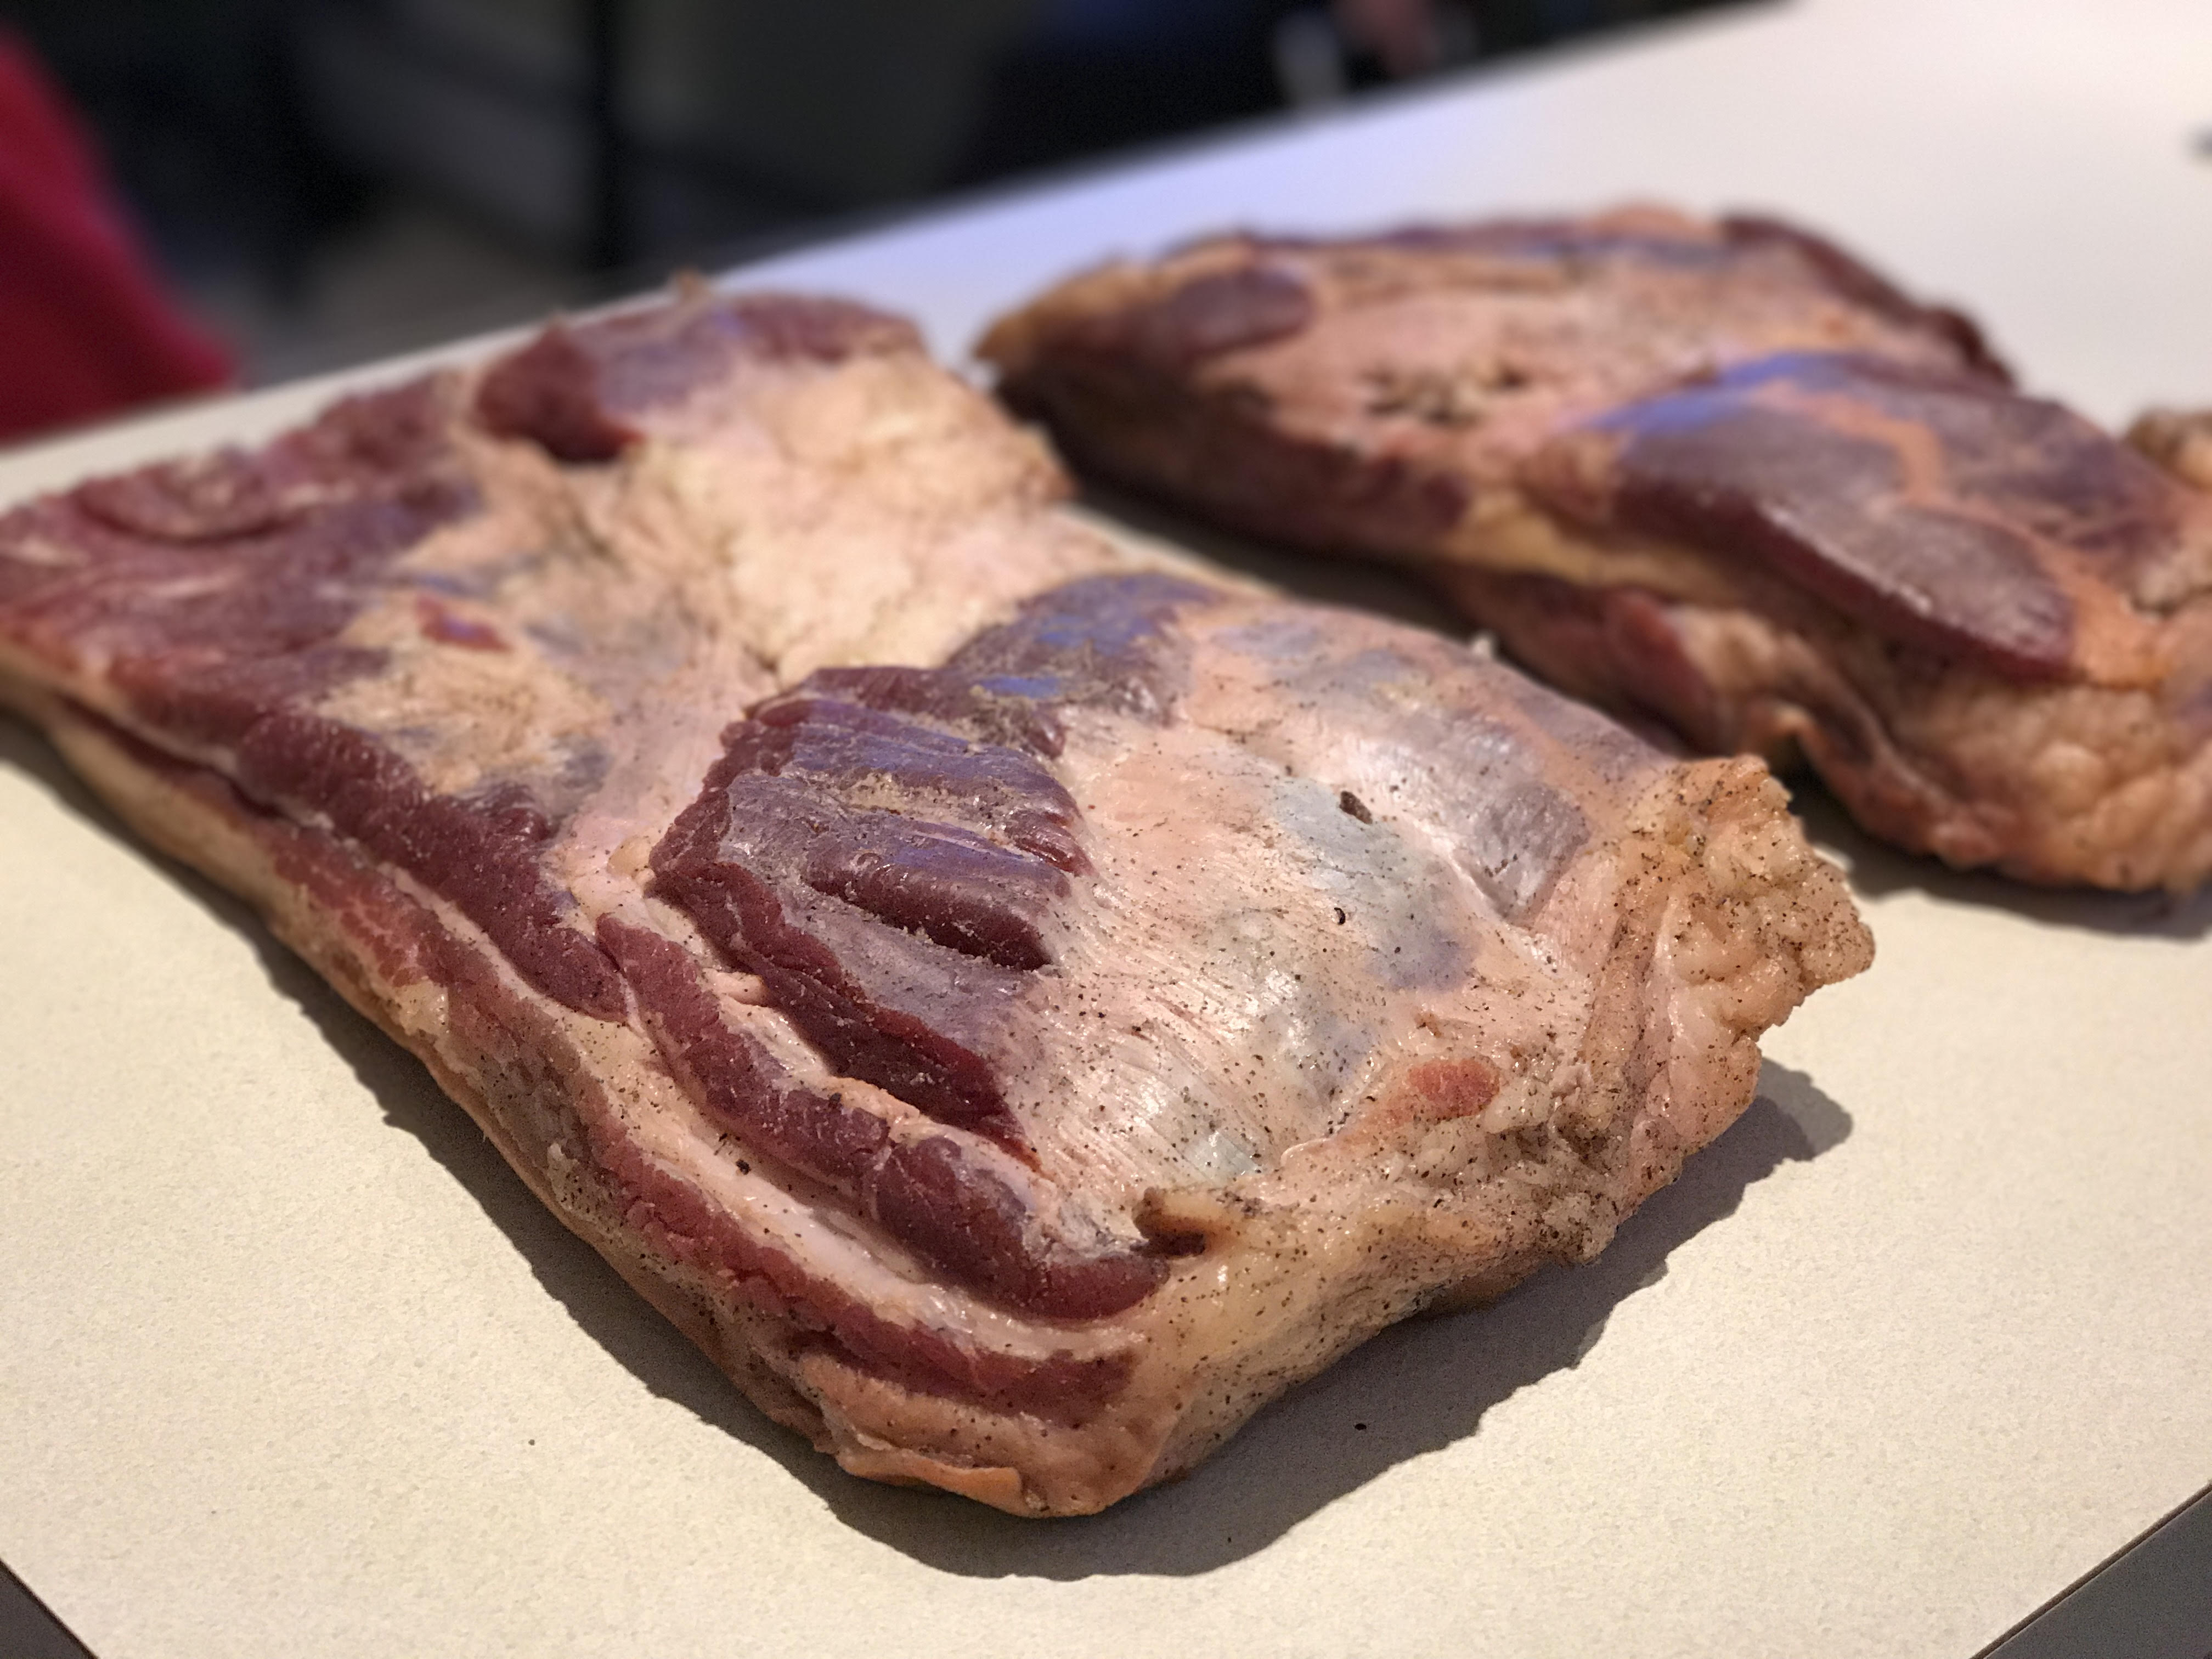
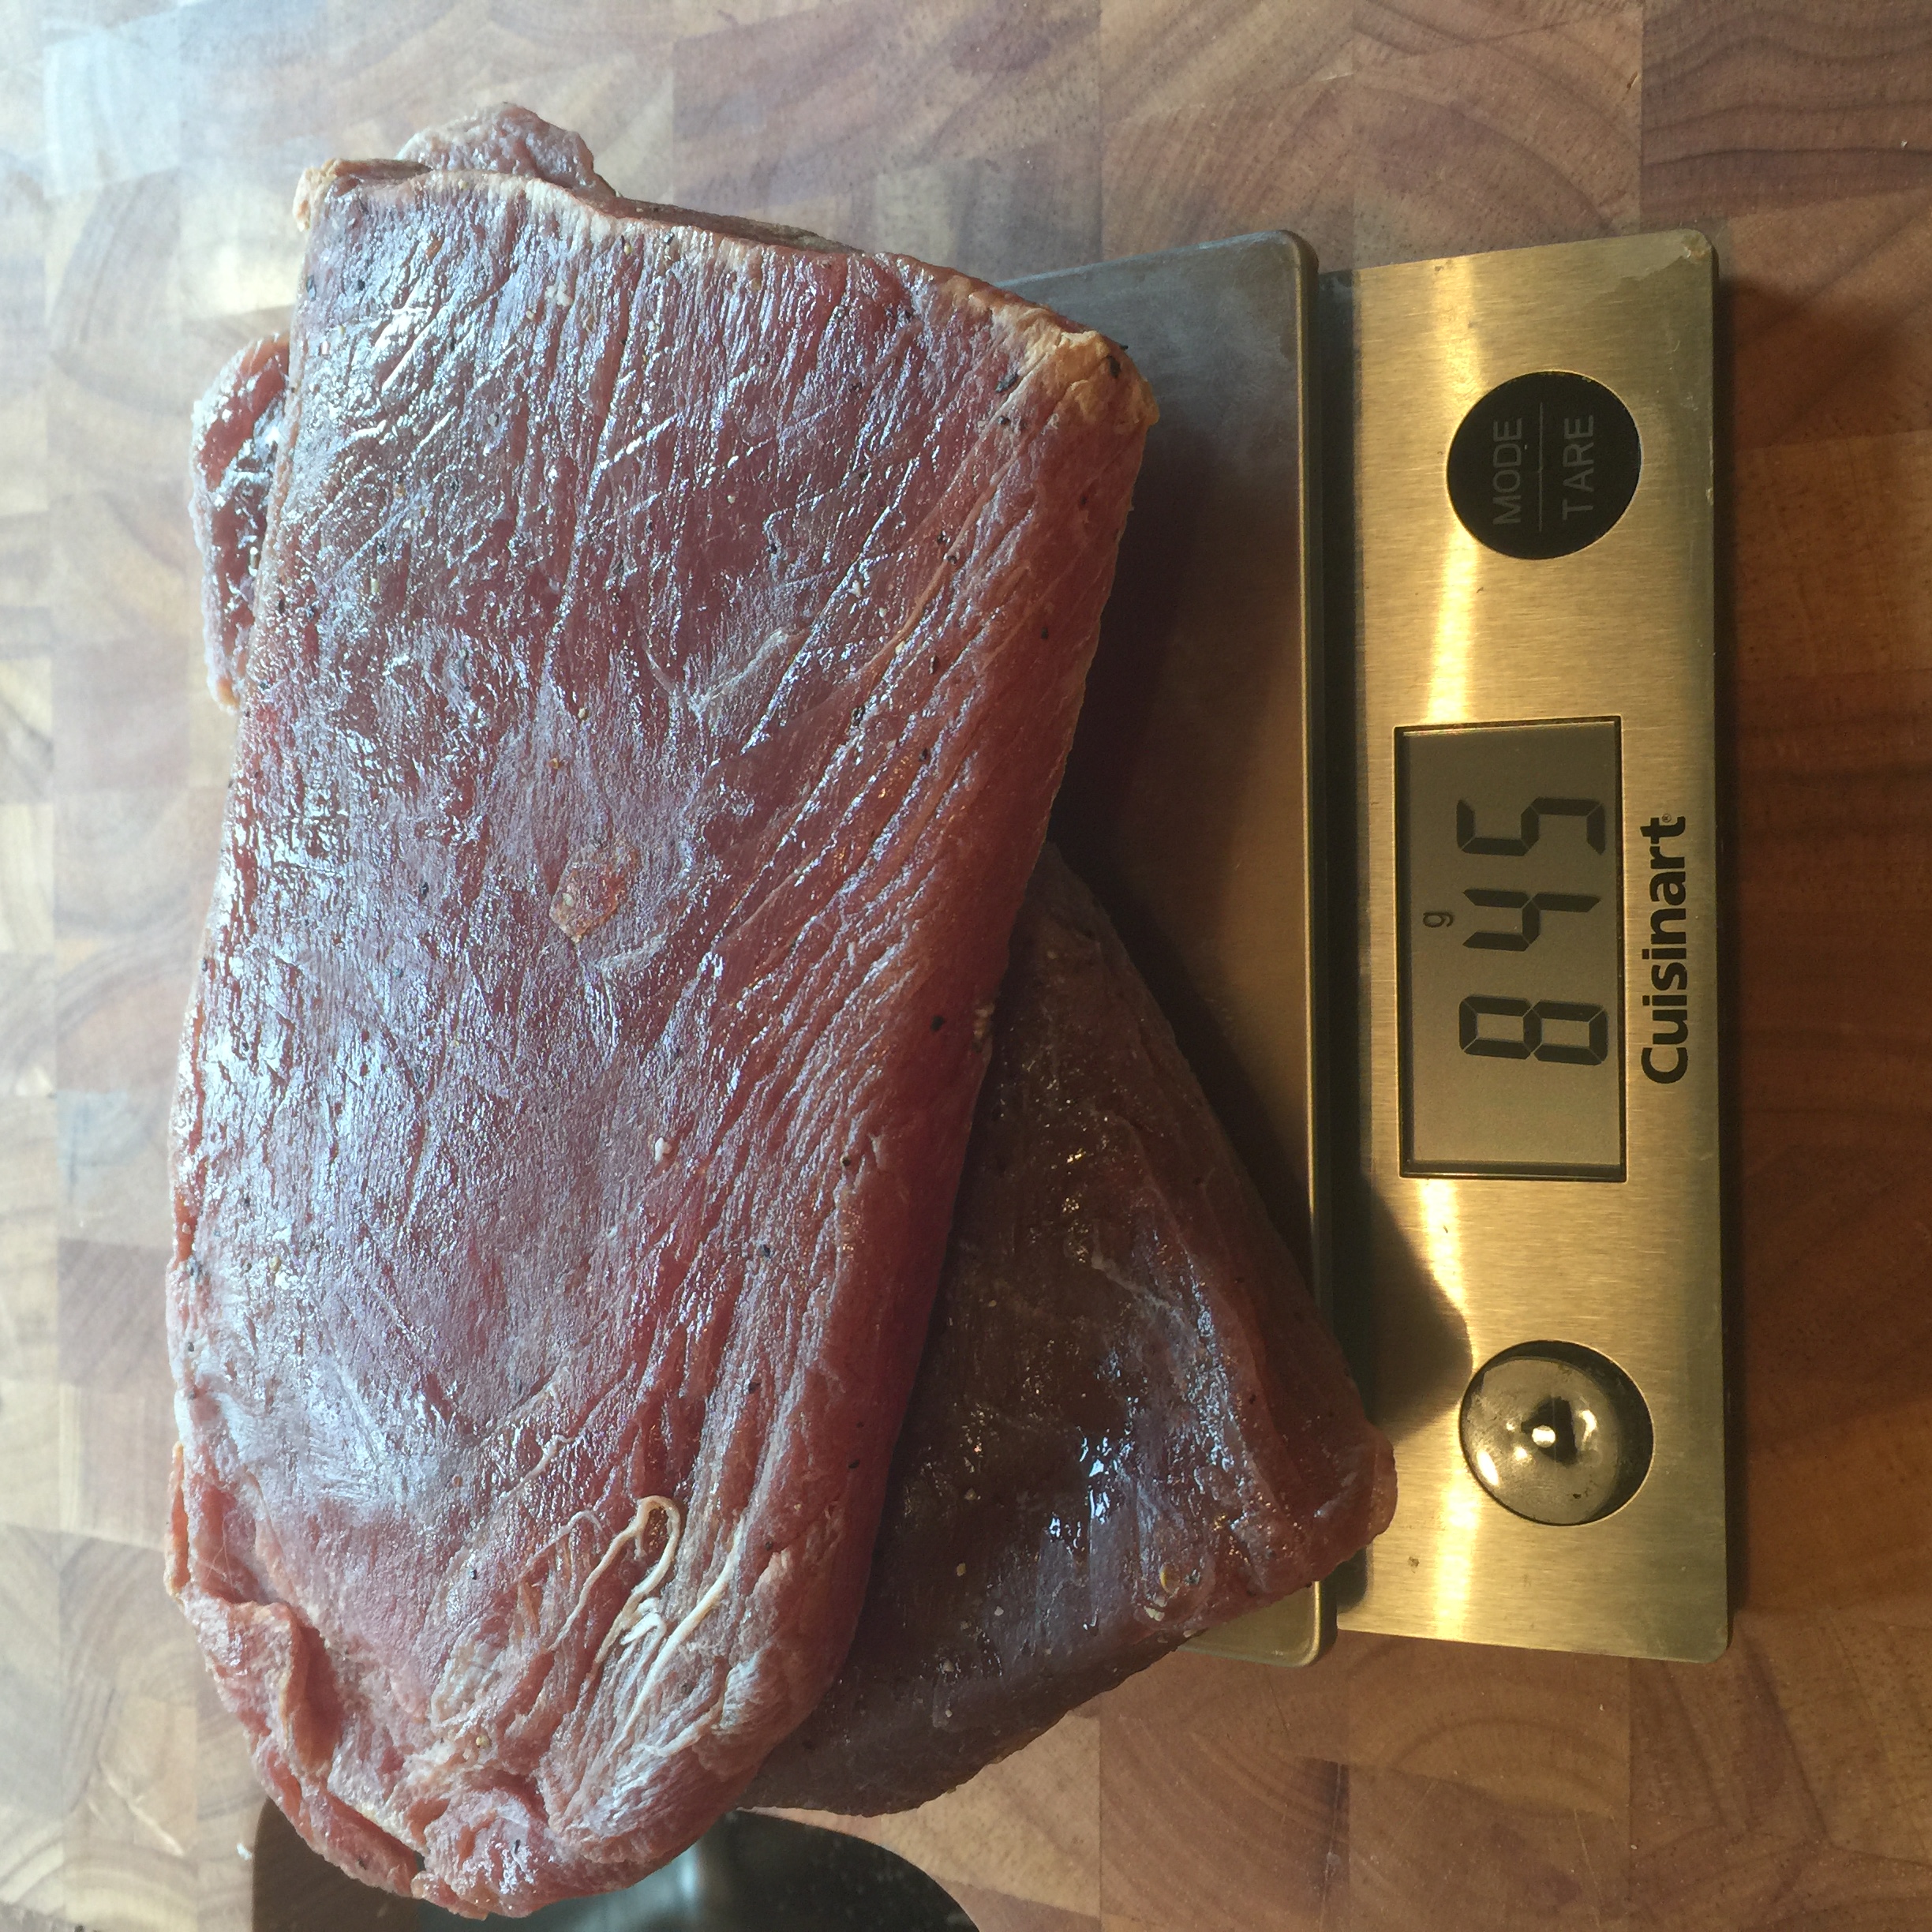
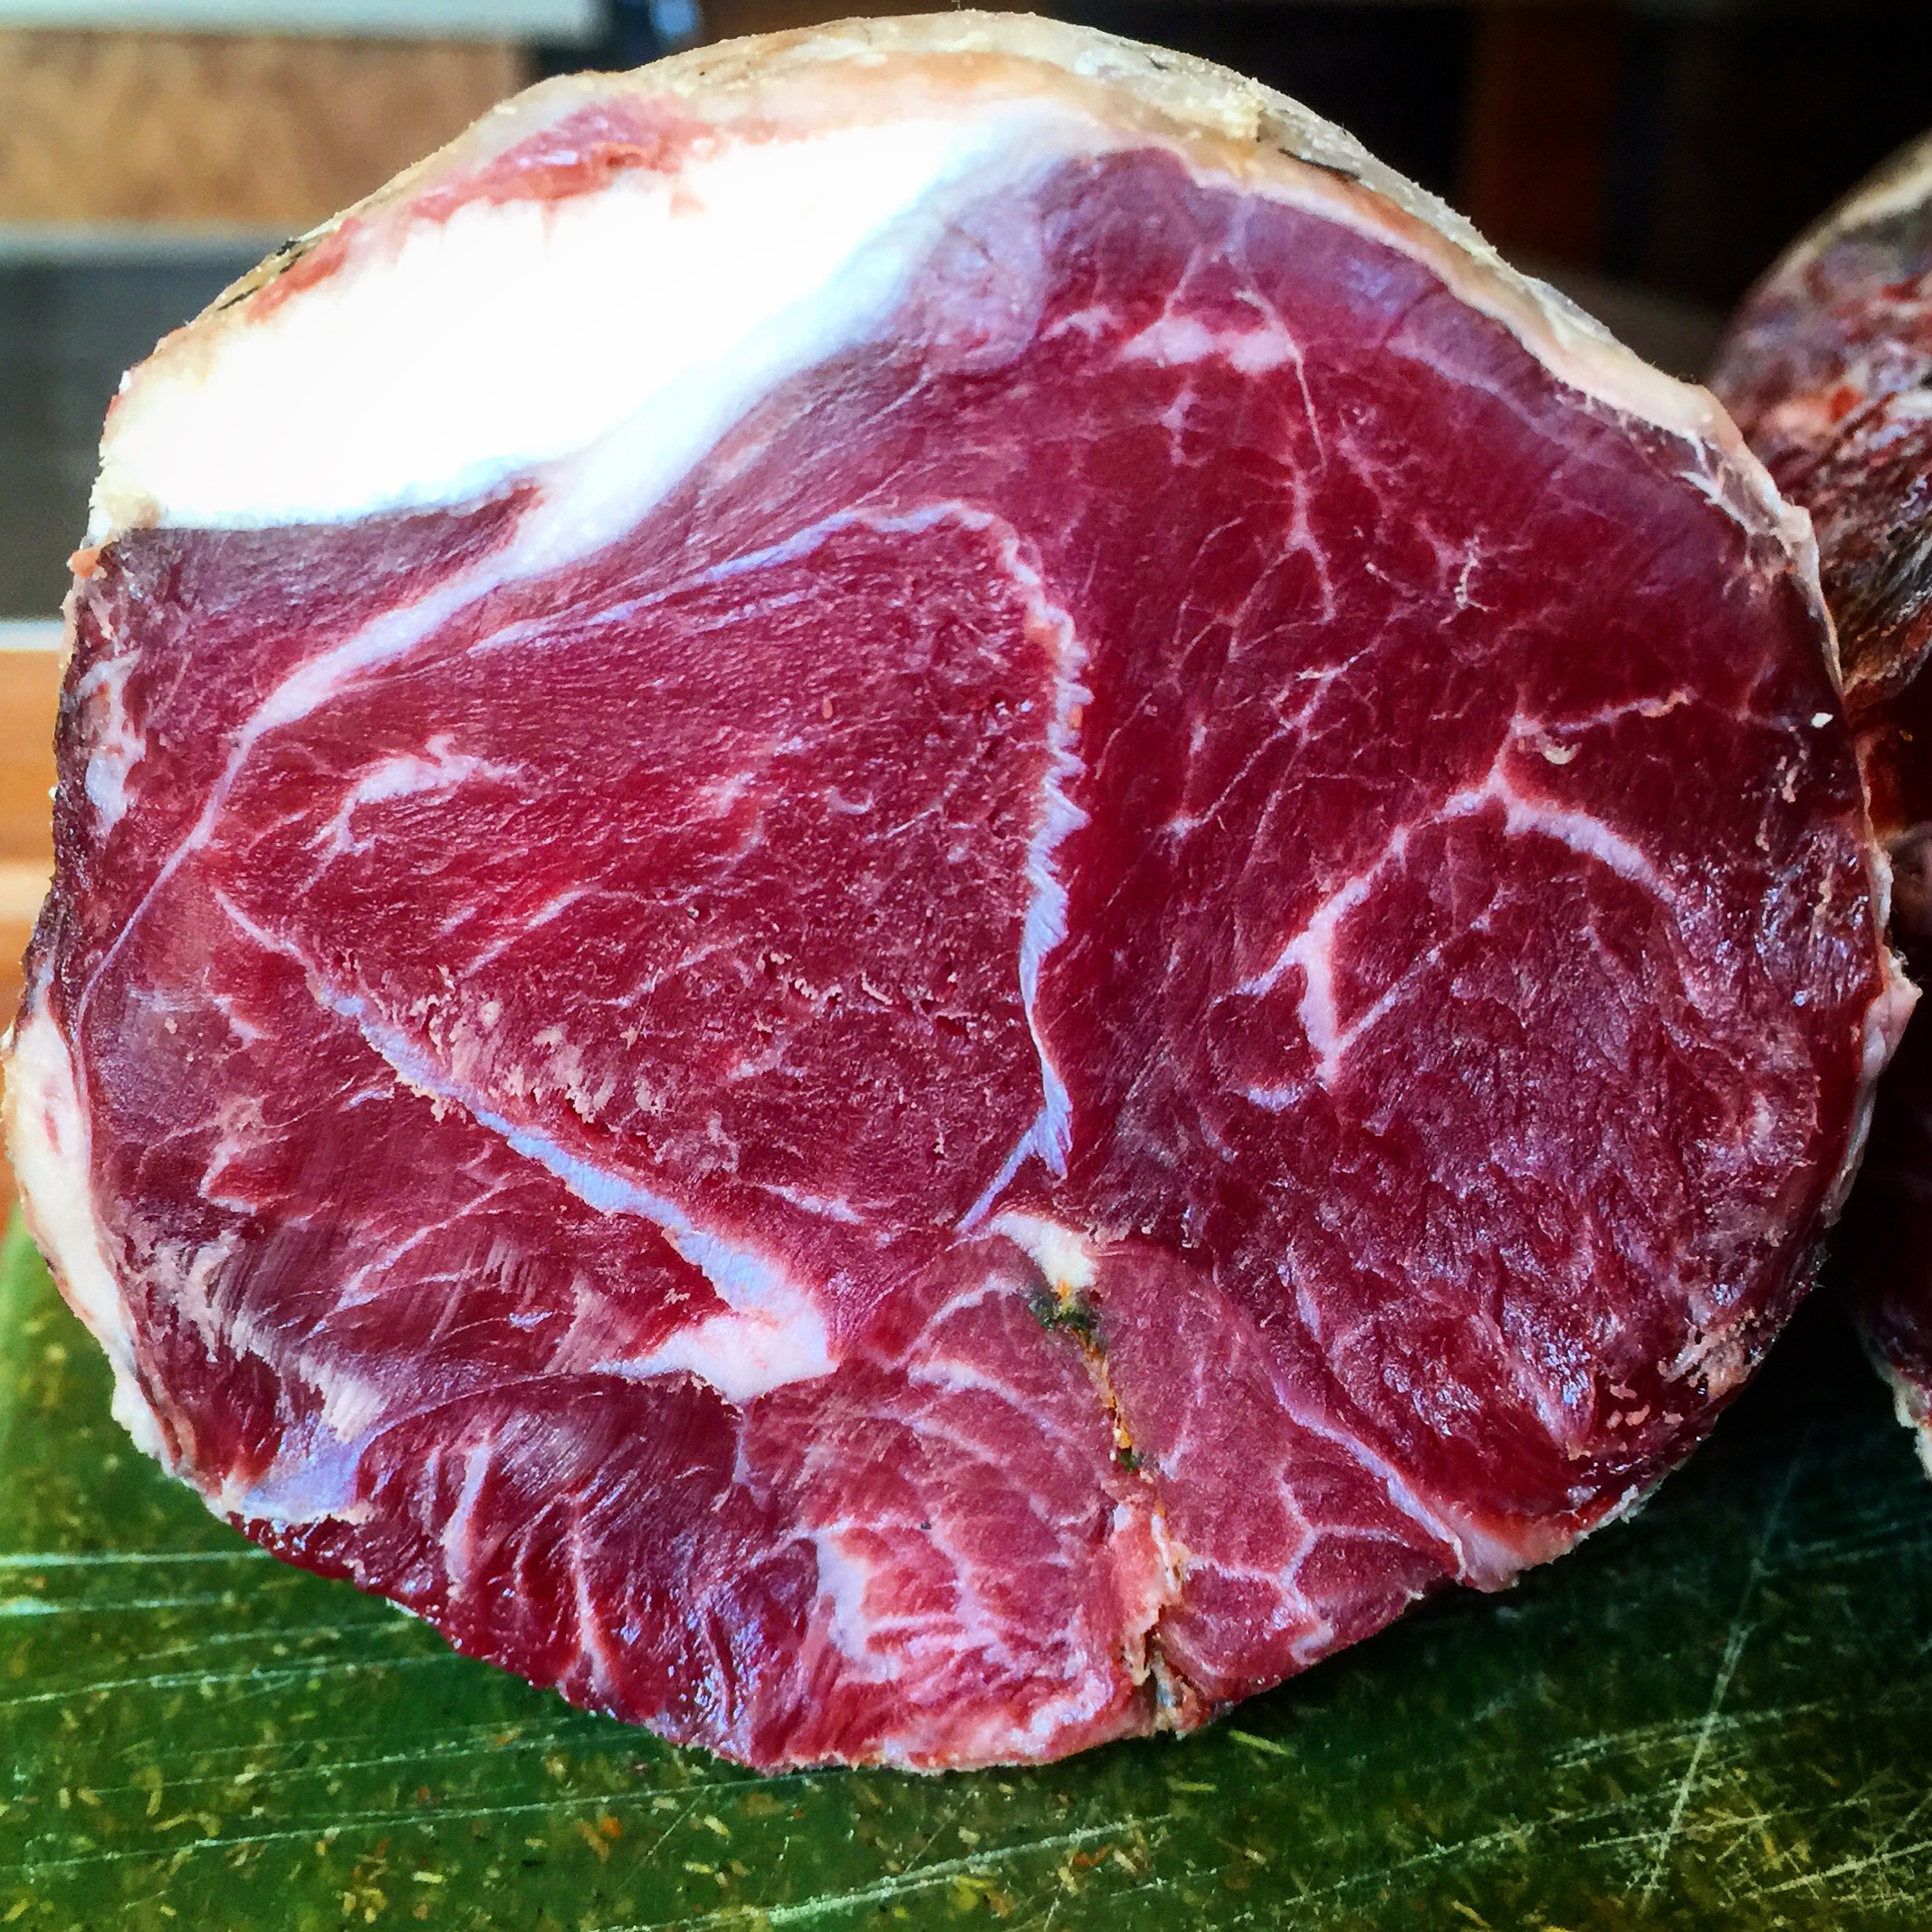
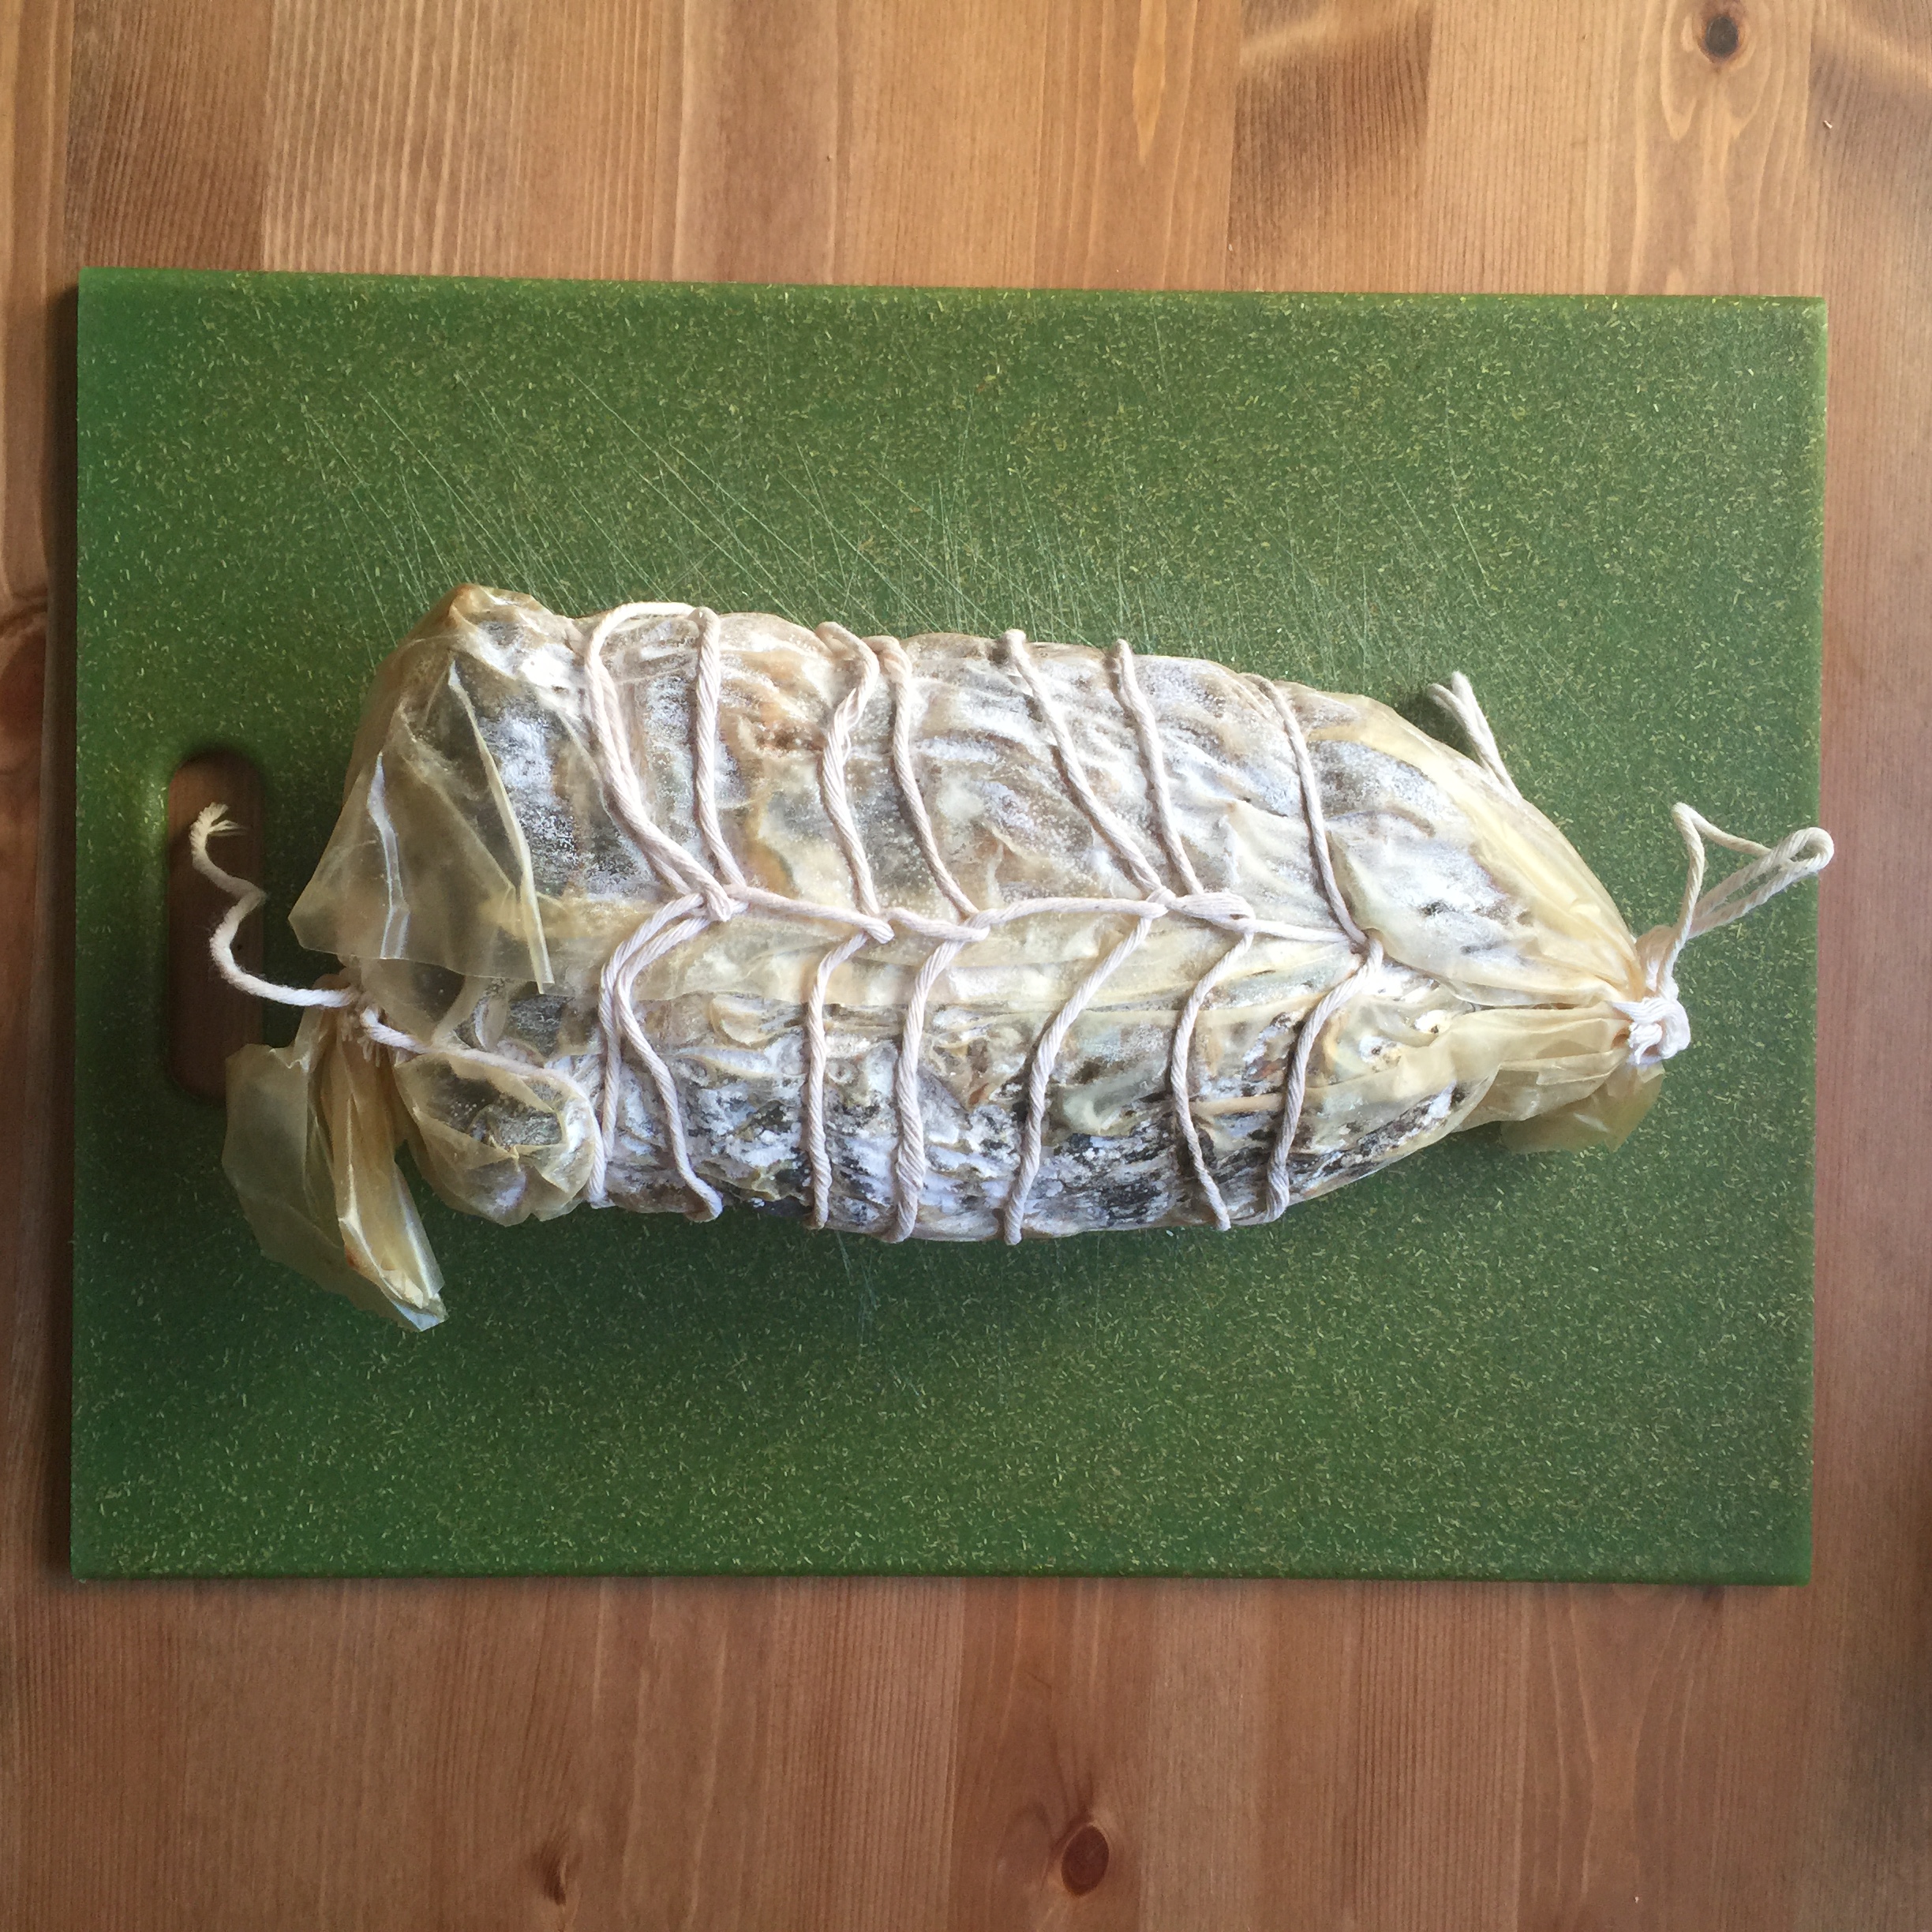
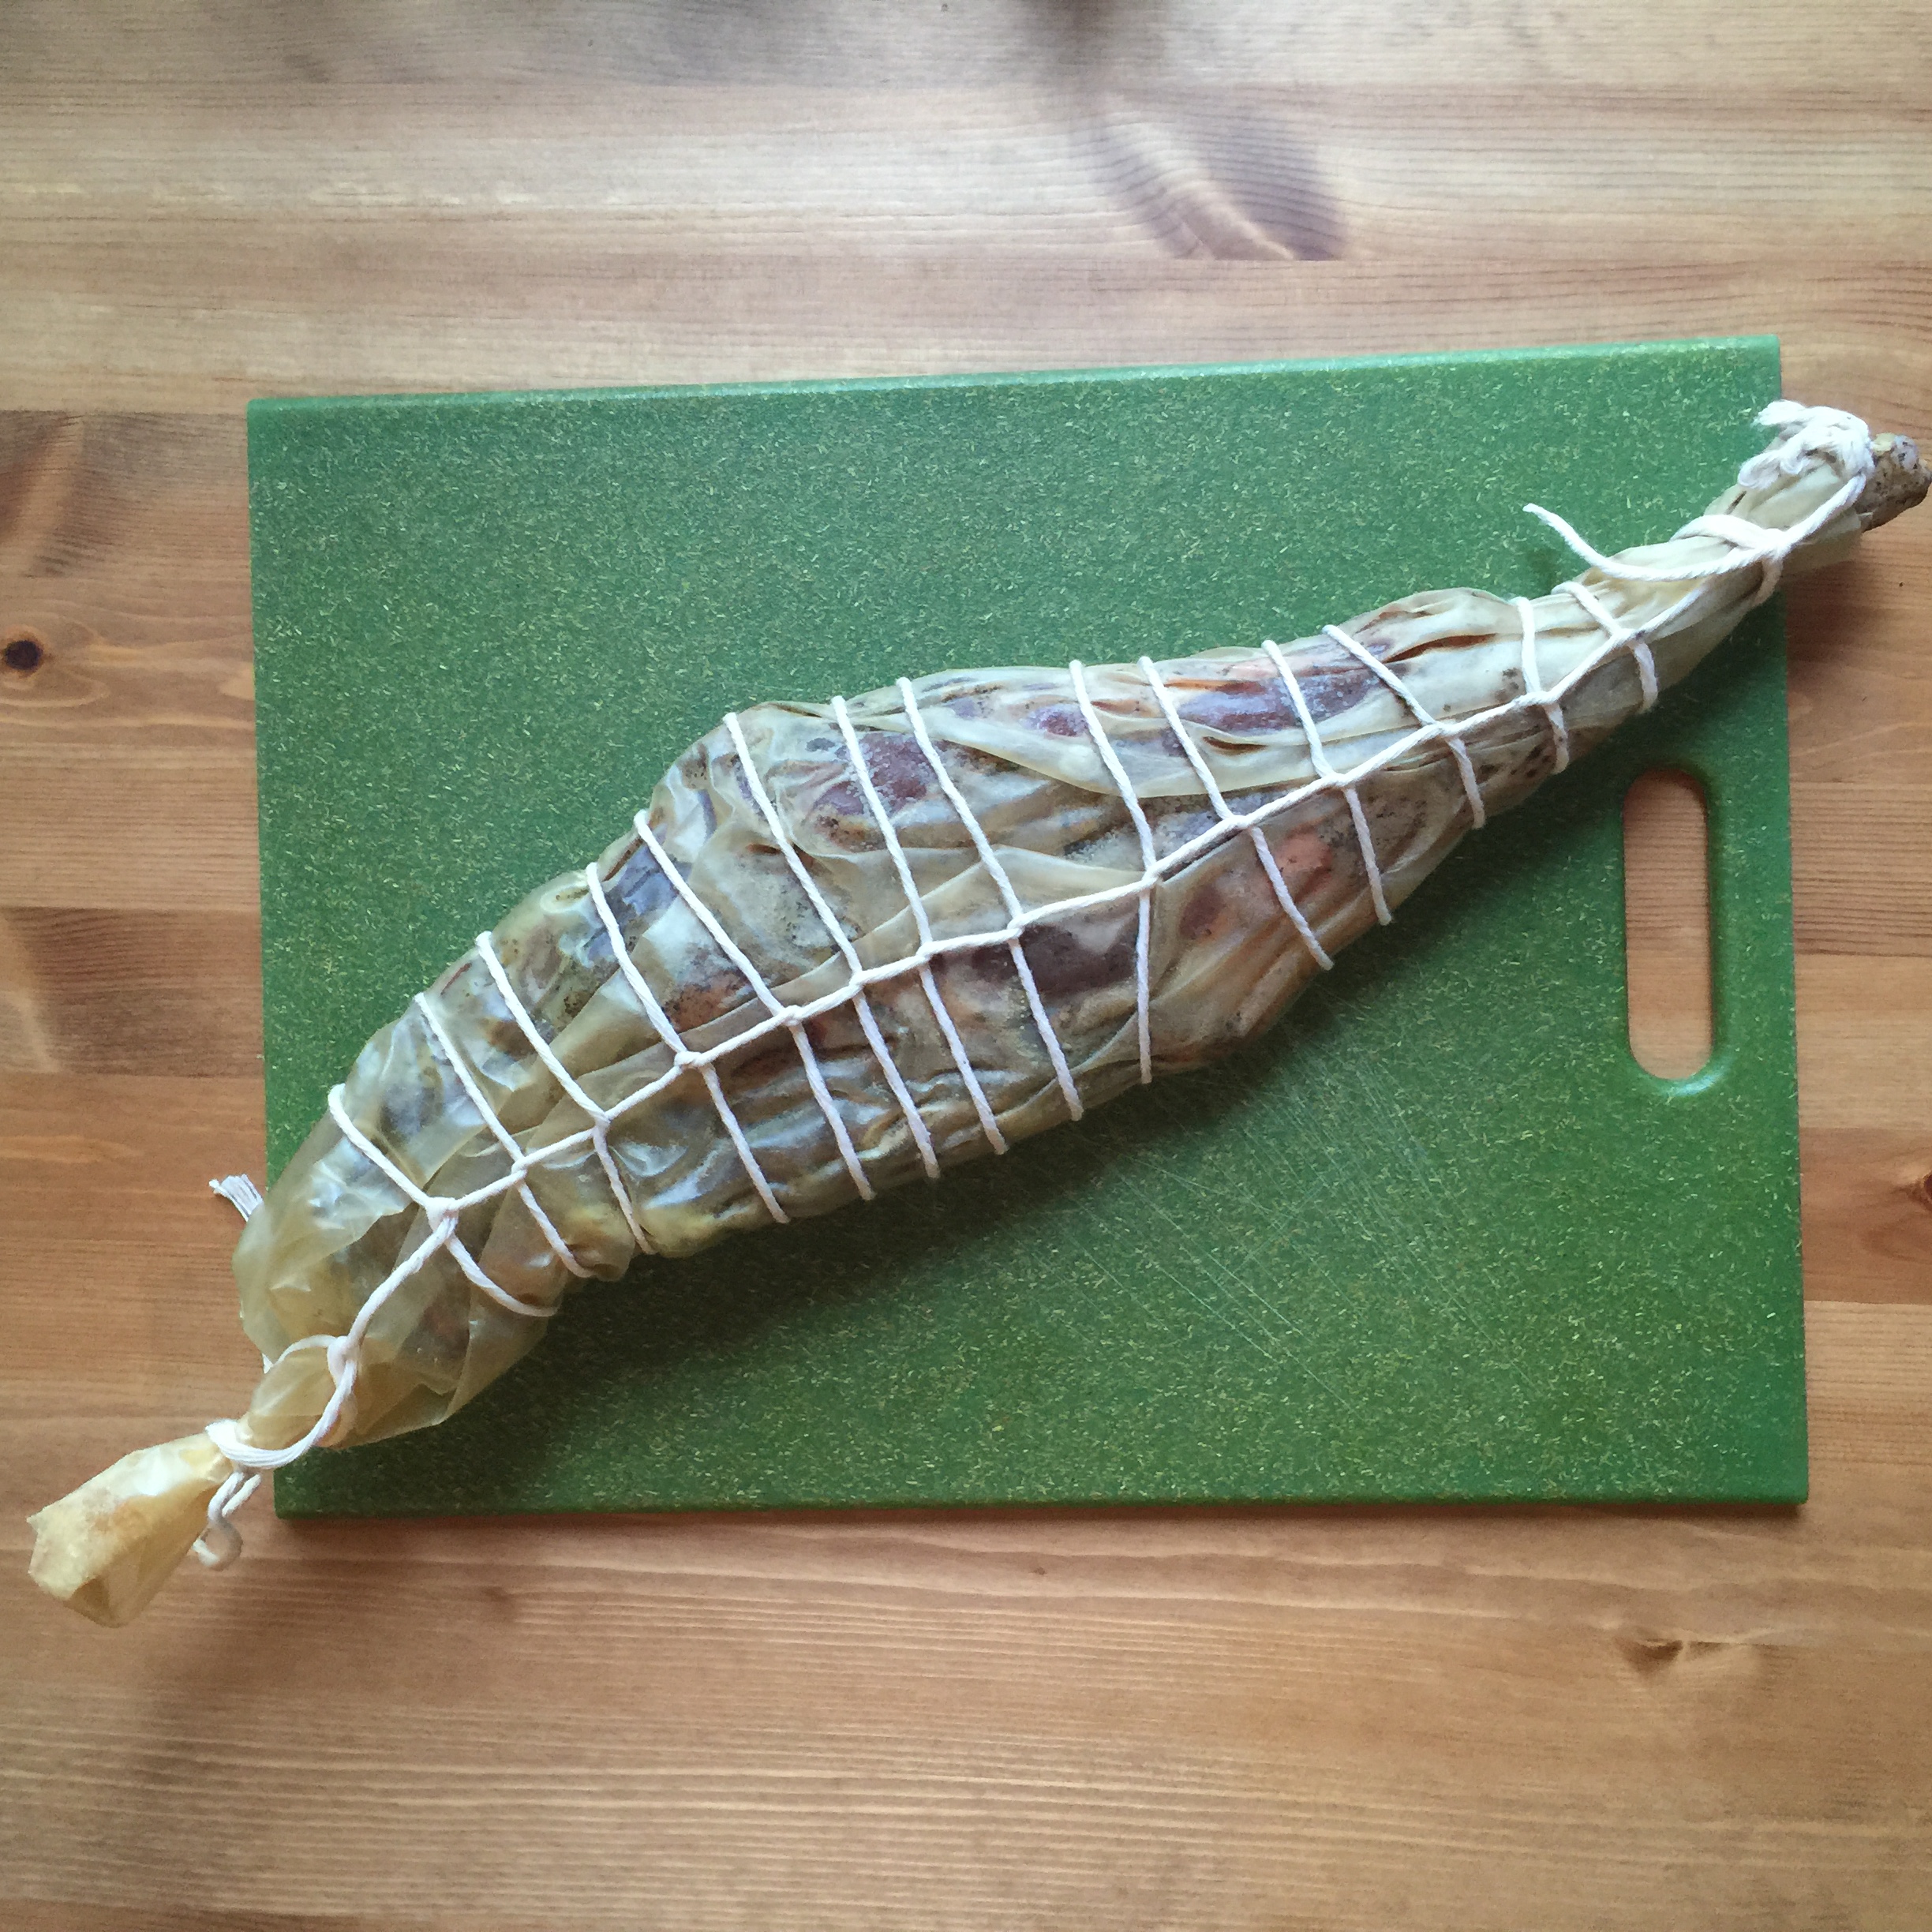
The lonza was allowed to hang in the curing chamber for around 3 months, losing 30% of its total weight.
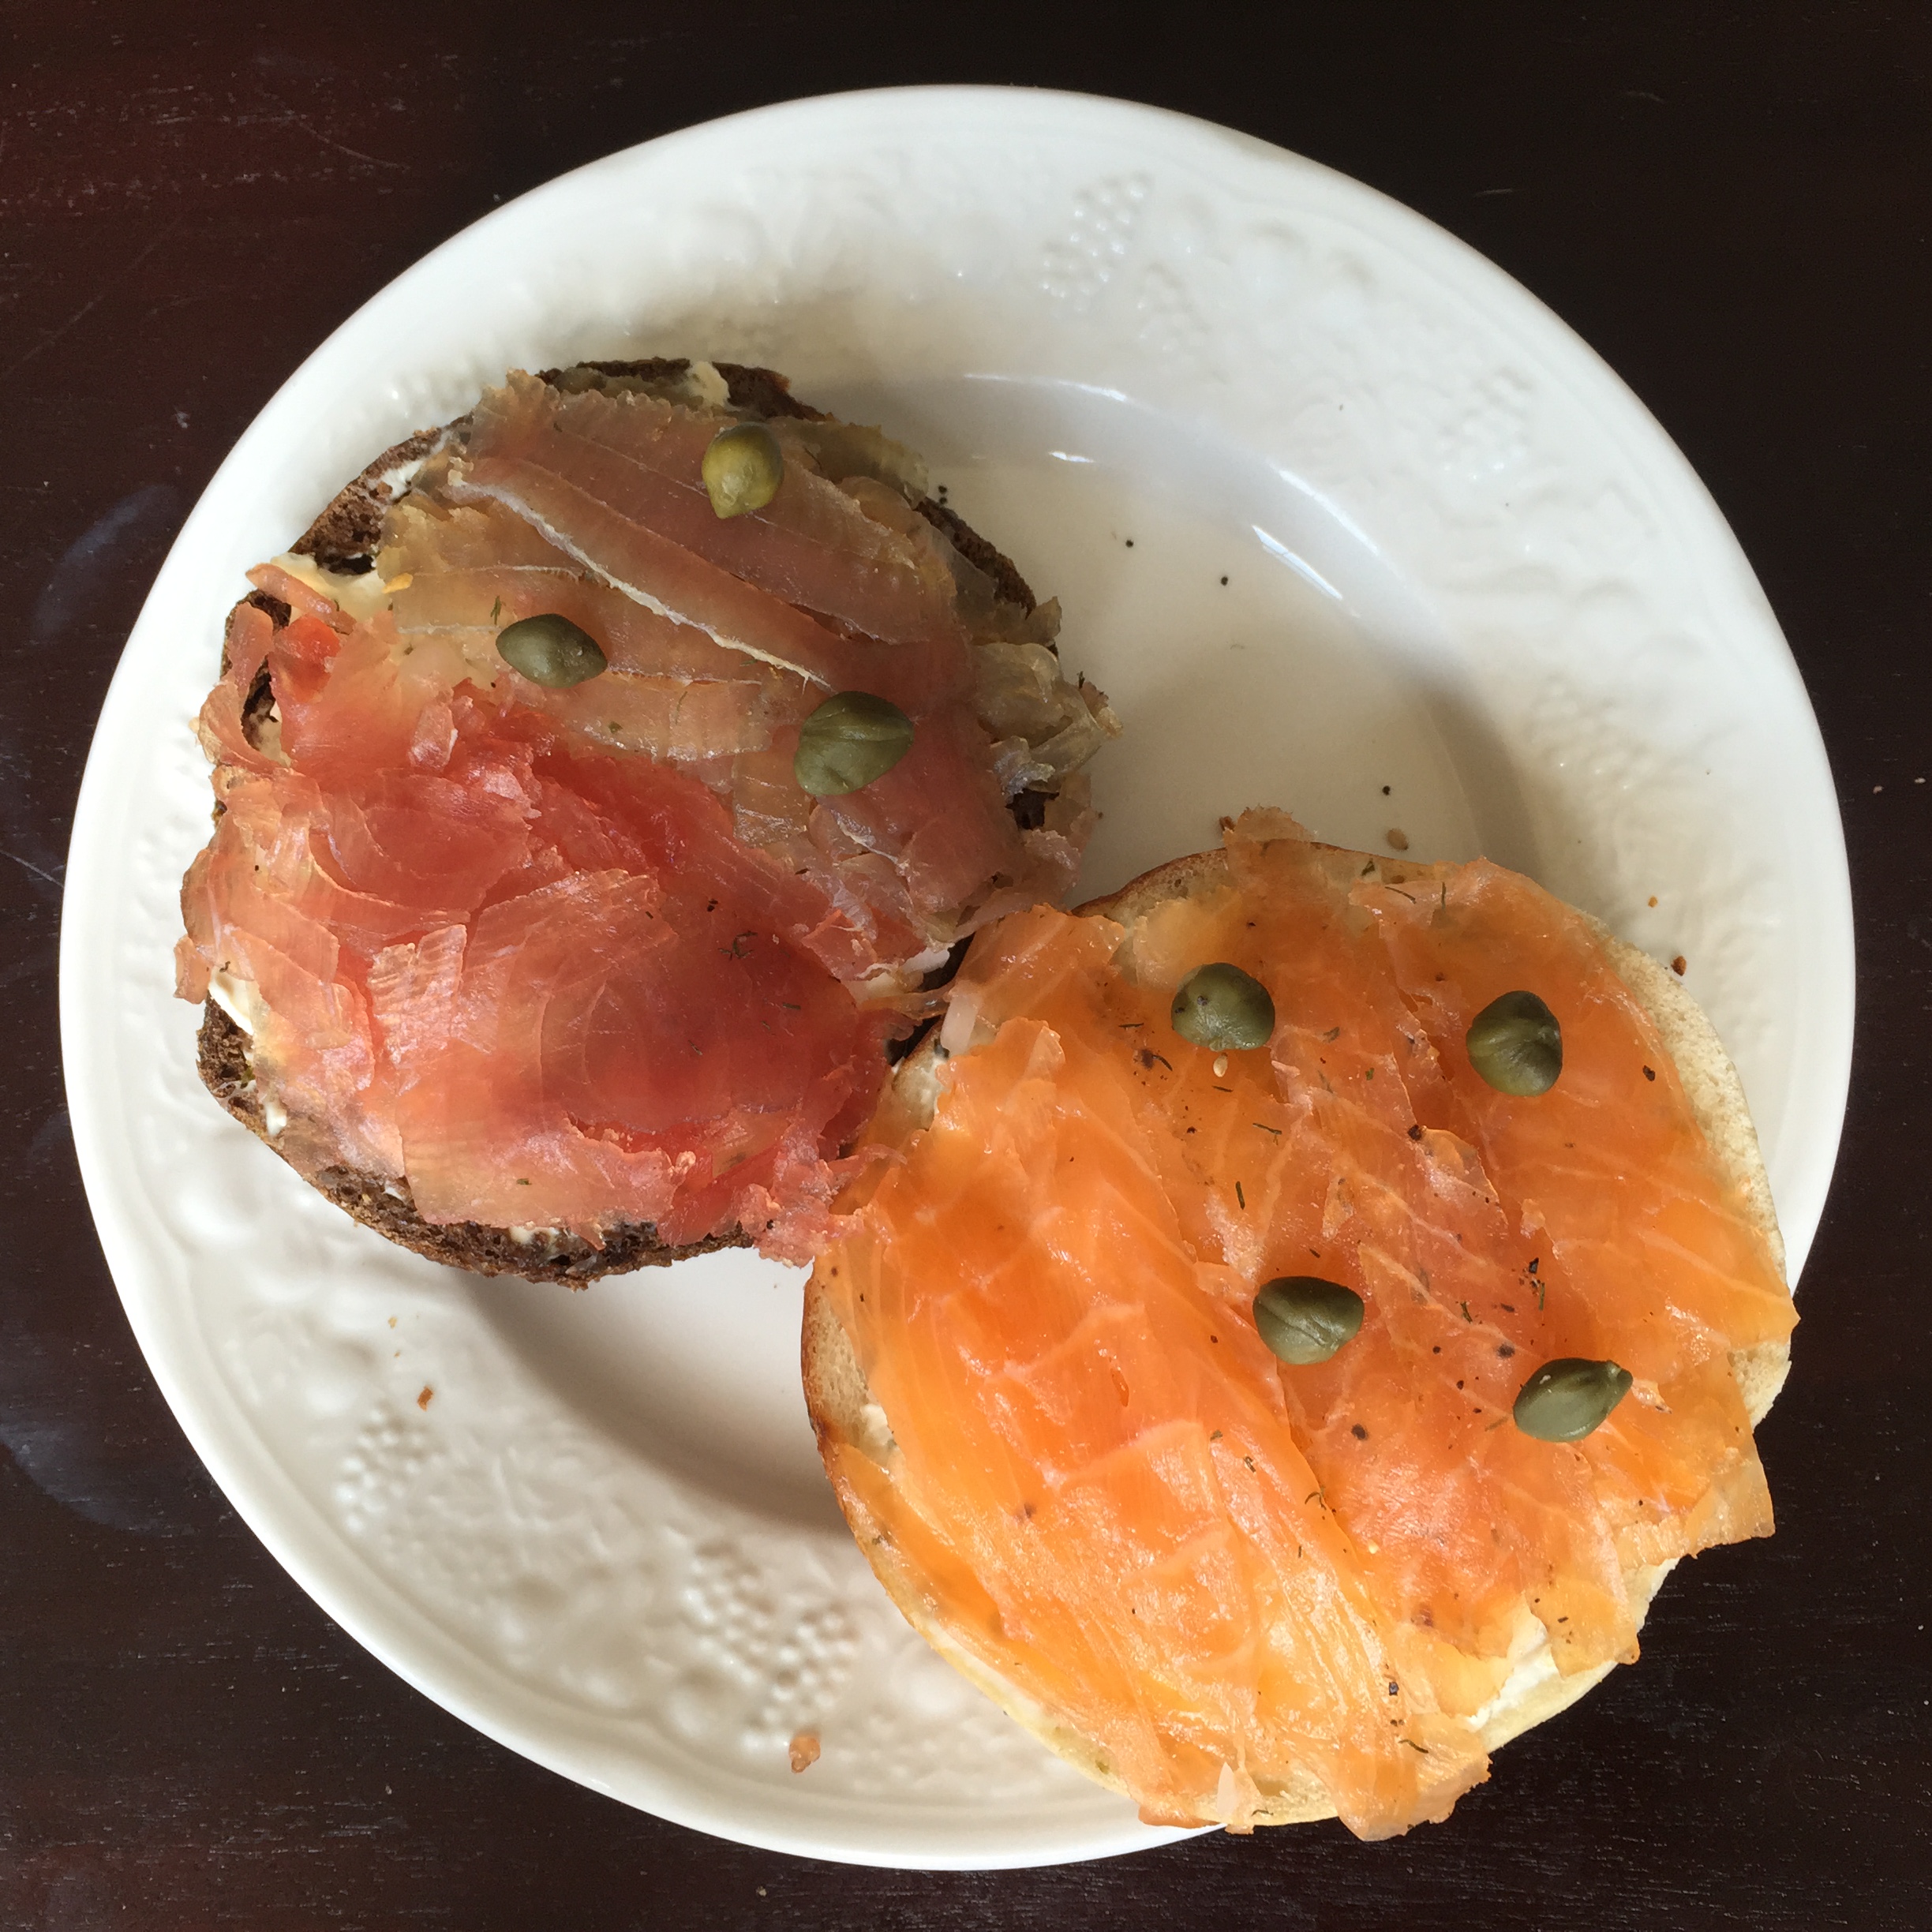
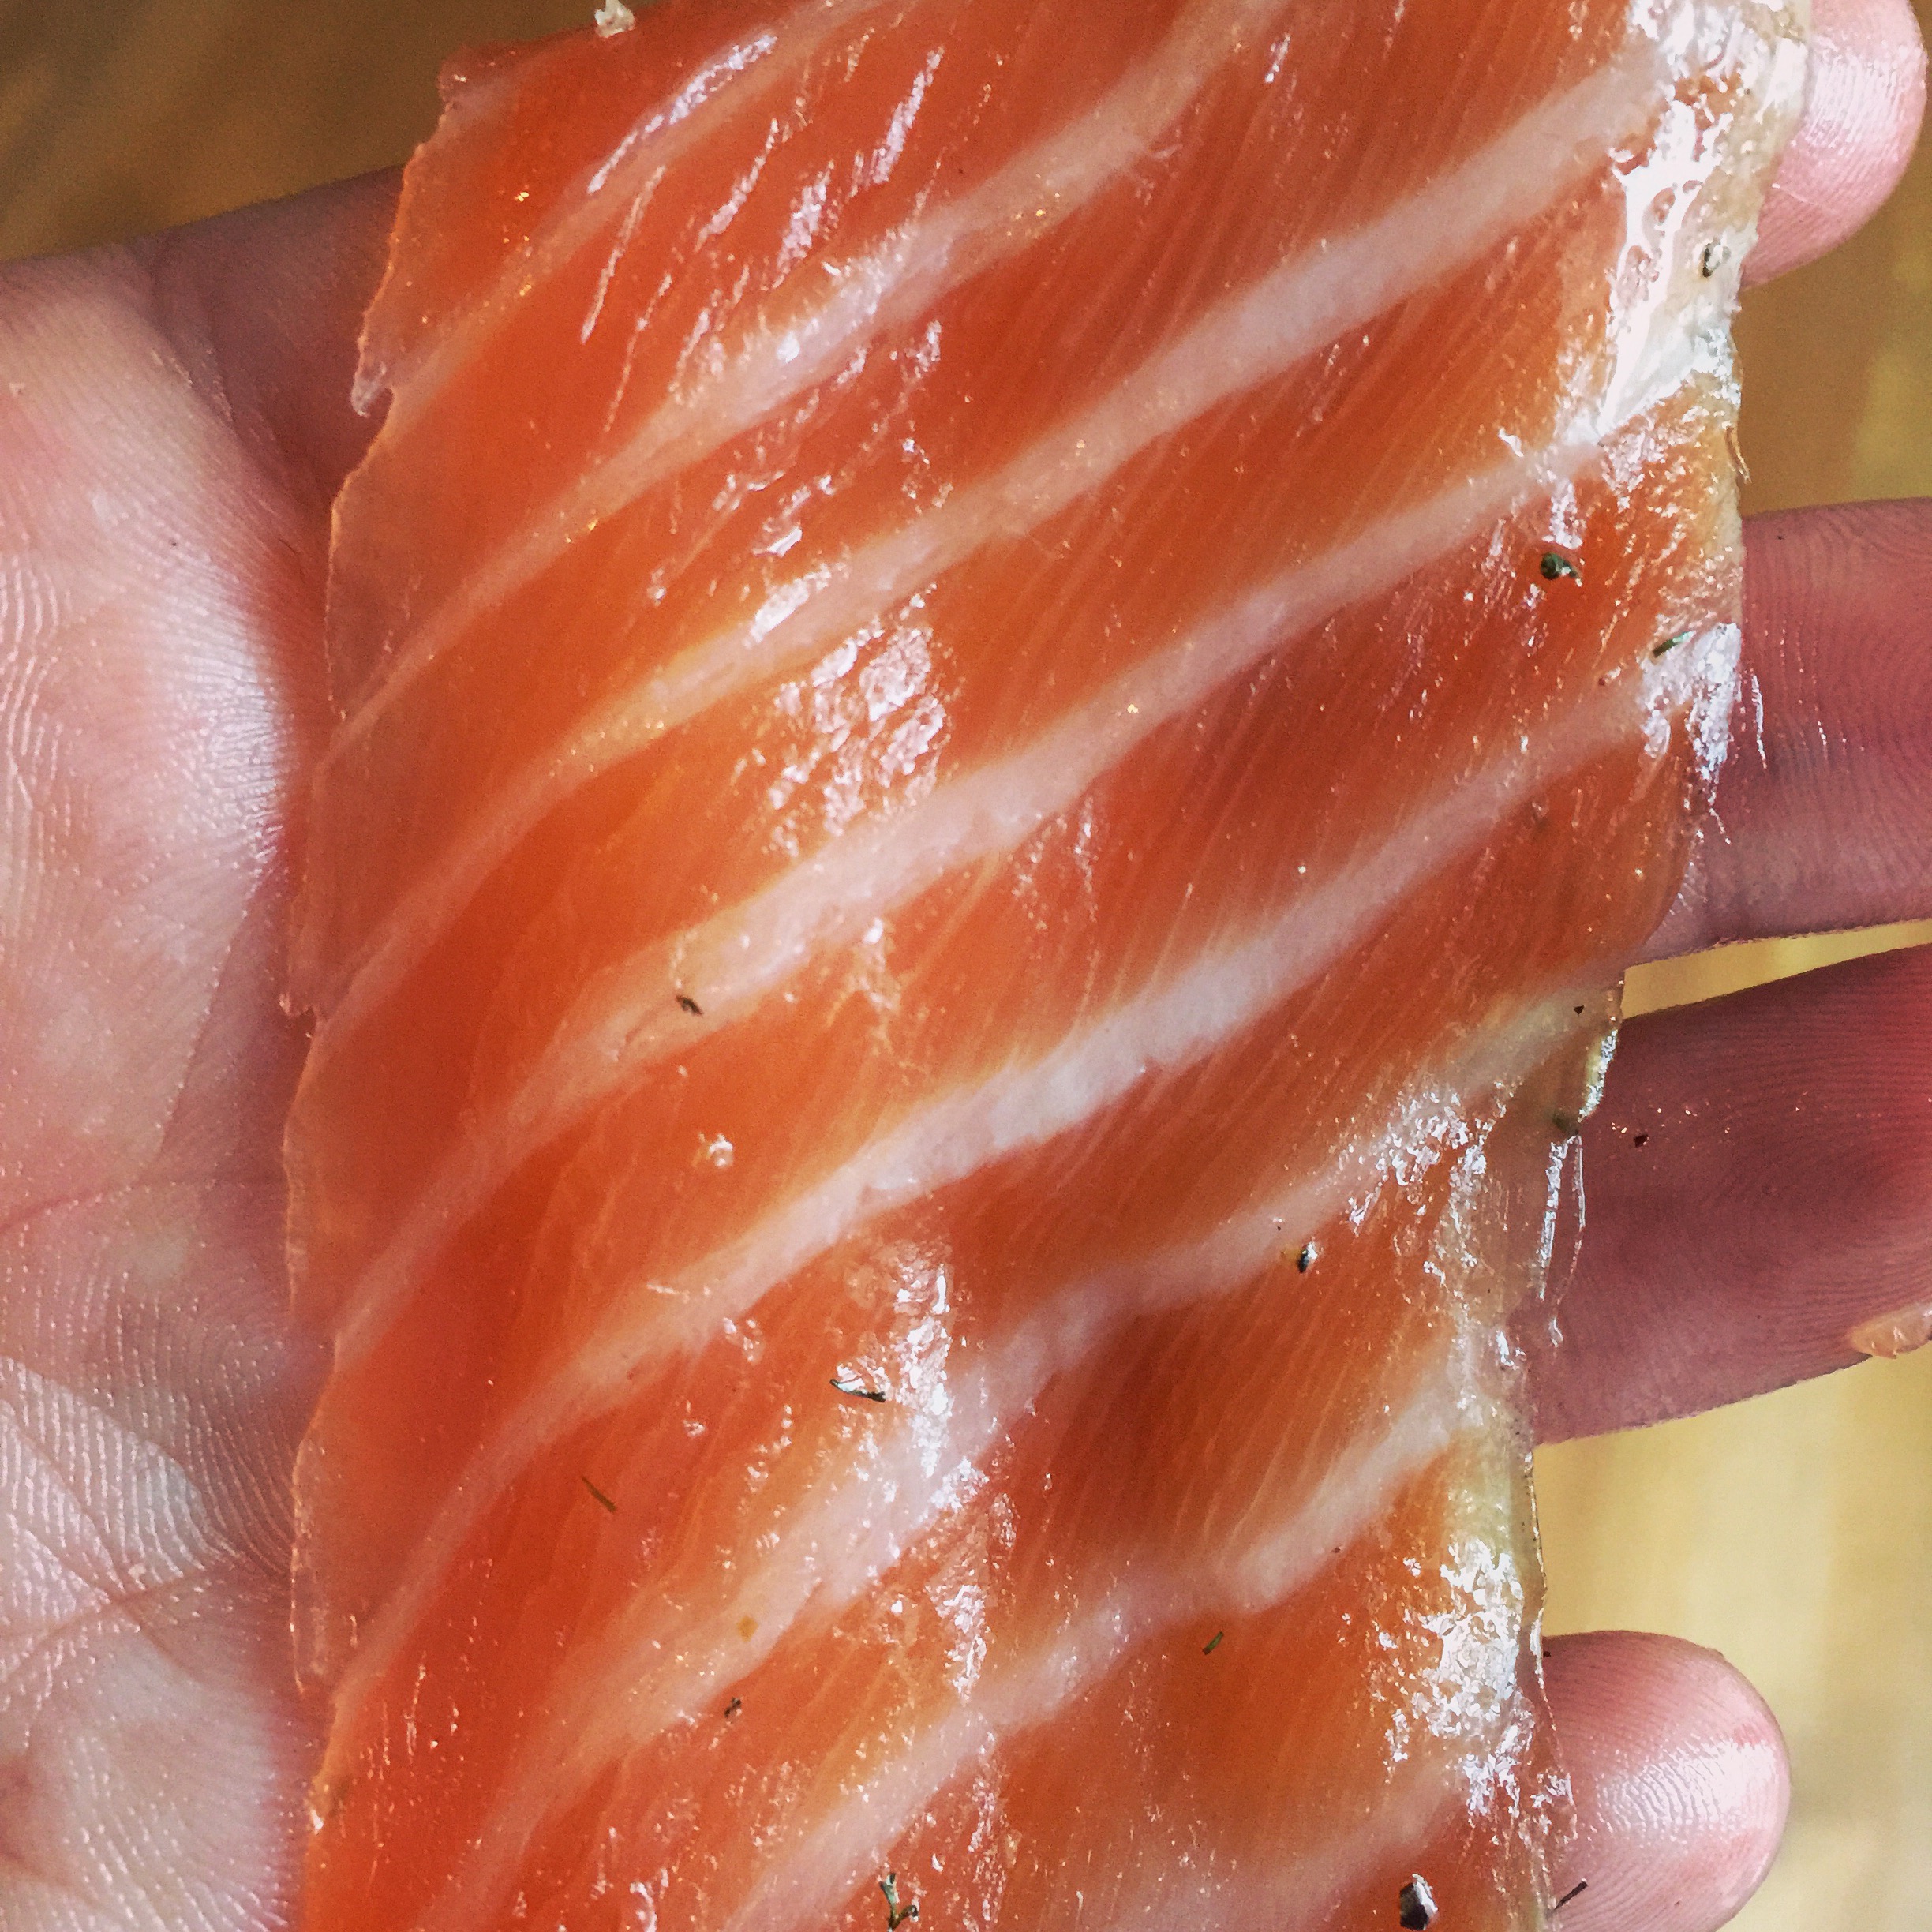
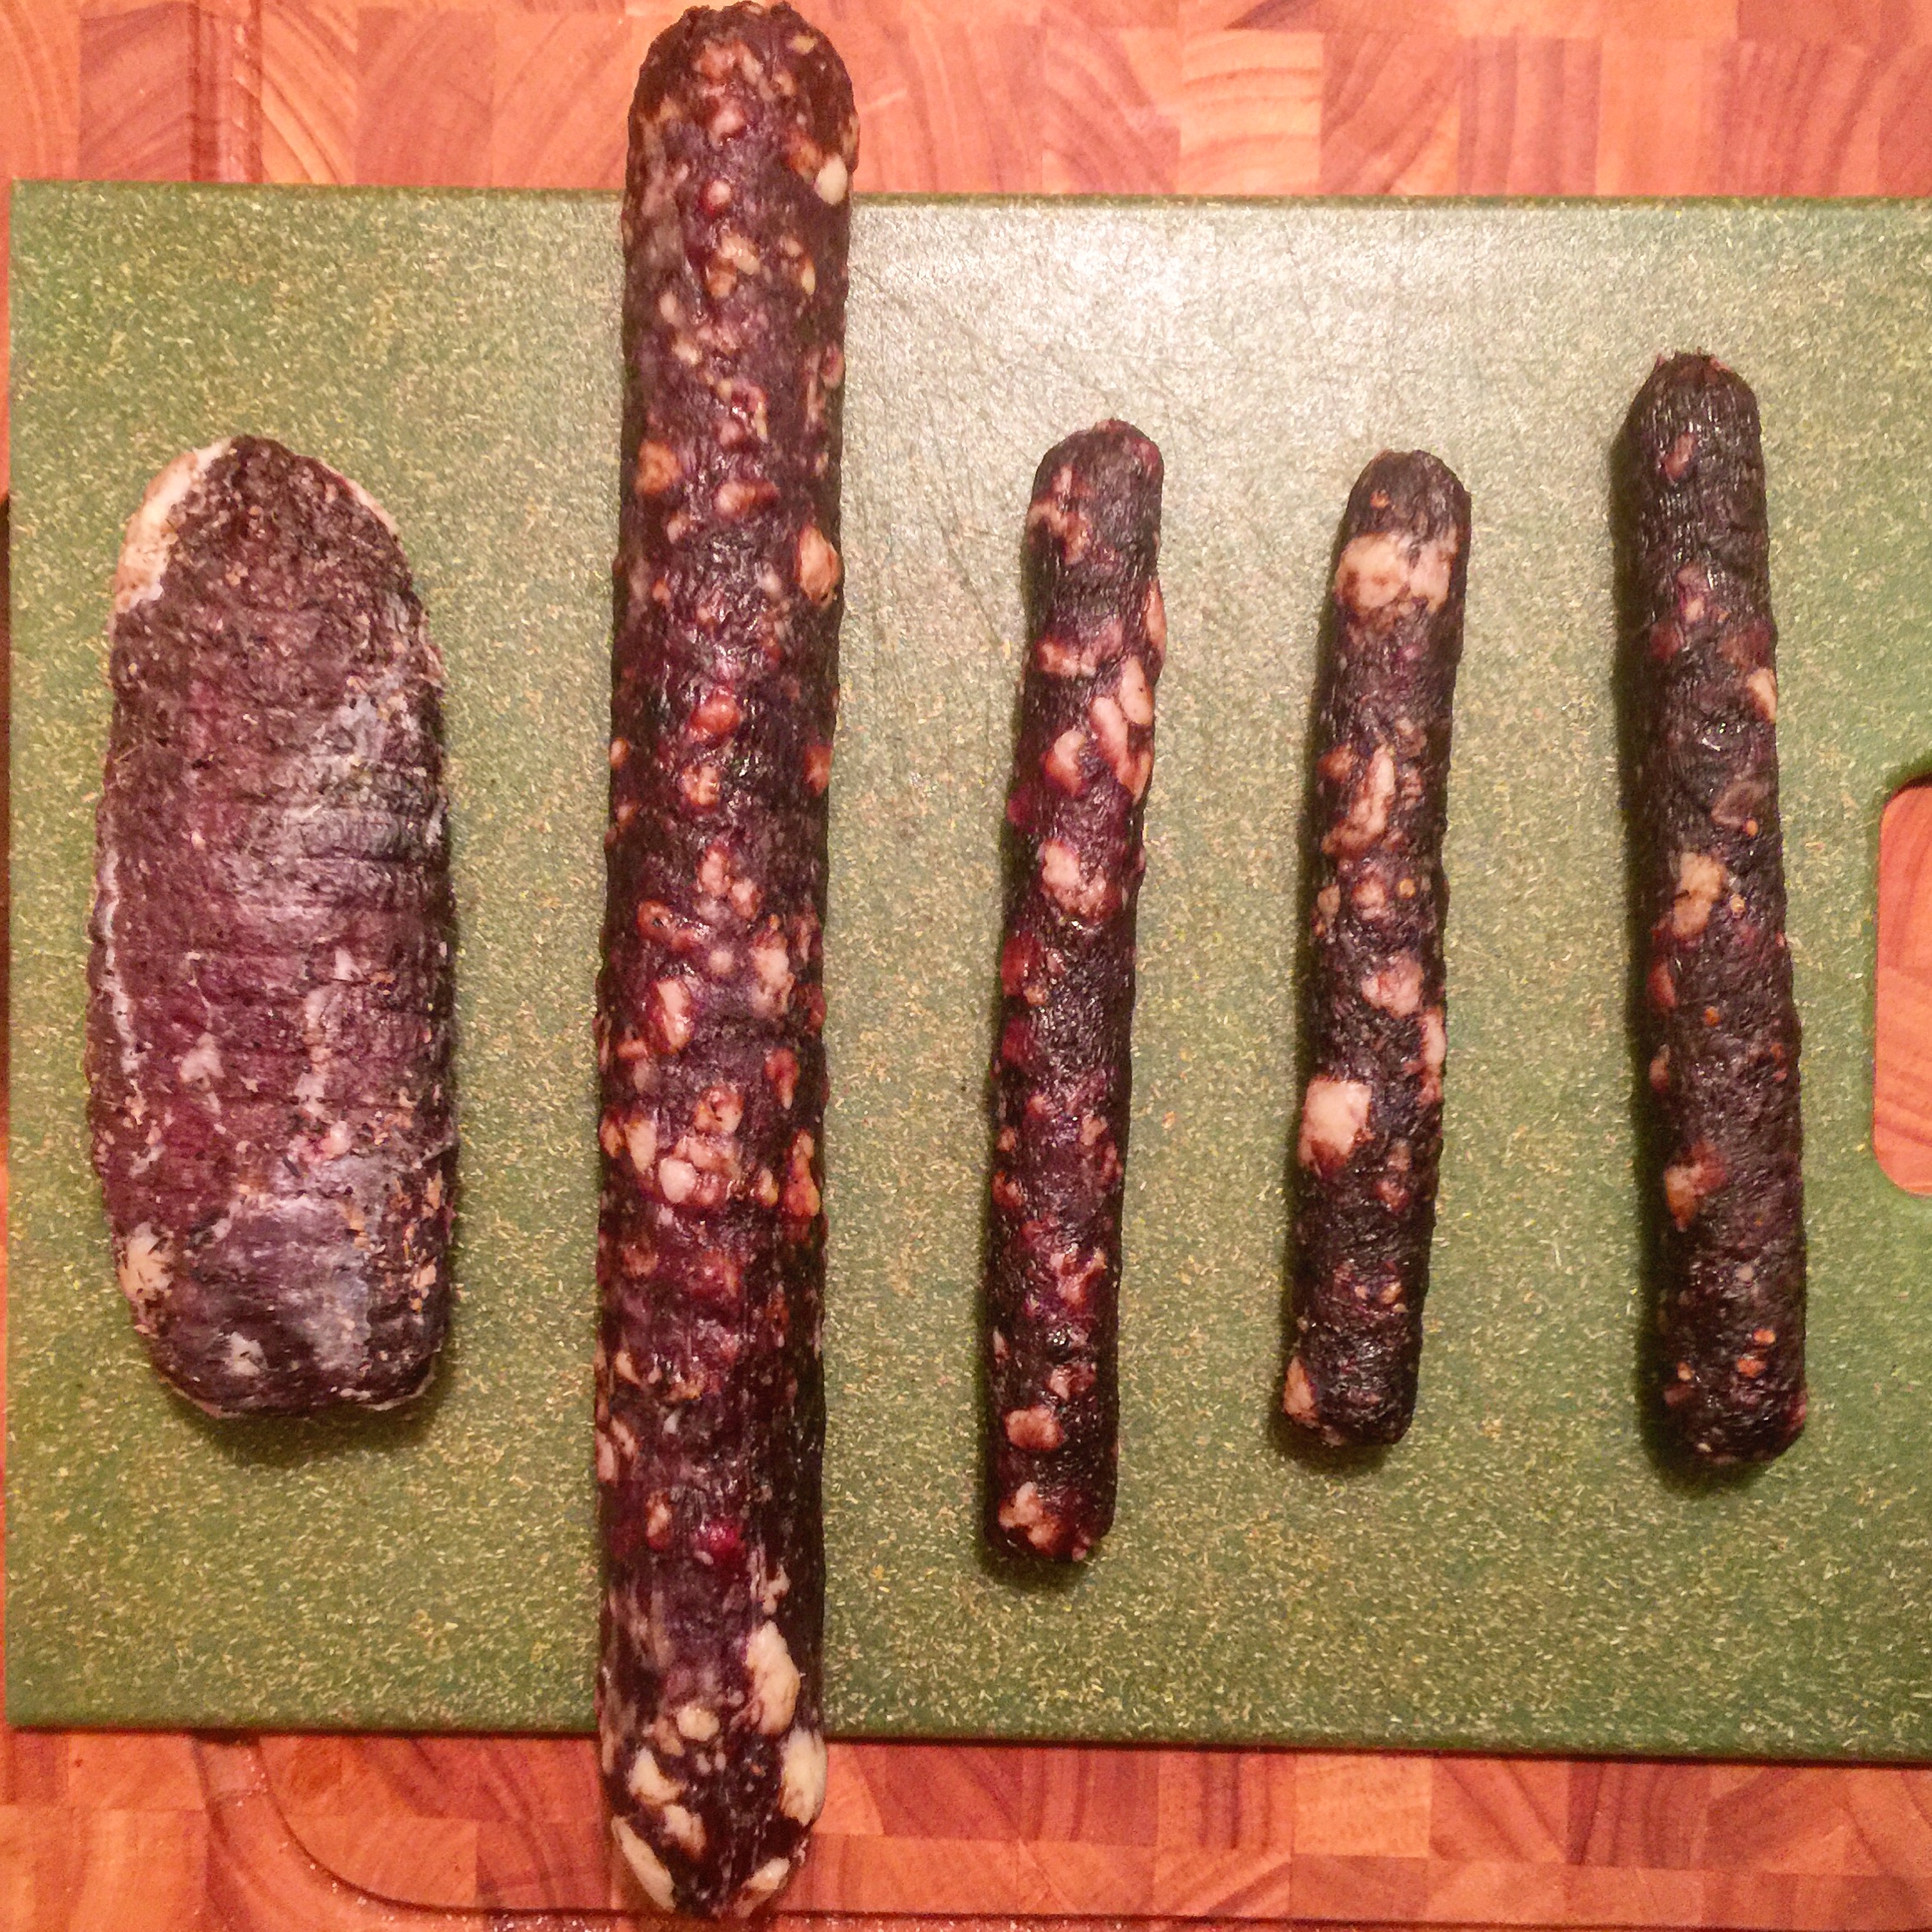
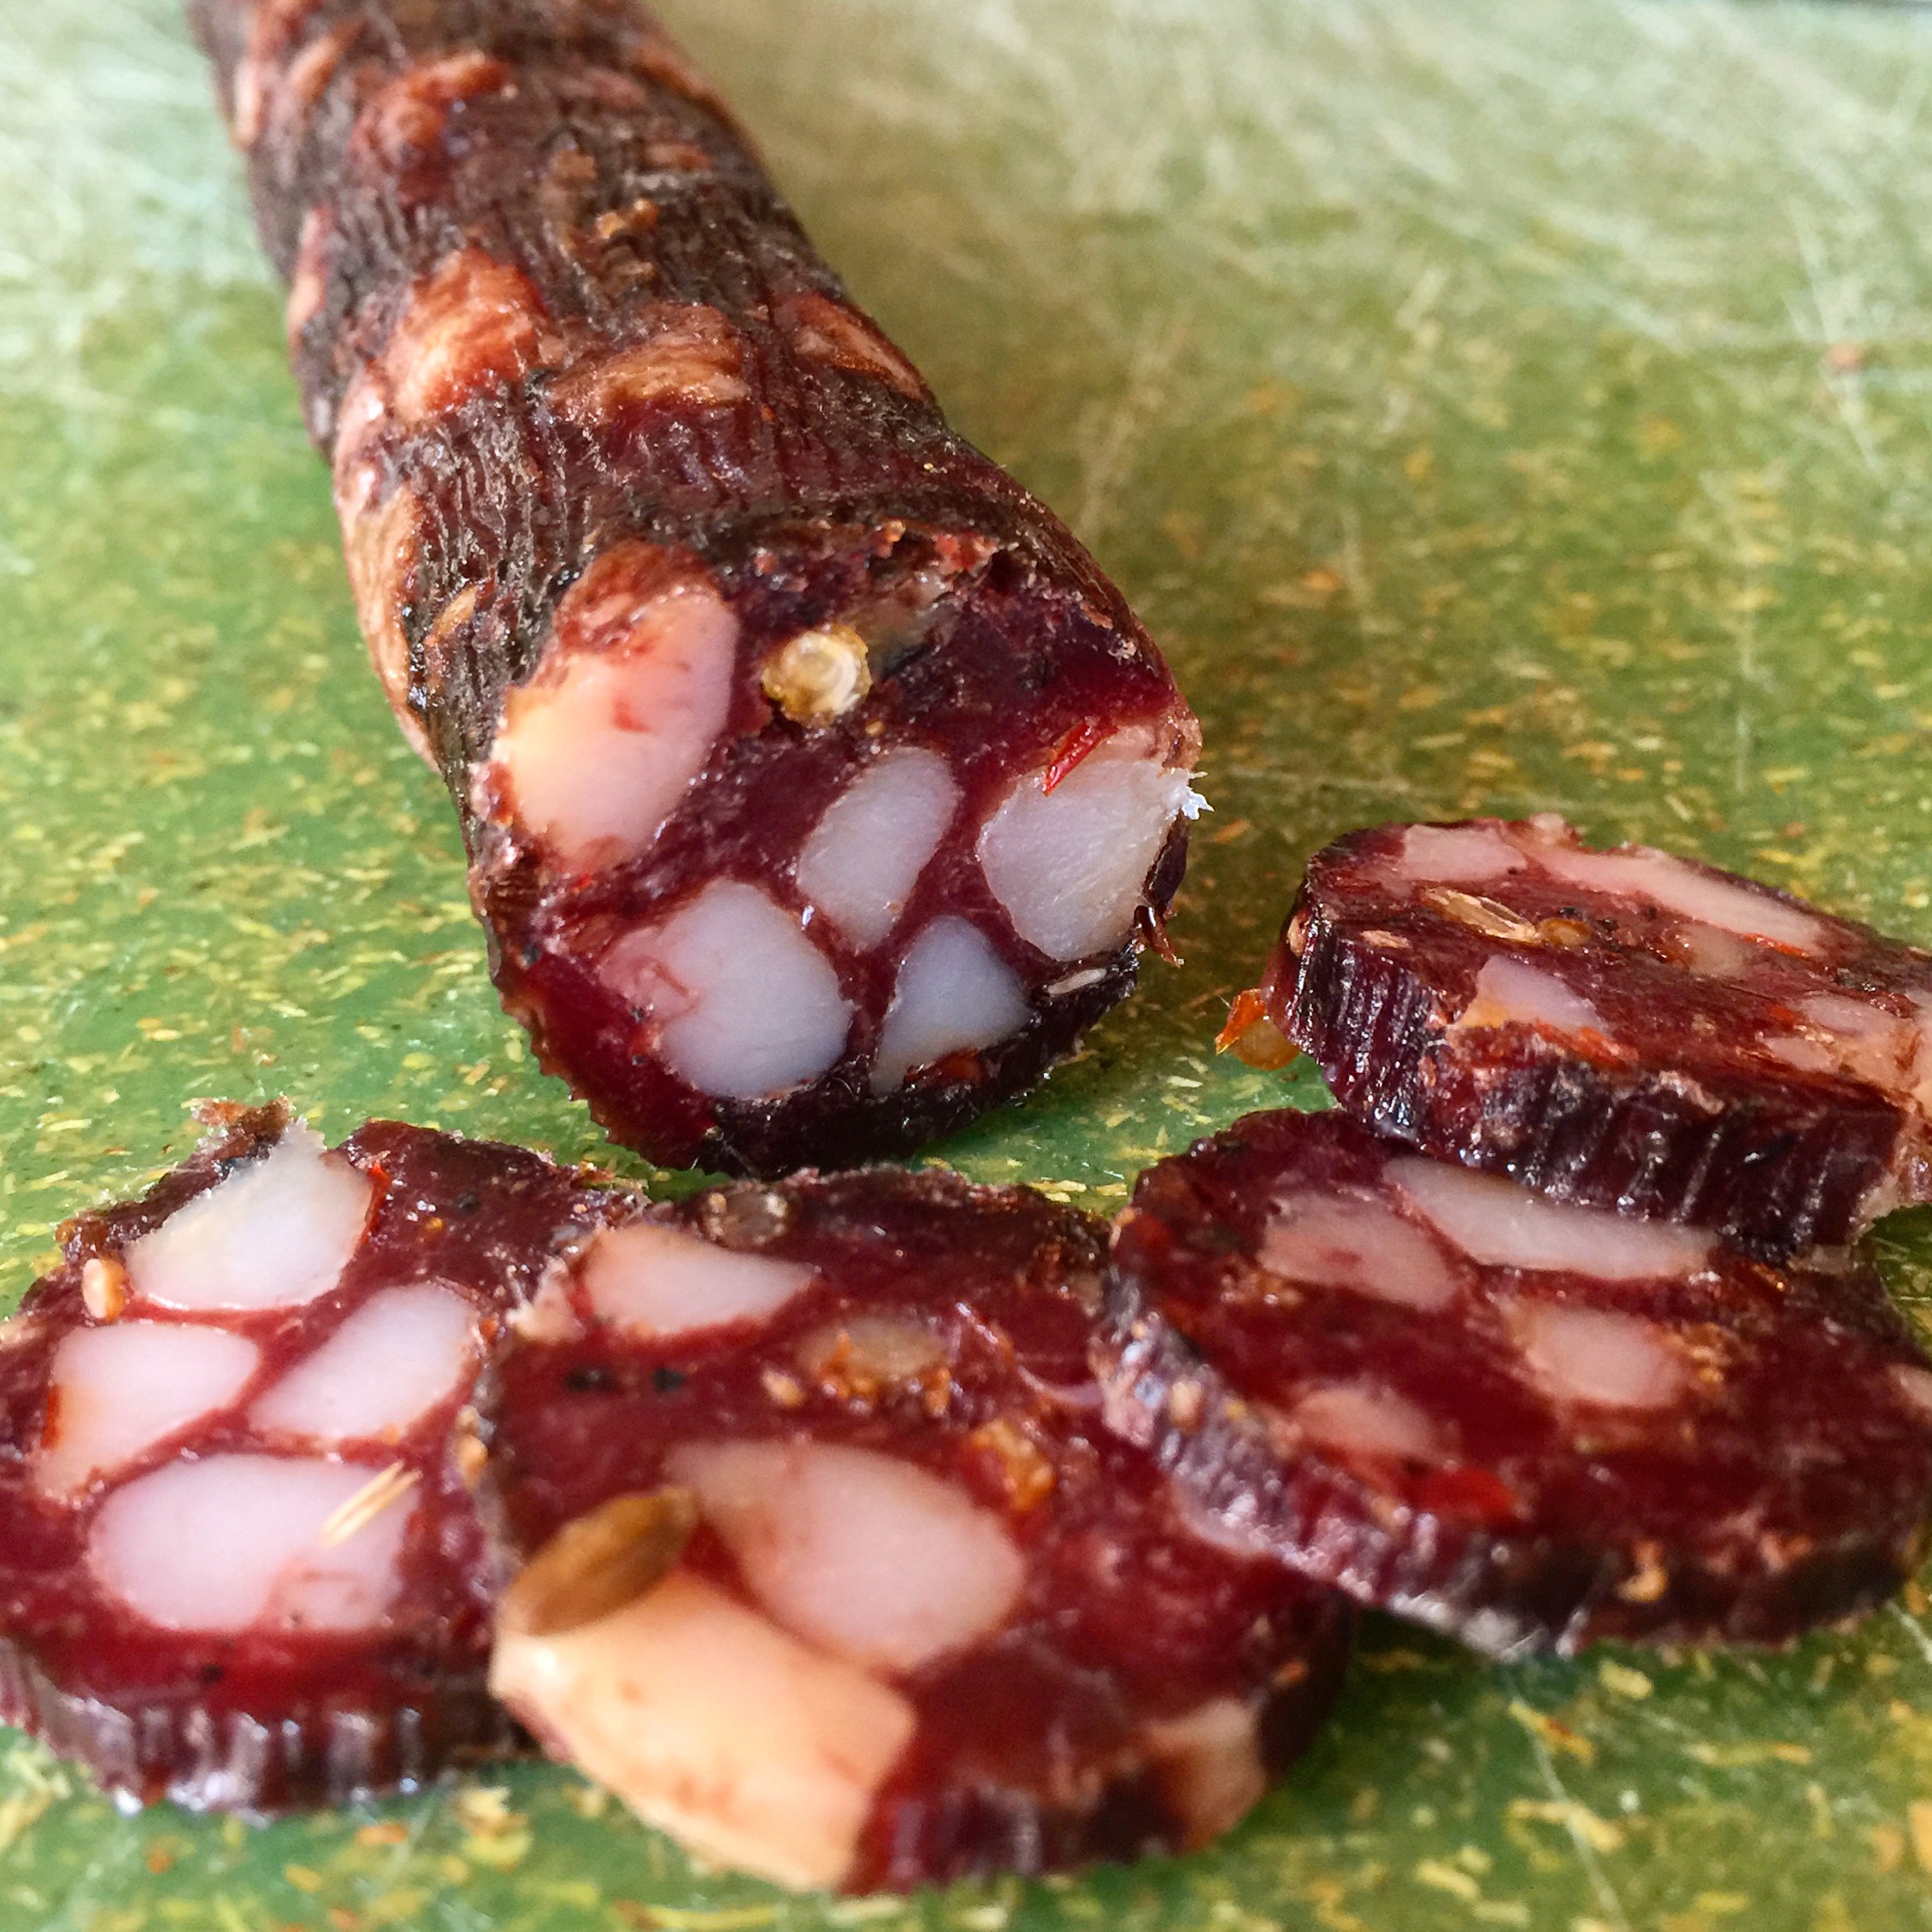
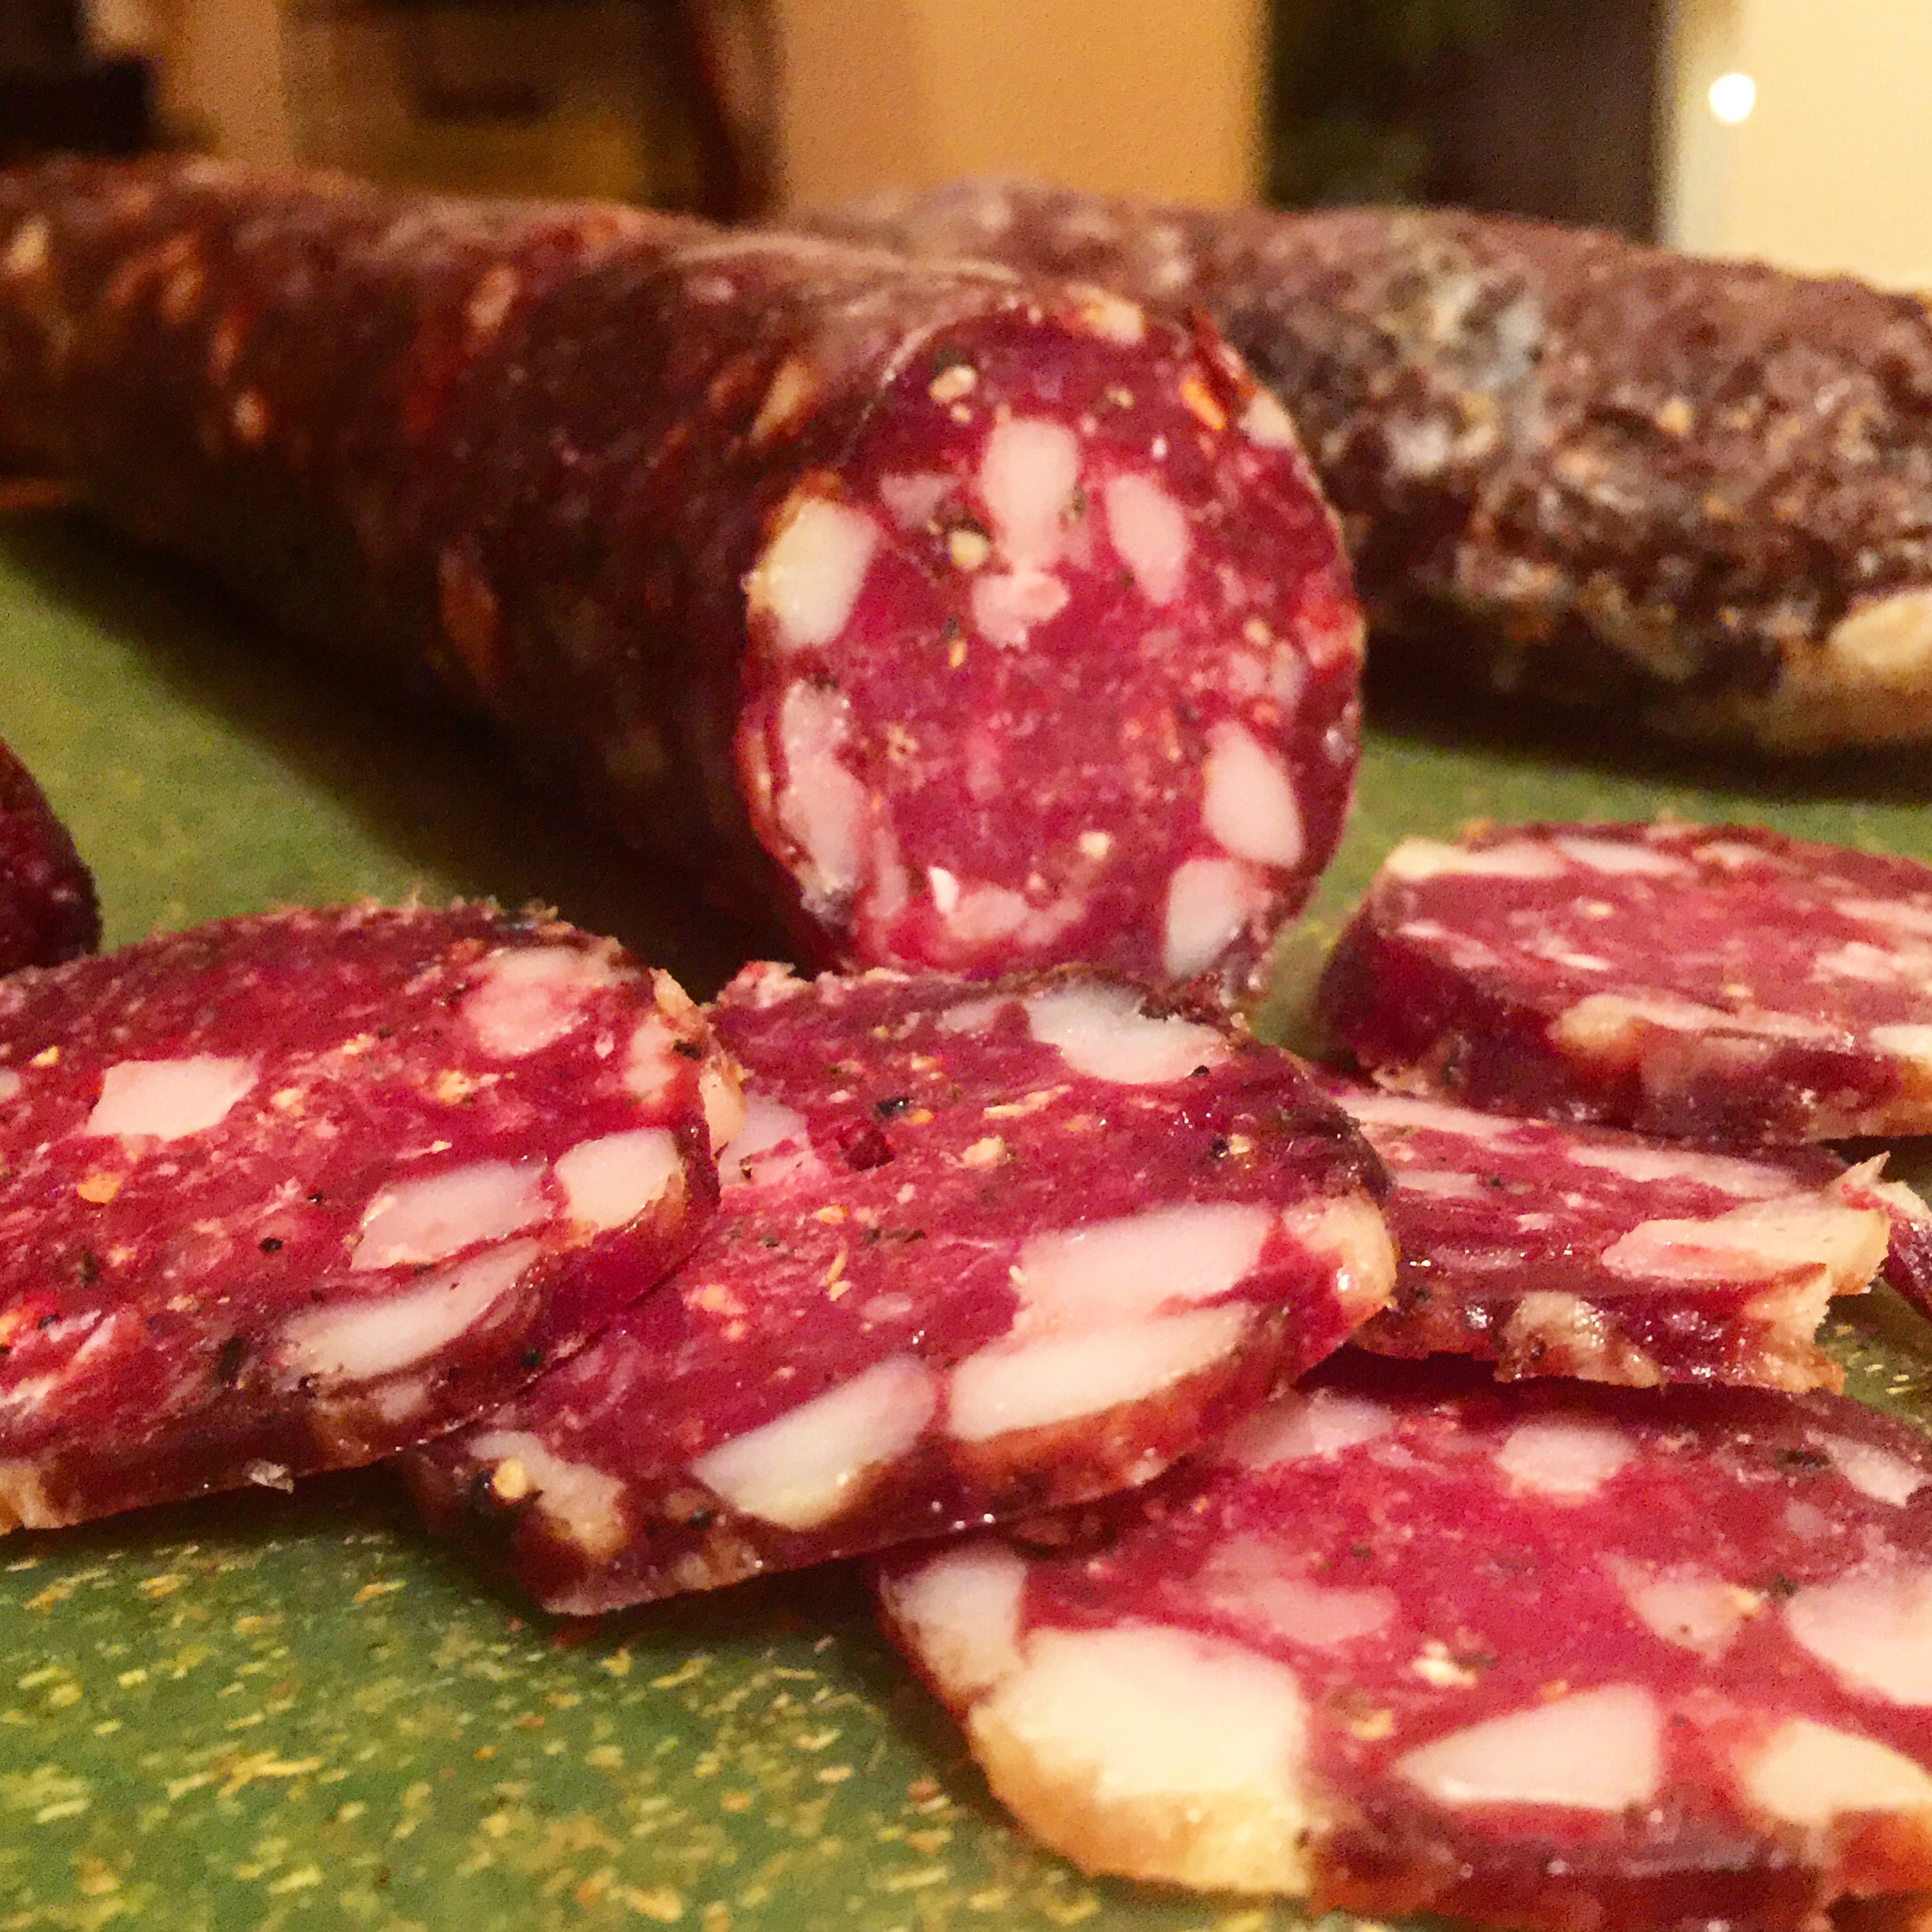
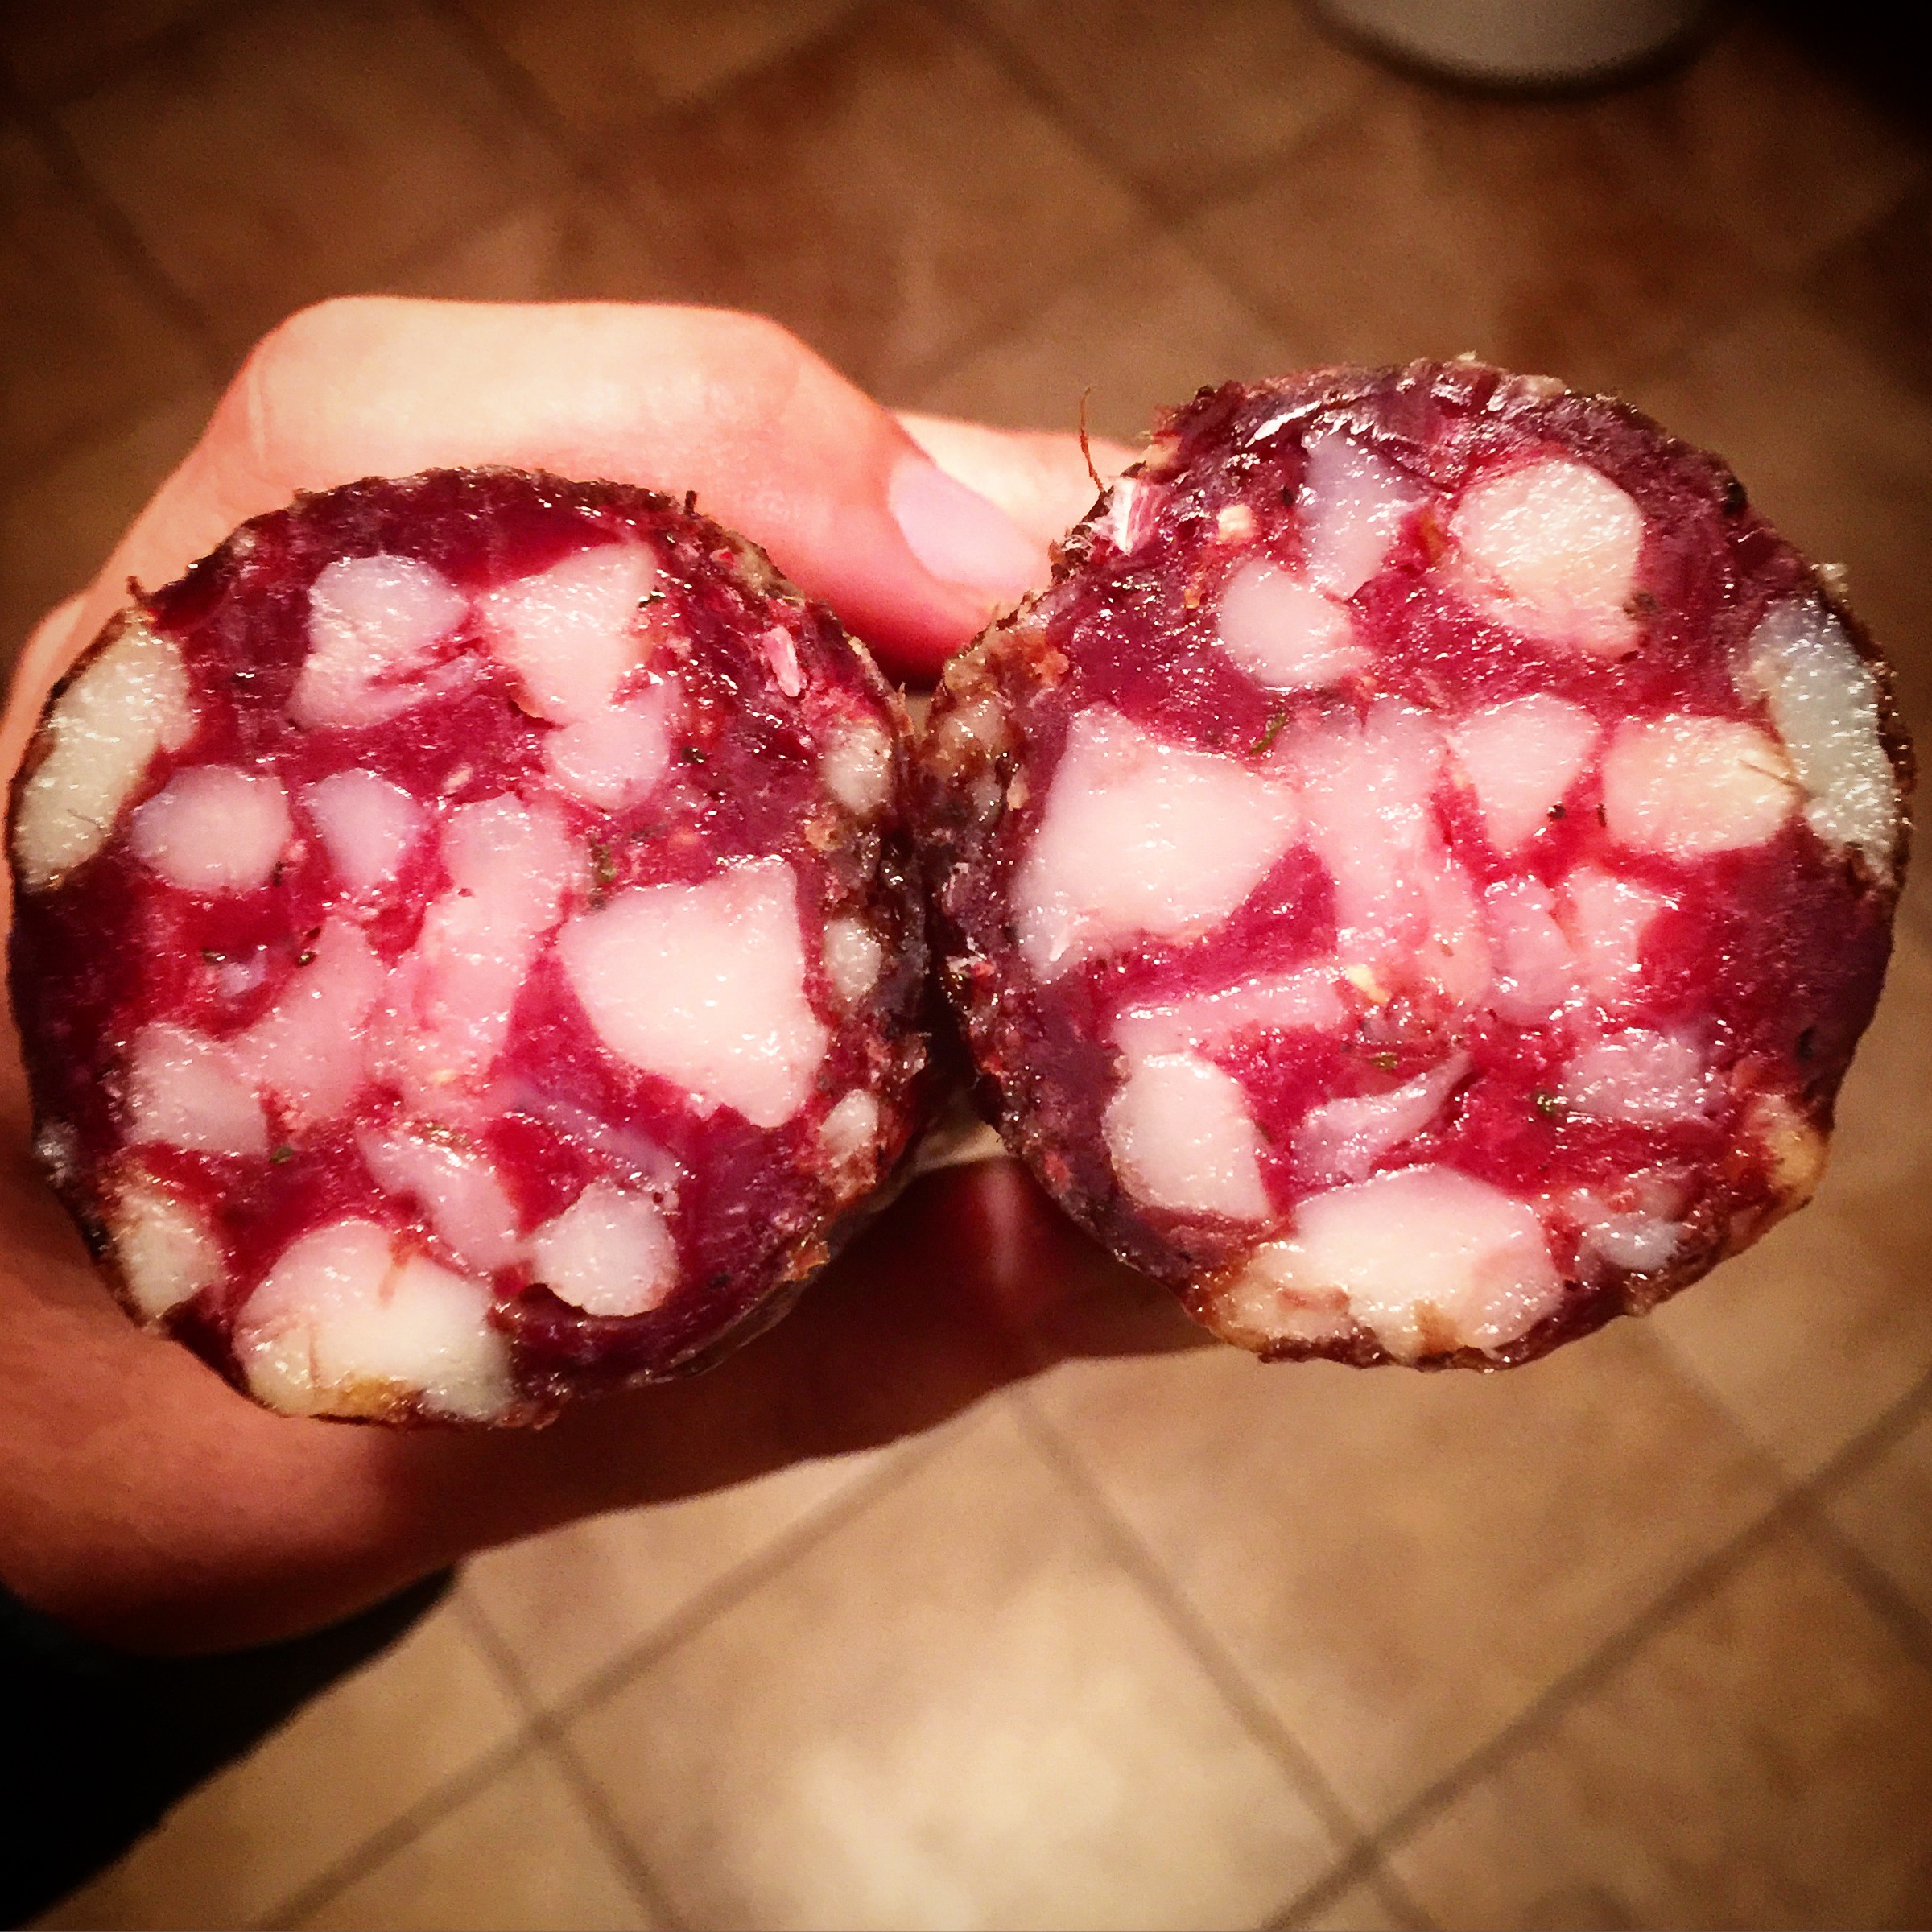
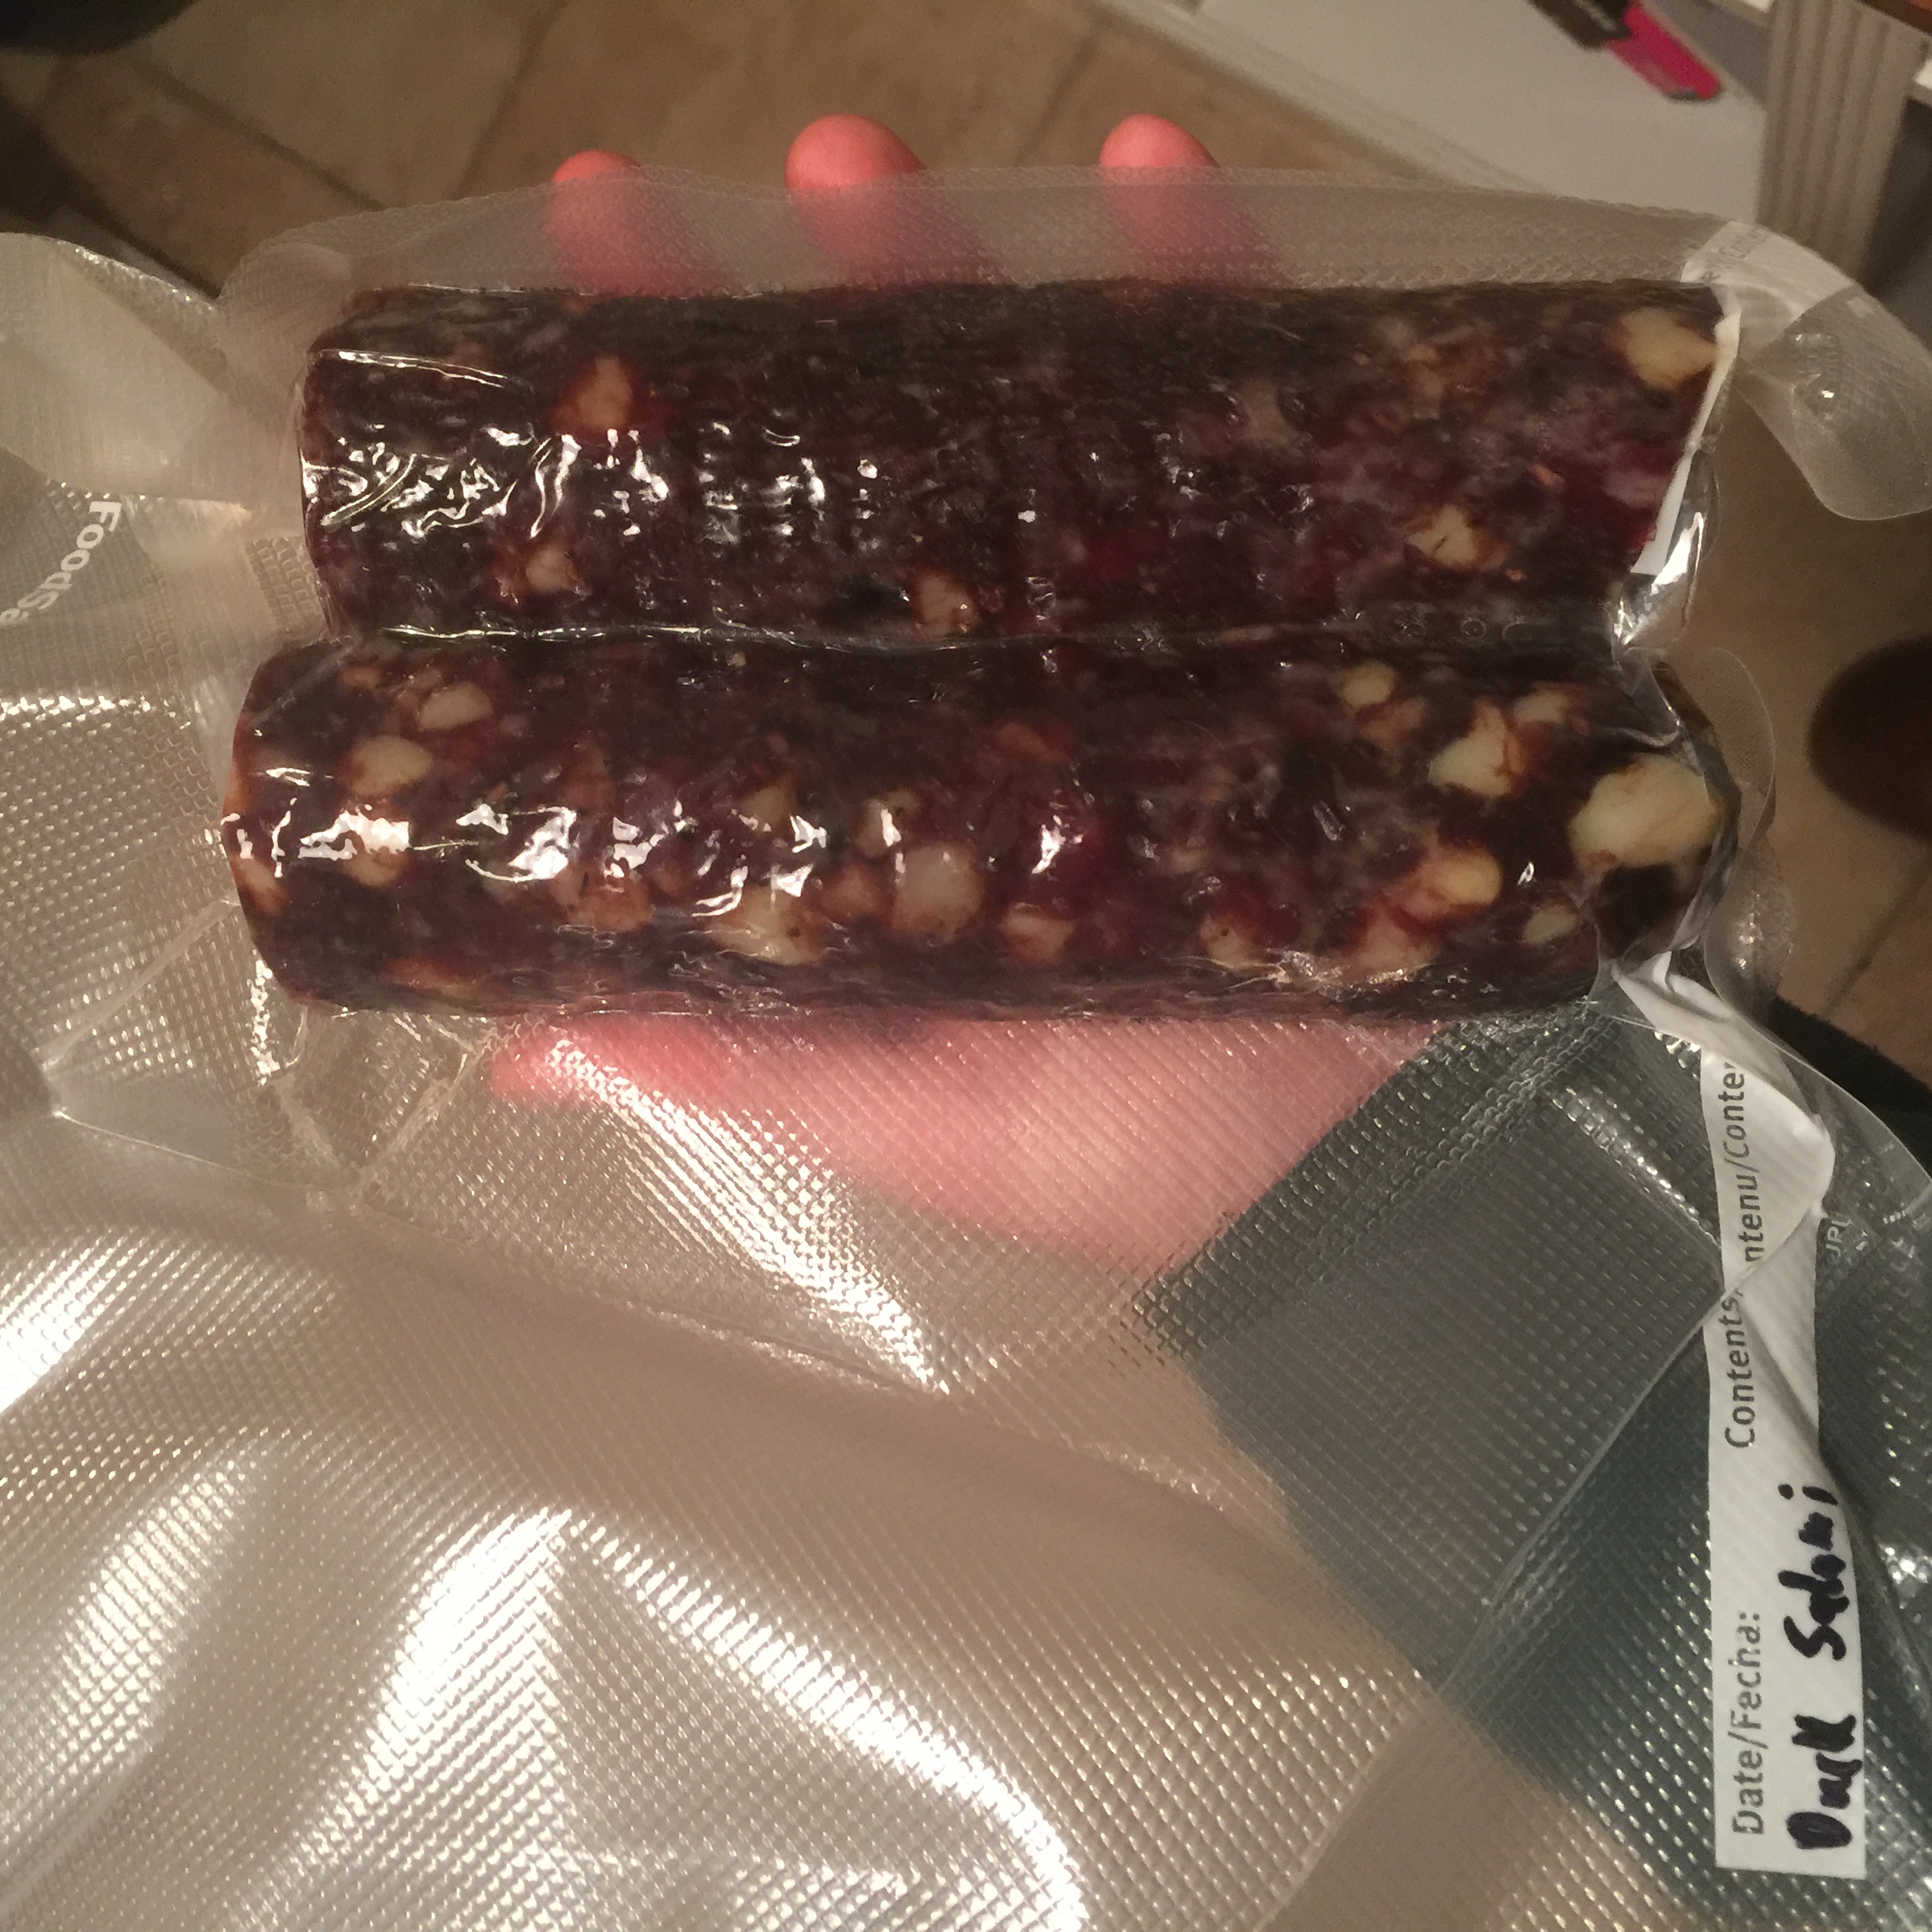
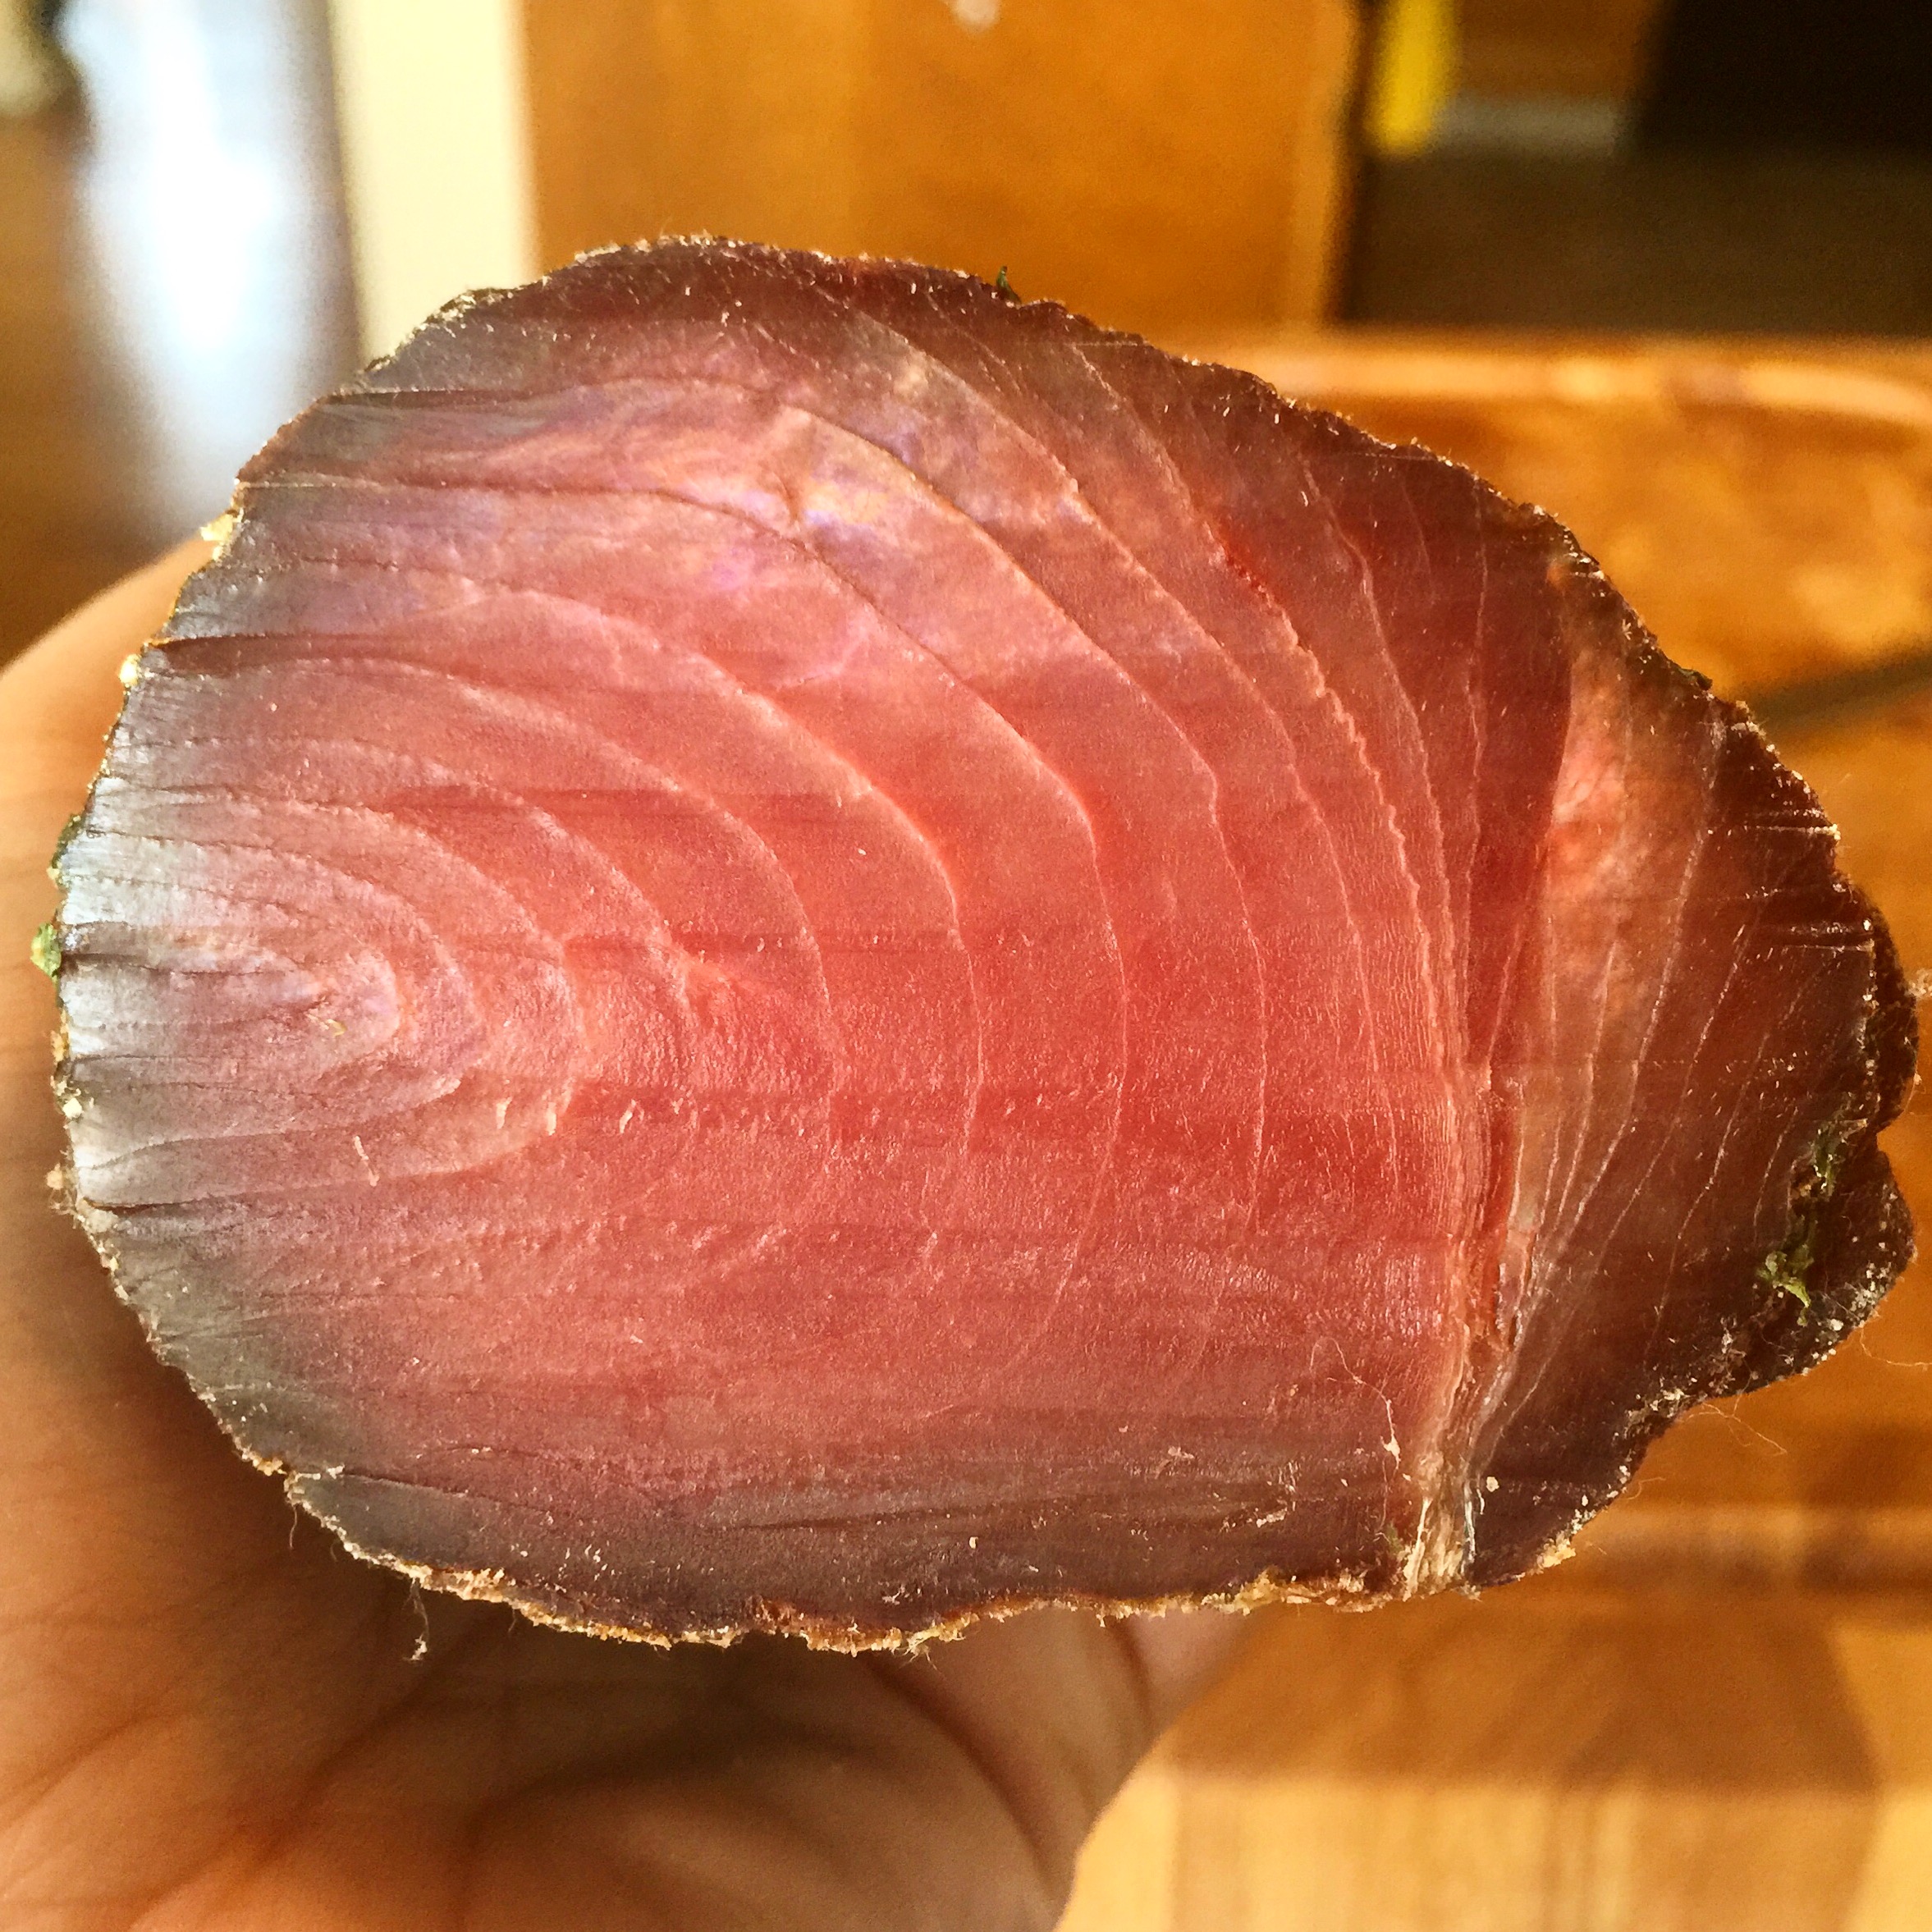
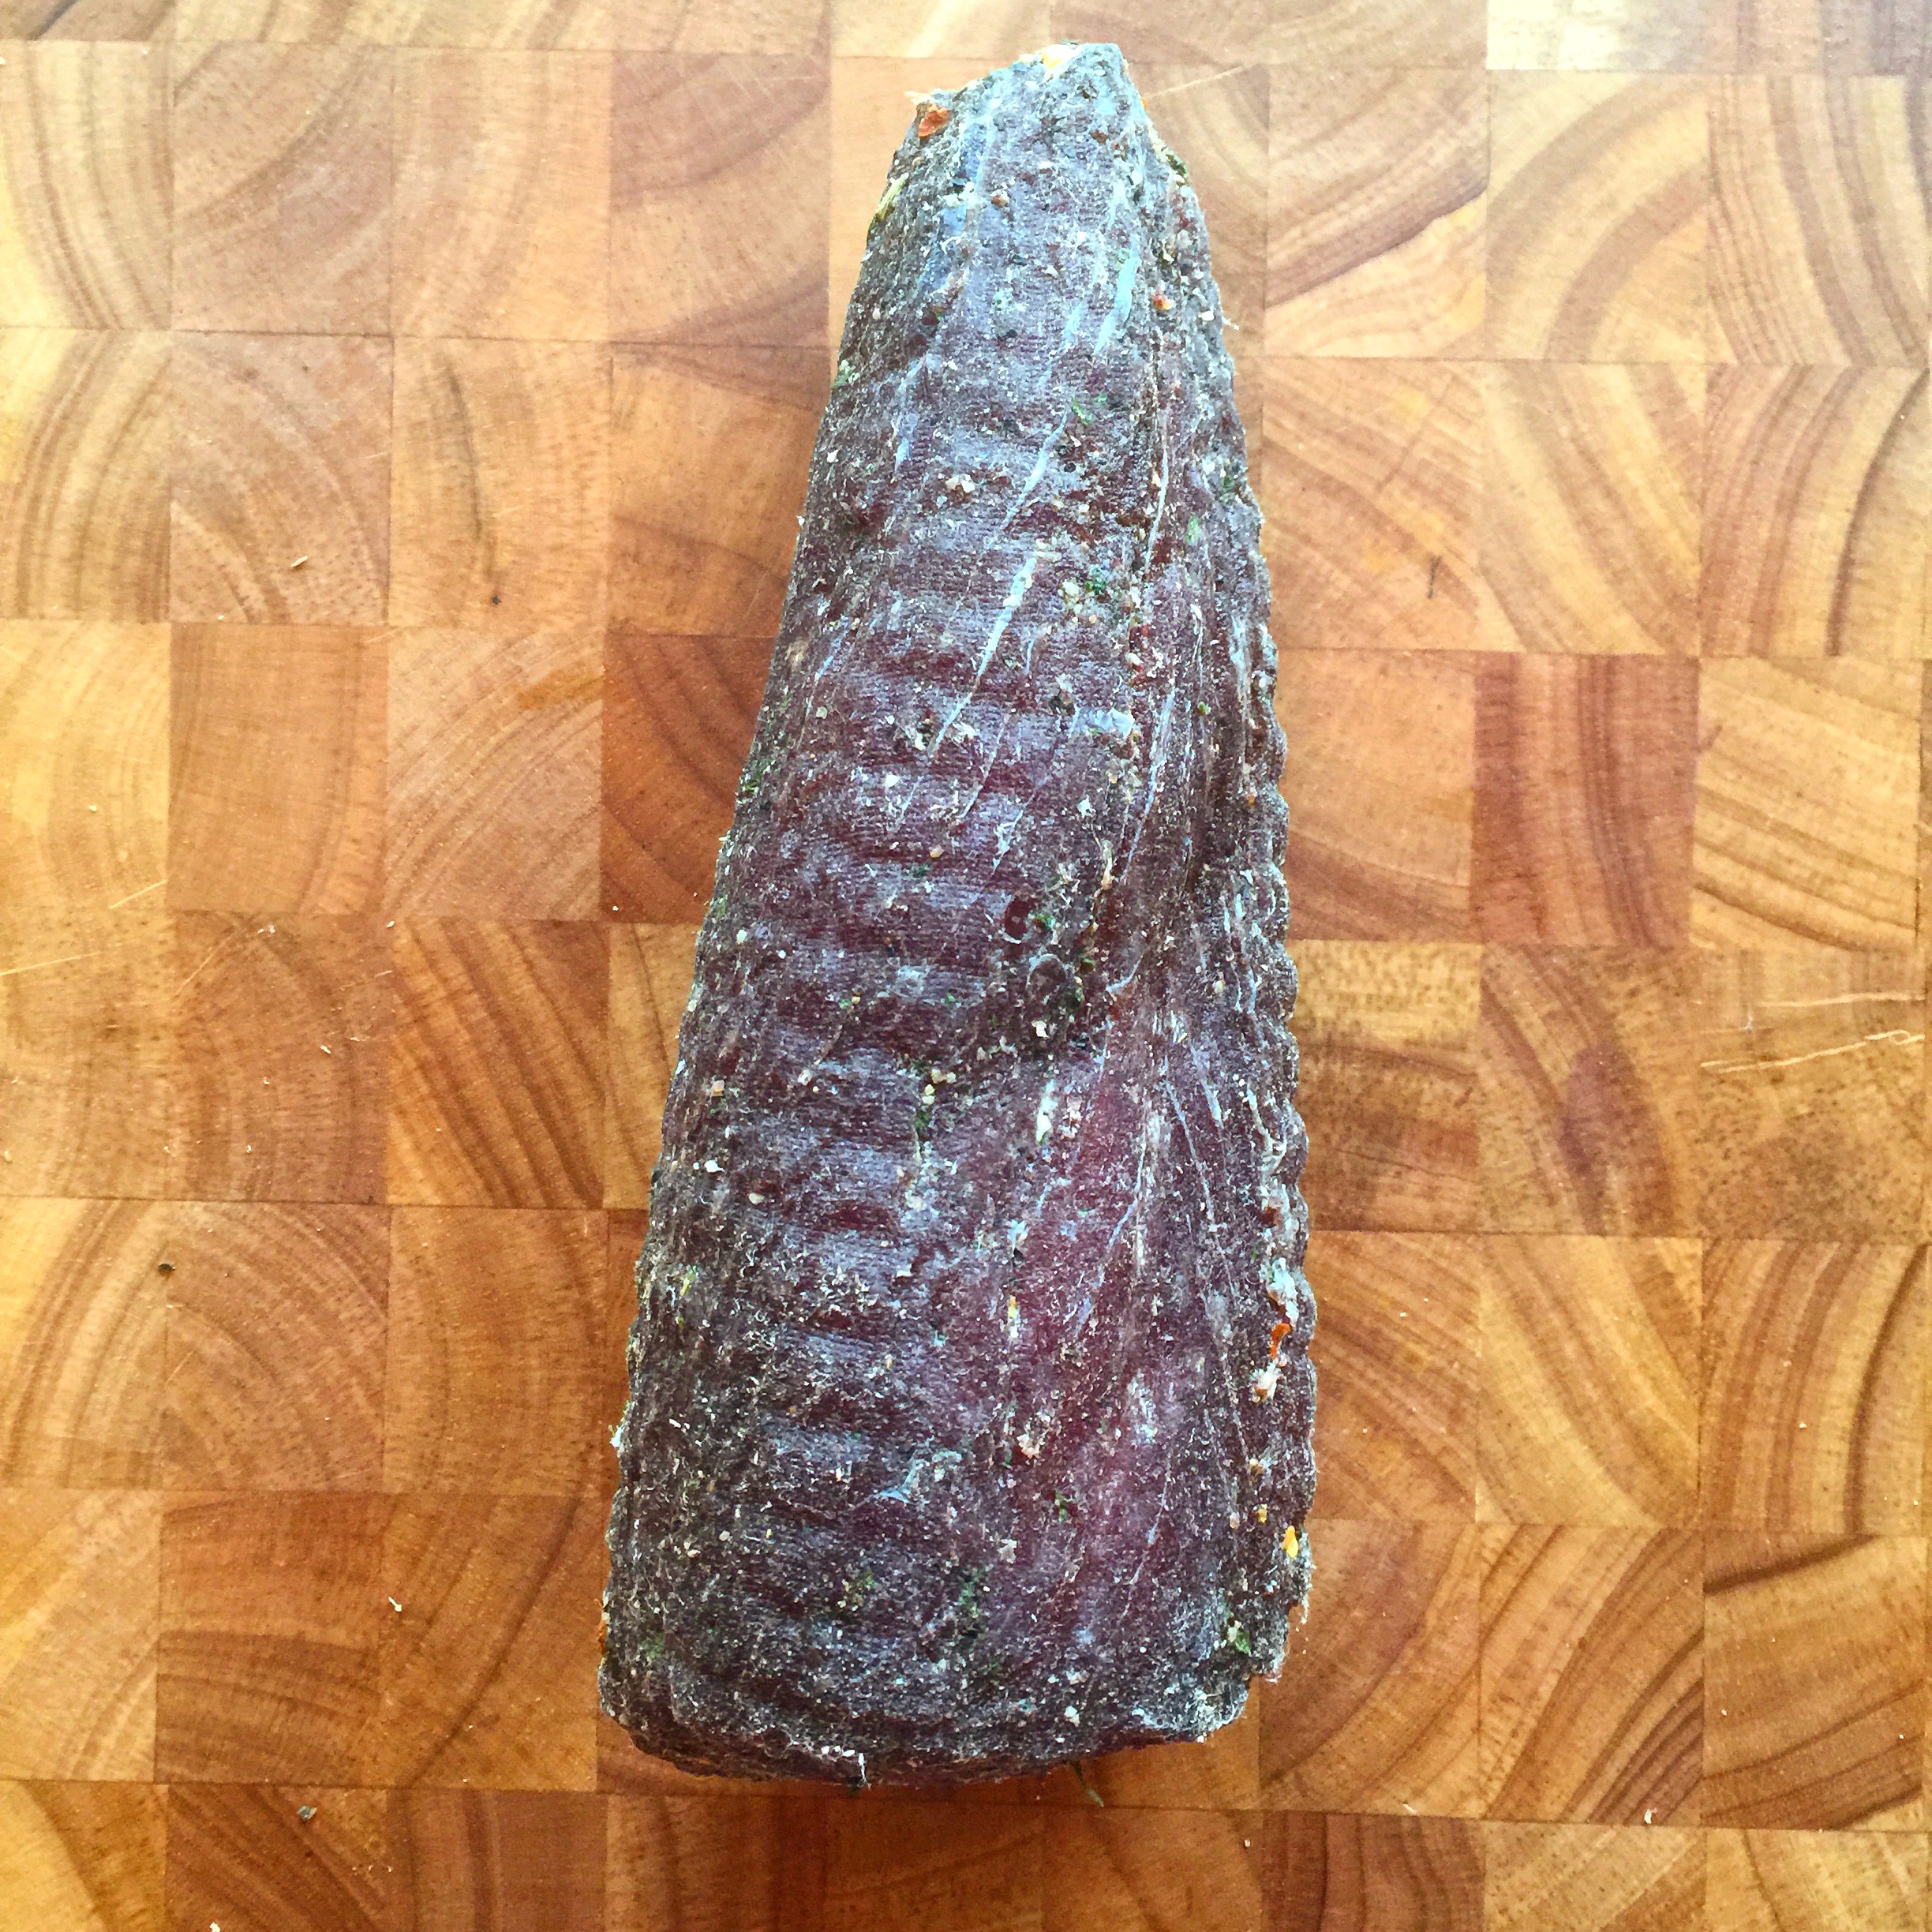
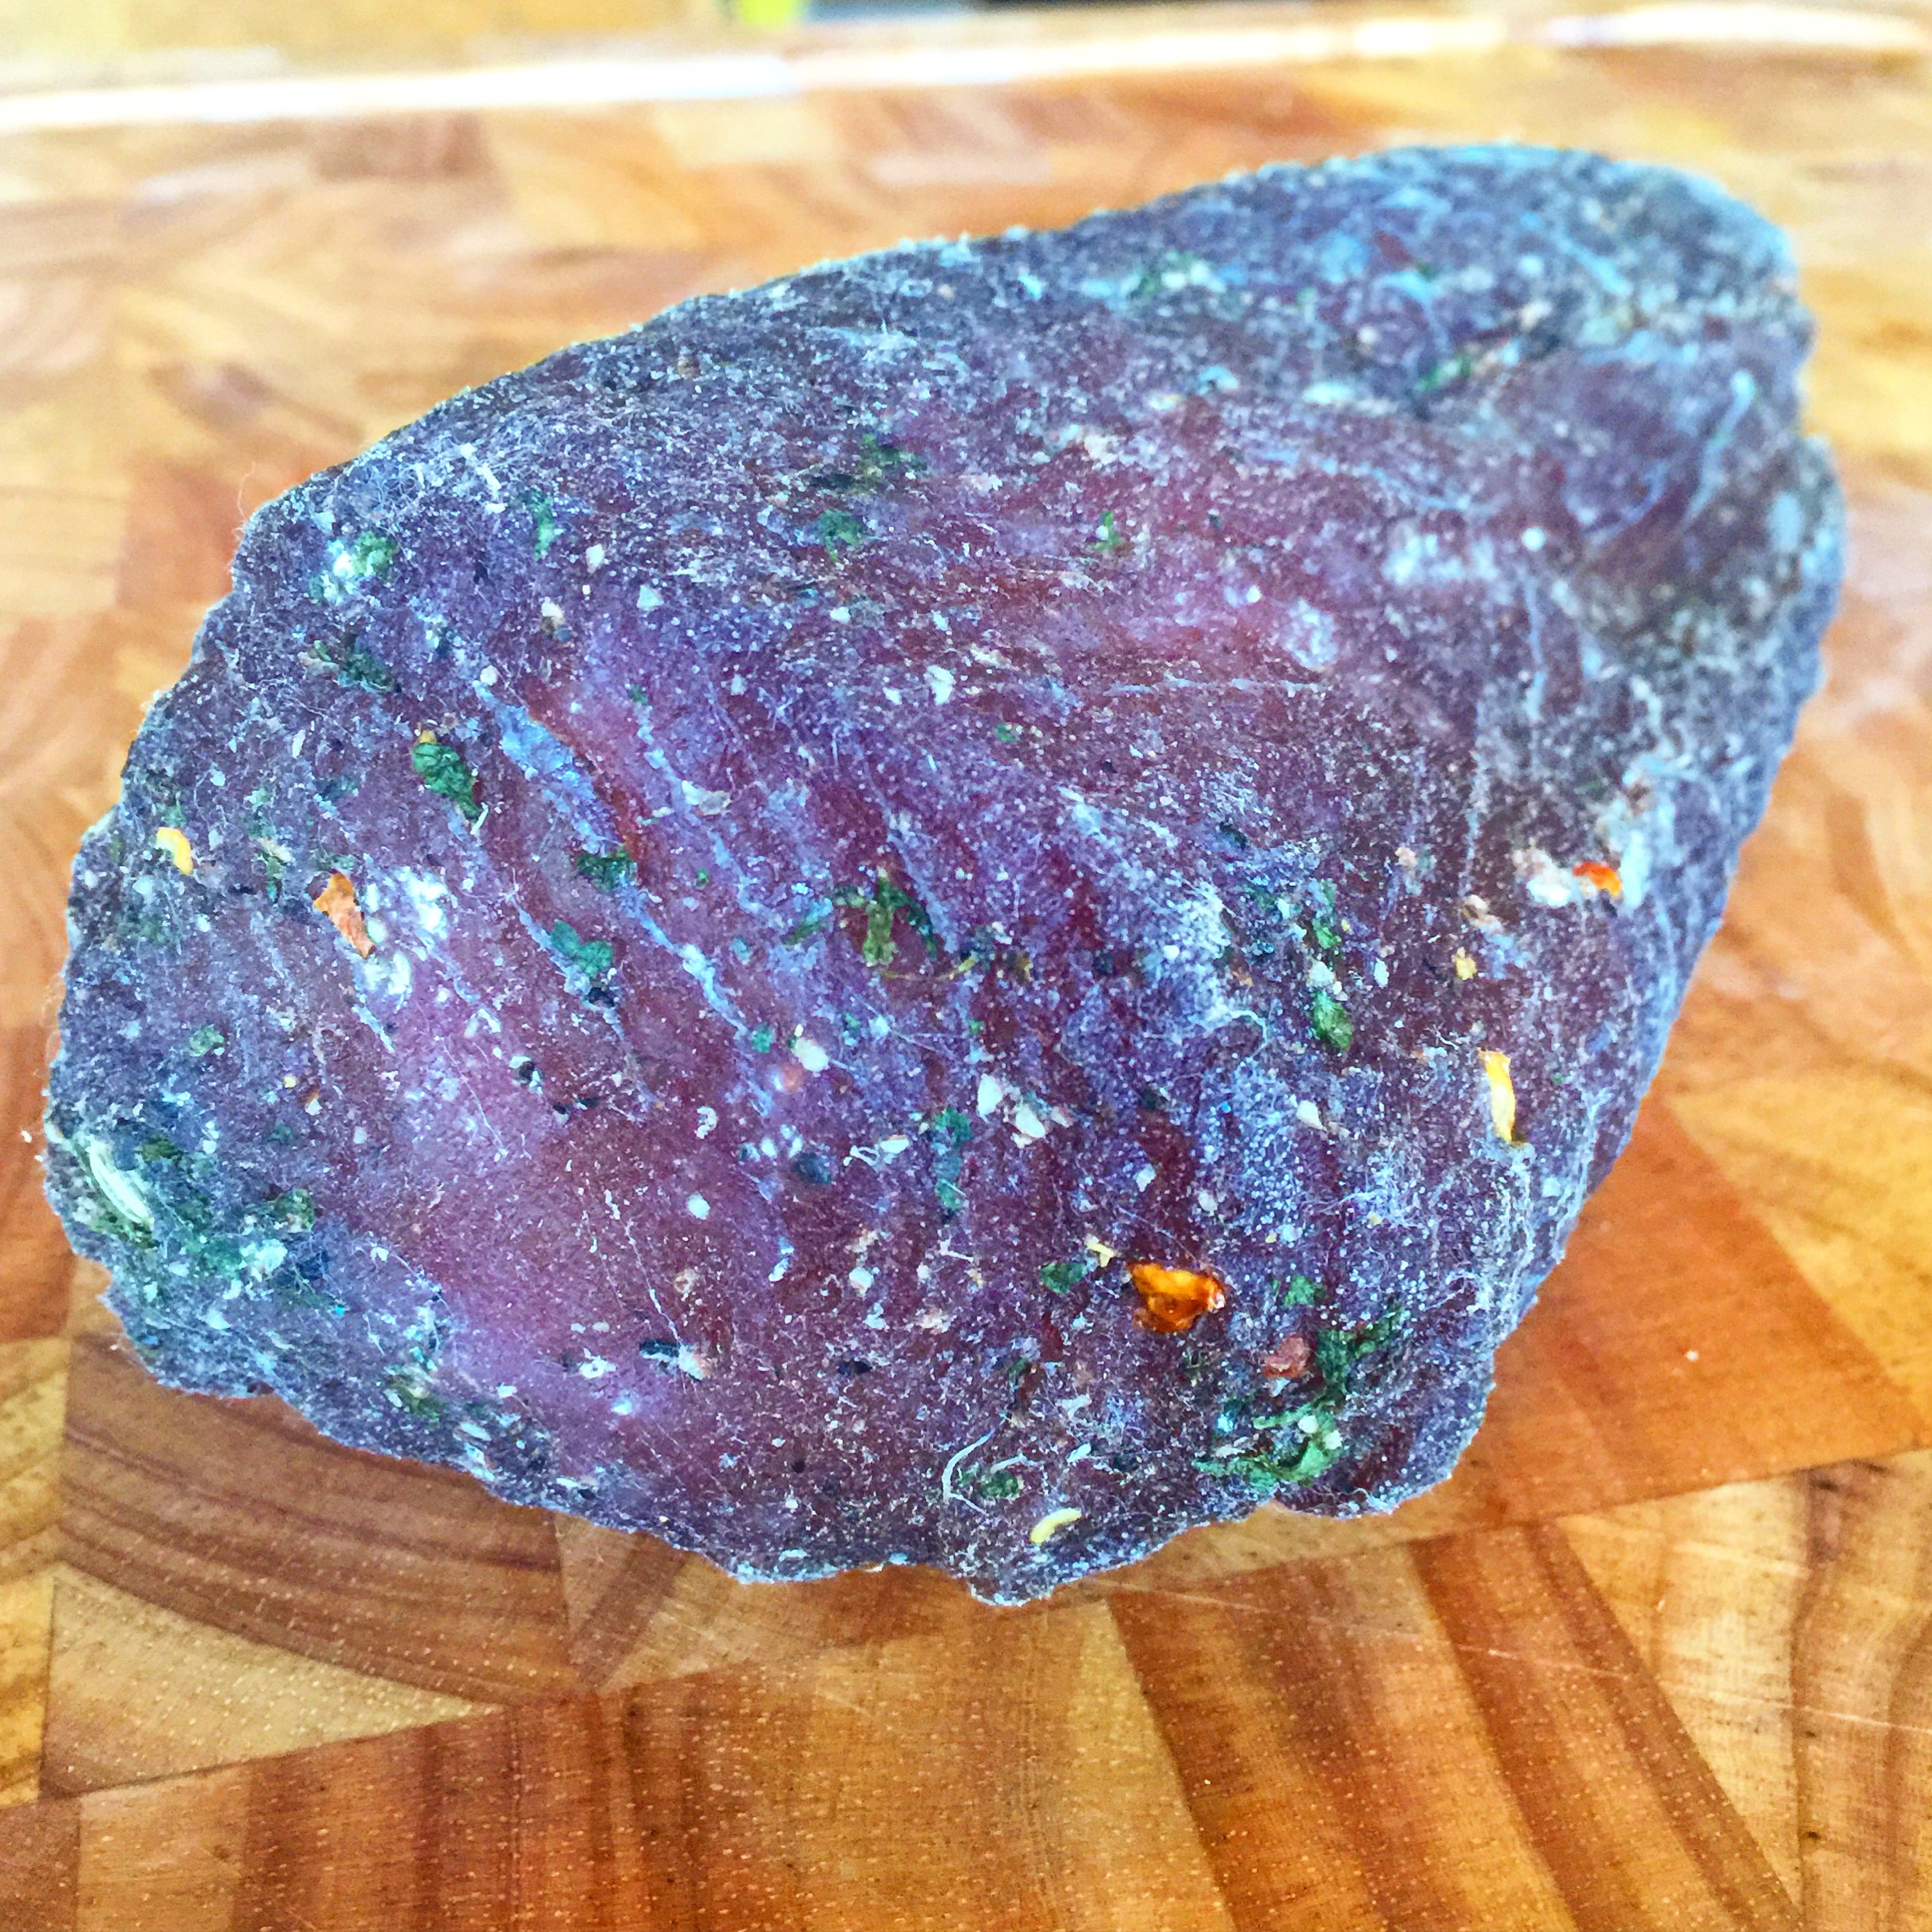
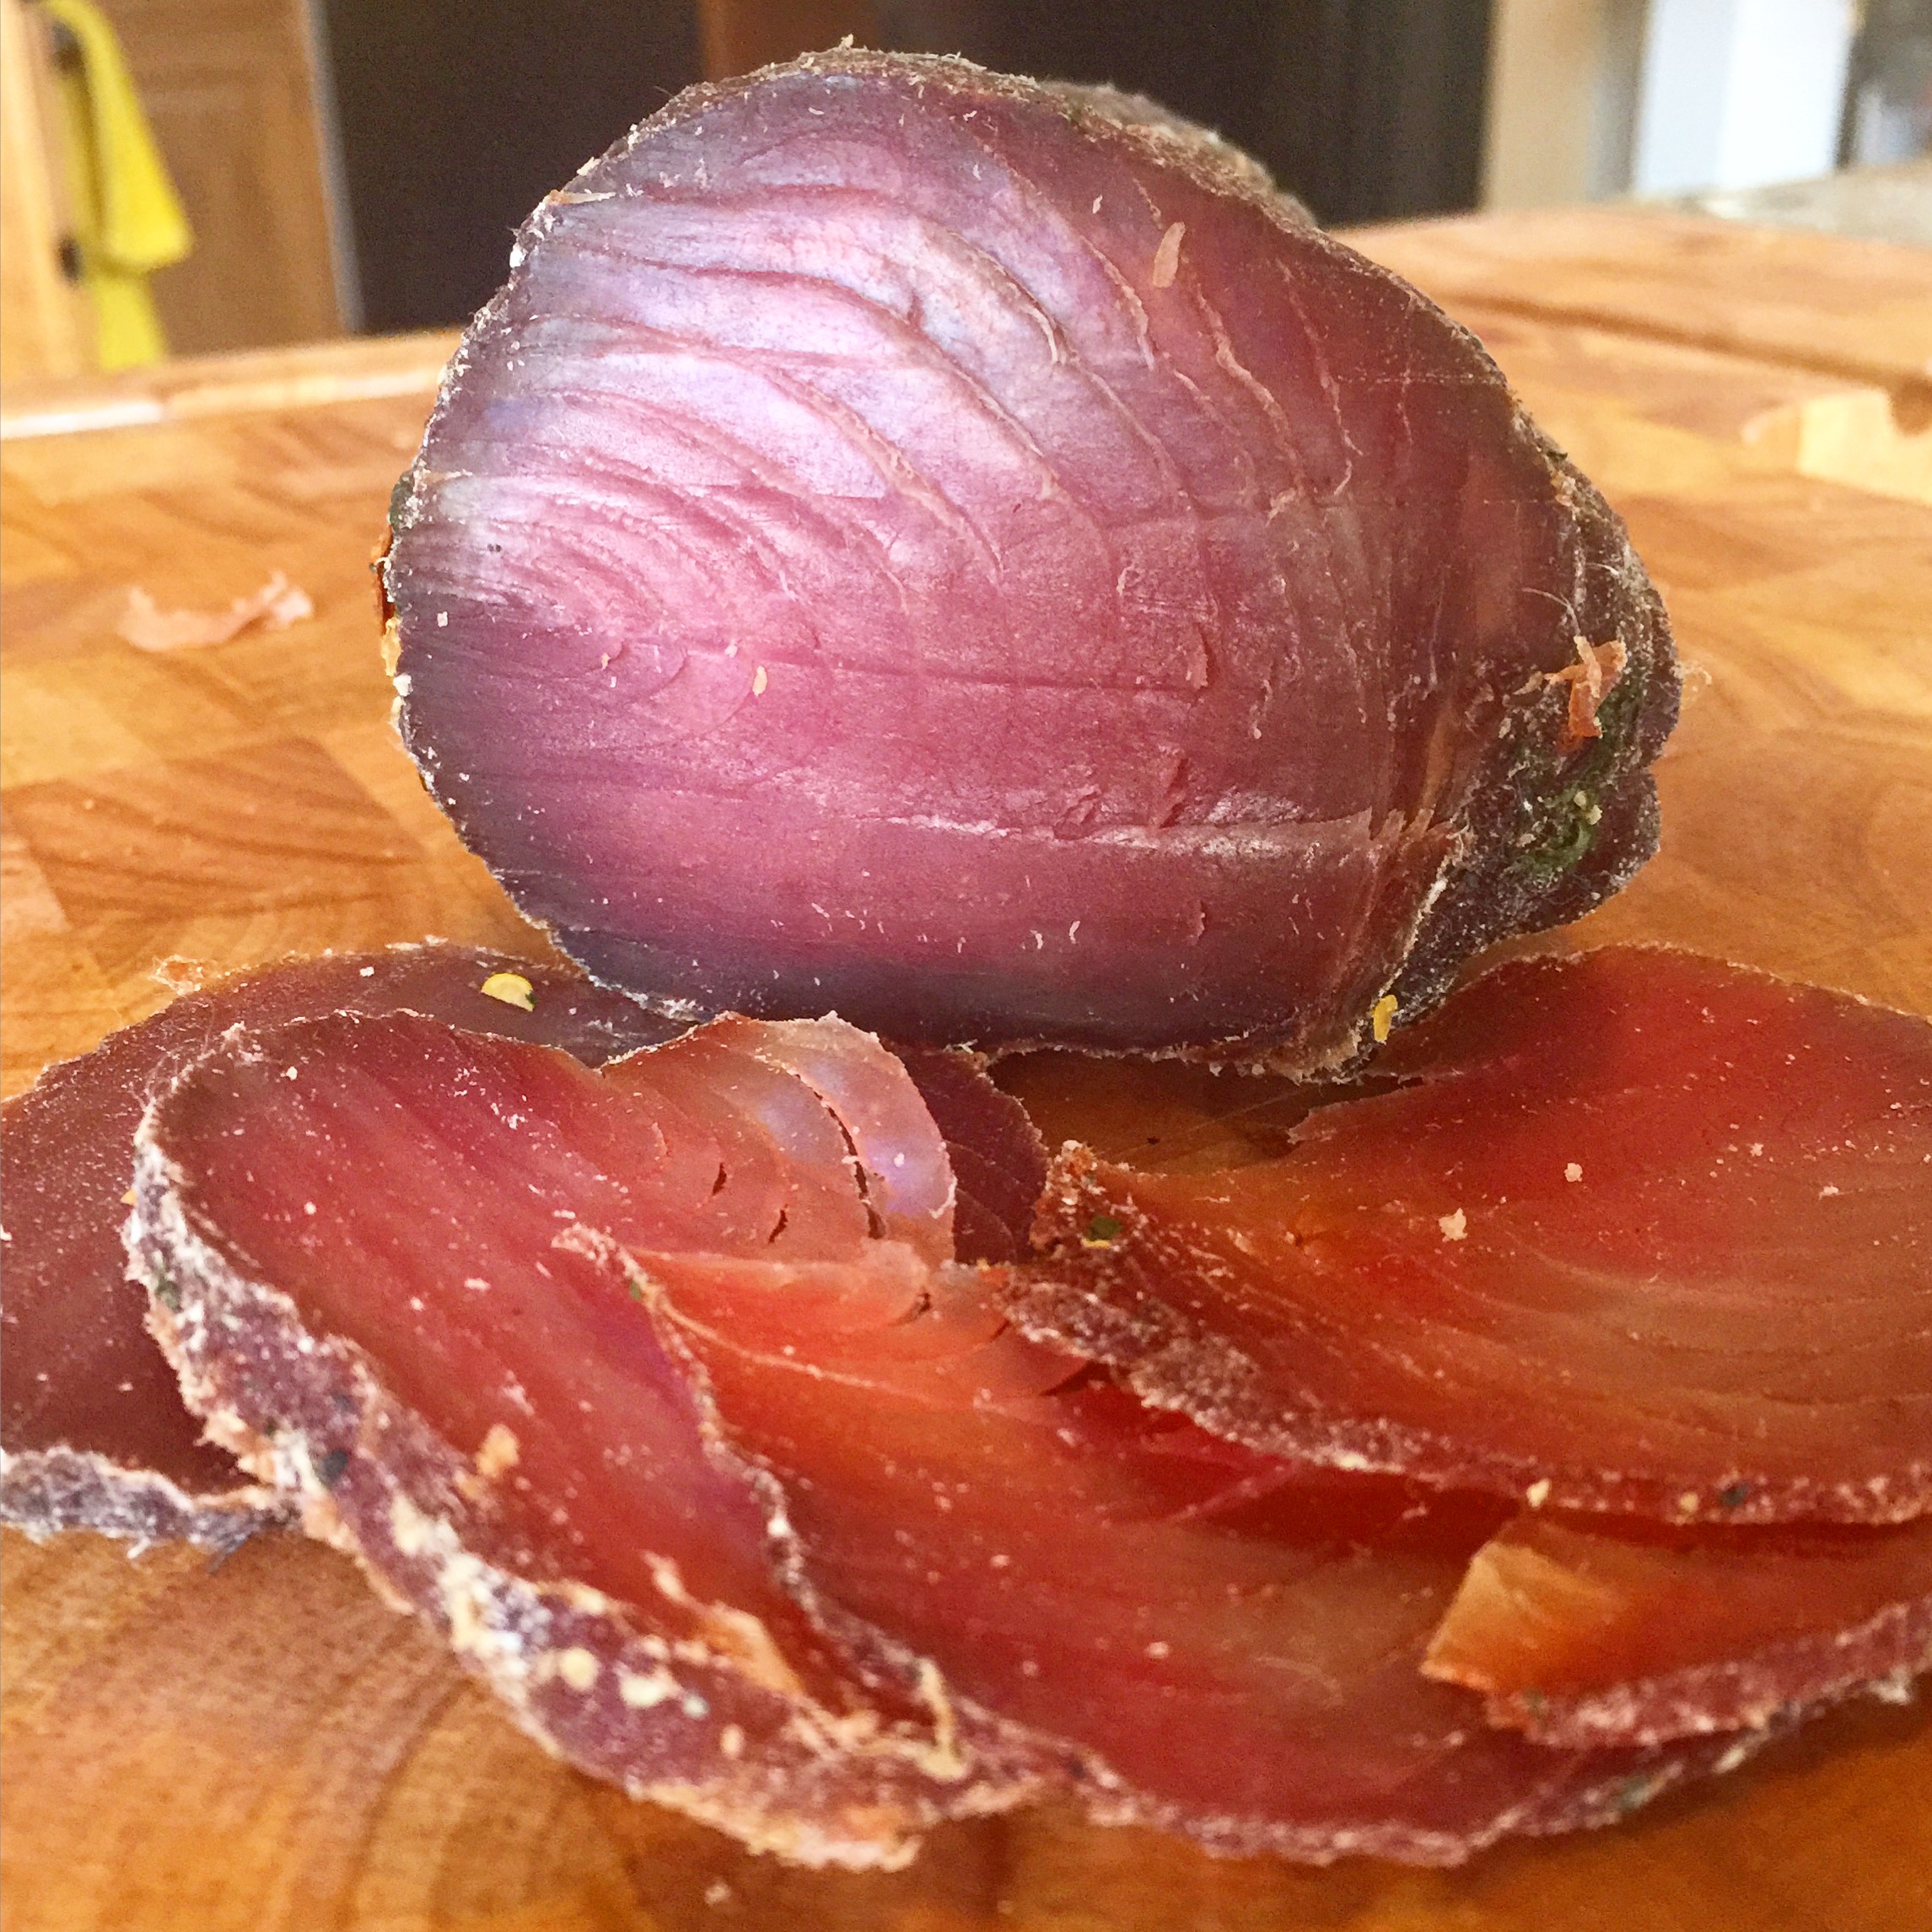
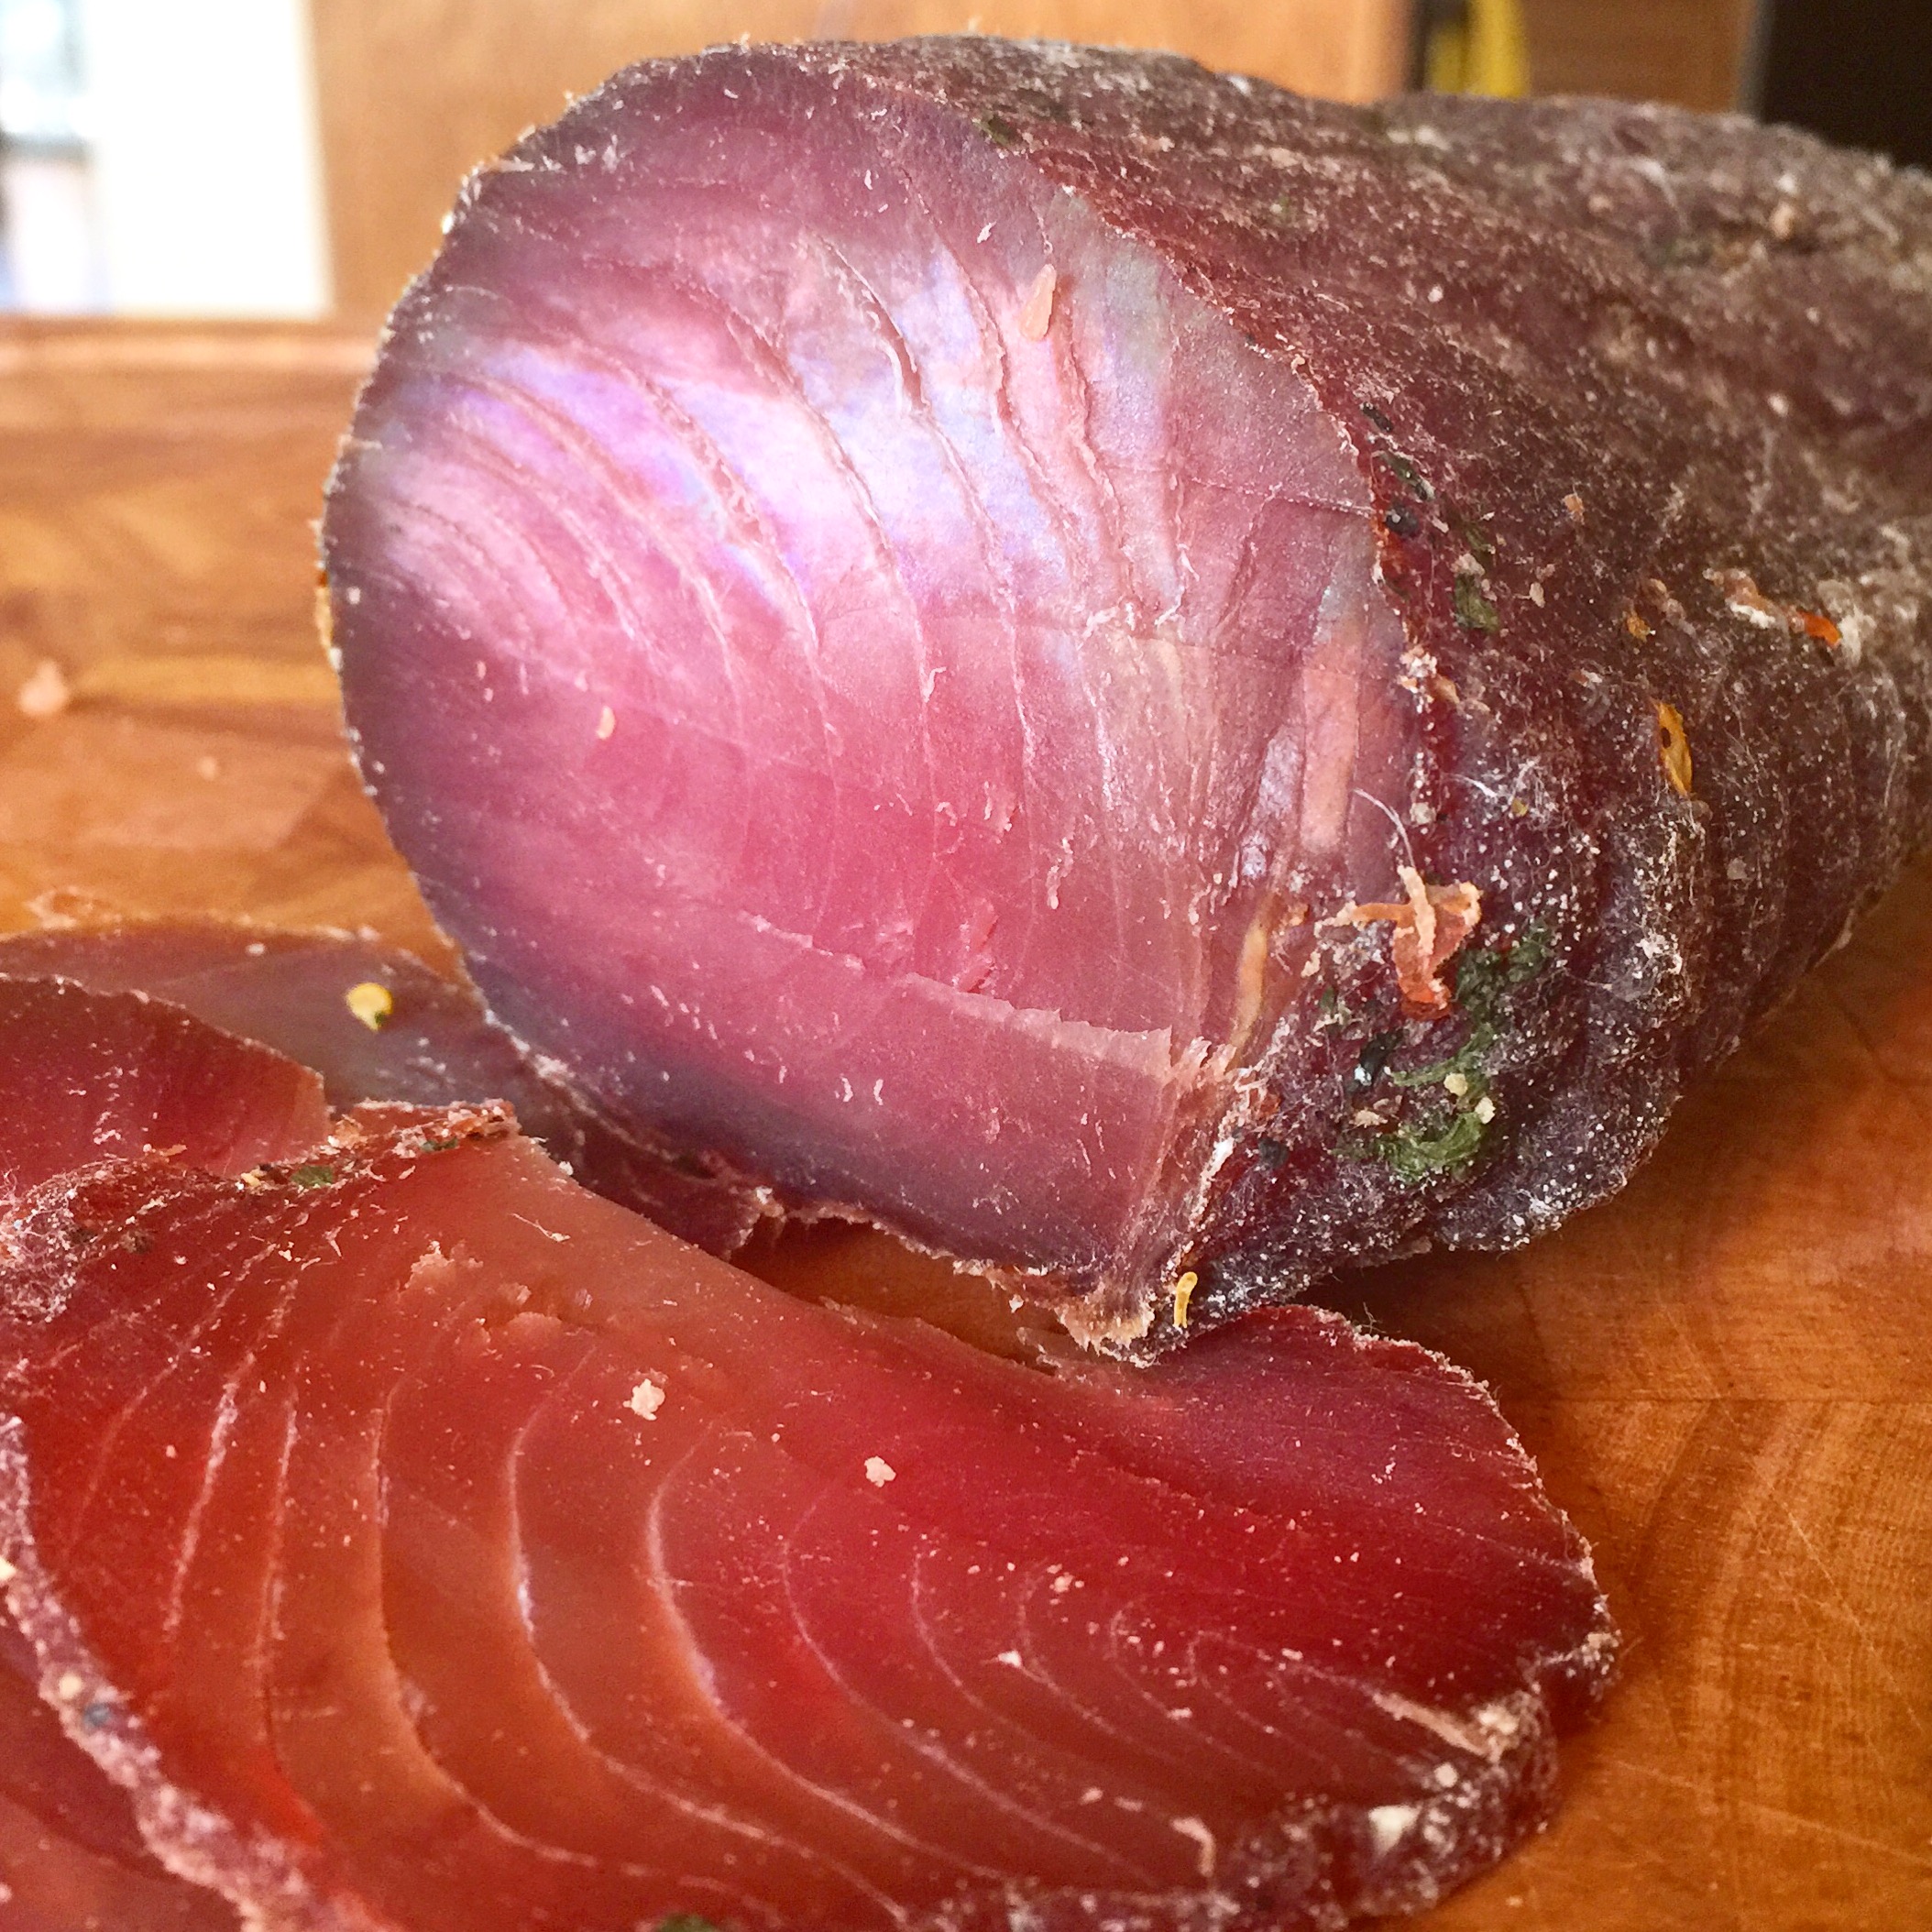
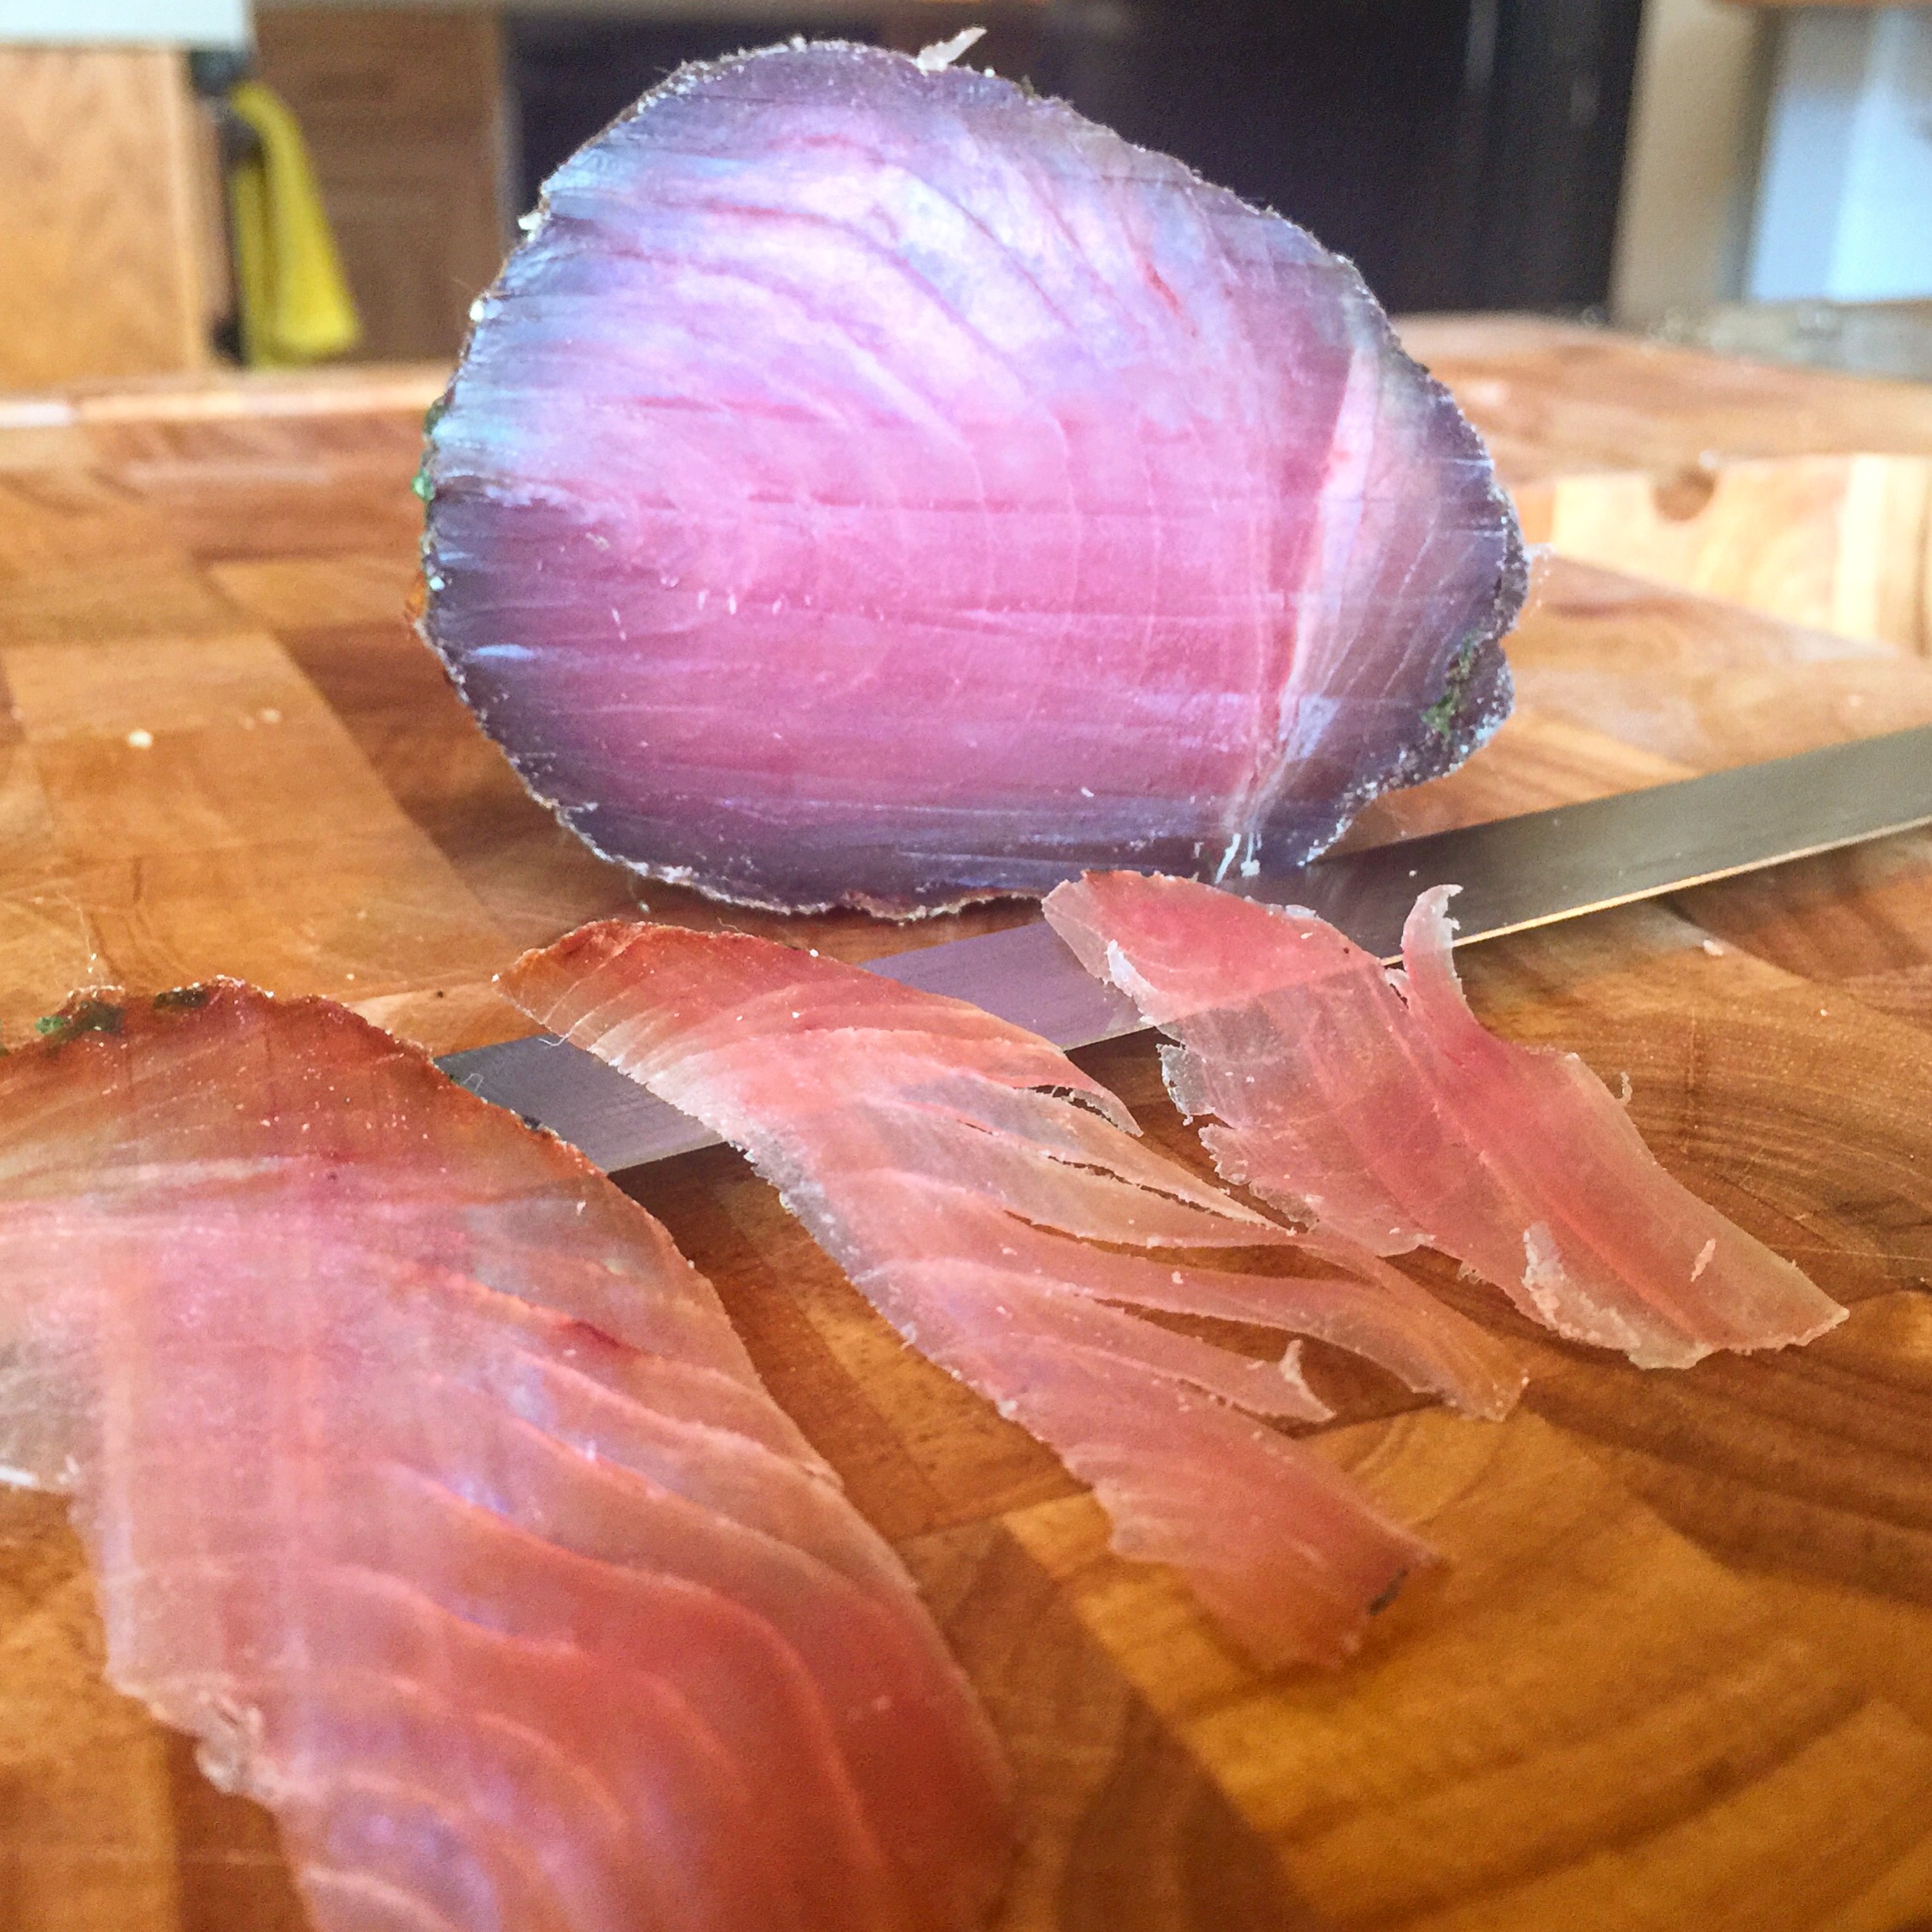
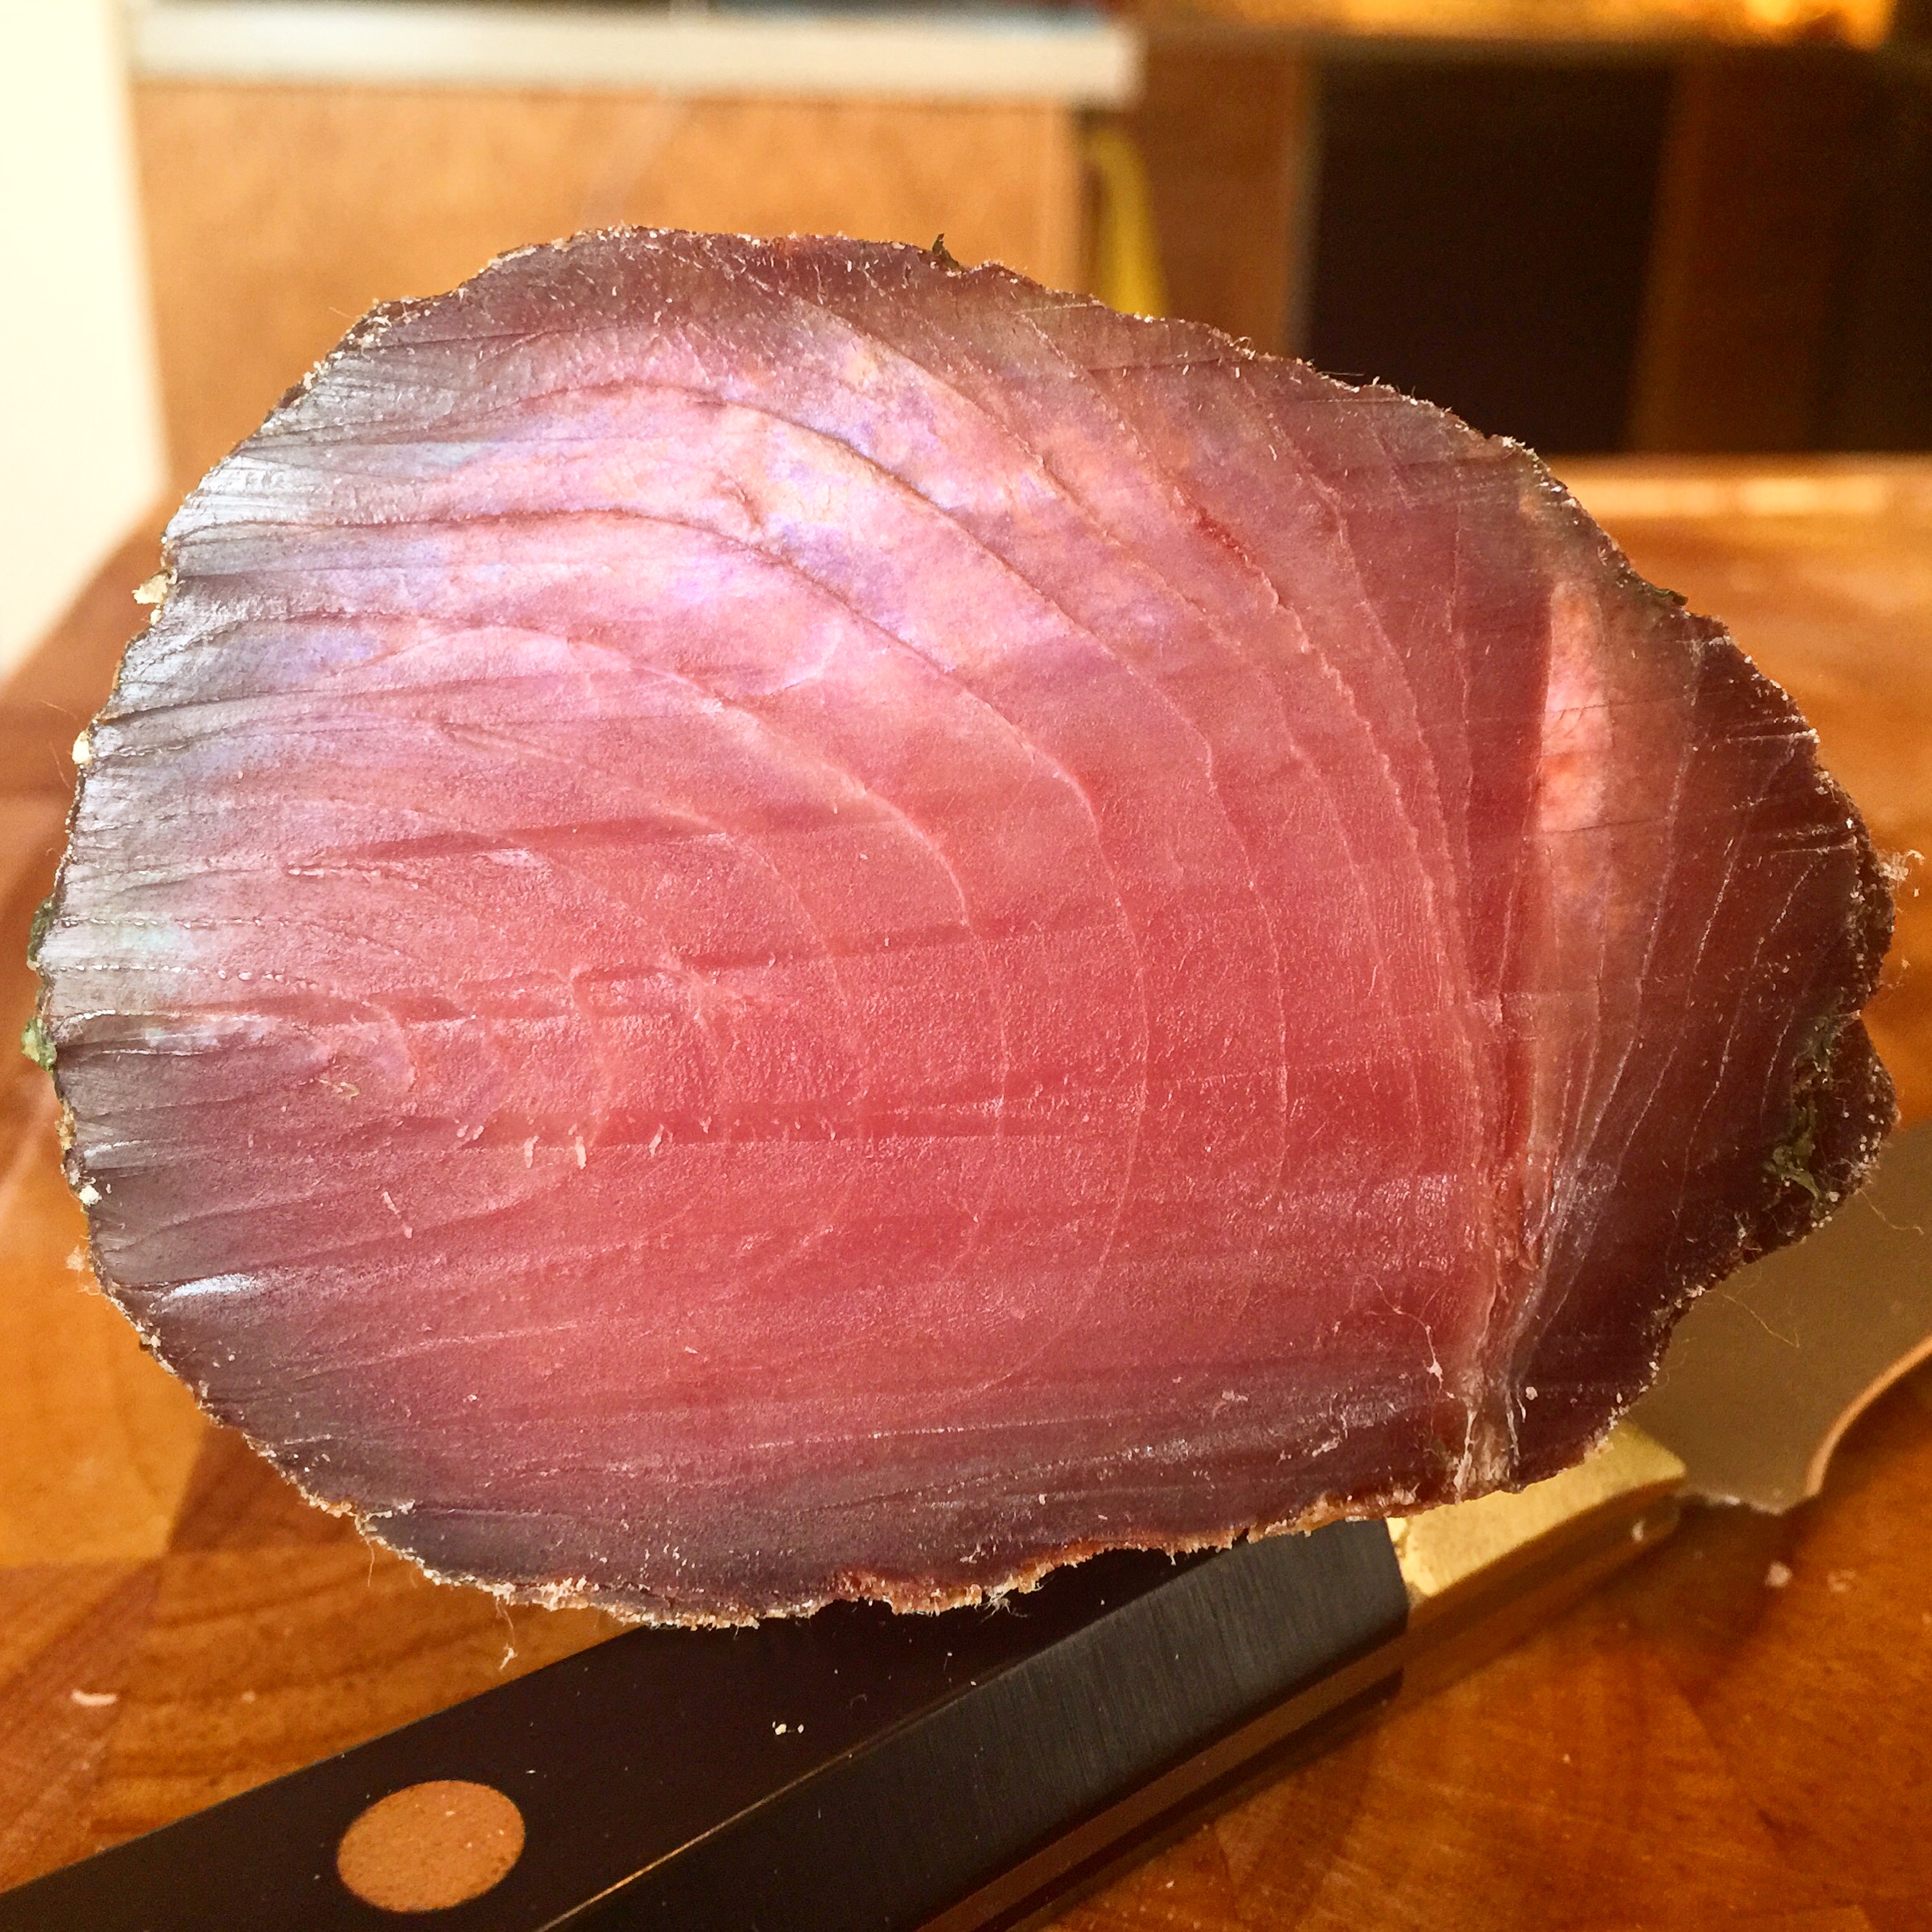
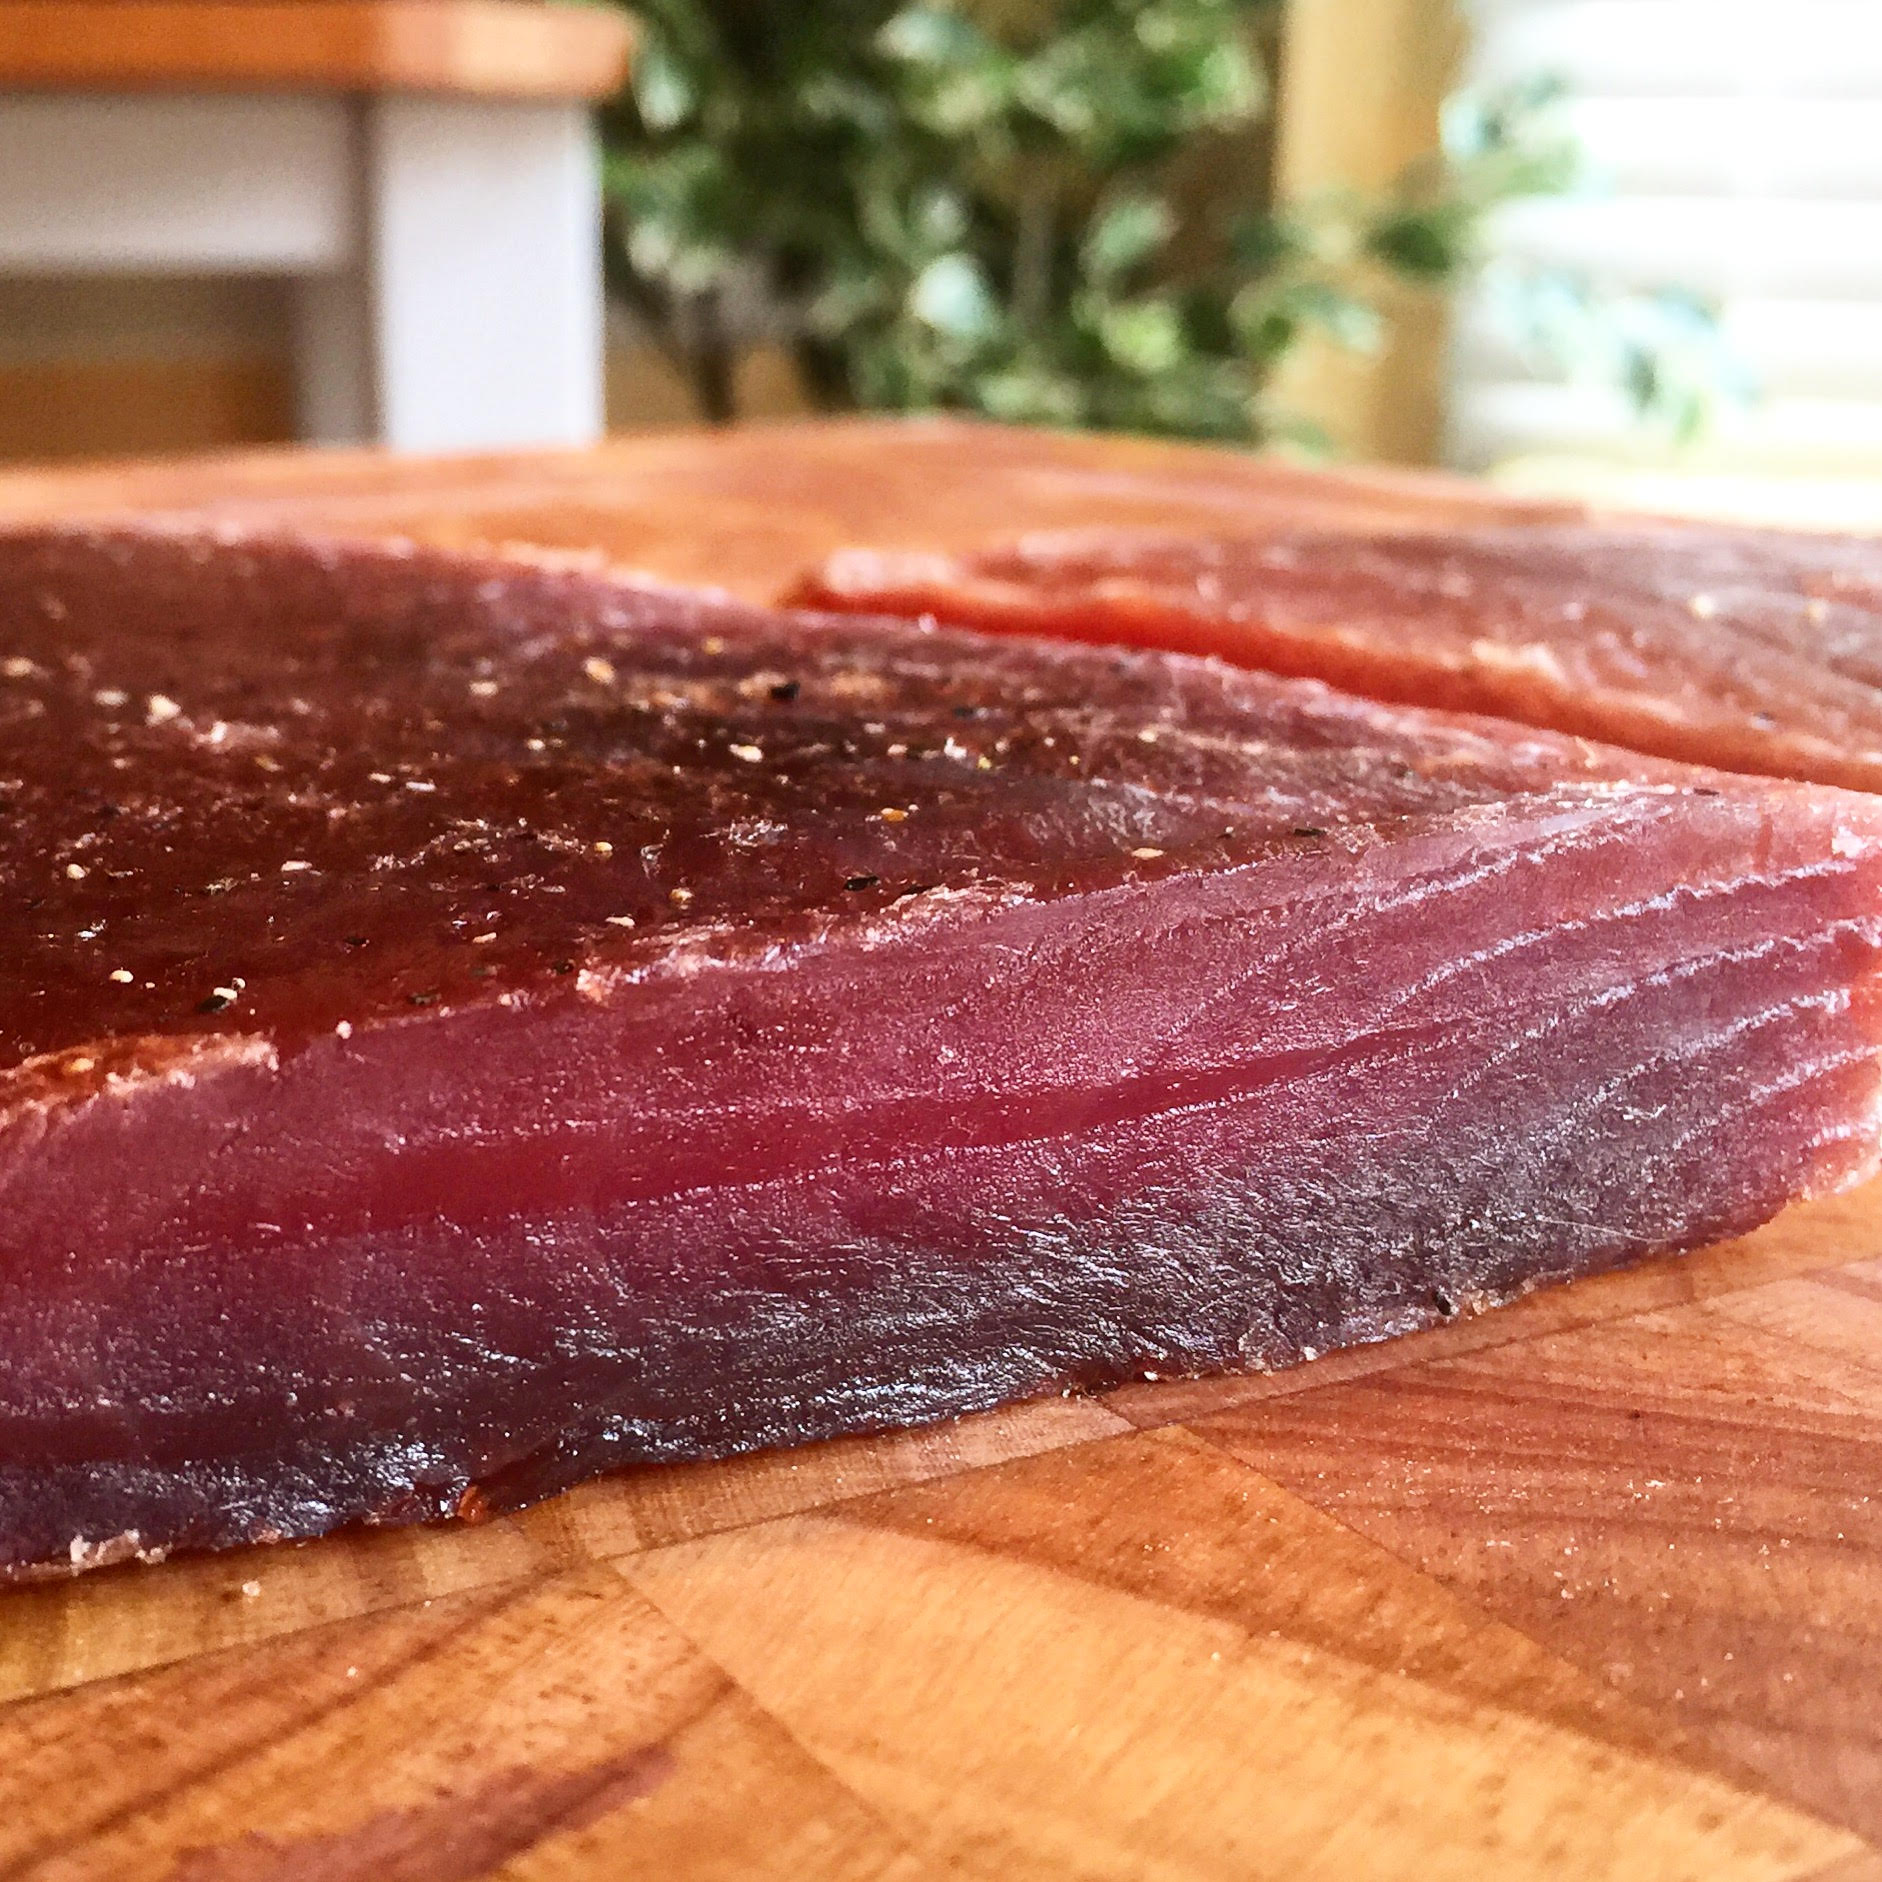
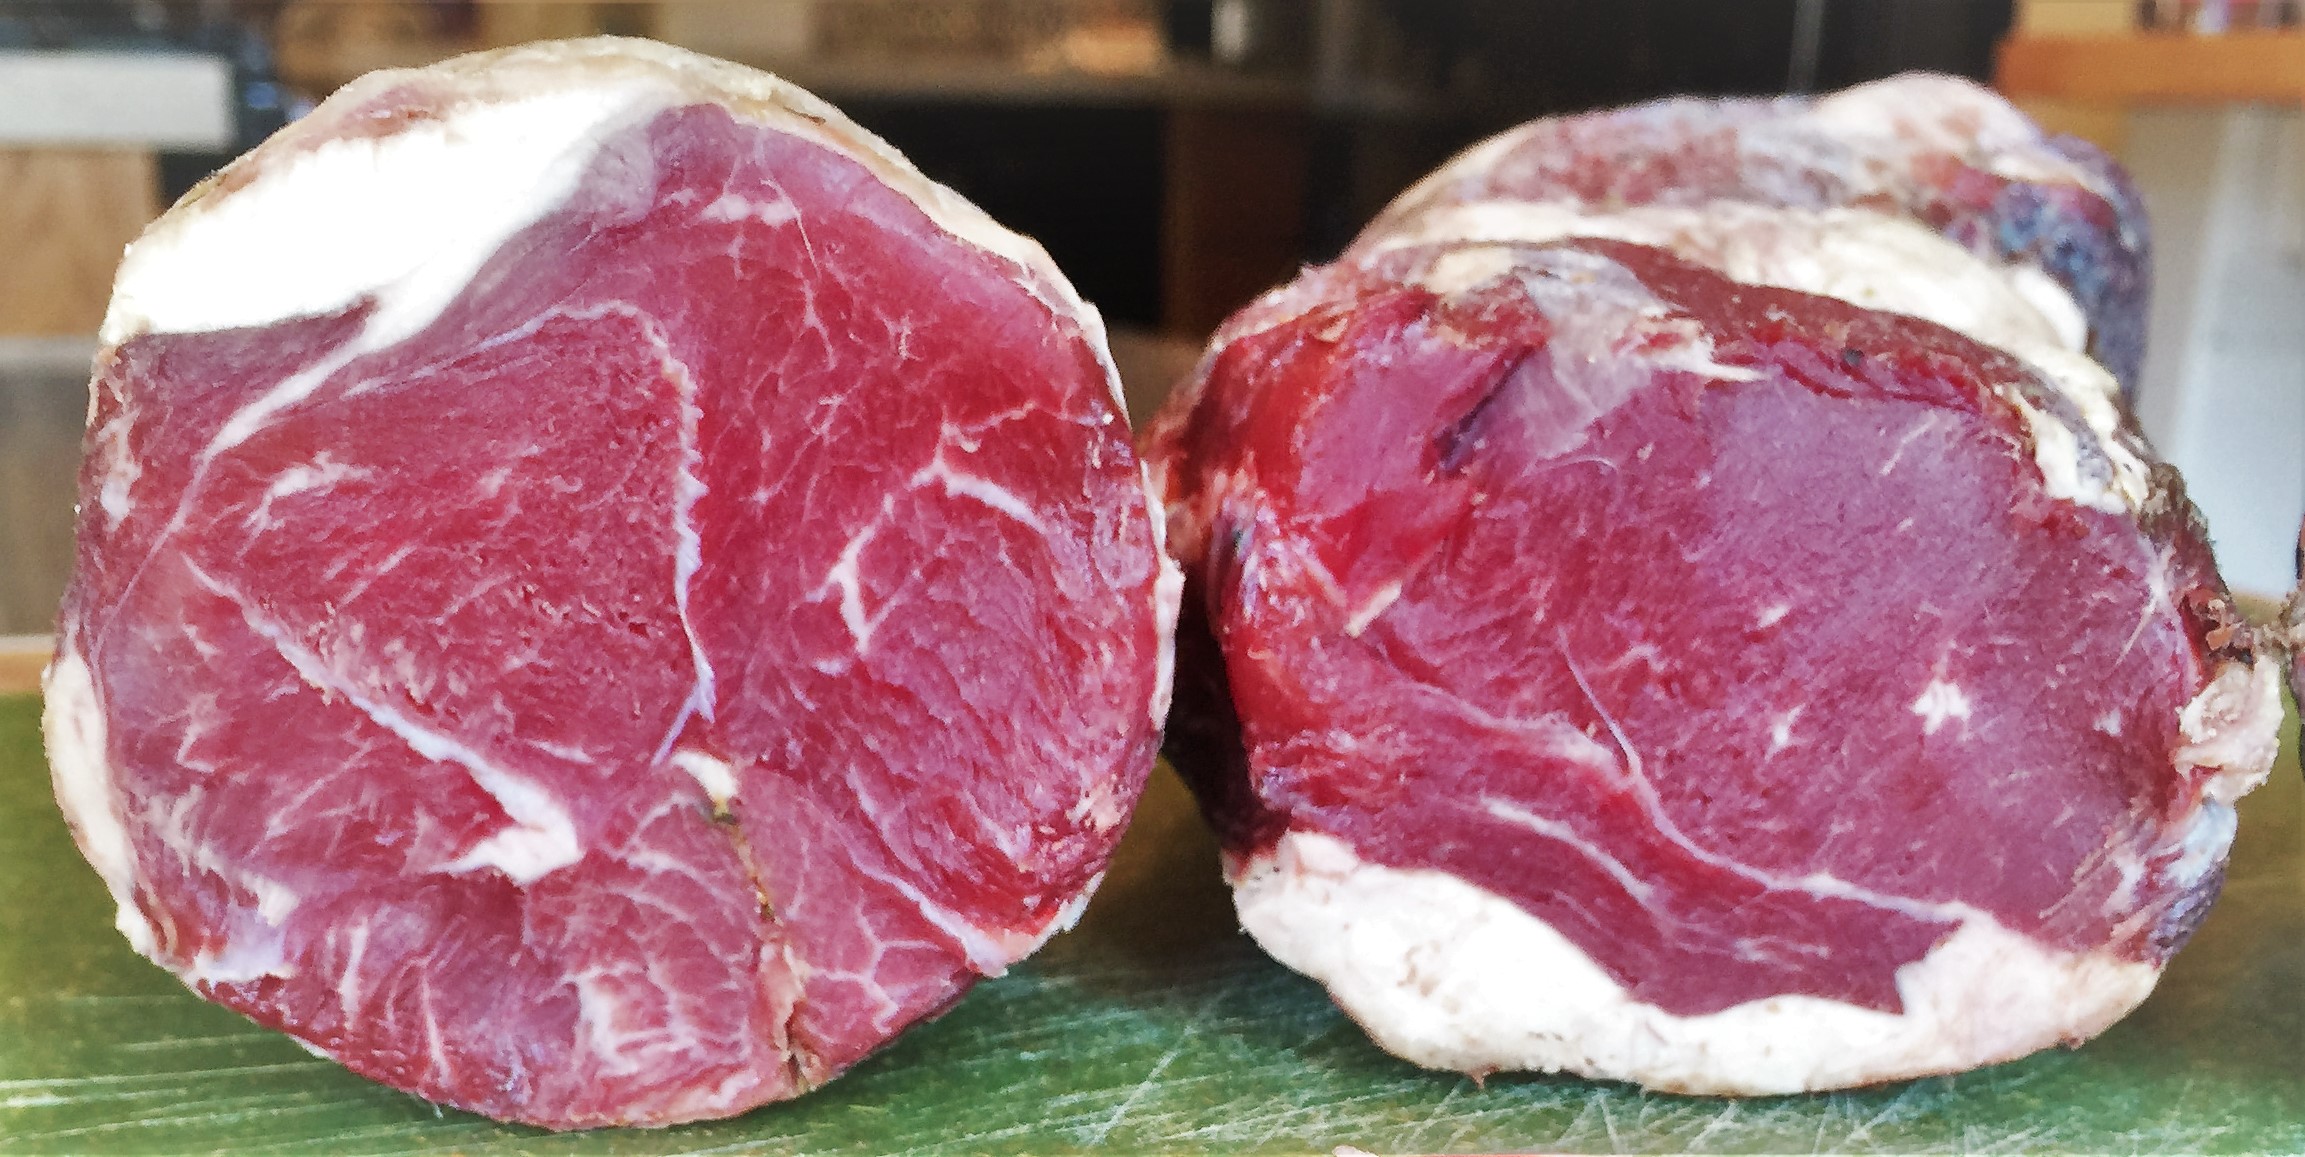
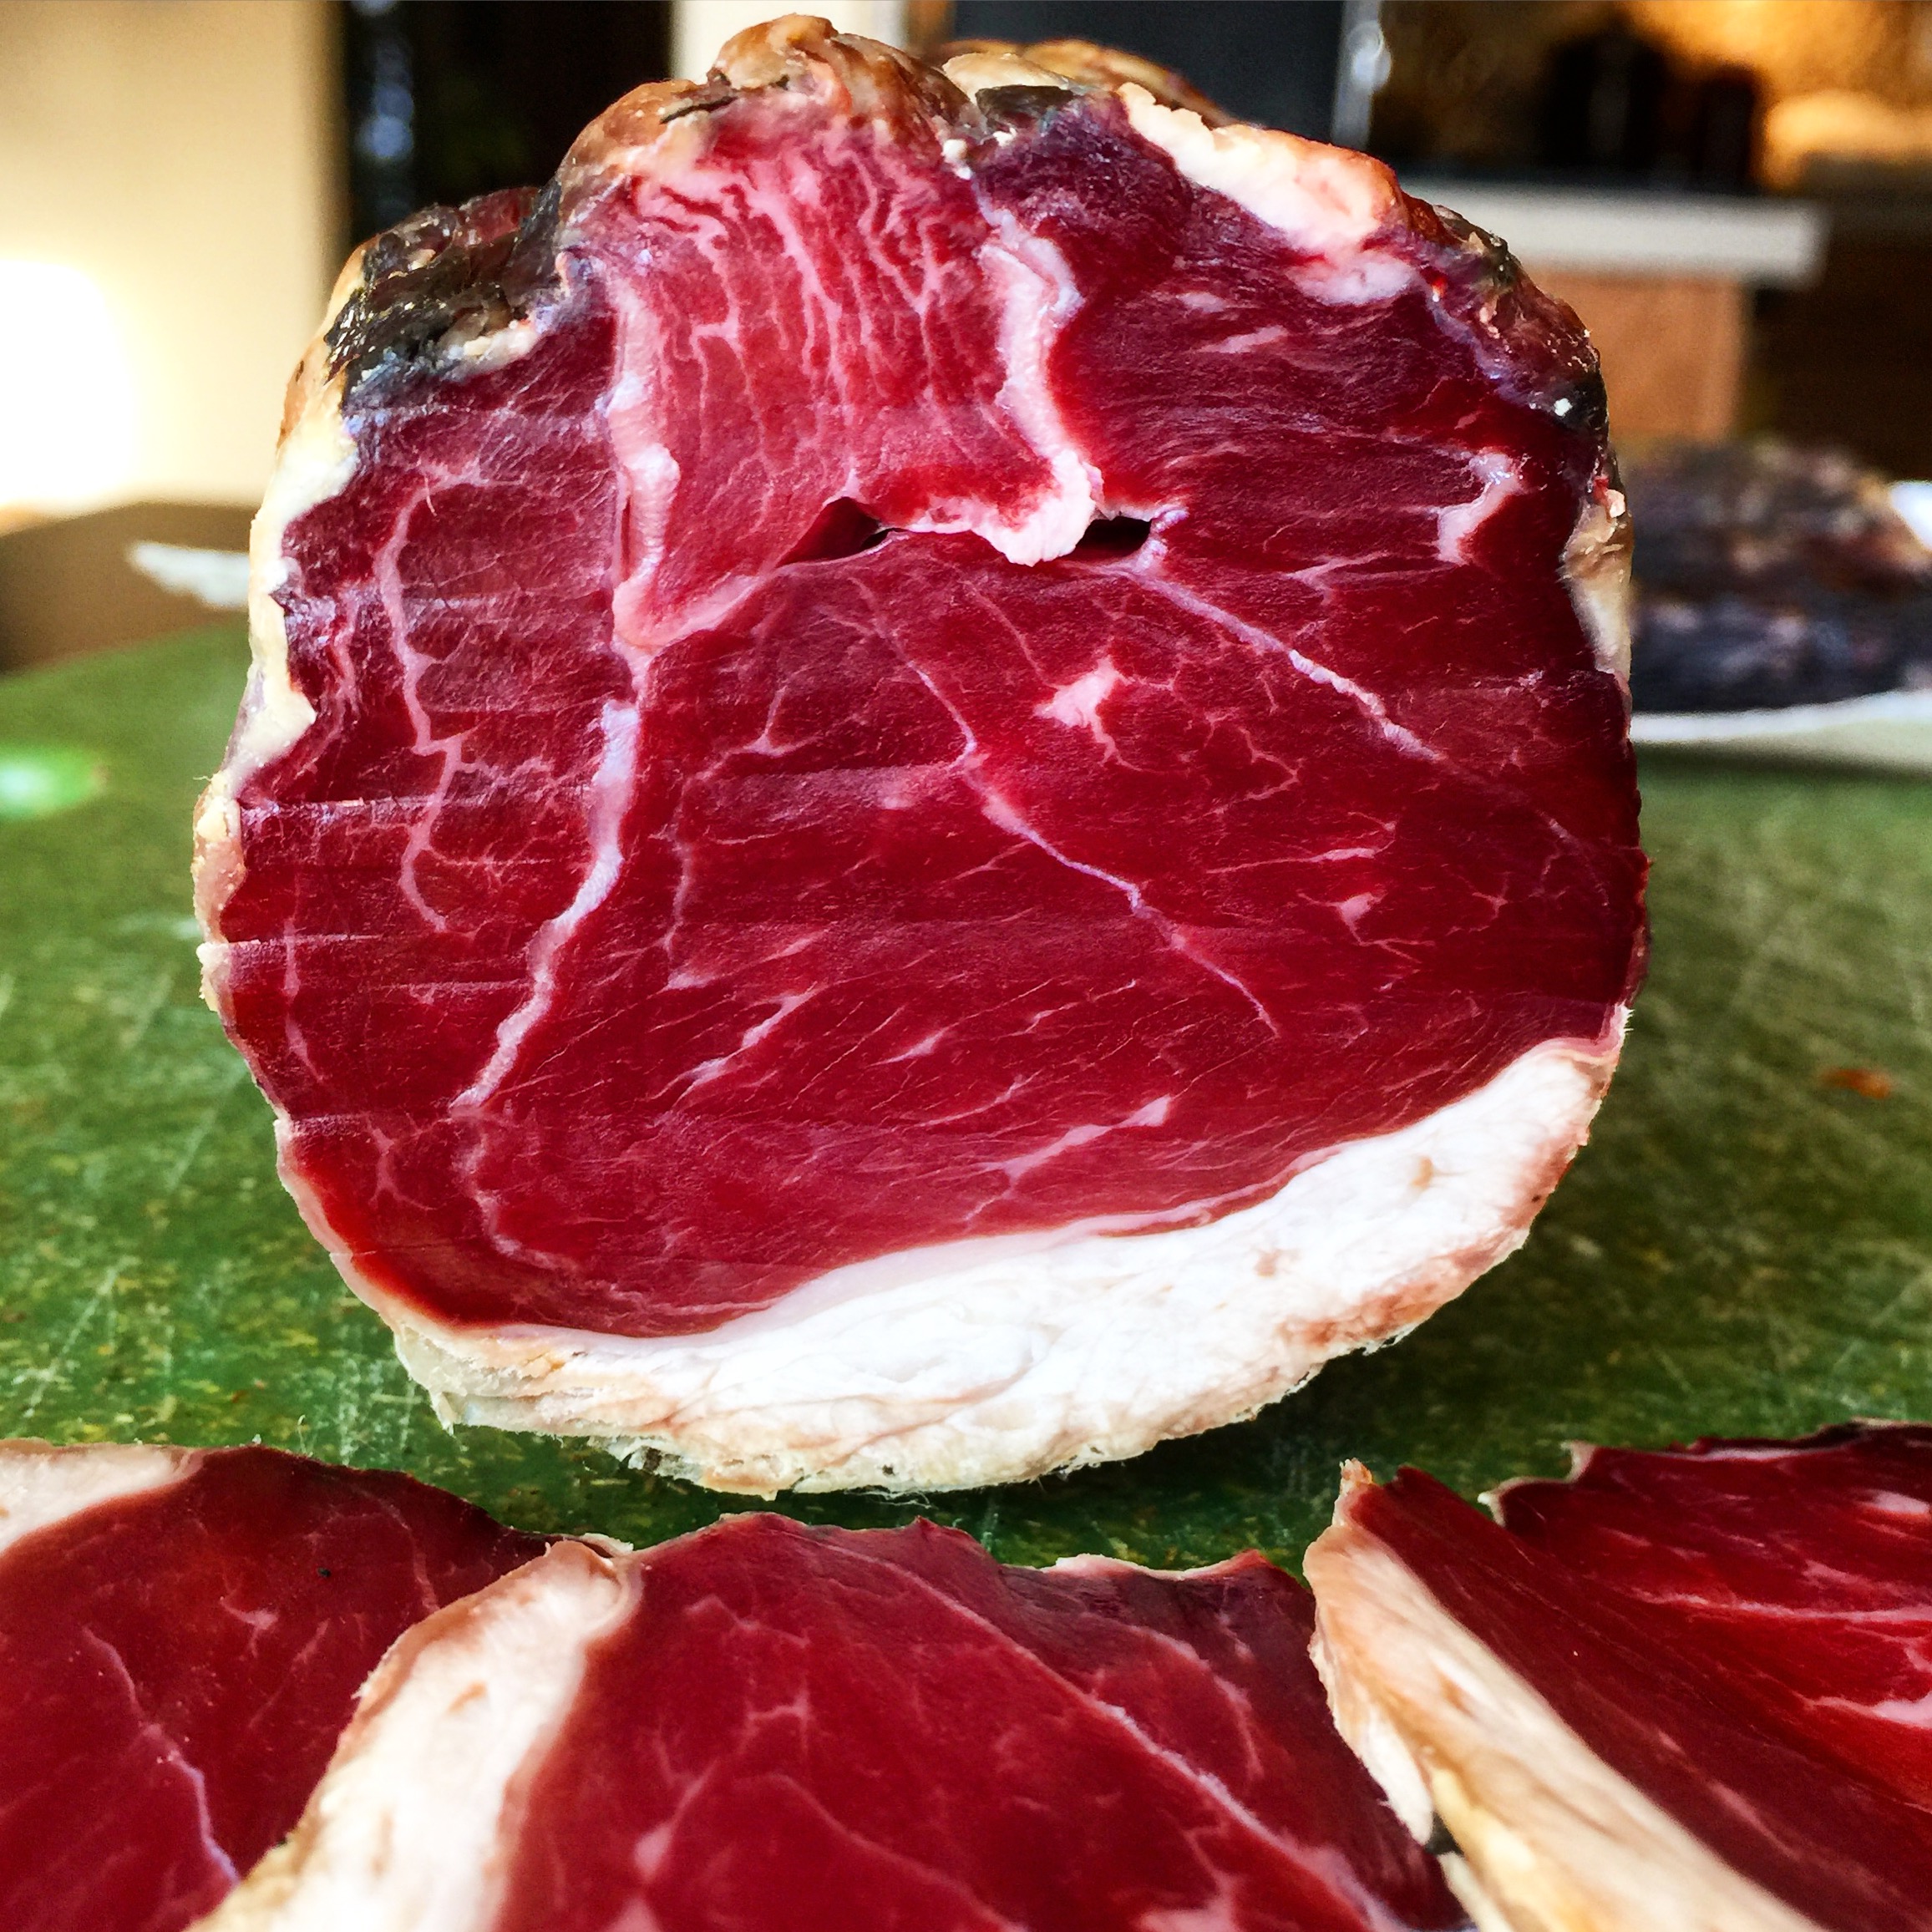
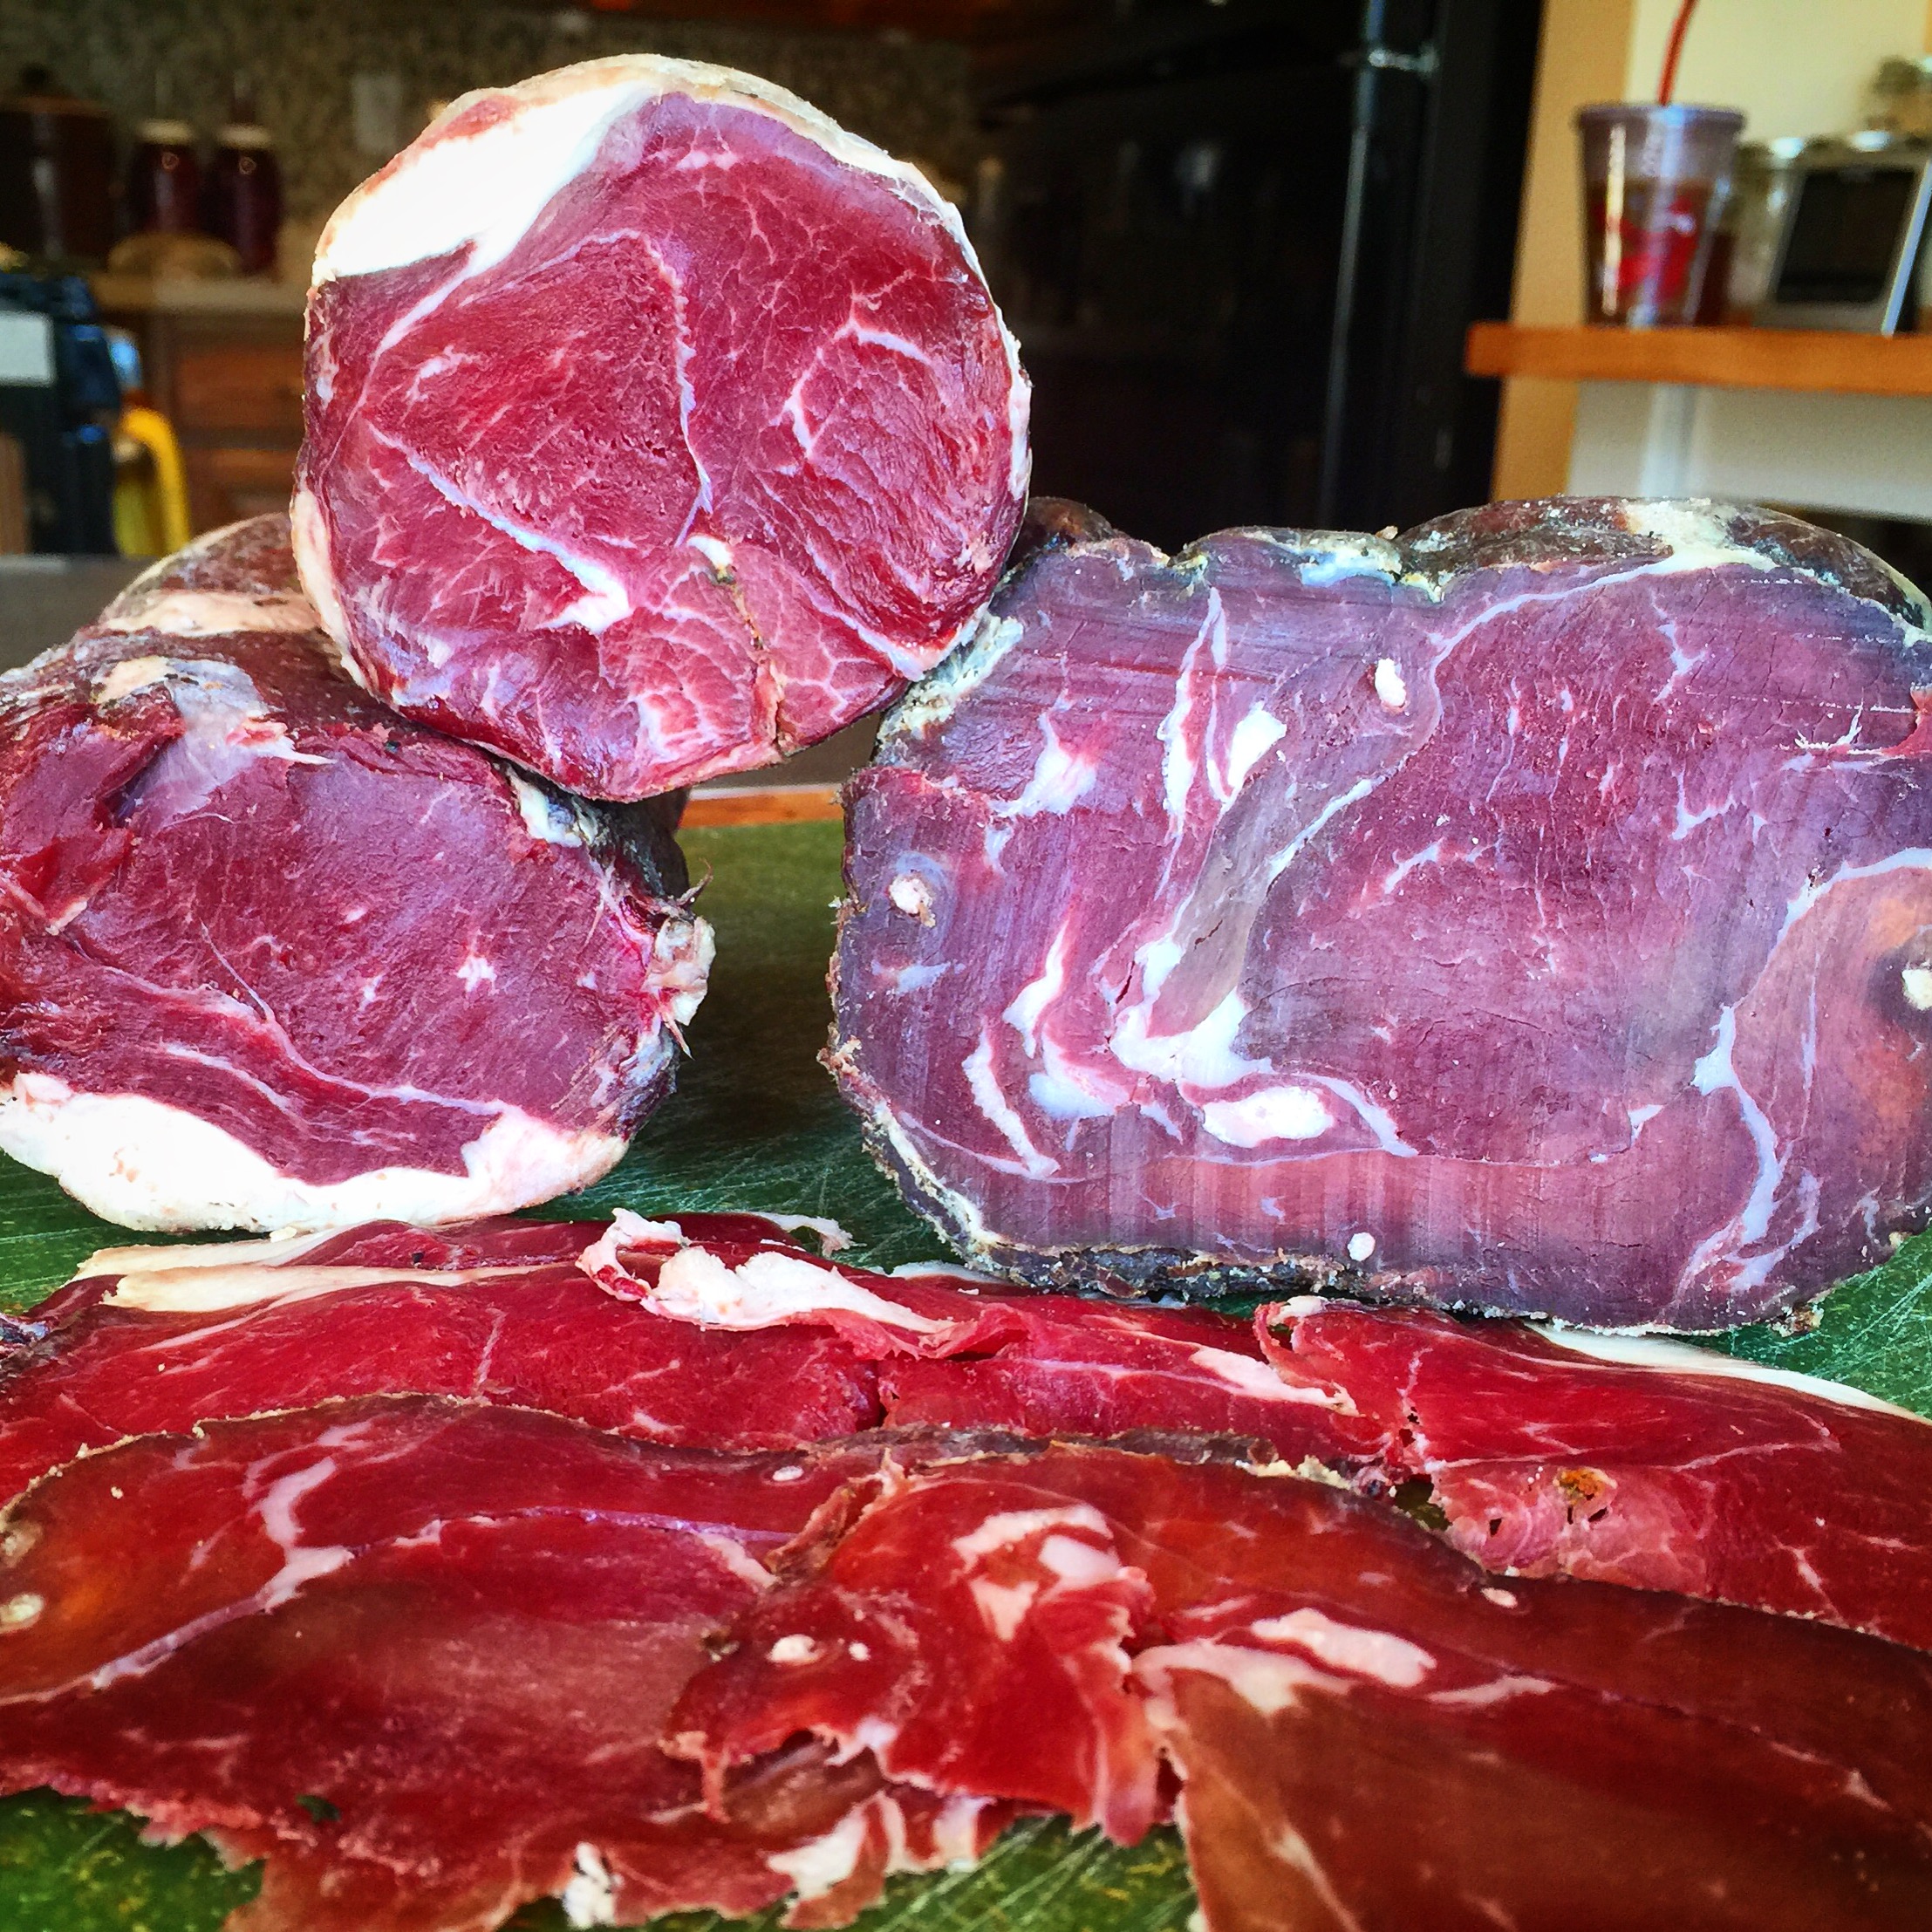
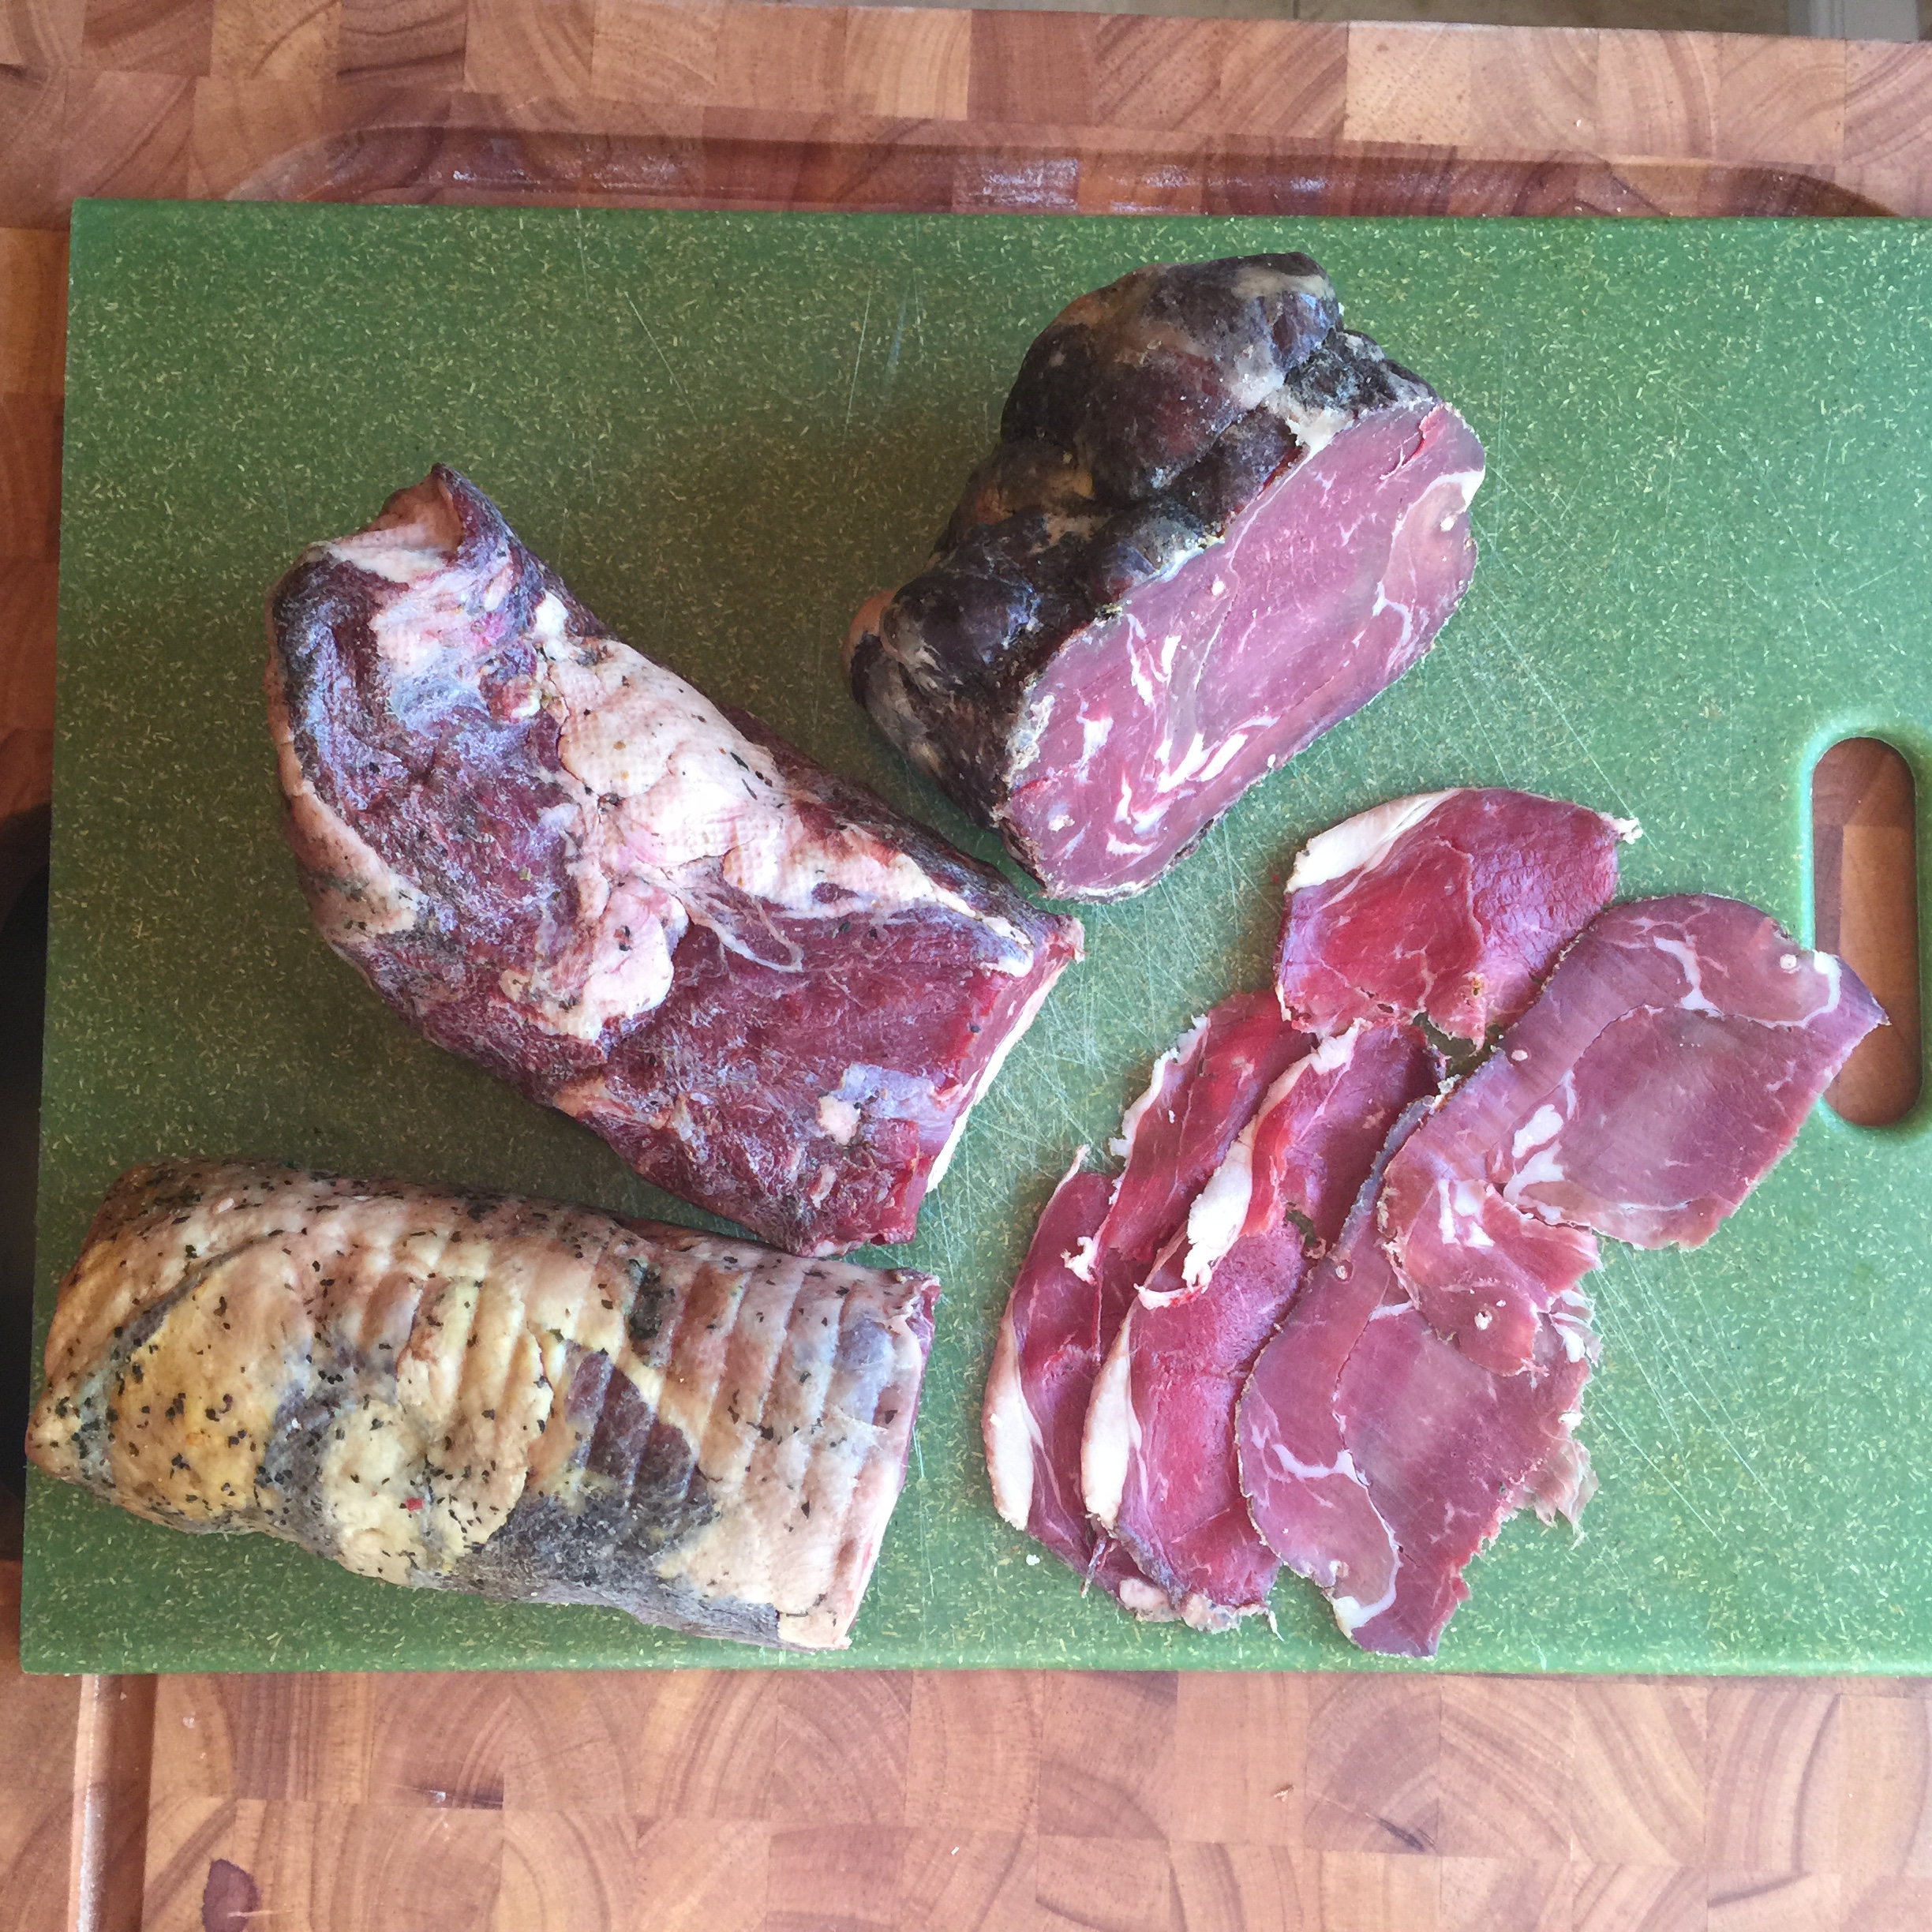
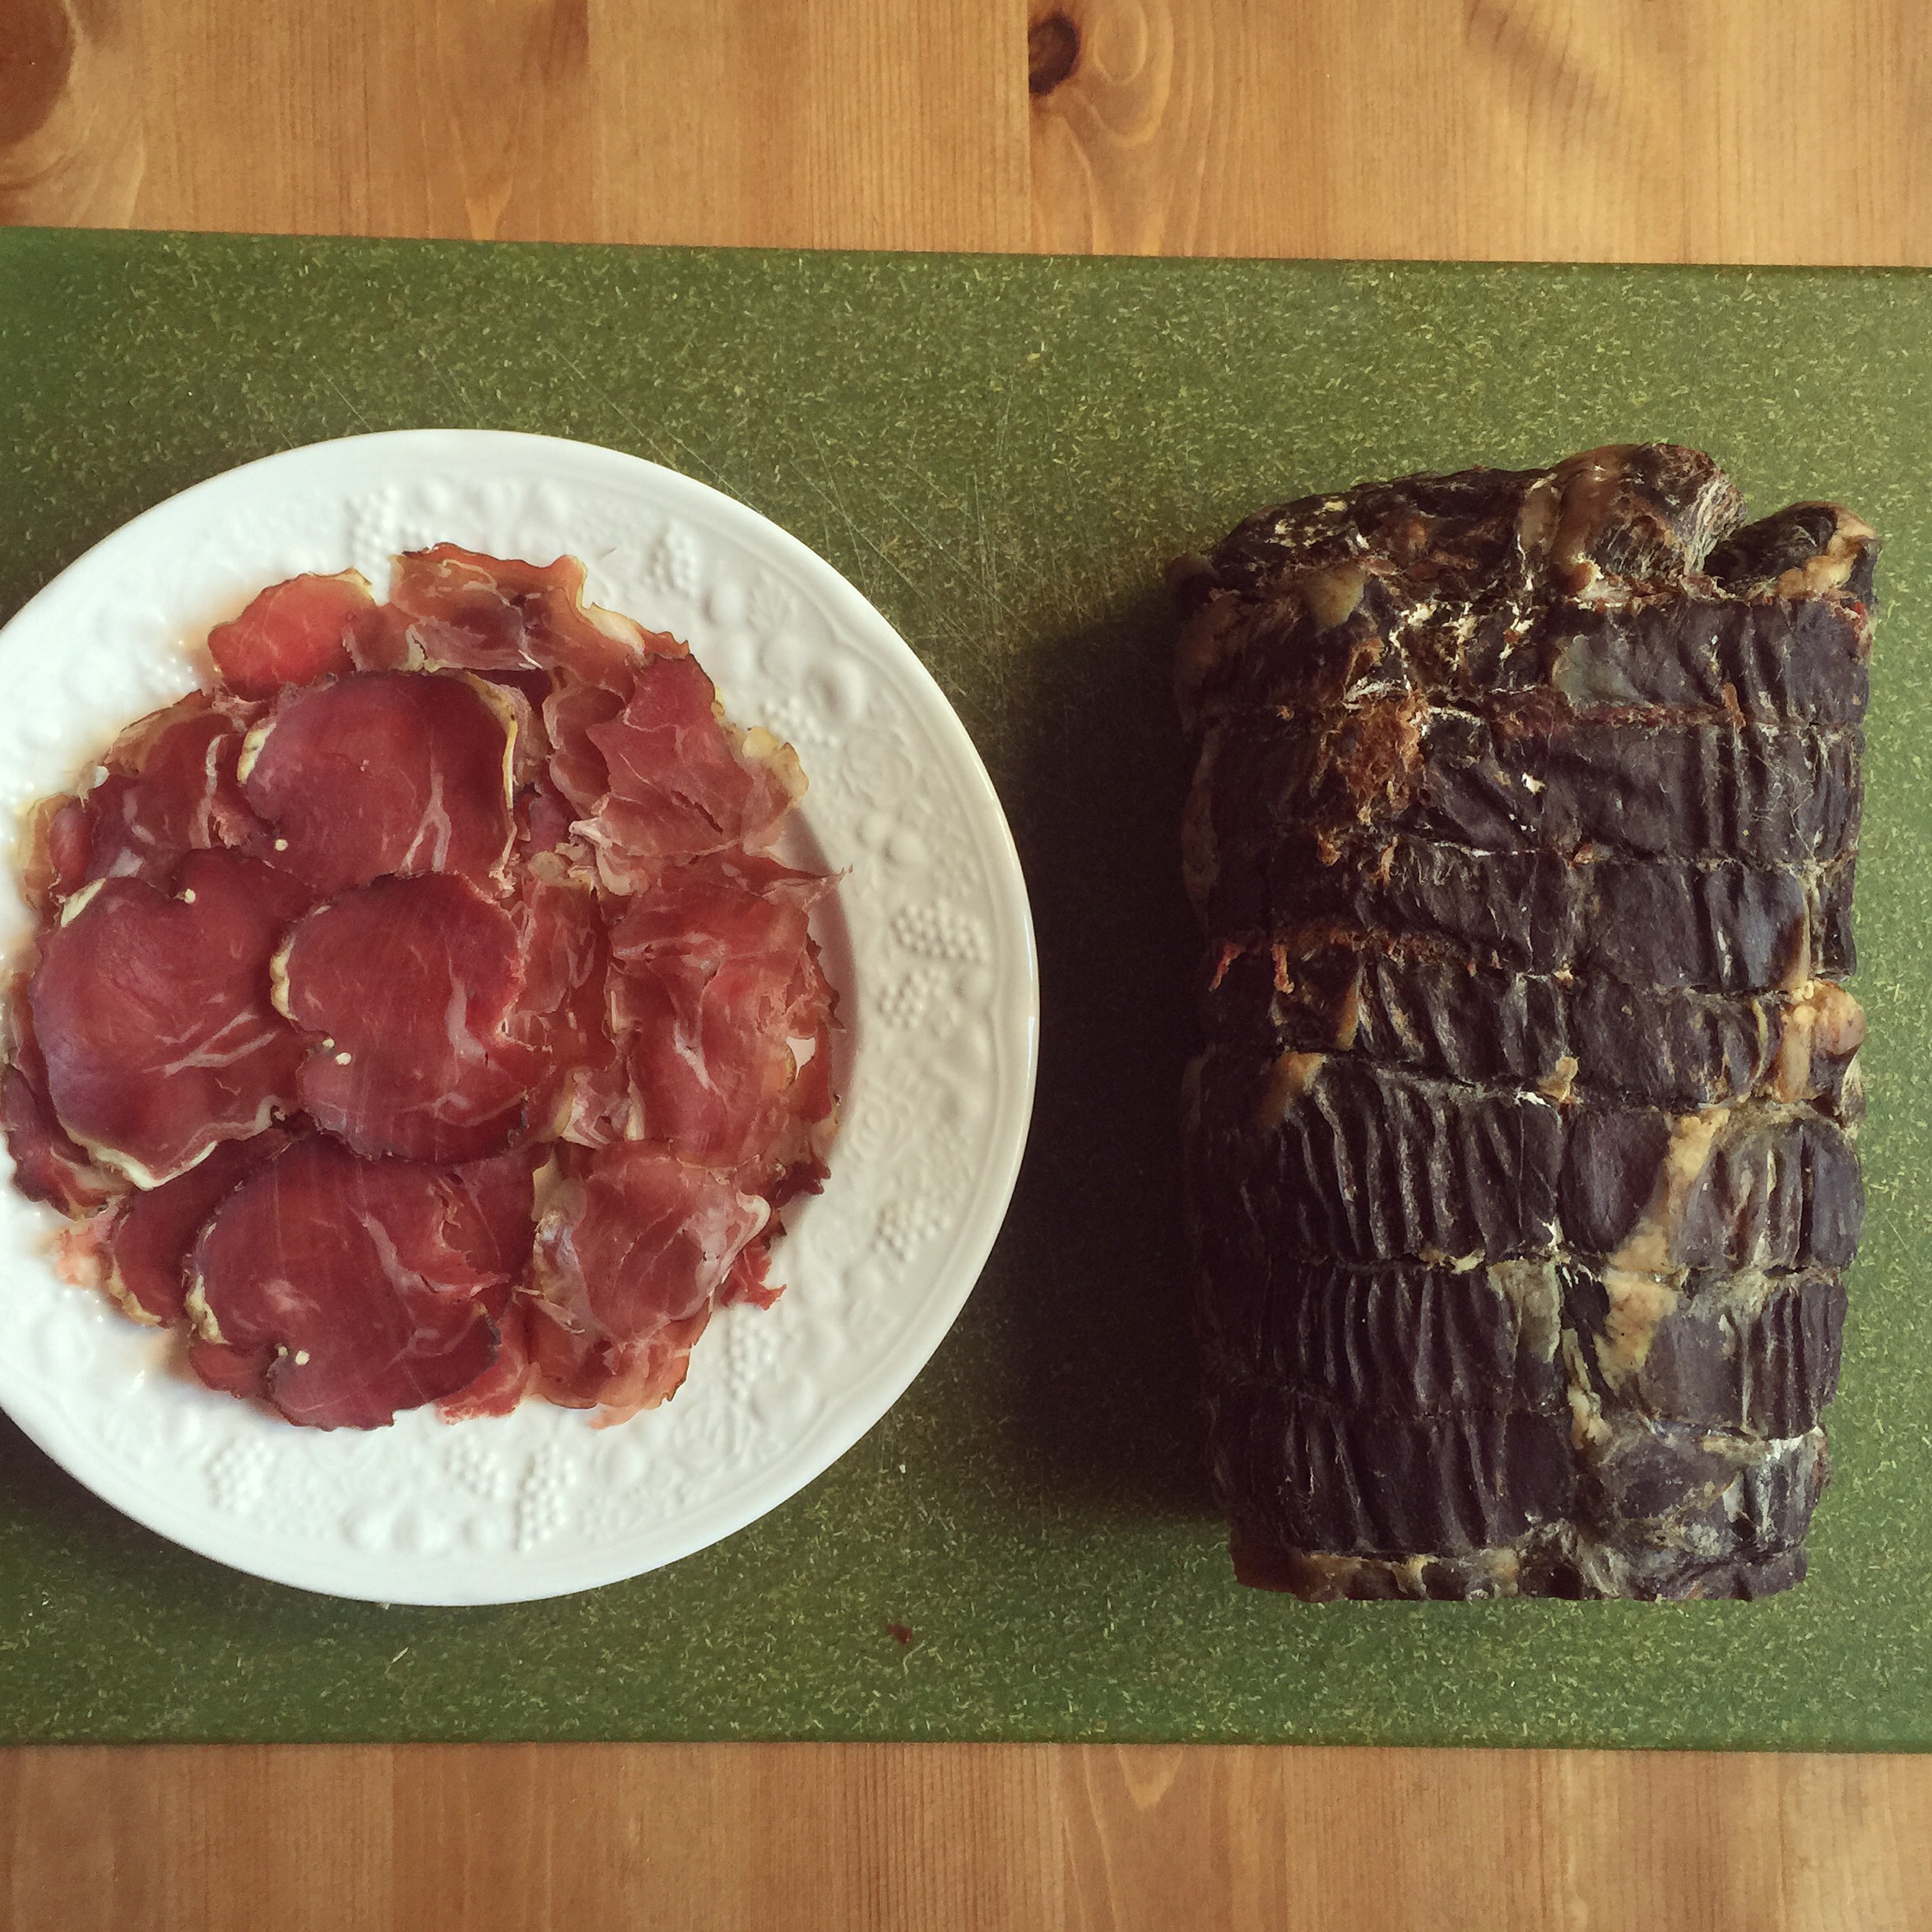
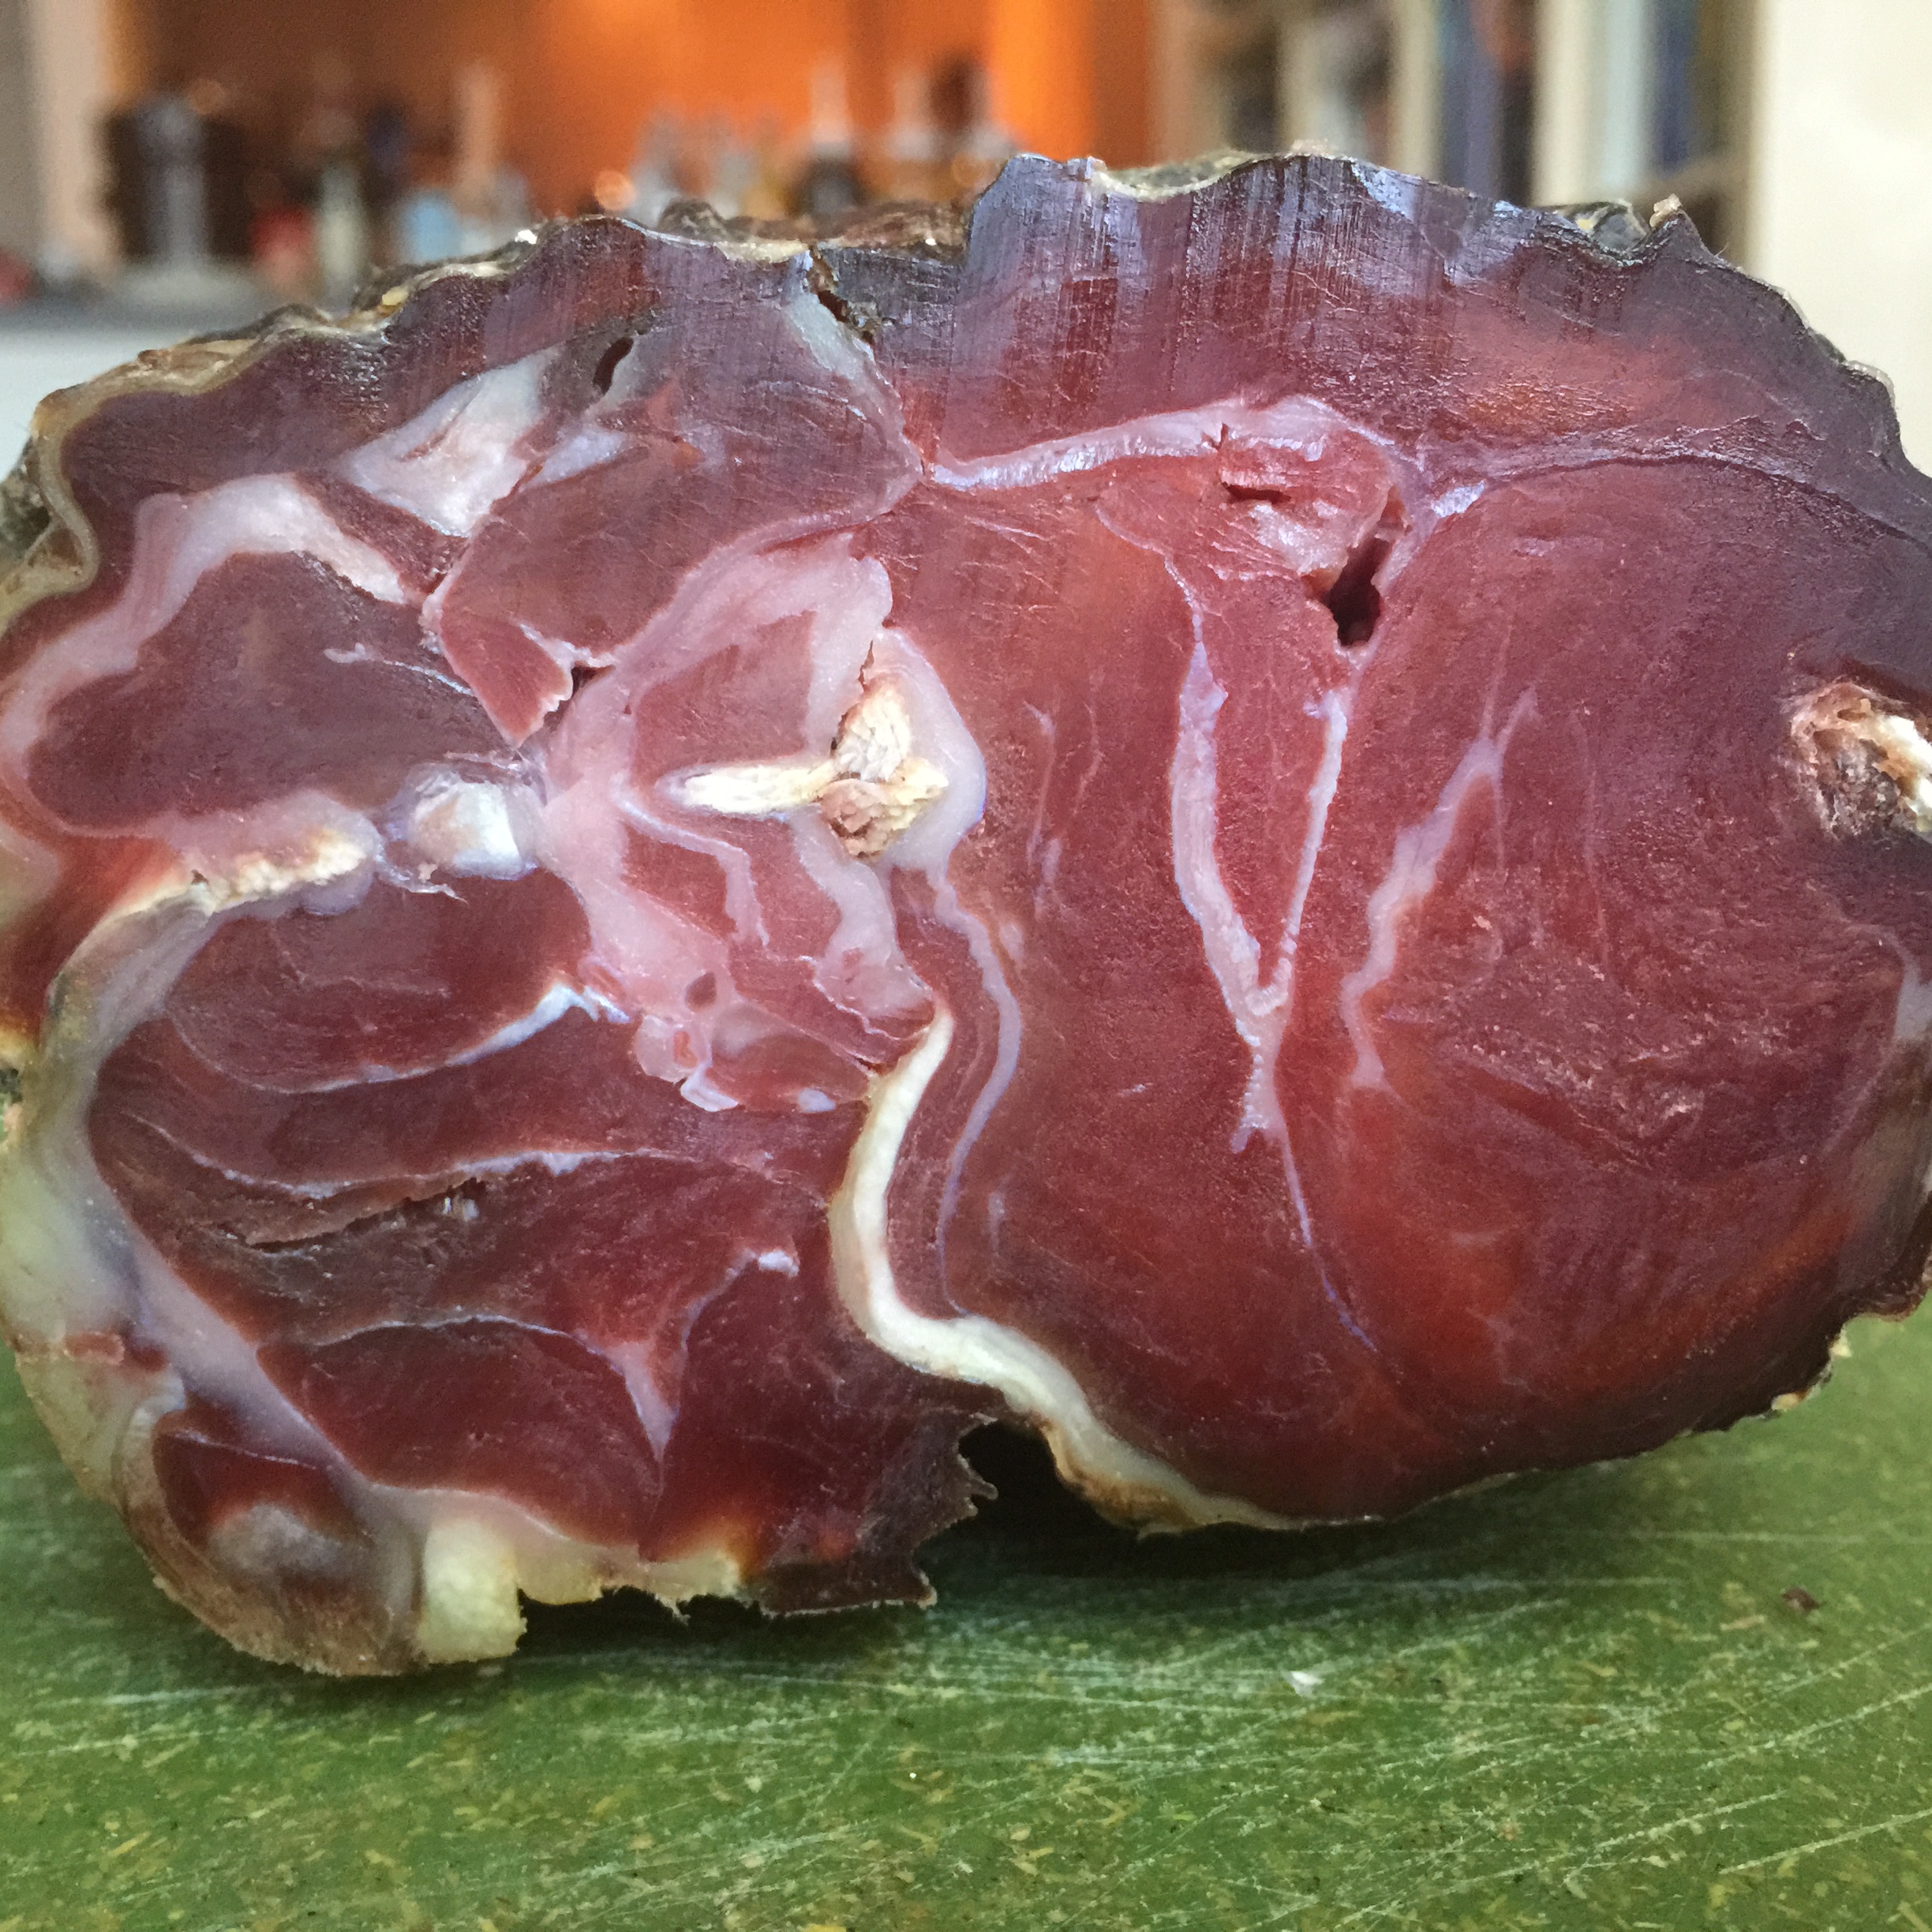
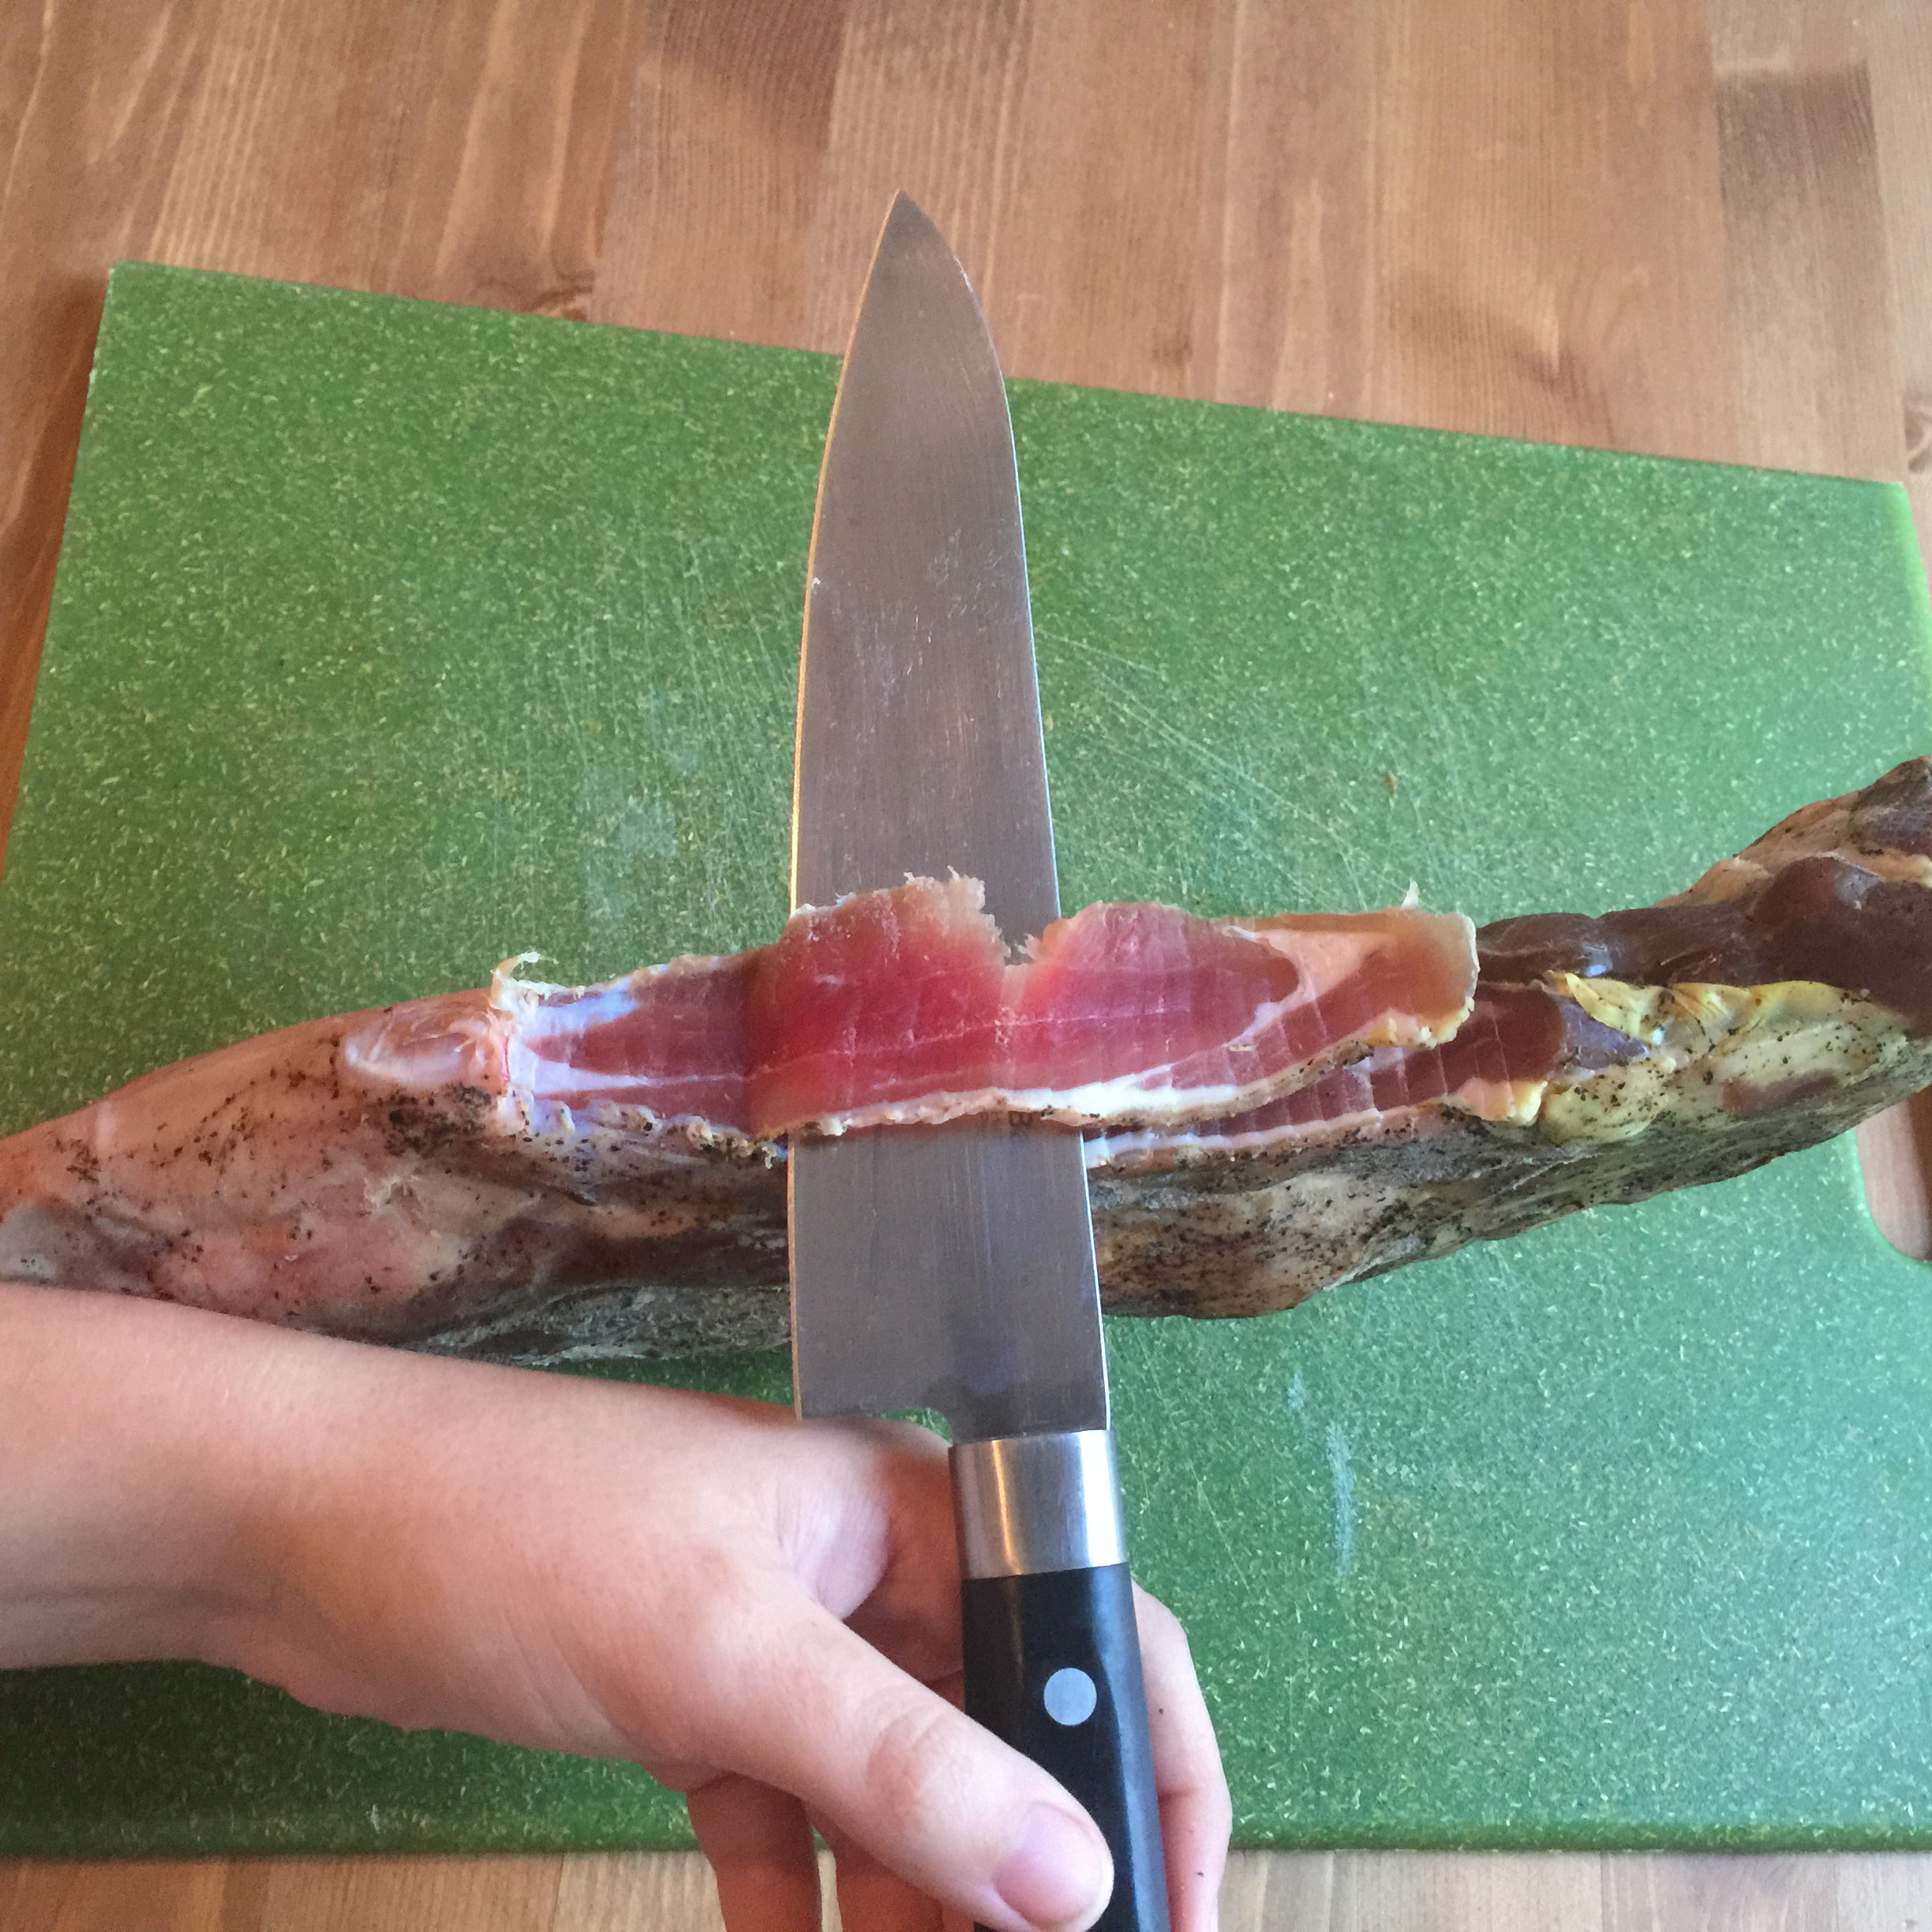
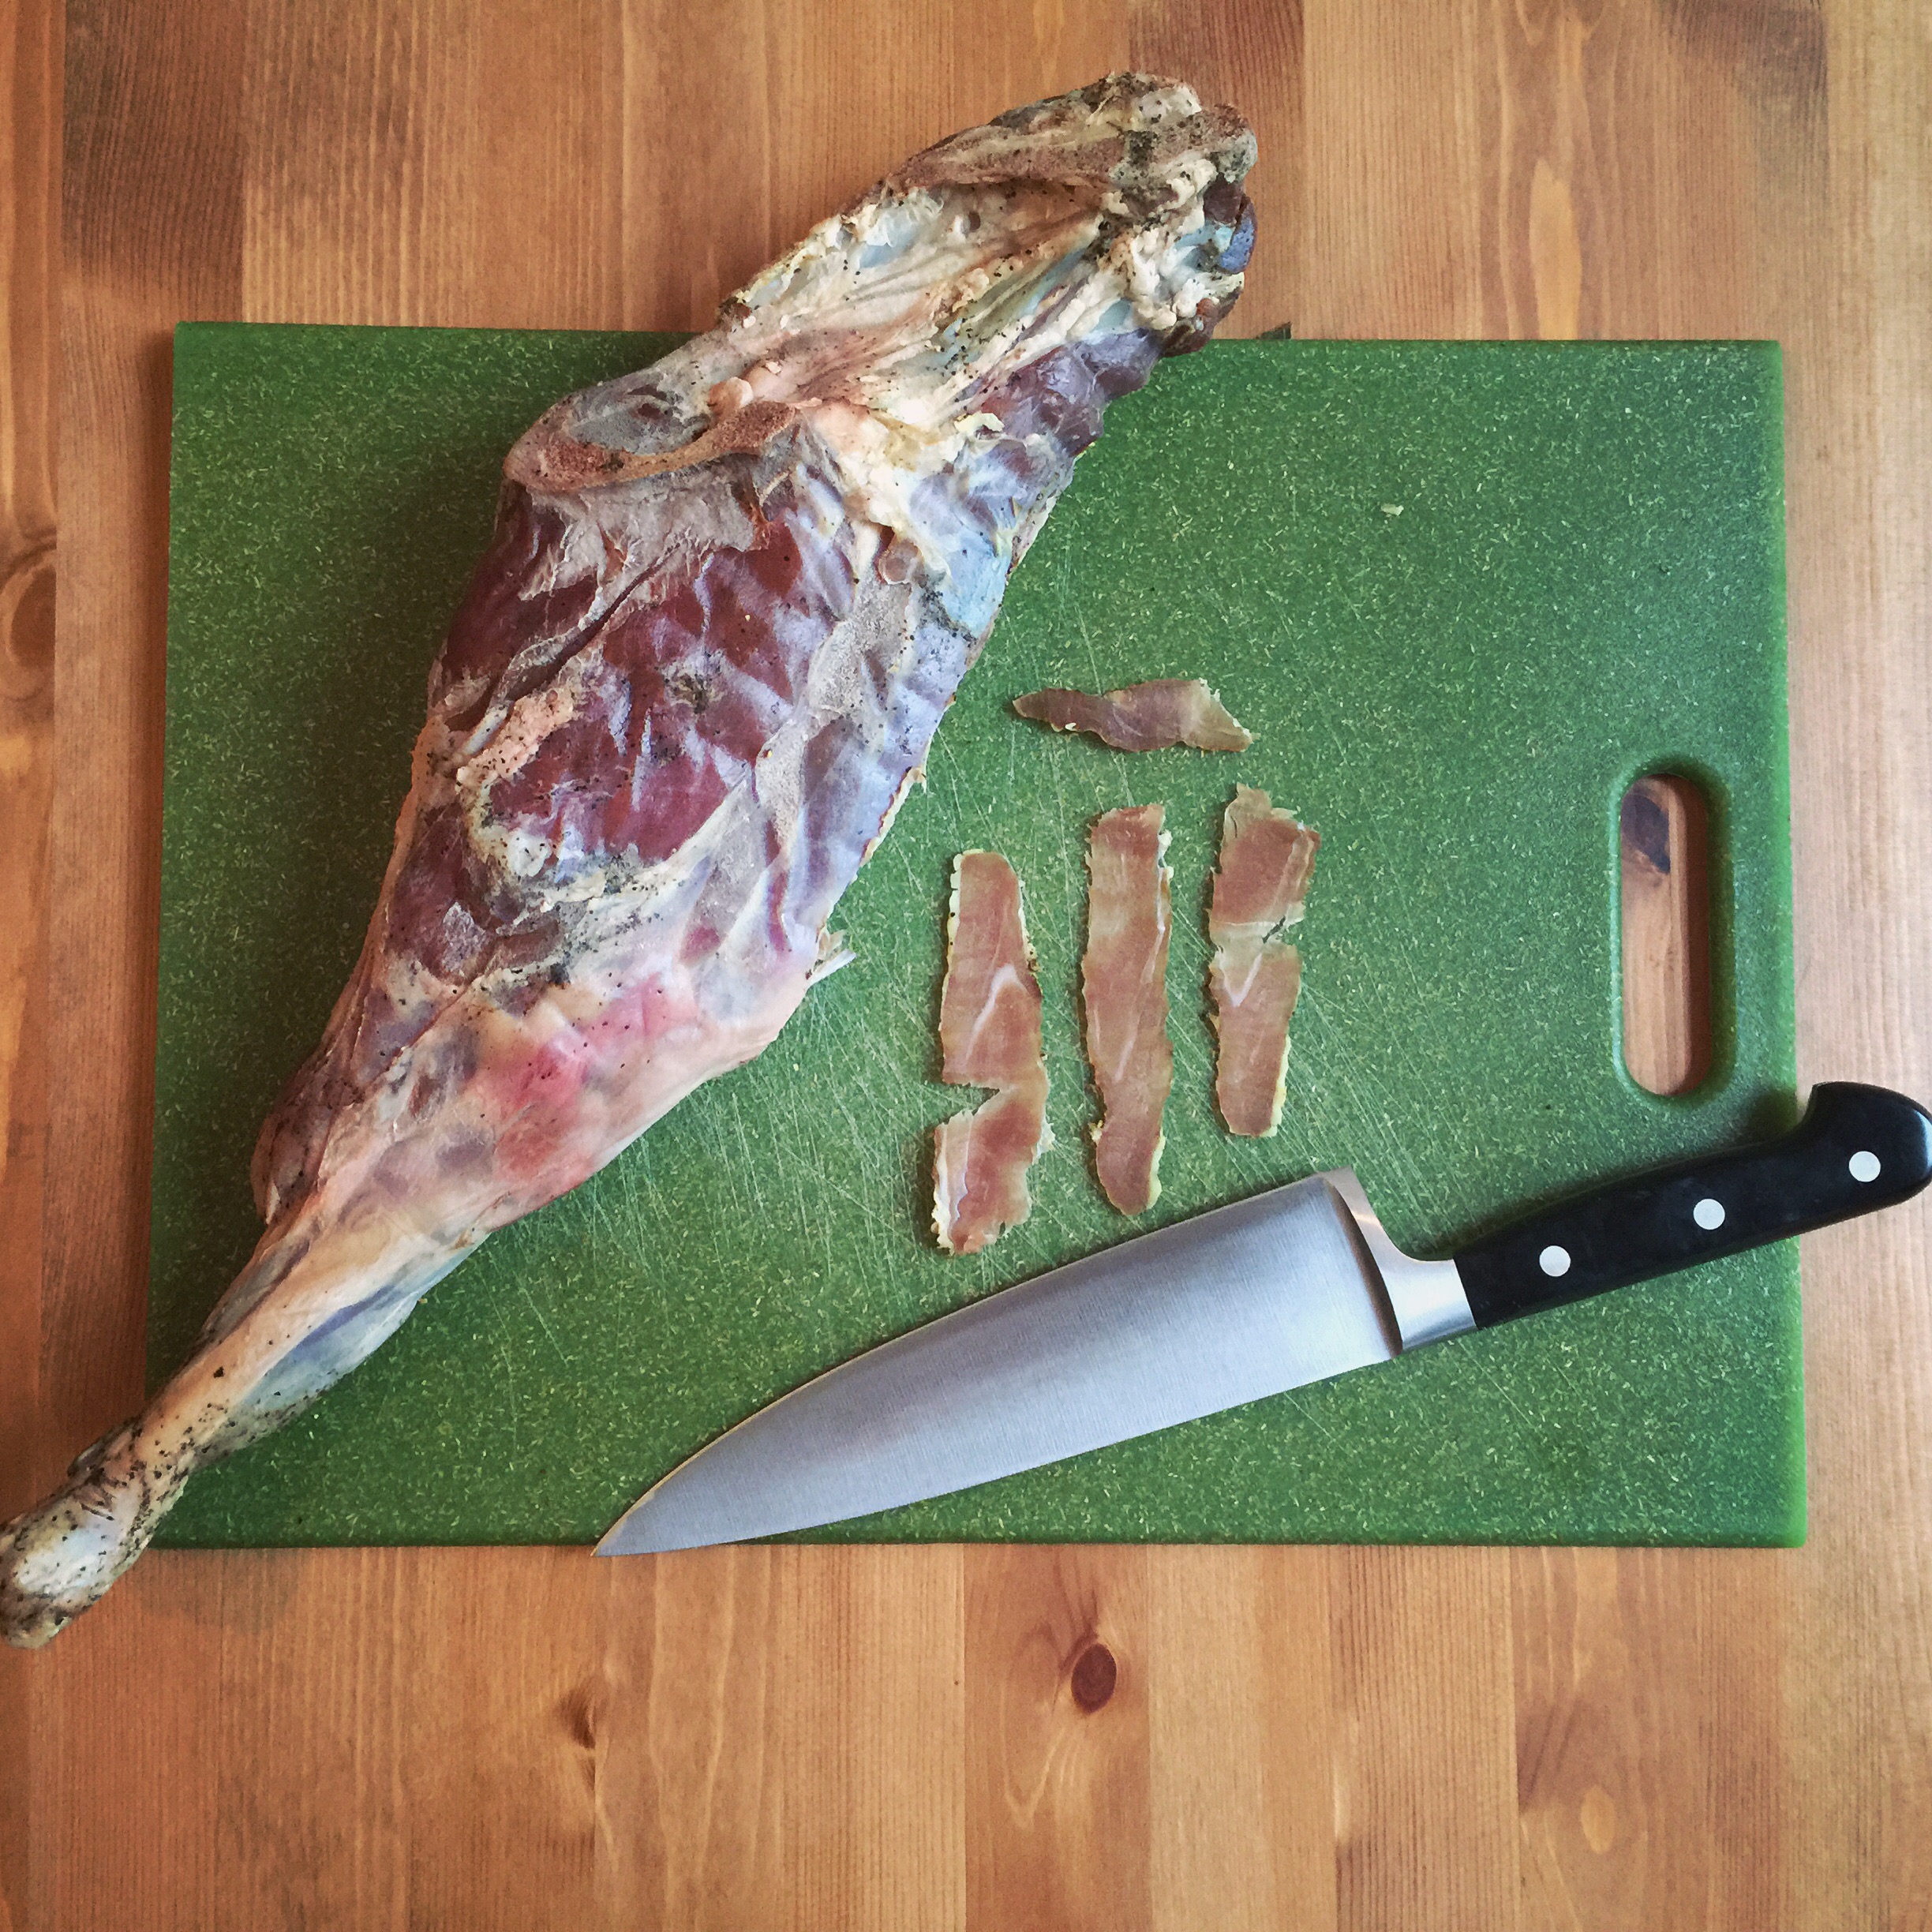
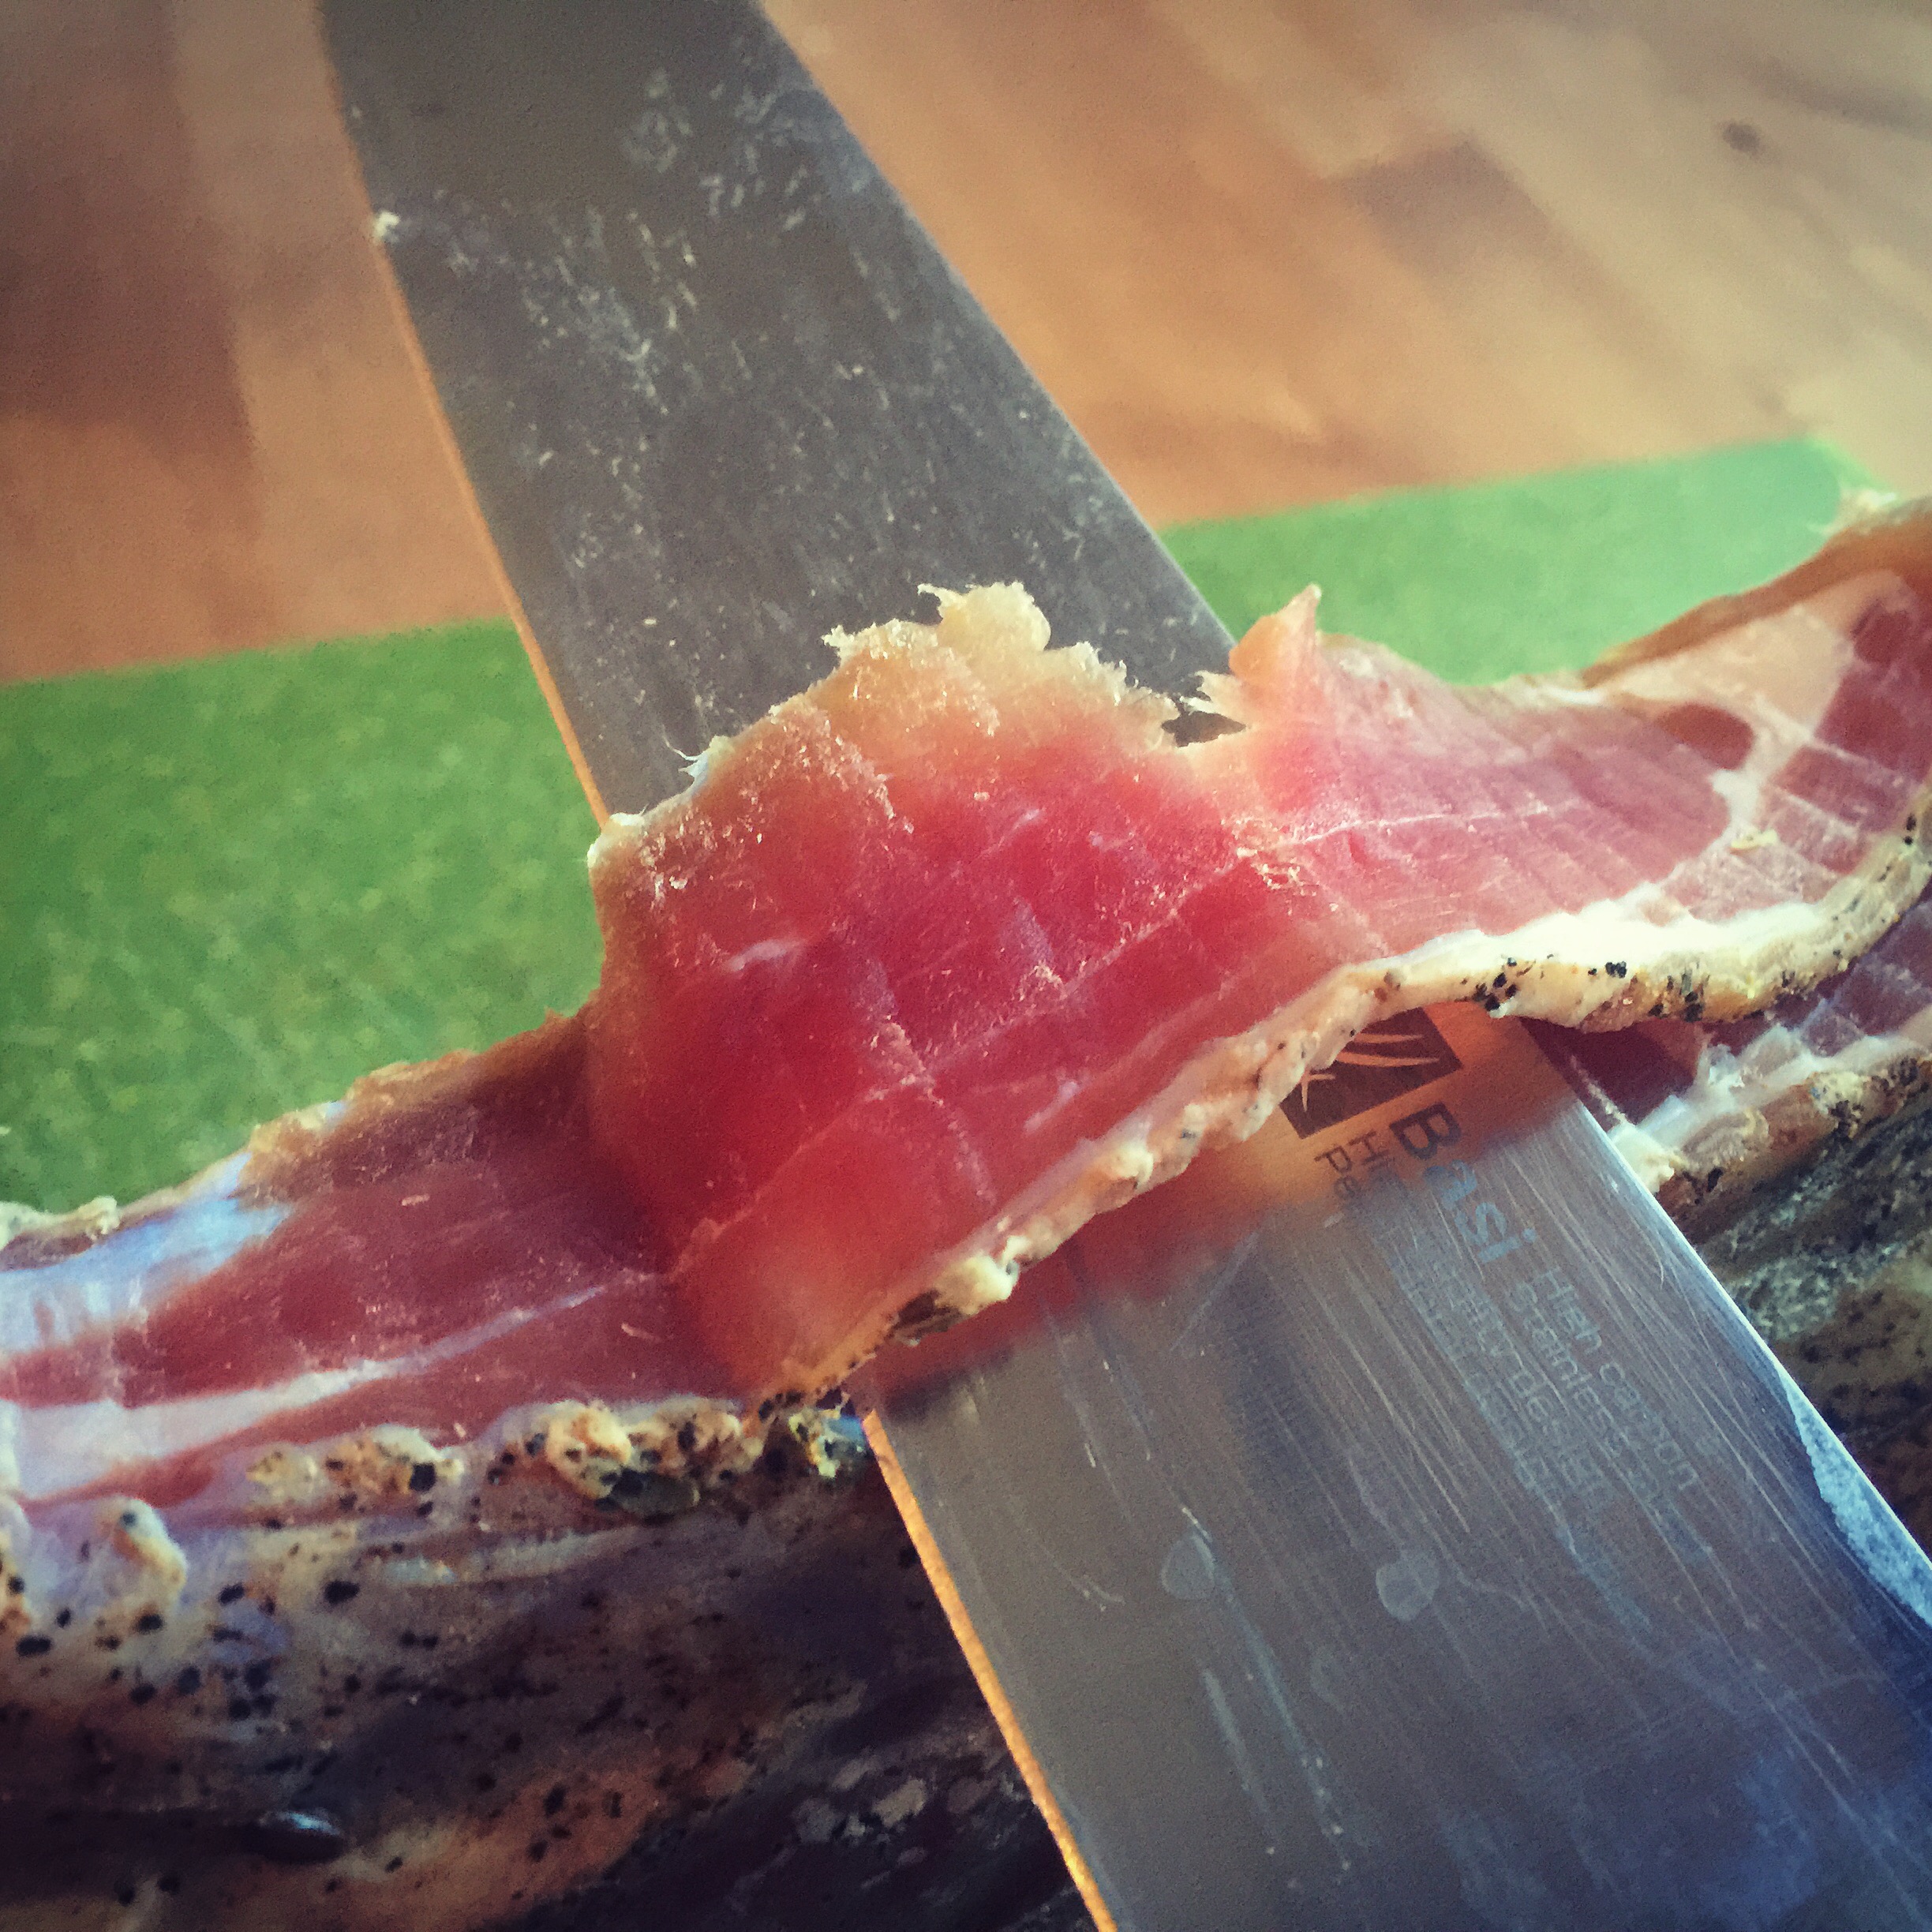
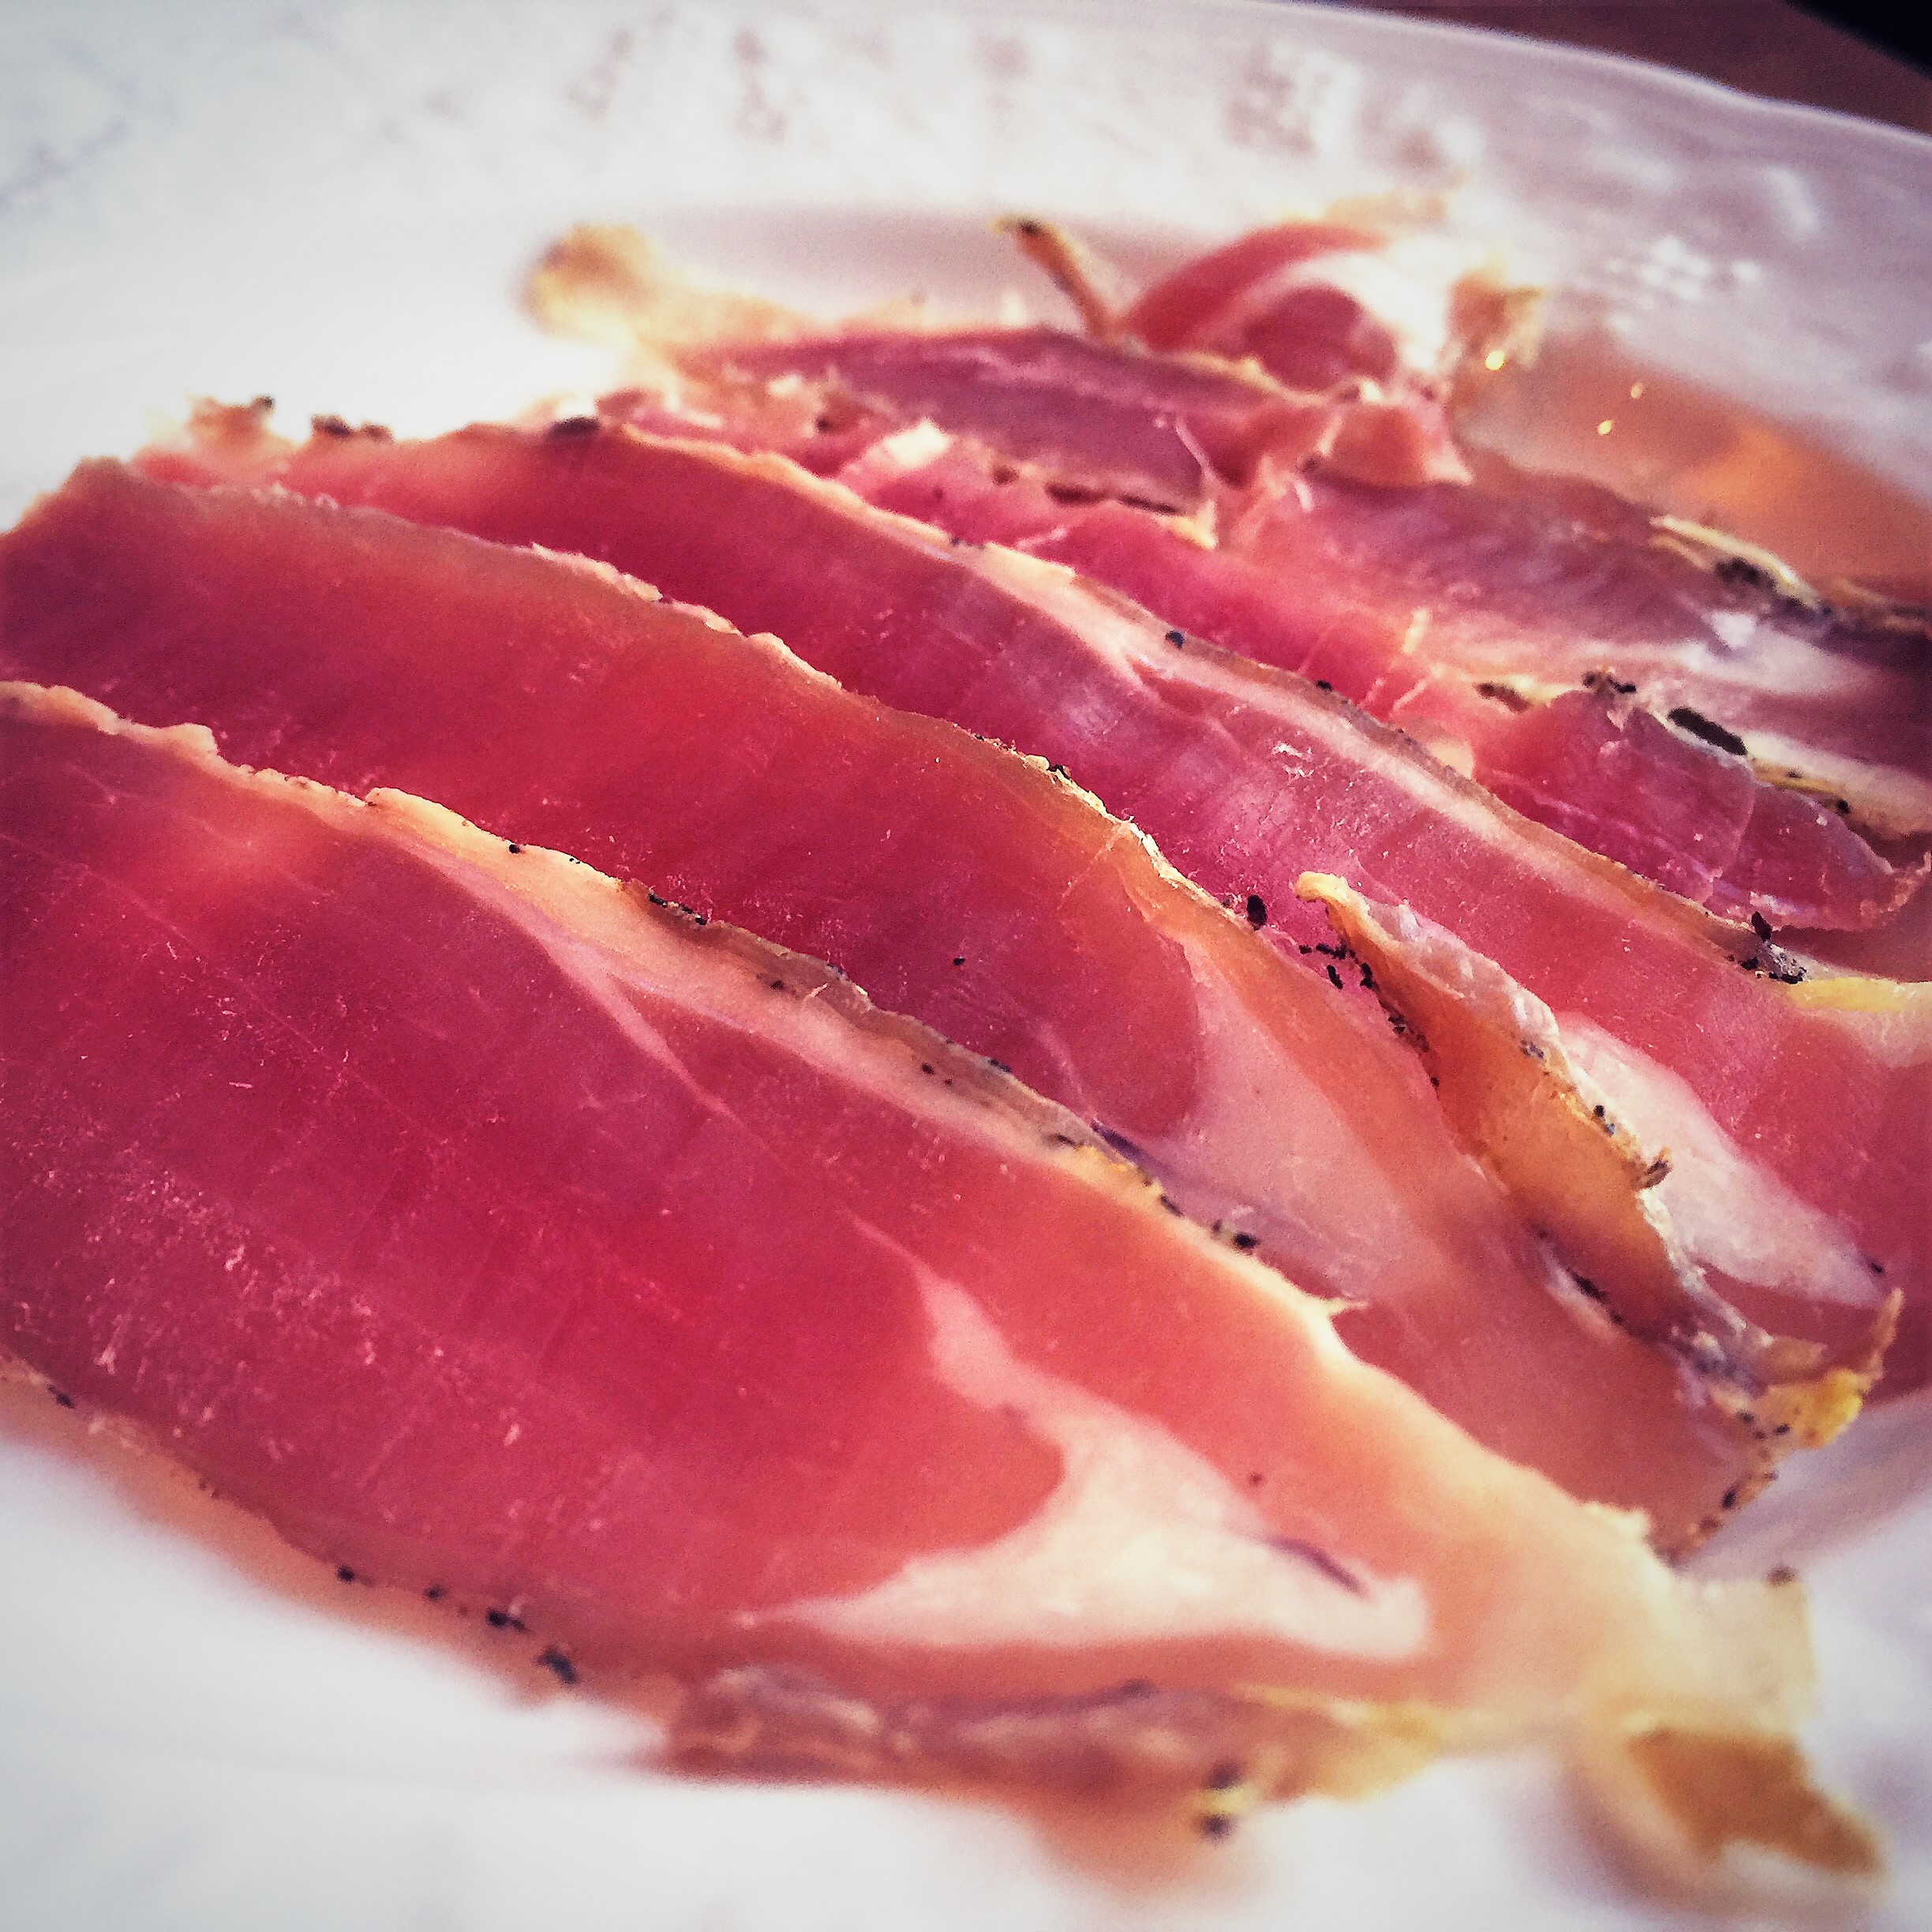
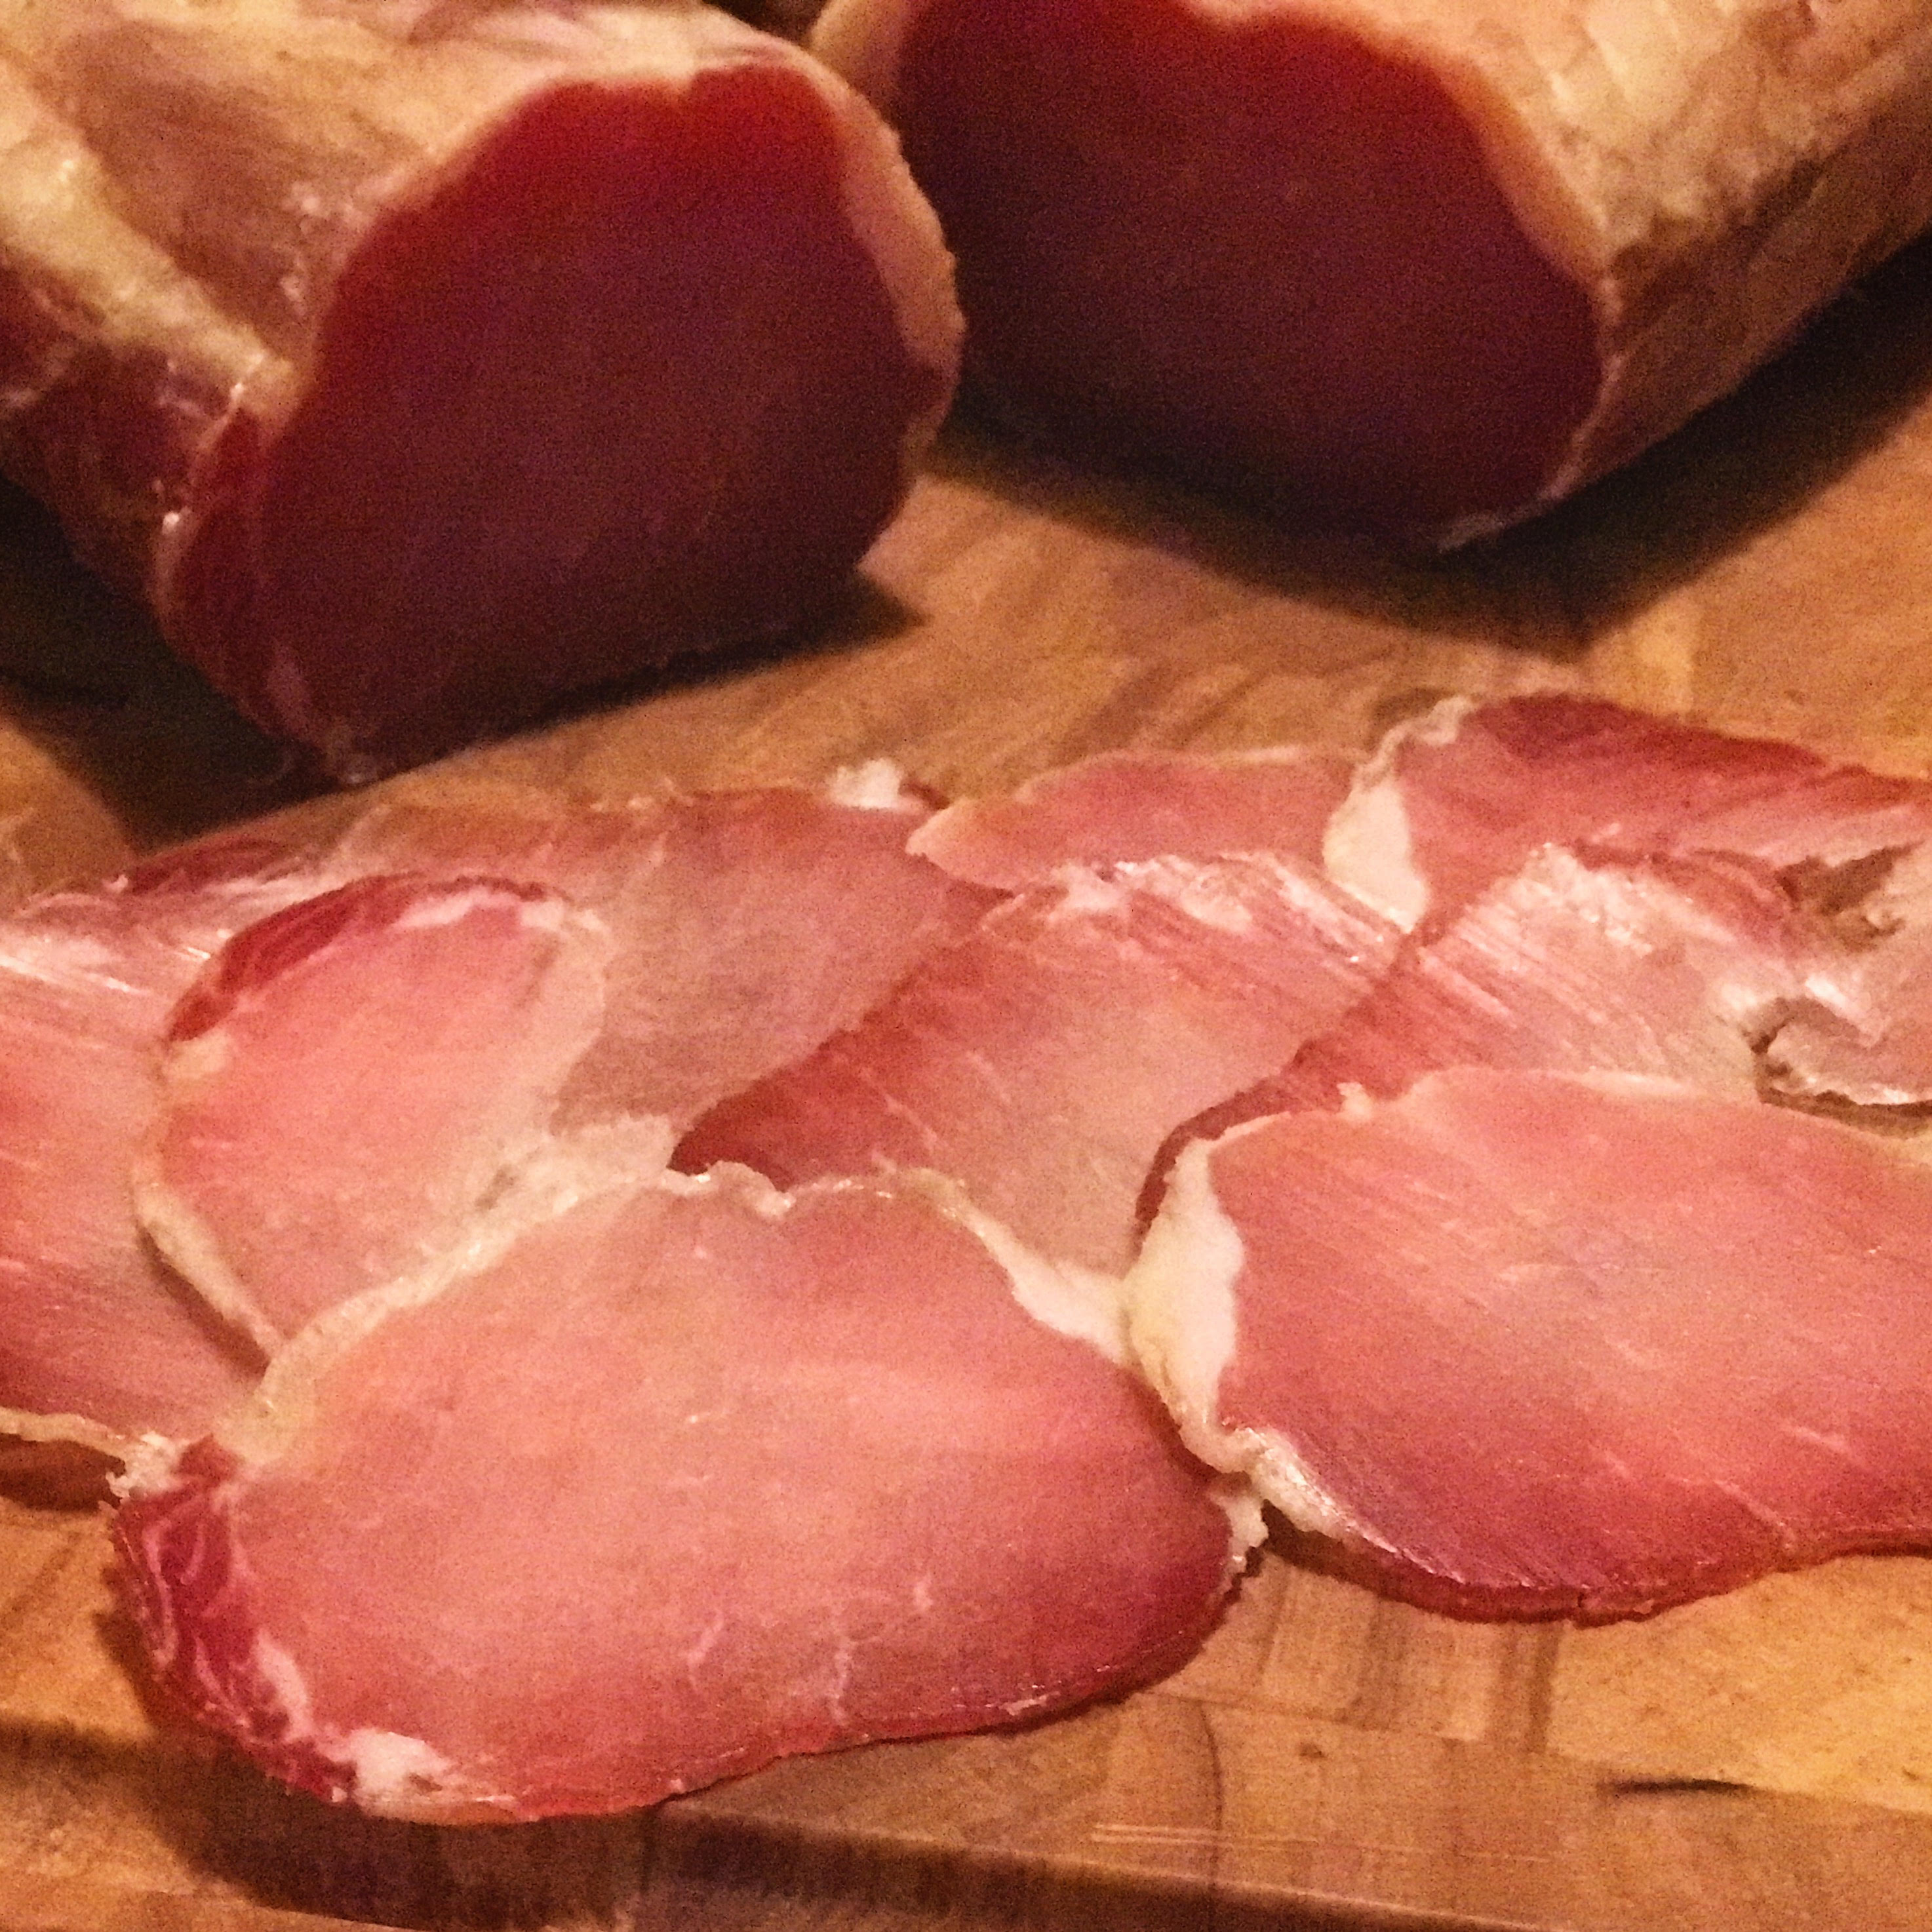
At this point, it was removed from the chamber, the casing was removed, and it was sliced open to taste.
Tasting:
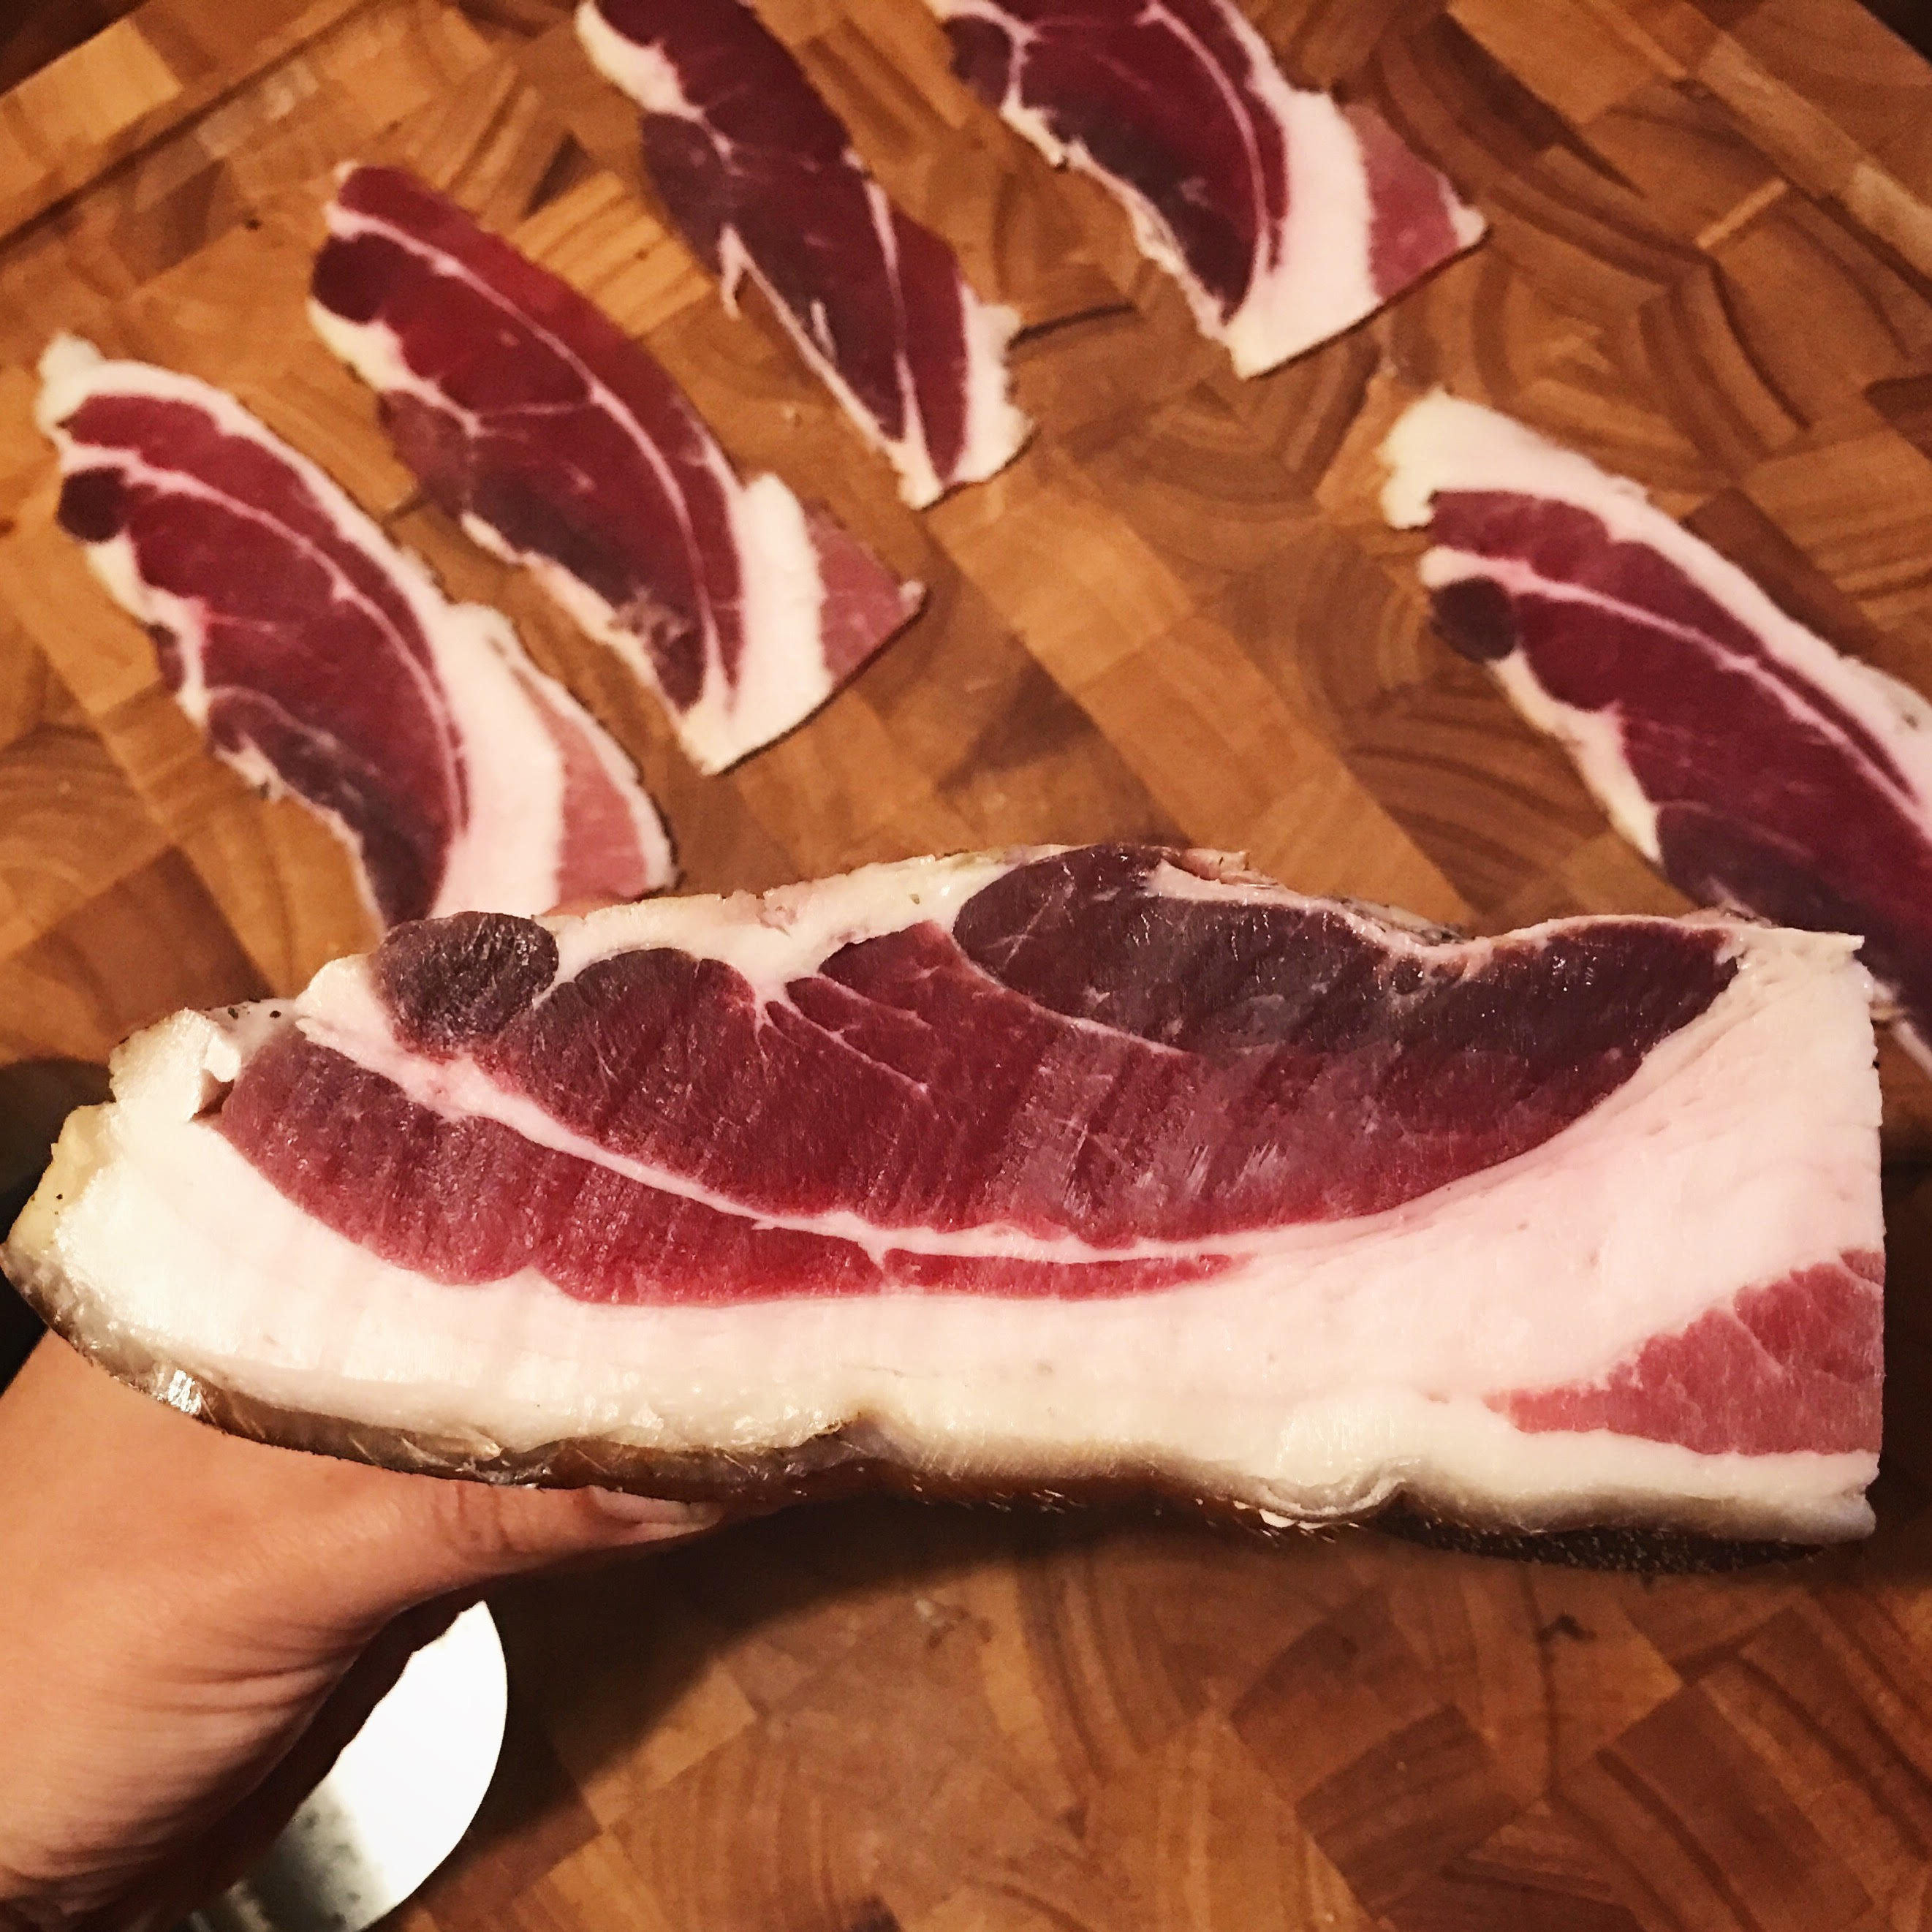
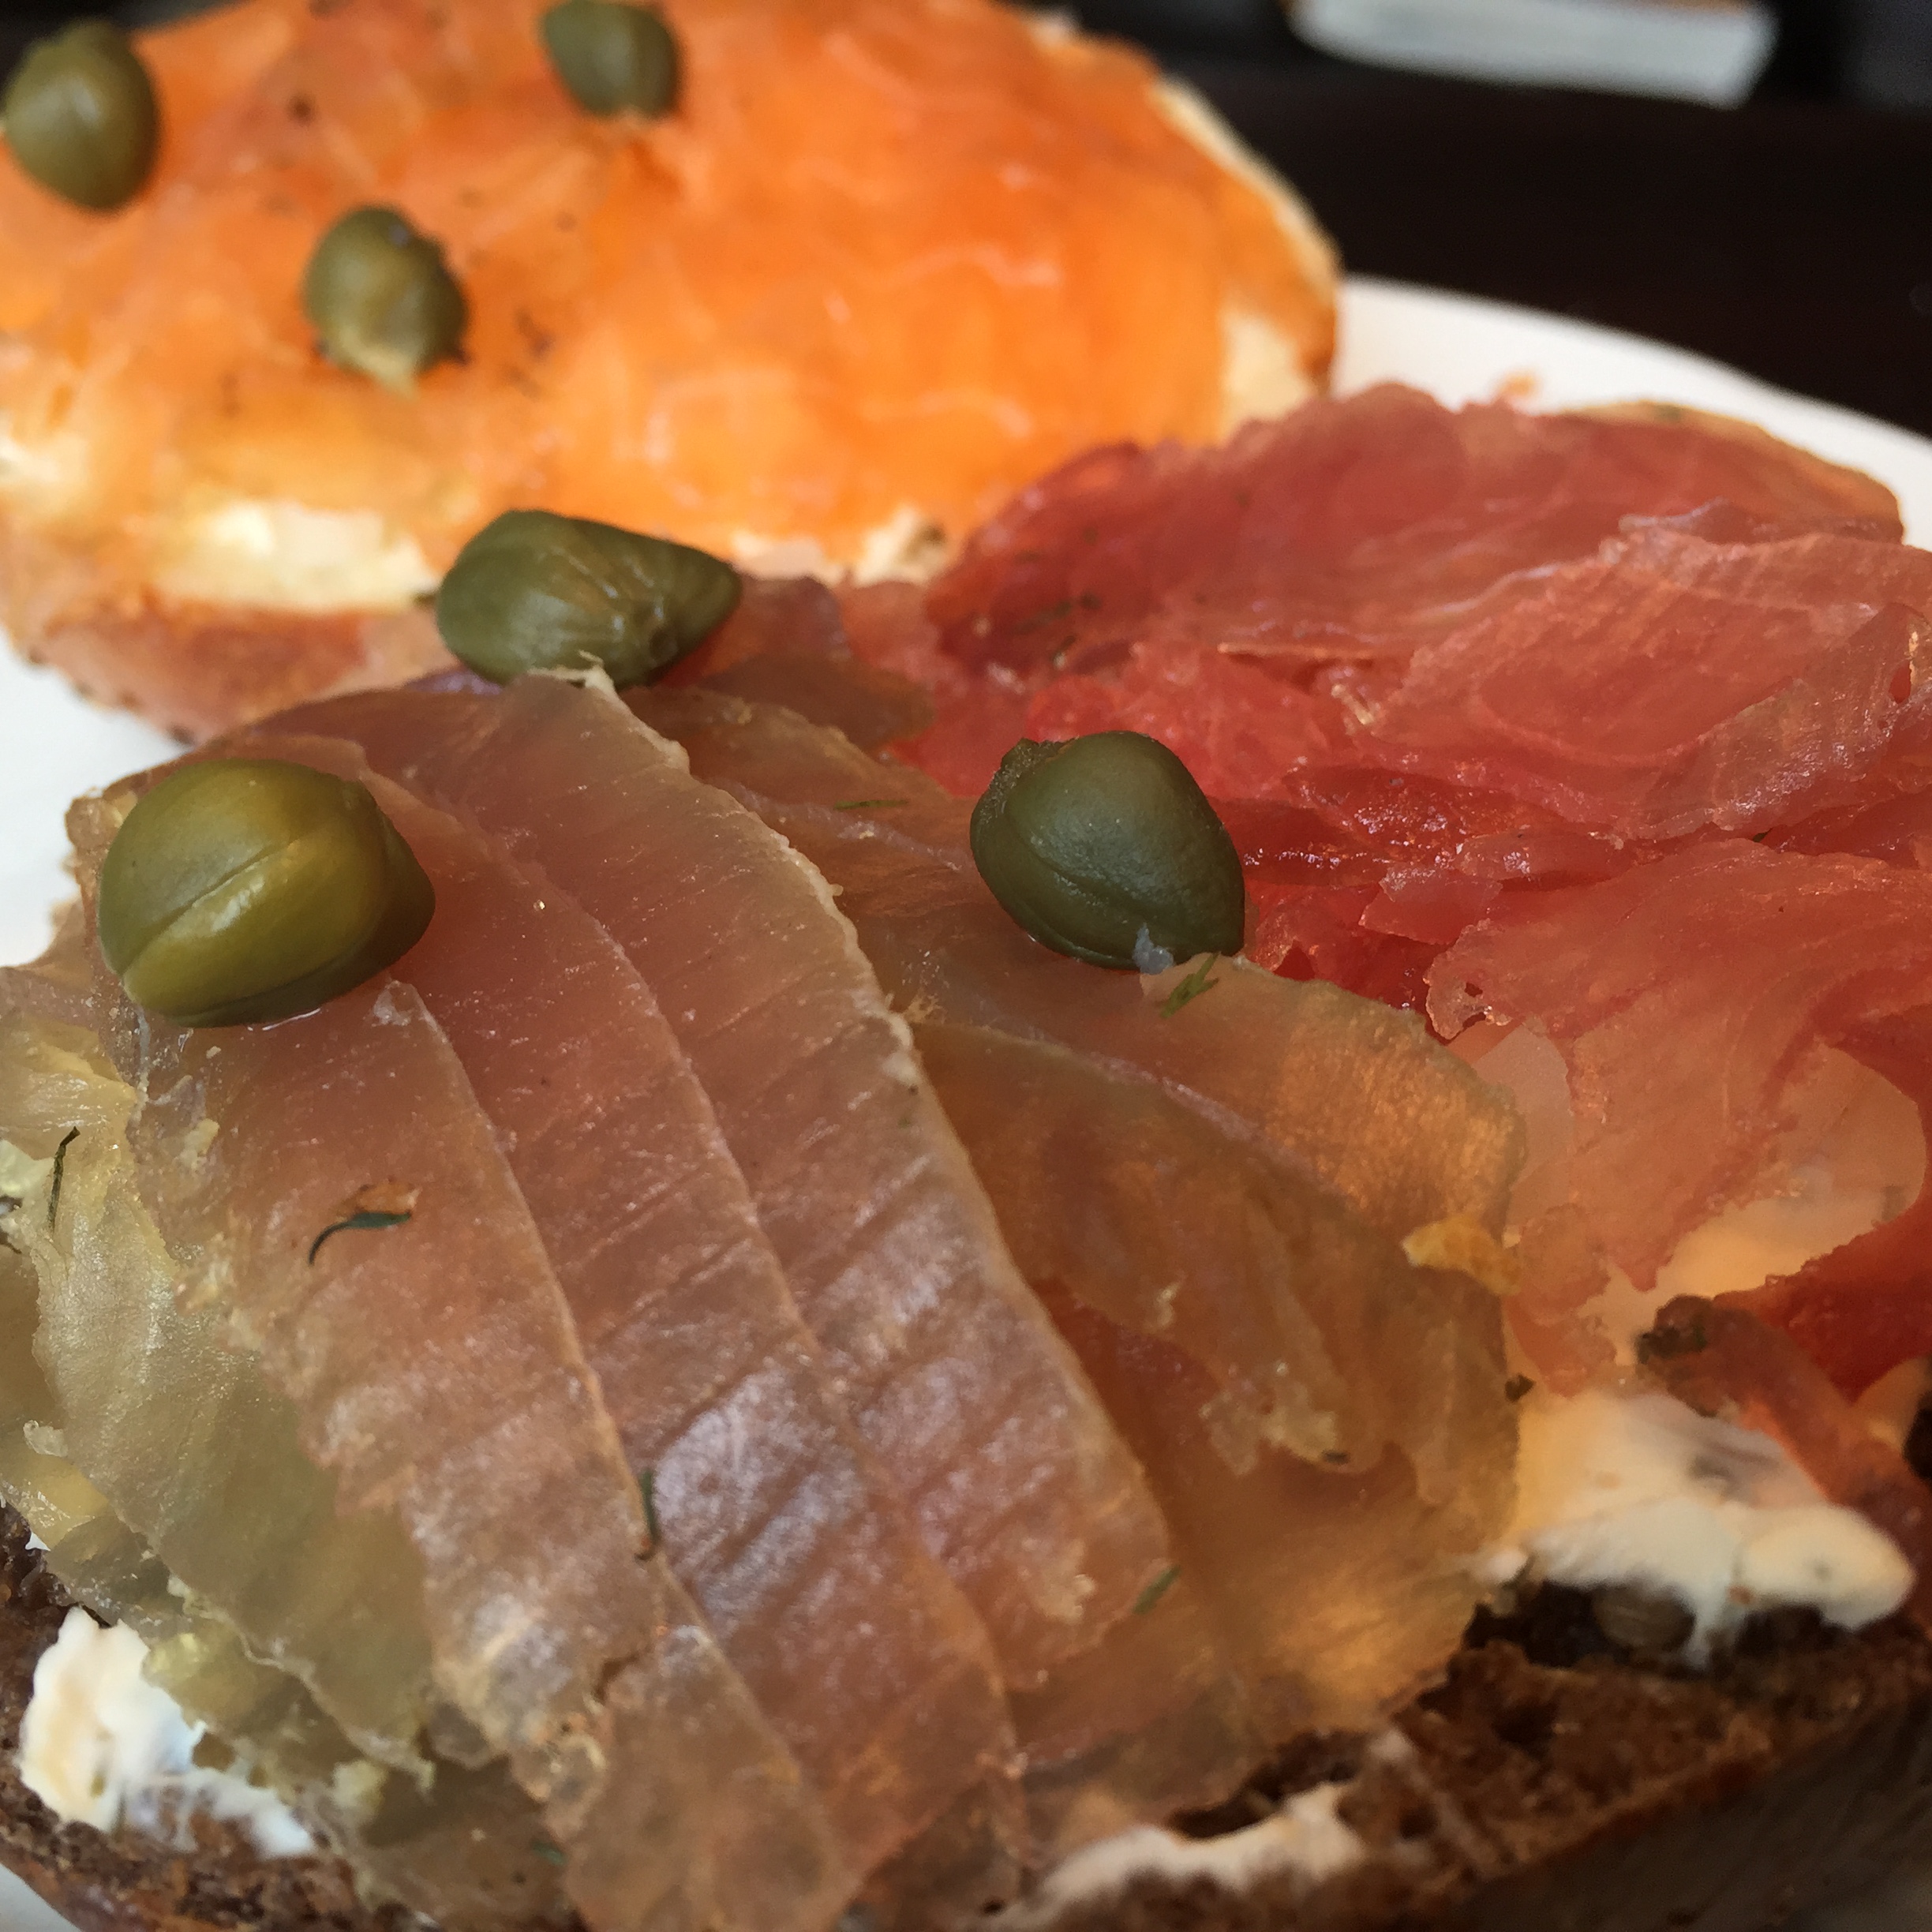
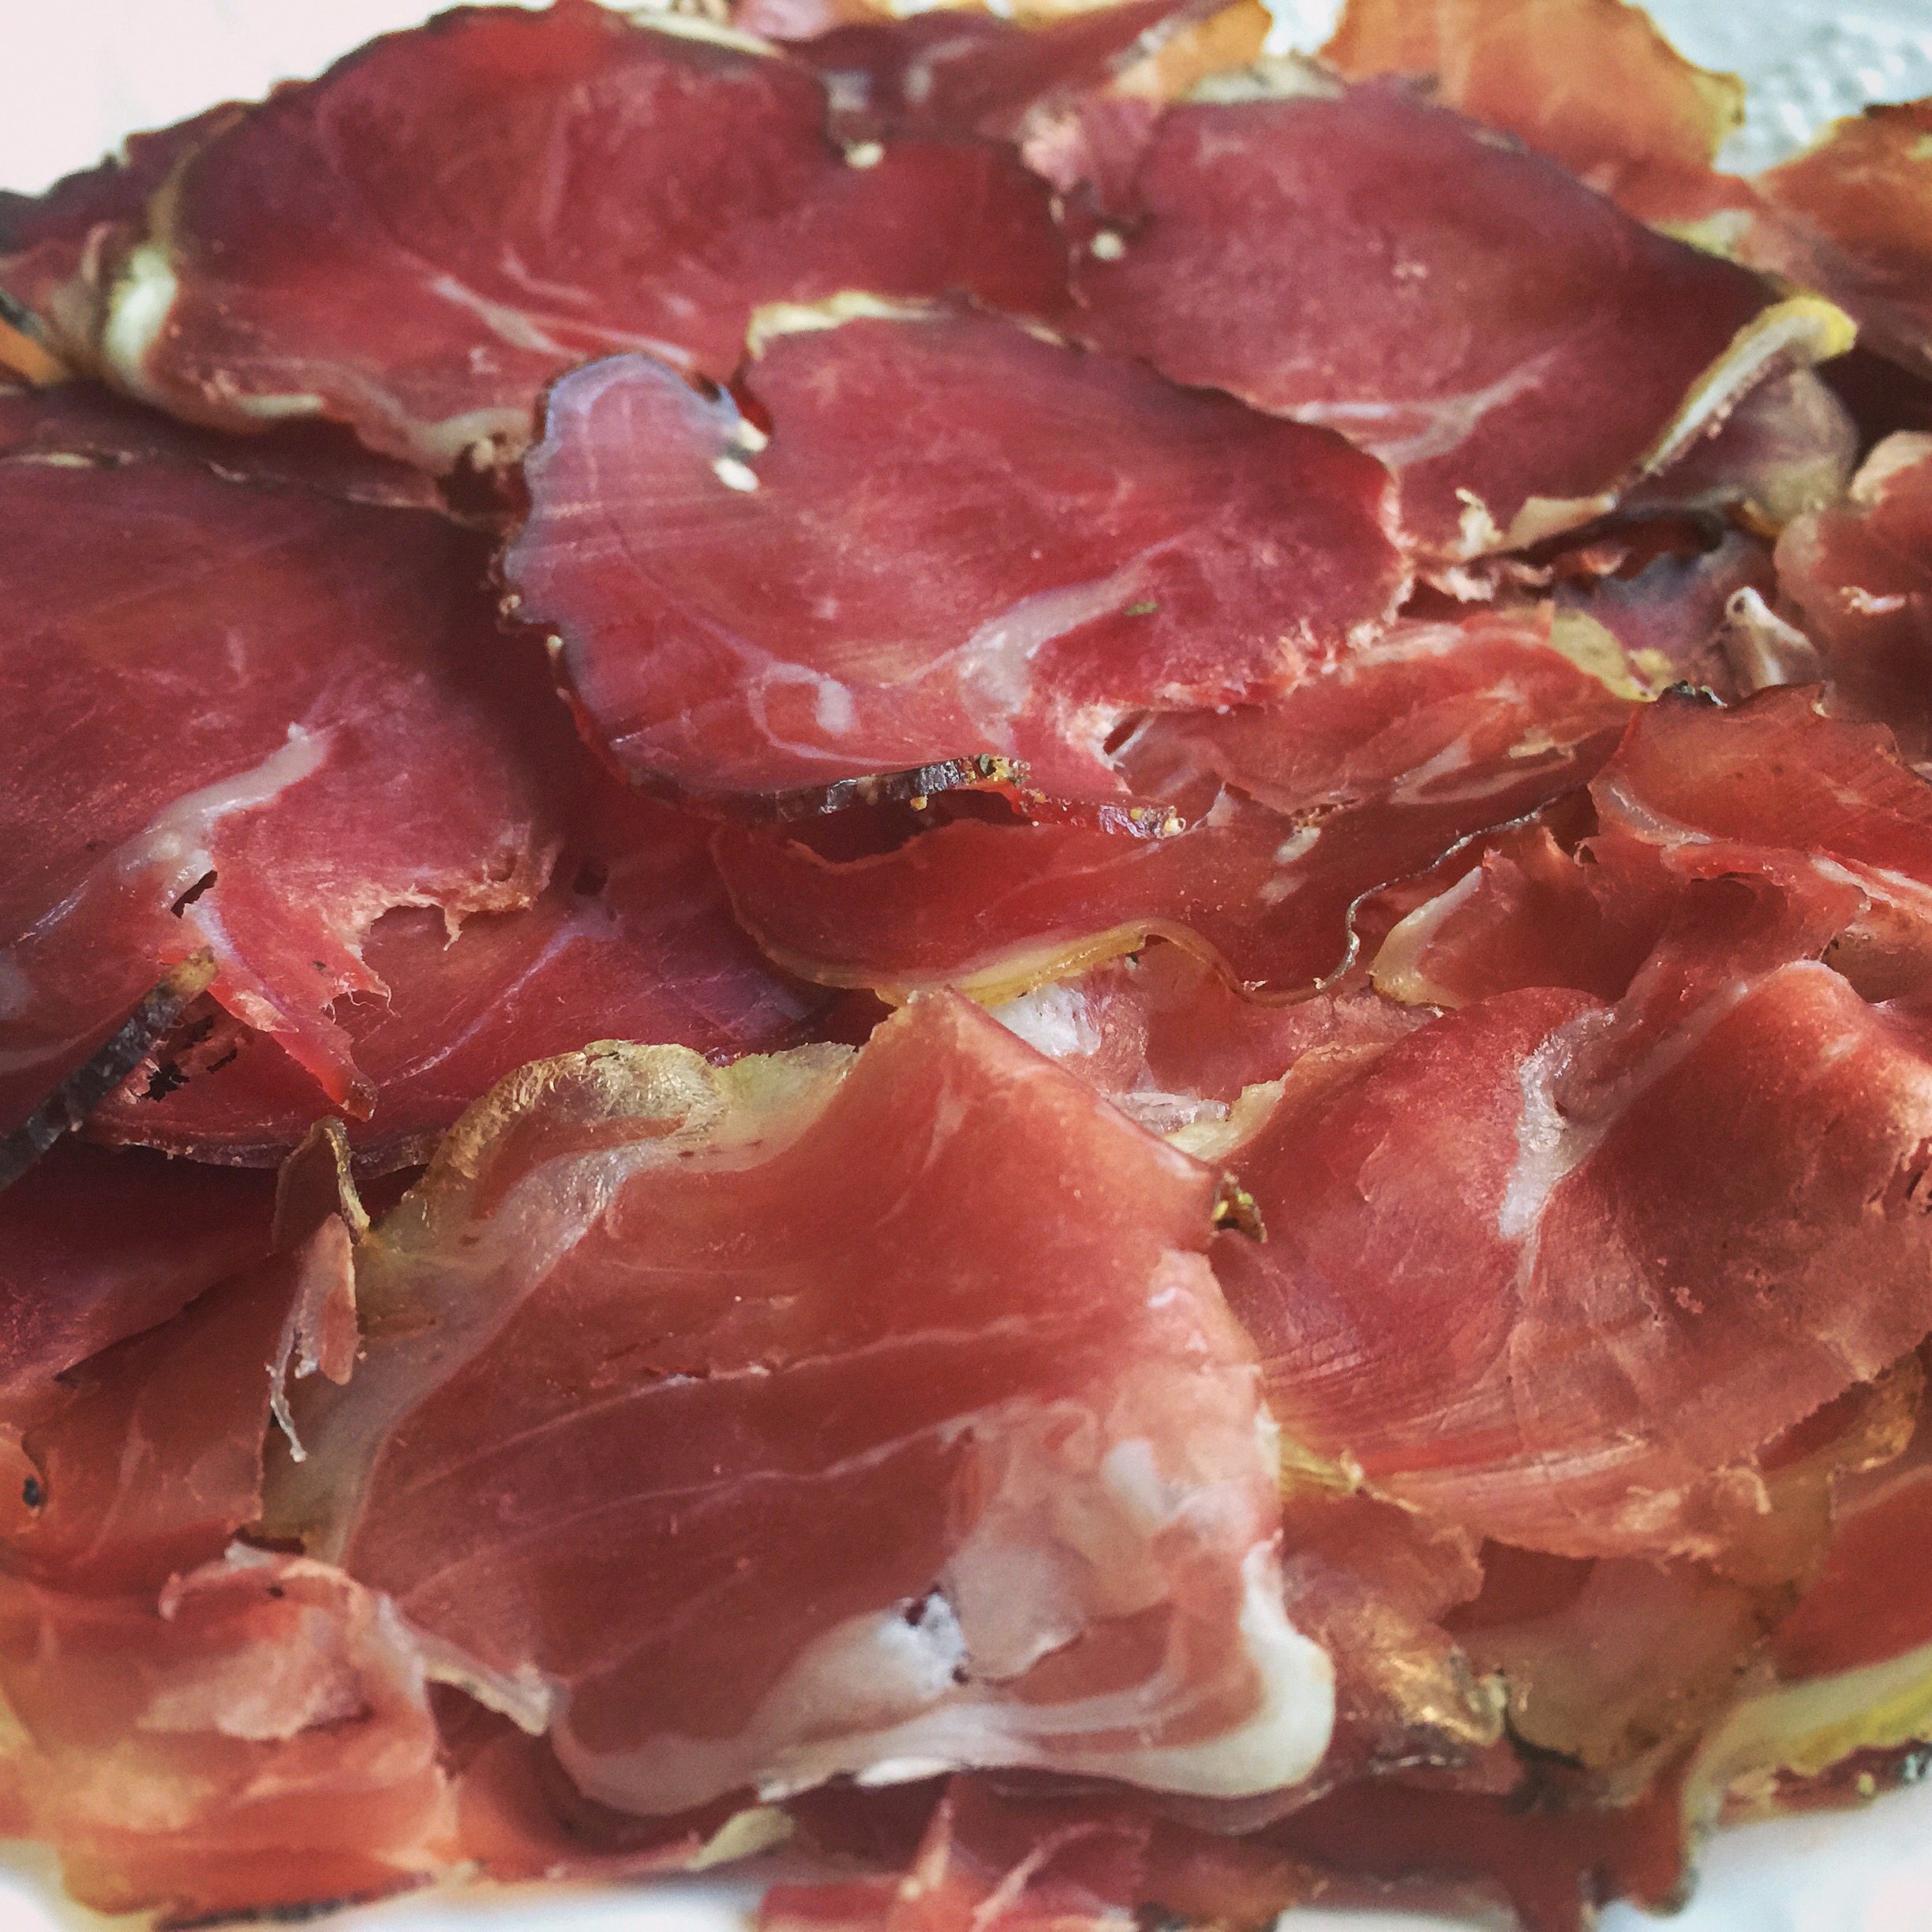
Ahh. Fantastic.
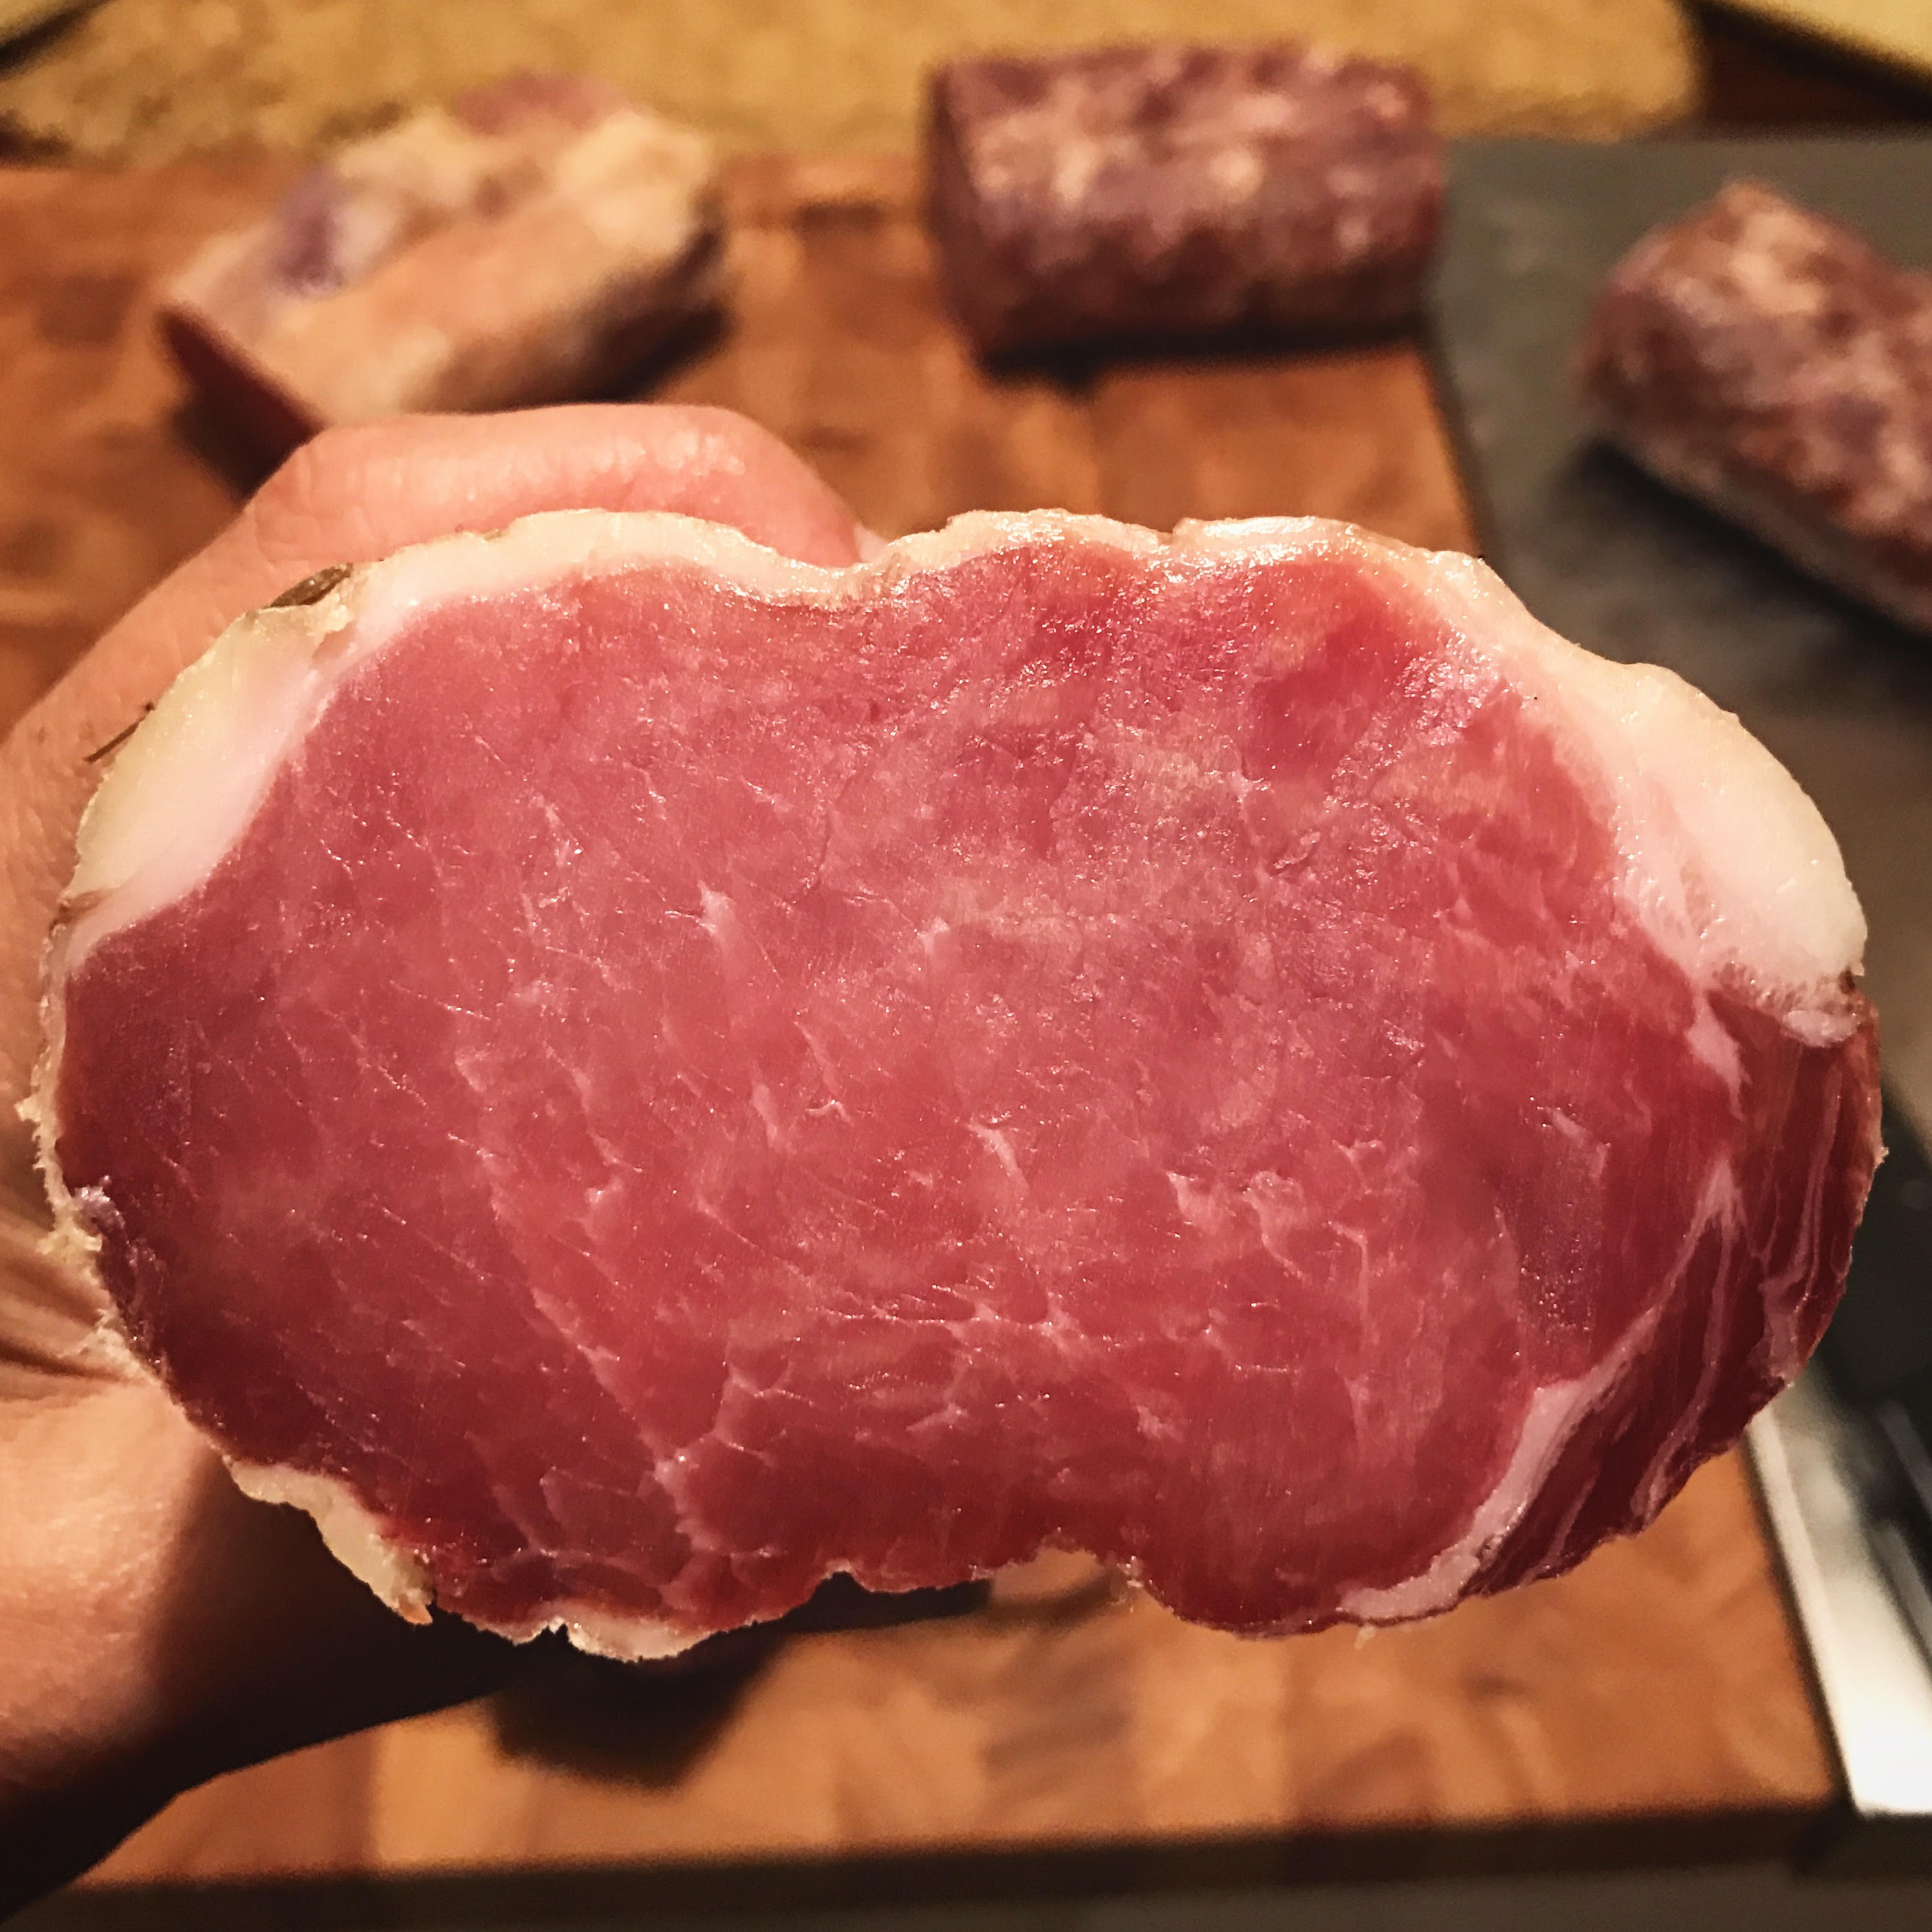
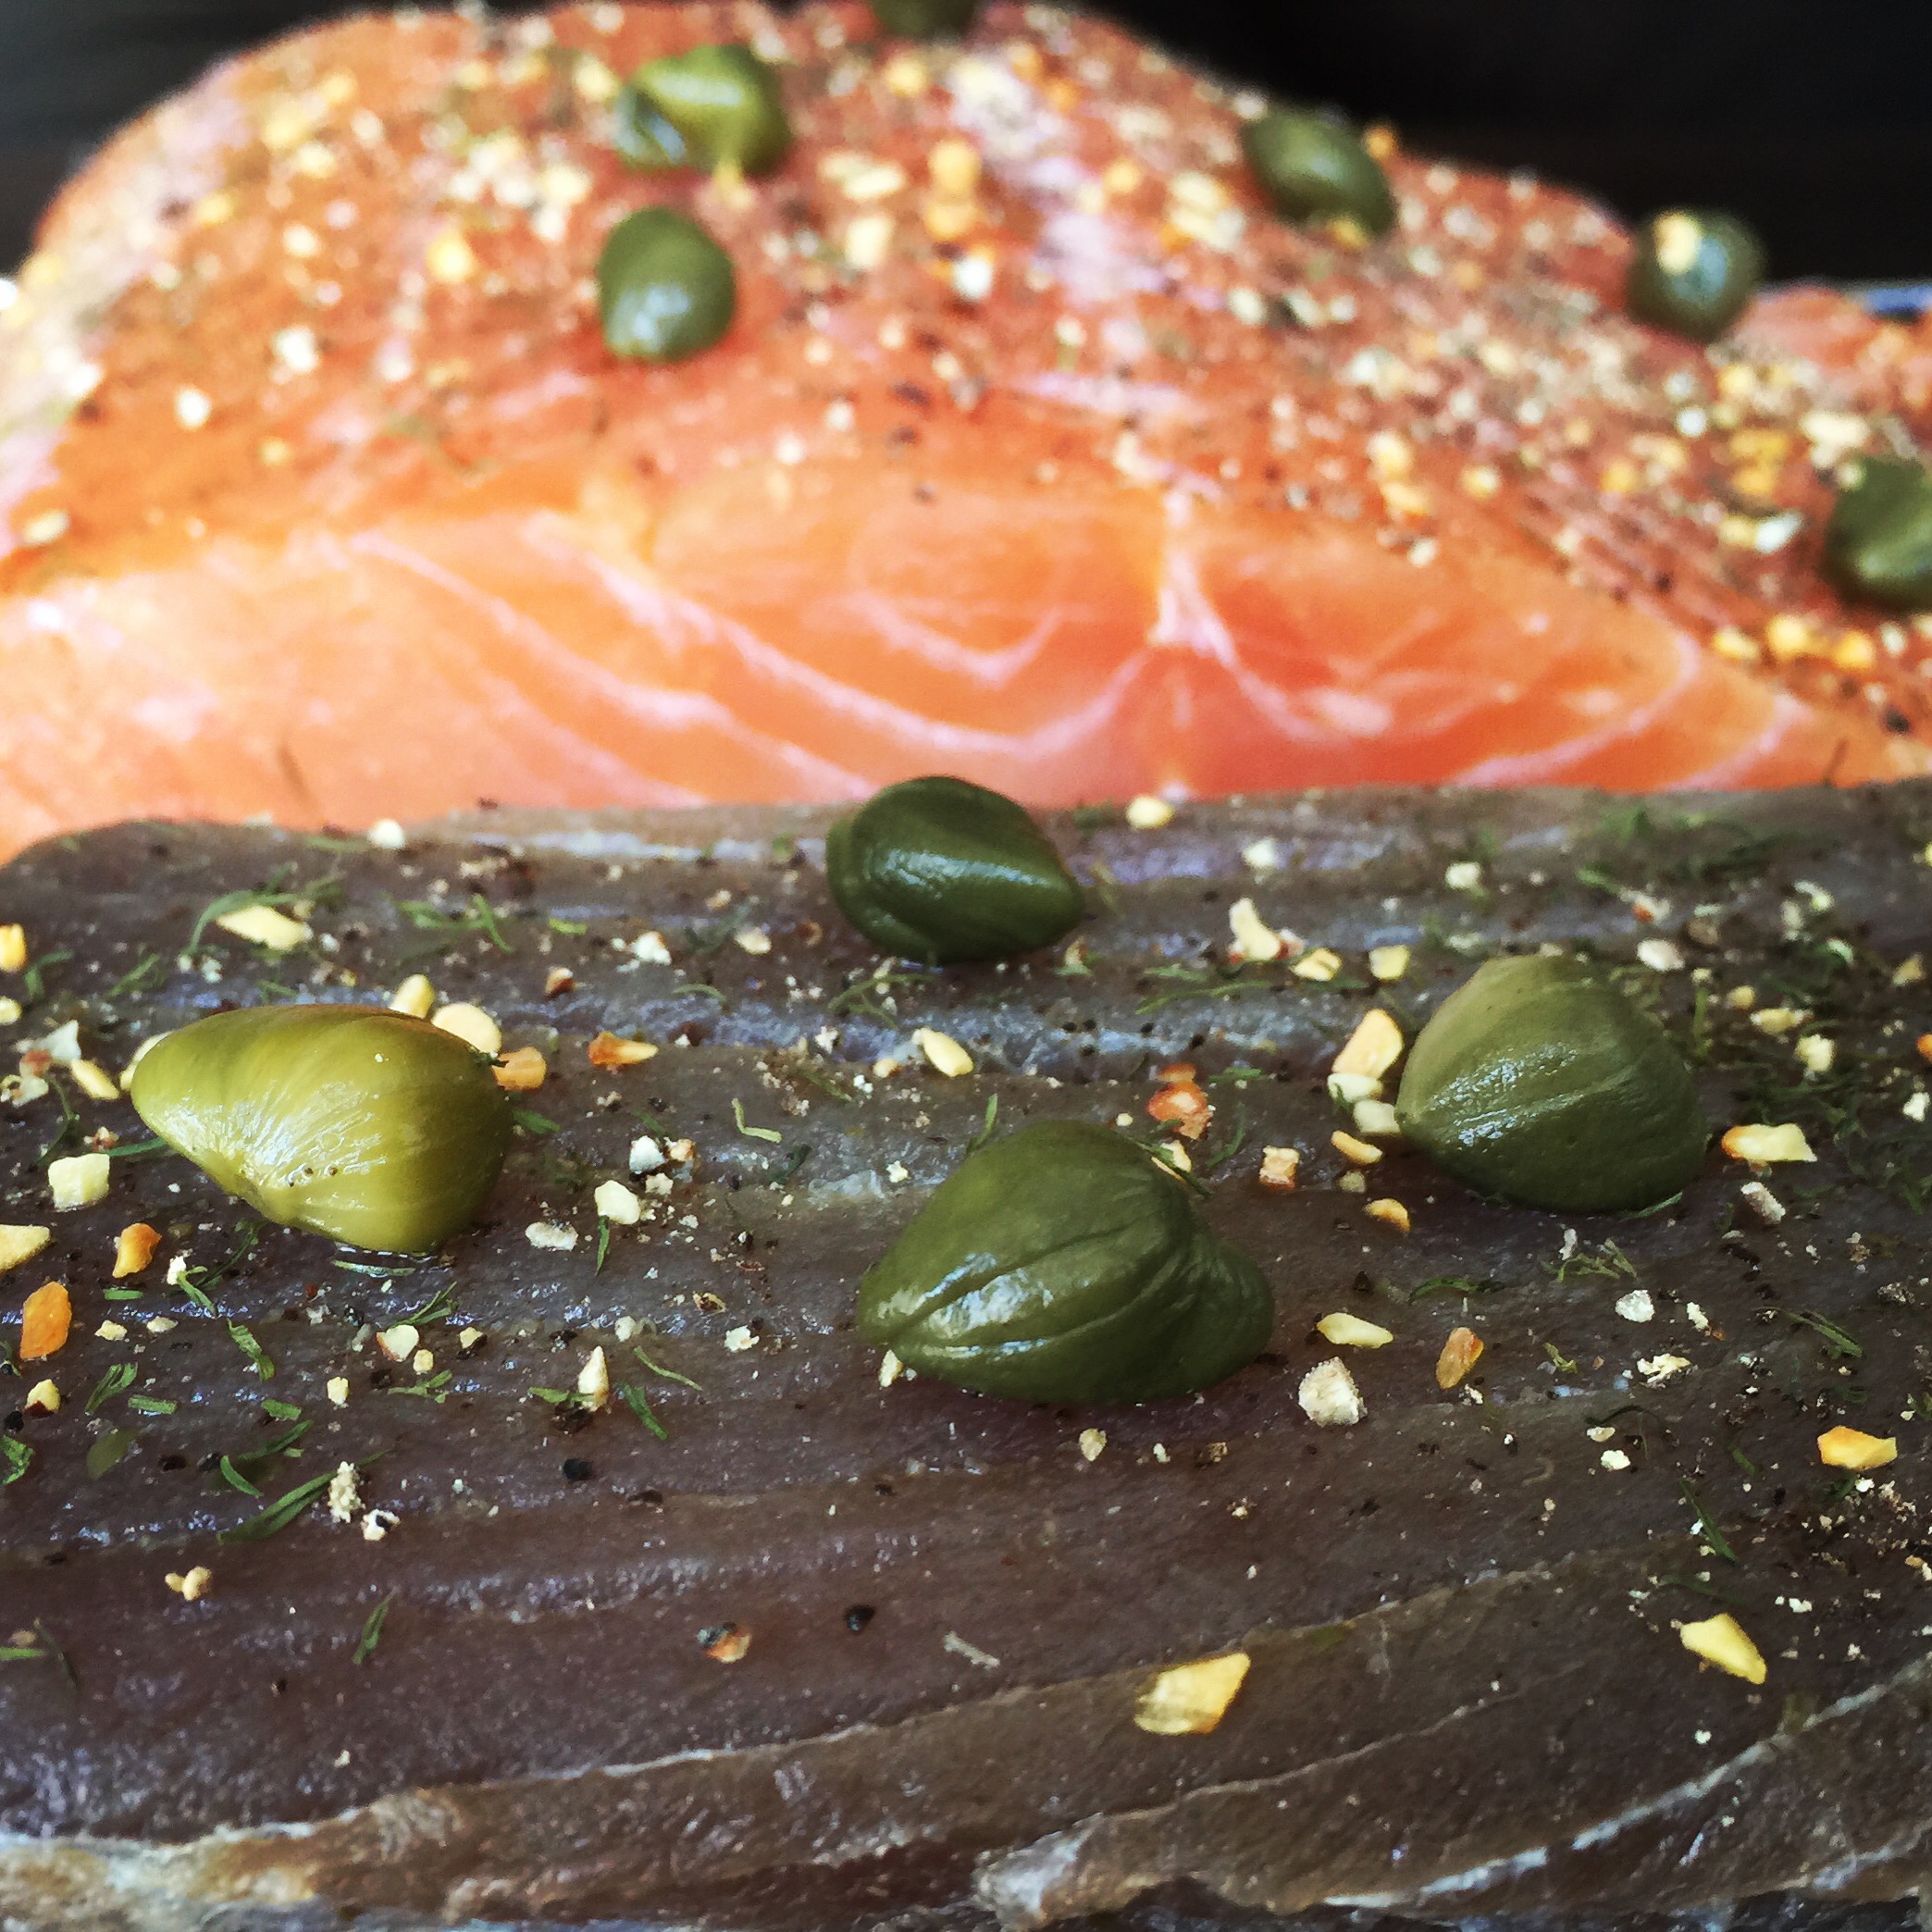
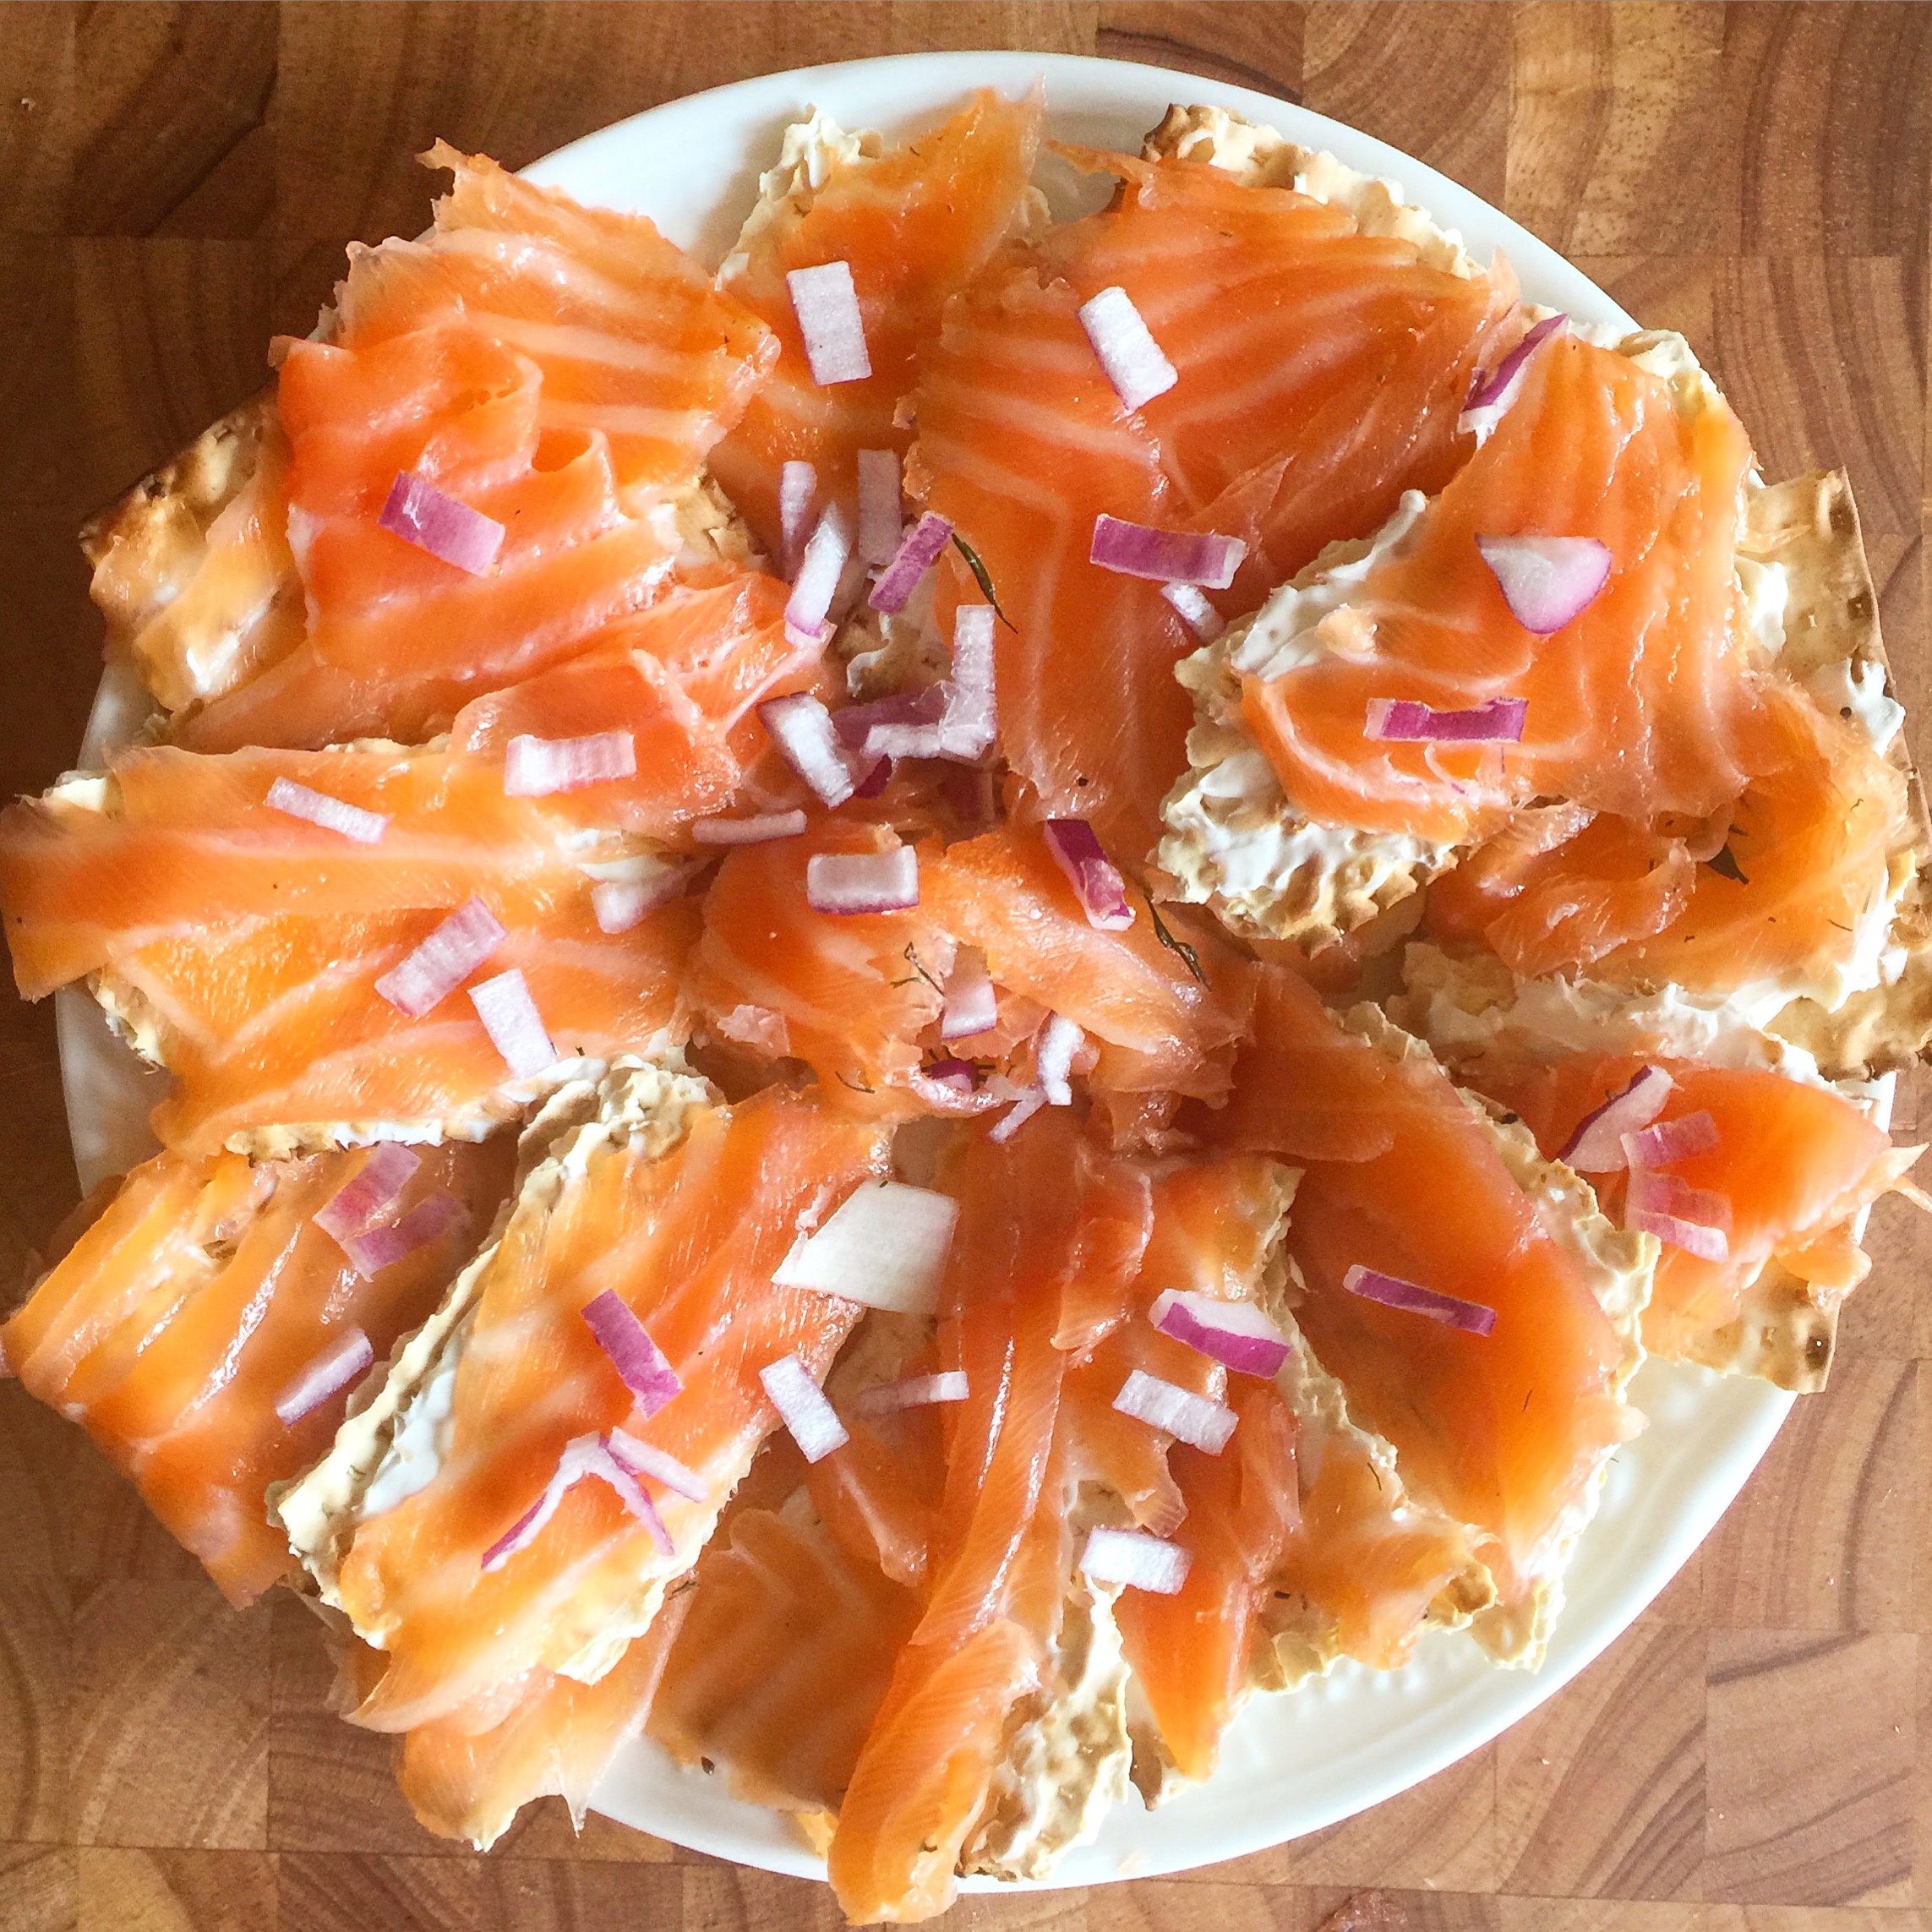
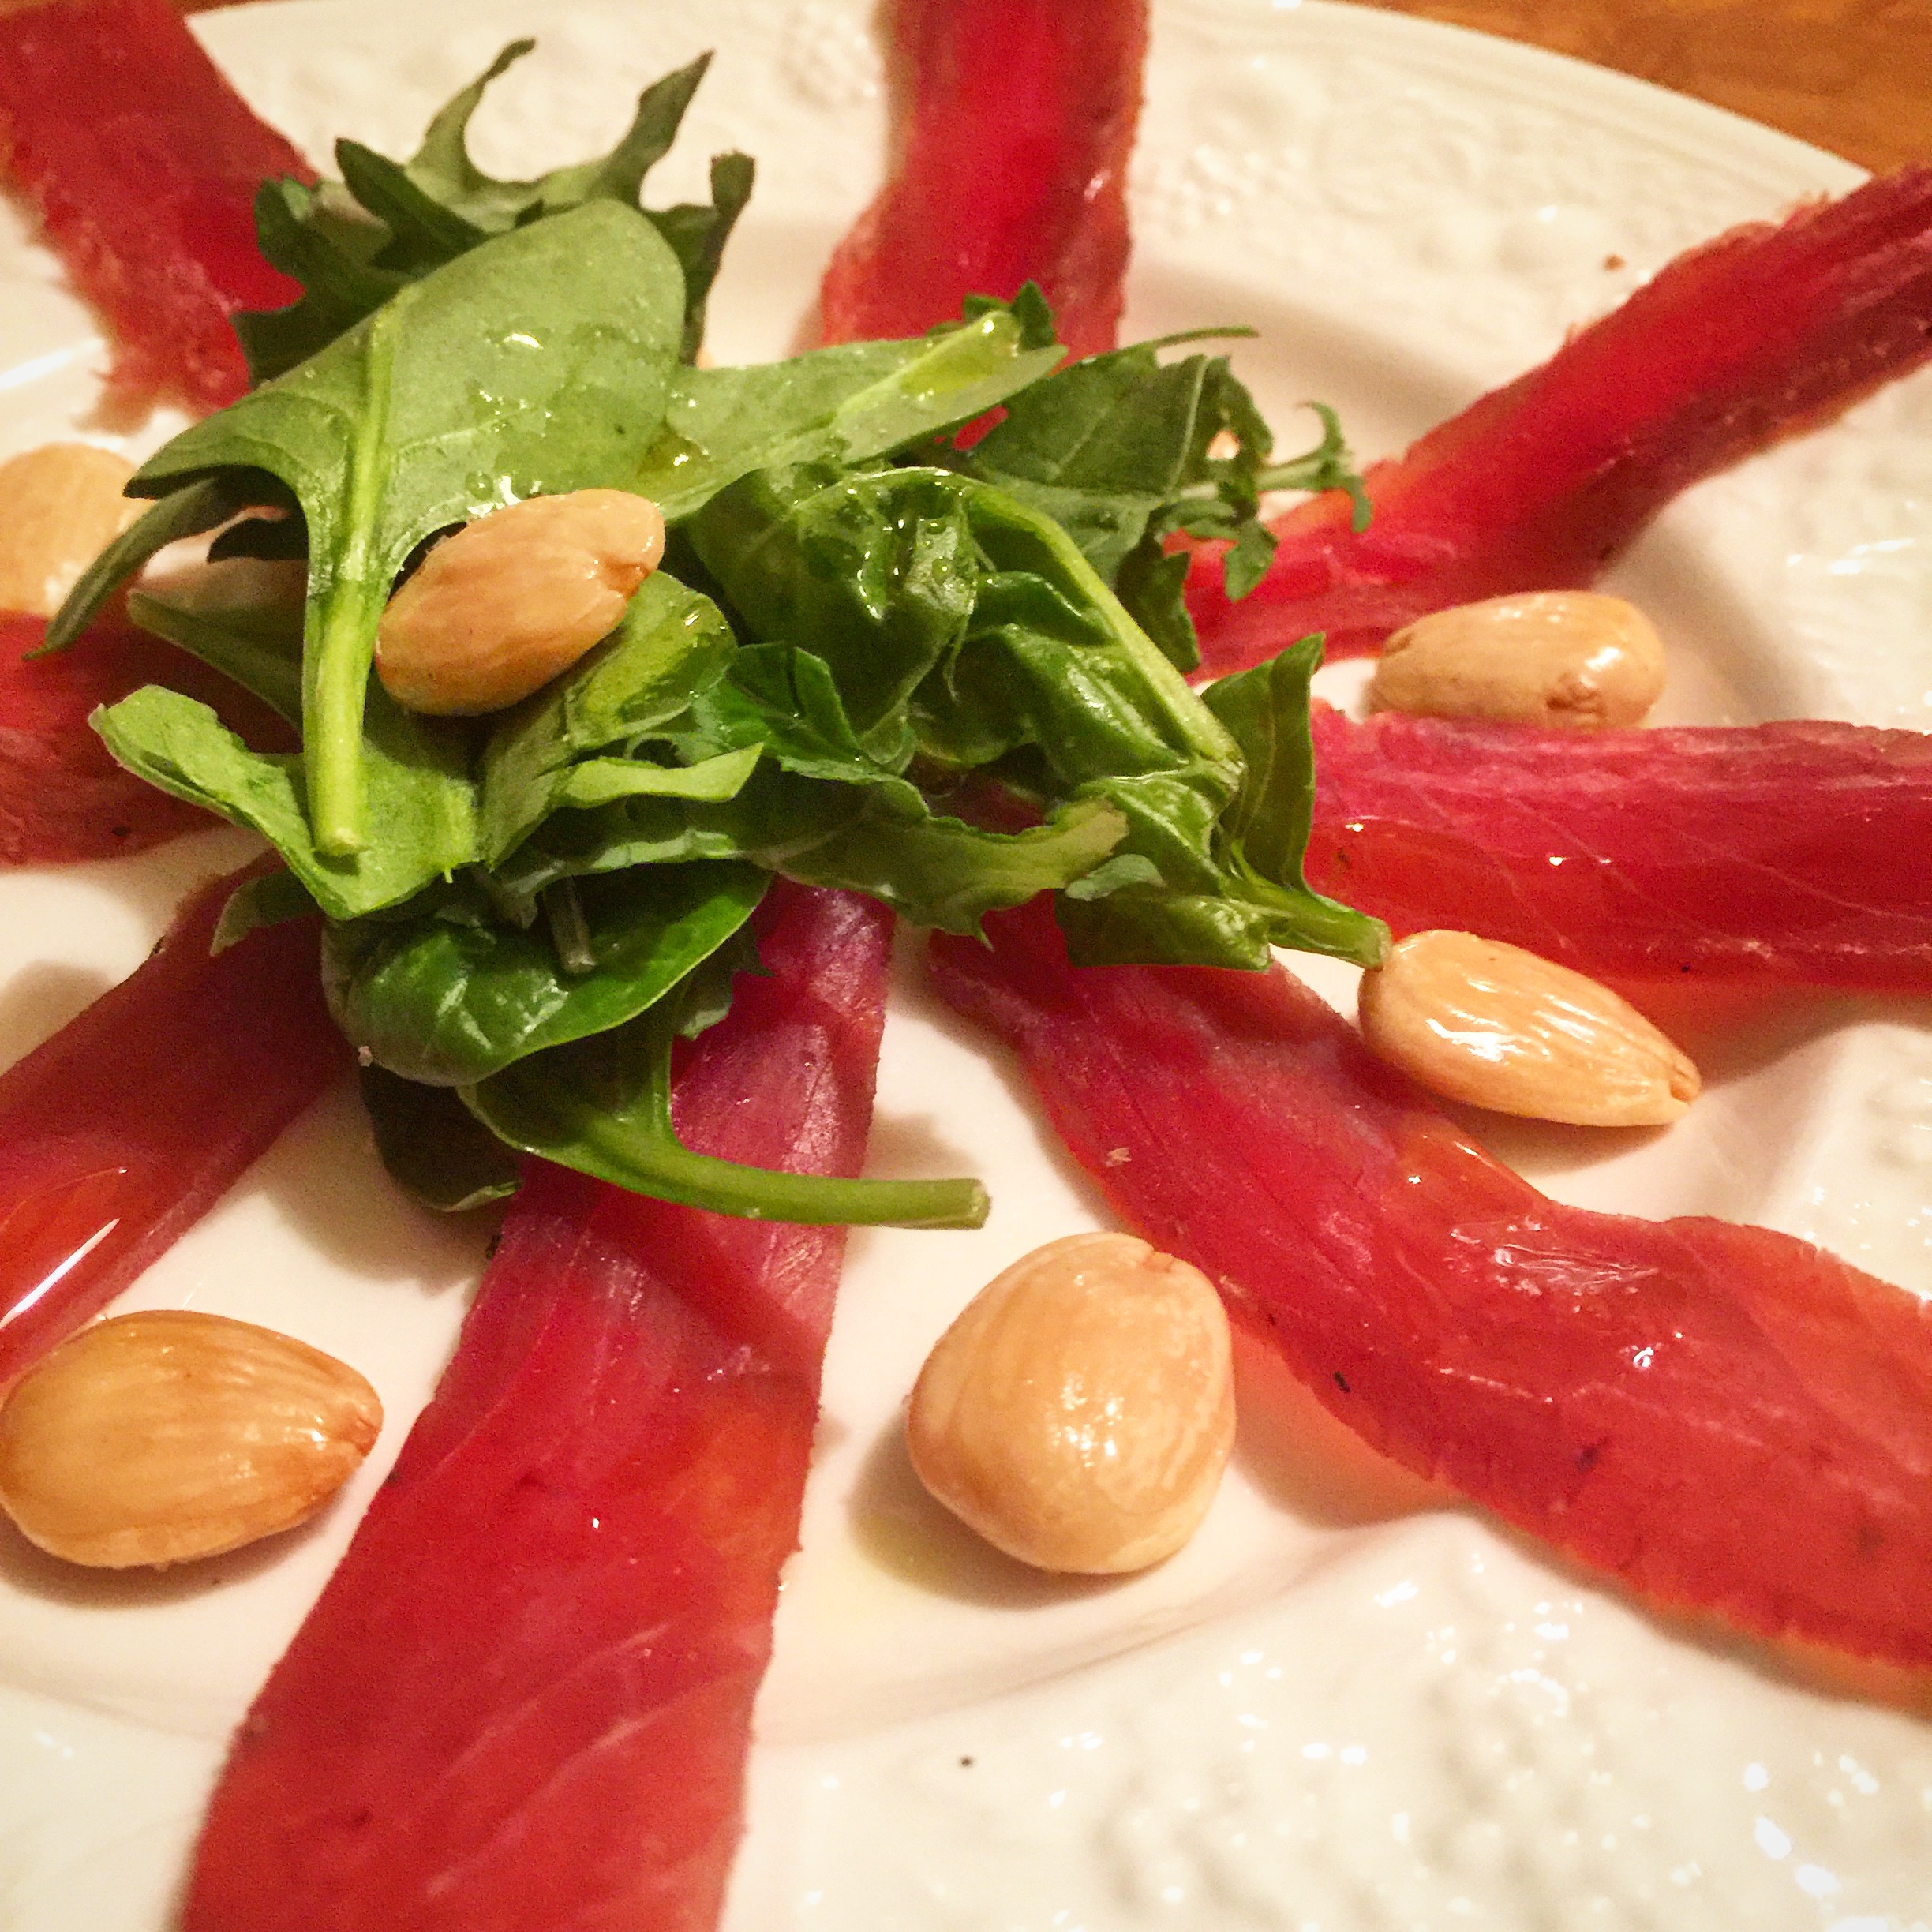
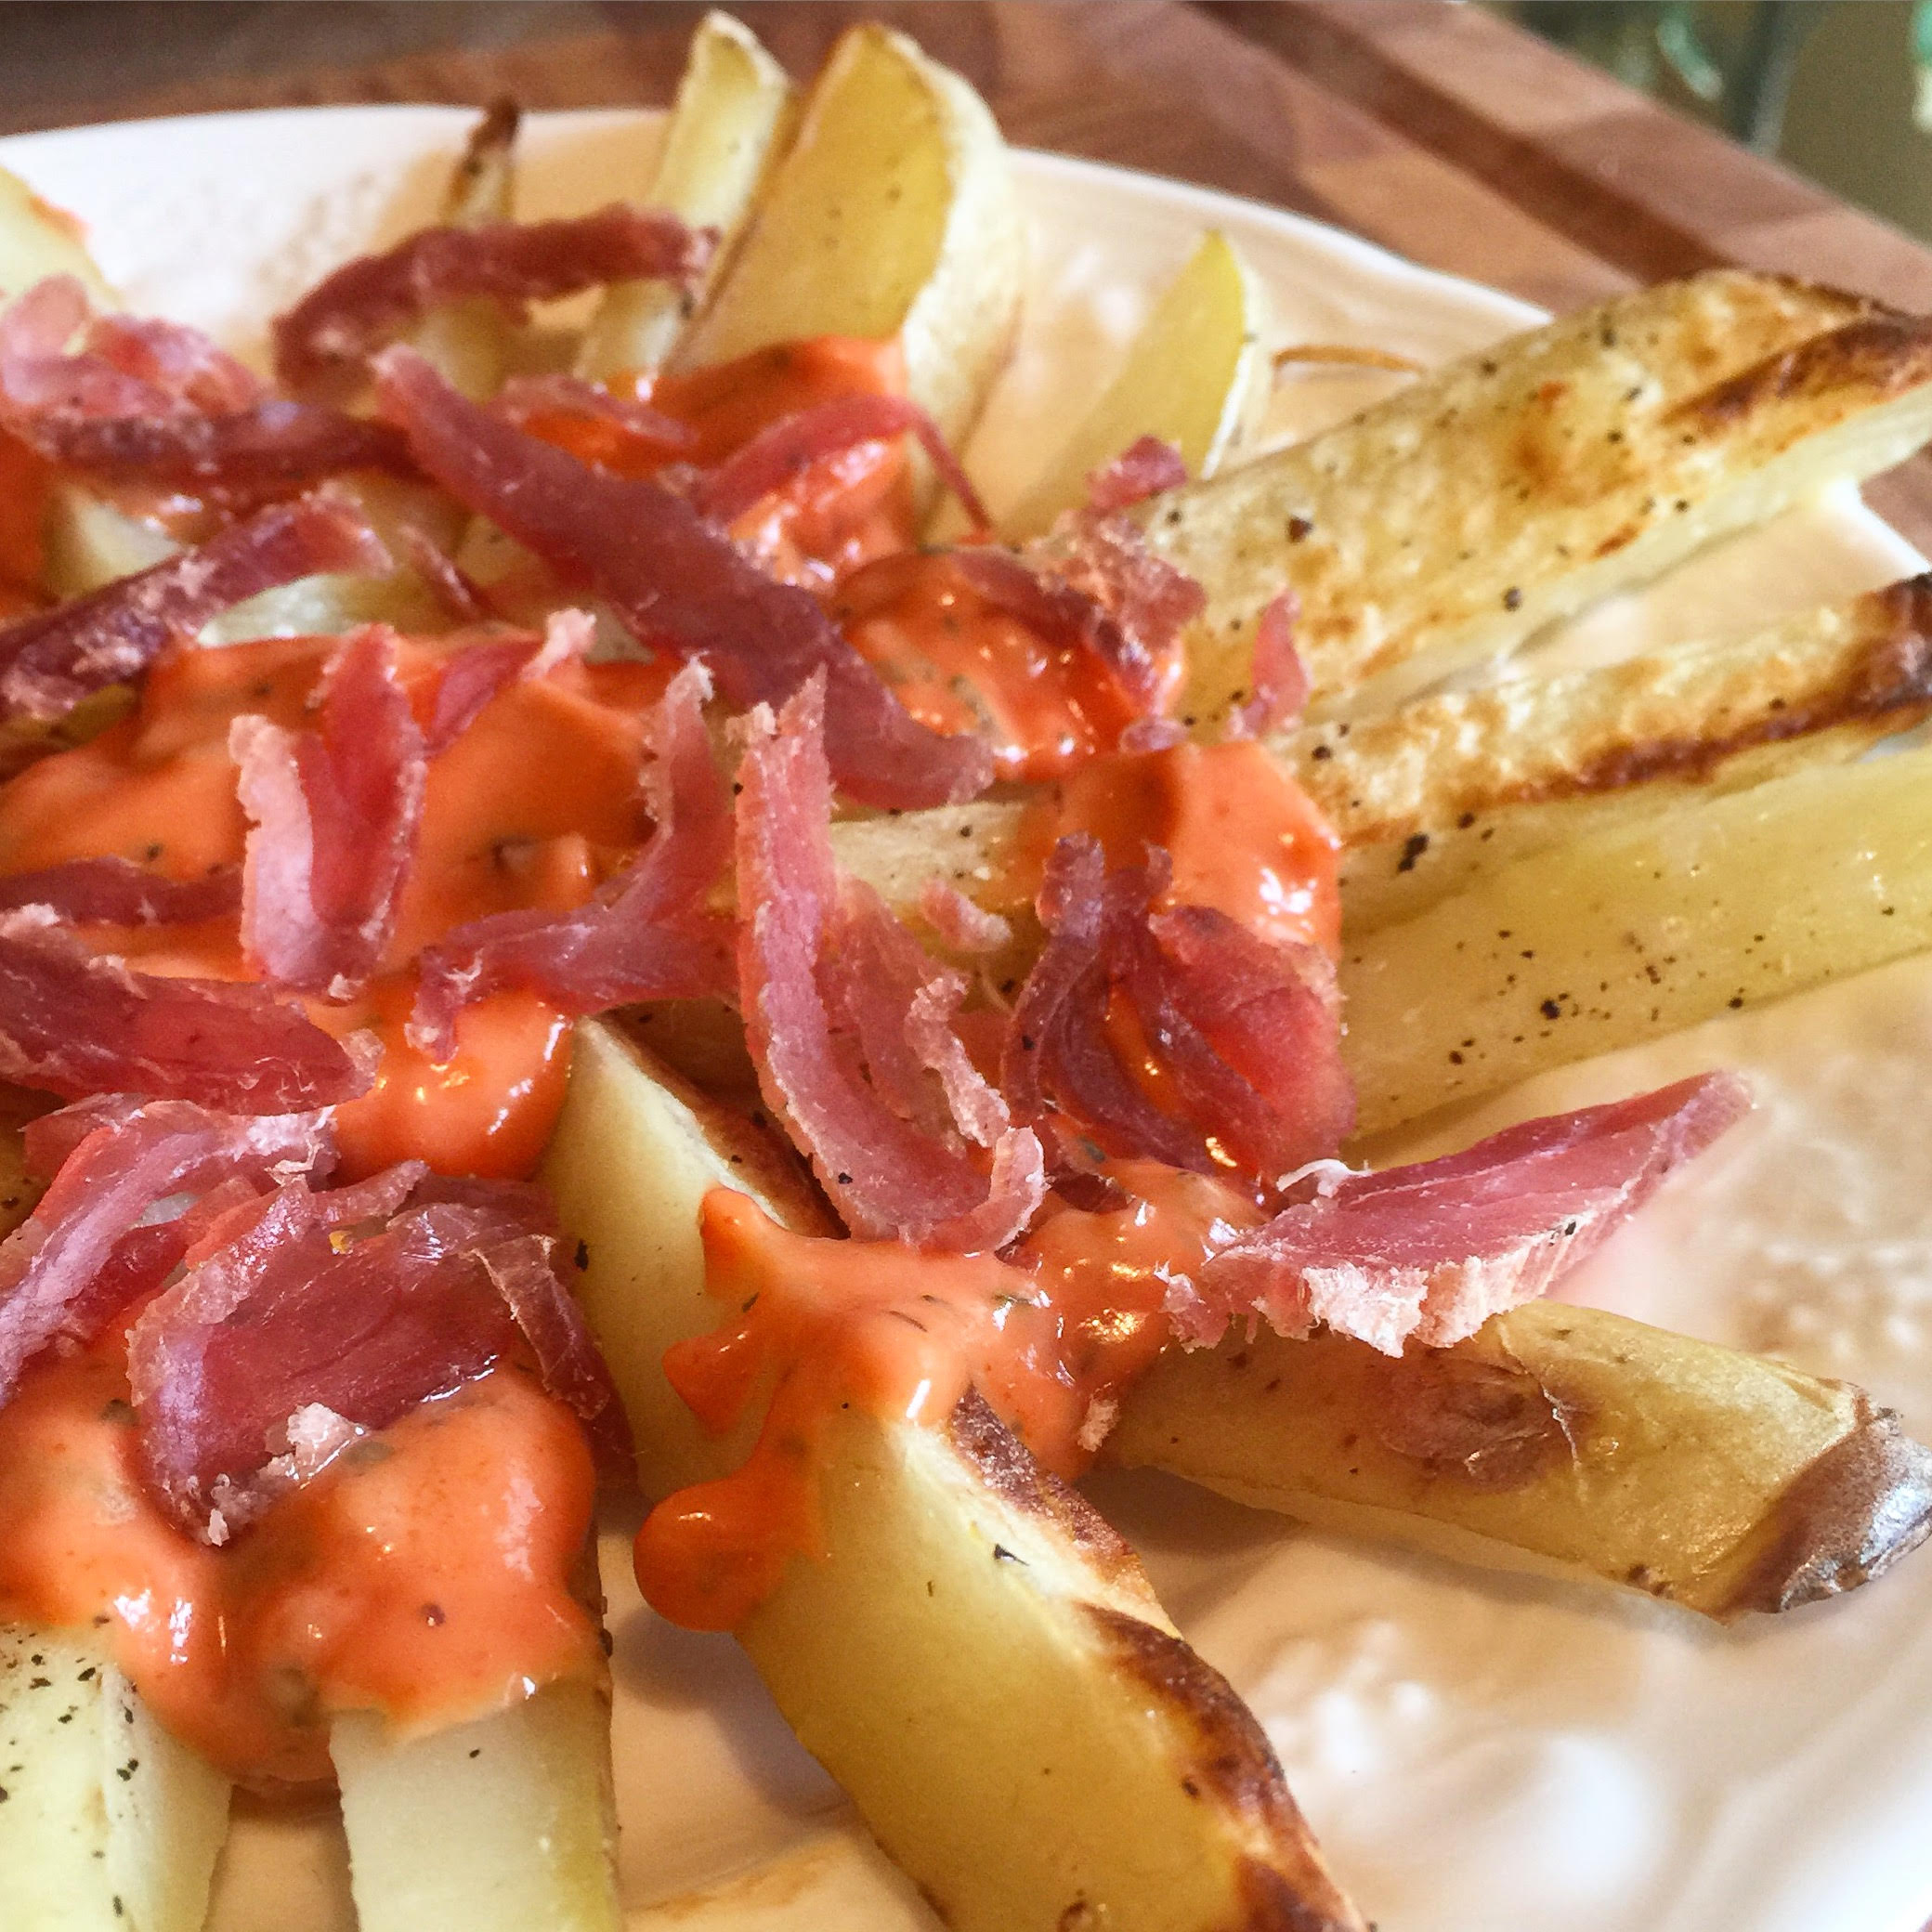
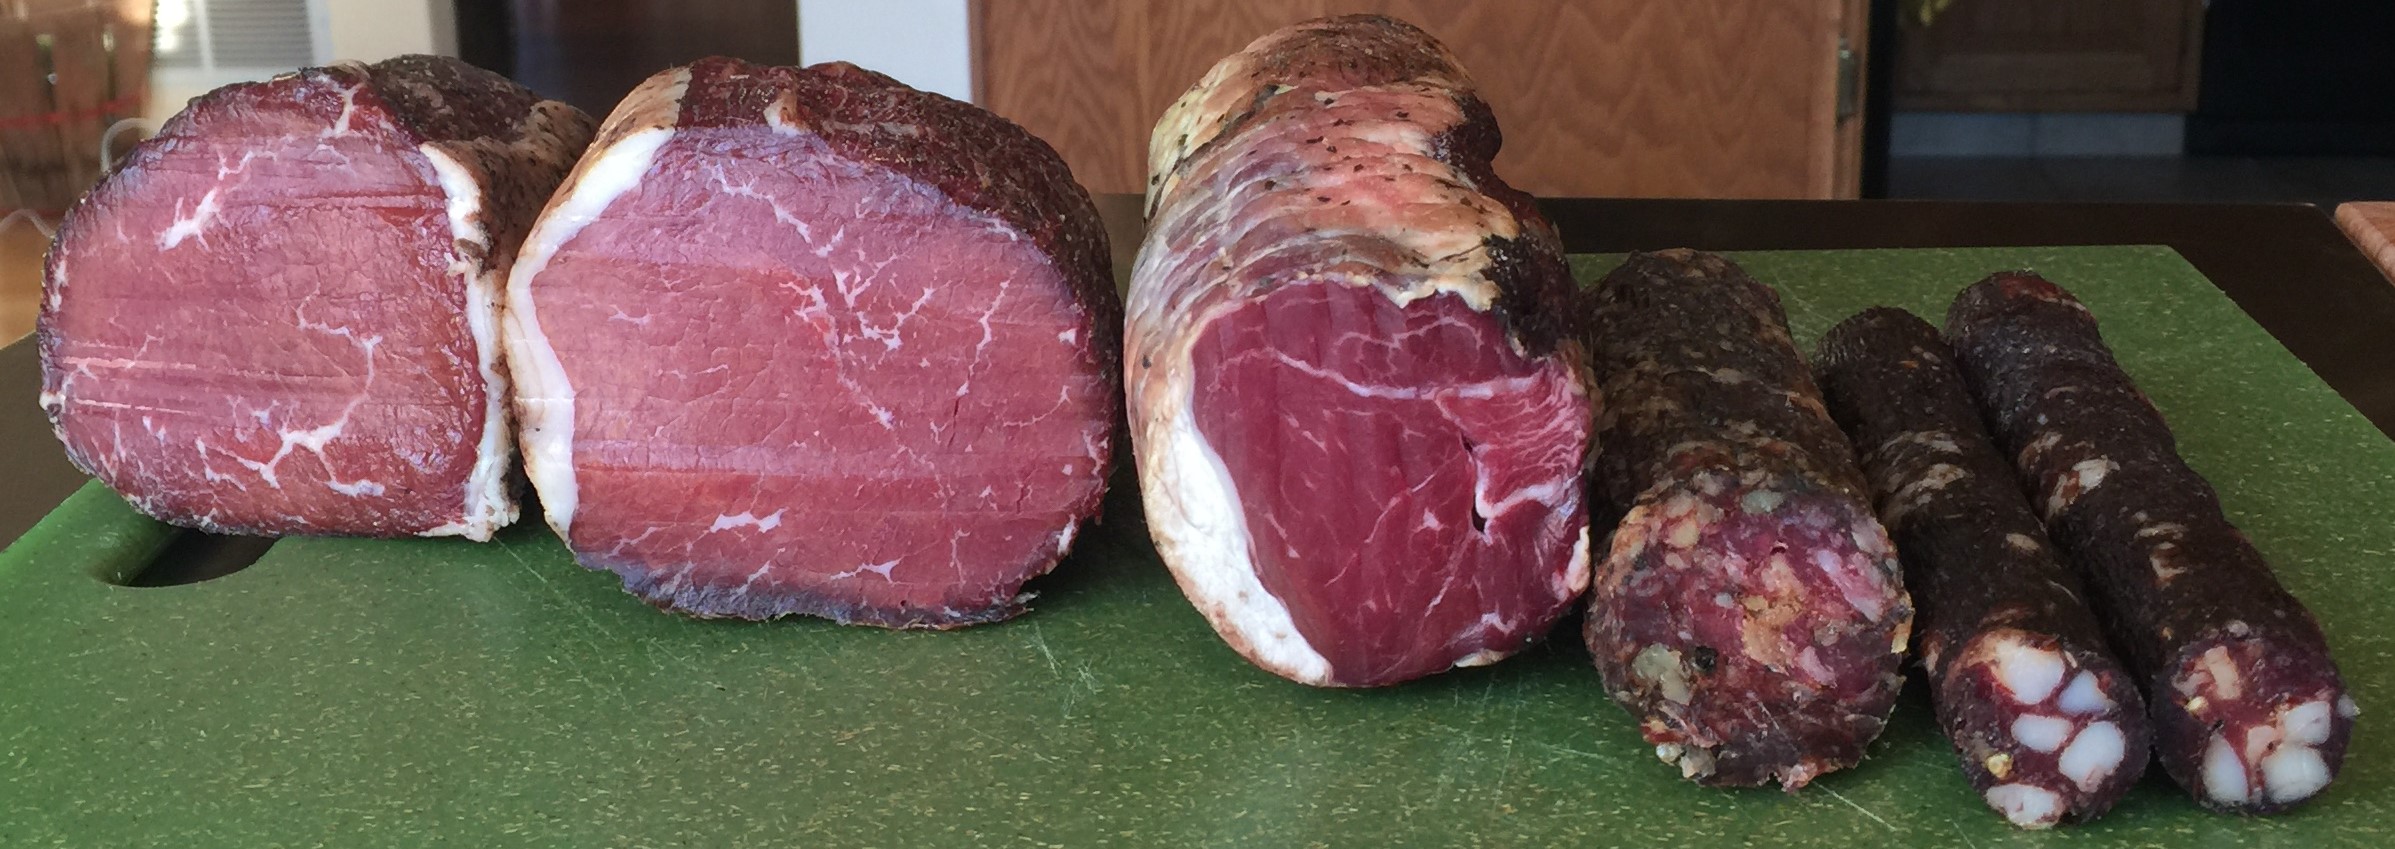
There is something about dry curing meat that really brings out the best flavors in the meat. Even this meat, from such a common source, is great after its time spent curing and drying. It looks like traditional lonza or lomo meat does, and tastes pretty good. I look forward to making many sandwiches and snacks with this meat.
Disclaimer: Meat curing is a hobby that comes with inherent risks. We can all do things to limit this risk by educating ourselves about the process and the utilizing the safest known methods to create our products. This website is for educational purposes only, and all experimentation should be done at each individuals own risk.