So, let’s delve into some lesser known versions of bresaola. Bresaola di tacchino, or turkey breasaola, is a lesser well known cured meat product. I have seen it advertised in Italian as a “healthy” alternative to the traditional cured meats which may be red meat based and have a higher fat content. I don’t know if one could really consider it healthier, not do I really care too much. I believe that in moderation, there is nothing wrong with making and eating cured meats. This is especially true when you make your own and control the quality of meat and levels of salt and nitrates that go into it. My interest in bresaola di tacchino was mostly curiosity driven. I had never tried it before, and was very curious about the flavor that a cured and dried turkey product would have.
Honestly, I don’t like turkey. I think it’s a waste of a meat. Thanksgiving is only redeemed by the Italian food we use to accompany it, and I never would consider adding turkey as a cold cut to any sandwich. Before I made the bresaola di tacchino, turkey bacon was the only turkey product I liked. Fried and crispy, although not the same as regular pork bacon, I was able to see its appeal.
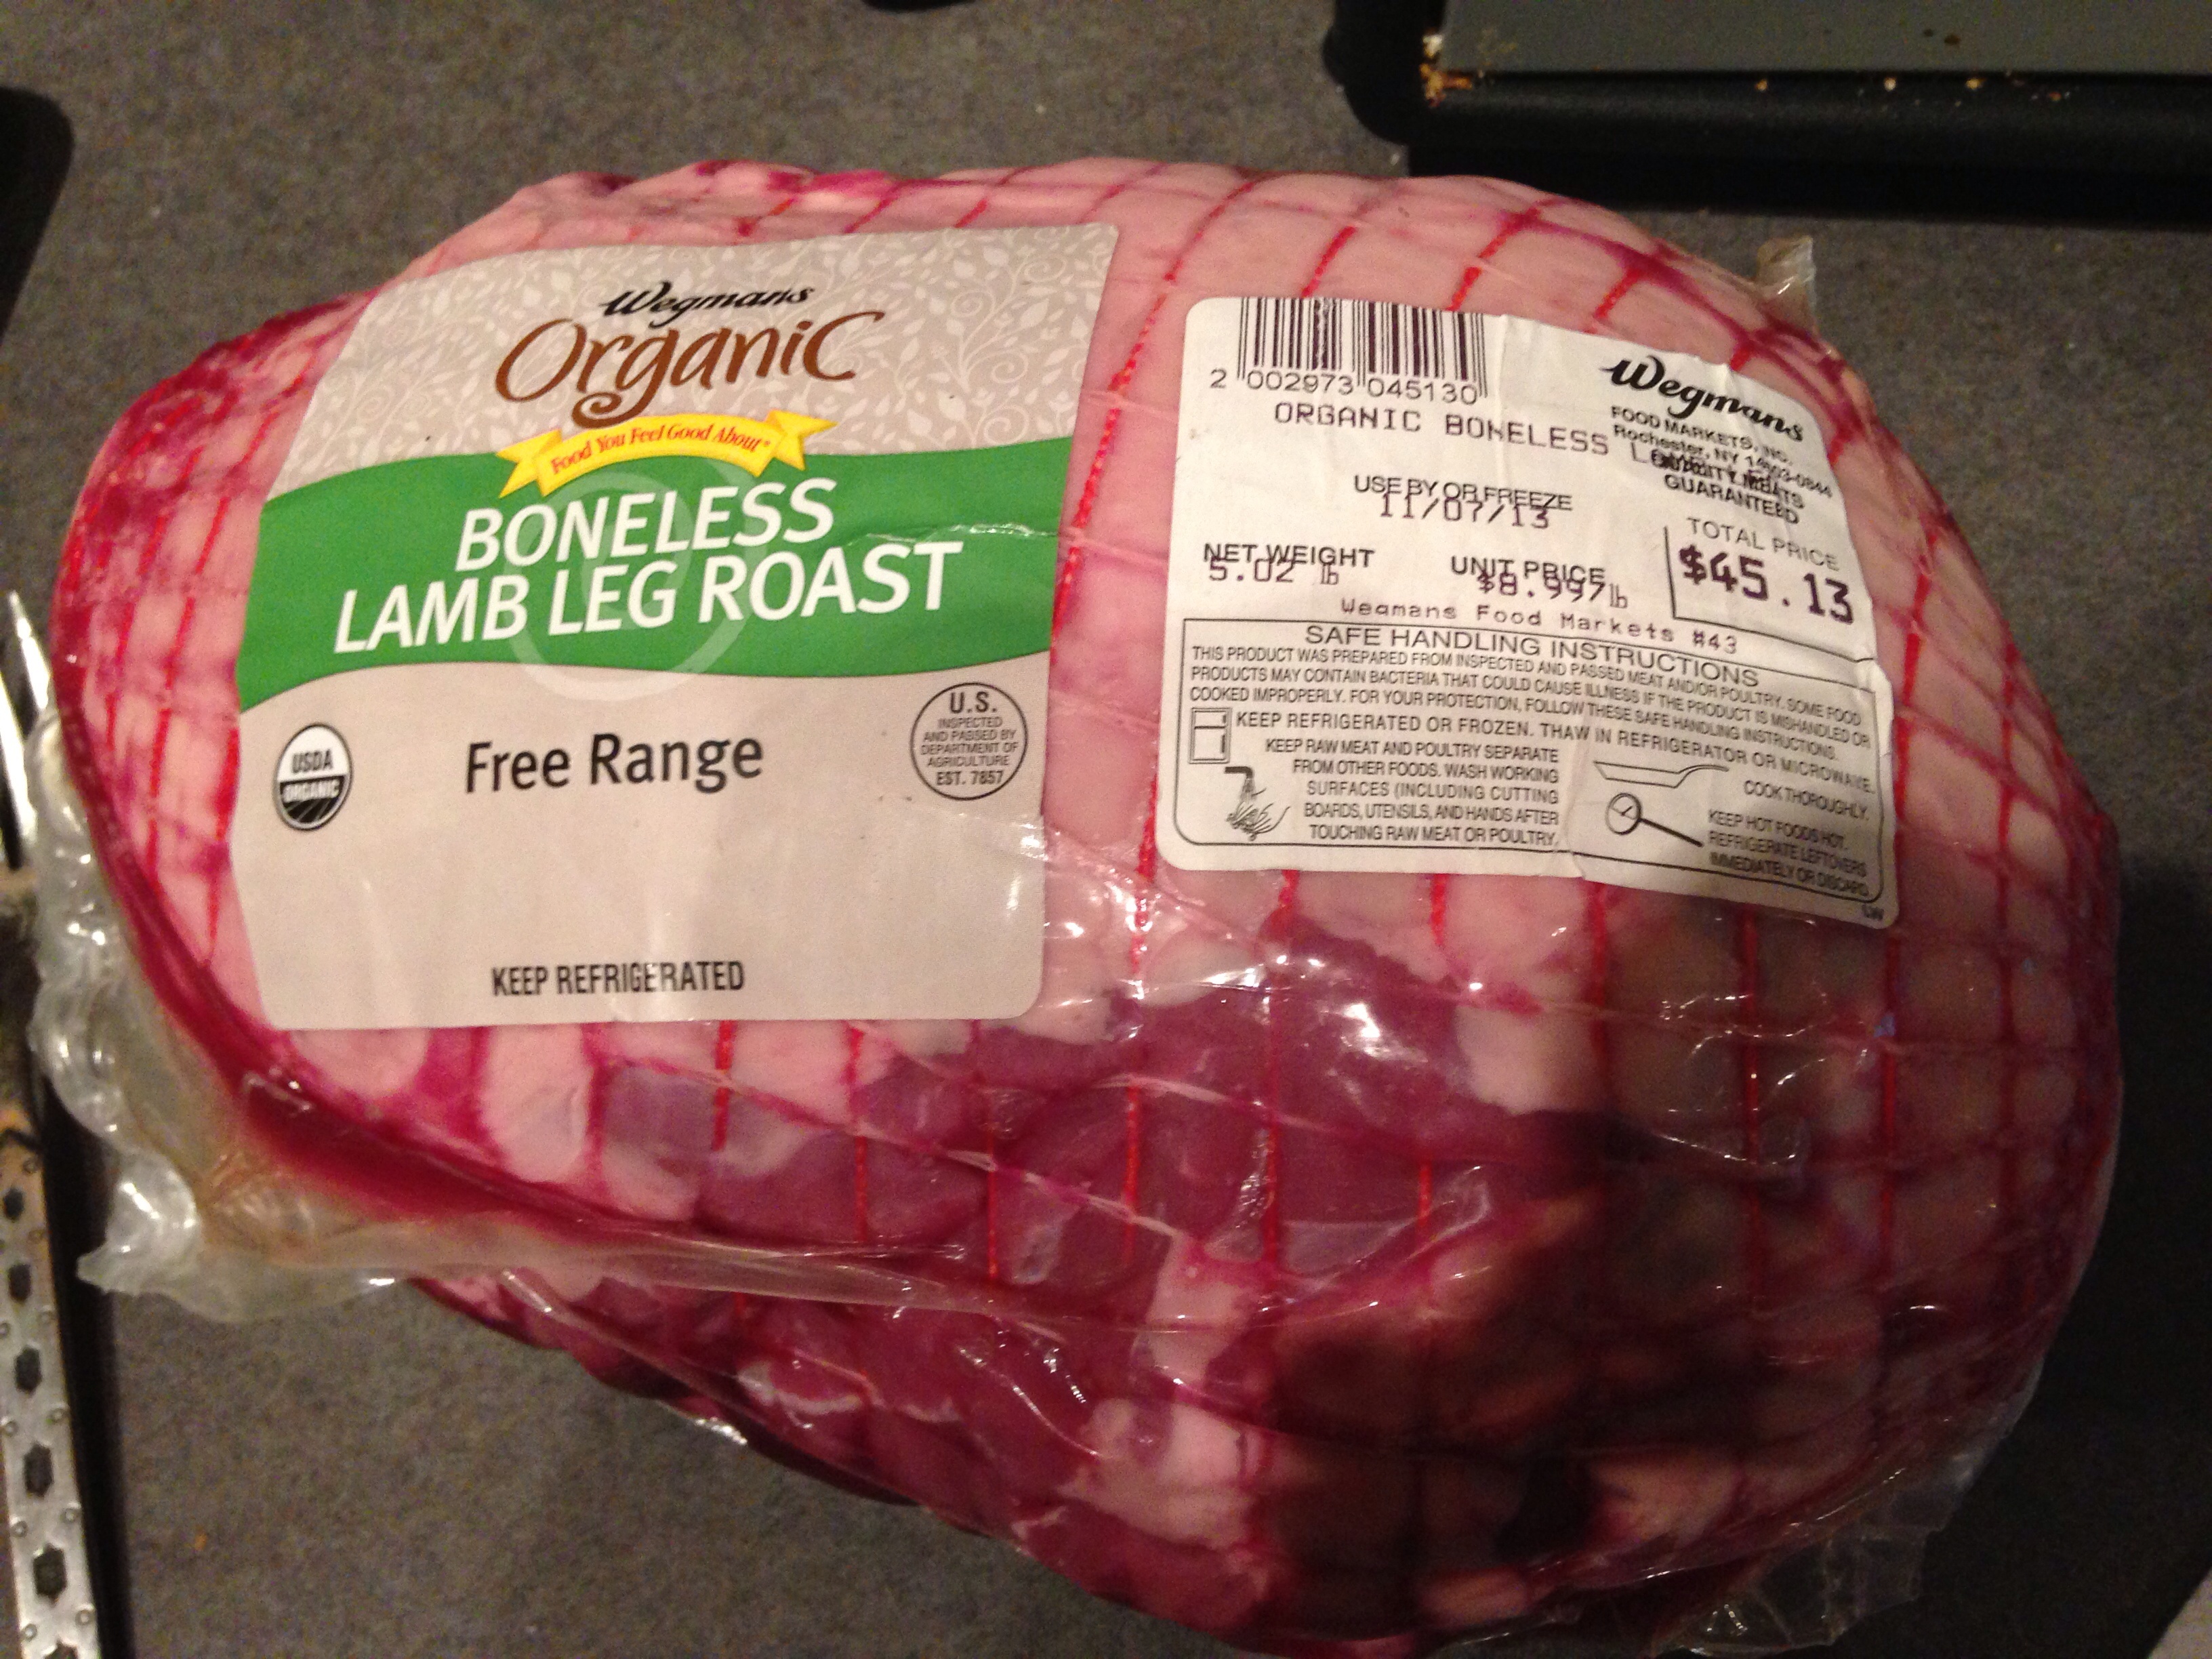
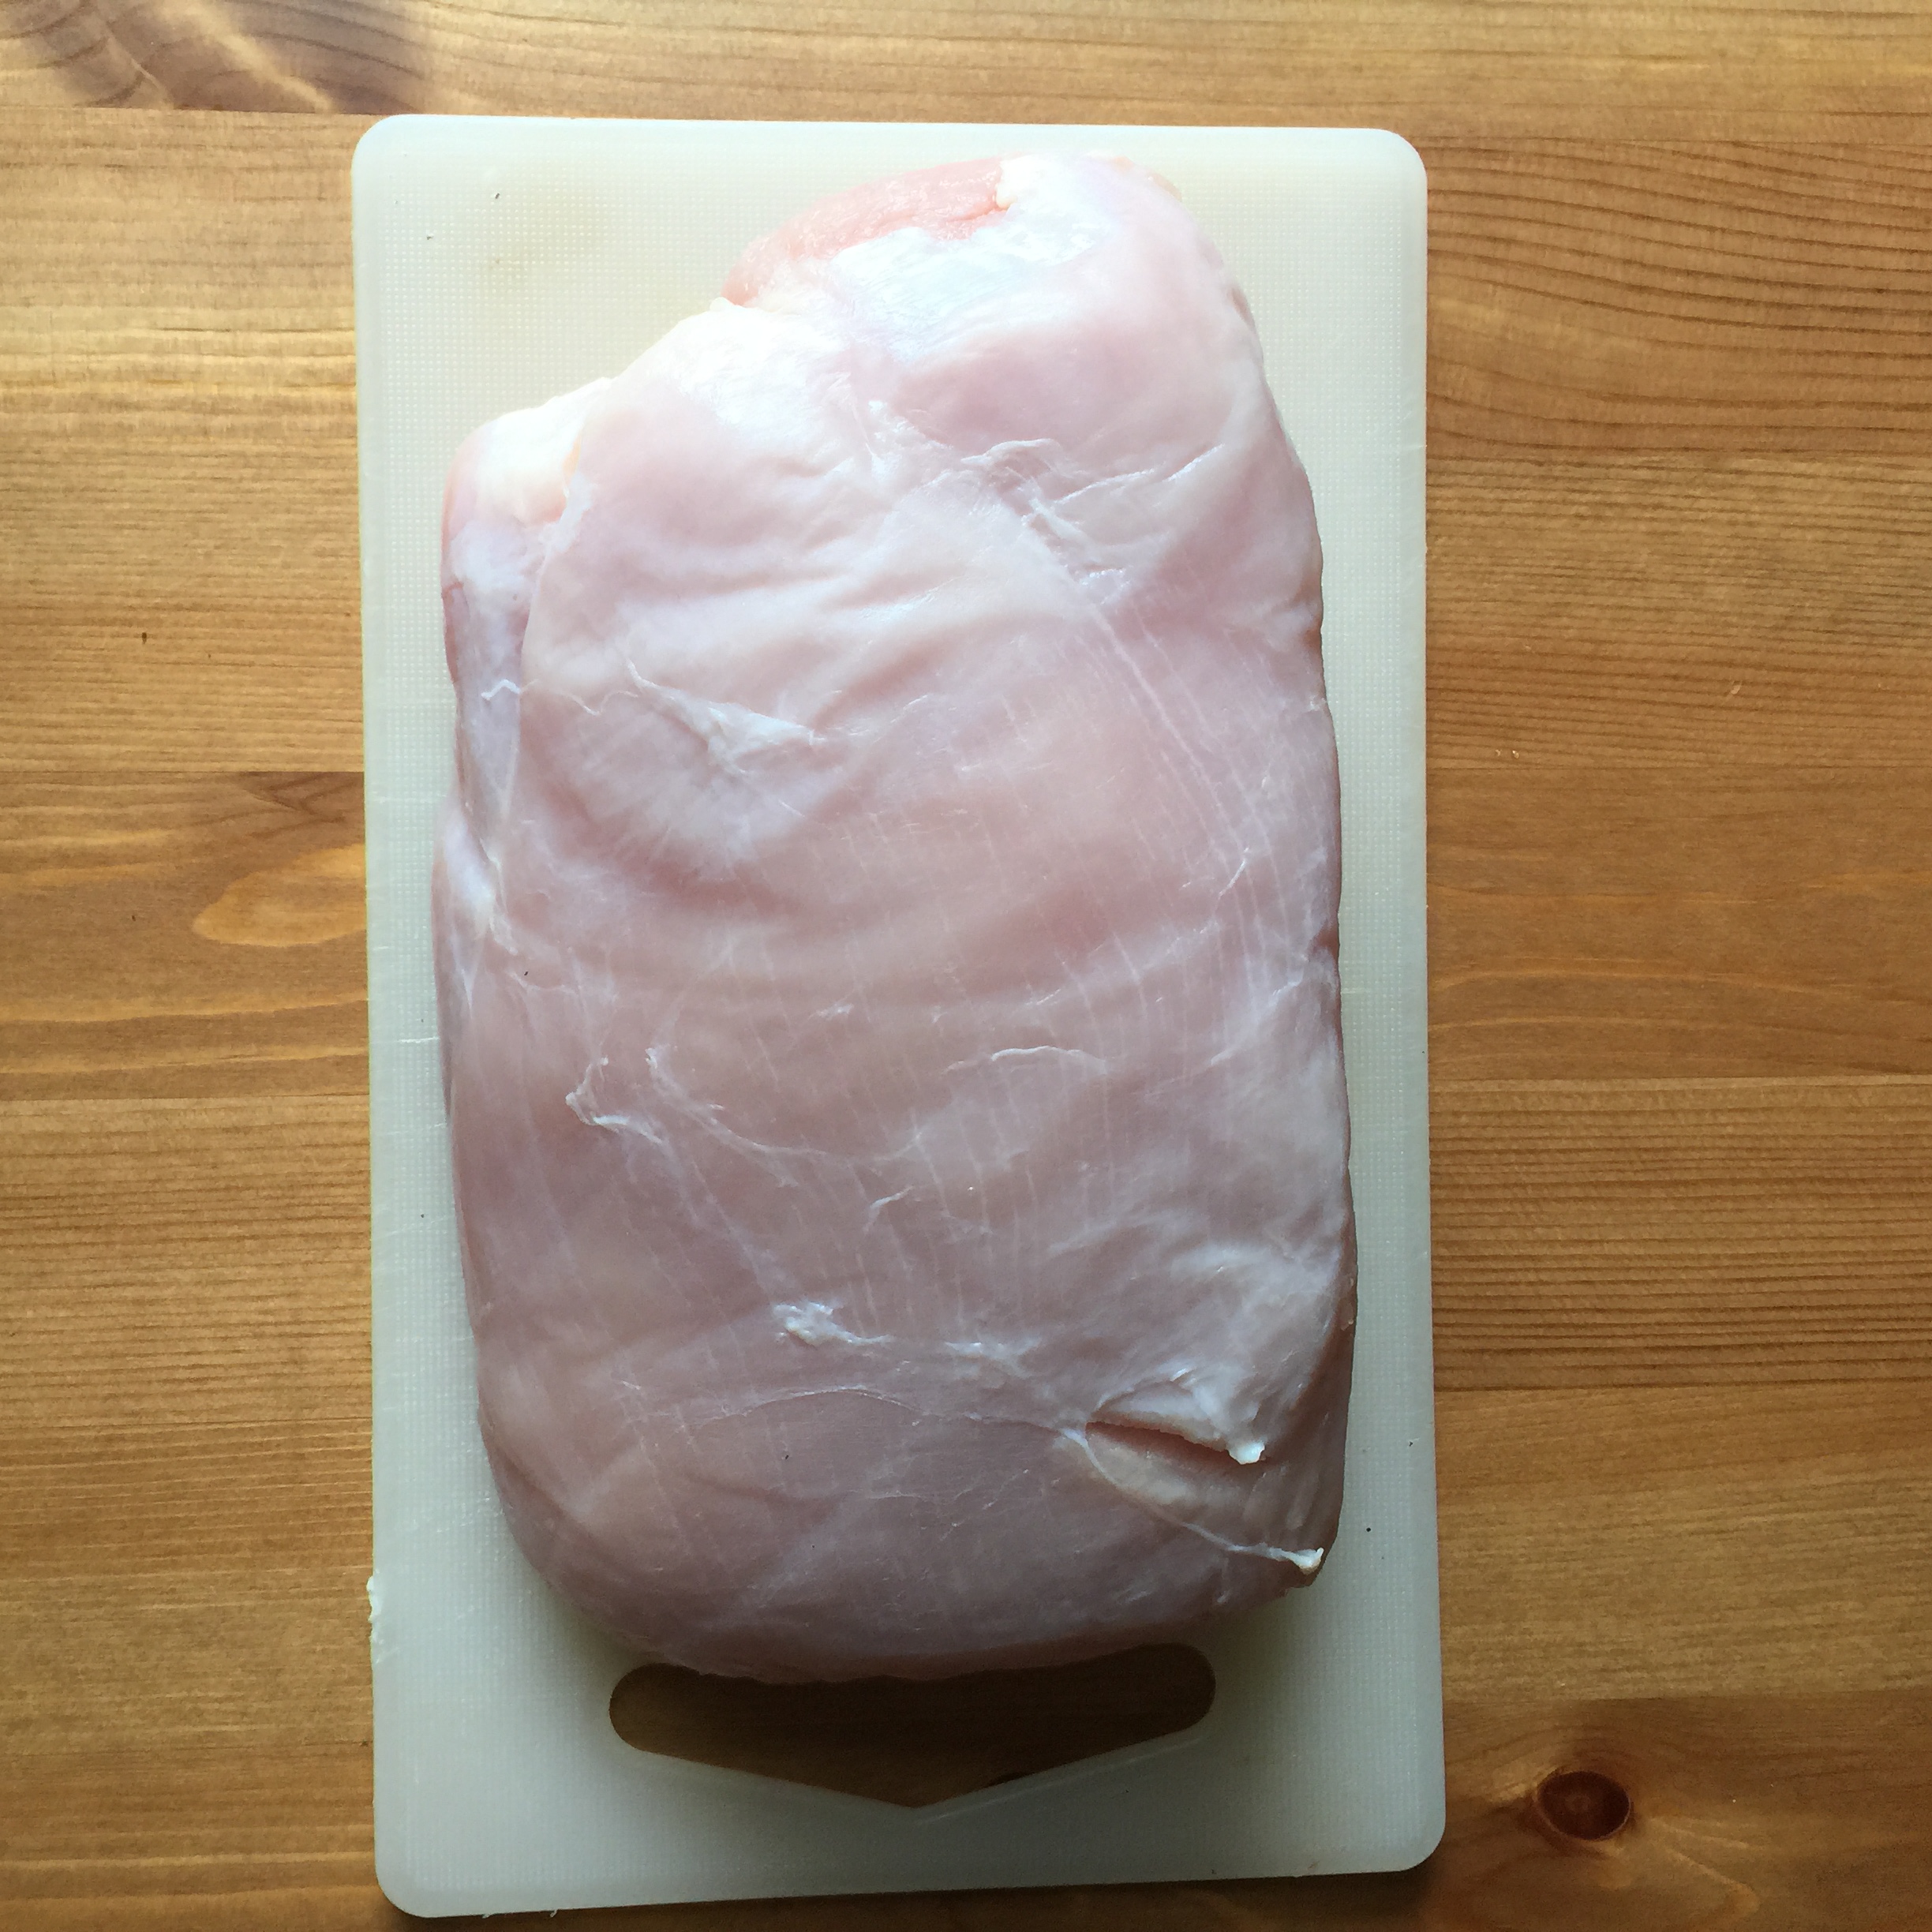
I bought a large turkey breast from Wegmans with the idea in mind to make it into turkey bacon. That never happened, and my smoker situation was up in the air at the time, so after keeping it in the freezer for a couple of months, I decided to pull it out and to try to make the elusive bresaola di tacchino. When I started this project, I had the lowest of low hopes, and just did it, basically to see what would happen.
Best. Decision. Ever.
Curing (2 weeks):
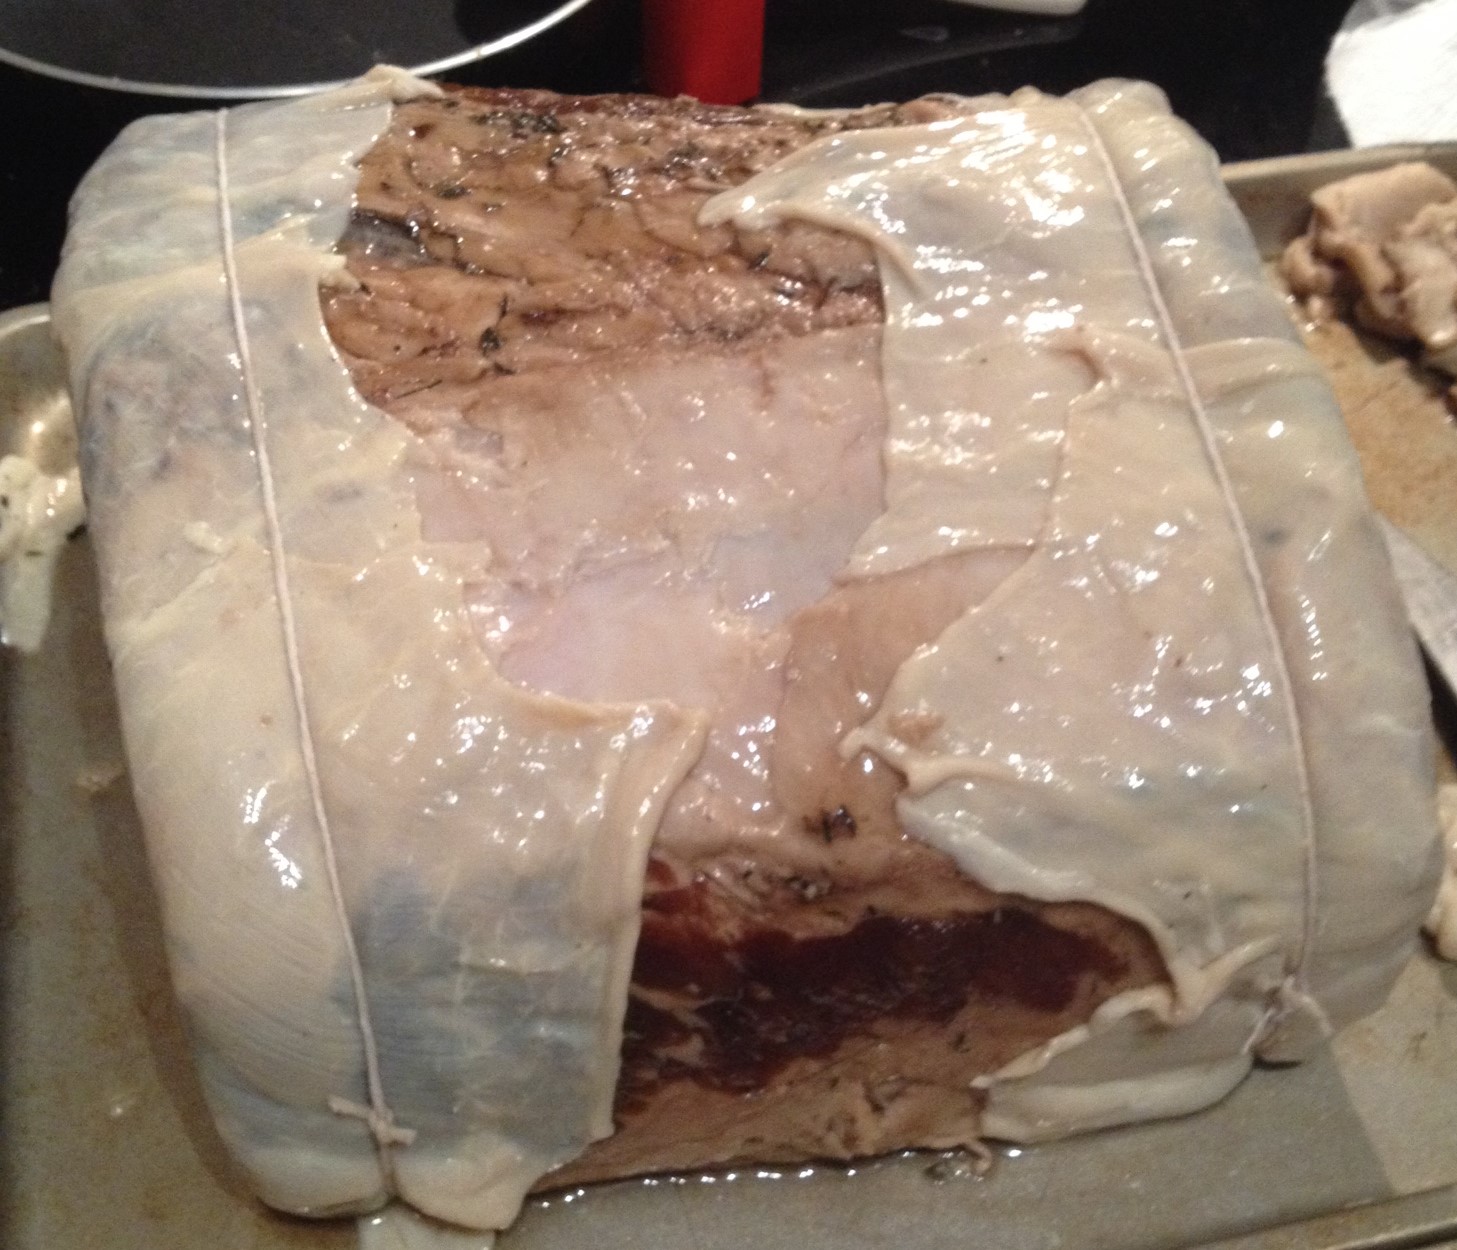
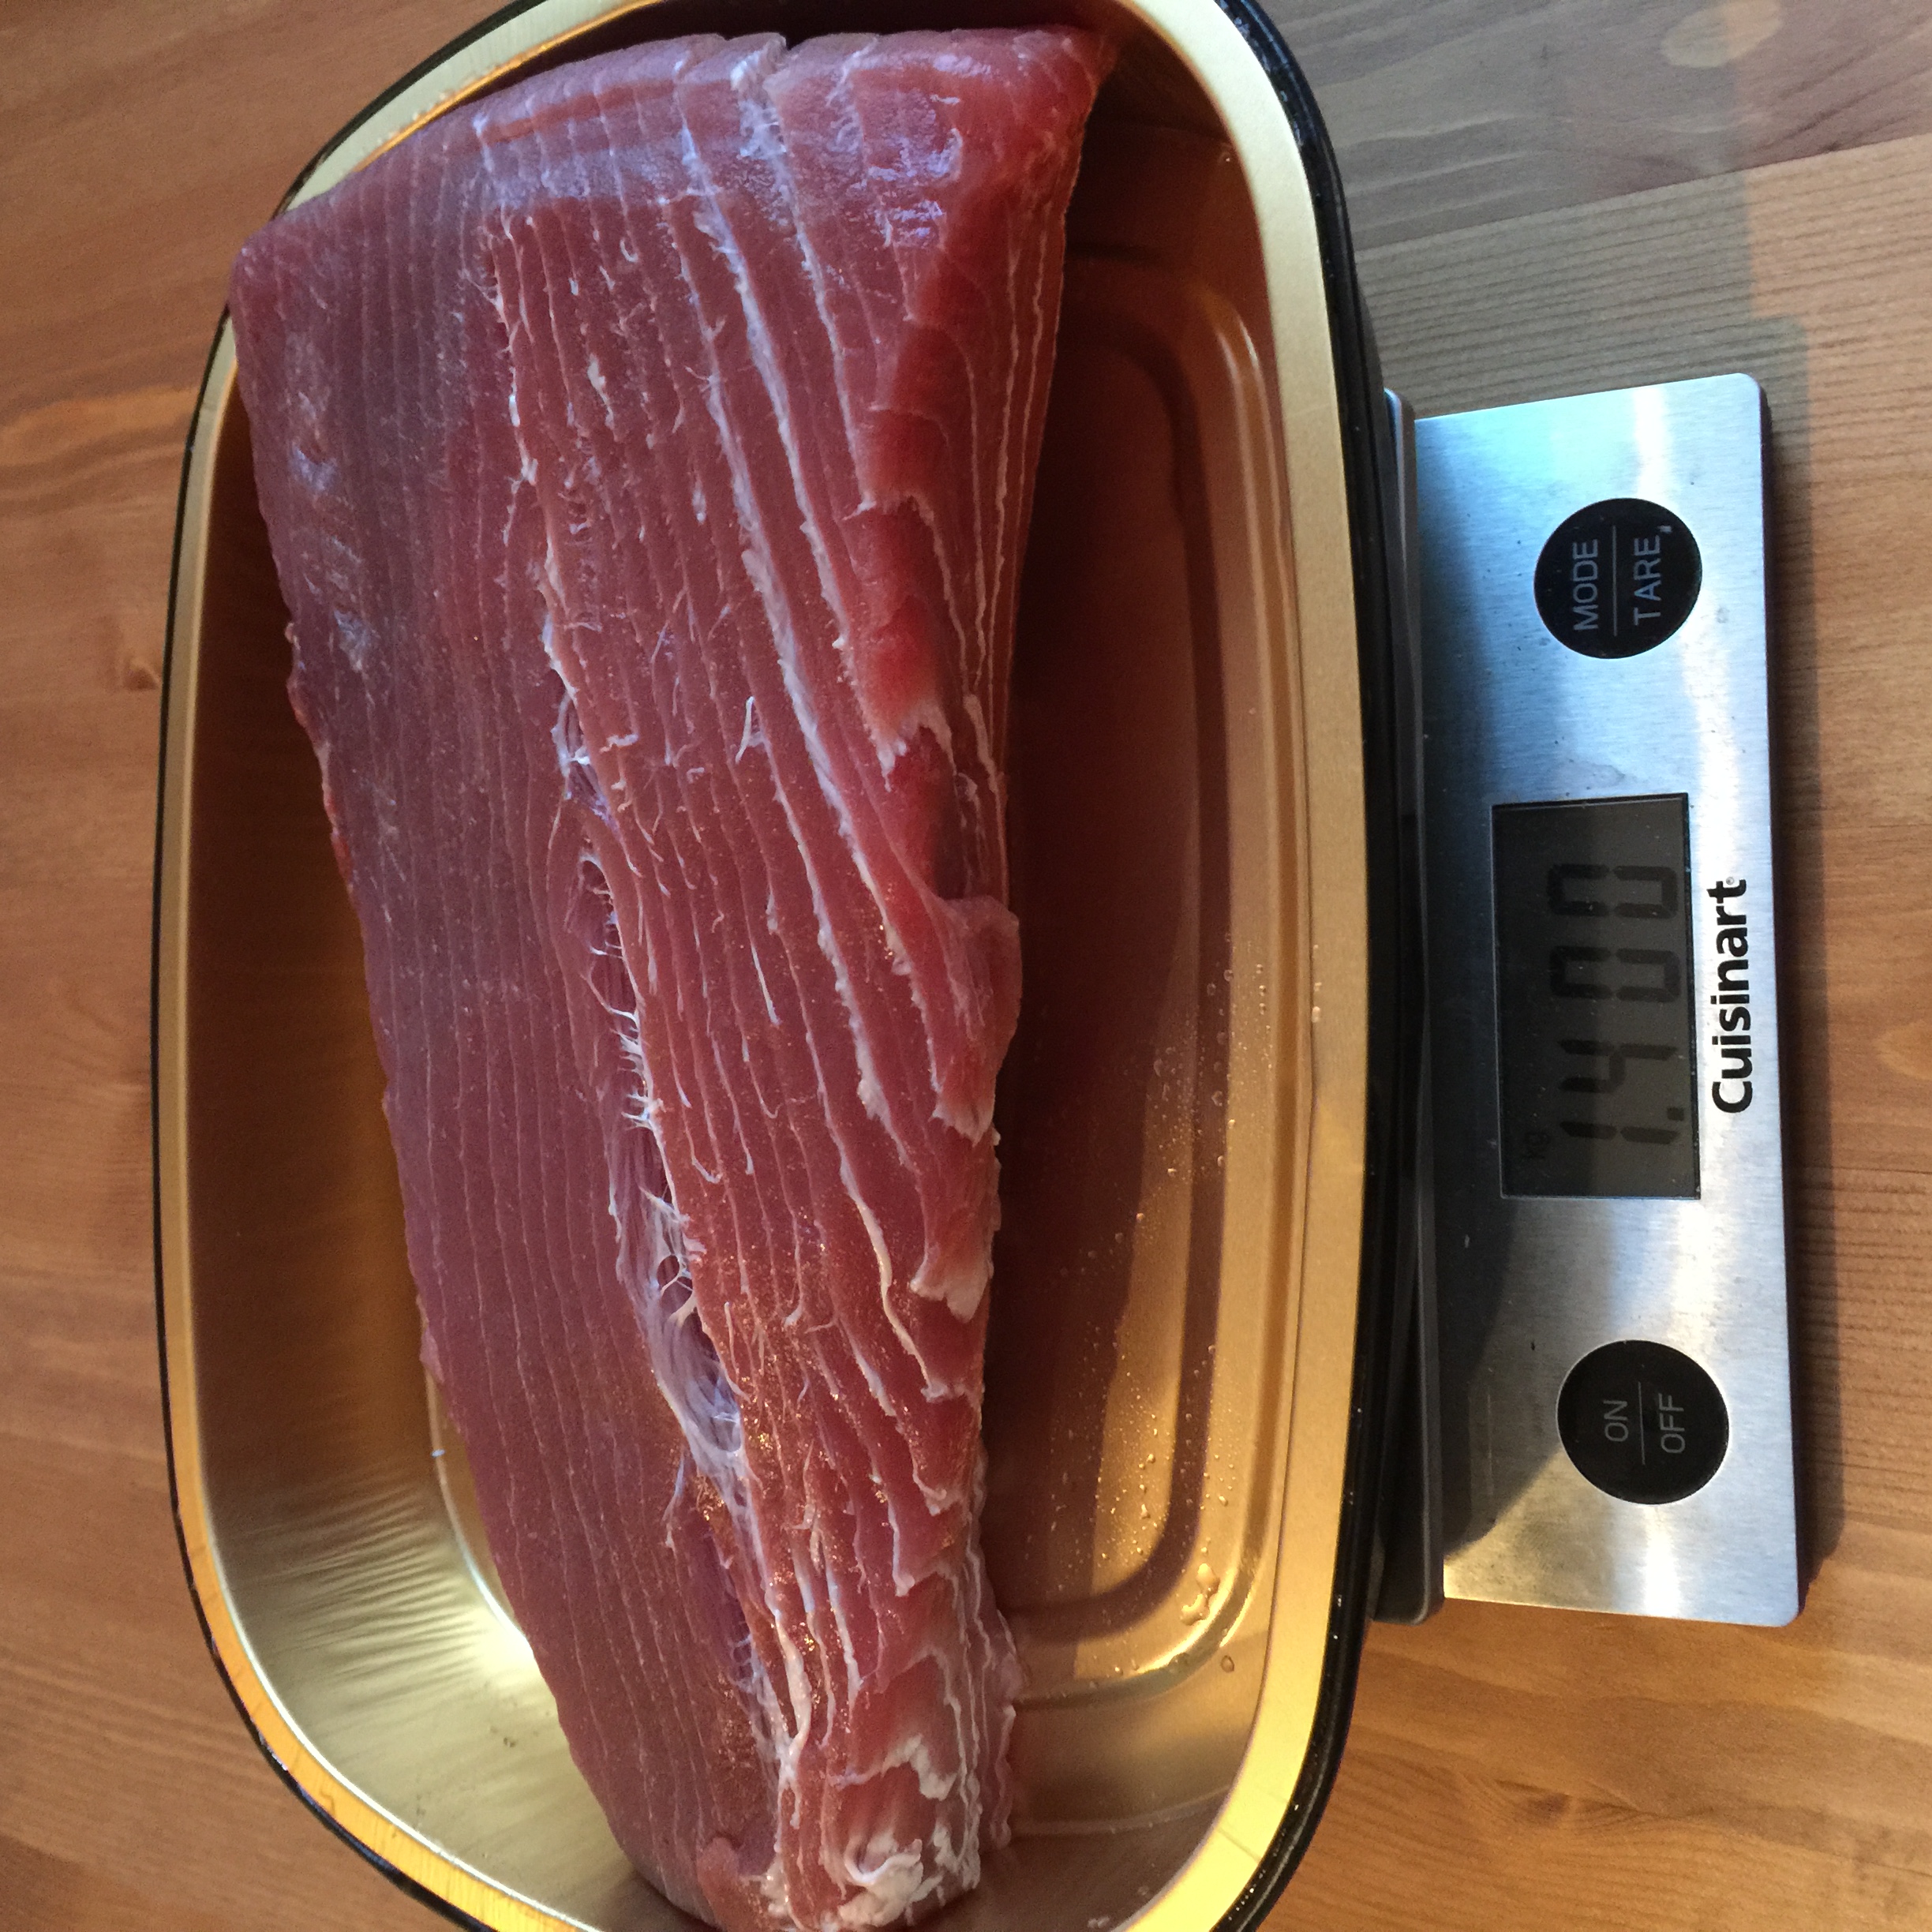
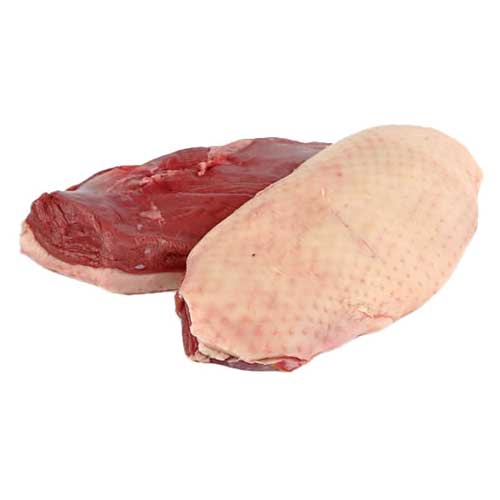
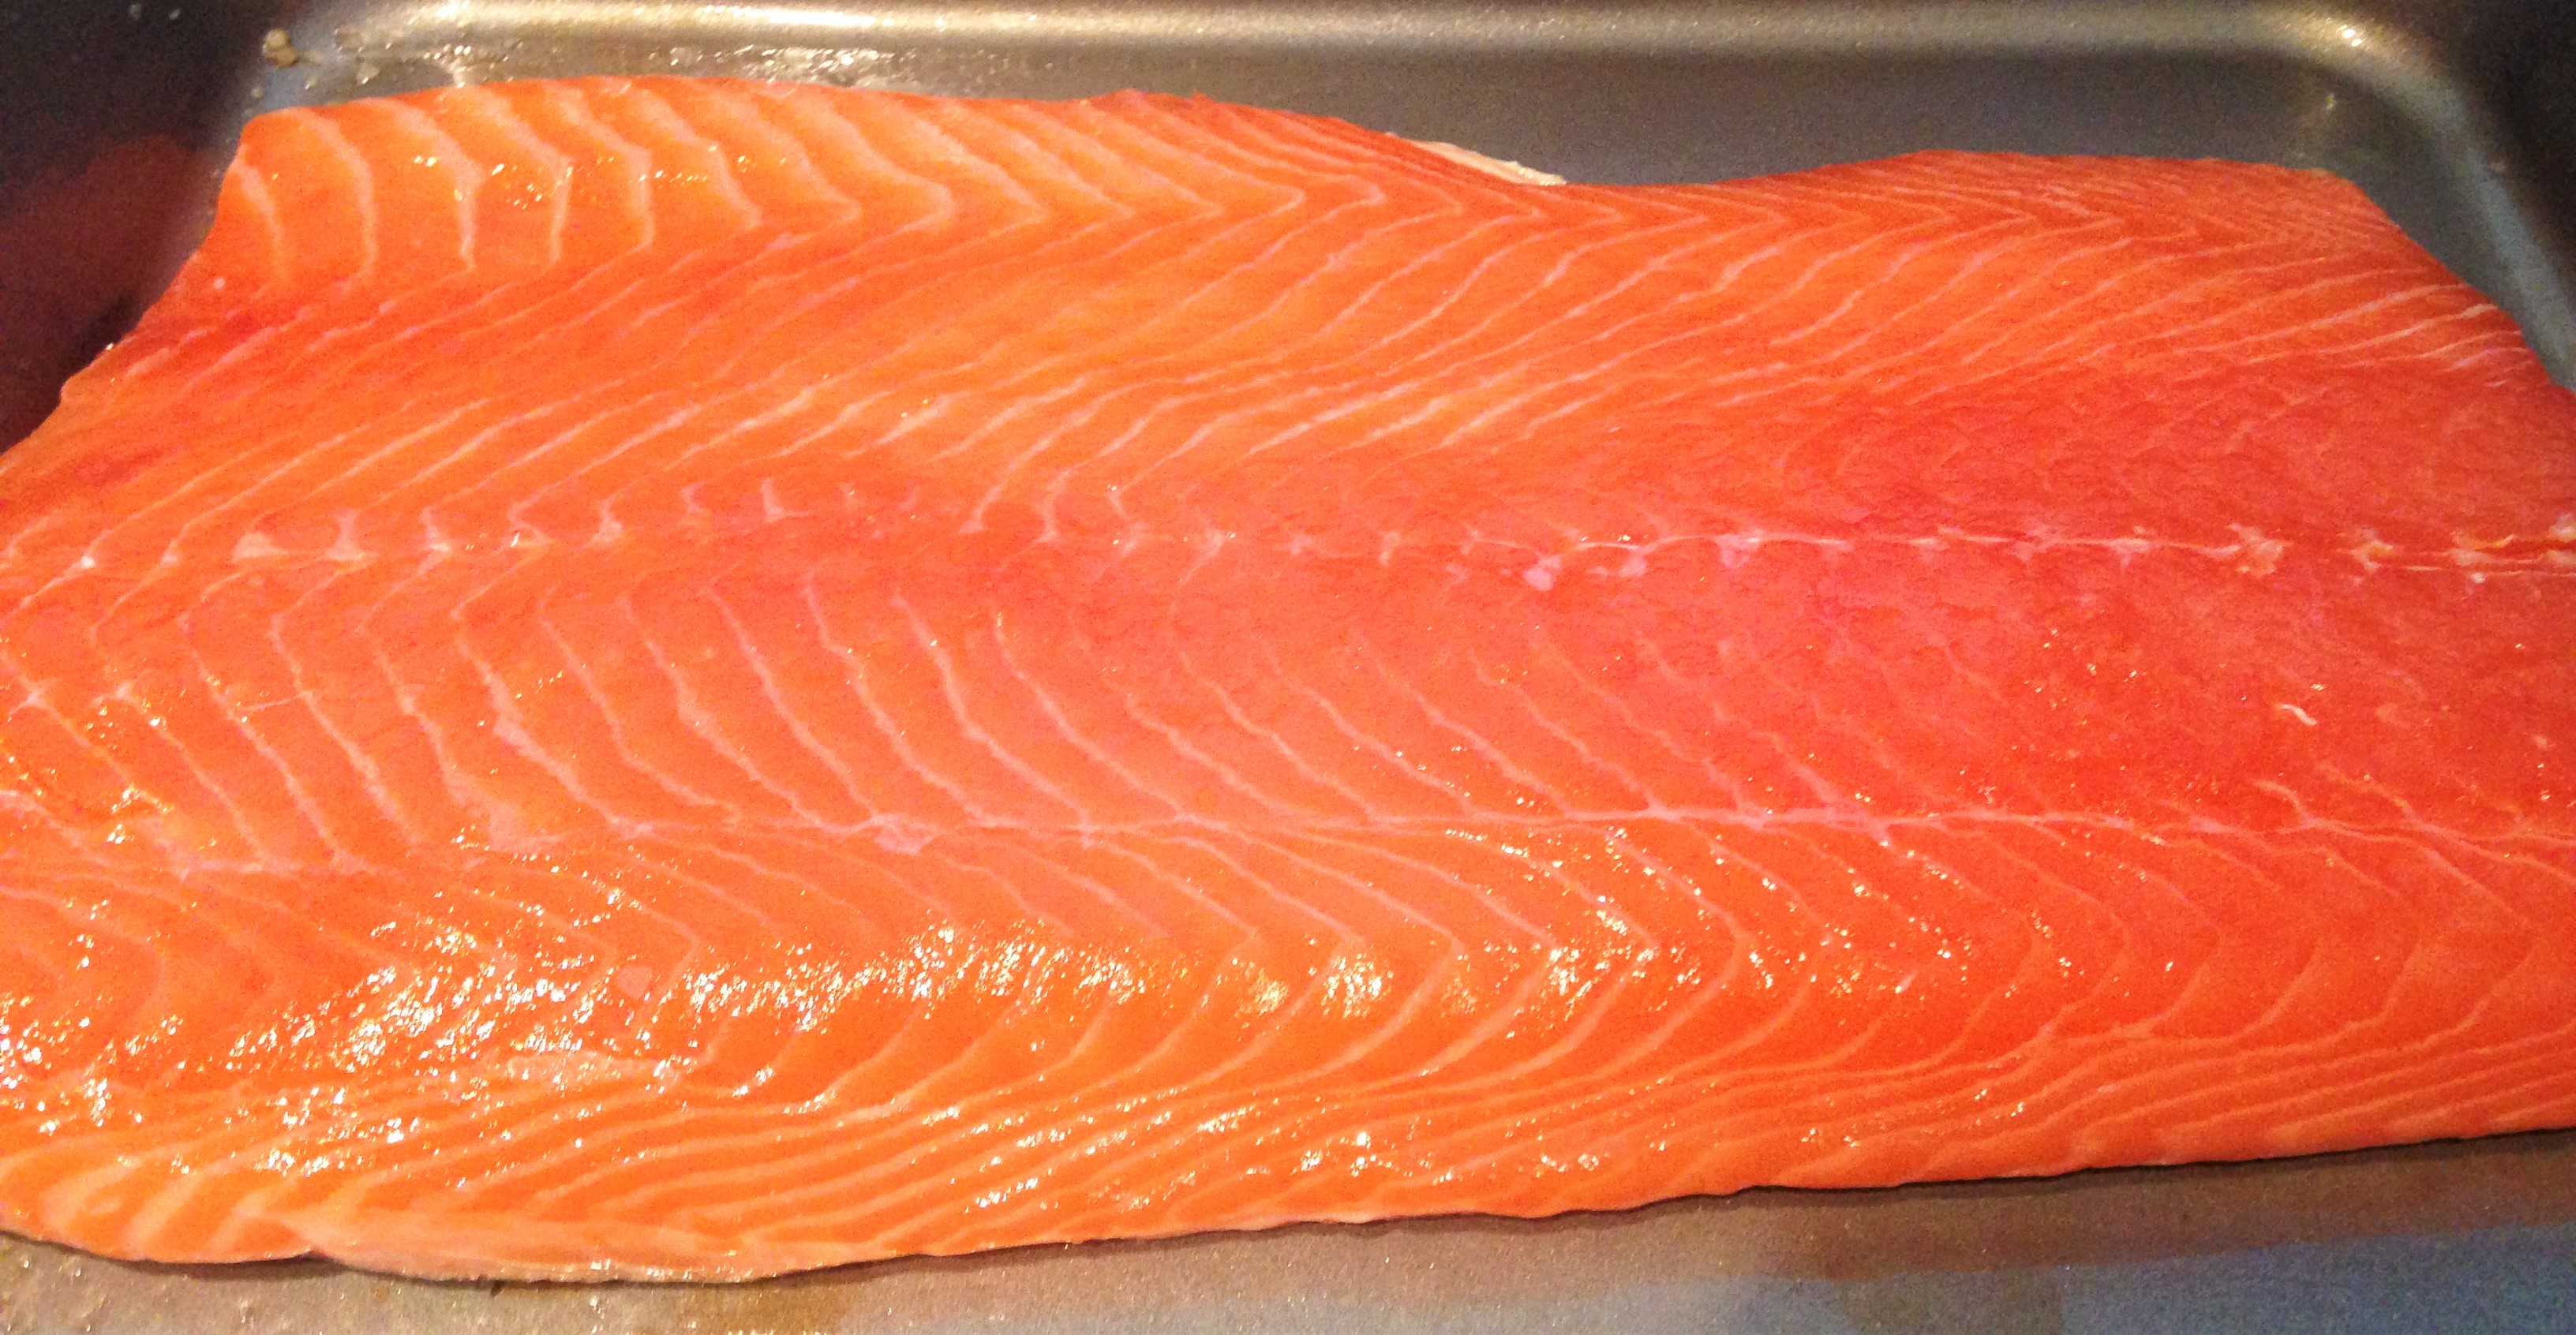
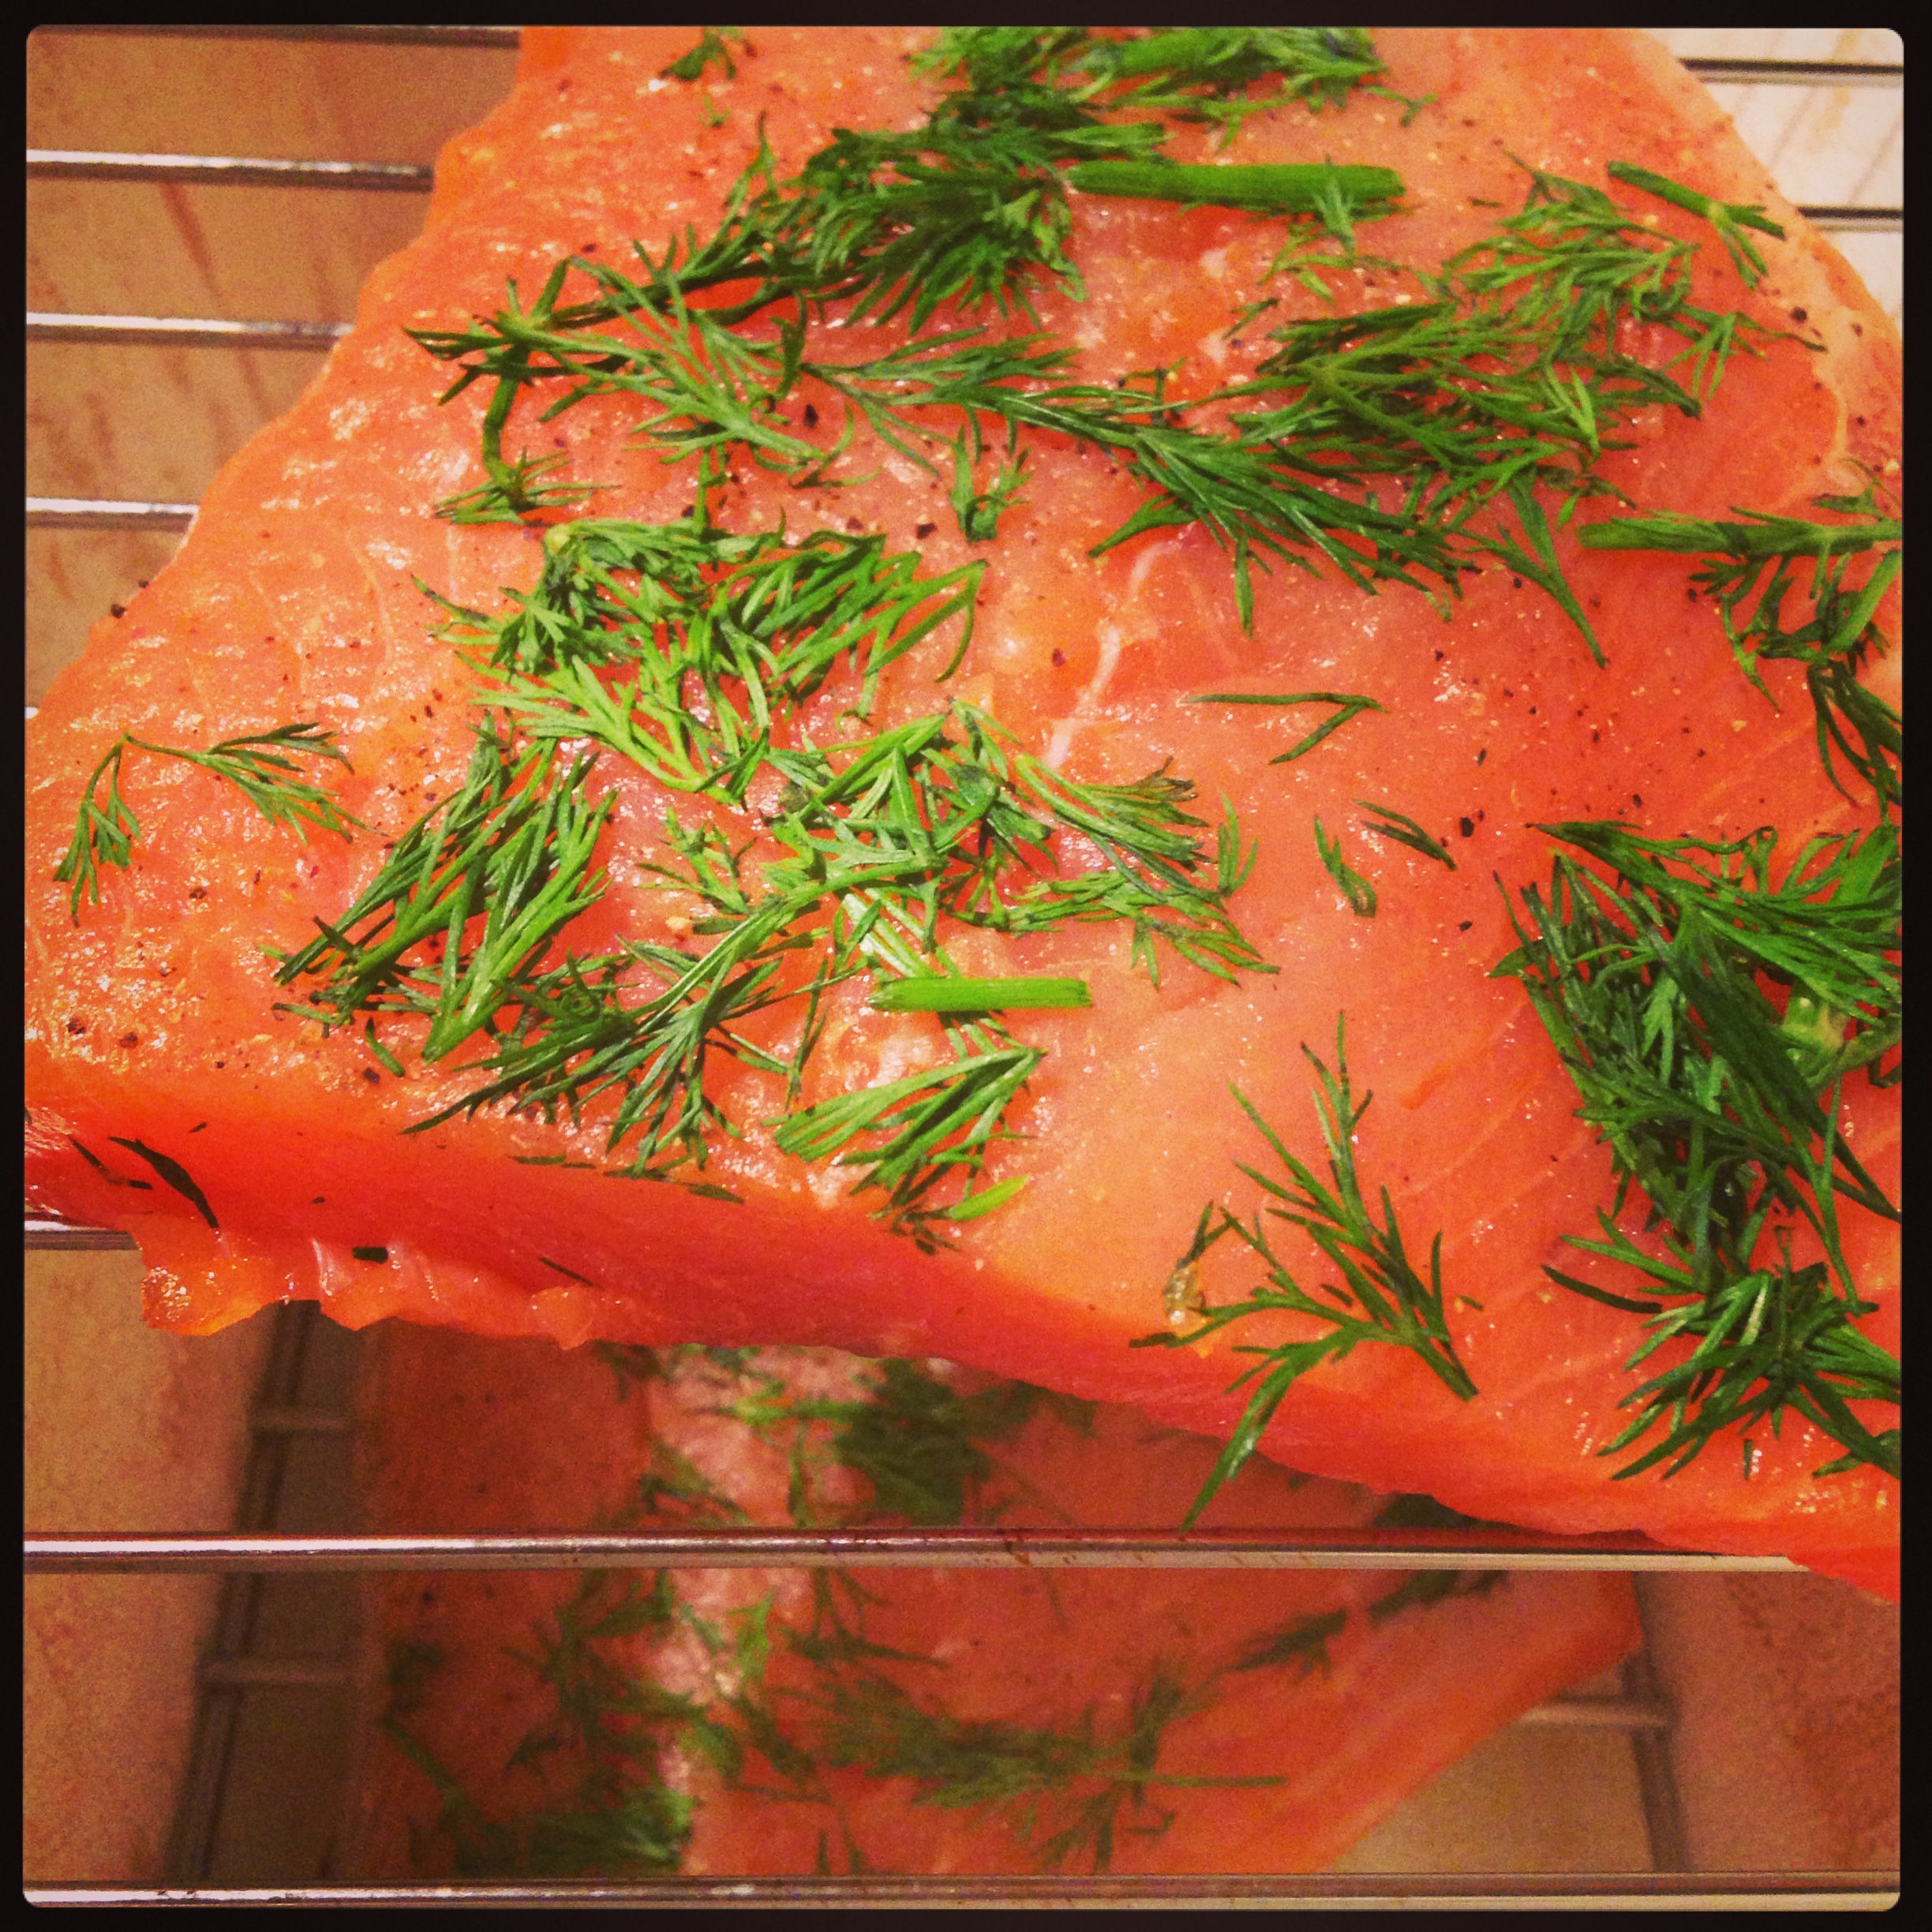
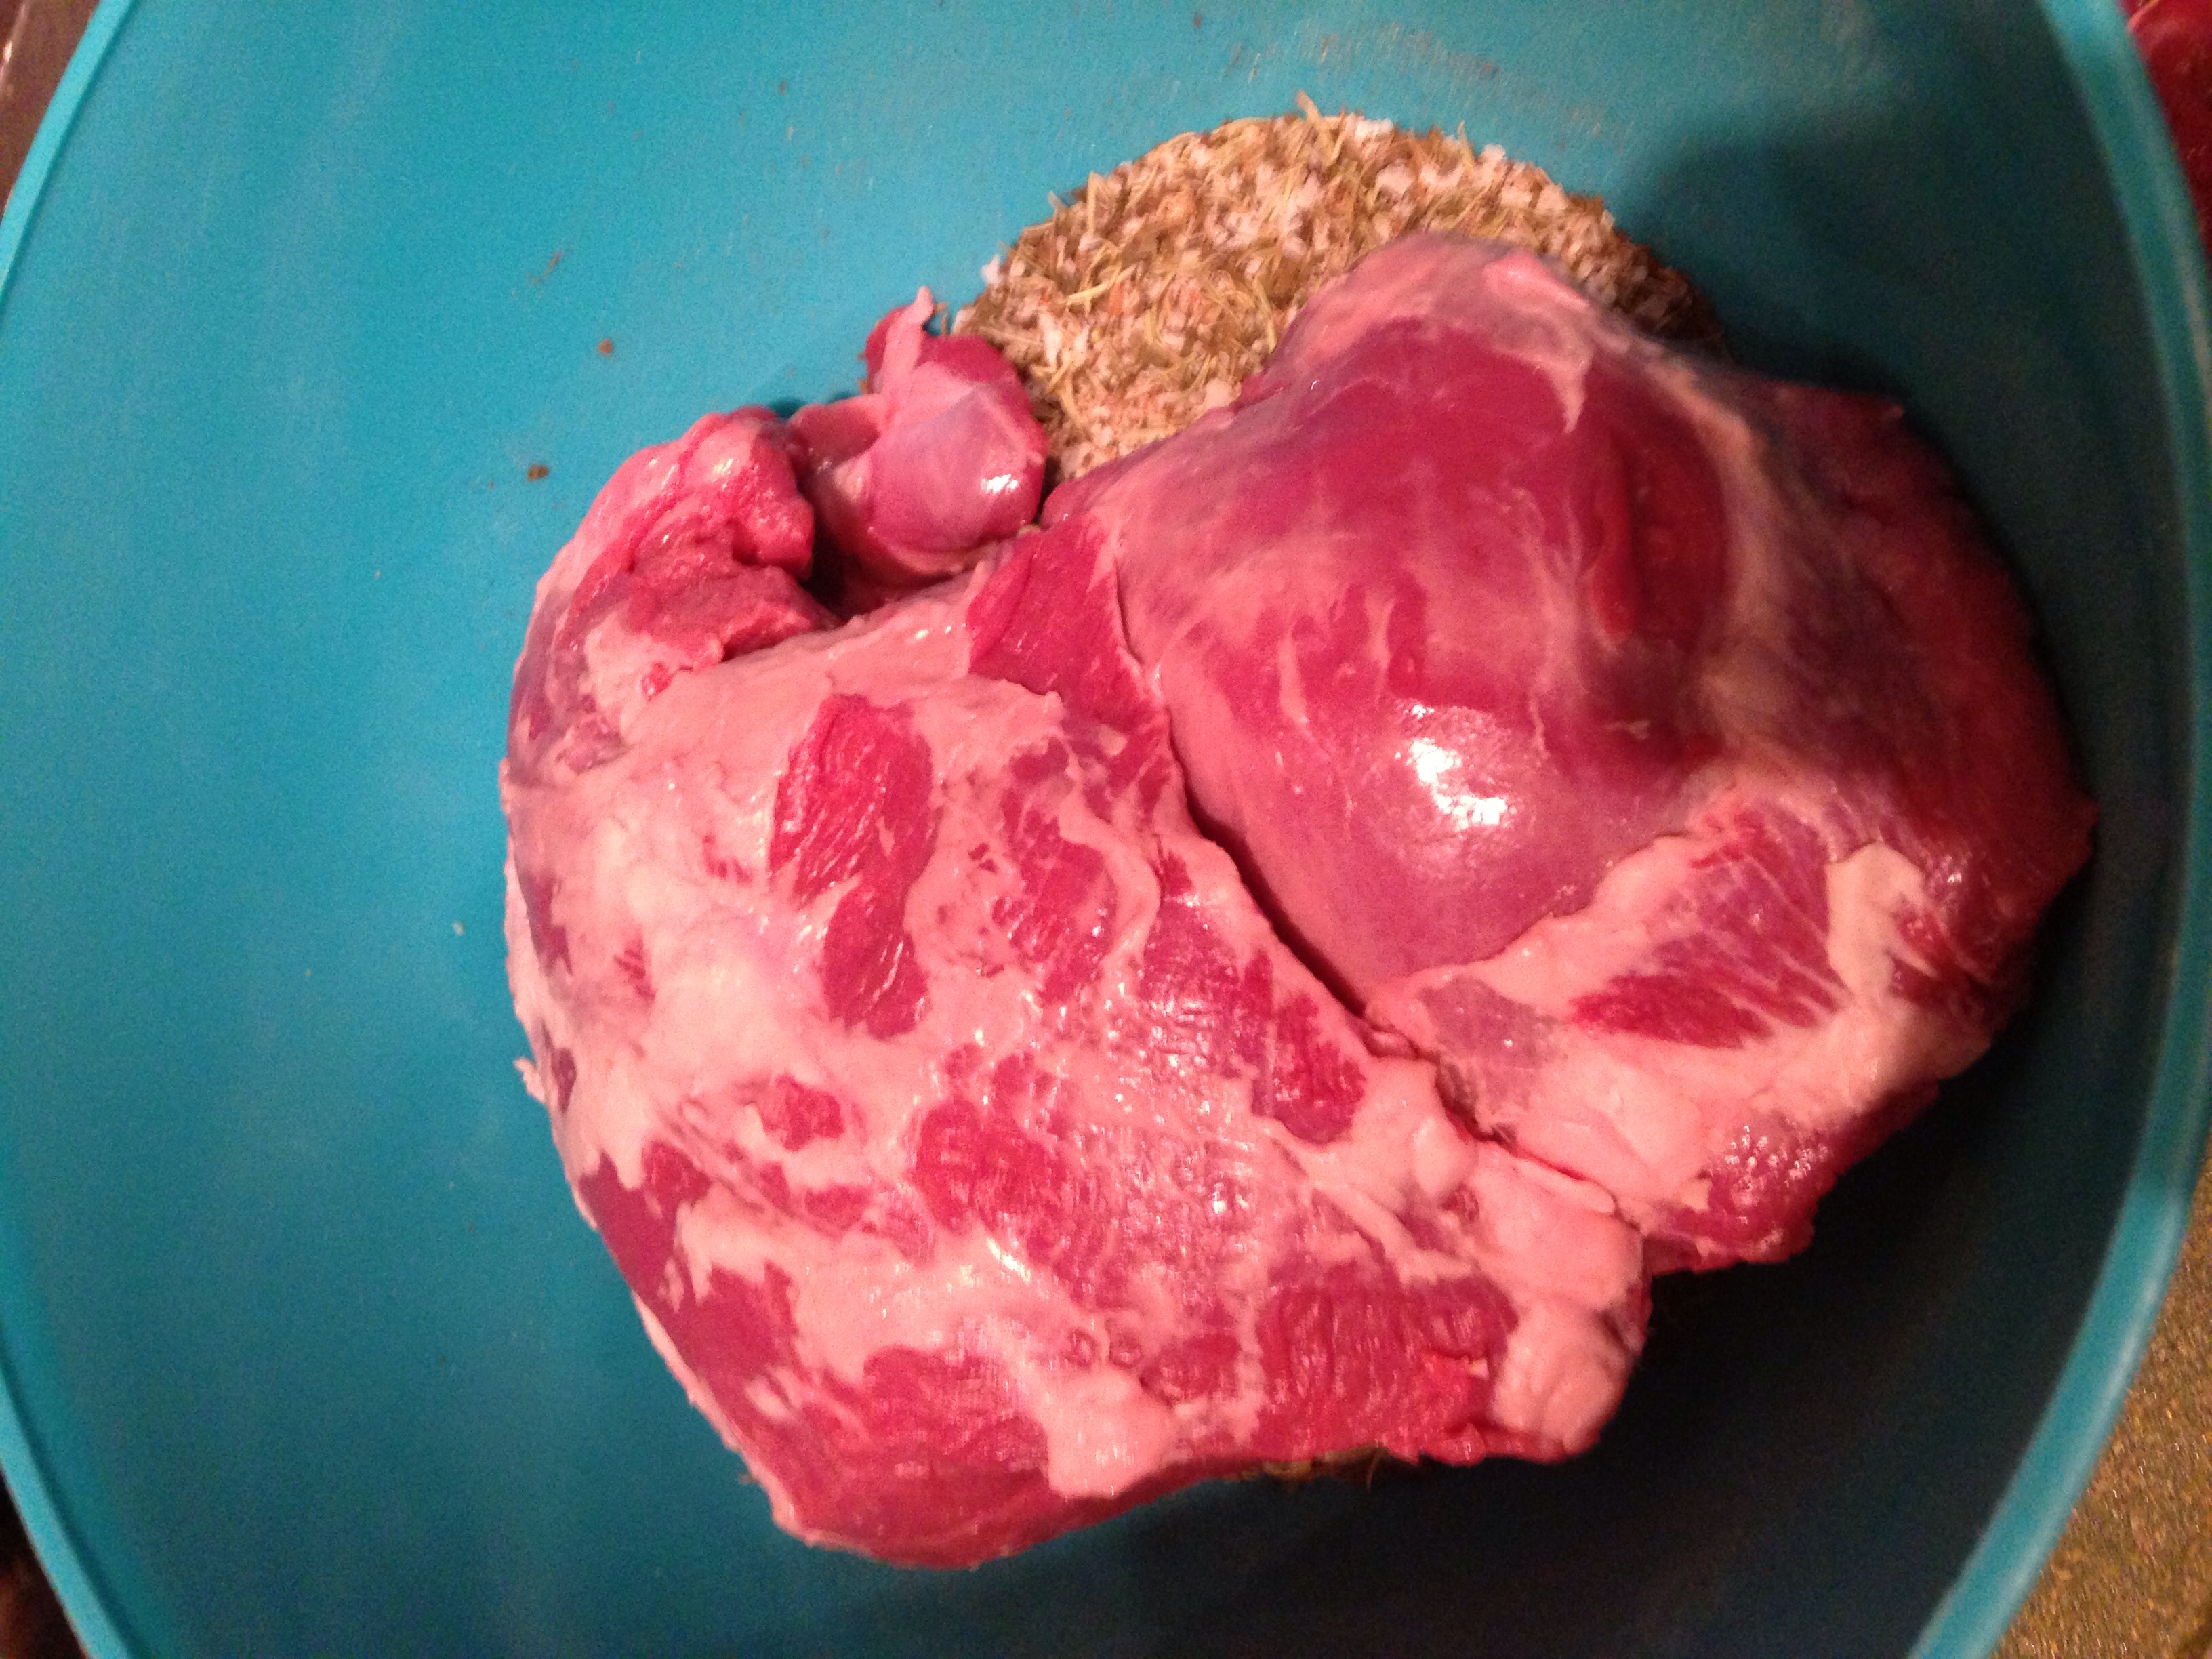
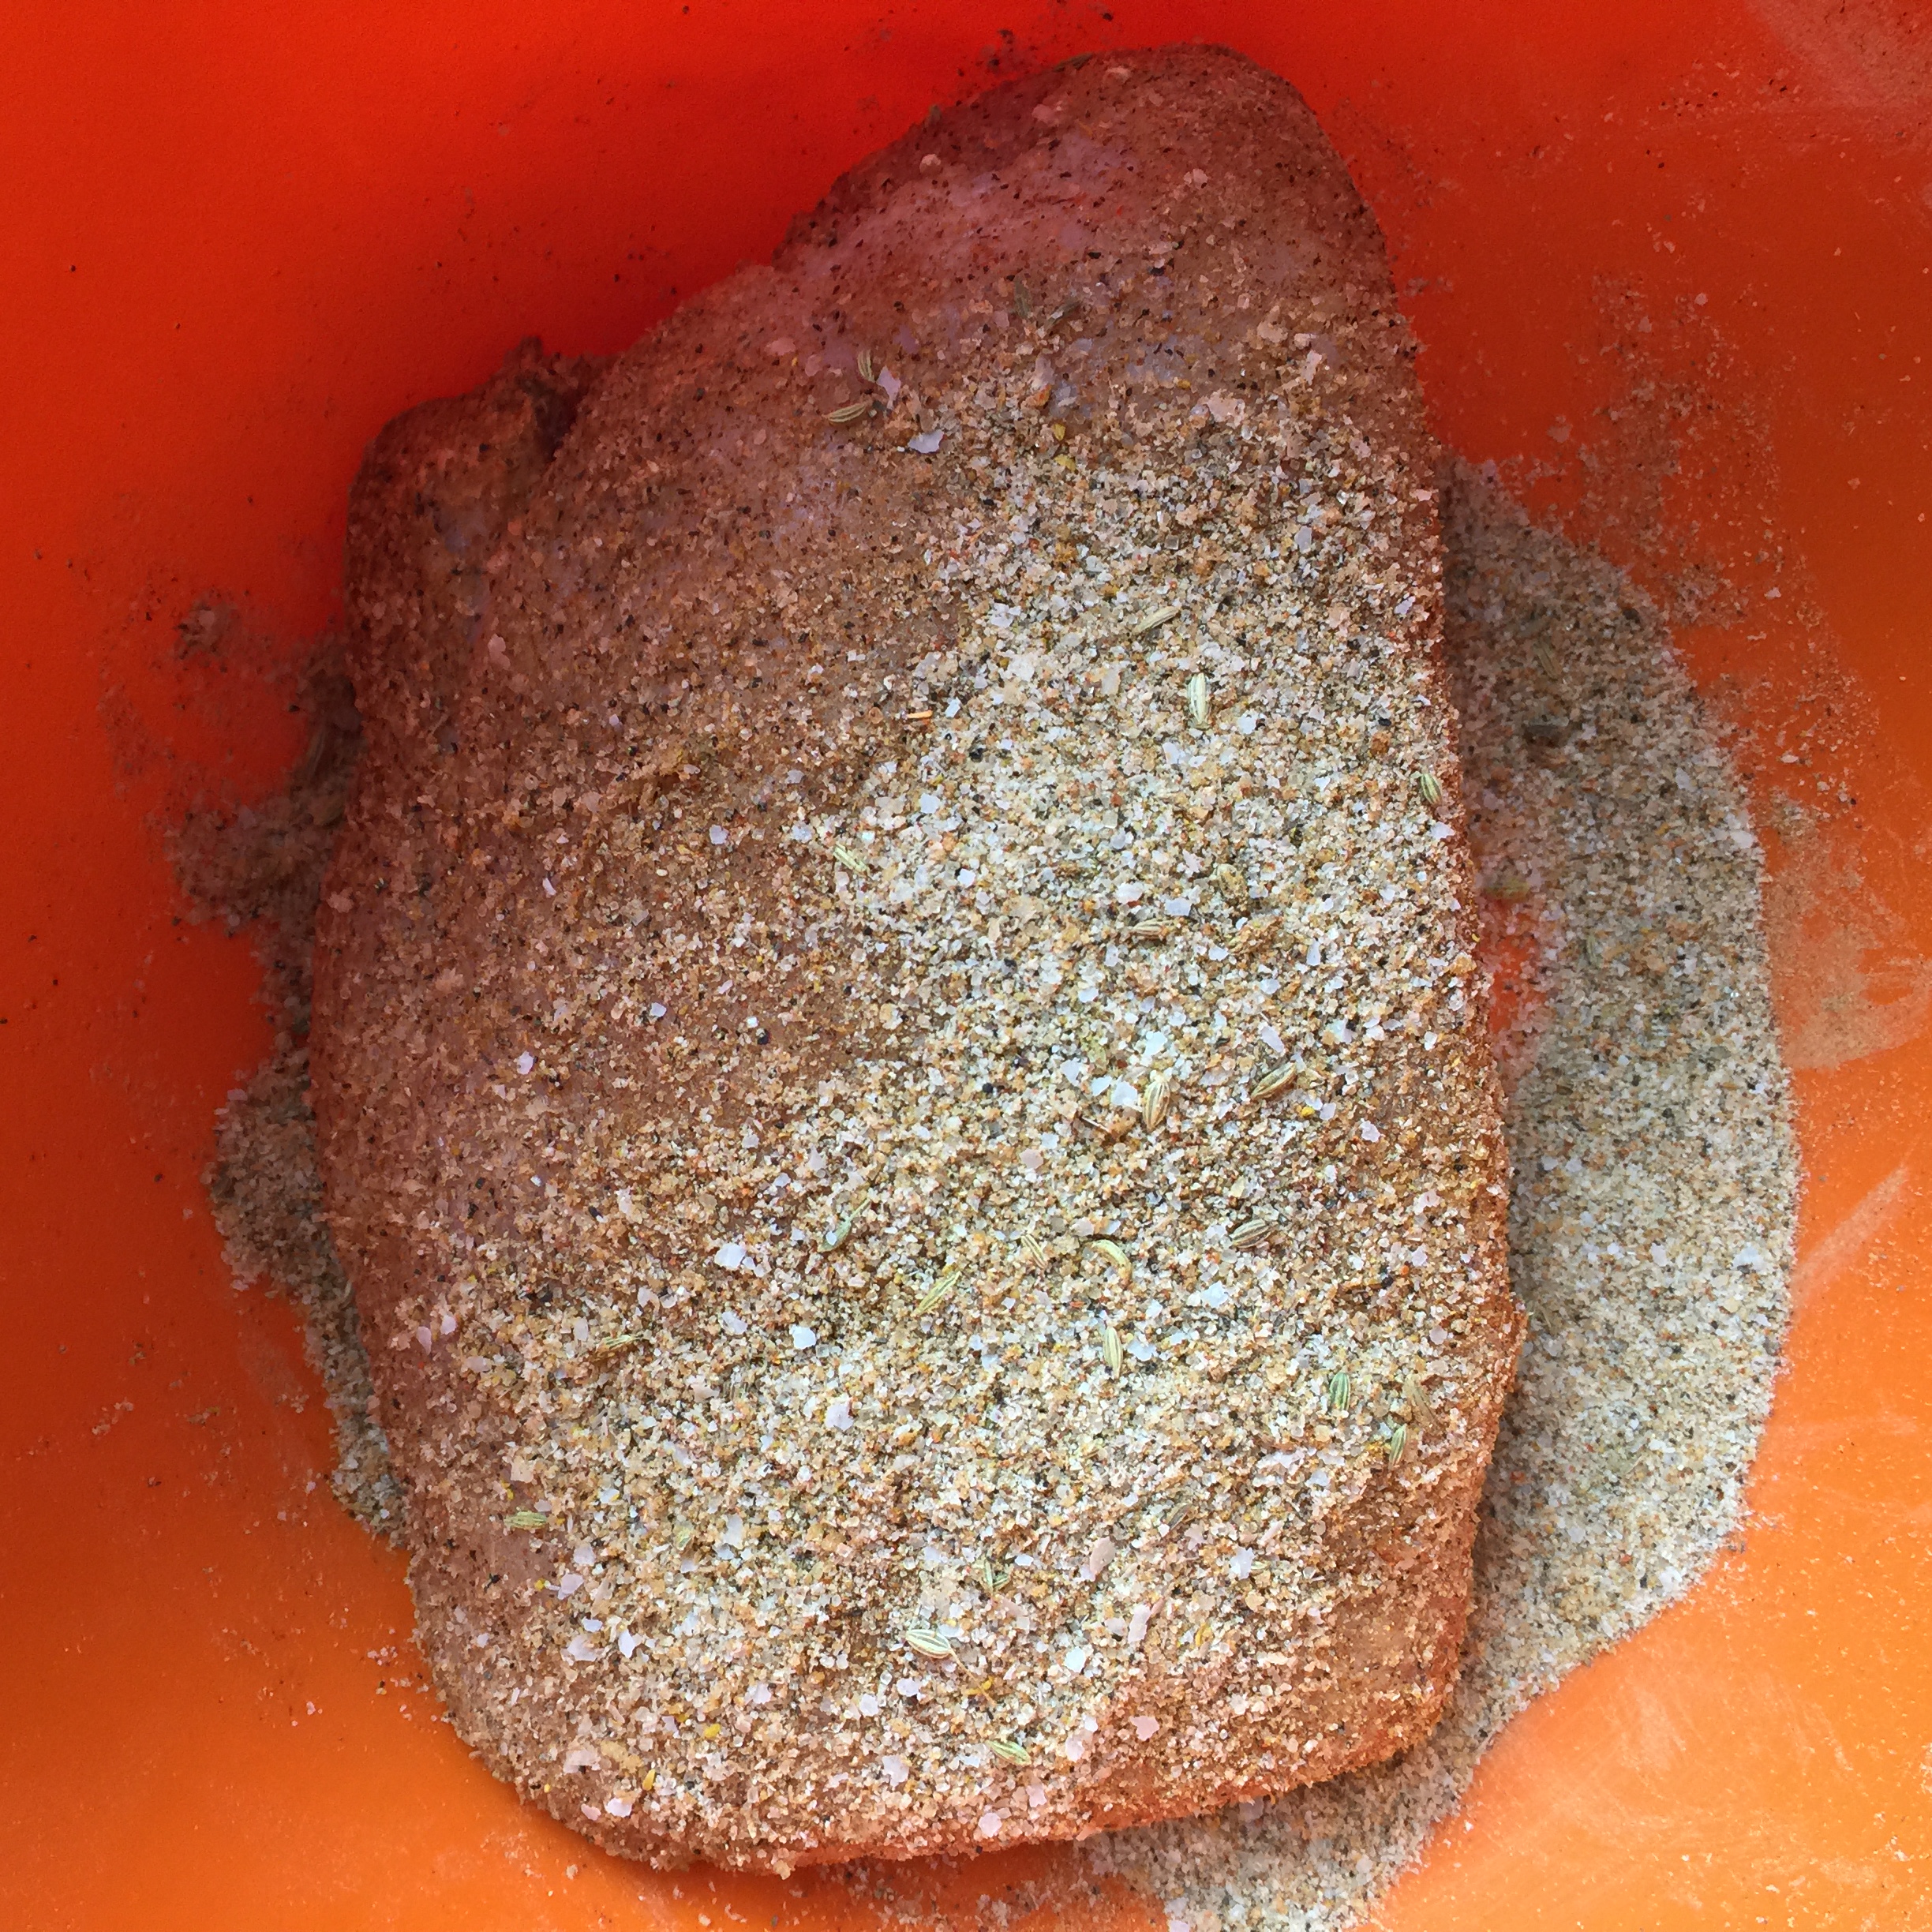
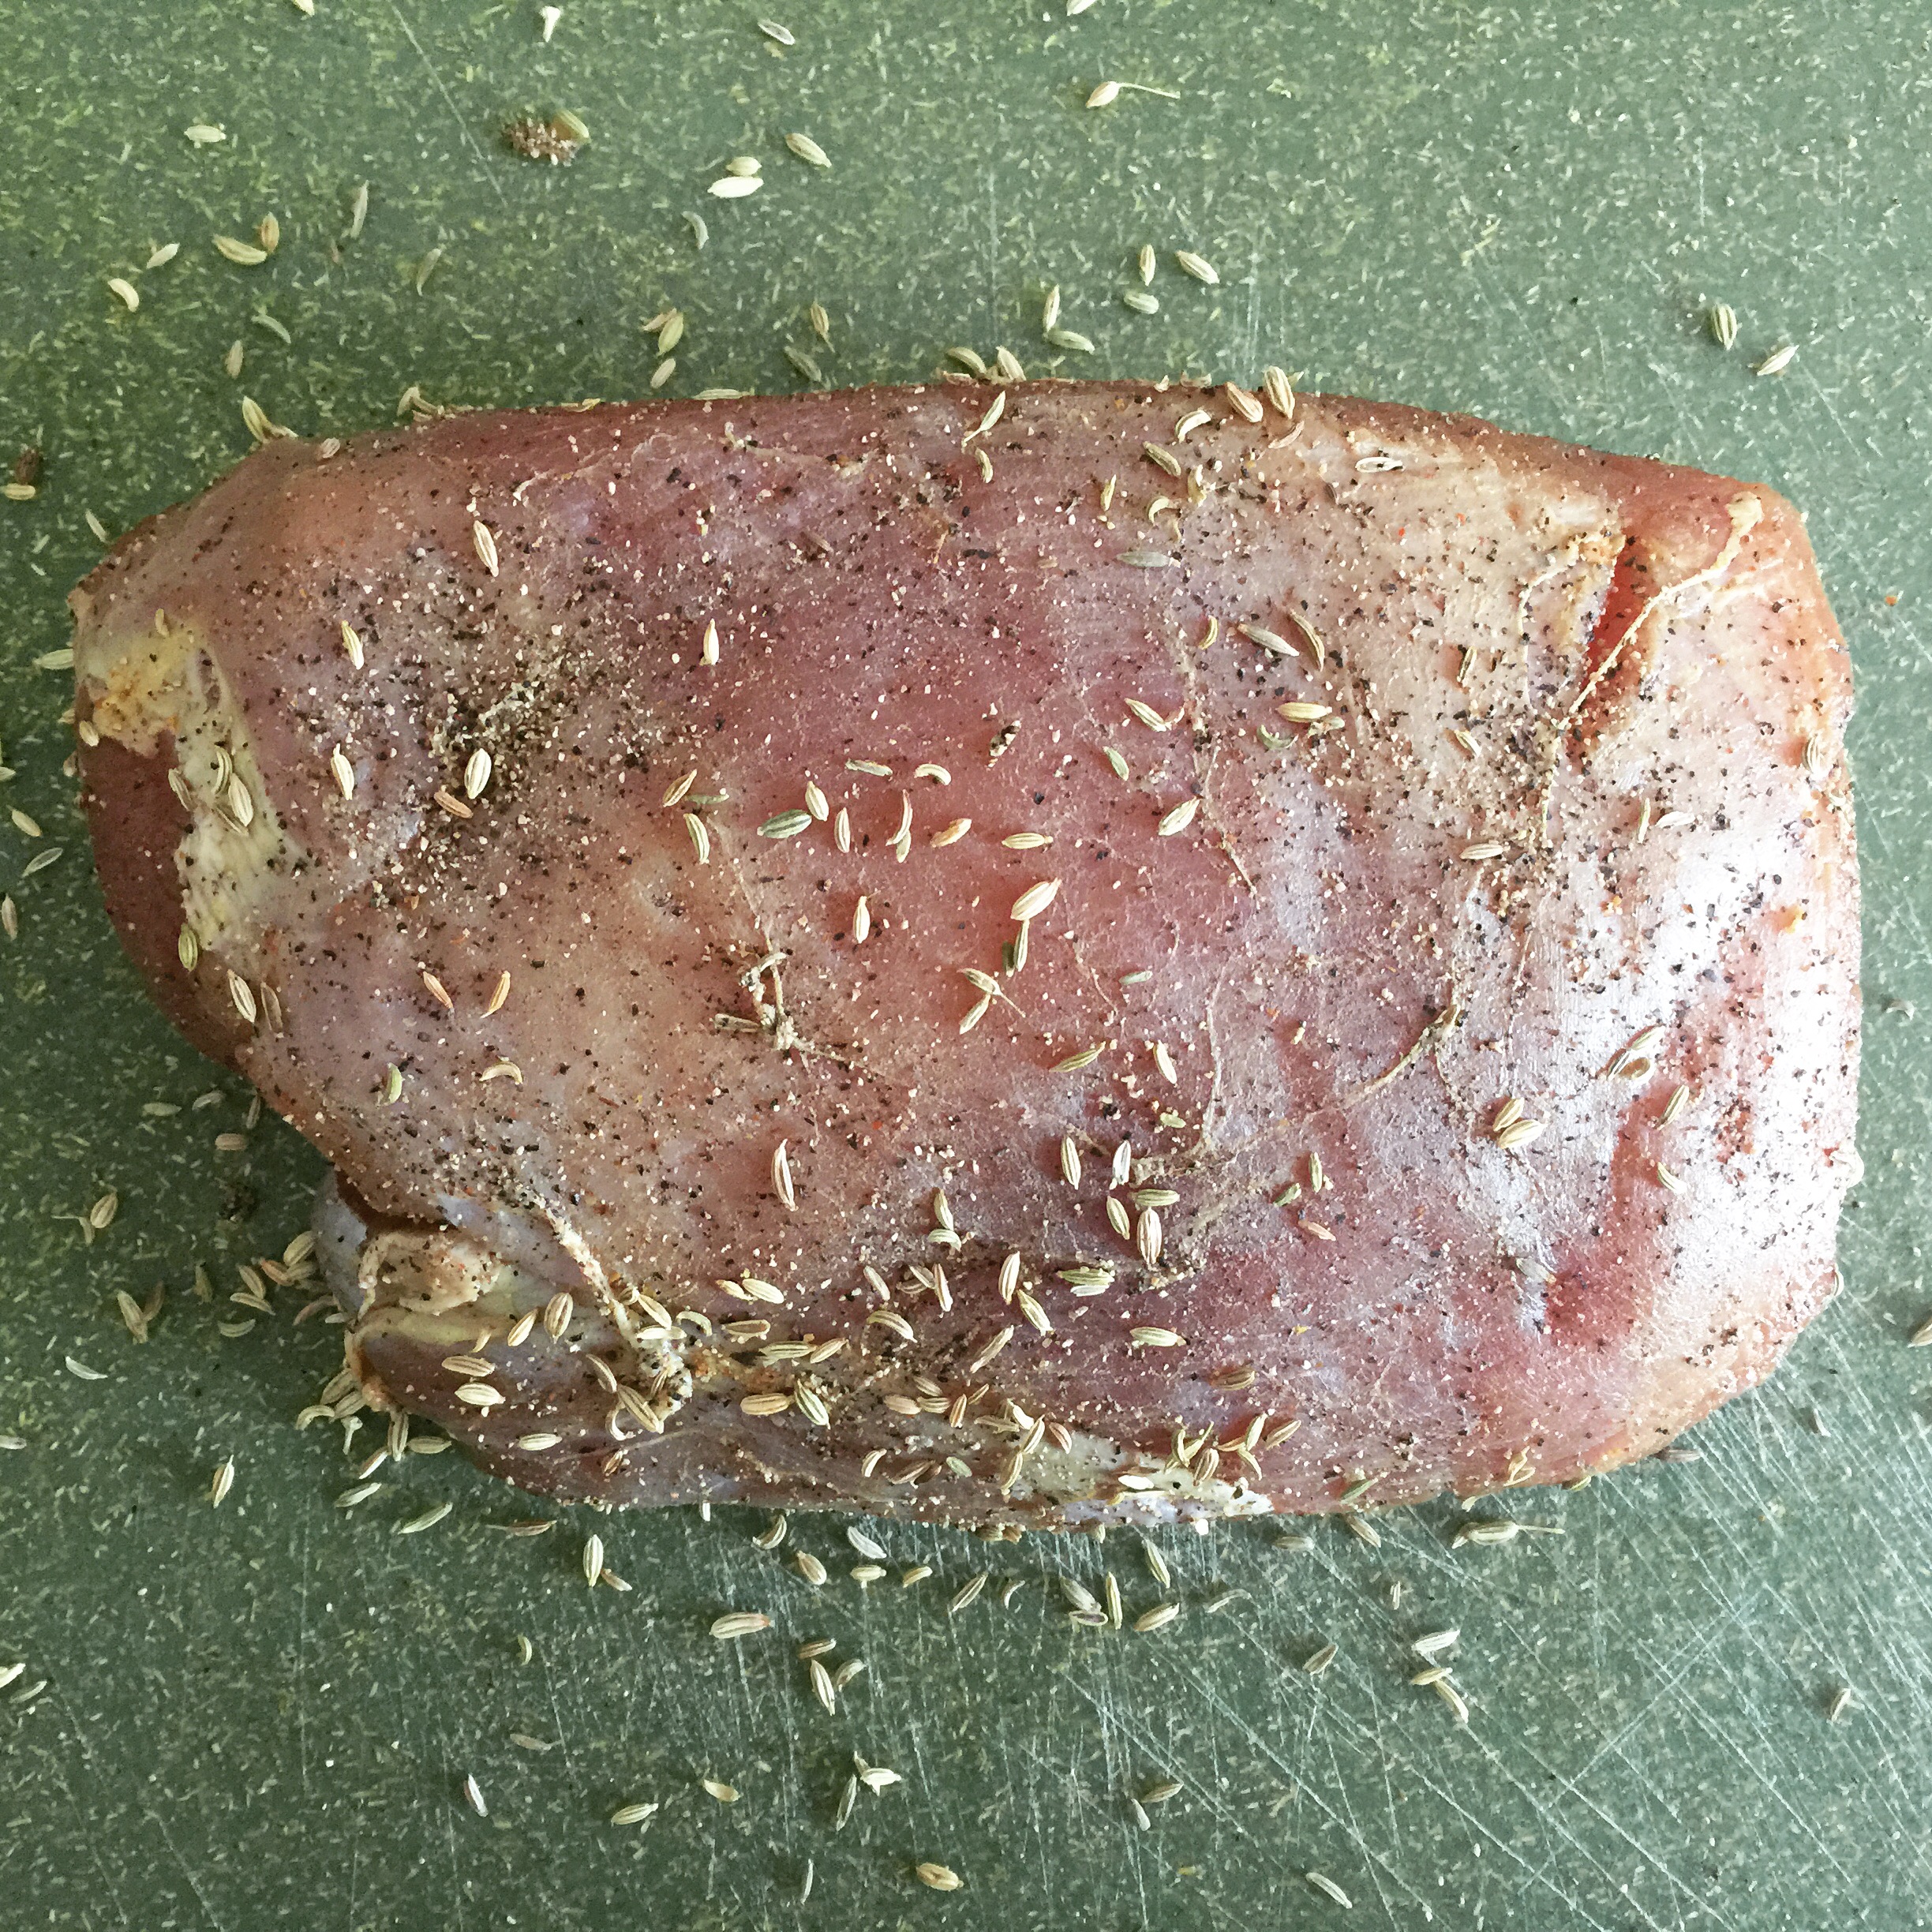
The turkey.
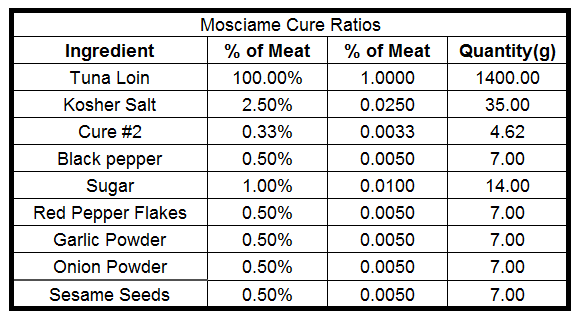
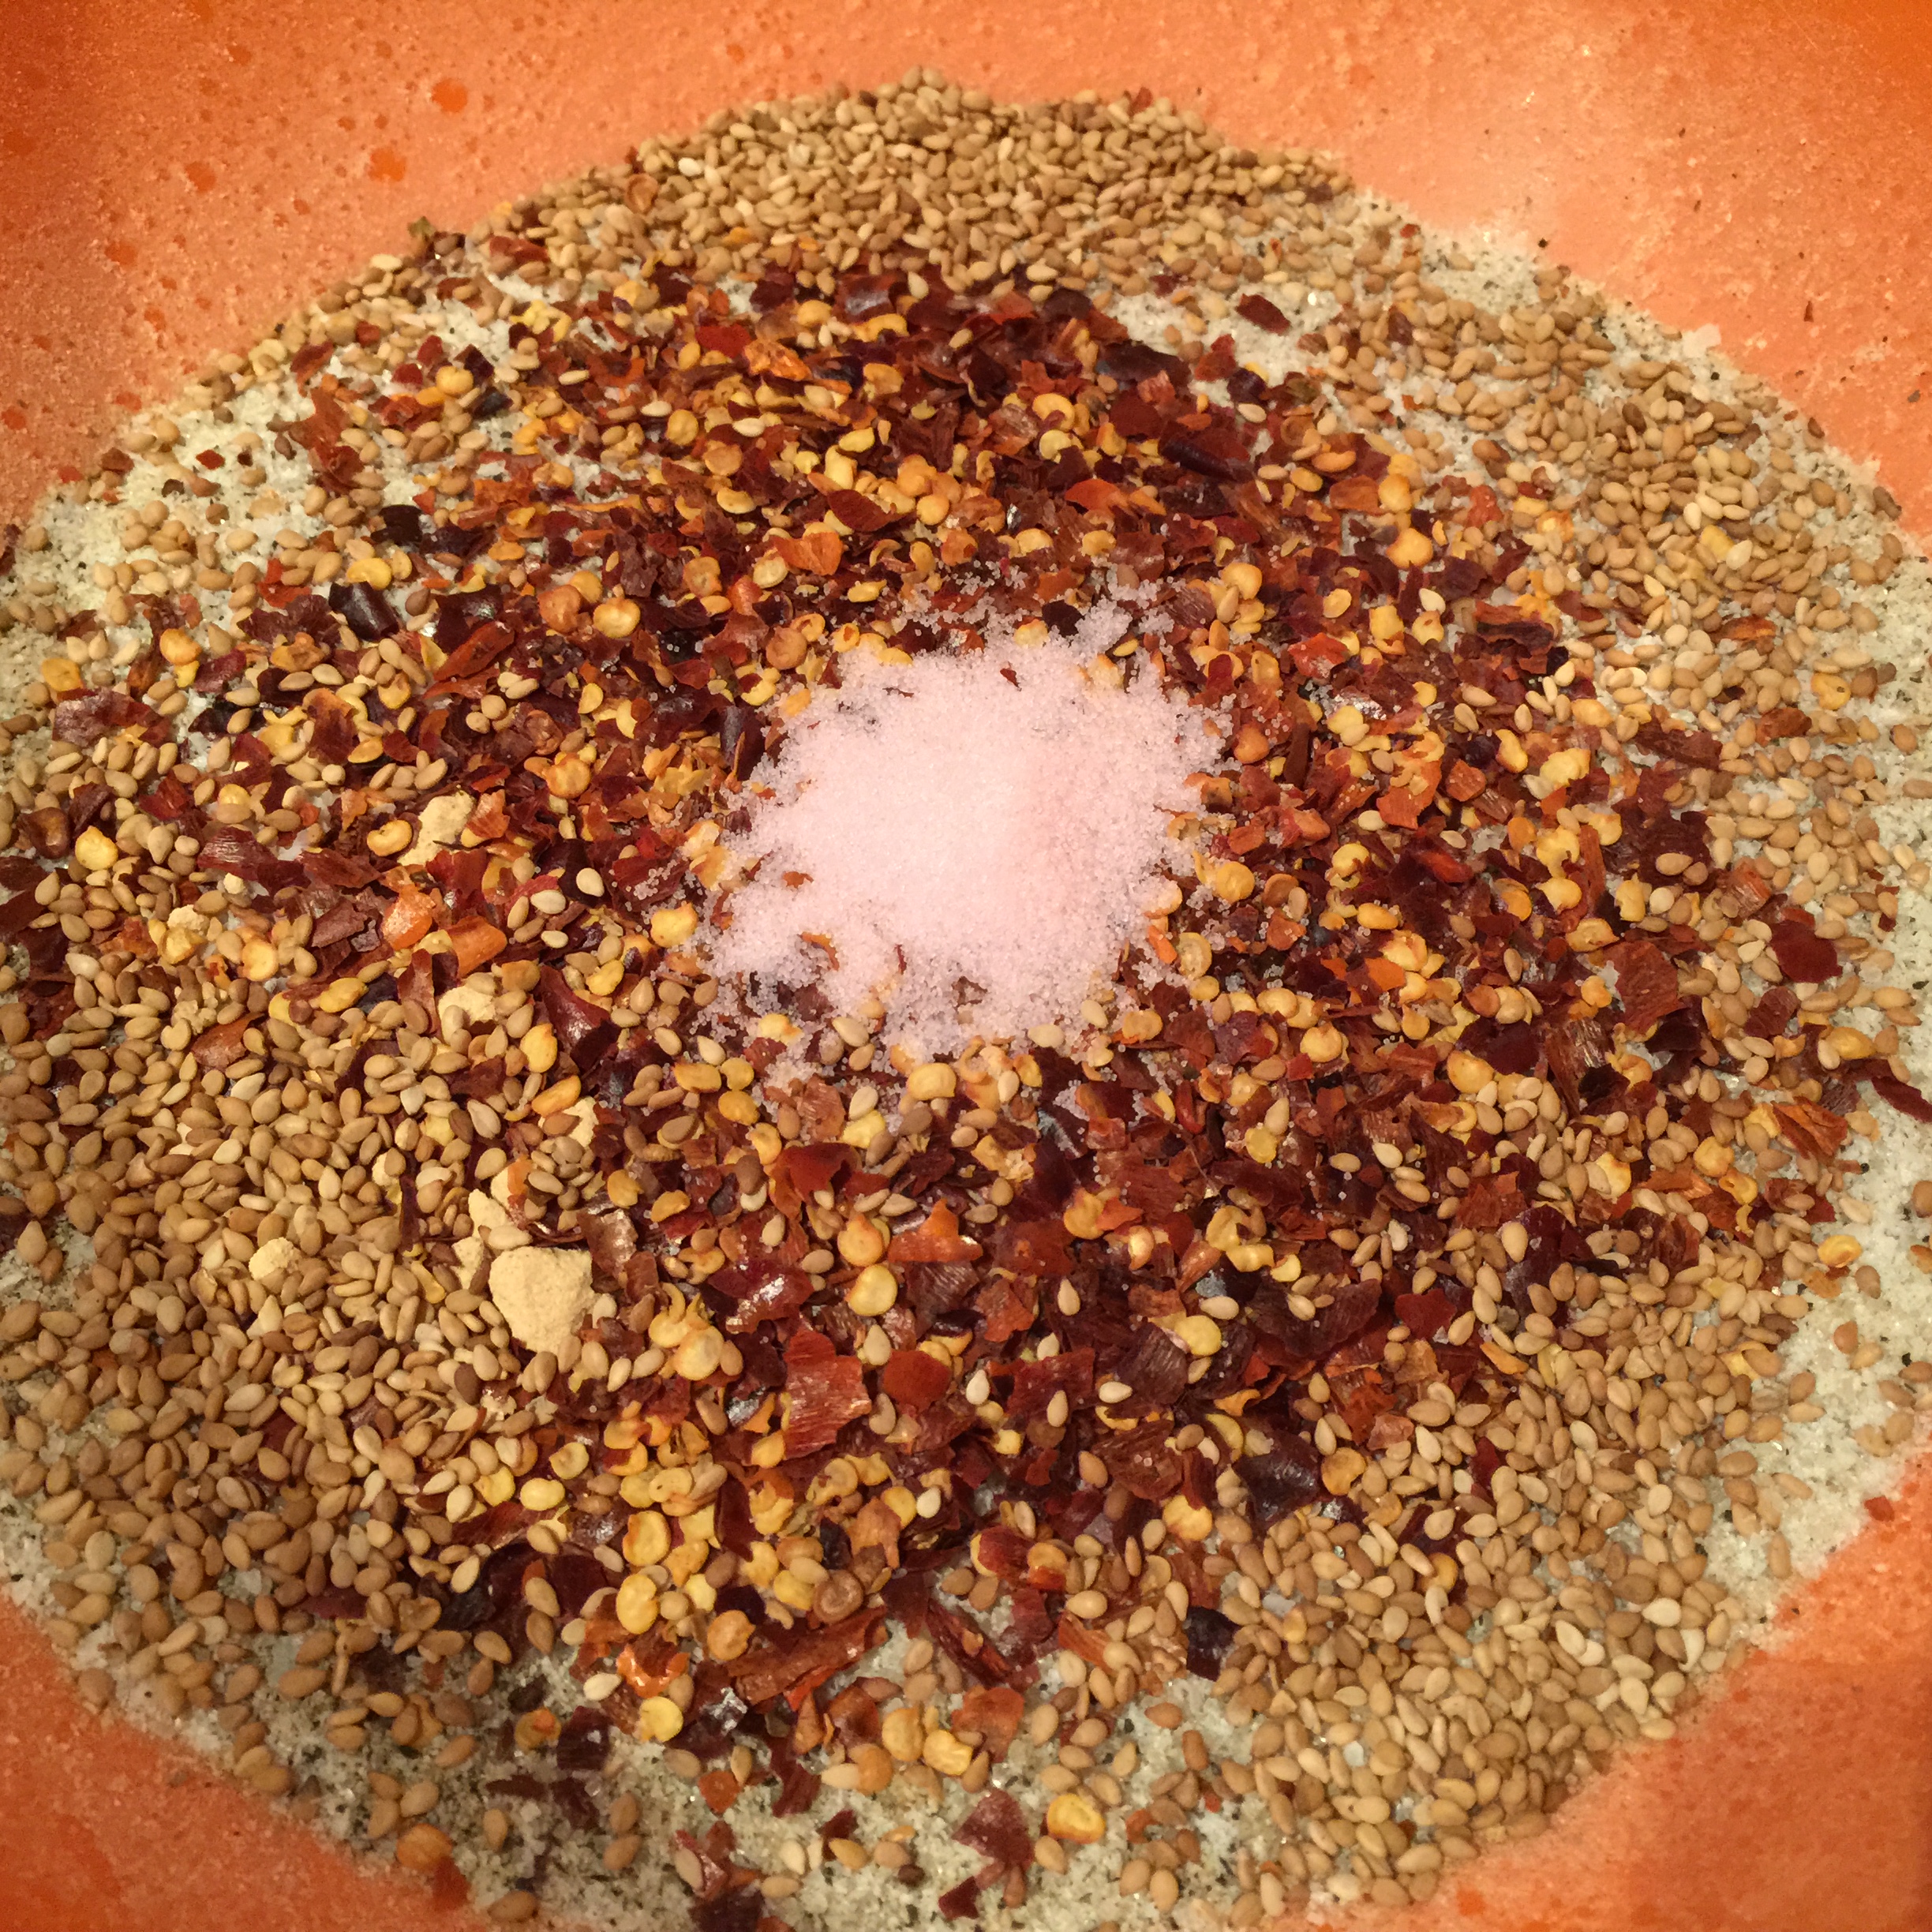
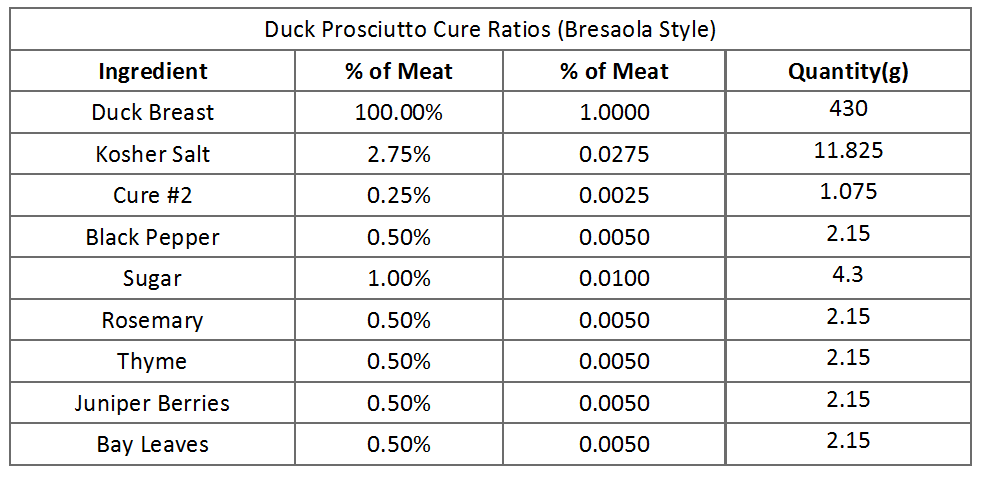
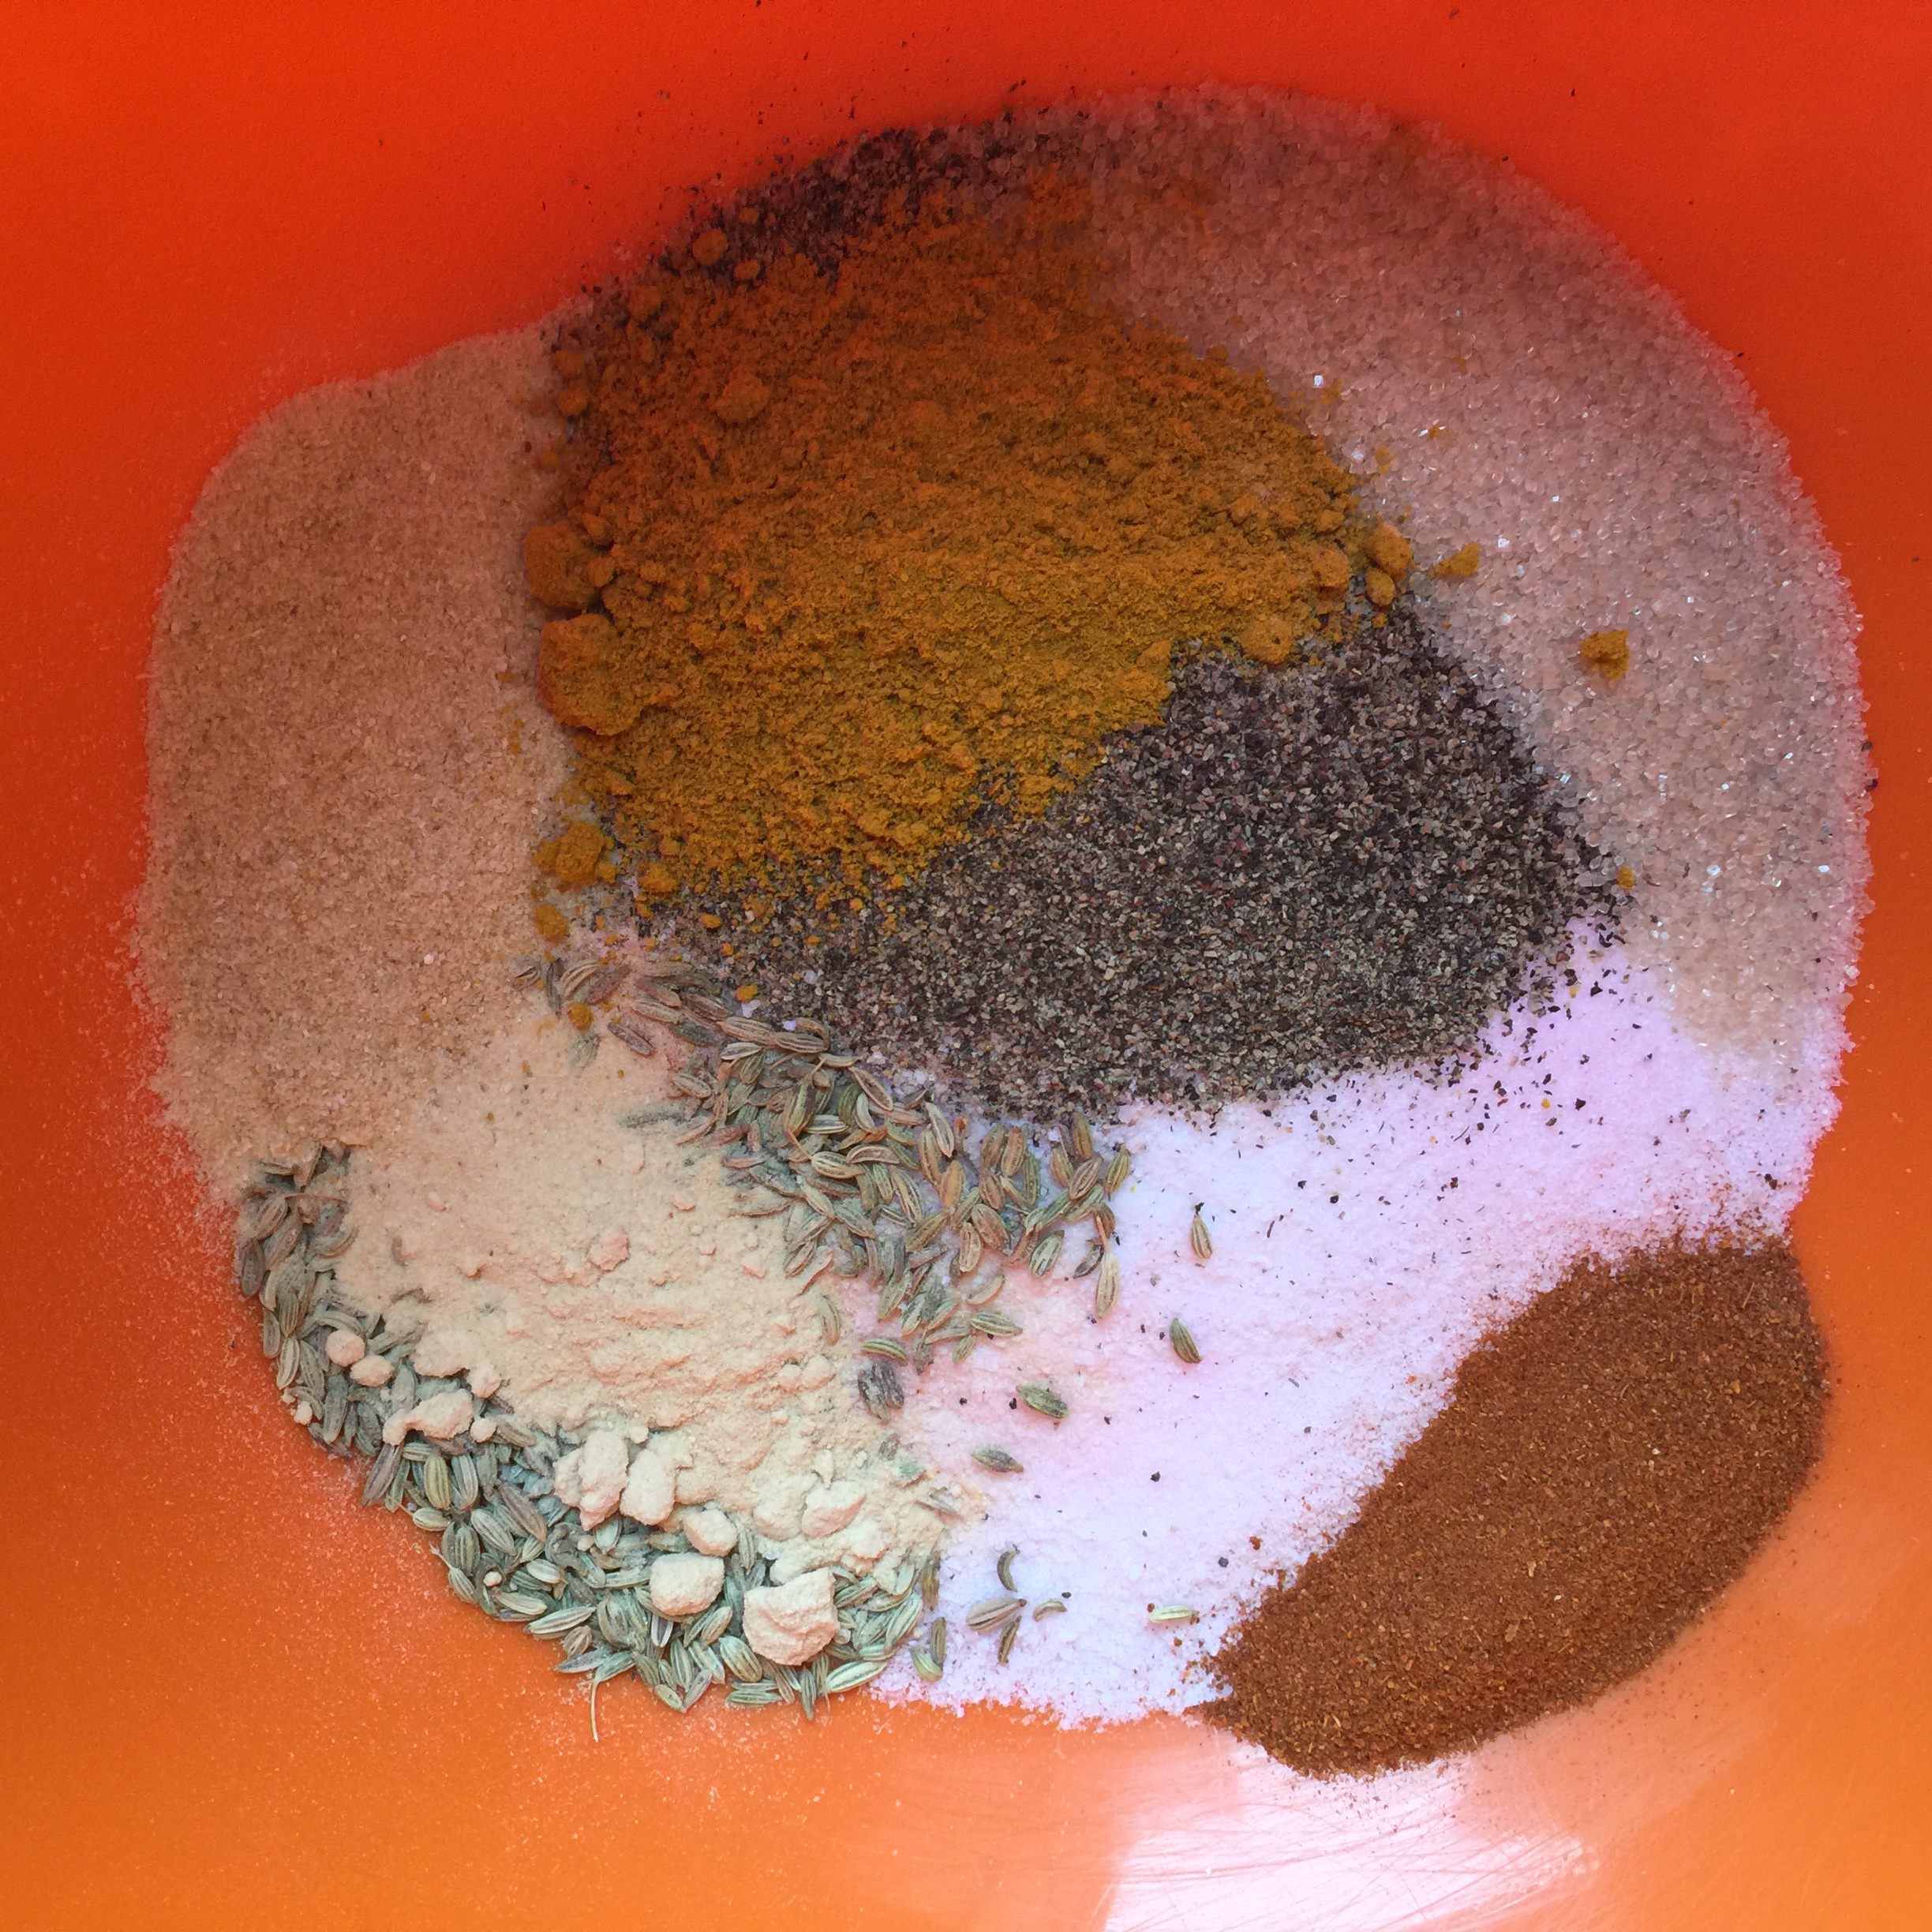
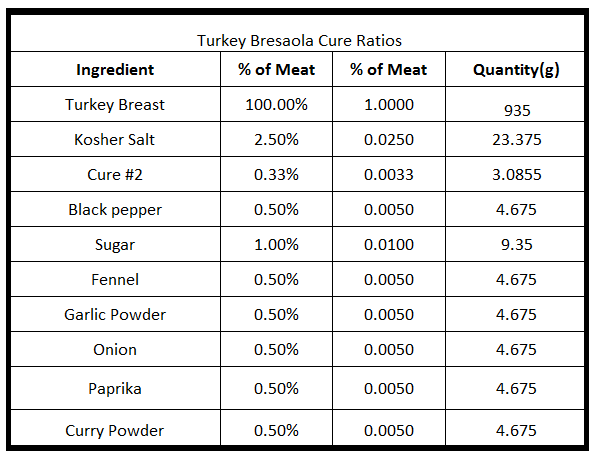
It was difficult to find much information online about people who have cured their own bresaola di tacchino. I found a few recipes in Italian that were done in very traditional ways, and not ideal for what I wanted to do. So I did what any good experimenter does; I made it up. I tried to create a cure that would complement the turkey, and followed my basic operating procedure.
I was slightly worried because turkey is poultry, and I know it can be more prone to carry certain diseases, but I didn’t find too much information on any changes that needed to be made when curing turkey compared to other meats, so I went ahead as usual. I assume that the usual safeguards can help prevent the spread of disease in most cases, but if you plan on doing this yourself, please be sure to do your own research on safety issues and make sure you are comfortable with the risk level.
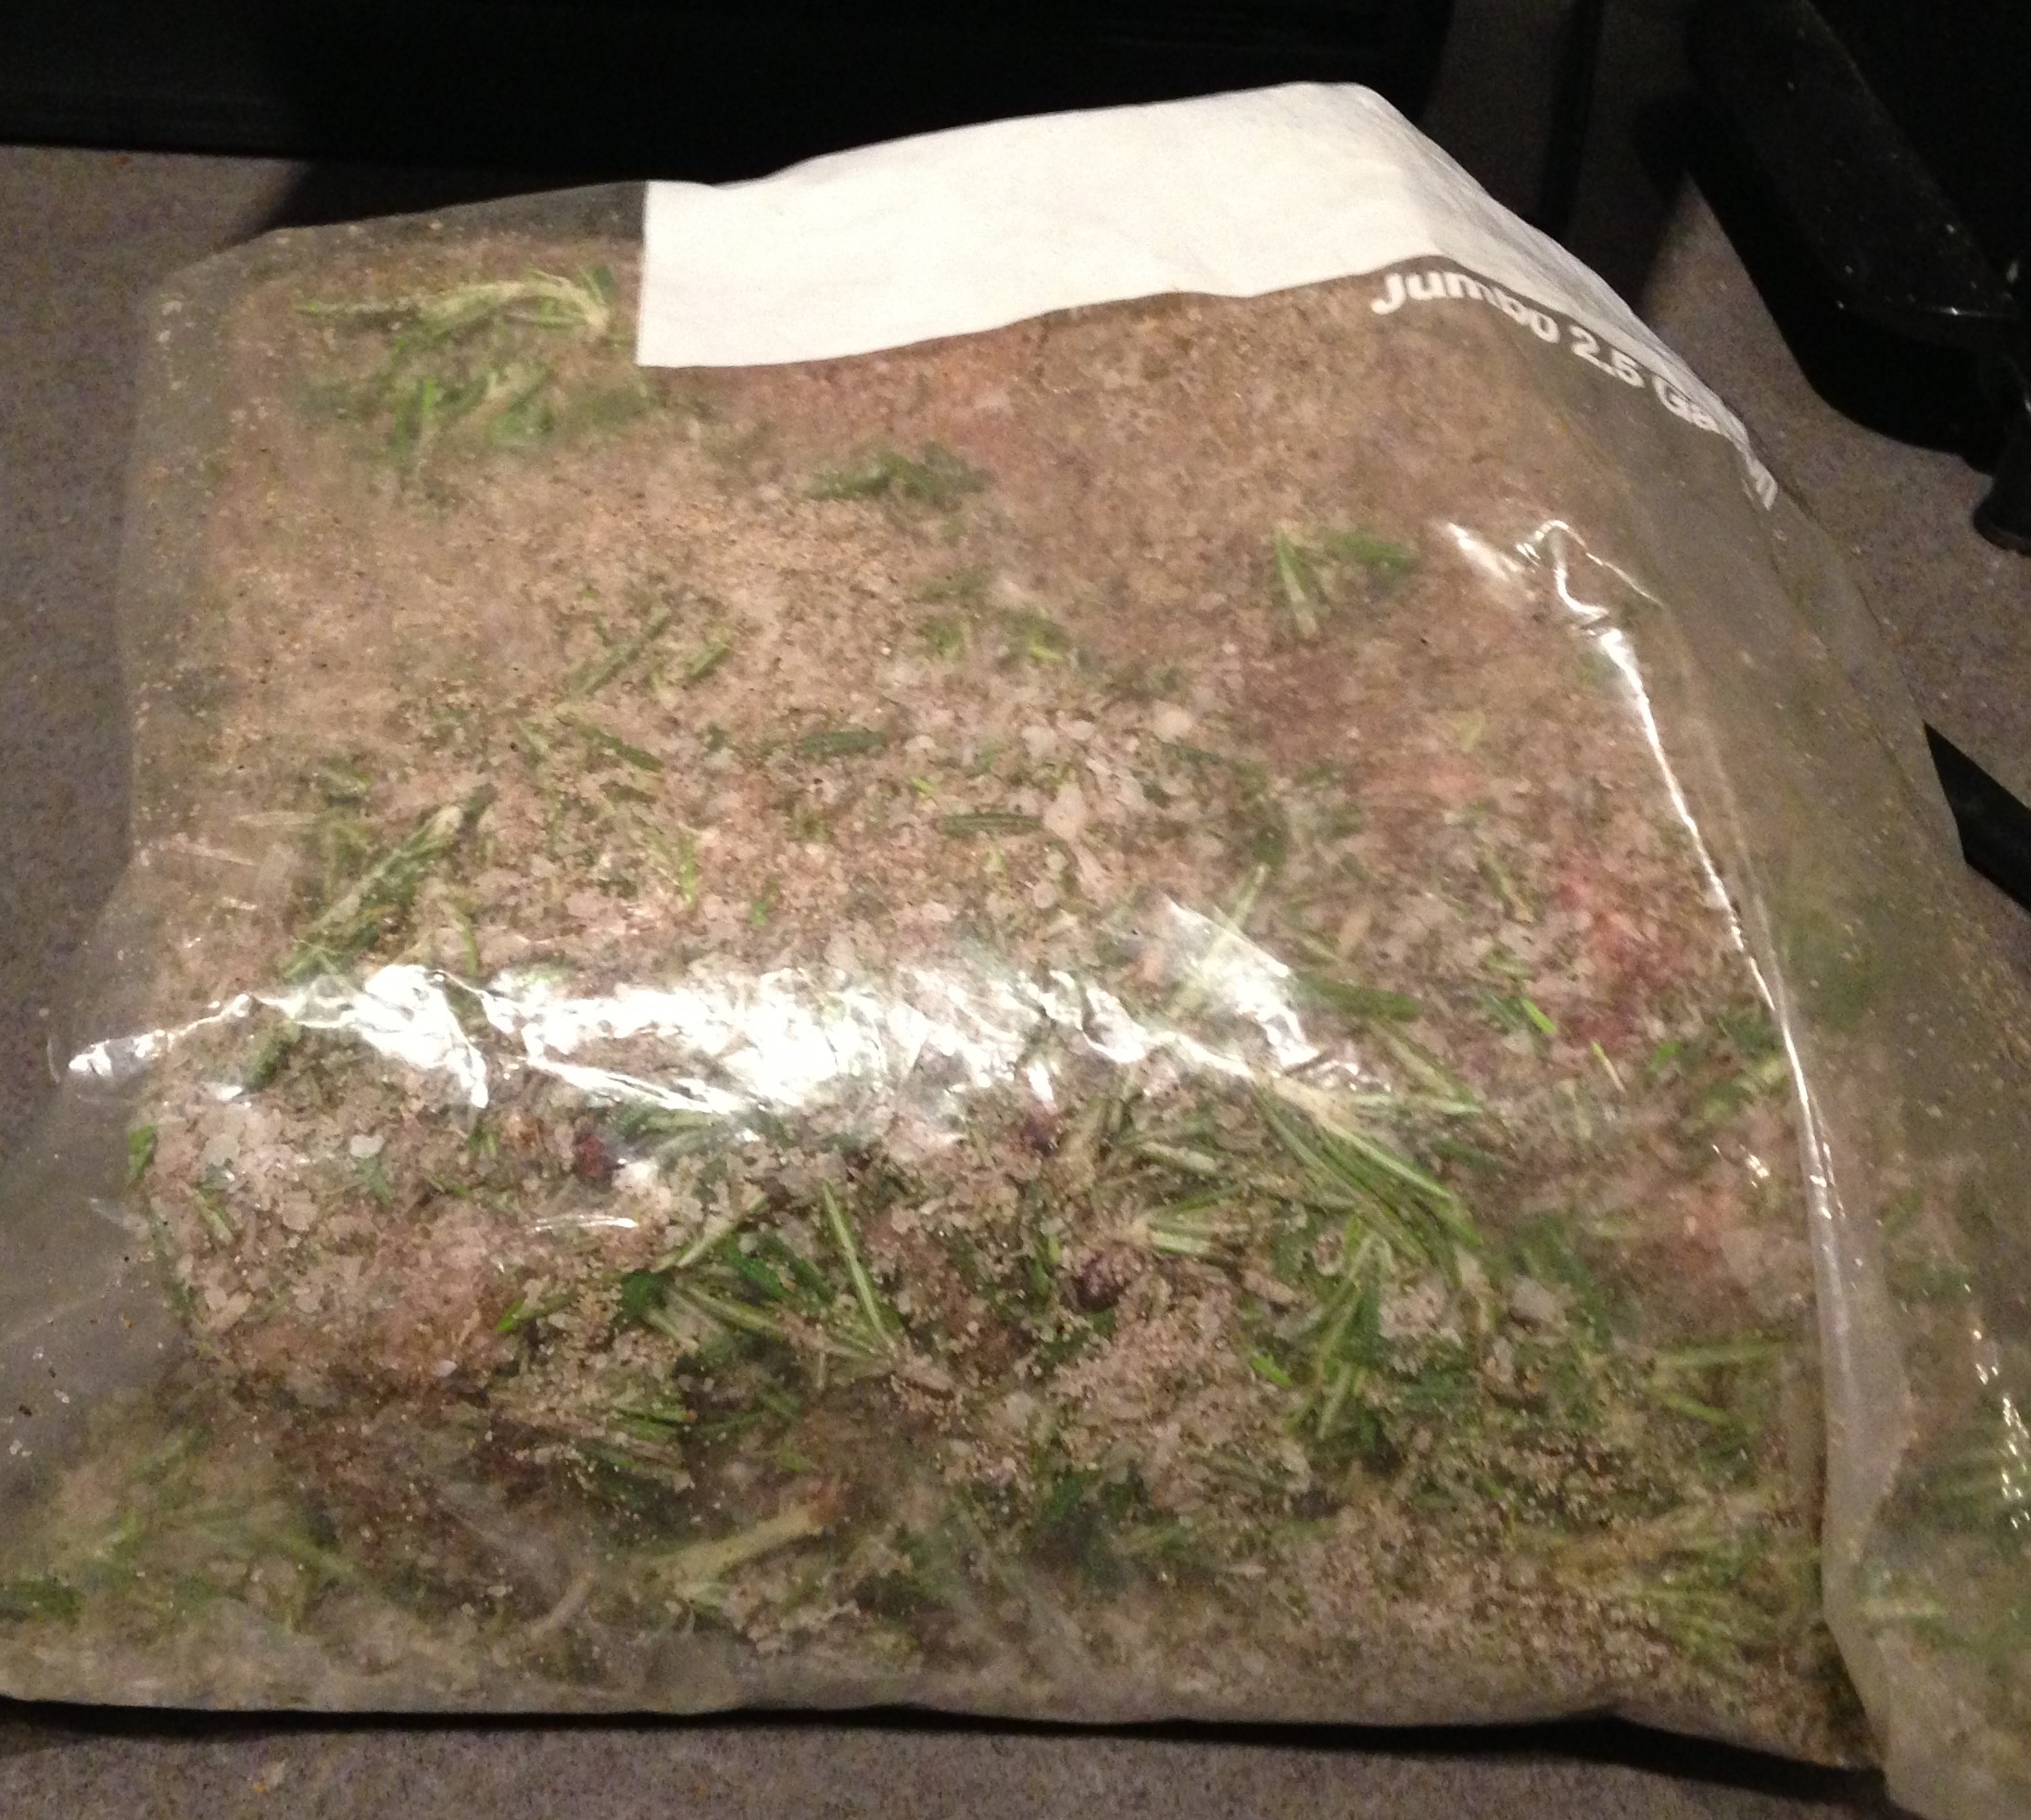
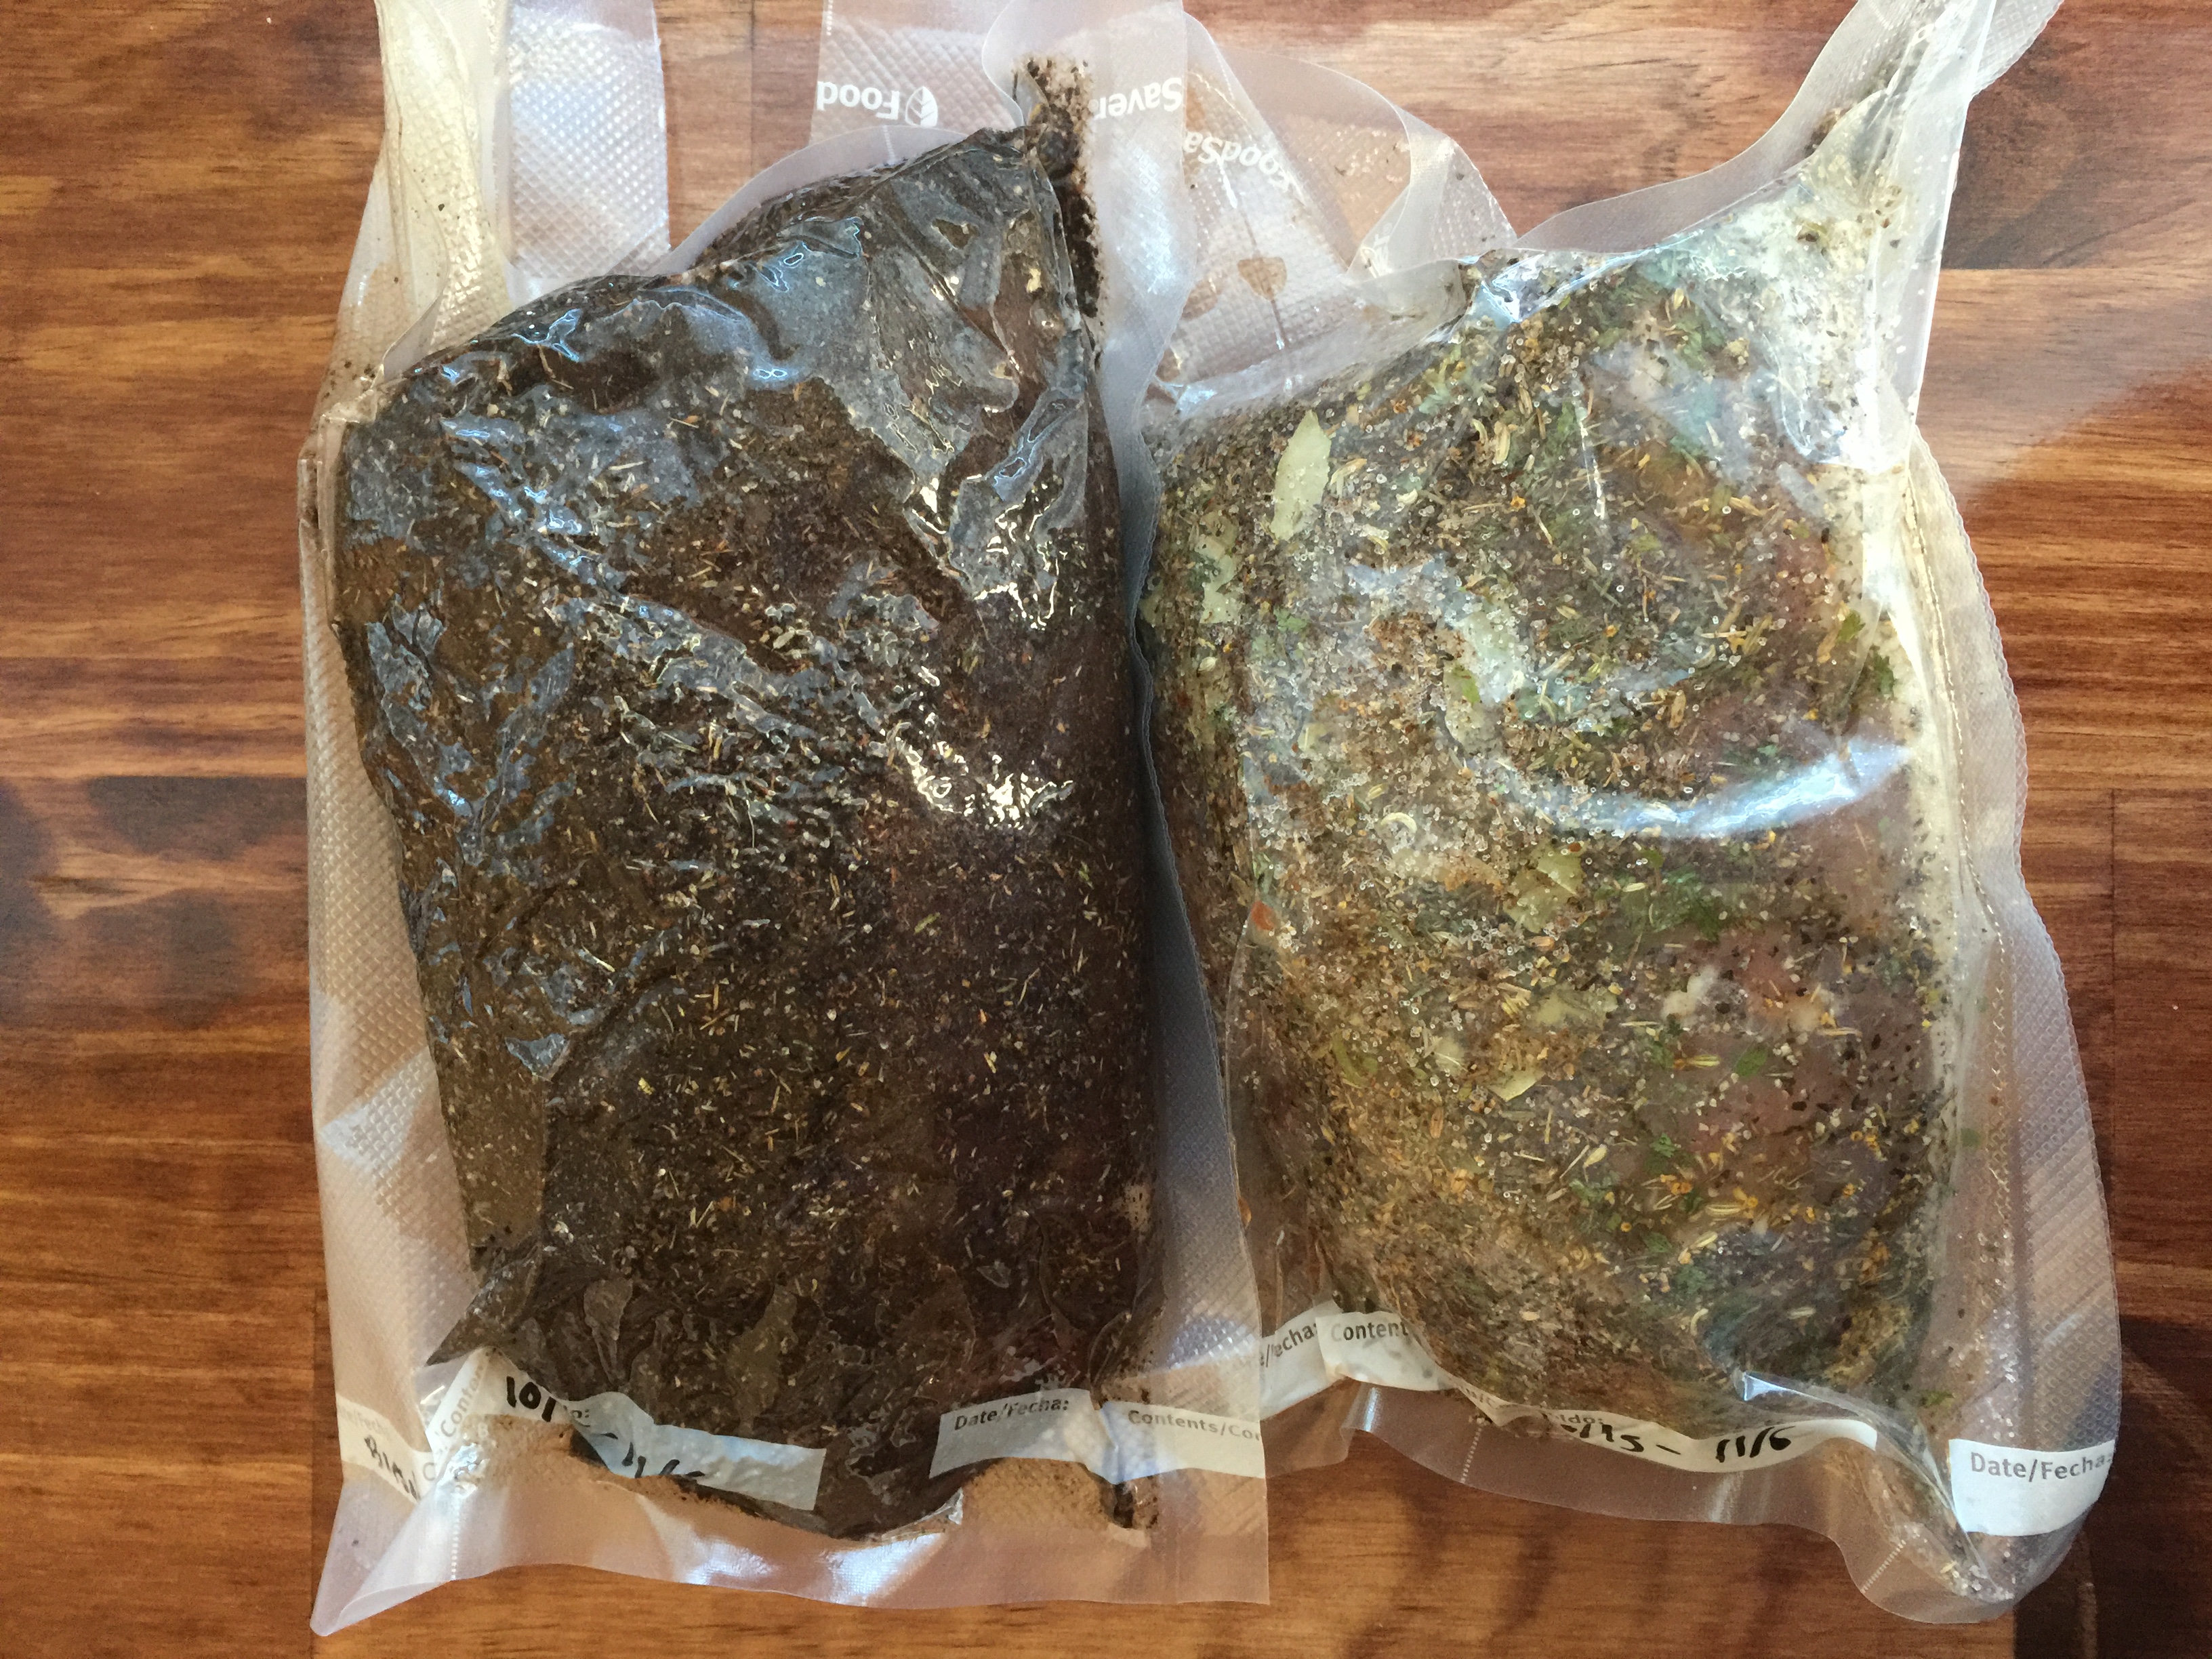
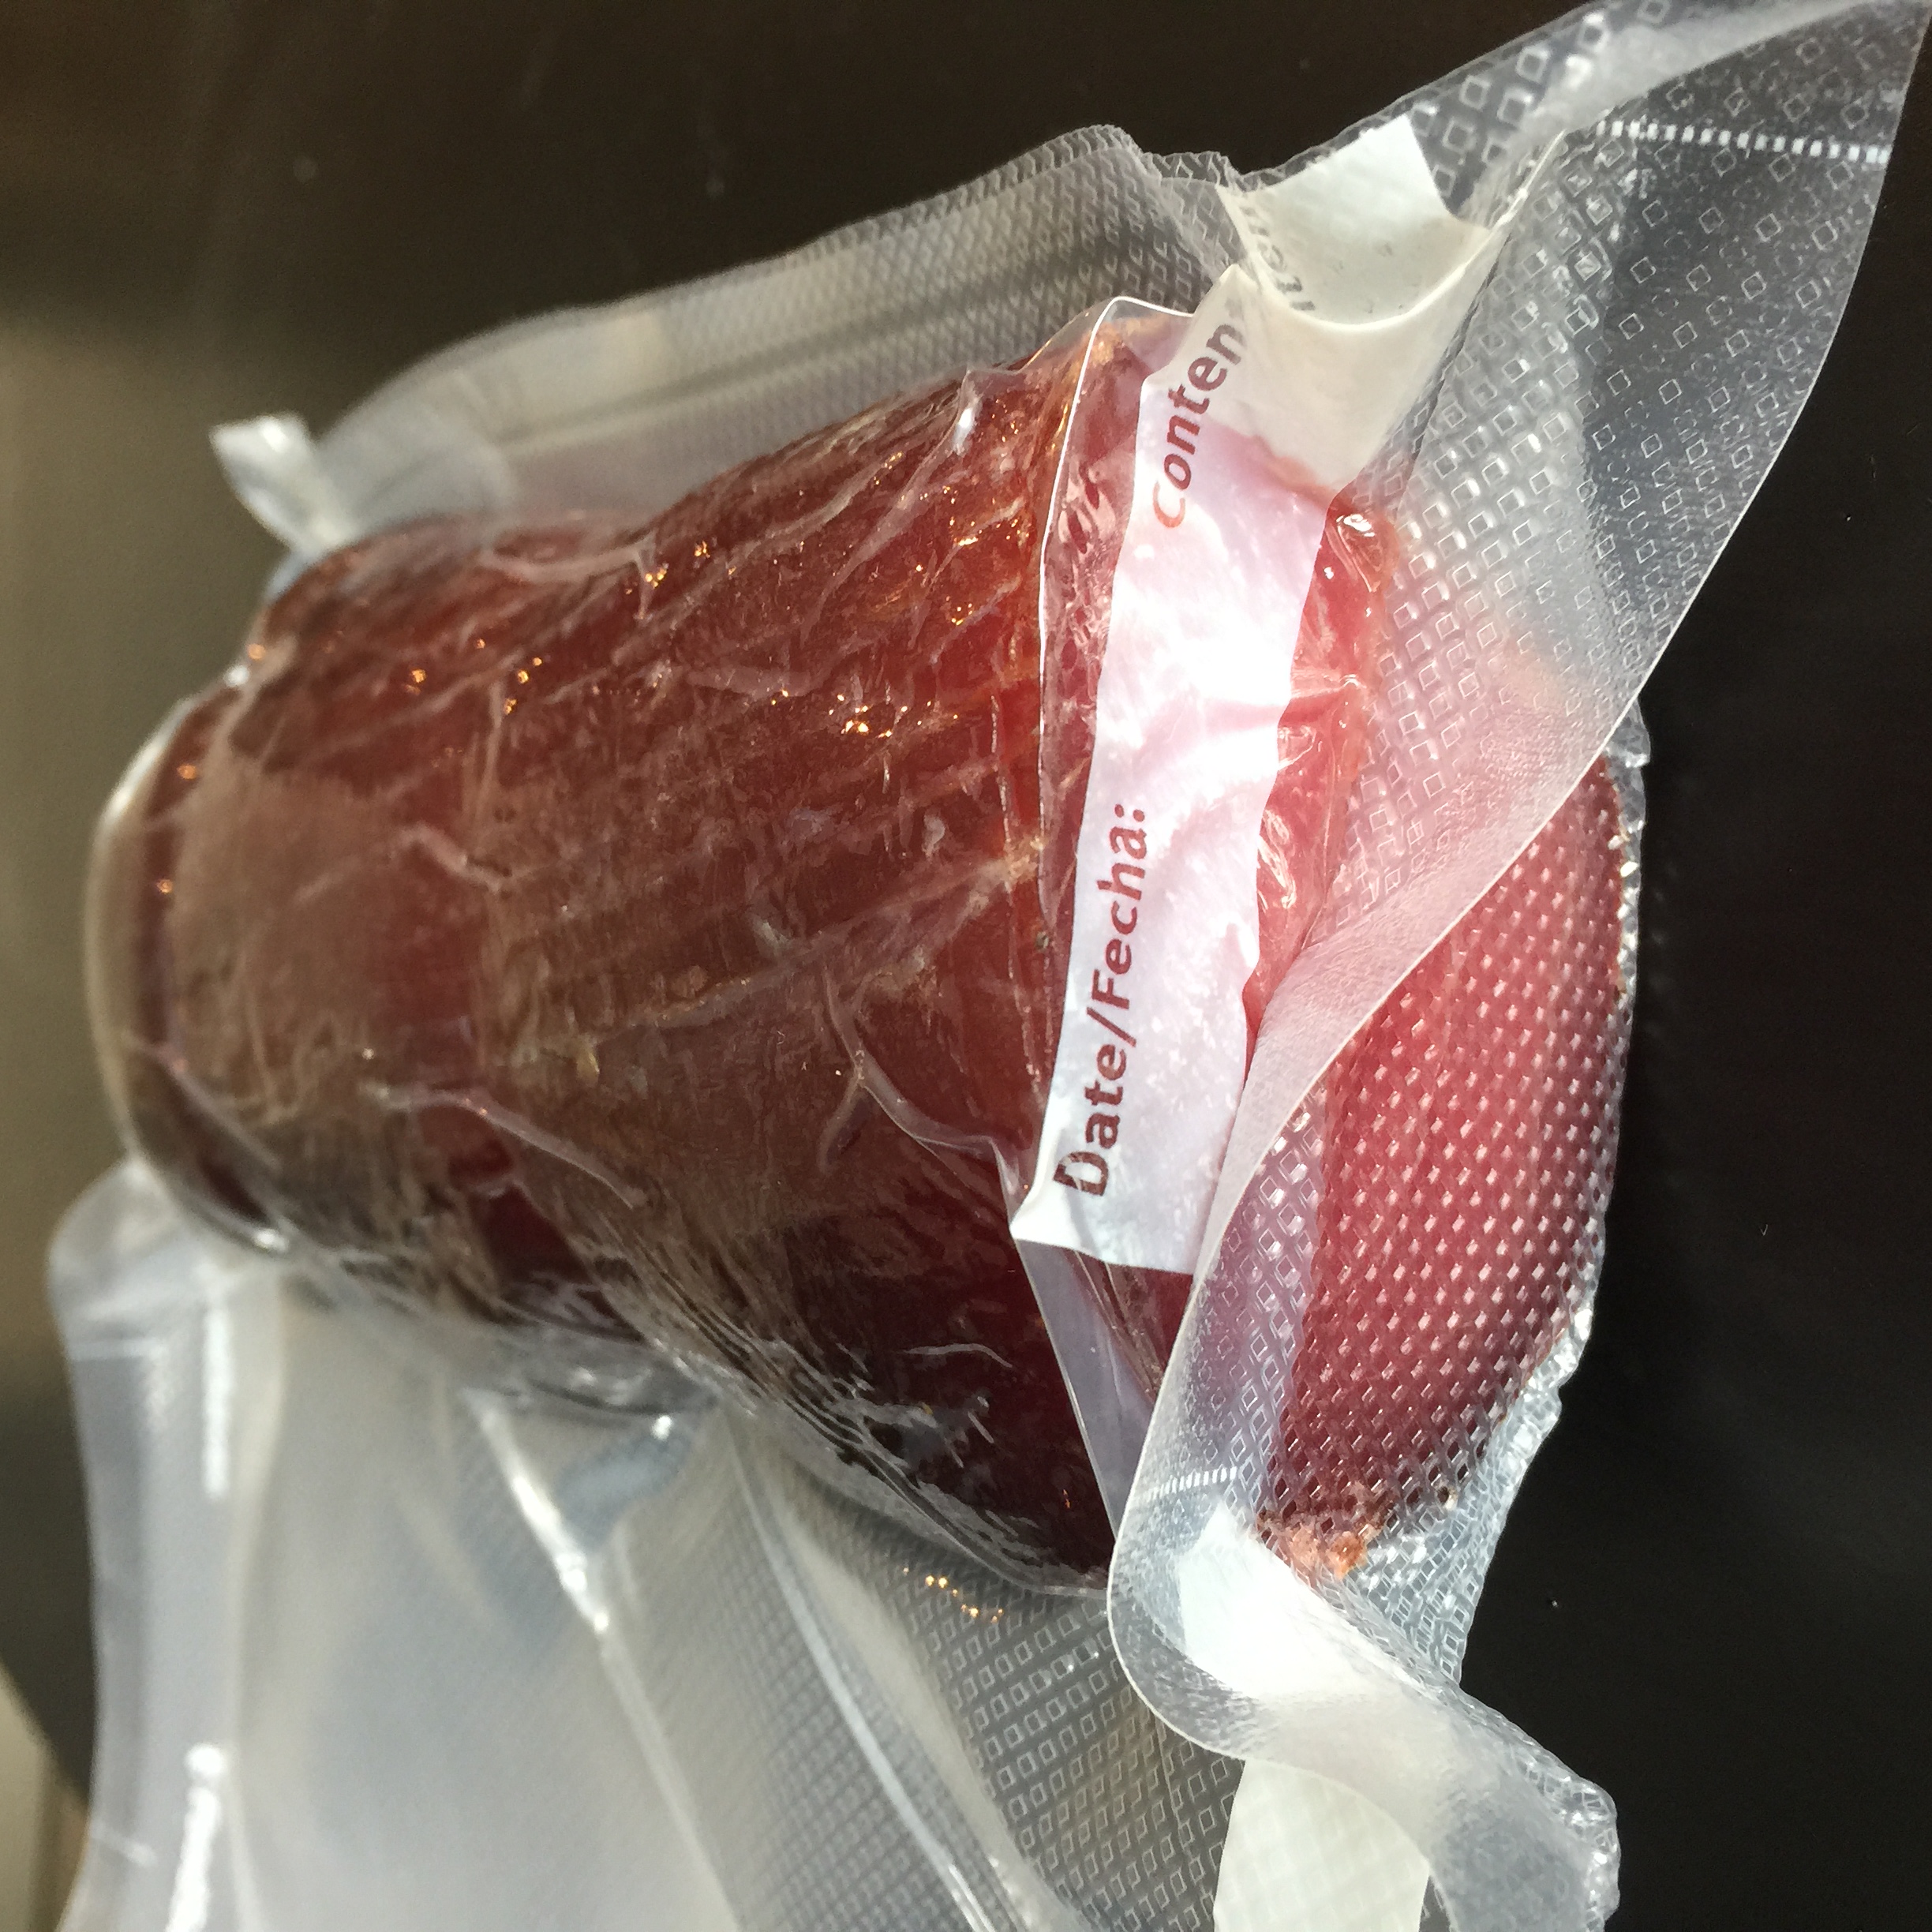
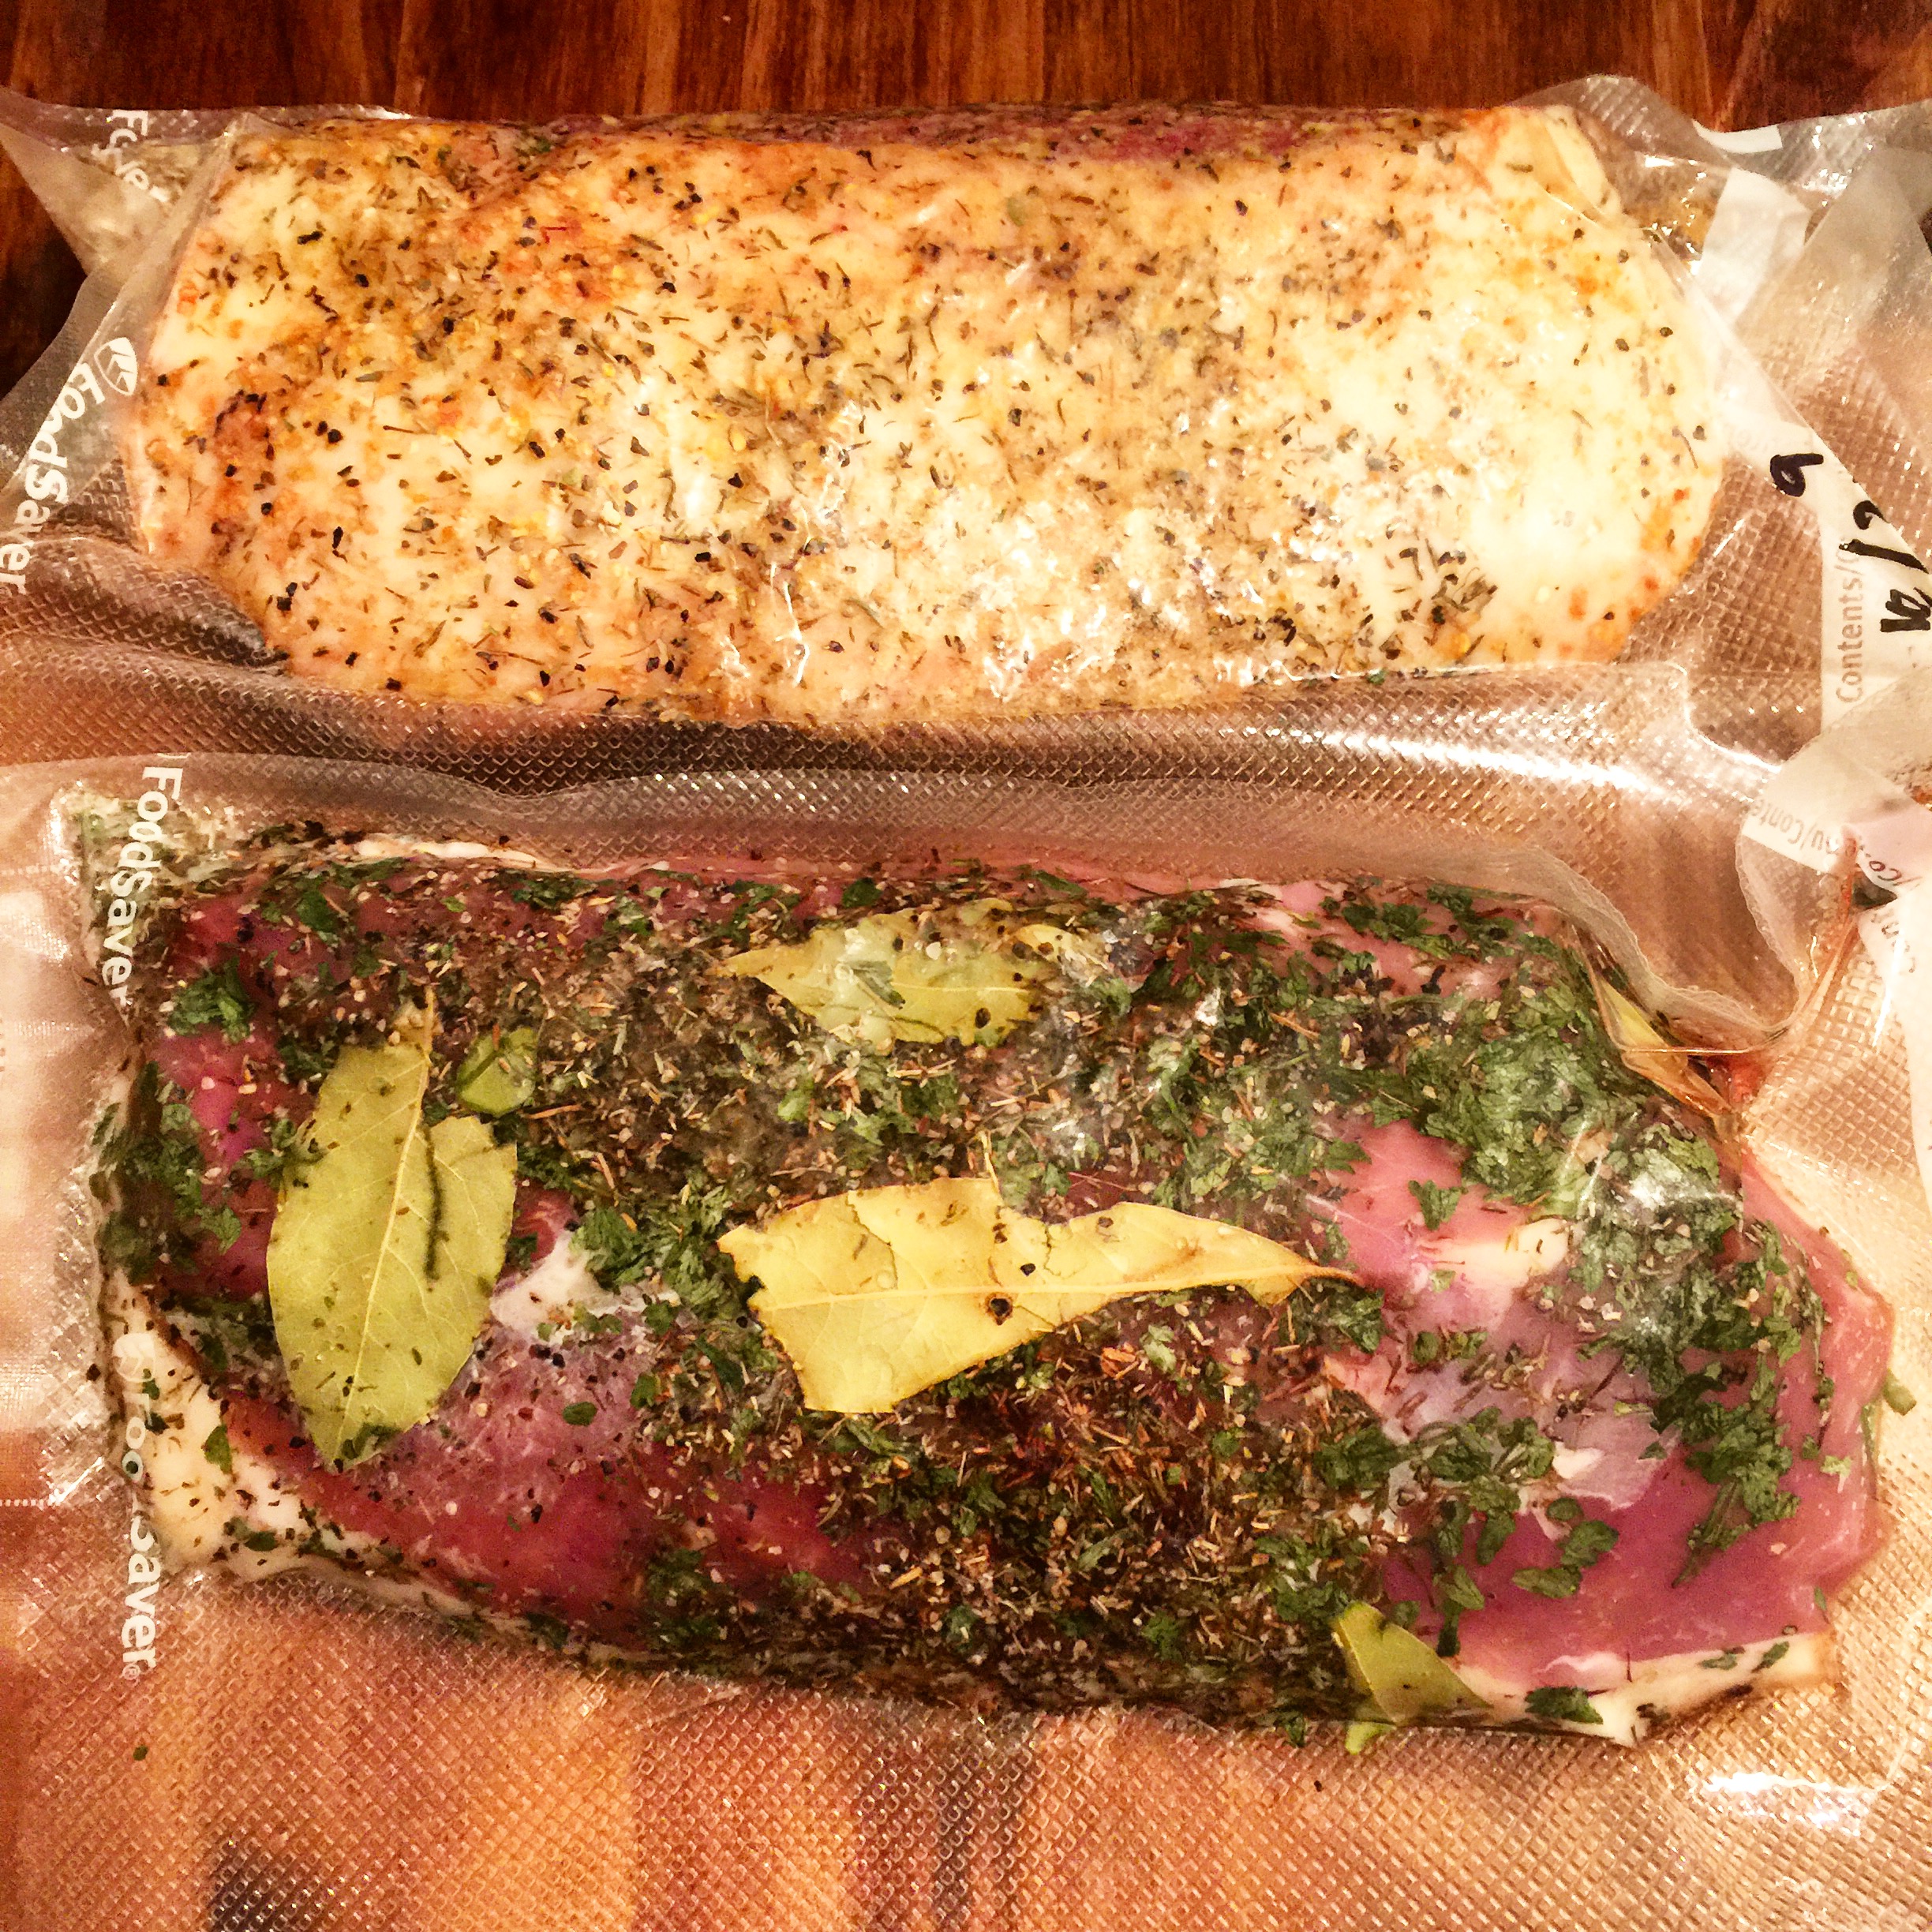
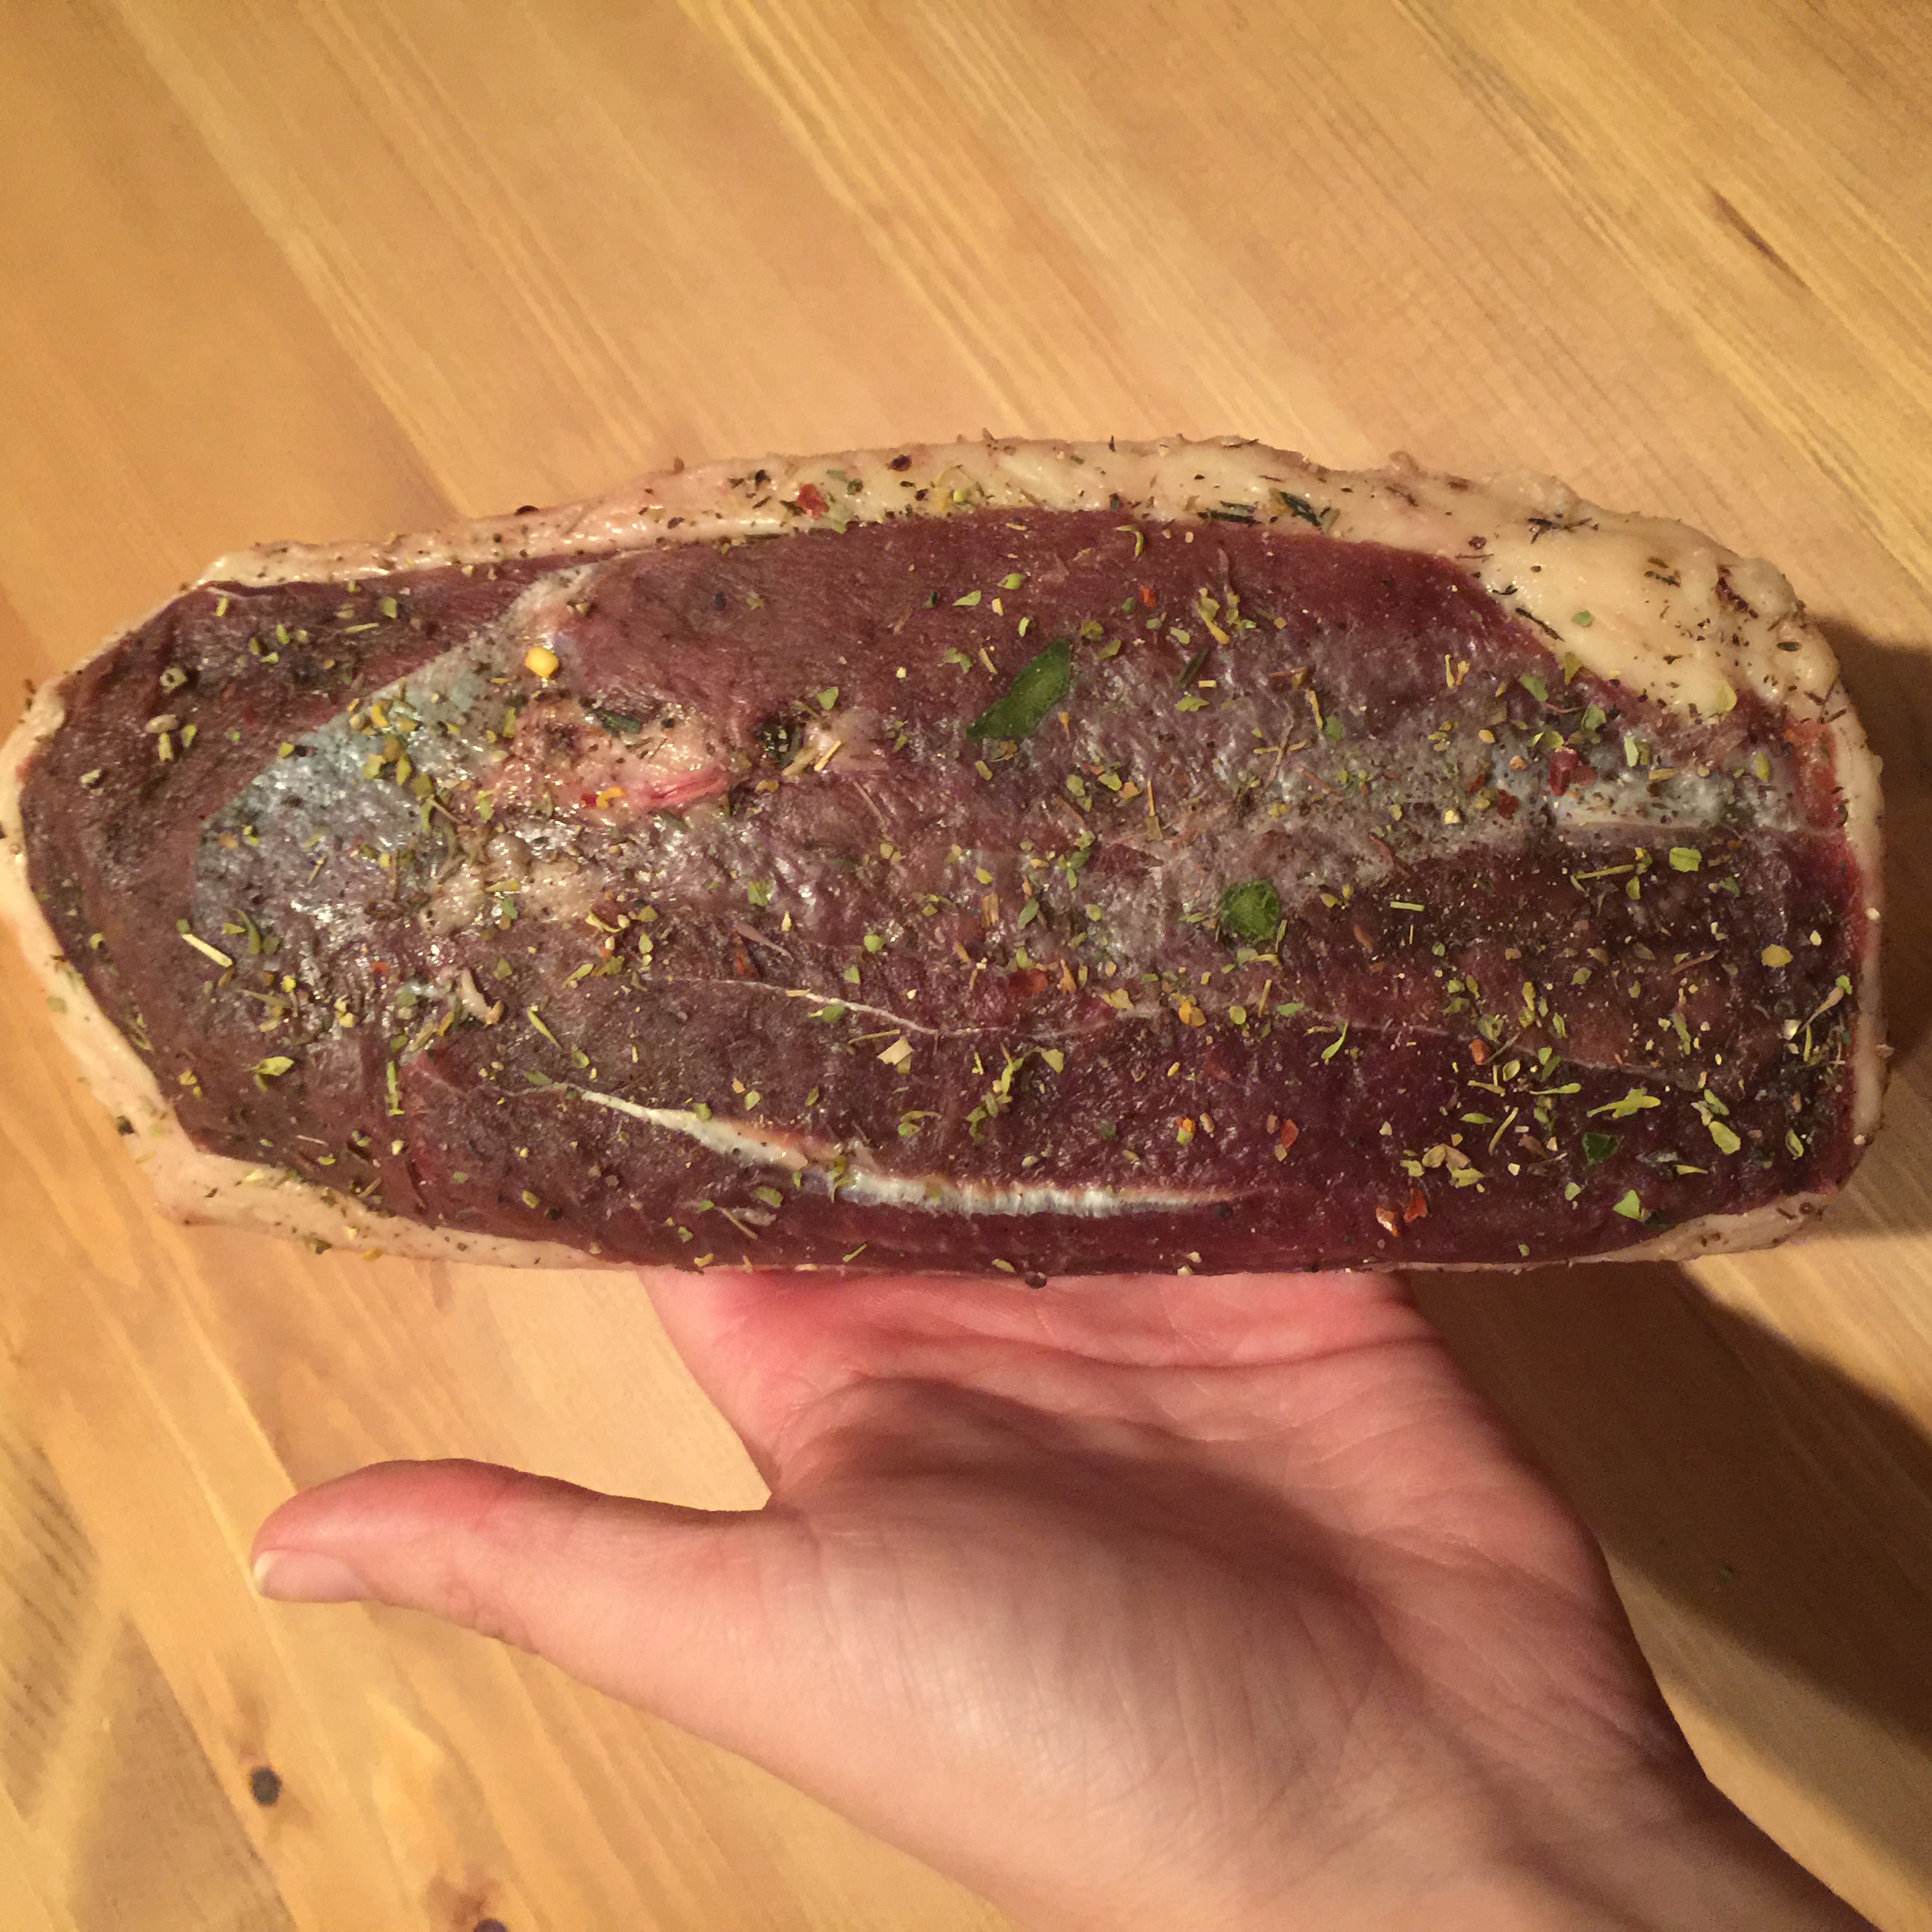
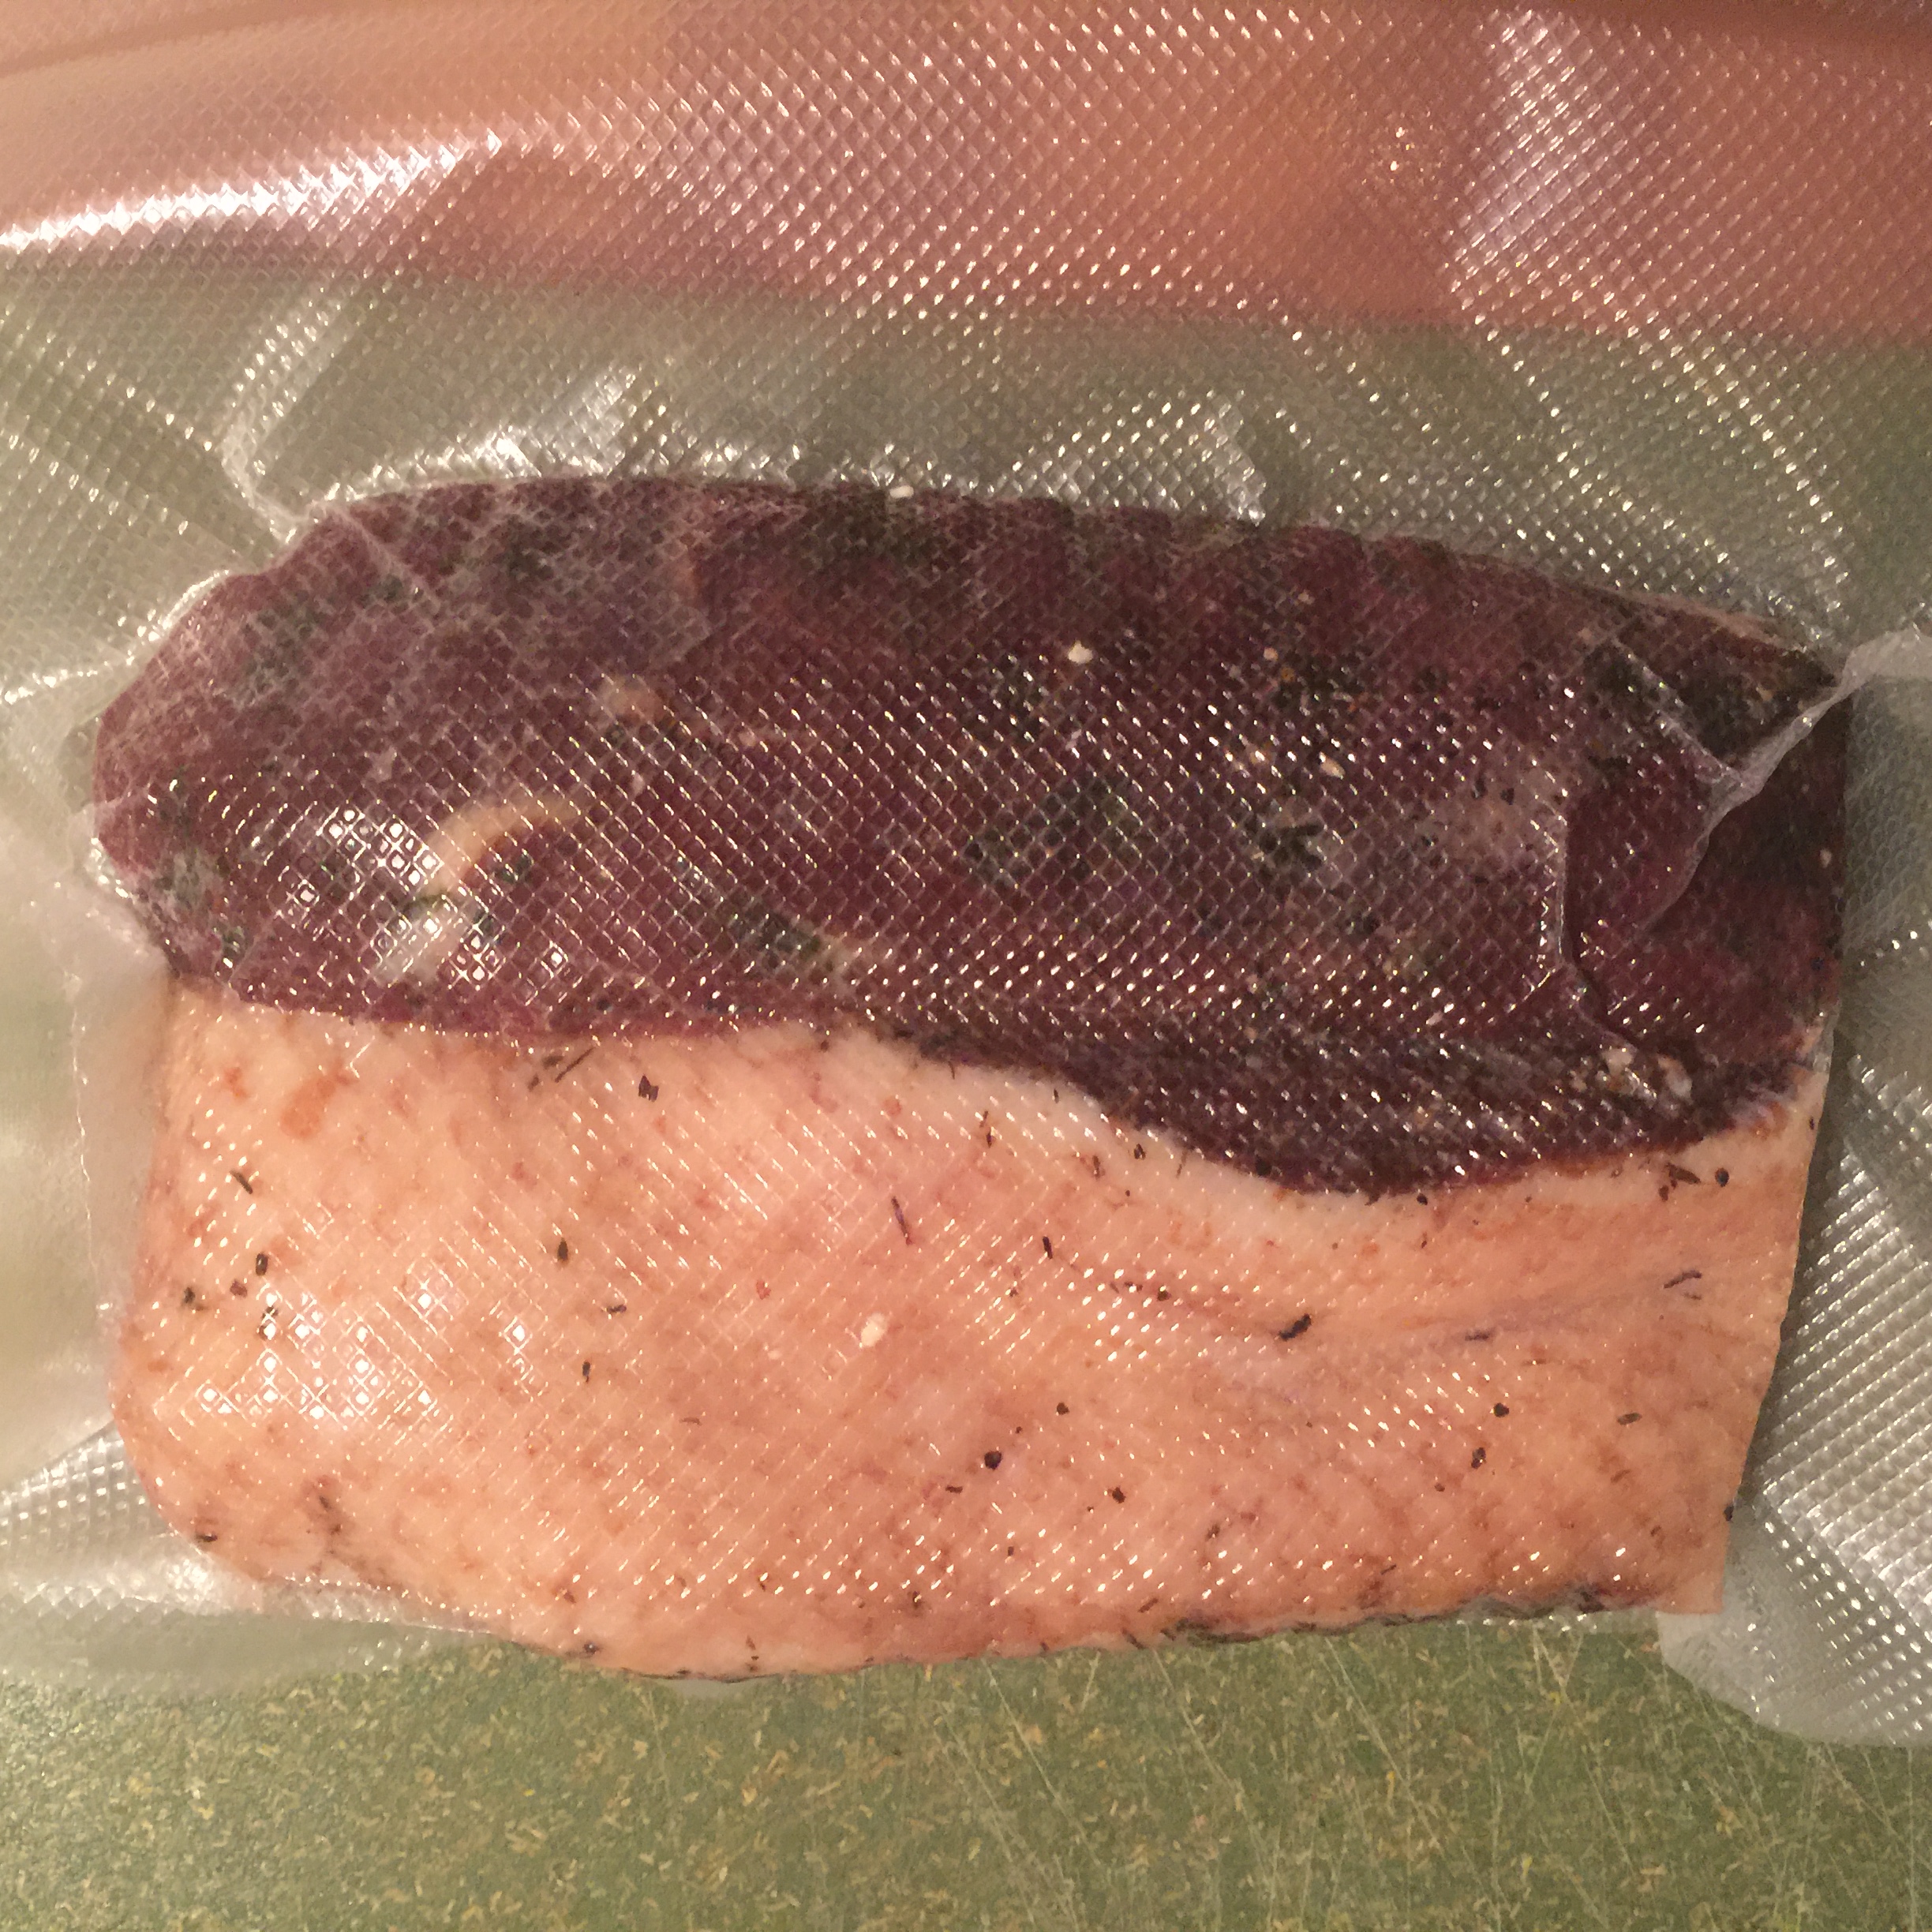
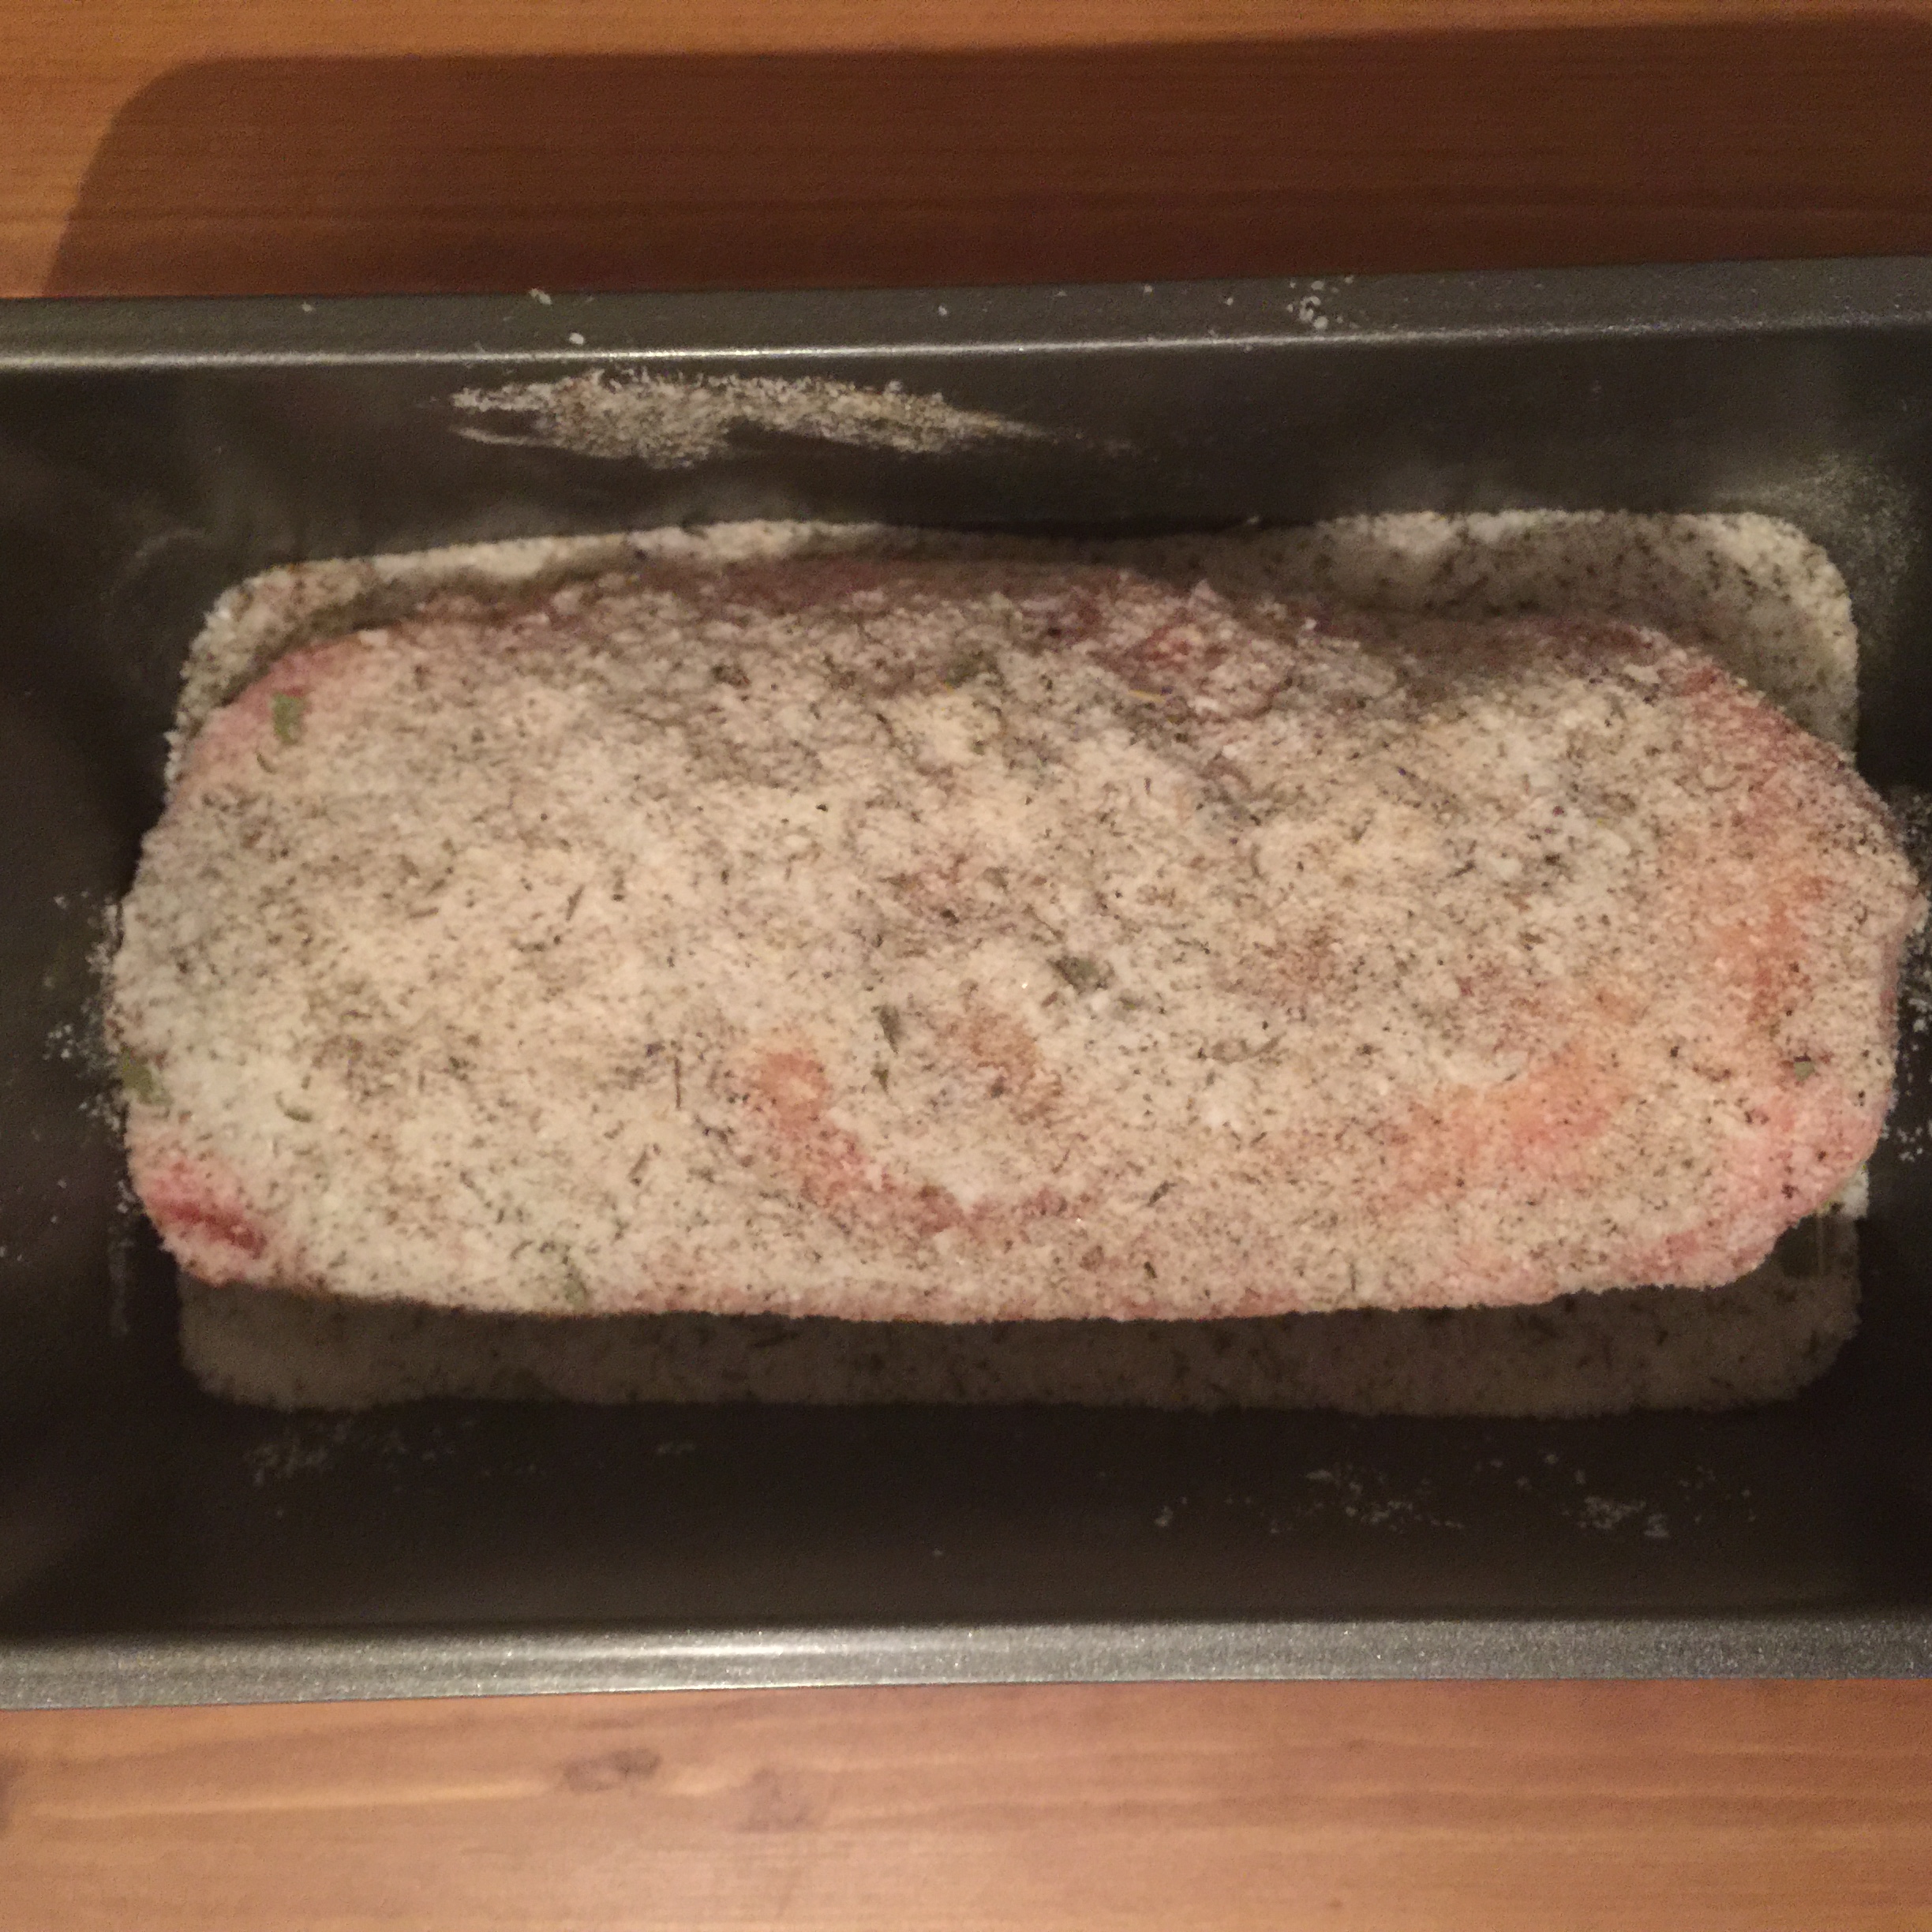
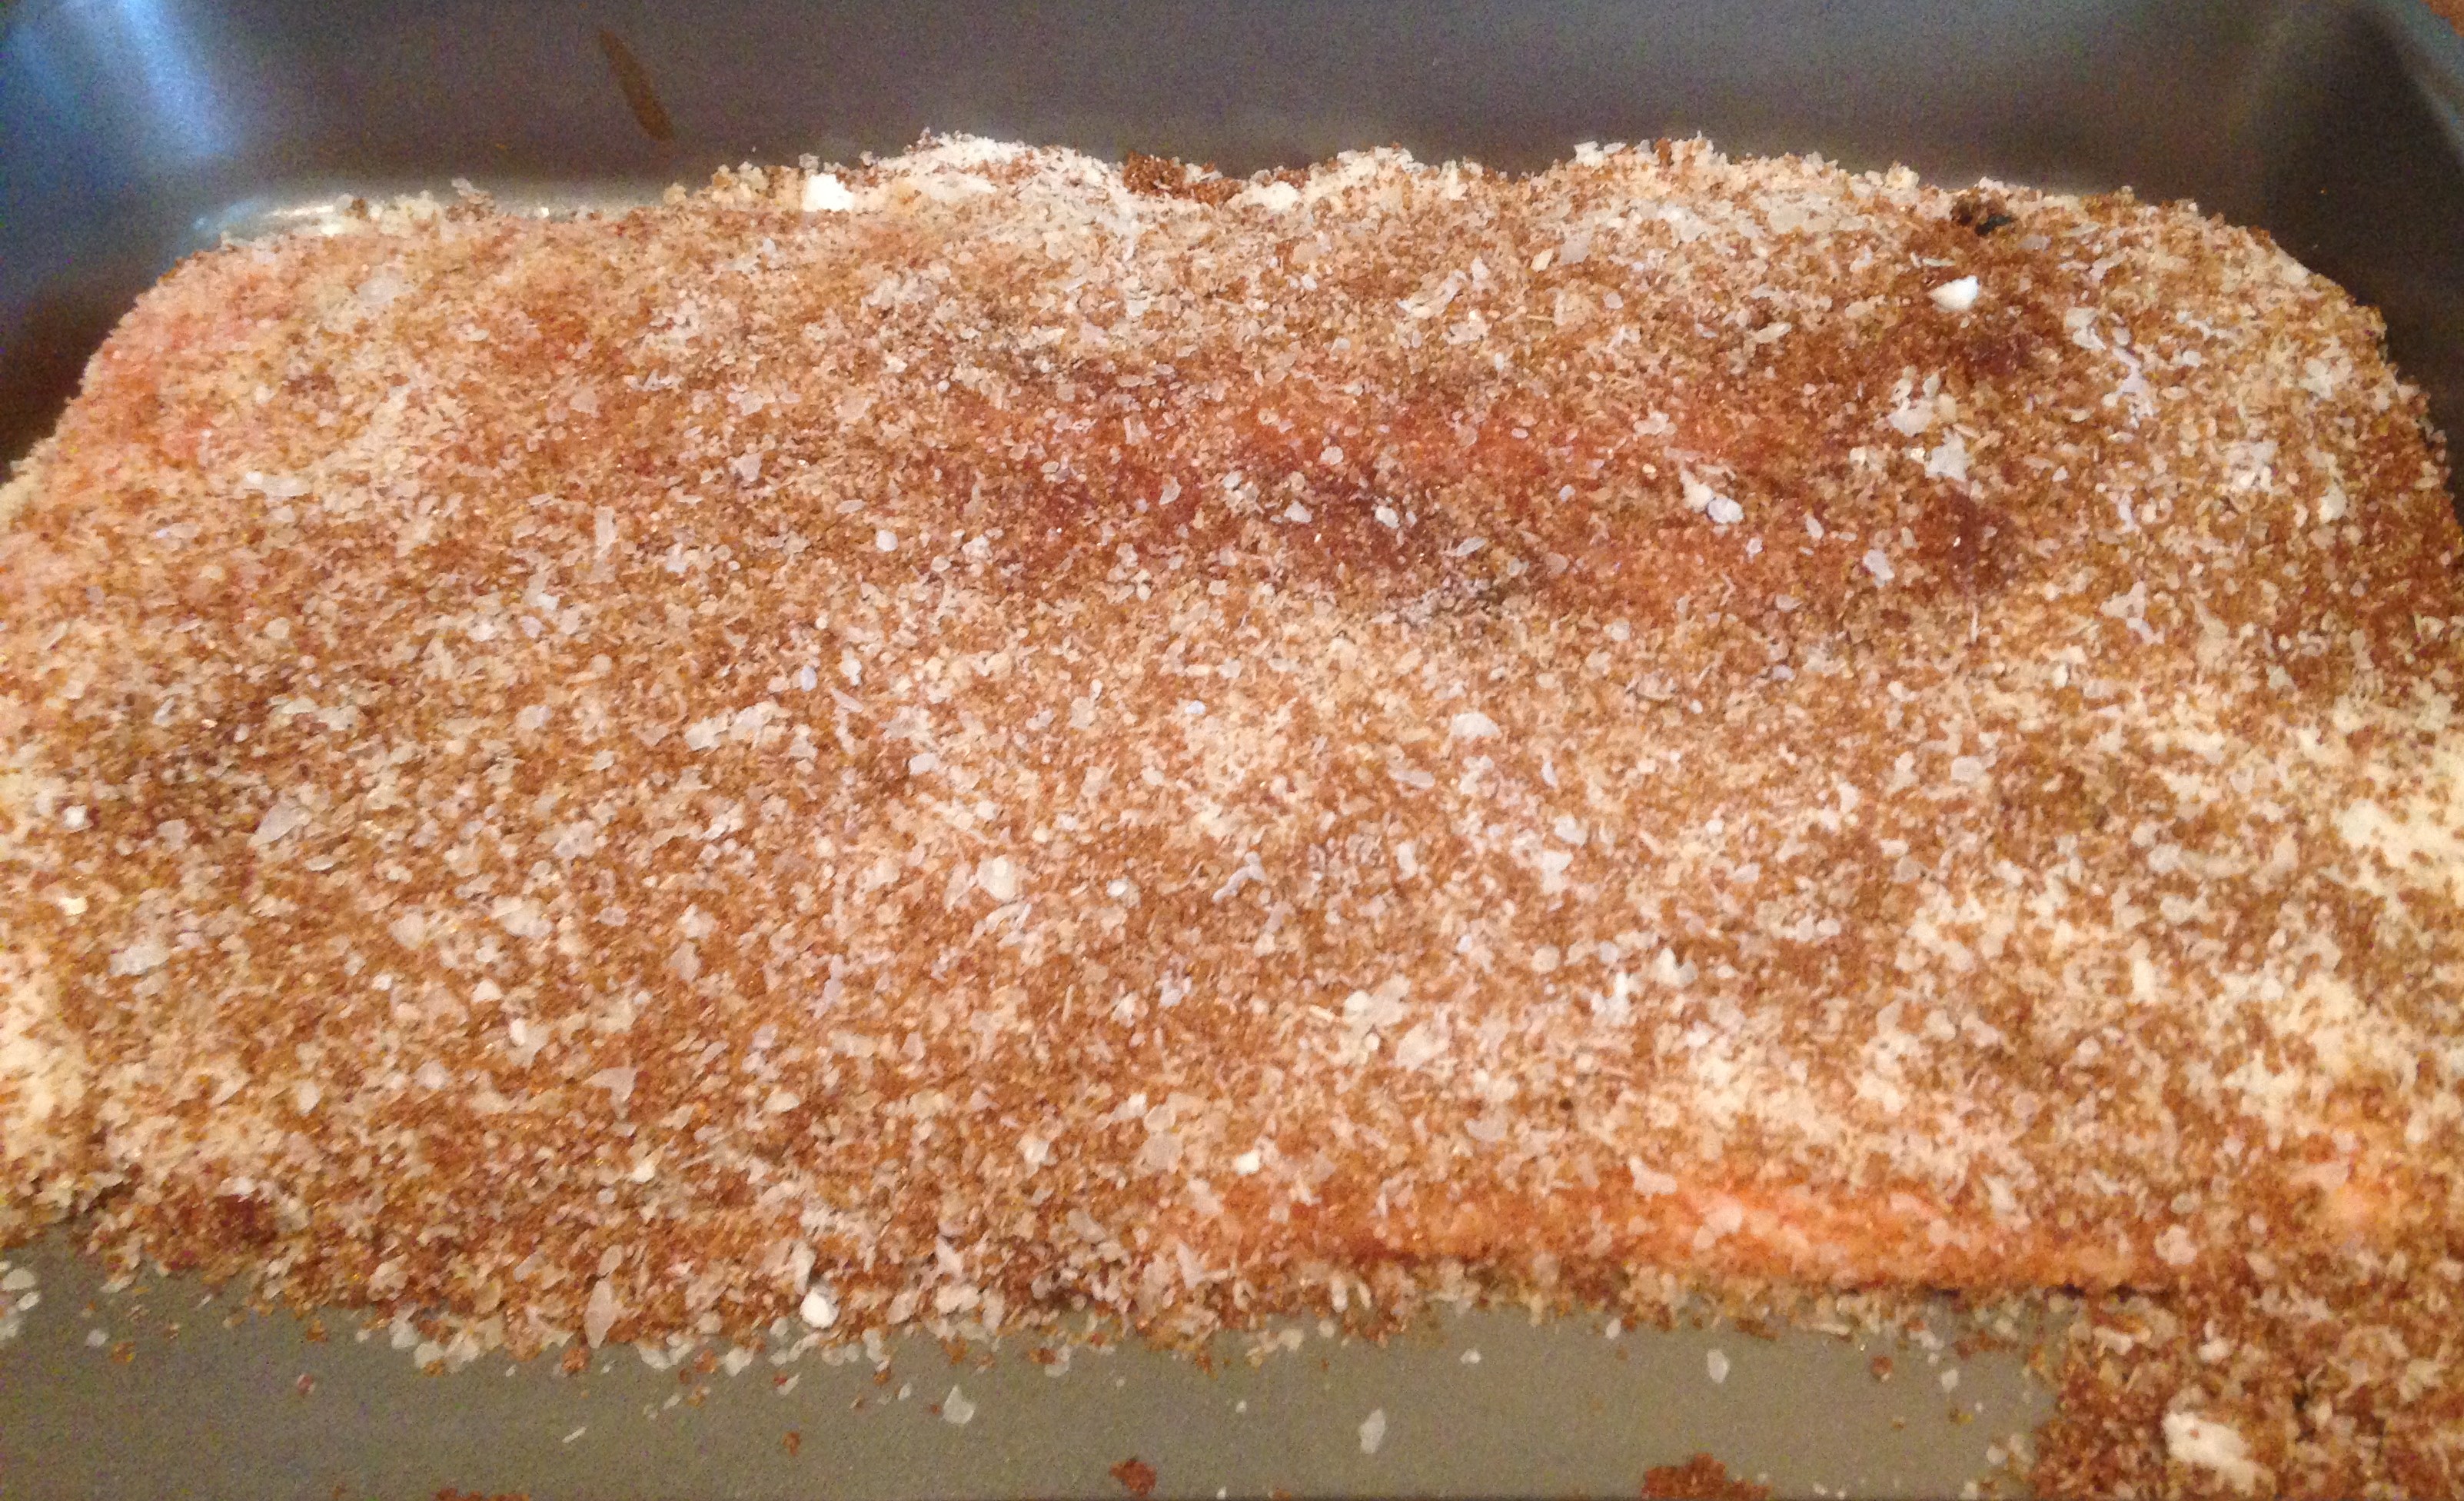
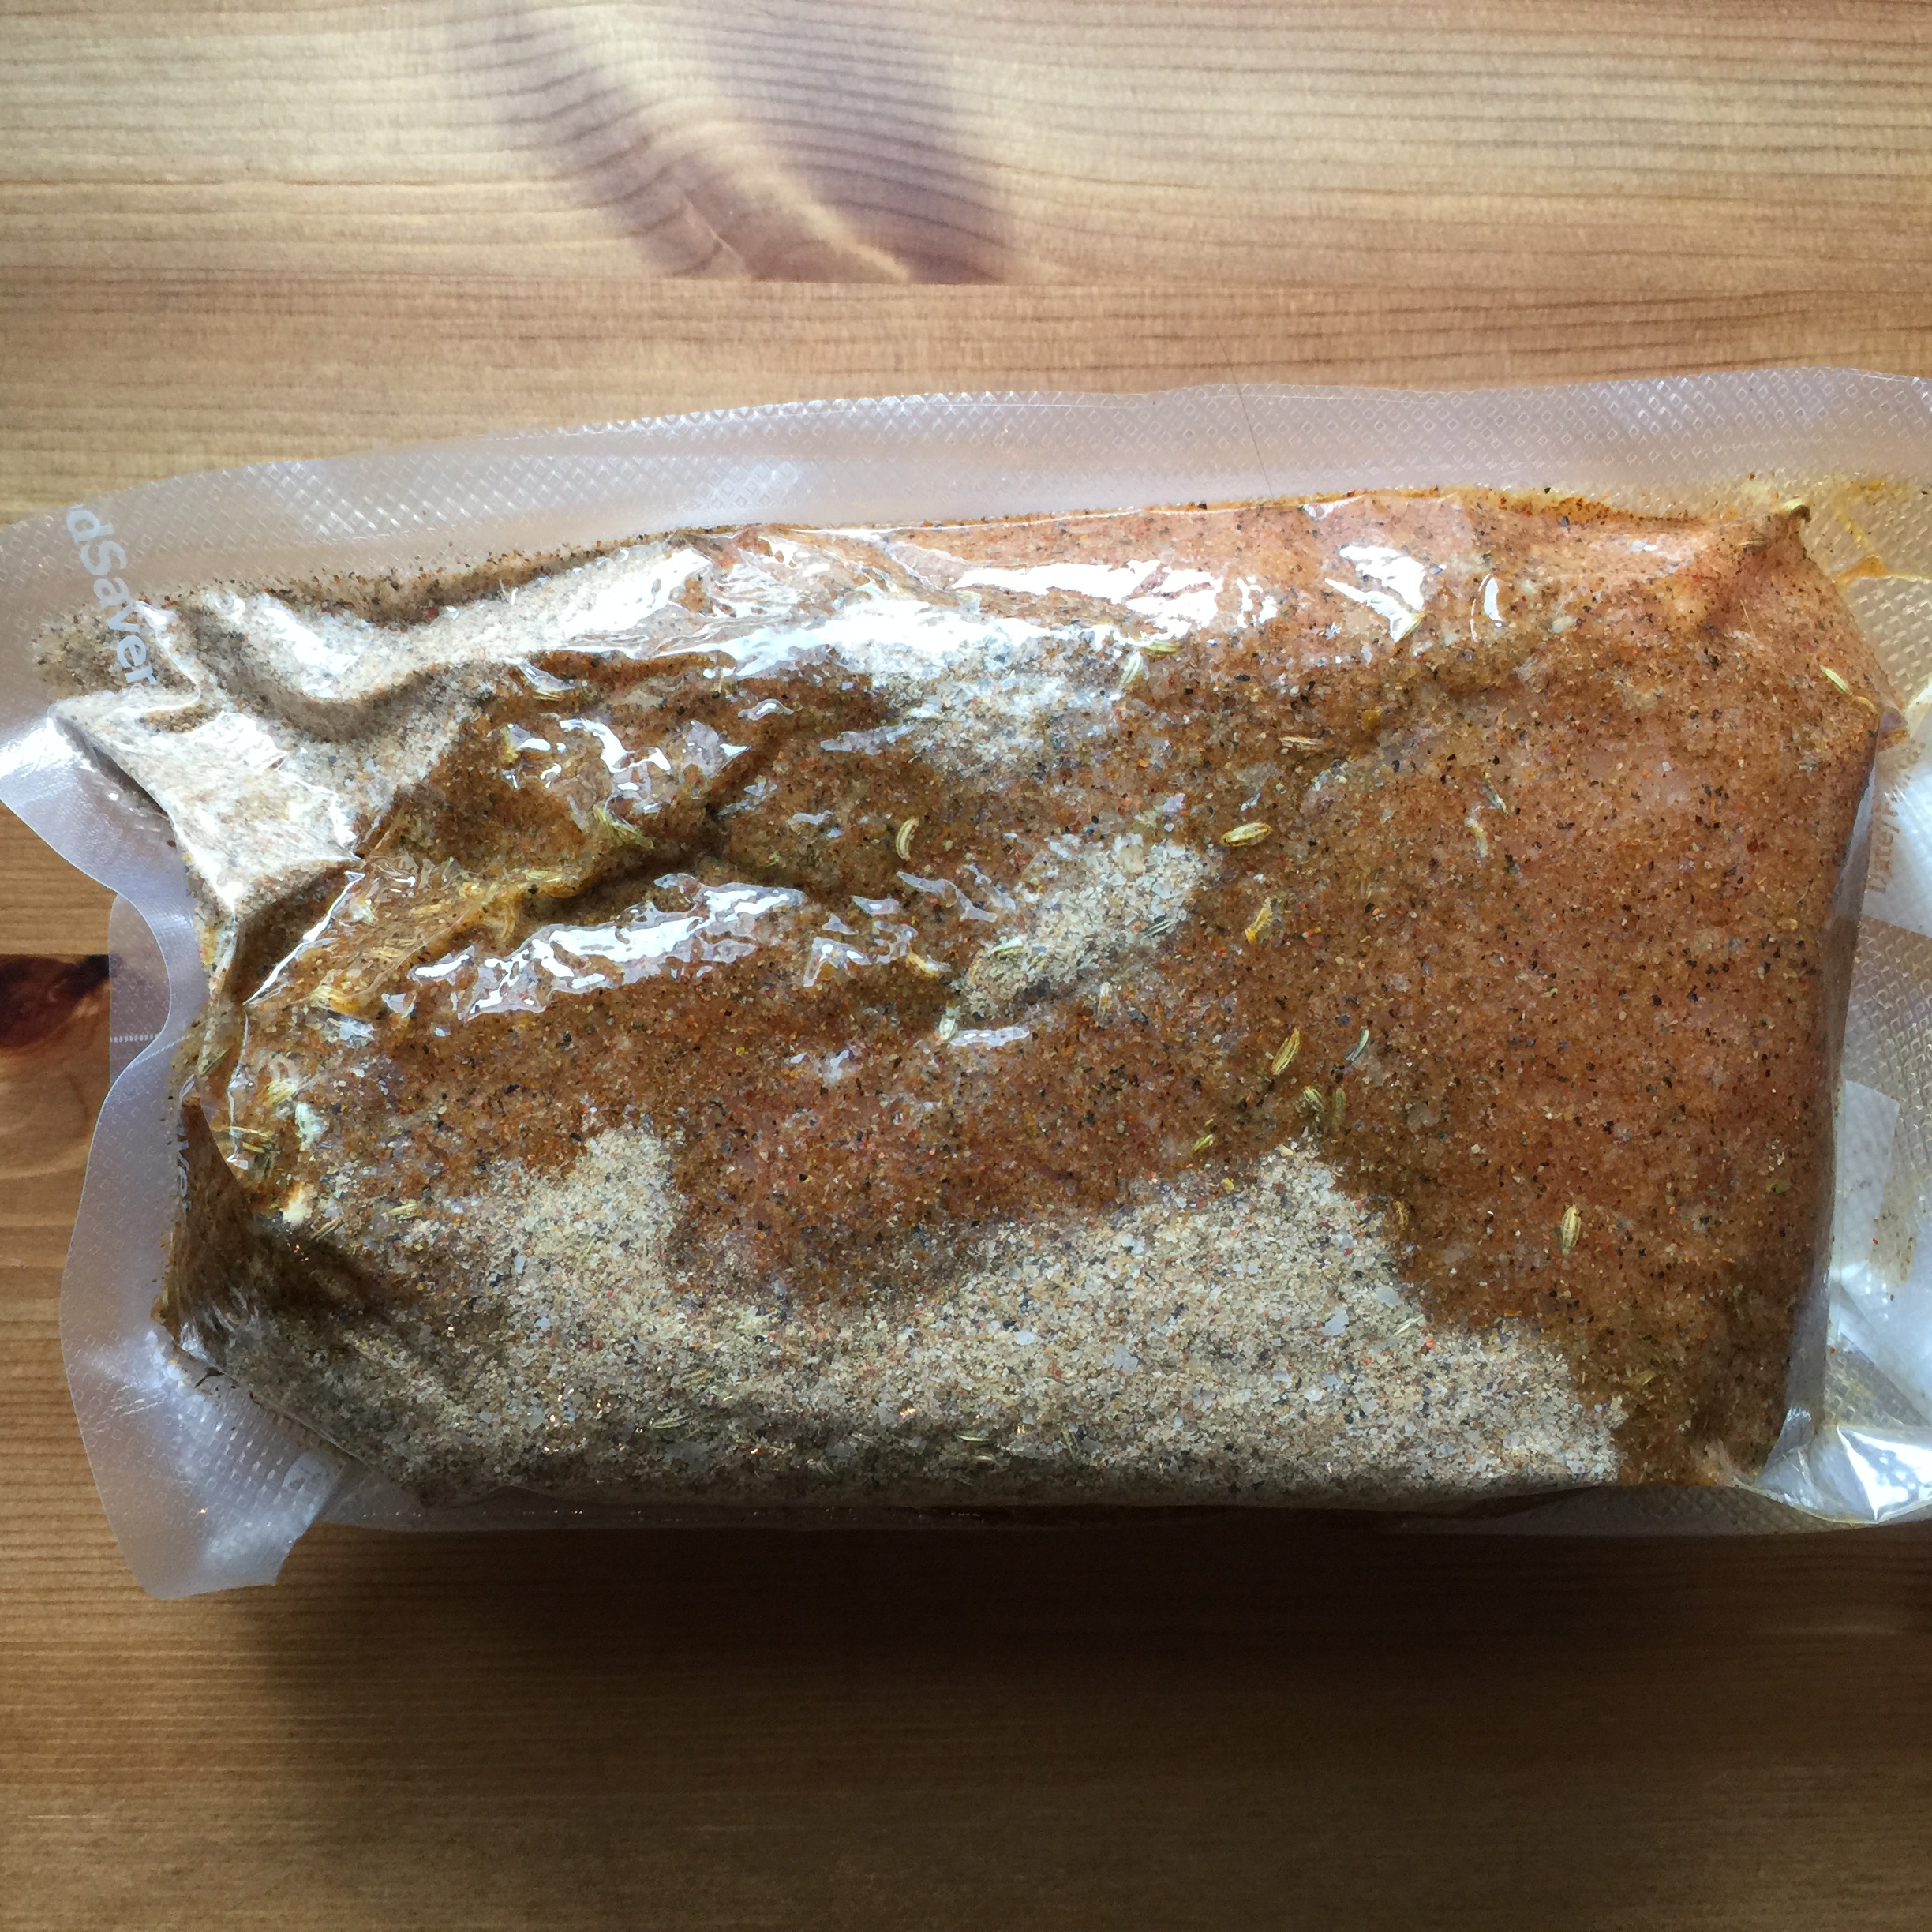
The bresaola di tacchino was rubbed in the cure spices, and then placed in a vacuum sealed bag in order to cure for 2 weeks.
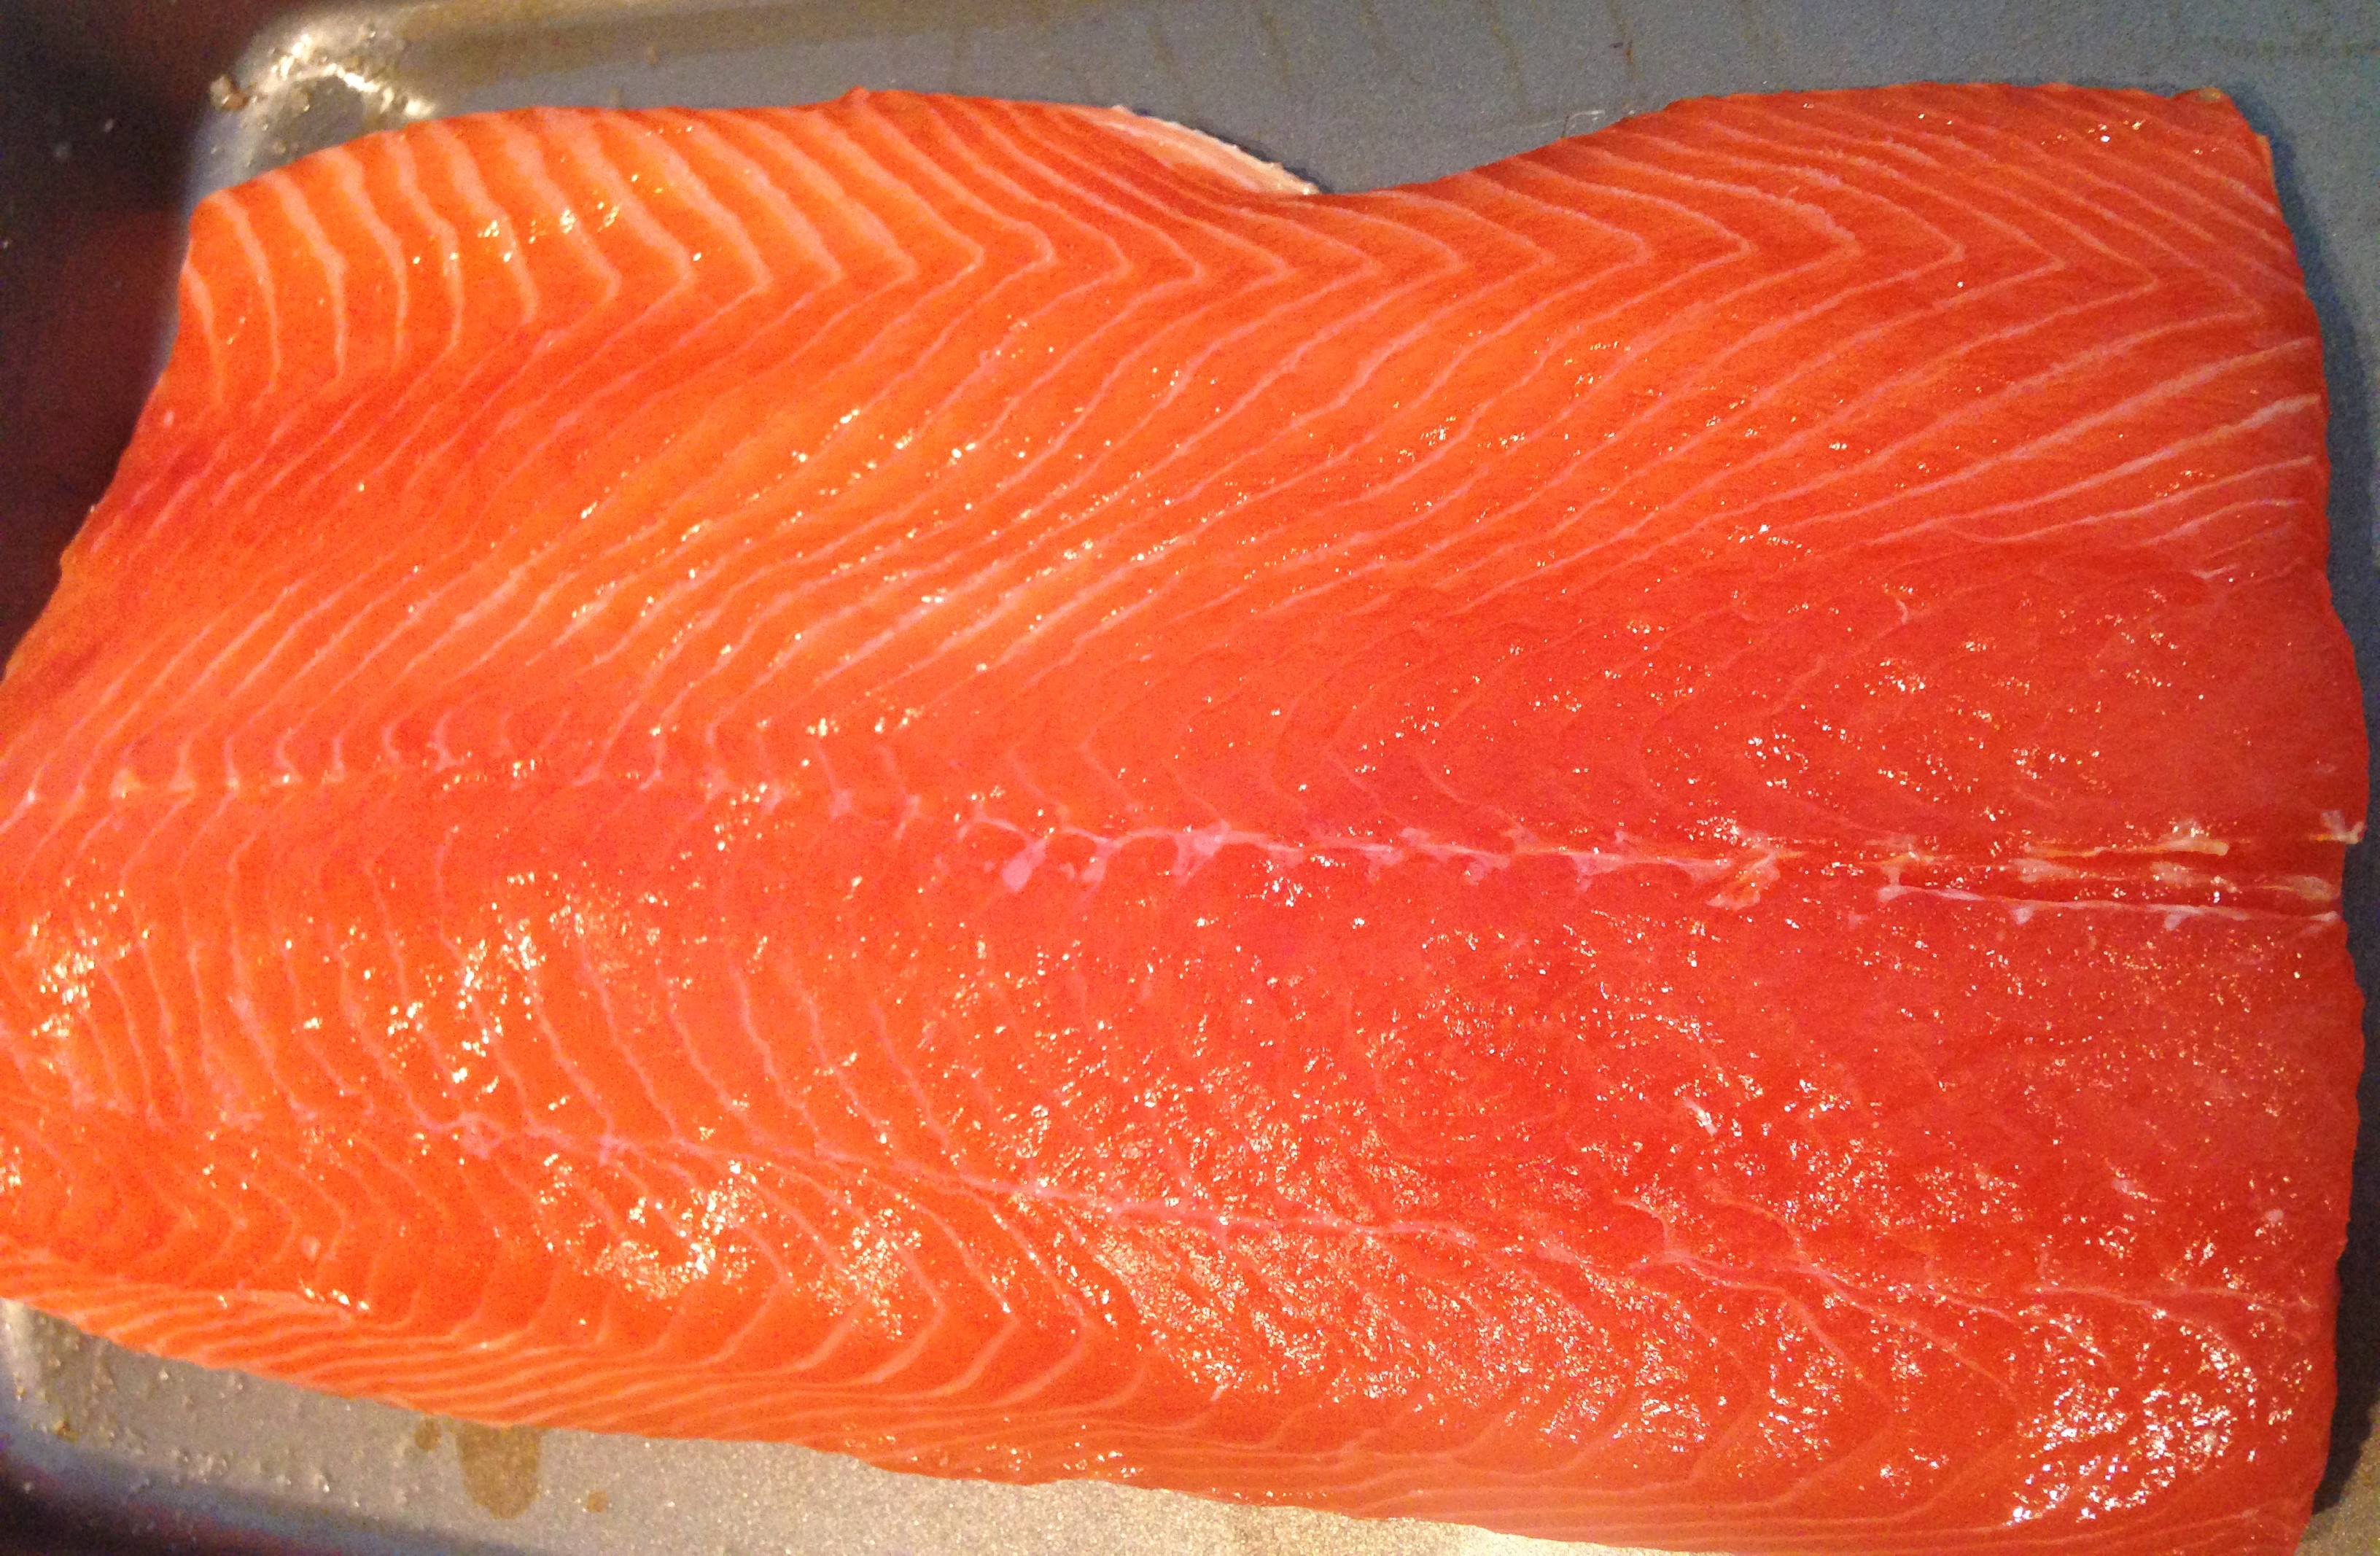
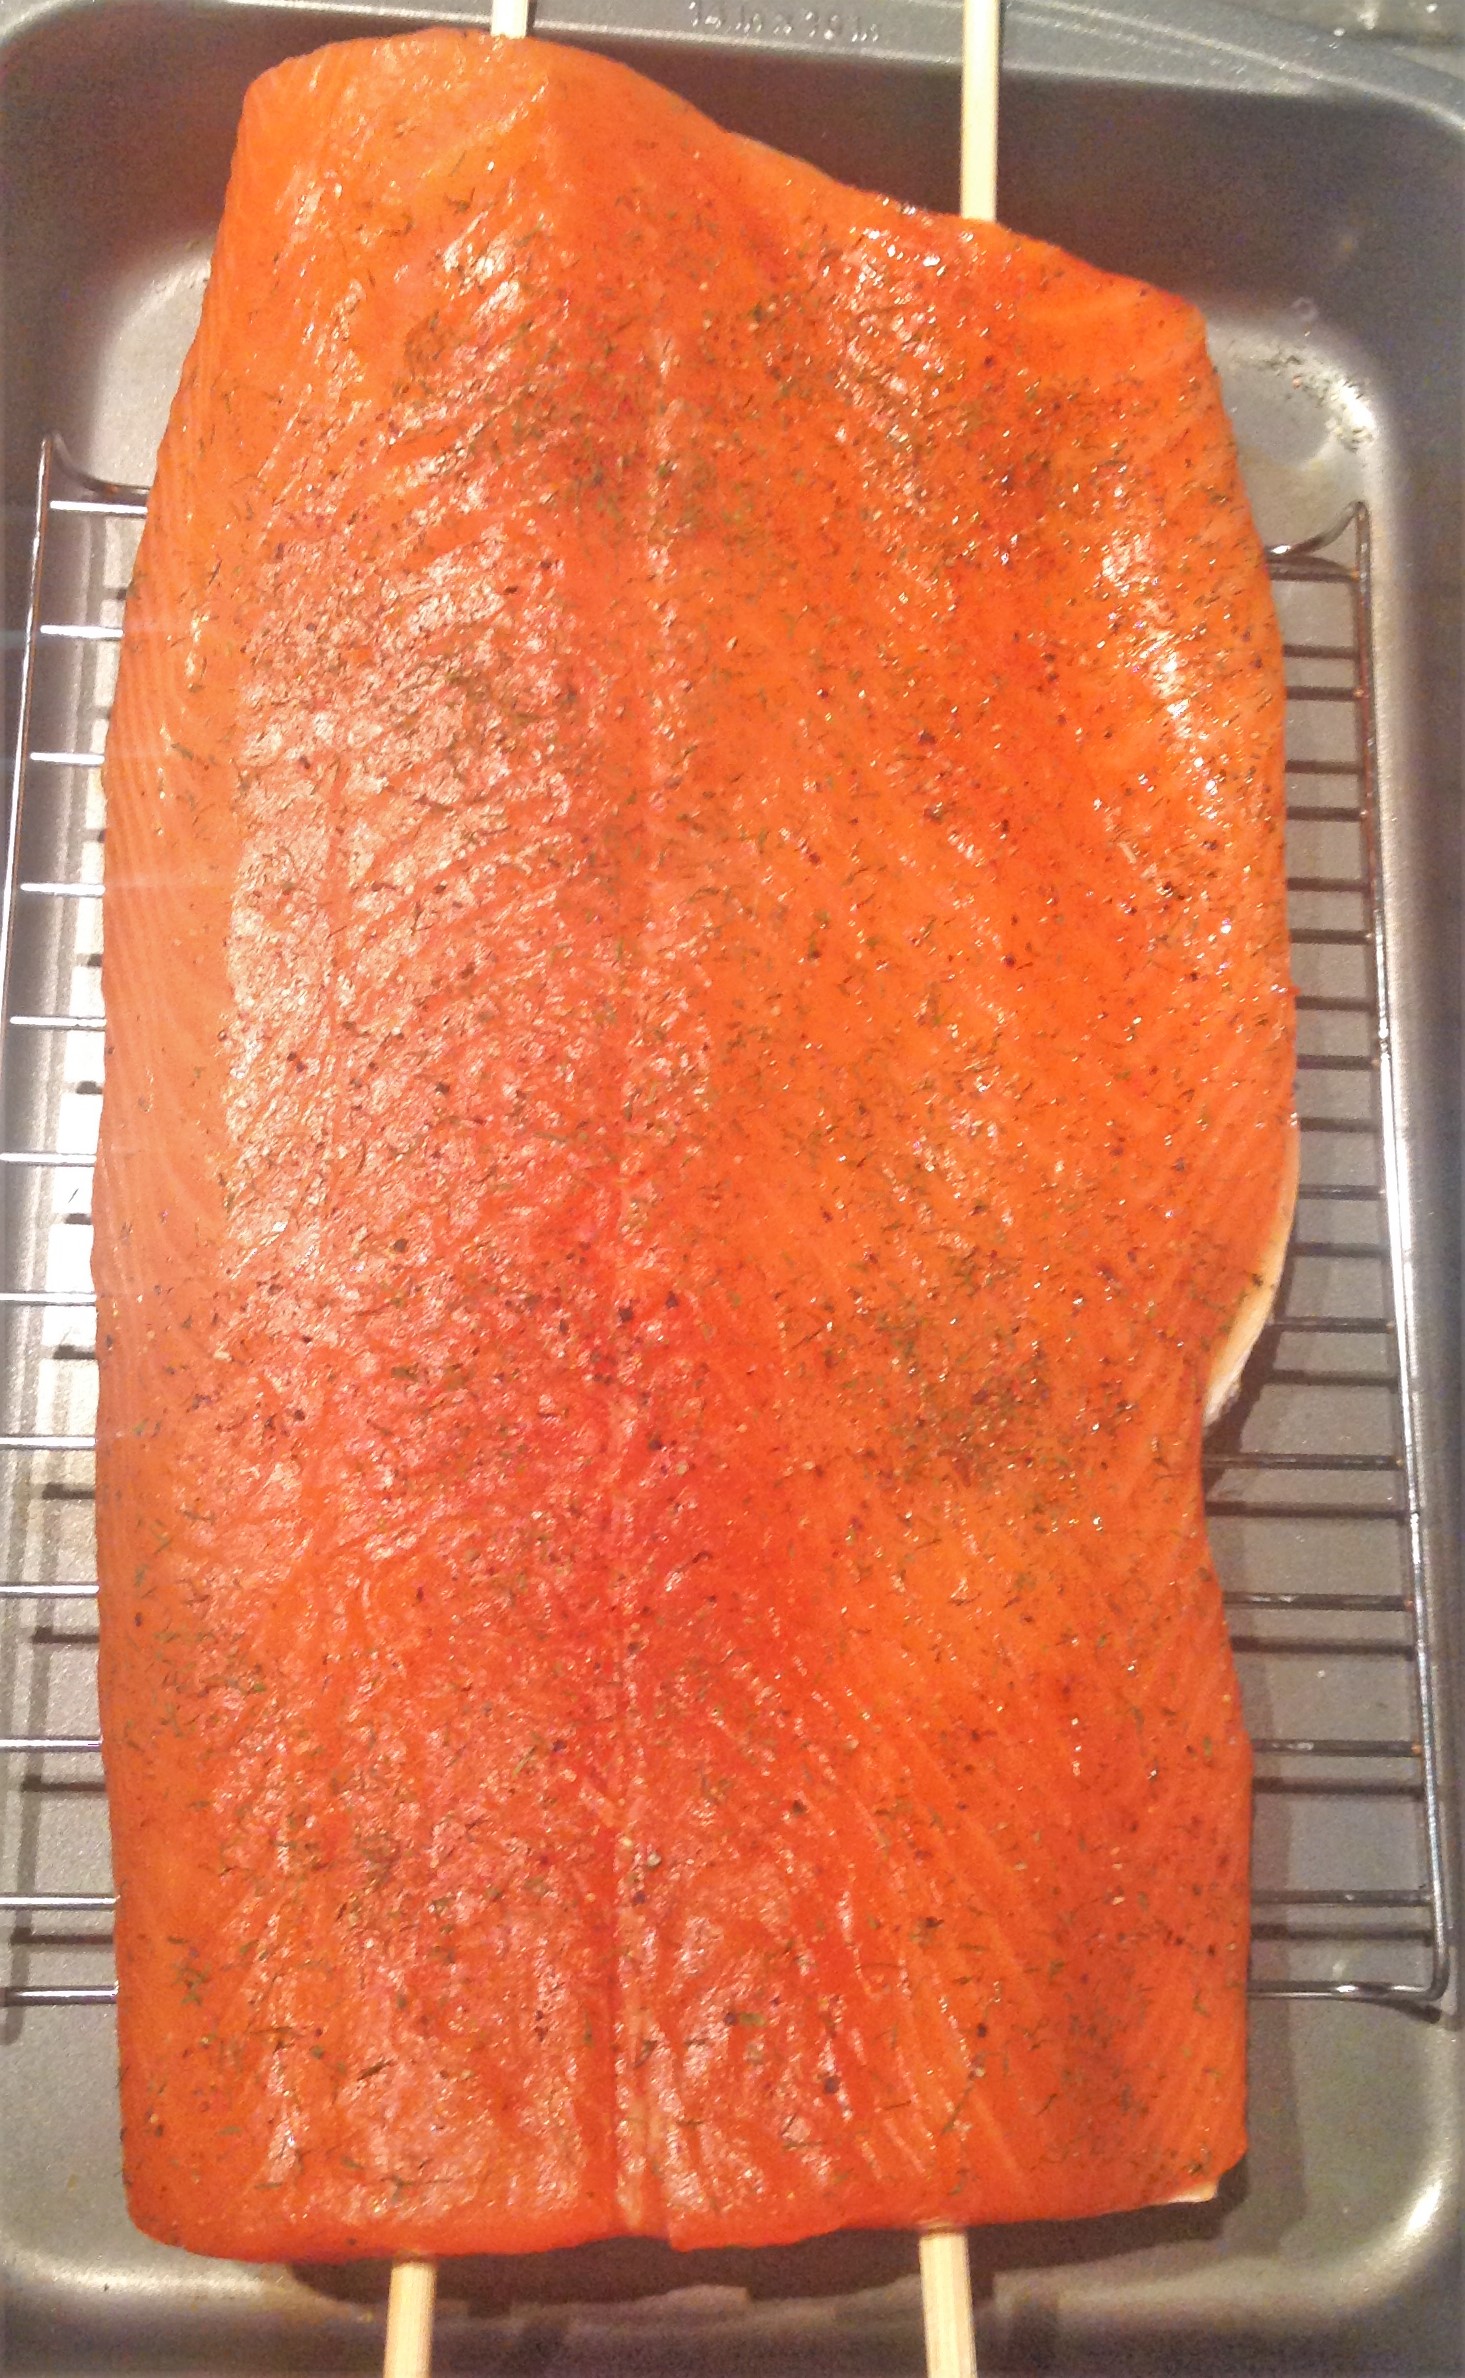
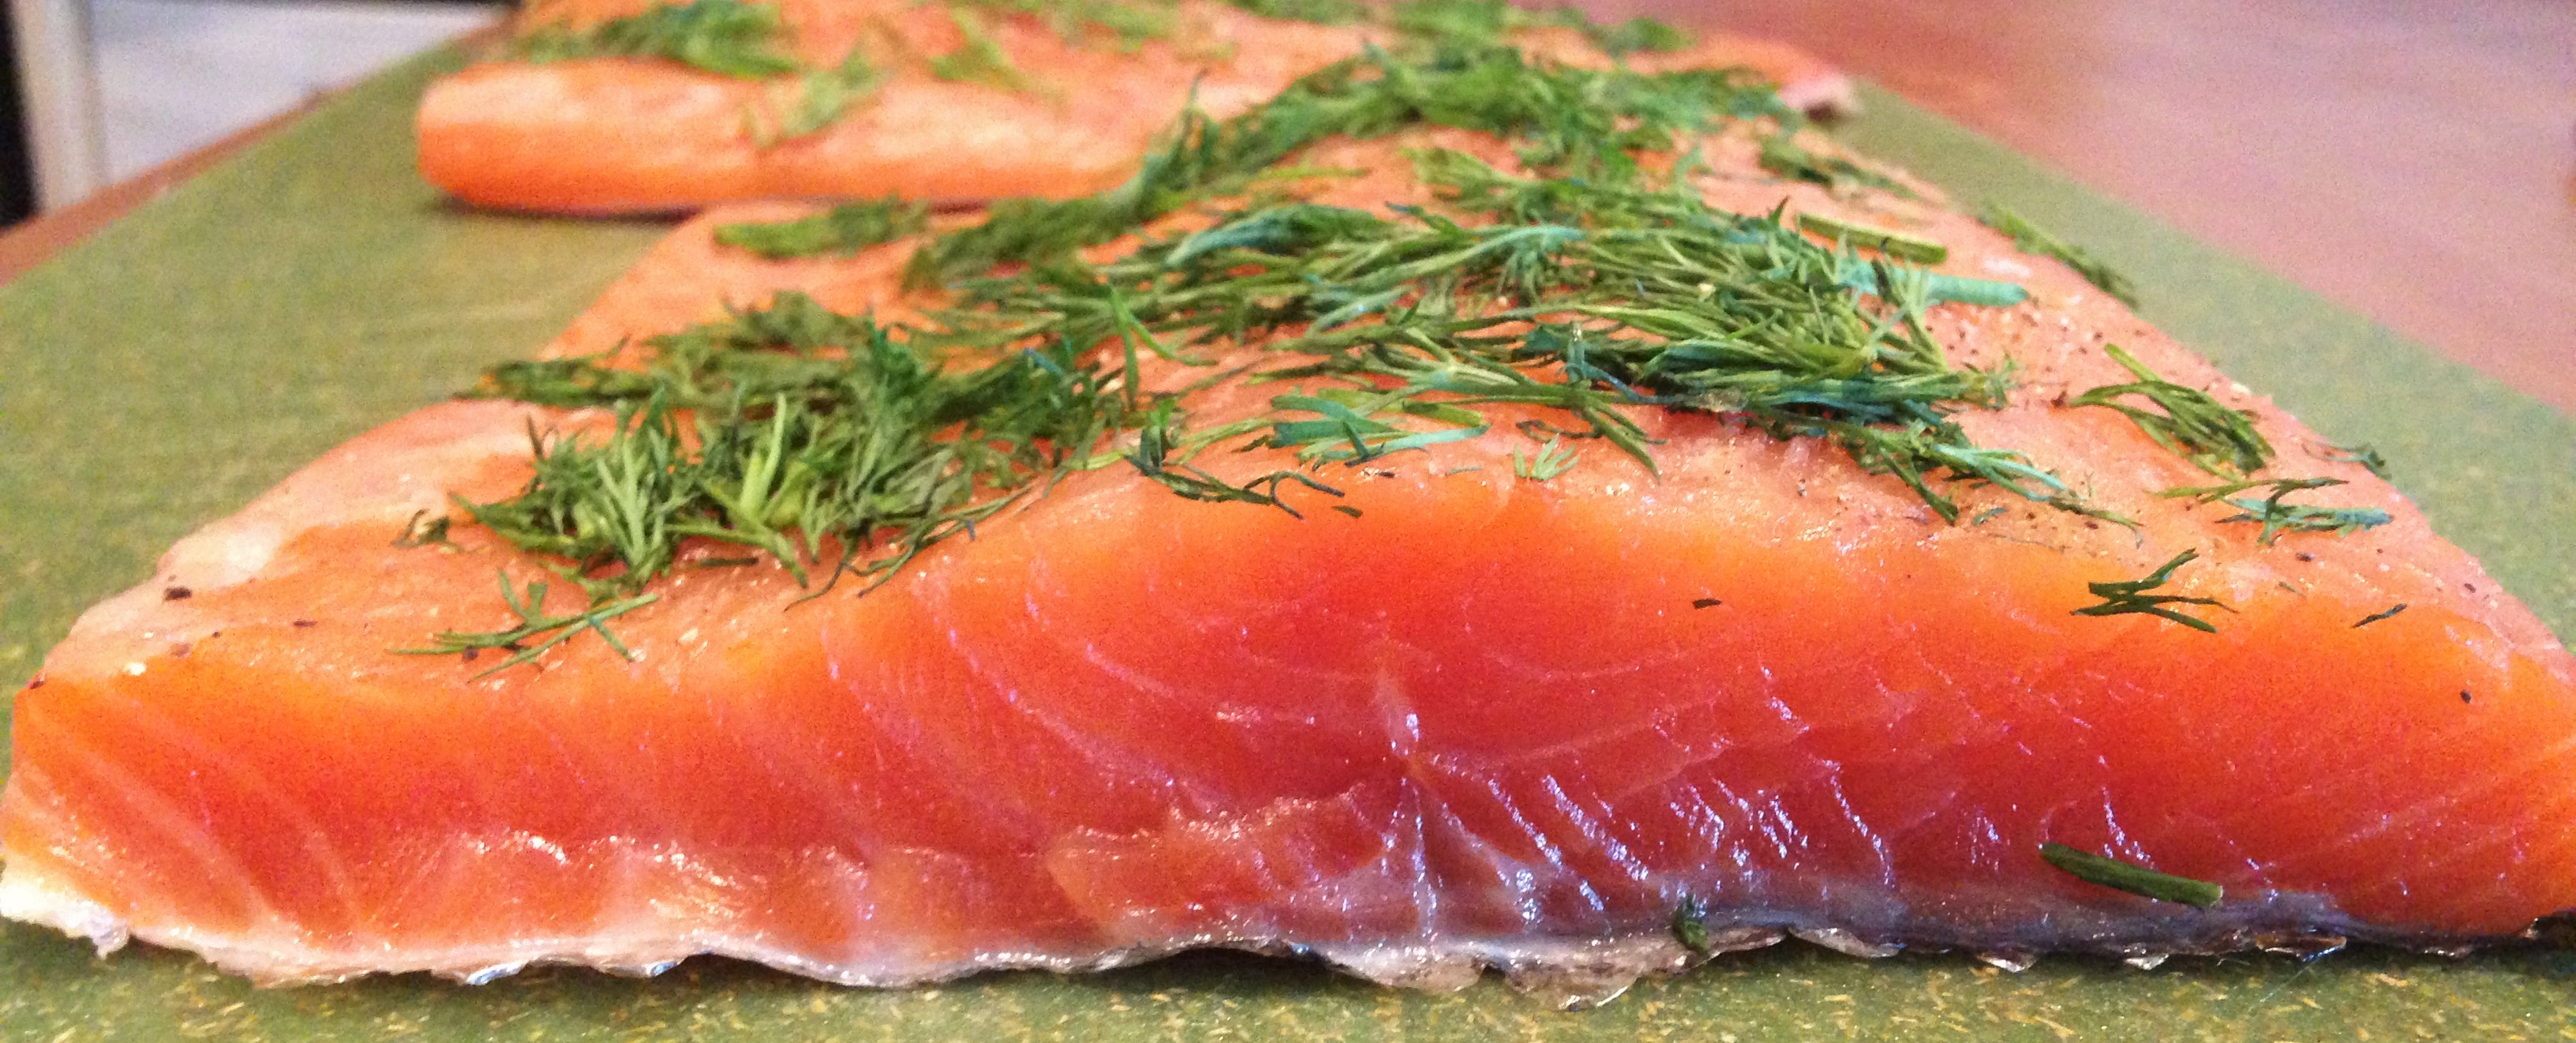
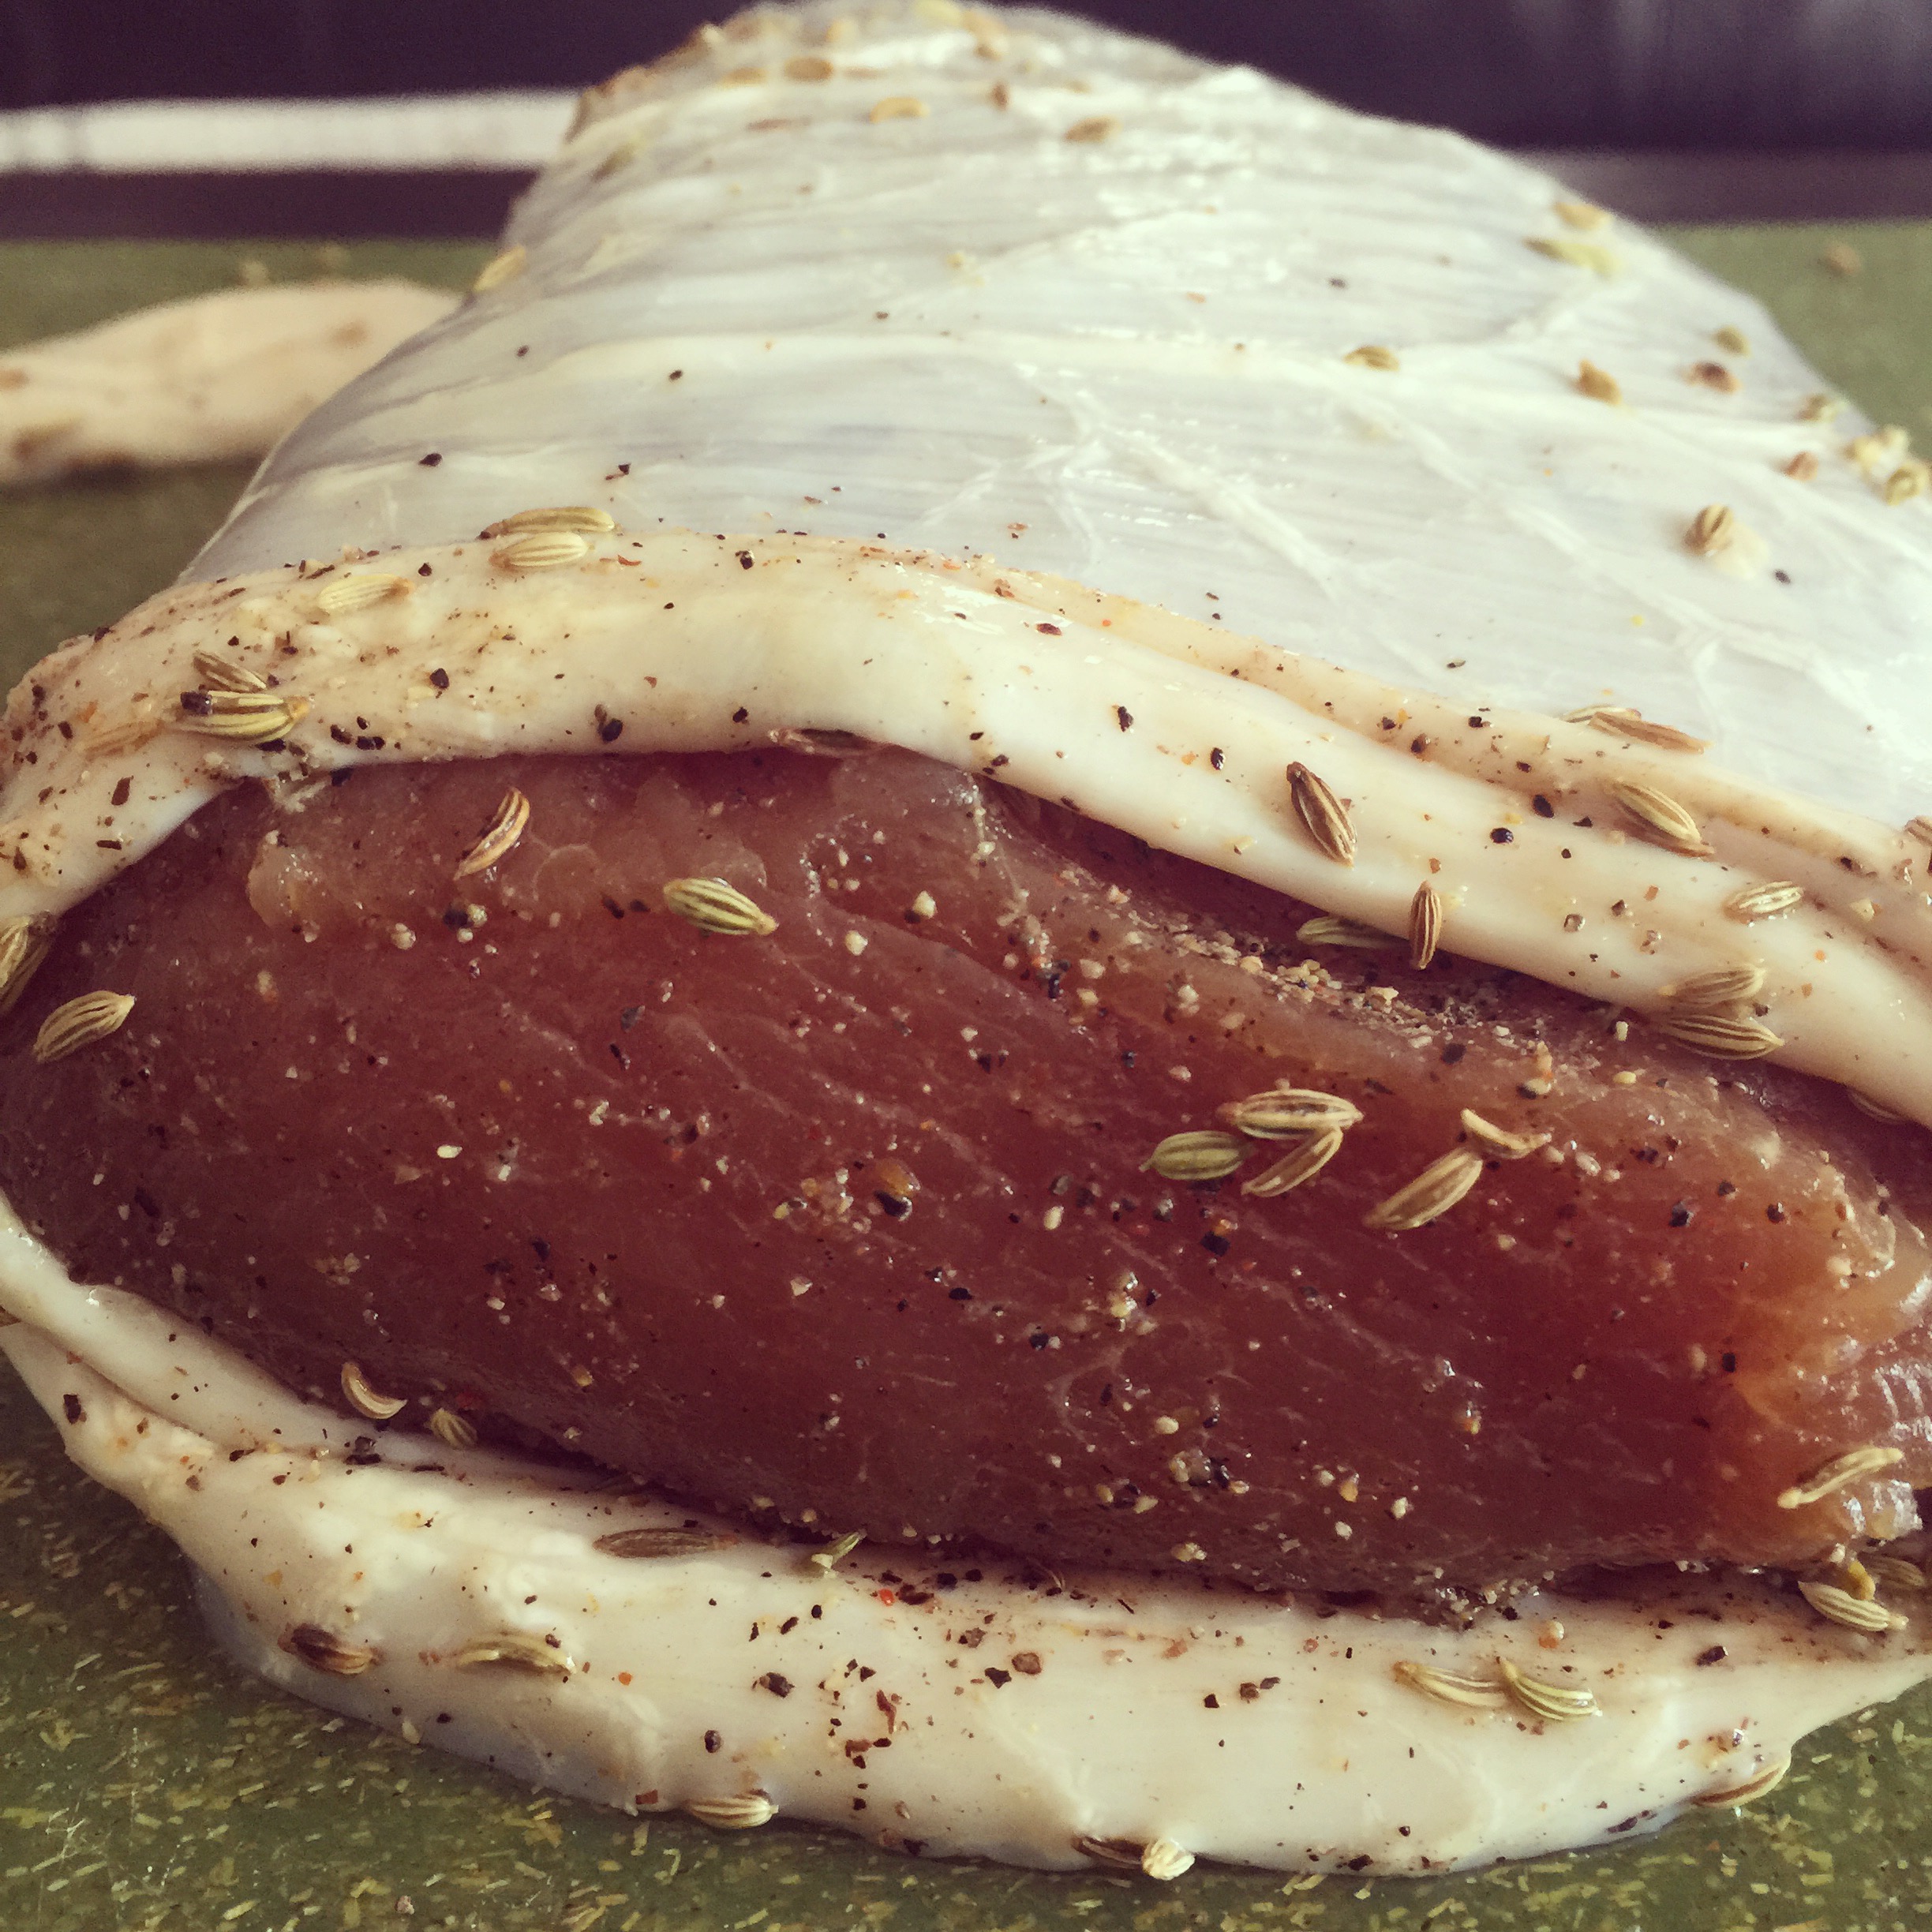
After the bresaola di tacchino was cured for 2 weeks, the cure was rinsed off and the turkey patted dry.
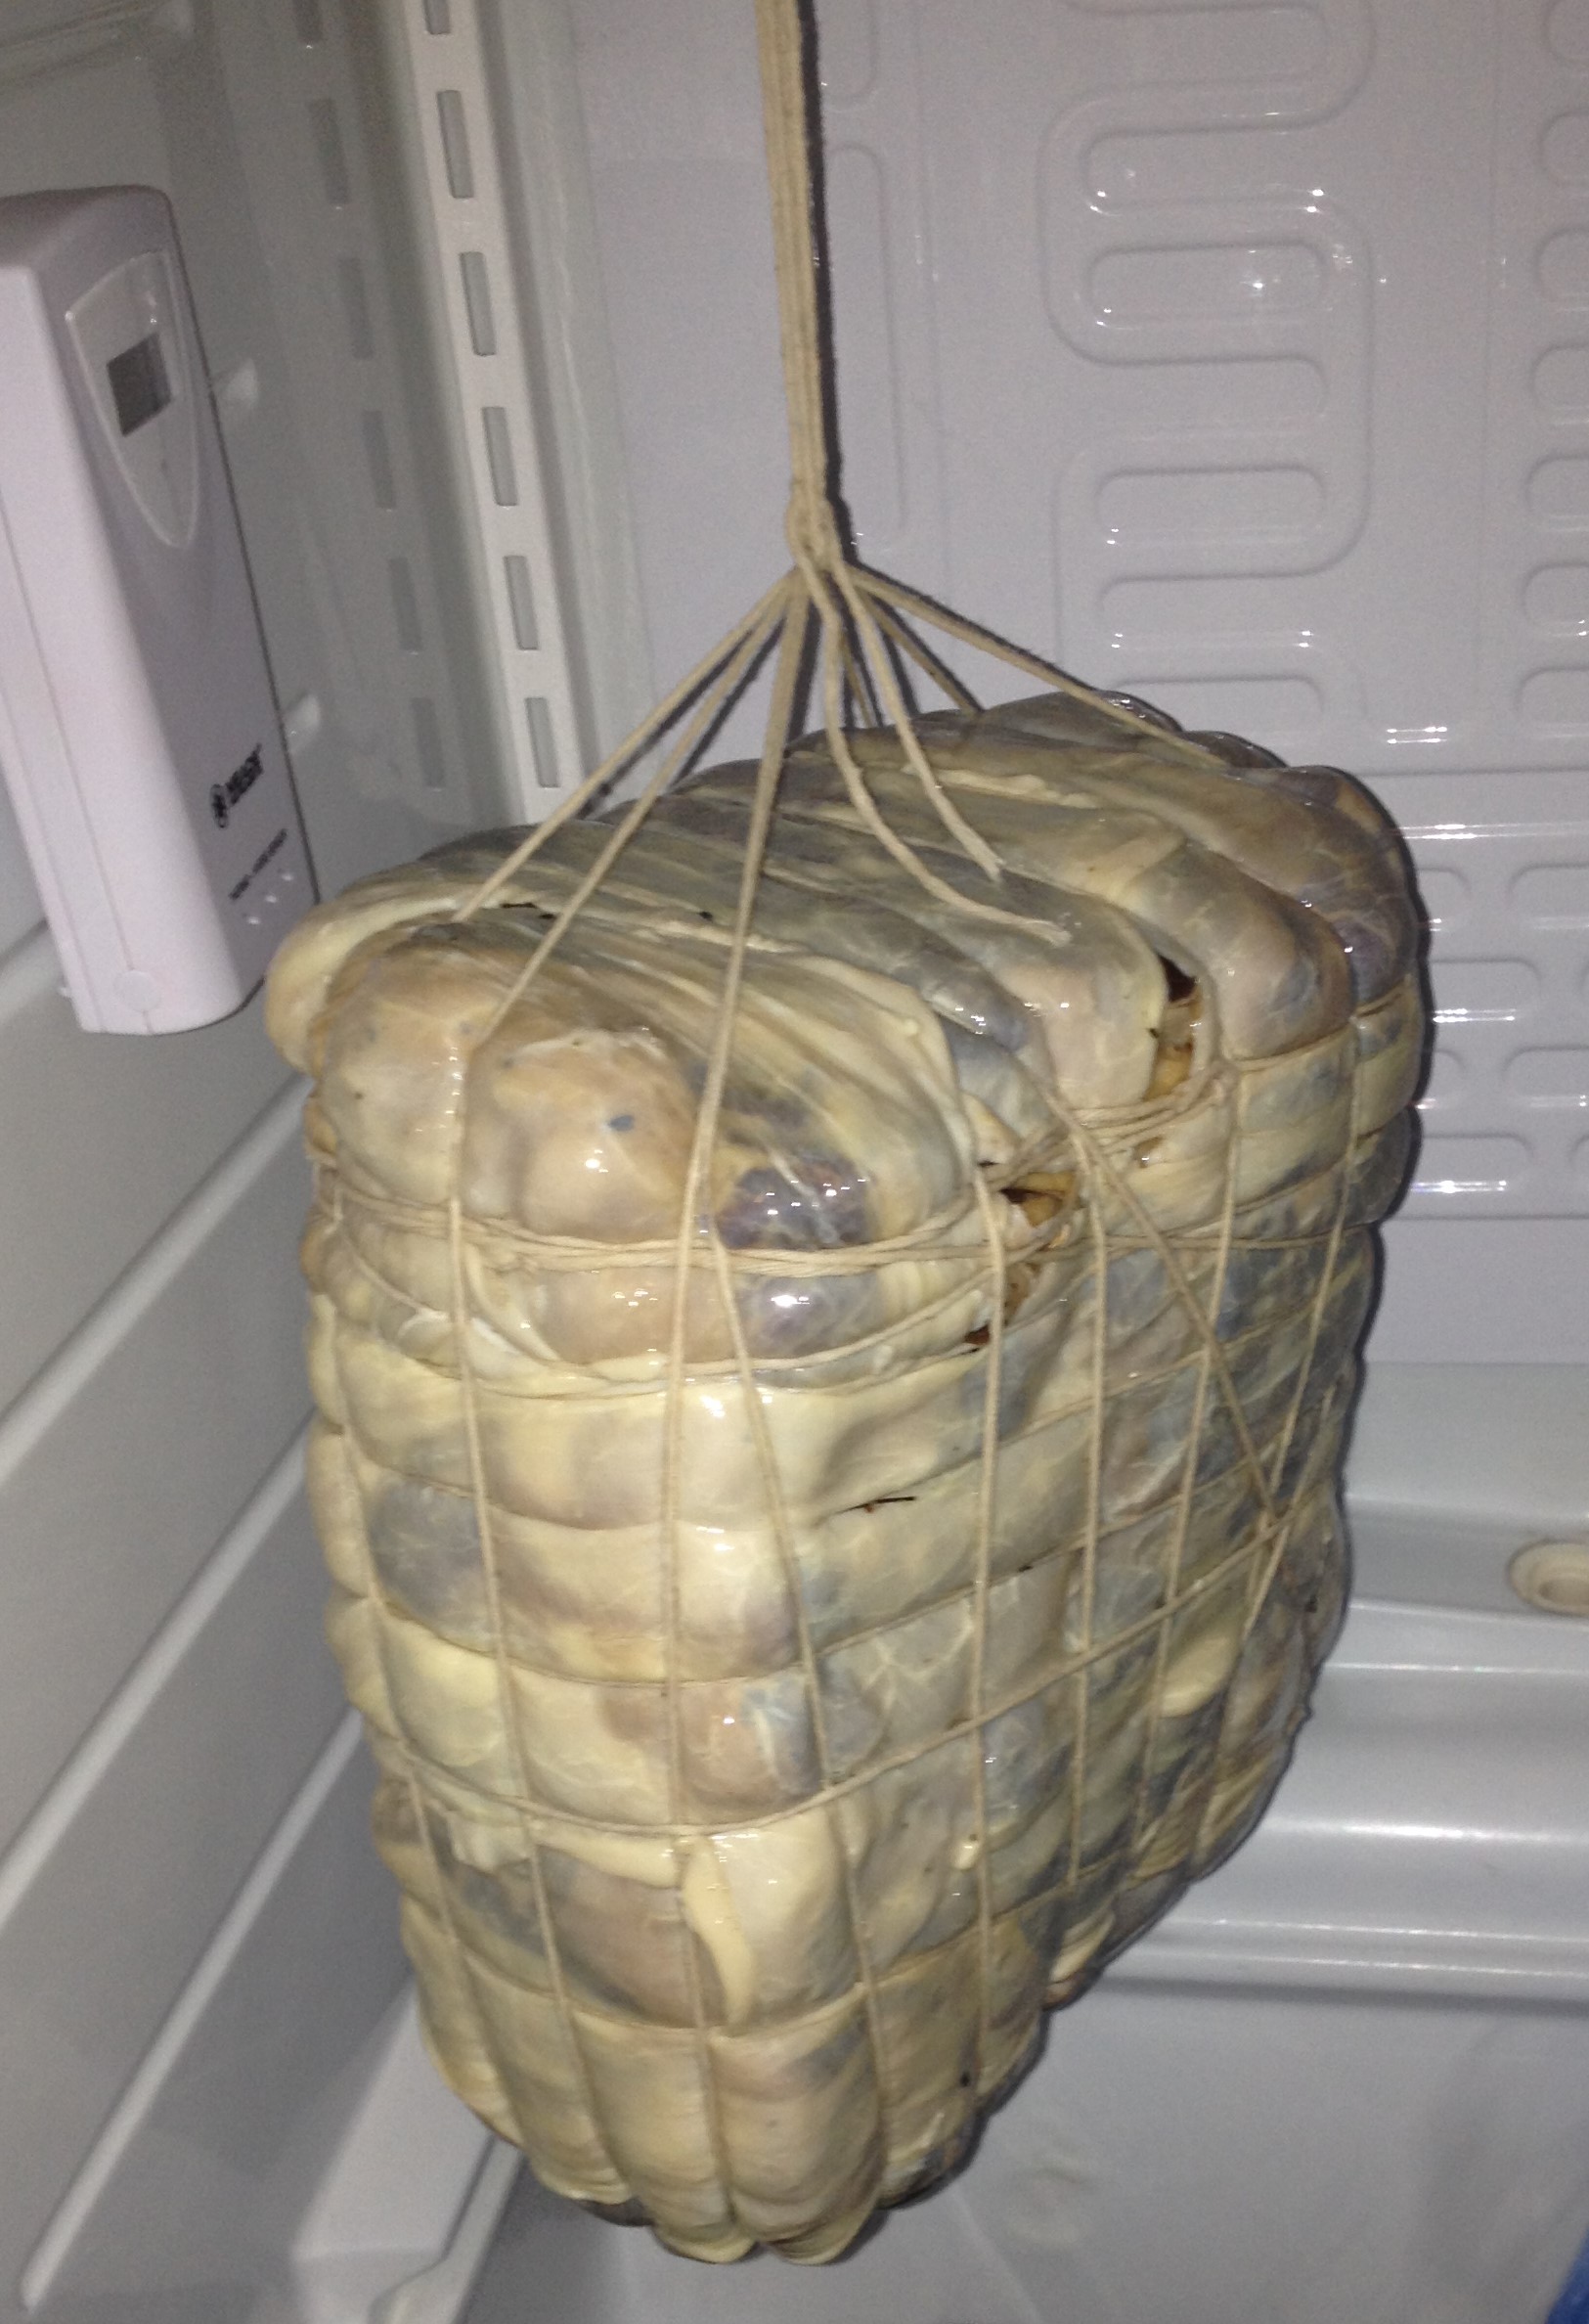
Casing (1 hour):
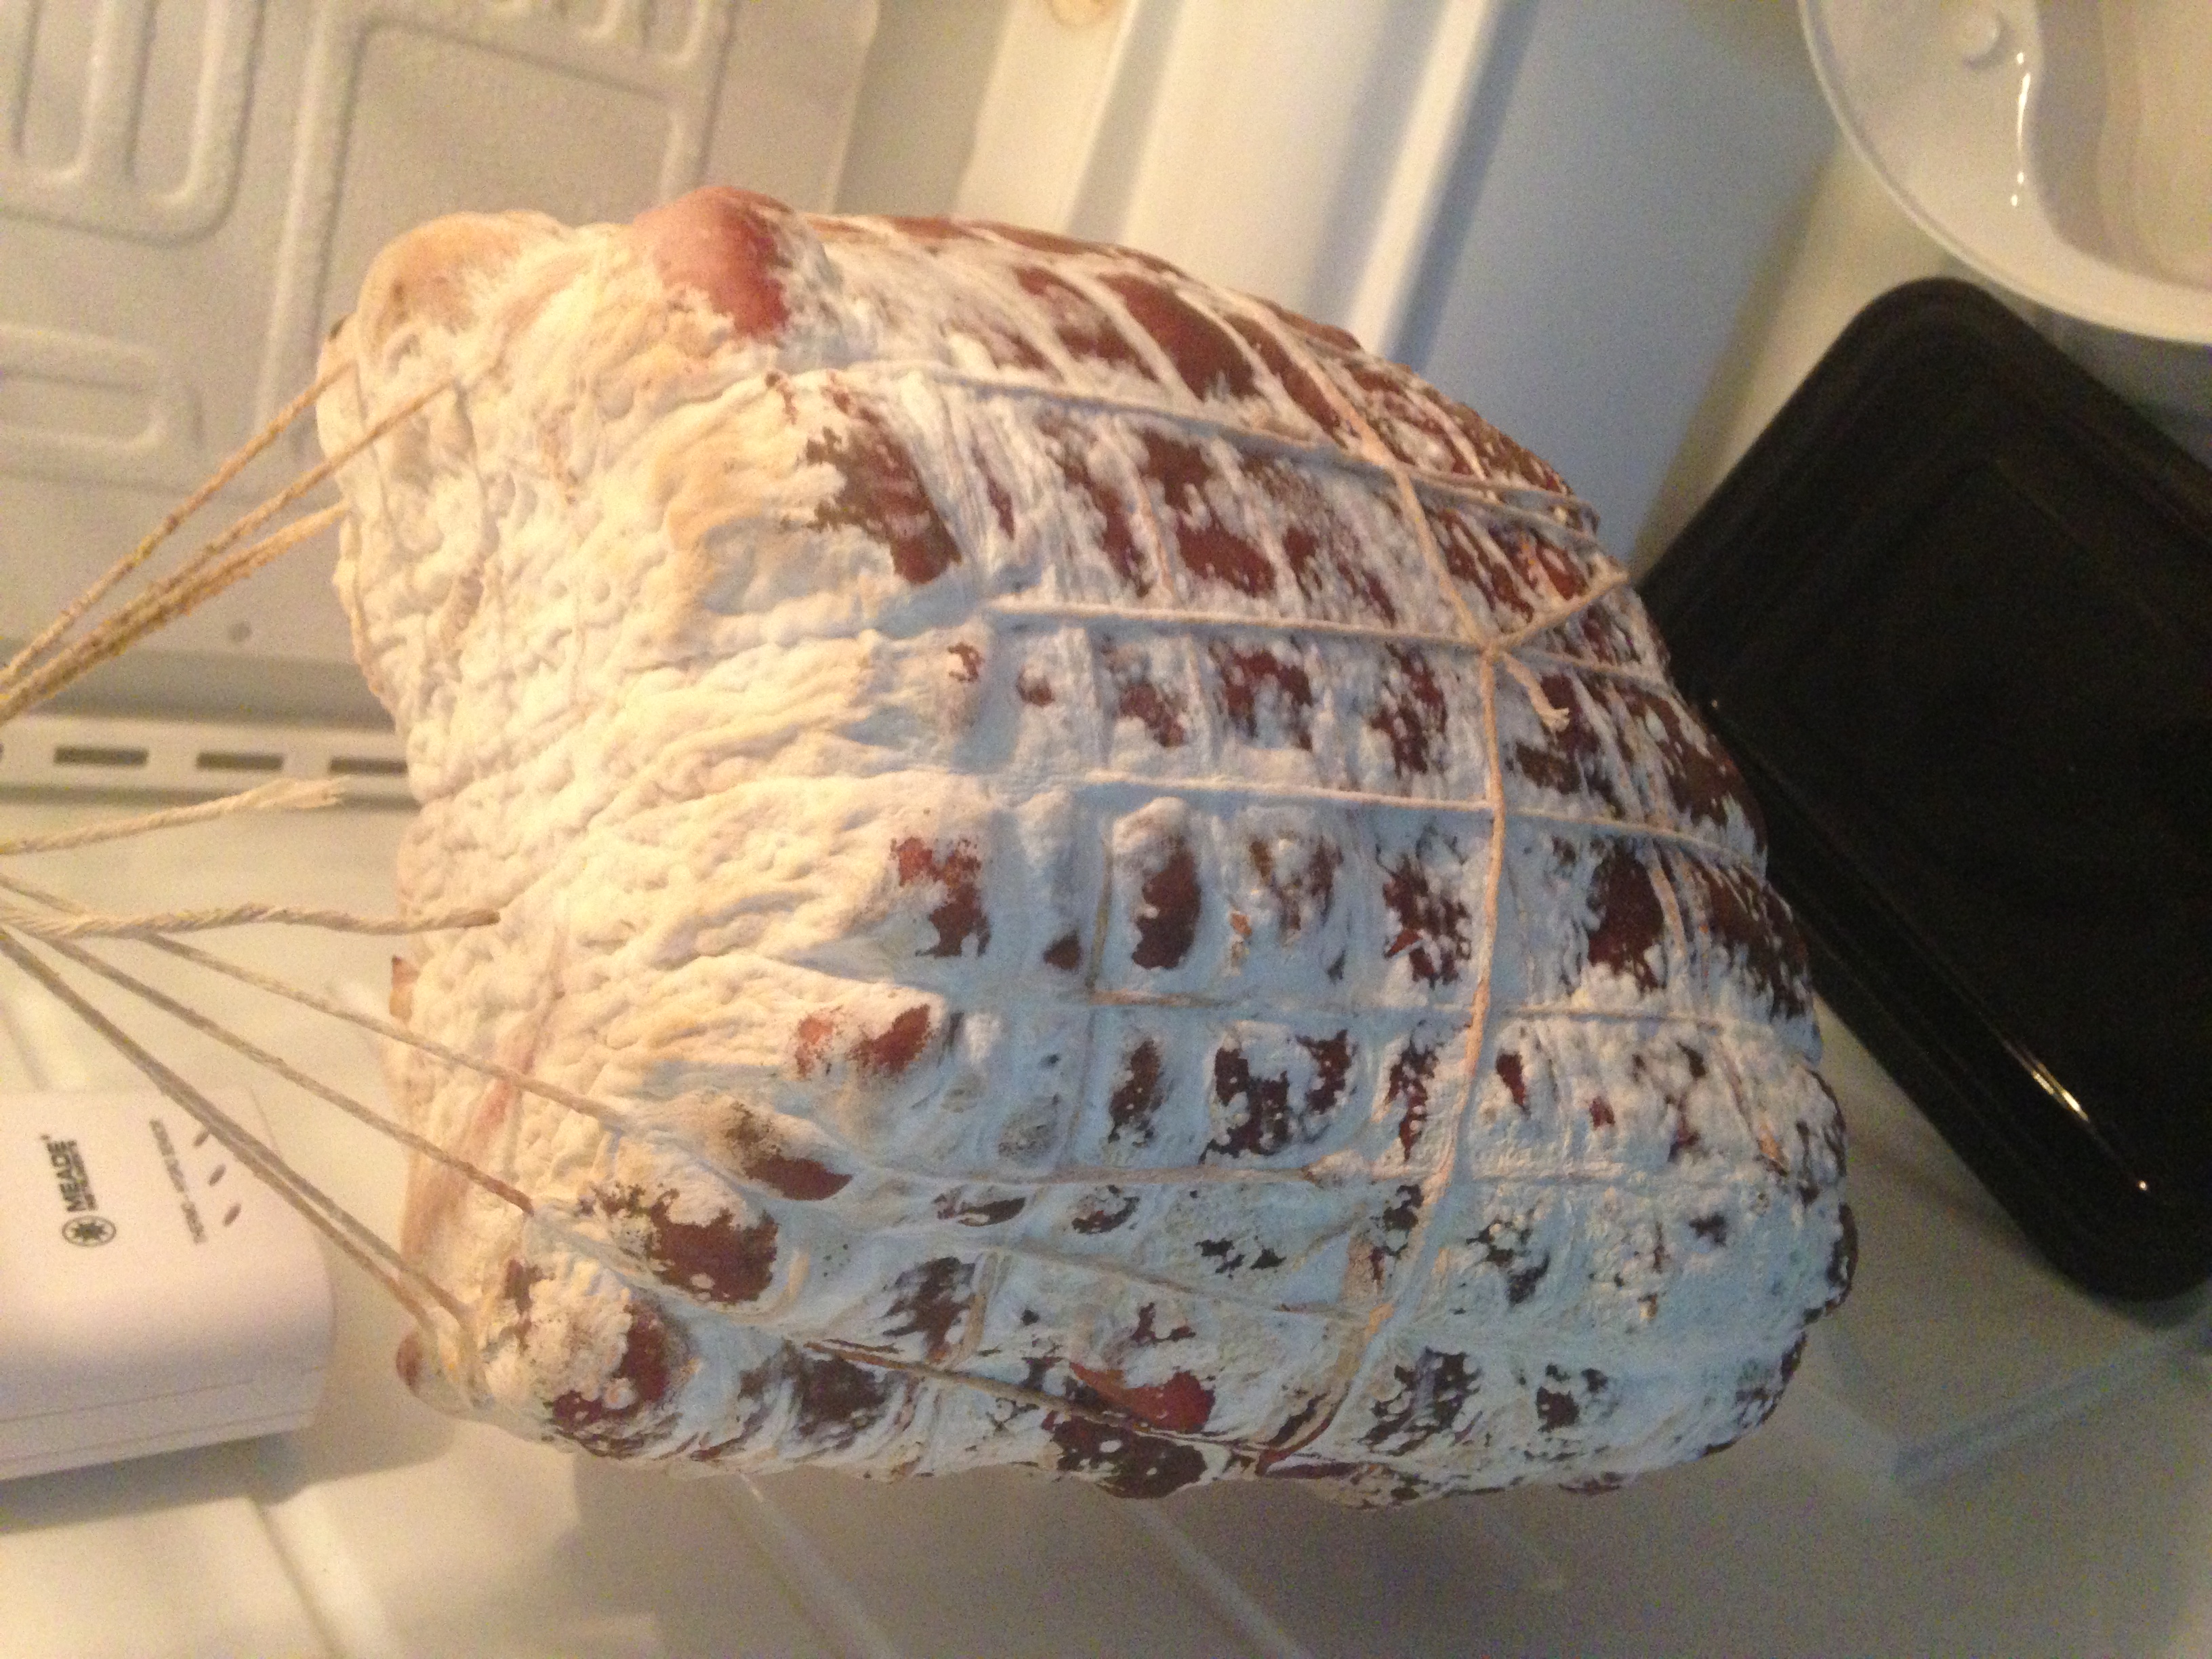
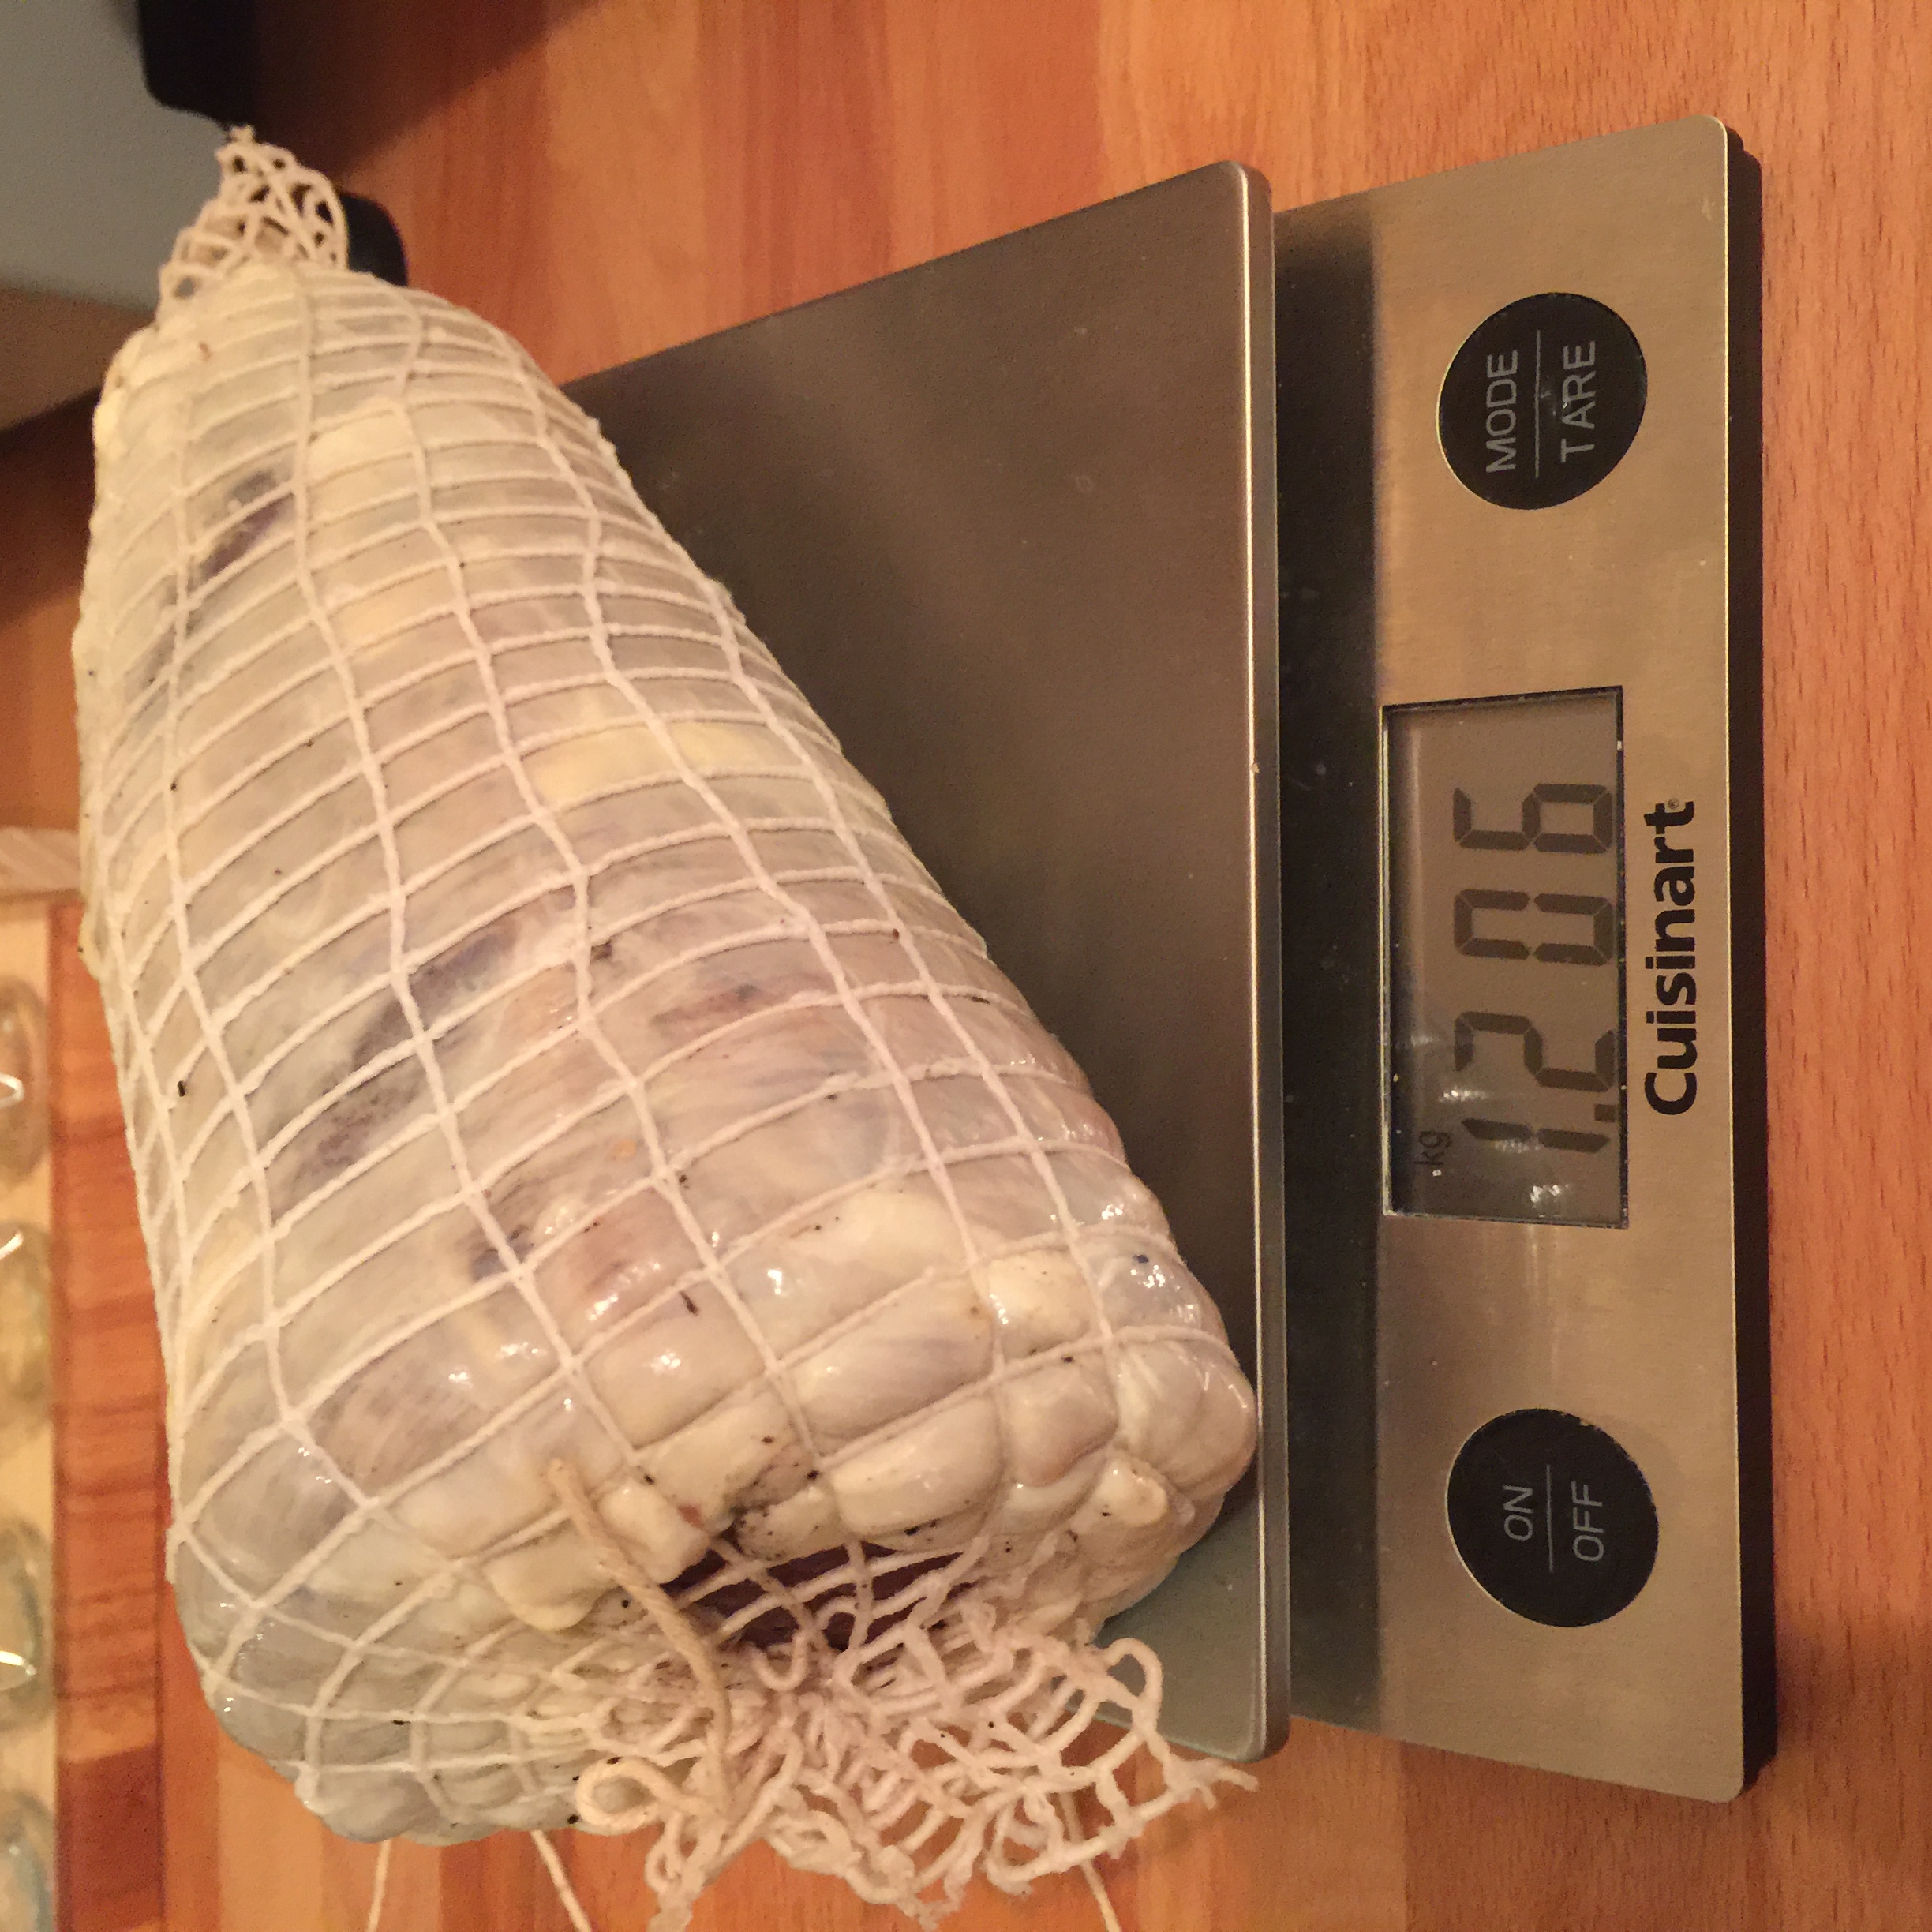
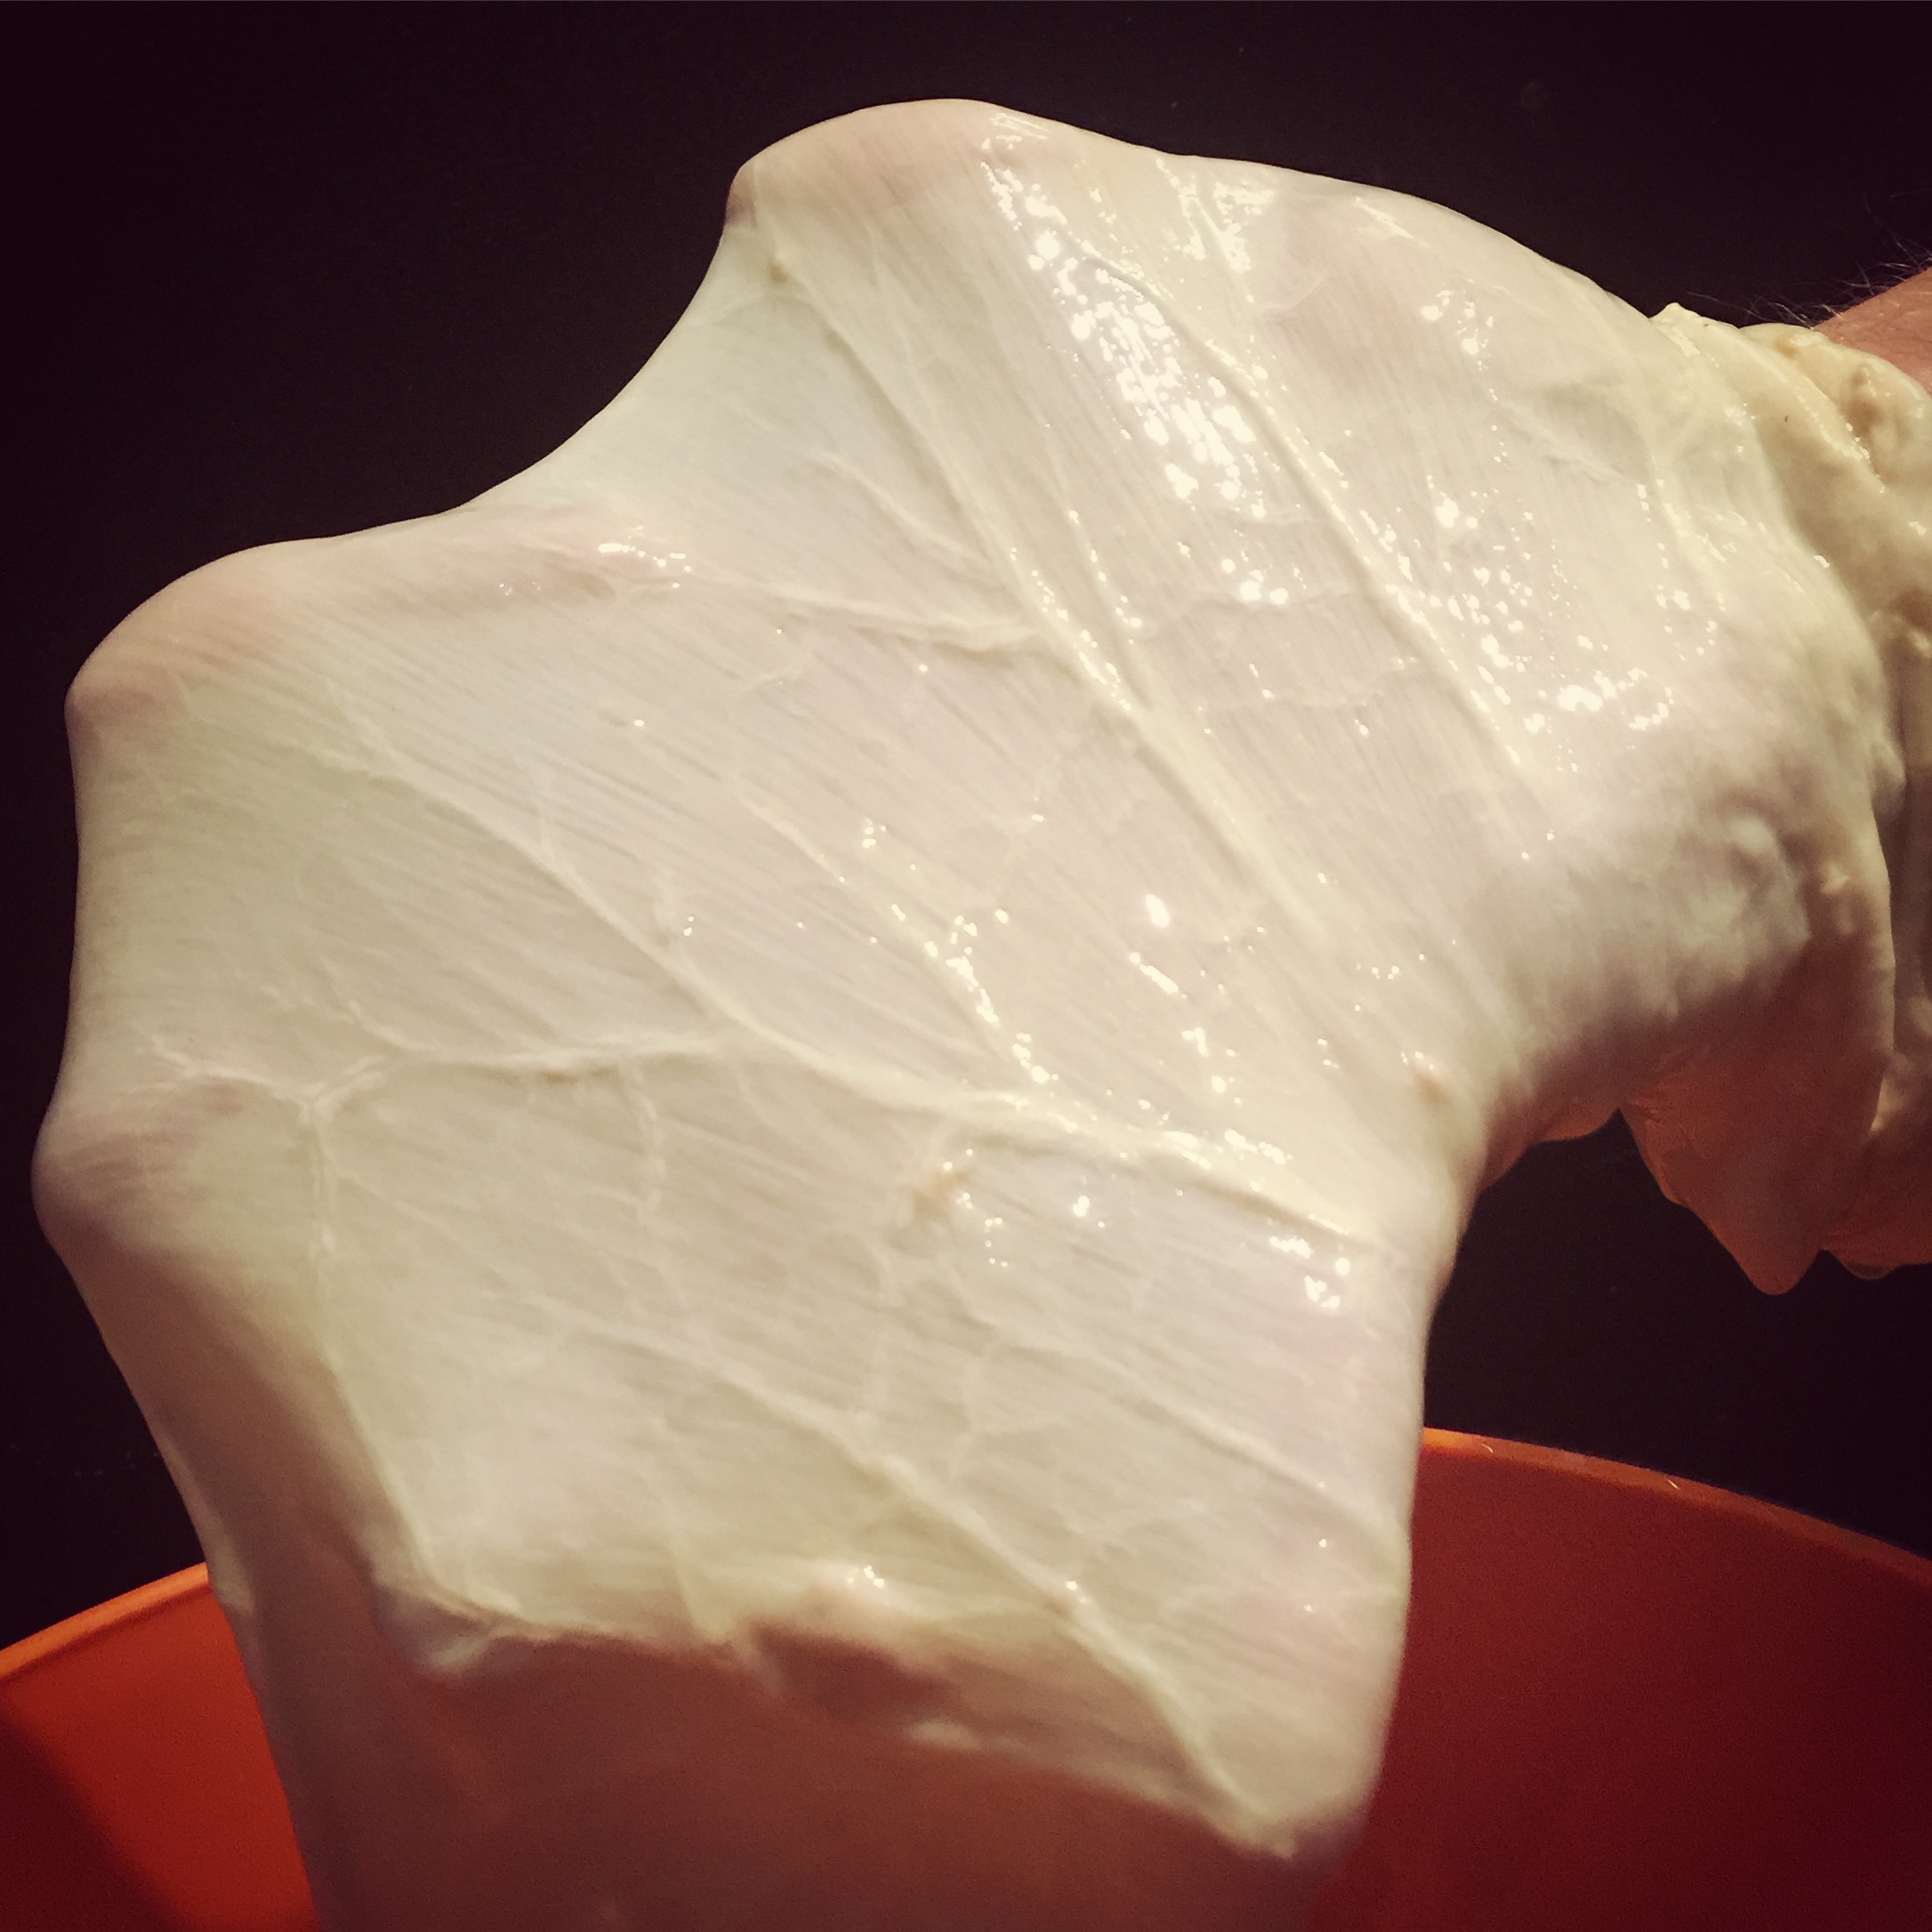
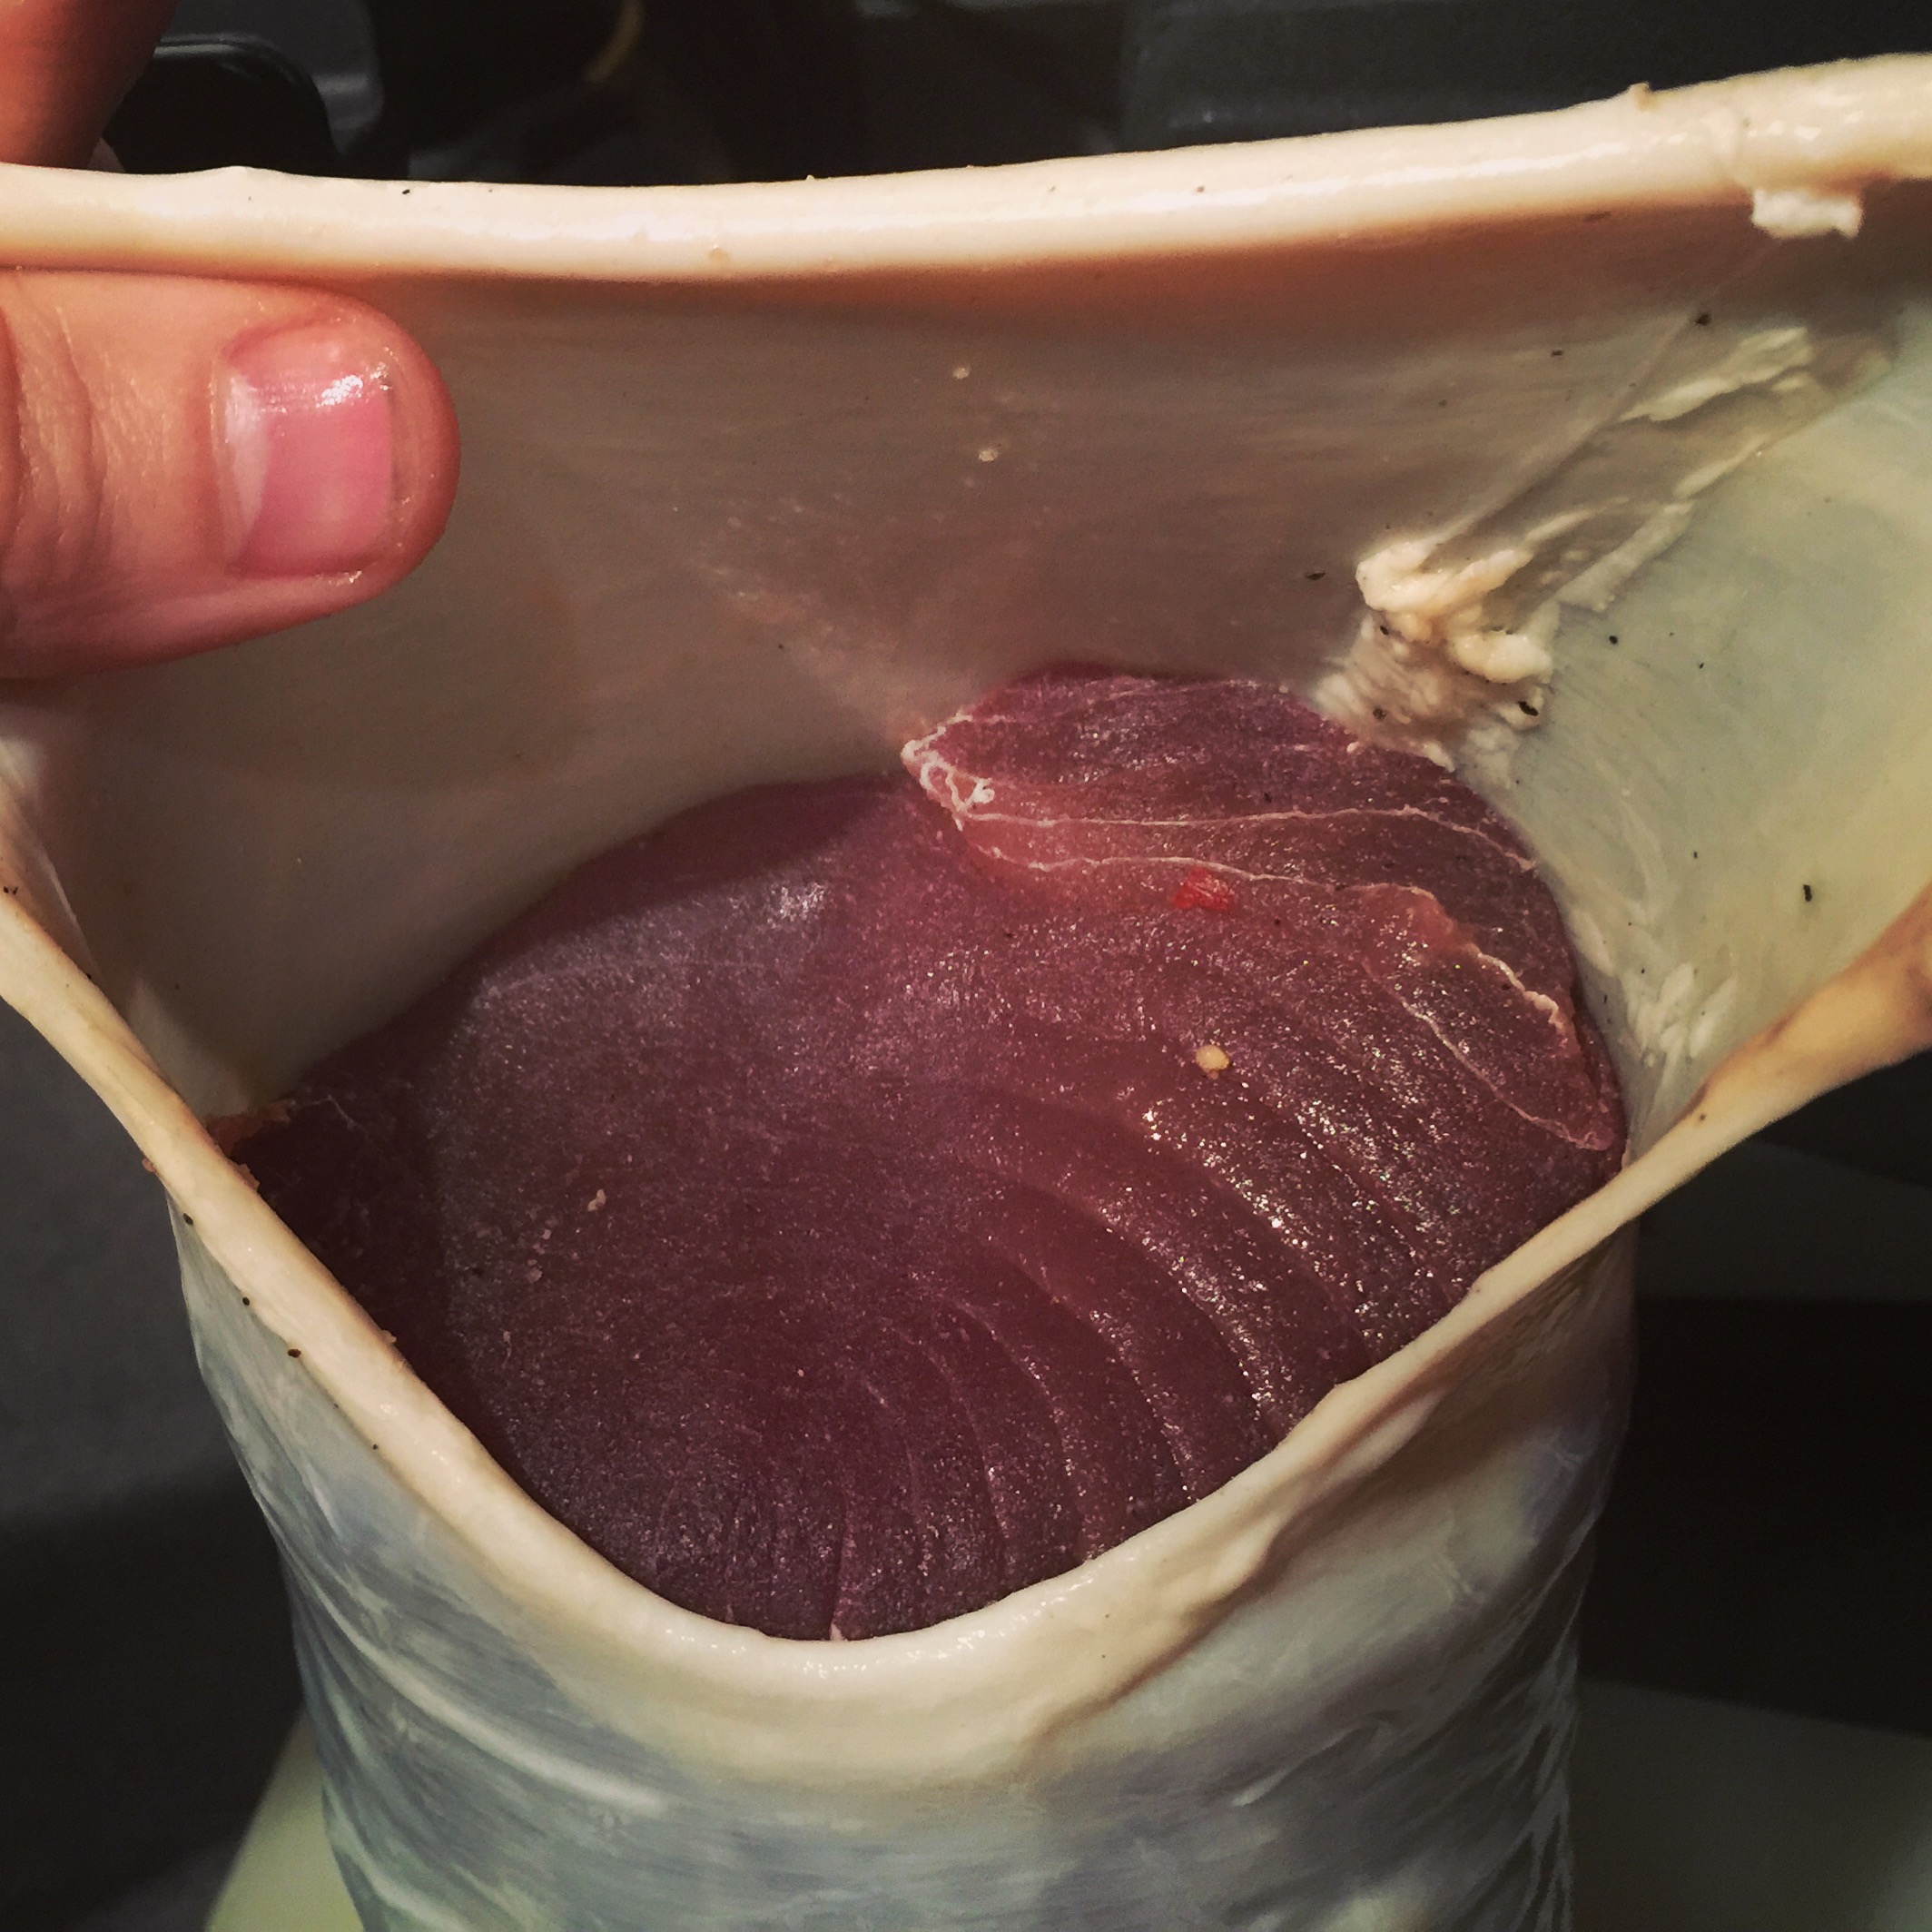
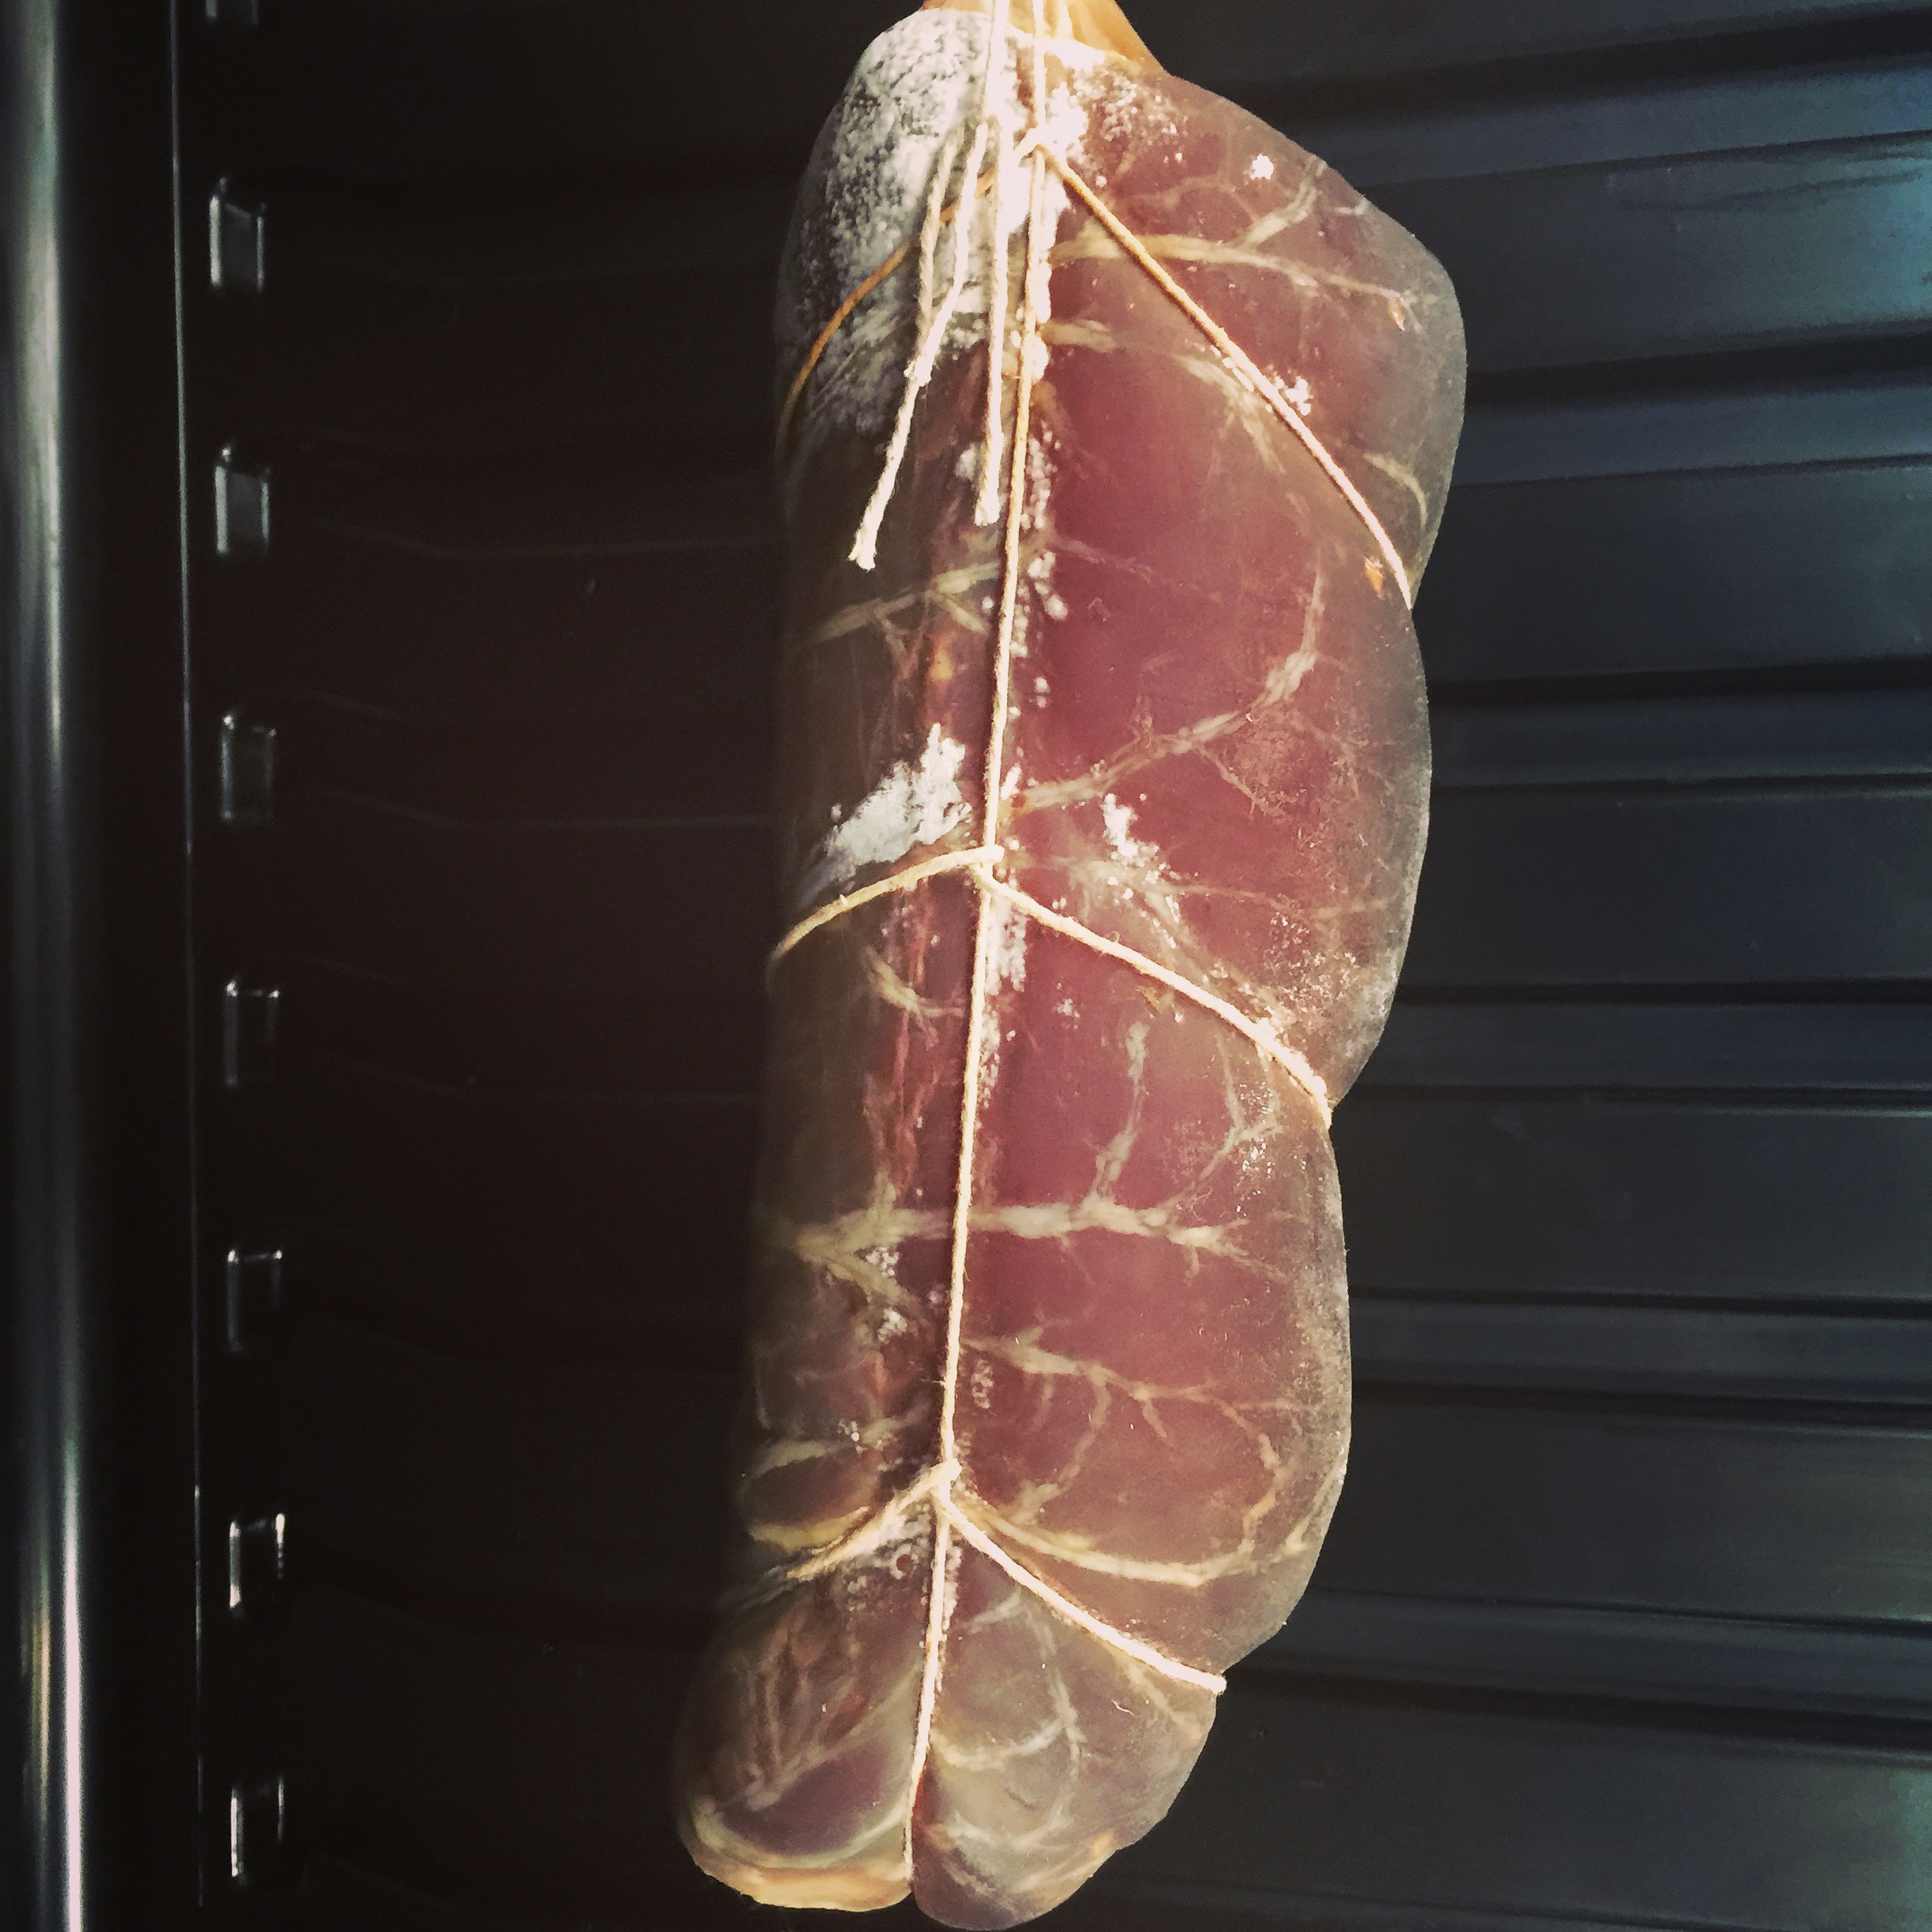
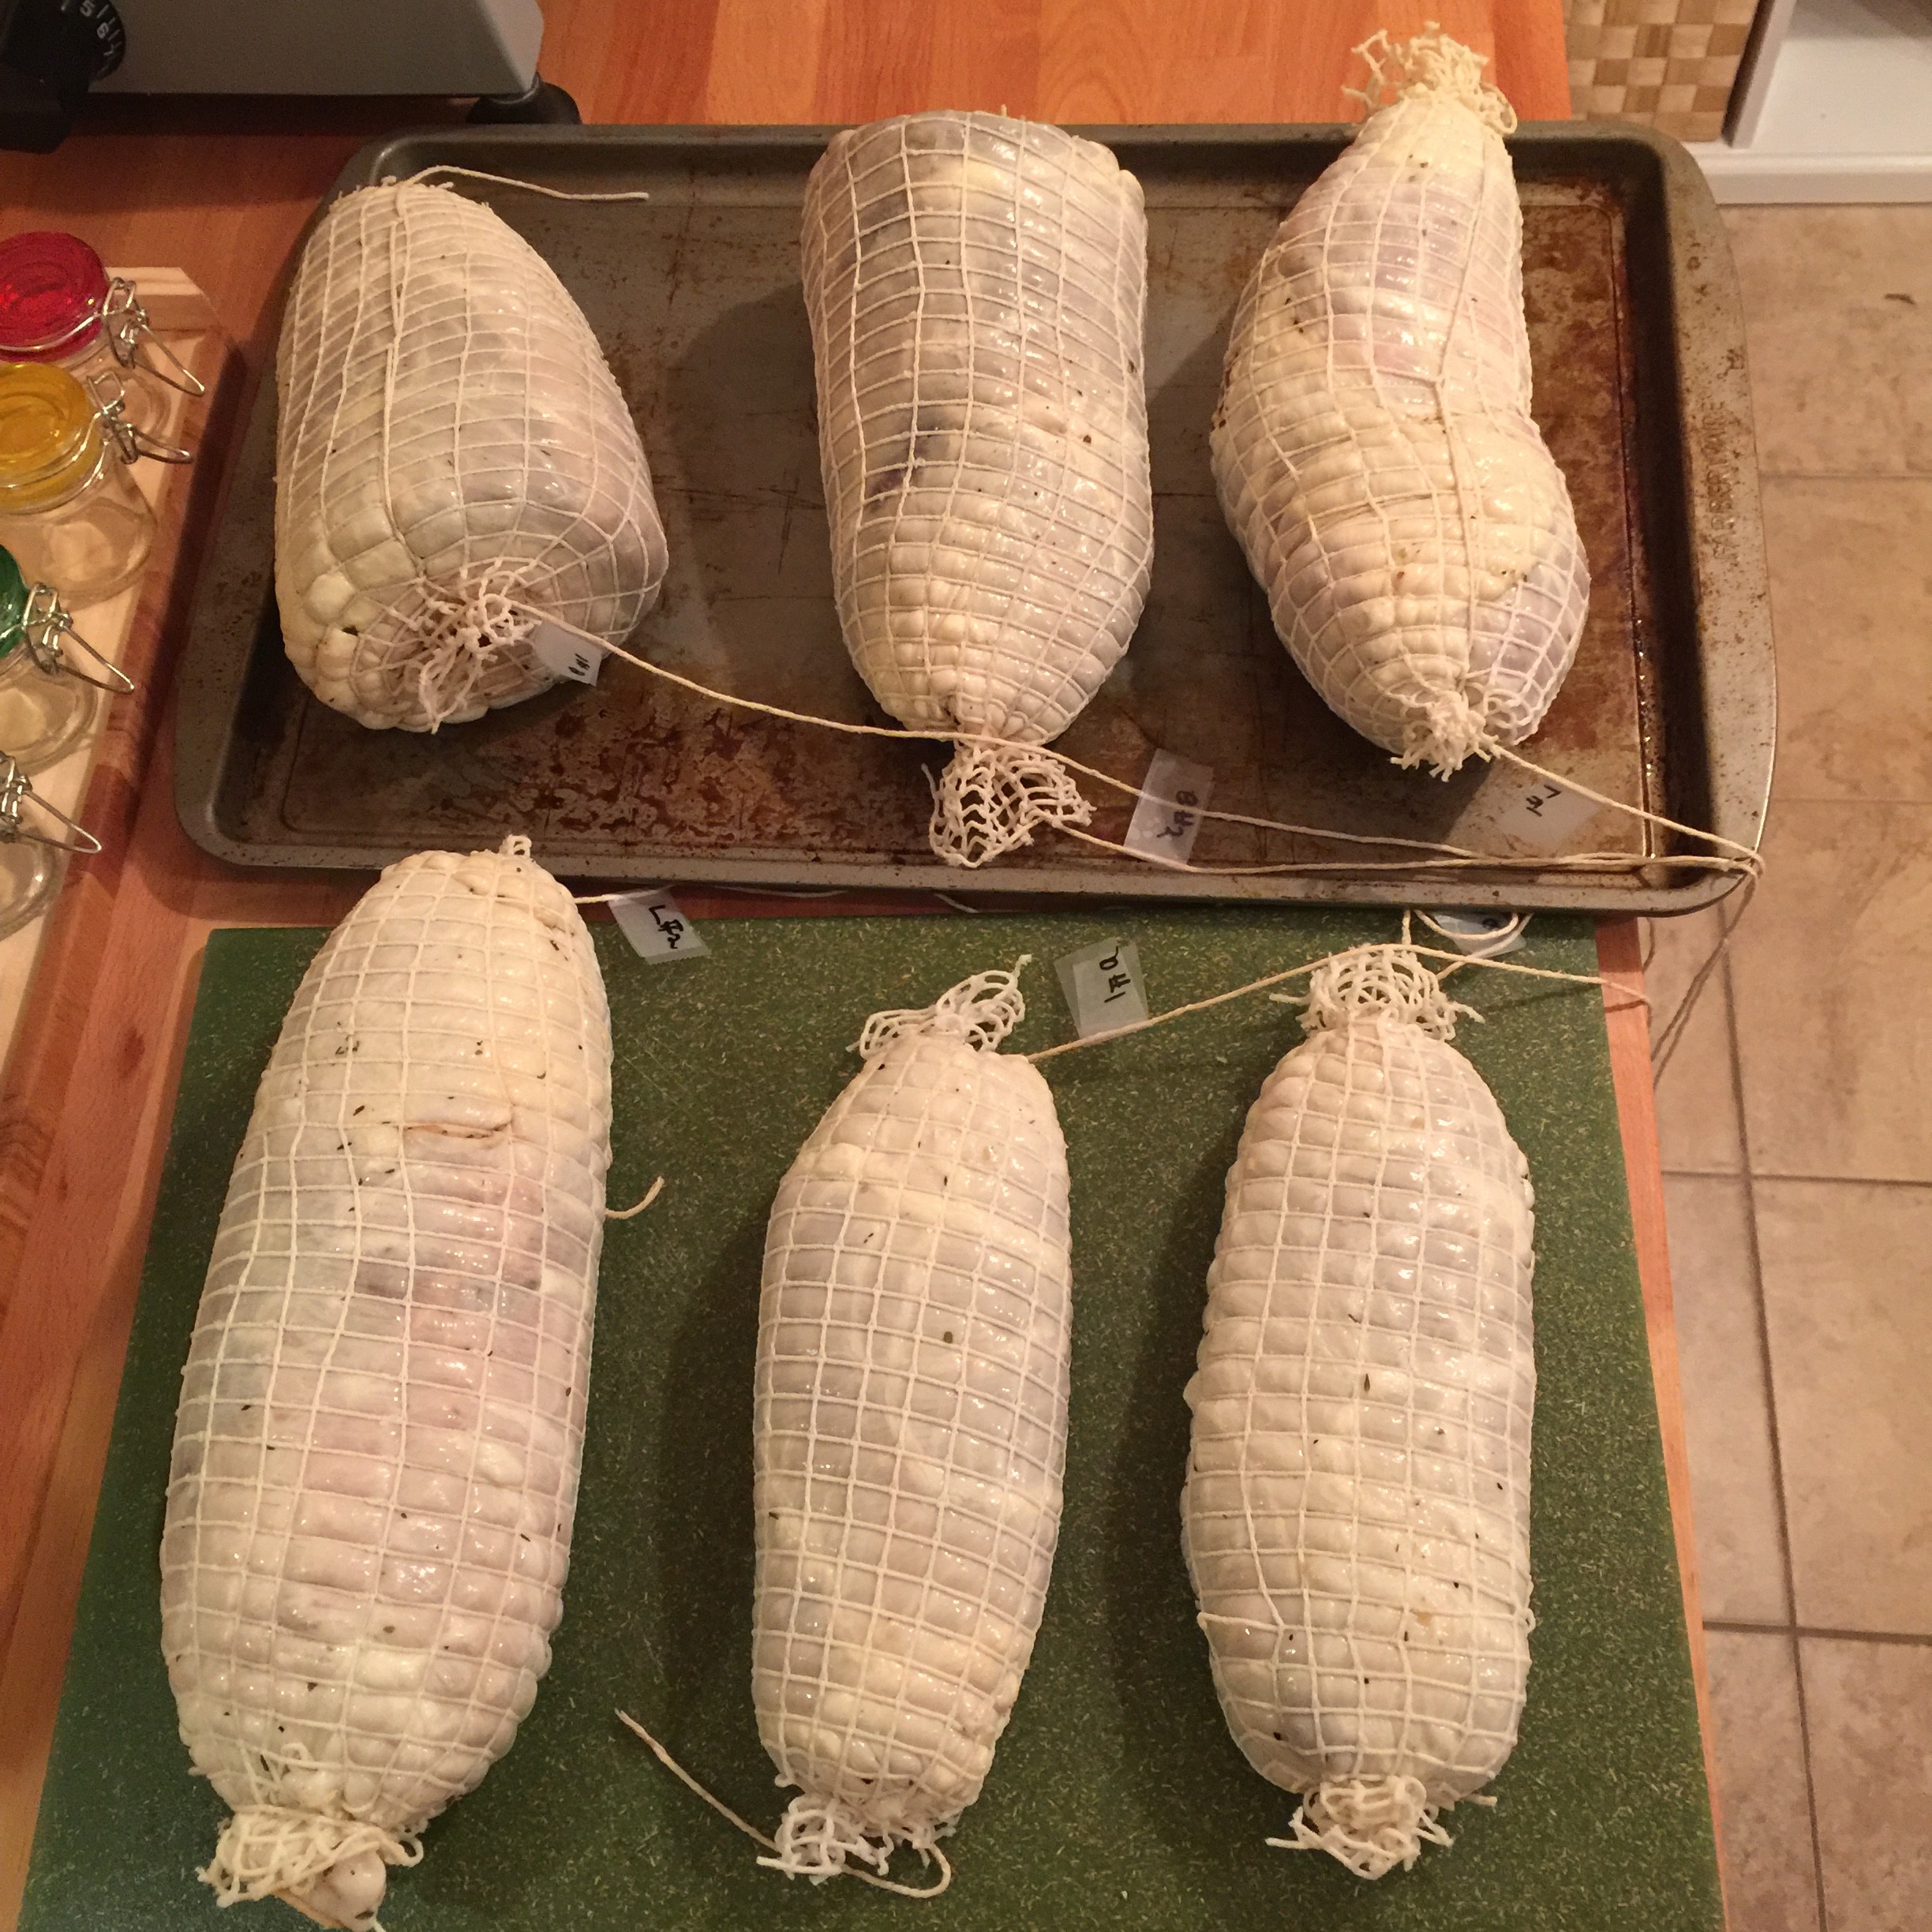
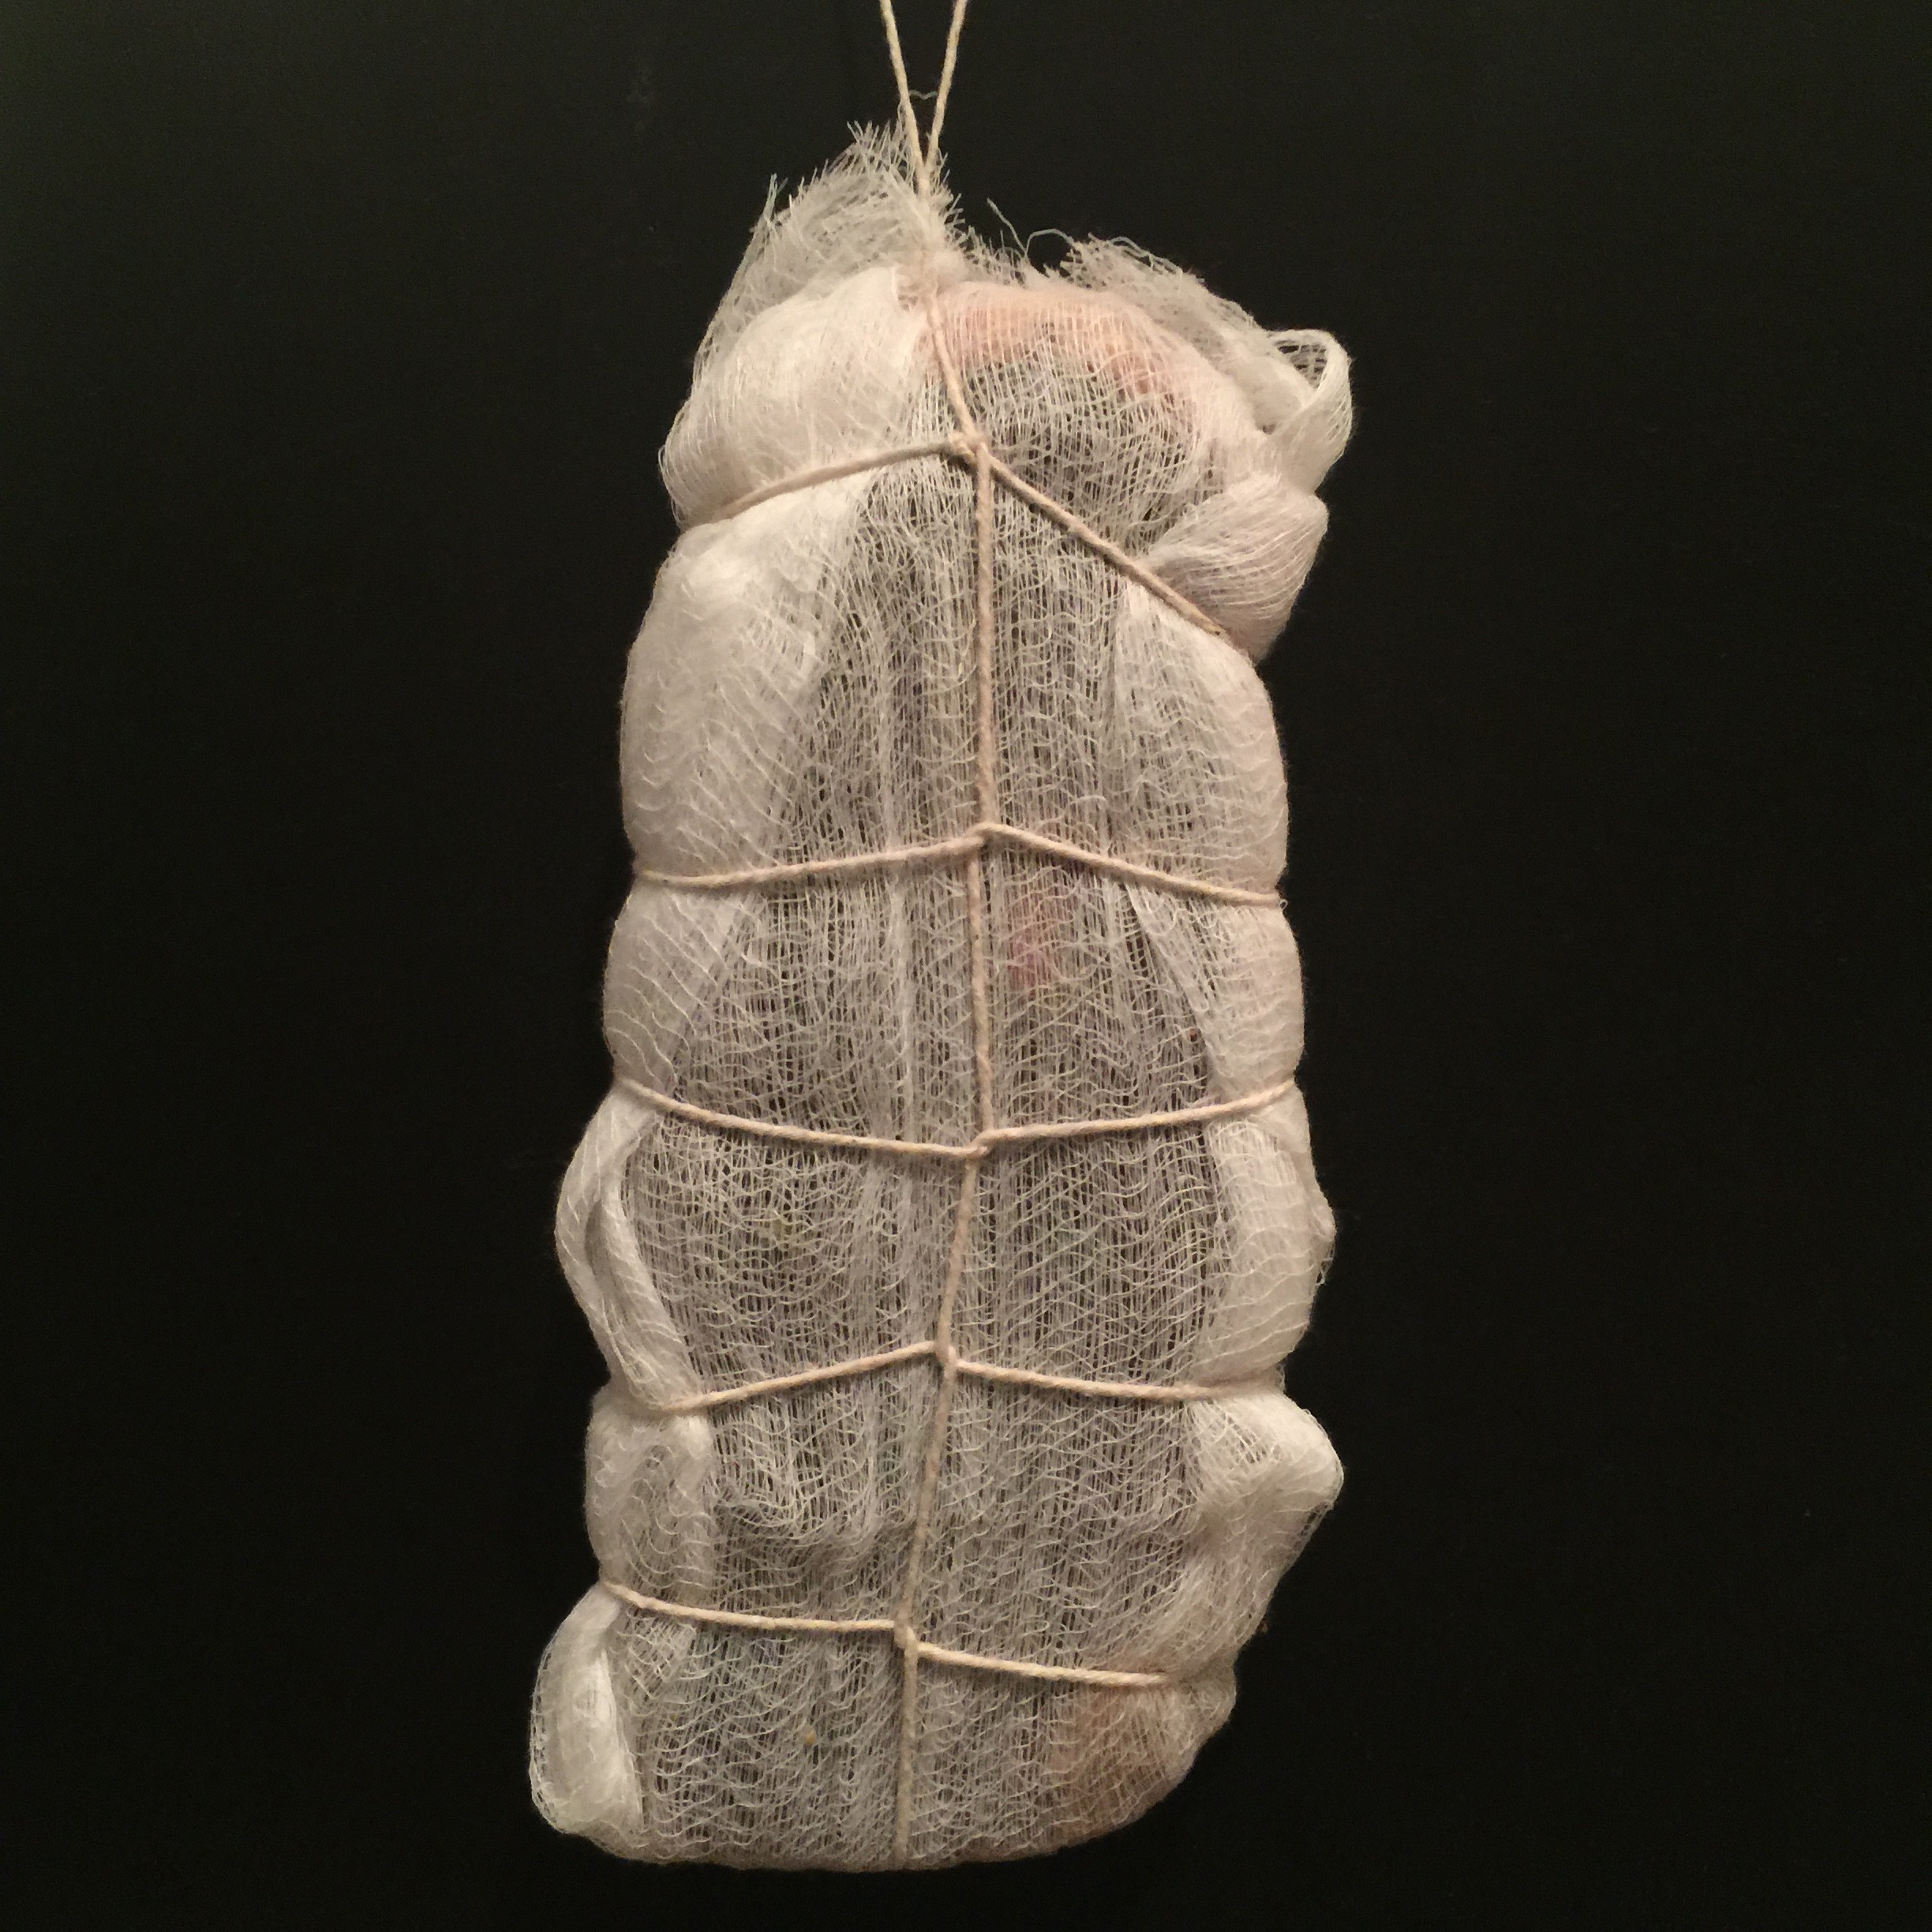
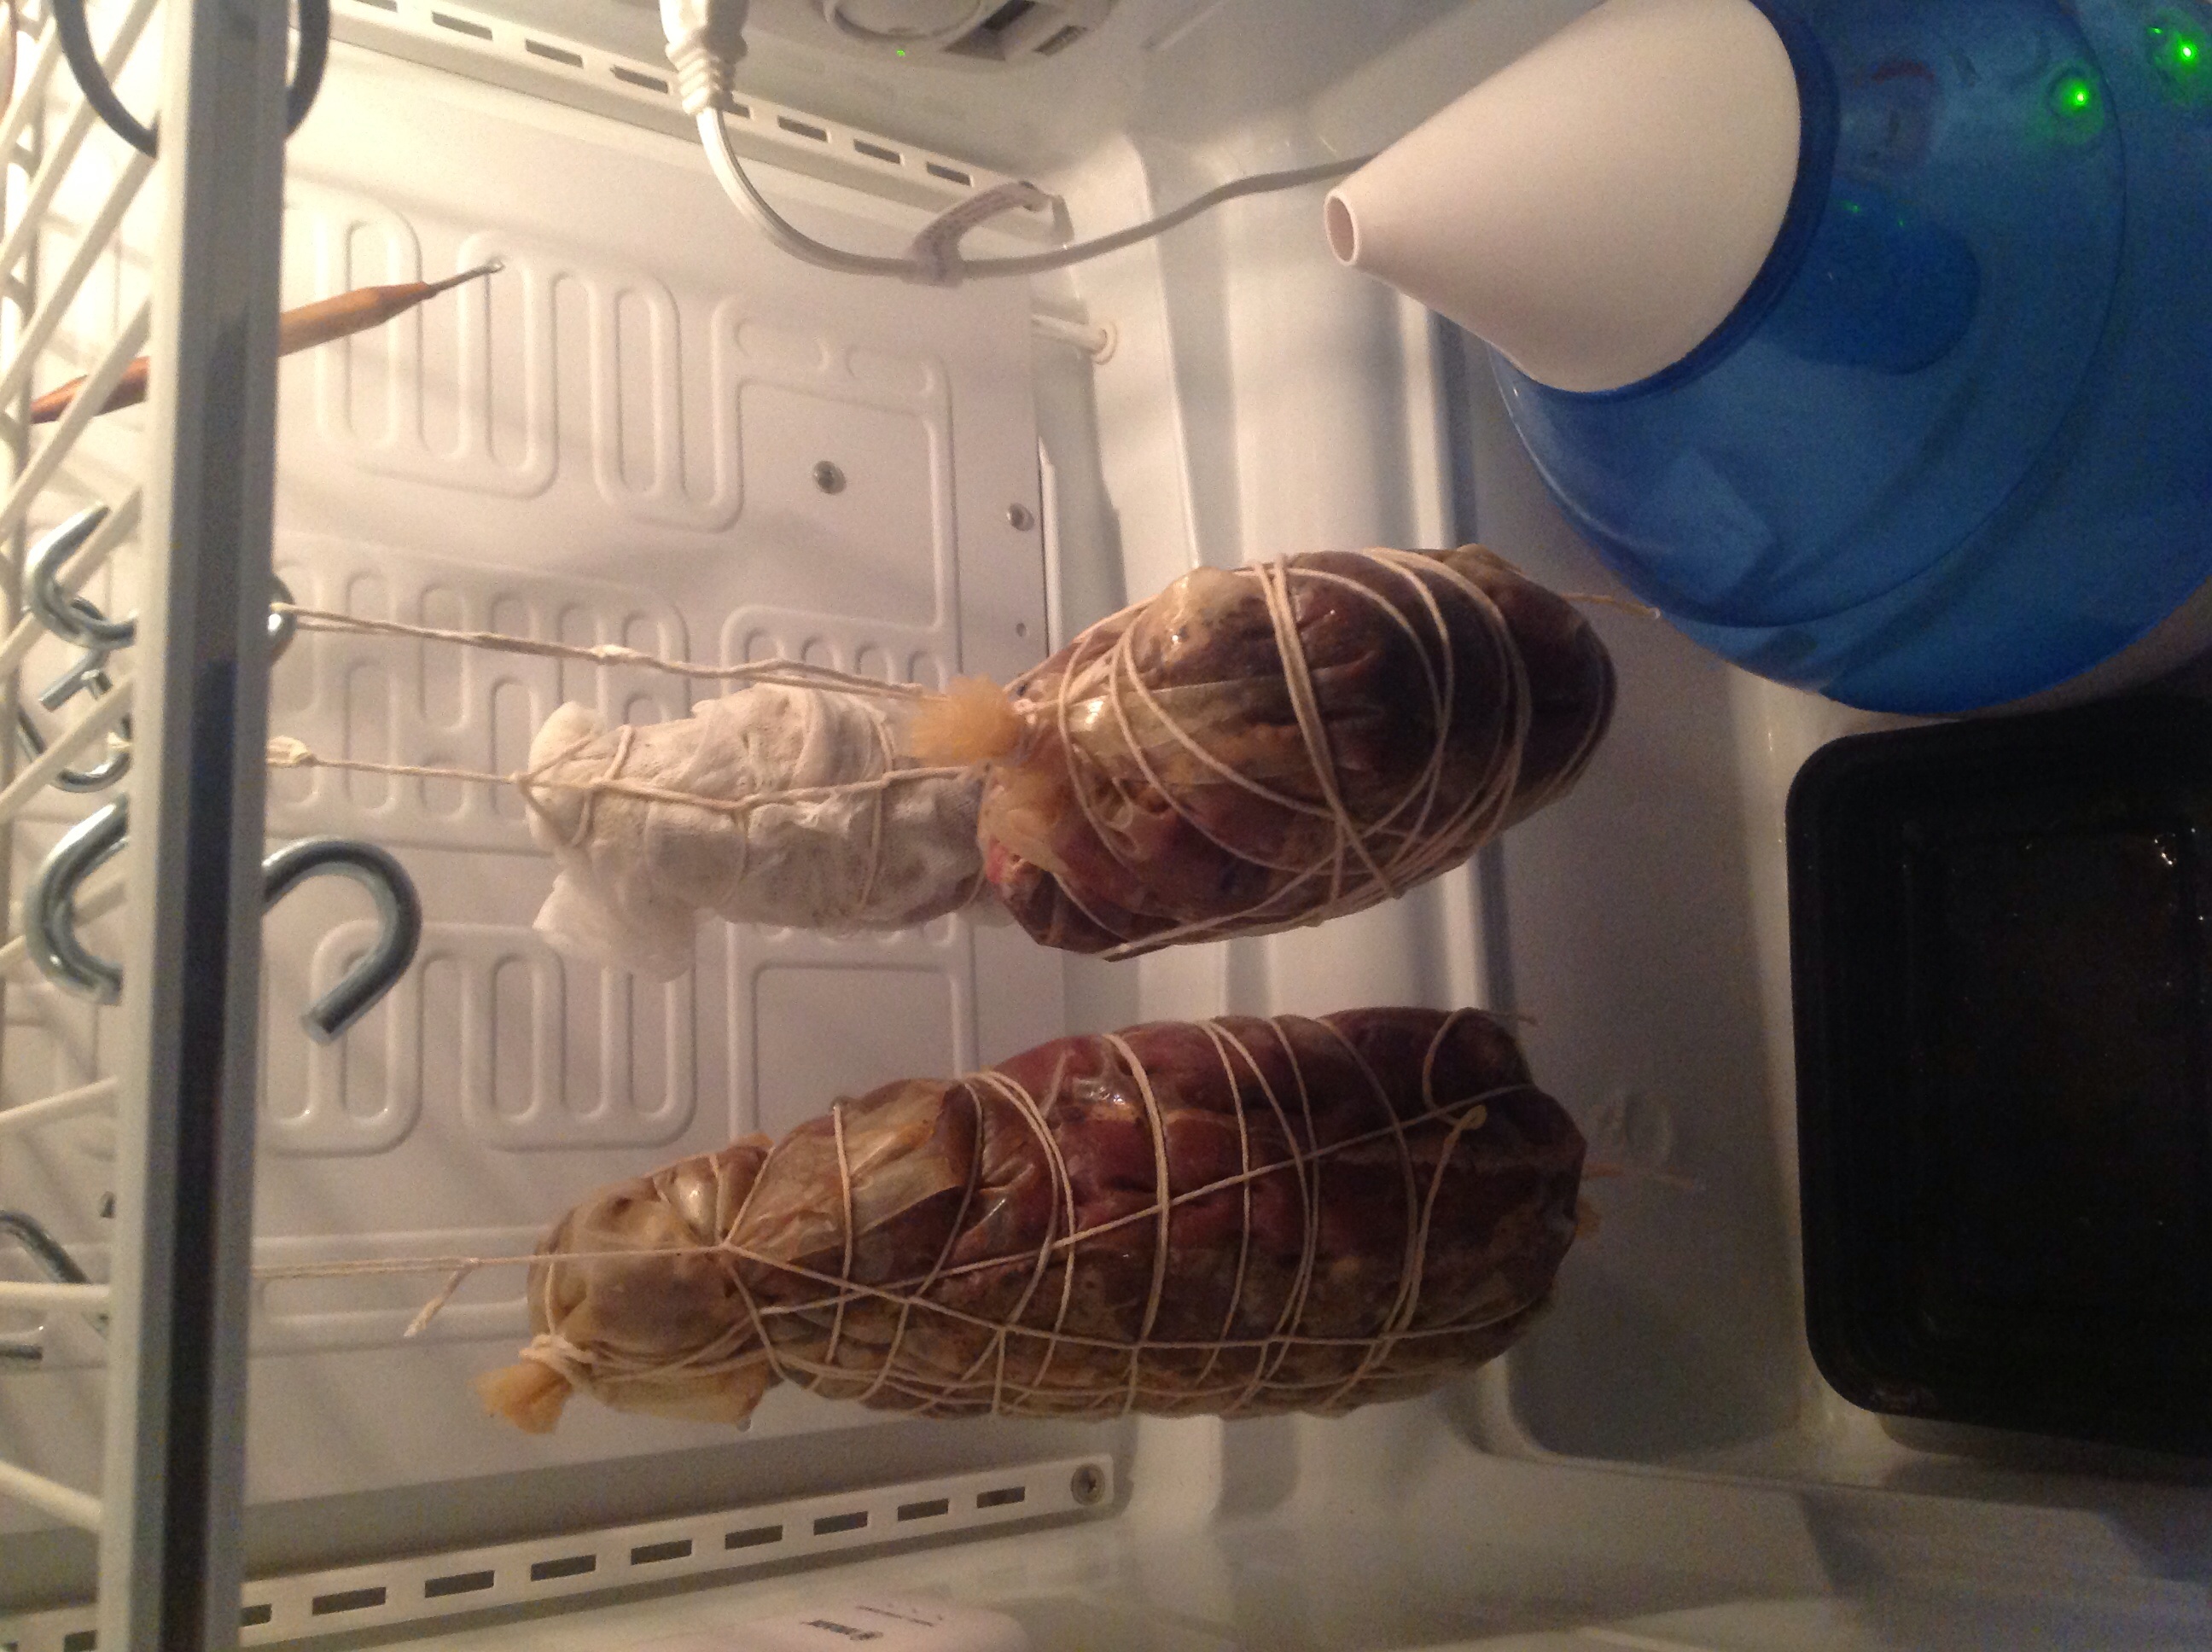
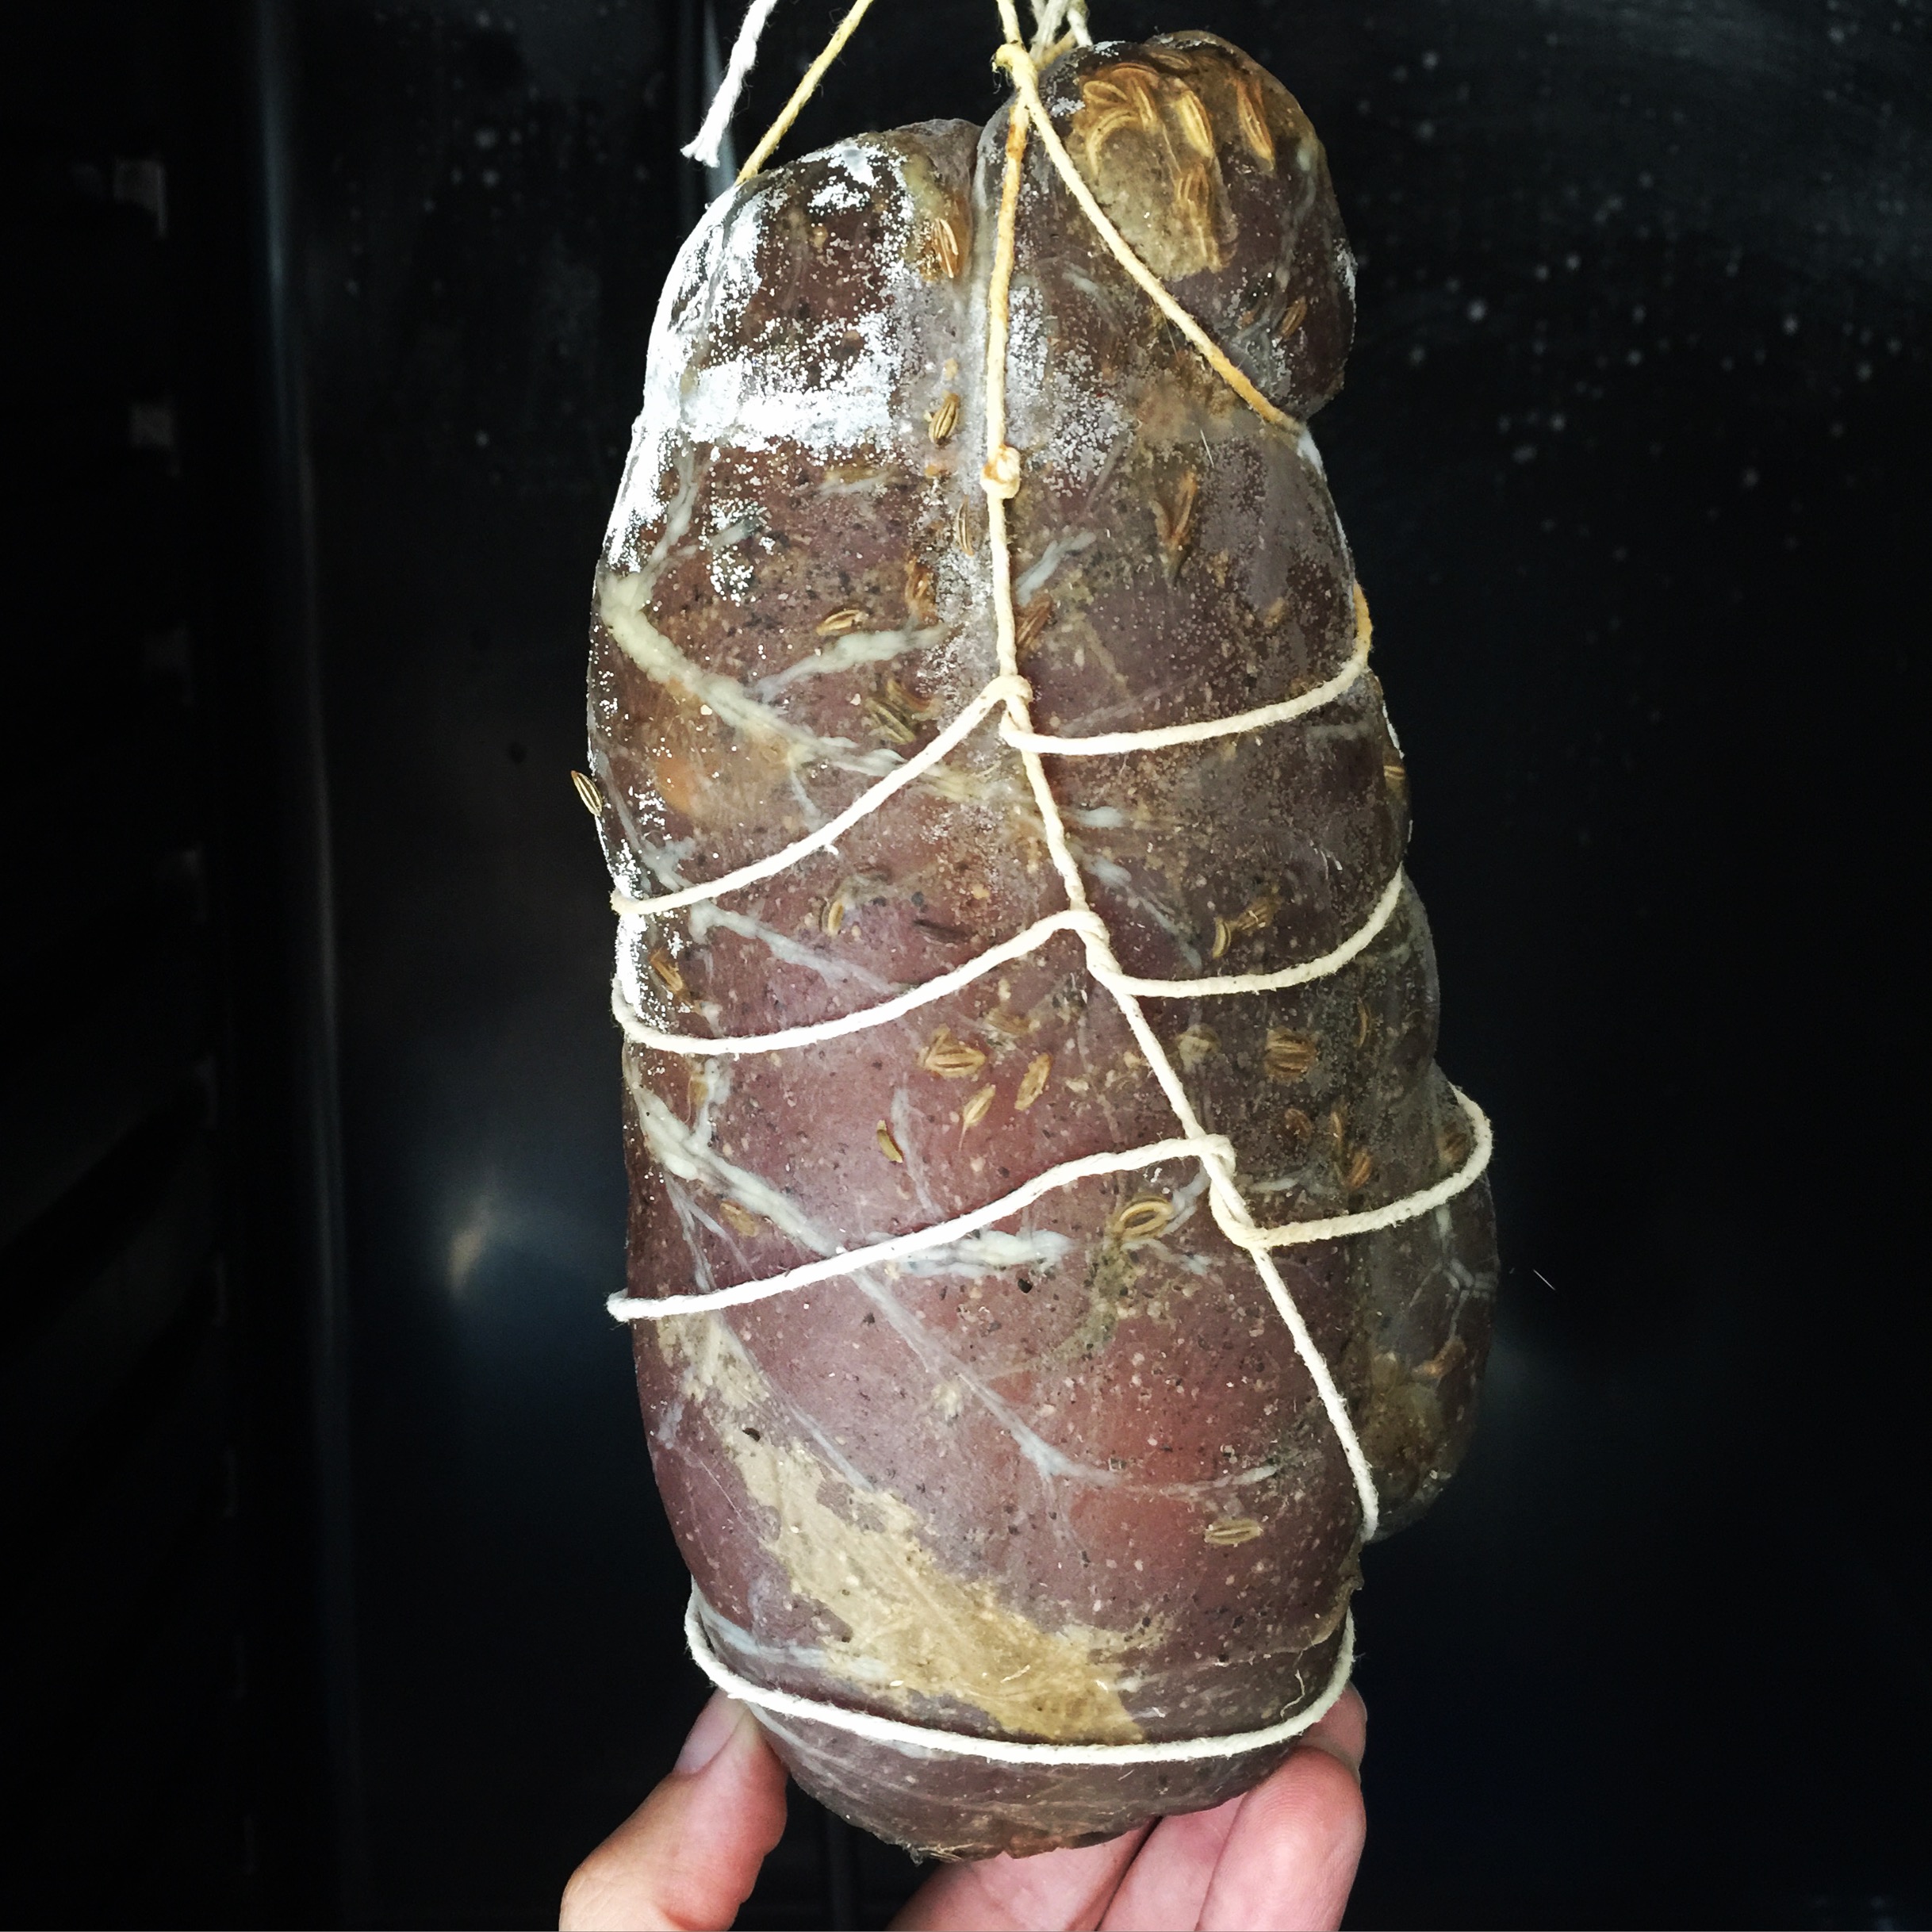
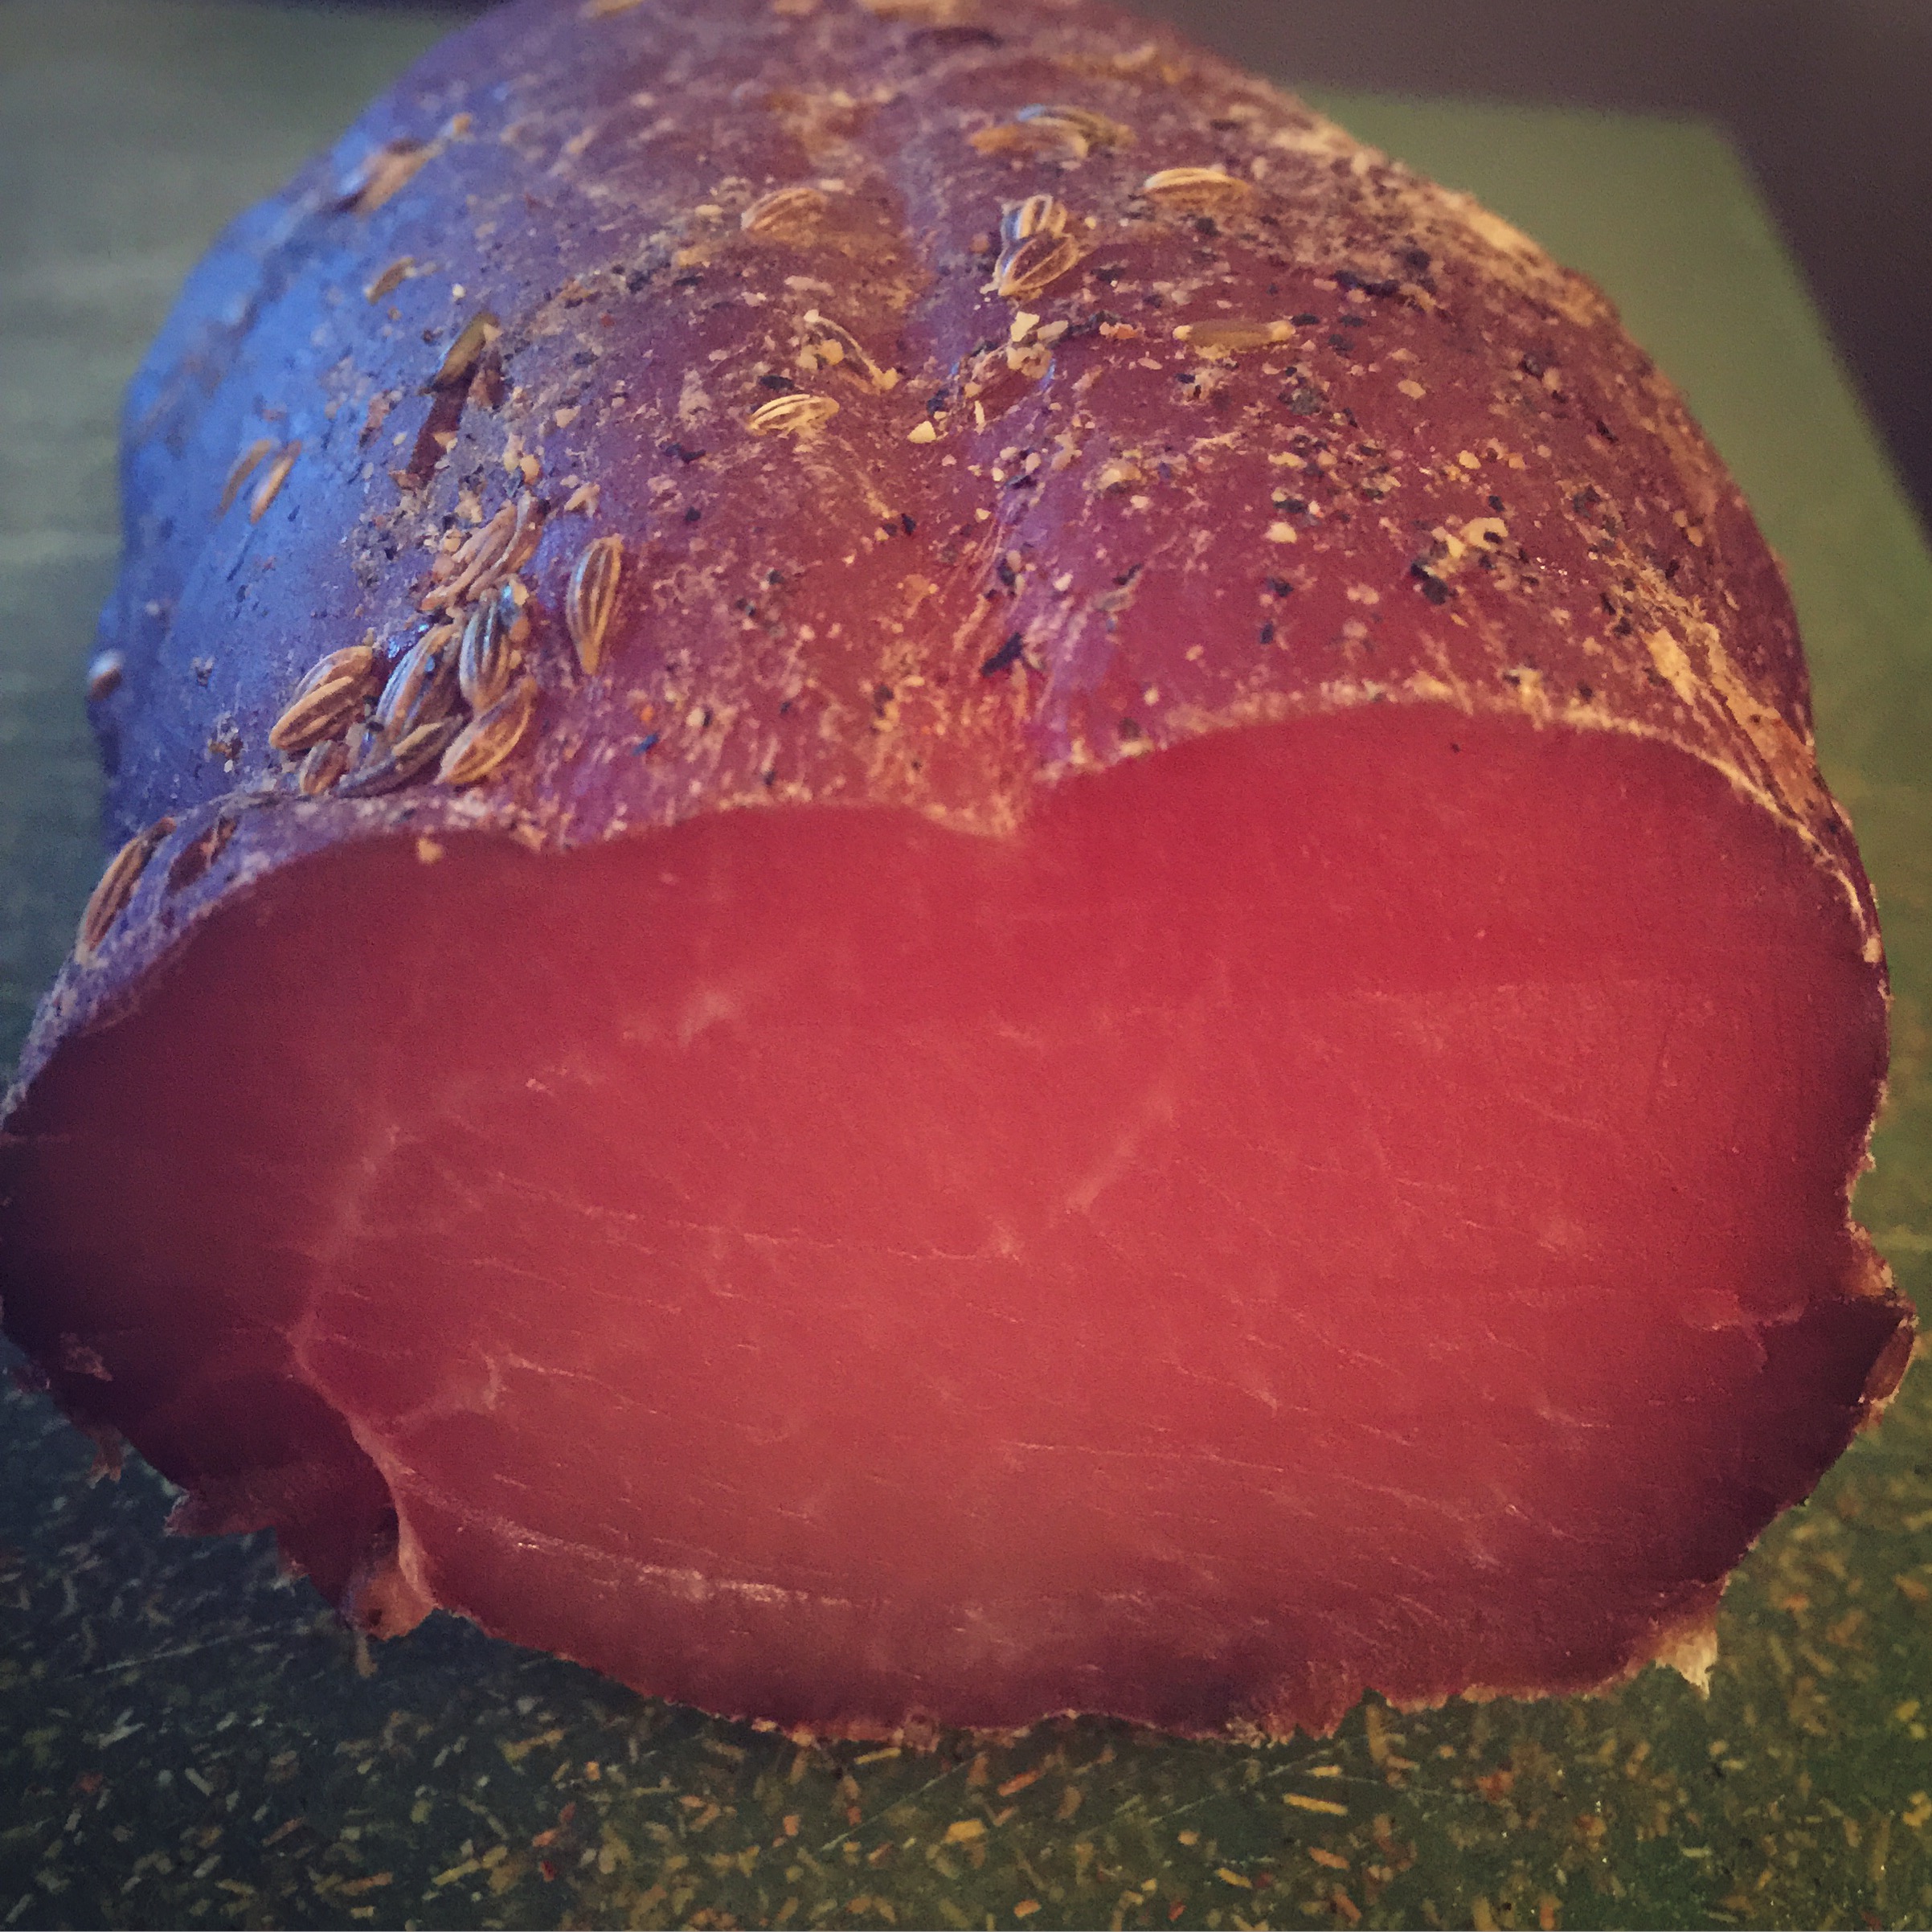
I encased the bresaola di tacchino in a beef bung casing and used butcher string to wrap it up. I used a clean toothpick was used to puncture any air holes that may have been evident and could harbor the growth of bad bacteria.
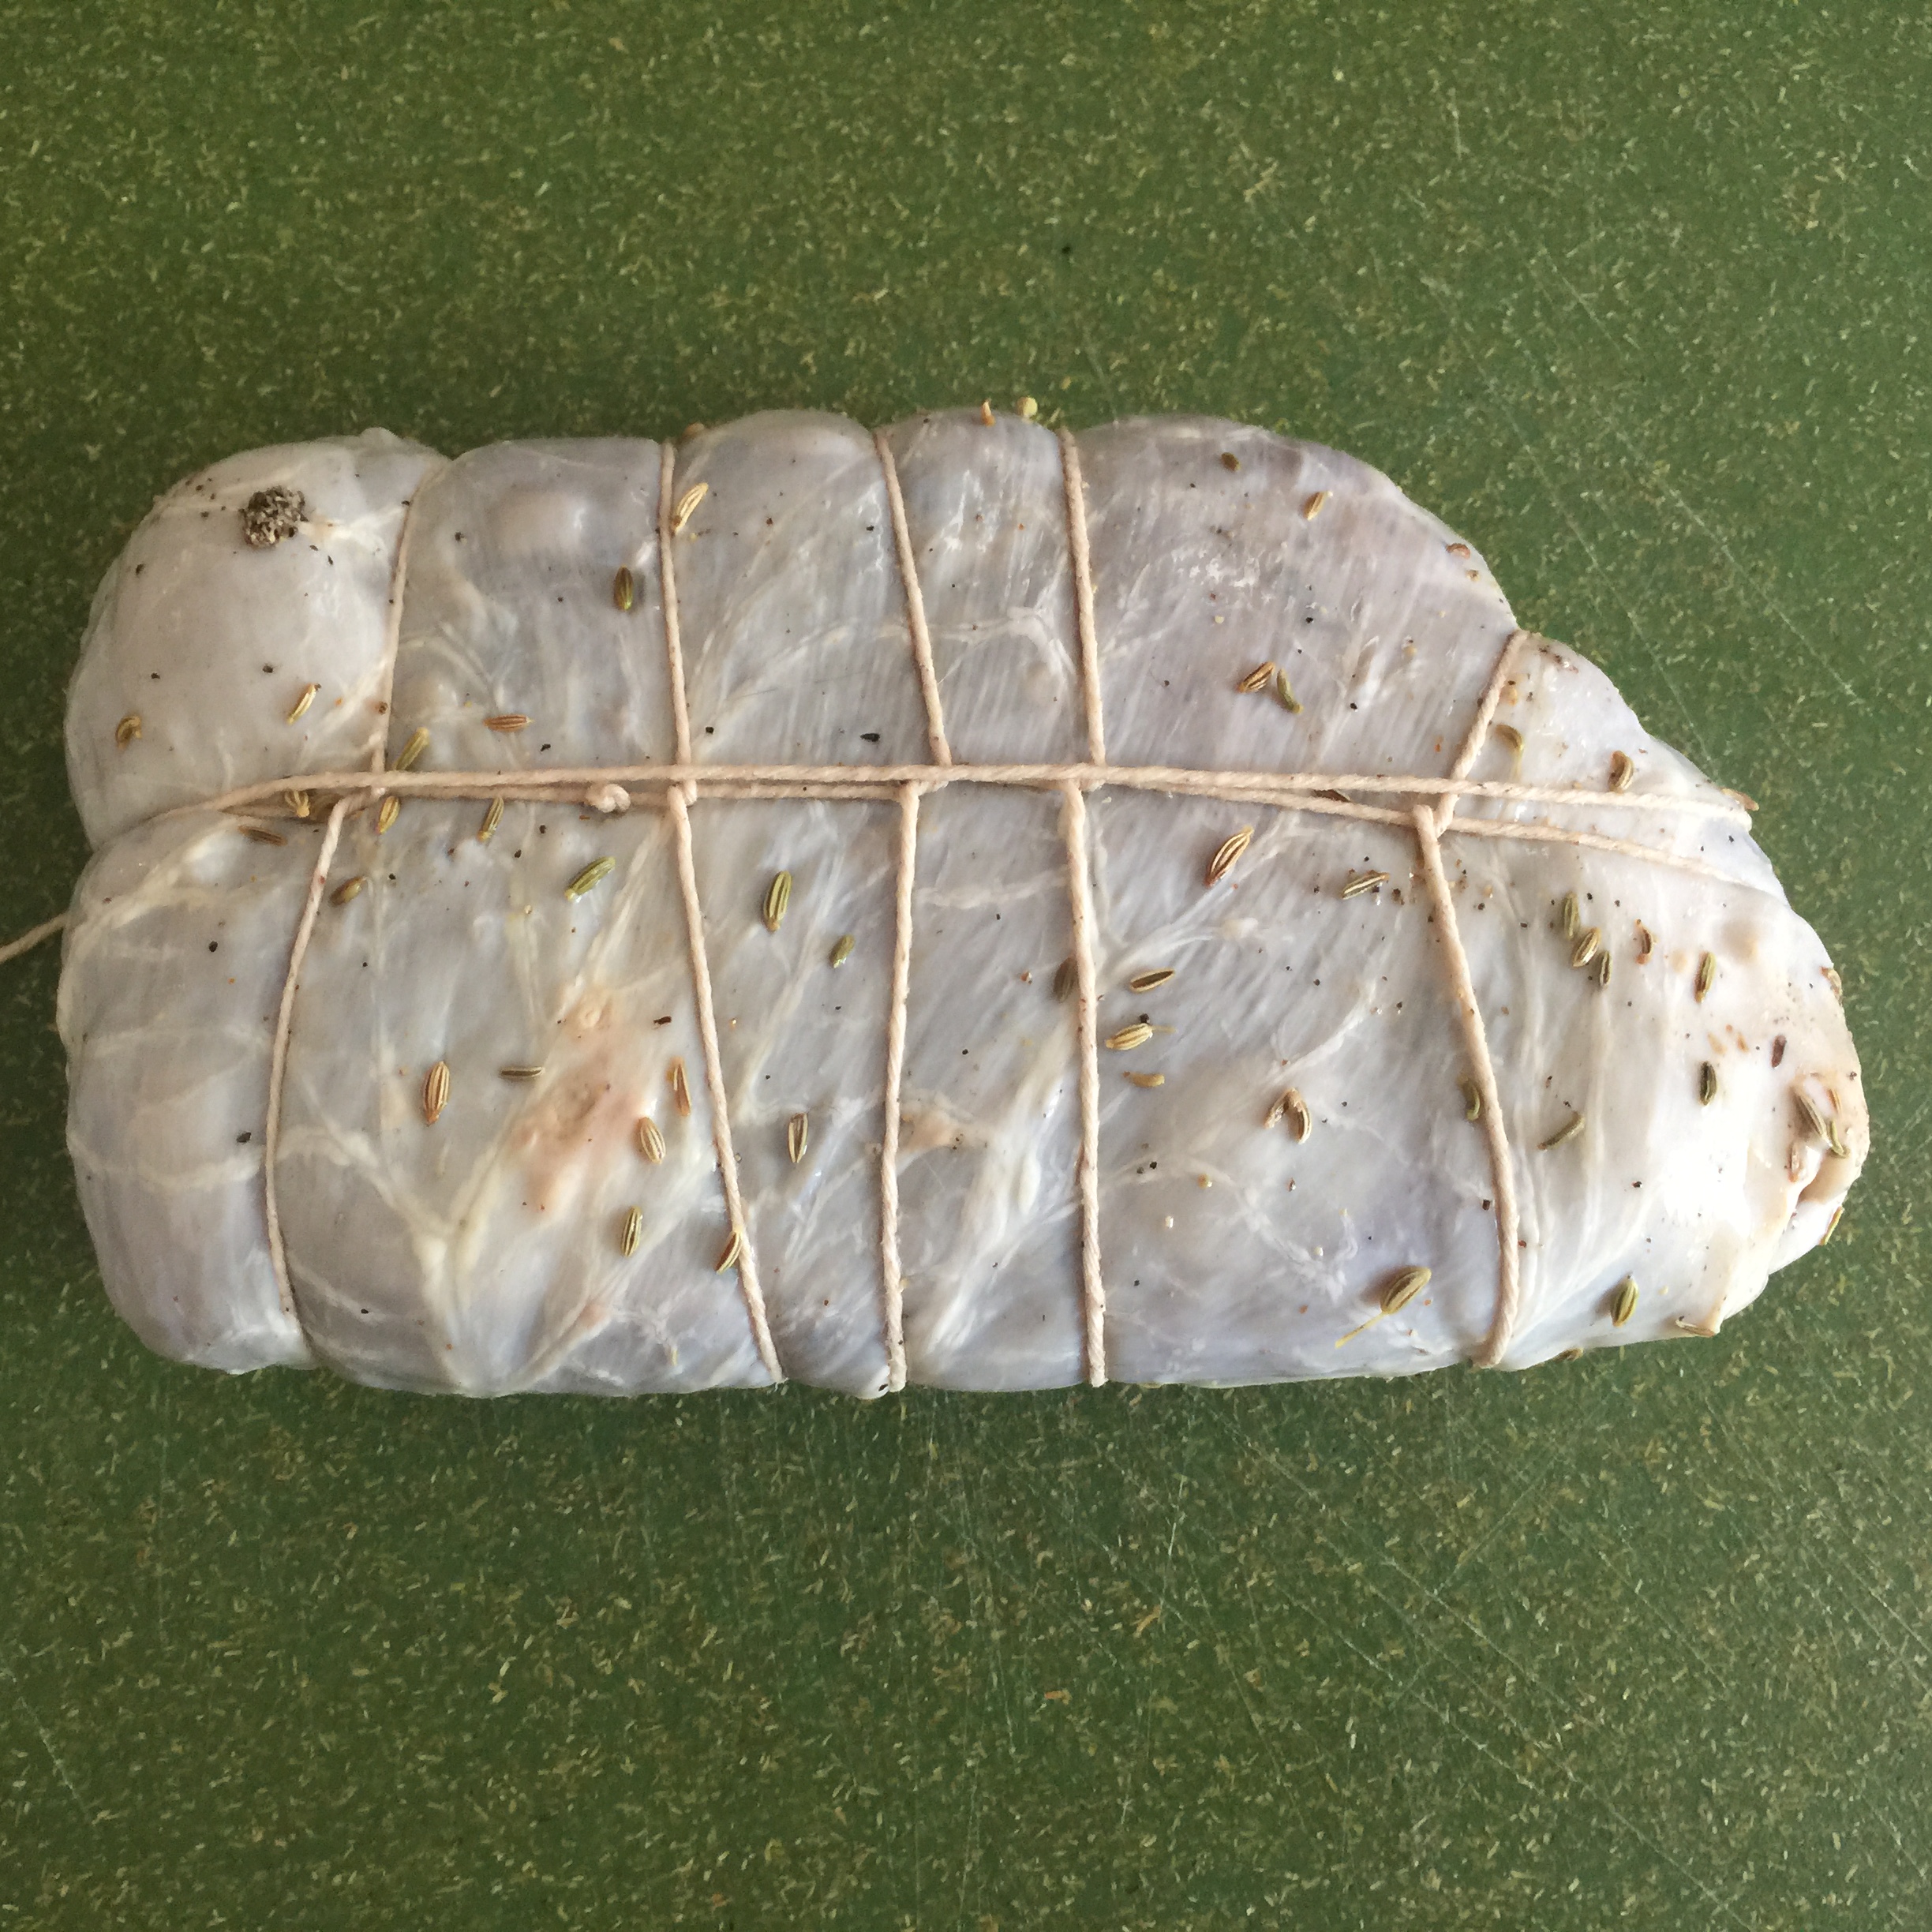
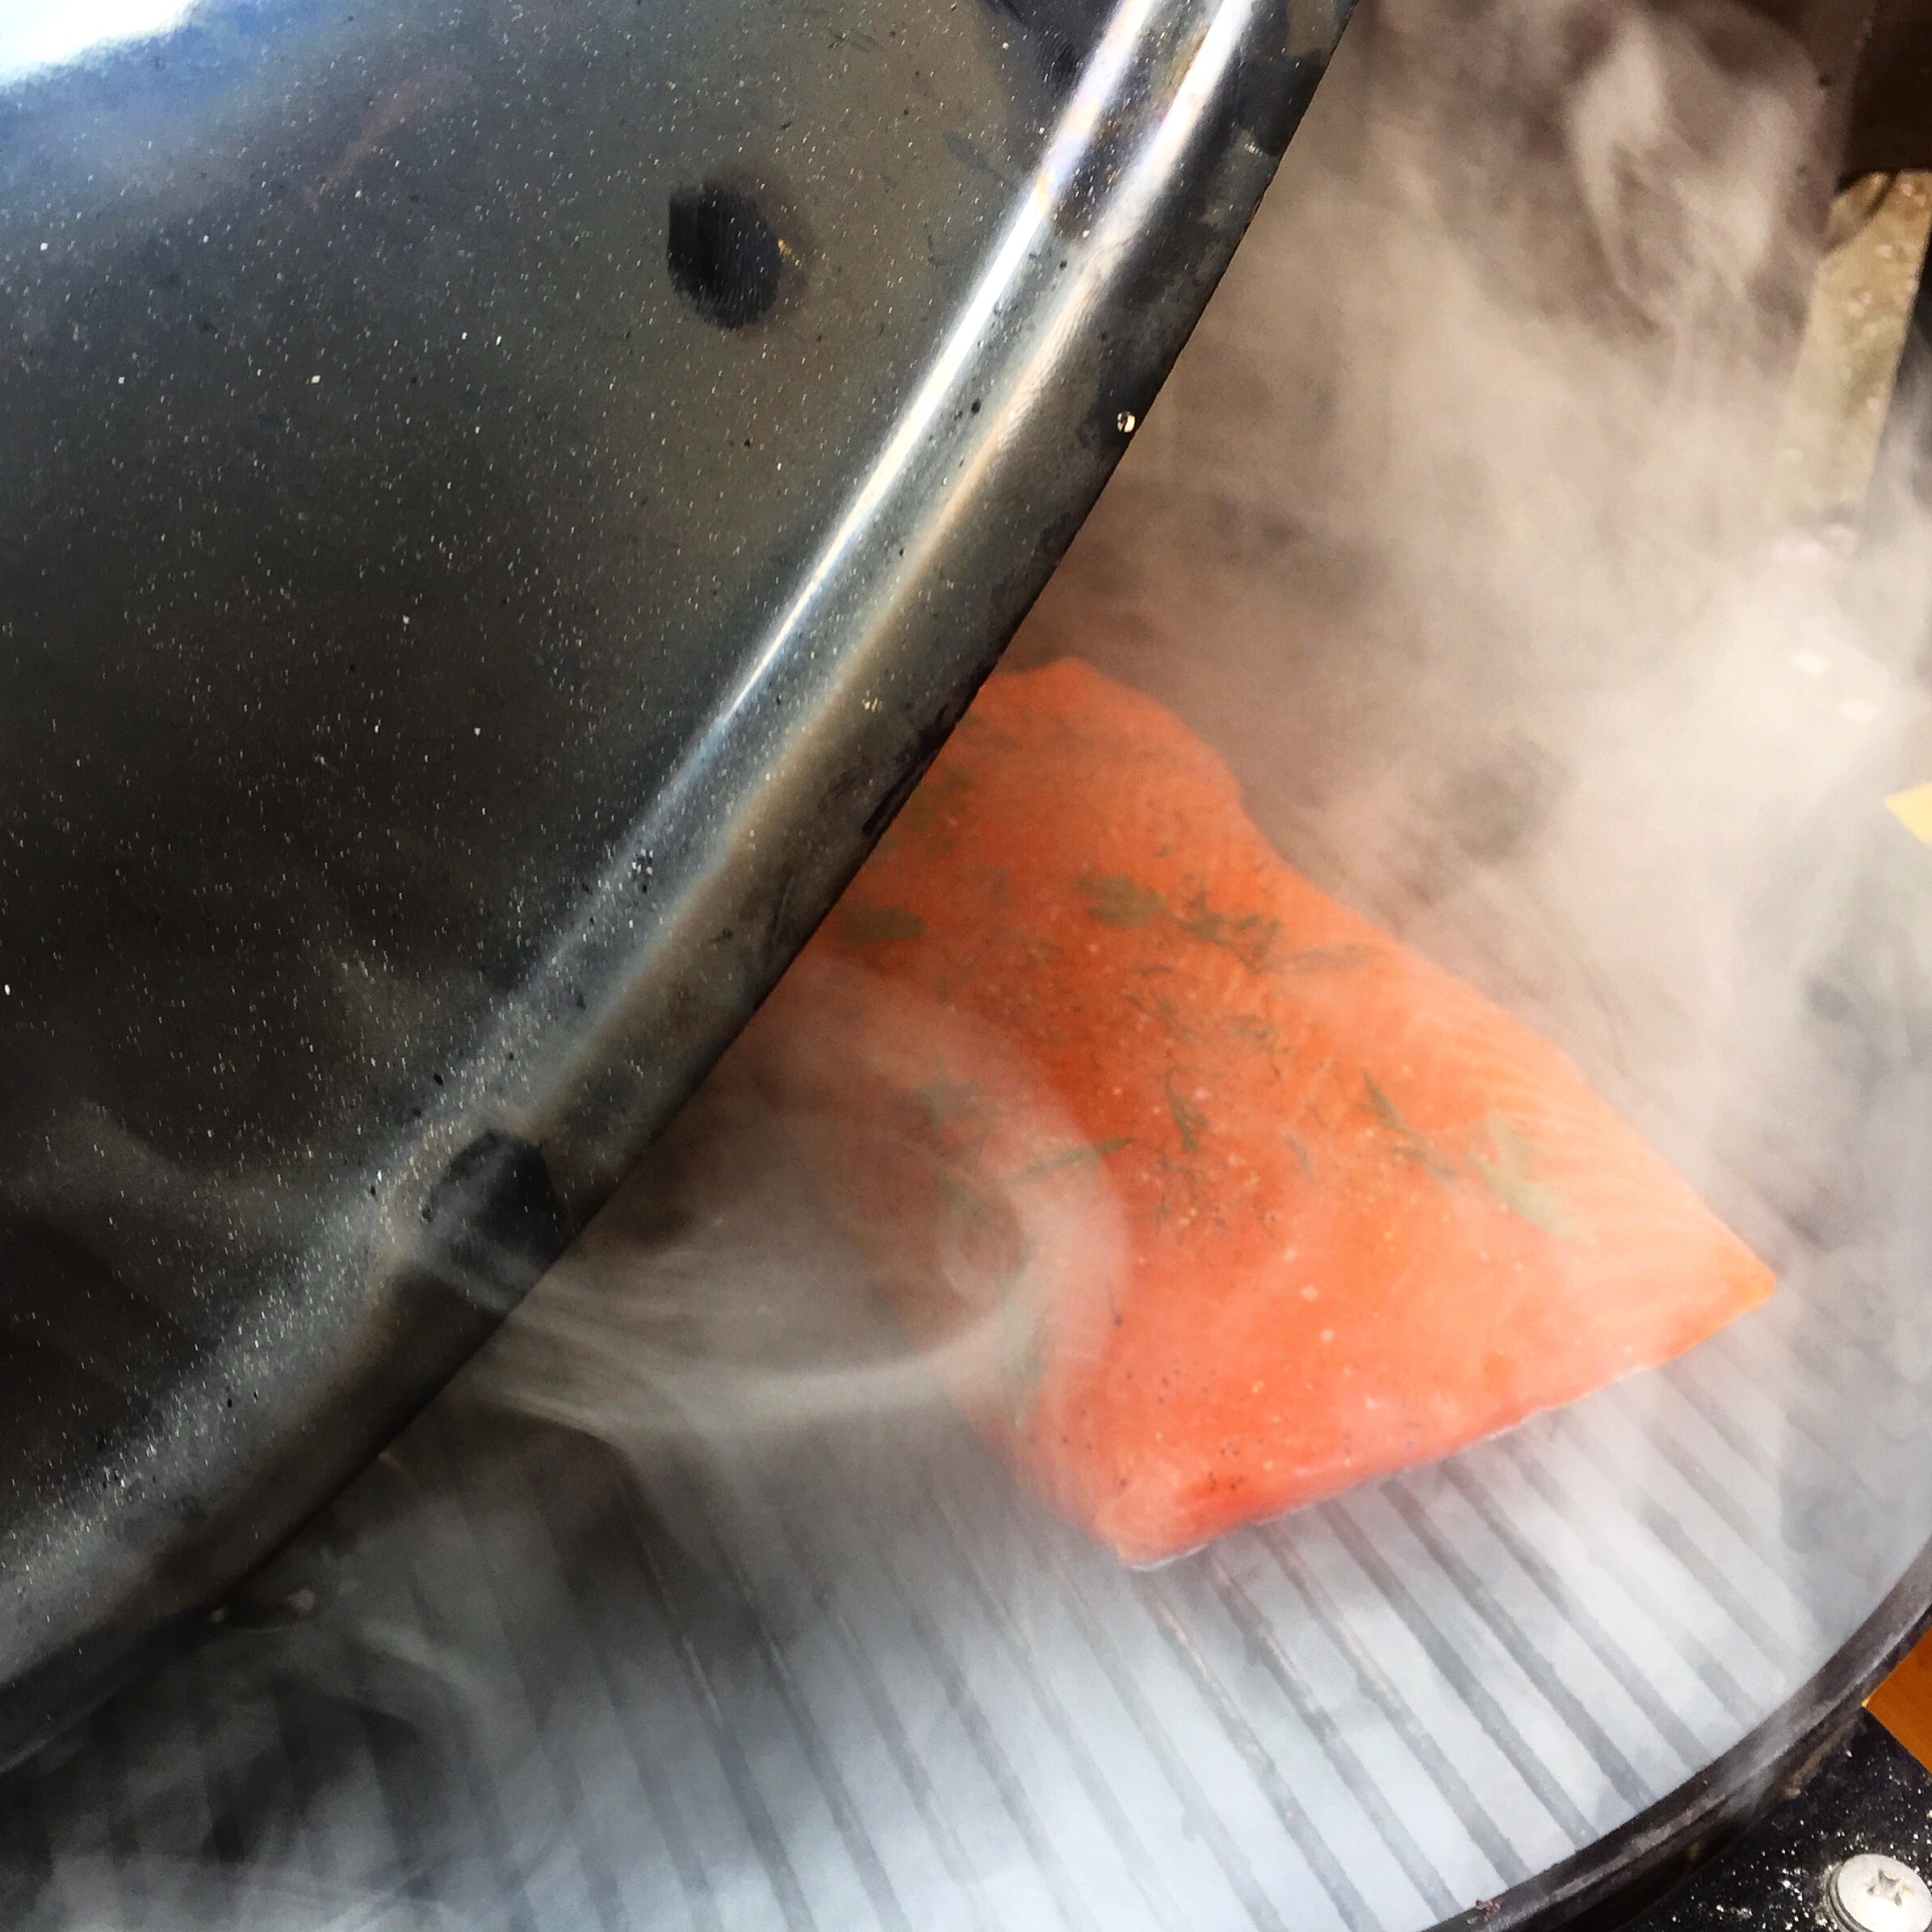
I didn’t spray this meat with Bactoferm Mold 600 (Penicillium nalgiovense) but I put it in the curing chamber with meats that had been inoculated, so over time the mold jumped onto it. The use of penicillium nalgiovense promotes beneficial mold growth and tends to keep any potentially dangerous mold growths at bay.
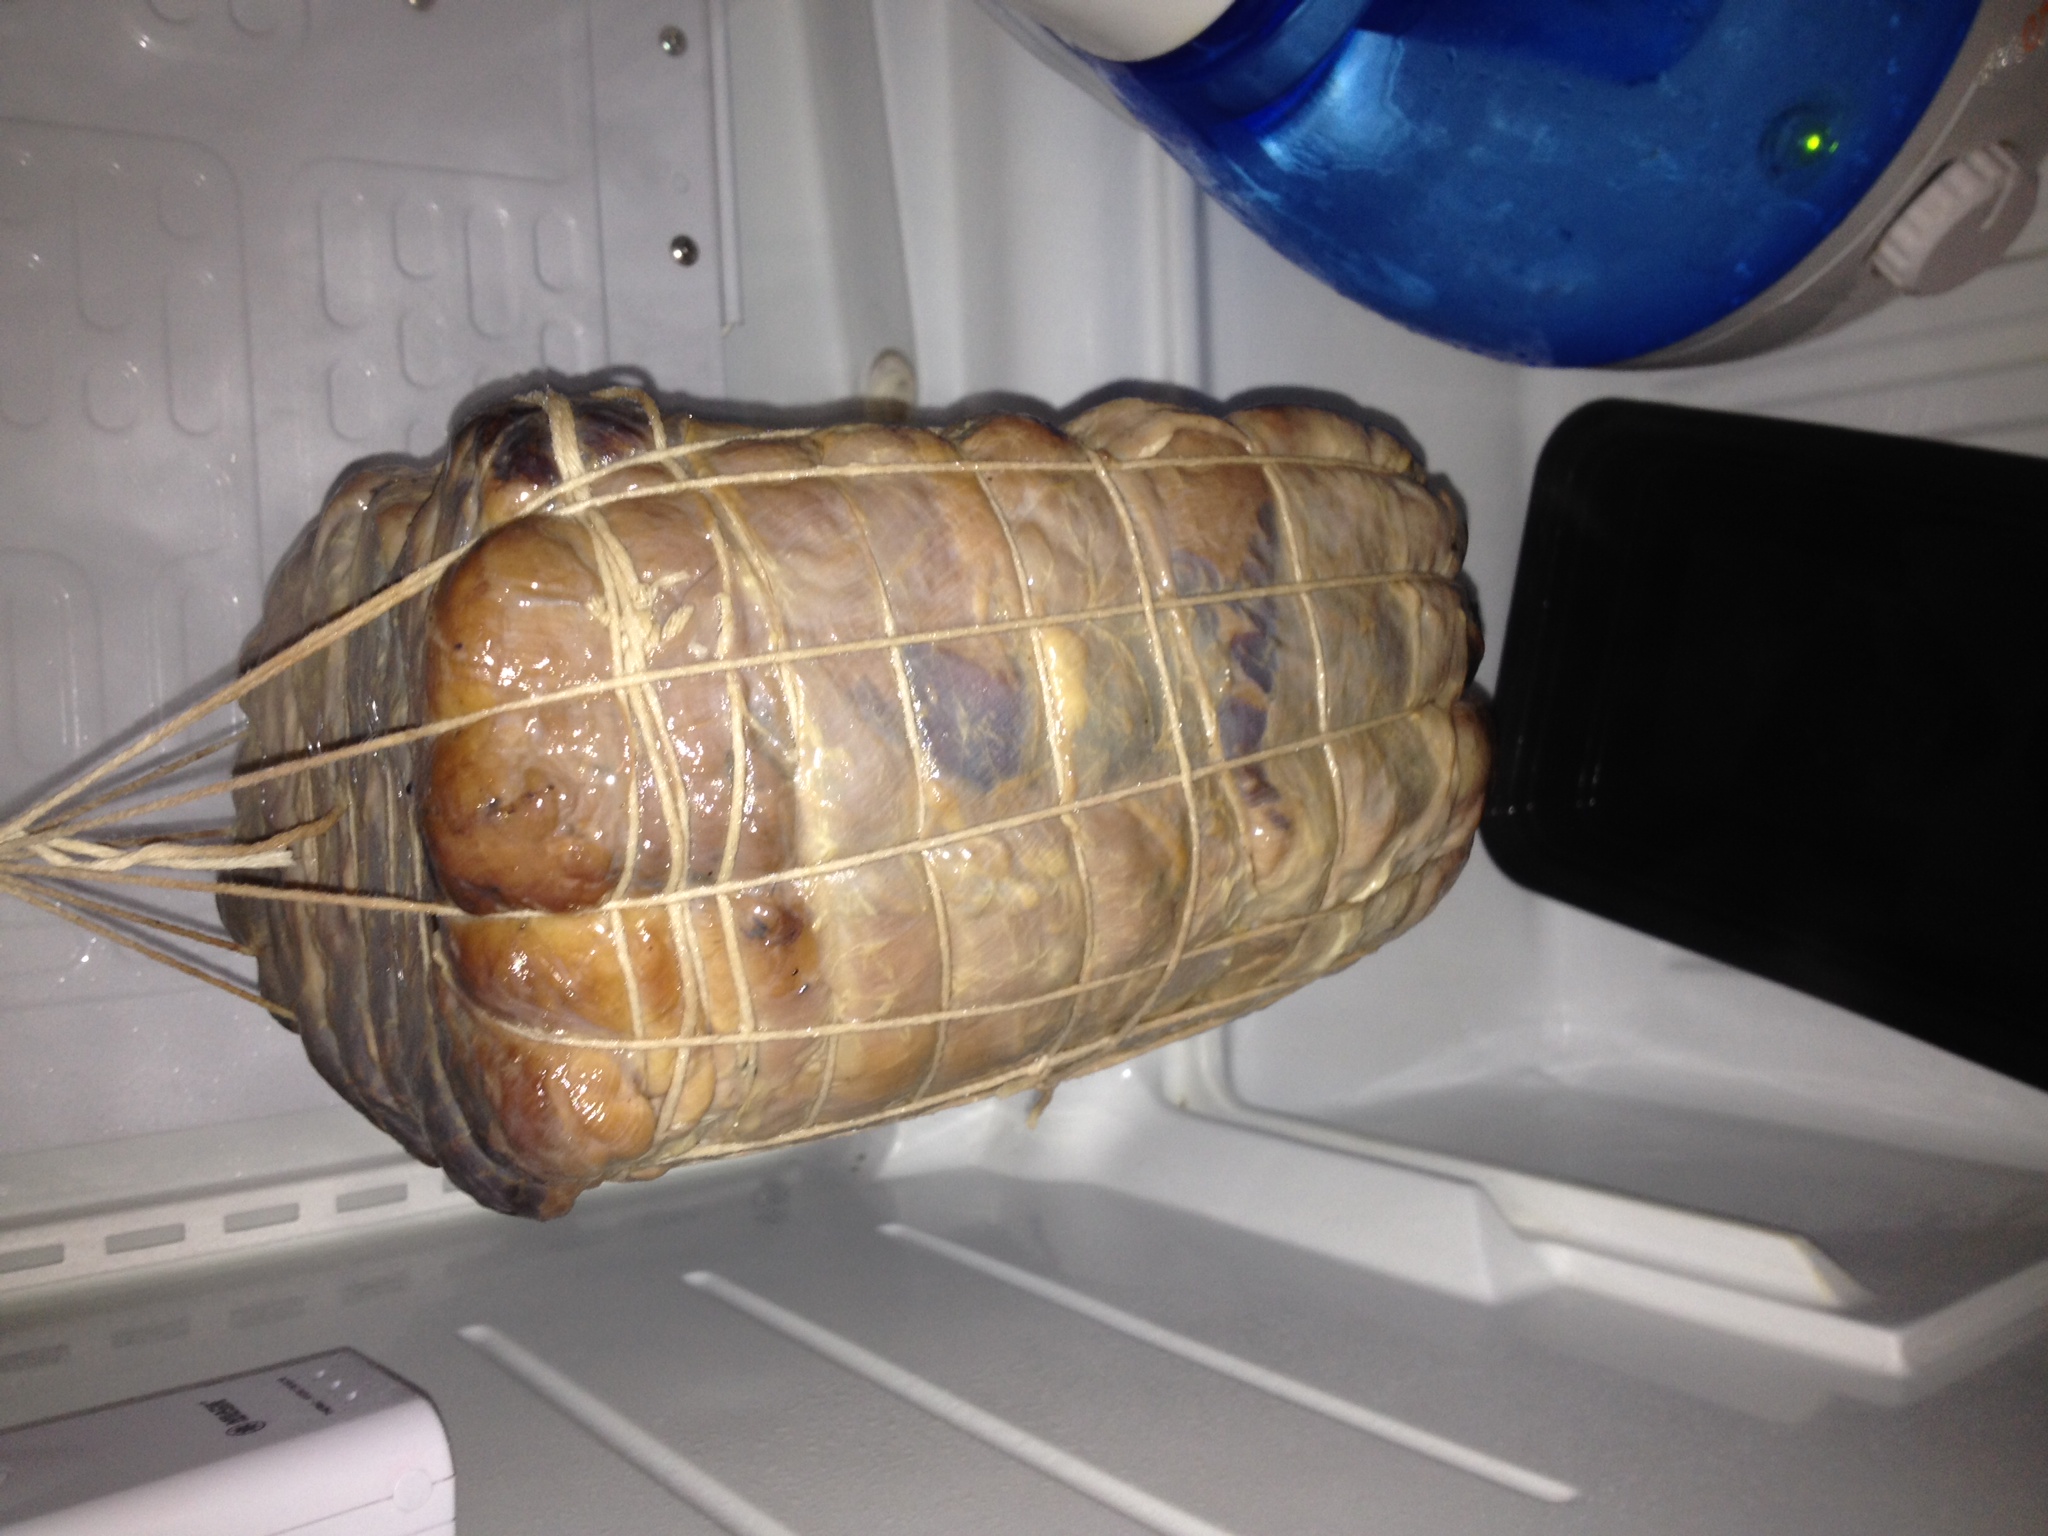
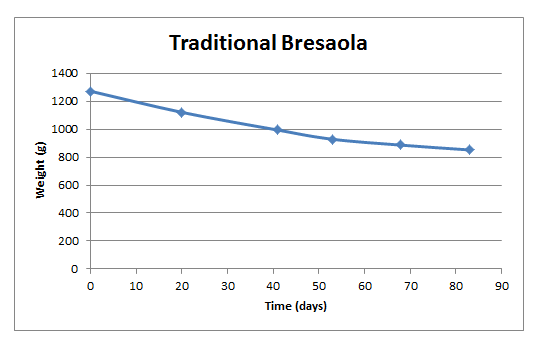
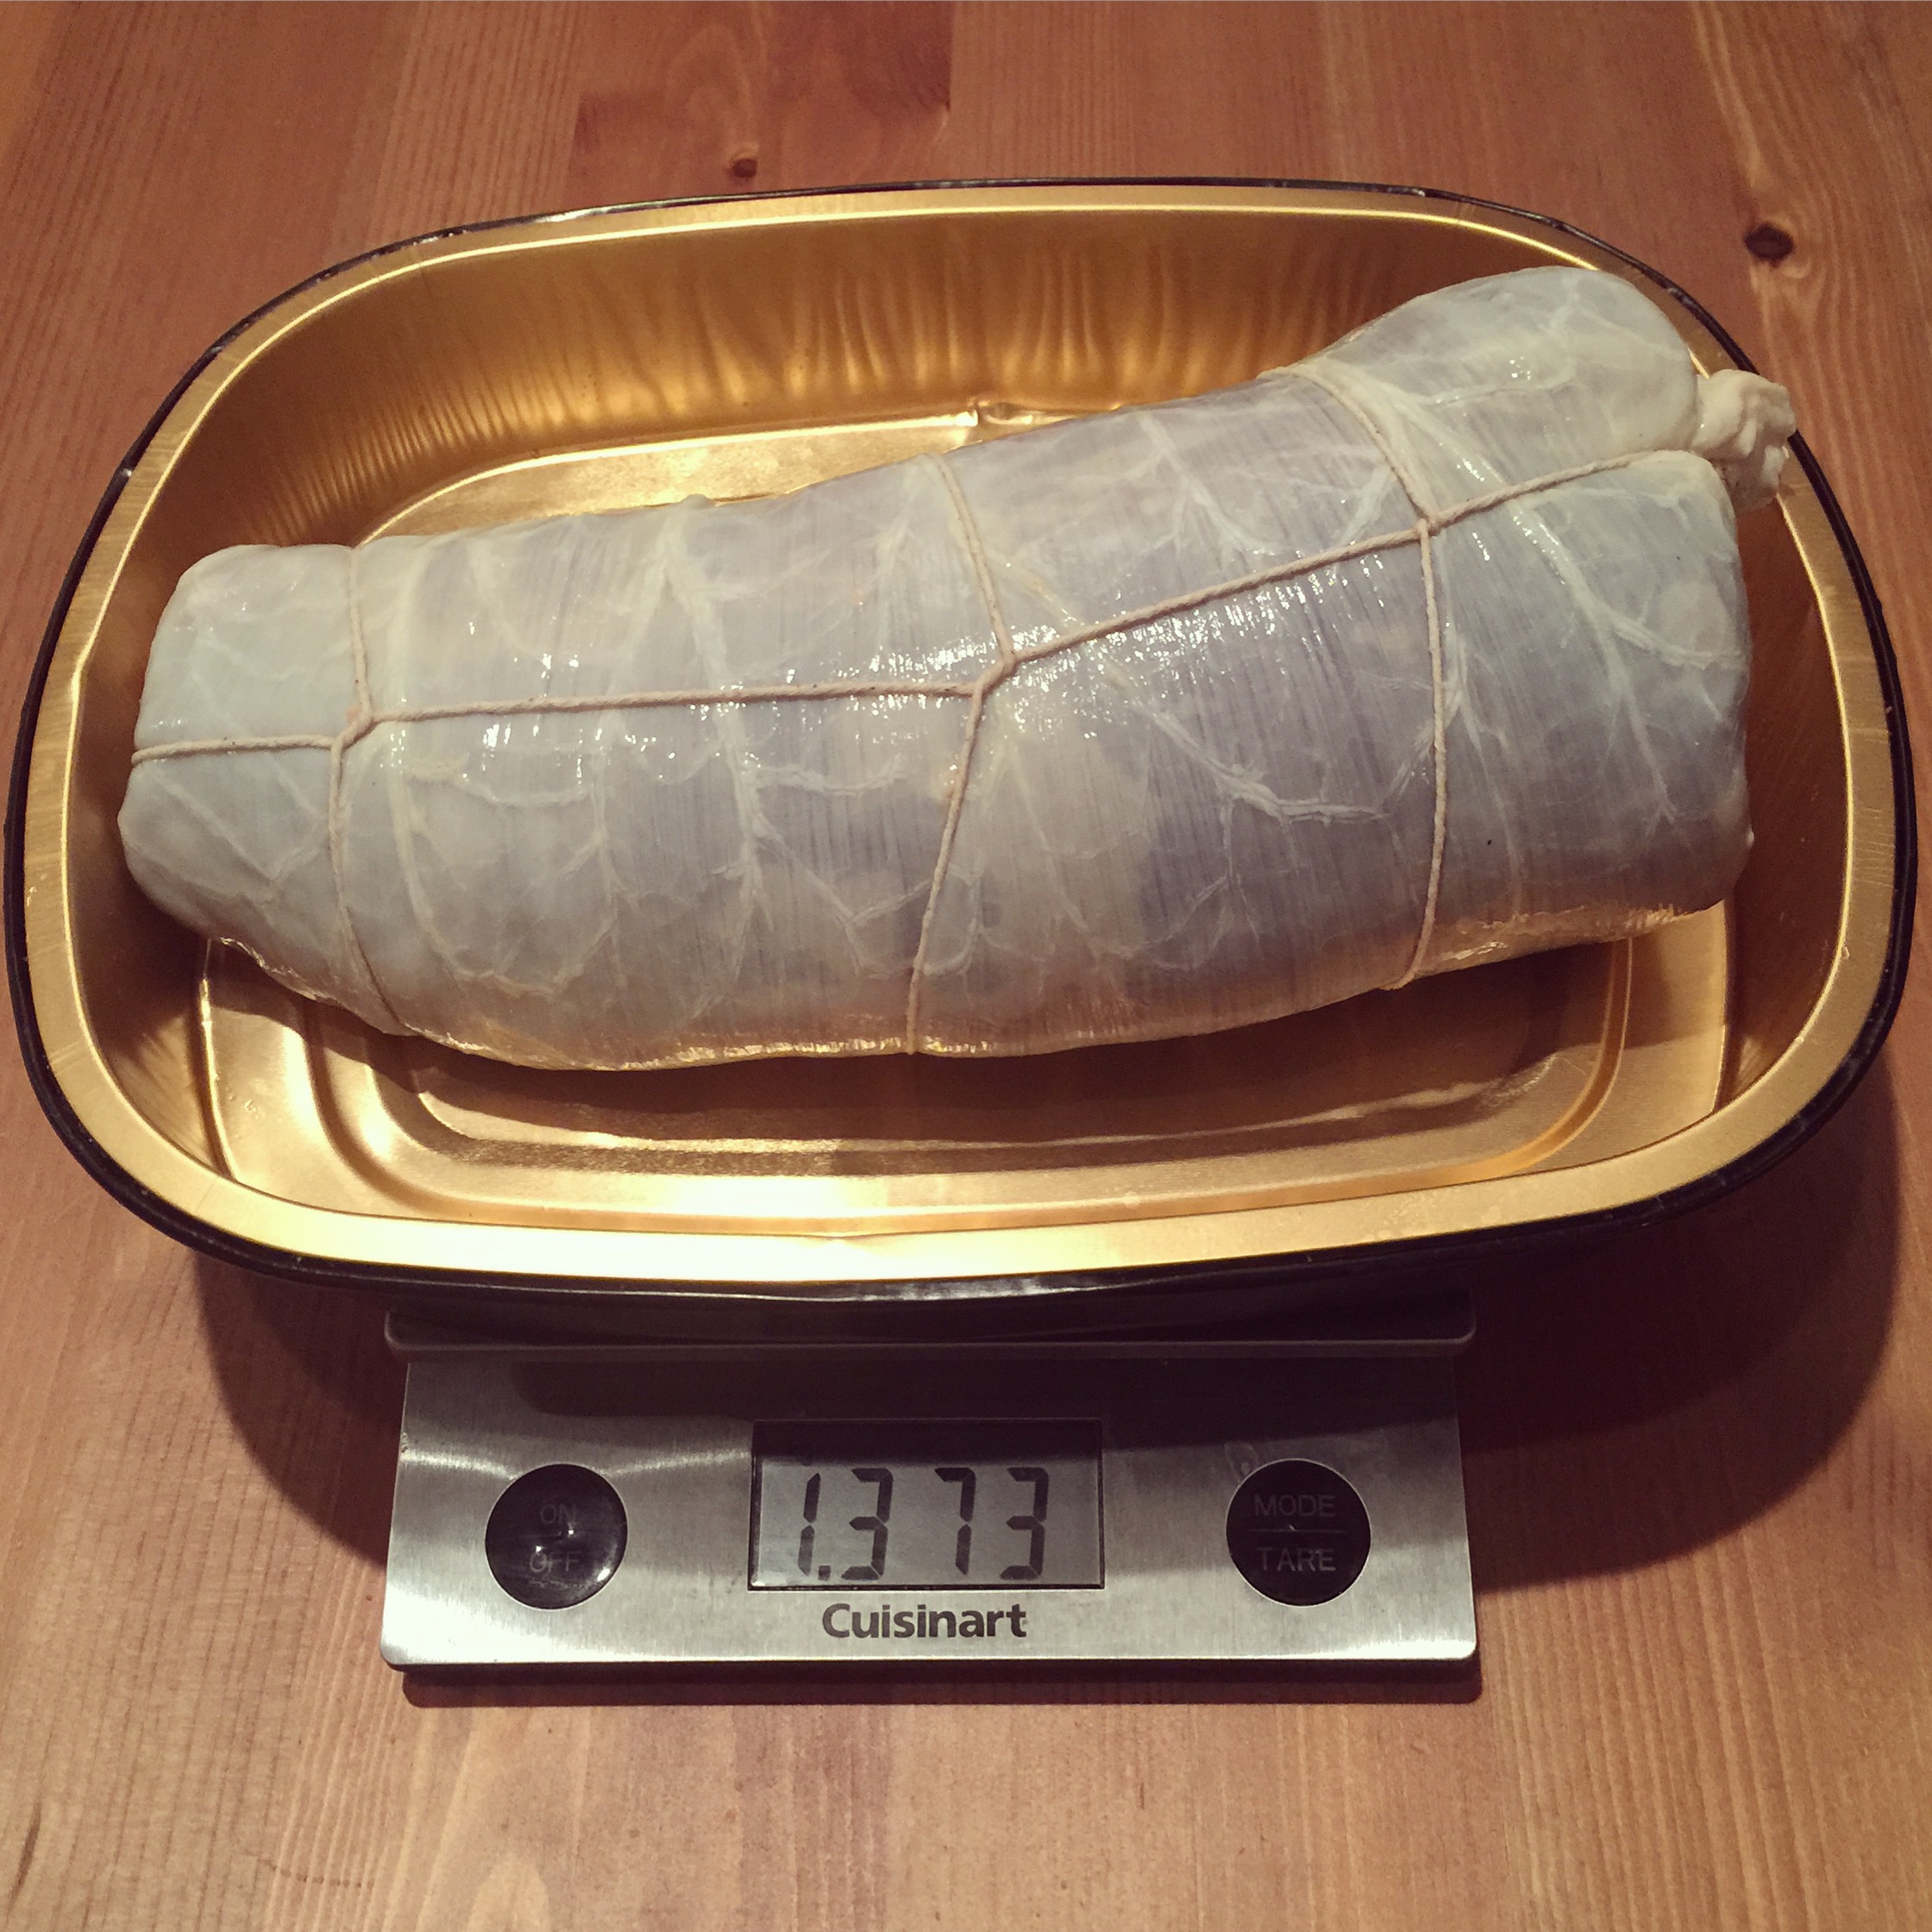
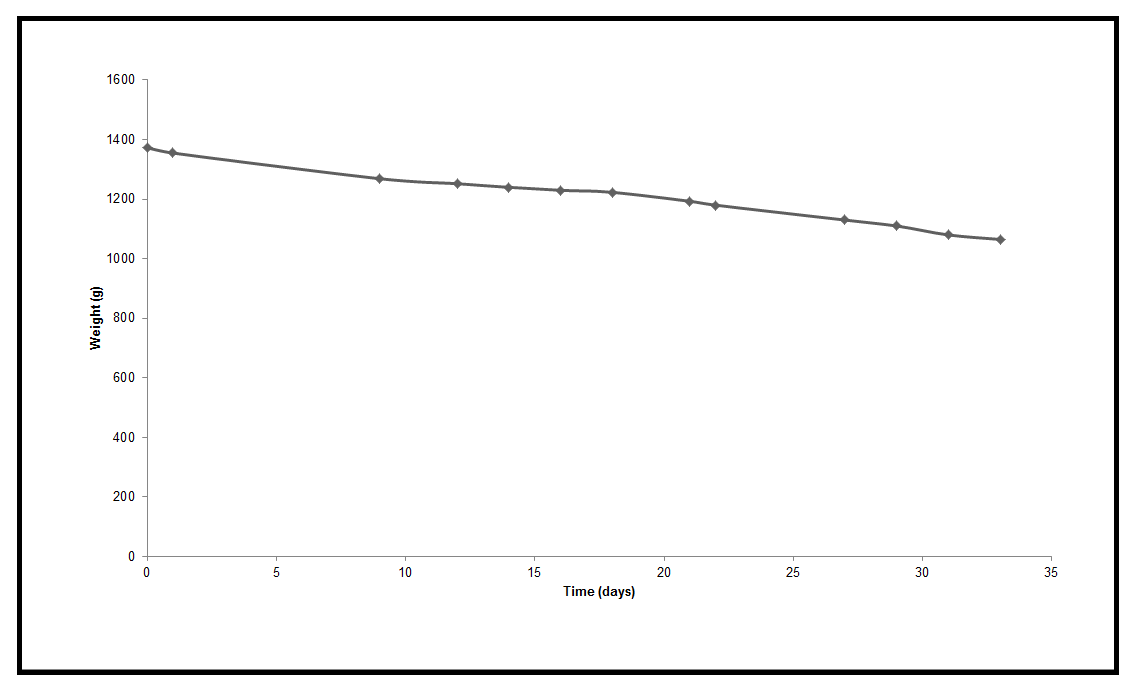
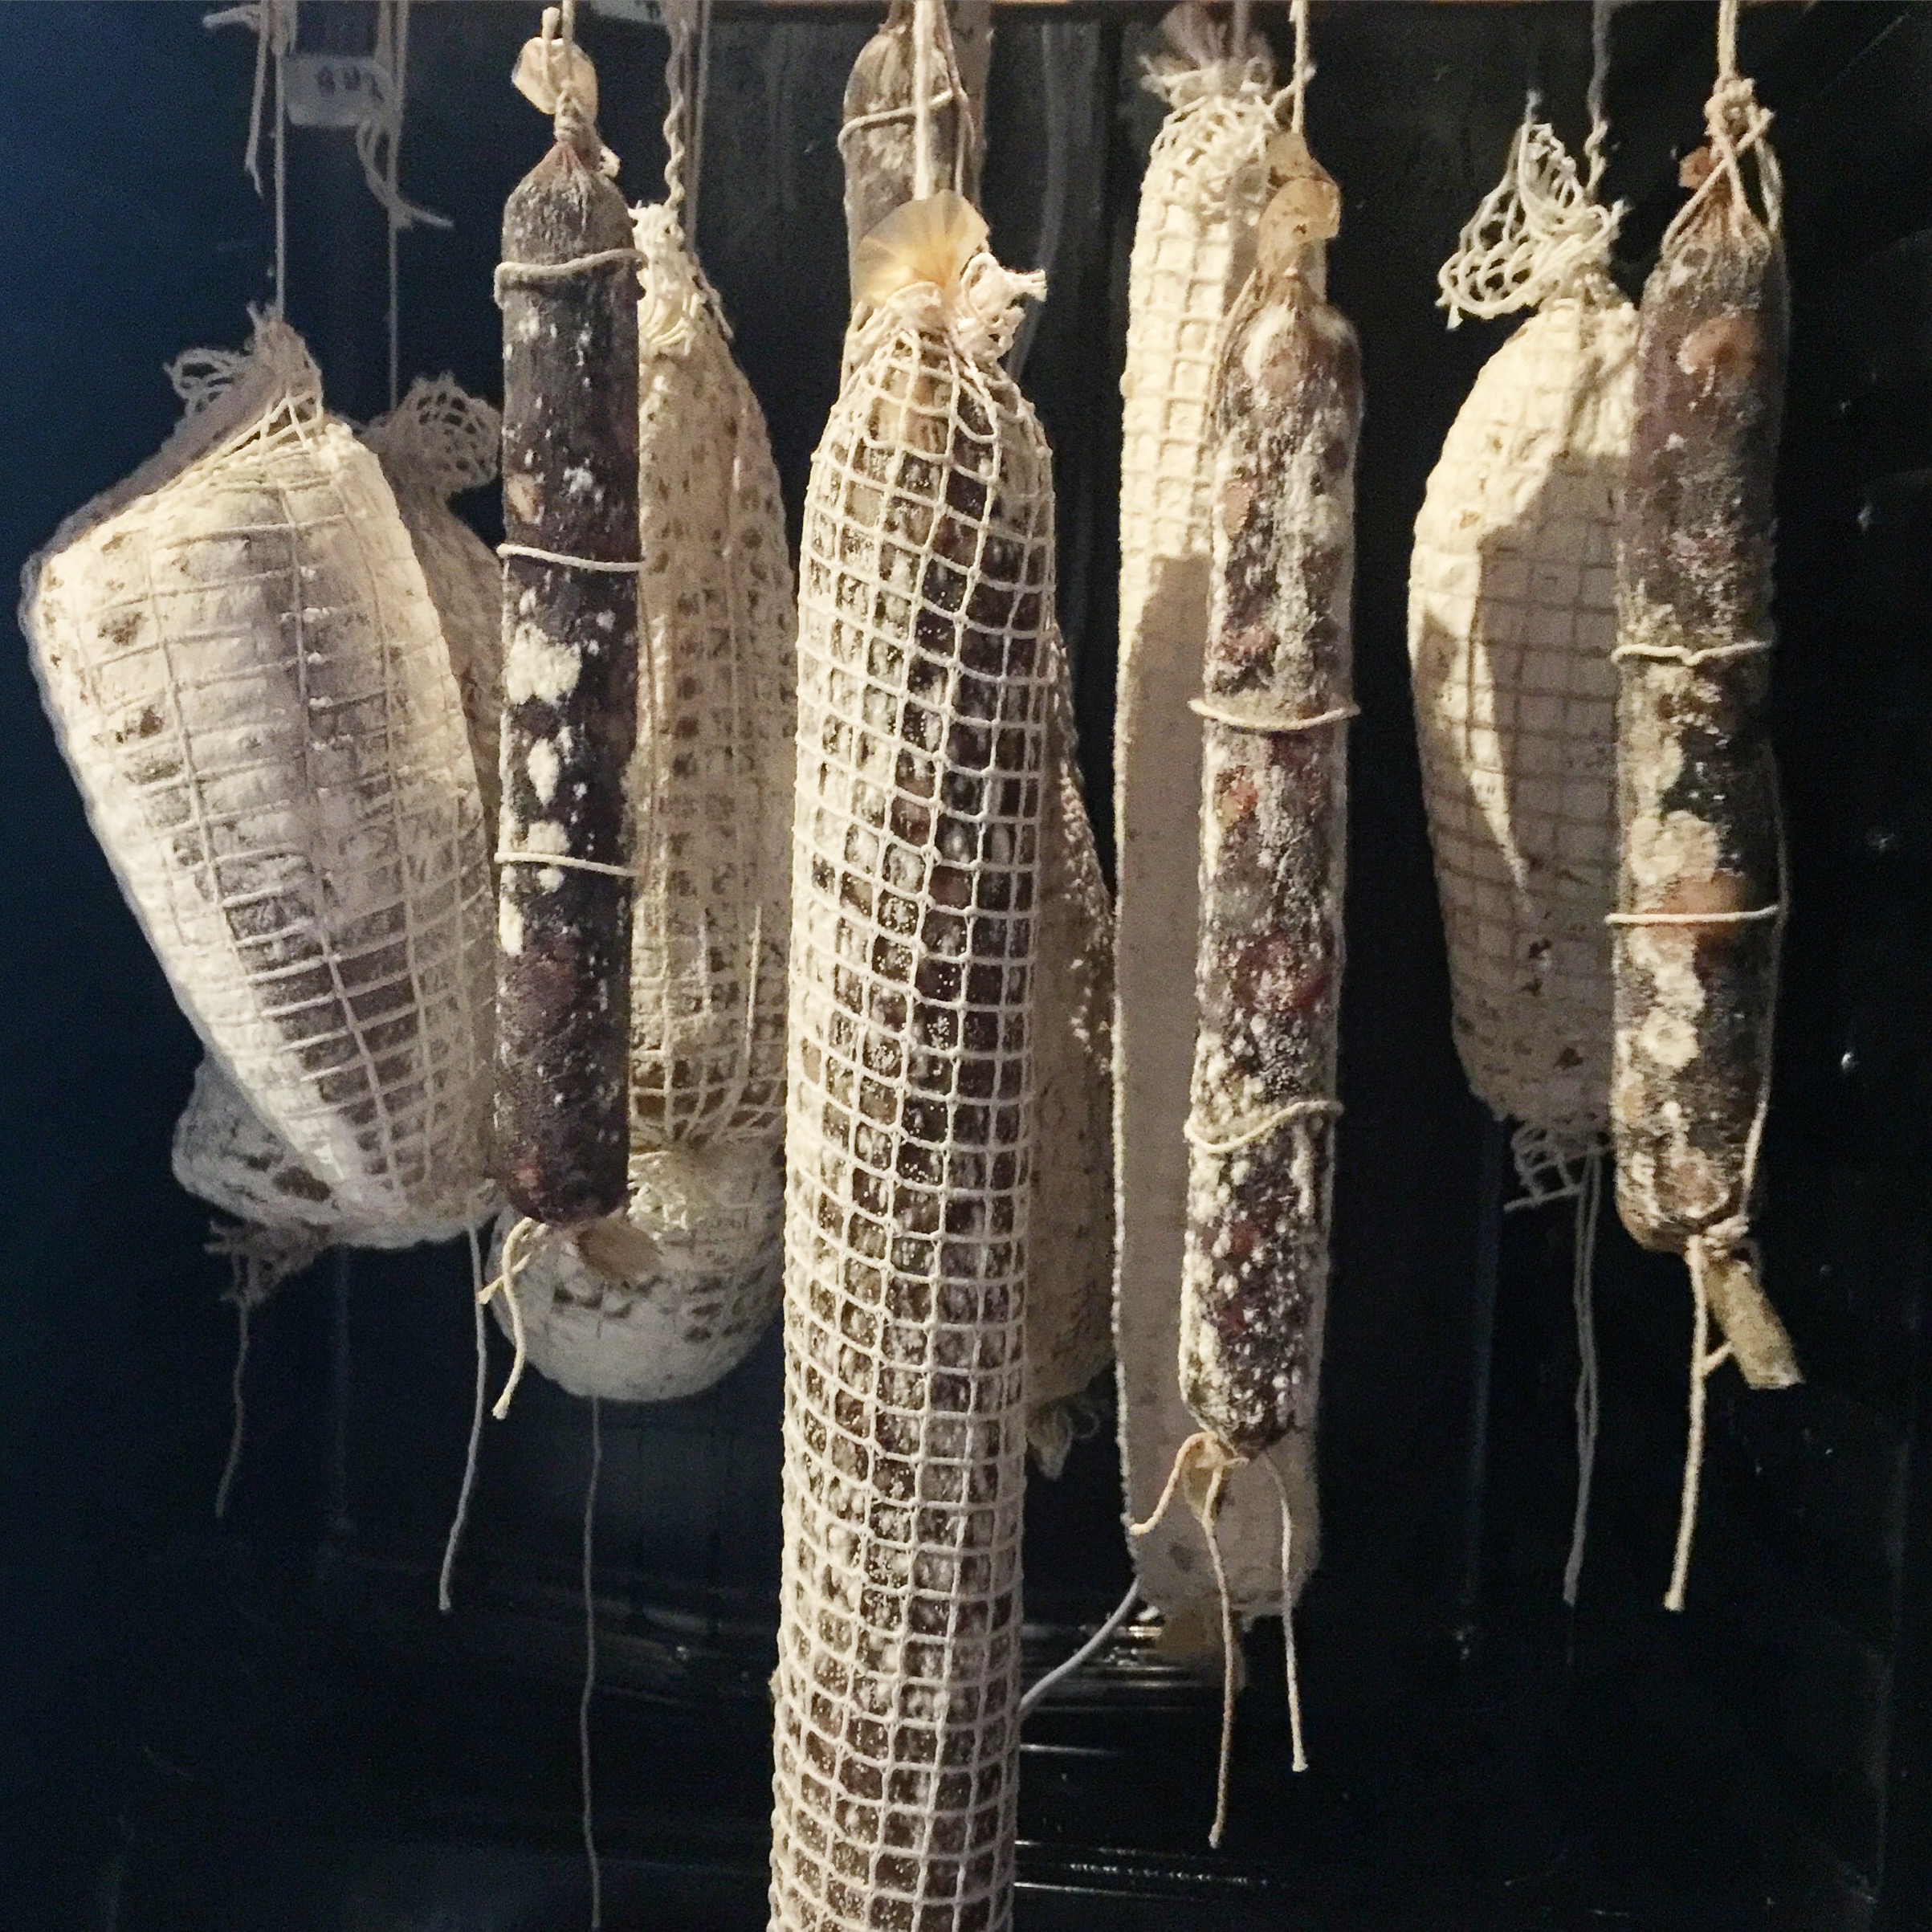
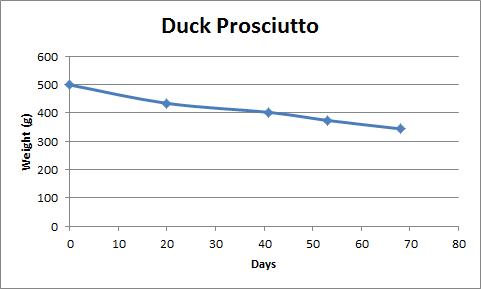
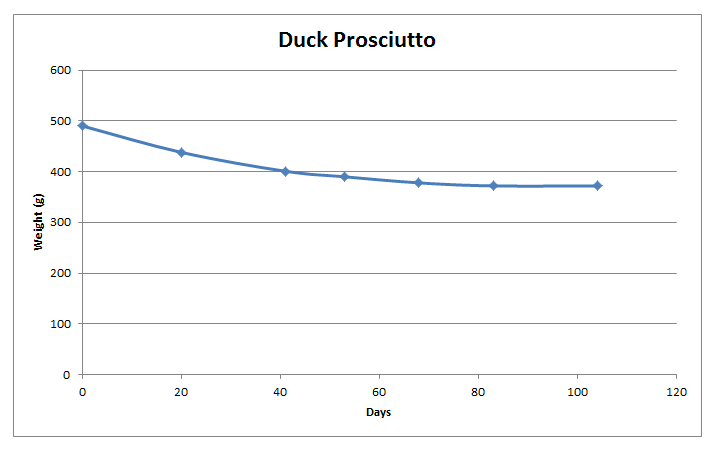
Drying (1 month+, until 30% of weight is lost):
Temperature: 54F/12C, Humidity: 70-80% RH
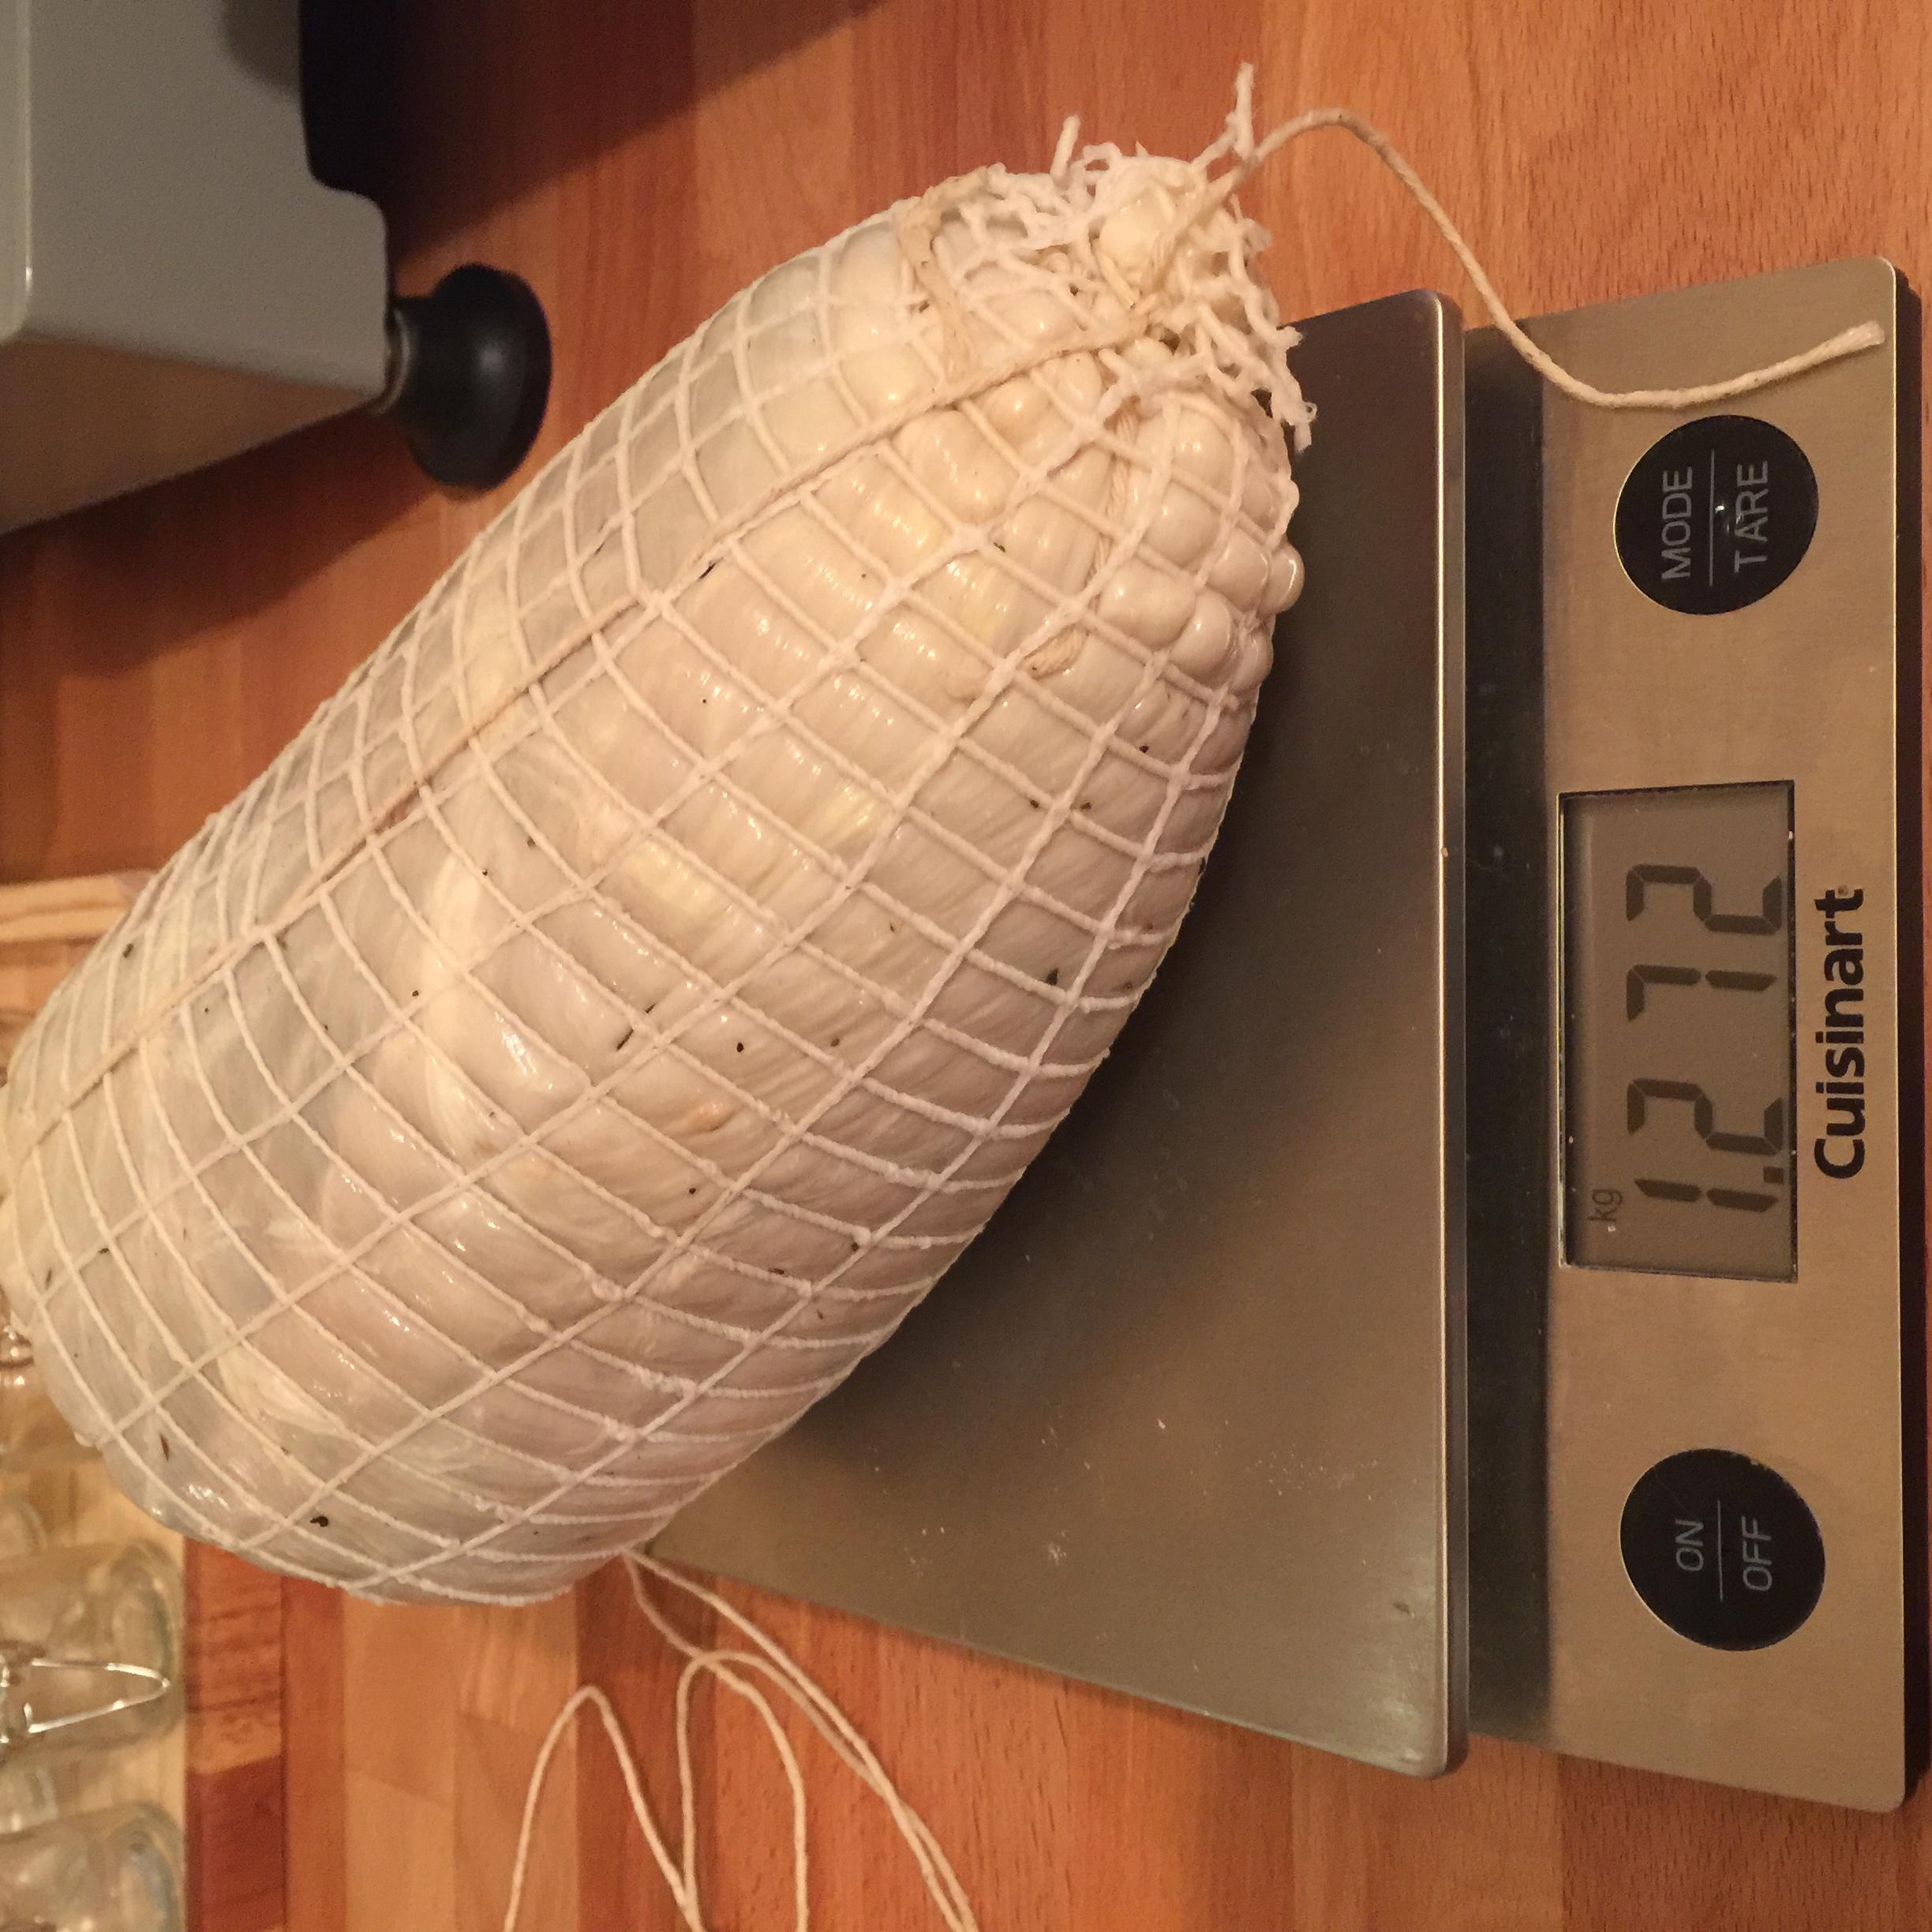
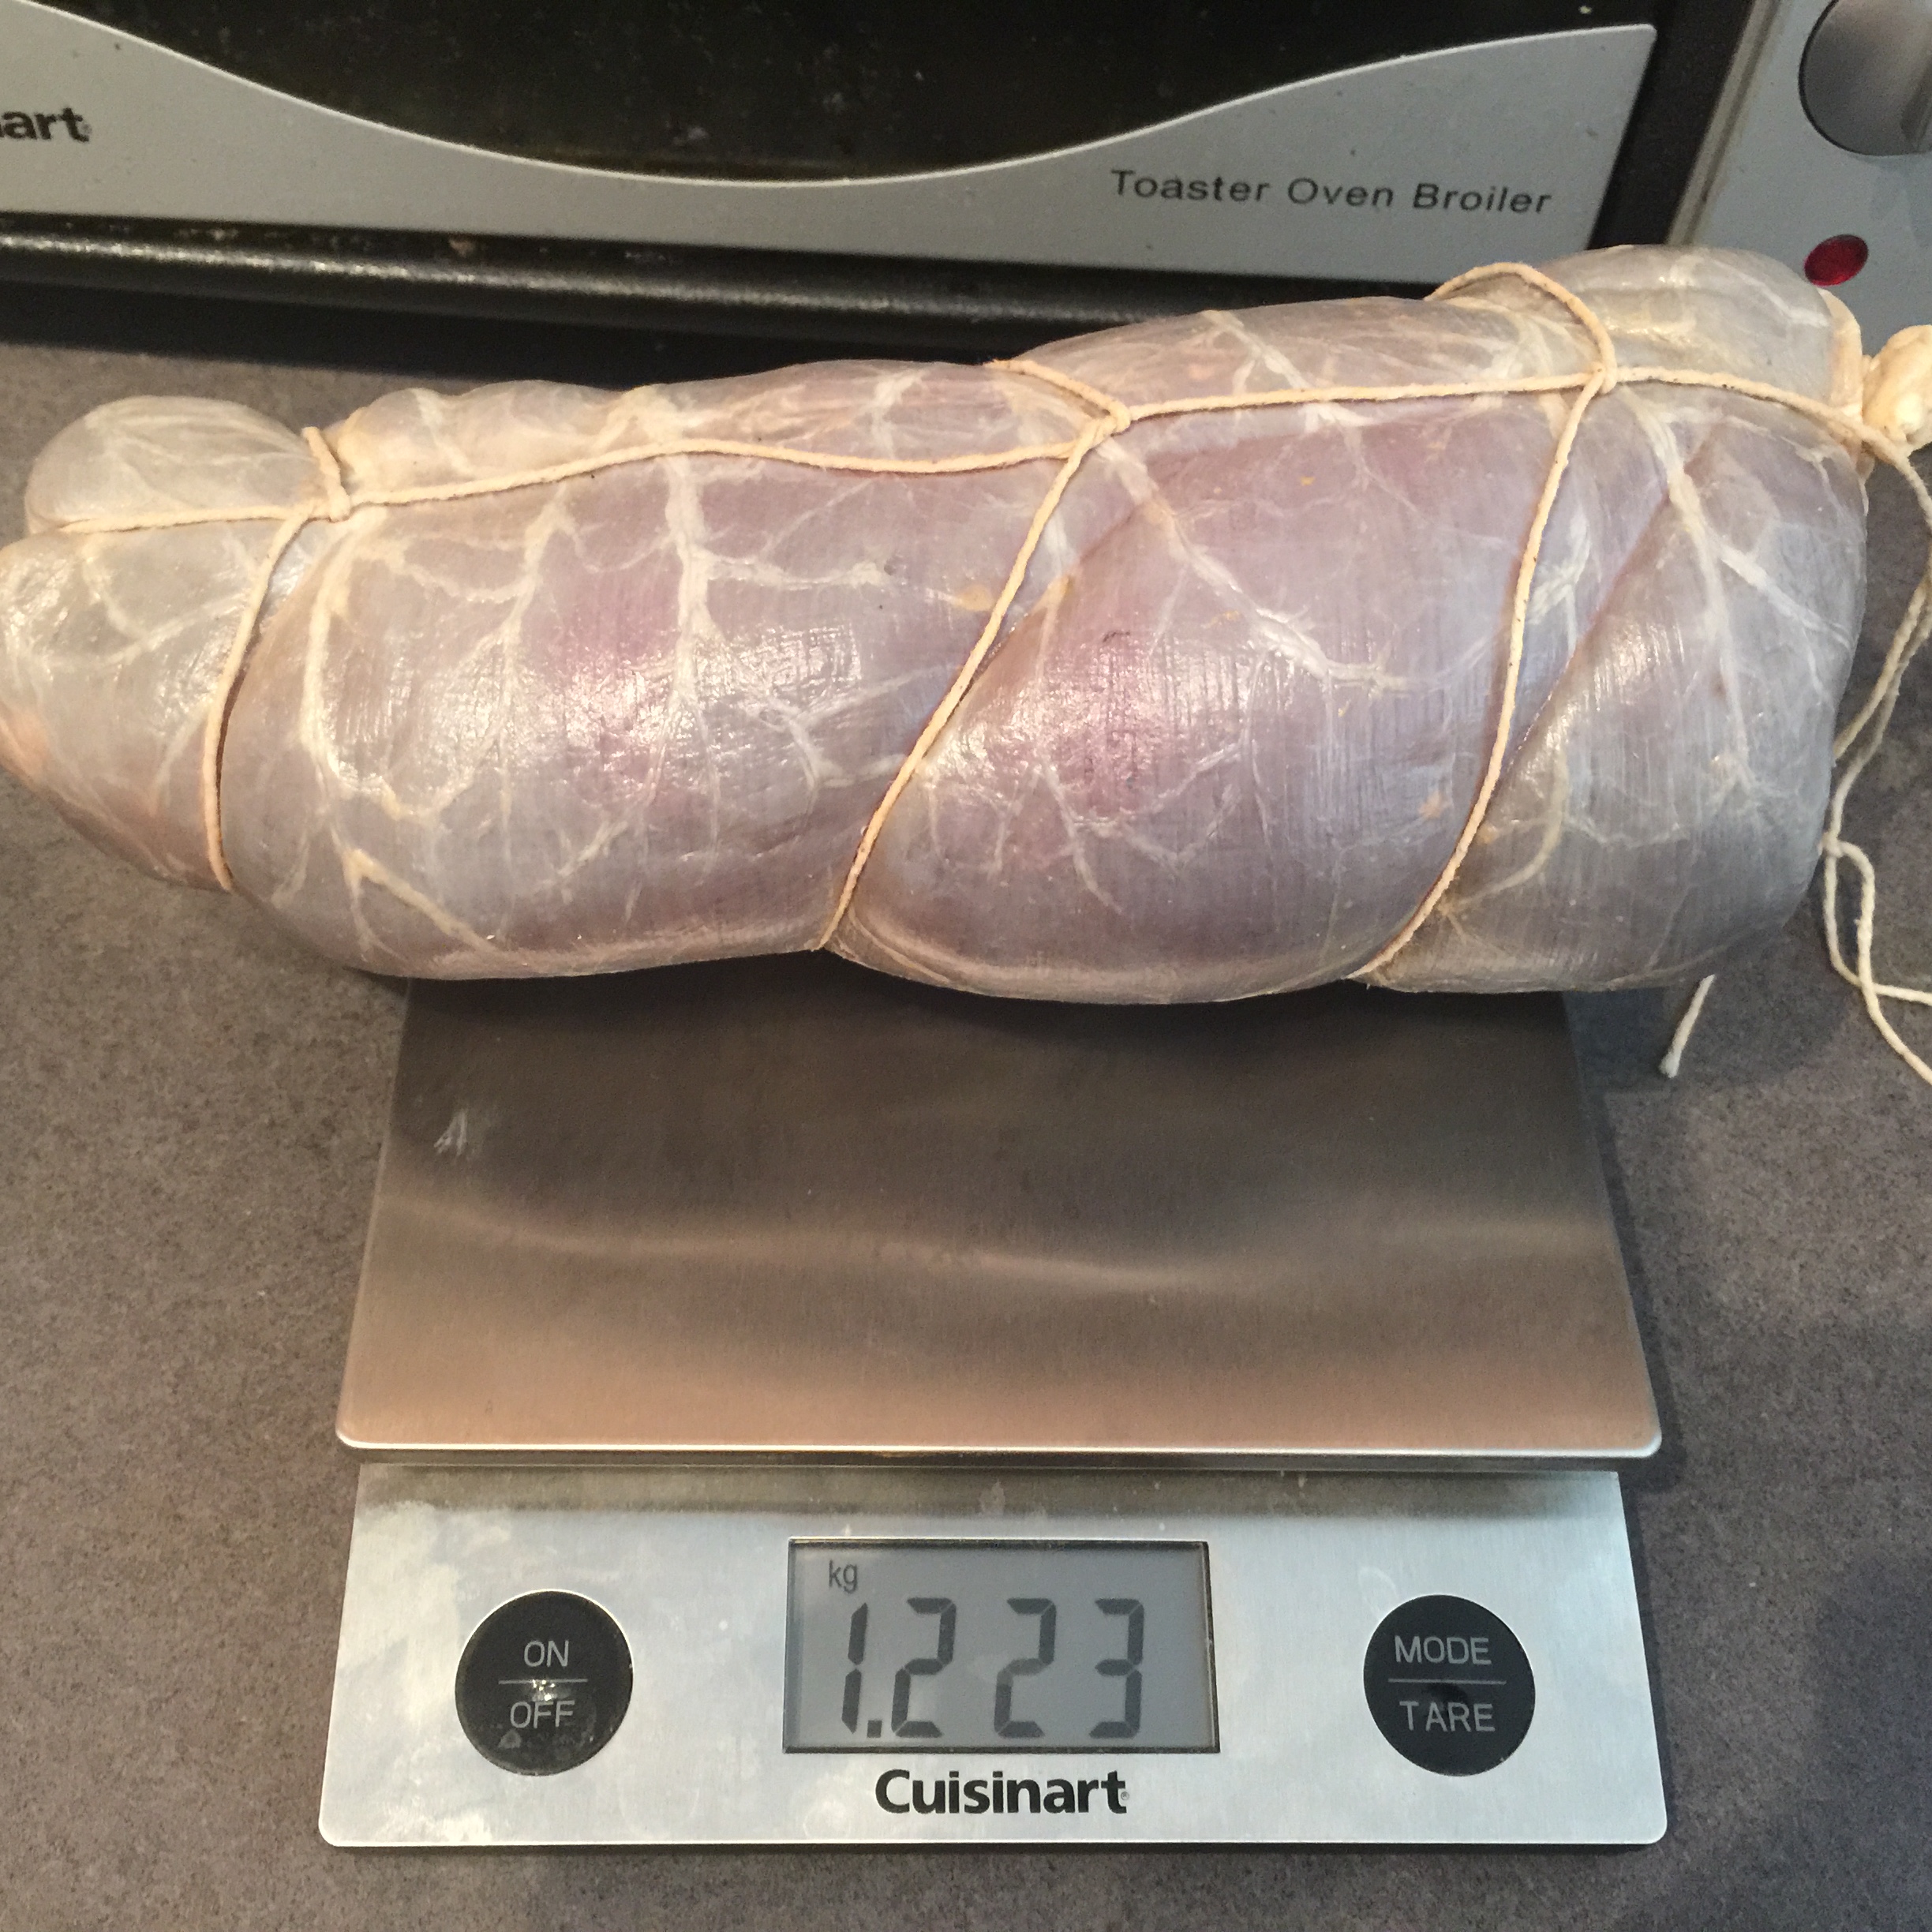
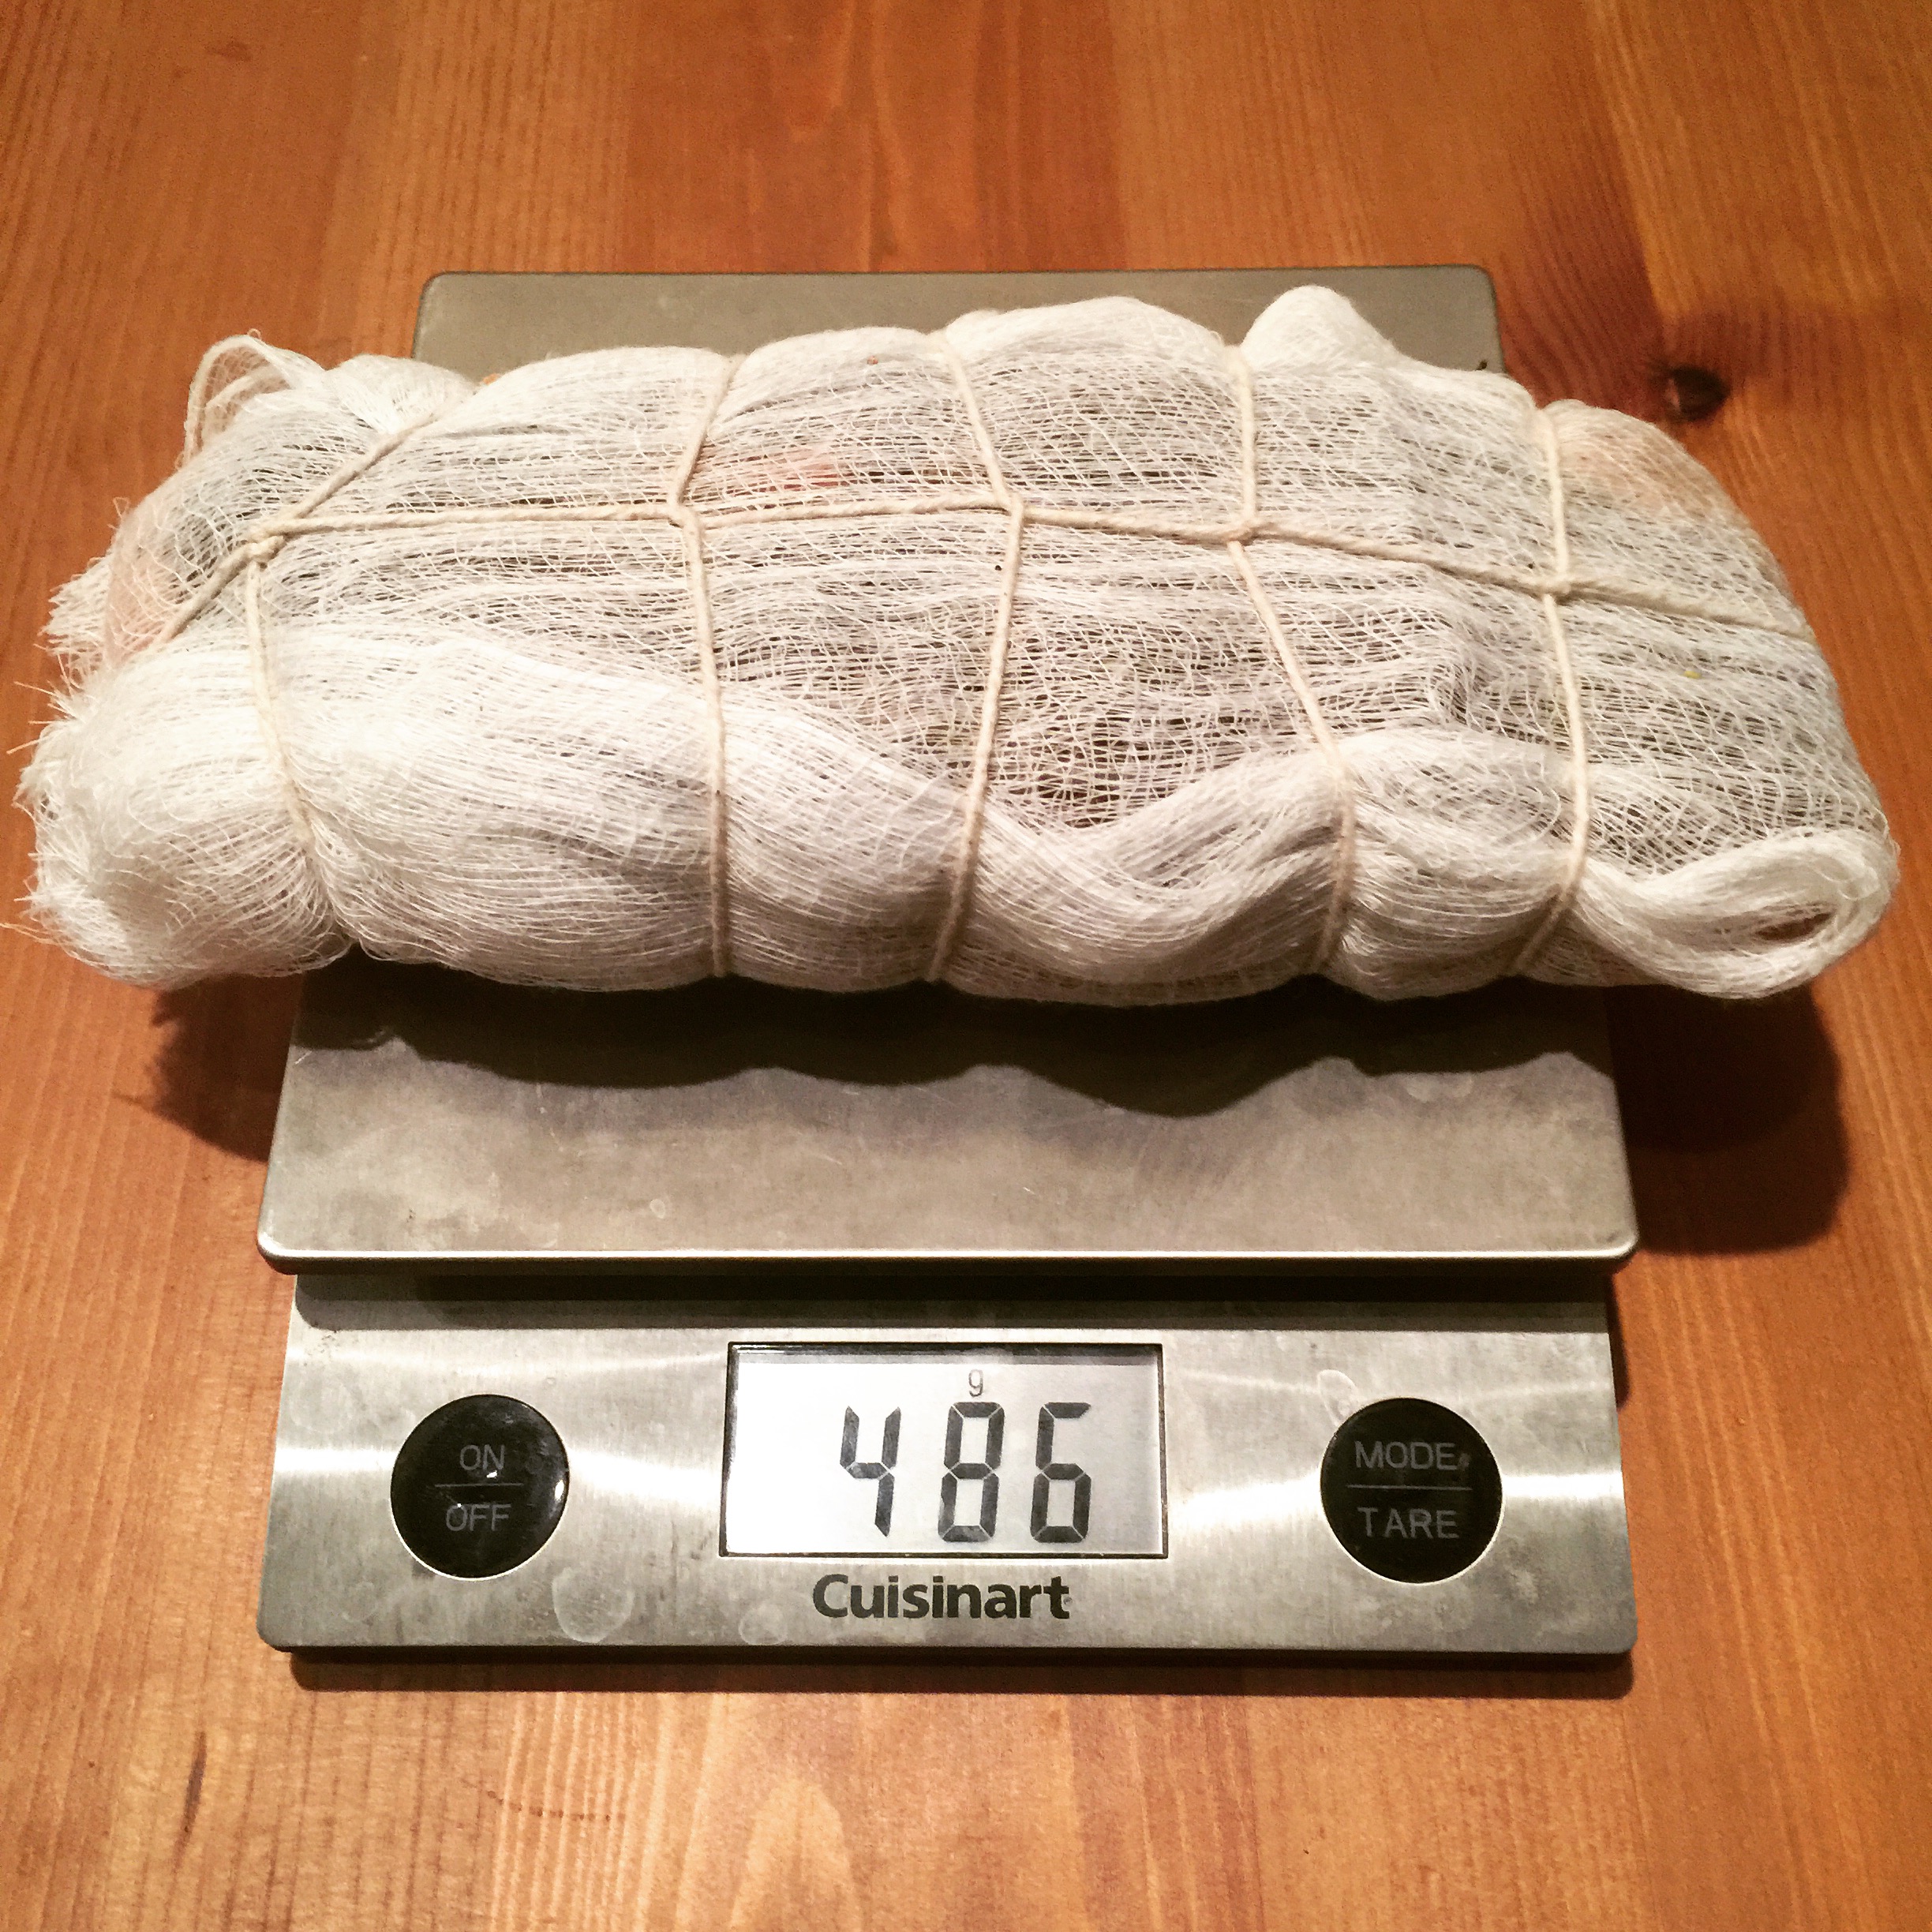
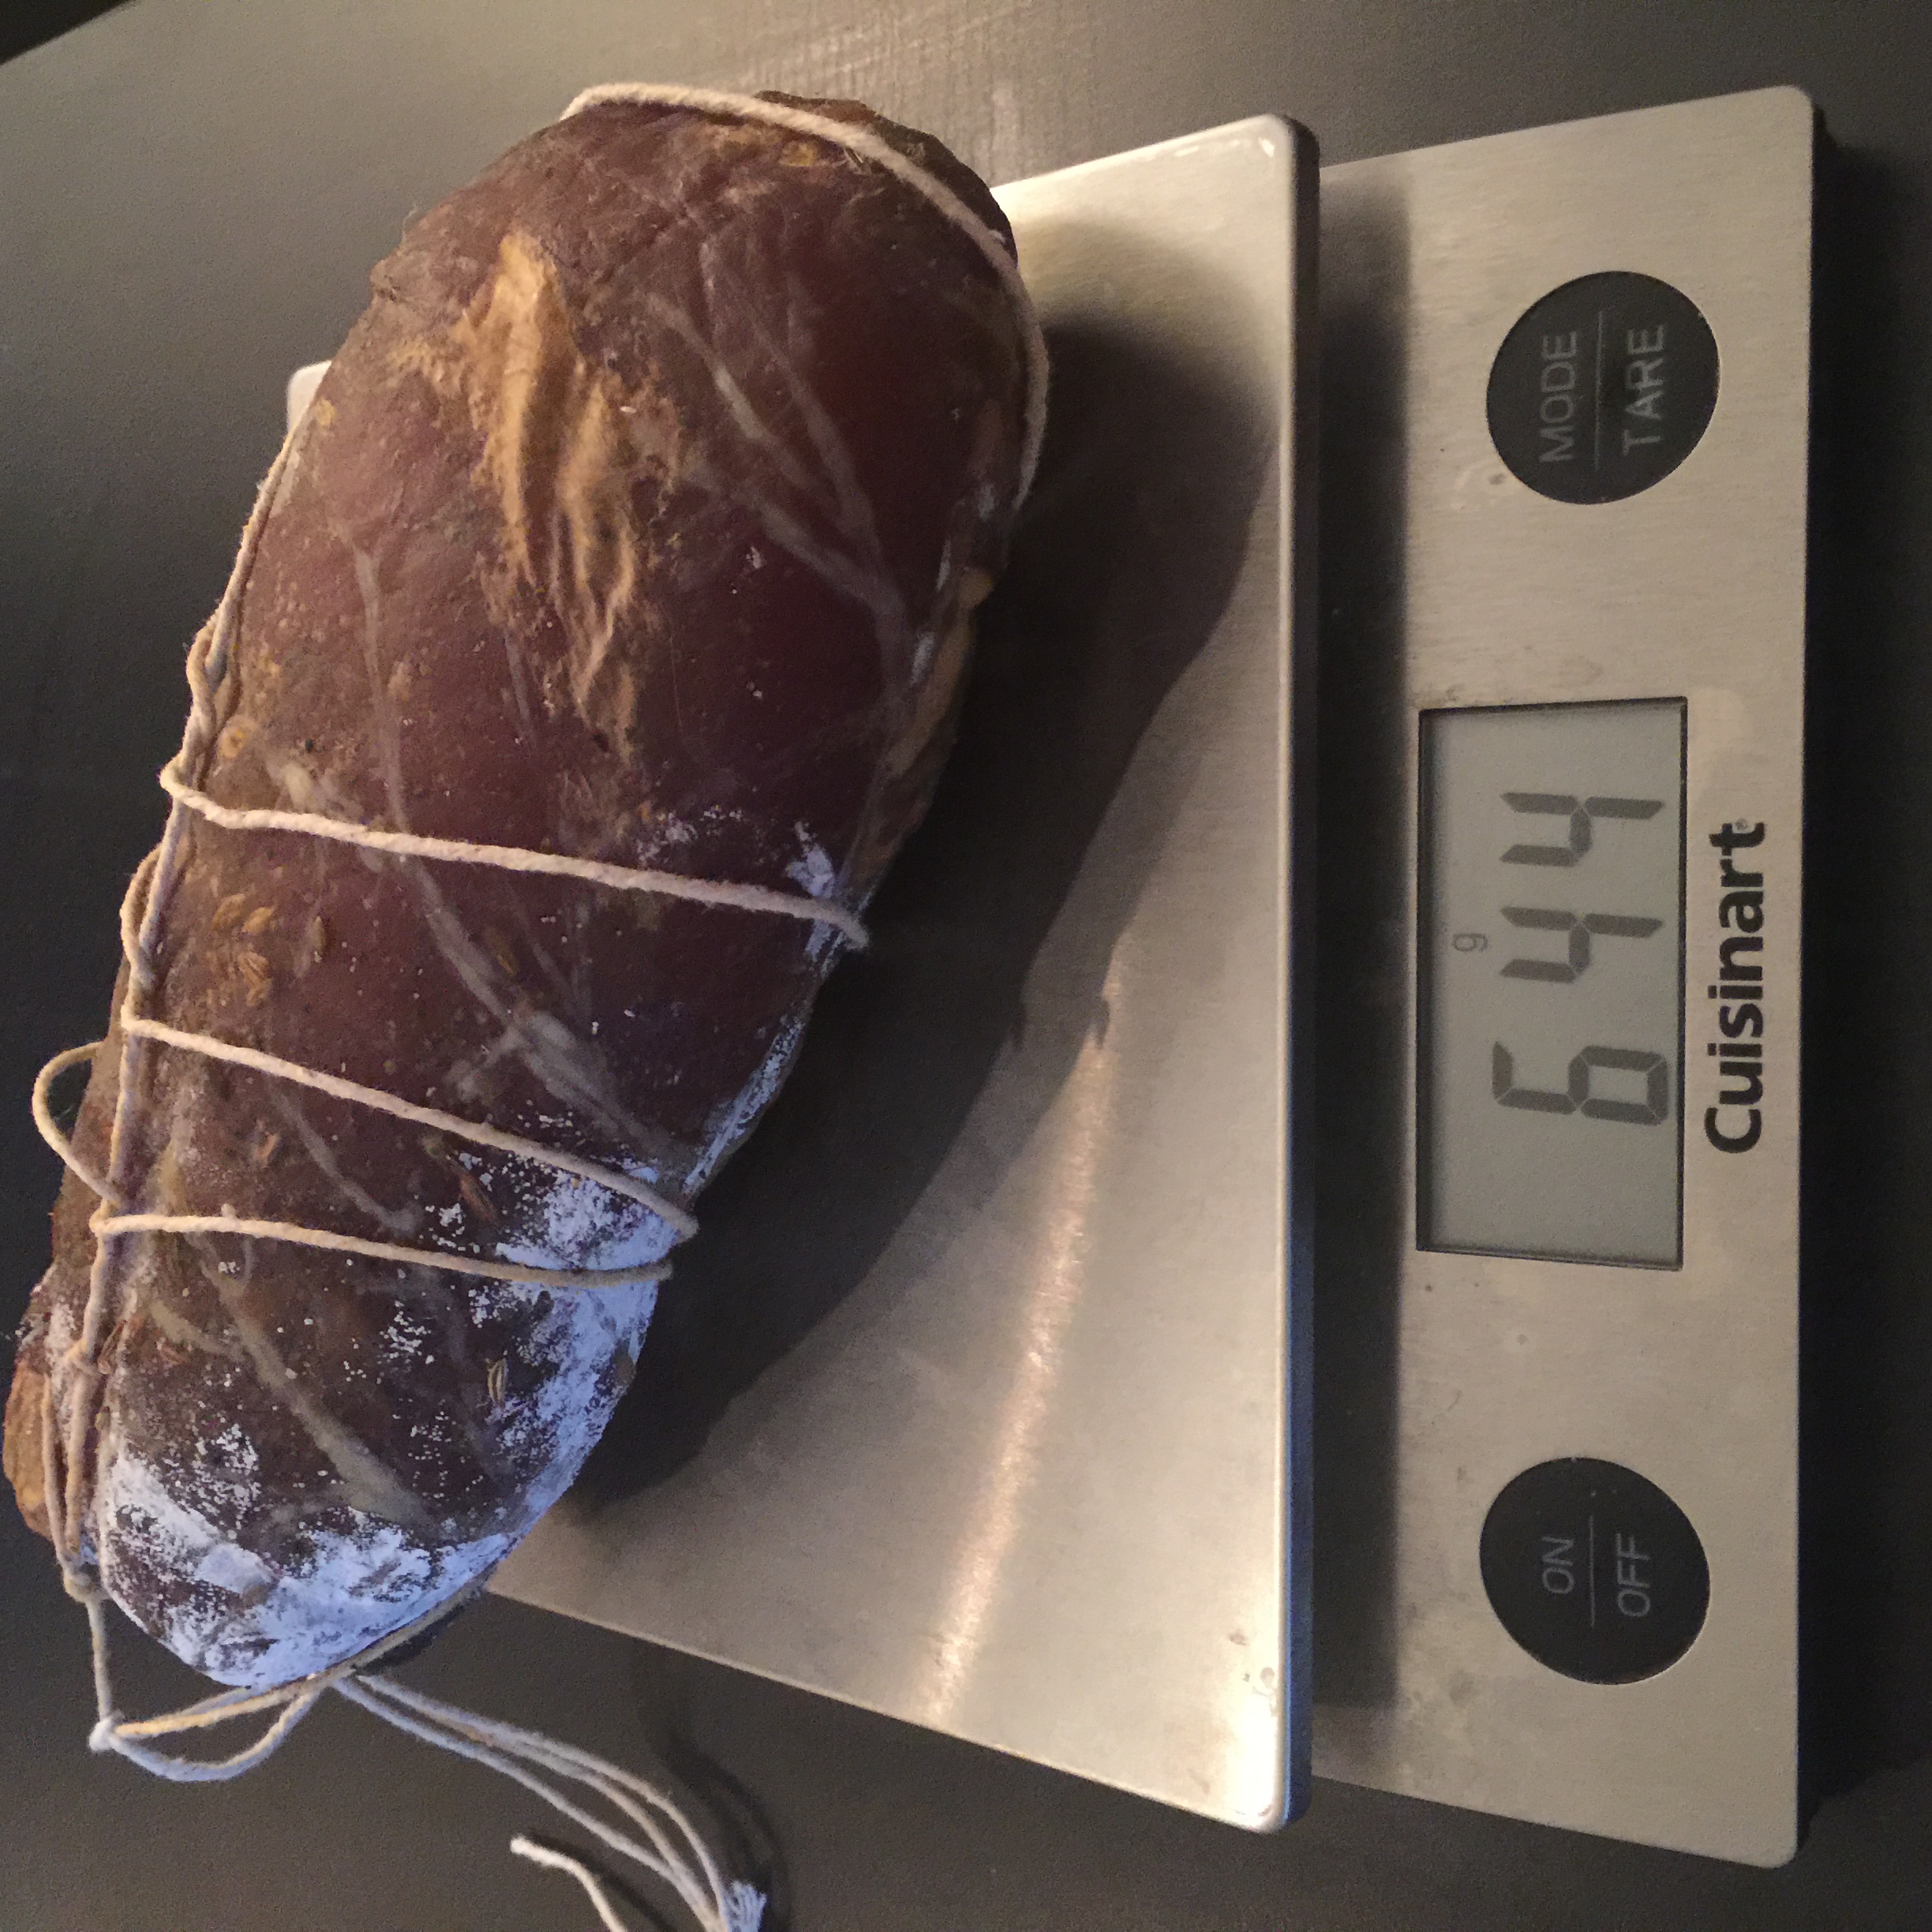
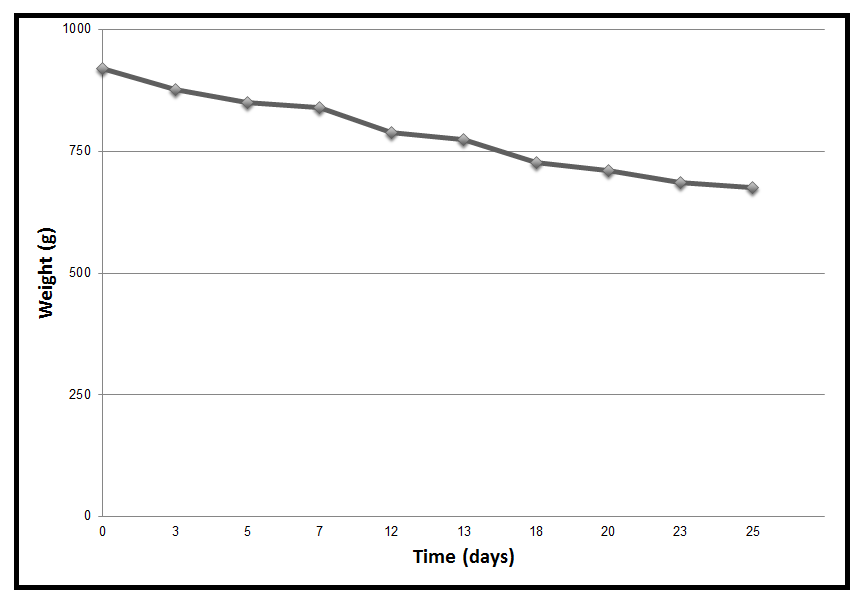
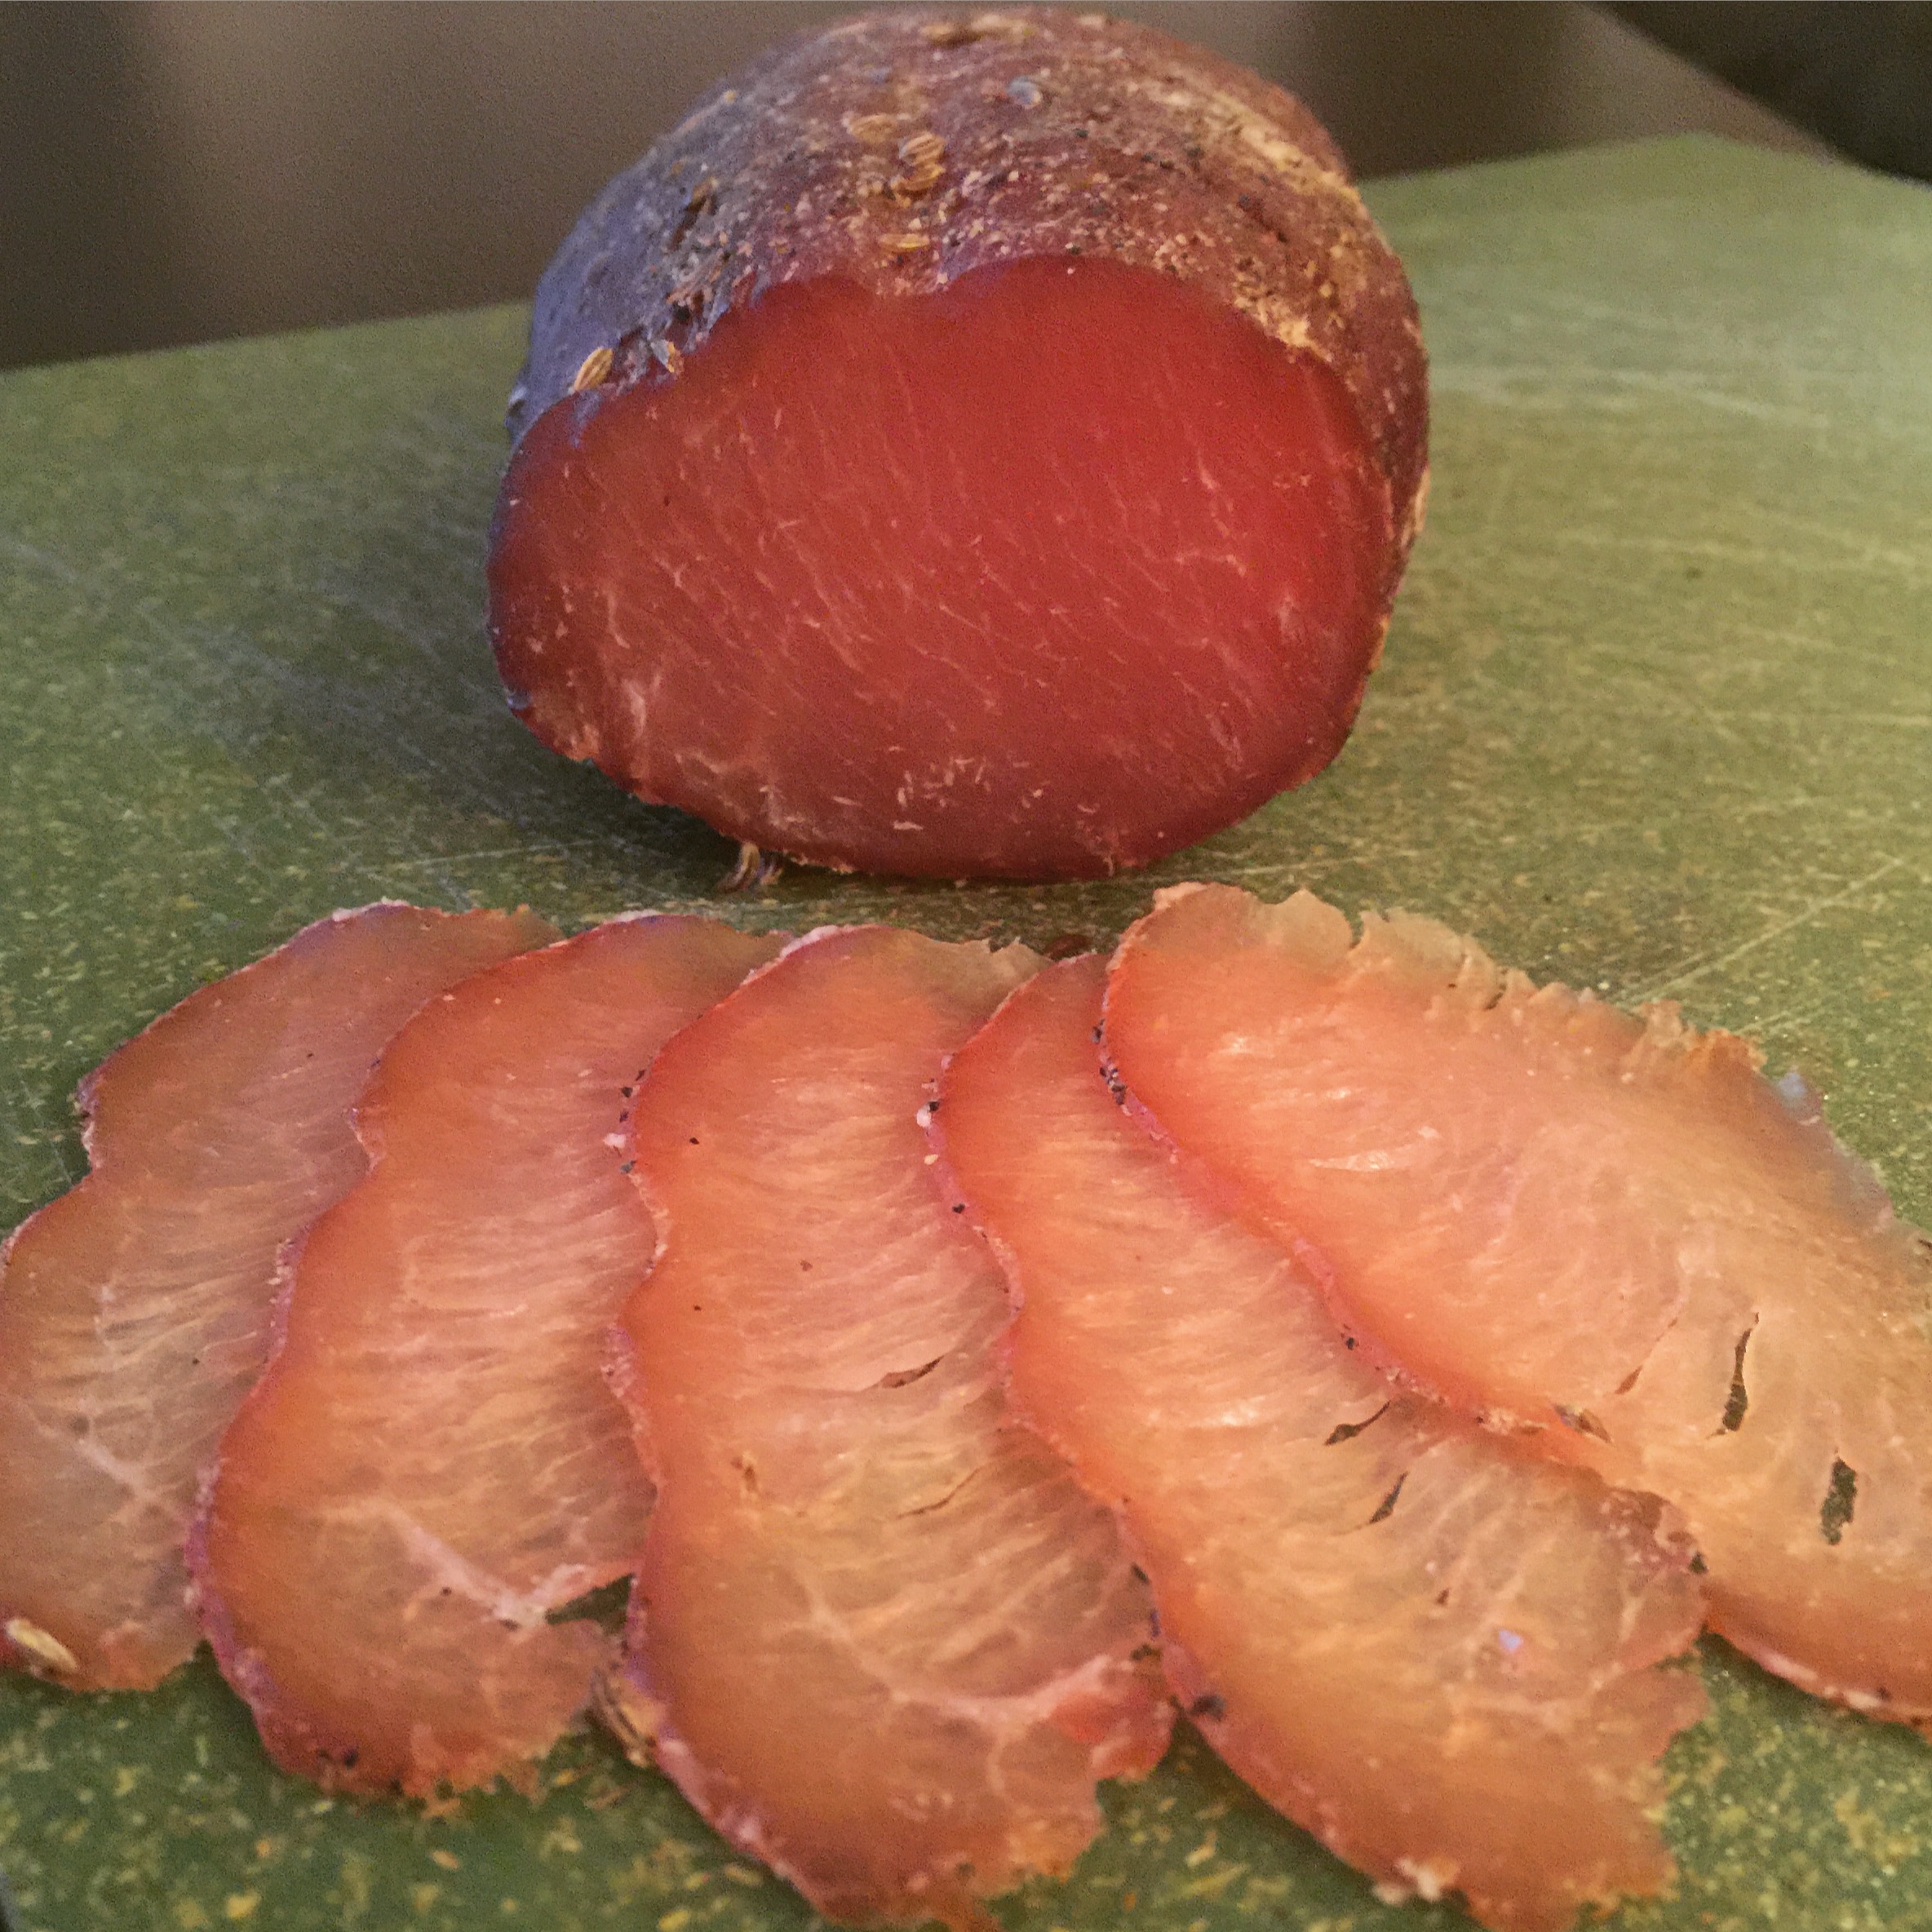
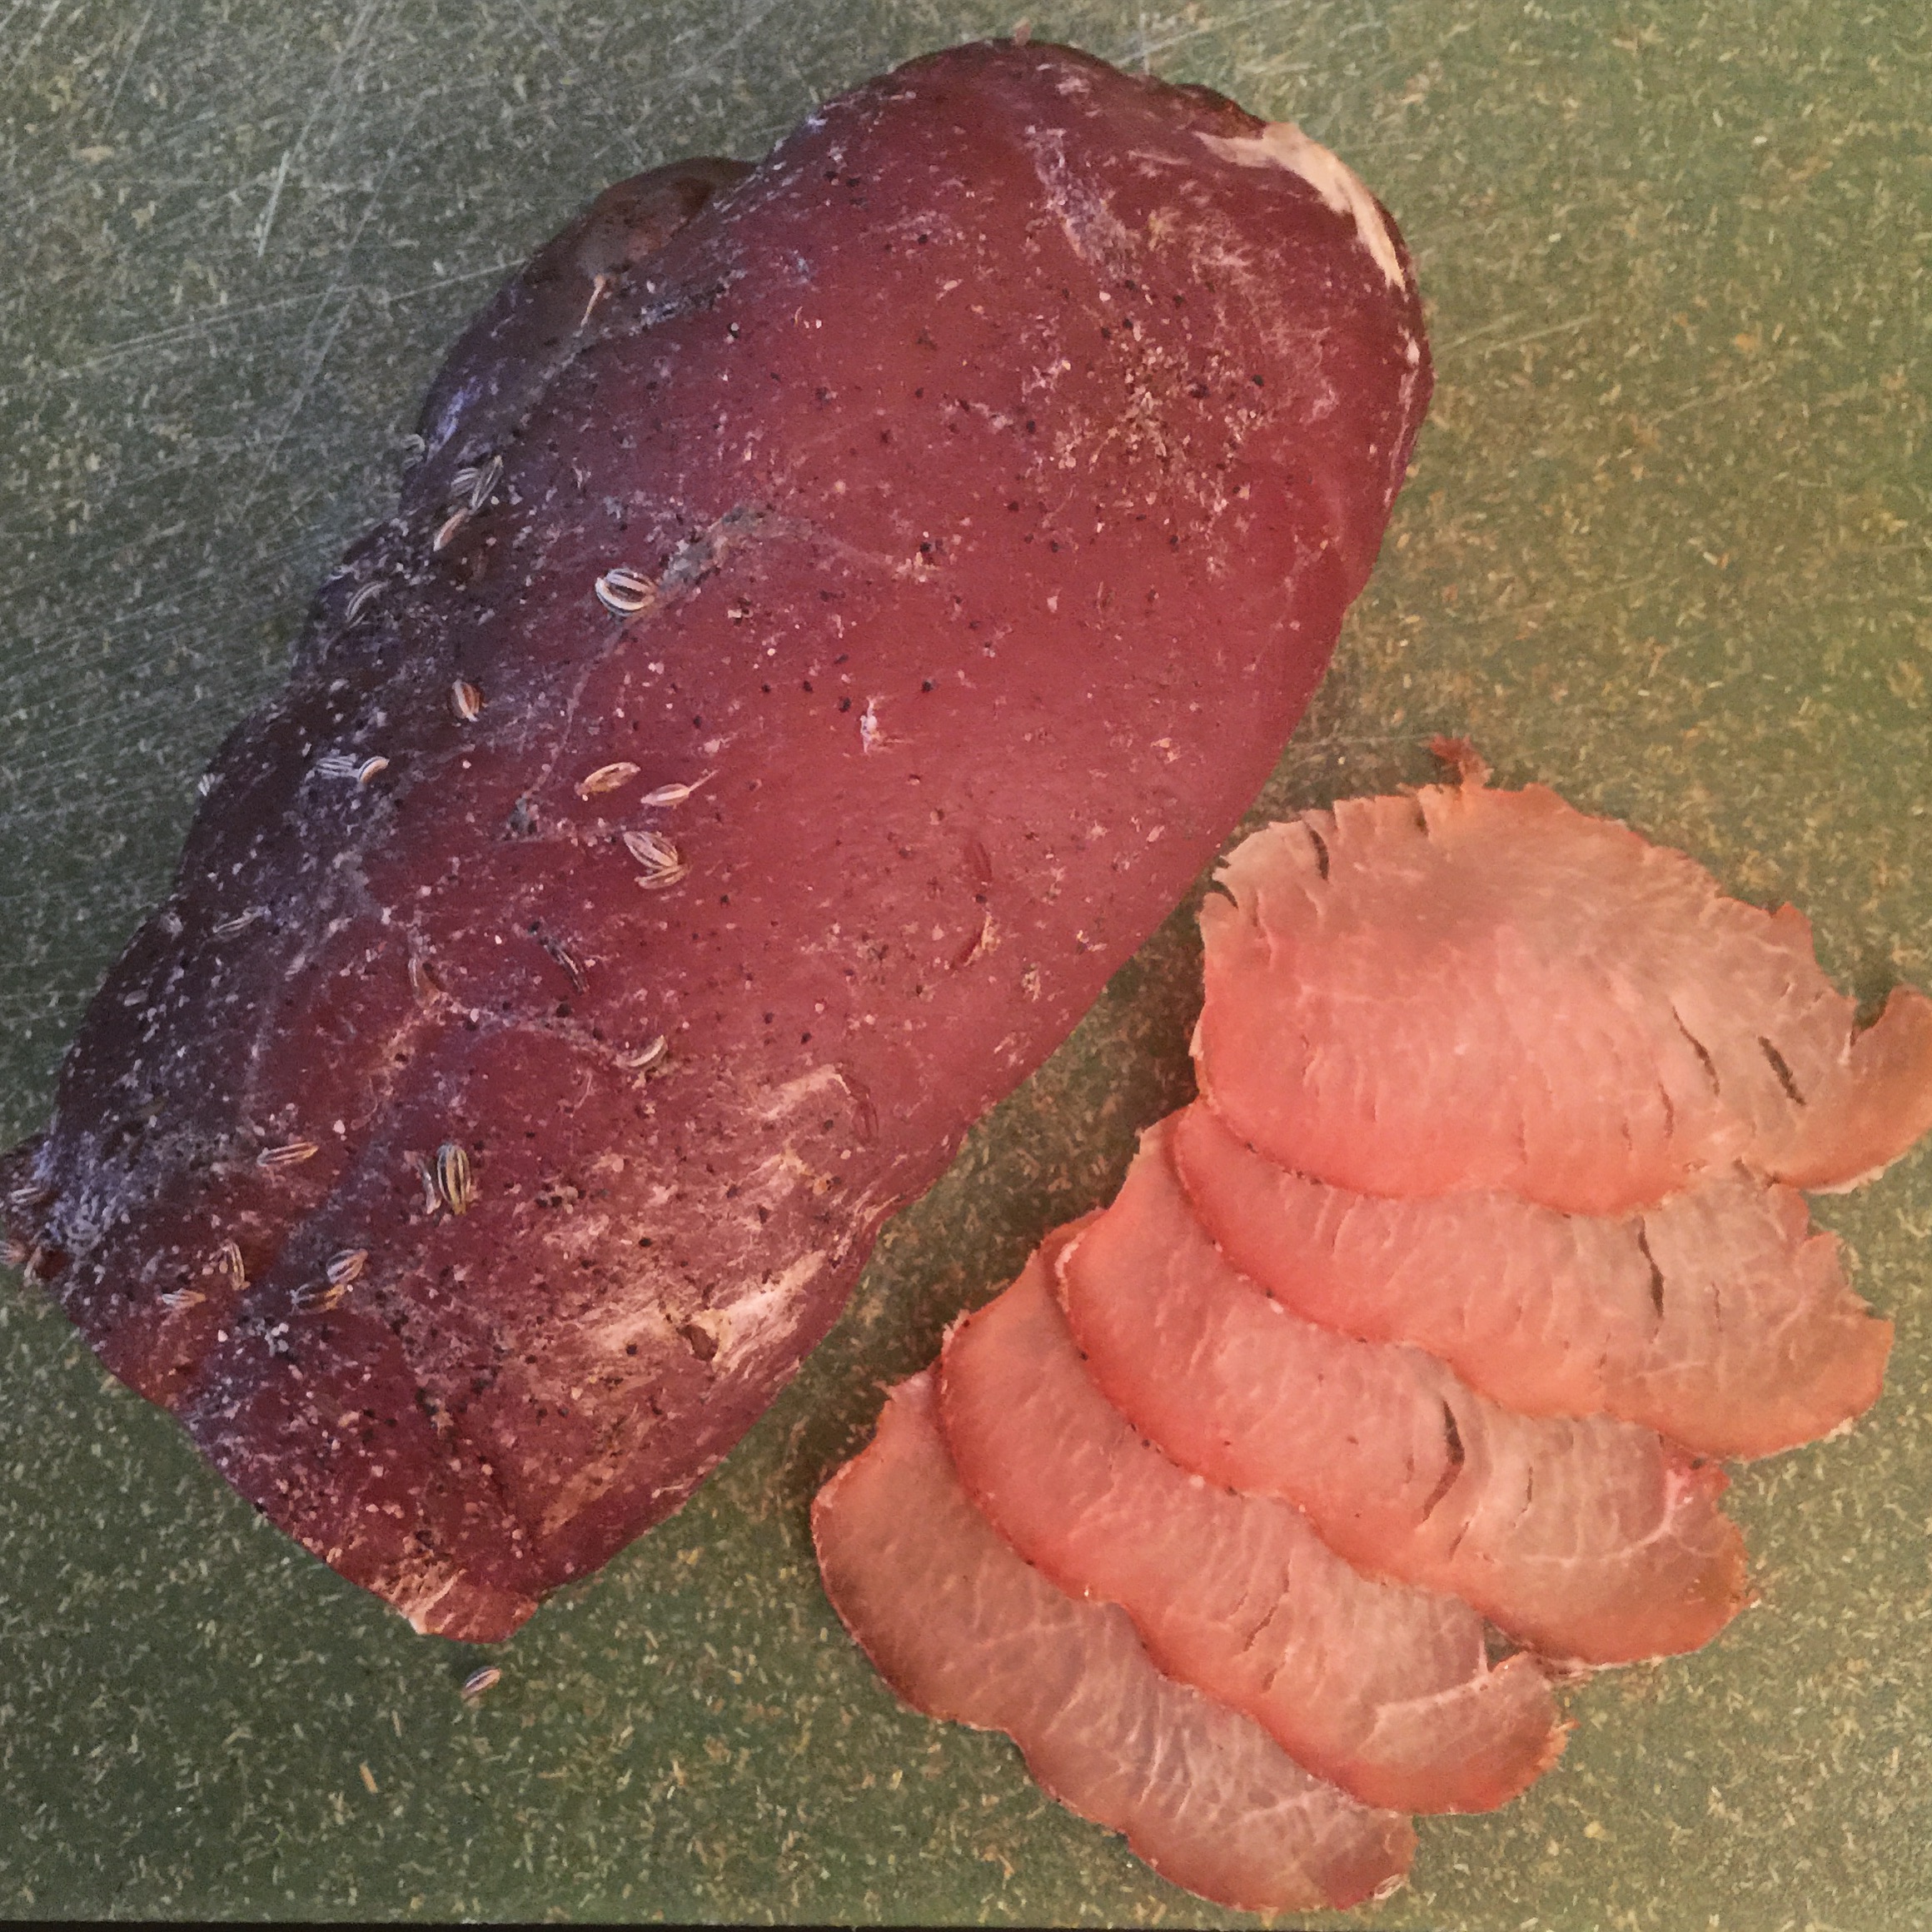
After being cased, the bresaola di tacchino was weighted.
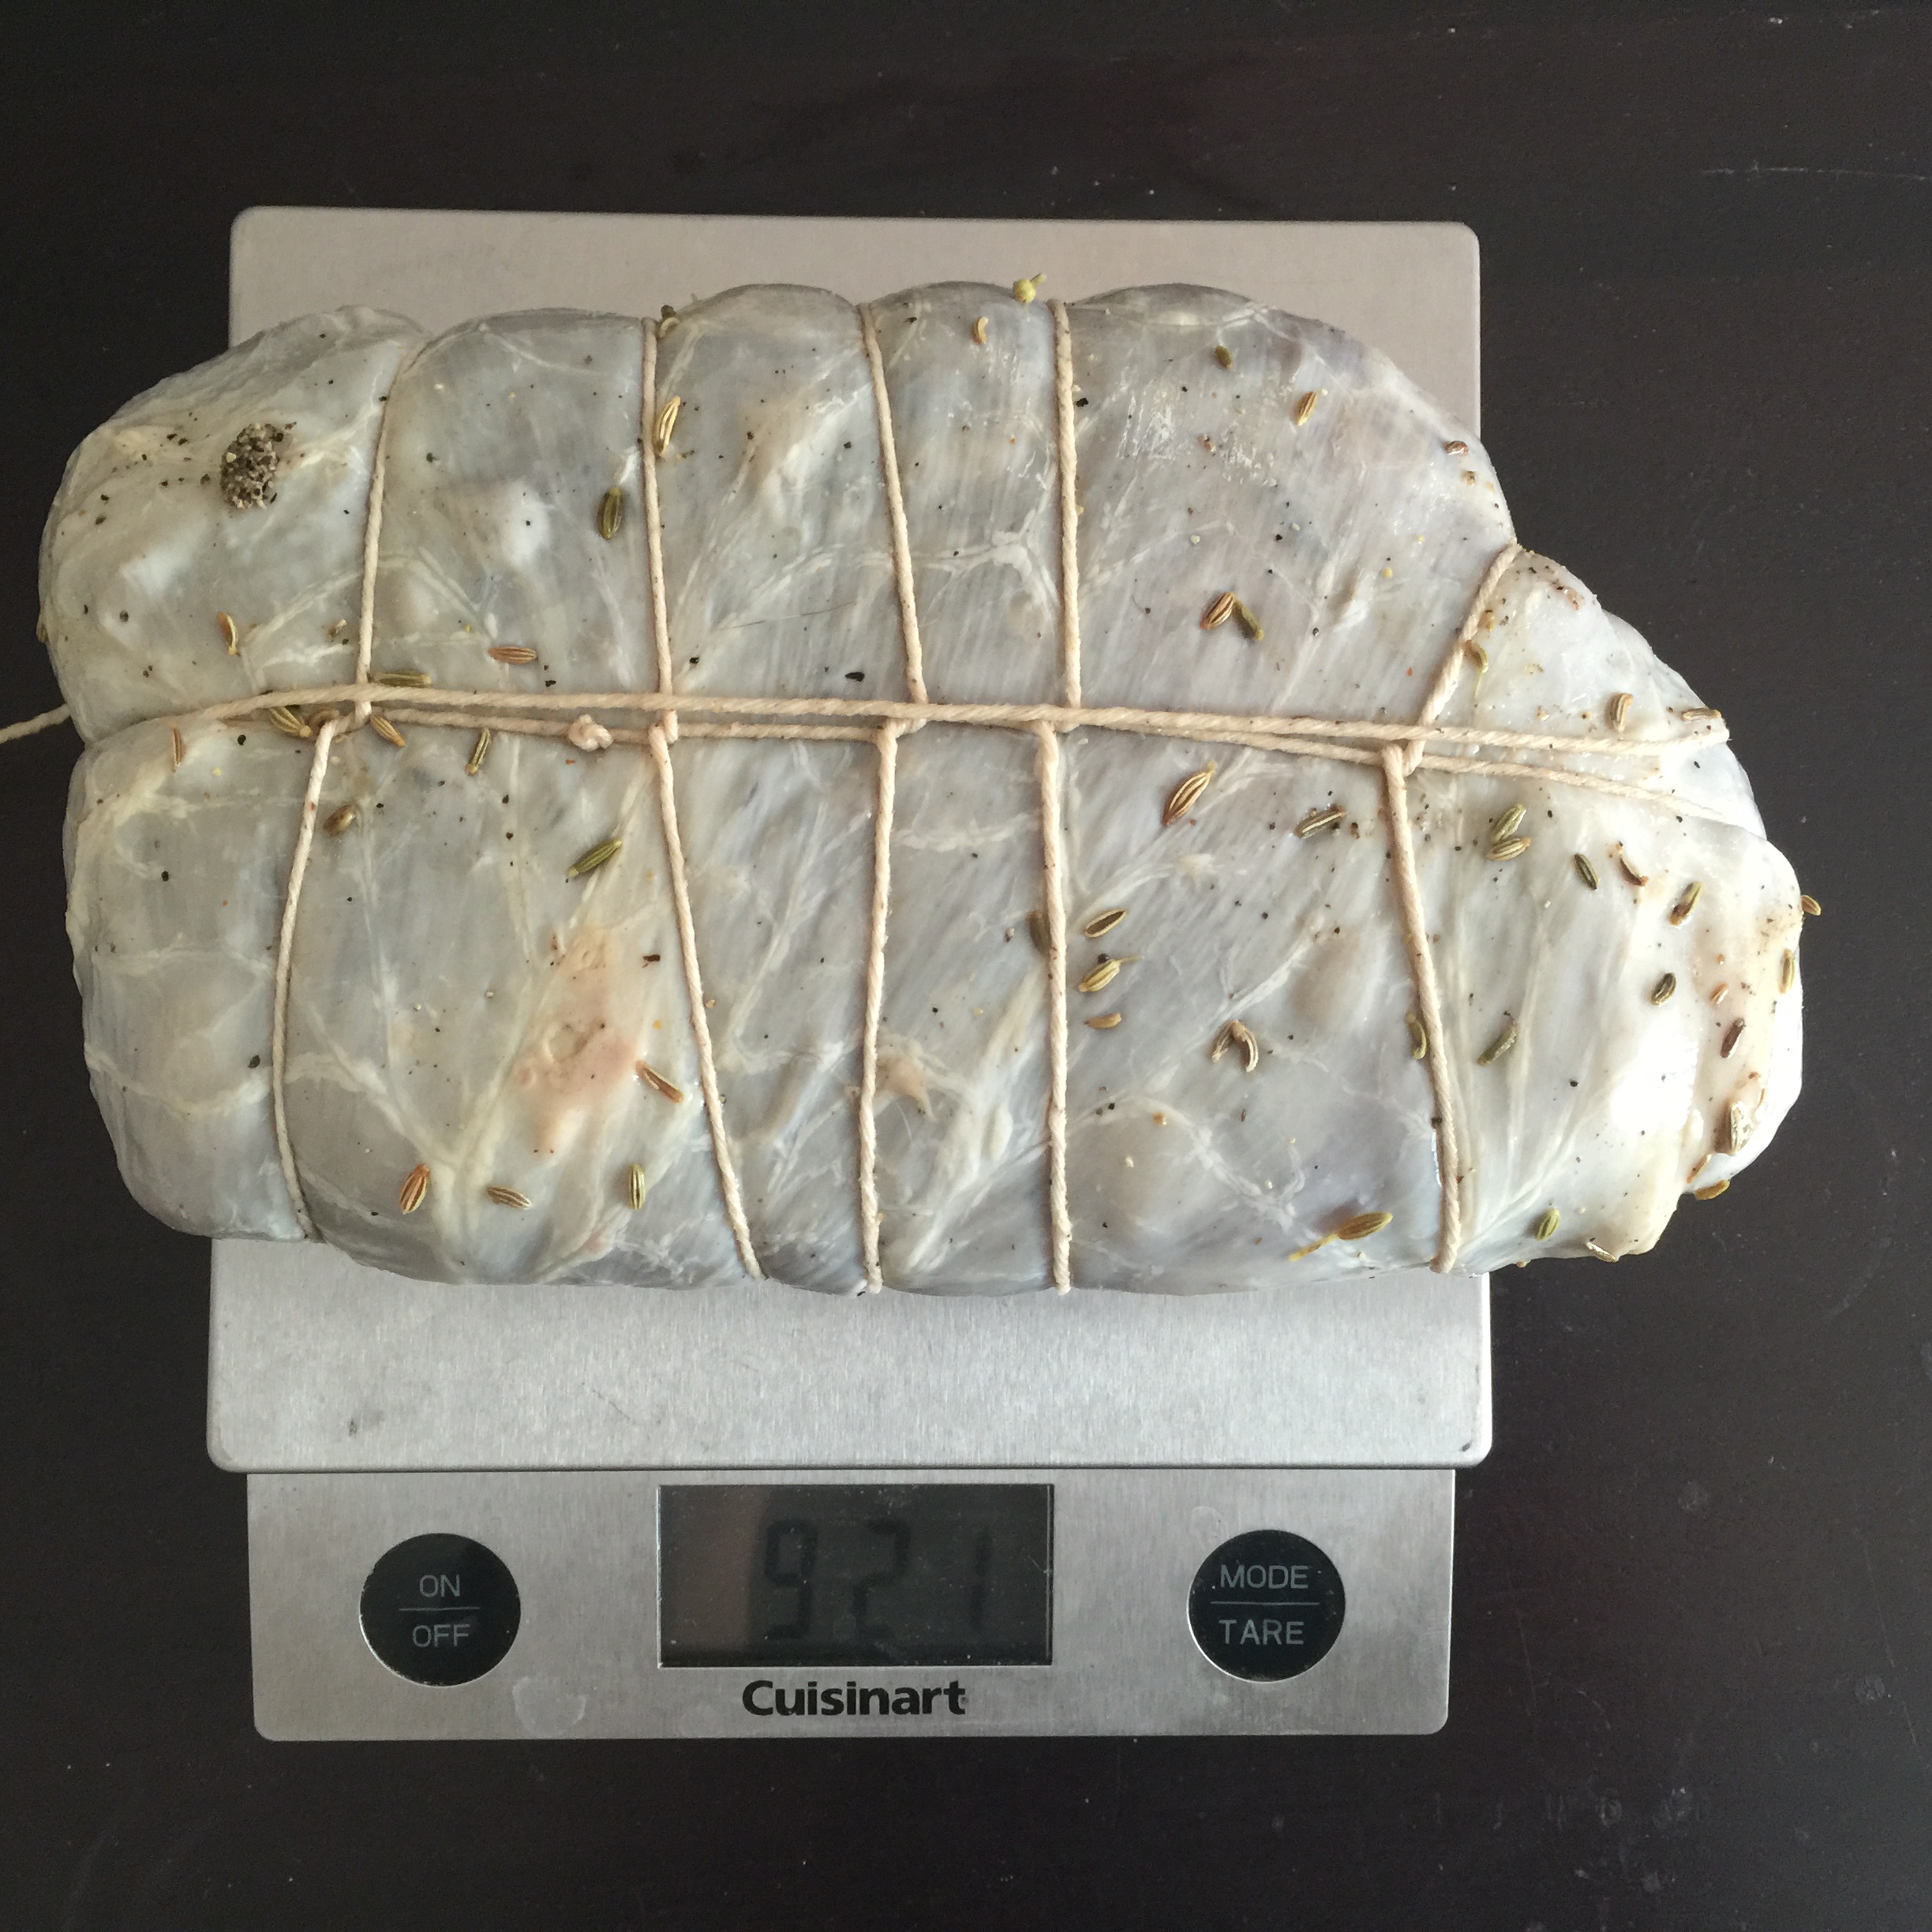
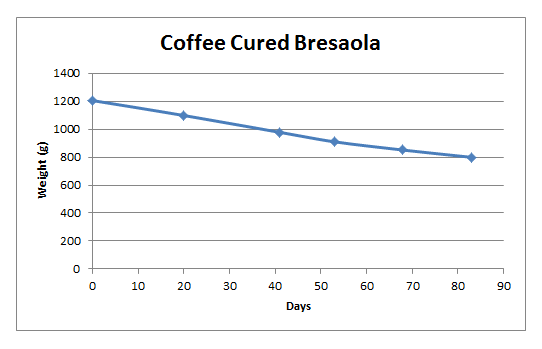
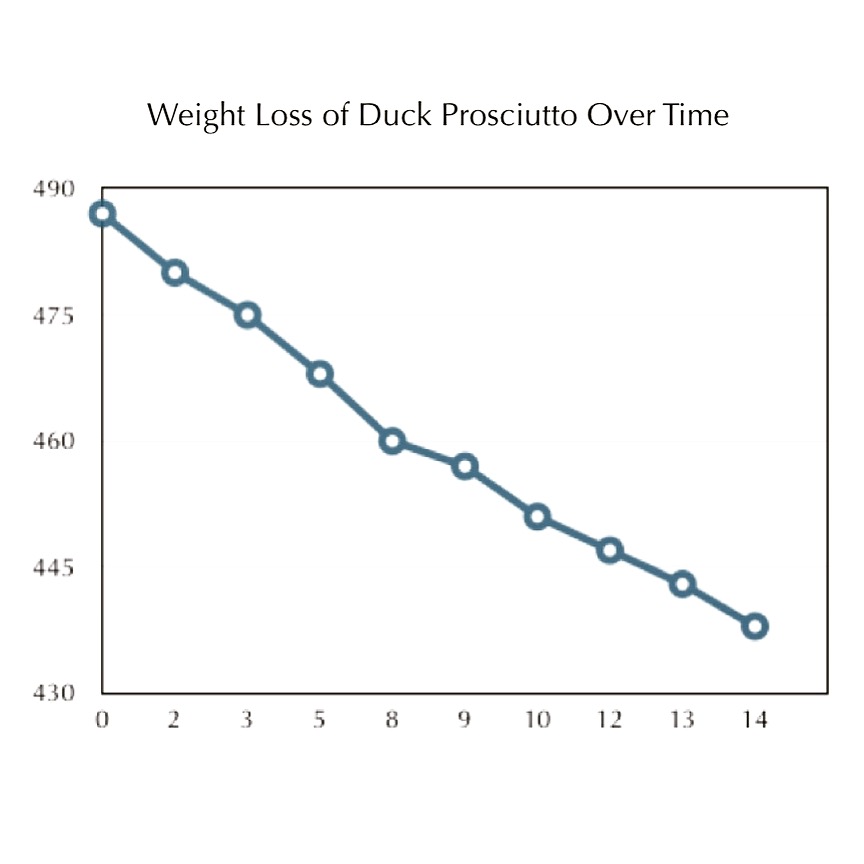
It was hung to dry in the curing chamber, set to its usual settings, and its weight lost over time was tracked.
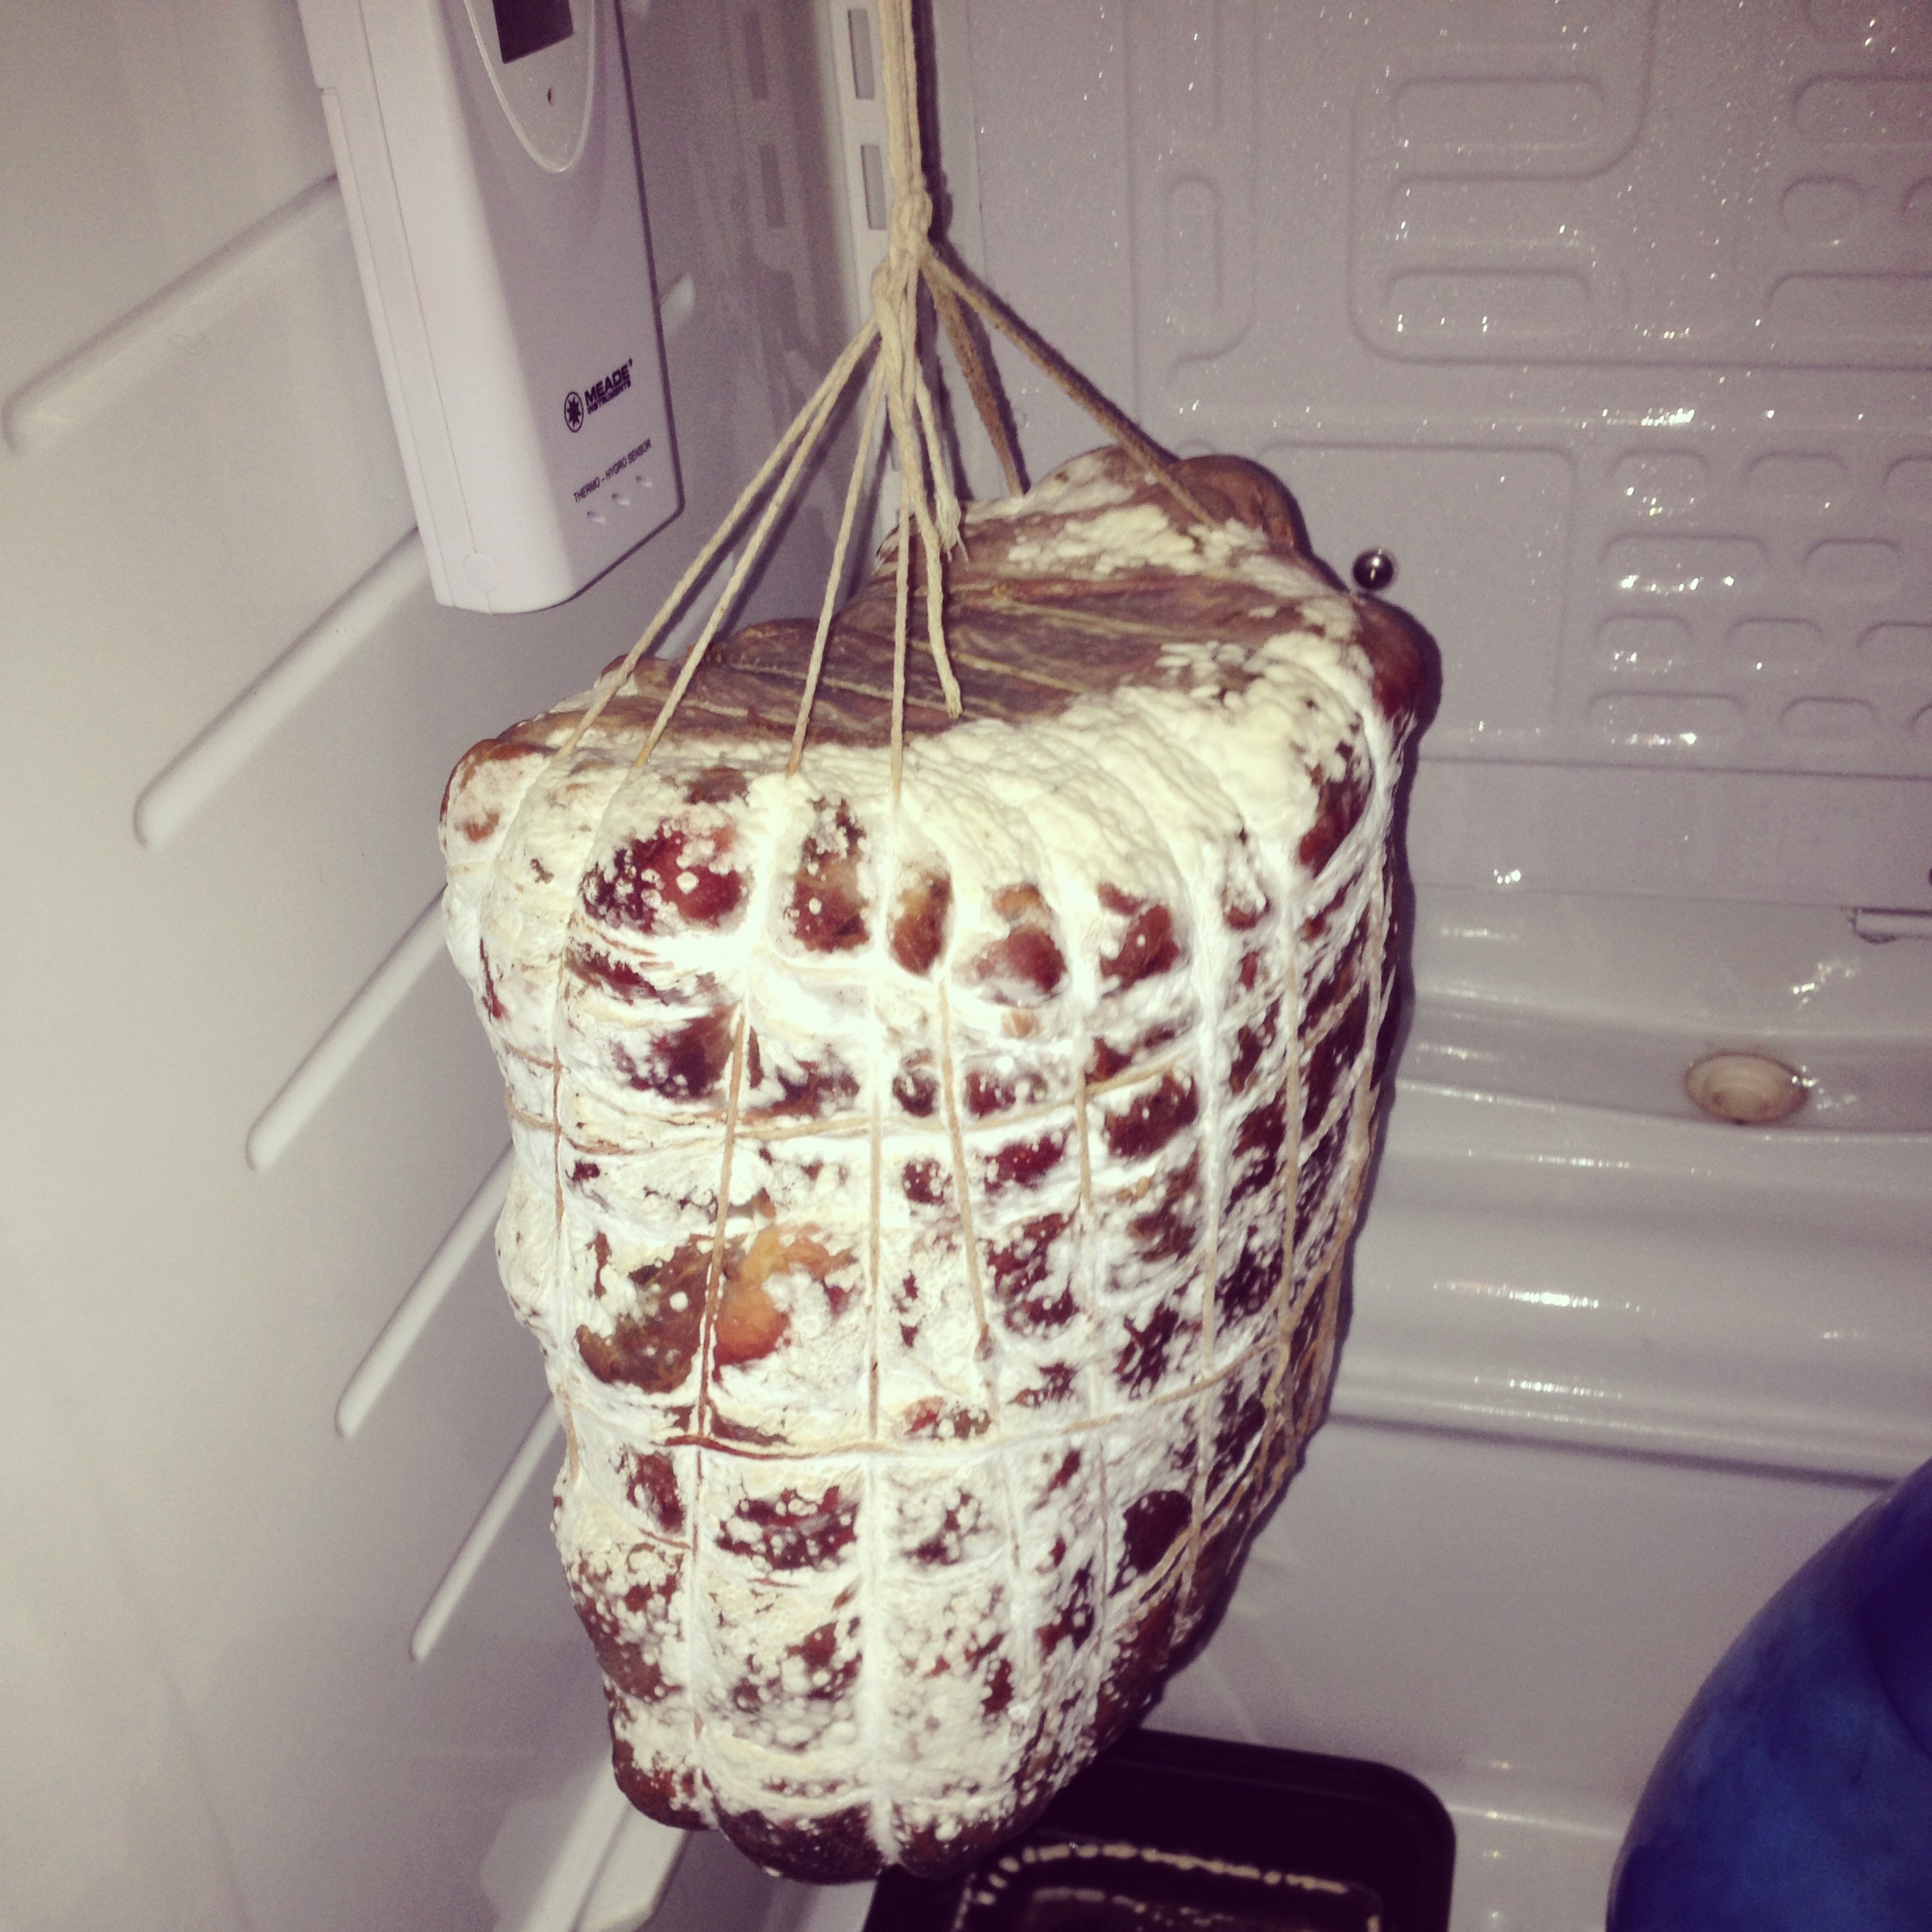
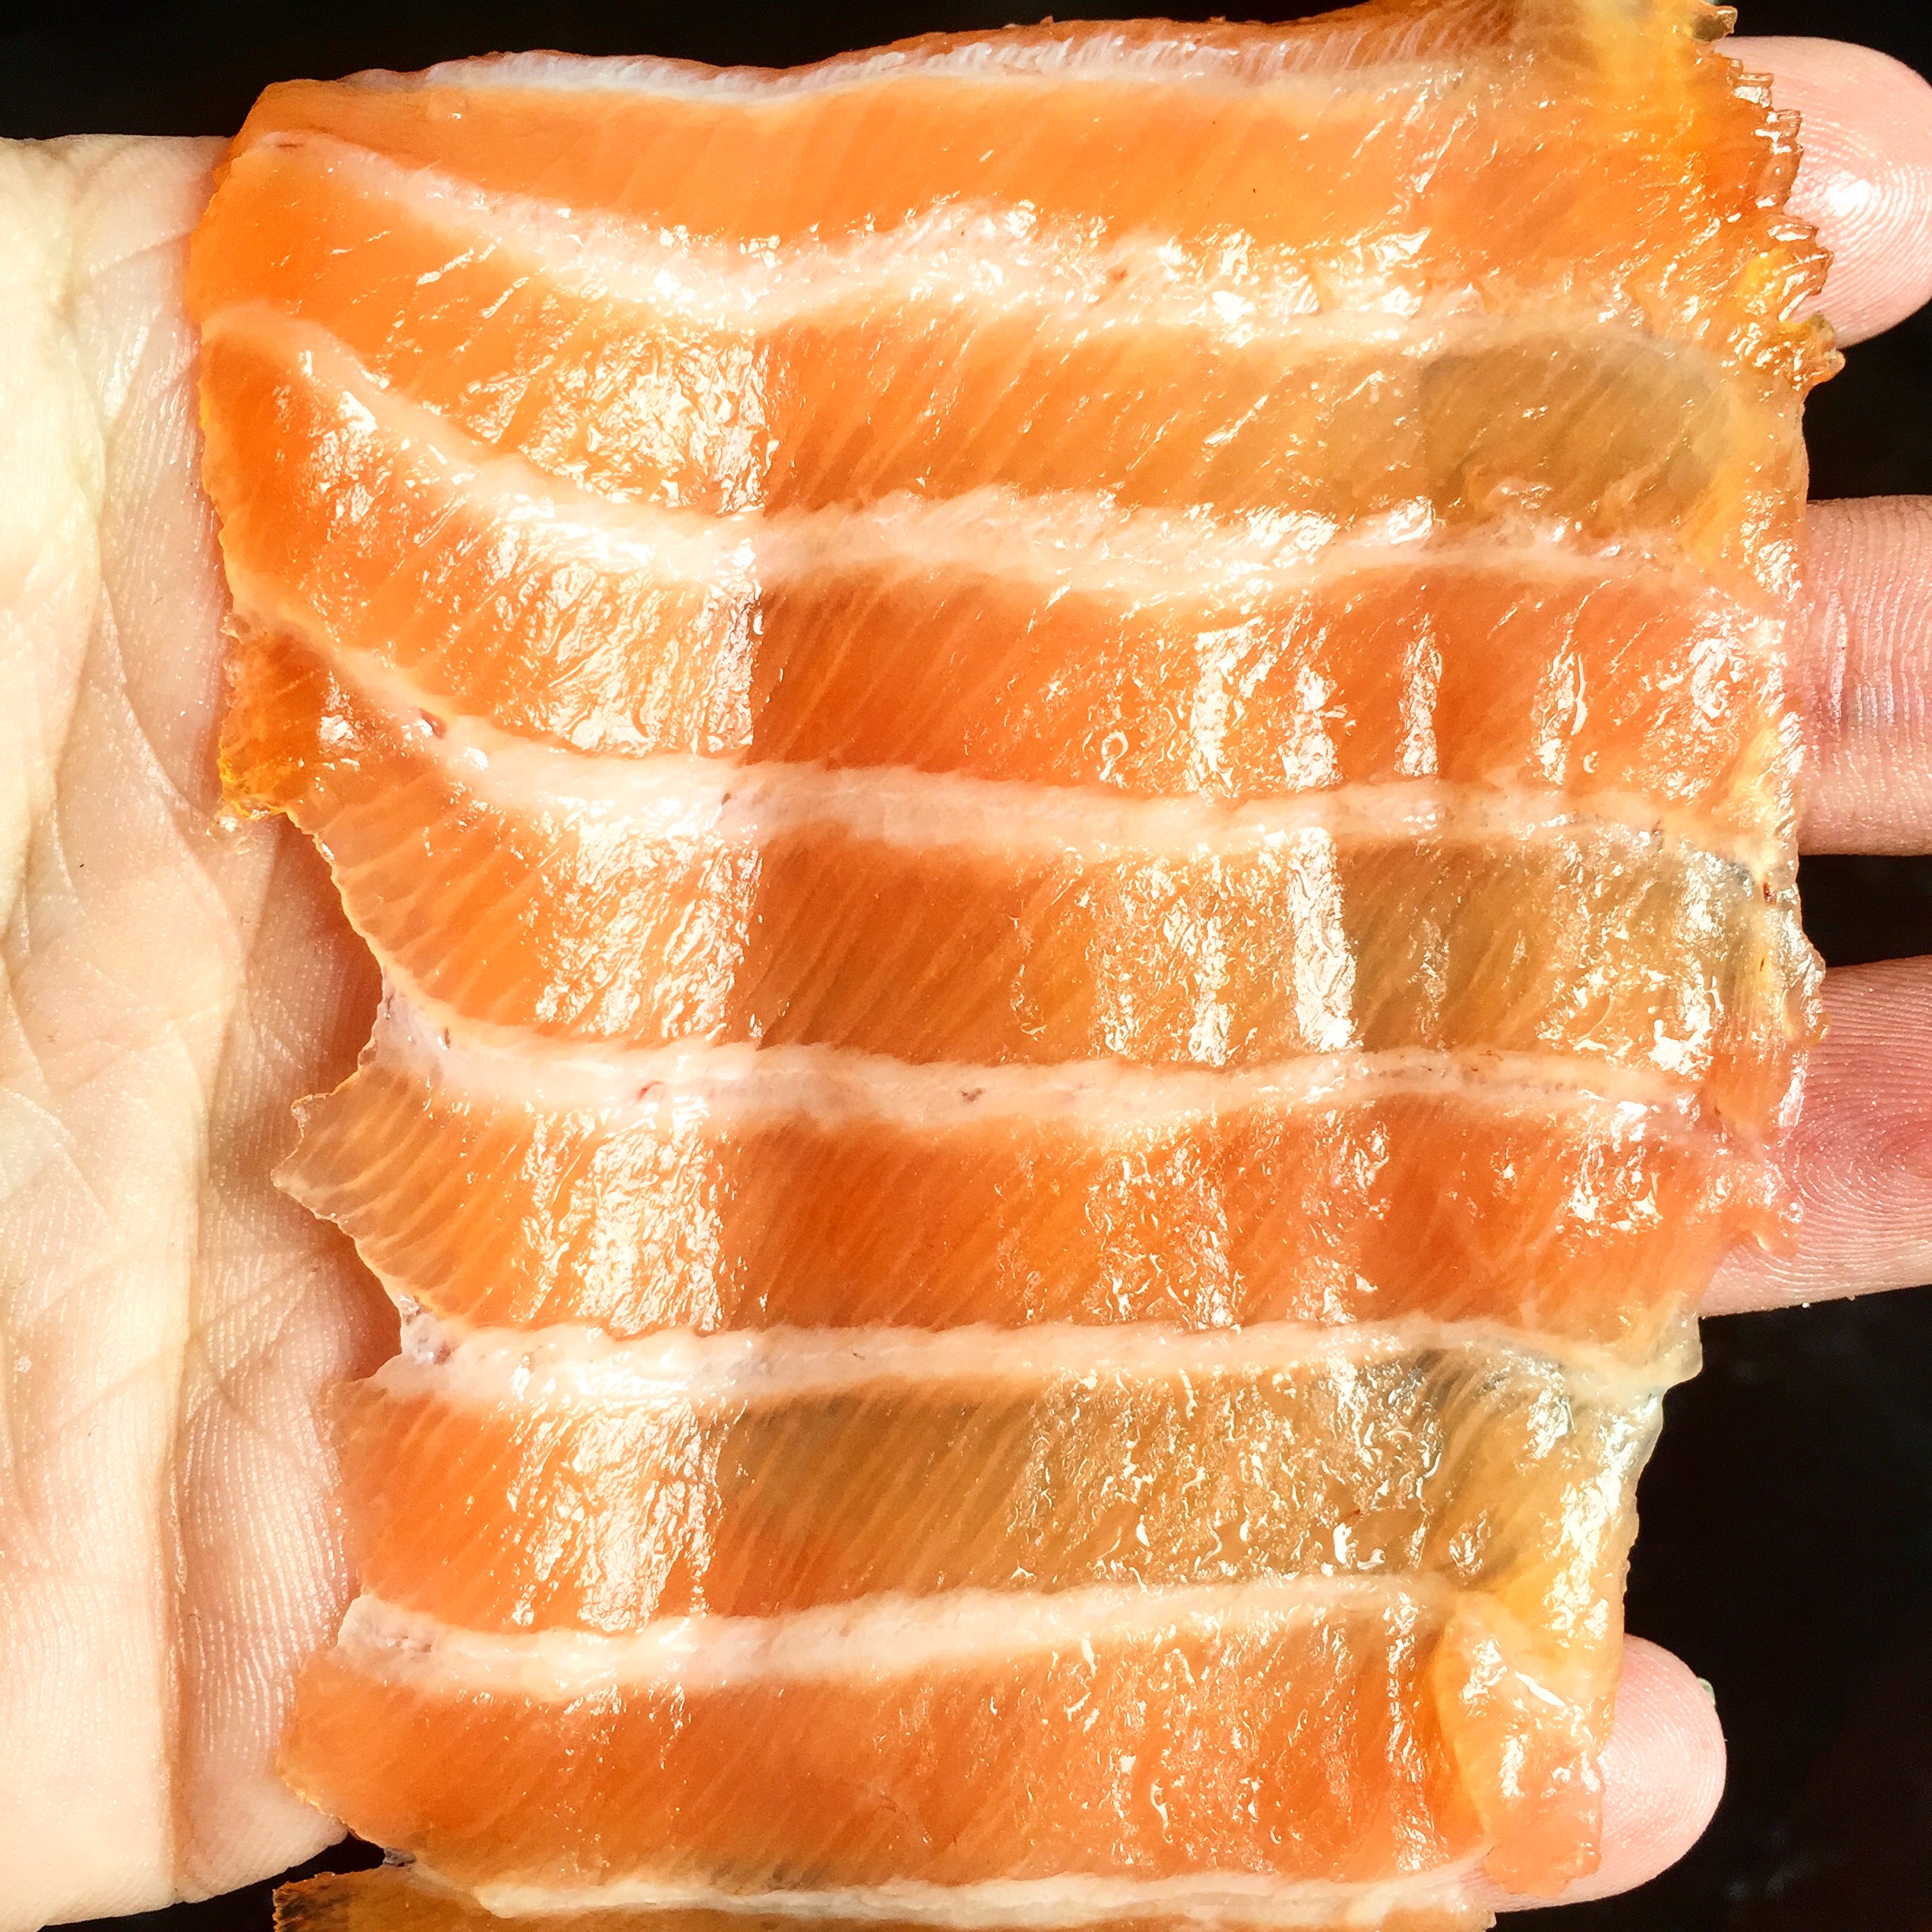
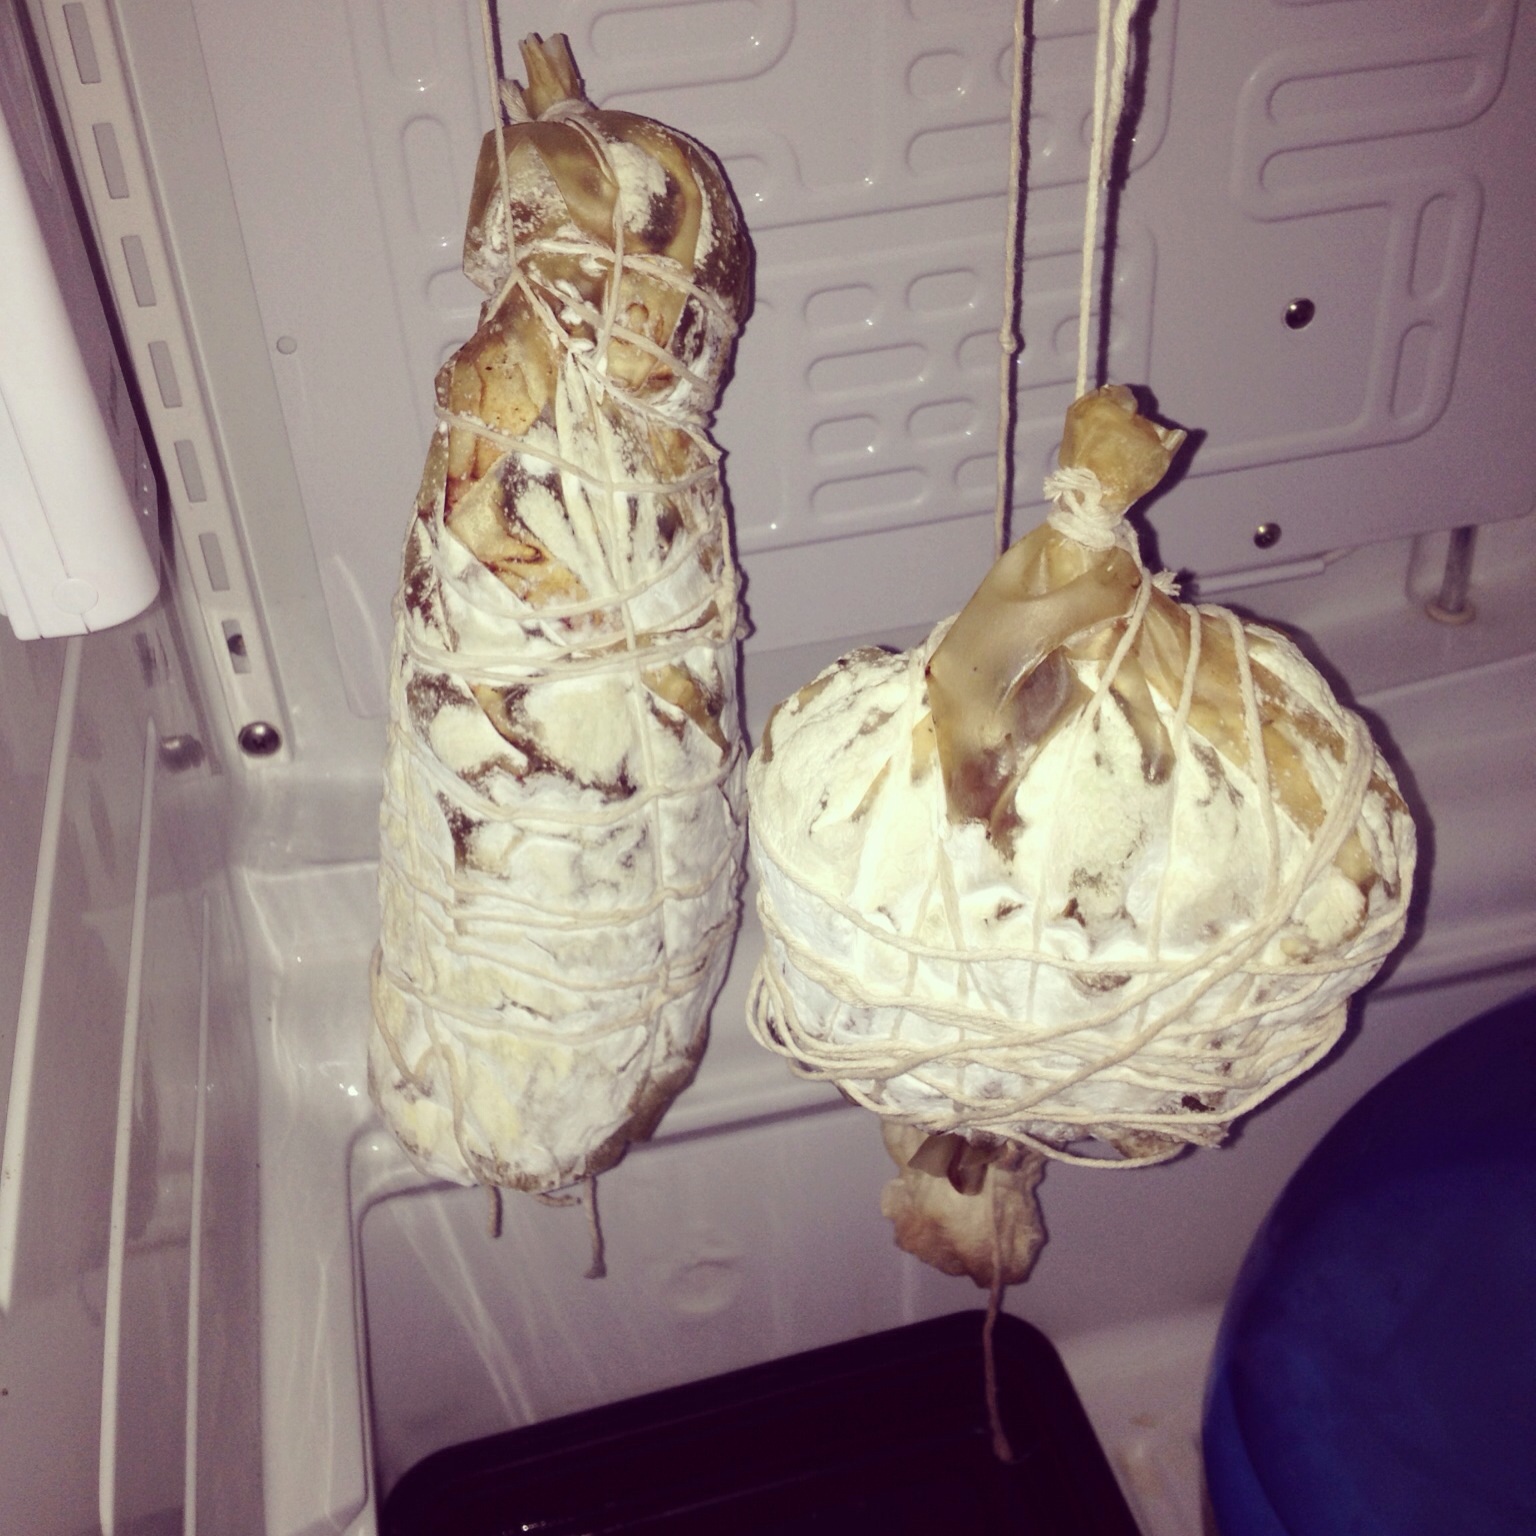
It was allowed to lose ~30% of its initial weight, and was pulled from the chamber.
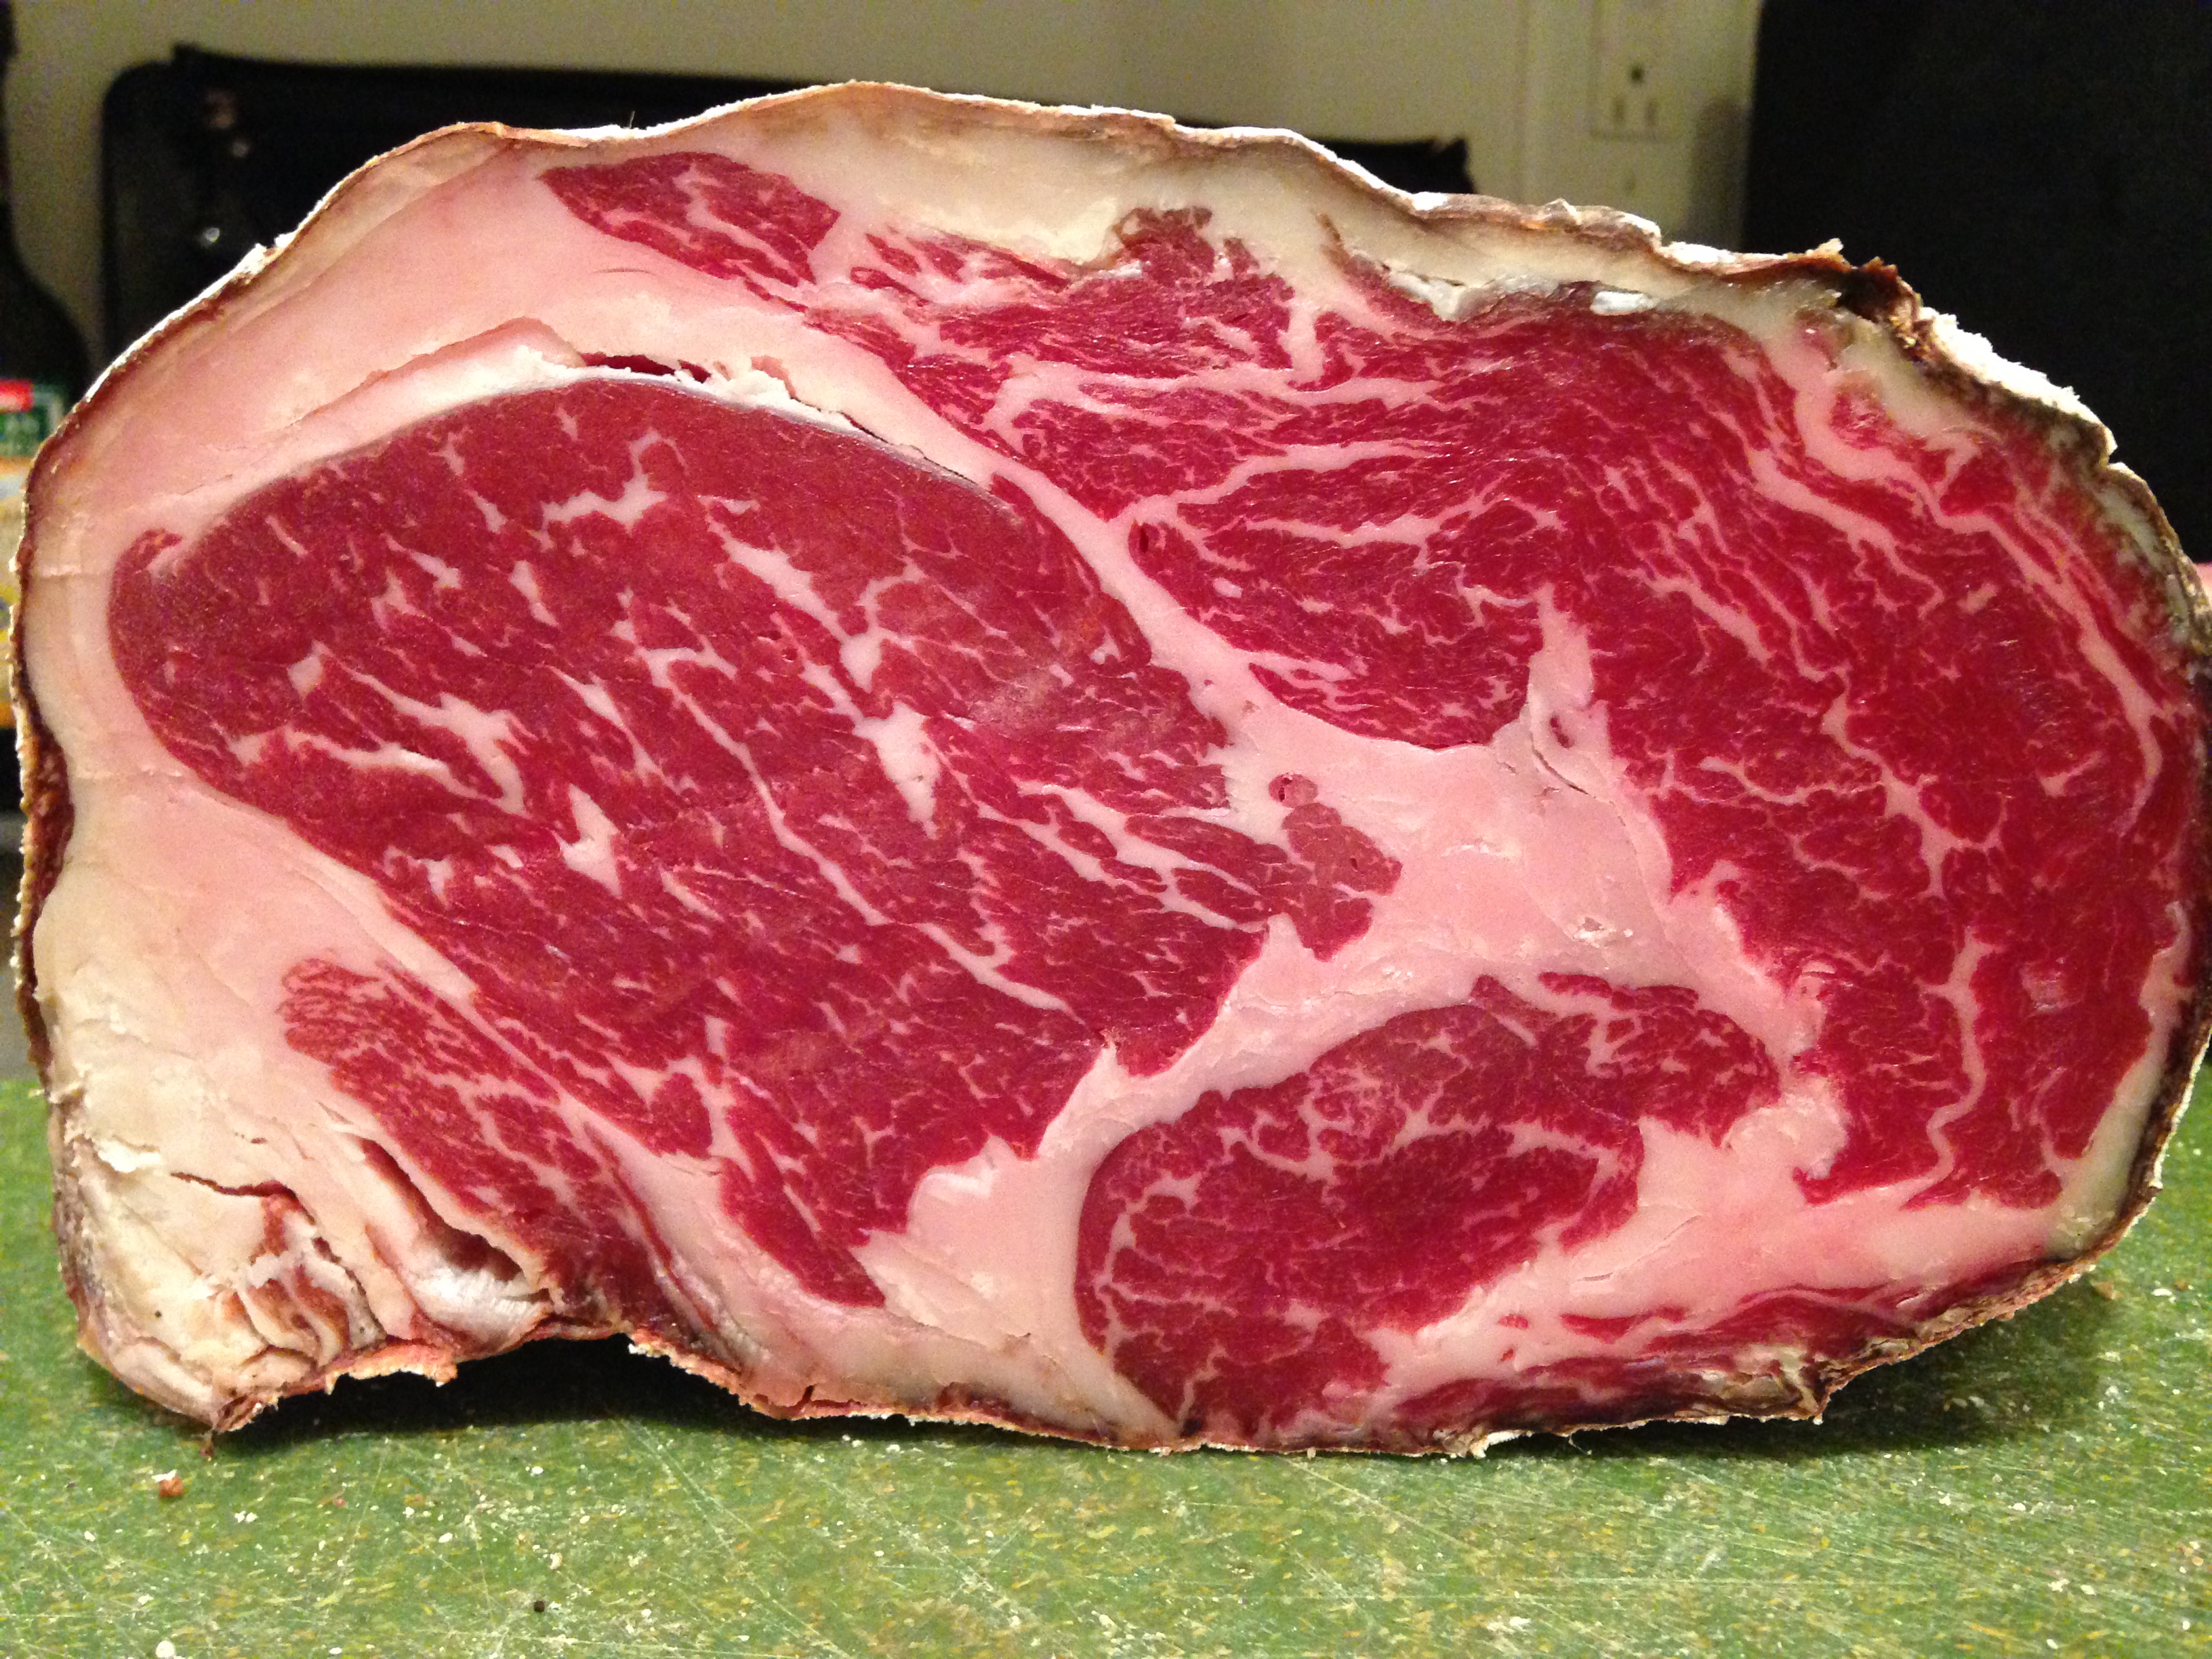
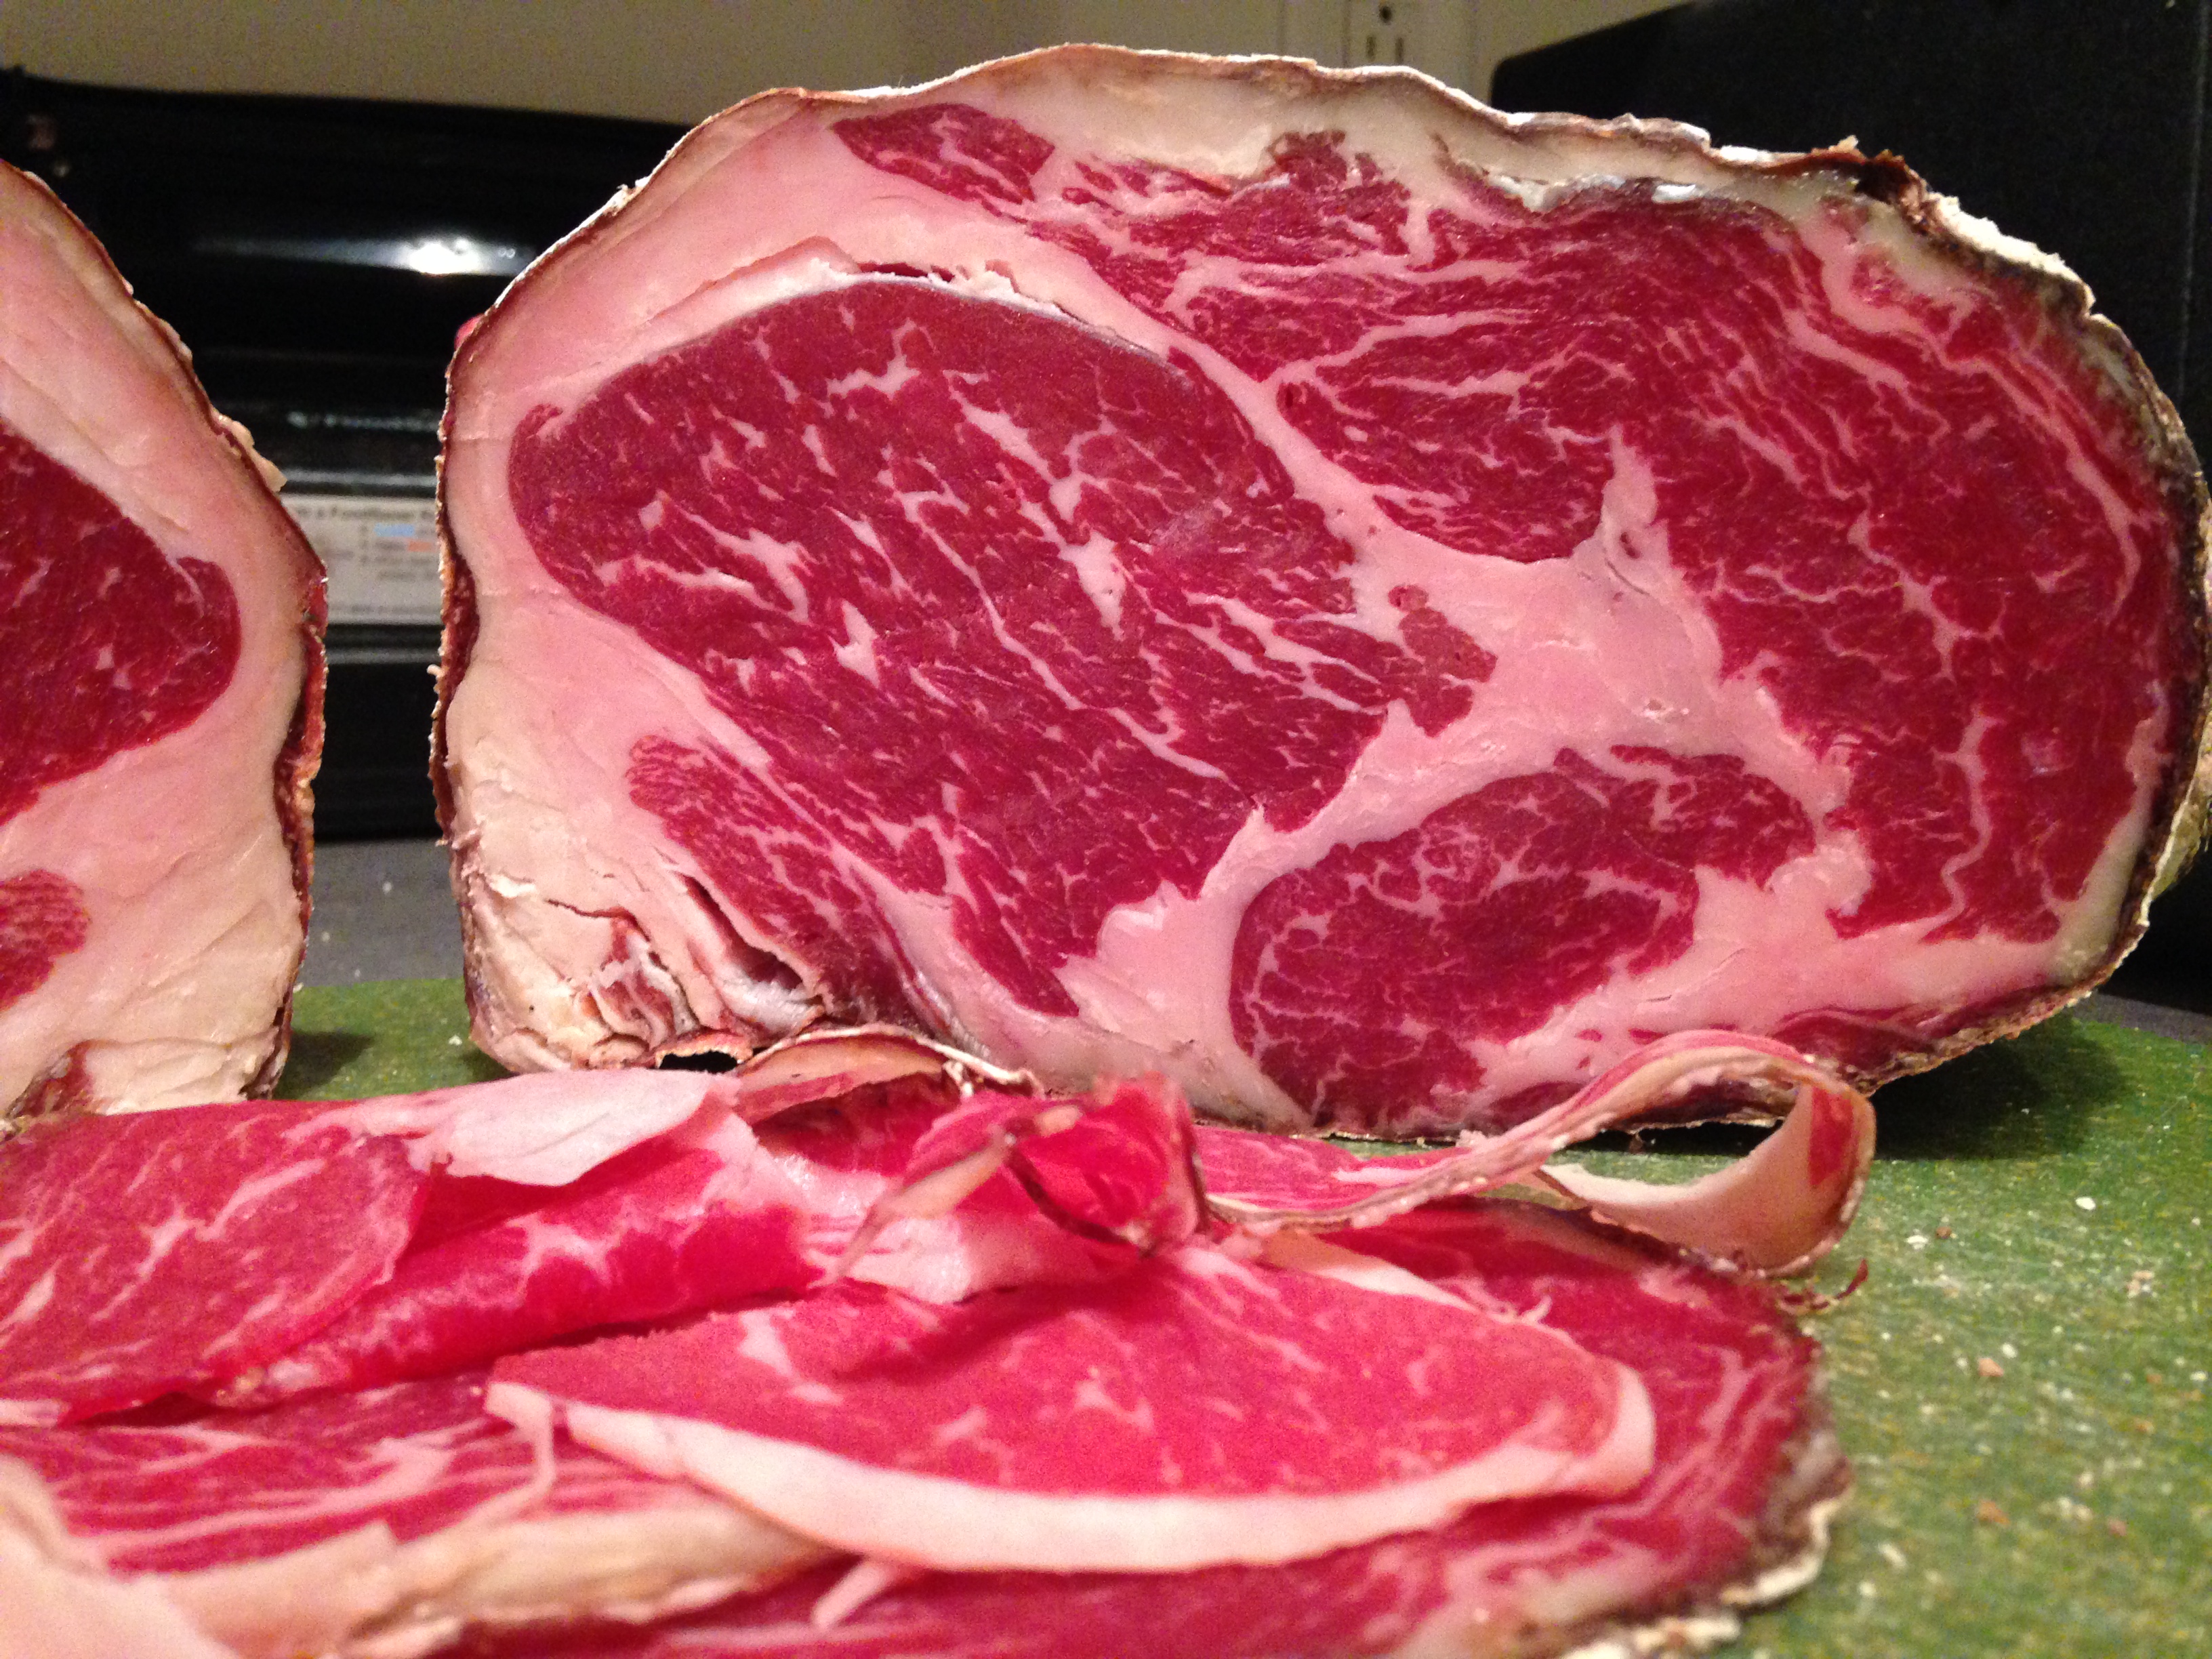
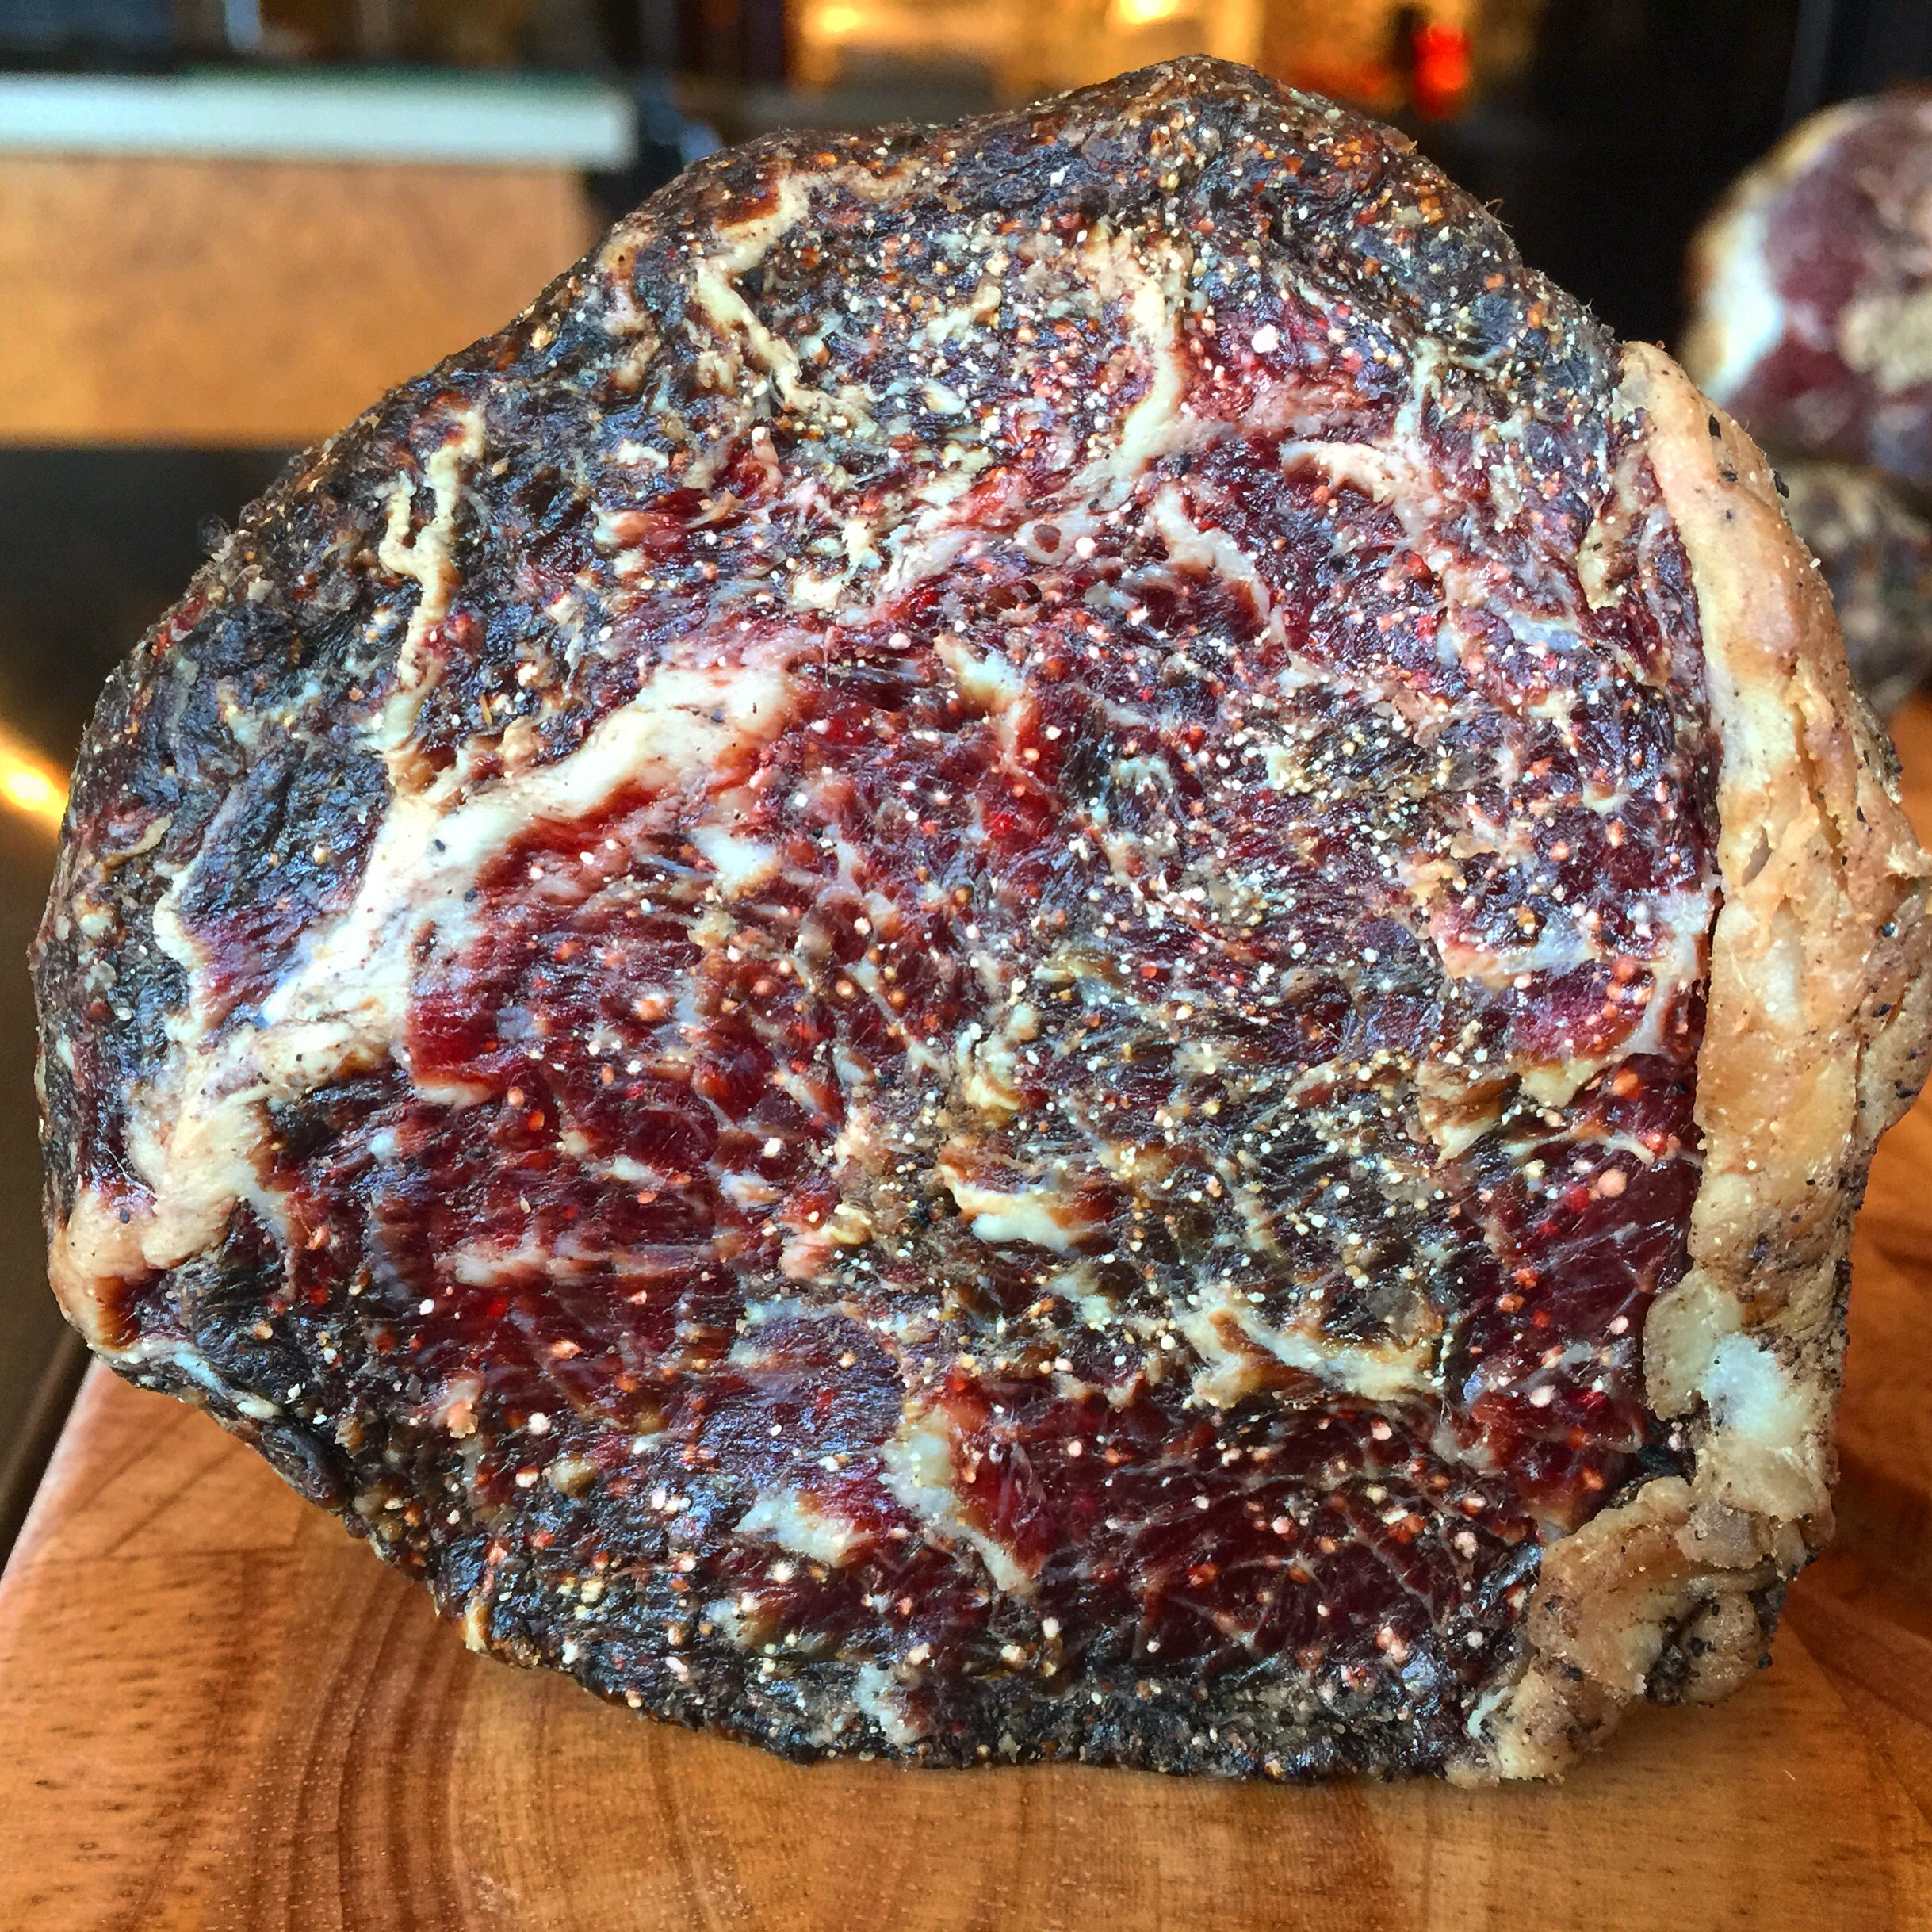
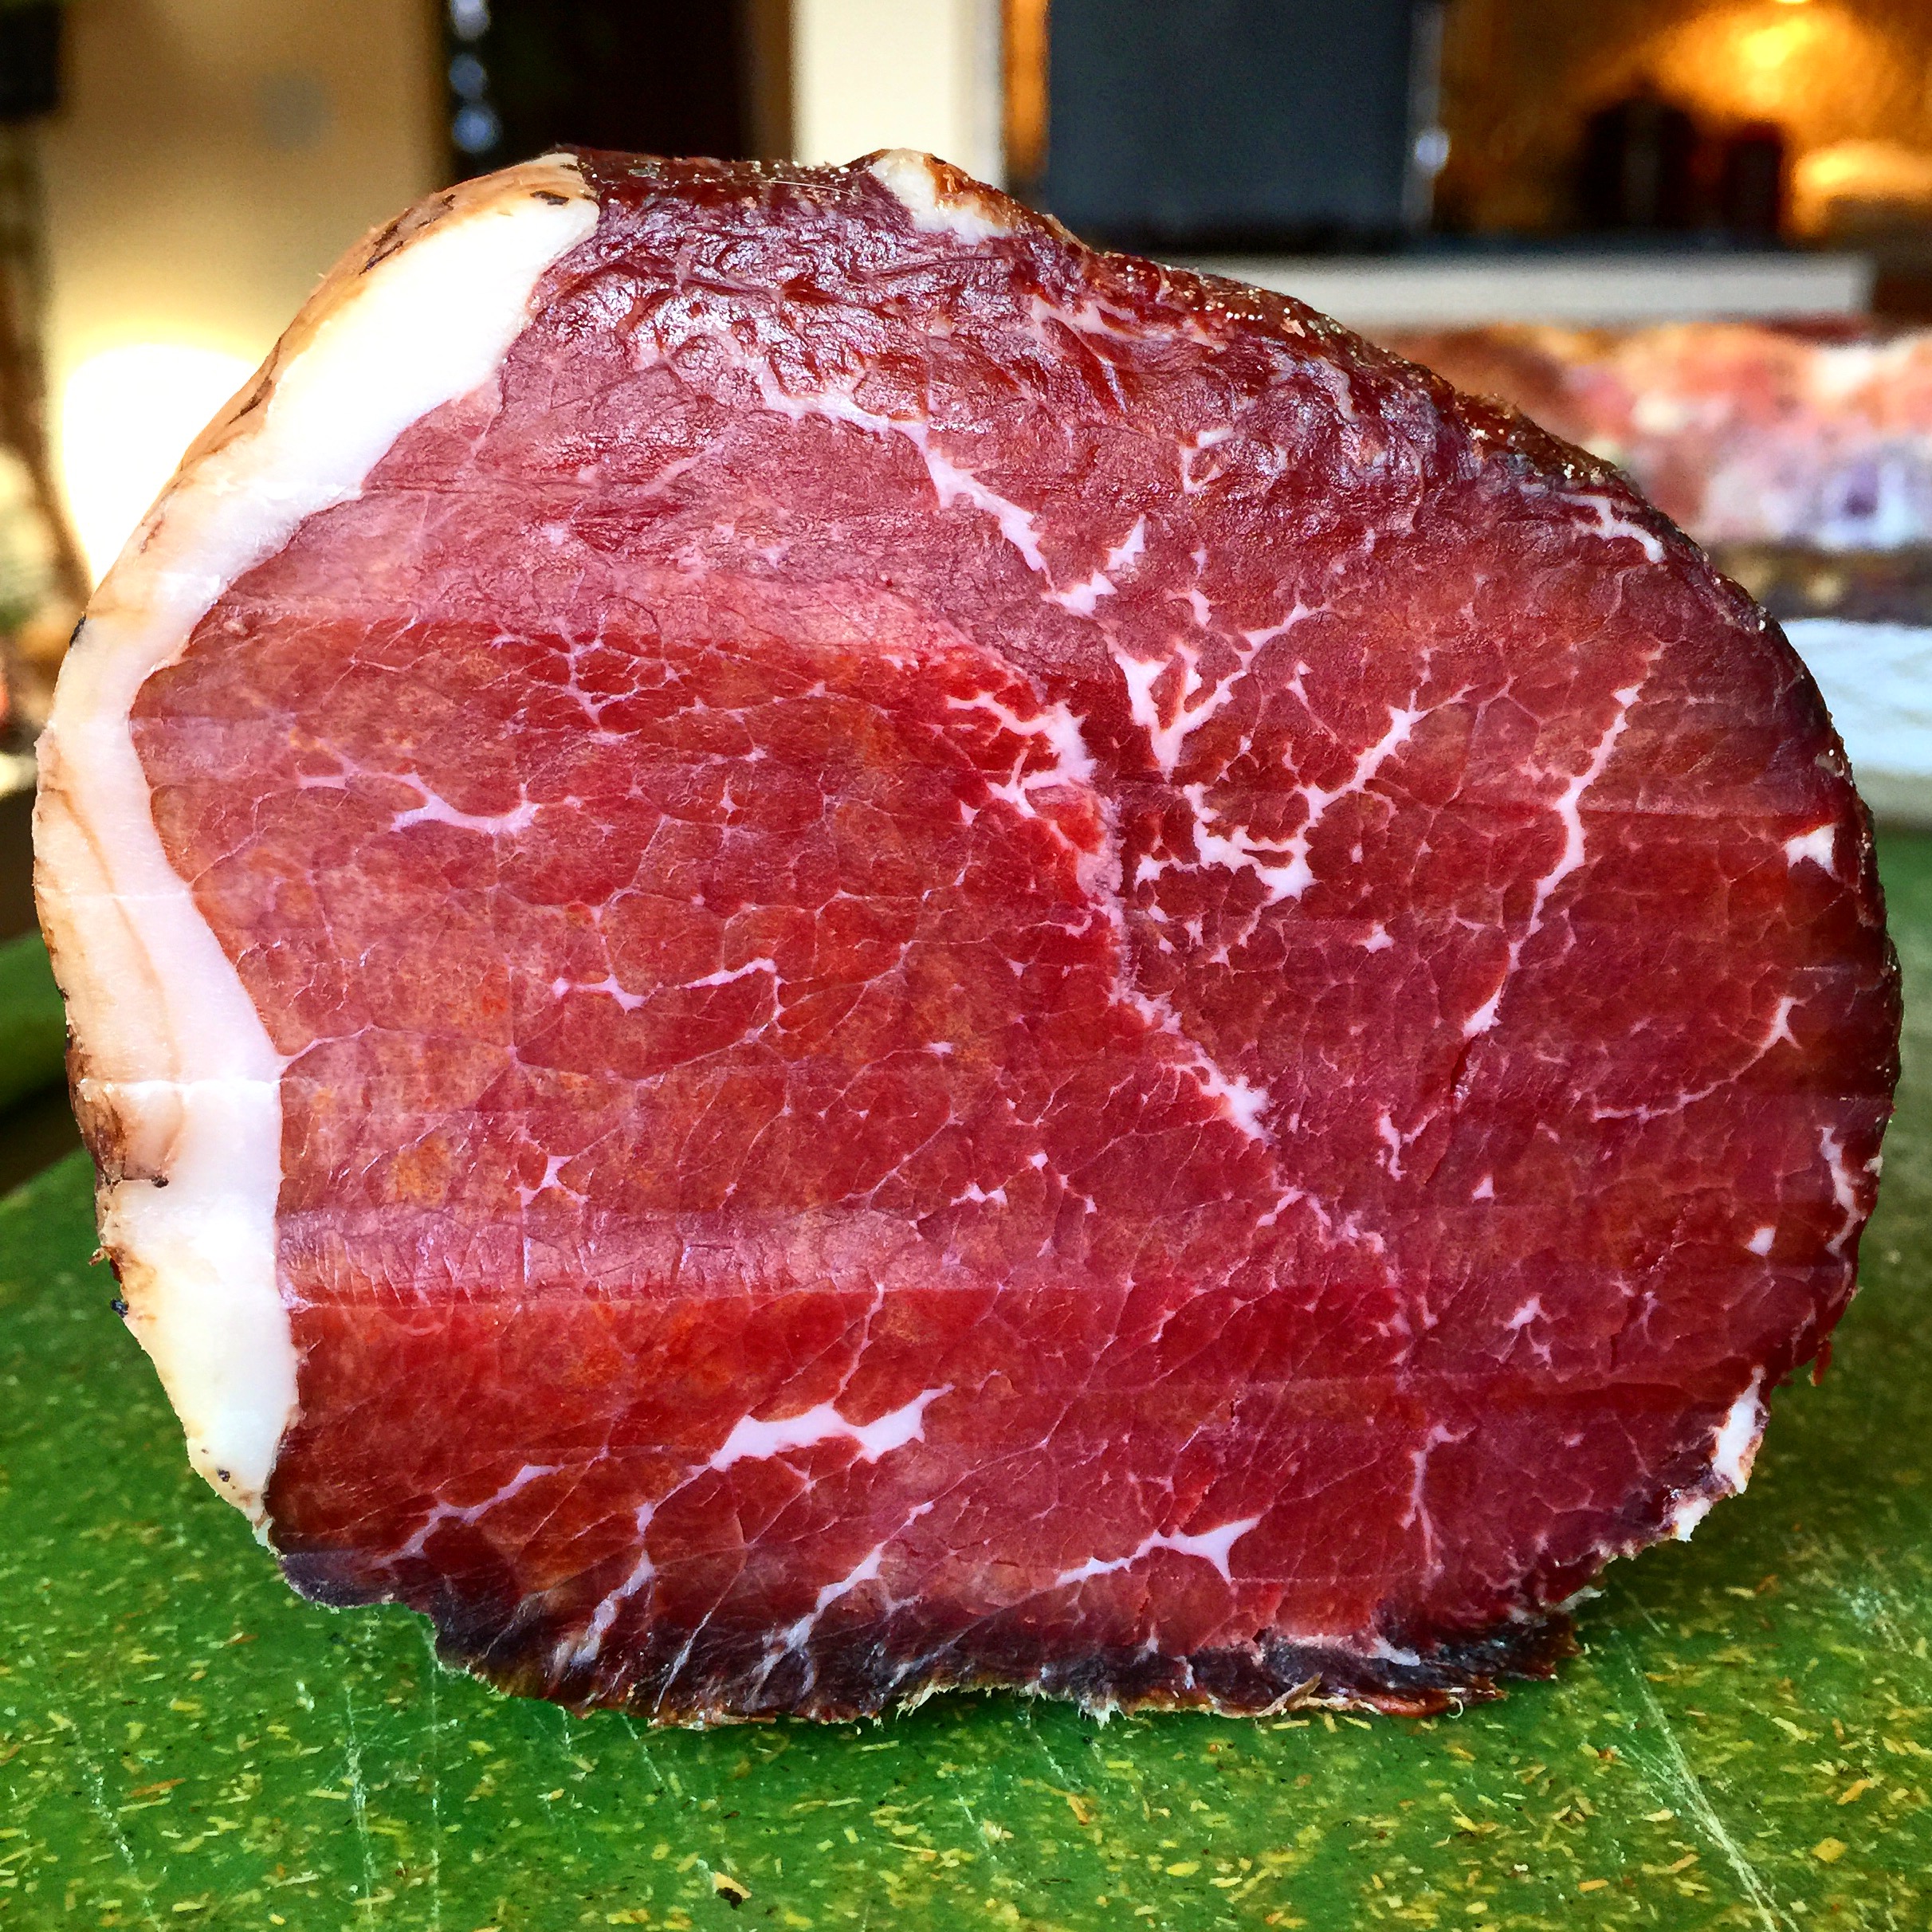
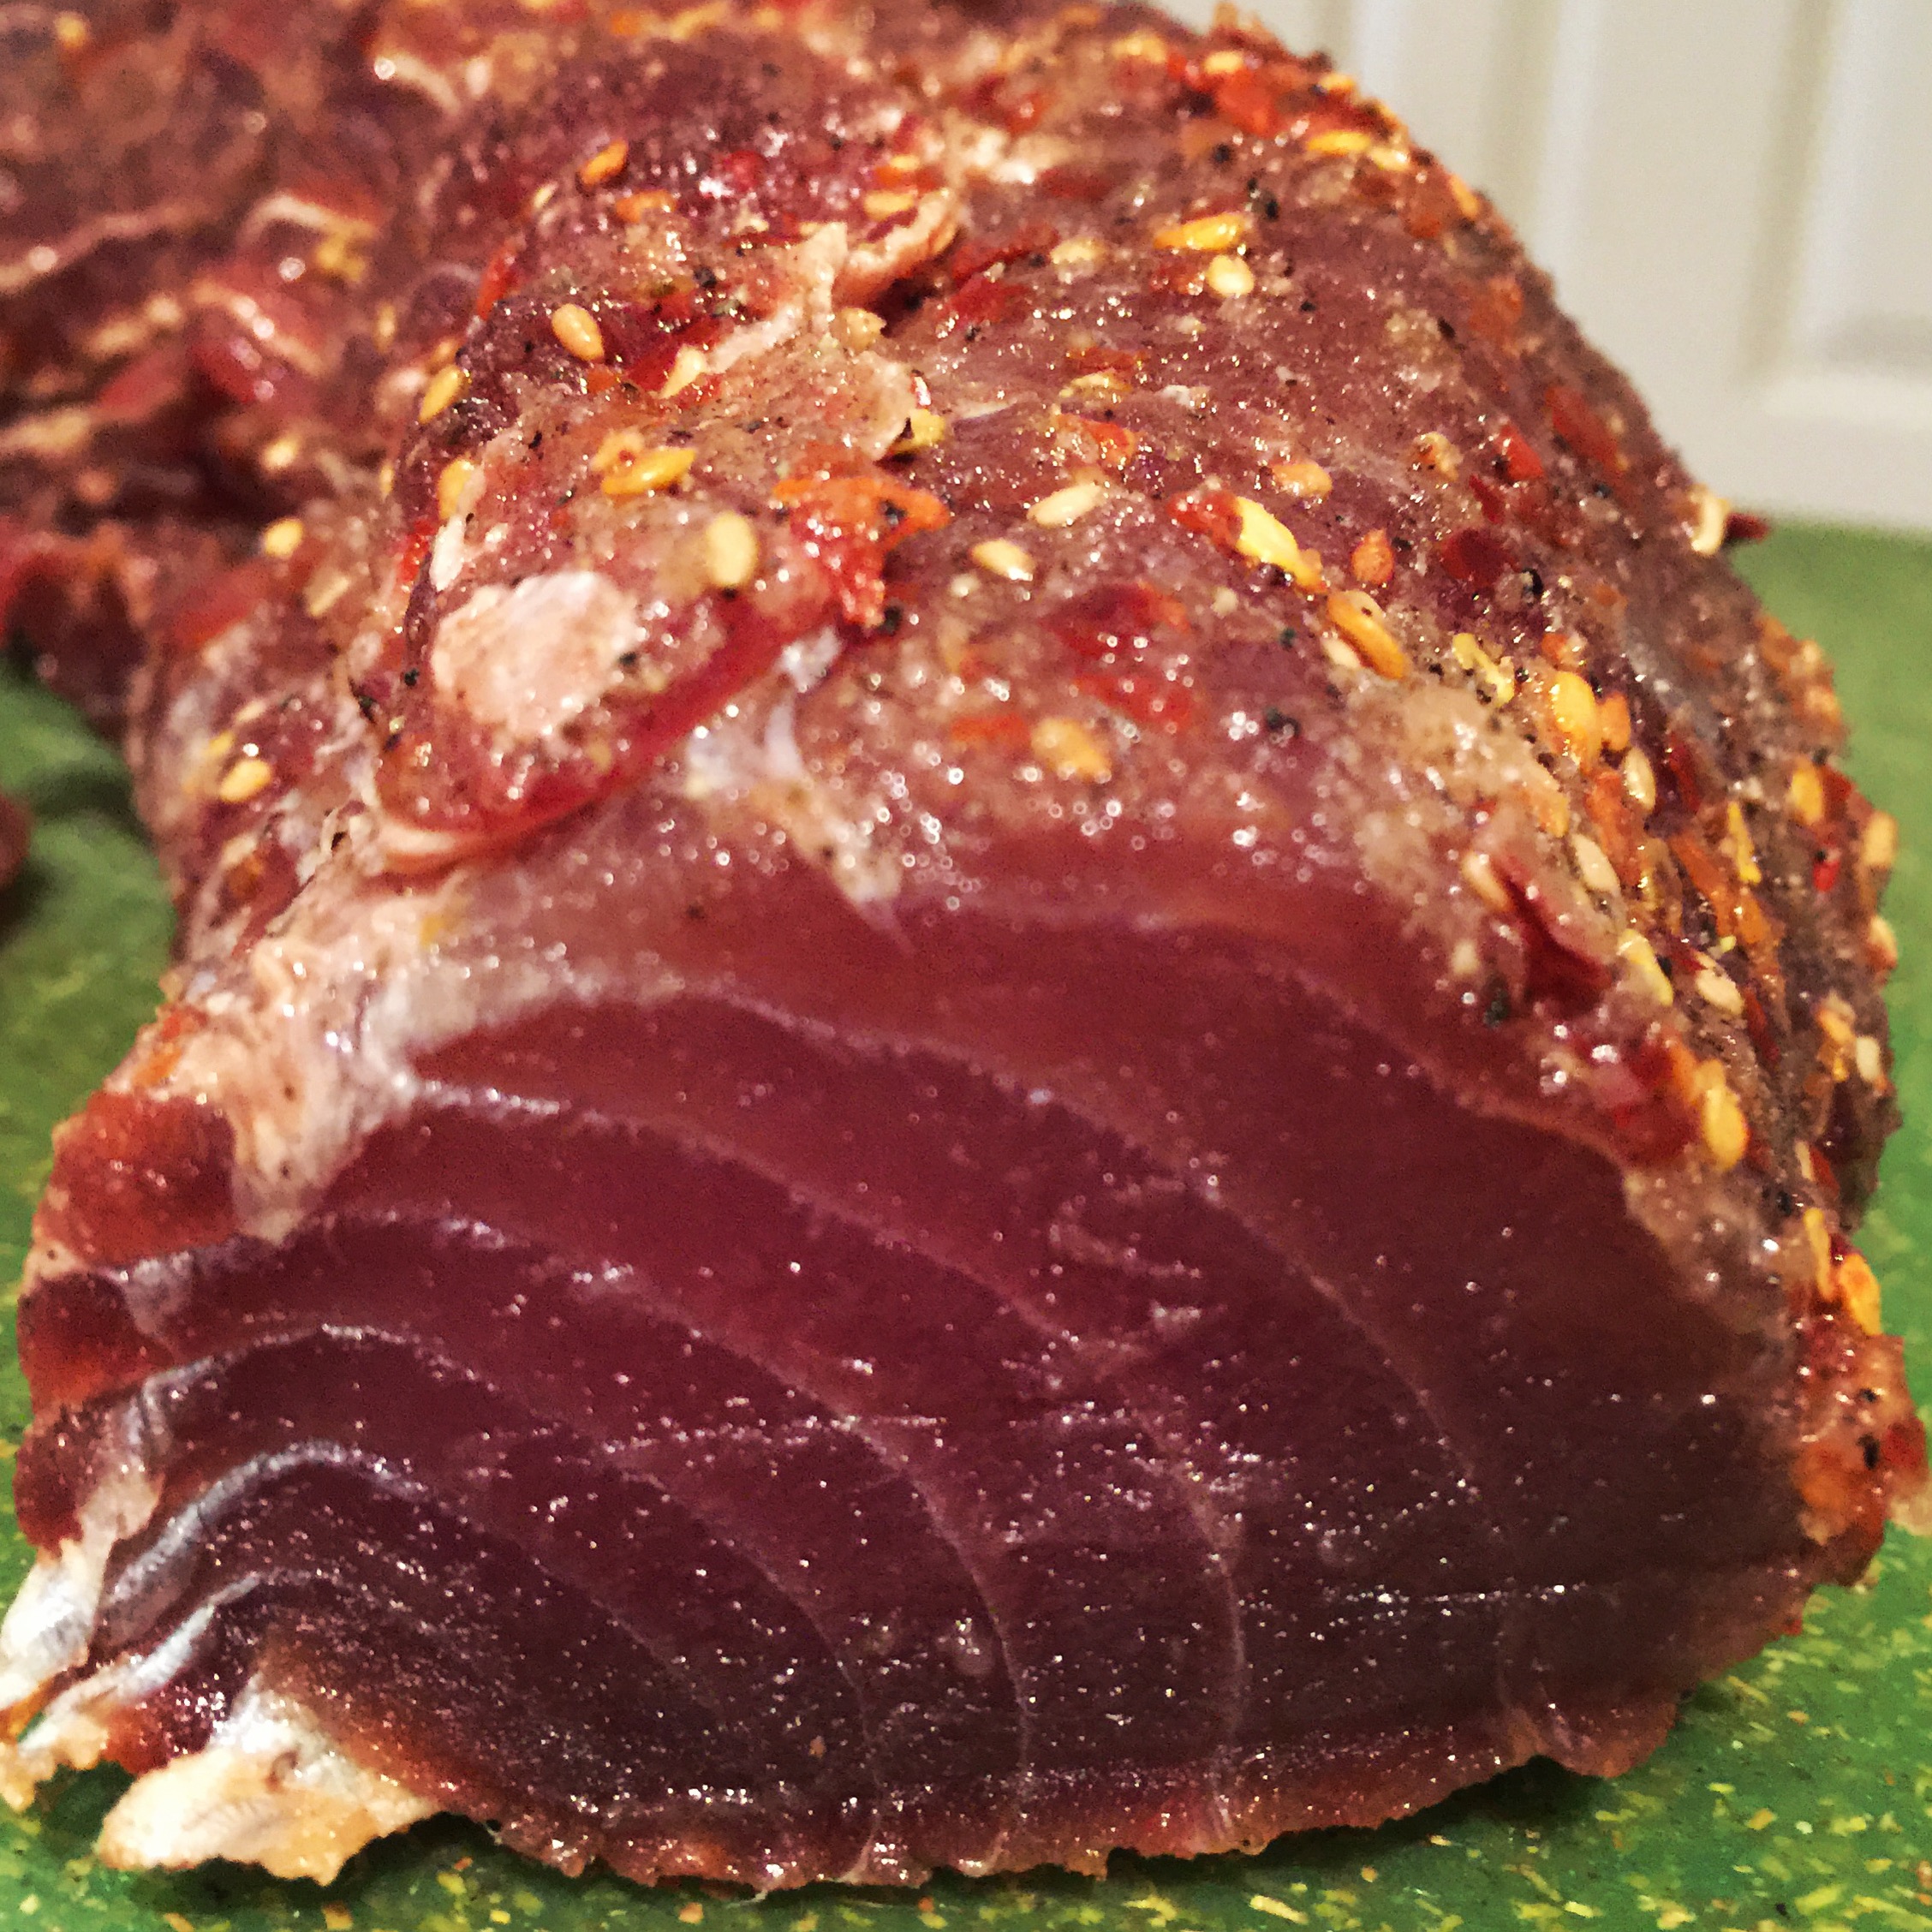
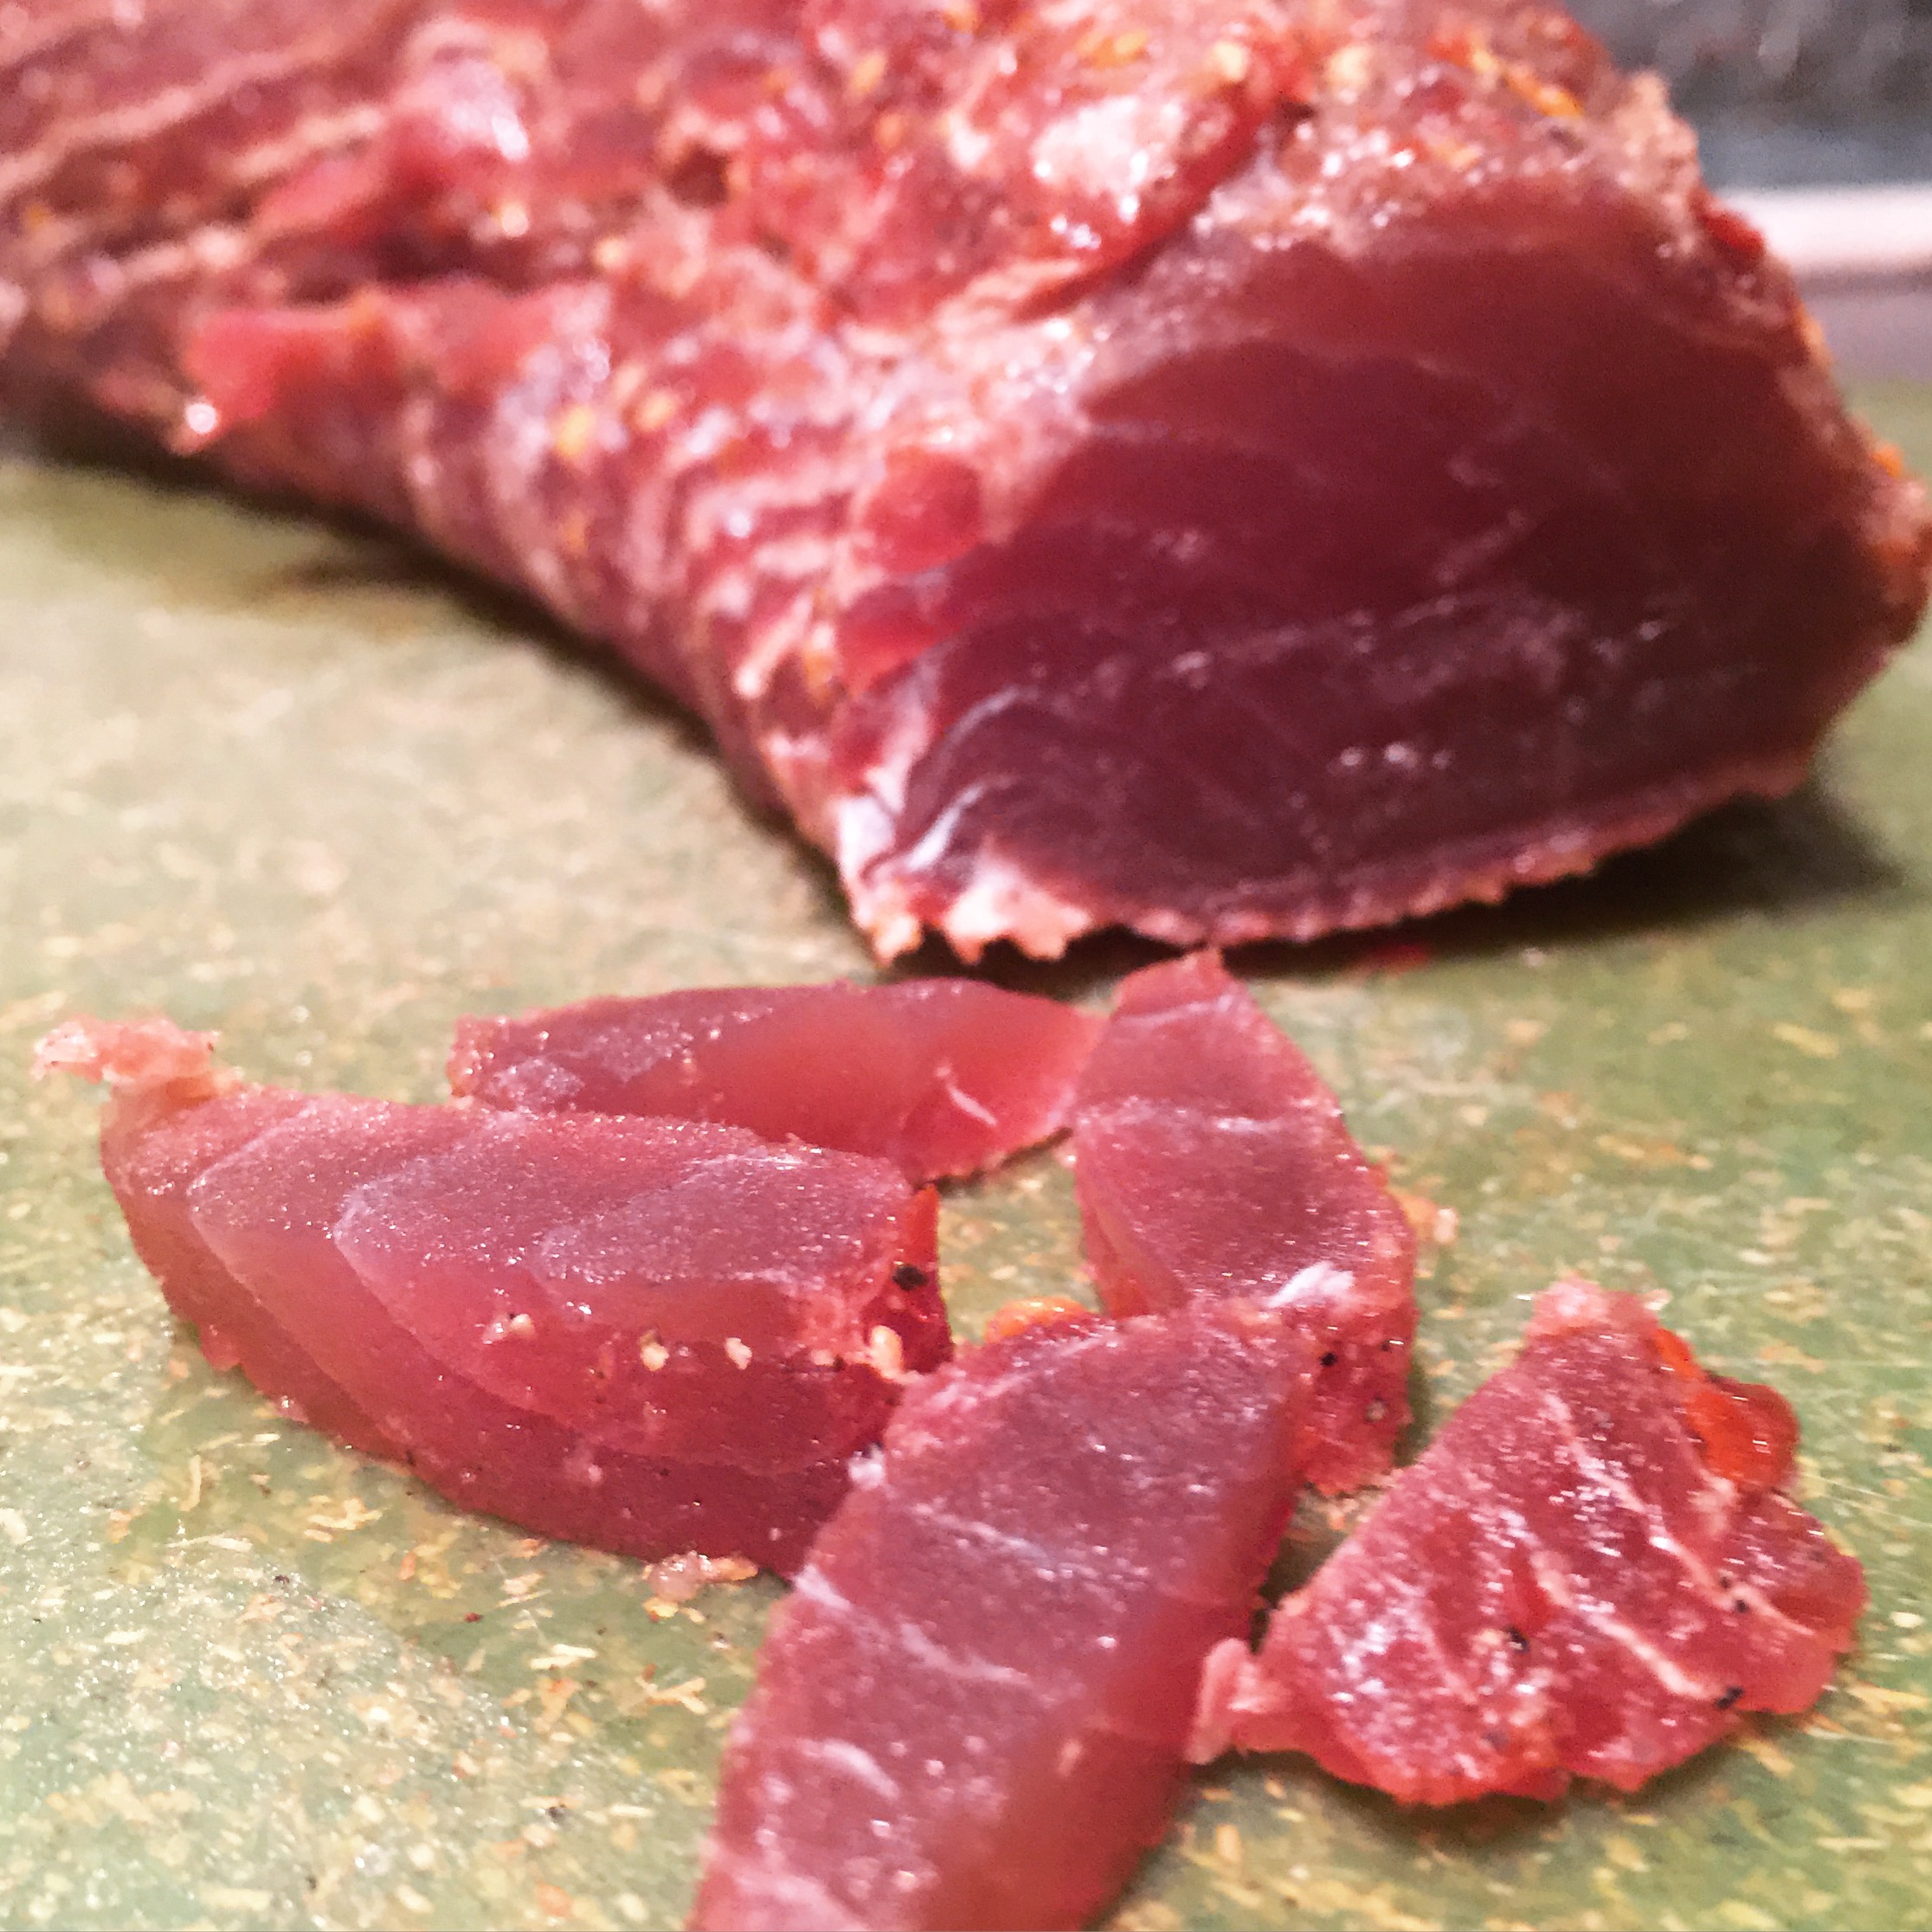
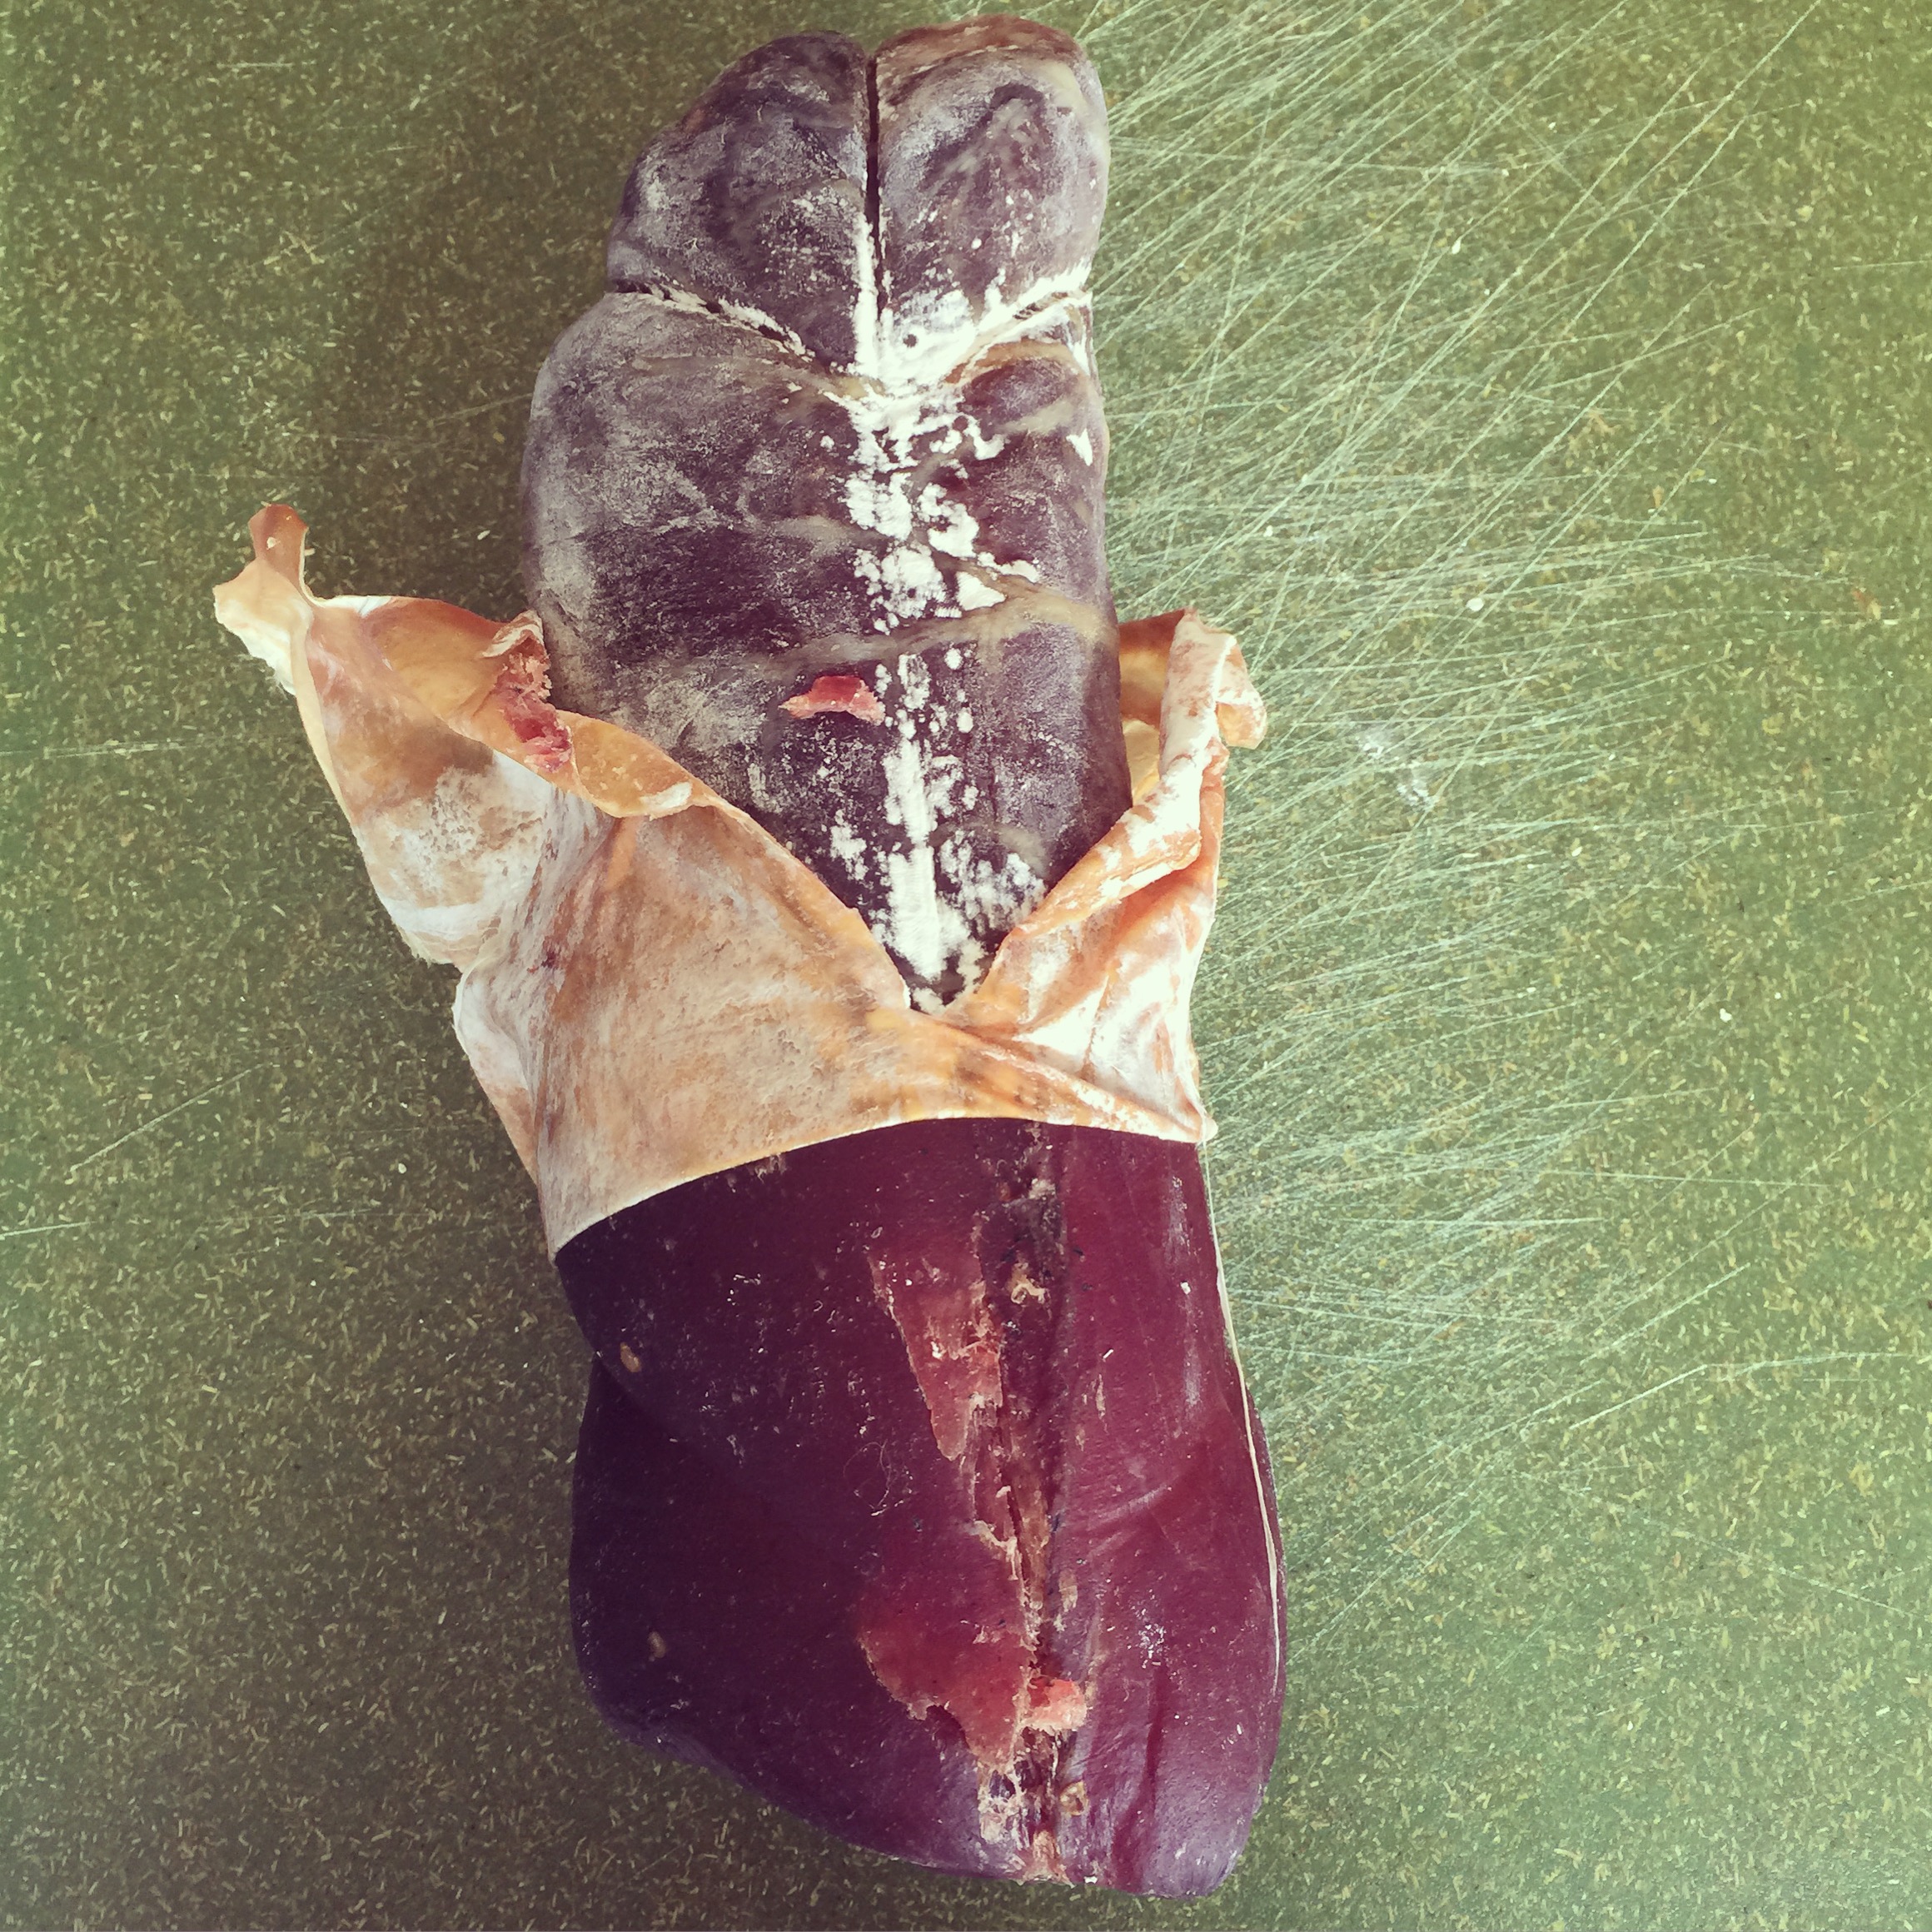
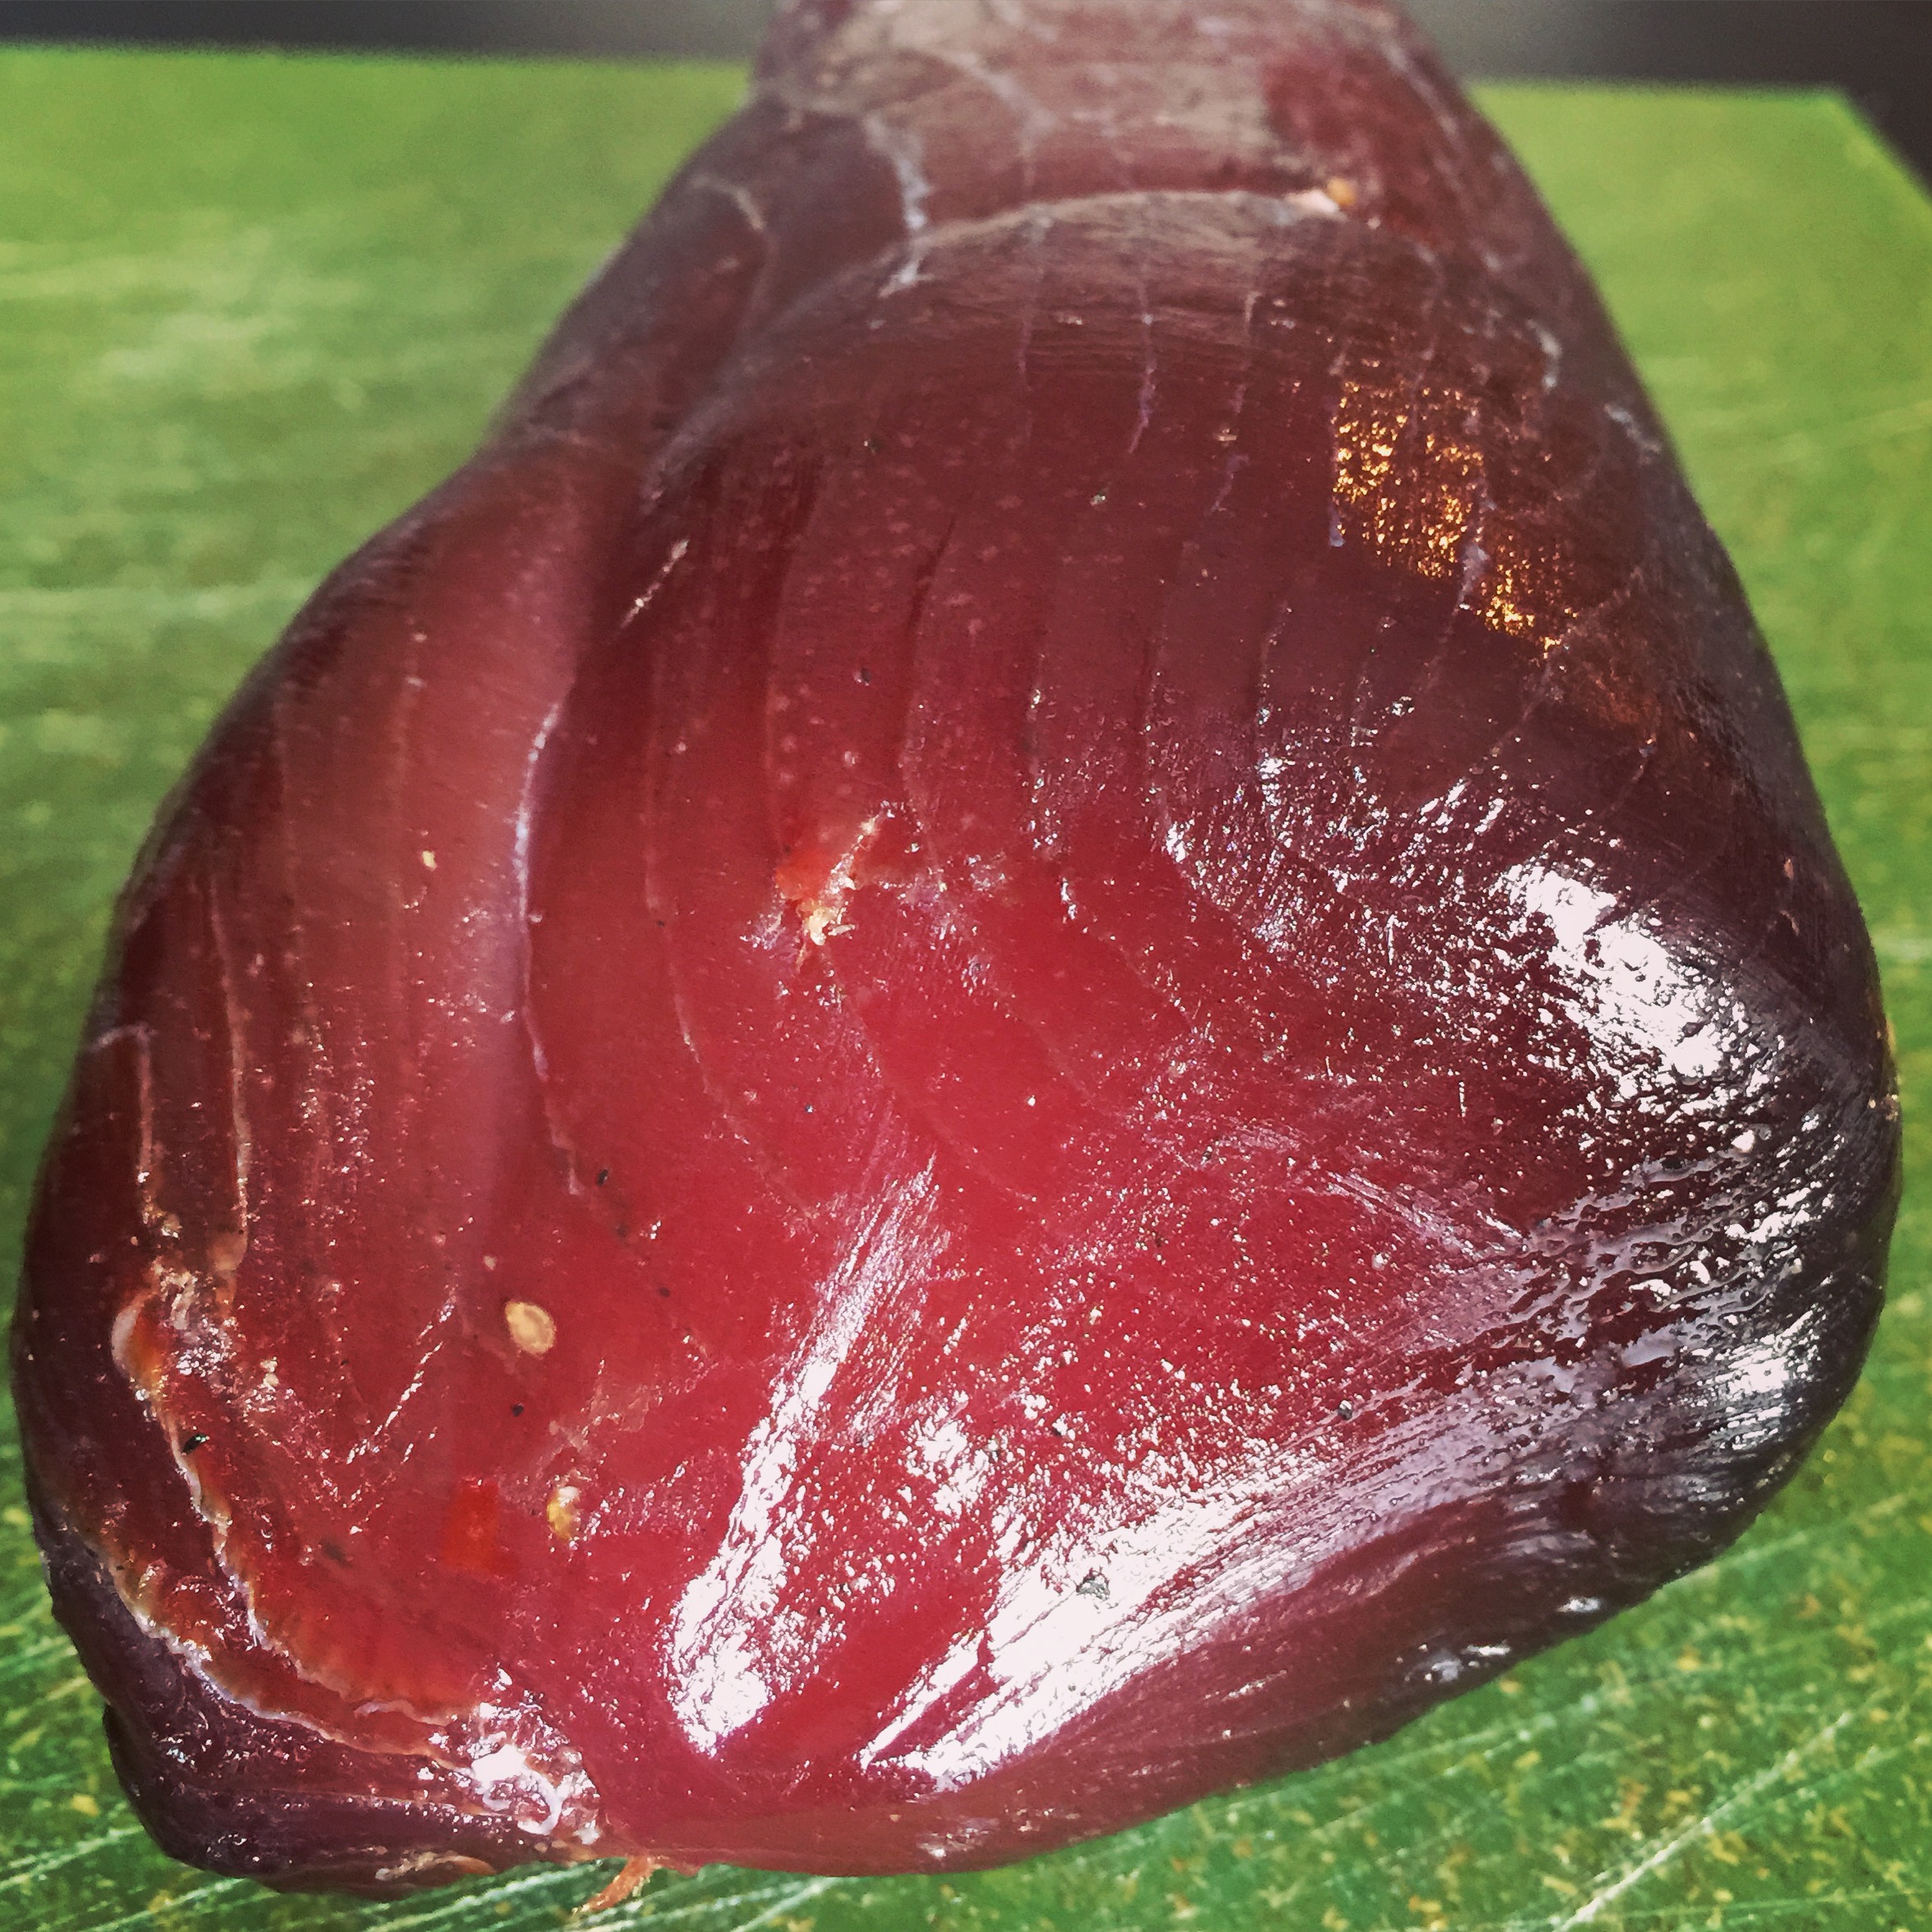
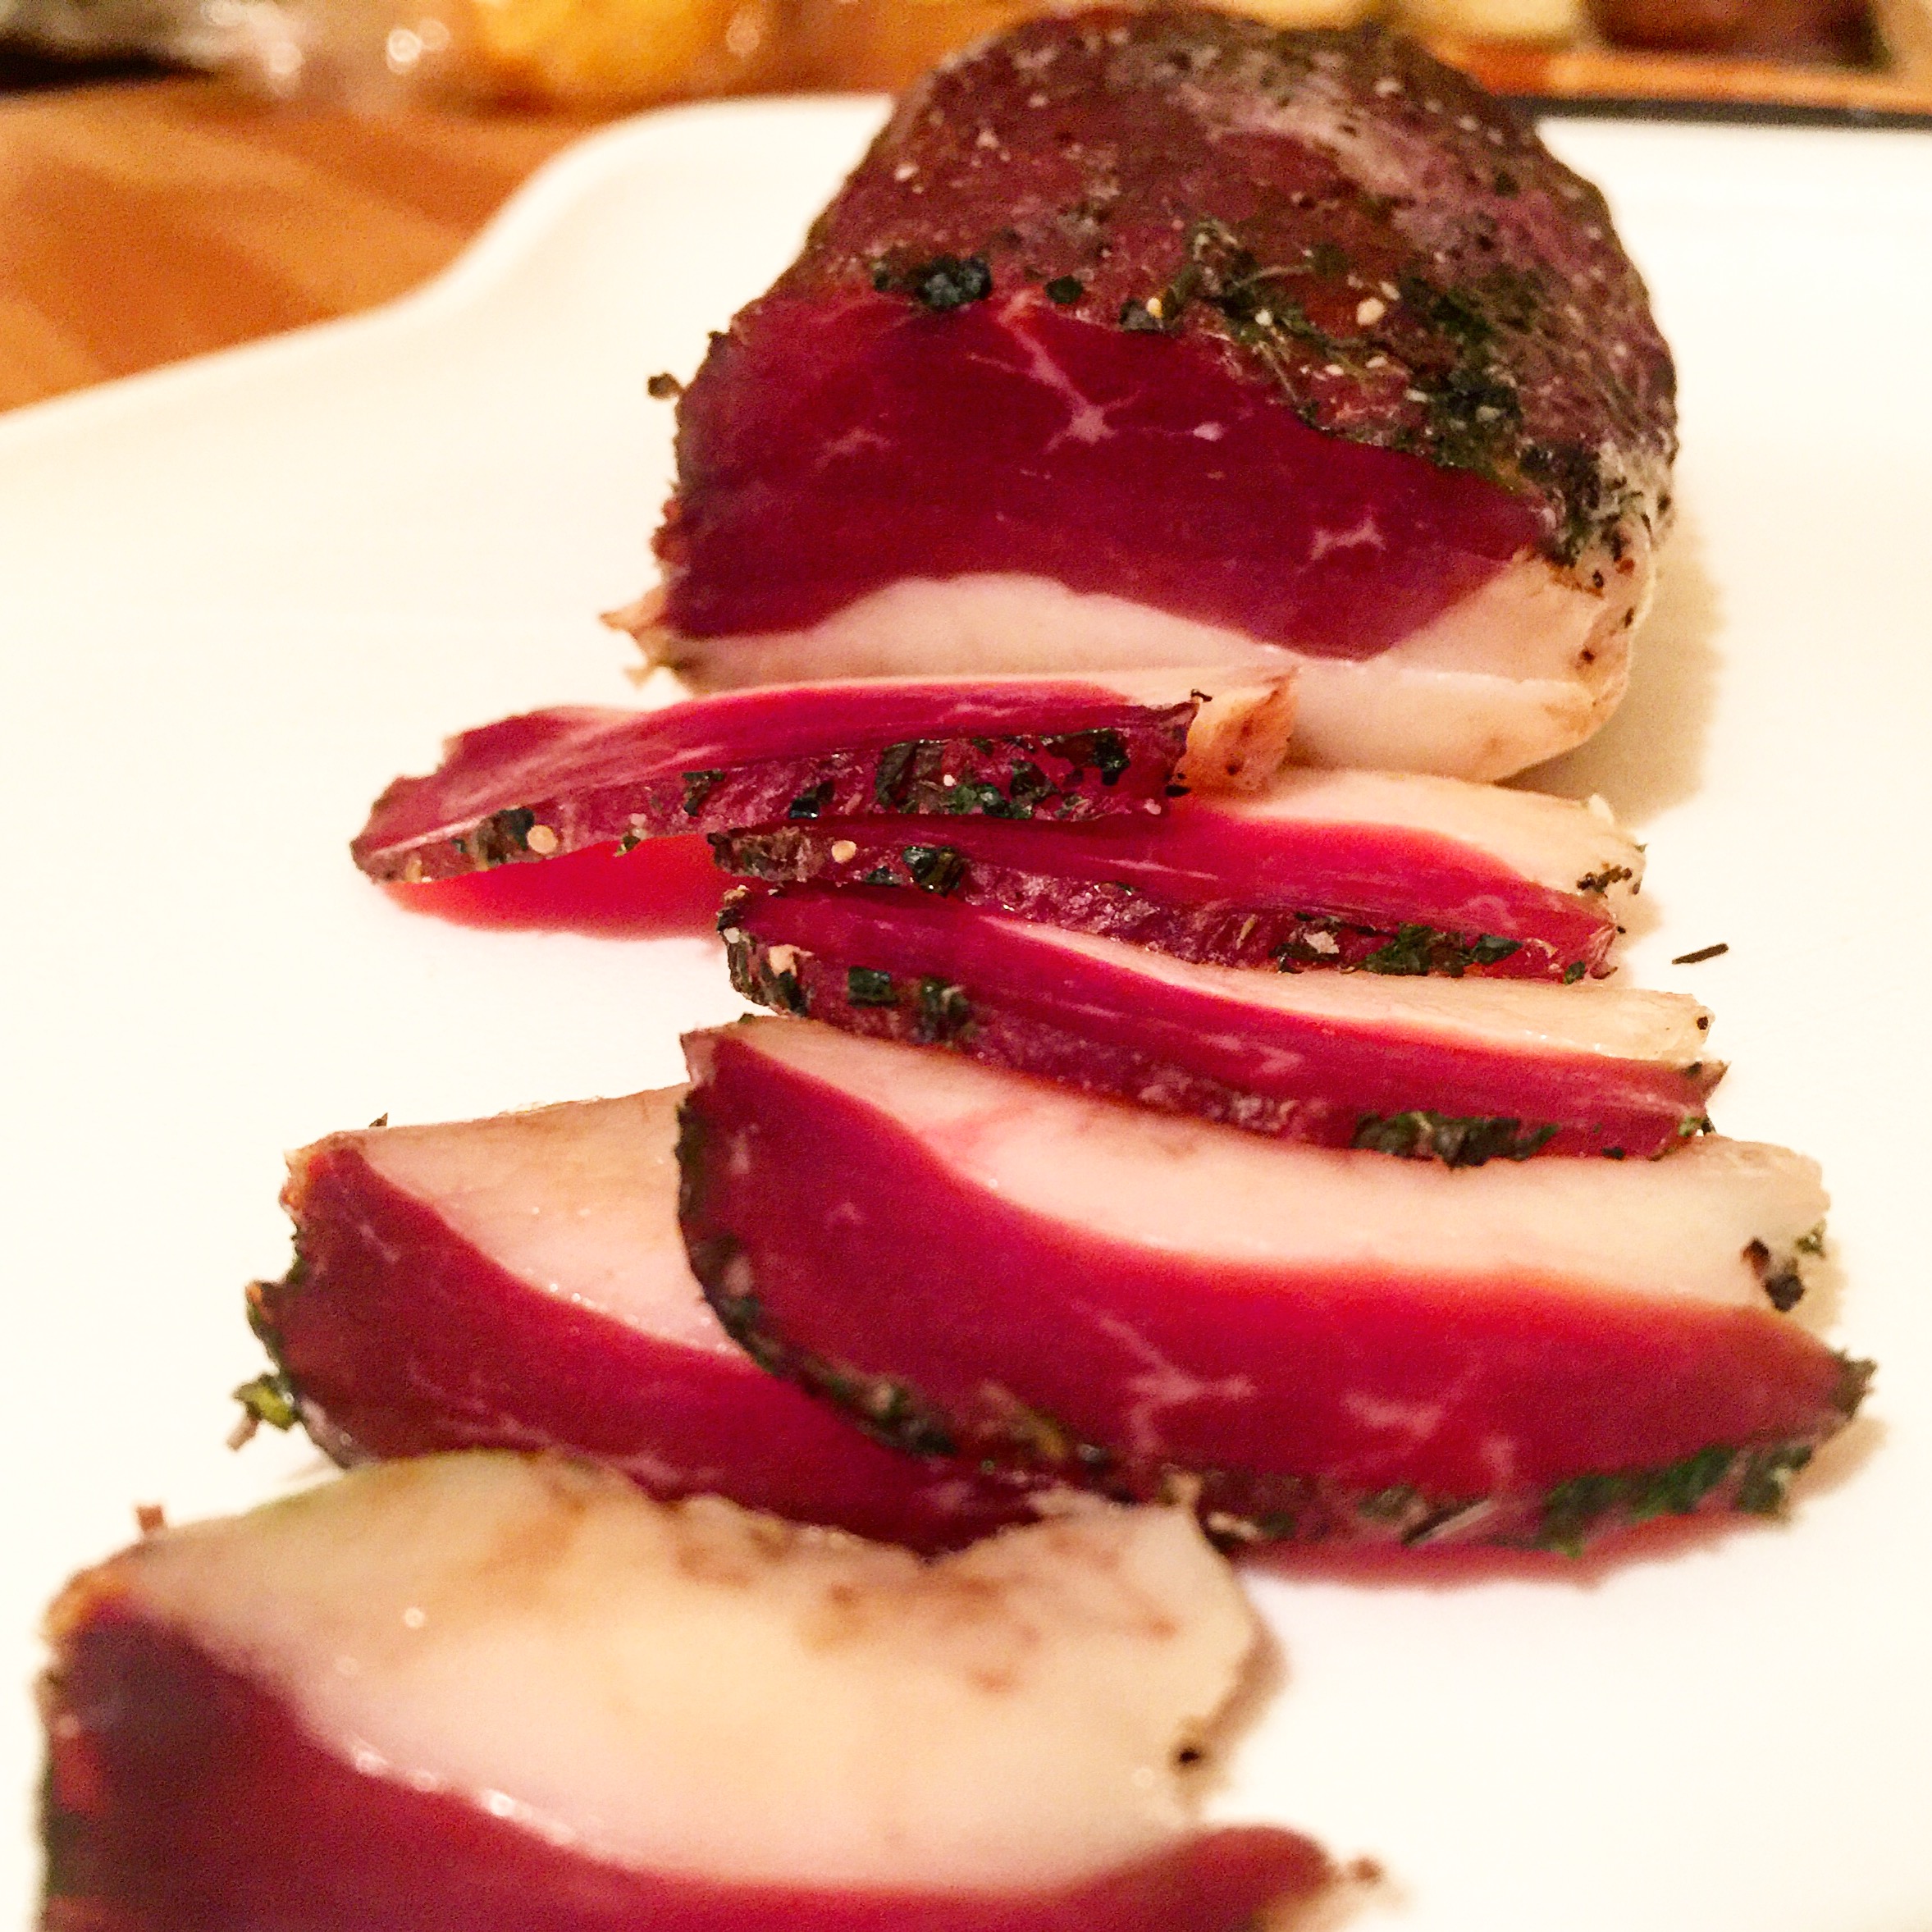
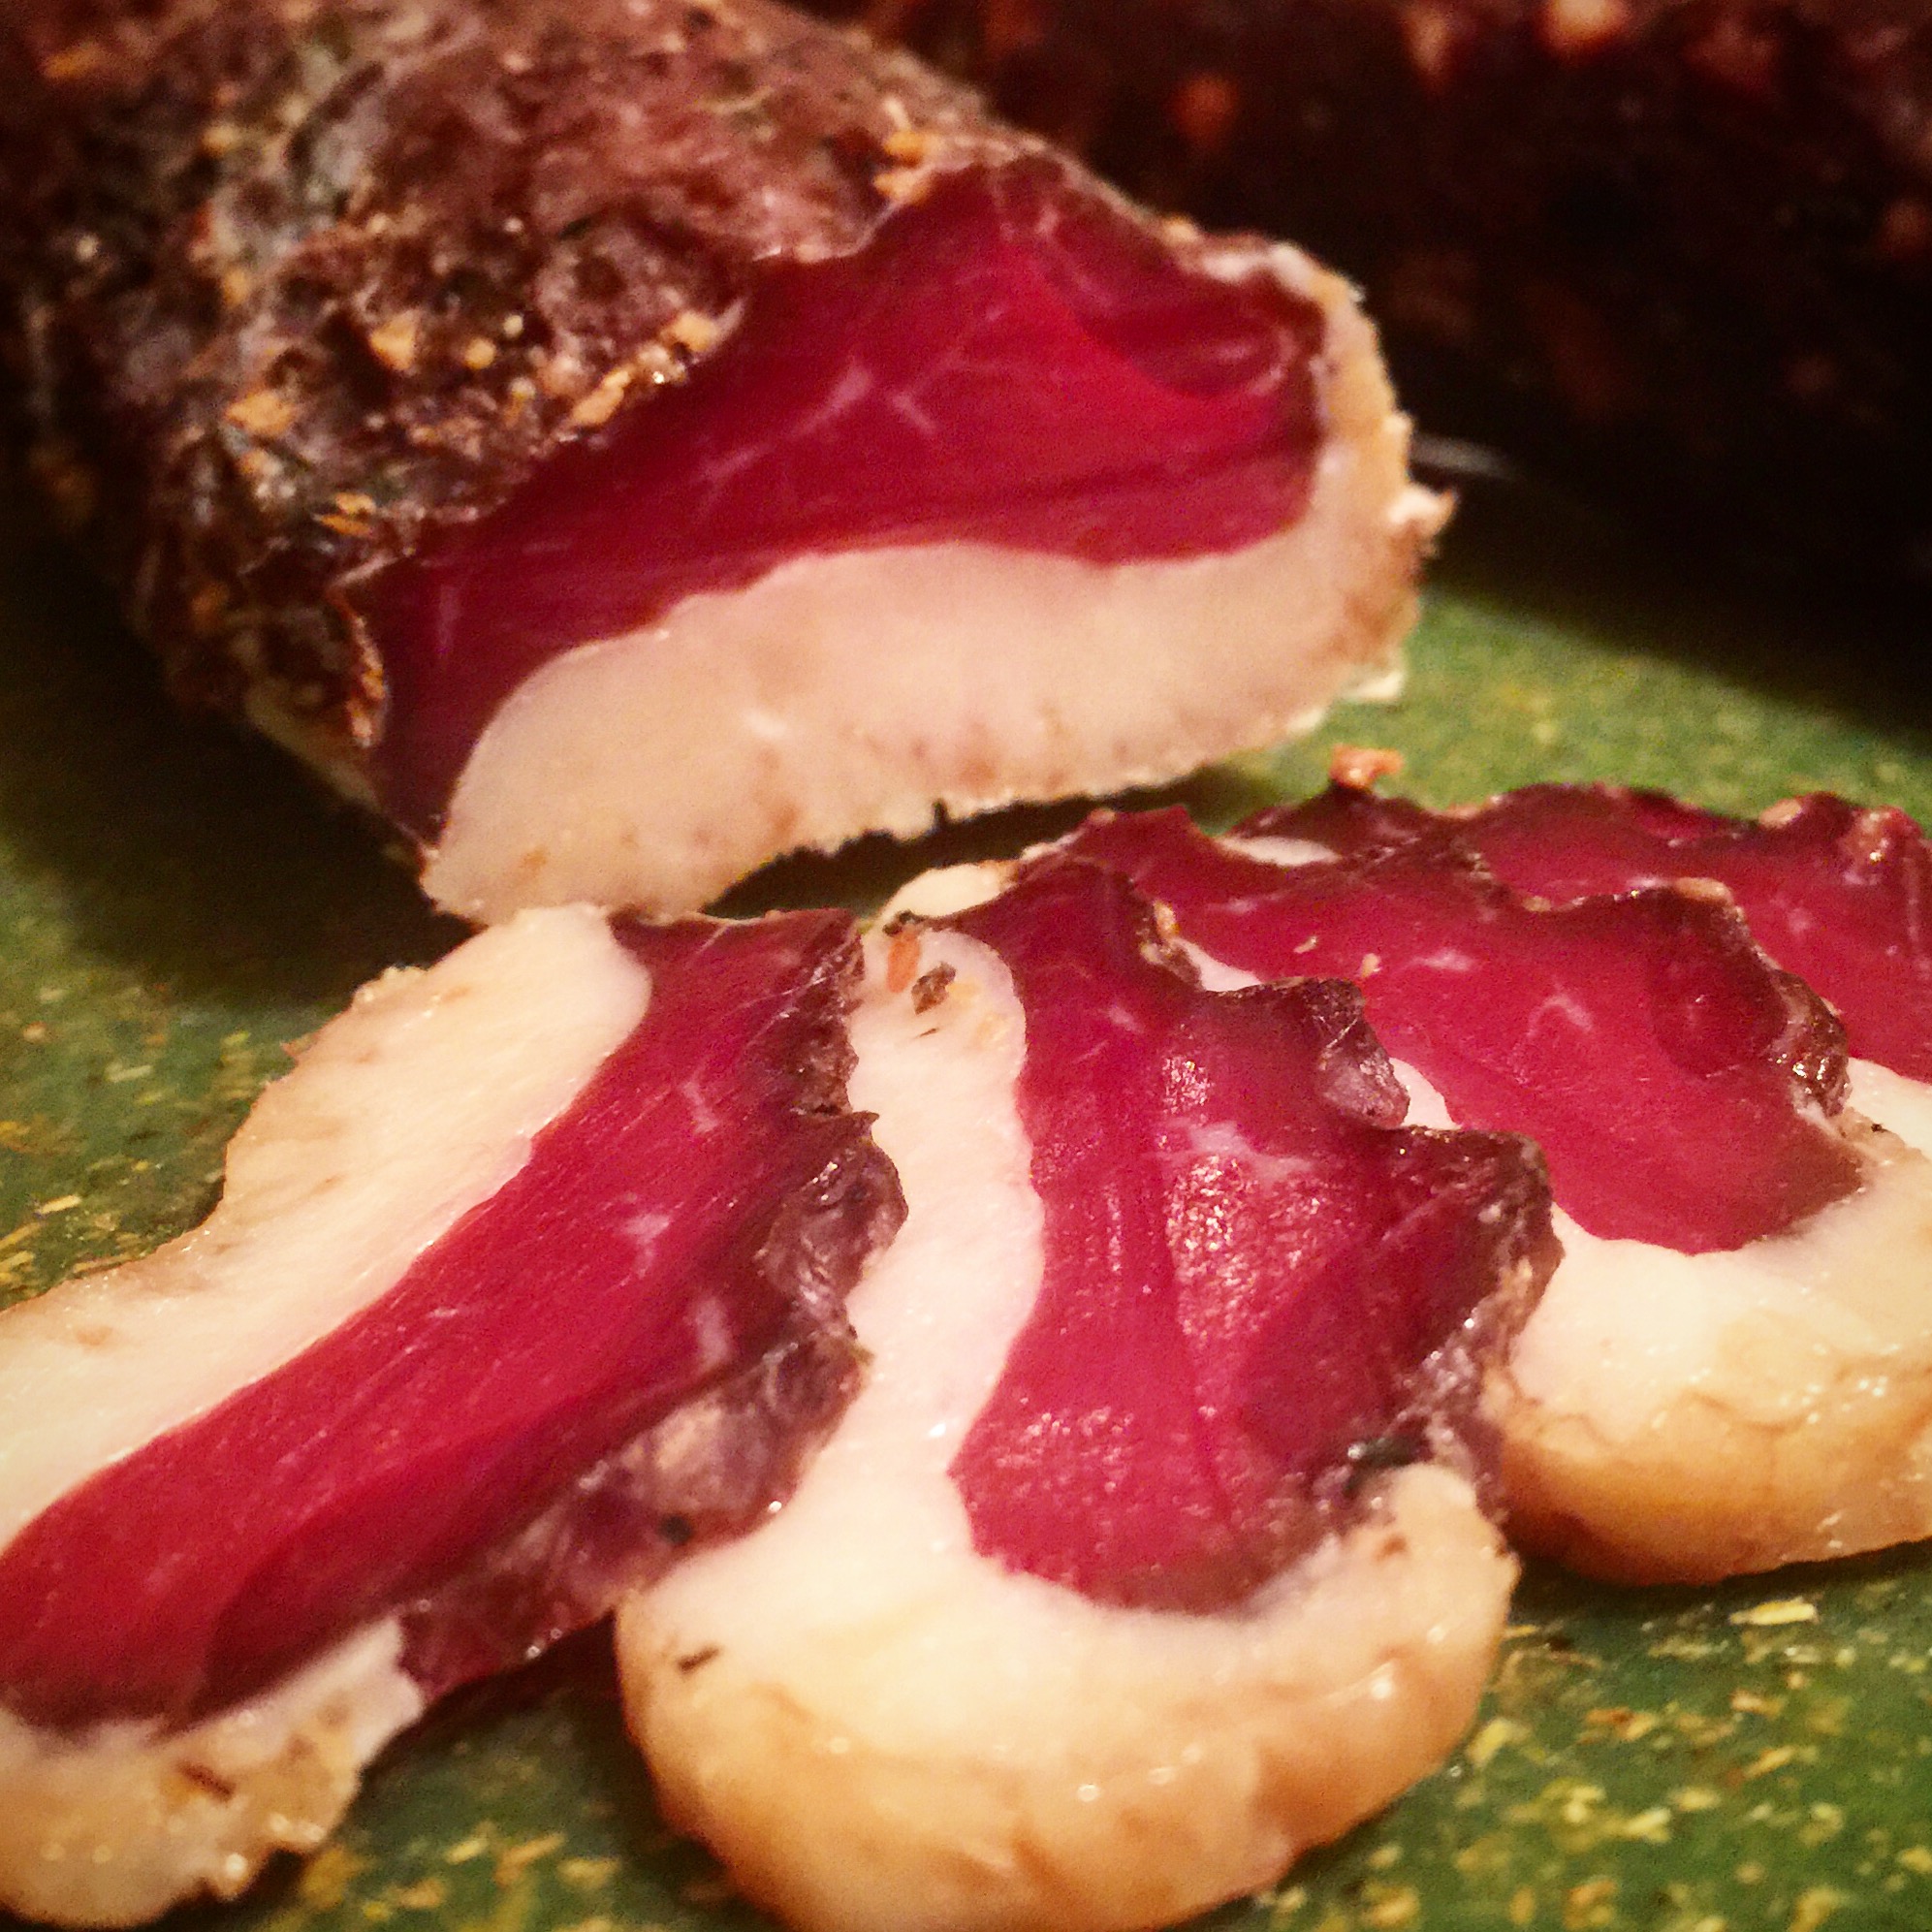
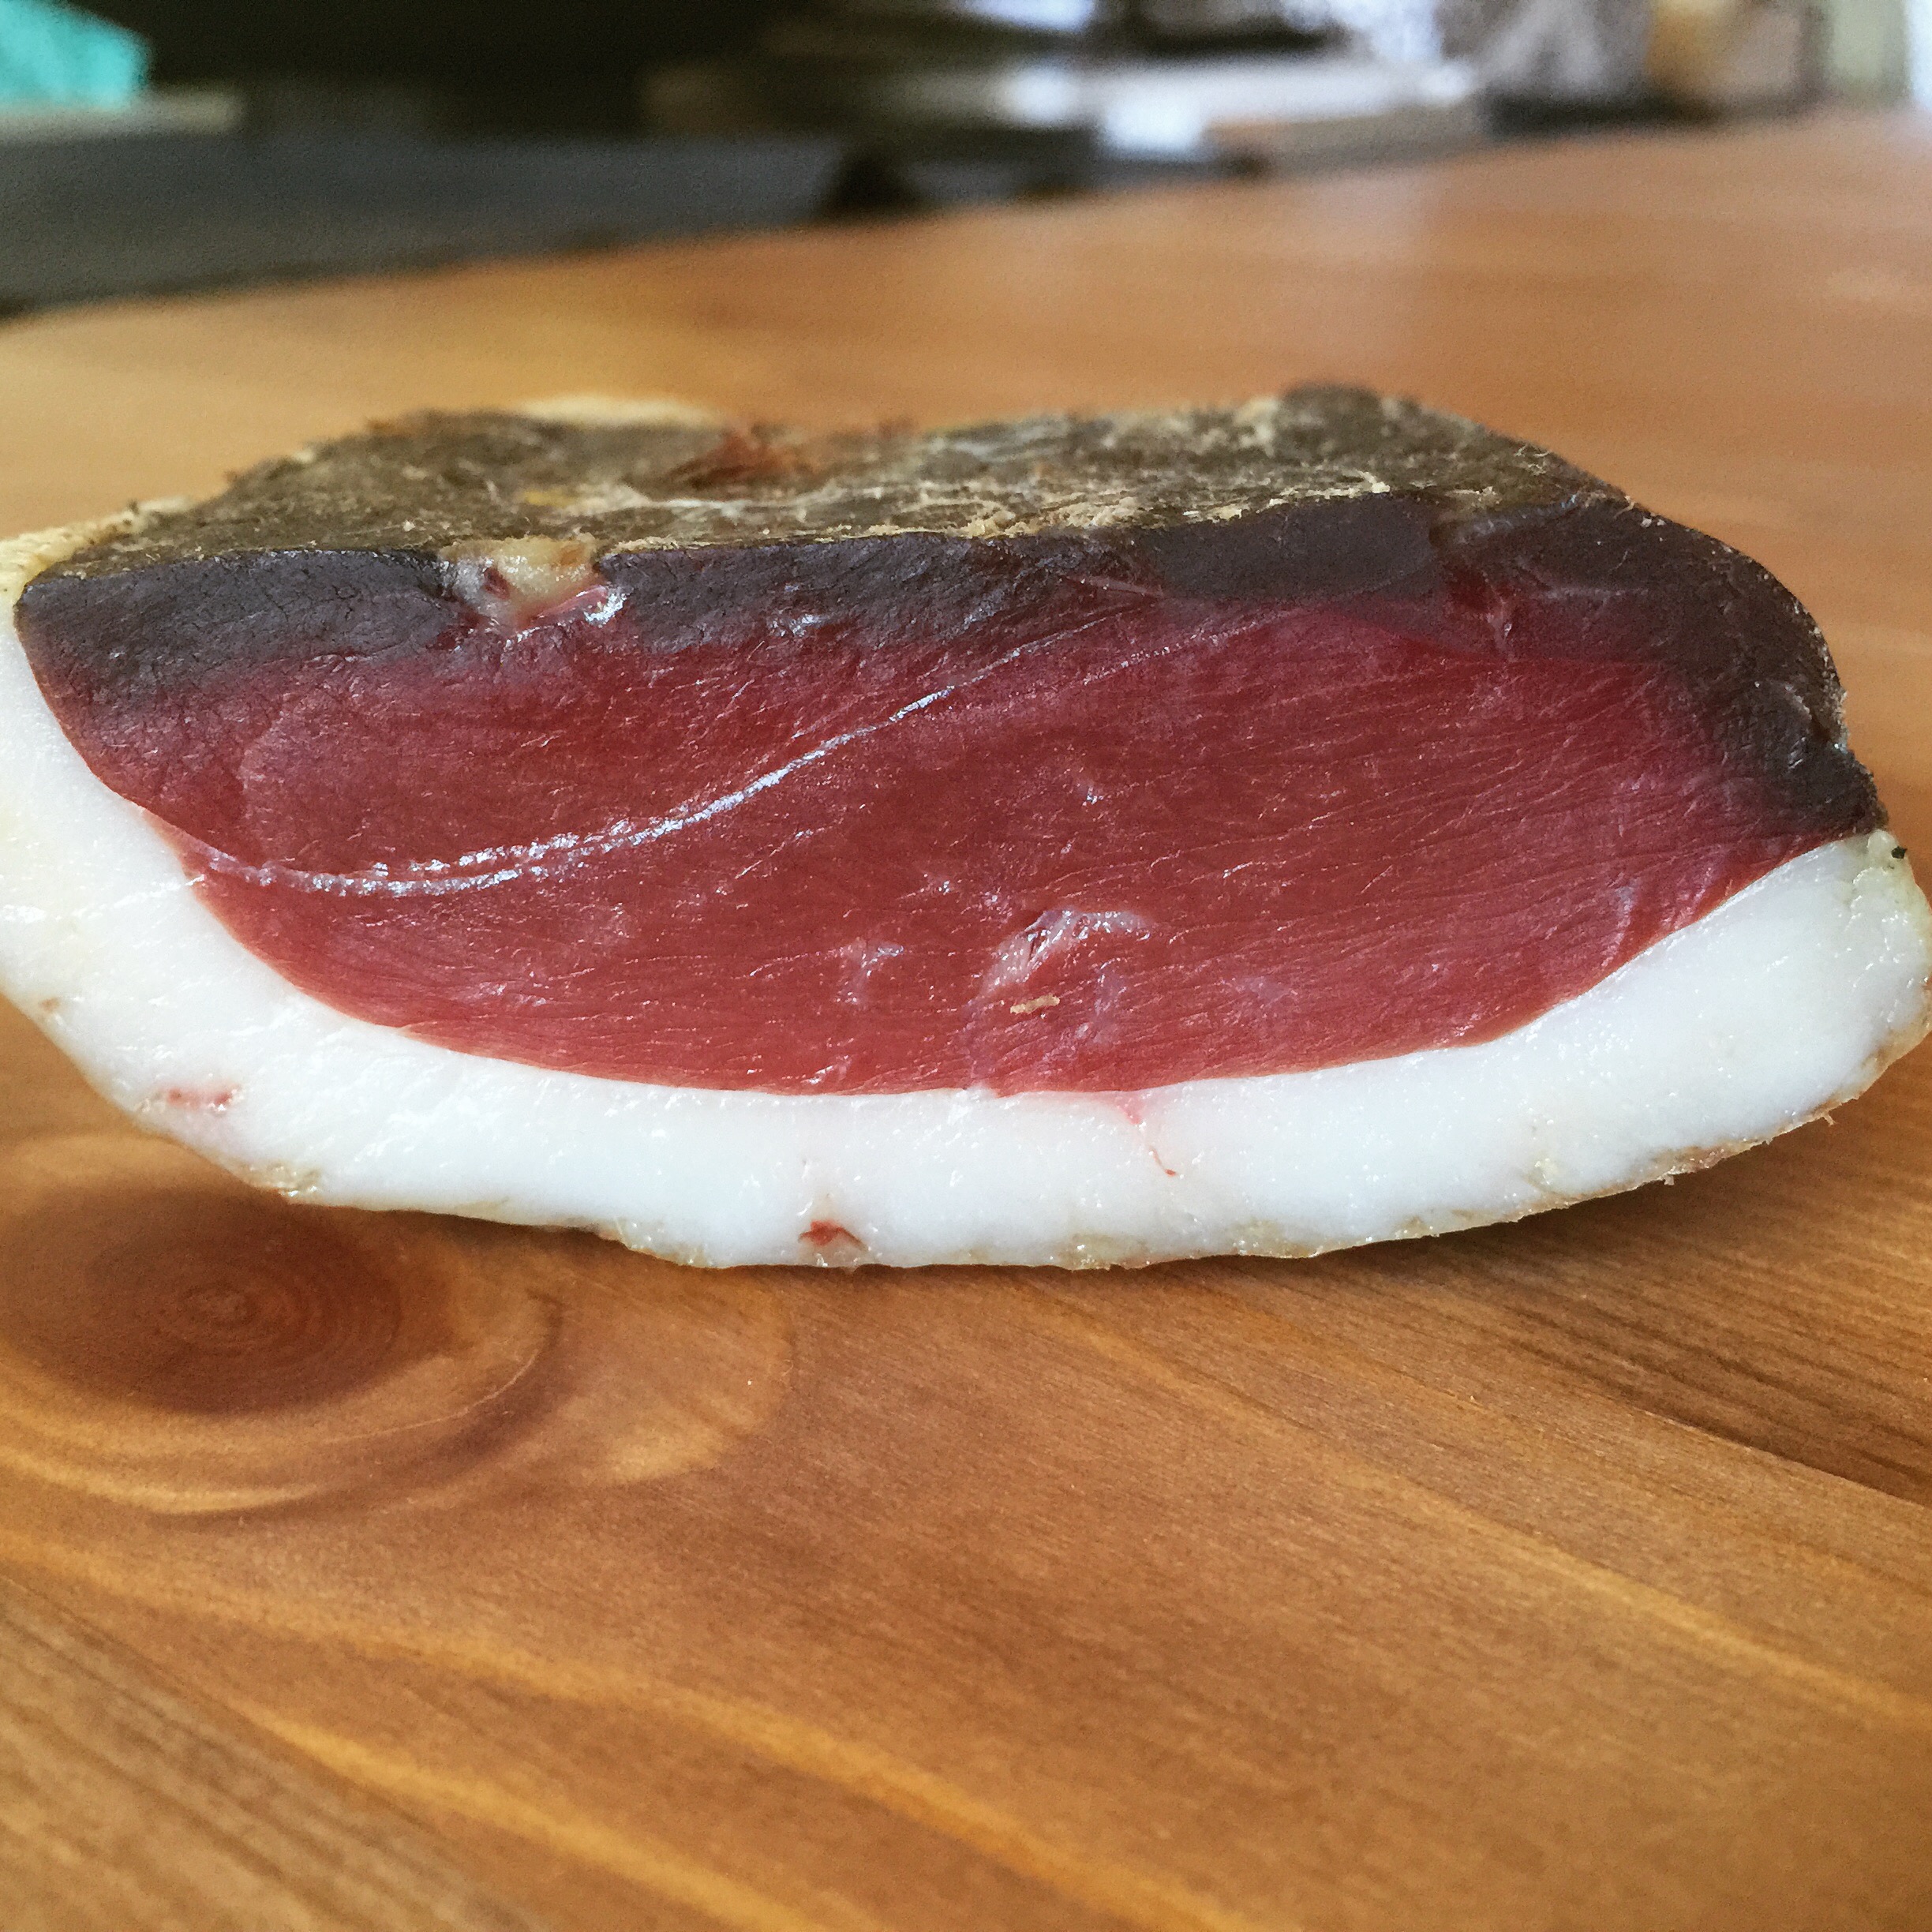
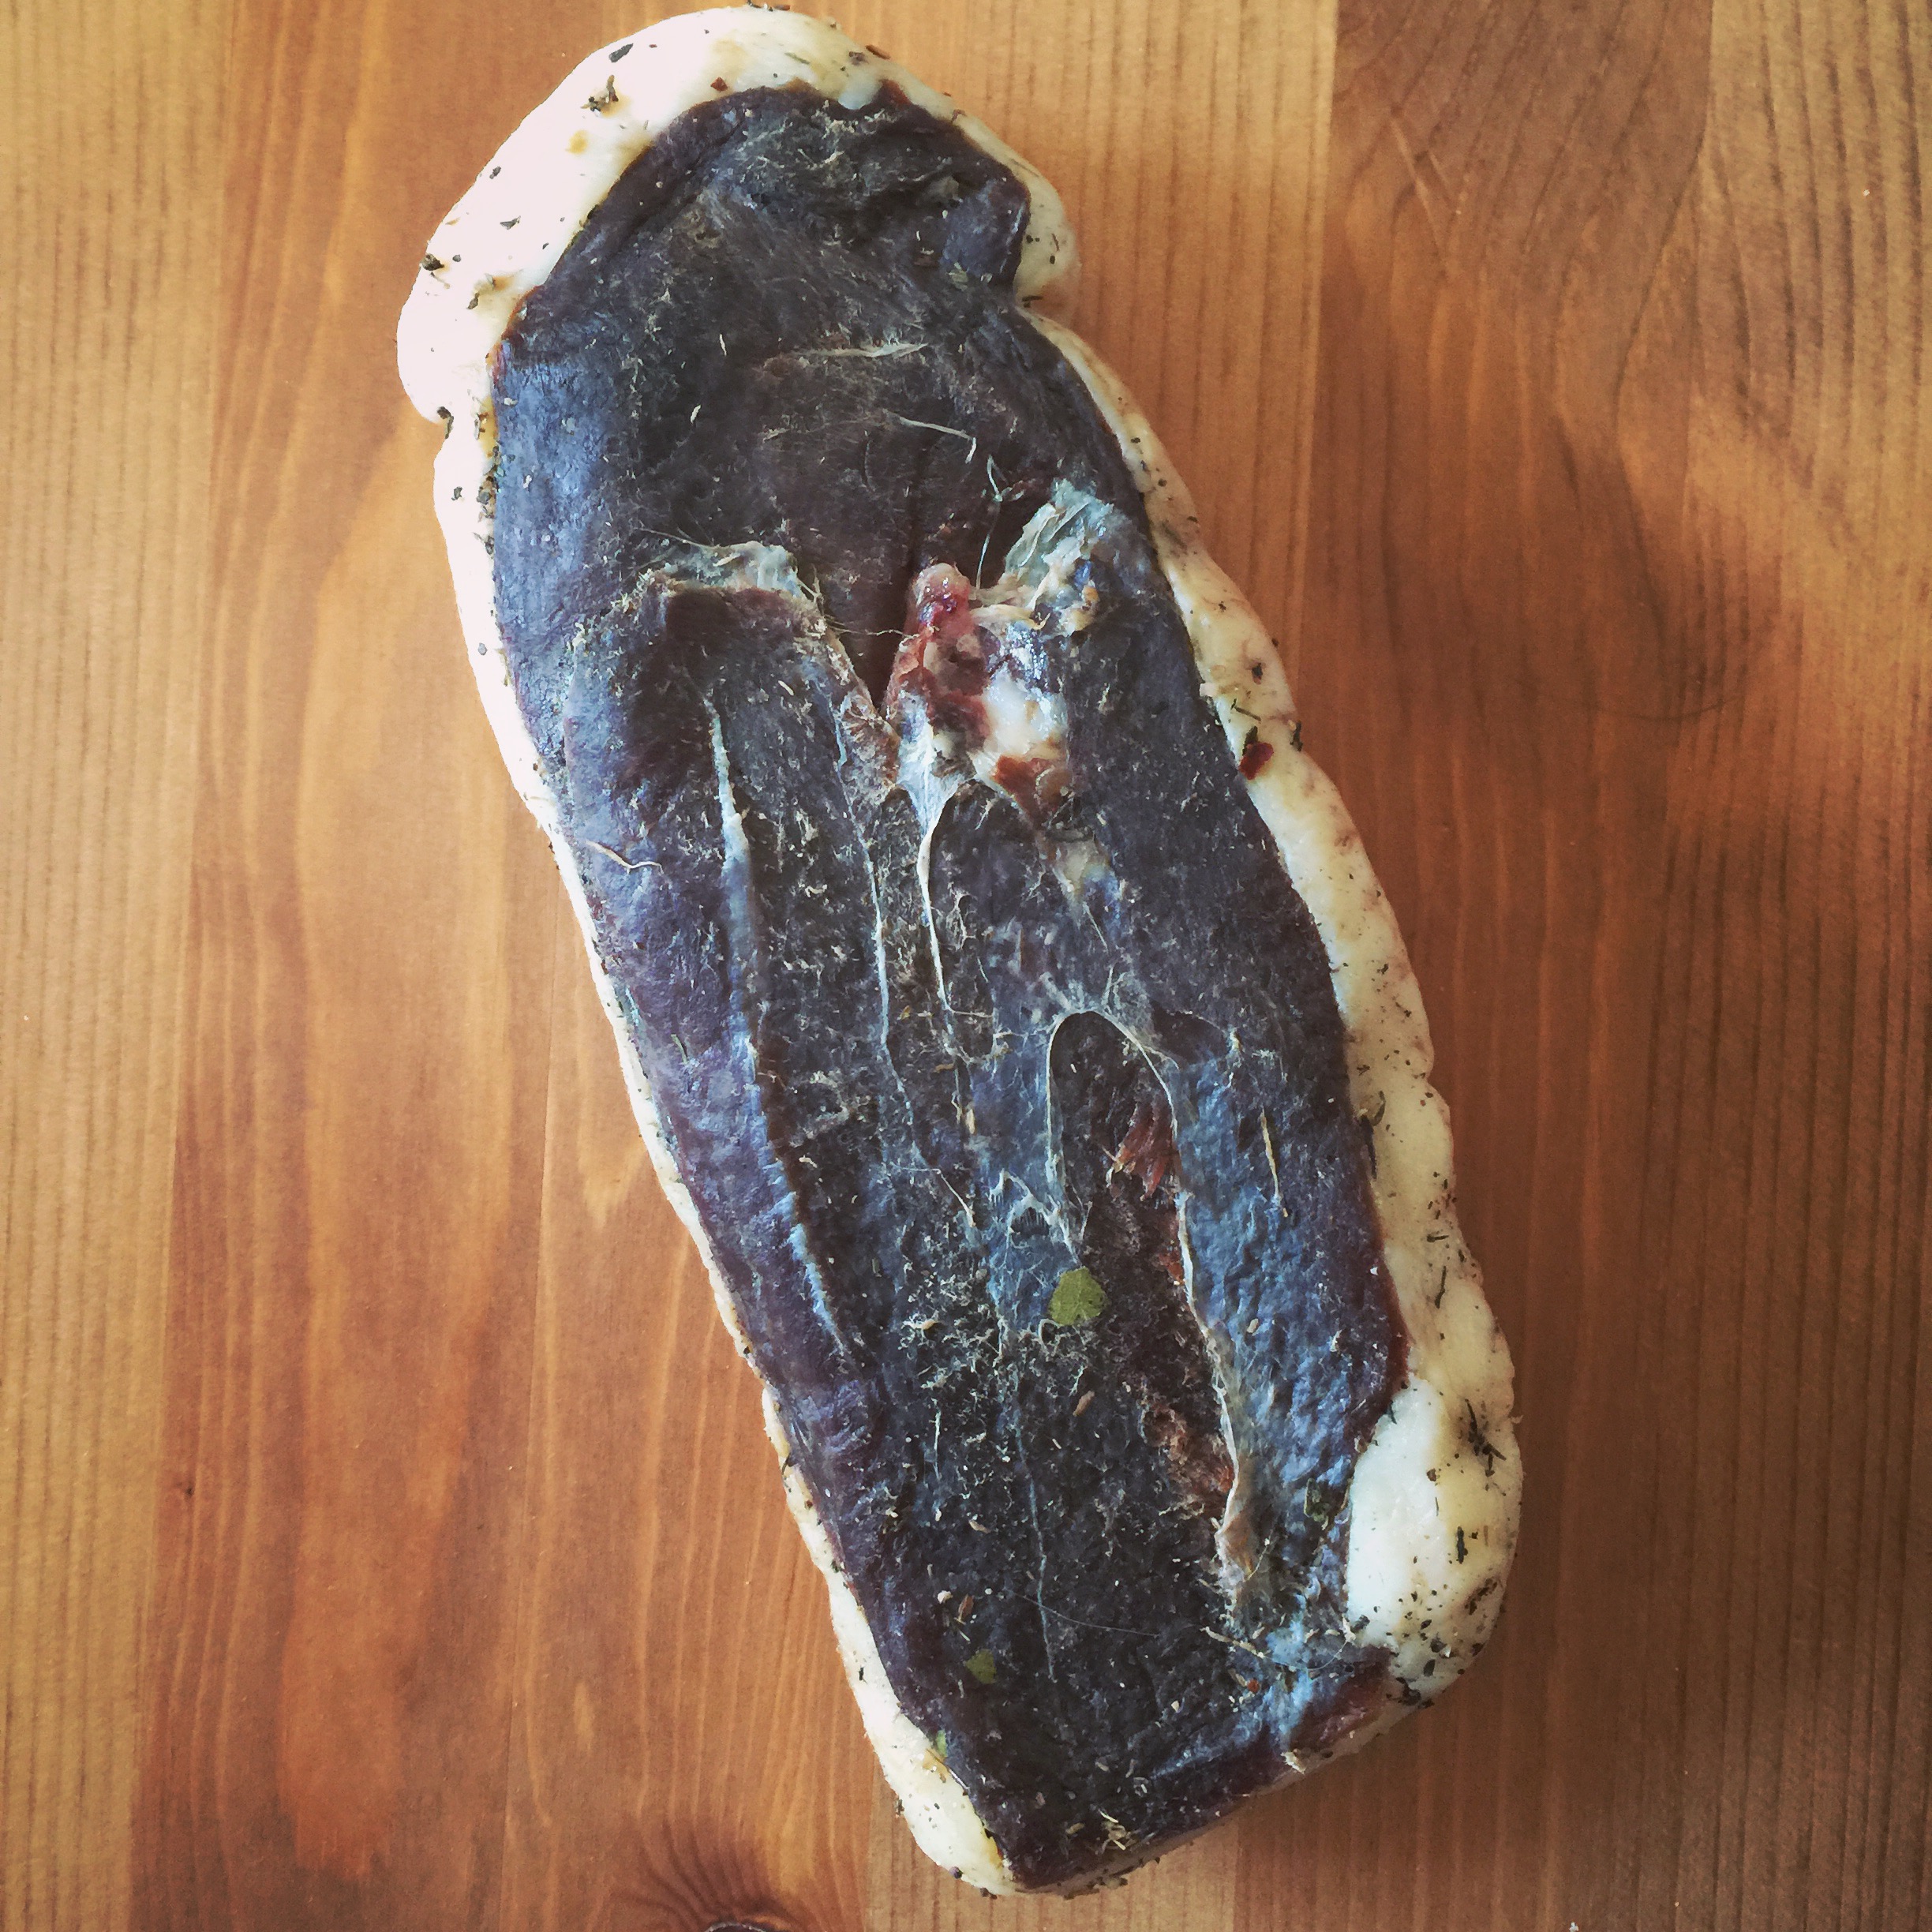
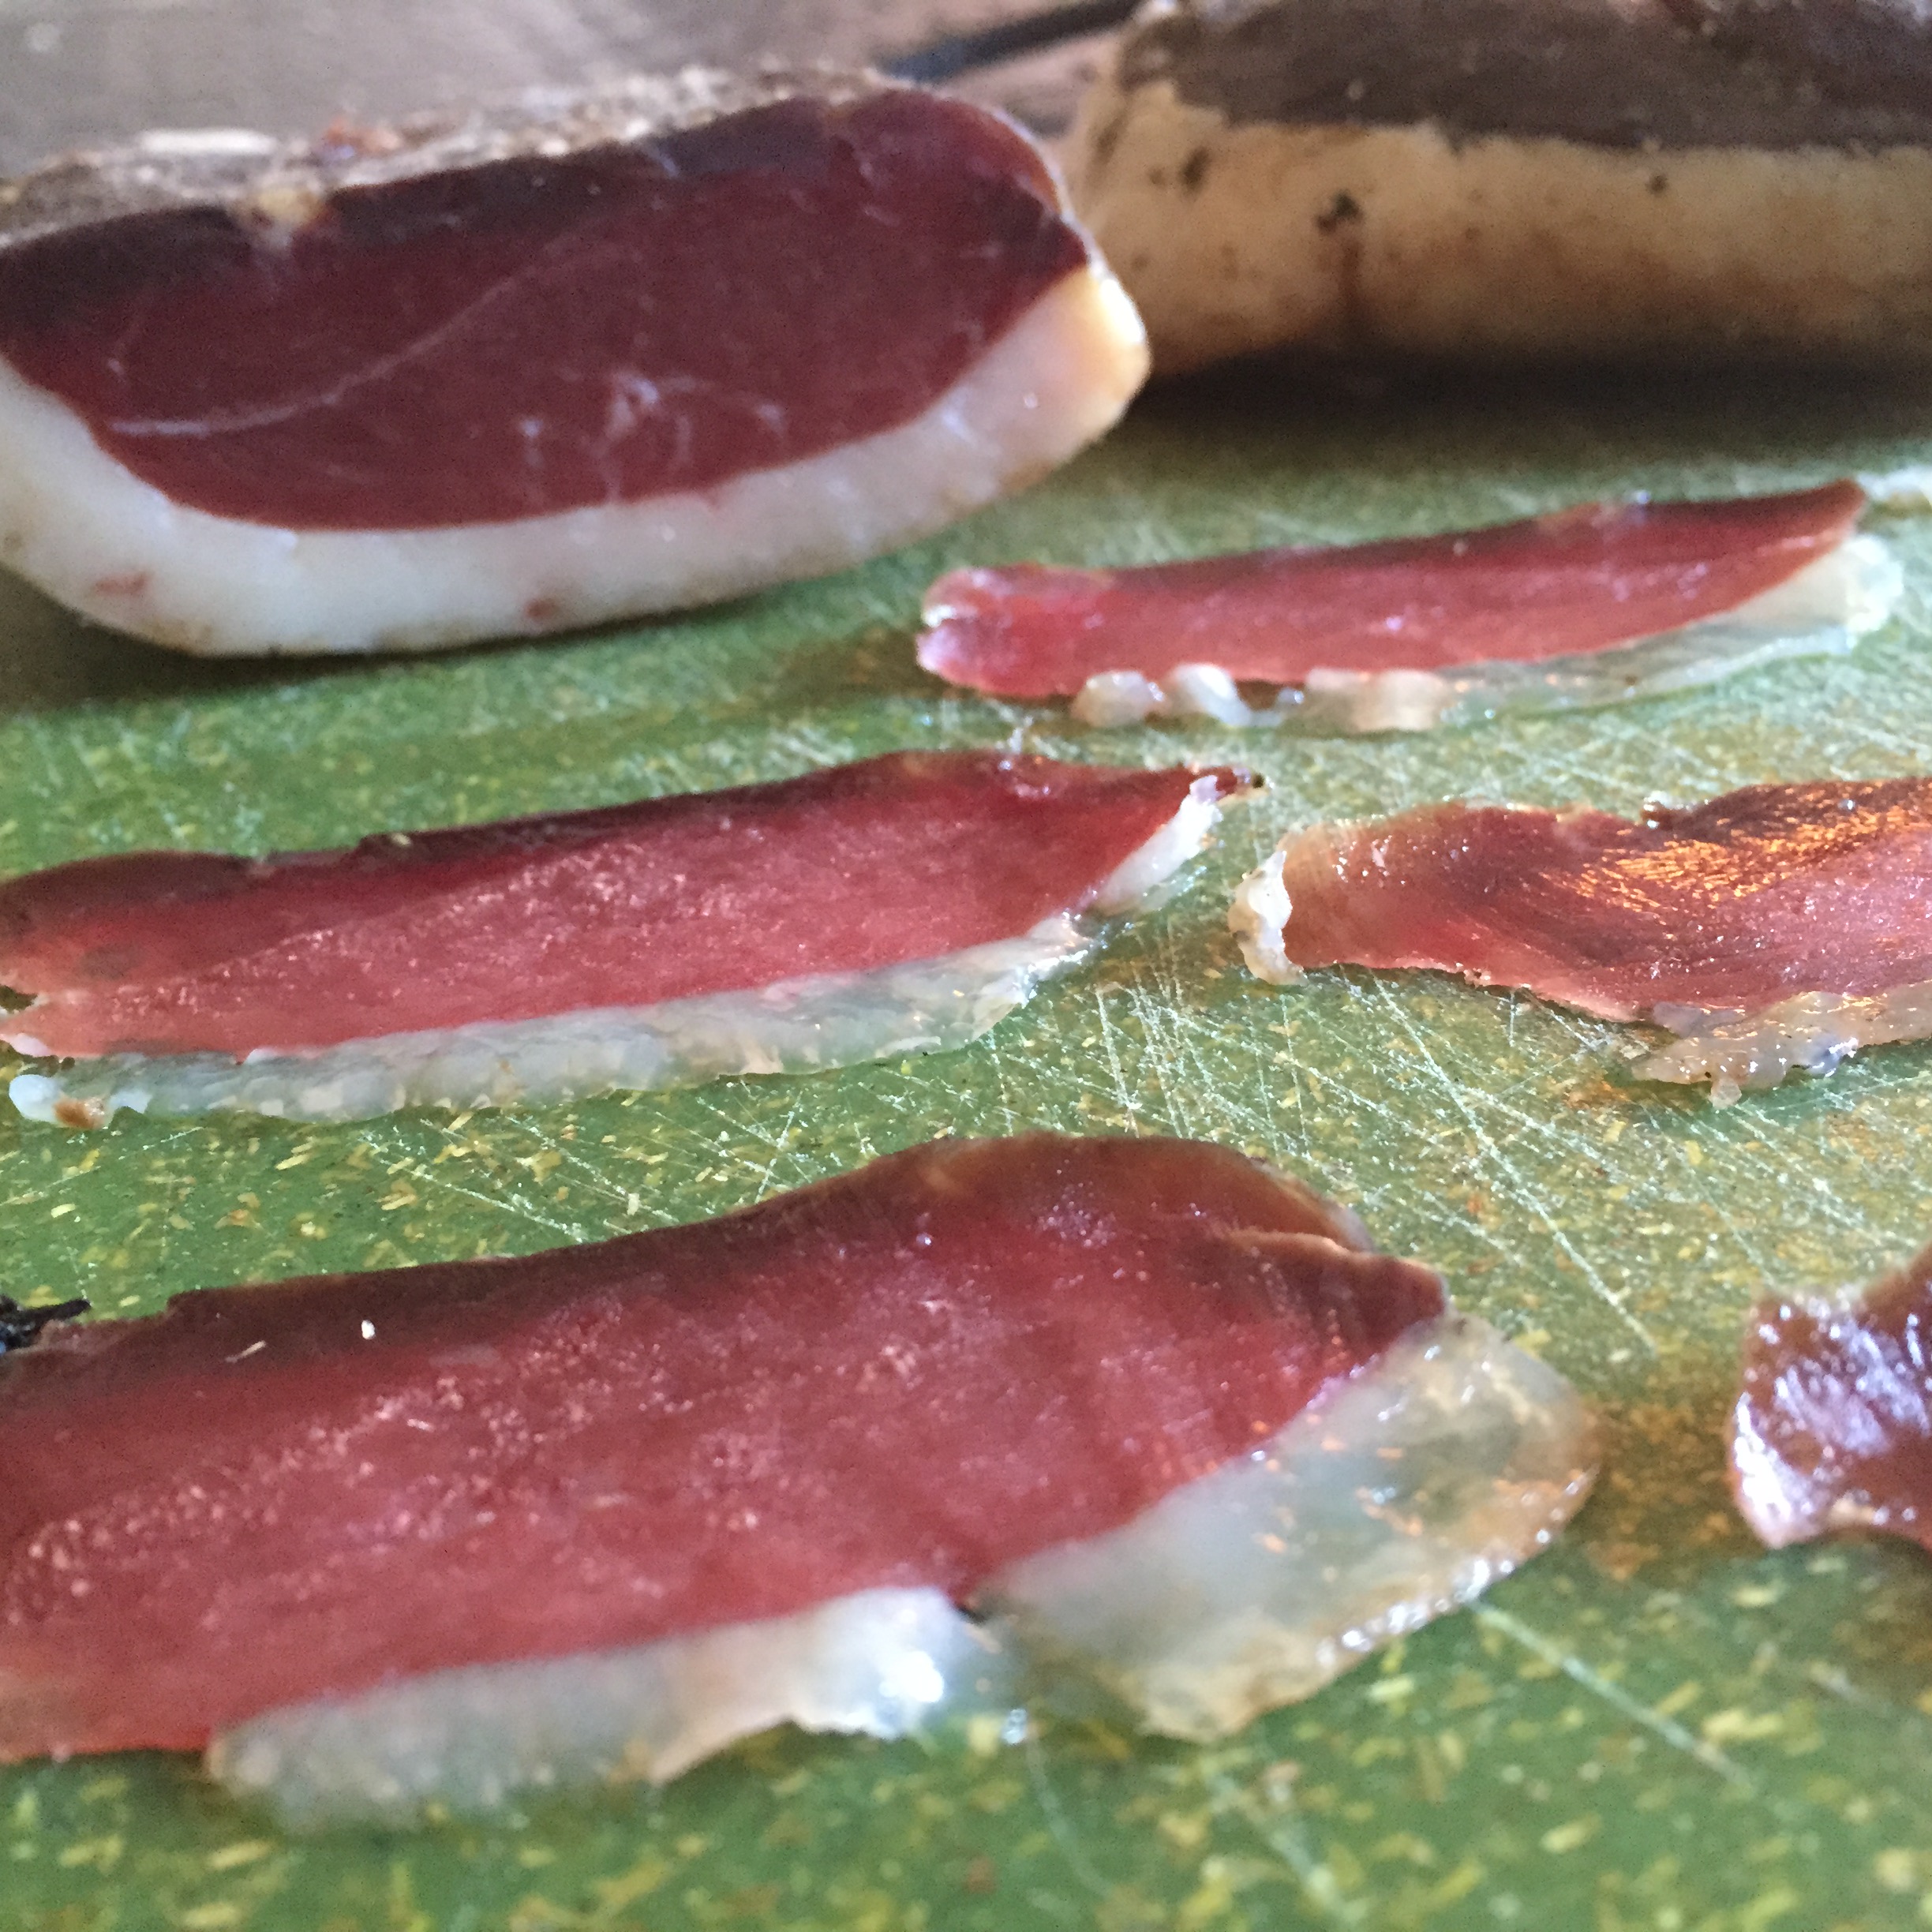
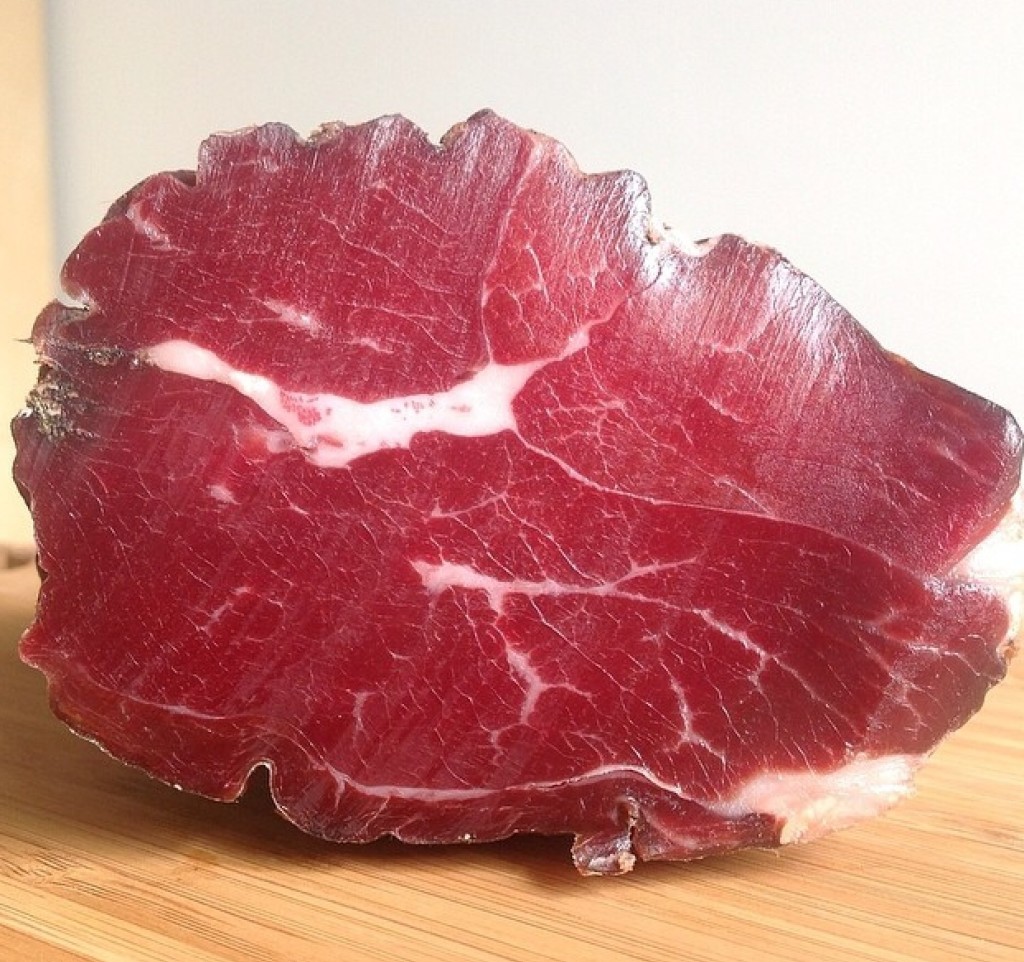
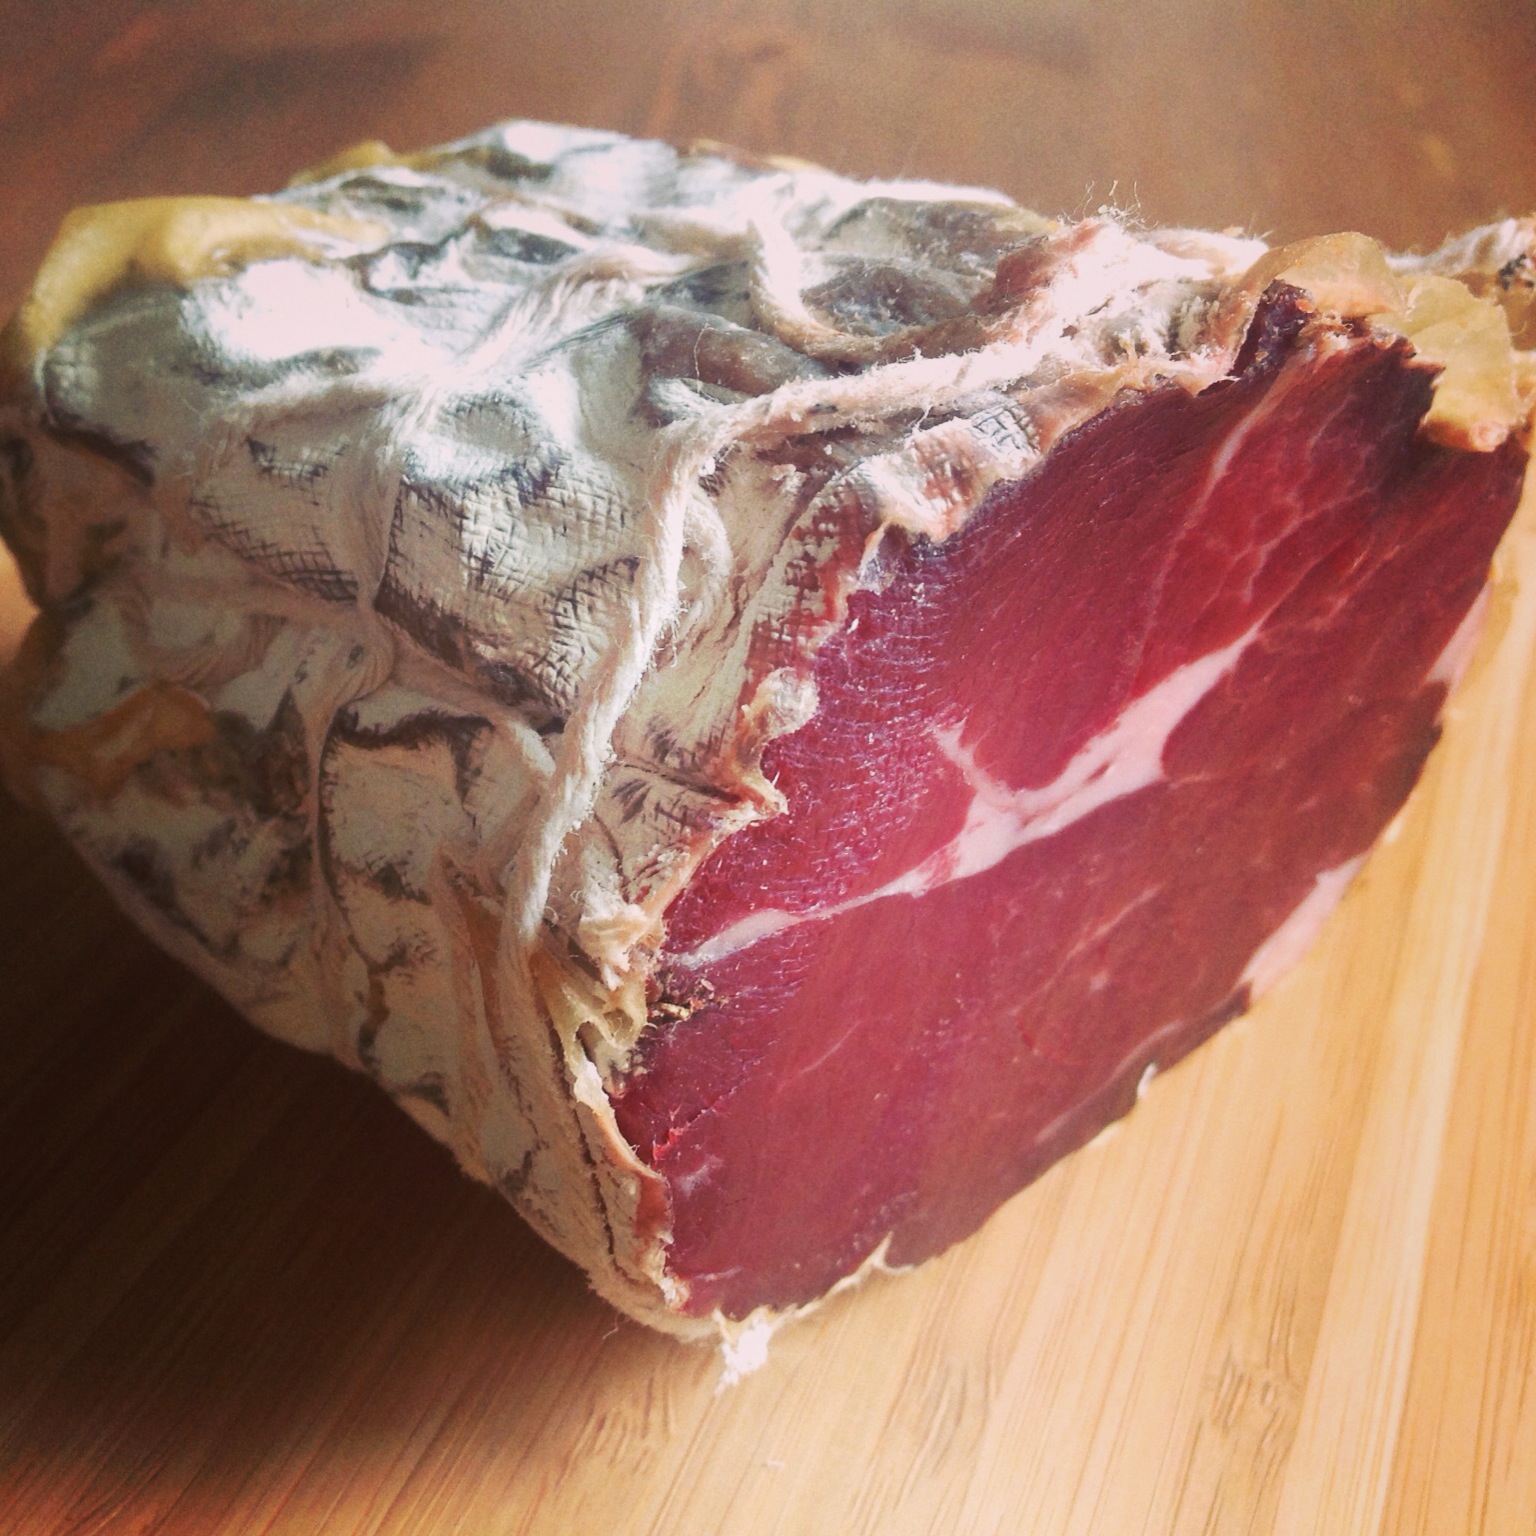
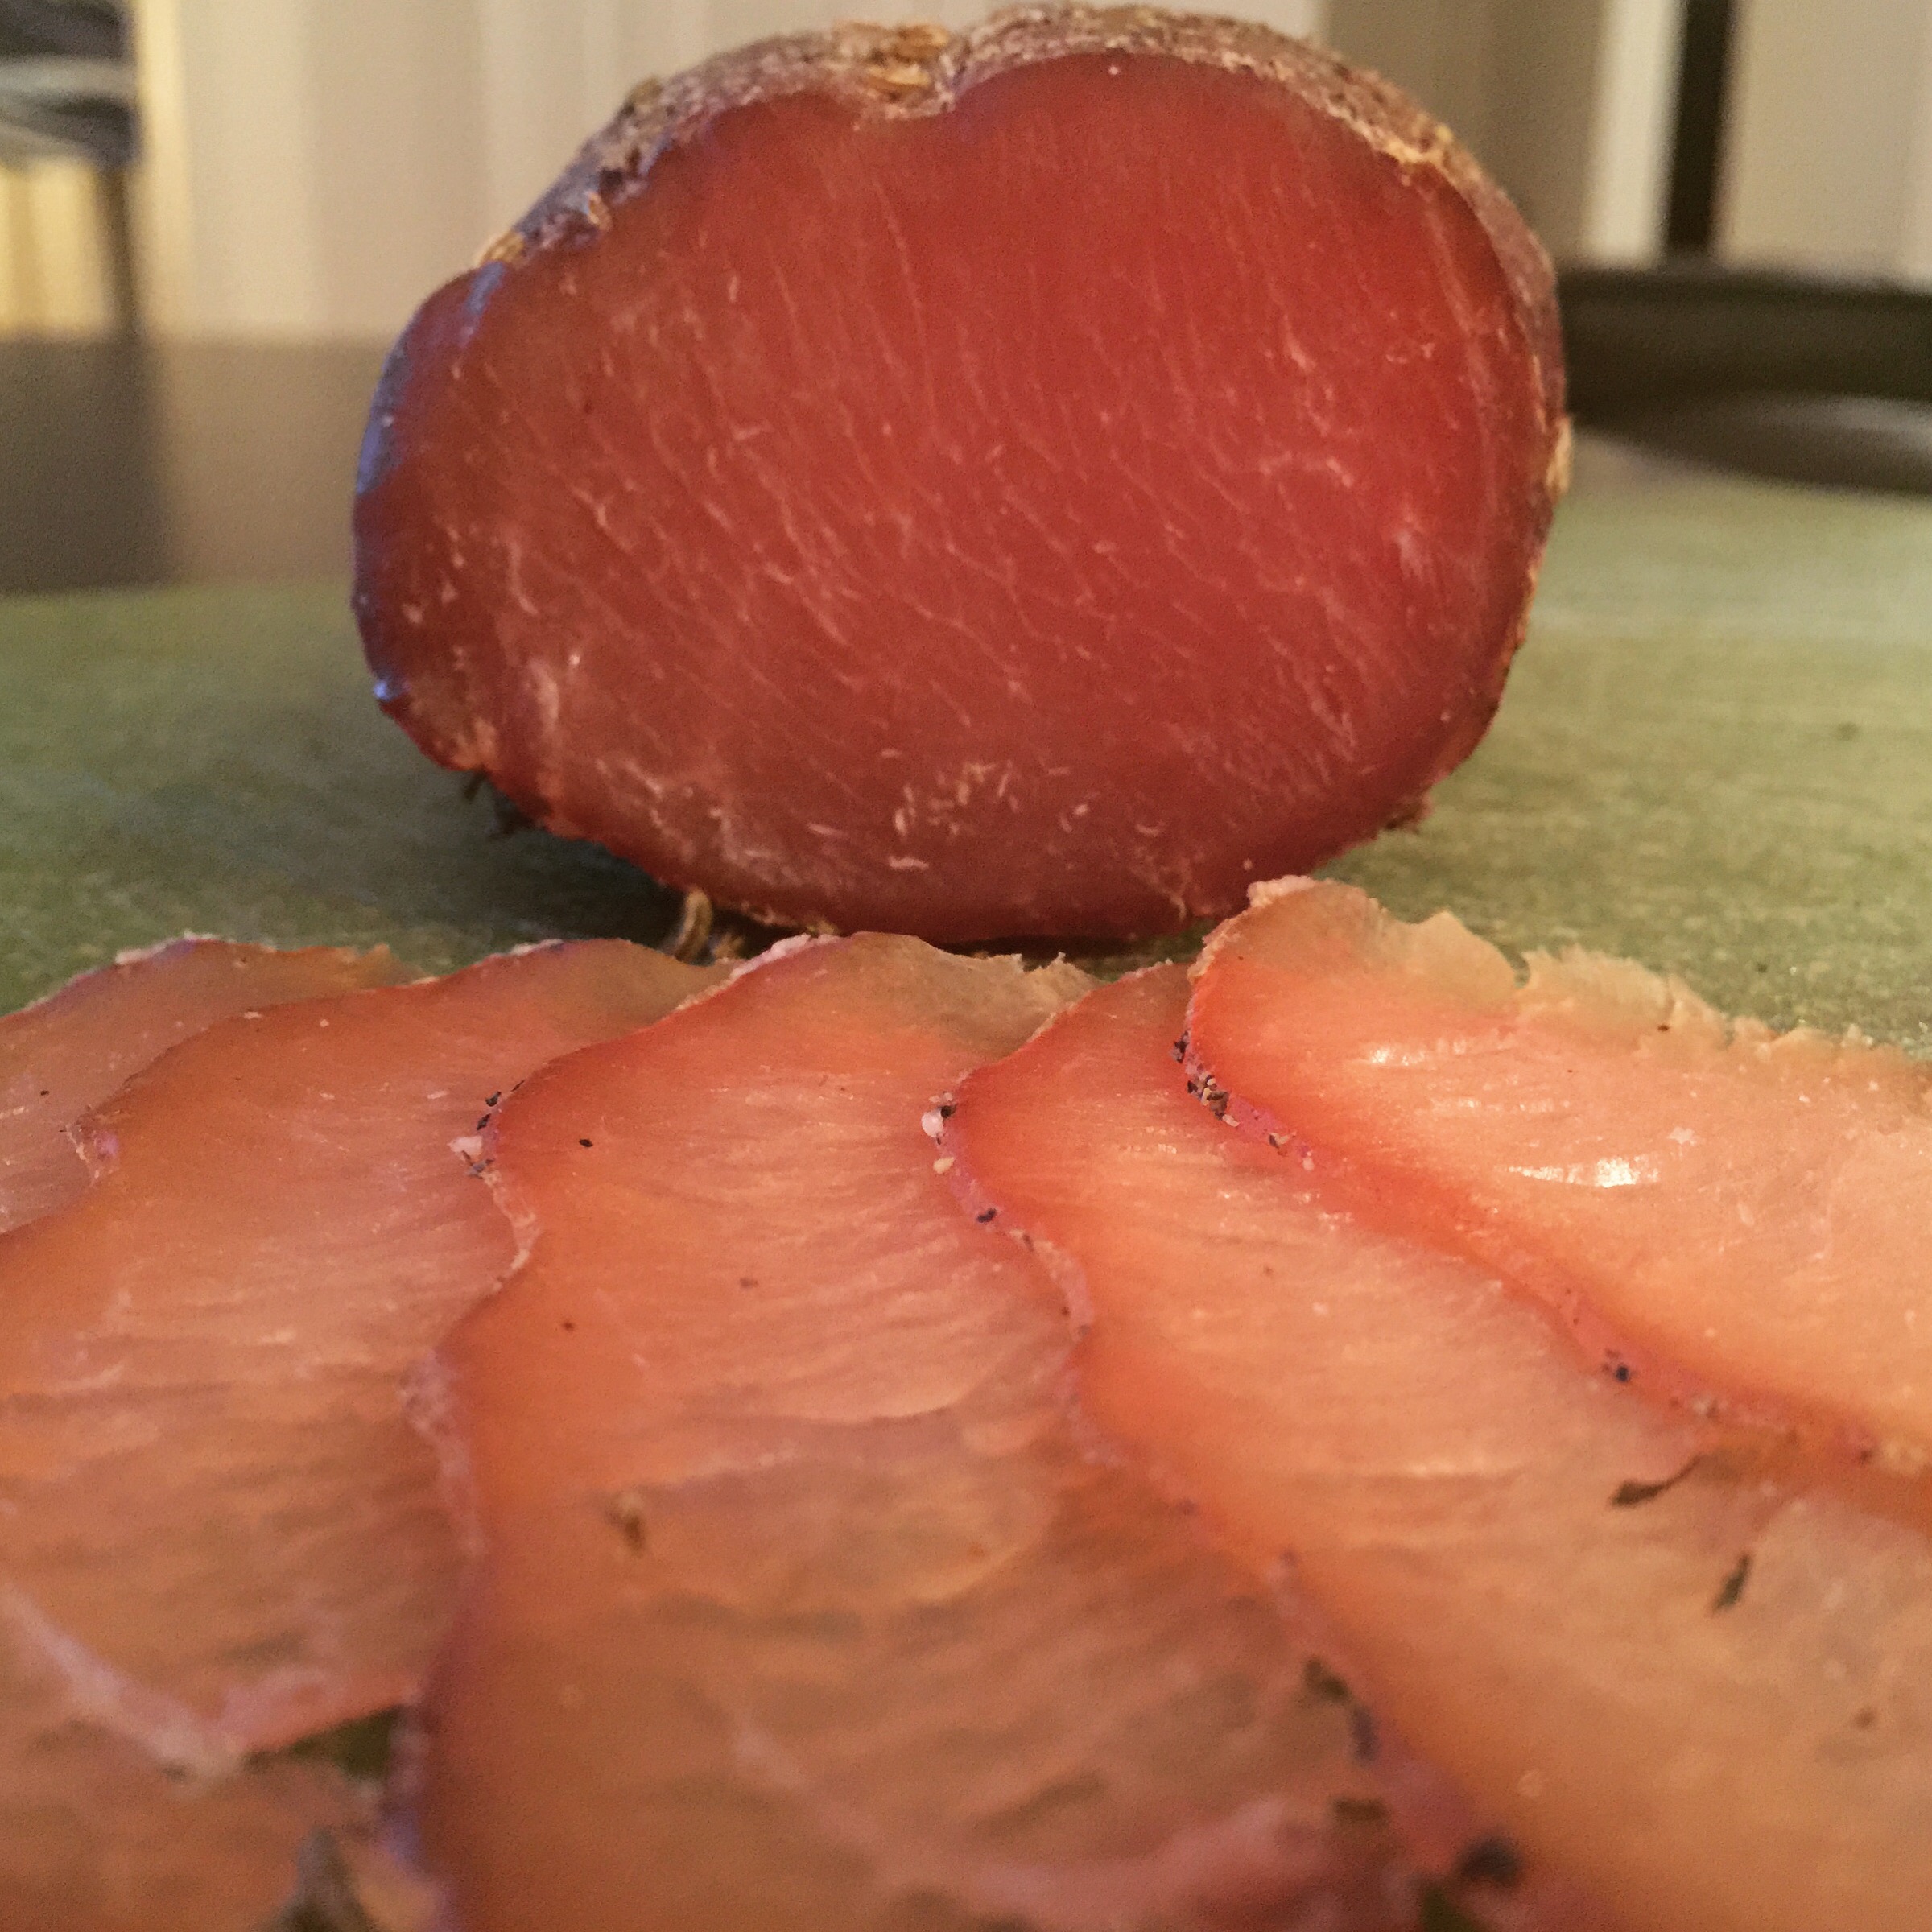
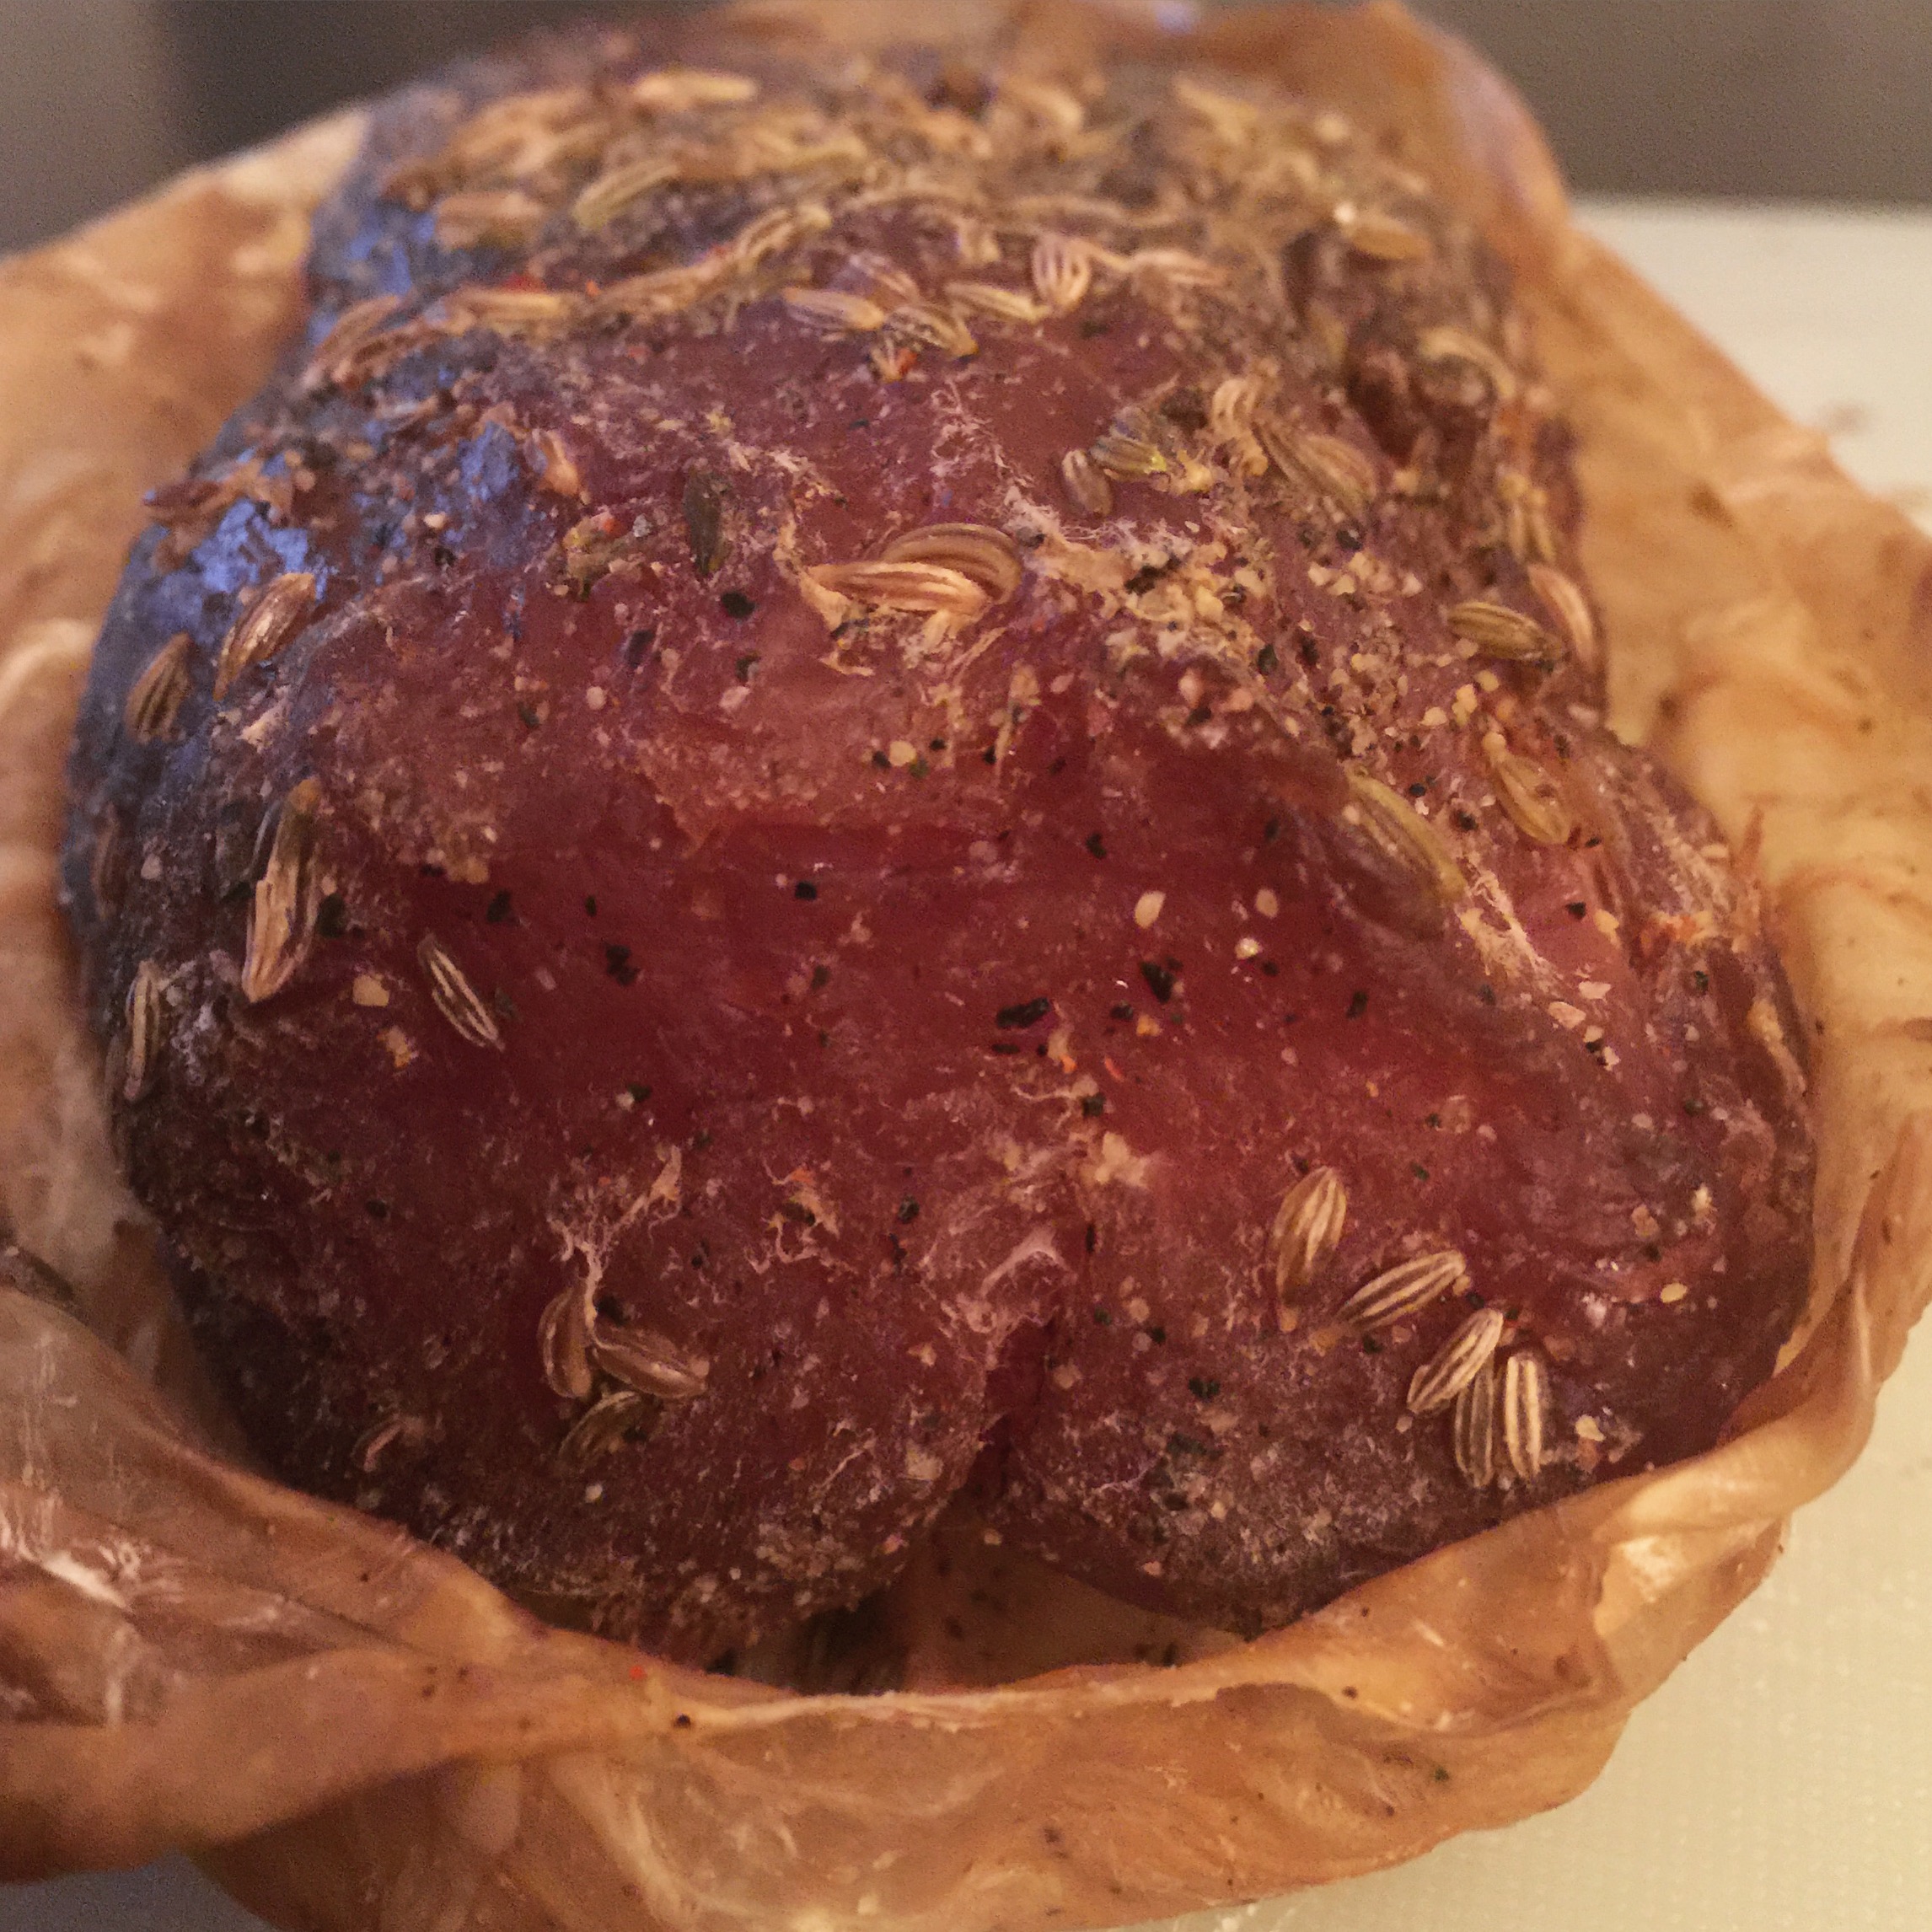
The bresaola di tacchino was uncased and rinsed down with white vinegar and patted dry.
Tasting:
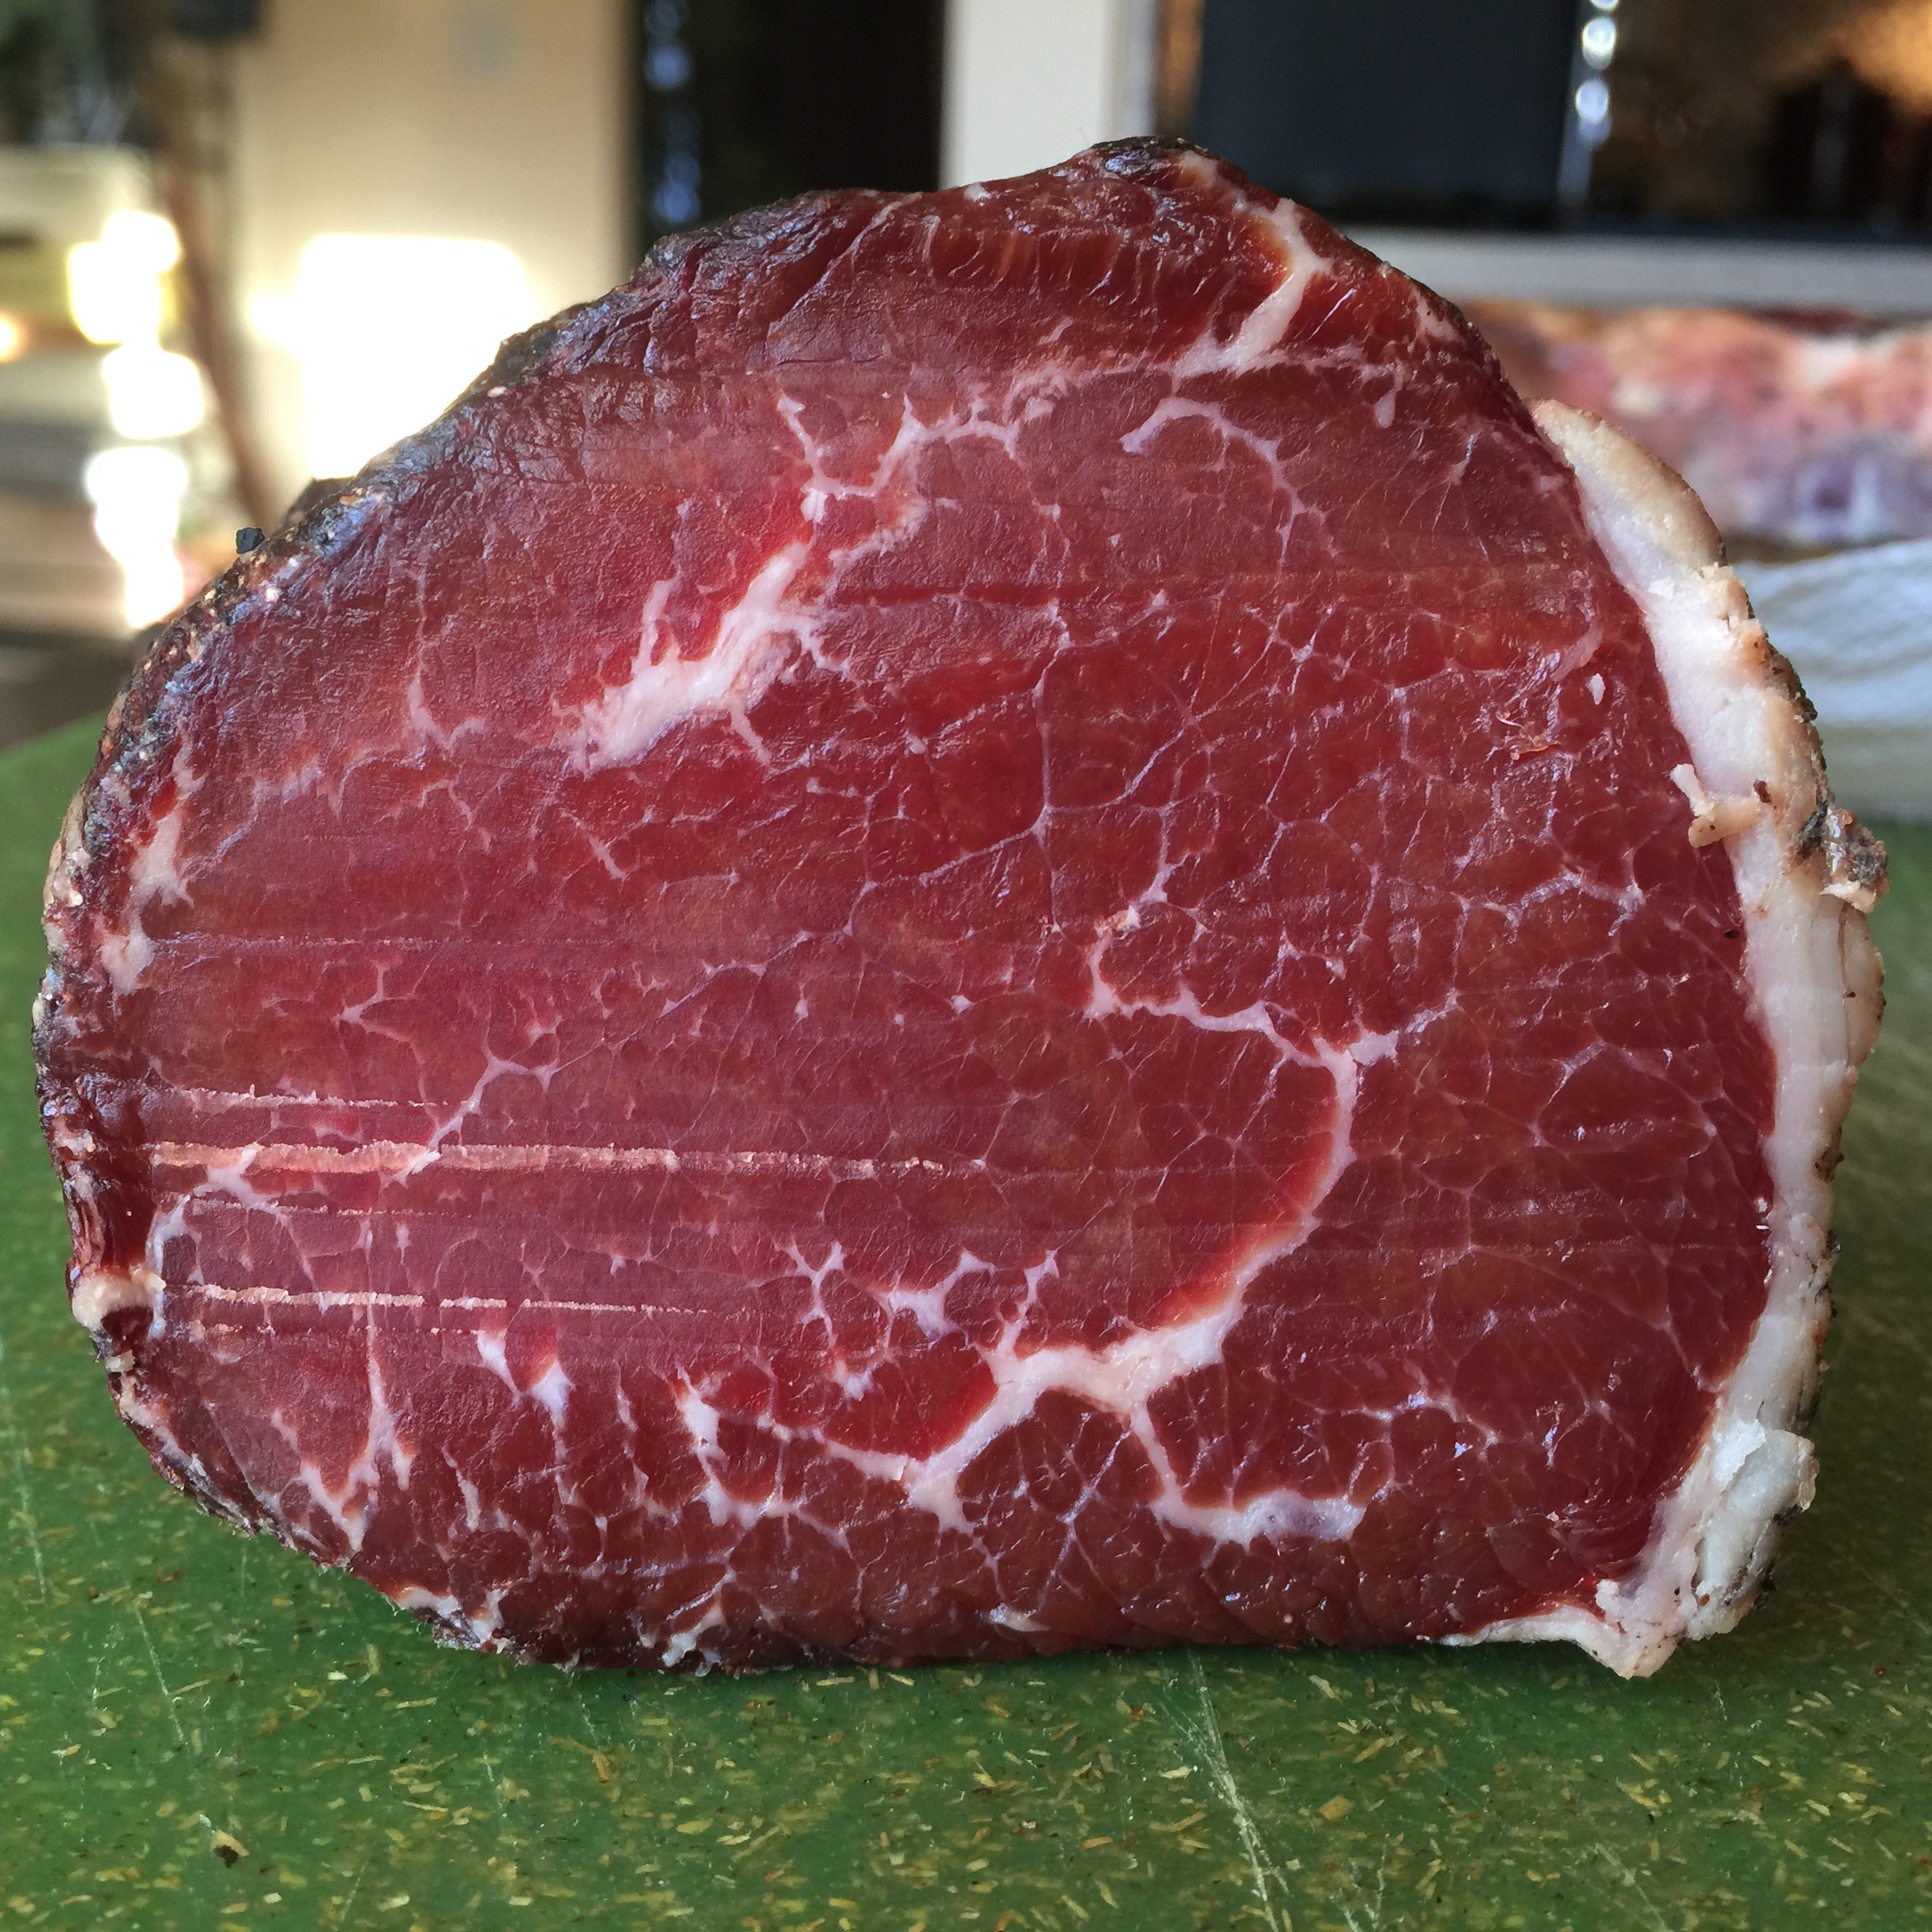
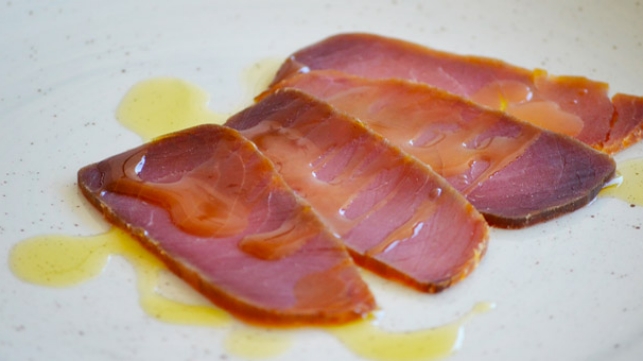
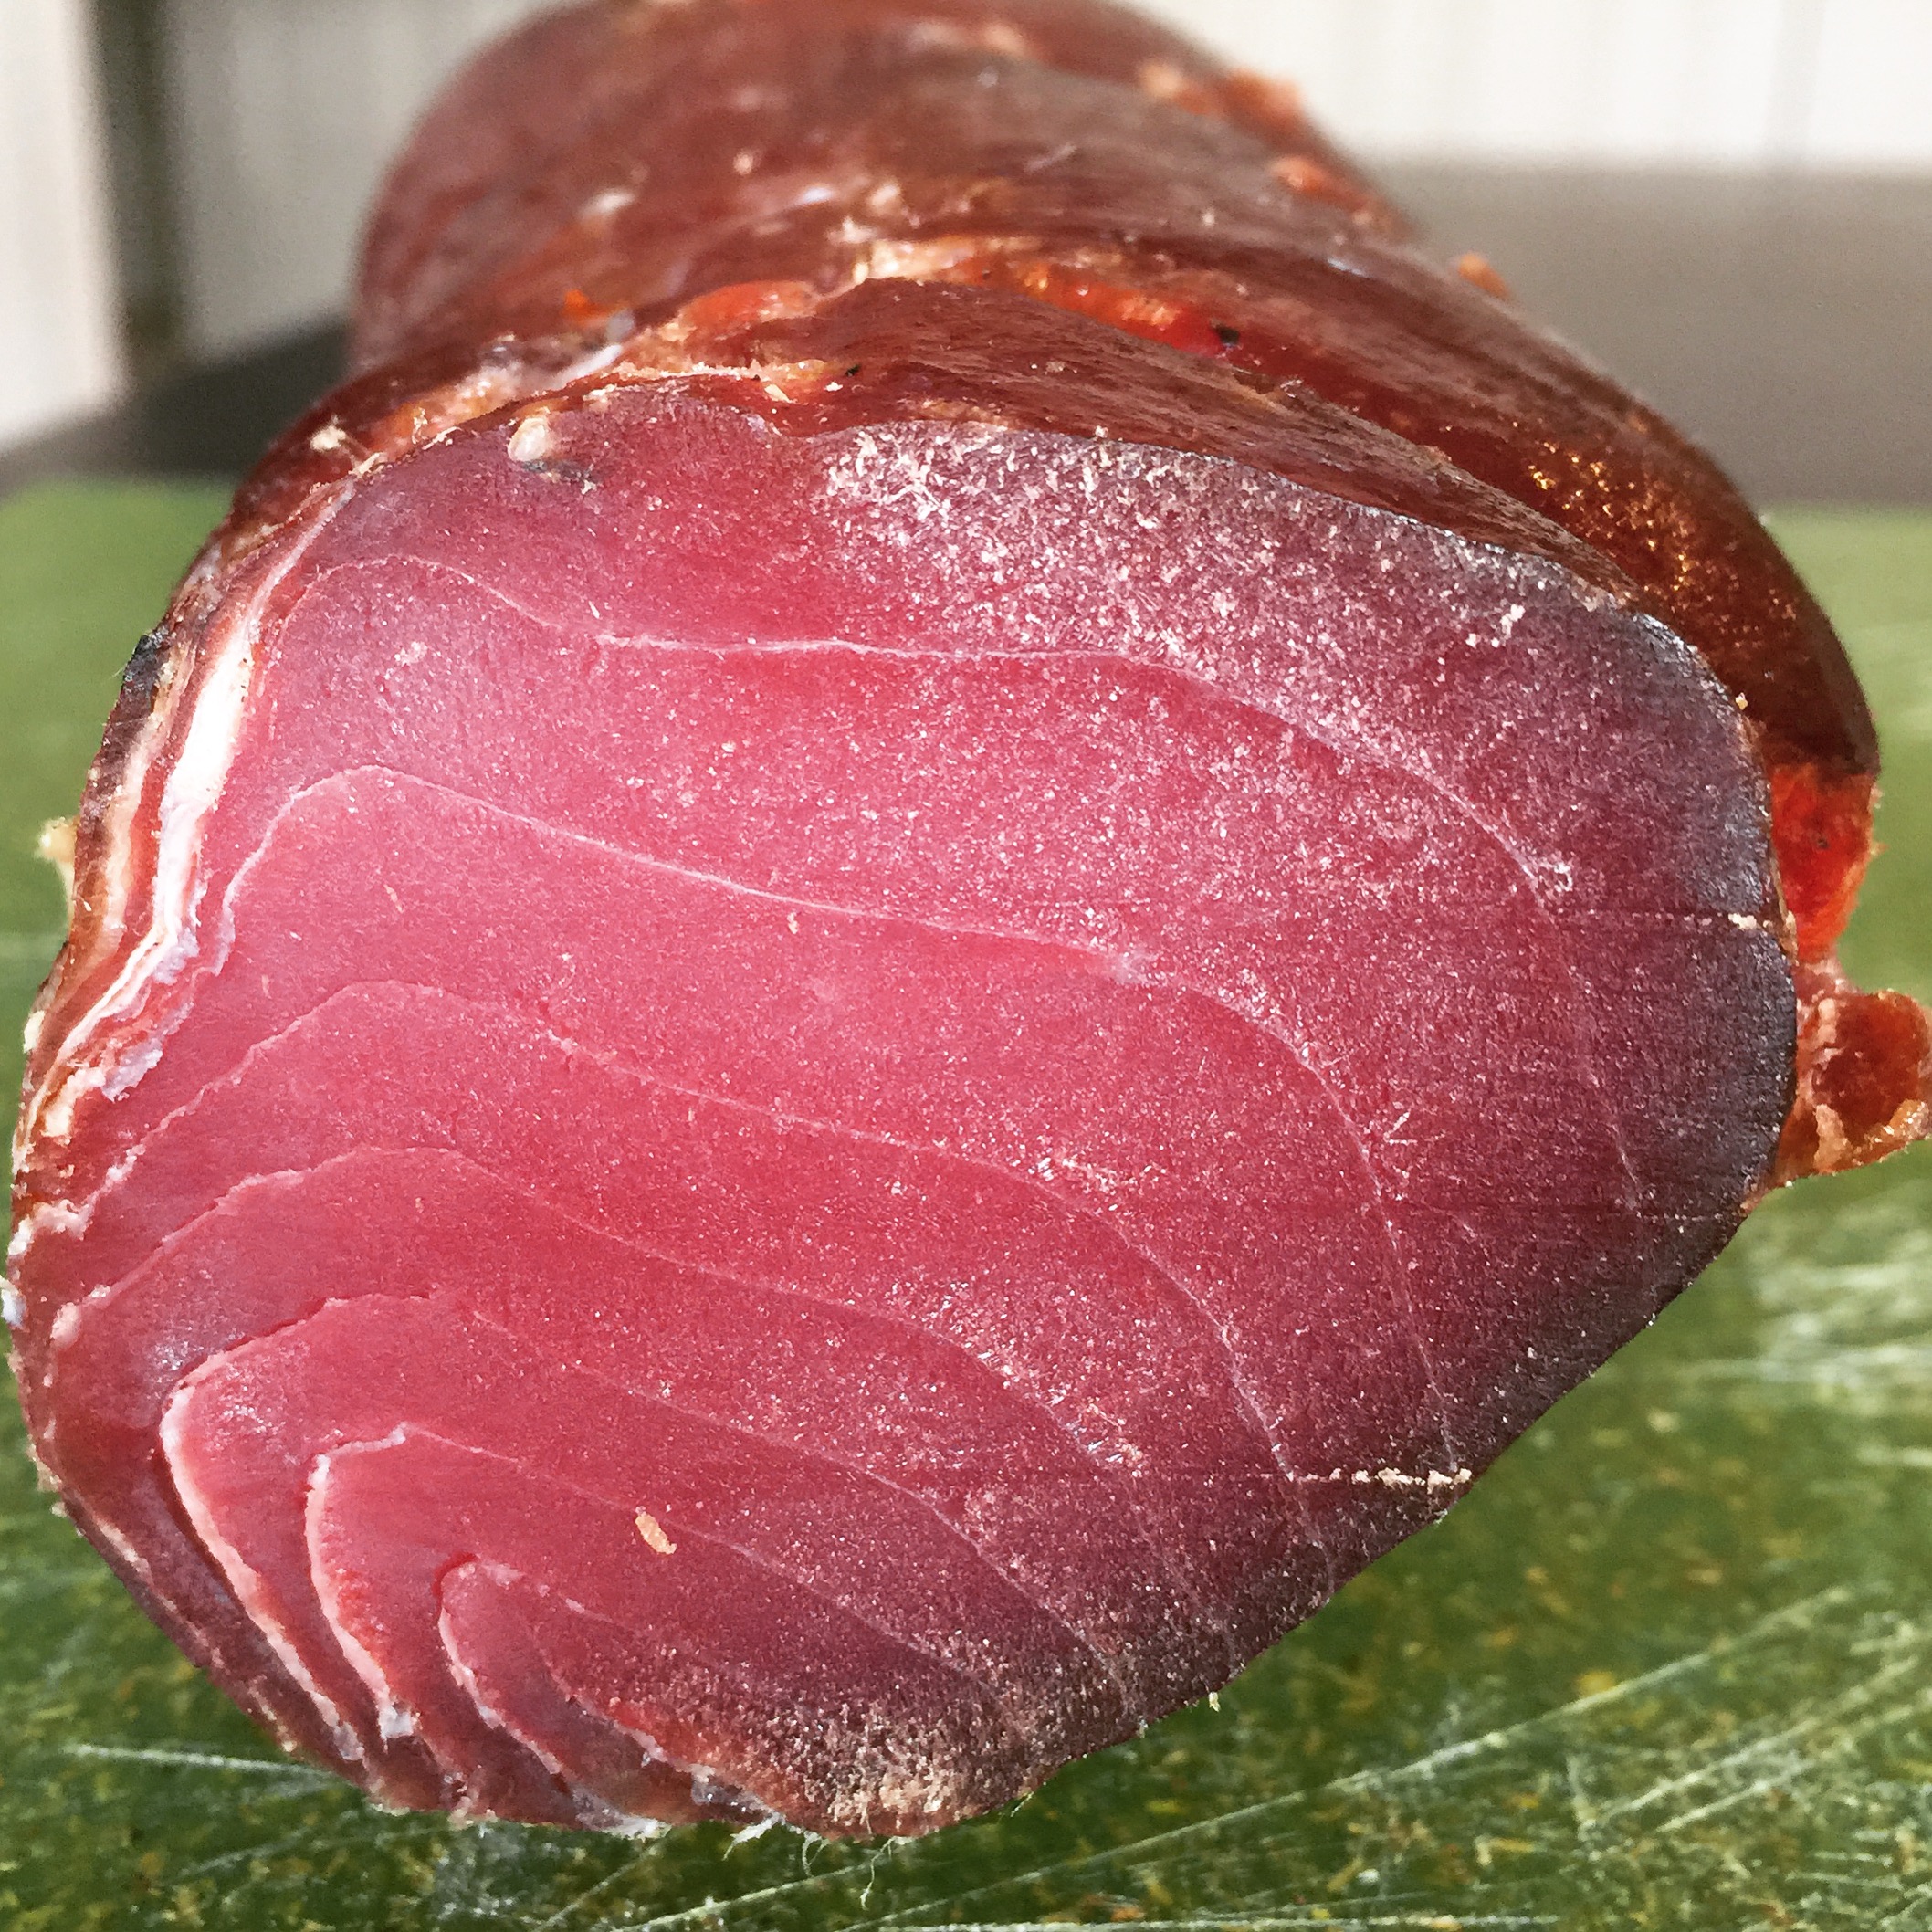
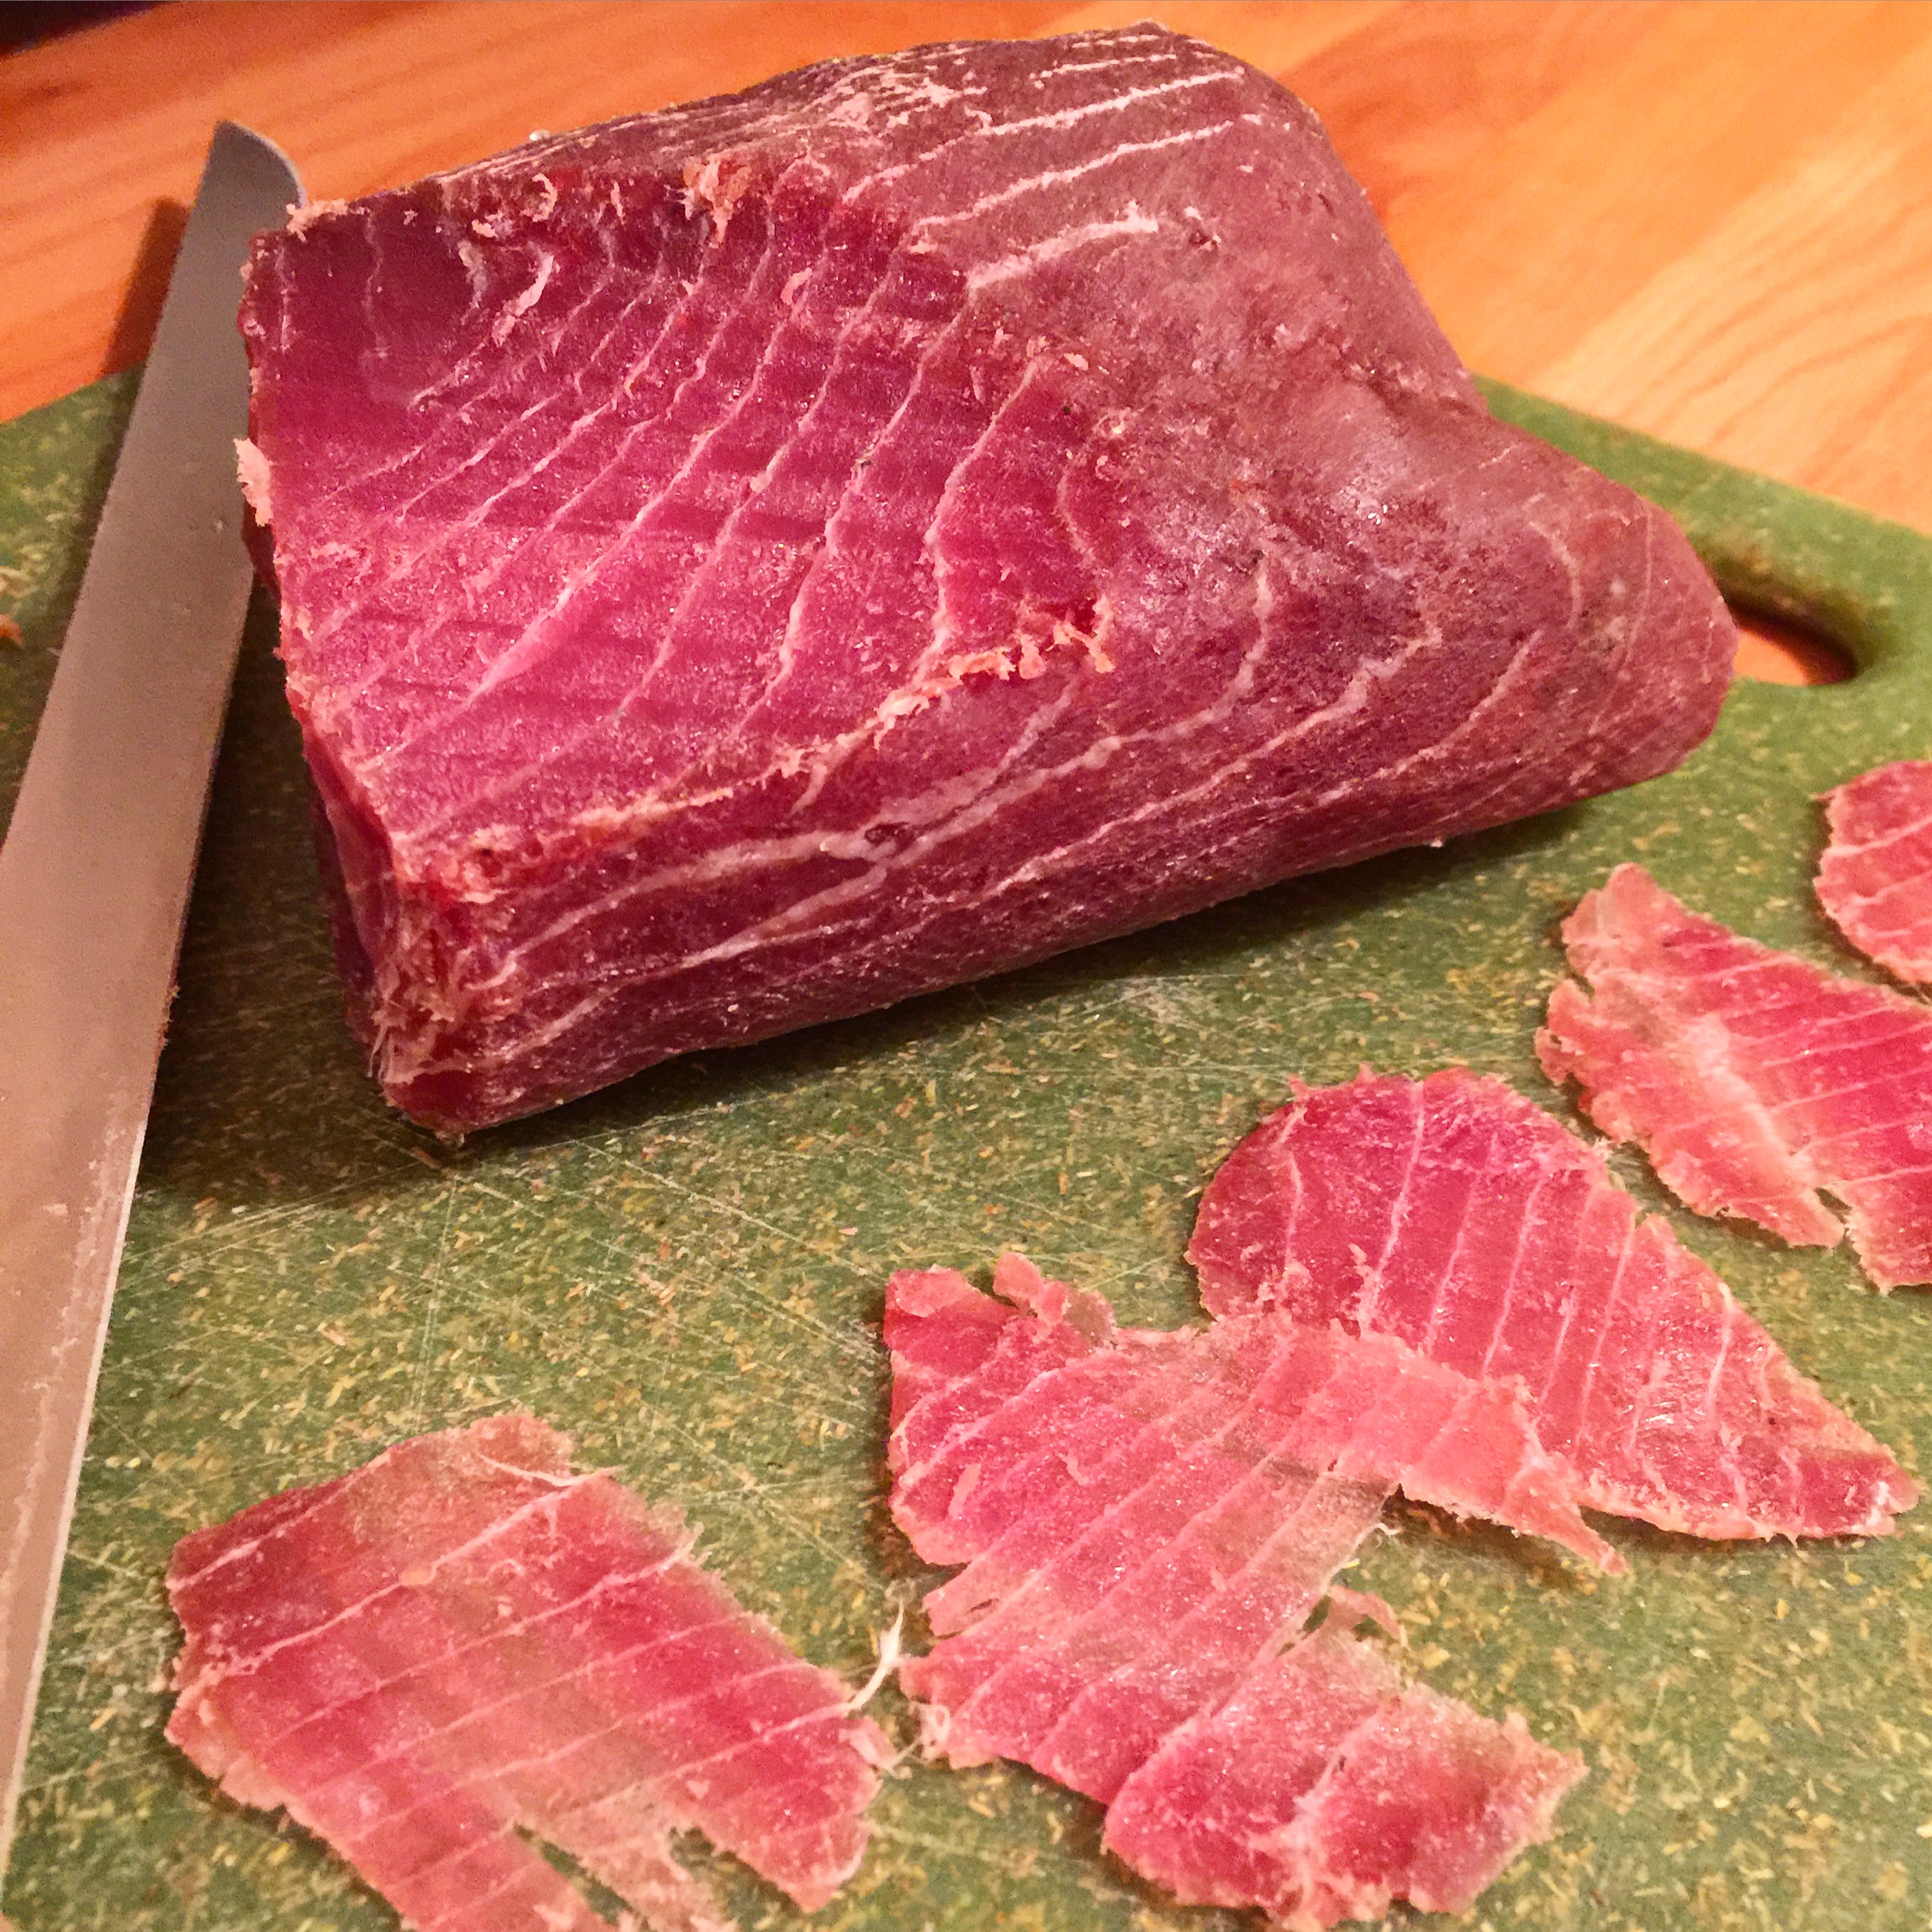
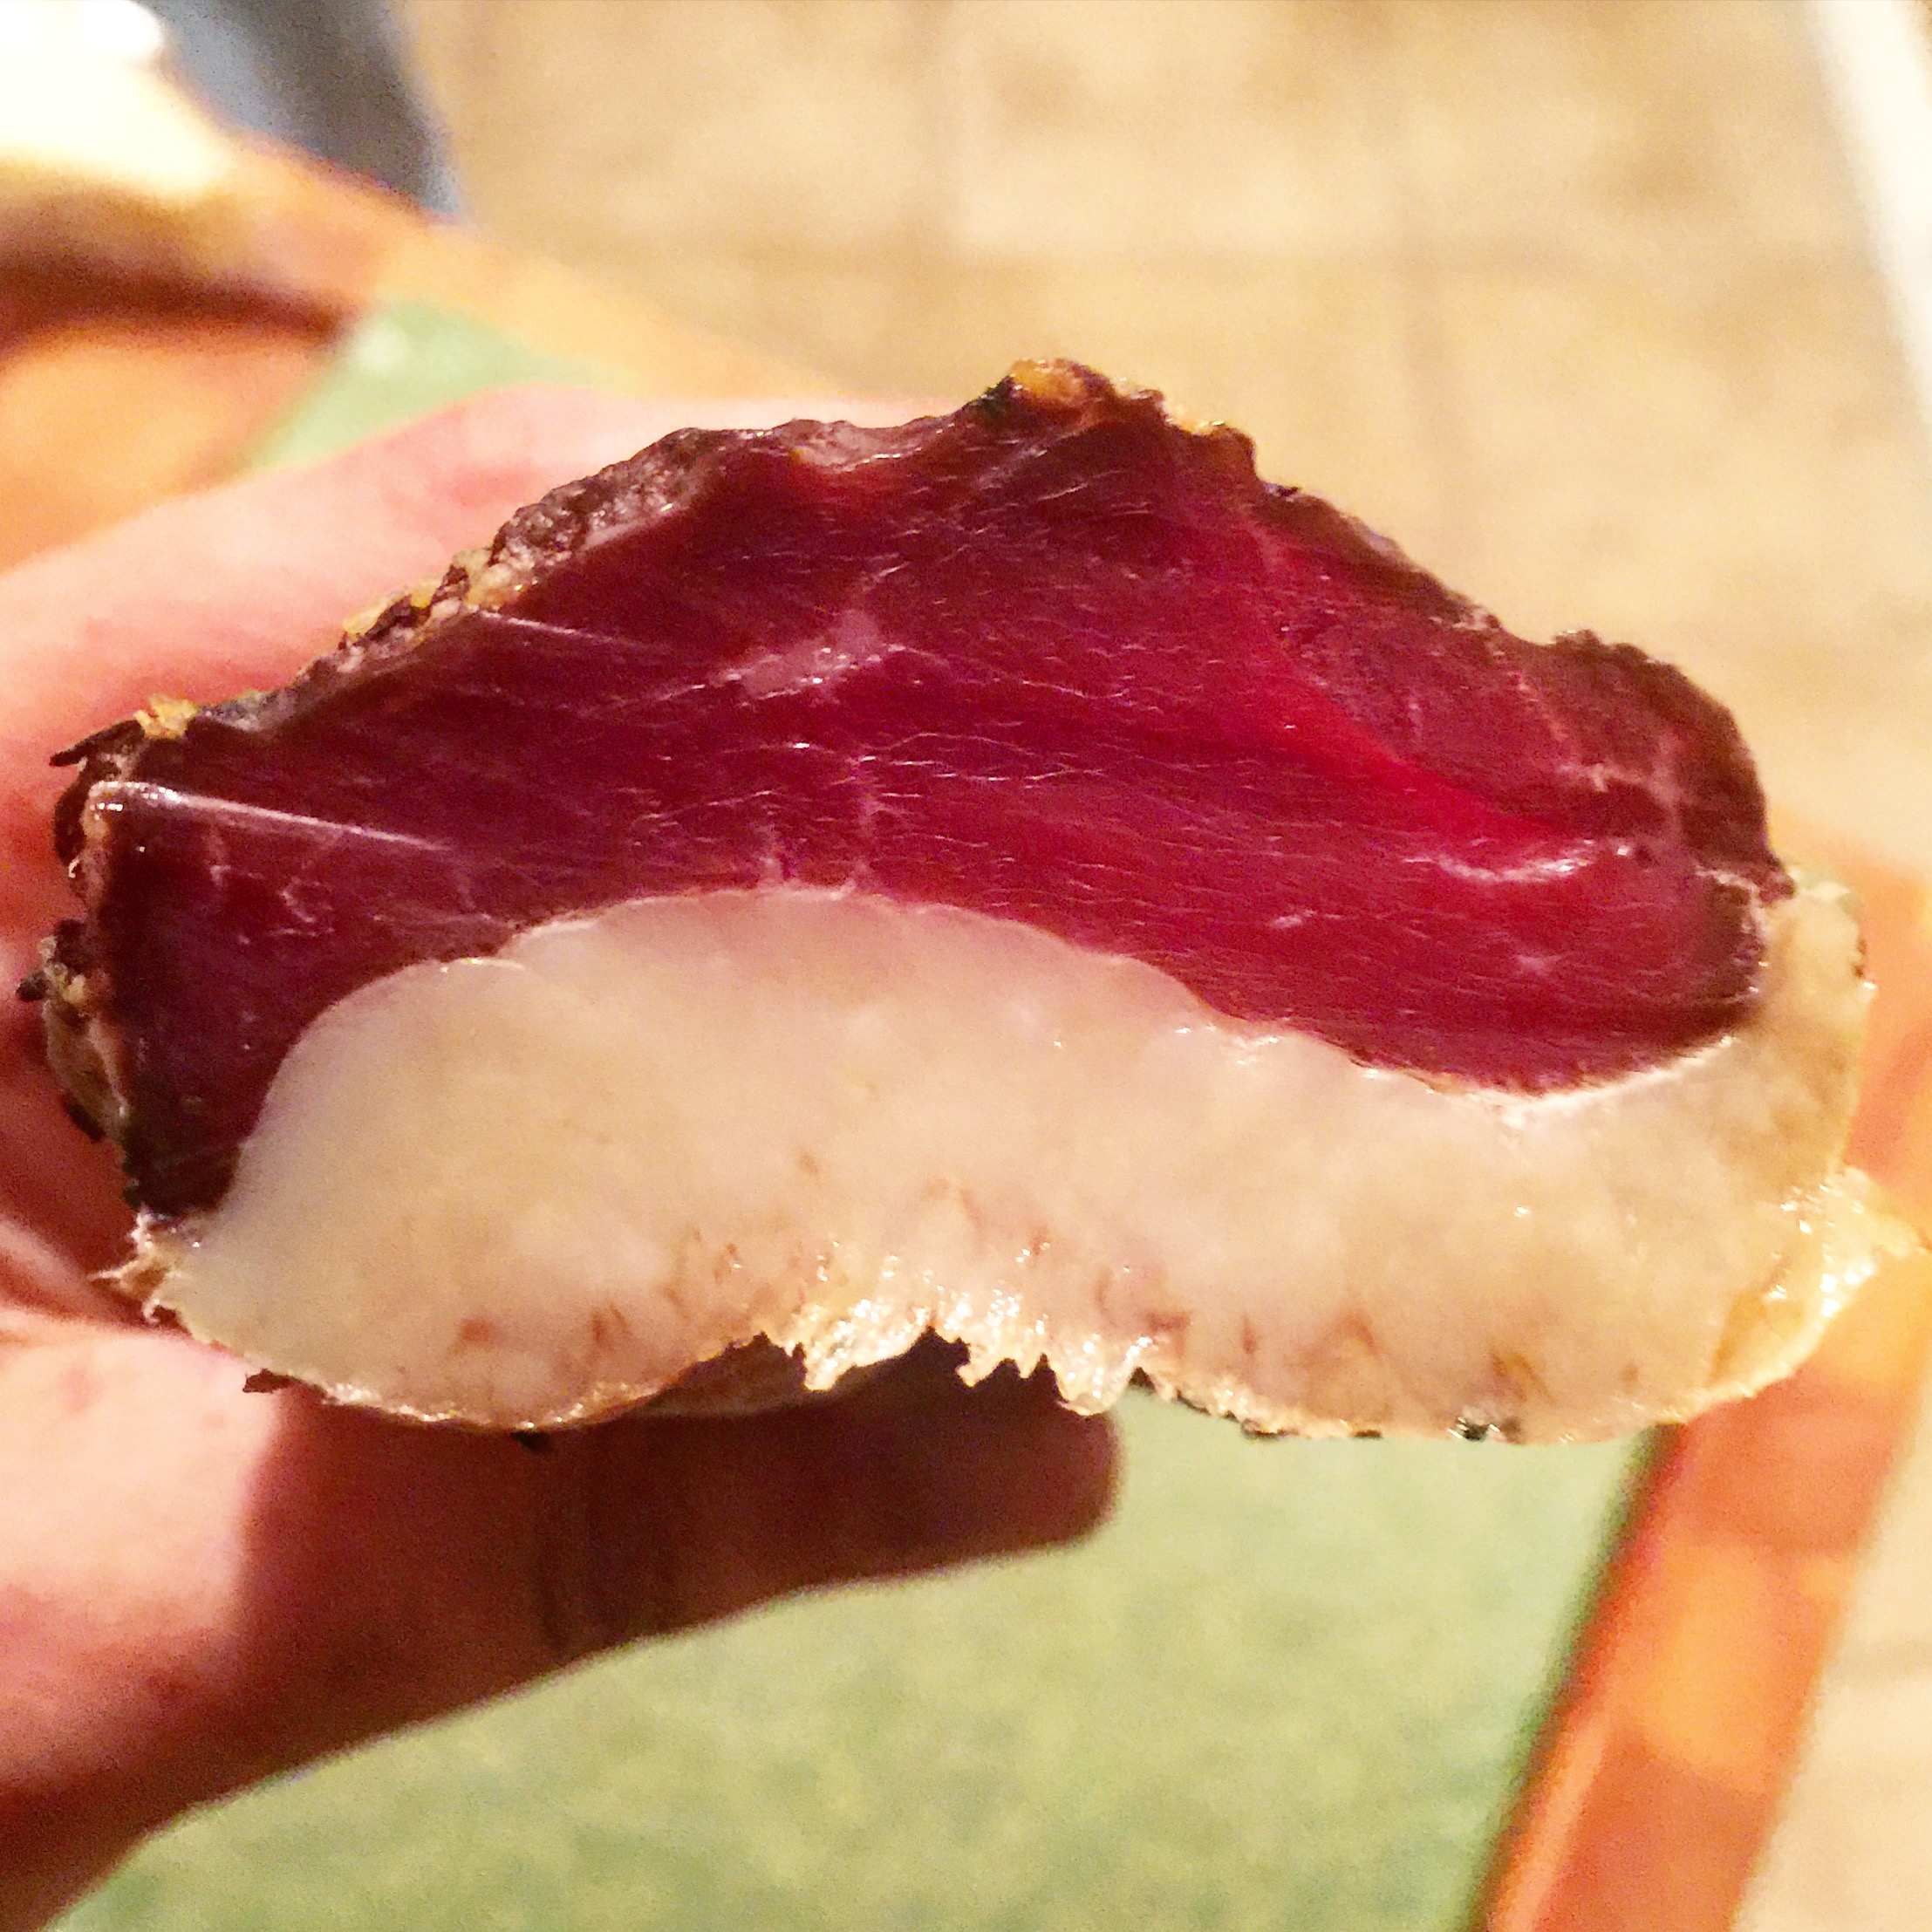
Now. This is where I was surprised. I pulled the bresaola di tacchino, rather unenthusiastically, with a few other experiments I was more excited about to be frank. I sliced them up and offered them around. Unanimously, we ALL decided that was LOVED the bresaola di tacchino. The other meats were good, but this one was FANTASTIC.
To this day, I don’t know why this particular product was so good, and it desperately needs to be repeated. The meat quality was great, the spices were right on, and the texture was perfect. If you are looking for a unique curing project, perhaps one that is kosher or halal, this is one you don’t want to miss.
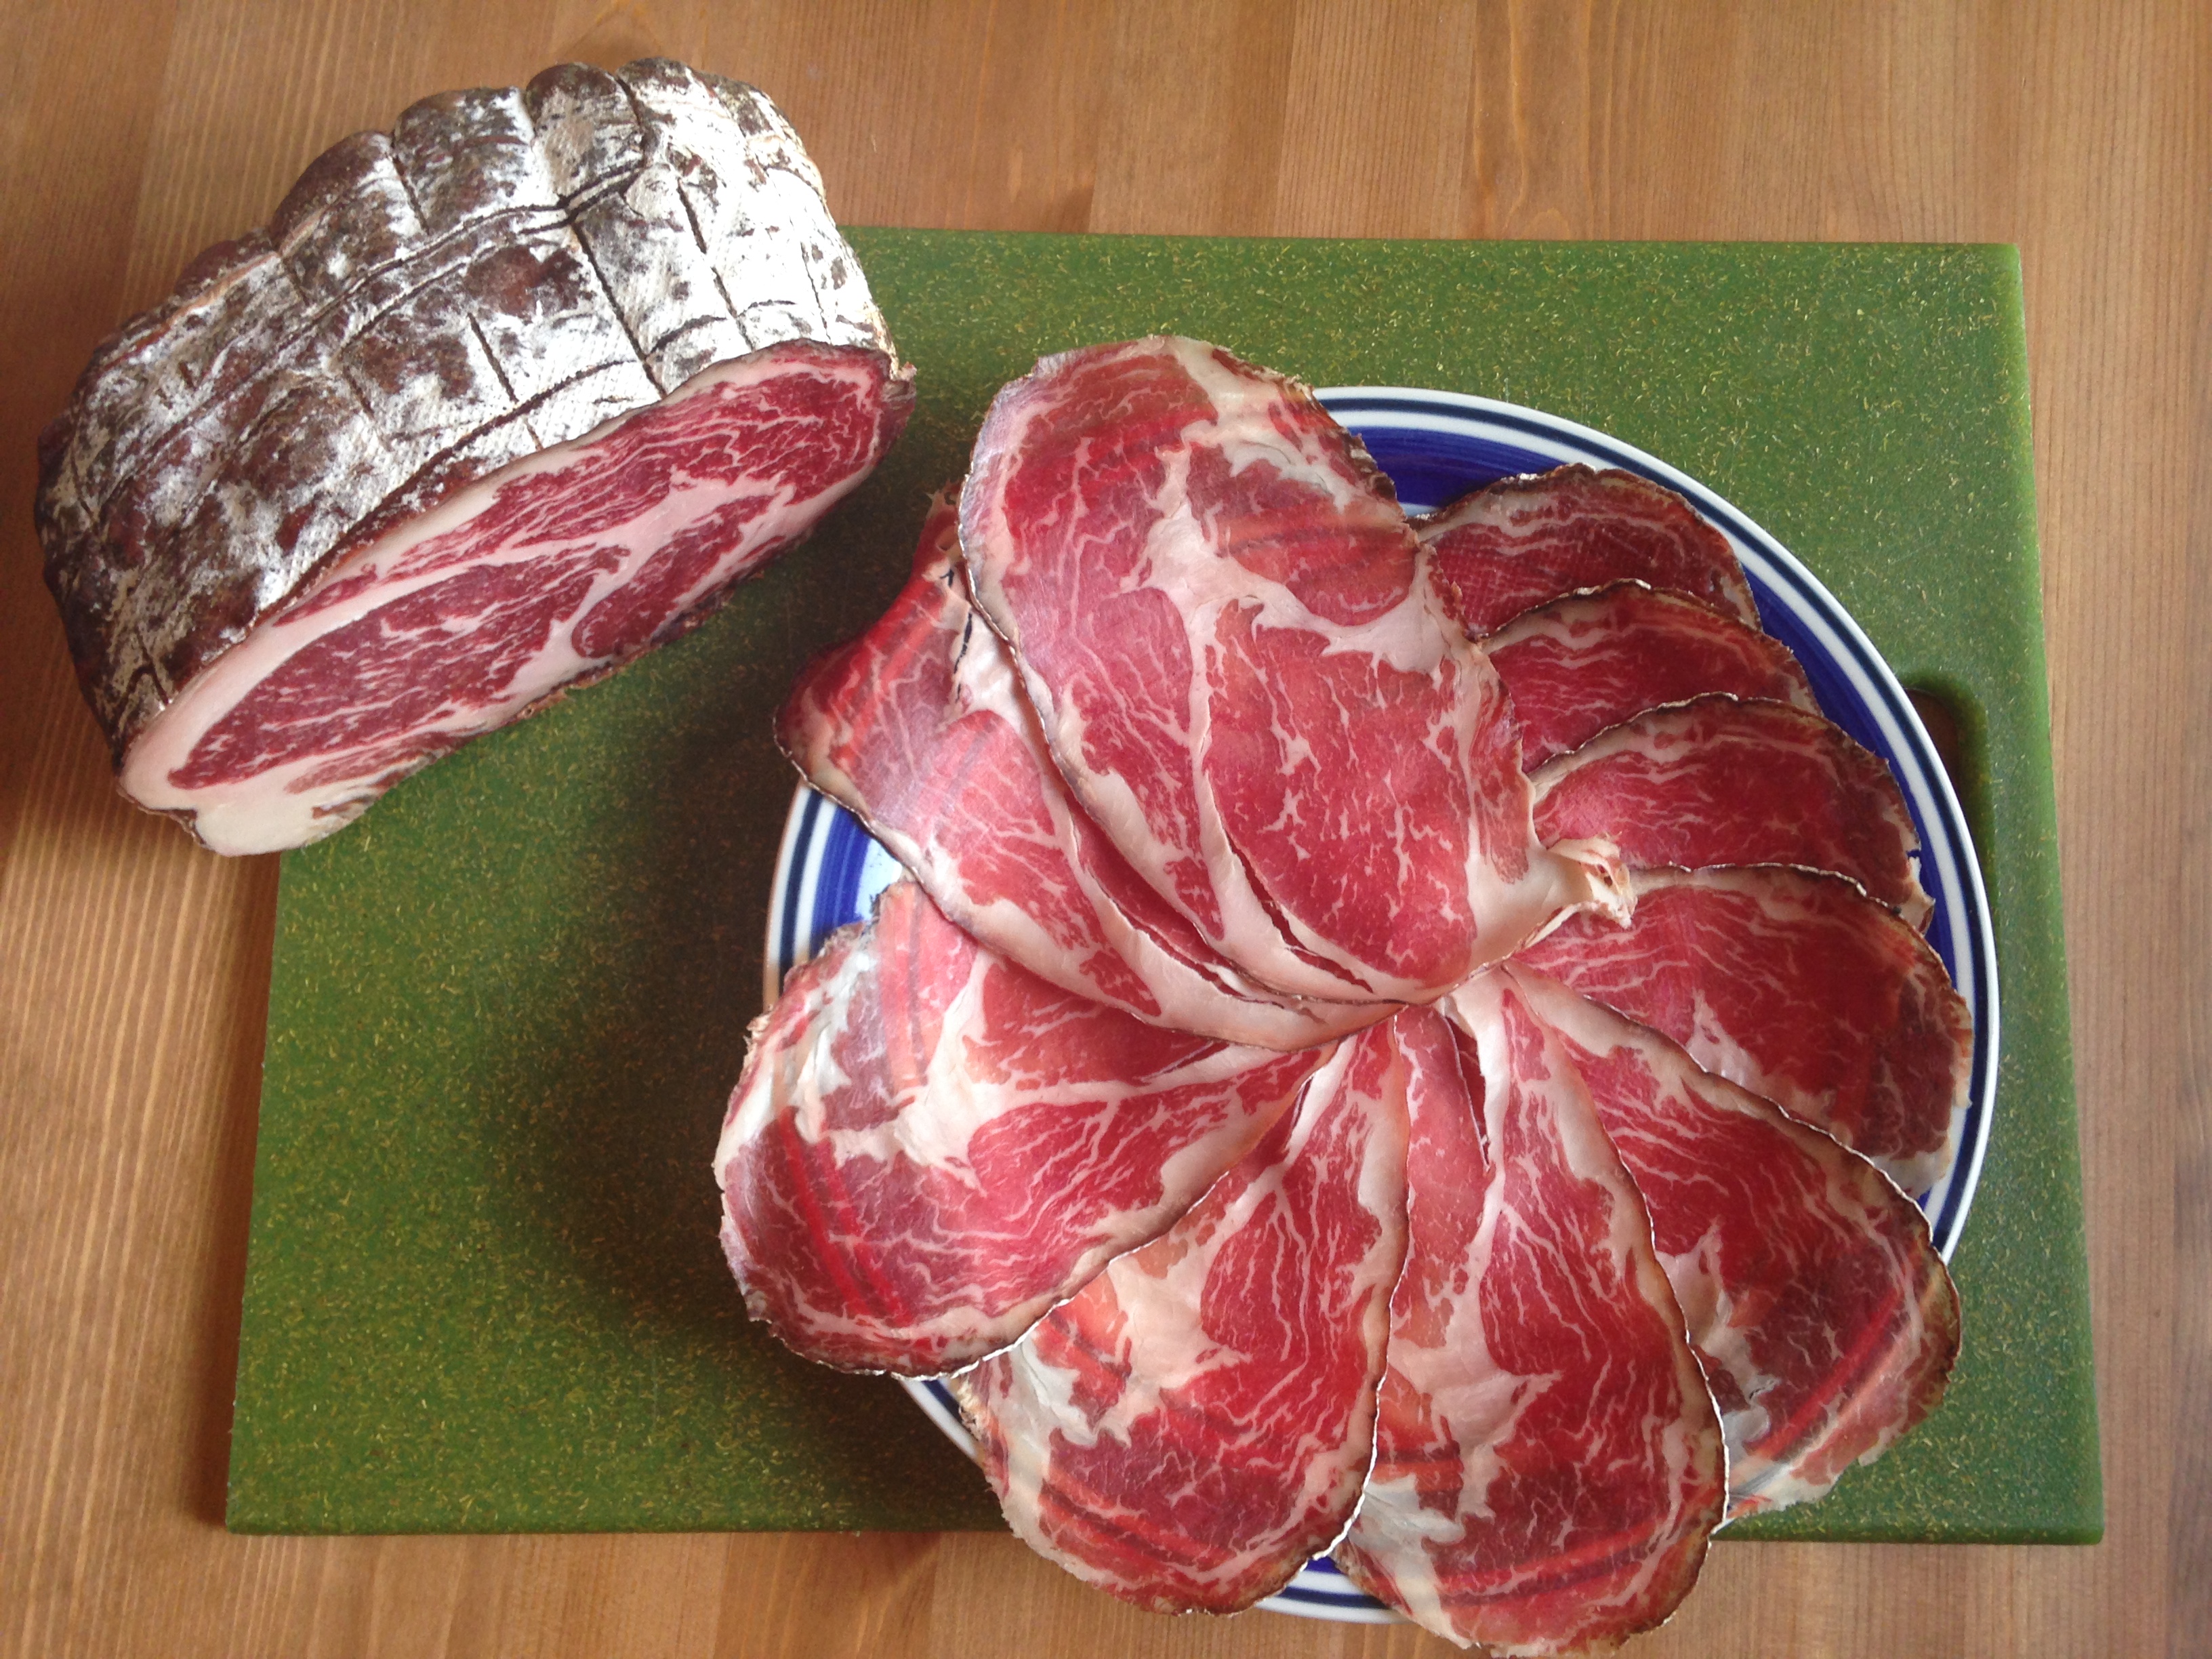
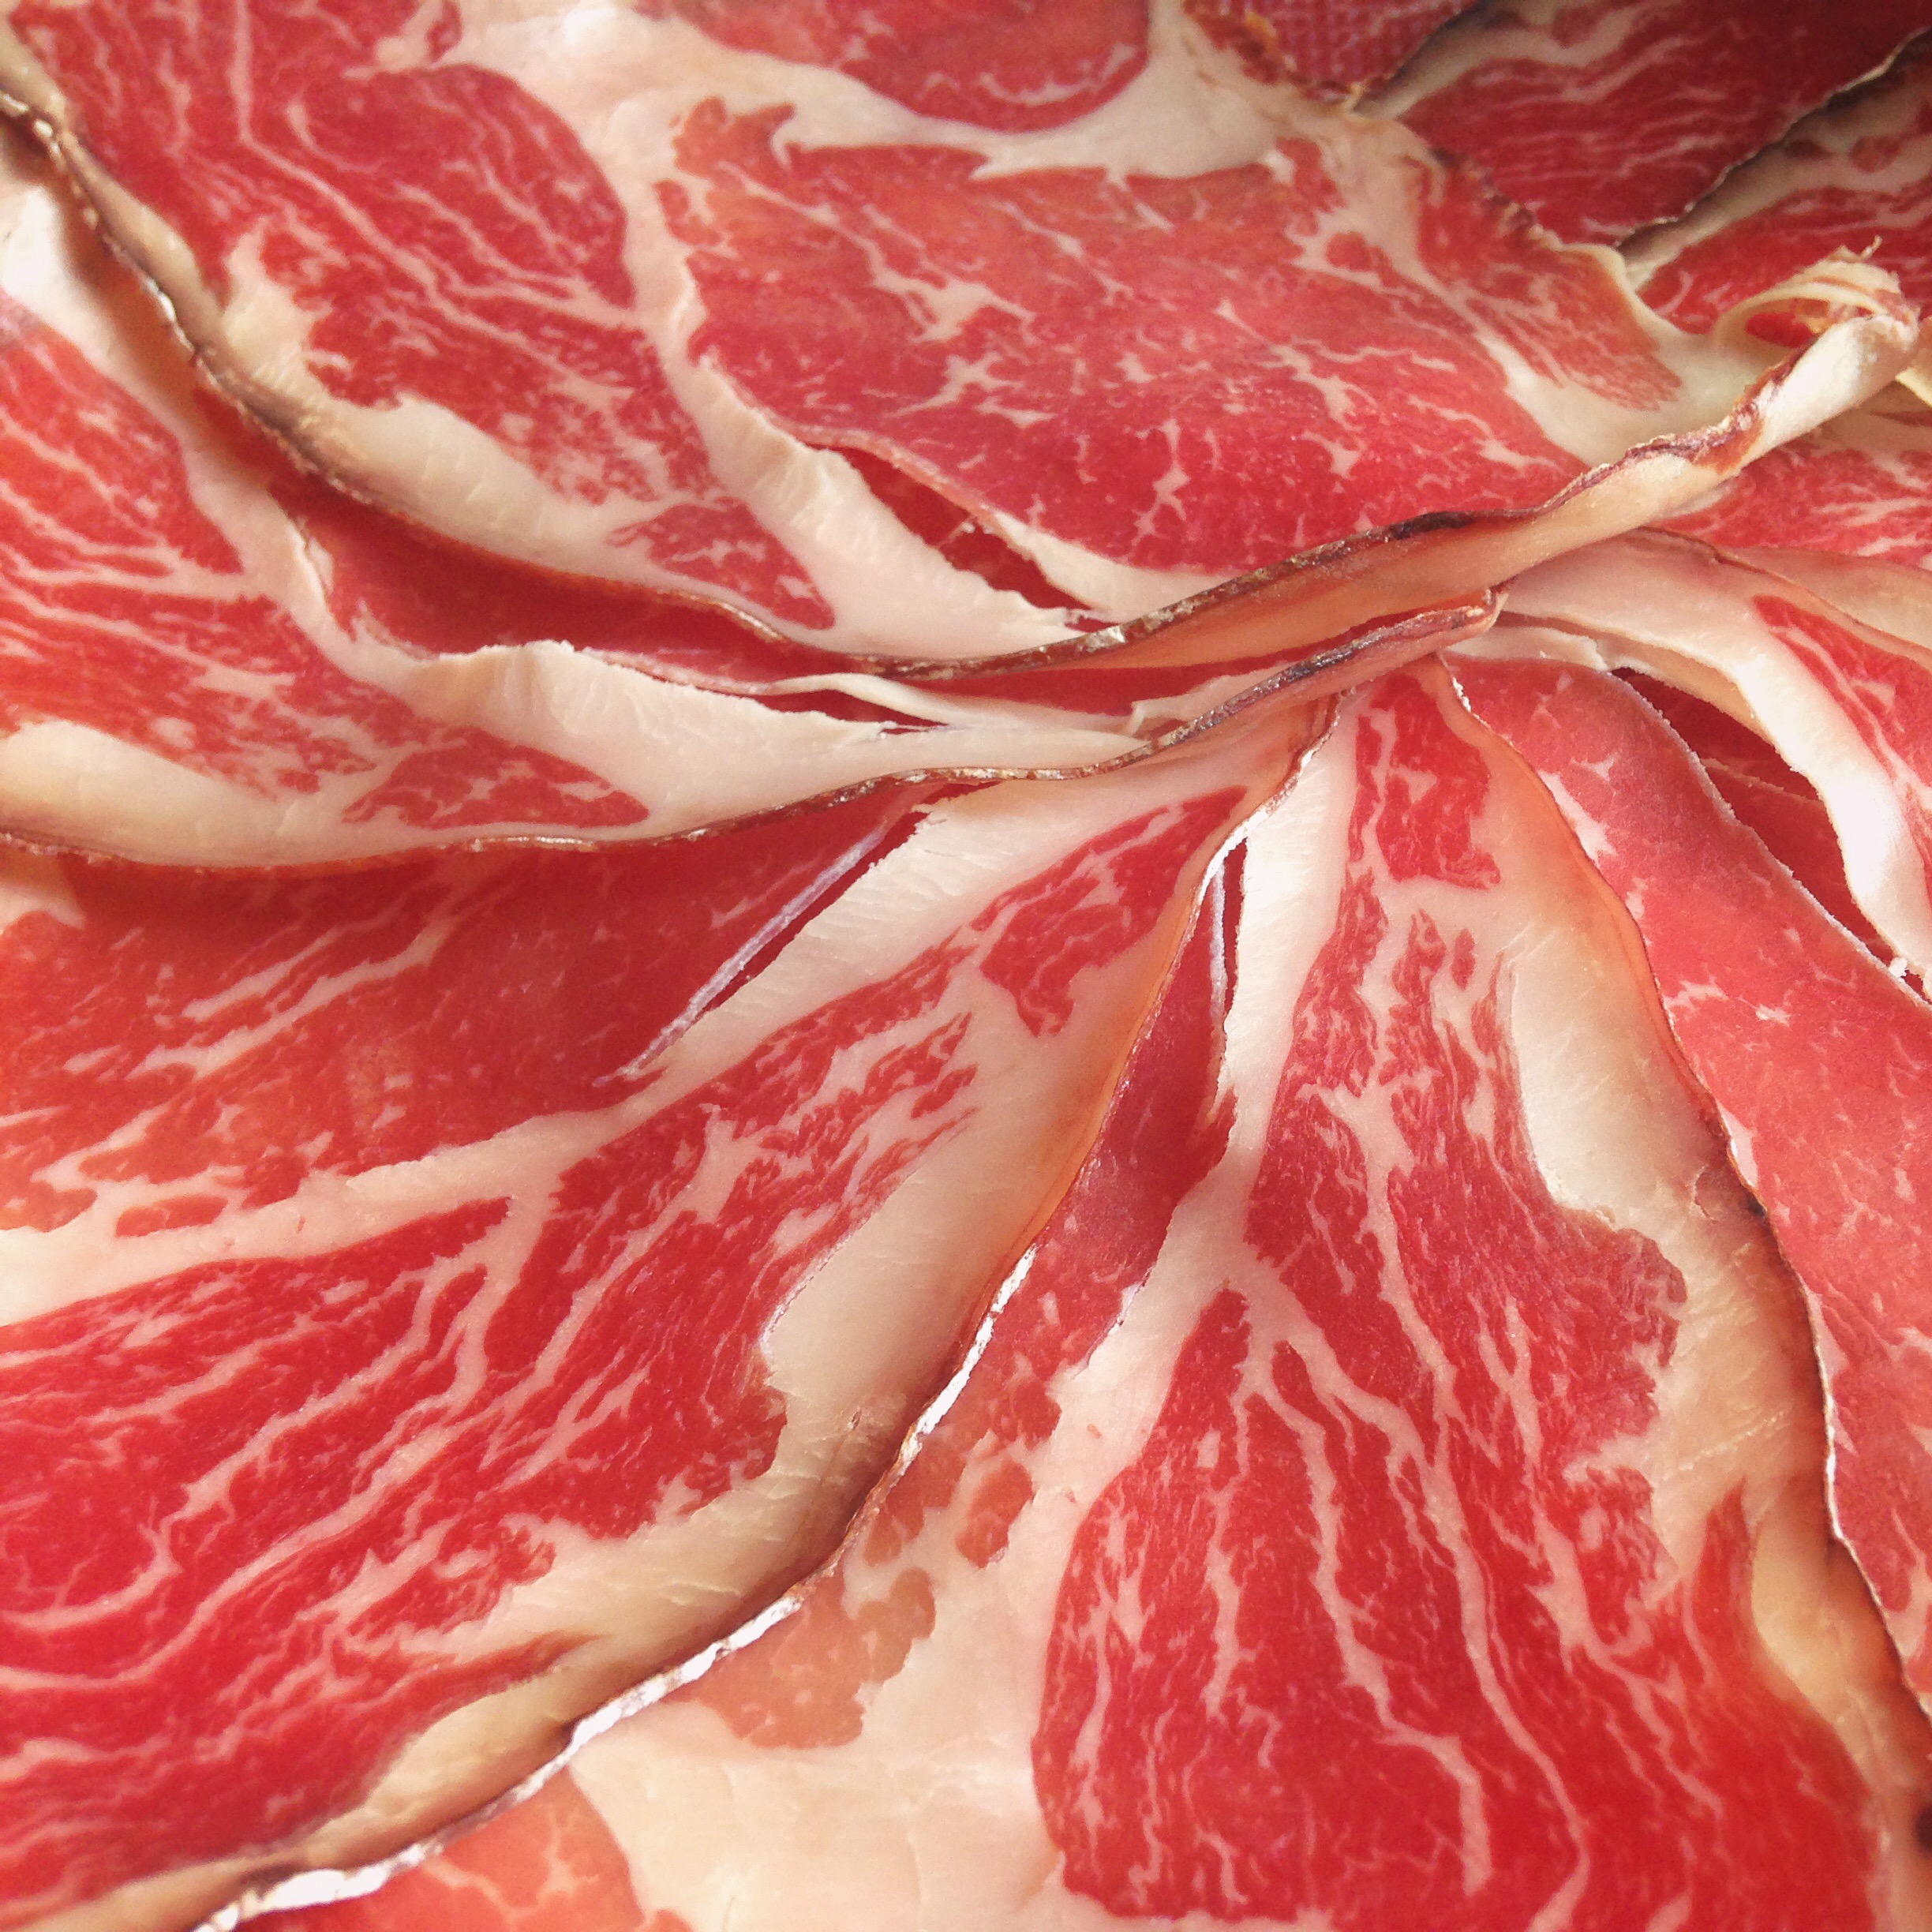
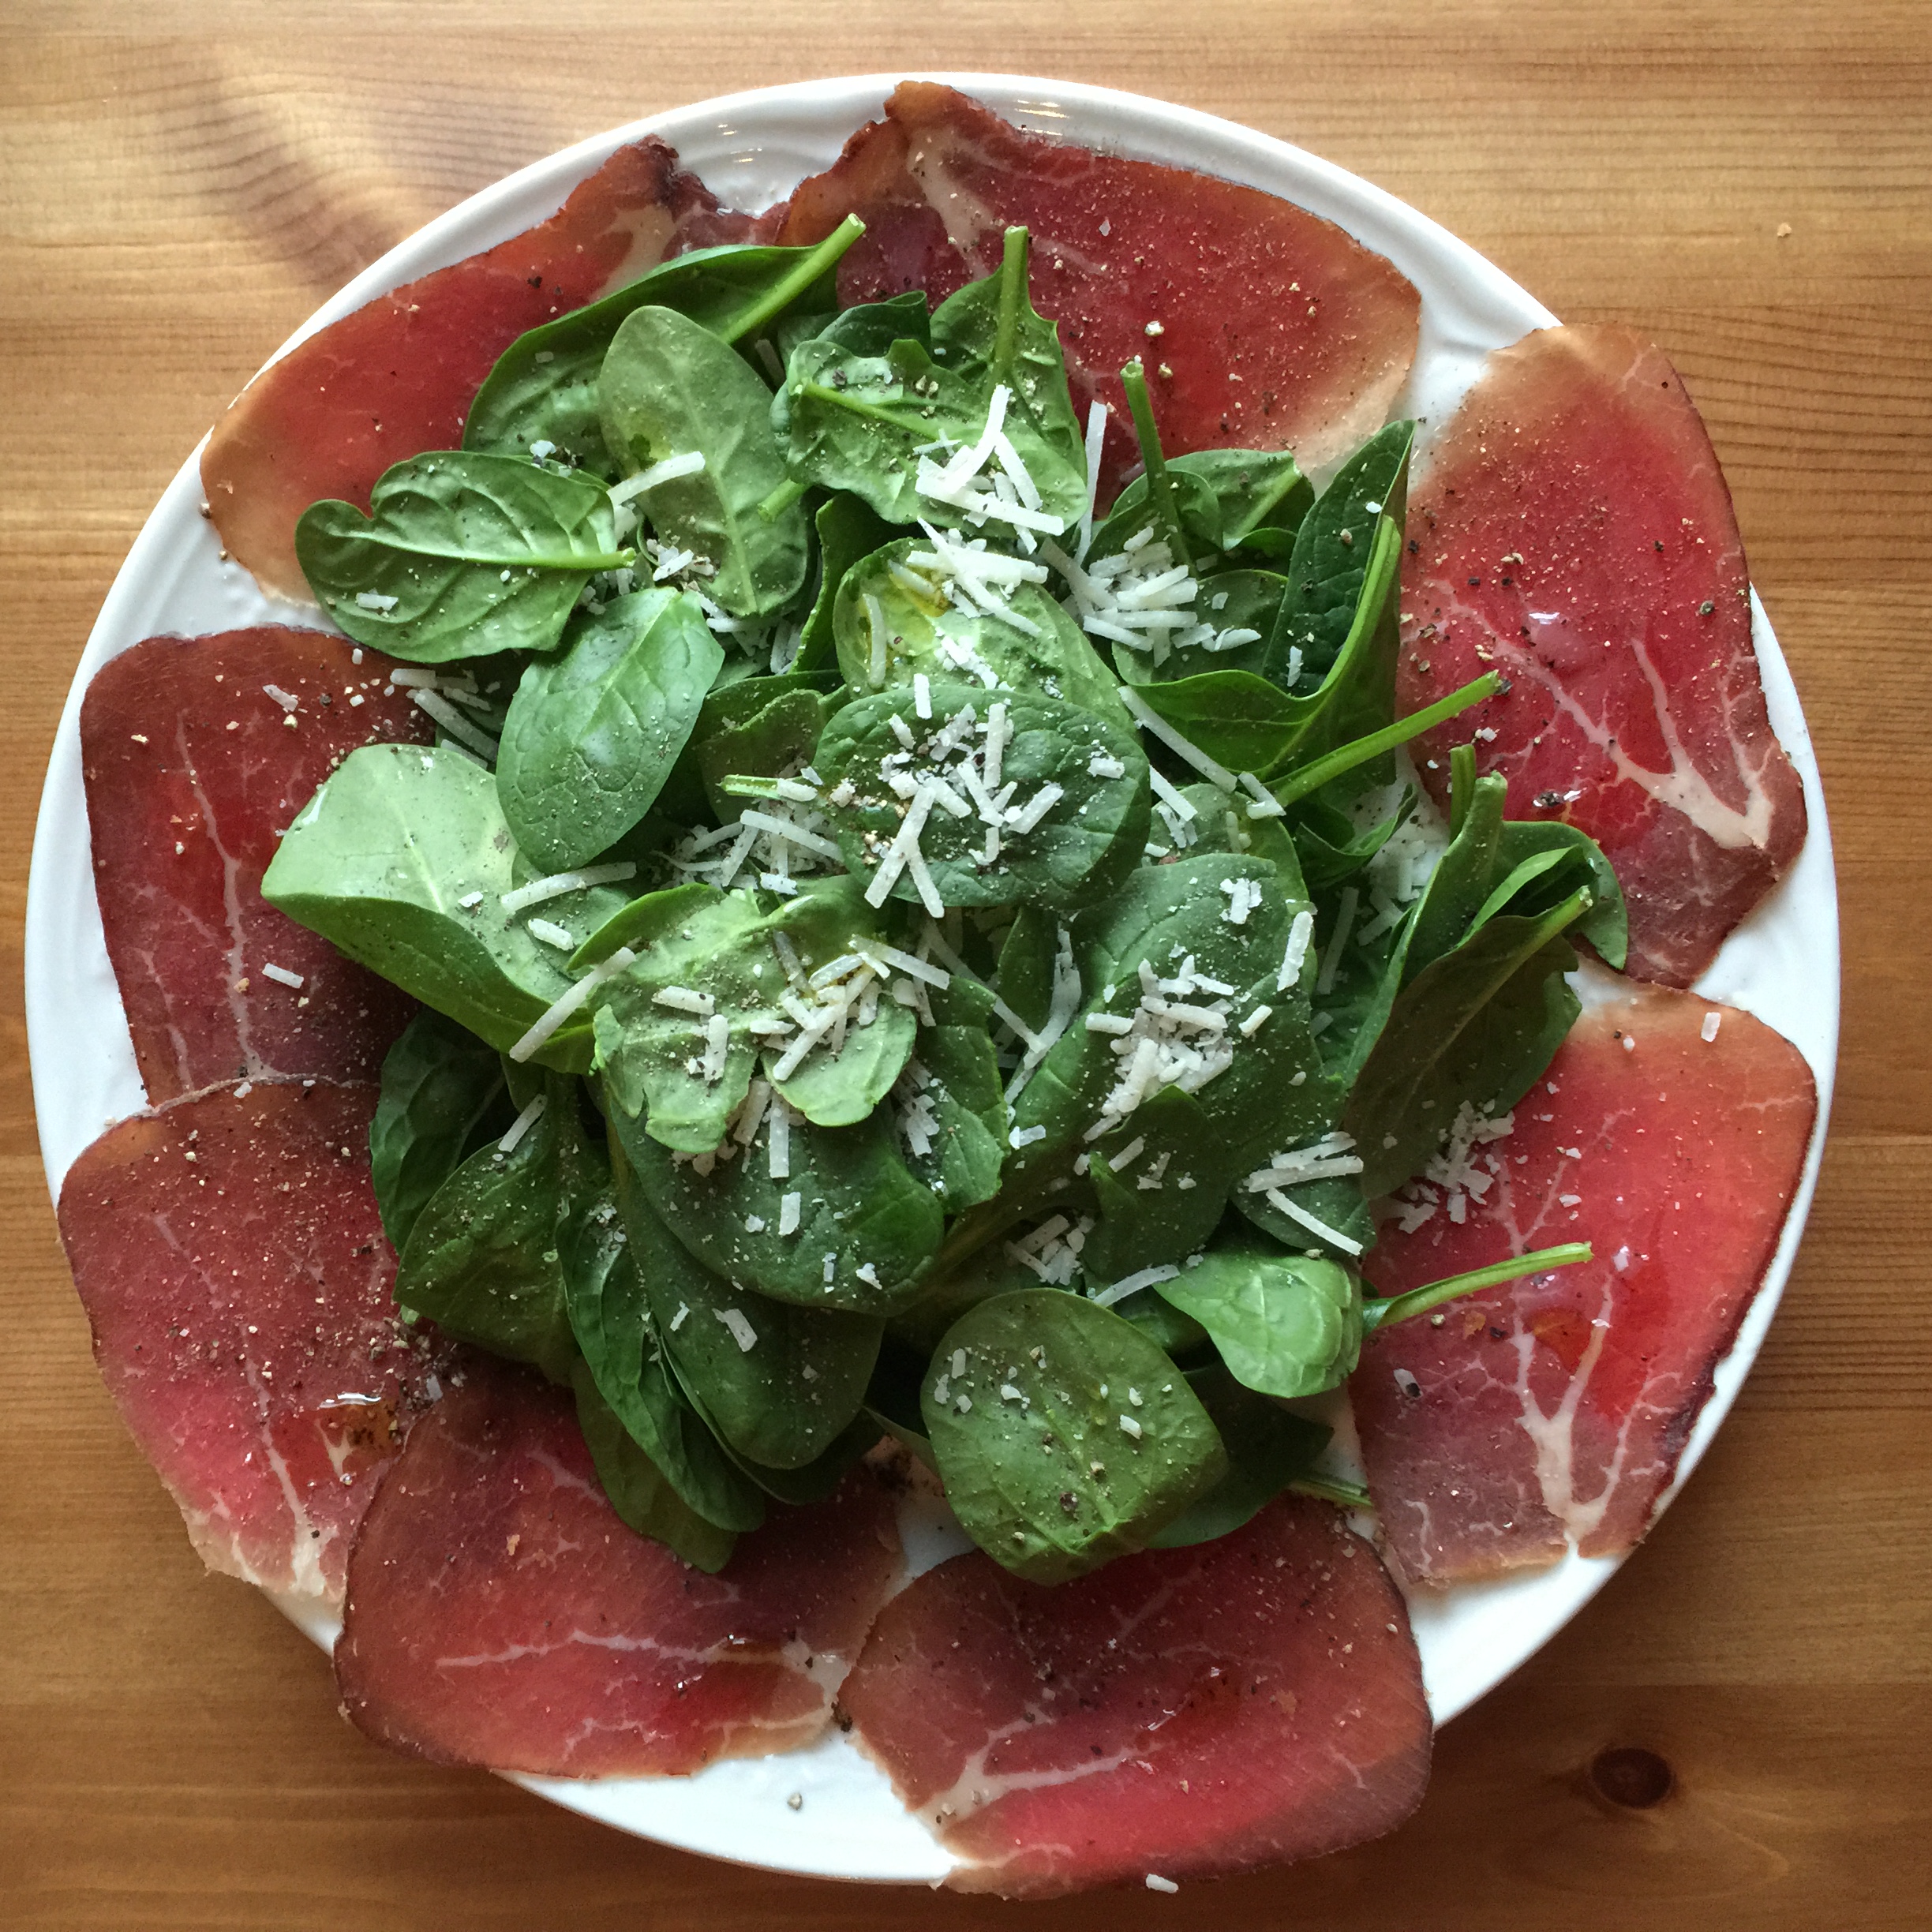
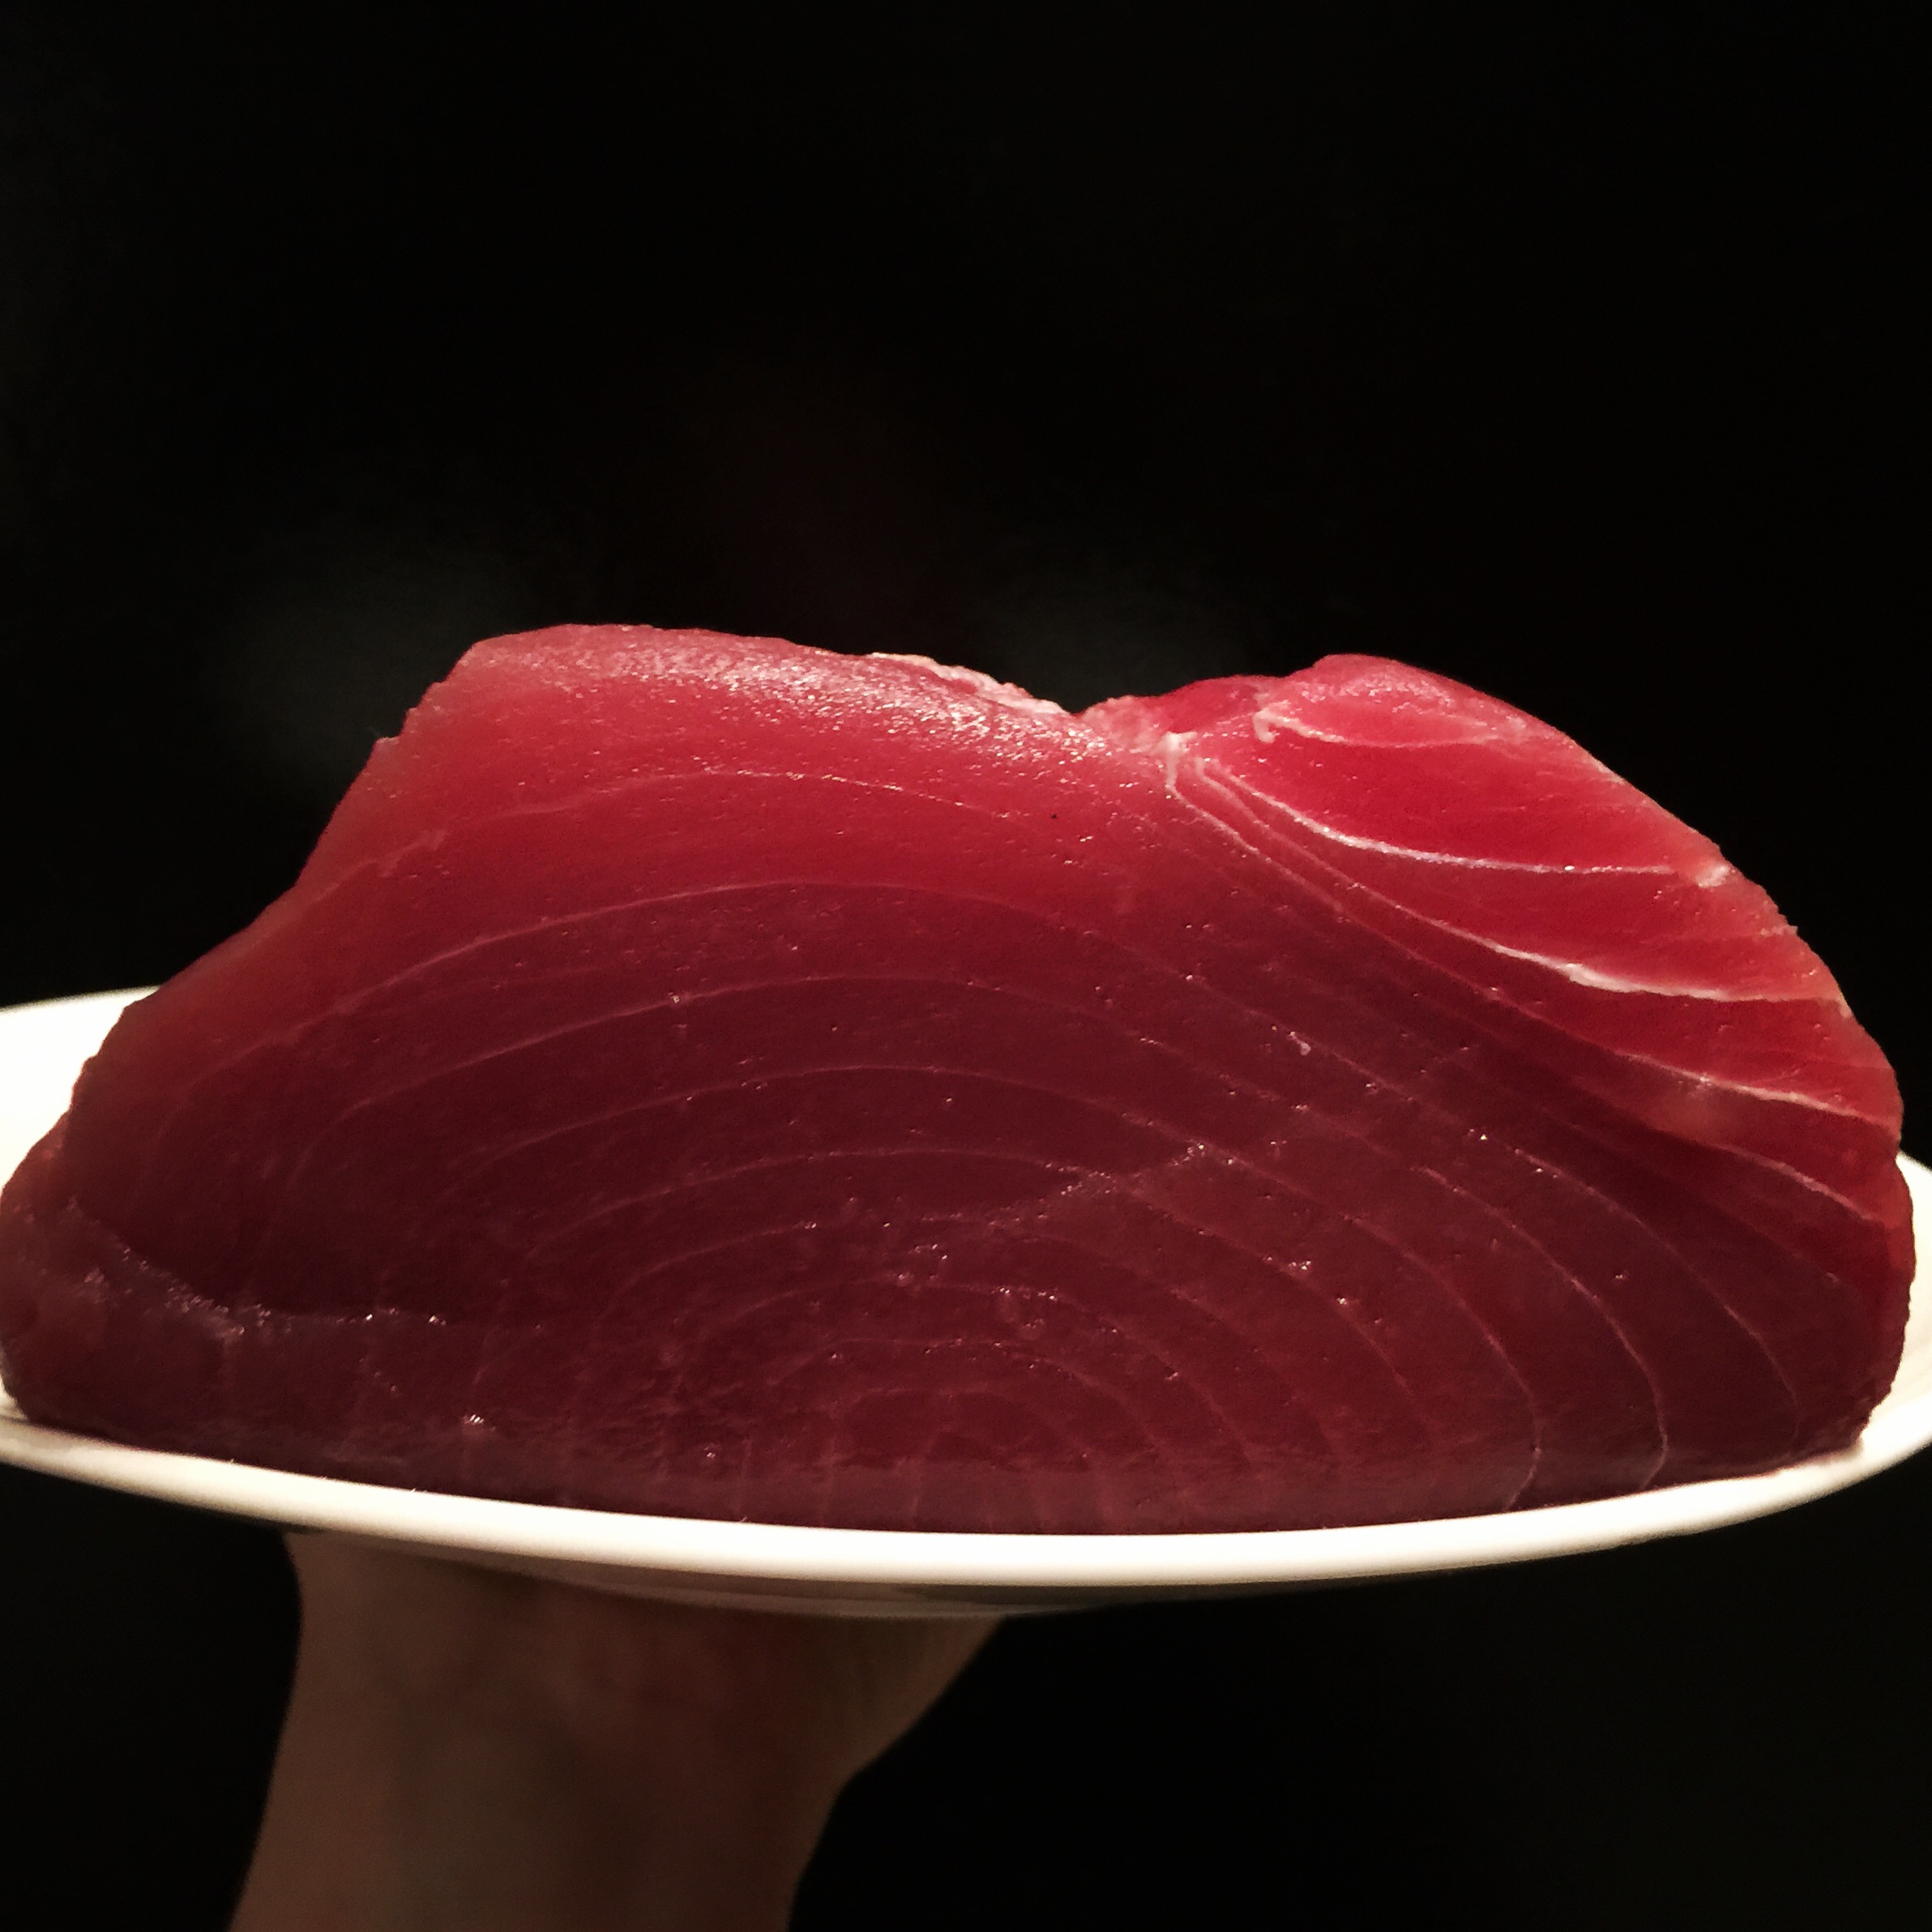
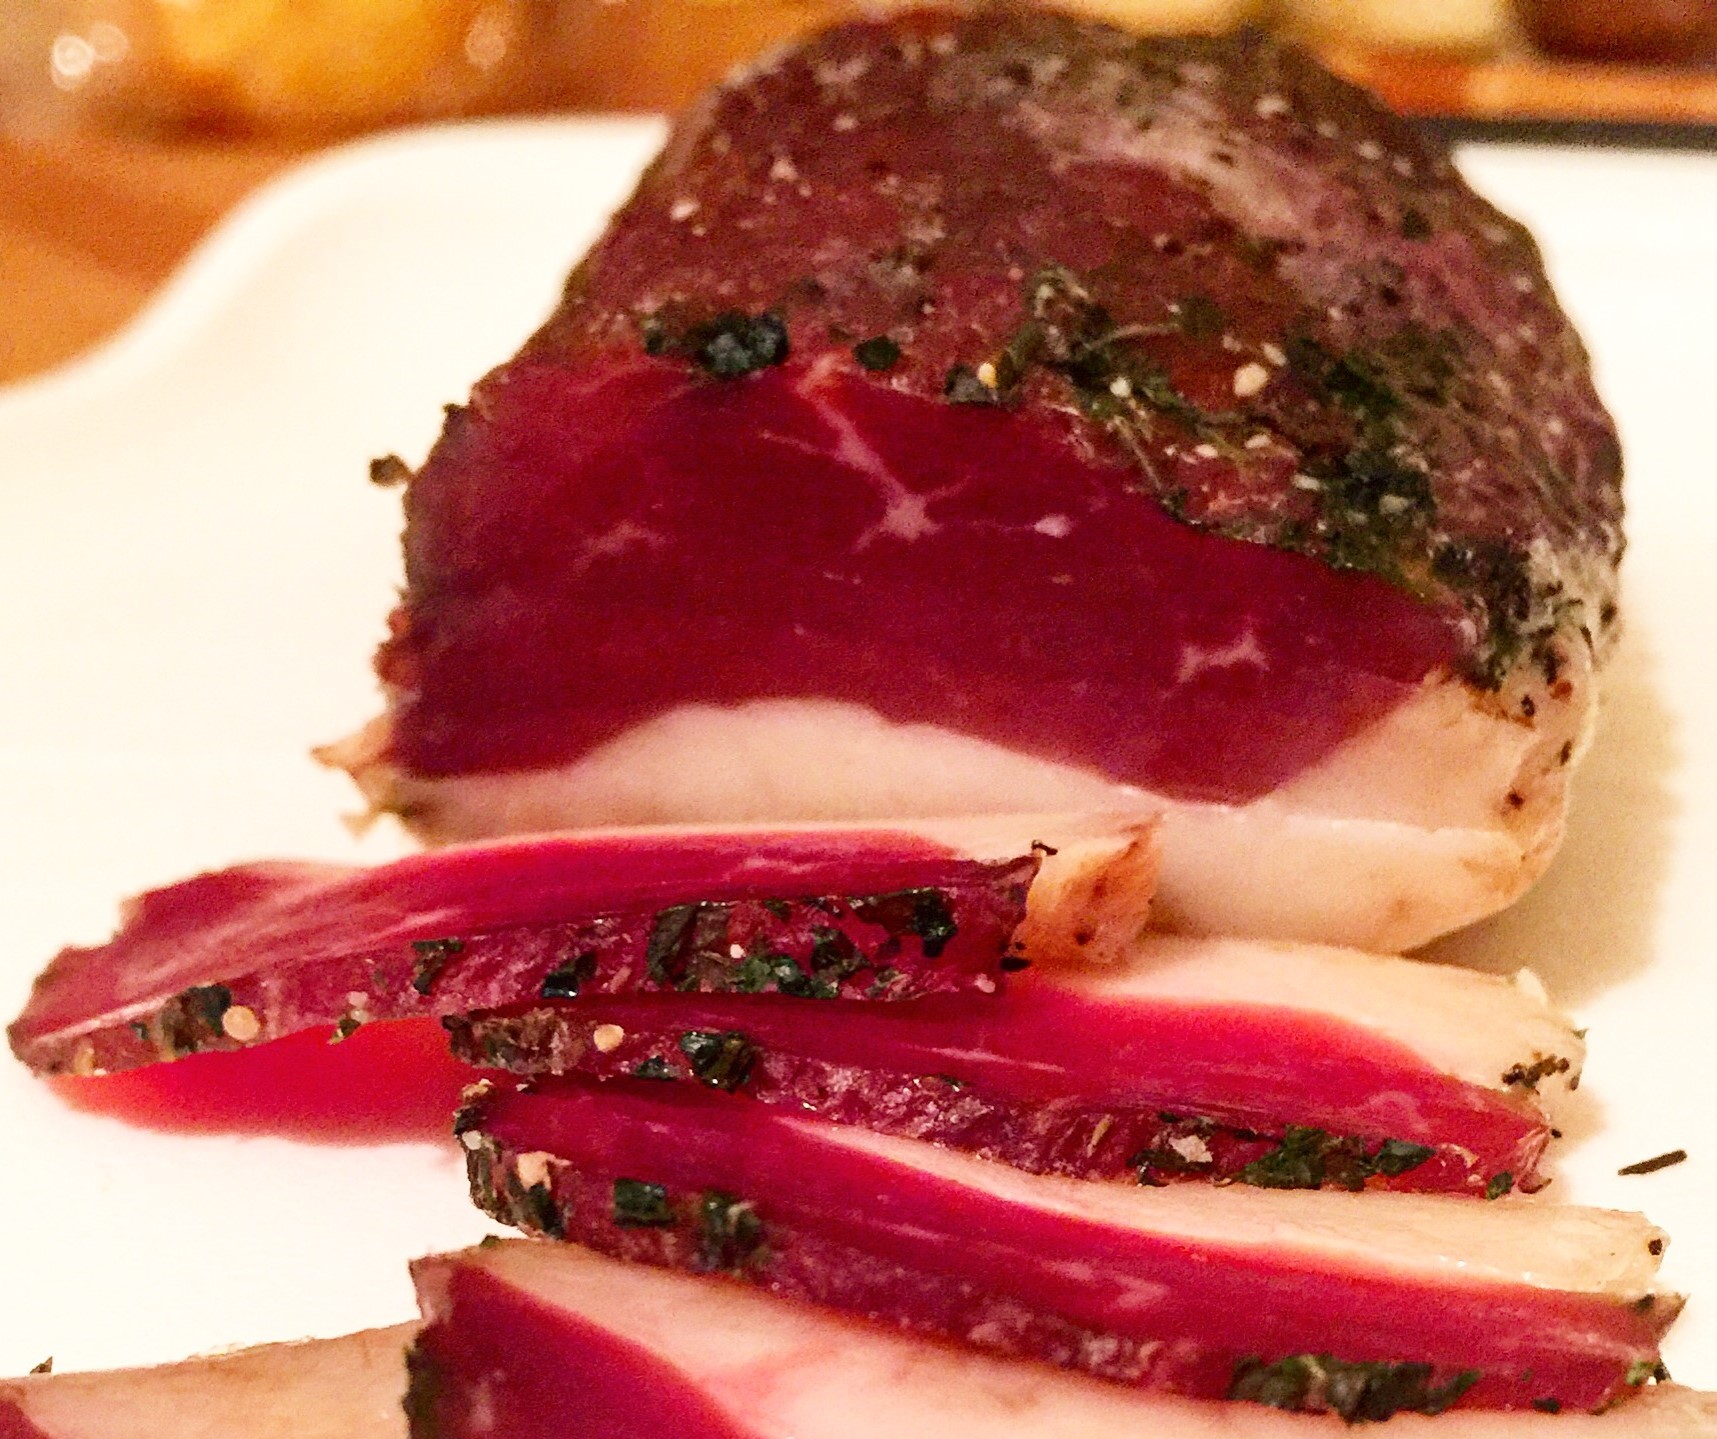
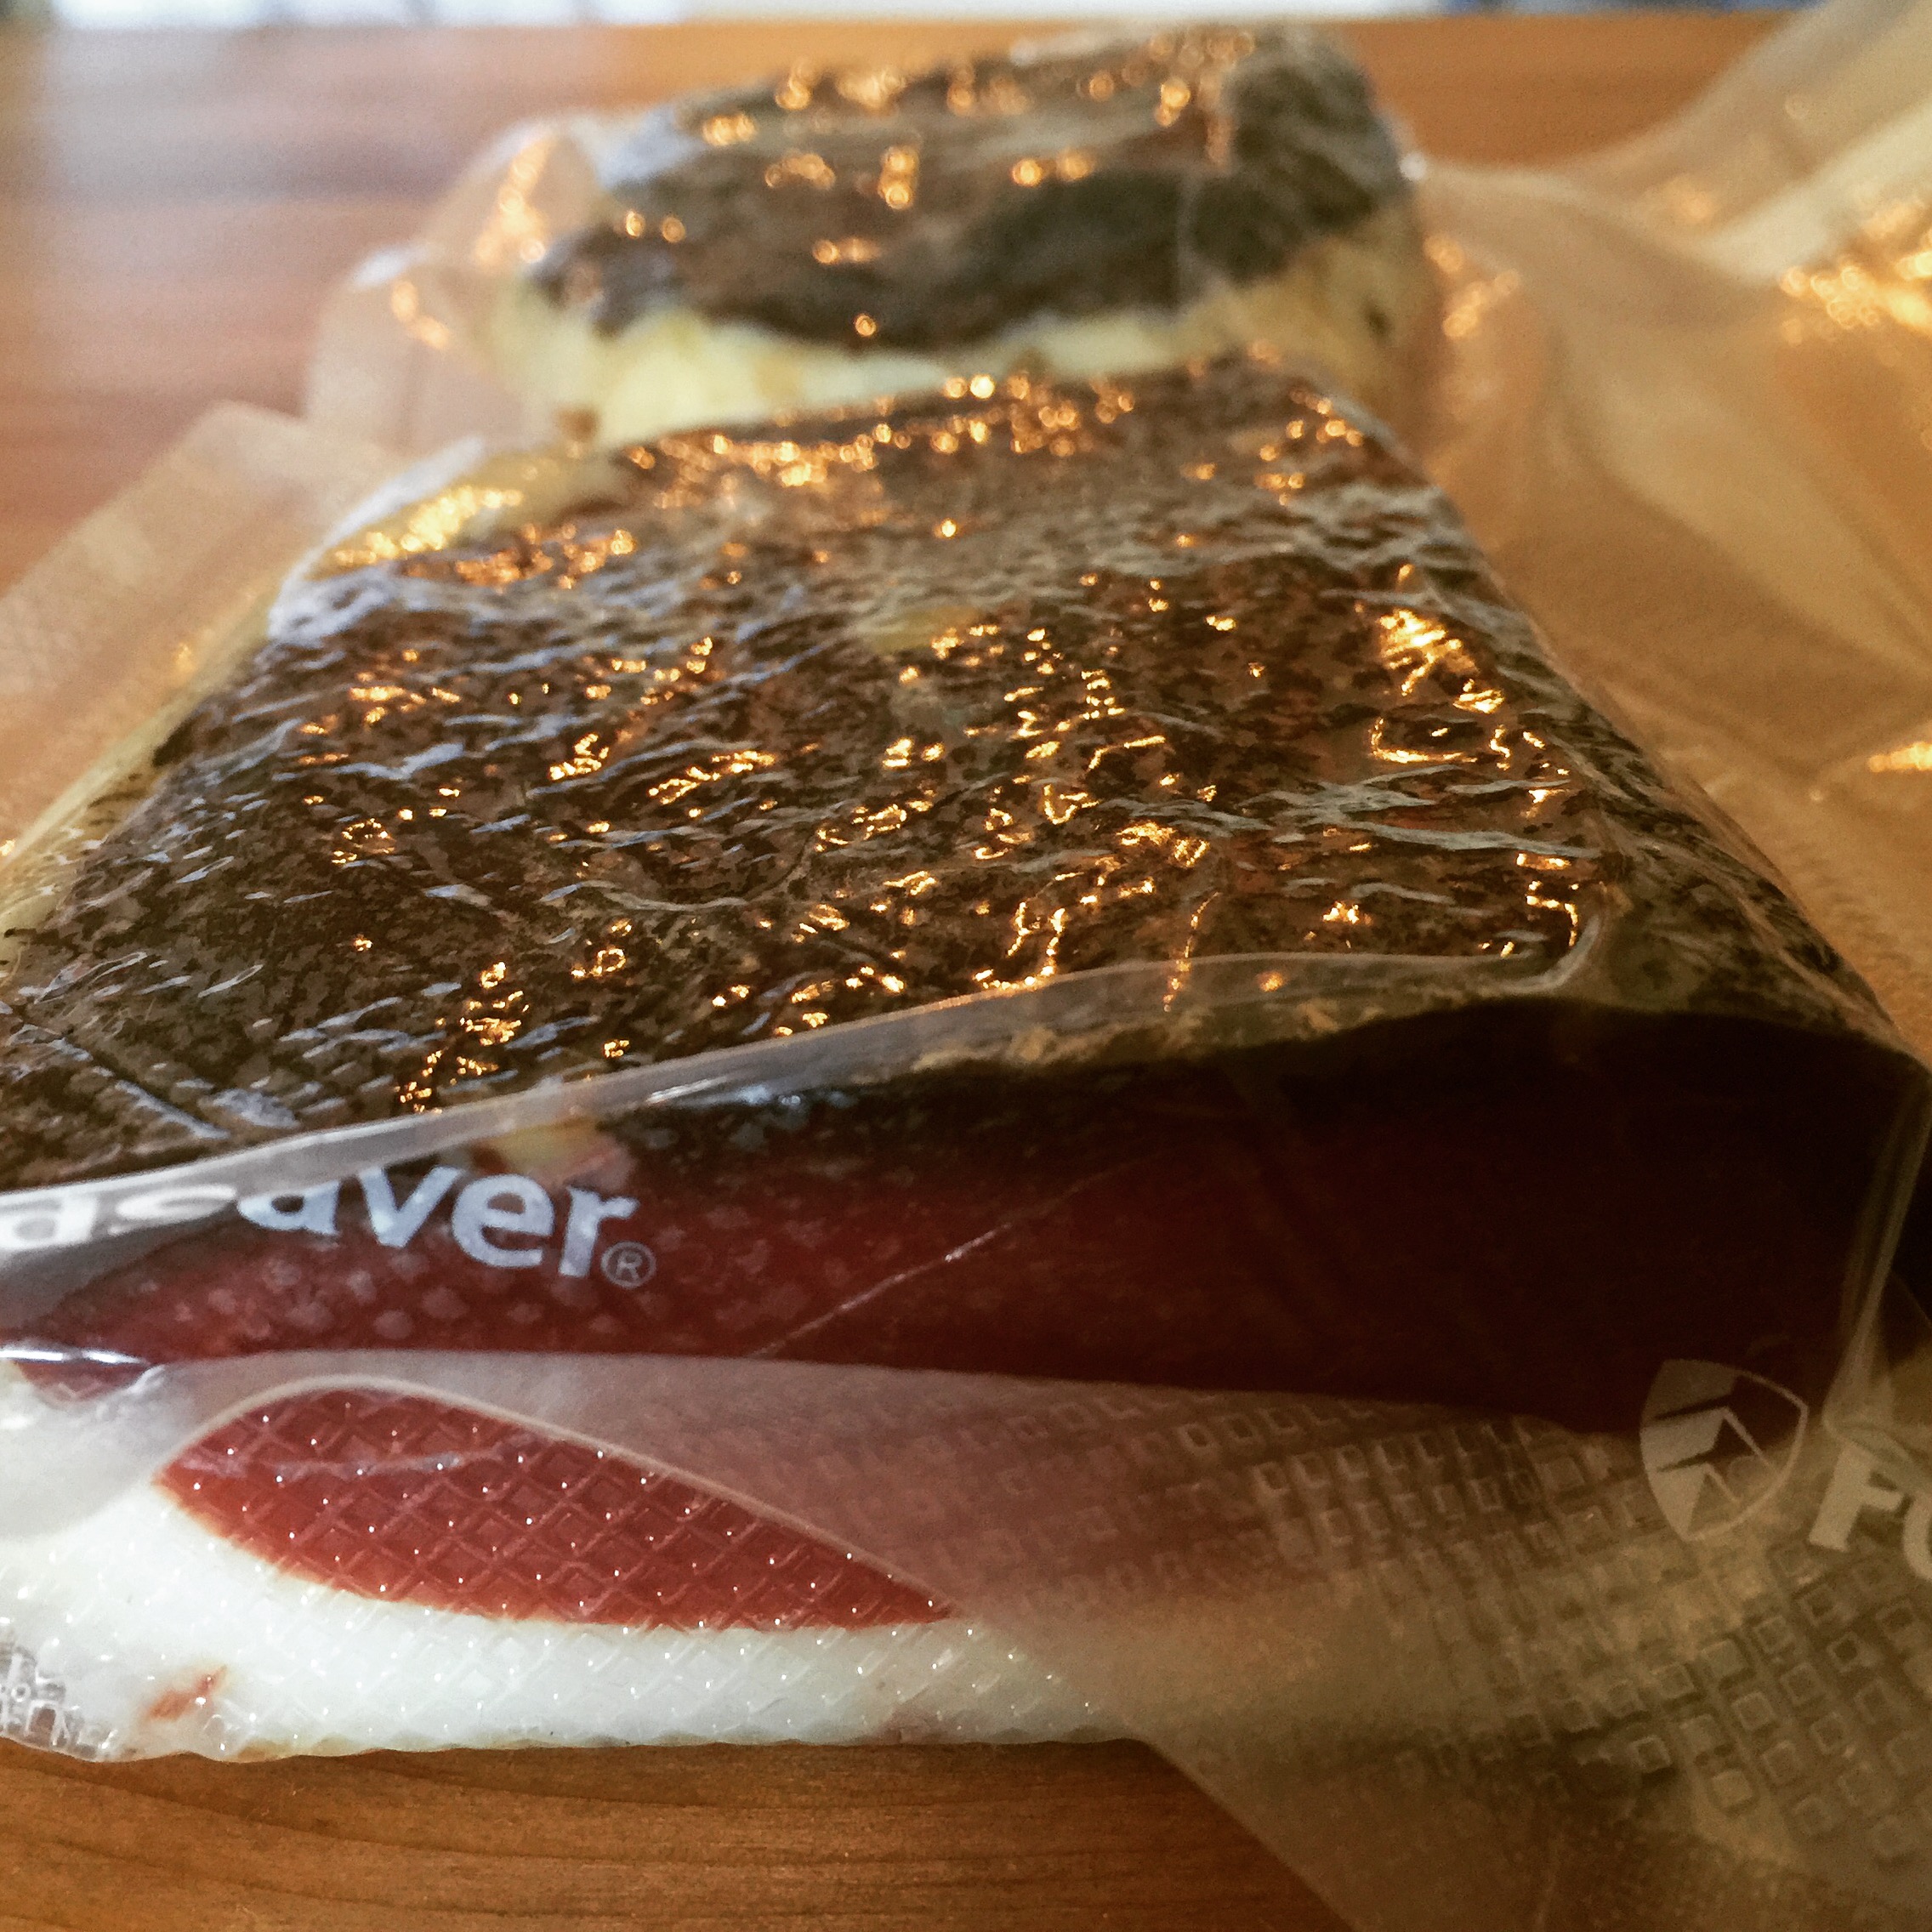
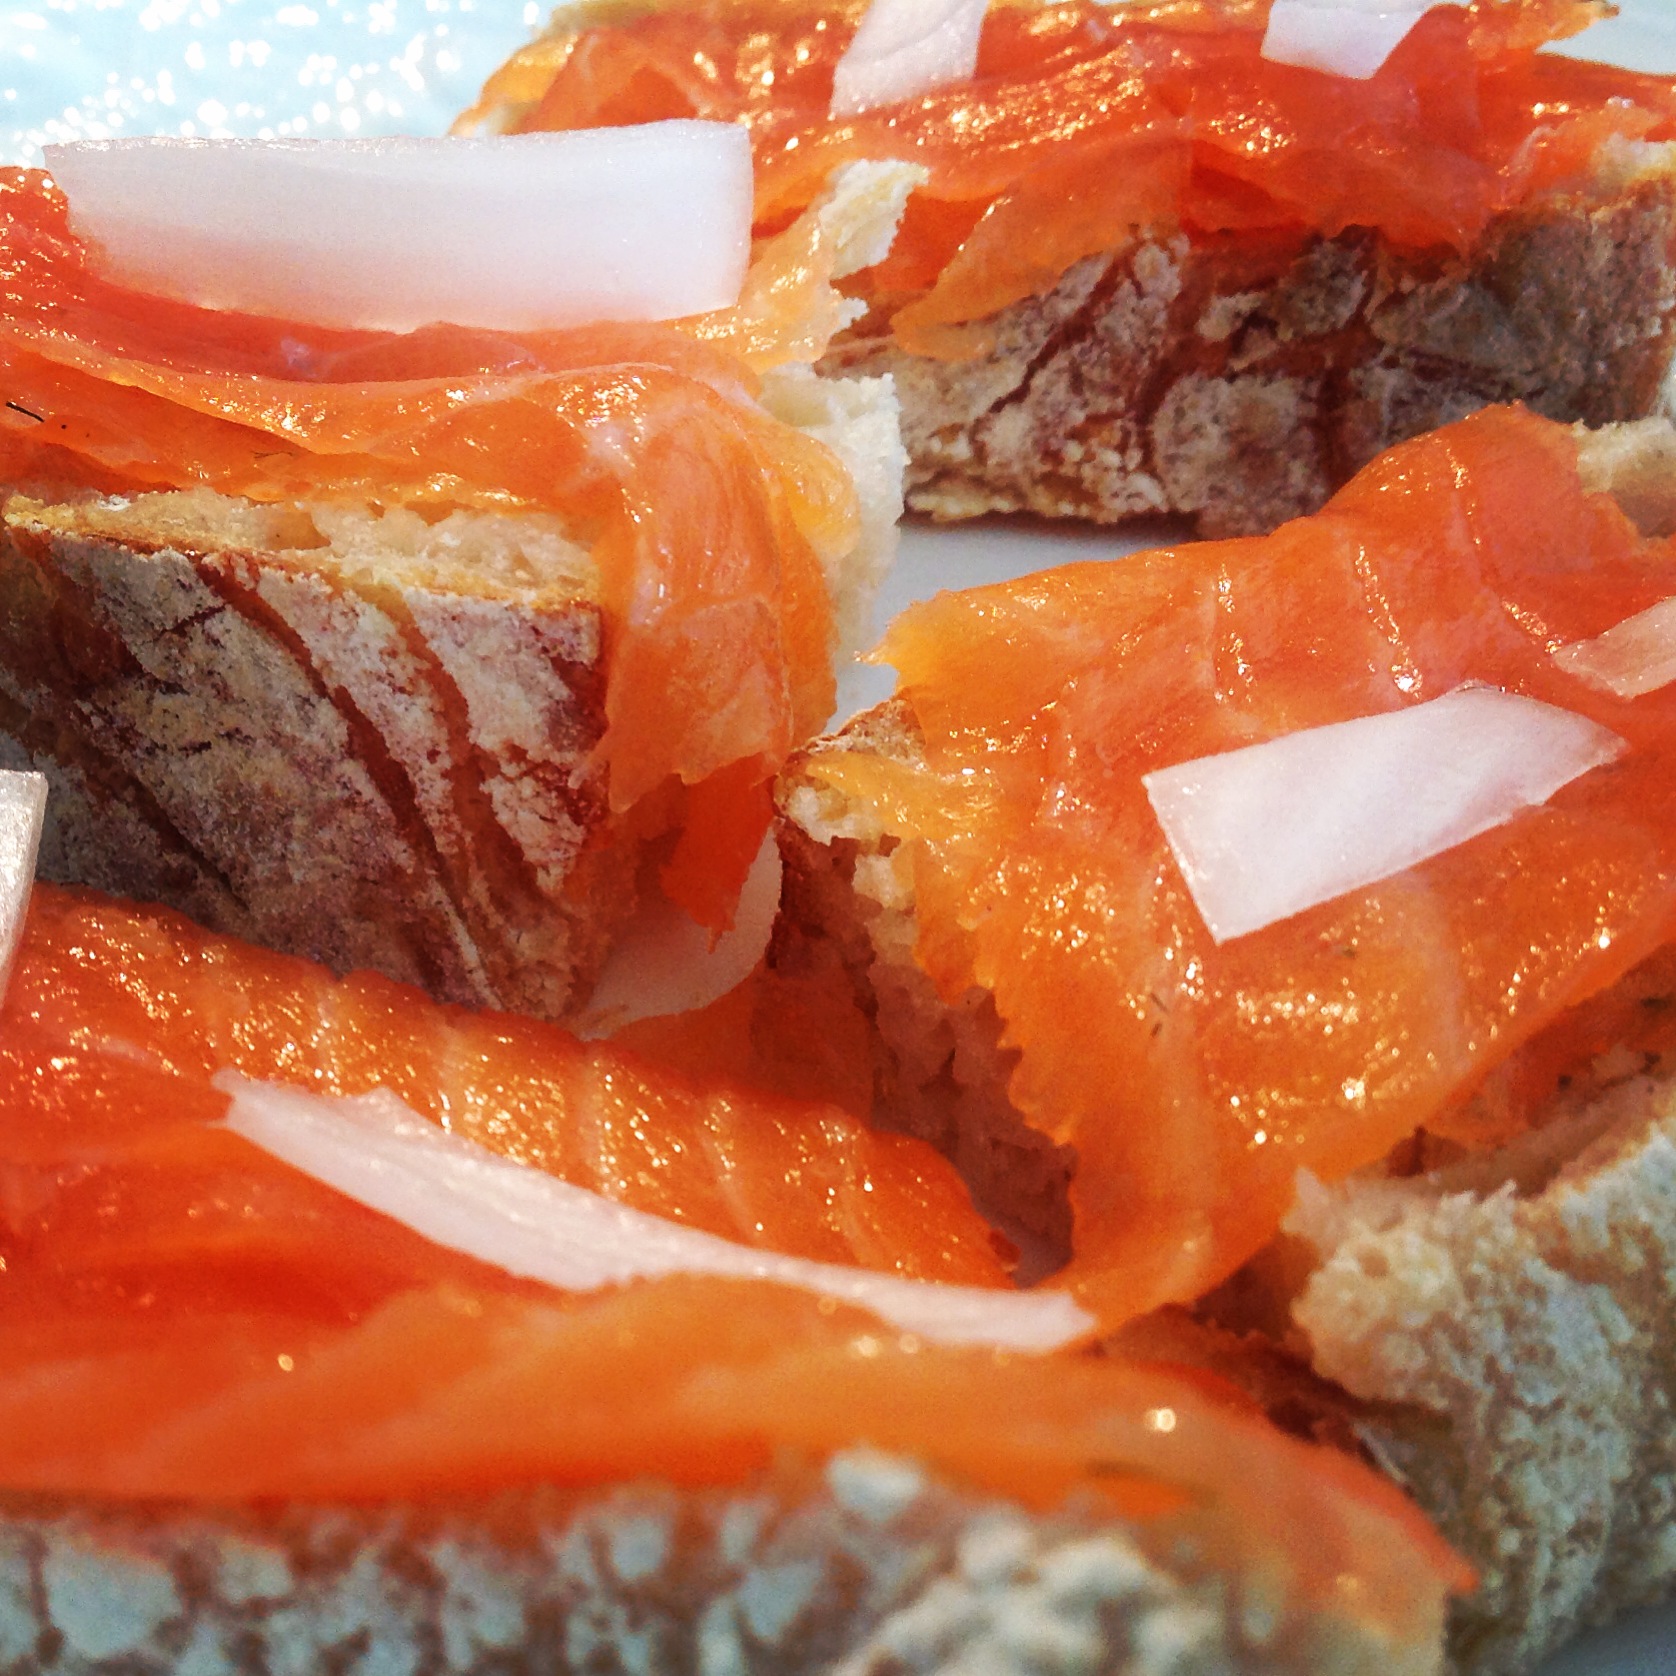
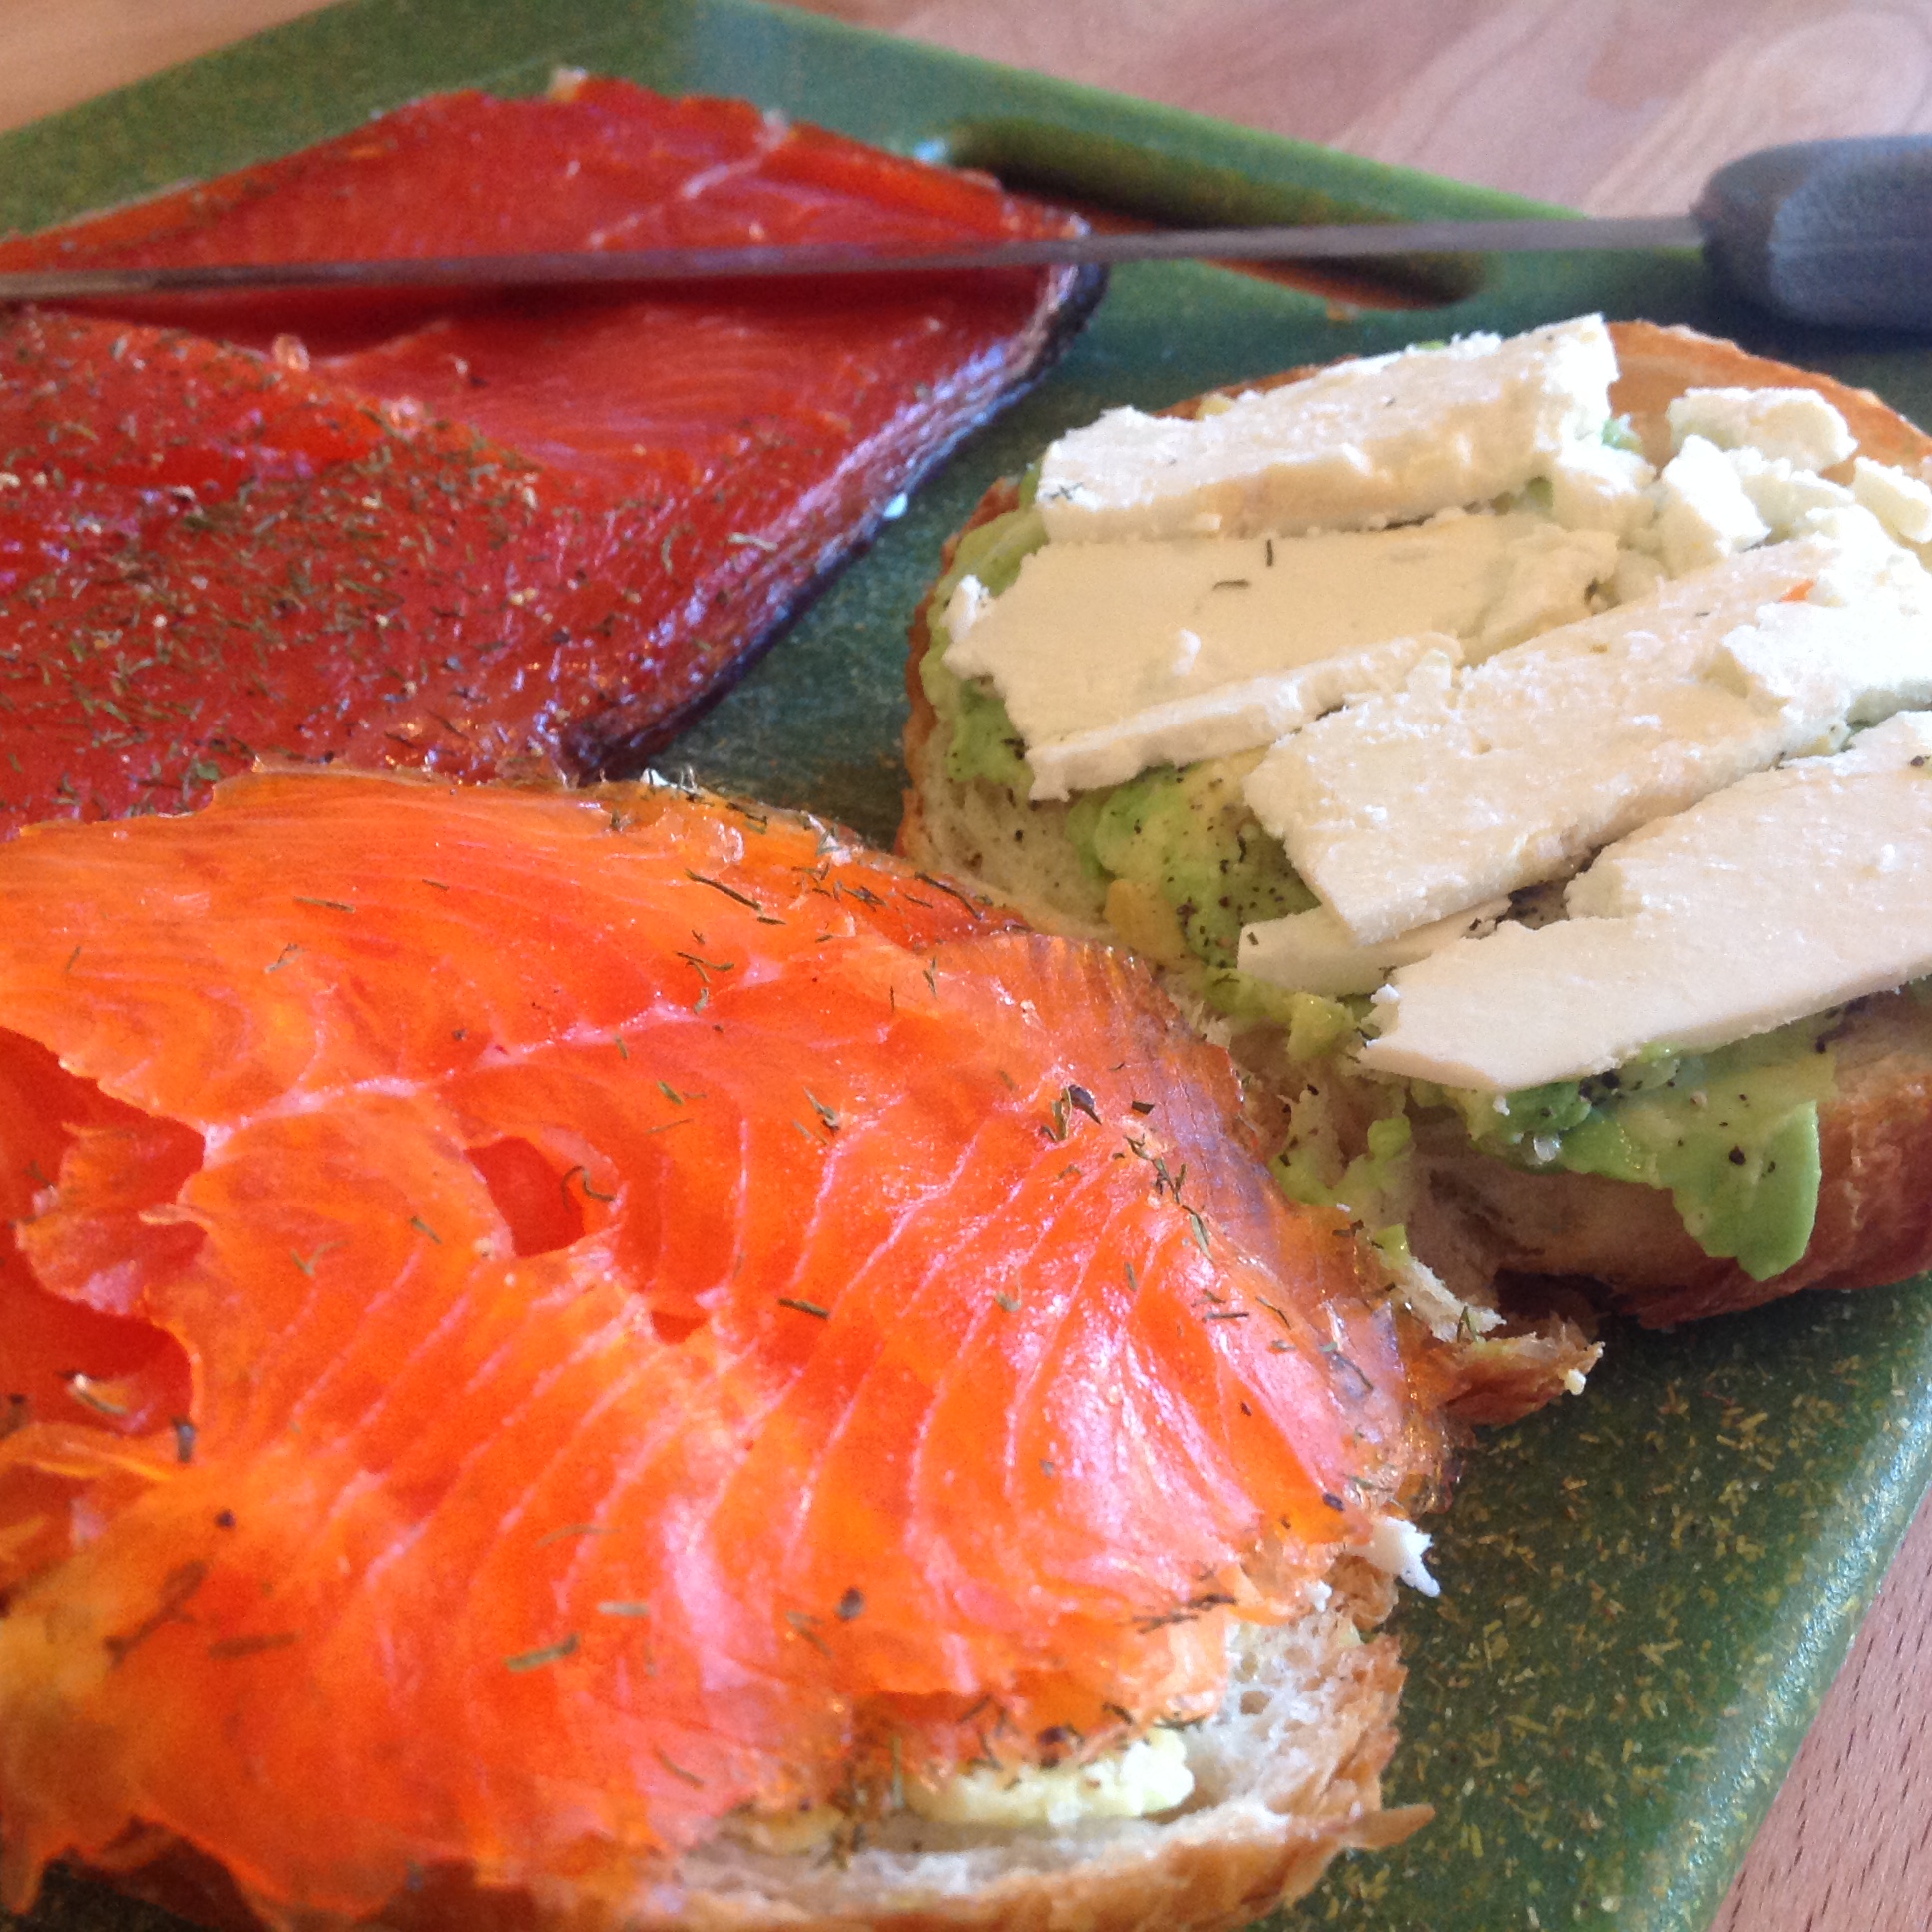
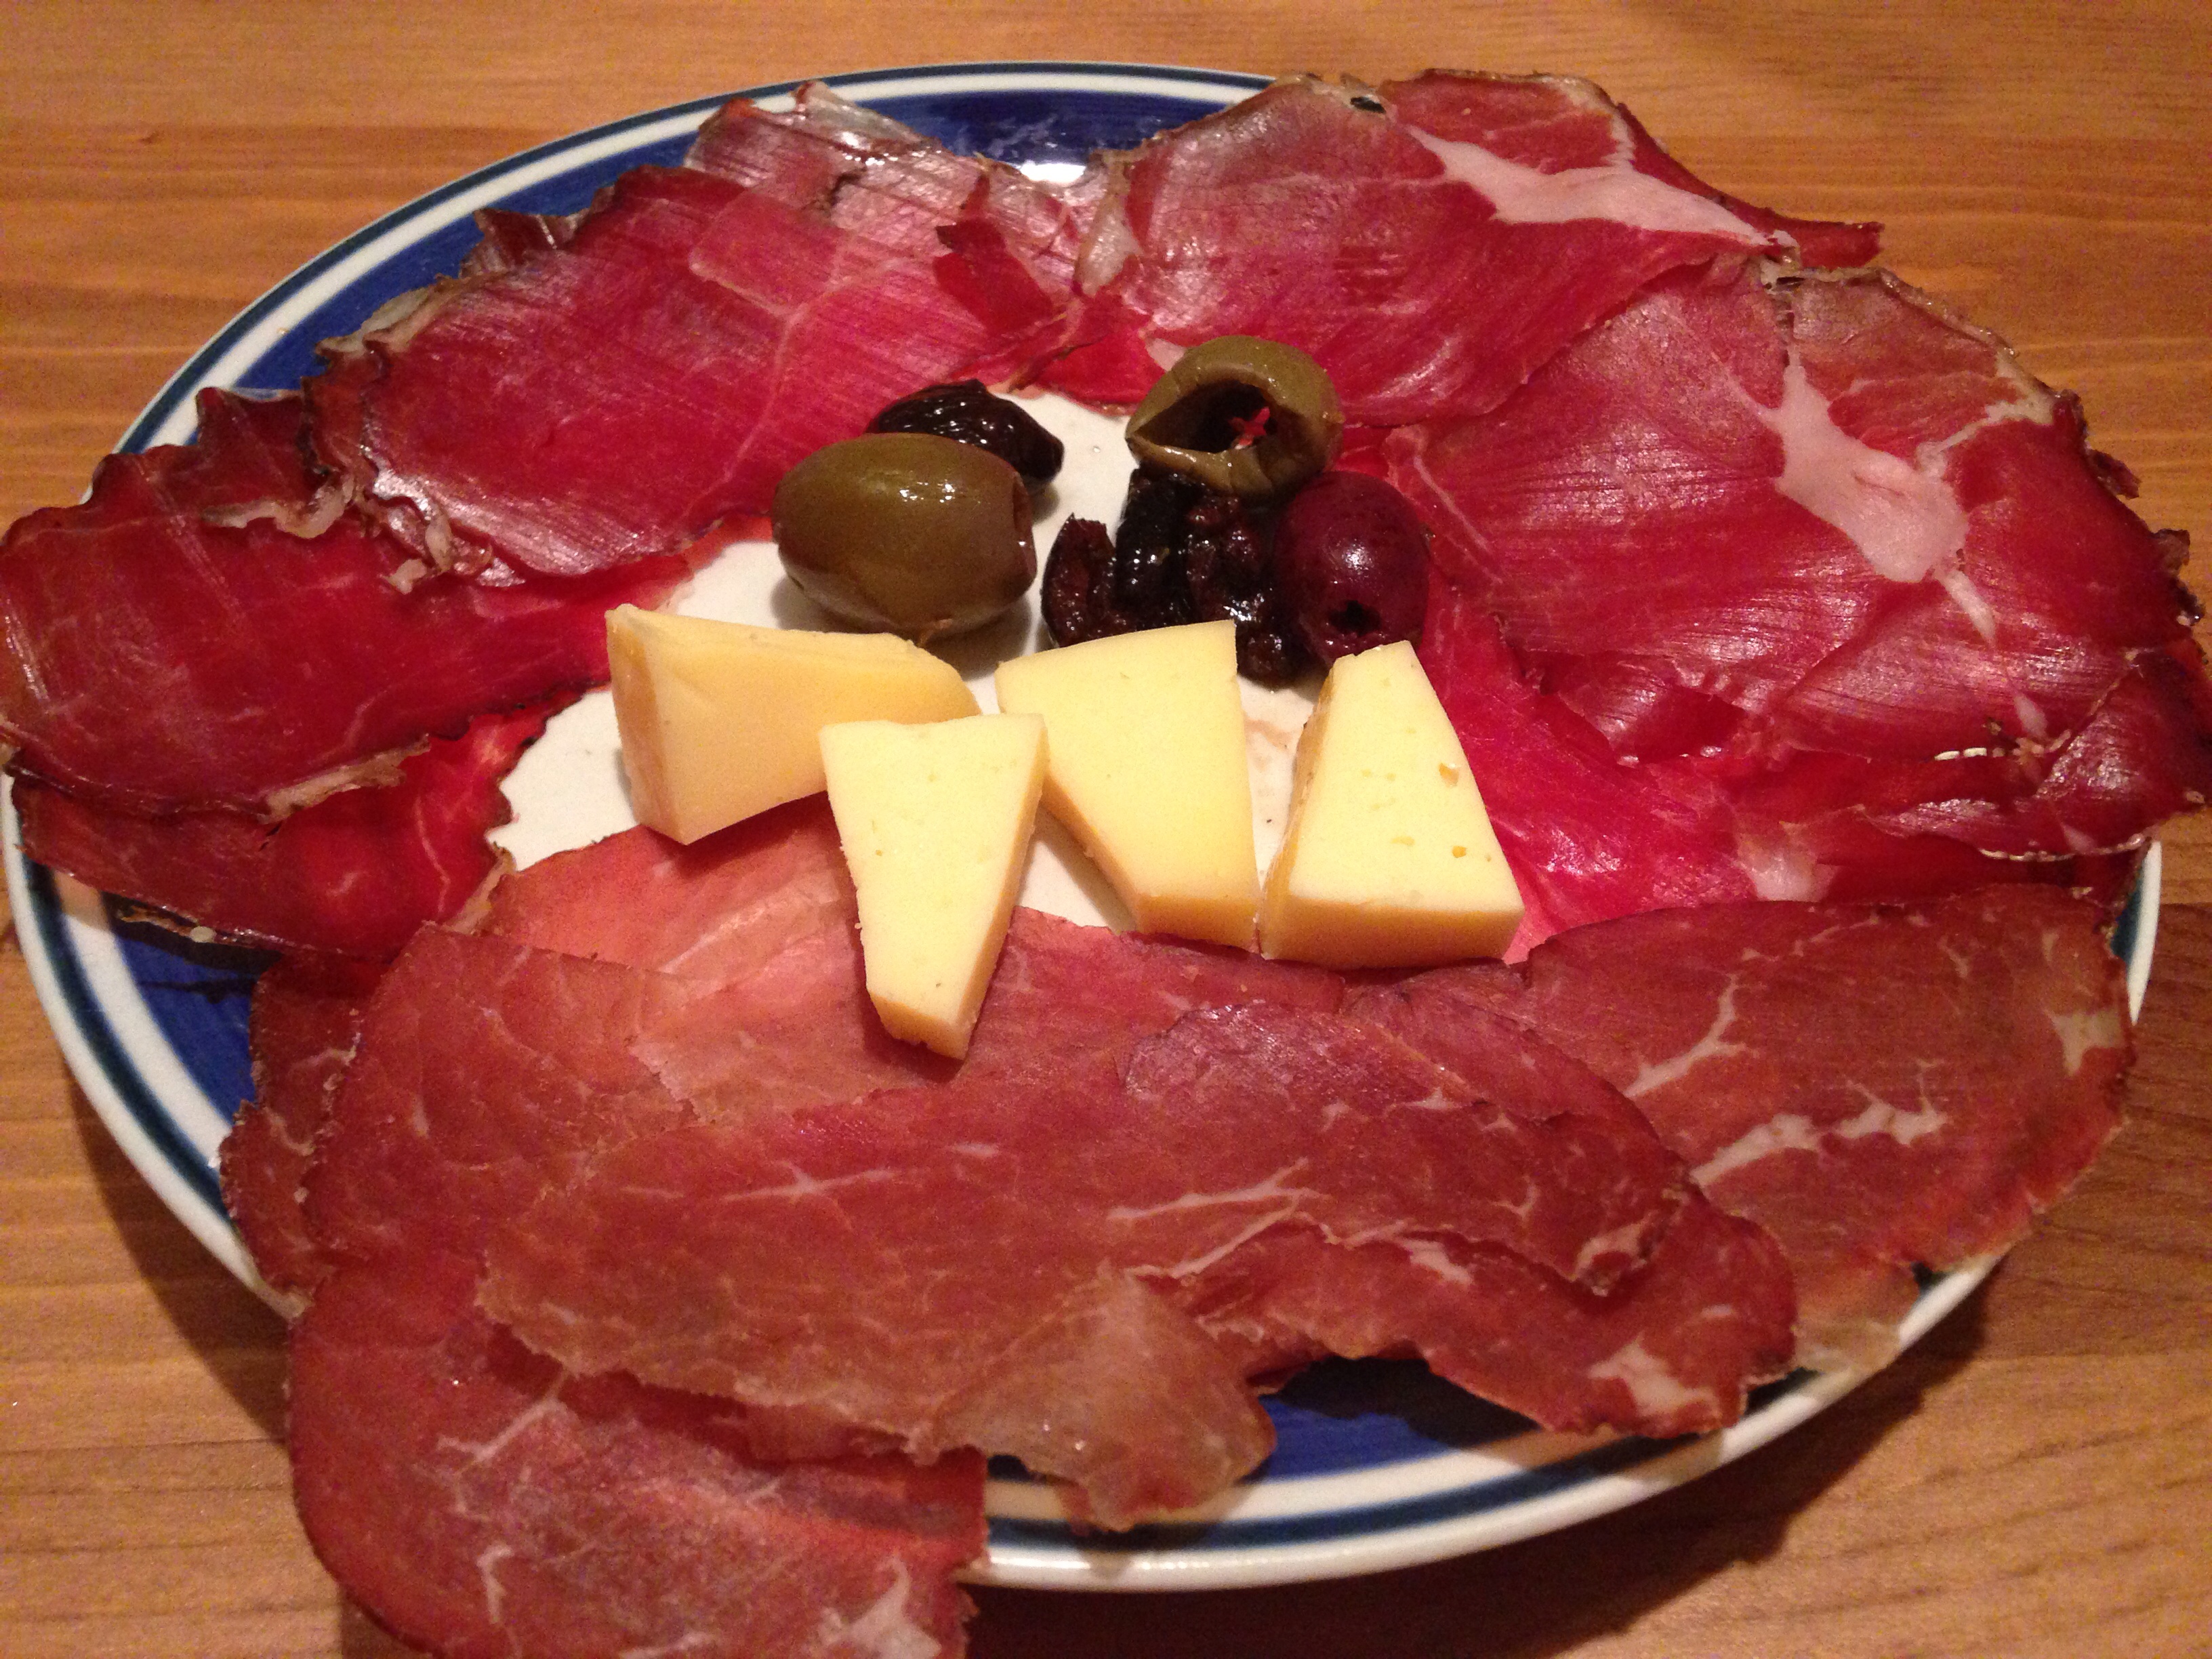
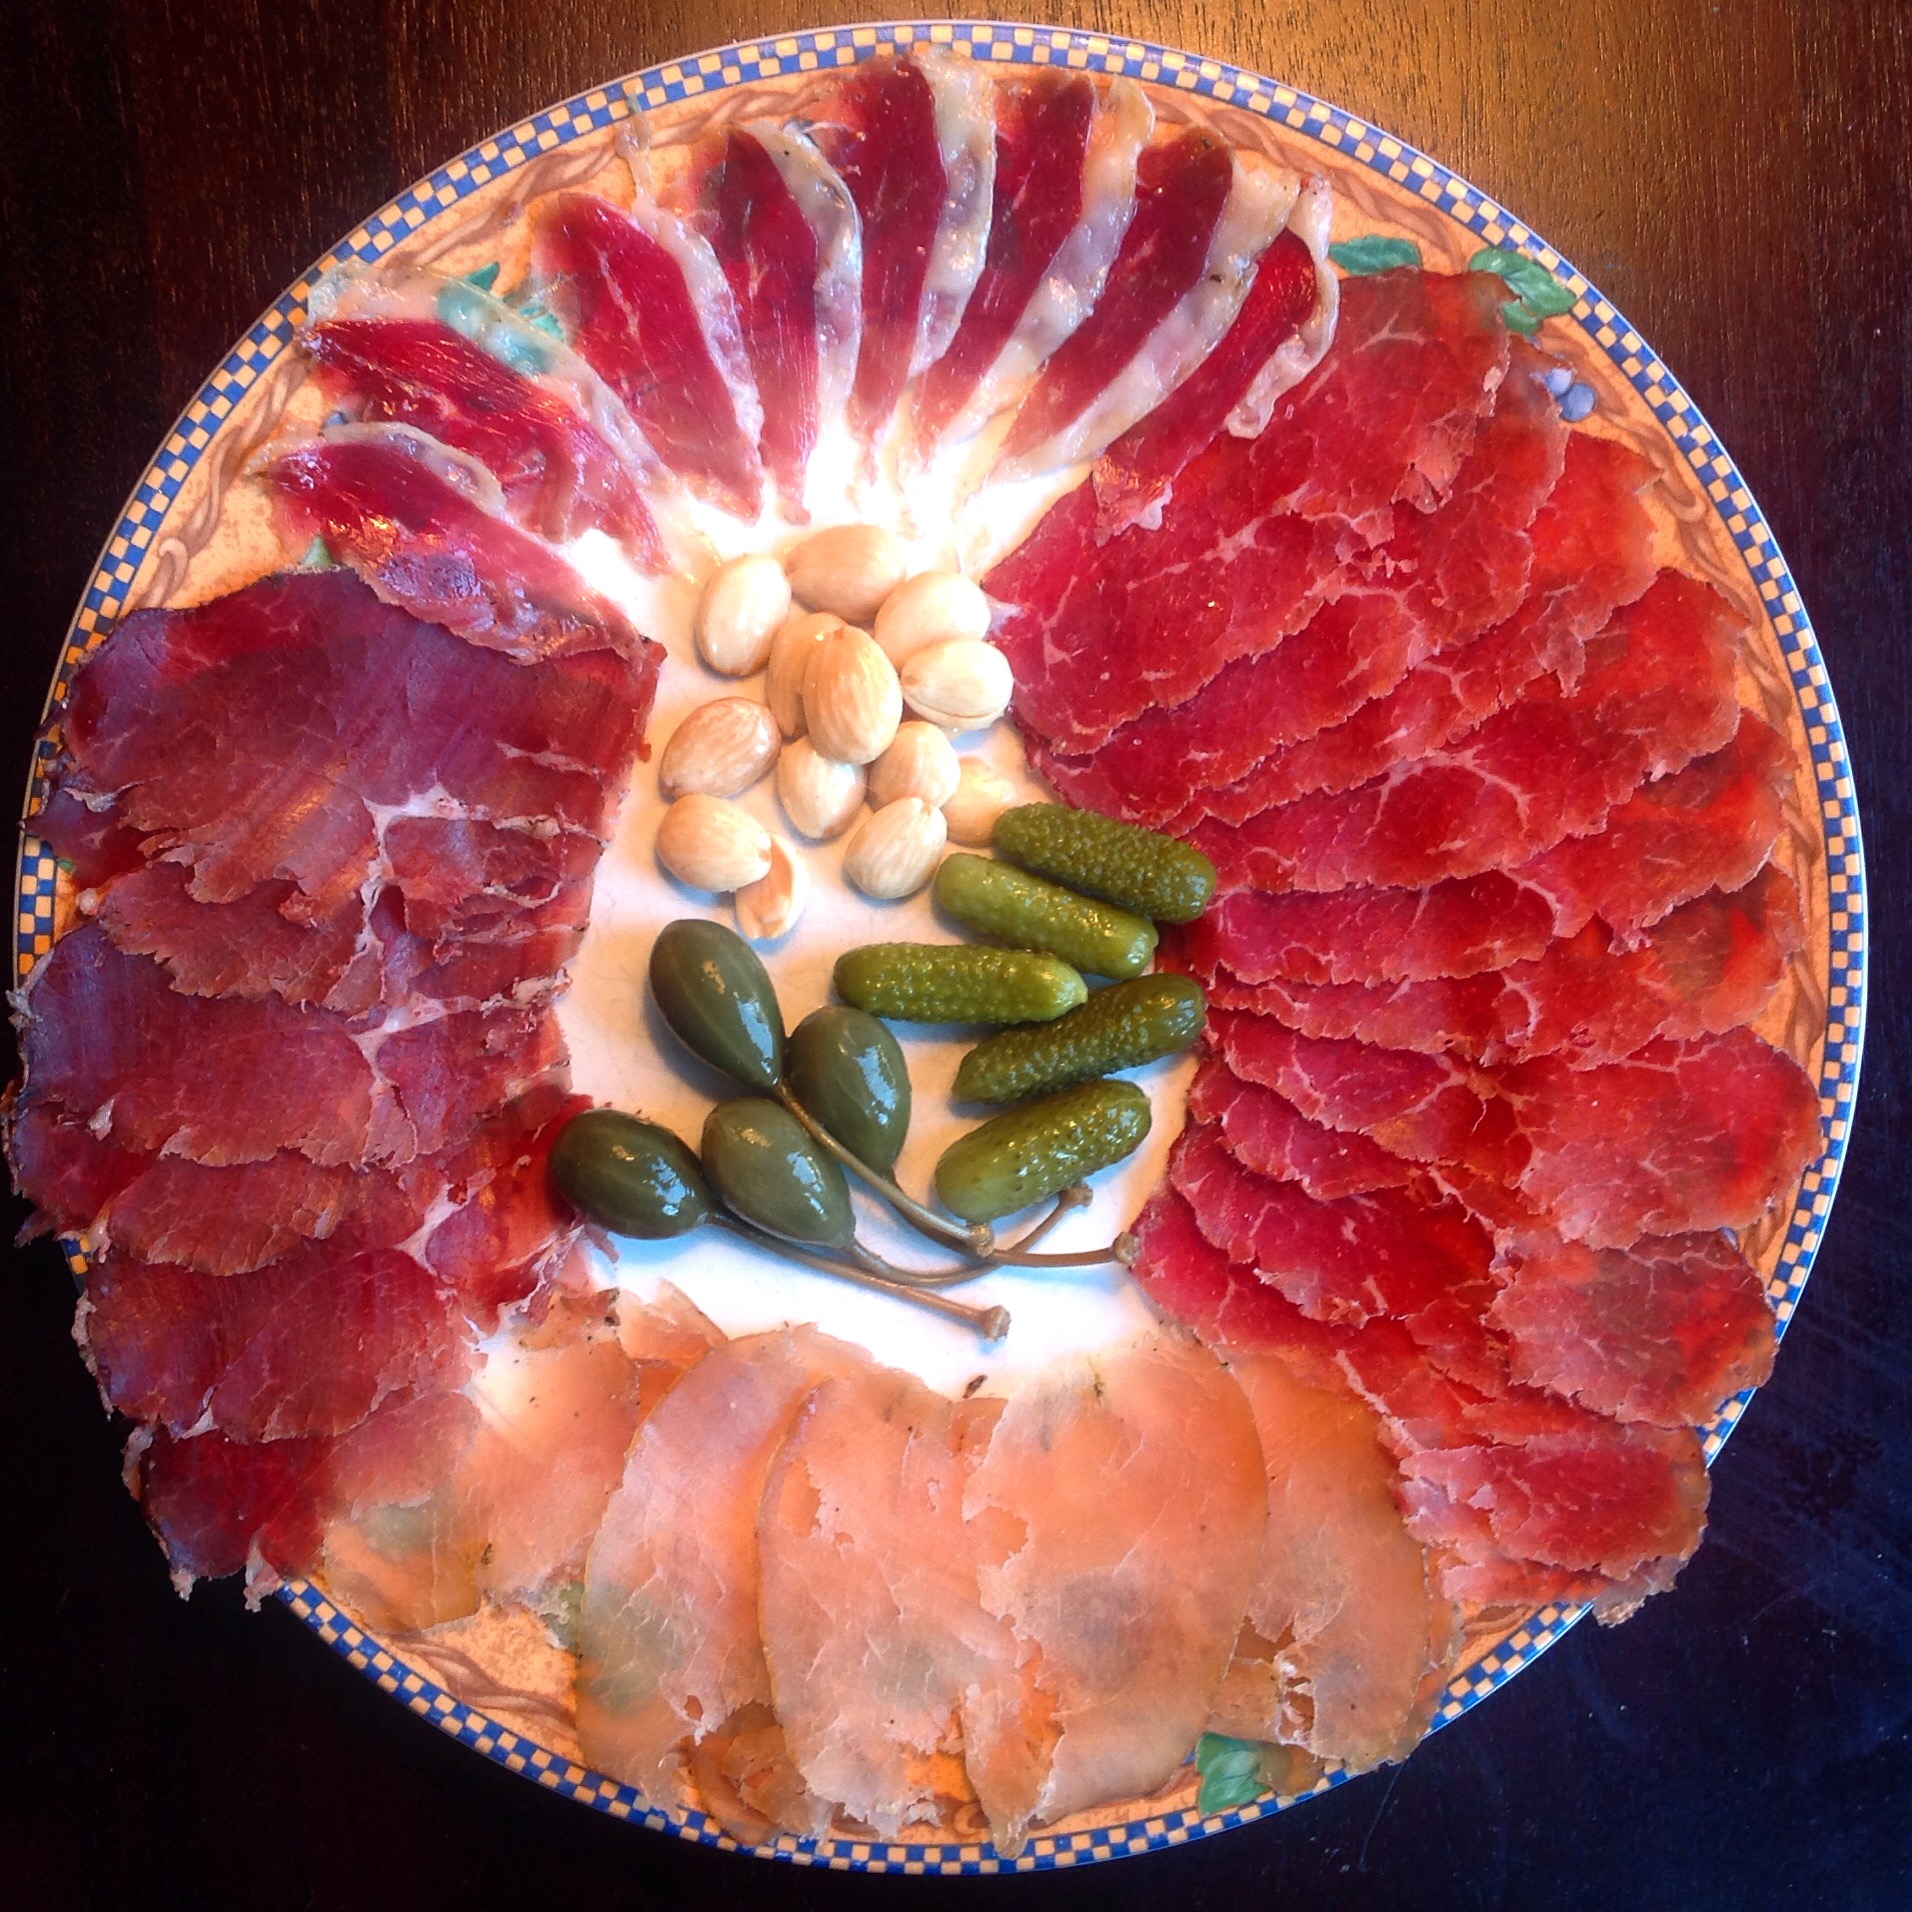
It also goes perfect on a plate with other cured meats. This charcuterie plate has my homemade turkey bresaola, beef bresaola, duck prosciutto, and lamb prosciutto.
Disclaimer: Meat curing is a hobby that comes with inherent risks. We can all do things to limit this risk by educating ourselves about the process and the utilizing the safest known methods to create our products. This website is for educational purposes only, and all experimentation should be done at each individuals own risk.