The Explorations of a Gastrochemist

...because science can be delicious.

  • Beginner’s Guide
  • Wurst Adventure
  • Charcuterie
  • Preservation
  • Science
  • Molecular Gastronomy
  • All Projects
You are here: Home / Archives for Preservation

Cheesemaking

August 12, 2019 by AOG Leave a Comment

Cheesemaking is a hobby that I have wanted to delve into for a while, but never really had the right set up for. Some cheeses are simple to make, while others are immensely complex. I dabbled in some of the easier fresh cheeses such as ricotta and mozzarella first, before moving into making more complex aged cheeses.

cheese

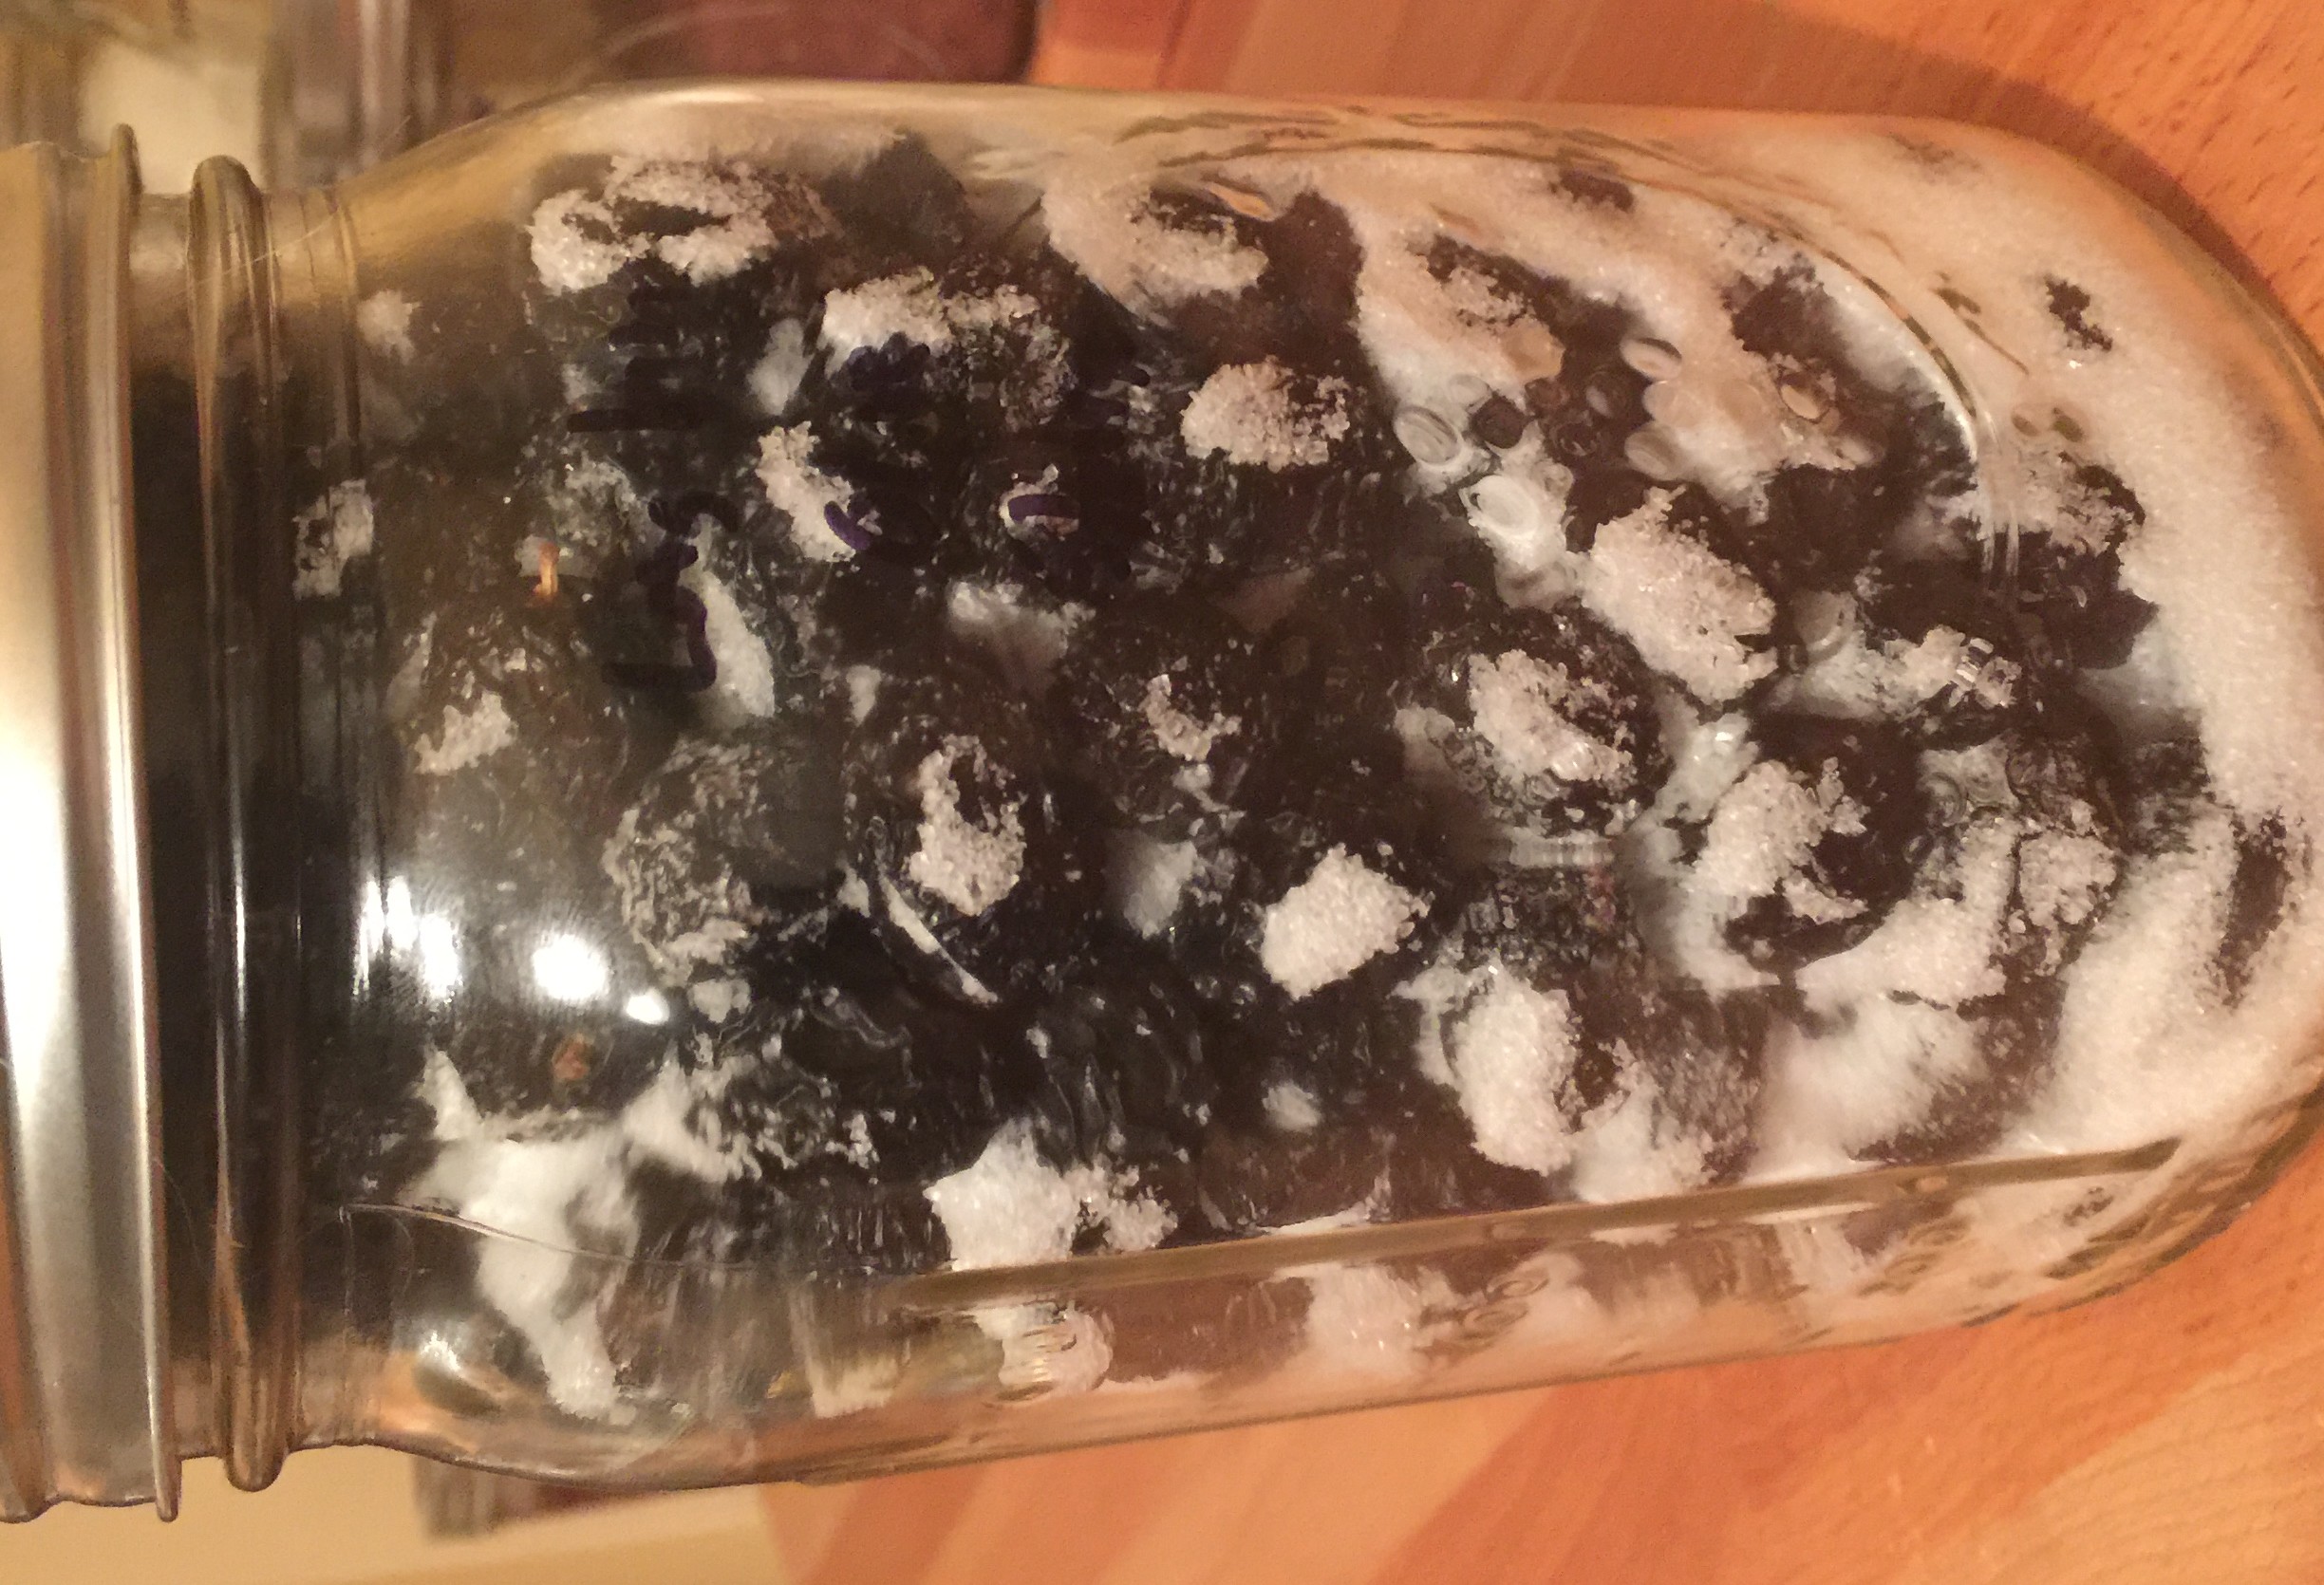
After I started getting into curing my own meats, I saw that the curing chamber could also be used as a cheese cave to age homemade cheeses. For meat, I keep my curing chamber at around 55F/70-80% RH. Most cheeses require a similar temperature for aging, but a slightly higher humidity that that. Therefore, when allowing cheese to age in my curing chamber, I will either increase the humidity or I will age the cheeses in boxes that can trap some of the humidity, creating a micro environment with higher humidity.

The most important part of cheese making is to have a good source of milk (which can be from cow, goat, sheep, or whatever other source you can find) . Raw milk is my preferred option when I can get it, but when I can’t, non-homogenized pasteurized milk works well too. Raw milk is great because it has live cultures which contribute to the final flavor of the cheese. It also is great, because it hasn’t been homogenized, so it is easier to separate out the curds and whey, a vital part of the cheese making process. Non-homogenized pasteurized milk doesn’t have live cultures, but does have the benefits of easier curds and whey separation.

I will detail the process for each individual cheese on its own page, but here I will just give an overview of the basics of cheese making. Many people use a water bath to heat their milk (aka a pot of milk, inside a pot of water, on the stove). I directly pour the milk into a sous vide (without a circulator), which keeps the temperature constant throughout.

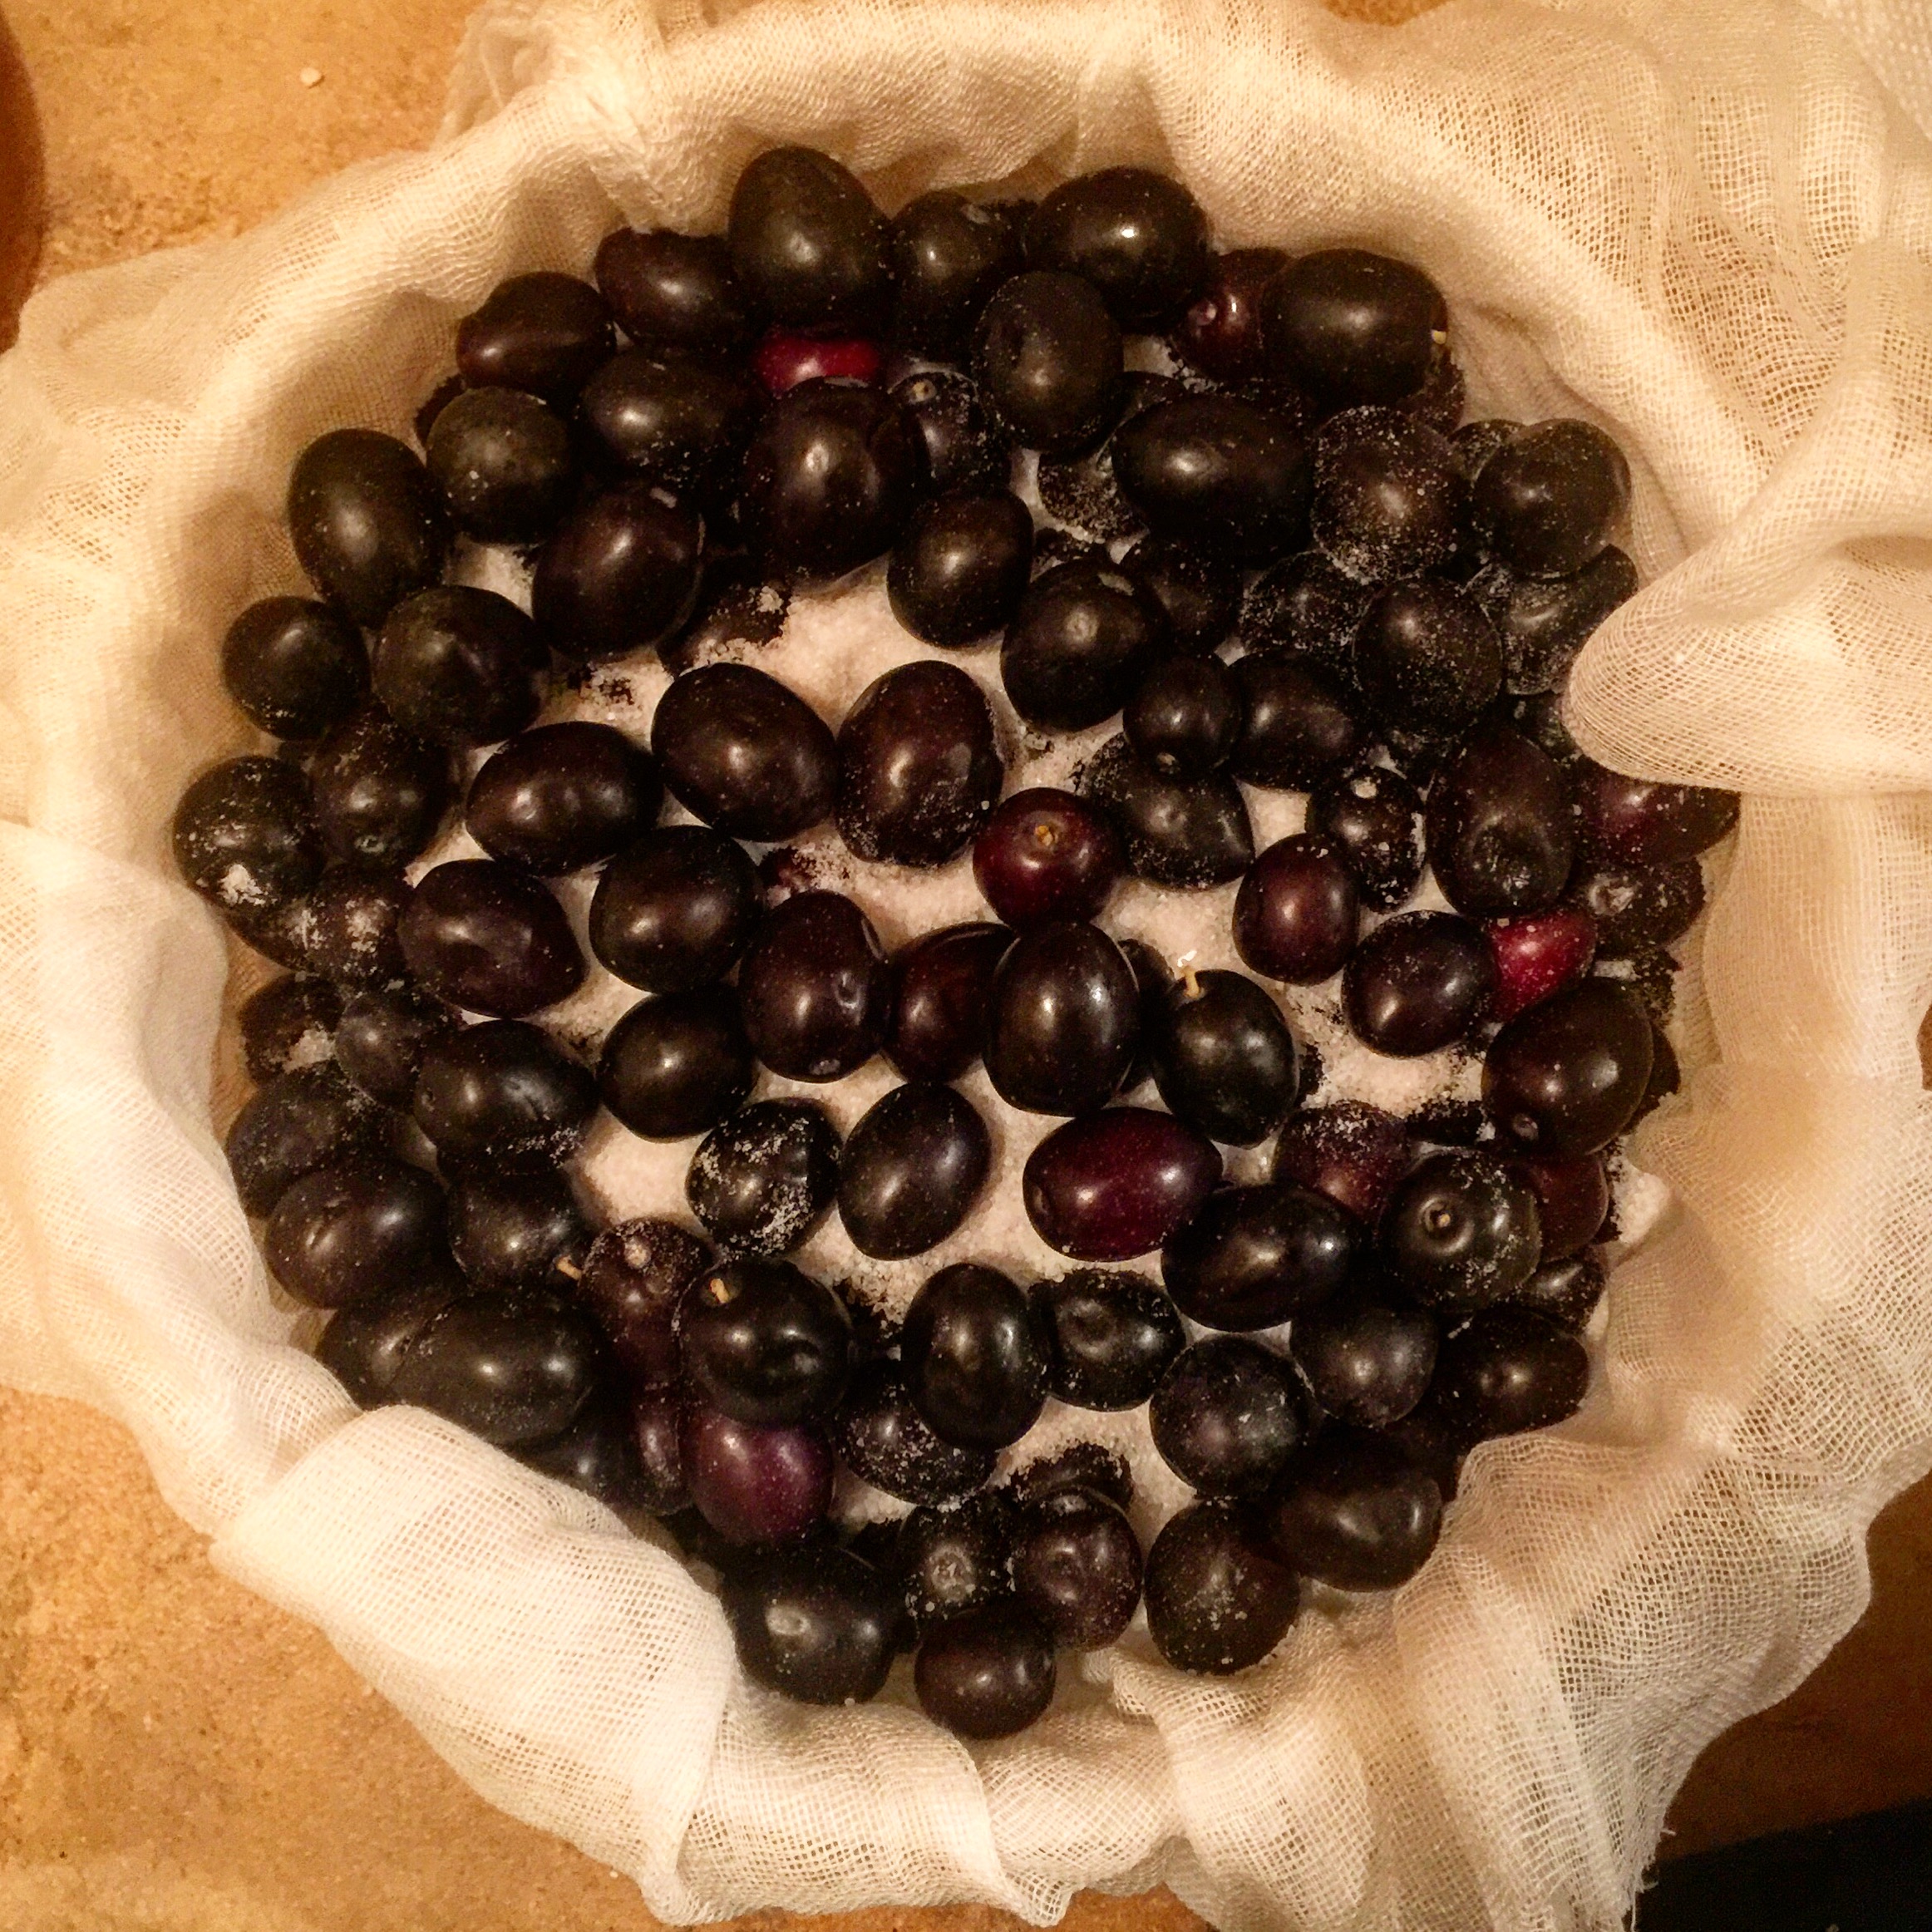
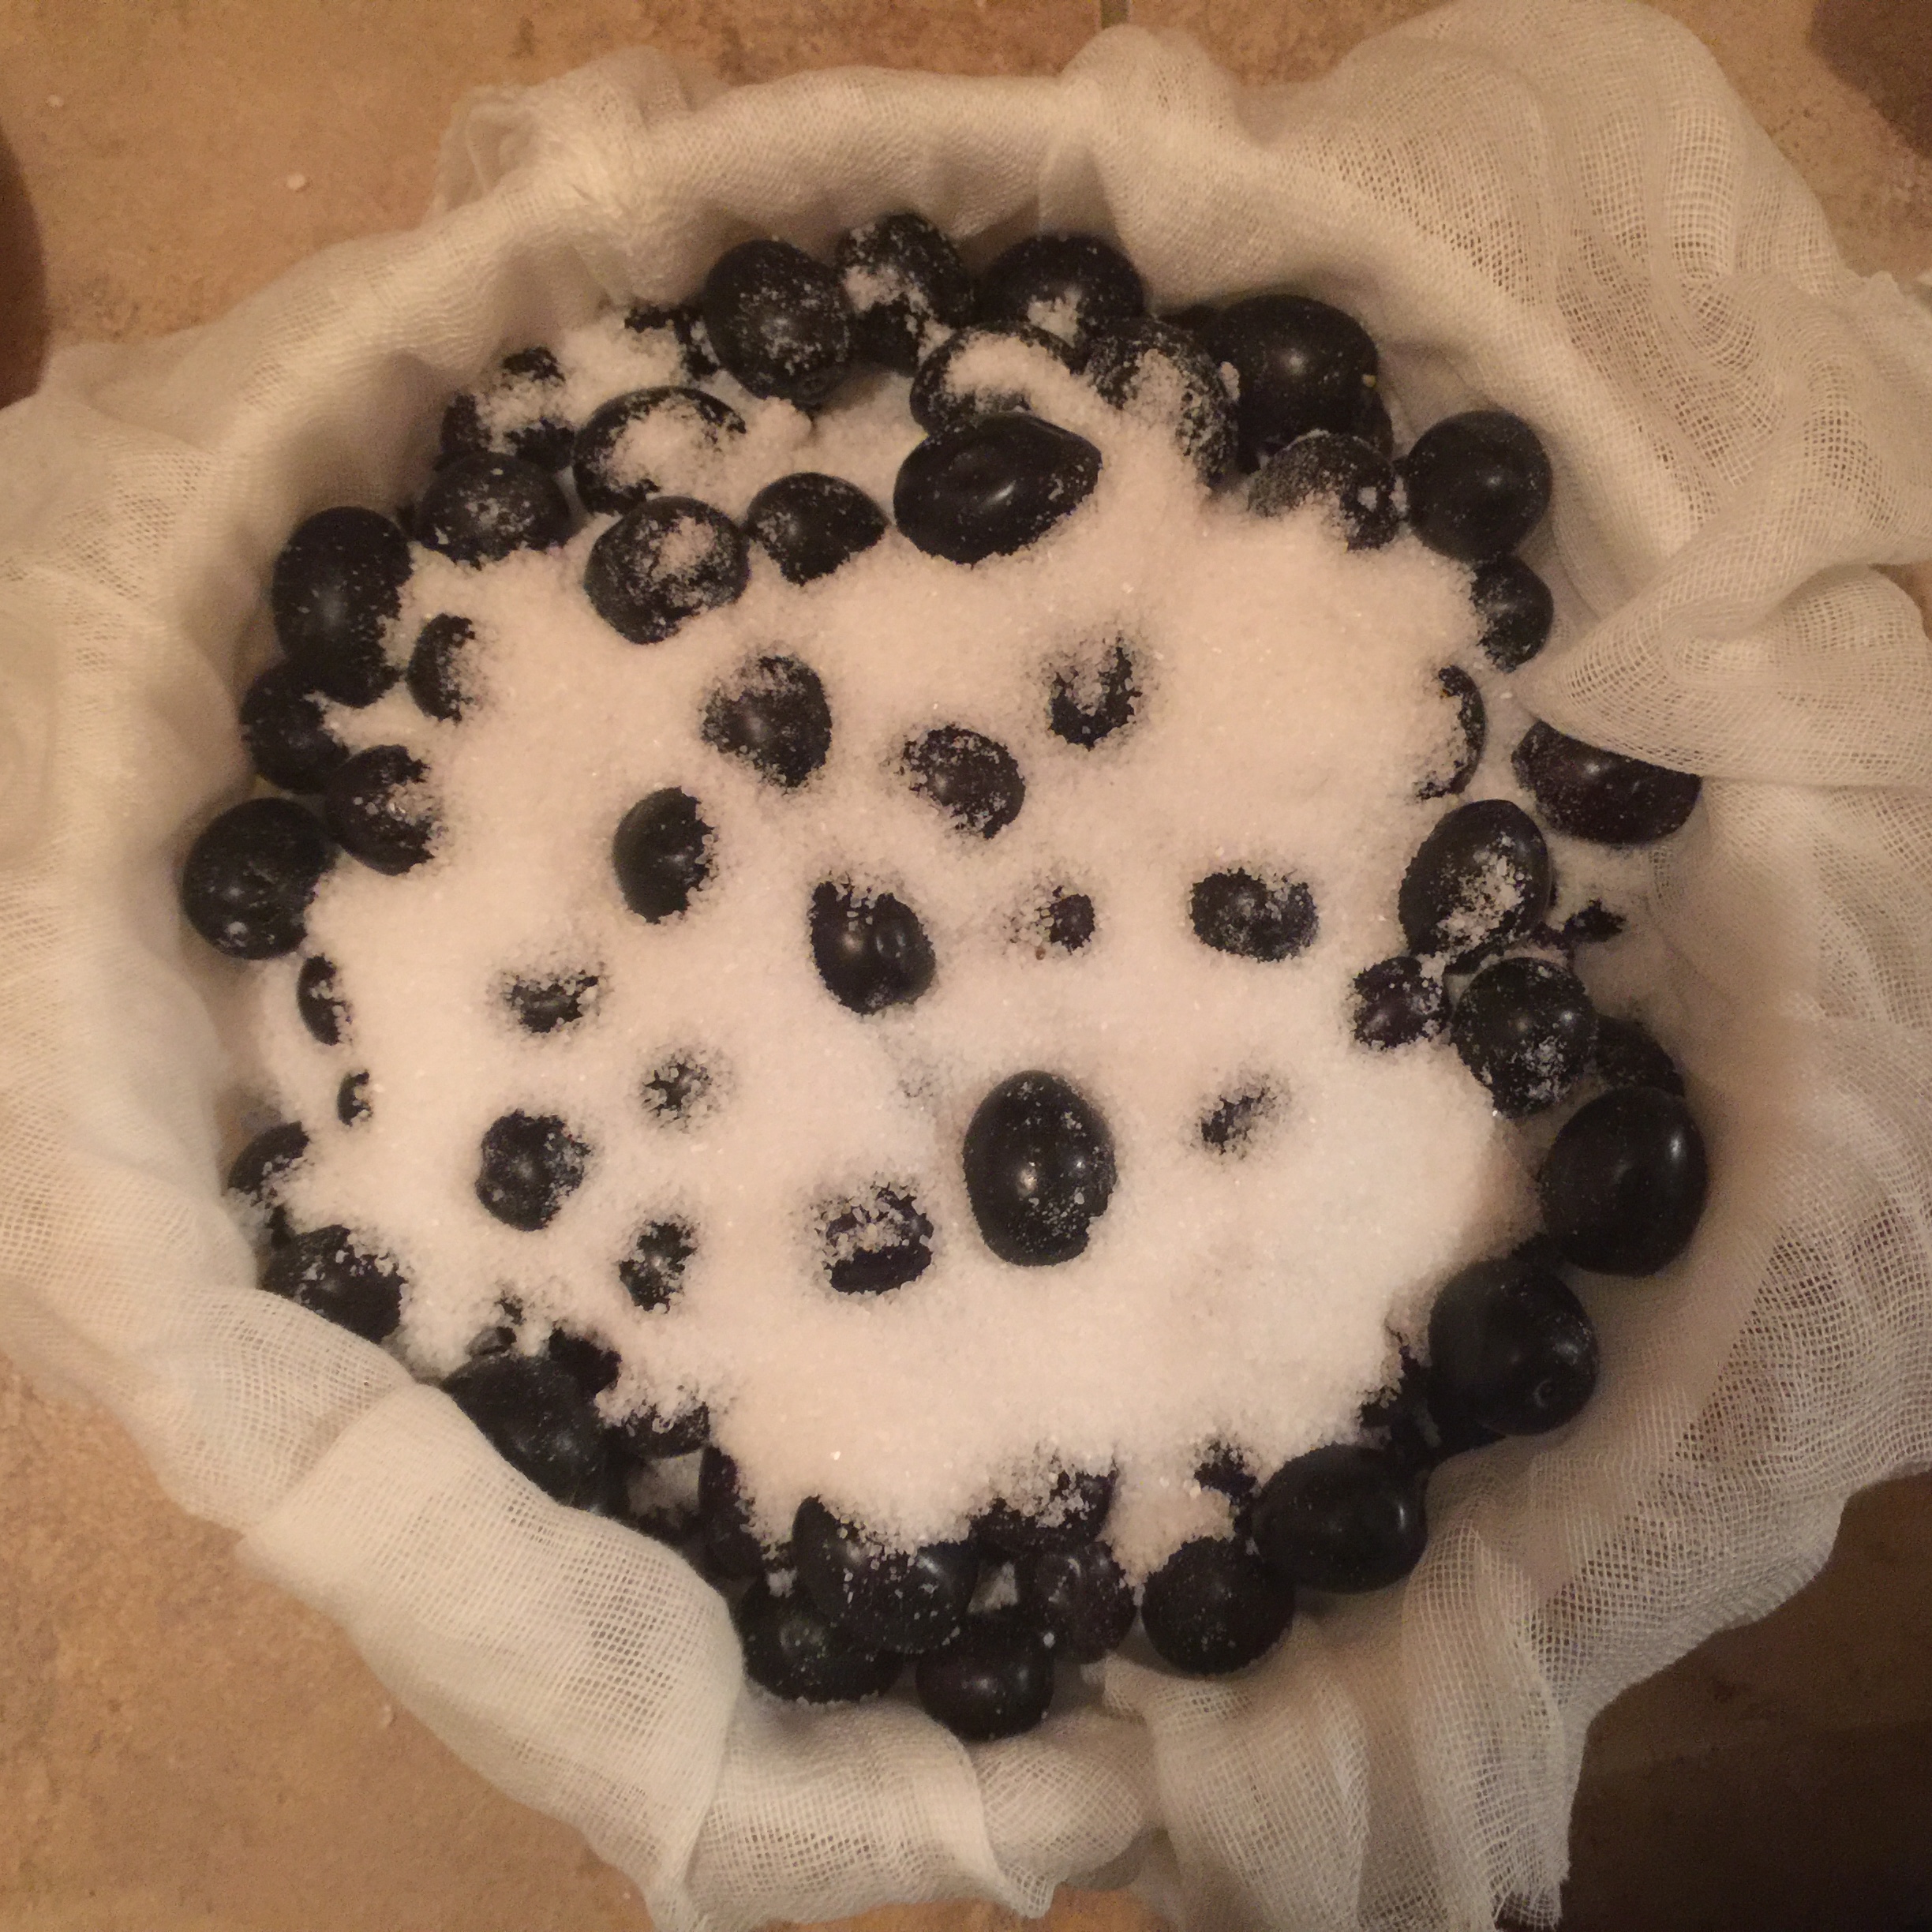
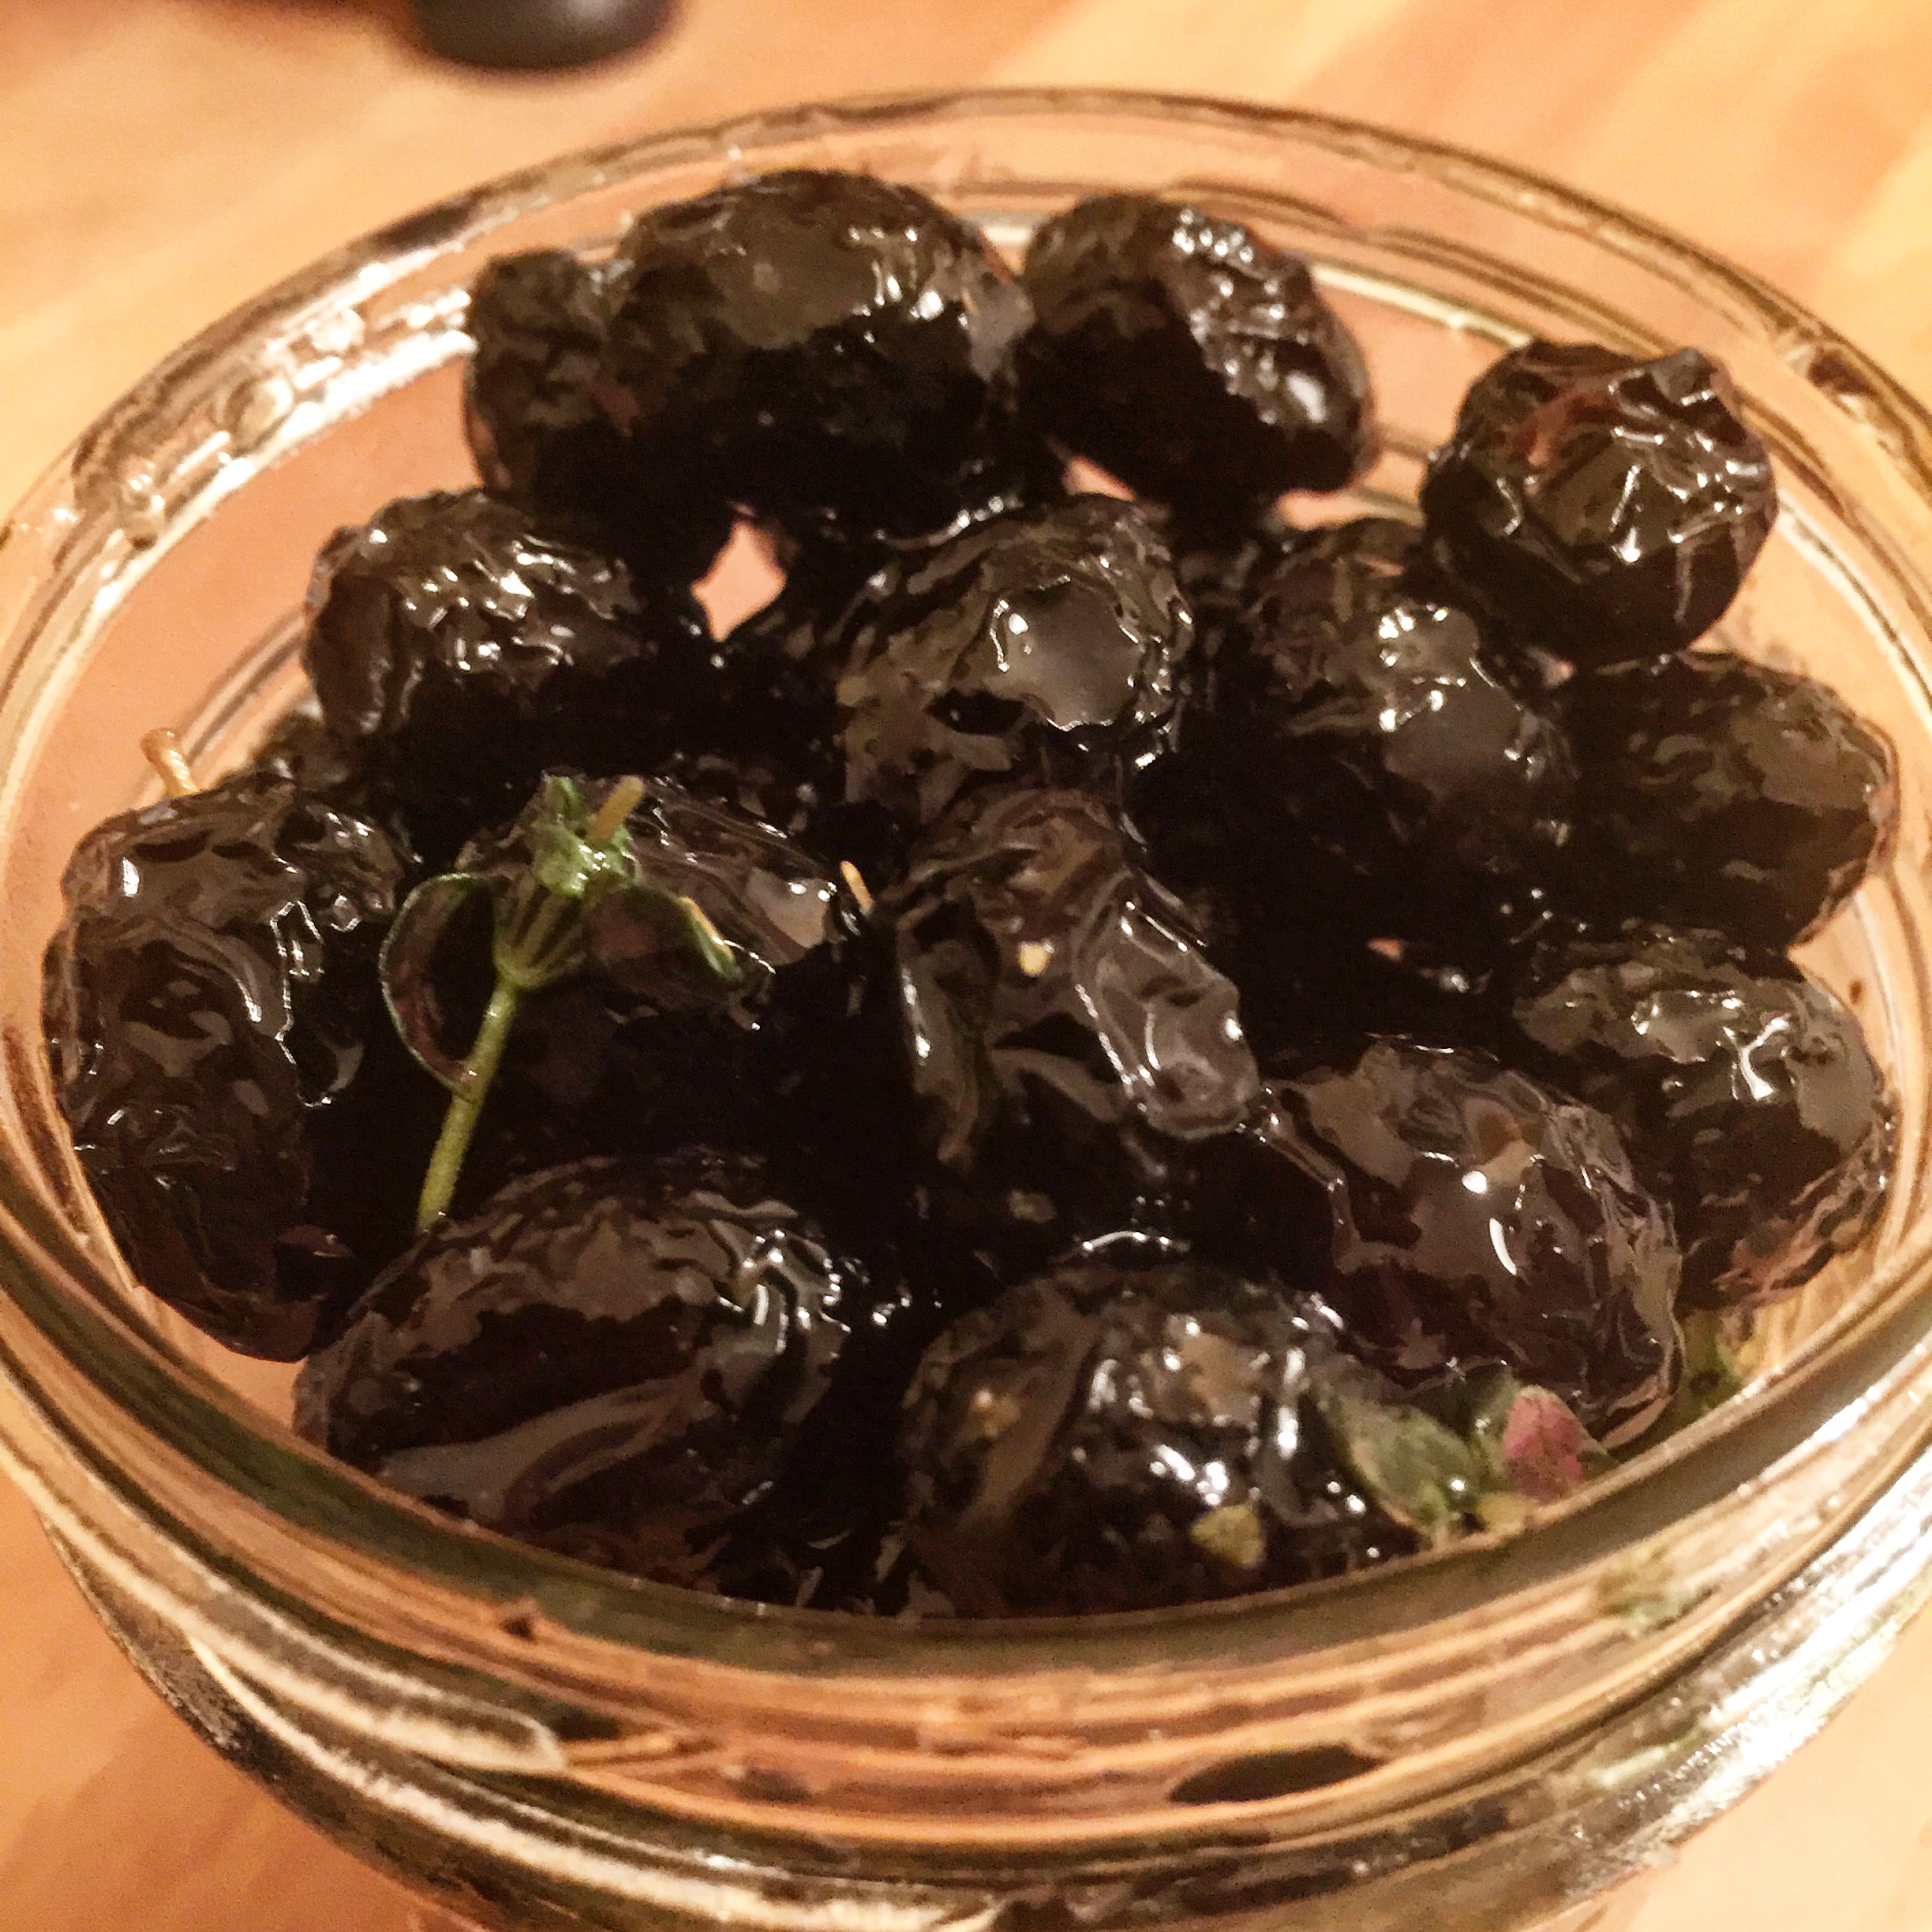
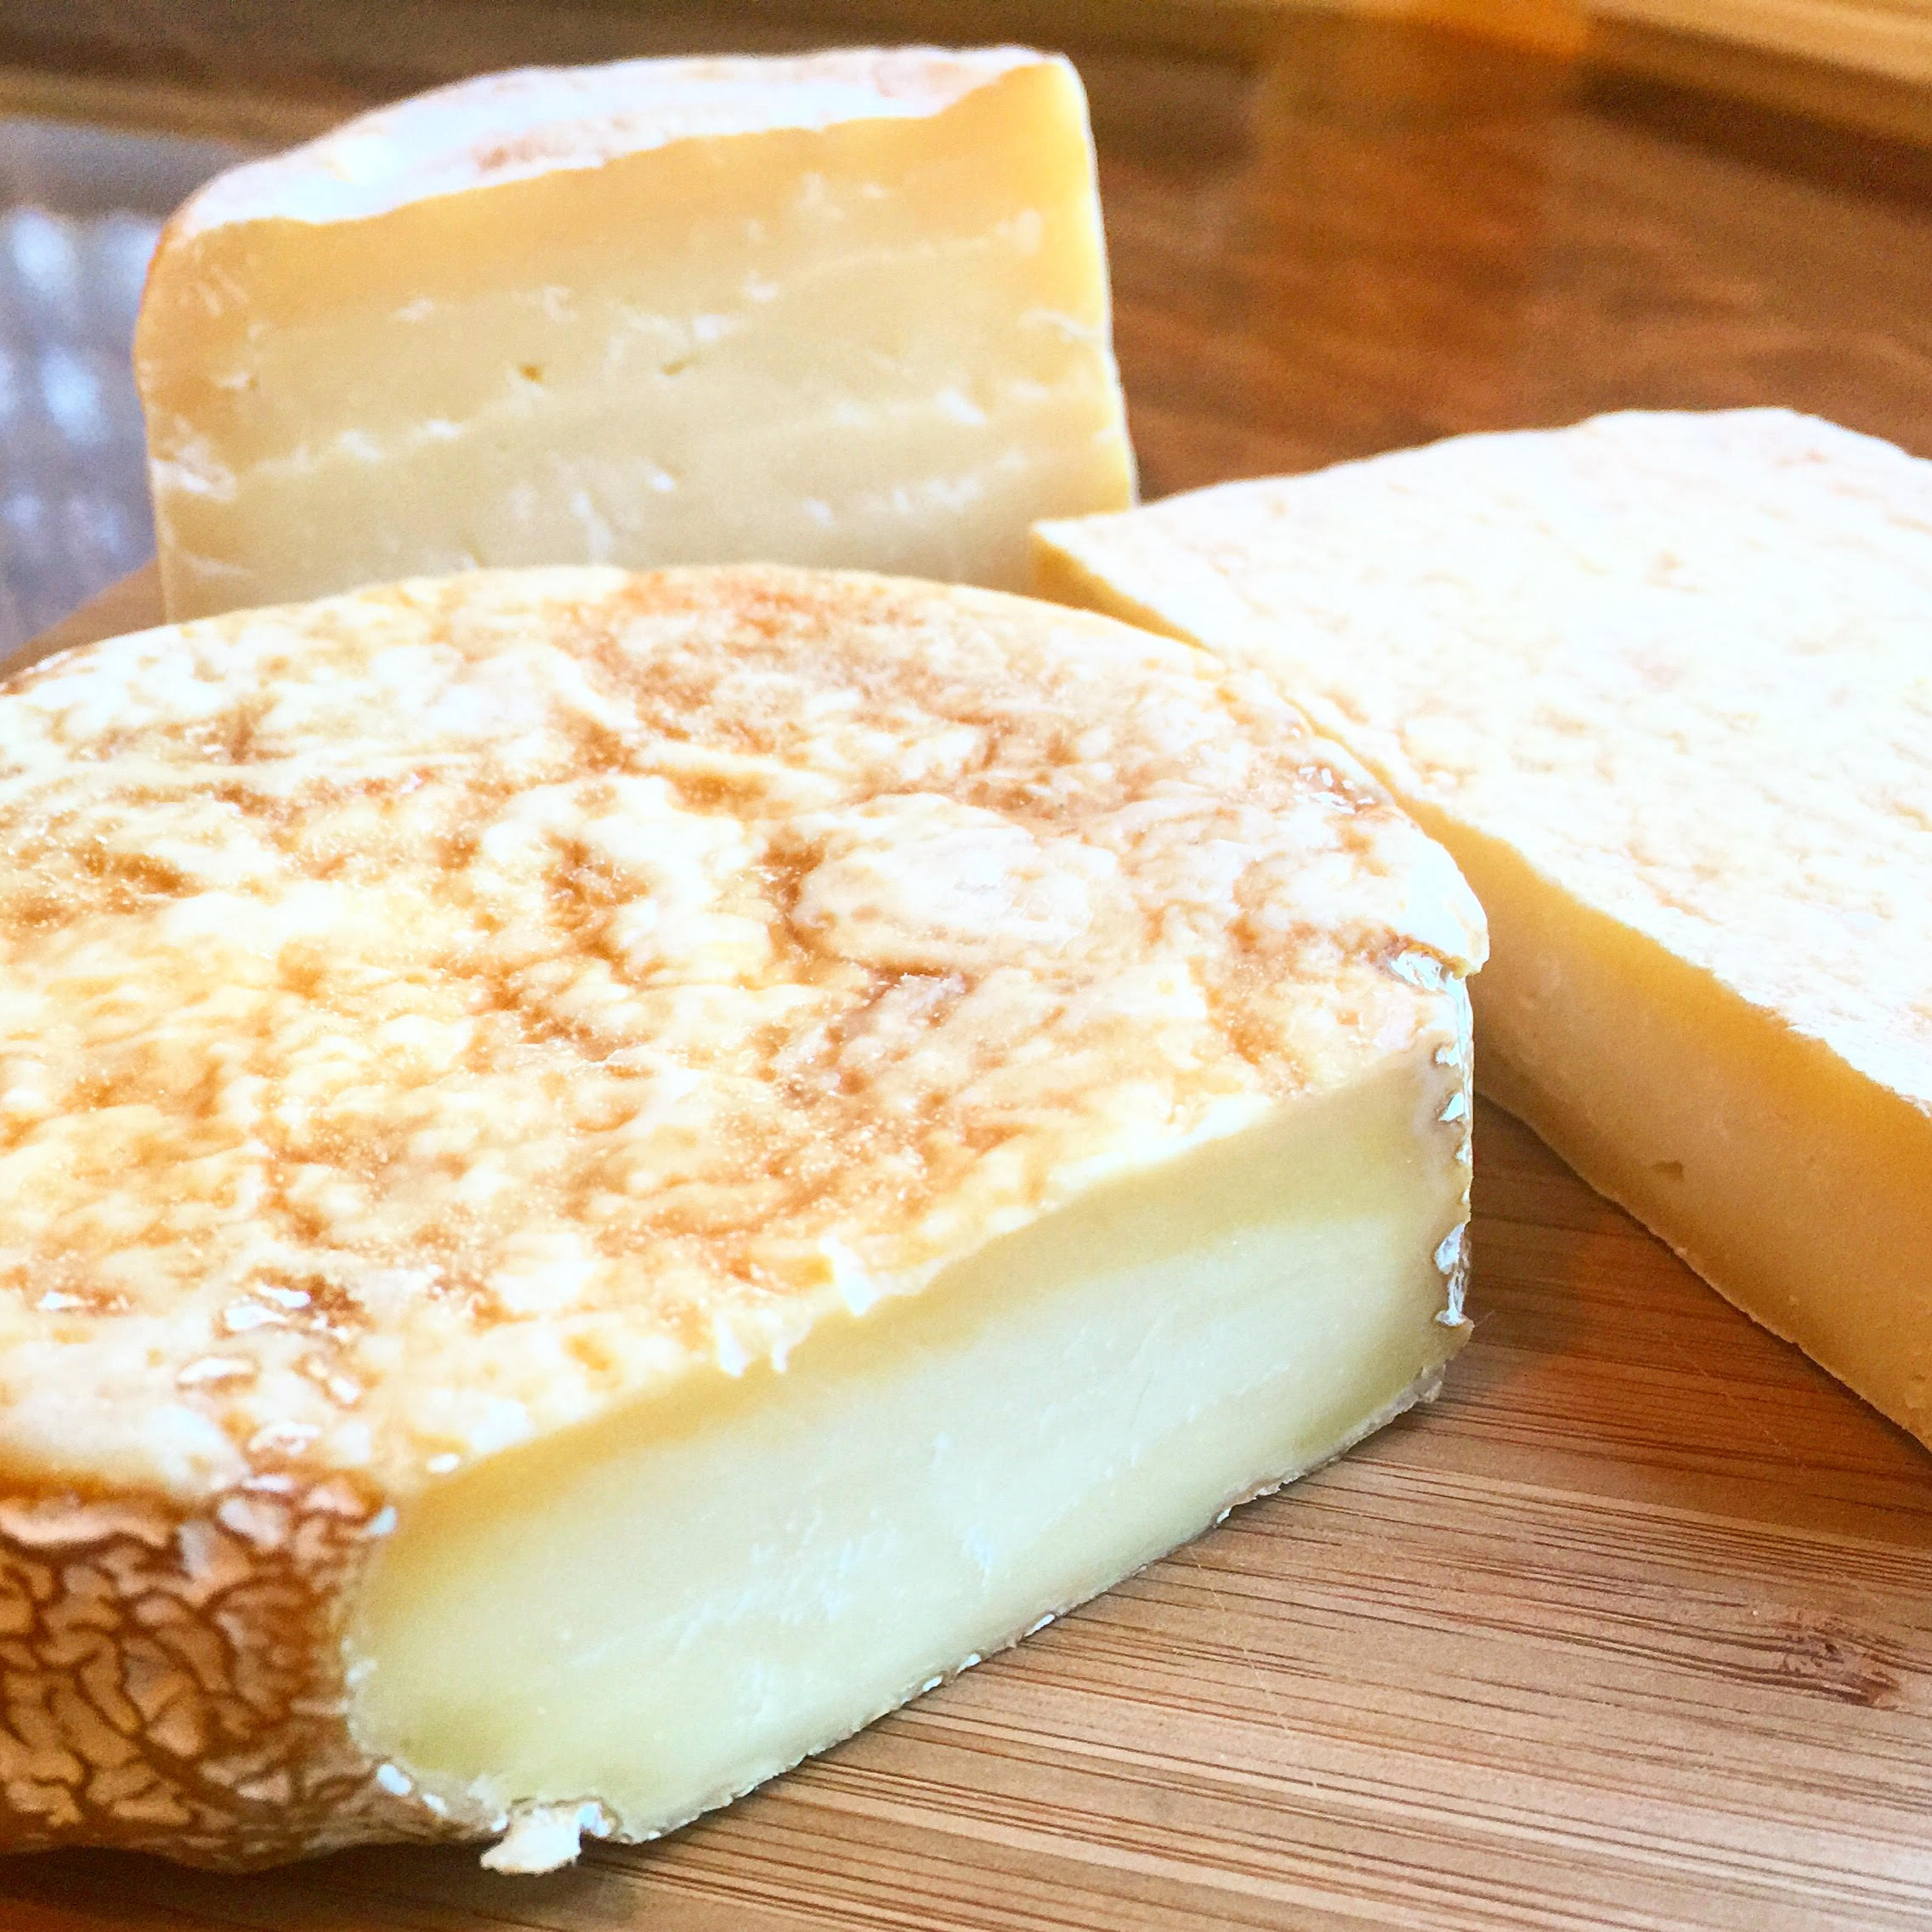
First, the milk is poured into the sous vide and brought up to an elevated temperature, usually around 90F/32C. Cultures, calcium chloride, and rennet are usually added in succession. Curds are allowed to form in variable amounts of time and at variable temperatures. After a certain time, curds are cut and allowed to separate from the whey. The curds are then ladled out, and places into a cheesecloth lined mold to drain. The cheese can either be pressed or allowed to drain freely. It is usually flipped a few times for even drying. It can then be placed in a brine solution or salted. After this has been done, the cheese can be placed in the curing chamber to age. Depending on the type of cheese you want to make, it can either be left alone to allow a mold rind to form, periodically washed with brine to keep off mold, or rind washed almost daily with brine wash/liqueur.

There are many different types of cheeses, and nuances that I have ignored here for the sake the clarity. Individual recipes will be detailed on their own pages.


Filed Under: Preservation

Brine Cured Olives

March 4, 2016 by AOG Leave a Comment

Here, I will be writing about the process of making brine cured olives. I previously wrote about the process of making dry salt cured olives. Dry salted cured olives are some of my favorite types of olives, but some people are less partial to them due to their increased bitterness and strong taste compared to their brine cured counterparts. As you can see, there are some distinct differences in brine cured olives (top) and dry salt cured olives (bottom):

image(40)

Here, I will detail the process of using a brine cure to cure olives. This method takes longer than dry salt curing olives, but is able to leach away more of the bitterness. It is a fermentation process, so if you have a fermentation jug or set up, now is a good time to use it. Otherwise, any vessel should do, just make sure to cover the top loosely to avoid contamination with outside sources and to allow for gas release. CO2 will be released during the fermentation process, and can cause problems if not given an outlet.


Method: Similar to the salt cured method, I used black olives. The first step is to sort them for deformities, and wash the pile of good olives, and dry them off.

image(117)

Then, the olives will be stored in an appropriate container. Add a medium strength brine (.75 cups per gallon of cool water) to cover them. I used a fermentation jug, and two mason jars with fermentation air lock set ups.

image(123)

Allow the olives to sit in the initial medium strength brine for 1 week at room temperatures (60-80 F).

After 1 week, pour out the olives and the medium strength brine.

image(26)b

Put the olives back into their containers, and cover the olives in a strong brine (1.5 cups of salt per gallon of cool water).

In the following picture, you can see the color (and bitter compounds) being leached out by the consecutive brine changes. On the left, the olives are in their initial brine solution, on the right, they have had their brine solution changed out. They are noticeably lighter on the right.

image(28)b

Every month, replace the brine solution with a new strong brine solution (1.5 cups of salt per gallon of cool water).

Keep this up until the olives are to your liking. The longer they cure, and the more brine changes that are done, the less bitter that they will be.

After 2-3 months, the olives are generally ready for consumption.


To store the olives: Leave the olives in a cool, dark place in a strong brine to store them (up to 12 months) in an airtight container. I used a mason jar with a vacuum sealed top.

image

To eat the olives: Soak in water over night (optional) to decrease the saltiness of the olives. Toss in olive oils and herbs, and serve at room temperature.

image(1)


Resources:

http://anrcatalog.ucanr.edu/pdf/8267.pdf

Filed Under: Preservation Tagged With: black olives, brine, brine cured, diy, fermentation, homemade, olives

Dry Salt Cured Olives

March 3, 2016 by AOG 2 Comments

Have you ever tried a raw olive off of an olive tree? It makes me wonder how anyone ever unlocked the key to these bitter fruits. In the Mediterranean region in particular, olive trees abound. One taste of a raw olive directly off the tree would be enough to set anyone off the fruit entirely. However, at some point in history, it was discovered that it was possible to use salt and brine solutions to store the olive harvest as well as to leach away the bitter compounds, oleuropeins. And so, our love affair with olives and olive oil began.

In the beginning of the season, olives are green. As they spend more time on the tree, they darken and become black. Both green and black olives can be cured.

Olive-Tree

I have been interested in curing my own olives for a while now, but geographically, I don’t have access to olive trees. This year, I placed an order with a farm in California, and received 17 lbs of black olives.

image(116)

I decided to cure the majority using a brine method, and the rest using a dry salt cured method.


Methods: In this post, I will be discussing the dry salt cured method of preserving olives.

First, you have the raw black olives. You want to sort them for deformities, and wash the pile of good olives, and dry them off.

image(118)

After you have sorted the good olives from the bad olives, weigh the olives that you have. Mix the olives to salt in a 2:1 ratio (aka for 2 lbs for olives, mix in 1 lb of salt). Mix them thoroughly.

Next, you want to set up a container to hold the salt and olives for the next 6-8 weeks at room temperature (60-80 F). I used a cheese mold lined in cheesecloth that worked out well.

image(120)

Pour the olives into the container, cover with a new layer of salt, and lay the tails of the cheesecloth over the olive and salt mixture.

image(121)

Once a week, re-mix this mixture by pouring the olives and salt into another container, mixing it around, and pouring it back into the cheesecloth lined cheese mold.

image(122)

After 6-8 weeks, the olives are most likely ready.

image(123)

Pour the olives out over a sieve to get rid of the extra salt, and allow them to dry overnight.

image(24)b

image(23)

image(22)


To store the olives: Make a 10:1 ratio of olives to salt (aka 10 lbs of olives to 1 lb of salt). Mix this together, and store in an airtight container at room temperature (use within 1 month), in the refrigerator (use within 6 months), or in the freezer (use within 12 months).

I stored mine in a mason jar that I sealed using a vacuum sealer, and they are now safely stored in the fridge.

To eat the olives: Take the olives out of storage, and boil them for a few minutes (optional step). Allow them to air dry, and soak them in olive oil with herbs. I have found that they are best if they are allowed to marinate in the olive oil and herbs at least overnight if not longer.

image(27)c


Resources:

http://anrcatalog.ucanr.edu/pdf/8267.pdf


Filed Under: Preservation Tagged With: black olives, curing, diy, fermentation, homemade, olives

Limoncello

April 1, 2014 by AOG Leave a Comment

Limoncello. Such a simple yet refreshingly delicious liqueur. Limoncello is one of those after dinner drinks that makes you wonder why it isn’t always “after dinner” time, and has you scheming up more Italian-style meals just so you can get to the digestivo.

While just taking a sip of limoncello can transport you to a leisurely state of mind, bringing up memories of slowly strolling through Sicilian lemon groves, the process itself doesn’t need to be so sluggish. Traditionally, limoncello is made by infusing a grain alcohol with lemon zest (the skin of the lemon) for at least 3 months, and then adding simple syrup to give it its characteristic sweetness.

However, because we understand the chemistry of what is going on in the infusion,  we have methods today that can make this process go much faster. Using the process of nitrogen cavitation (explained here: Nitrogen Cavitation Explanation), we can infuse the alcohol with the lemon zest in a matter of minutes.

Materials:

4 lemons

500 mL ethanol (Chopin potato vodka in our case)

Simple syrup to taste (made by dissolving sugar in water)

Methods:

Using a cheese grater, the skin of the 4 lemons was grated off to create zest. Traditionally, only the yellow outer portion of the skin is used for the zest, because it contains most of the flavor and the inner white region can cause the limoncello to become bitter. However,  with this method, we decided to try using both and didn’t find any negative consequences. After the zest was all grated off, we peeled the lemon and cut the remaining skin into small pieces.

Now to the fun part, instant infusion via nitrogen cavitation. The lemon zest was added to the 500 mL of vodka. This mixture was placed in the cream whipper container, and a nitrous oxide canister was loaded in. The mixture was allowed to sit under pressure for about 5 minutes (completely arbitrary, but it seemed to generate good results) before the N2O gas was released. The result was an instantly infused lemon vodka!

The last step was to add simple syrup by taste until the end result was a delicious limoncello, reminiscent of any great Italian limoncello, and completed in under 10 minutes!


Strain, serve, and enjoy!

Filed Under: Preservation Tagged With: limoncello

  • Instagram

Copyright © 2025 · Foodie Pro Theme by Shay Bocks · Built on the Genesis Framework · Powered by WordPress