Name: Ficazza or Sazinella or Salame di Tonno
Region: Sicily, particularly the Trapani region, in places such as the island of Favignana
History:
Sicily has a long history of tuna fishing… particularly on the west coast by the city of Trapani. The city of Trapani, originally founded by the Phoenicians, has a long history as a port town where fishing and trading played an important role in the daily life of its people.
Said of the city in 1154 by Idrisi, an Arab geographer and traveler, Trapani was… “a city of ancient origins, situated on the sea and surrounded on each side….here fish is in abundance and more than needed; they fish large tuna with great nets and a high-quality coral: and a salt-pan is adjacent to the city’s port.”
Given the relative abundance of both tuna and salt, it’s no wonder that one of the results was the creation of a salame made with tuna… a perfect way to make sure nothing went to waste, and to preserve the haul over time.
How it’s made:
The meat:
Ficazza is traditionally made with the parts of the tuna that are less desirable, those that are not sold to customers to eat. Importantly, it is made with parts of the tuna that in dialect are referred to as “busunagghia”. They come from the parts of the tuna around the central bone, and tend to be dark red/brown due to their contact with blood. These give the distinctive color to the ficazza. In addition, other less desirable parts are used, including fatty parts from around the belly and internal organs that are not sold for other products.
The spices:
Only sea salt and black pepper are used in making this salame.
Processing:
The tuna is ground fine, and then mixed with only sea salt and black pepper. The mixture is stuffed into a pig intestine casing. The salame is then pressed using specific wood boards made for the process.
The ficazza undergoes a double salting, first during the mixing stage, and second during the pressing stage. After pressing, they are air dried for 20-40 days. Traditionally this was done using natural ventilation, the combination of relatively humid sea air and the strong winds of Trapani providing exactly what was needed to dry cure this unique salame.
After the ventilation stage, the ficazza is ready to be sold. These days, they are stored under vacuum and kept refrigerated to extend their shelf life.
Timing:
The ficazza is traditionally processed in the months of May and June, in accordance with the traditional tuna season in Trapani. For example, the tuna fishing nets were usually placed in April, allowing the fishing to start in May and go on until the end of June.
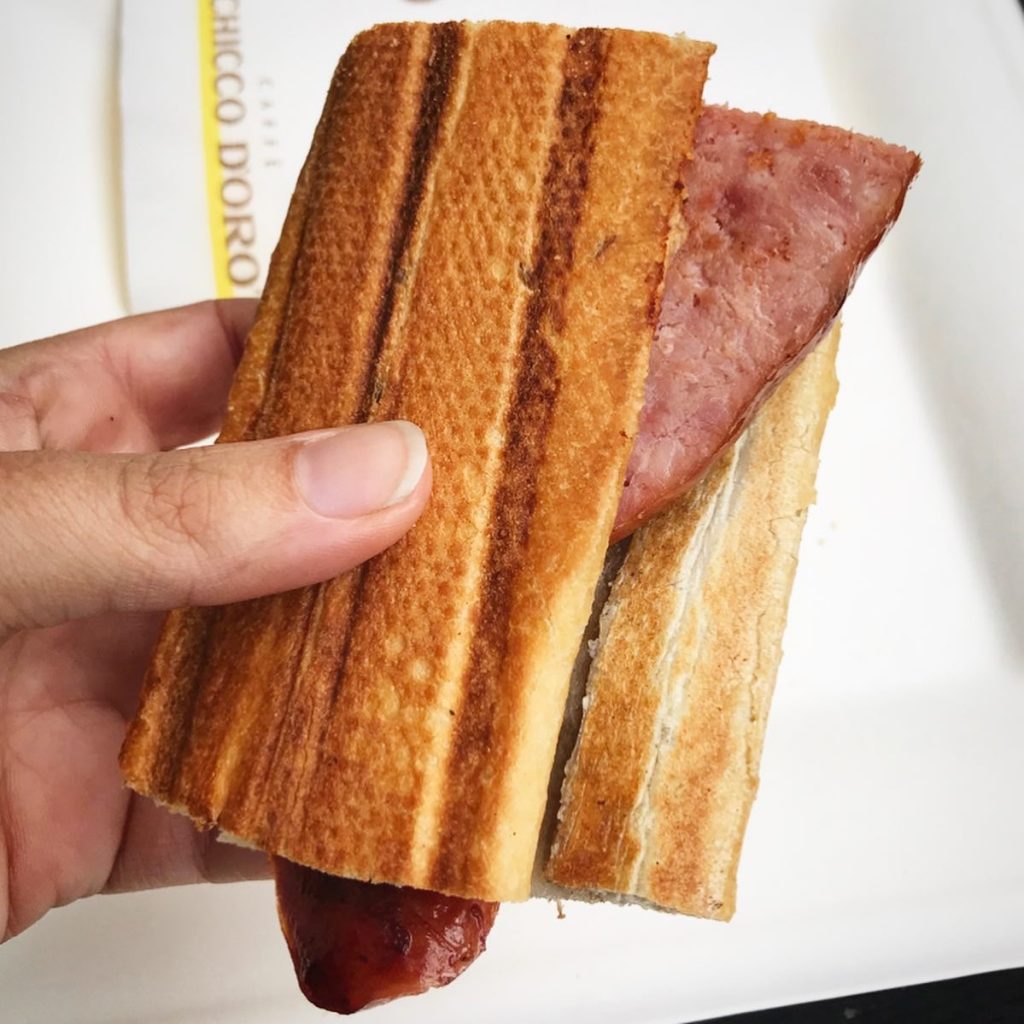
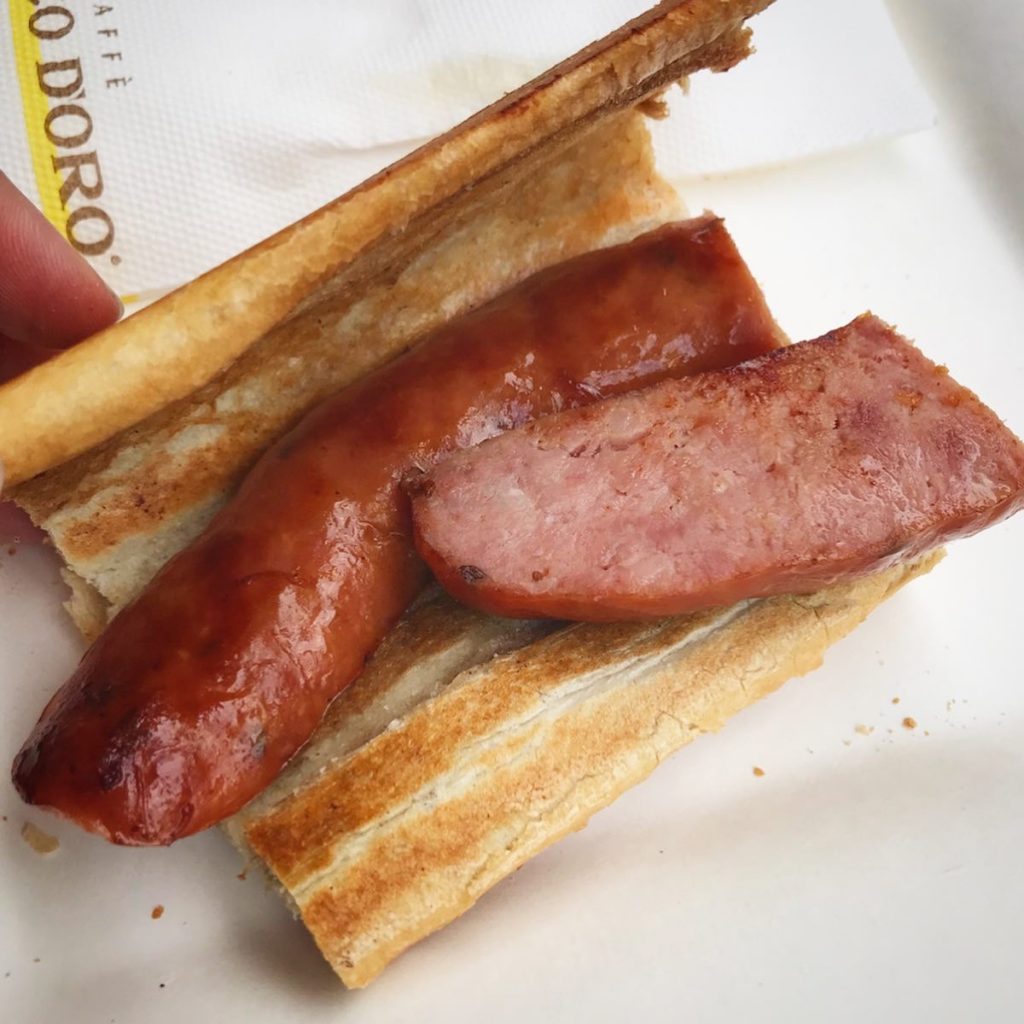
How it’s eaten:
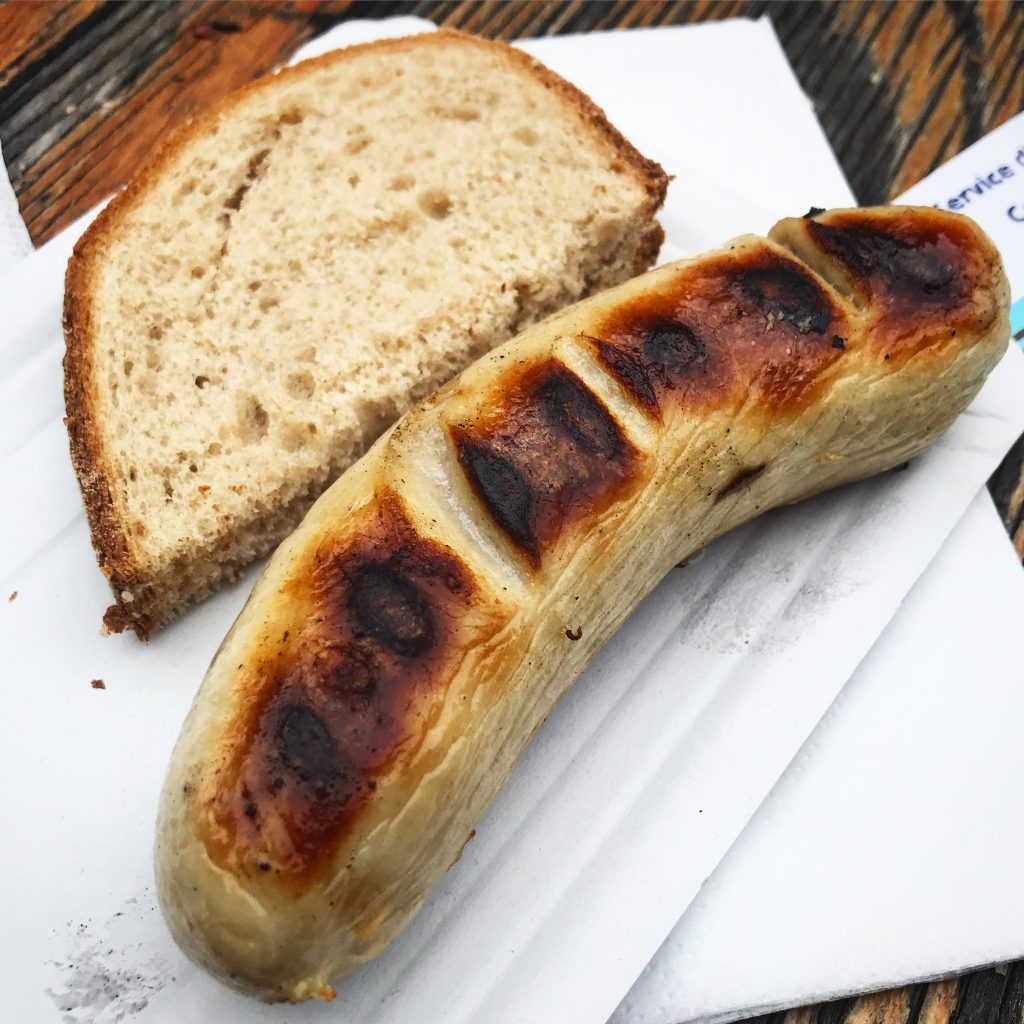
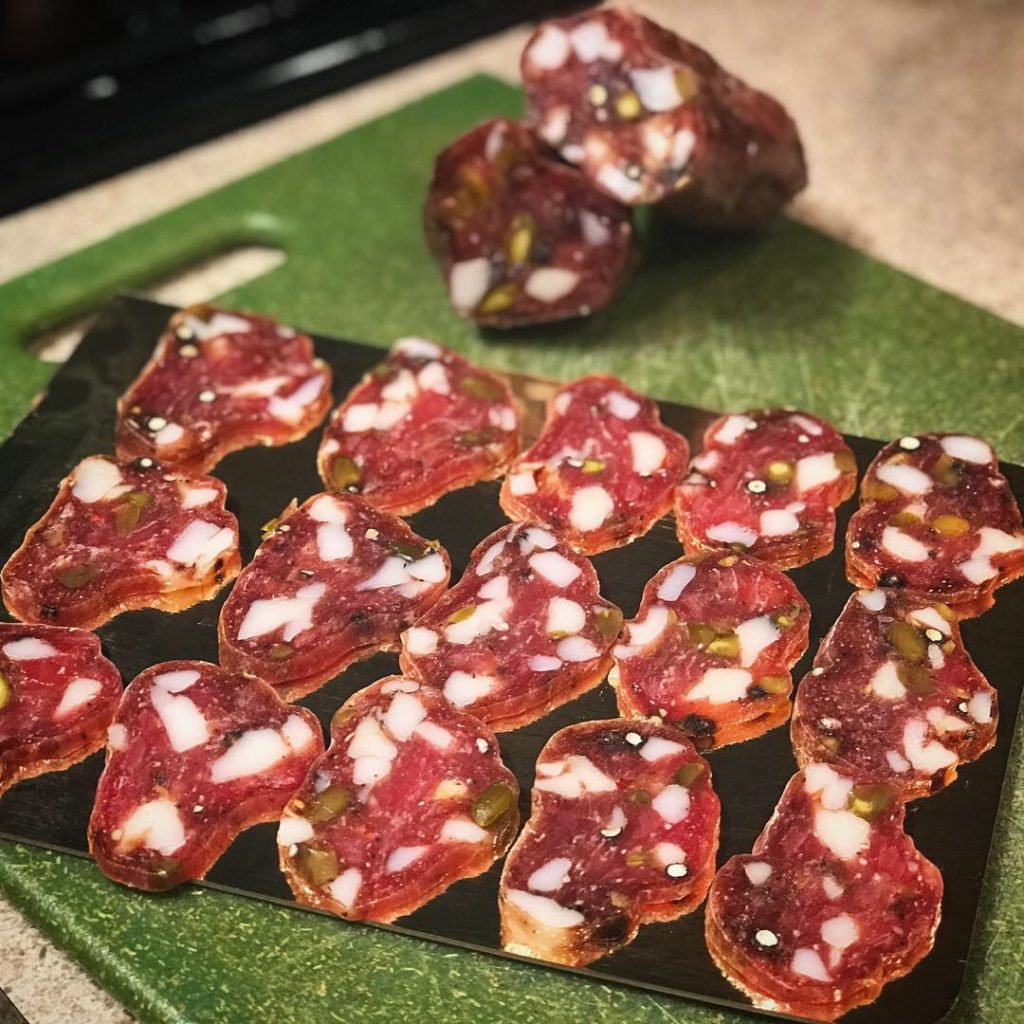
Ficazza can be eaten a number of ways. It can be enjoyed thinly sliced, topped with olive oil and lemon, with bread on the side. It can also be used in pasta dishes, for example making carbonara di mare, using the ficazza to replace the guanciale.

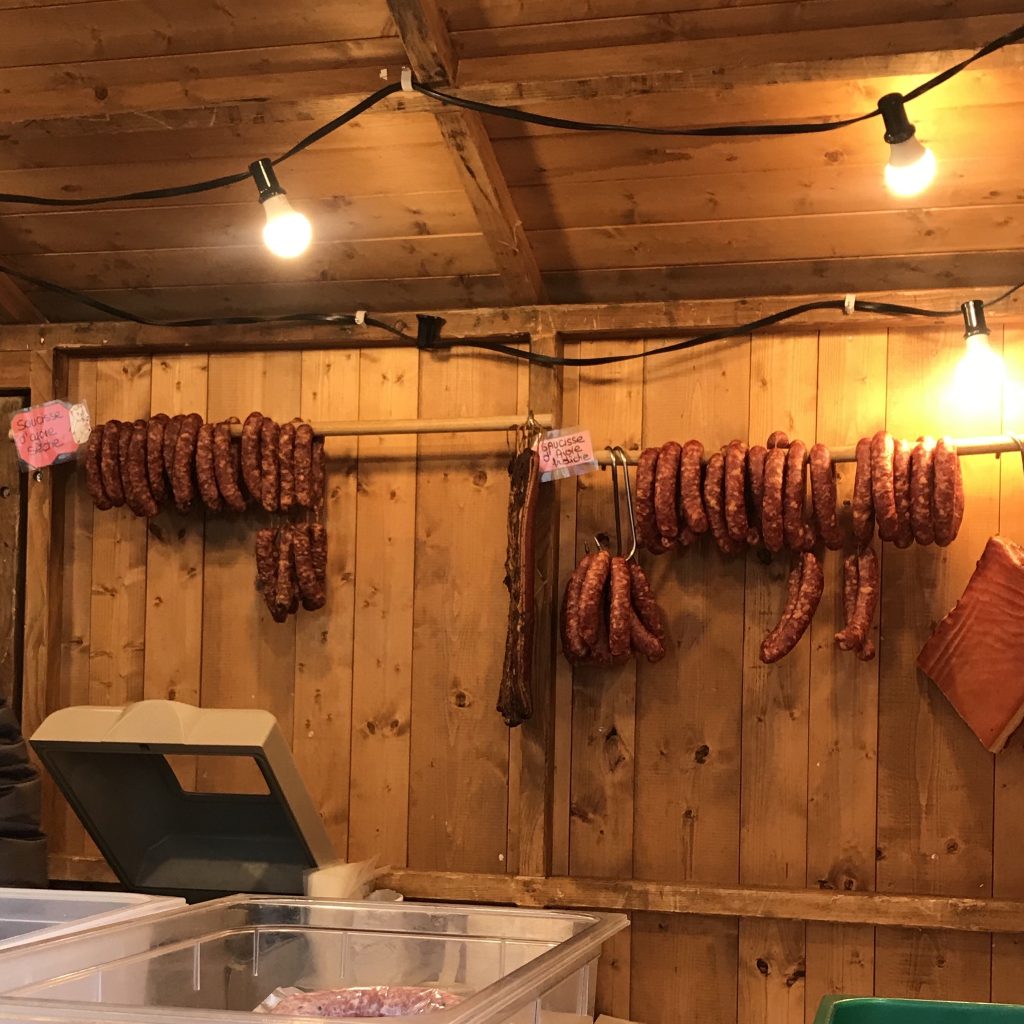
How I learnt about it:
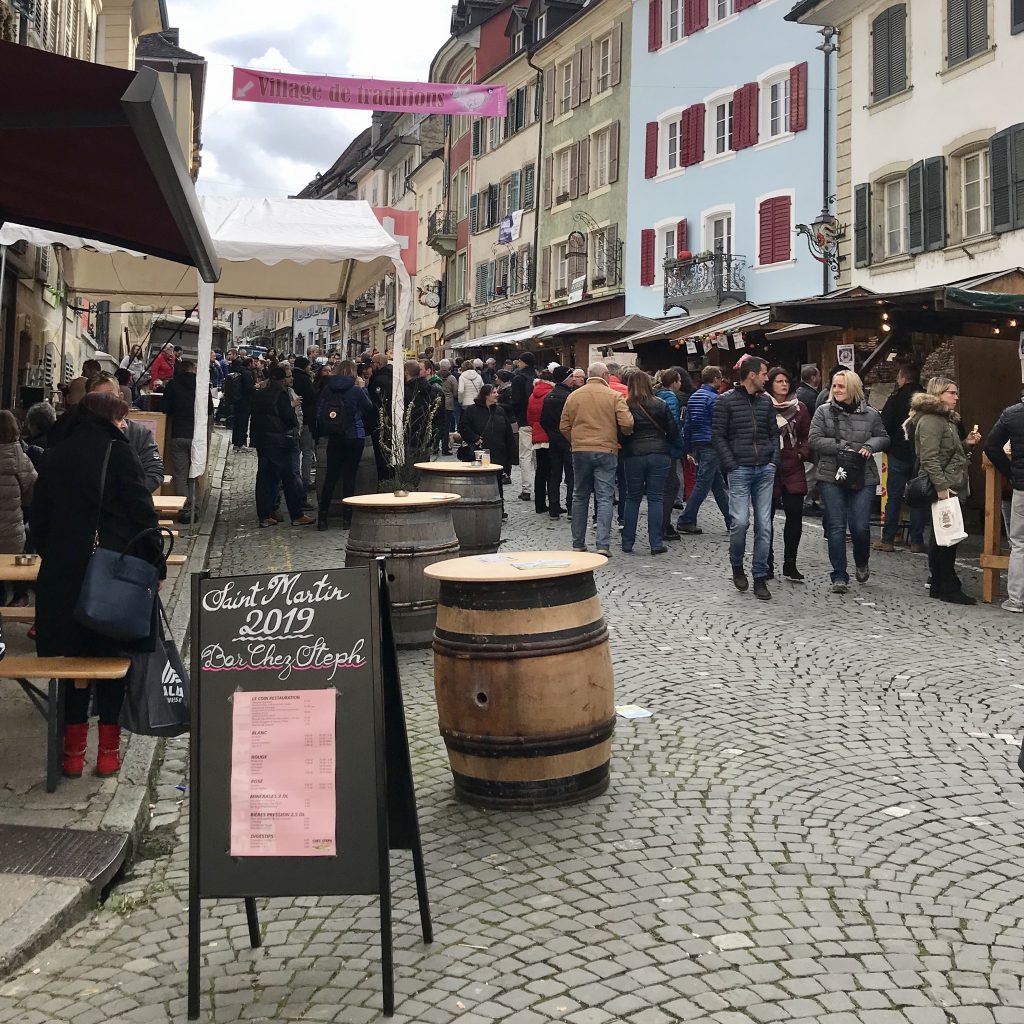
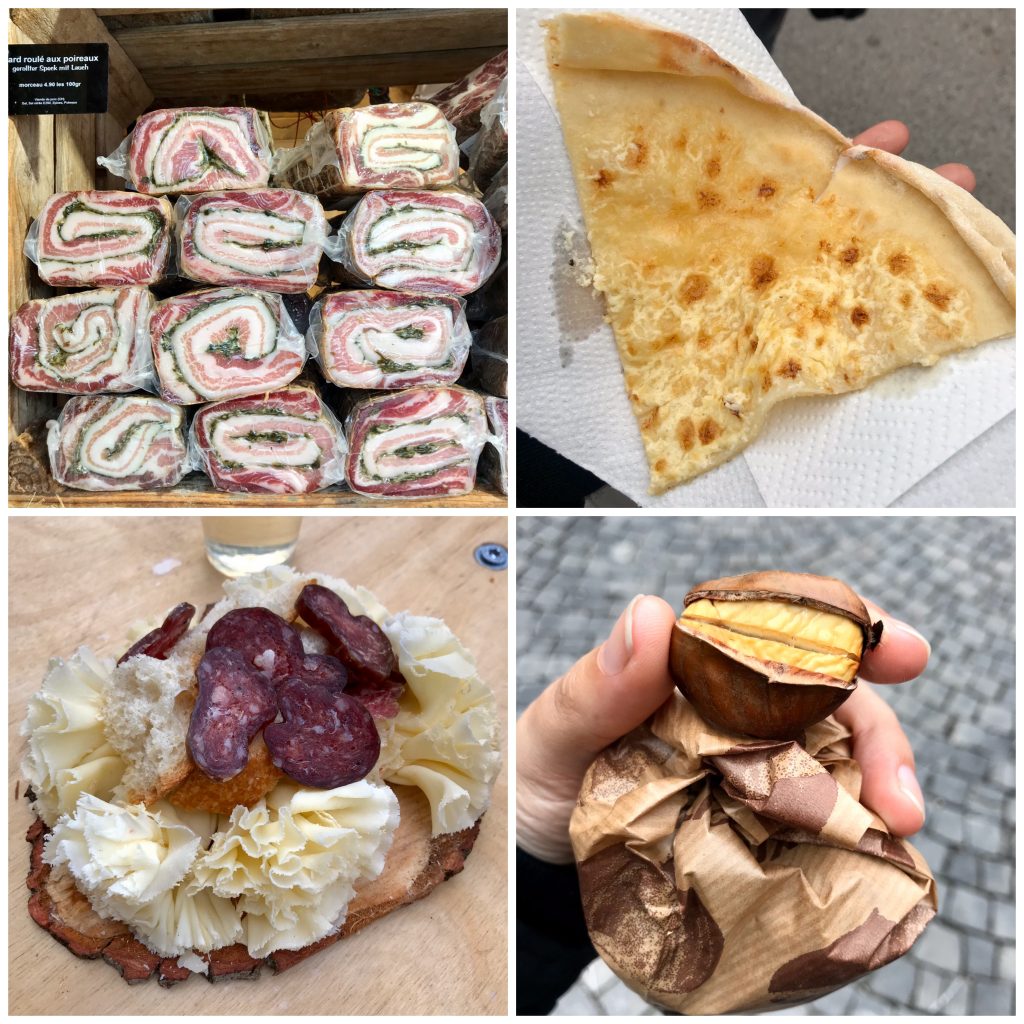
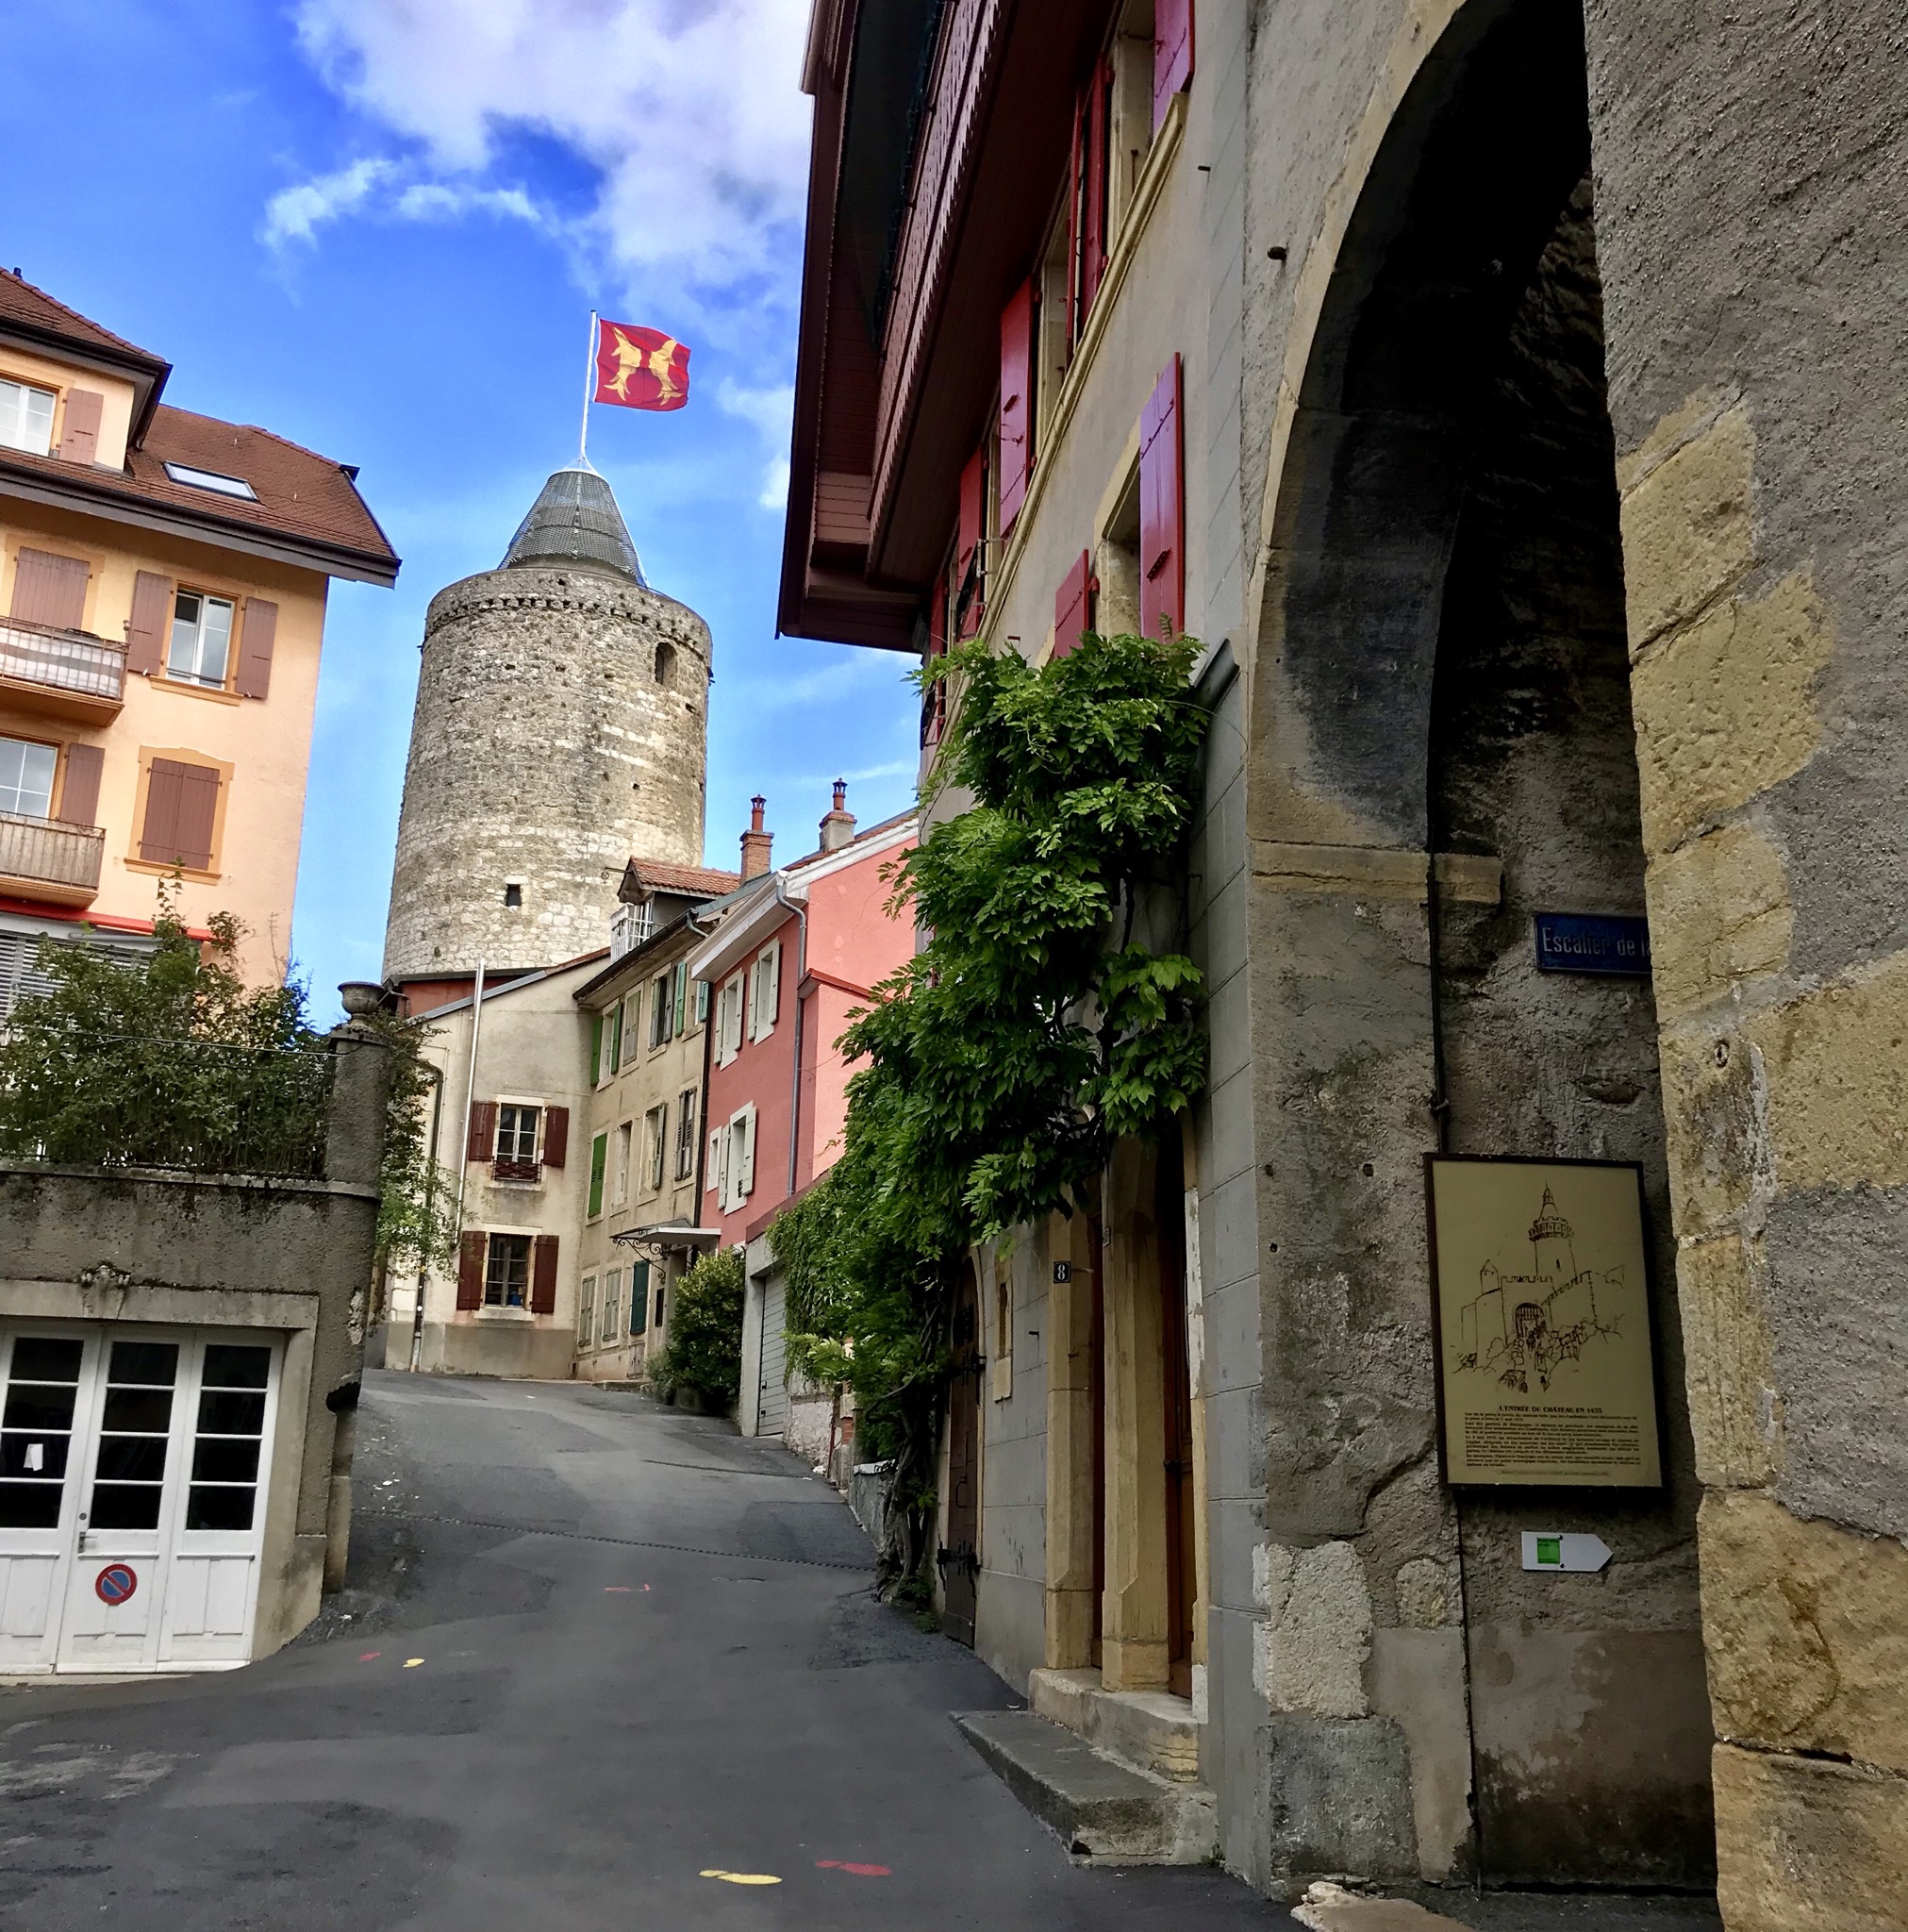
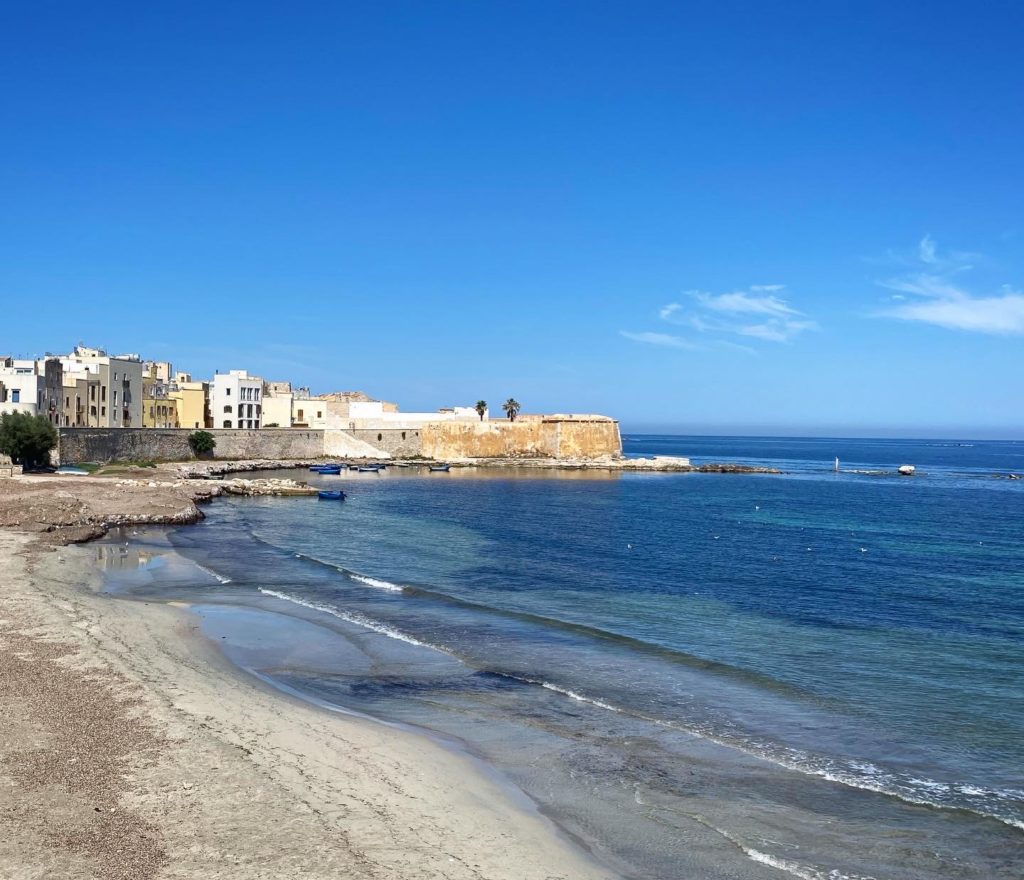
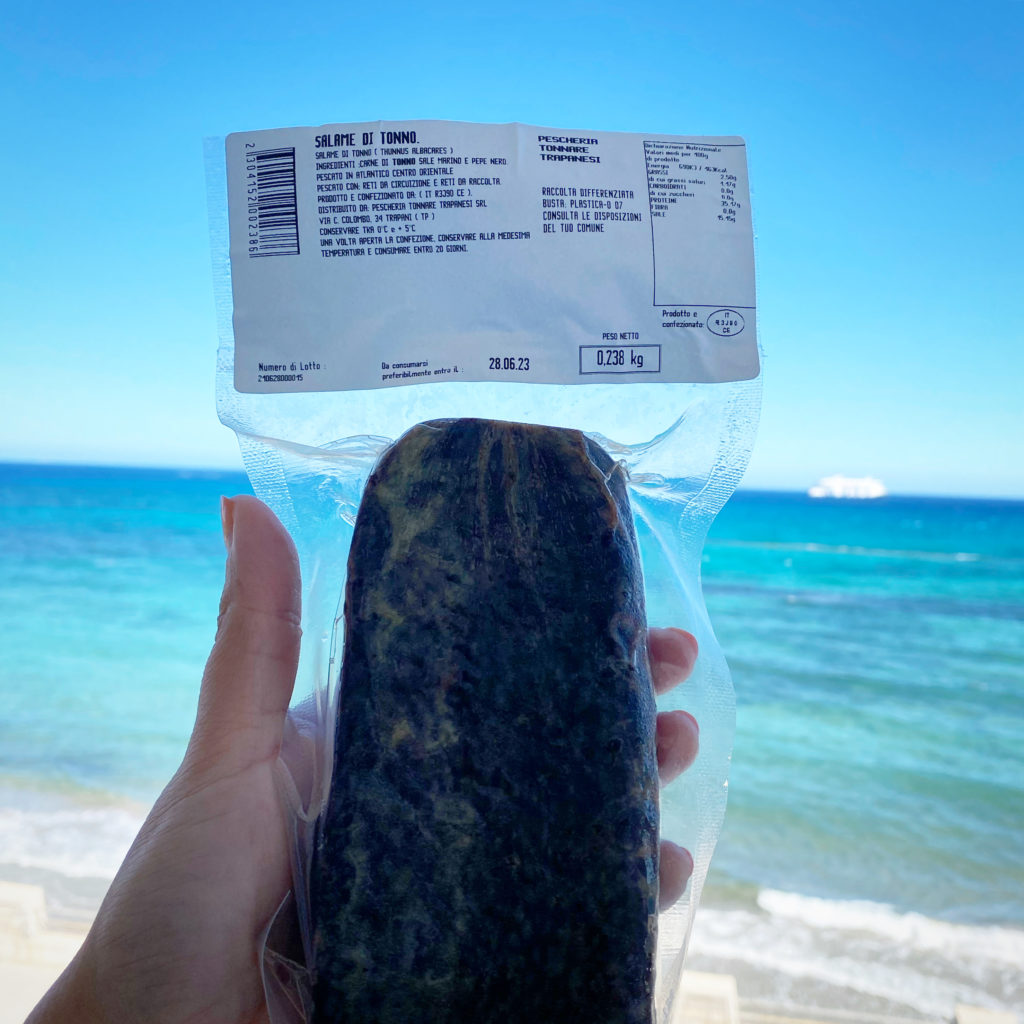
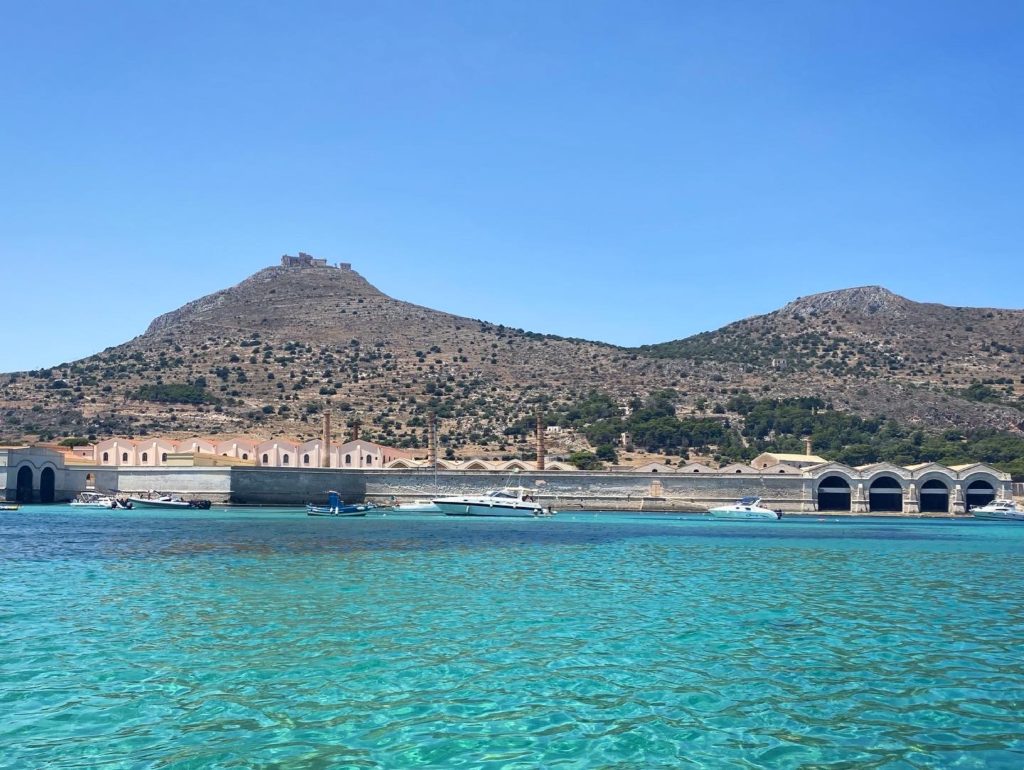
After a long weekend away in Trapani, I finally had the chance to try the real thing! After learning about it through my research and working on my own modern DIY version, I was excited to see the place where the traditional ficazza was born.
Seeing Trapani with my own eyes really highlighted how important the terroir was for this product to come to be. From the waters around the island of Favignana, (previously) replete with tuna…
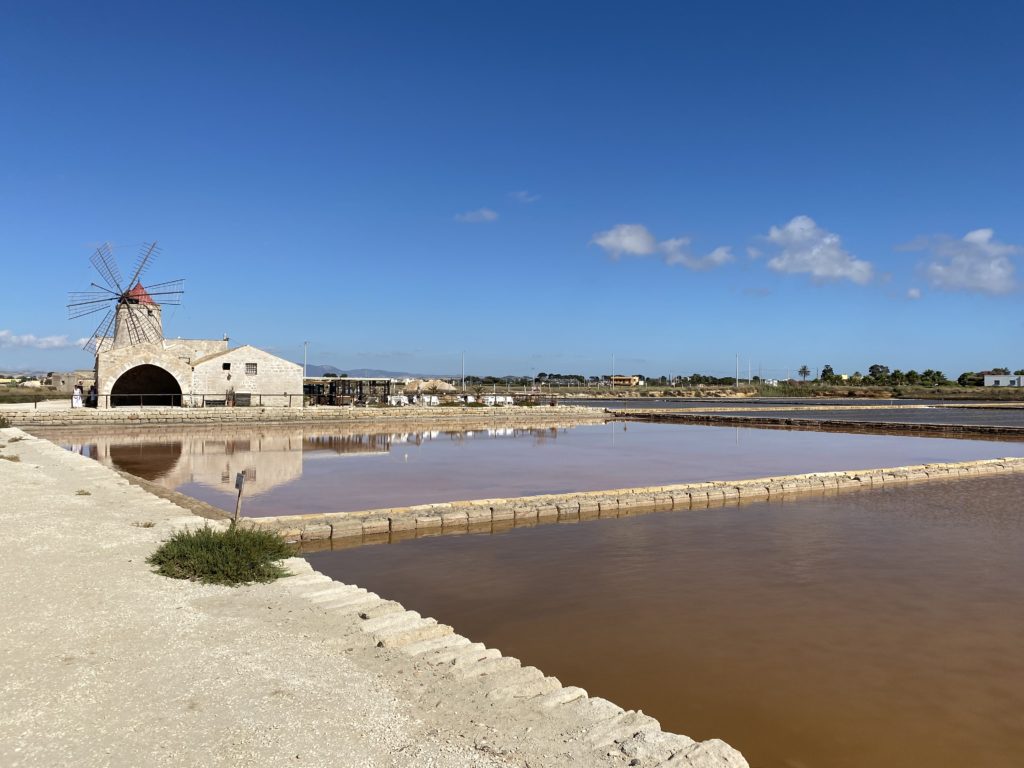
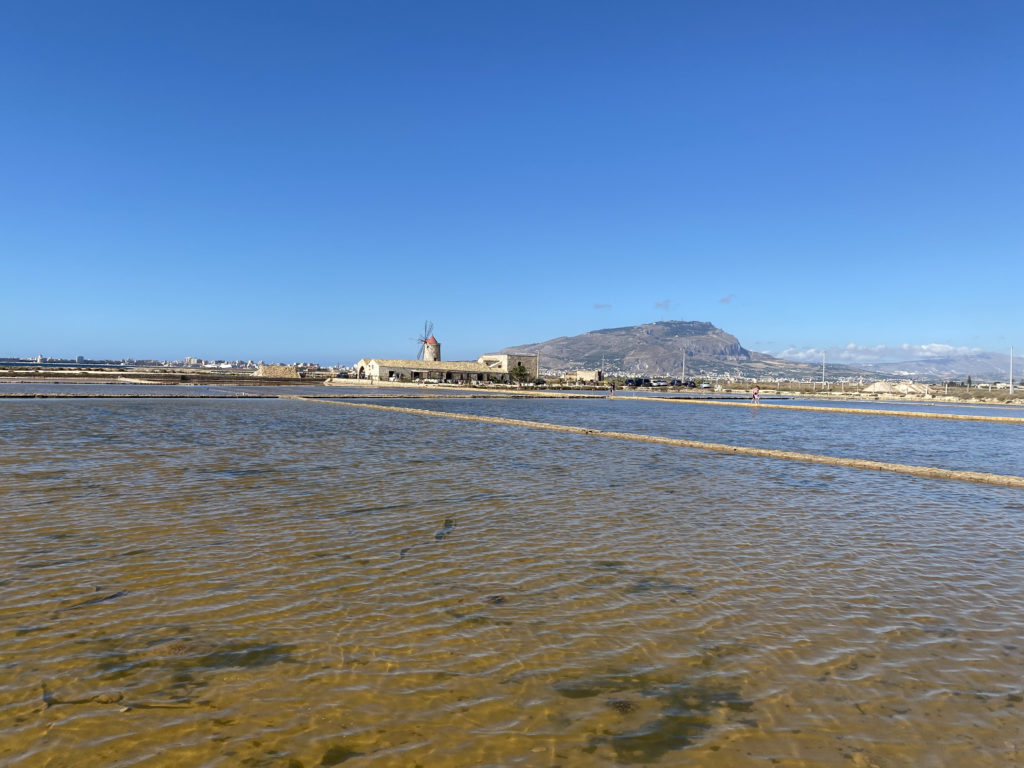
To the salt flats of Trapani and Marsala, where sea salt was ingeniously extracted from sea water by early Phoenicians…
Not to mention, the winds of Trapani, which made the city an ideal port for the seafaring traders in the first place.
The DIY:
My version of ficazza is a modern adaptation of the traditional one. I don’t spend my days fishing for tuna, nor do I live in a place like Trapani where the fish market is a short walk away, and therefore I don’t have access to the parts of the tuna, such as the busunagghia, which give the ficazza its traditional color and flavor. While this is certainly on my to-do list, for now, I make my modern version of ficazza.
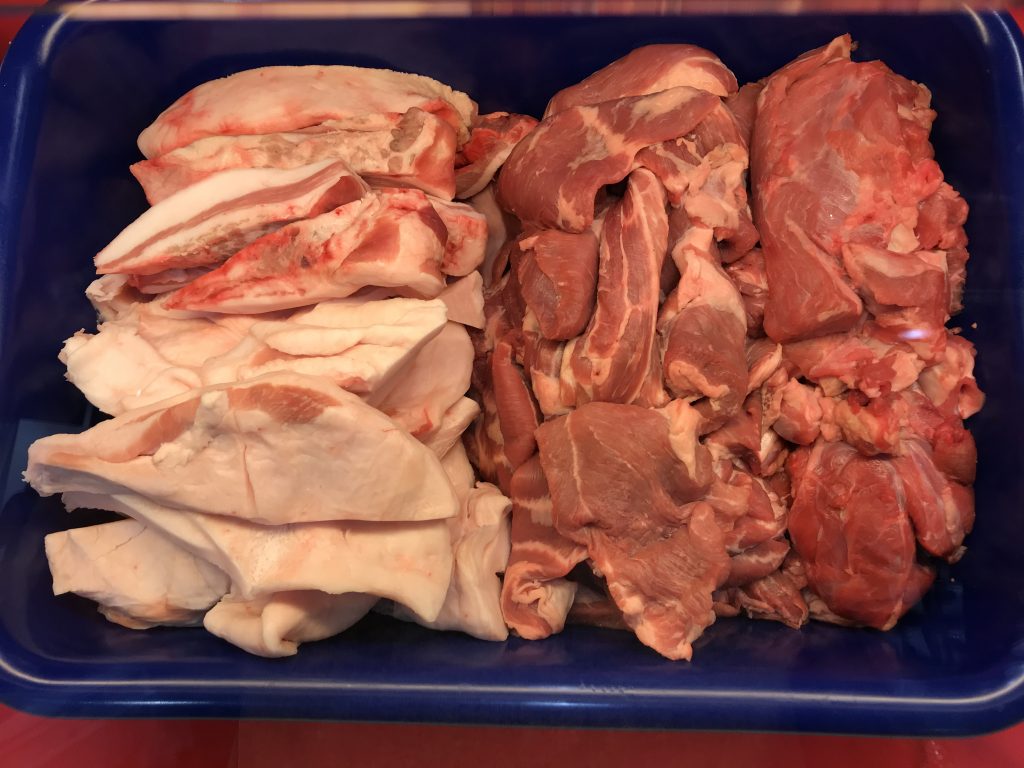
The meat:
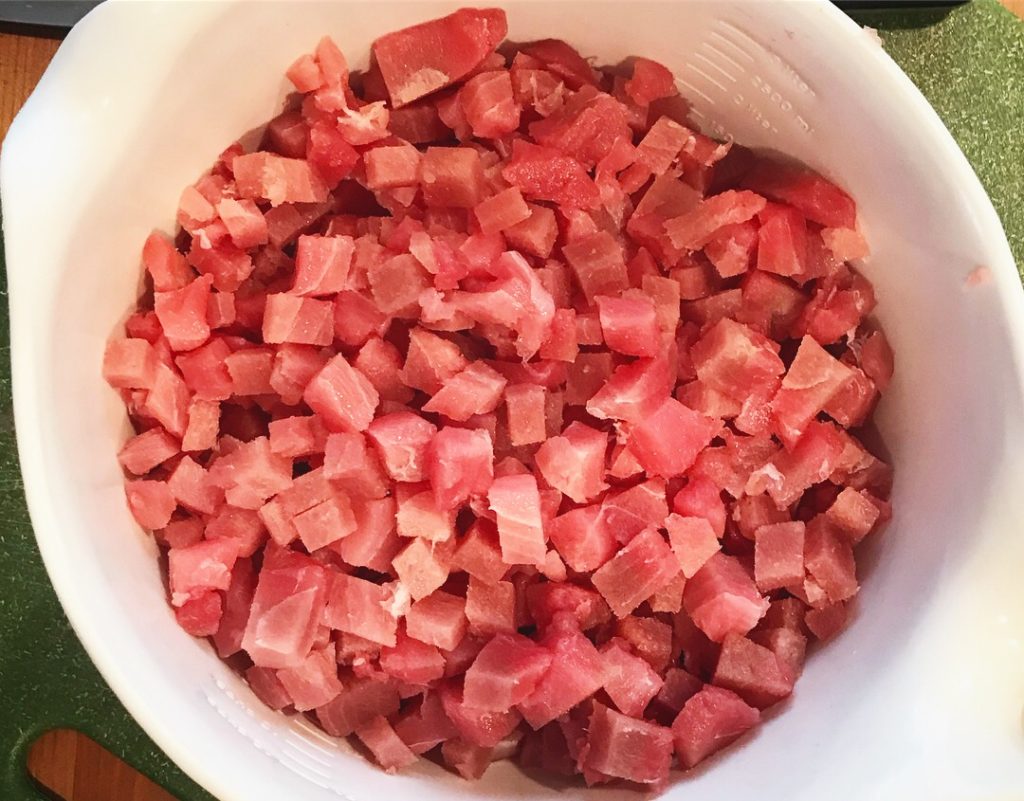
To make the ficazza, because I know it will be dry cured and never cooked, I make sure to buy high quality sushi-grade tuna.
Planning:
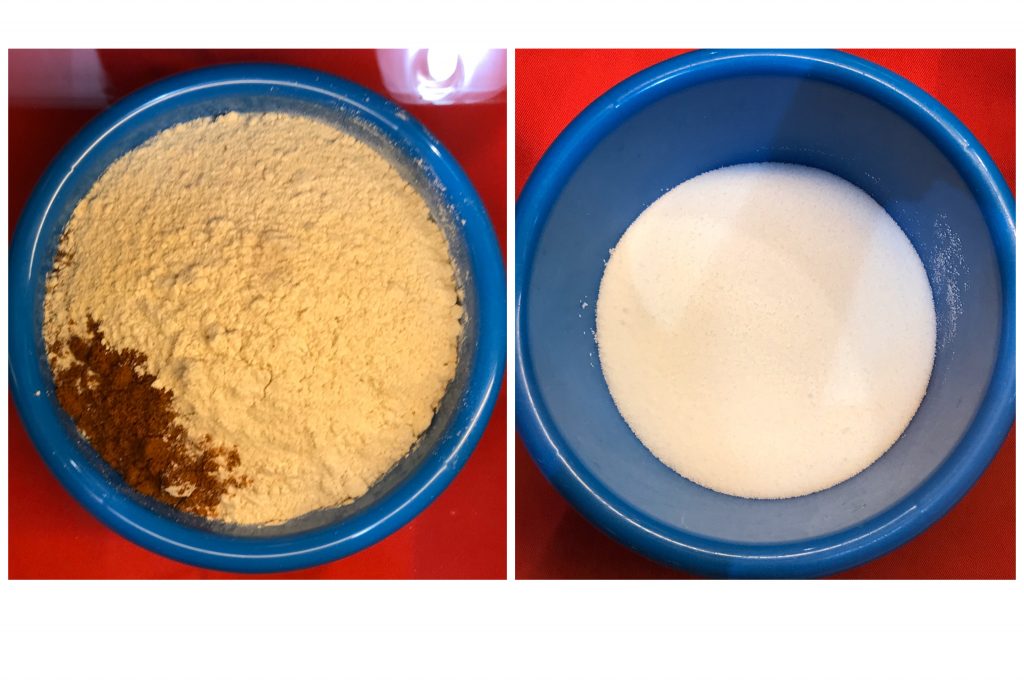
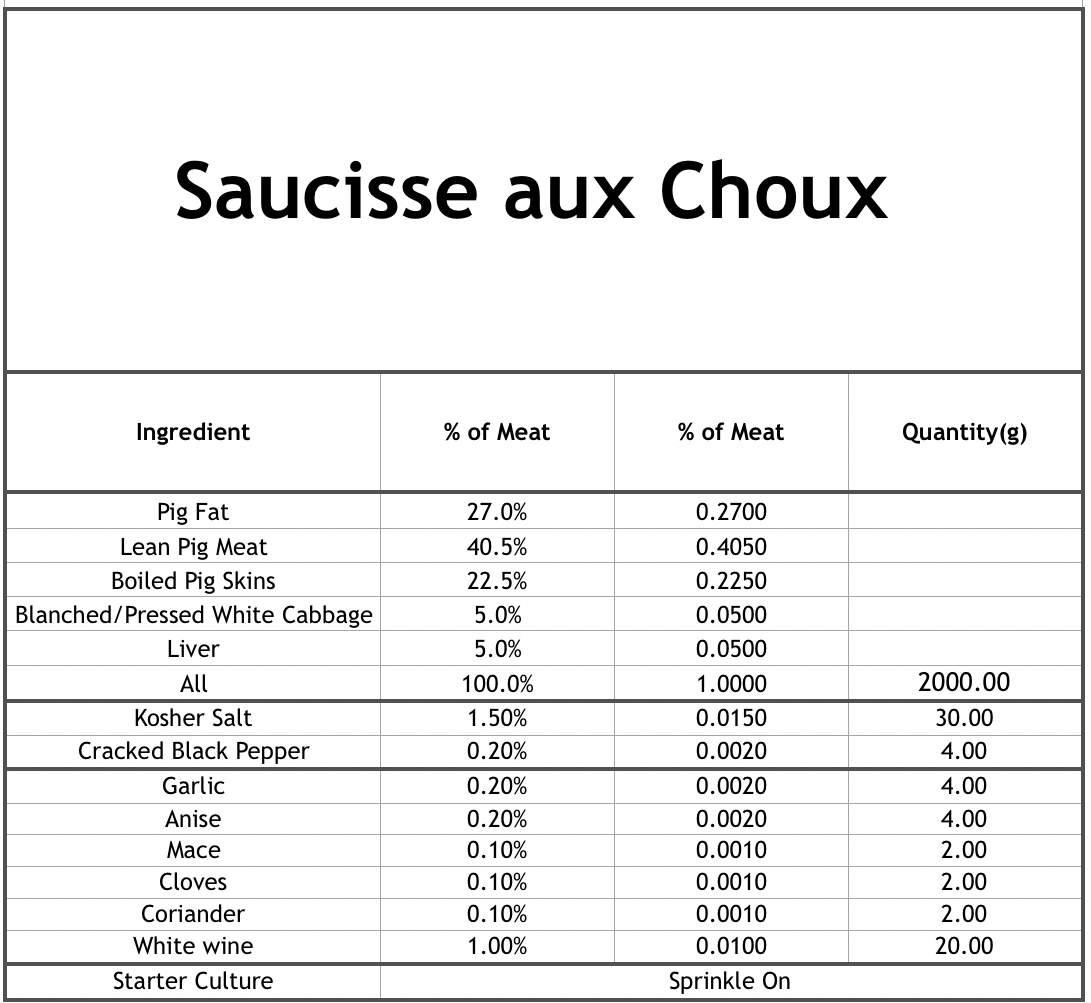
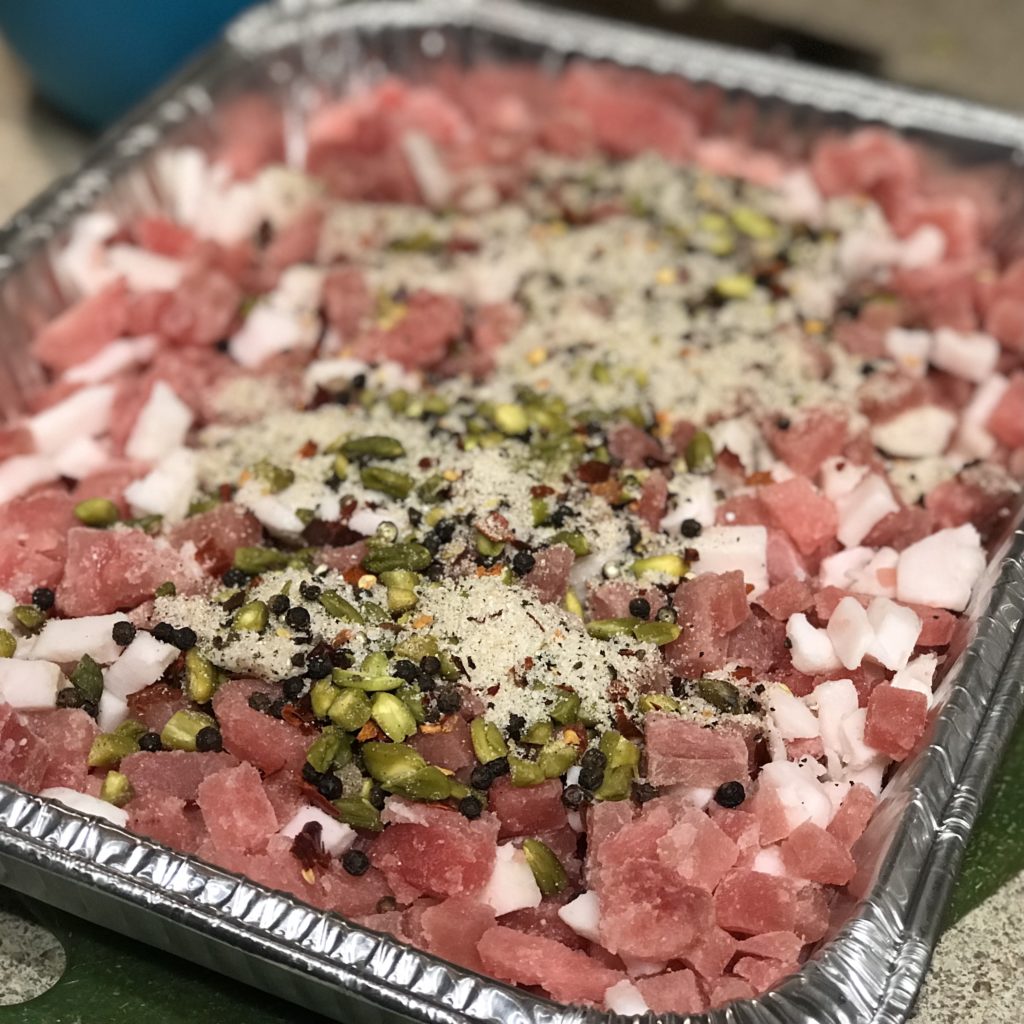
While the traditional ficazza only uses sea salt and black pepper, for my version I added a few more things, listed in the table below. To make it more traditional, you would leave out everything except the sea salt and black pepper.
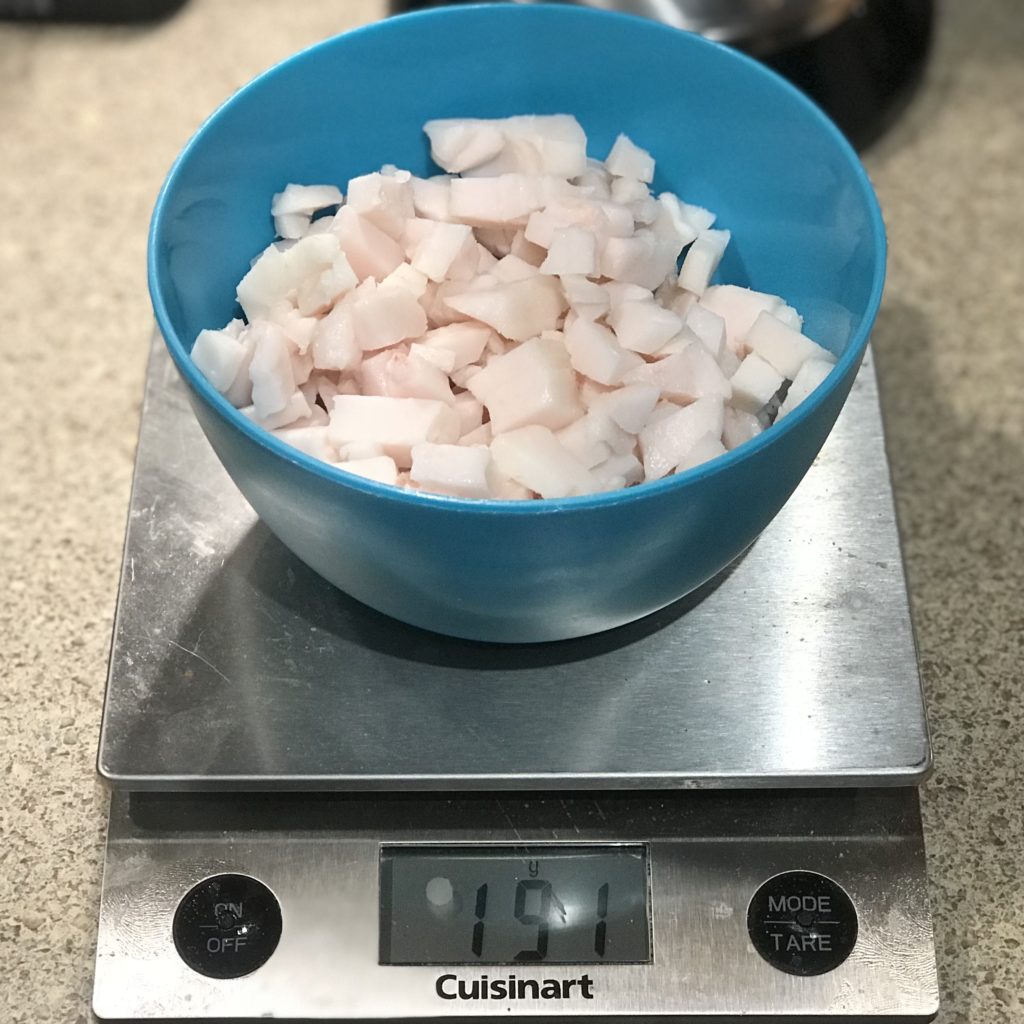
In addition to the tuna, I used pork fat for this as well for the fat content. This is not traditional, so you can skip this if you want. Once you have the weight of your tuna and pork fat, you can enter it into the interactive spreadsheet below, just fill the weight of your meat in the appropriate white cells in the spreadsheet and hit enter. If you don’t use pork fat, just insert “0” into the appropriate cell. There is no need to make any other changes to the spreadsheet.
Mix all the spices together.
*Please use common sense. Make sure the spreadsheet is working properly for you and double check any calculations that don’t seem right.
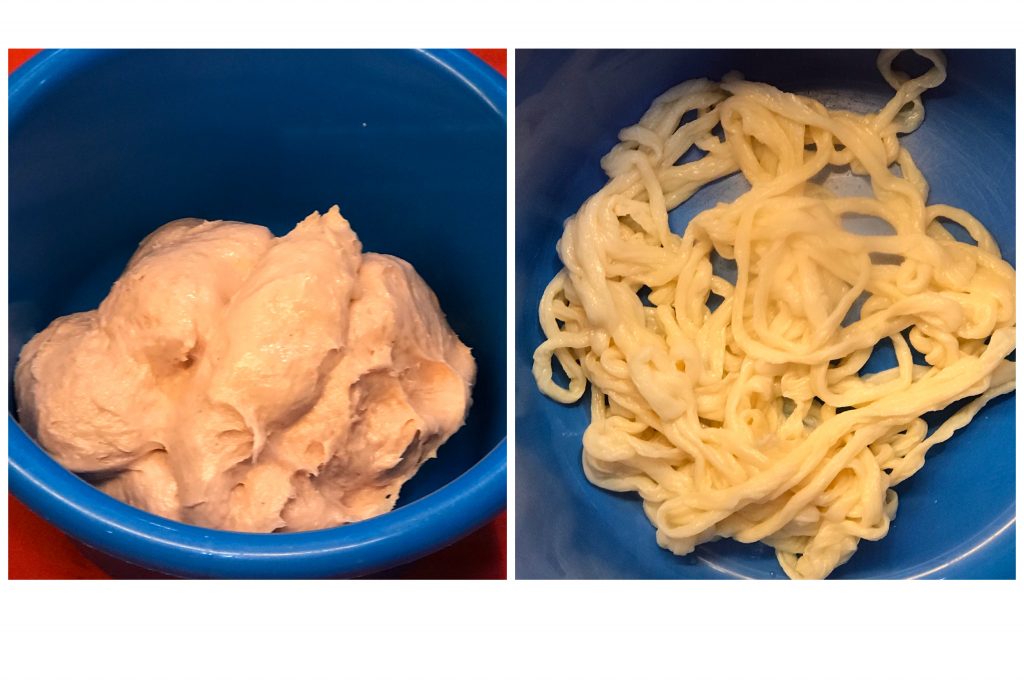
Grinding and mixing:
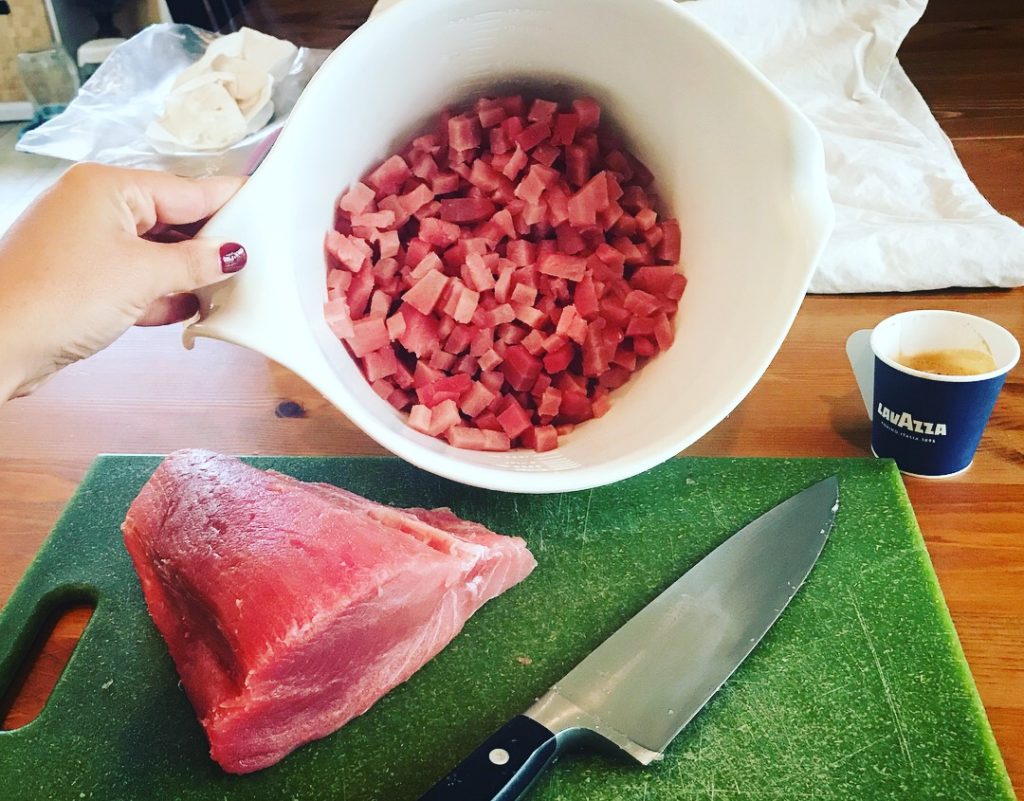
I par-froze the tuna and hand diced it.
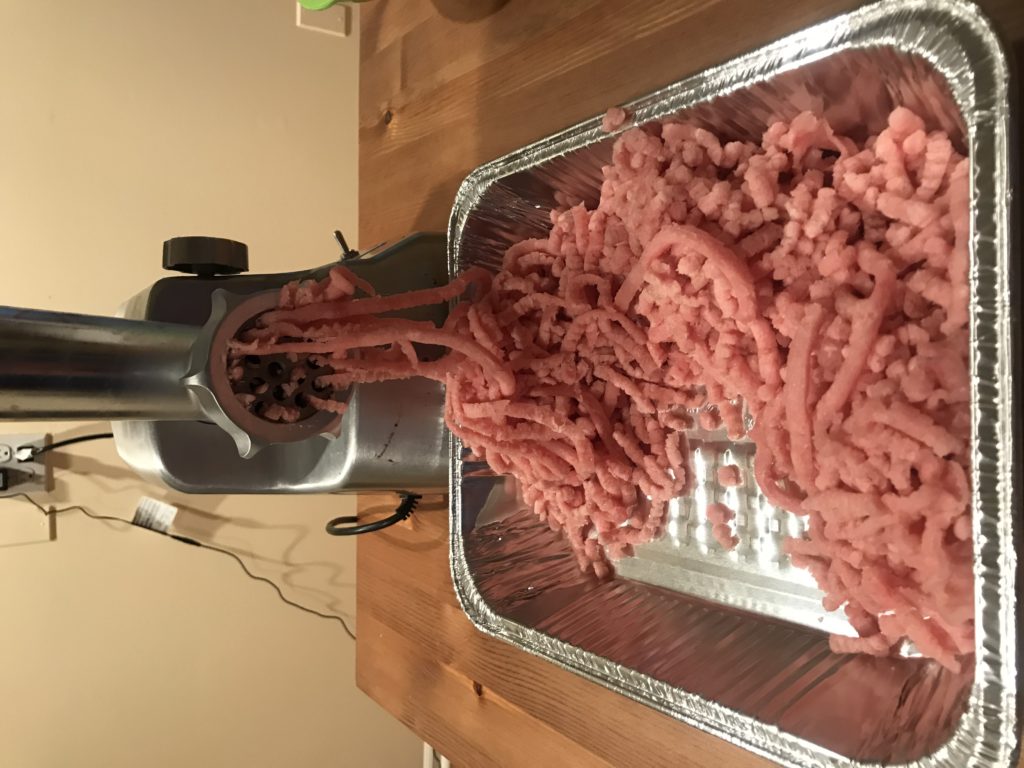
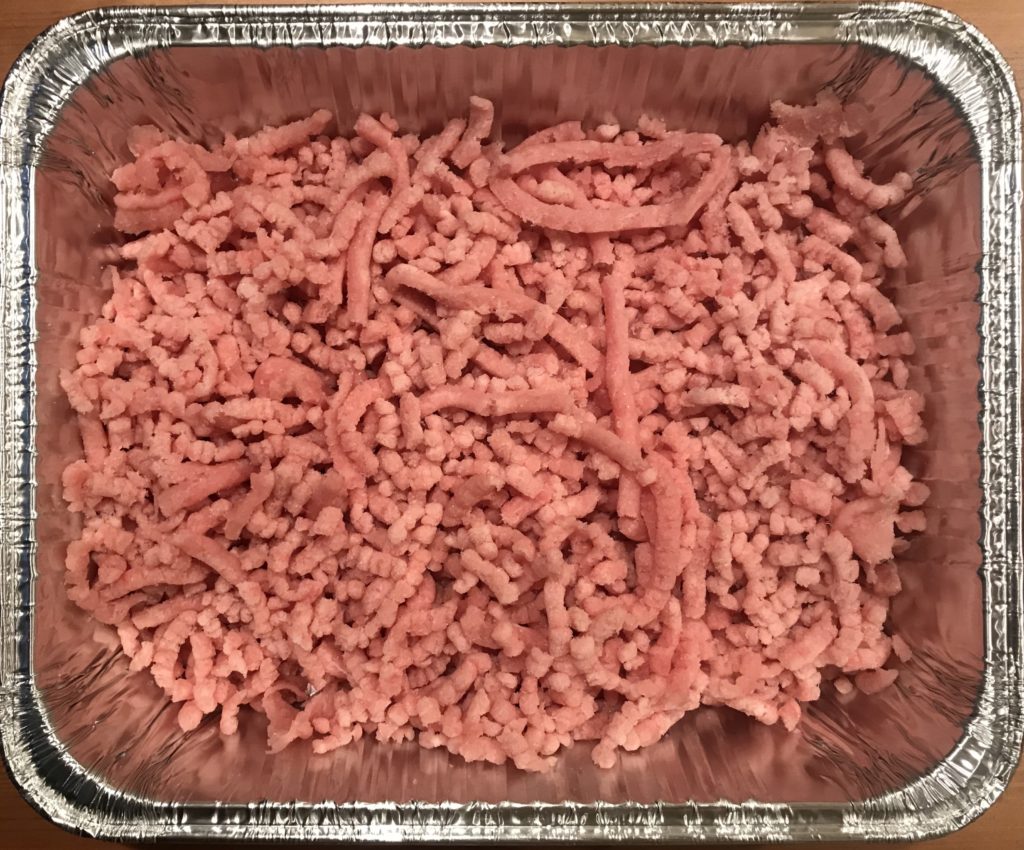
I took half the tuna that was hand diced and ground it on a coarse grind in my grinder.
I left the other half just hand diced and not ground. If you wanted a more traditional product, you would use the fine grind for all of it.
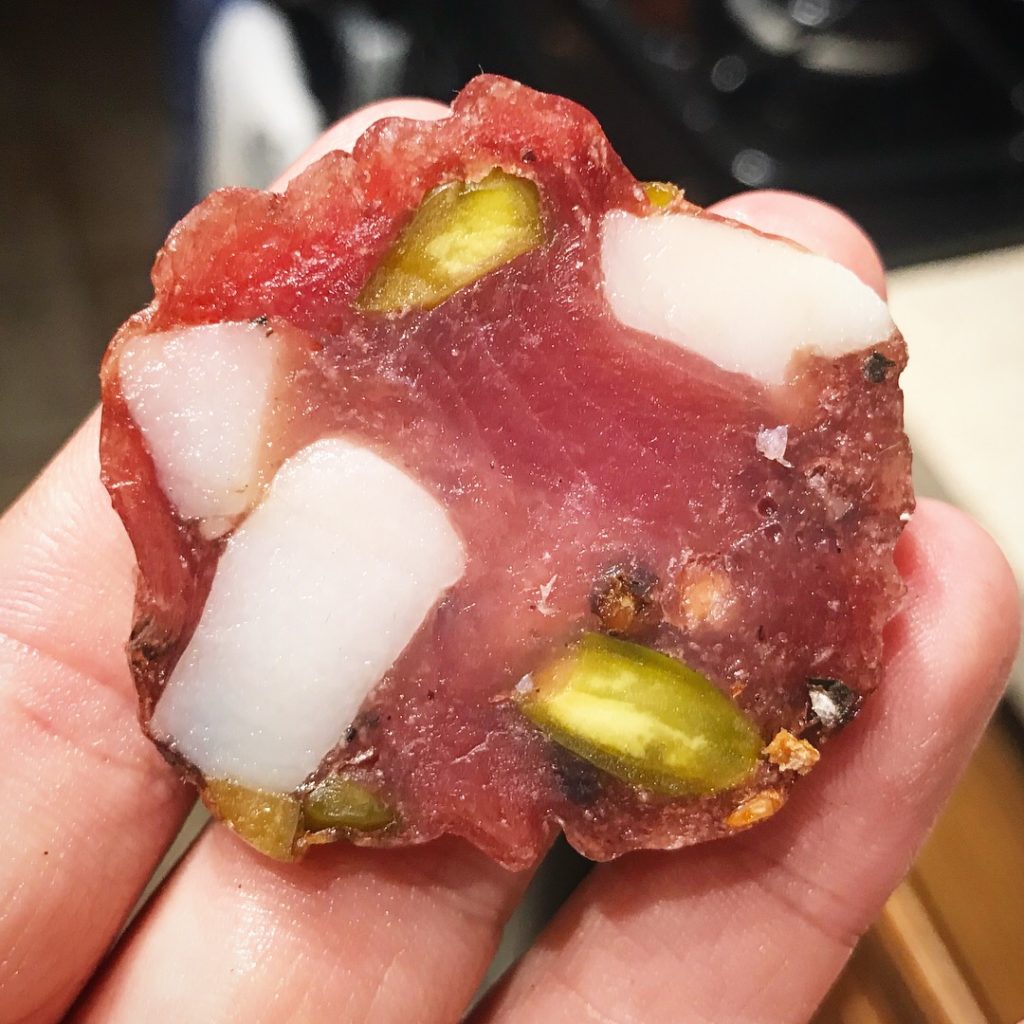
Because I wanted to make mine as similar to other salami as possible, I decided to use hand diced pork fat to stud the ground tuna meat. Again, if you want to make it as traditional as possible, you would skip this step and only use tuna.
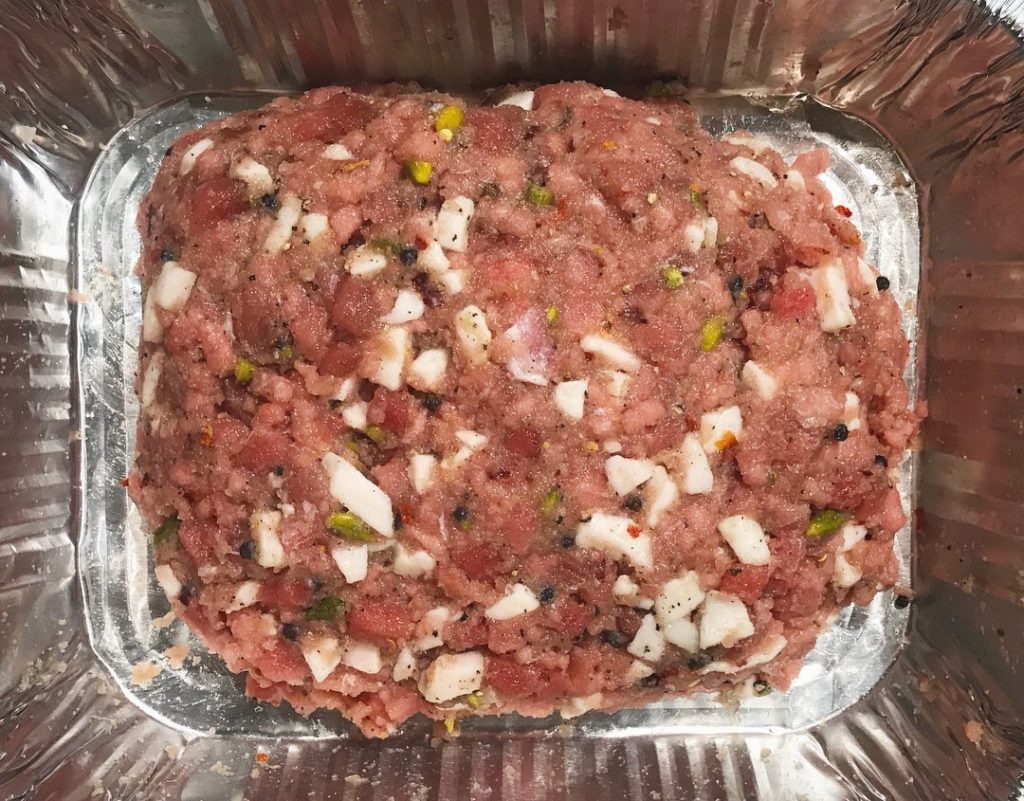
Next, I mixed the hand diced tuna, the ground tuna, and the pork fat with the spices.
The next step is to mix the ground meat and spices well, creating a tacky paste. Make sure to keep everything as cold as possible.
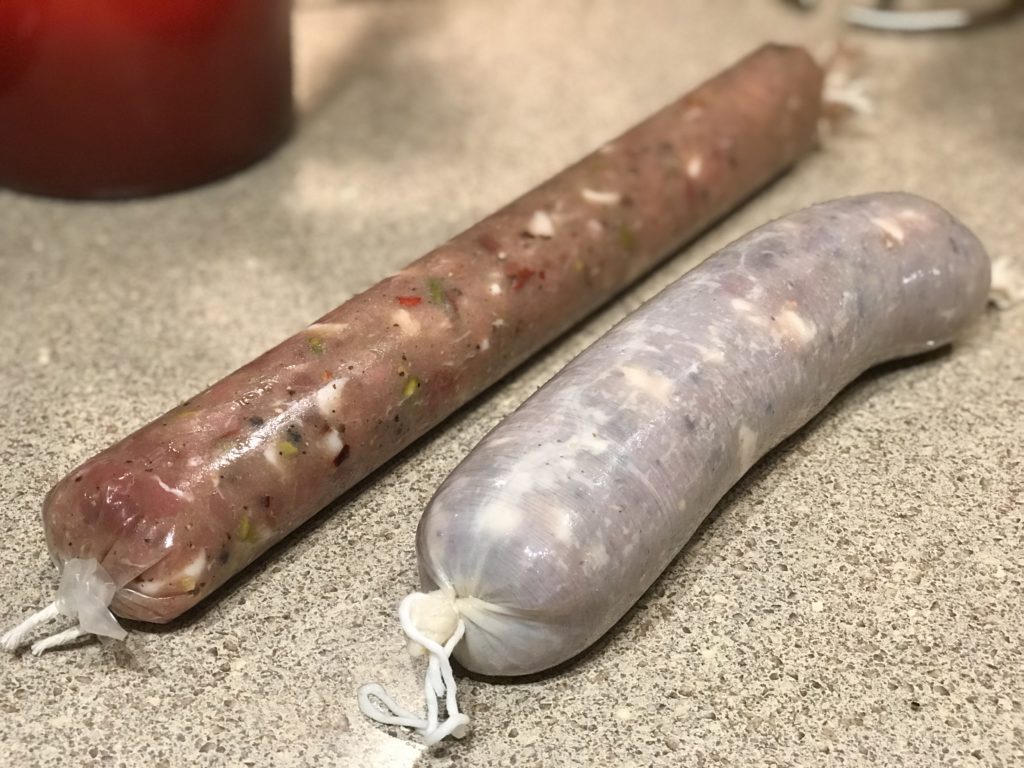
Casing:
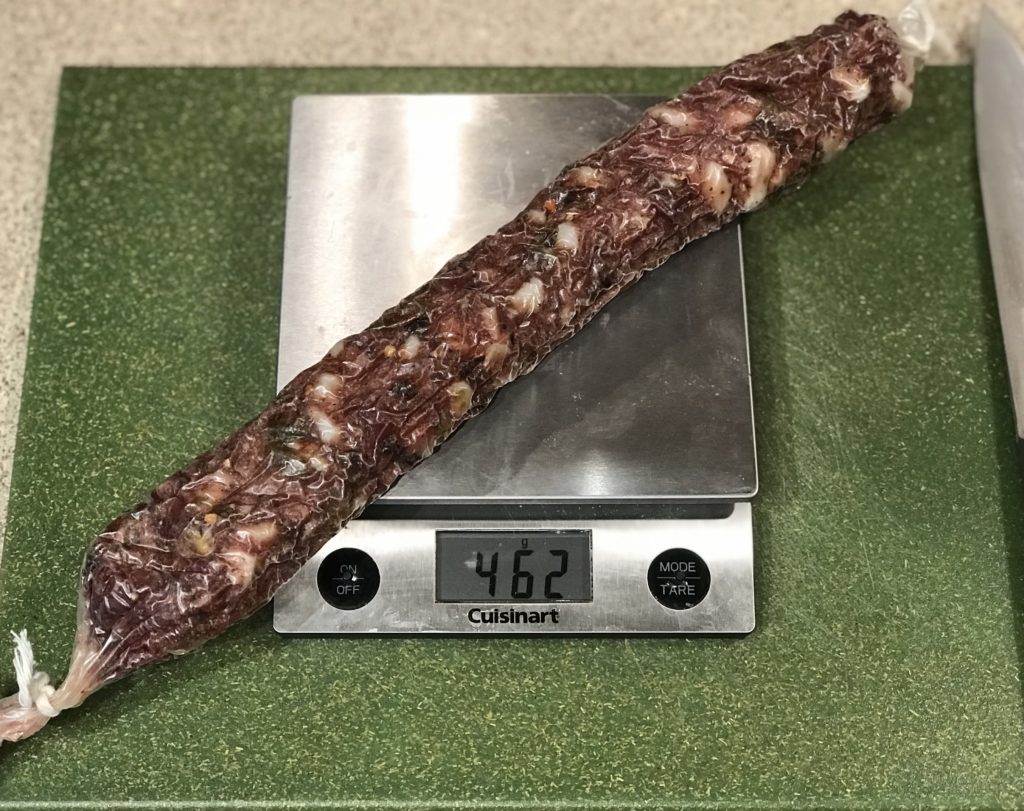
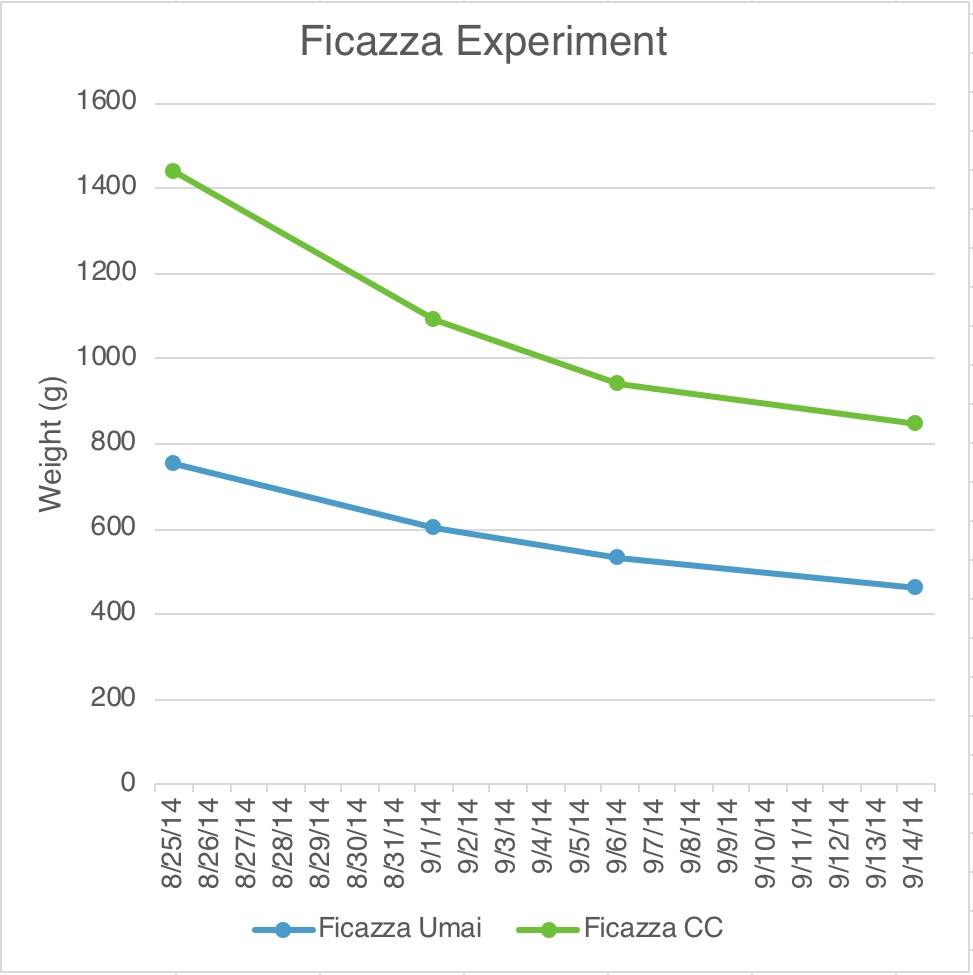
For this, I decided to try two ways to dry cure the ficazza. The first was the more traditional way, in a beef middle casing. The second, in an UMAI bag, which would let me dry cure it in a regular fridge at 4C.
Drying:
(Curing Chamber Method: 13C/55F, 65-70-% RH, 1-3 months)
(UMAI Method: 4C/40F, 50-65% RH, 1-3 months)
I cured my Ficazza in two ways, in the curing chamber and also in the regular fridge, since I was worried about curing fish at the relatively higher temperatures of the curing chamber.
To cure it in the curing chamber, I placed it among the other meats I was curing at the time. I learned that the conditions of a traditional curing chamber should be fine for this product. If you have a fan in your chamber, you can turn it on for this process if you’d like, but it’s not 100% necessary.
Because I wasn’t sure this would be the case, I also decided to dry cure some using the UMAI method. These special vacuum bags let out moisture, while still protecting the meat from oxidation. I don’t love them for everything, but they do tend to work if you use them correctly. Using this method, I cured the ficazza on a rack (for air flow around the meat) in a vegetable drawer (to increase humidity) in the regular fridge, opening the drawer occasionally for ventilation.
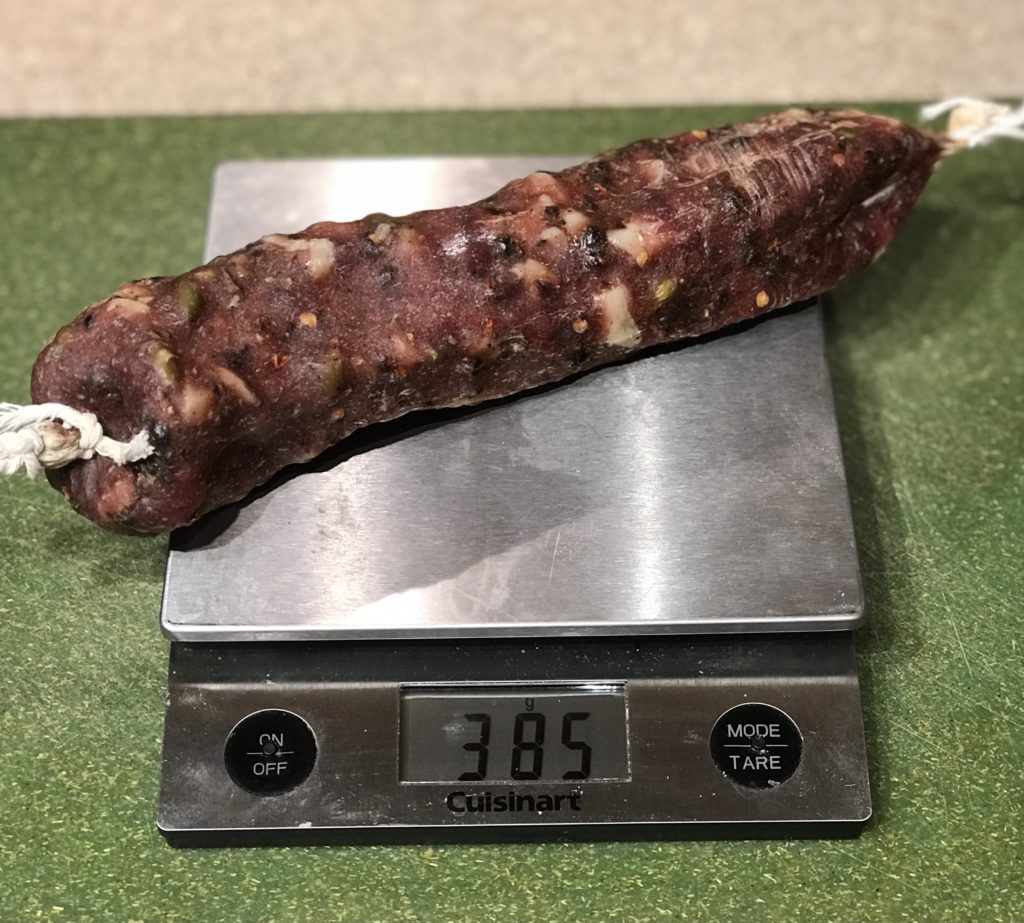
However, in the end, I found that the ficazza cured in the curing chamber had more flavor than that cured in the regular fridge using the UMAI method. I would venture the guess that the curing chamber allows for flavor development that isn’t there in the regular fridge, while the dry curing process still keeps any spoilage or overly fishy flavor at bay.
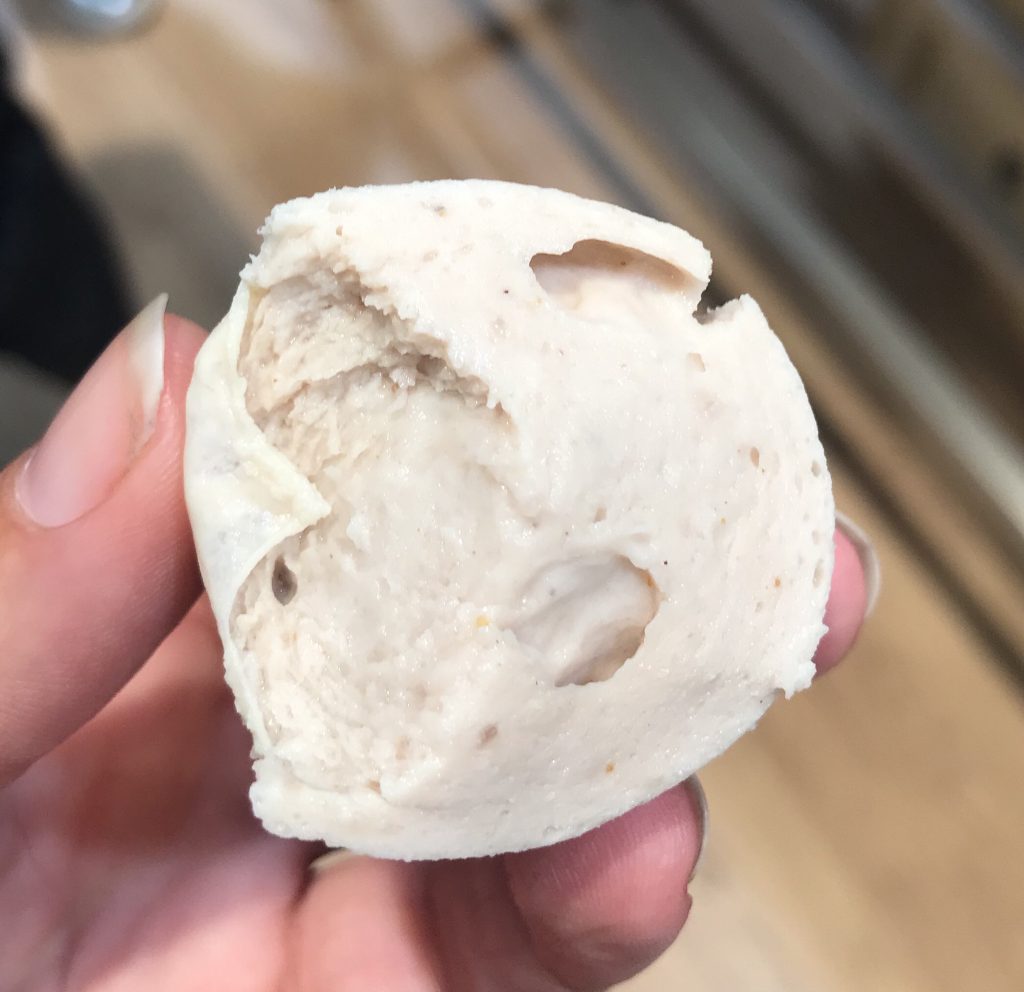
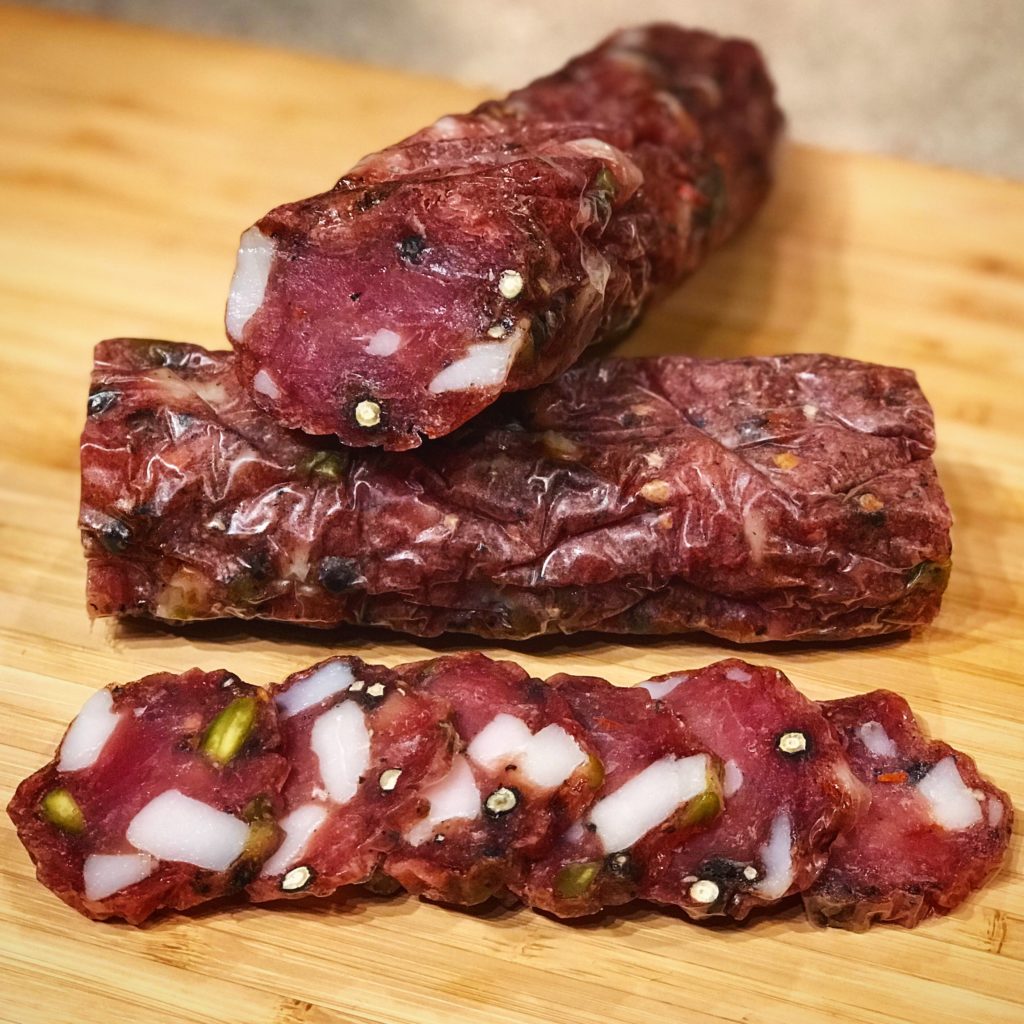
Tasting
Overall, this was one of my favorite things I’ve made. A unique cured product, with a delicate flavor profile. Not at all overwhelming fishy or salty, just a well-balanced and complex product.
There are pros and cons to each method. I still plan to make the traditional Ficazza one of these days (which is an important example of how charcuterie can be utilized to make sure nothing goes to waste), but this more modern one uses the basis of tradition for inspiration, while relying on modern methods to experiment. By using less salt, by playing with flavors, we can create something unique from the ancient traditions.
References:
1- https://www.fondazioneslowfood.com/en/ark-of-taste-slow-food/favignana-tuna-bottarga/ 2- https://www.selectsicilyvillas.com/places-in-sicily/trapani 3- https://blog.giallozafferano.it/toniaincucina/tradizione-tonnara-di-nino-castiglione/ 4- https://www.agrodolce.it/2020/02/10/ficazza-di-tonno/ 5-https://it.wikipedia.org/wiki/Buzzonaglia 6- https://www.braciamiancora.com/ficazza-di-trapani-e-salumi-mare-siciliani/