In this post, I will go through the basic process of making lamb culatello. Similar to a pork culatello, this is made by taking the rear leg of the animal, carefully deboning it, and carving out the culatello cut. This is then dry cured and aged until it has lost at least 30% of its initial weight.
The Meat
Ideally you will buy a bone-in leg of lamb and cut out the culatello yourself. If all you can find is bone-out leg of lamb, you can still make it work as long as it wasn’t all hacked about in the de-boning process.
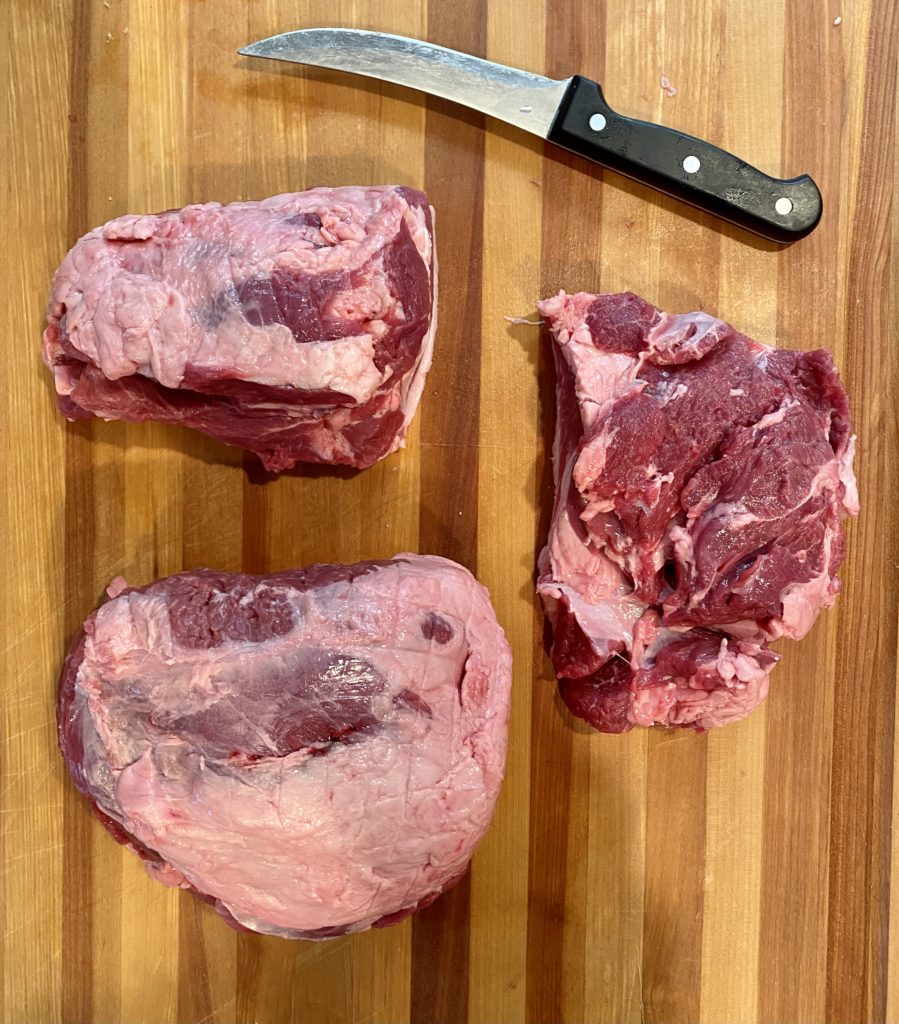
You want to cut the meat into the three pieces of the culatello (bottom), the fiocco (top), and the rumpetto (right). Make sure to do this with clean cuts, not slicing into the muscles. You want to avoid creating air pockets were bad bacteria can propagate.

You can also cure the rumpetto and fiocco as whole pieces if you’ve been able to butcher them well. Here, I bought a bone-out leg of lamb and it was already a bit hacked apart, so I decided to save them for some lamb salami.
Curing
(stored at 4C/40F for 3+ weeks)
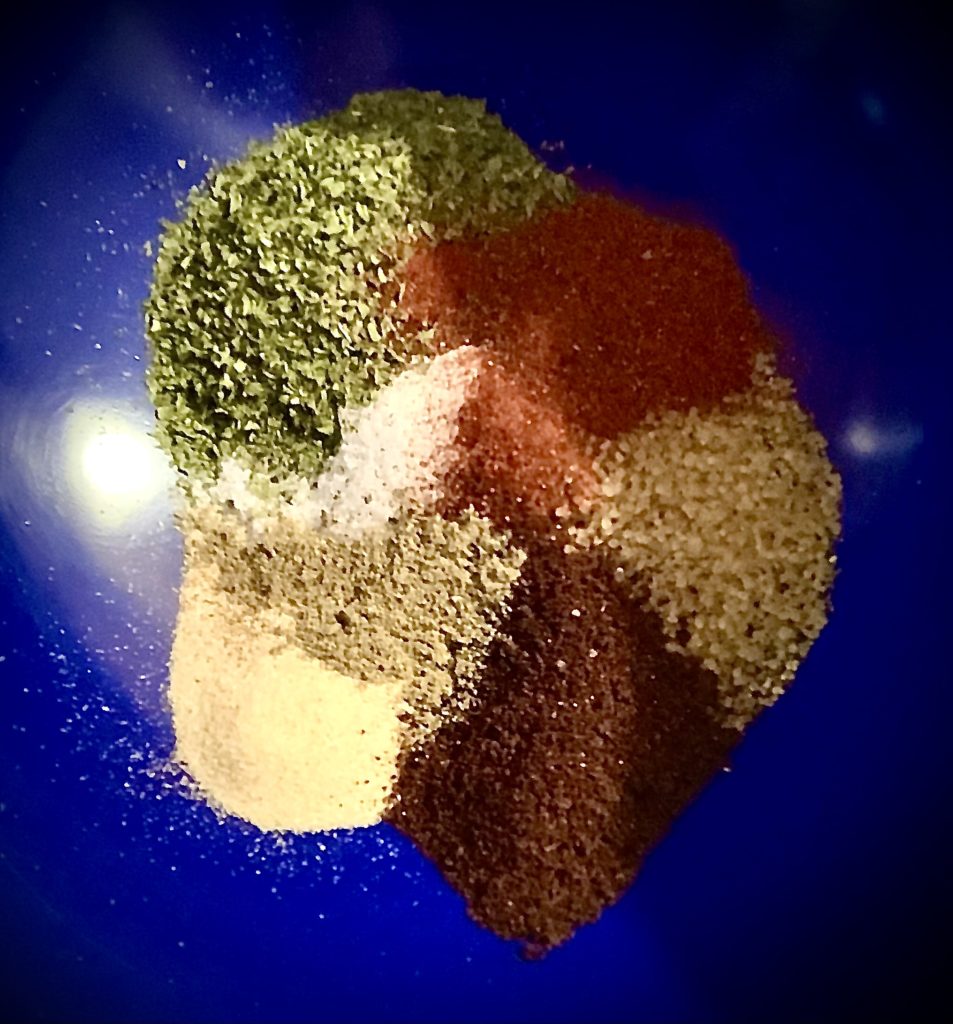
Here, instead of a simple cure as is usually done for pork culatello, I decided to use a spice cure that would complement the flavor of the lamb. You can insert the weight of your butchered lamb culatello into the spreadsheet and it will calculate the weights for the spices for you.
*Please use common sense. Make sure the spreadsheet is working properly for you and double check any calculations that don’t seem right.
The spices measured out smell incredible…

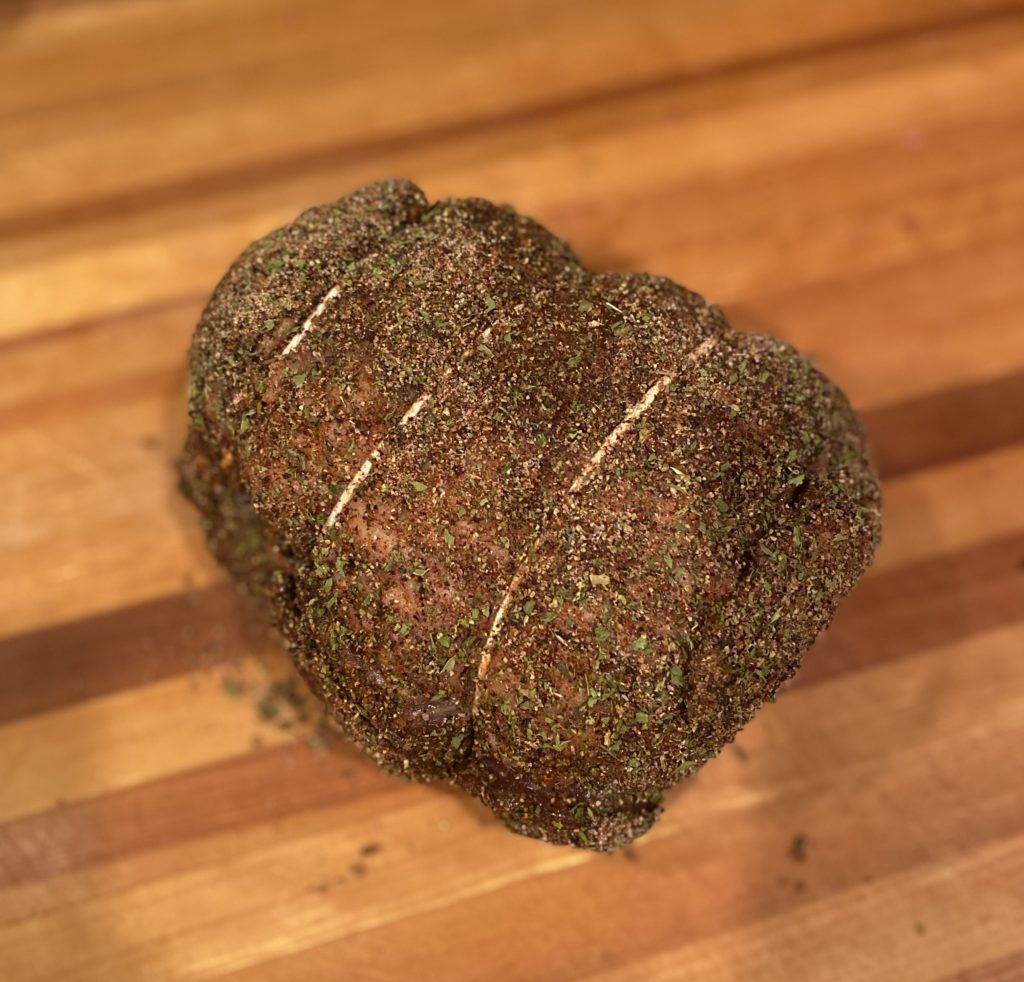
After you have measured out all of the spices, mix it with the lamb culatello that you have butchered out.

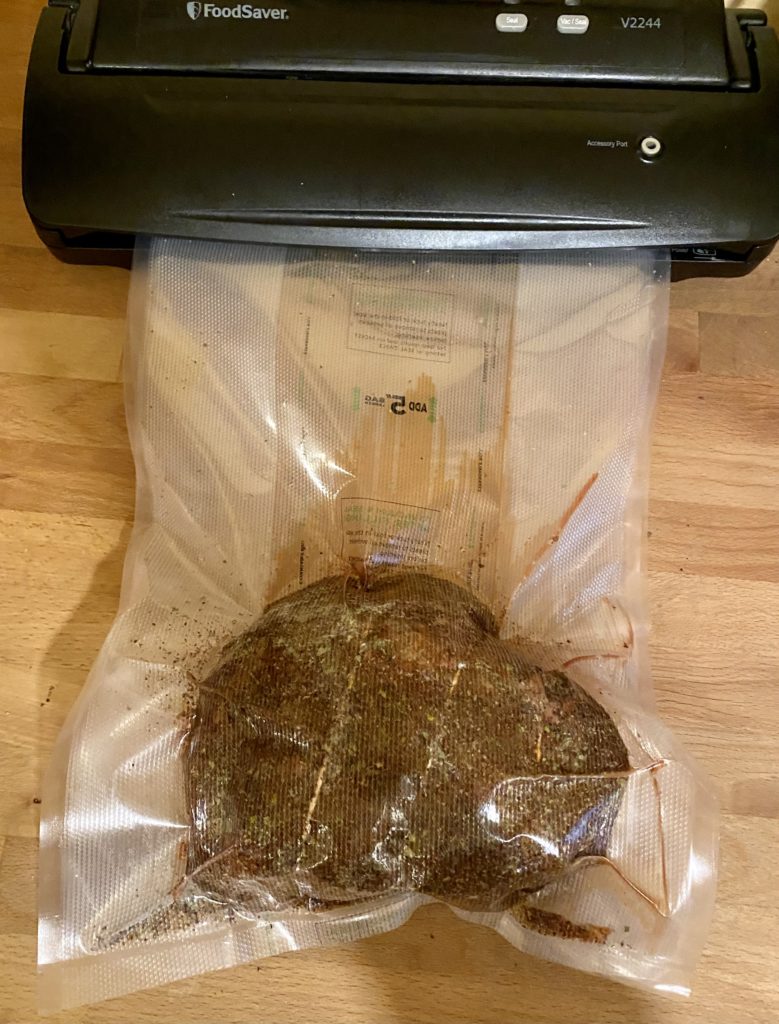
Let it sit for 3+ weeks in the regular refrigerator curing, I like to do this under vacuum to get an even cure.

Casing
After dry curing for 3+ weeks, the lamb prosciutto will be rinsed off and cased in a large beef bung. This will be strung up and ready to hang in the curing chamber.
Drying
(dried in the curing chamber at 13C/55F and 70% RH for ~3 months)
After the lamb culatello is cased and tied, you can hang it in the curing chamber to dry. It needs to hit at least 30% loss of its original weight, at least. I will probably let it go closer to 40%
Tasting
After it’s done, comes the best part. Tasting! This is too be added when the process is complete for the most recent project.
Leave a Reply