Previously, I have discussed the different types of pancetta that are commonly made. You can read more about it in my post here. The take away points are that pancetta can either be semi-dried or fully-dried, made either flat (Tesa) or rolled (arrotolata). I prefer the fully dried version of pancetta, so here I made the fully-dried version of pancetta arrotolata.
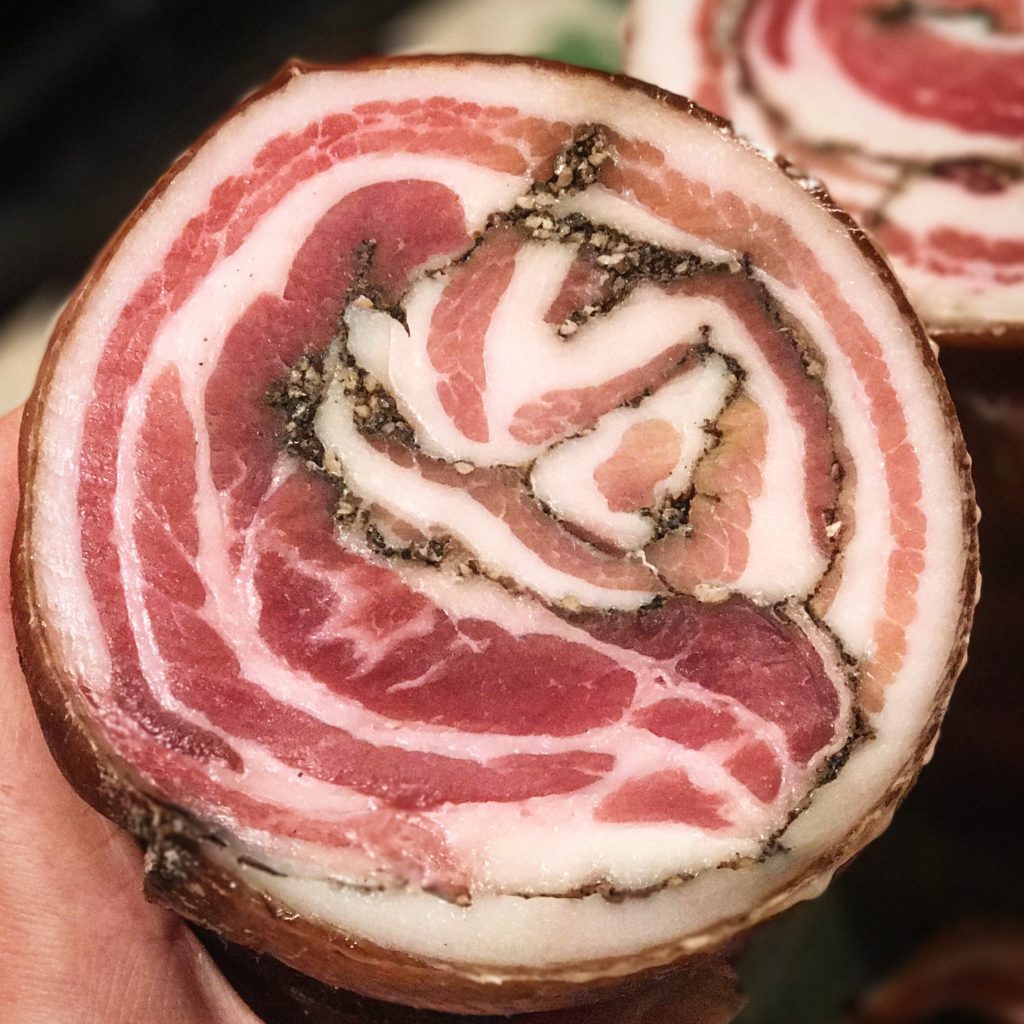
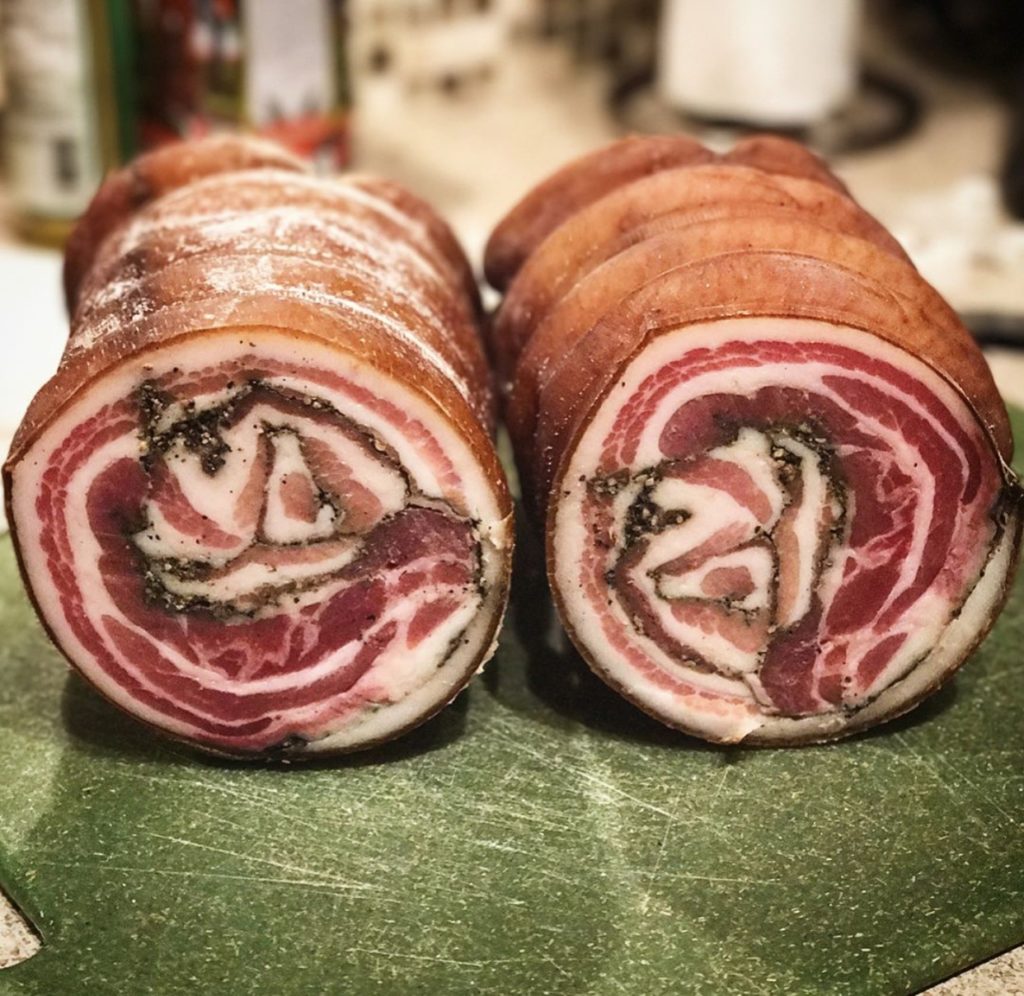
Pancetta arrotolata is what many people traditionally think of when they think of pancetta. Beautiful streaks of meat and fat, winding in and out, creating a circle of perfection.
Planning Phase:
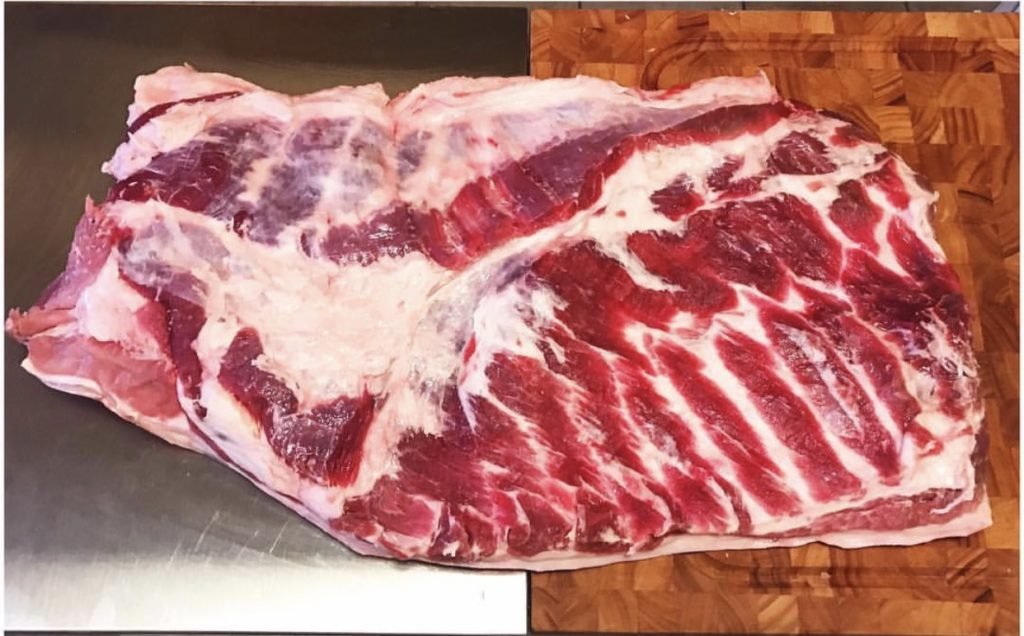
In order to make pancetta arrotolata, you will need to start with a flat pork belly. You can either use a pork belly that has skin on or skin off. Skin on is traditional, and ensures that you will have a slower, steadier weight loss. The downsides are that it can take a lot of time to lose the weight you need and it is a bit trickier to manipulate. I used skin on for mine, but if I were to do it again, I might choose to do skin off and save the skin for another purpose.
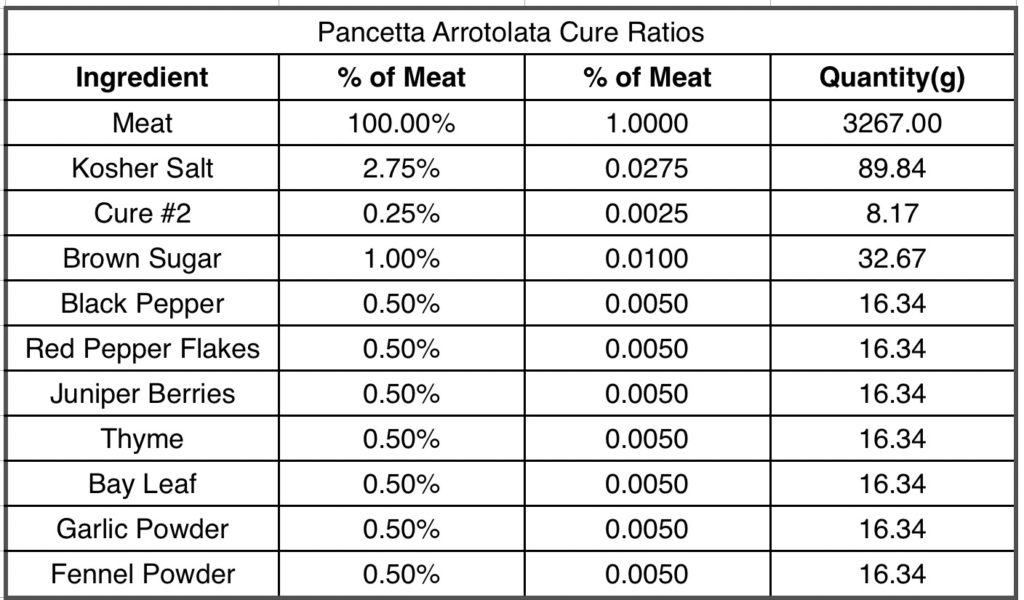
First, weigh the pork belly, and put the weight of the meat into your spice cure spreadsheet to get the values that you need to use for your spice cure mixture. Pancetta is generally made with aromatic spices, so that is what I did here.
Curing Phase (3+ weeks):
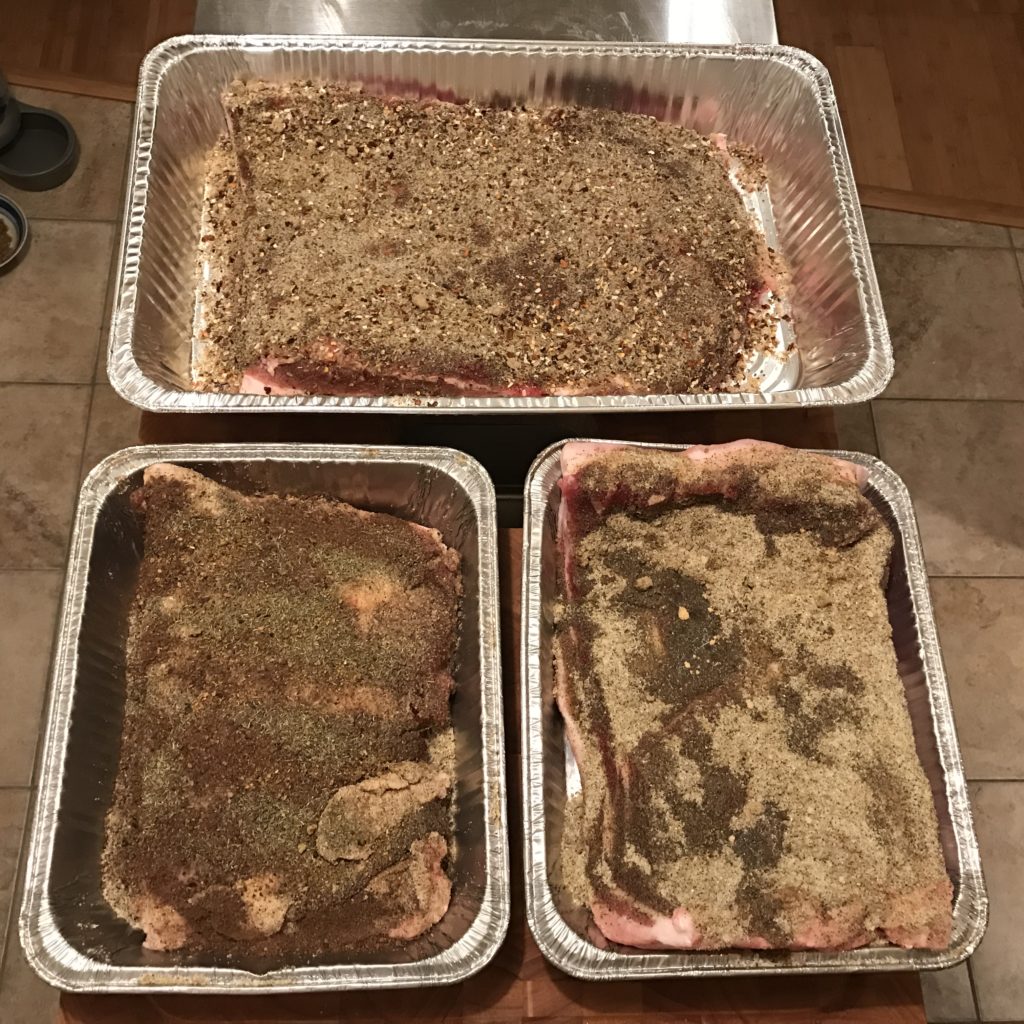
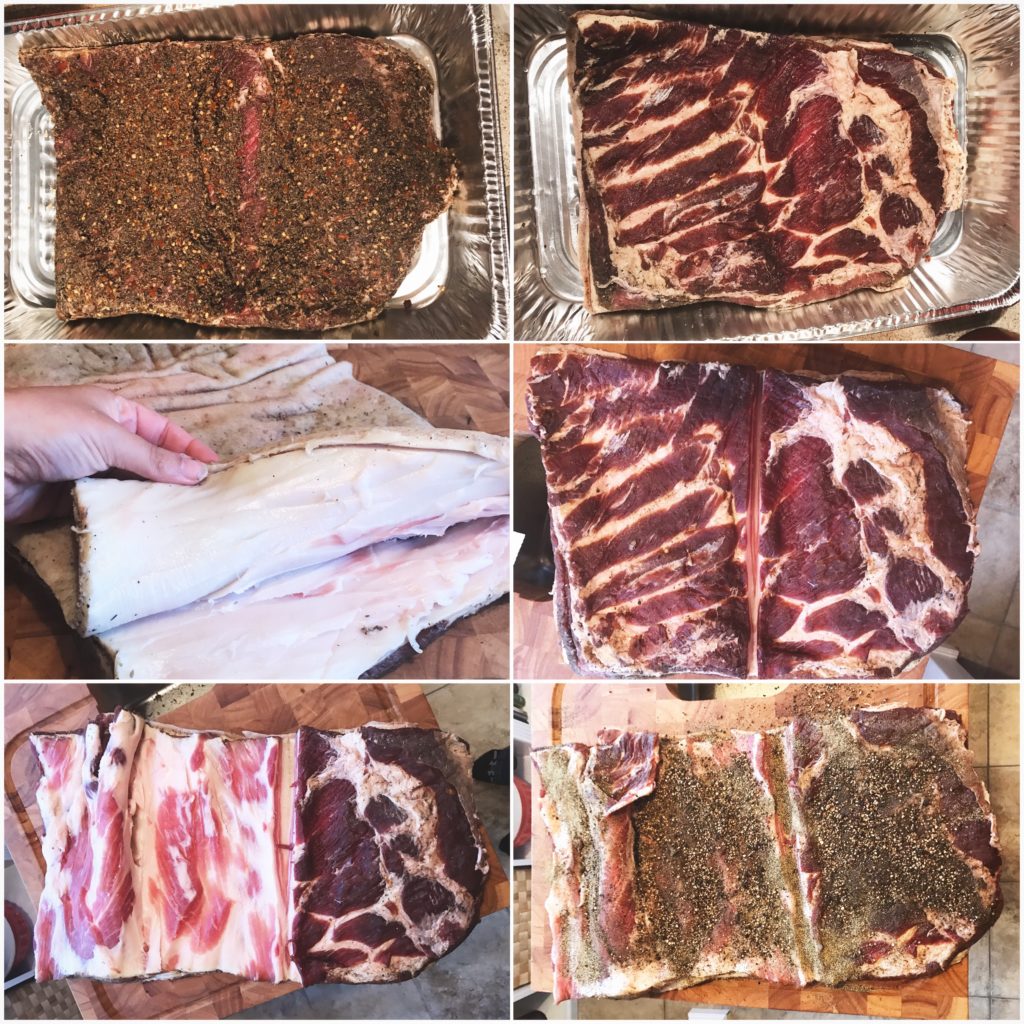
After the spice cure is weighed, mix it, and add it to the meat, making sure cover the meat thoroughly.
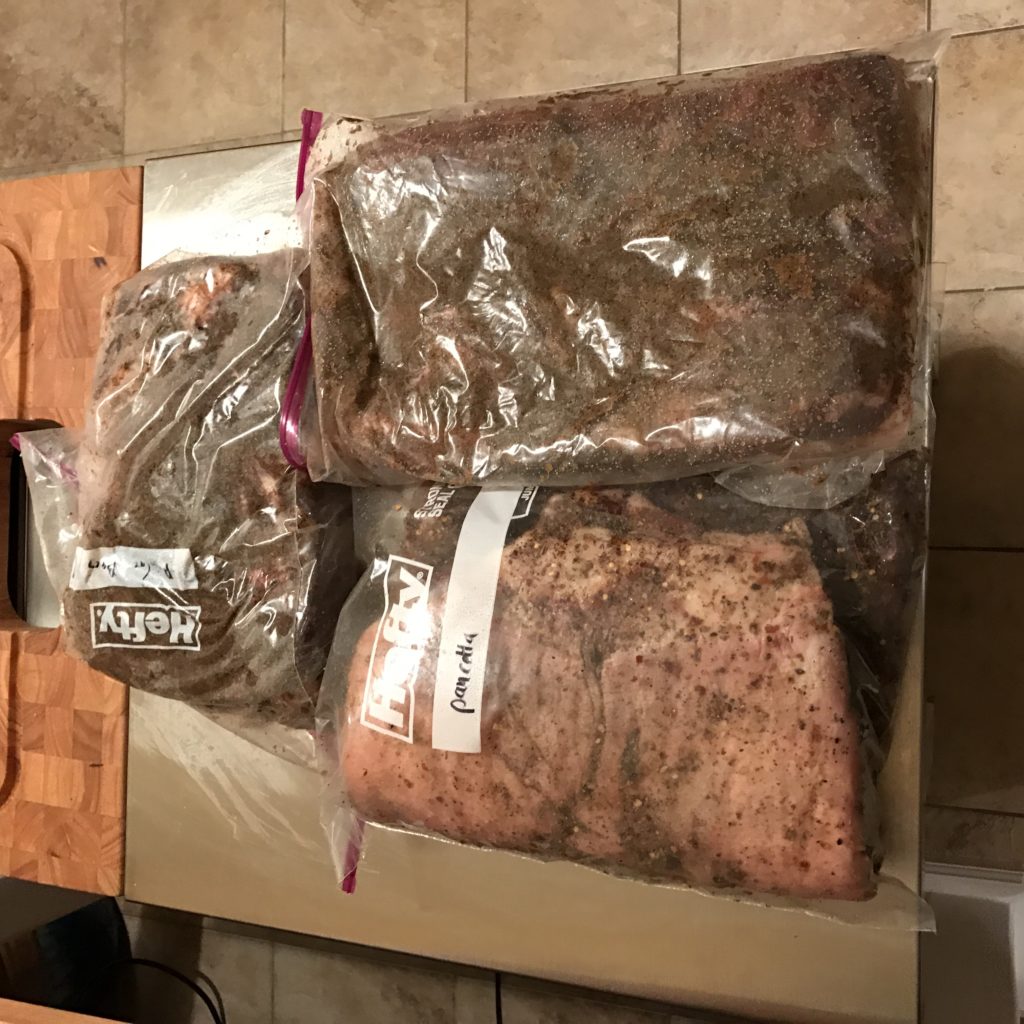
Add it to a vacuum sealed or ziplock bag, and leave it to penetrate the meat for 3+ weeks in the fridge.
Casing and Tying Phase:
After the meat has cured, it’s rinsed and dried. Now, pancetta arrotolata has a few extra steps that pancetta tesa does not have. Anytime you introduce an exterior into the interior of a meat that will be cured, you increase the possibility of things going awry. When rolling the pancetta, you want to make sure that you roll it as tight as possible, so that you don’t introduce air pockets into the cured where undesirables can thrive. Toasted black peppercorns can be added to the meat to help protect against the growth of bad bacteria, as well as for flavor.
There are a few ways to roll pancetta arrotolata, but I chose to use a traditional method. For this method, a flap of skin is removed from the underlying belly, but remains attached to the test of the skin. With the meat side of the belly facing upwards, a cut is made in the center, and half of the belly is cut into two thinner pieces, still attached to the rest of the meat. The exposed meat is covered with black peppercorns, and rolled up from the thin side to the thick side. My butchering left a bit to be desired, but take a look at the pictures to get an idea of what I mean. If this sounds too complicated for you, you can just roll the belly up tightly, making sure to cut off the skin on the areas that will be rolled into the interior.
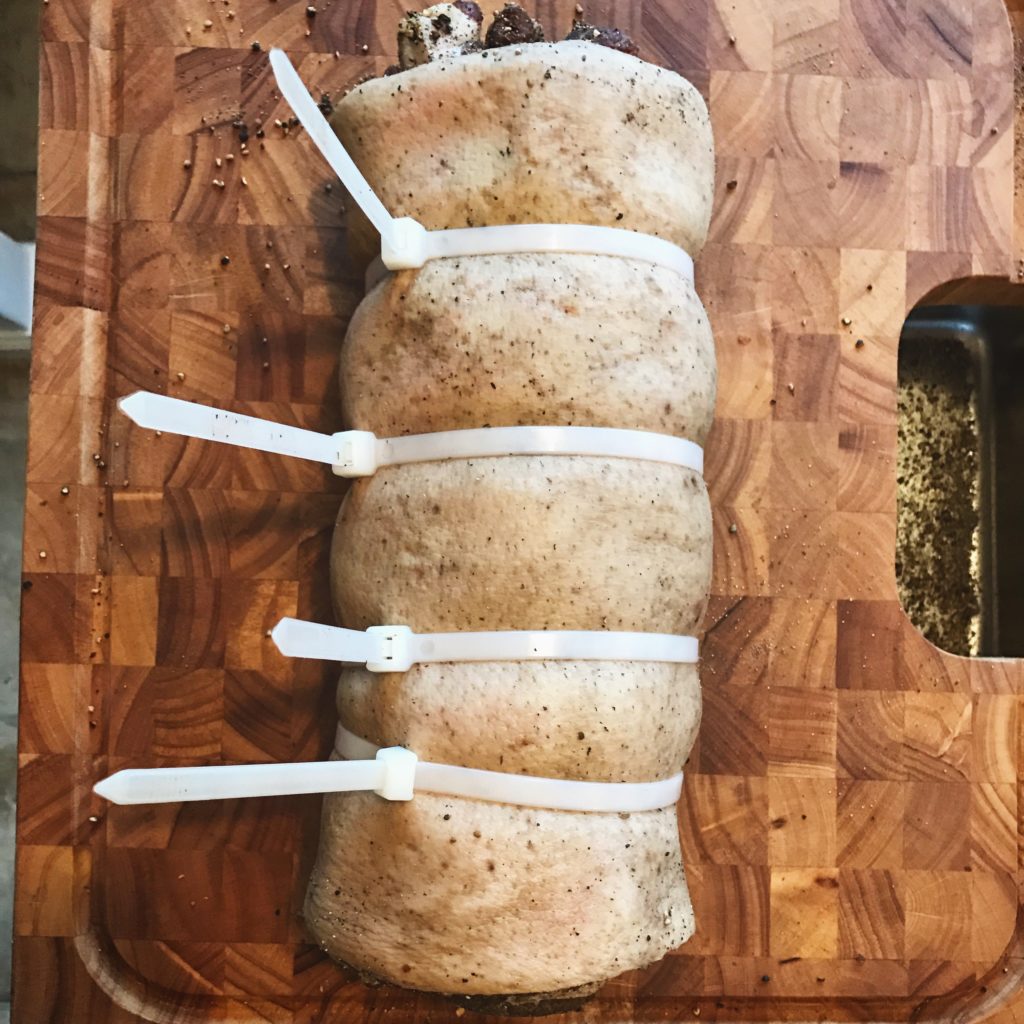
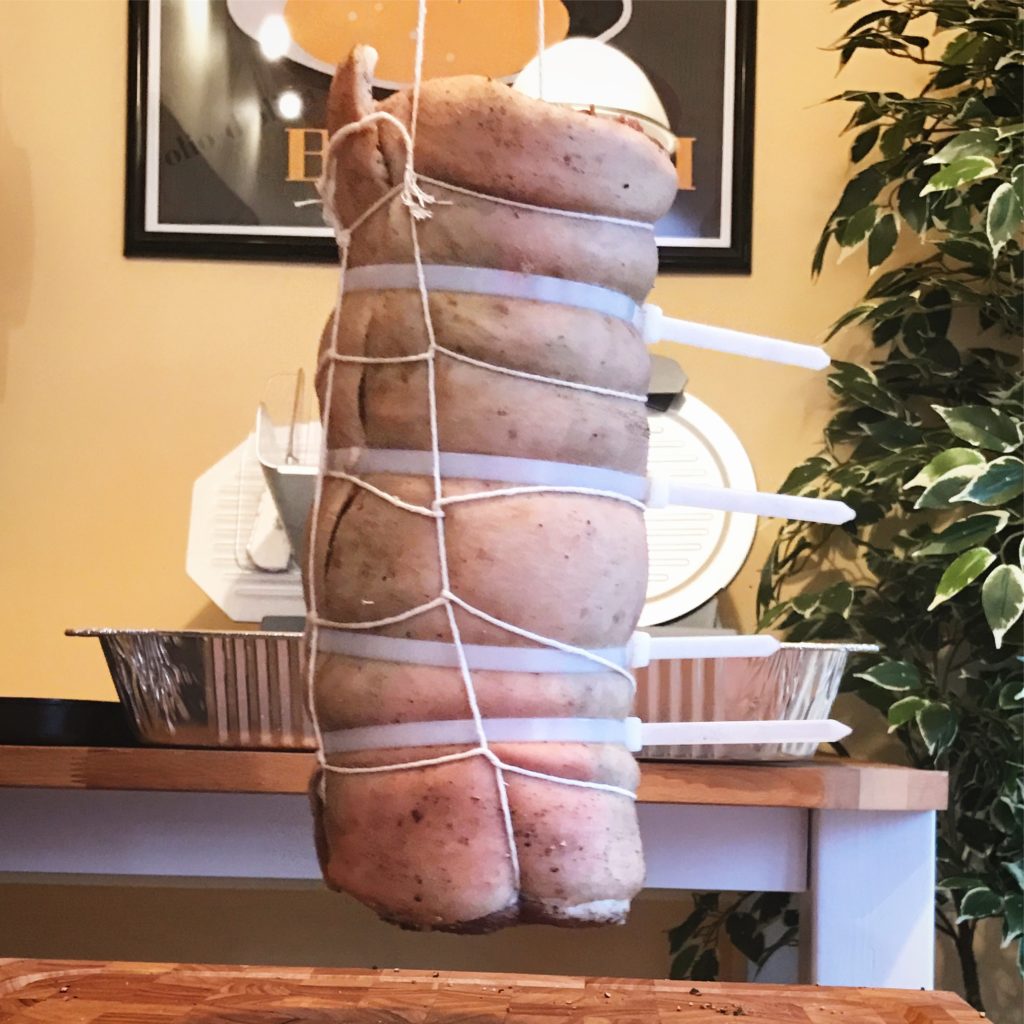
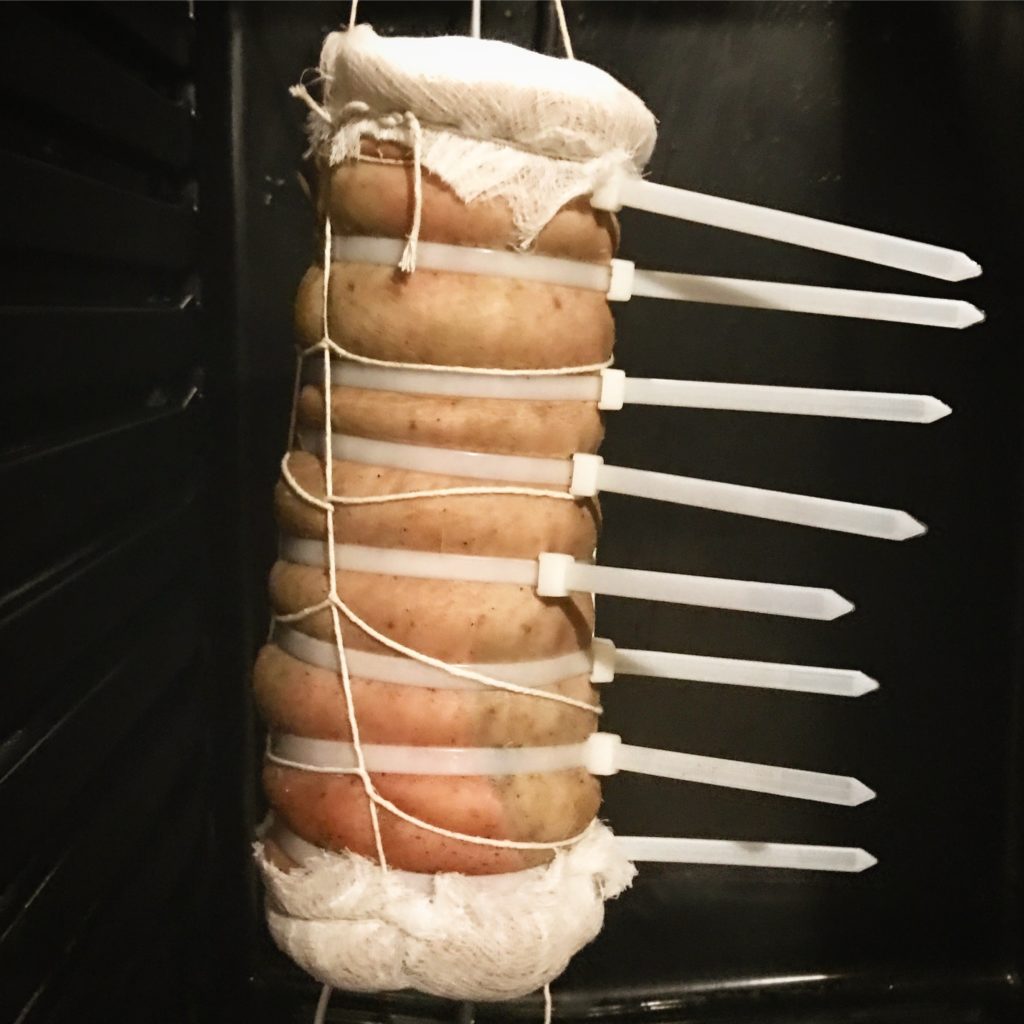
After the belly is rolled up tightly, you want to make sure it stays that way. Traditionally this is done by tying string around the meat and making sure it’s as tight as possible. Another way to do this is to use zip ties. Zip ties are less aesthetically pleasing, but I wanted to make sure that I didn’t get a ruined piece of meat at the end with a lot of air pockets and interior mold growth, so I used them.
The skin acts as a natural casing for this meat, so you don’t need to case it if you are doing it skin on. If you are doing it skin off, I would suggest using a natural casing to slow the weight loss and to maintain more even drying. After its all tied up tightly and cased, I added string to hang it.
Drying Phase (3+ months)
55F/70%RH
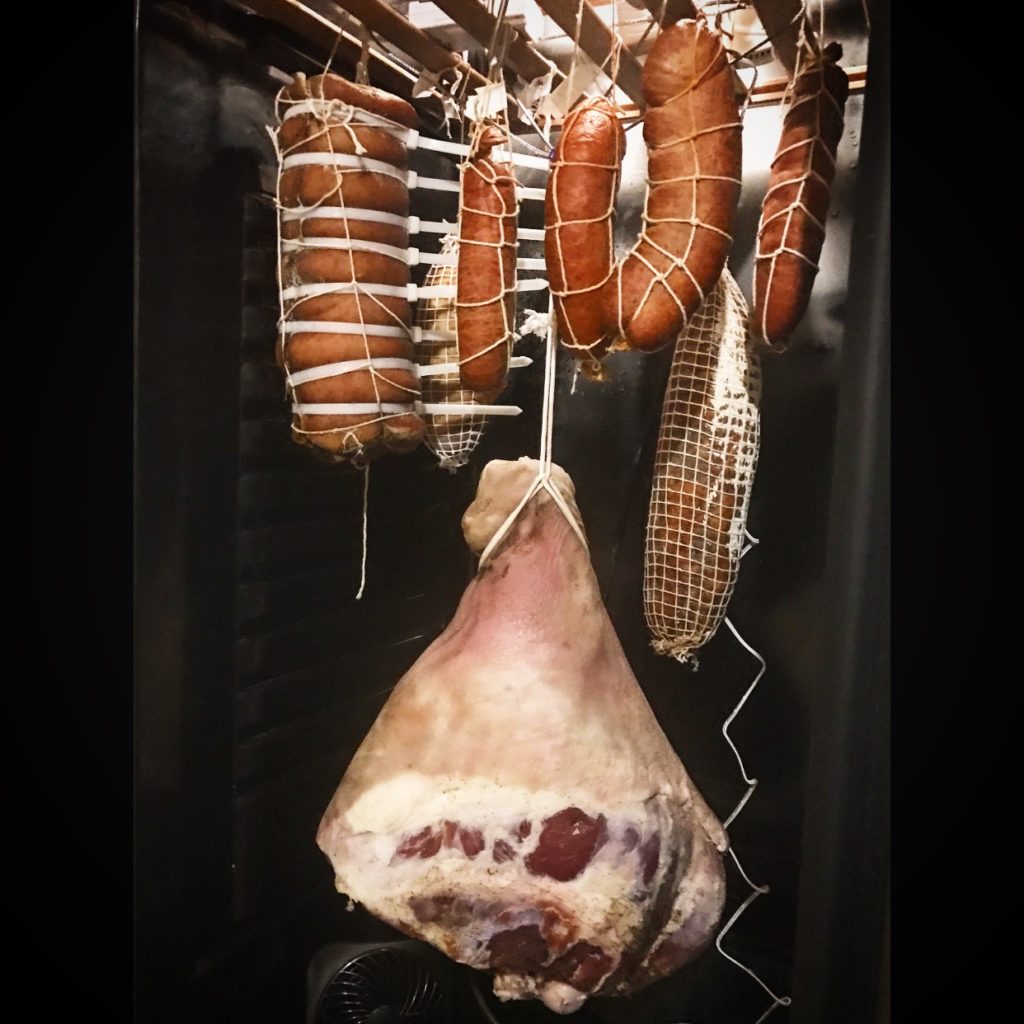
It was allowed to hang in the curing chamber at 55F/70%RH. My target weight loss was 30%, but I was happy to pull it when it reached 20% due to its high fat content.
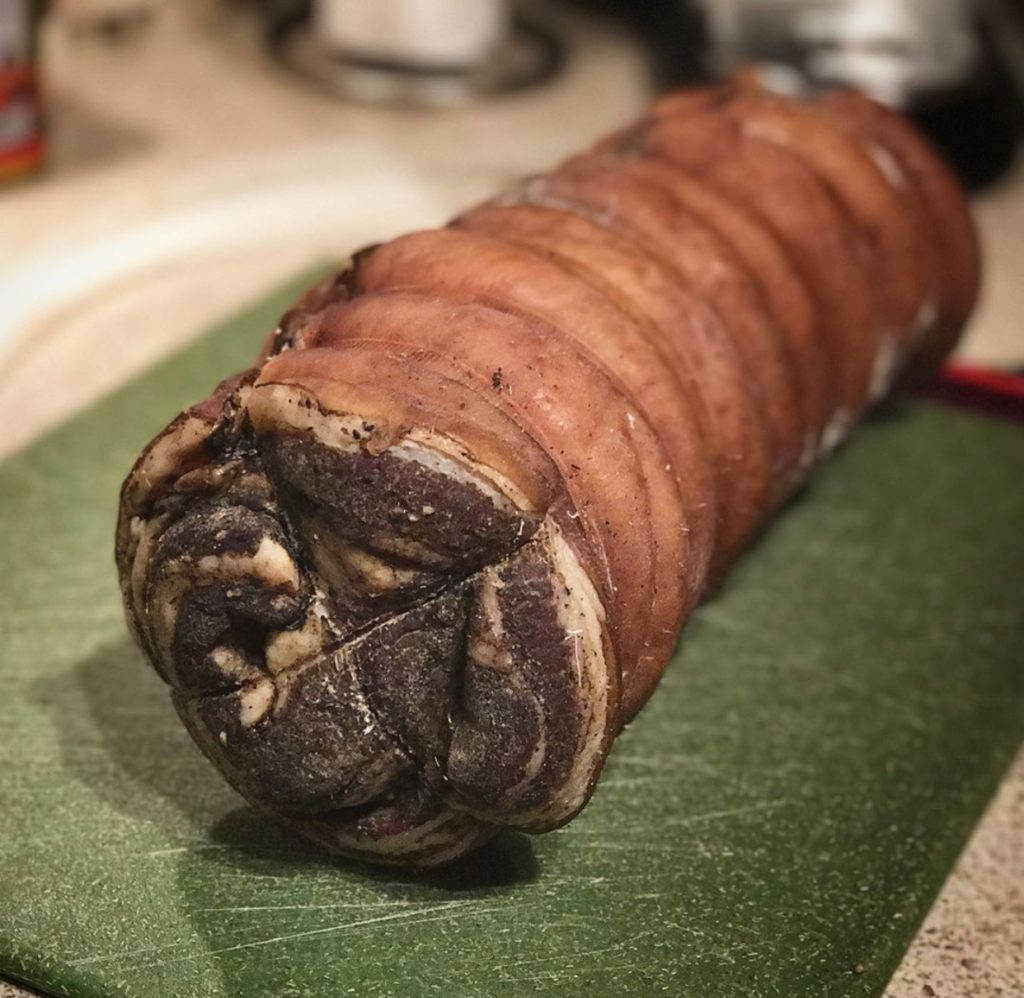
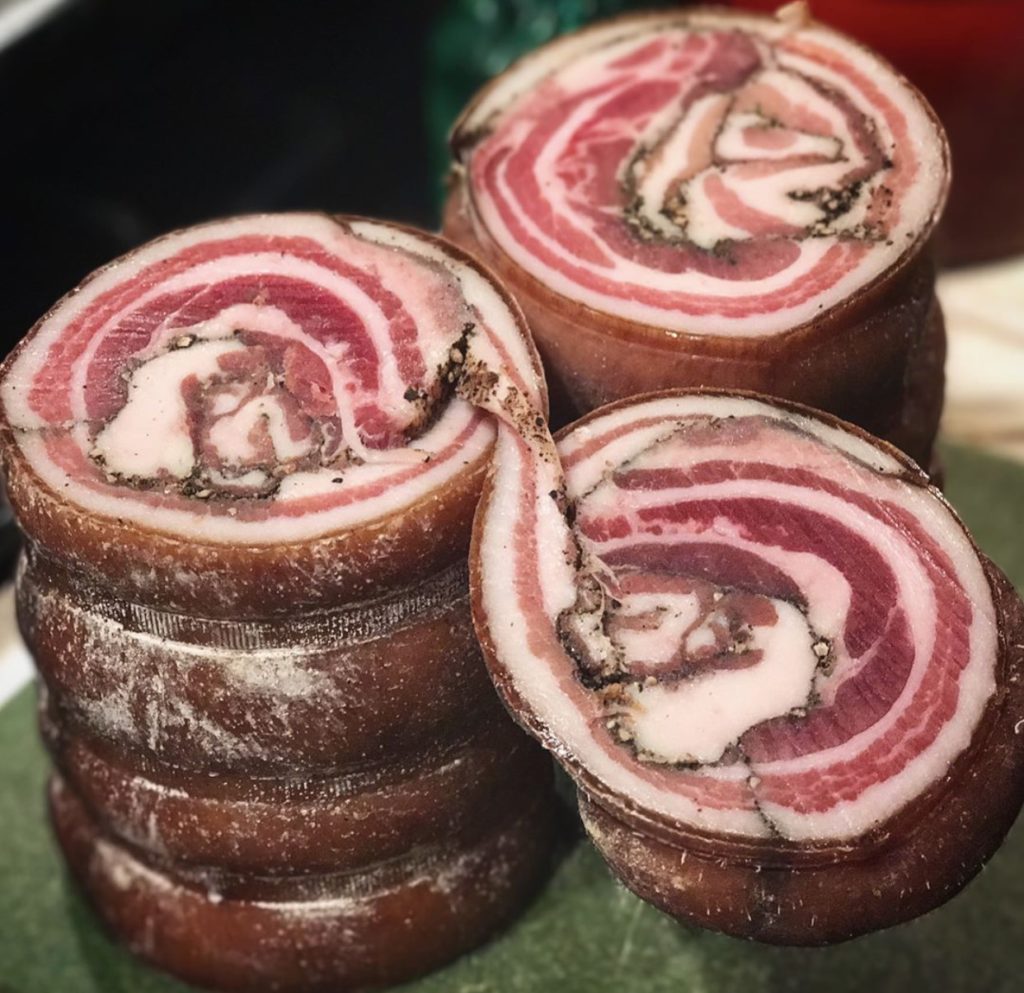
After 3-4 months, I pulled the pancetta arrotolata at ~20% weight loss.
The outside looked gnarly.
But the inside looked beautiful.
Decadent and delicious.
Disclaimer: Meat curing is a hobby that comes with inherent risks. We can all do things to limit this risk by educating ourselves about the process and the utilizing the safest known methods to create our products. This website is for educational purposes only, and all experimentation should be done at each individuals own risk.
The wide zip ties are brilliant, sir! Why are we relying on centuries-old ways when technology gives us a thoroughly better, more sure, safer way that is also mechanically more secure over time? You have hit the nail on the head with this, and I will do this from now on. Bravo, maestro!
Thanks!! Yeah, I thought it would make quite a lot of sense. A good way to mix tradition with modern technology.
ZIP TIES BRILLIANT!!
Ha! Thanks, they worked well!