Chorizo! Chorizo! Chorizo! There are so many different kinds of chorizo that it can be hard to know where to begin when talking about chorizo. Some chorizo, such as Mexican style chorizo, is a fresh sausage that is great to crumble and cook with eggs for breakfast. Fresh sausage chorizo are great and can liven up any dish that they are added to. But for me, the real magic is in the Spanish style, dry cured chorizo. Spanish style chorizo is made using a combination of Spanish spices, prominently both dulce and picante pimentón de la Vera. Like any other dry cured salami, it is allowed to hang after it has been mixed and stuffed, until it loses ~30-40% of its initial weight, and is ready to eat at that point. Unlike the fresh style chorizo, the Spanish style chorizo does not need to be cooked to be eaten. The combination of spices in this Spanish style chorizo are fantastic, and it is one of my all time favorite salami. Packed full of flavor, its great however you want to eat it.
Planning
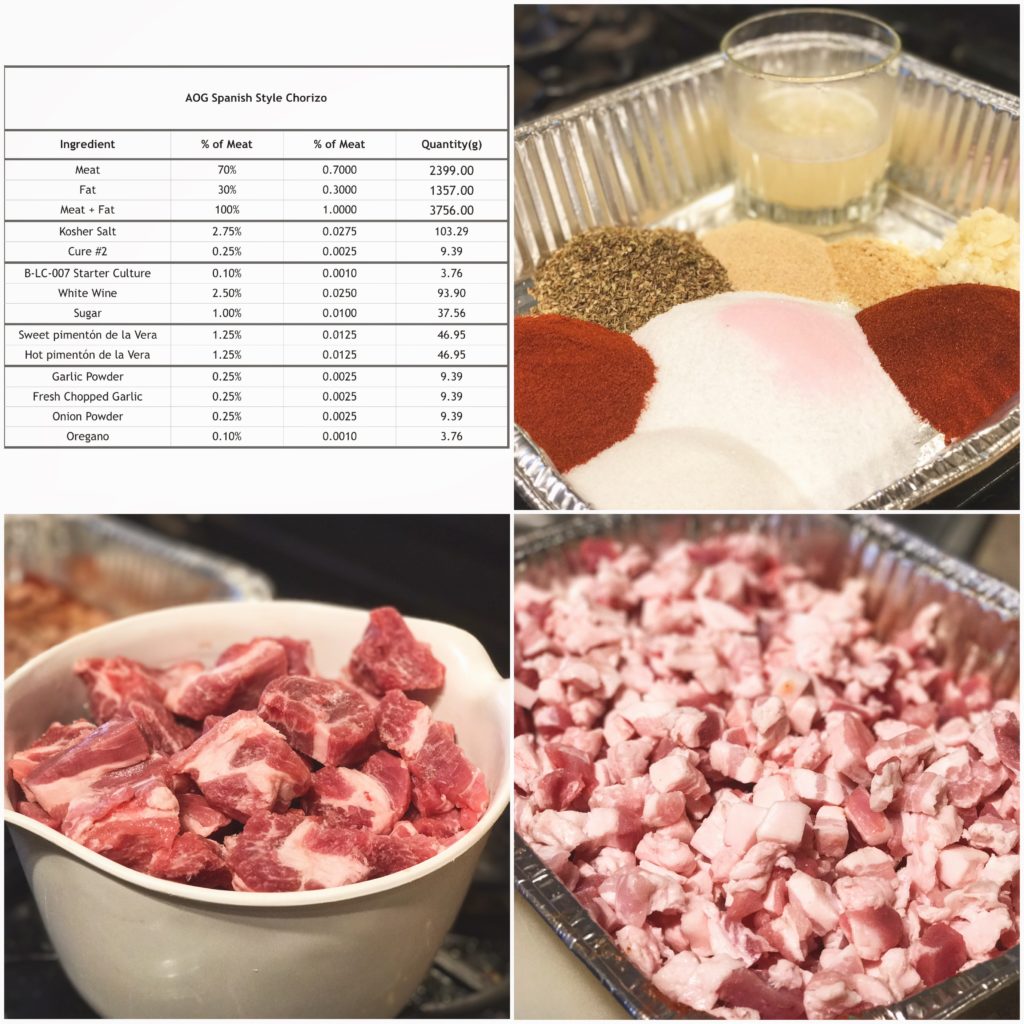
For this salami, you want to use pimentón de la Vera, not just any old paprika. Good quality flavor makes all the difference. Other than that, it’s a pretty simple recipe, so the other spices are ones you probably will have on hand. The ratio of meat/fat is the usual 70/30 percent. I tend to use meat from the shoulder for the meat and belly fat for the fat (because I love the flavor/texture of belly fat) but it is more traditional to use the more firm back fat for this. Whatever you choose to use, just make sure your fat is at least 30% of the total meat weight. Once you’ve weighed your meat, put the value into your spreadsheet, and calculate how much of each spice that you will need. I used a 50/50 sweet to spicy pimentón de la Vera, but if you prefer more spice, you can up the percentage (just make sure to keep the total percentage of the pimentón de la Vera at 2.5% of the weight of the meat). My ratios are below.
Cubing
After you have planned the ratios for your meat, it’s time to get started. Making sure you keep everything cold (I par freeze my meat before hand and return it to the freezer when I am done working with it), cube the meat into 1 inch pieces that will fit into your grinder. For this salami, I really prefer to have my fat hand diced, so I cut it into ¼ inch pieces. If you want to grind it, cut it into 1 inch pieces like the meat, and grind it through a coarse die.
Grinding and Mixing
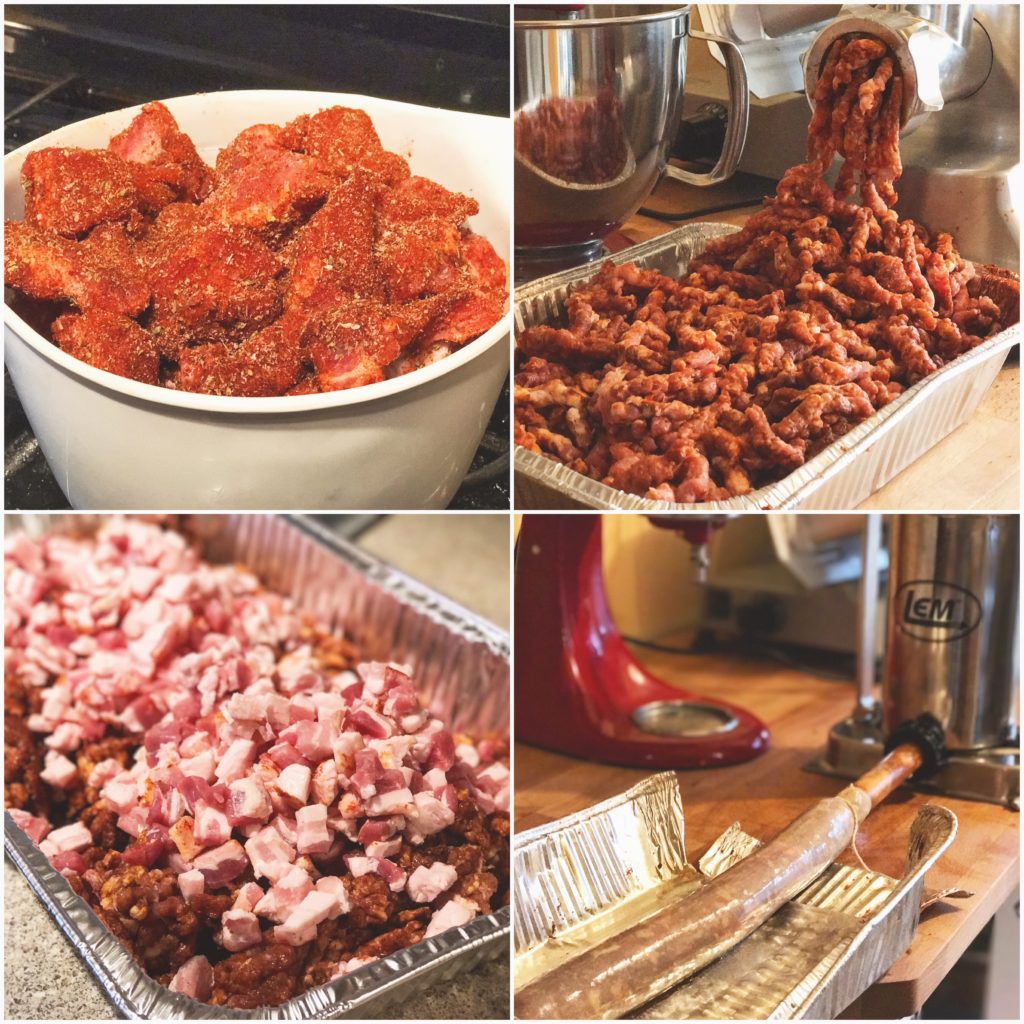
Grind your meat (and your fat if you are not choosing to hand cut your fat) while it is still partially frozen to make the process go as smoothly as possible. I grind the meat on a medium grind, and the fat on a coarse grind (if I am grinding it). You can mix the spices with the cubed meat before you grind it, or with the ground meat afterwards. I generally mix it before hand to get better spice distribution.
After grinding the meat, making sure to keep it cold throughout the entire process, you want to mix the meat, fat, and spices together to get a nice bind. I used a stand mixer on the slowest setting for this, although you can also do this step by hand. You want to mix it enough to get a good bind, but not so much that it becomes mush.
Stuffing
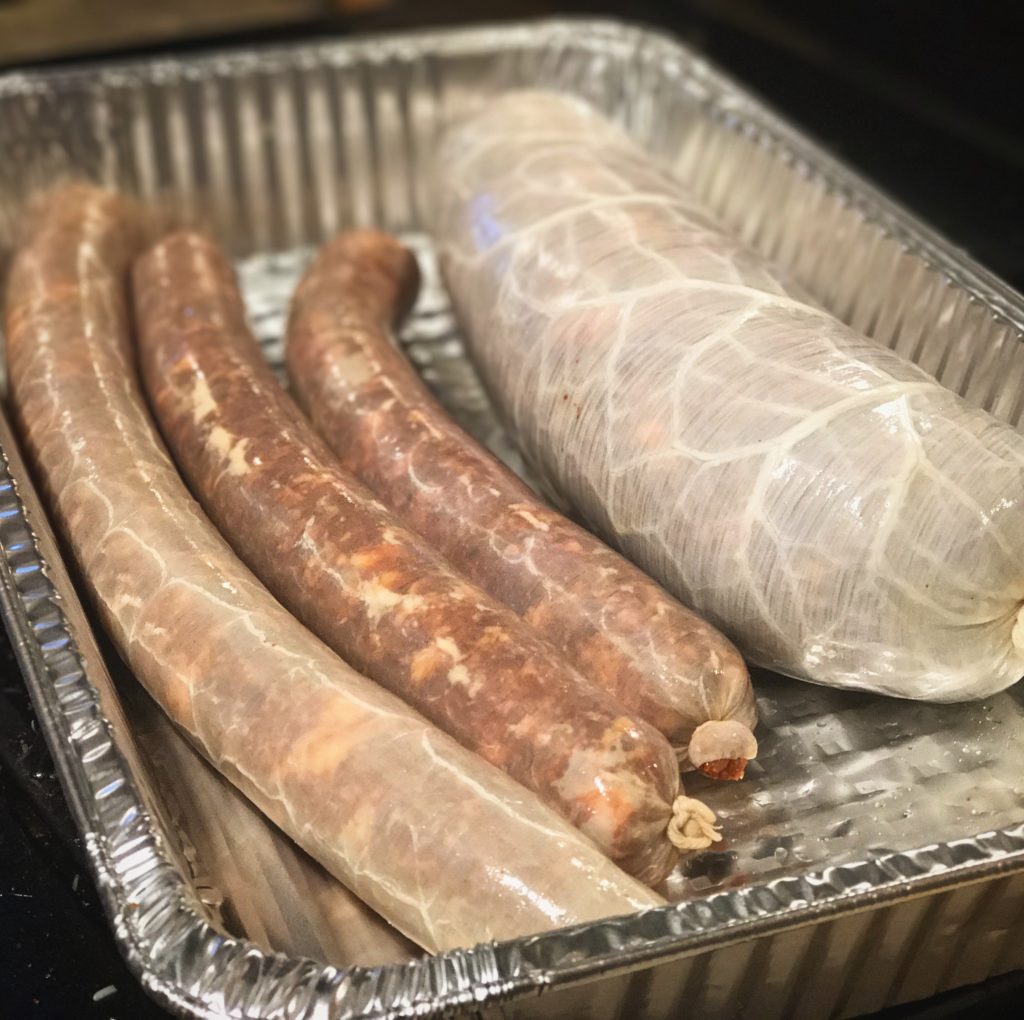
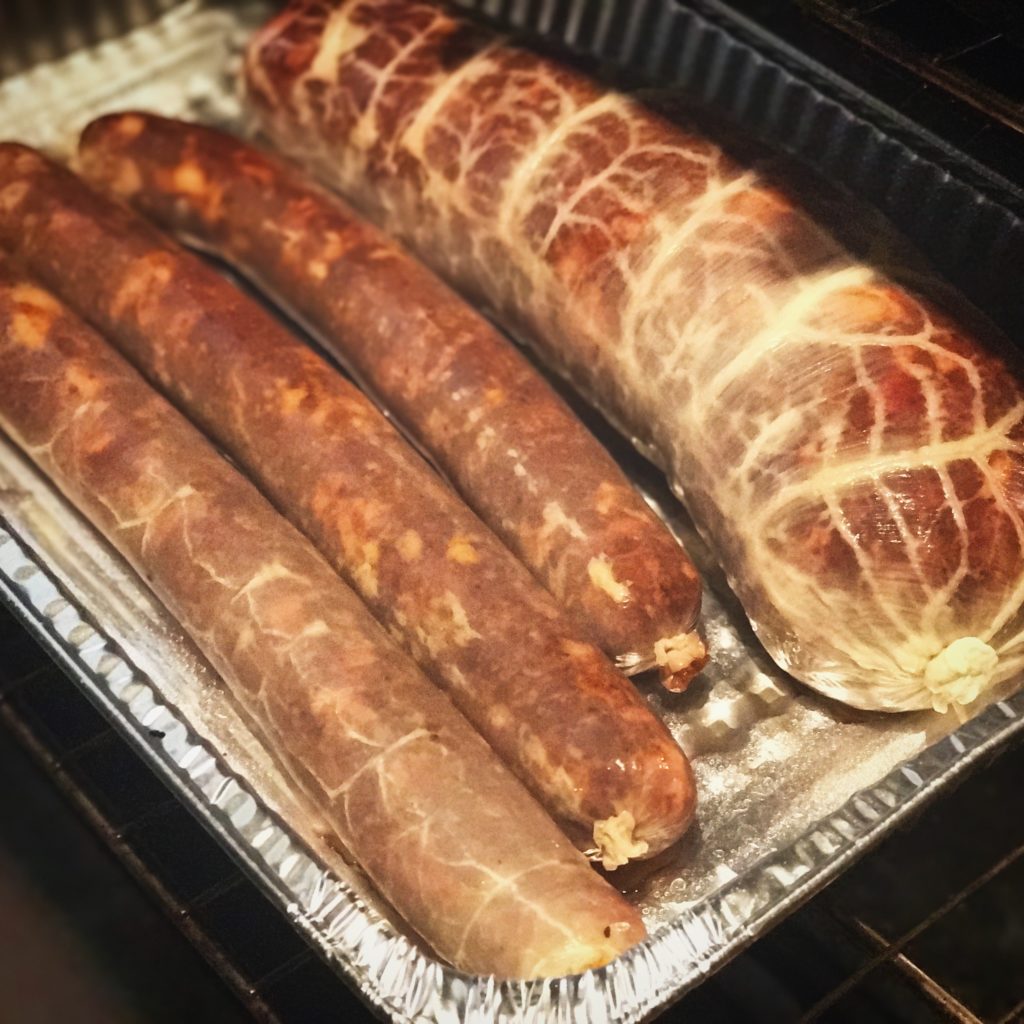
After the meat has been mixed together, it’s time to stuff it. I used two different diameter casings for this, smaller diameter beef middles and larger diameter beef bungs. The smaller diameter ones are more traditional for Spanish style chorizo, but I like a larger diameter salami, so I made one for fun.
Fermentation
Temperature: 75ᵒF/23-24C (strain dependent)
Humidity: 80-90% RH
Time: 48-72 hours (until pH drops to at least 5.3)
After the chorizo has been stuffed, it’s time to allow it to ferment. The conditions for the fermentation will be strain dependent. I use B-LC-007, which is a starter culture that requires temperatures of ~70F and a relative humidity ~80-90%. I let the chorizo ferment for ~48 hours, which is about the time it should take to allow the pH to drop into the ideal range. I don’t currently use a pH meter (they’re relatively expensive), but if you have one, now is the time to use it. Ideally, you want to see the pH drop to around 5.3.
Cold Smoking
It is not traditional to cold smoke chorizo, but you can if you want to. For an experiment, I cold smoked one link of this chorizo that I made to compare it to the others during the tasting phase. Make sure you smoke with a complimentary wood (I used beech for this) and that you keep your temperatures in the actual cold smoking range (<90F).
Drying
Temperature: 54F/12C
Humidity: 70% RH
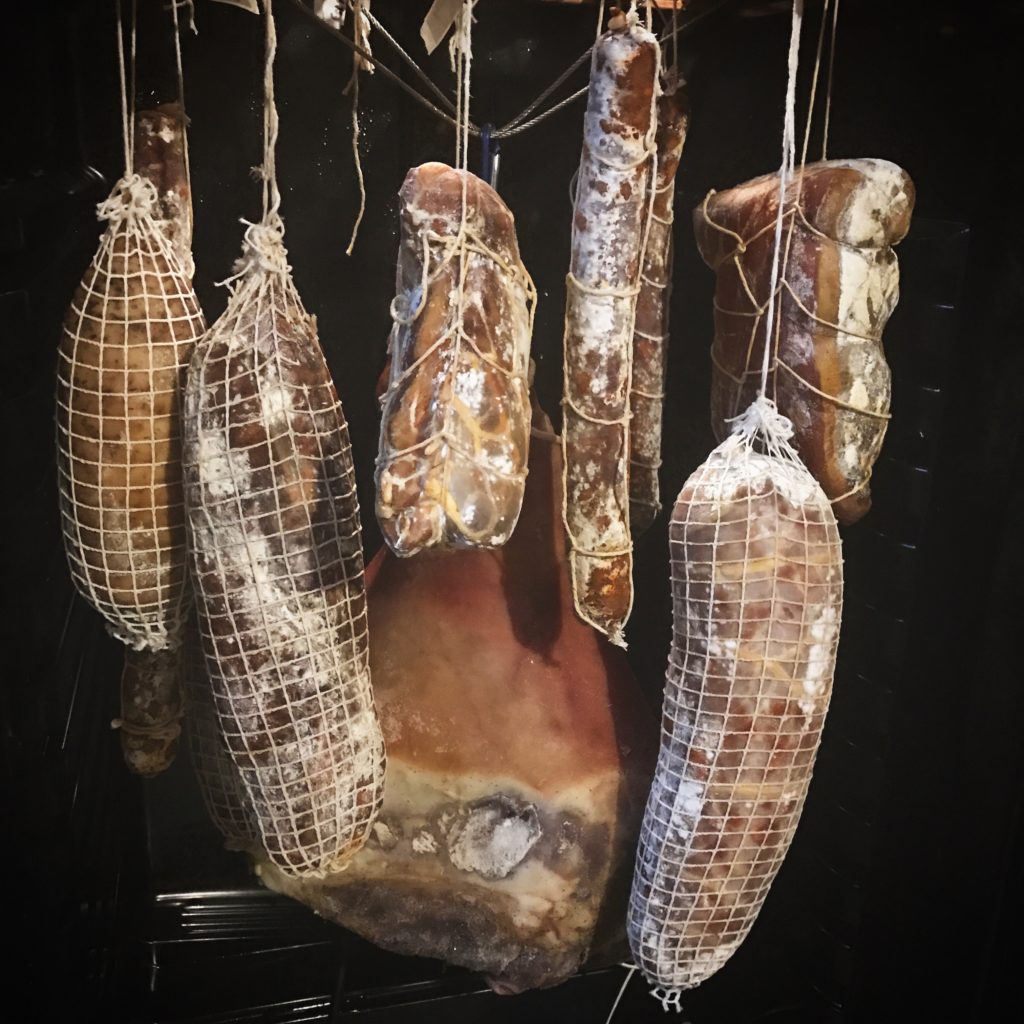
After the meat has undergone fermentation, it’s time to let it dry. I hang it in my curing chamber in the usual conditions, ~55F/70%RH, until its lost ~40% if its initial weight. If you want it to be more firm, you can let it go even longer than 40%, but I like mine to be a little on the softer side.
Tasting
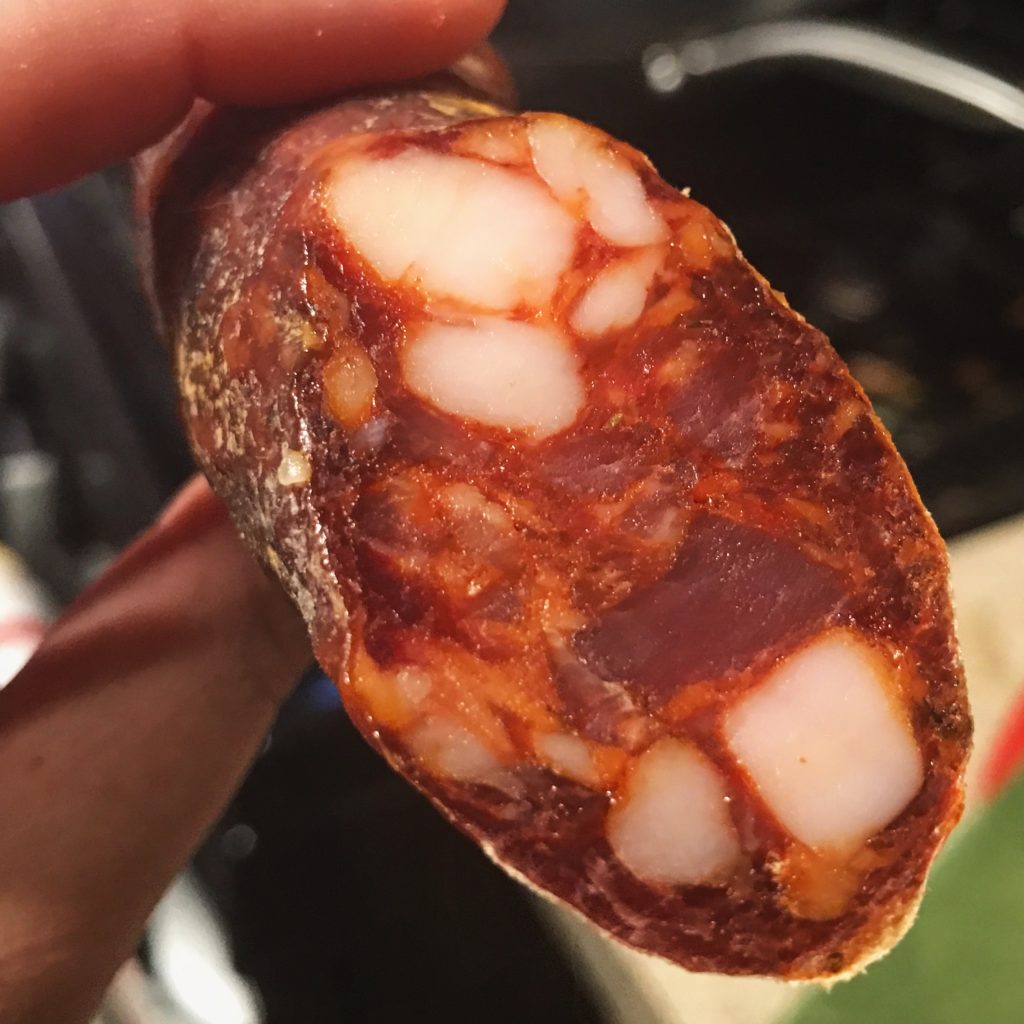
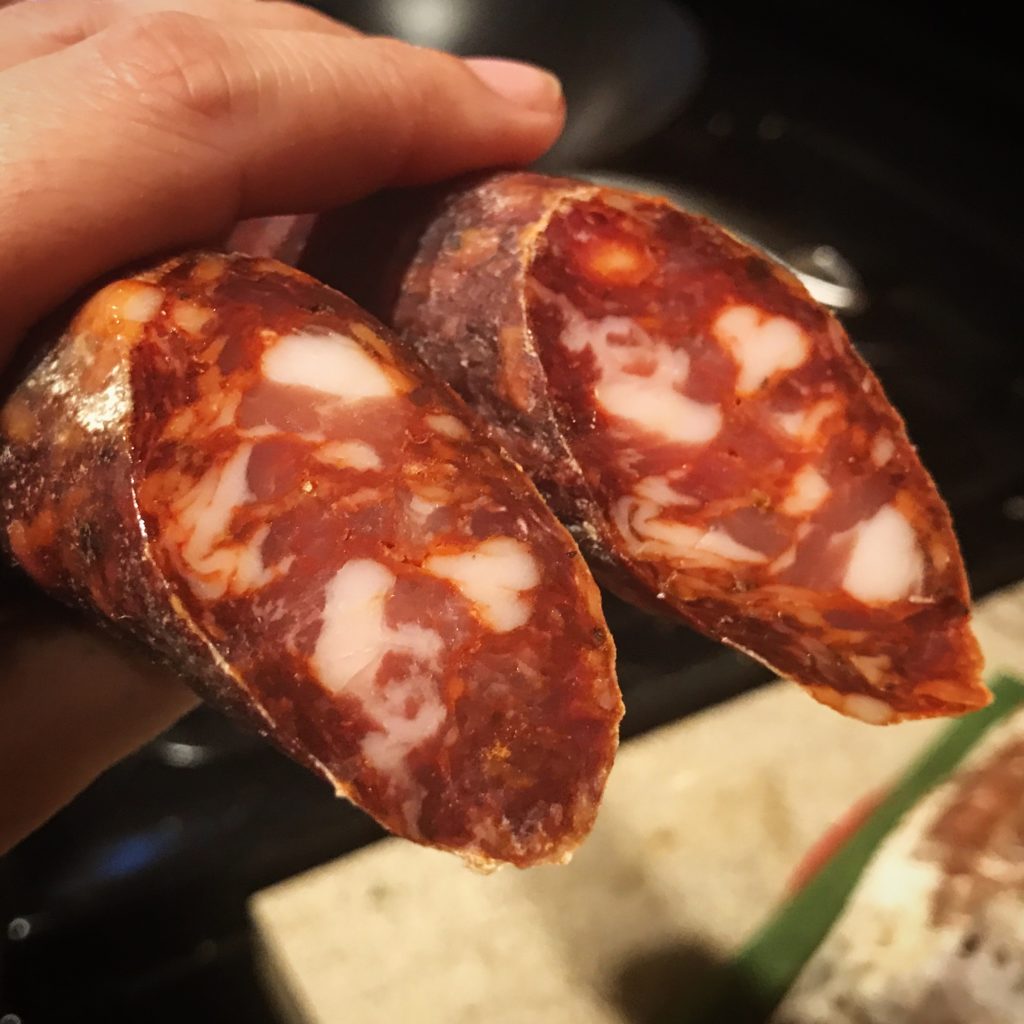
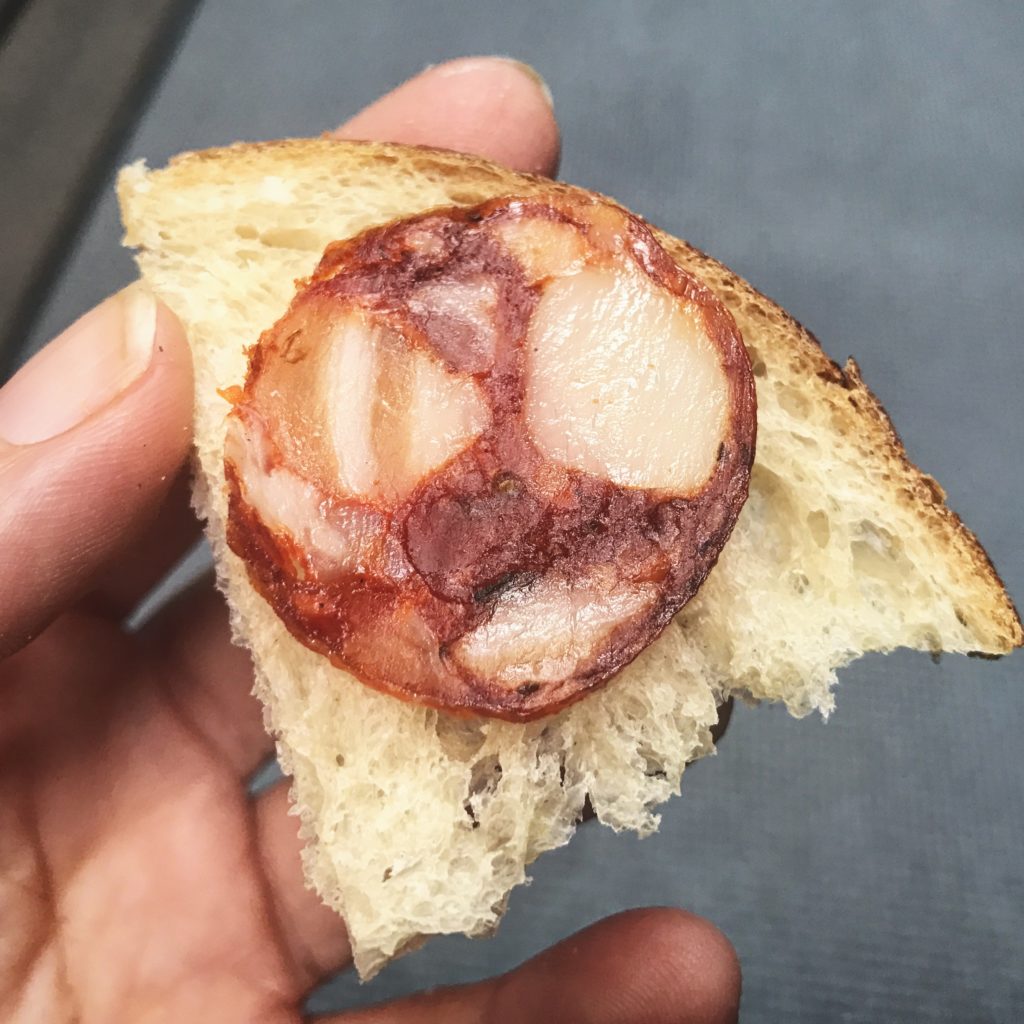
The best part is always the tasting! After the meat has lost the appropriate amount of weight for your tastes, you can pull it from the curing chamber. For this, I pulled the smaller diameter chorizo first.
I compared the flavor of the smoked chorizo to the non-smoked chorizo.
I personally preferred the non-smoked, but others who tried it preferred the smoked. I think it’s one of those things that is up to personal tastes.
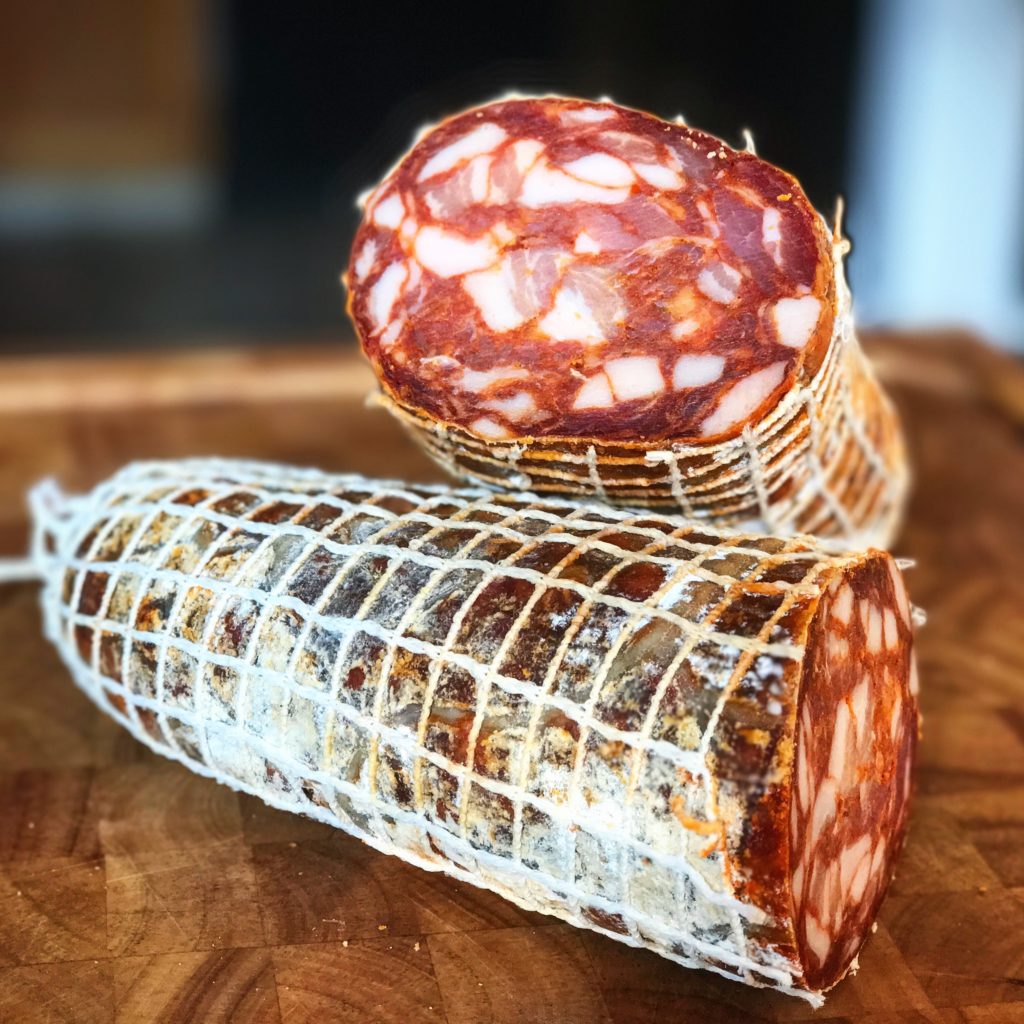
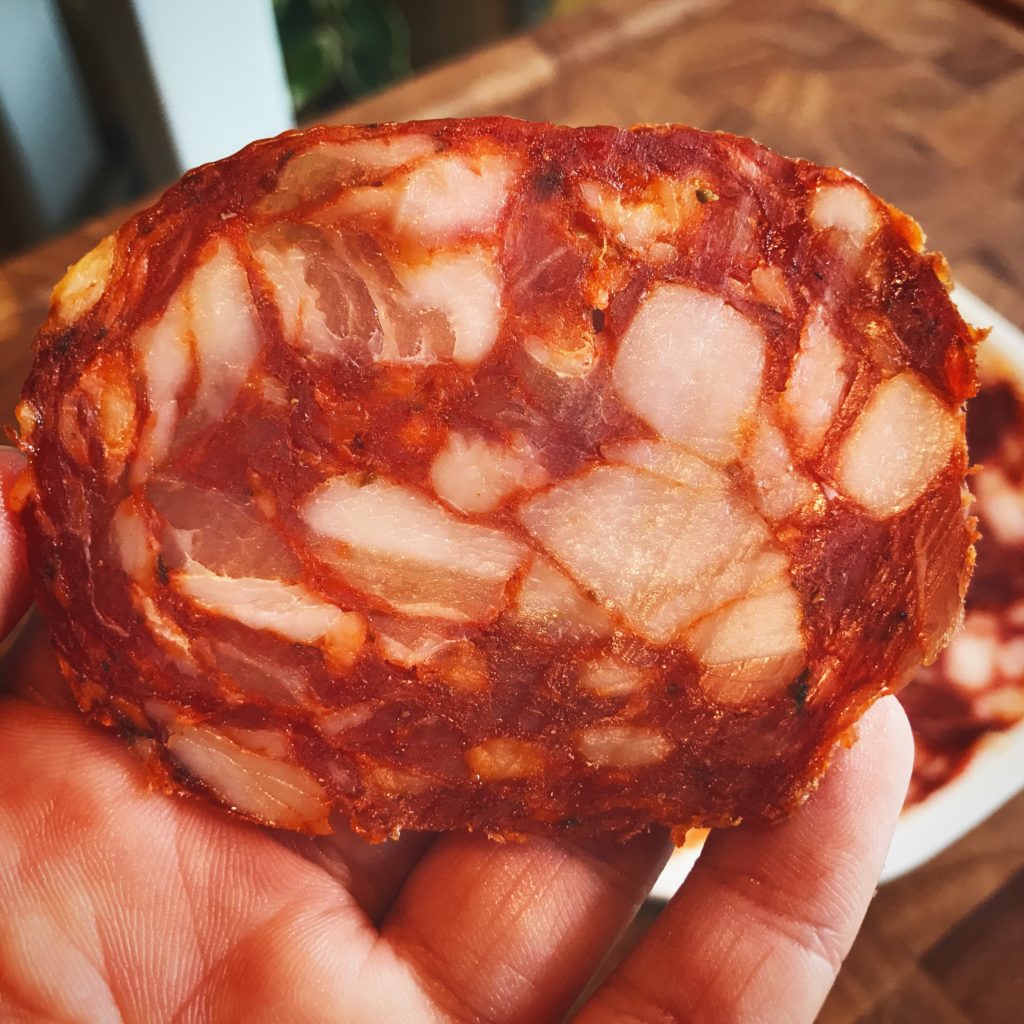
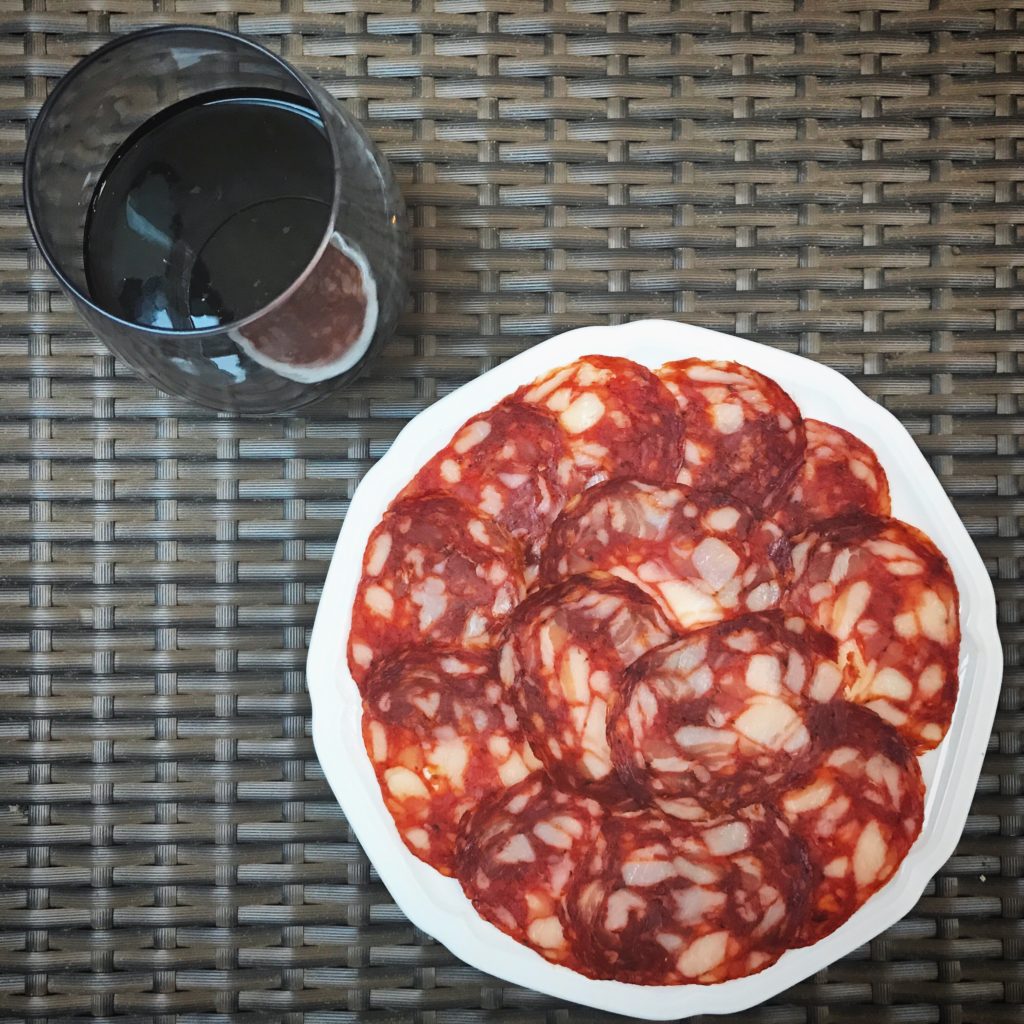
After the larger diameter salami lost the appropriate amount of weight, I pulled it as well. This one was great!
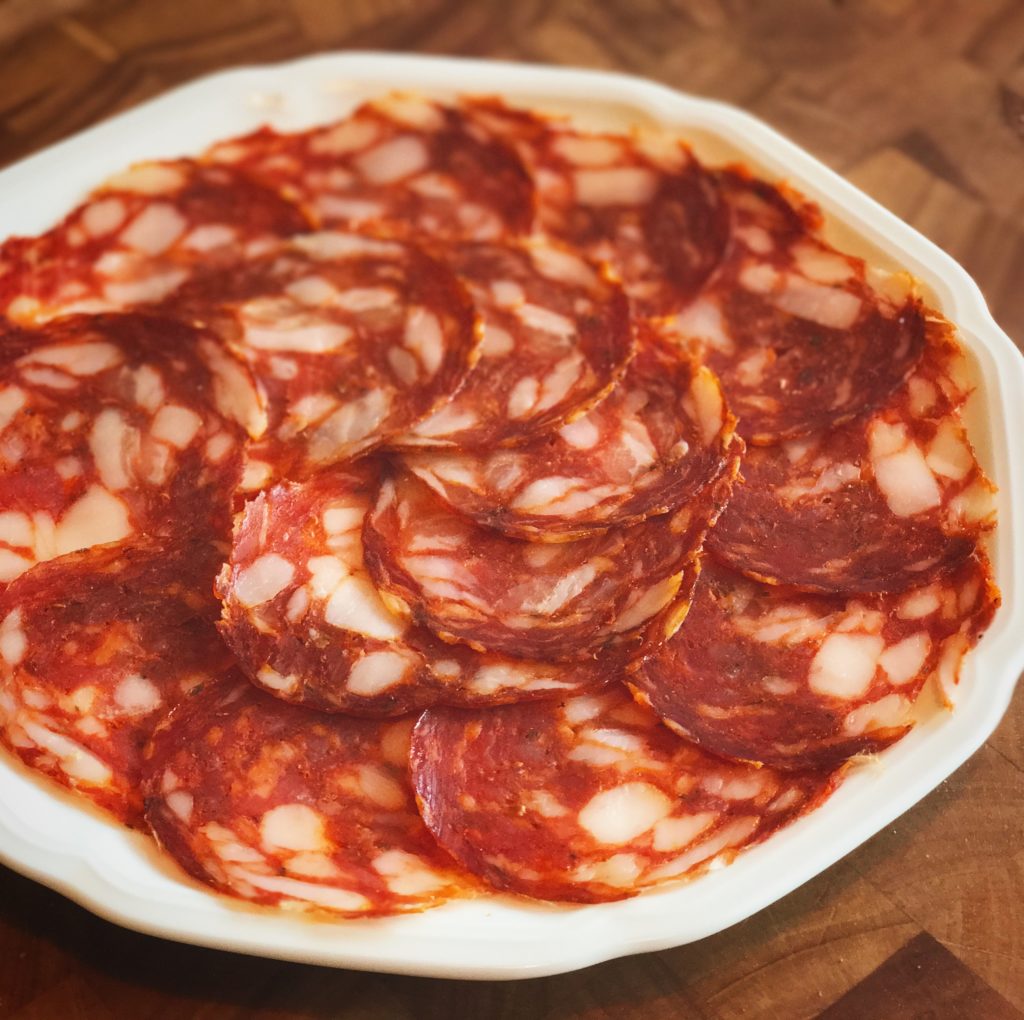
Nothing was different in this one except for the diameter of the casing, but I liked it a lot more. Maybe just because I could slice it thin and really taste it, but WOW; this is an all-time favorite.
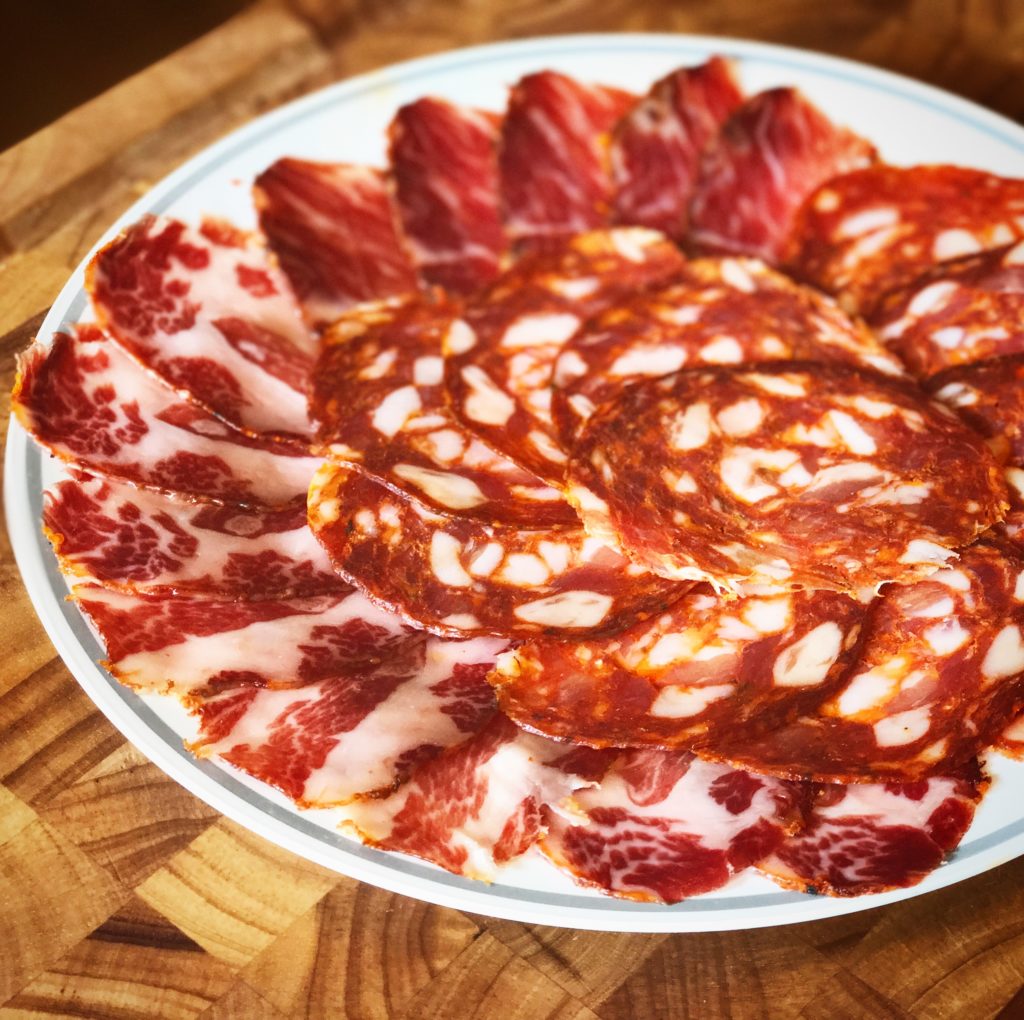
This chorizo is great served in a platter with other meats, on bread, or with wine.
Disclaimer: Meat curing is a hobby that comes with inherent risks. We can all do things to limit this risk by educating ourselves about the process and the utilizing the safest known methods to create our products. This website is for educational purposes only, and all experimentation should be done at each individuals own risk.
Leave a Reply