Lamb prosciutto, or prosciutto d’agnello can either be made with the bone in or bone out. If it is made with the bone in, it is slightly harder to deal with, and it is harder to slice on a commercial slicer. If it is made bone out, you have to deal with the air pockets that the removal of the bone creates. There are two ways to deal with this; you can cure it in two separate pieces with no potential for air pockets, or you can cure it in one piece by tying it together as tightly as possible to eliminate any air pockets (some people use meat glue to eliminate any chances of air pockets when following this procedure). Air pockets are dangerous because they create an anaerobic environment which can promote the growth of dangerous bacteria.
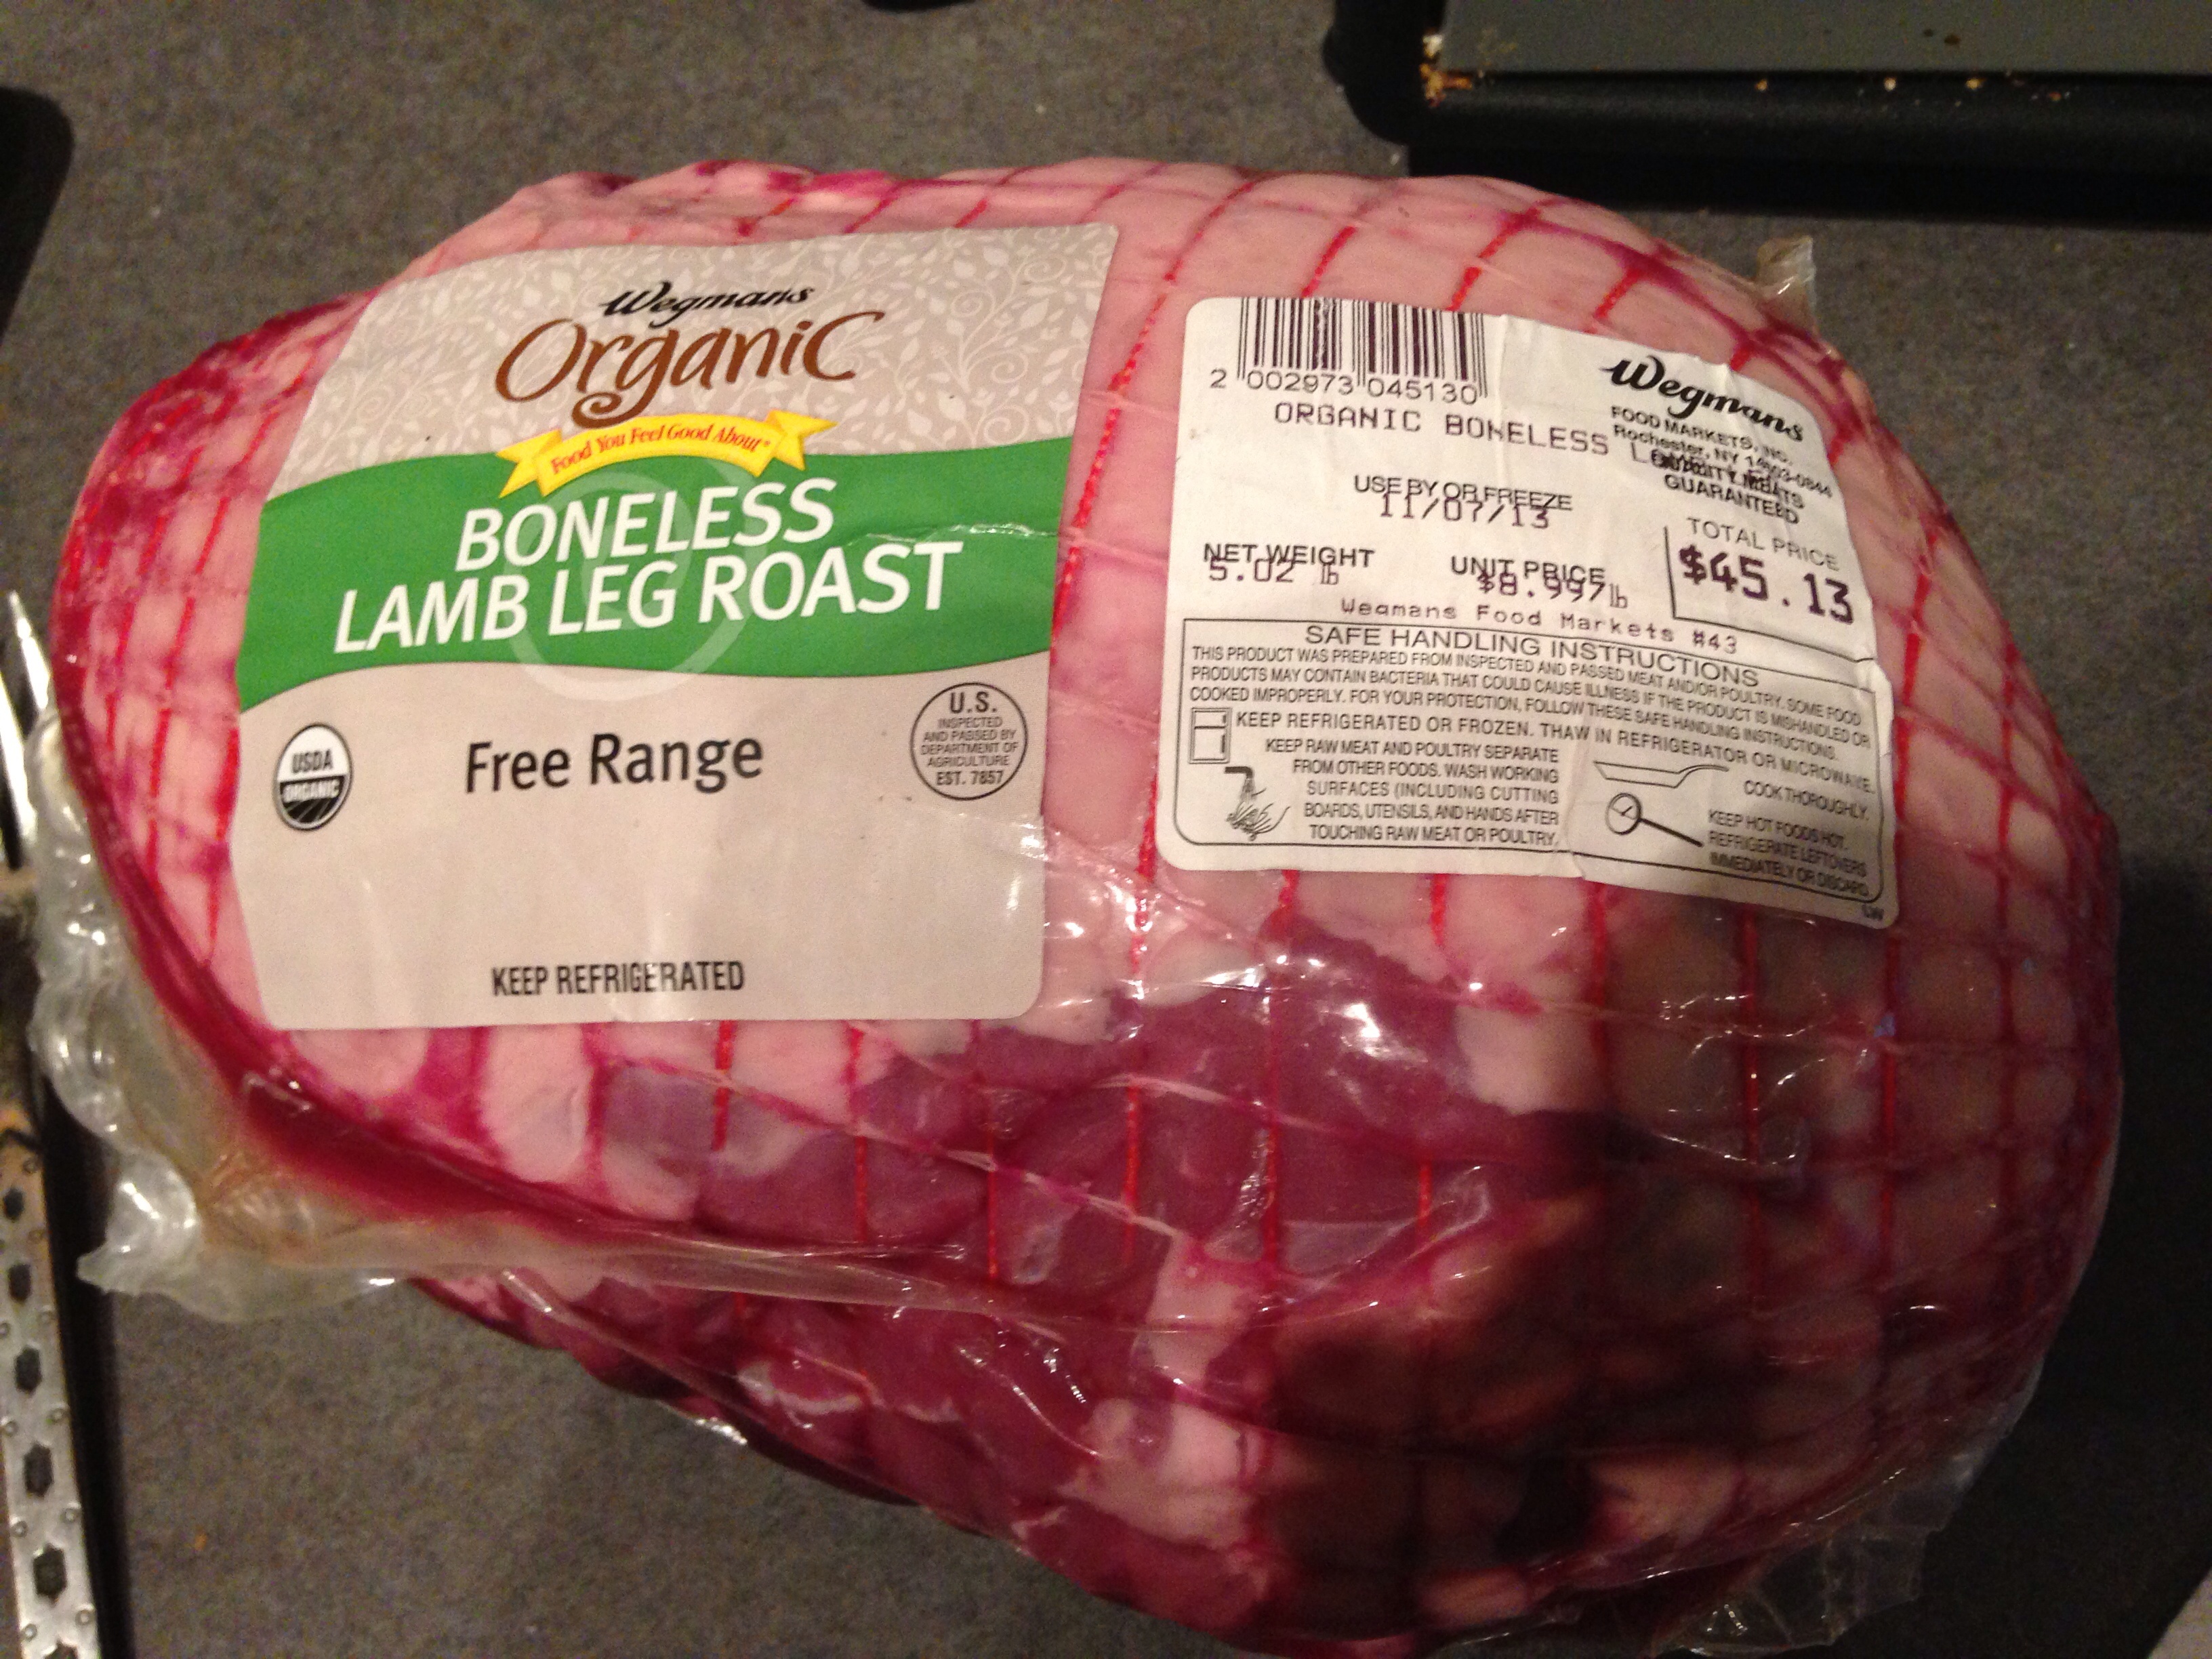
My first attempt at lamb prosciutto turned out remarkably well, even with as little as I knew at the time. I bought a bone out leg of lamb, and cured it in two separate pieces. You can see the details here: Lamb Prosciutto Attempt #1.
Since my initial attempt, I have made lamb prosciutto again:
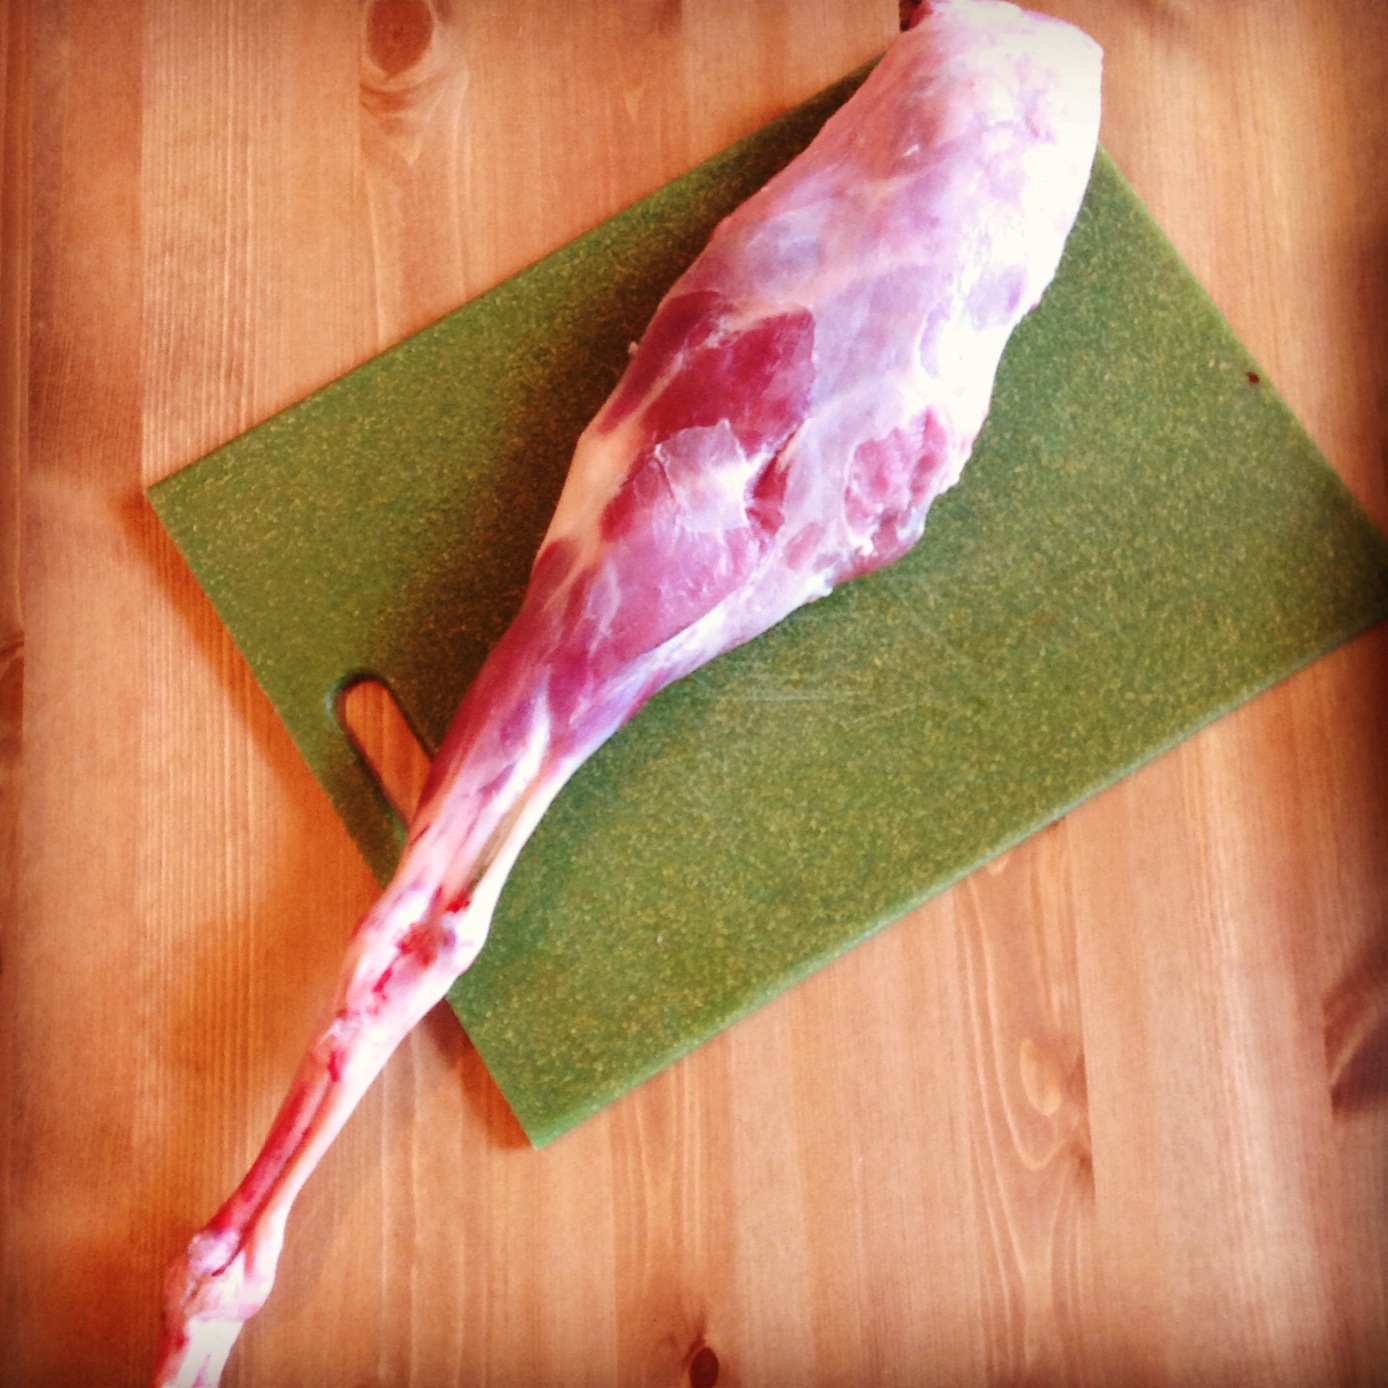
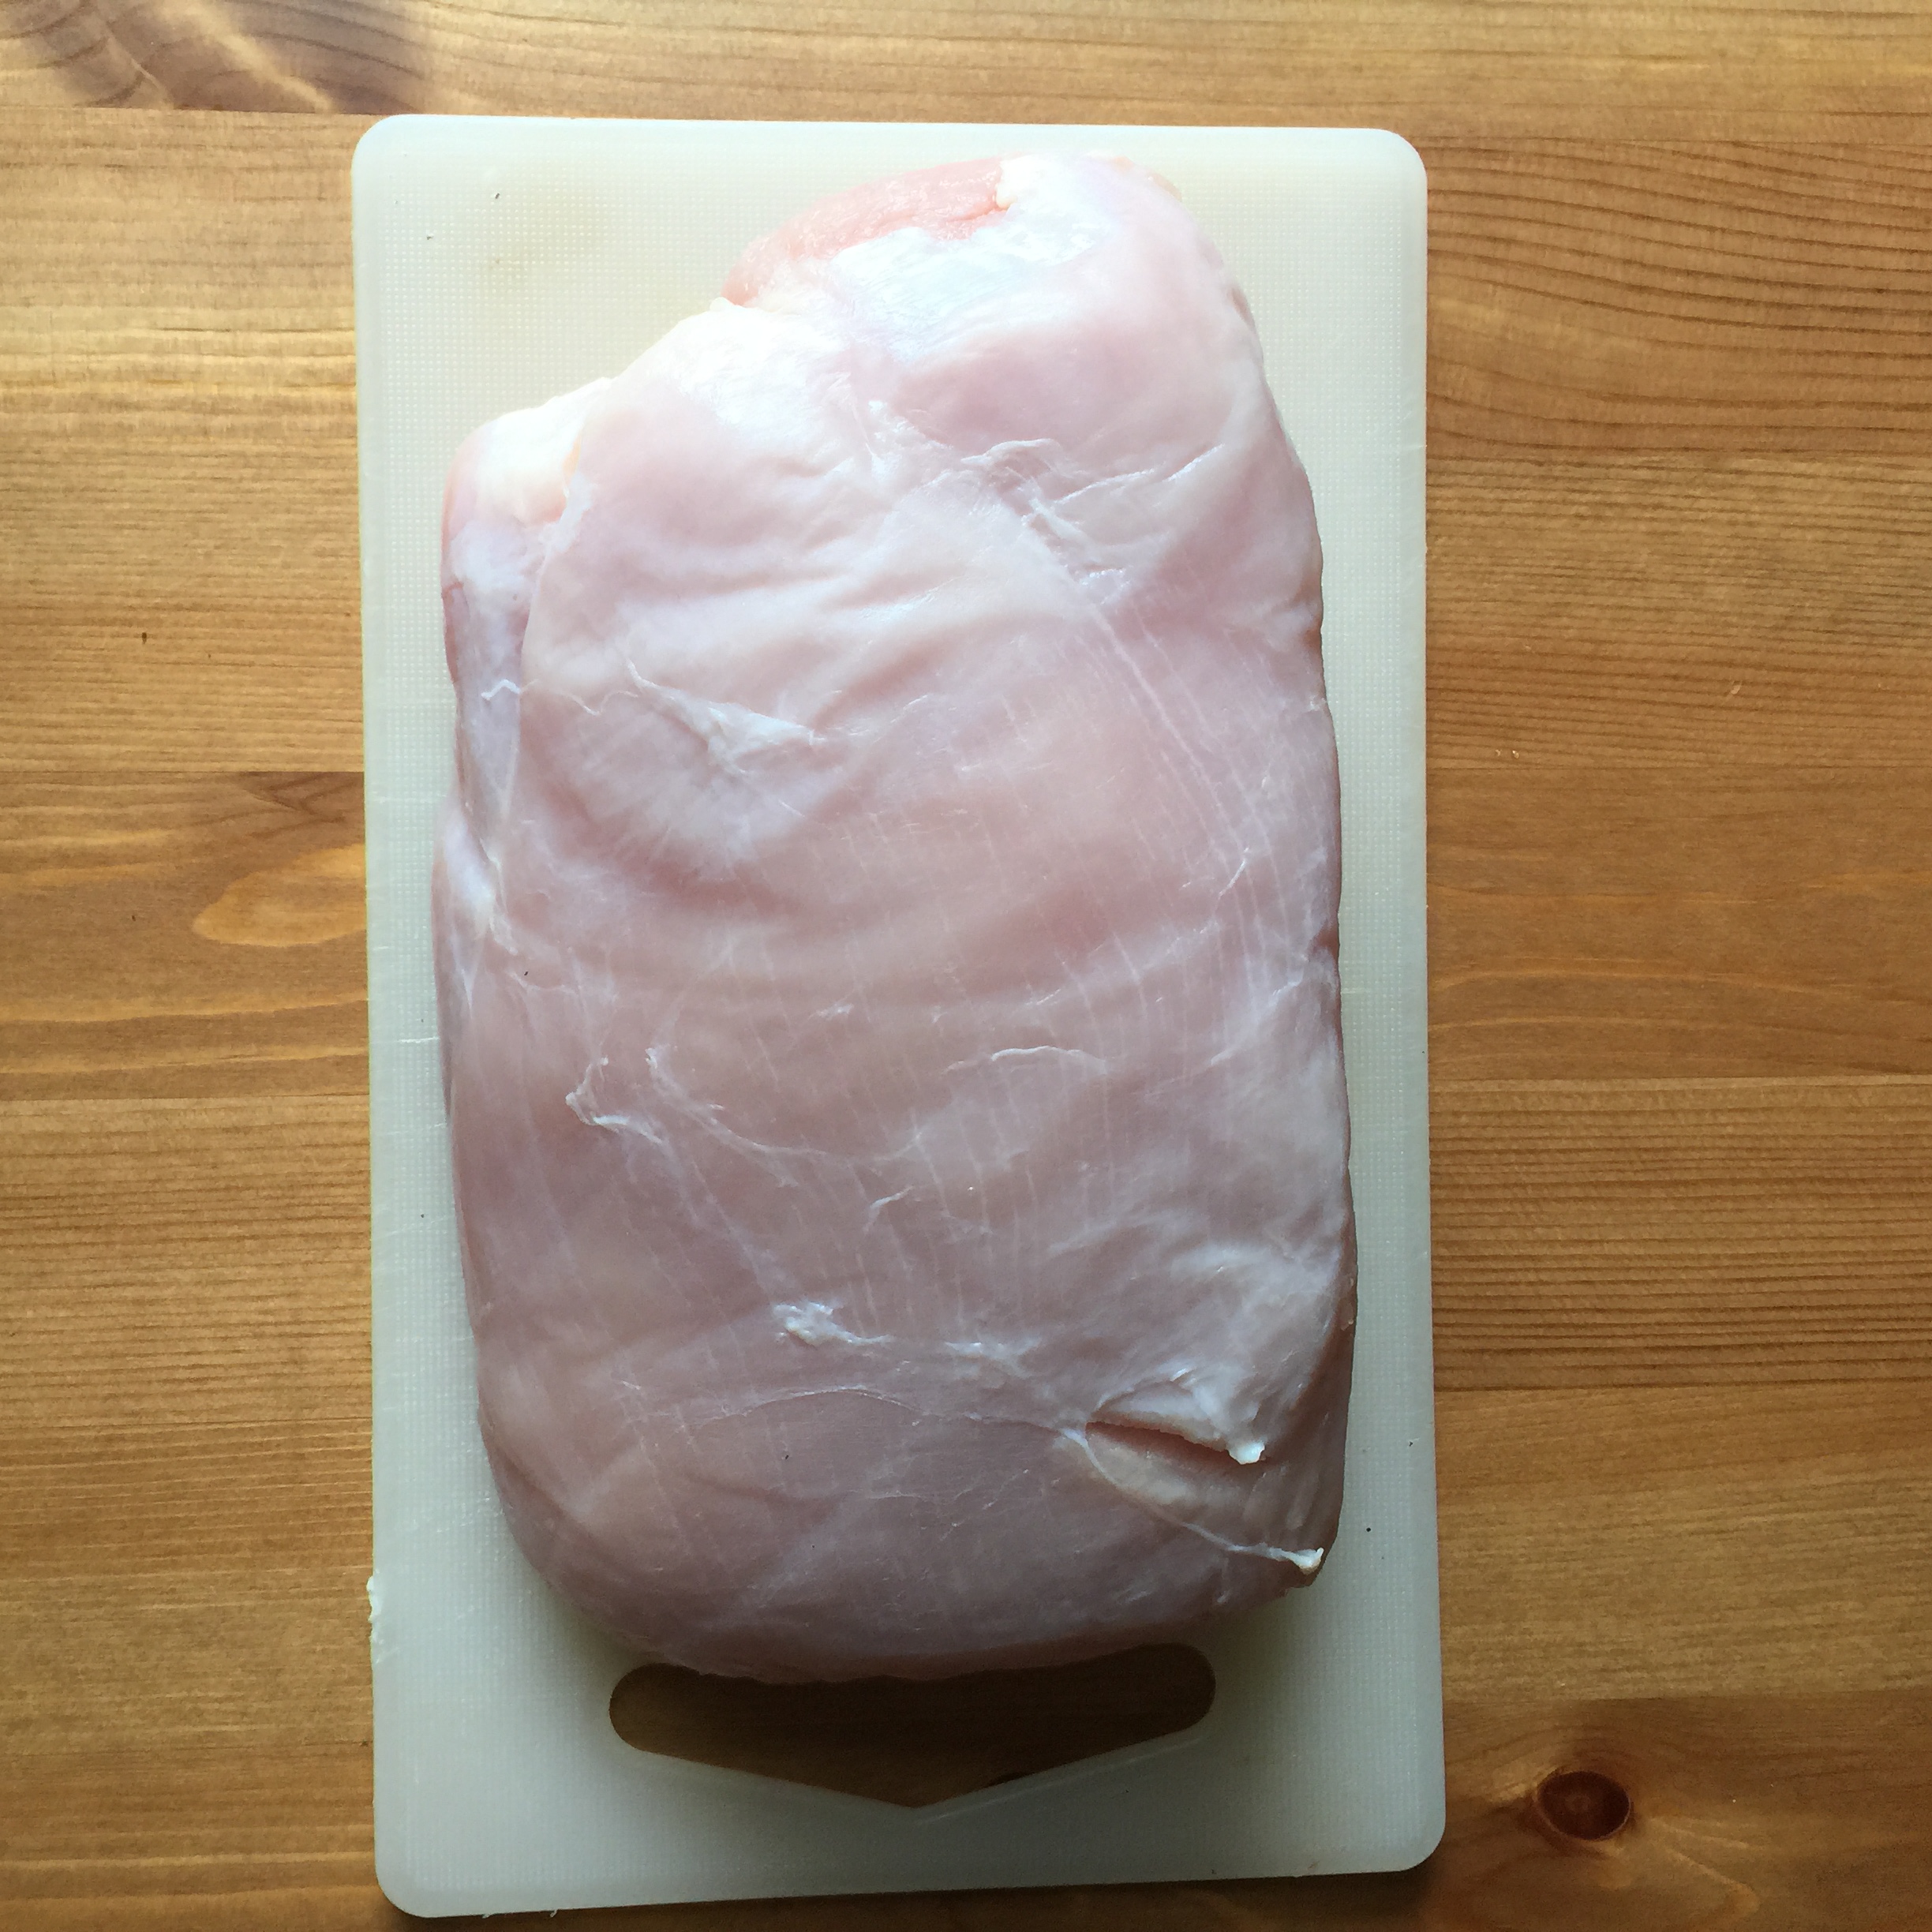
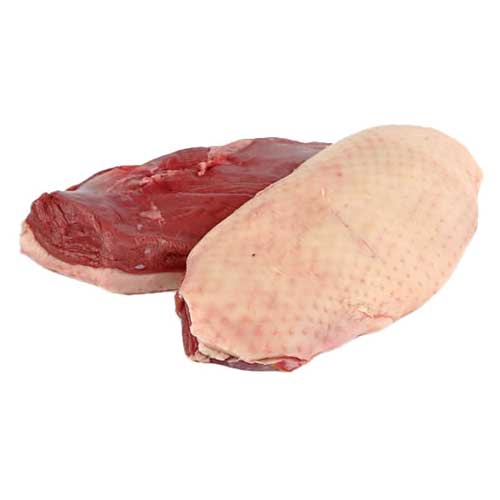
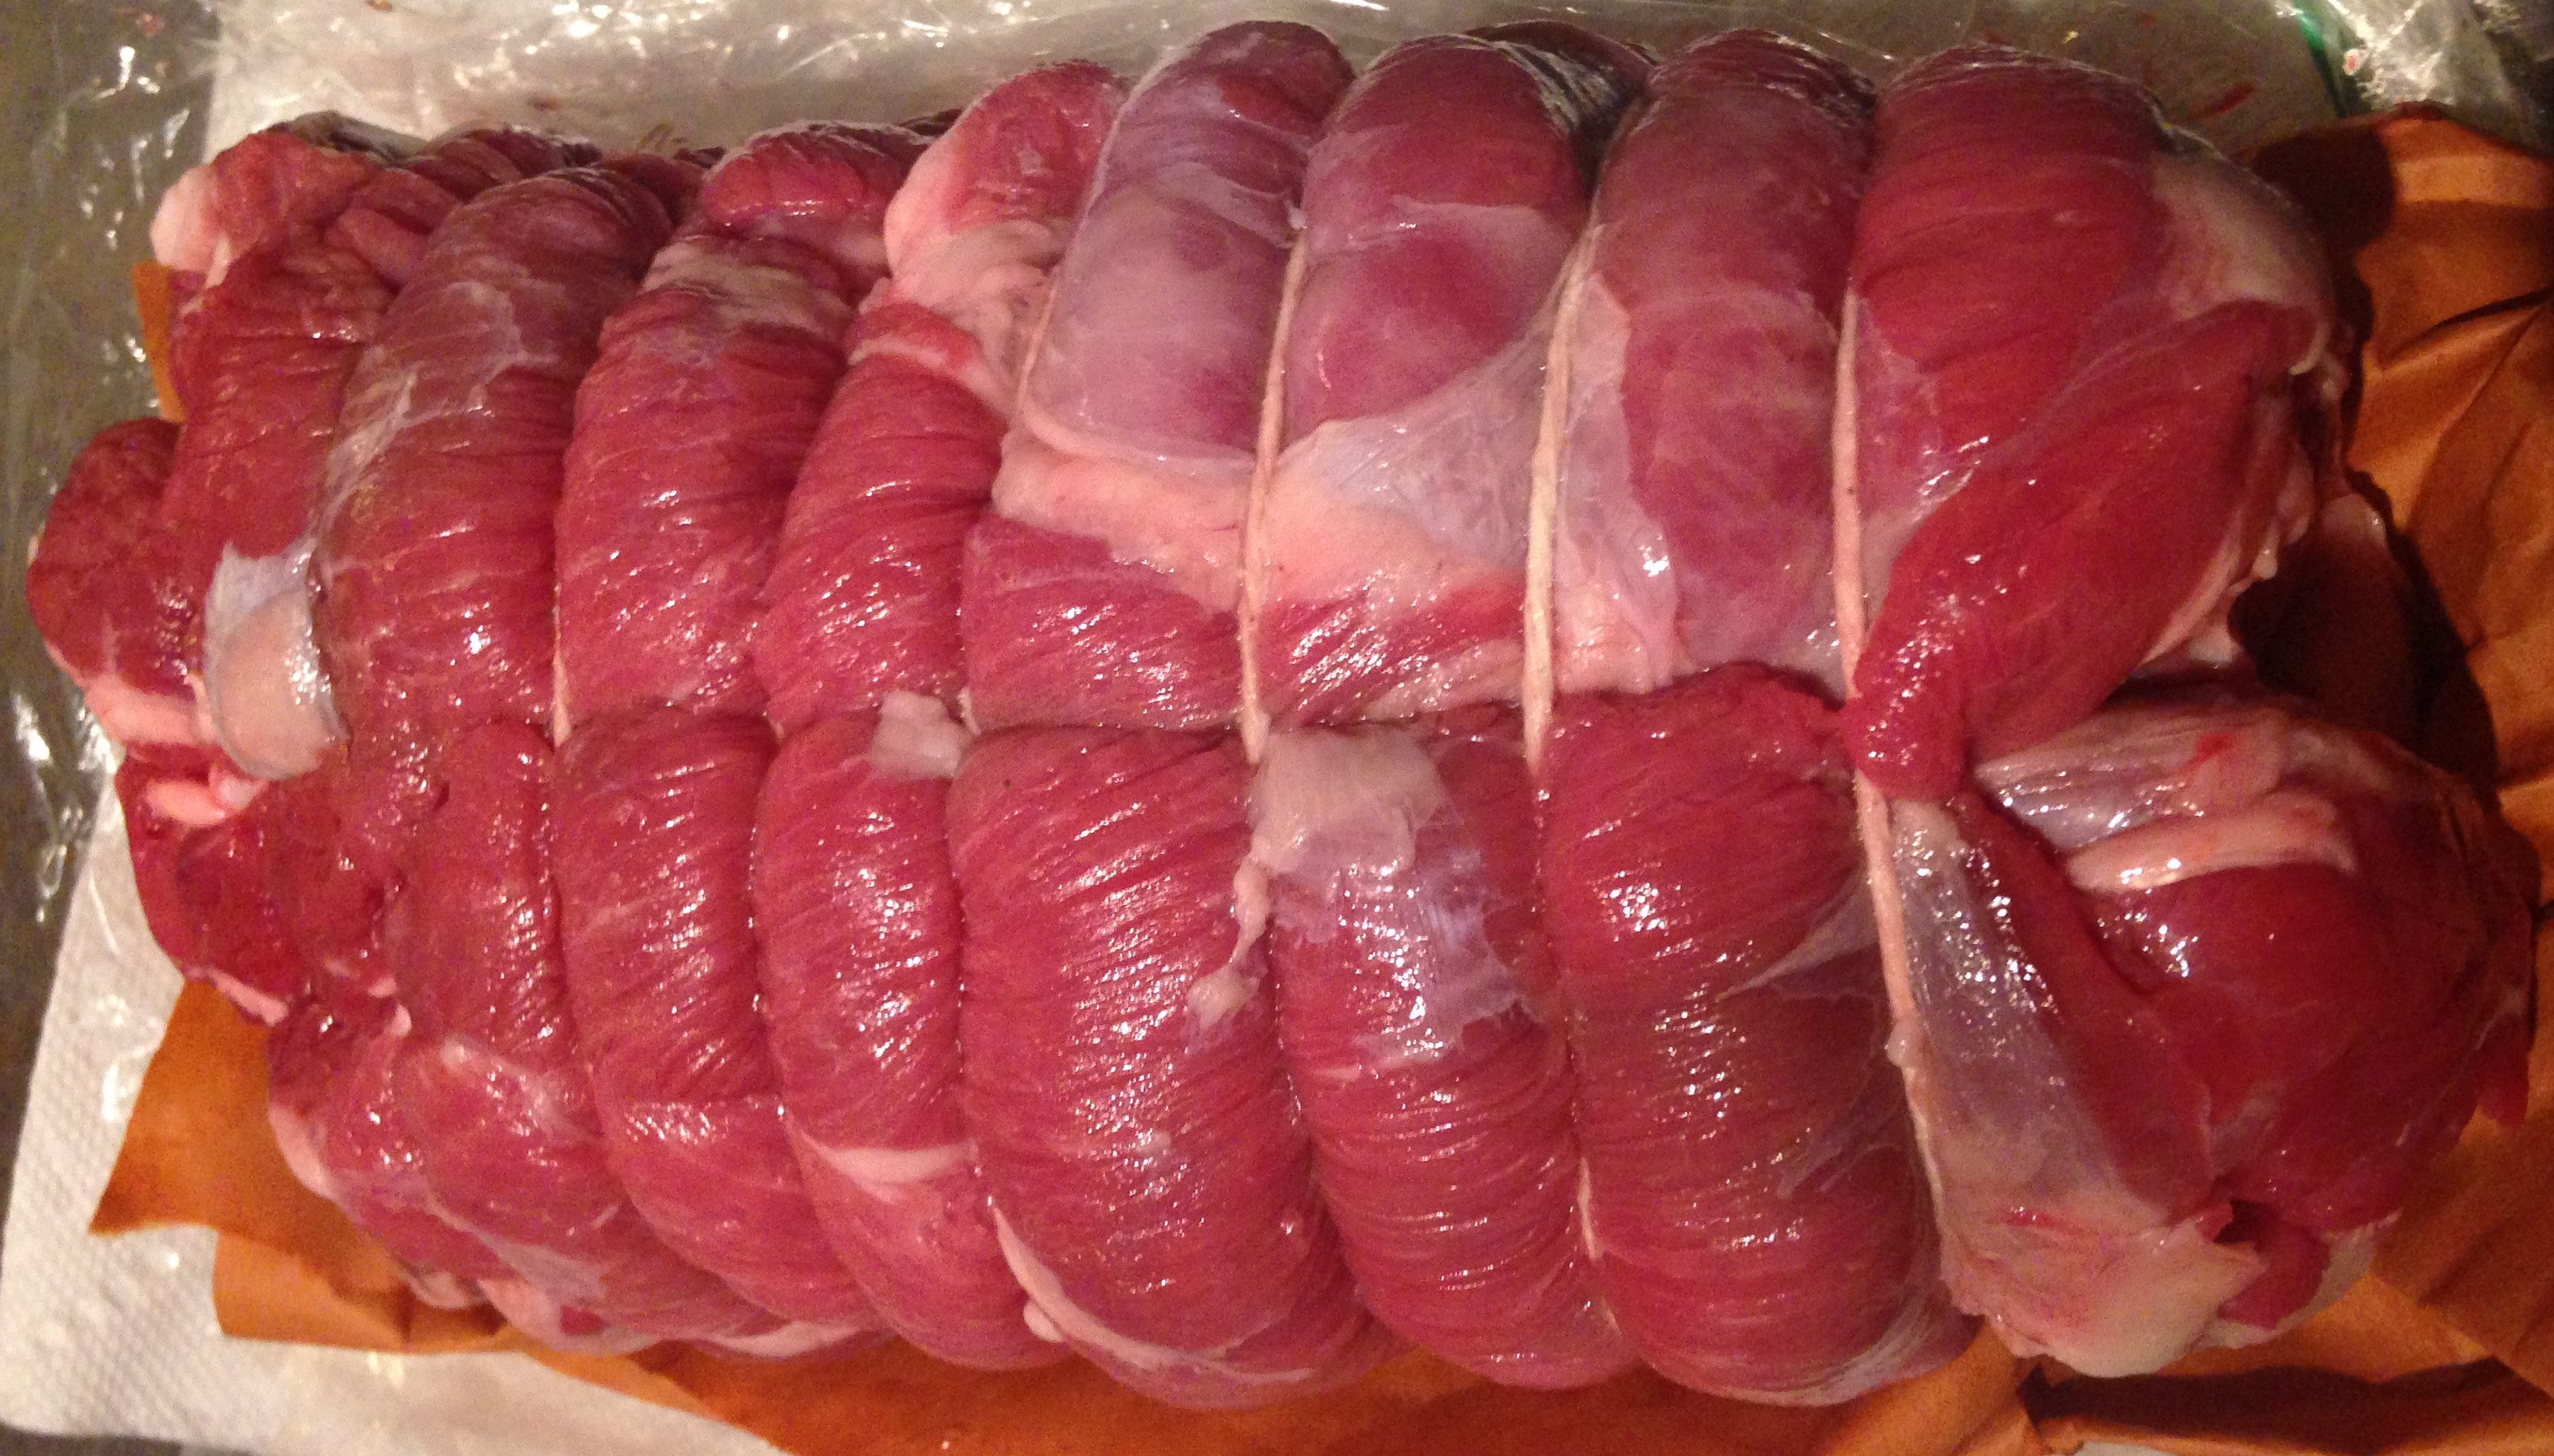
- The second time, emboldened my previous success, I decided I wanted to try to cure a bone out leg of lamb, tied tightly together in one piece. I bought a bone out leg of lamb from a specialty Italian butcher, who butchered it and tied it together like you would for a roast.
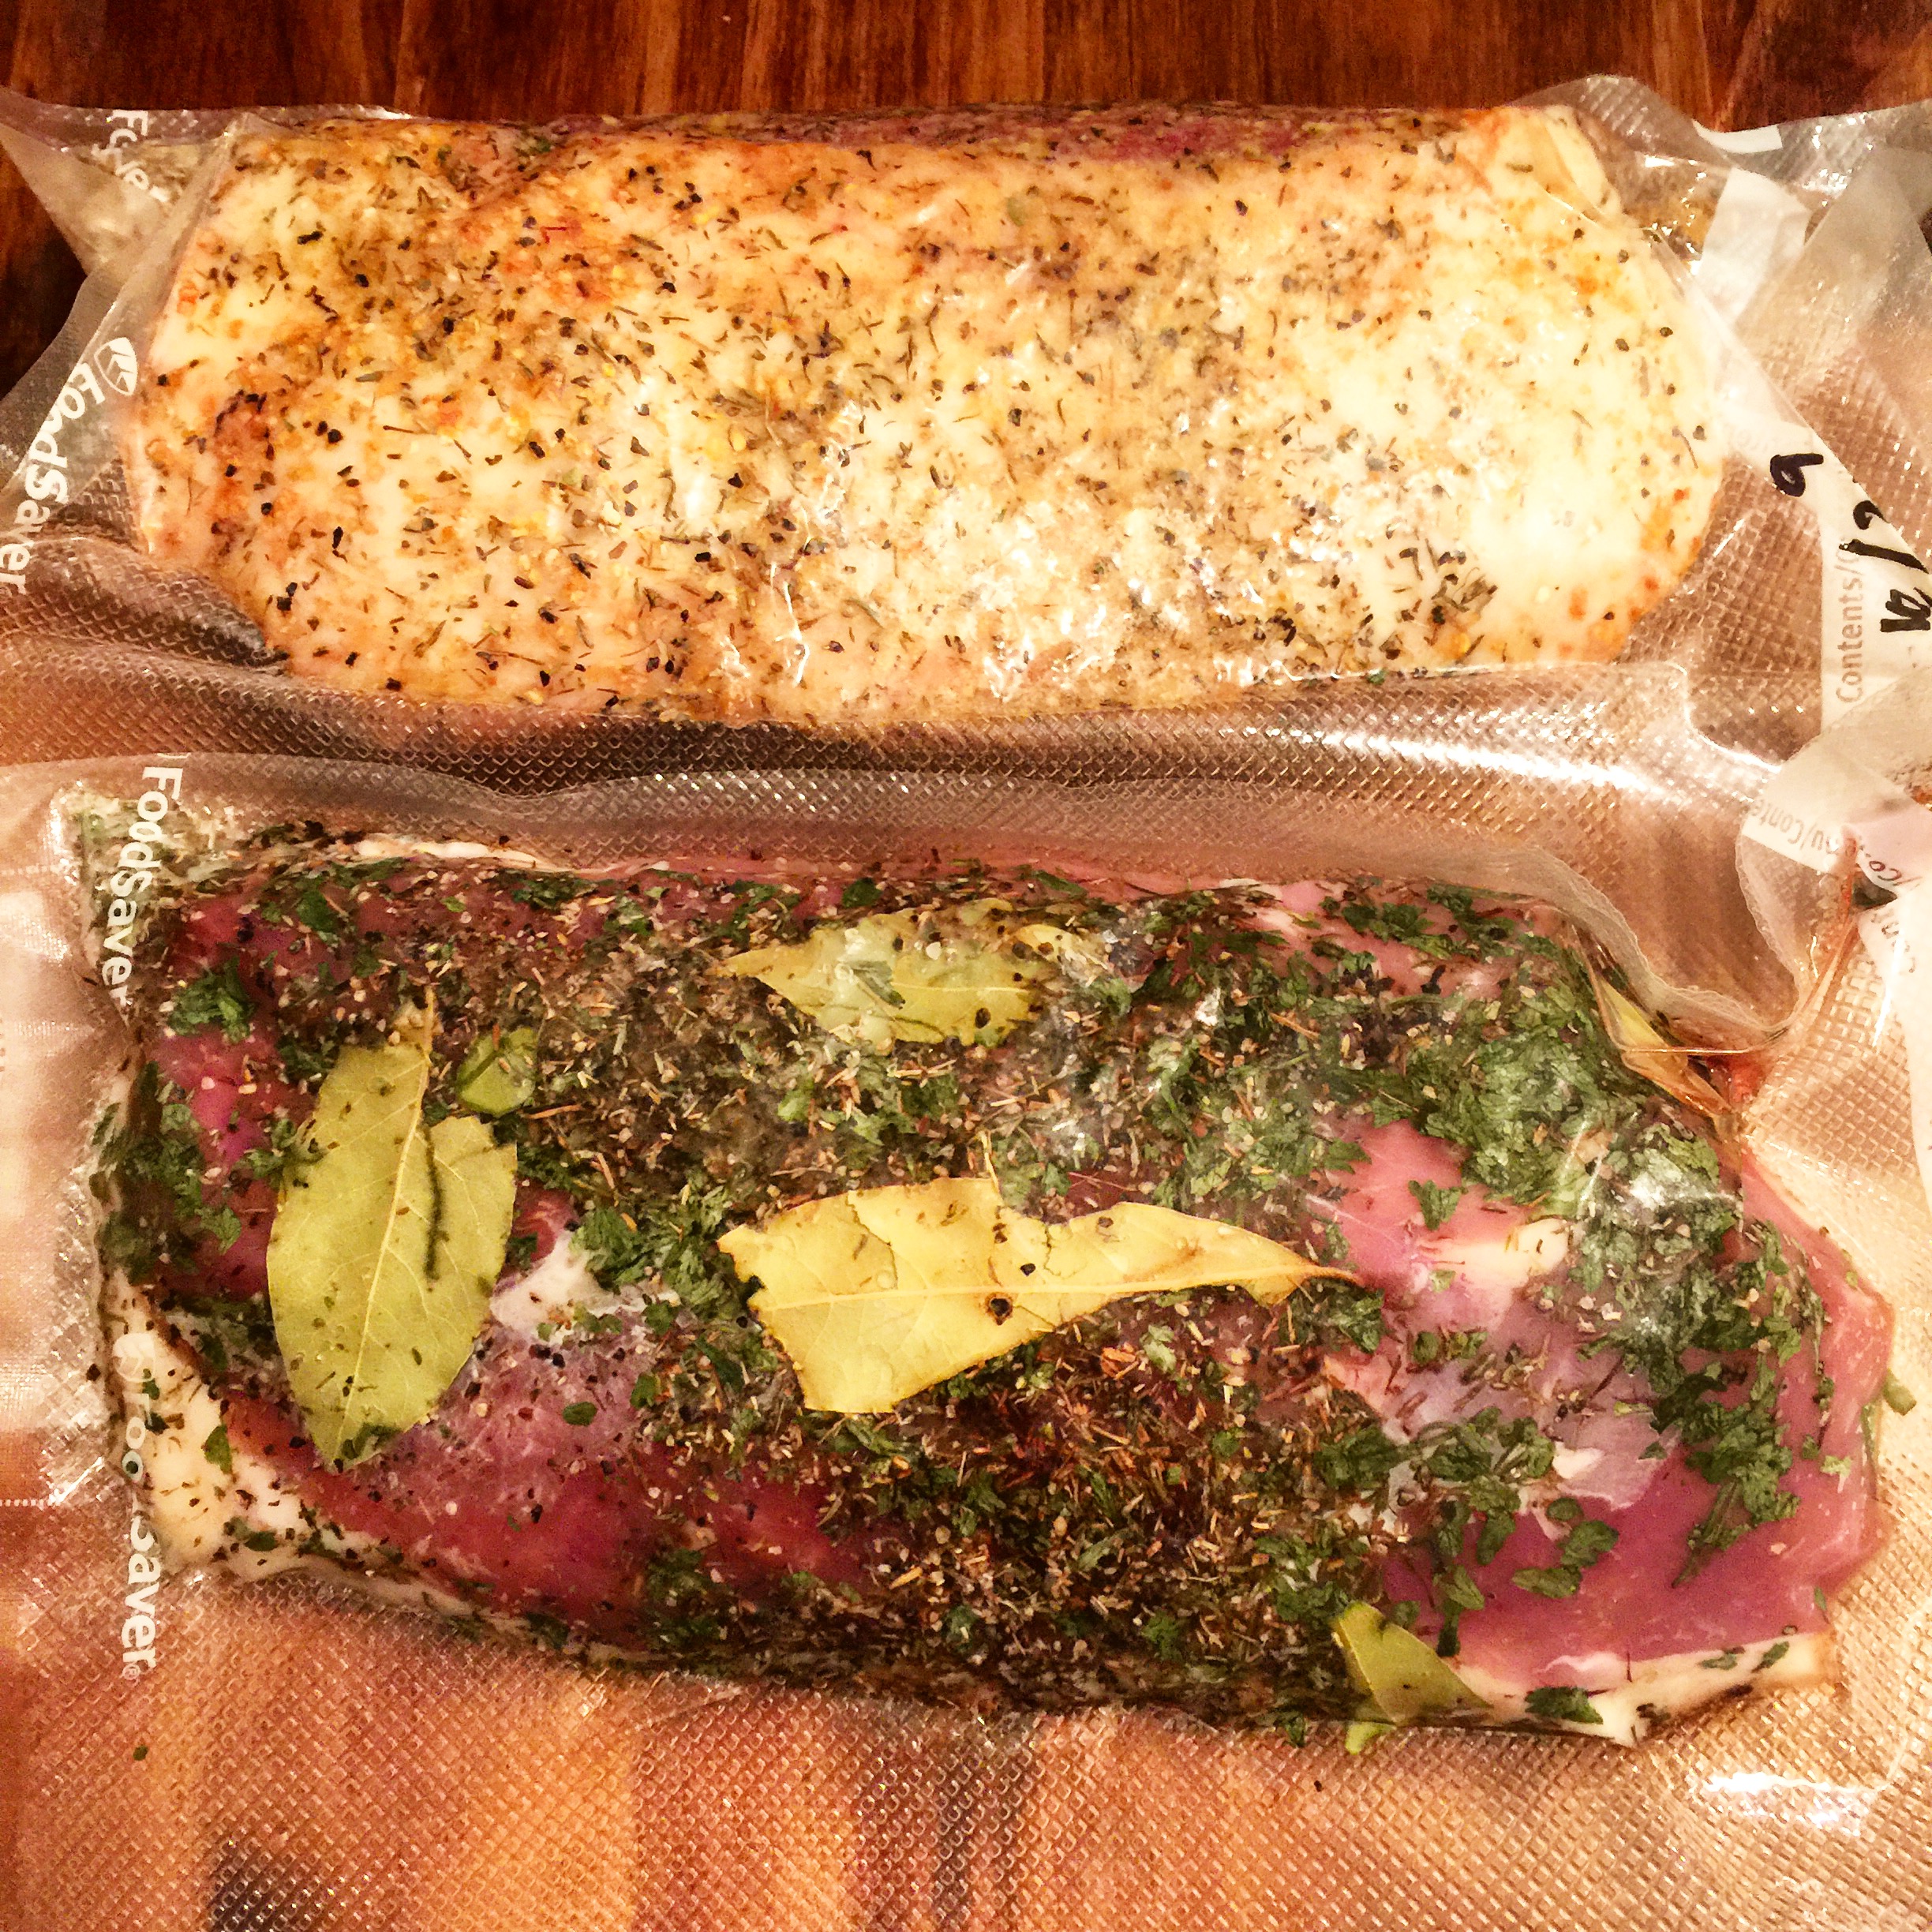
- The third time, I decided to go back to my method of splitting the bone out leg of lamb into two pieces to cure, in order to experiment with two different spice cure.
- In the future, I plan to cure a bone in leg of lamb, and hand slice it with my cuchillo jamonero, or my specialty jamón carving knife.
Here, I will detail the process that I followed for my second lamb prosciutto attempt. In a future post, I will discuss the lamb prosciutto that I cured most recently using two different winter spice cures.
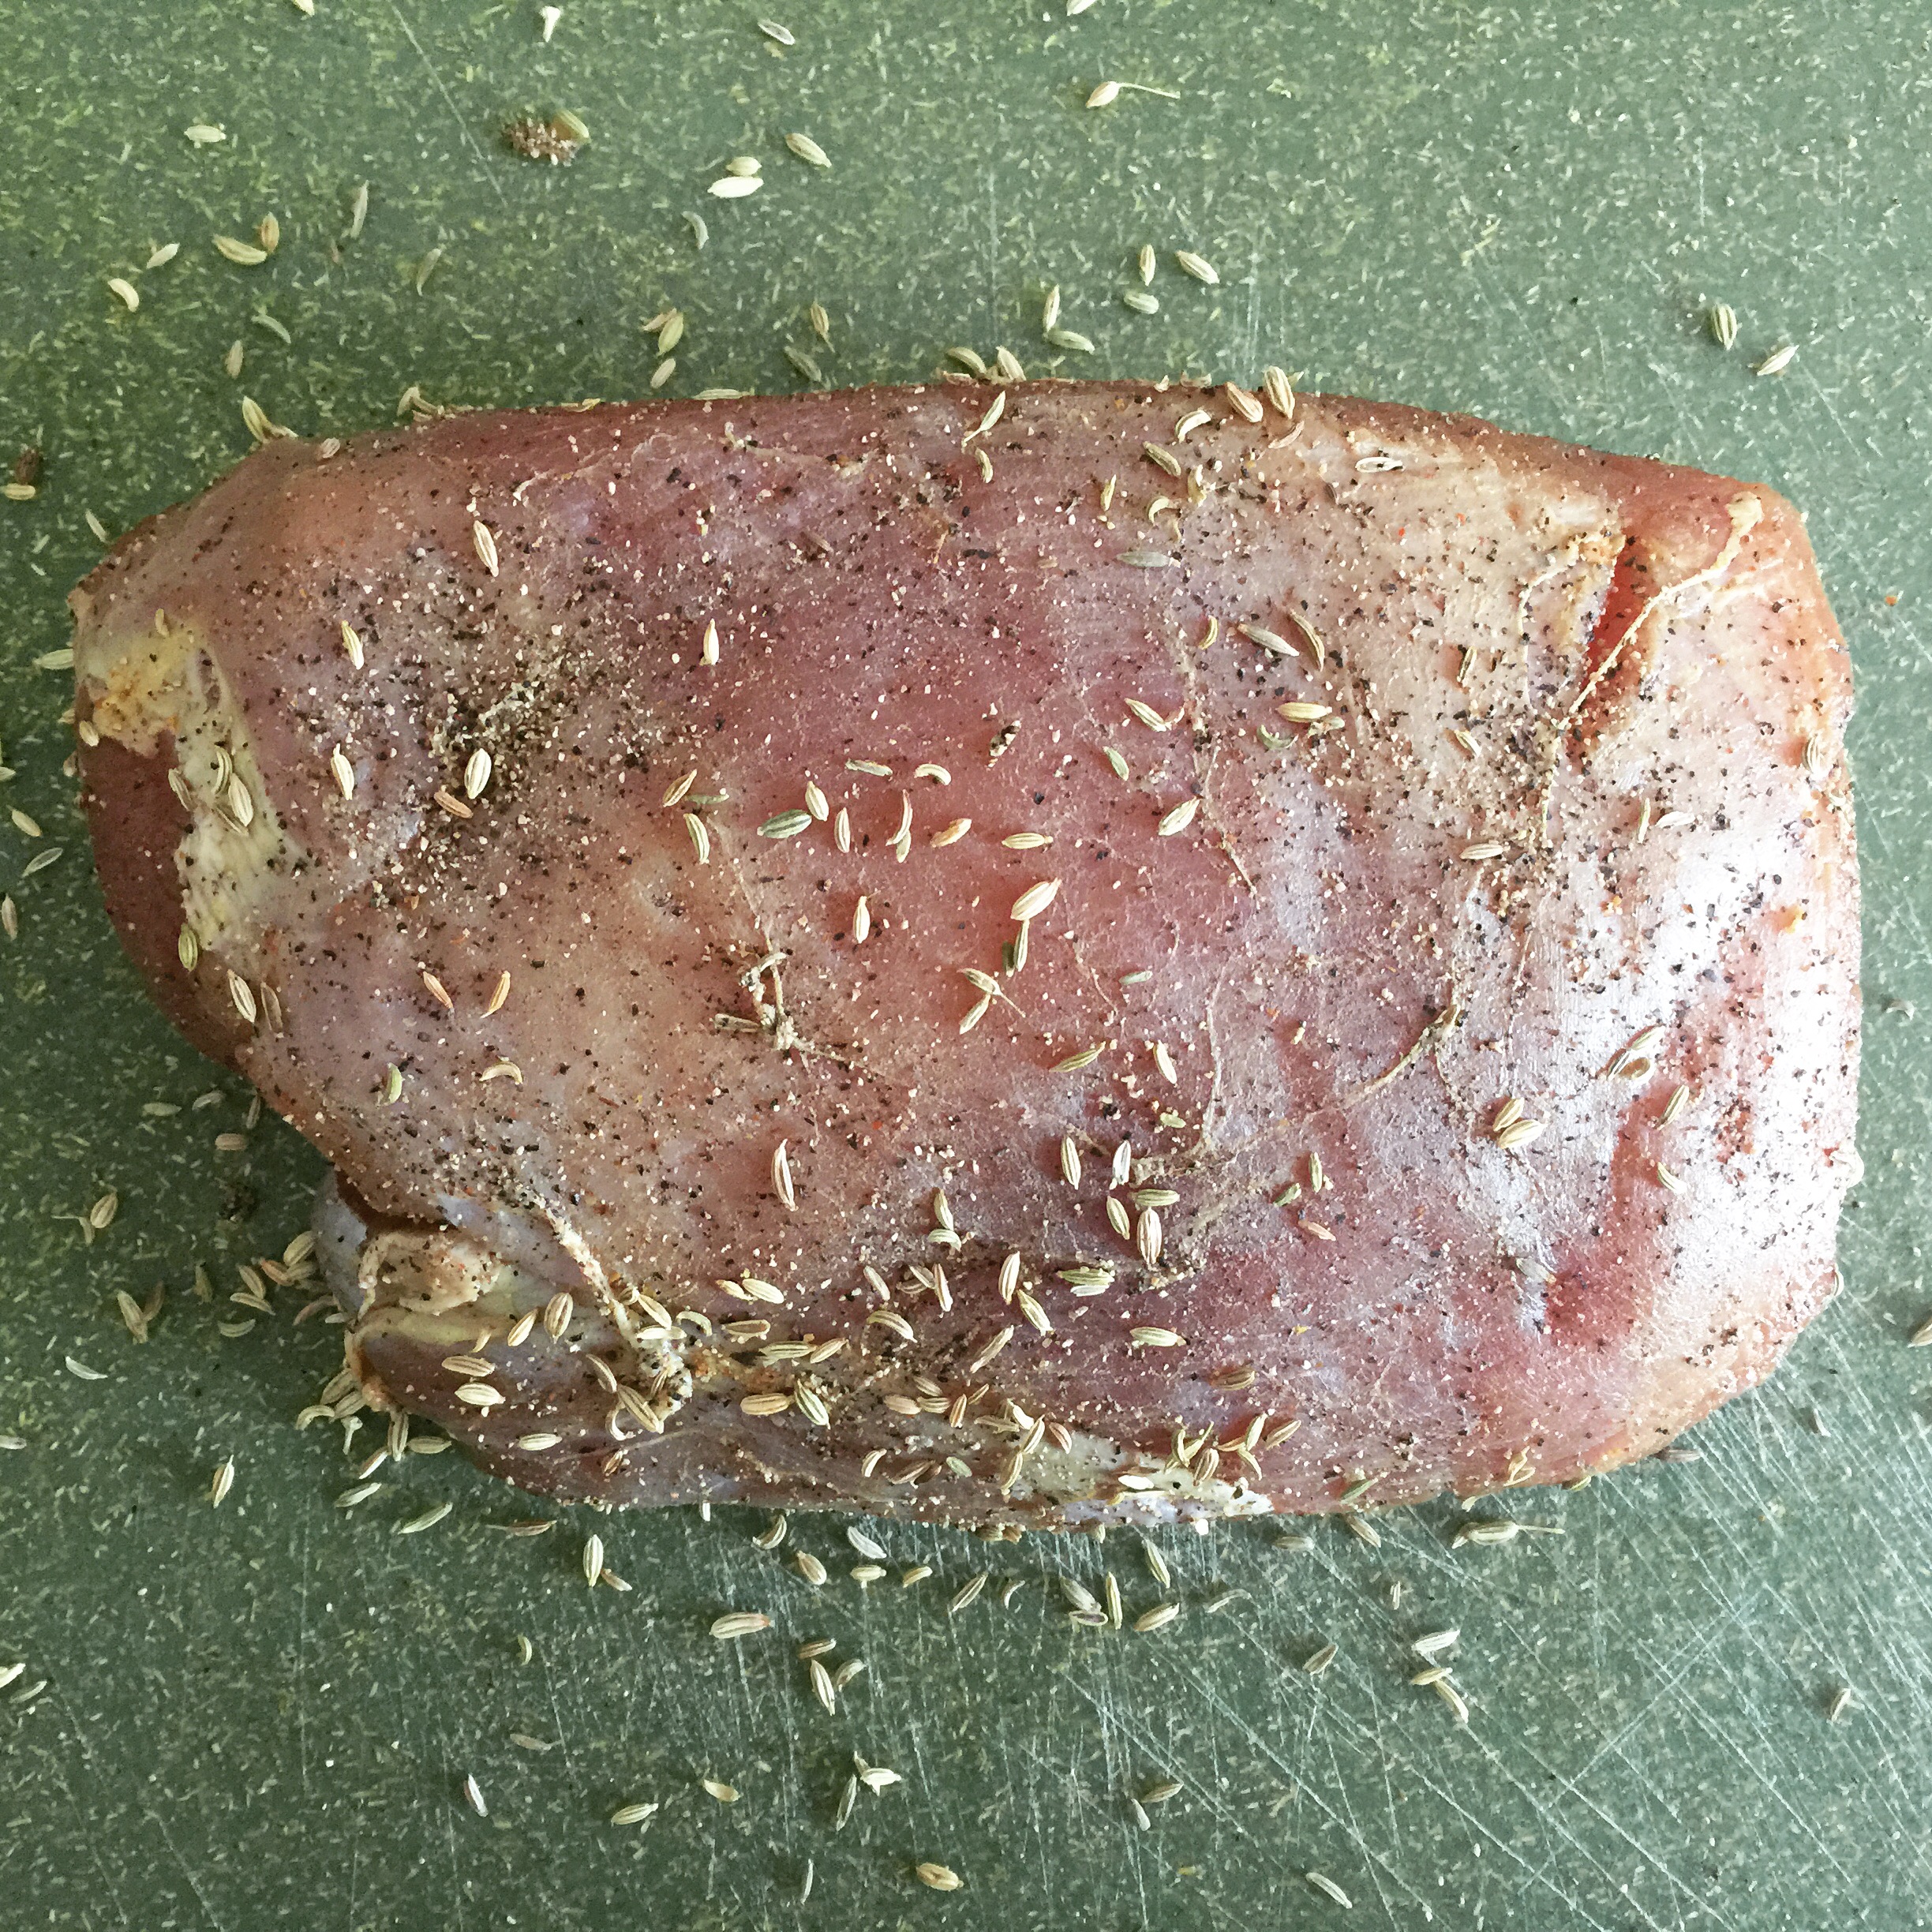
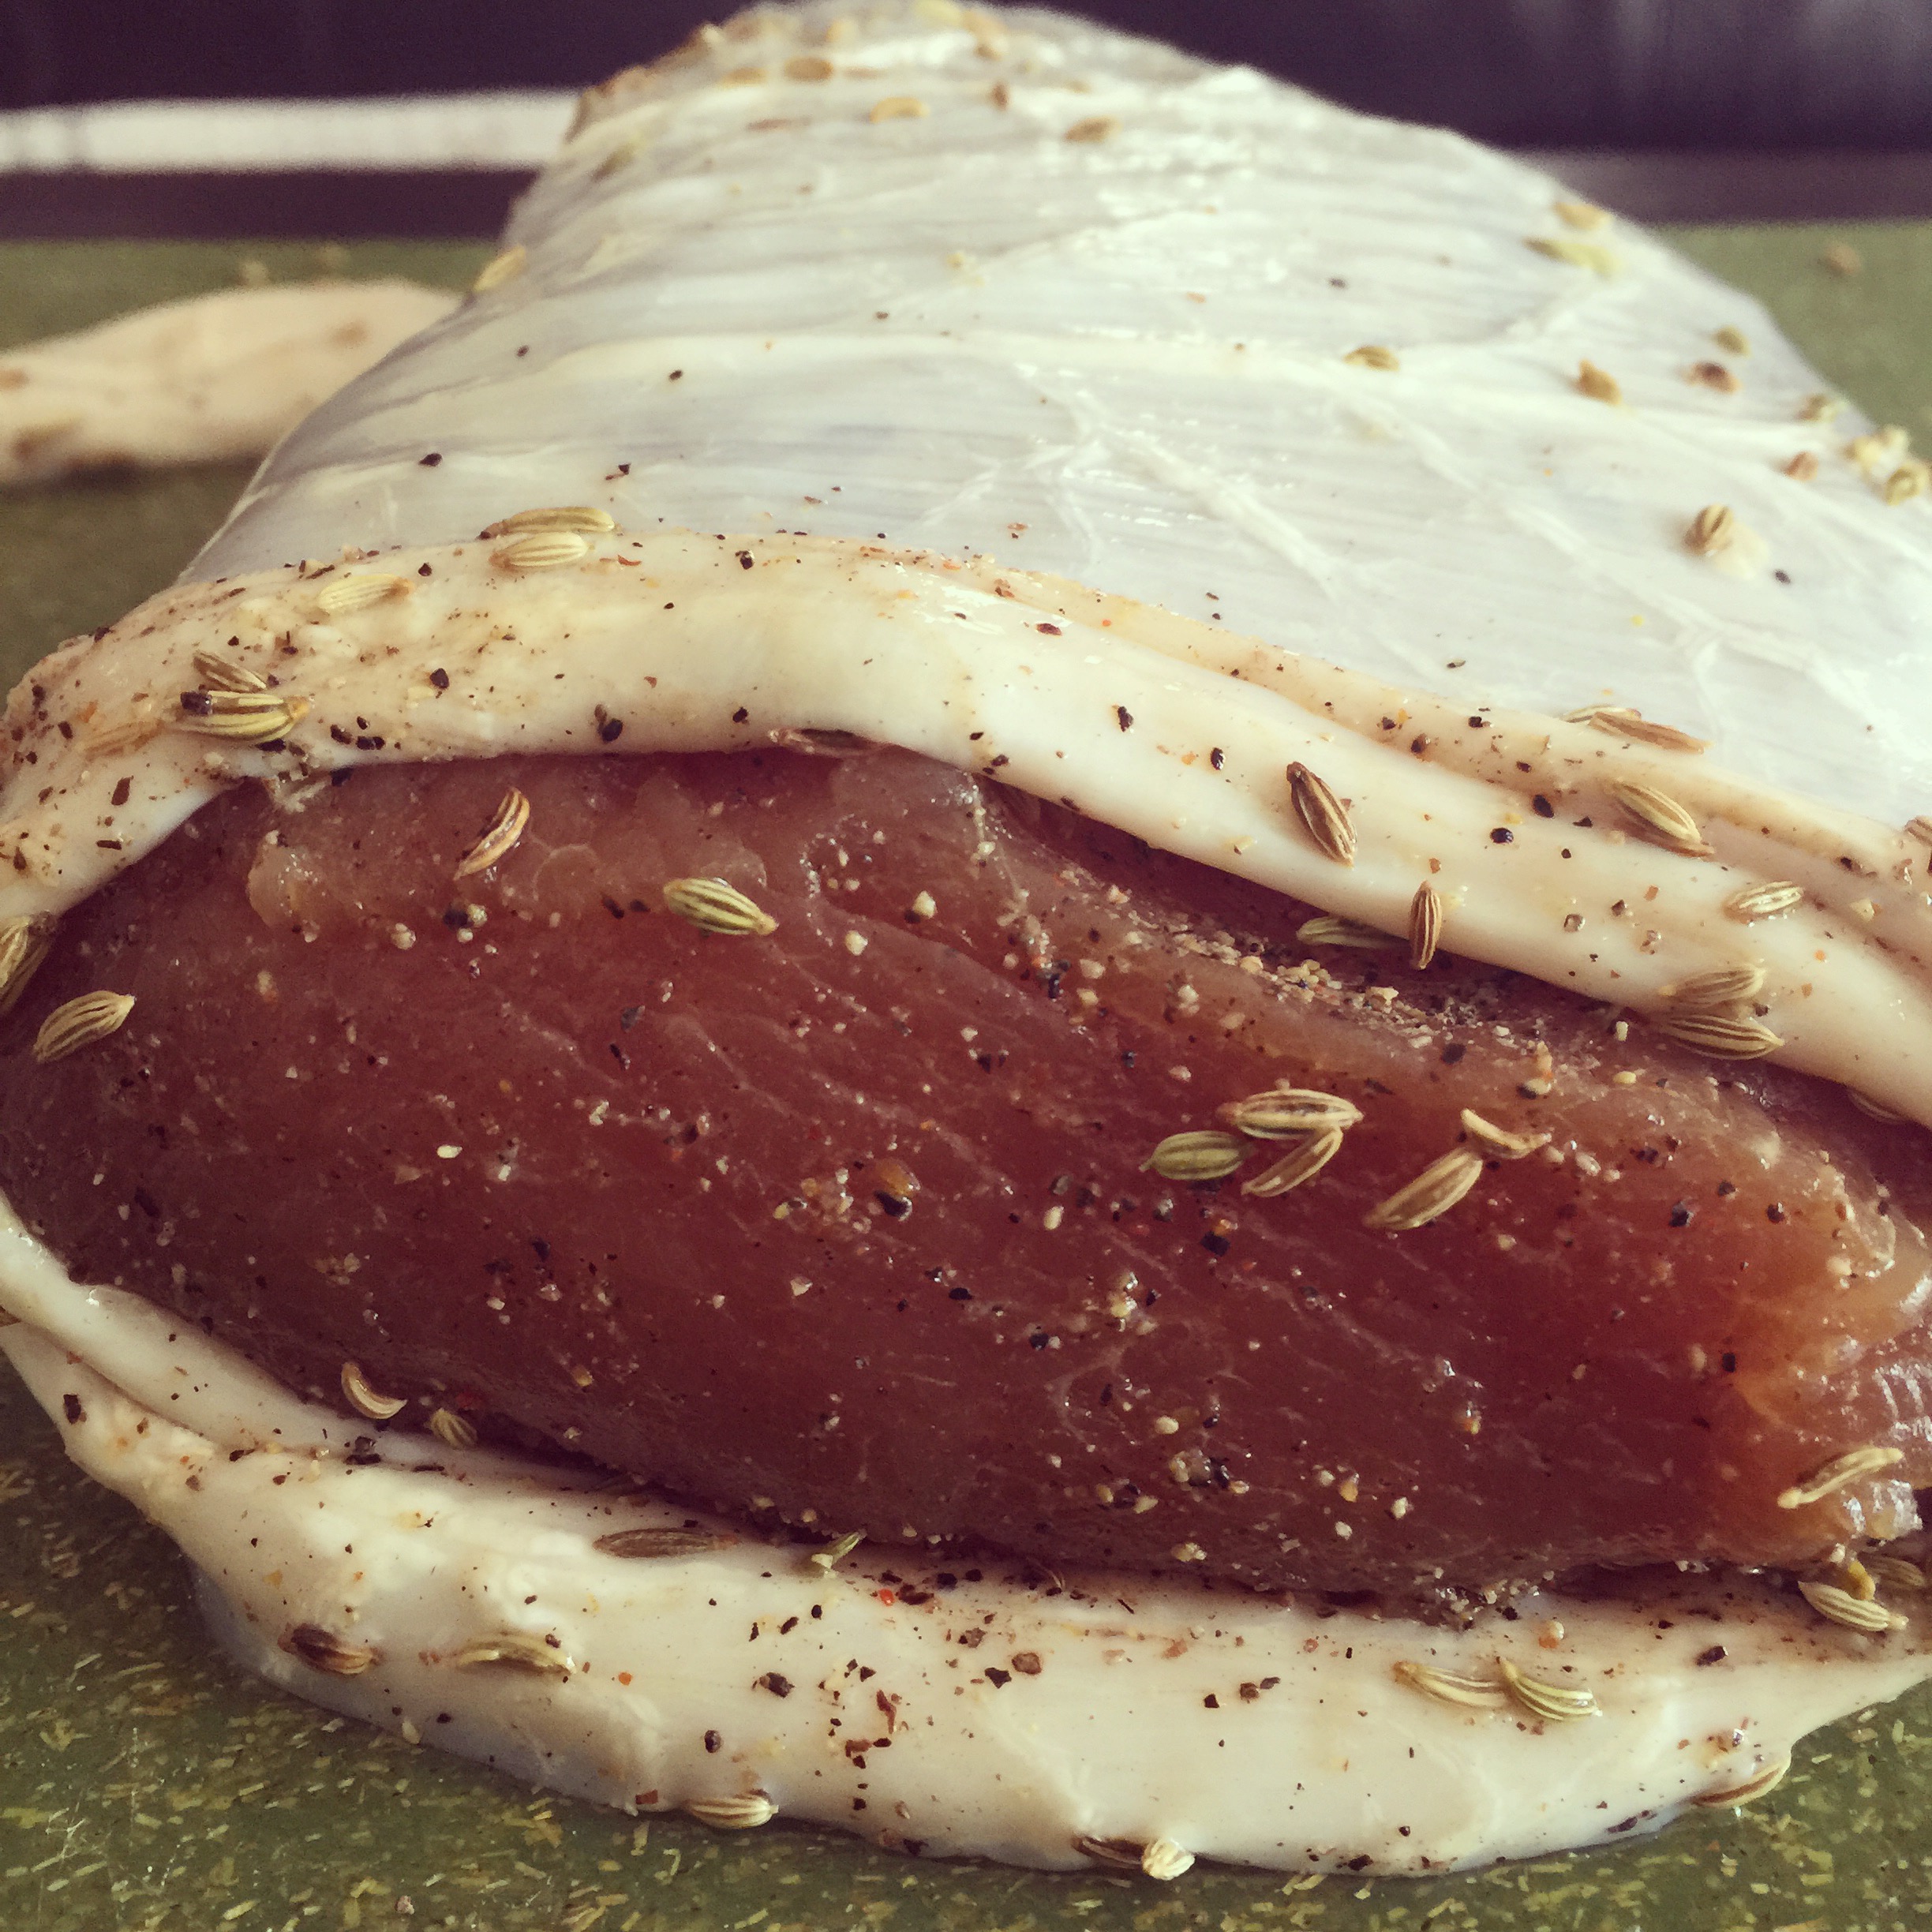
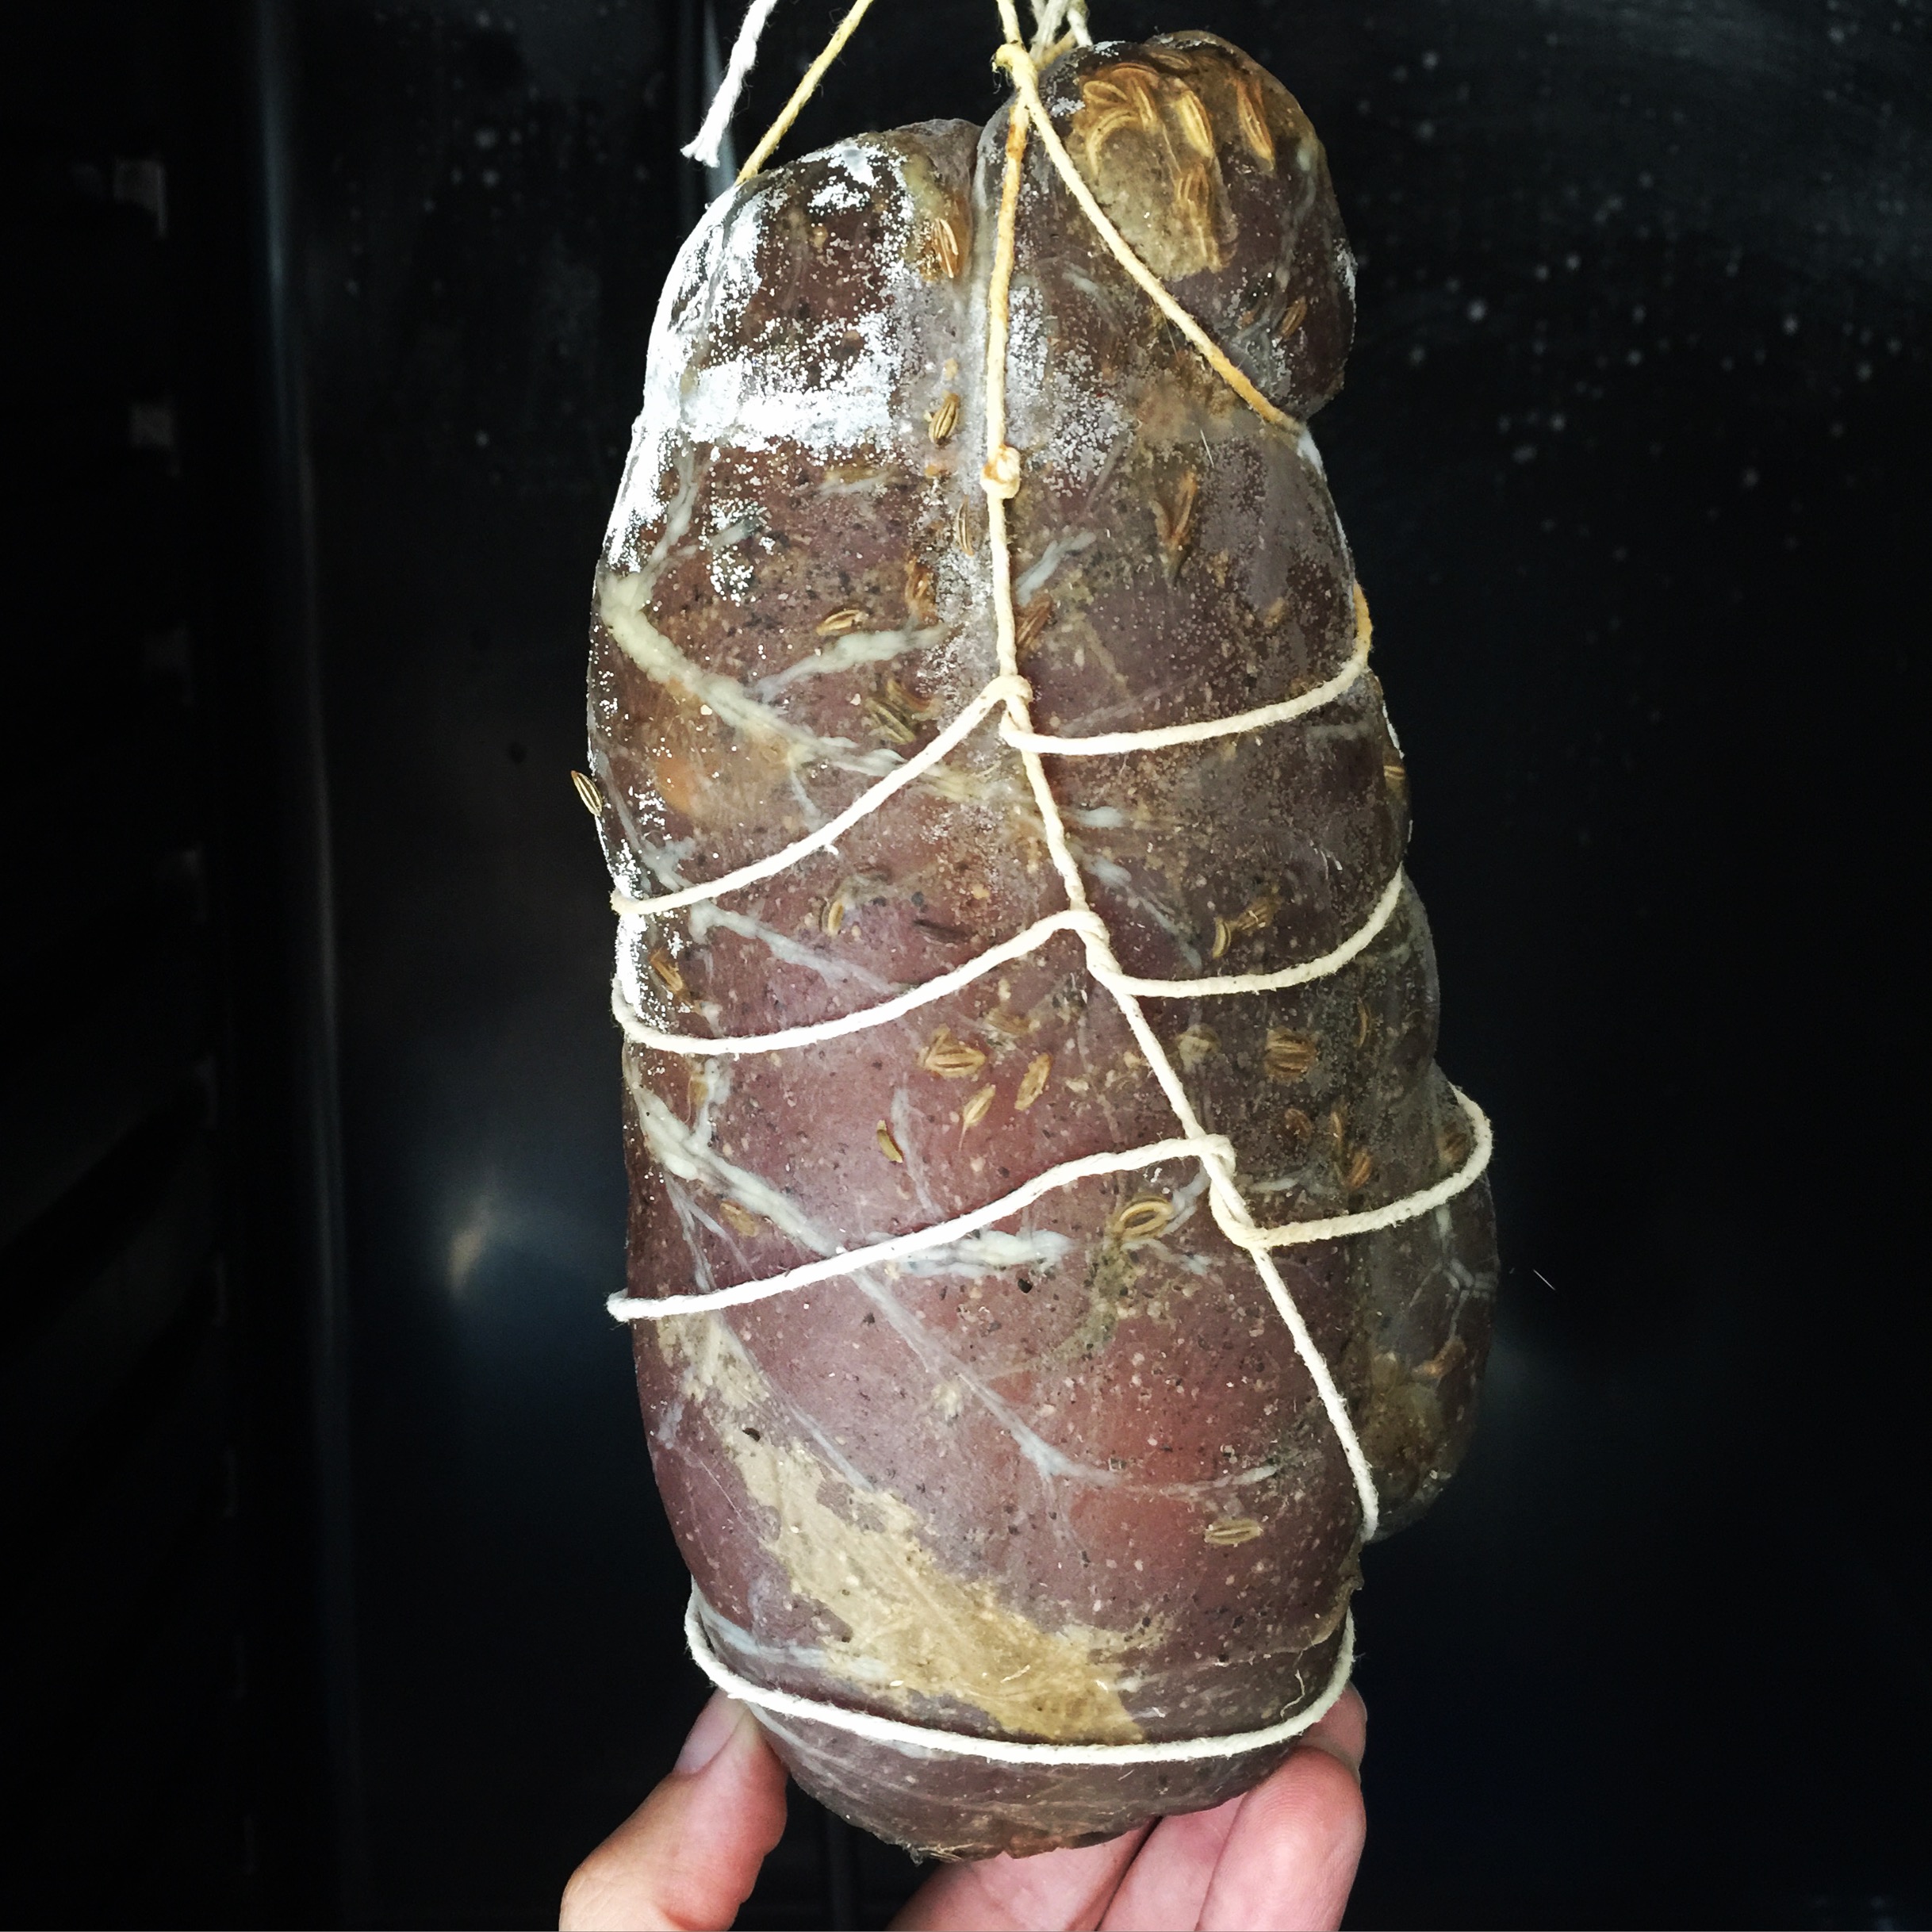
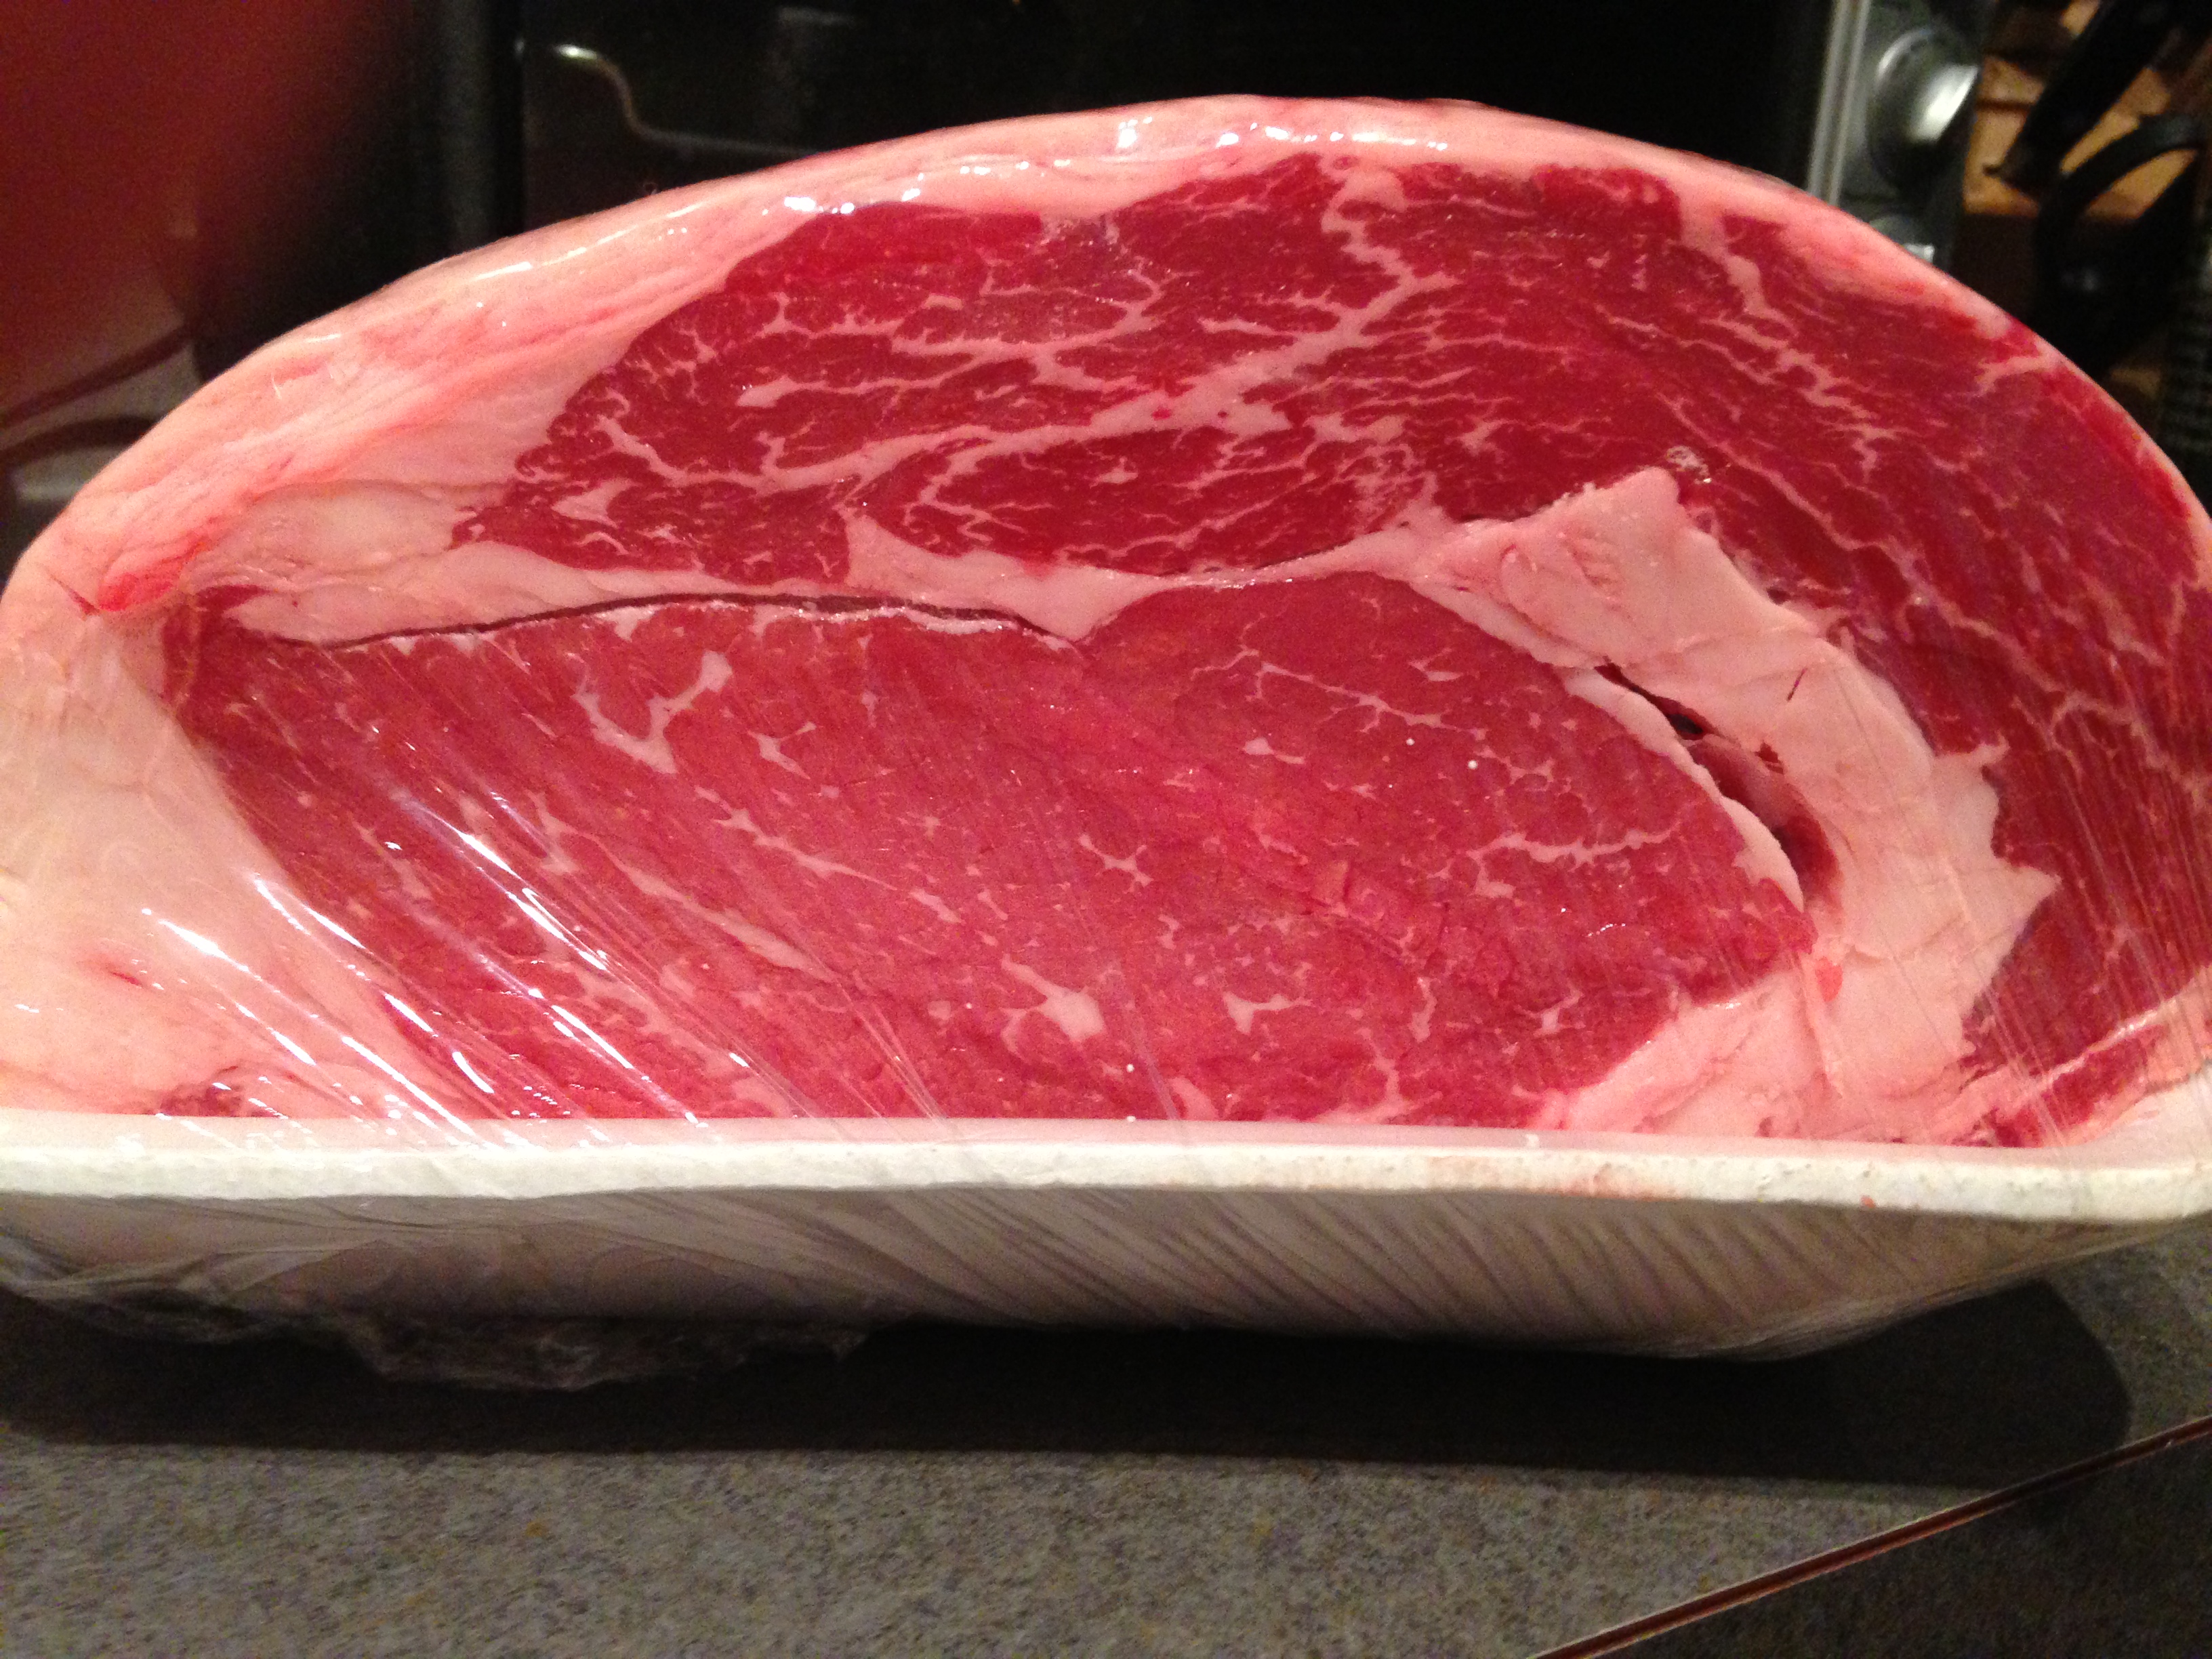
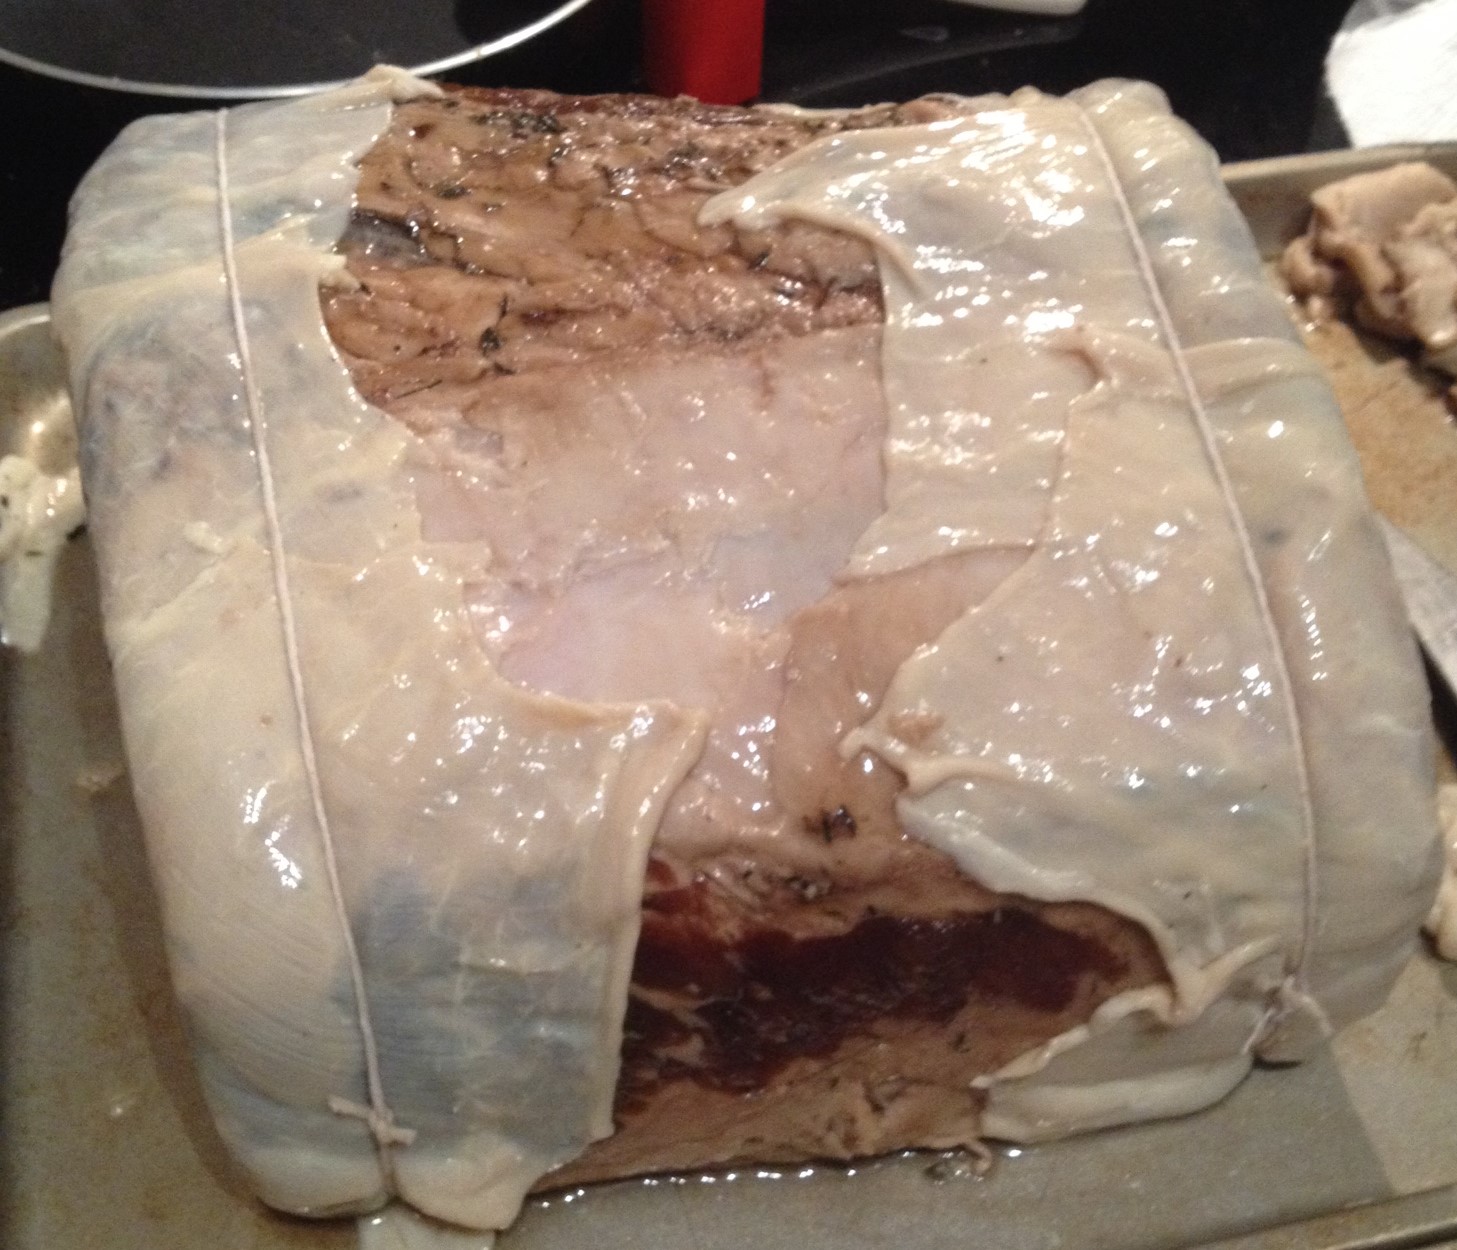
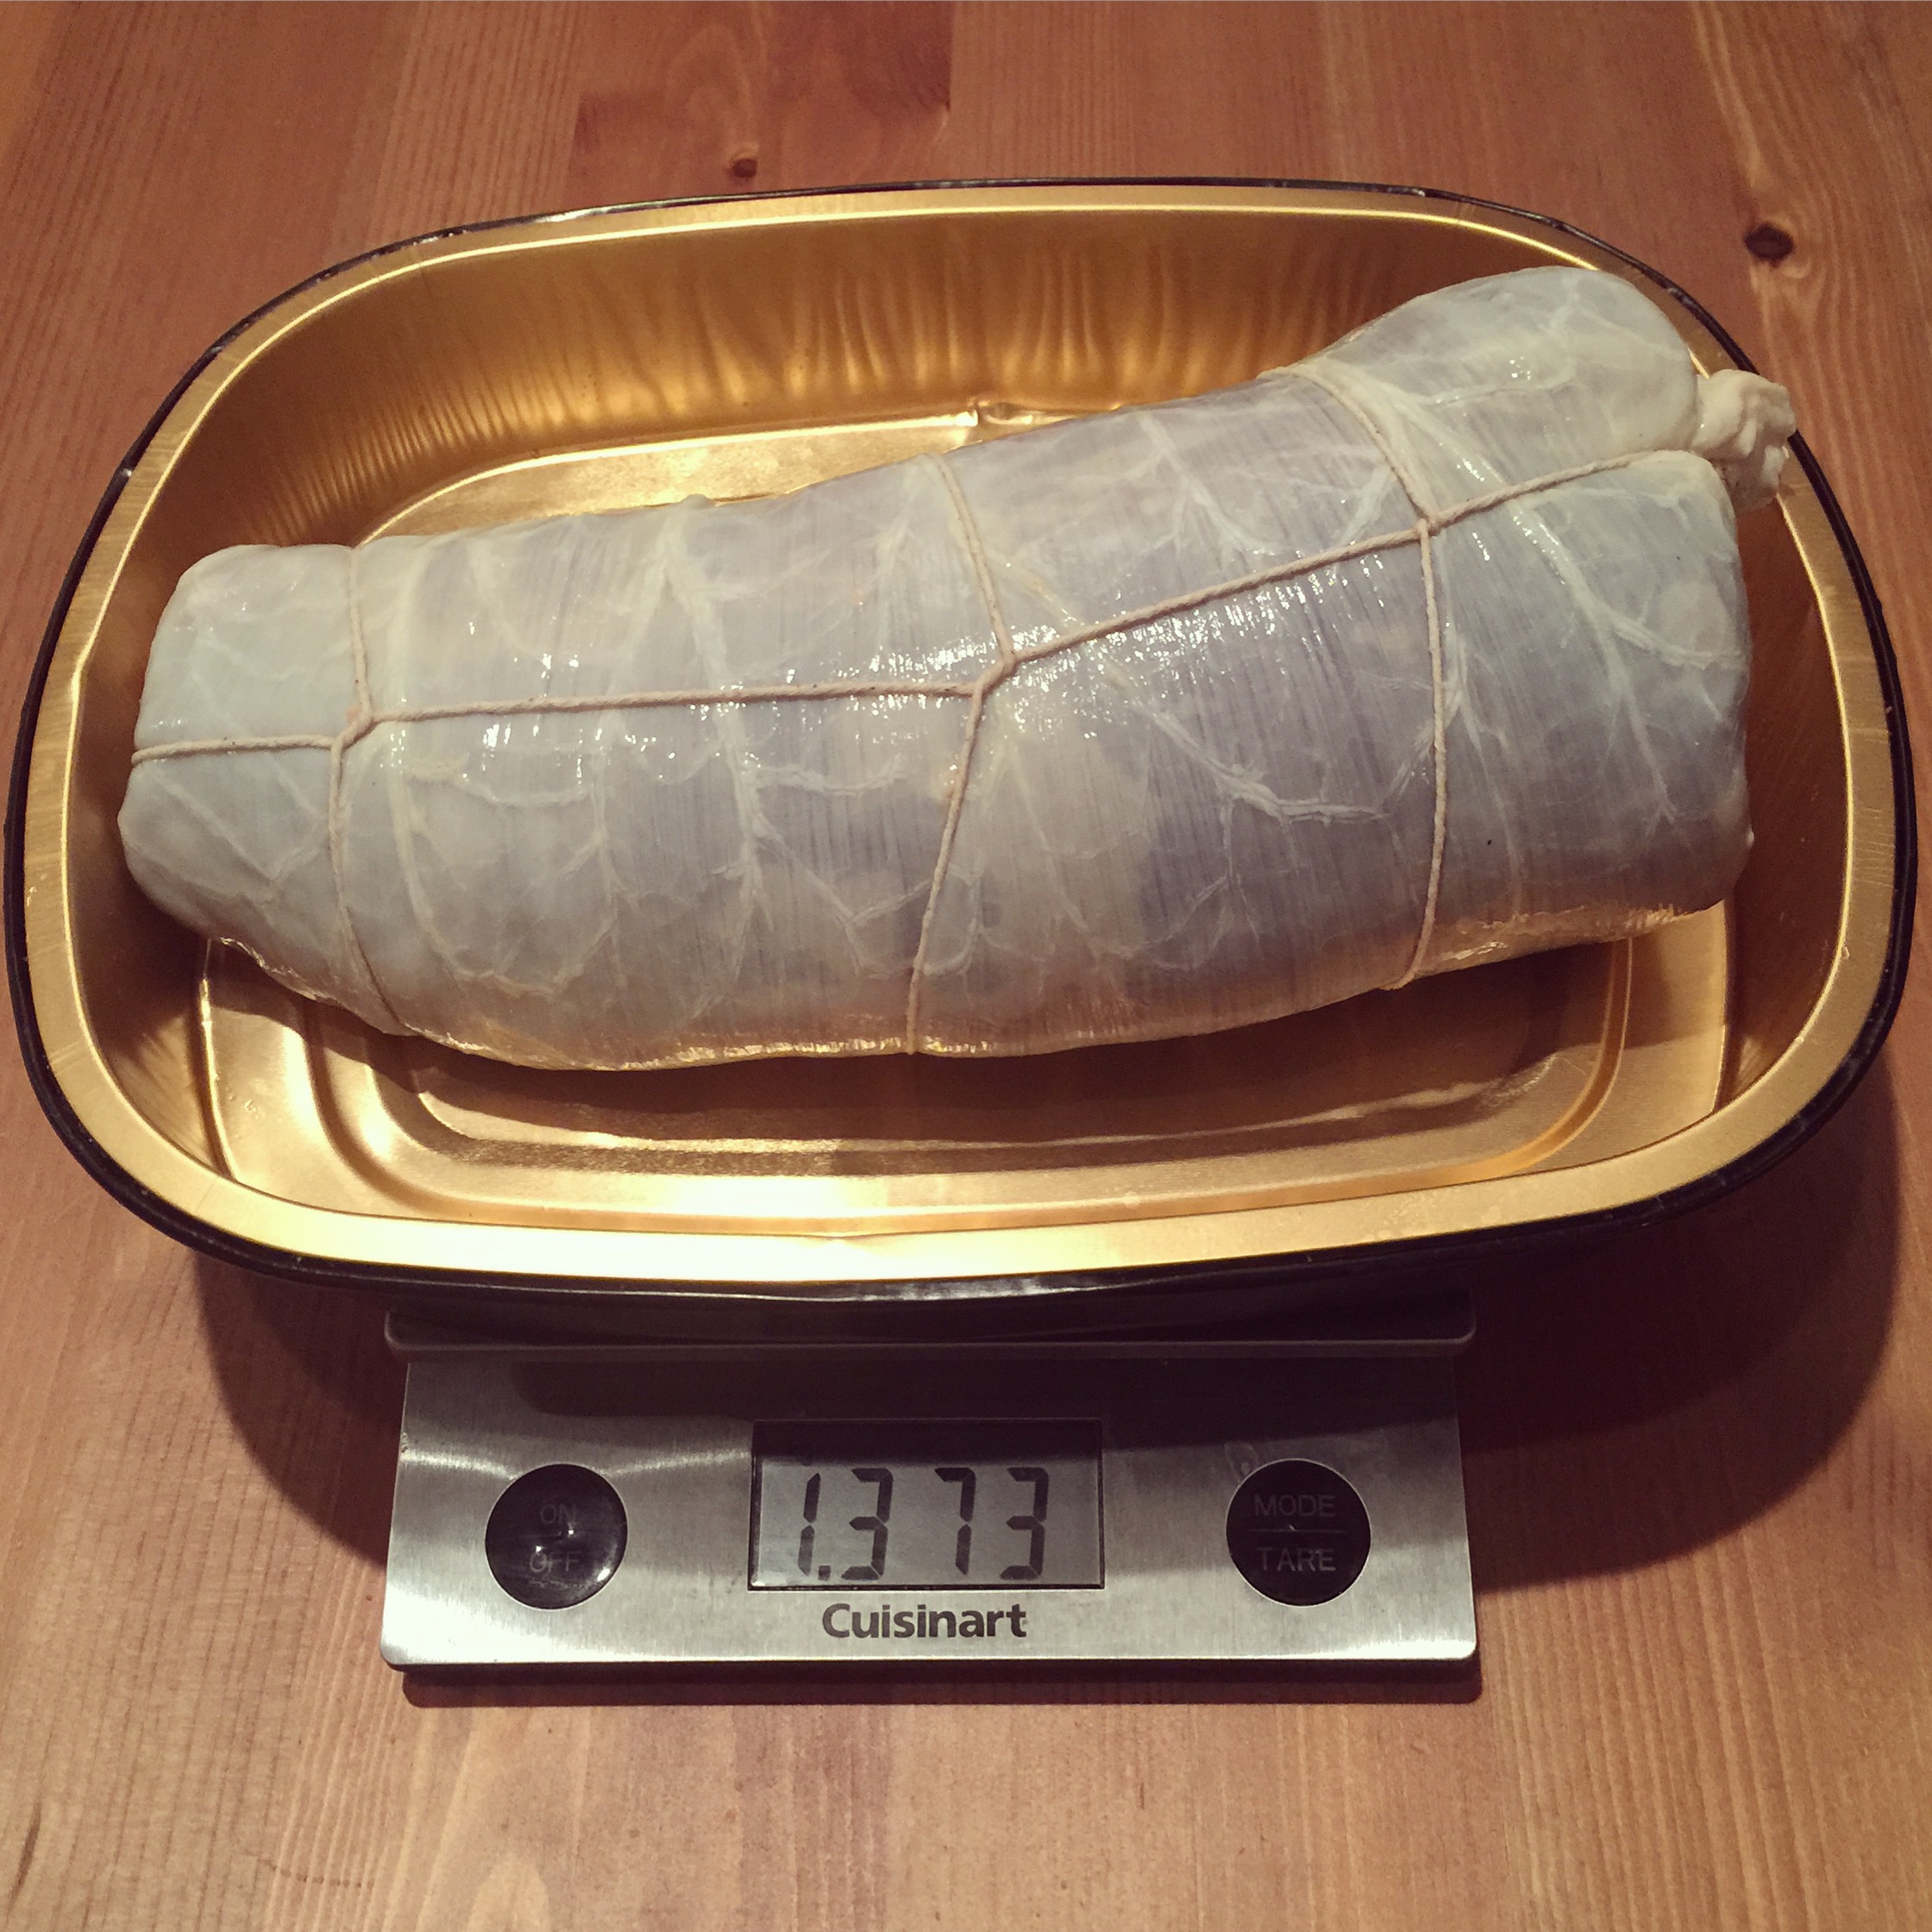
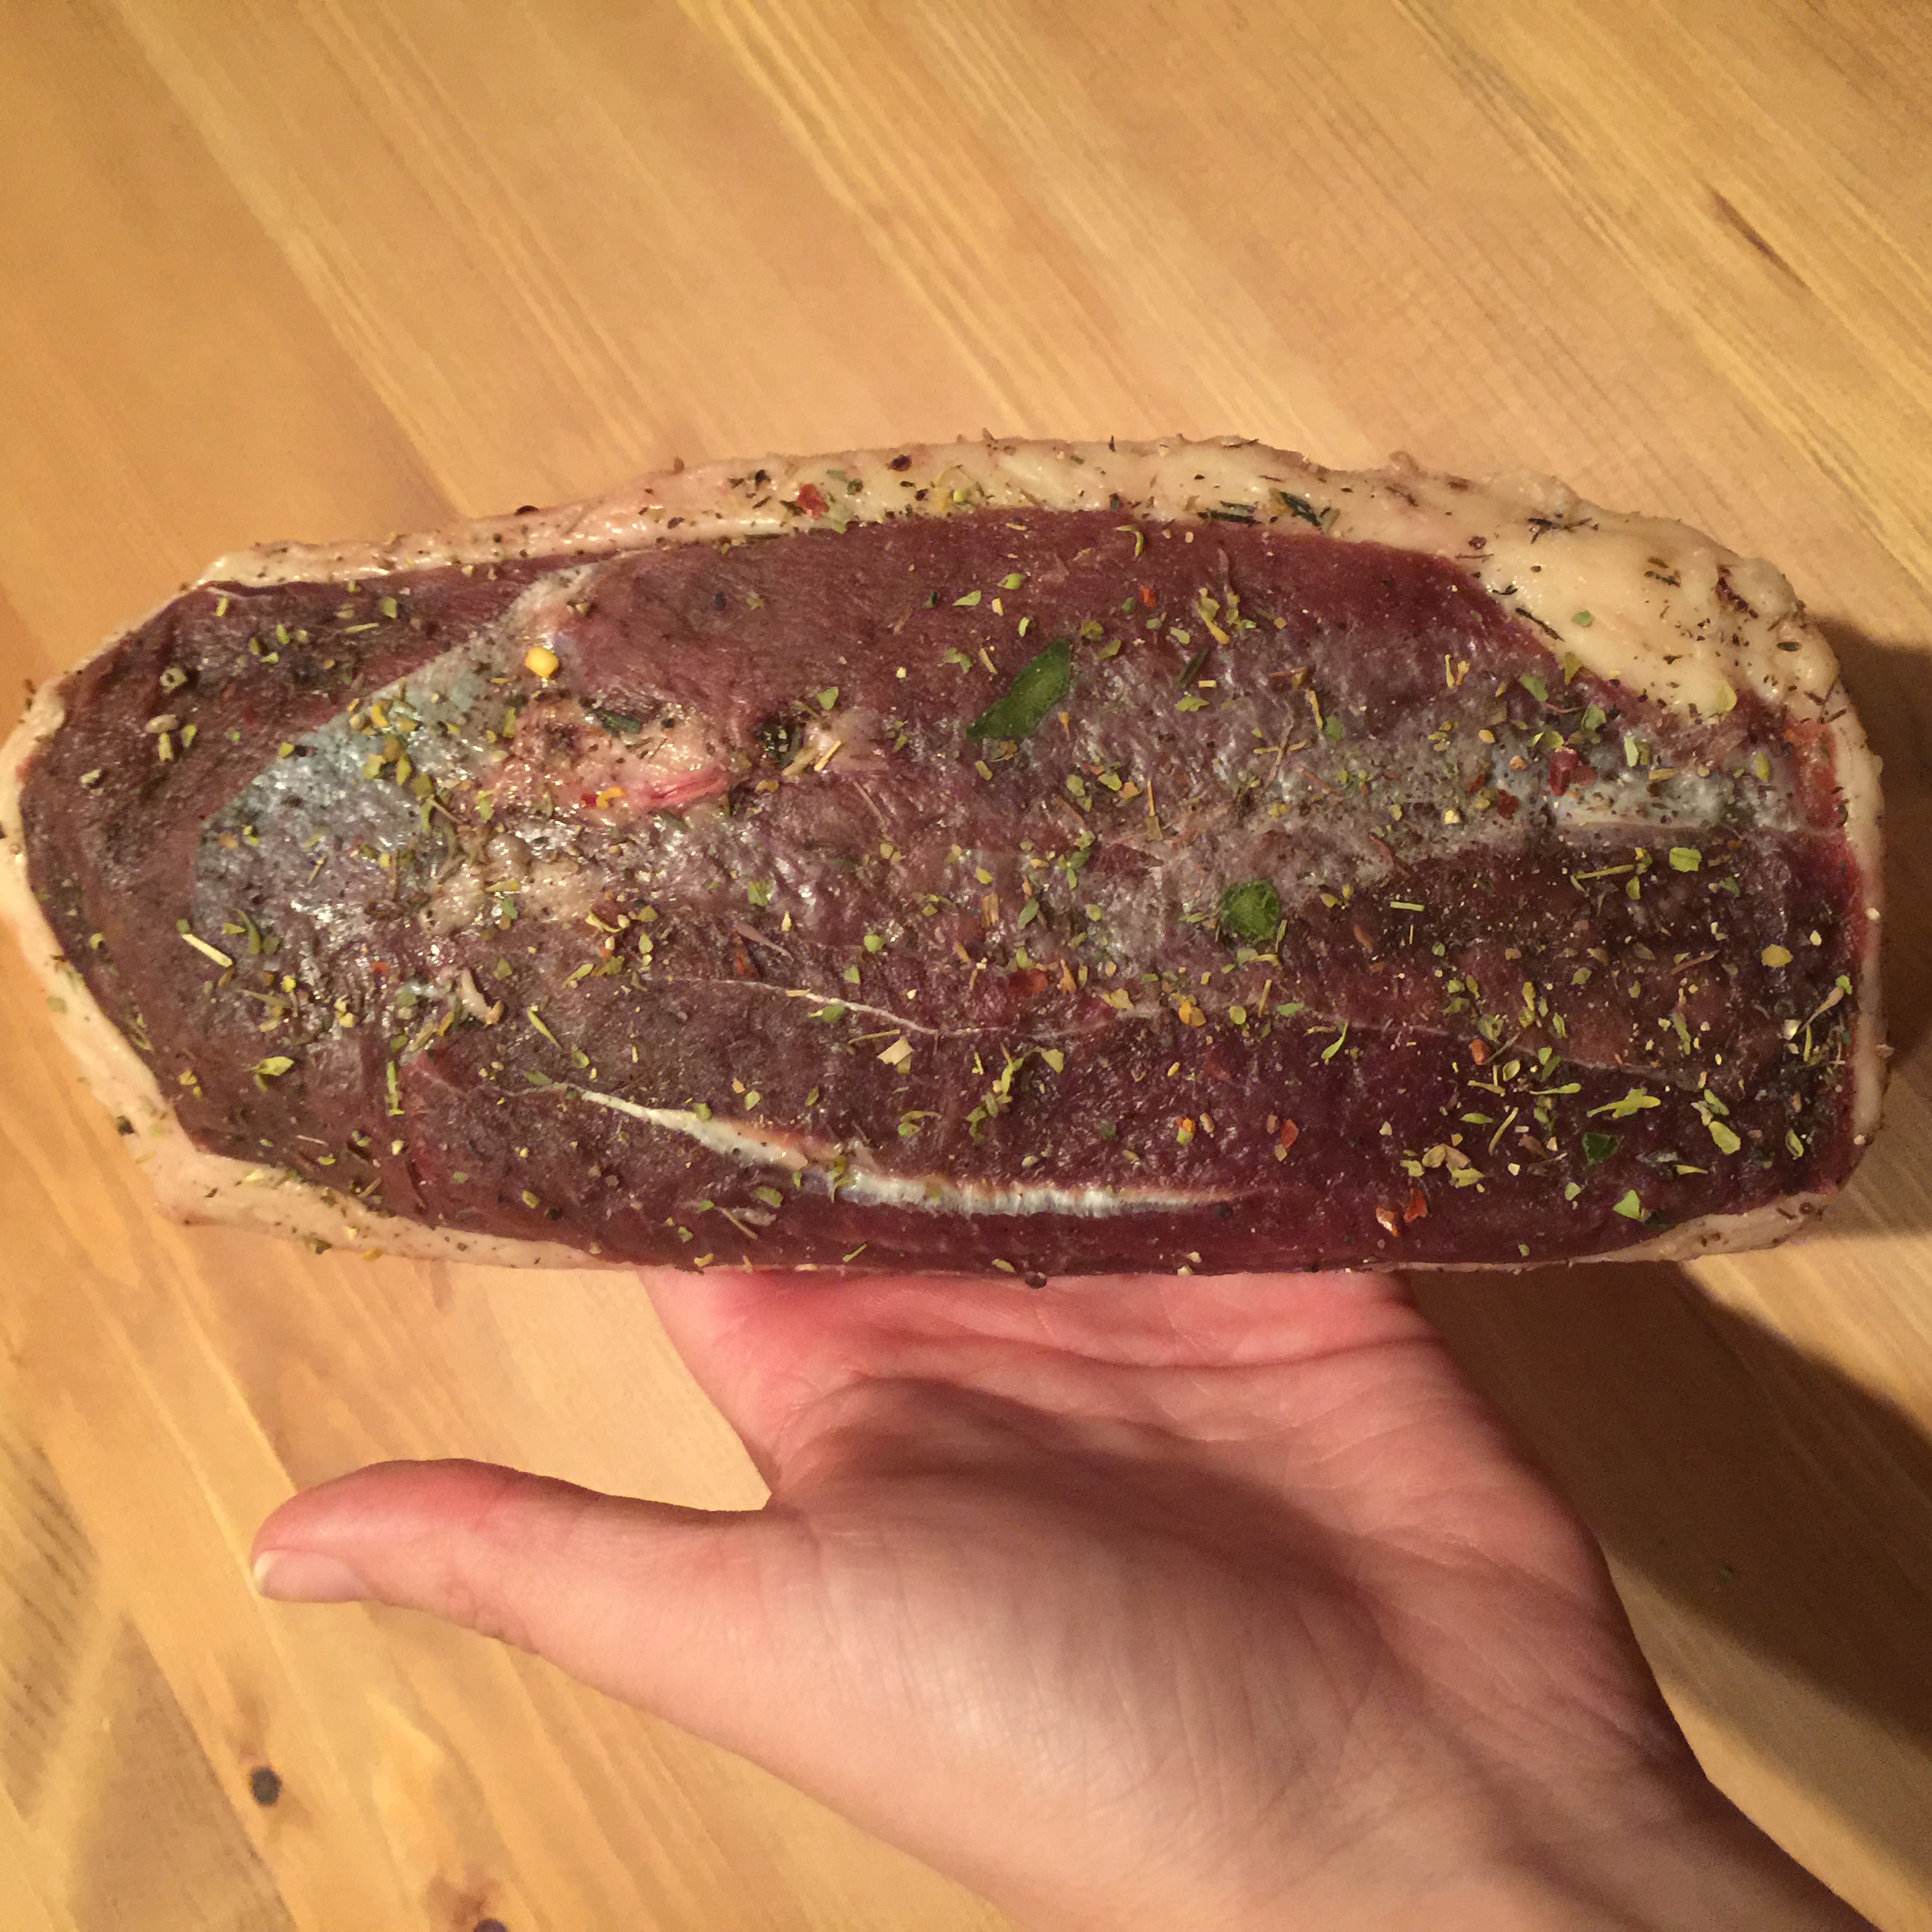
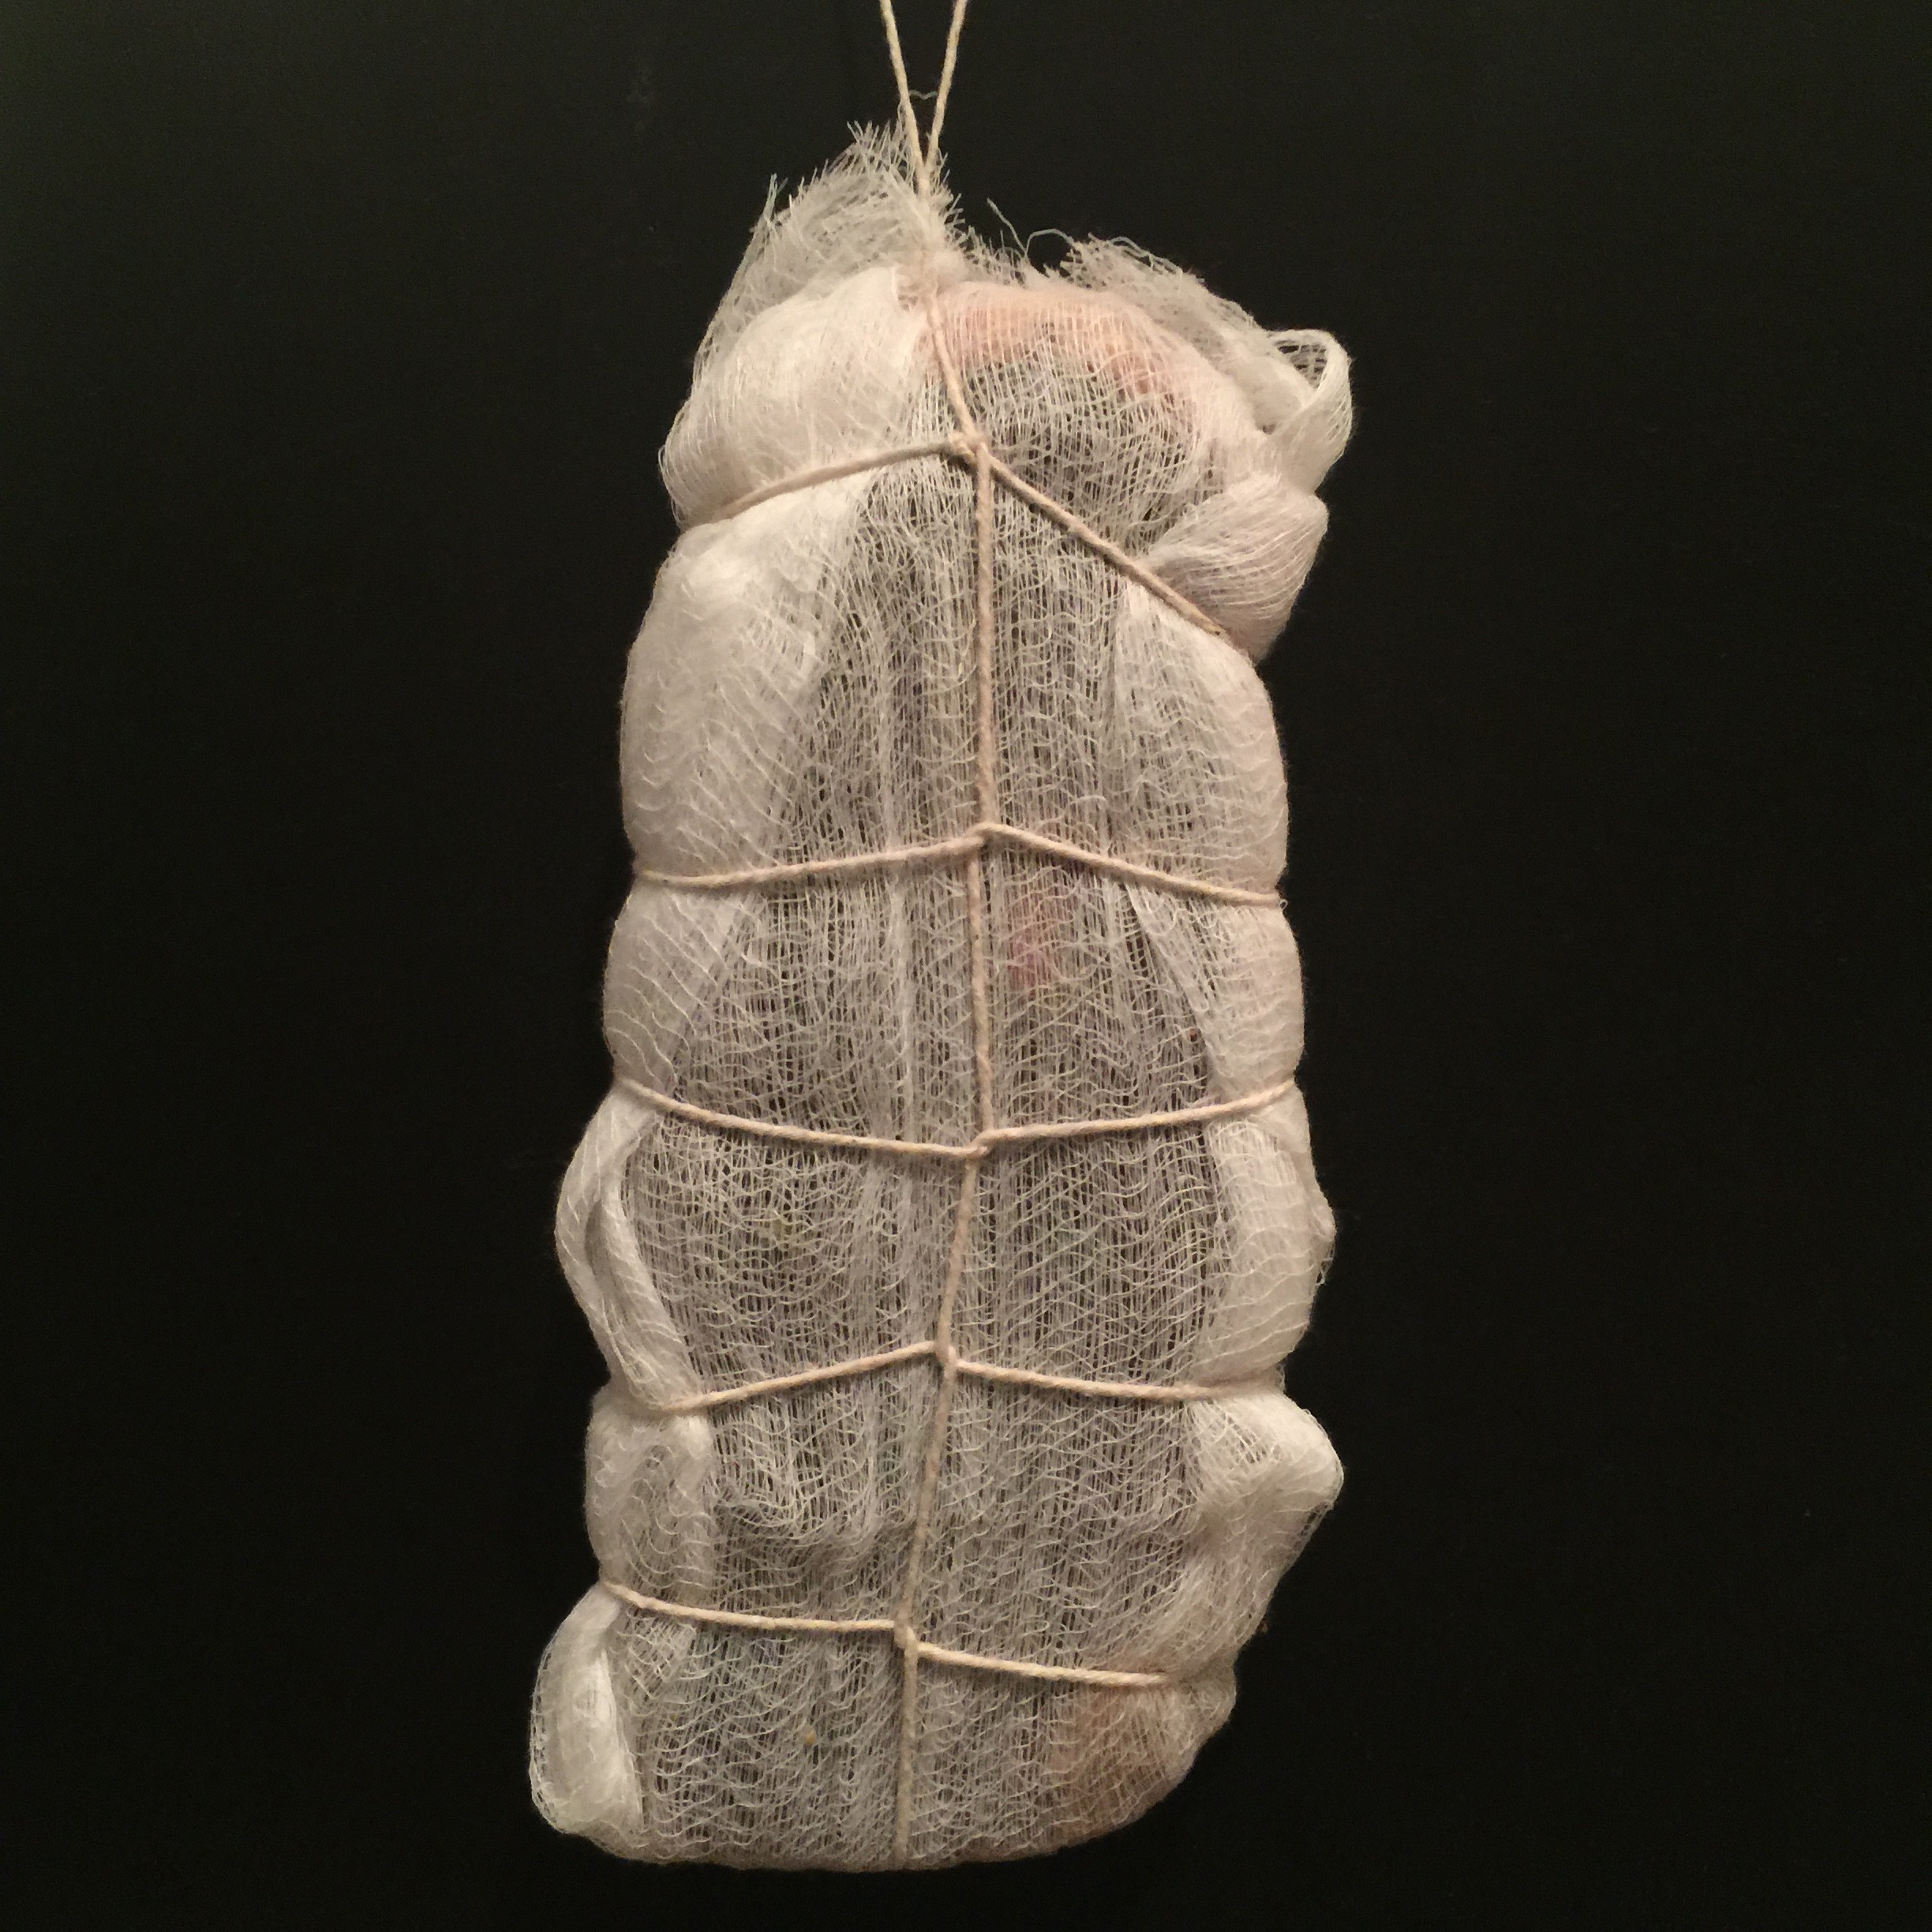
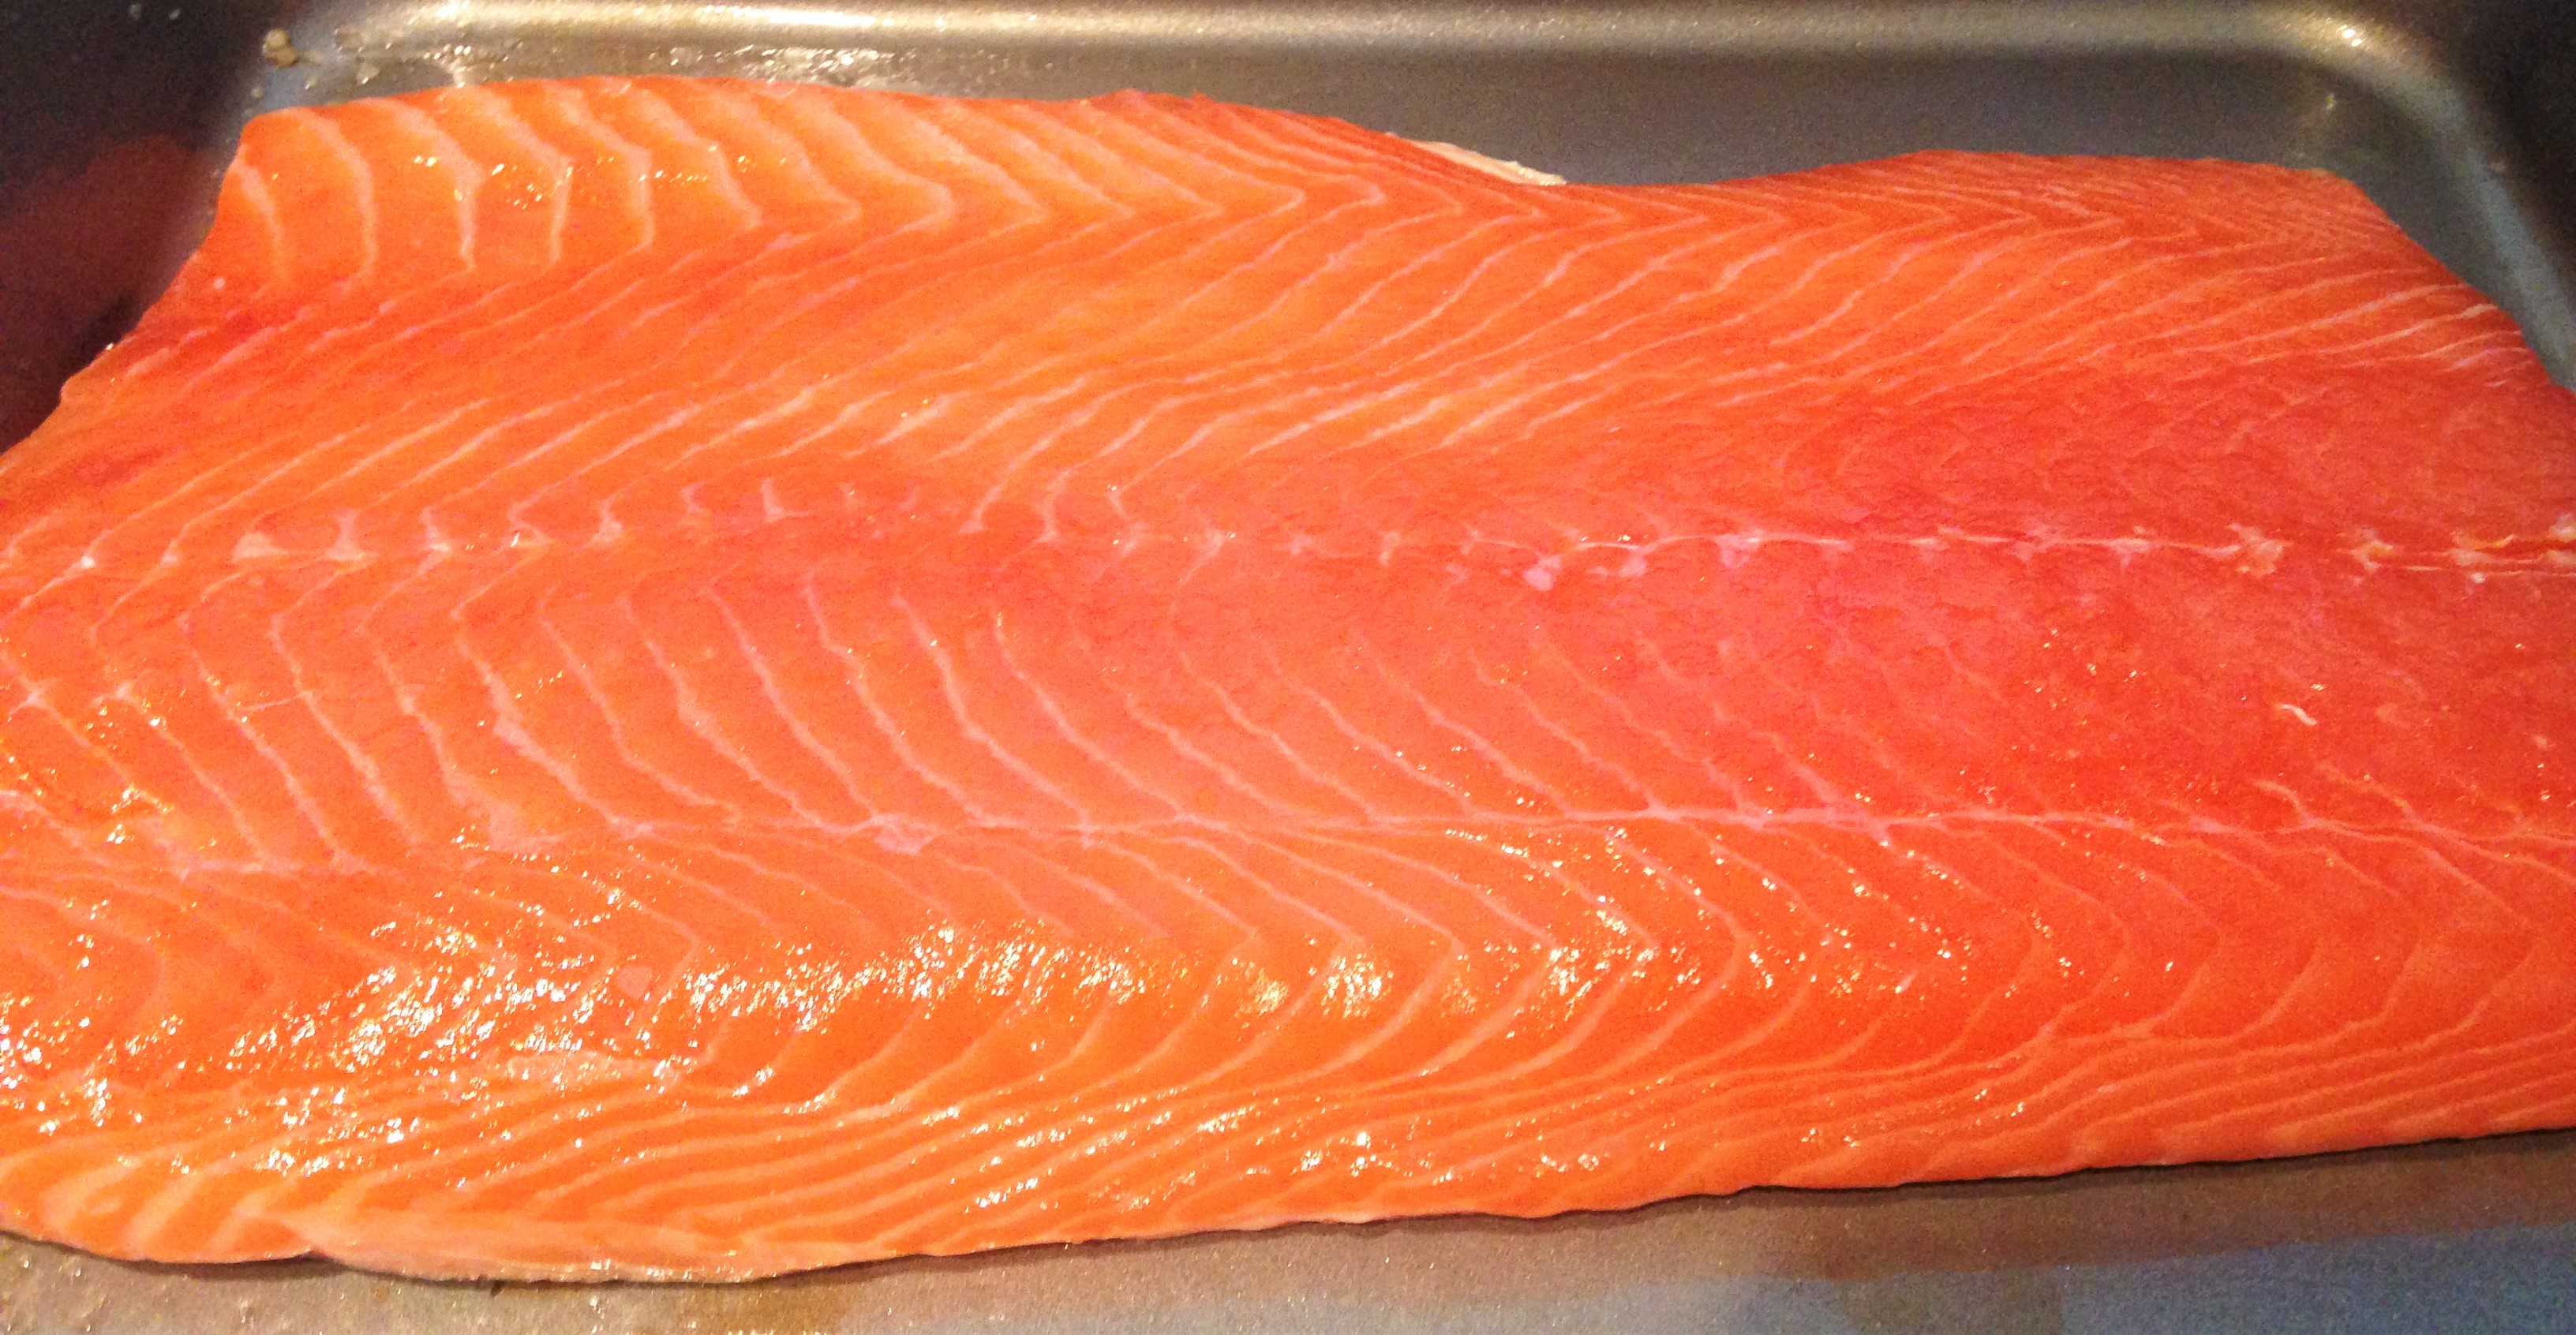
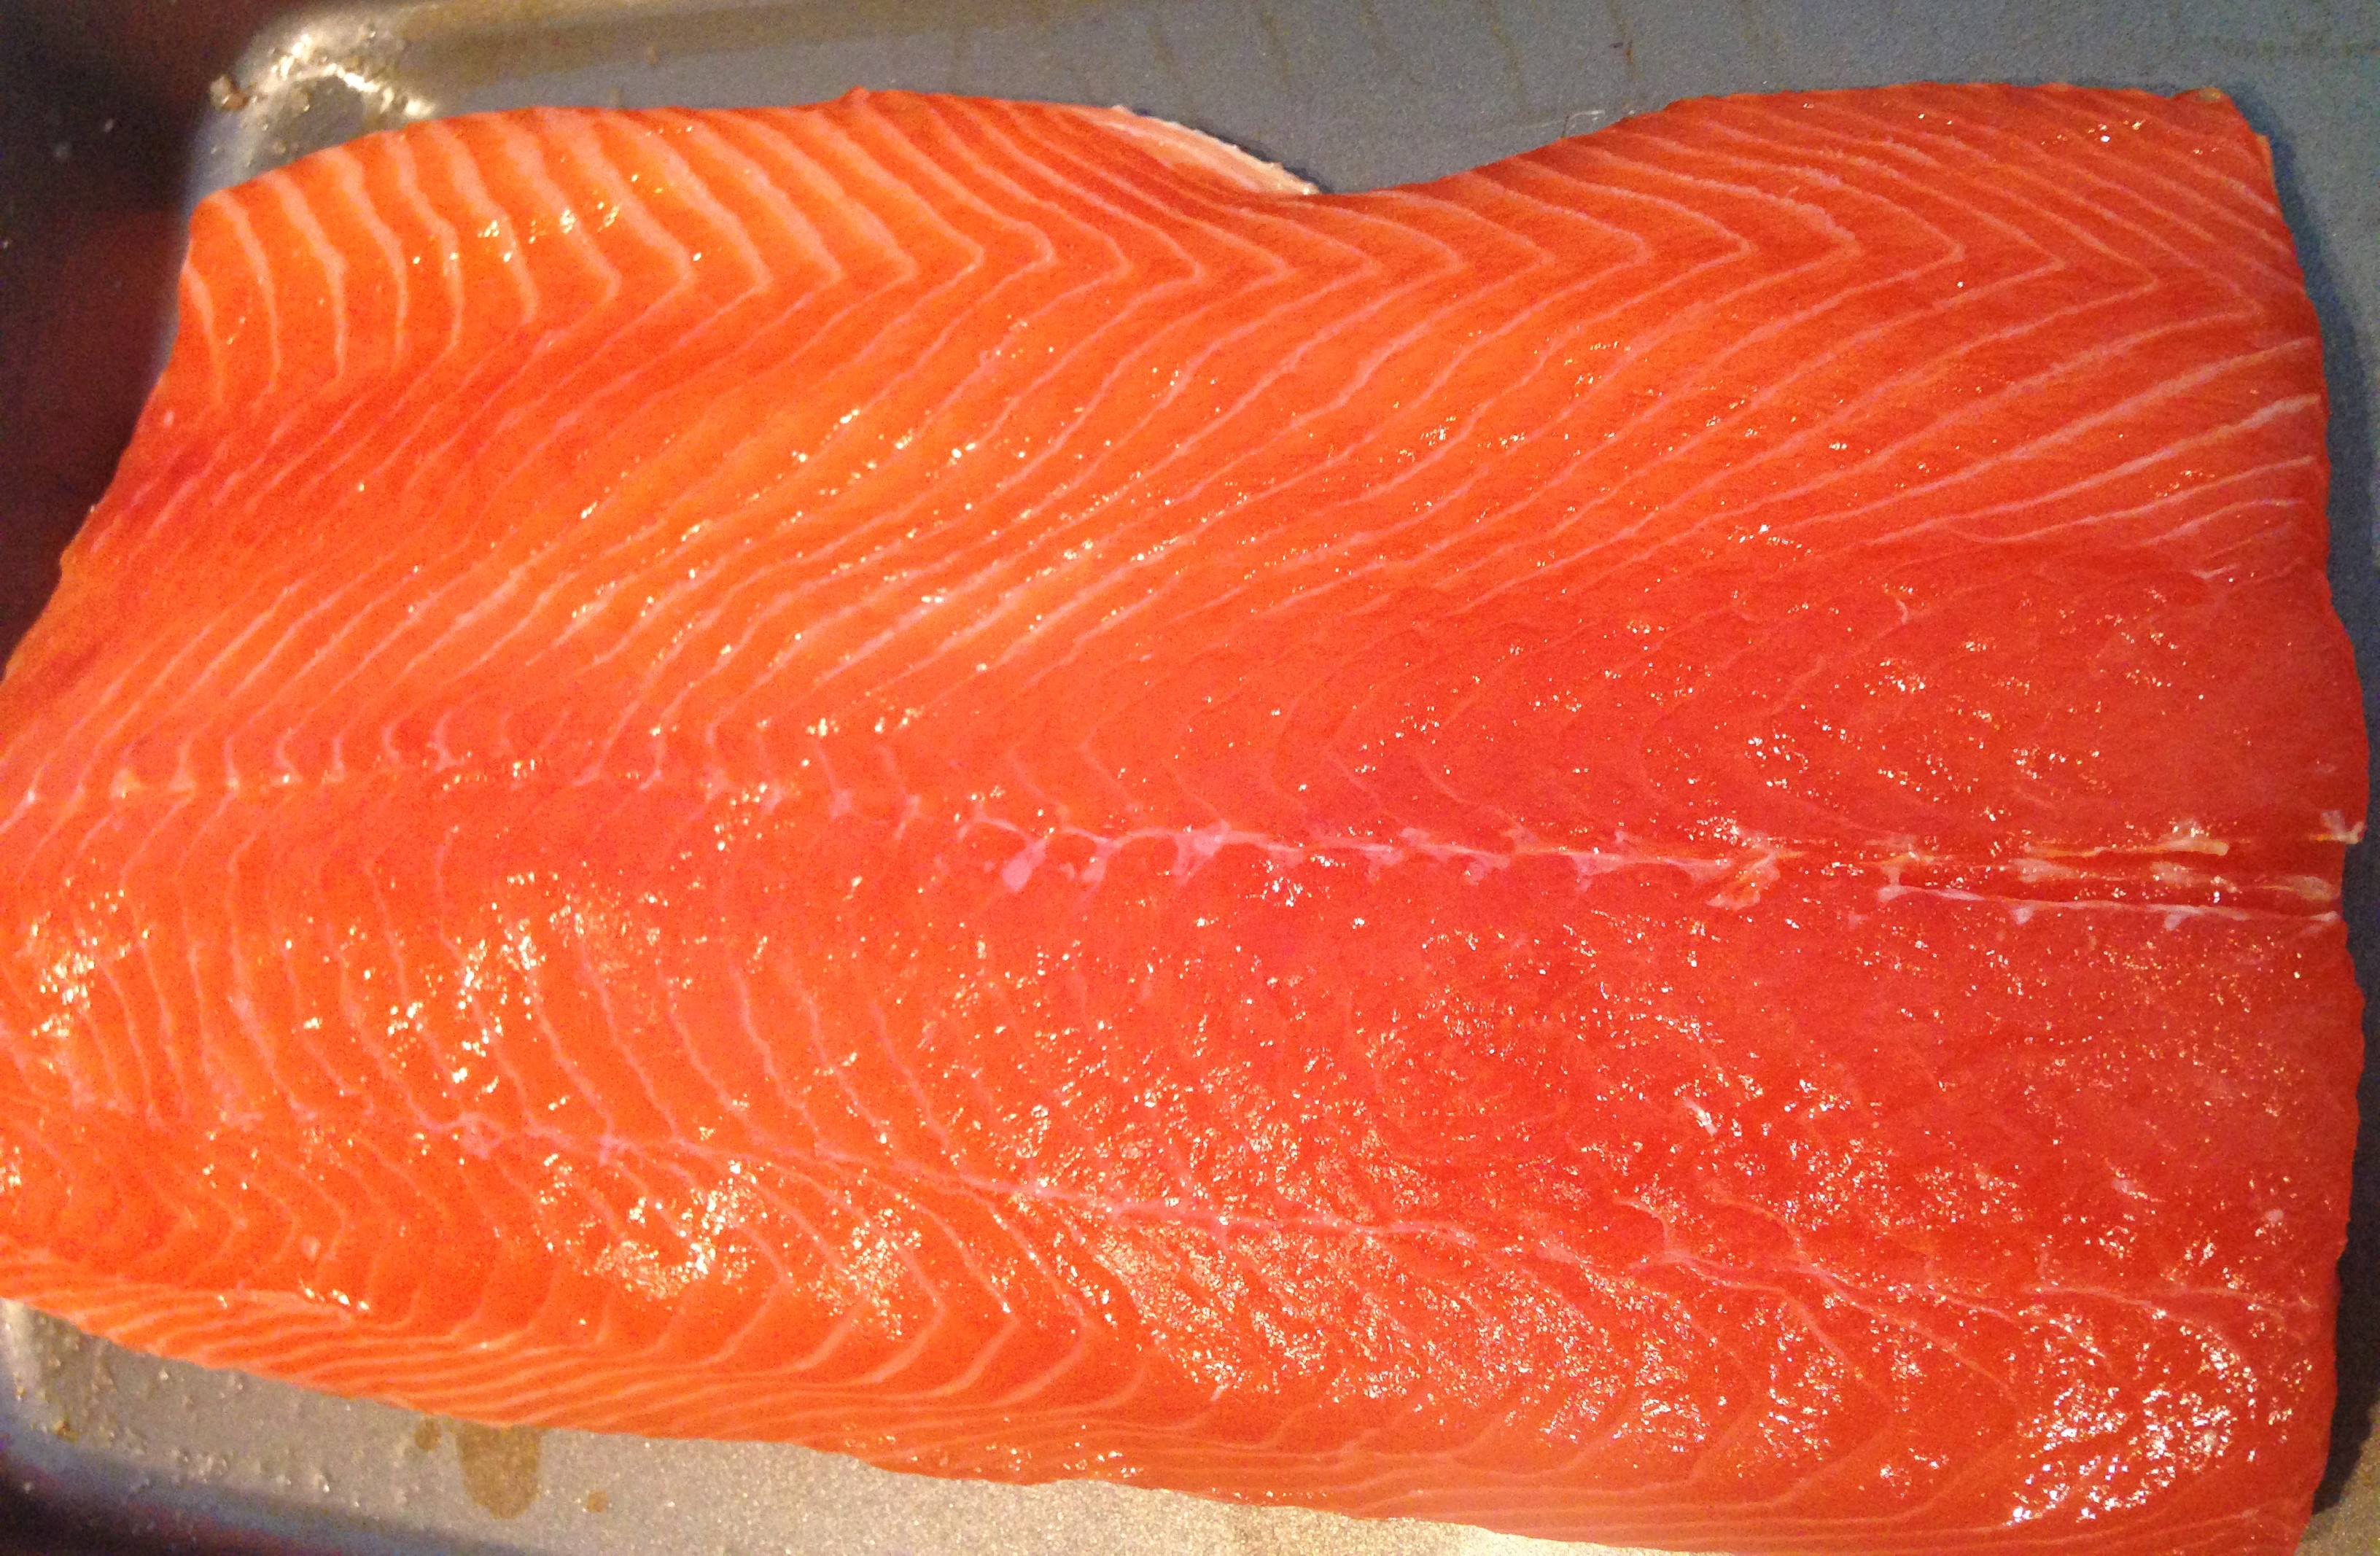
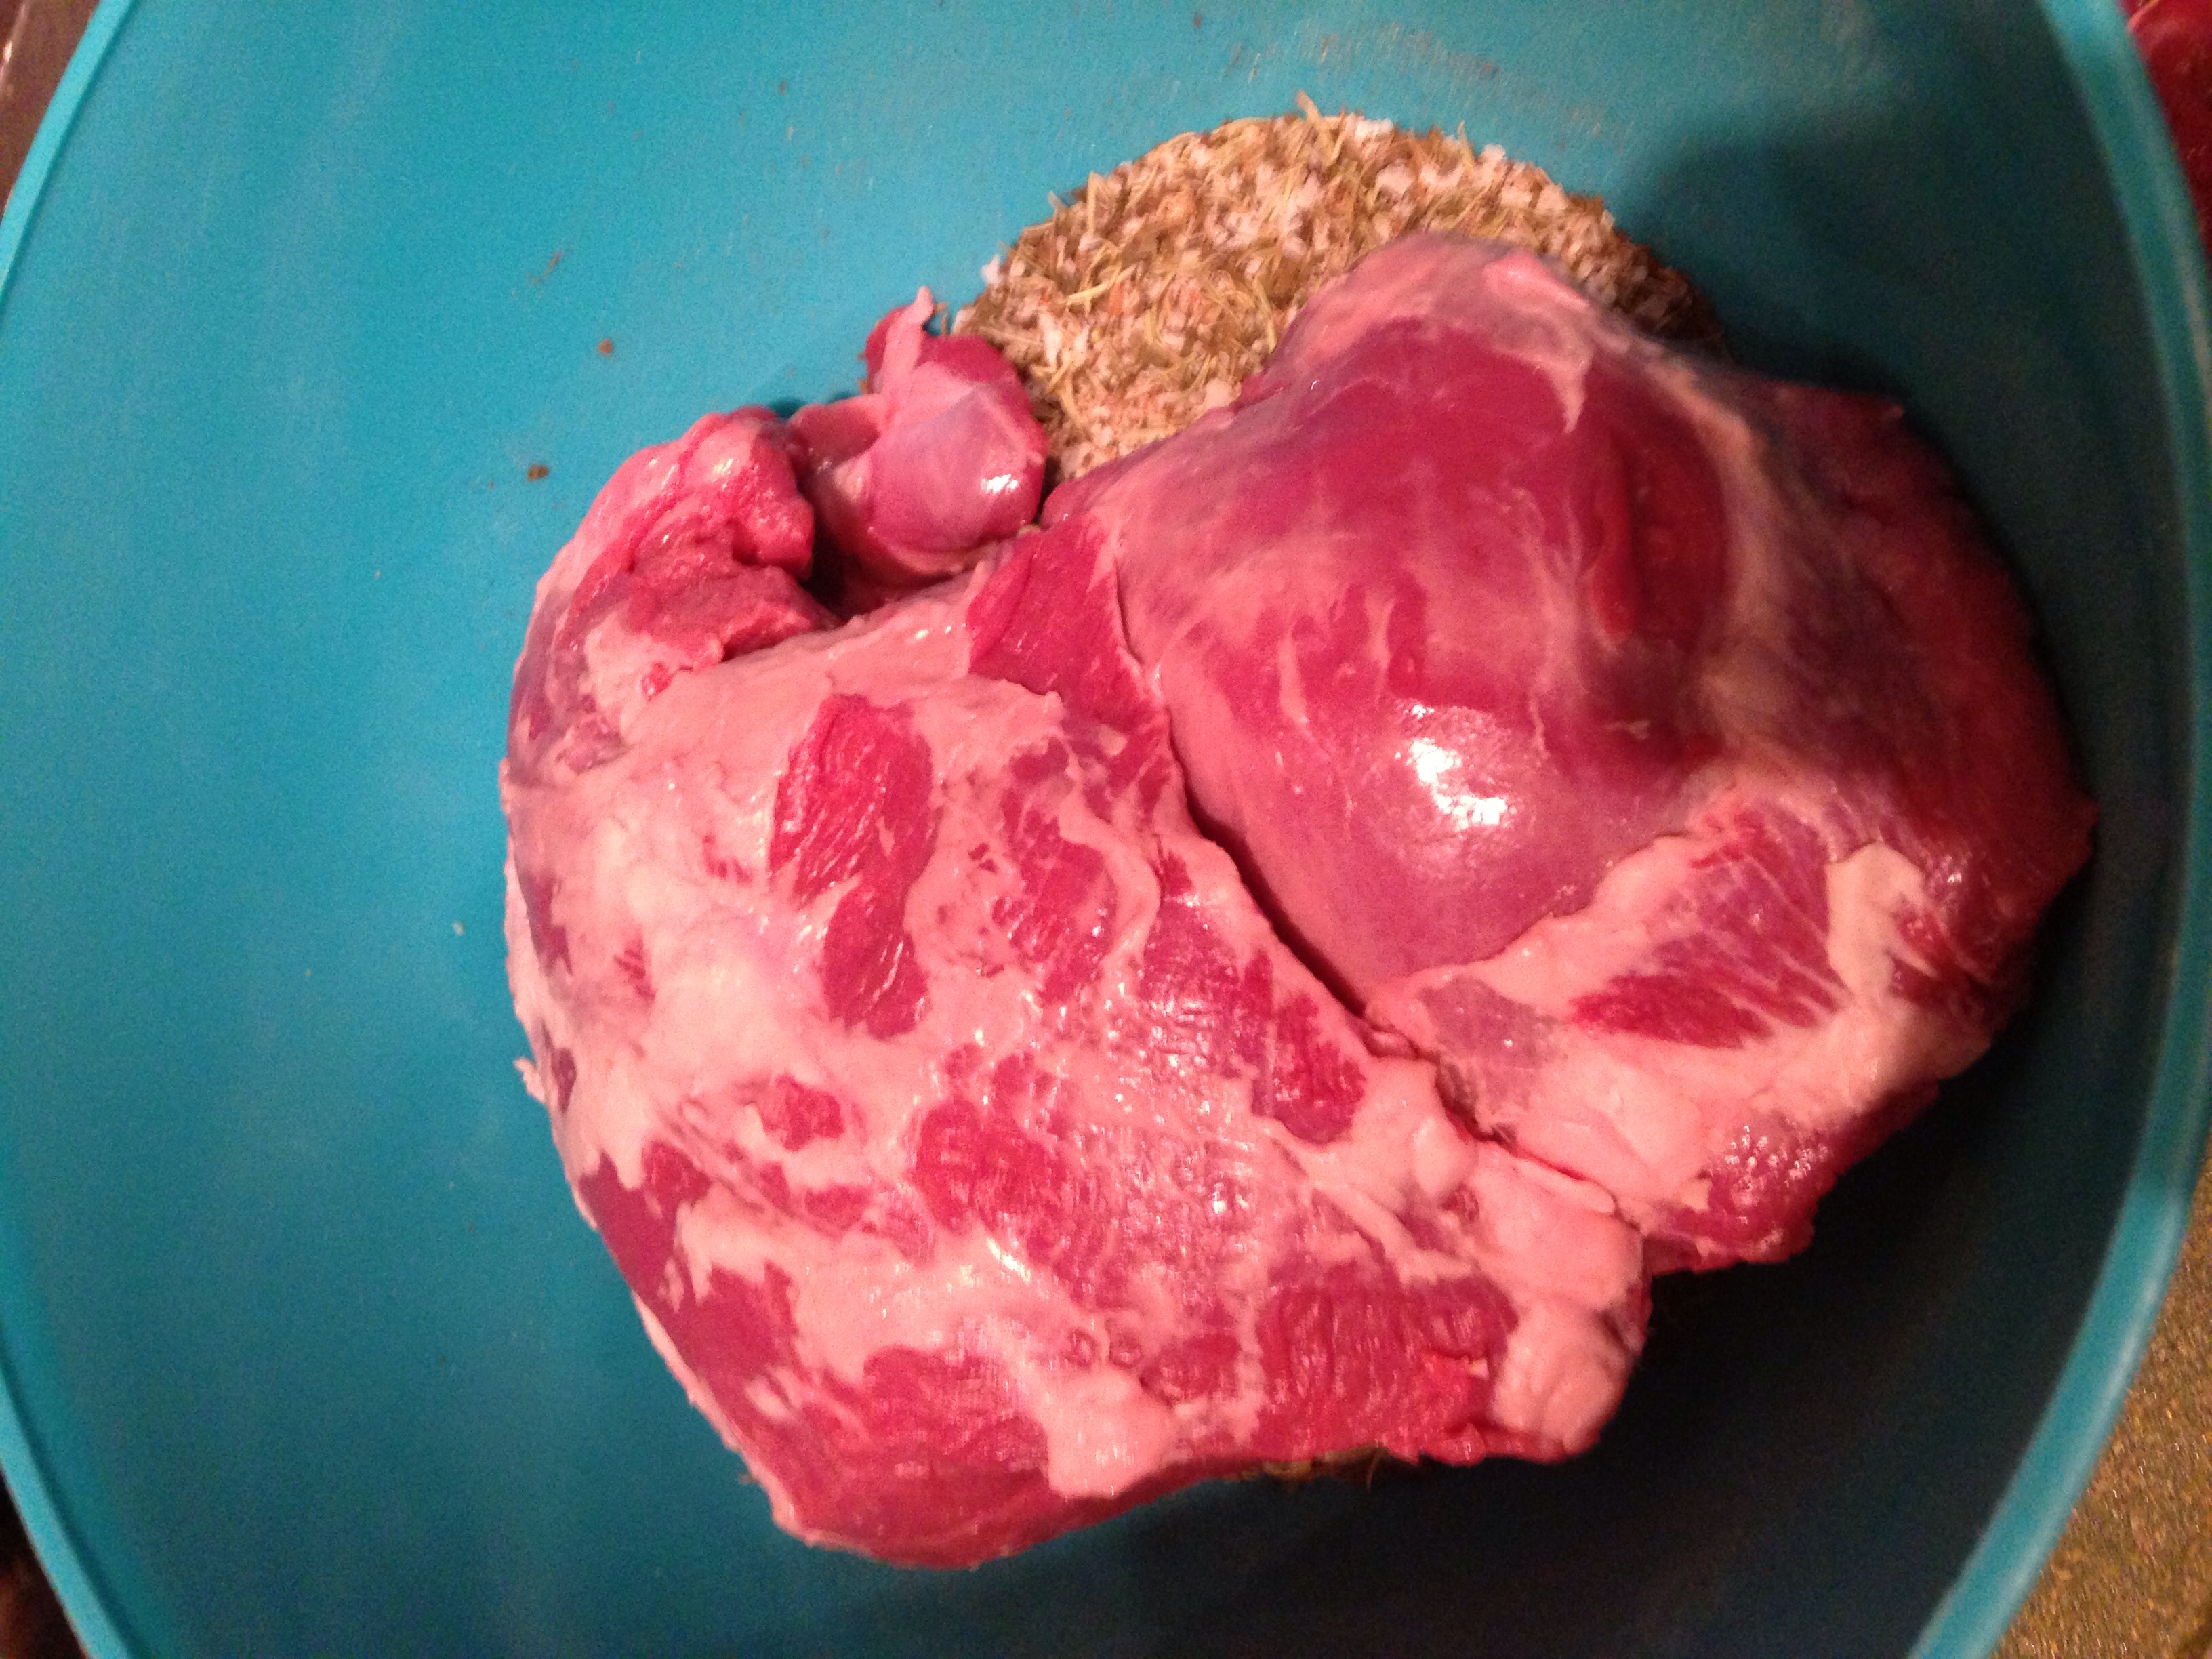
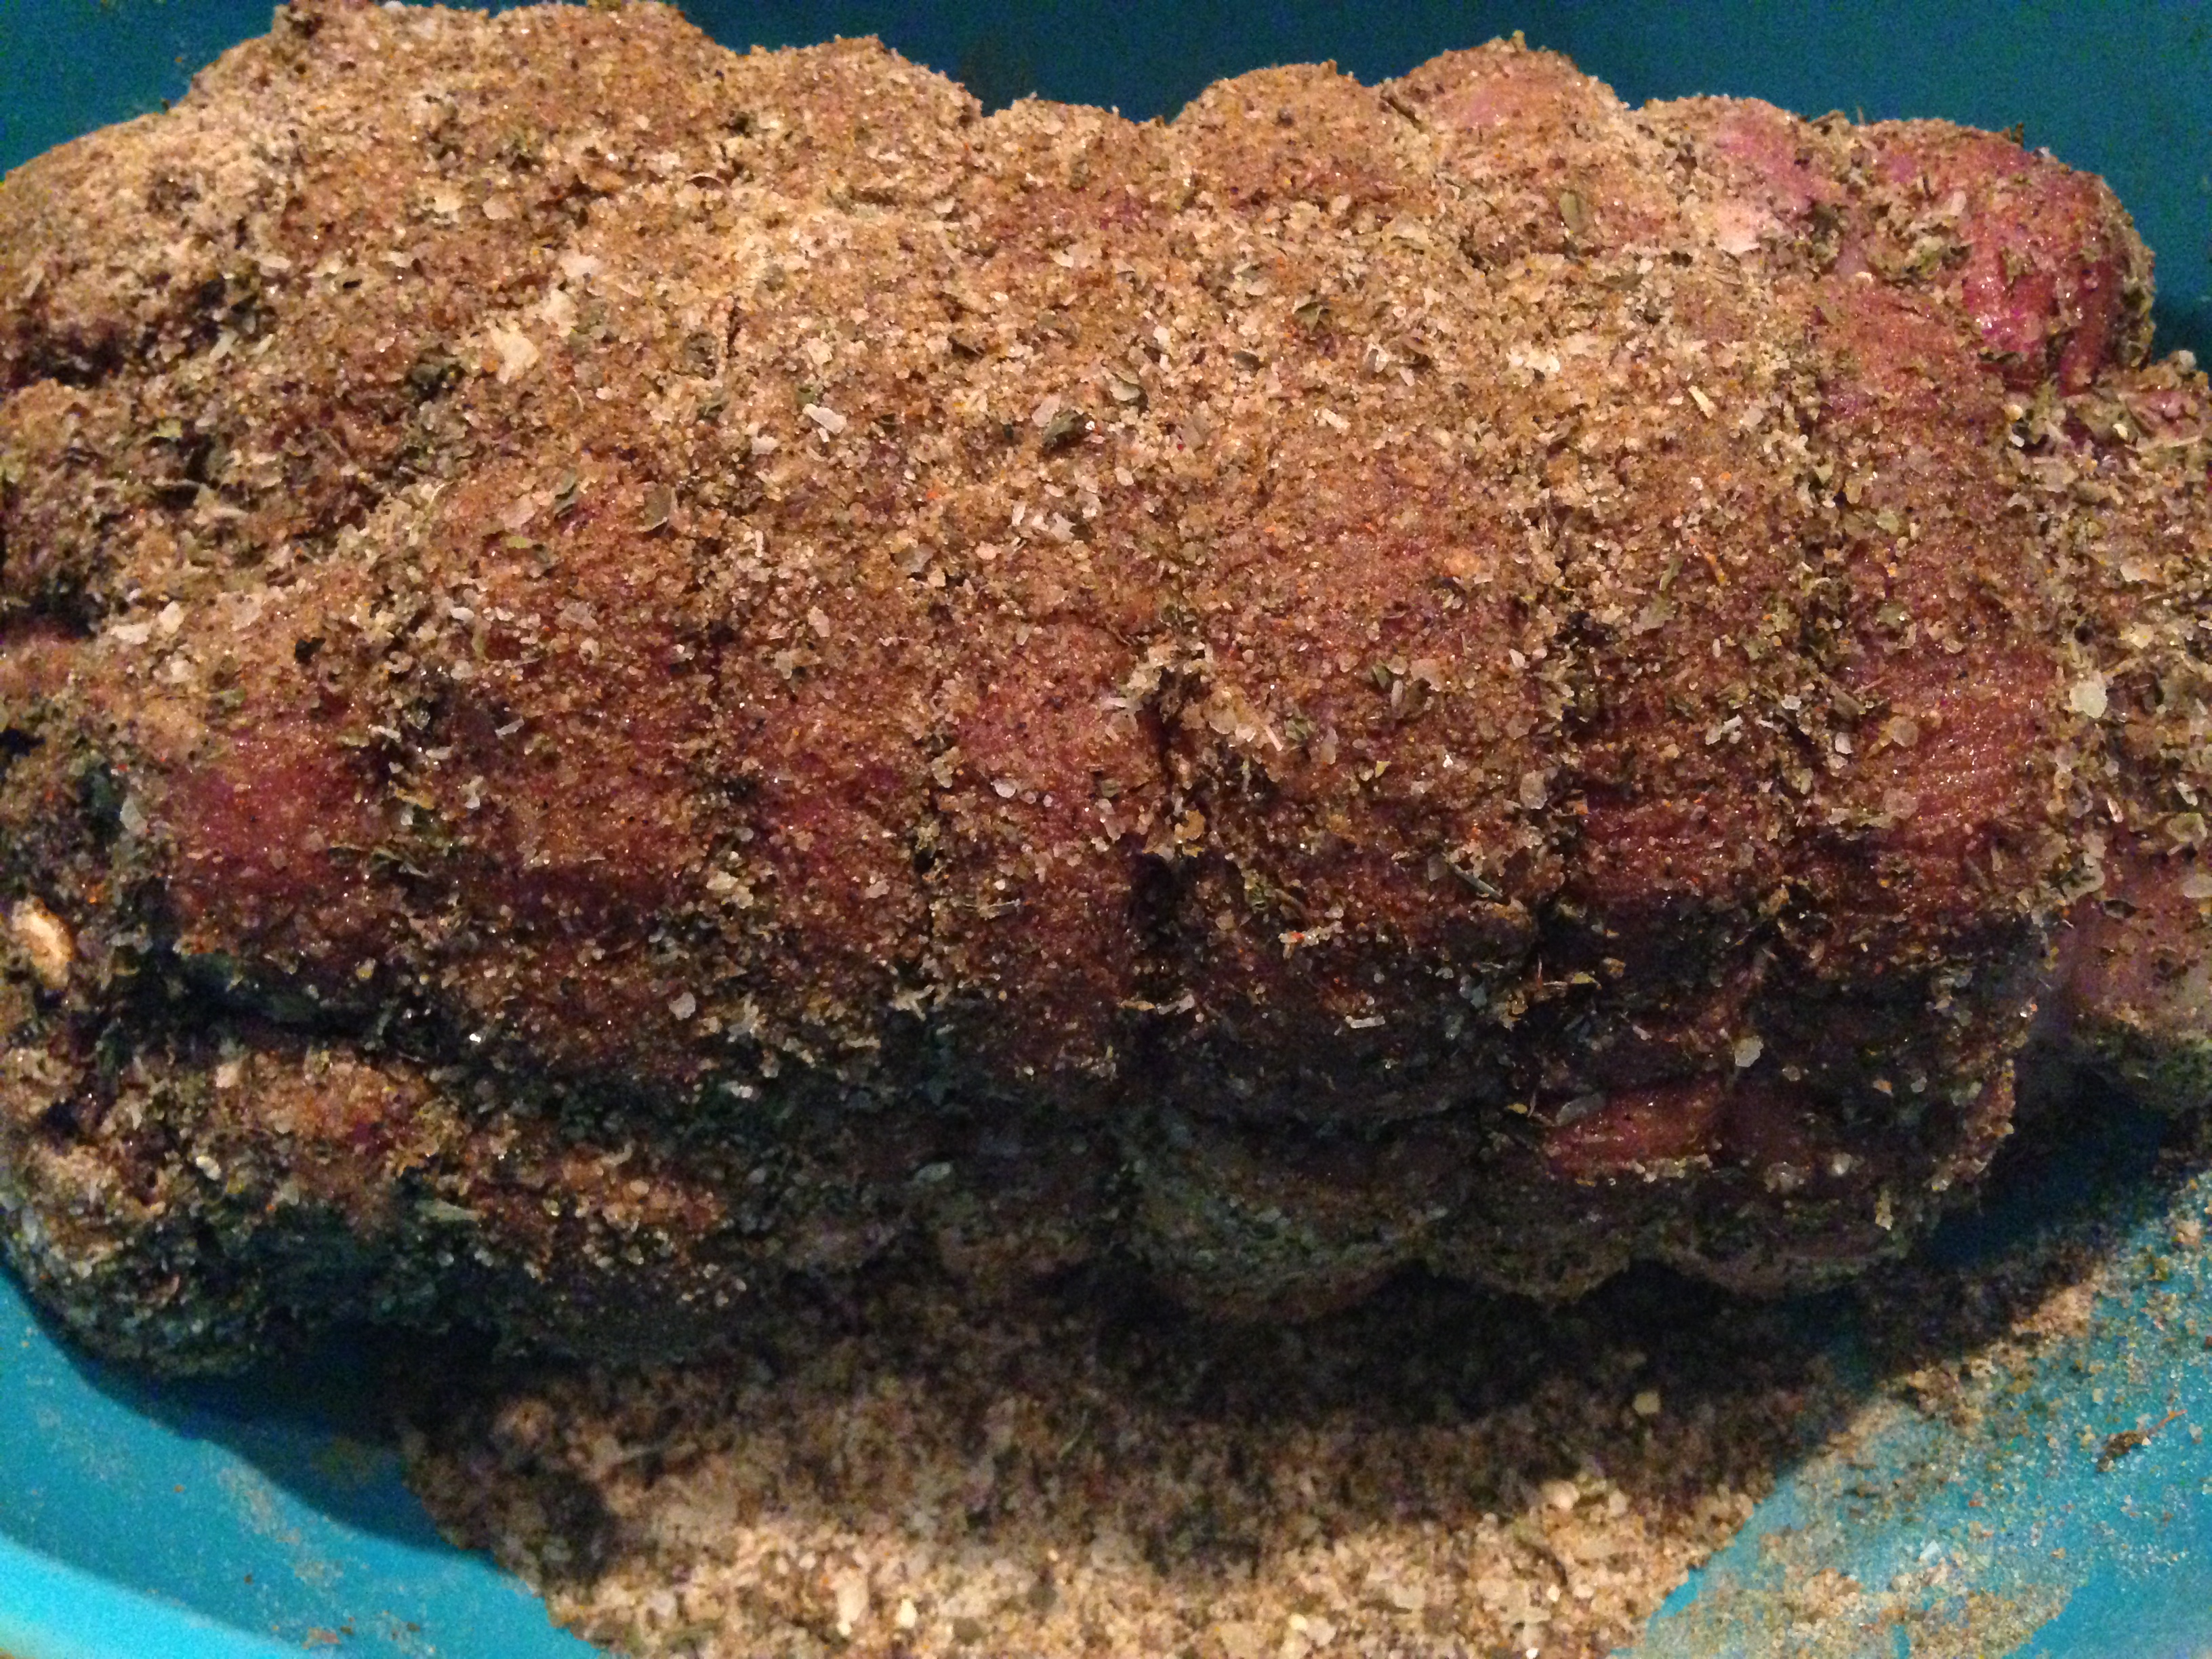
I was able to buy a leg of lamb from an Italian butcher shop at Arthur Ave in the Bronx. I explained to the butcher there what I wanted, and he took the time to tightly tie the leg of lamb together into a roast.
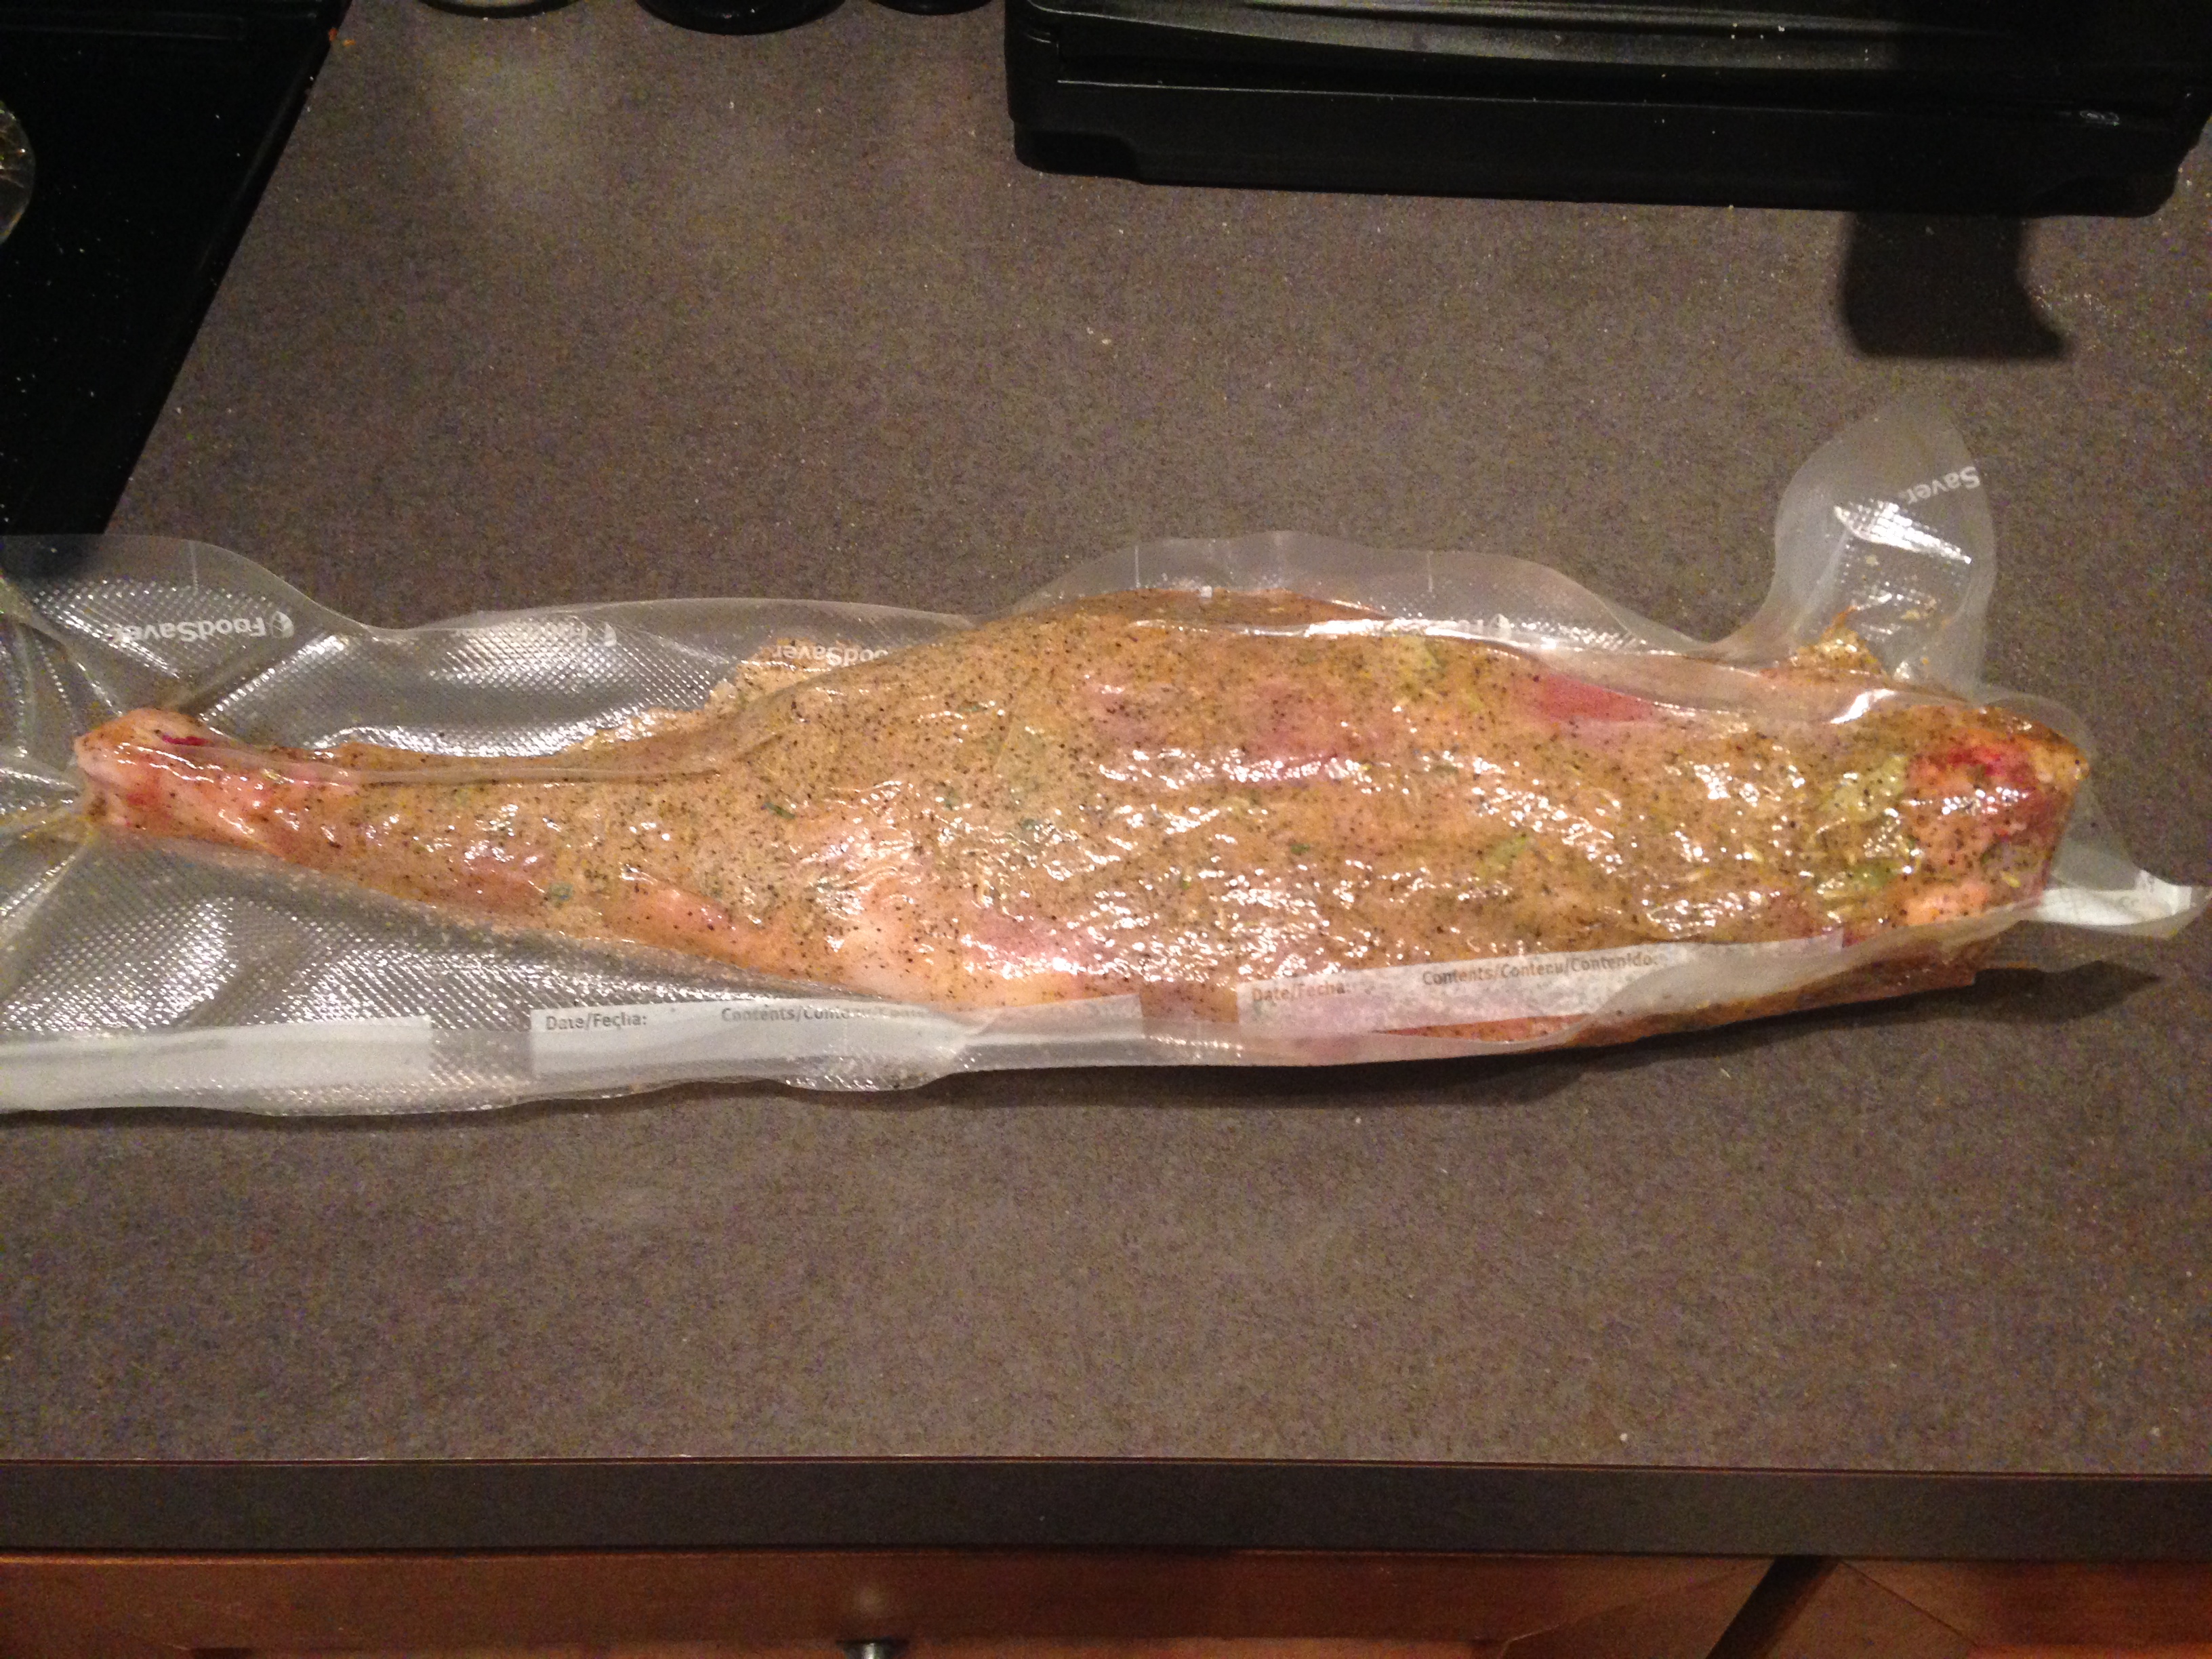
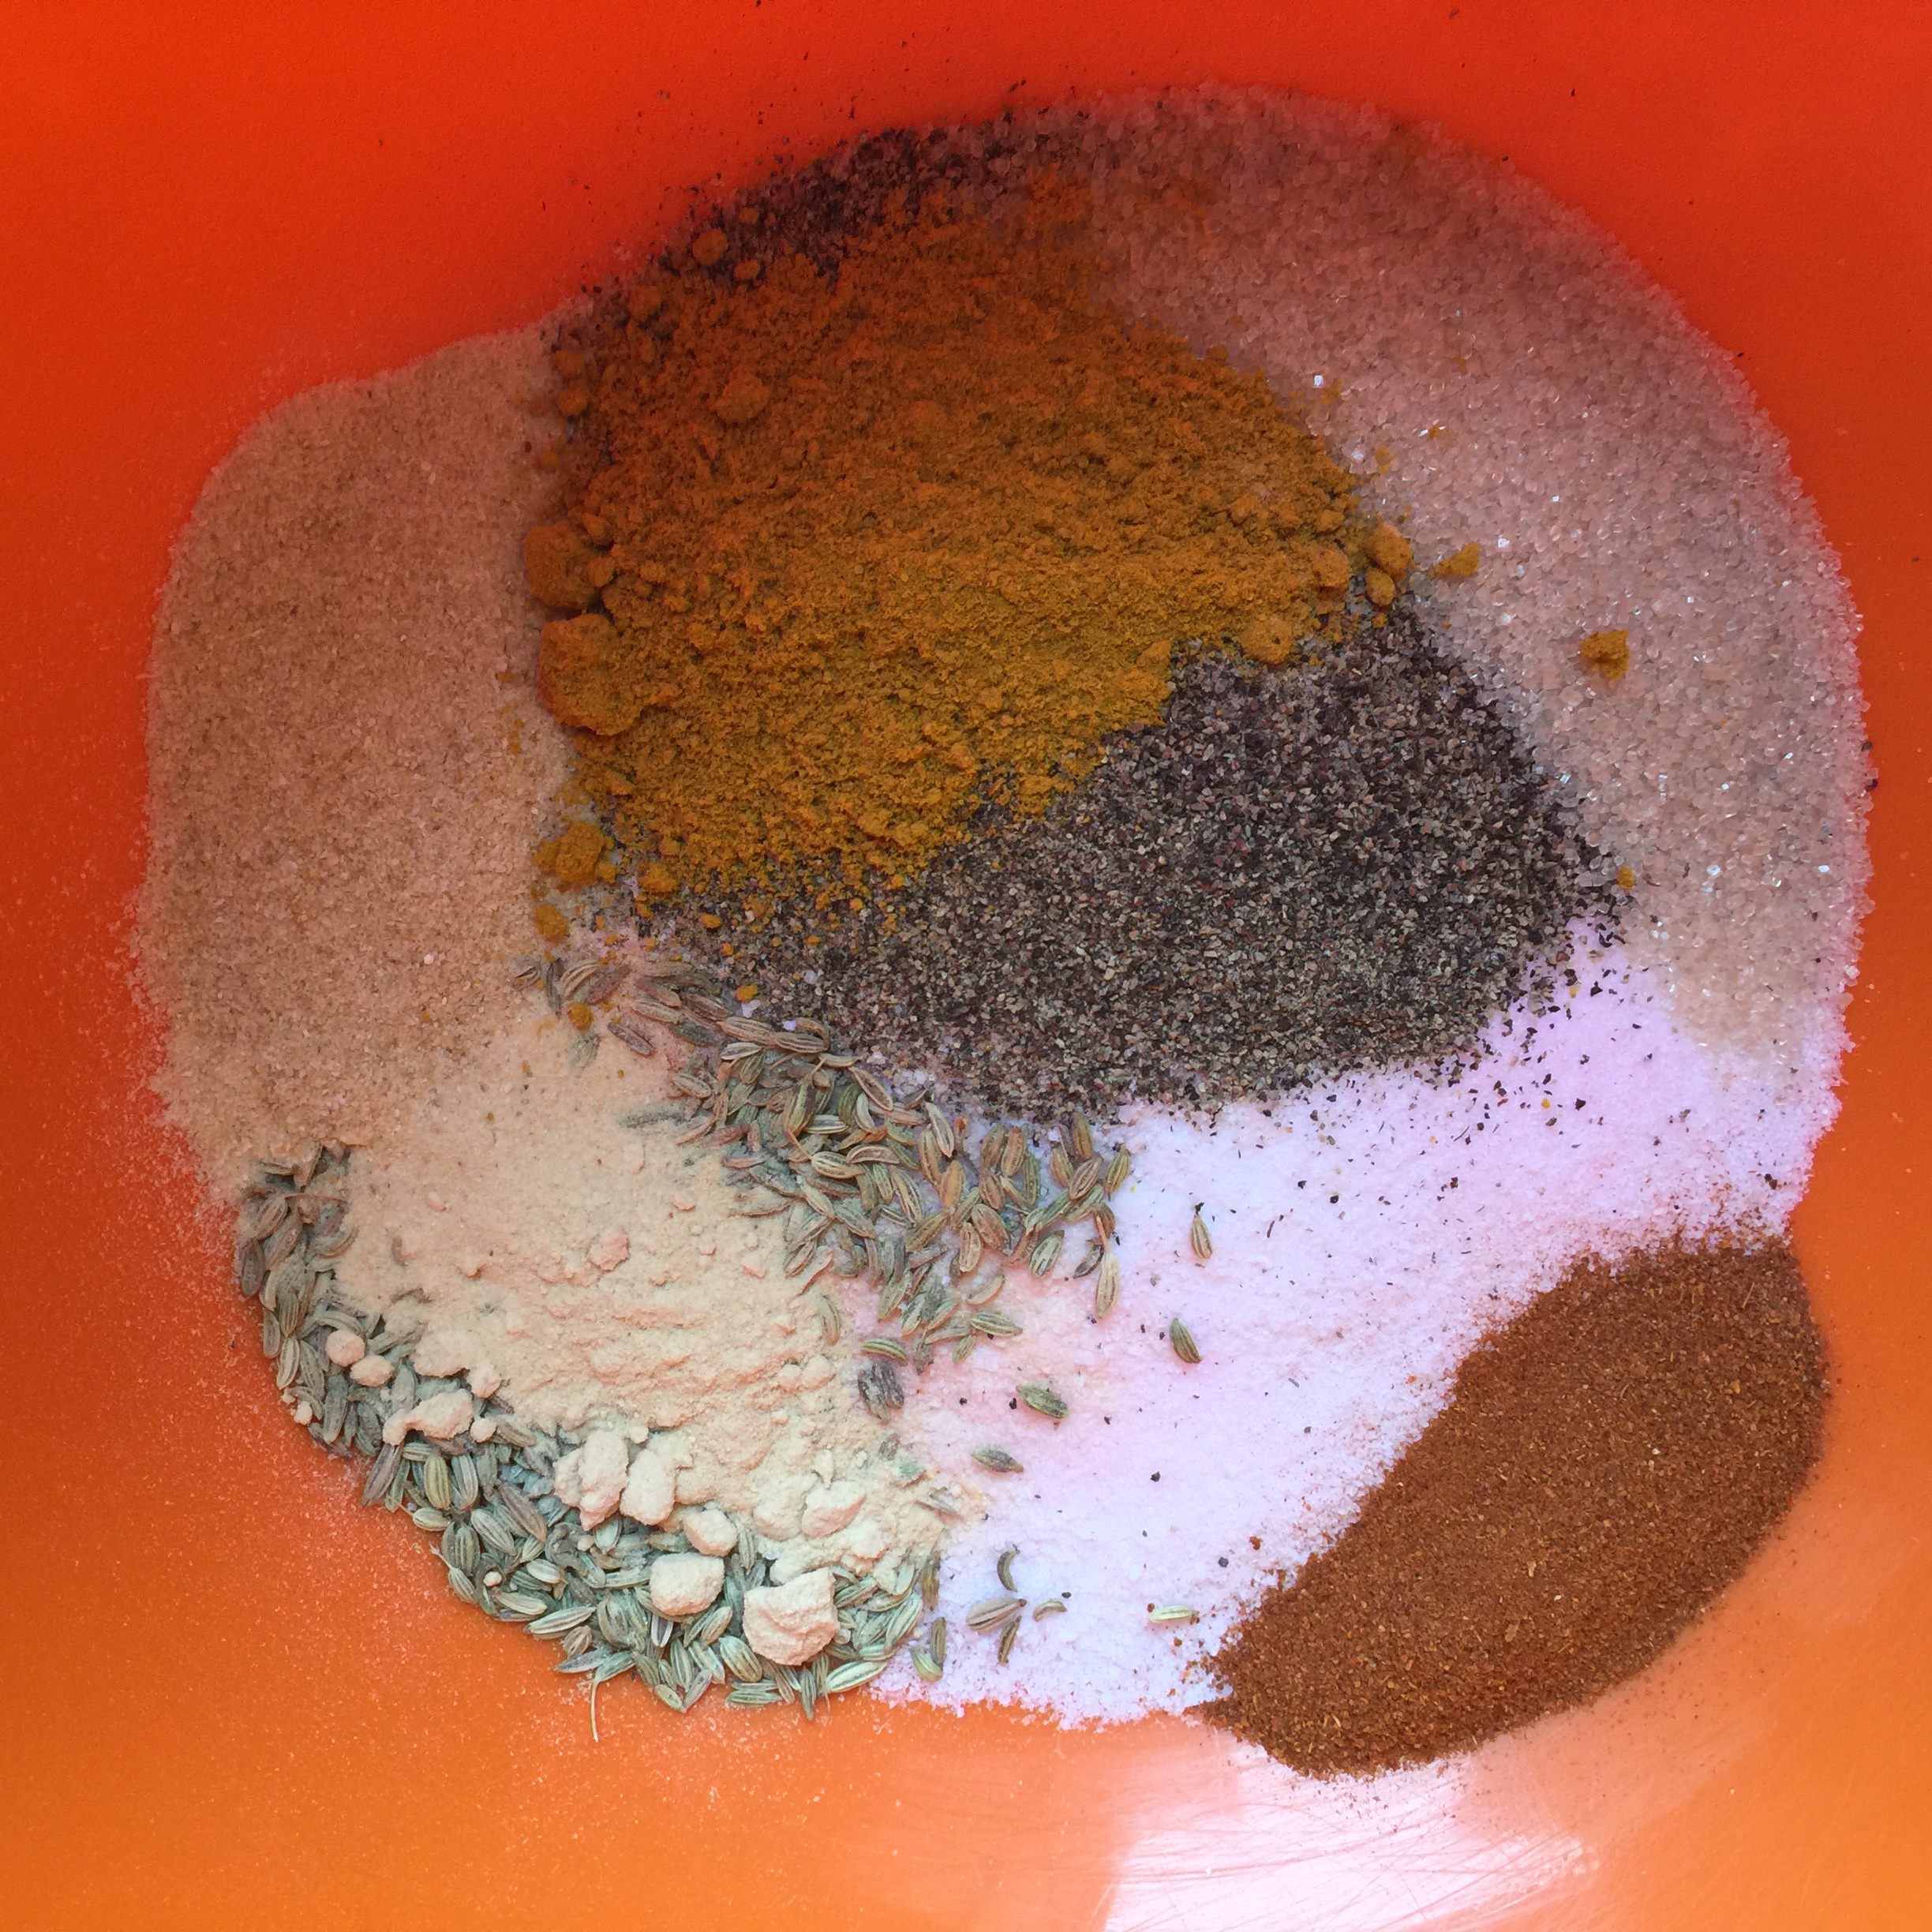
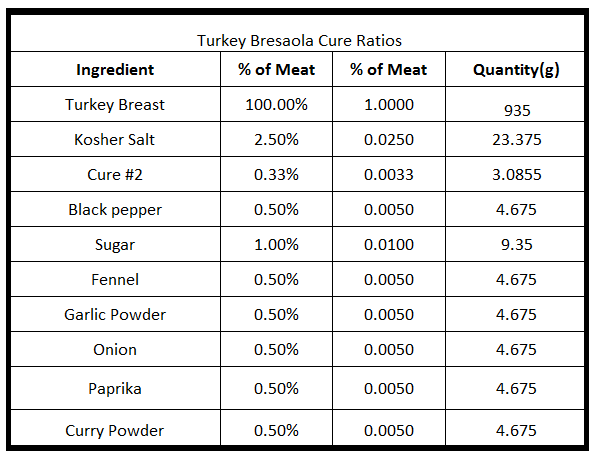
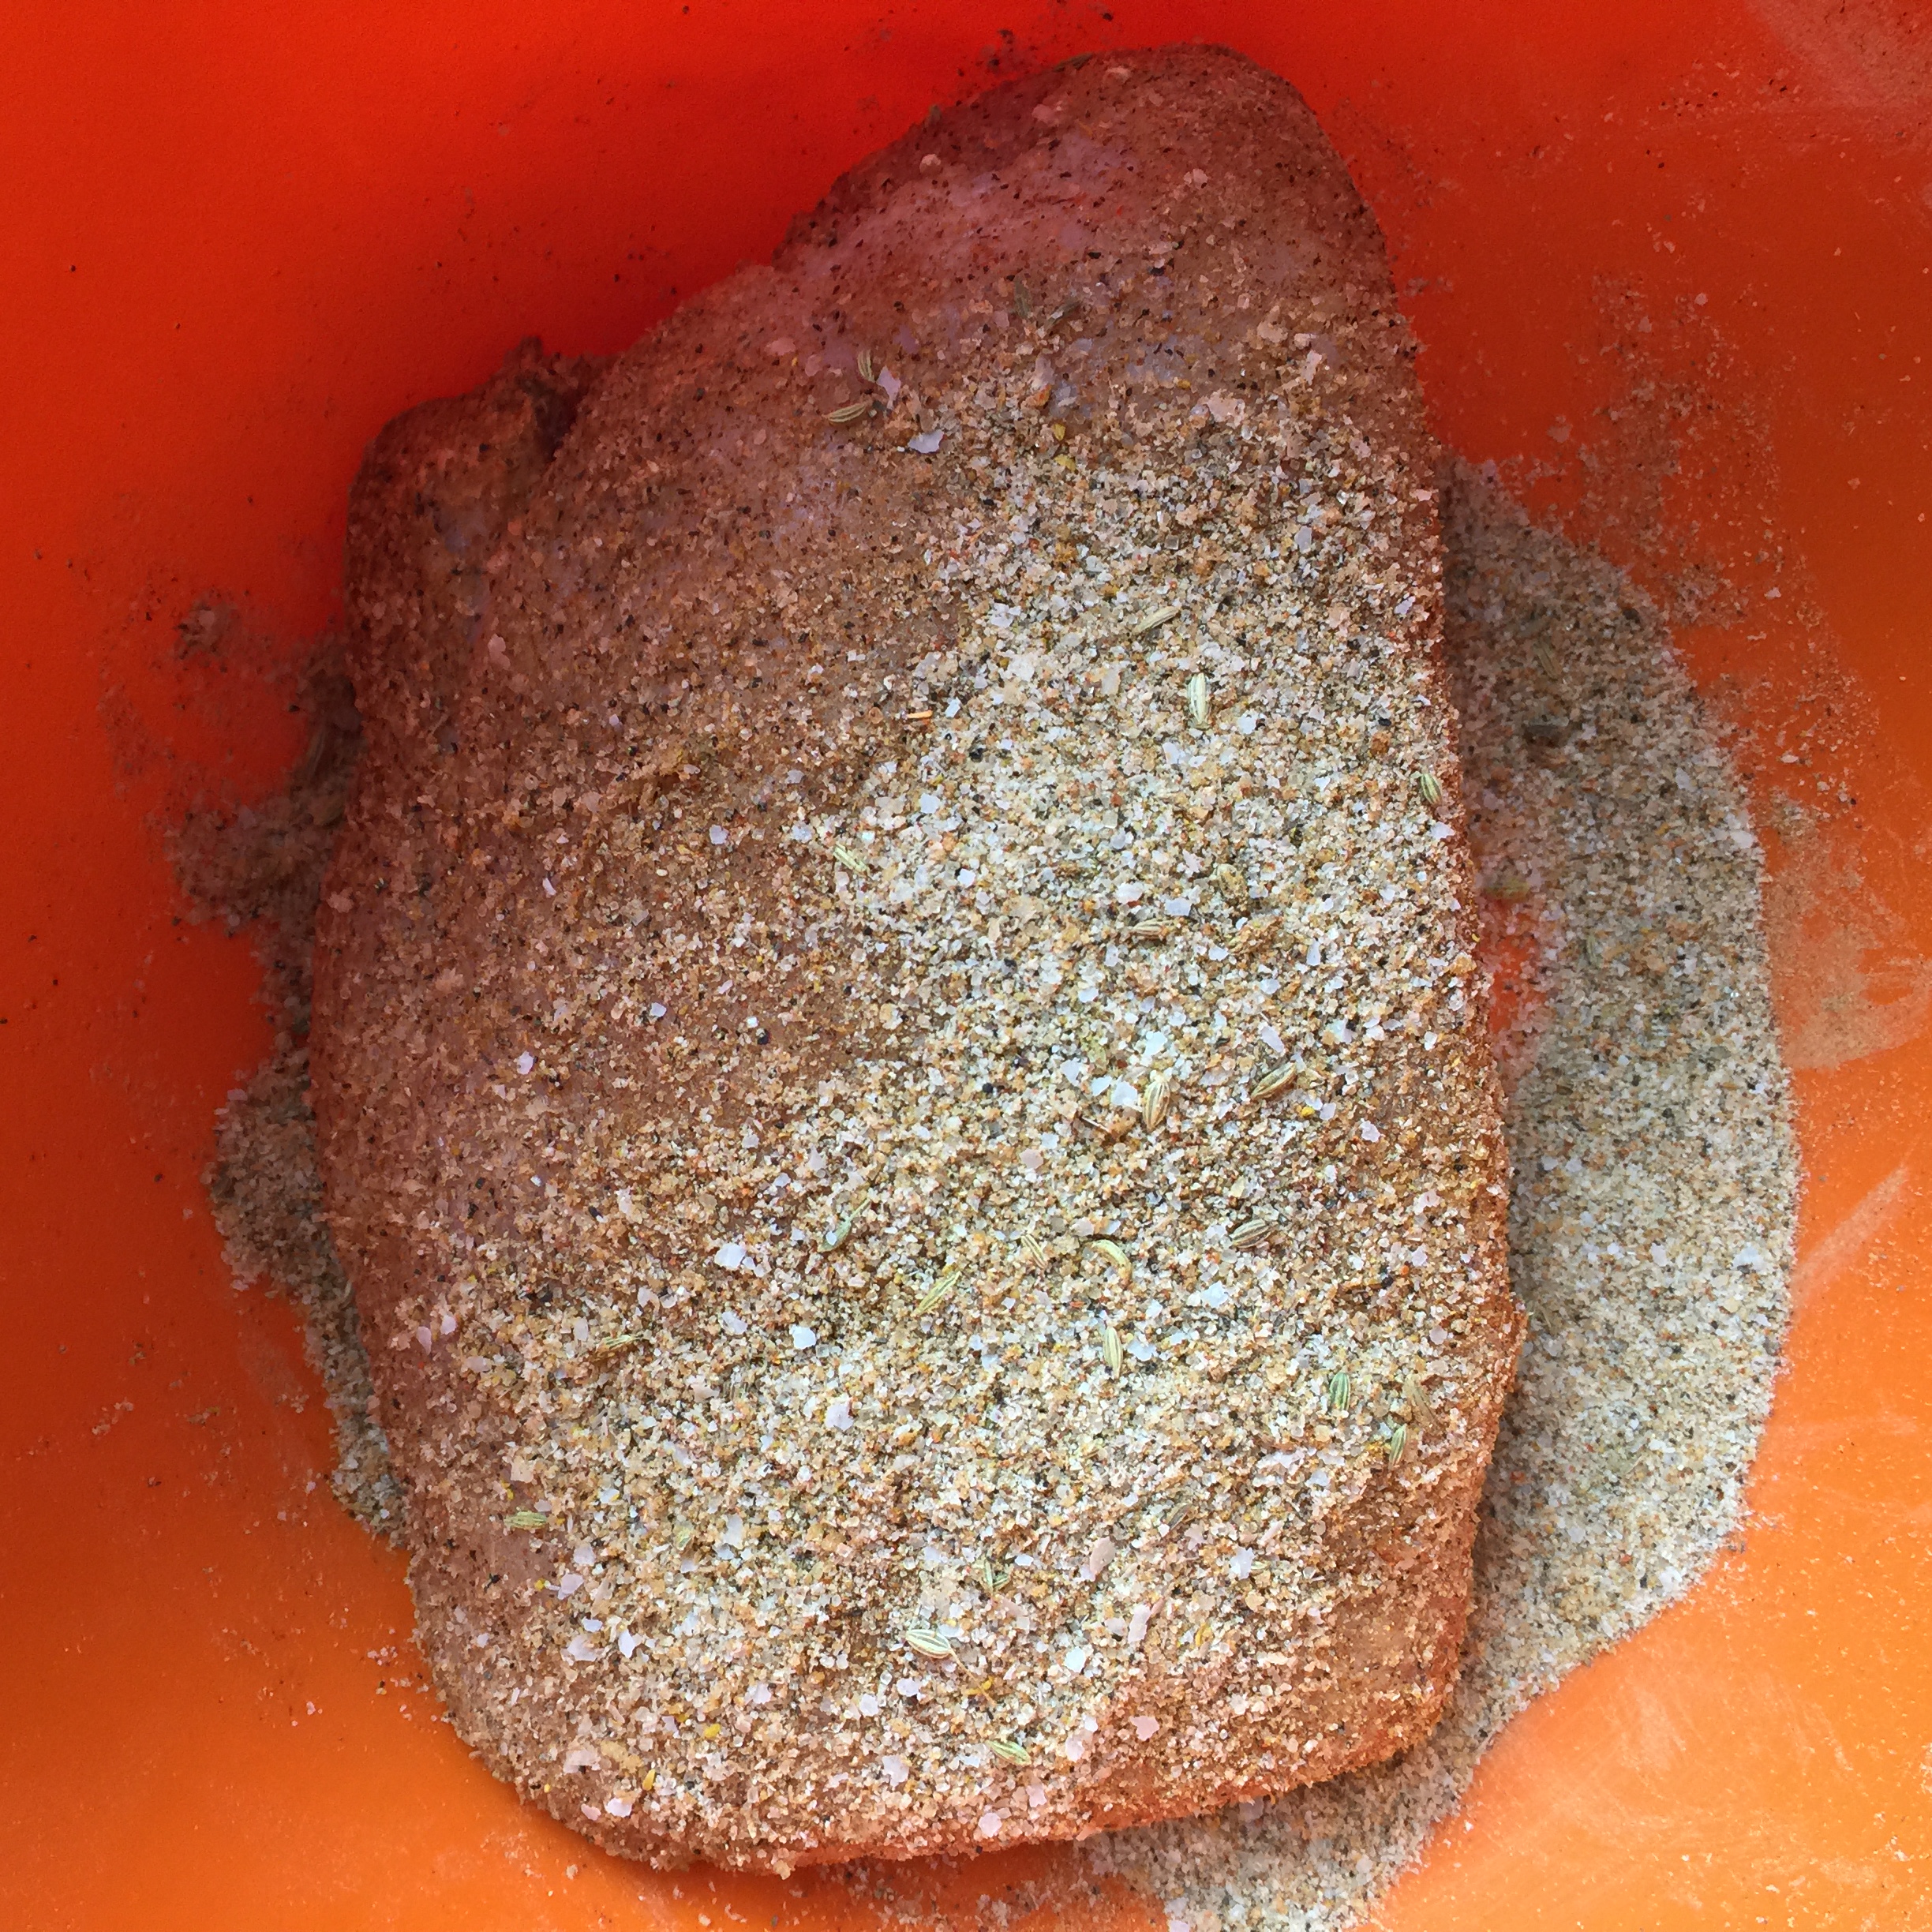
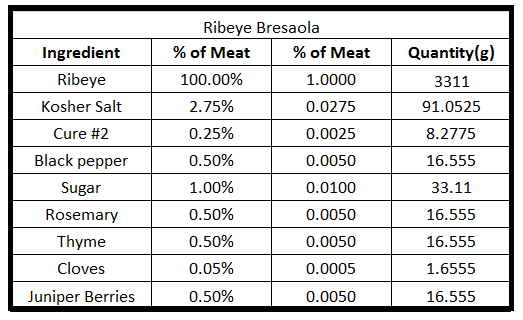
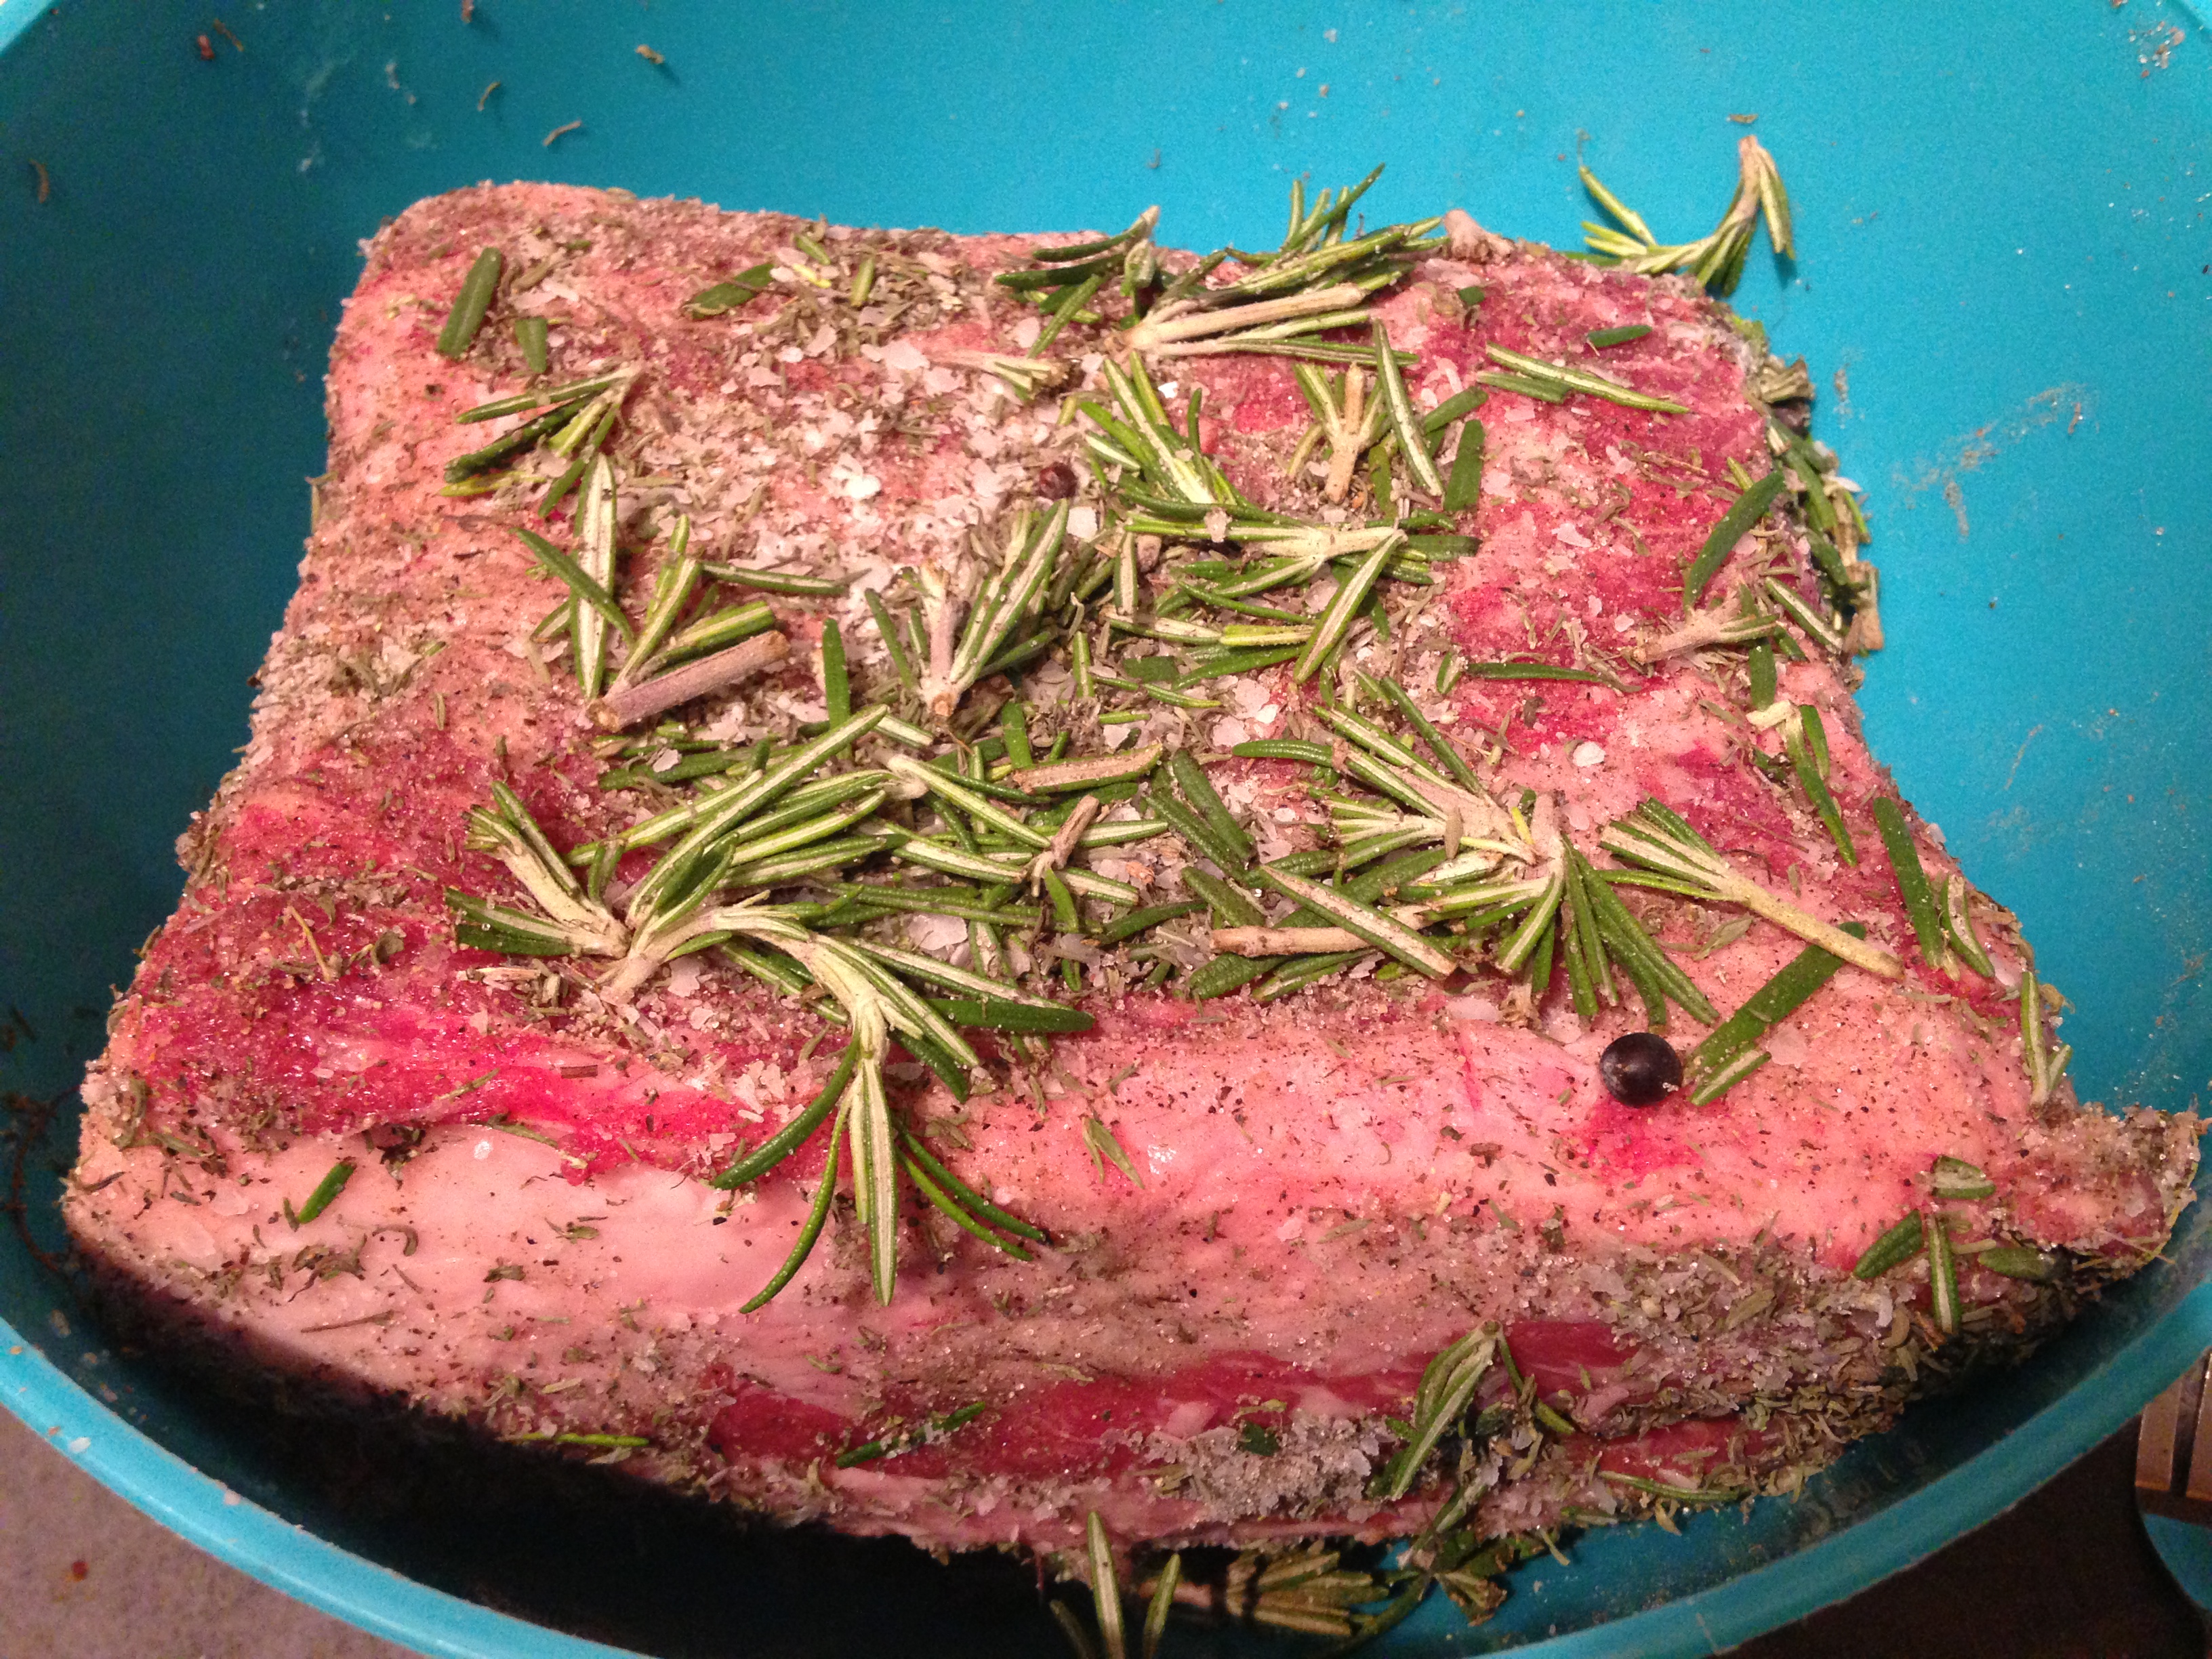
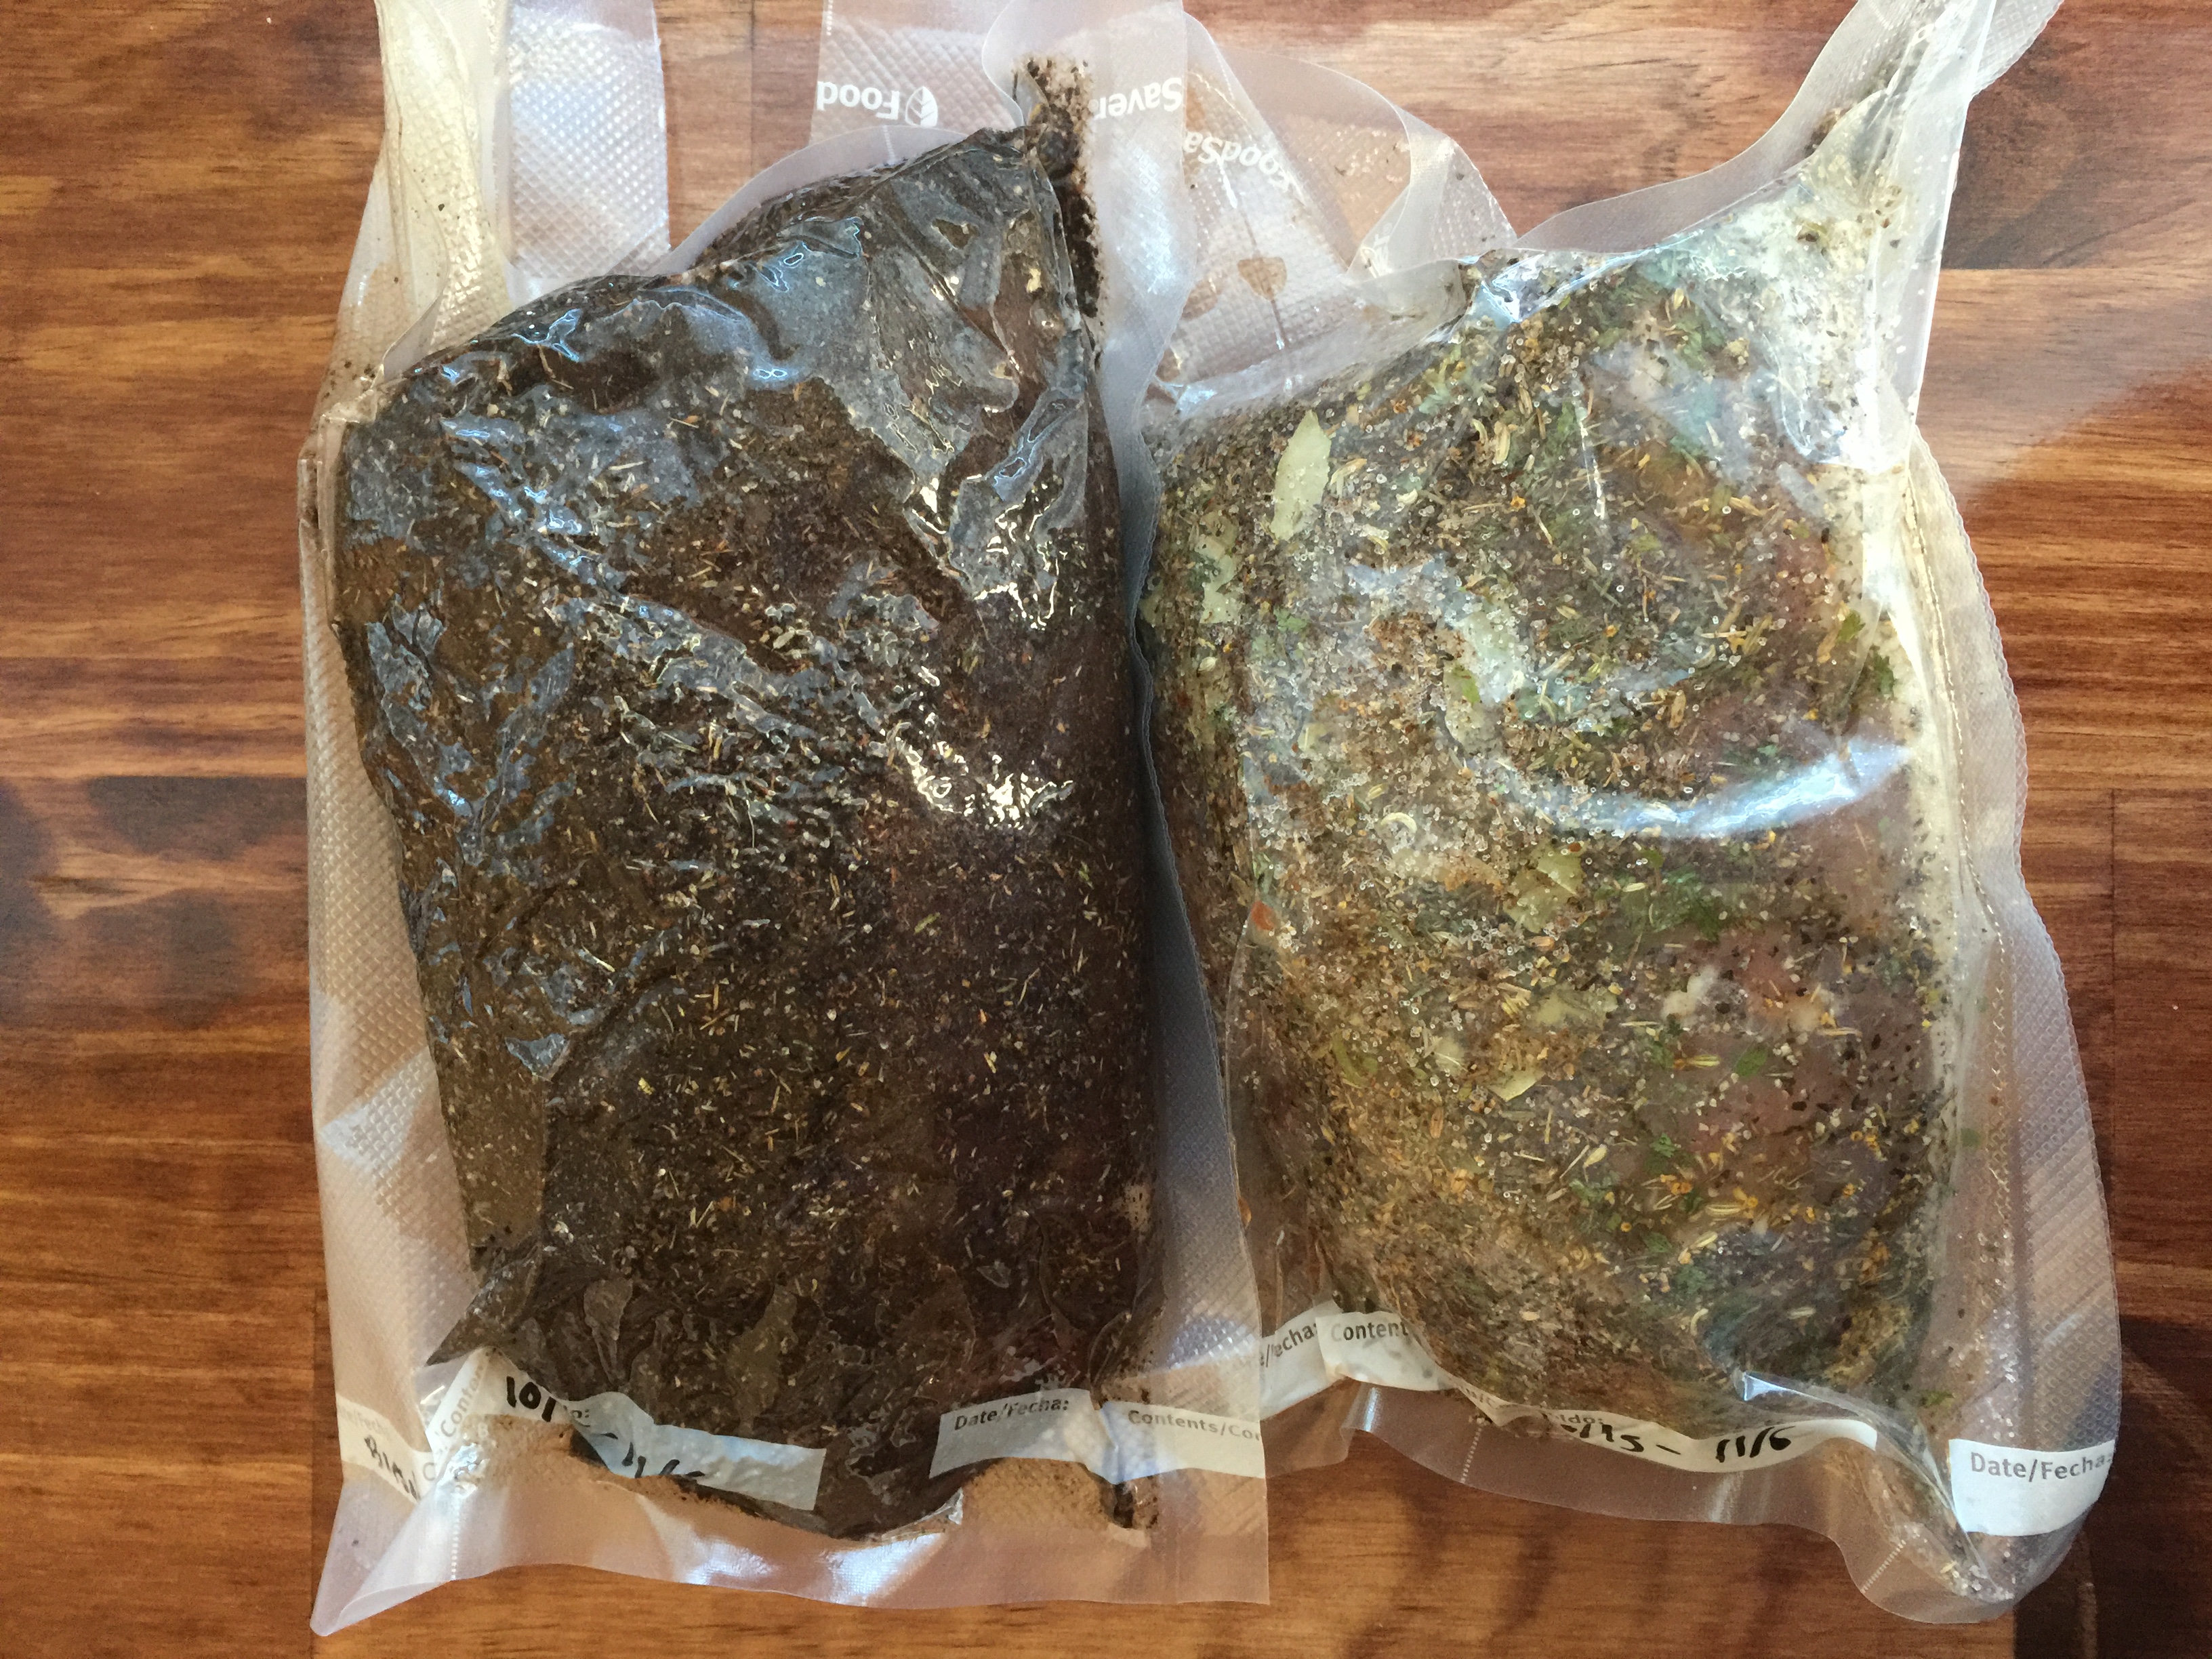
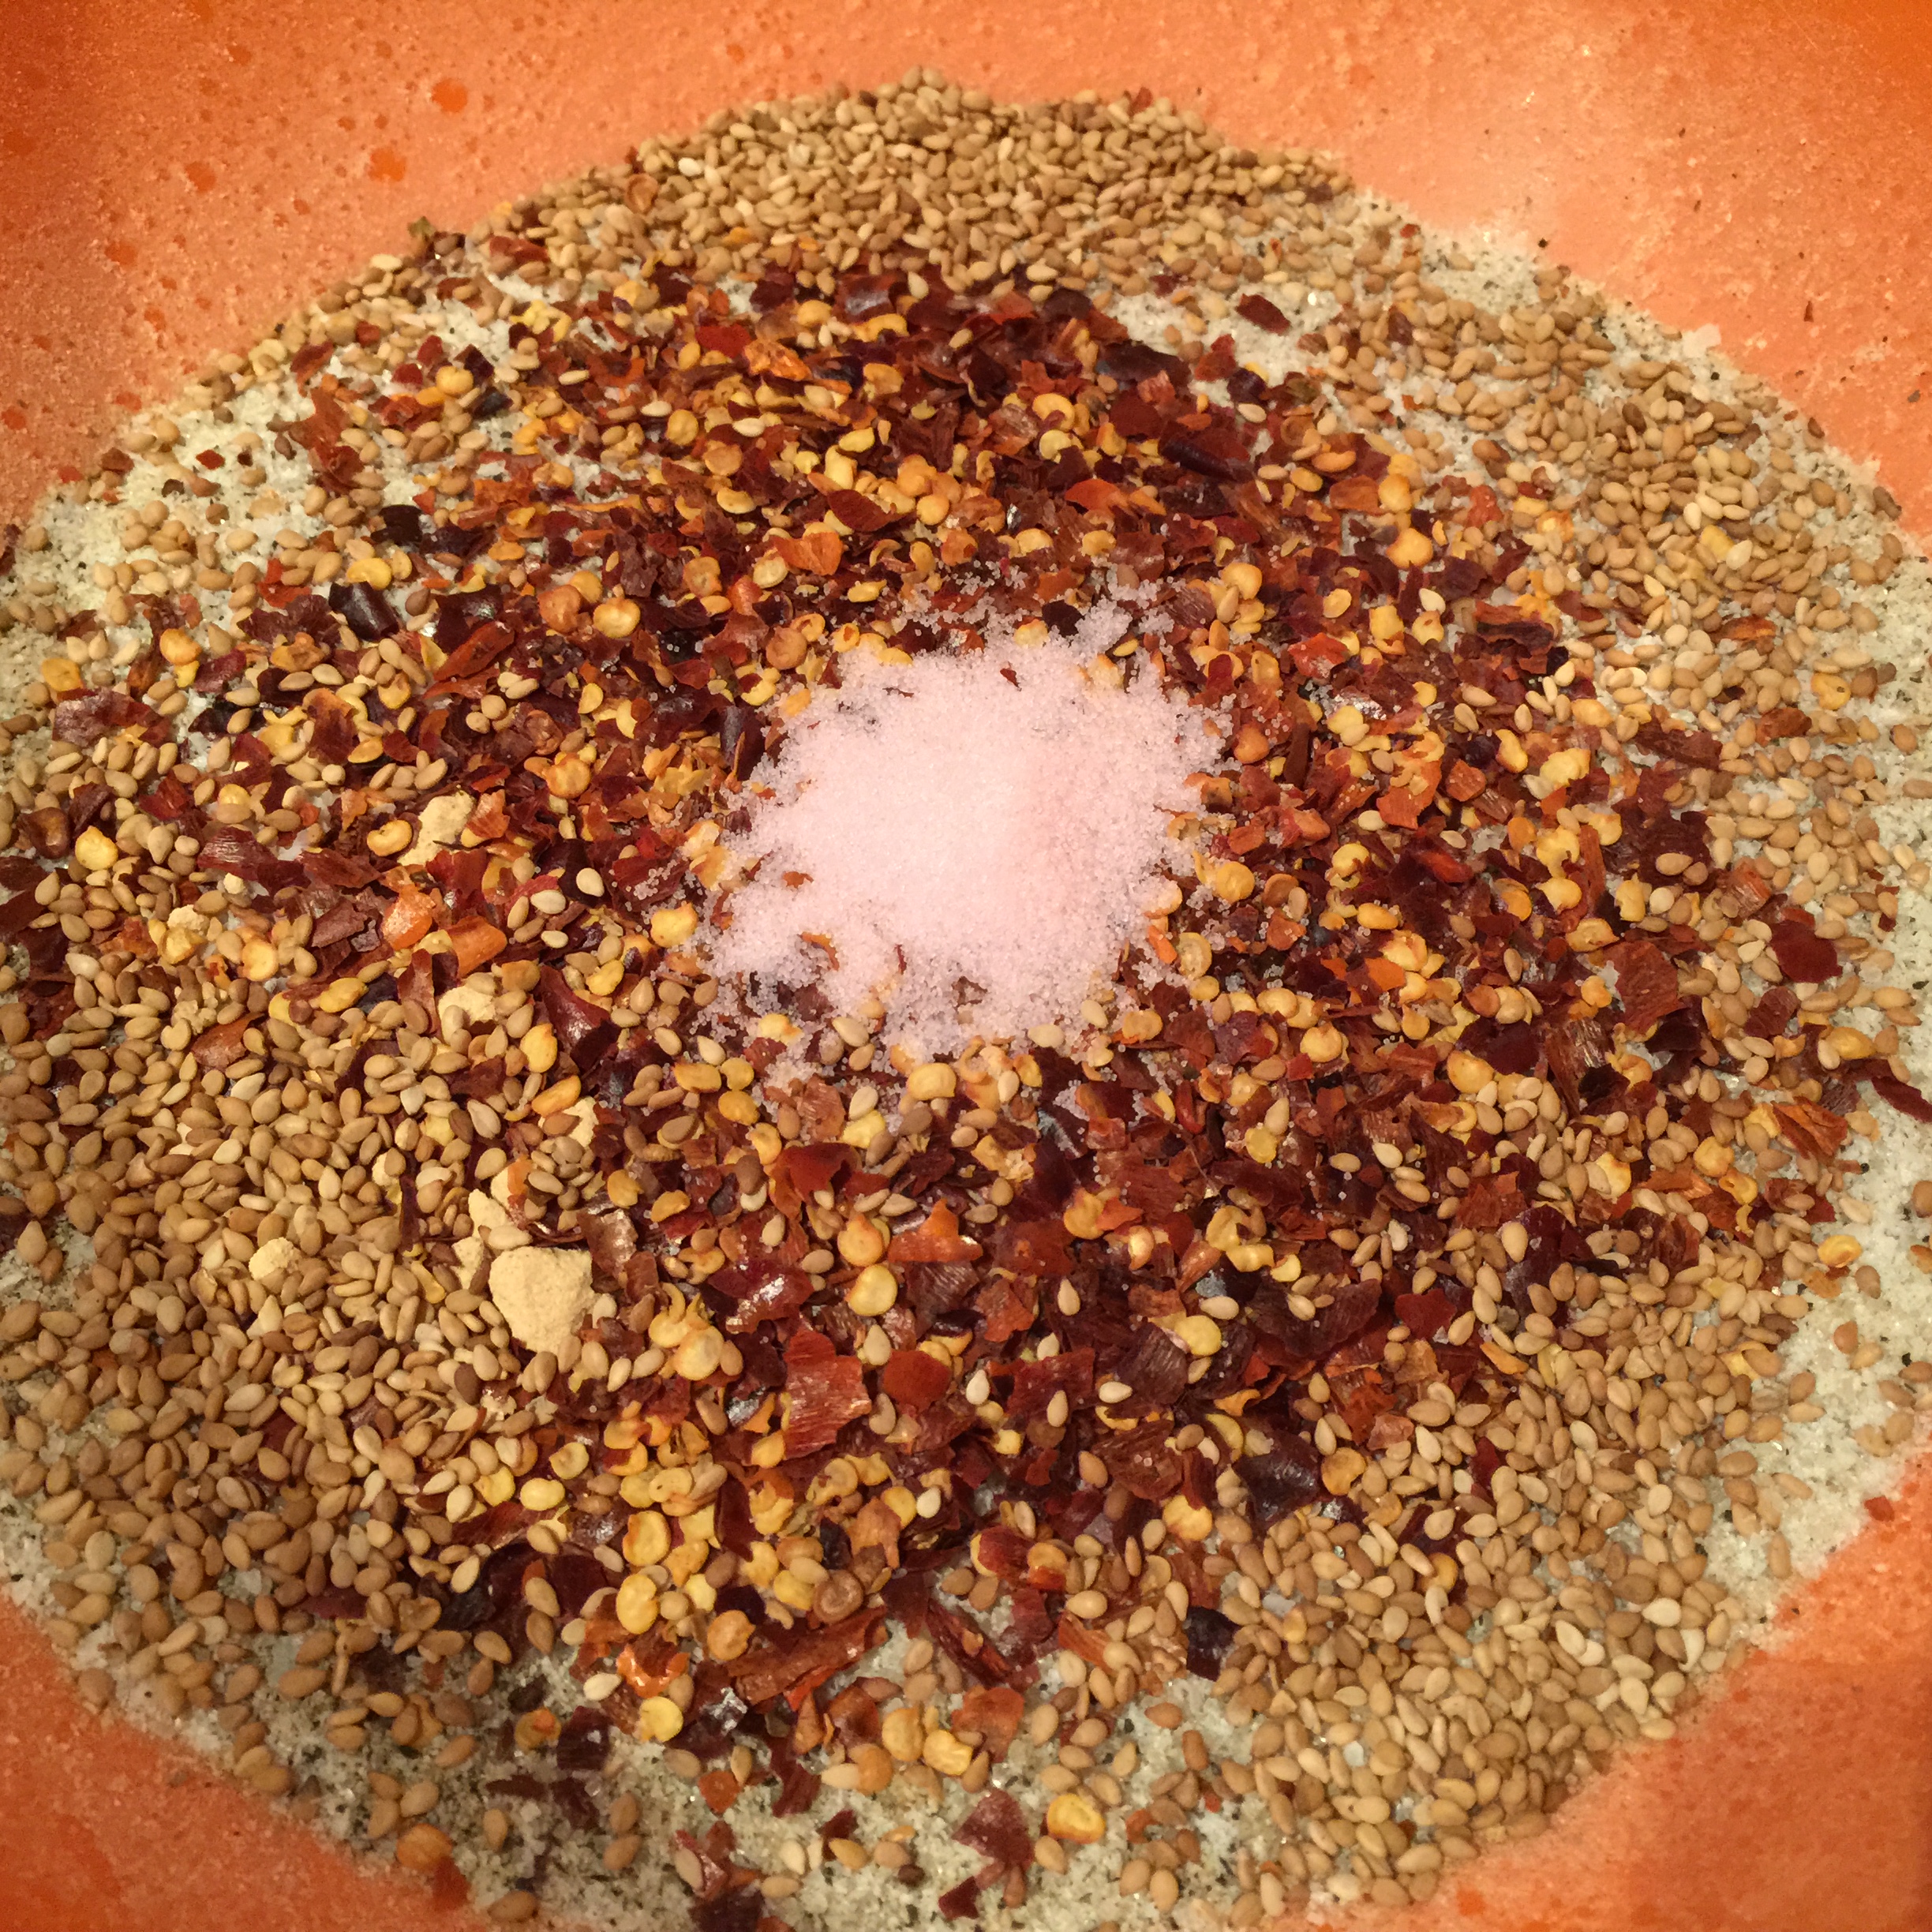
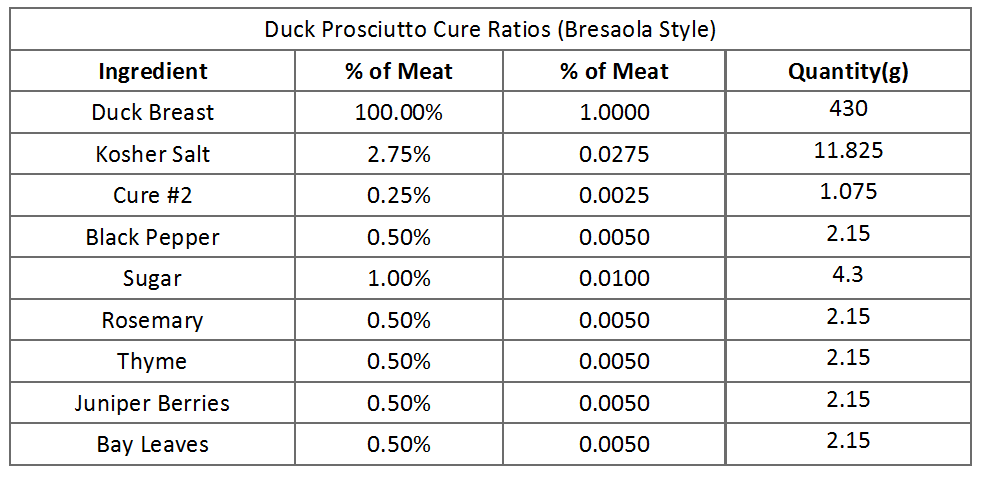
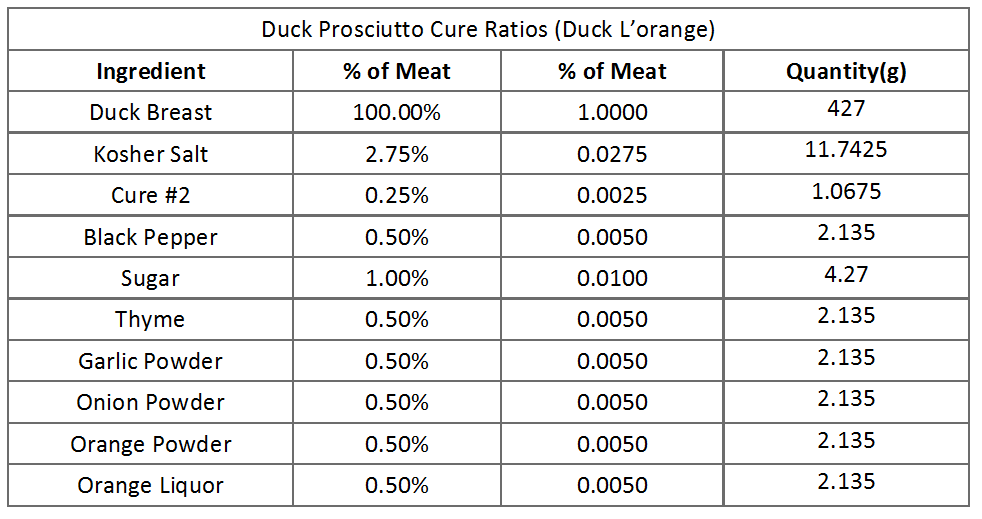
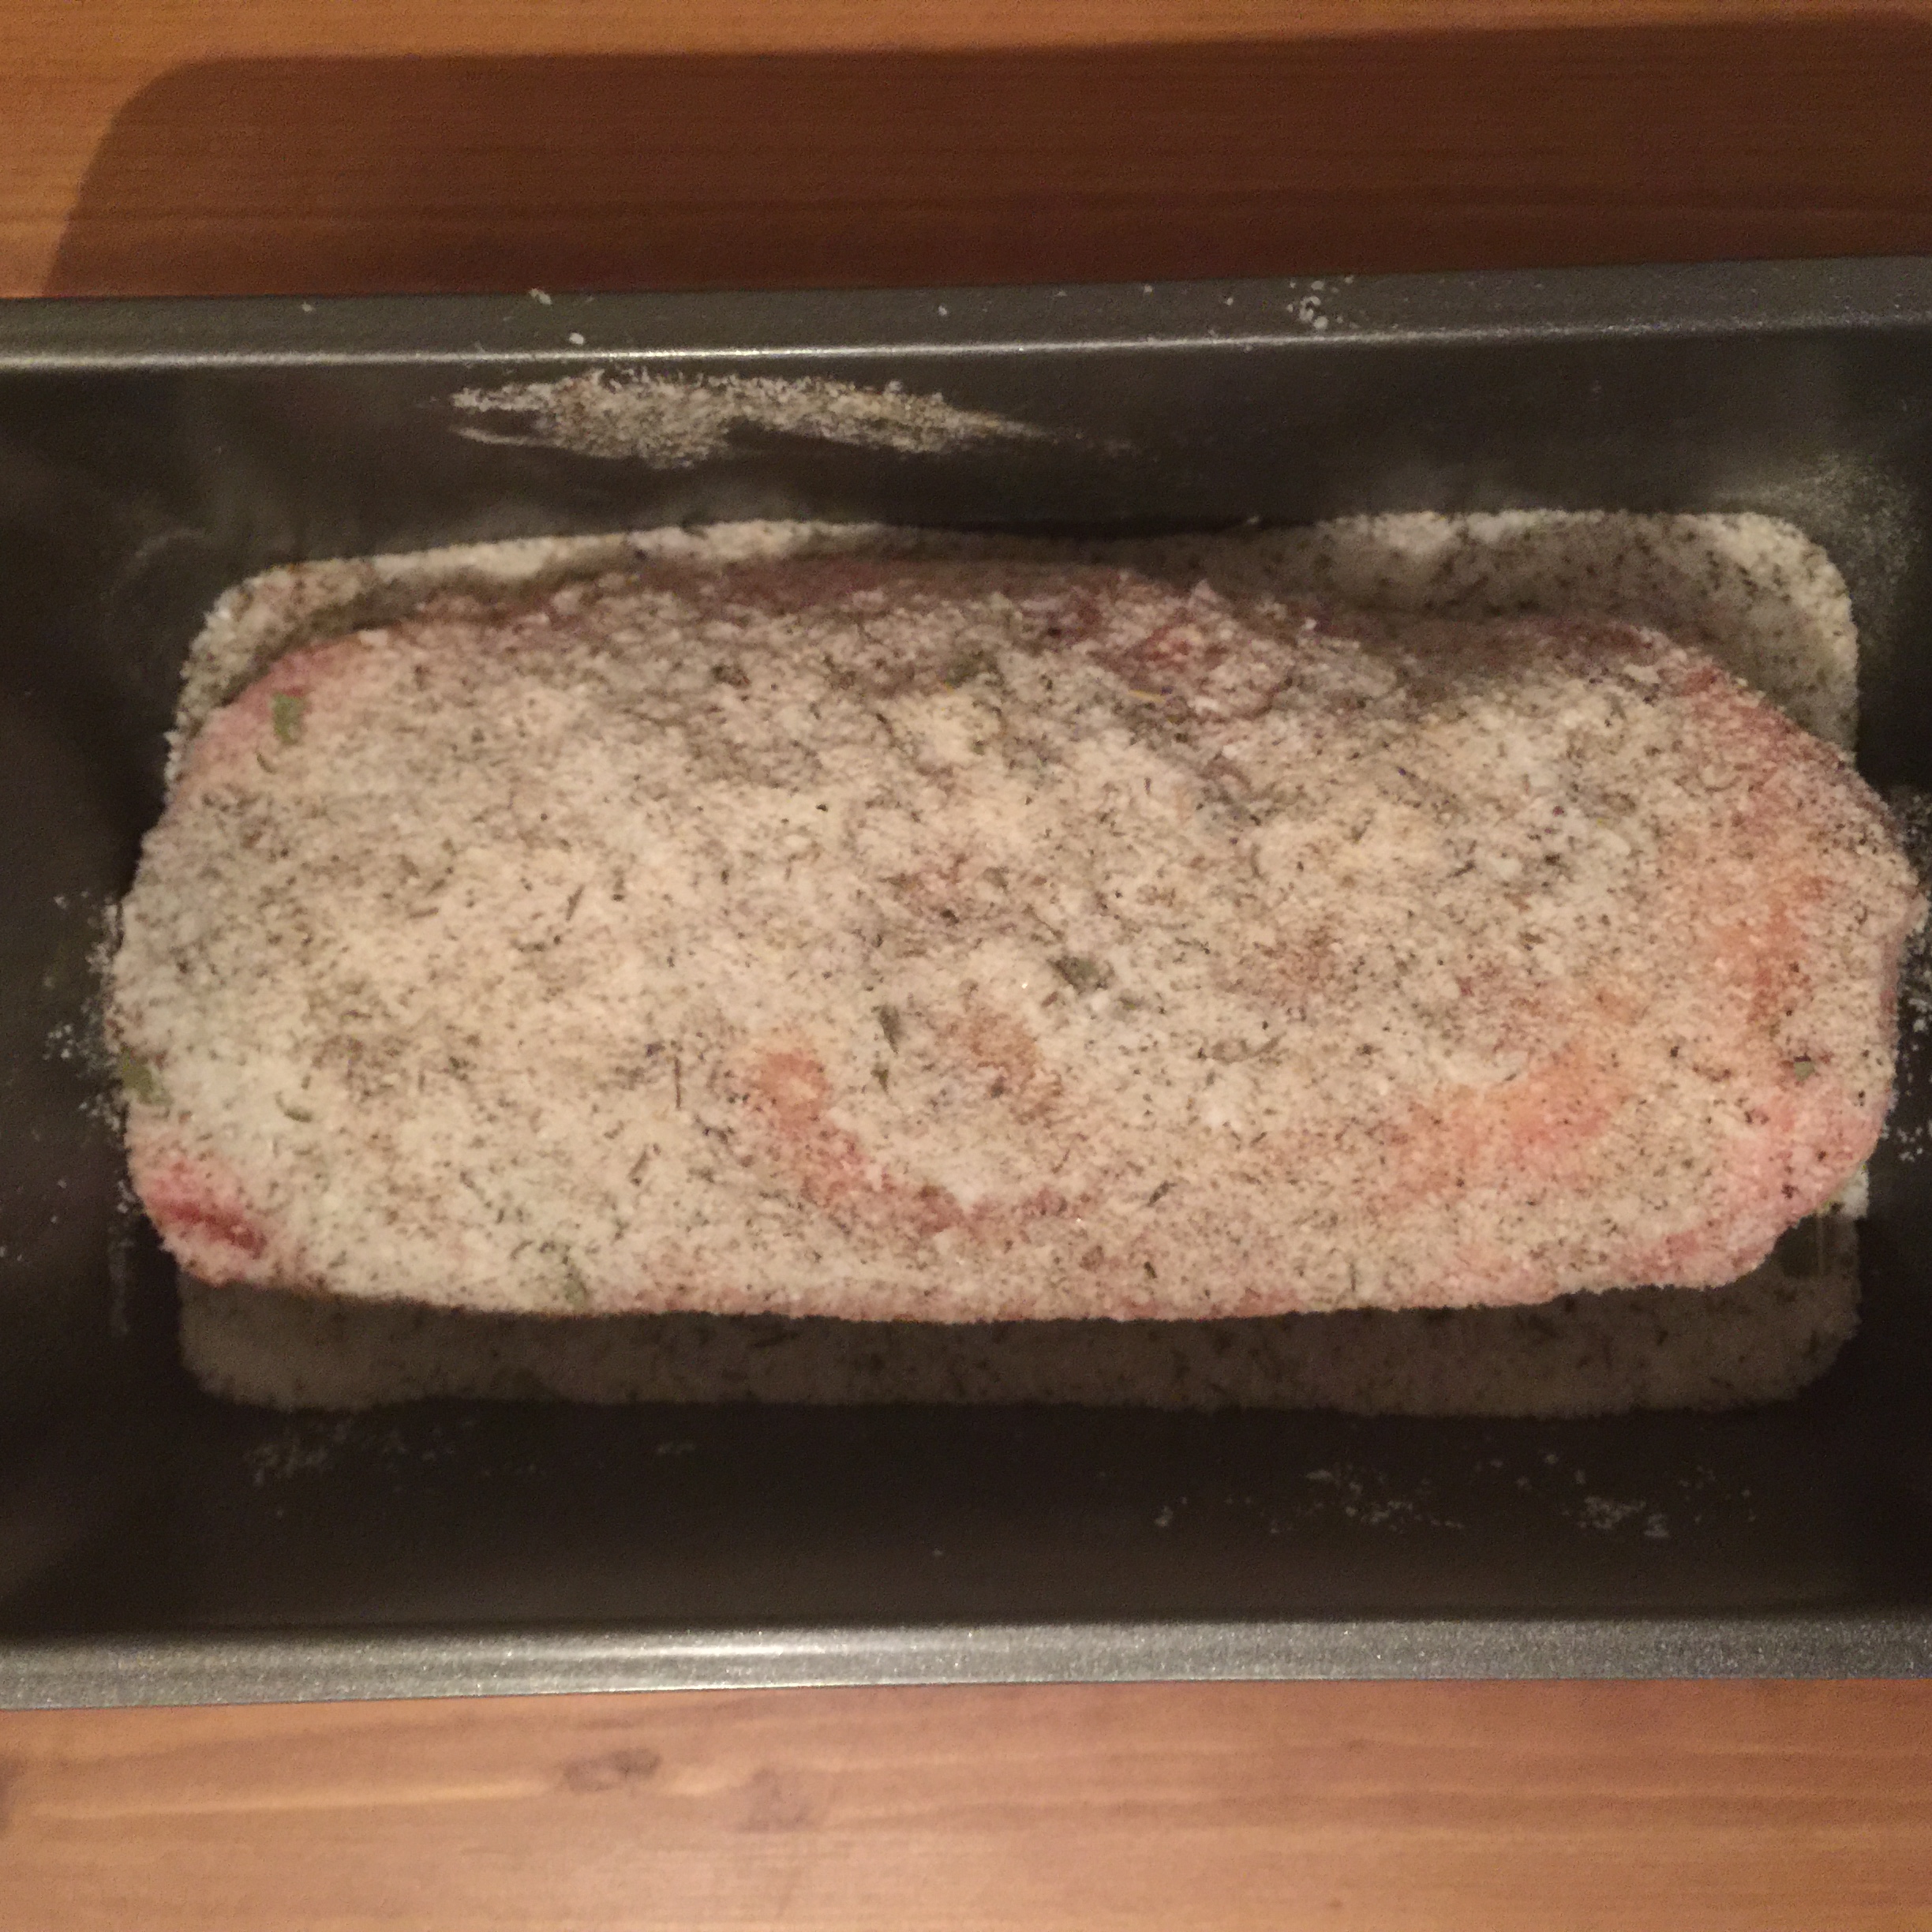
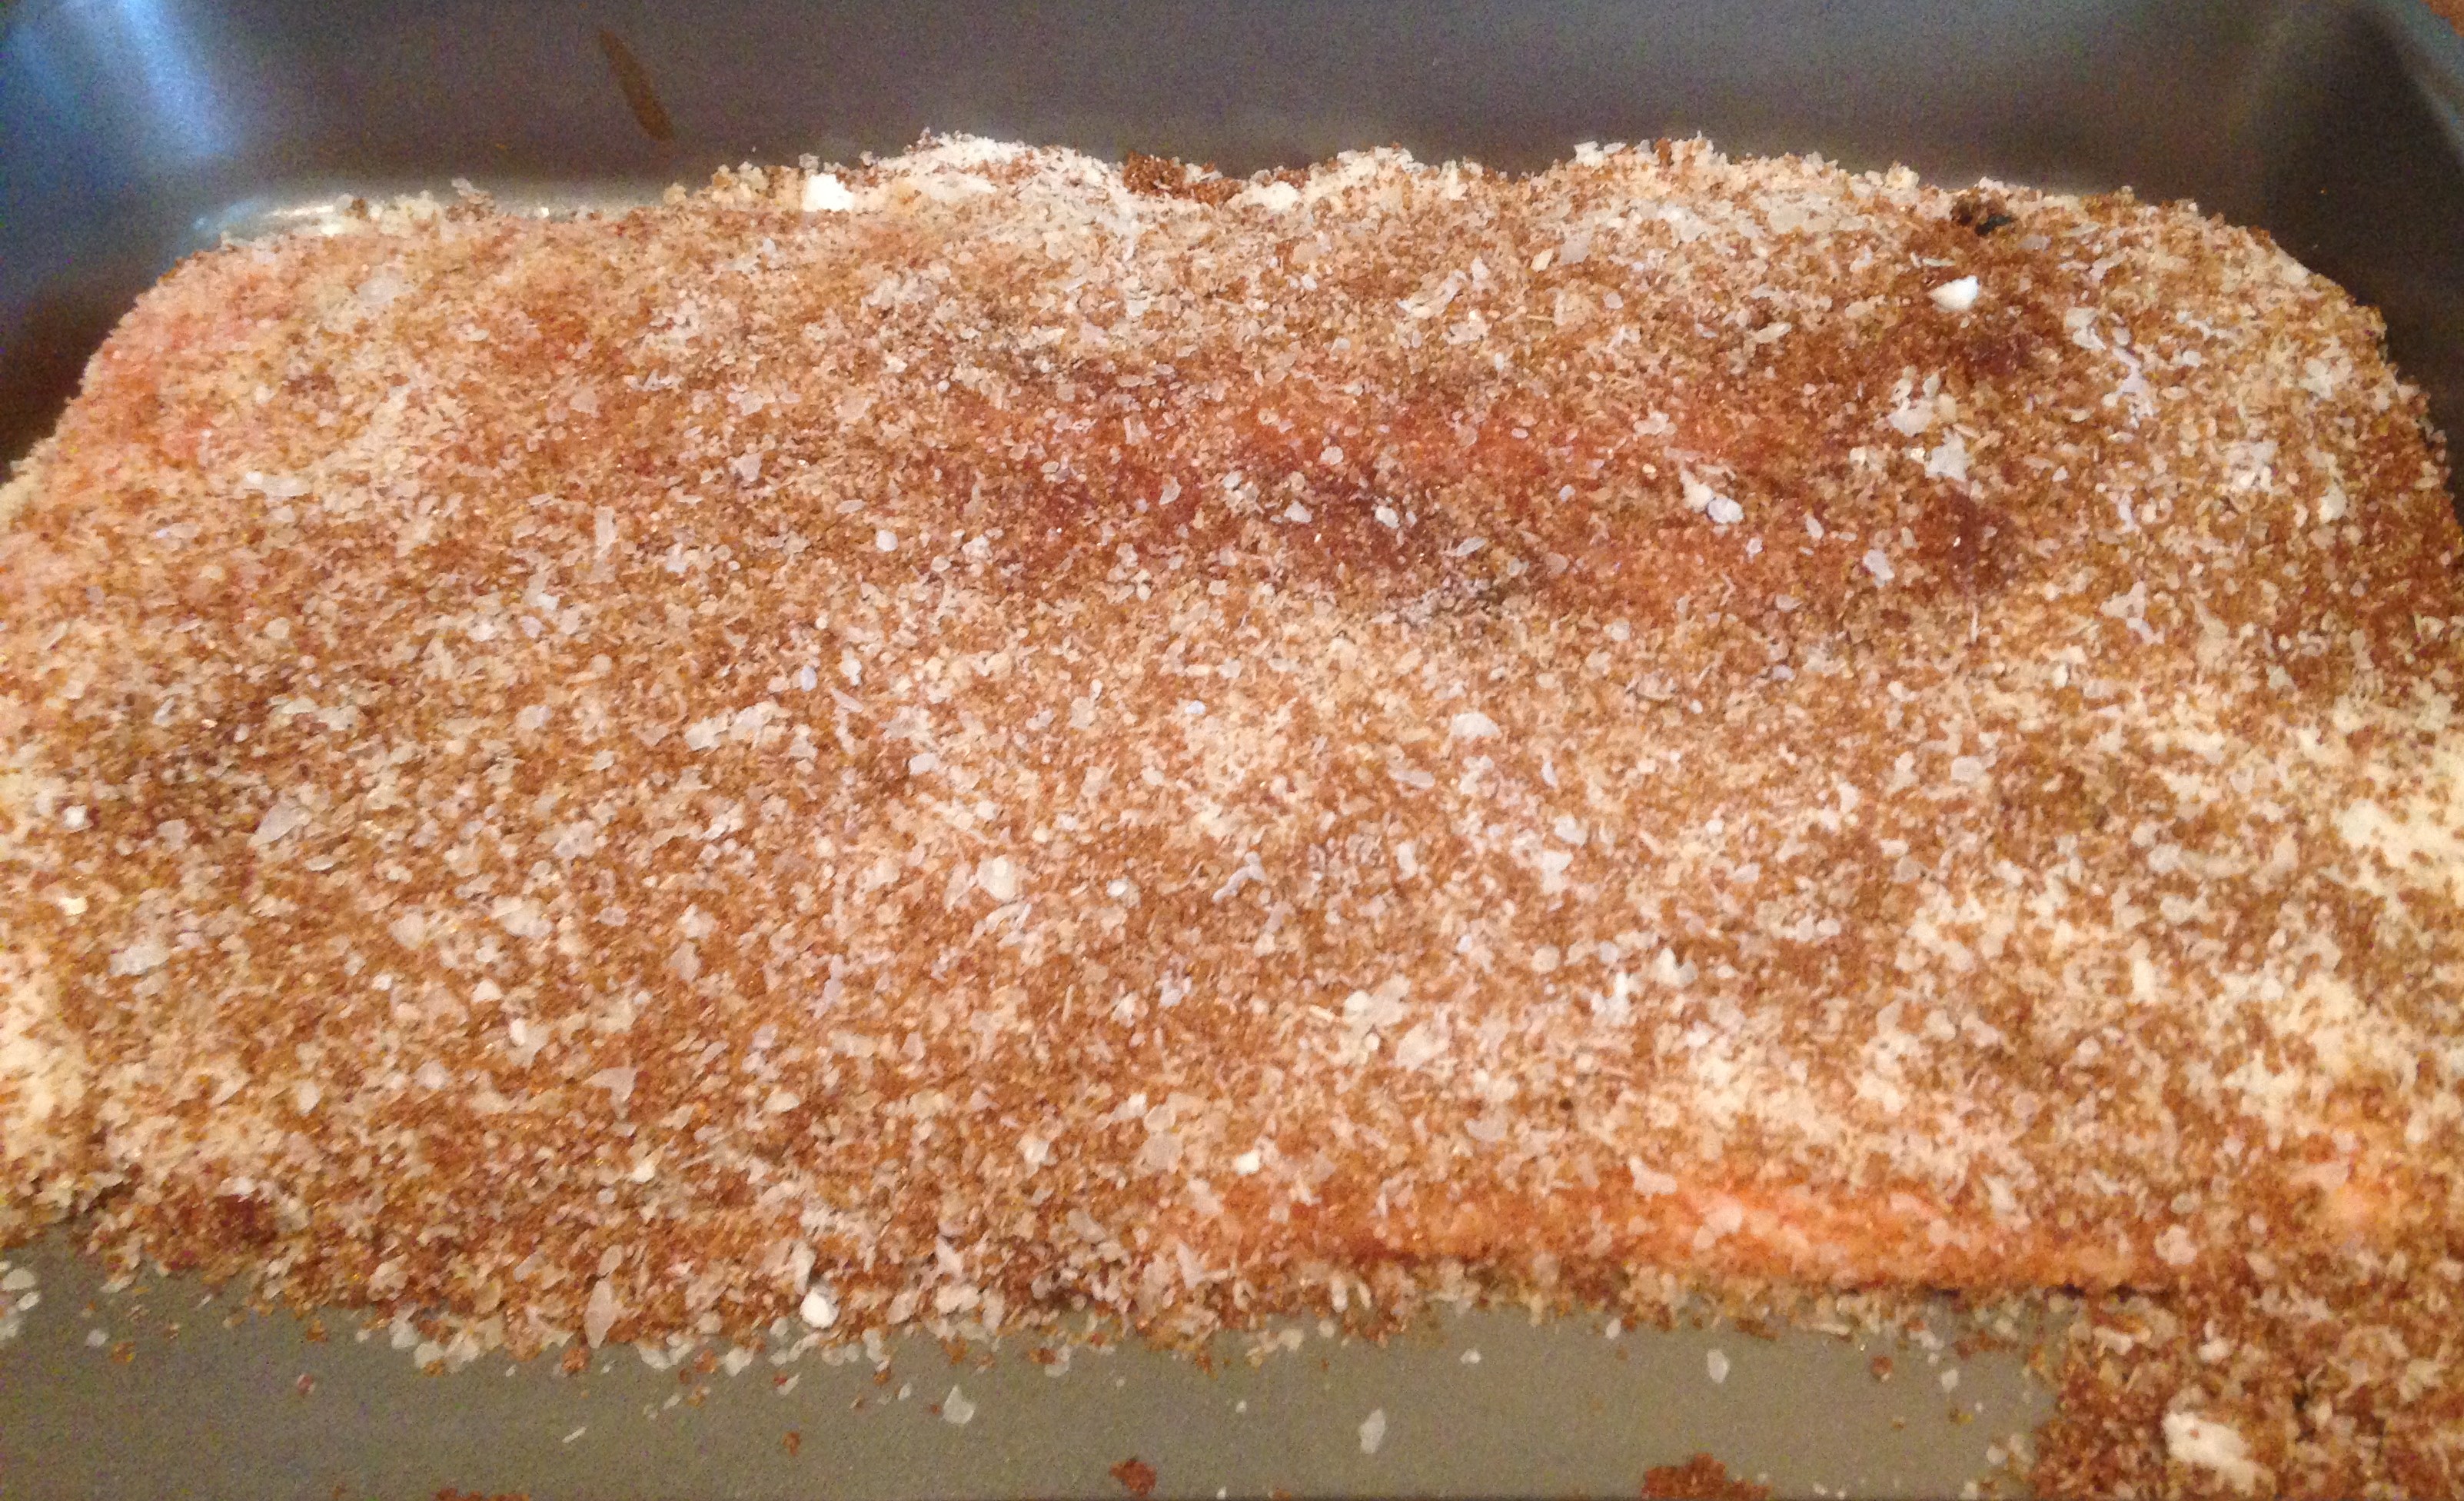
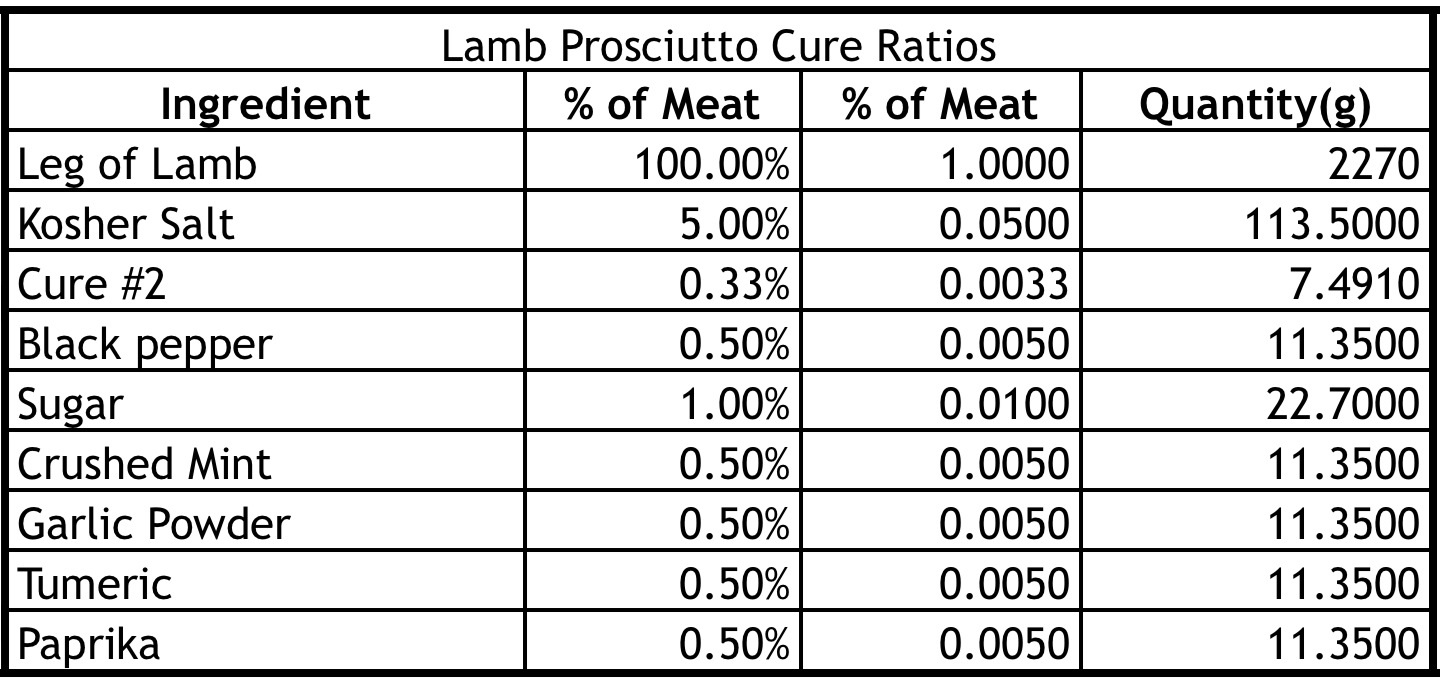
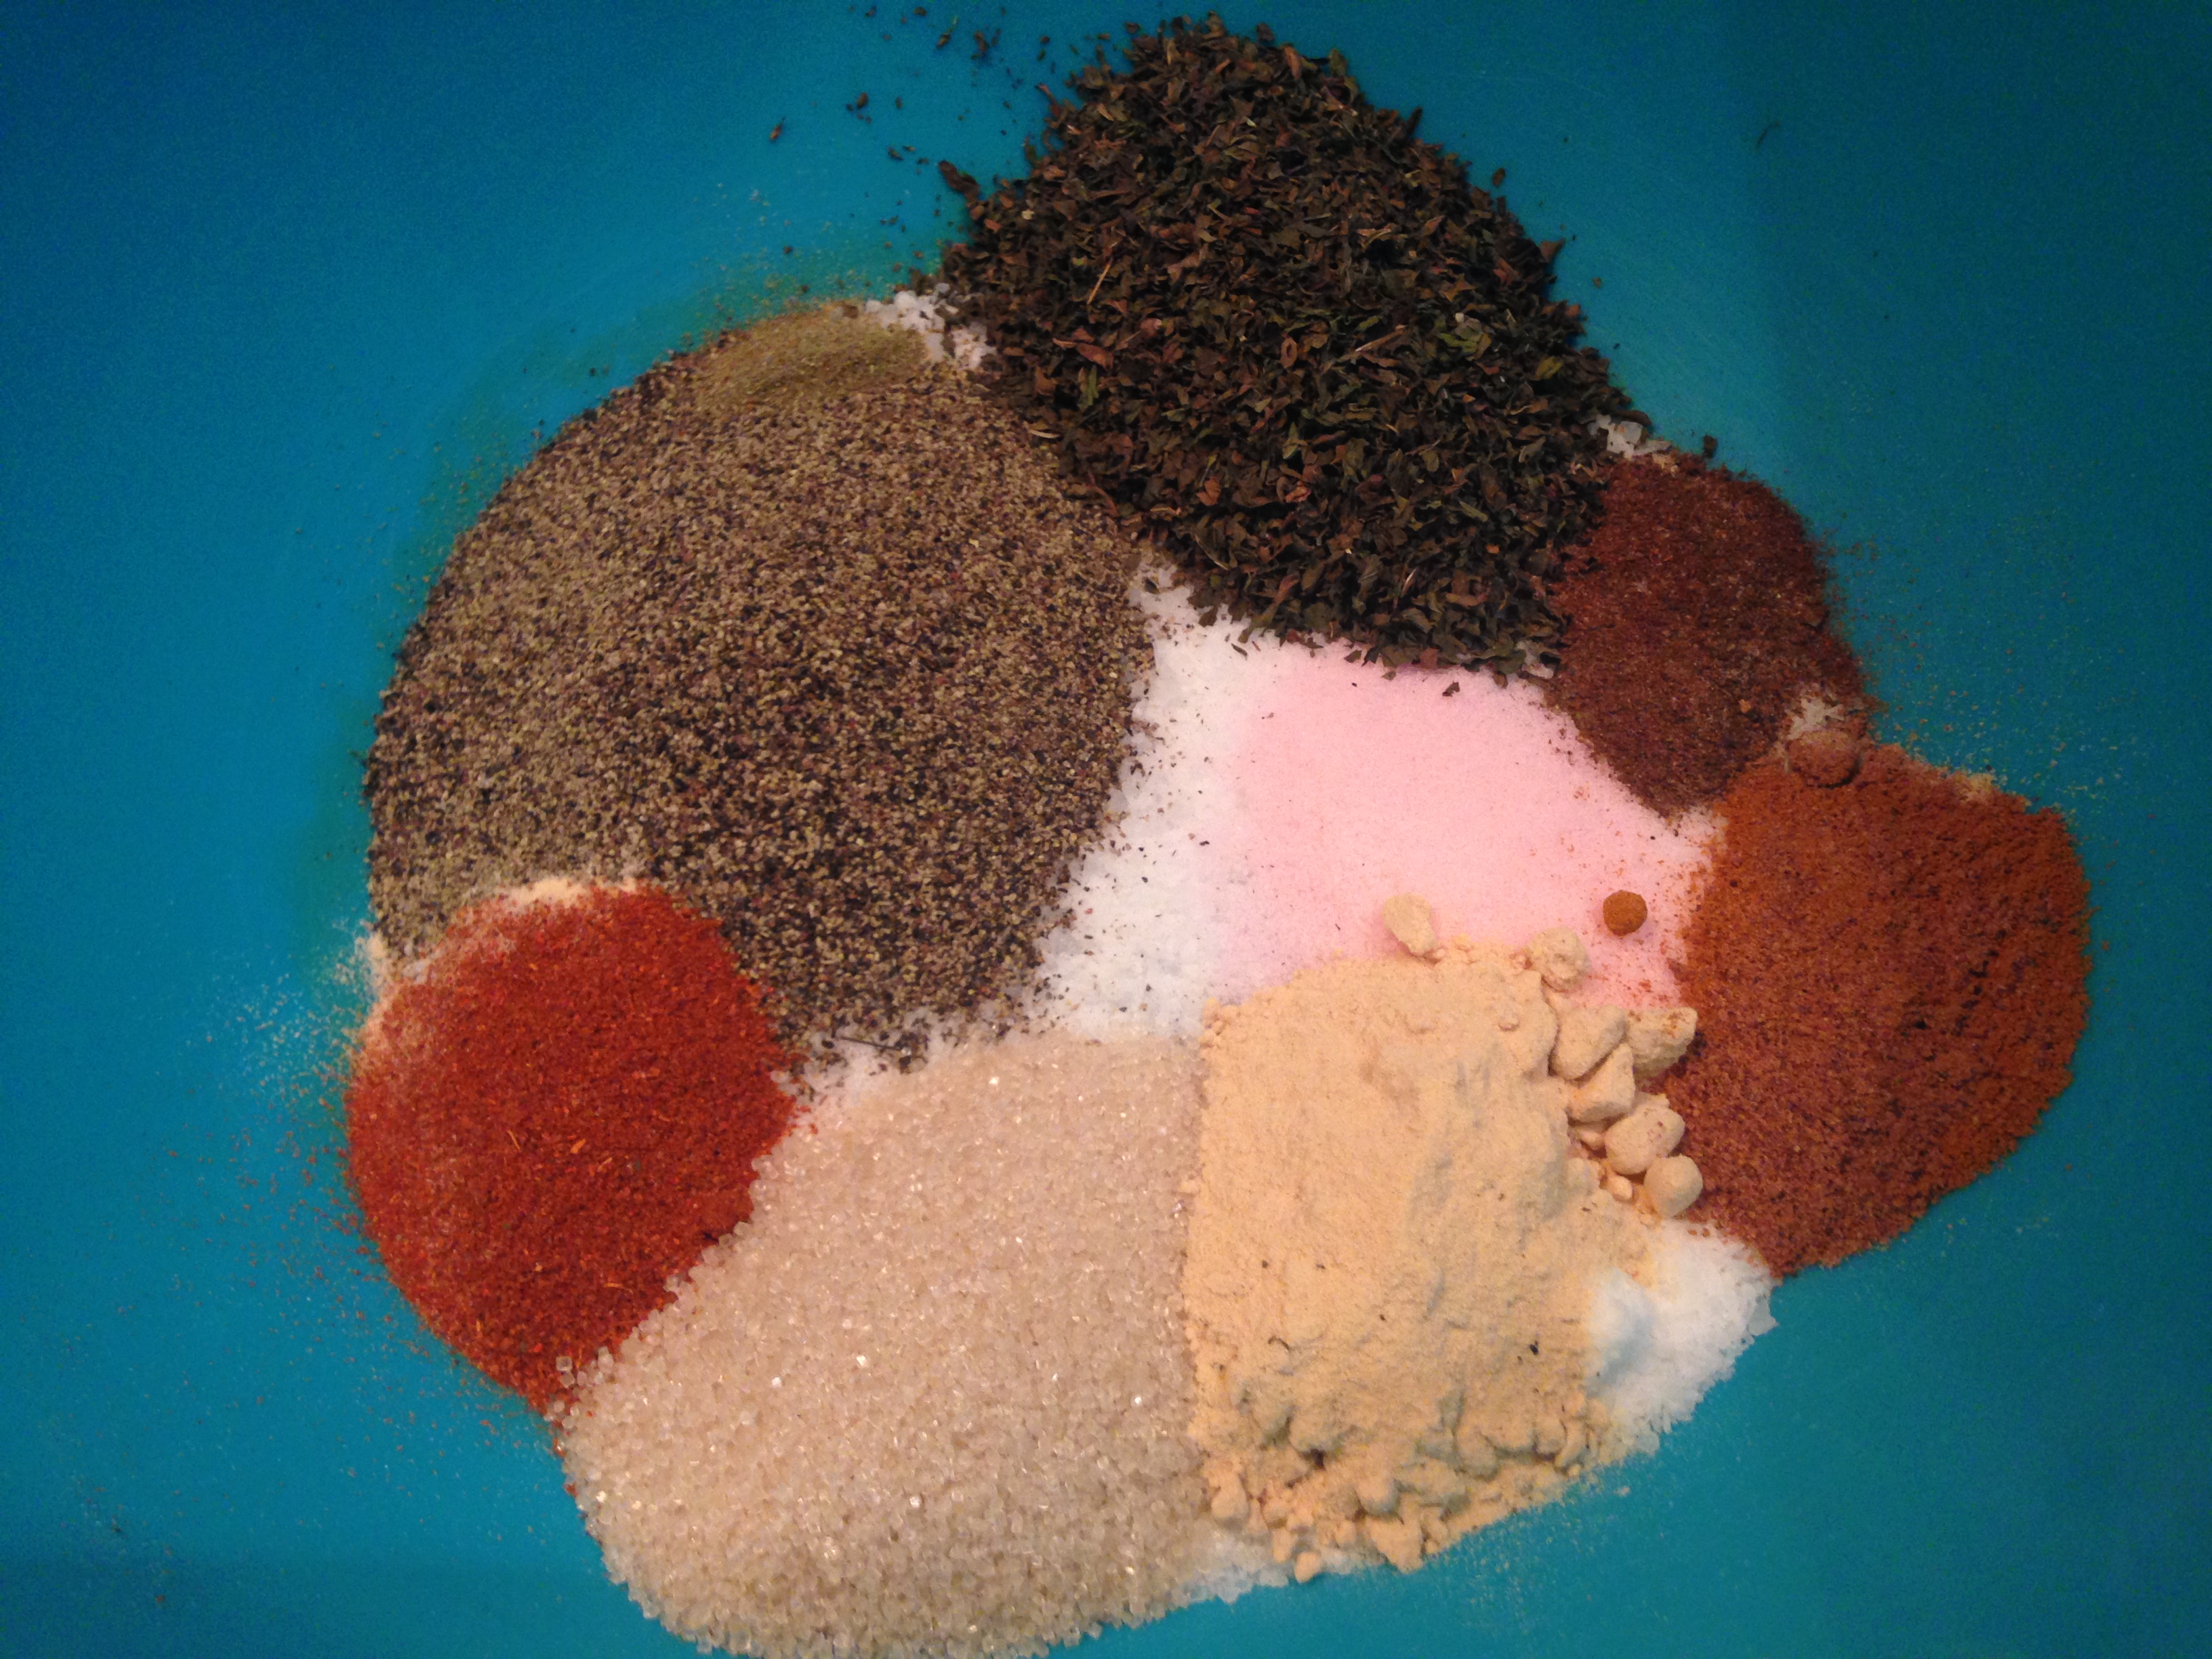
Curing (3 weeks):
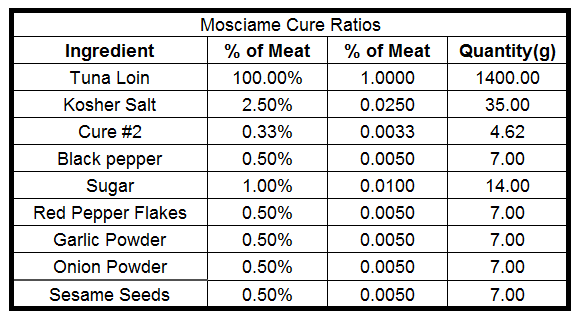
I have updated the curing ratios to reflect my most recently used values.
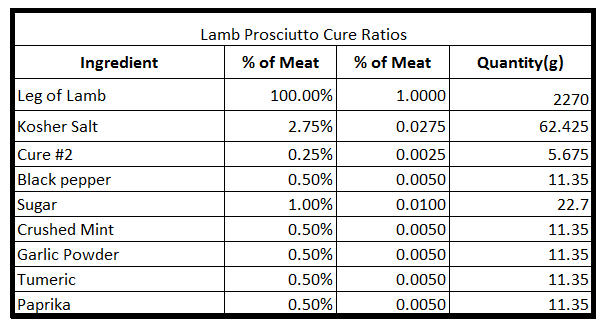
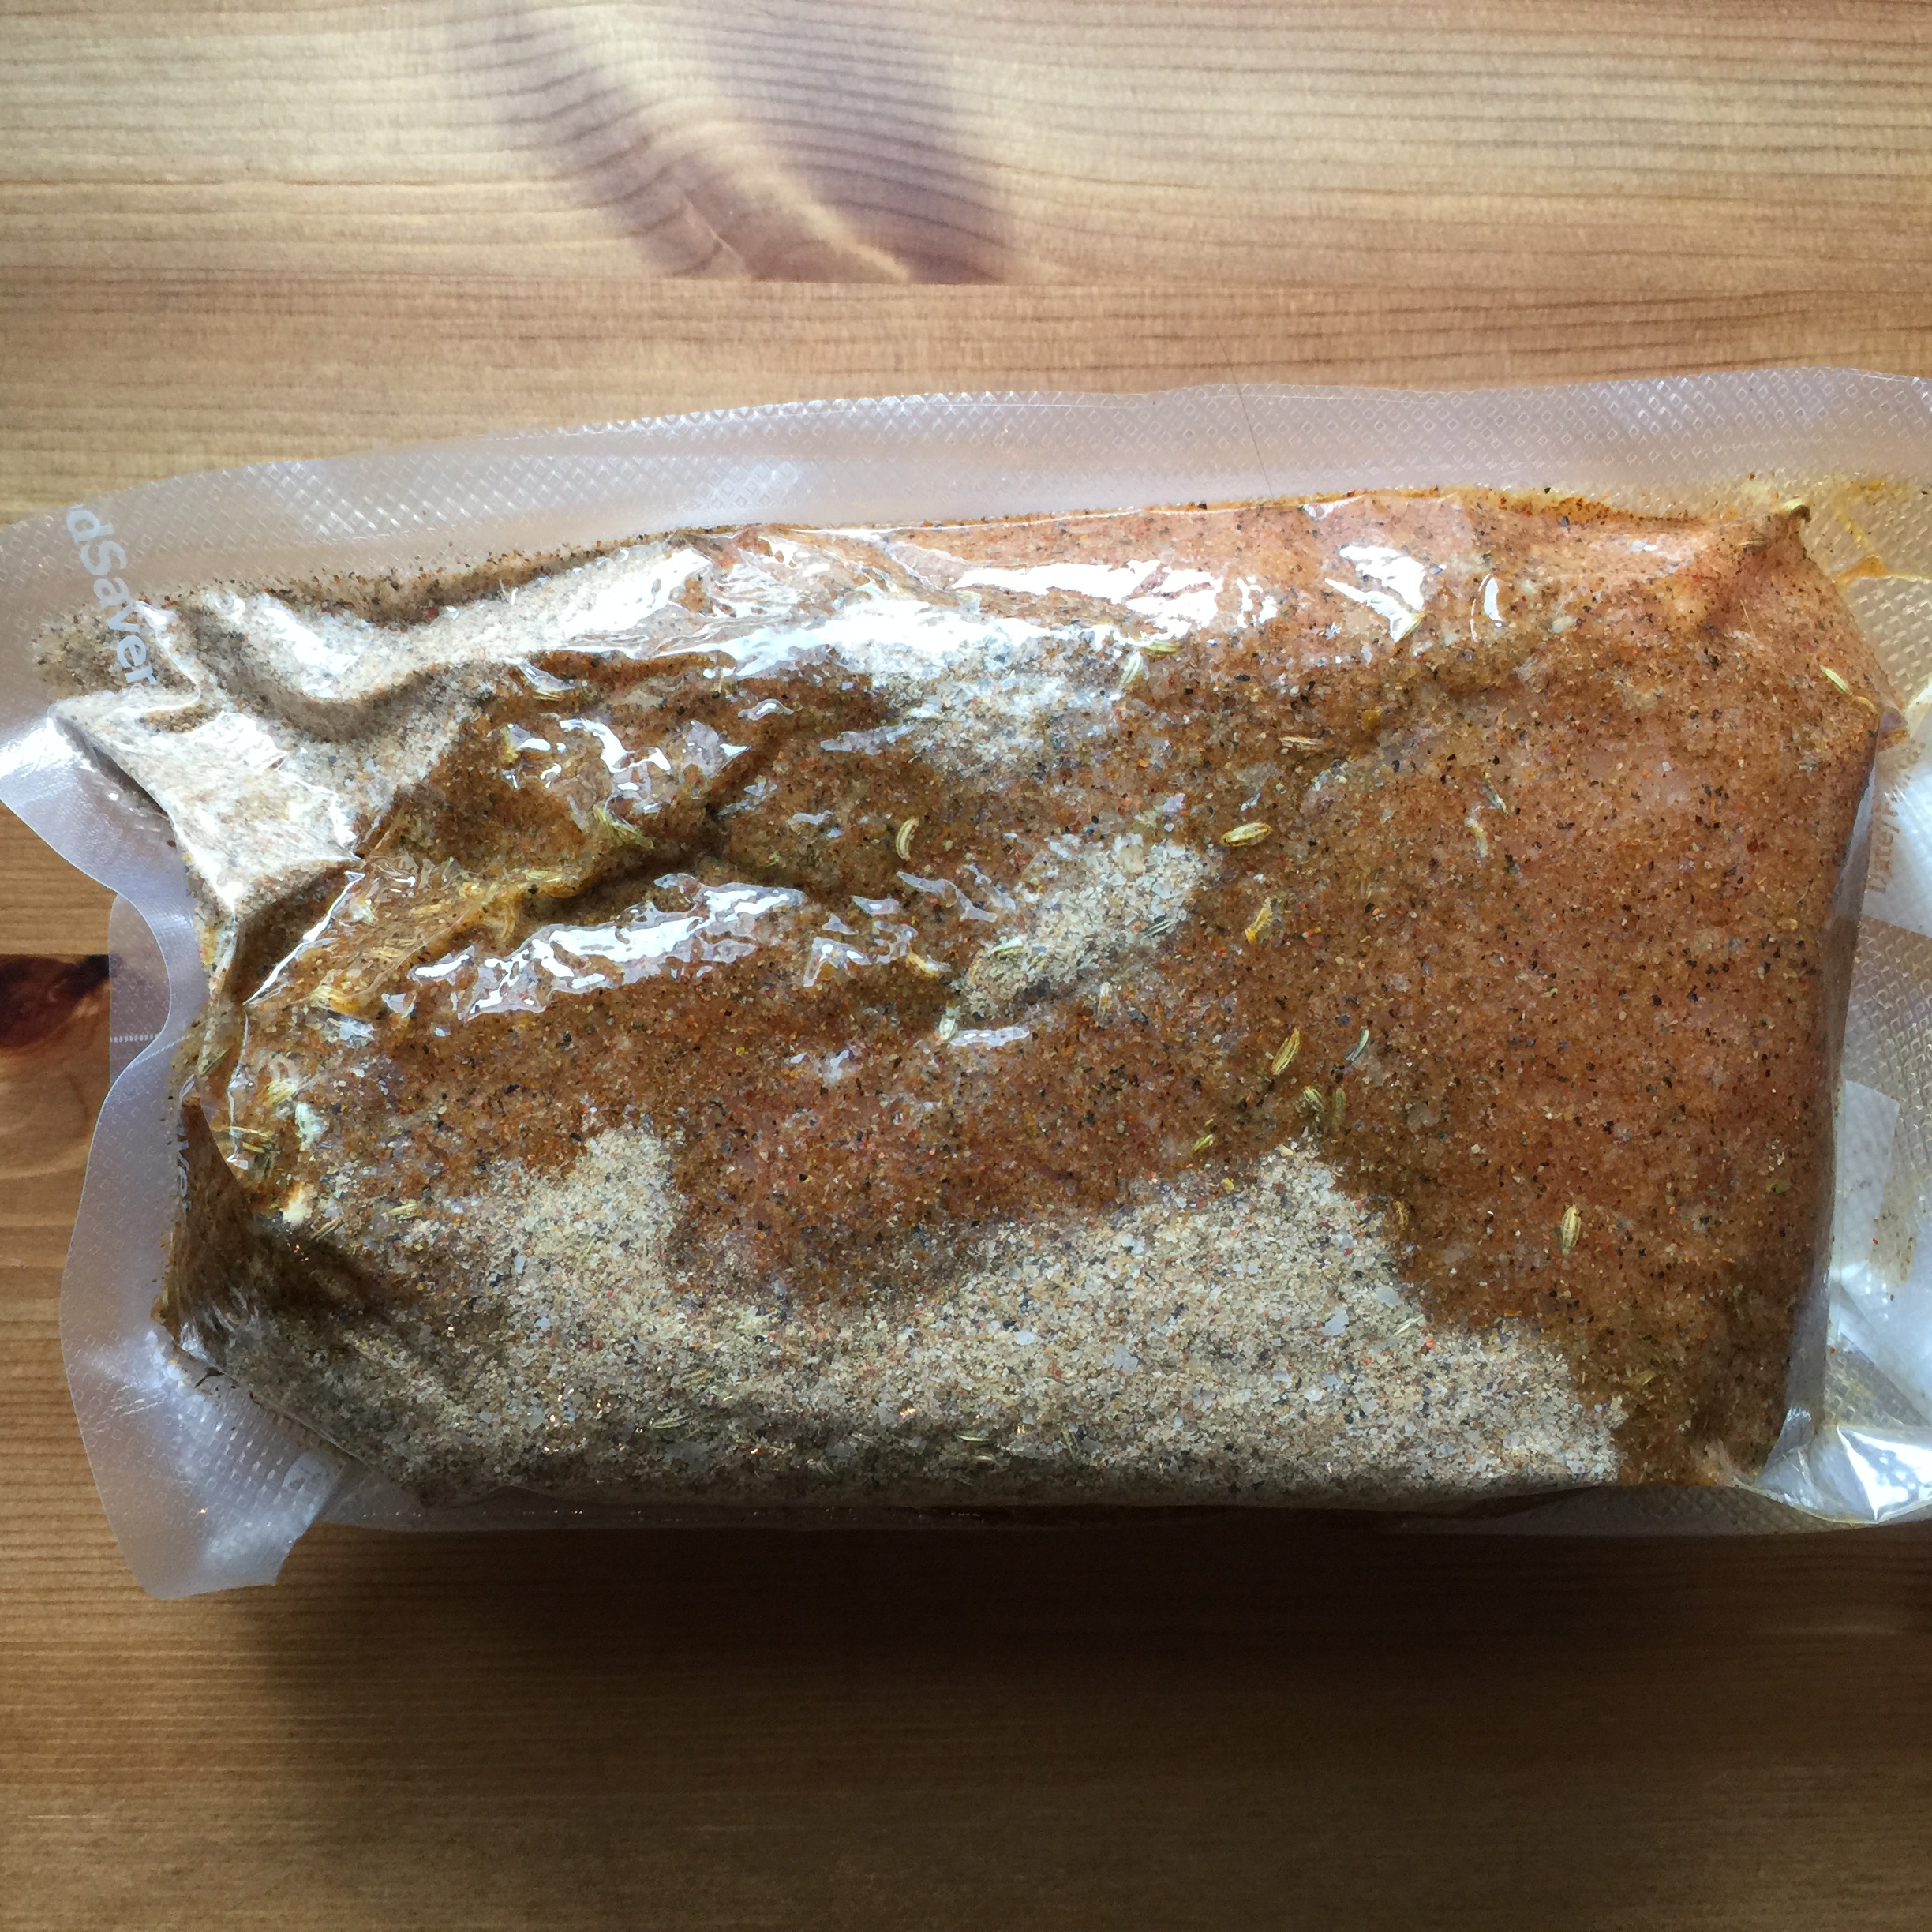
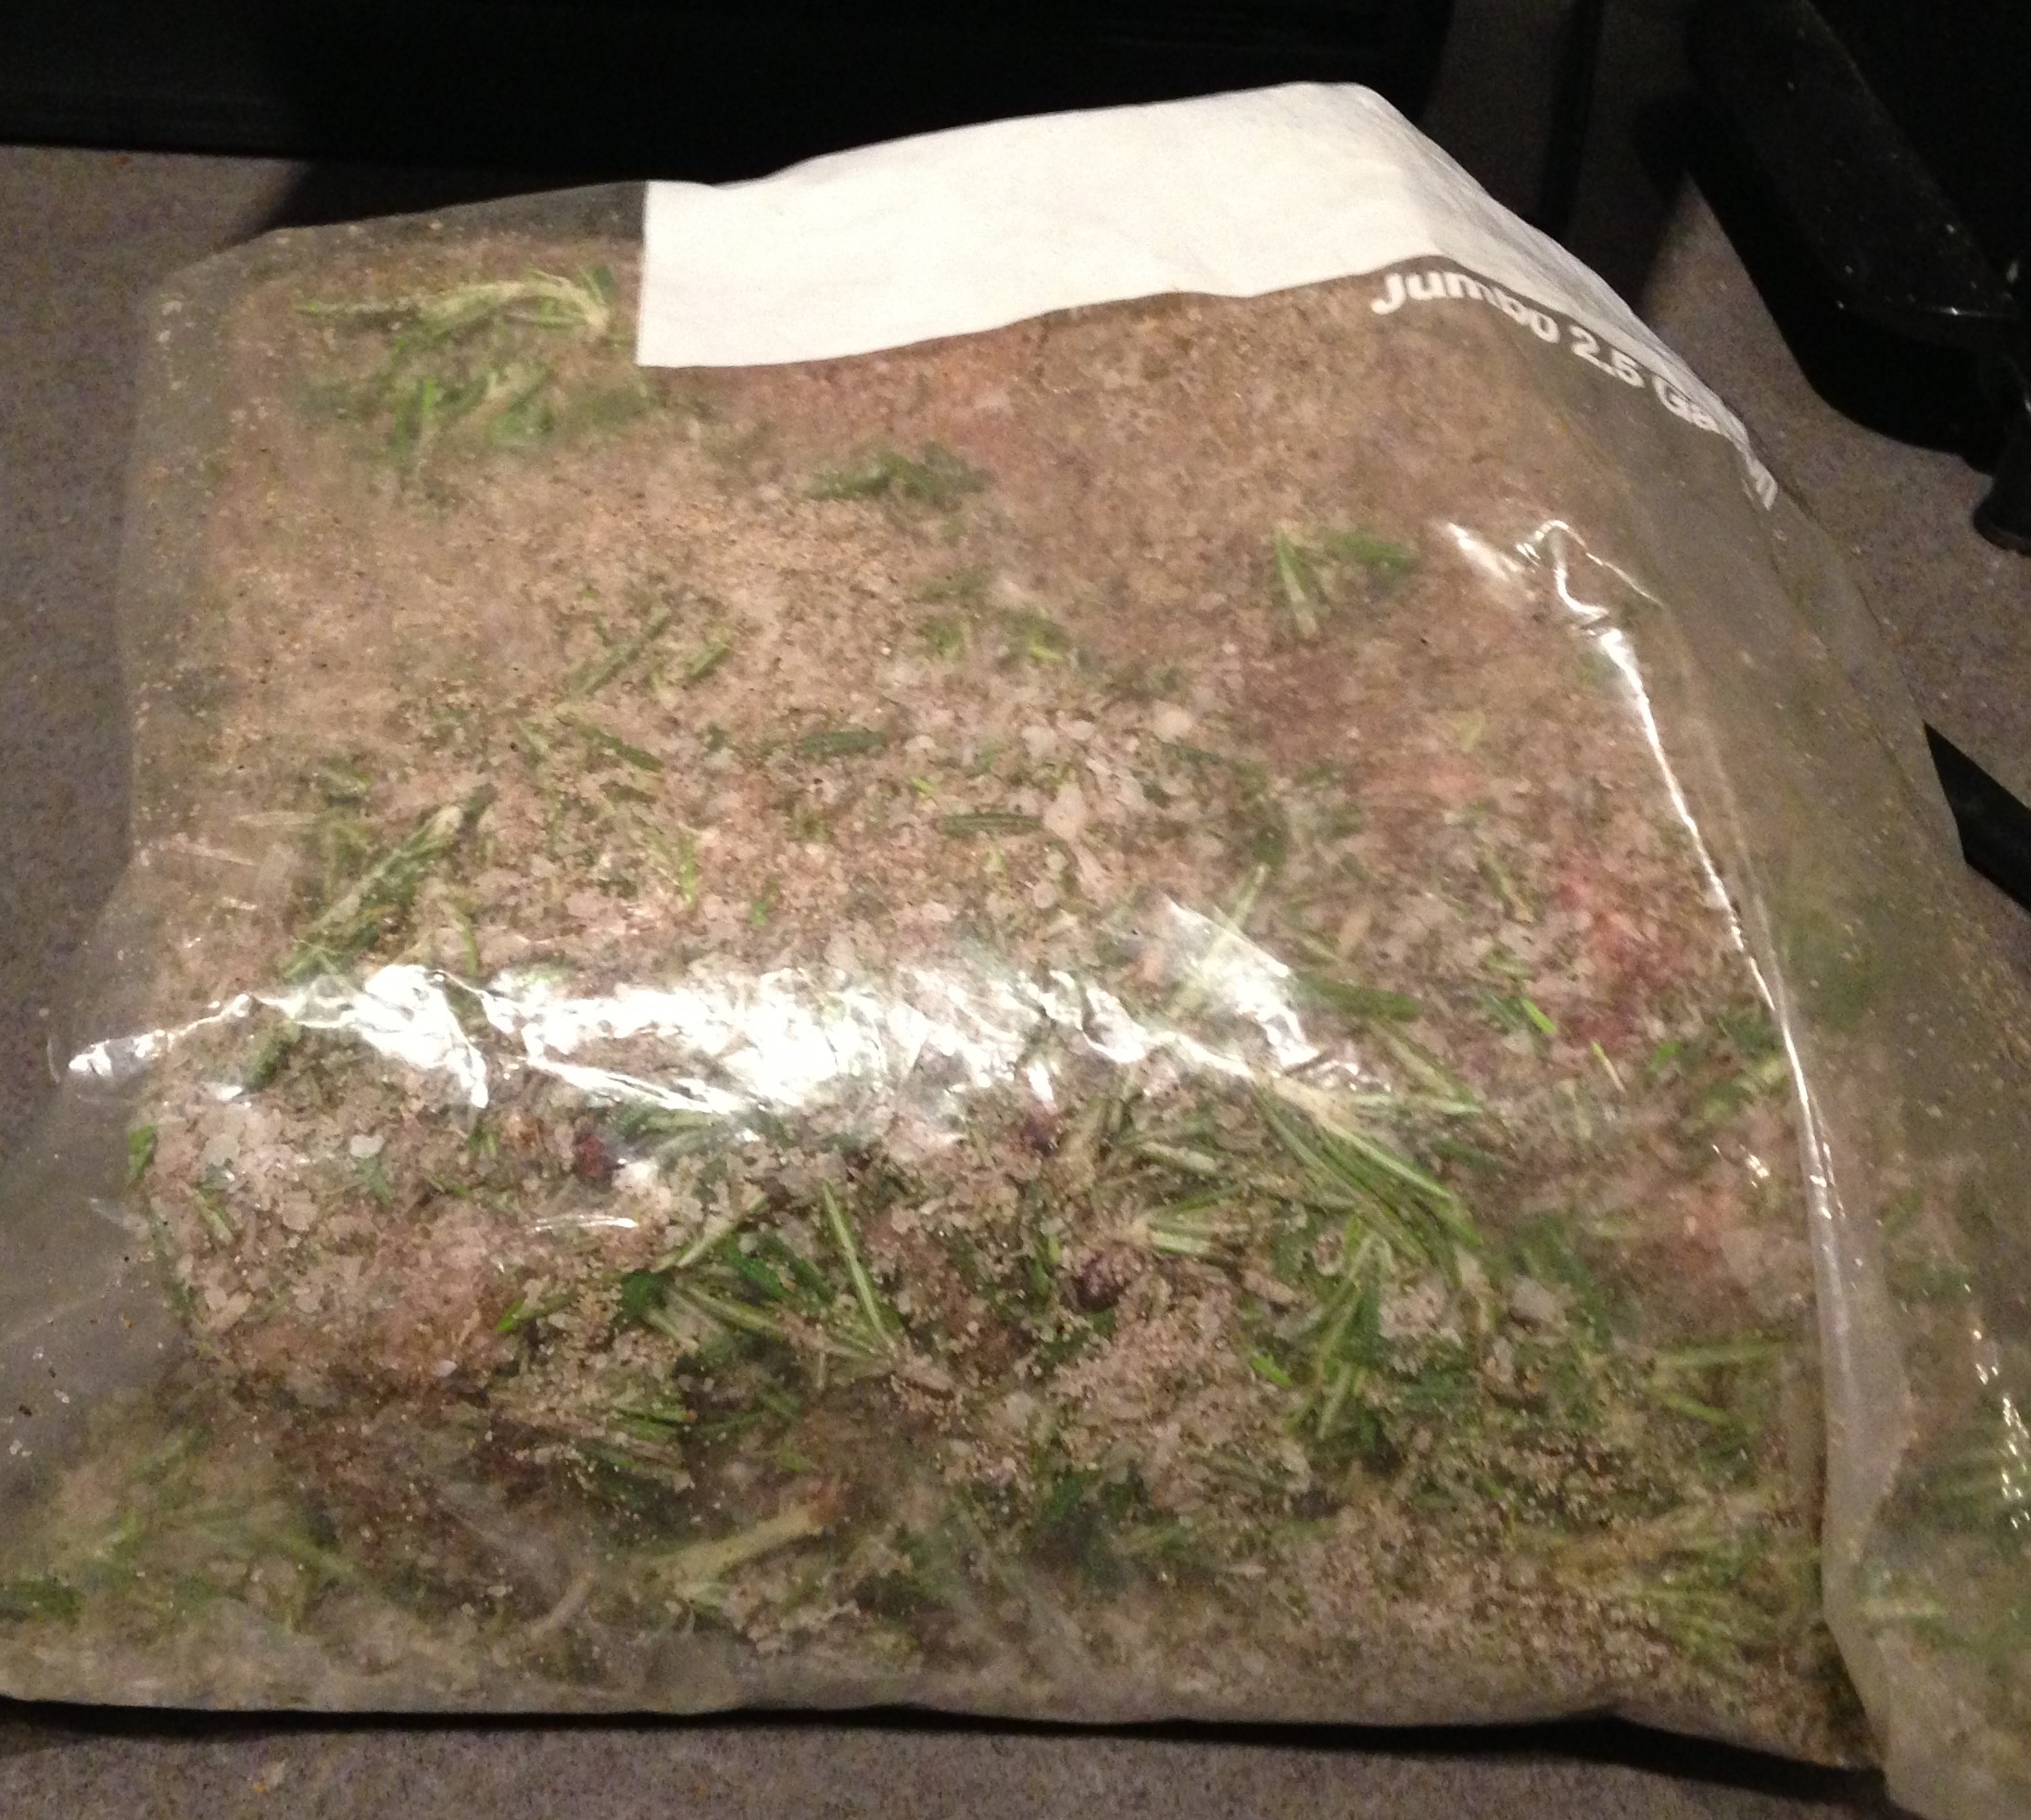
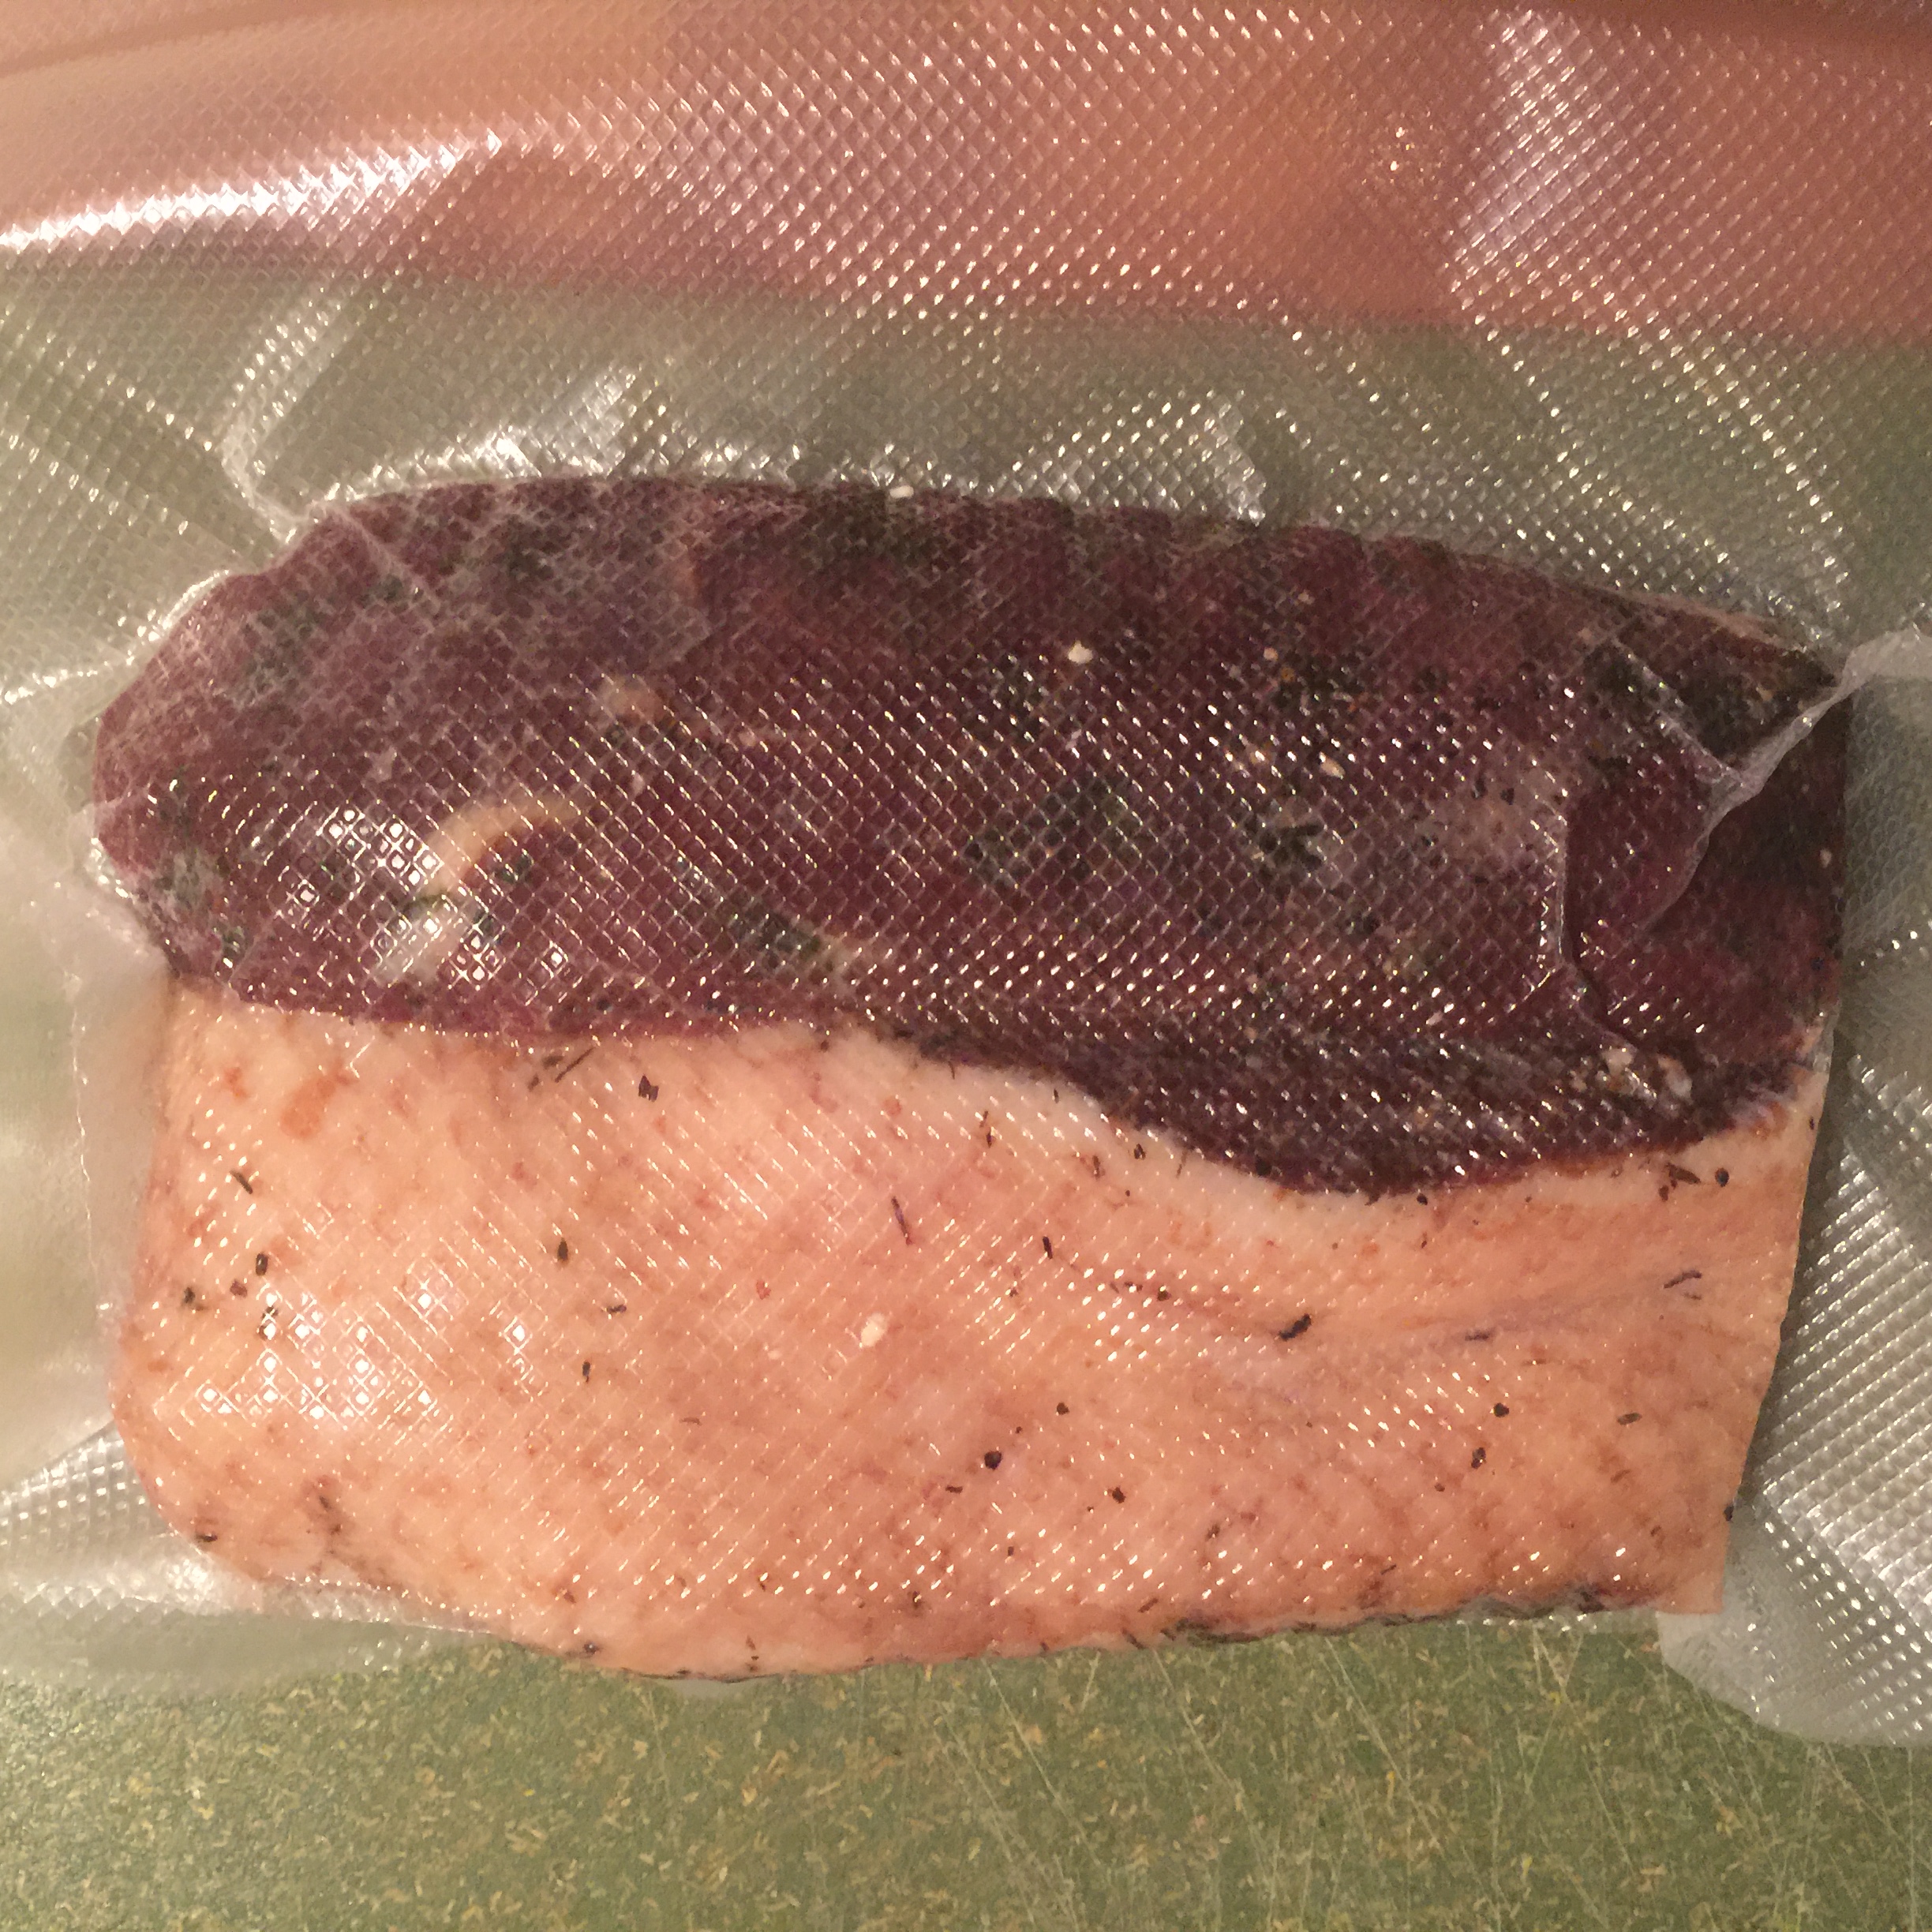
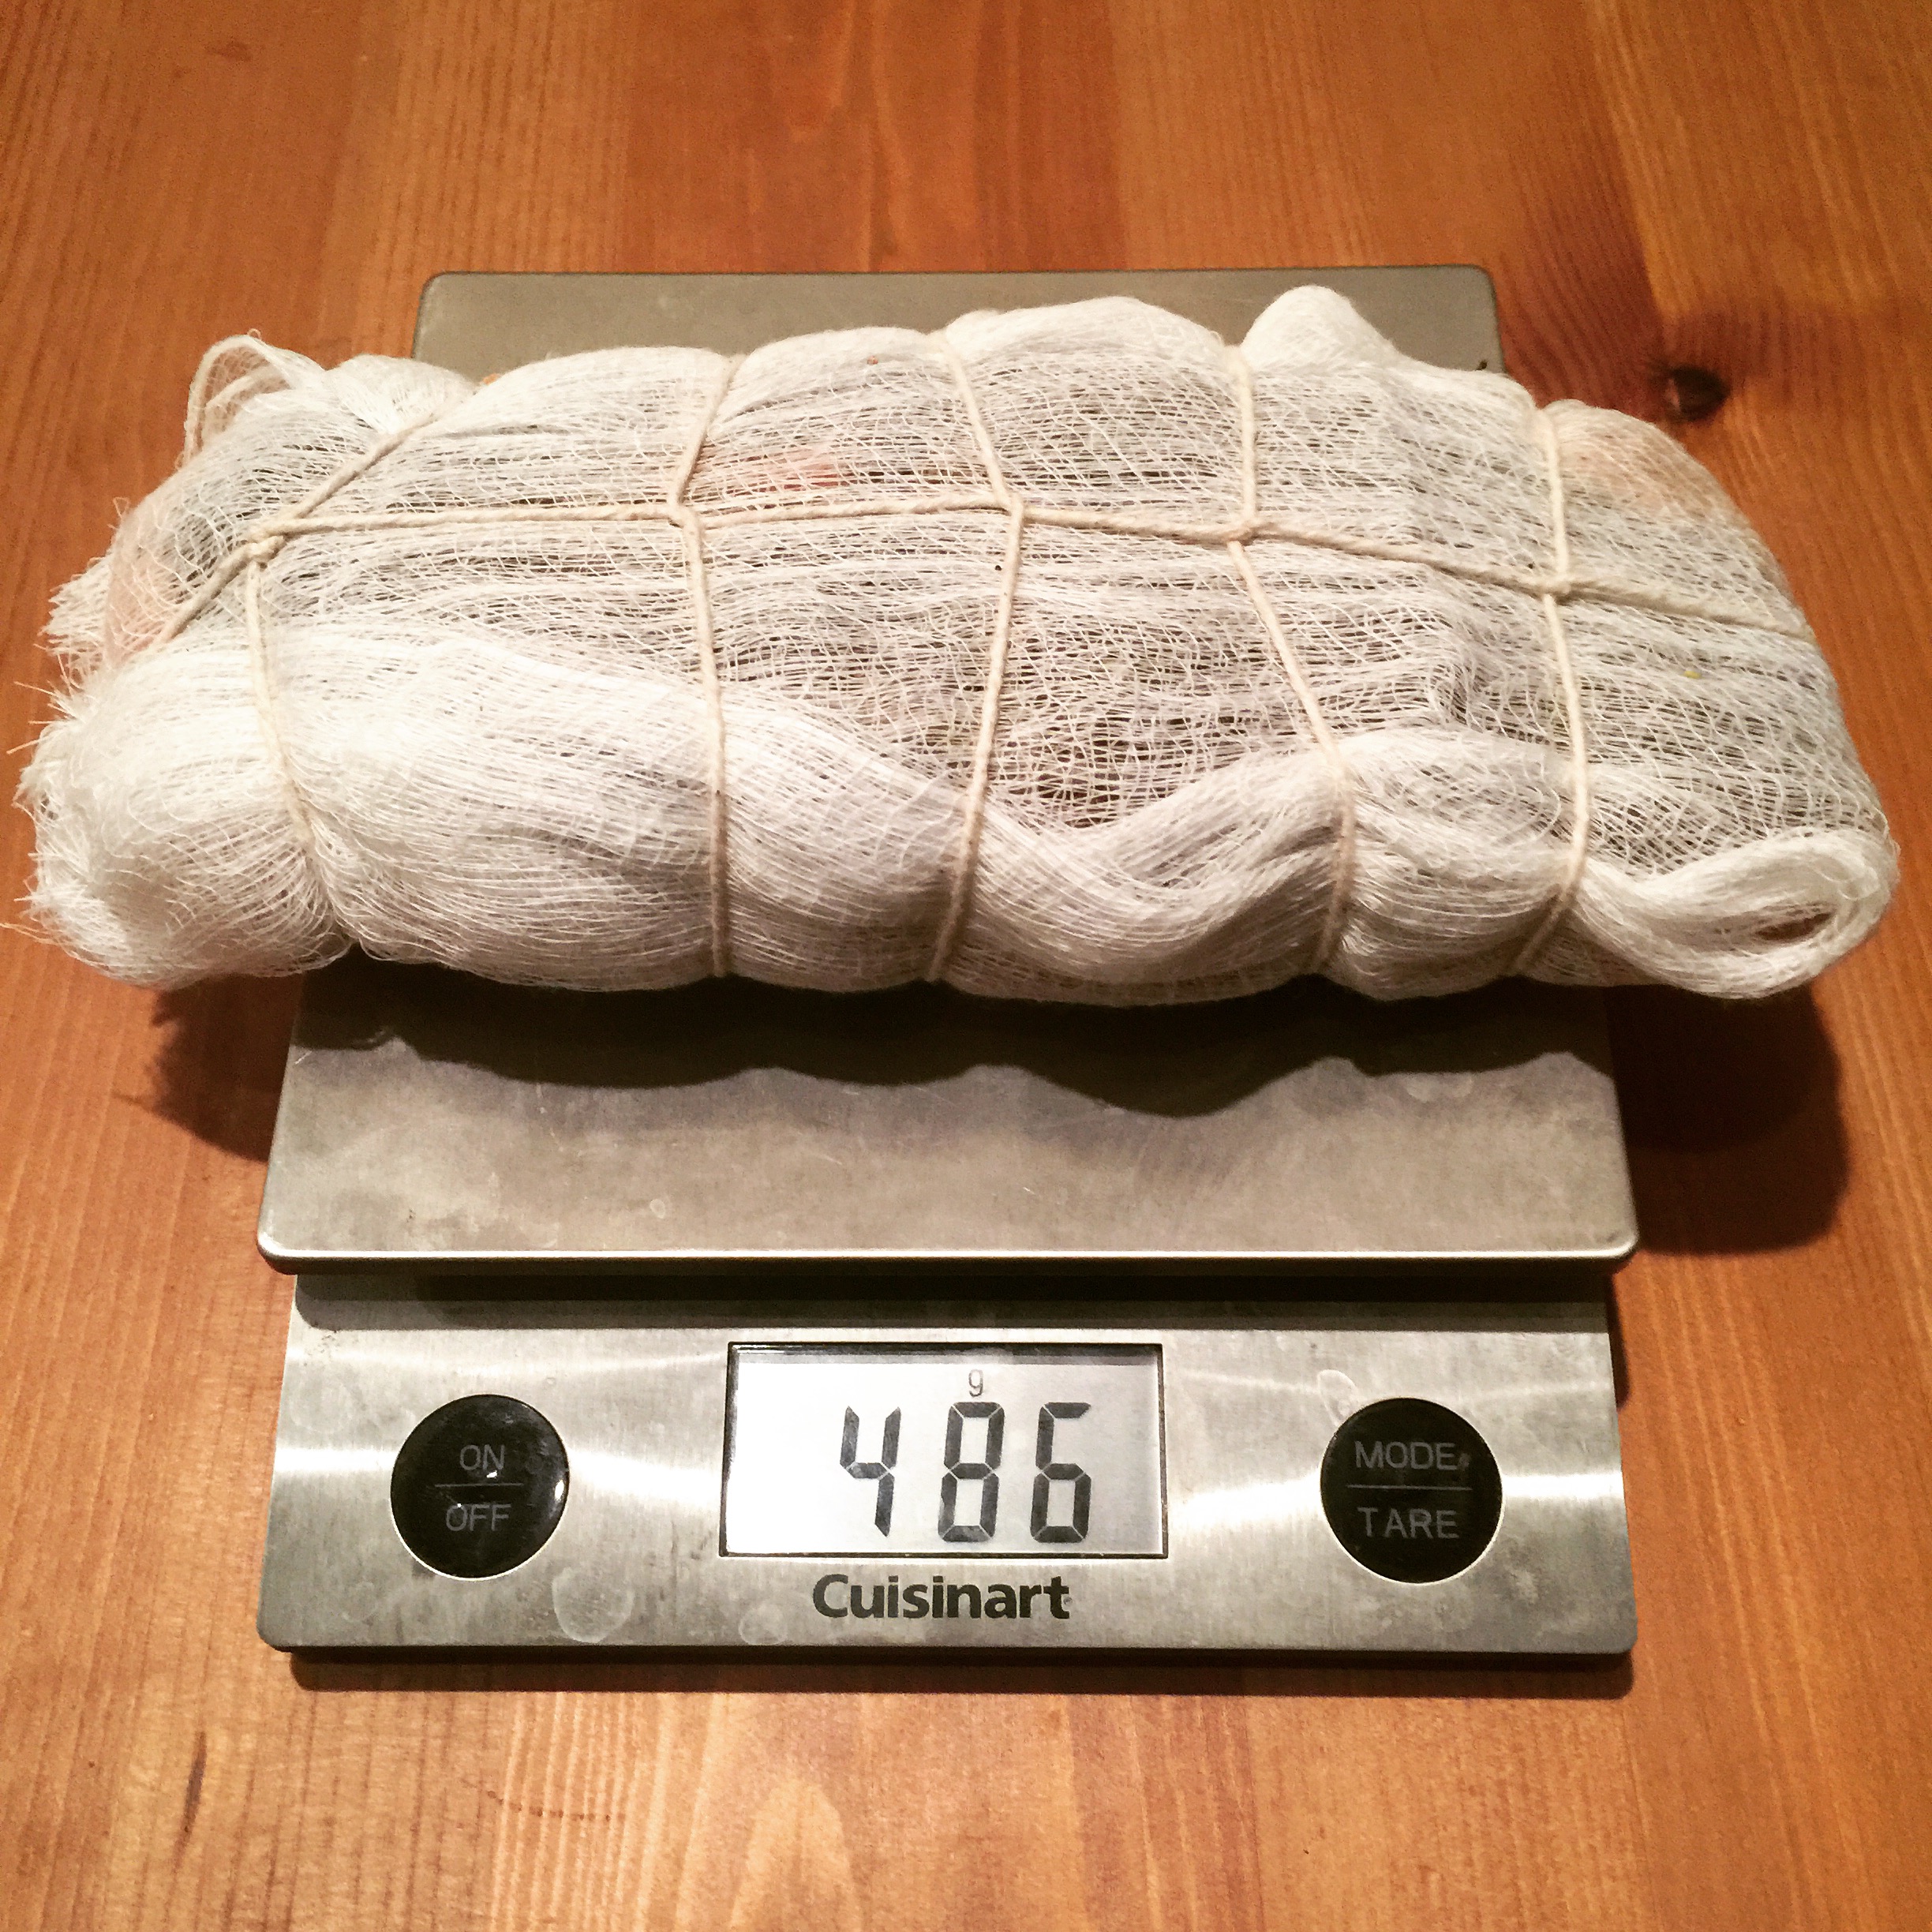
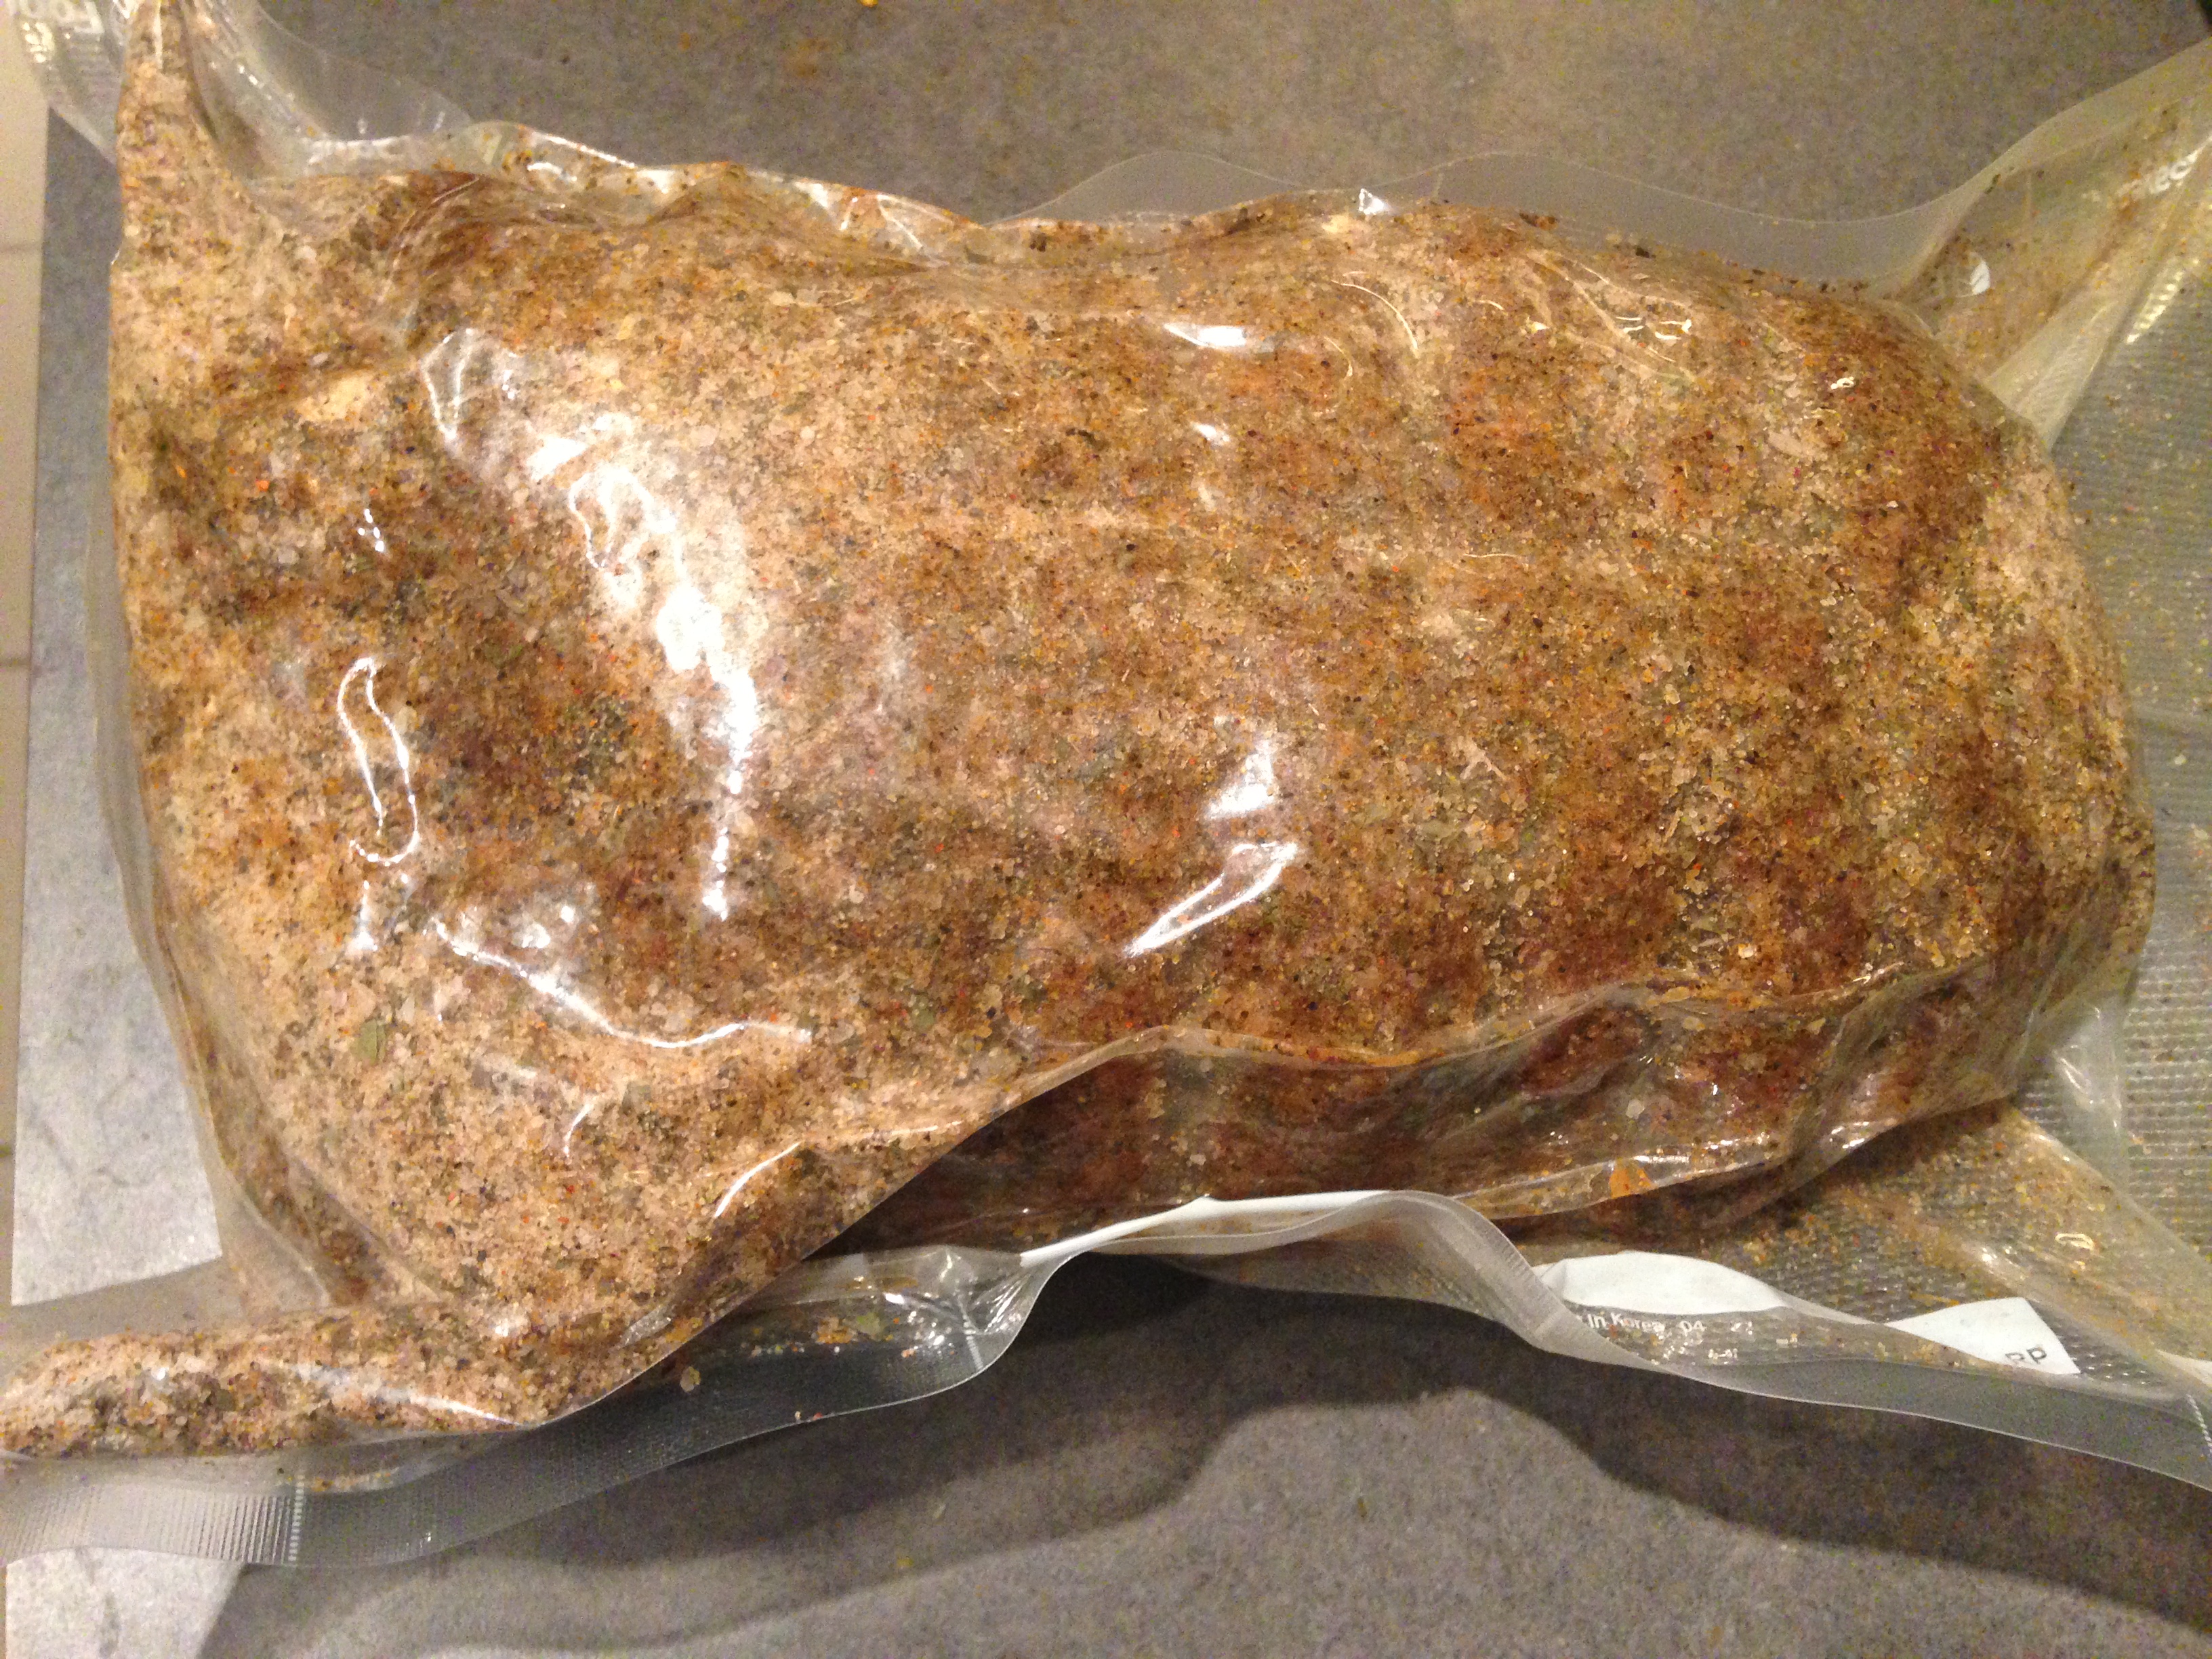
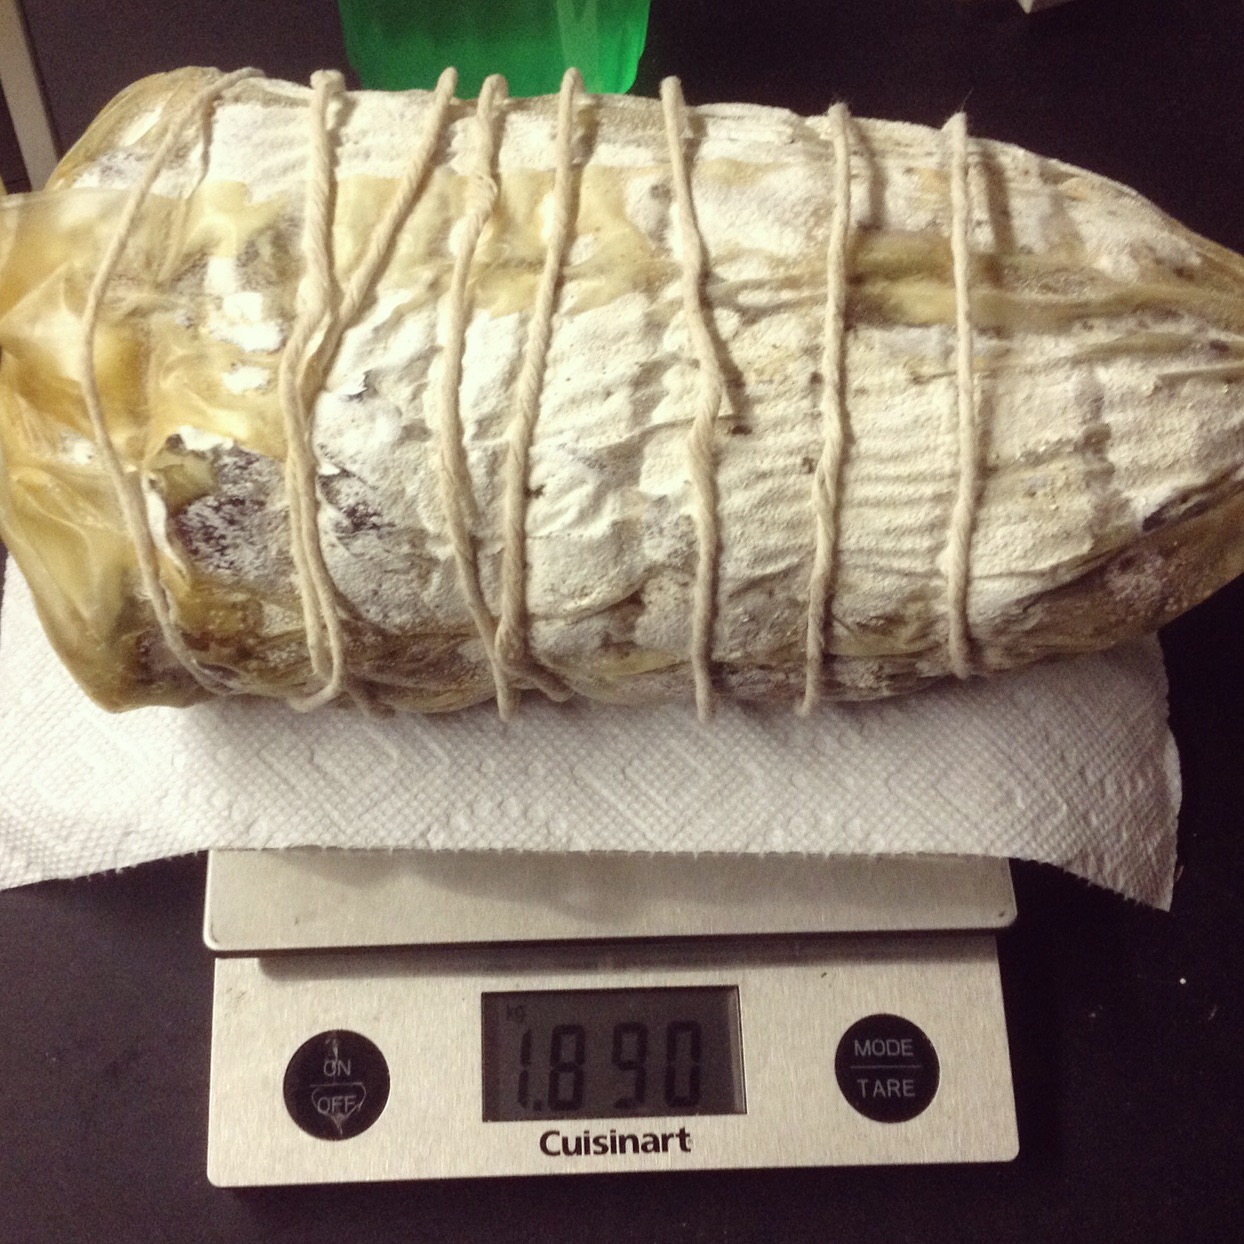
I allowed the leg of lamb to sit in the cure for 3 weeks under vacuum seal.
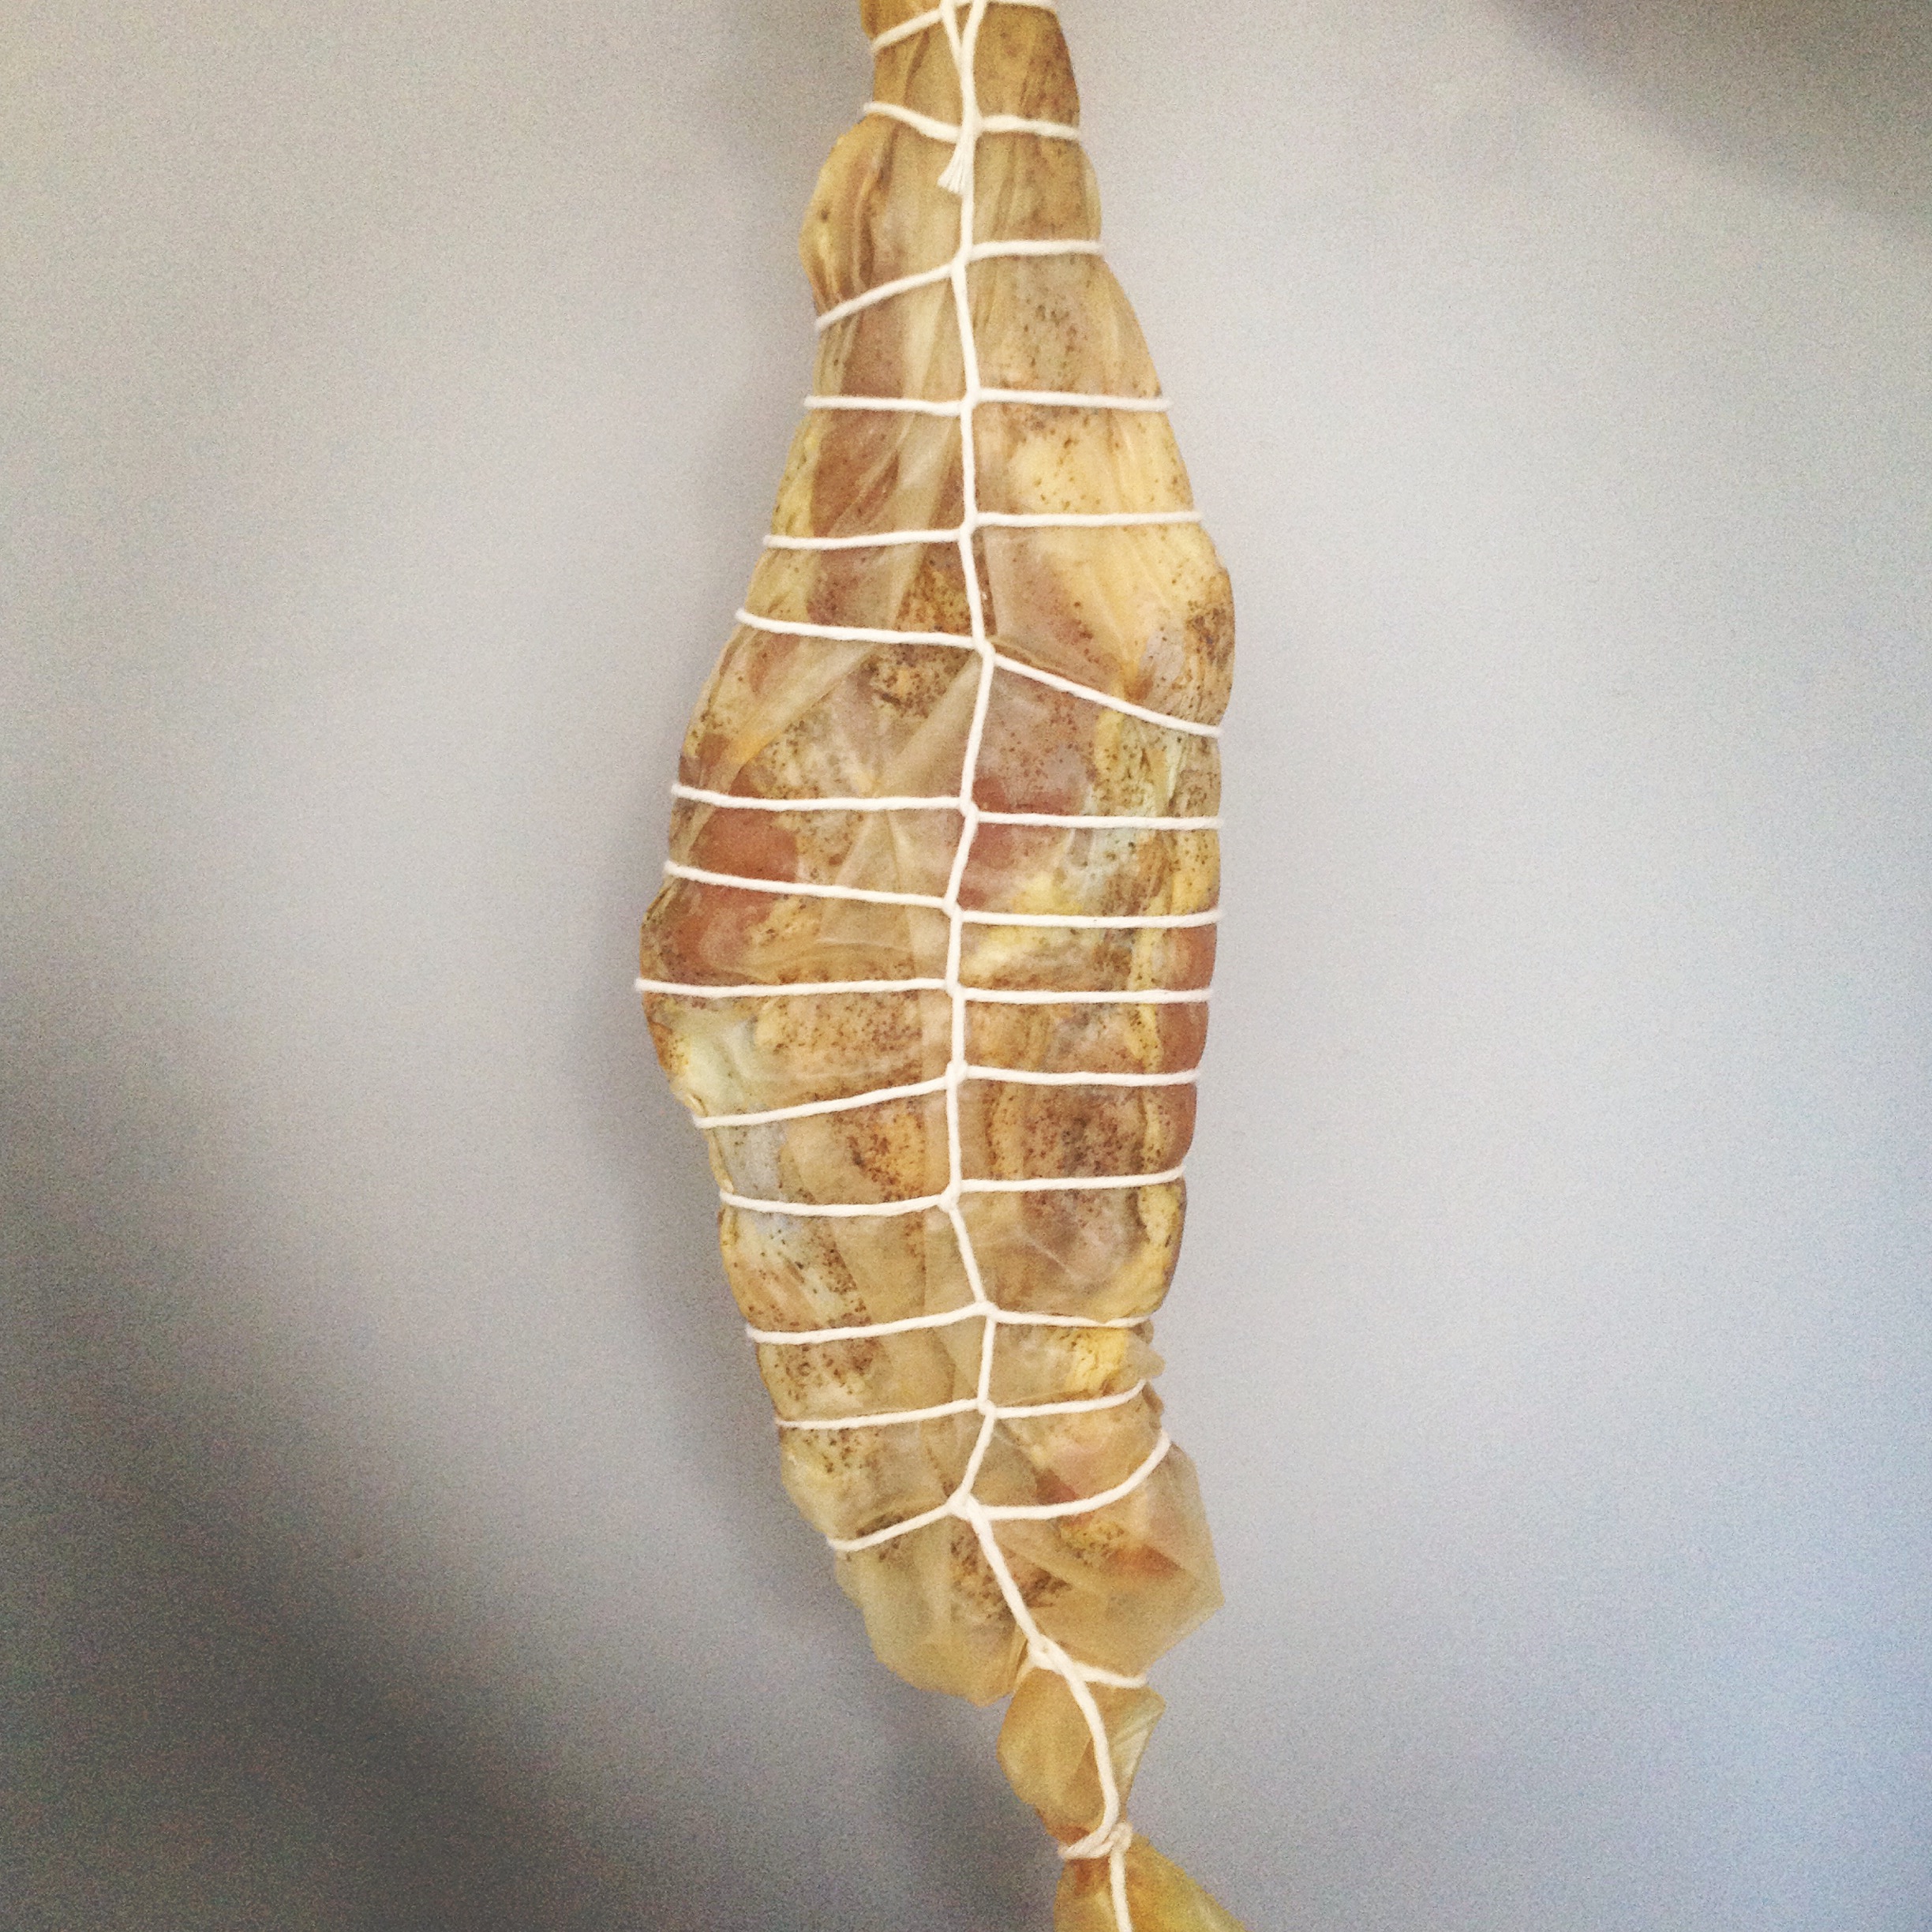
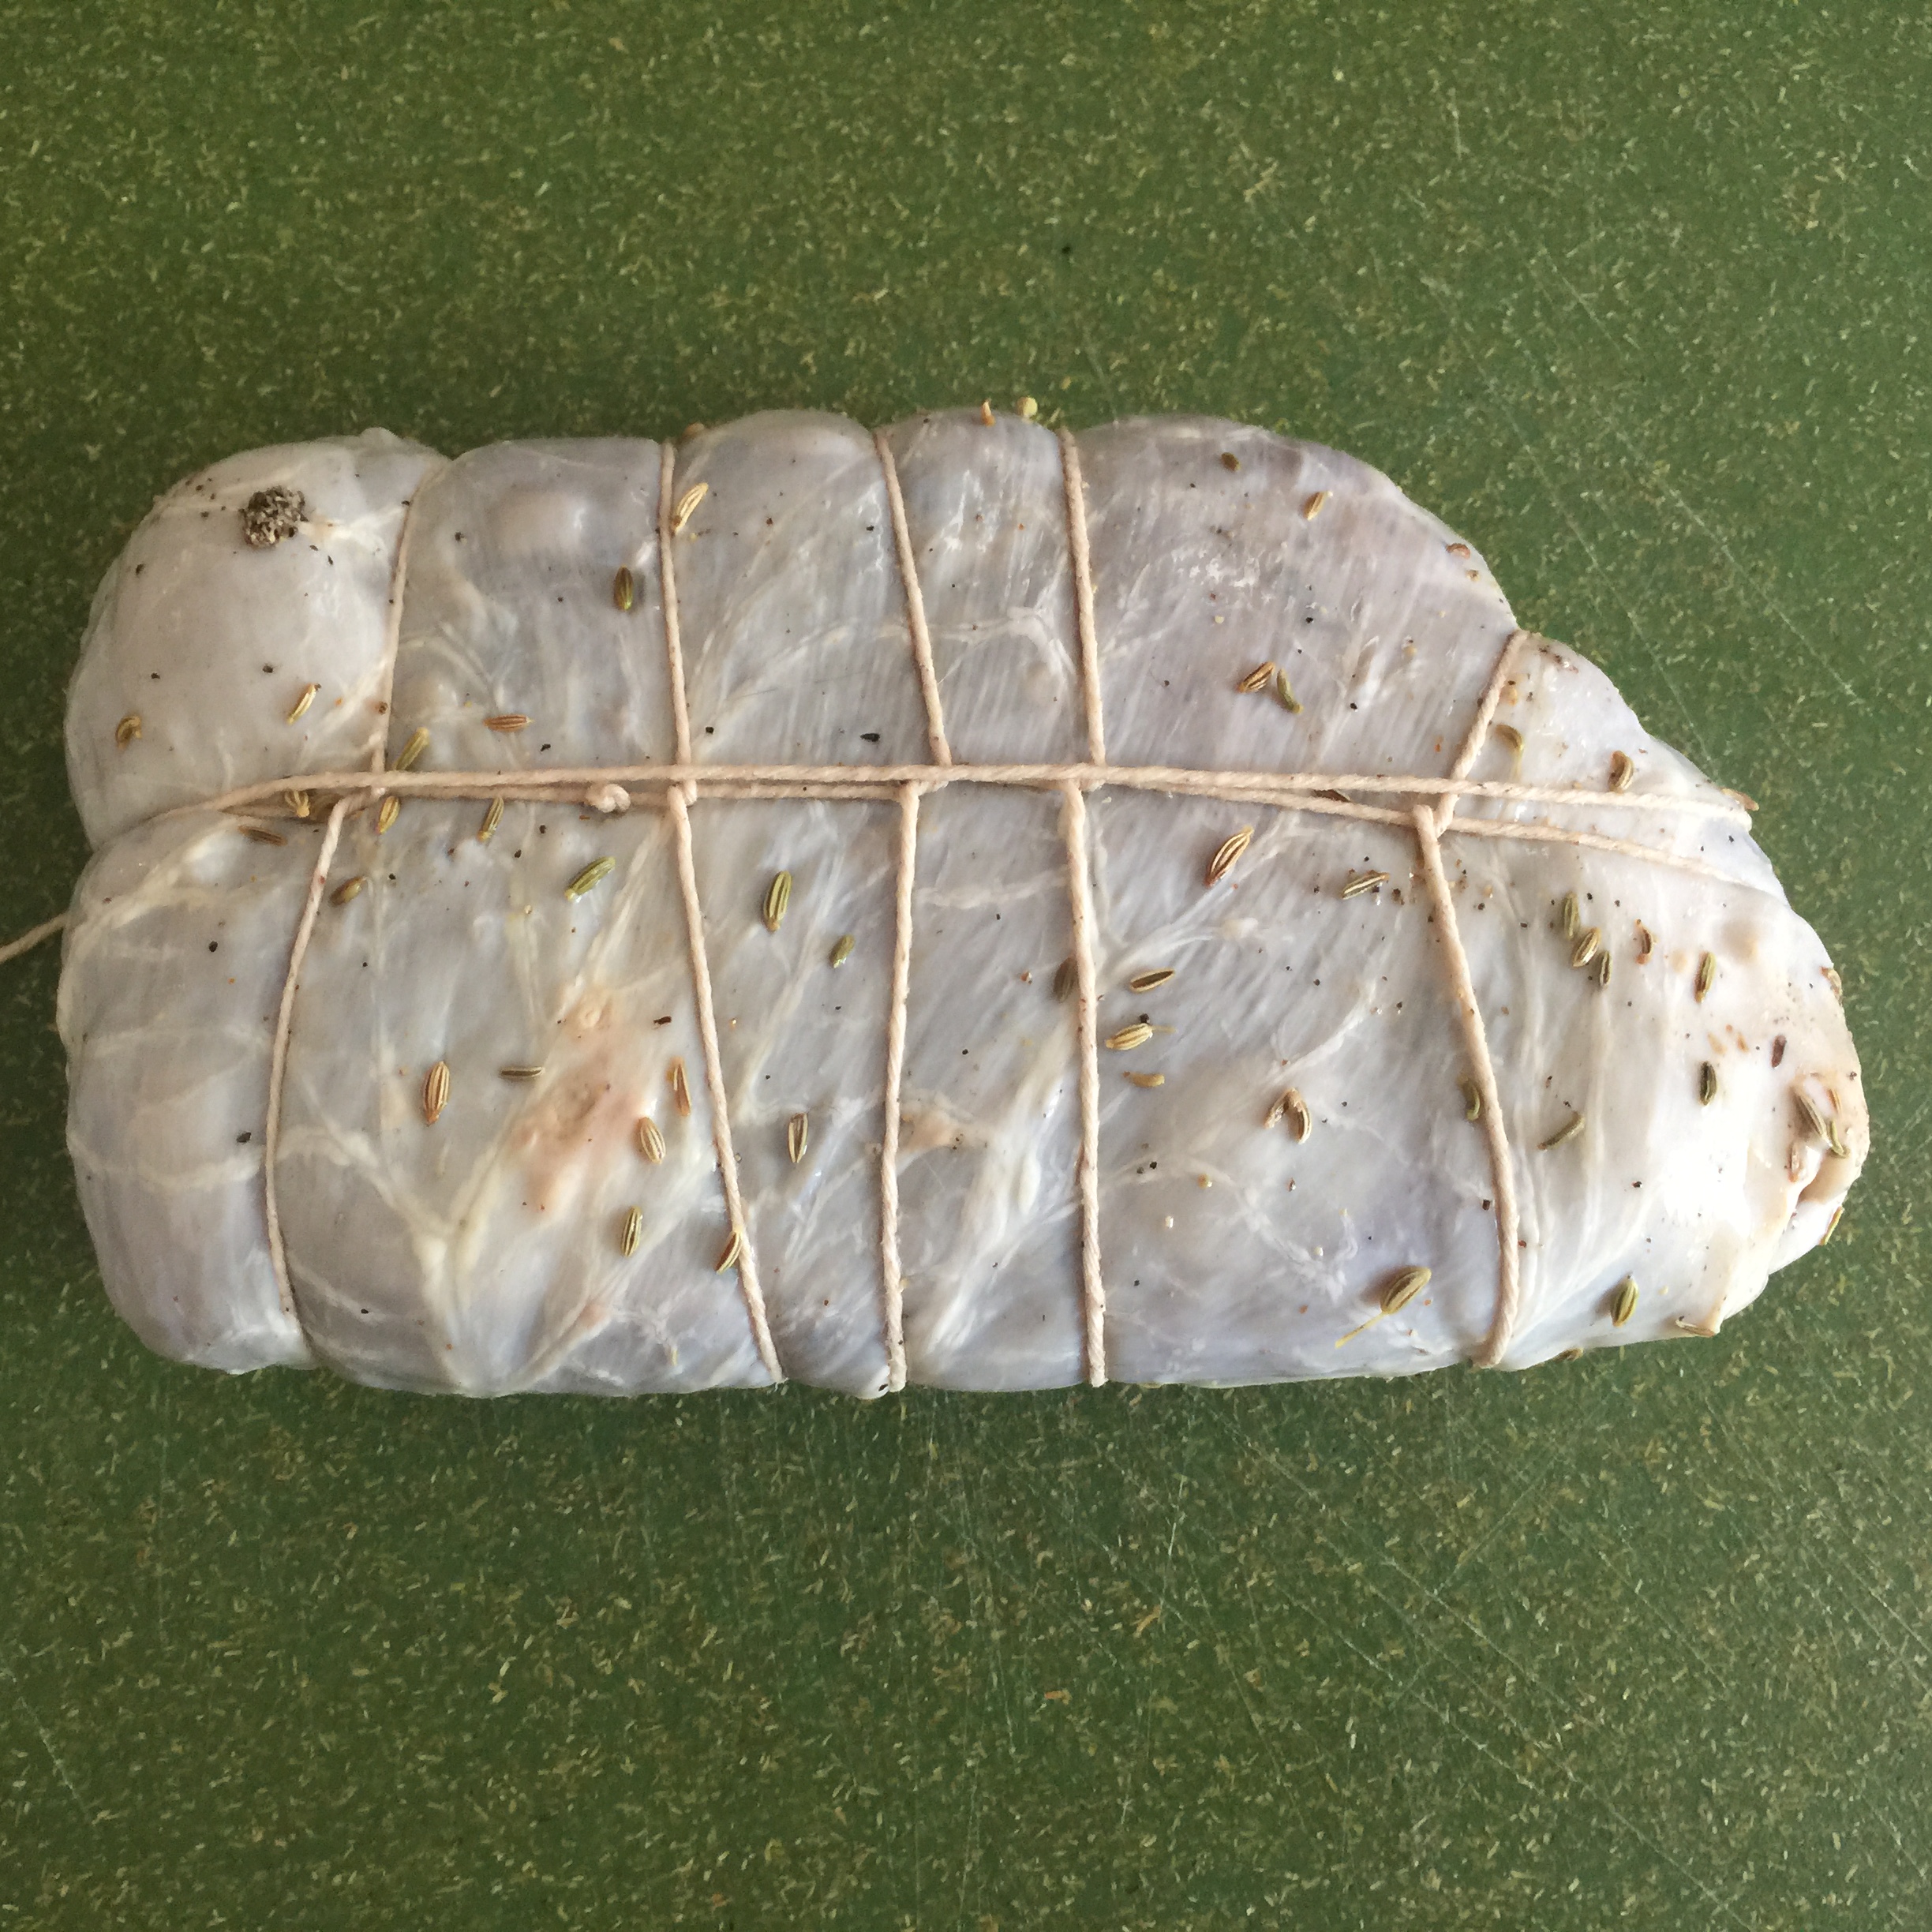
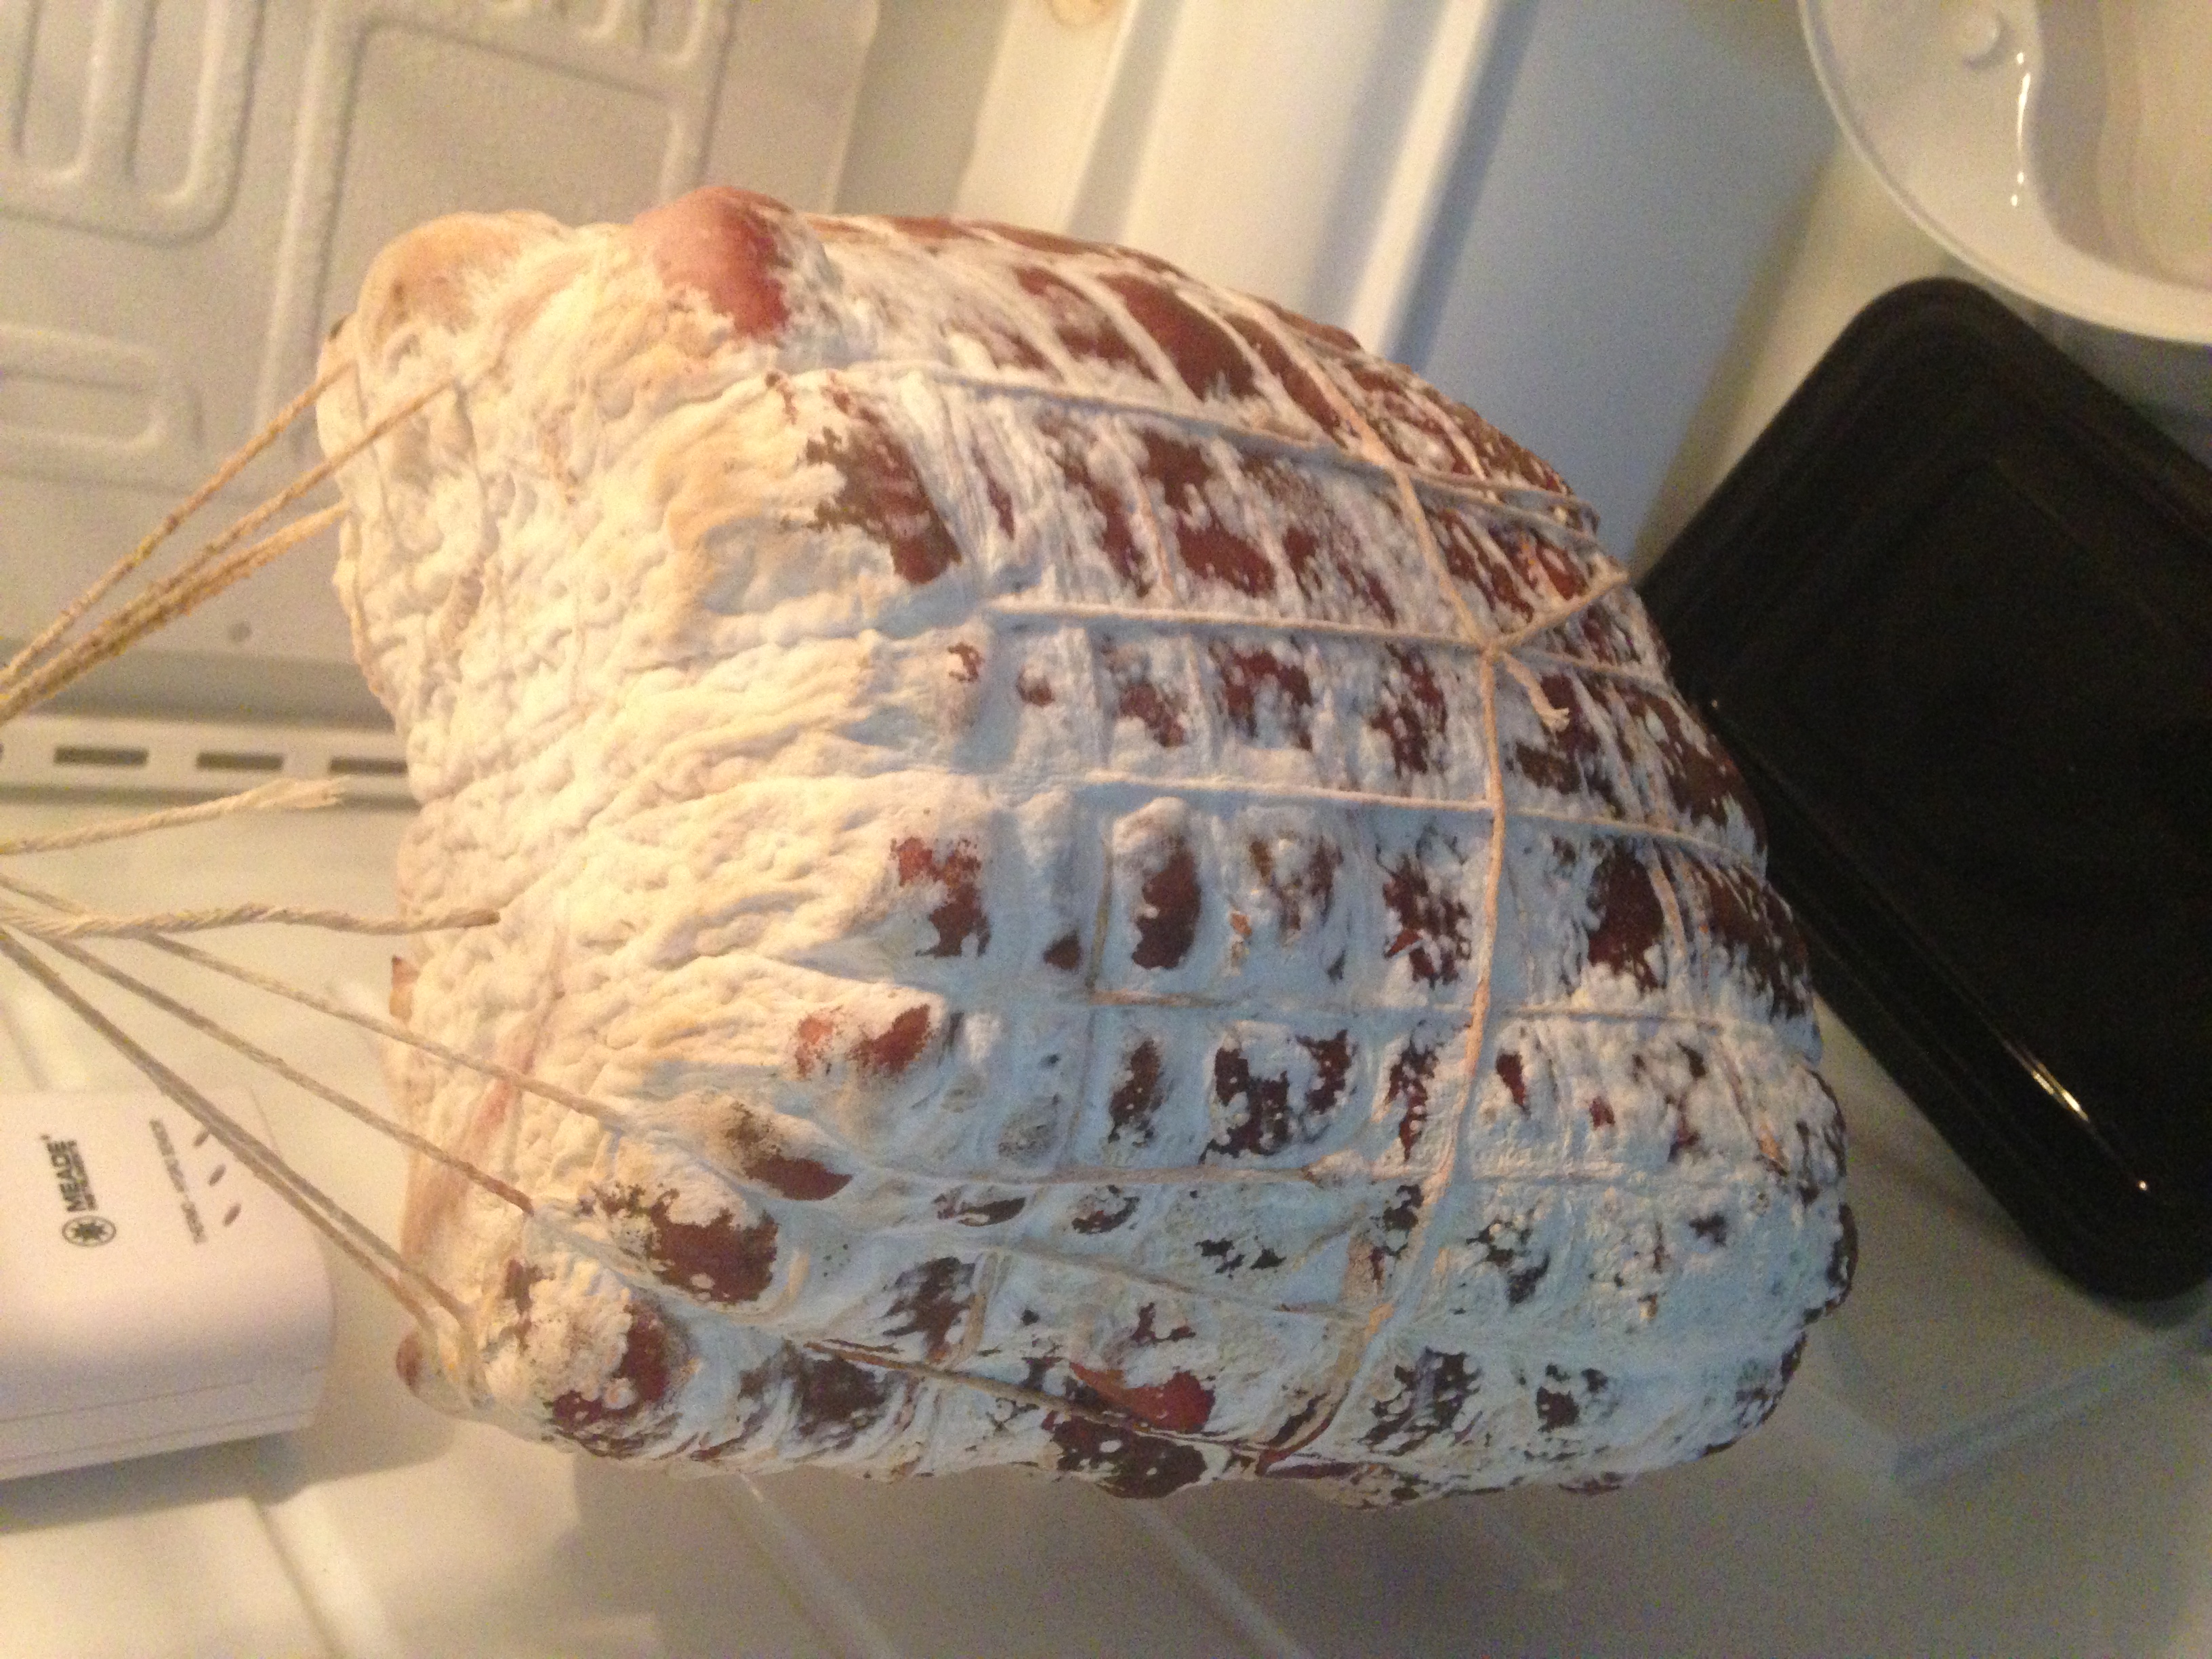
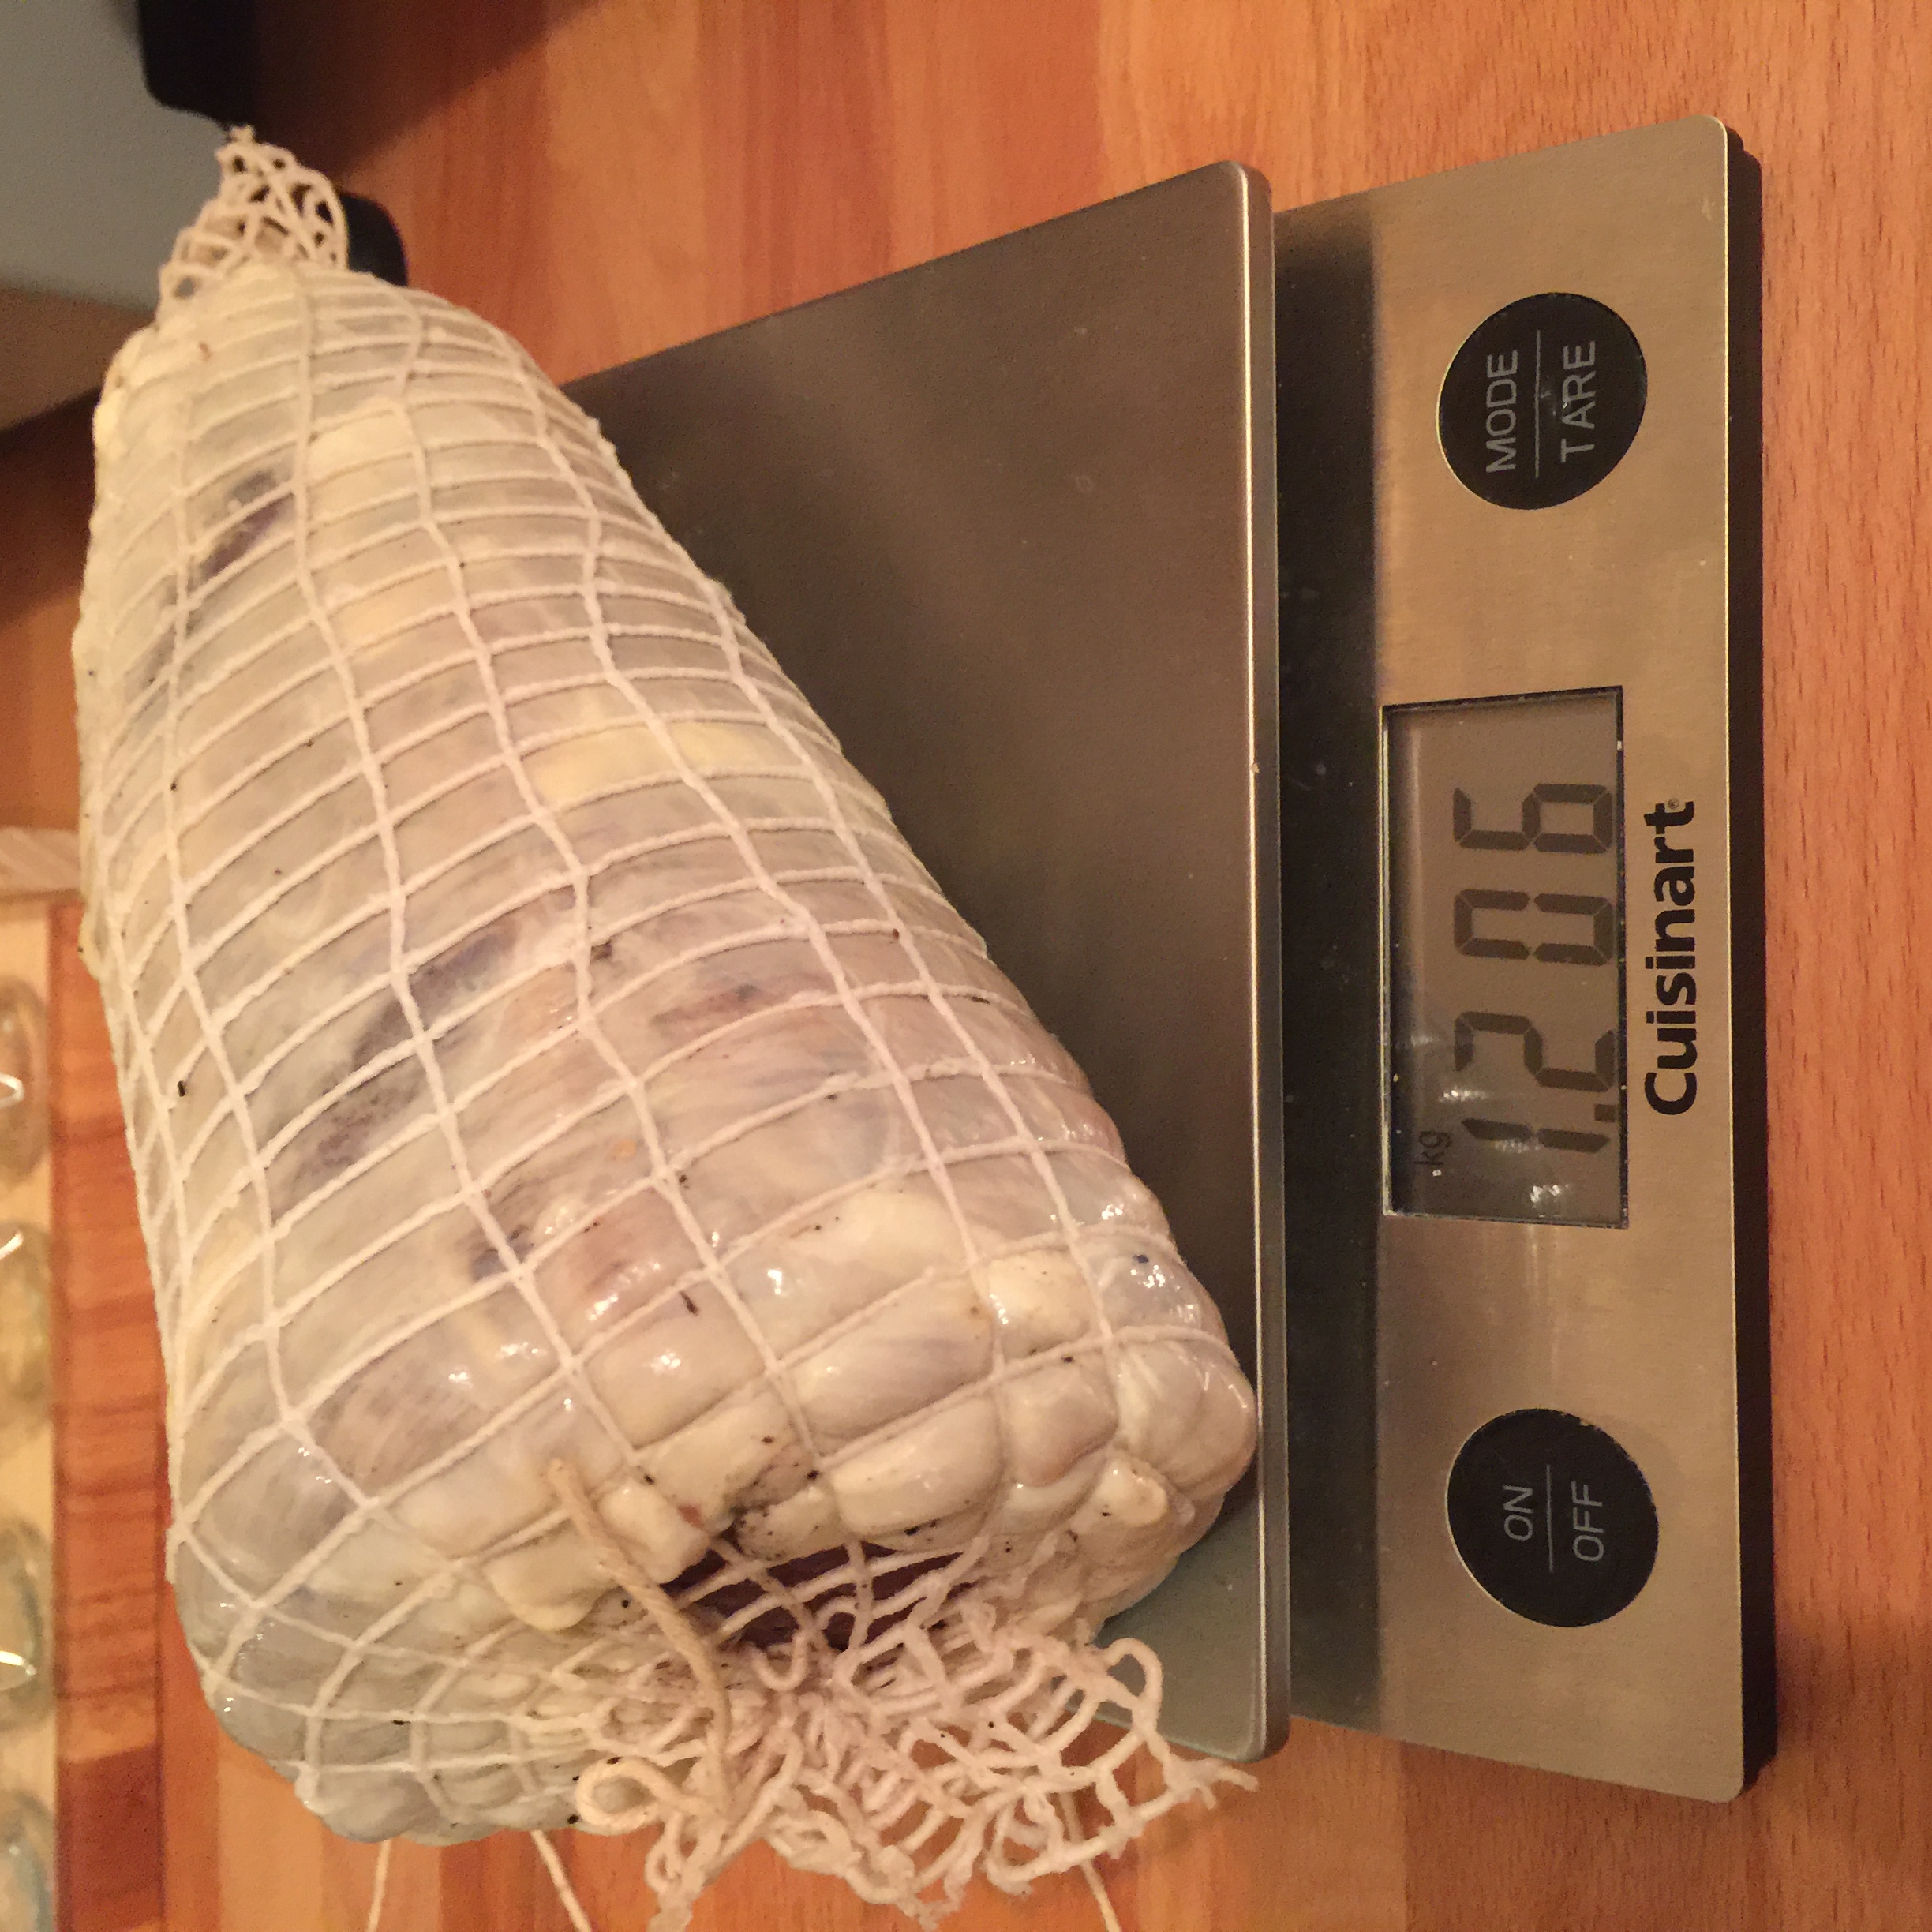
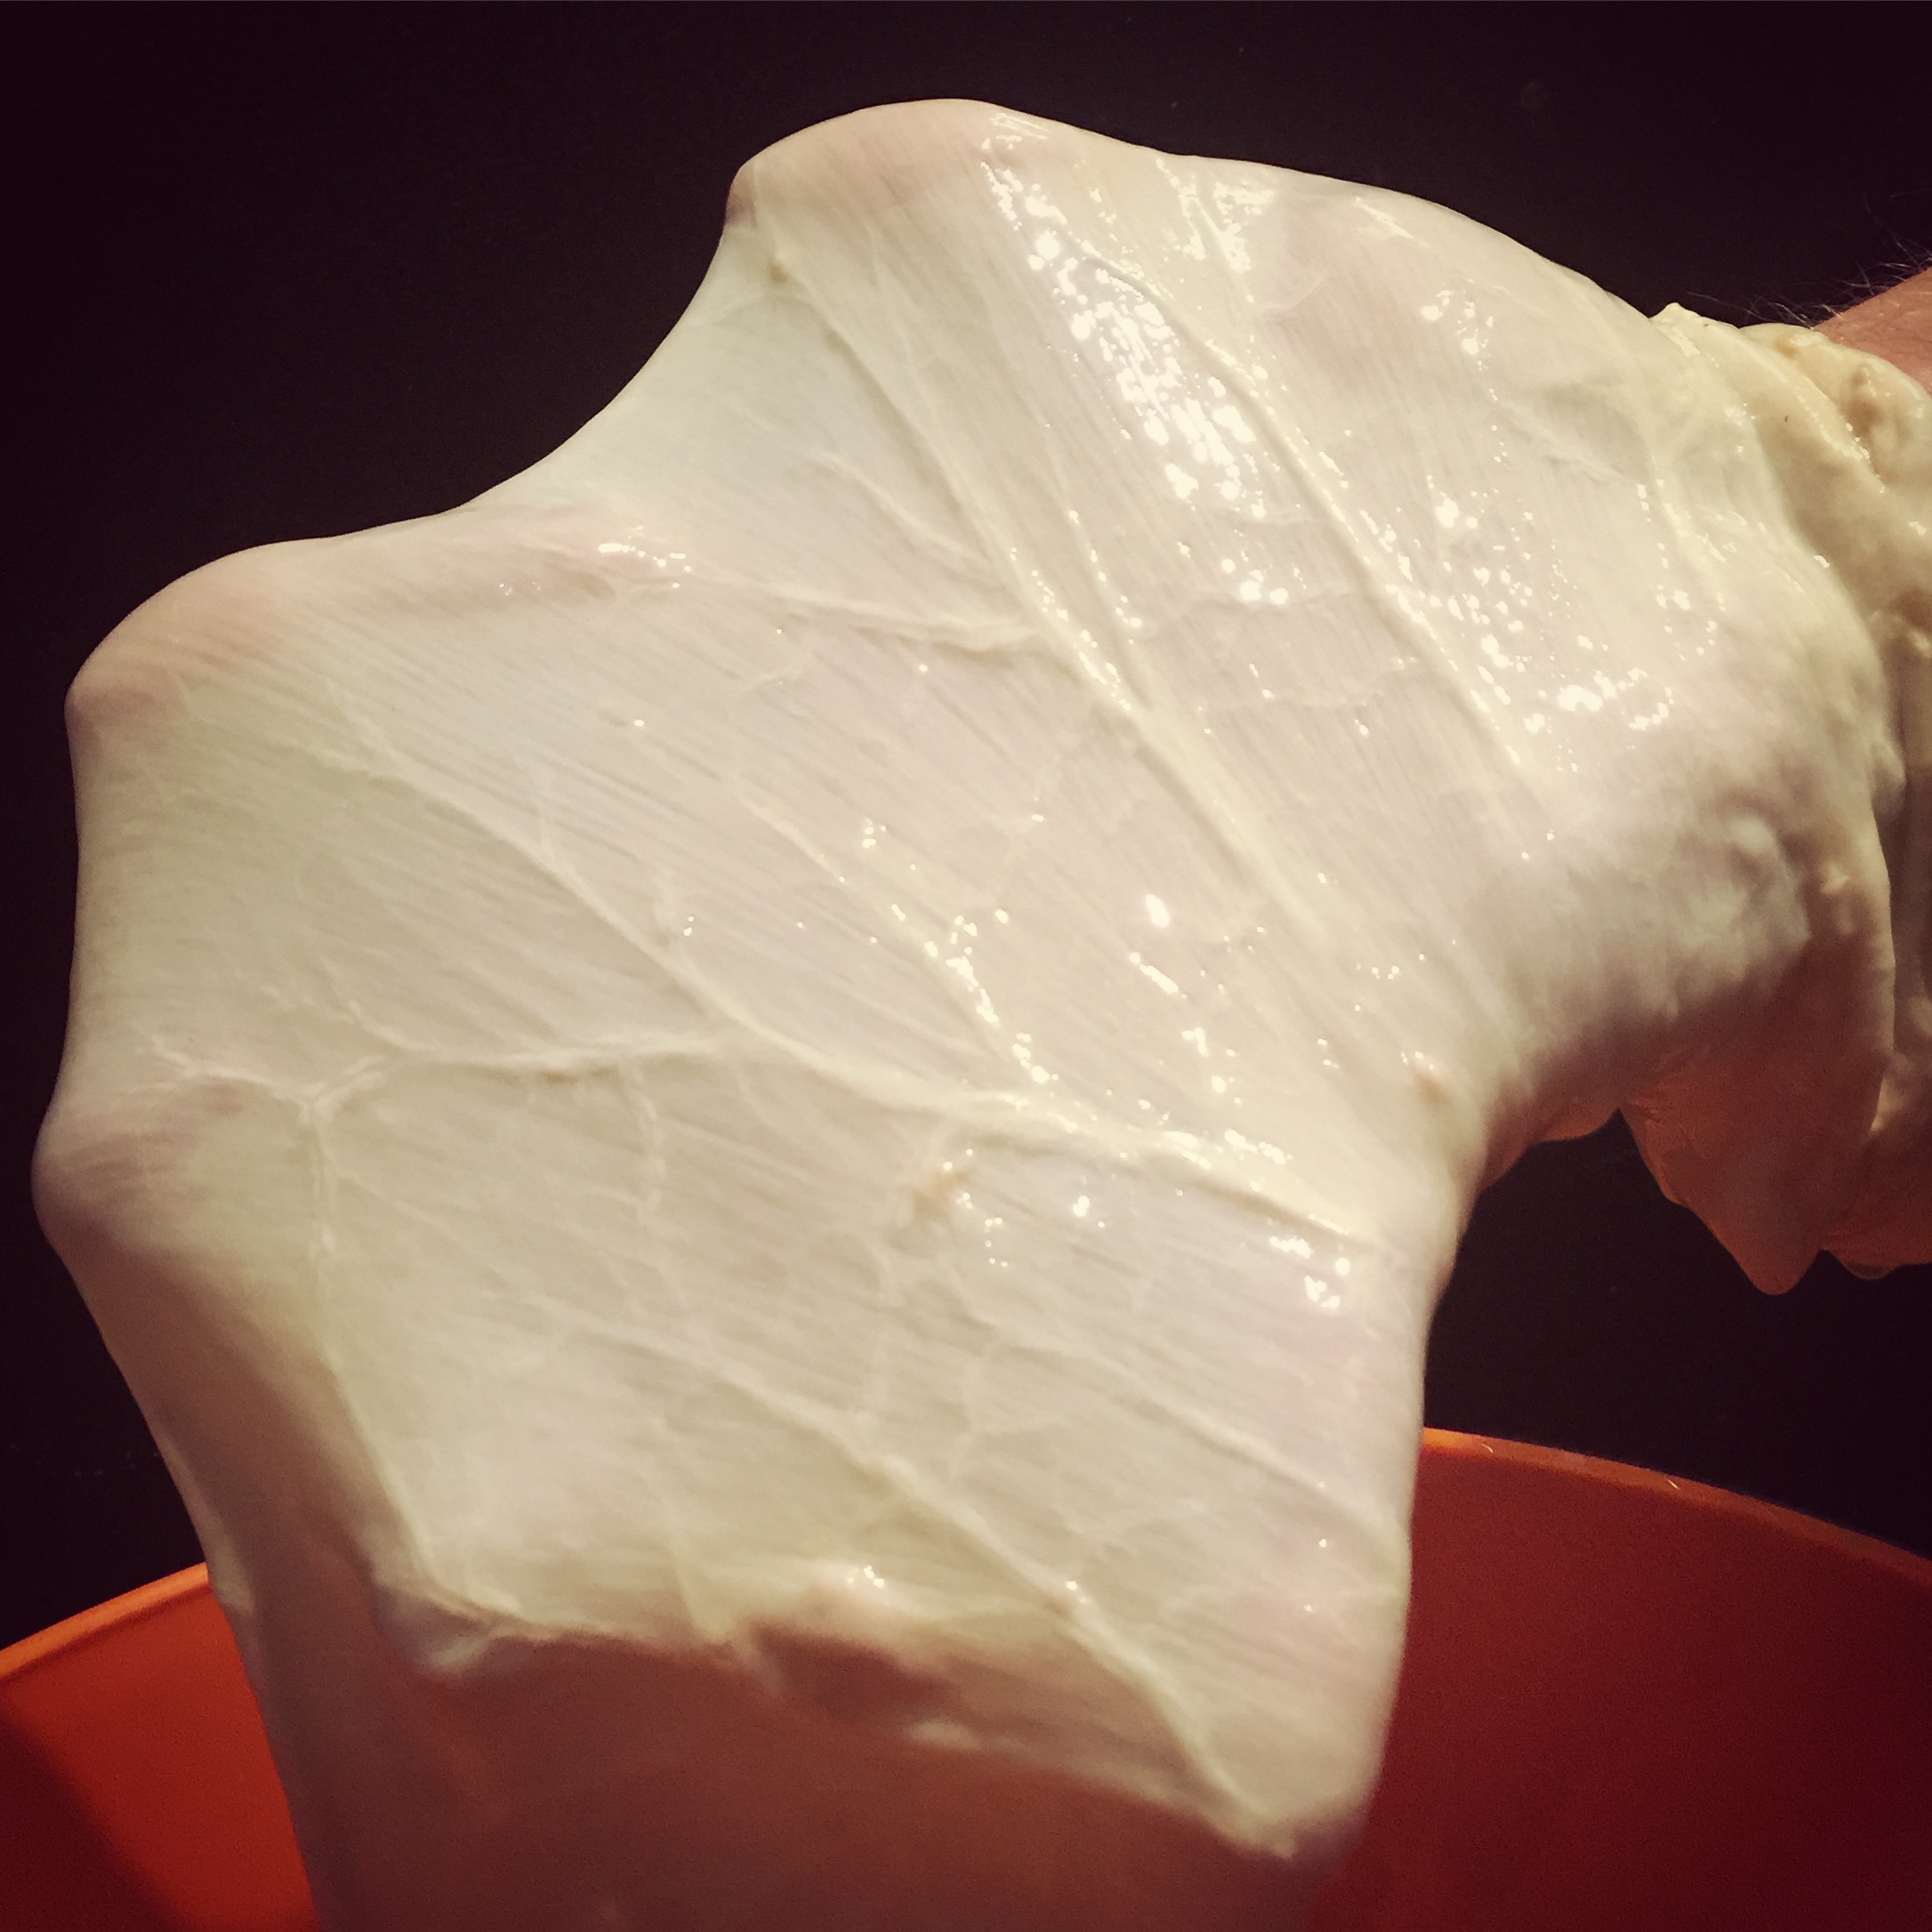
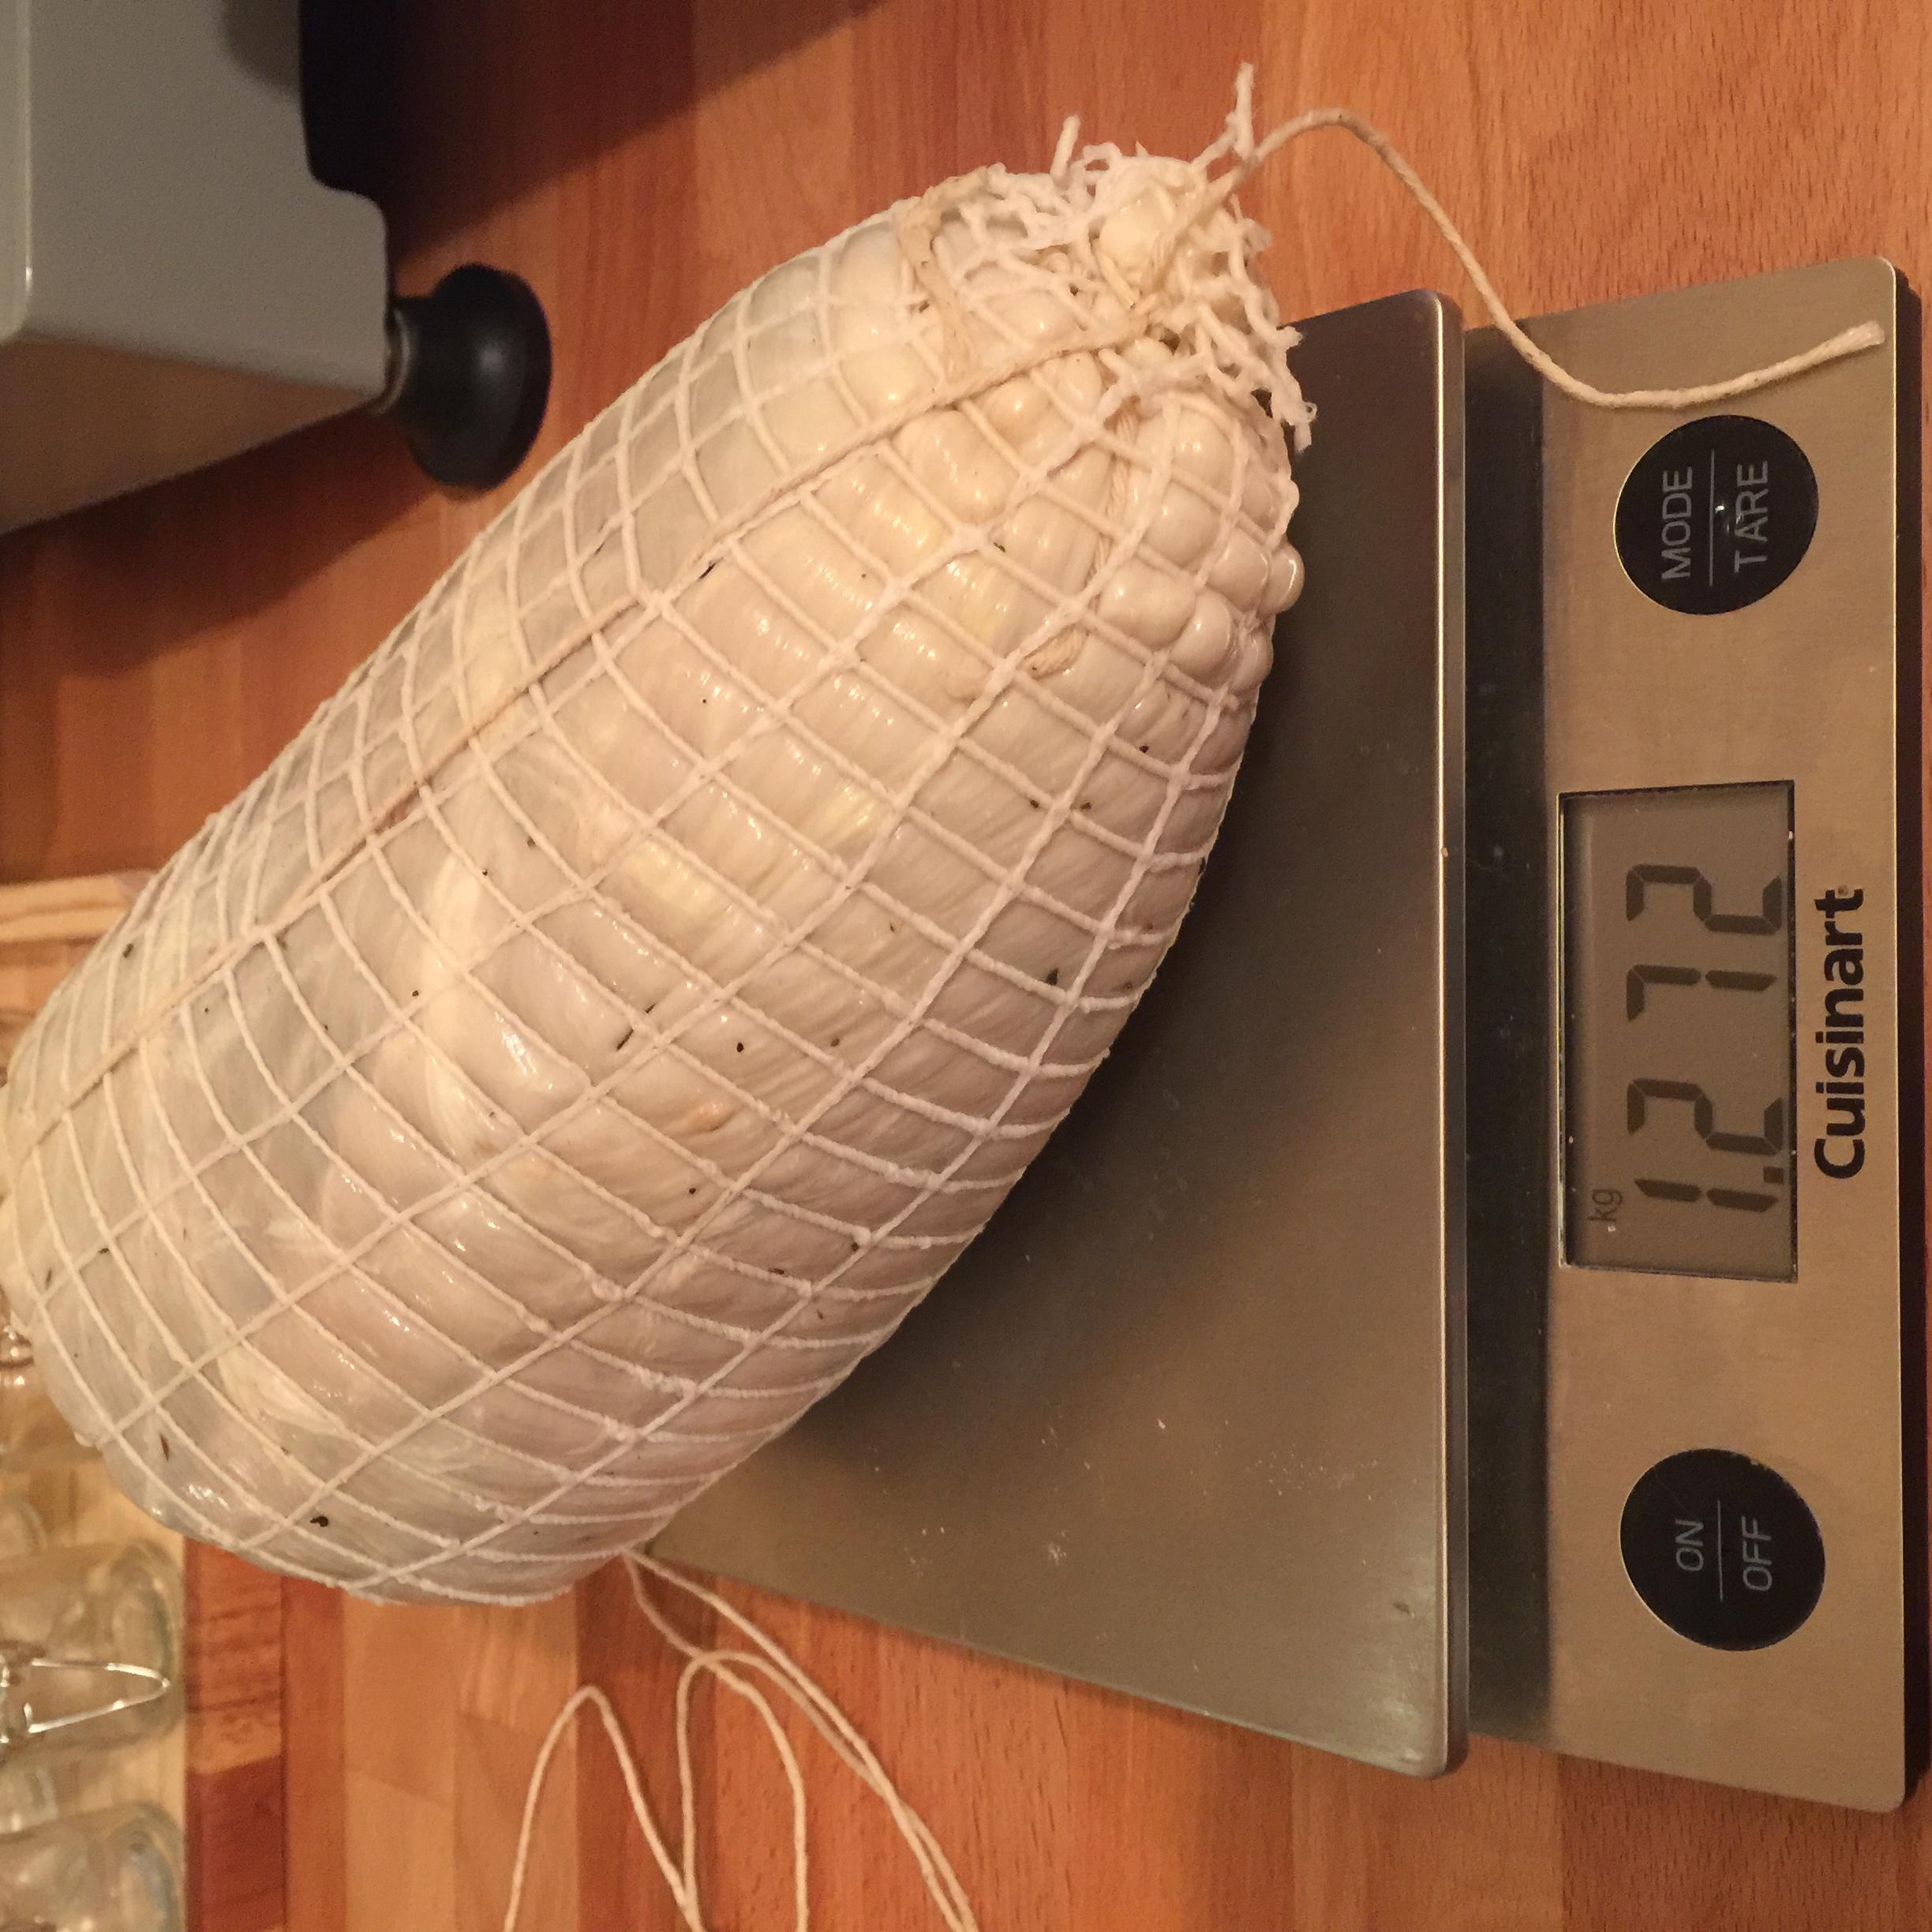
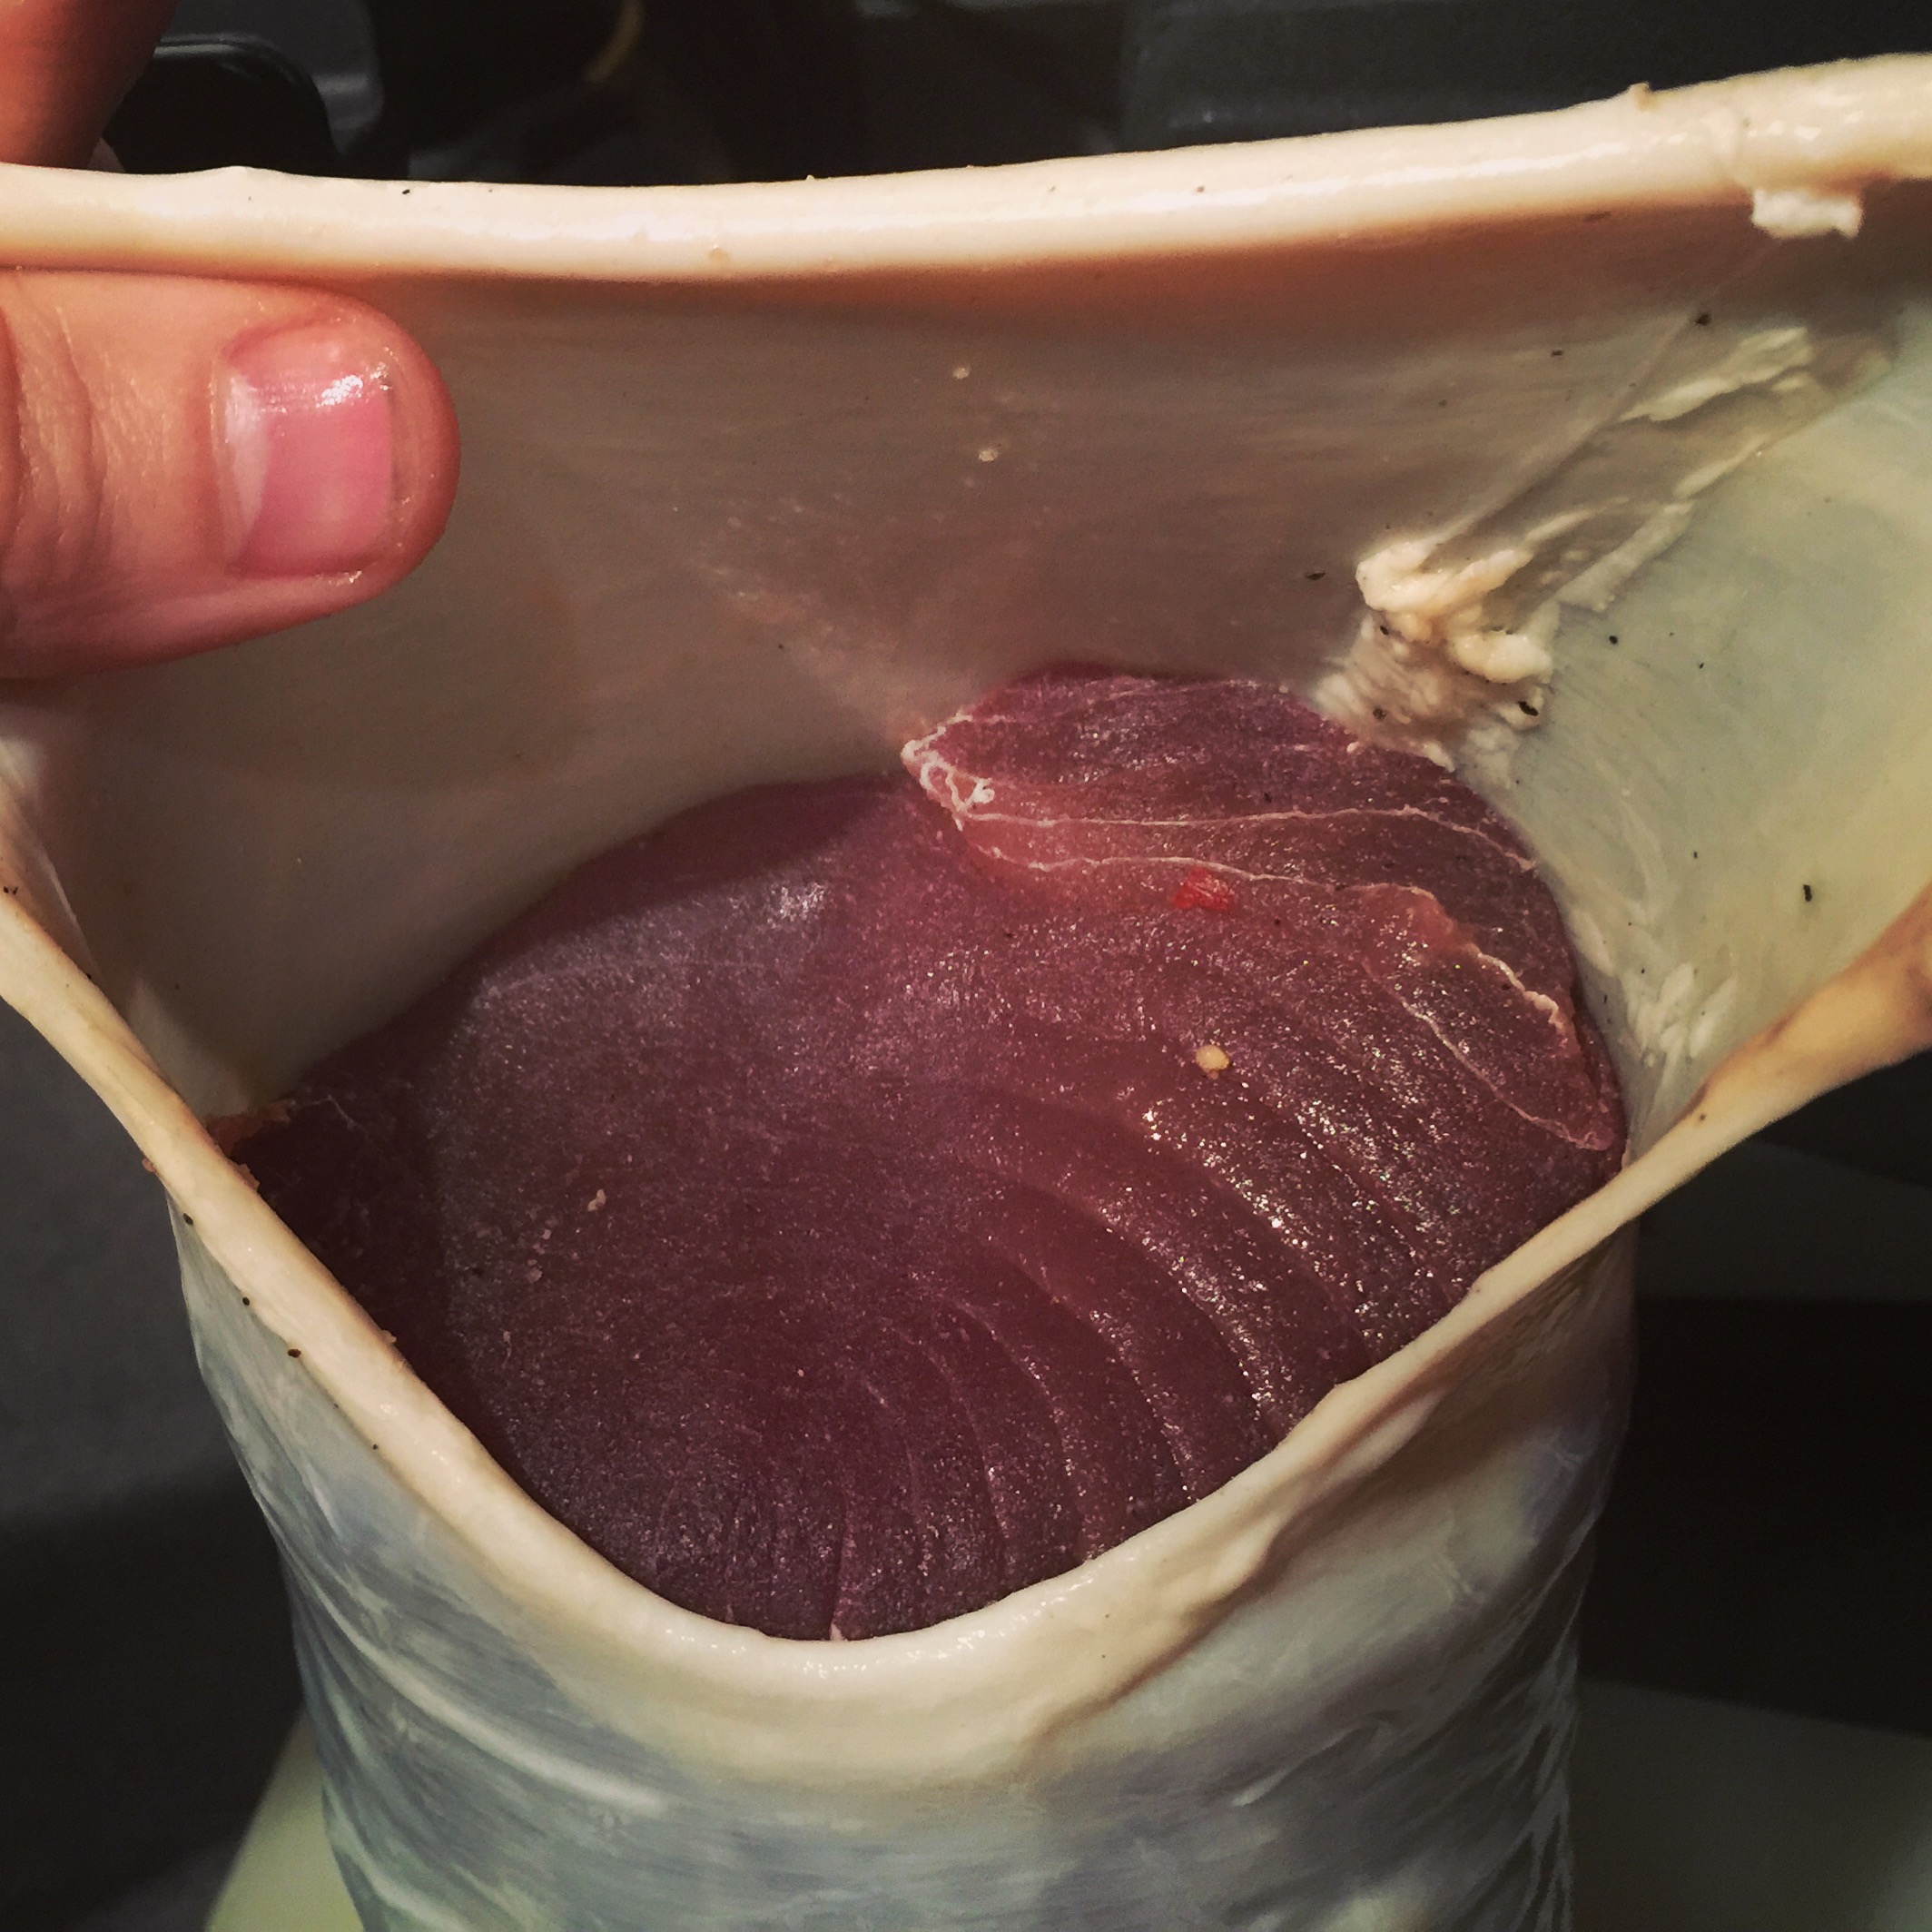
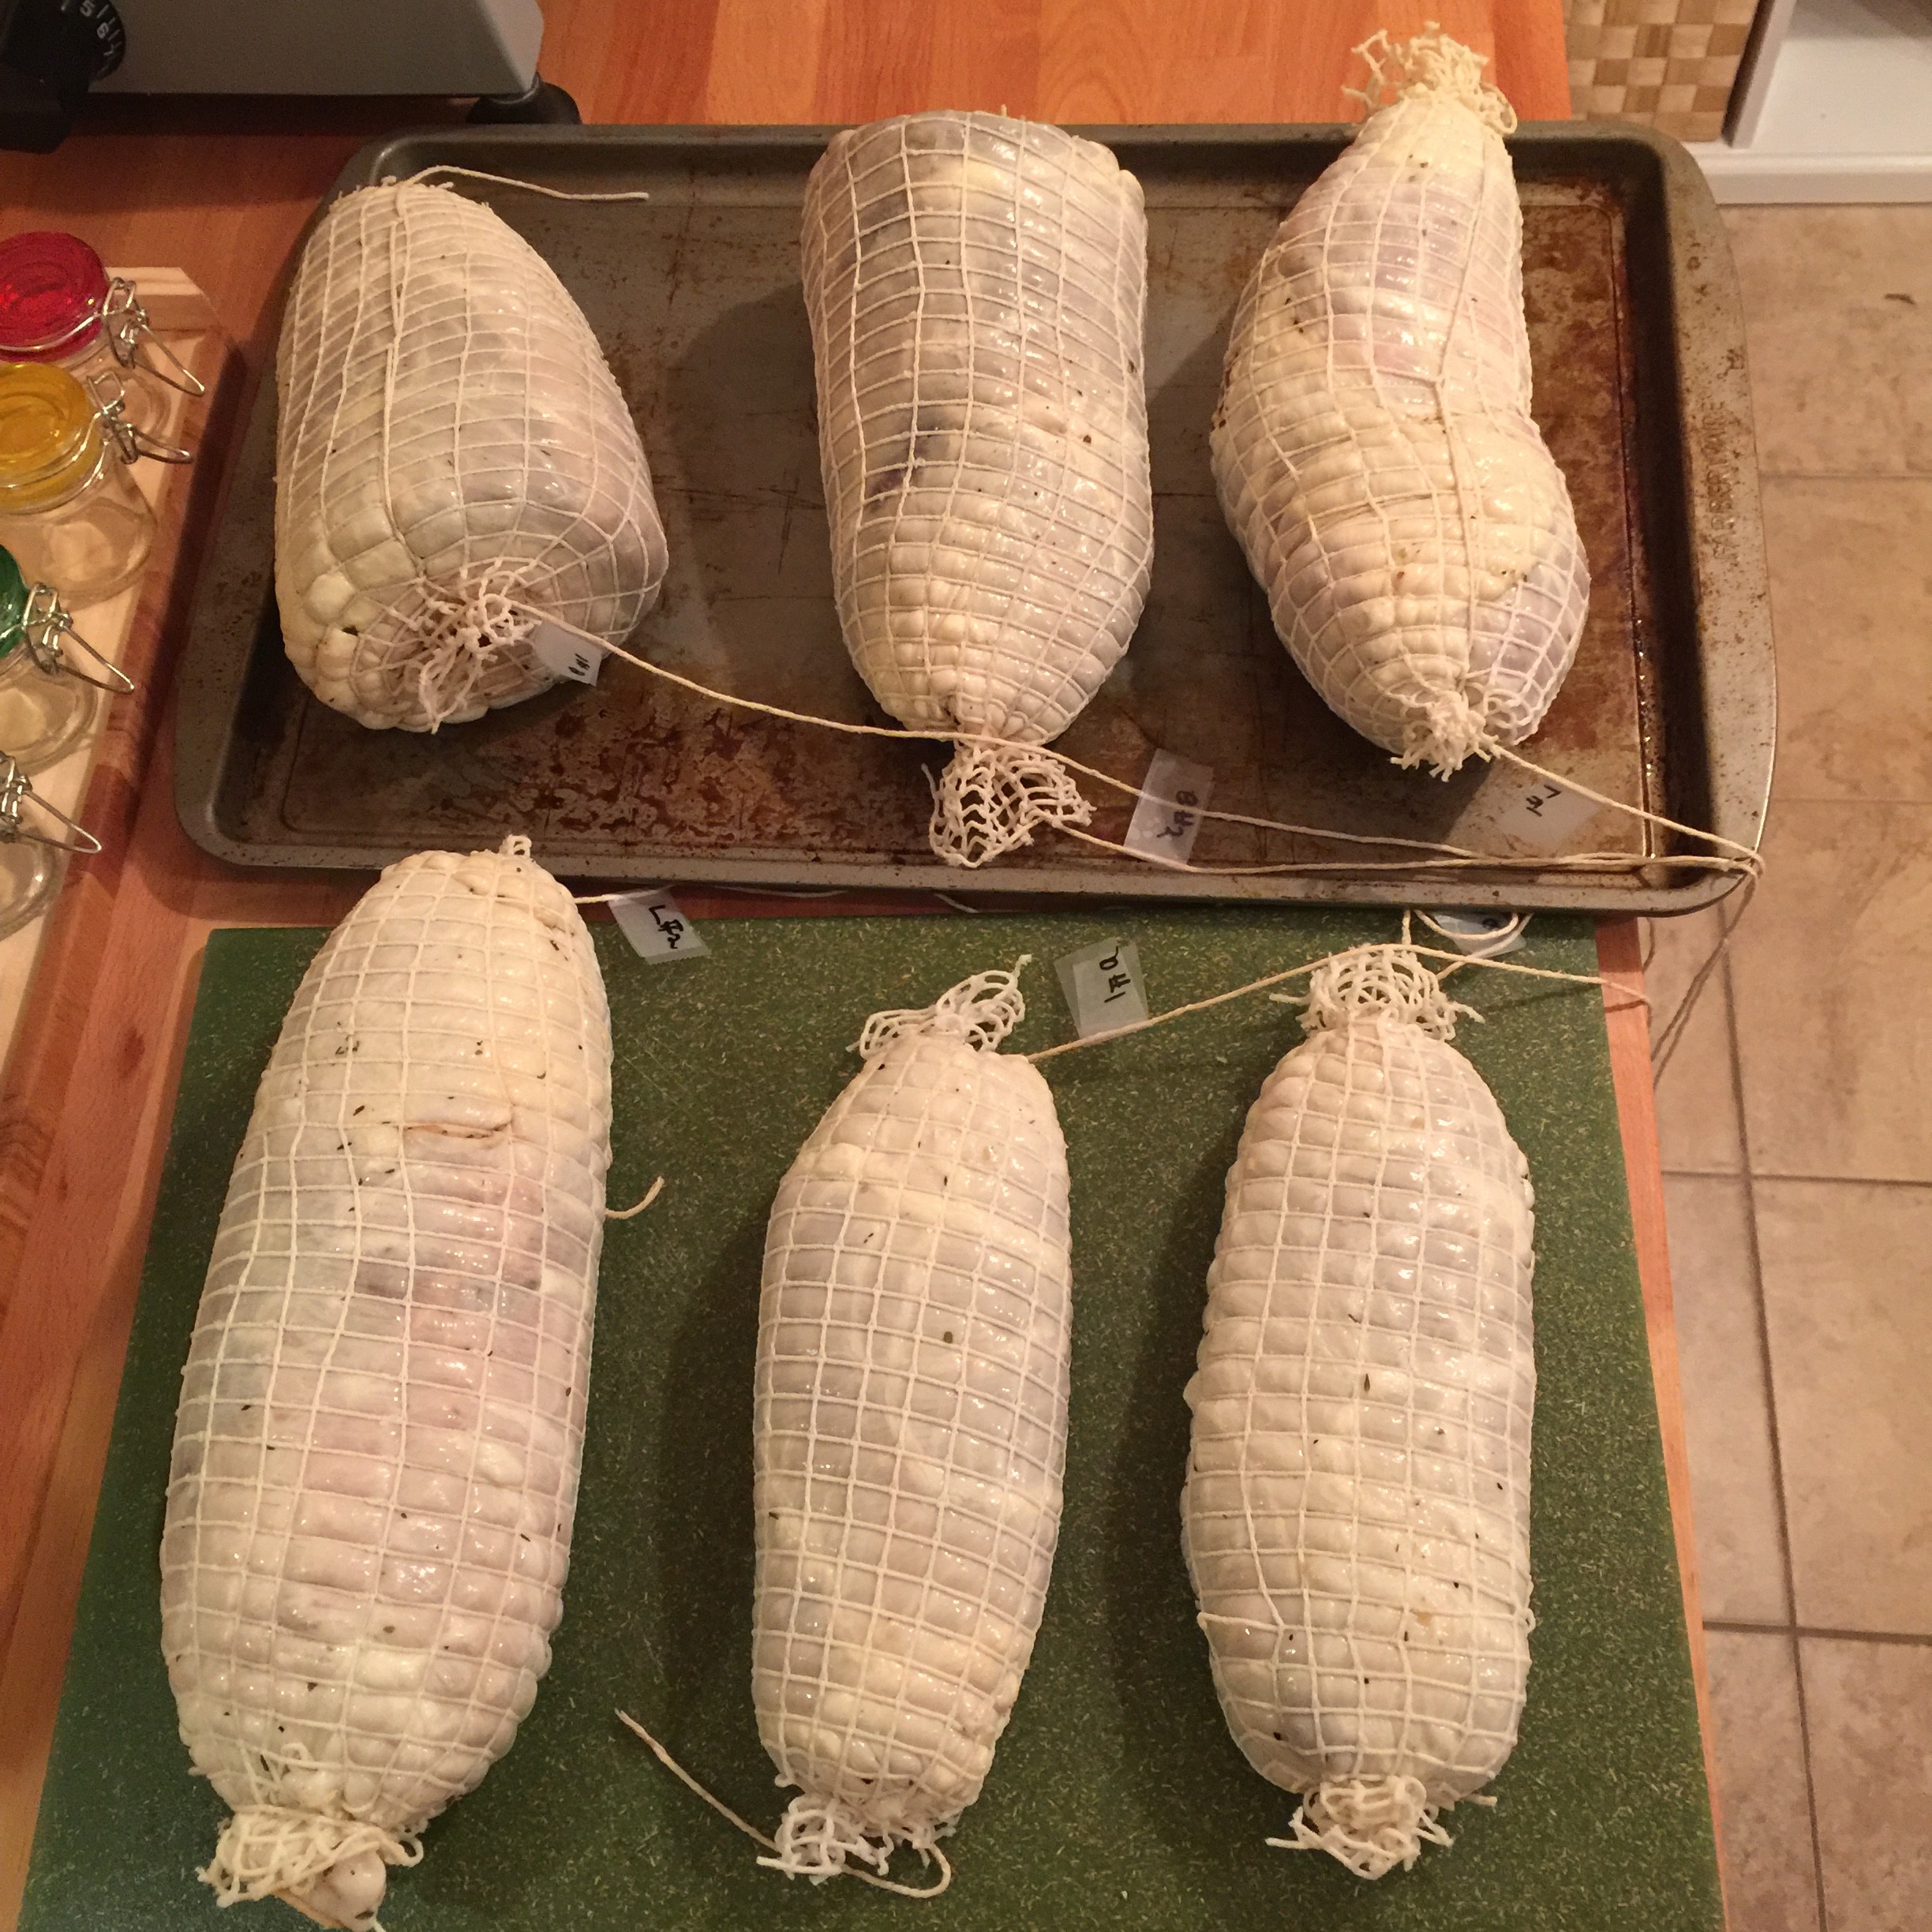
Casing (1 hour):
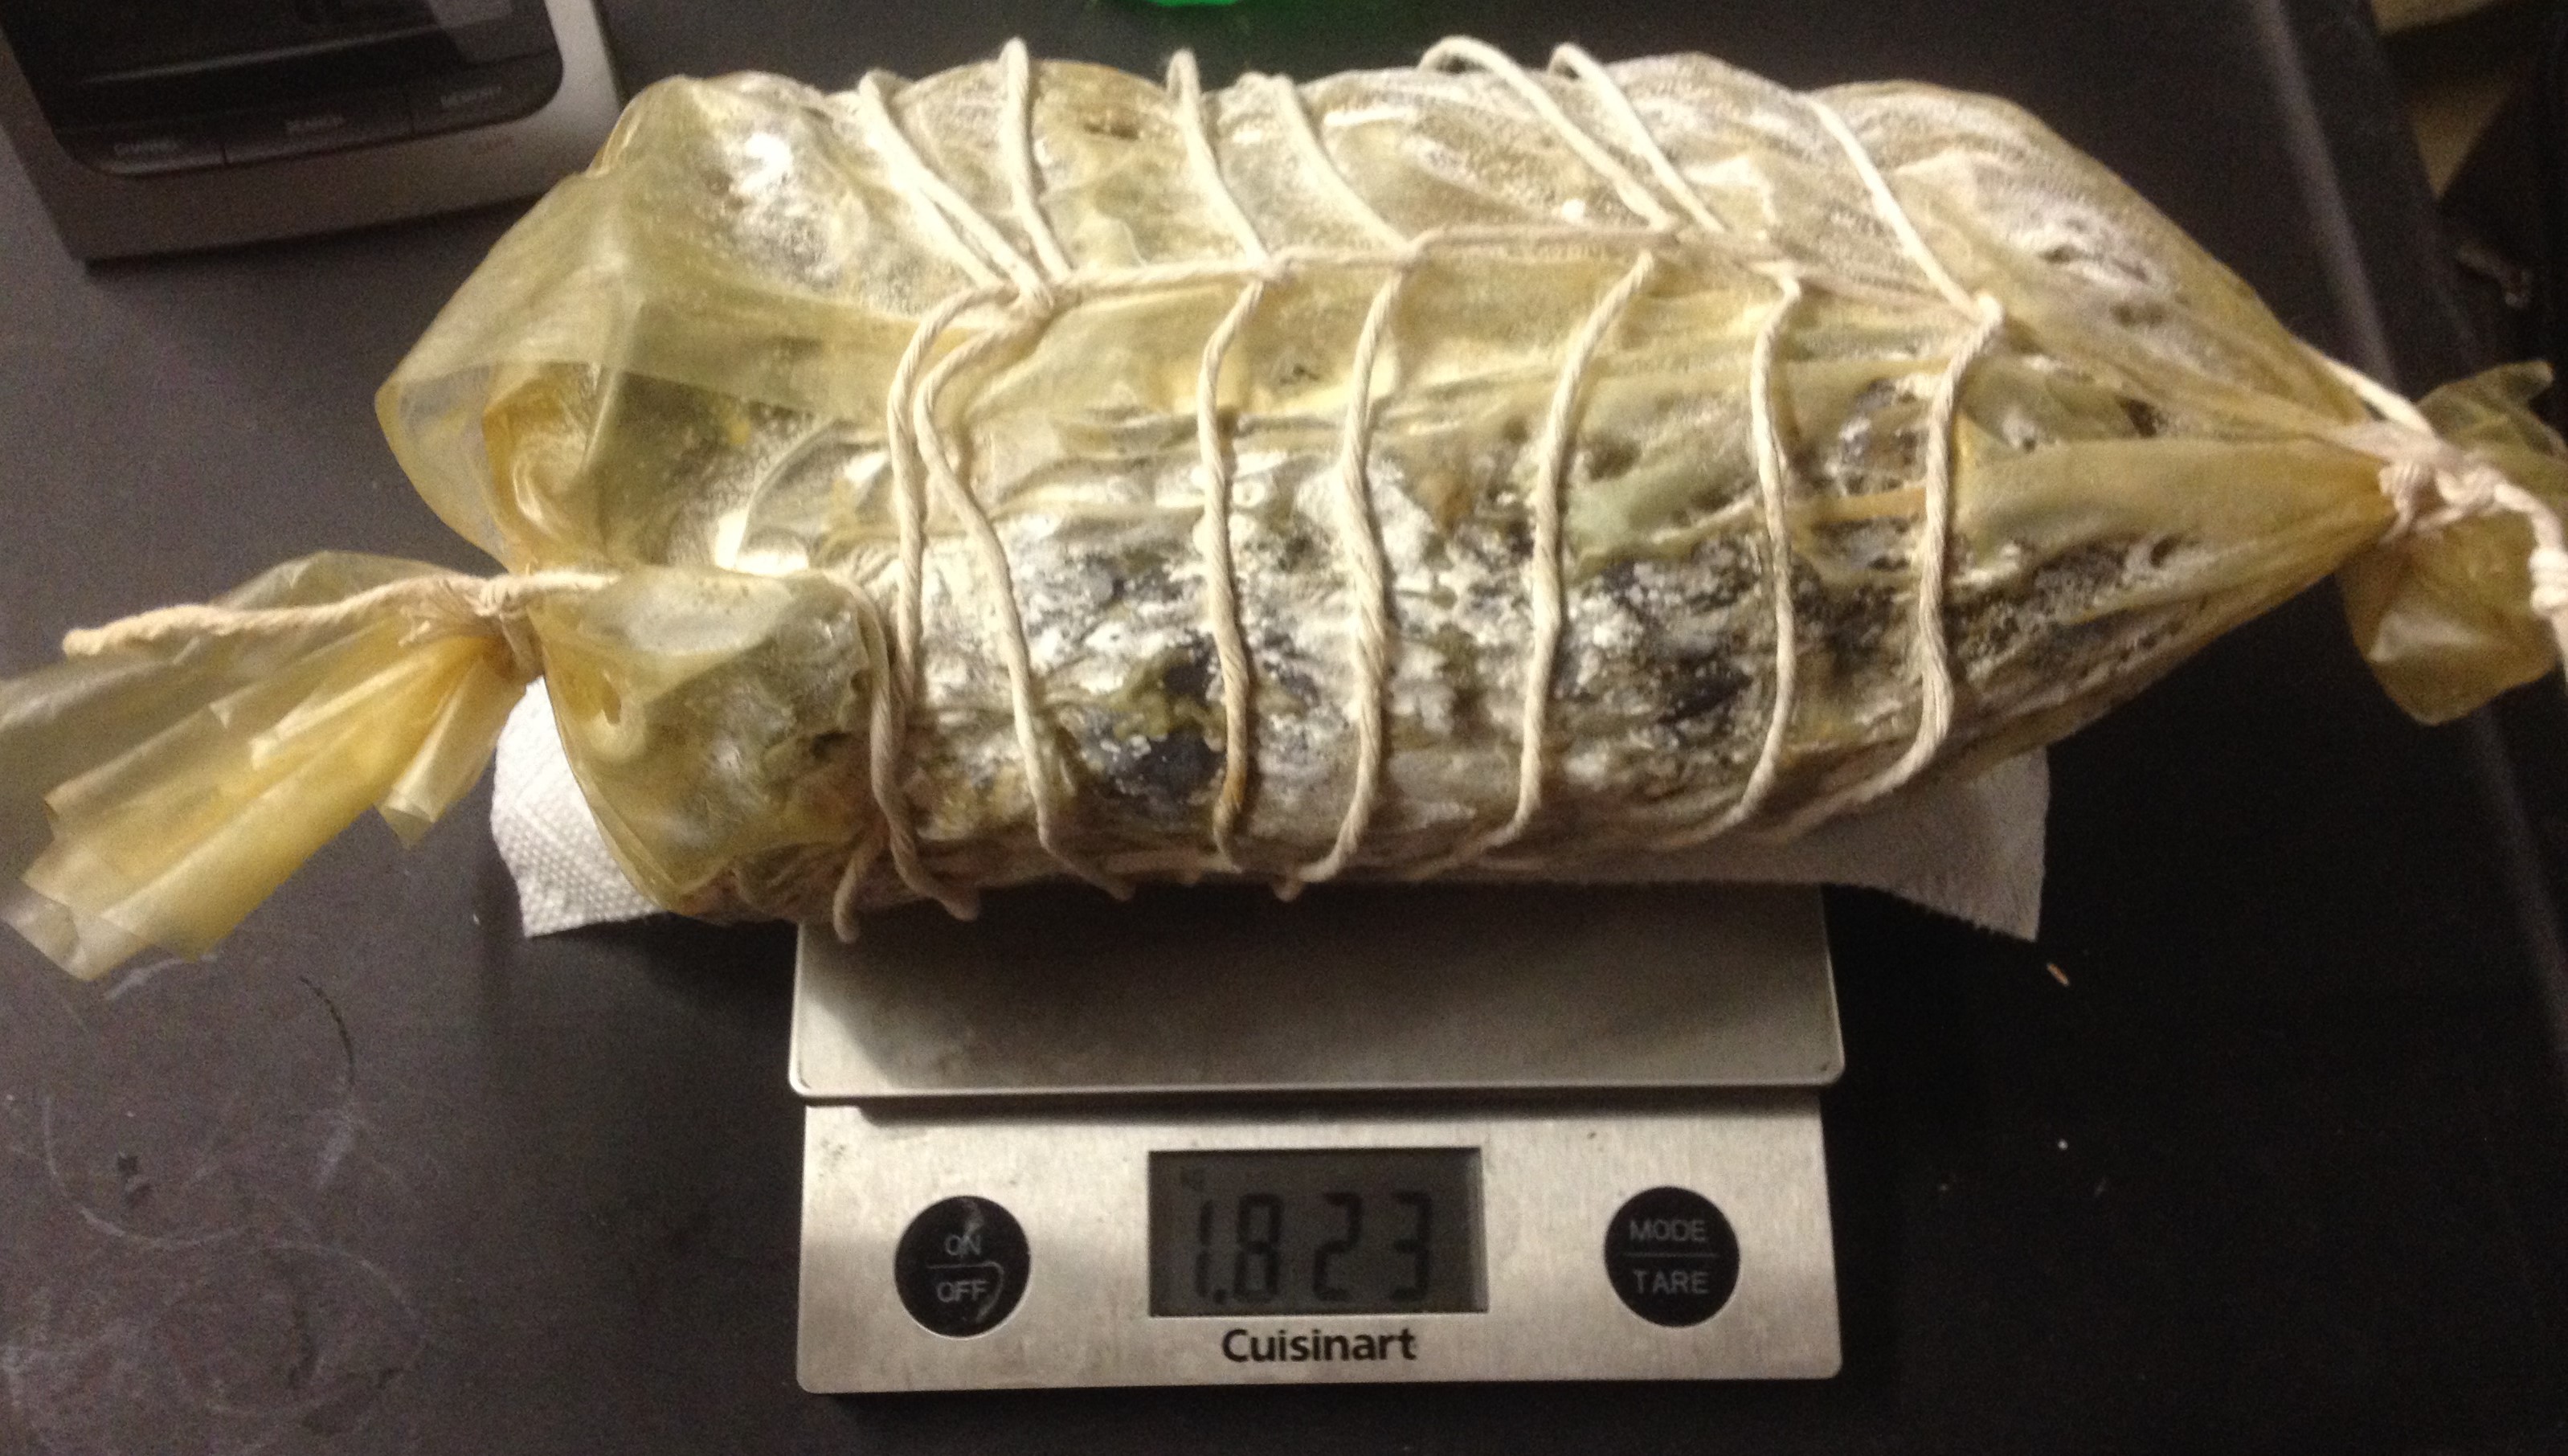
The meat was cased in a 100 mm collagen casing. After this, a toothpick was used to puncture any air holes that may have been evident and could harbor the growth of bad bacteria.
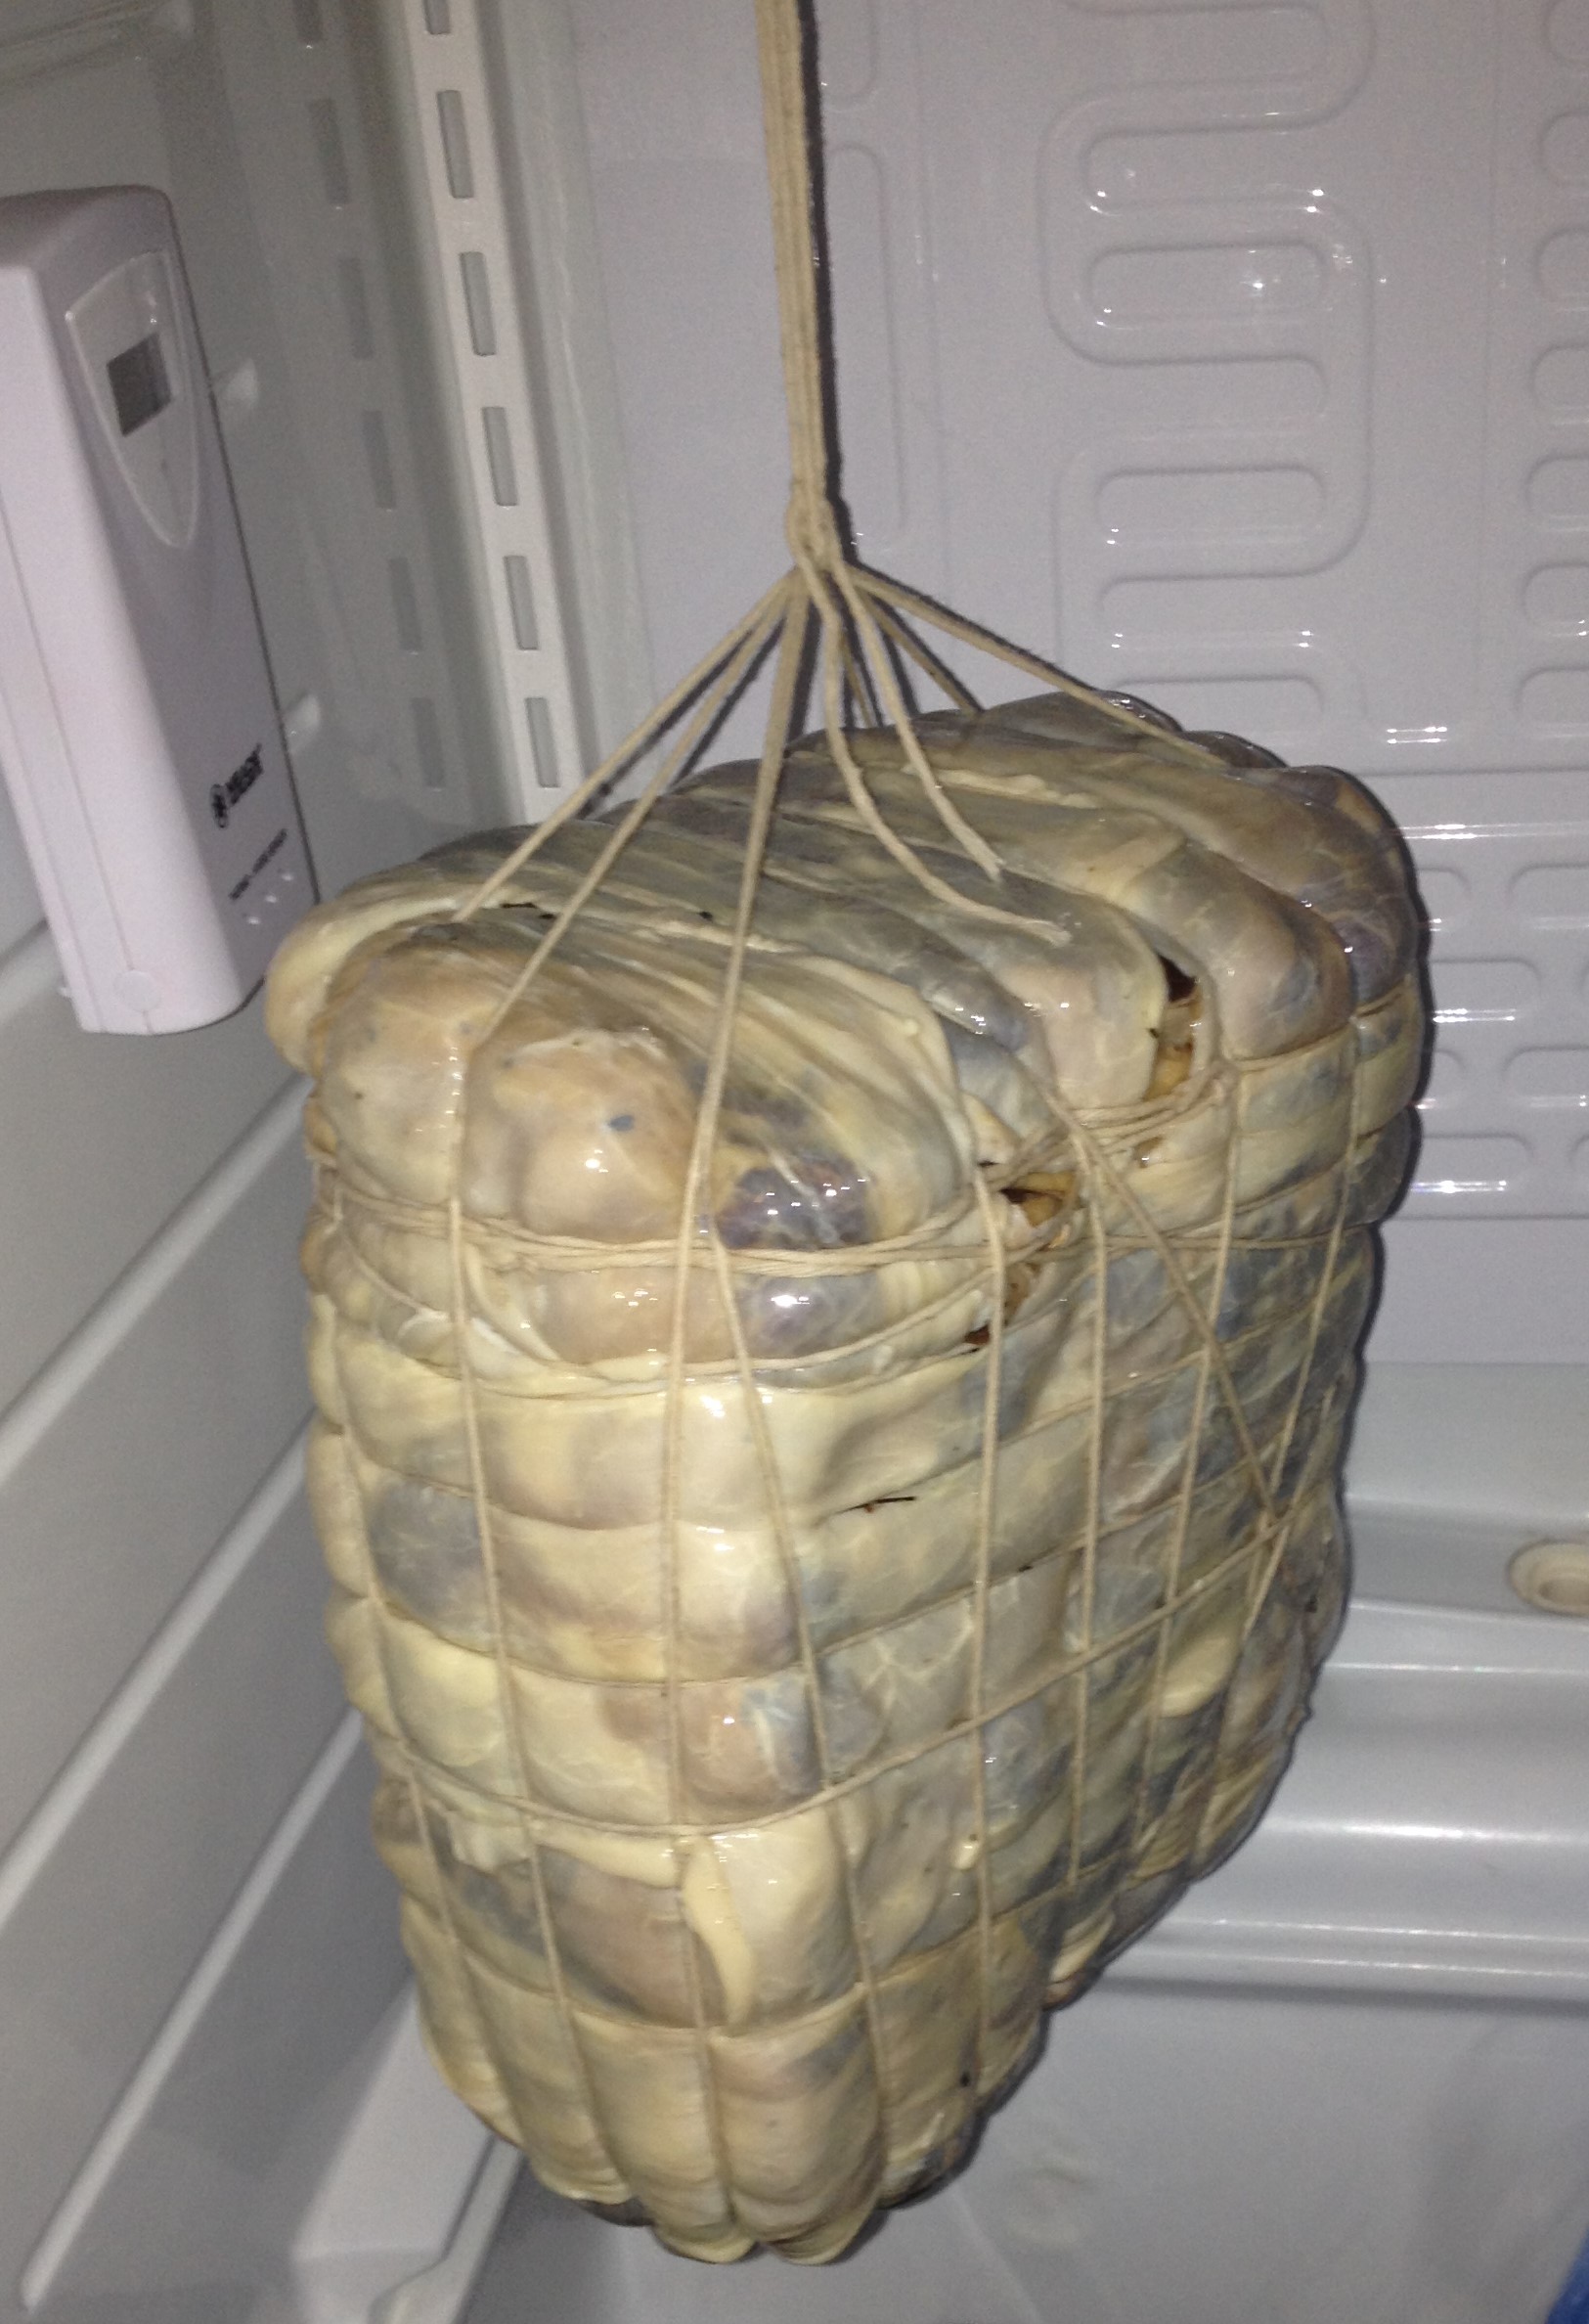
I then sprayed my meat with Bactoferm Mold 600, which is a single strain culture that contains freeze-dried form spores of Penicillium nalgiovense. This promotes beneficial mold growth and tends to keep any potentially dangerous mold growths at bay.
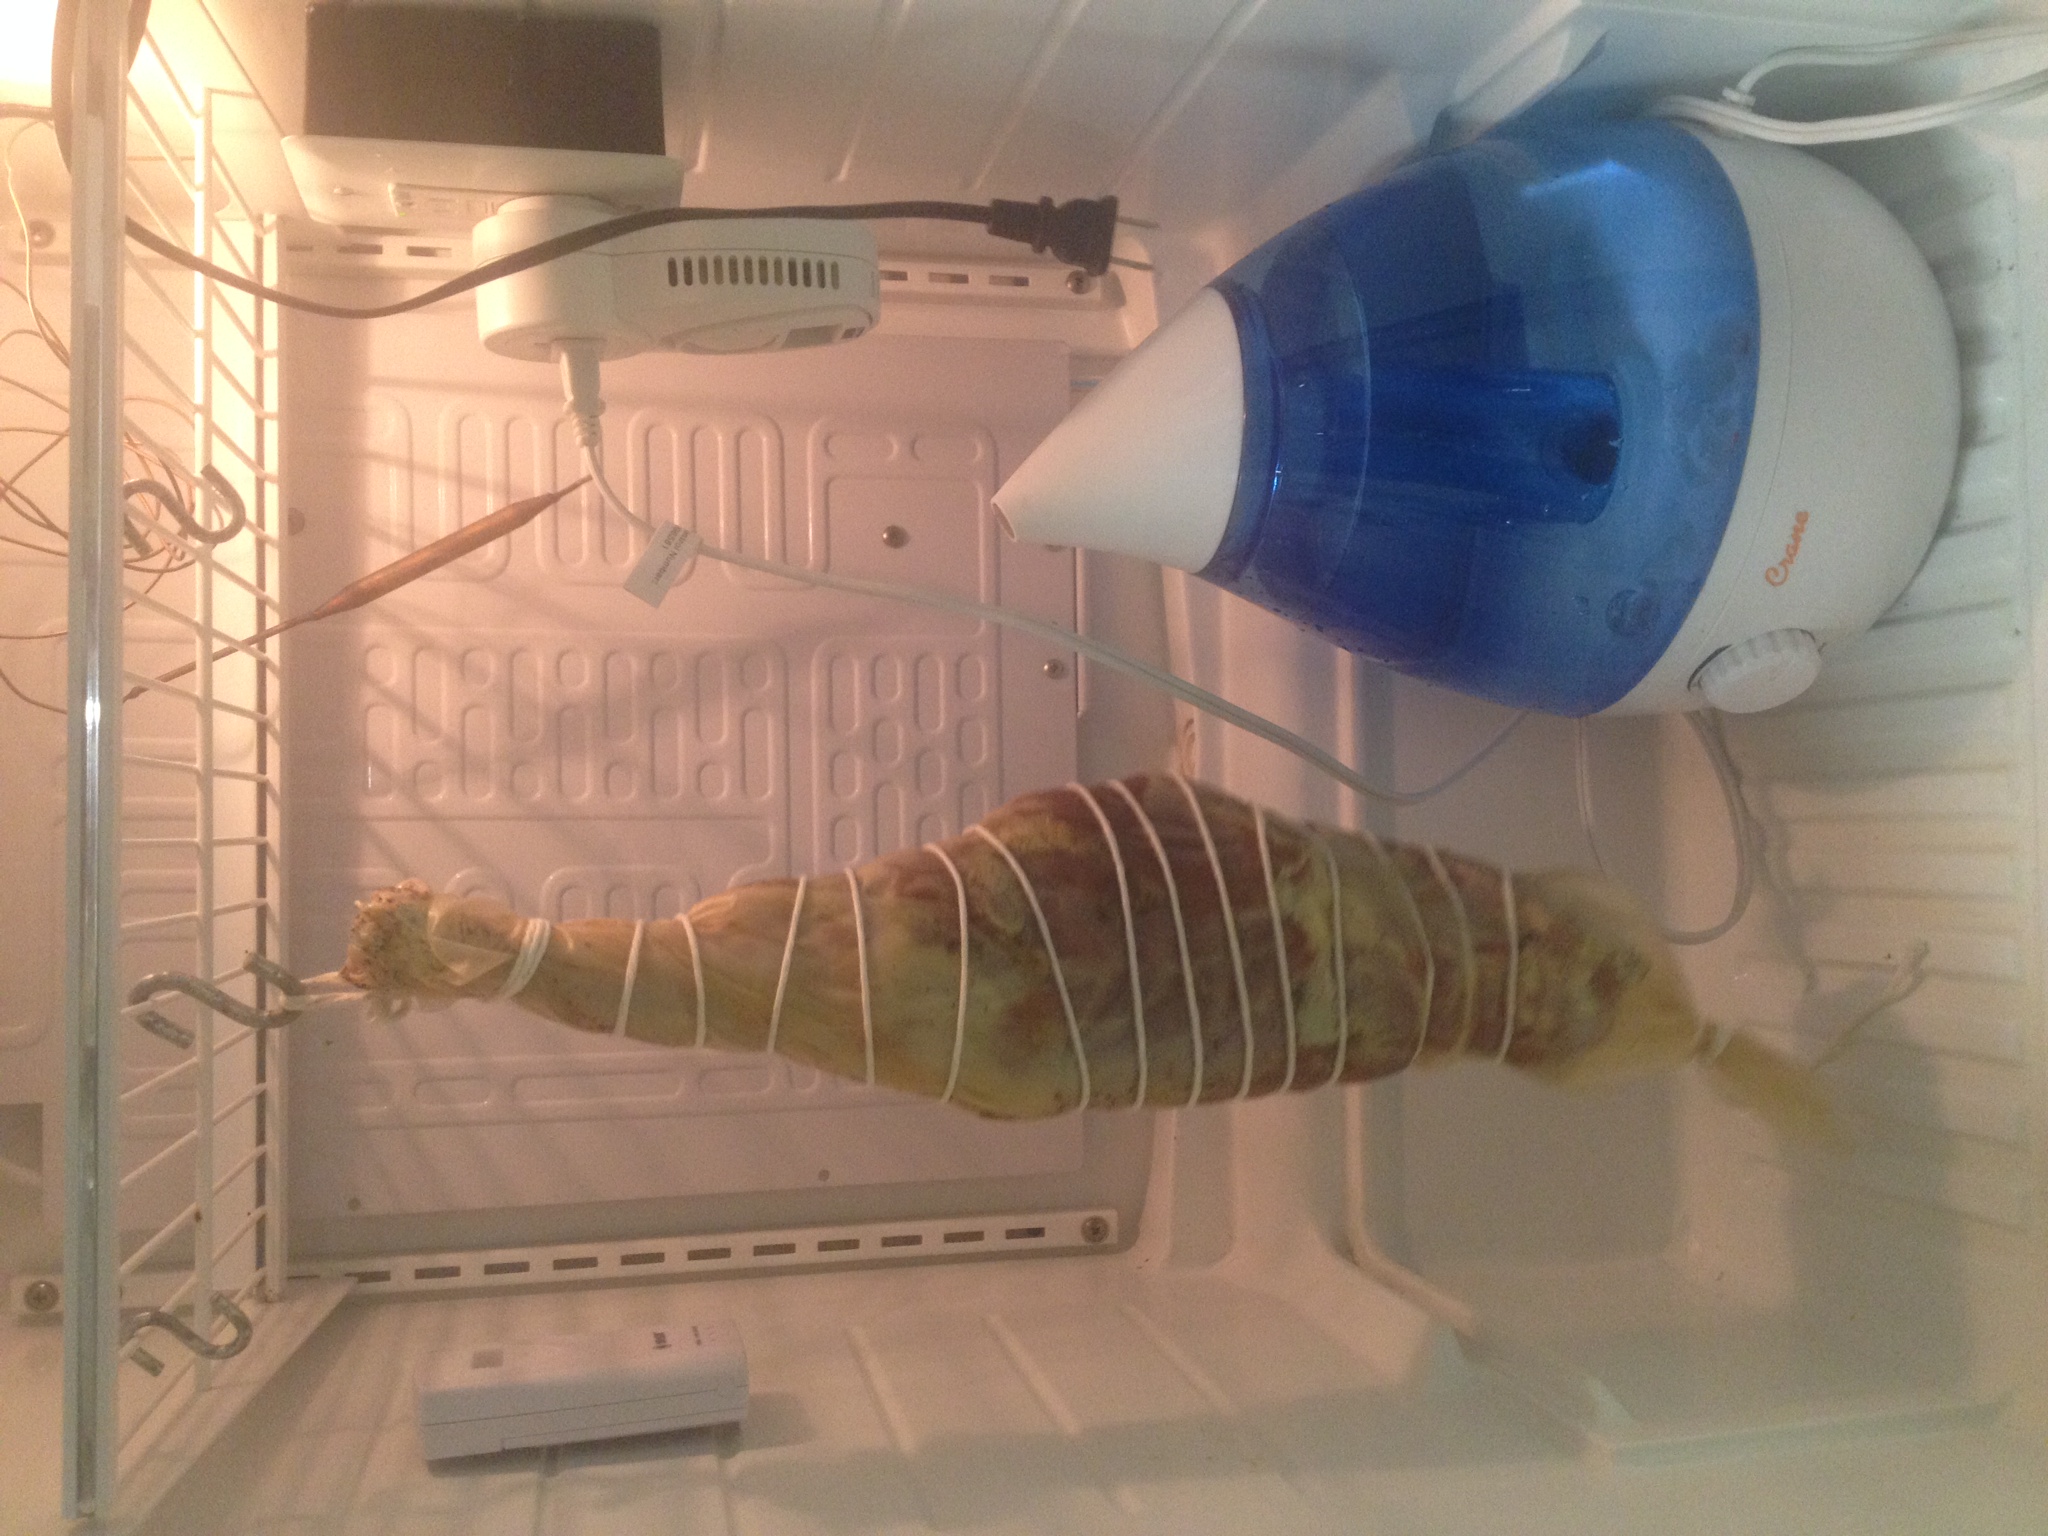
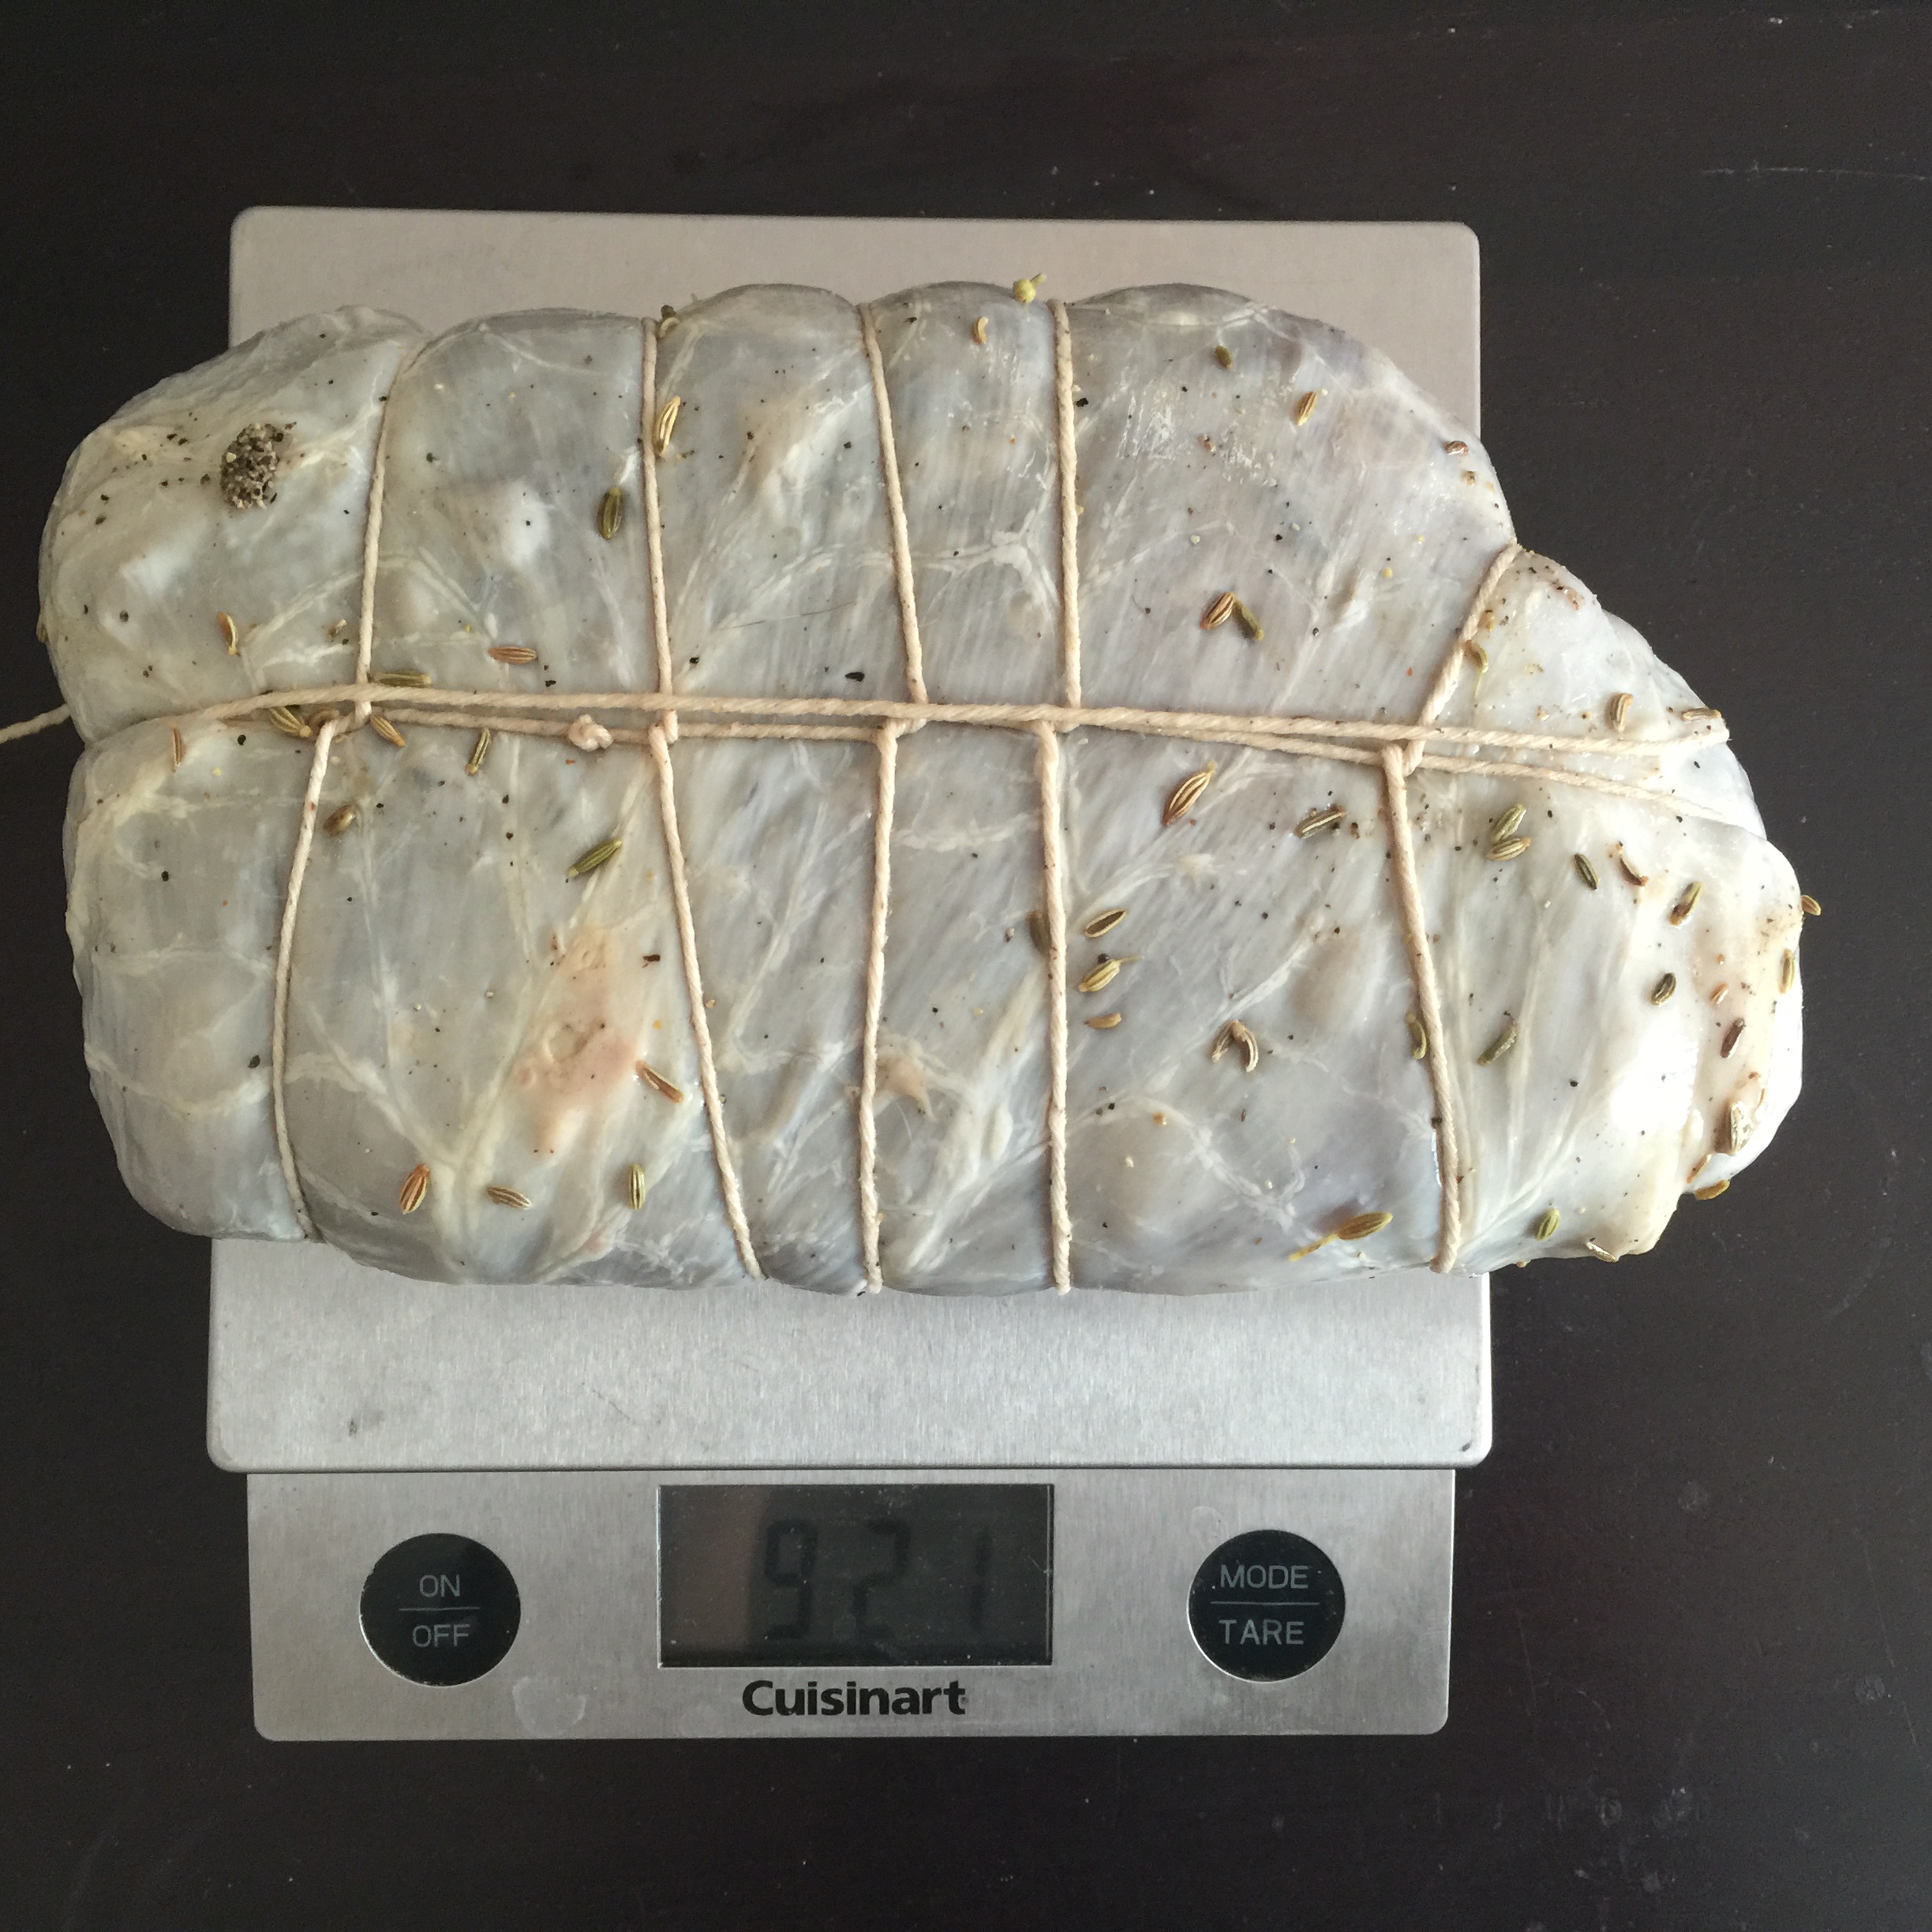
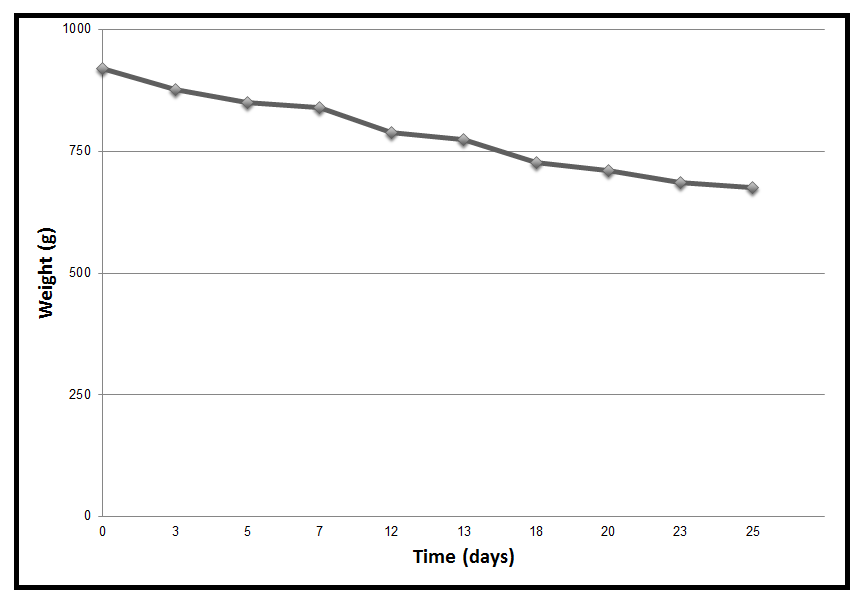
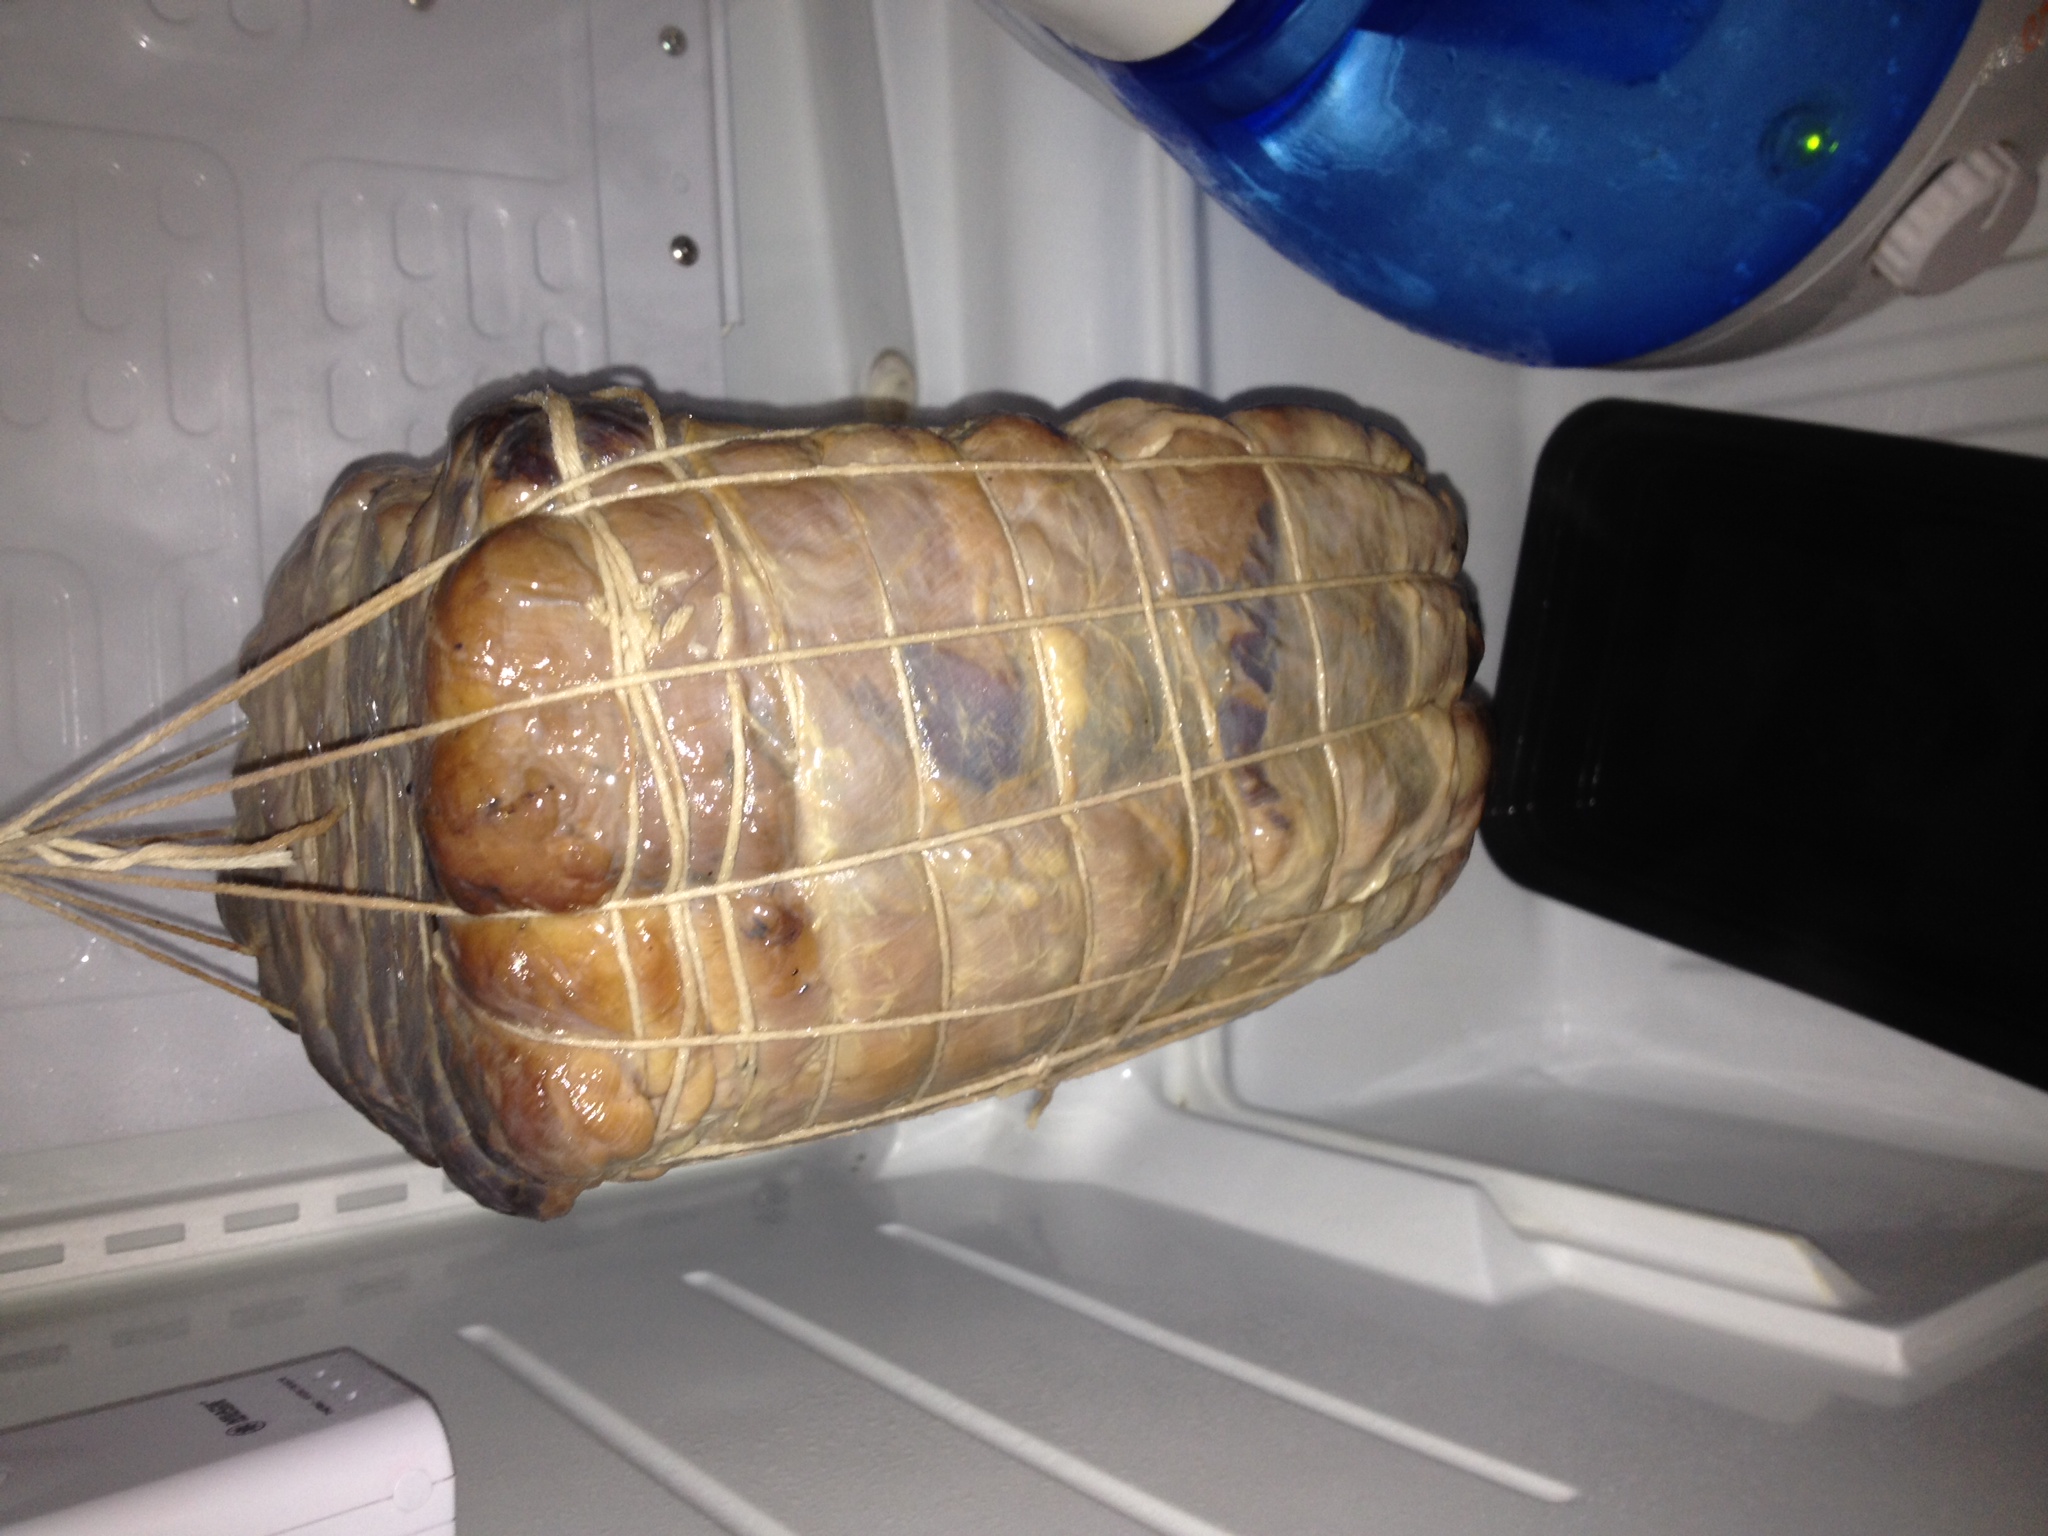
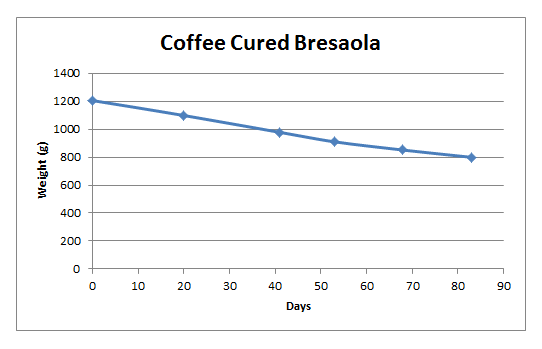
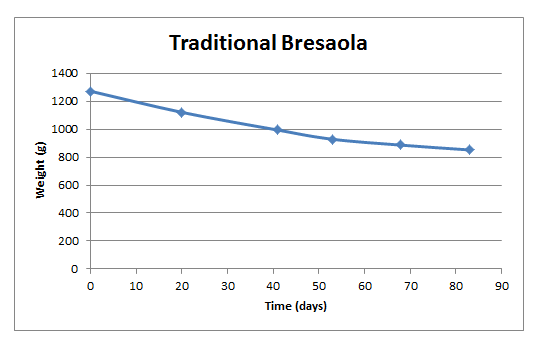
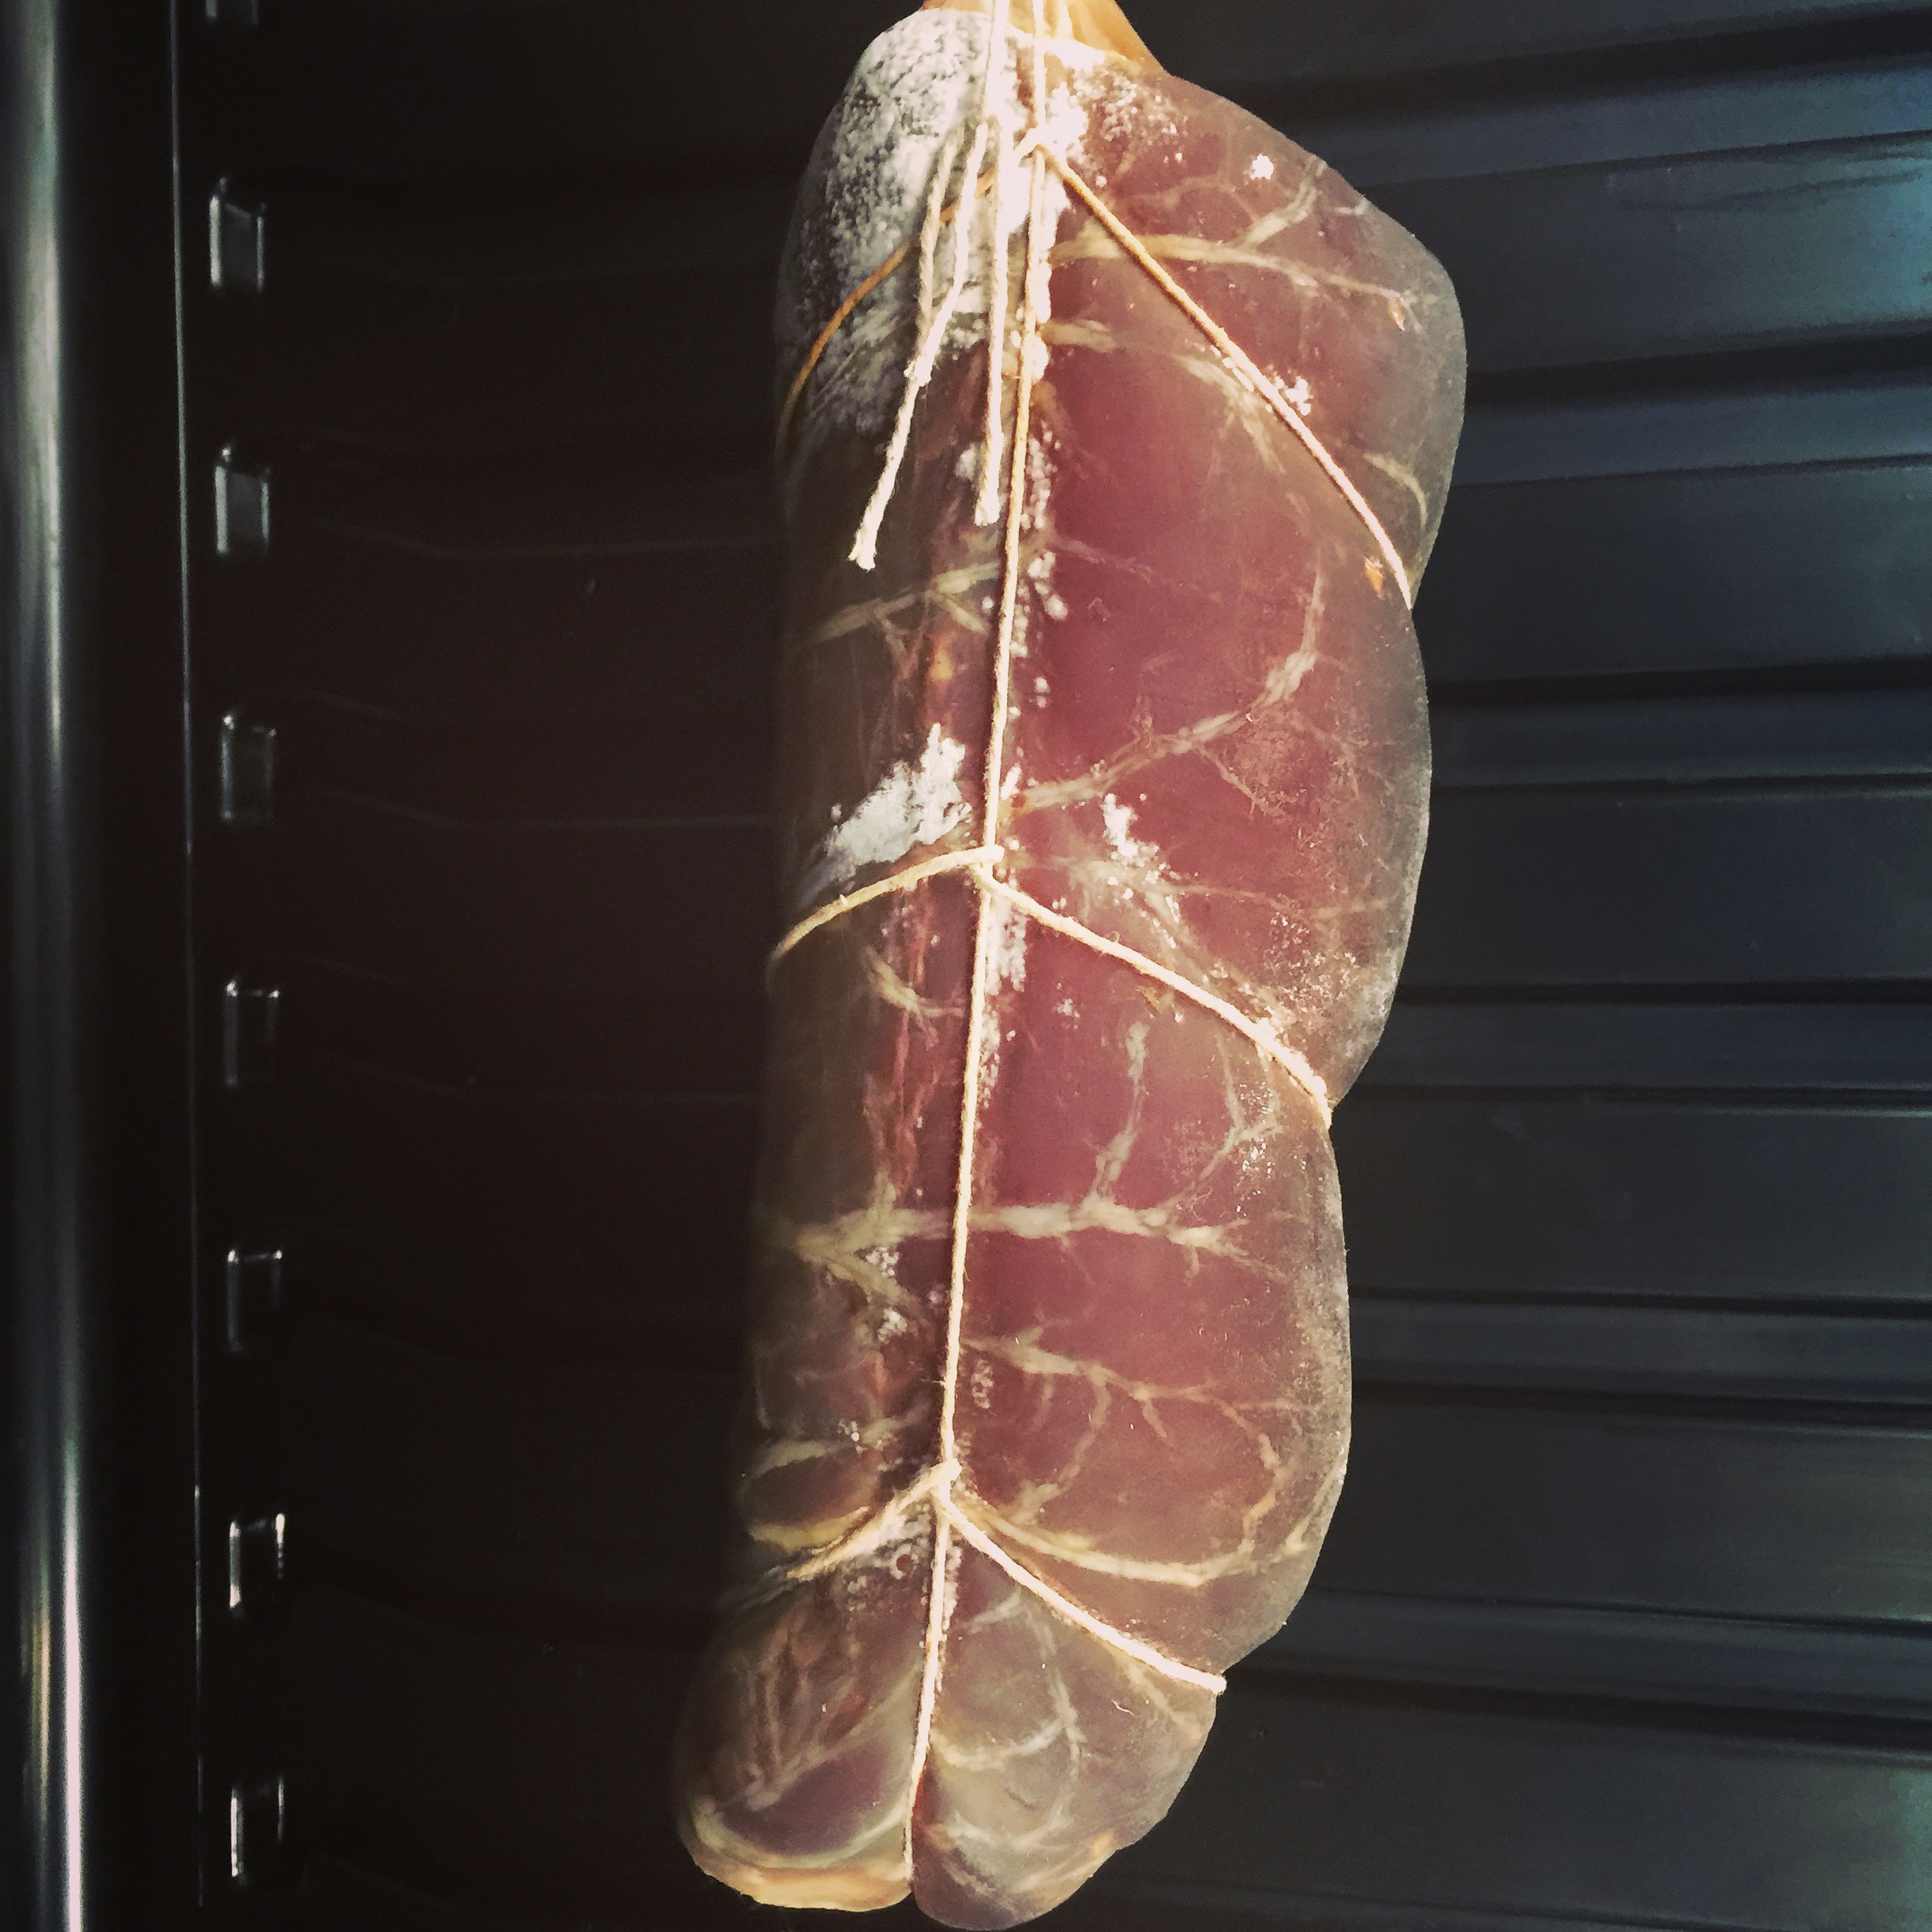
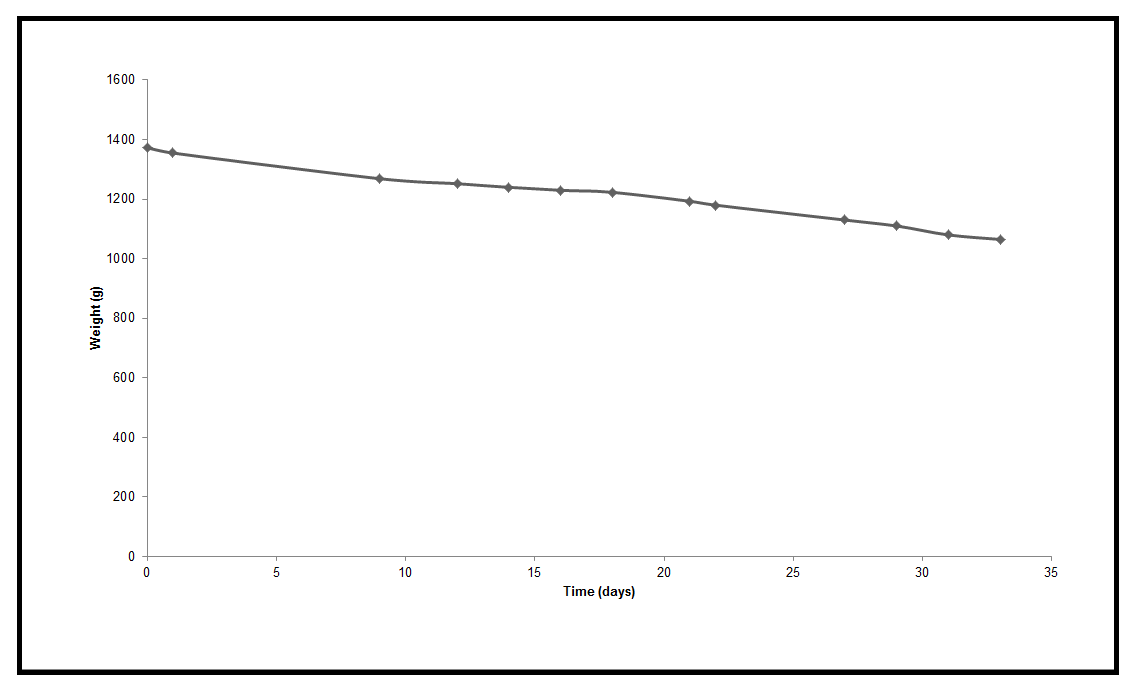
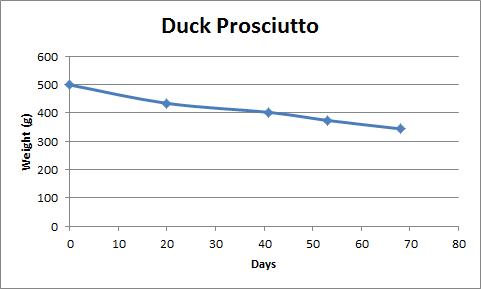
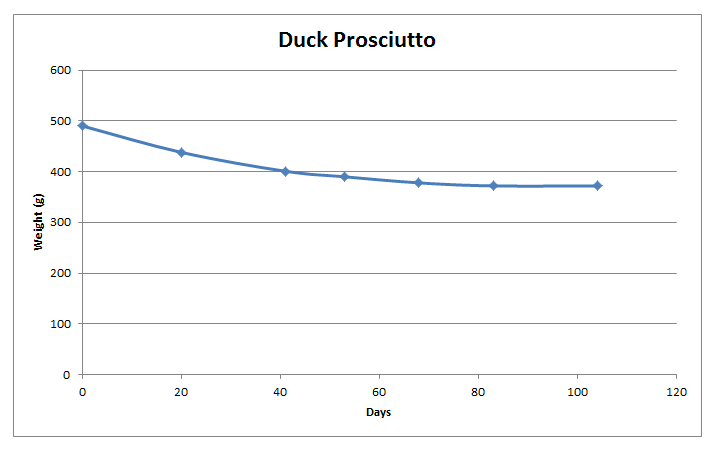
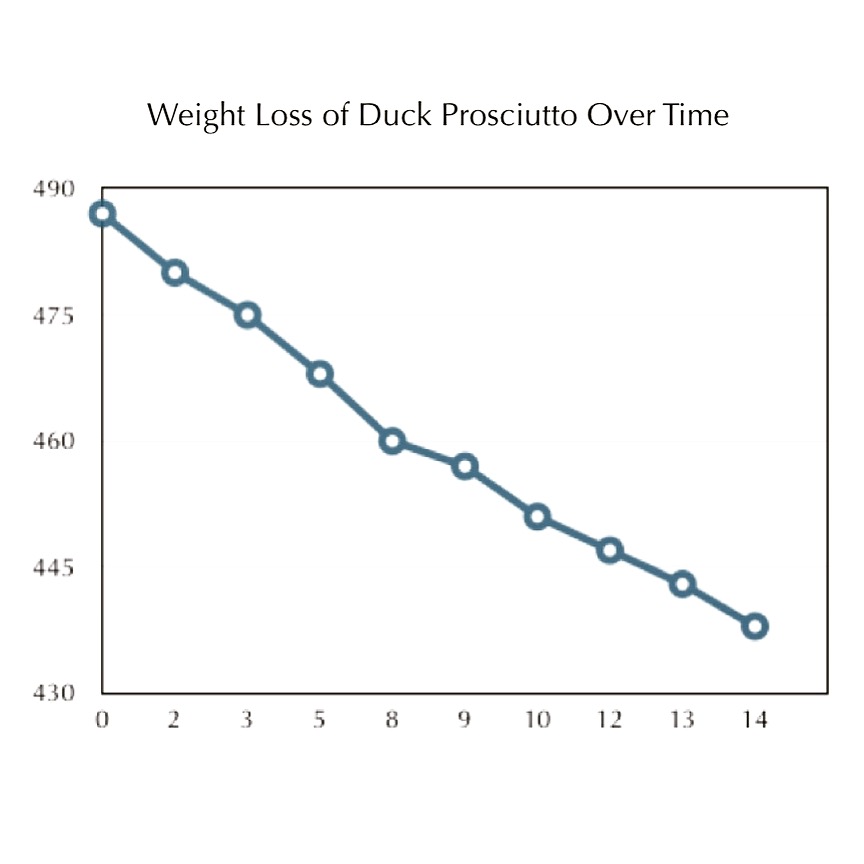
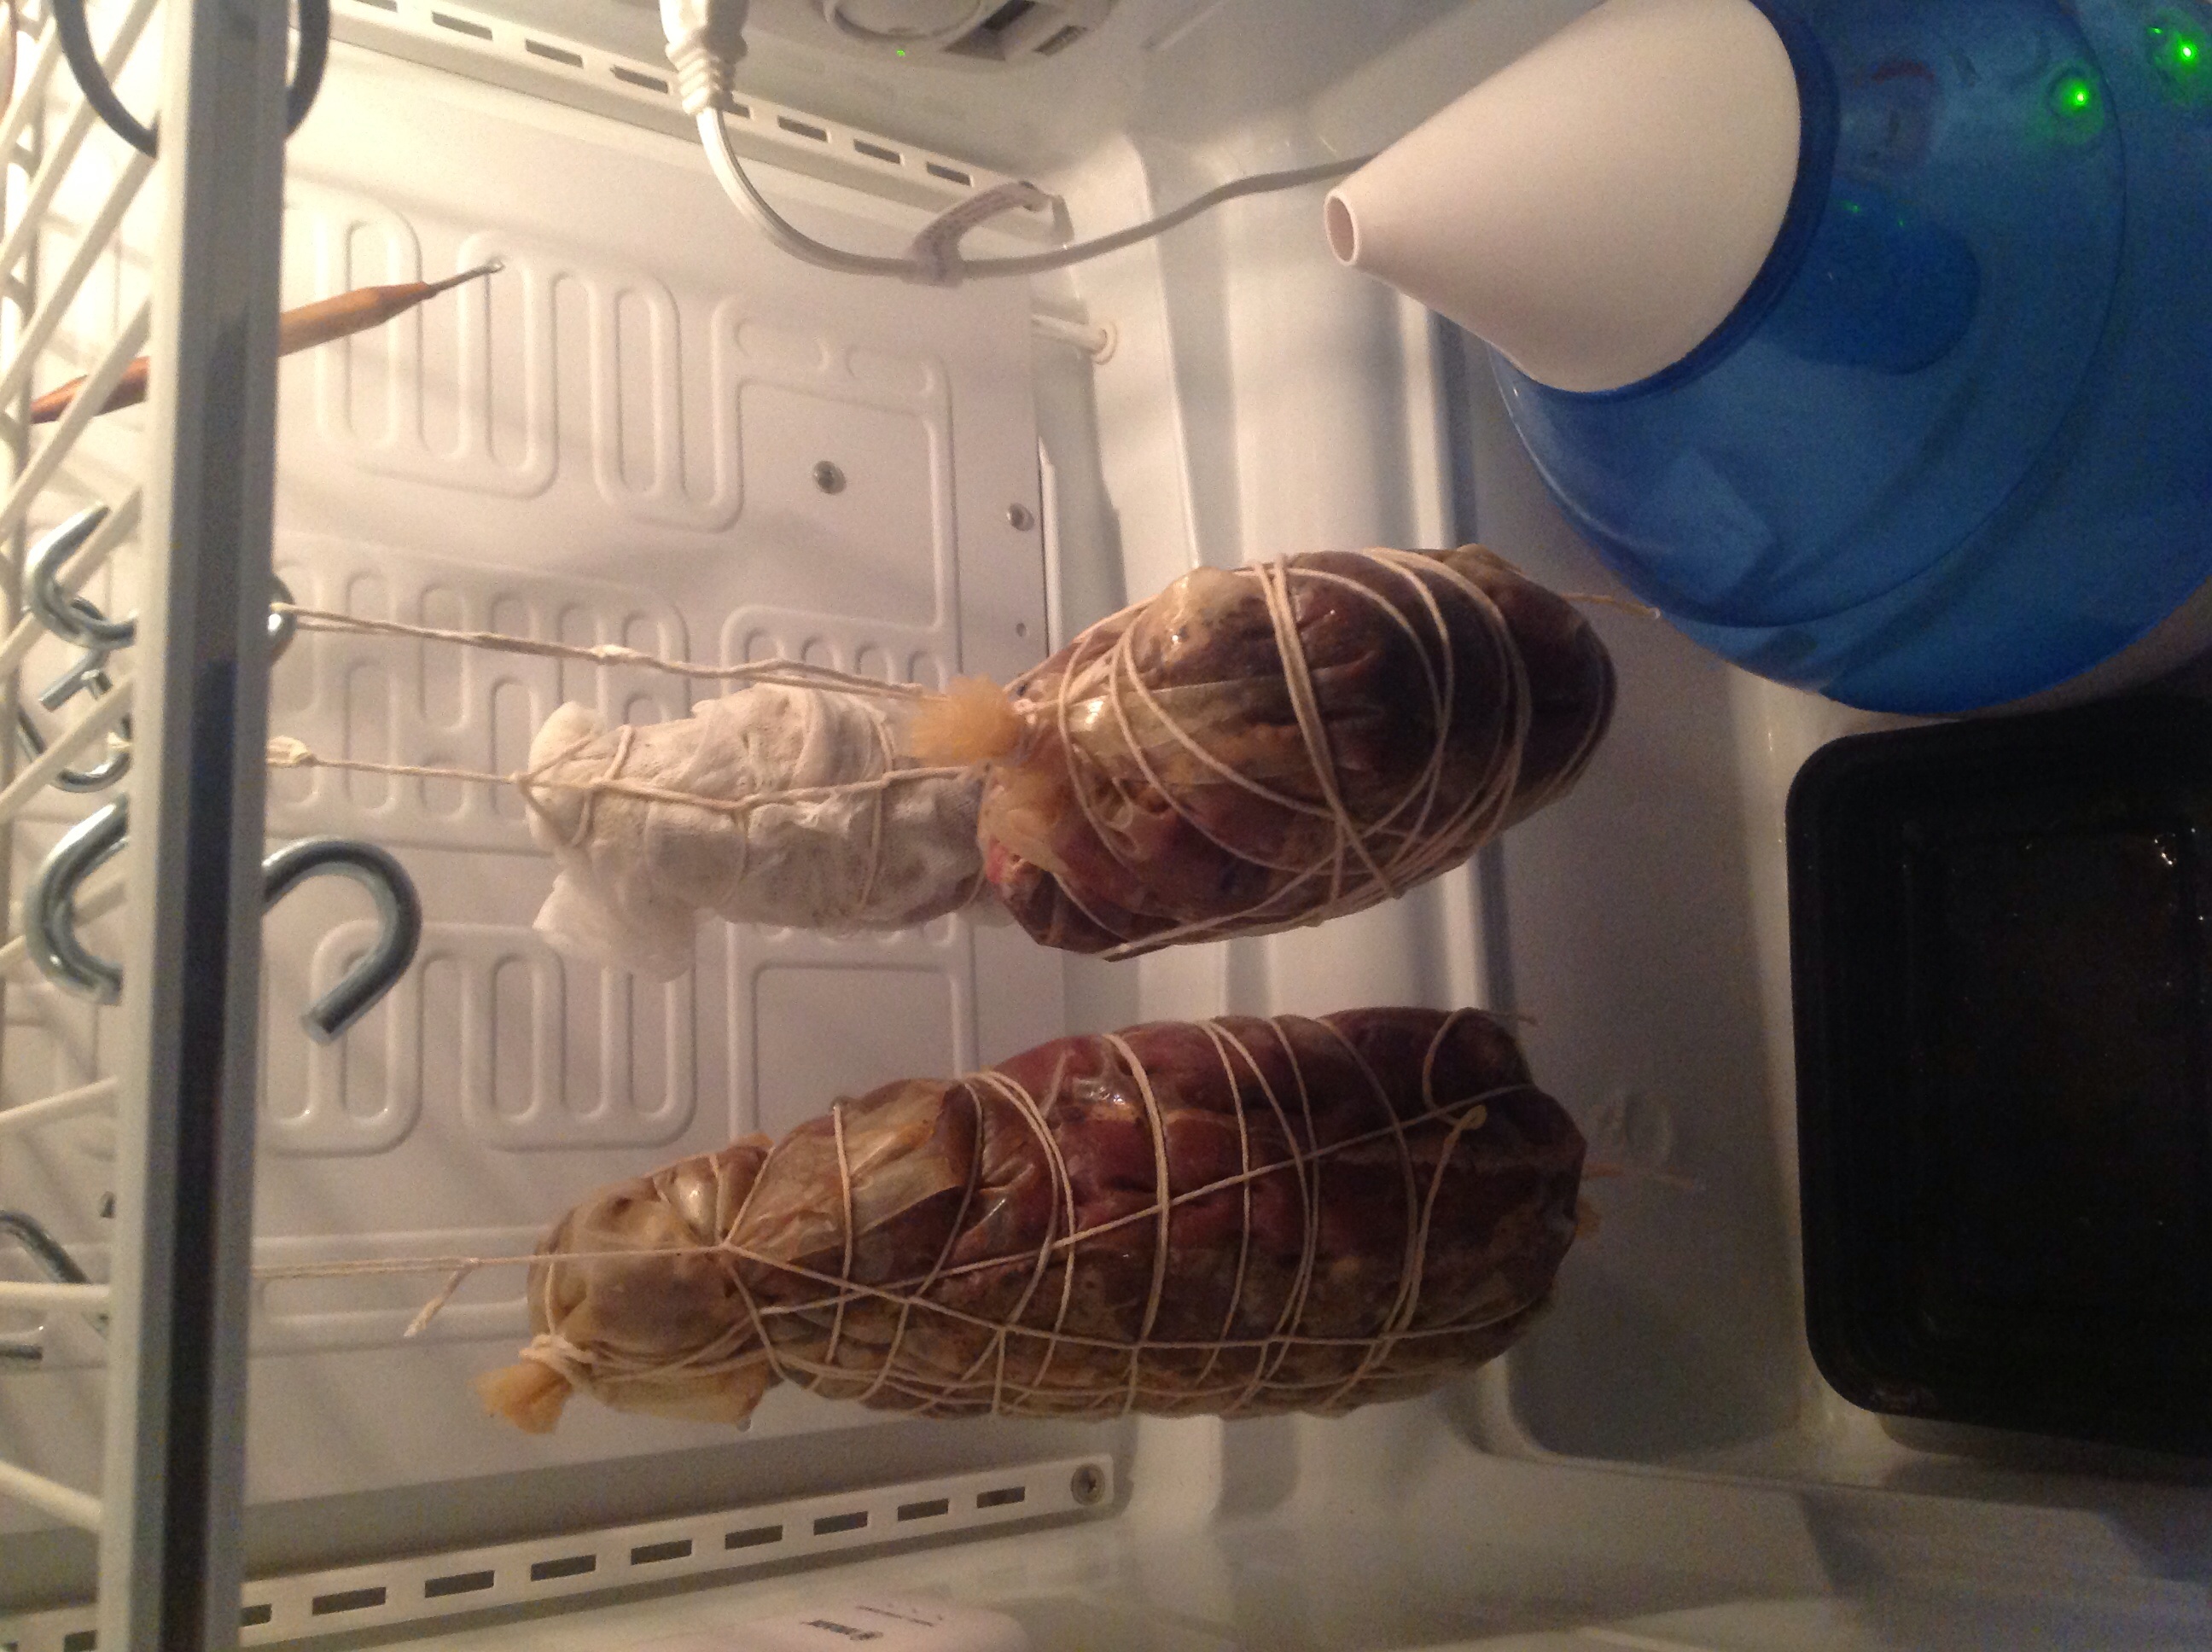
Drying (1 month+, until 30% of weight is lost):
Temperature: 54F/12C, Humidity: 70-80% RH
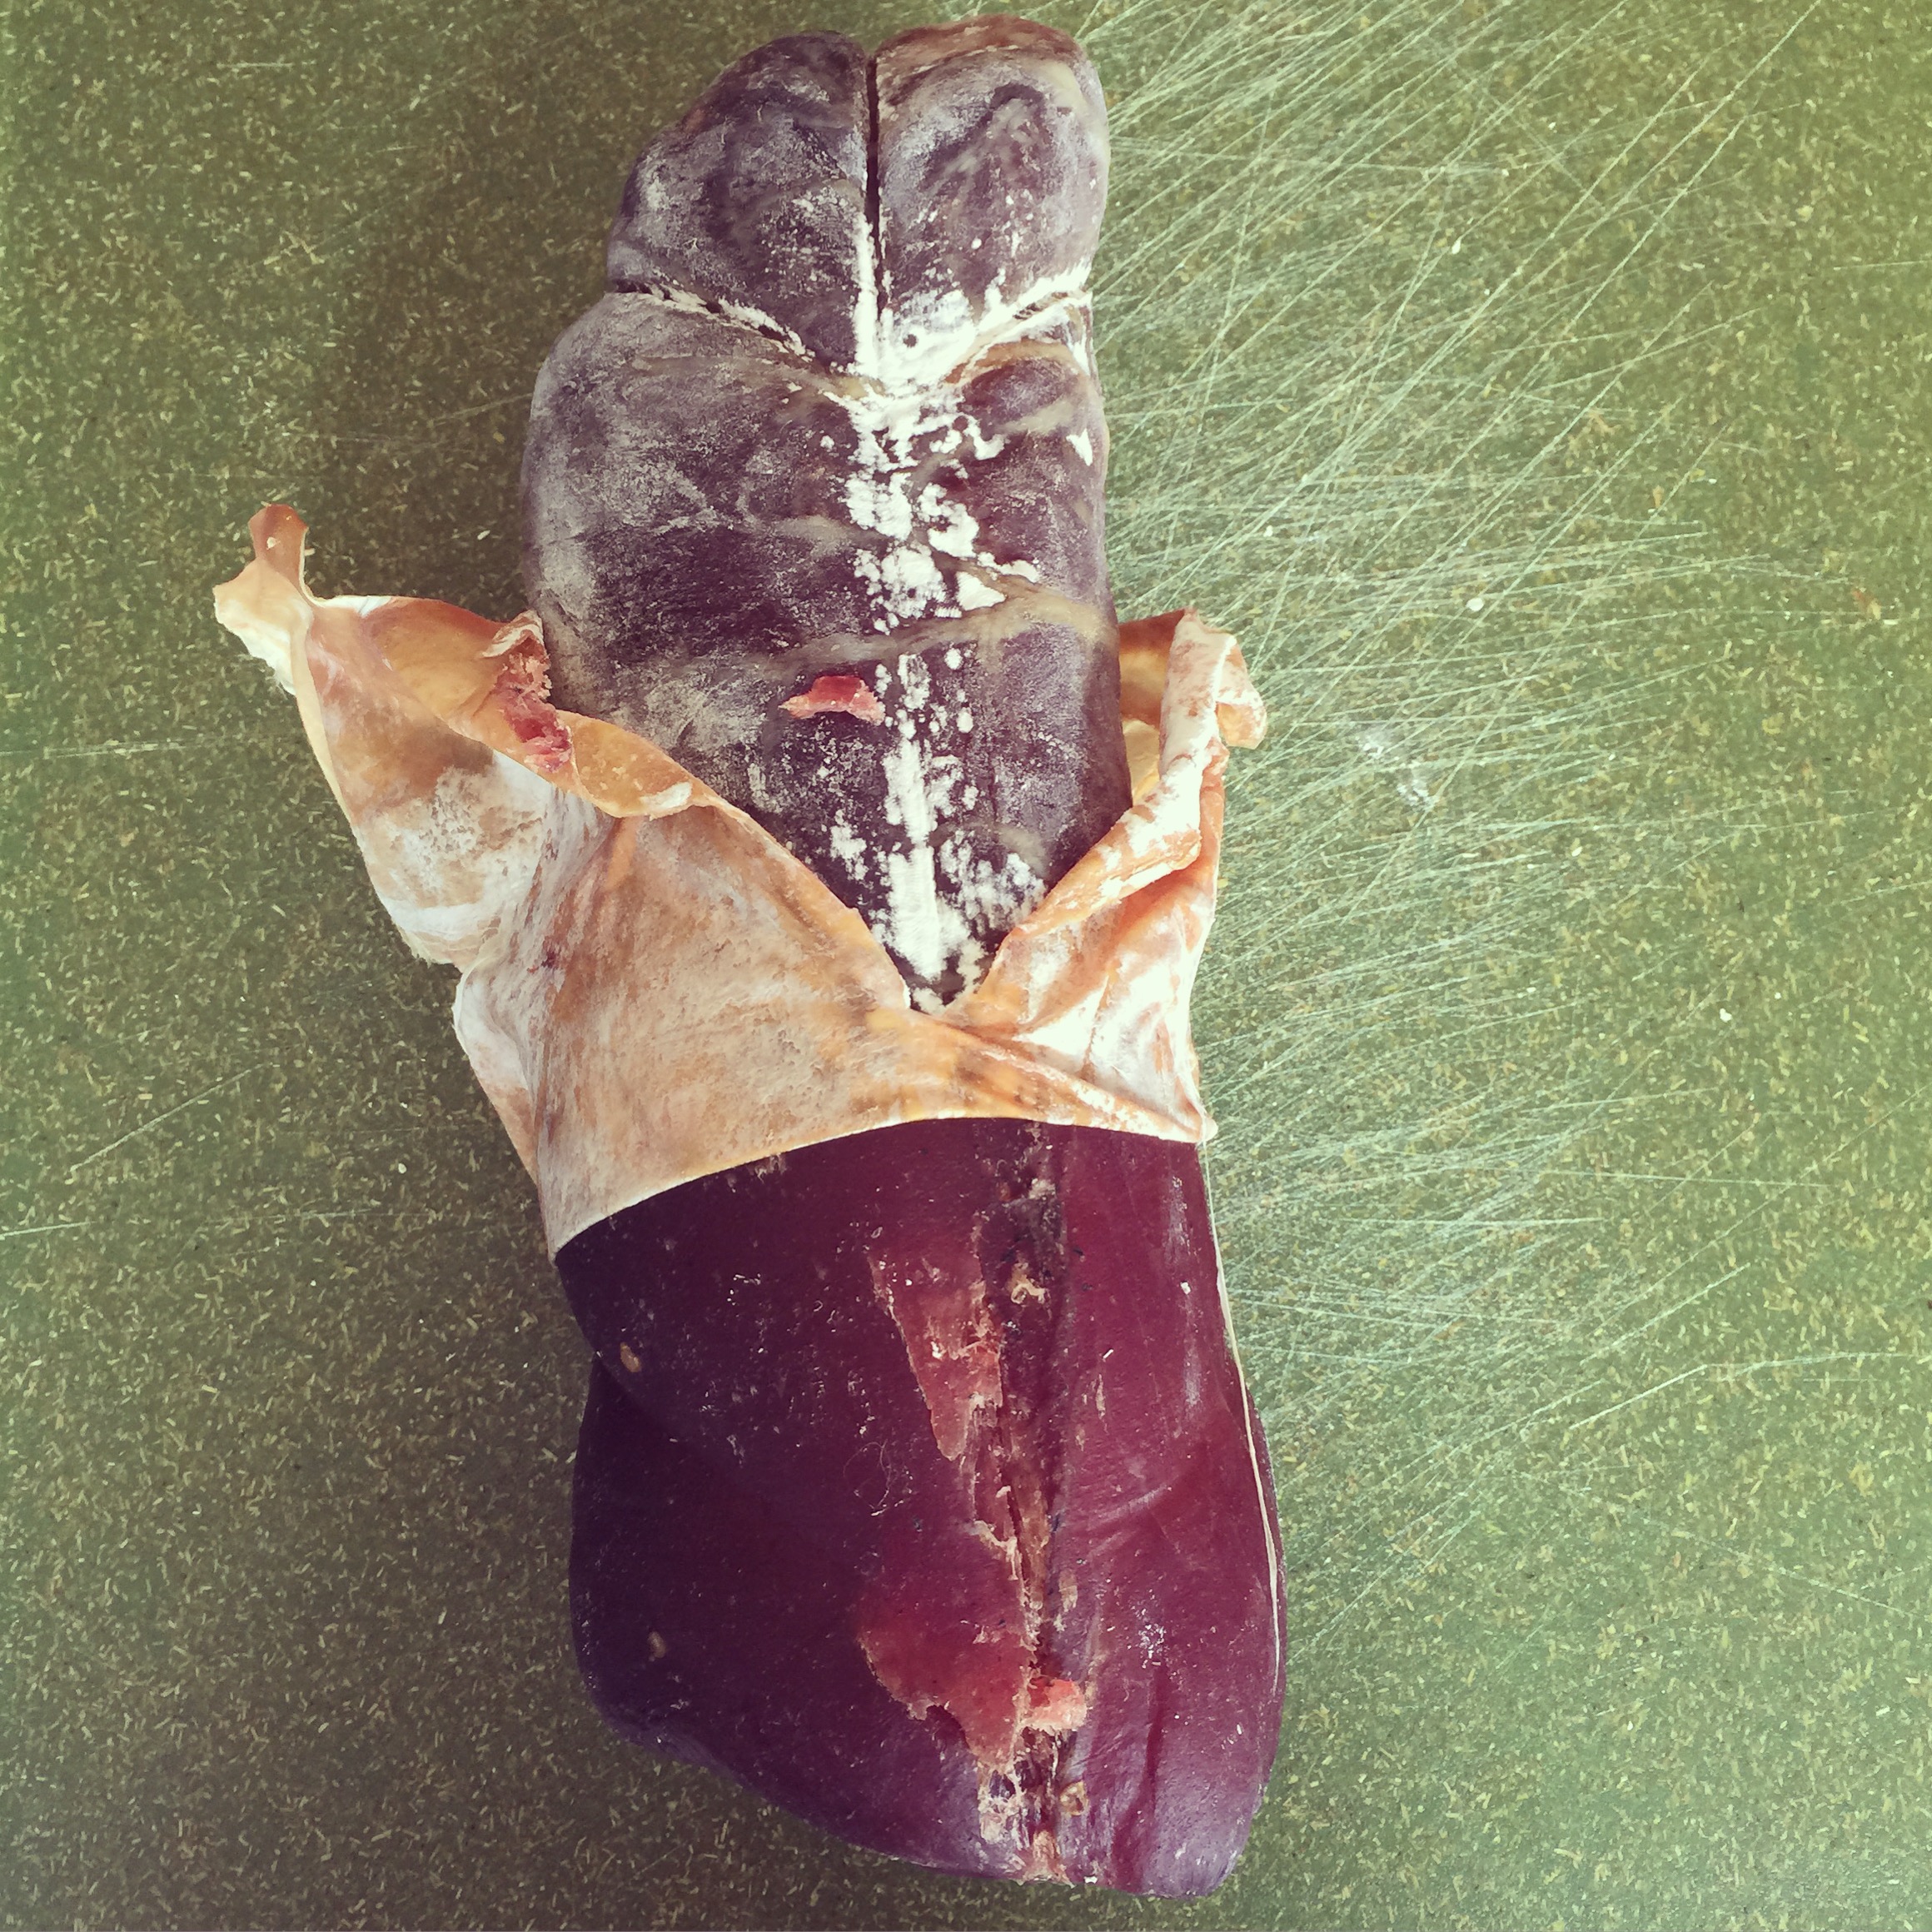
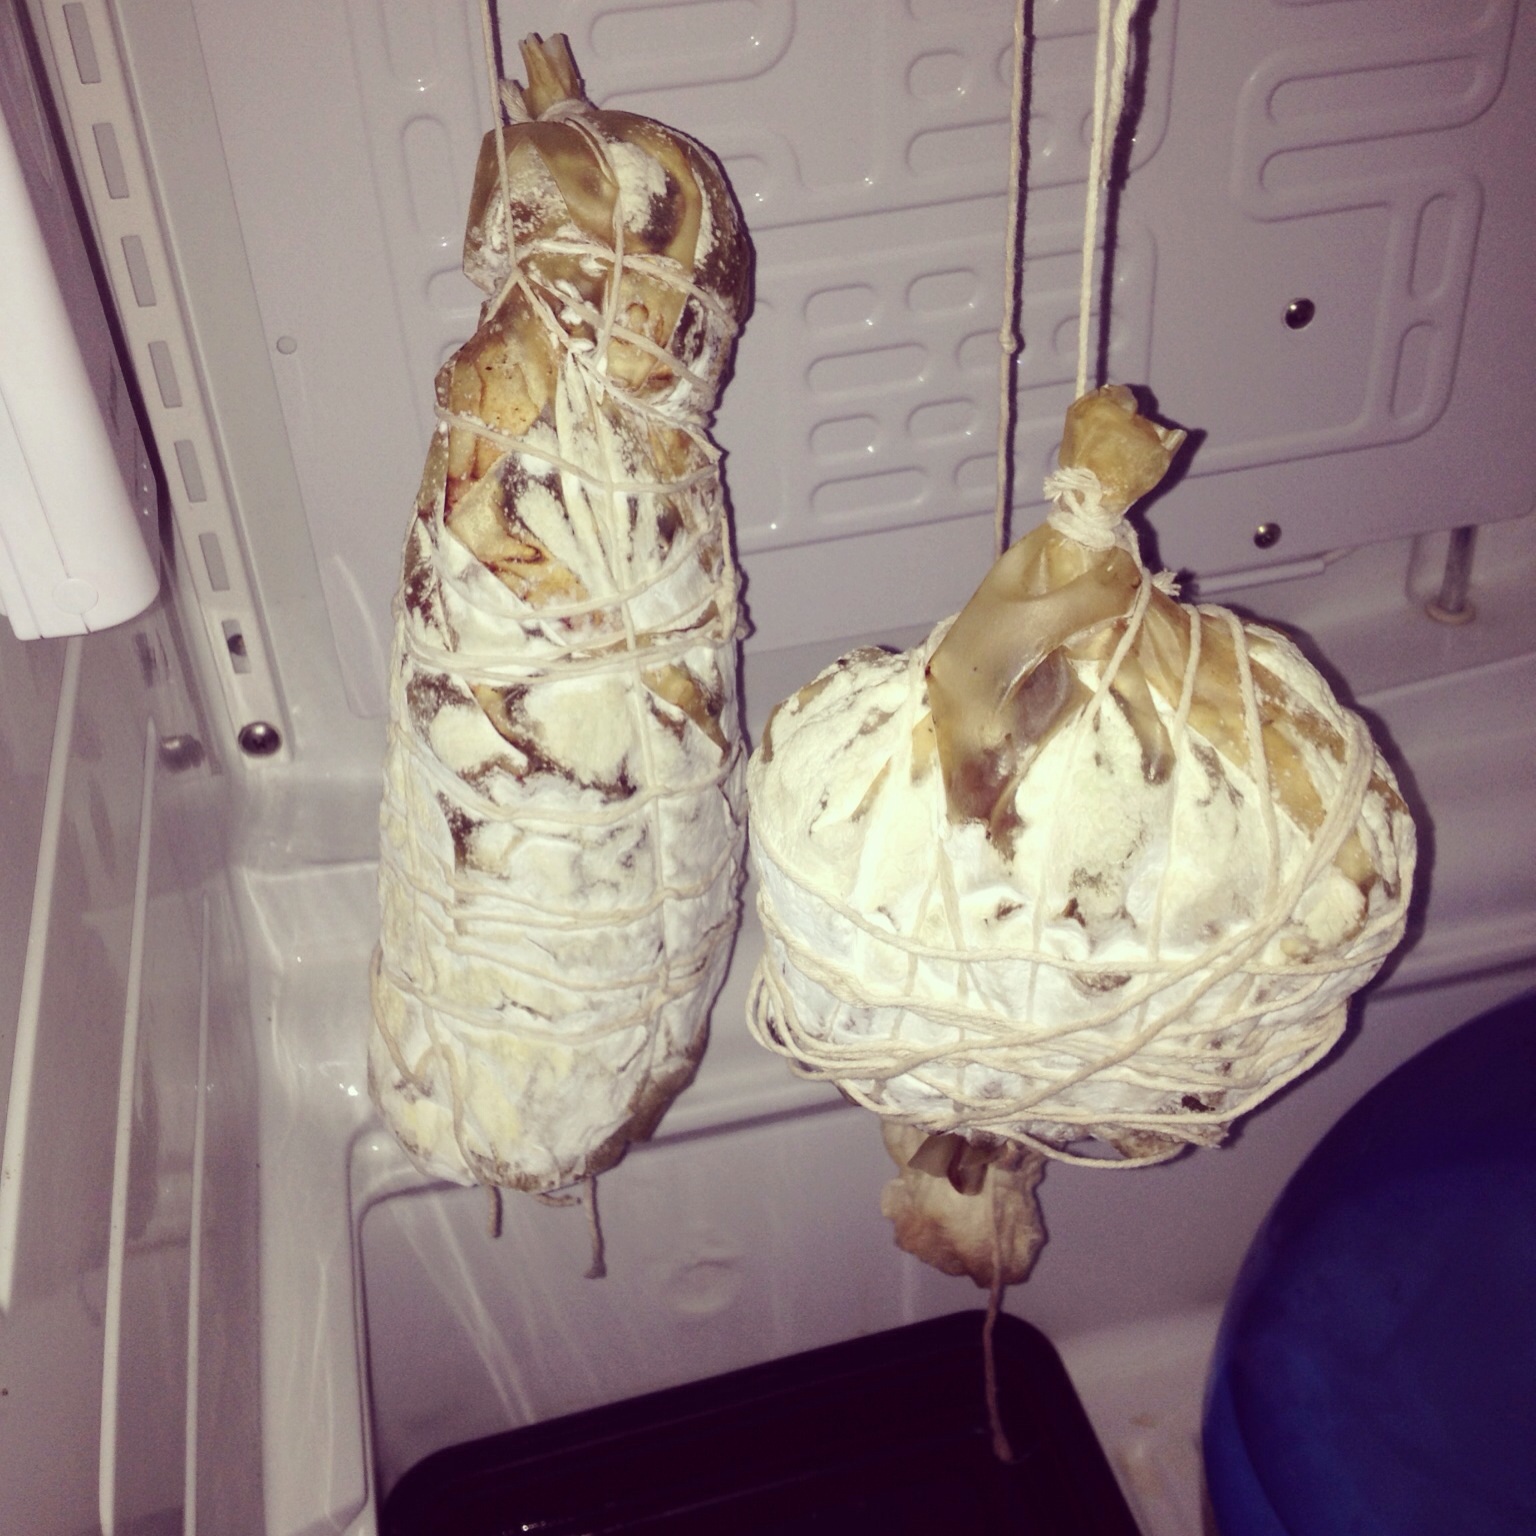
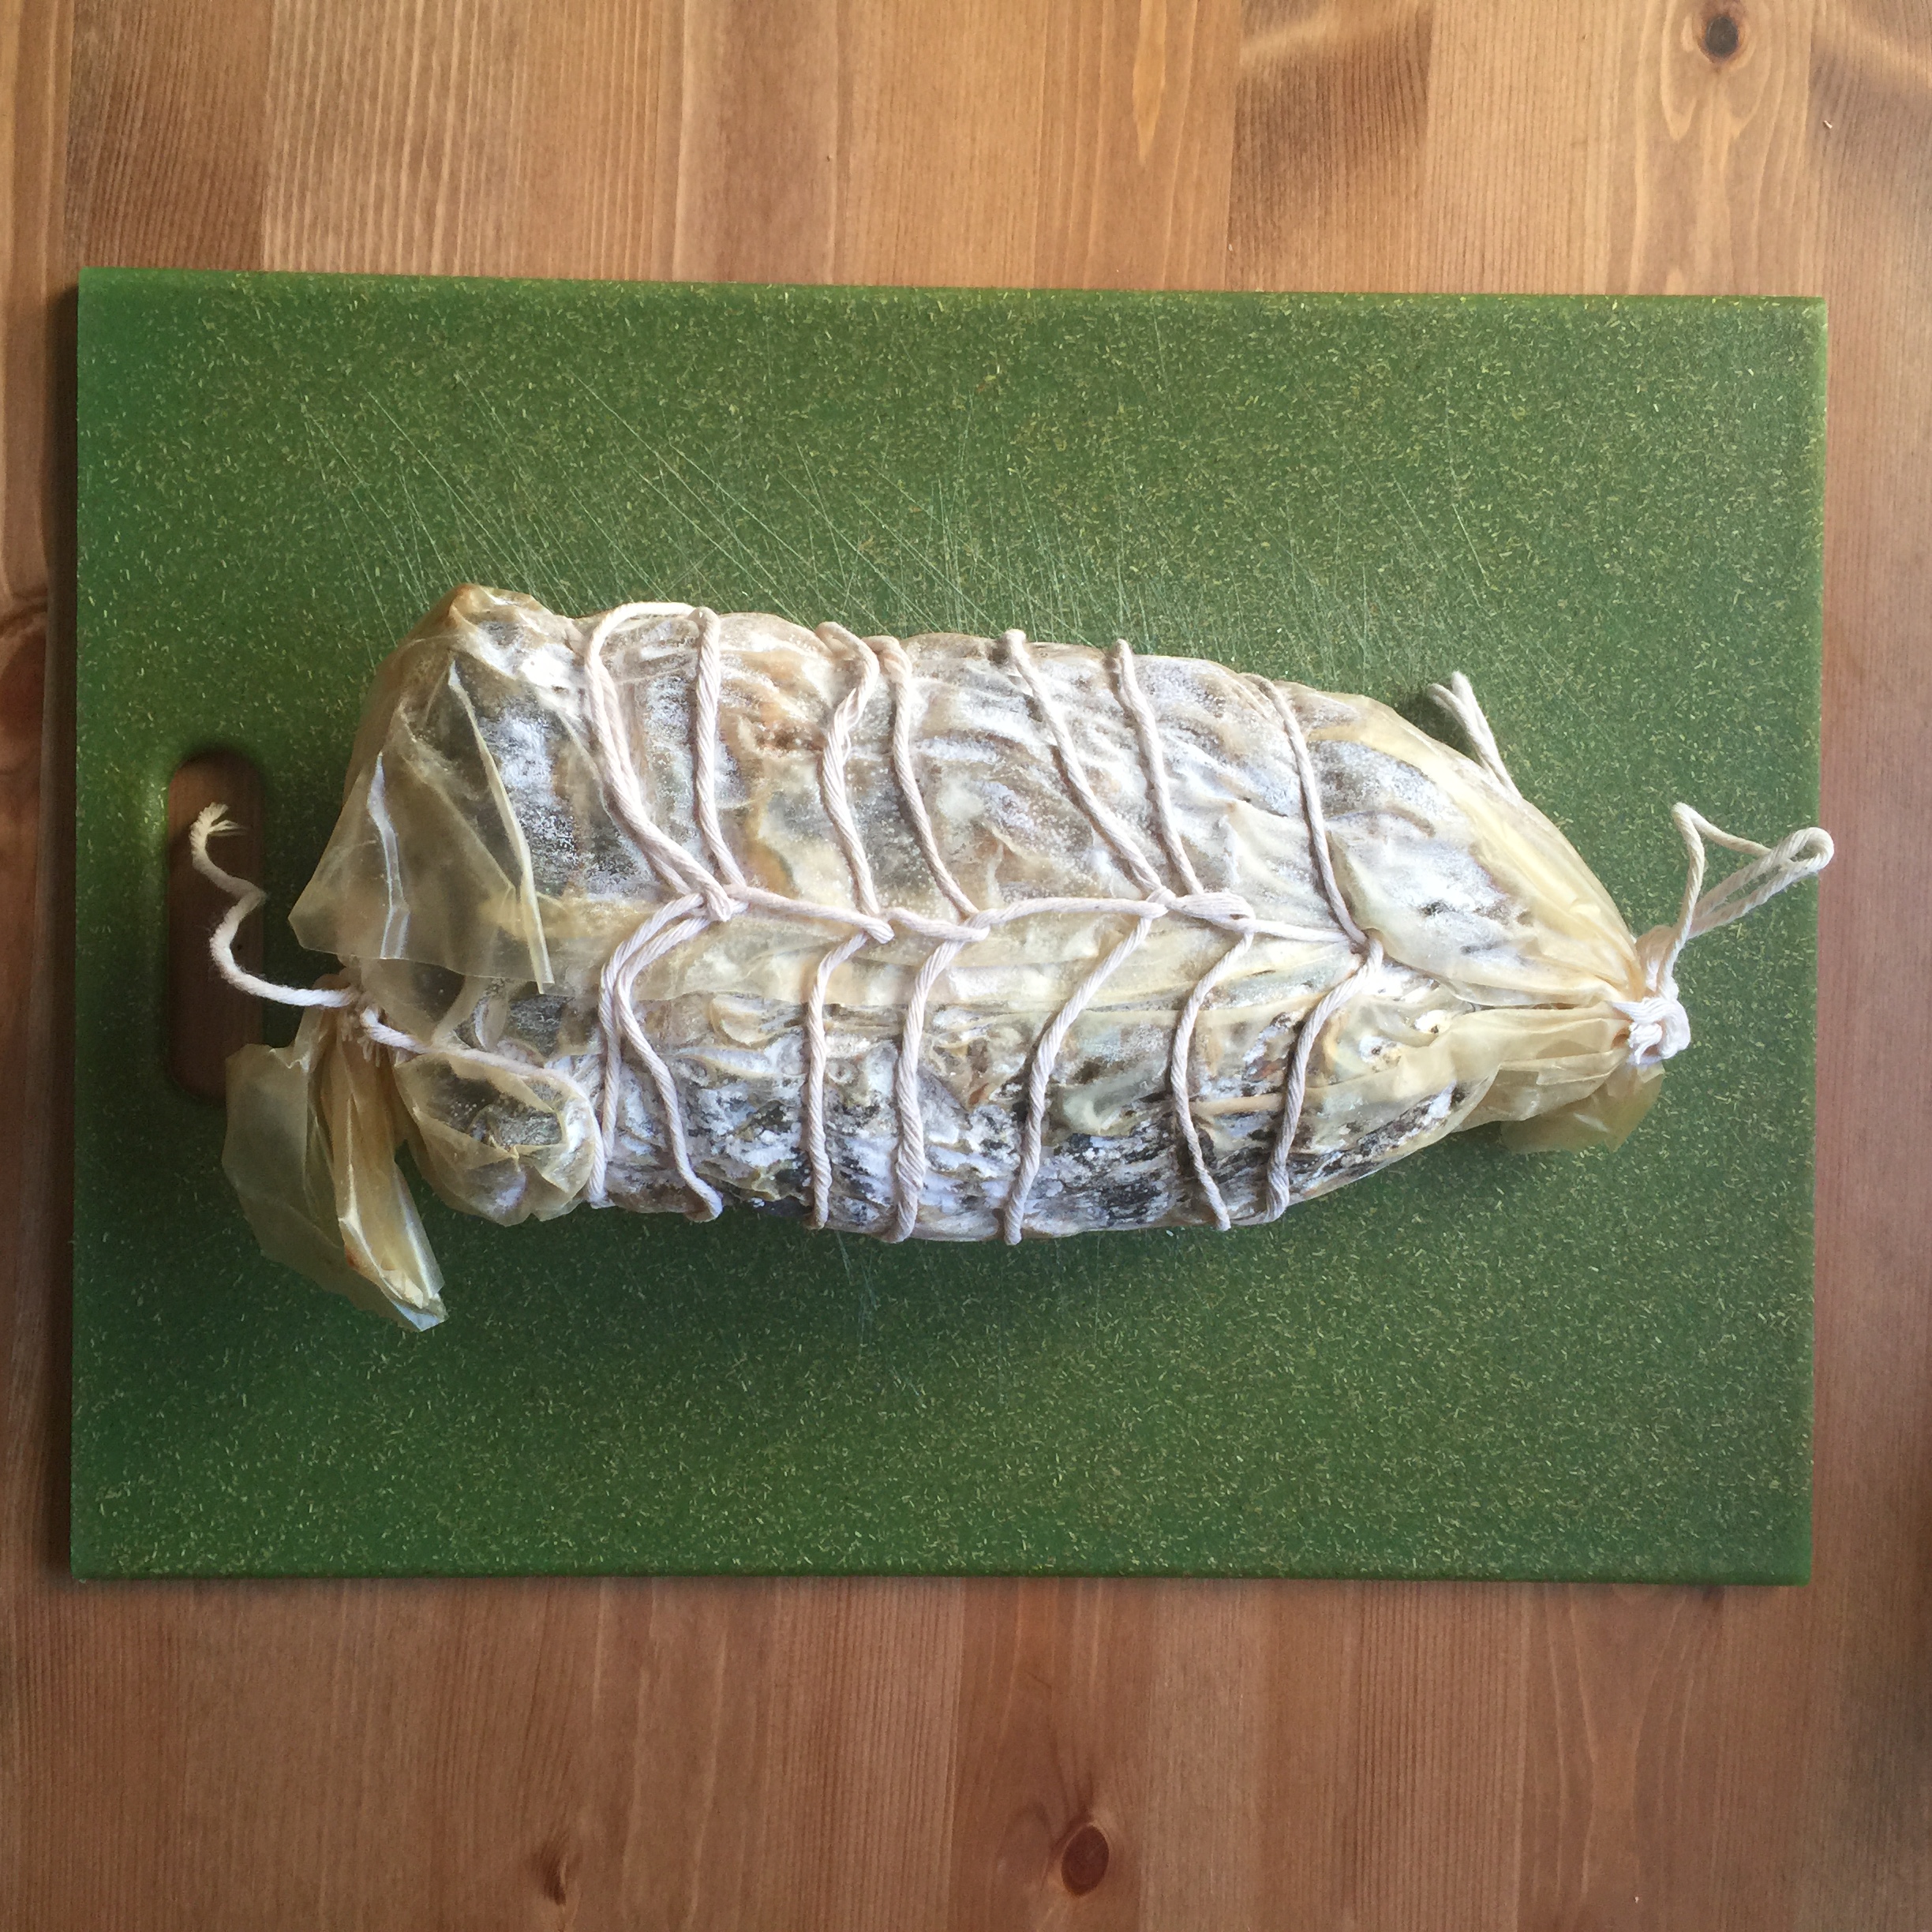
The lamb prosciutto was put directly into the curing chamber at this point. If you have read my first lamb prosciutto post, you know that I used to use a fermentation stage step. I have found this to be unnecessary for whole muscle cured products, and now move directly from the curing and casing stages to the drying stage.
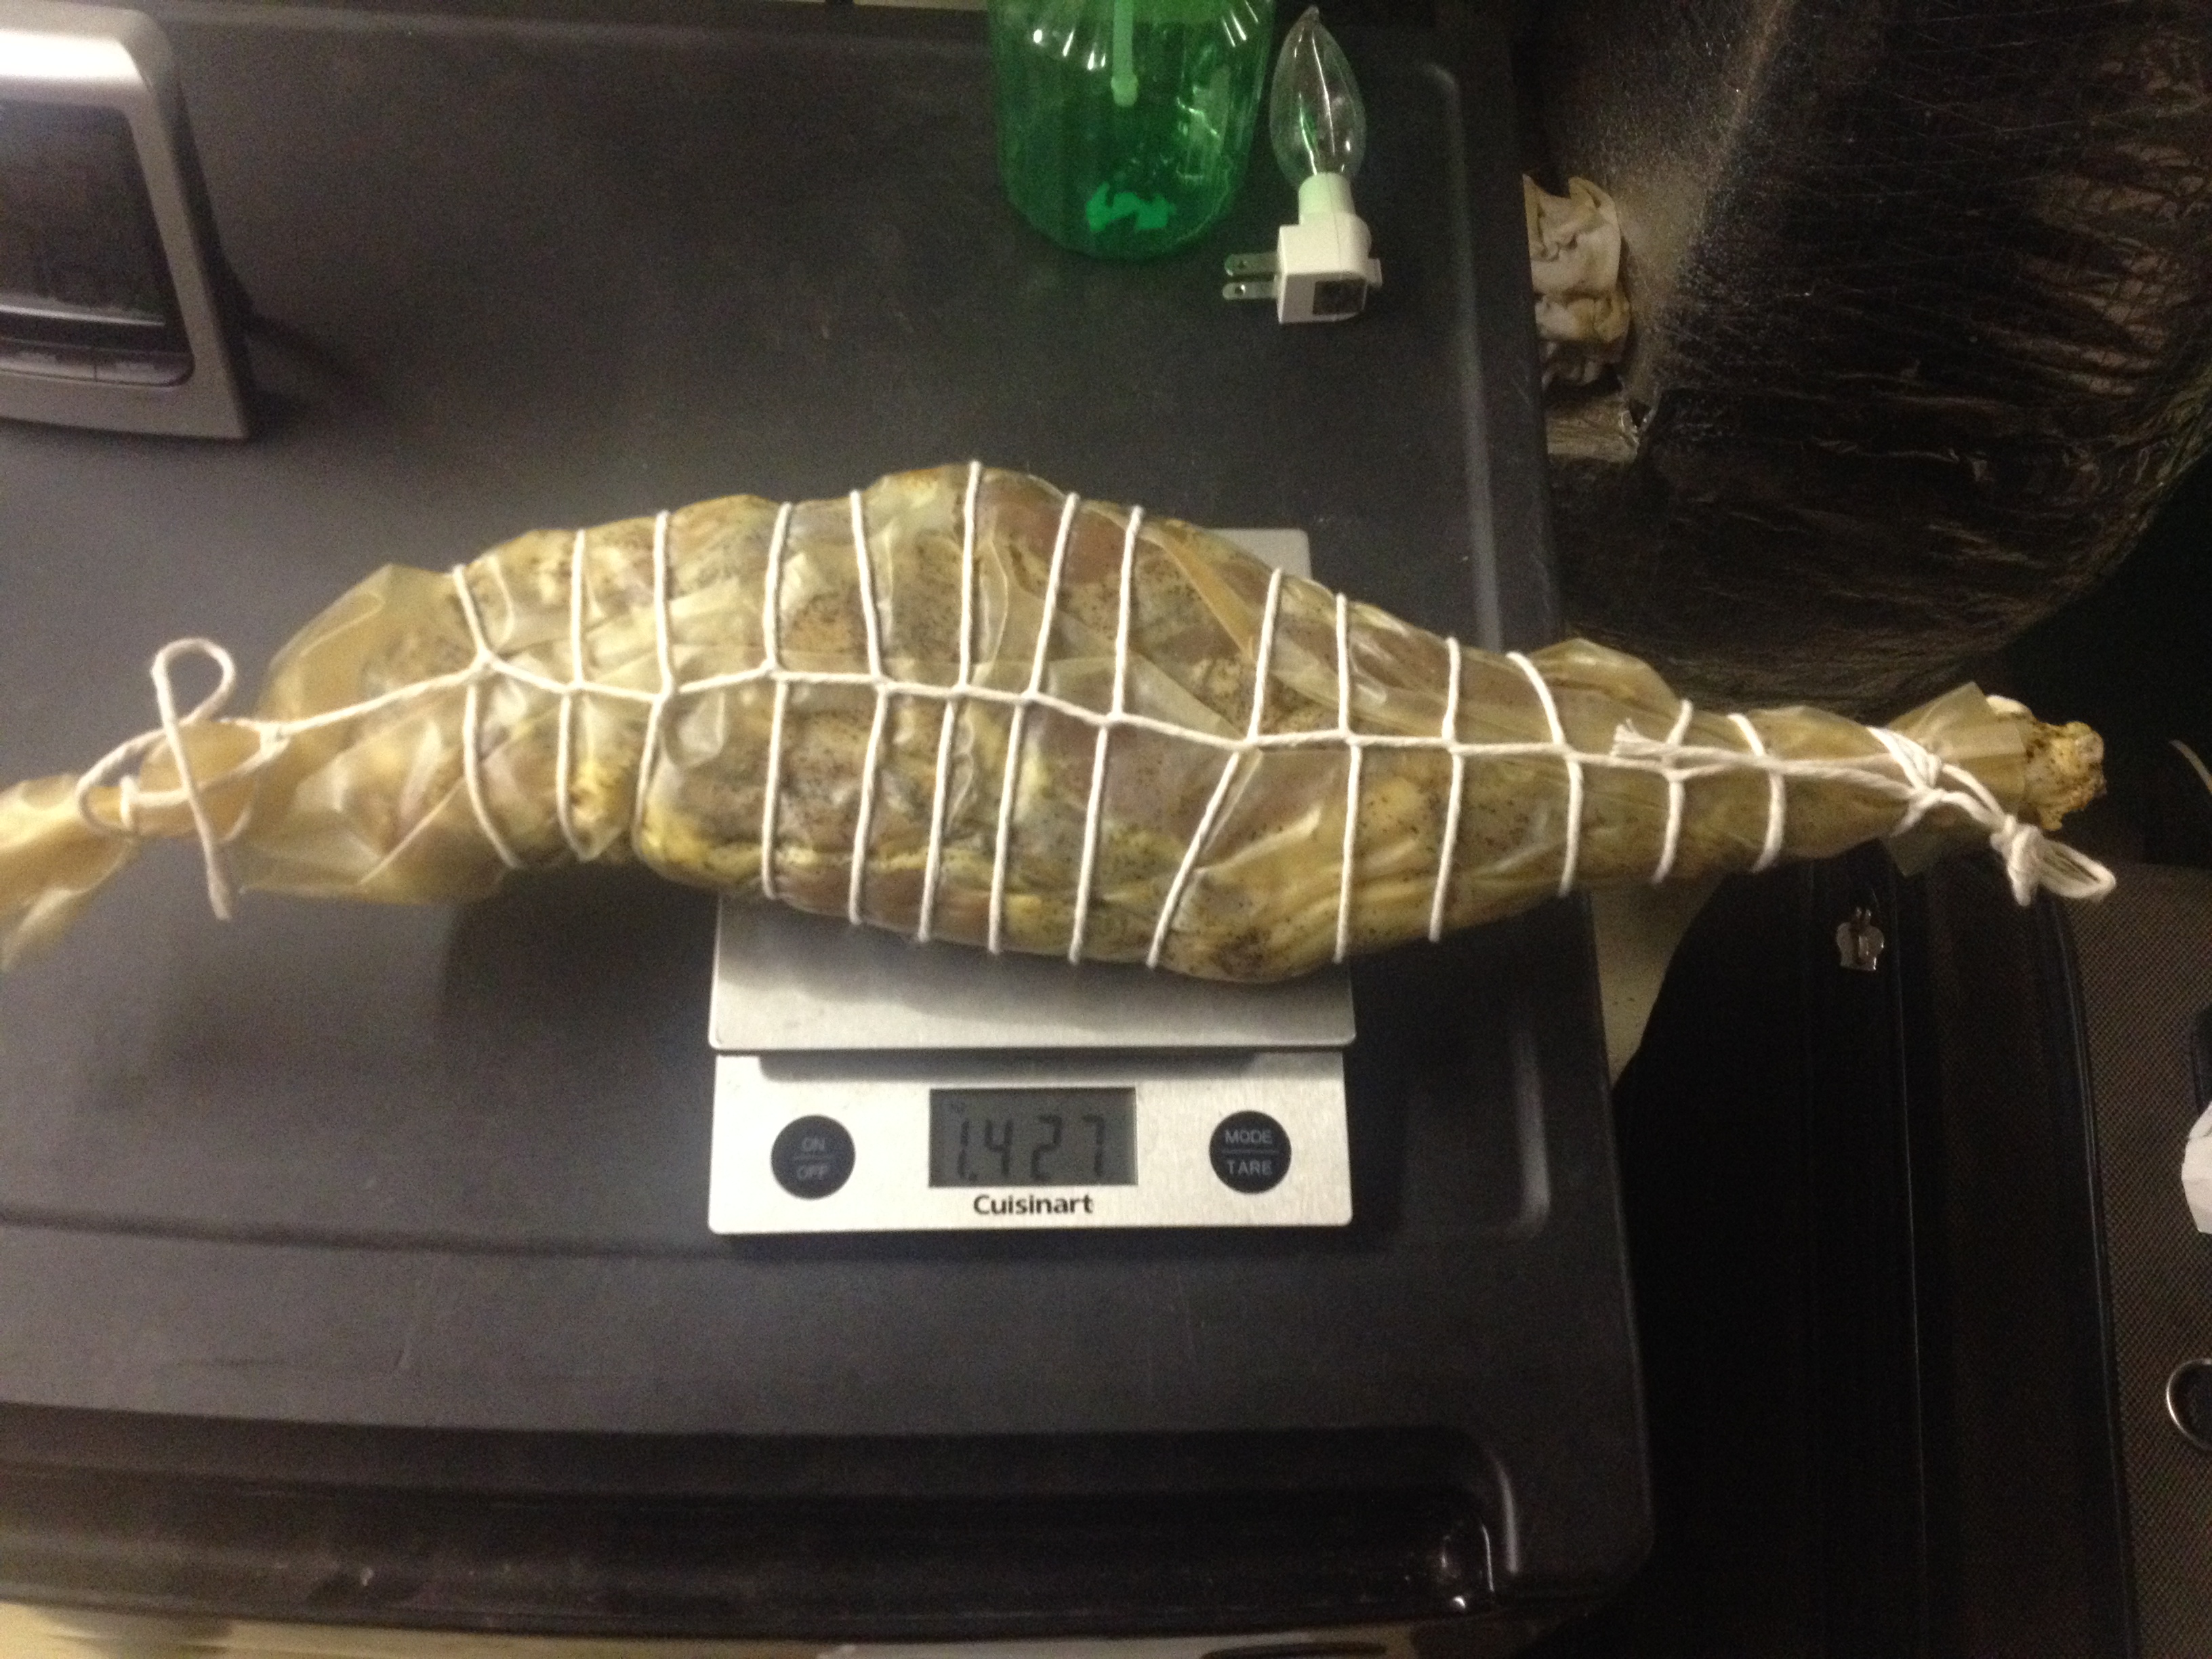
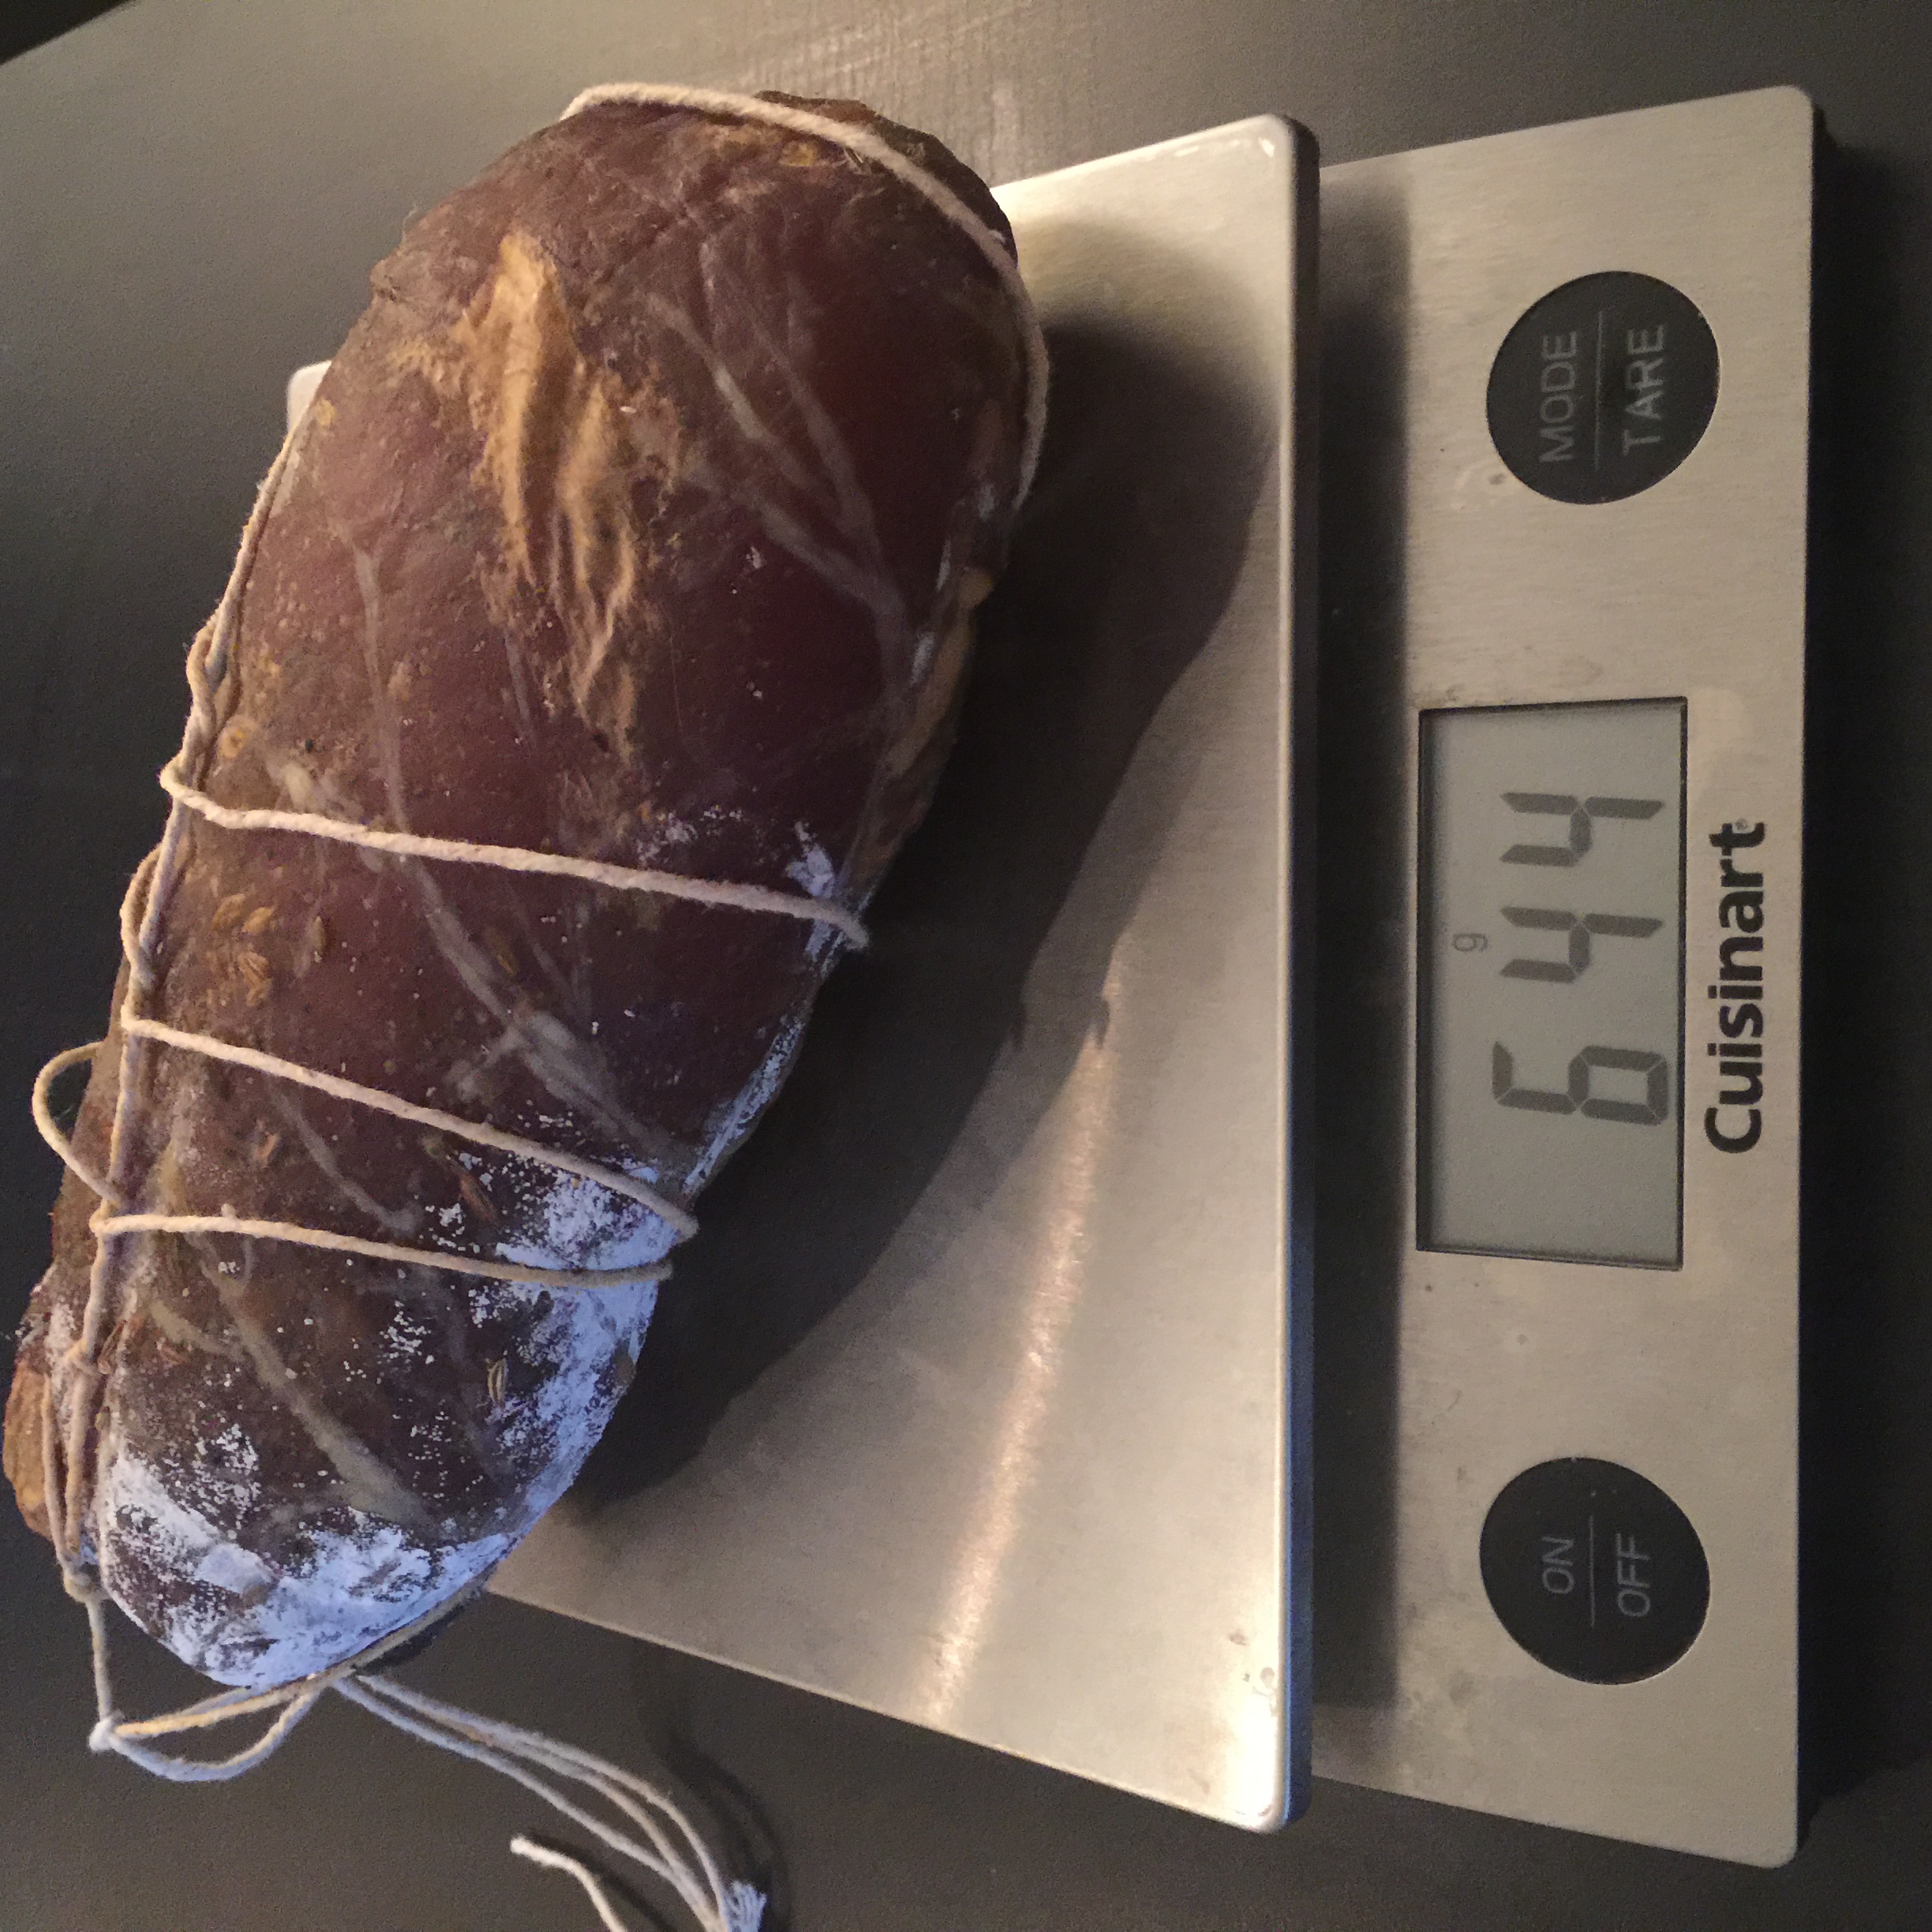
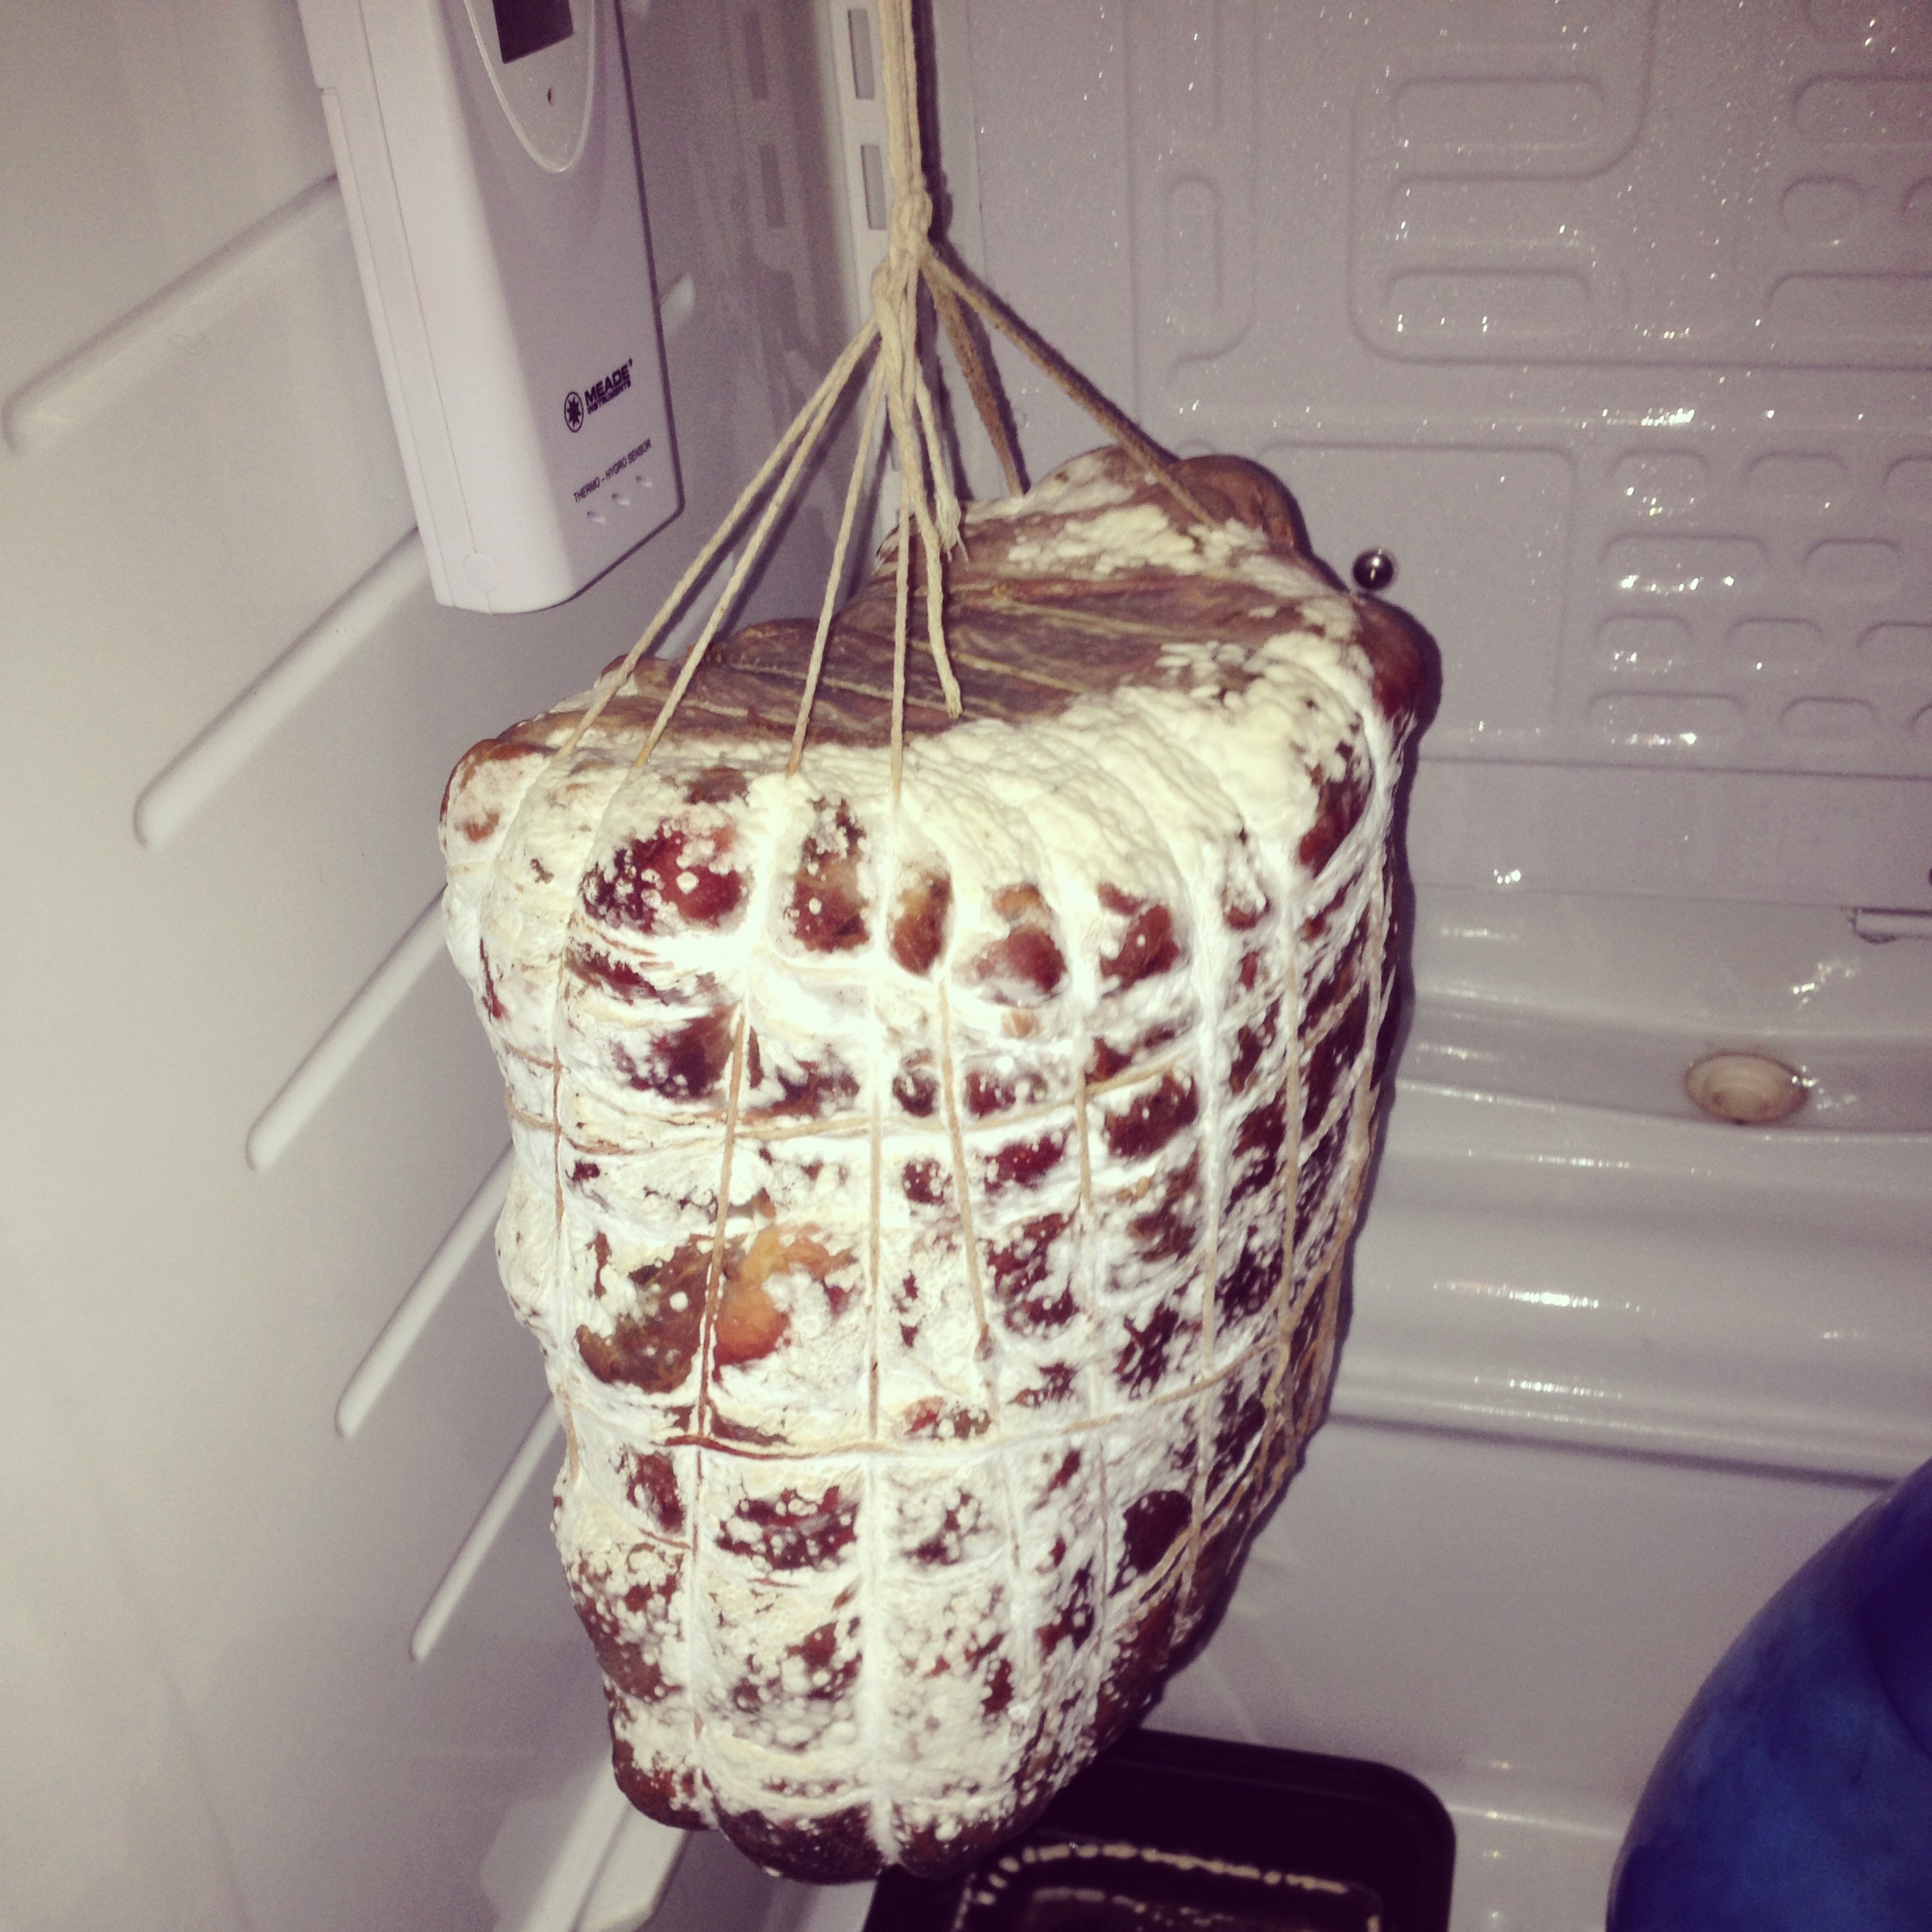
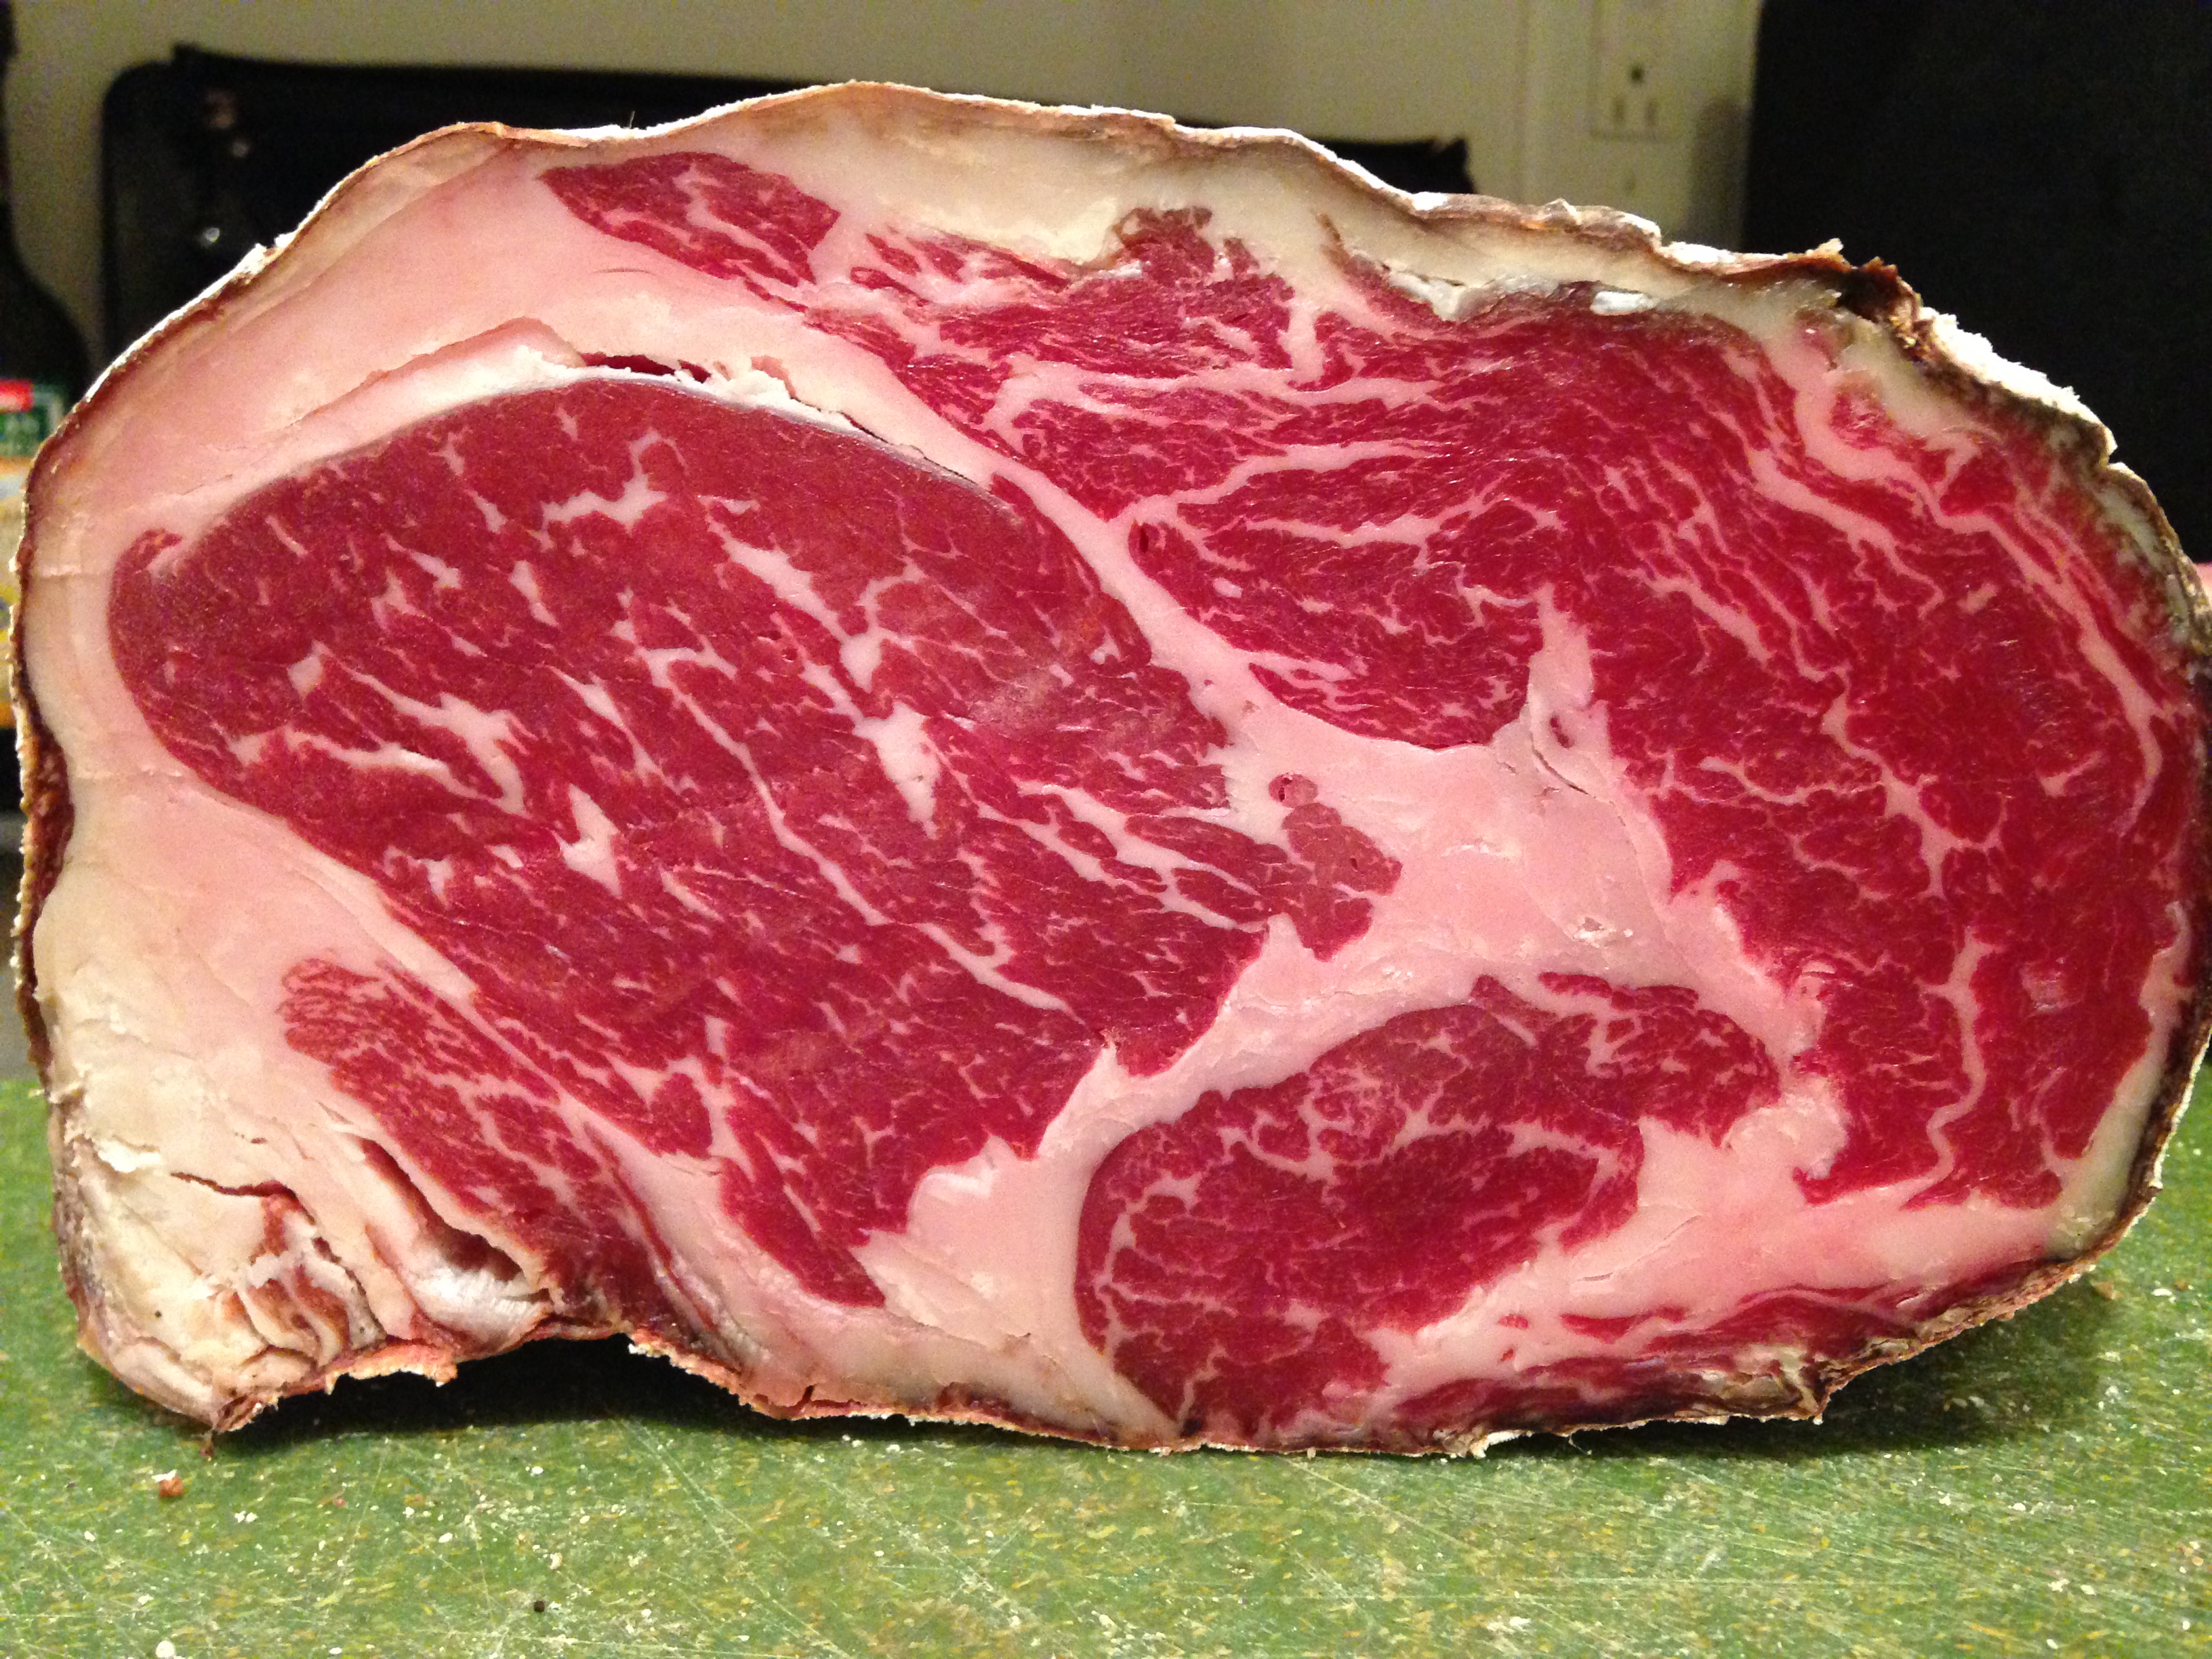
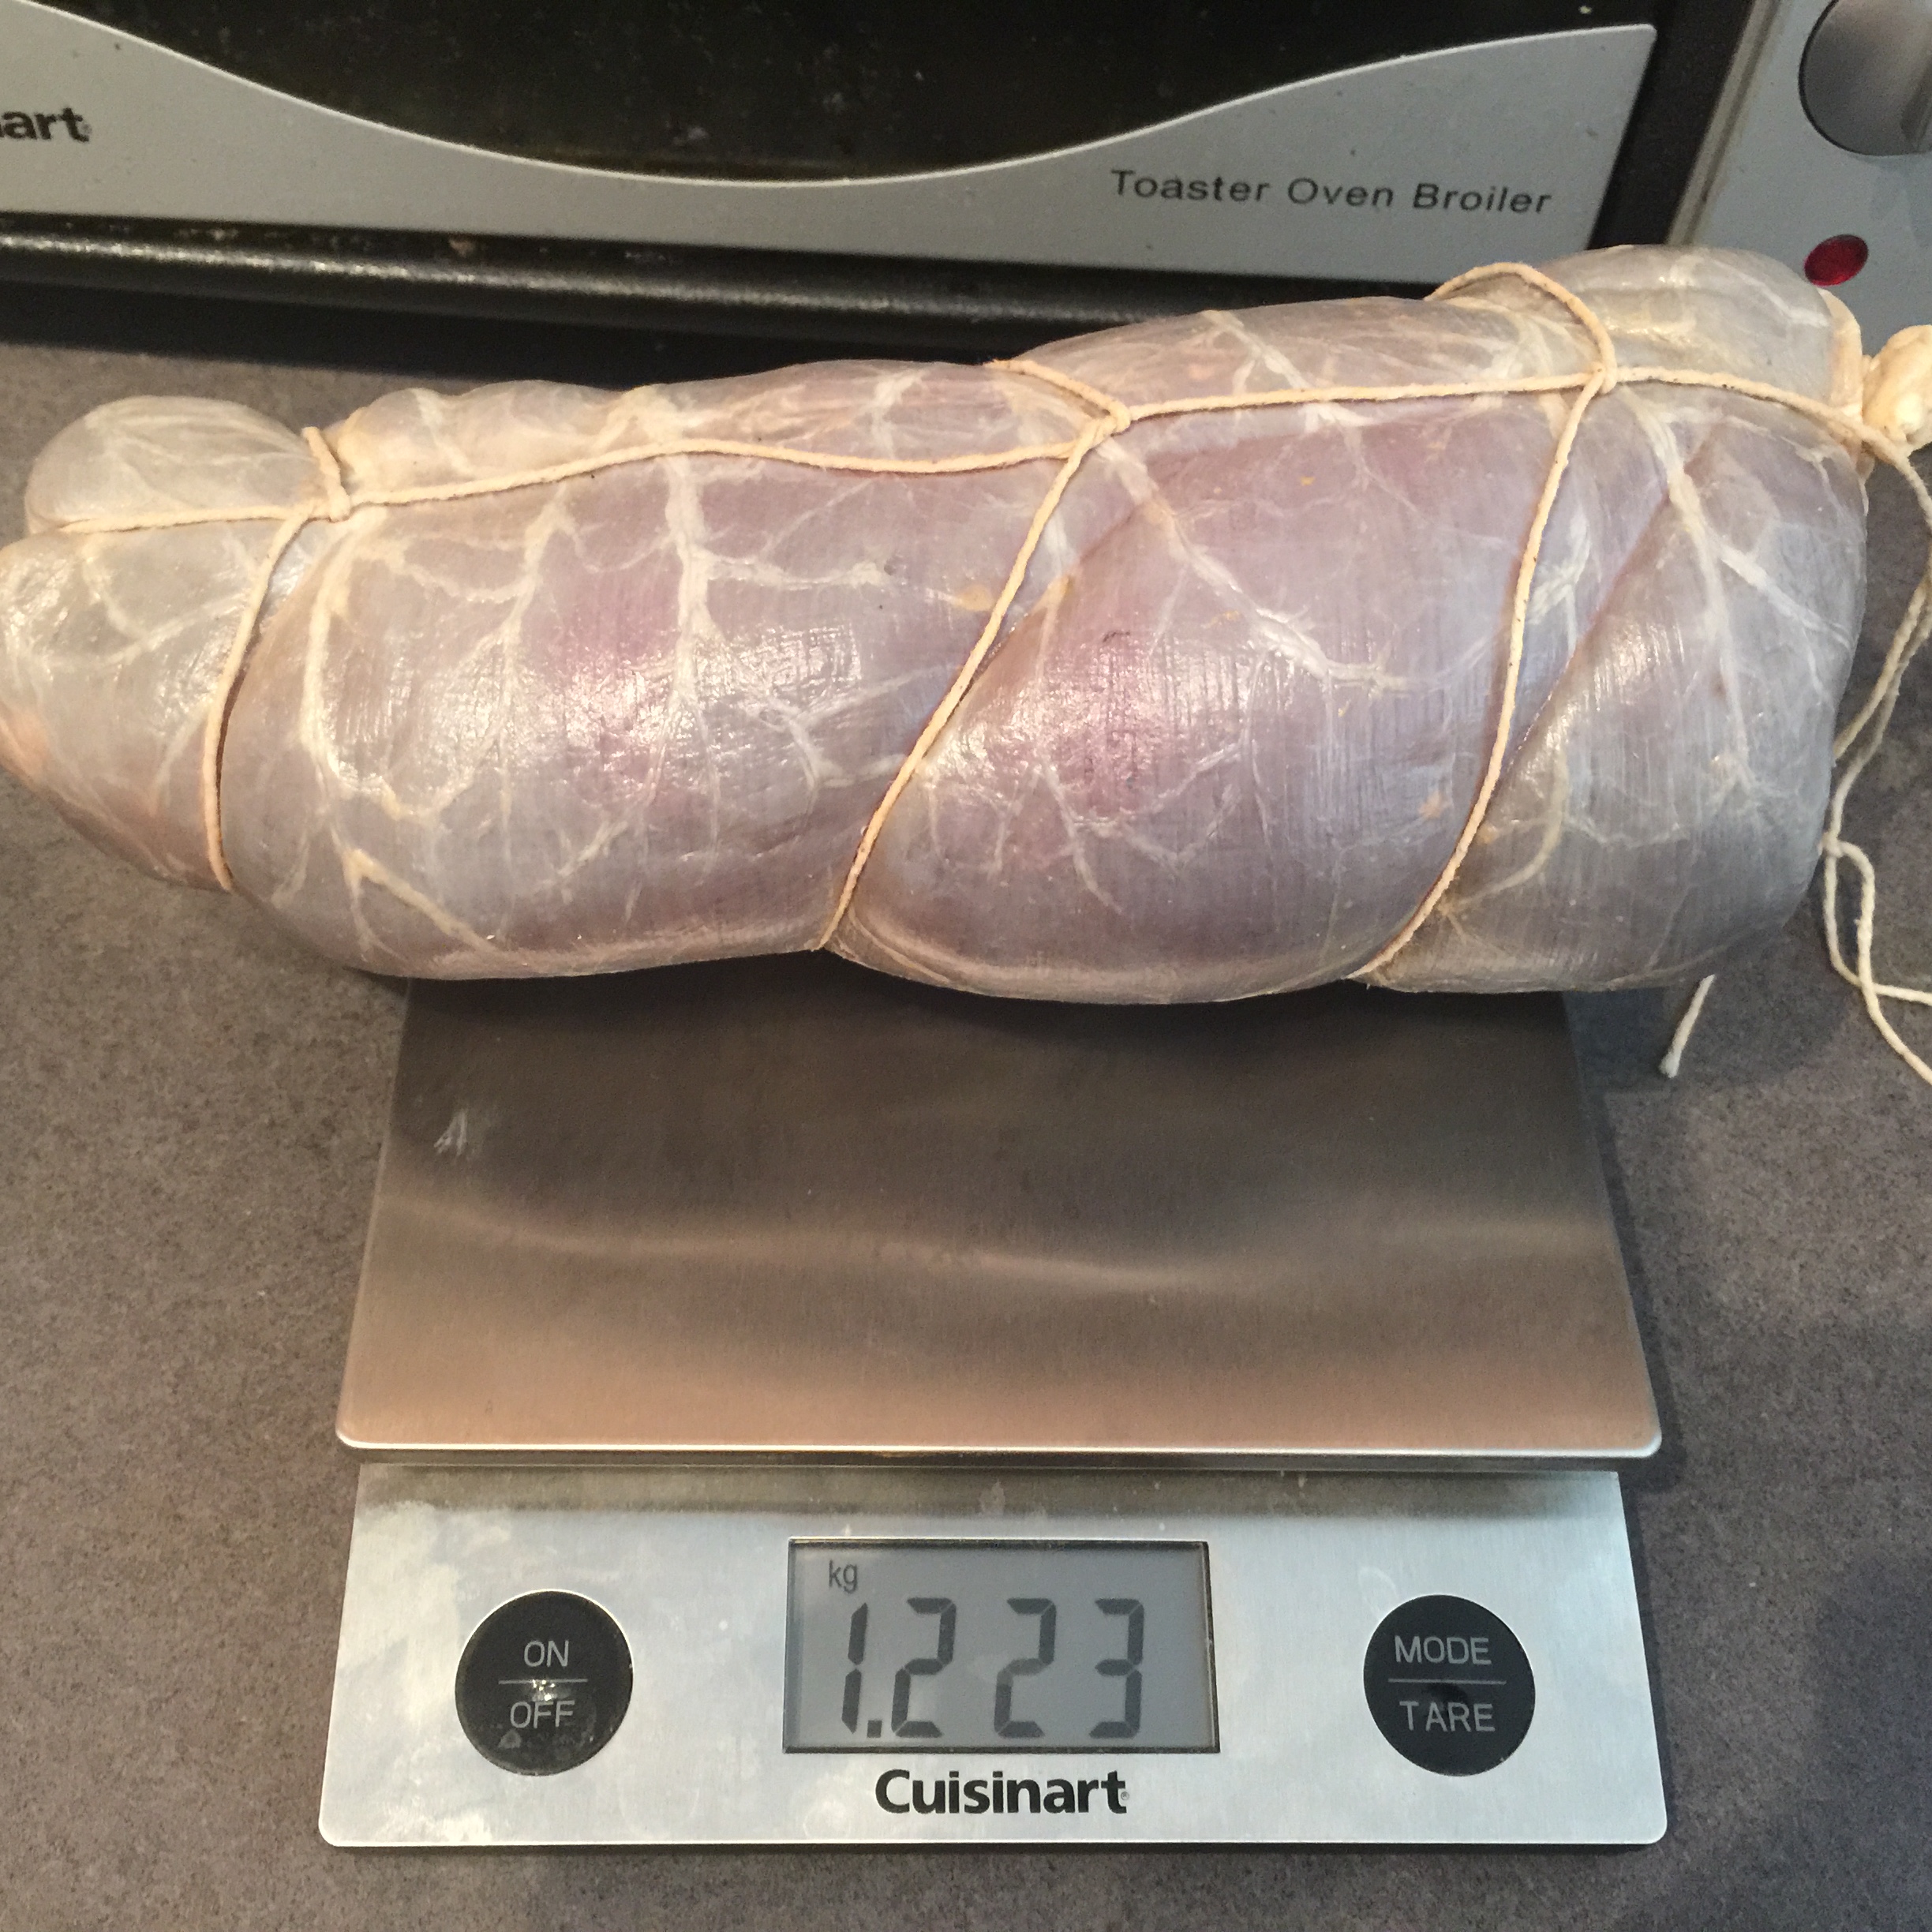
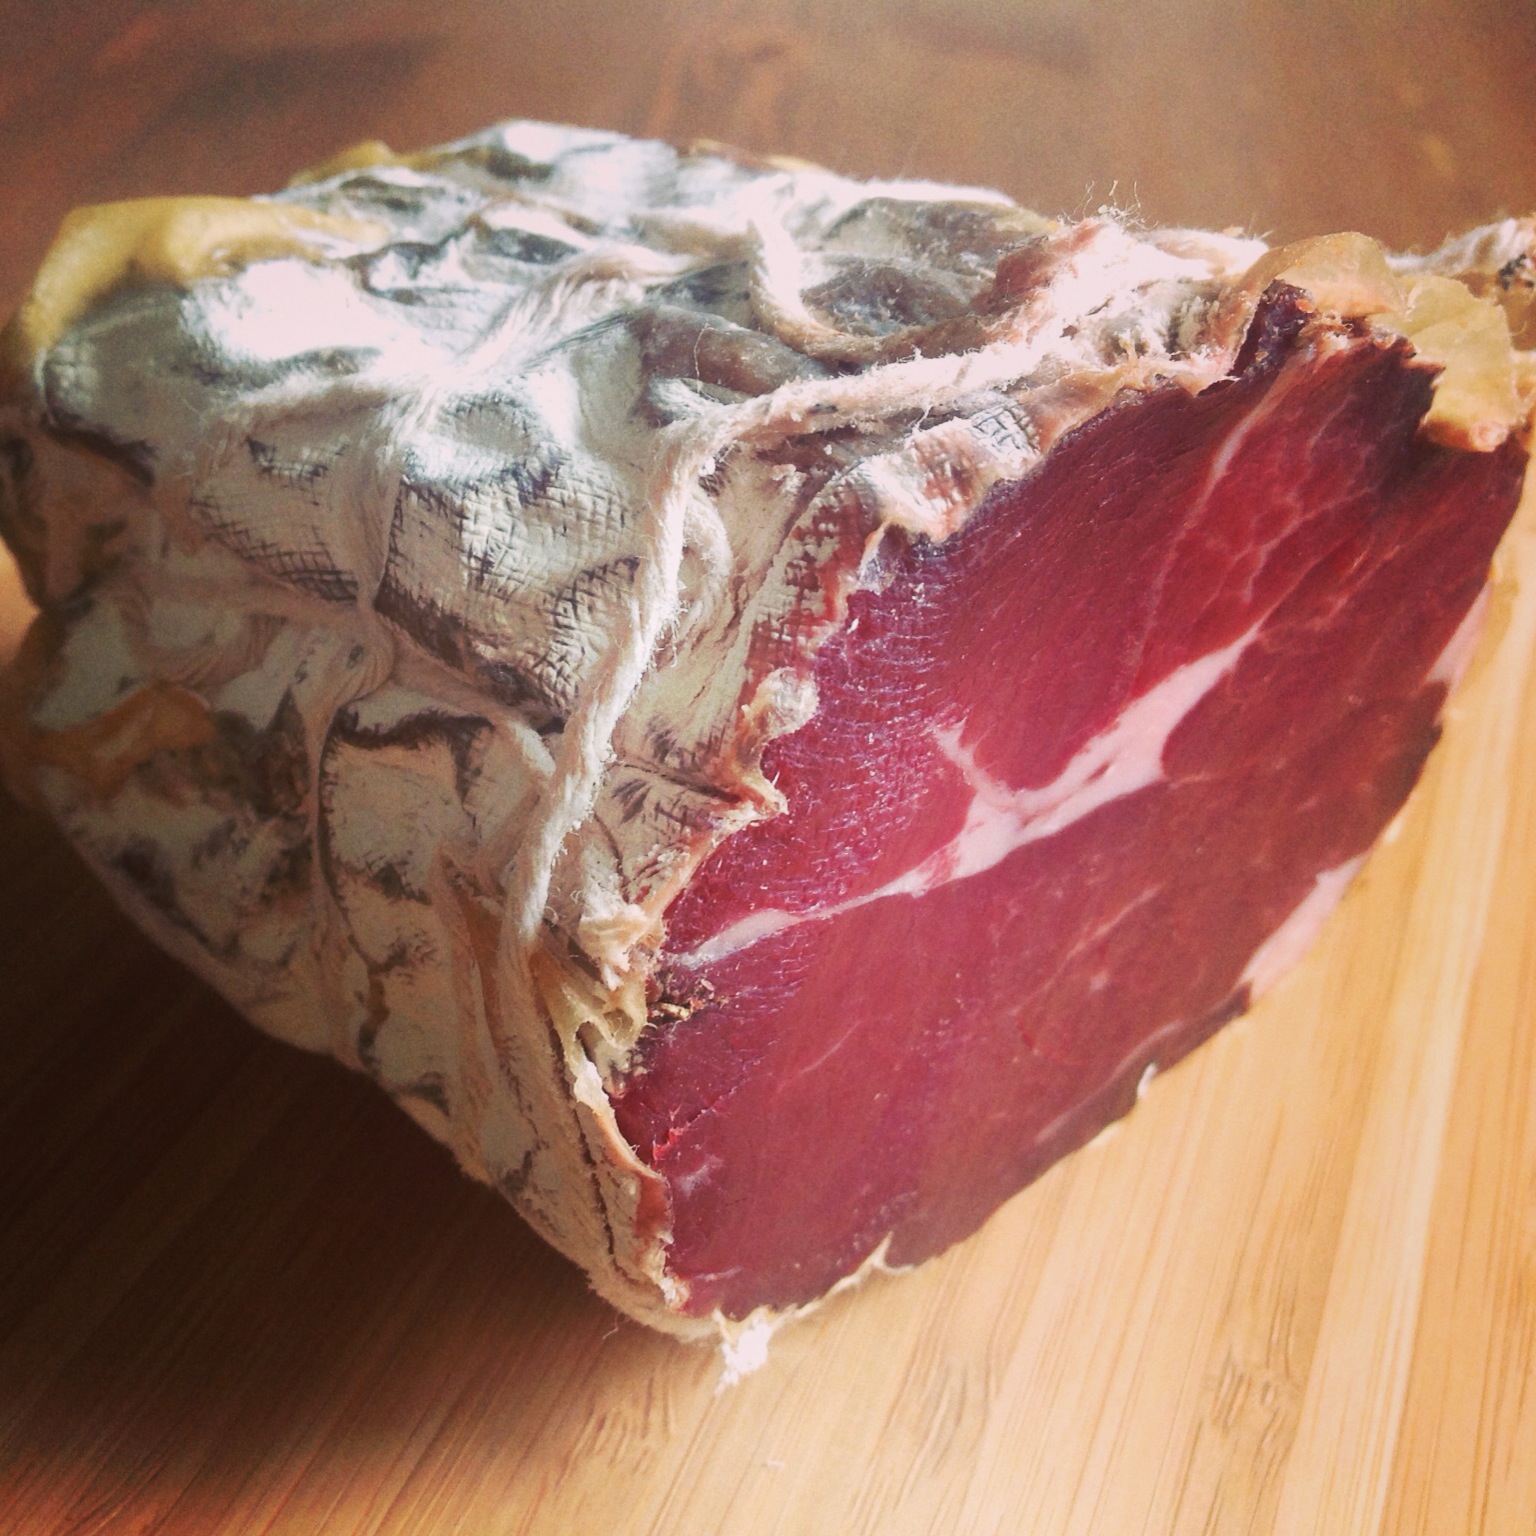
The meat was allowed to lose ~30% of its initial weight, and was pulled from the chamber.
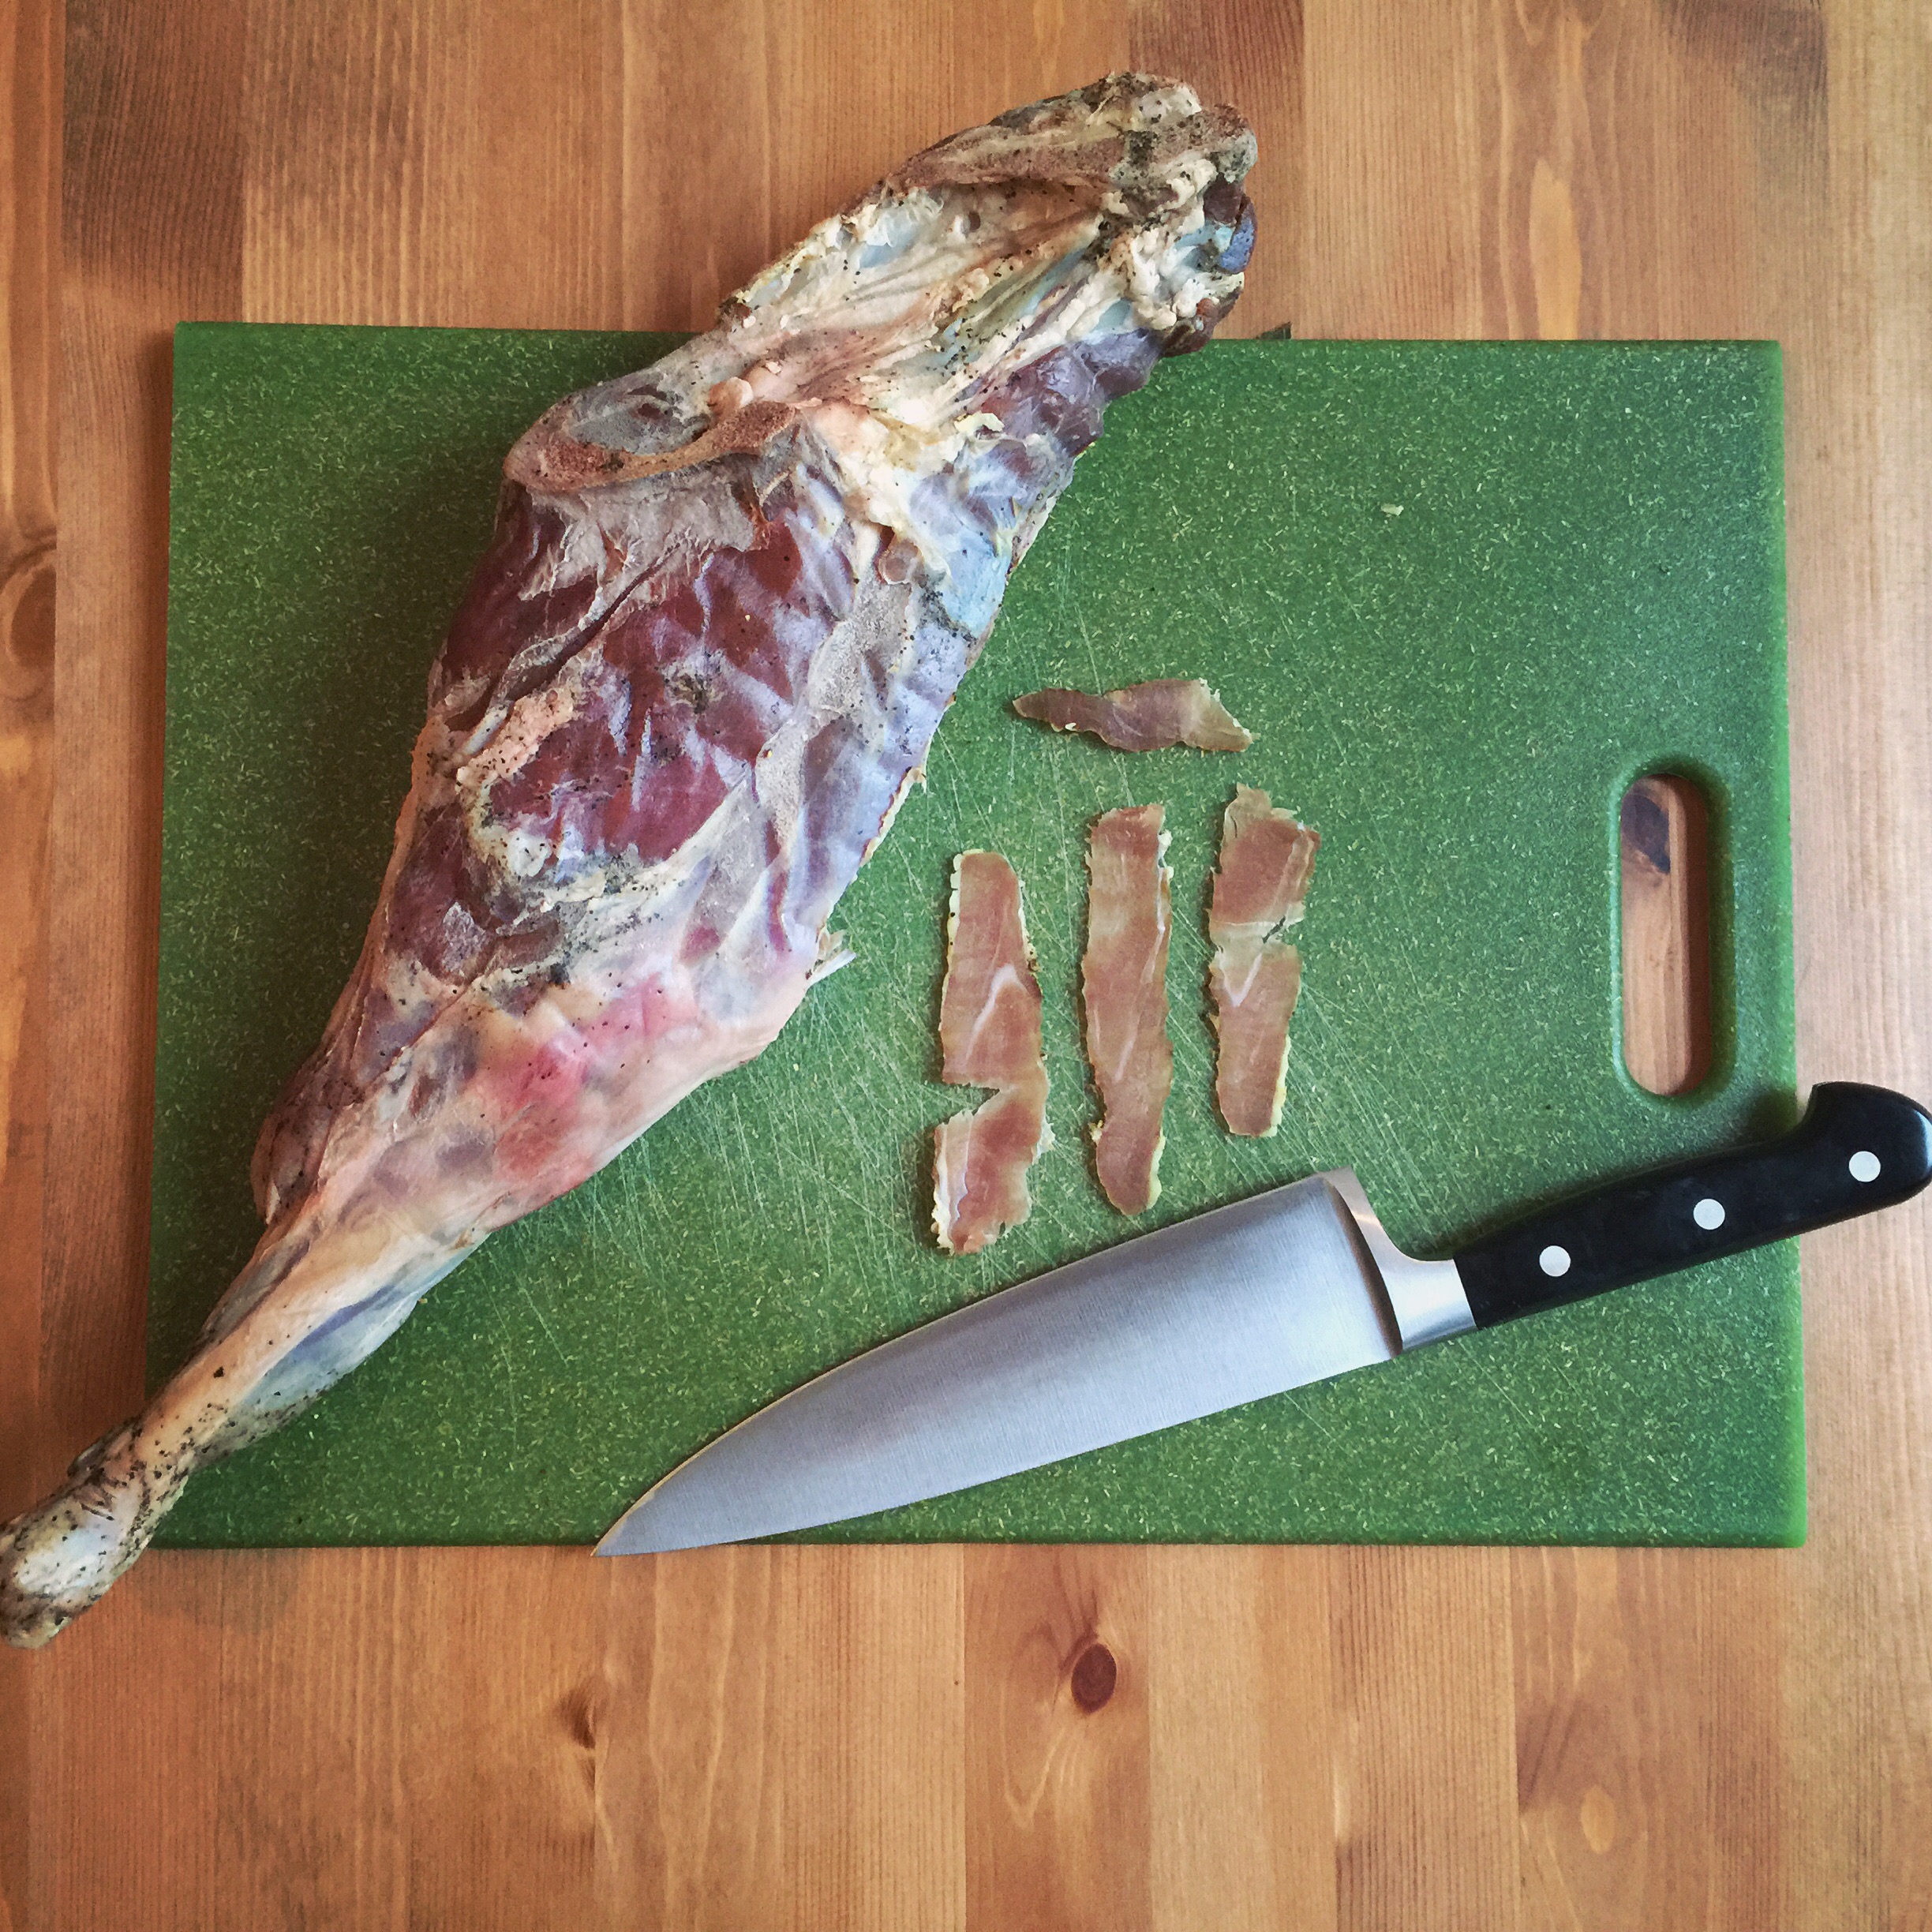
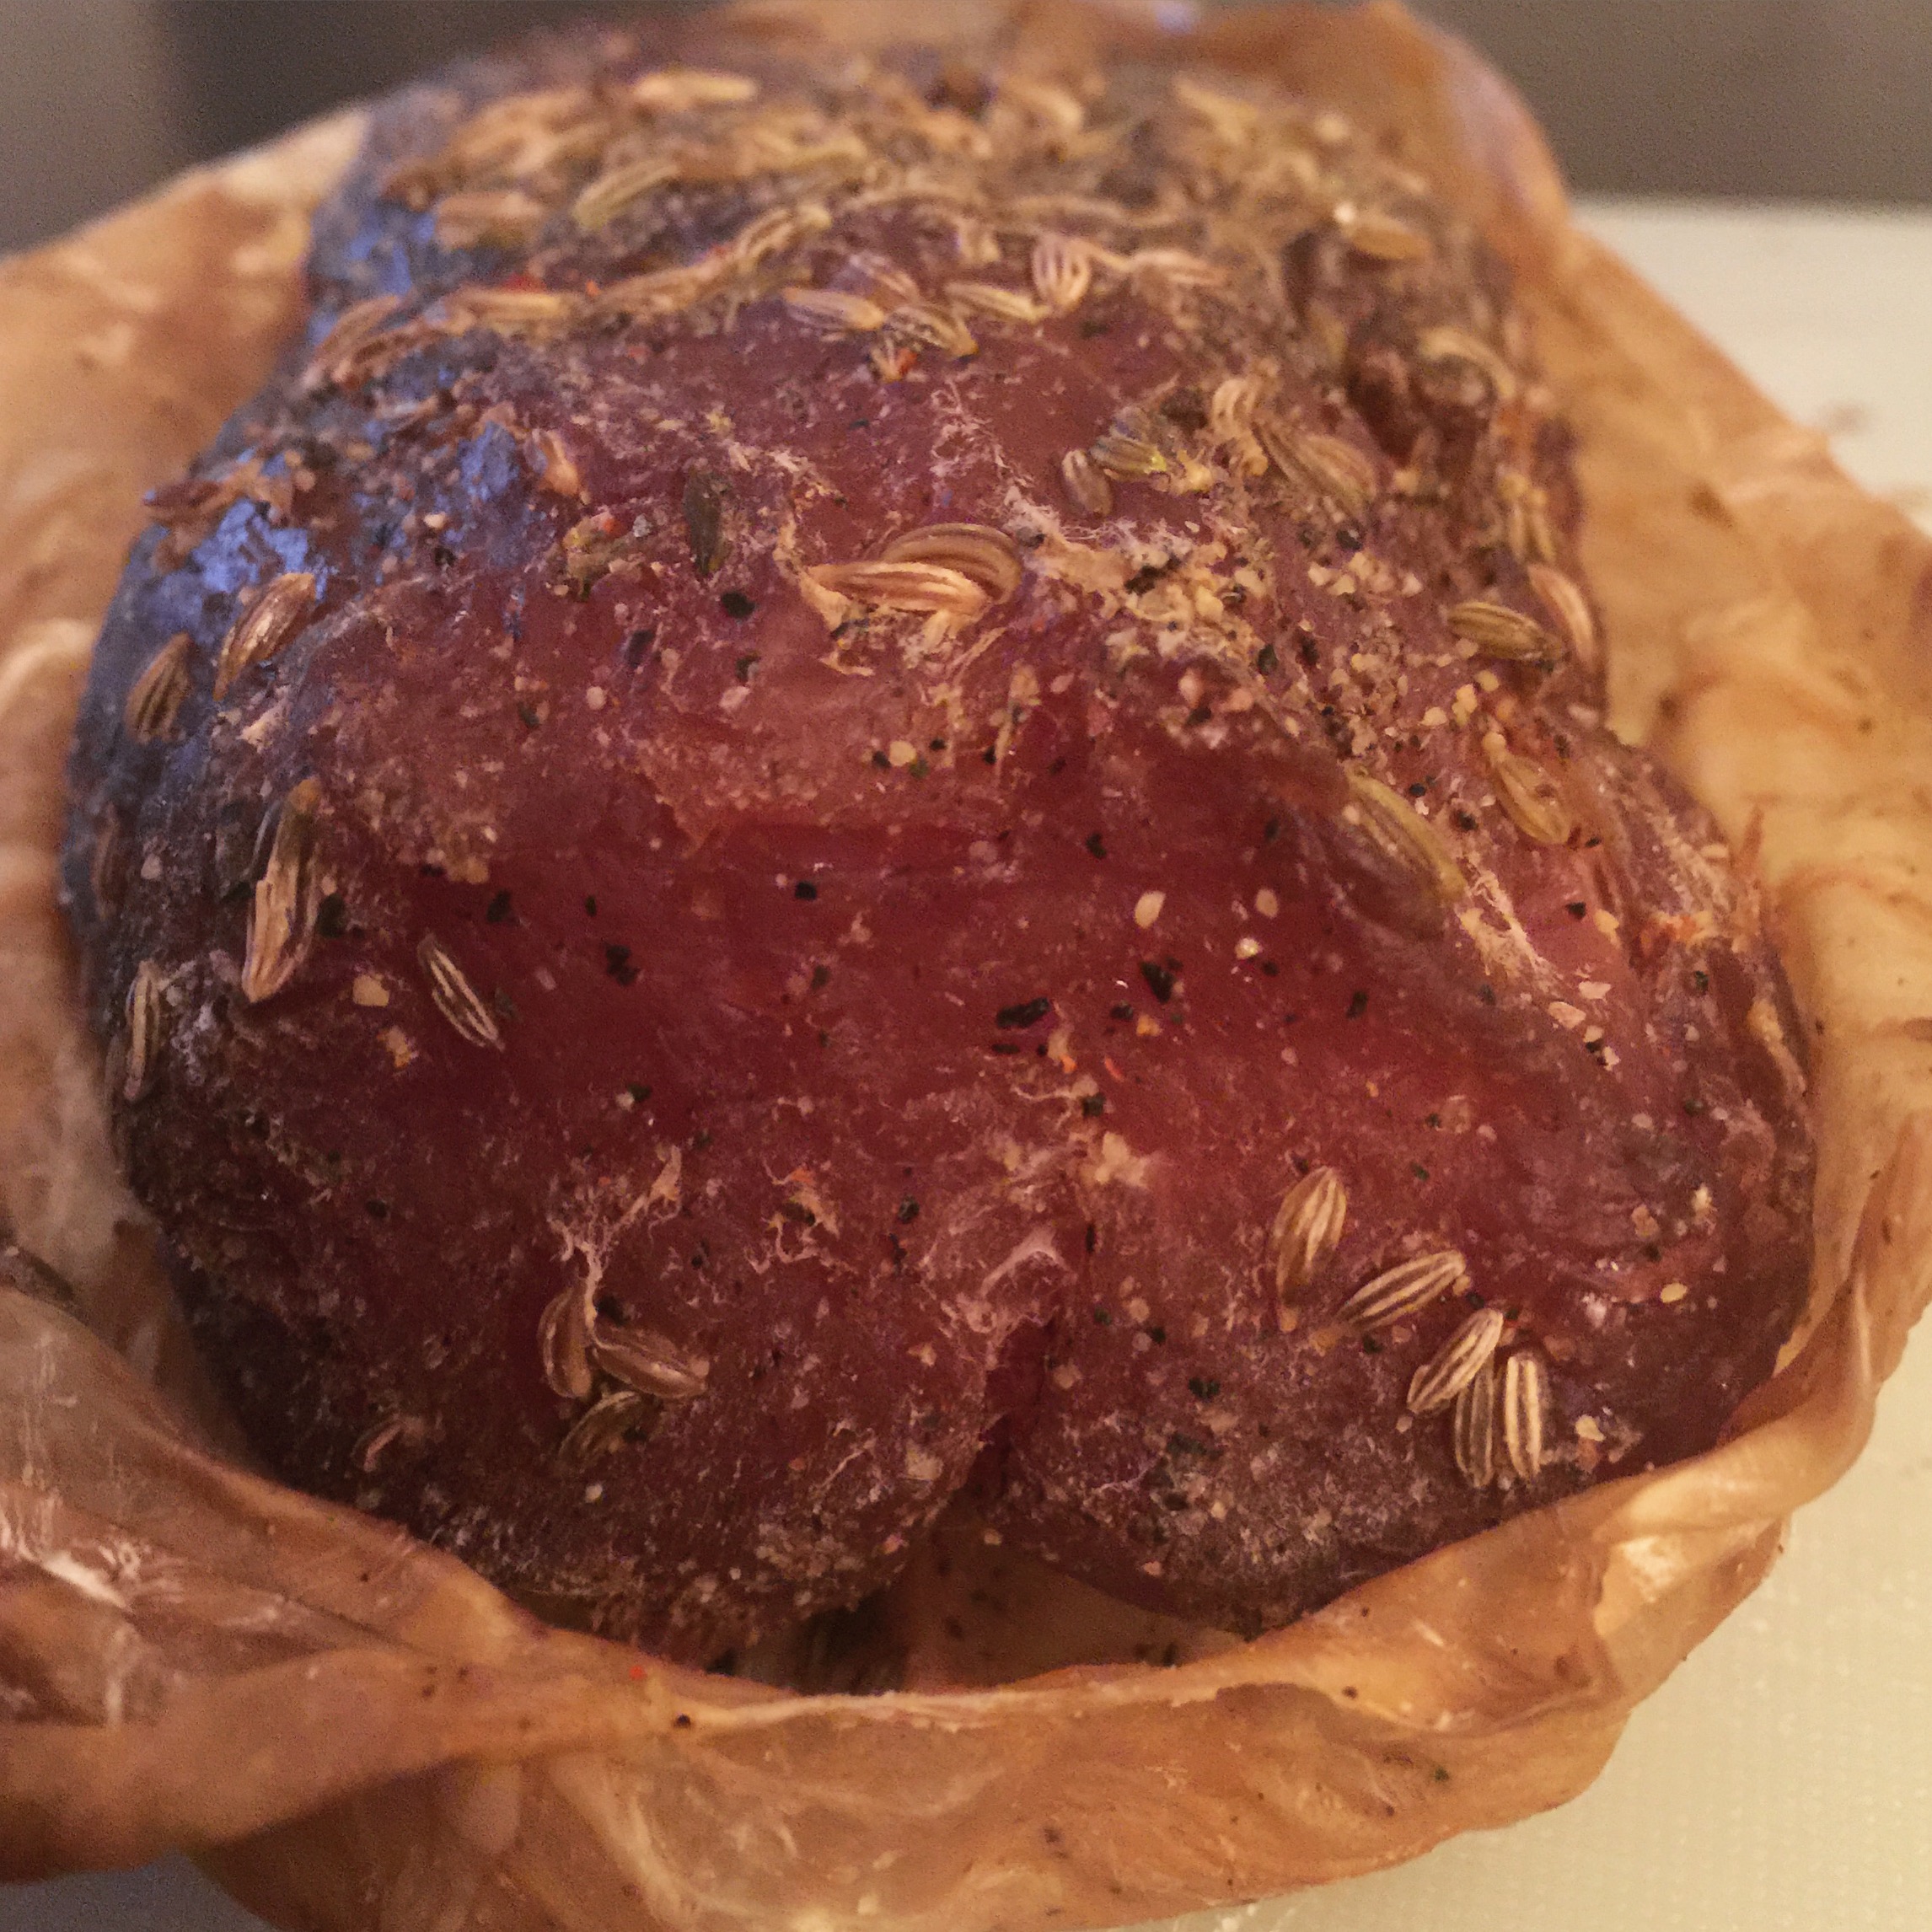
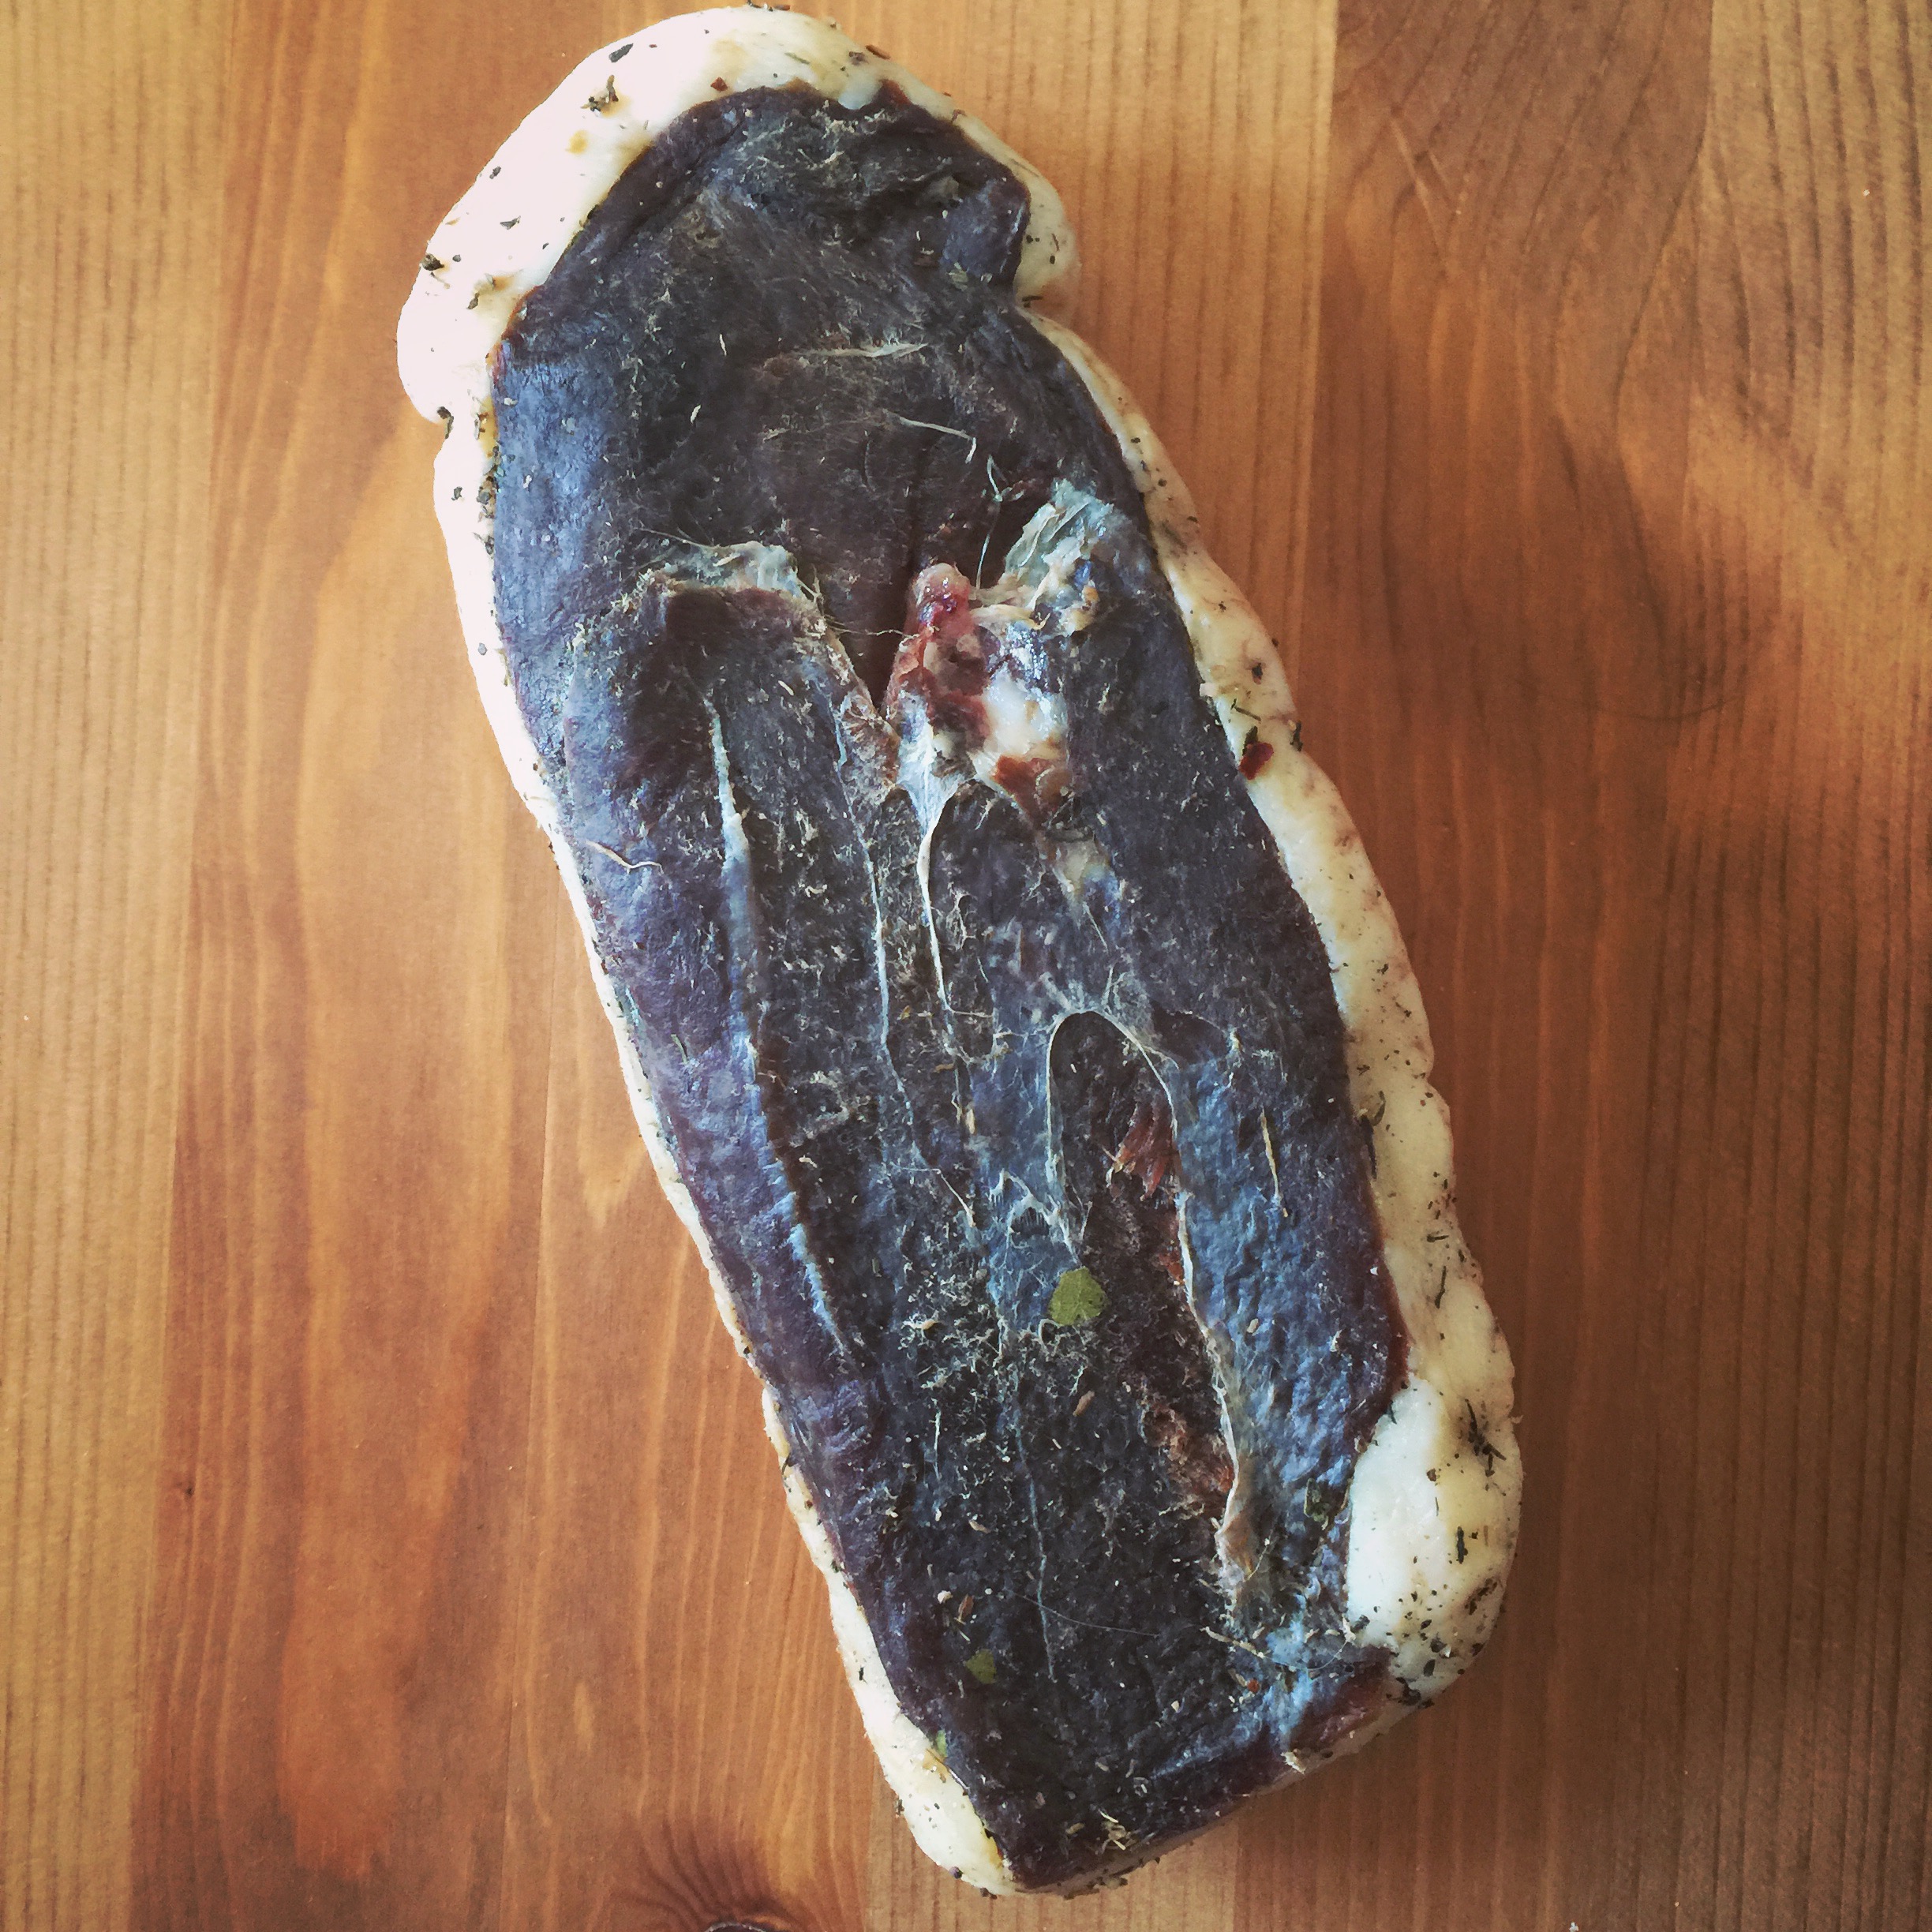
It was taken out of its casing, rinsed off with white vinegar, and patted dry.

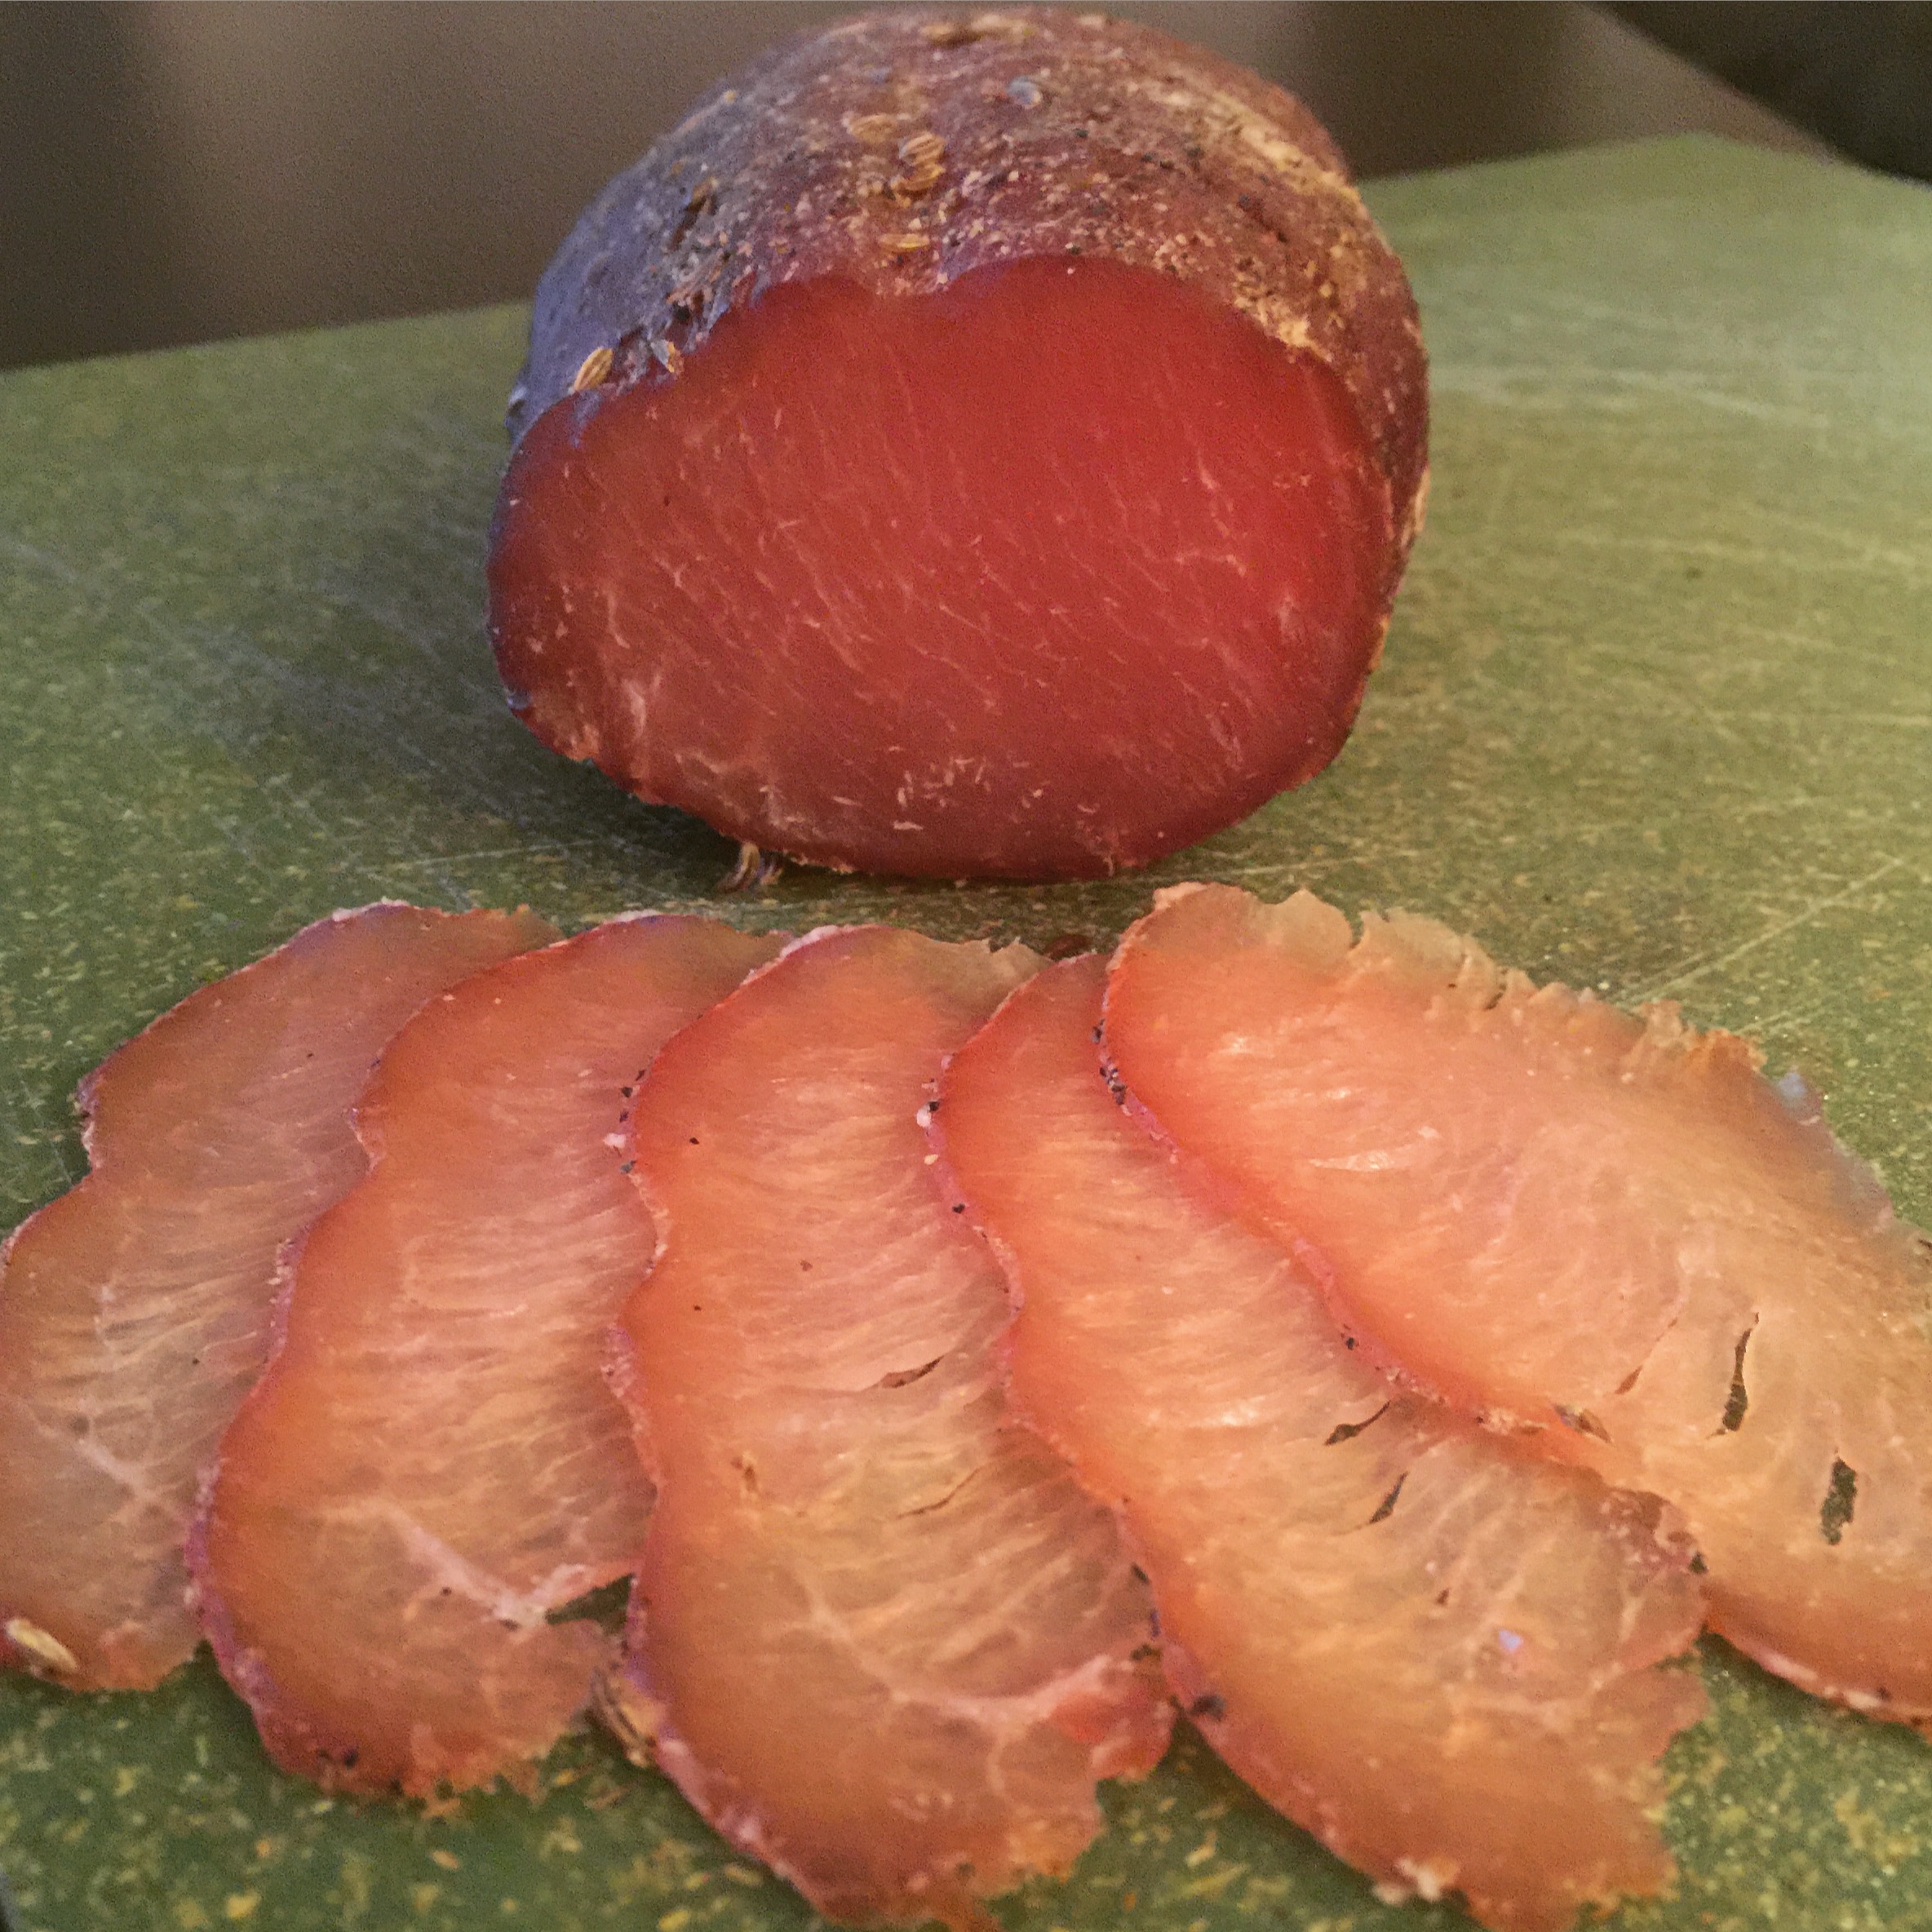
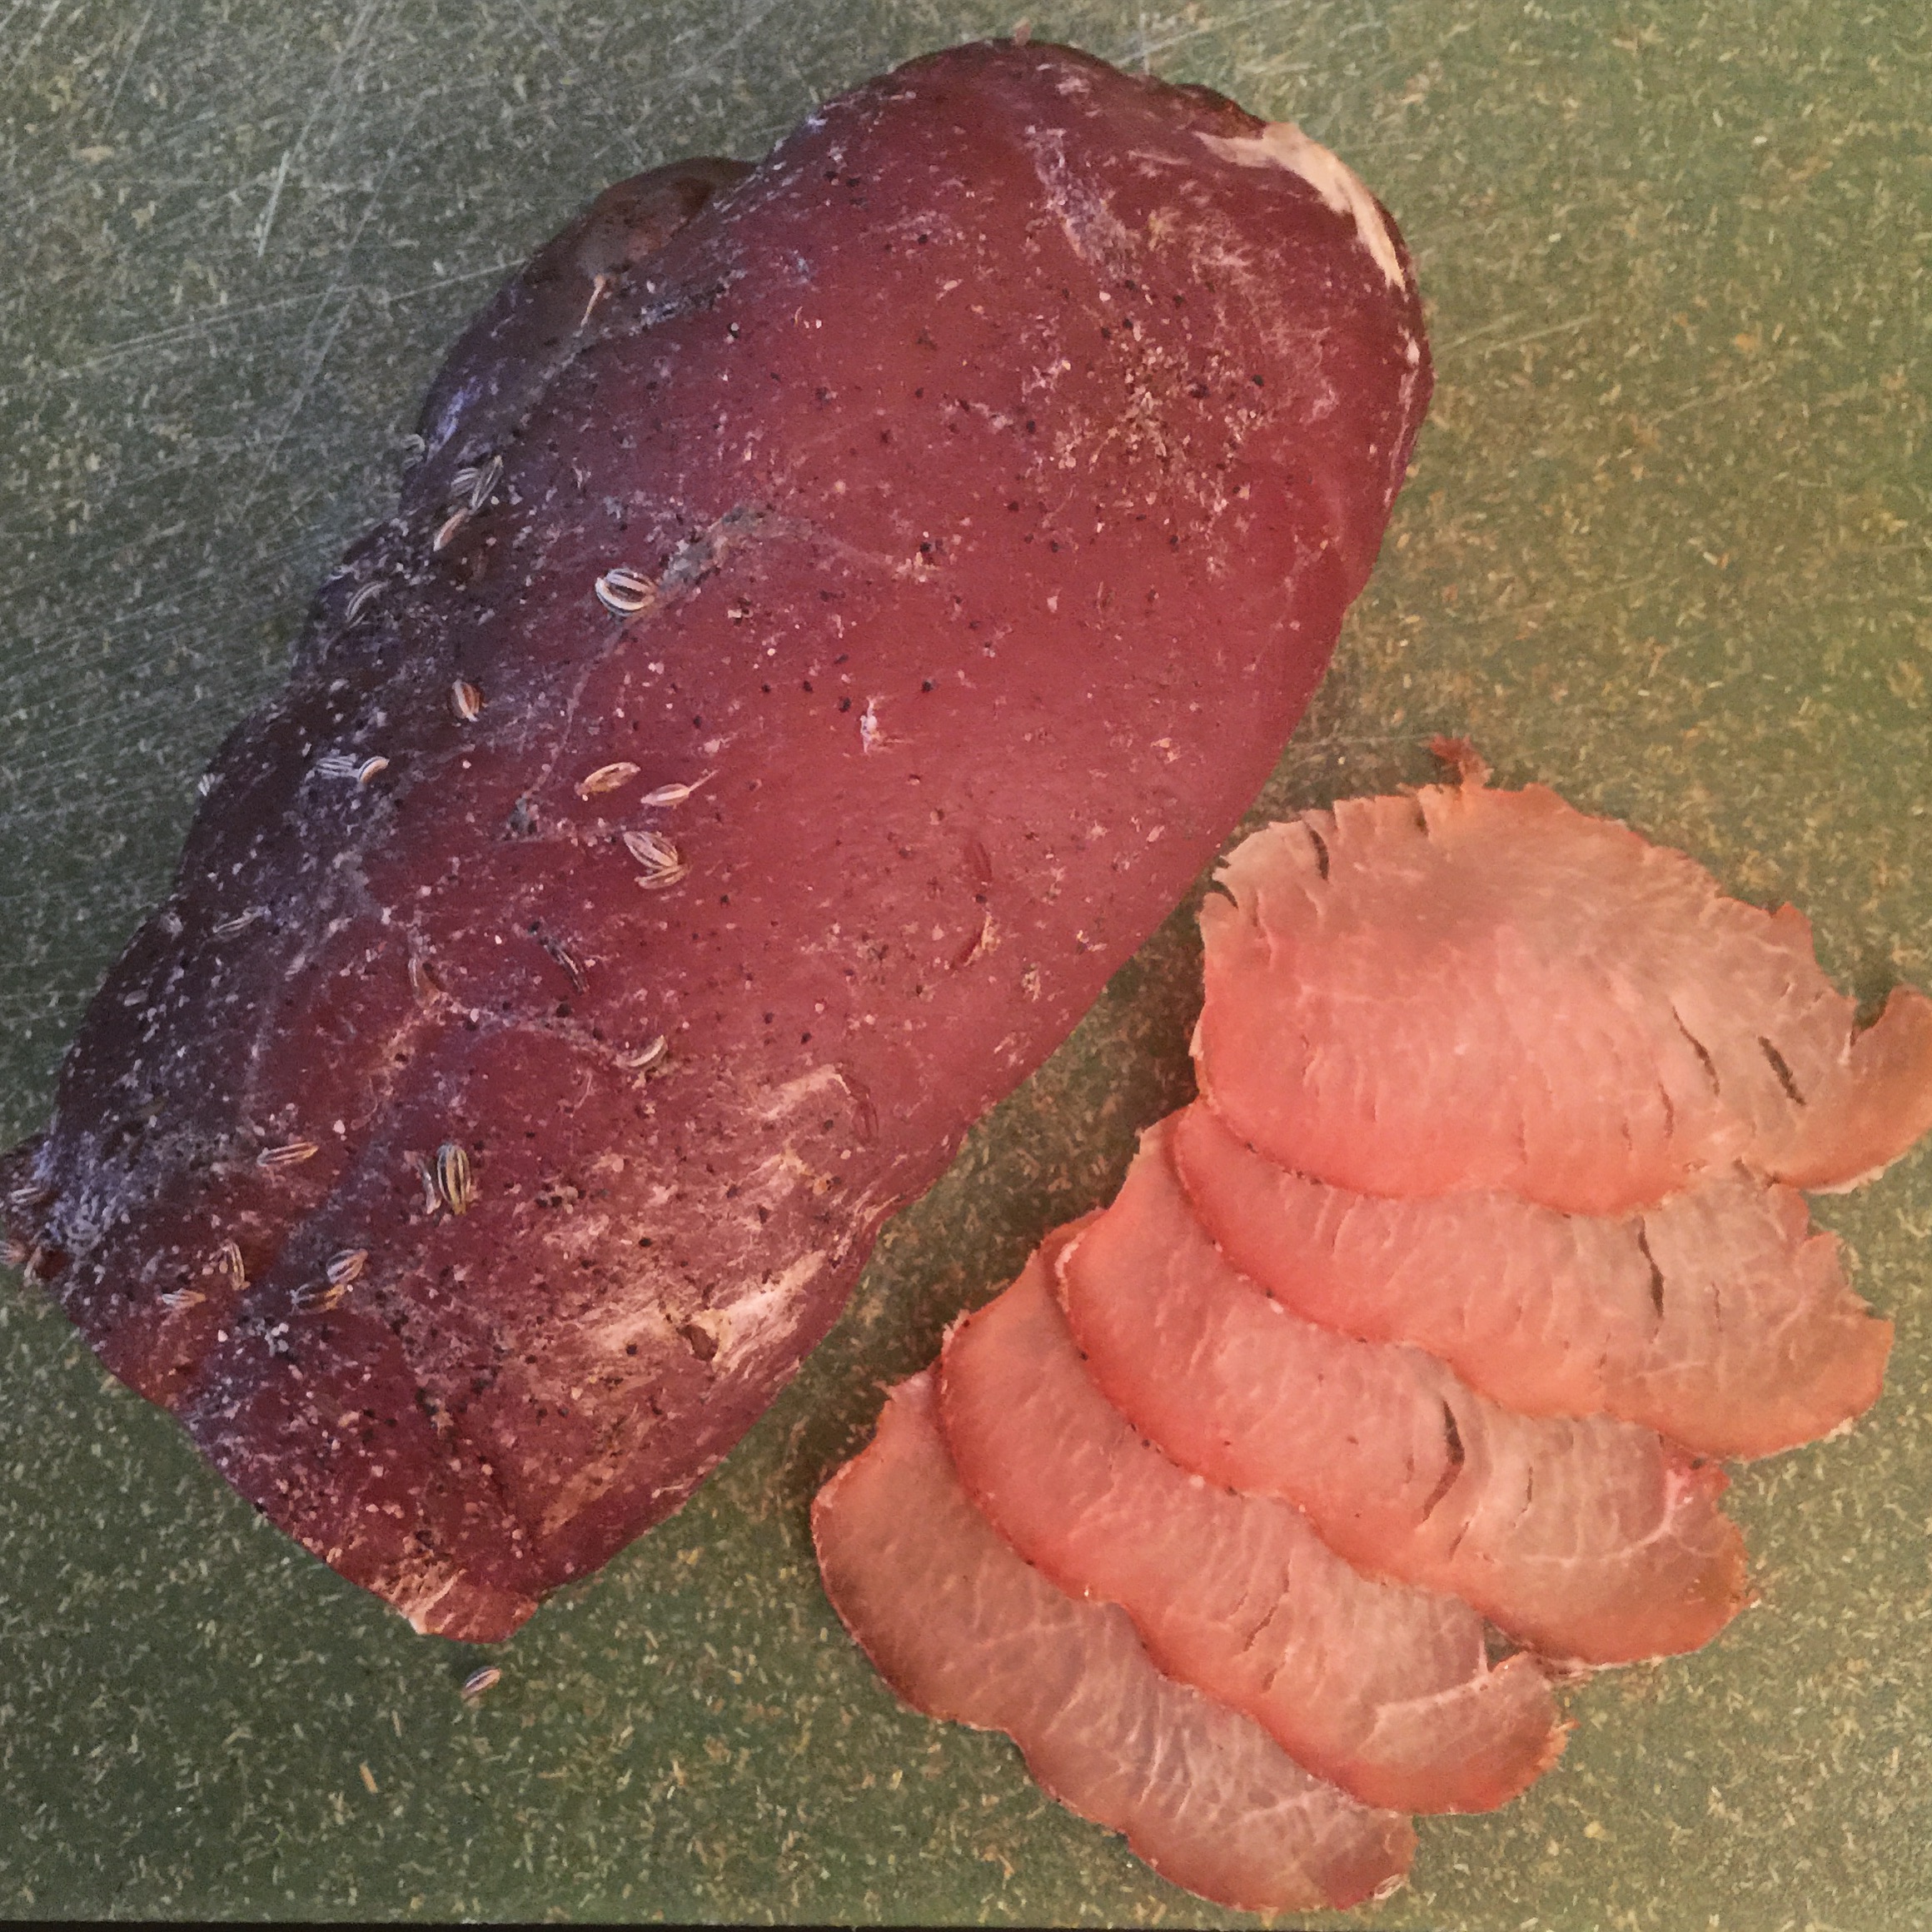
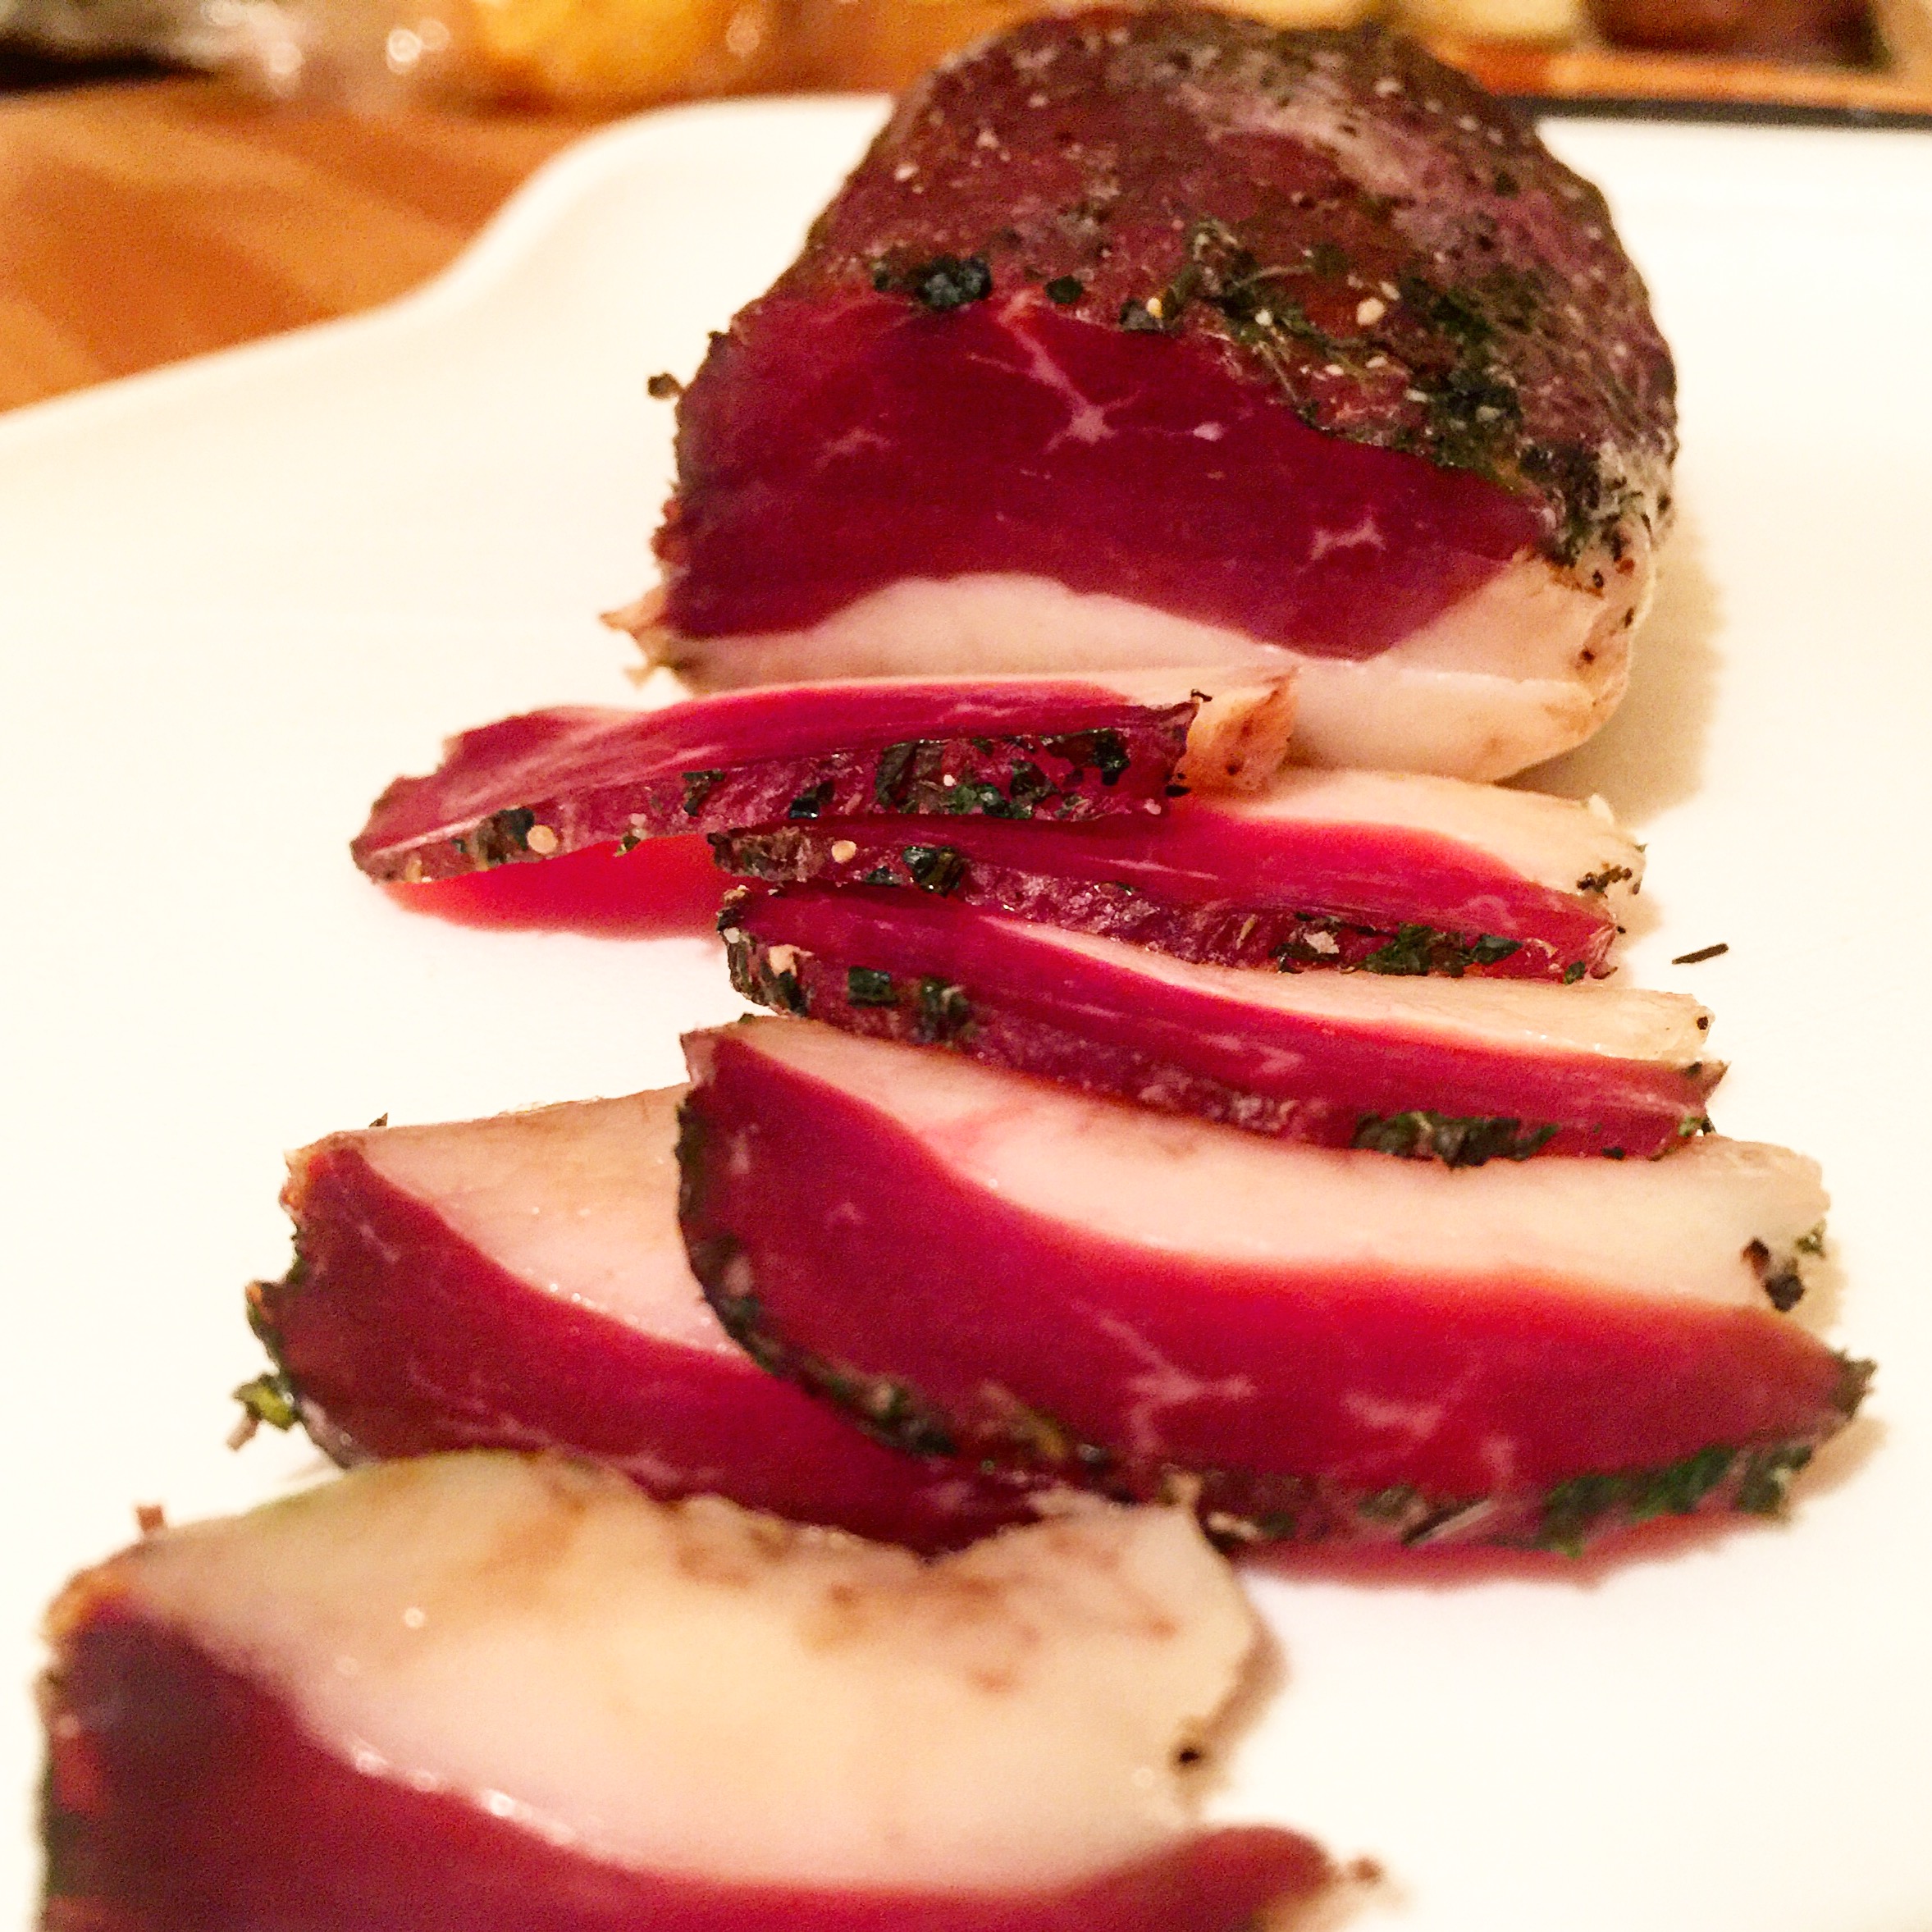
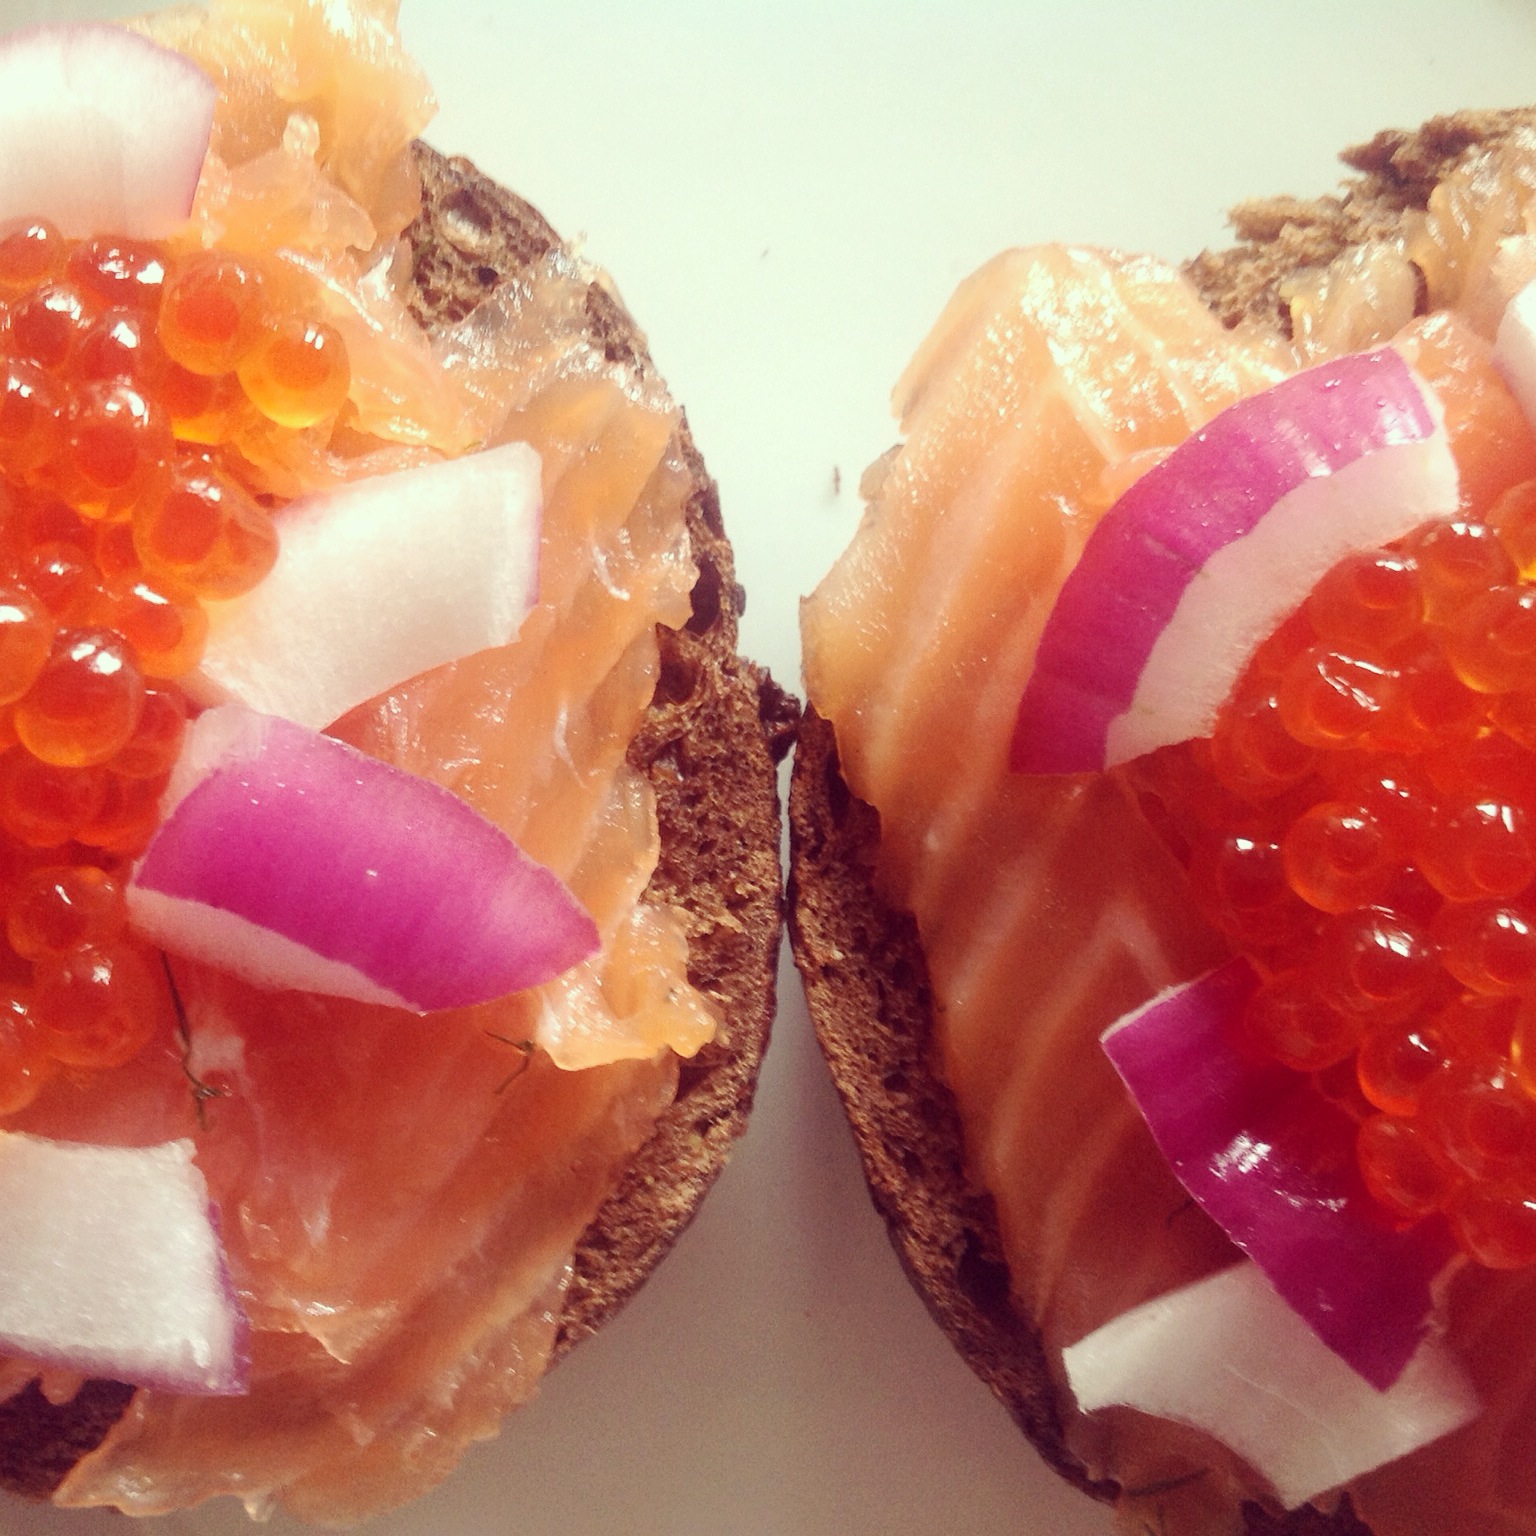
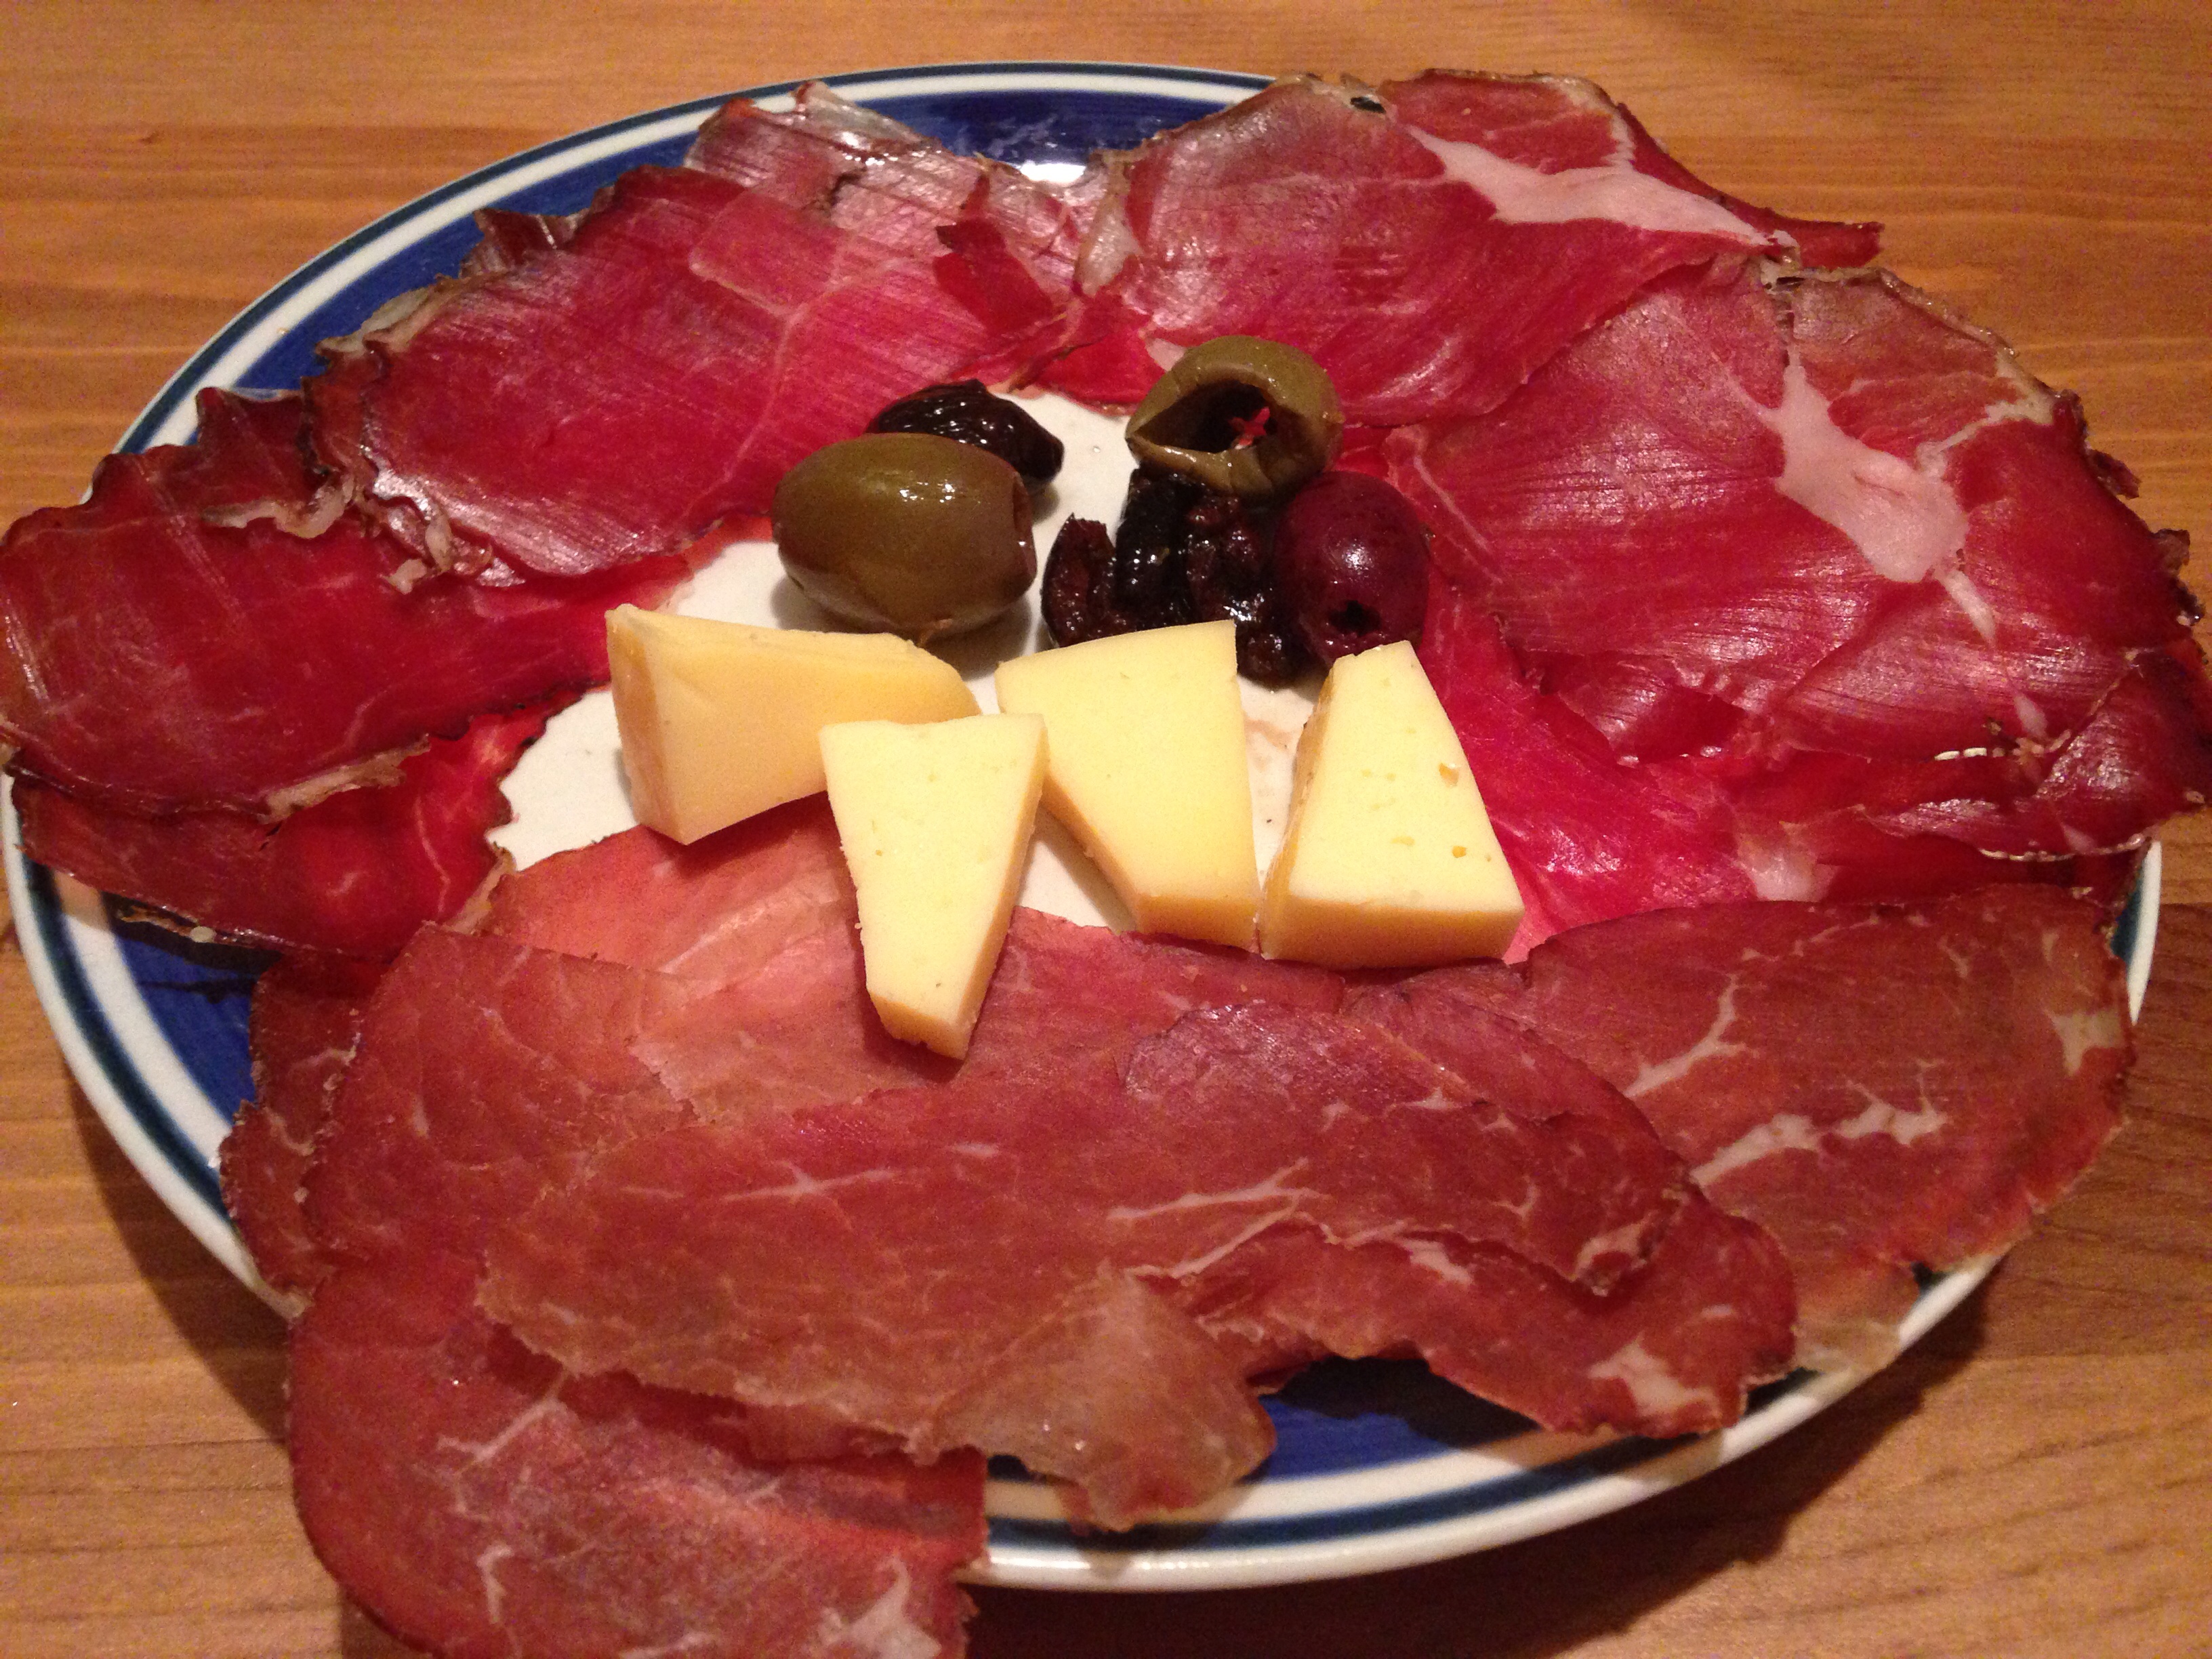
Tasting:
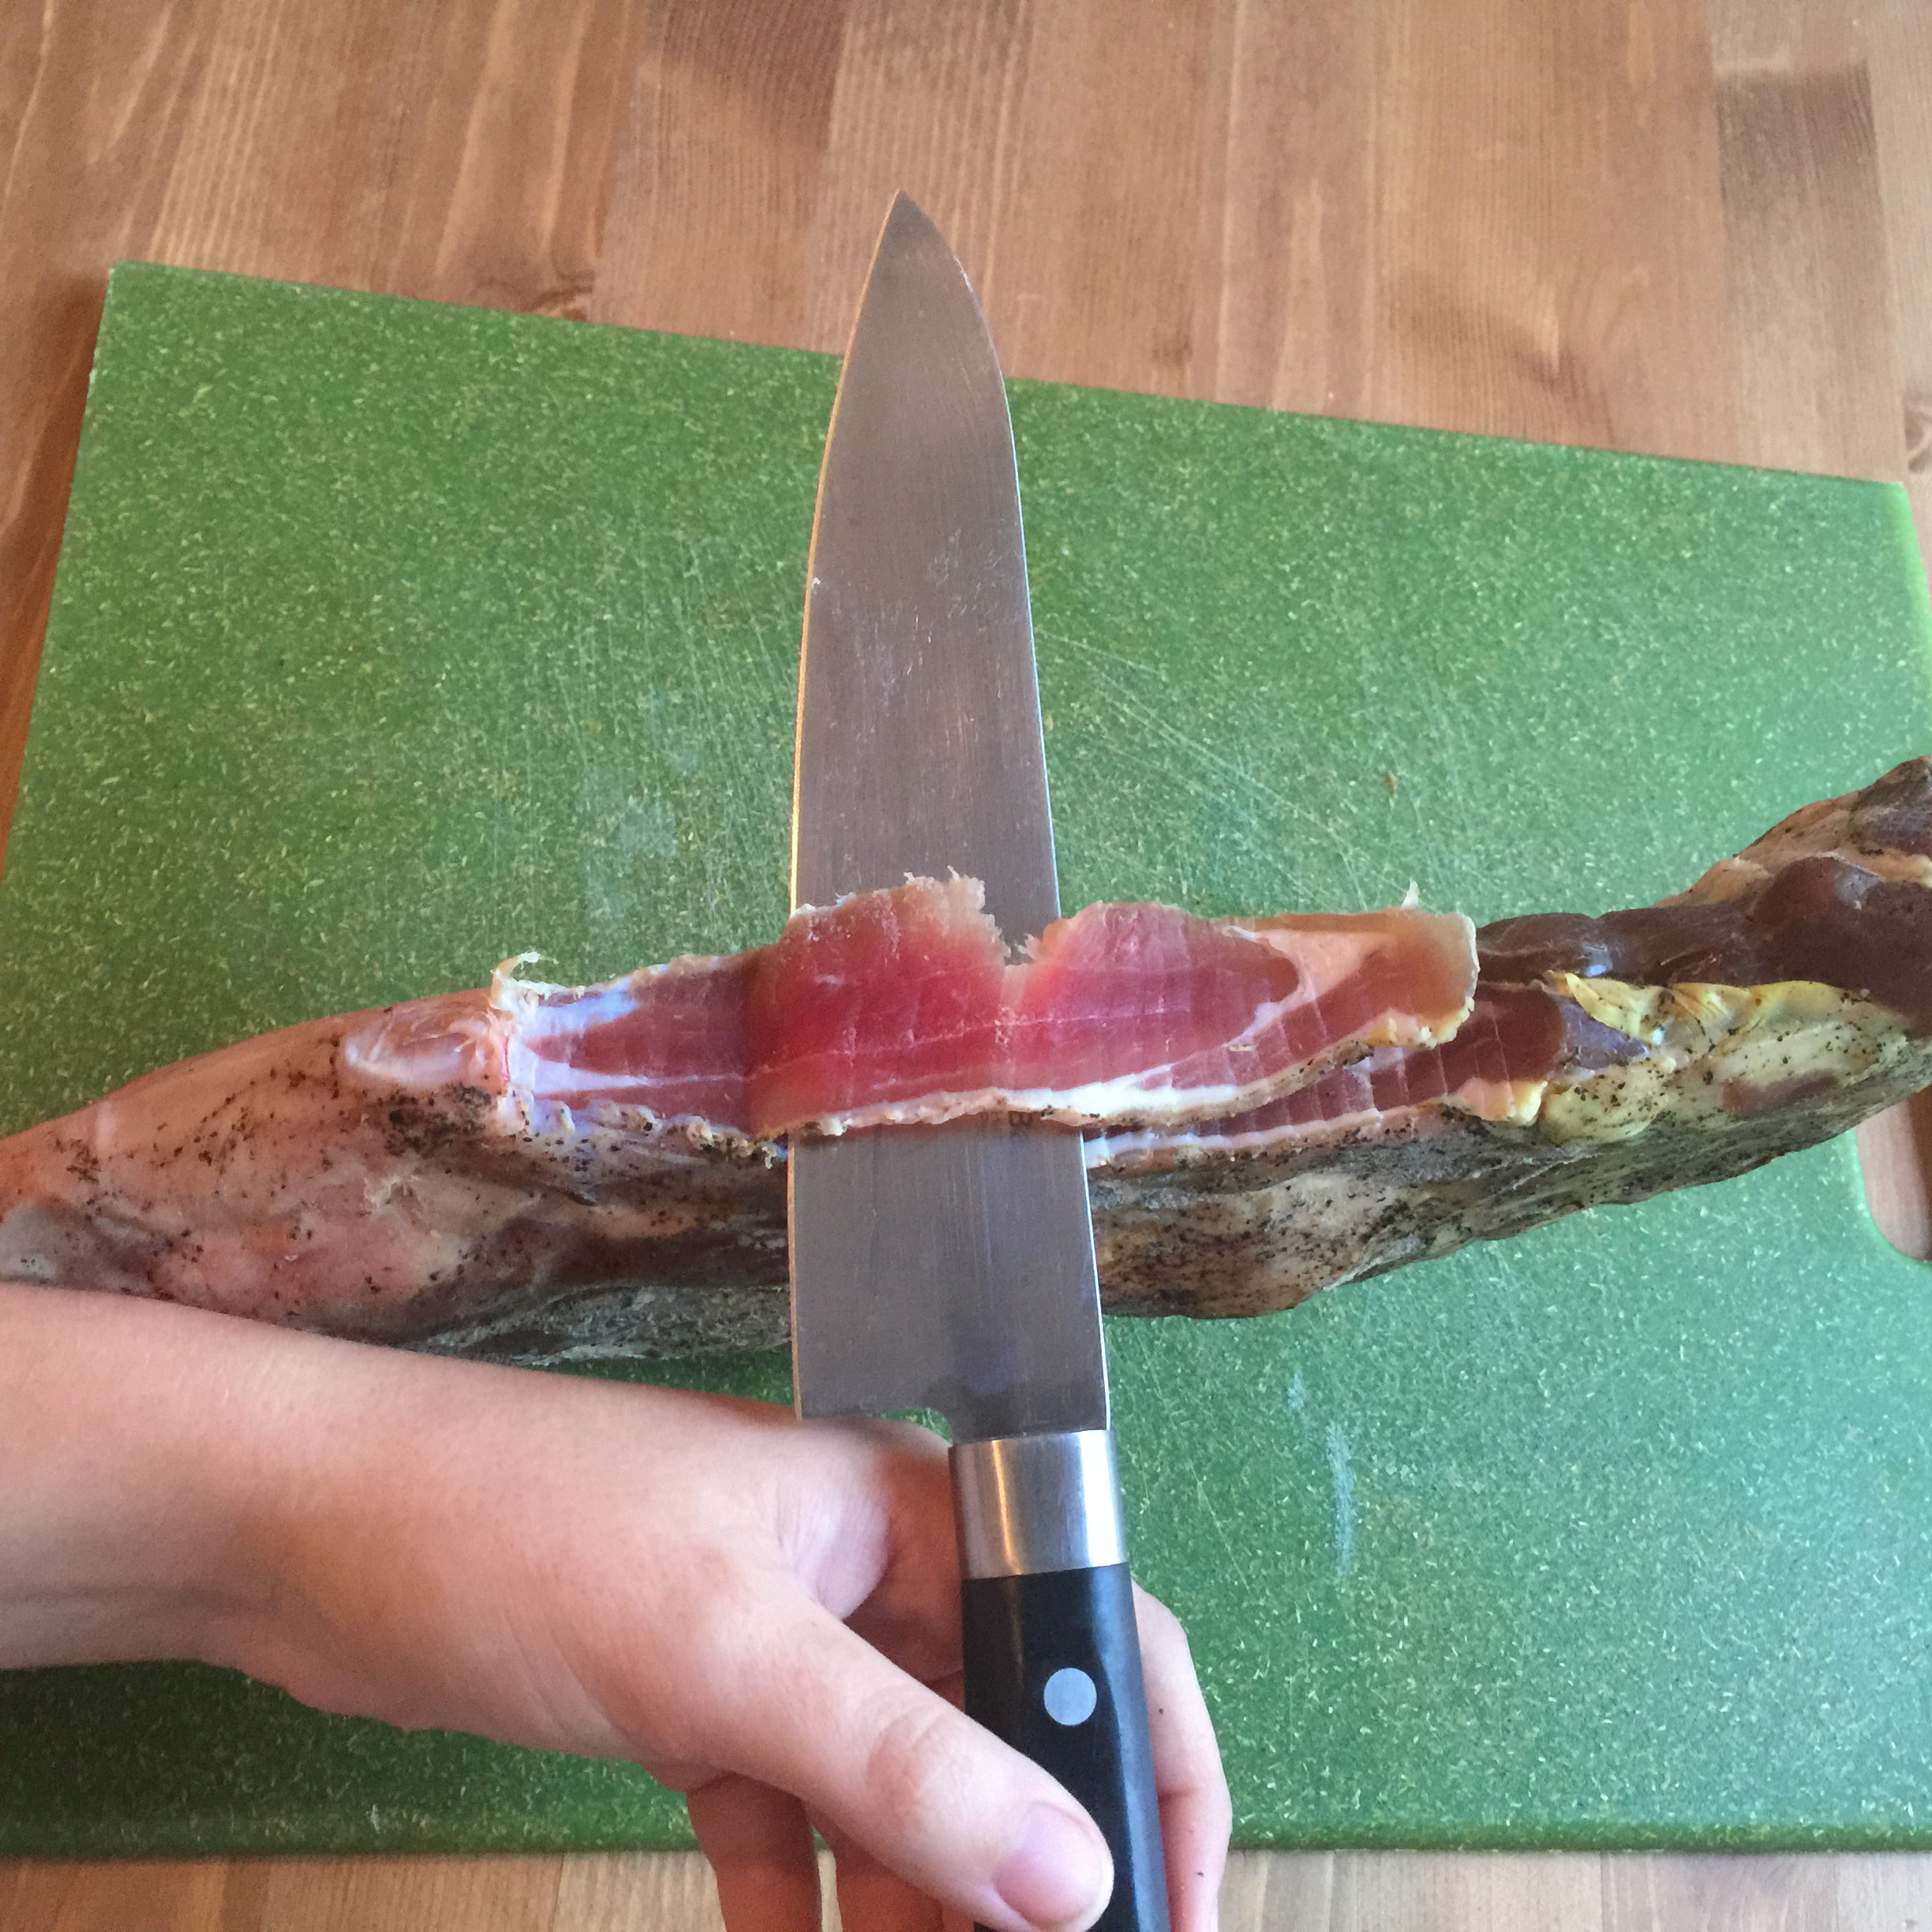
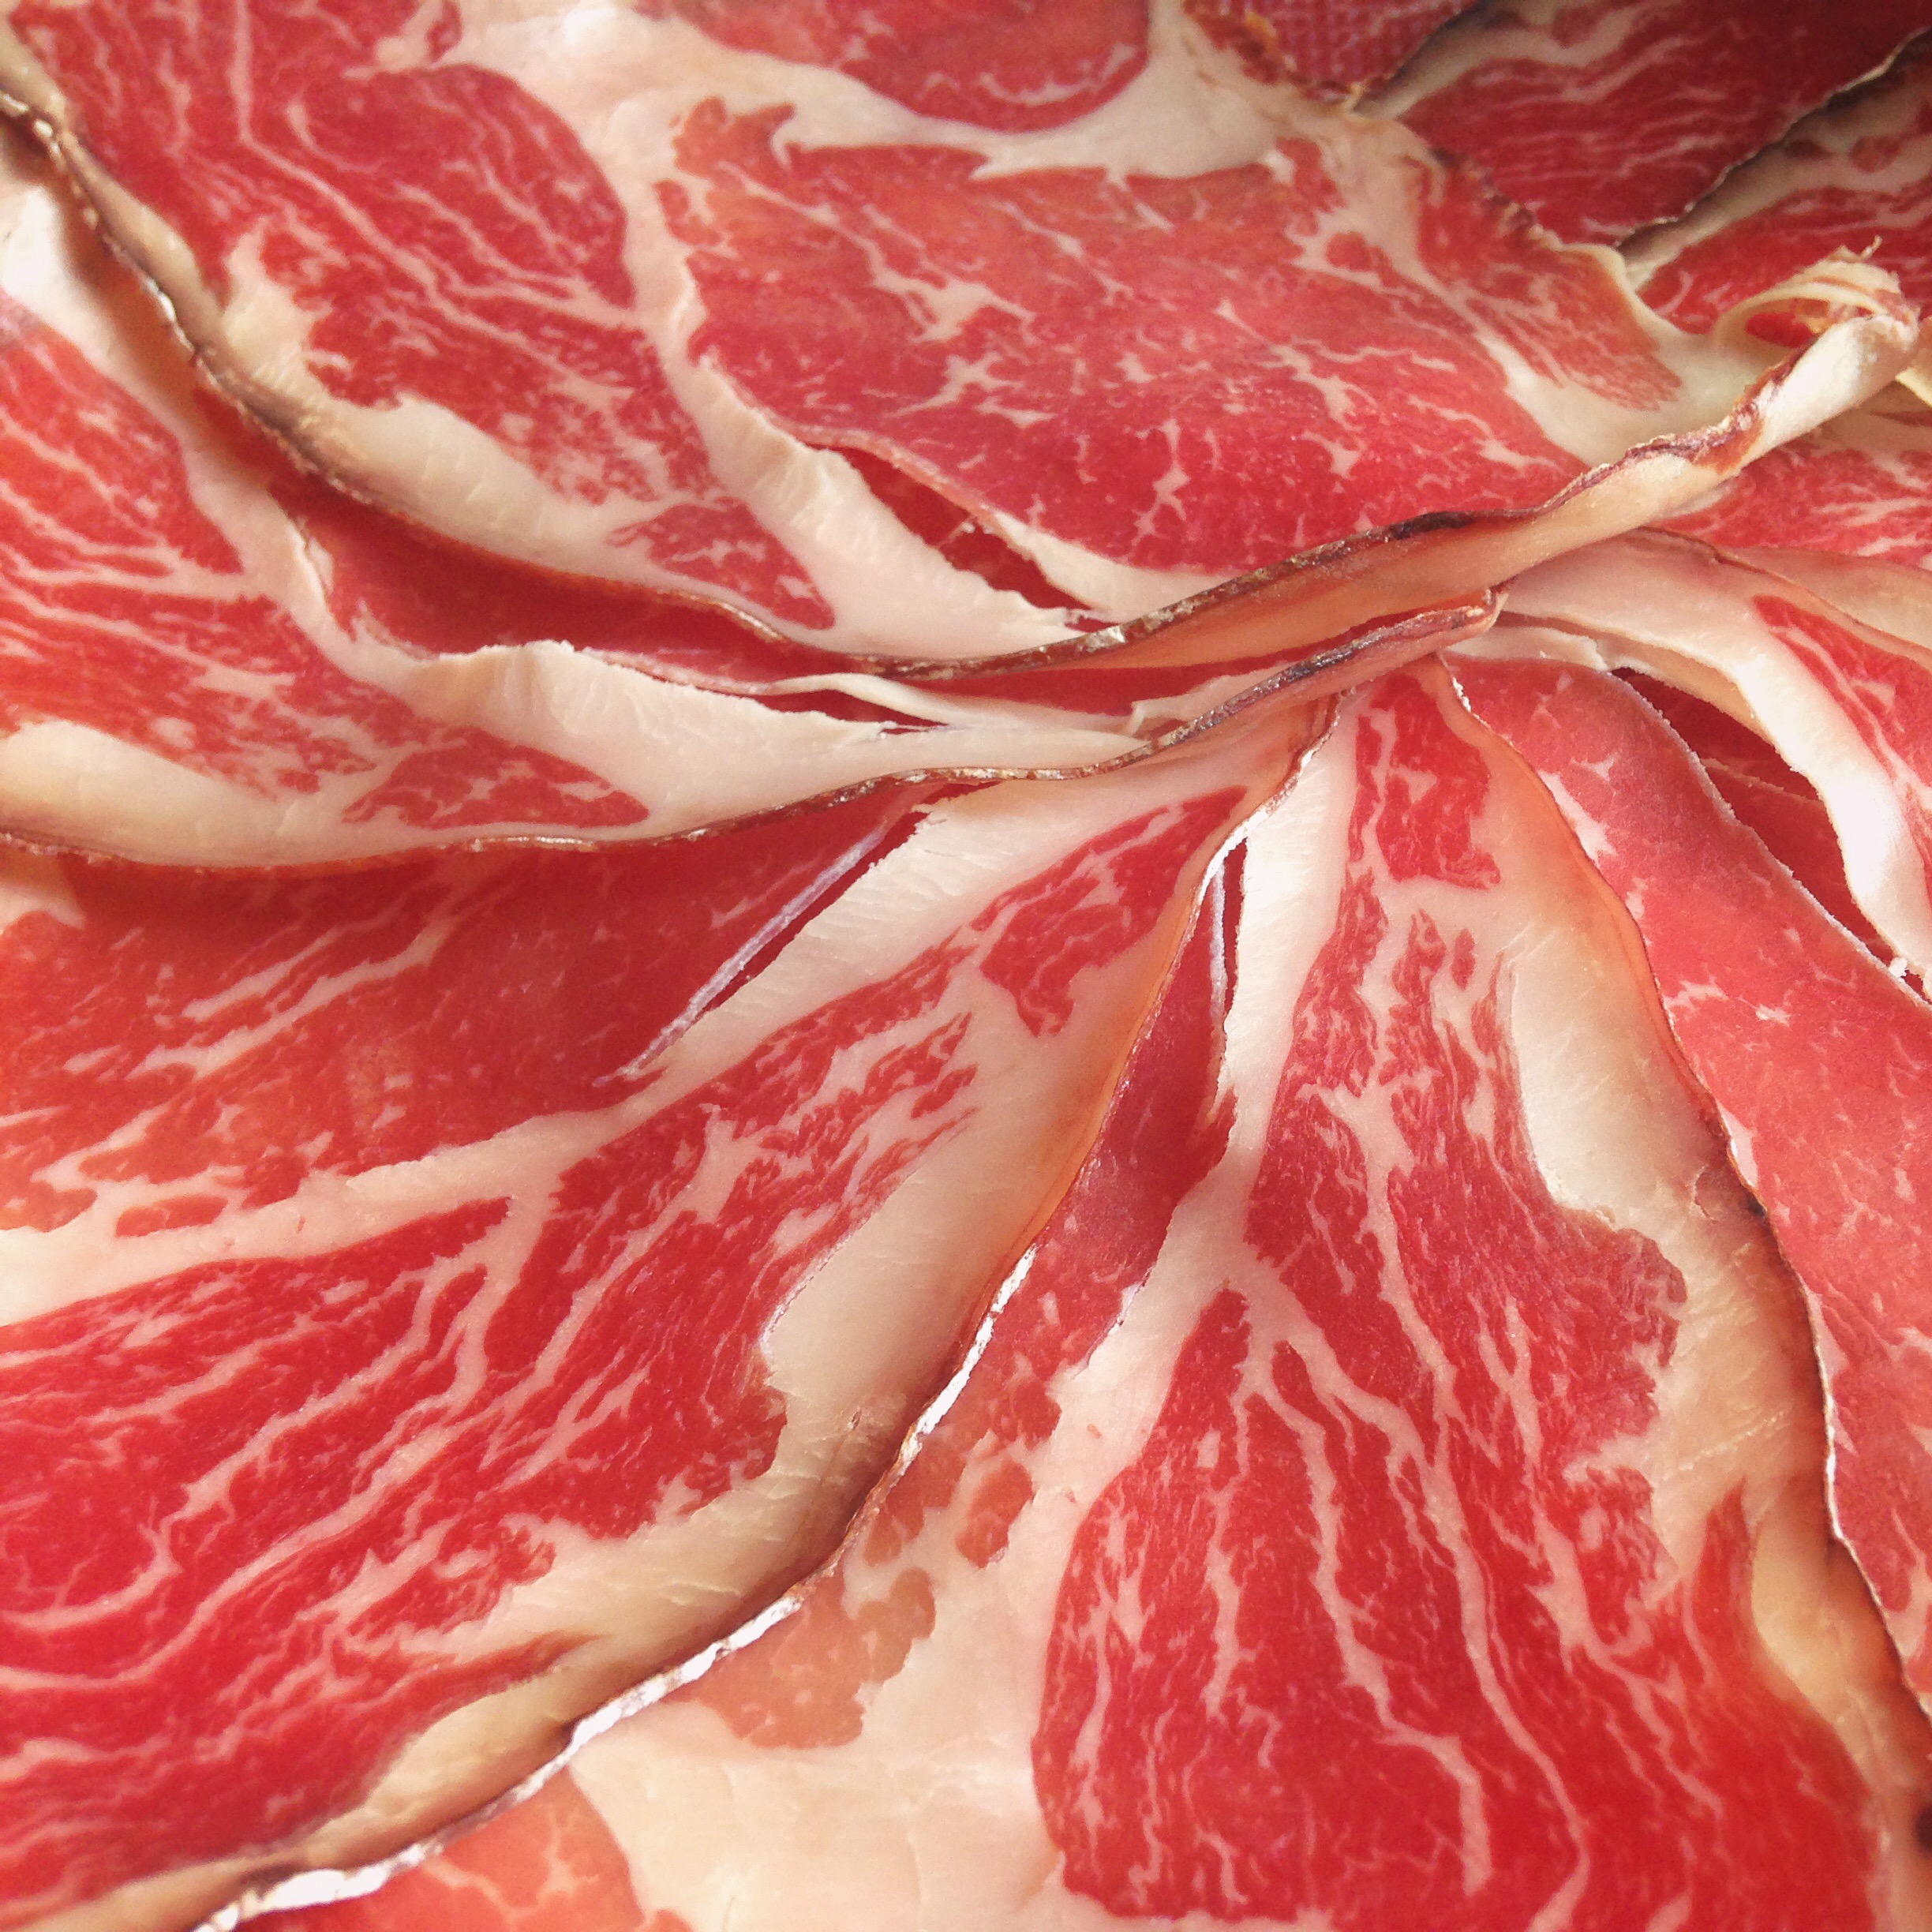
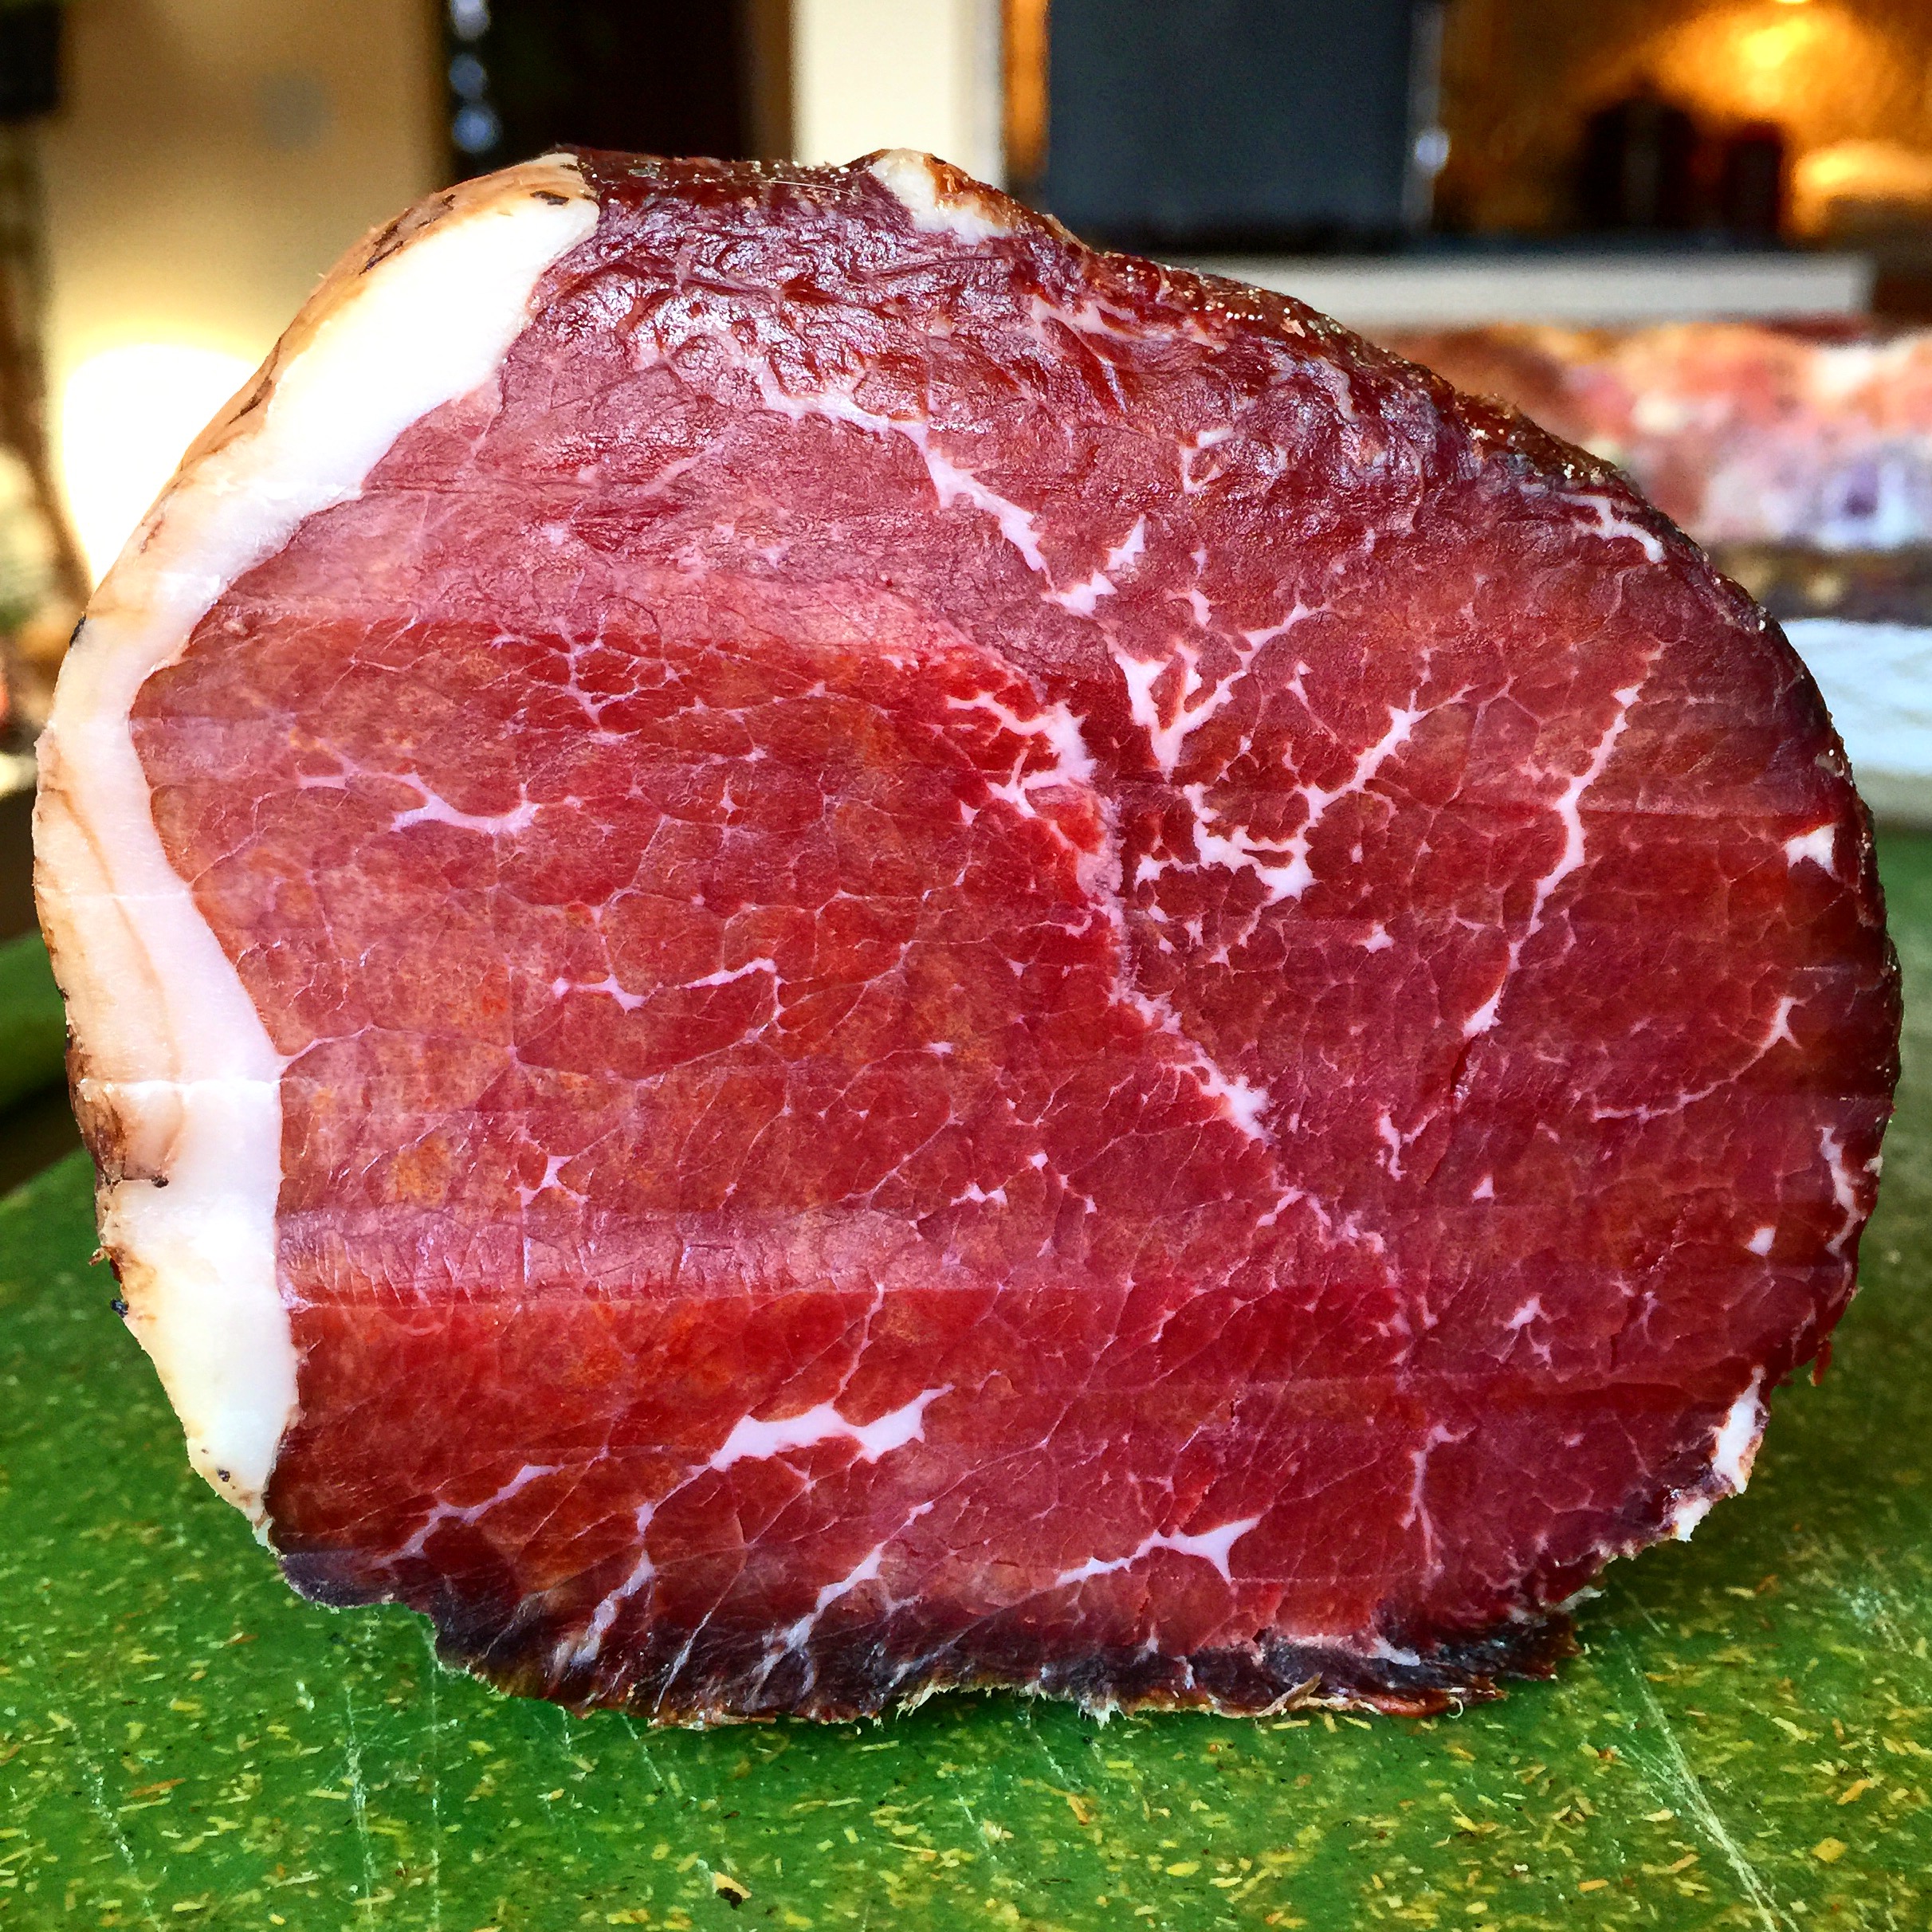
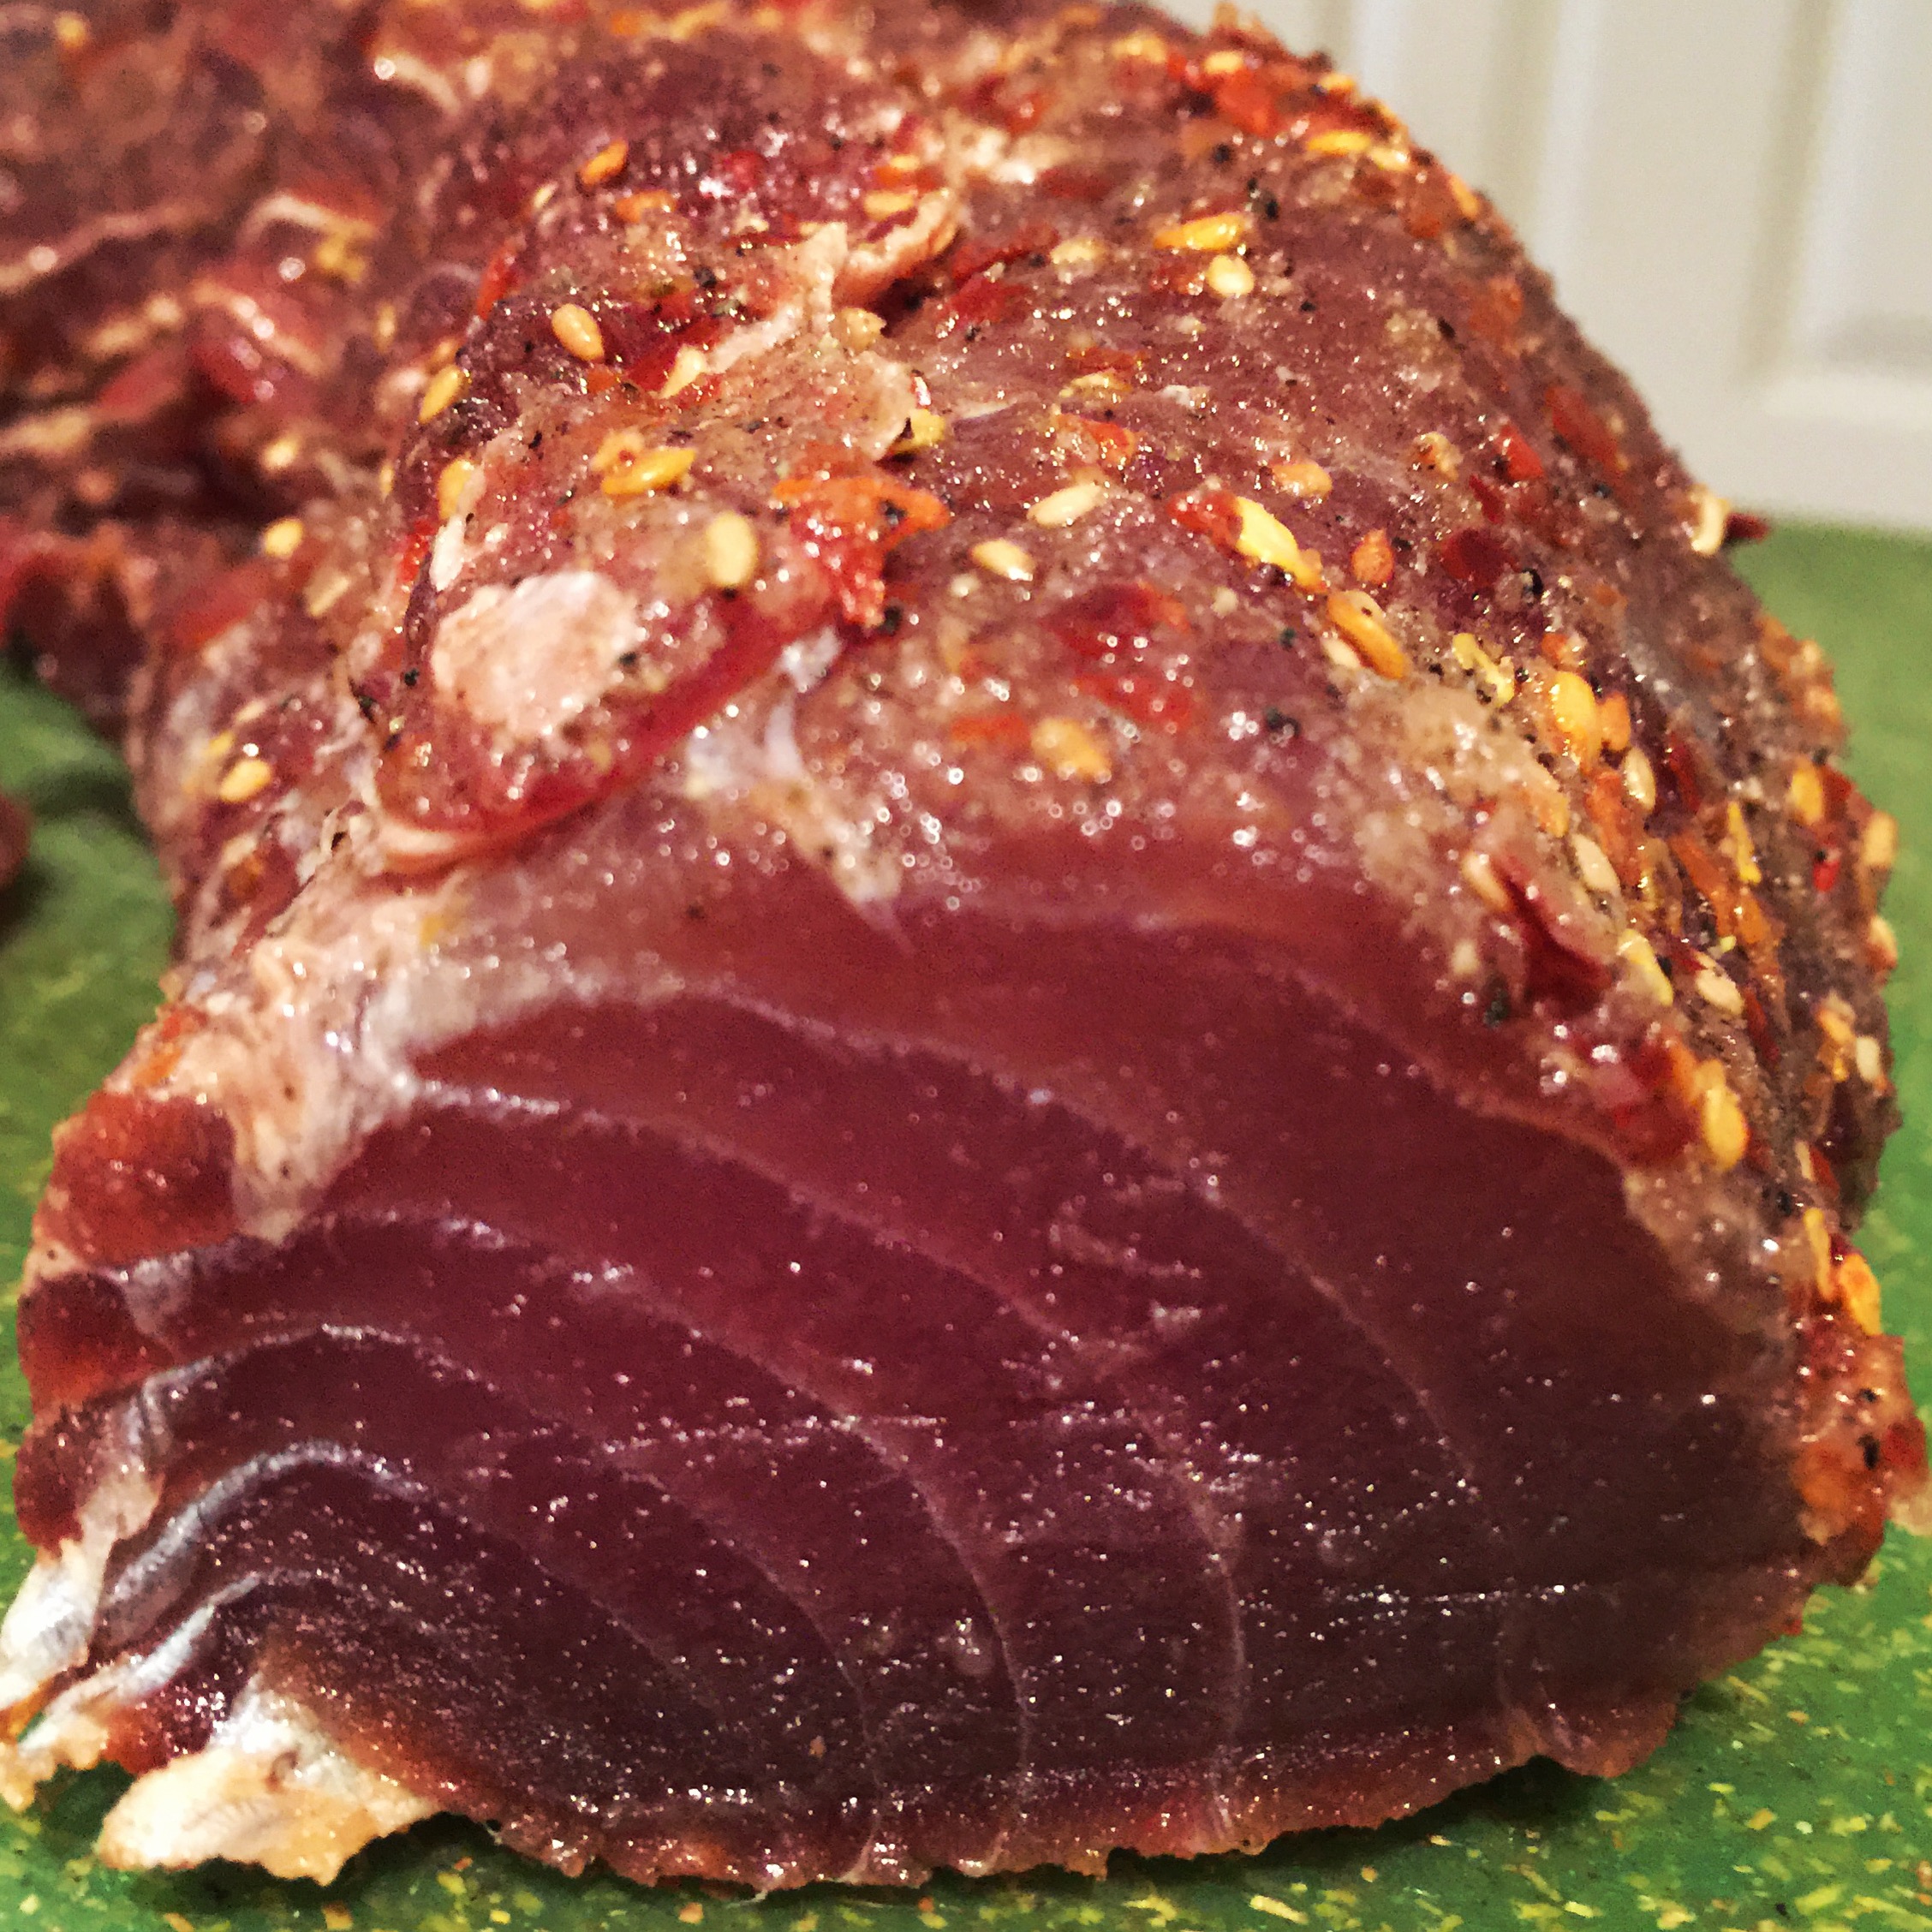
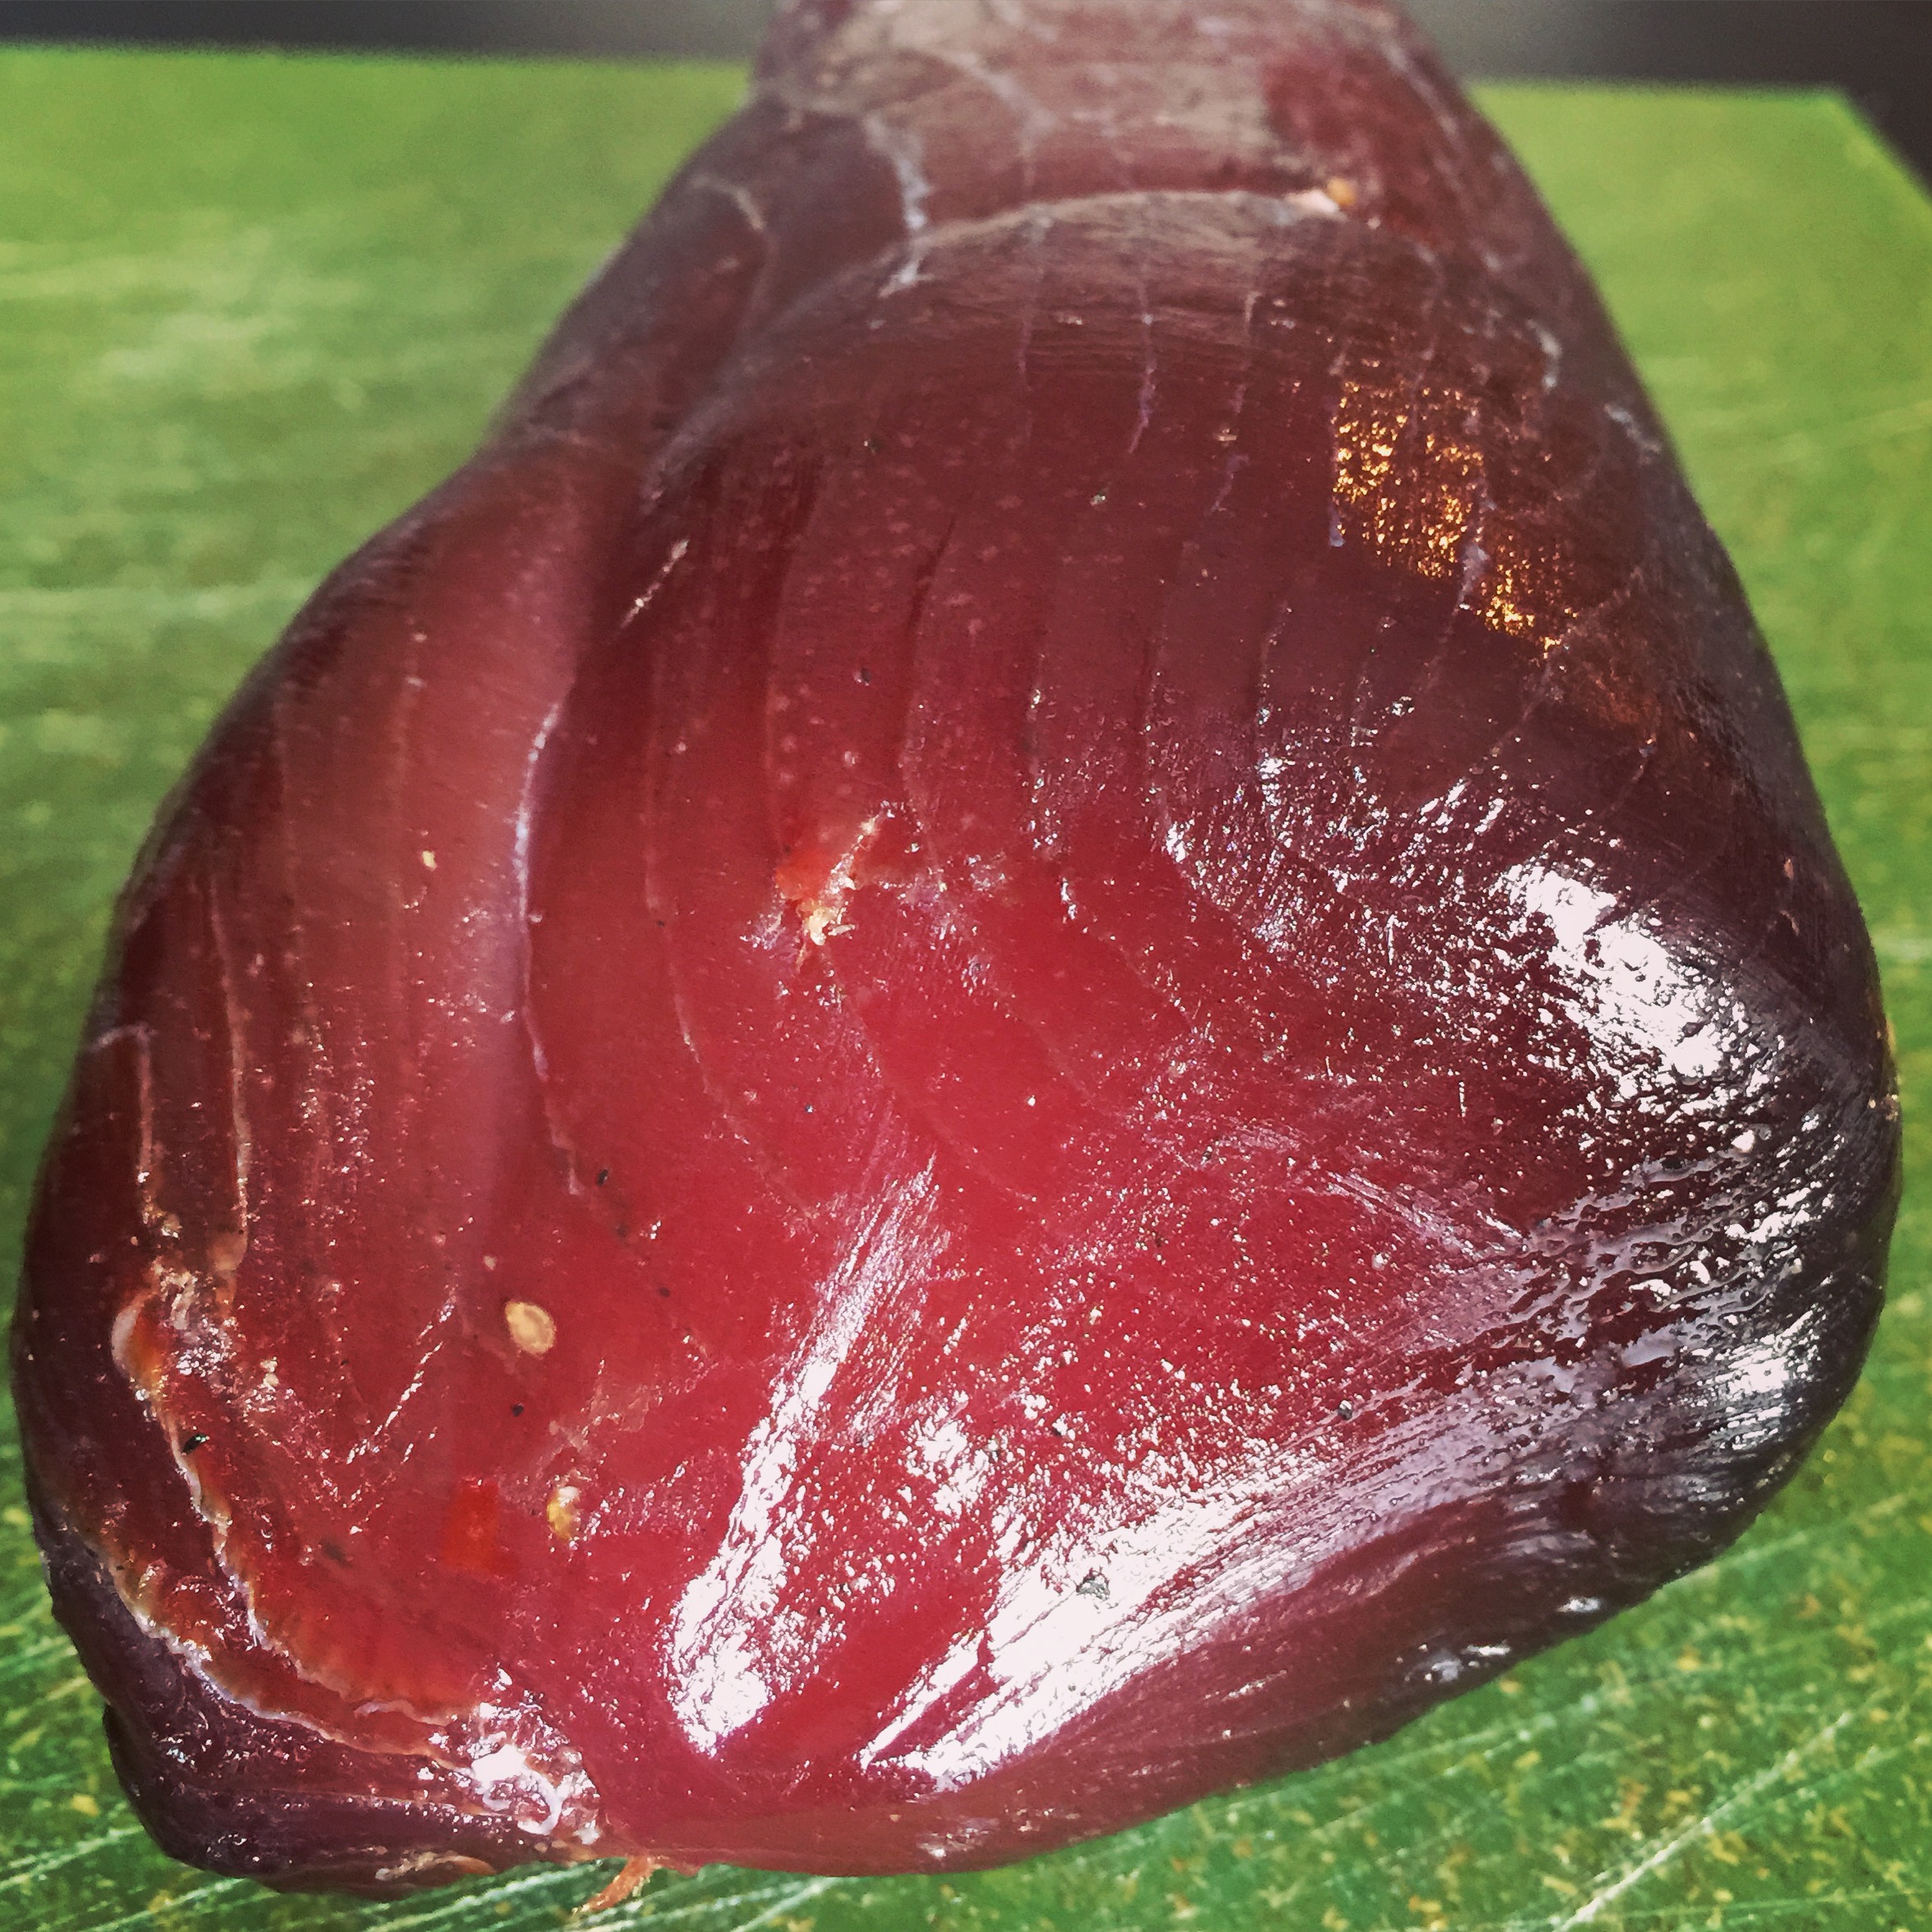
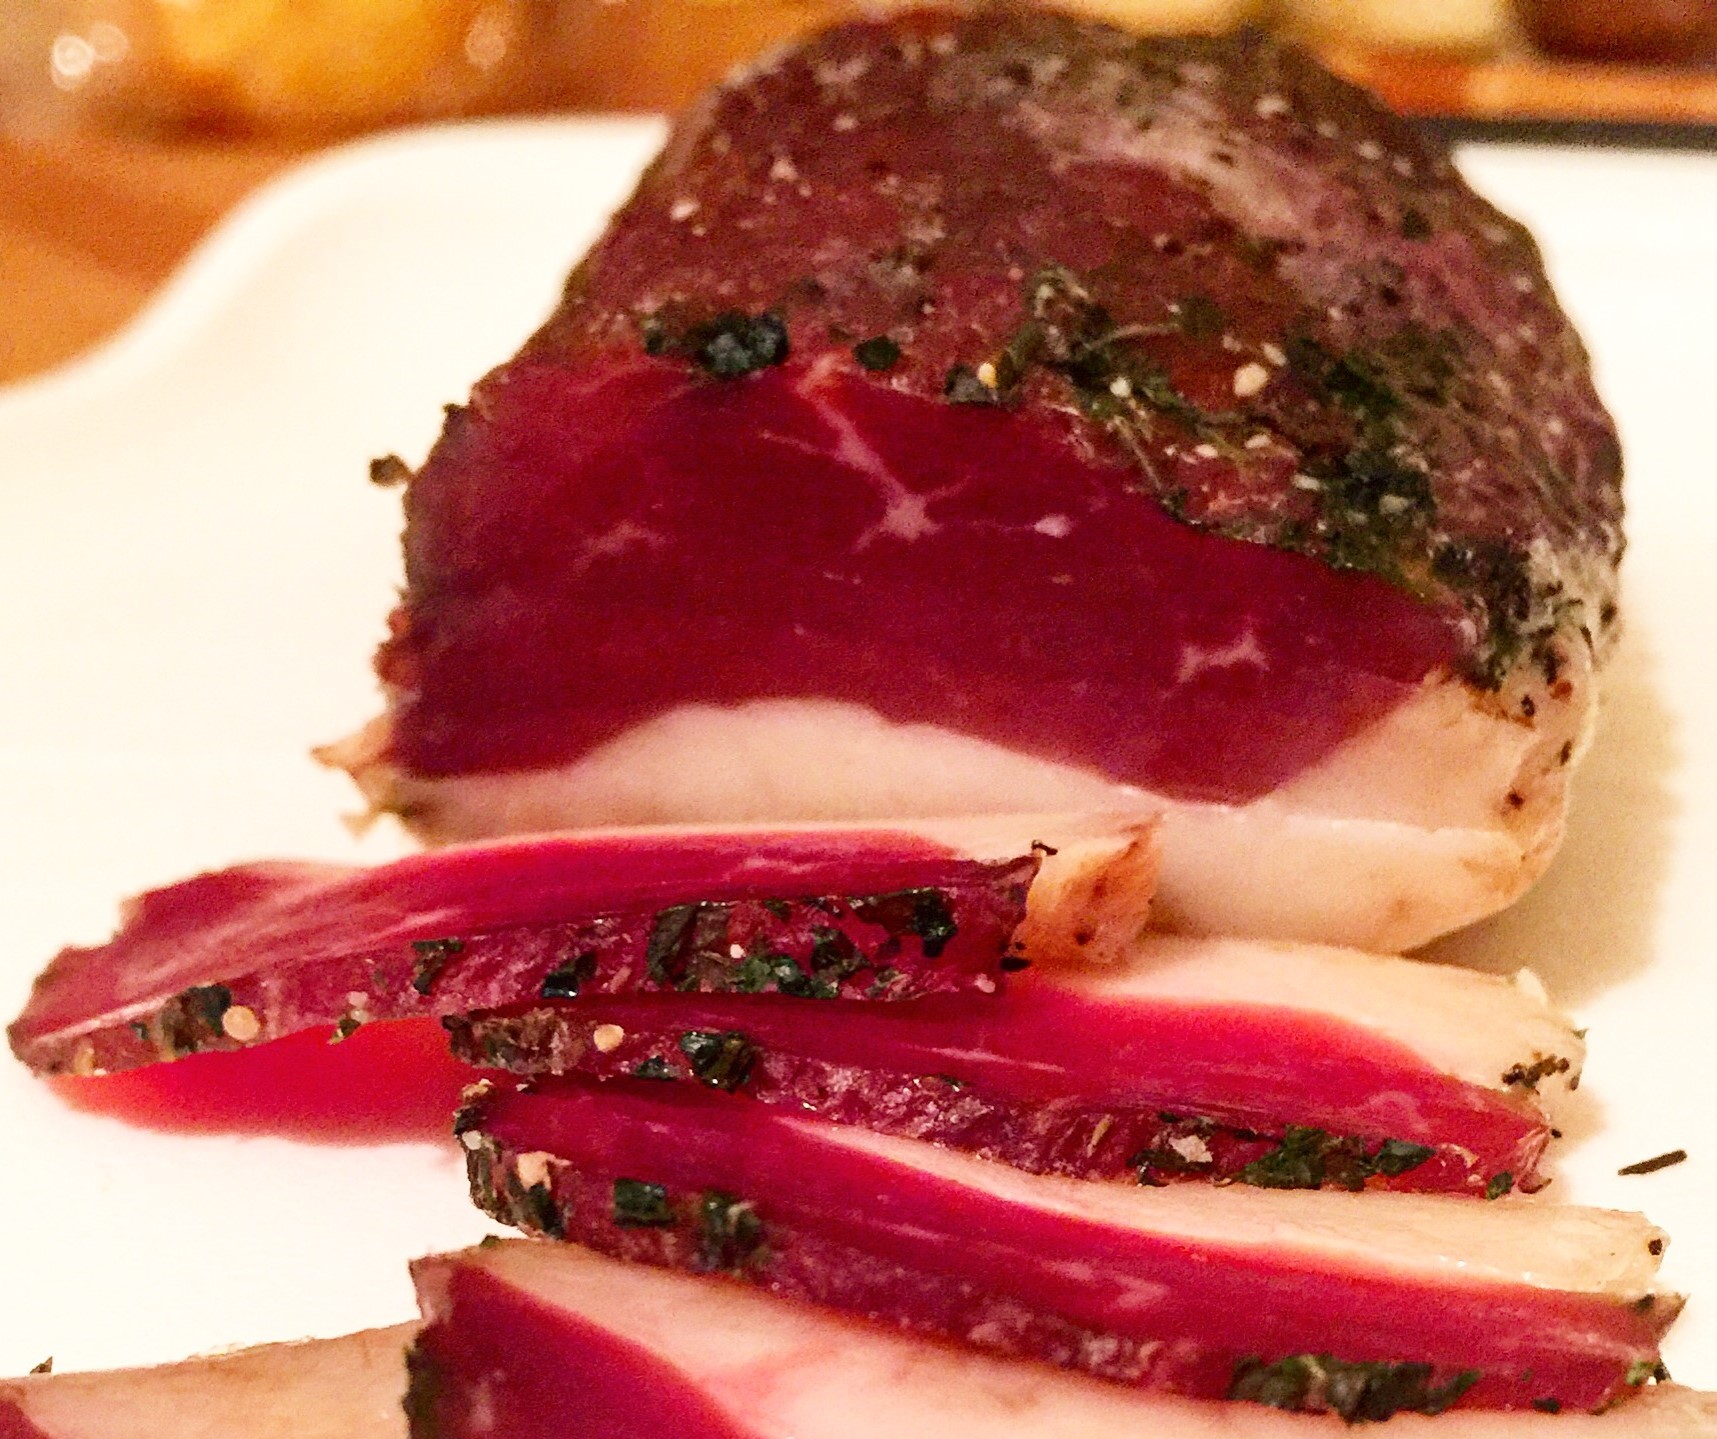
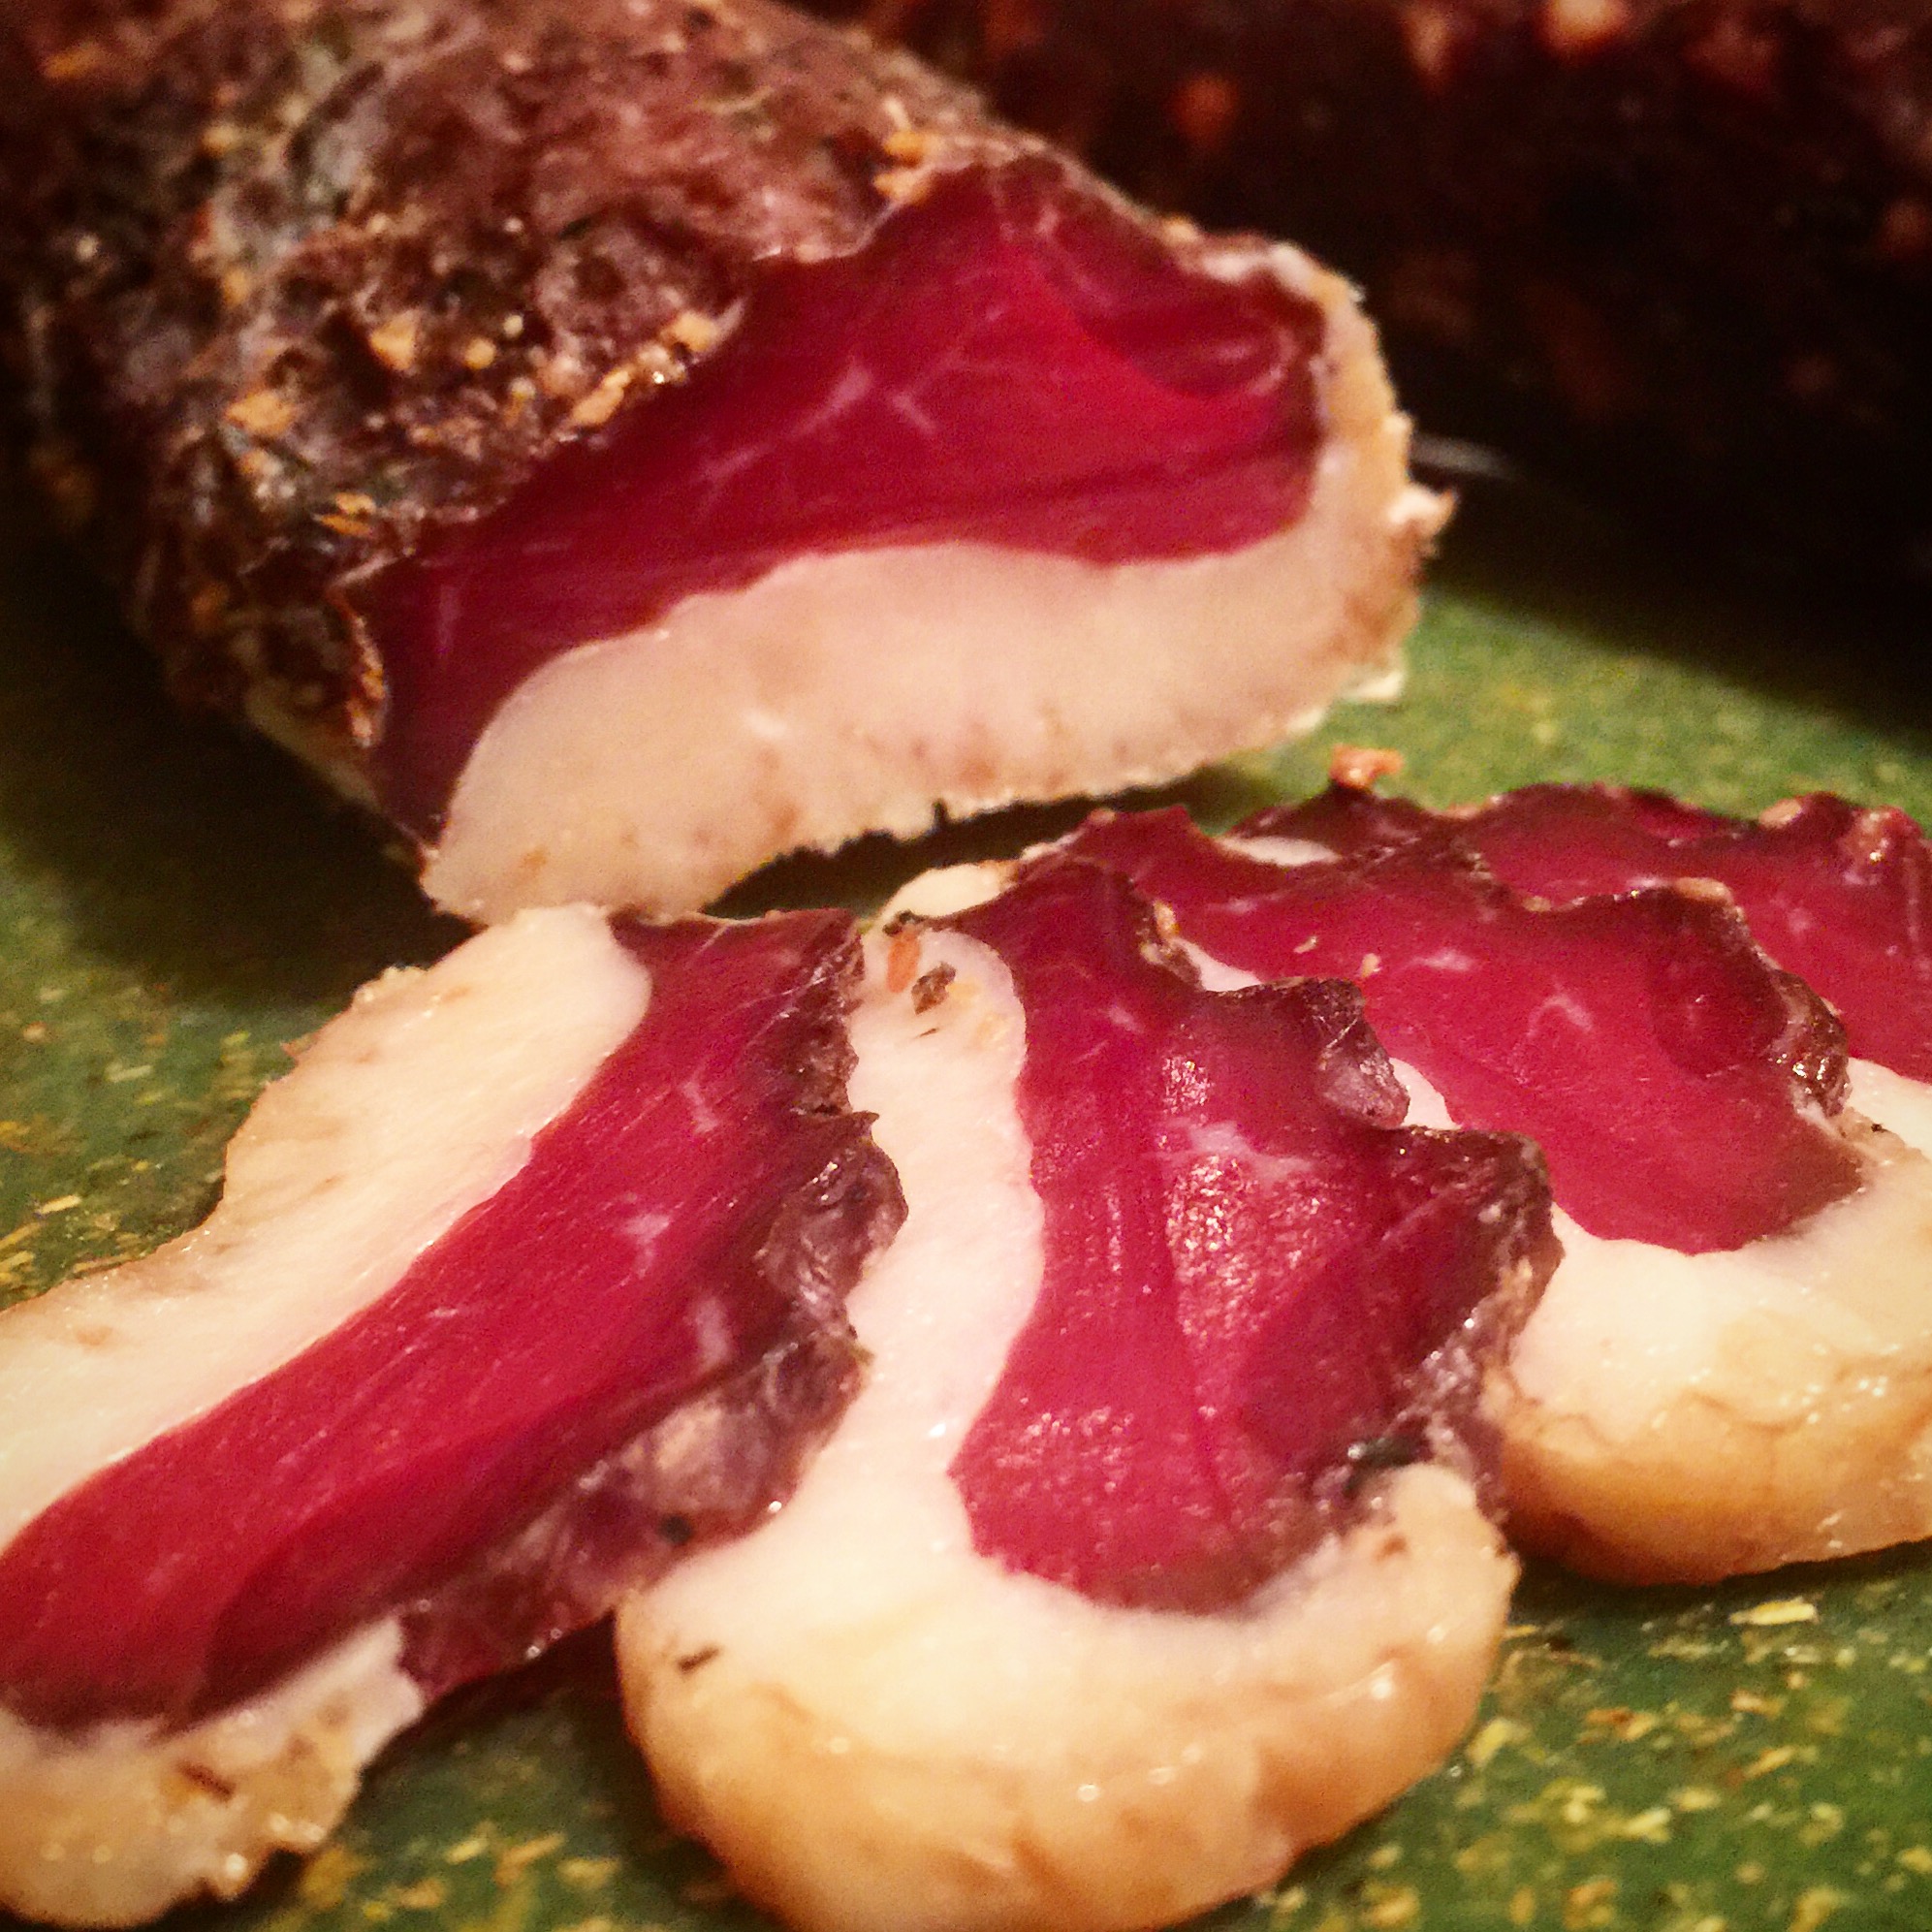
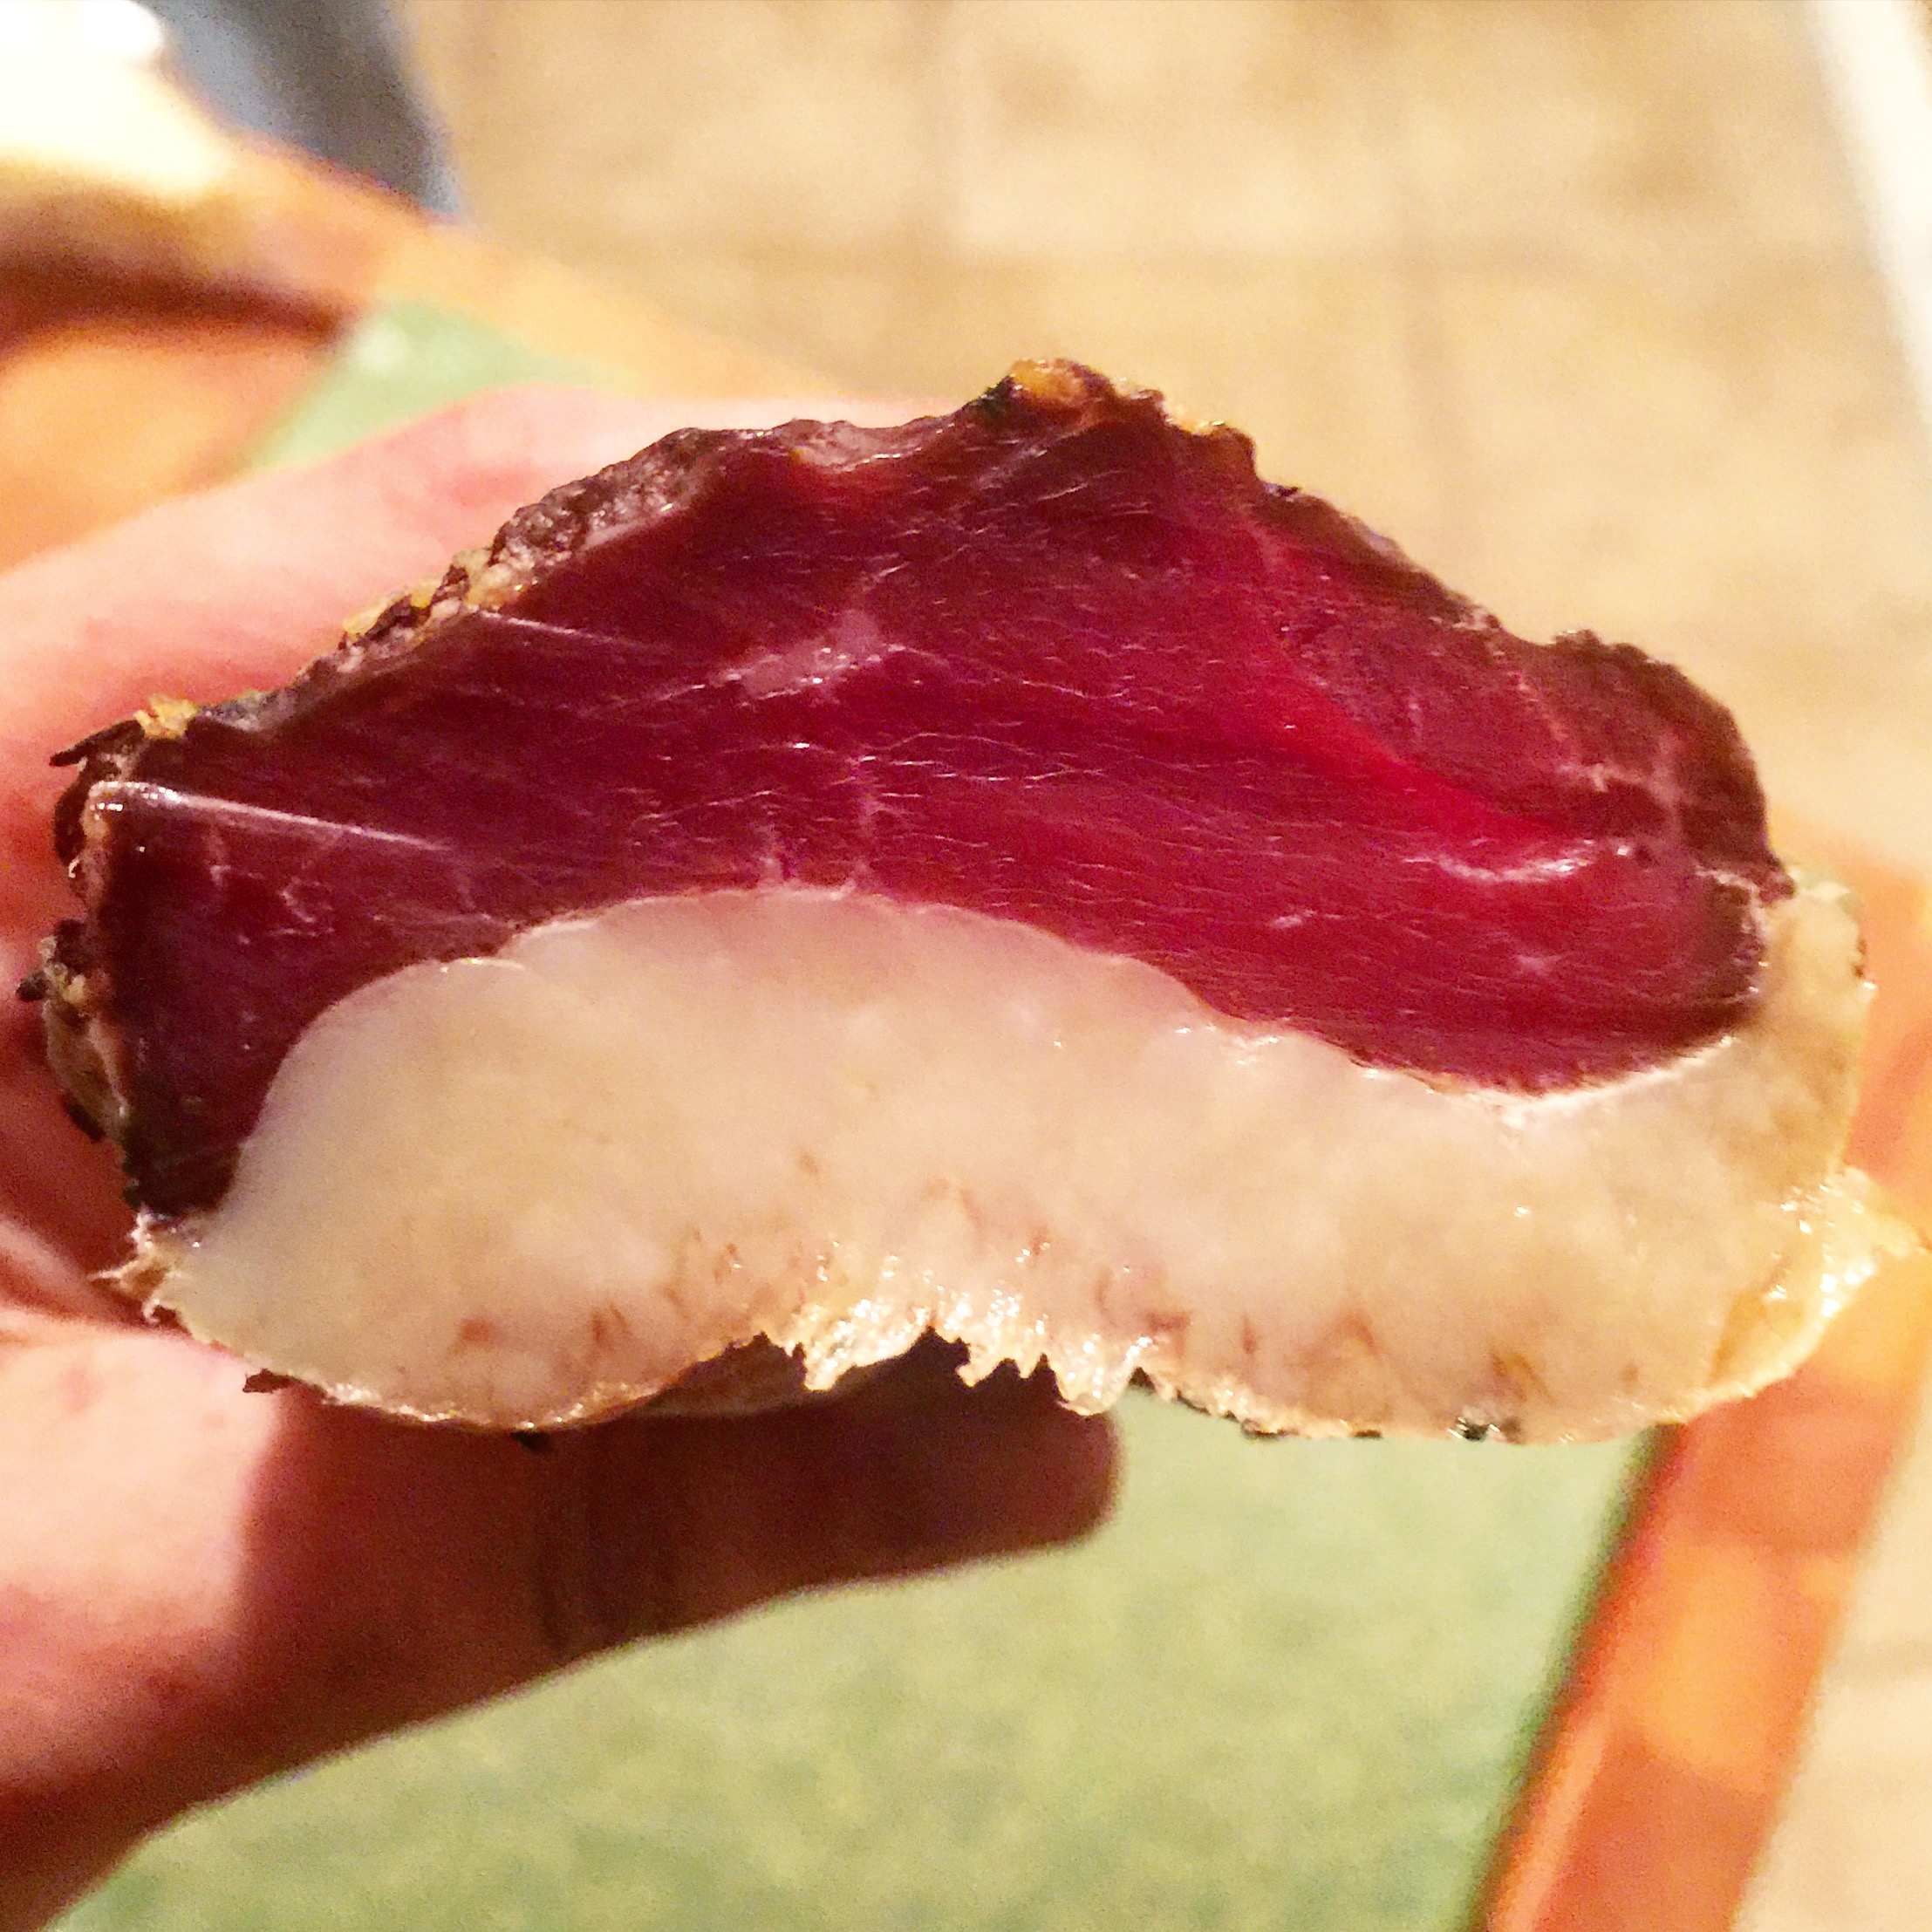
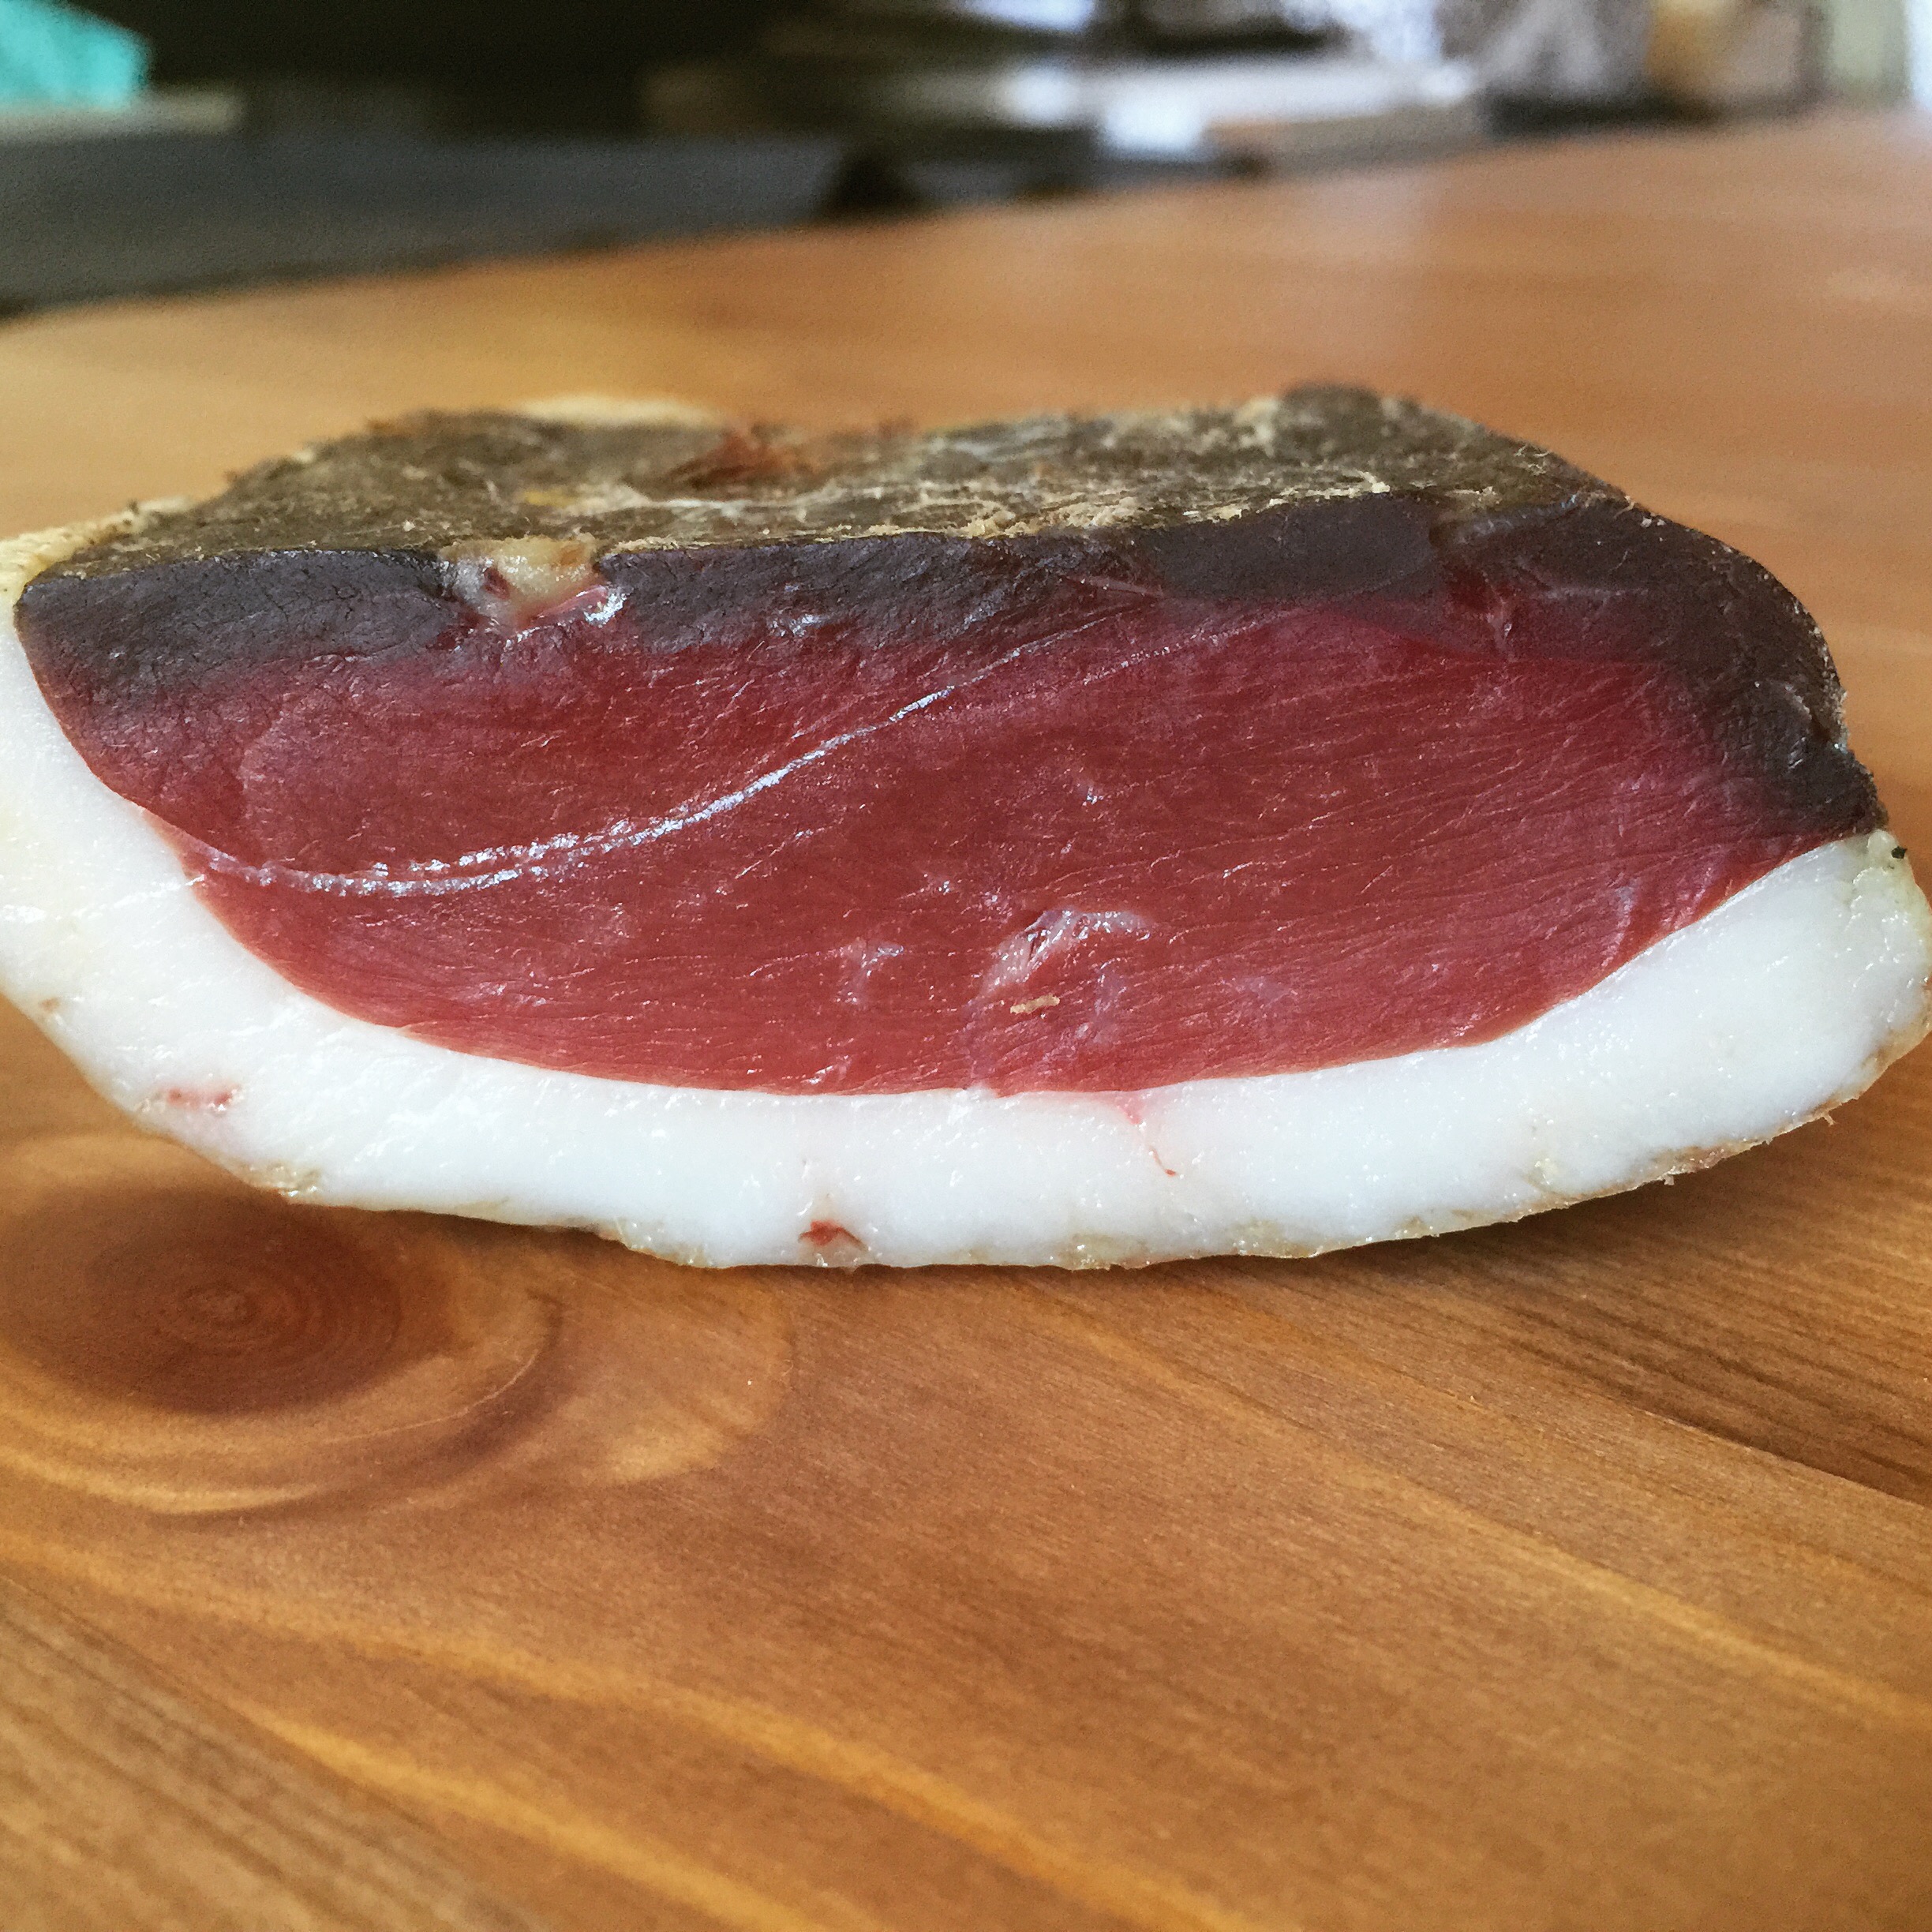
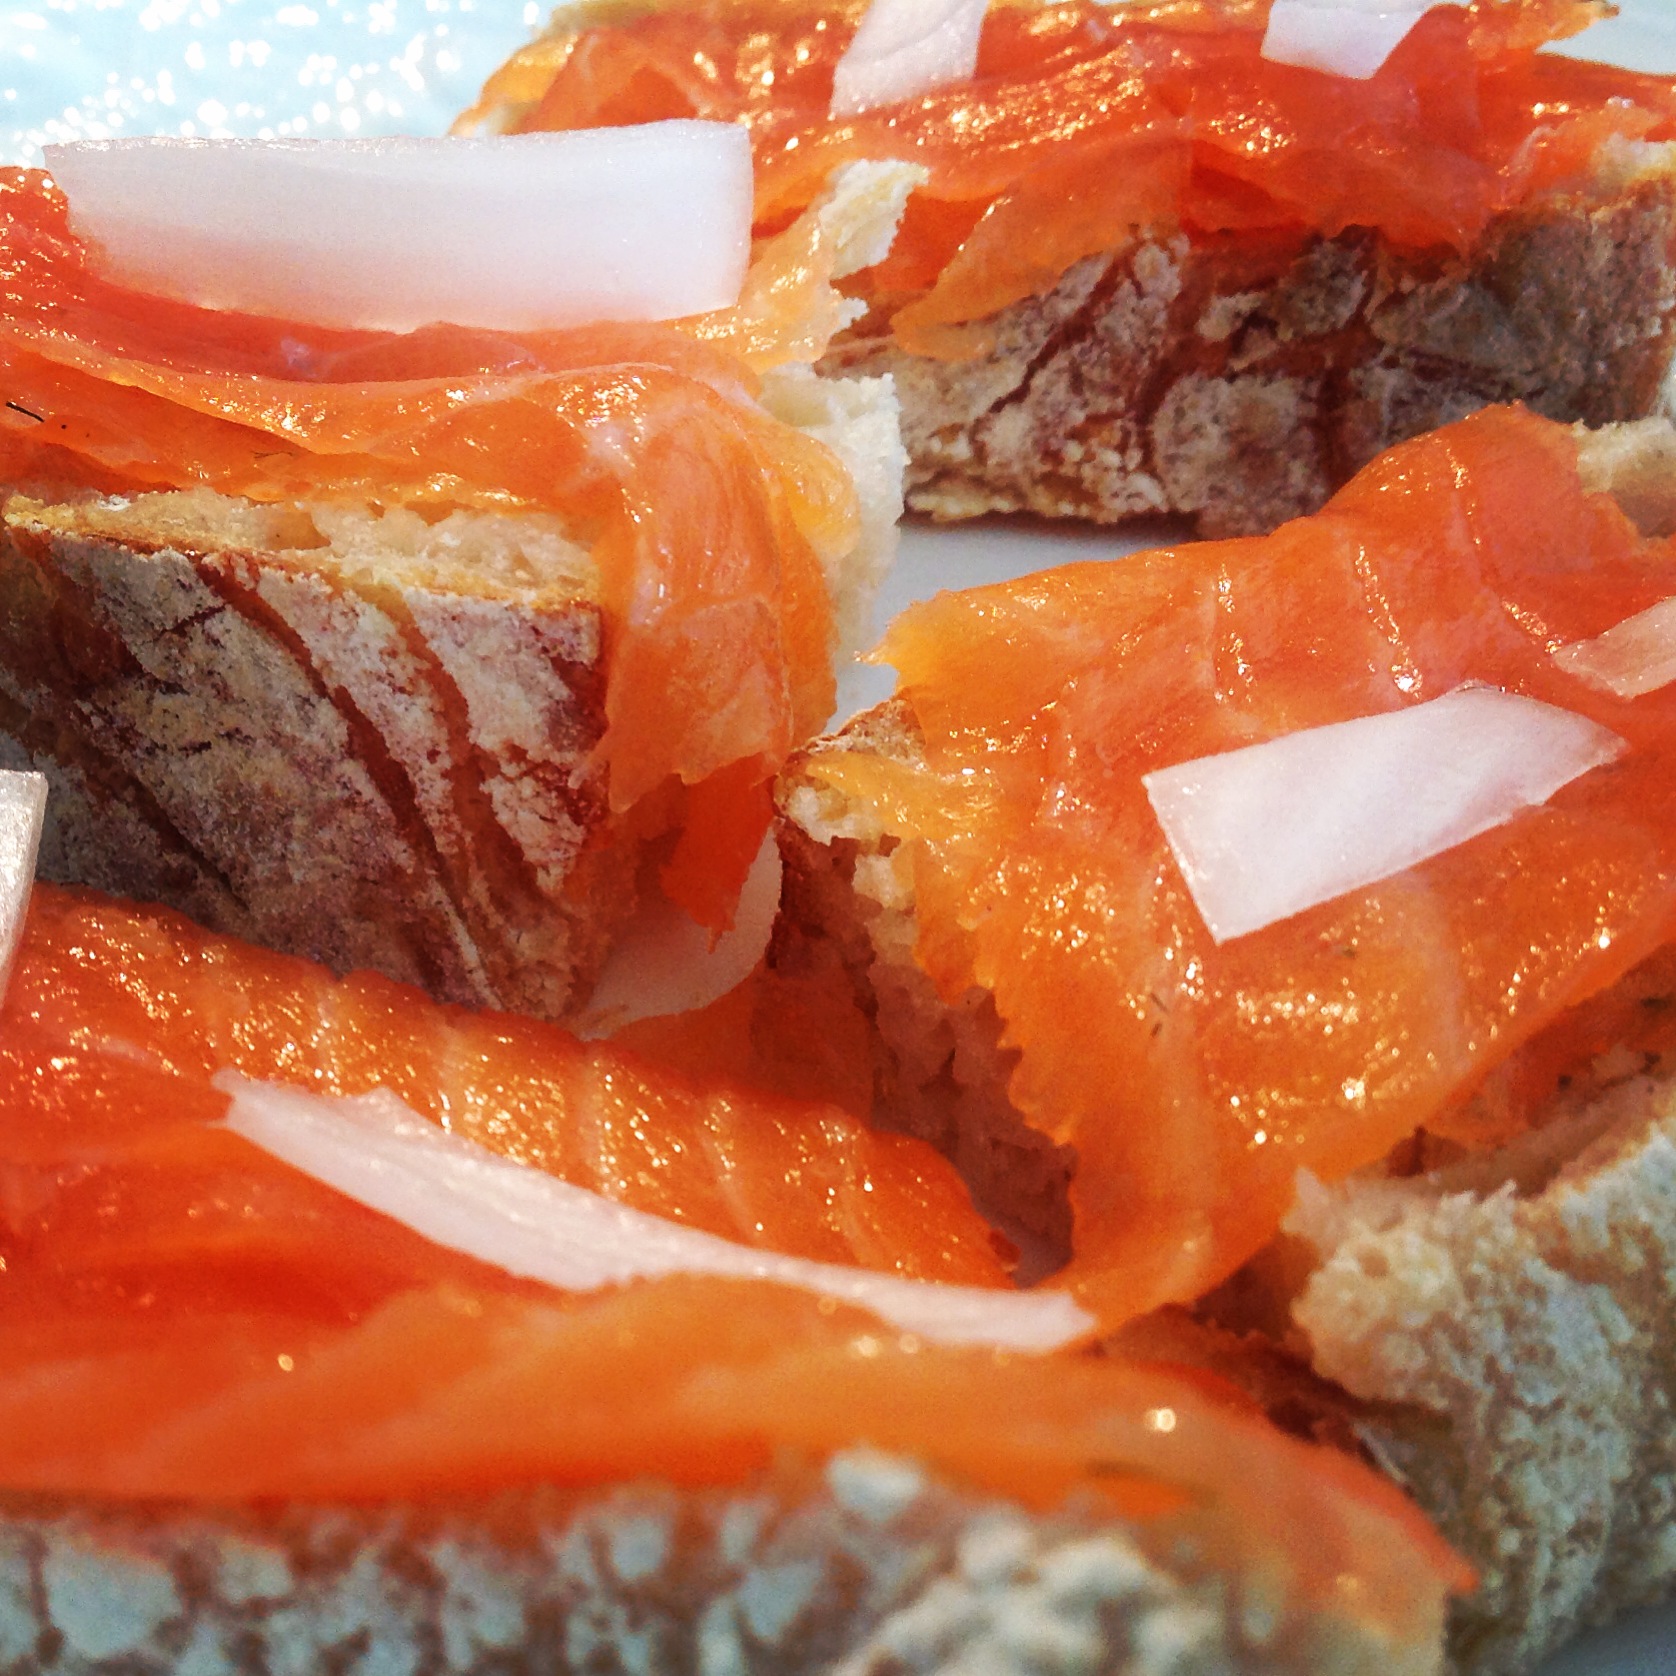
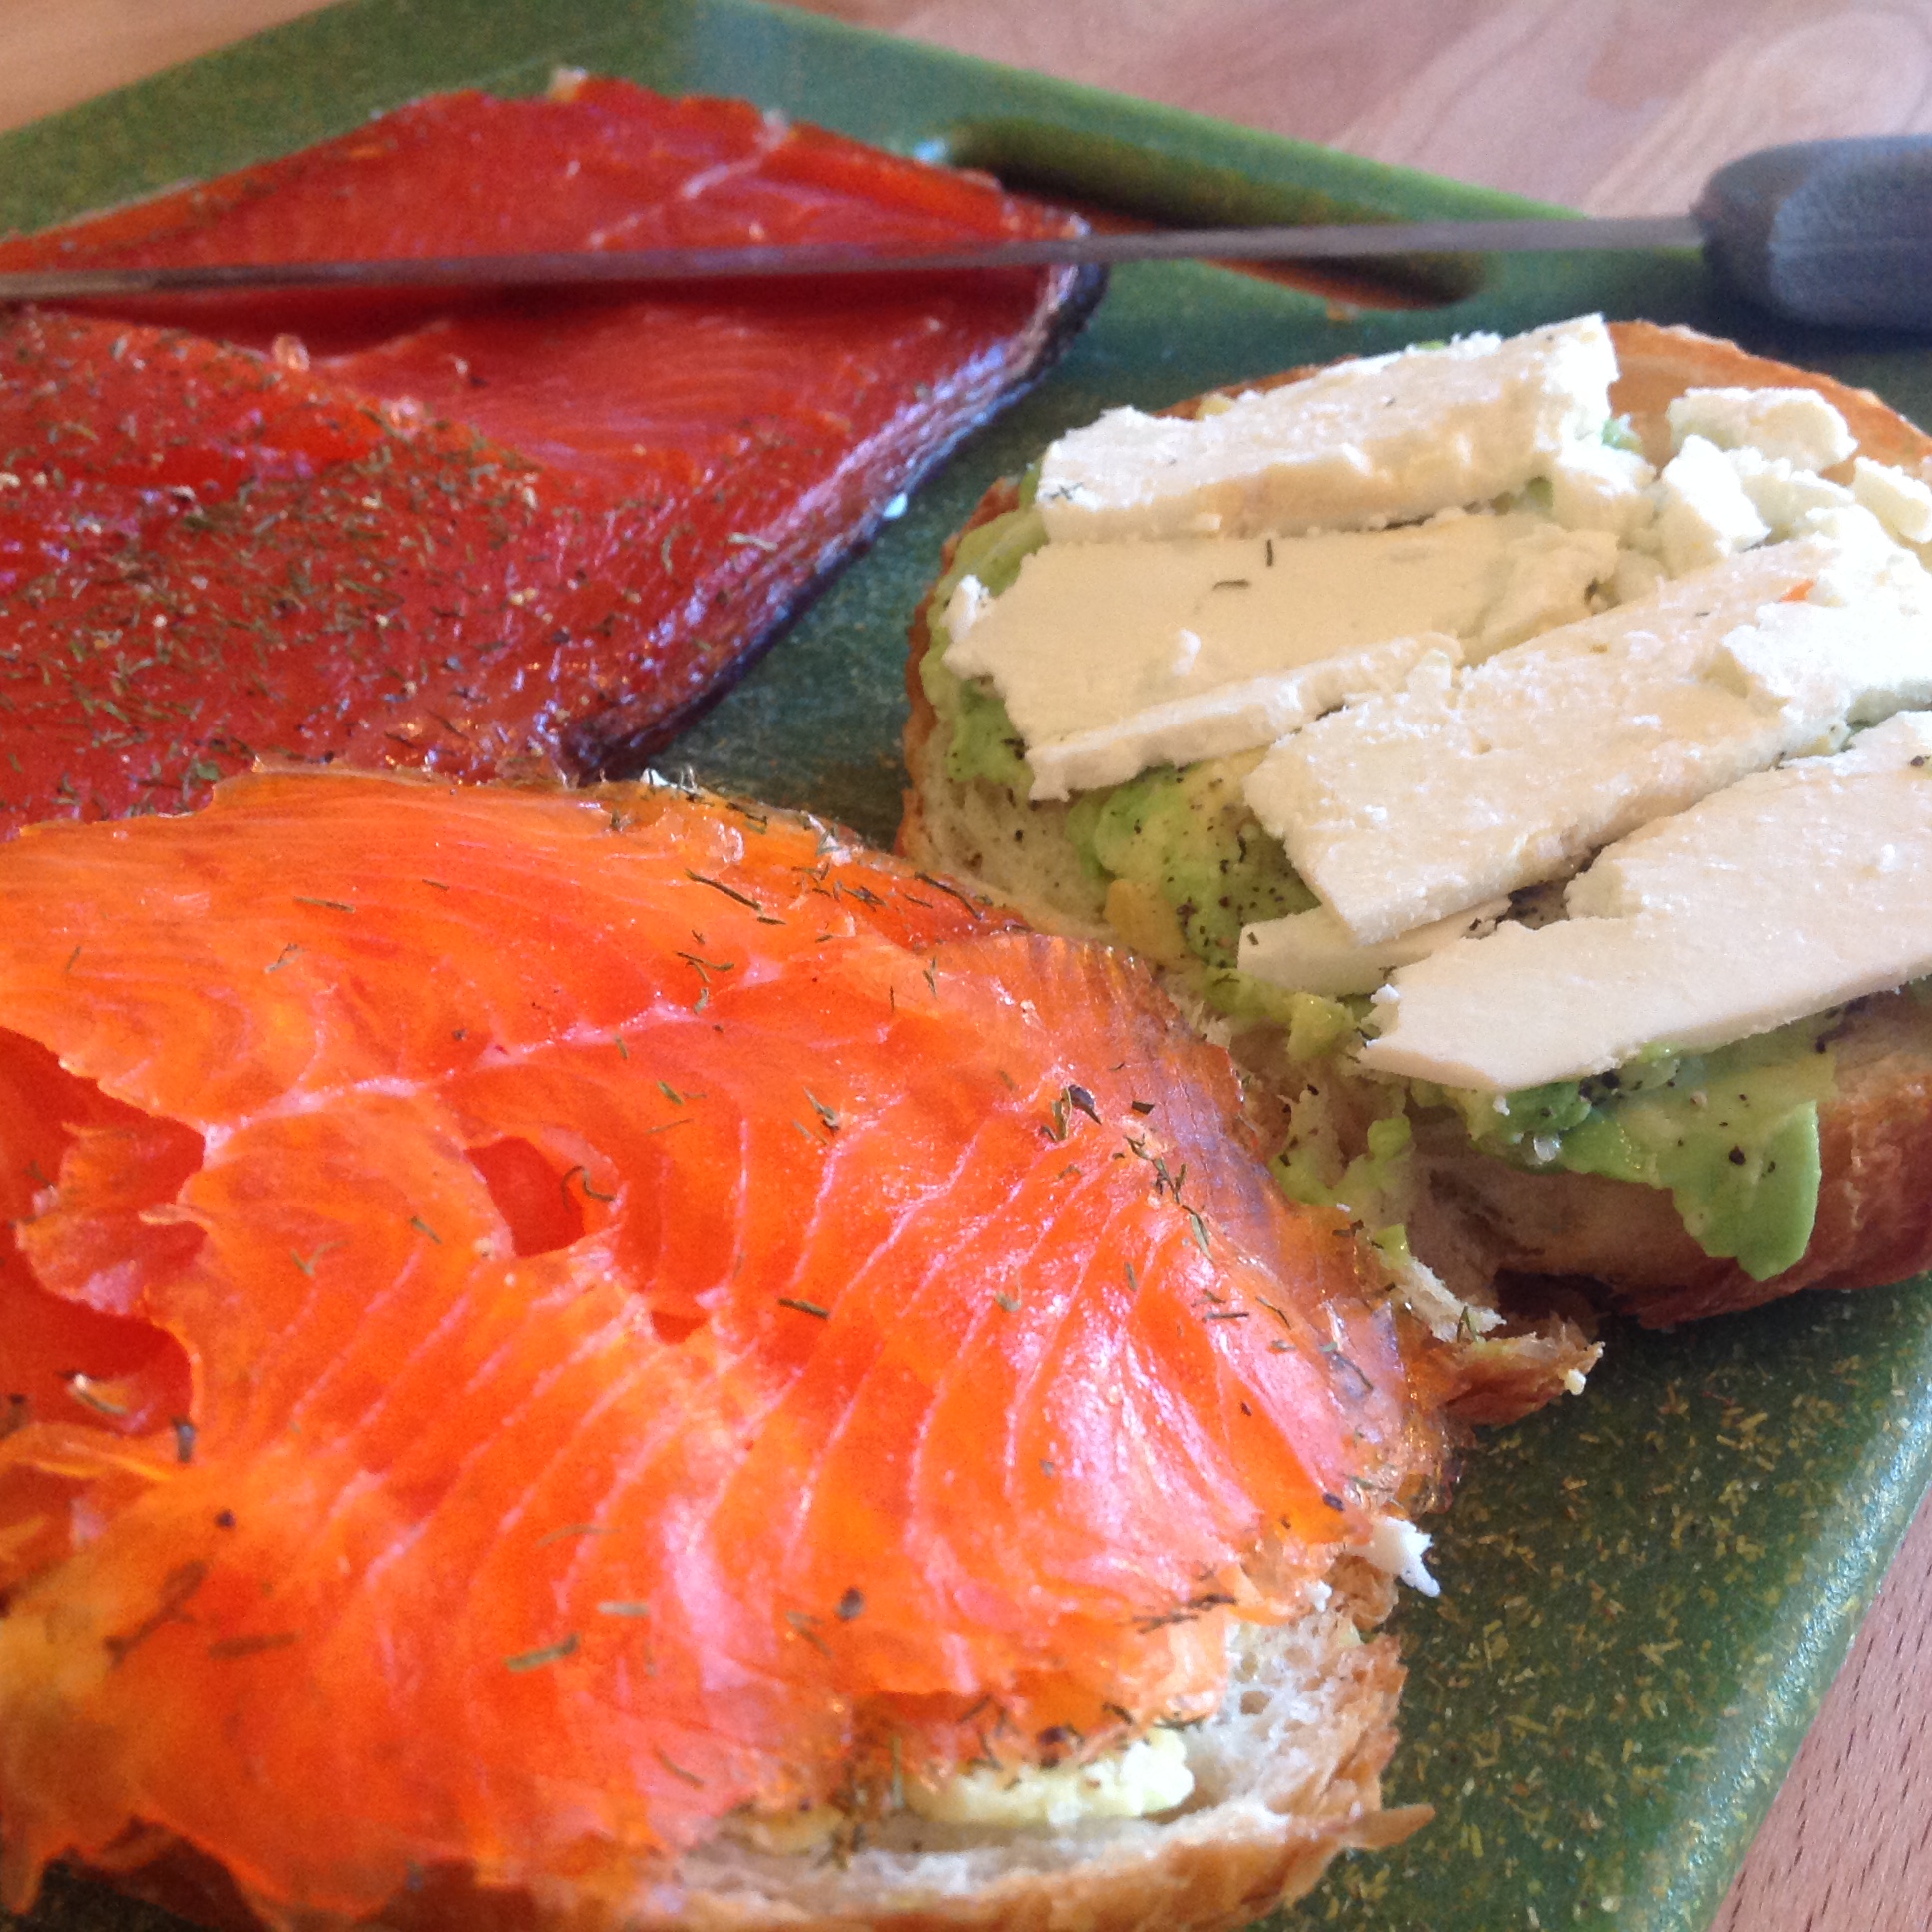
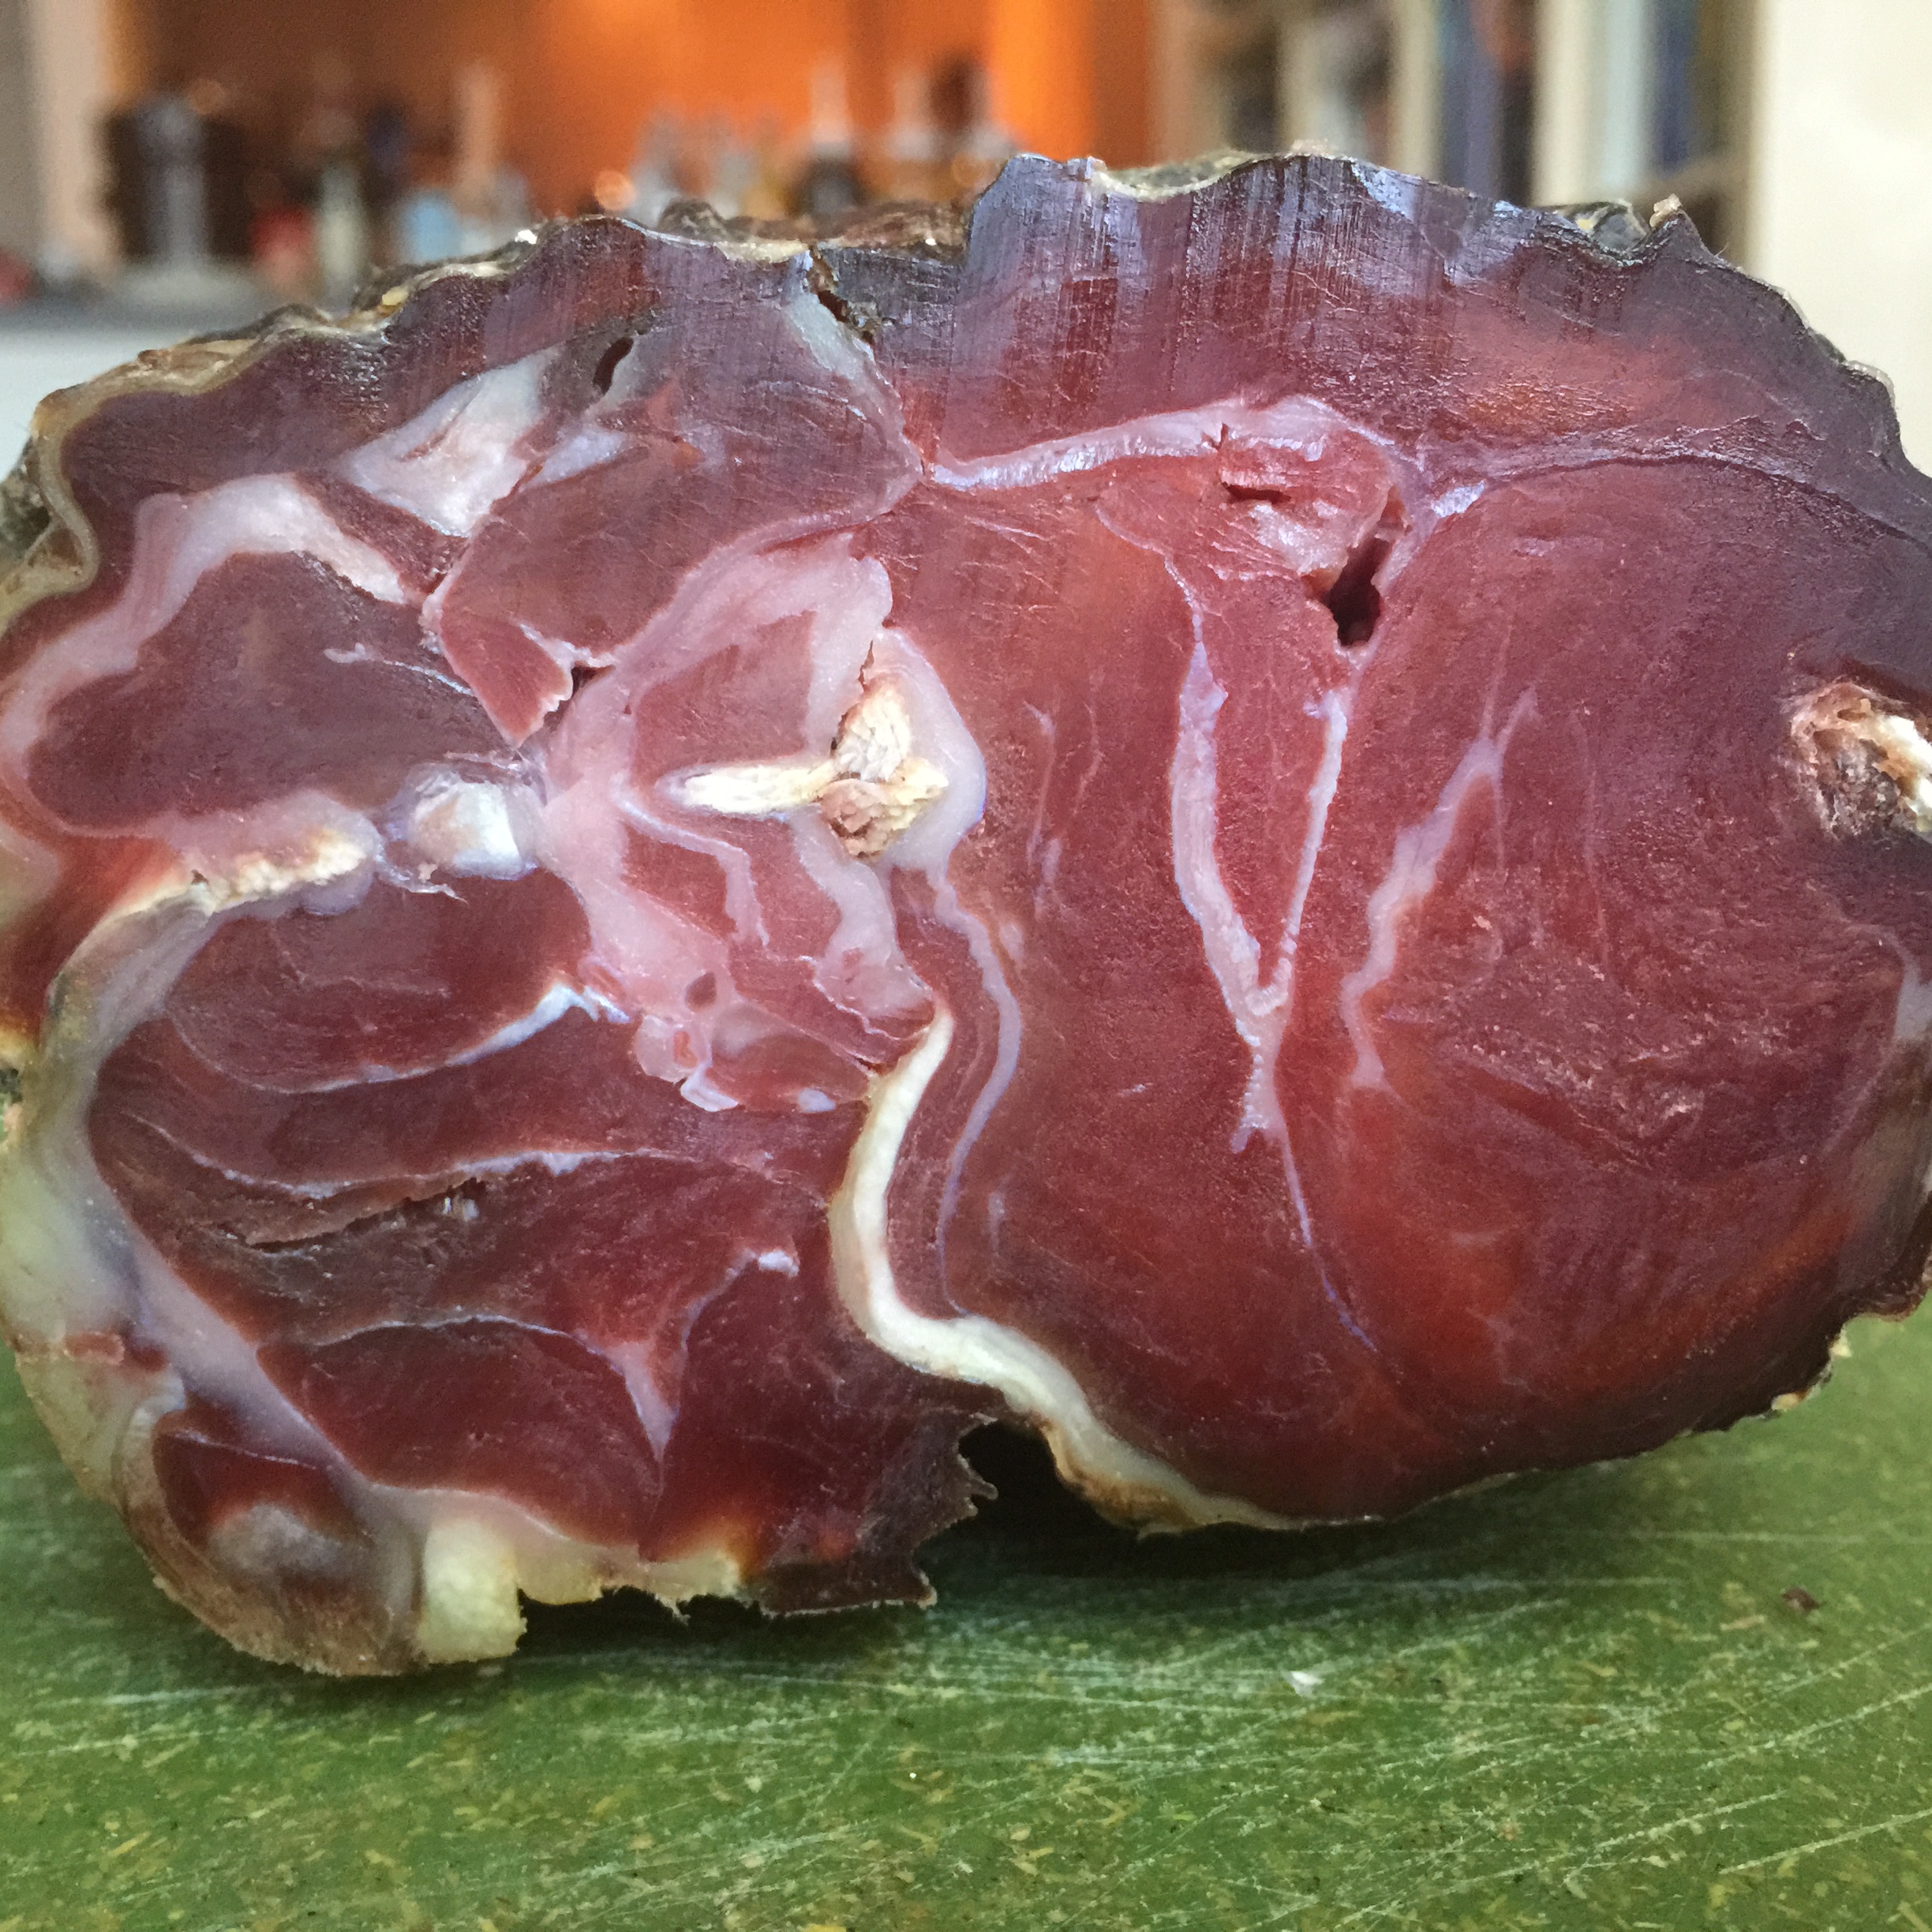
Ahhh the flavor of lamb prosciutto, one of my all time favorites.
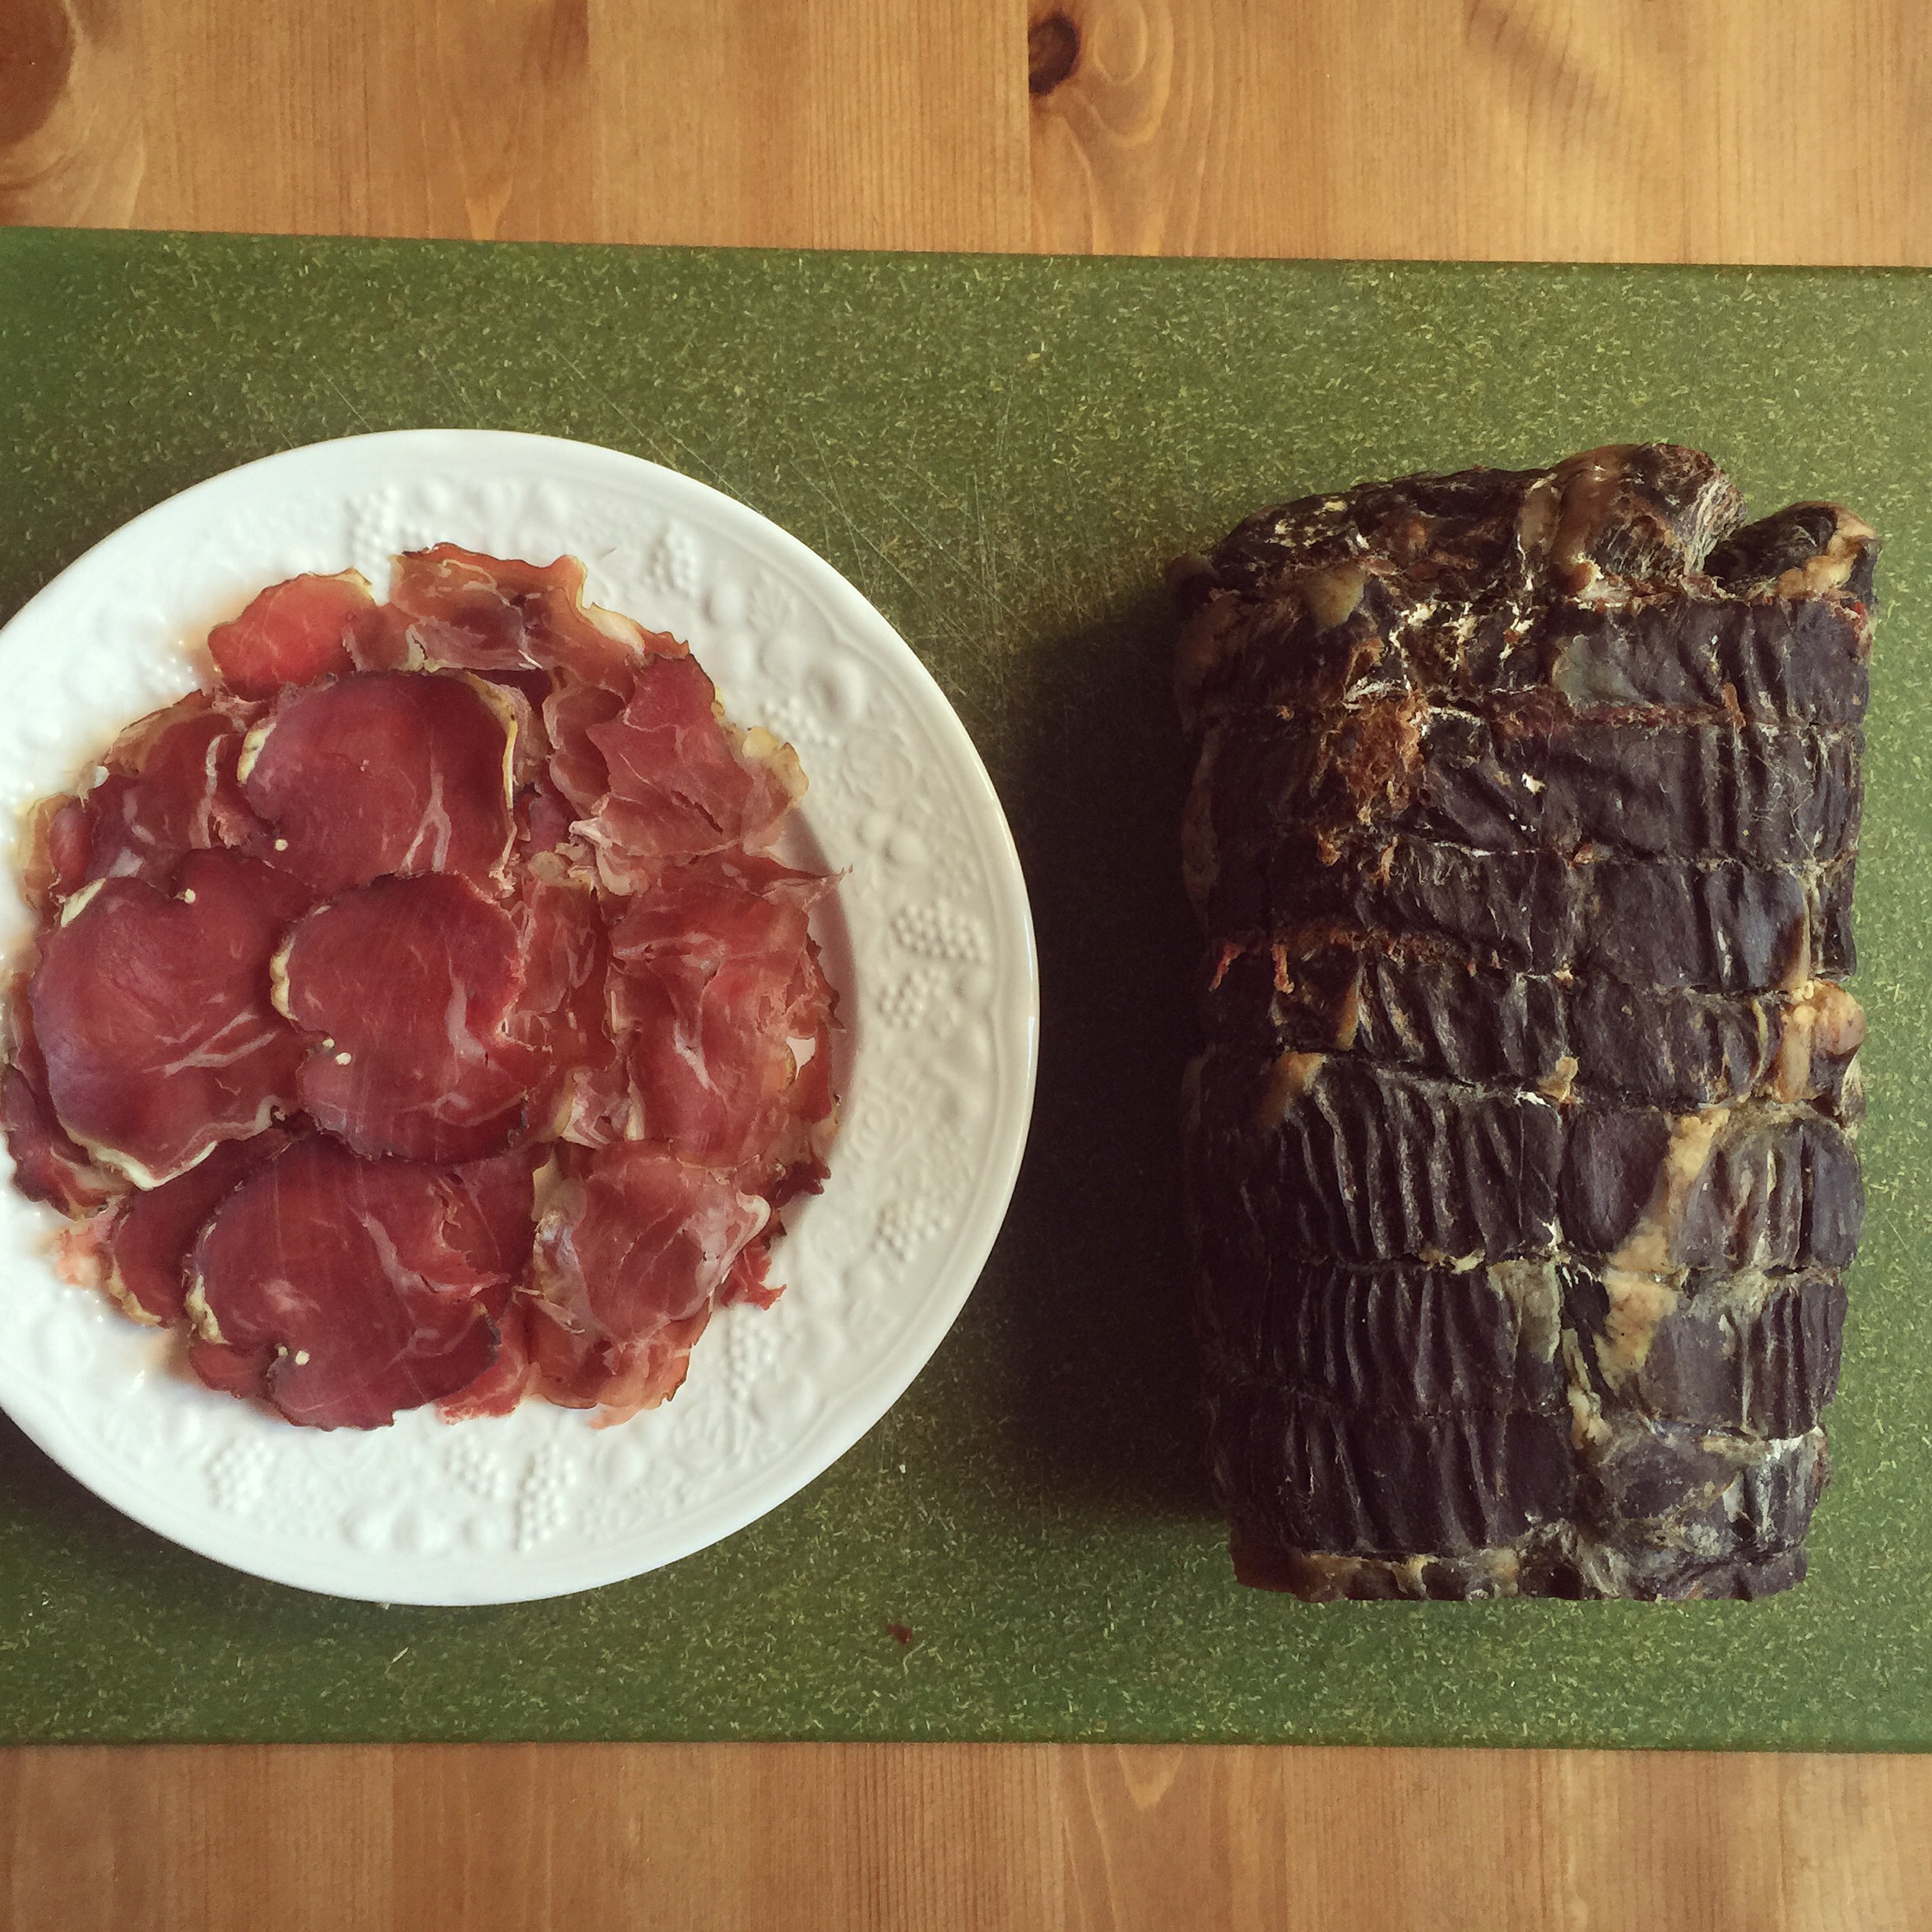
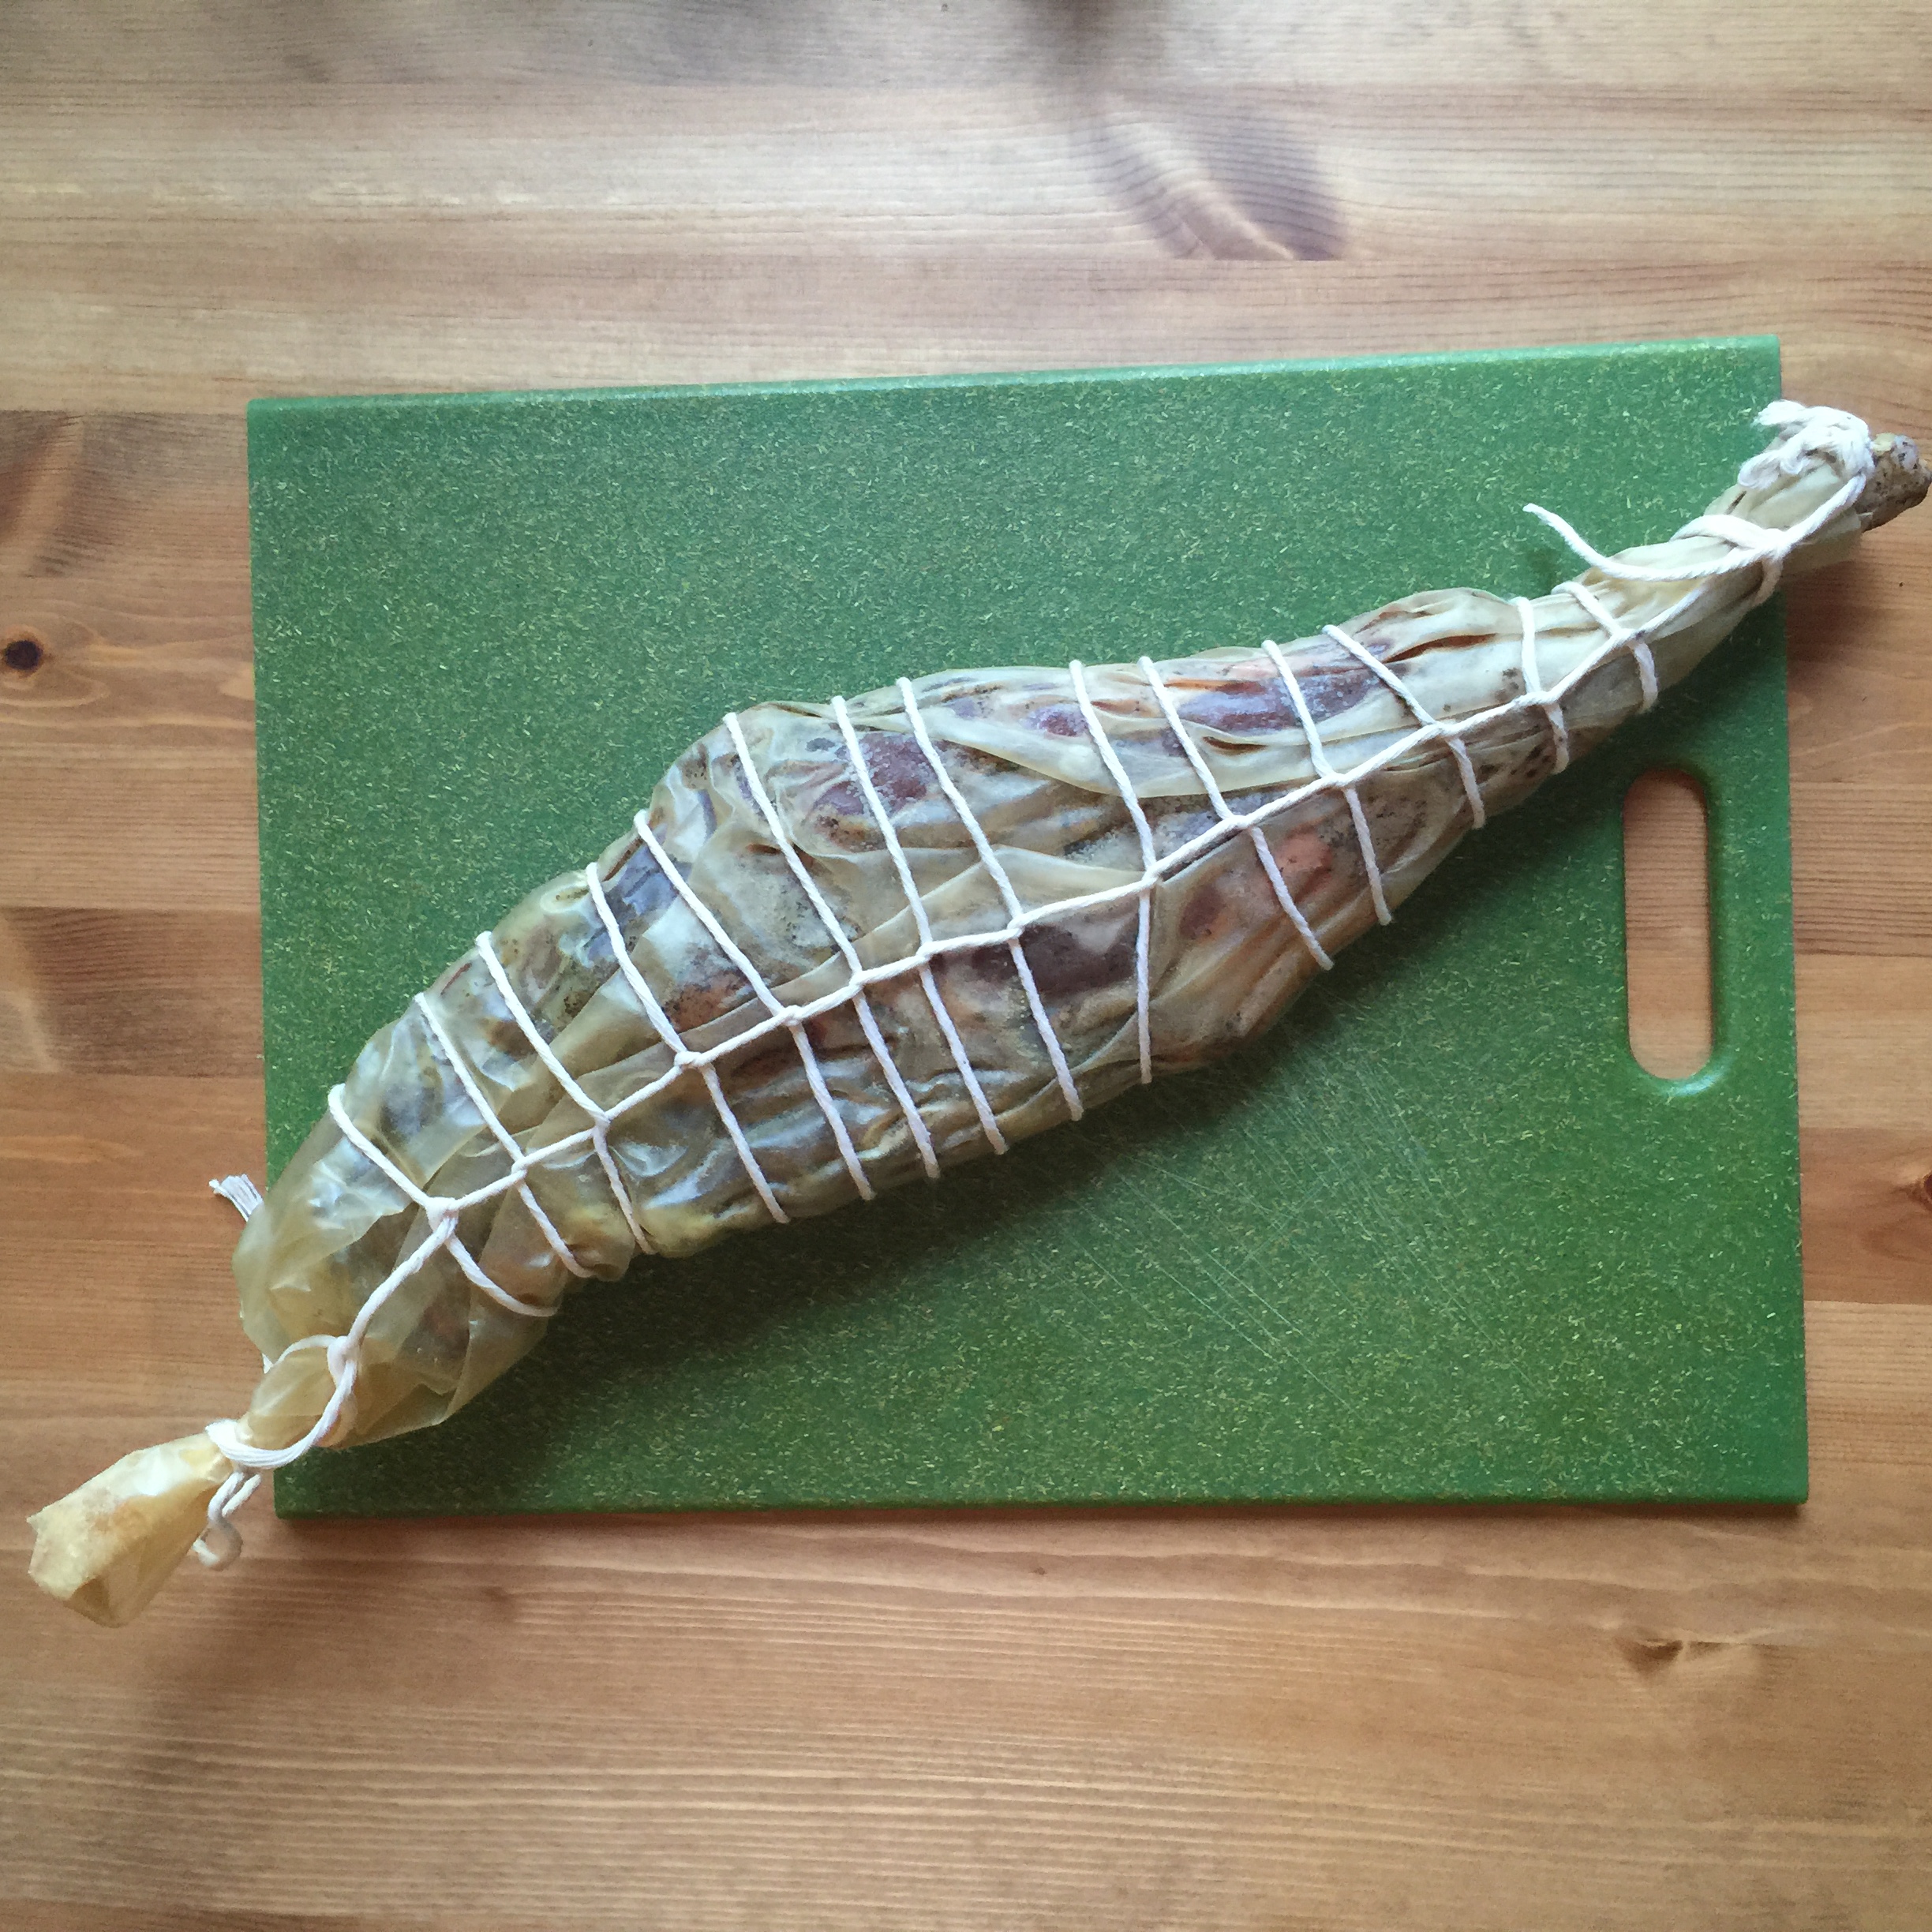
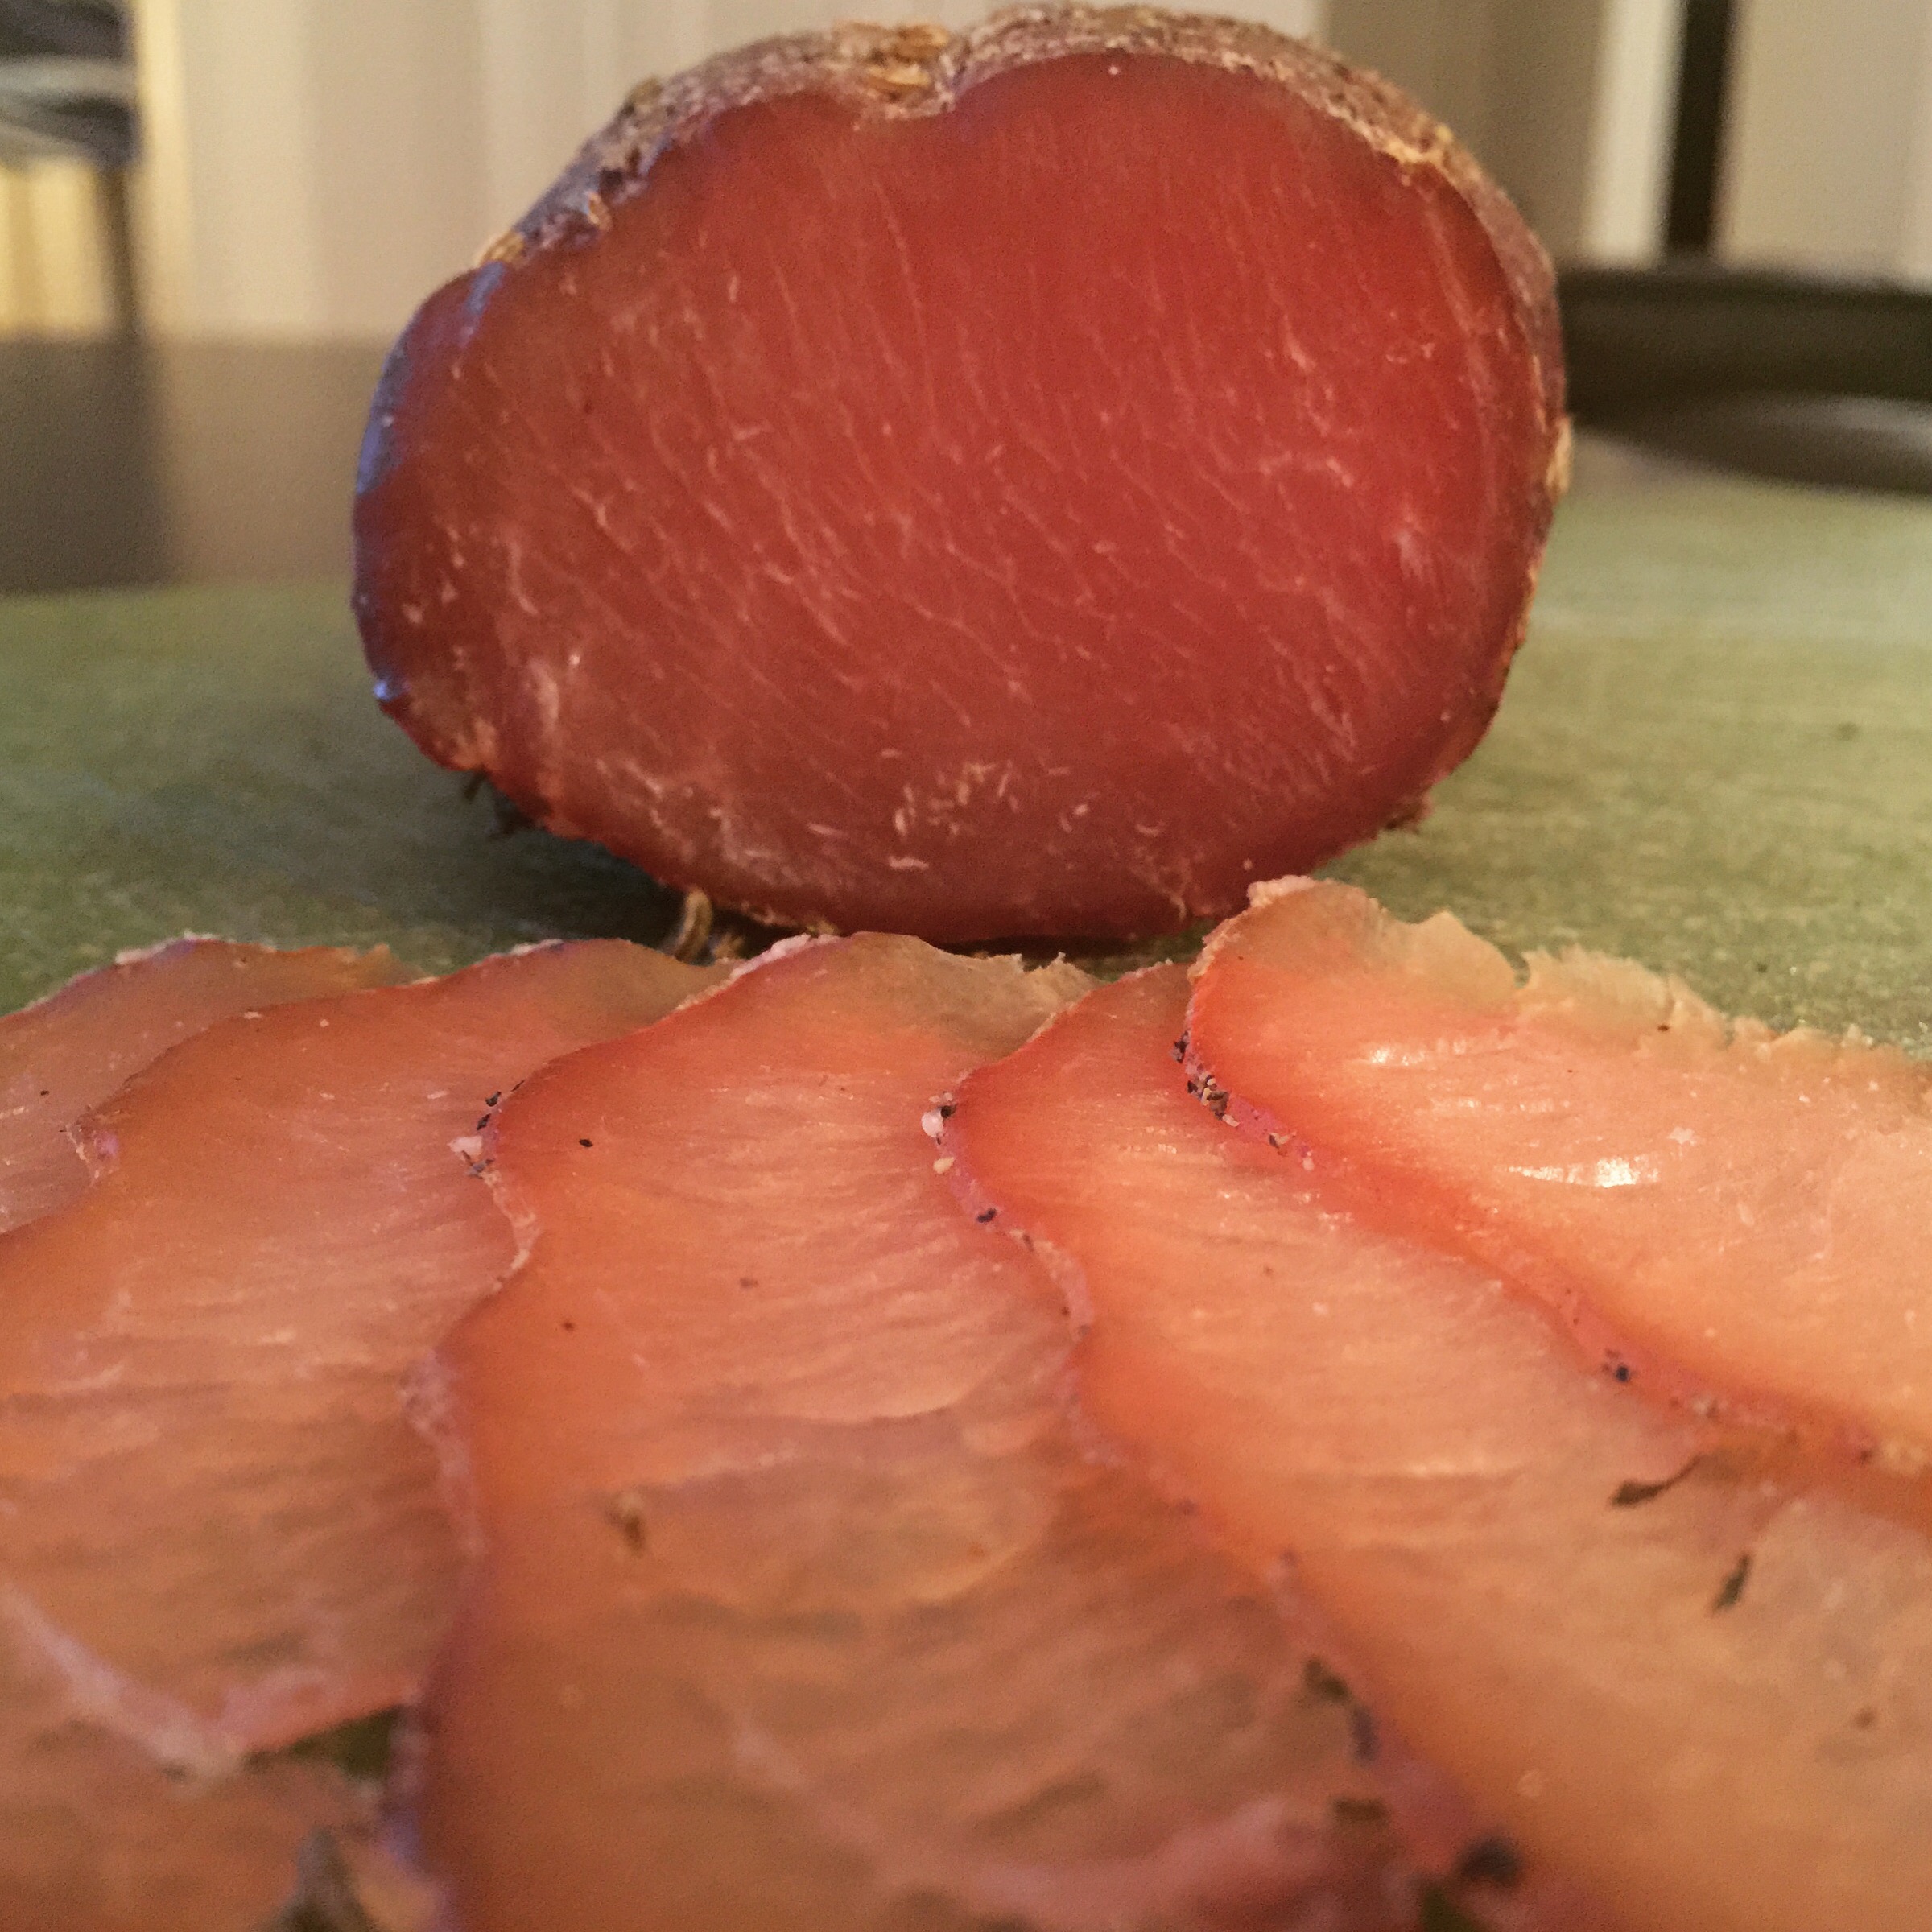
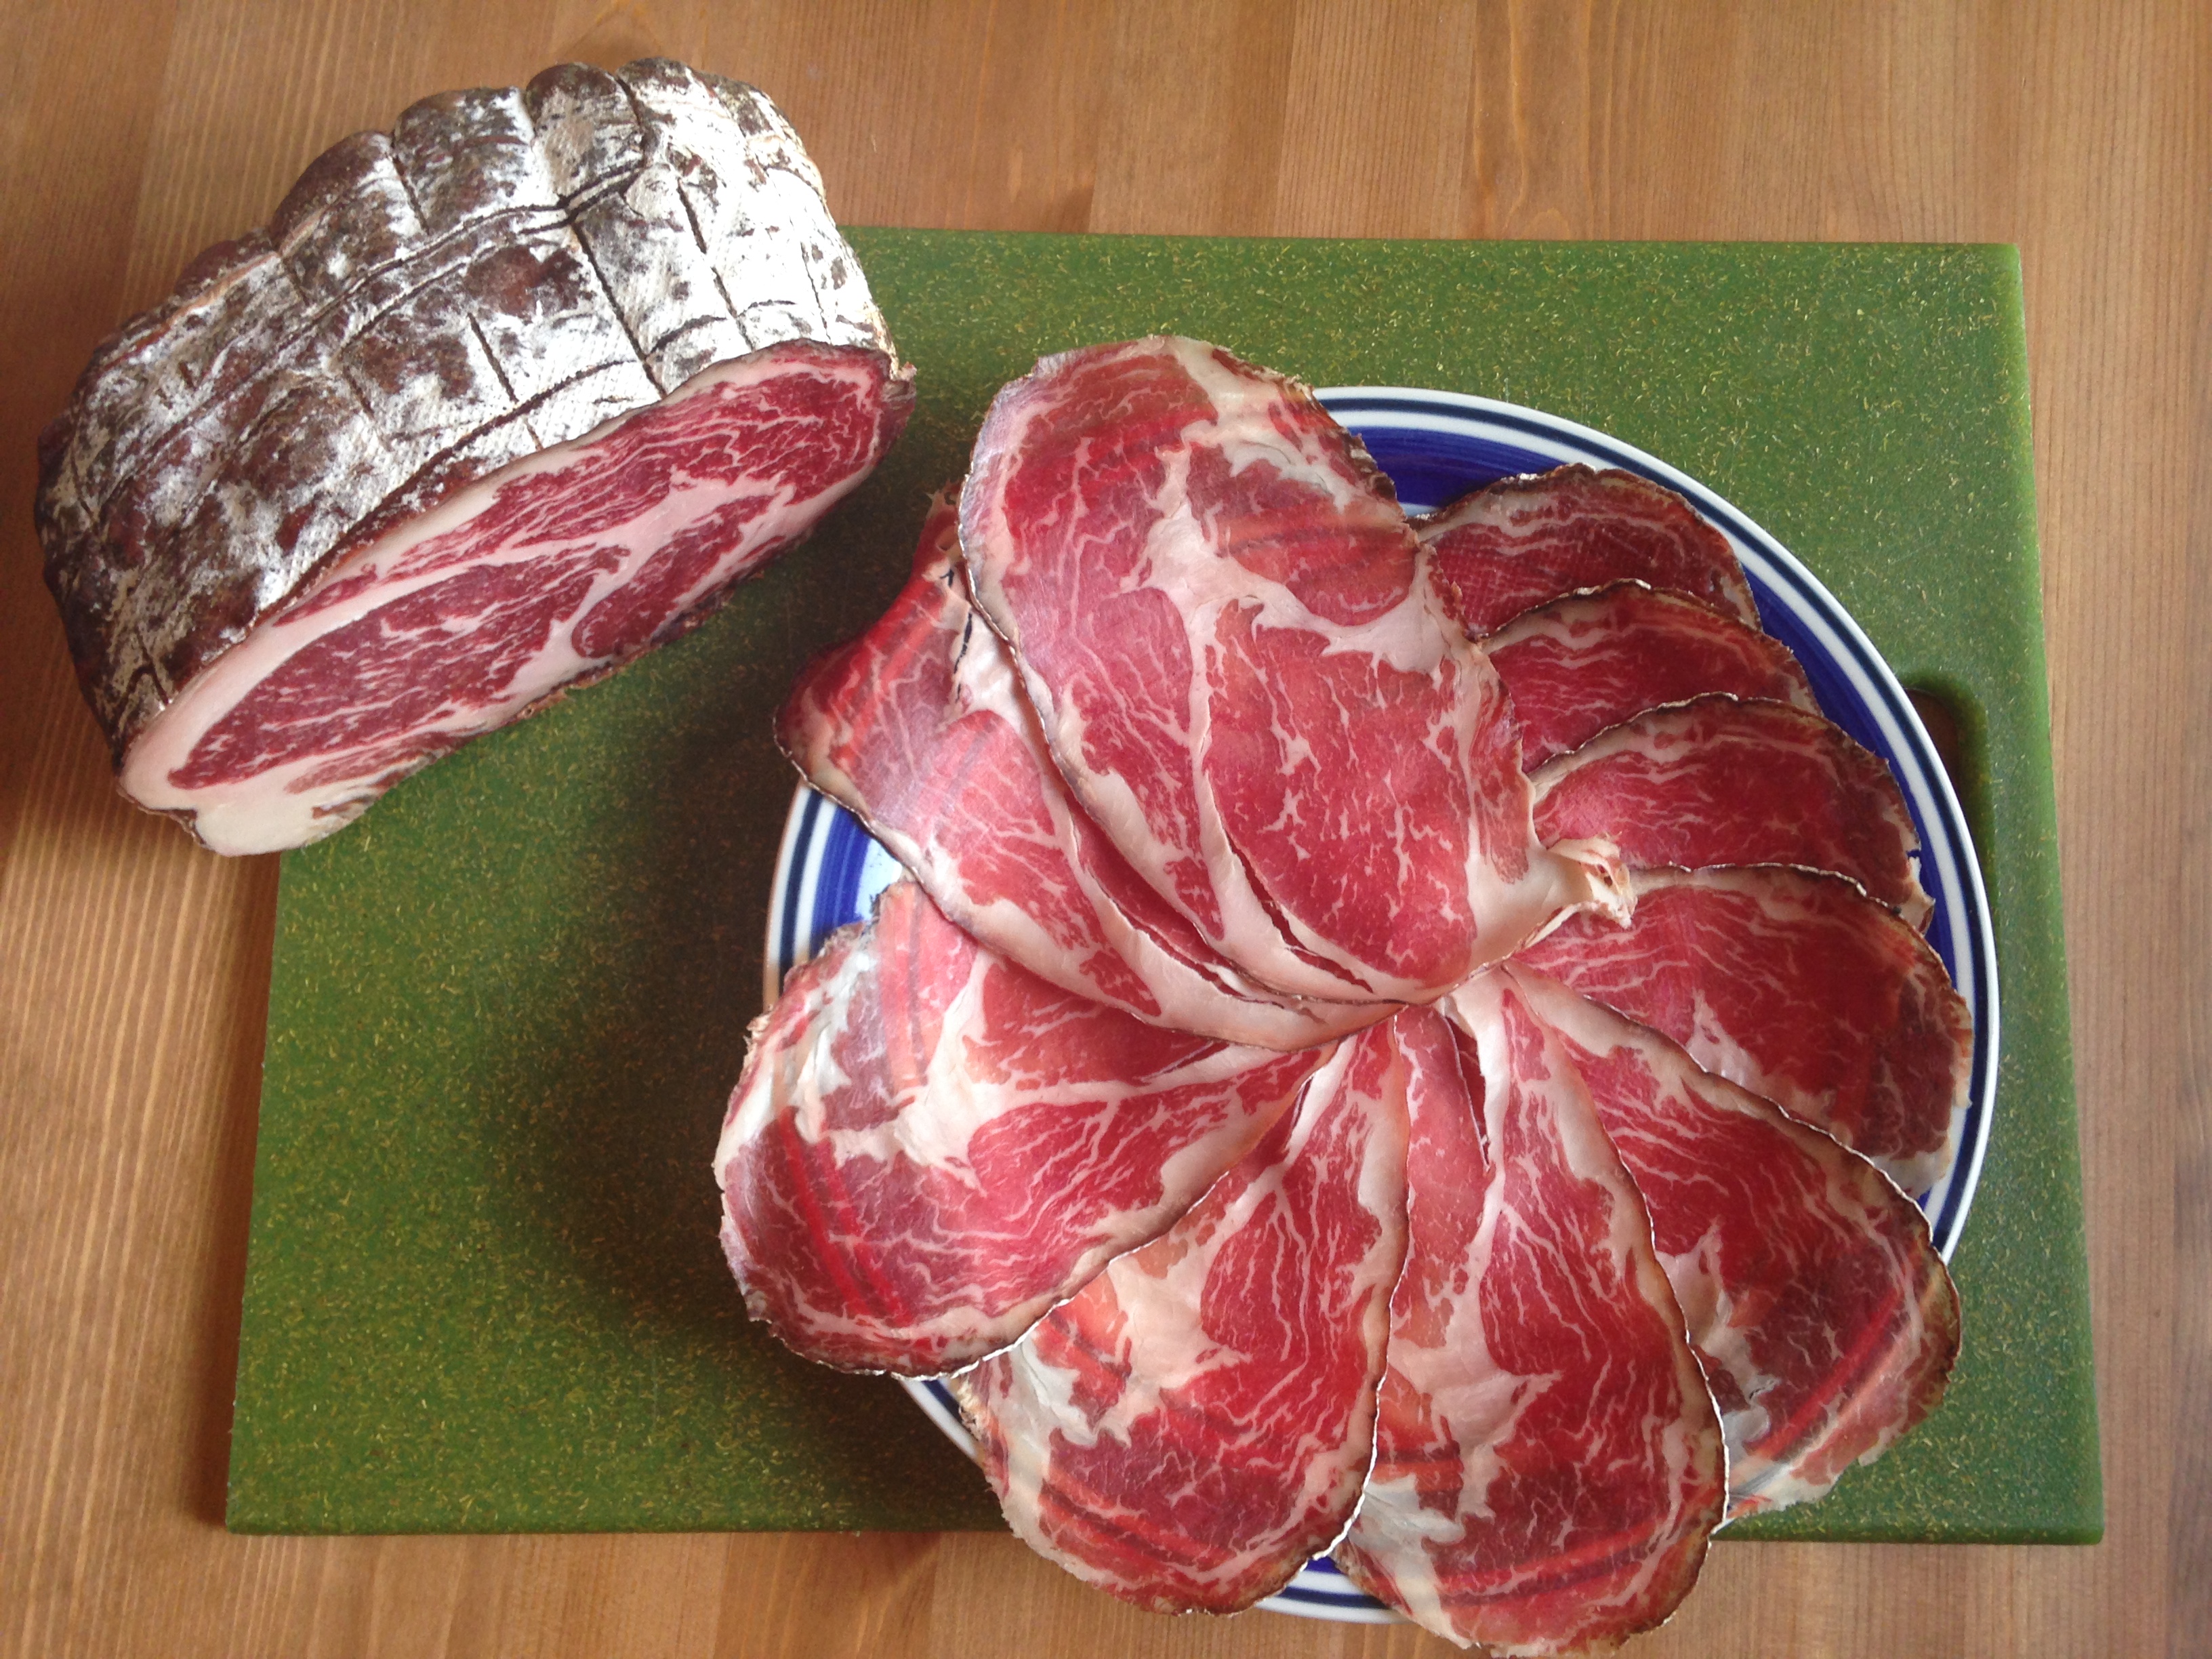
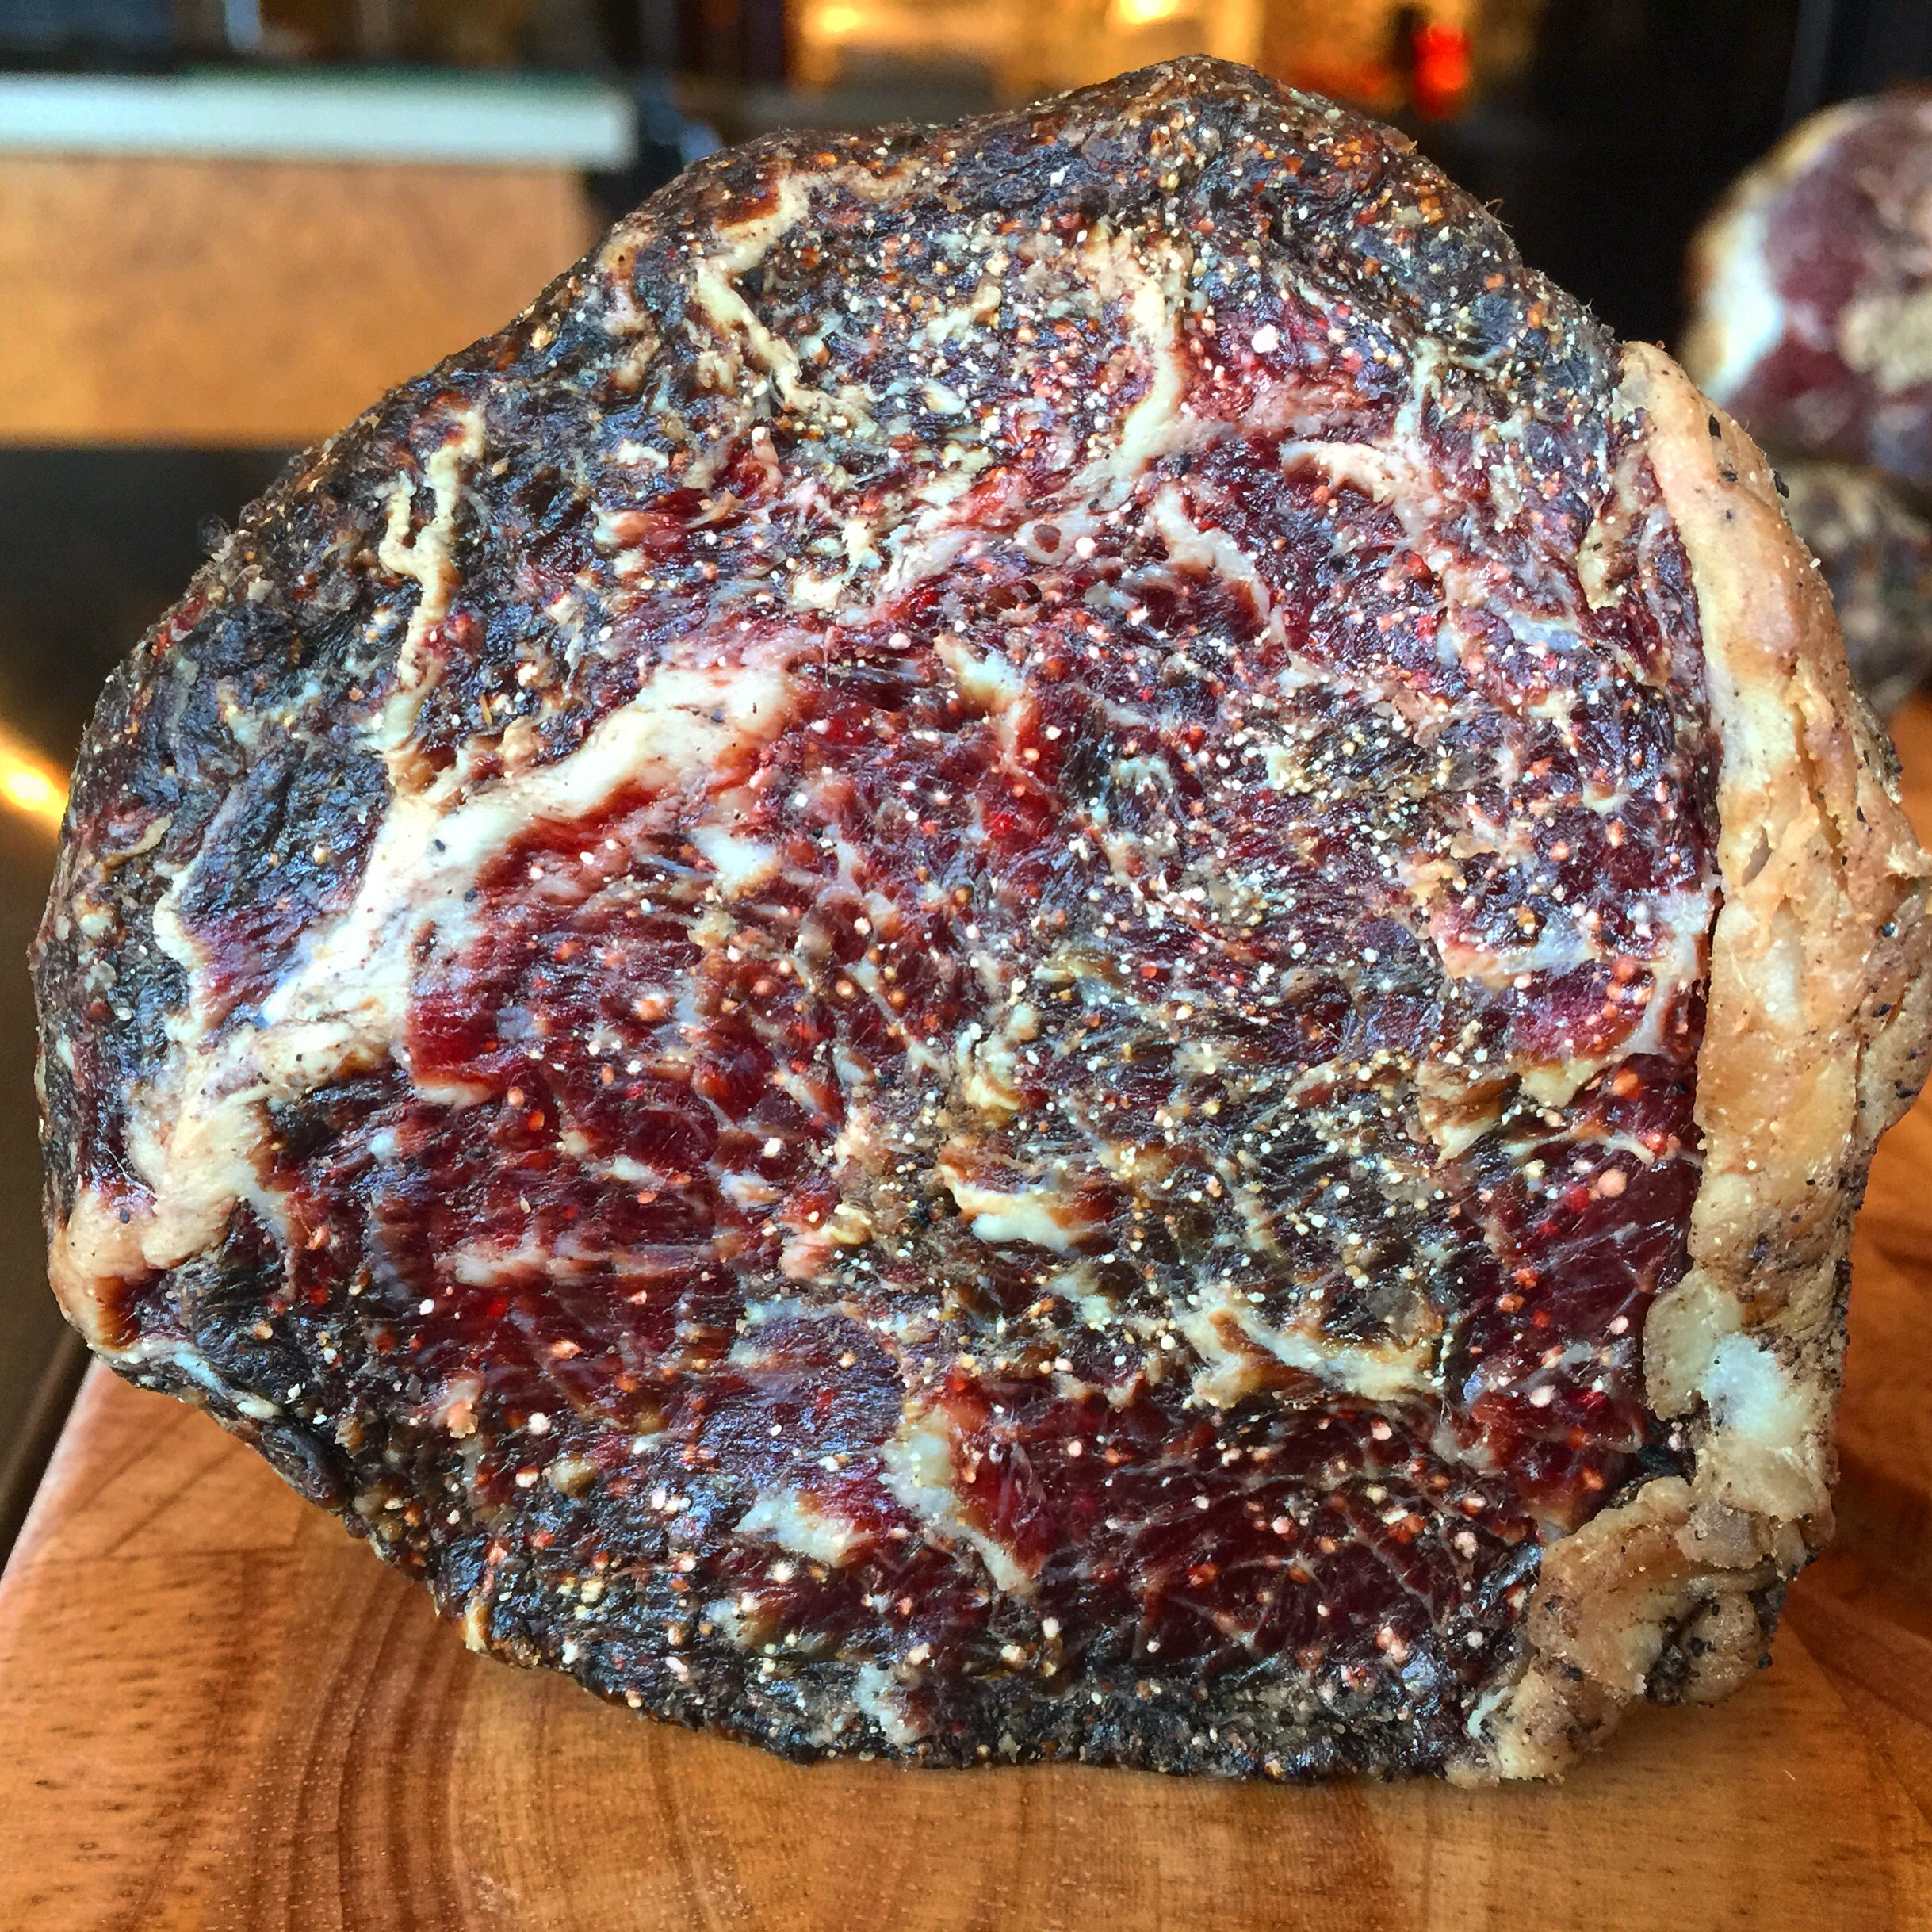
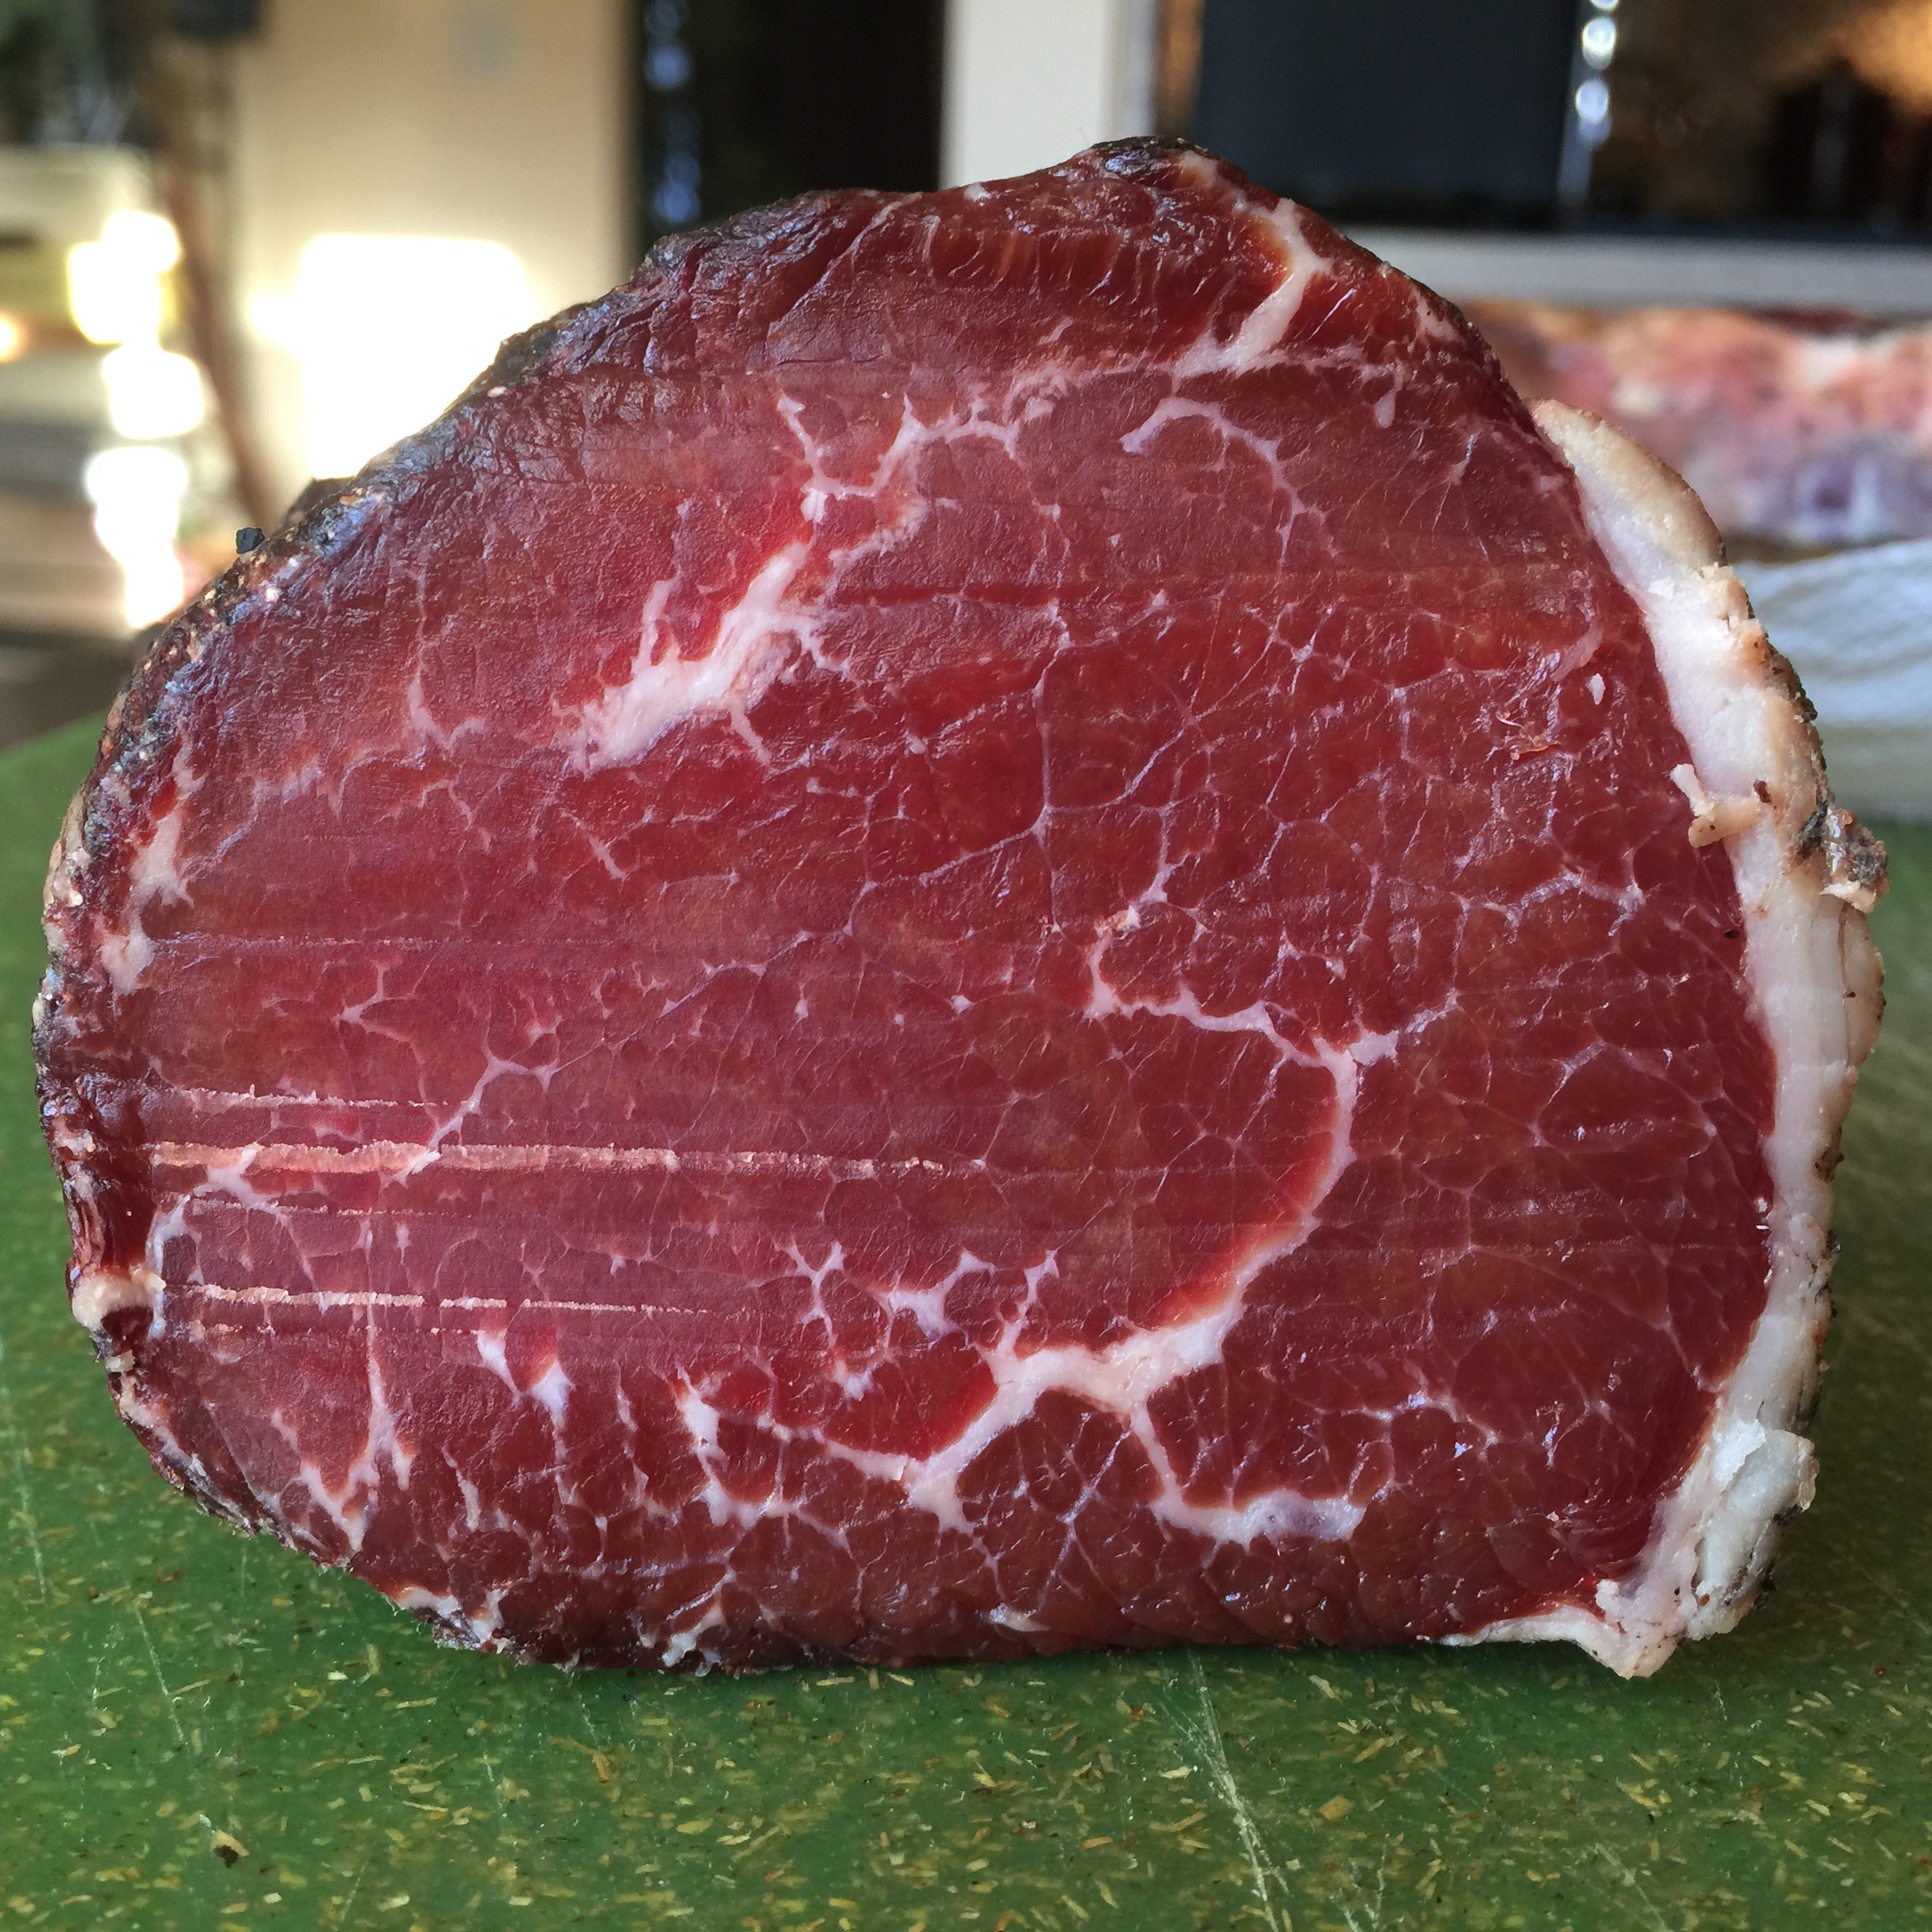
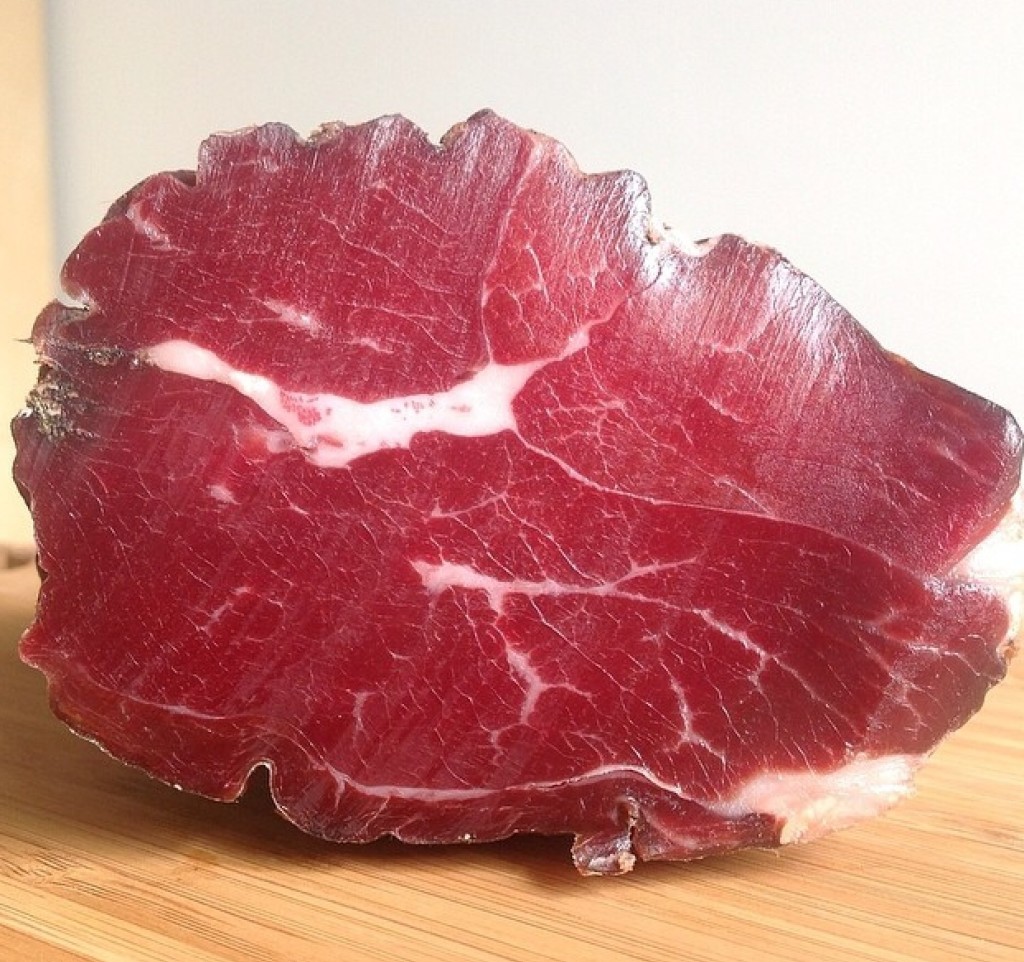
This one looked a little gnarly, due to the butcher string that kept it together.
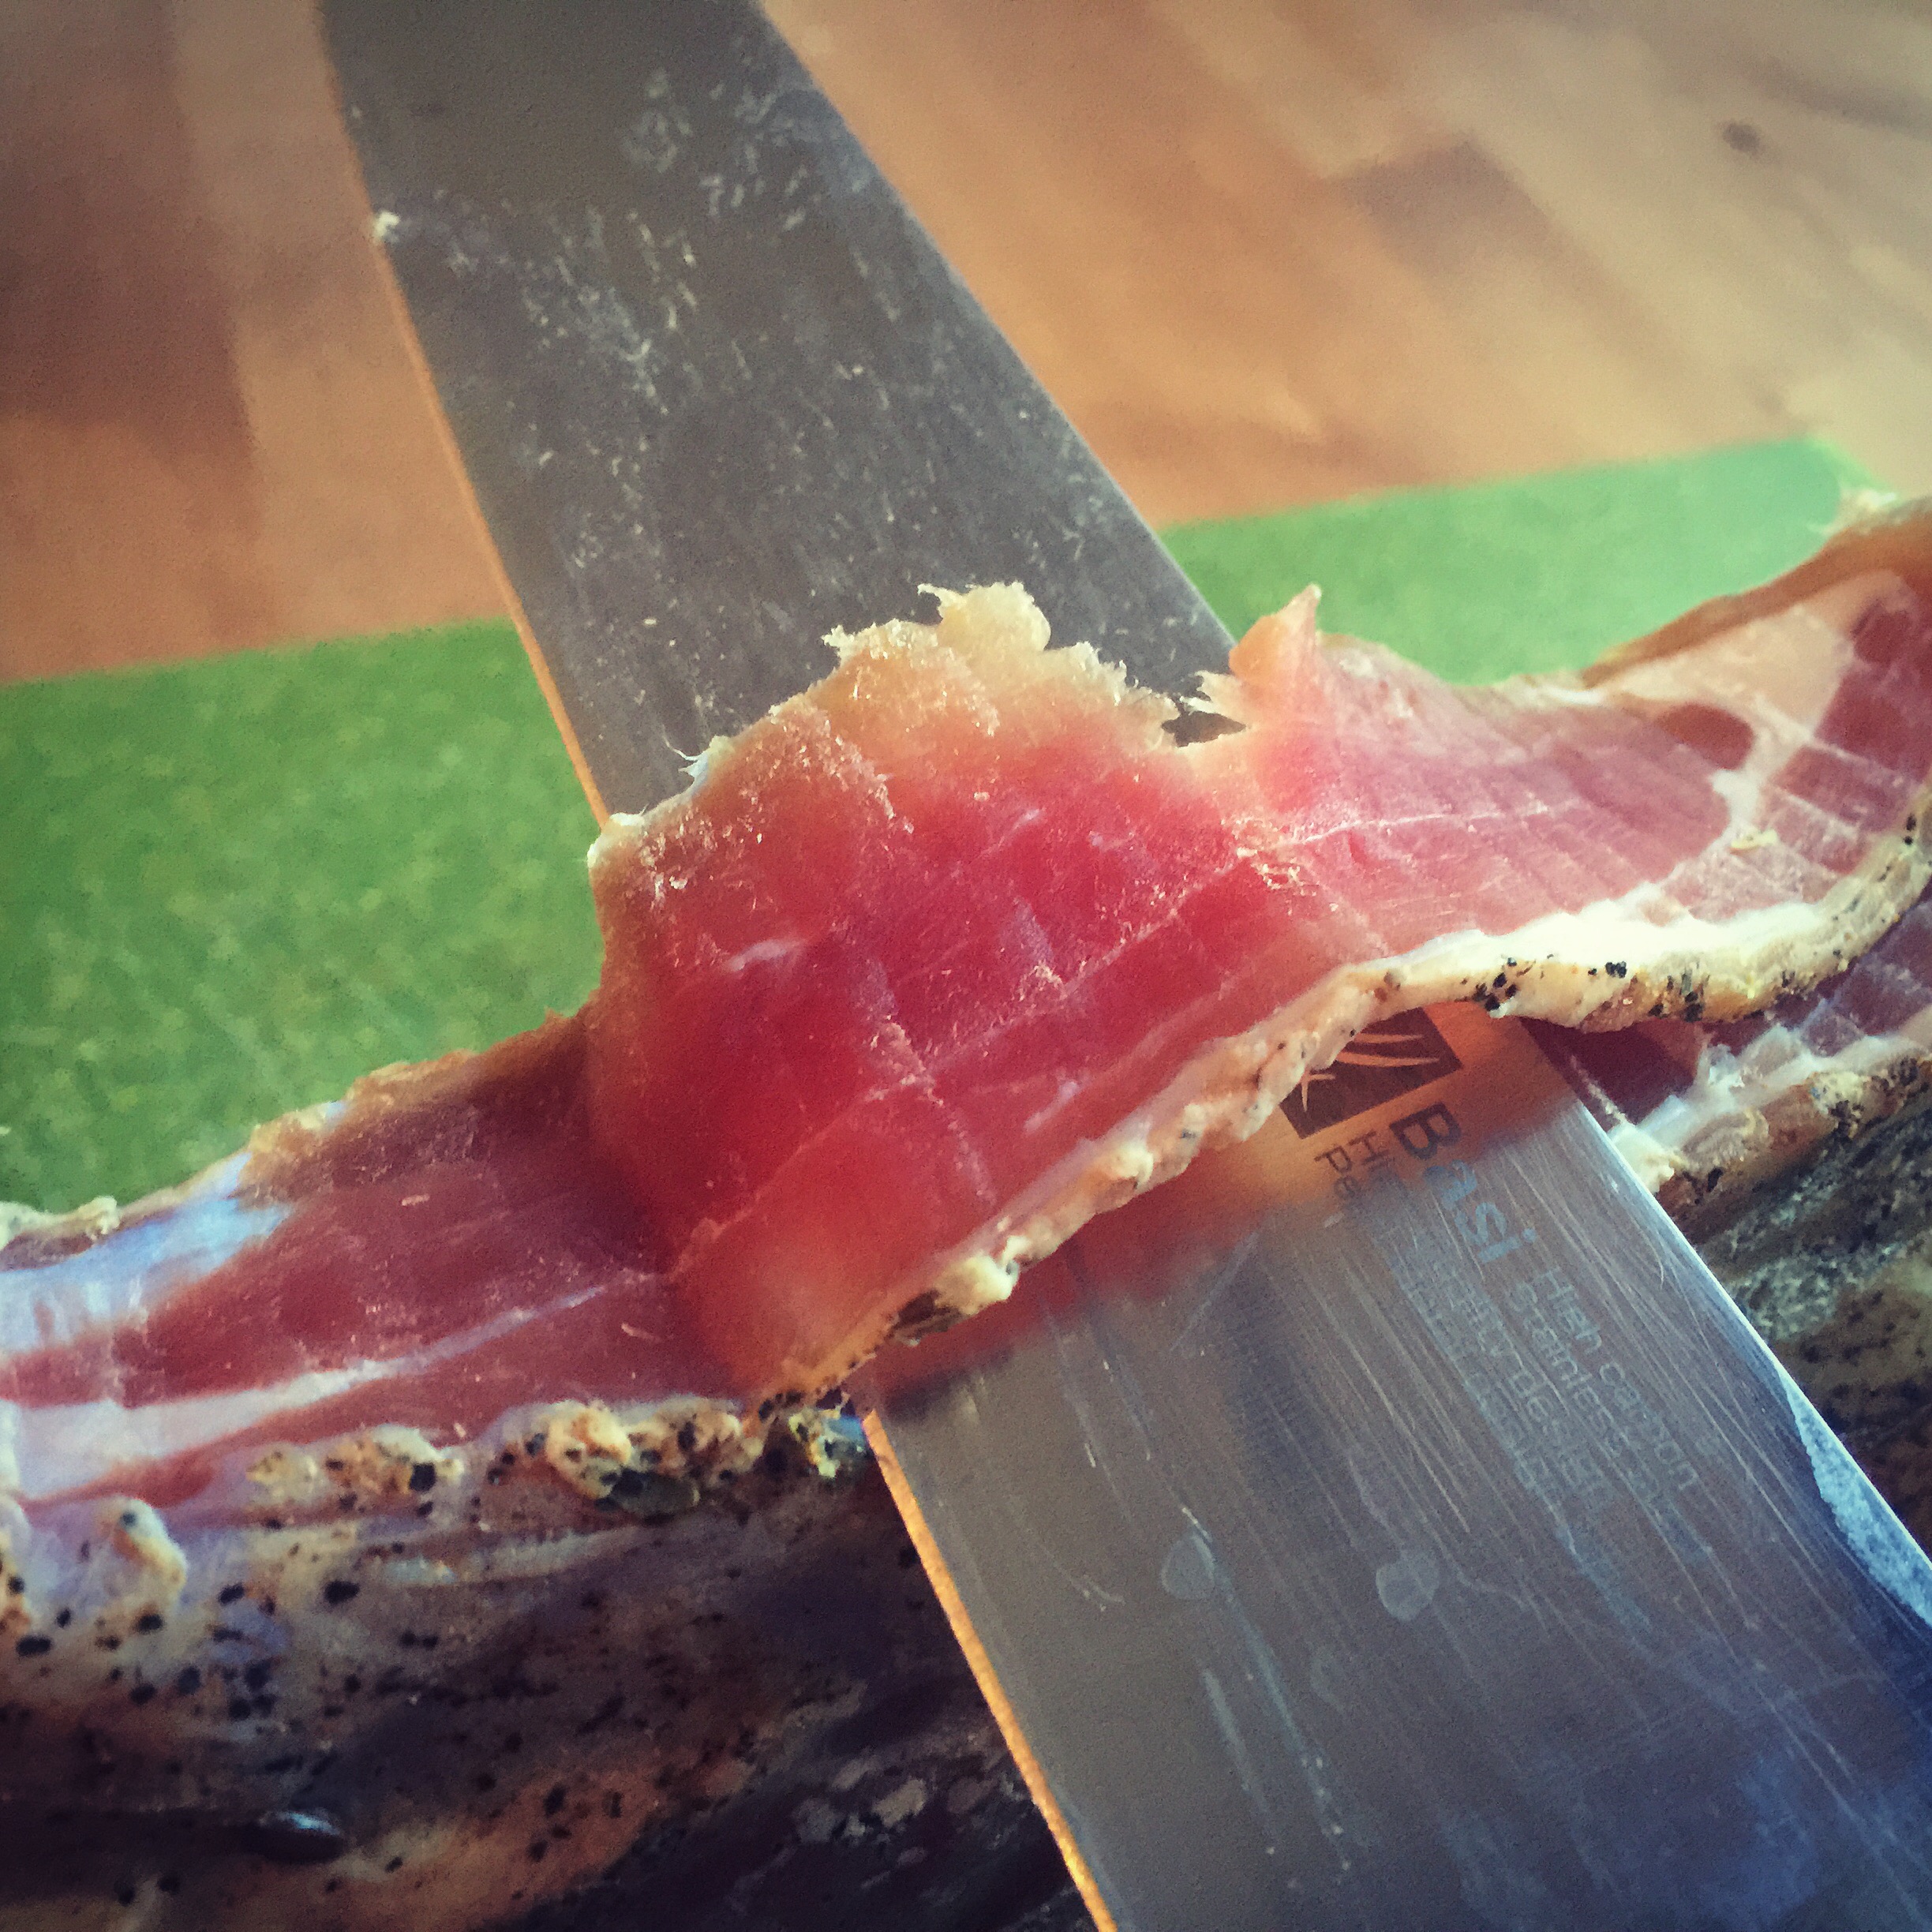
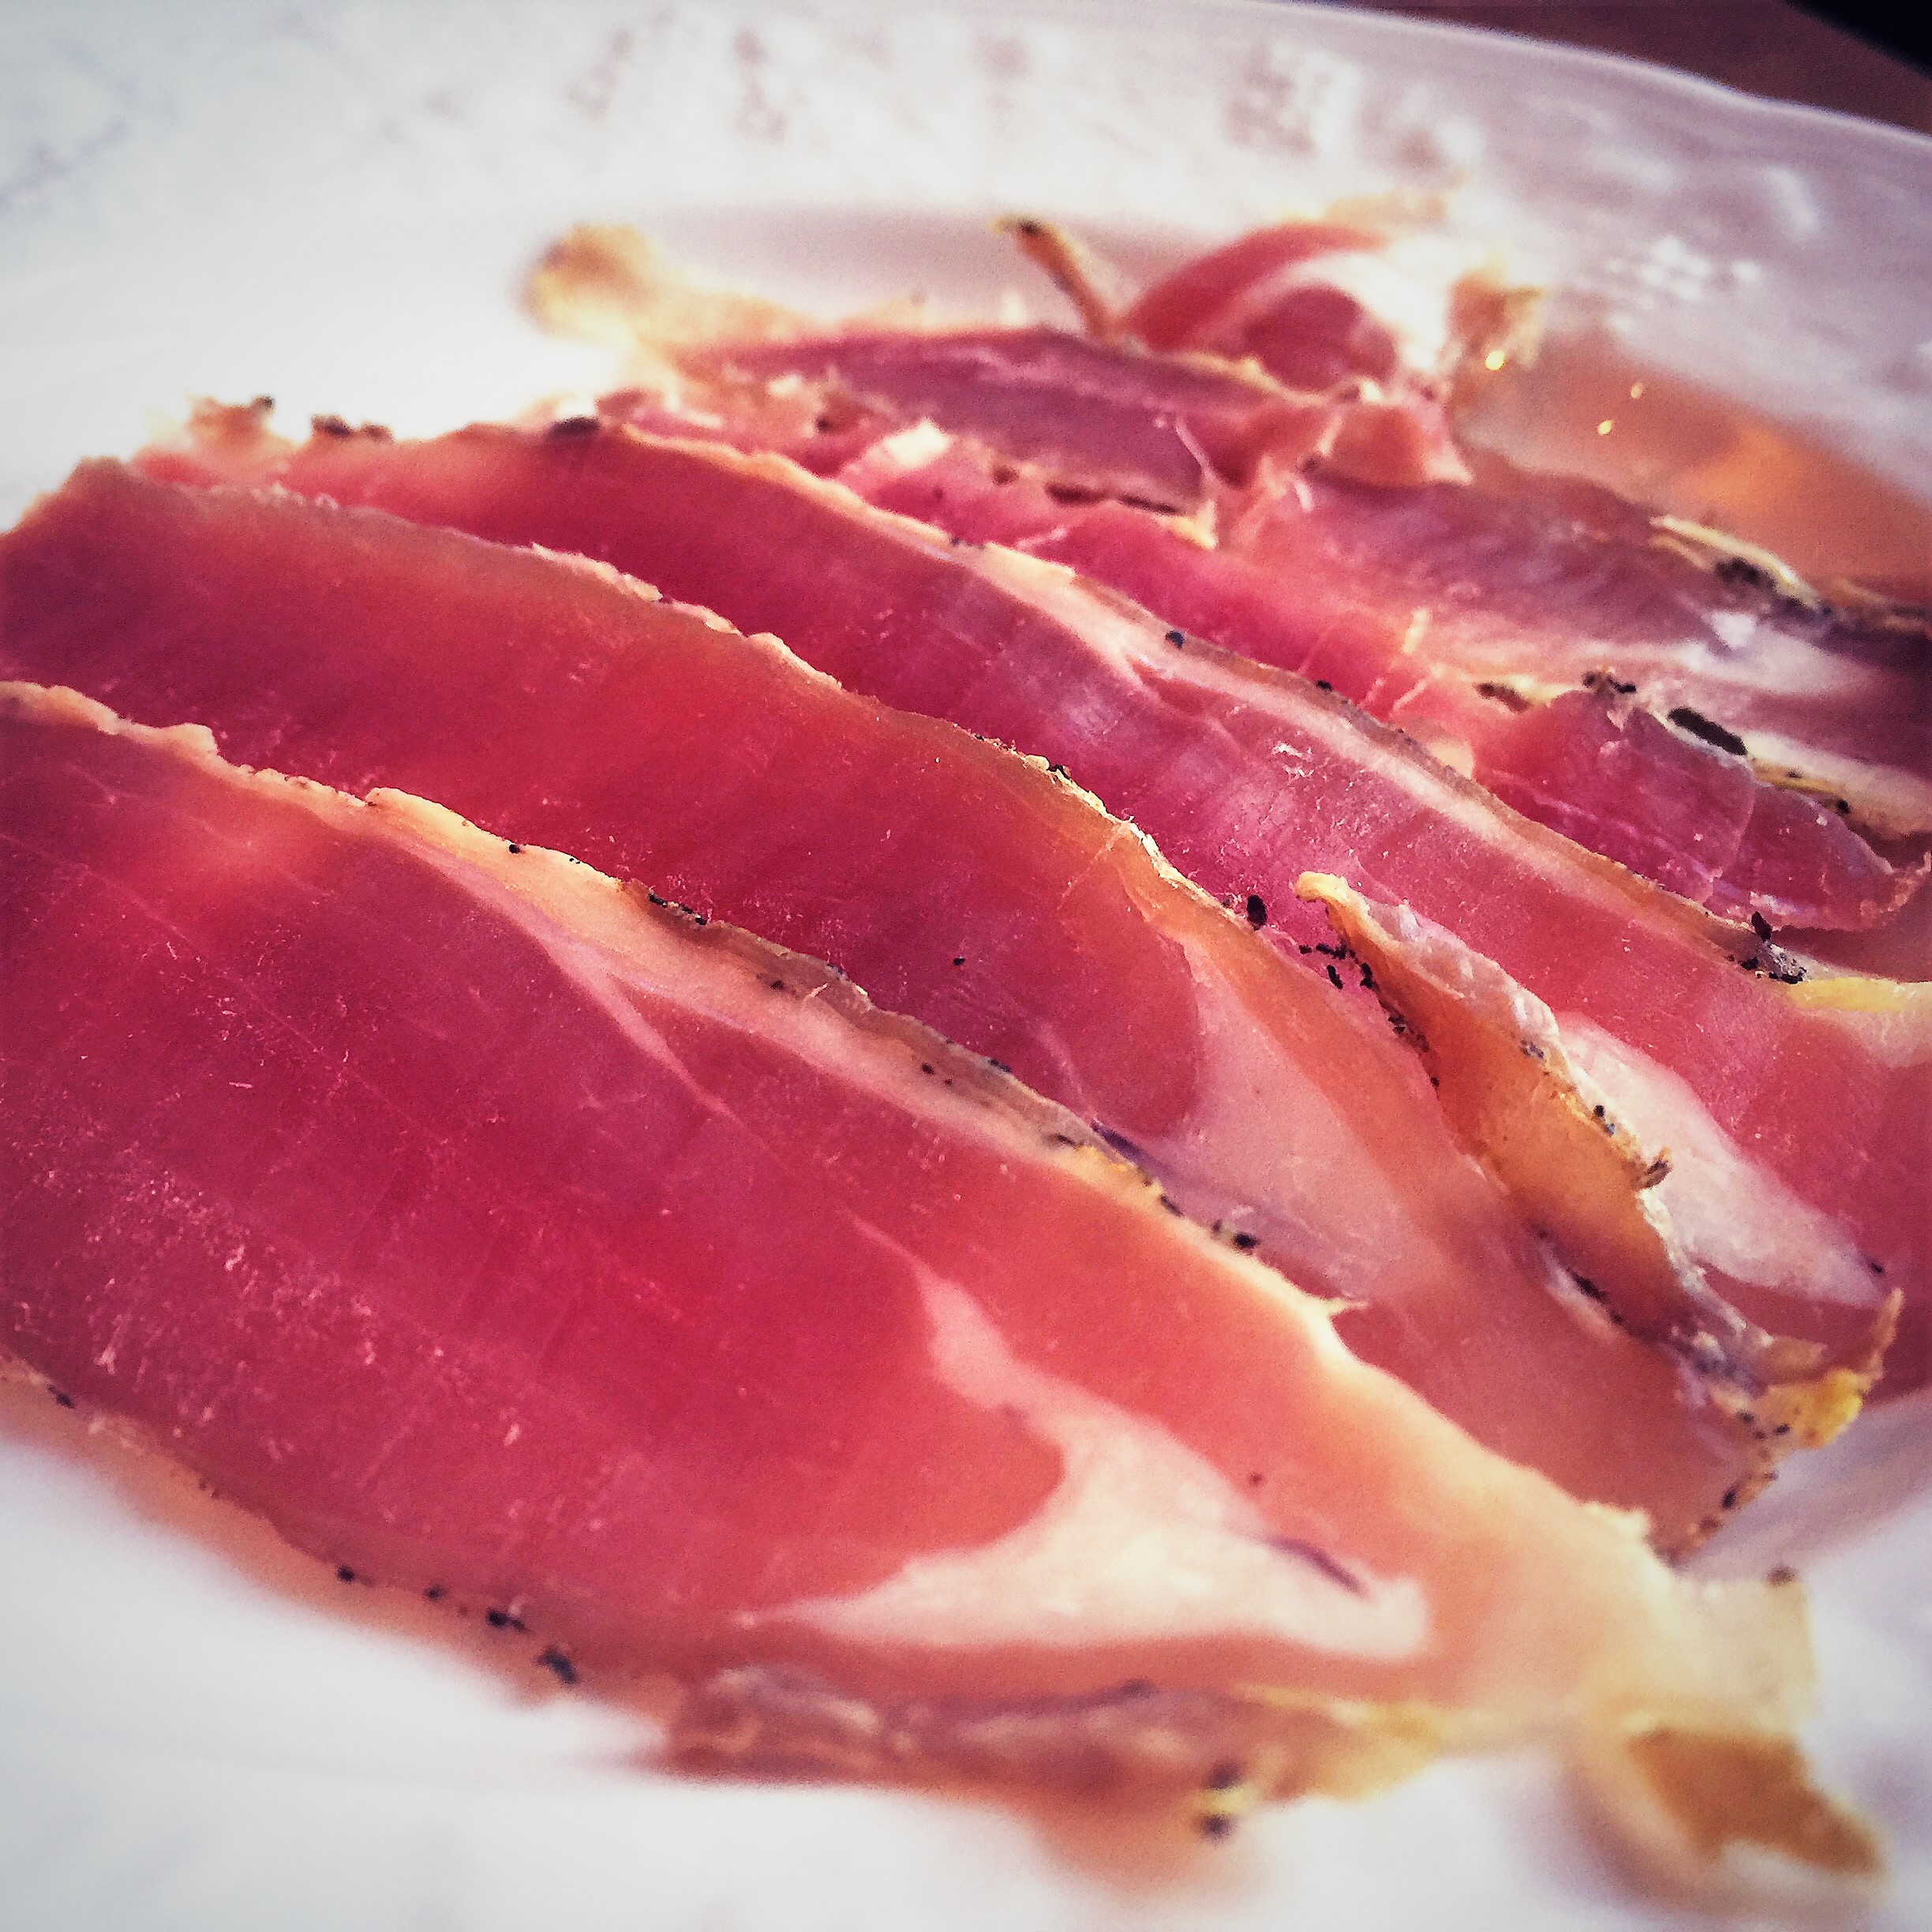
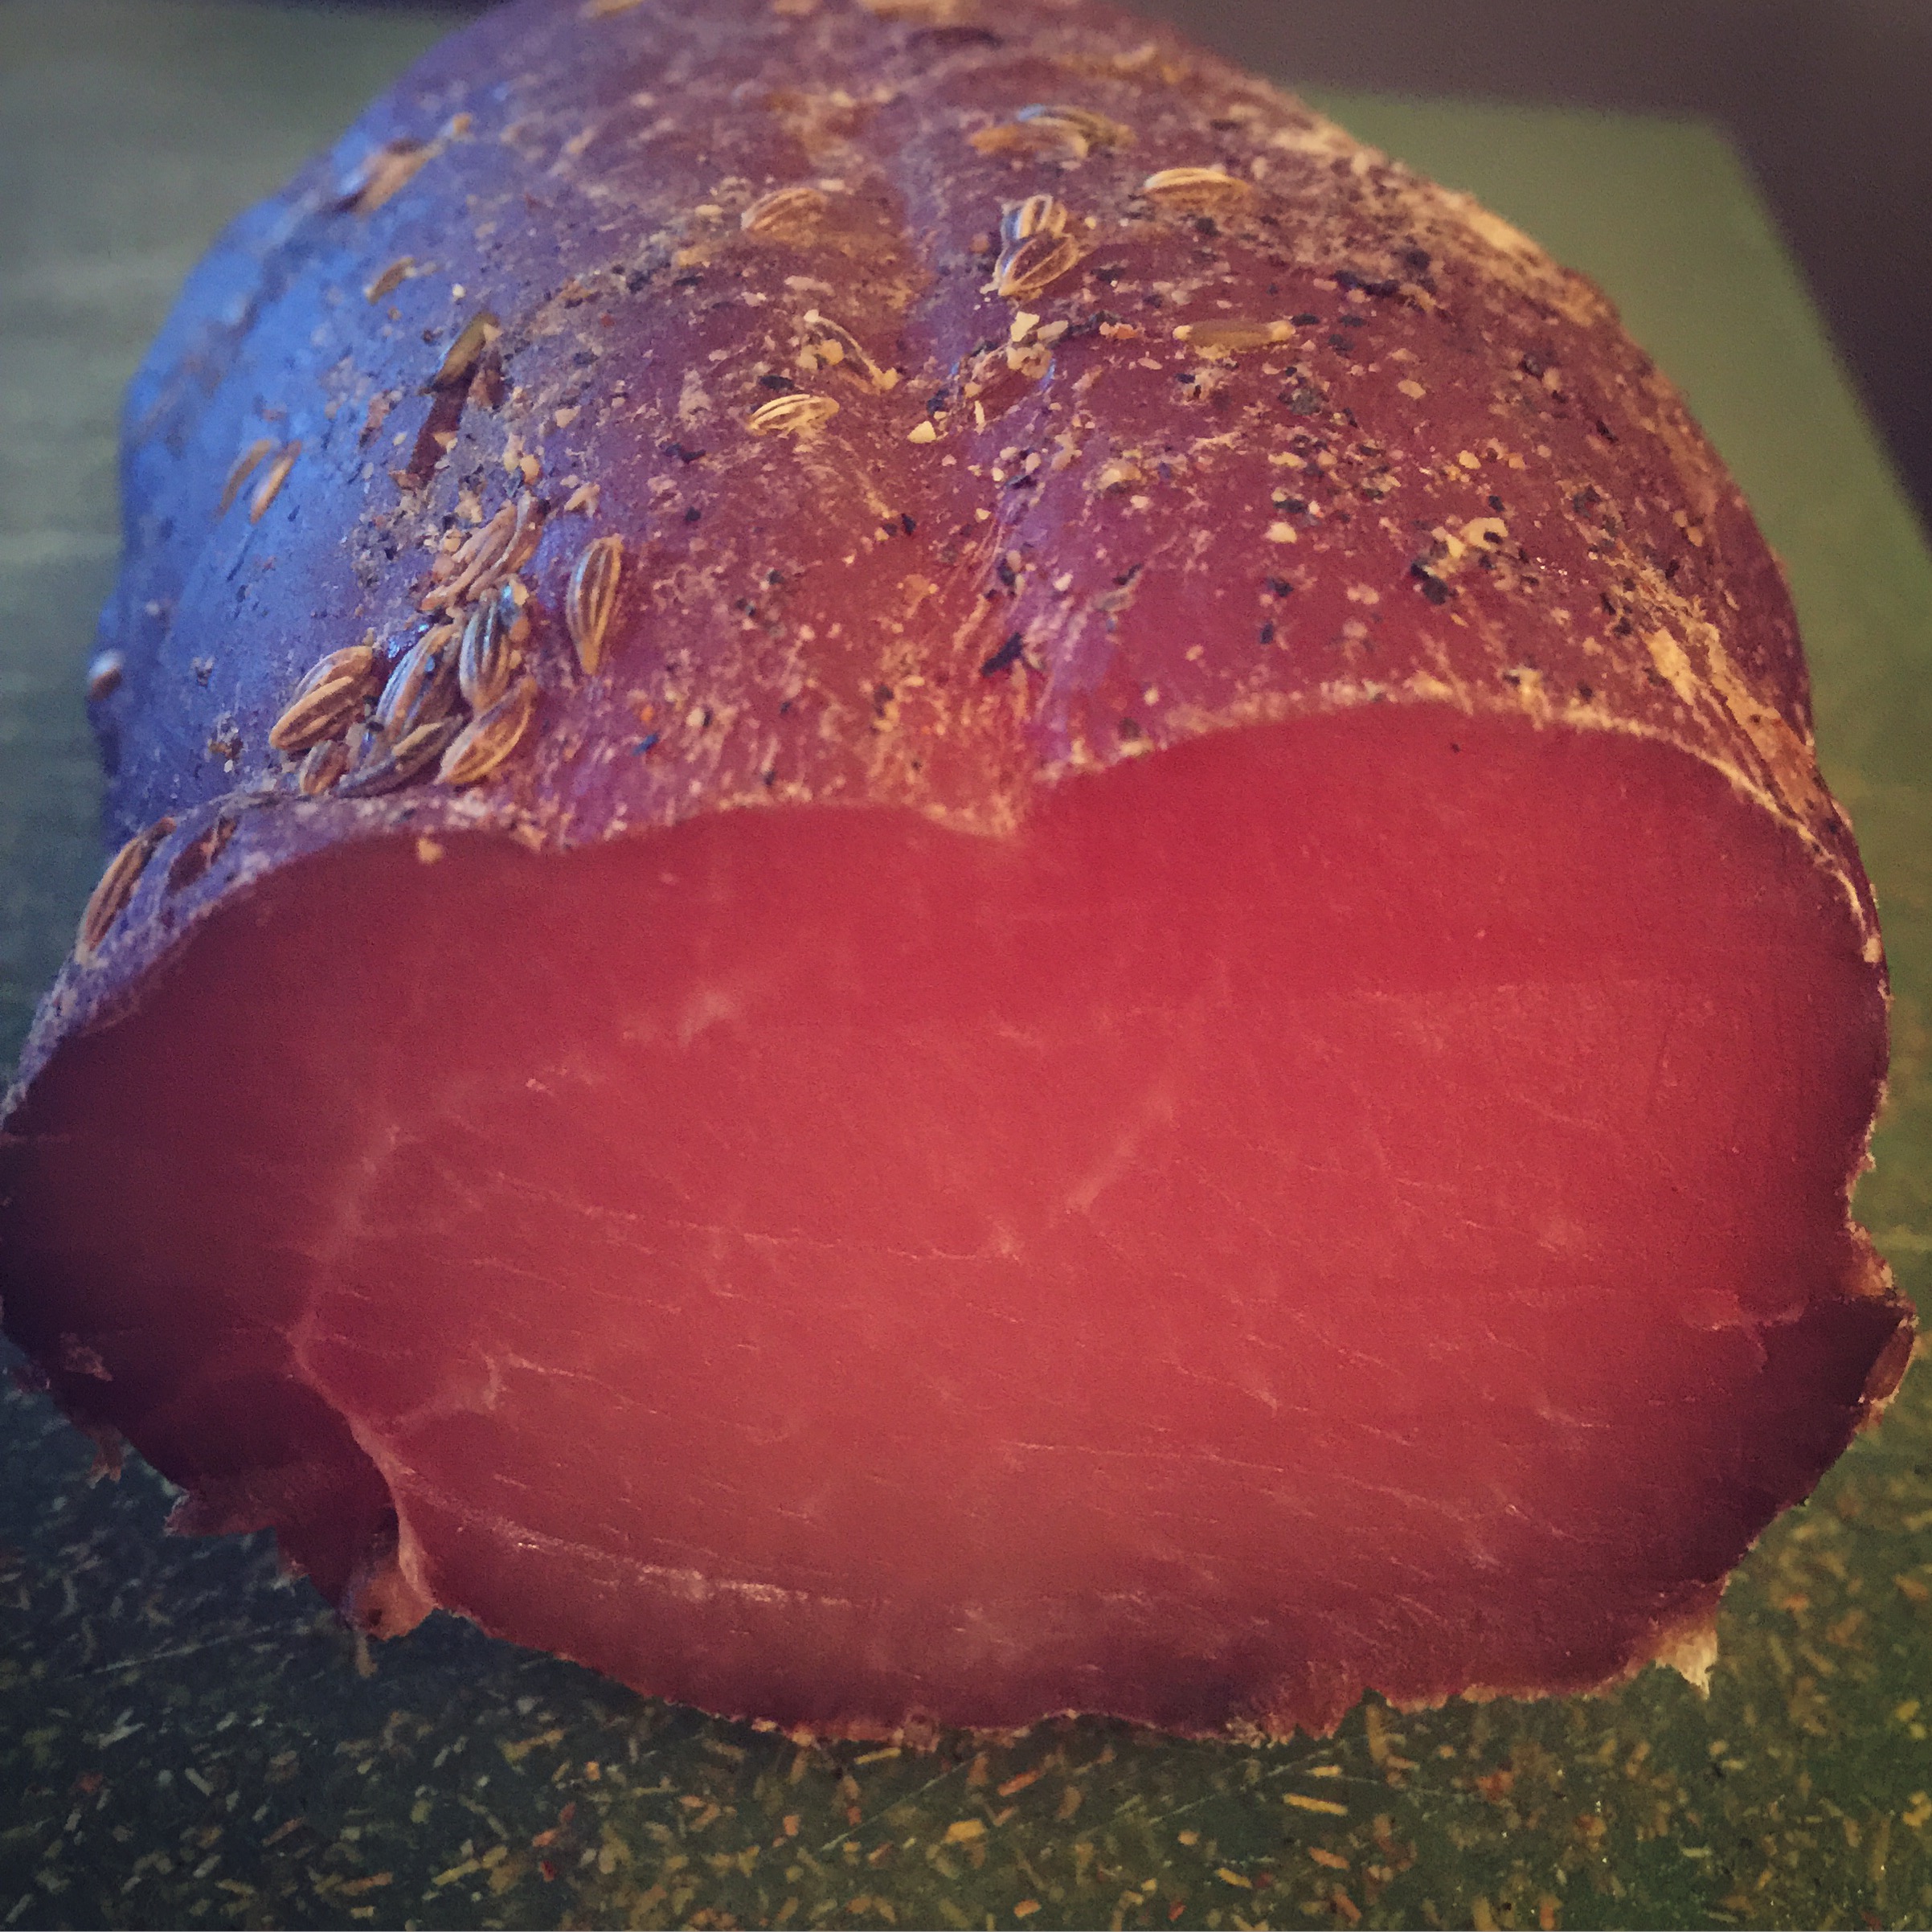
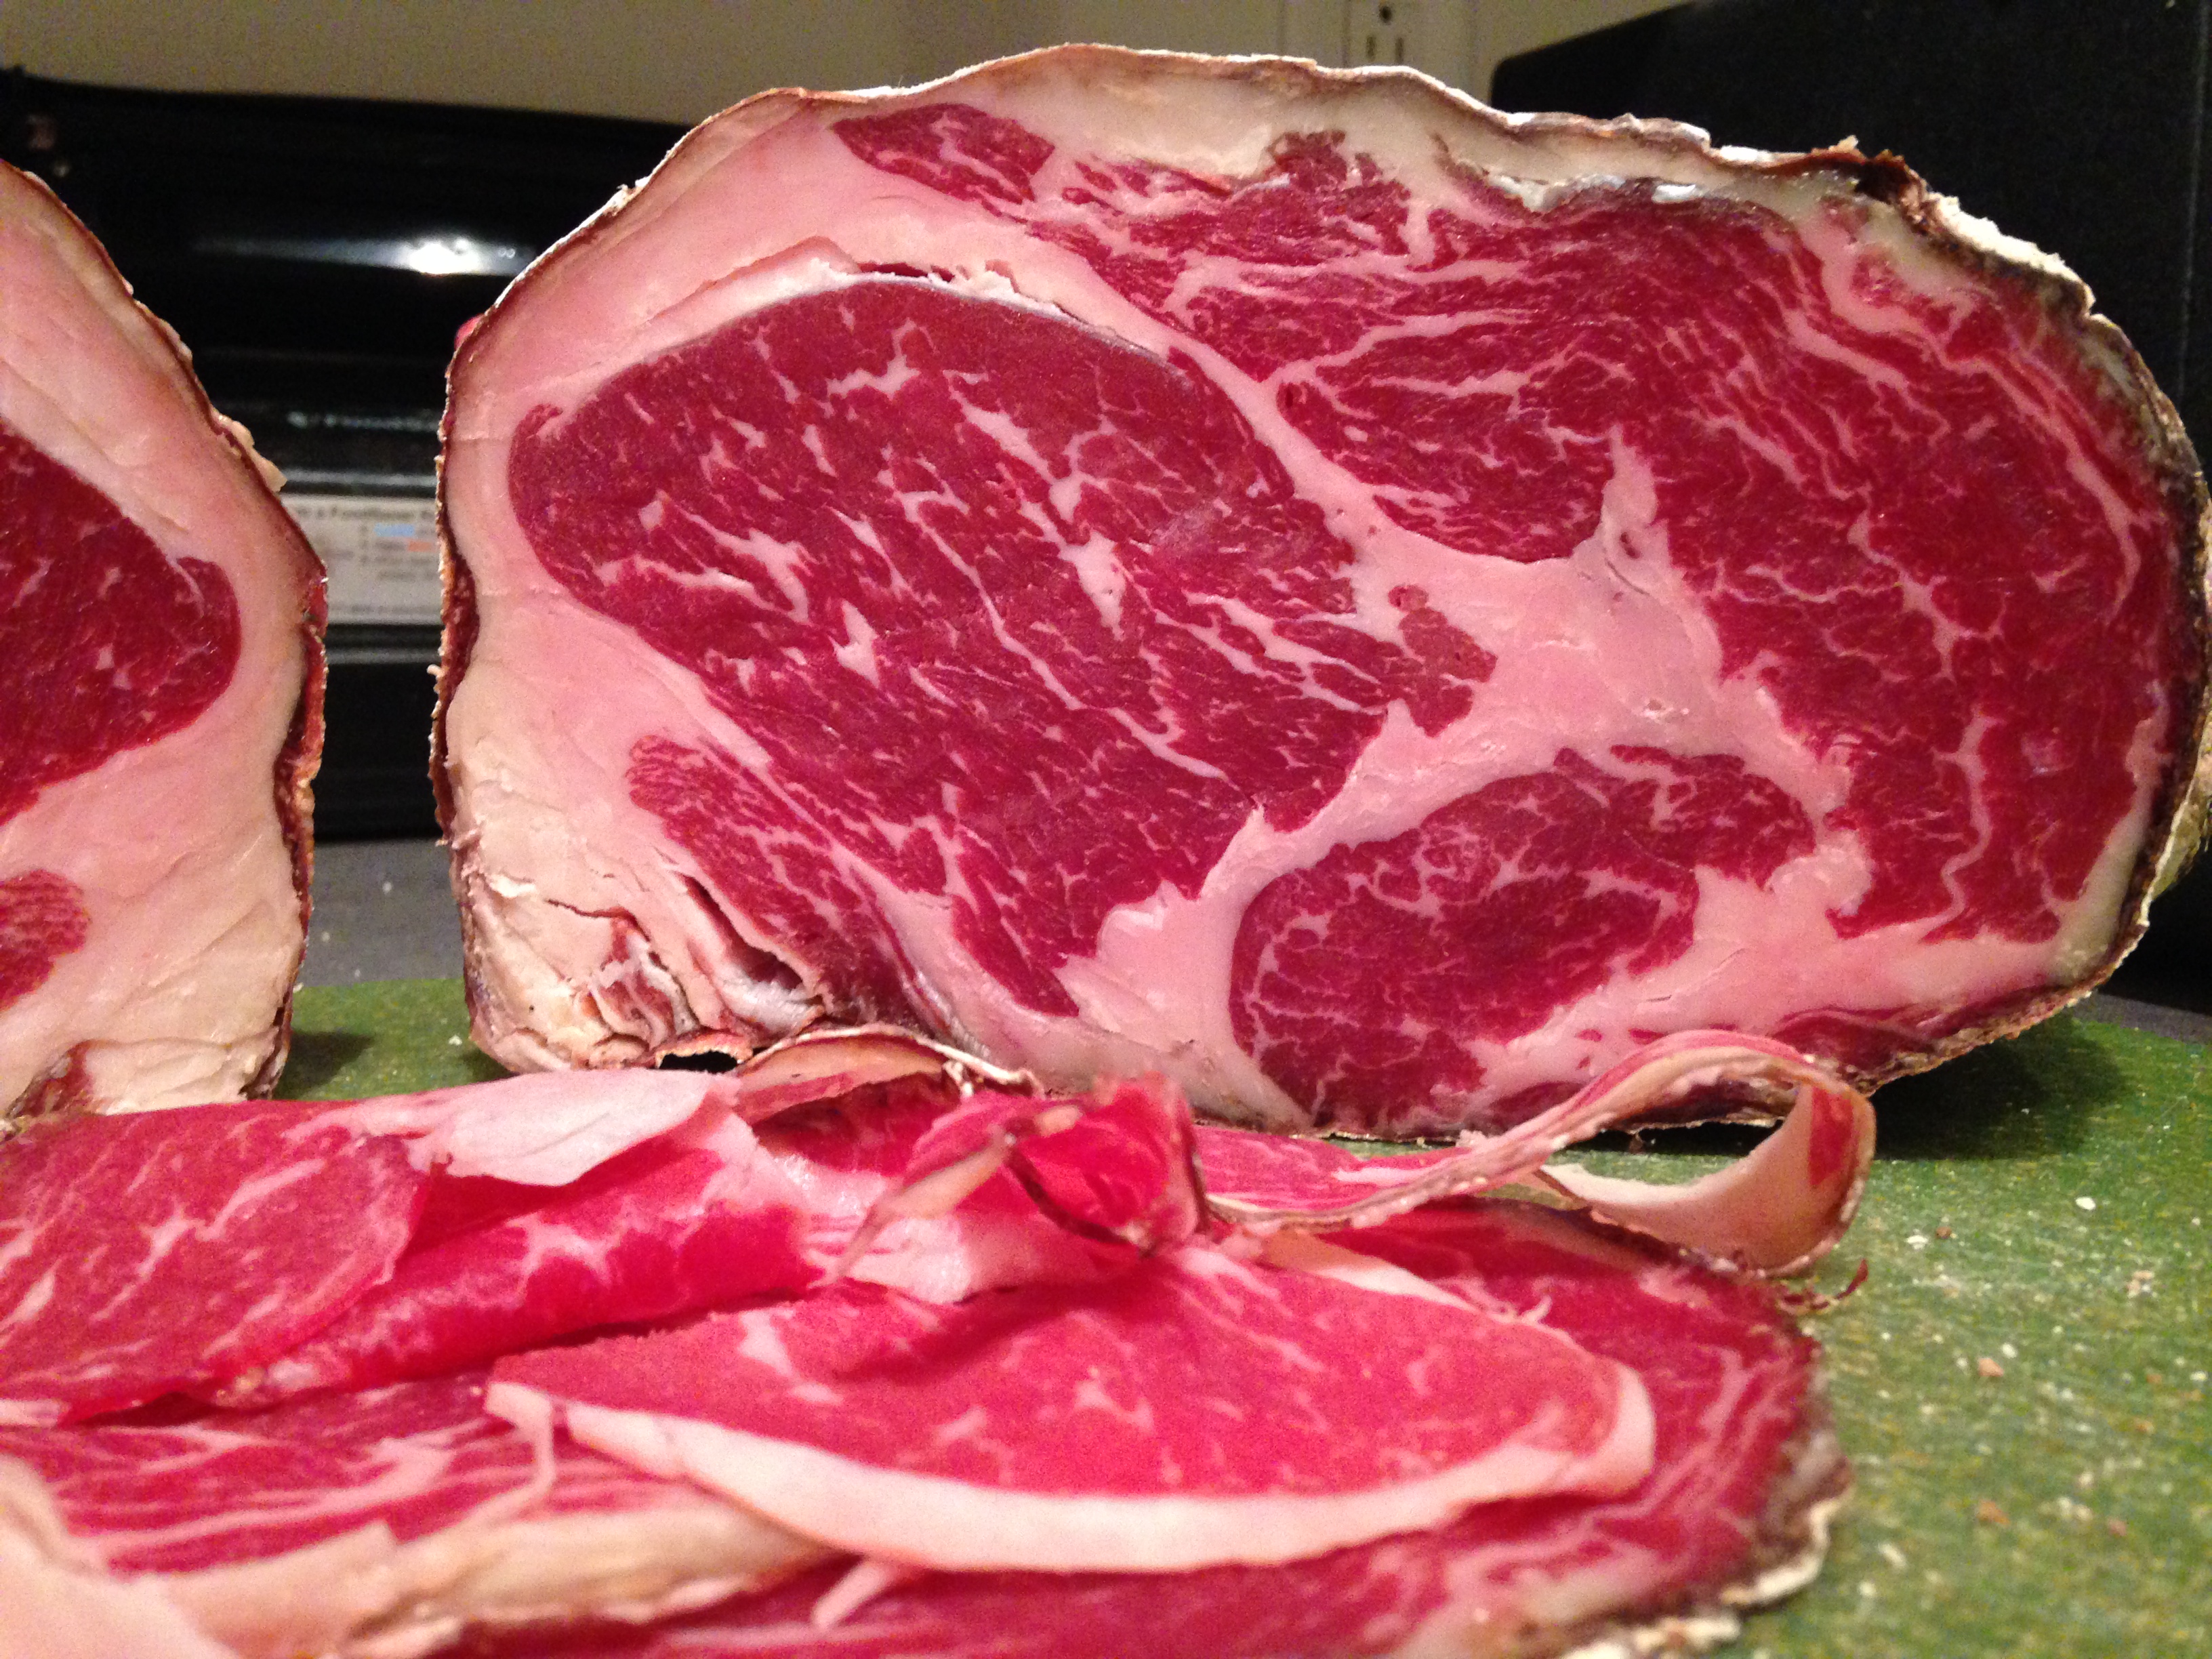
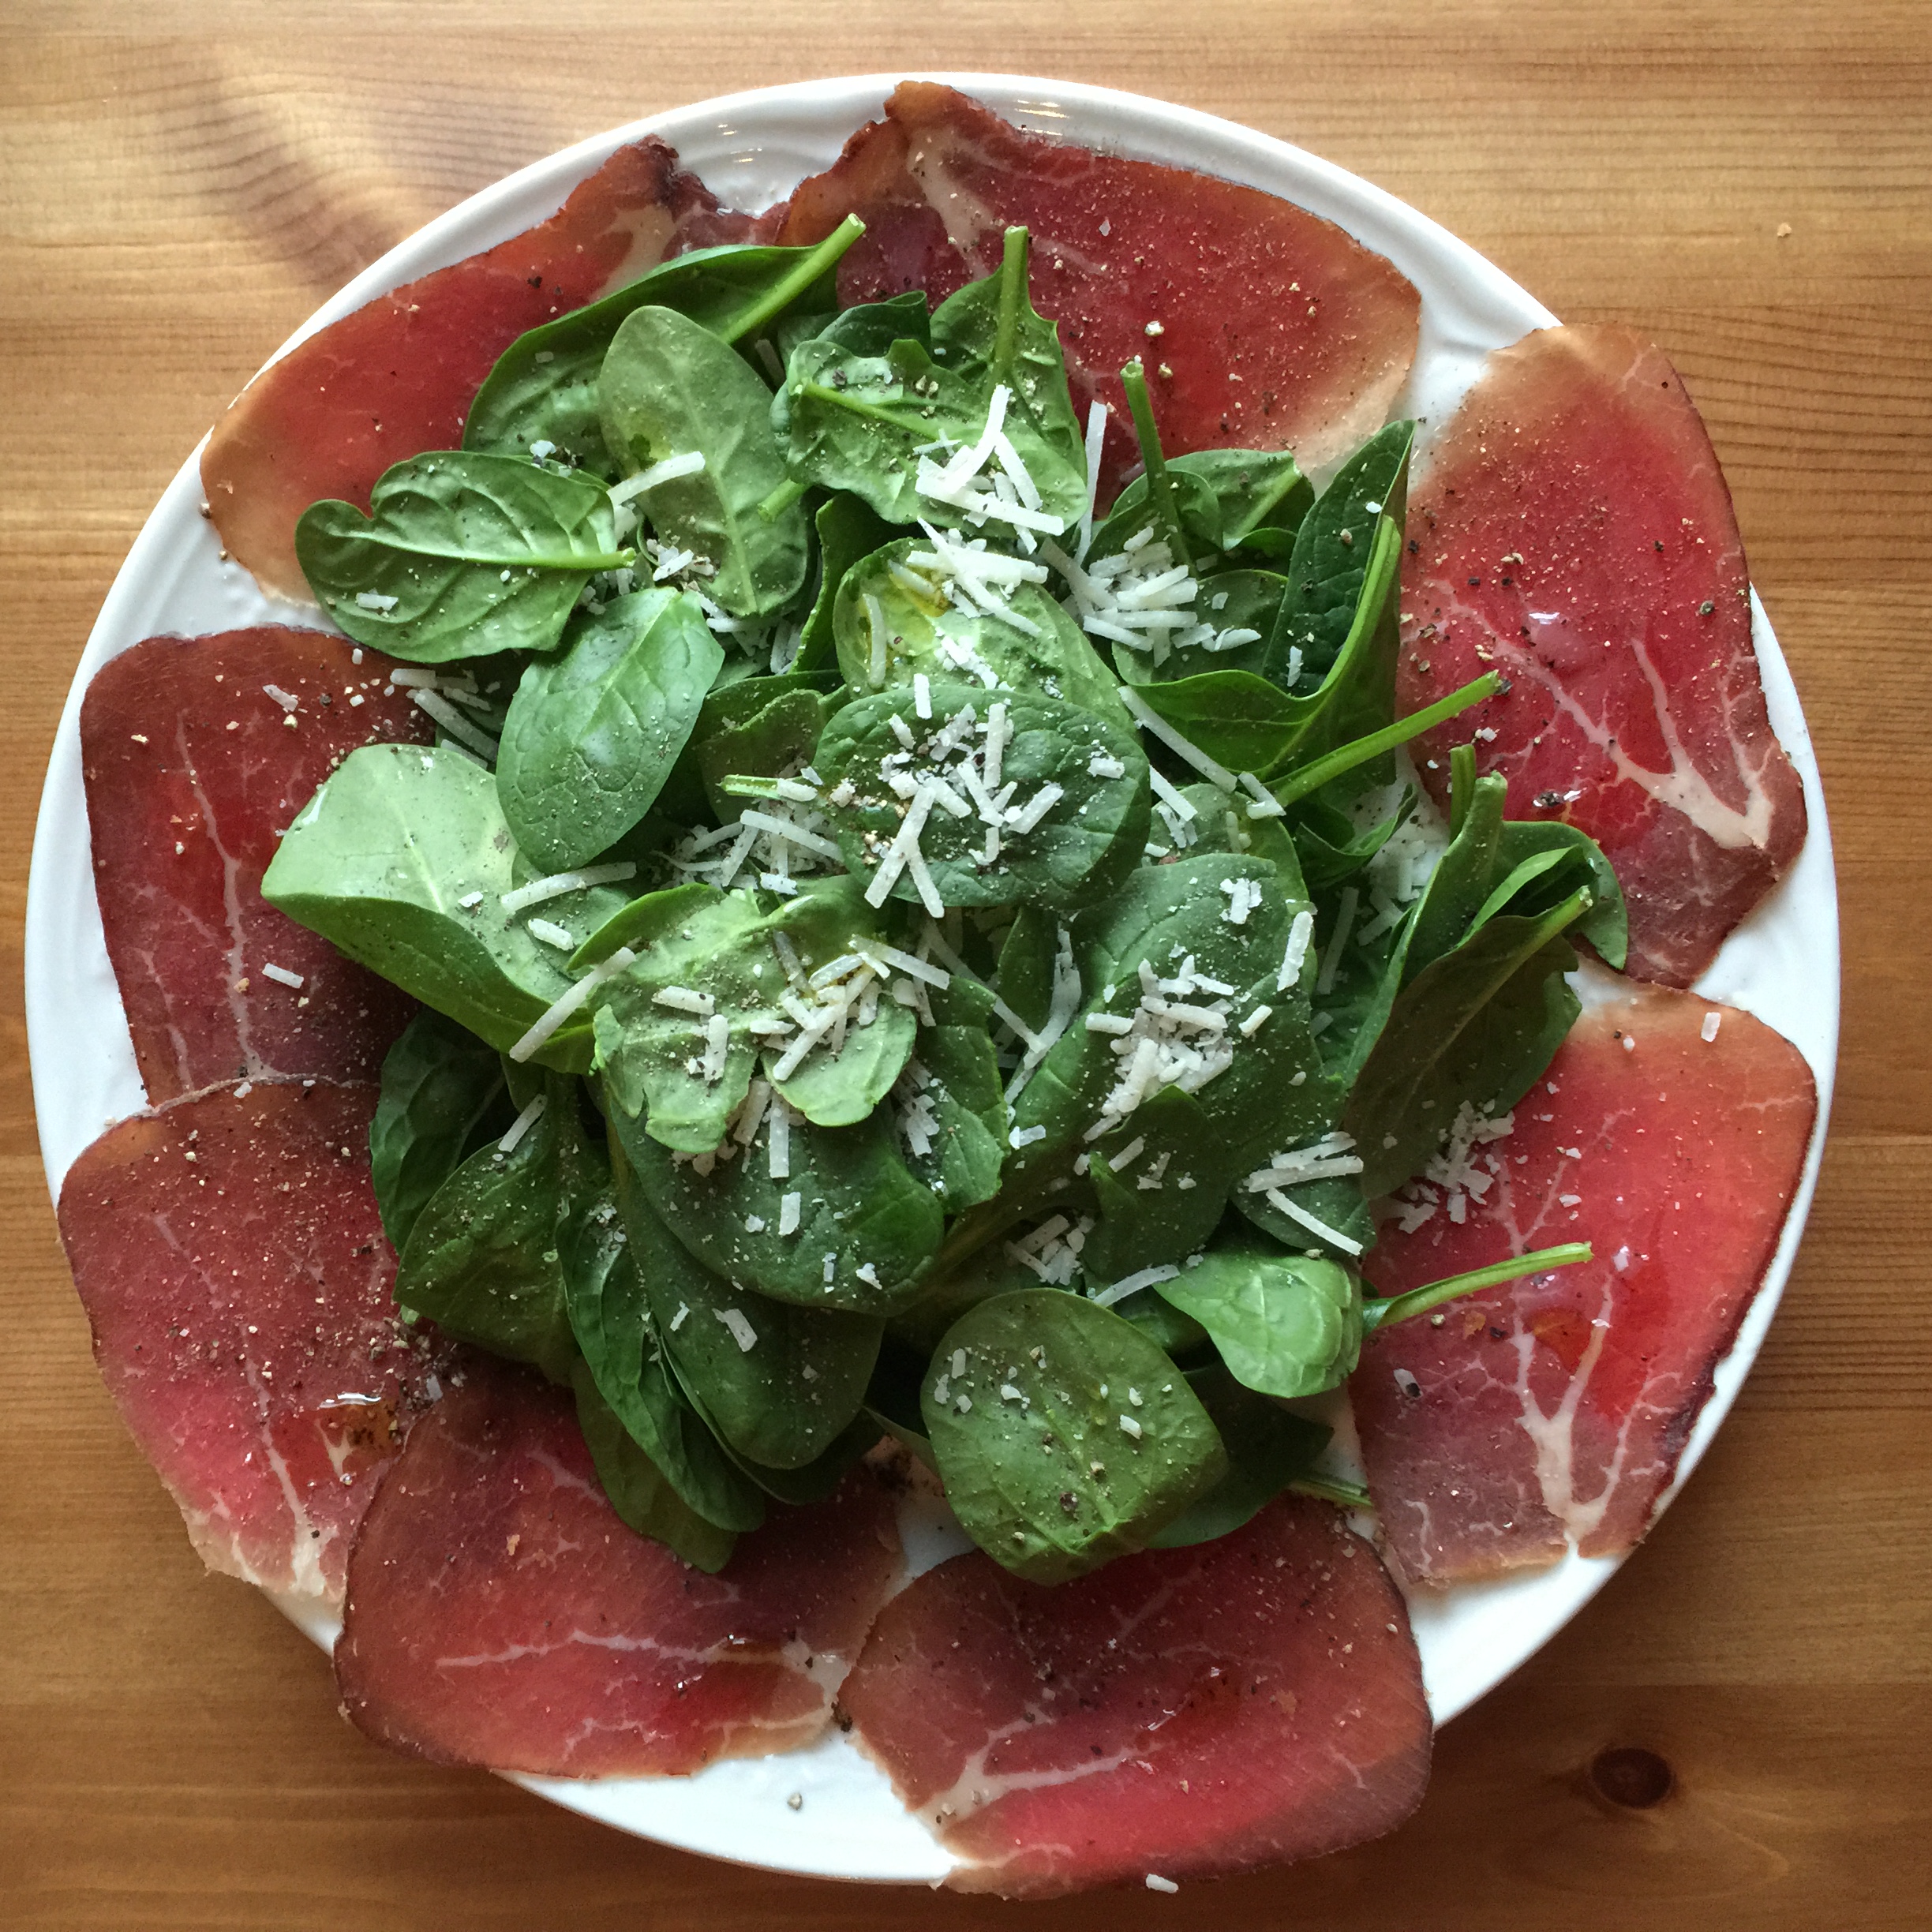
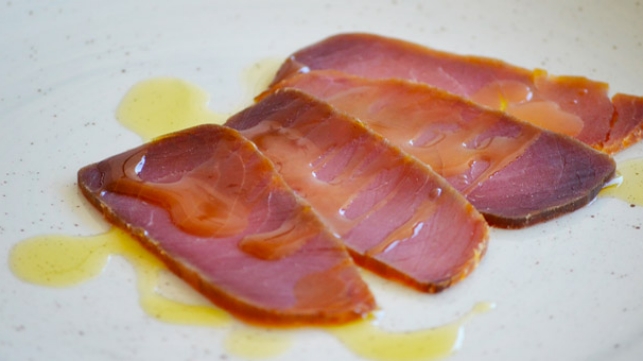
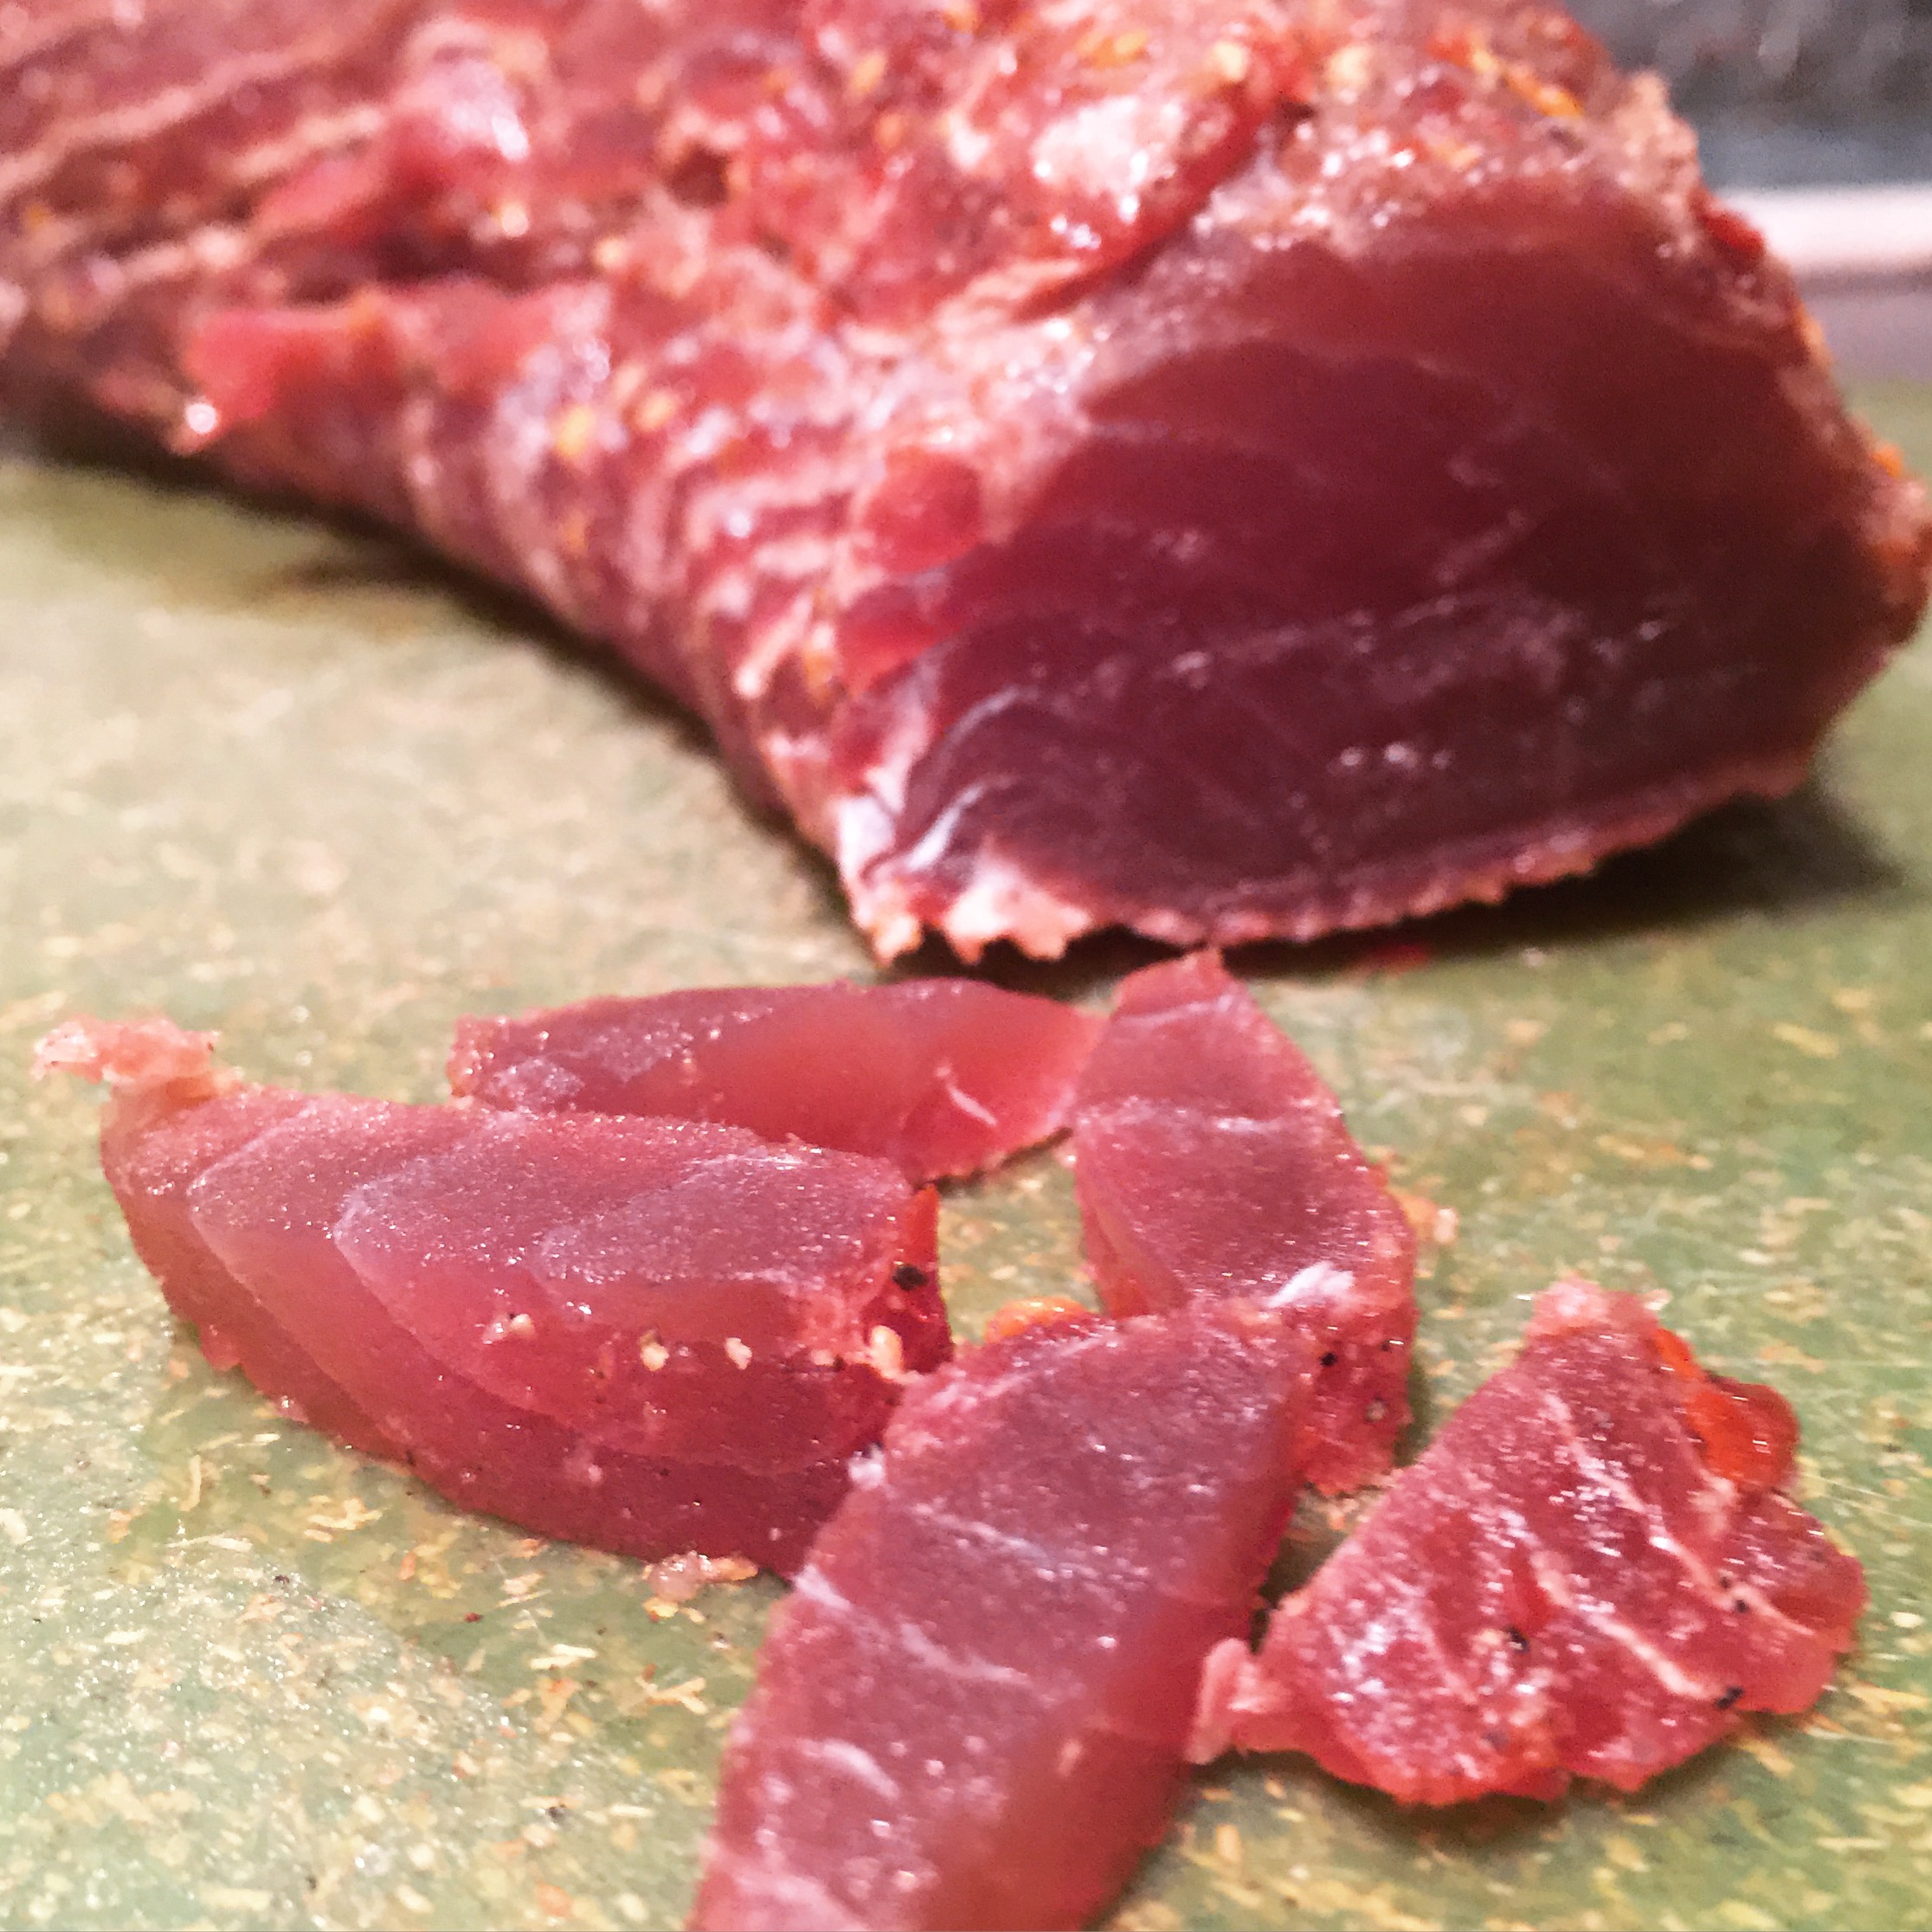
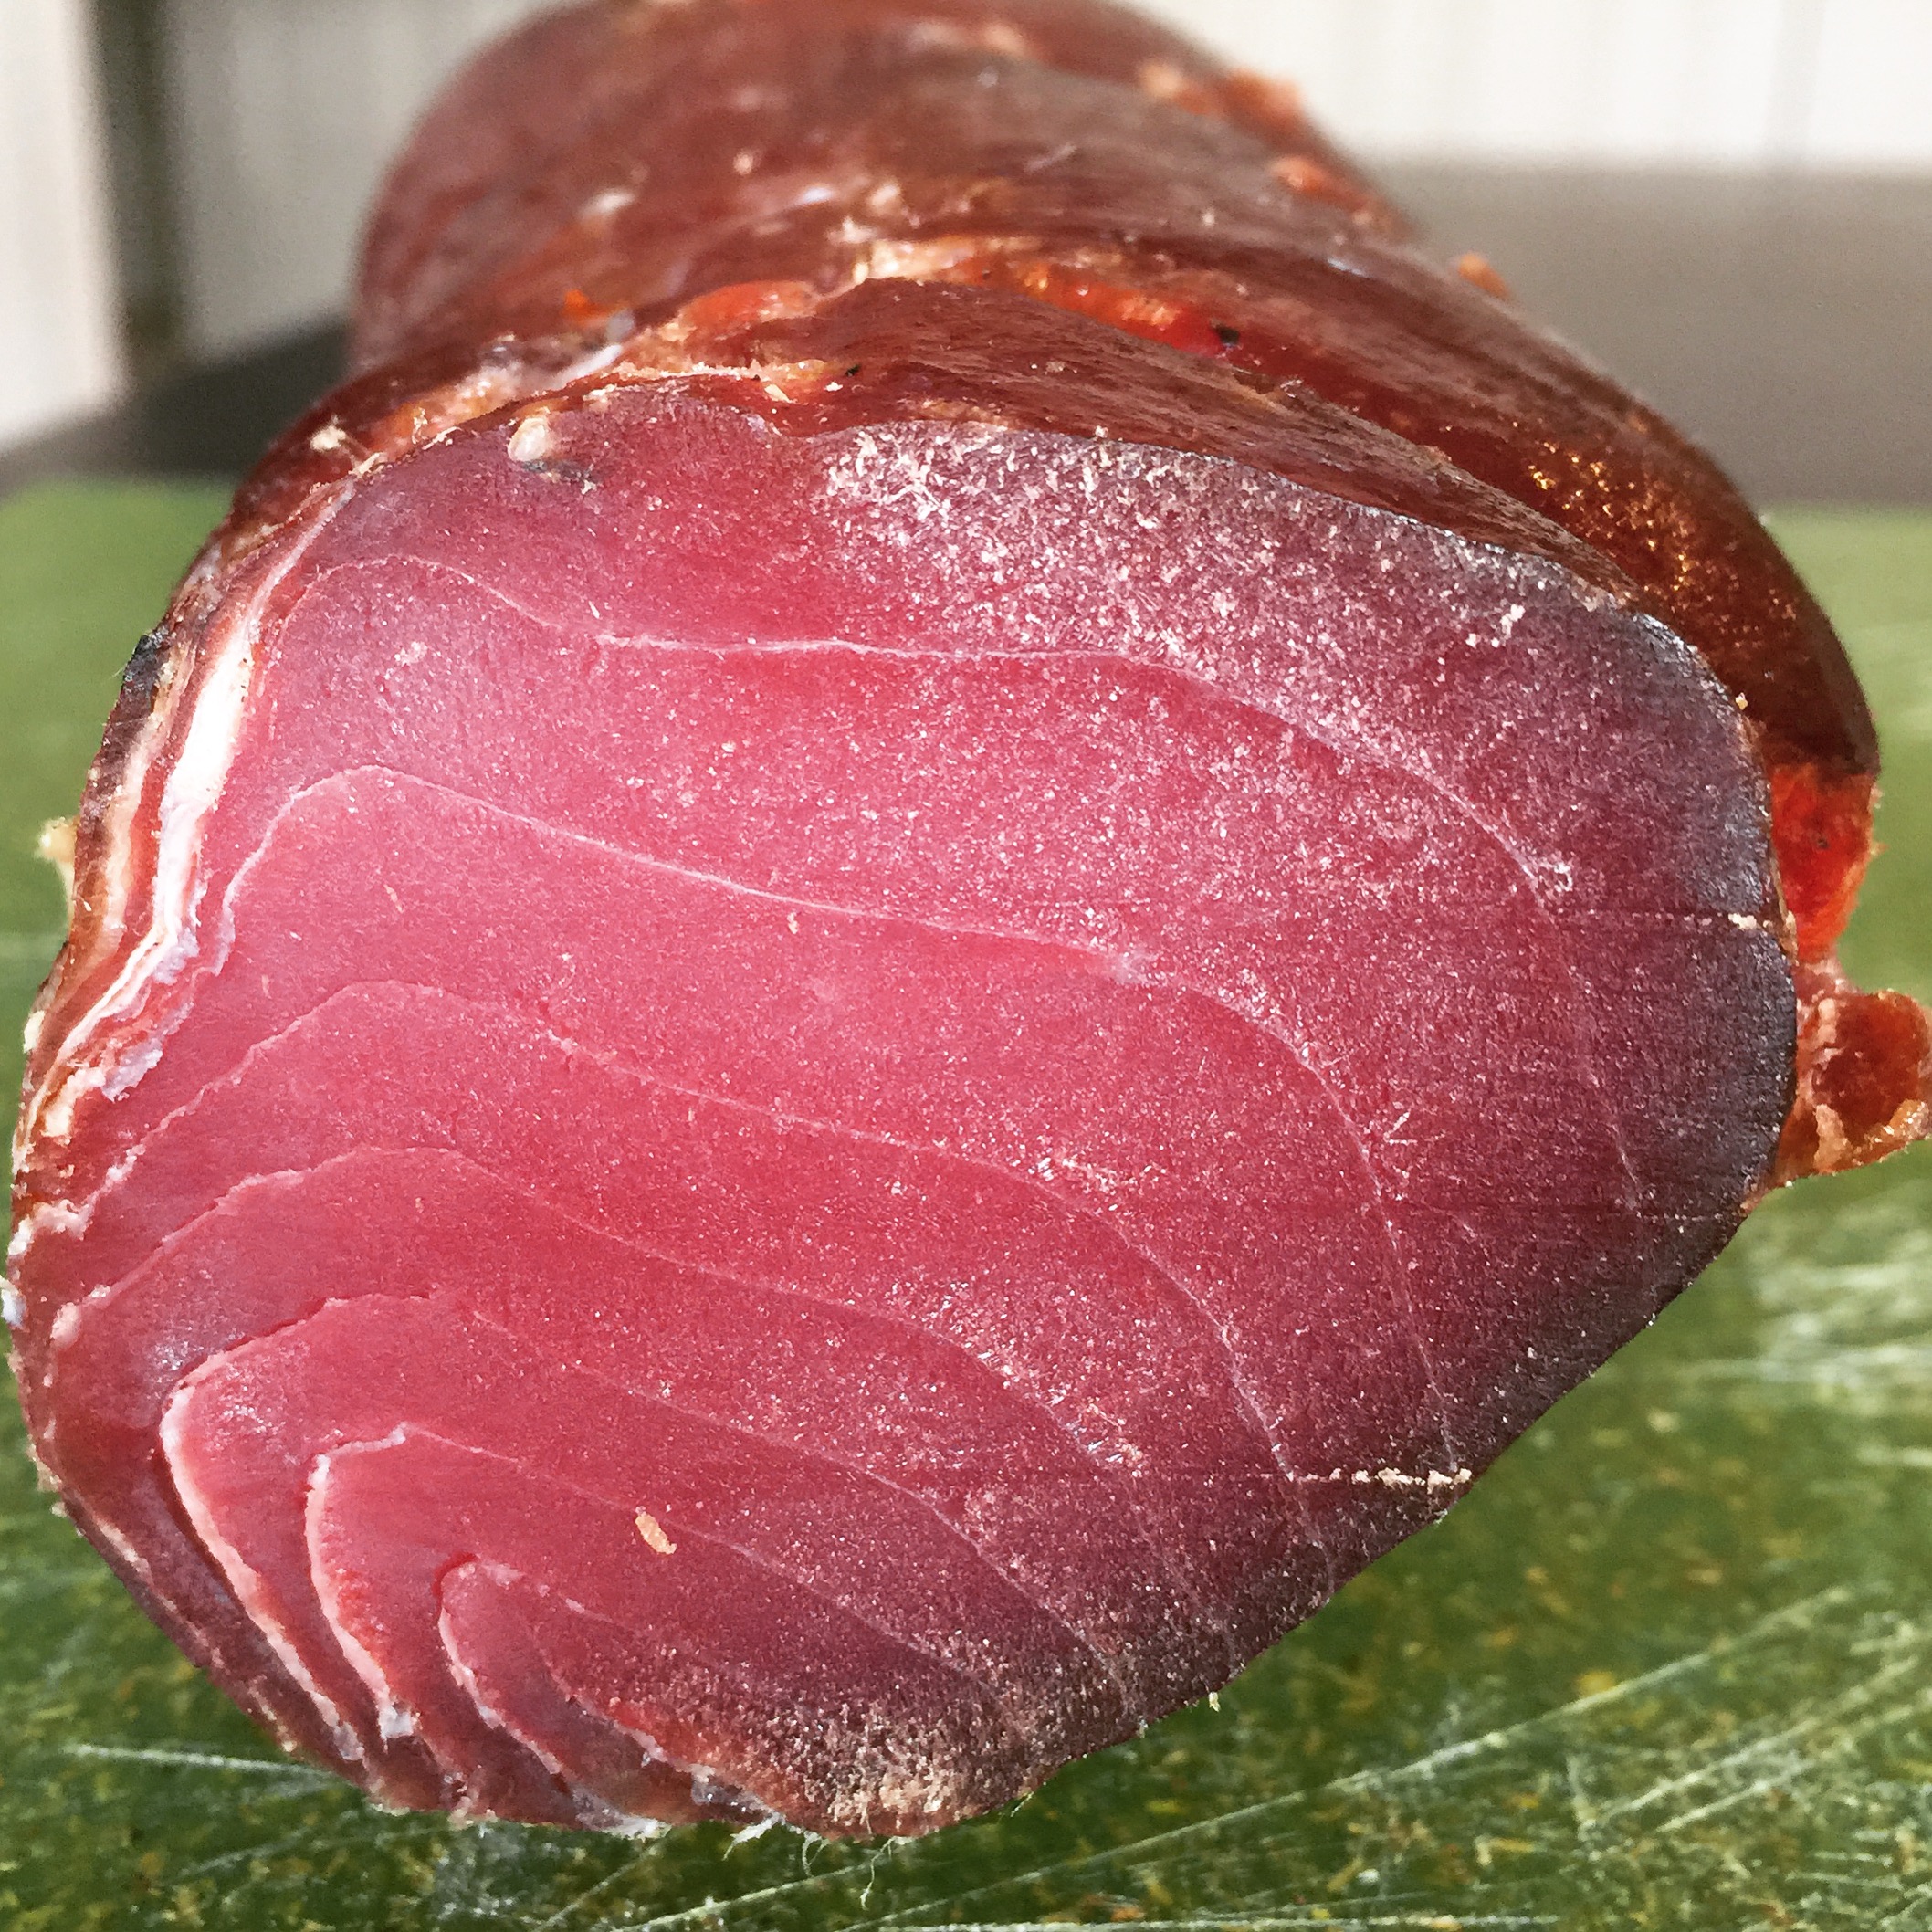
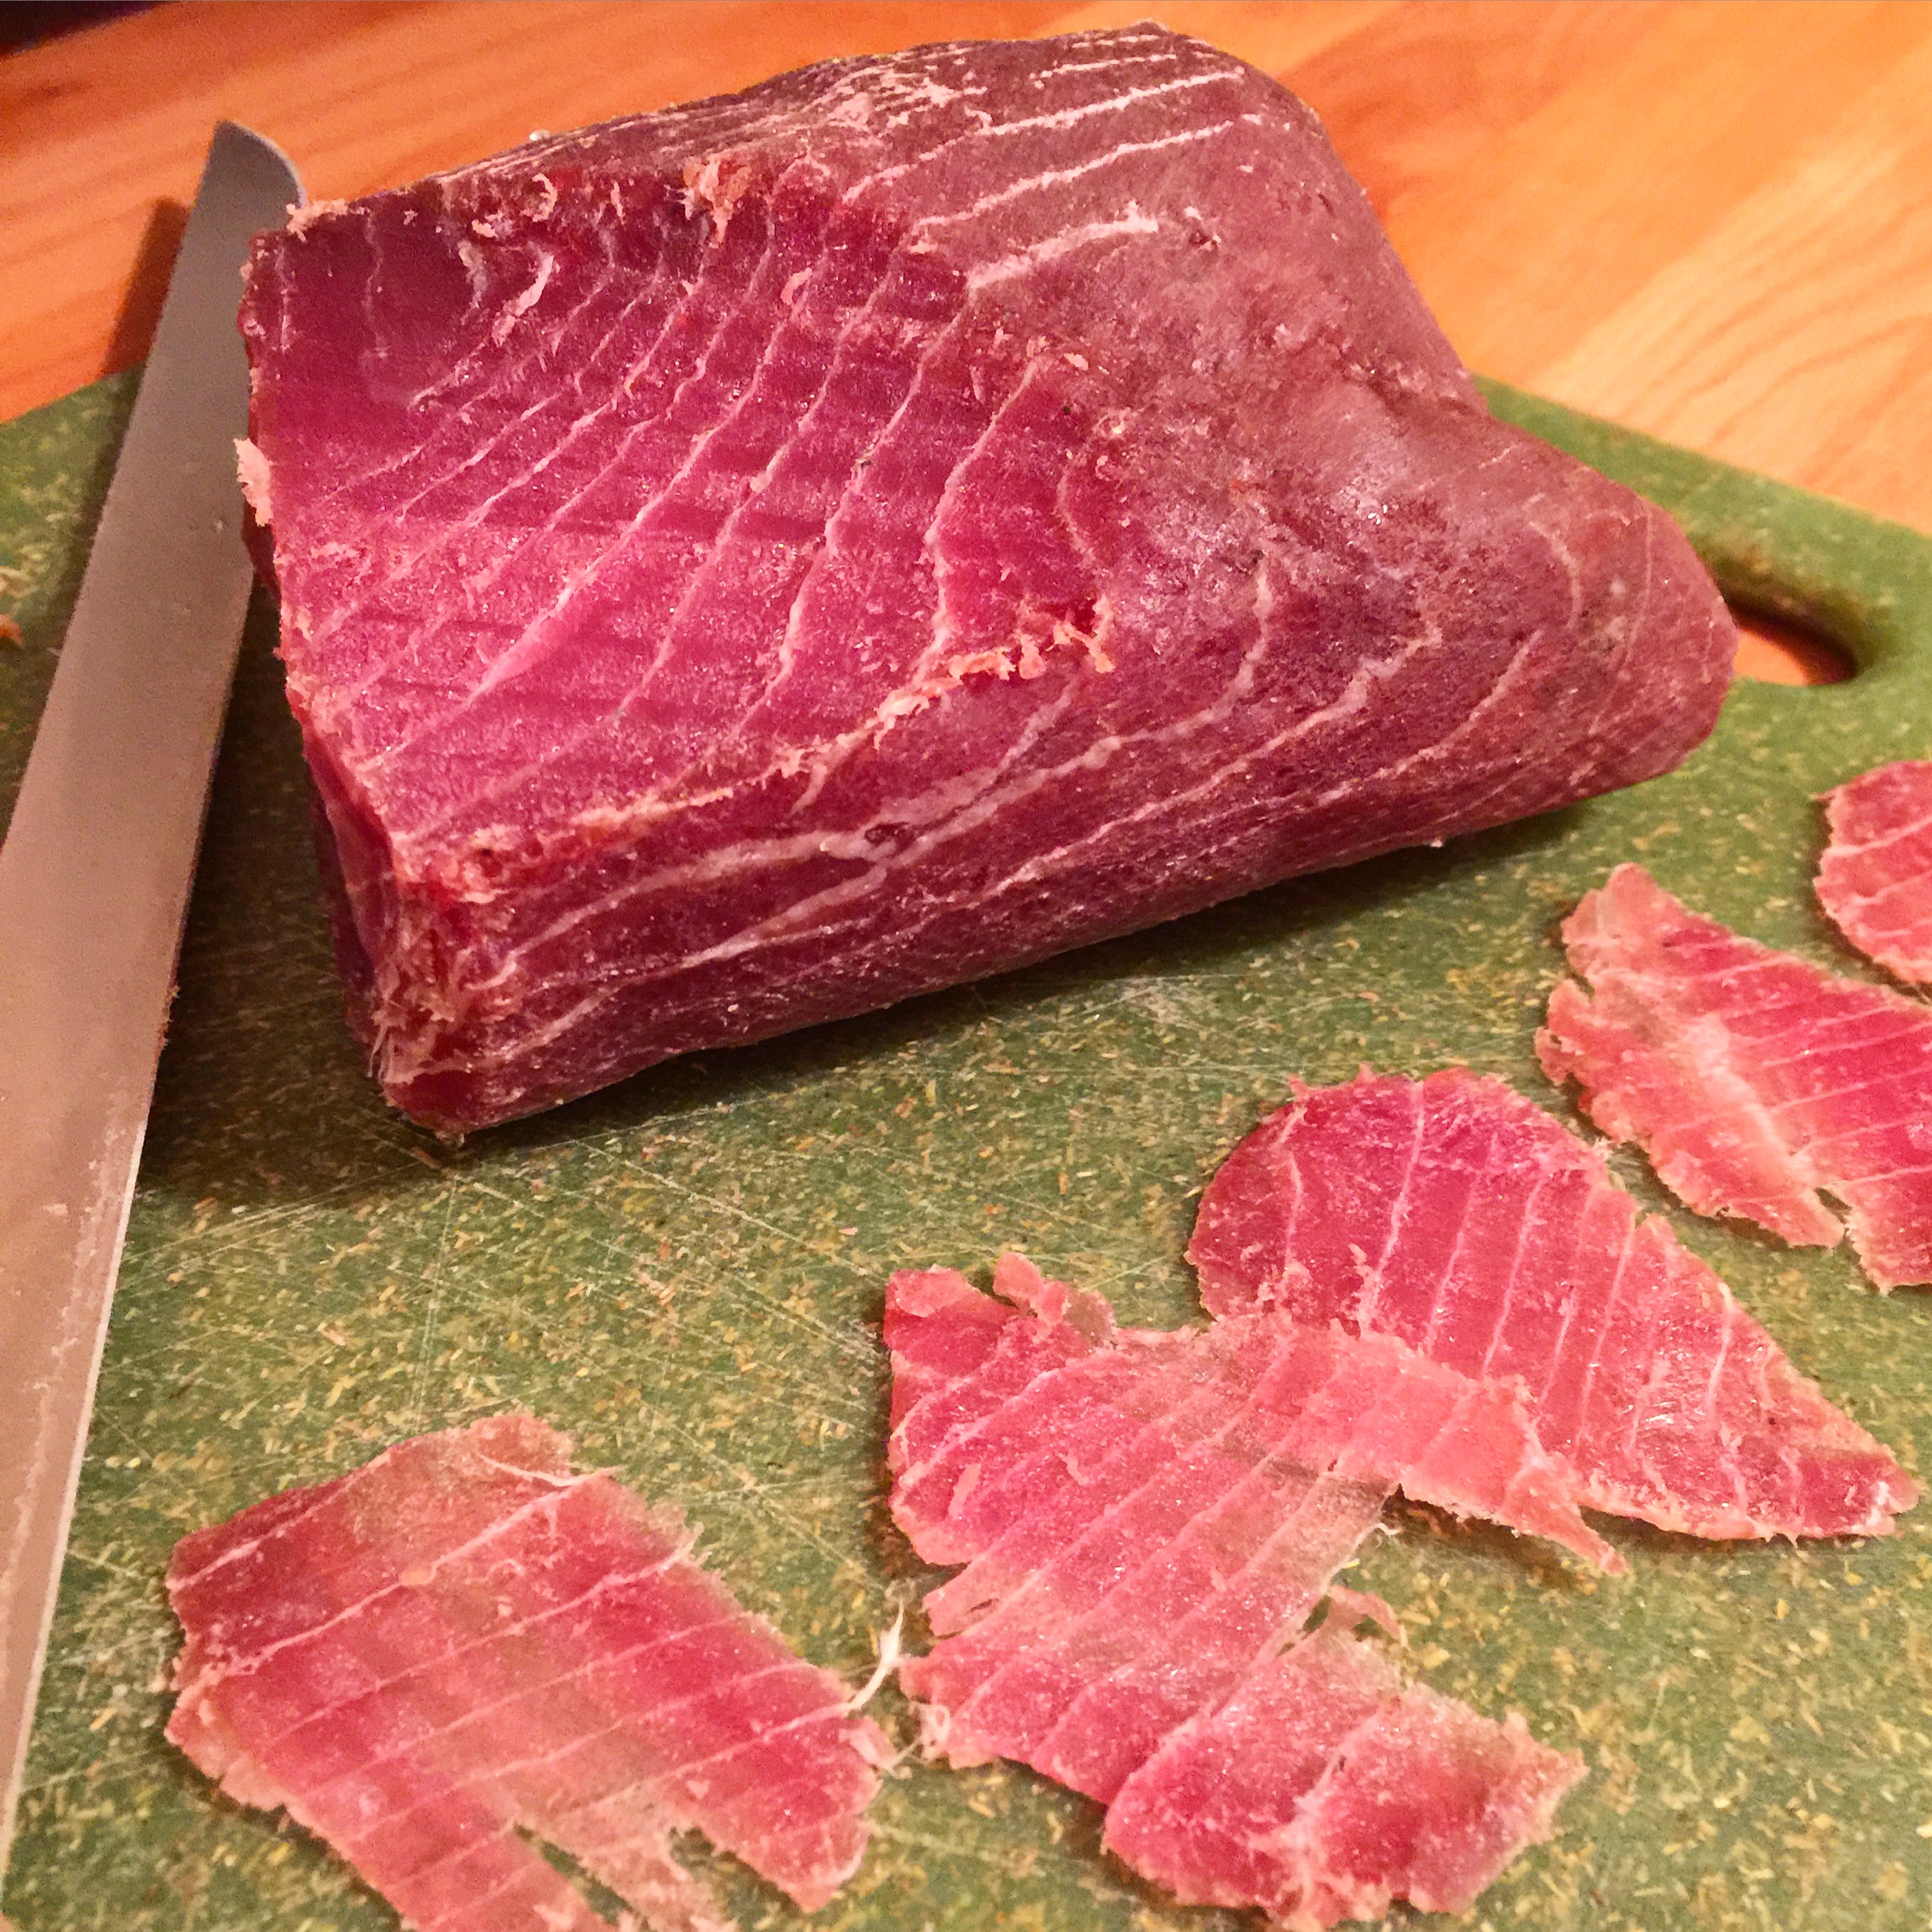
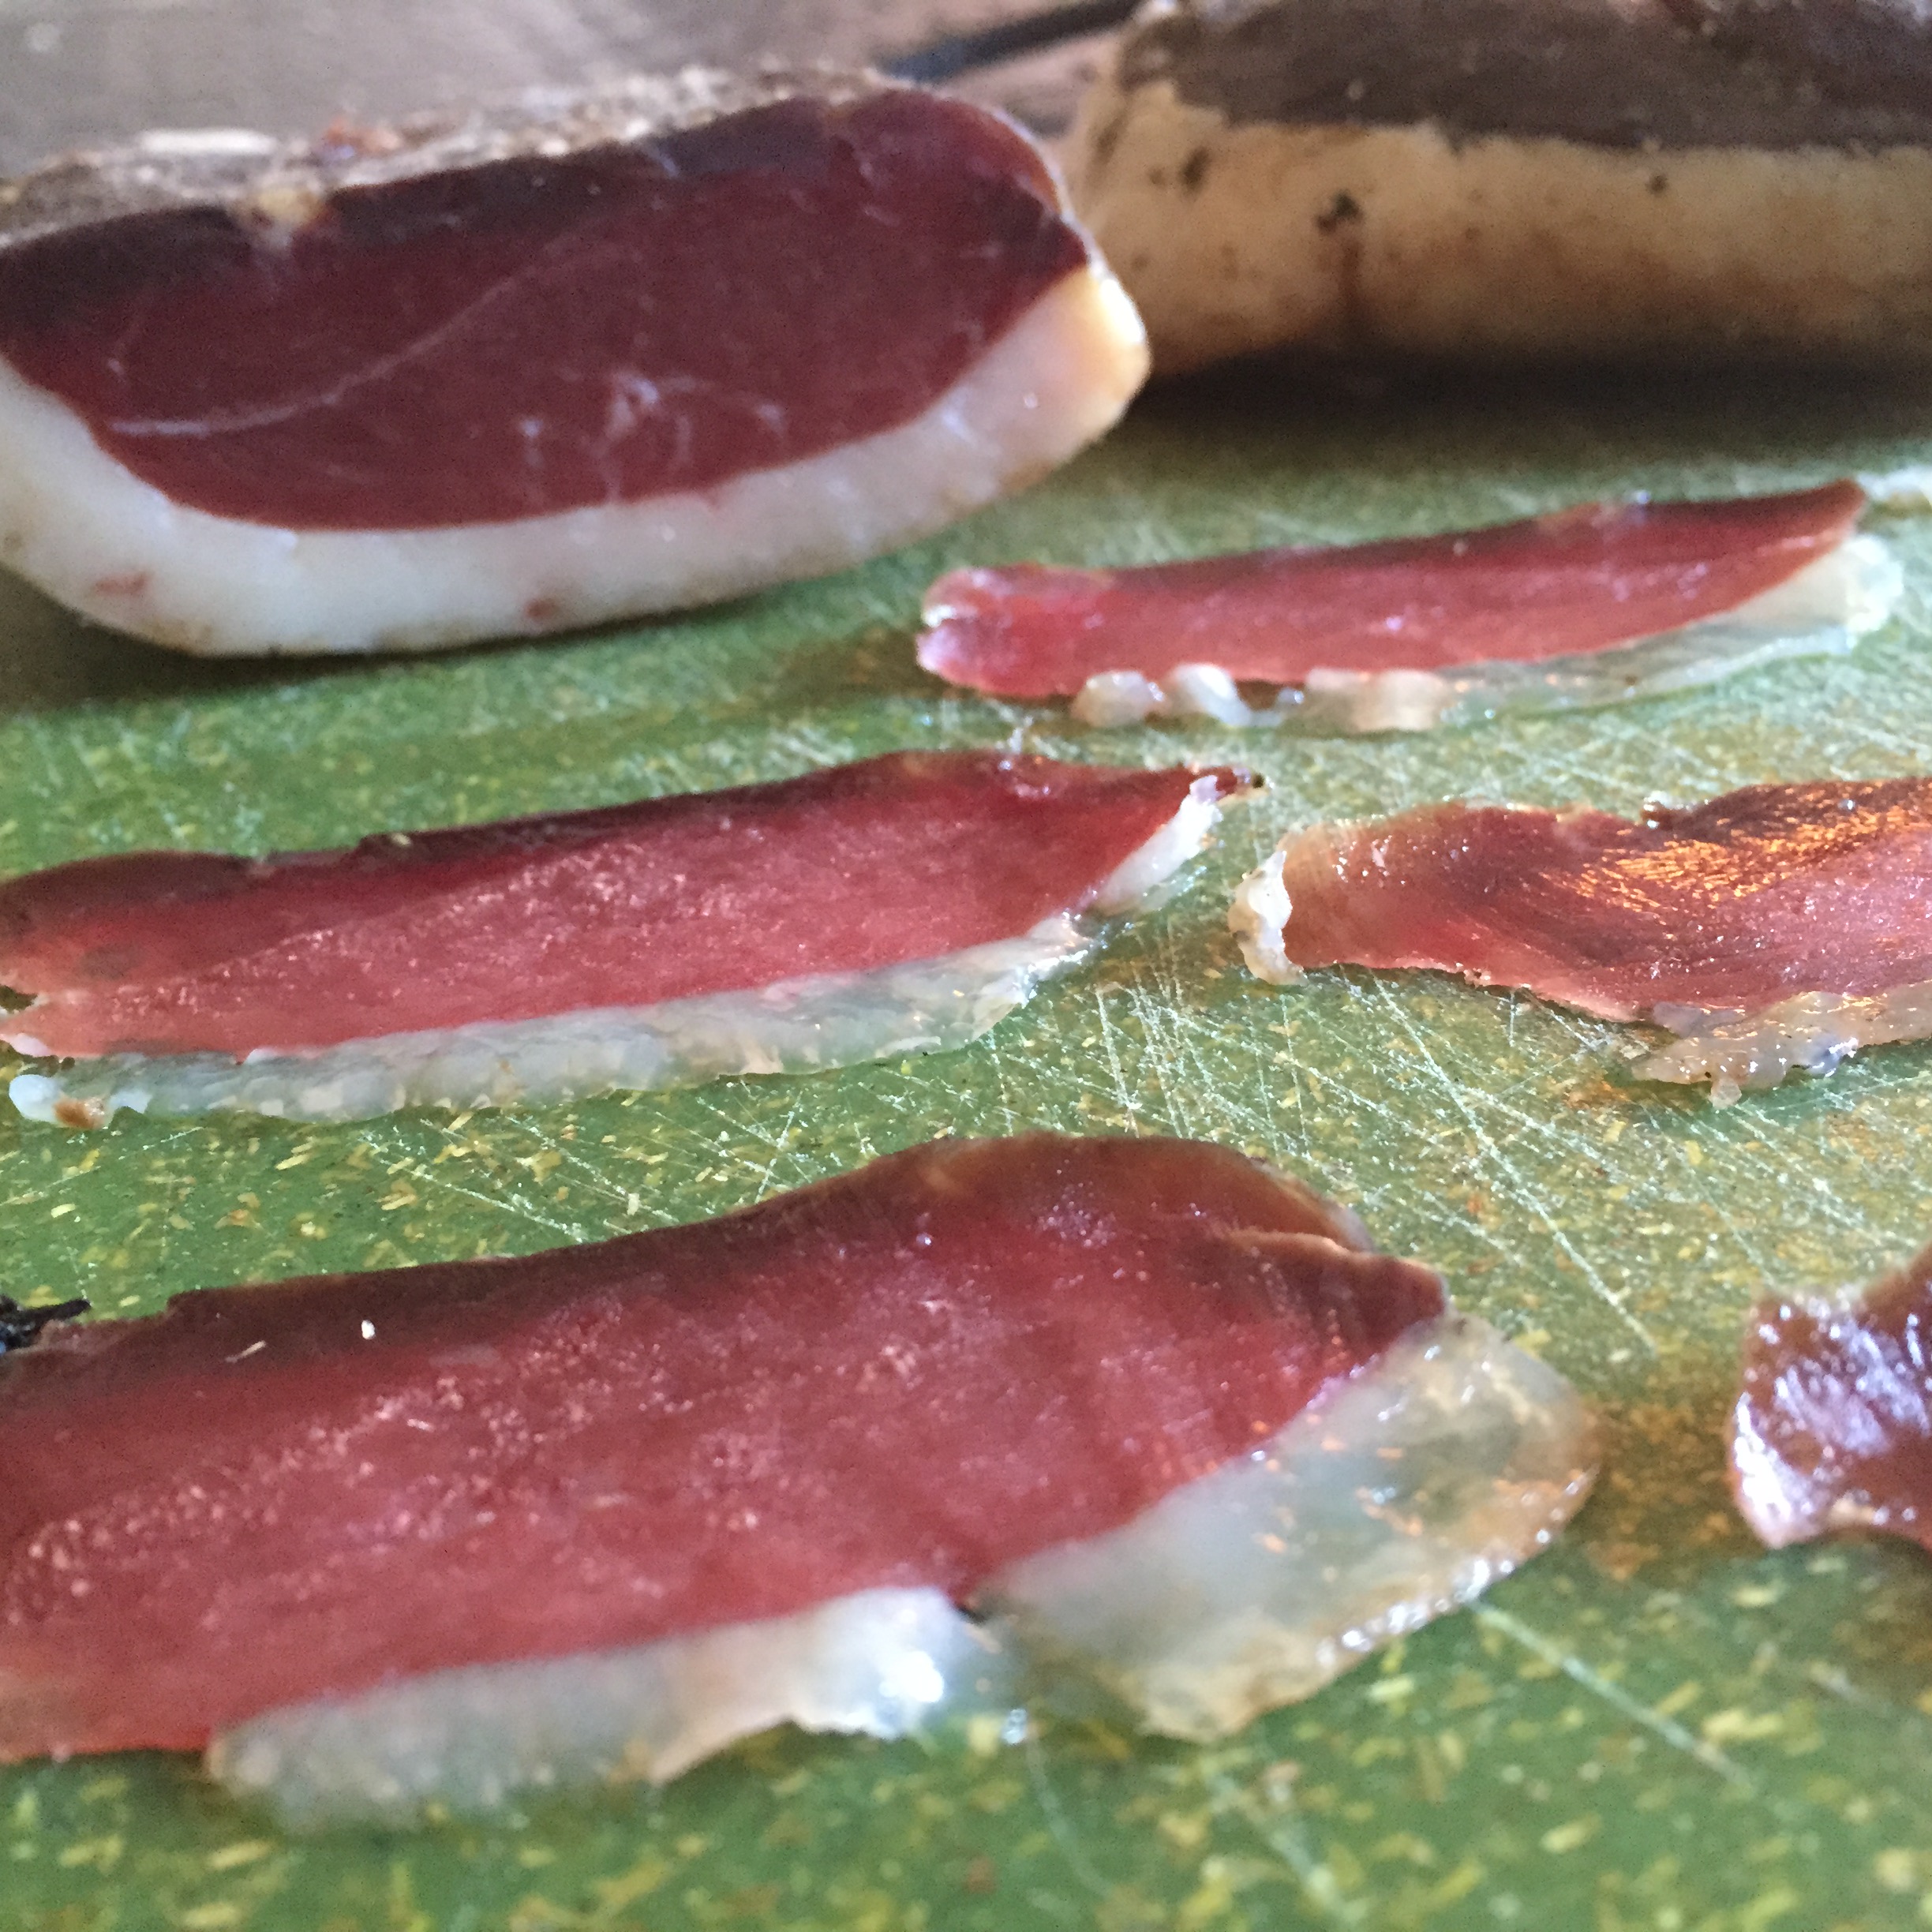
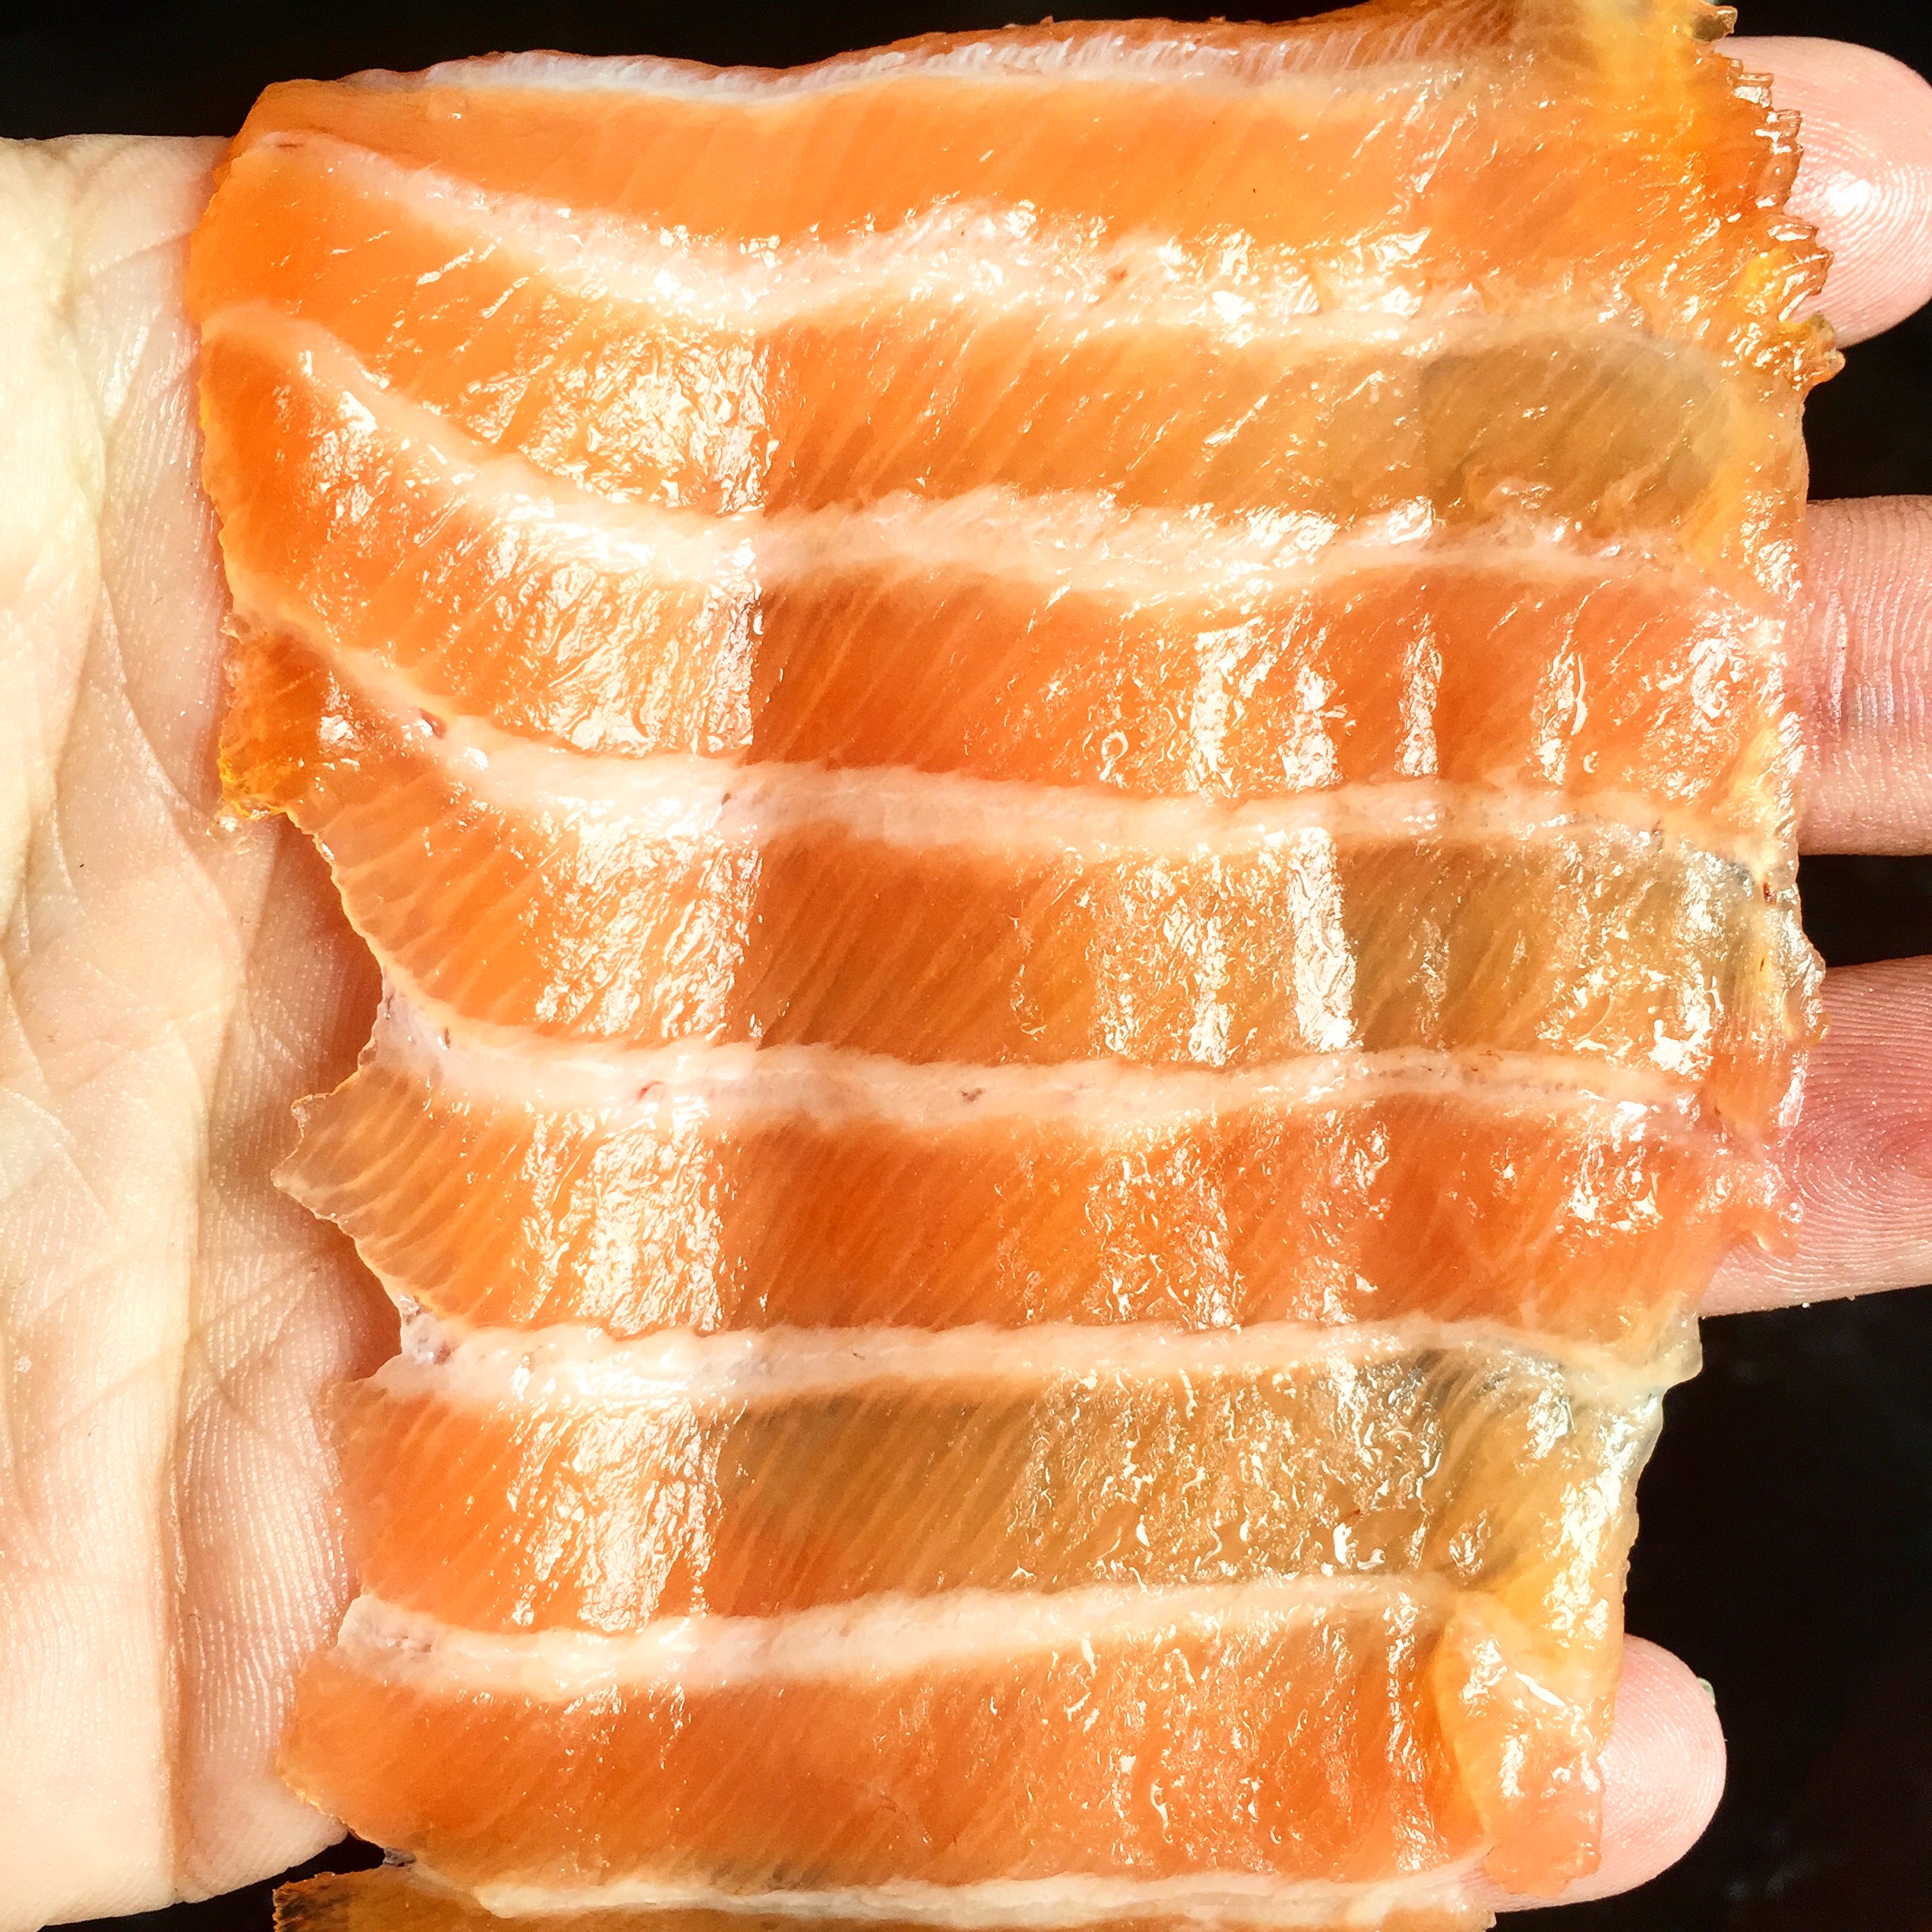
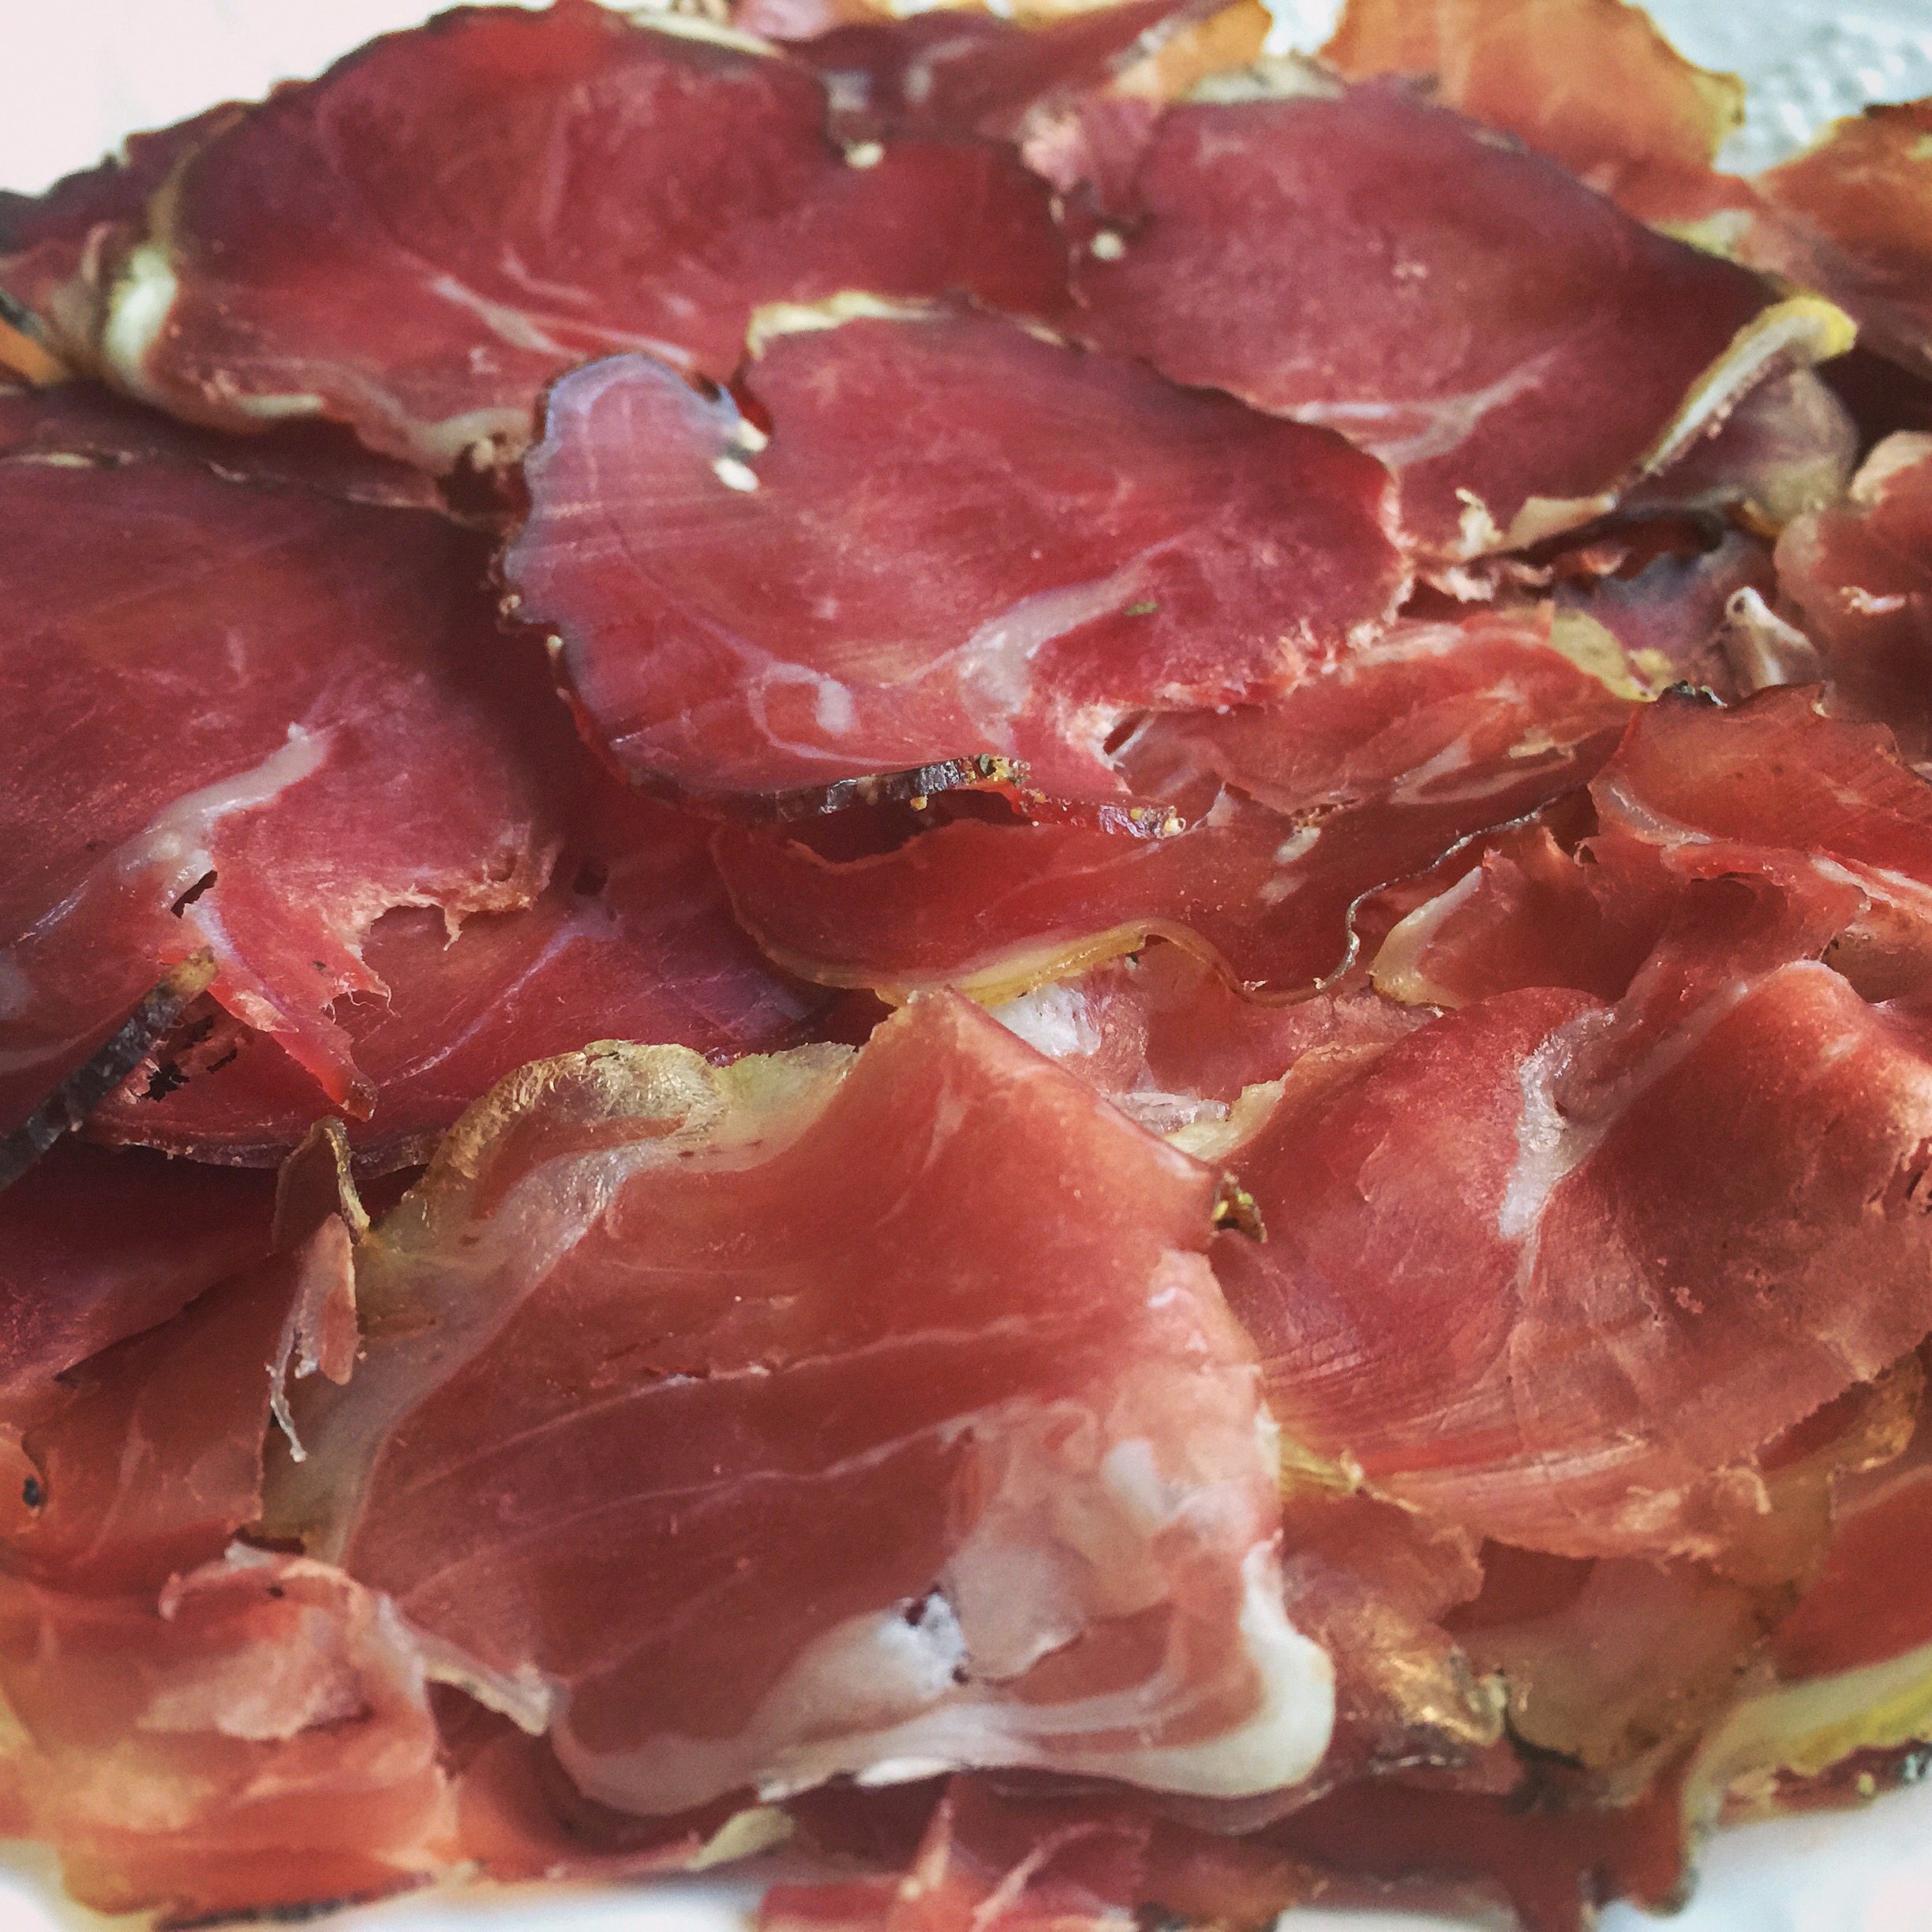
Sliced thin, the taste was great…
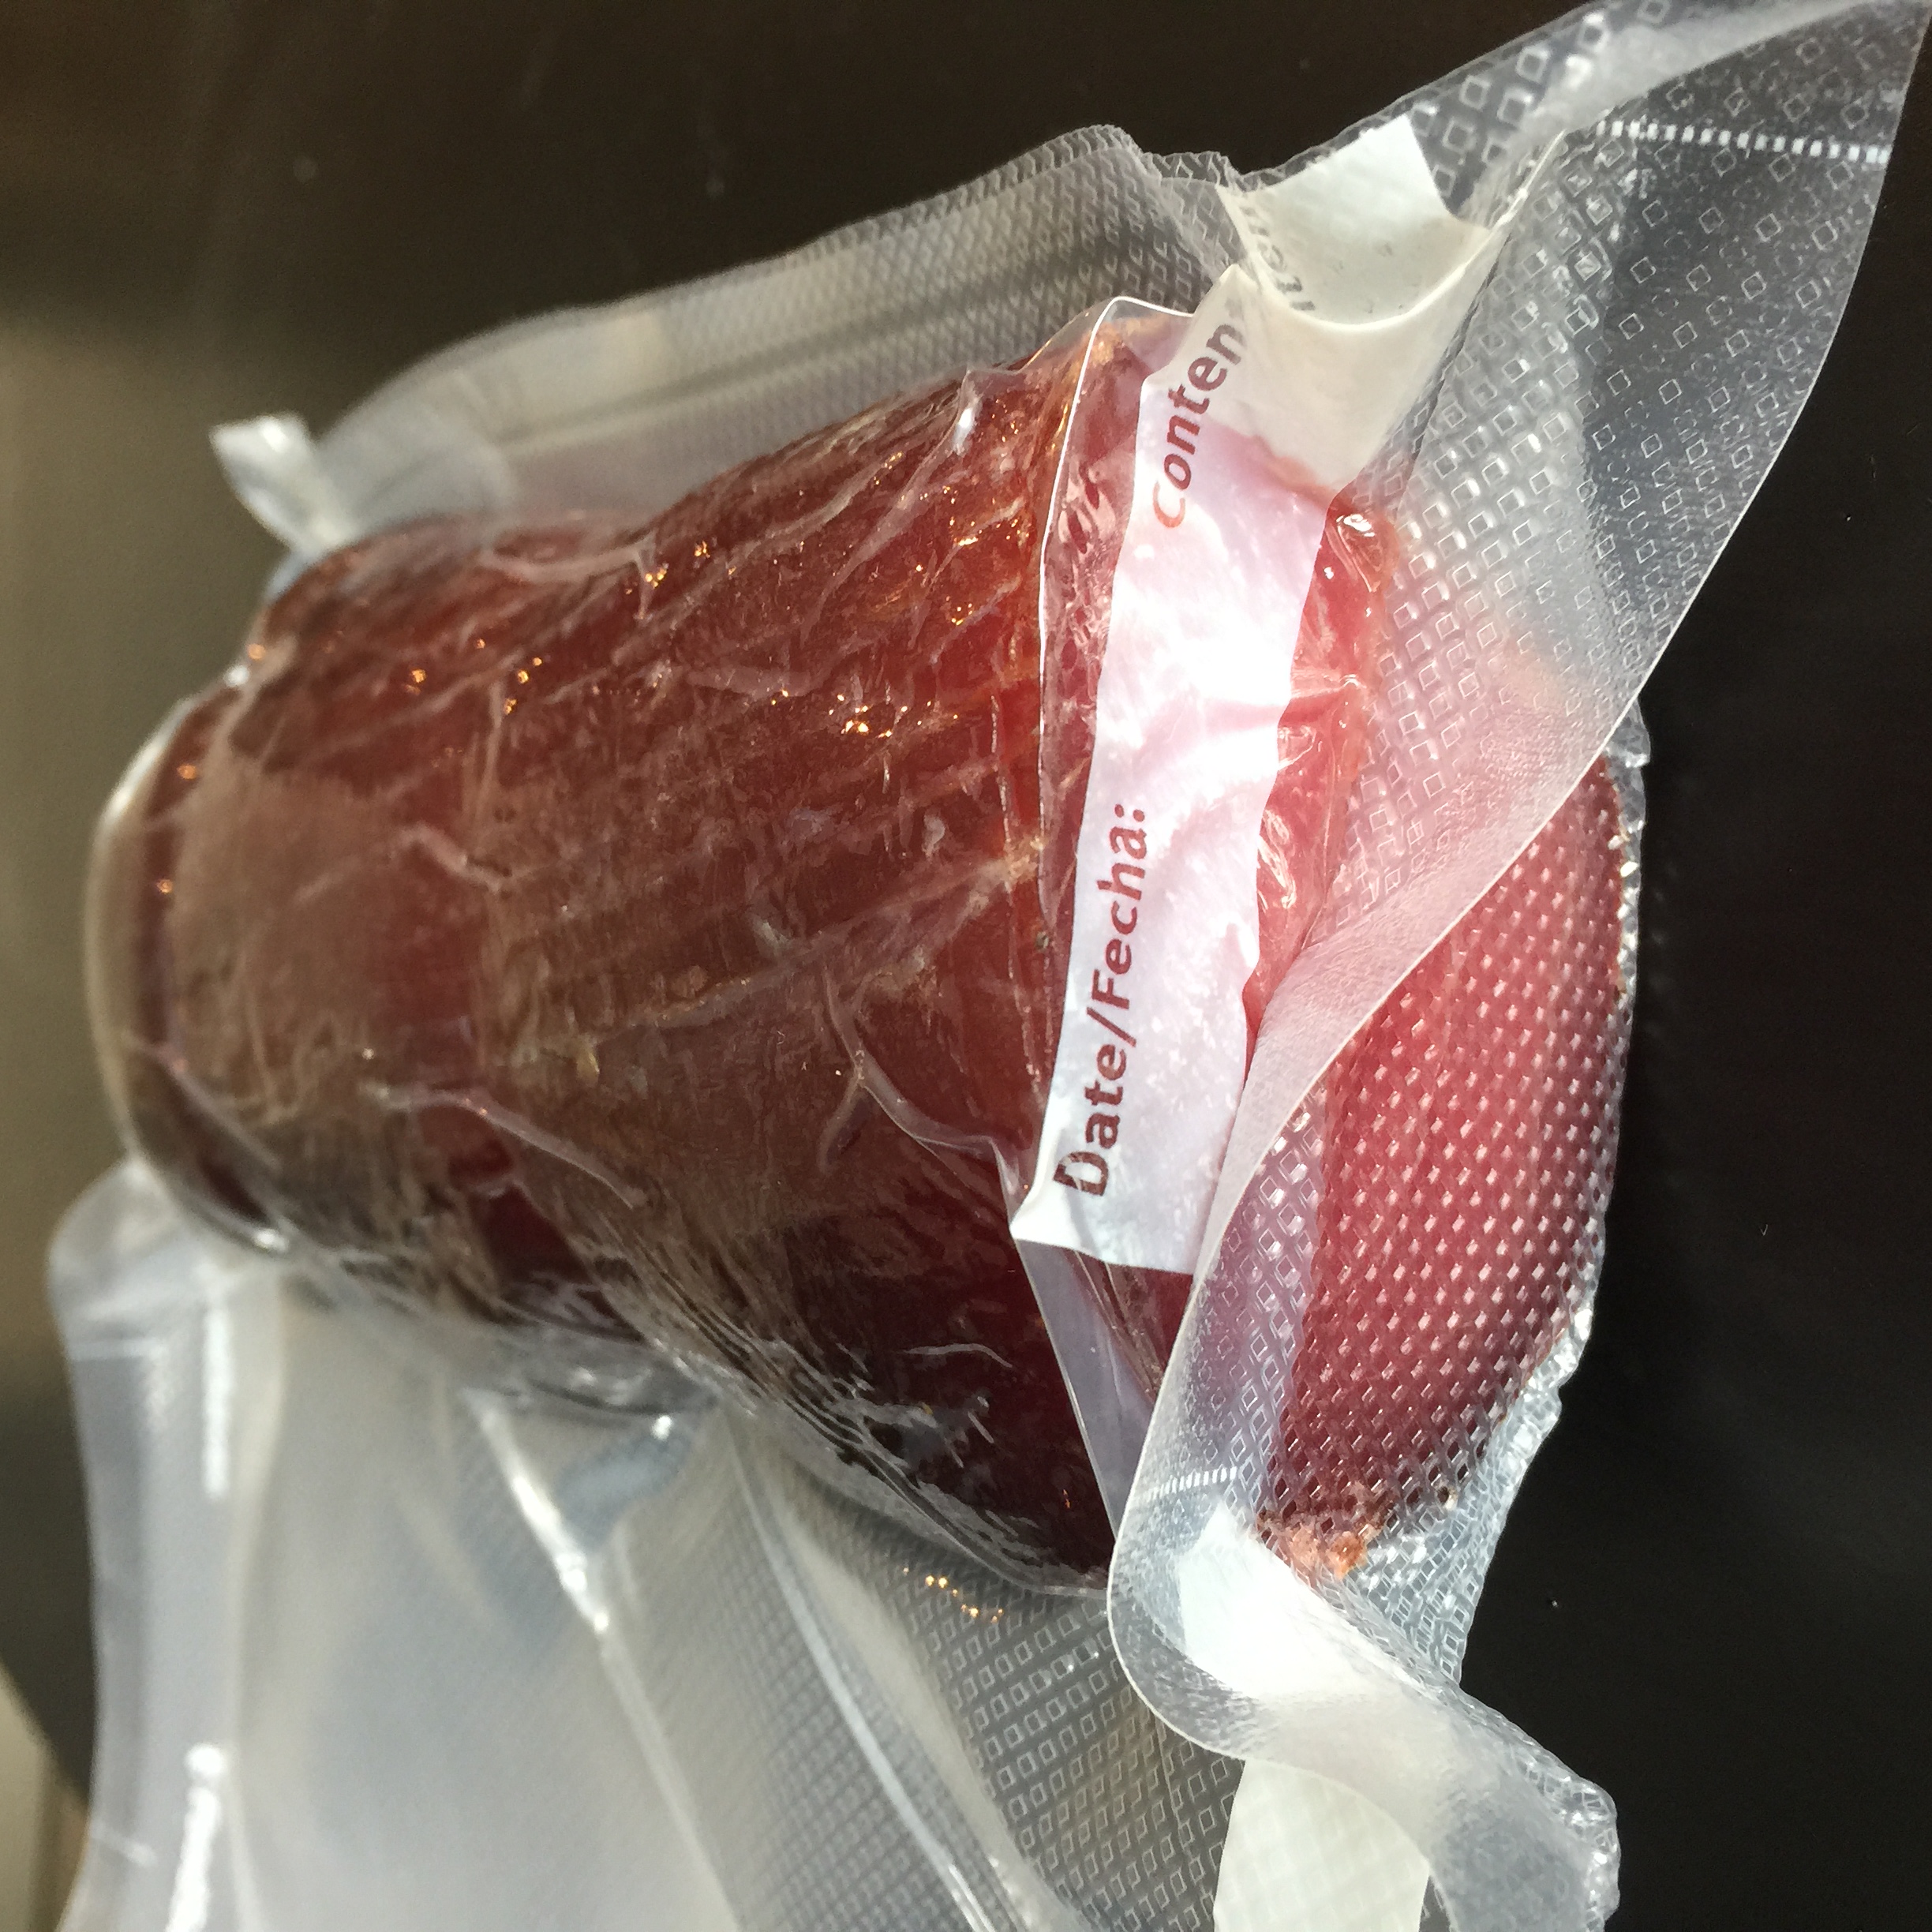
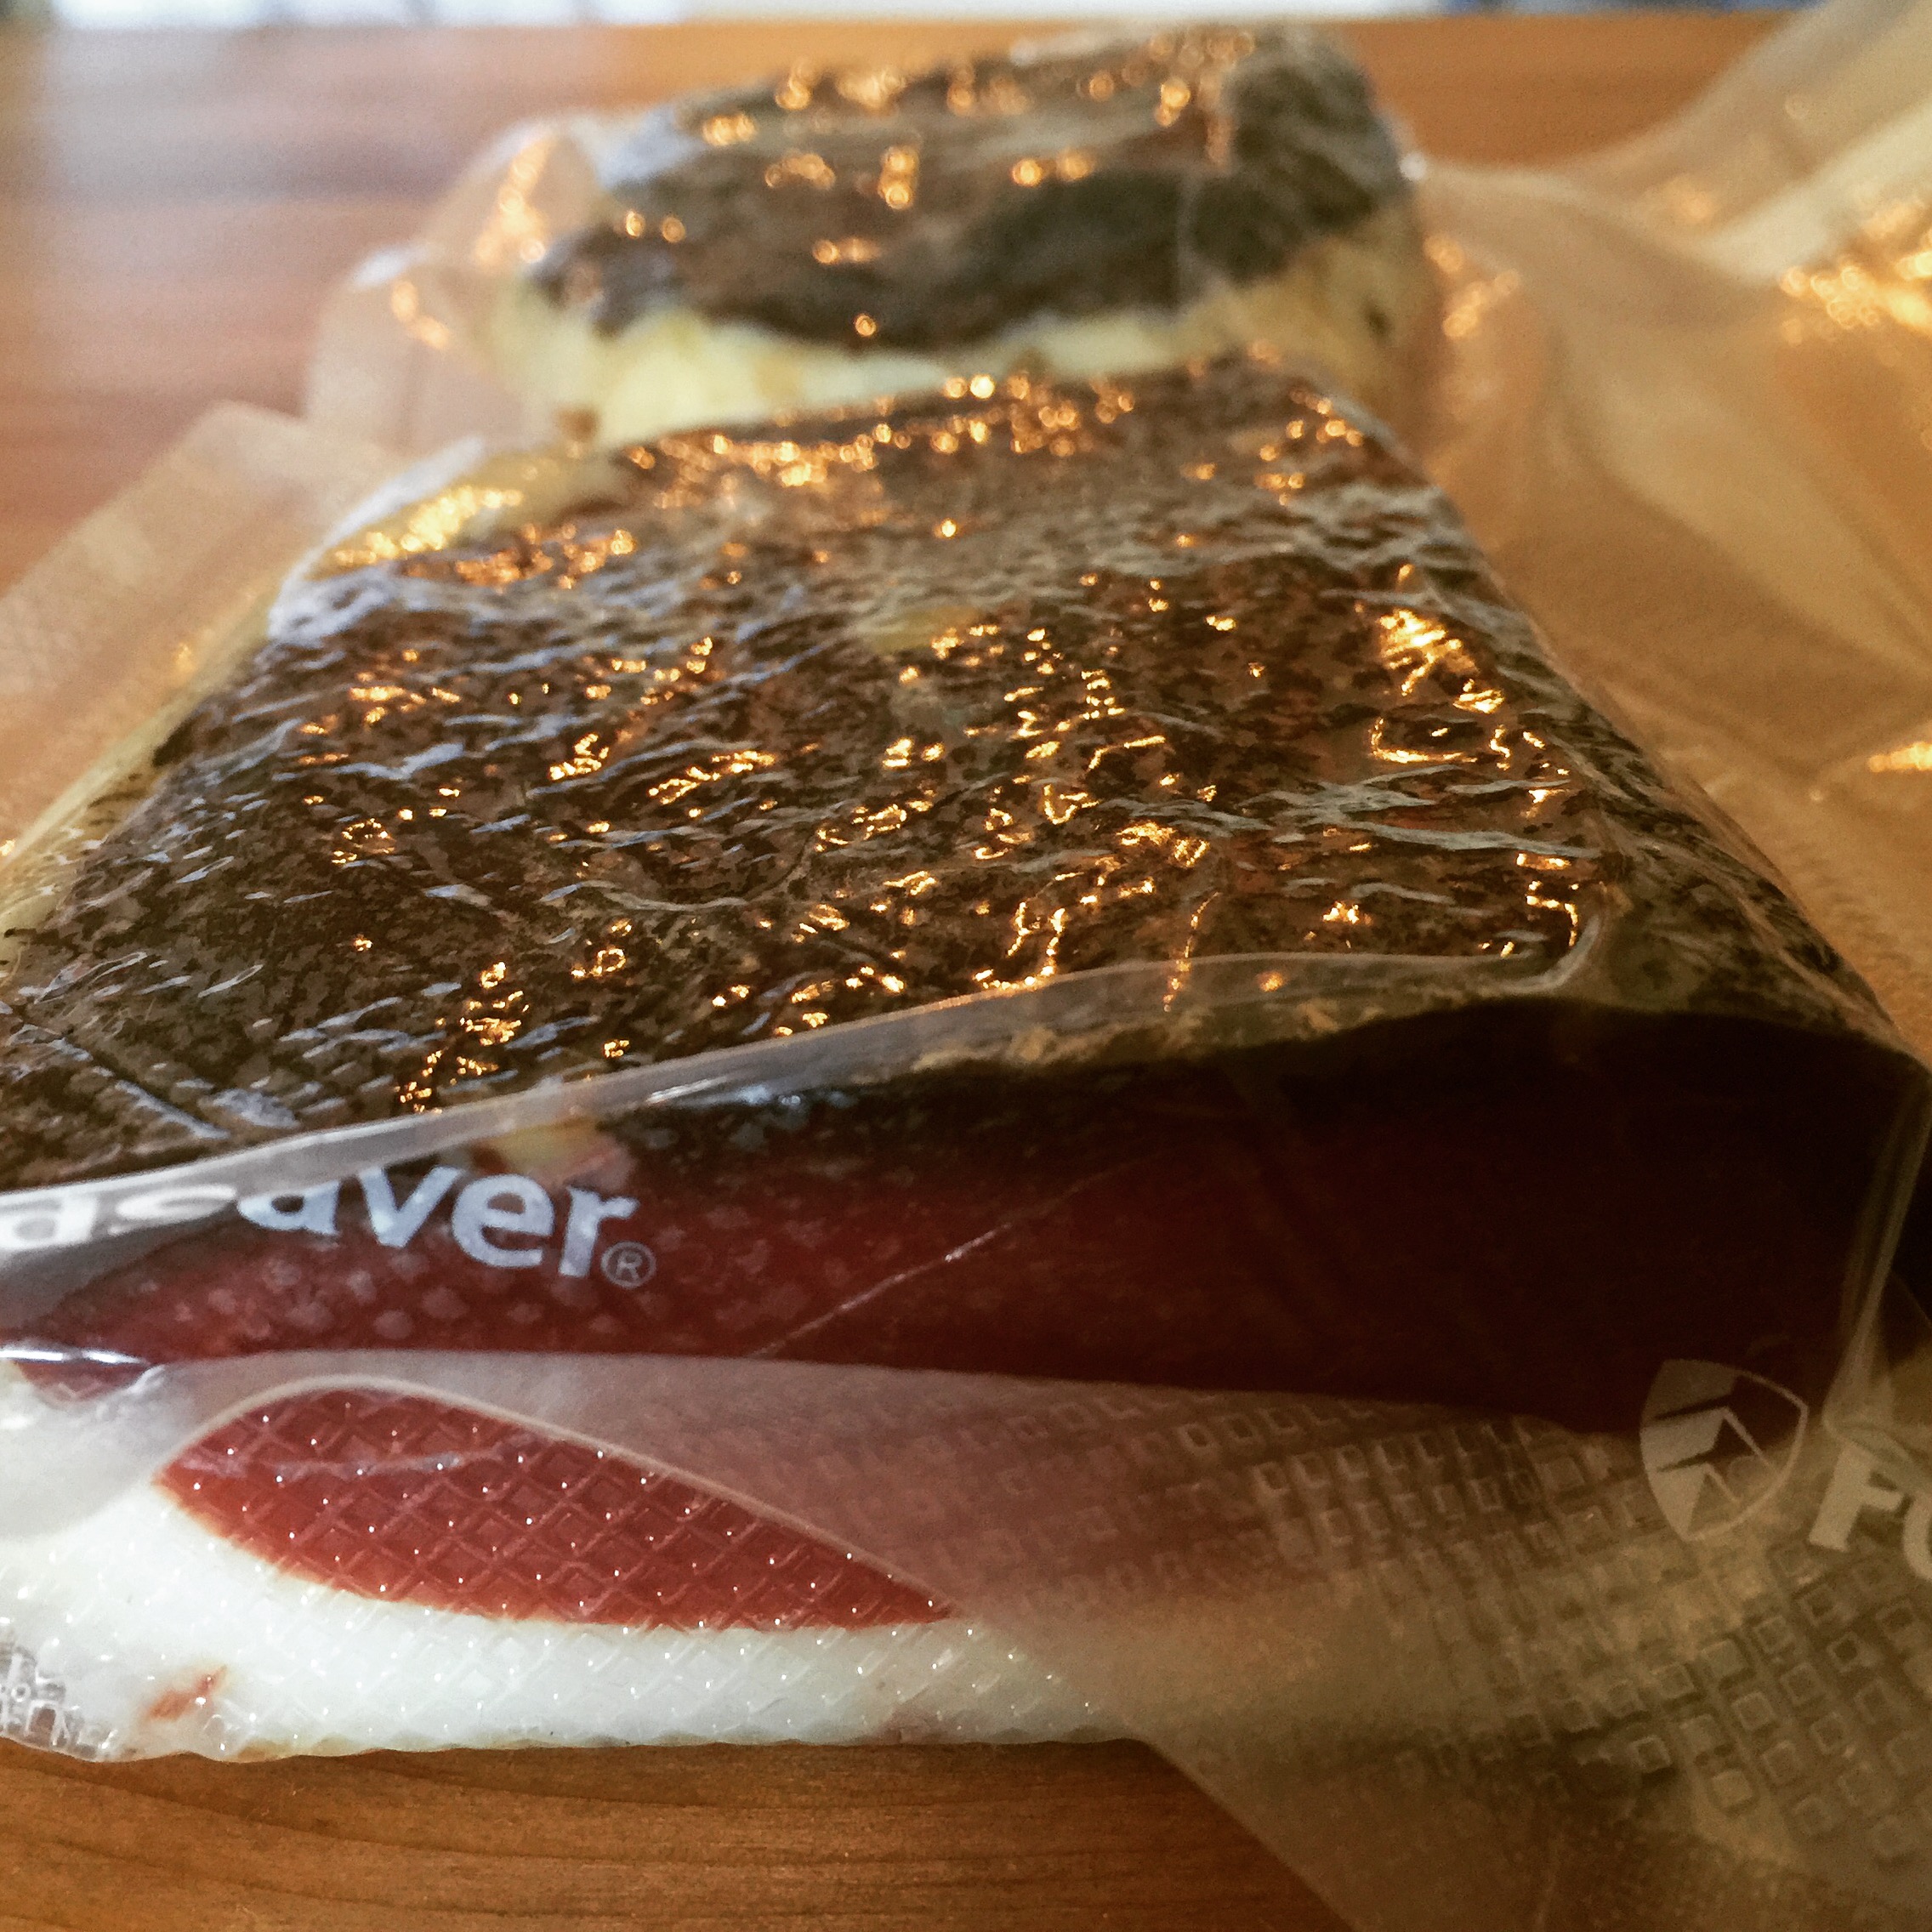
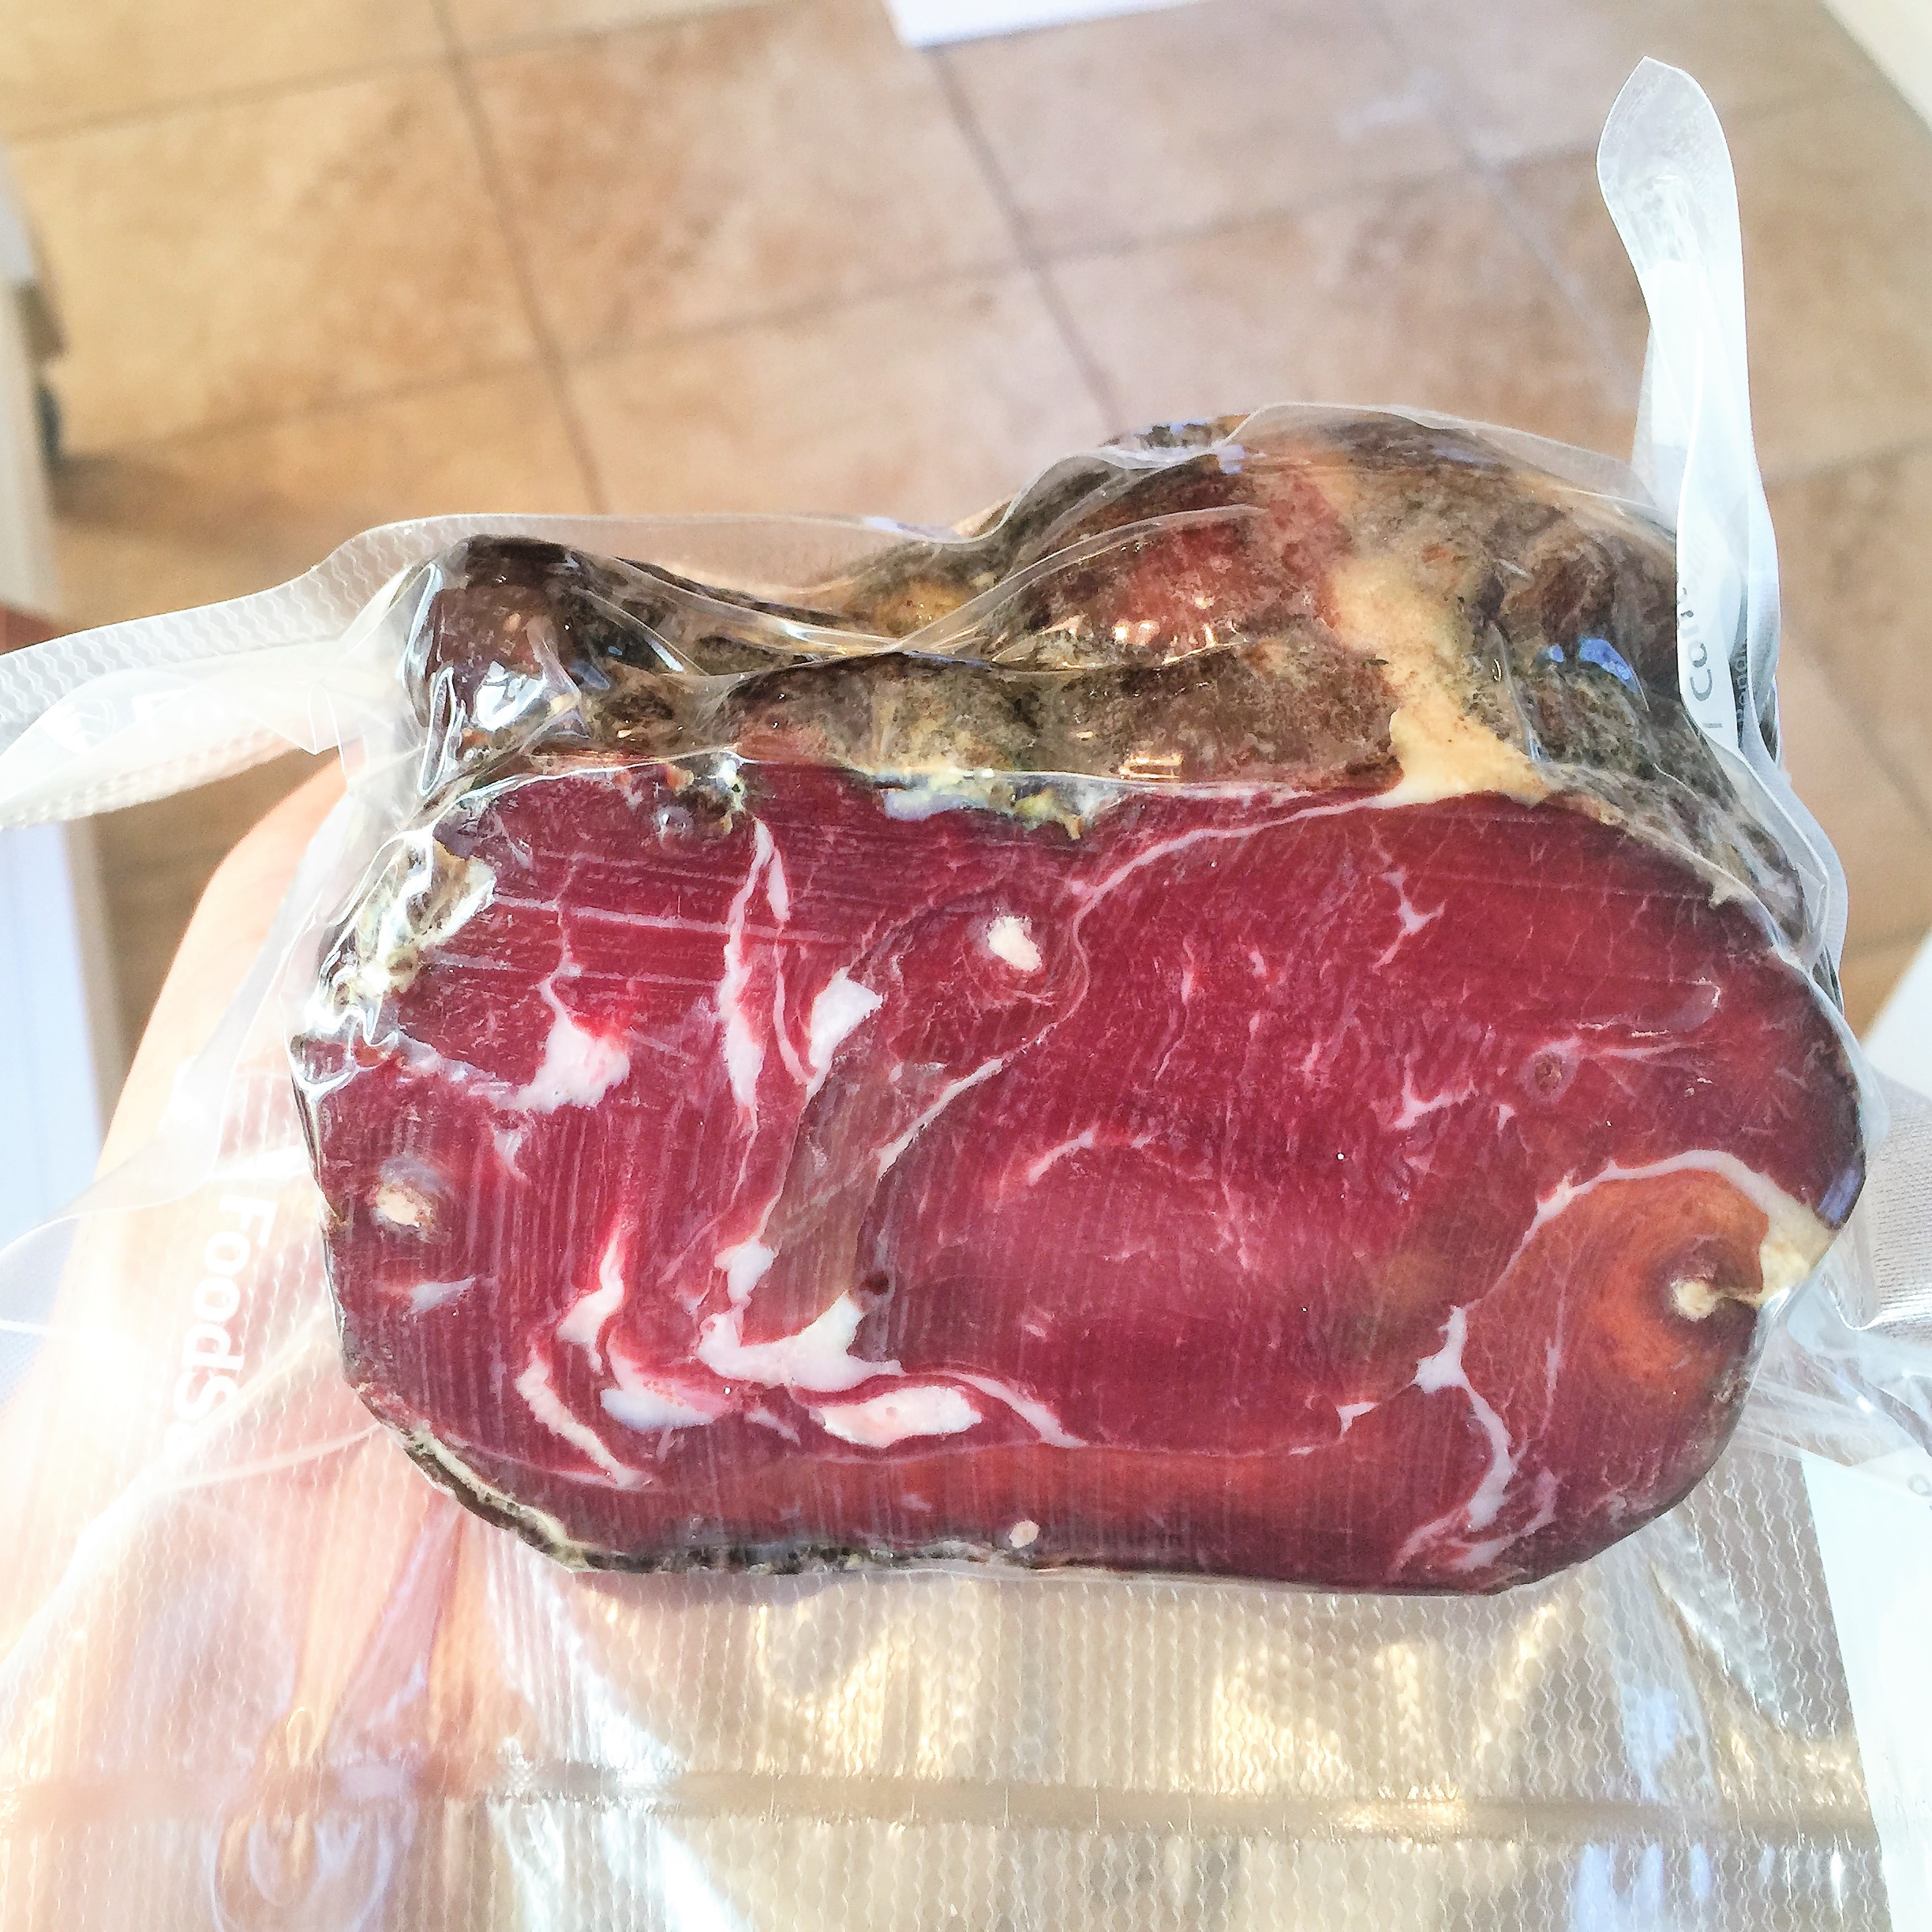
However, compared to my previous attempts, I didn’t love the aesthetics of this final product. That is why for my next attempt, I cured my lamb prosciutto in two pieces. I also will be trying a bone in lamb prosciutto in the future to avoid this problem. This product was stored under vacuum seal.
Disclaimer: Meat curing is a hobby that comes with inherent risks. We can all do things to limit this risk by educating ourselves about the process and the utilizing the safest known methods to create our products. This website is for educational purposes only, and all experimentation should be done at each individuals own risk.