The Explorations of a Gastrochemist

...because science can be delicious.

  • Beginner’s Guide
  • Wurst Adventure
  • Charcuterie
  • Preservation
  • Science
  • Molecular Gastronomy
  • All Projects
You are here: Home / Archives for coppa

Coppa Calabrese

June 13, 2021 by AOG 2 Comments

Name: Coppa Calabrese

This is going to be a simple post, detailing how to make what is probably my favorite cured meat, coppa, in the calabrese style.

The meat:

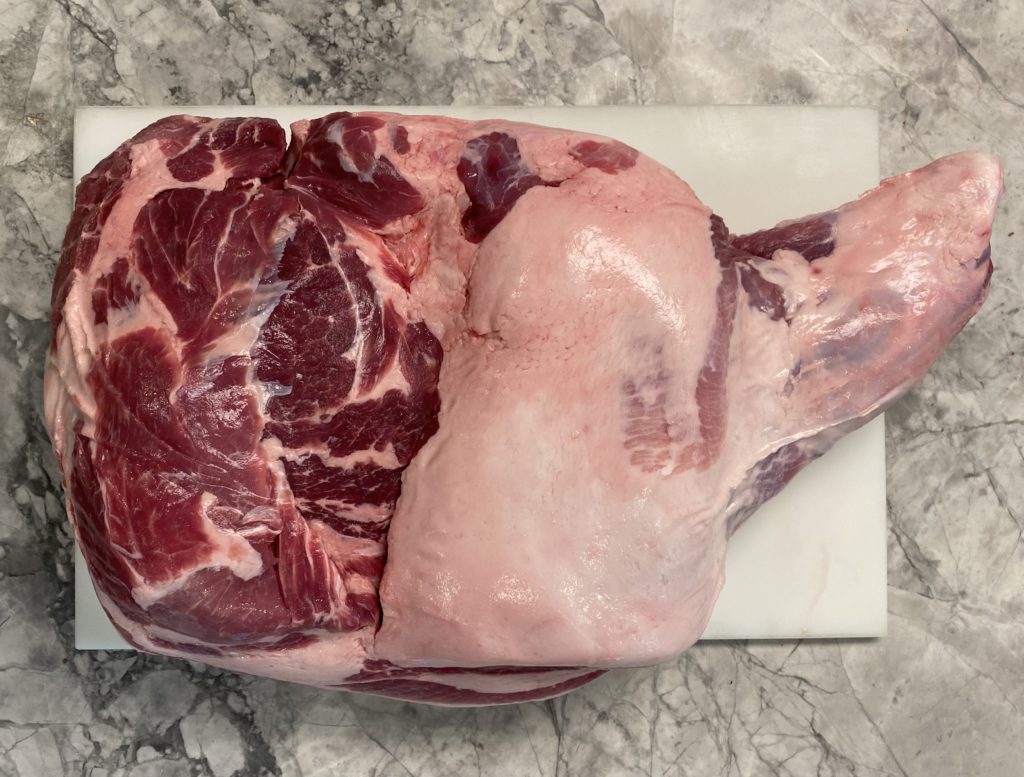
To make a coppa, you need to either purchase or butcher the collar roast for a pig. Some butchers/farms can sell you the “collar roast” that you can use as is. Otherwise, you can buy either a full pork shoulder (shown below) or a “Boston Butt” shoulder cut.

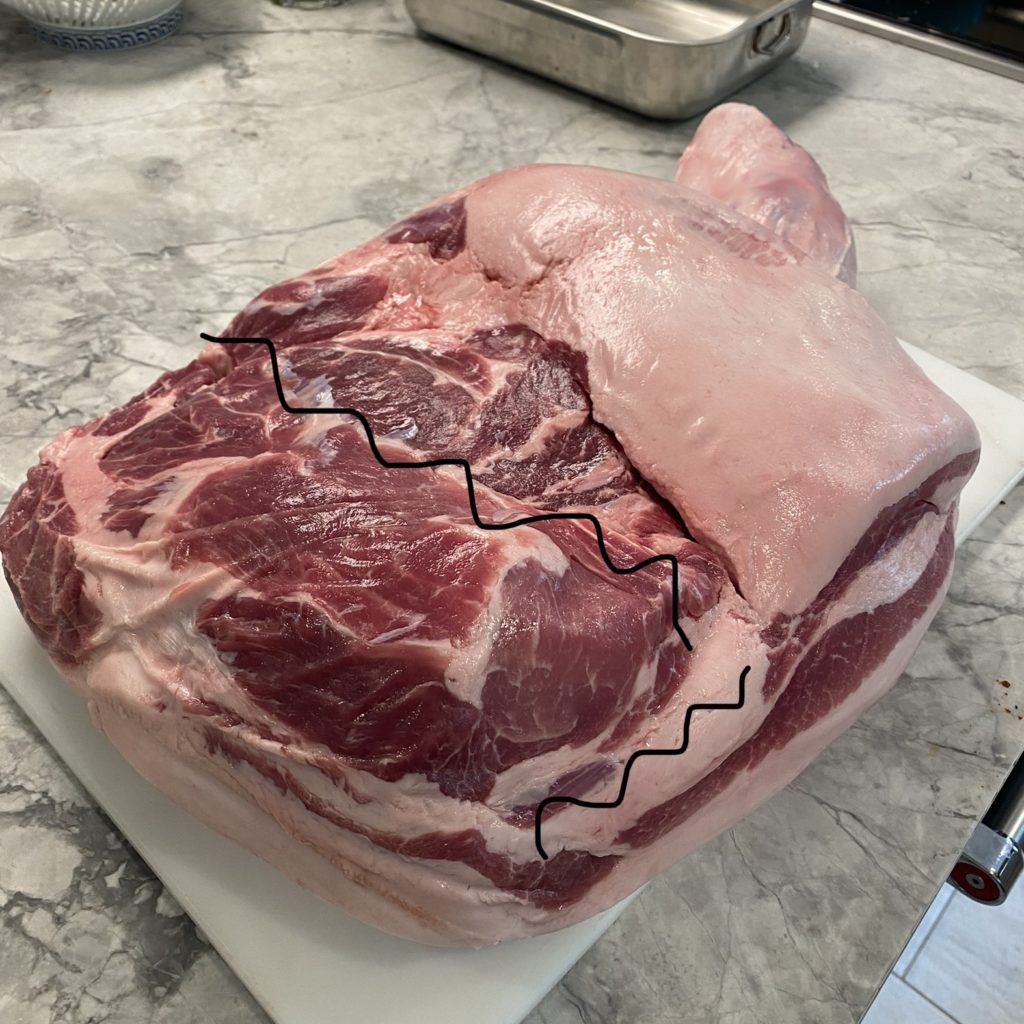
From the whole shoulder, follow the seams outlined here to cut out the coppa.

Salting (4C/40F, 3 weeks+)

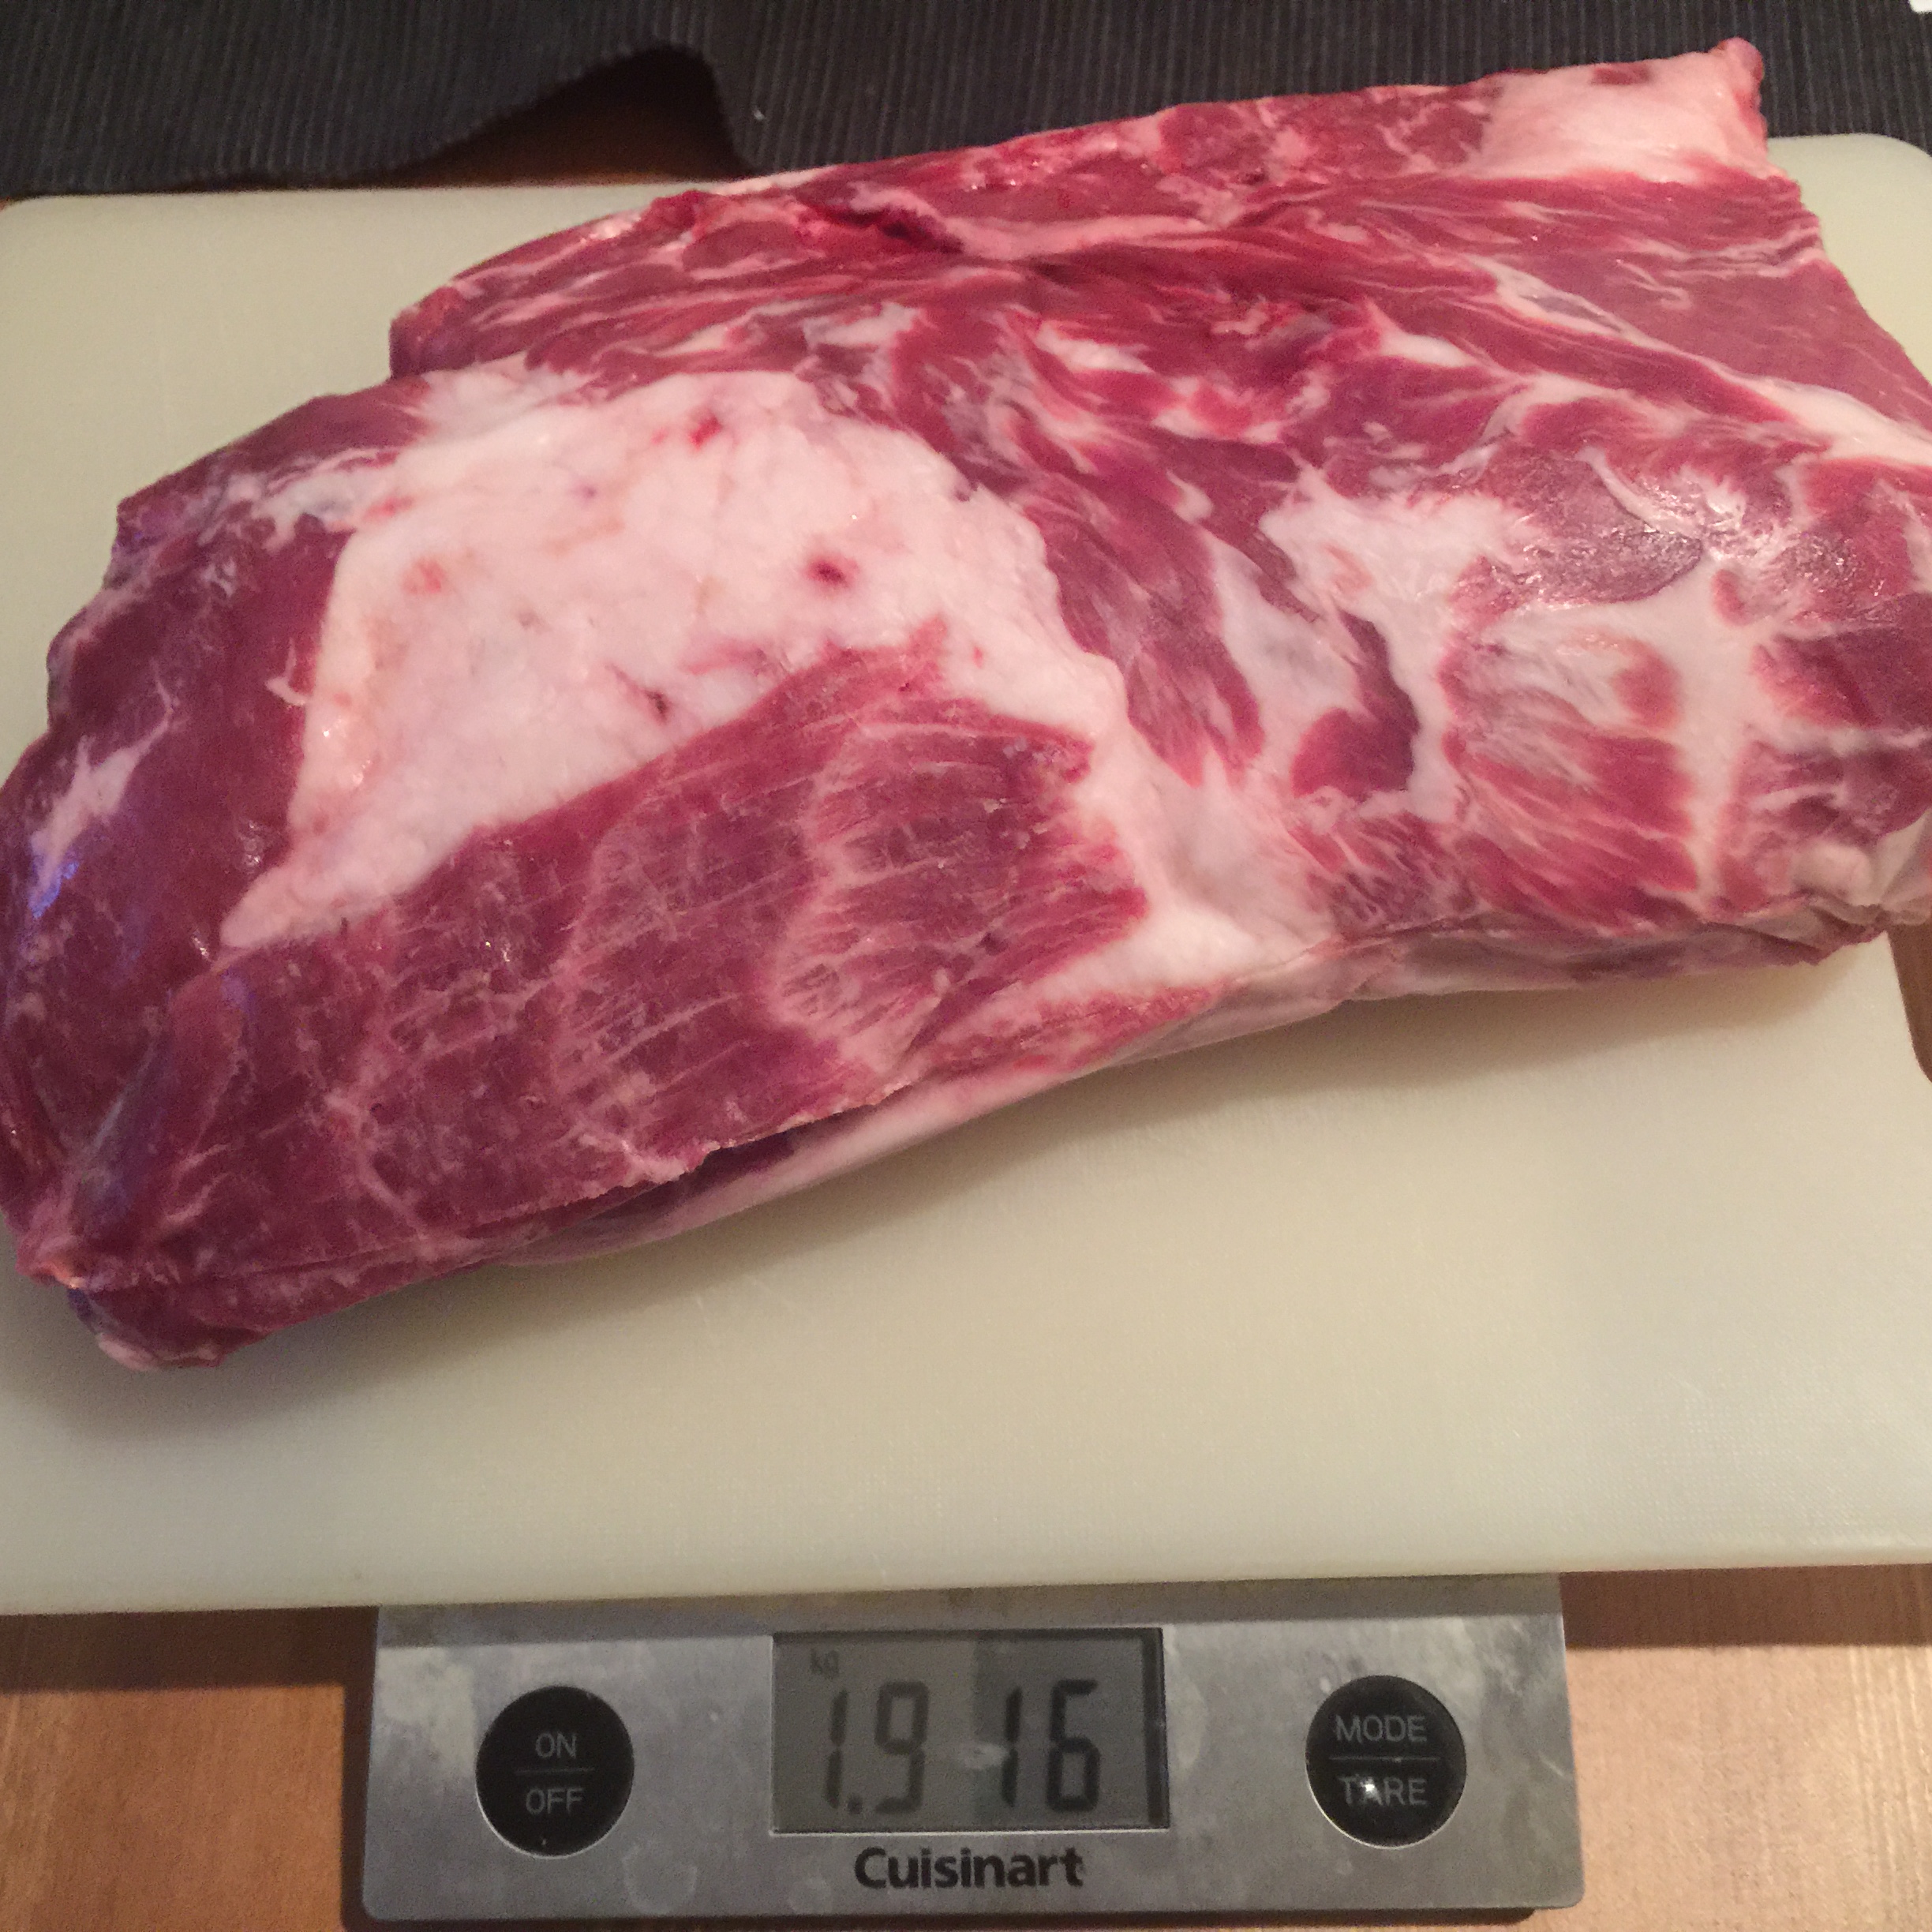
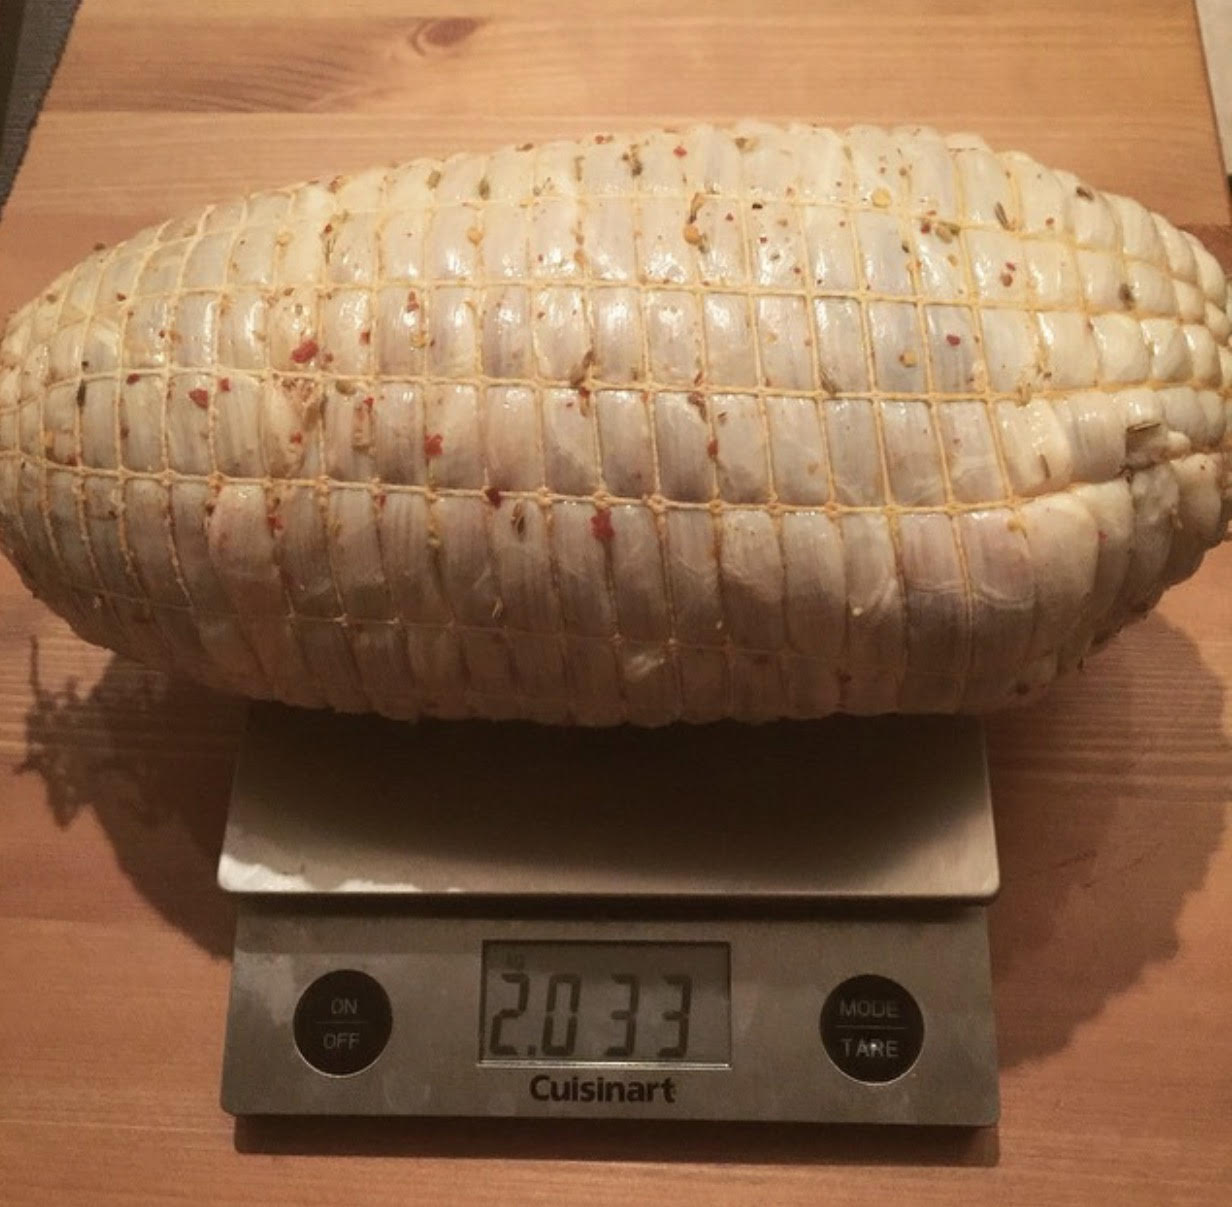
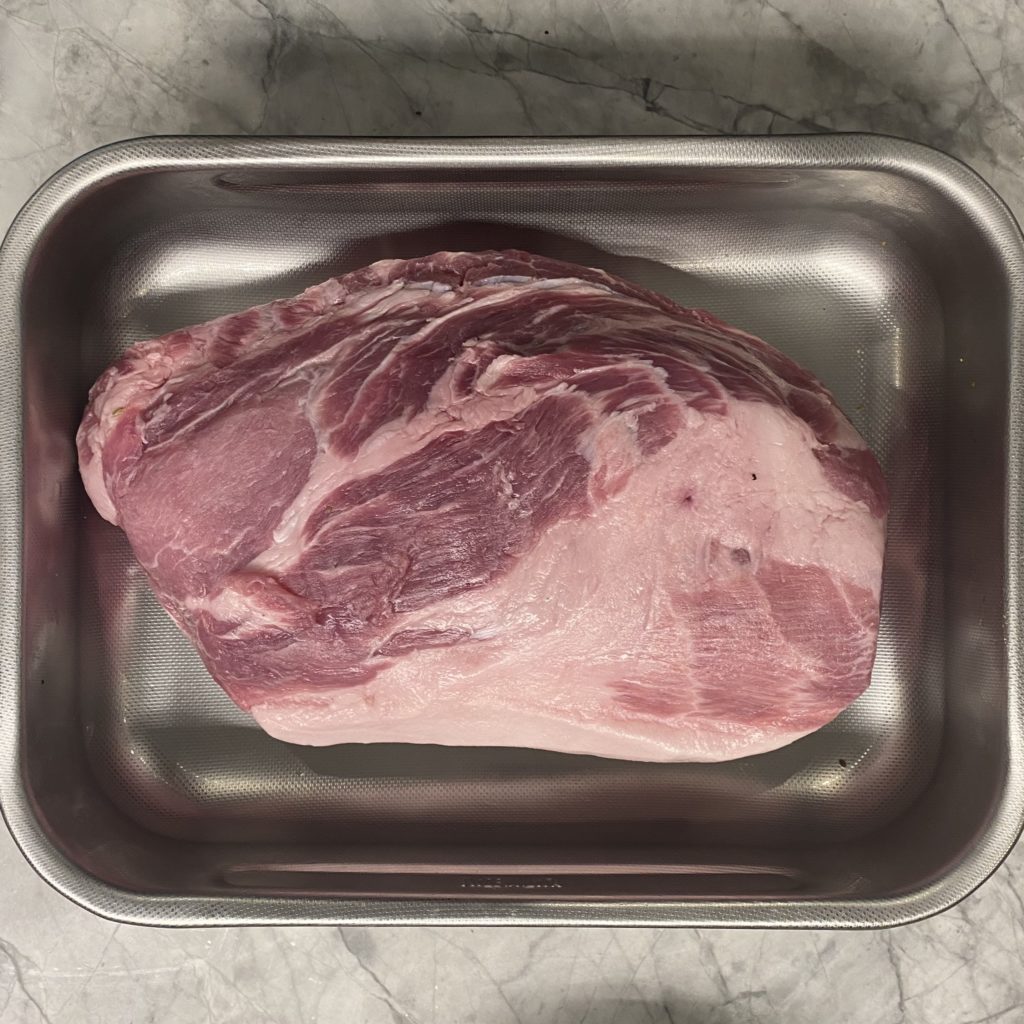
Once you have the meat butchered and ready, it’s time to weigh it.

Once you have the weight, you can enter it into the interactive spreadsheet below, just fill the weight of your meat in the appropriate white cell in the spreadsheet and hit enter. There is no need to make any other changes to the spreadsheet.

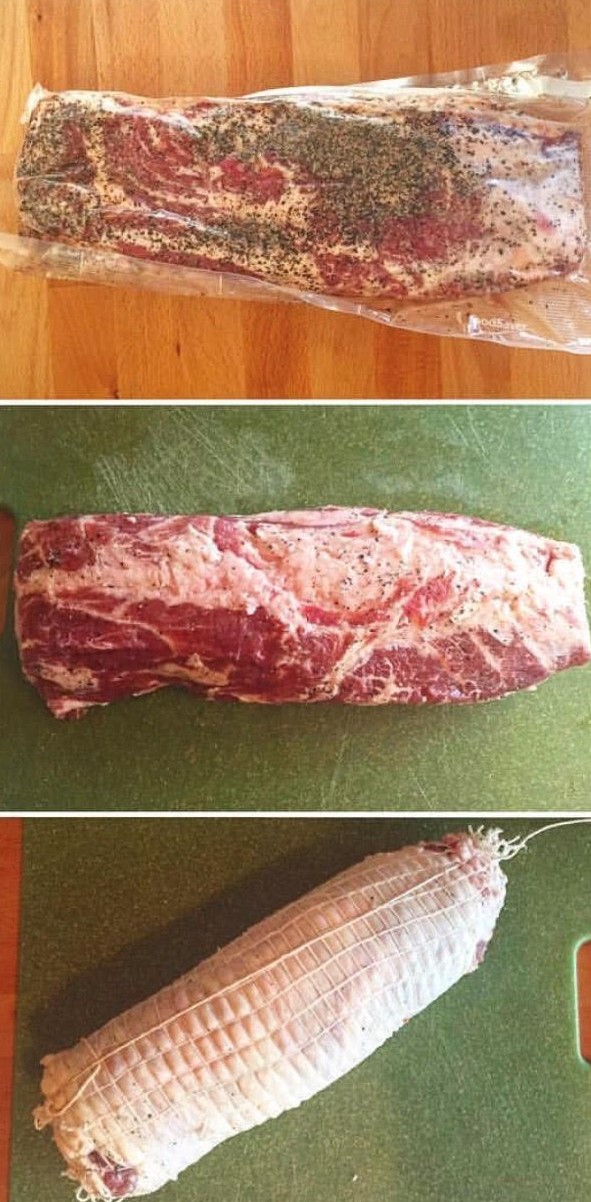
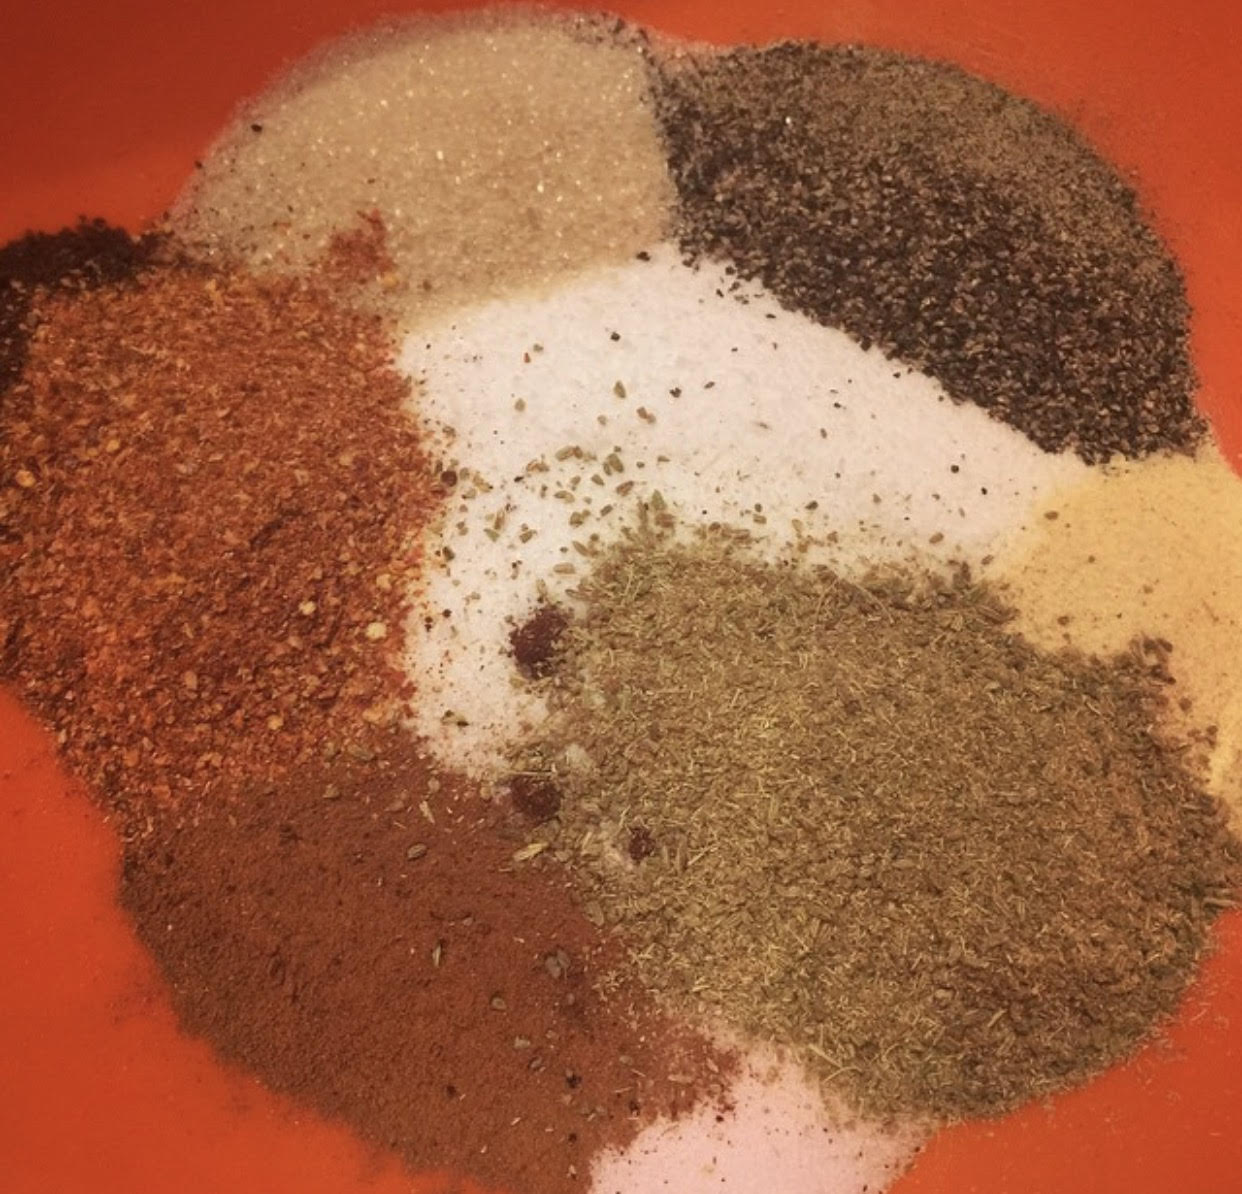
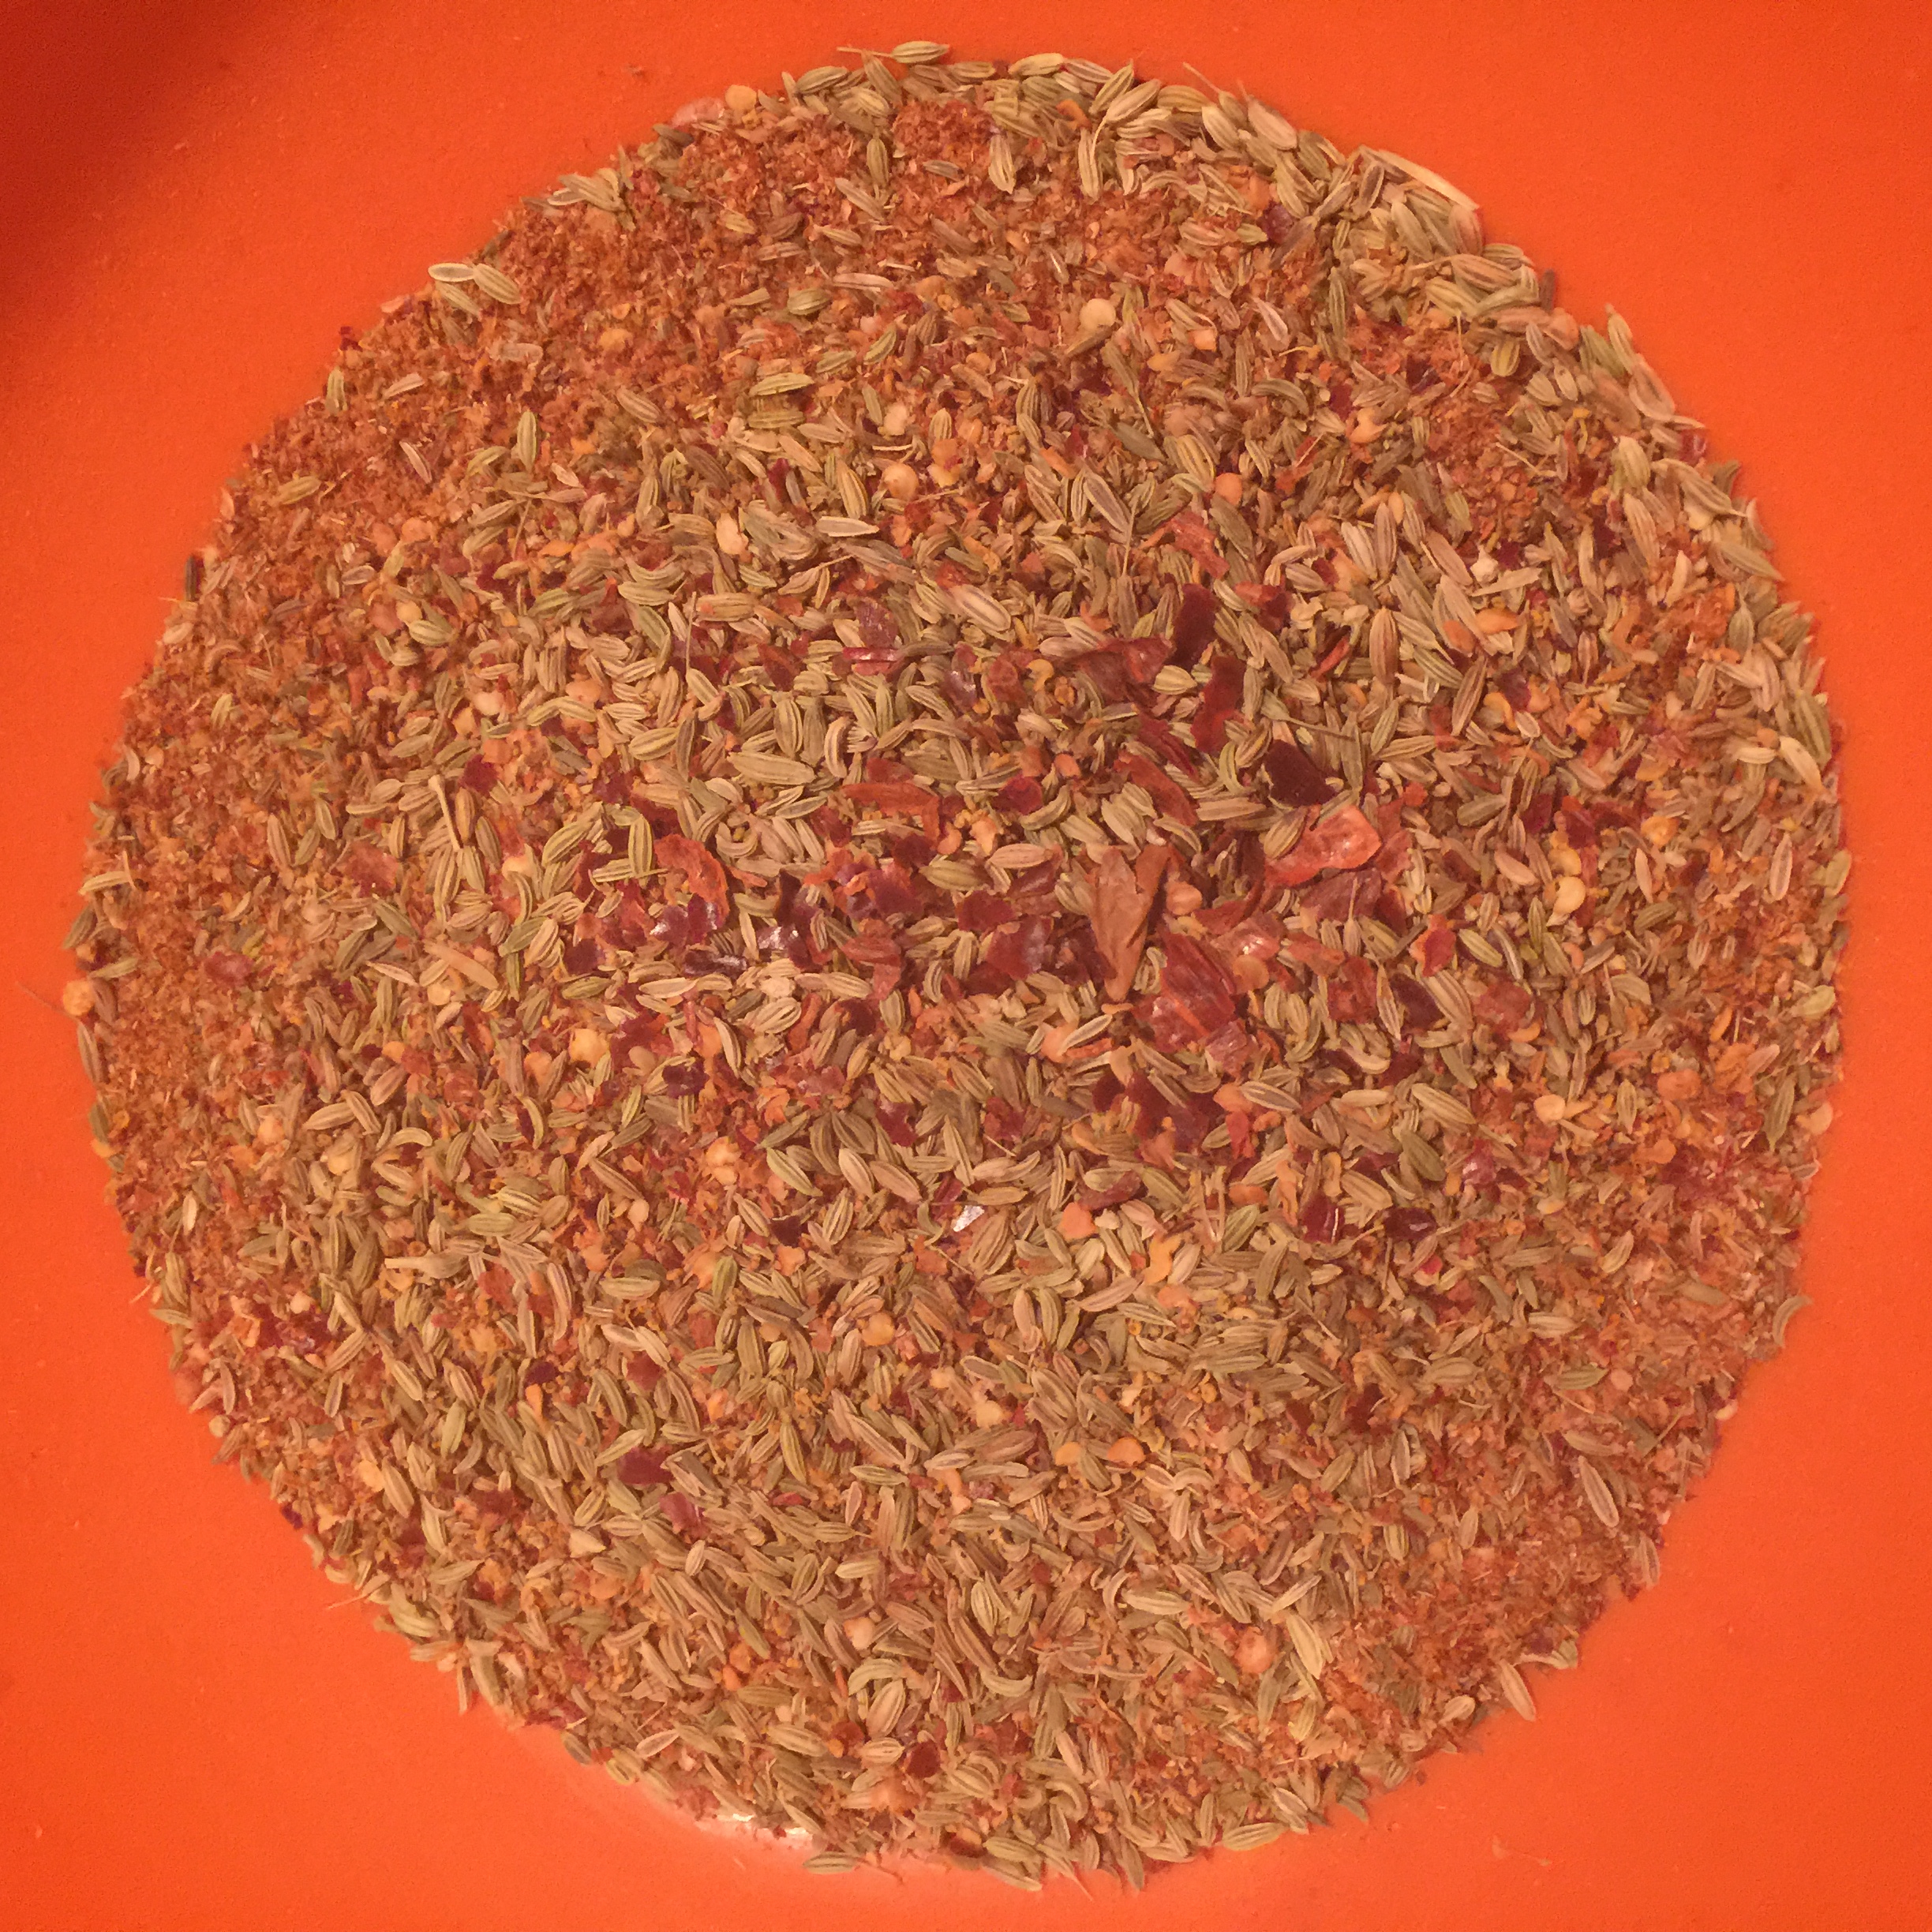
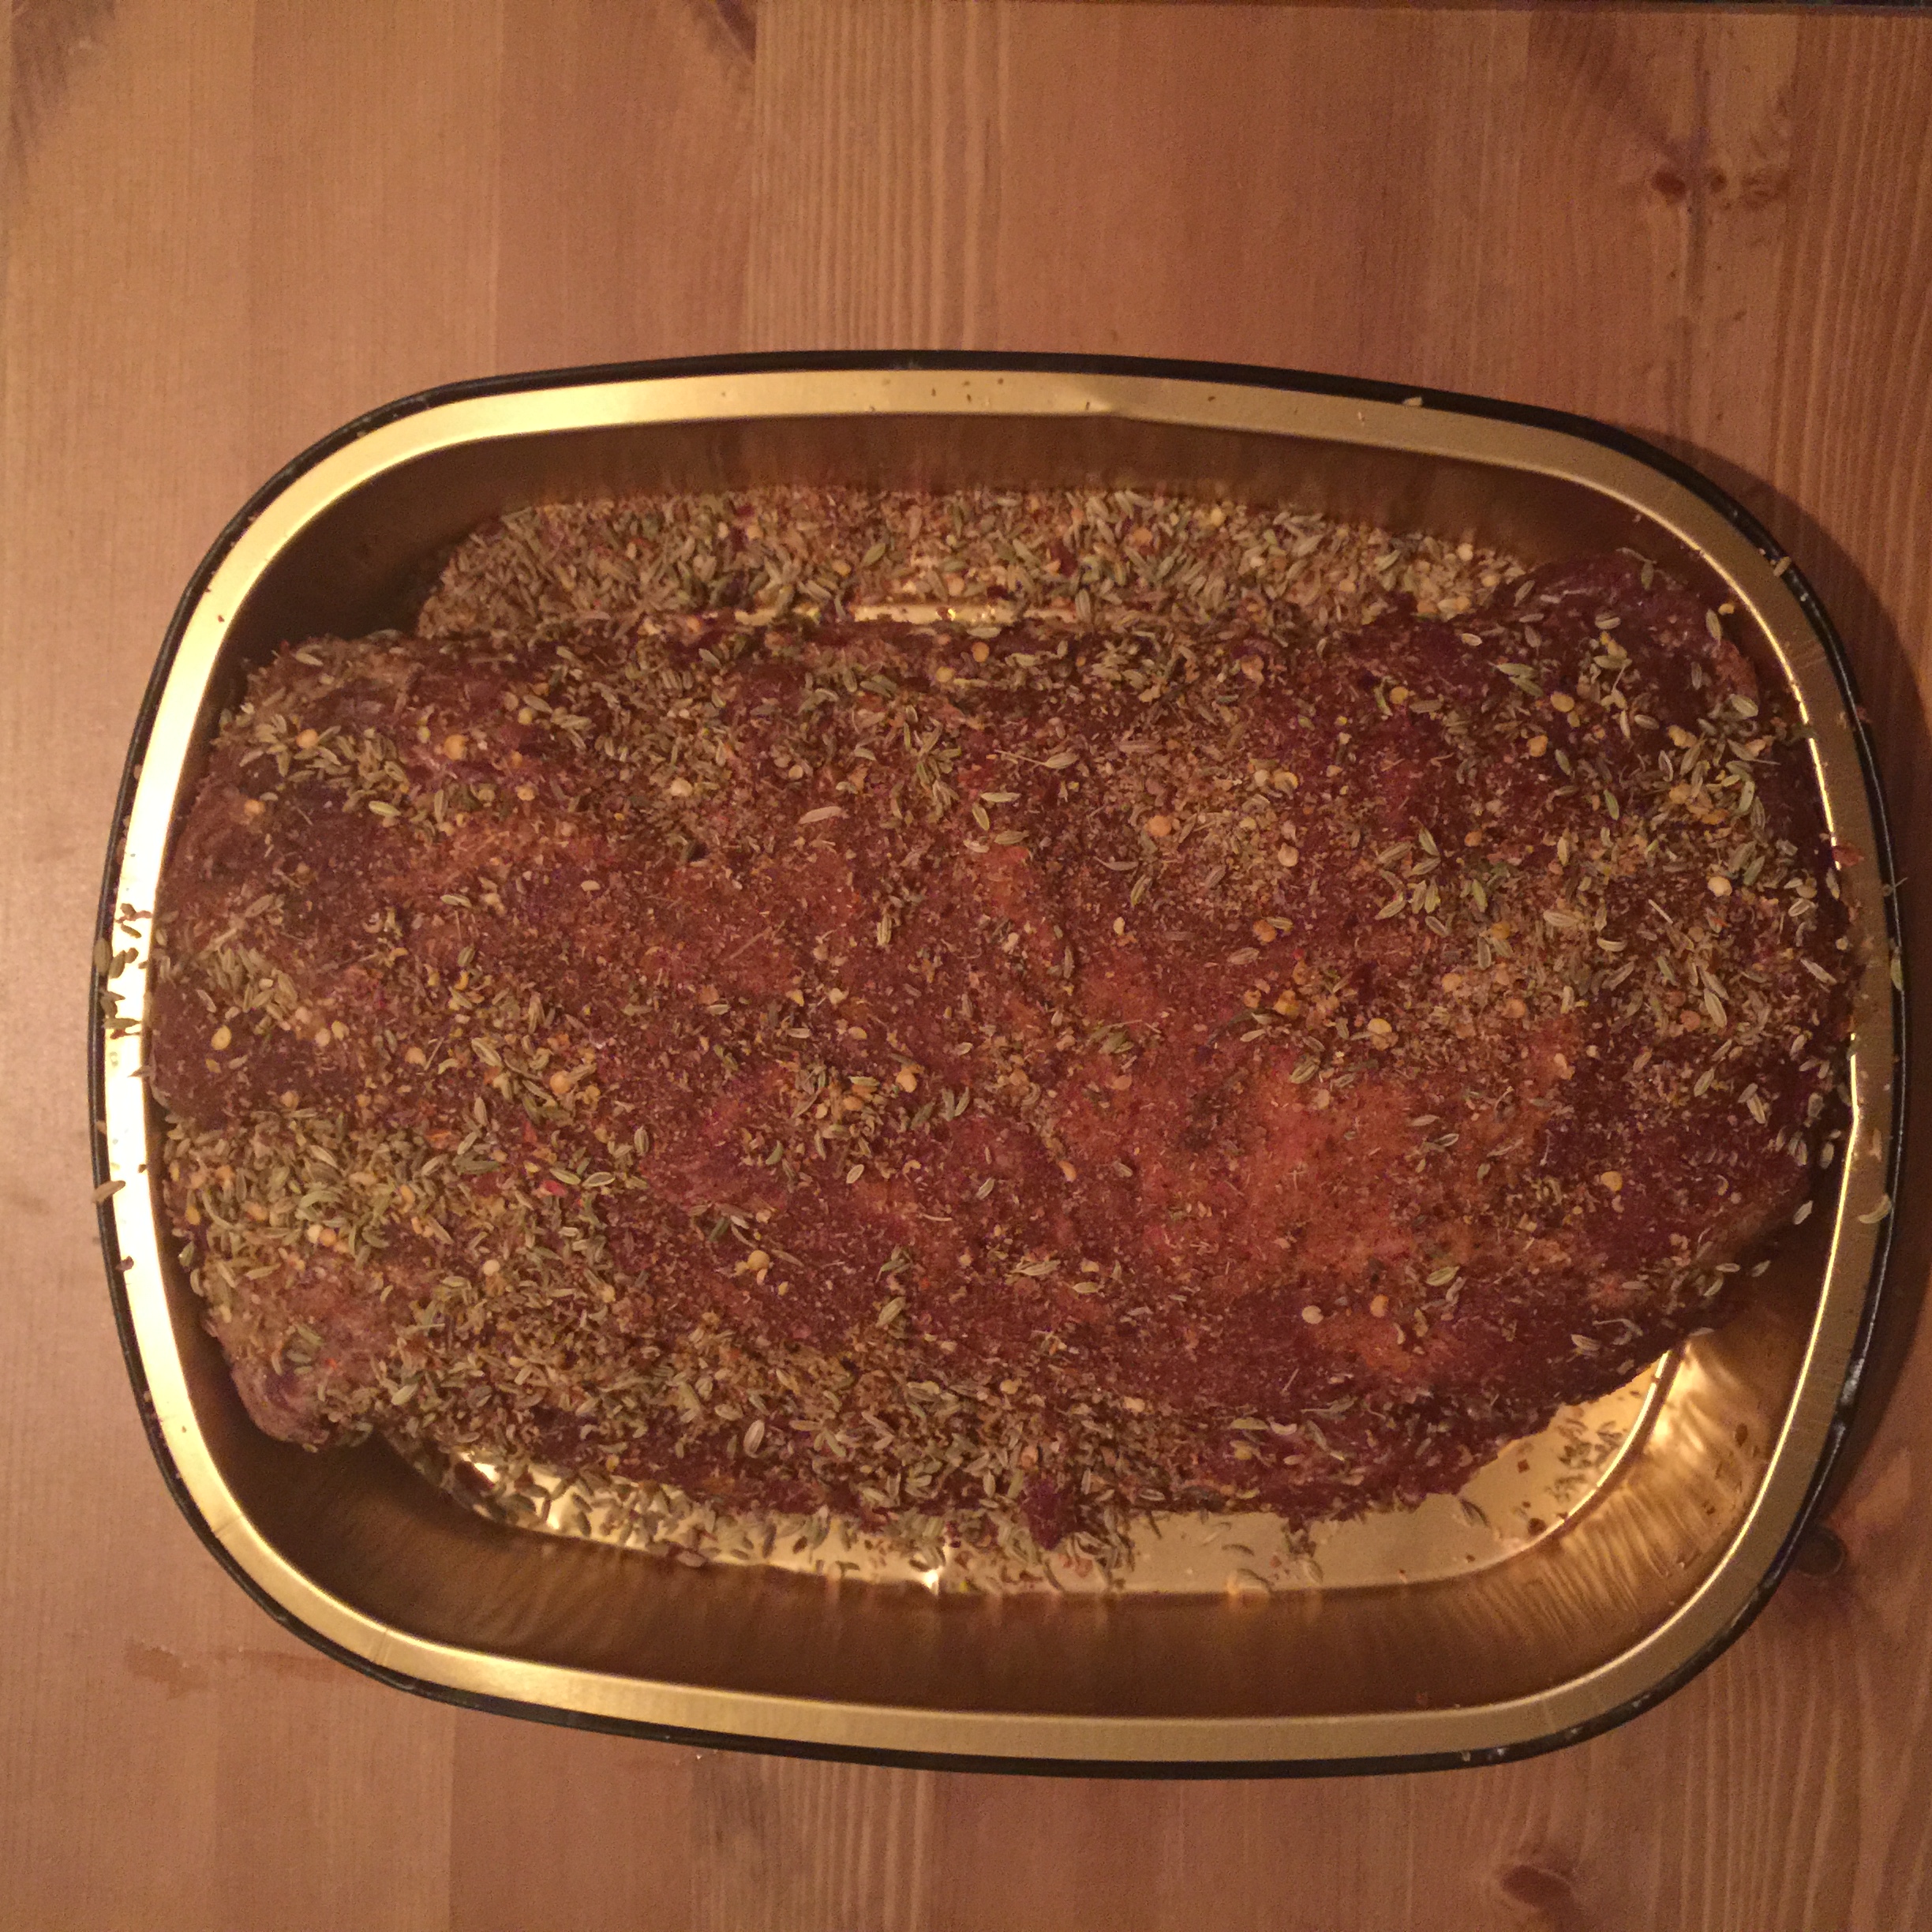
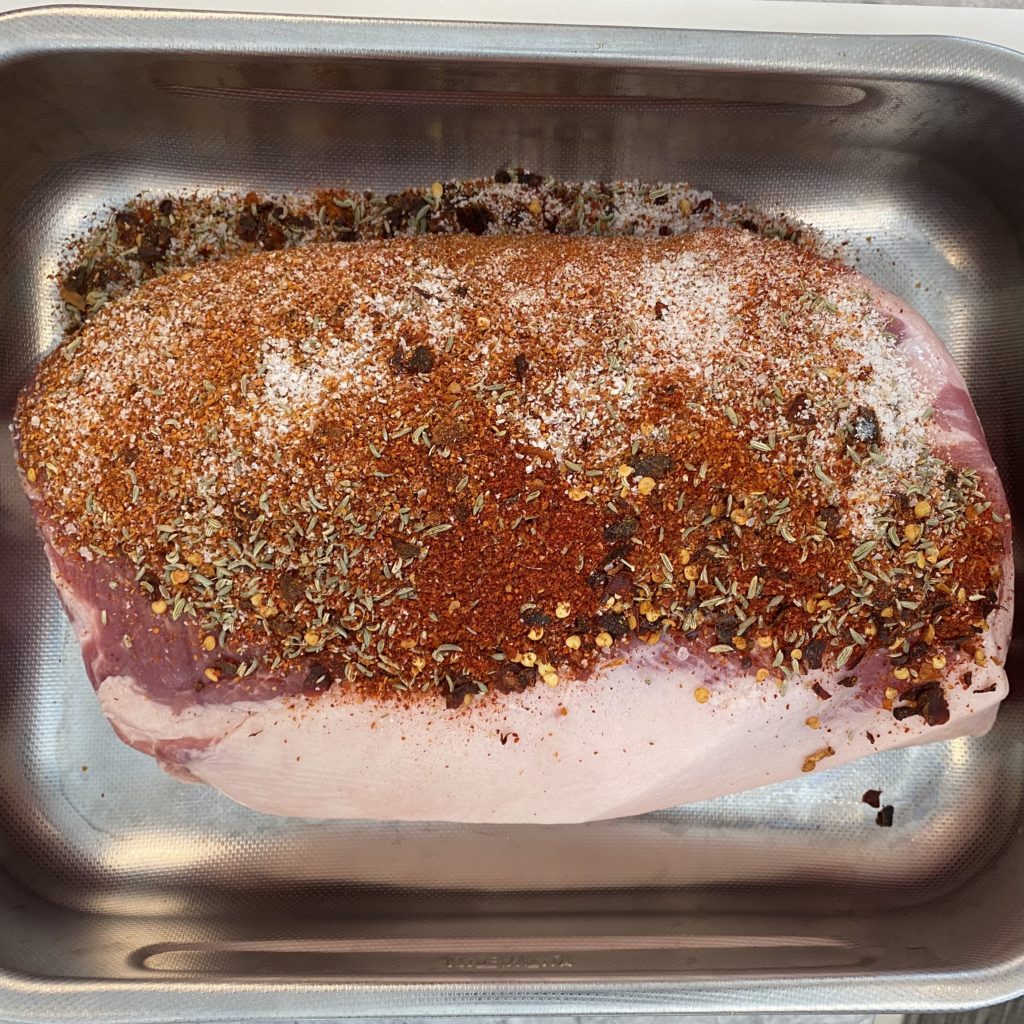
Weigh all the spices and mix all the spices together.

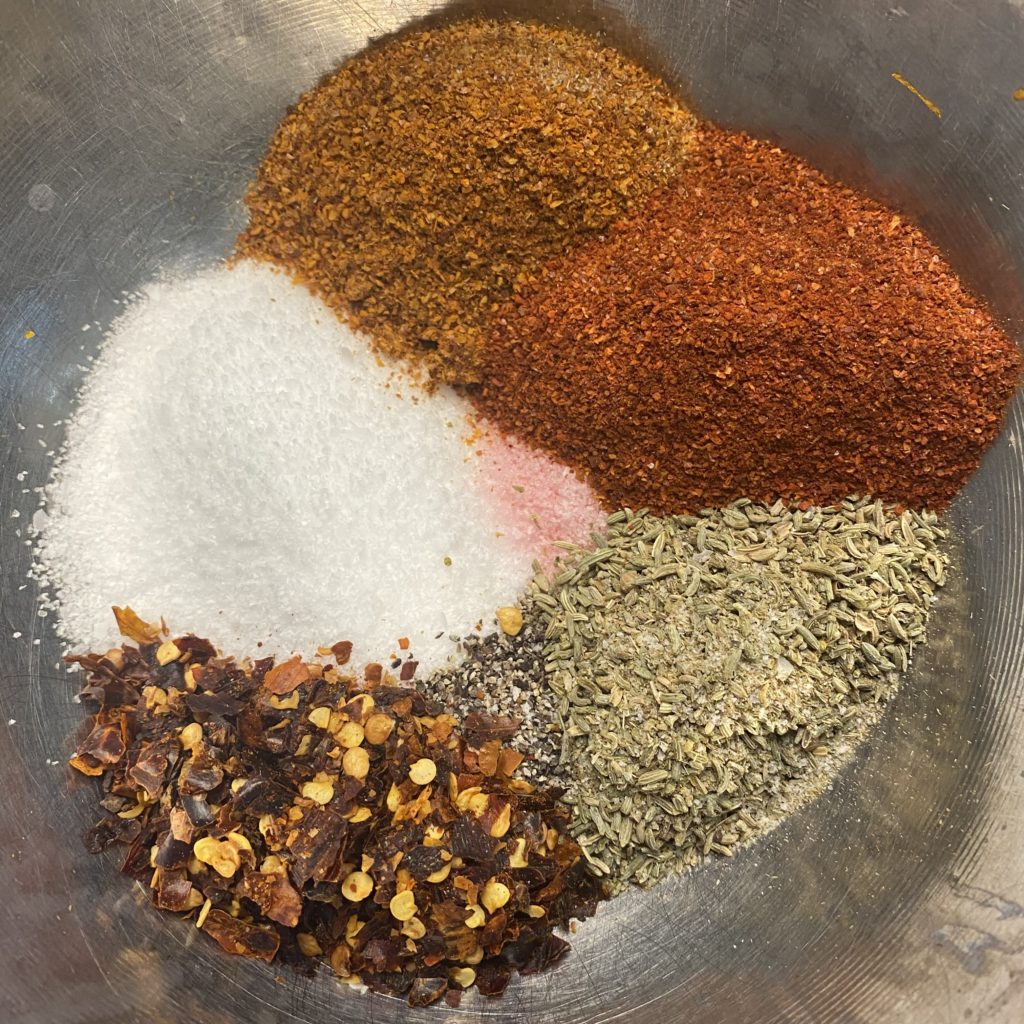
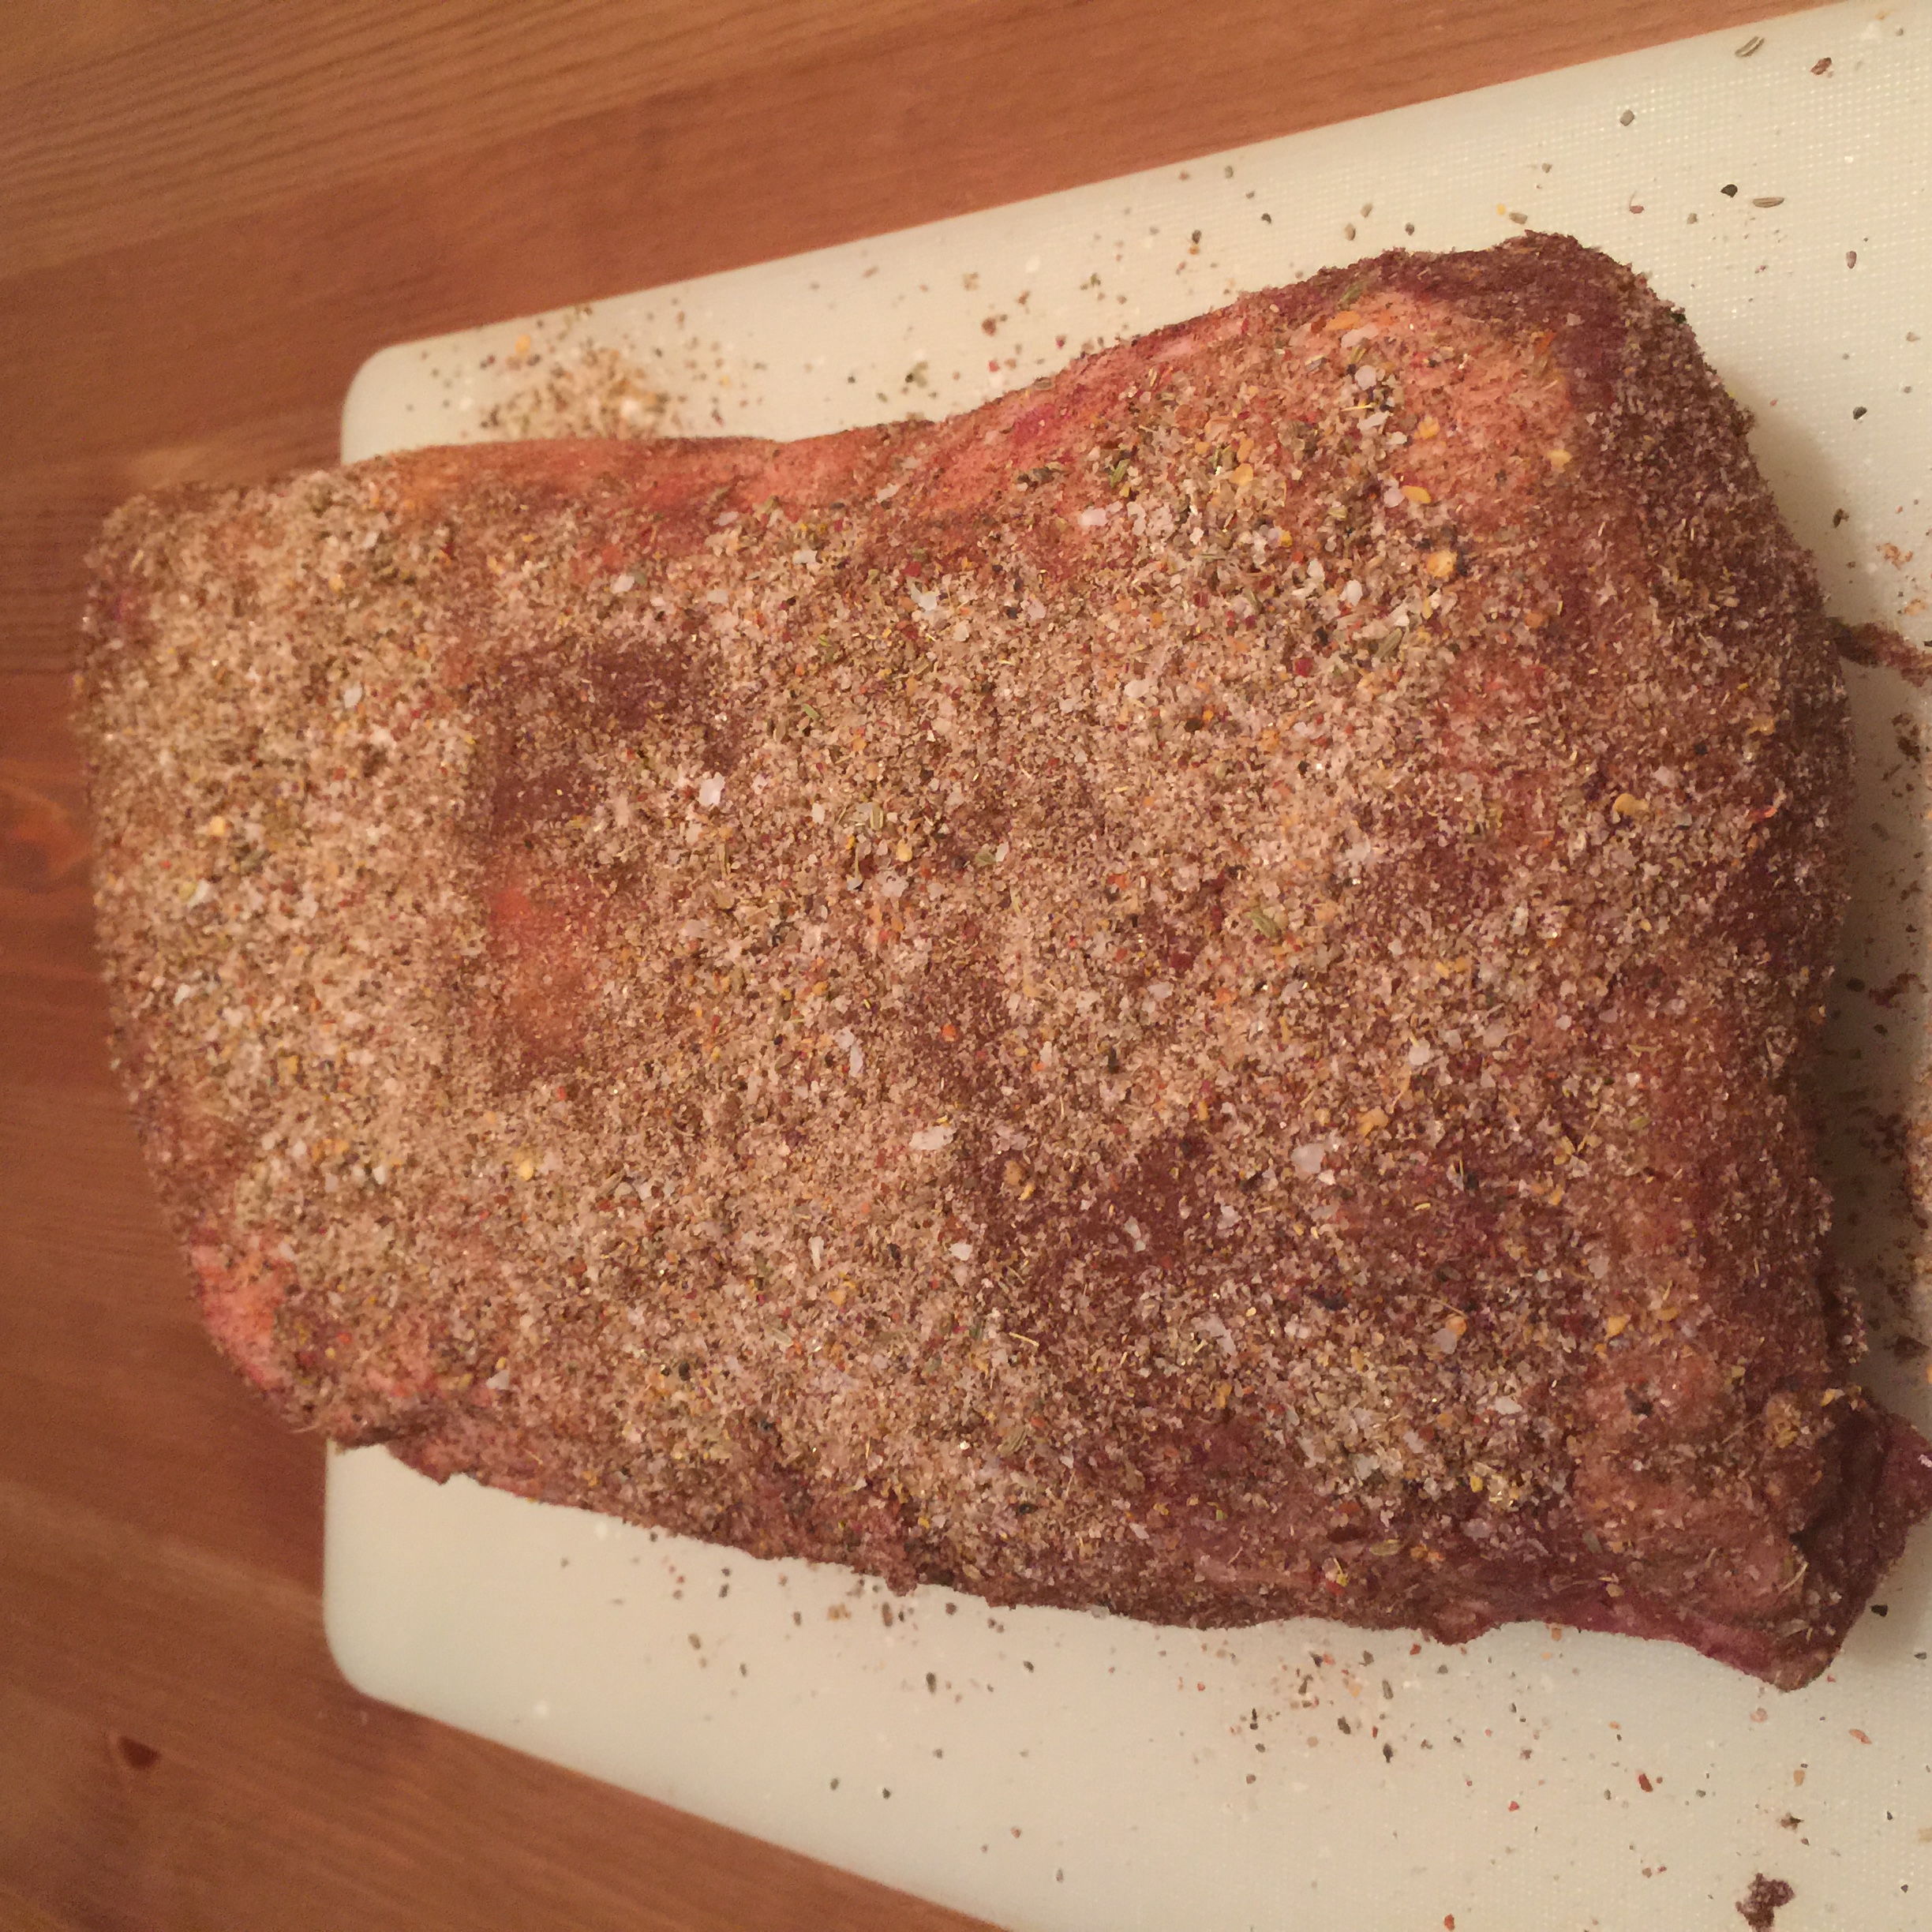
Then, cover the meat with them. 

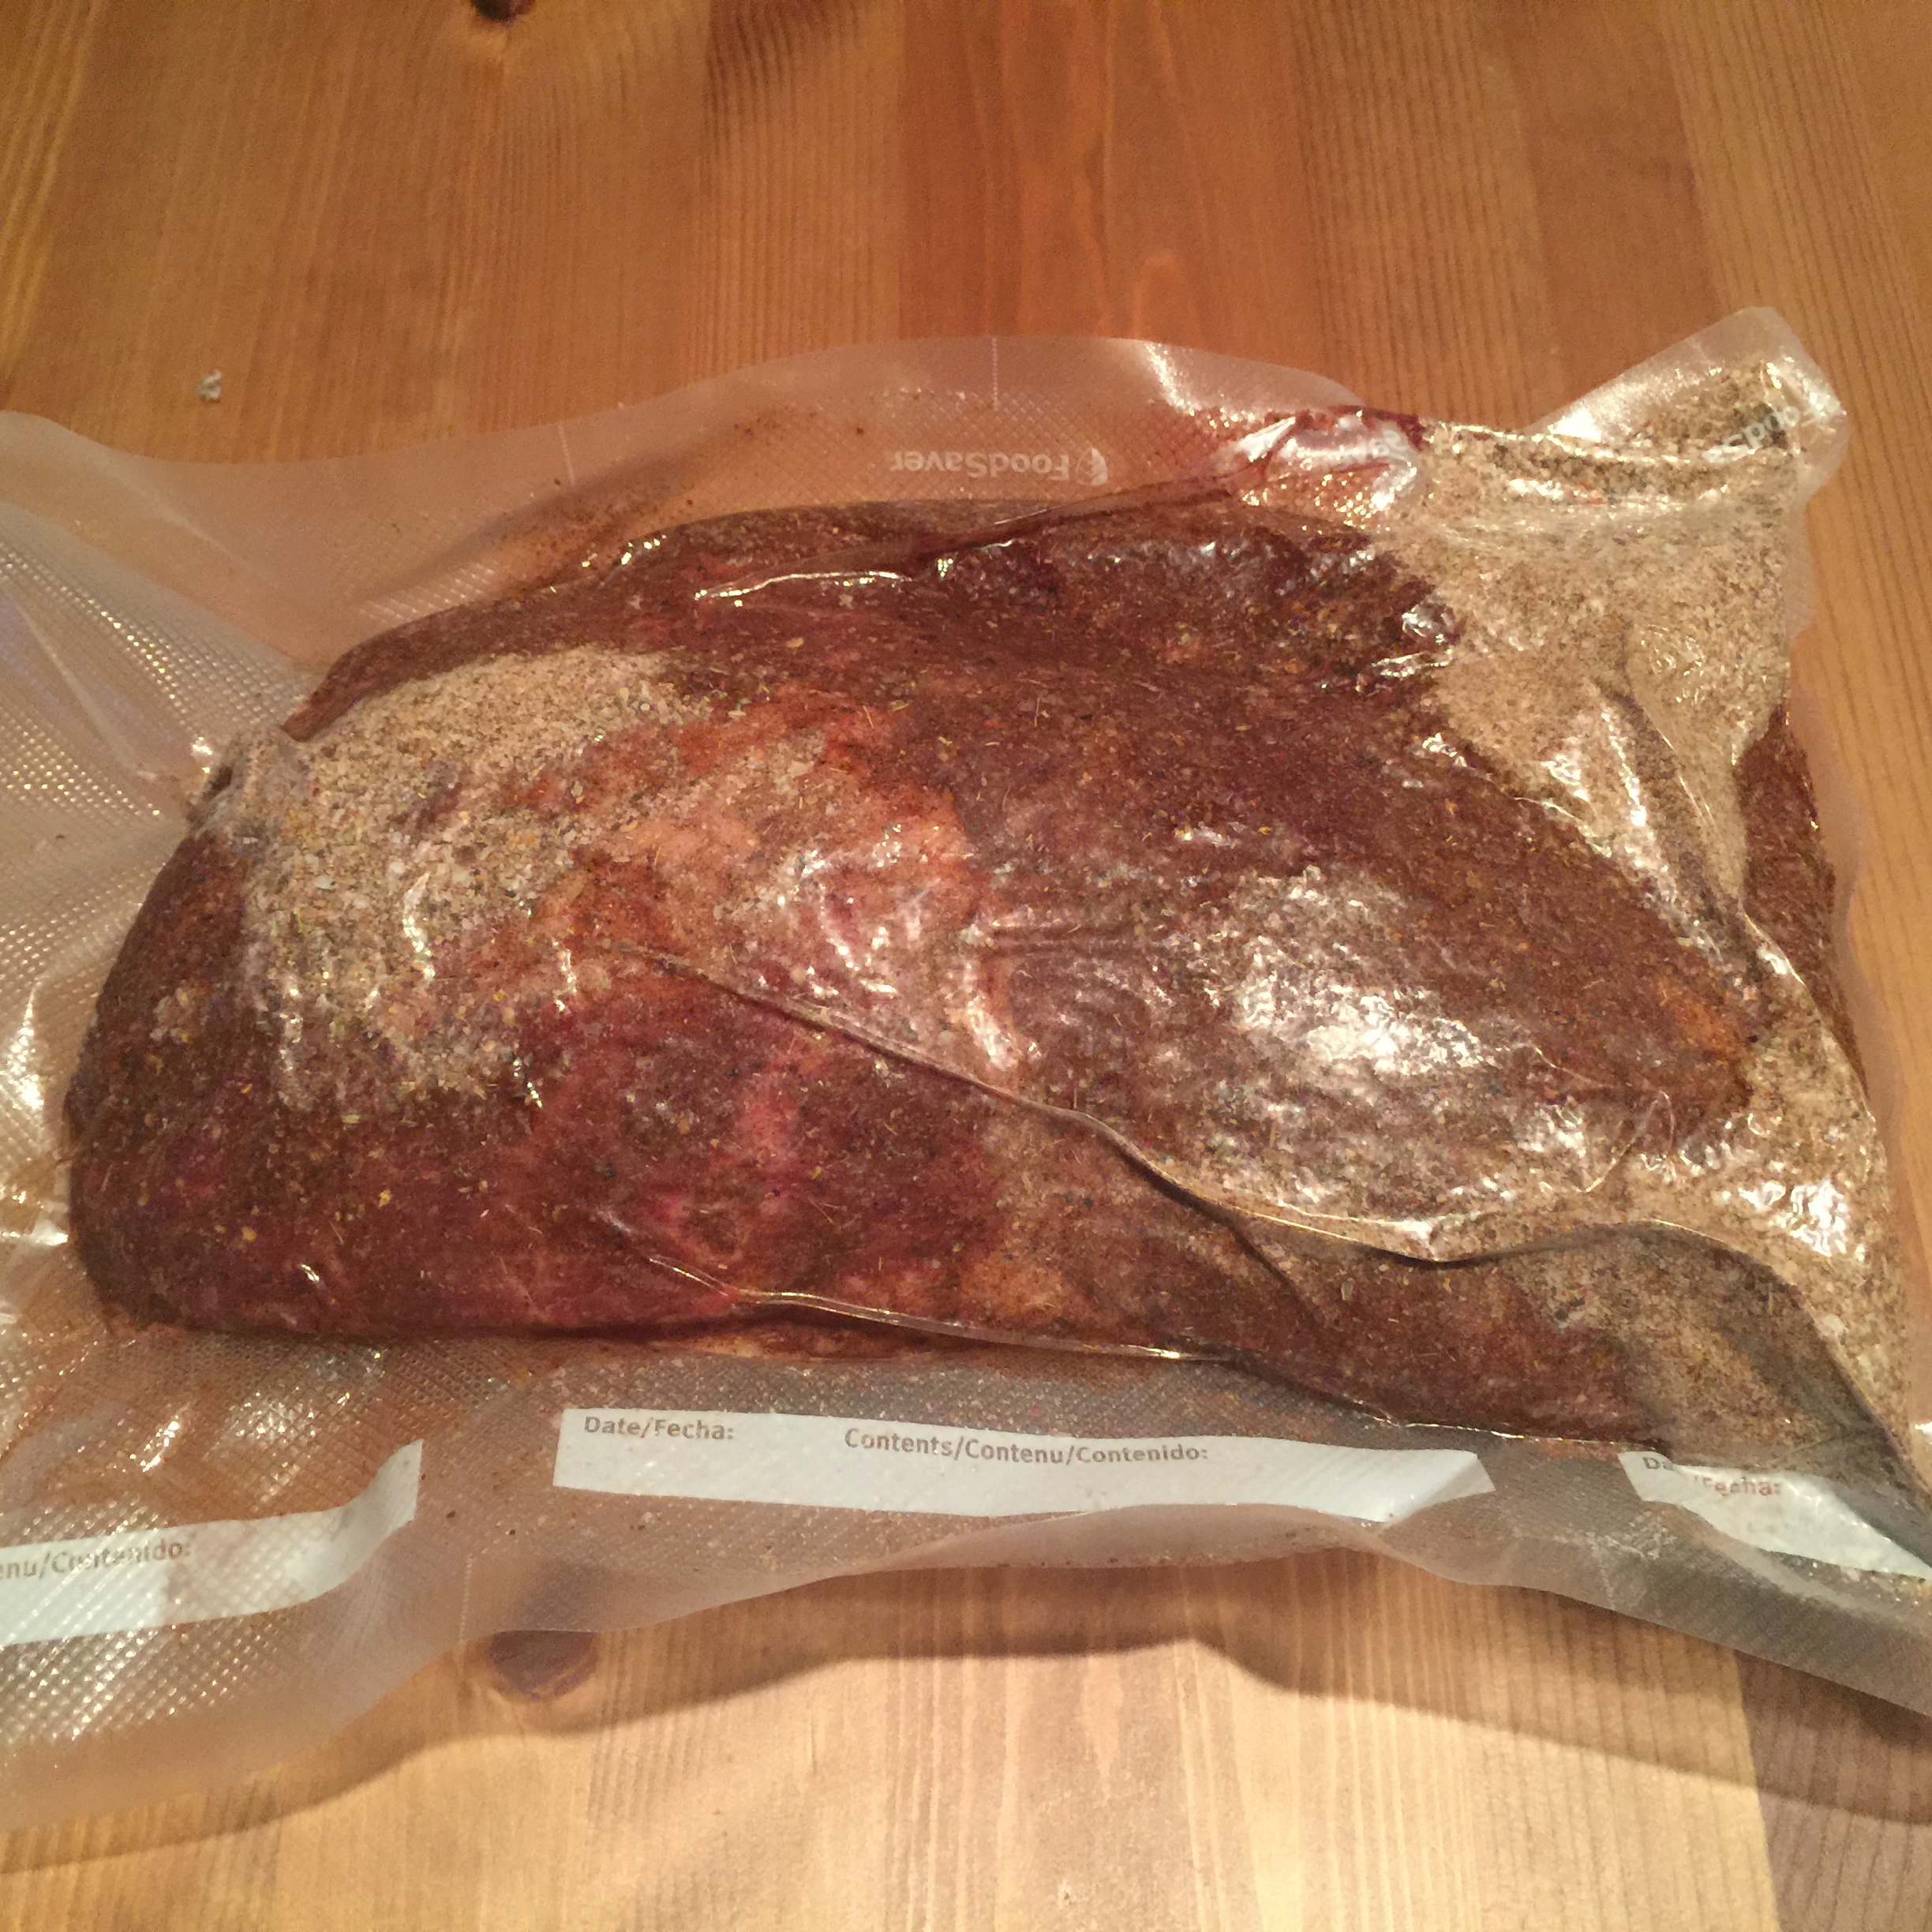
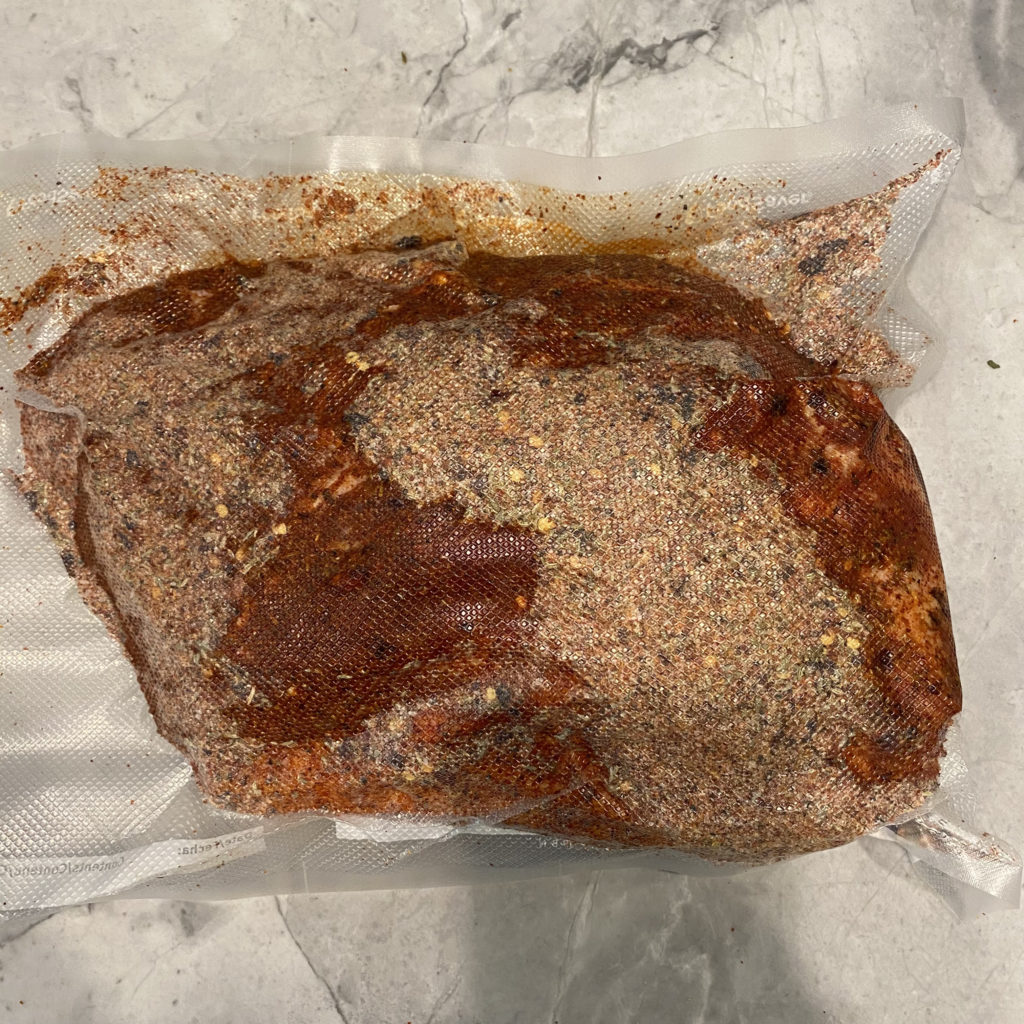
Vacuum seal it all together.

* Note: Please use common sense. Make sure the spreadsheet is working properly for you and double check any calculations that don’t seem right.

Casing

After the meat has been cured for 3+ weeks, it’s time to take it out, rinse it, and pat it dry.

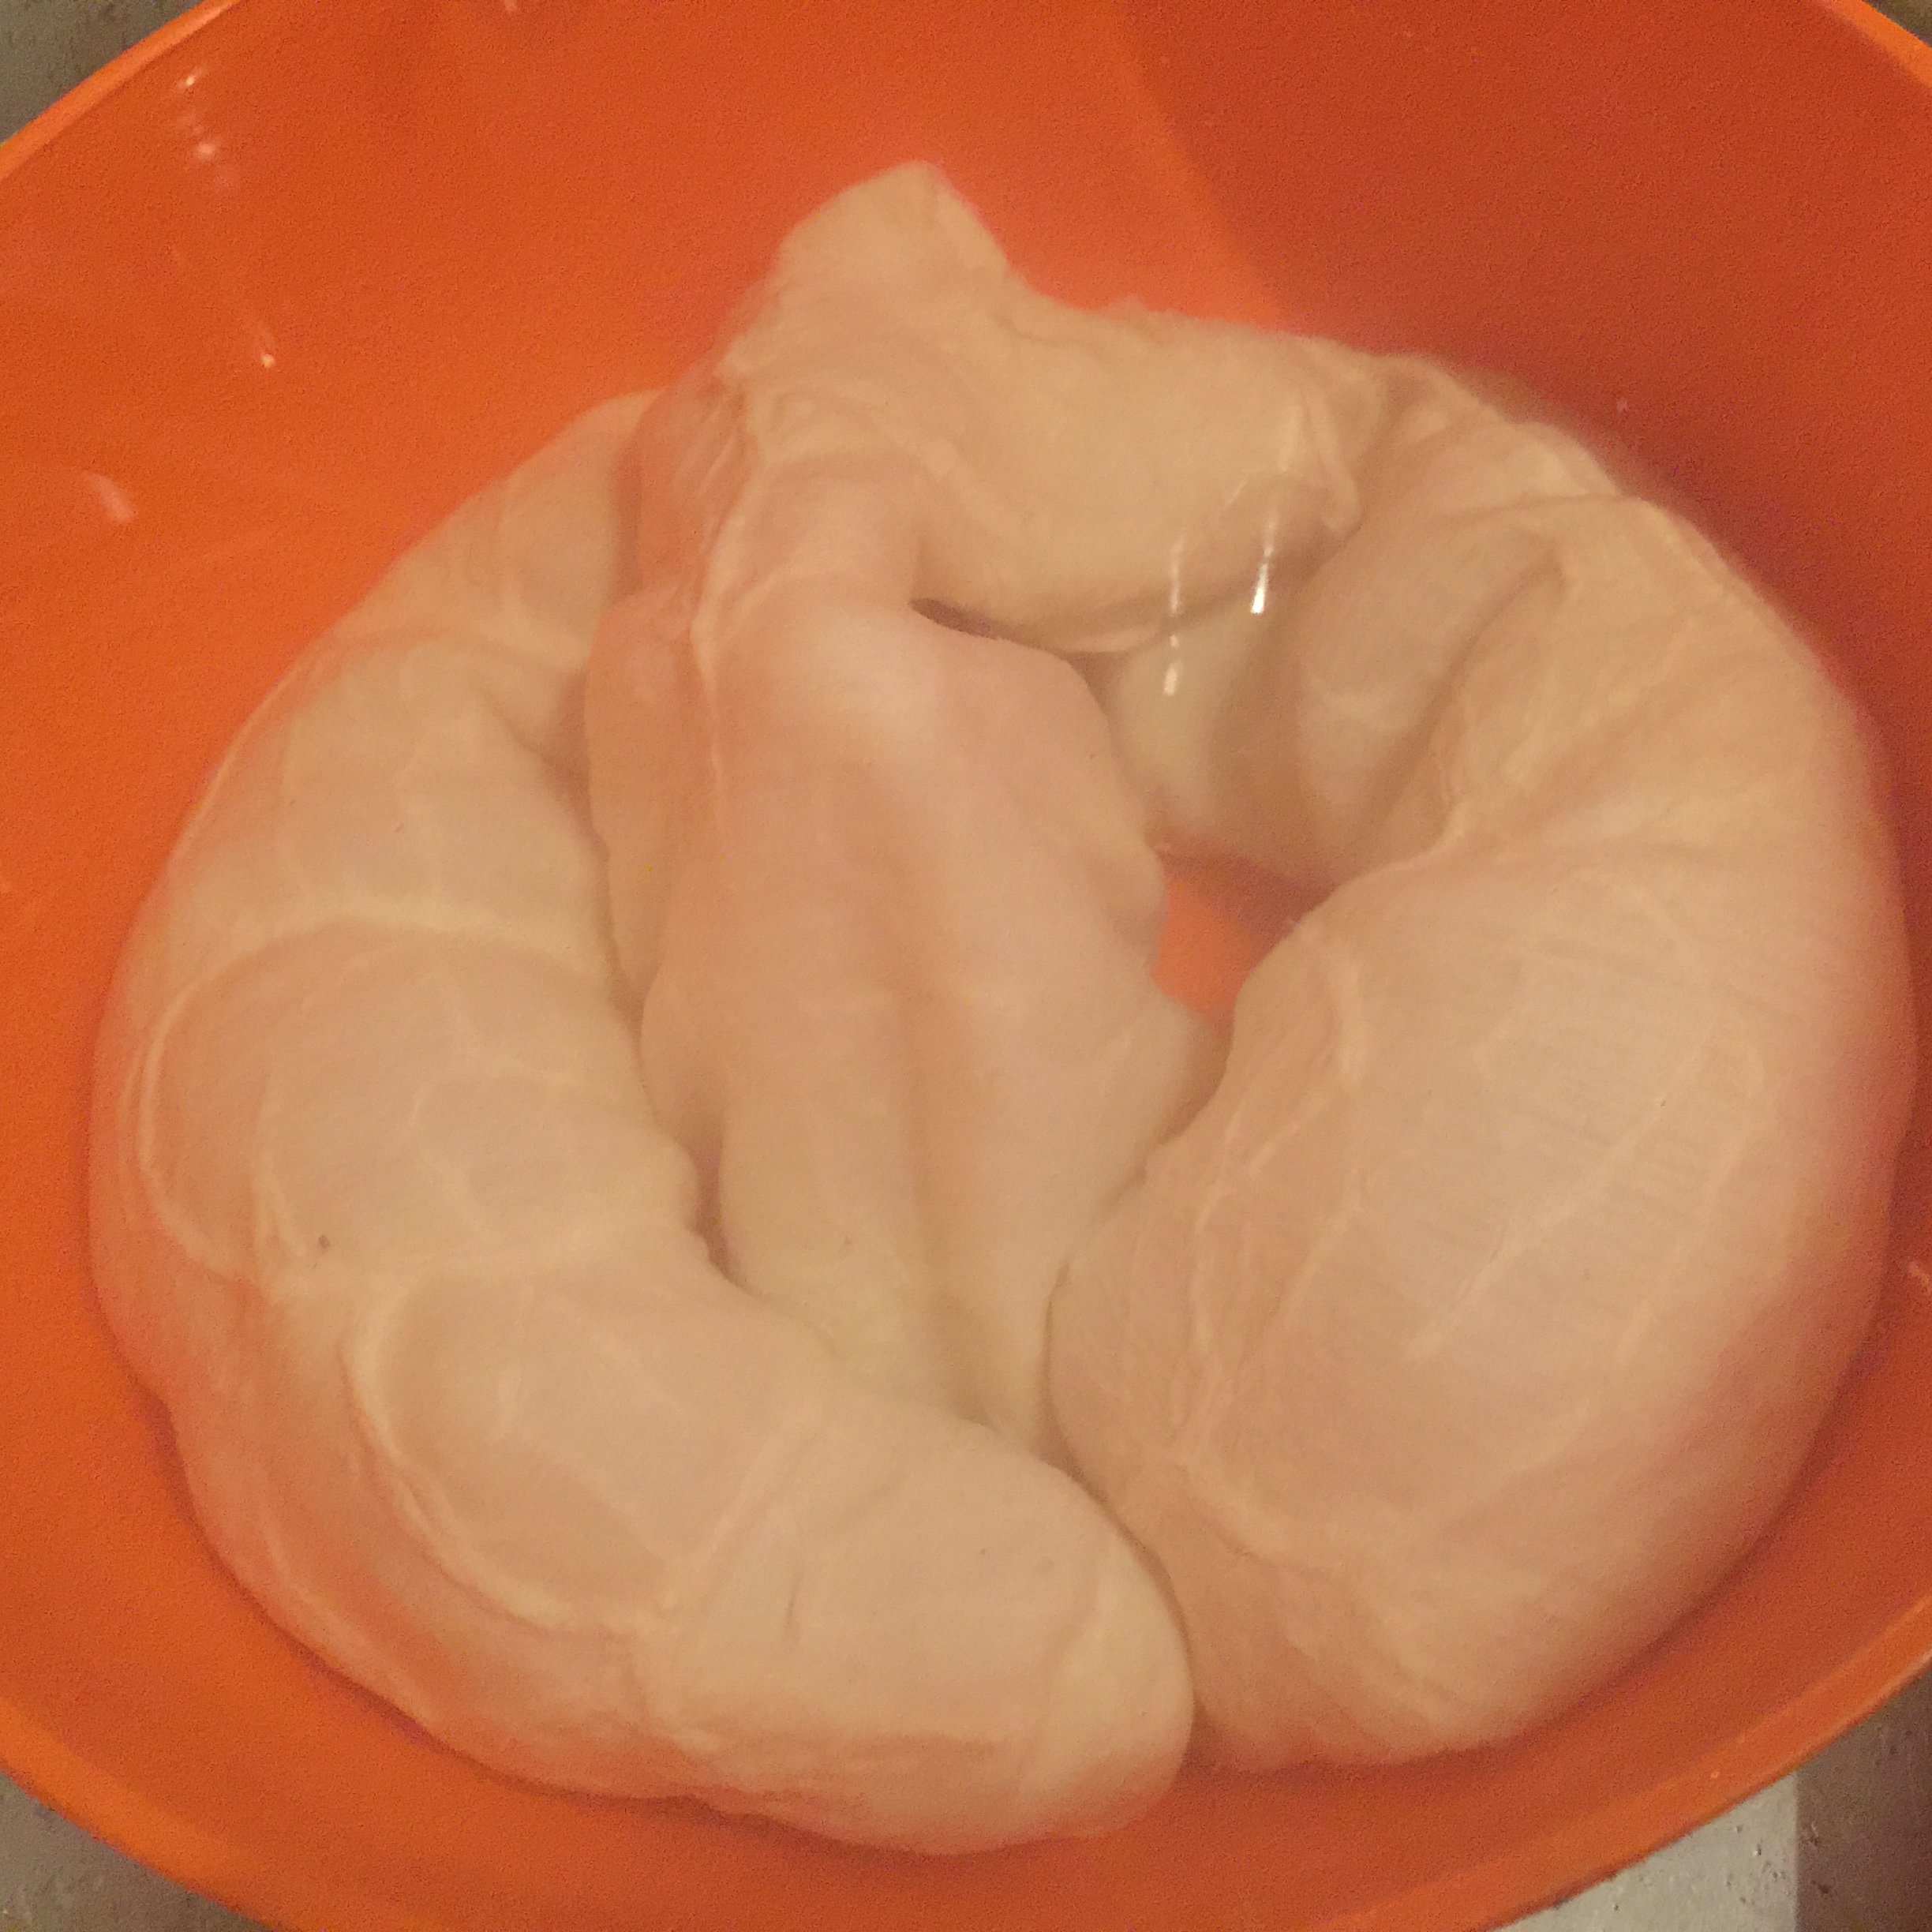
Soak a large beef bung in water for as long as it takes to become relaxed and expanded (anywhere from 30 minutes to overnight).

Stuff the meat into the beef bung and tie it up, to prepare for the drying stage.

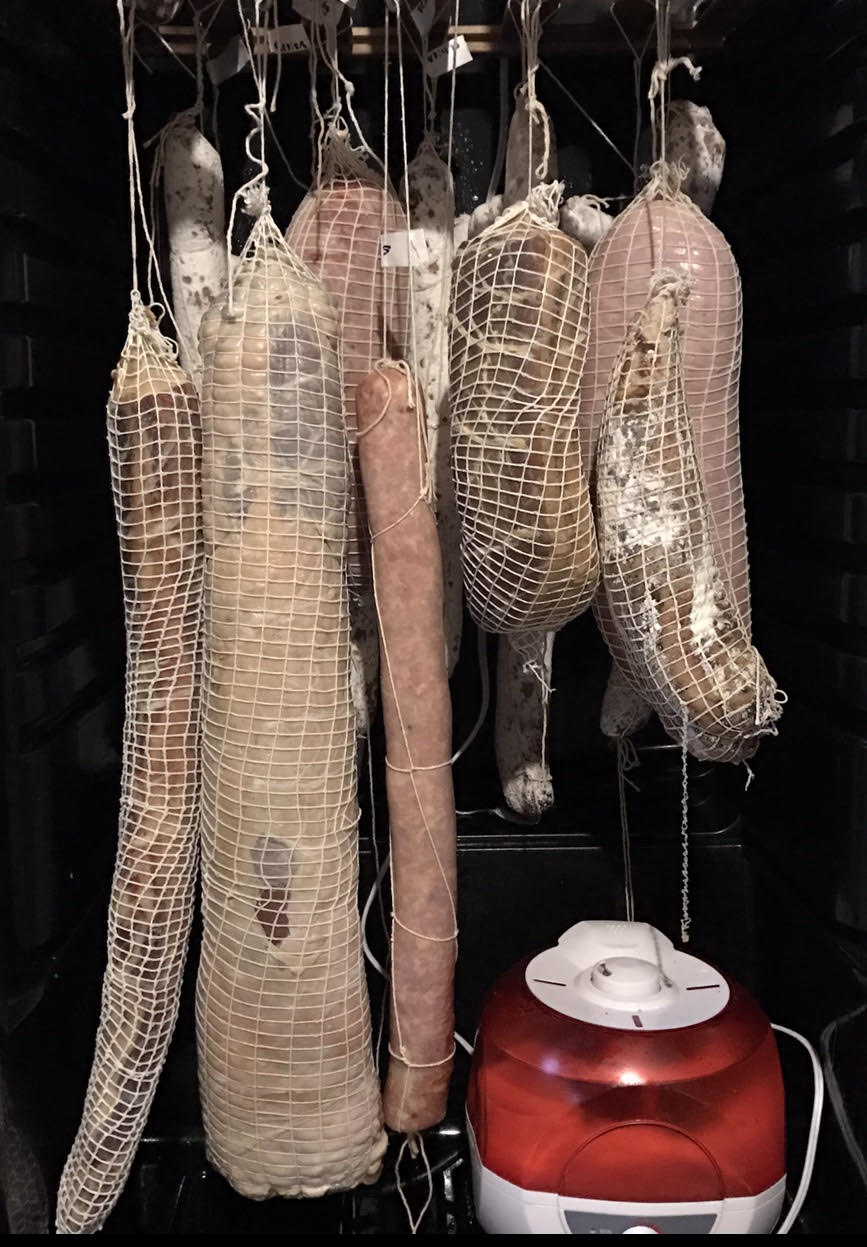
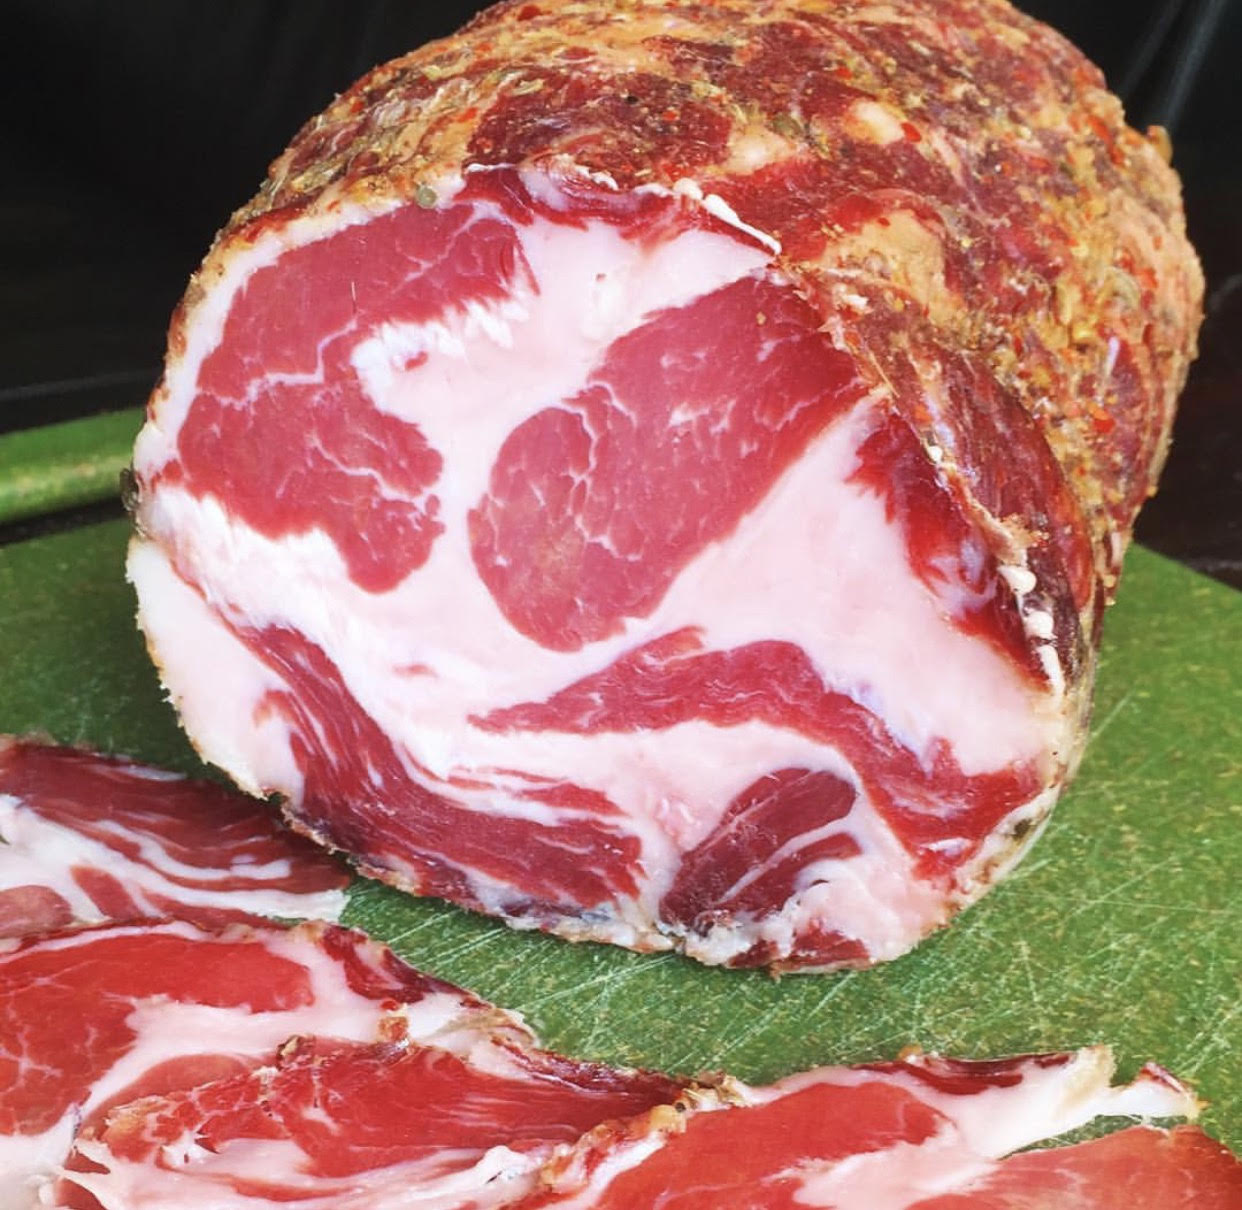
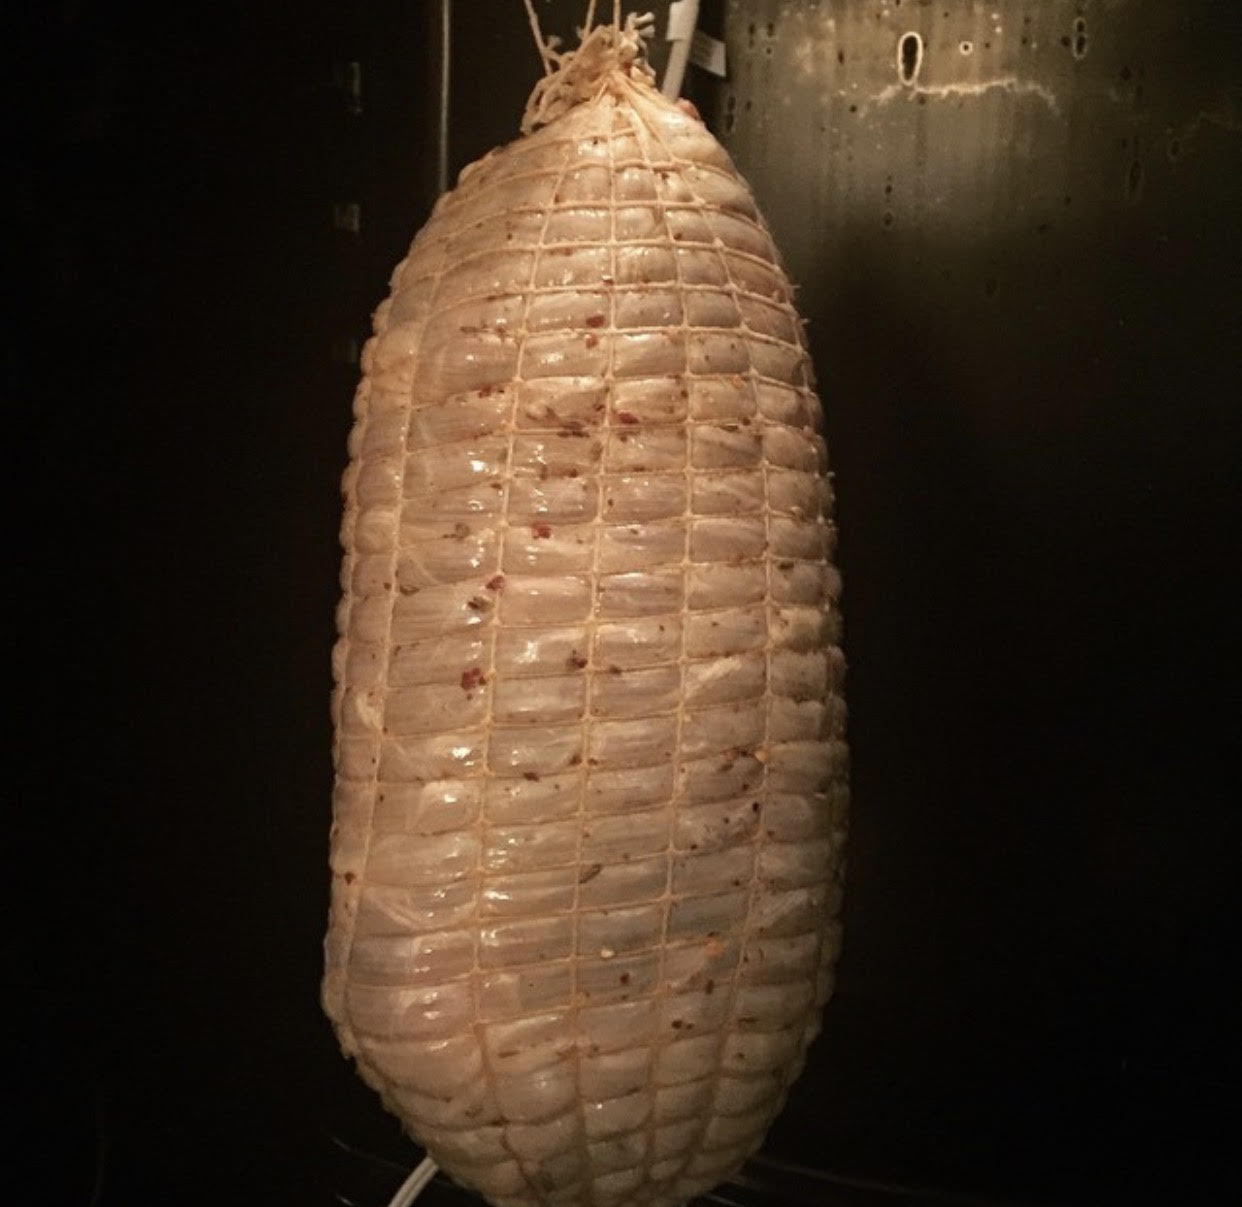
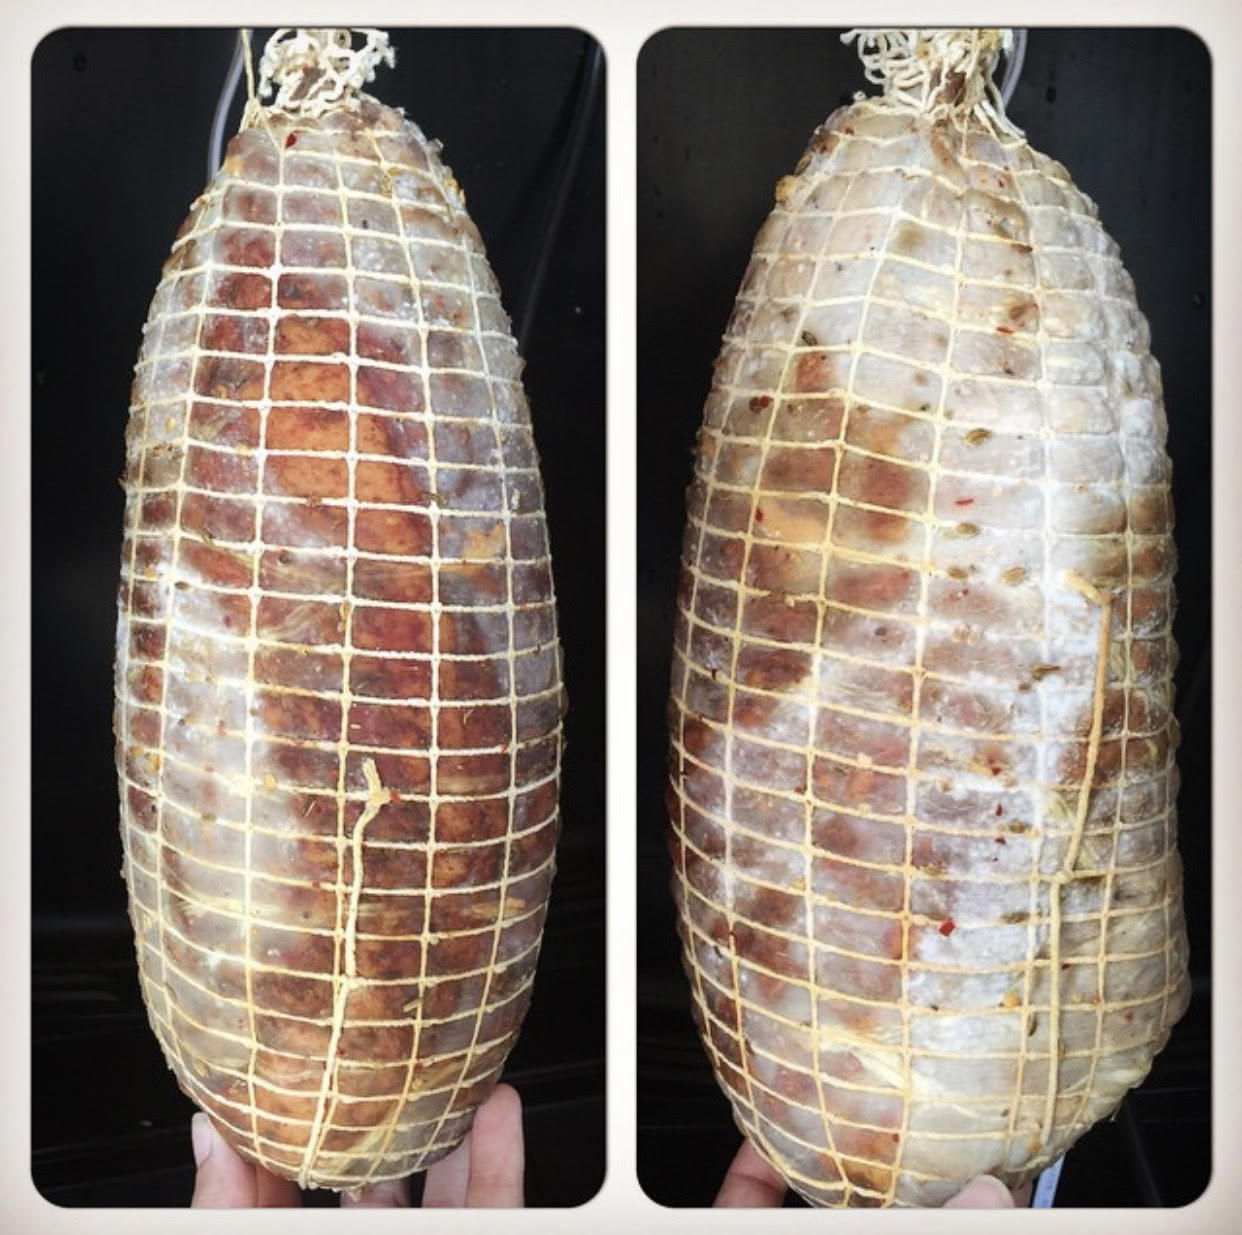
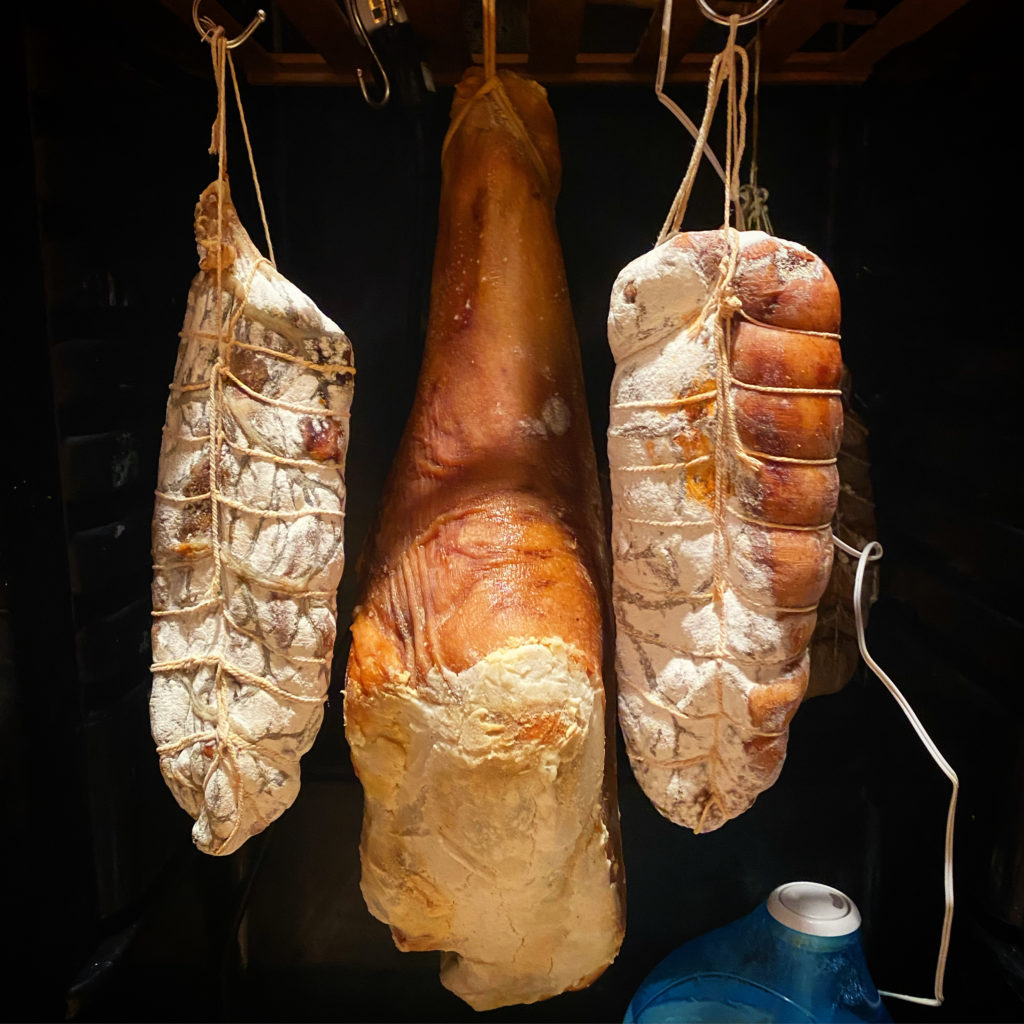
Drying (13C/55F, 70-%RH, 3-6 months)

Once your coppa is ready, hang it in the curing chamber where it should stay for 3-6 months.

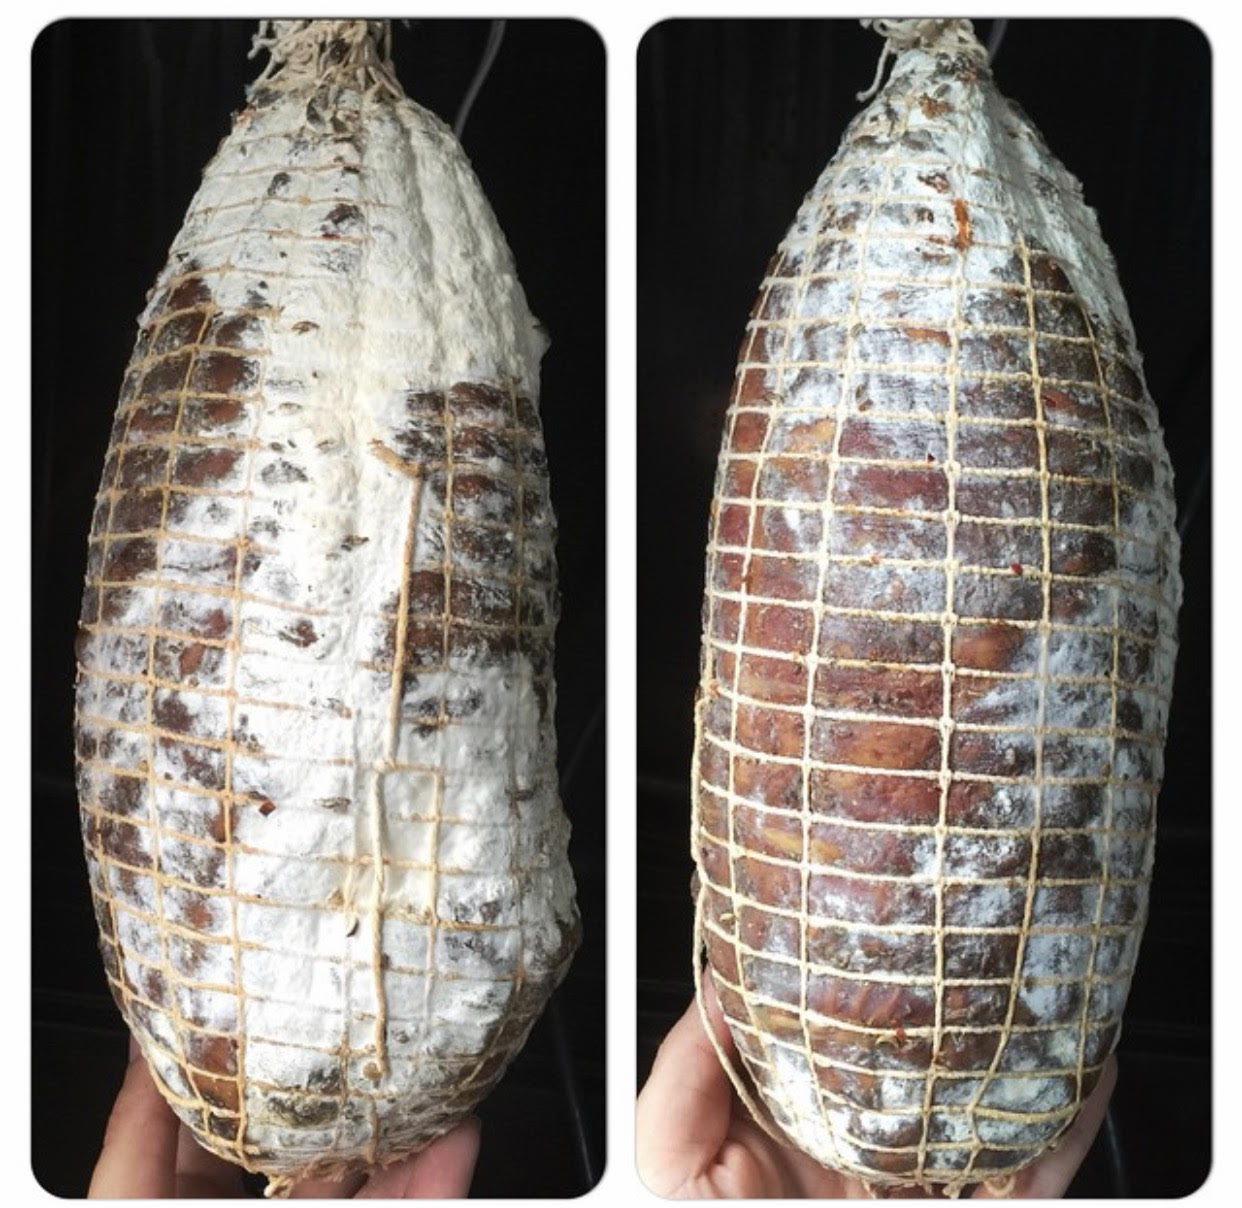
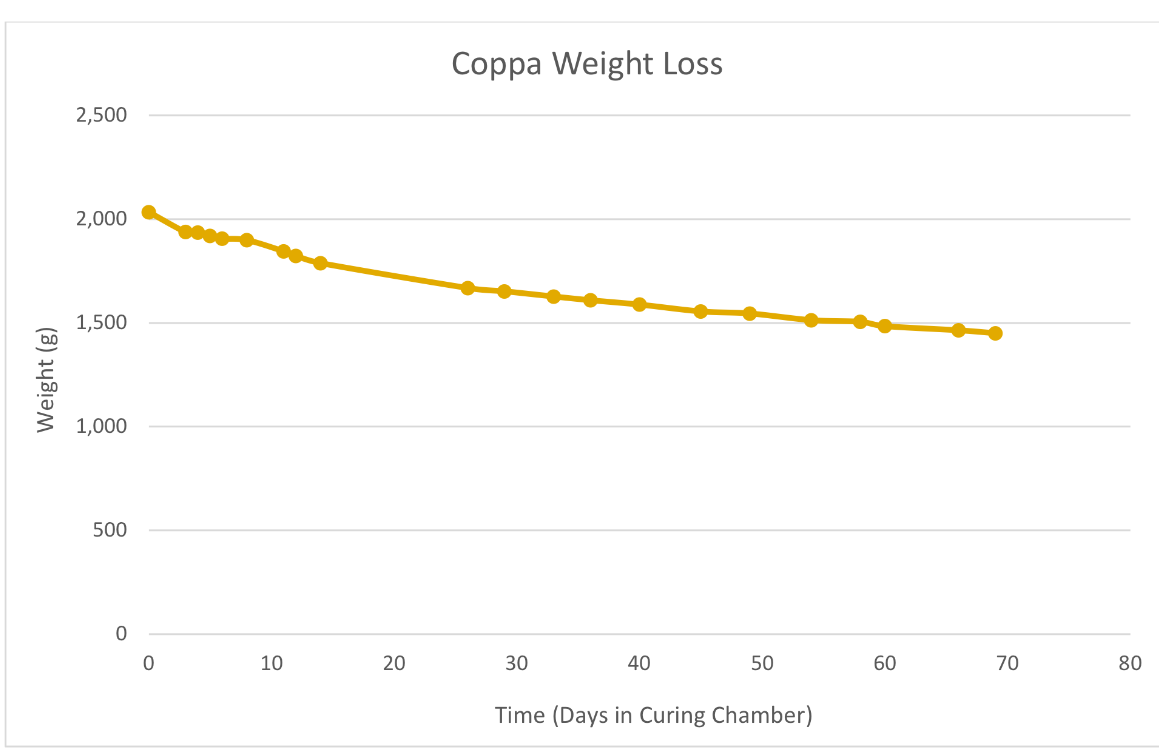
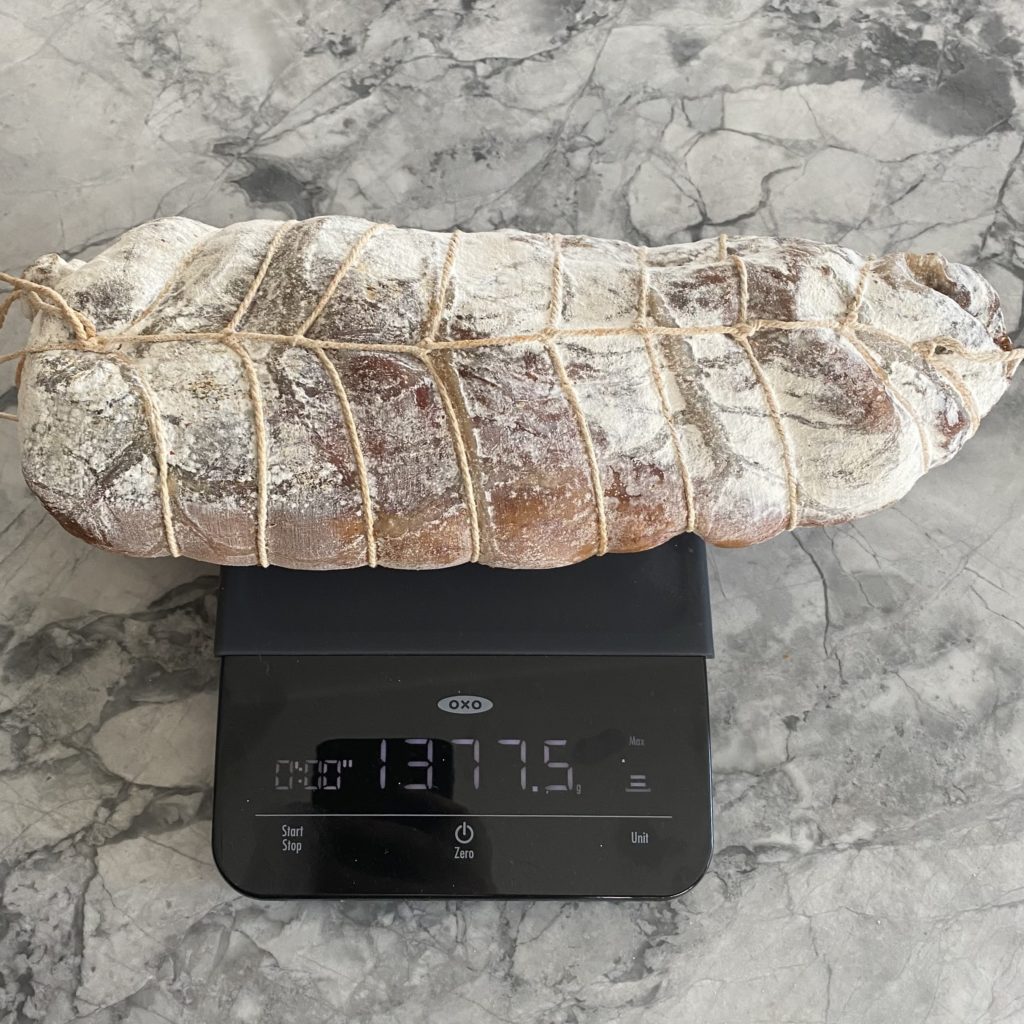
Once it has lost 30-45% of its original weight, according to your tastes, remove it from the chamber
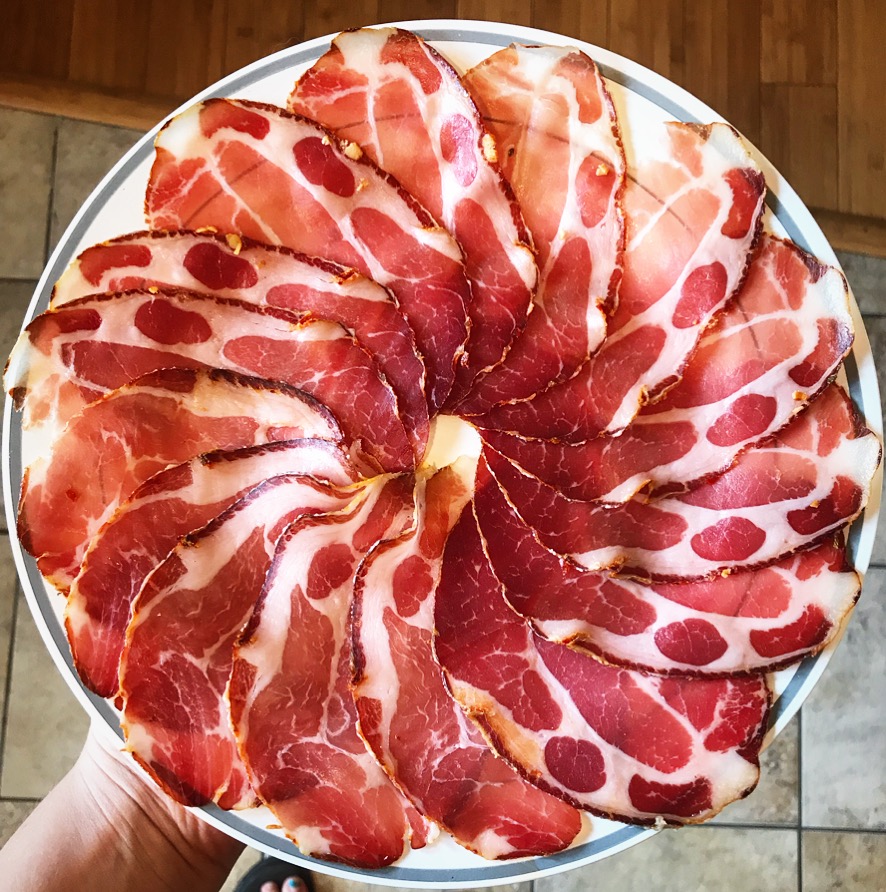
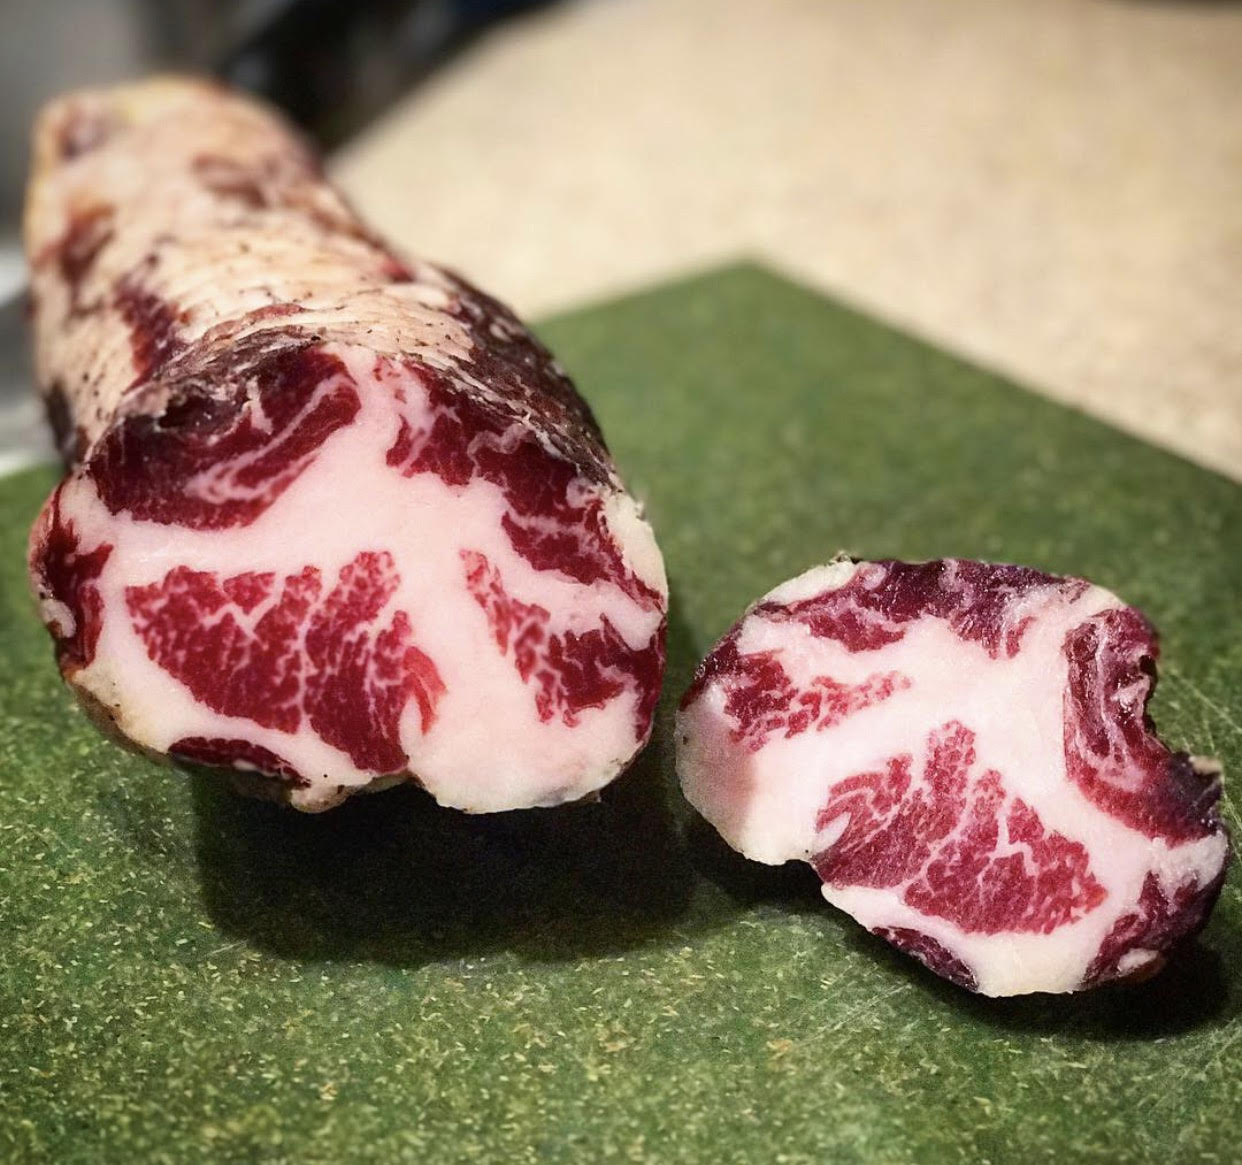
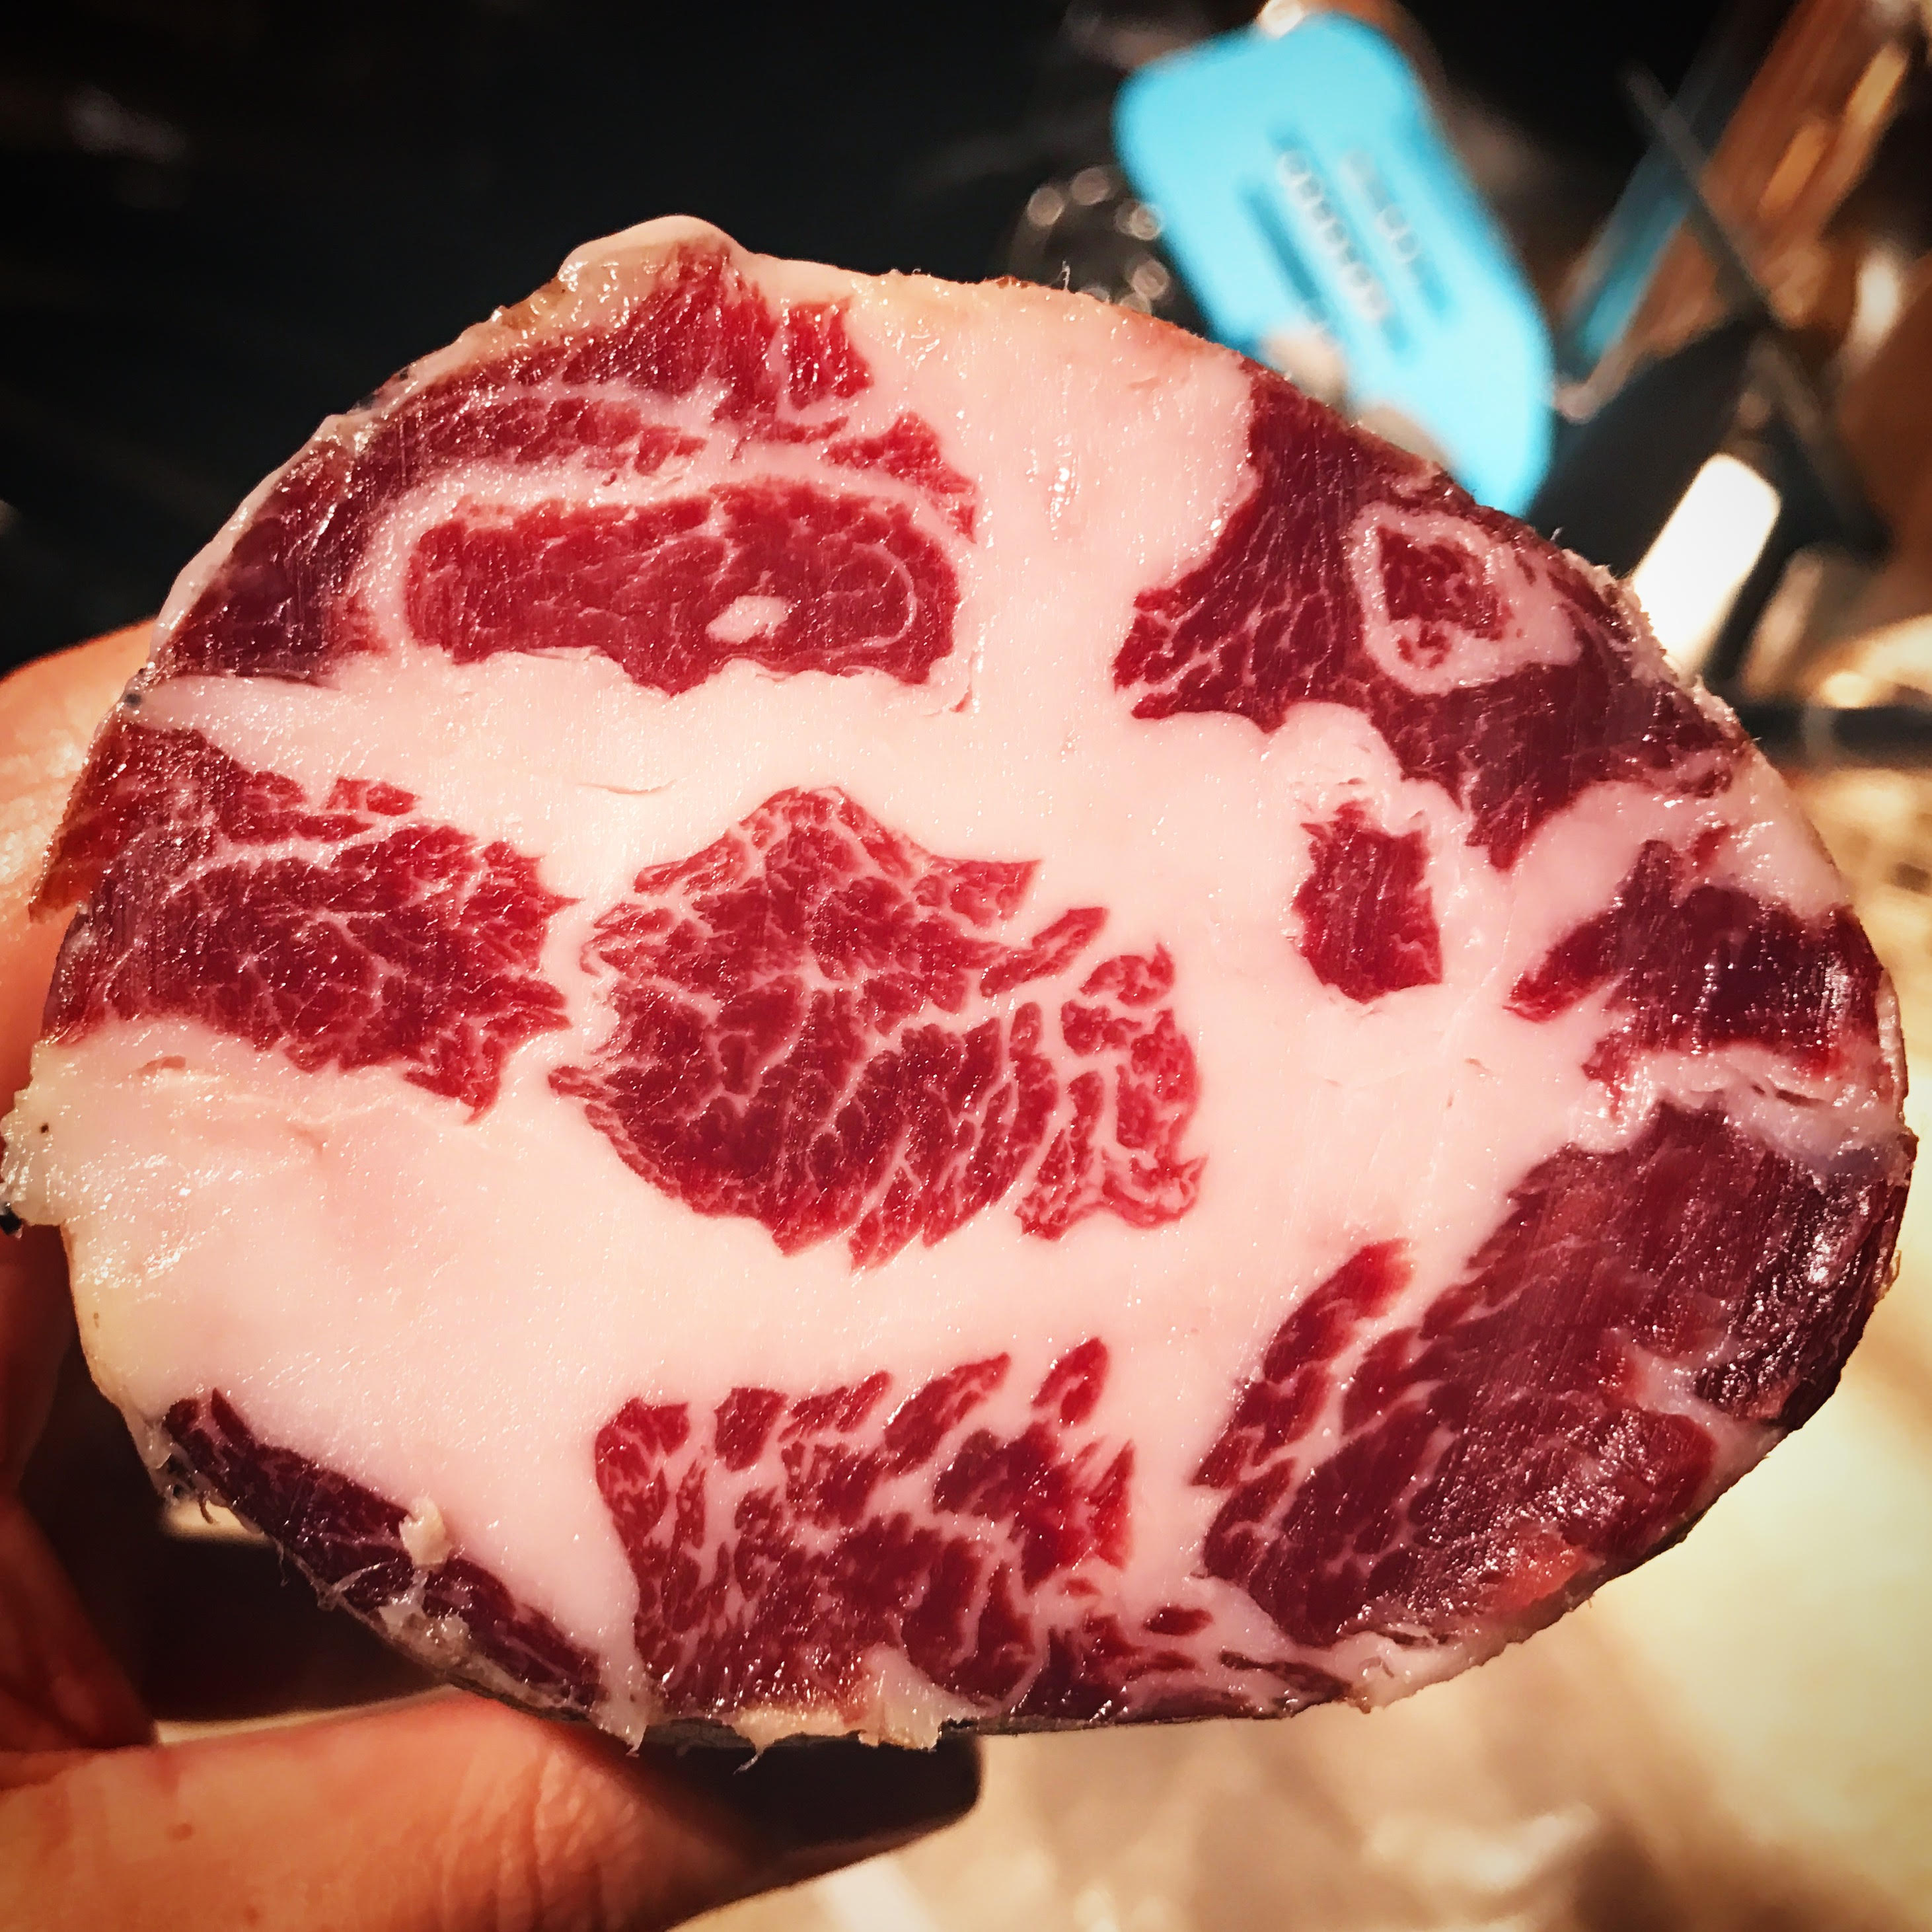
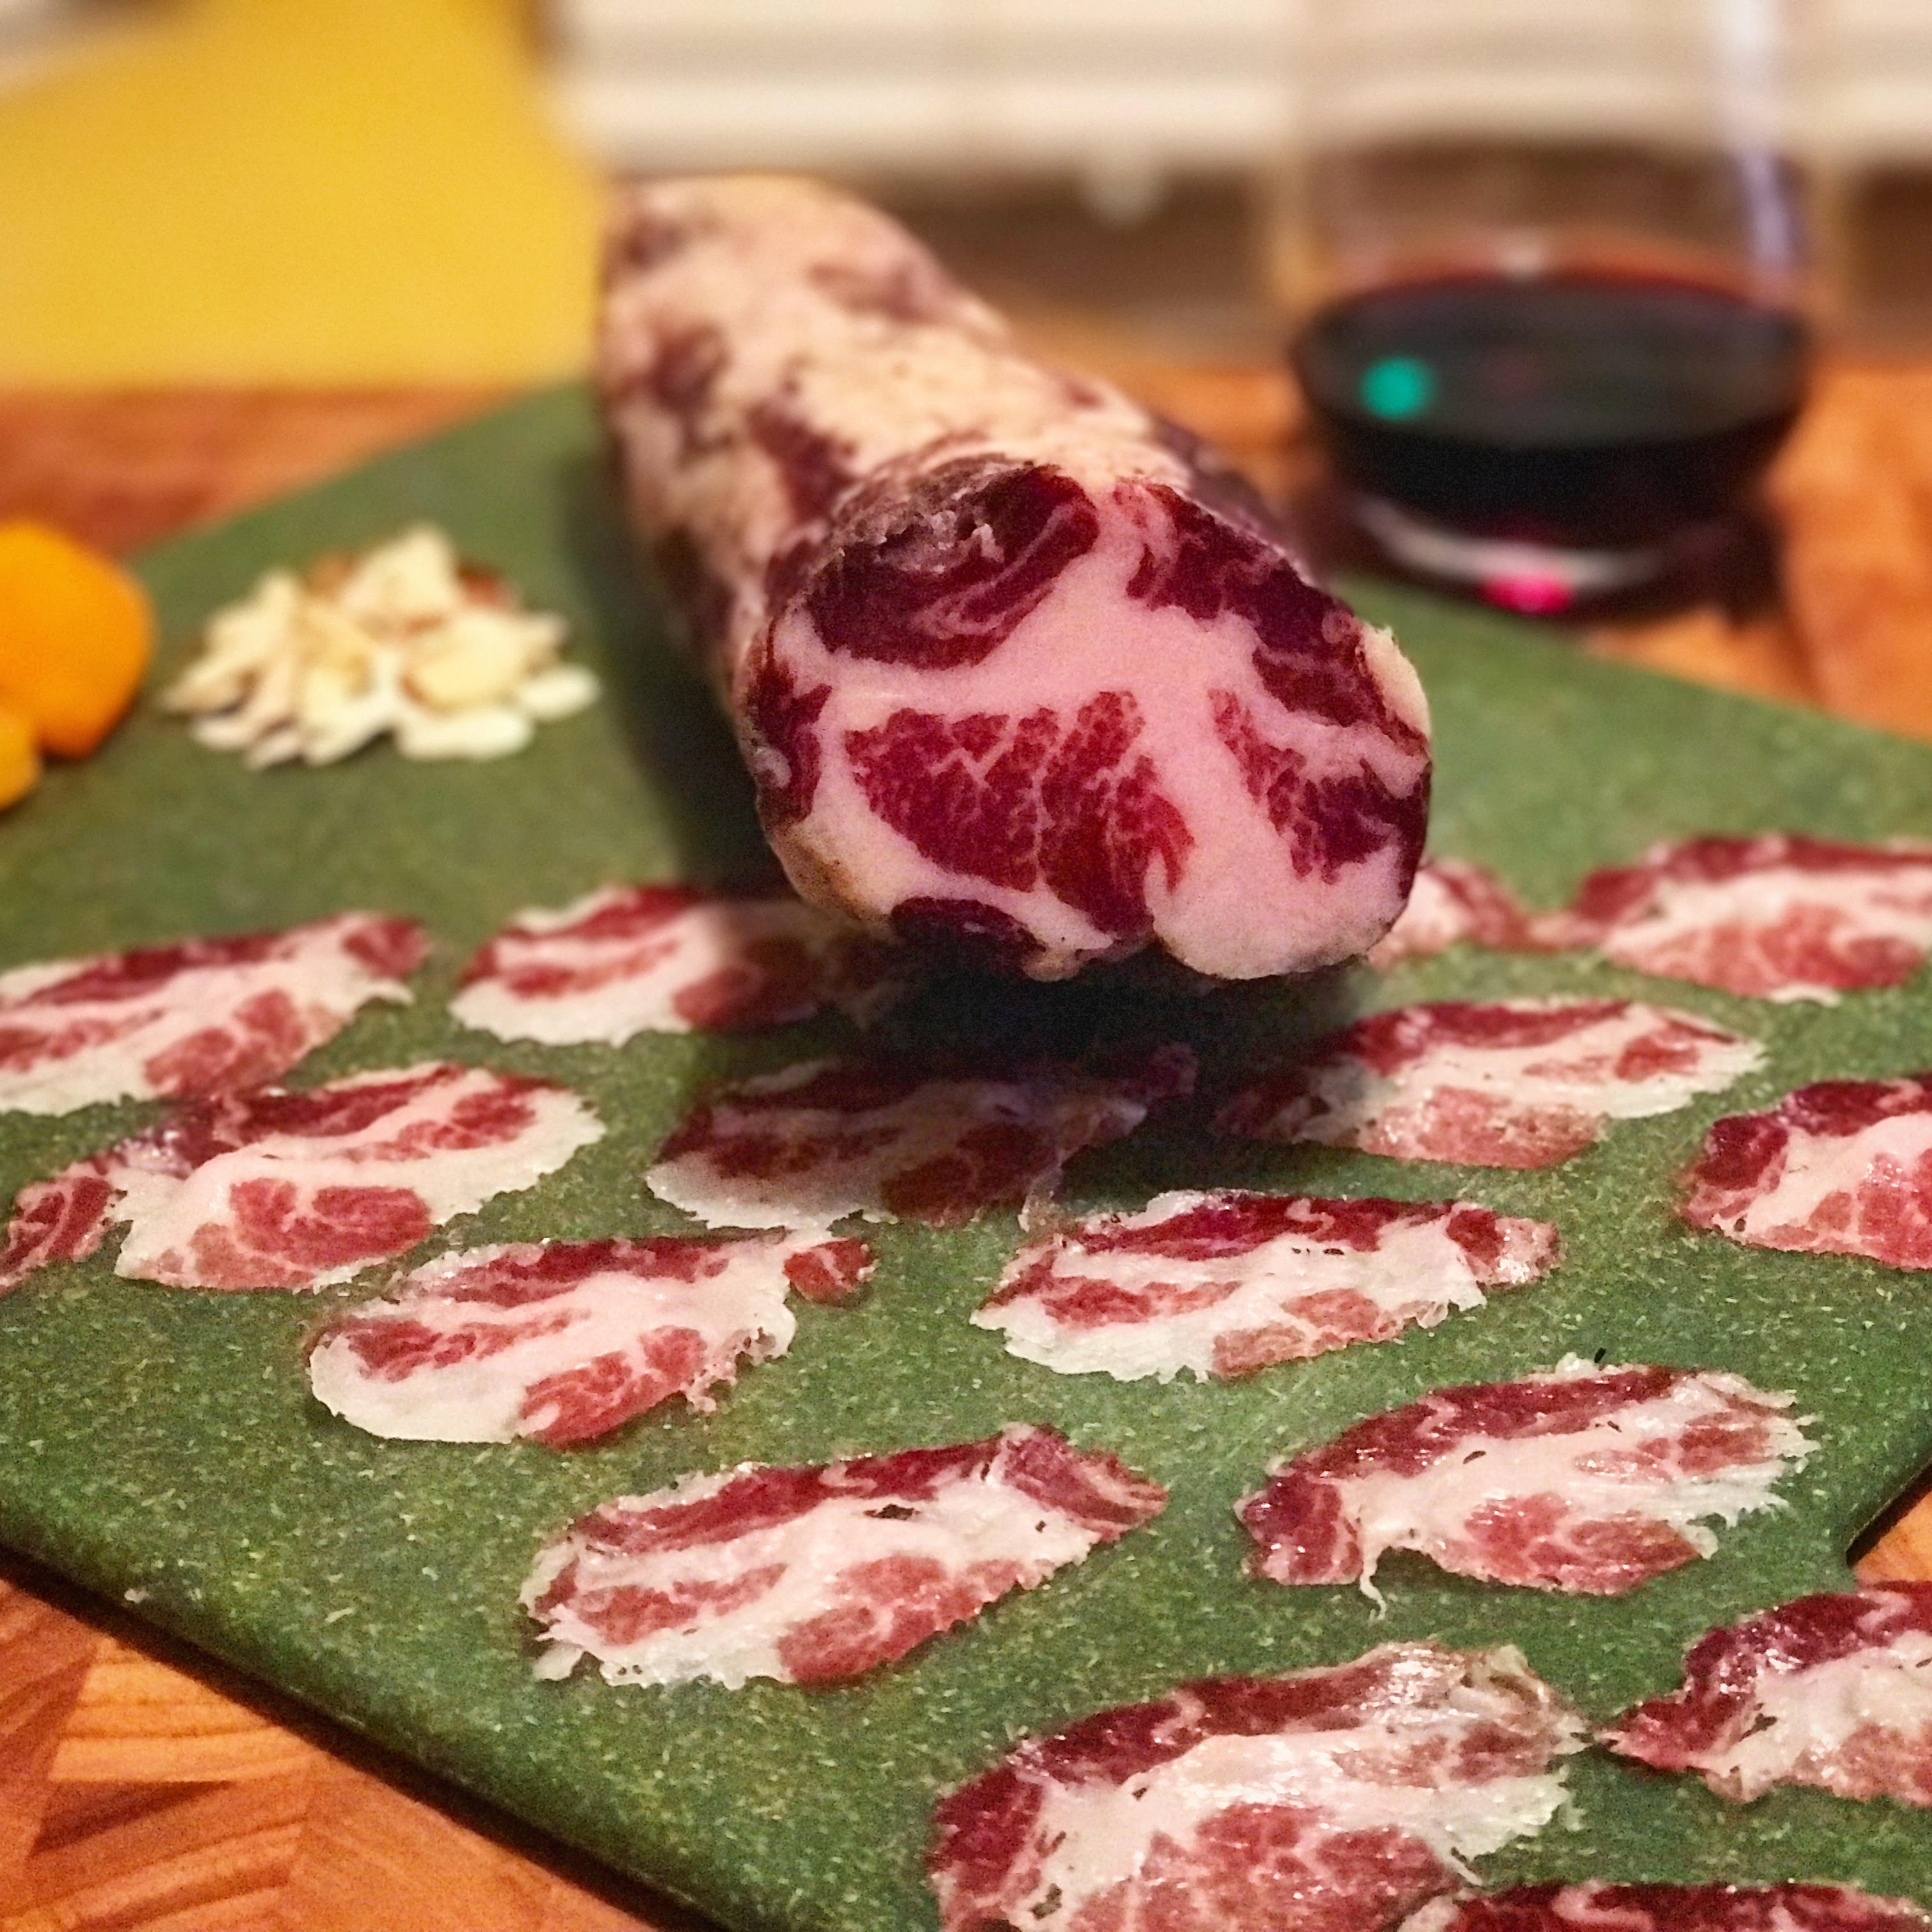
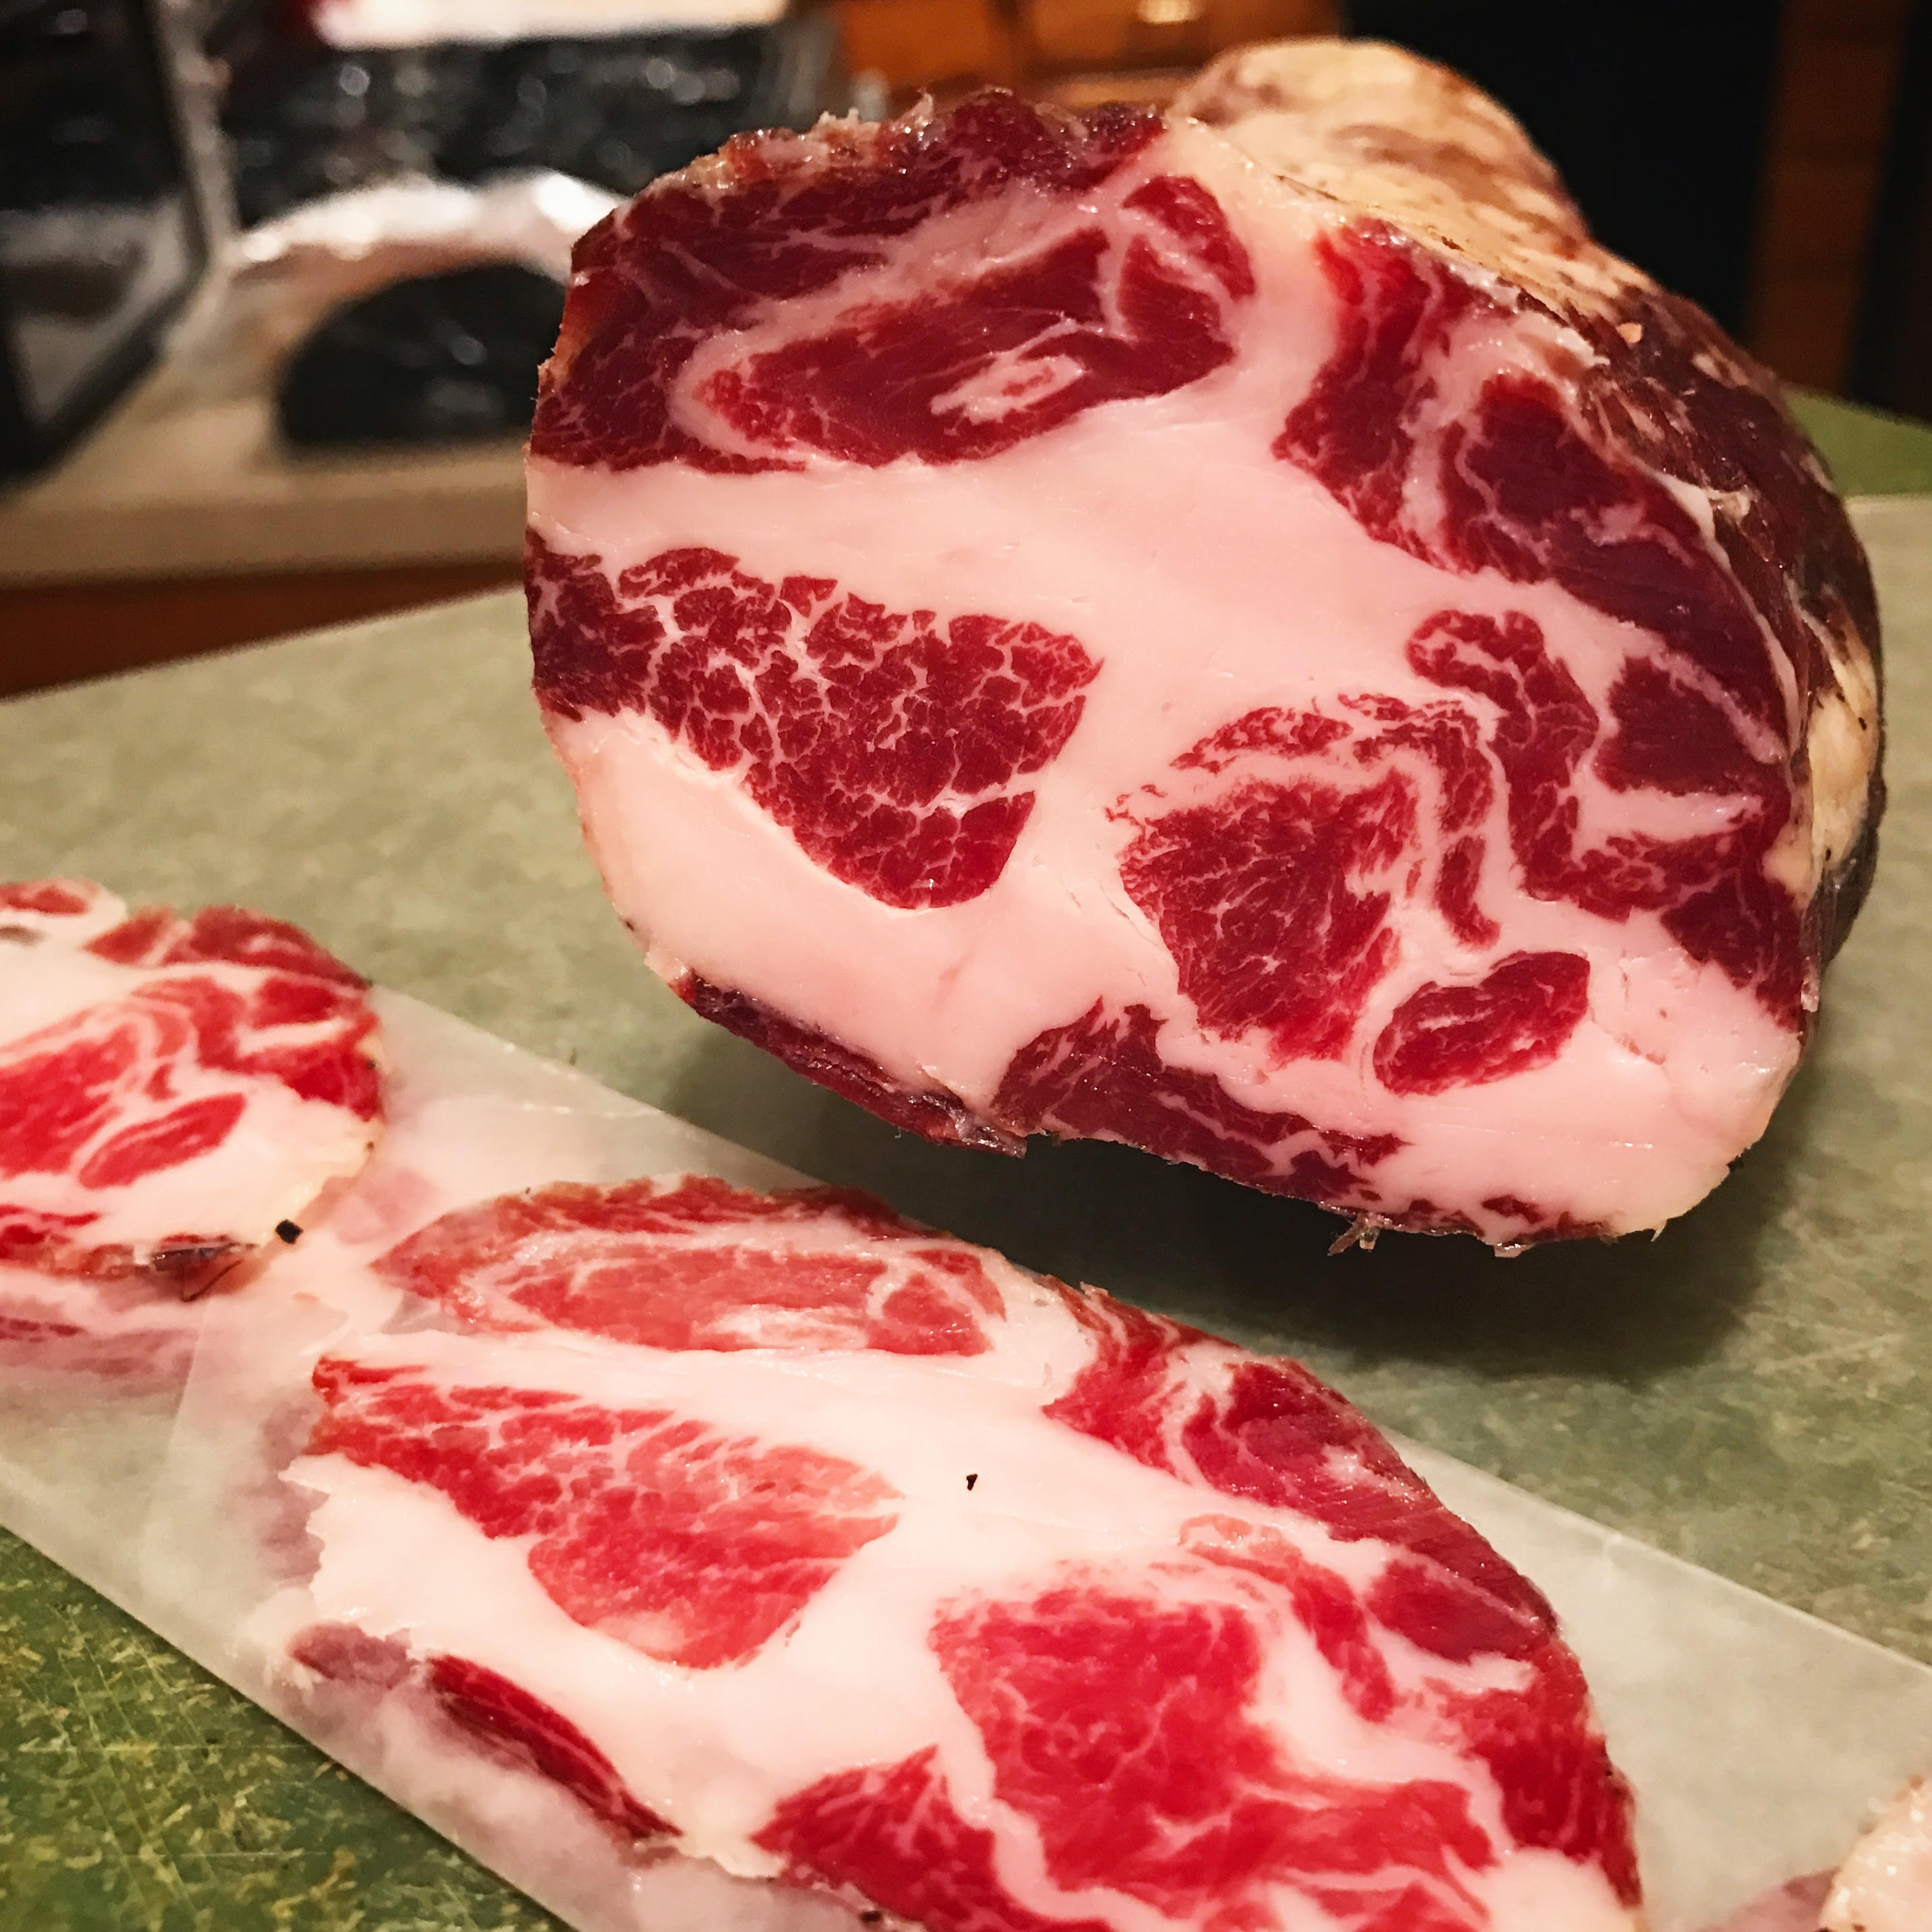
Tasting

The last is the best part of the whole process. When the right amount of time has passed, pull the coppa from the chamber, and enjoy!

Filed Under: Charcuterie Tagged With: capocollo, charcuterie, coppa, diy, gabagool, homemade

Capocollo Ibérico de Bellota

January 30, 2017 by AOG Leave a Comment

Capocollo ibérico de bellota. Yes Yes Yes Yes Yes. My previous post on making capocollo used a bit of a fancier cure. Here I had such a fantastic piece of ibérico de bellota meat that I used as simple a cure as possible.

coppa1


Curing (2 weeks+): I weighed the meat for this project, and calculated the simple cure that would be used.

capocollo iberico cure ratios

The meat was allowed to stay in the cure for at least 2 weeks. In this case, it stayed in a few months because I got busy, one of the benefits of using an equilibrium cure.


Casing (1 hour+): The meat was taken out of the cure, rinsed and patted dry, cased in a beef bung, and netted.

capocollo casing iberico


Drying (3 months+): This meat was allowed to hang until it lost 30% of its weight.

curing chamber


Tasting: WOW. This was a fantastic piece of meat, with just basic prompting from me, it turned into a fantastic cured meat. This is a winner. I will be doing this one again.

coppa8

Perfect to slice up and serve as a snack.

coppa4

That’s some beautiful meat right there.

coppa7

Love to see that great fat.

coppa6


Disclaimer: Meat curing is a hobby that comes with inherent risks. We can all do things to limit this risk by educating ourselves about the process and the utilizing the safest known methods to create our products. This website is for educational purposes only, and all experimentation should be done at each individuals own risk.

Filed Under: Charcuterie Tagged With: capocollo, charcuterie, coppa, cured meat, diy, gabagool, homemade, recipe

Capocollo

January 30, 2017 by AOG Leave a Comment

Coppa. Capocollo. Gabagool. I love how cured meats have so many different and interesting names. The general idea here is that the muscle that runs along the neck of the pork shoulder is dry cured.  This cured meat product is generally called Coppa in northern Italy, and cured in a more northern manner with spices particular to the region. Capocollo is the name in southern Italy, and since “Capo” means the head in Italian, and “collo” means the neck, you can see that the name is descriptor of where the muscle lies. Personally, I find the history of the name gabagool to be the most fascinating. Called gabagool by Italian-Americans, primarily in the state of New Jersey, this is a very cool regionalism. The majority of the immigrants who came to America and settled in New Jersey were from southern Italy and Sicily. Italy has a number of regional dialects/languages, and in the south, there is a pattern of dropping of the last vowel in words and the pronunciation of “c” as “g” (see this fantastic article for more details: http://www.atlasobscura.com/articles/how-capicola-became-gabagool-the-italian-new-jersey-accent-explained). With these linguistic changes, capocollo becomes gabagool. Just because these names are all different, doesn’t mean that any of them are wrong per se, just regional variations.

coopa1


Curing (2 weeks+):

First, you will need to harvest the coppa from the shoulder, or have it butchered for you. In this post, I will be using a beautiful piece of meat from a Mangalitsa pig. These are an Old World breed pig that are indigenous to Hungary. They are well known for the quality and quantity of fat that they have, which makes them a perfect breed to use in meat curing.

image-7325

First, I weighed the meat and put the value into my curing spreadsheet.

capocollo cure ratio

All of the cure ingredients were weighed.

coppacure

They were then mixed, and spread onto the meat.

image-7399

The meat was vacuum sealed with the cure ingredients and allowed to cure in the fridge for 2 weeks.

image-7441


Casing (1 hour+):

After sitting in the cure for 2 weeks, the meat was rinsed off and patted dry. For this meat, I wanted to leave a coating of toasted fennel and peperoncini around the outside. I mixed these together in a bowl first.

image-7526

Then, I coated the meat with the spices.

image-7547

I cased this in a beef bung. In order to do this, I soaked the beef bung in warm water for about an hour before I started.

image-7556

Then I slowly stuffed the meat into the beef bung casing.

image-7570

This was finally netted and weighed.

coppa17


Drying (3 months+): The meat was allowed to hang in the curing chamber for 3 months, and the weight loss was tracked over time.

coppa15

Over time, there was increased beneficial mold growth and weight loss, avoiding areas with high concentration of peperoncini.

coppa14

coppa13

At around 3 months, it reached 30% weight loss, and was pulled from the chamber.

coppaweightloss

—

Tasting: When this meat was sliced it looked beautiful! The flavor was a bit over powering at first, but after it was allowed to equalize in the fridge under vacuum seal for a few more months, it was outstanding!

coppa9


Disclaimer: Meat curing is a hobby that comes with inherent risks. We can all do things to limit this risk by educating ourselves about the process and the utilizing the safest known methods to create our products. This website is for educational purposes only, and all experimentation should be done at each individuals own risk.

Filed Under: Charcuterie Tagged With: capocollo, charcuterie, coppa, cured meat, diy, gabagool, homemade

  • Instagram

Copyright © 2025 · Foodie Pro Theme by Shay Bocks · Built on the Genesis Framework · Powered by WordPress