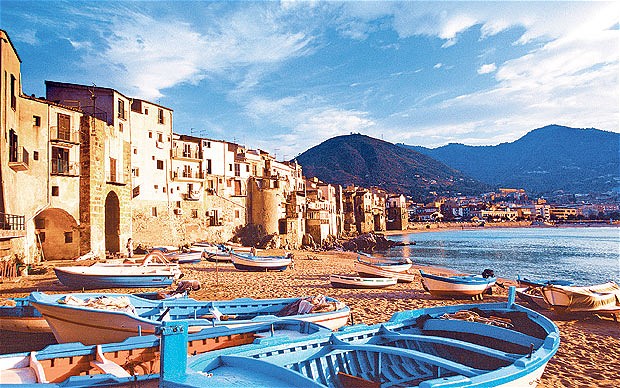
Seaside breezes. The smell of salt and sea in the air. Gorgeous grottos set against a dark blue sea. Sicily. The land of my ancestors, calling to me. When I picture the beauty of this mysterious island, with its rich culture and heritage, I can’t help but feel drawn back to it. And, when I come down from my reverie, and realize it’s not pragmatic to go jumping off to Sicily on a whim on a random Wednesday, like any true Italian, I connect to my heritage with a culinary project.
Mosciame is a charcuterie project that I had been wanting to do for a while. My first taste of this illusive treat was on a trip with the family back to Sicily. At the time I didn’t know, or fully appreciate, what I was eating. After I started to become invested in making my own cured meats, I rediscovered this curiously attractive project and became adamant that it was a project I needed to do.
Mosciame is traditionally made in fishing villages, where tuna has been prevalent and finding a means to preserve it was a necessity. It has been said that the Phoenicians were the first to cure tuna, and even used it as a currency of a sort, which would make sense given their history as a sea faring peoples who set up many port towns. The Phoenicians were well known for their ability to convert salt water to salt, a precious commodity at the time. They were able to use the salt that they procured to preserve the abundant tuna that they caught in the waters surrounding Sicily. Because of this history, mosciame tends to be made in areas where the Phonecians had a large cultural influence. This includes the islands of Sicily and Sardegna, as well as in some areas of Spain.
Mosciame is known by many names; in Italy it is mosciame, in Spain it is mojama, in Portugal it is muxama, and I am sure that I am missing many names, in many dialects. It is thought that the name is derived from an Arabic word, although the exact derivation is not agreed upon. Some say that it is from the Arabic word musama which means dry. While others say that it is from the word mosammed, meaning a thing that is hard and dry. Others say it is from the Arabic word almuxama. Not being an expert in Arabic or word derivations, I cannot really claim to know which of these have more truth behind it, but suffice it to say, it is most likely a word derived from Arabic due to their influence in the culture of these regions.
Today, most mosciame is made from tuna, specifically the loin of the tuna. Traditionally, it was also made with dolphin. In reality, just like most charcuterie, it probably can be made with other fish as well and is just awaiting brave experimenters to jump in and unknowingly try to replicate a lost local secret of some remote village.
There are quite a few ways to go ahead making mosciame. There is the traditional way, which I did not try to replicate but will explain for anyone who is a pure traditionalist to try. There is a traditional modern adaptation which I tried here. There is also the more modern way, which is how I do most of my cured meat projects, with variations on certain aspects of it. I will detail the process that I followed for my first modern style mosciame attempt below.
Traditional: The tuna loin or belly is harvested from the whole fish and it is cleaned and washed. It is packed in excess salt and is allowed to stay in the excess salt cure for 48 hours. After 2 days, the salt is washed off, and the tuna is patted dry. At this point, the tuna is hung outside to dry, preferably in a cool place with a good sea breeze for 2-3 weeks. Many Sicilians hang their homemade mosciame out in their backyard, some even utilizing their clotheslines for the purpose!
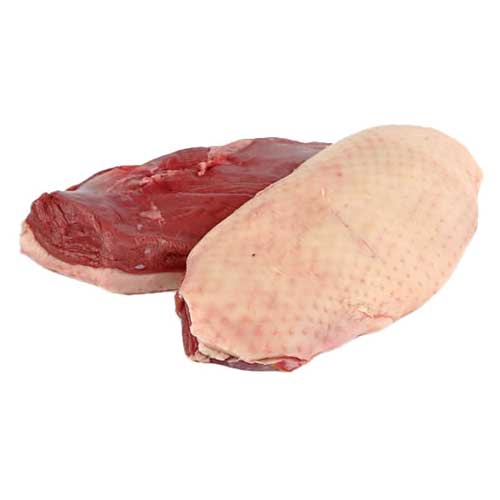
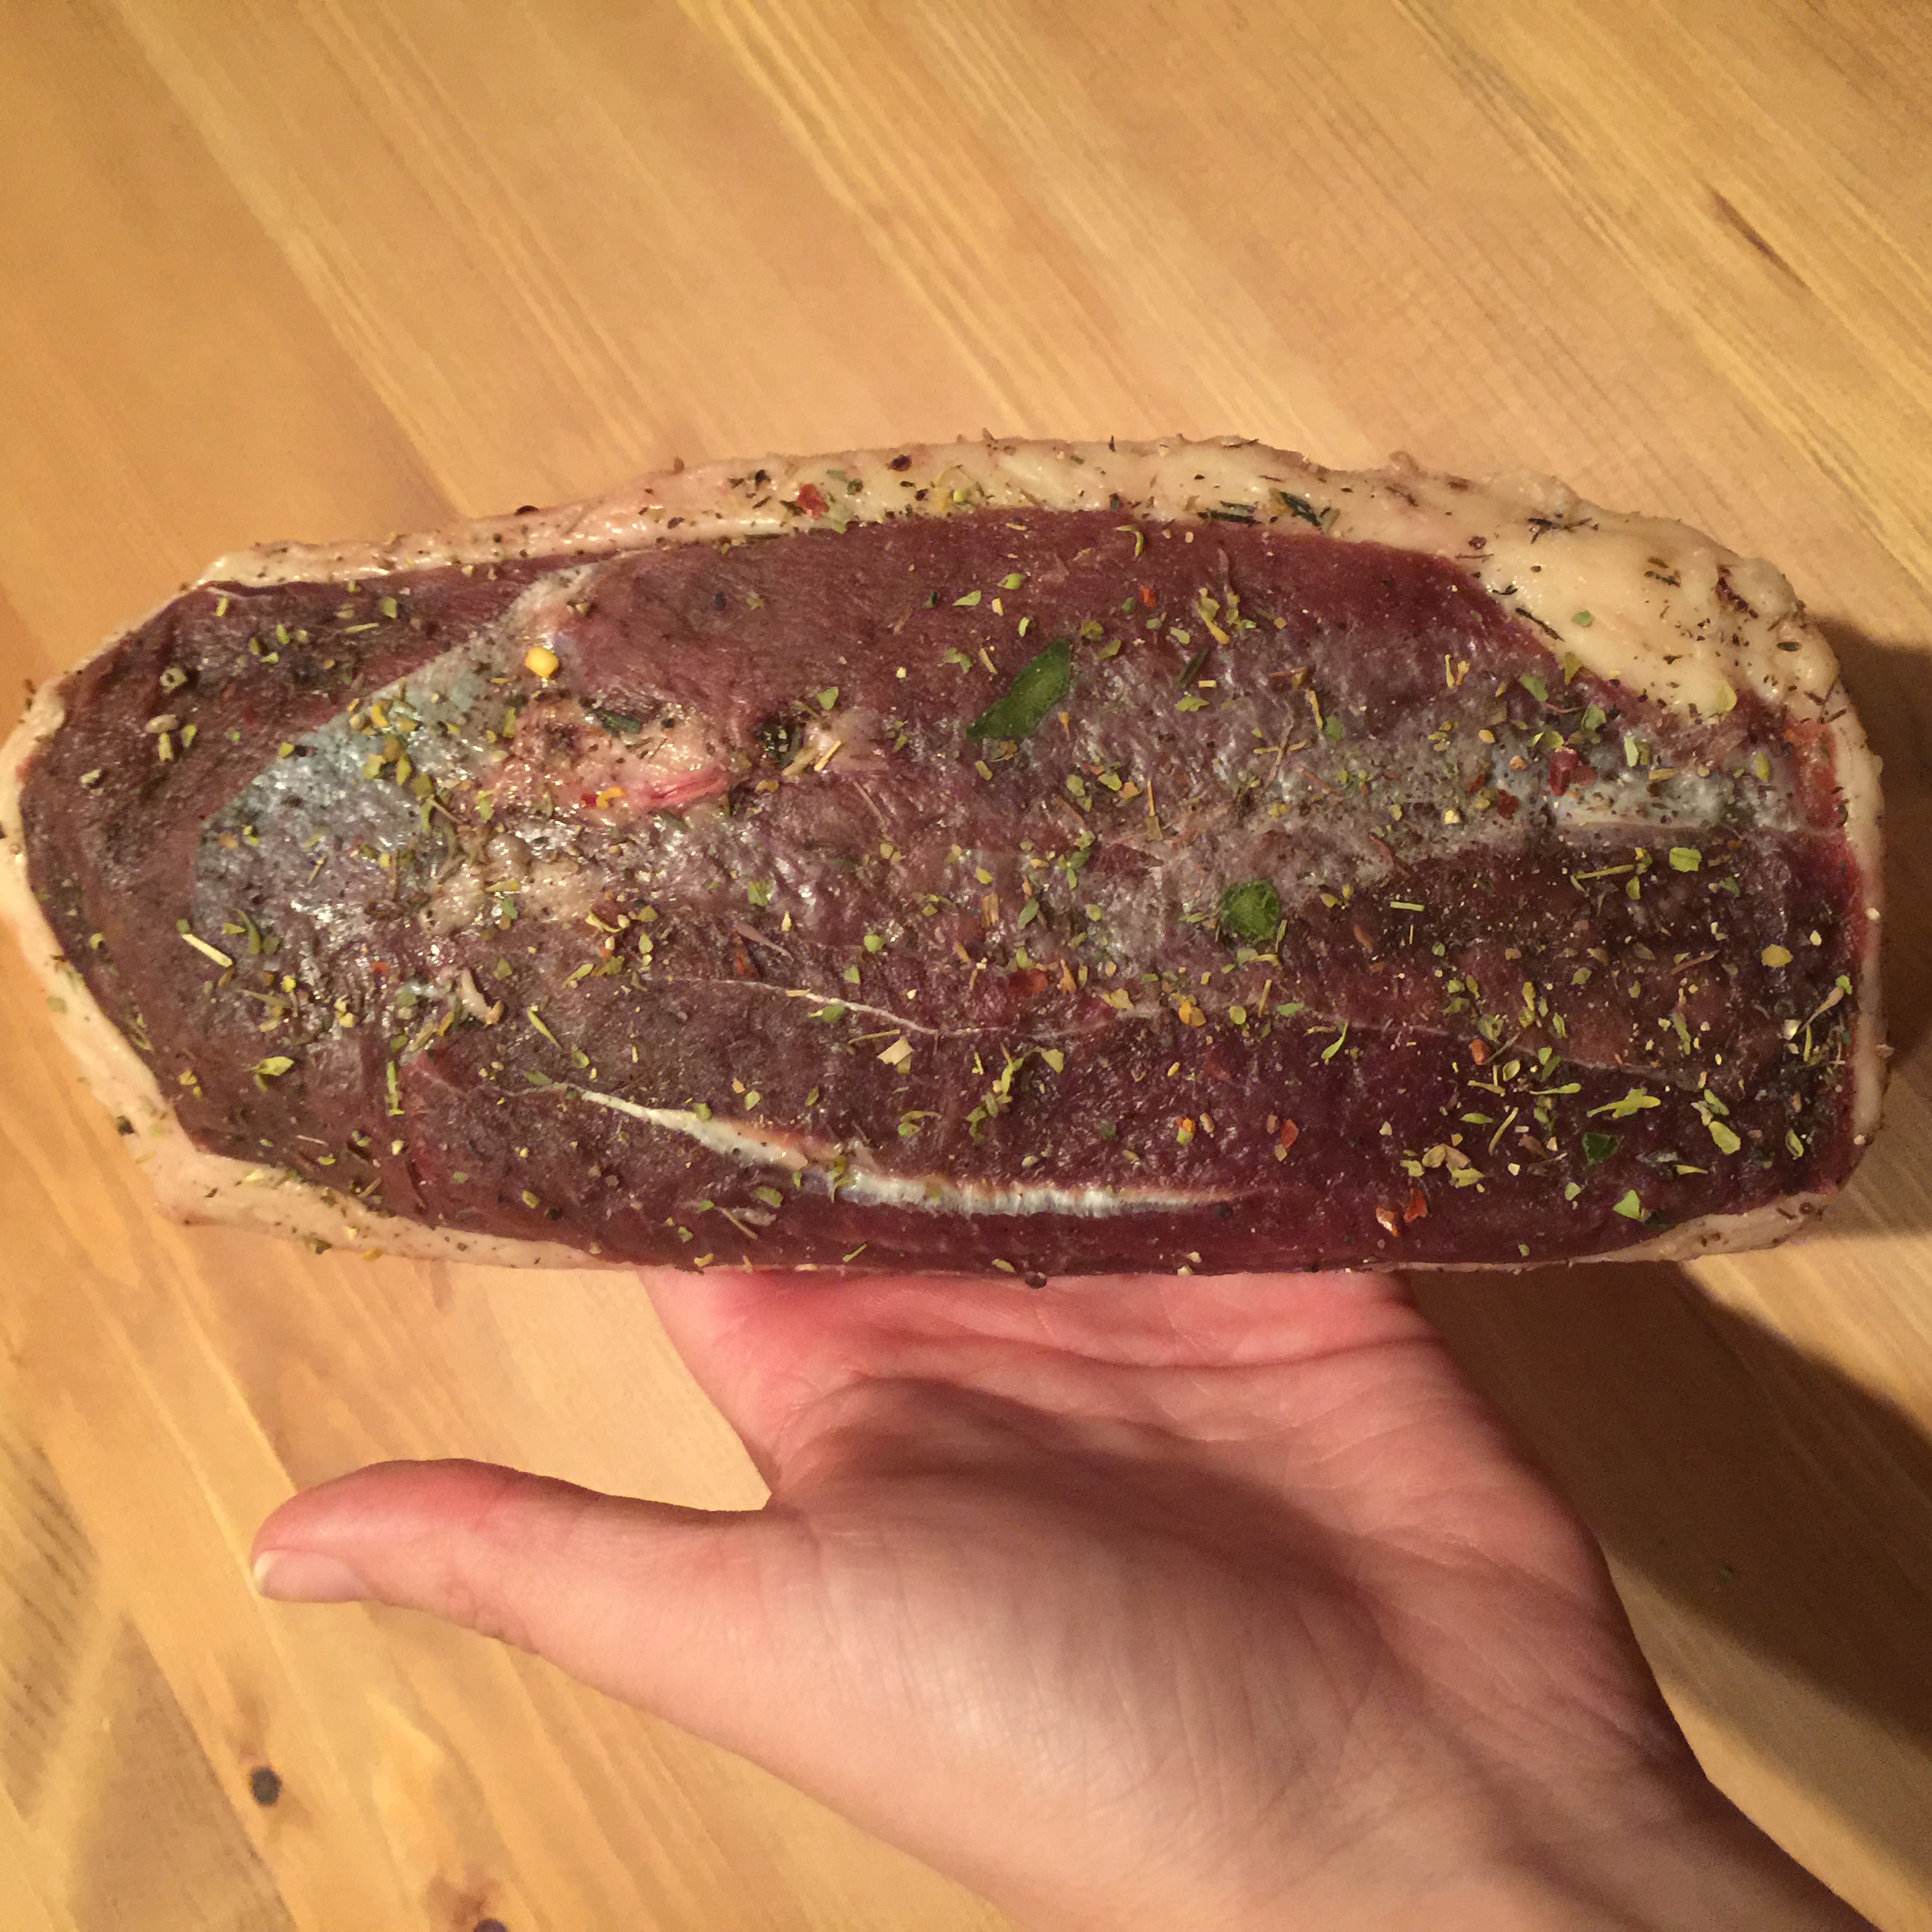
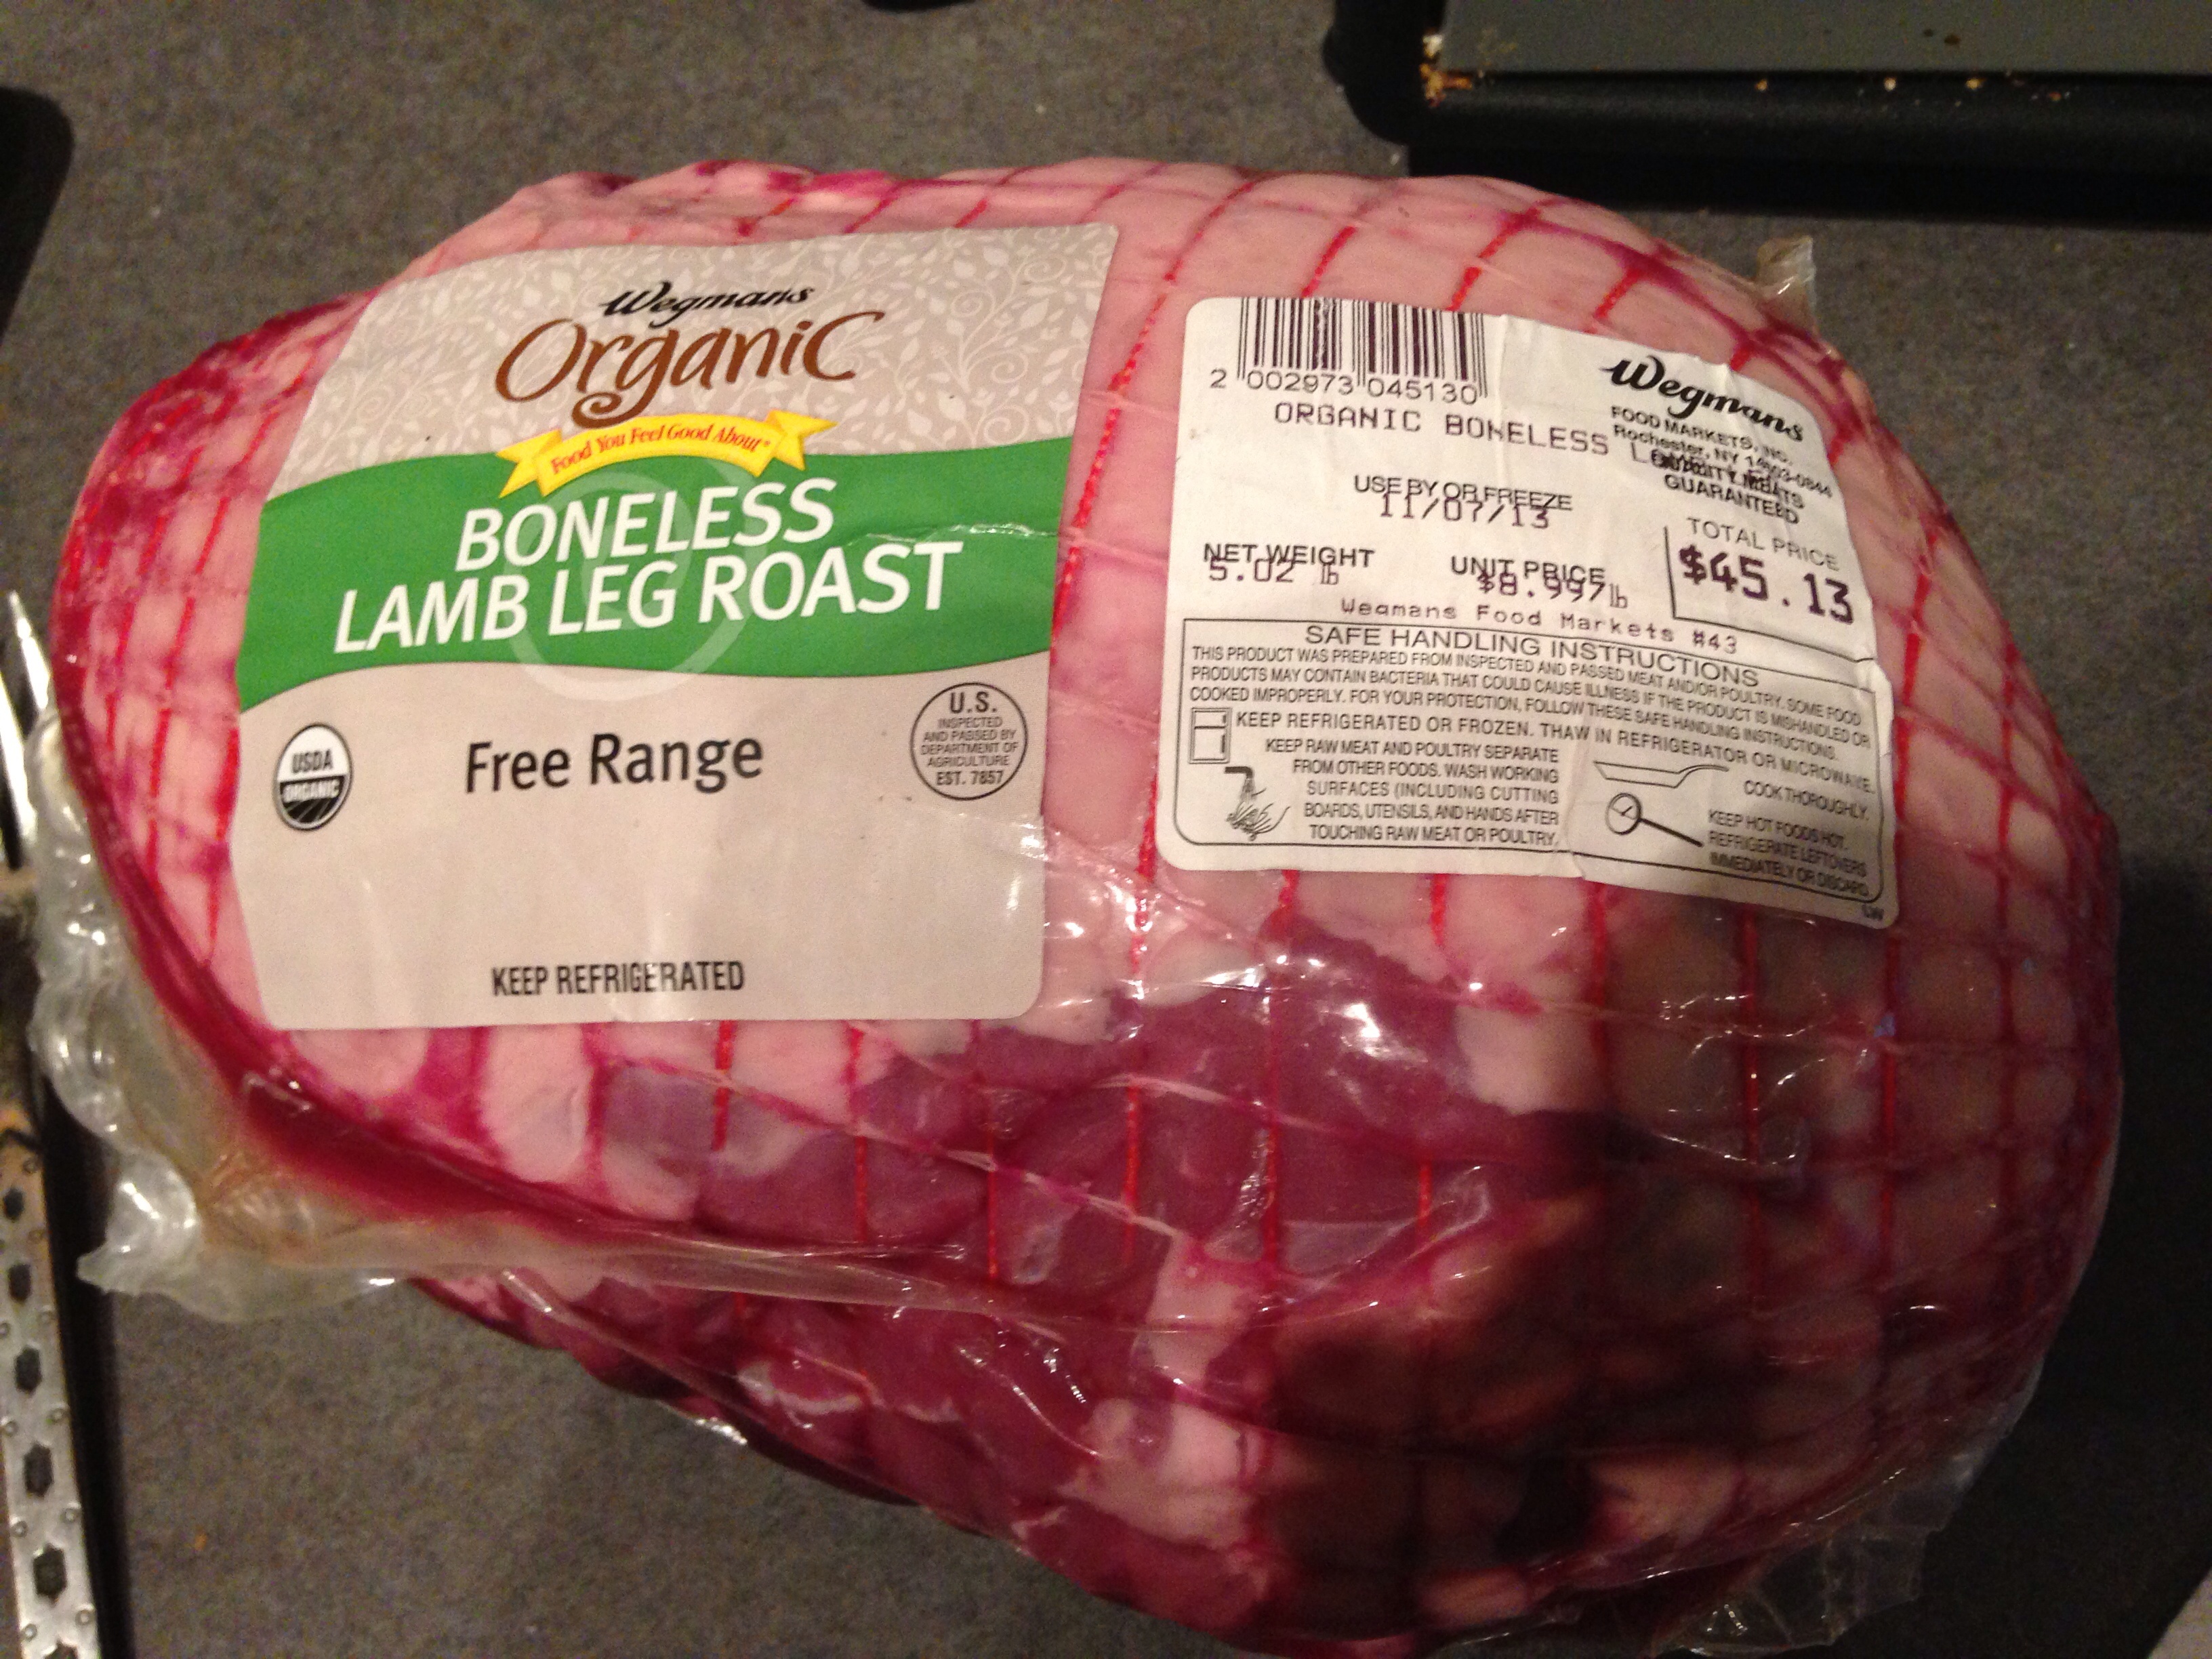
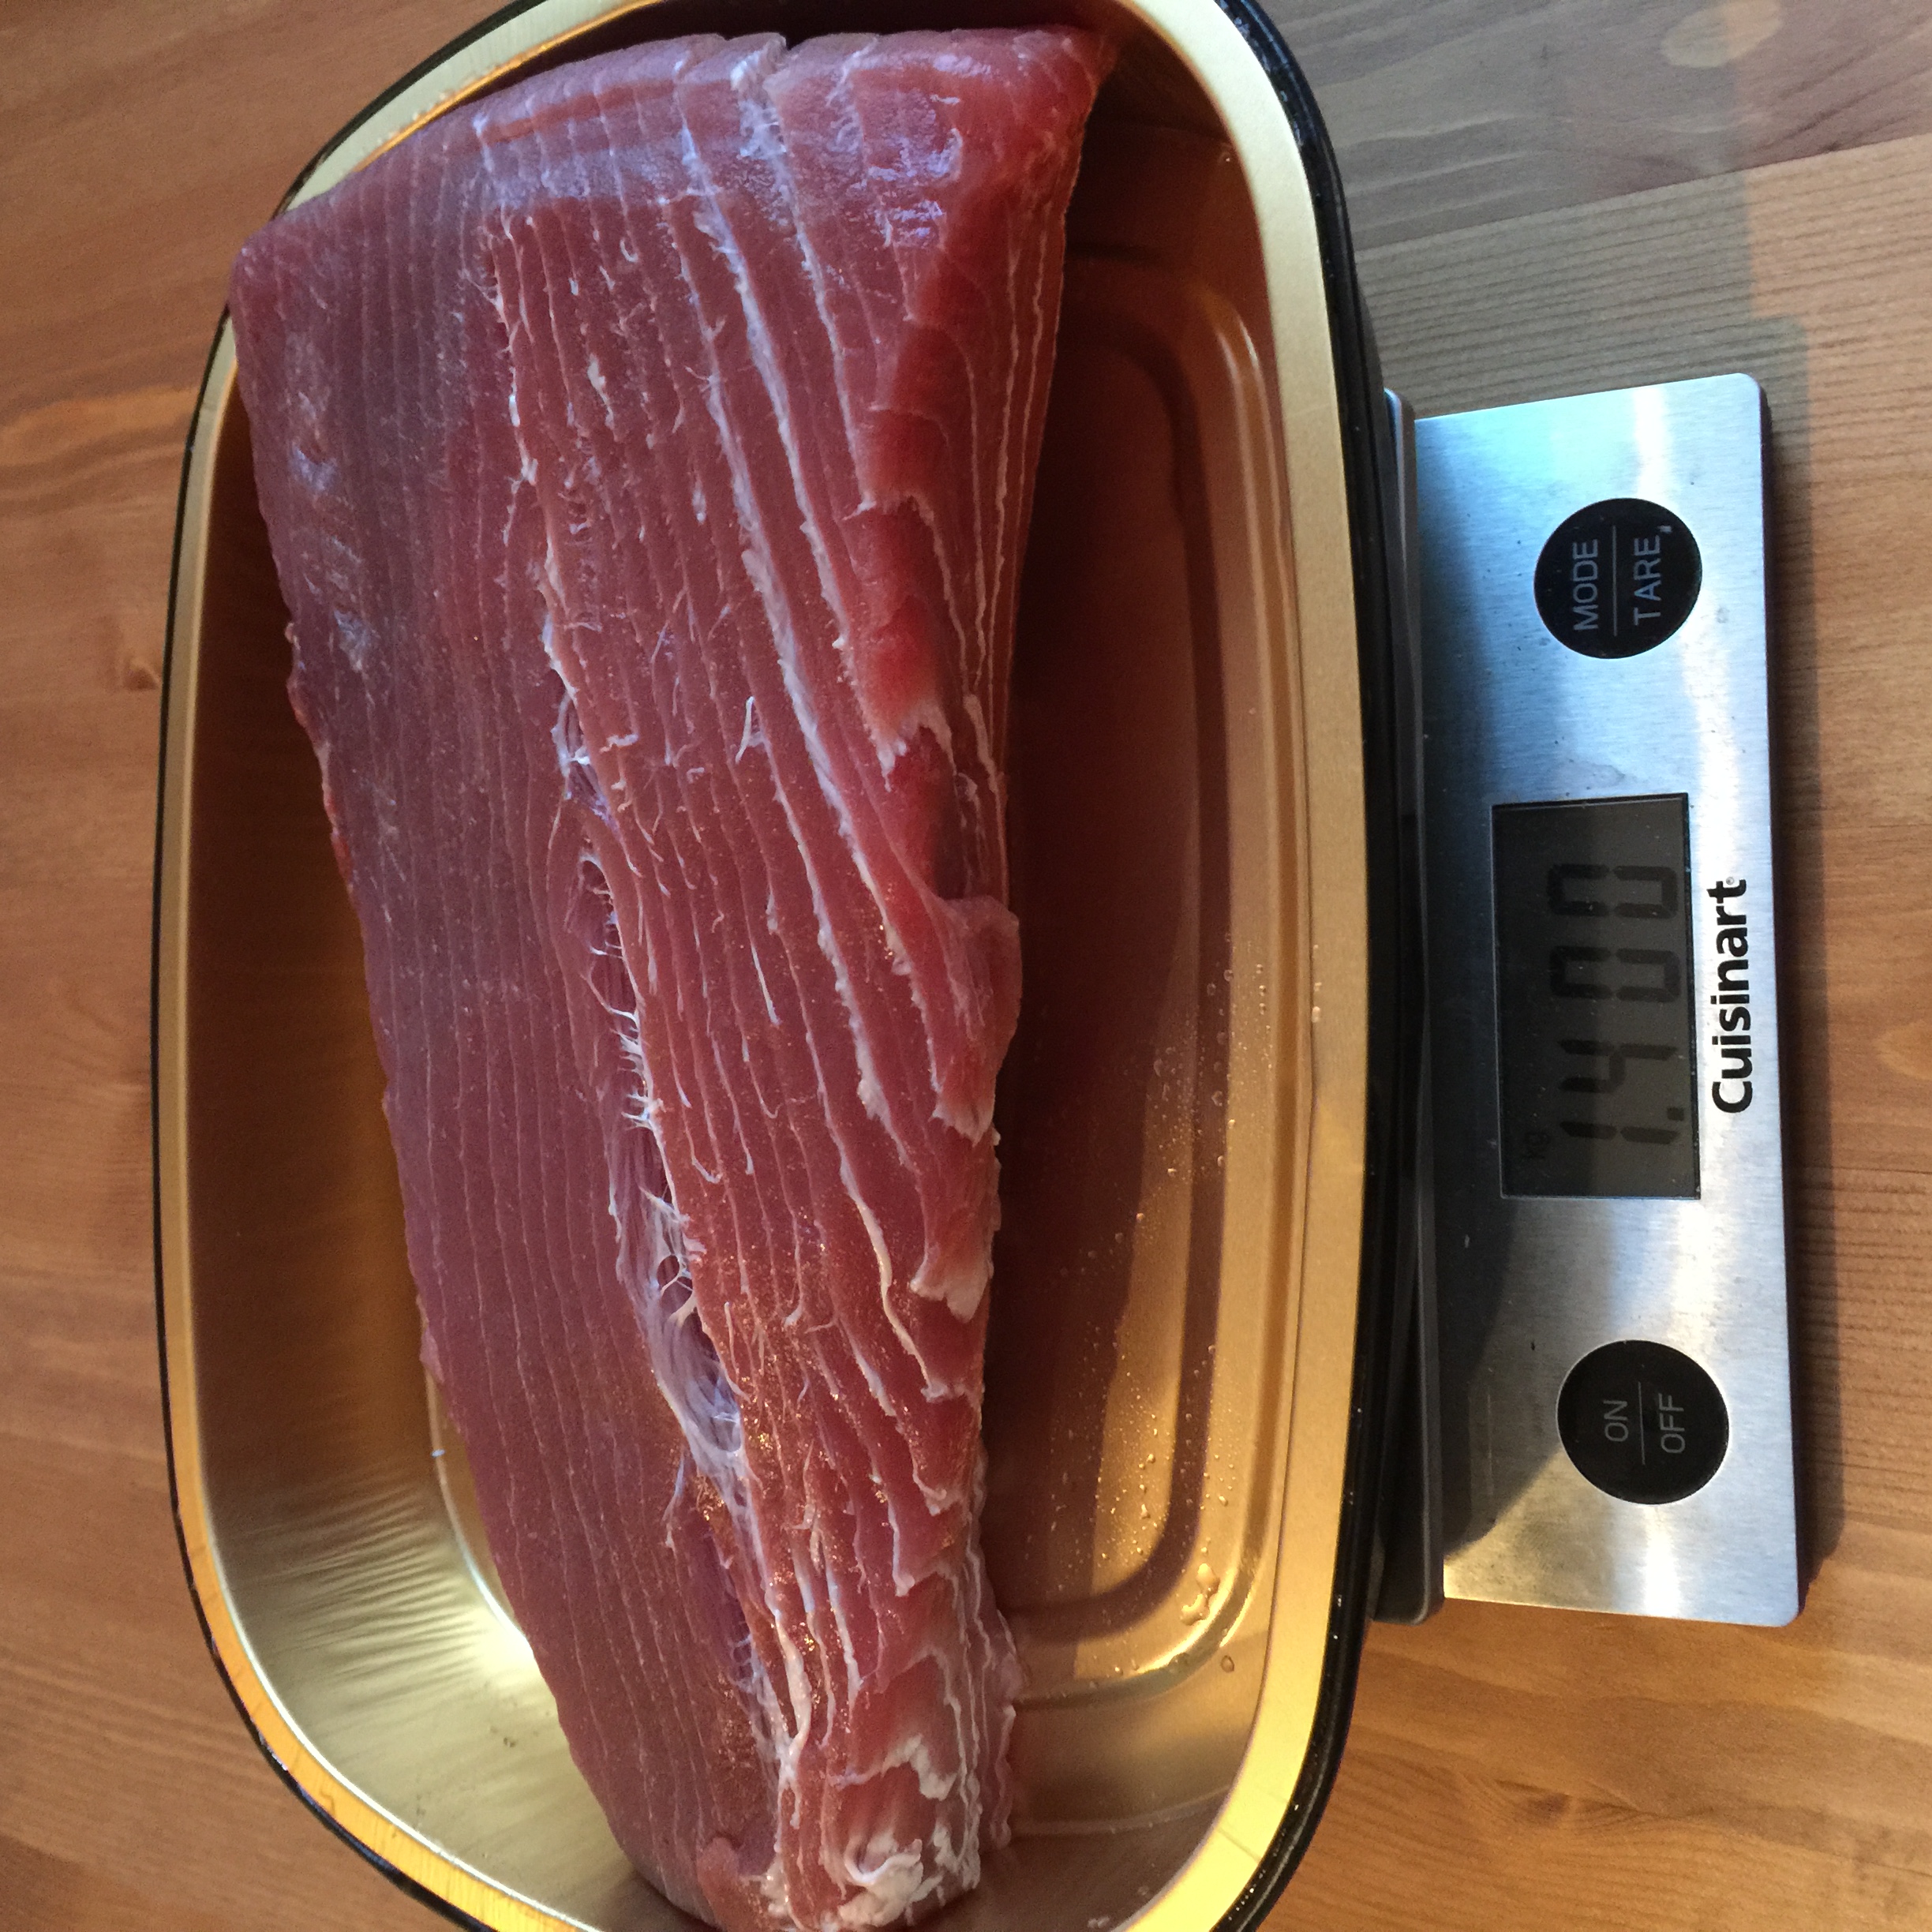
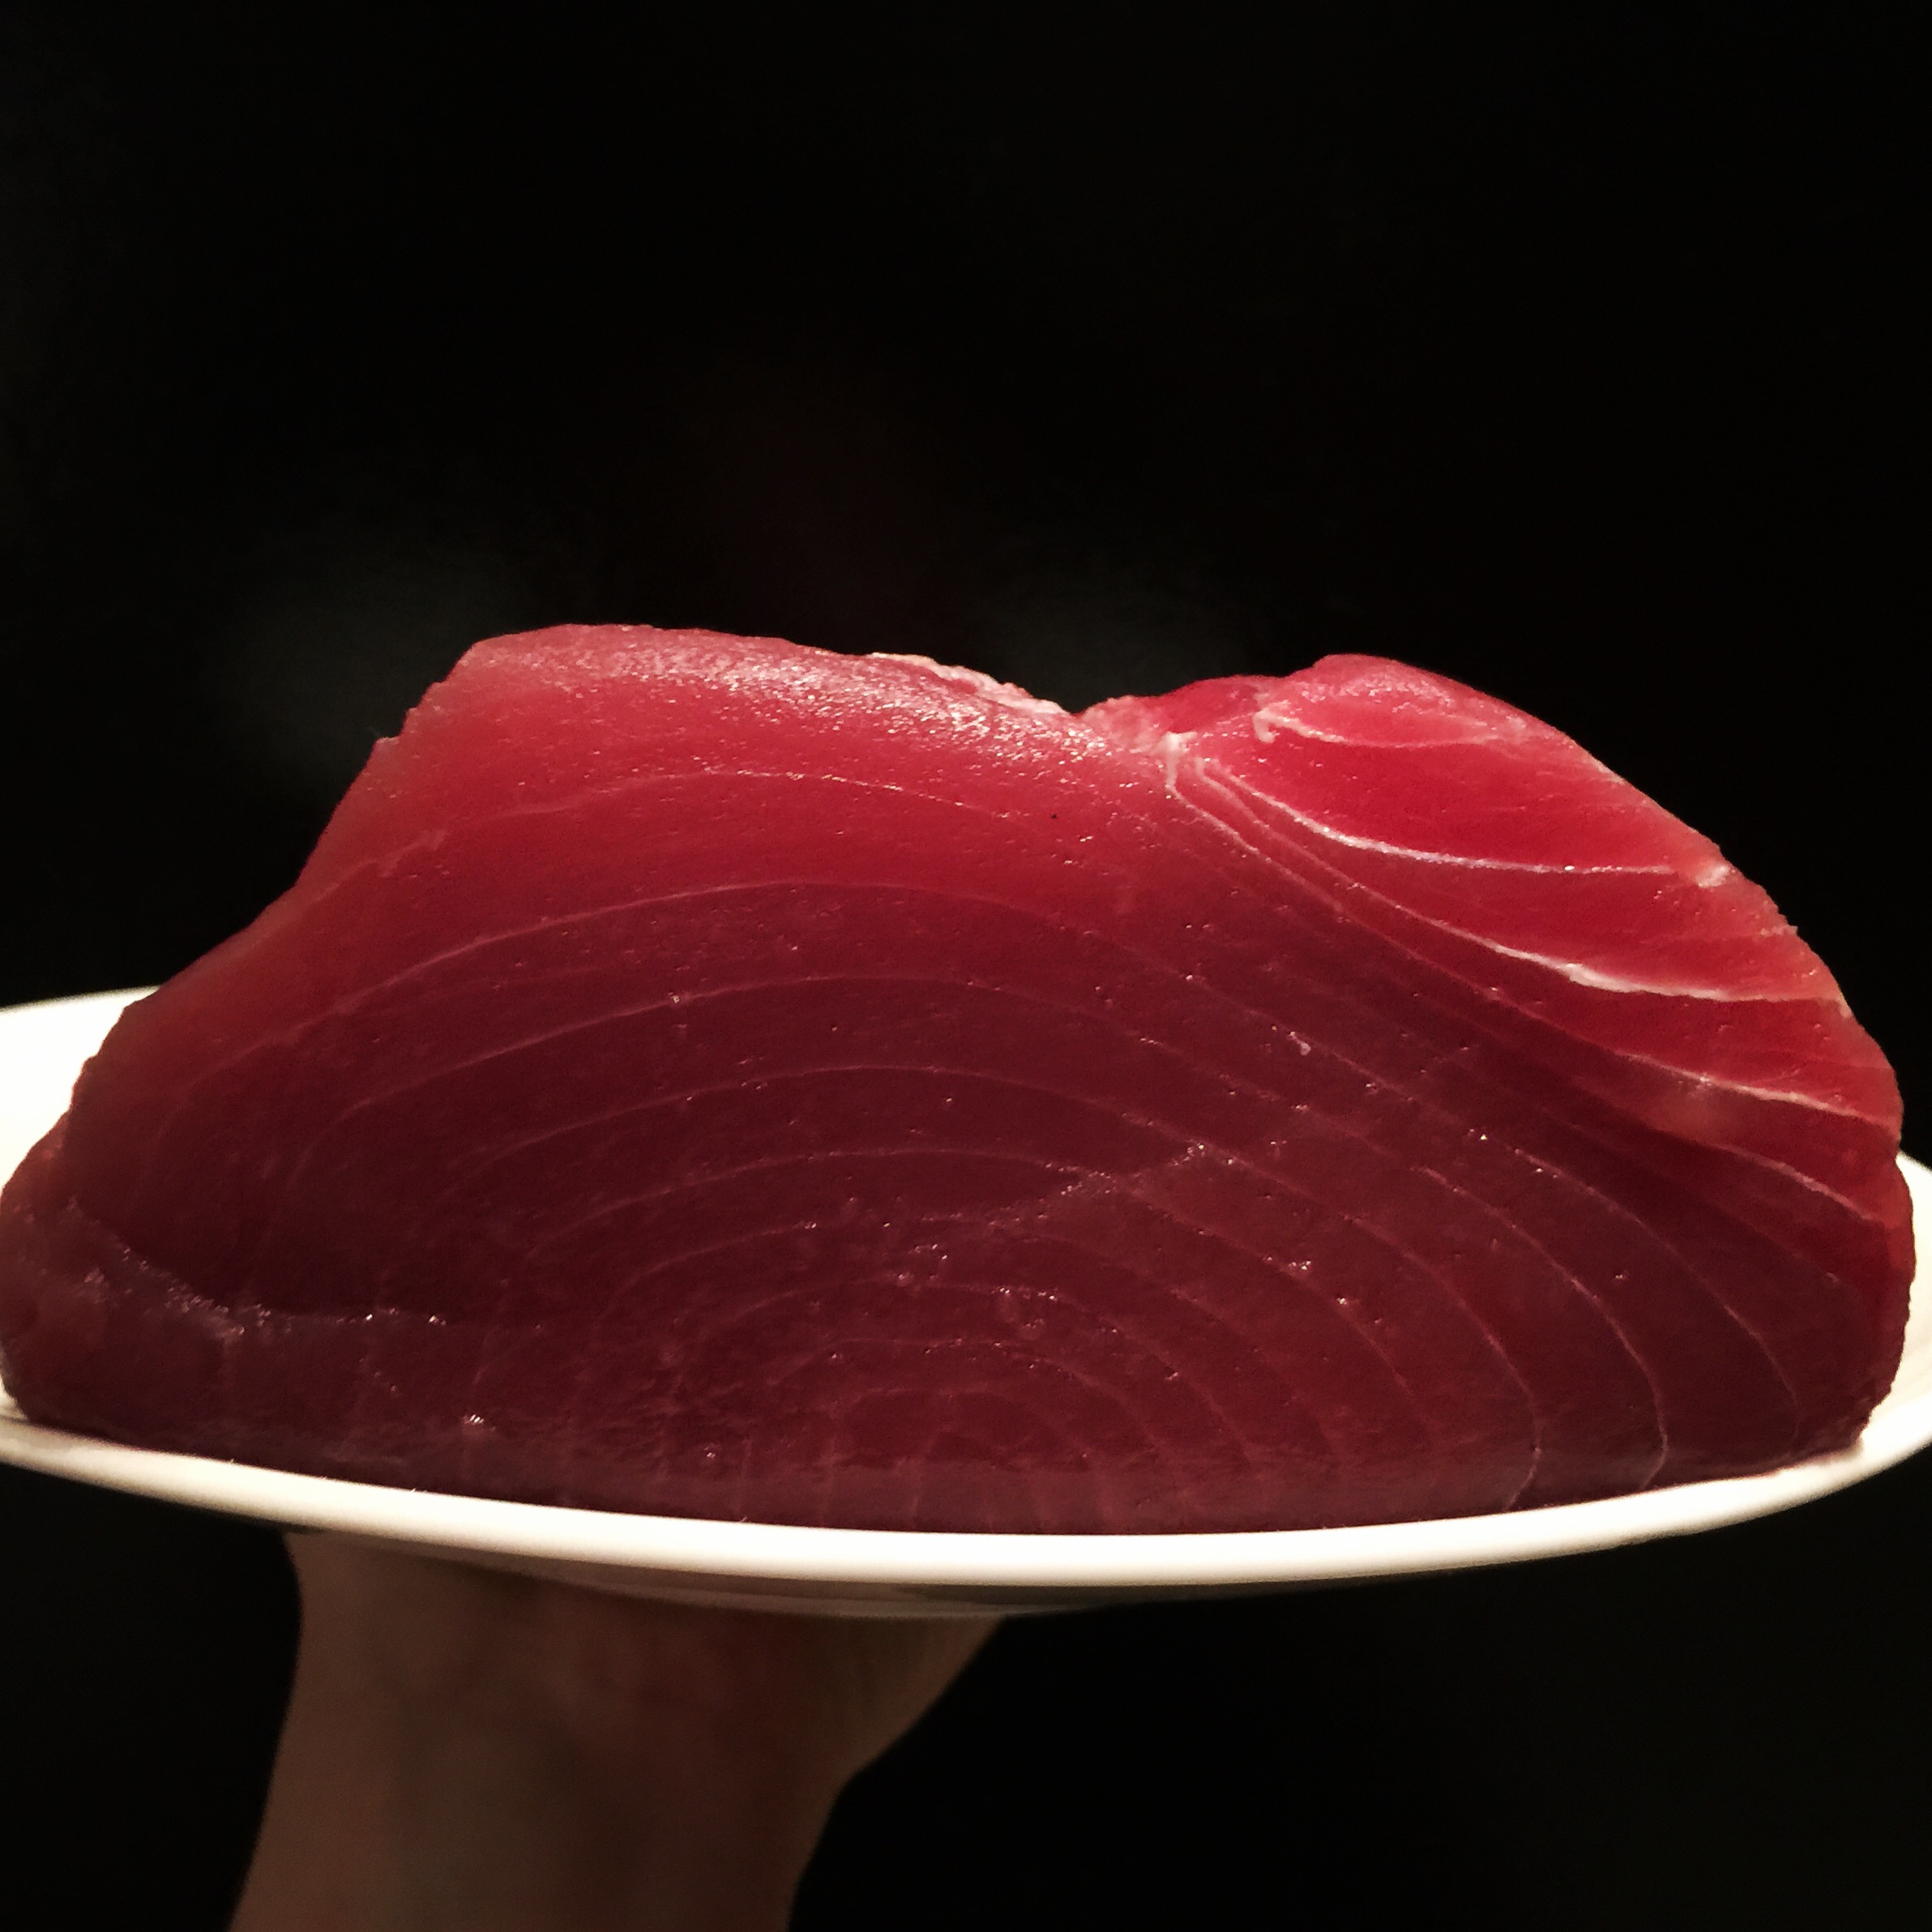
First Modern Trial: In my case, I bought a piece of sushi grade tuna loin.
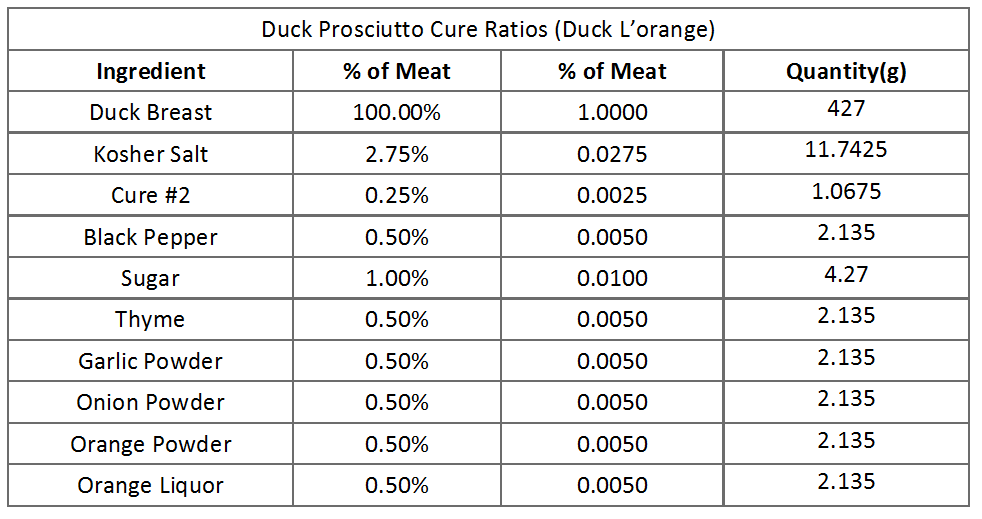
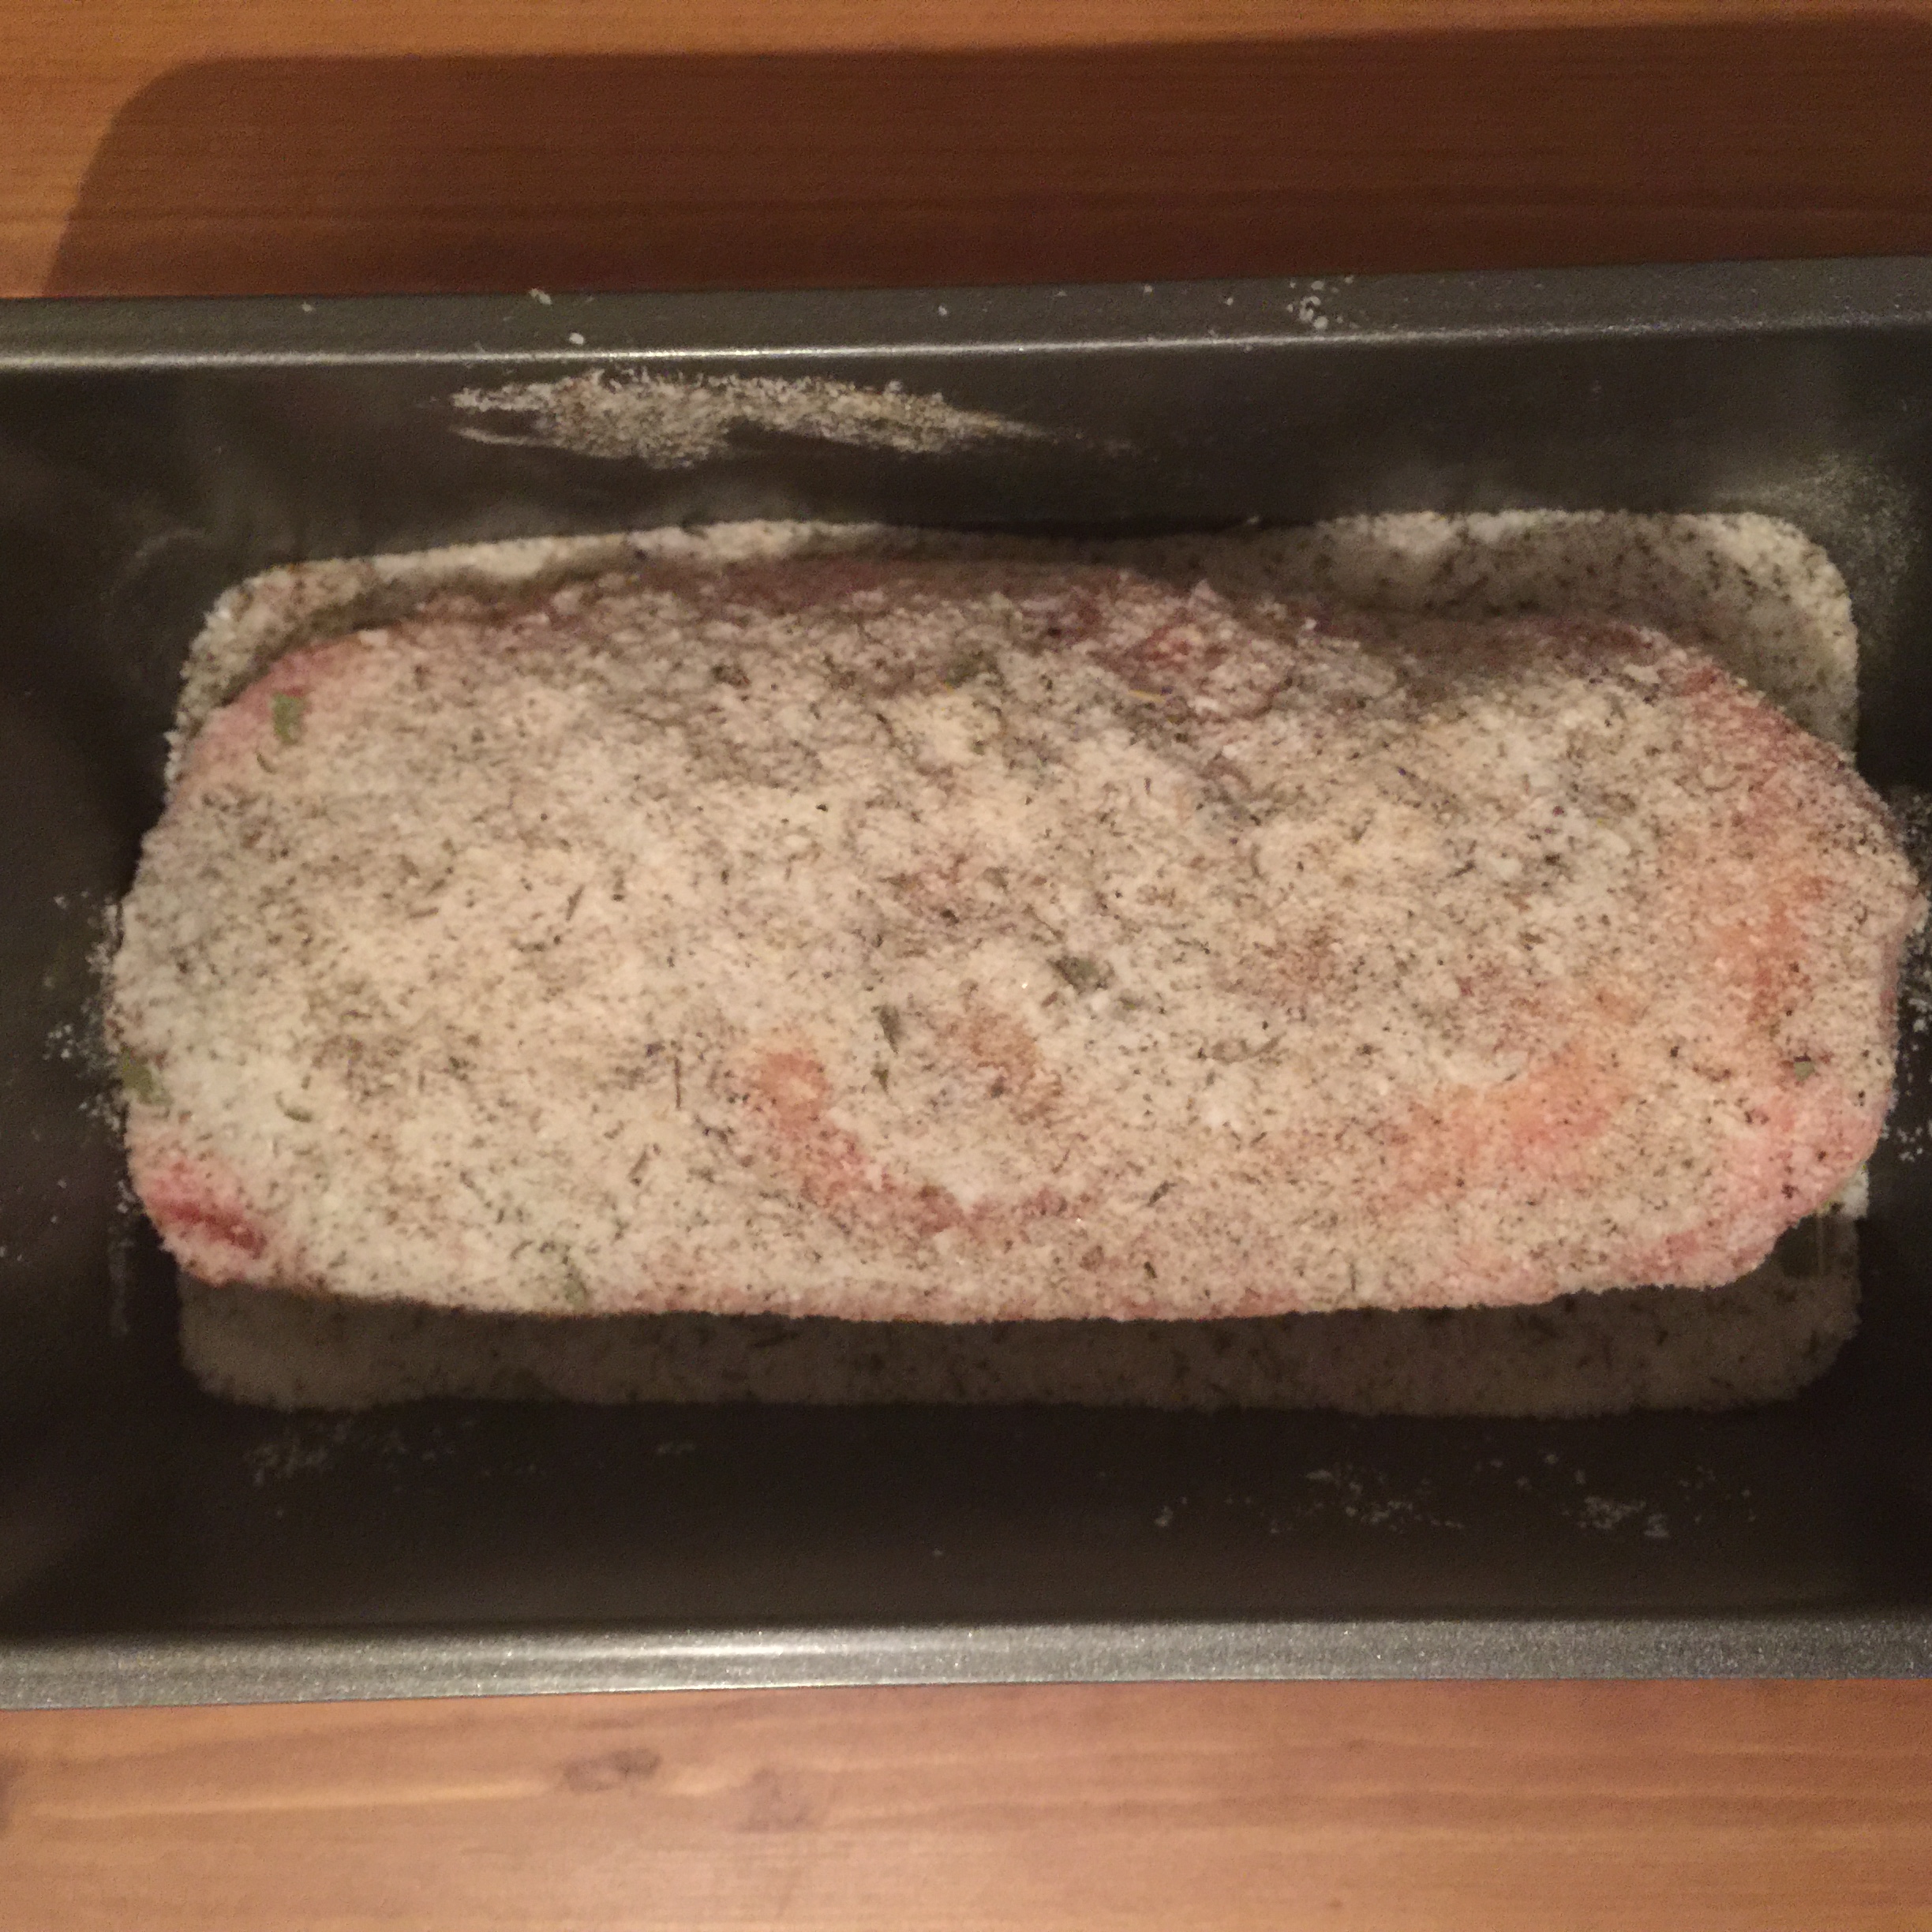
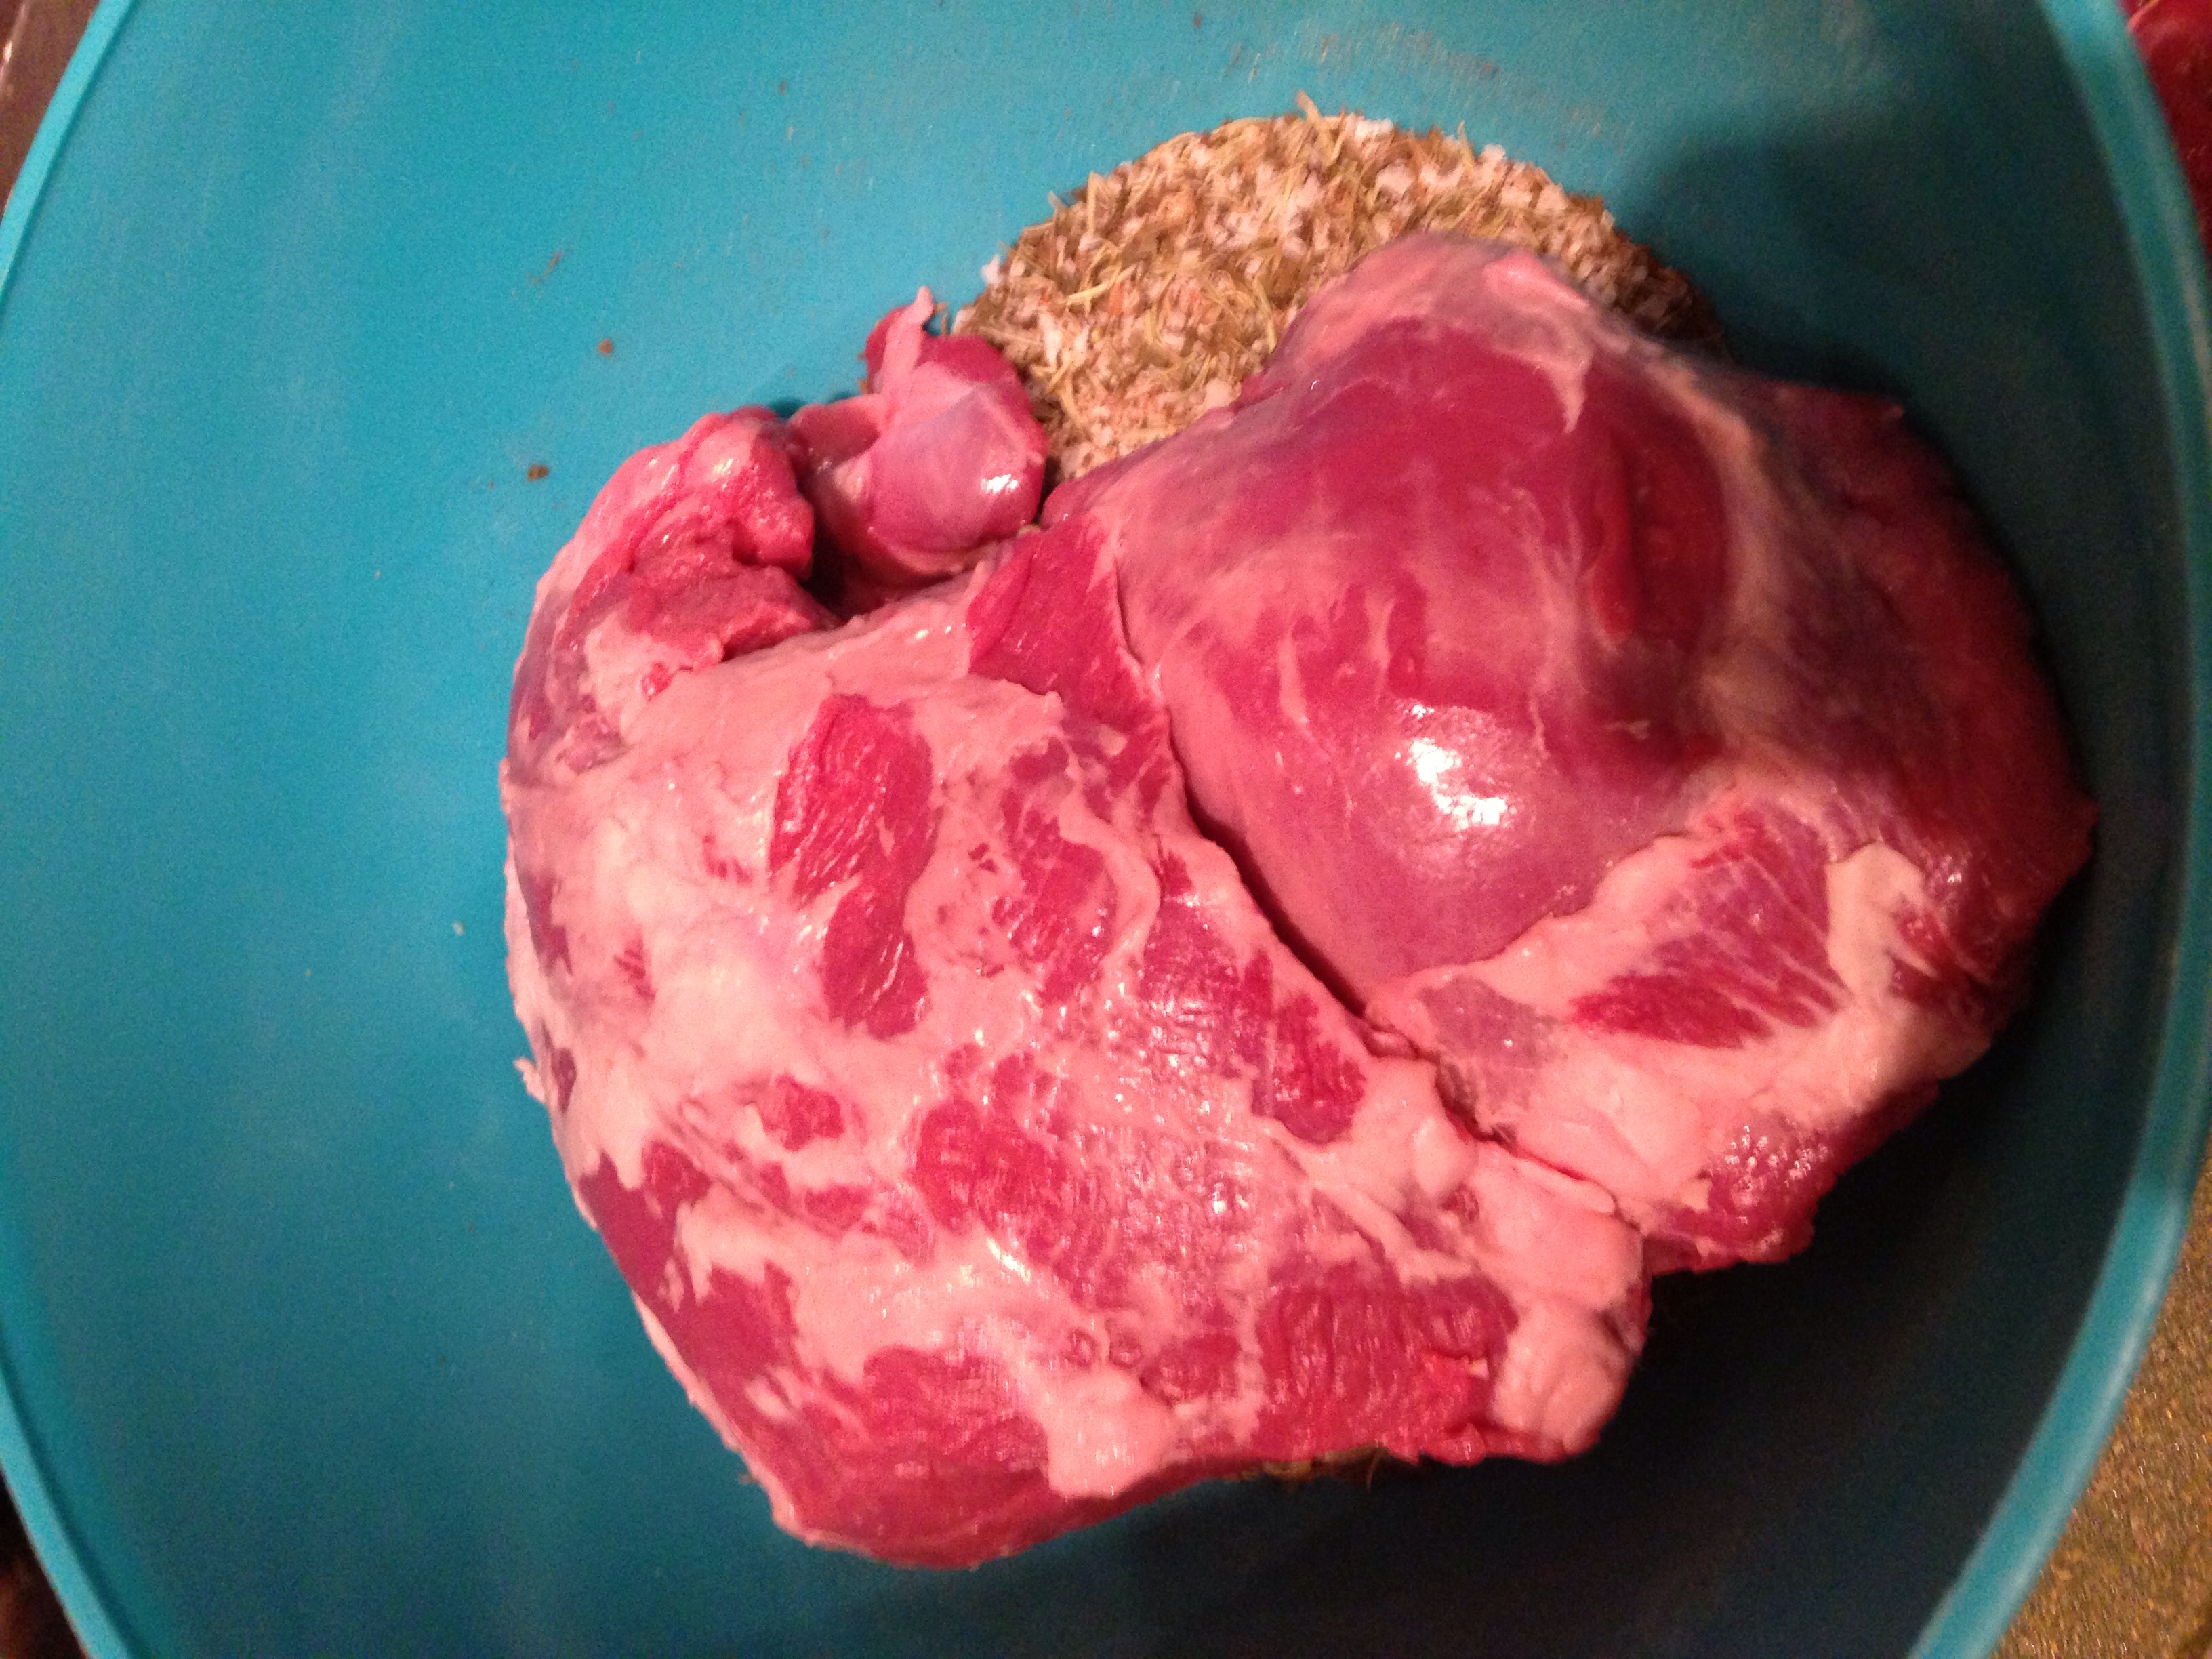
Curing (48 hours):
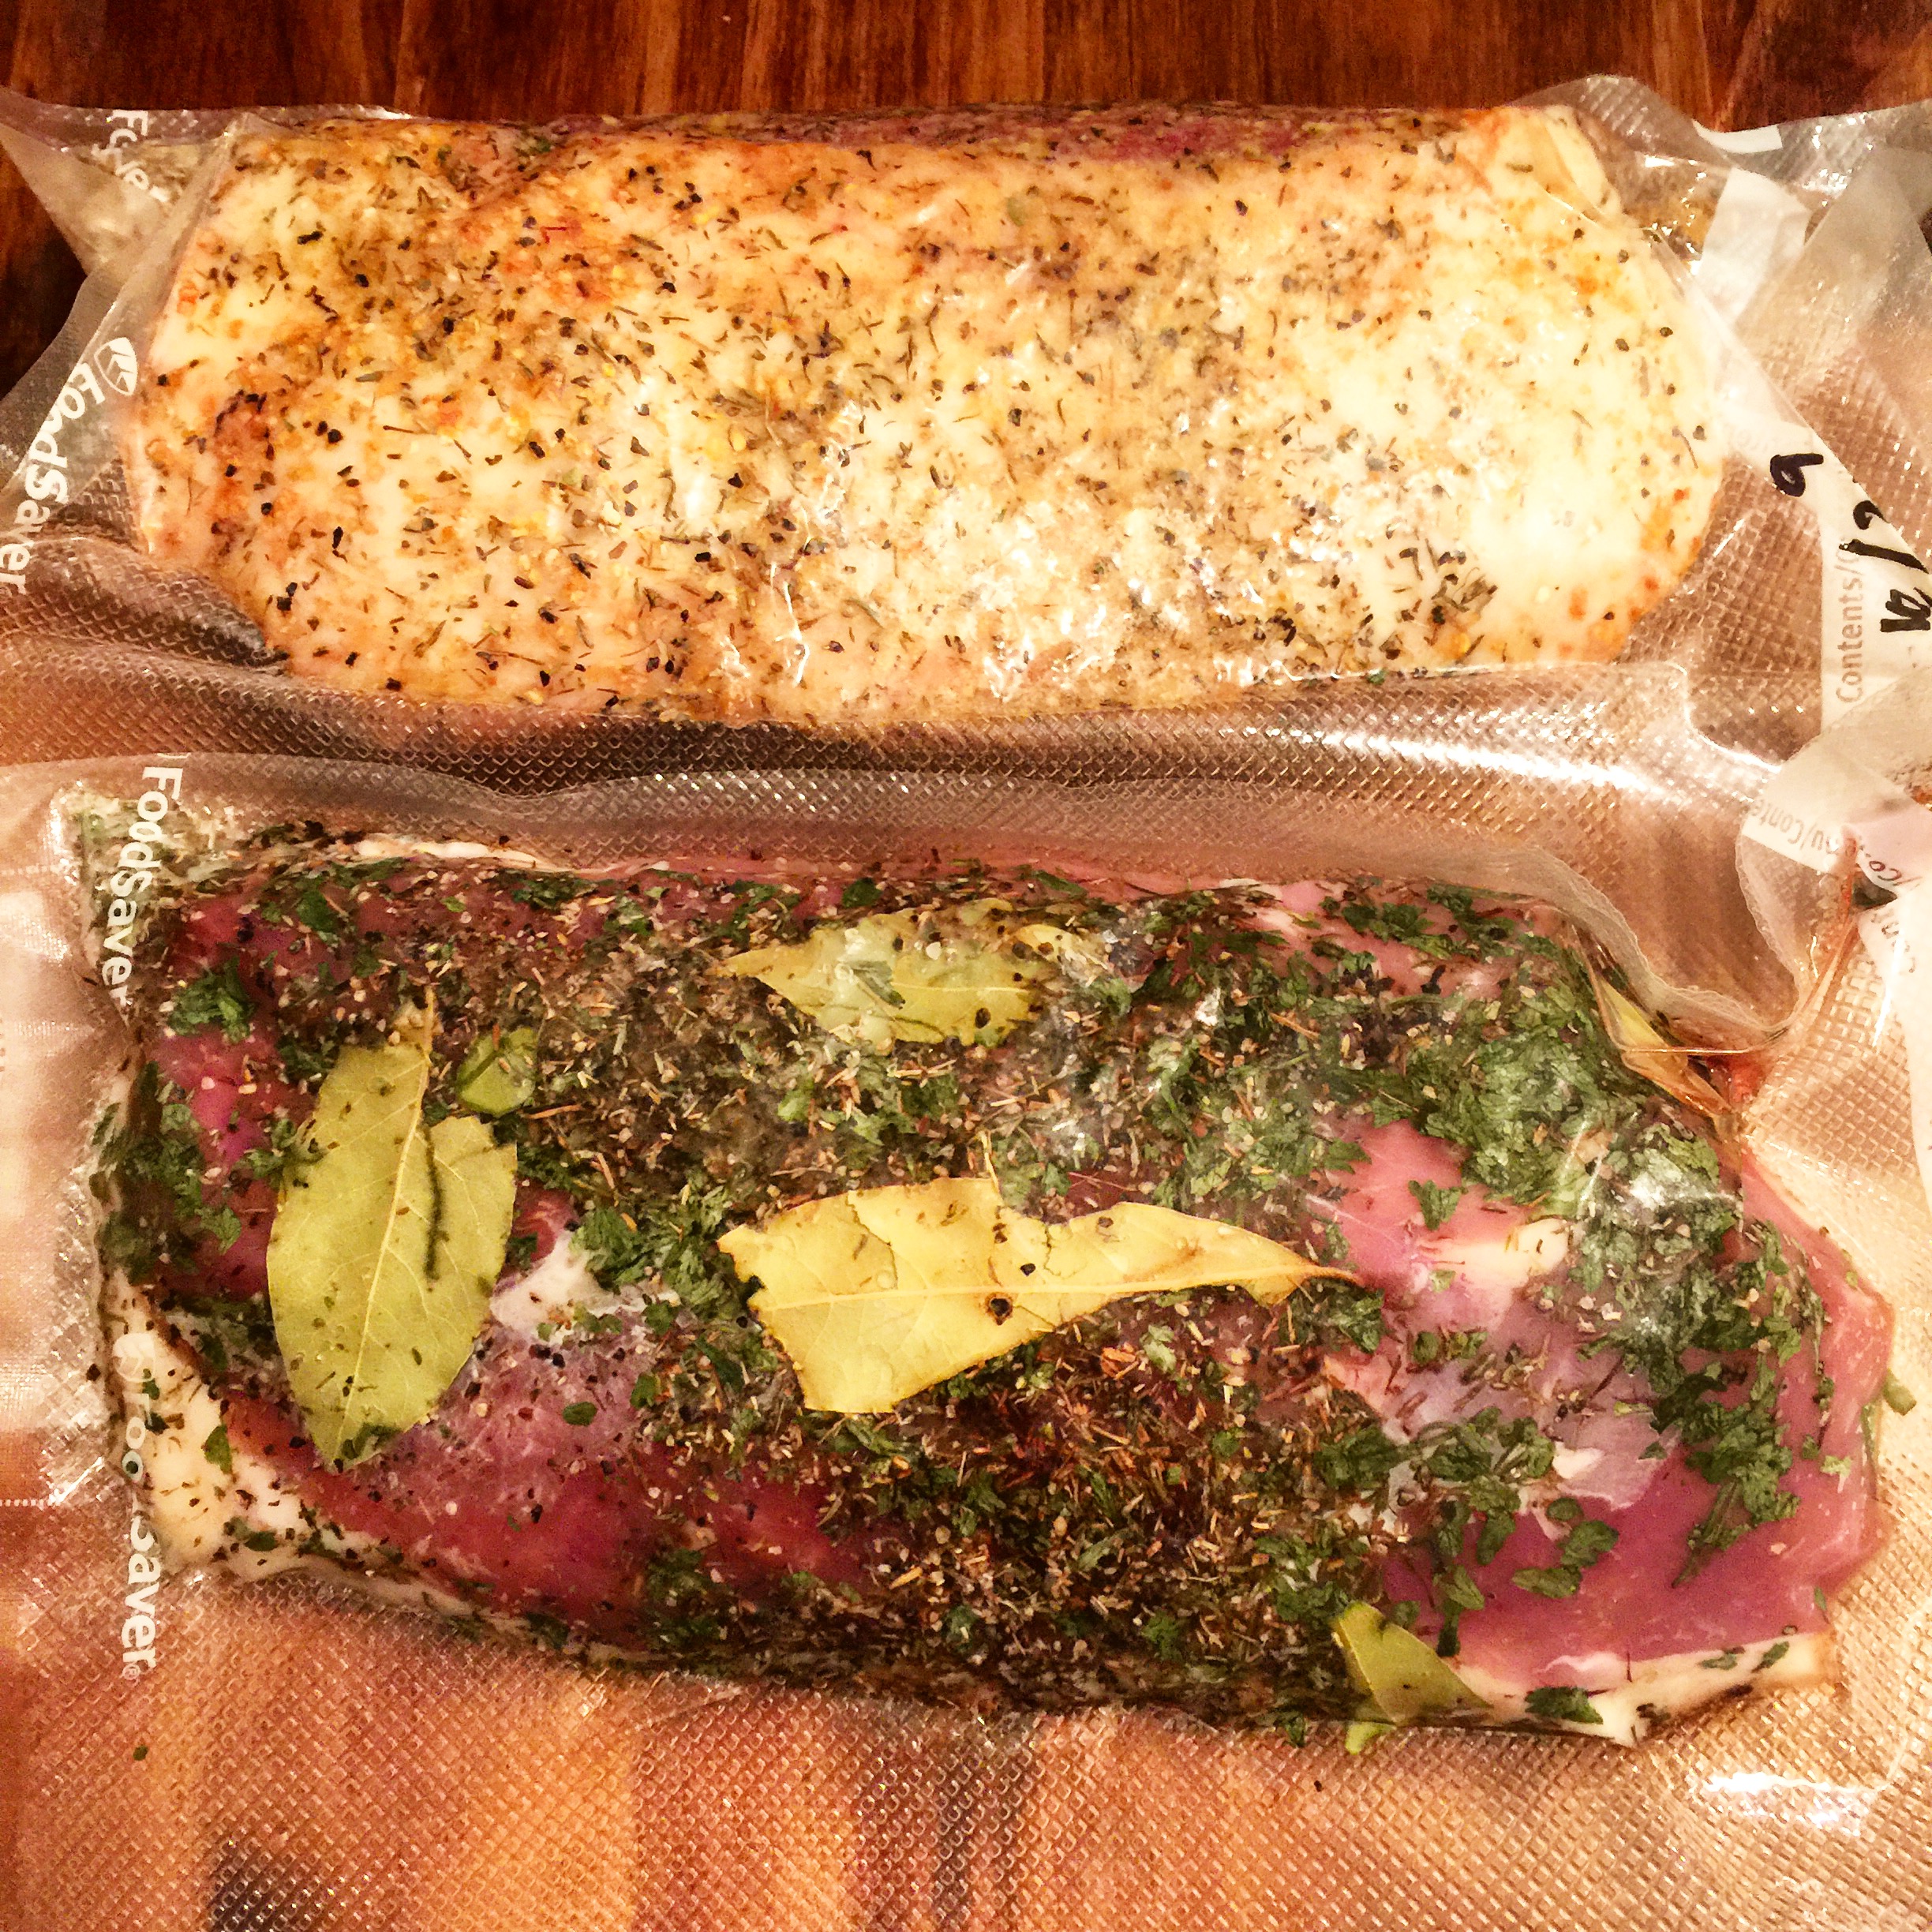
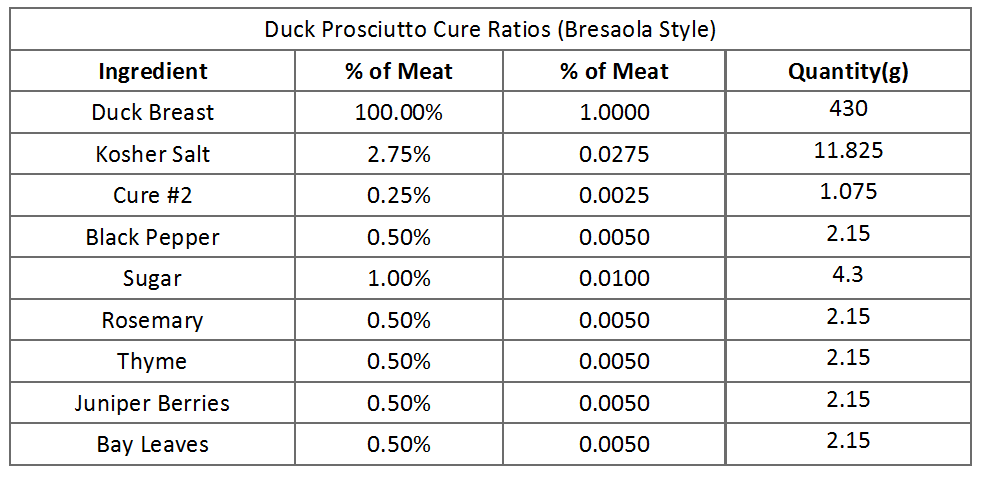
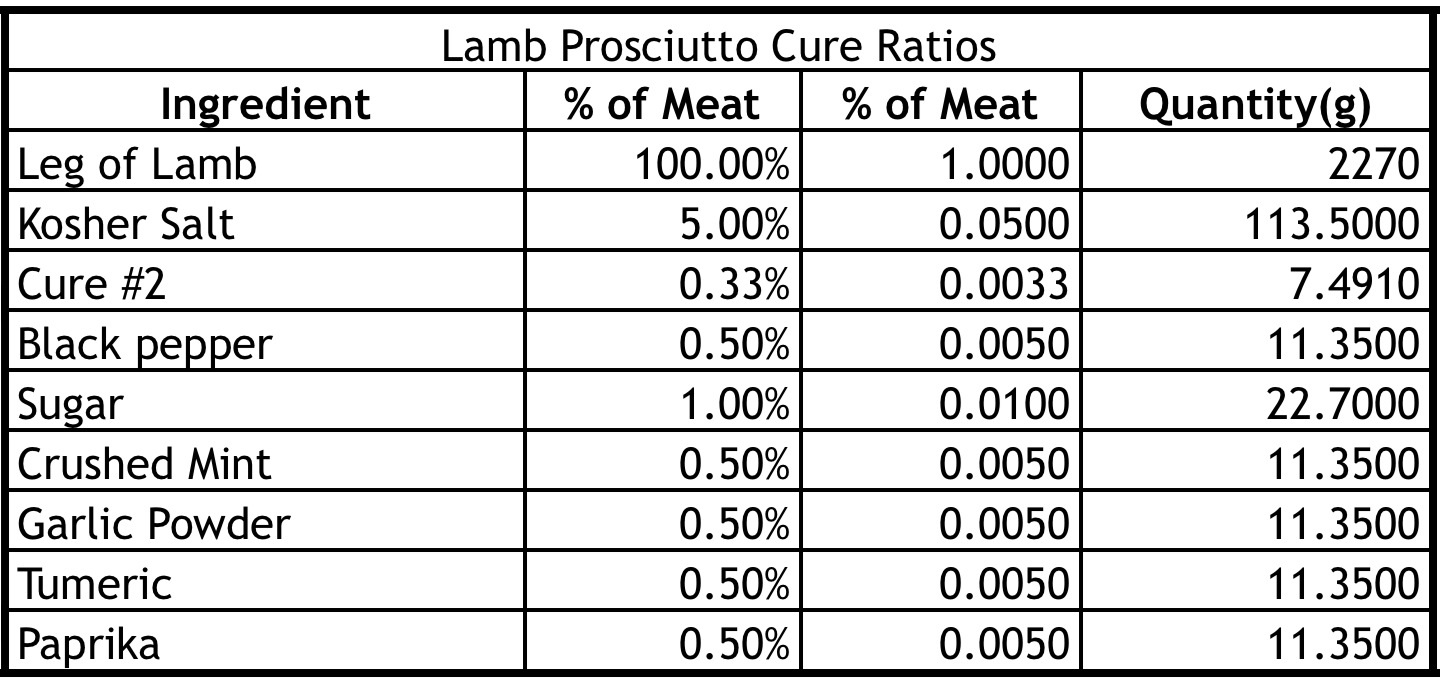
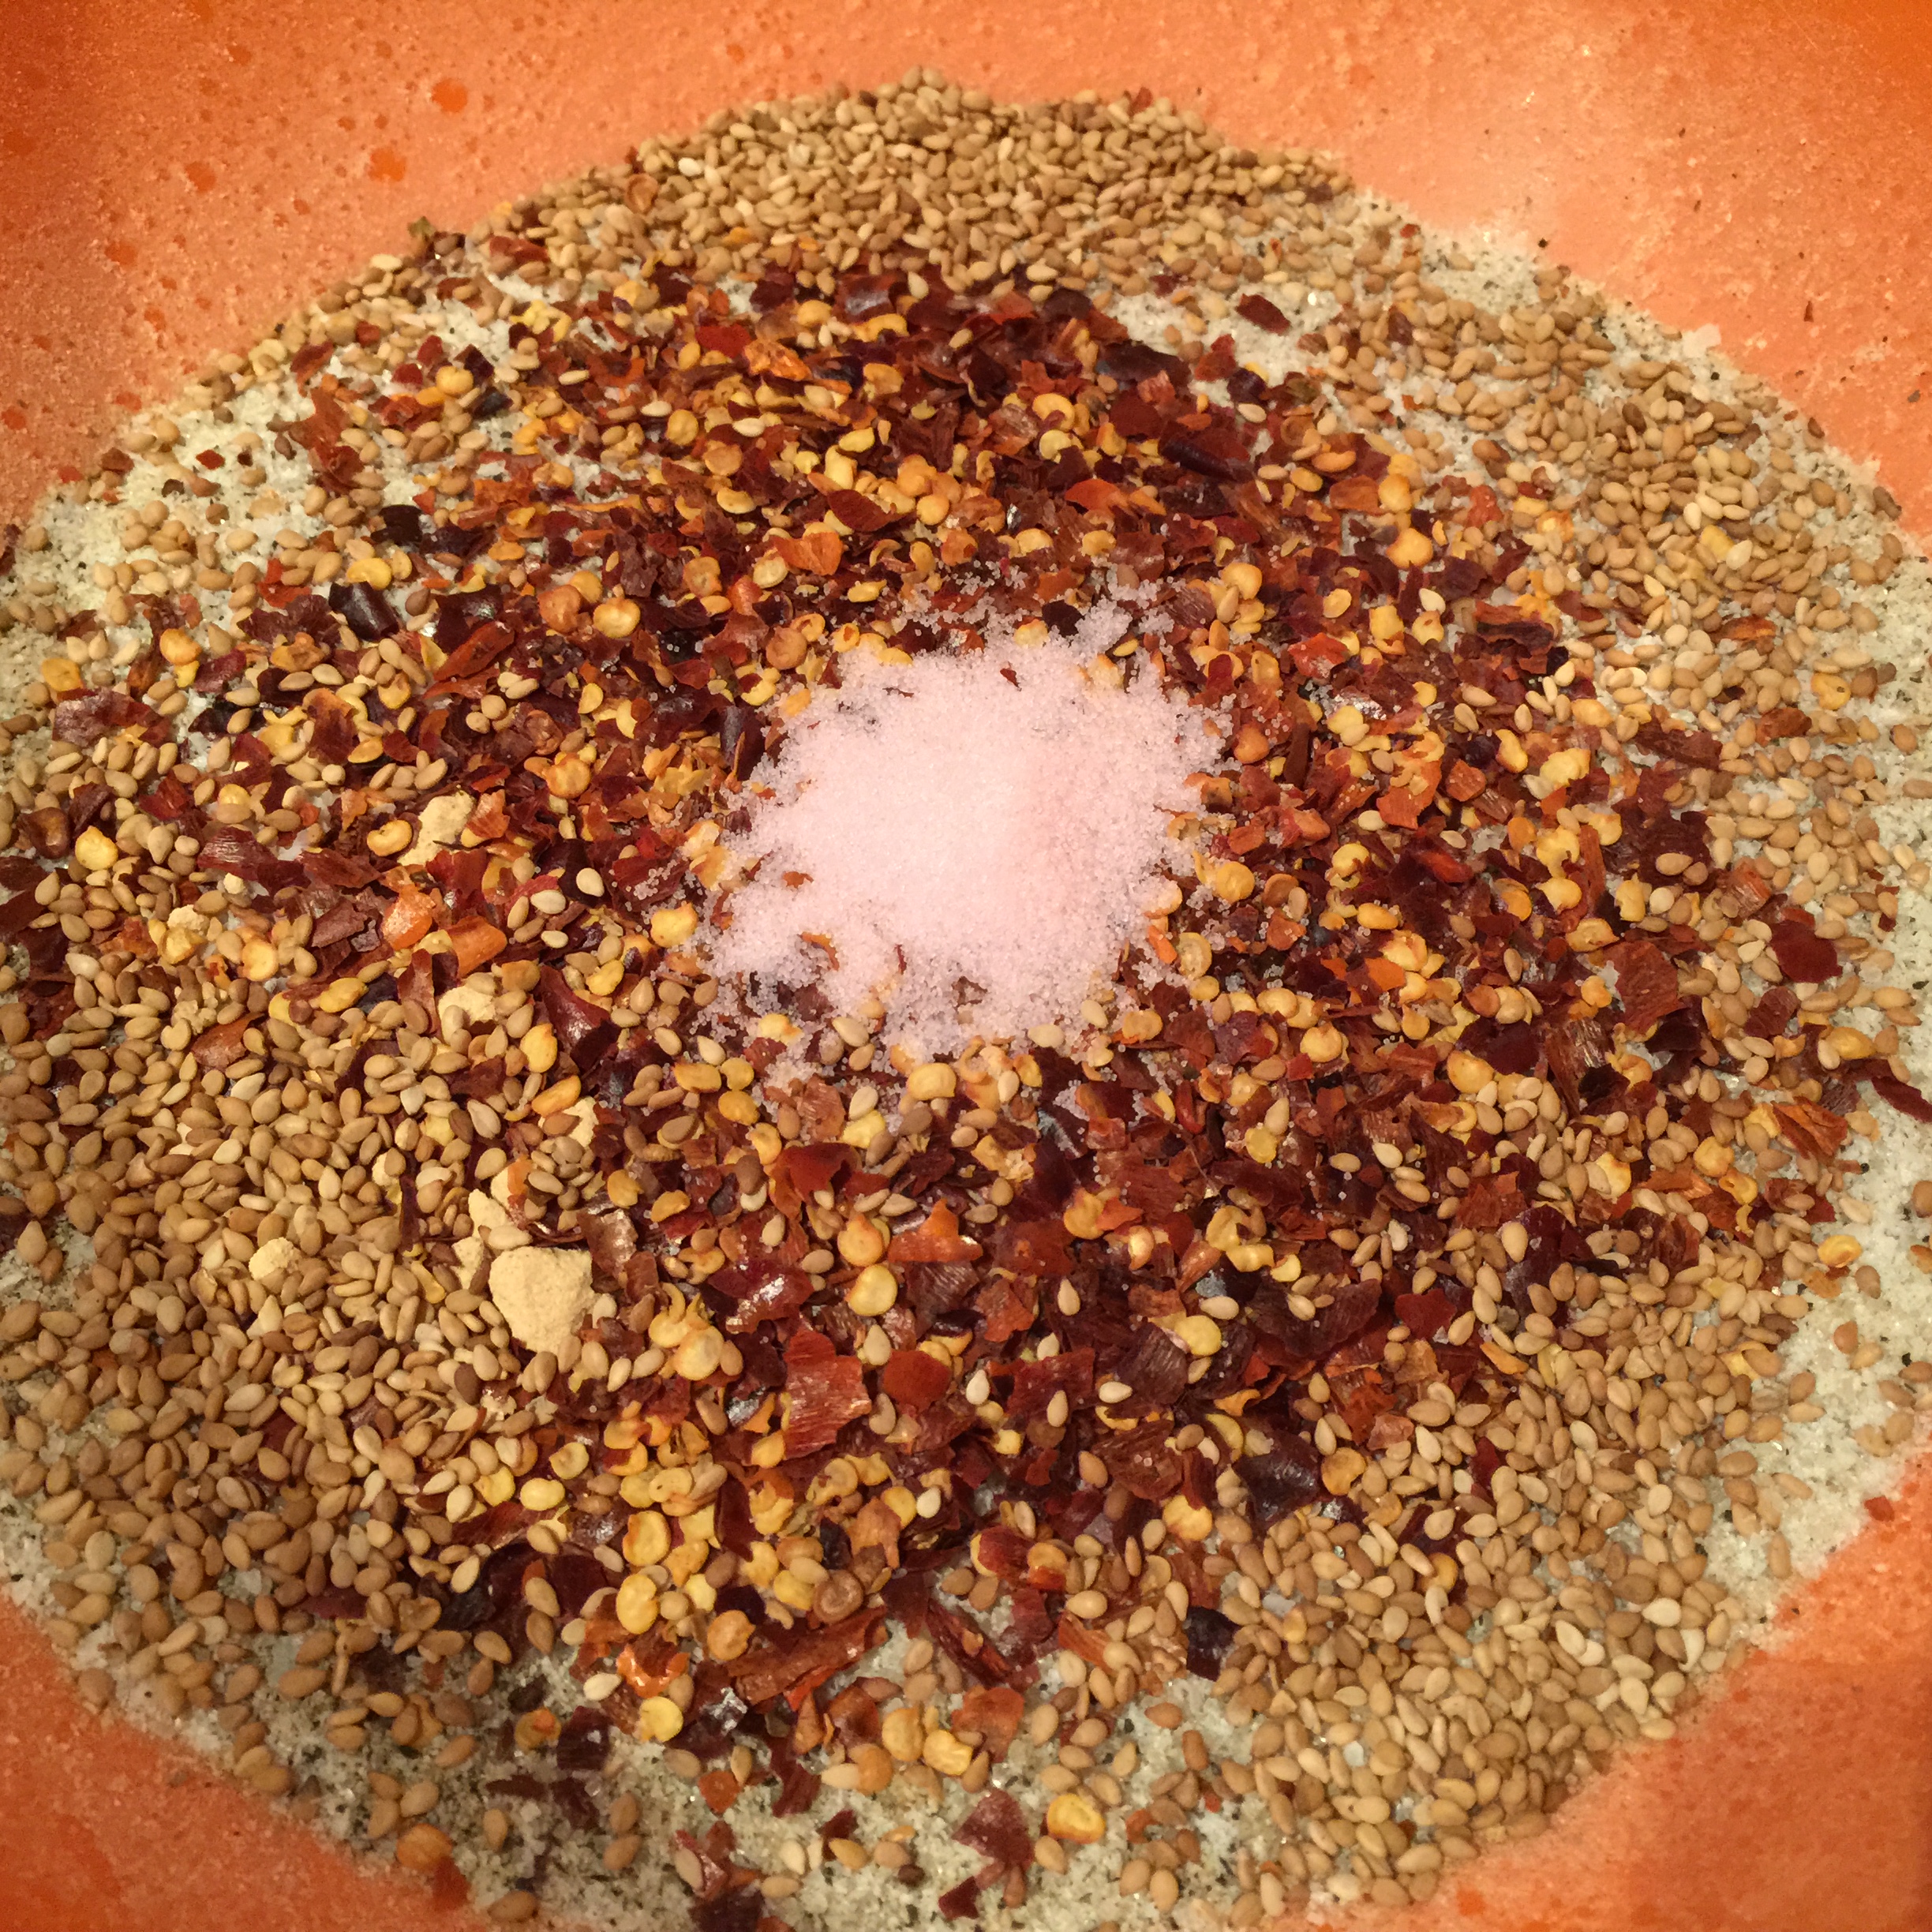
I used equilibrium curing in order to cure the fish, using a mix of salt, cure #2, spices, and the starter culture B-LC-007.
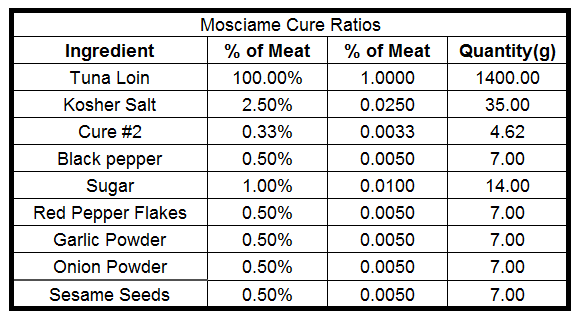
Only salt and cure #2 are necessary. Spices can be adjusted based on personal preference. In this case, I added a starter culture to give the meat an extra earthy flavor, but it was more of an experiment than anything else and definitely not necessary.
After the meat was allowed to equilibrium cure for 48 hours, the cure was washed off and the meat was patted dry.
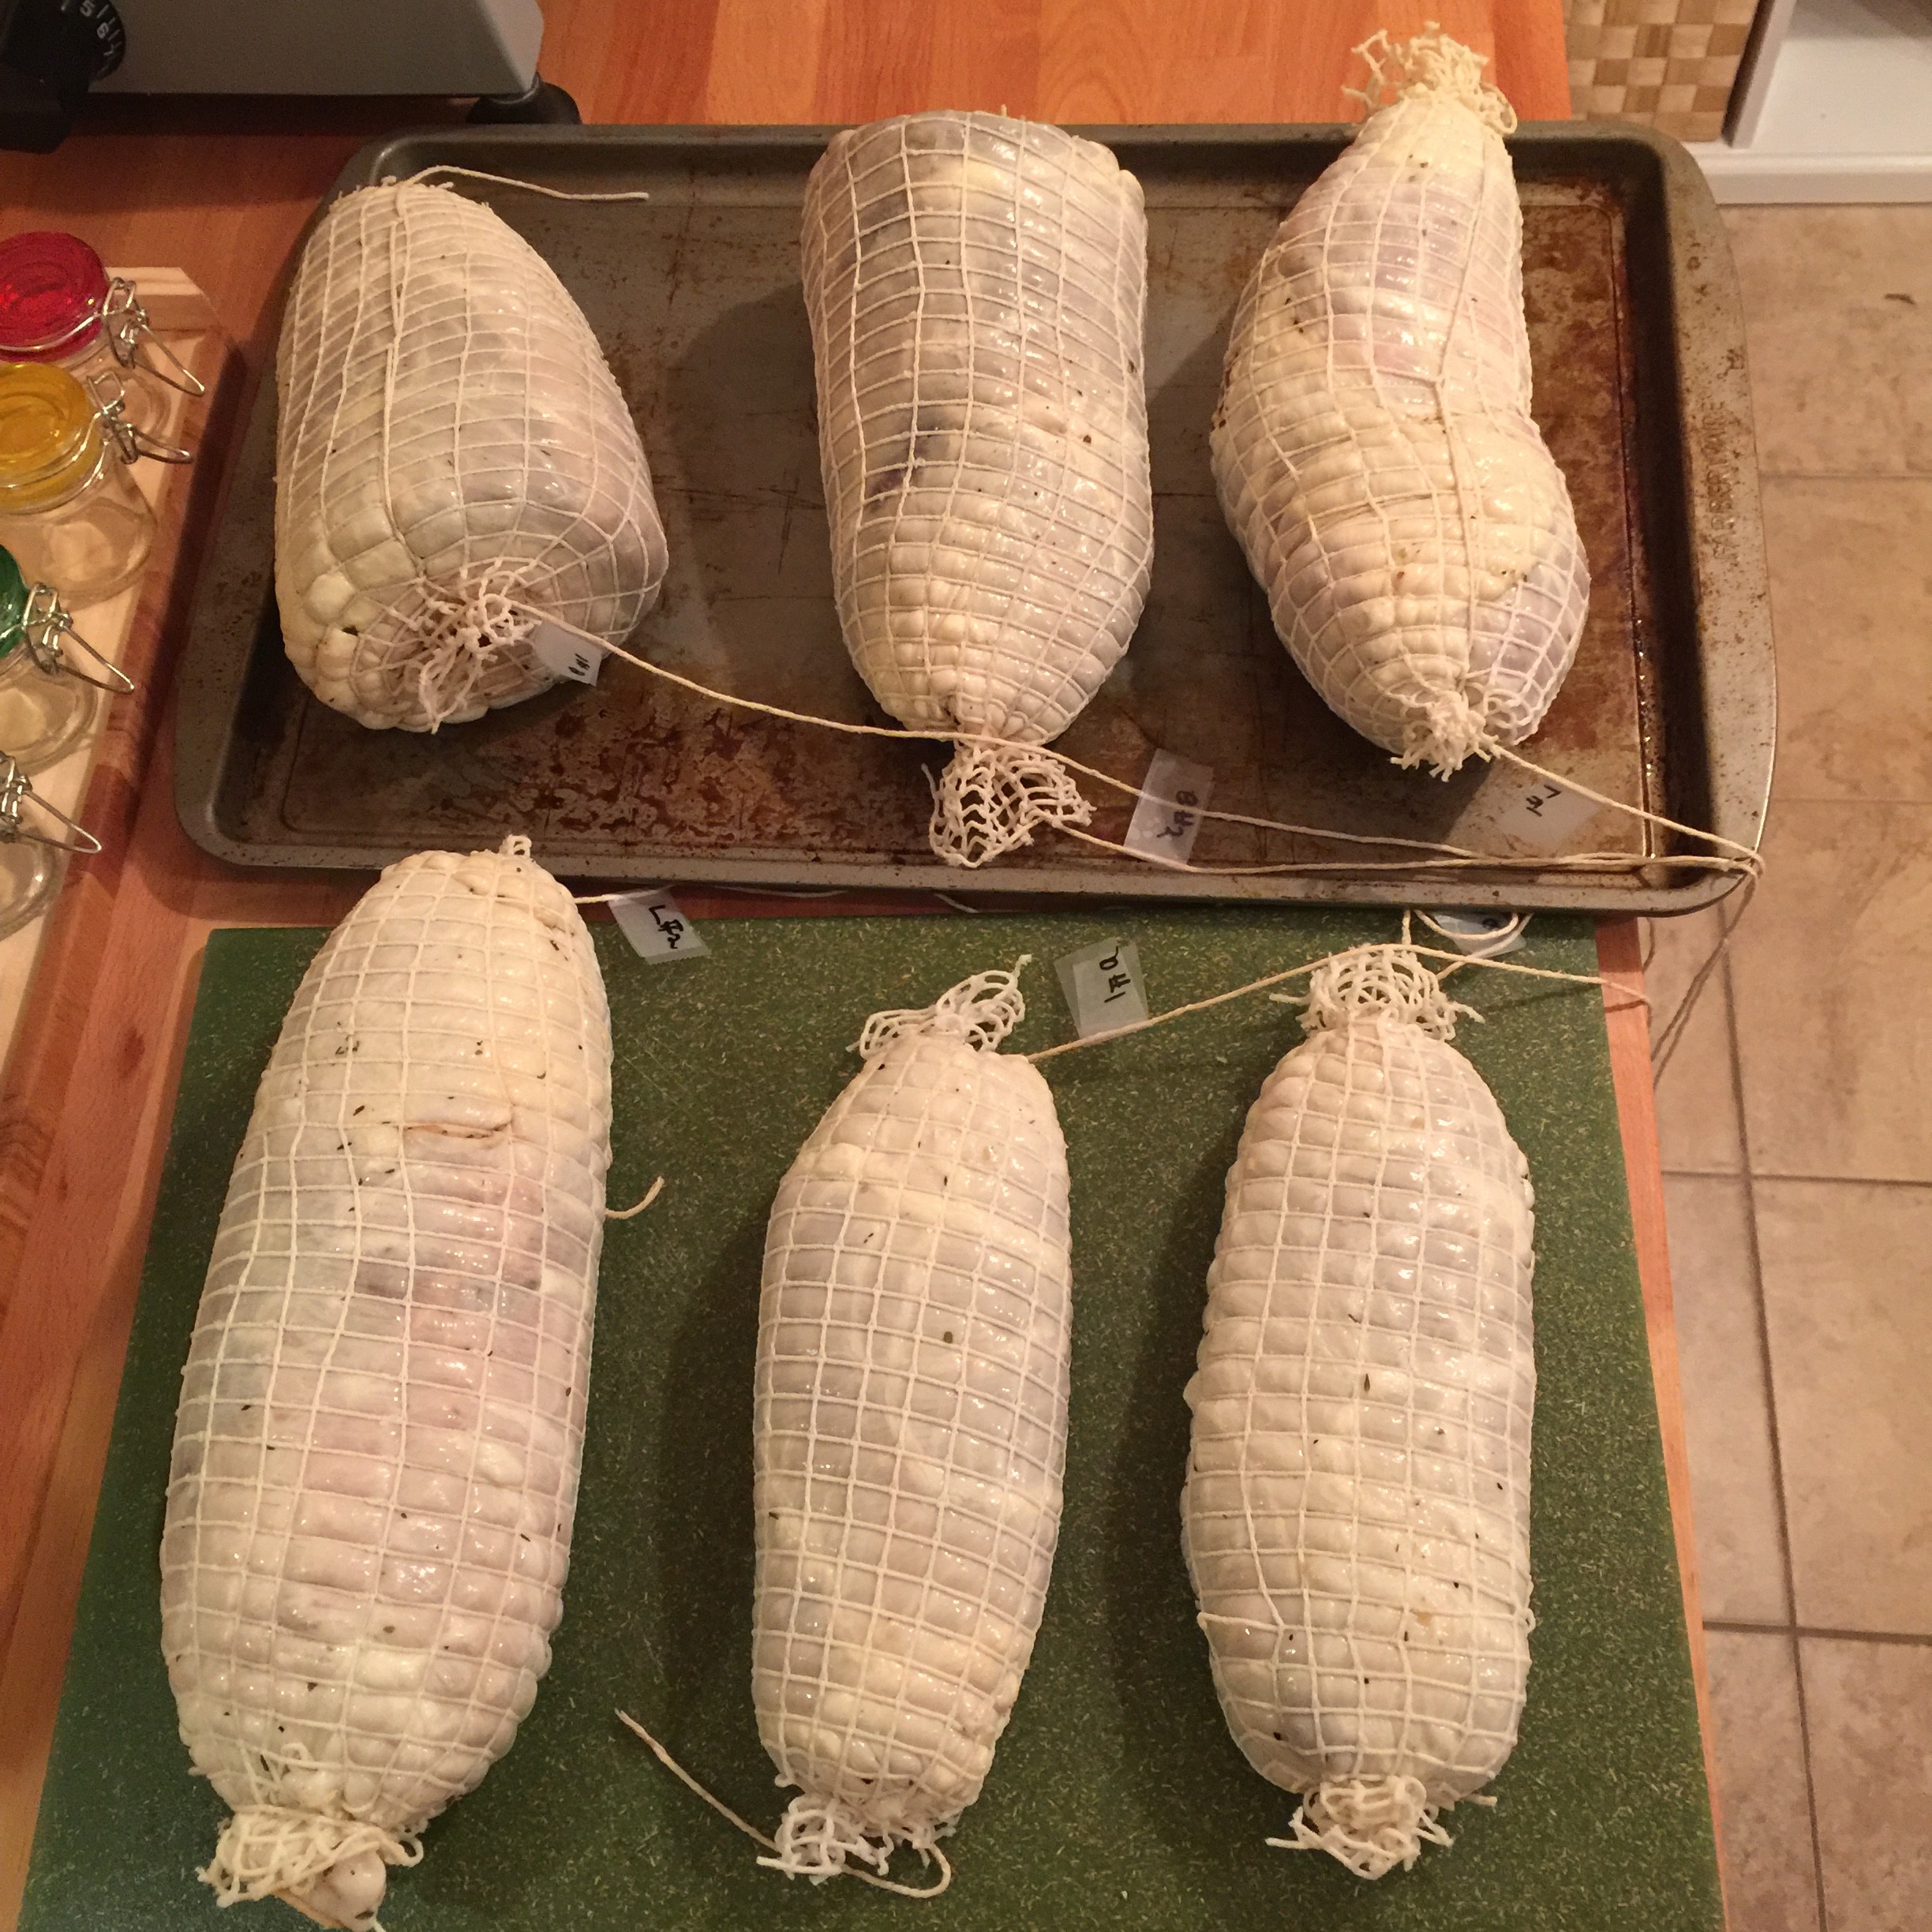
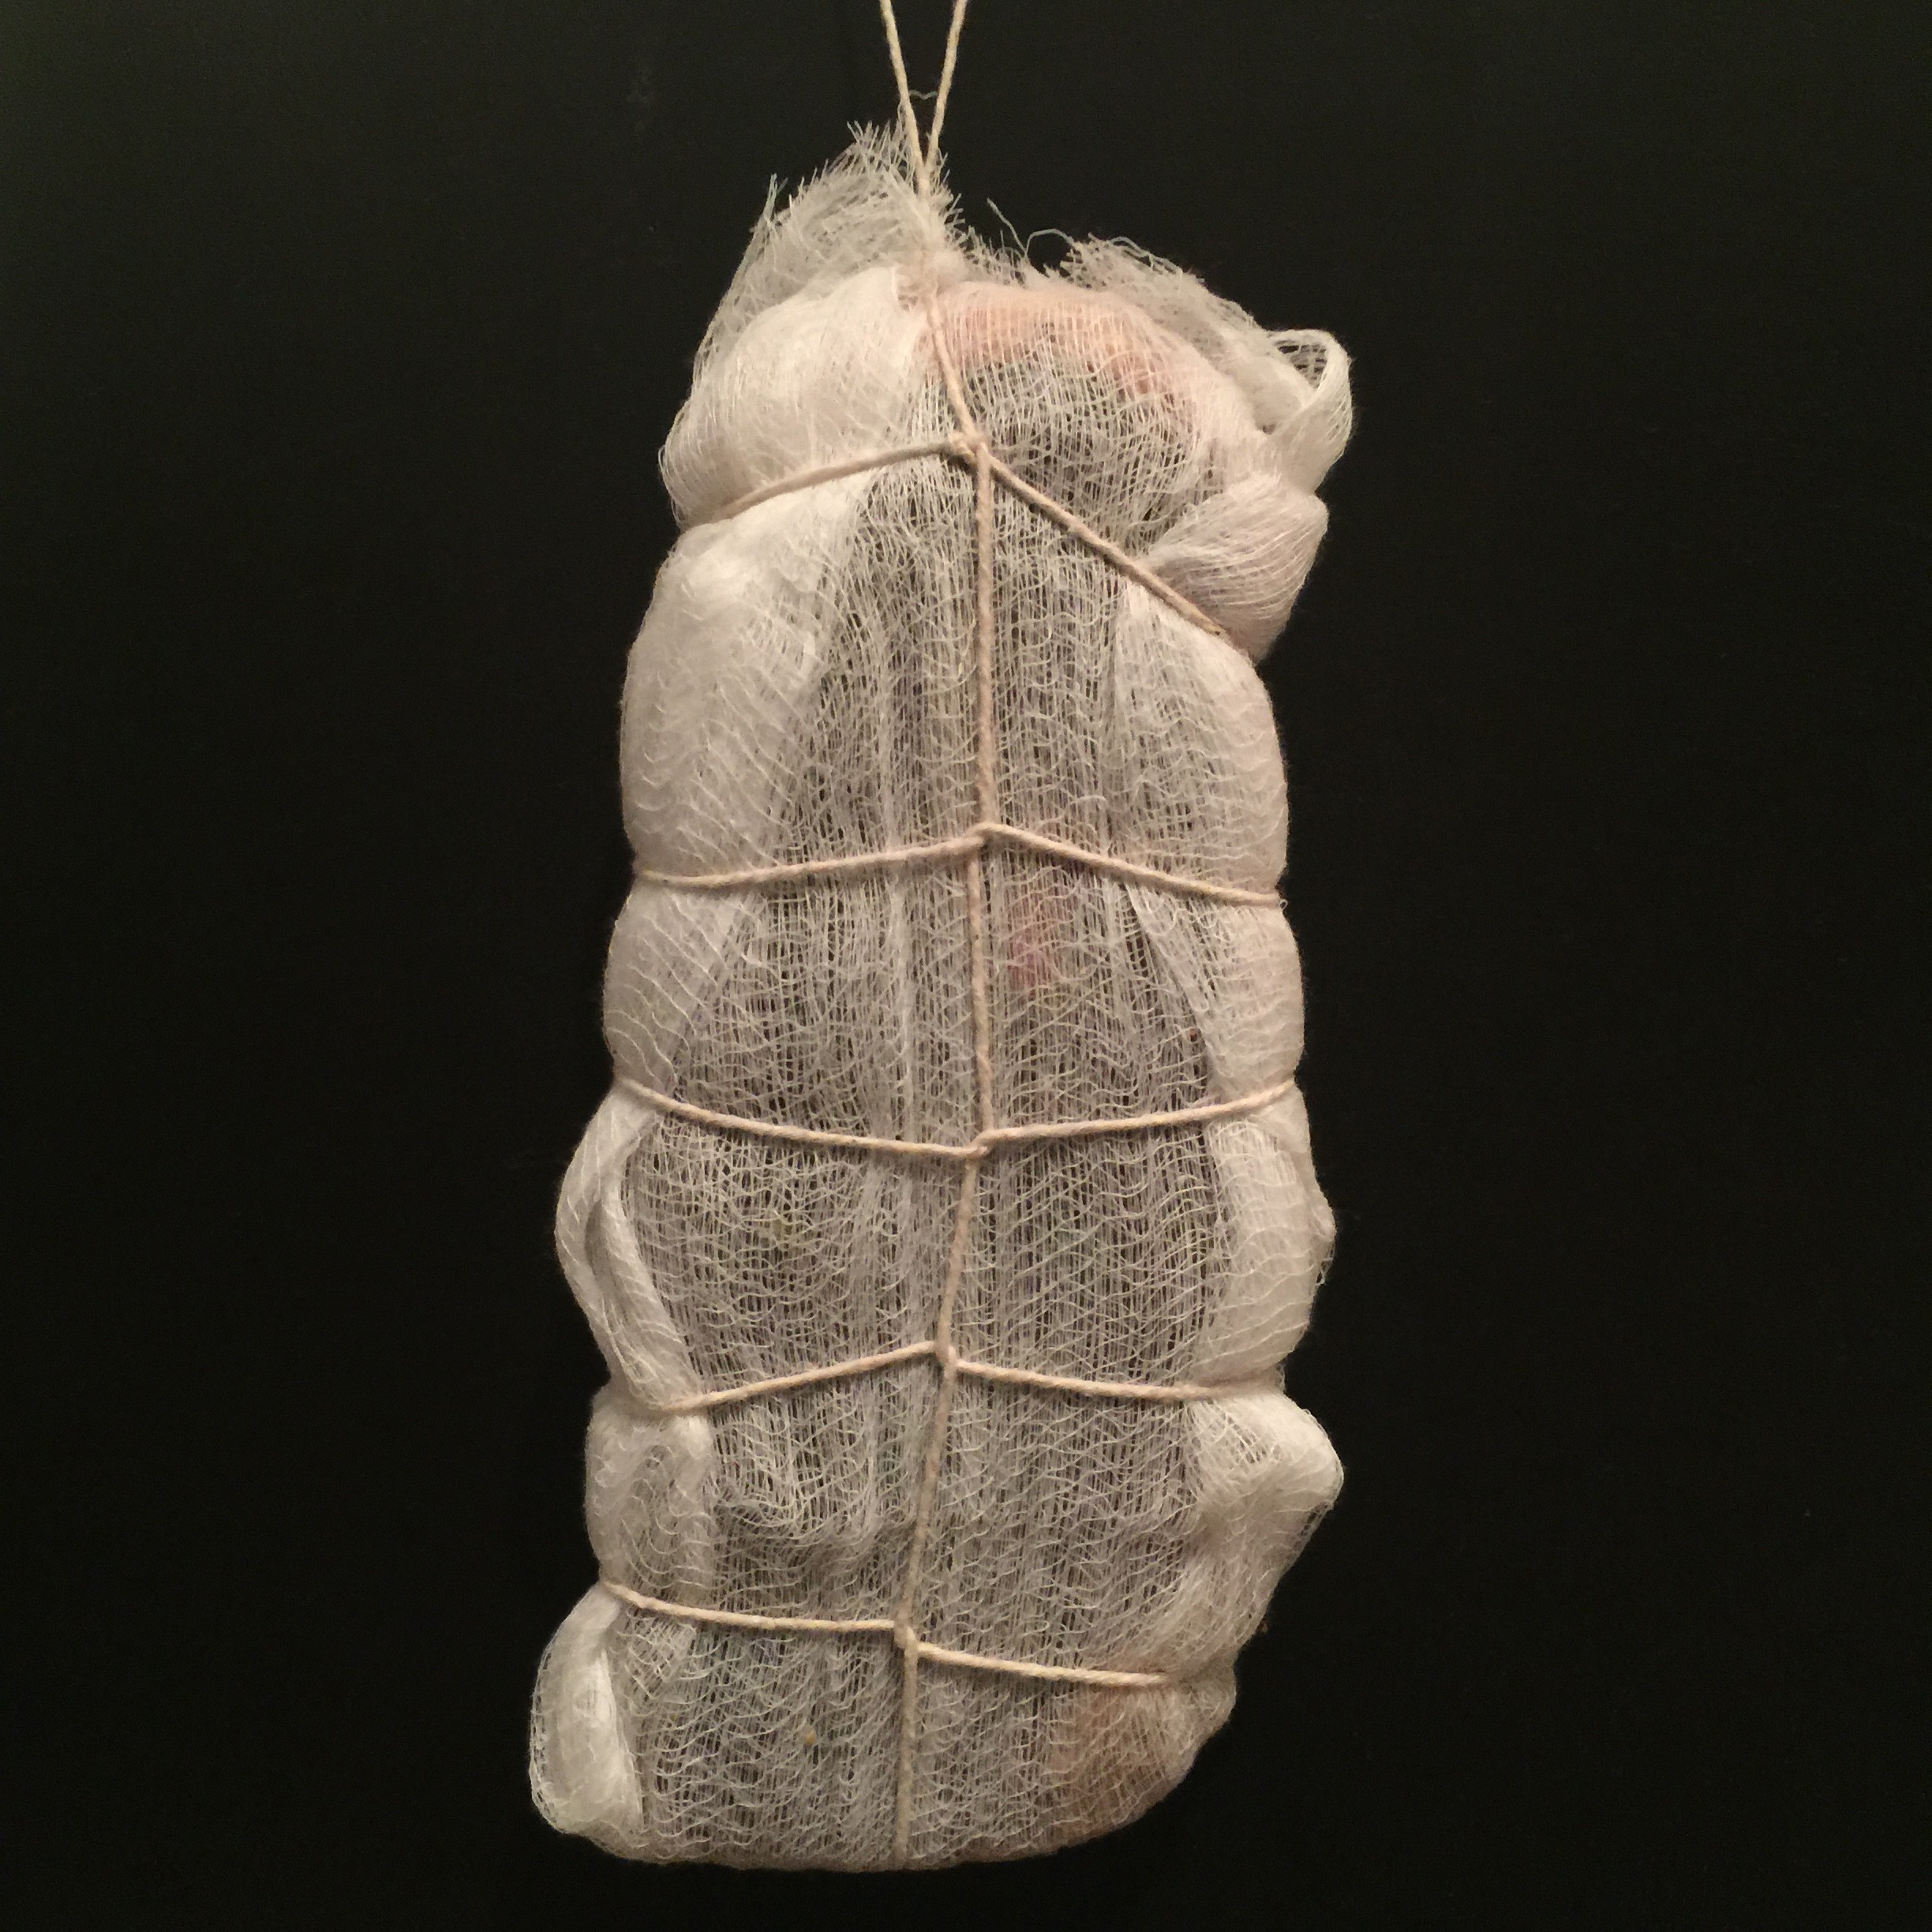
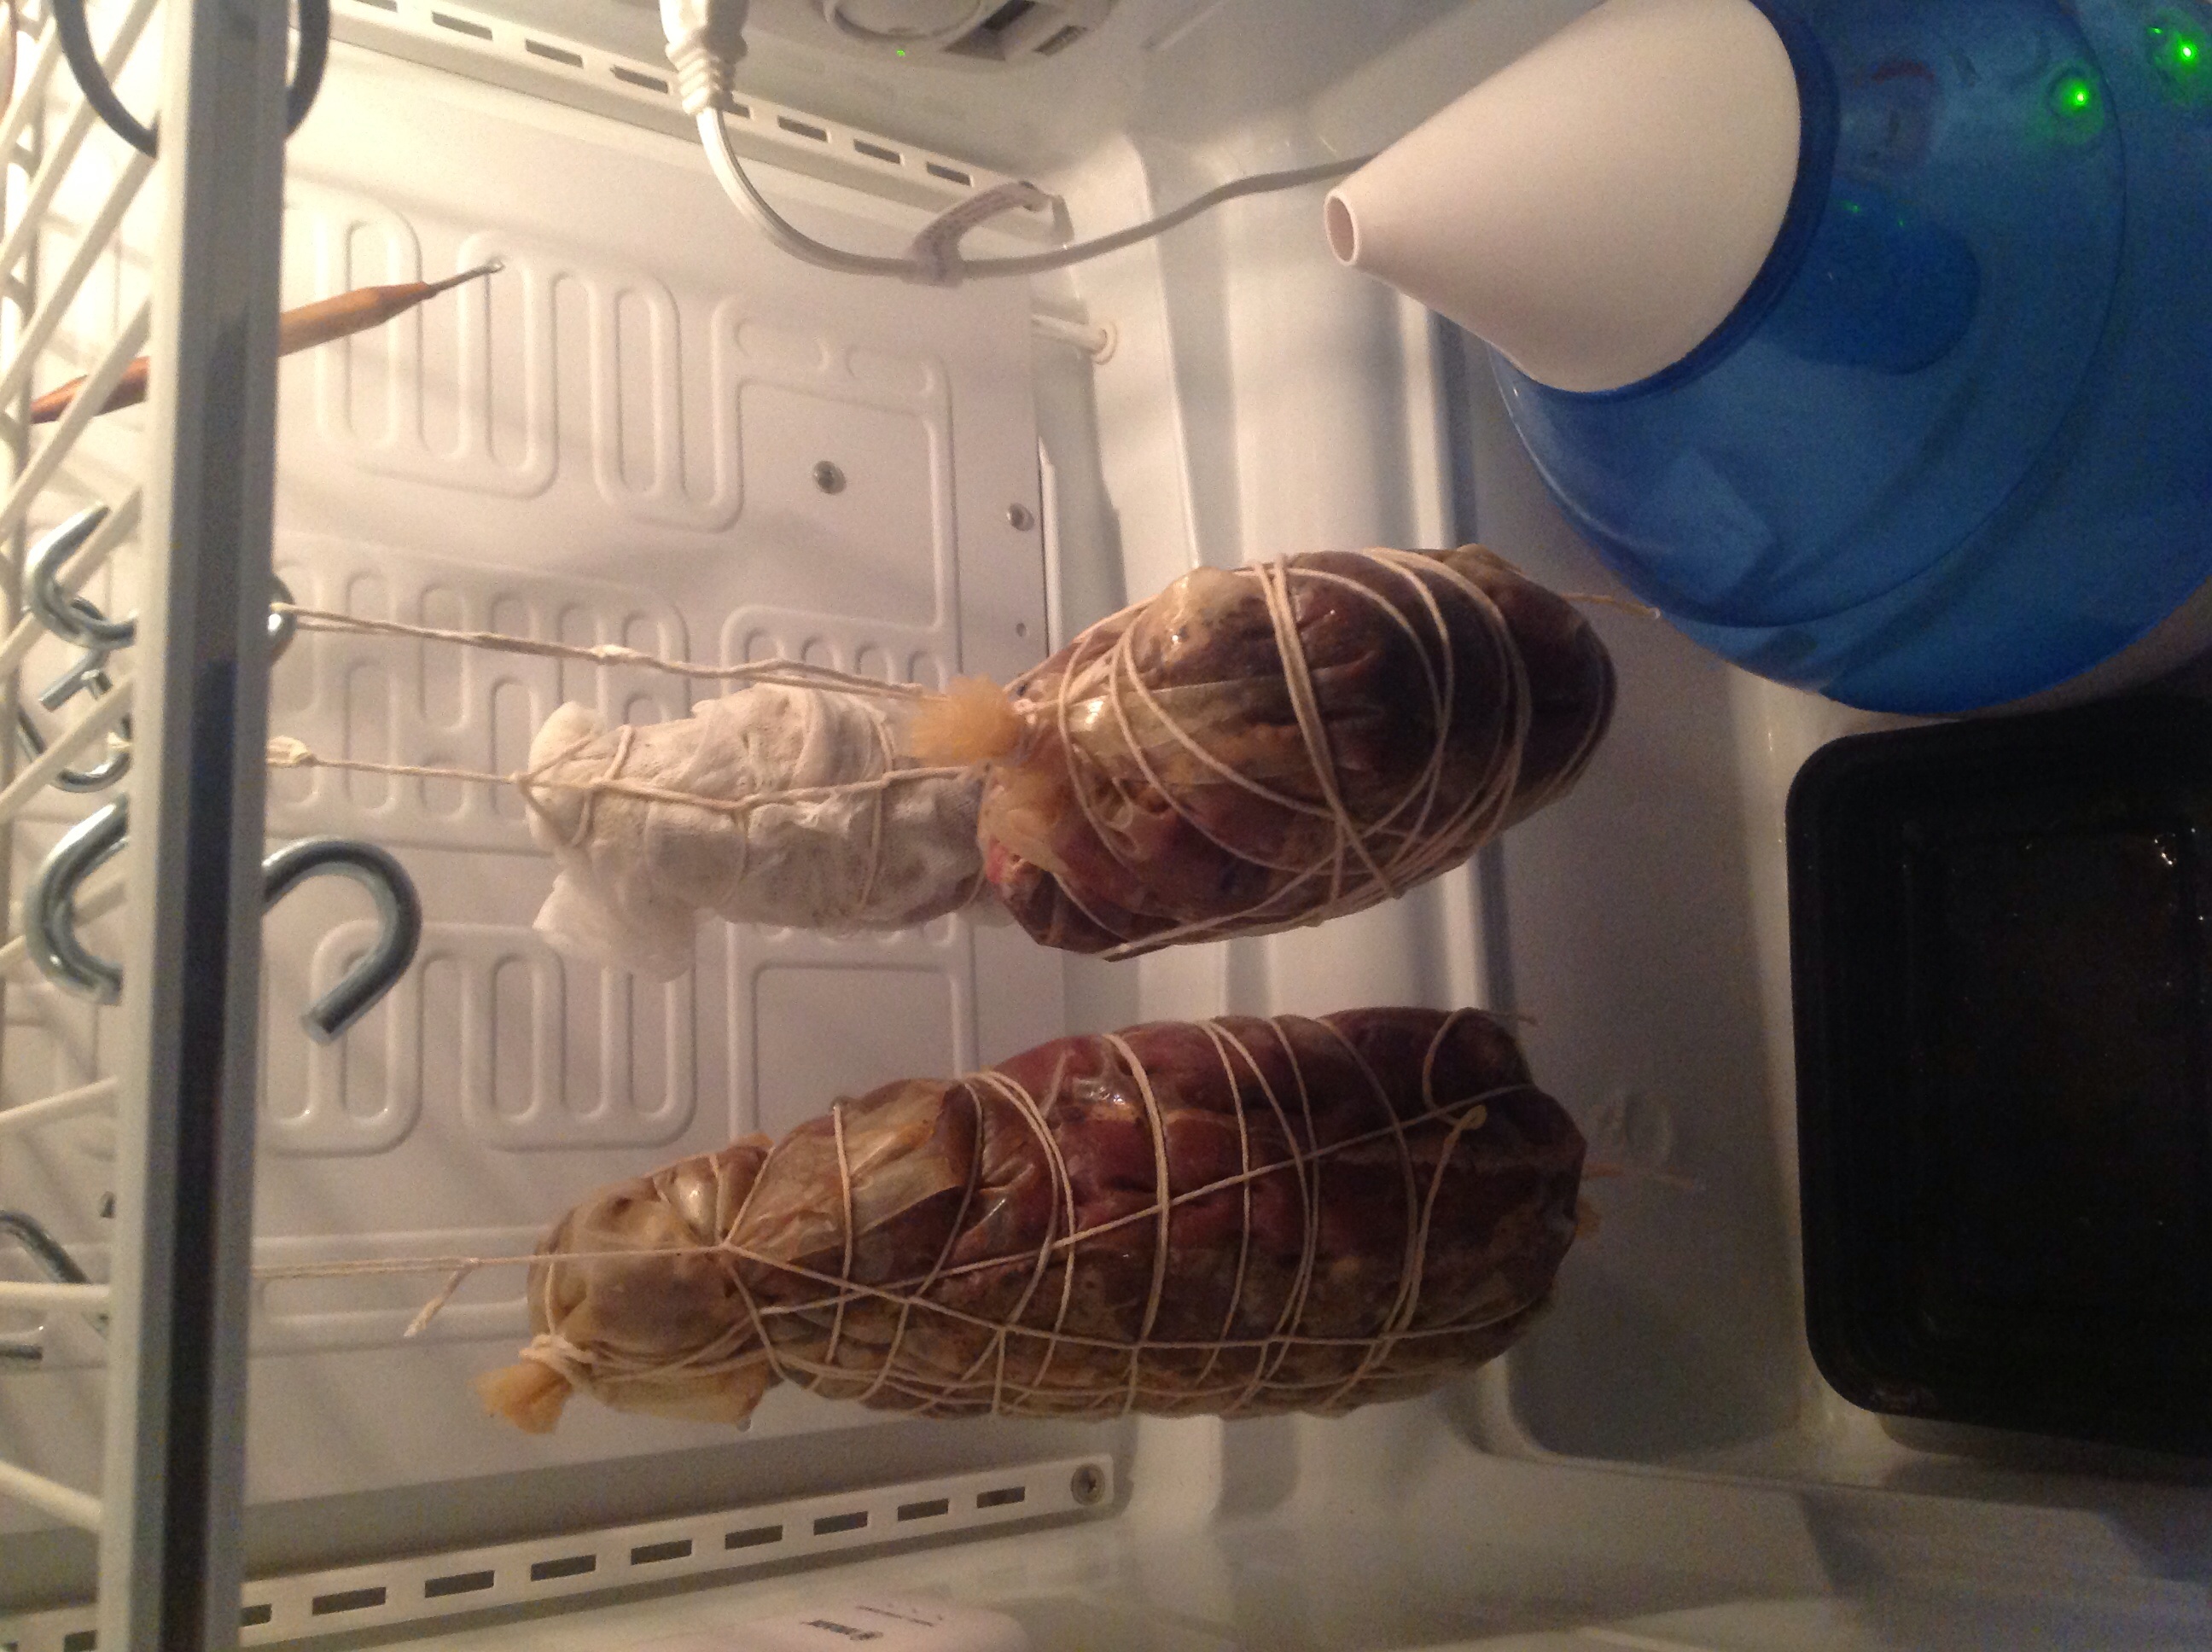
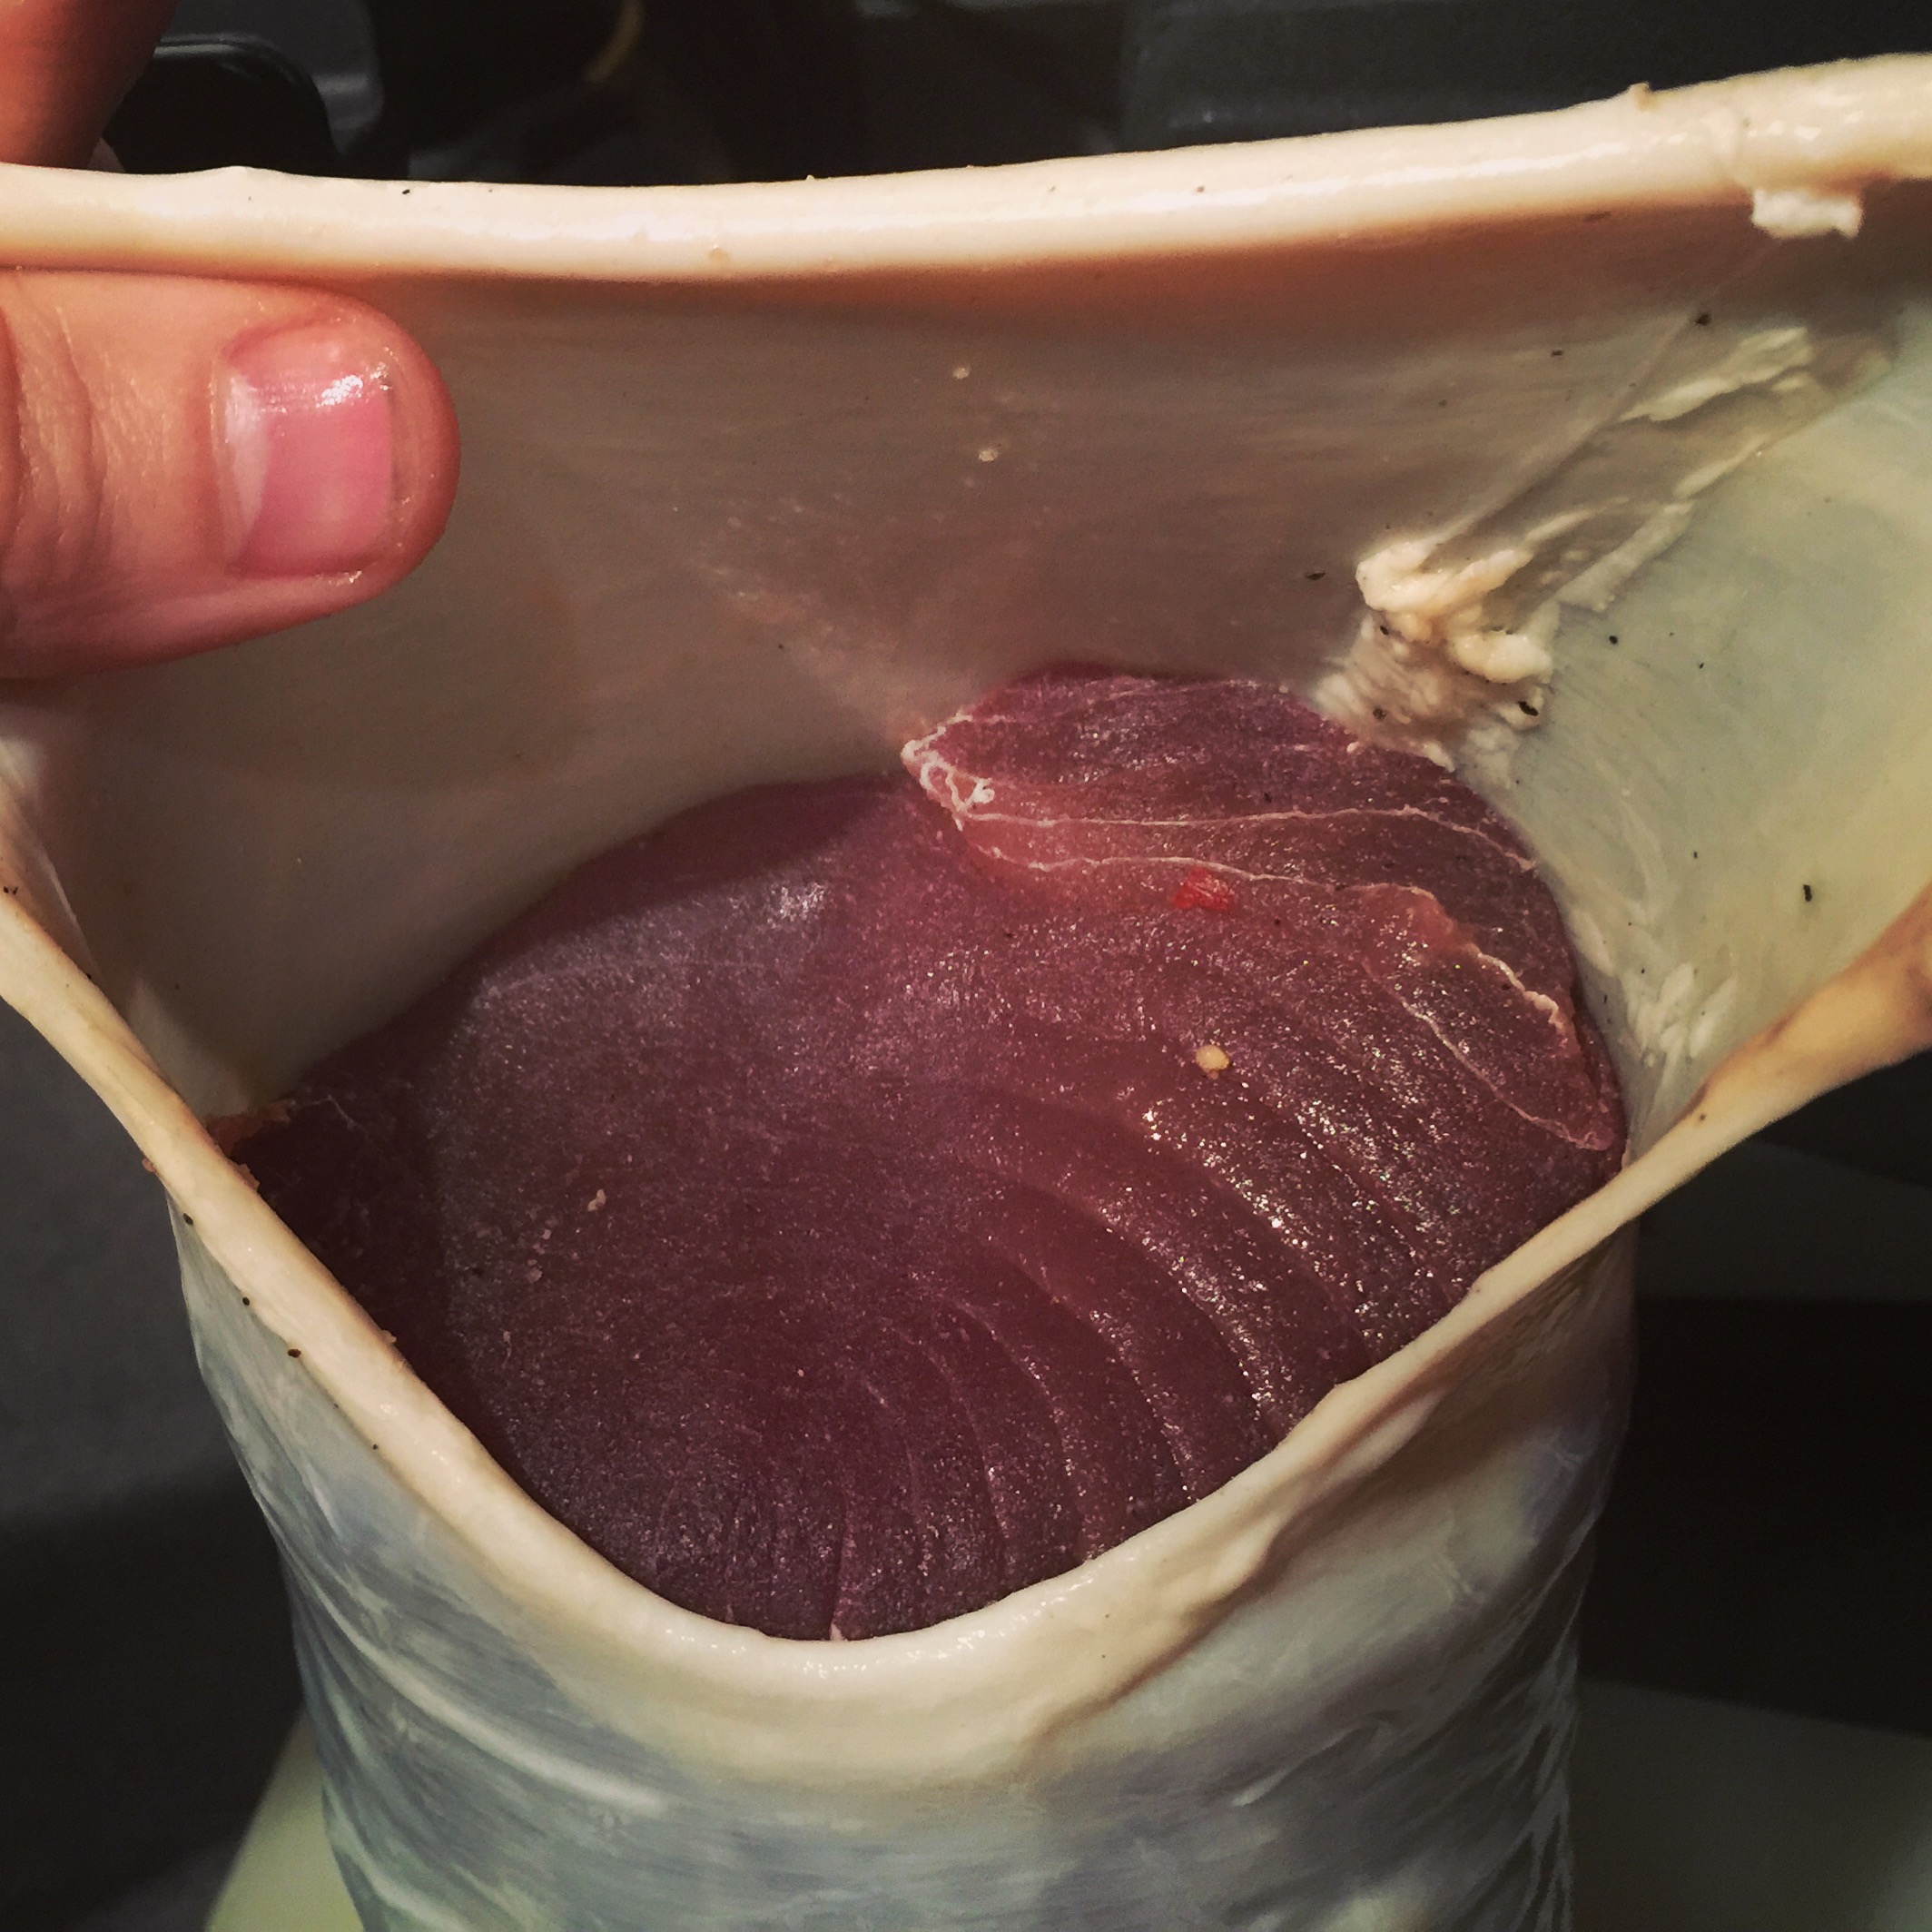
Casing: (1 hour)
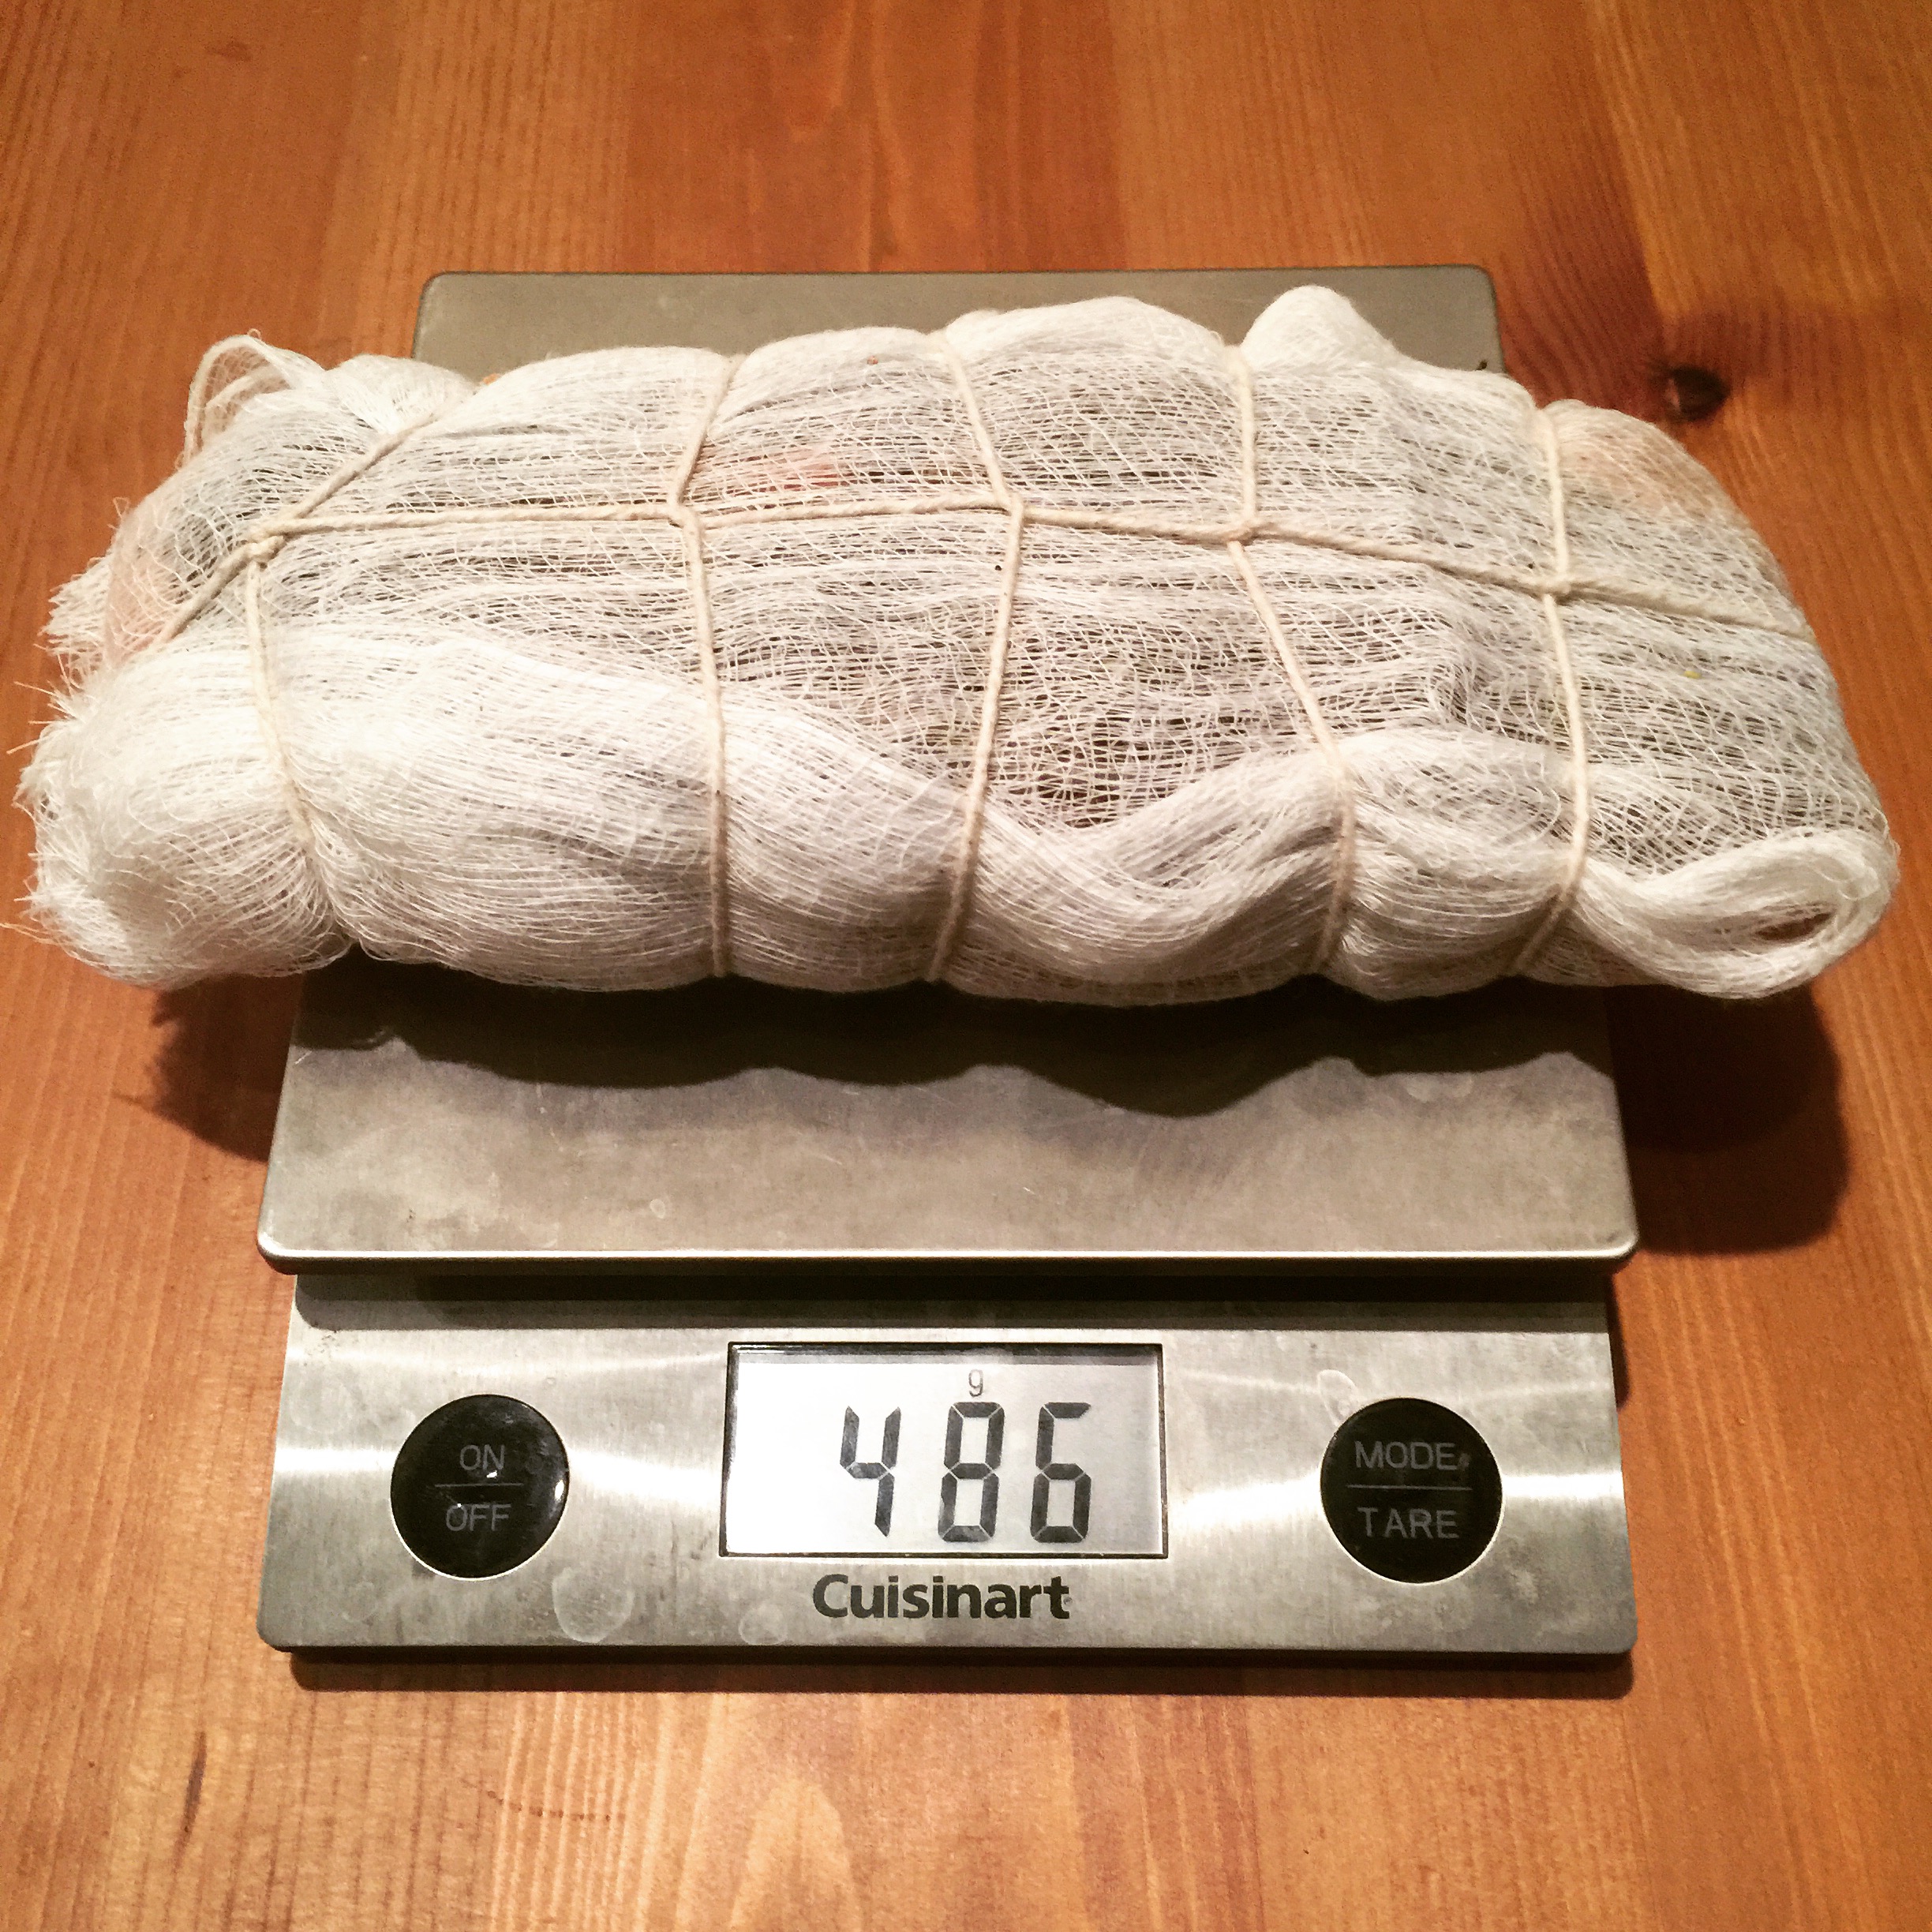
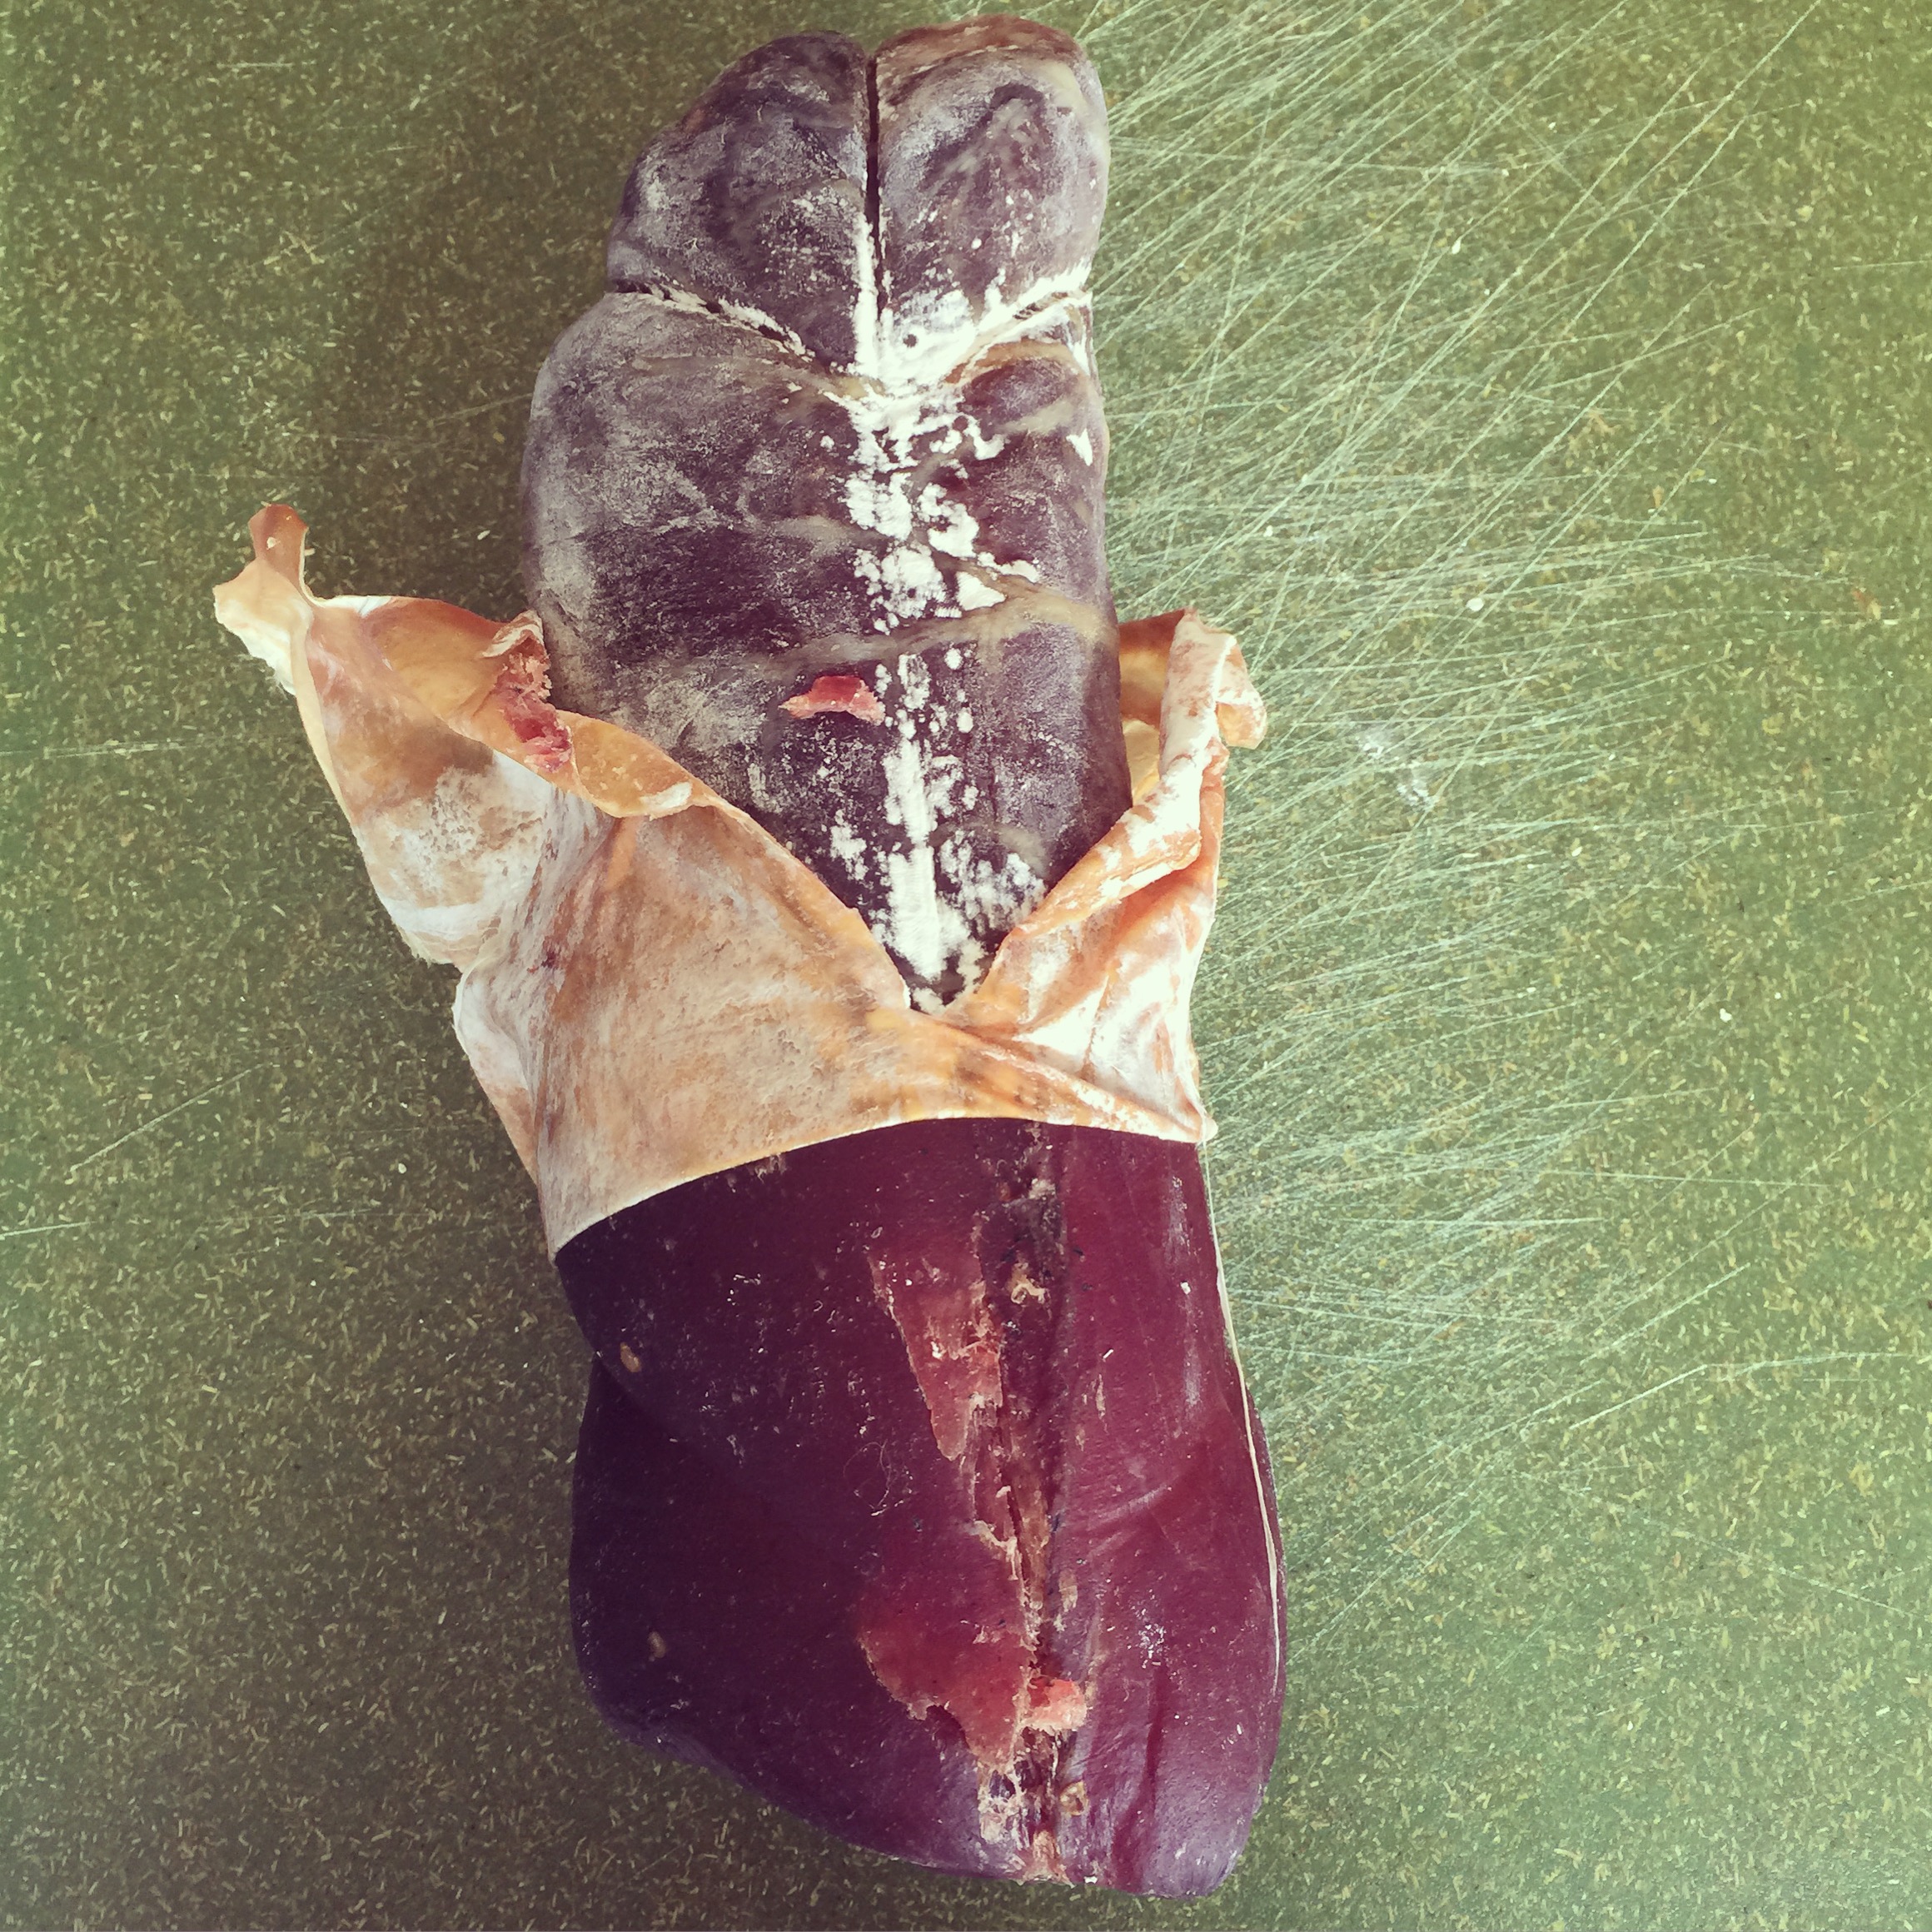
Then, the meat was stuffed into a beef bung casing.
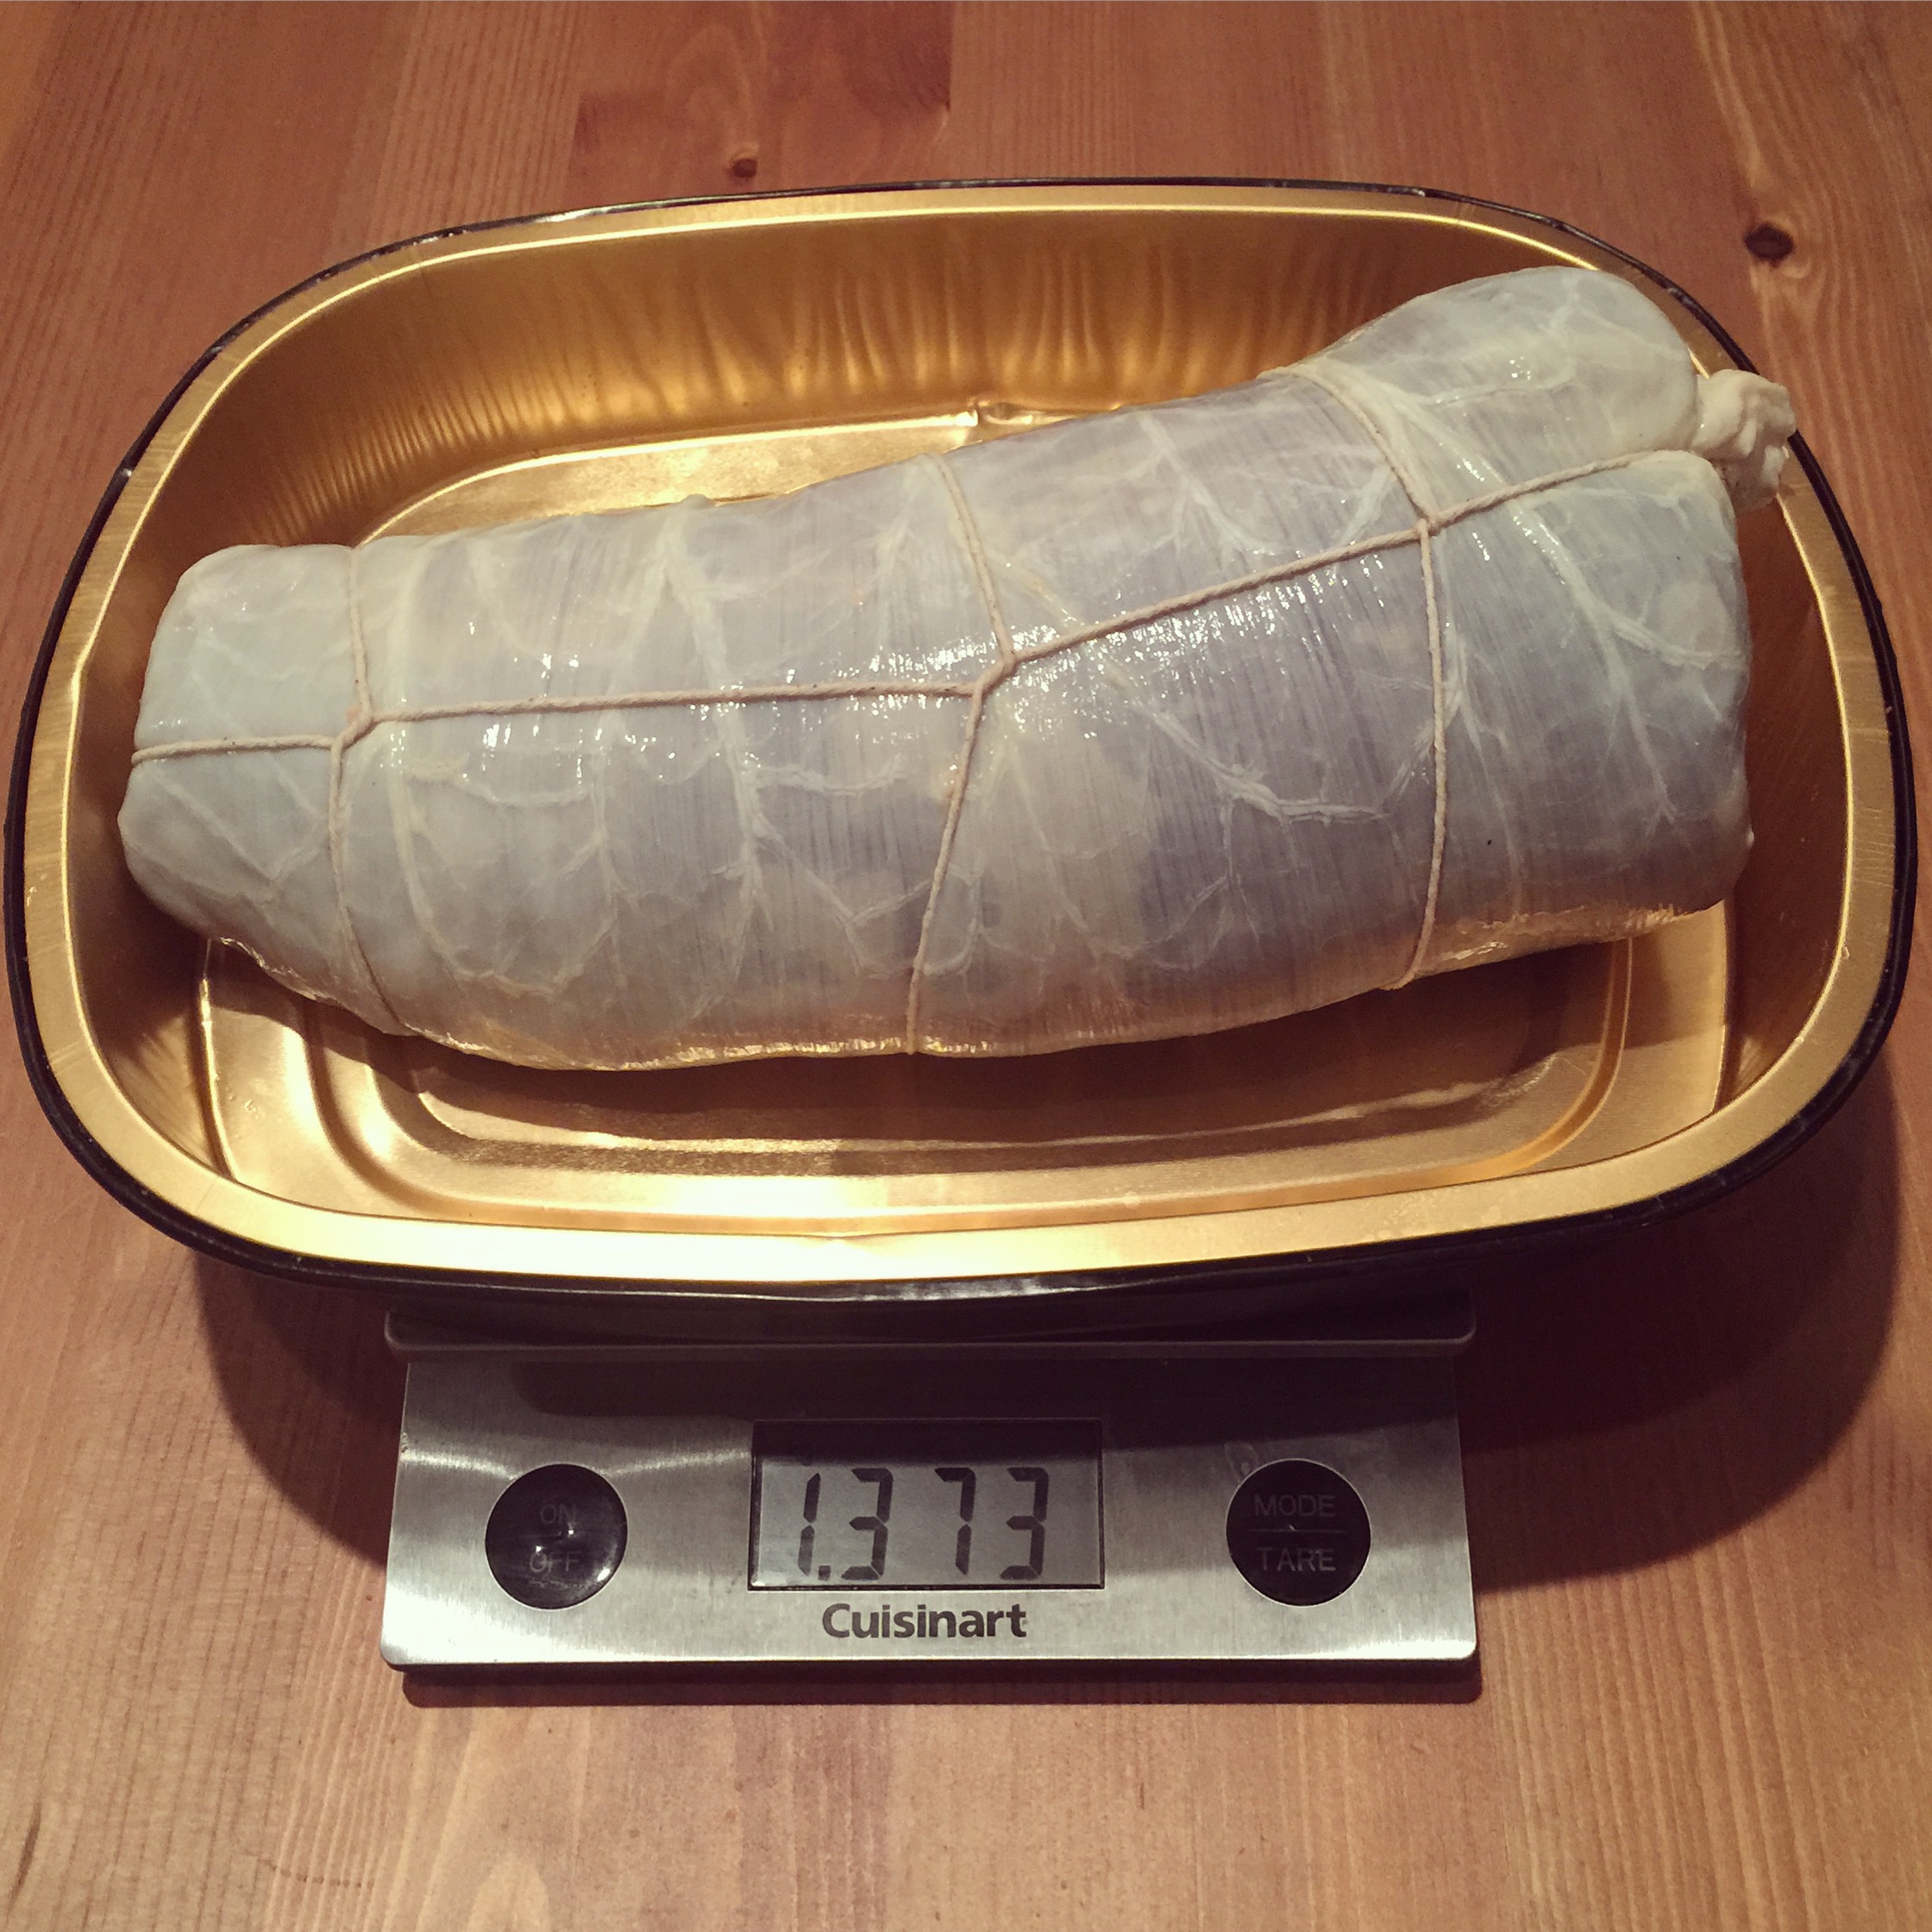
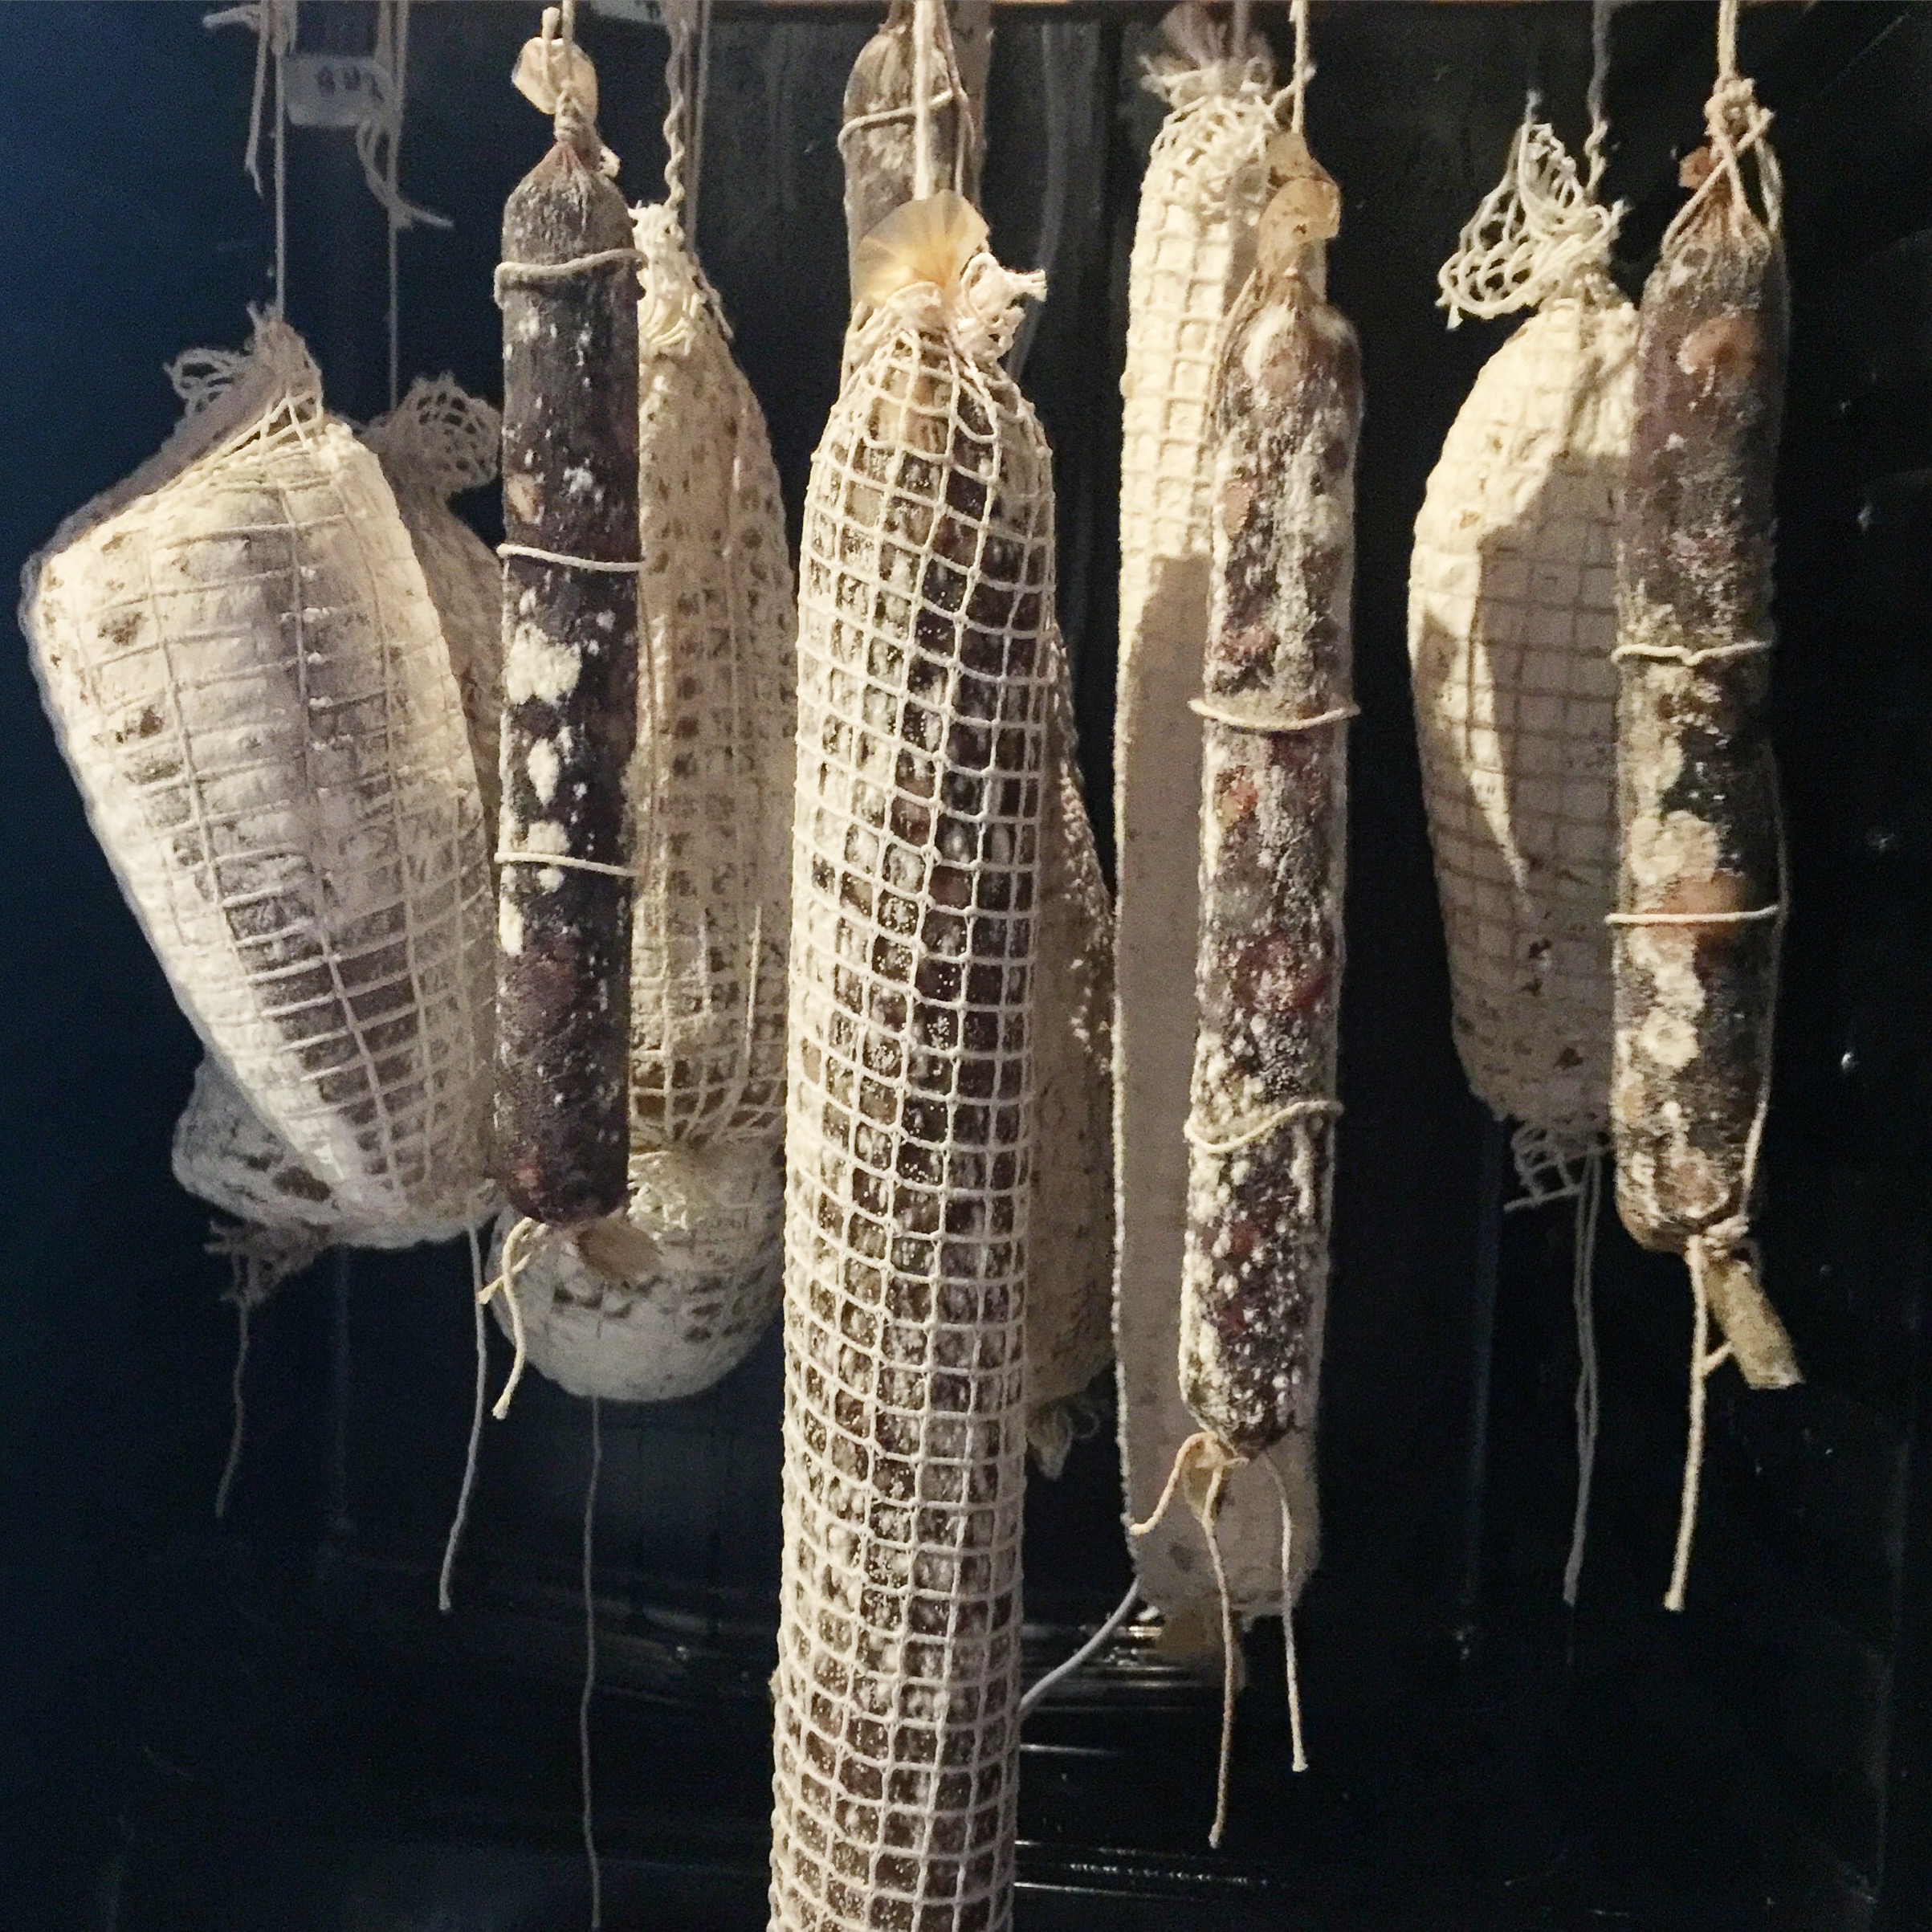
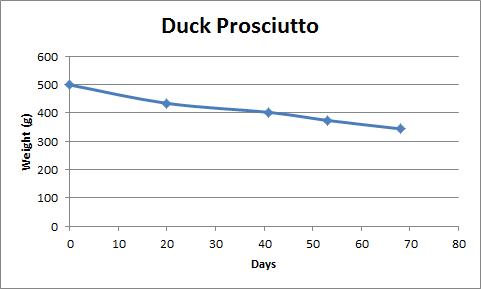
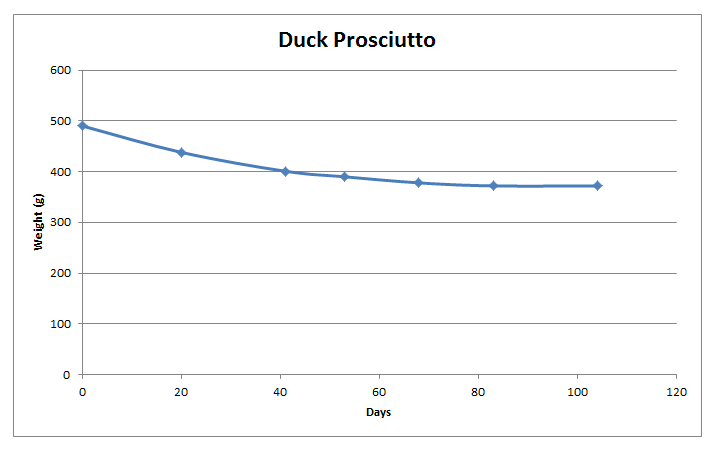
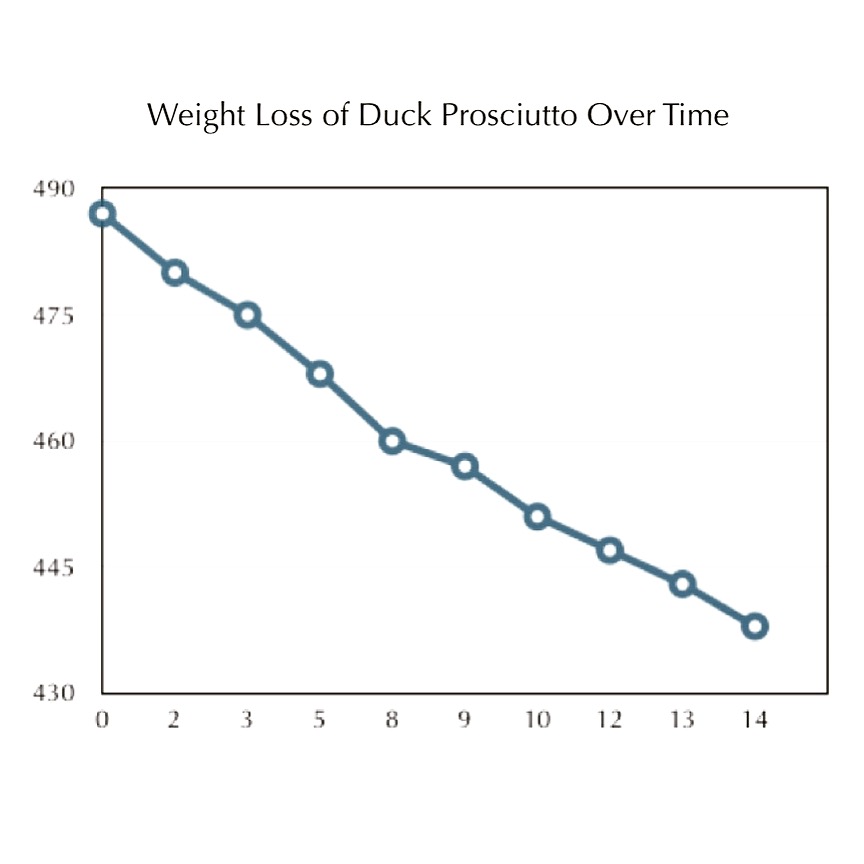
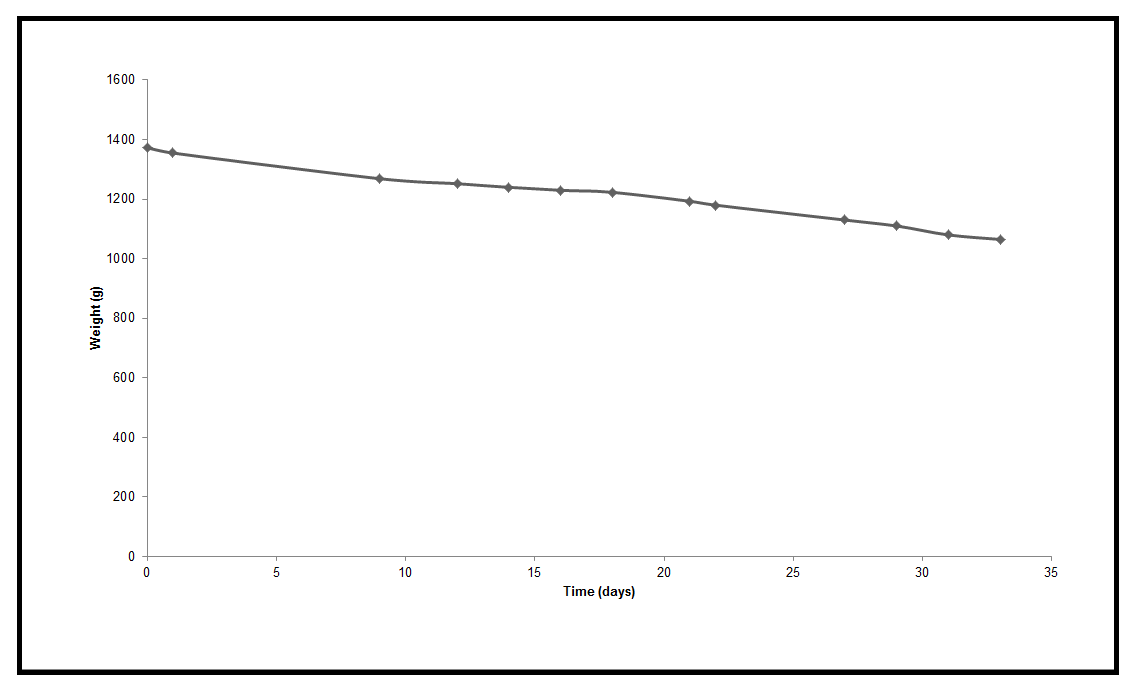
Drying (1 month+, until 30% of weight is lost):
Temperature: 54F/12C, Humidity: 70-80% RH
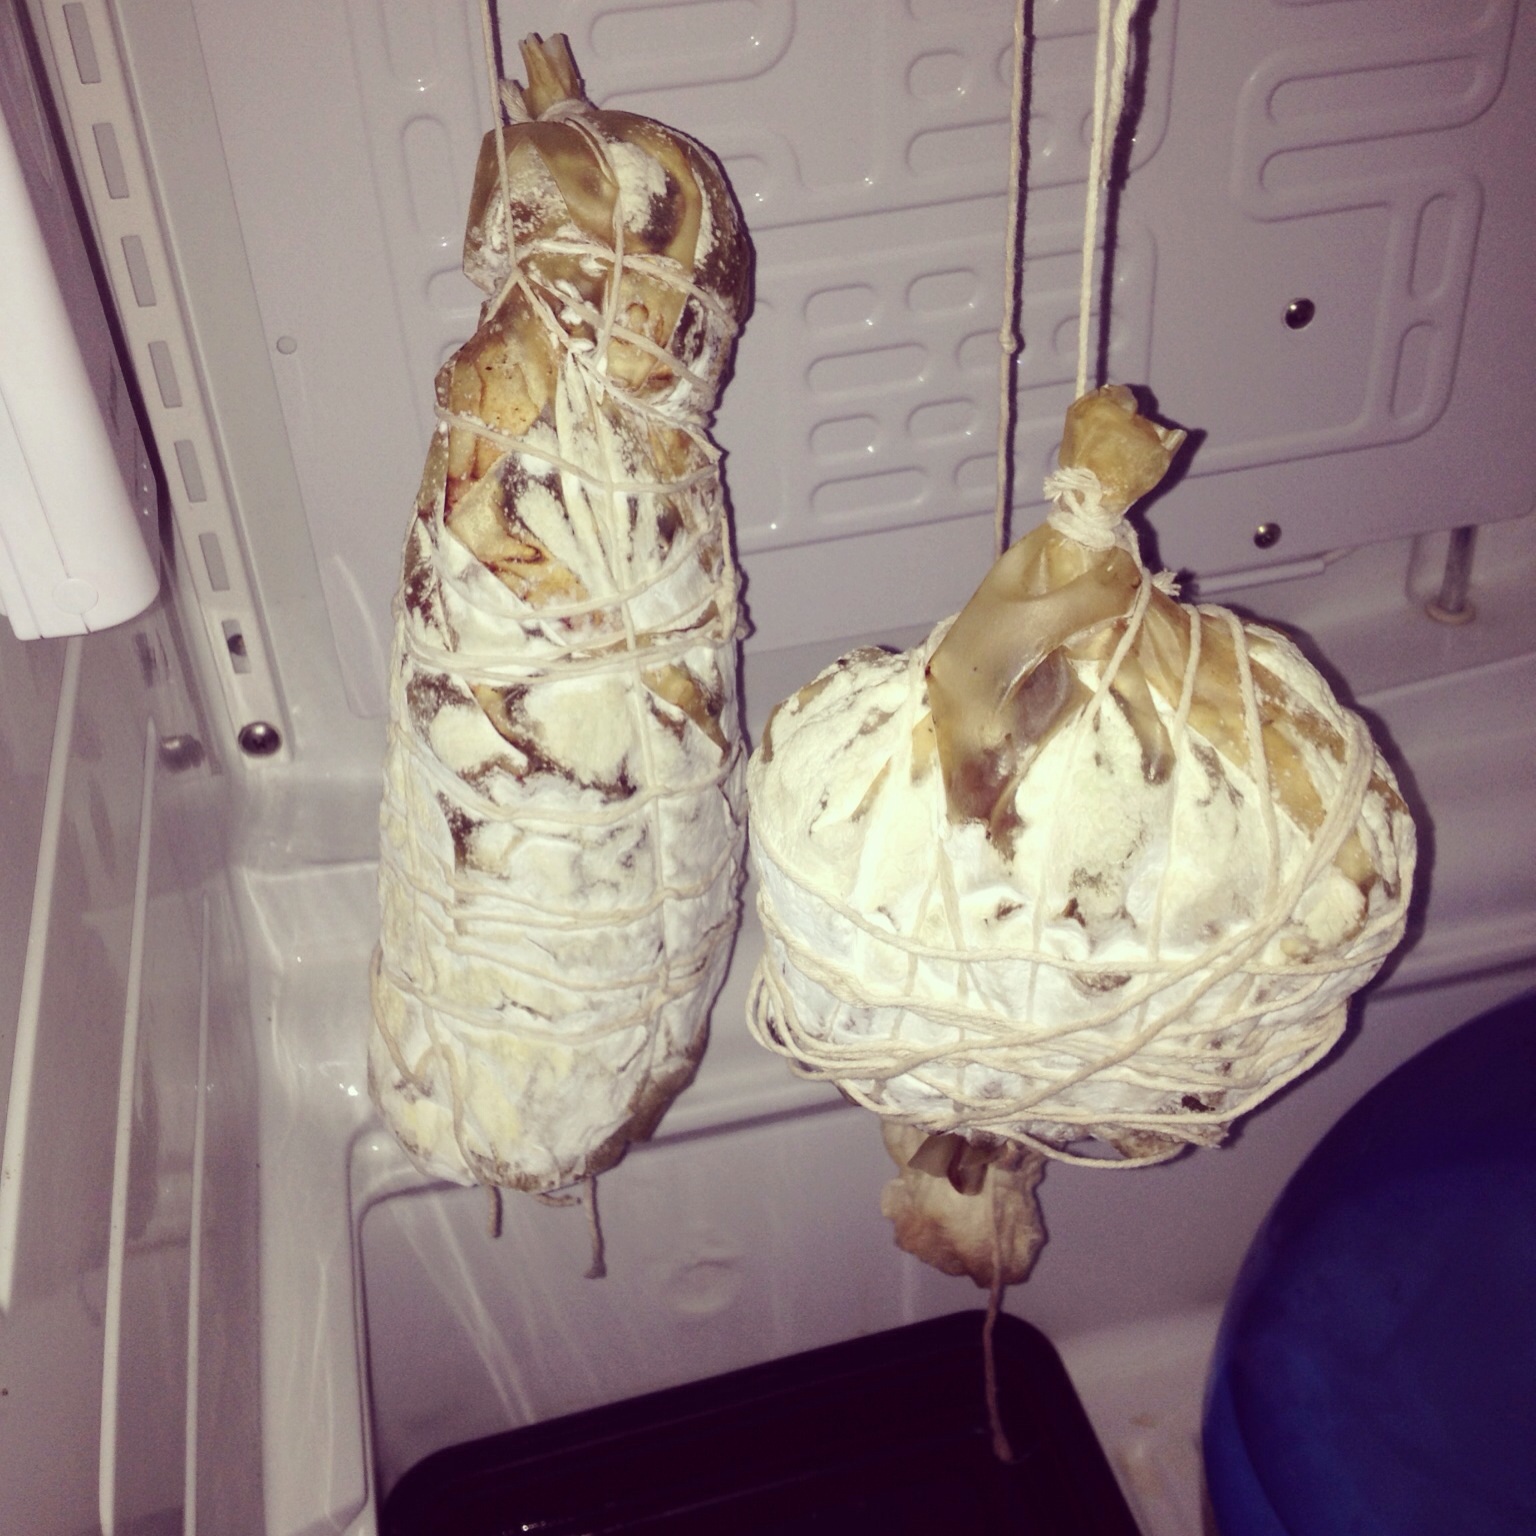
It was added into the curing chamber and allowed to lose 30% of its initial weight.
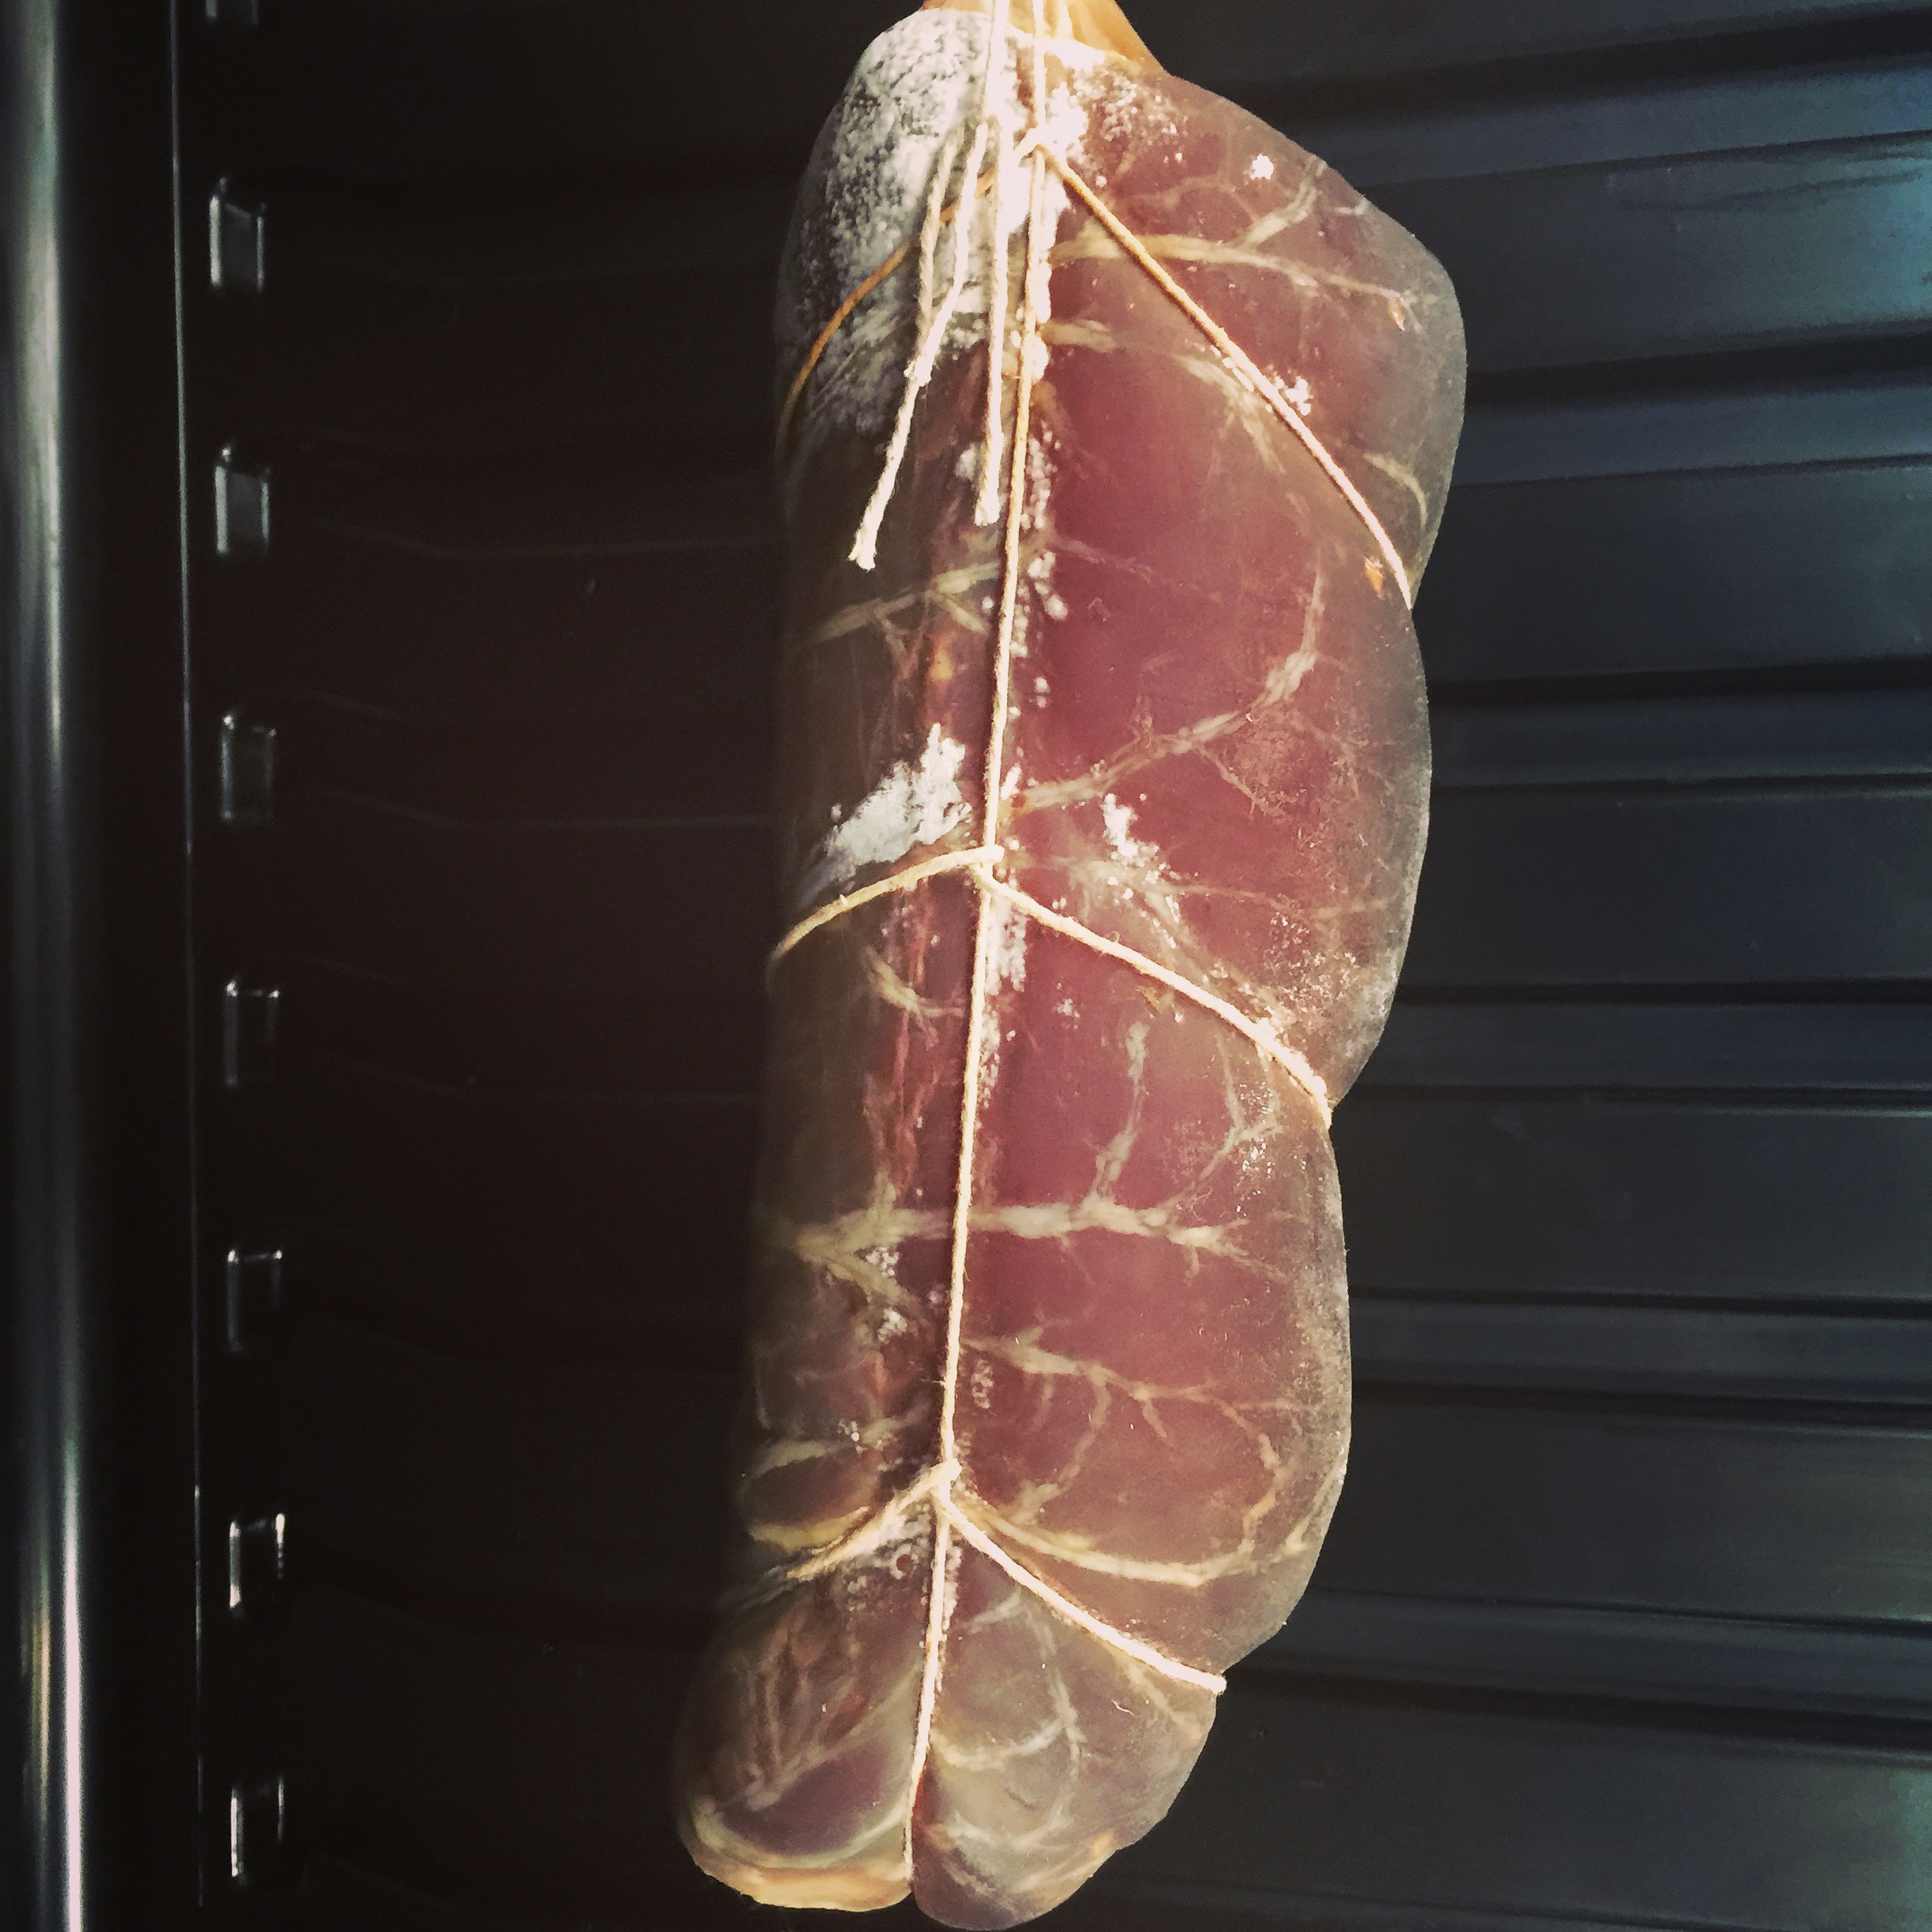
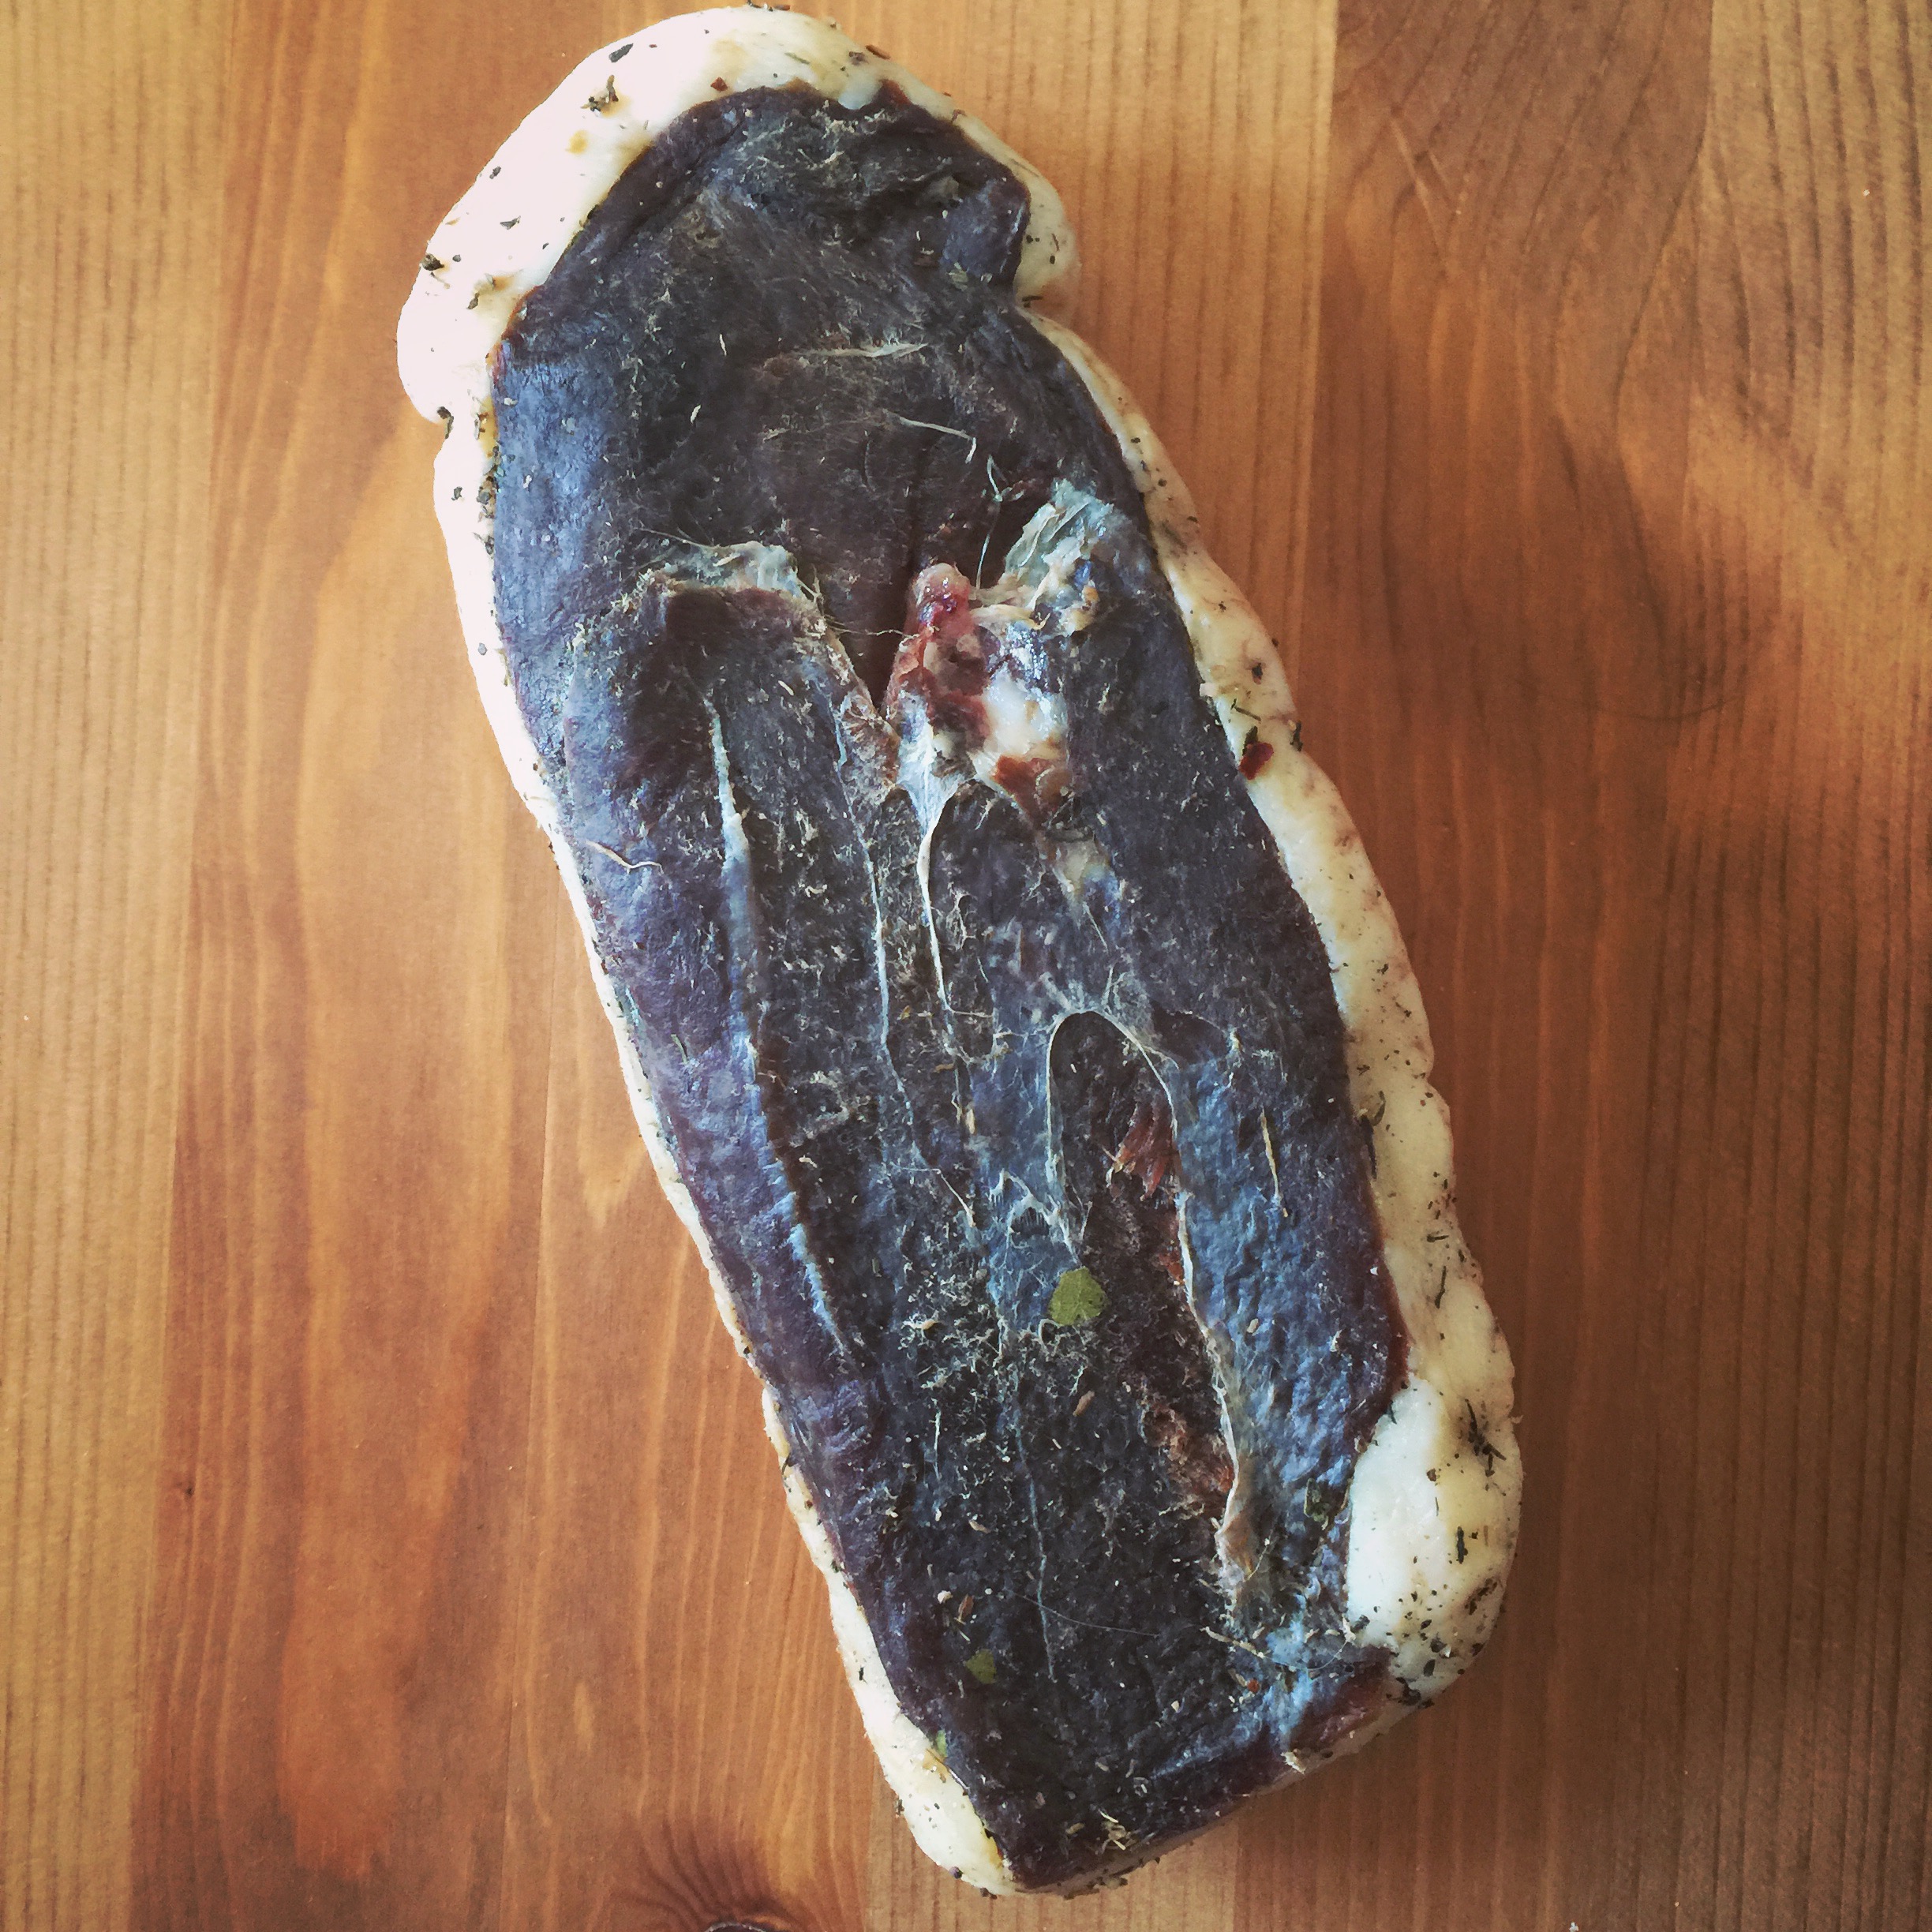
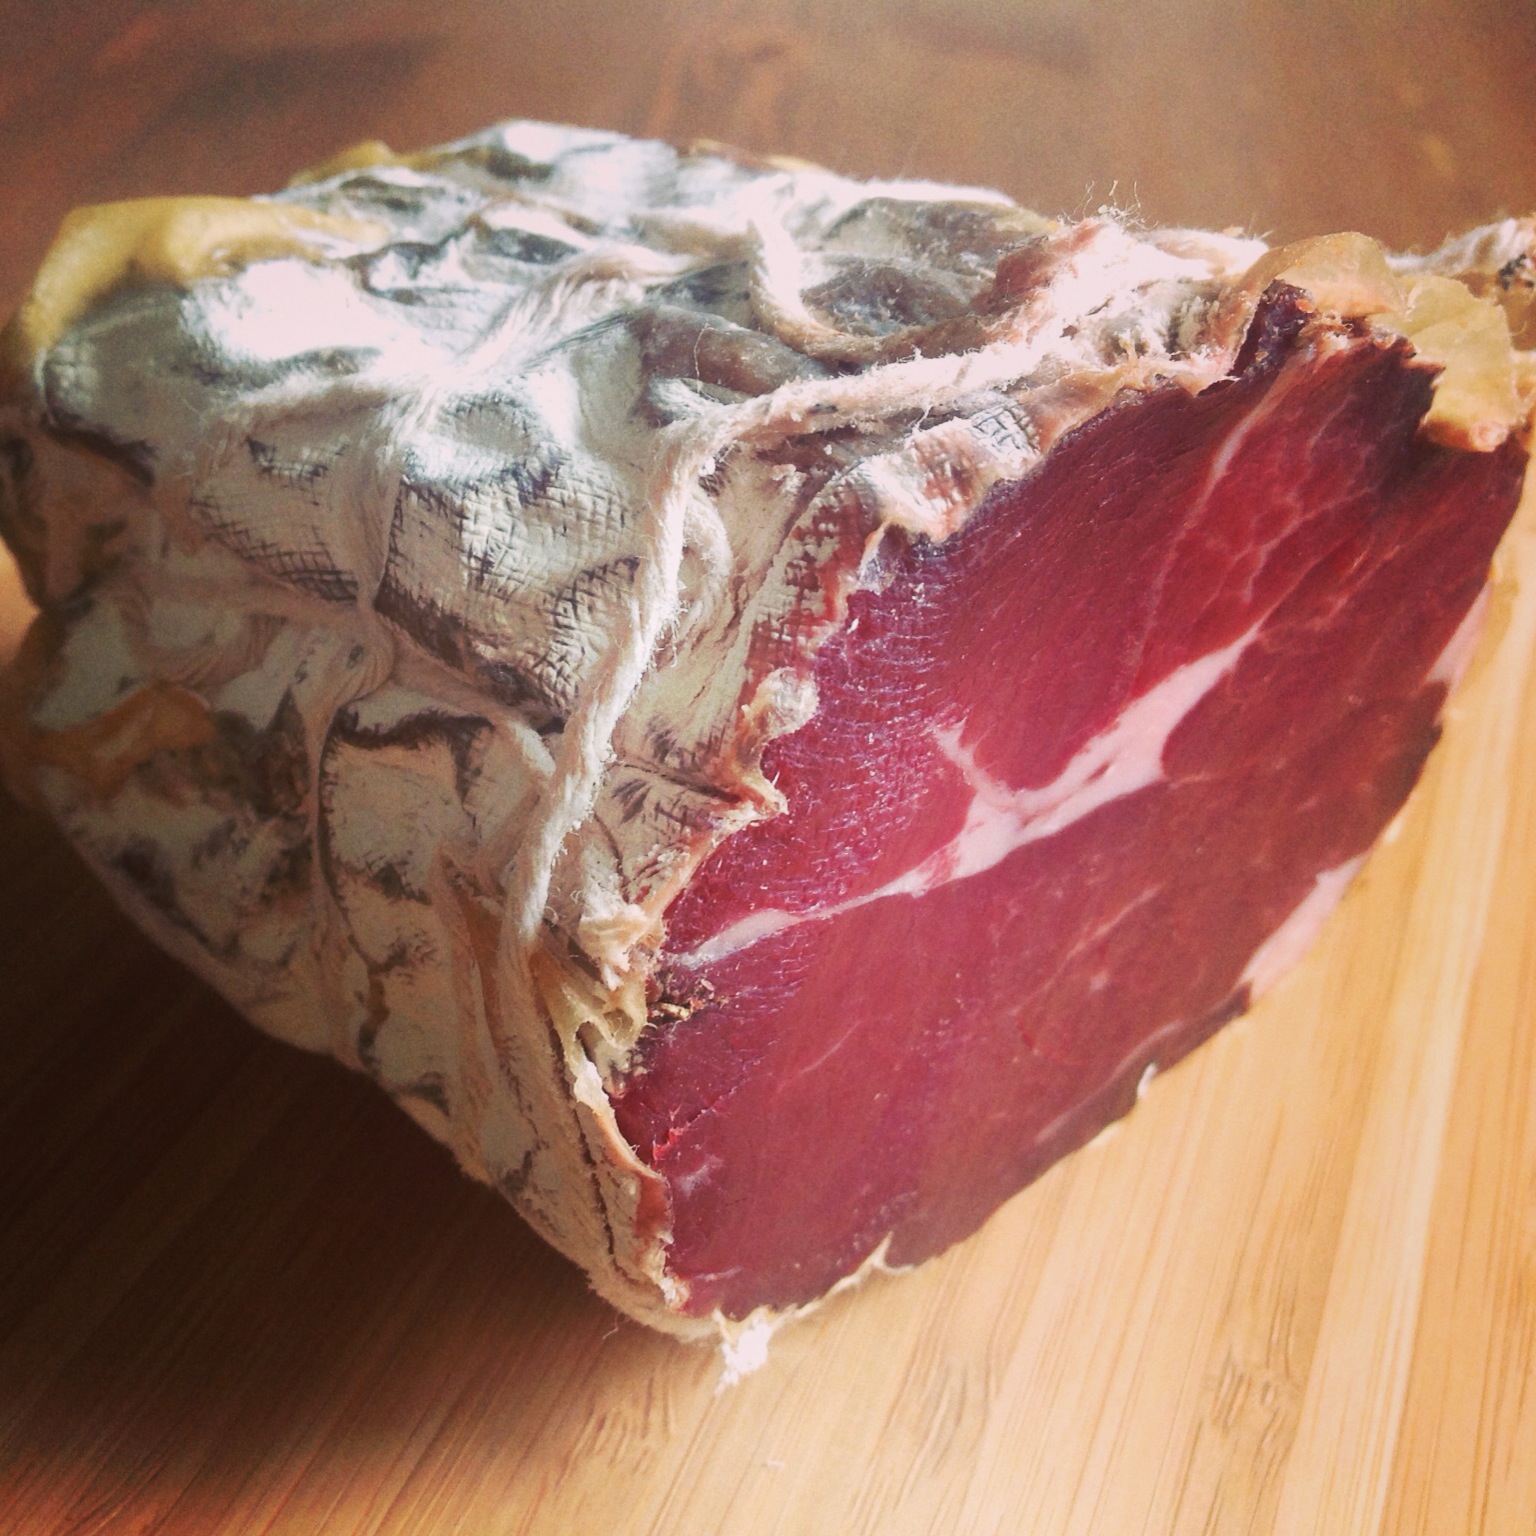
After the meat lost 30% of its weight, I pulled it from the chamber.
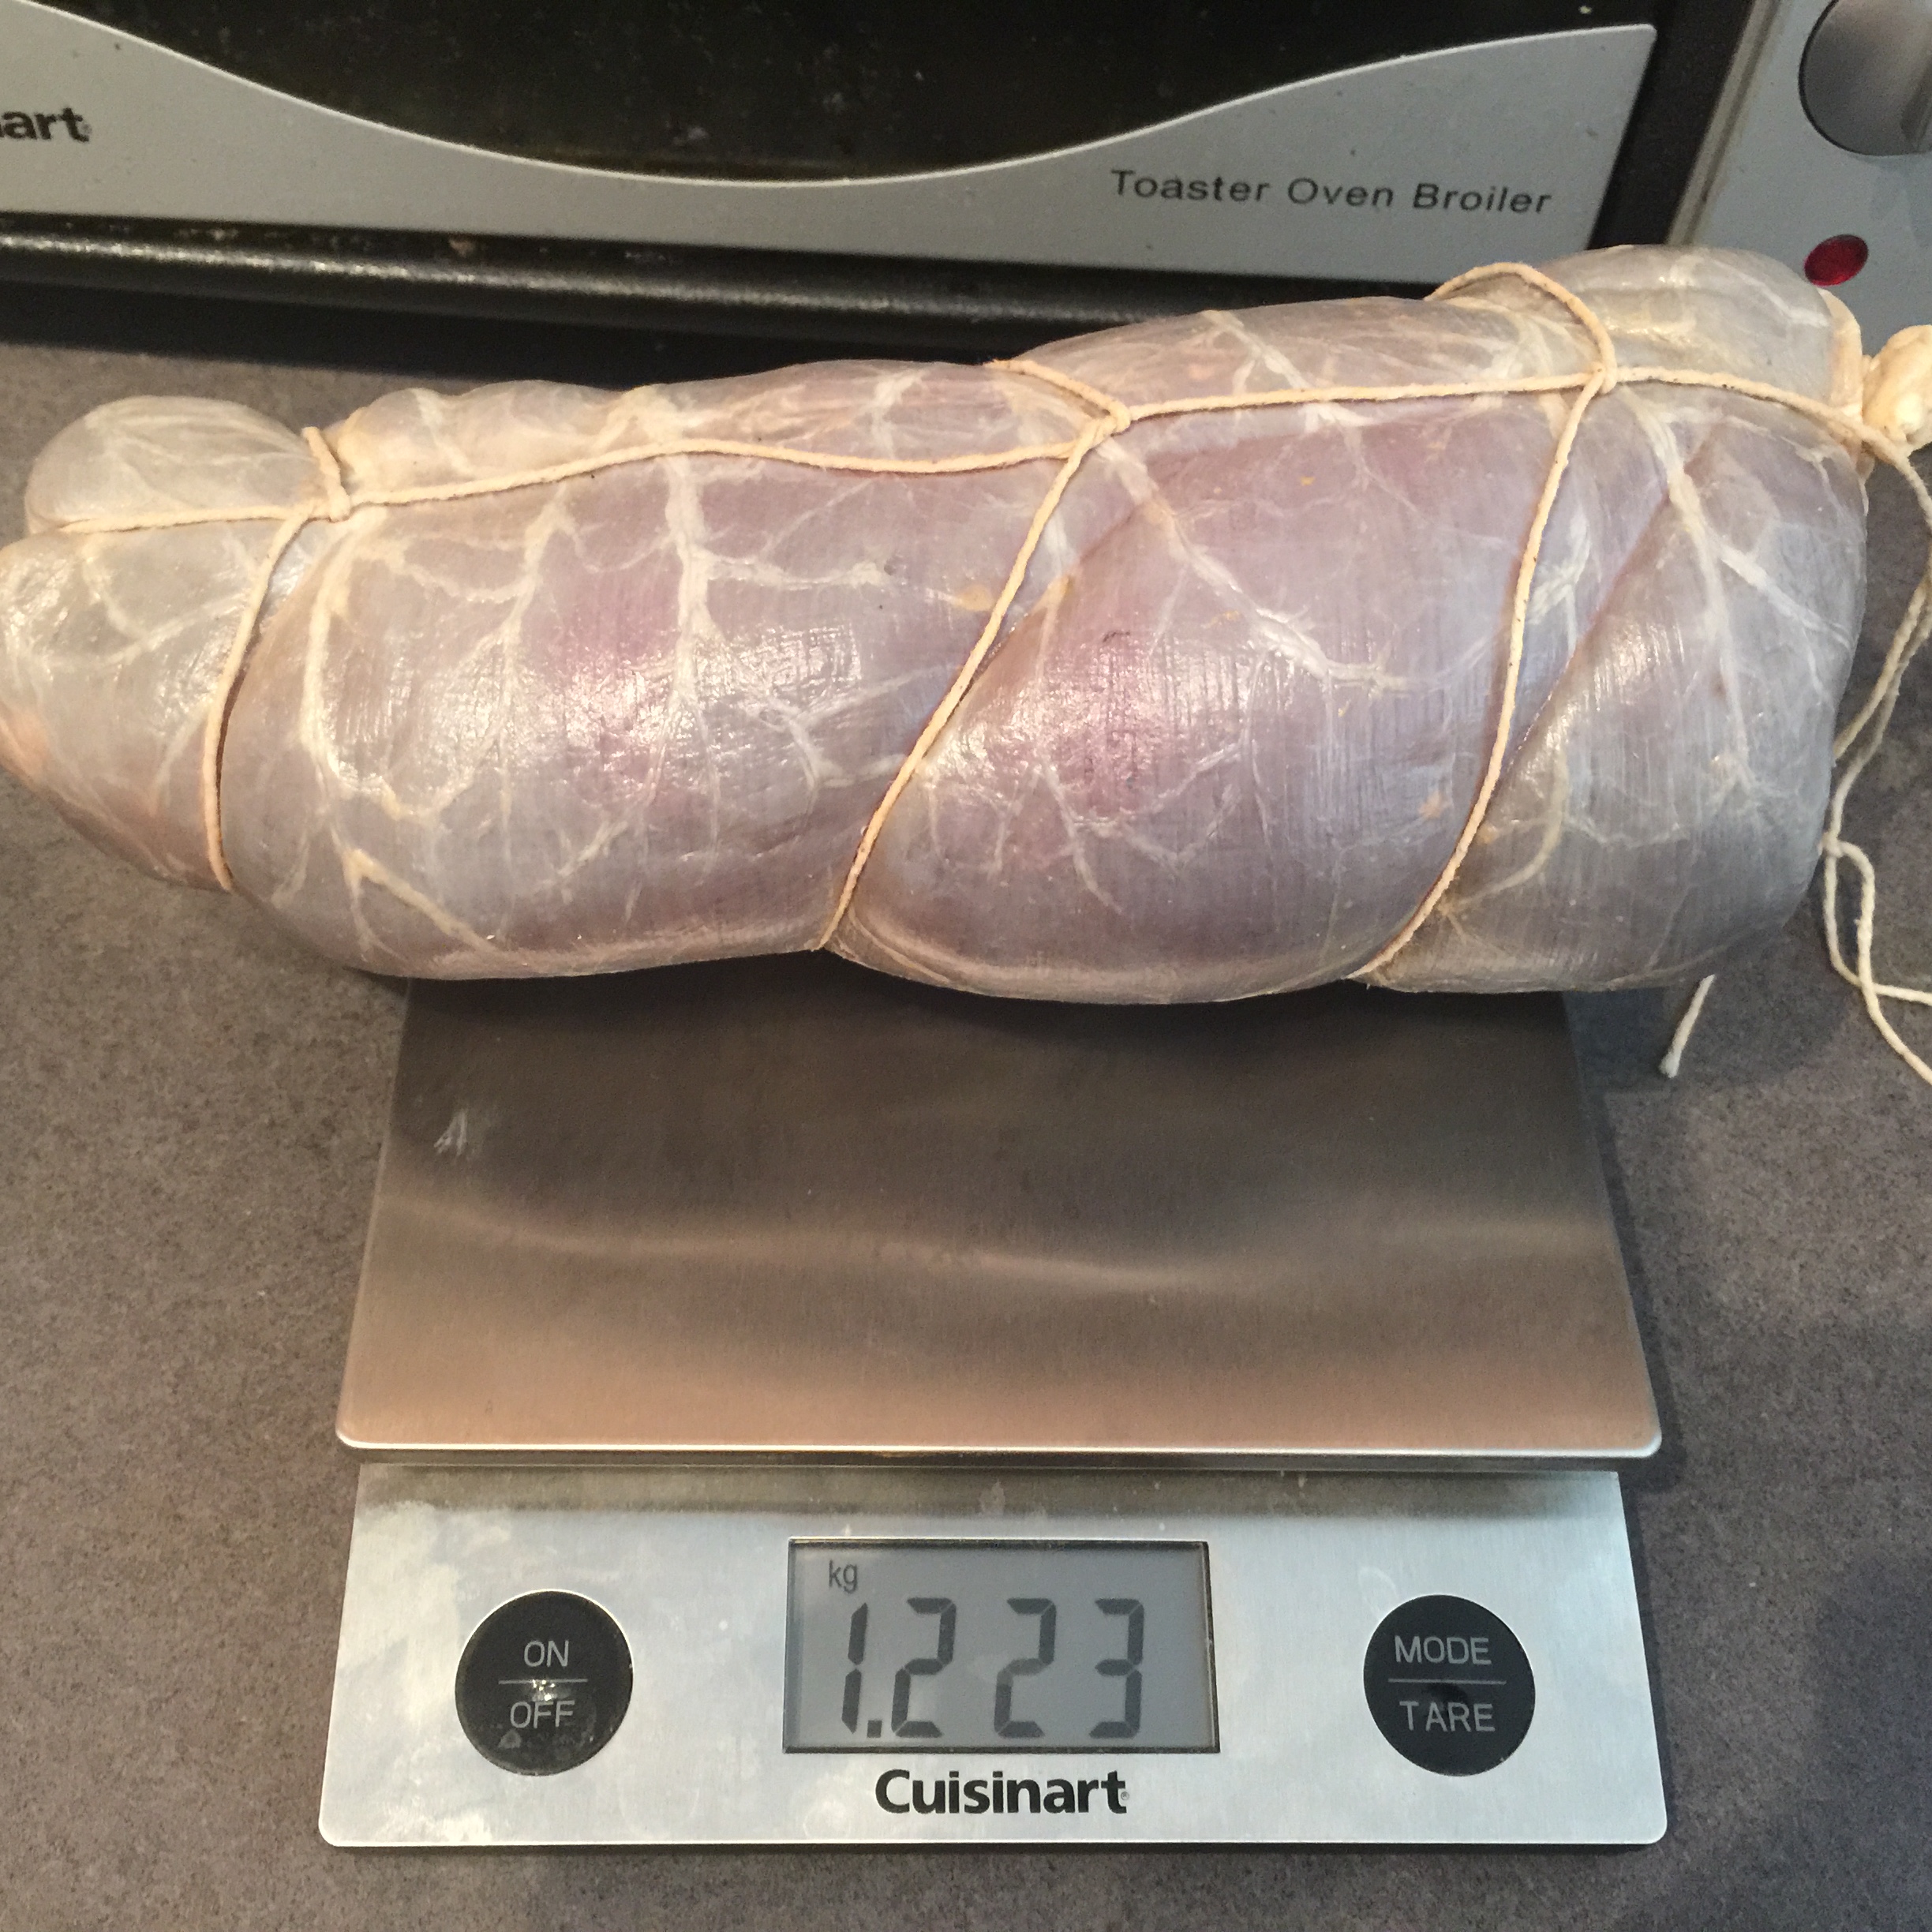
First, I pulled off the beef bung casing.
Then, I rinsed the outside off with white vinegar, patted it dry, and rubbed some olive oil on the outside of it.

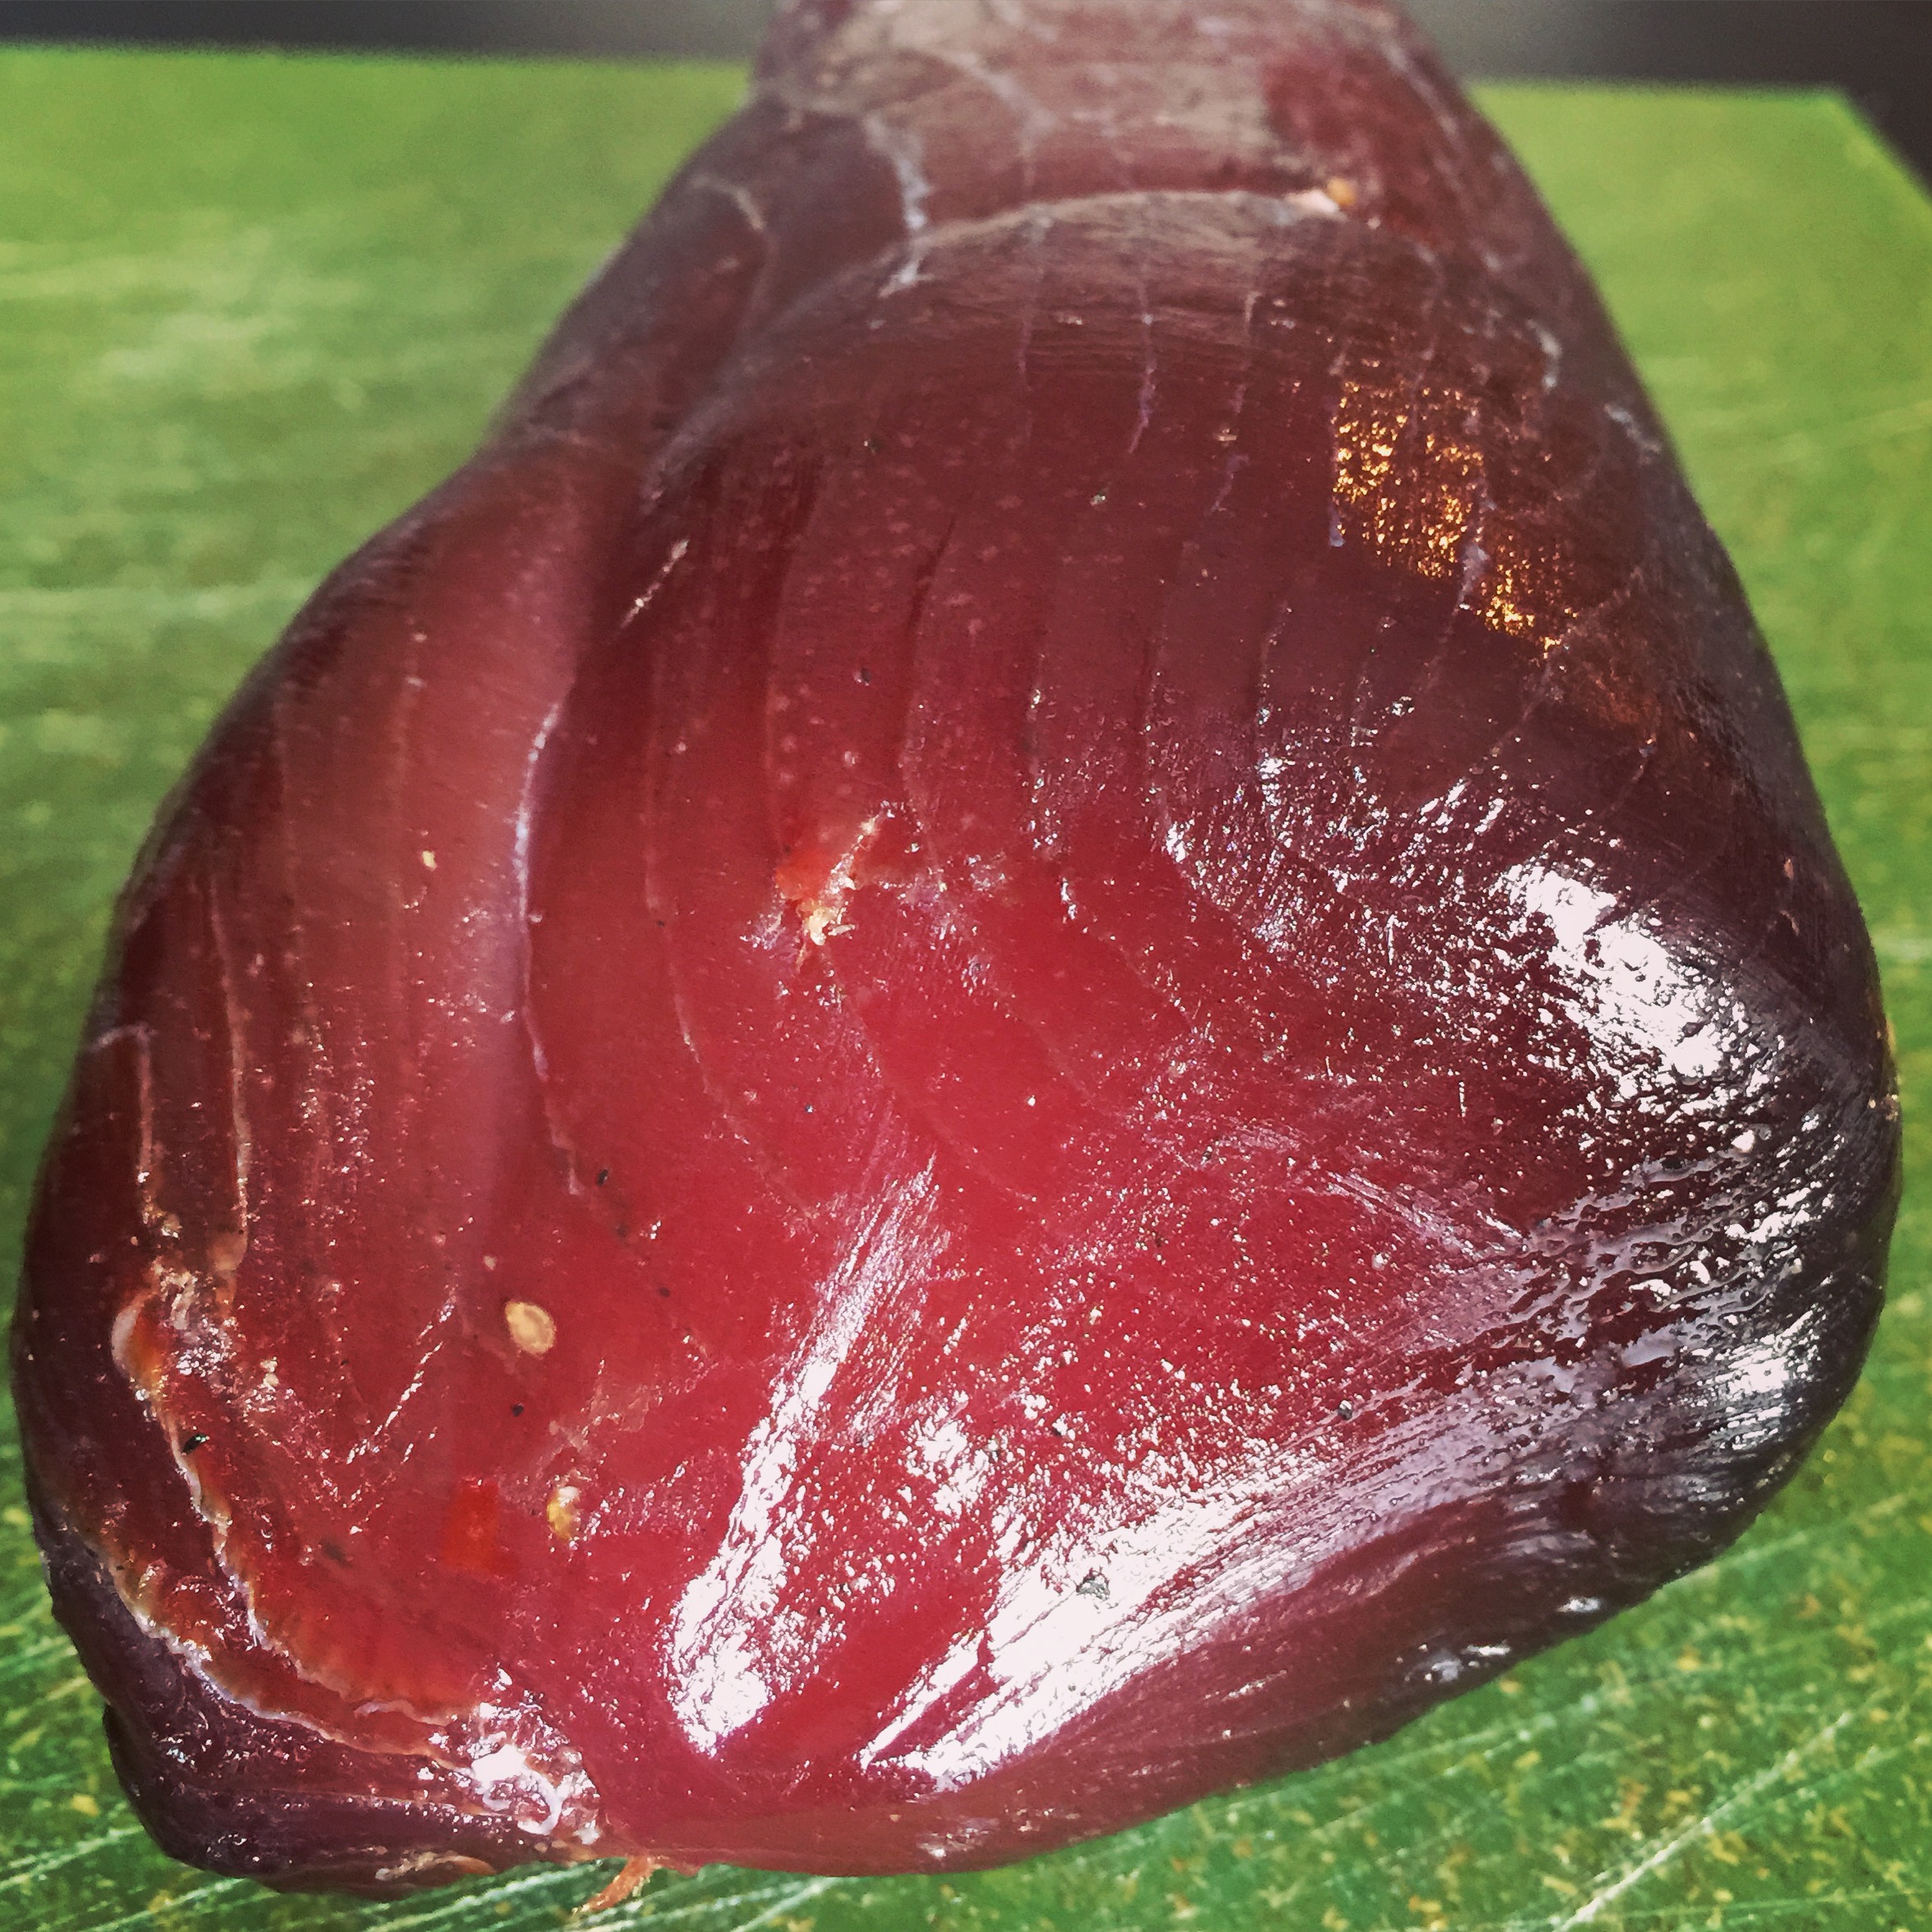
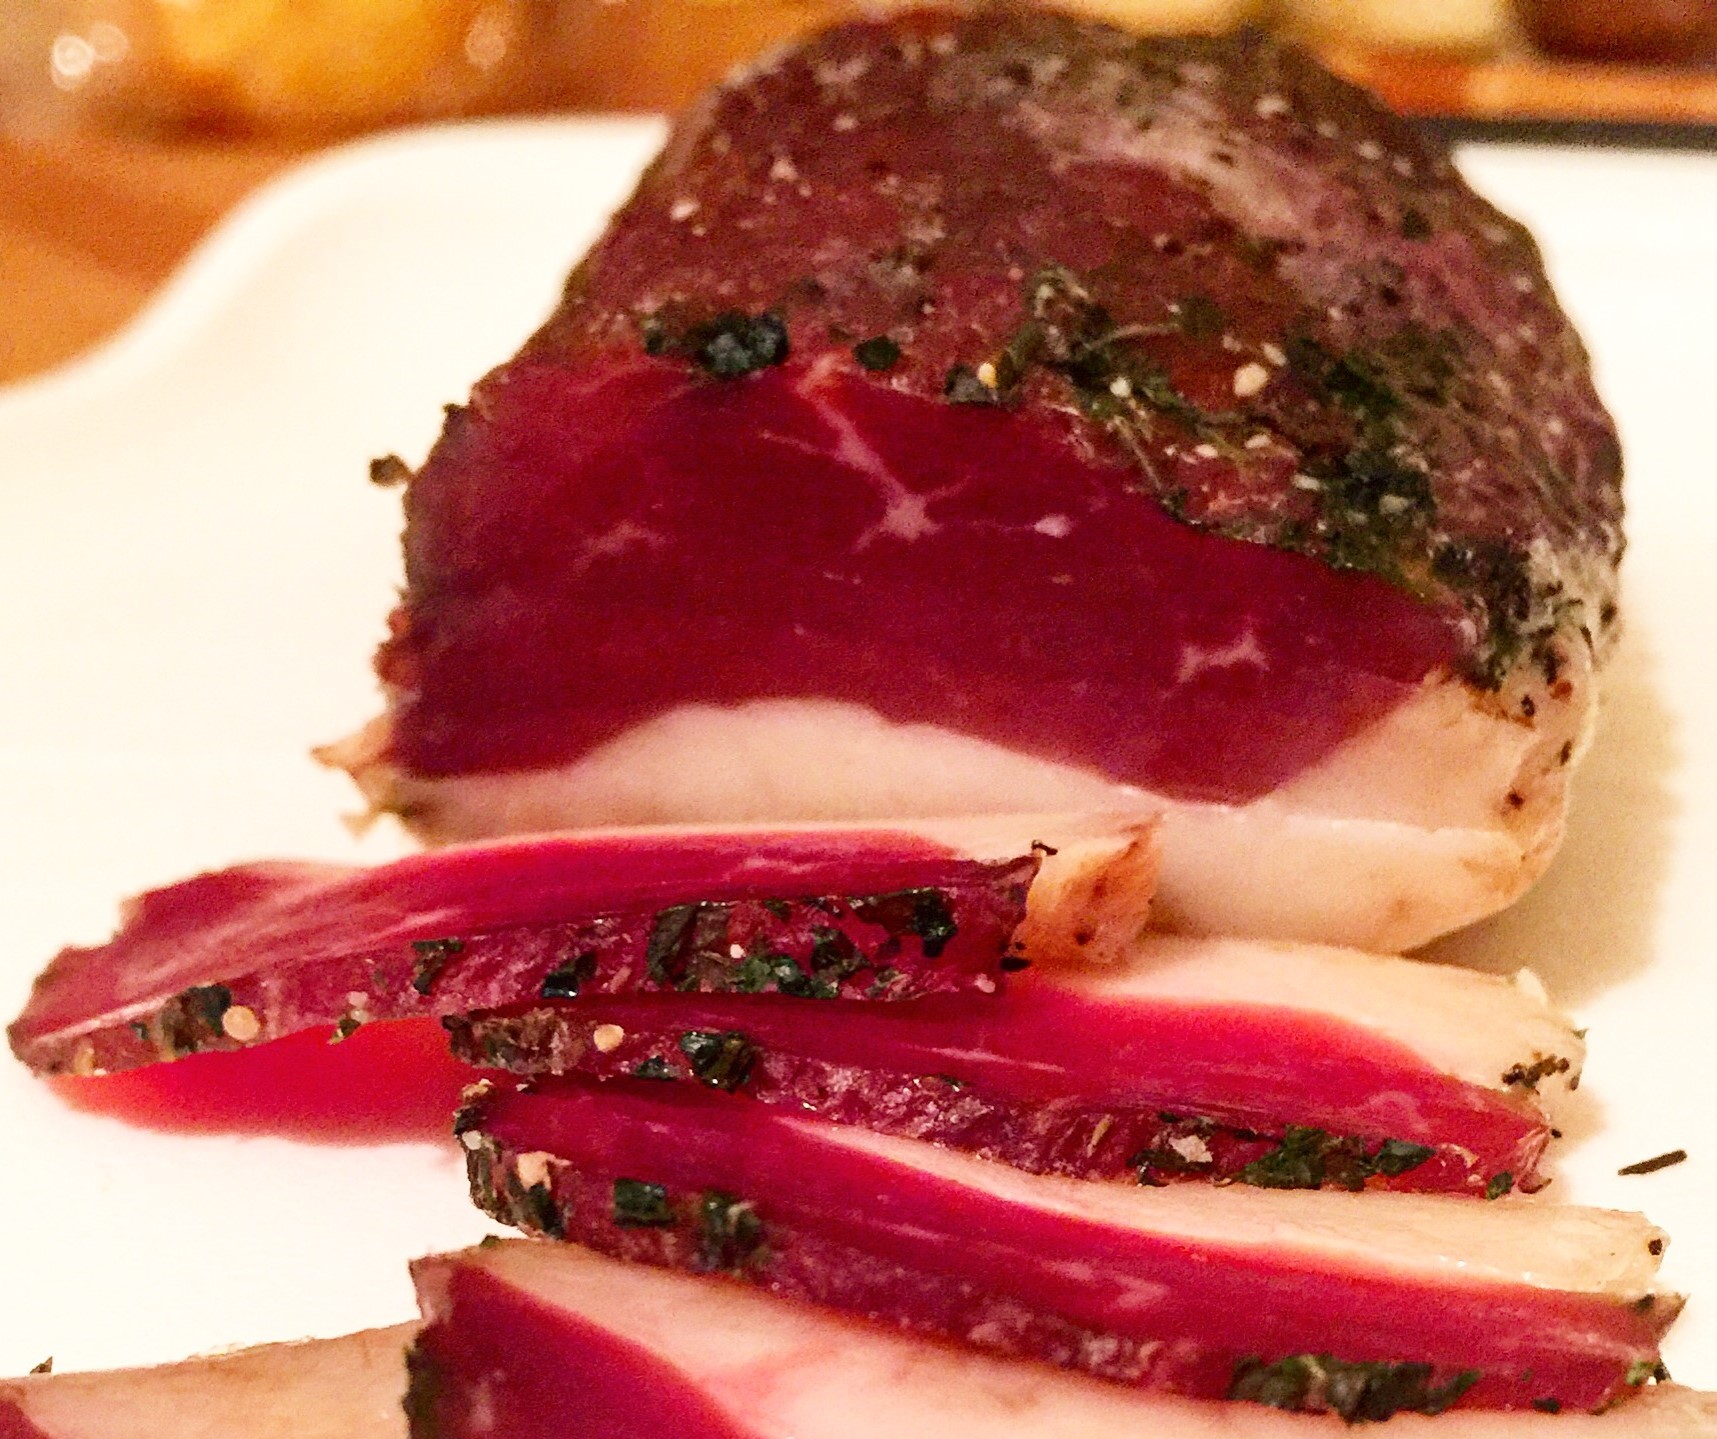
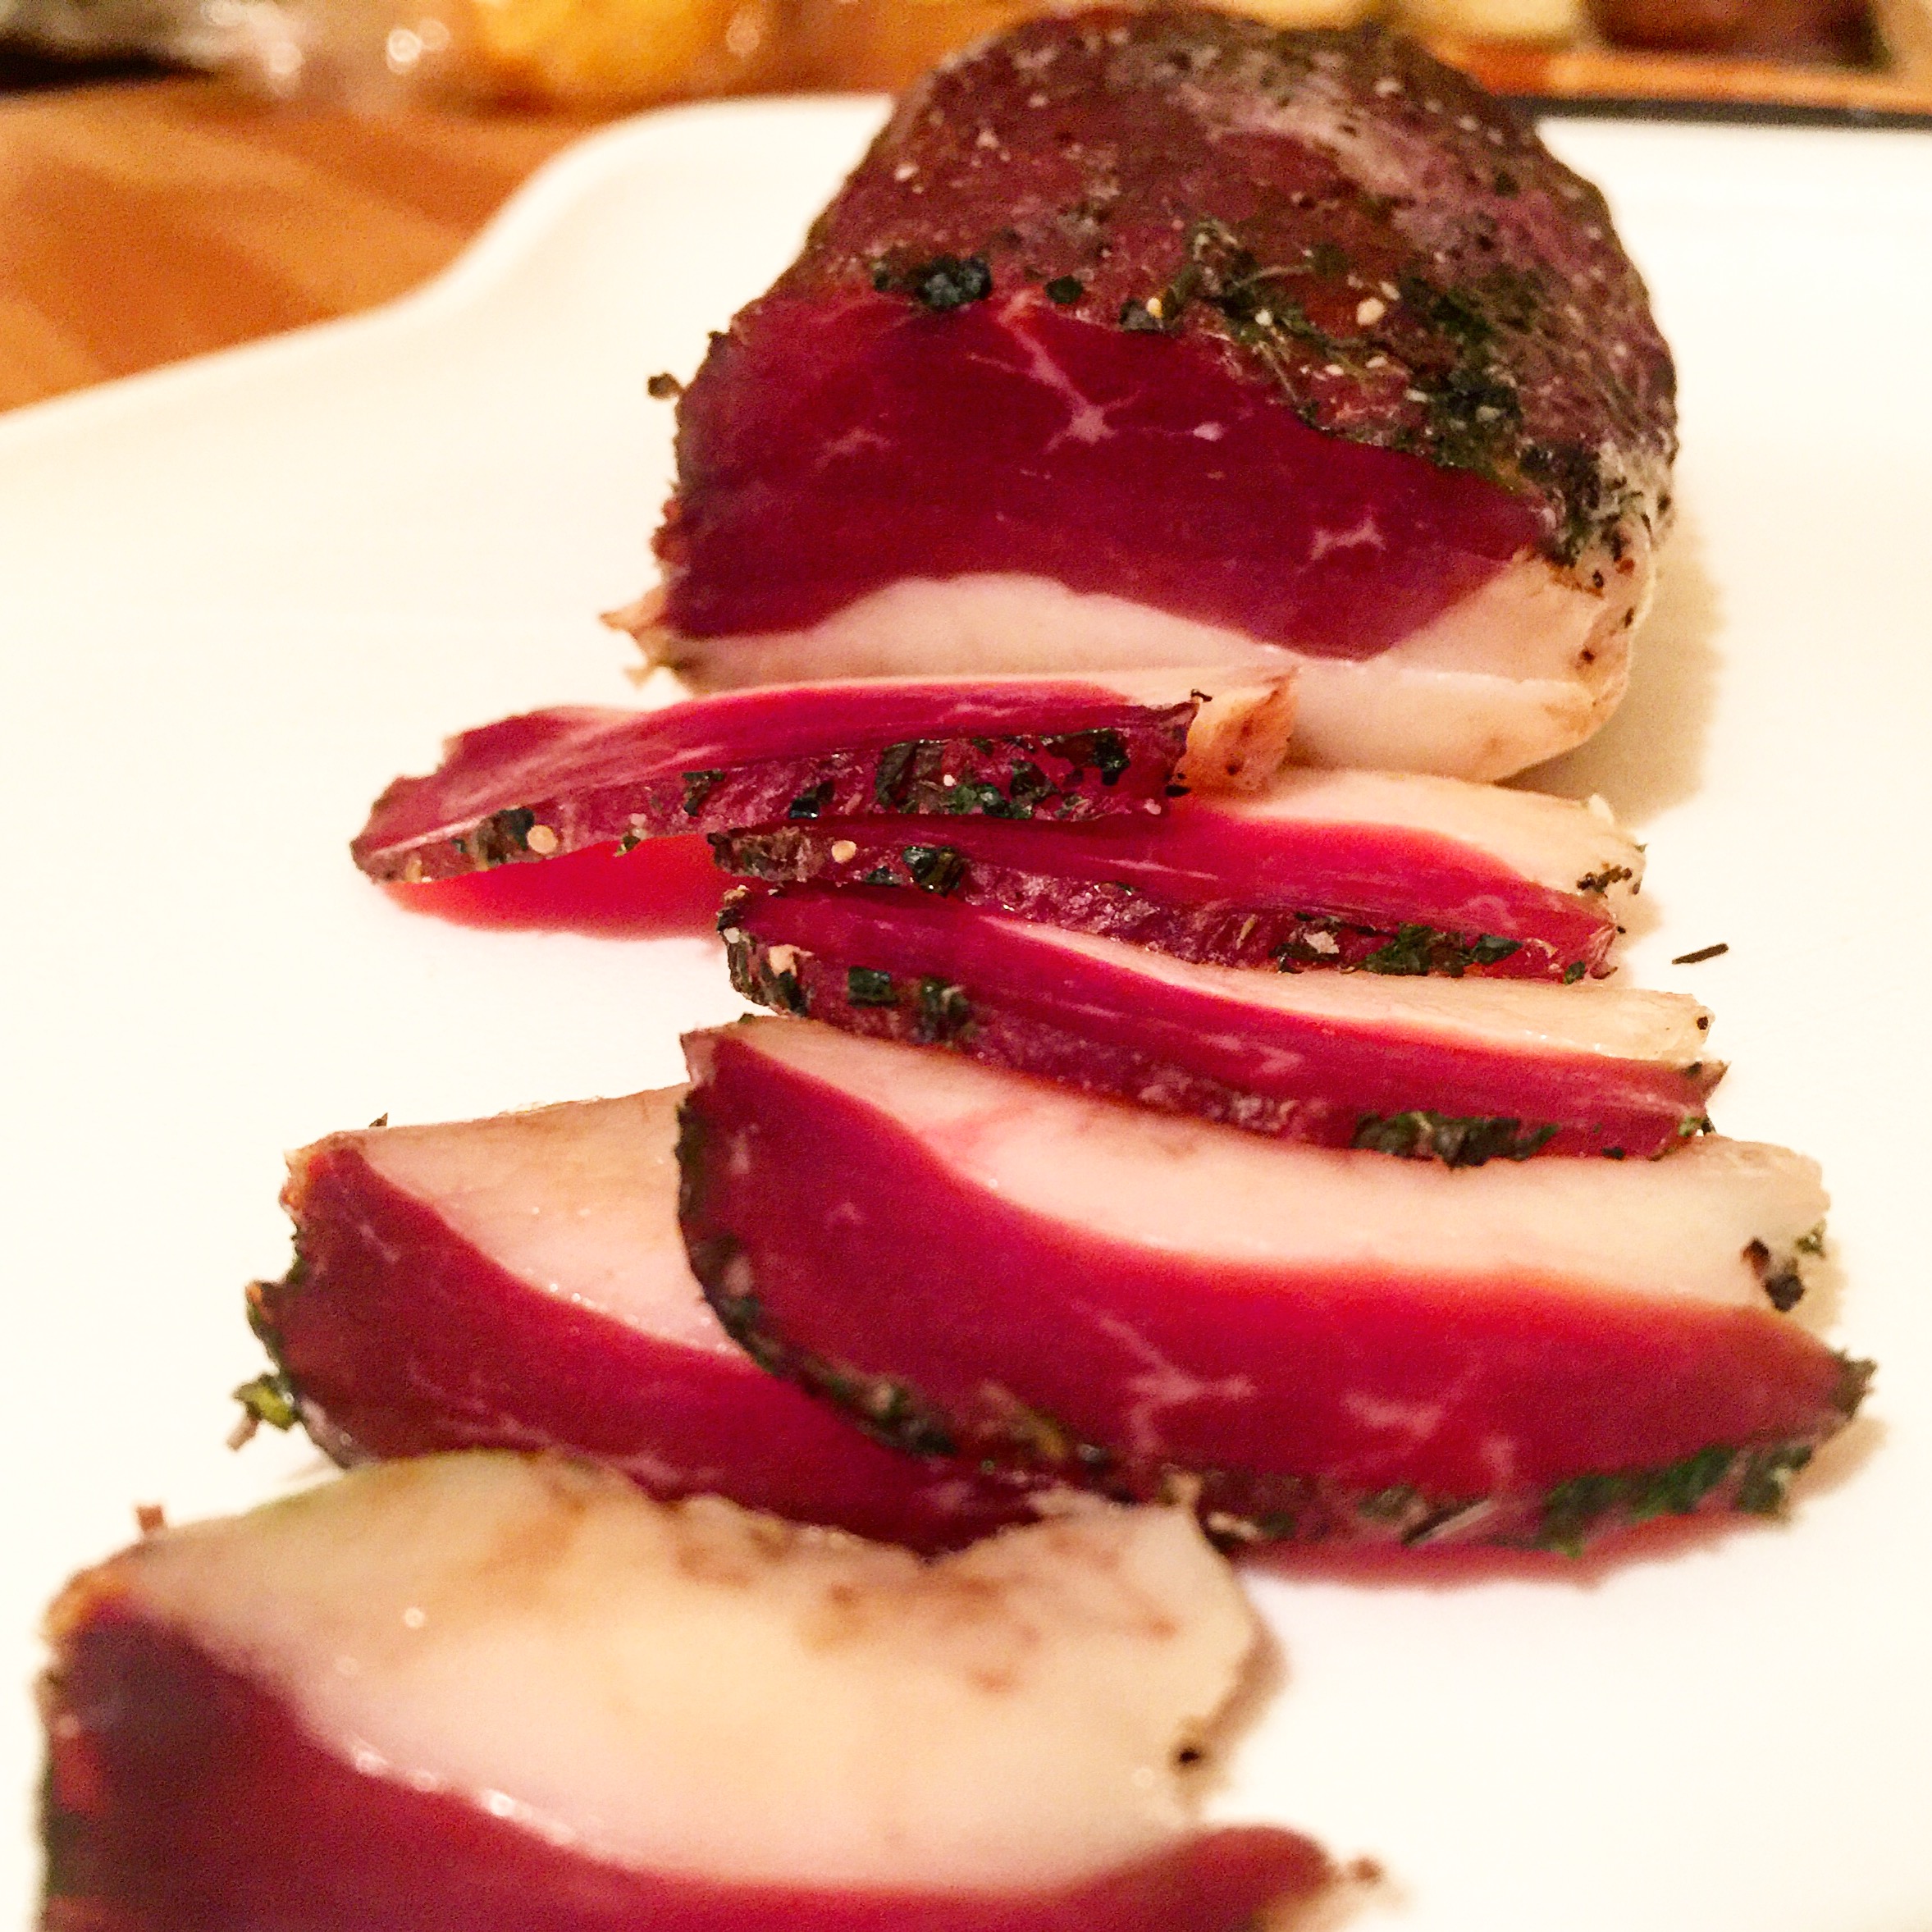
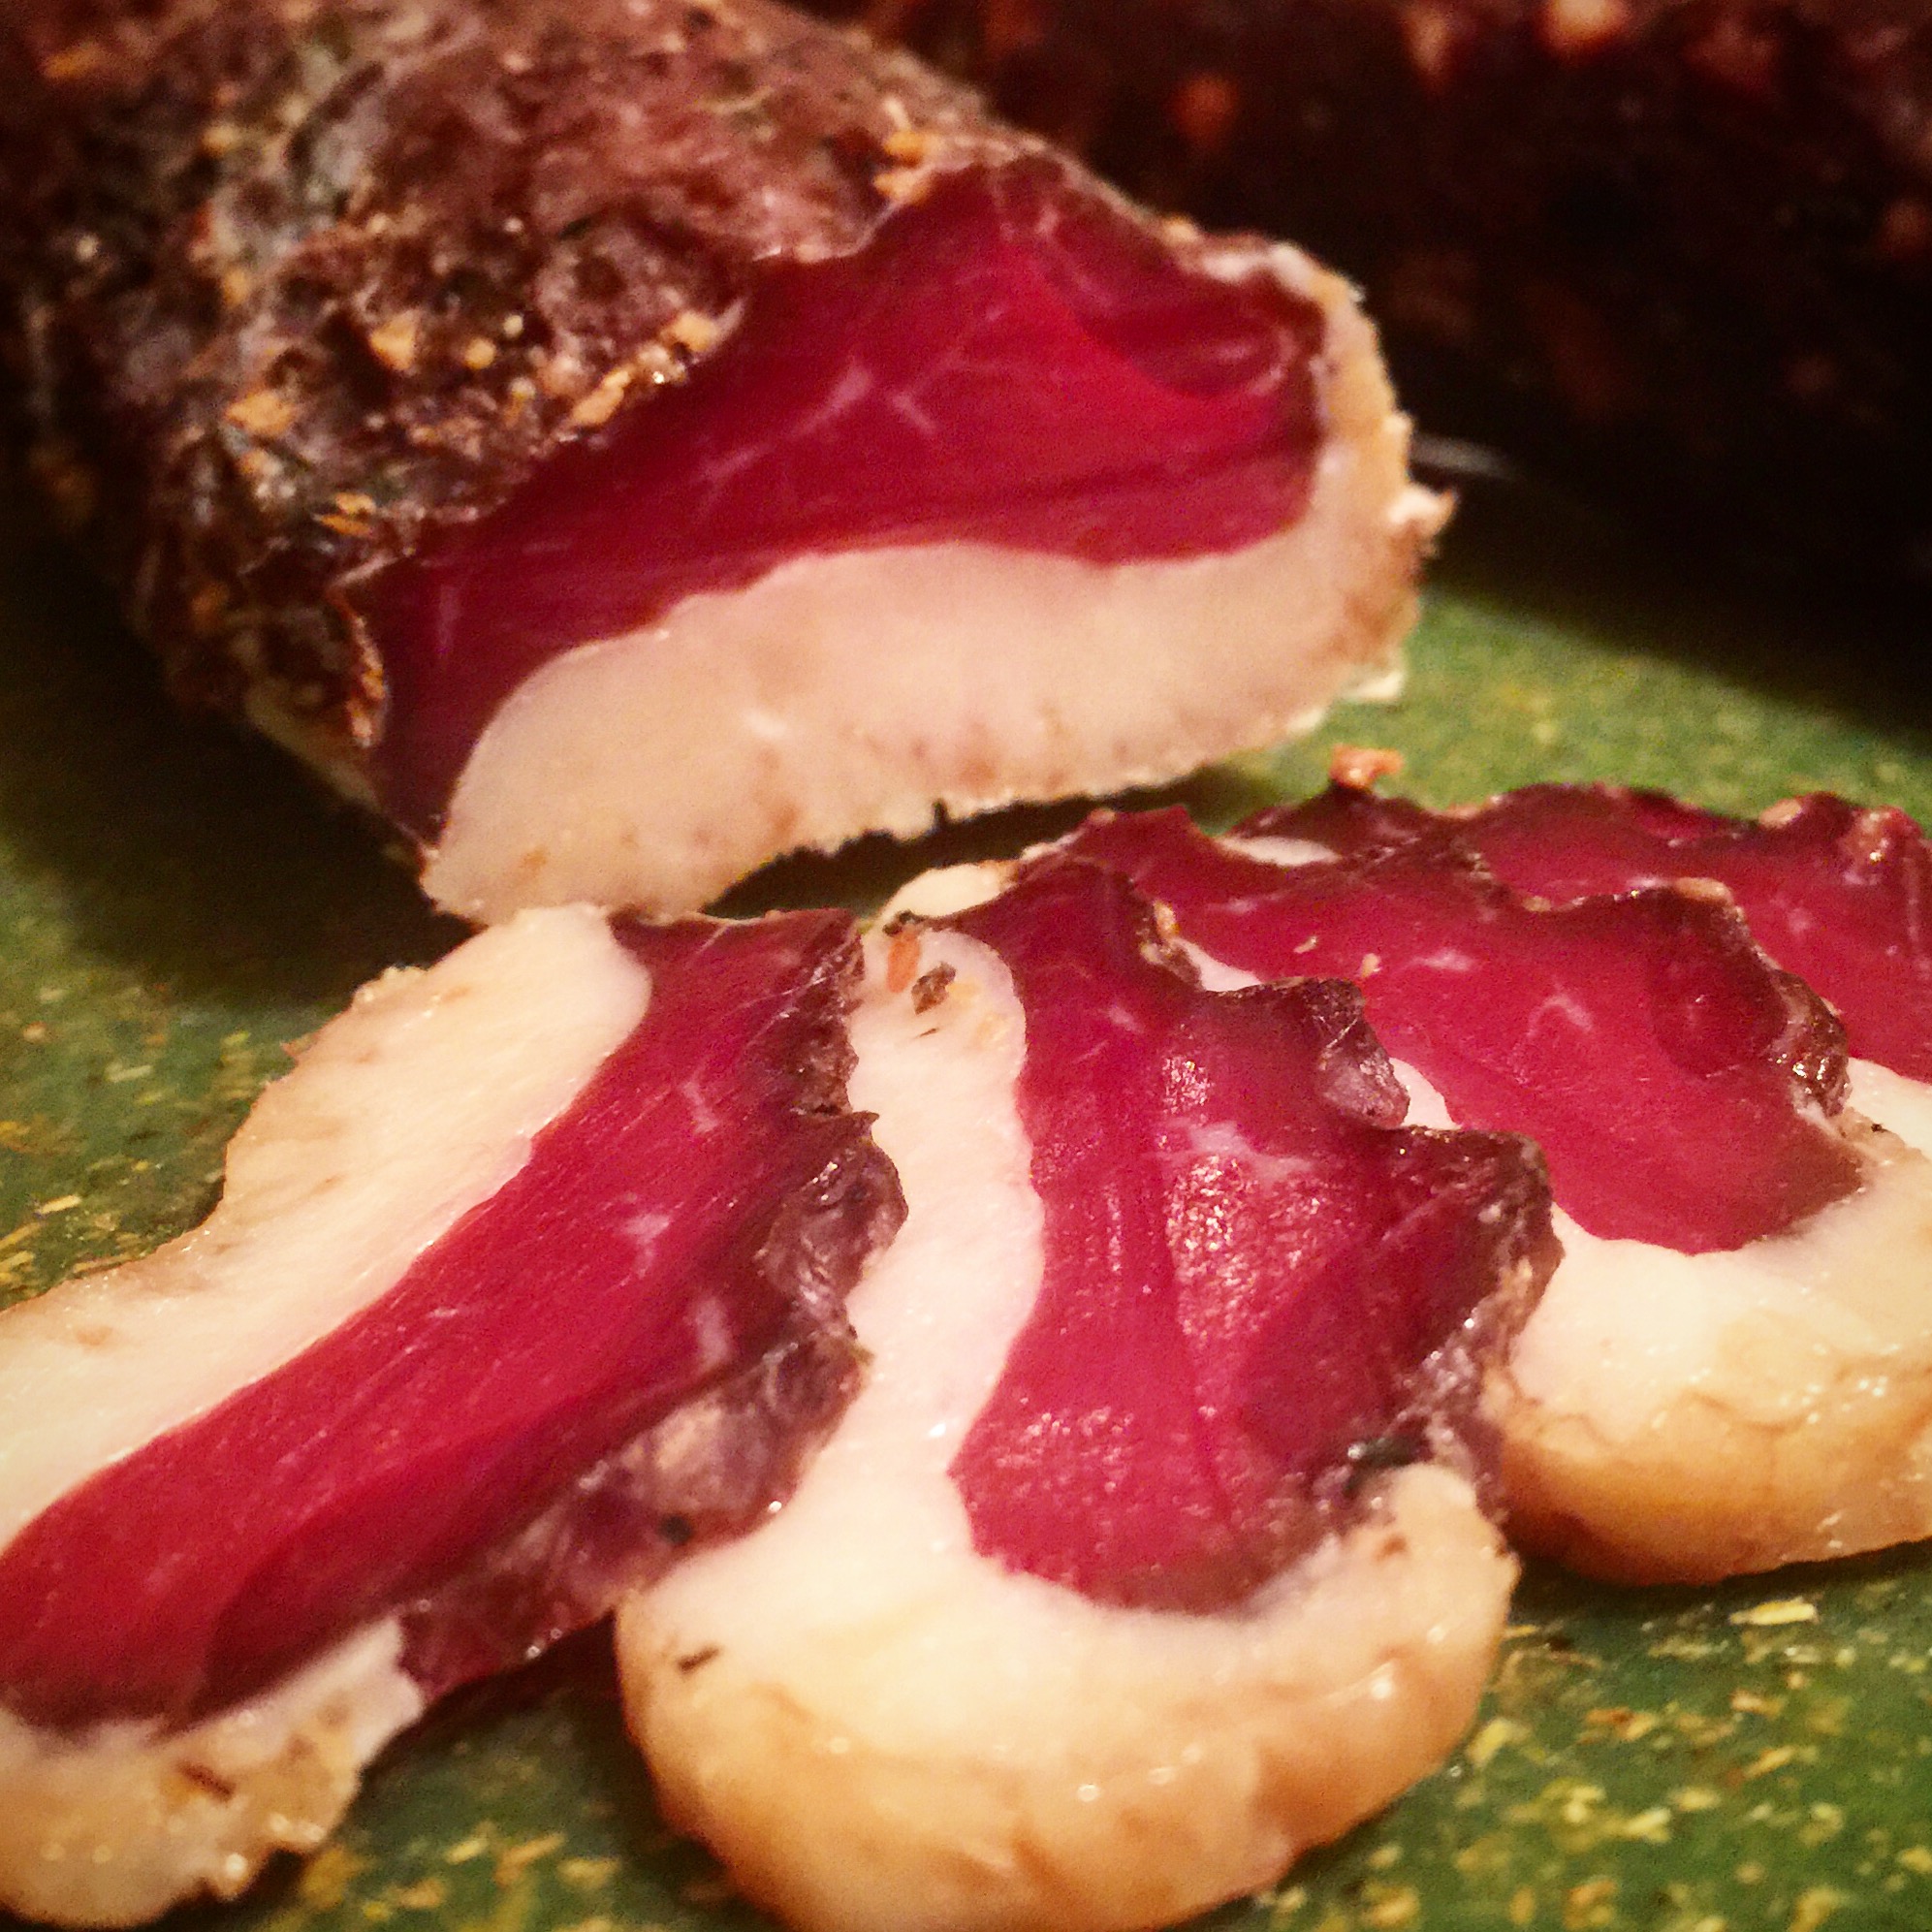
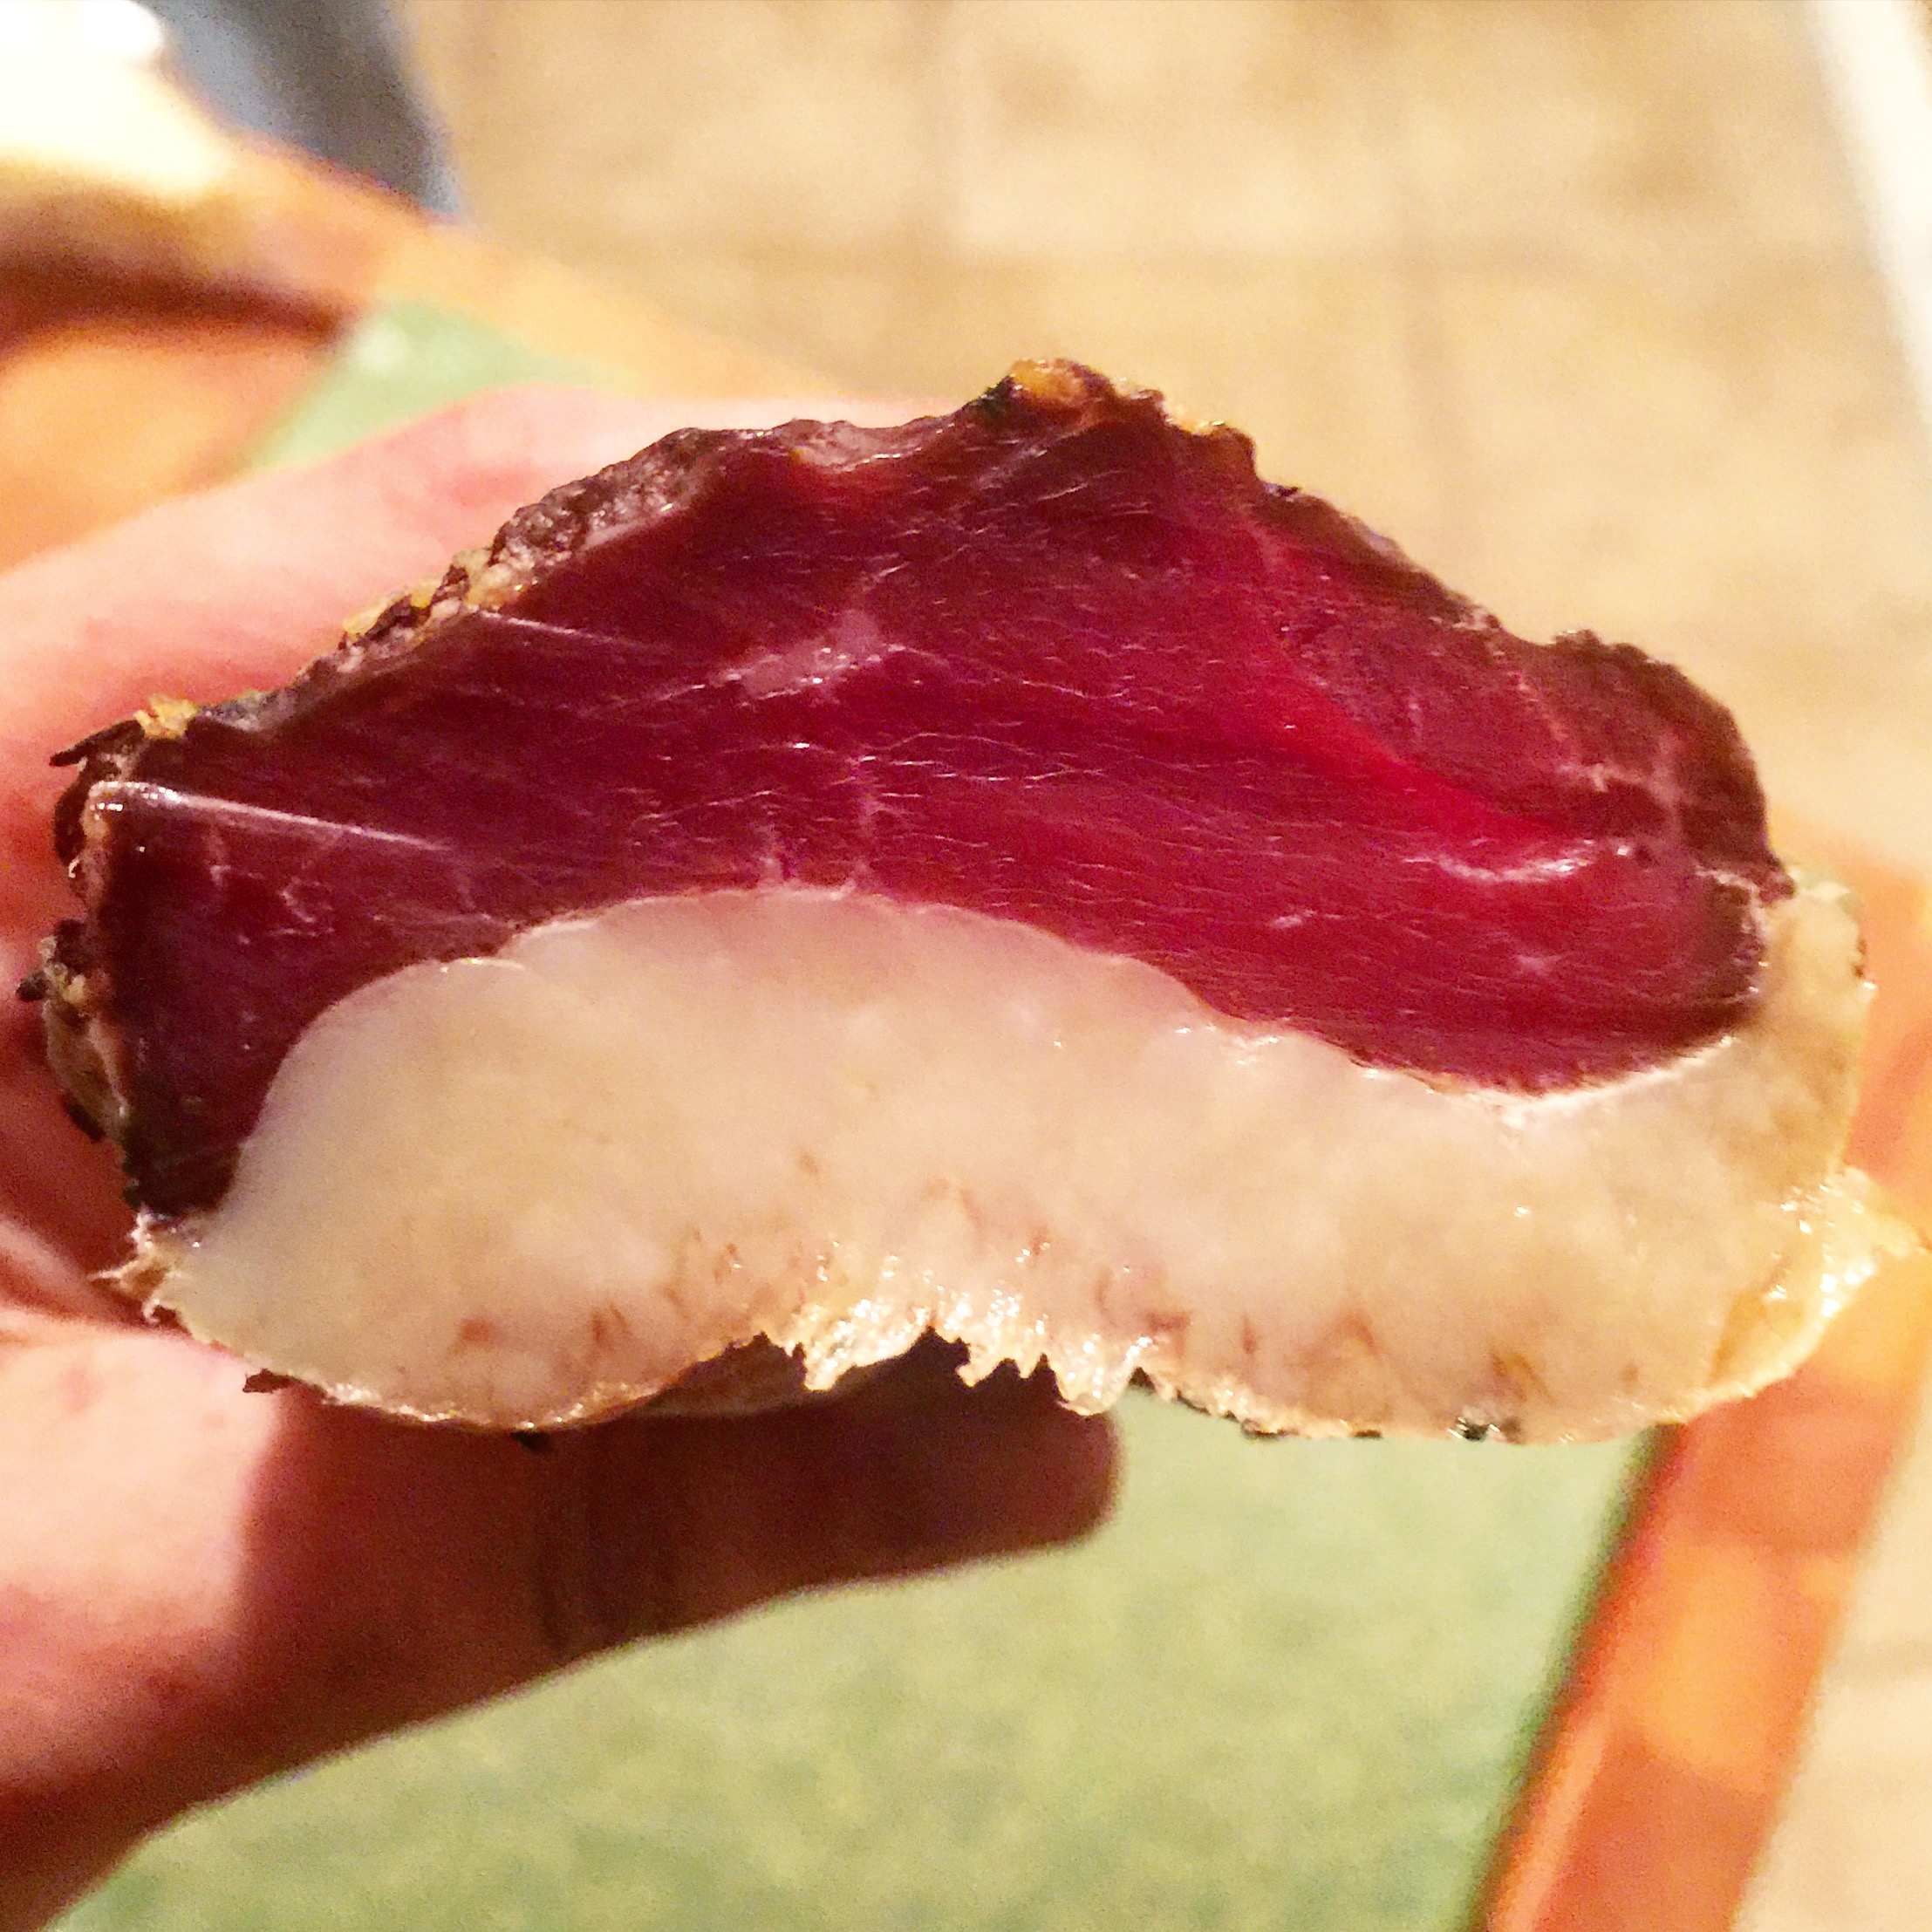
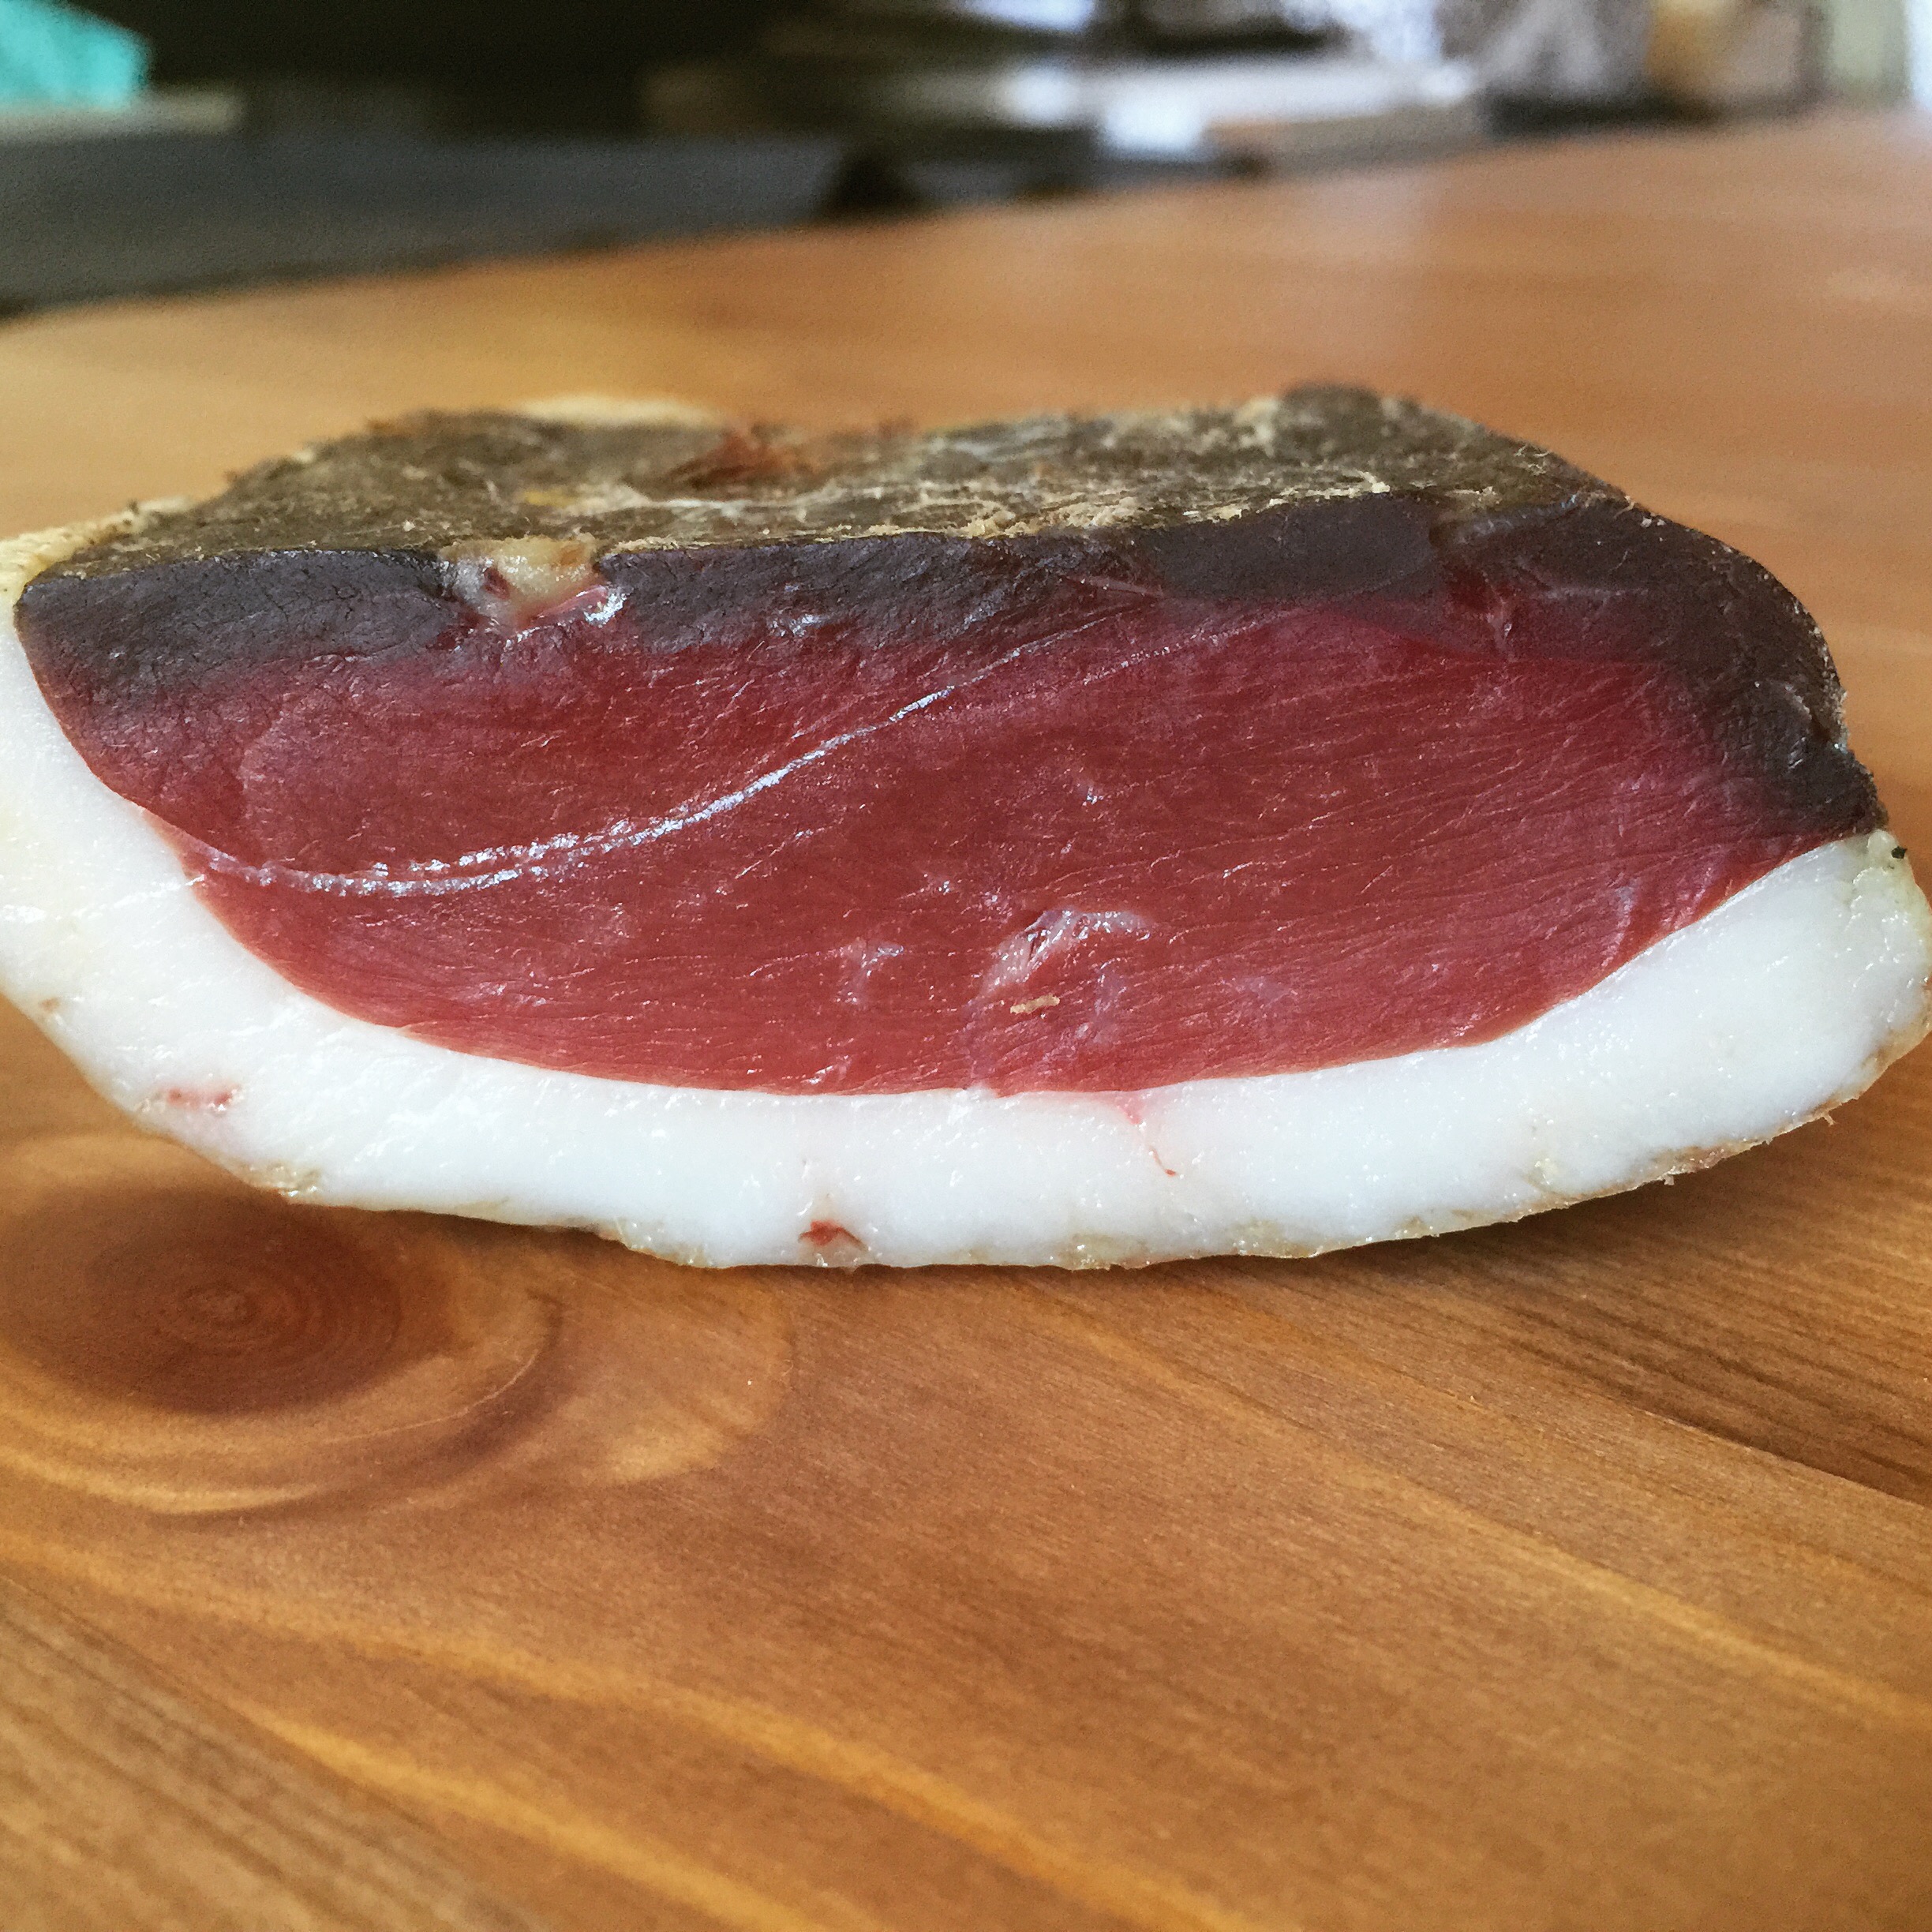
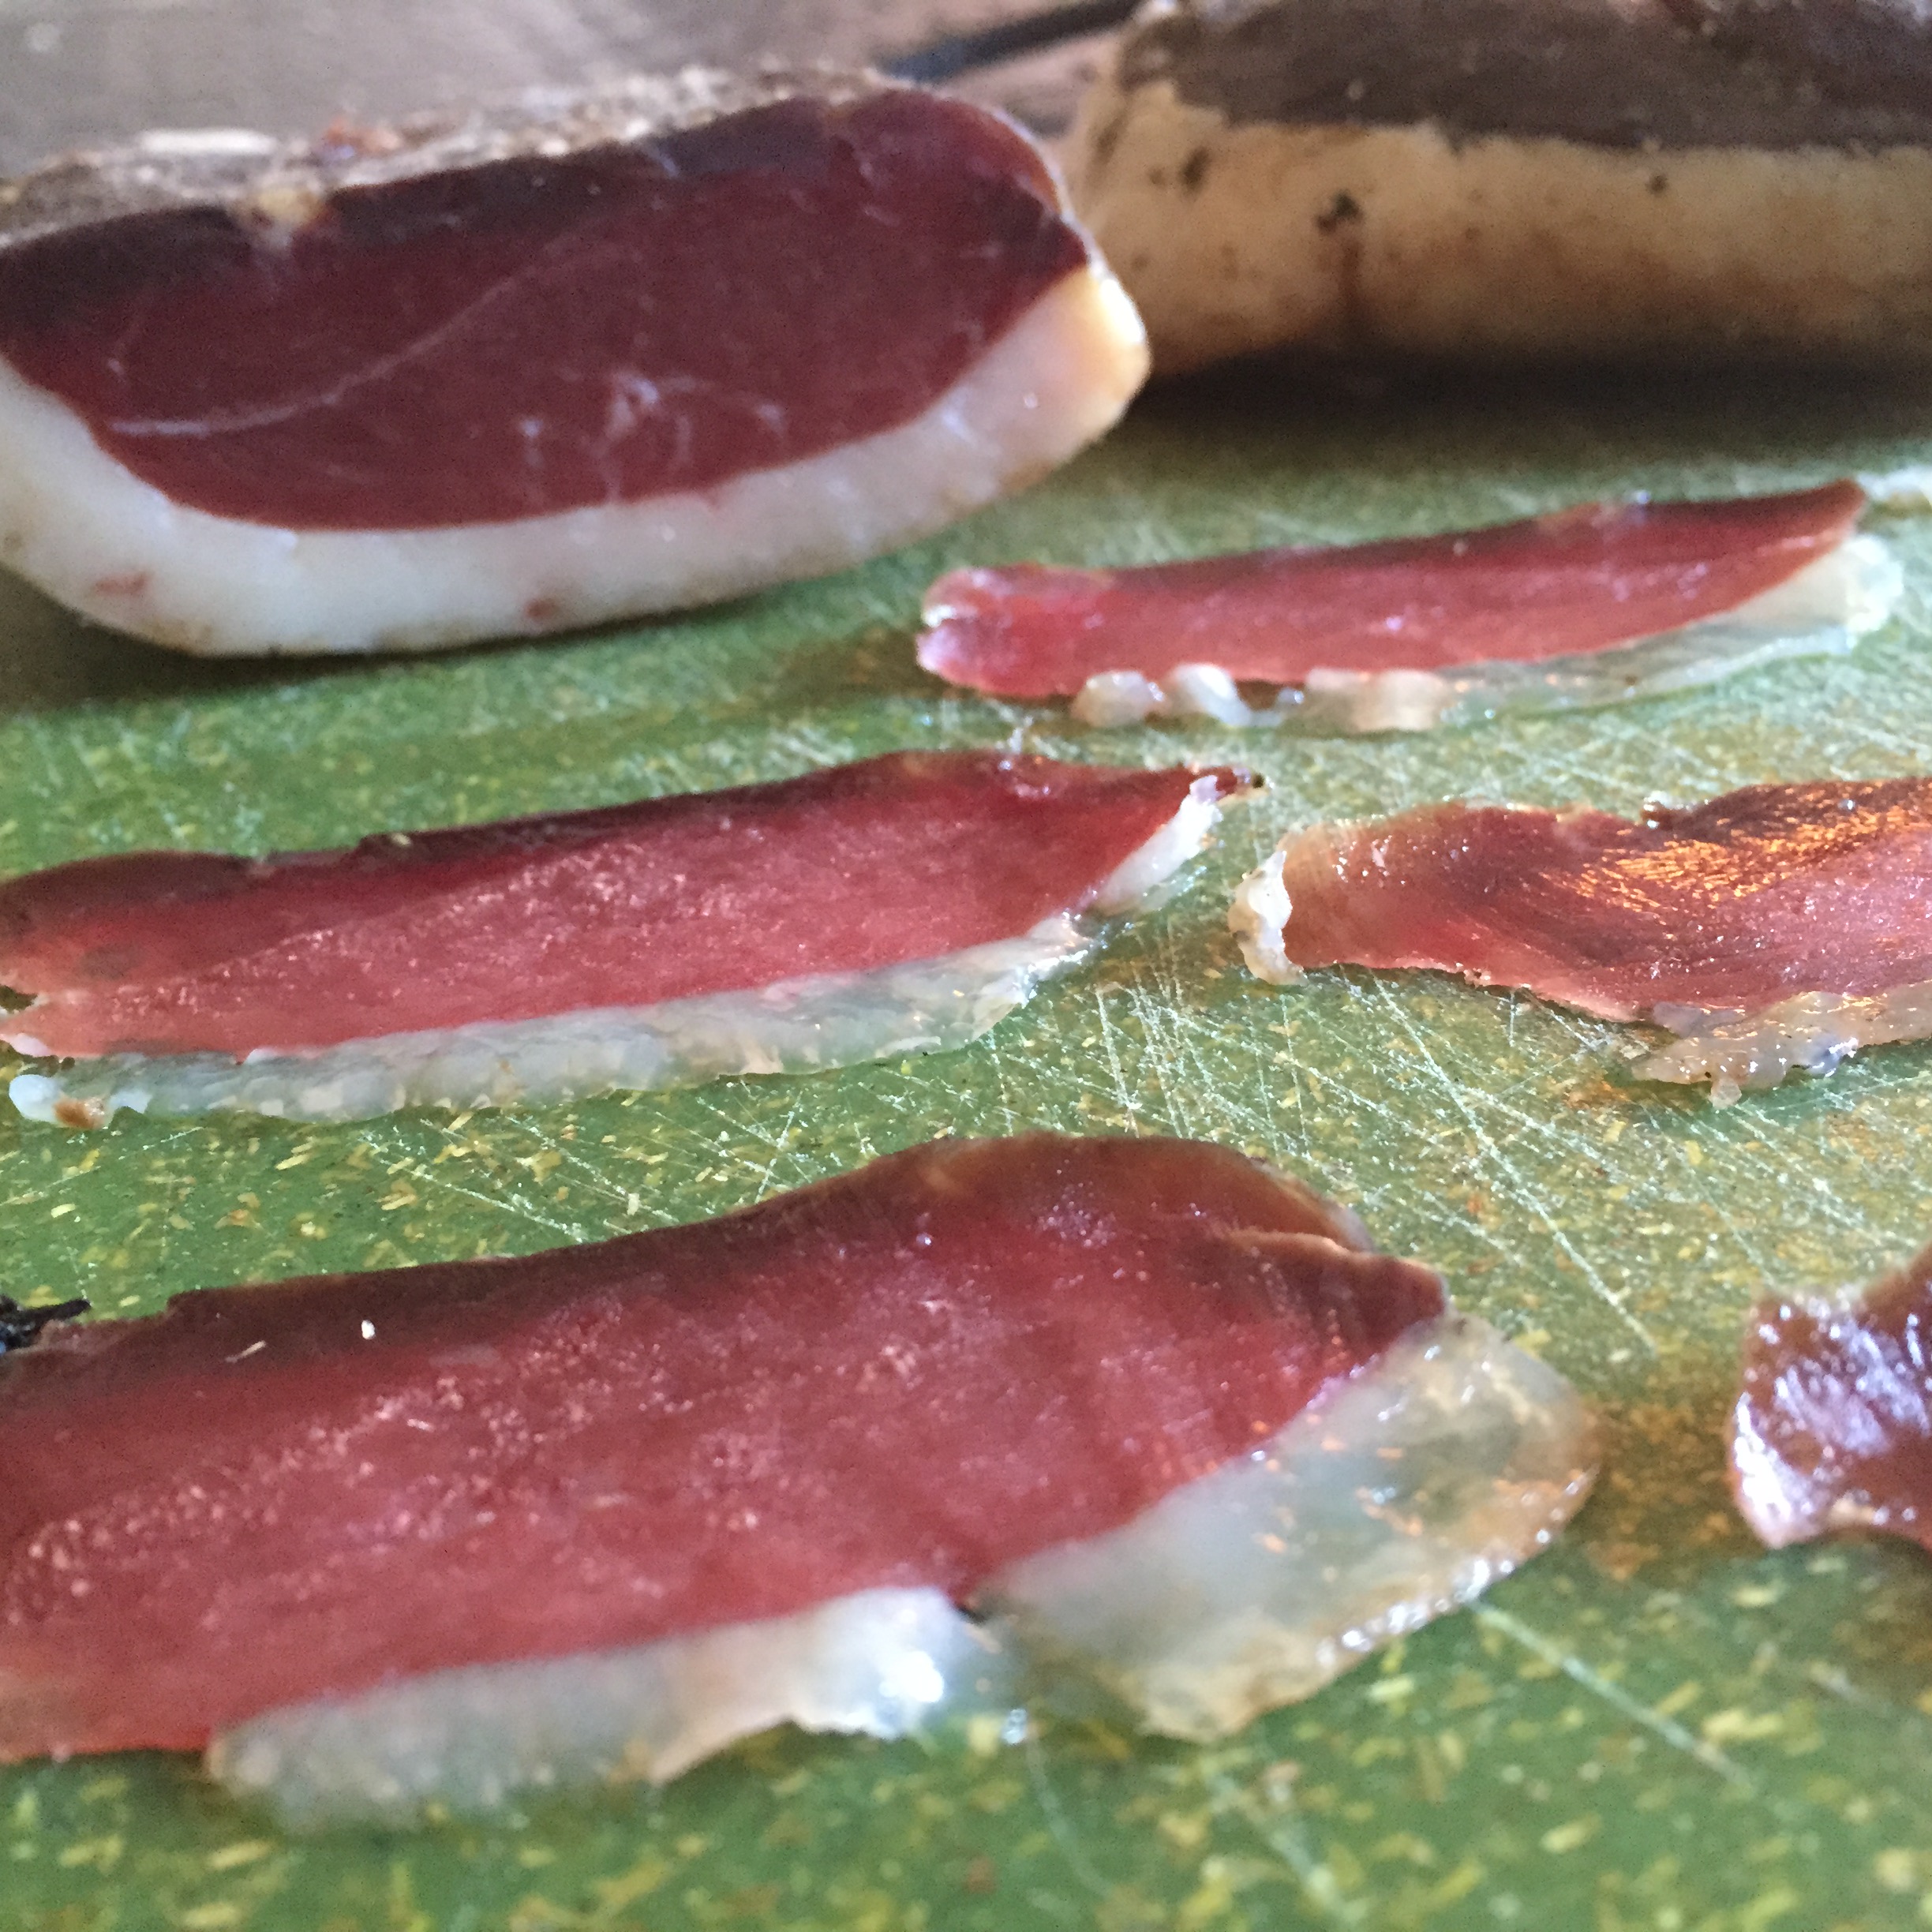
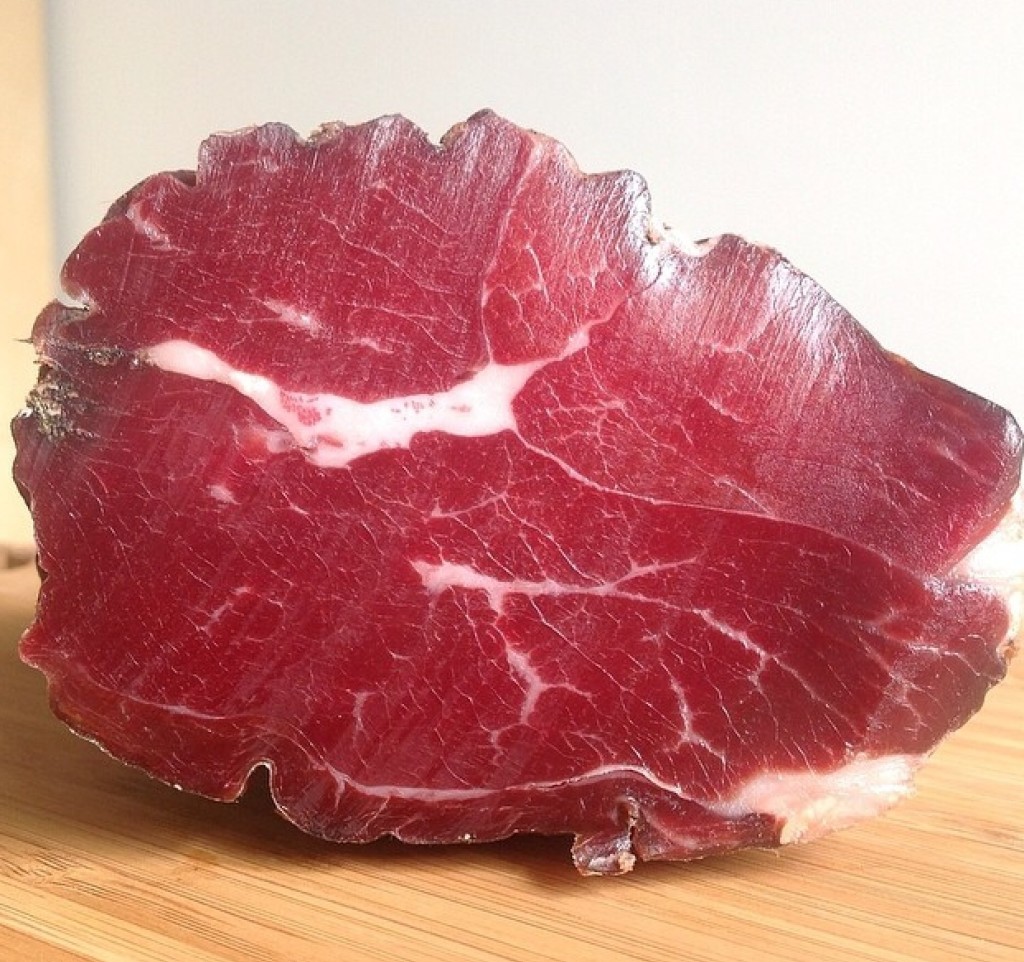
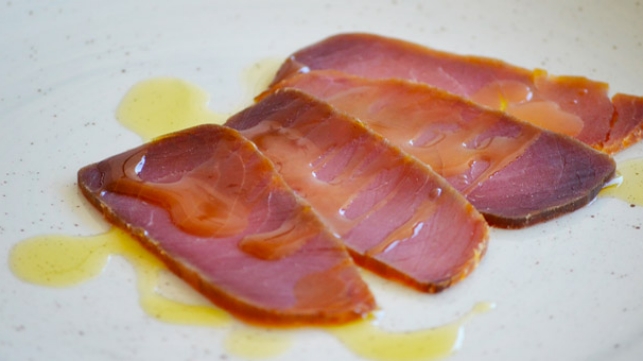
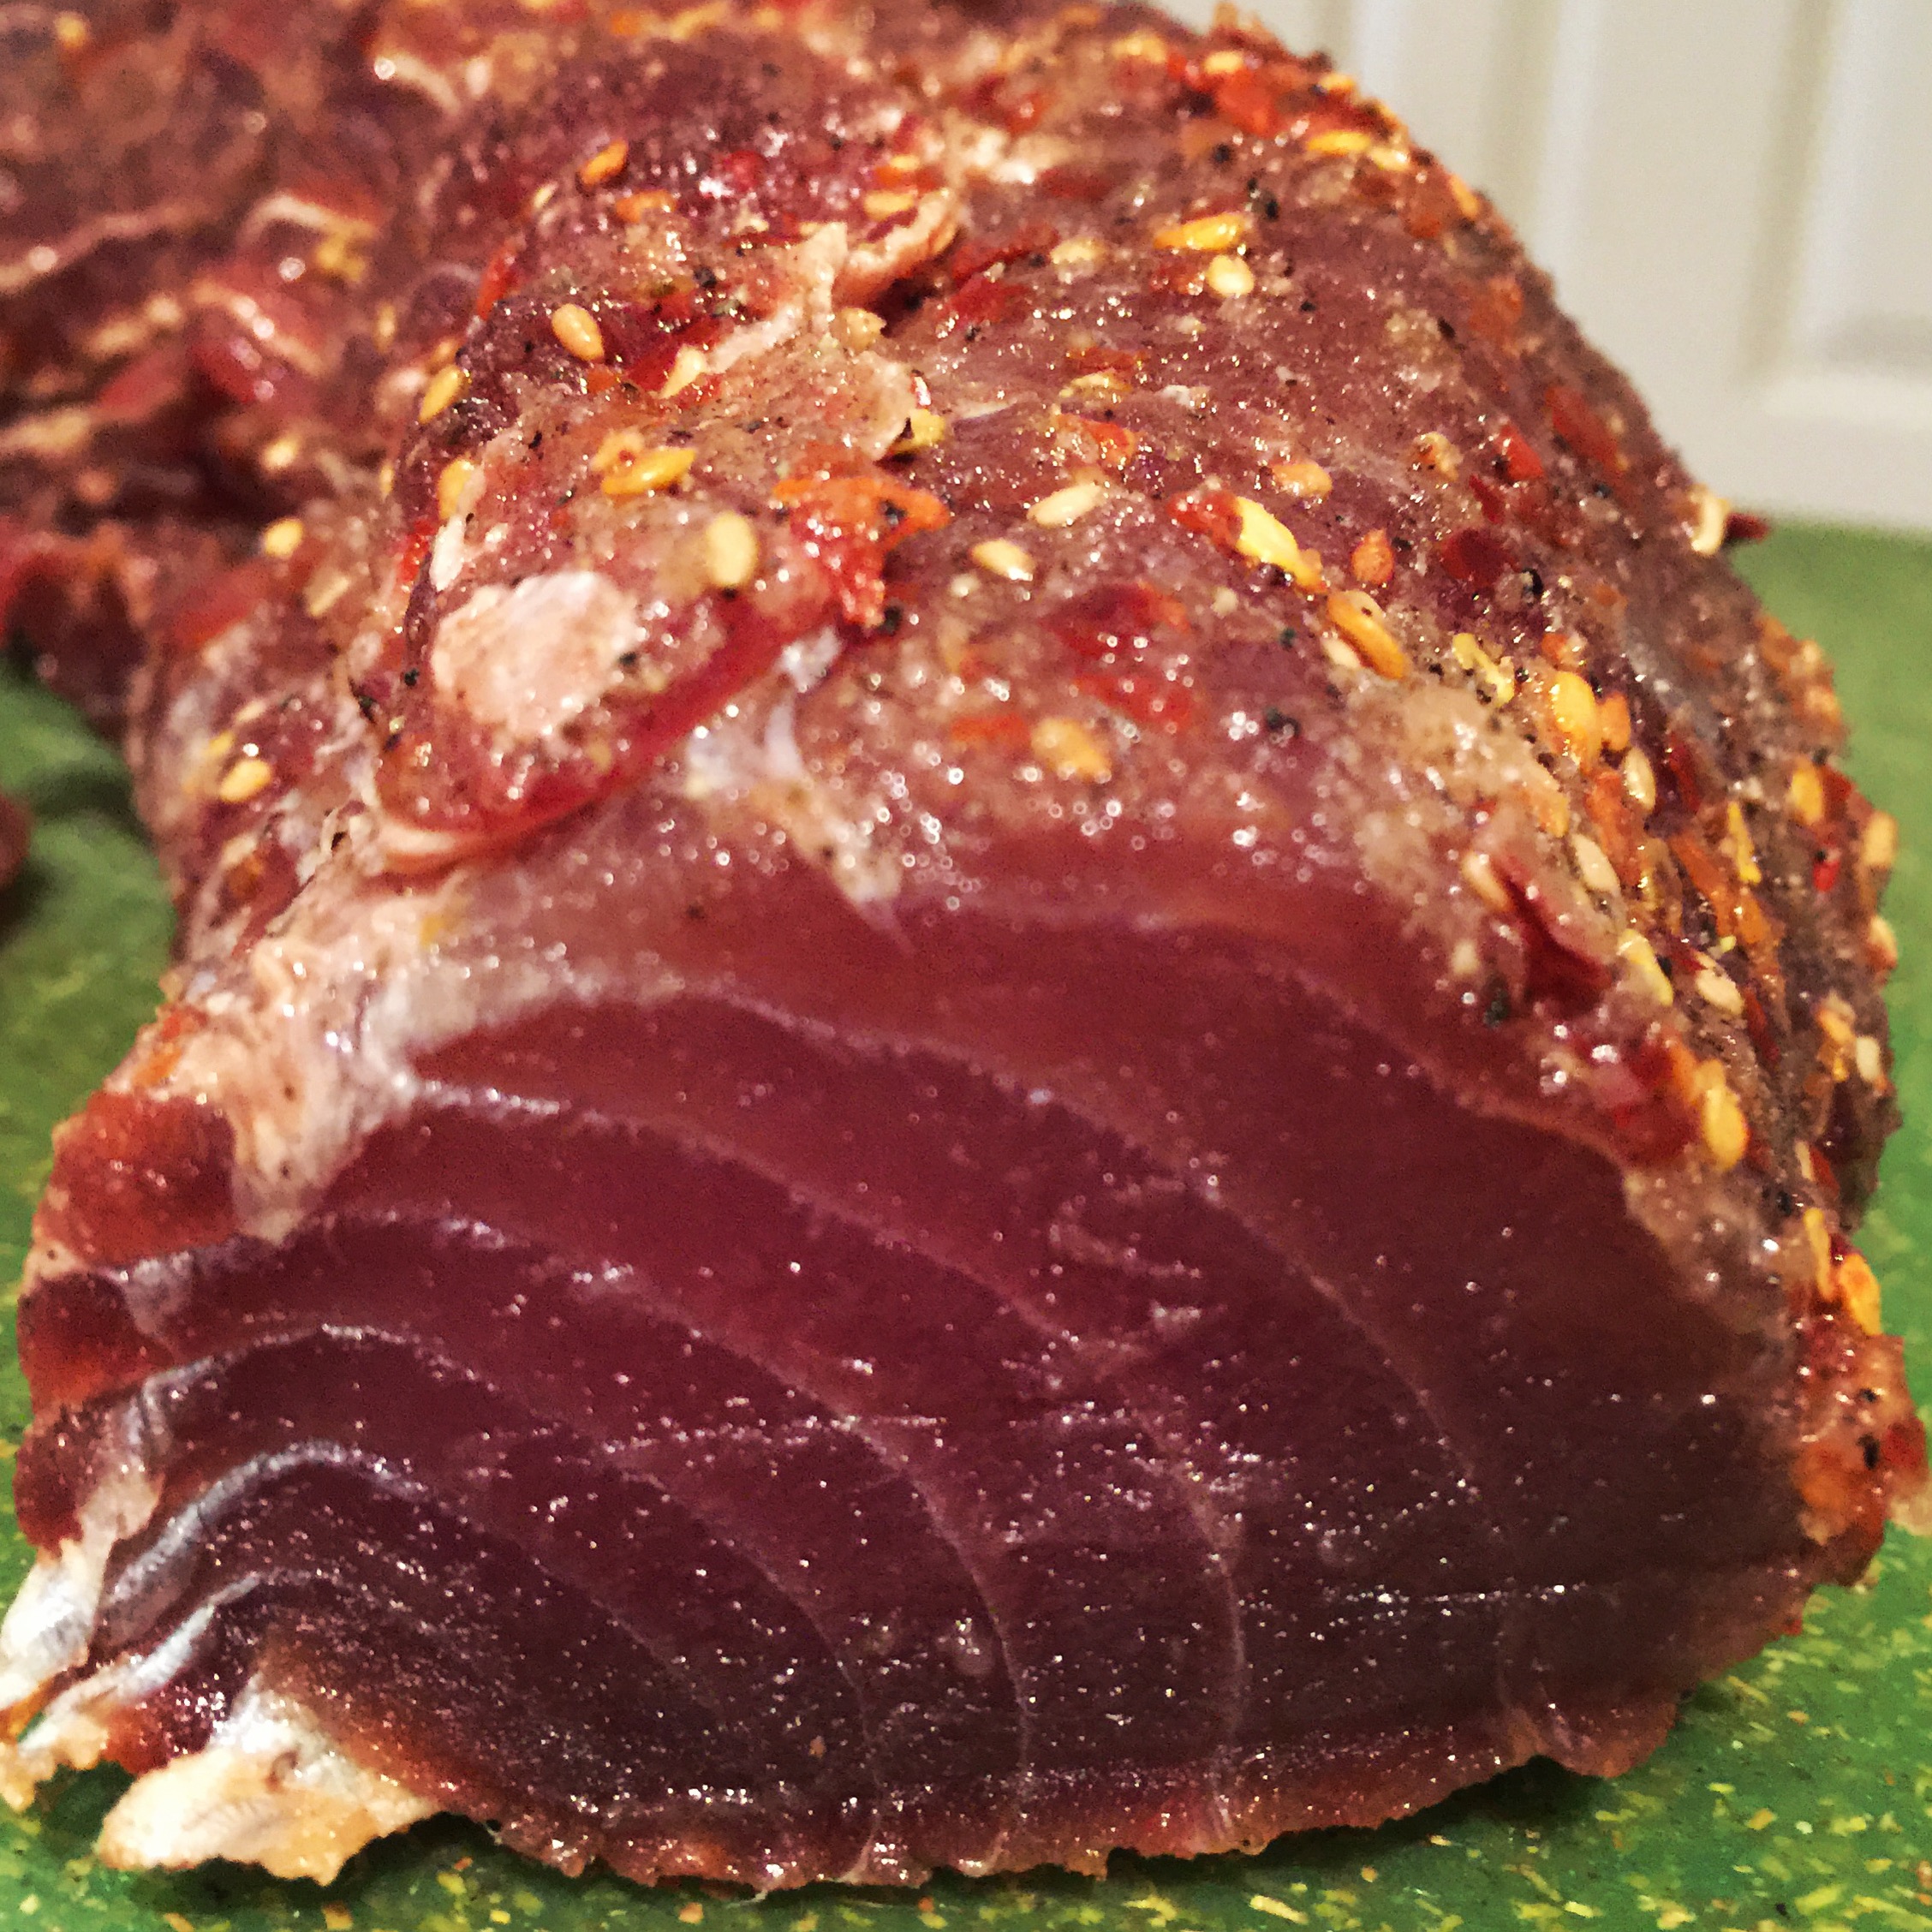
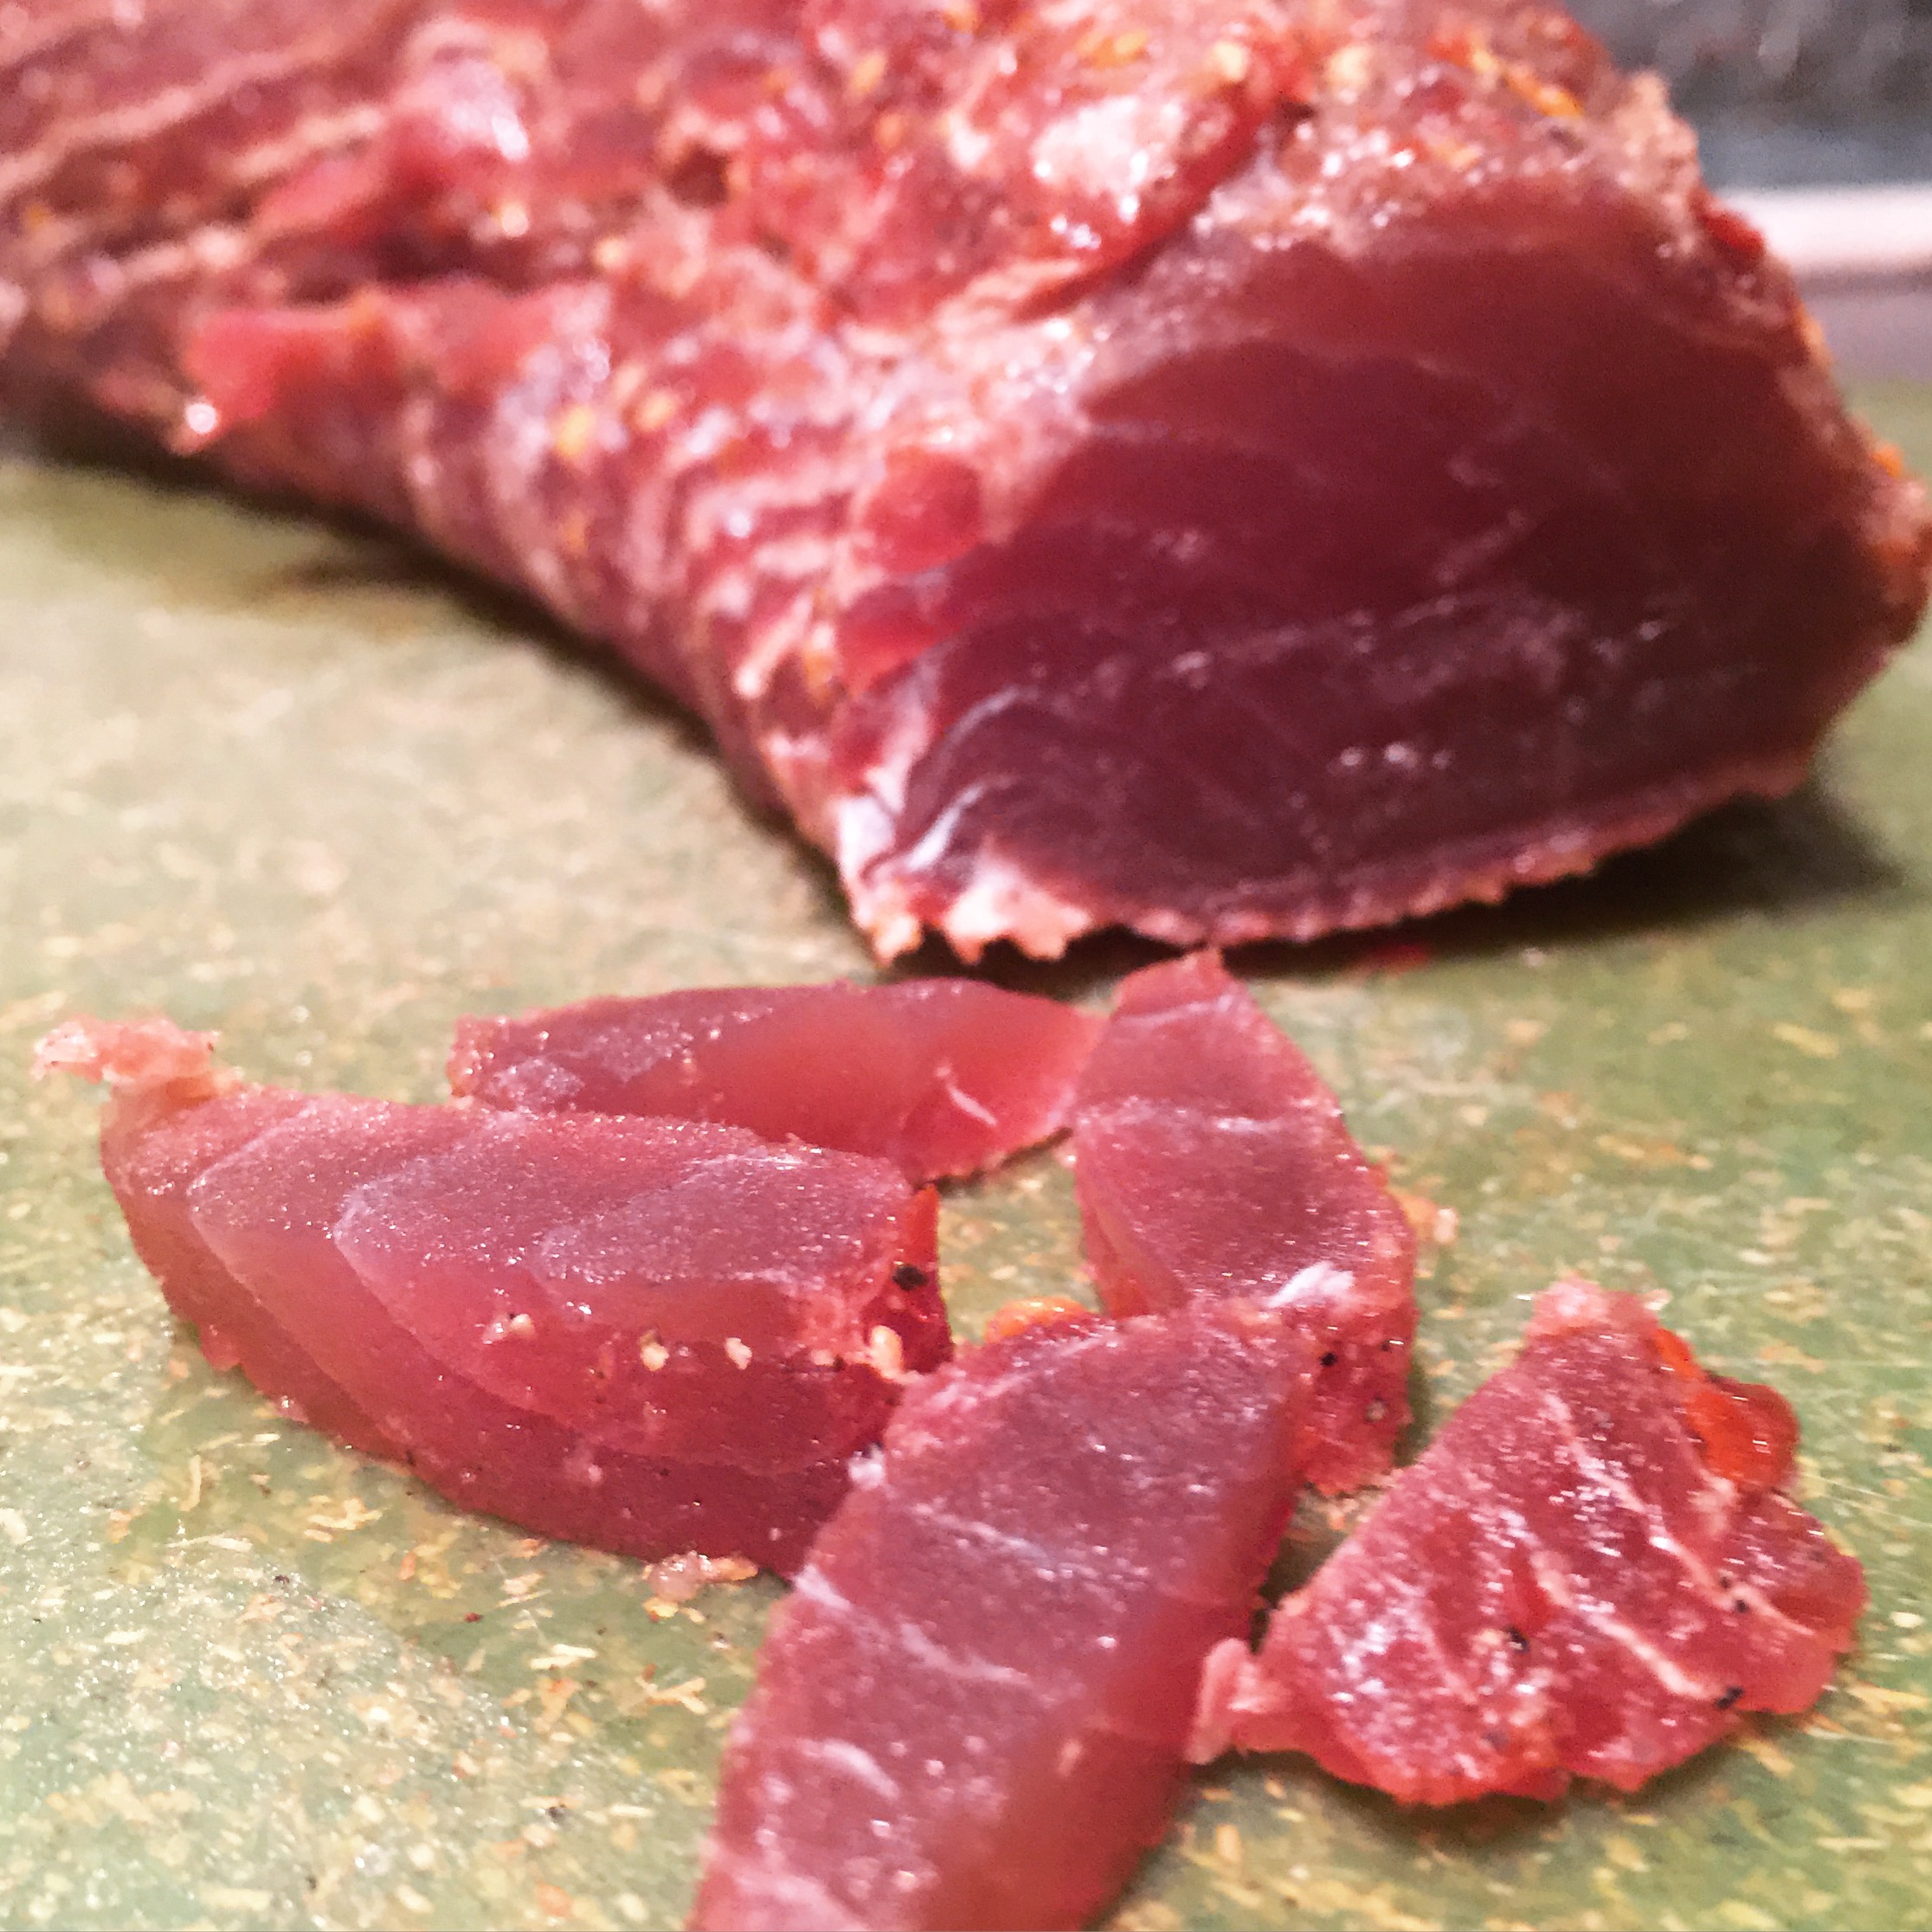
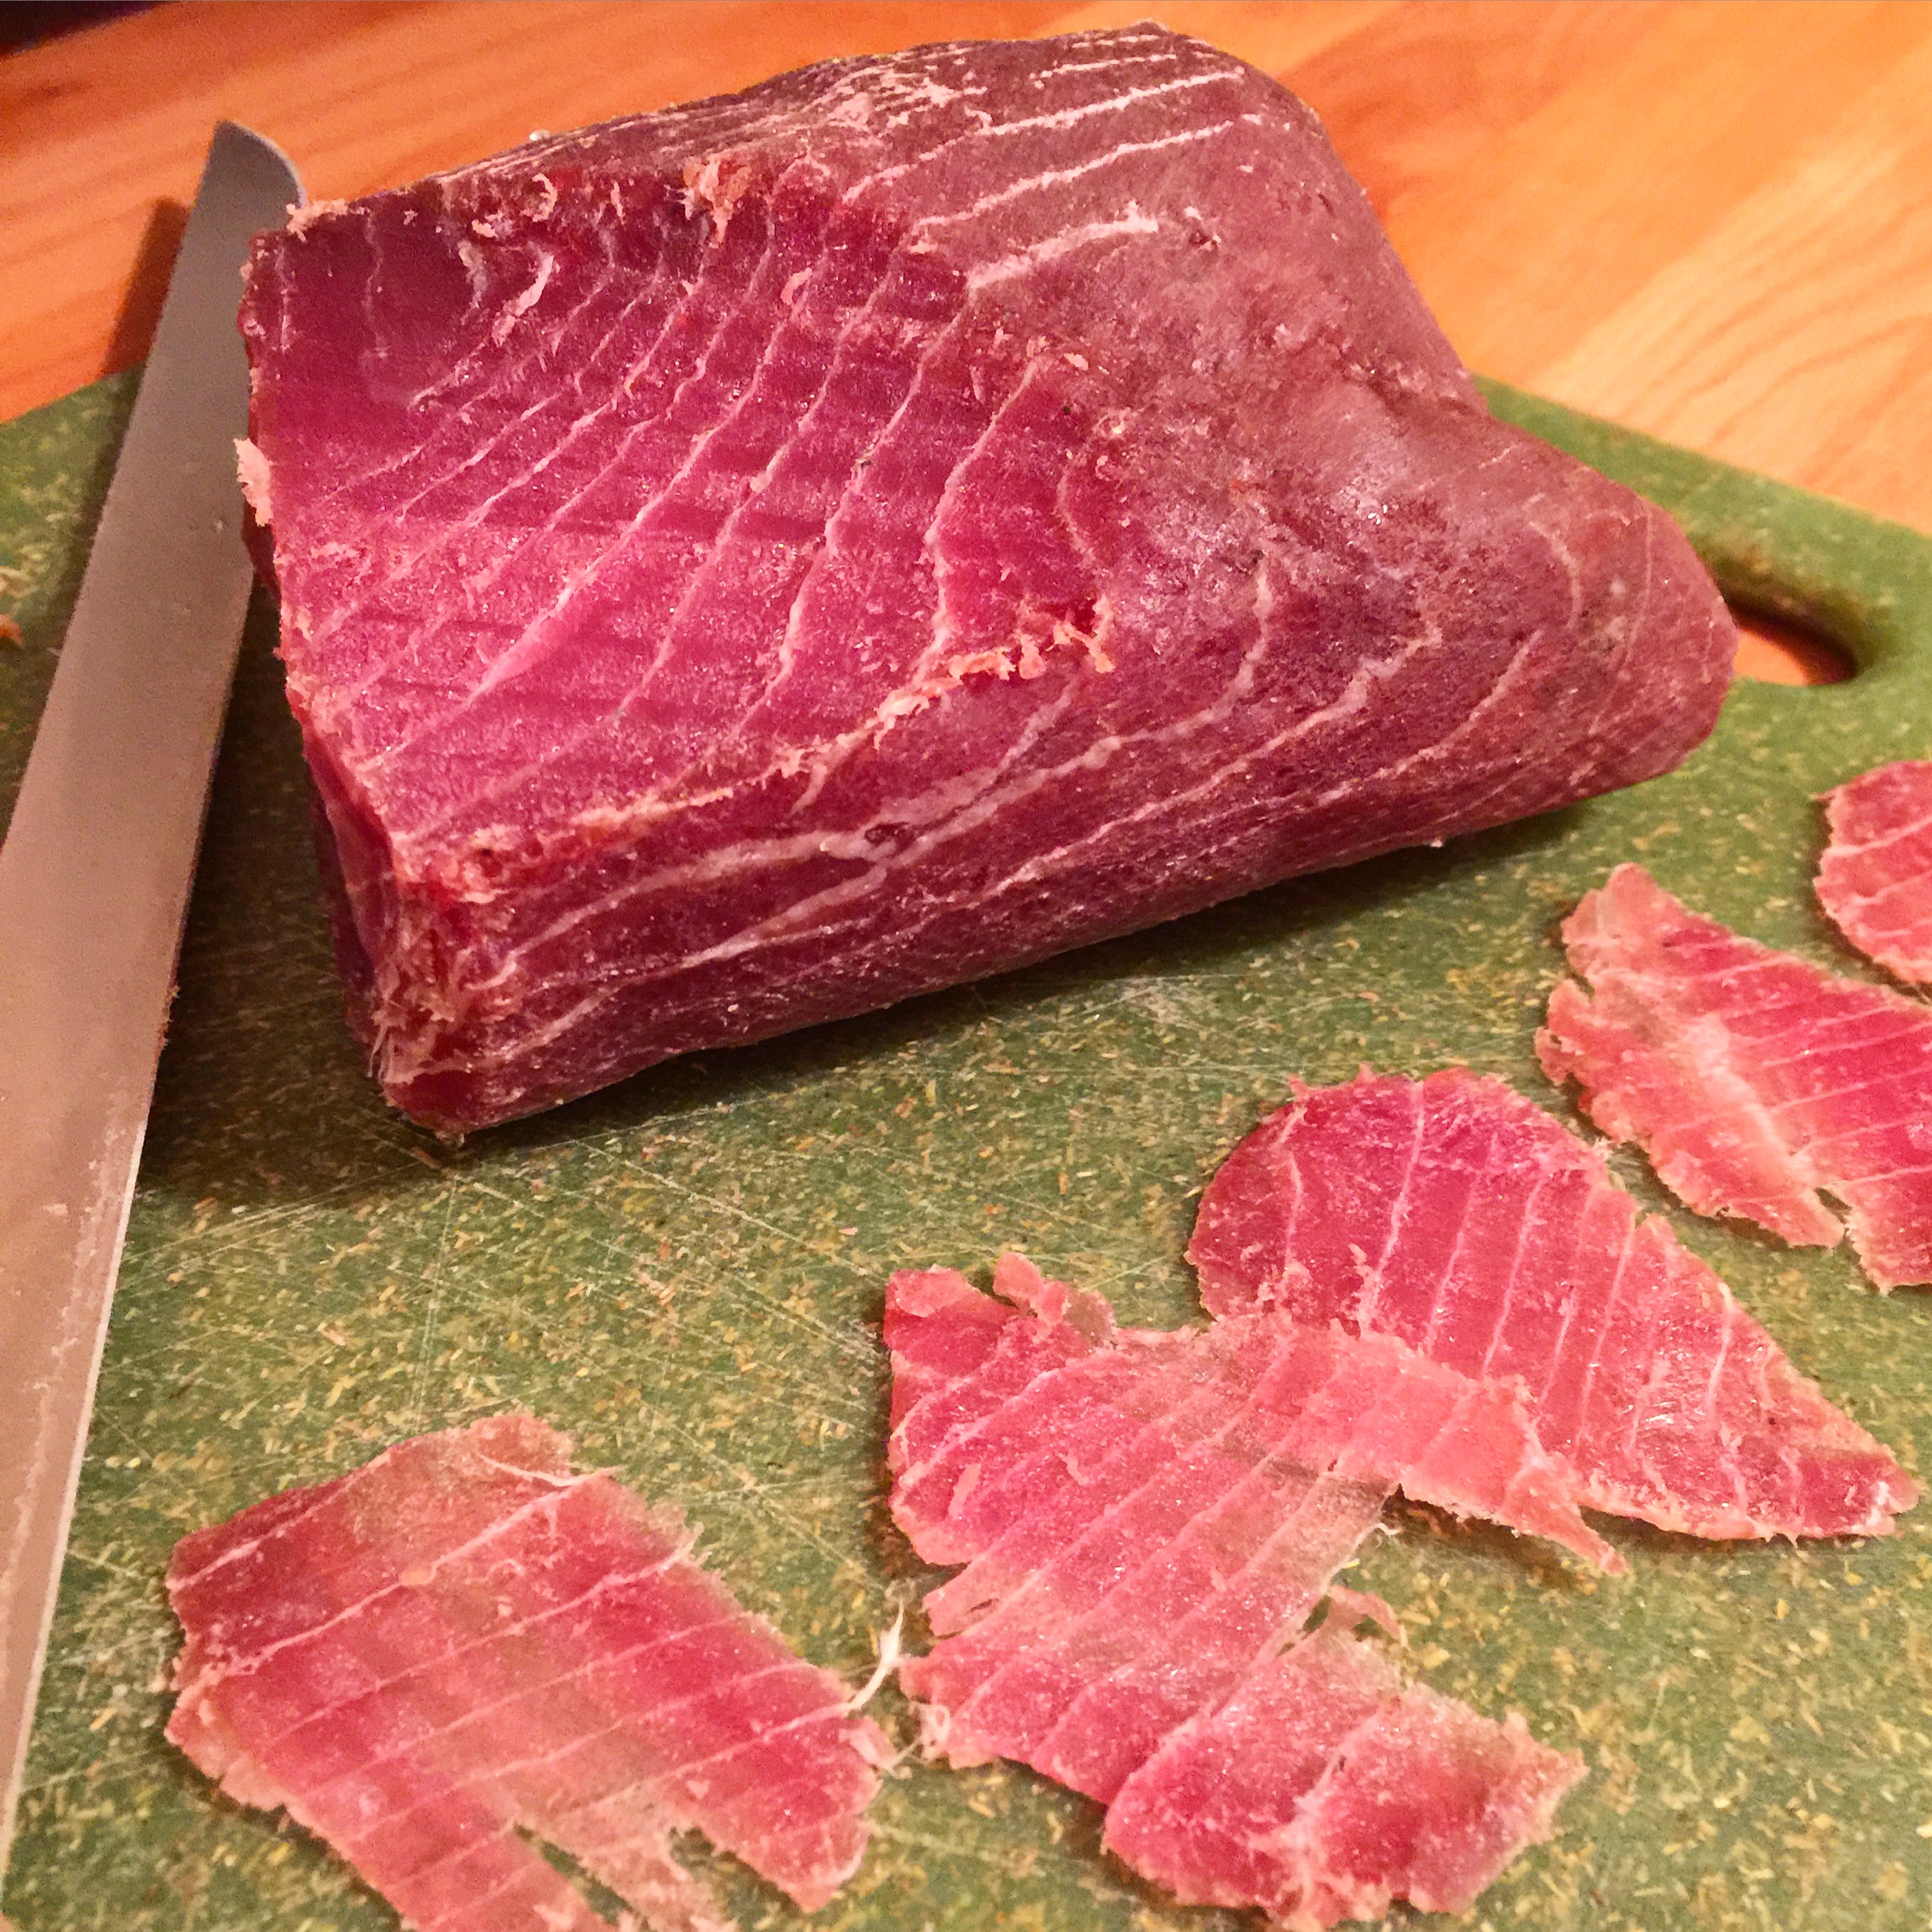
Tasting: The mosciame was sliced, and boy oh boy did it hit me.
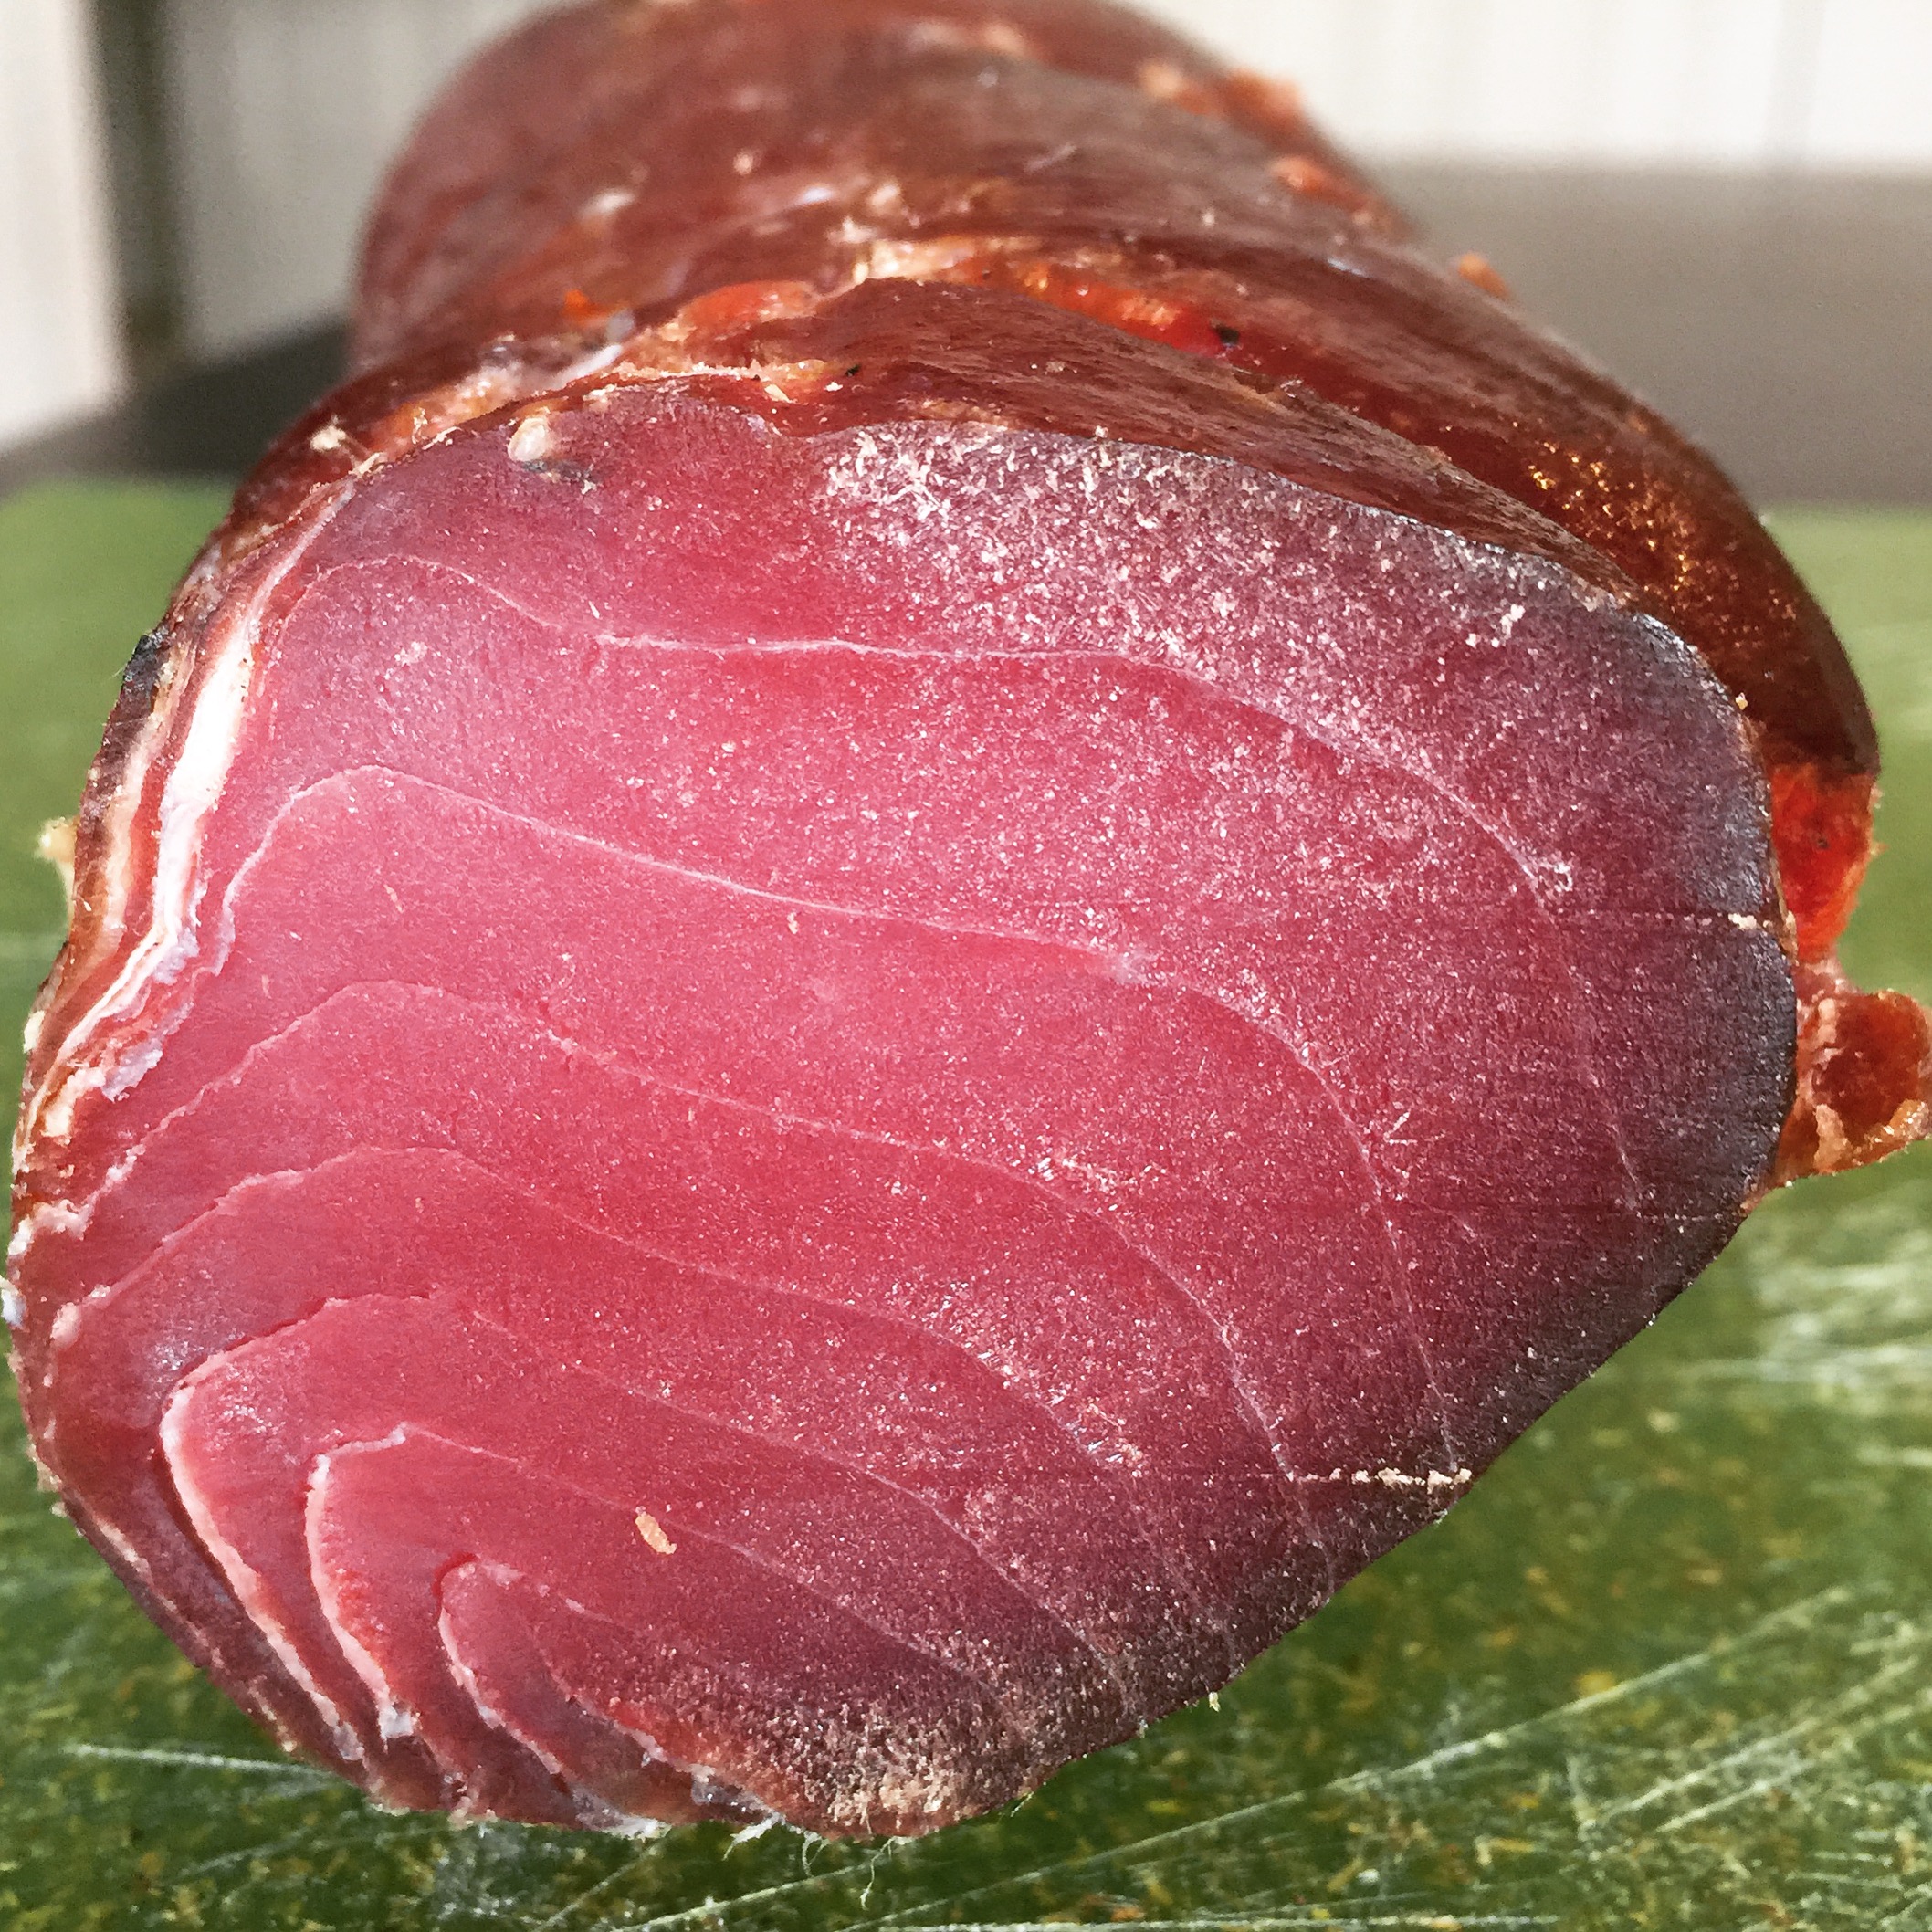


This meat was the most powerfully flavorful of any that I have made. Personally, I really enjoyed the end product. It was a full, strong earthy almost yeasty product that was as complex as it was beautiful. However, like a good cheese, it had a strong smell that was off putting to some. I find that it is great paired with some olives and wine, or on top of a dish of papas bravas.
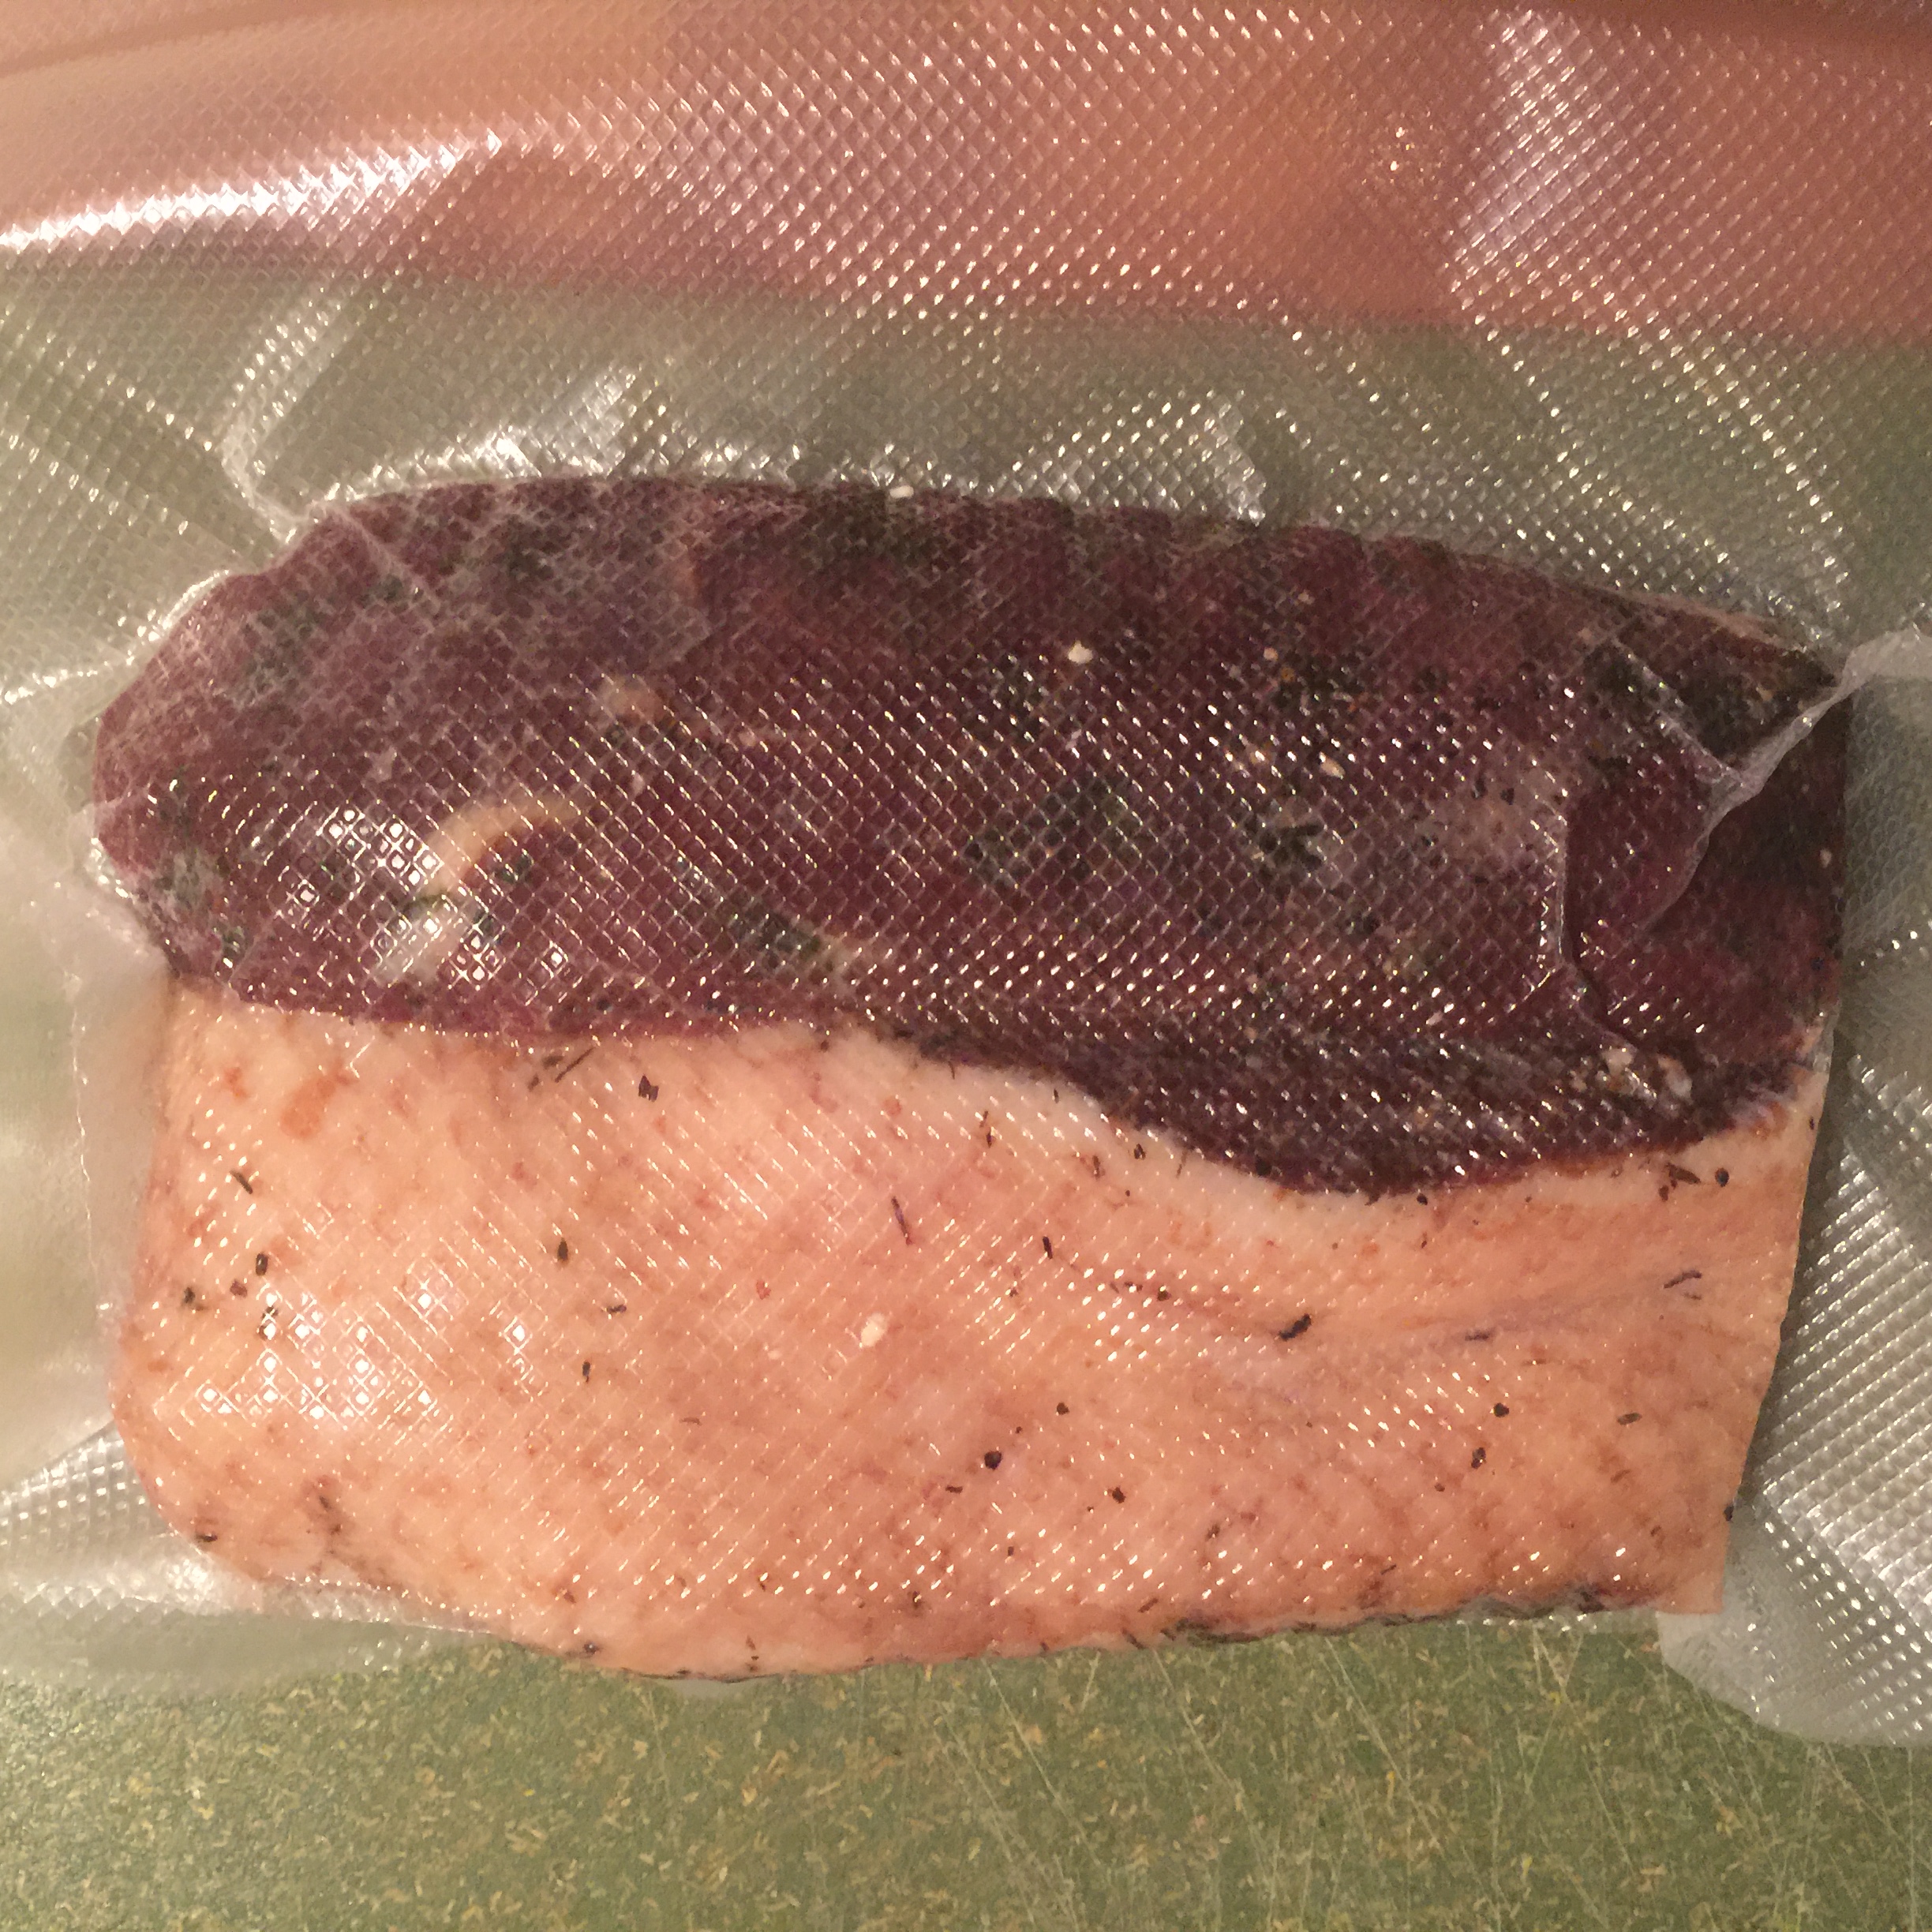
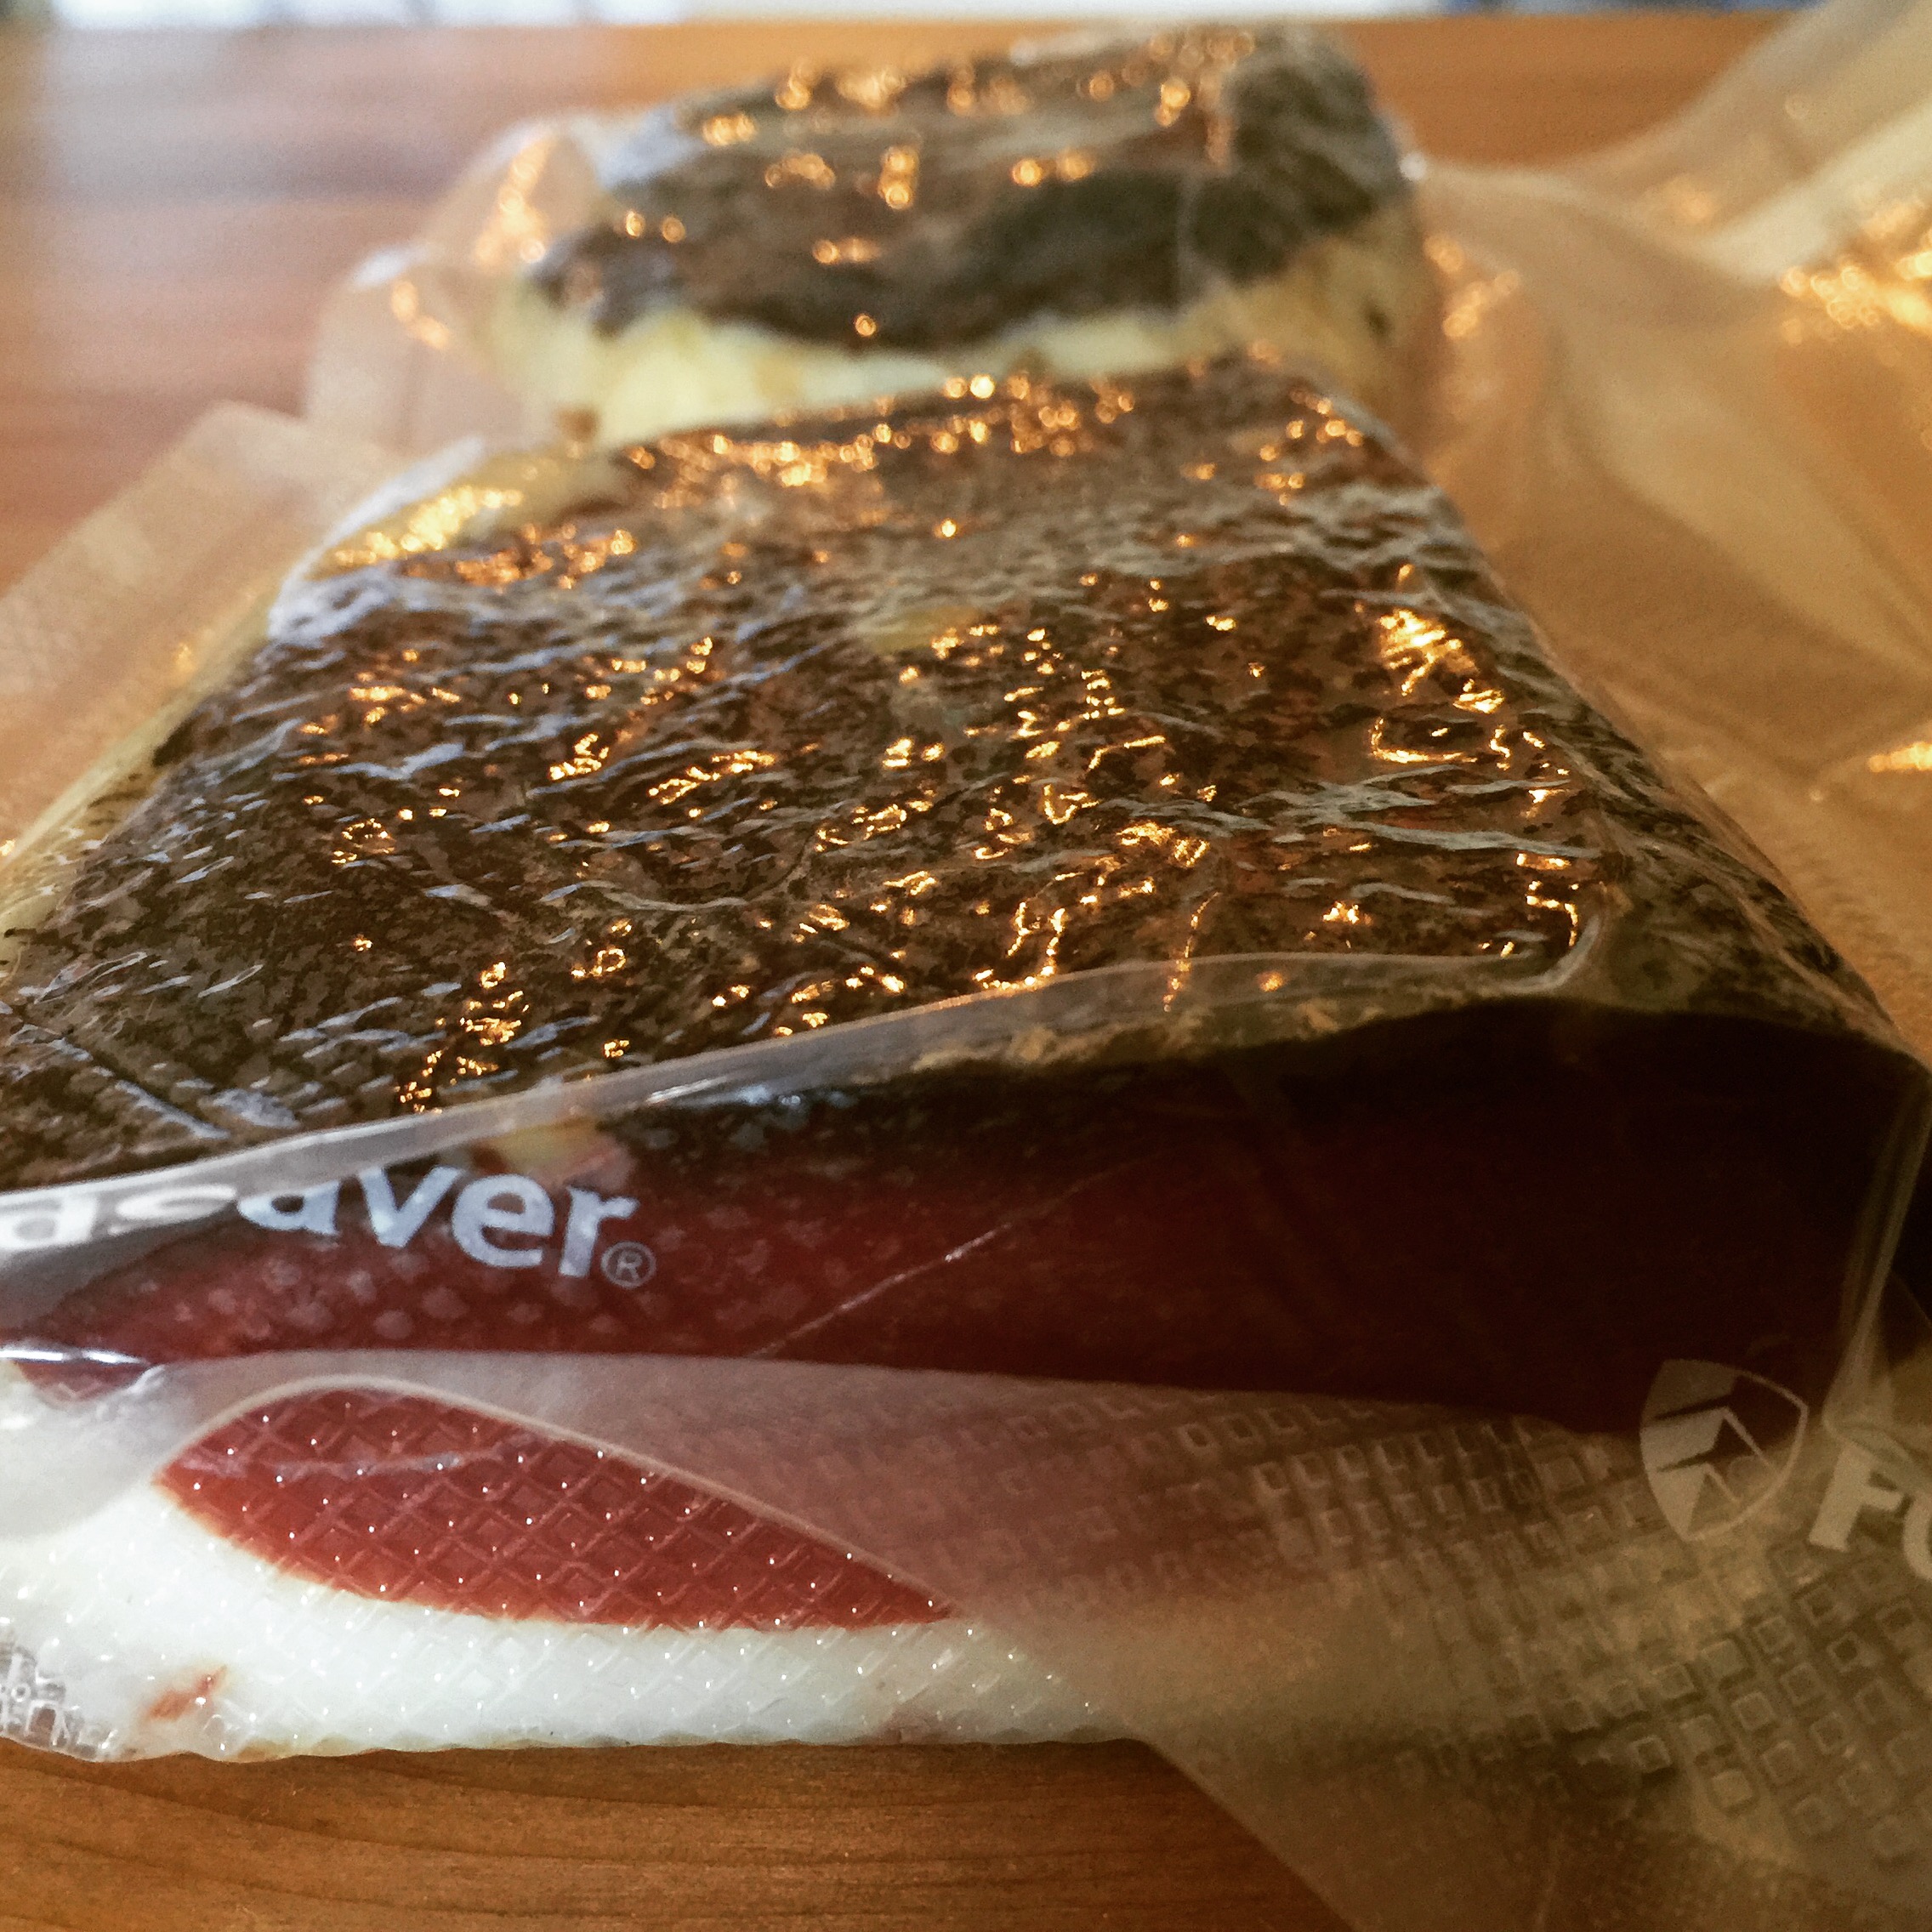
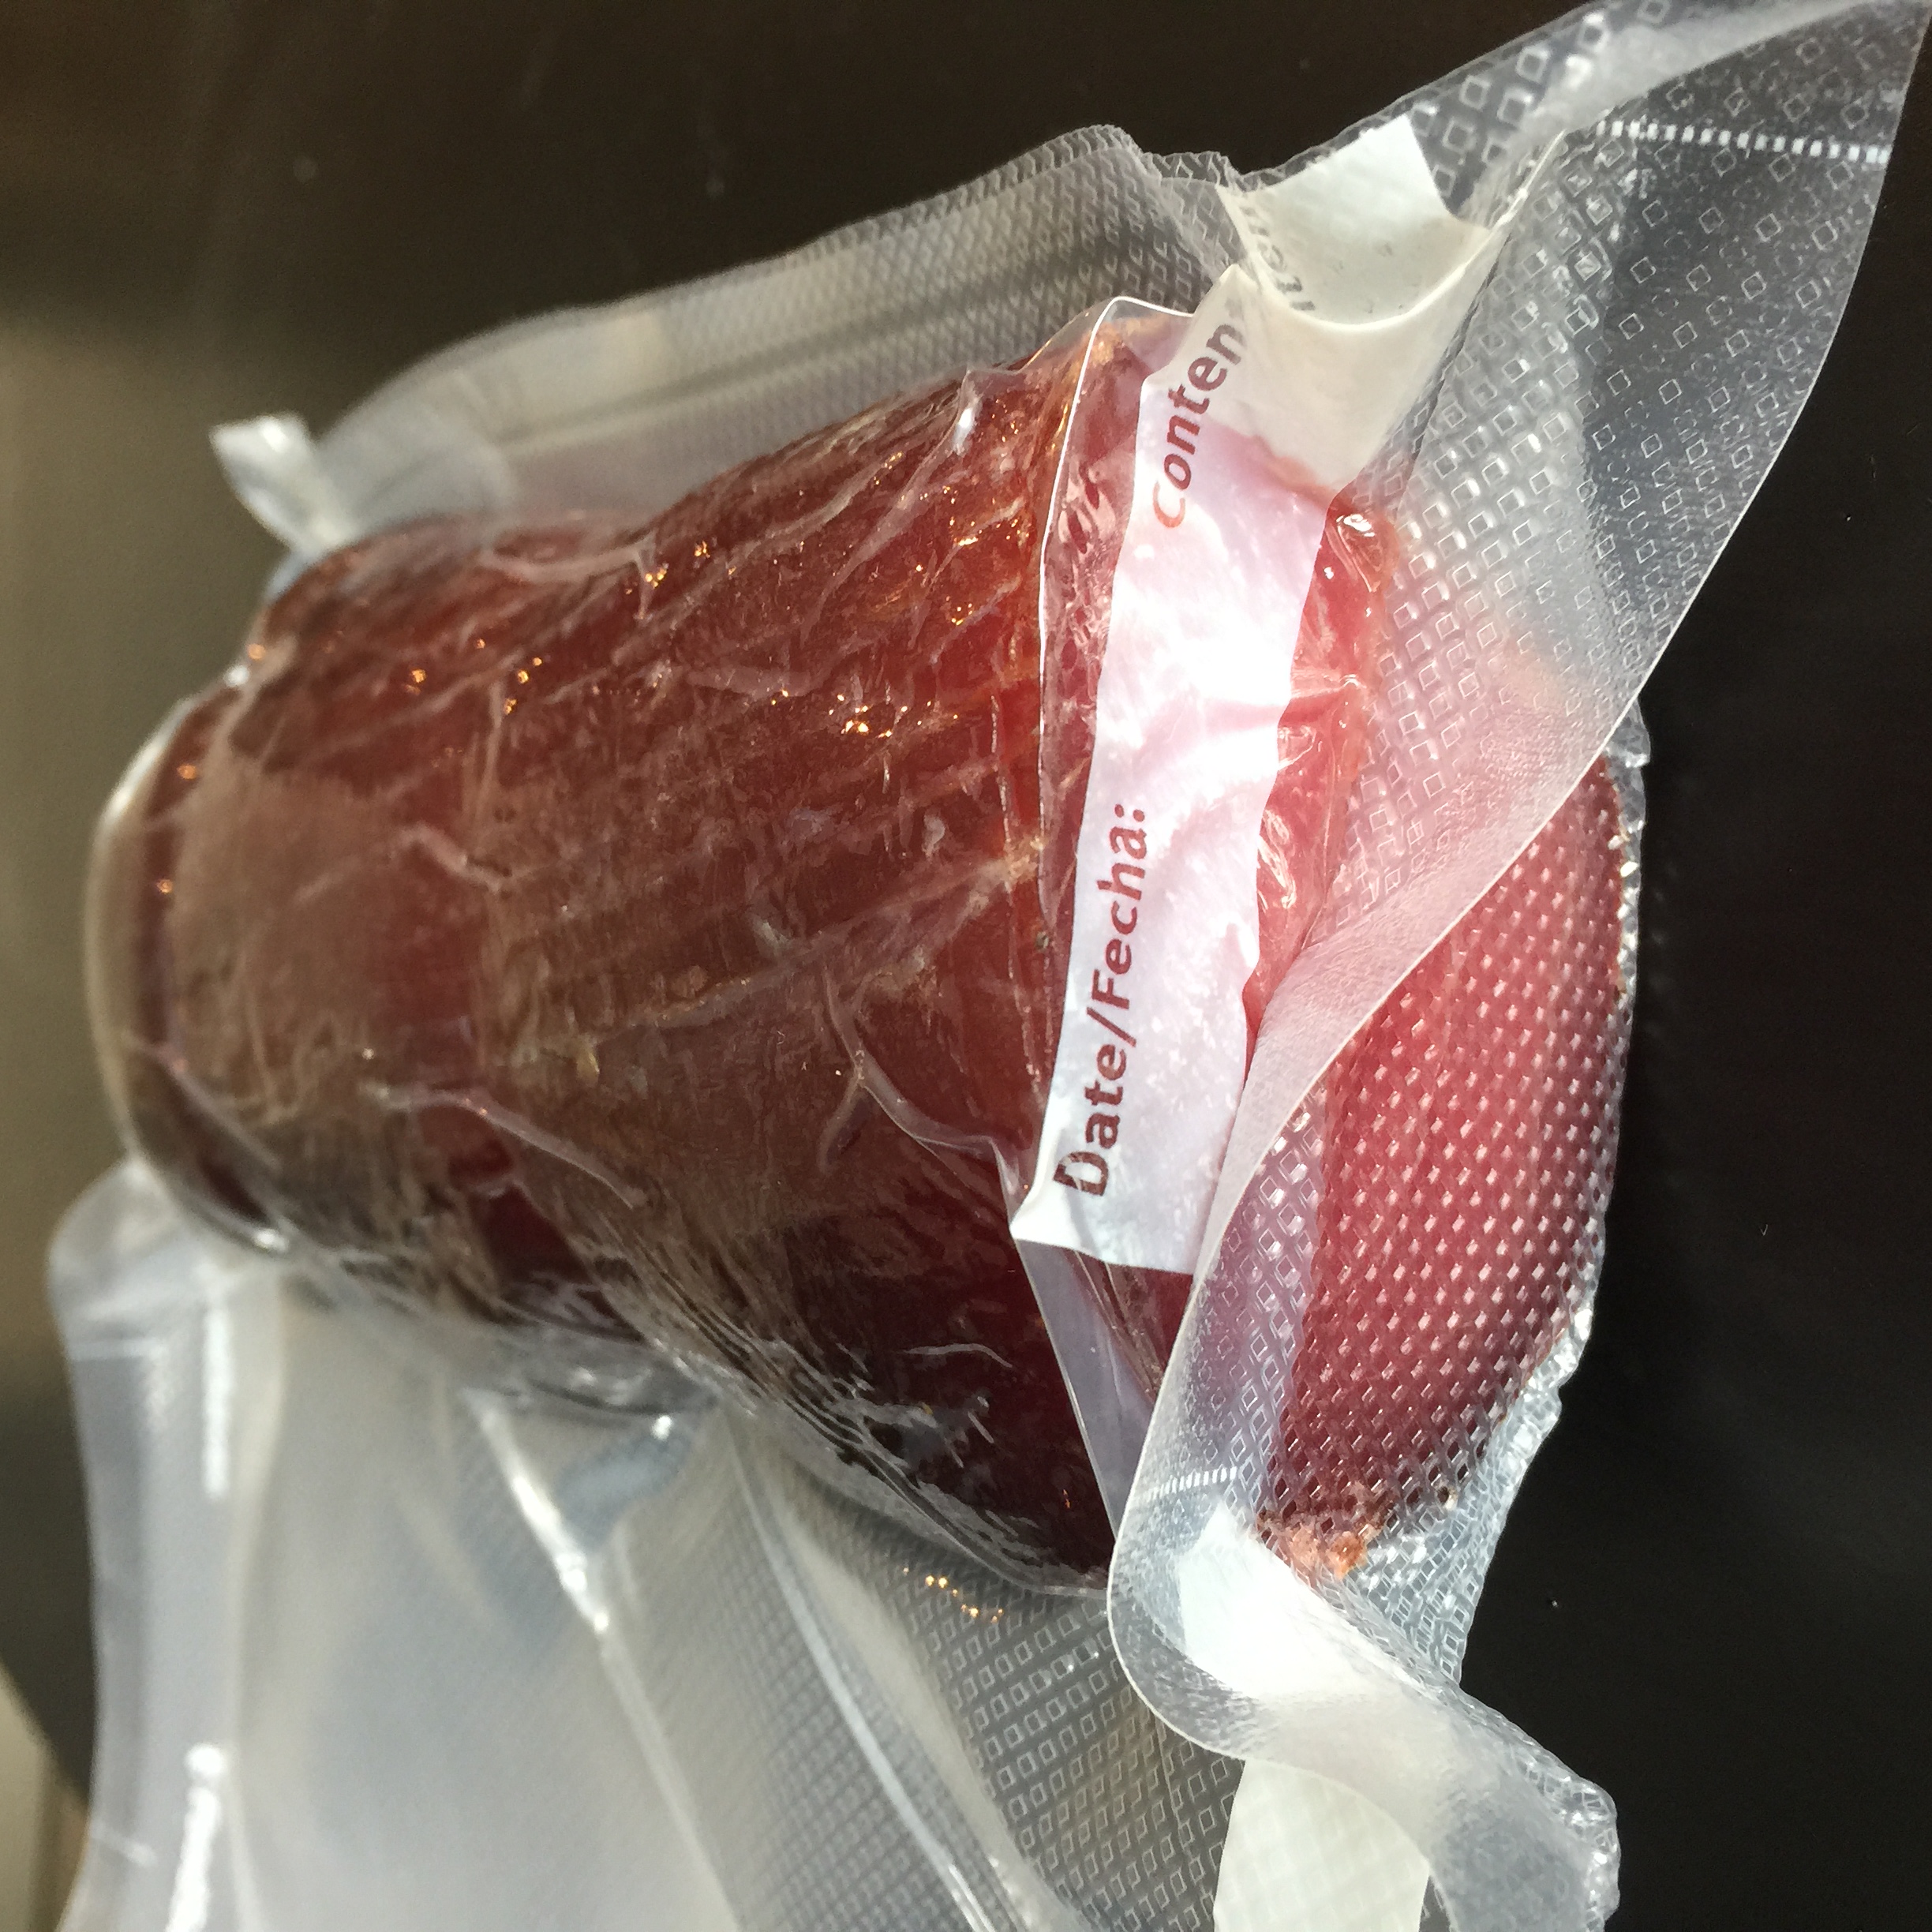
The mosciame was stored under vacuum in the fridge for future tastings.
Disclaimer: Curing fish is a hobby that comes with inherent risks. We can all do things to limit this risk by educating ourselves about the process and the utilizing the safest known methods to create our products. This website is for educational purposes only, and all experimentation should be done at each individuals own risk.