…without a curing chamber.
Name: Duck Prosciutto

This post will detail how you can get started making your very own duck prosciutto without using a curing chamber. This is a good entry level project, since in most places you can easily buy a duck breast from the grocery store and its relatively small size means it will be done sooner than most other projects. In order to do this, we are going to be using UMAI dry bags and the regular fridge. If you haven’t read the Beginner’s Guide yet, now would be a good time to do that. Let’s get started!
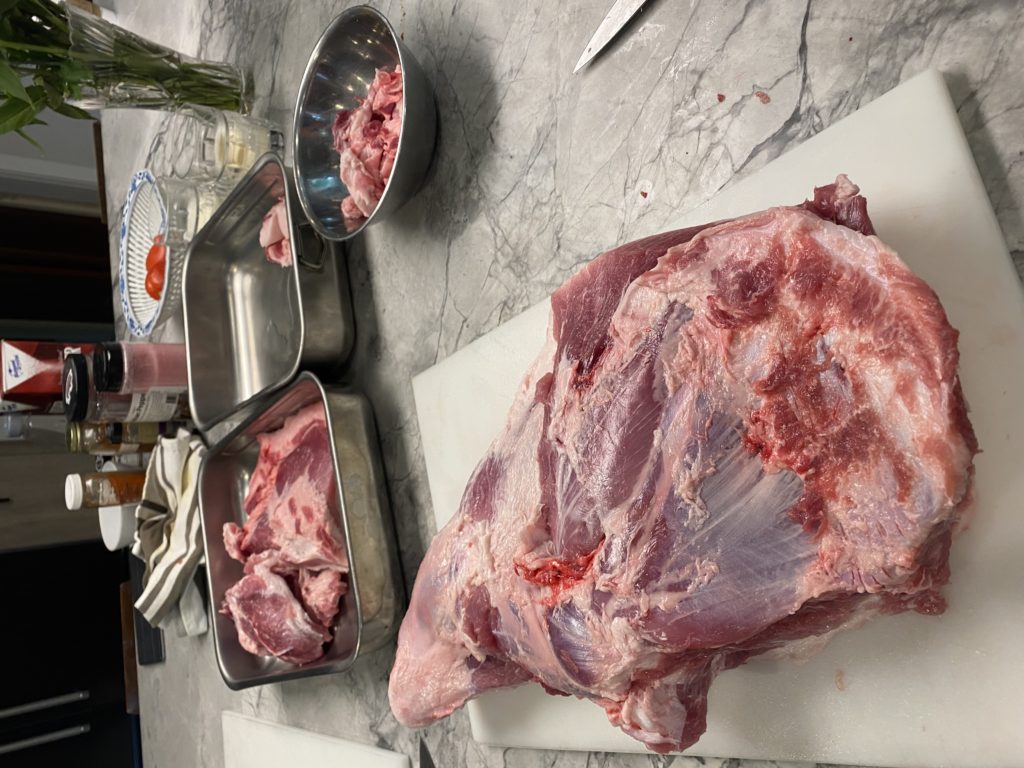
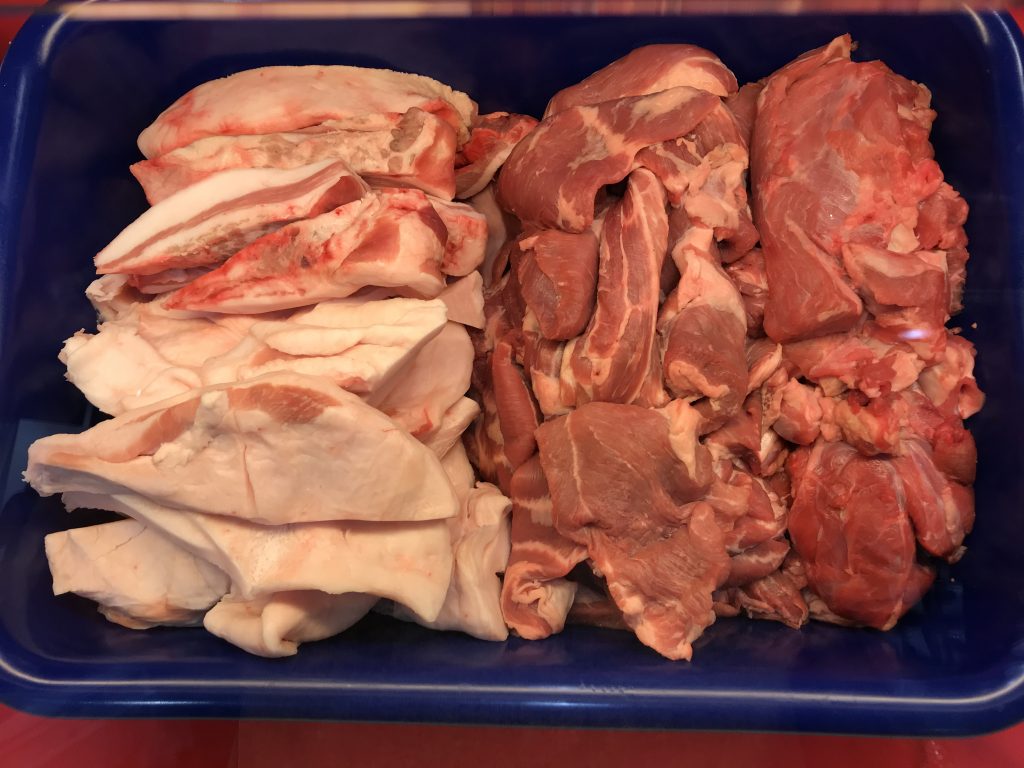
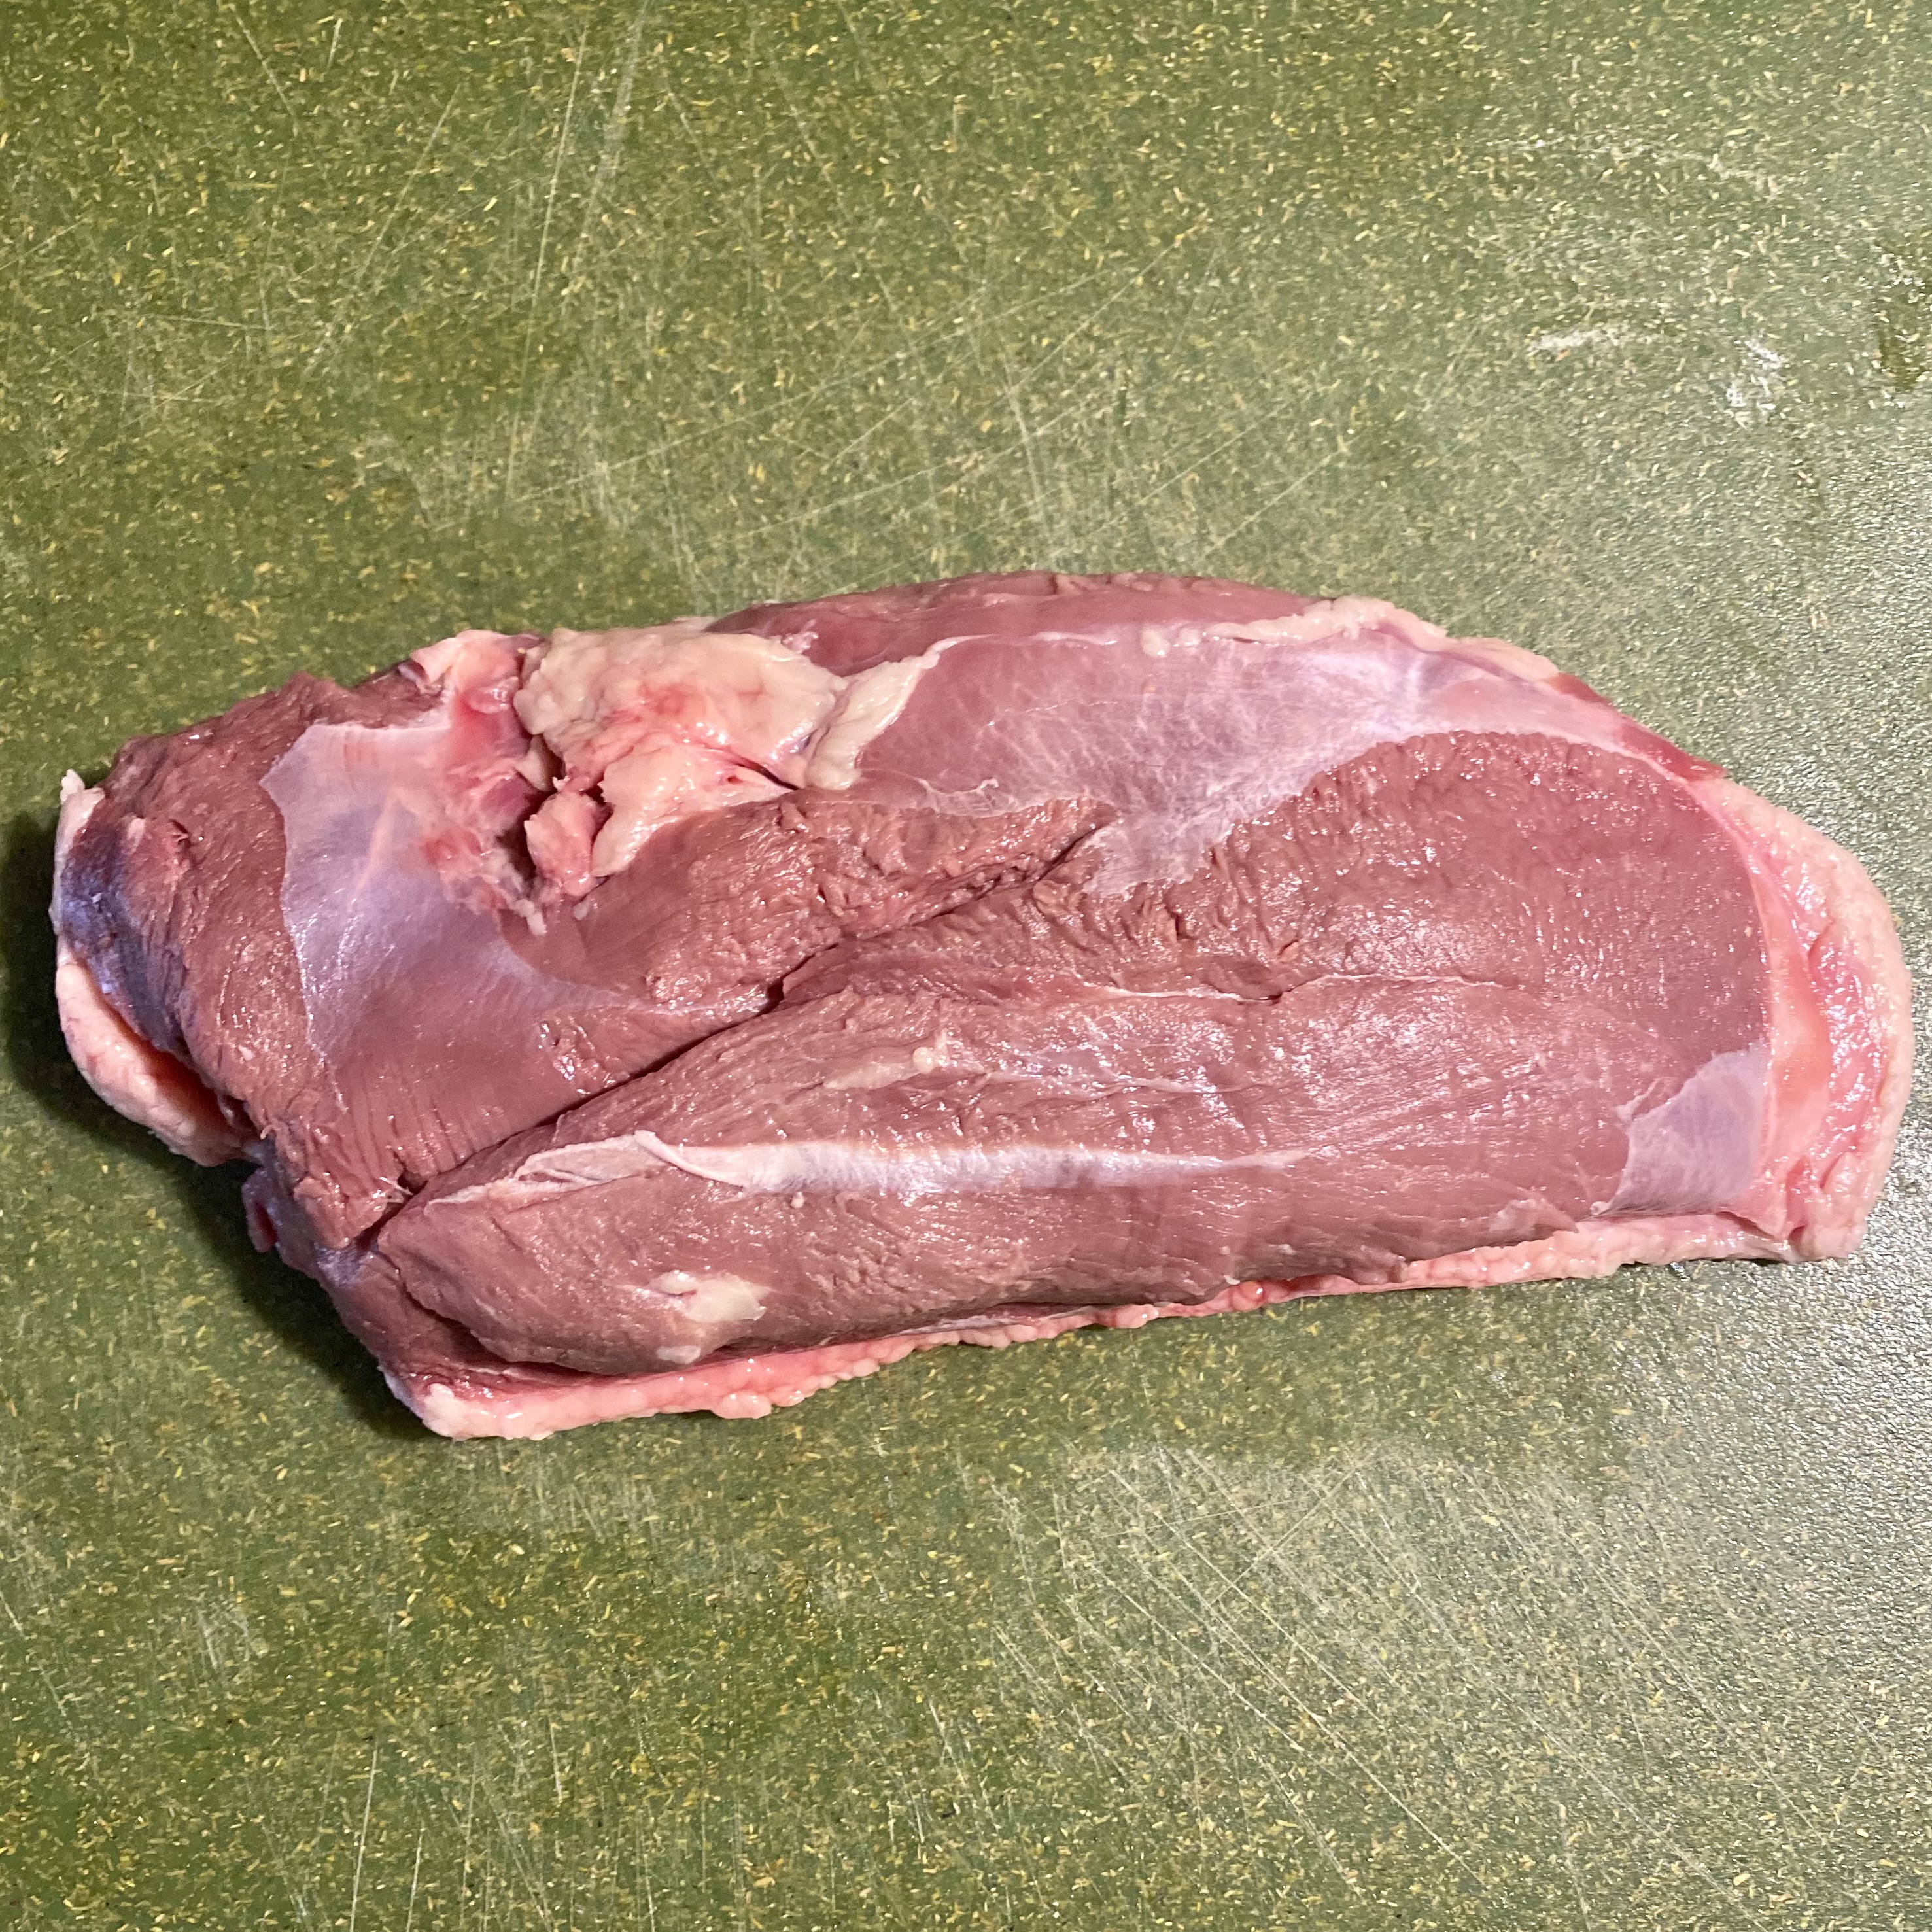
The meat:
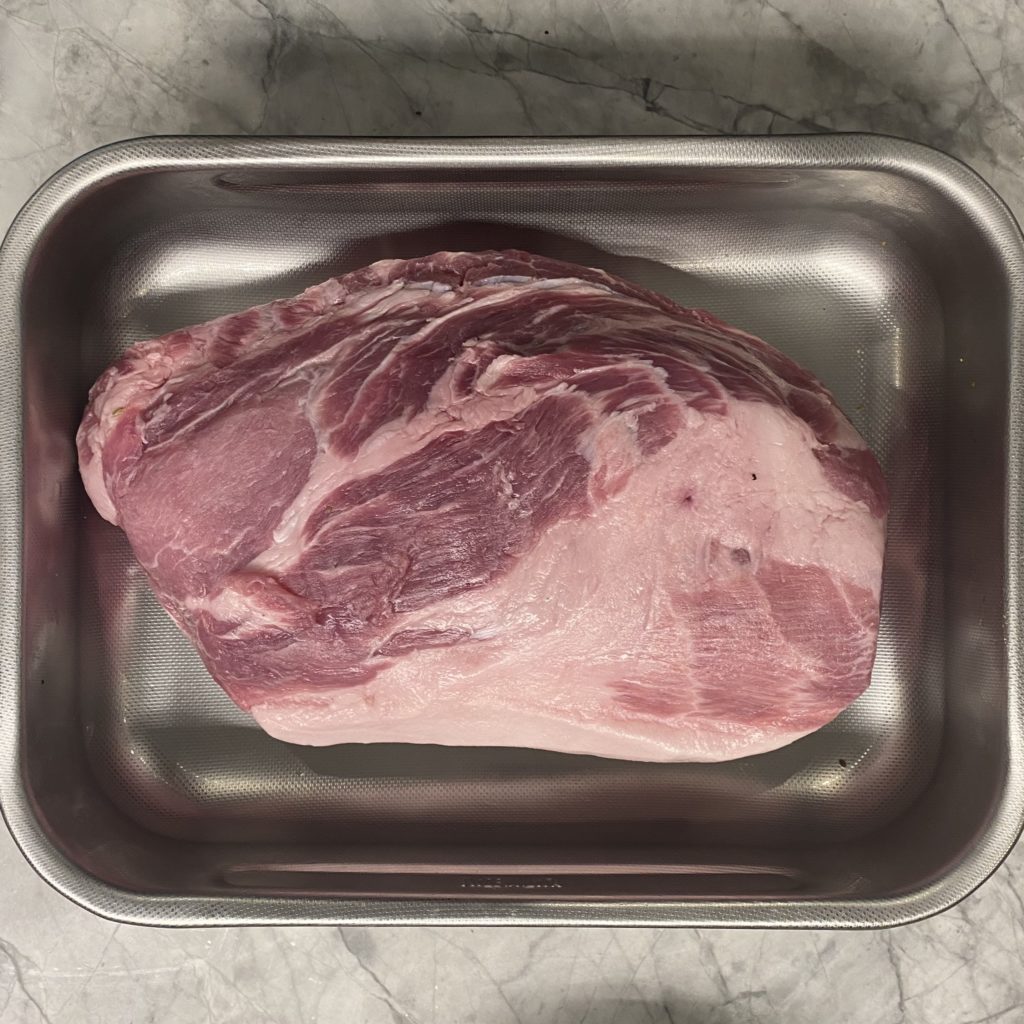
To make duck prosciutto, all you need is a single duck breast. You can usually find this at a larger grocery store or at your local butcher shop.
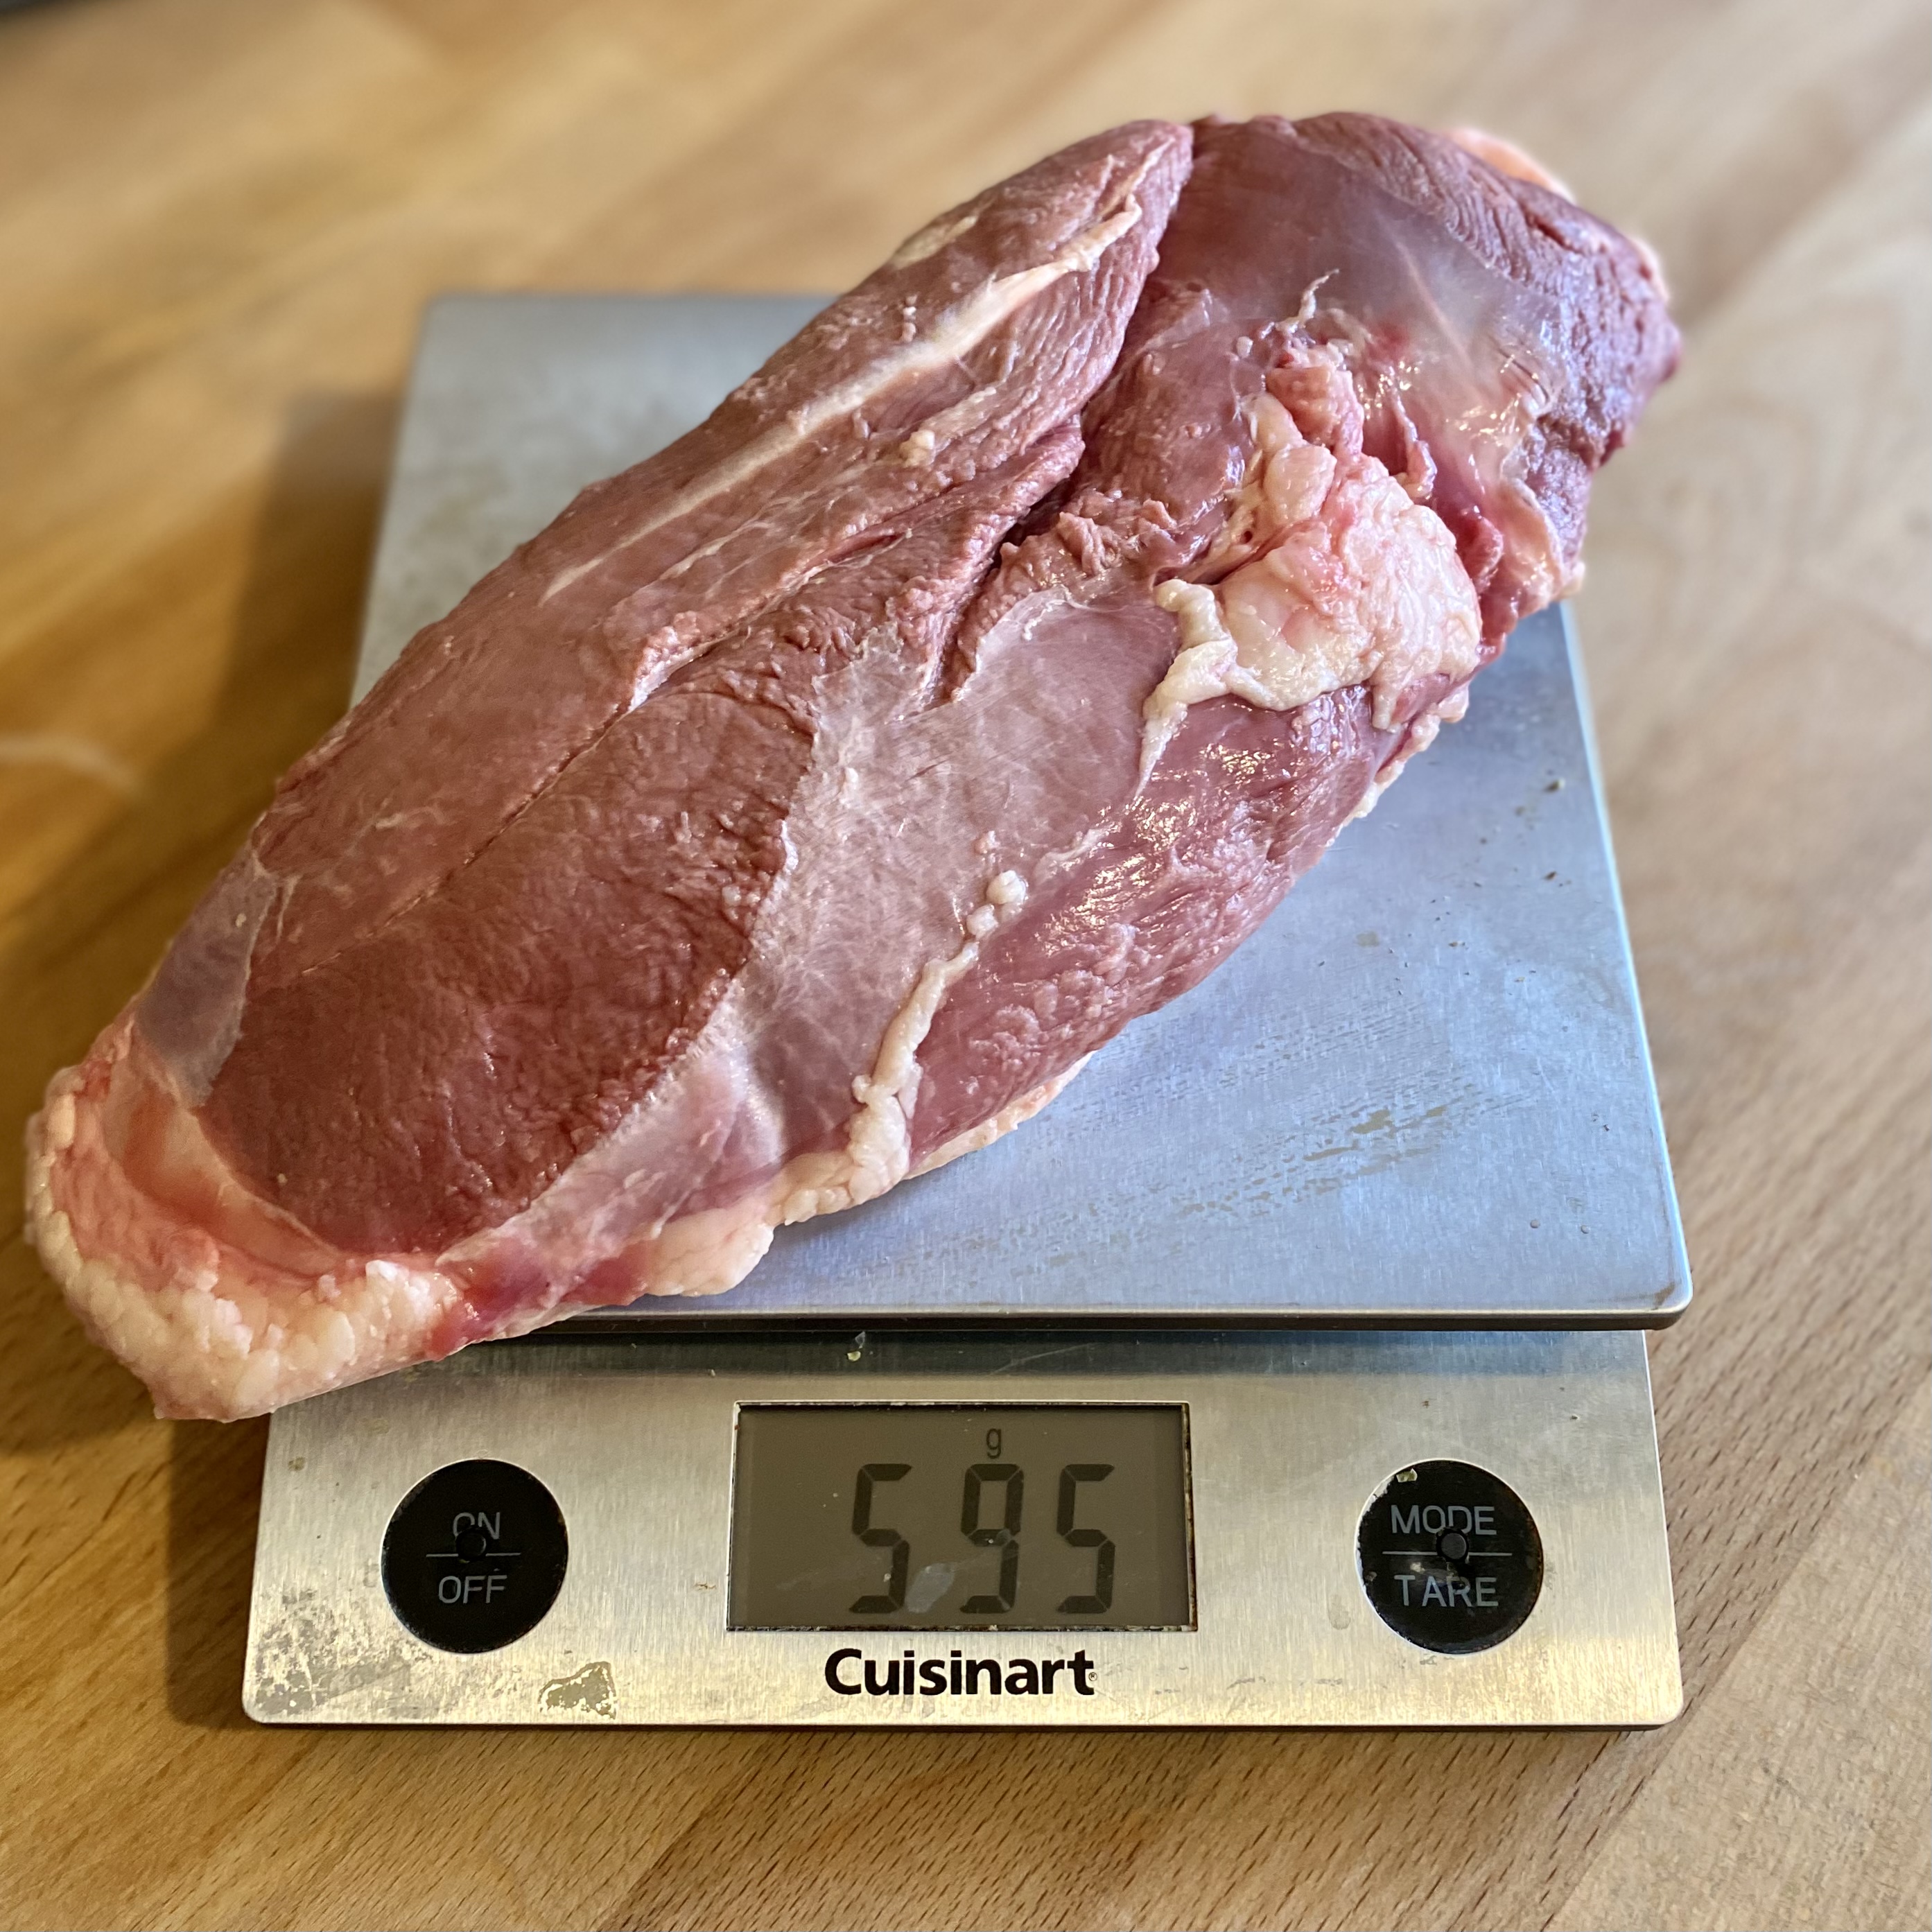
Curing (4C/40F, 2+ weeks):
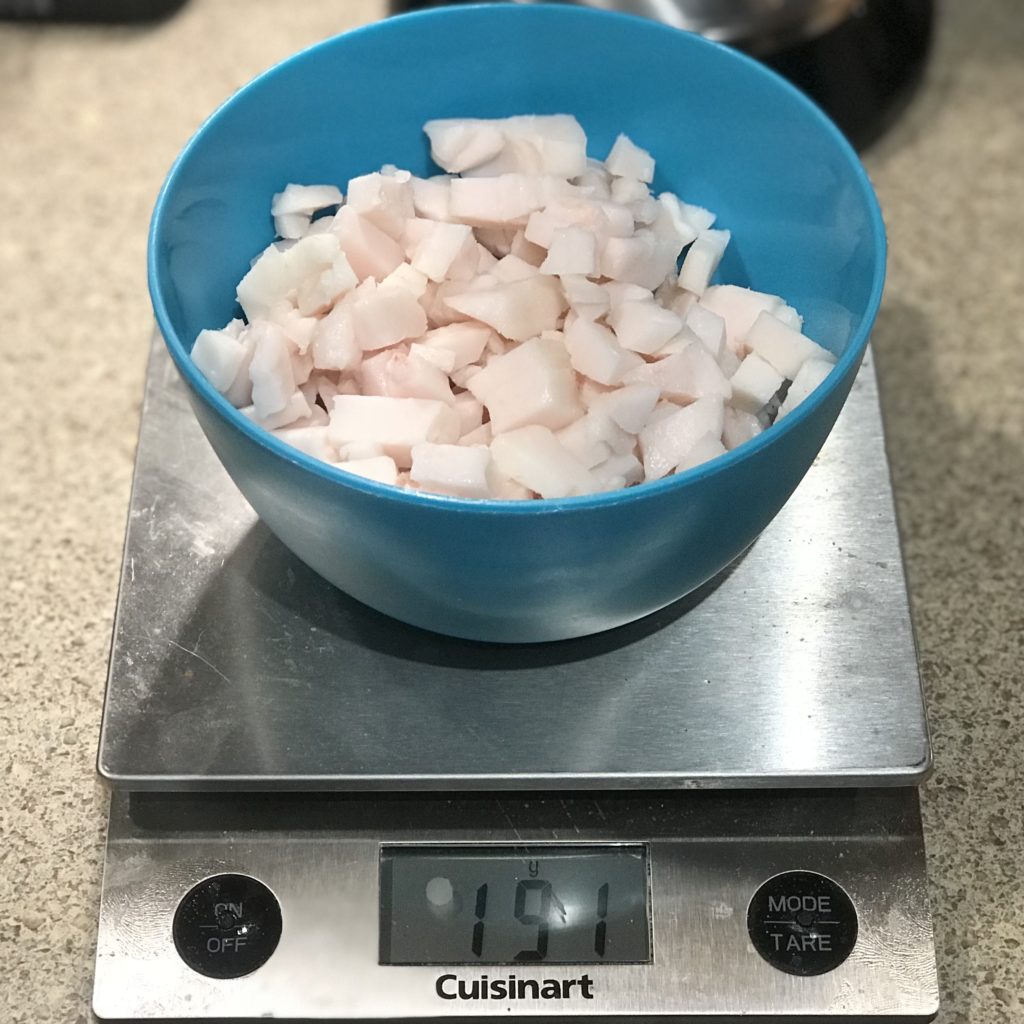
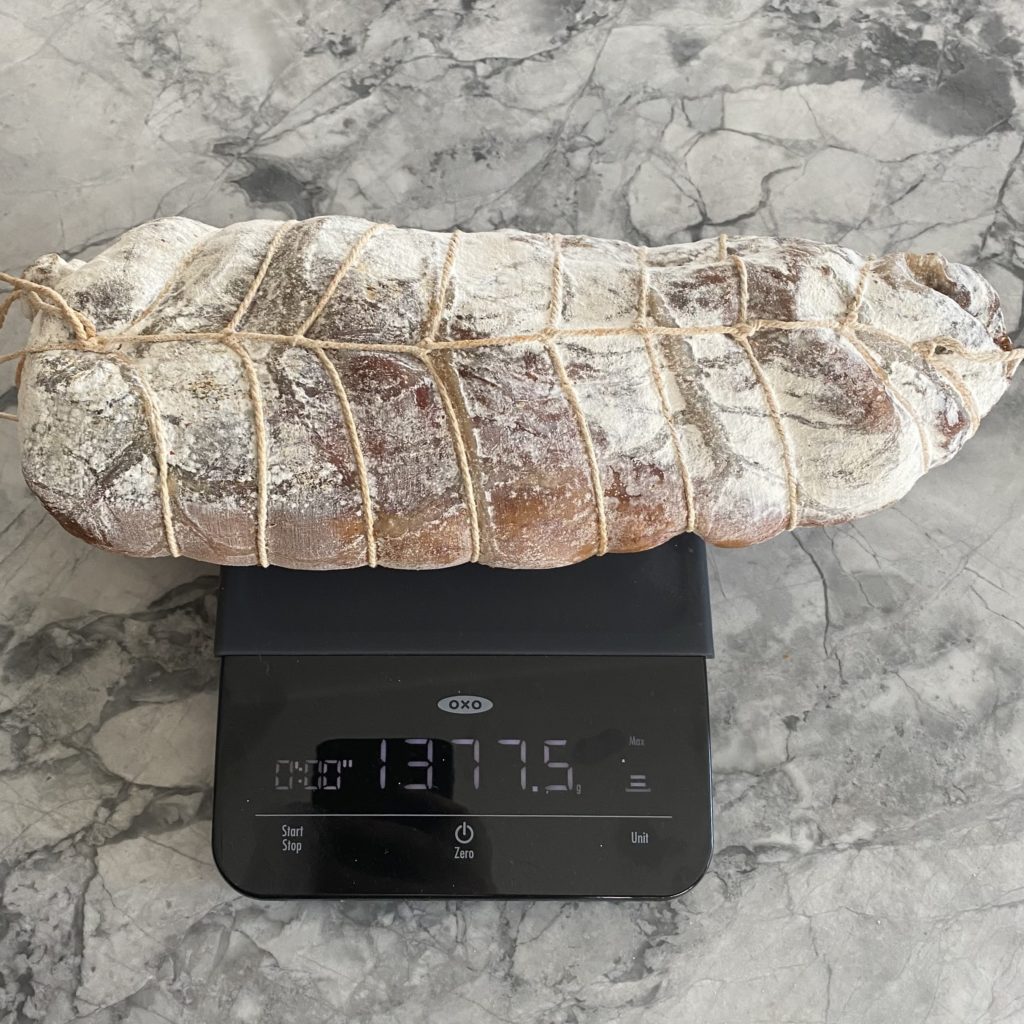
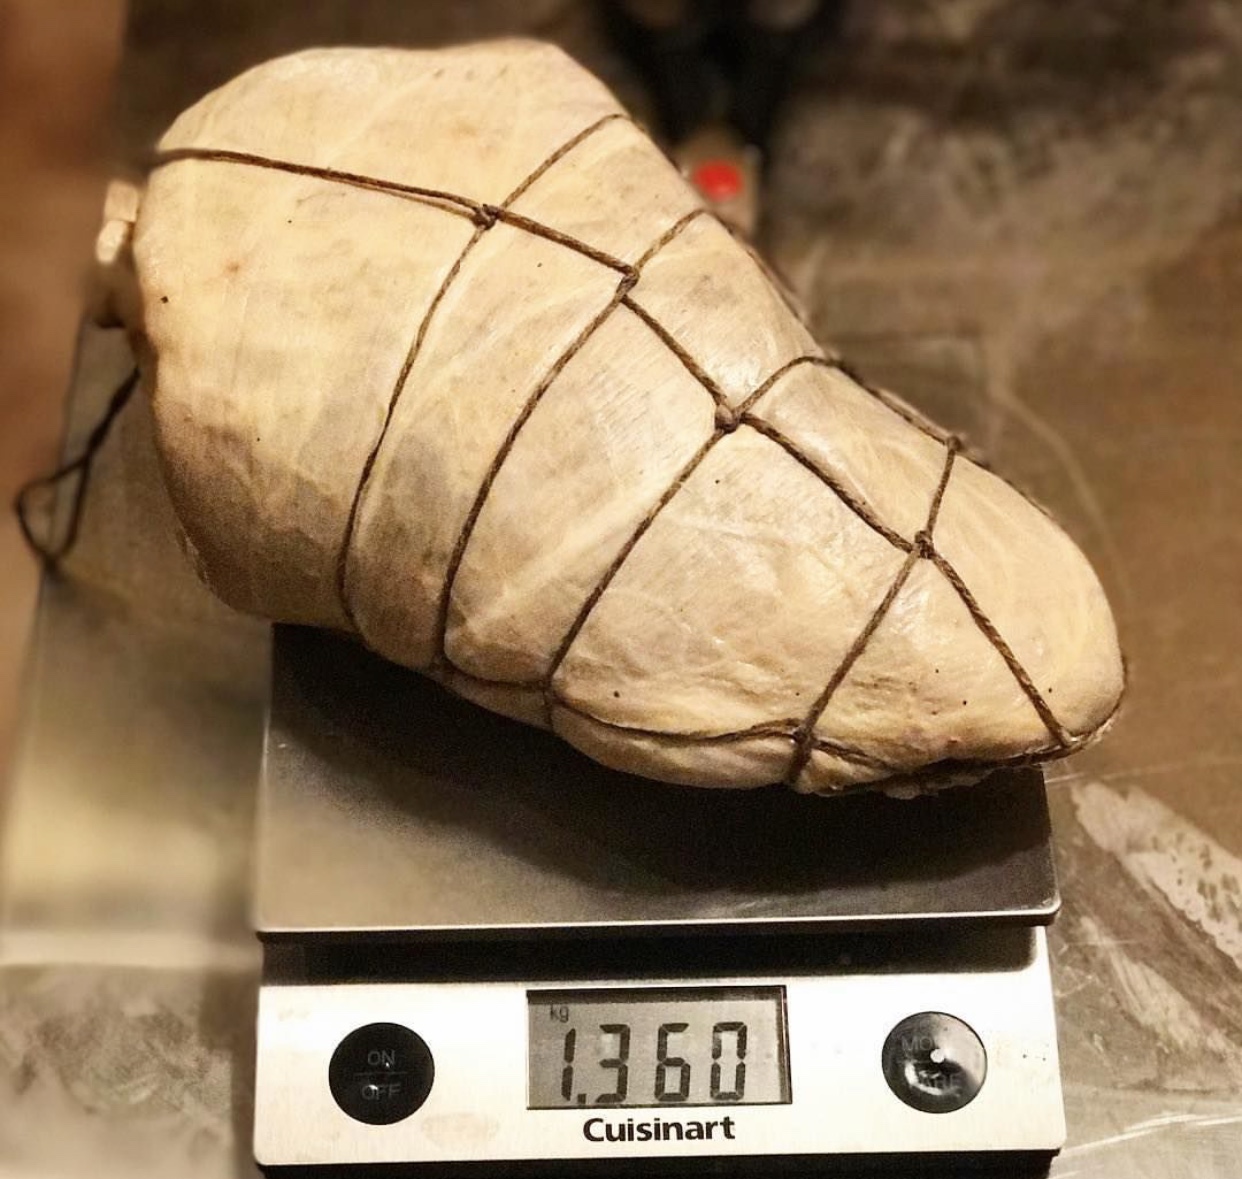
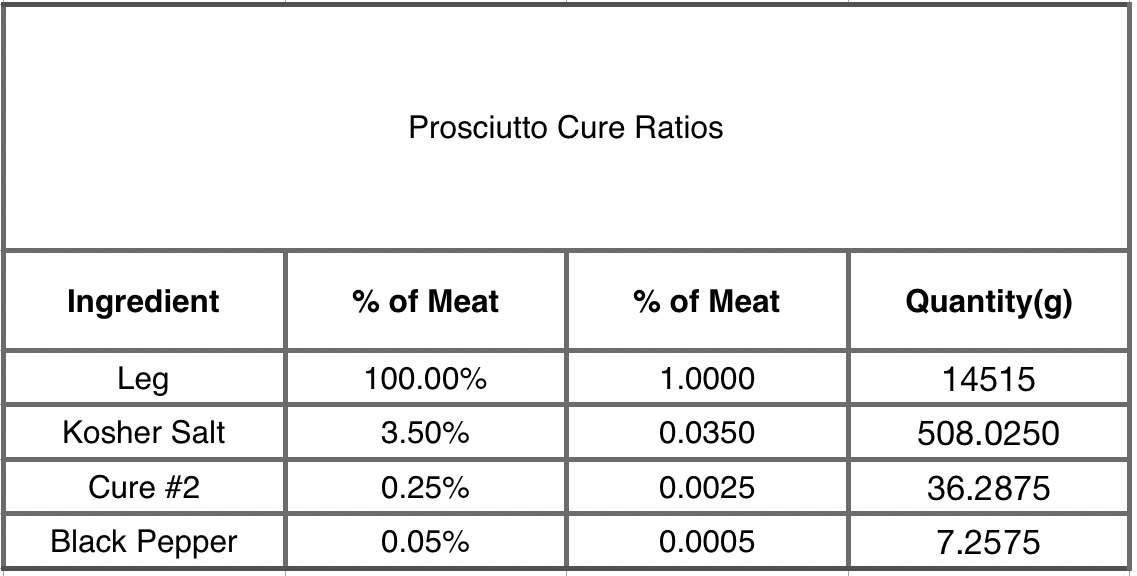
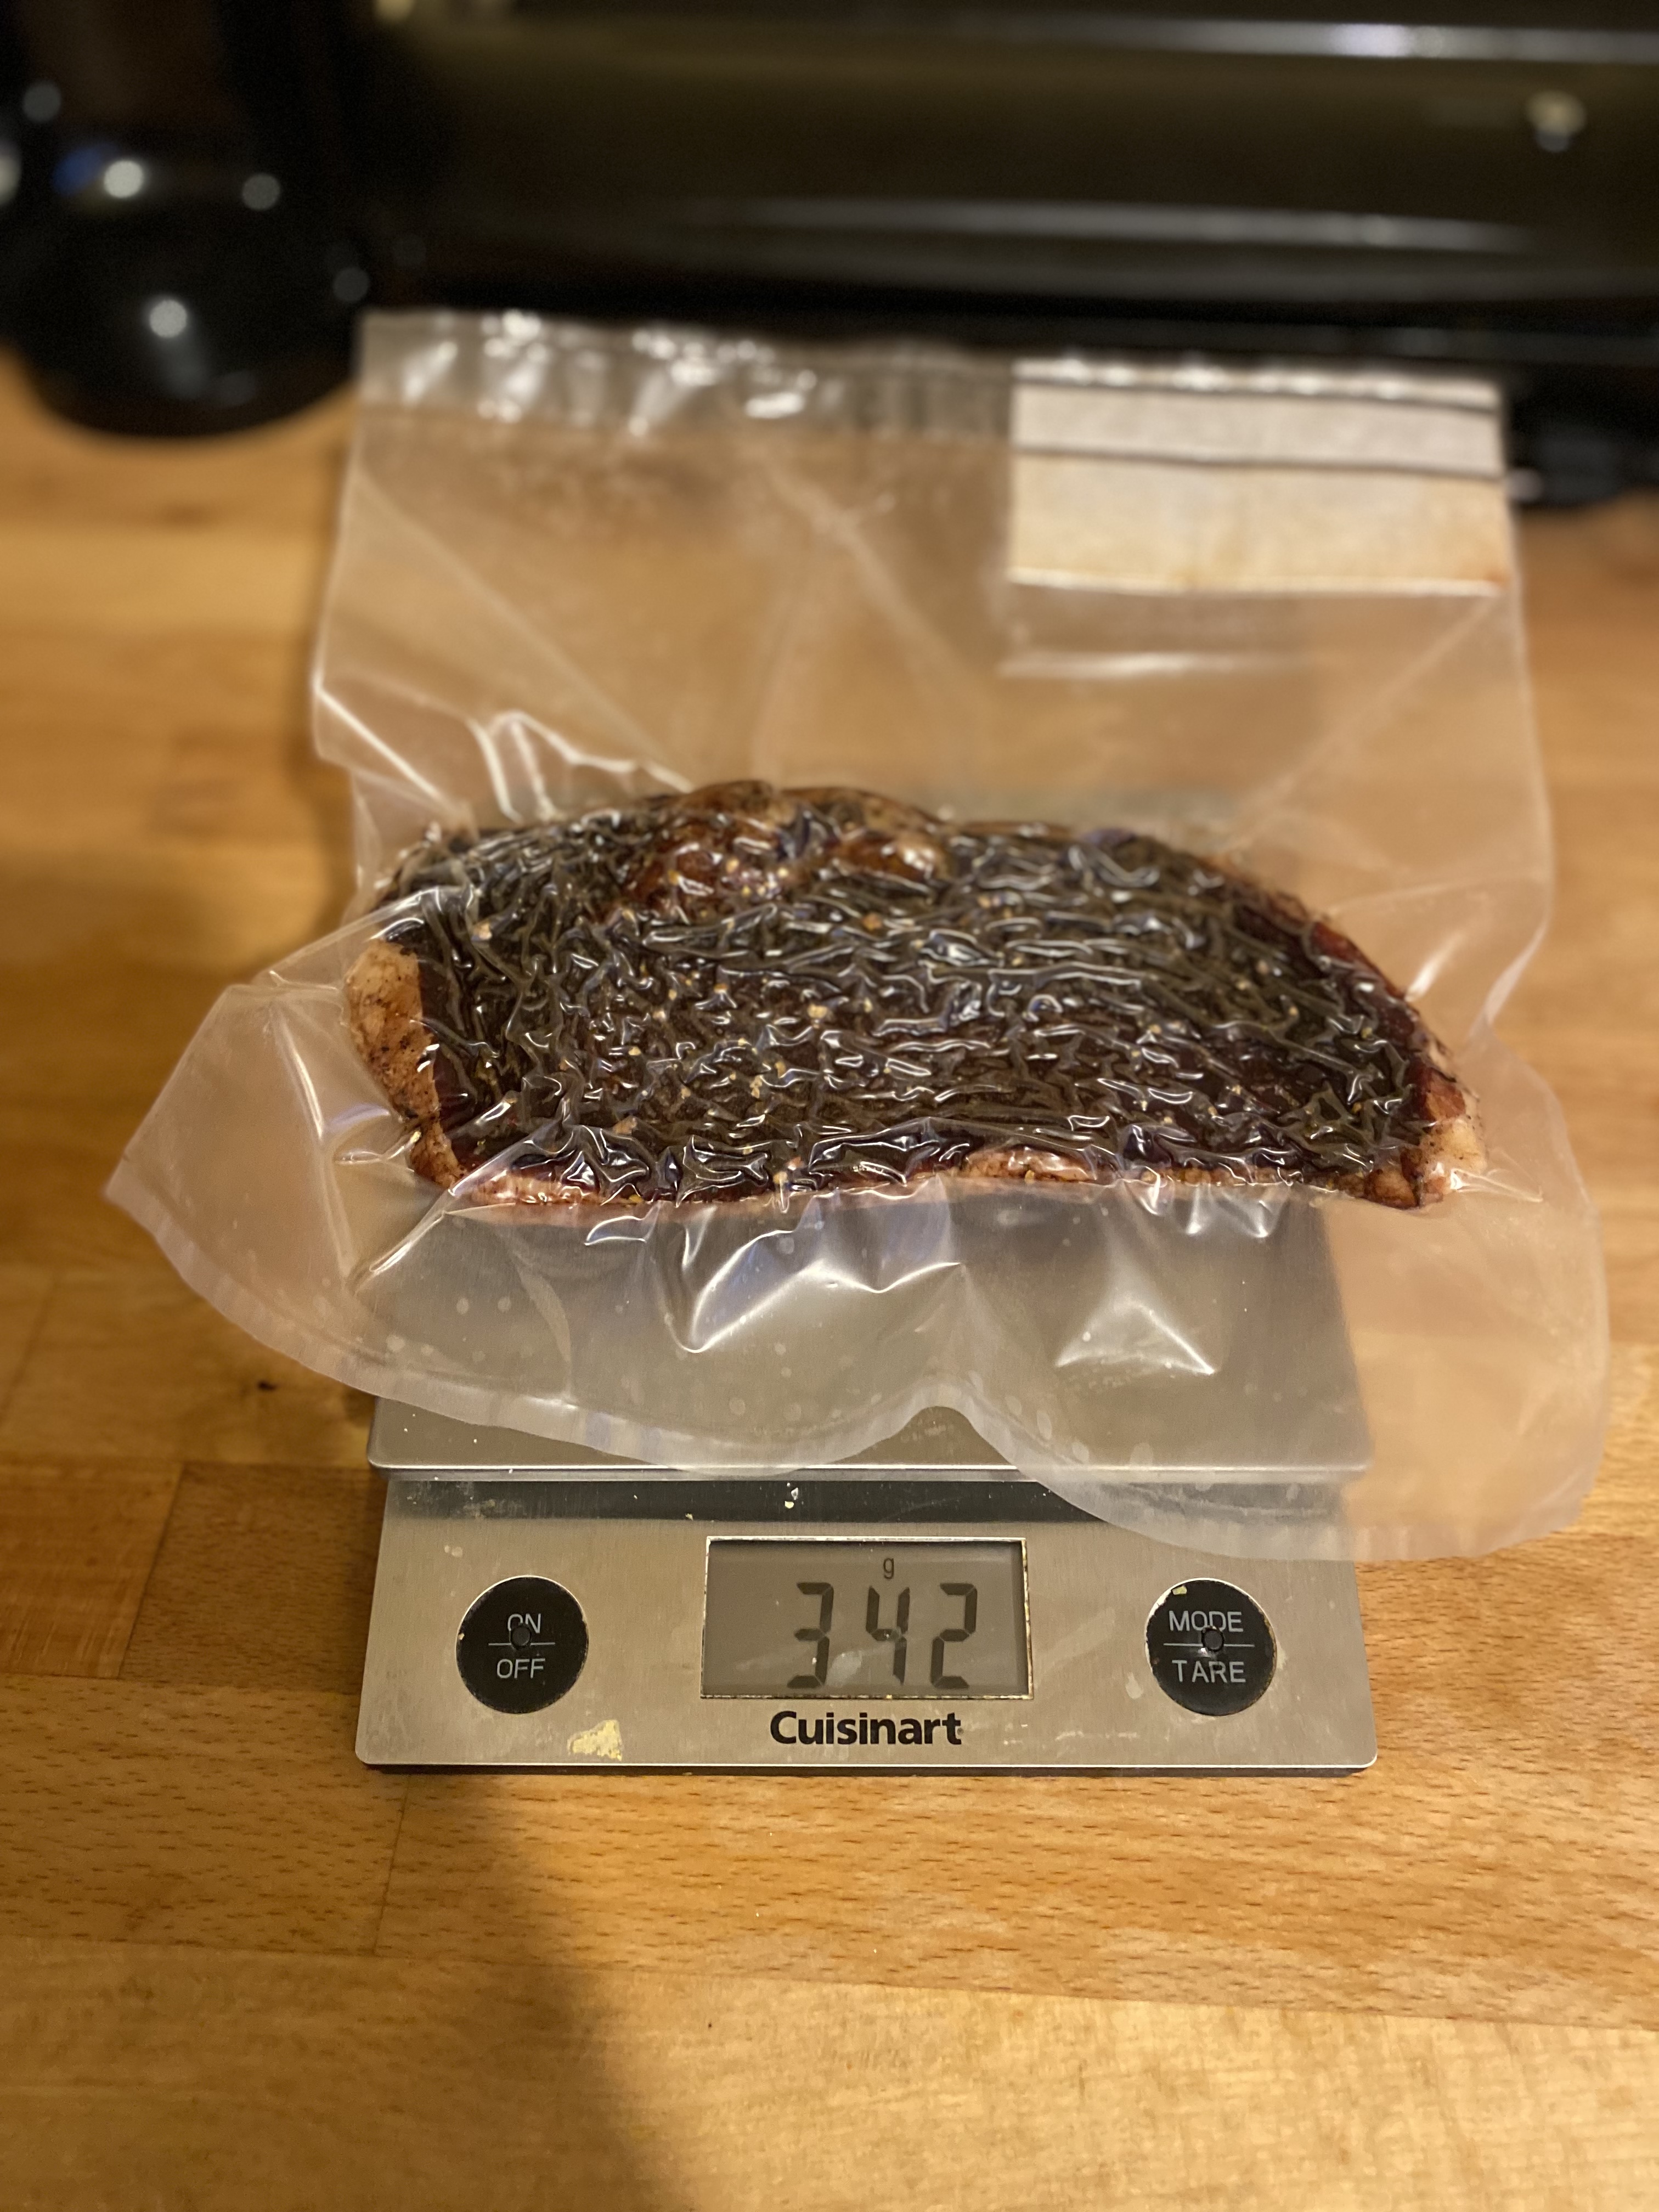
Once you have the duck breast, it’s time to weigh it. I almost always use an equilibrium cure, which allows me some flexibility with the timing of my projects. I suggest using it, to avoid projects that end up under/over salted. For more information on equilibrium curing vs excess curing, refer back to the Beginner’s Guide.
Once you have the weight, you can enter it into the interactive spreadsheet below, just fill the weight of your meat in the appropriate white cell in the spreadsheet and hit enter. There is no need to make any other changes to the spreadsheet.
* Note: Please use common sense. Make sure the spreadsheet is working properly for you and double check any calculations that don’t seem right.
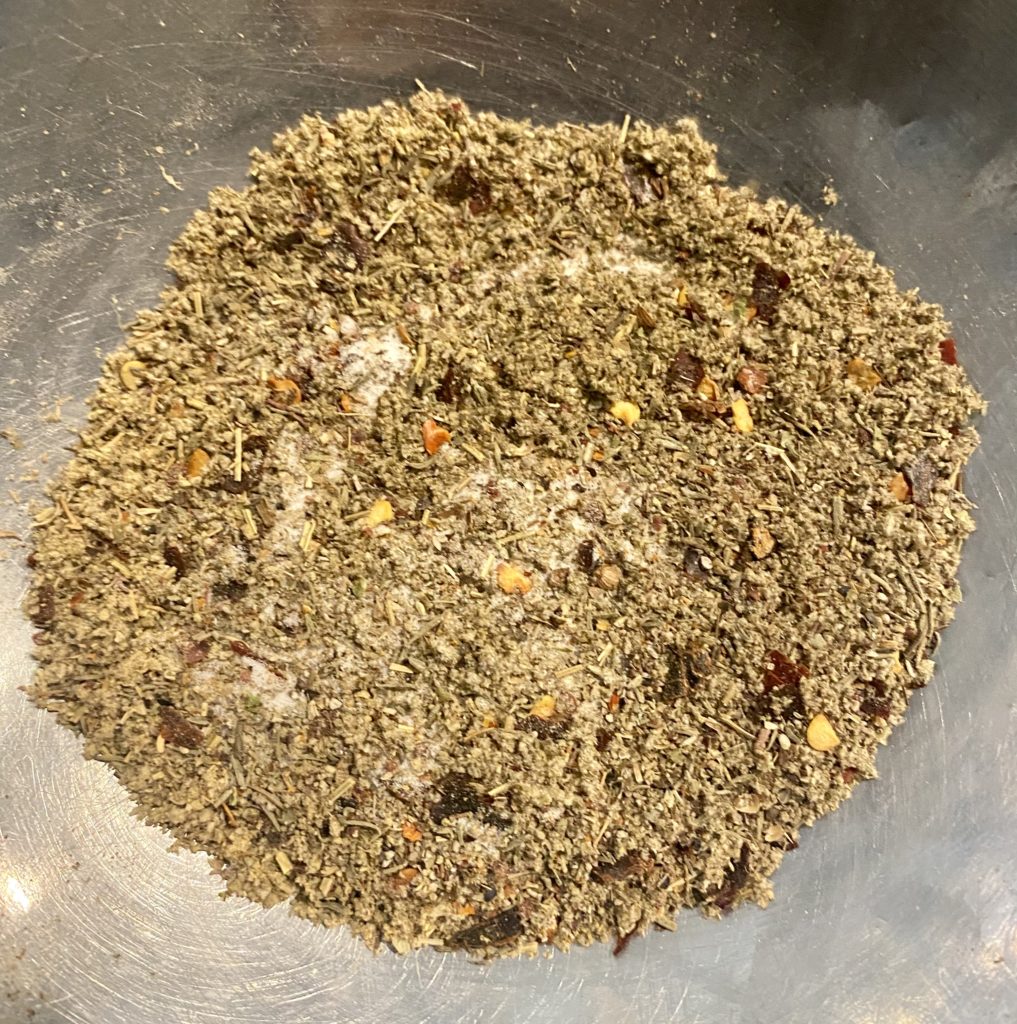
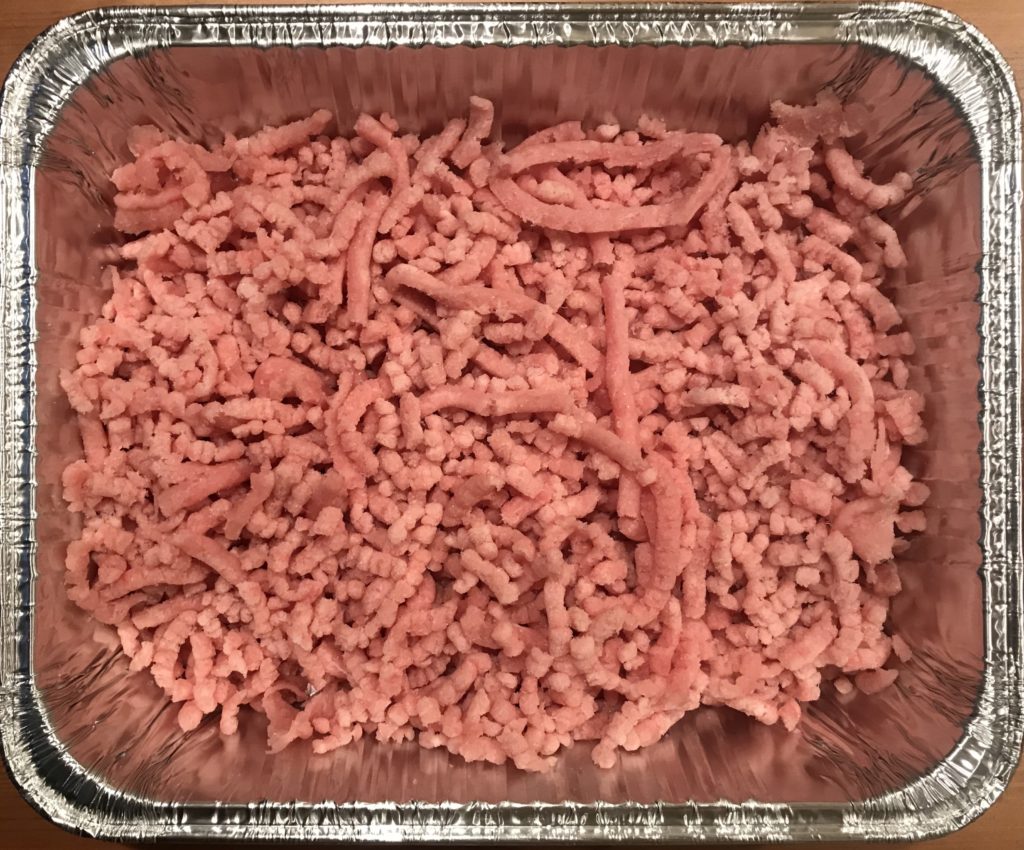
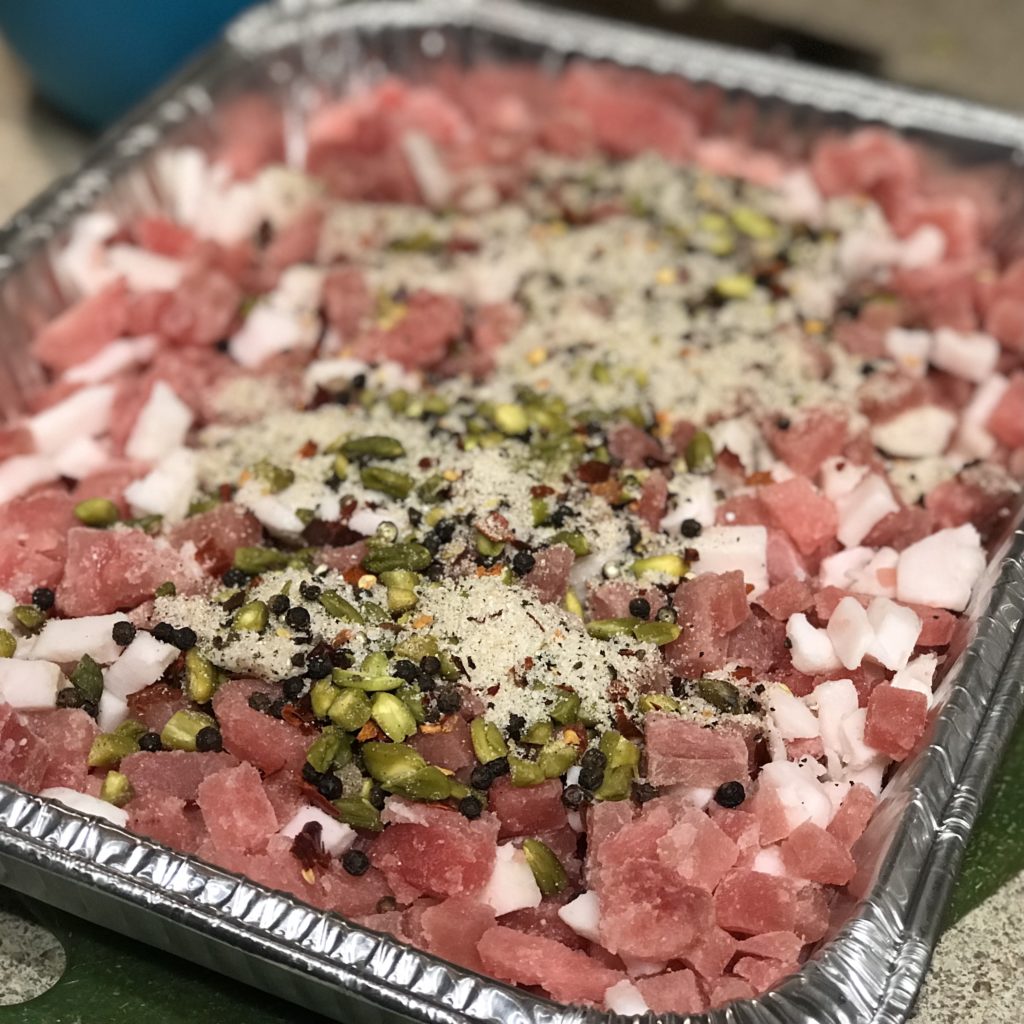
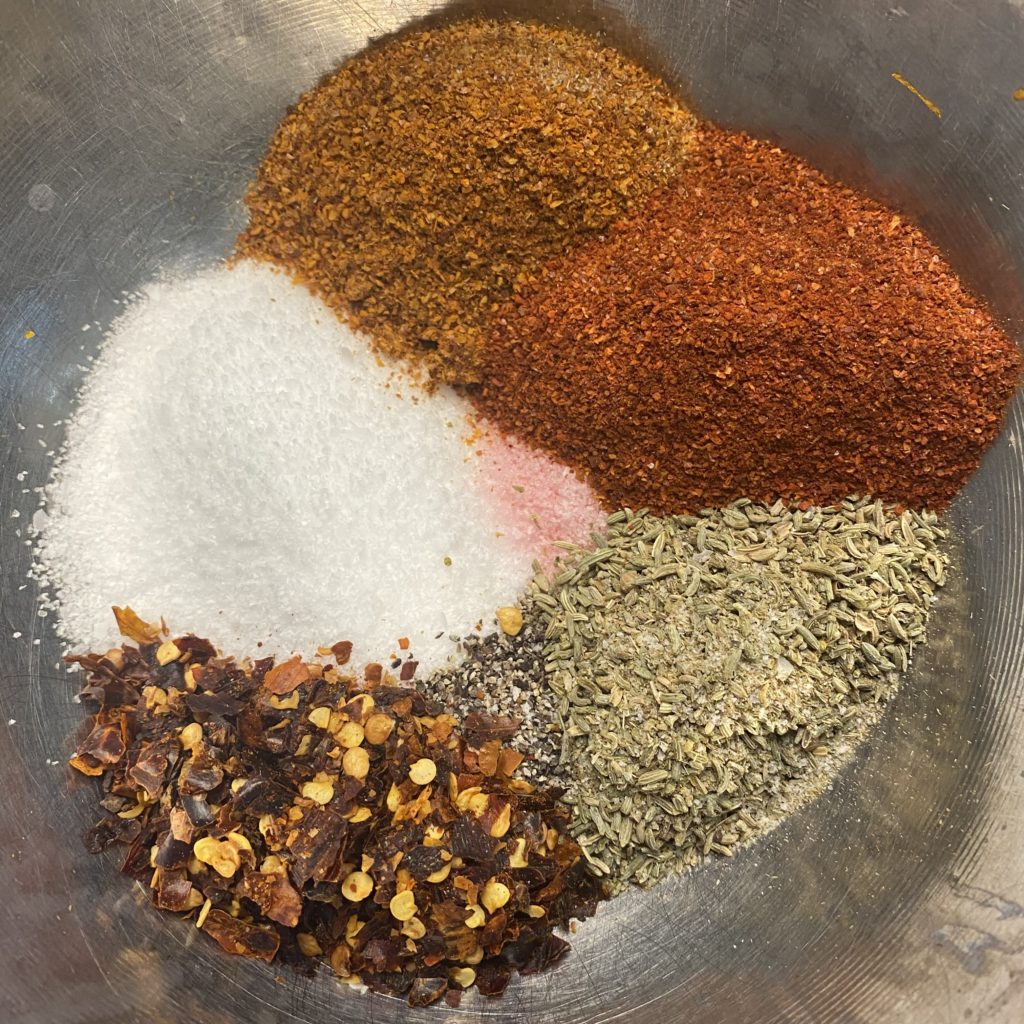
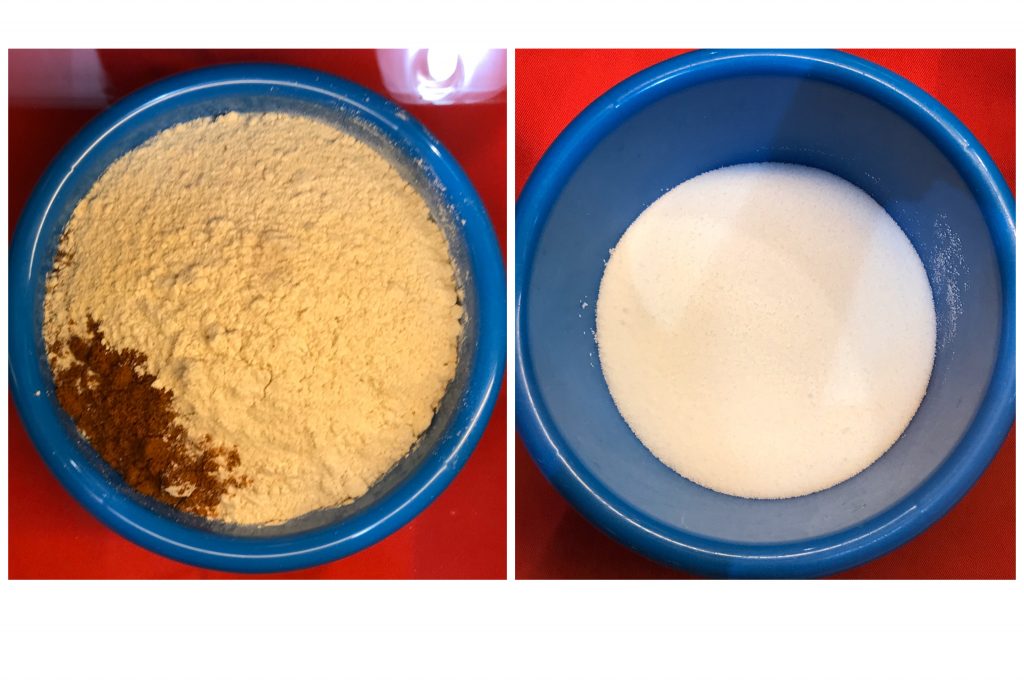
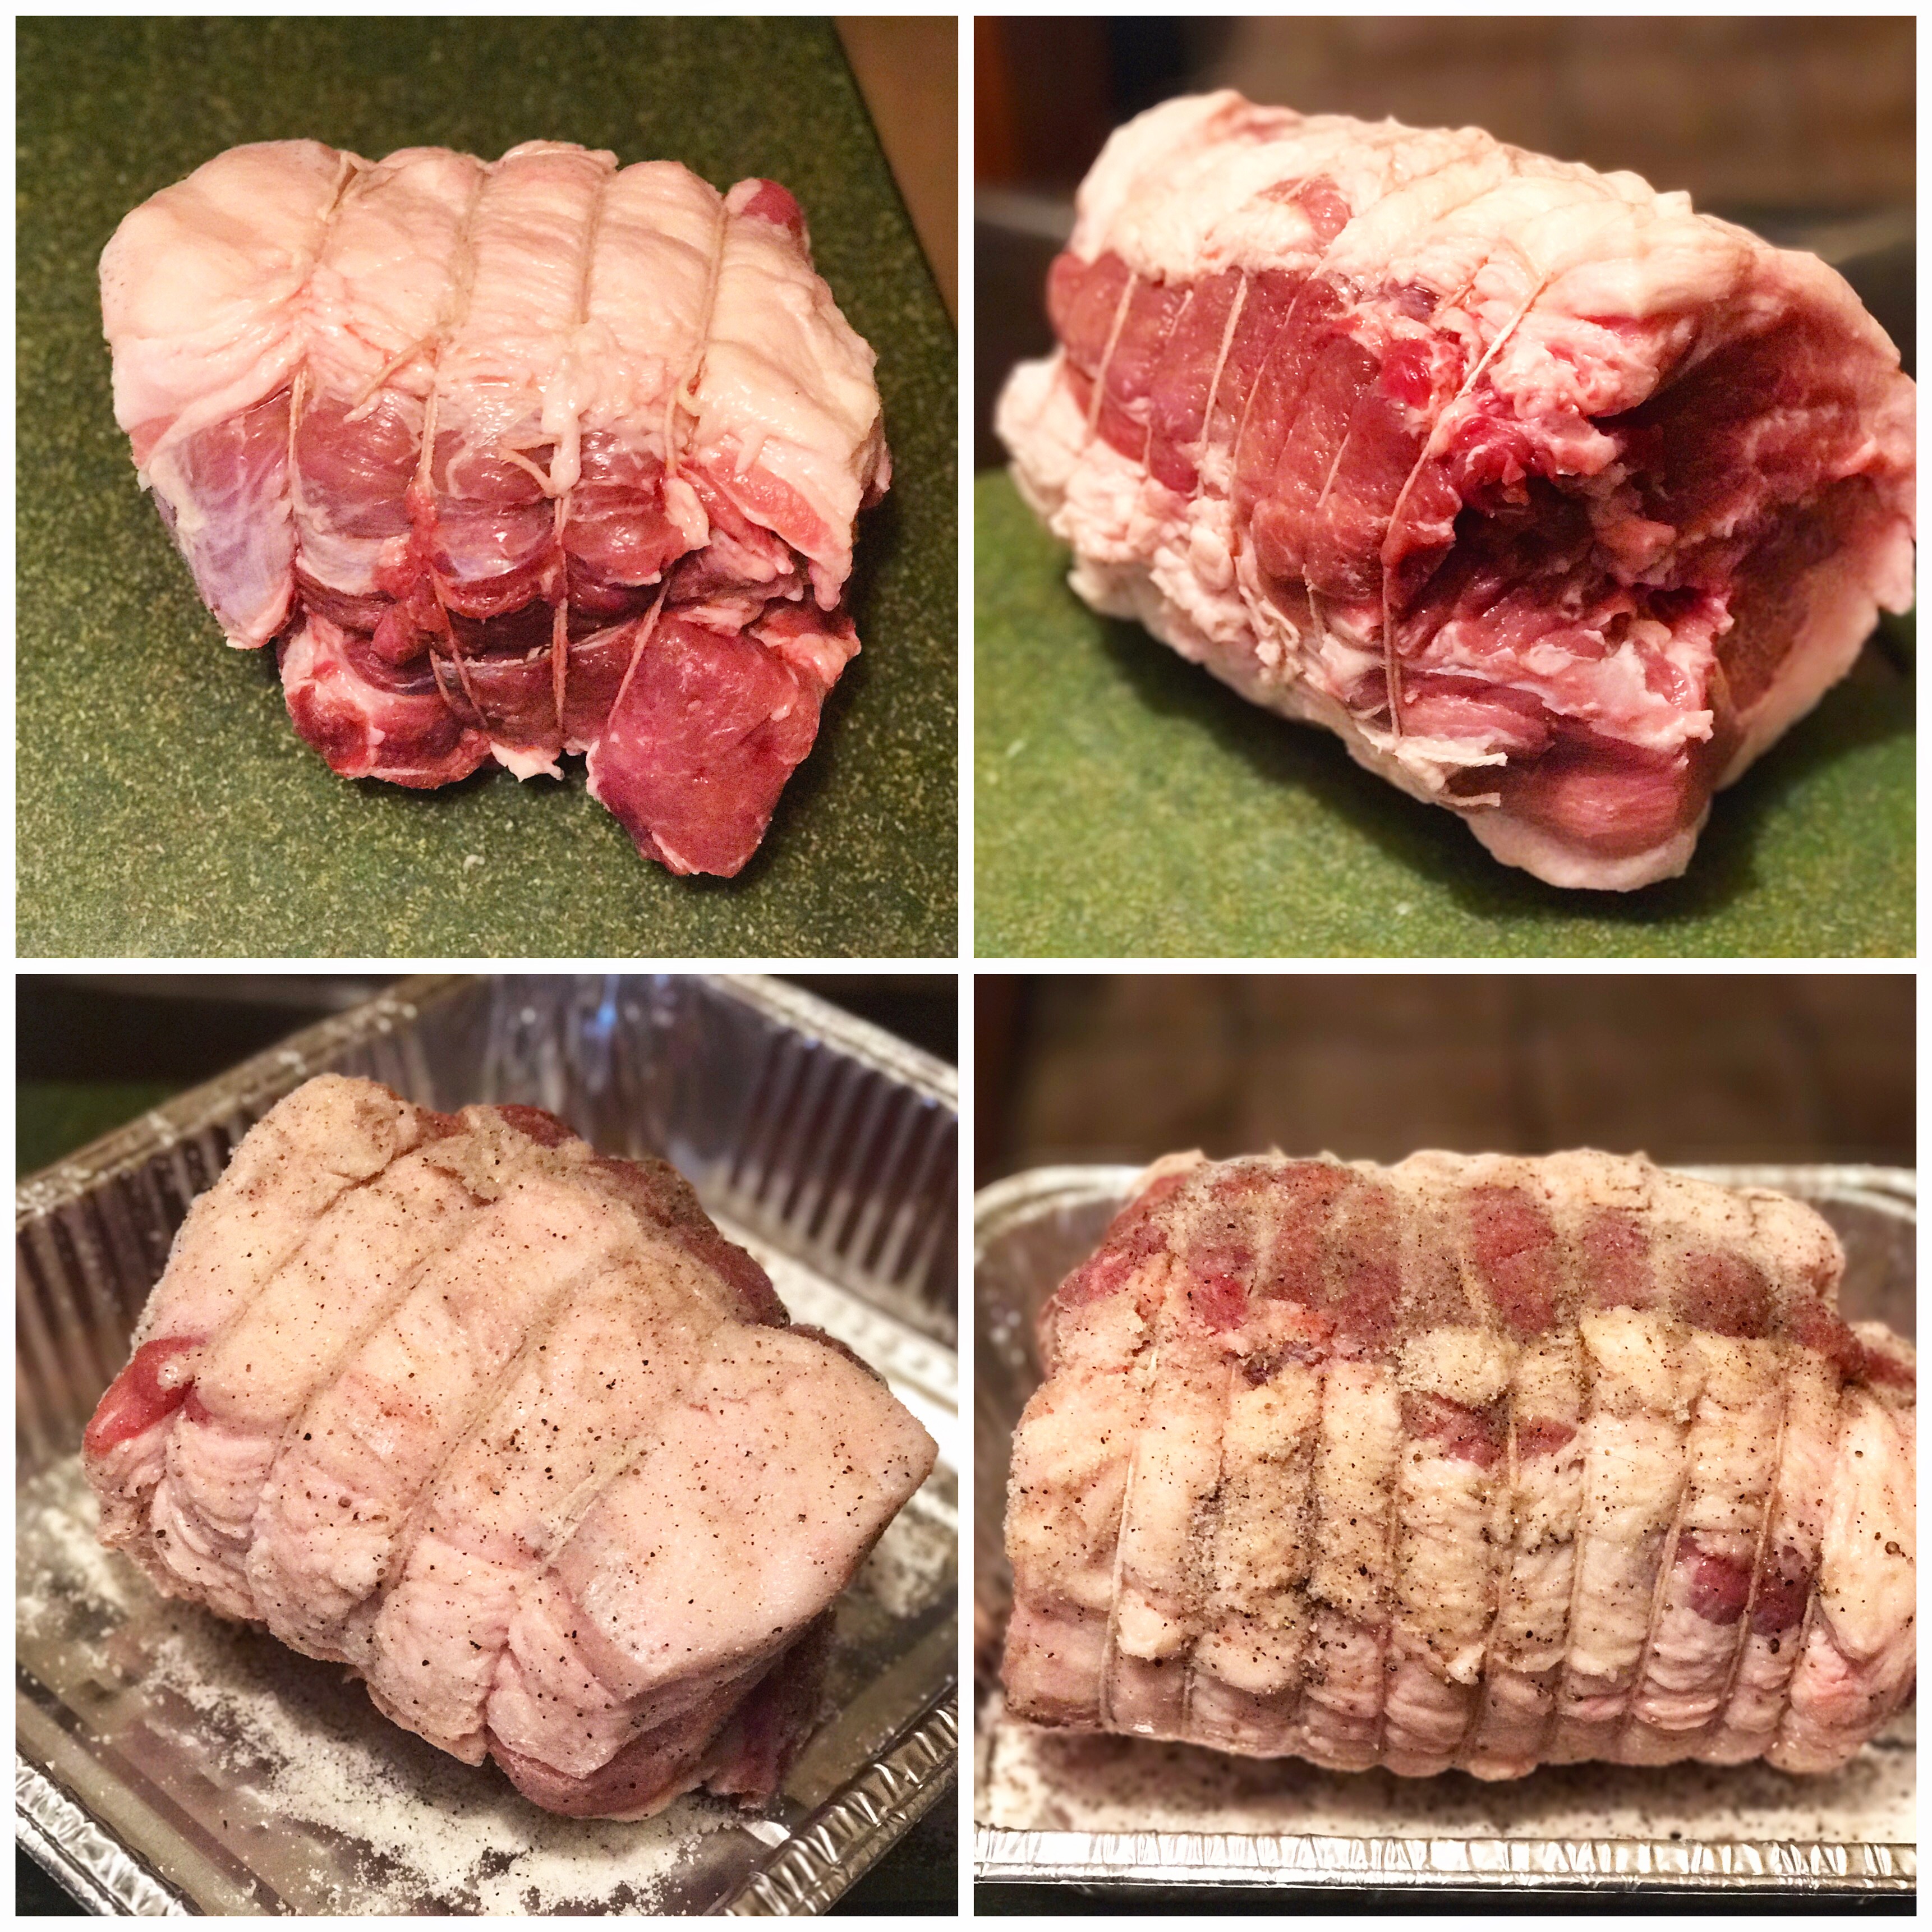
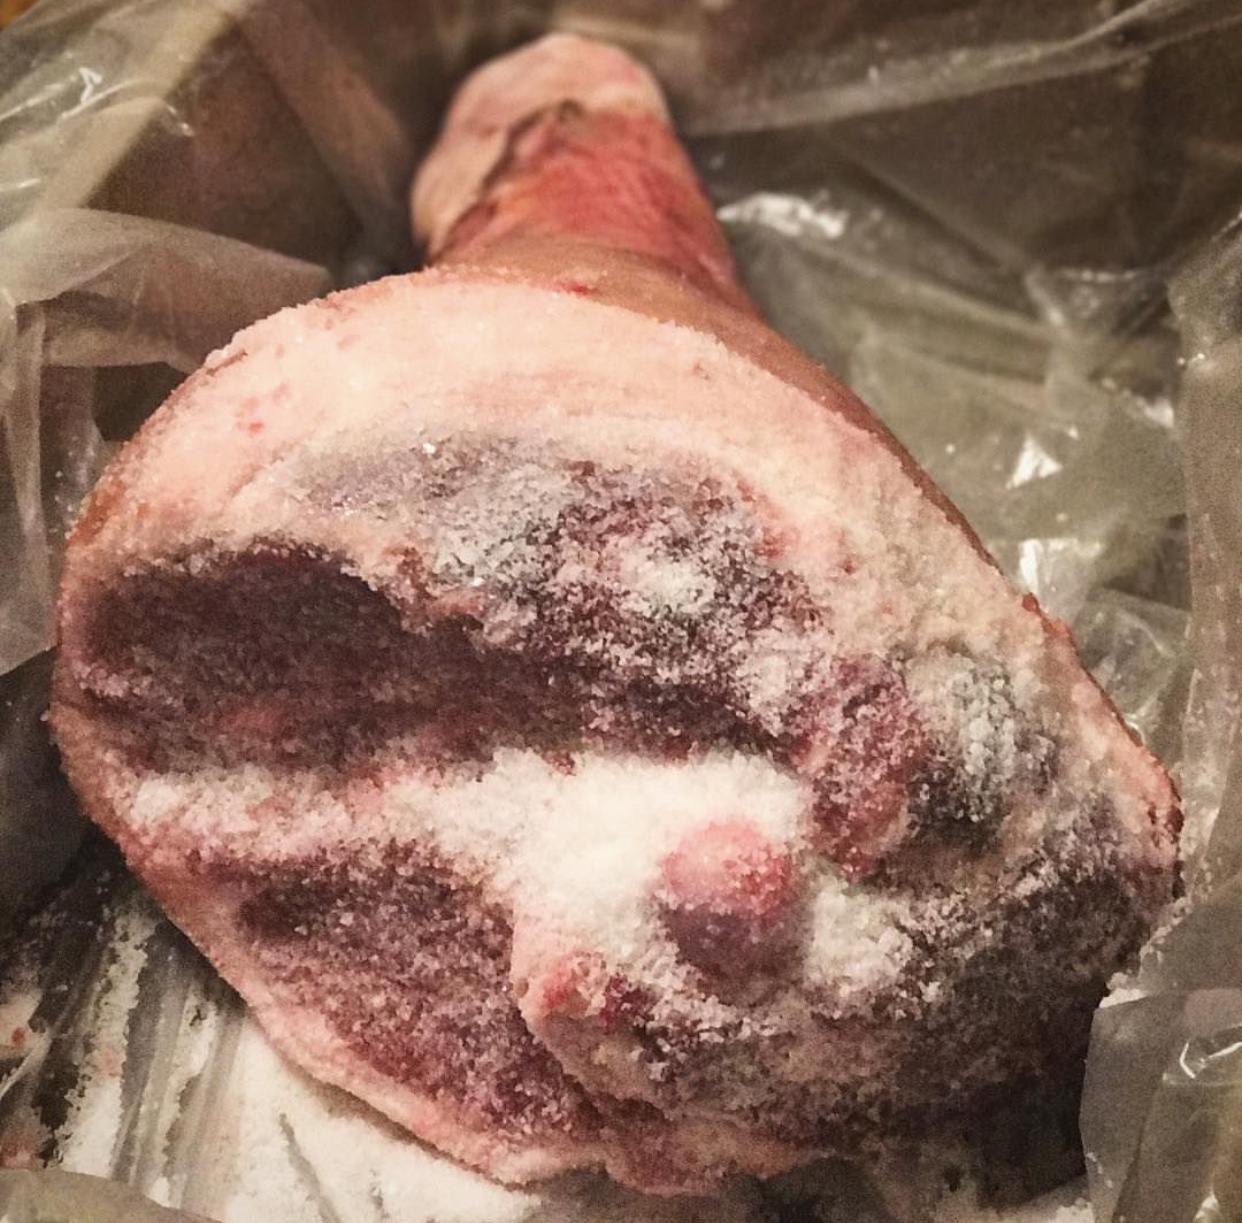
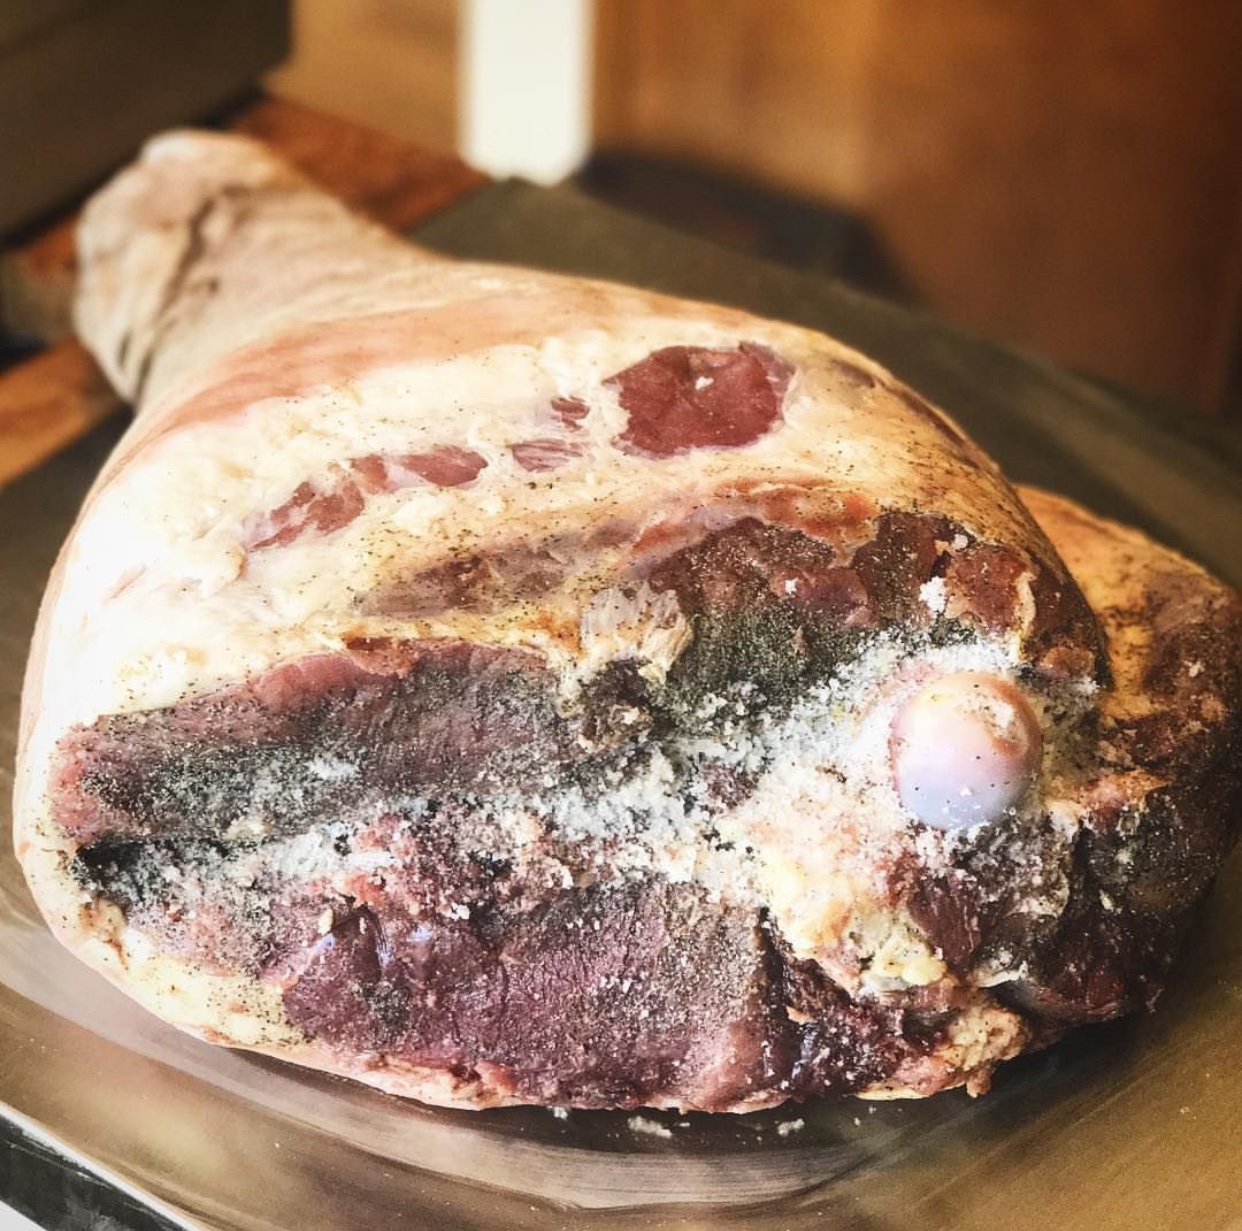
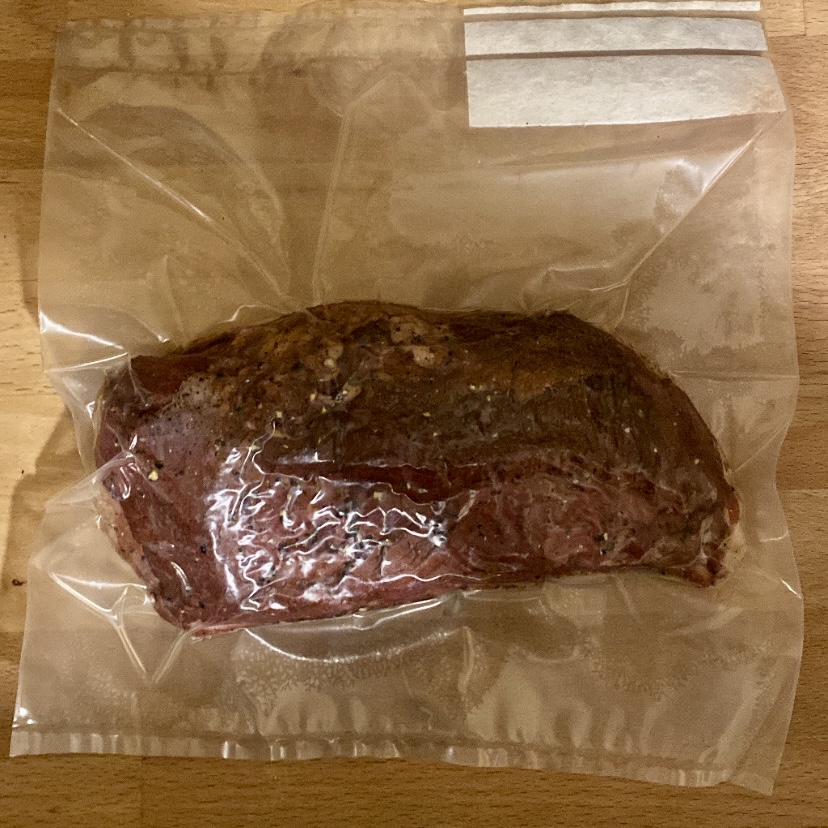
Weigh all the spices and mix all them together.
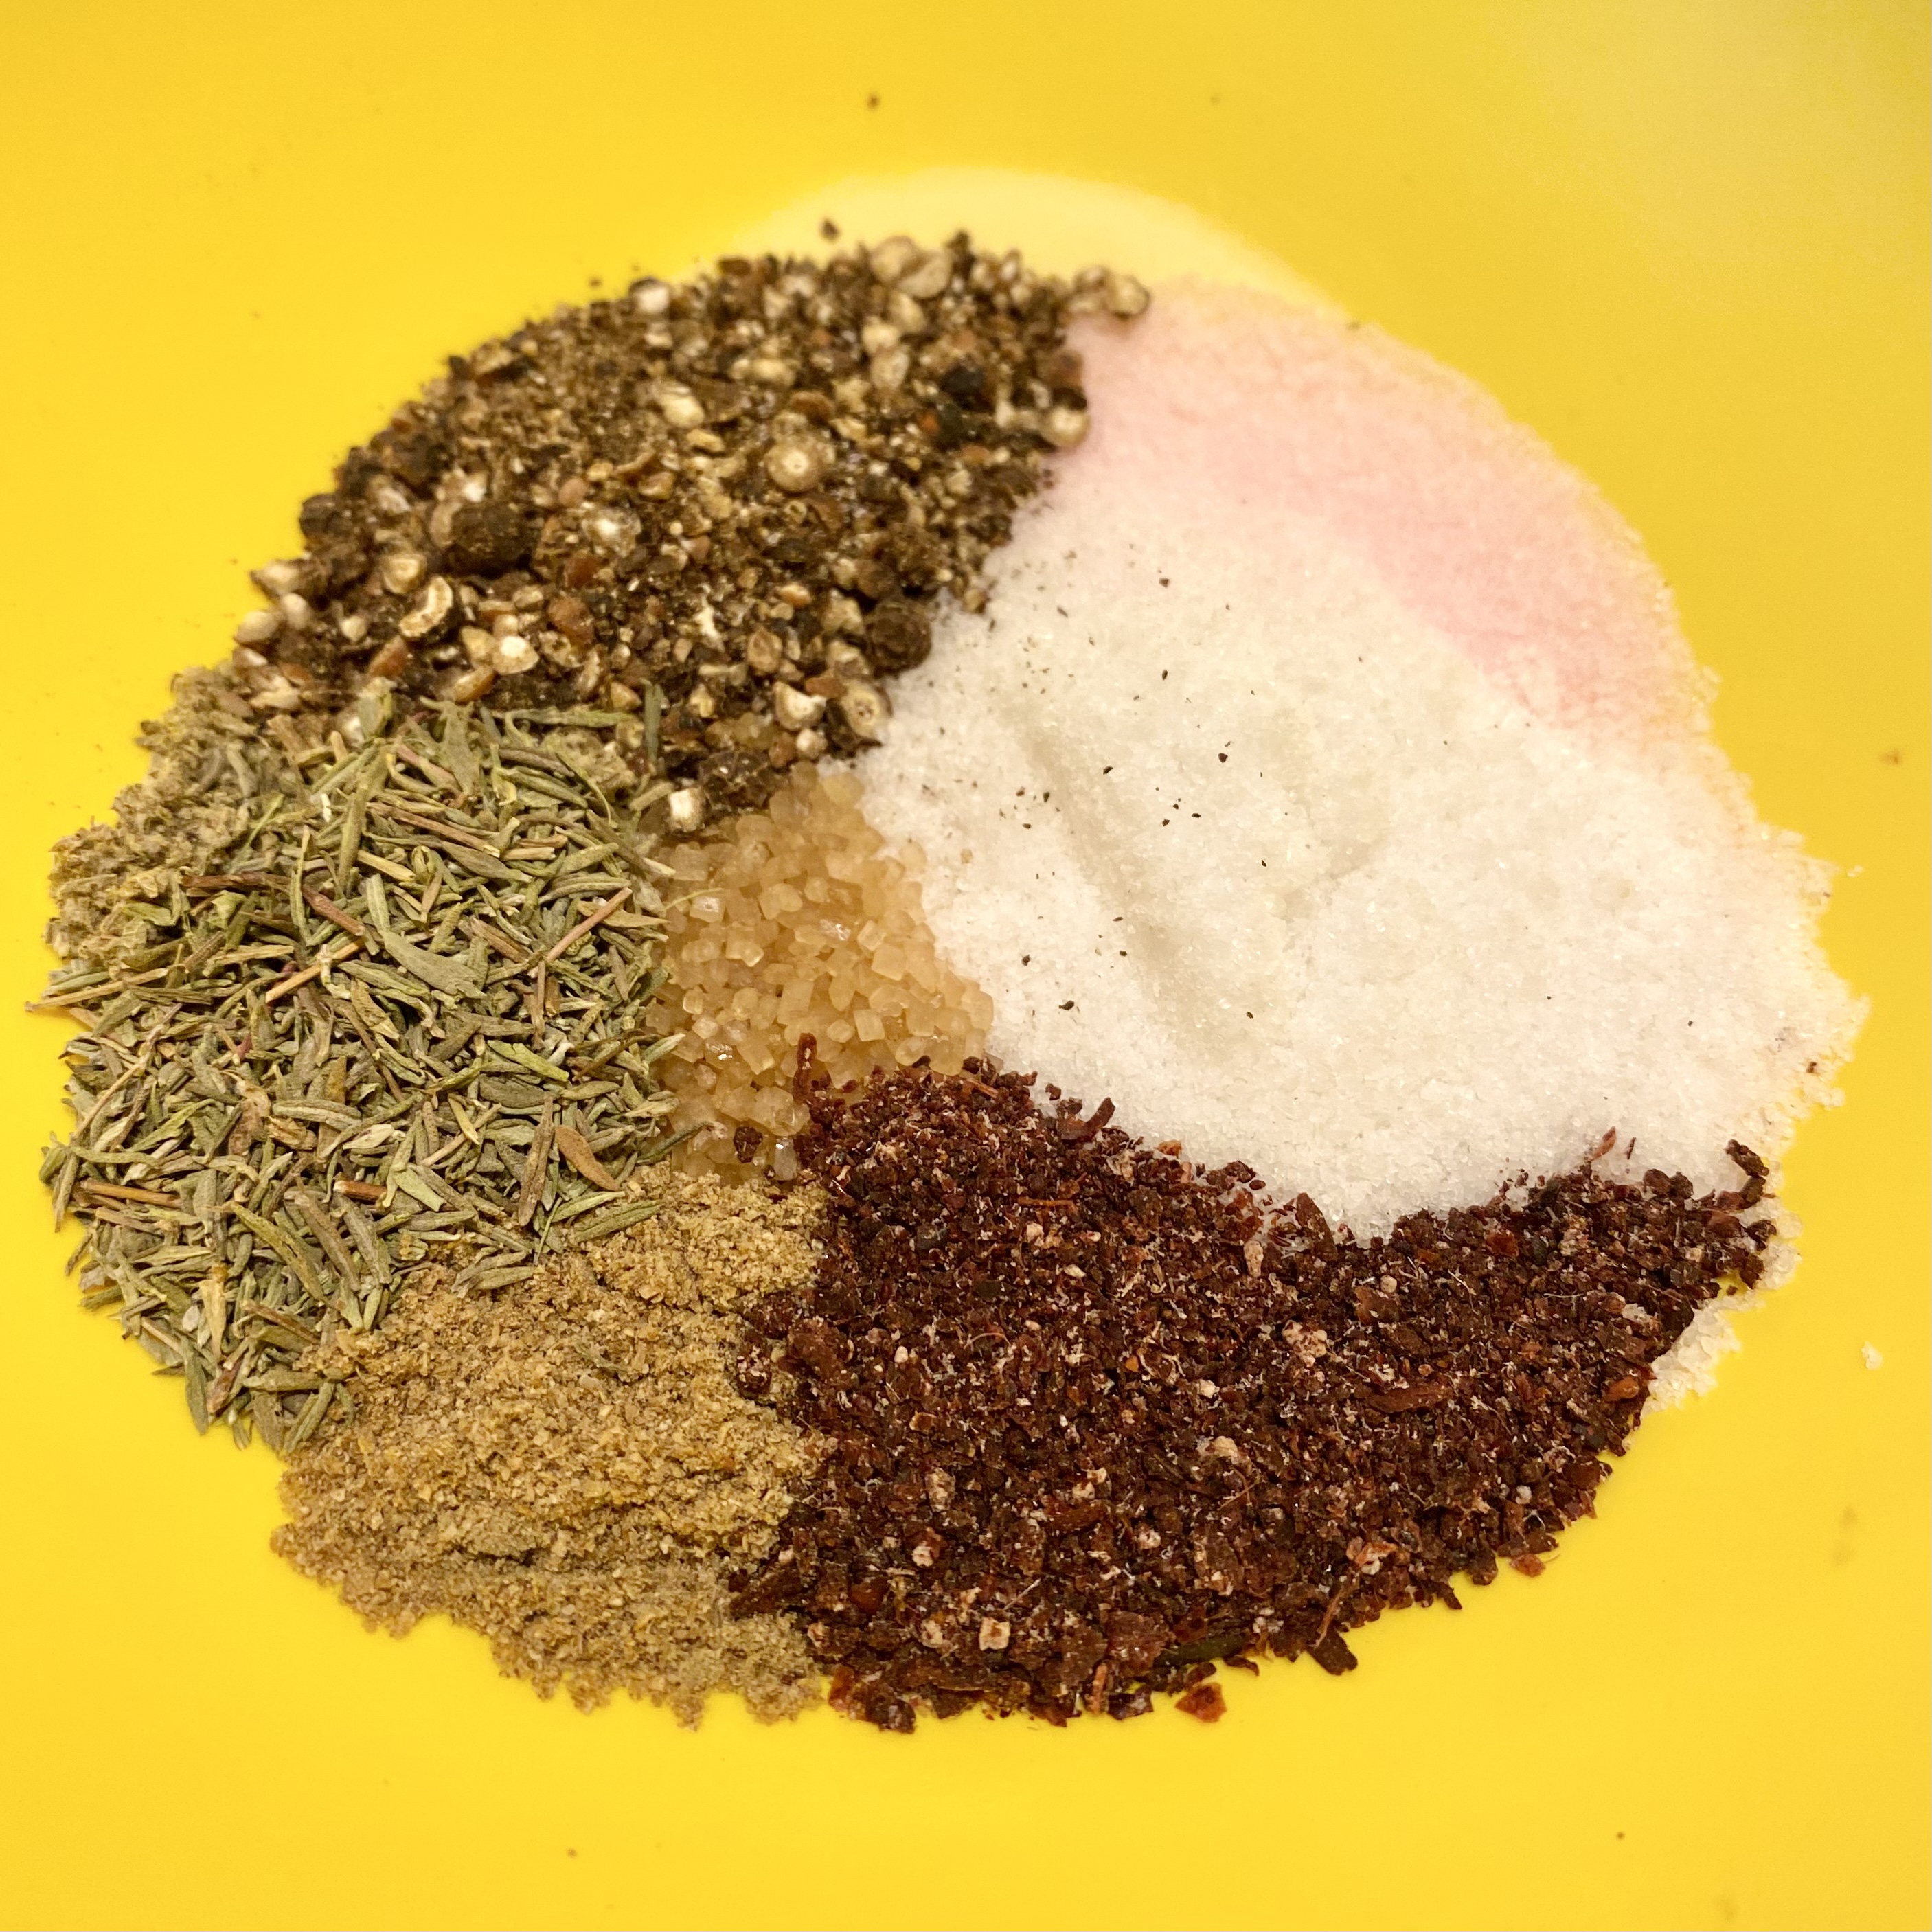
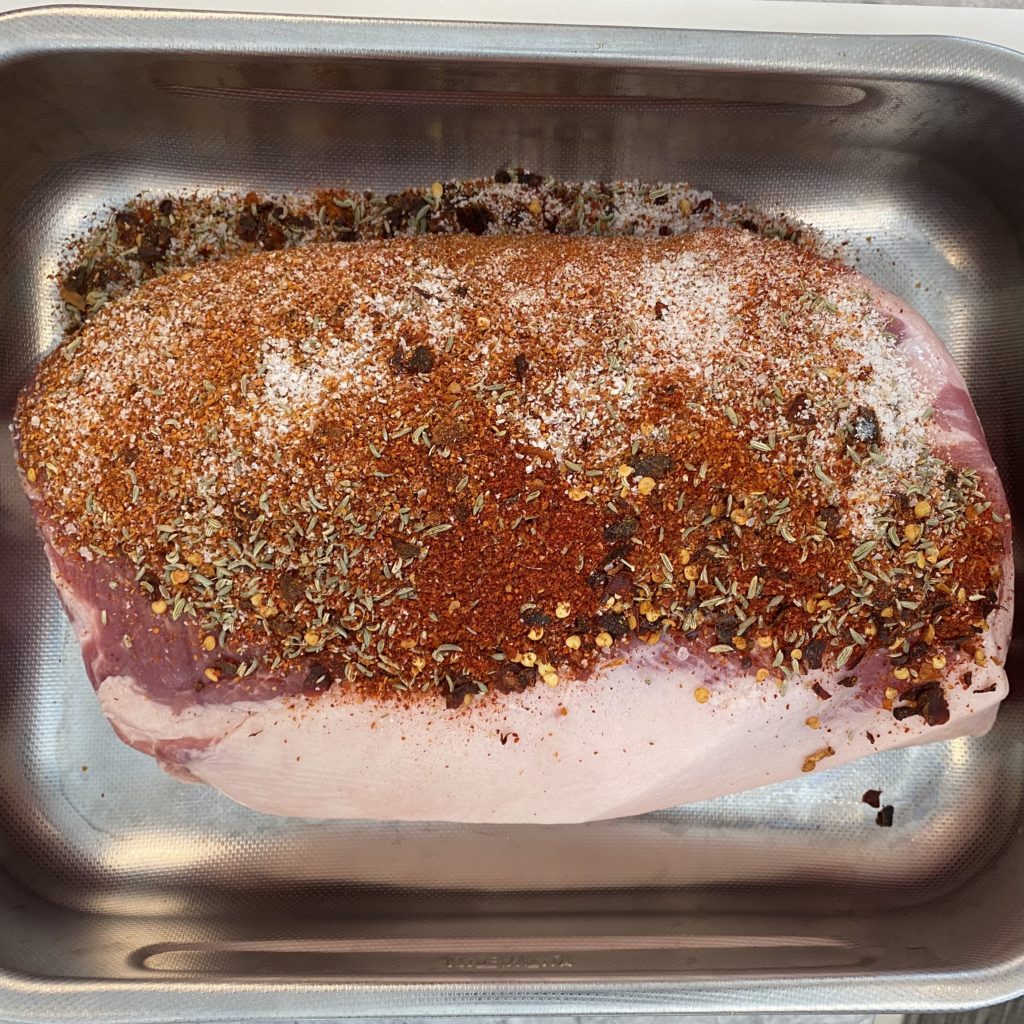
Then, cover the meat with them.
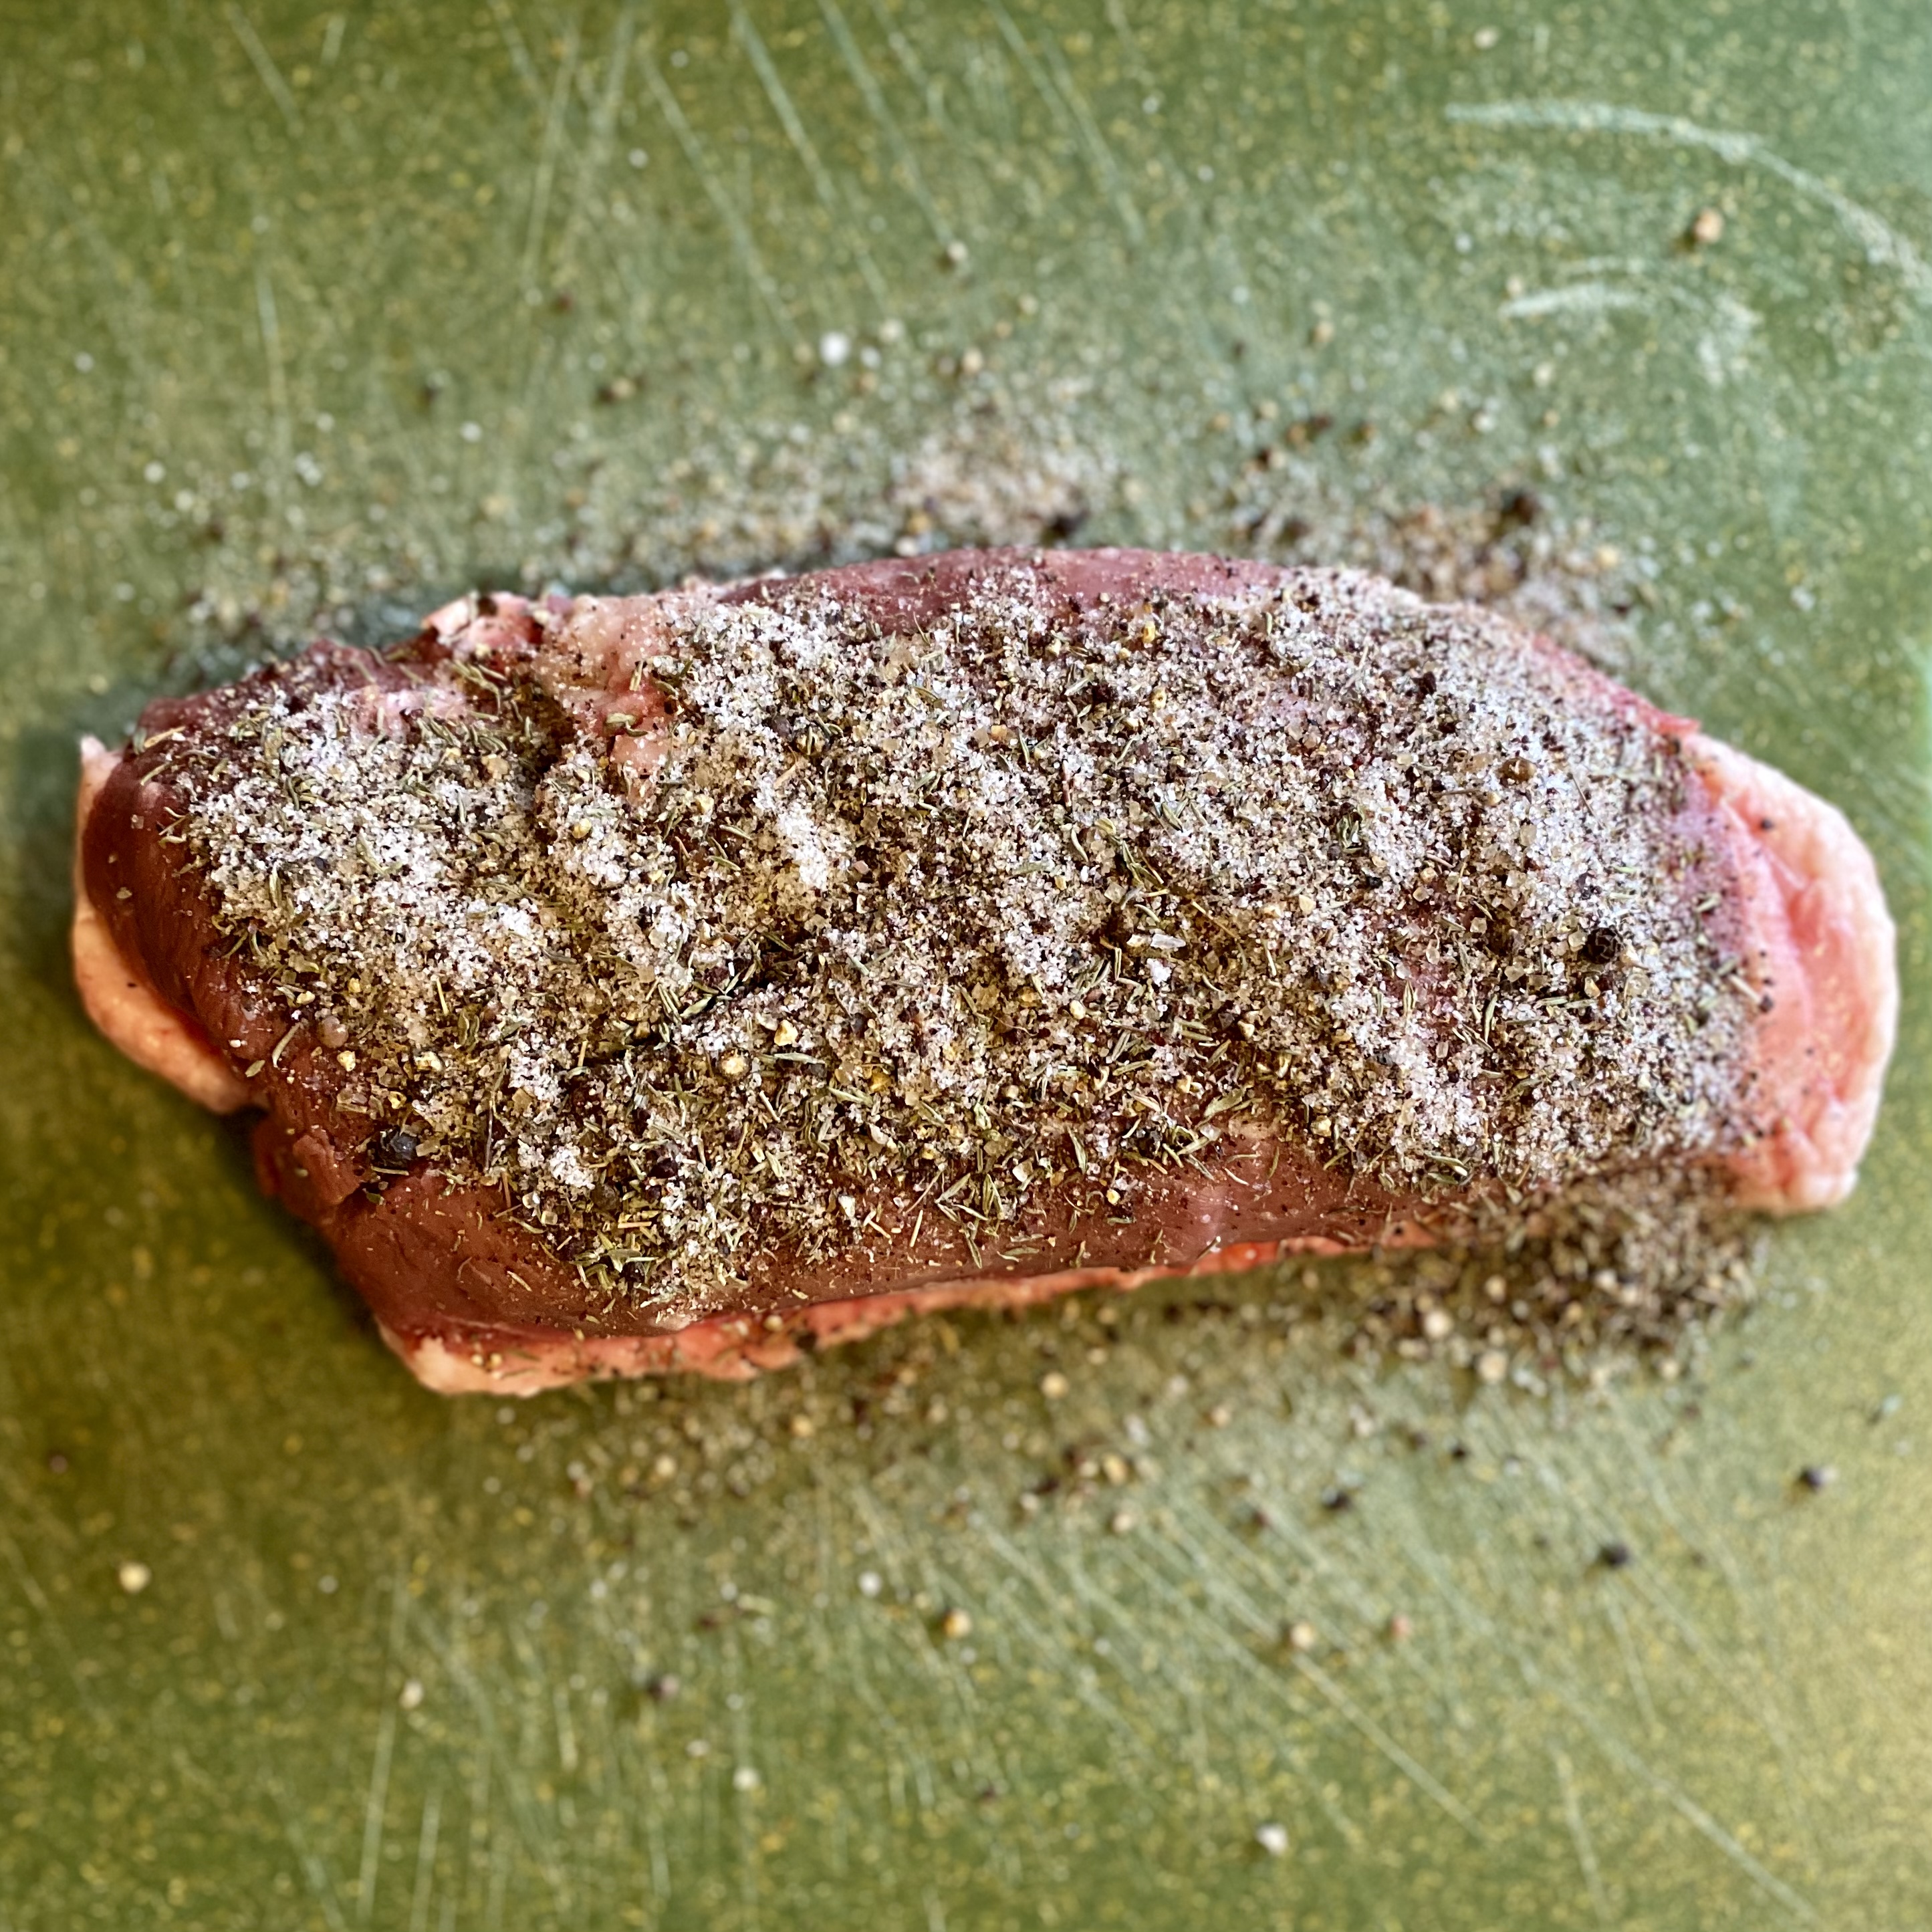
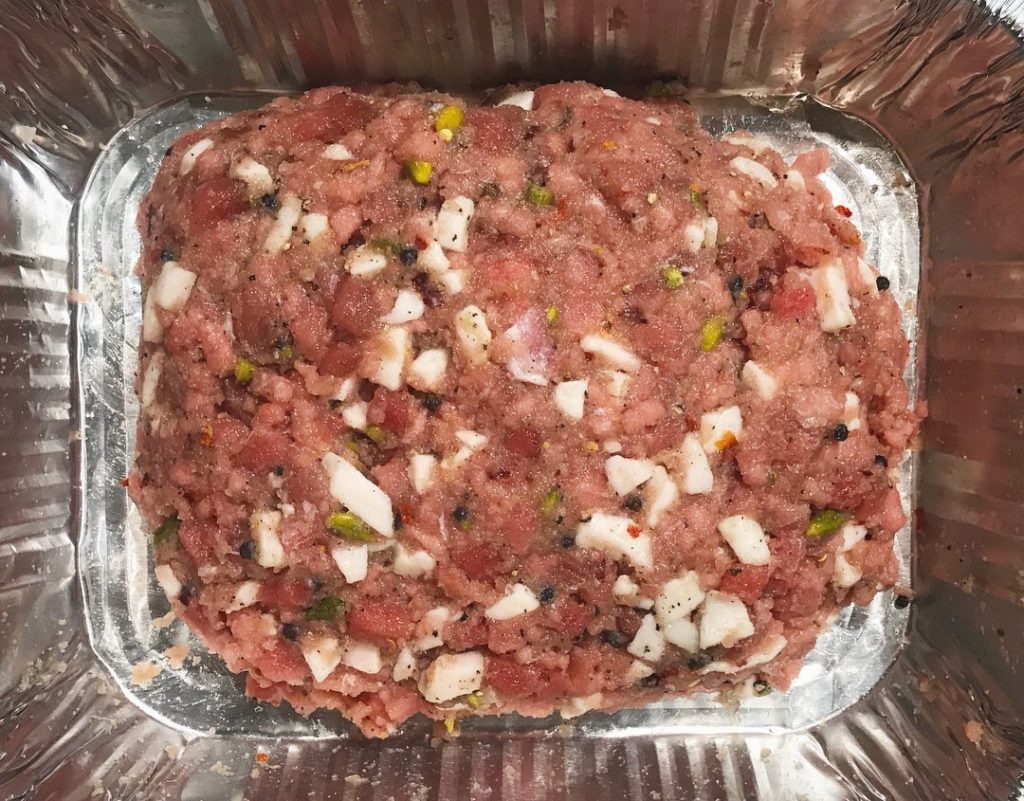
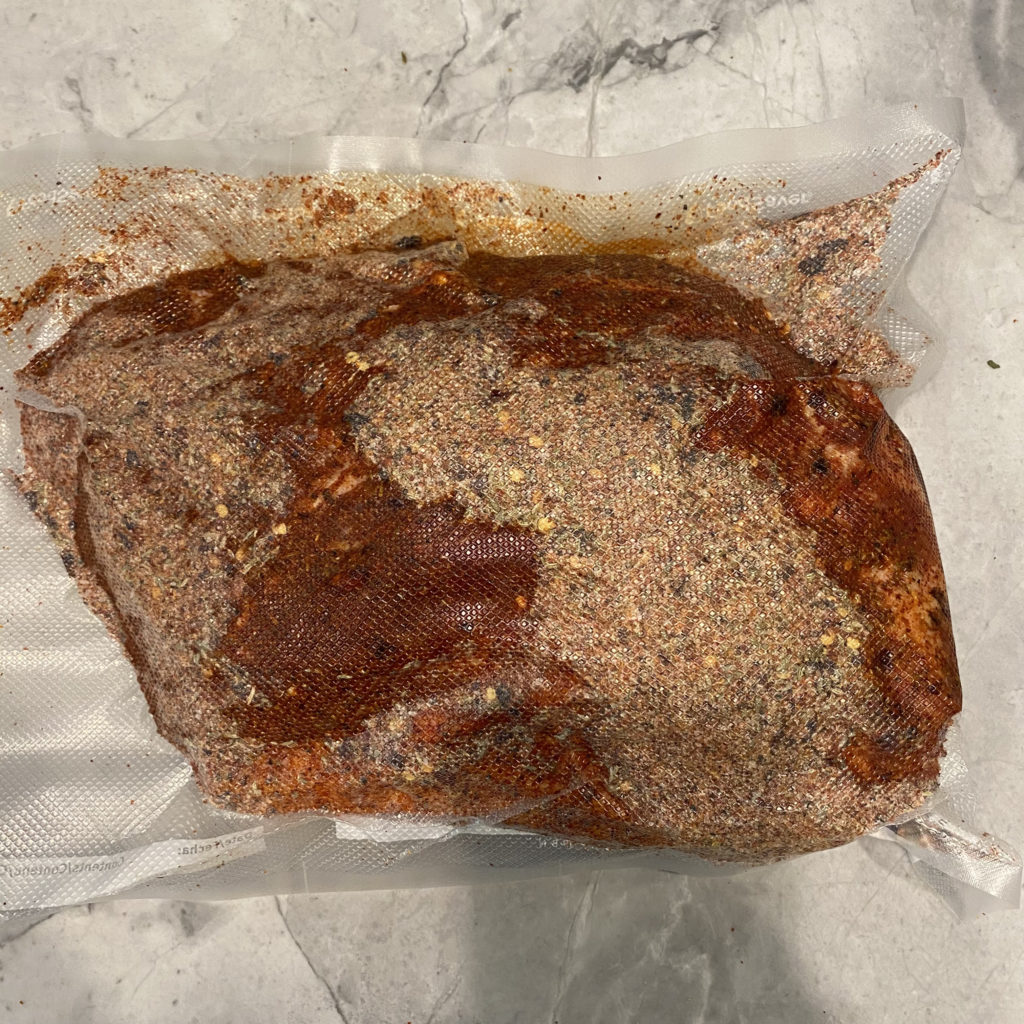
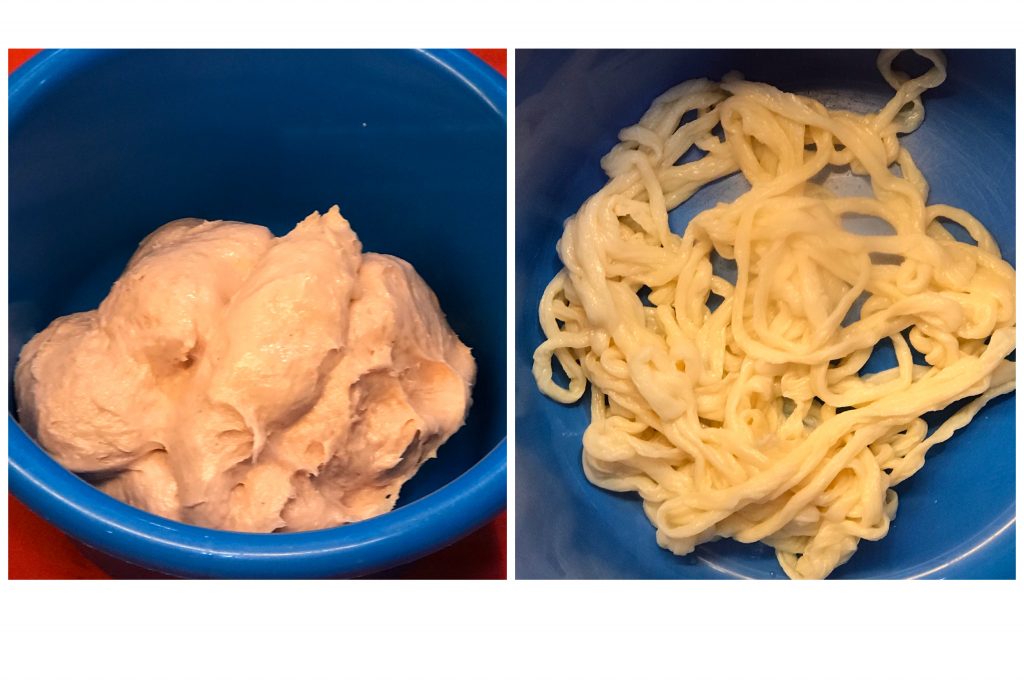
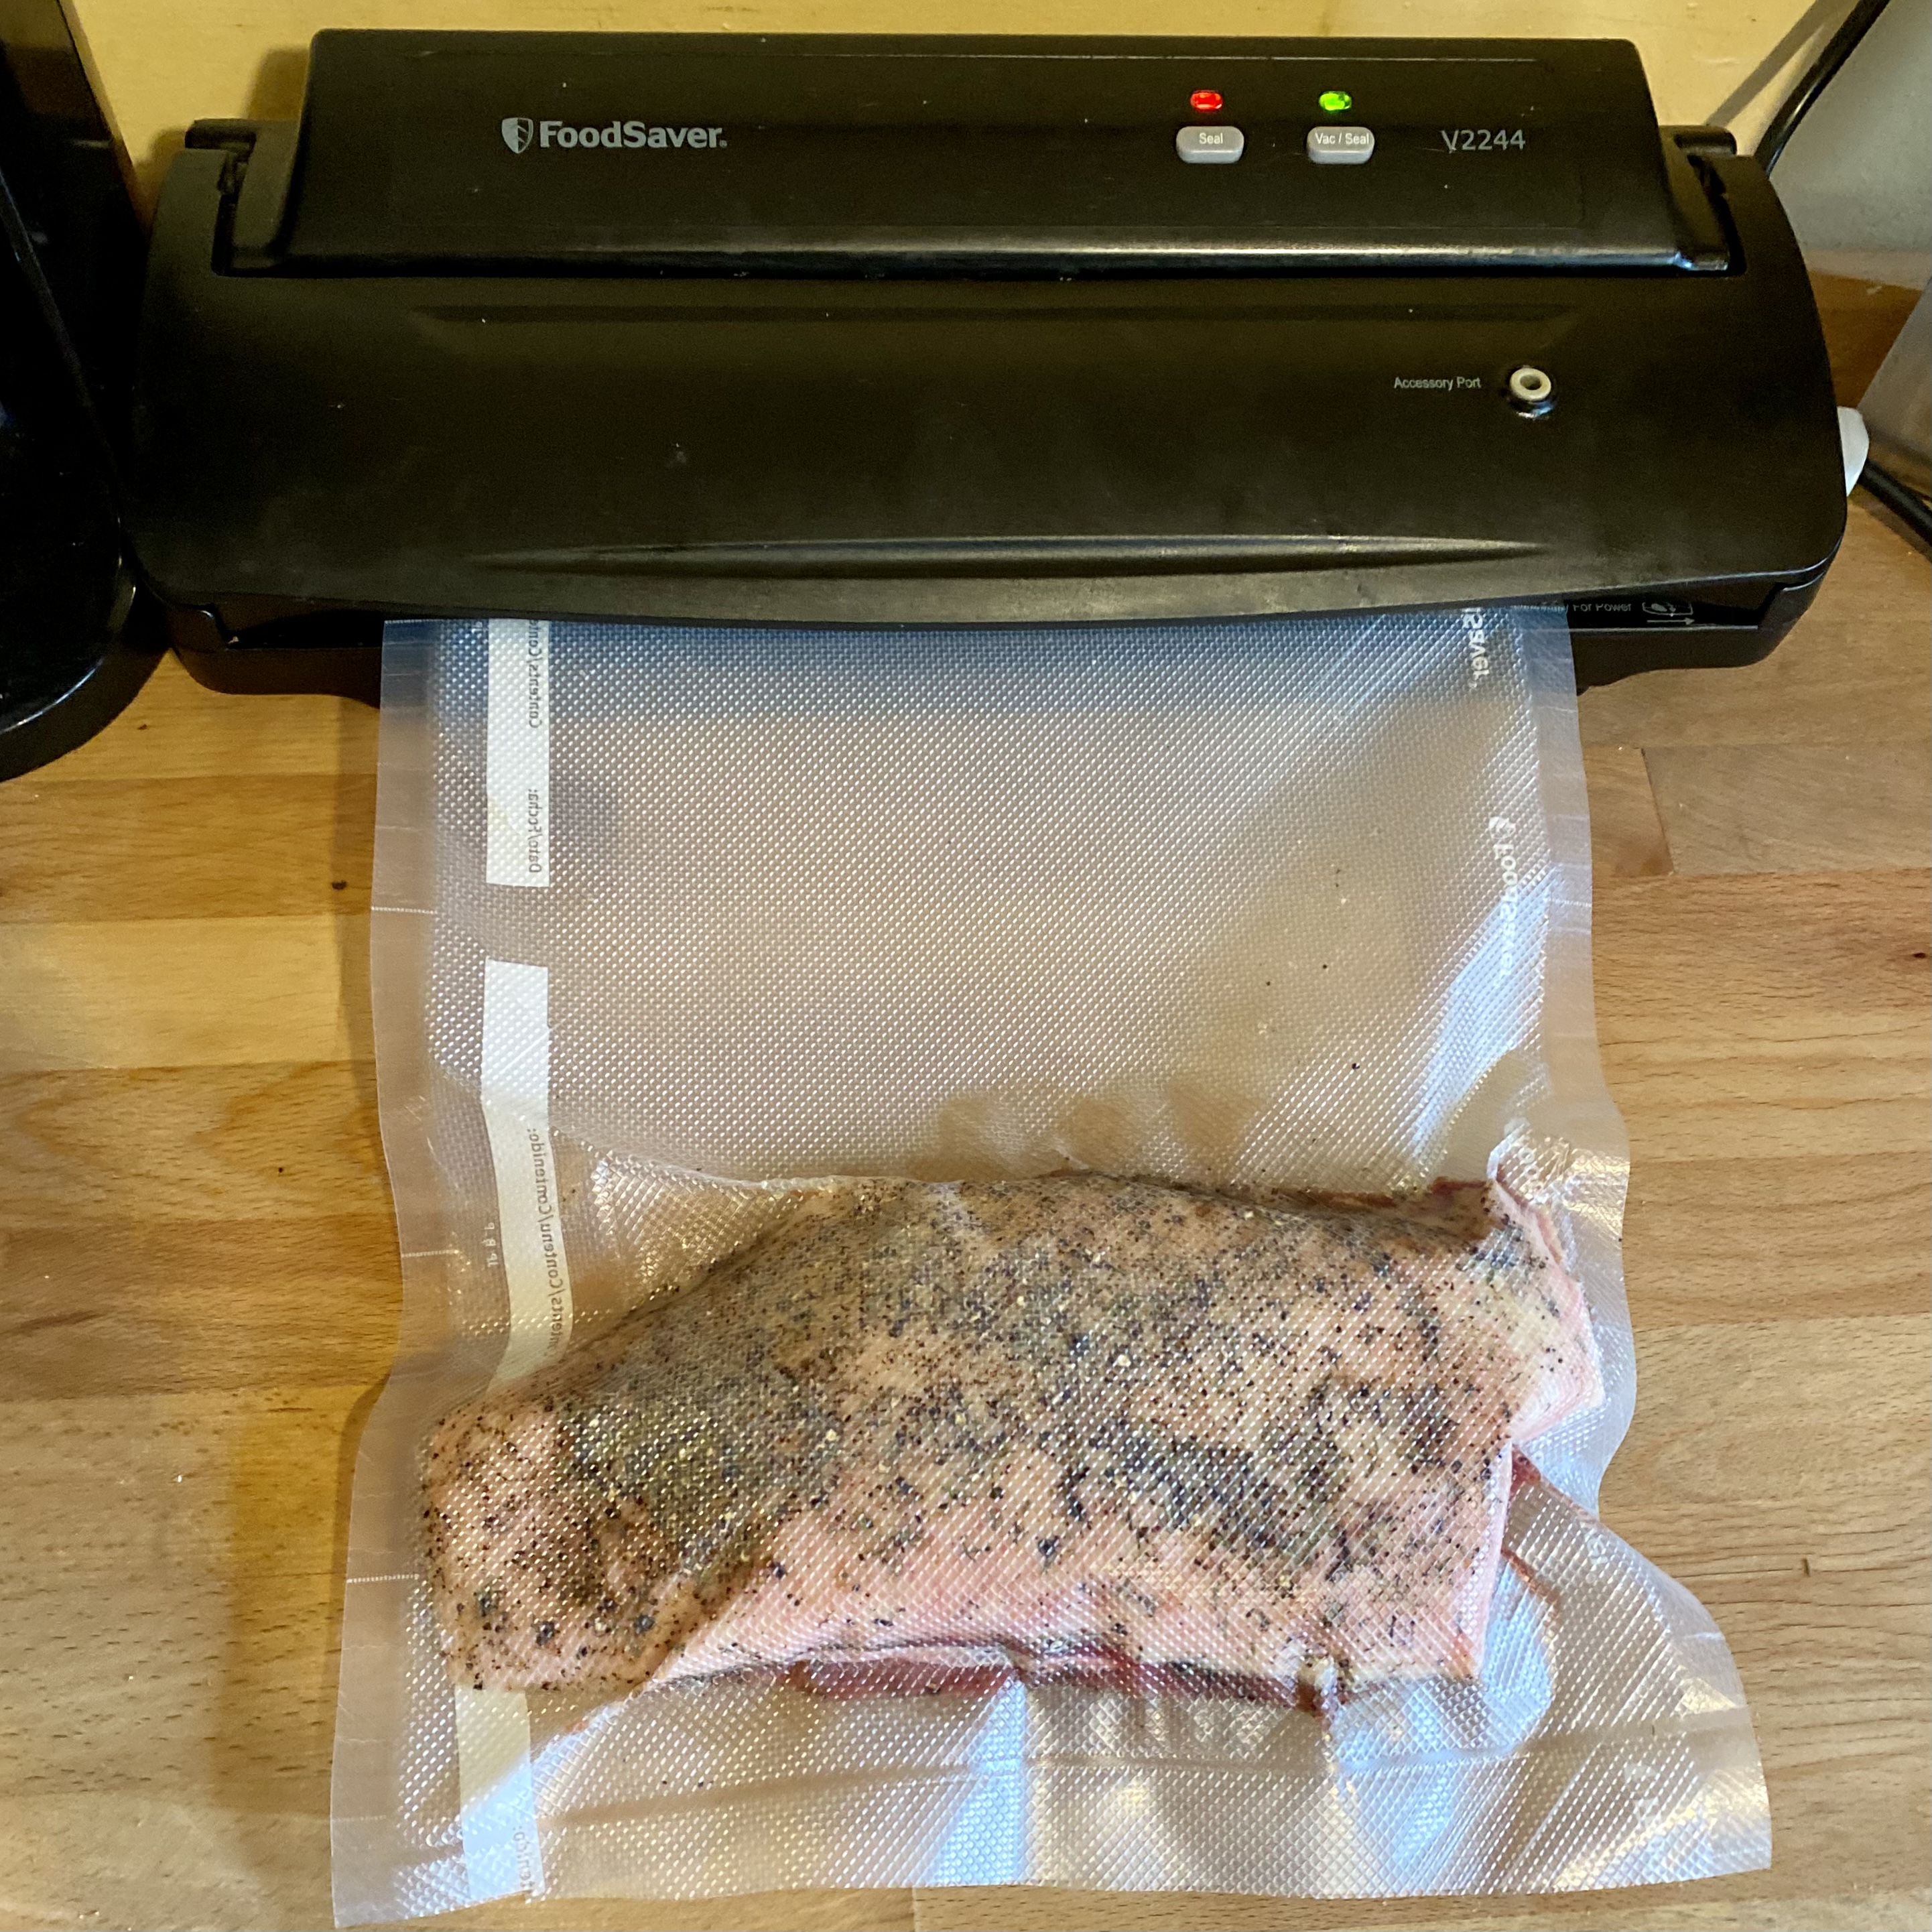
Vacuum seal it all together.
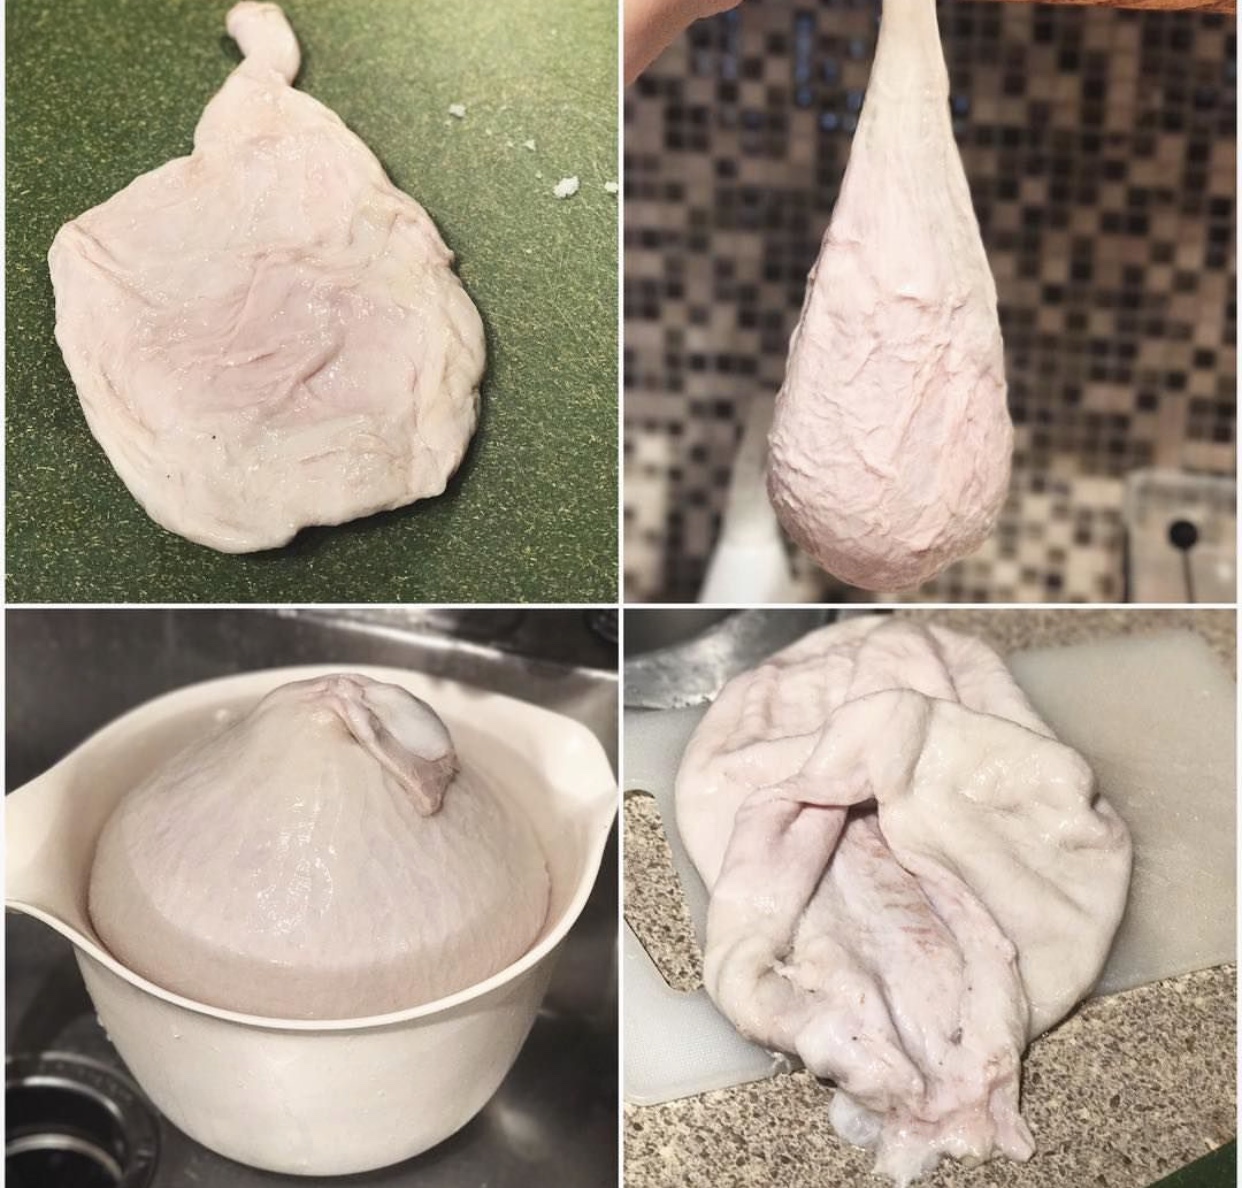
Casing:
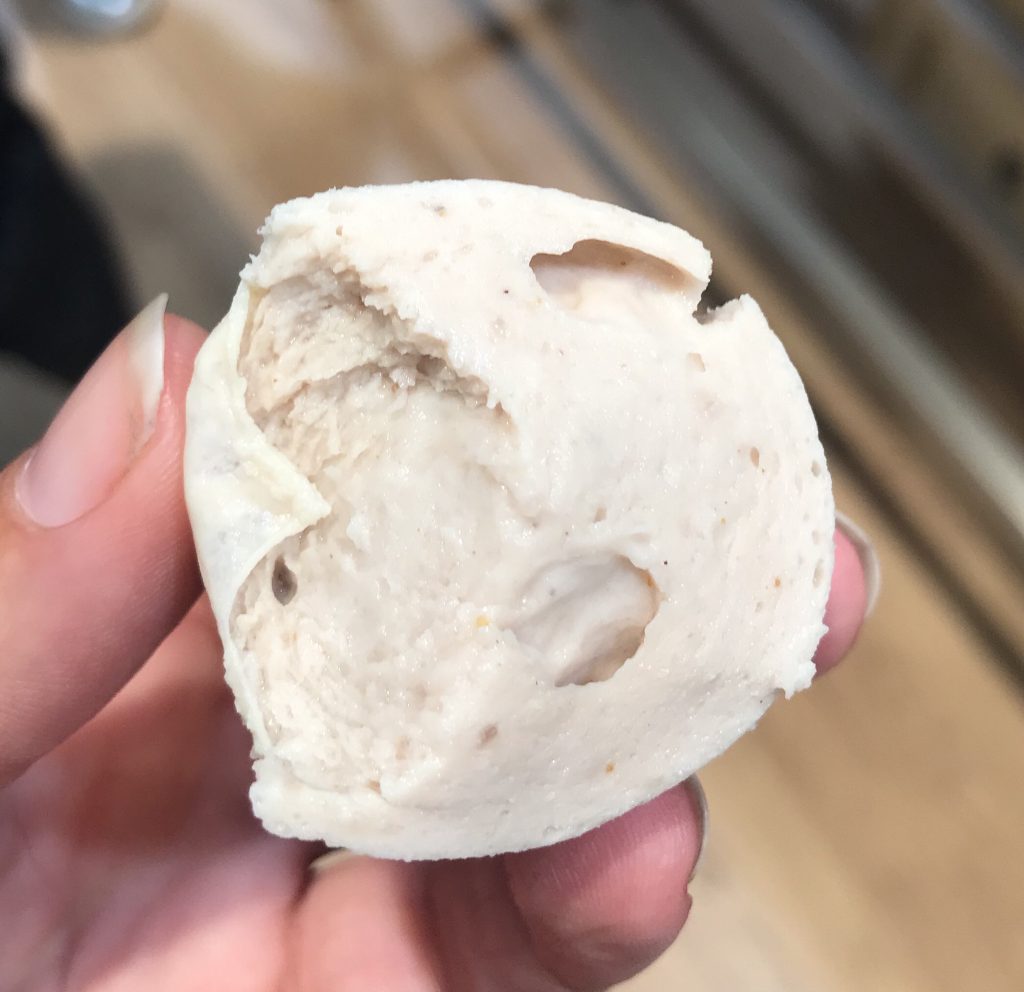
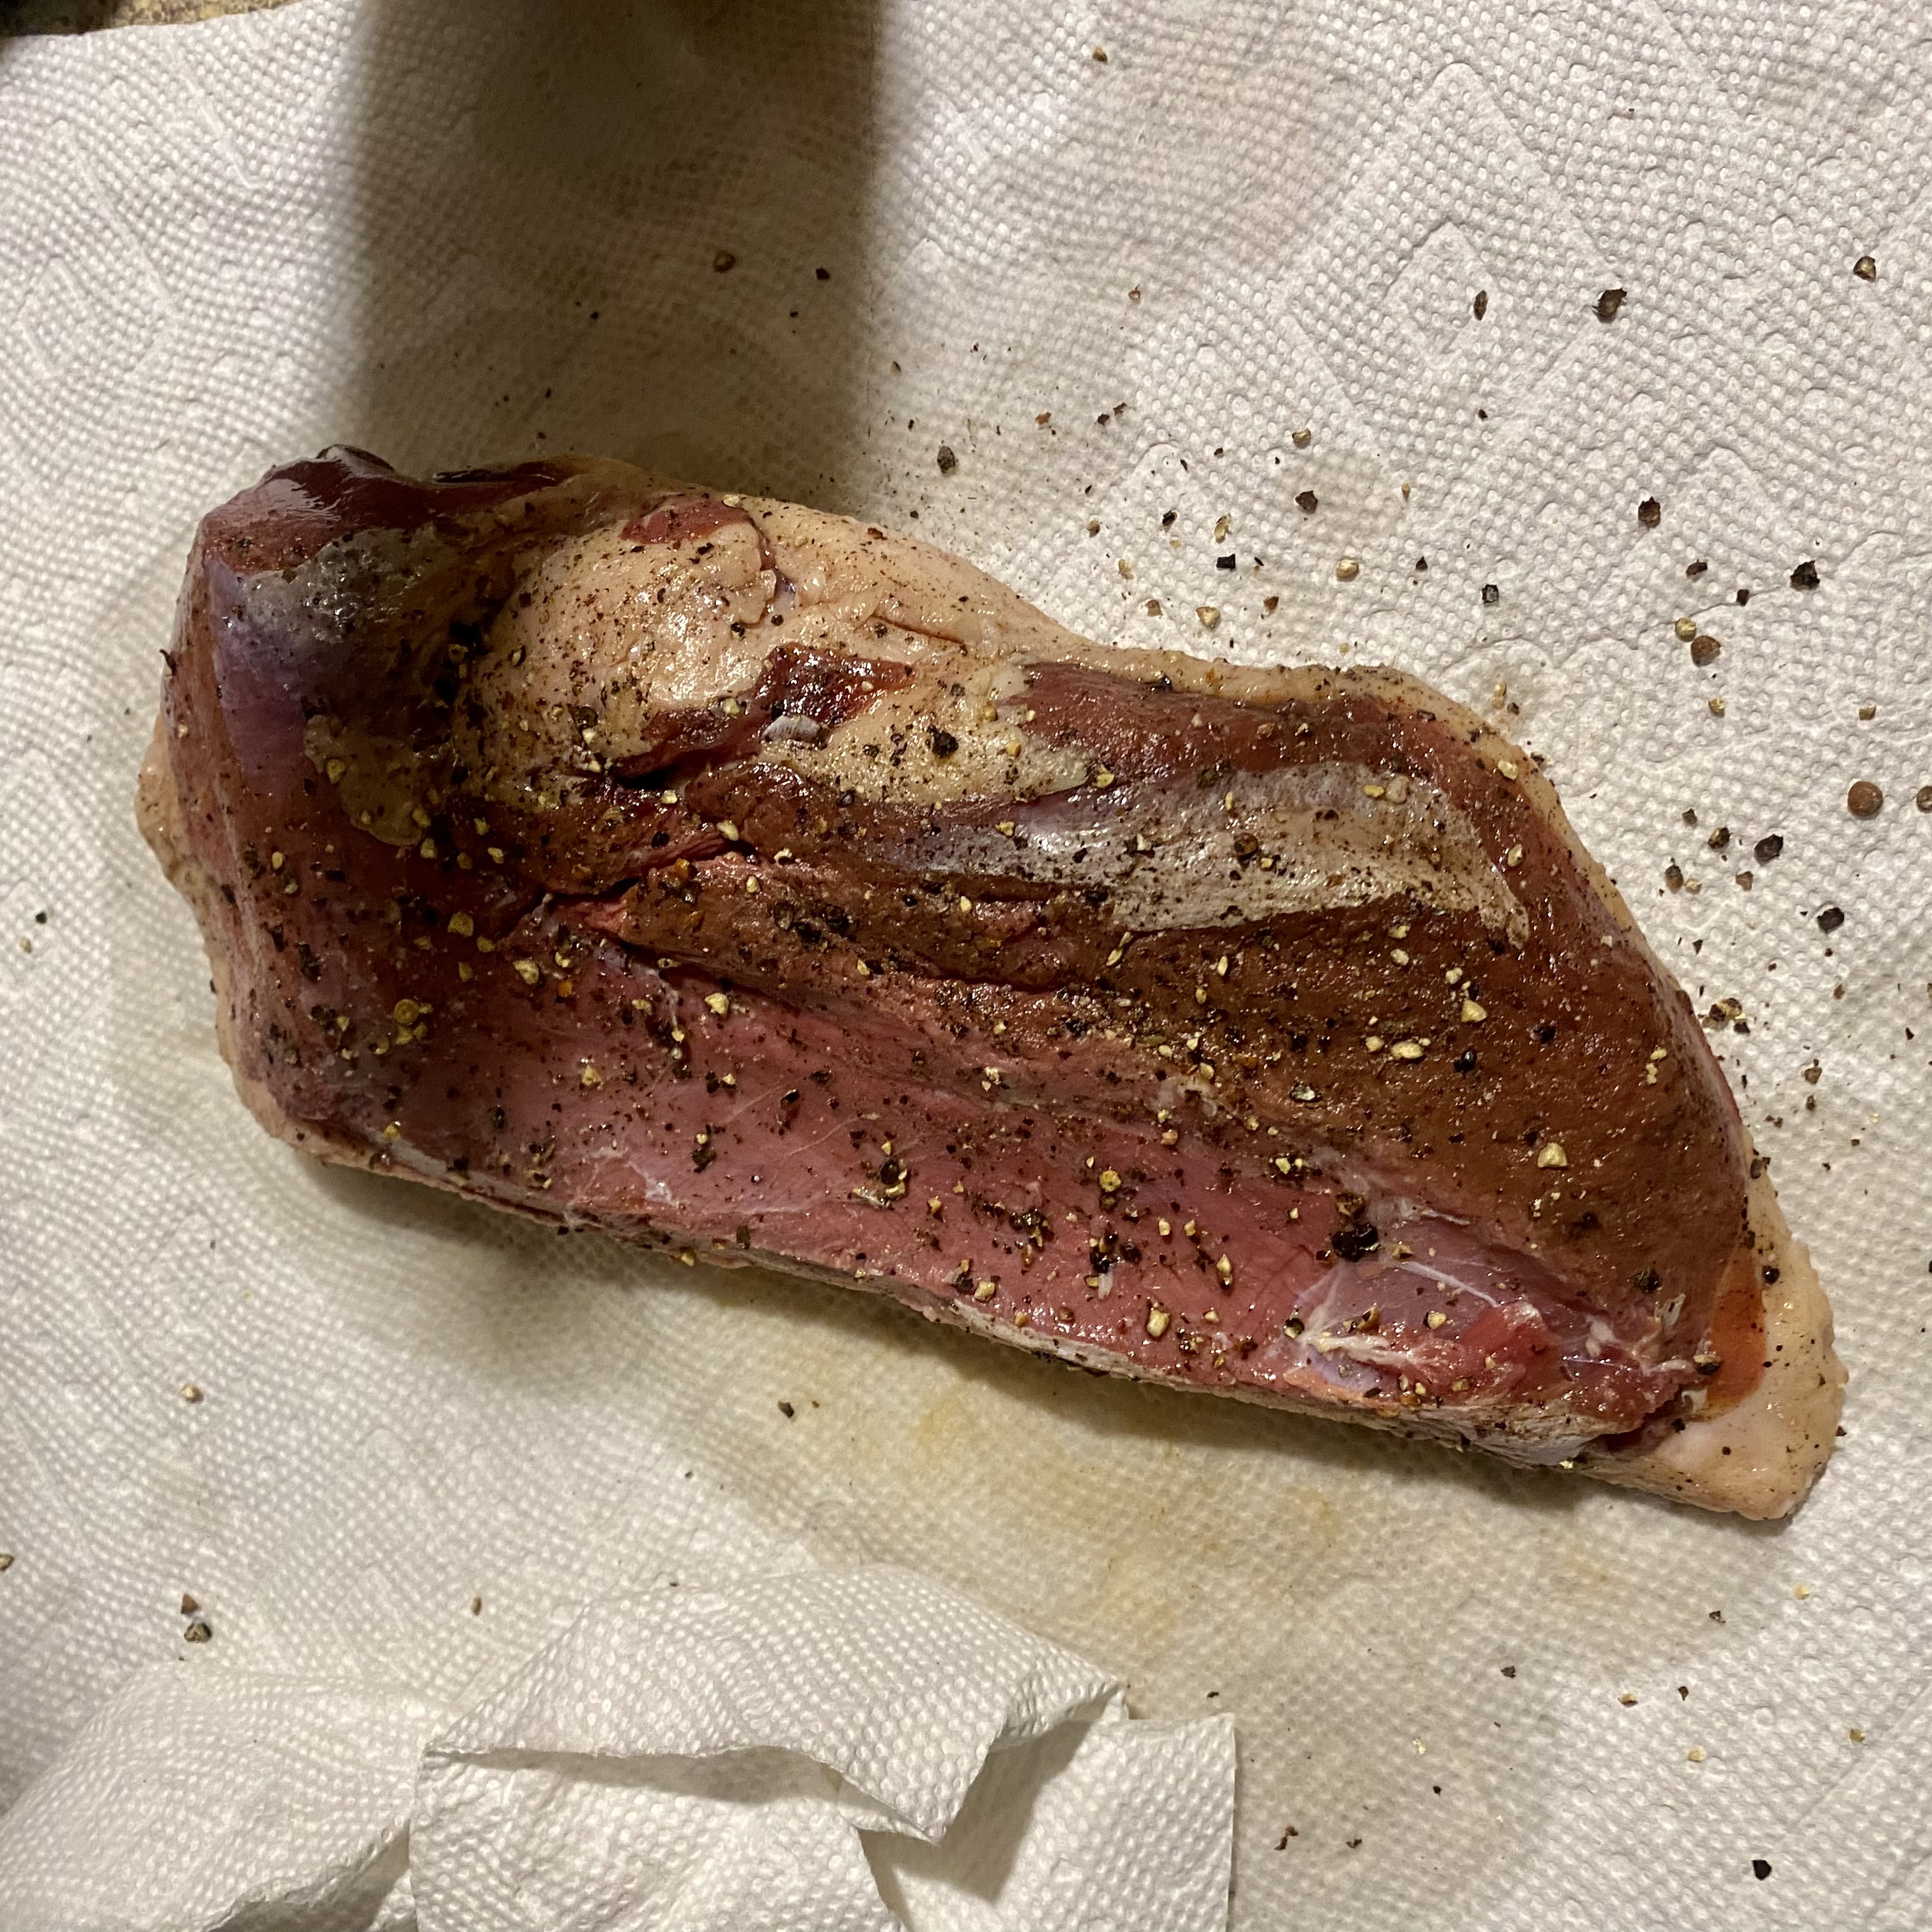
After the meat has been cured for 2+ weeks, it’s time to take it out, rinse it, and pat it dry.
Grab an UMAI dry bag and VacMouse channel vacuum adapter.
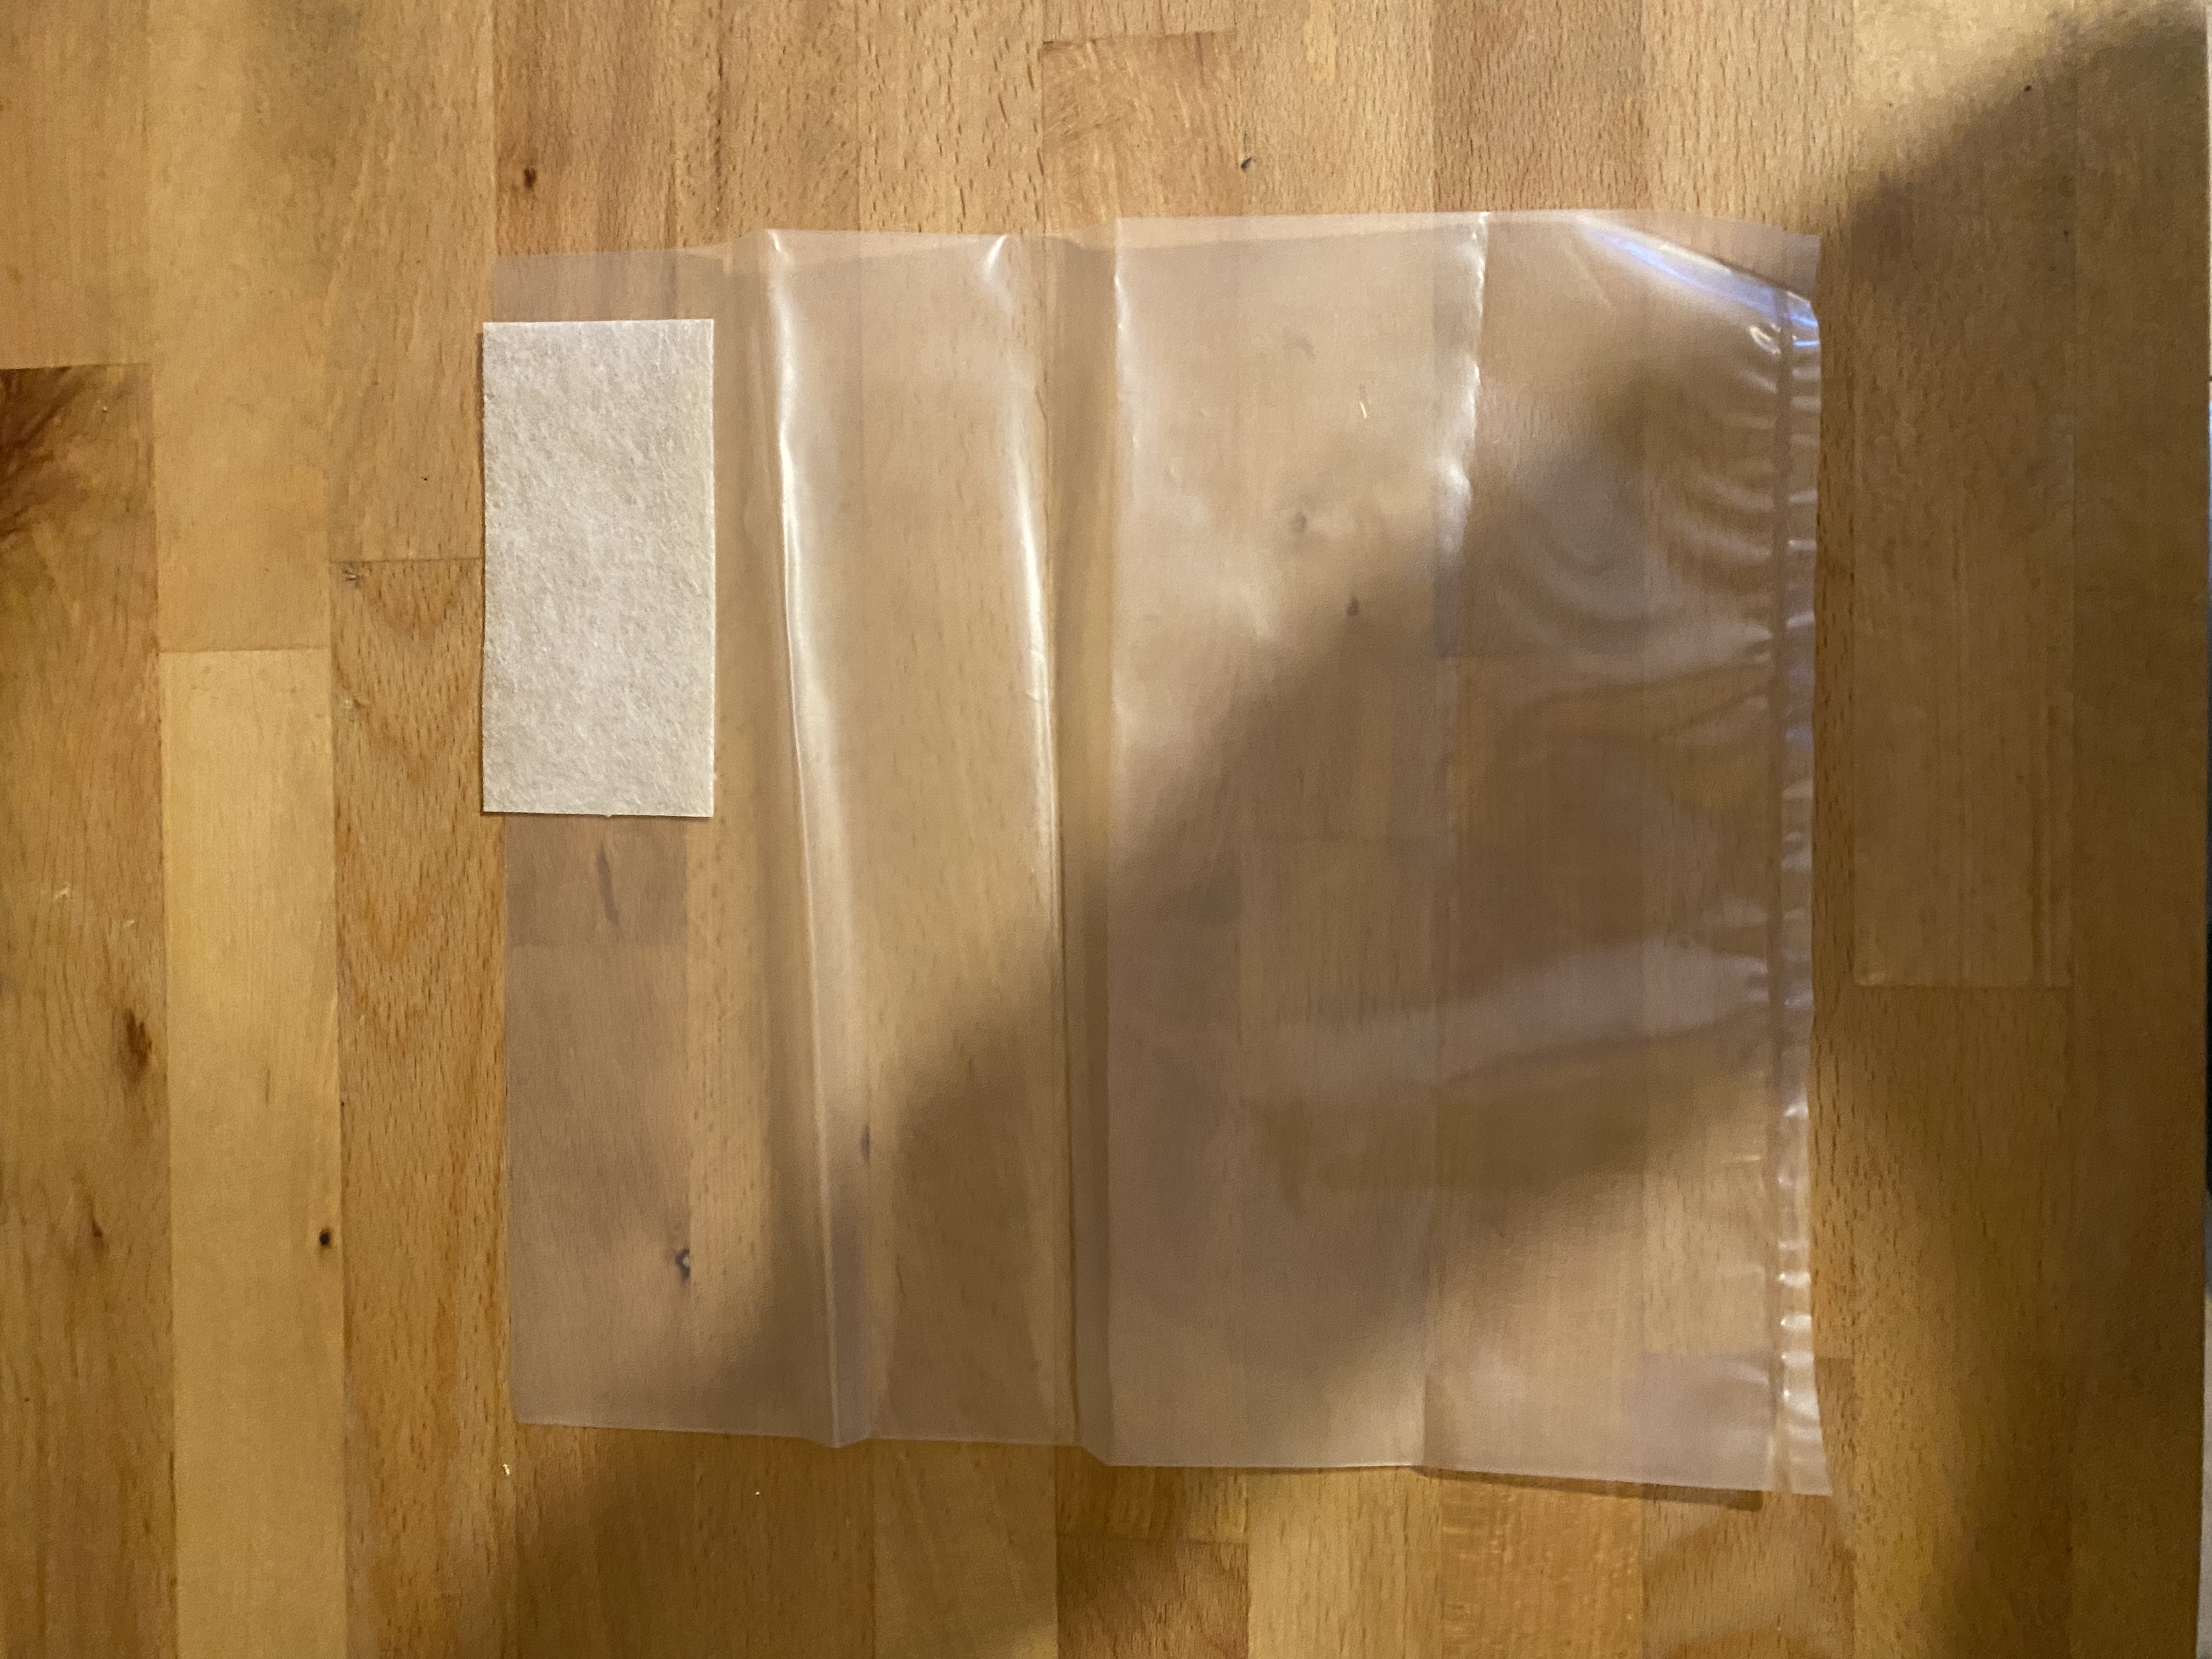
Place the duck breast in the bag. Vacuum seal it with the VacMouse adapter at the mouth of the bag to help it seal. The company says that it doesn’t need to fully seal to work, but the only time I had a bad result was when the bag wasn’t fully sealed, so I would do my best to achieve as tight a vacuum seal as possible.
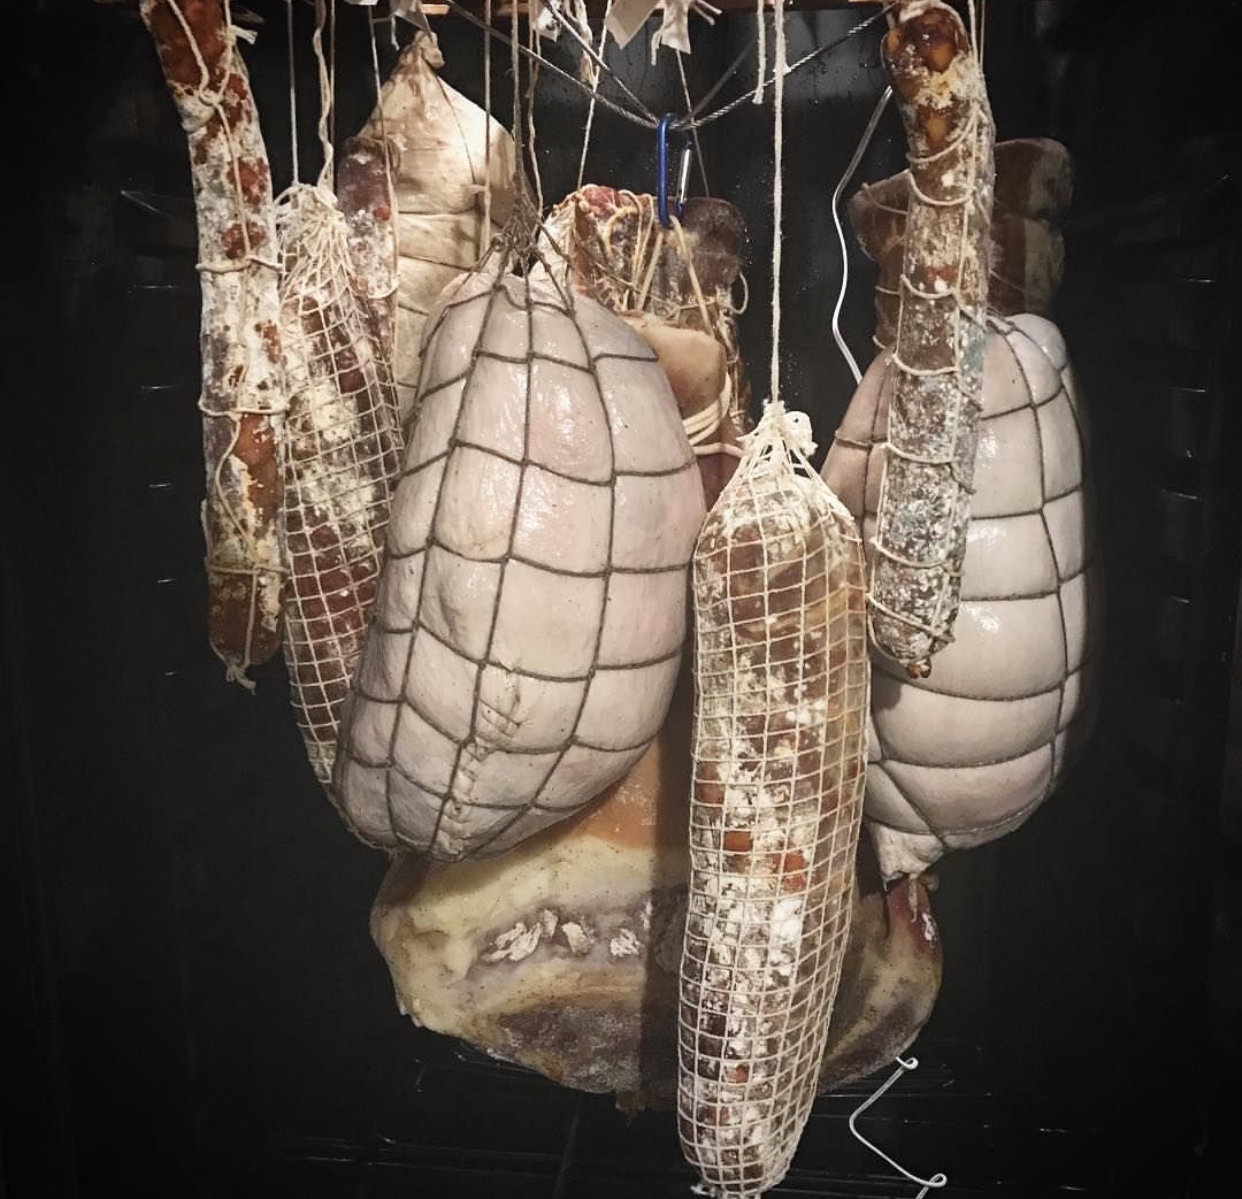
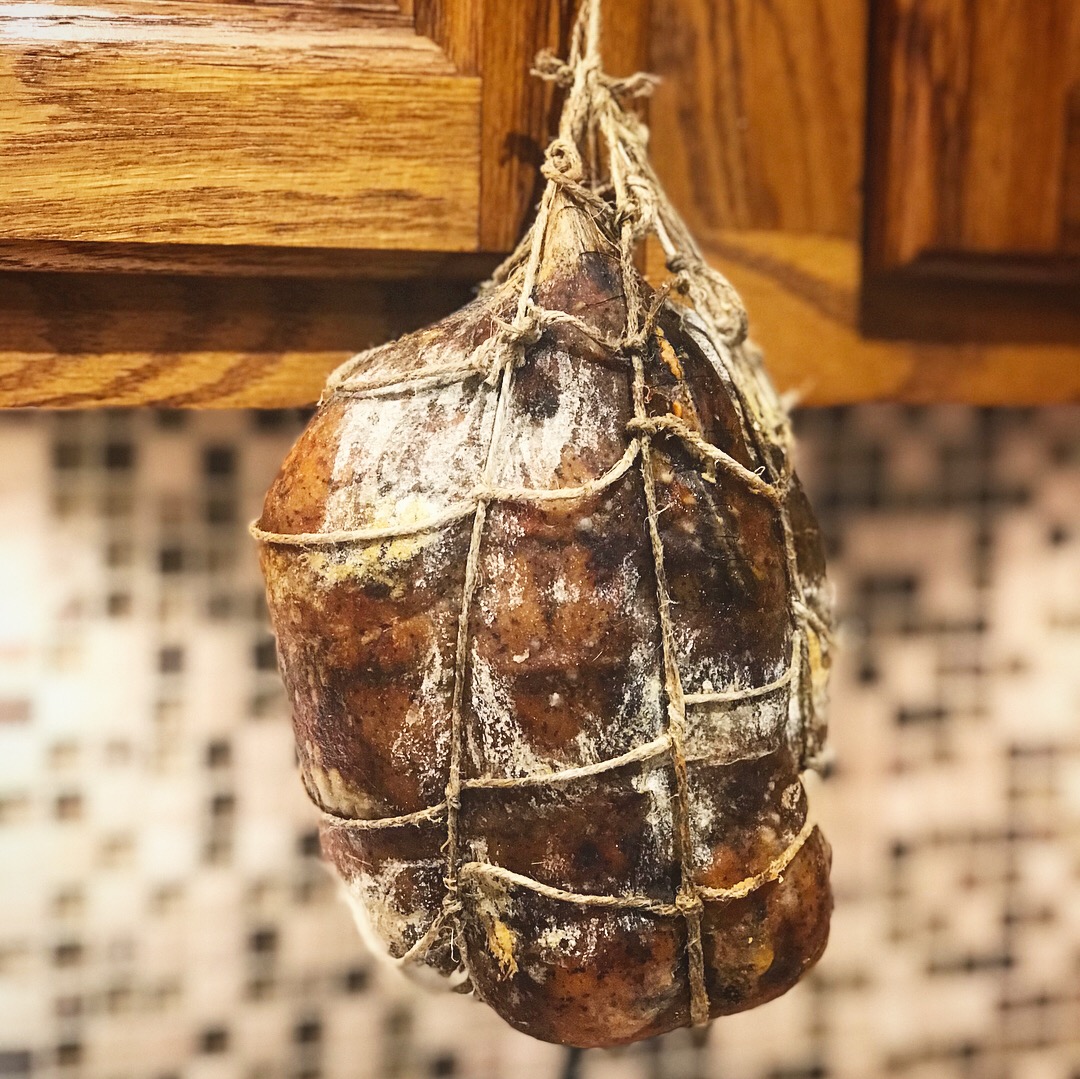
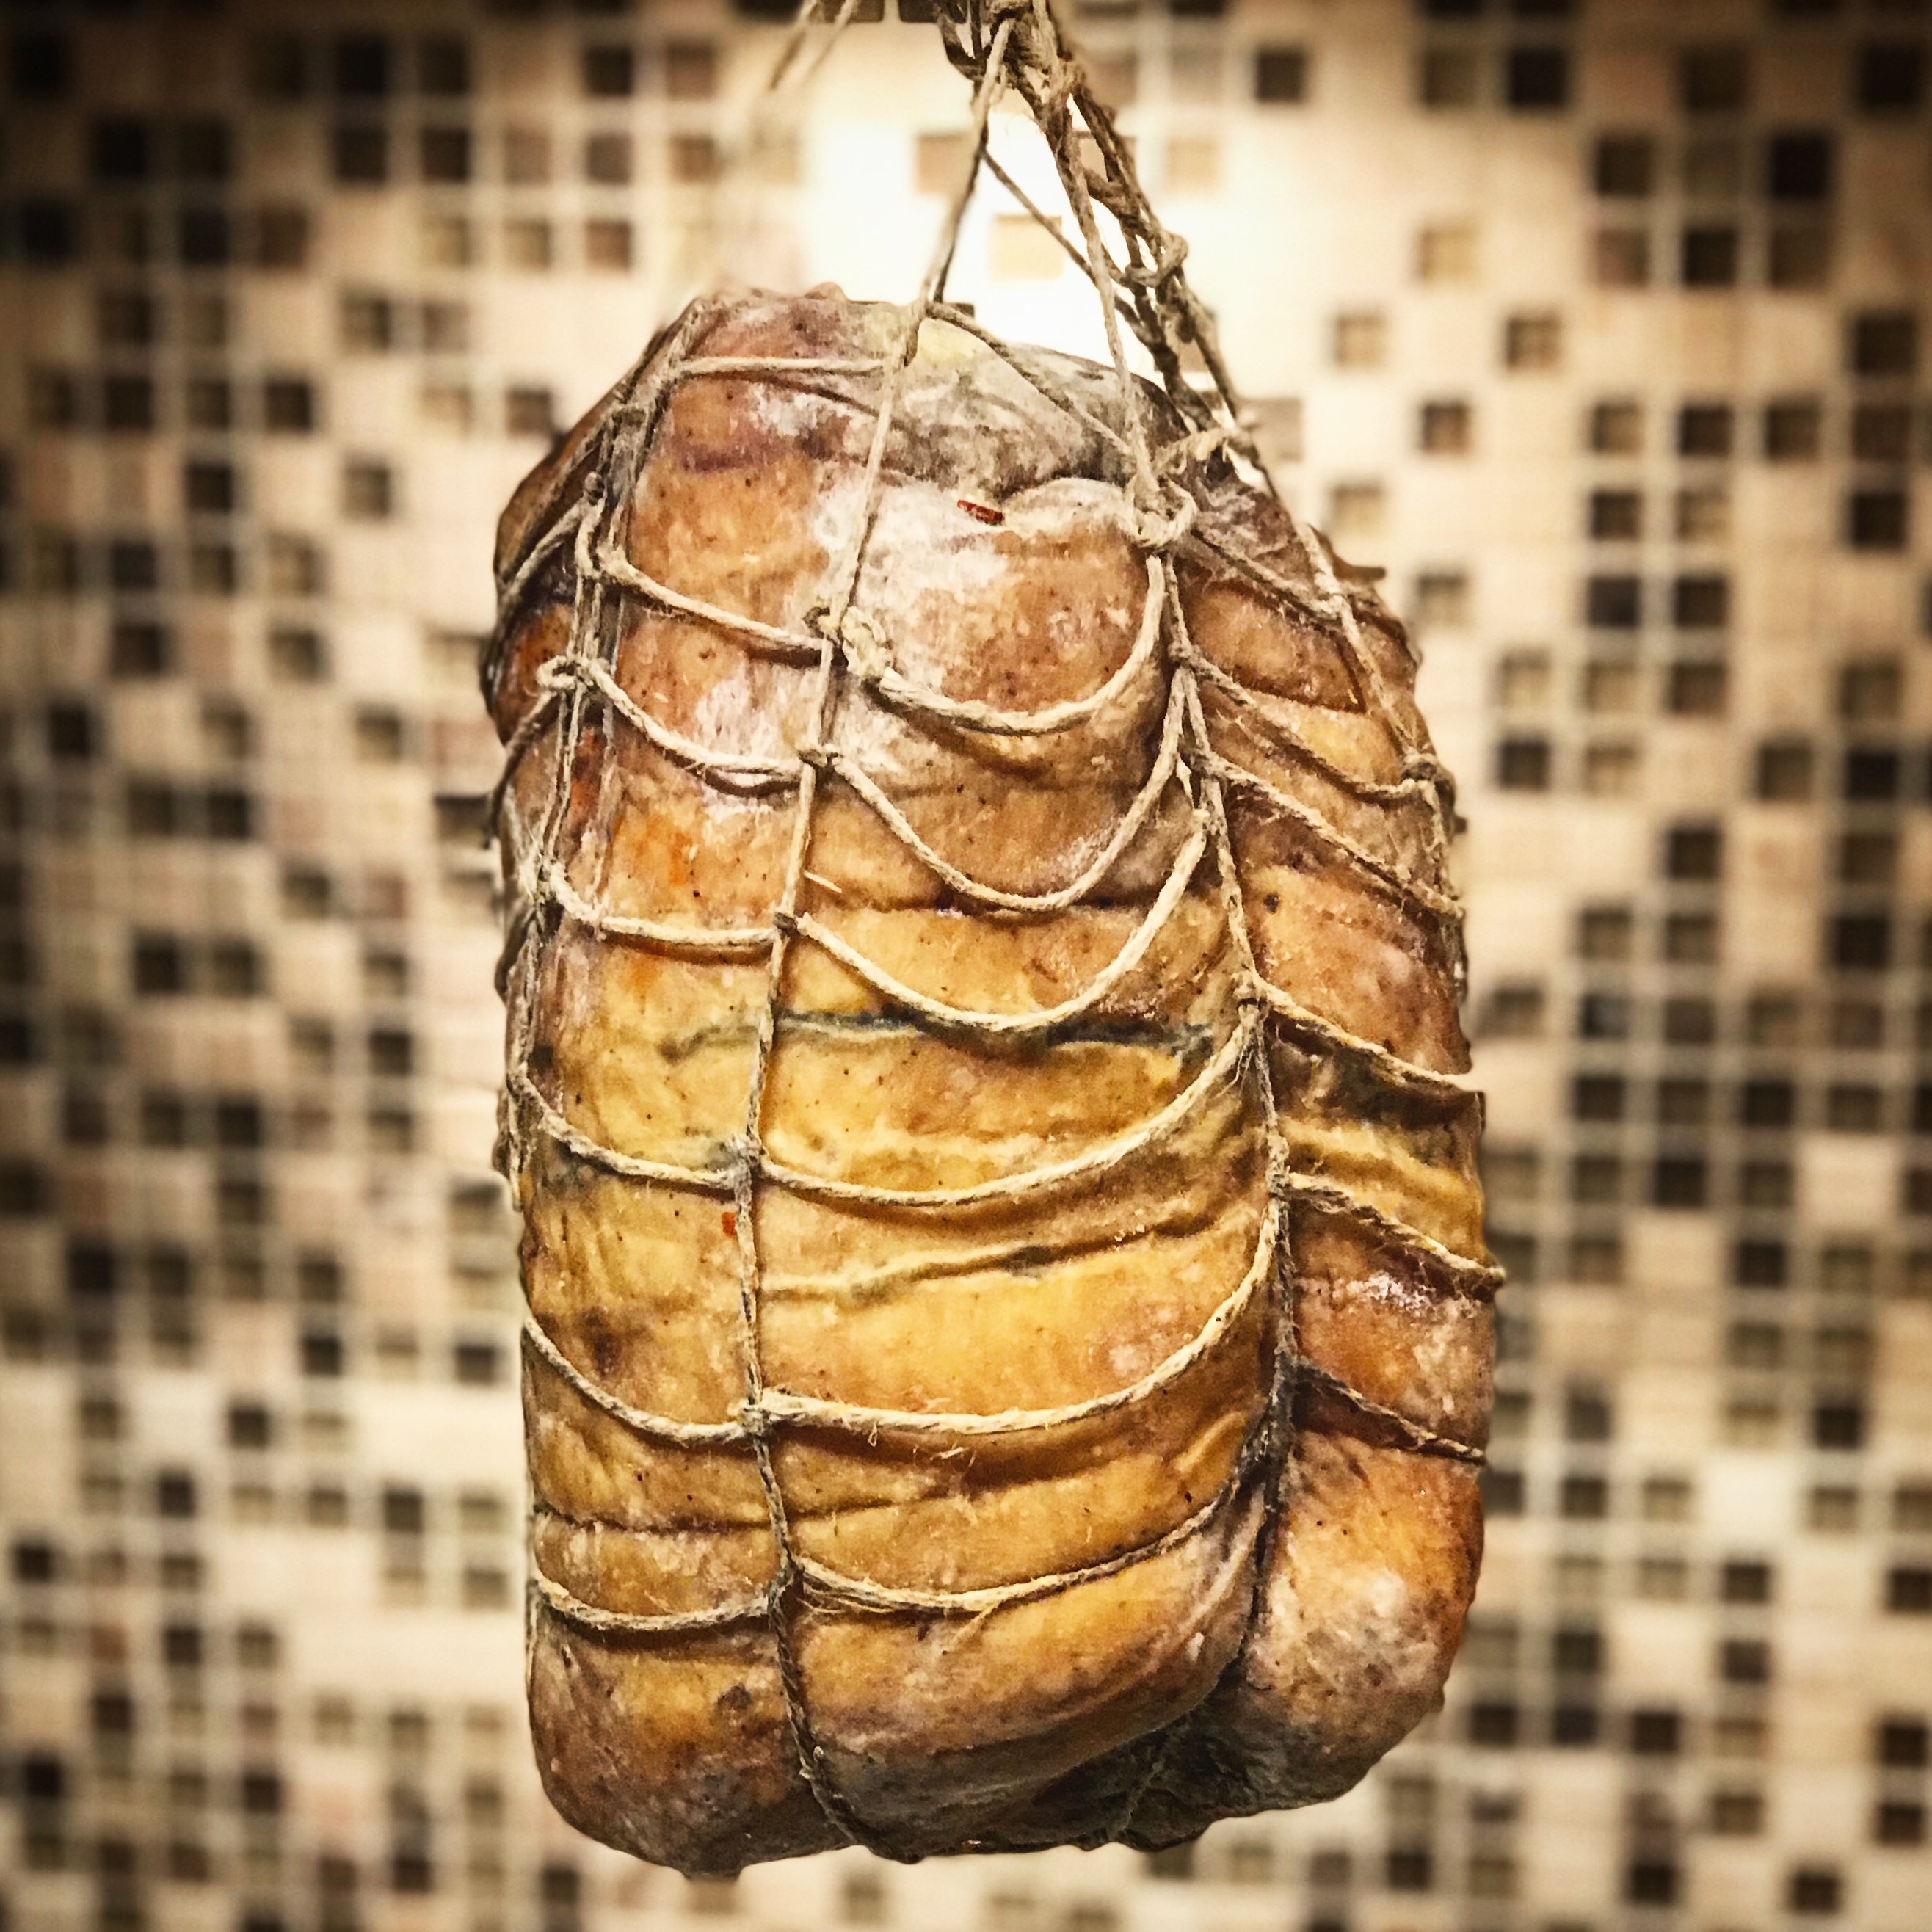
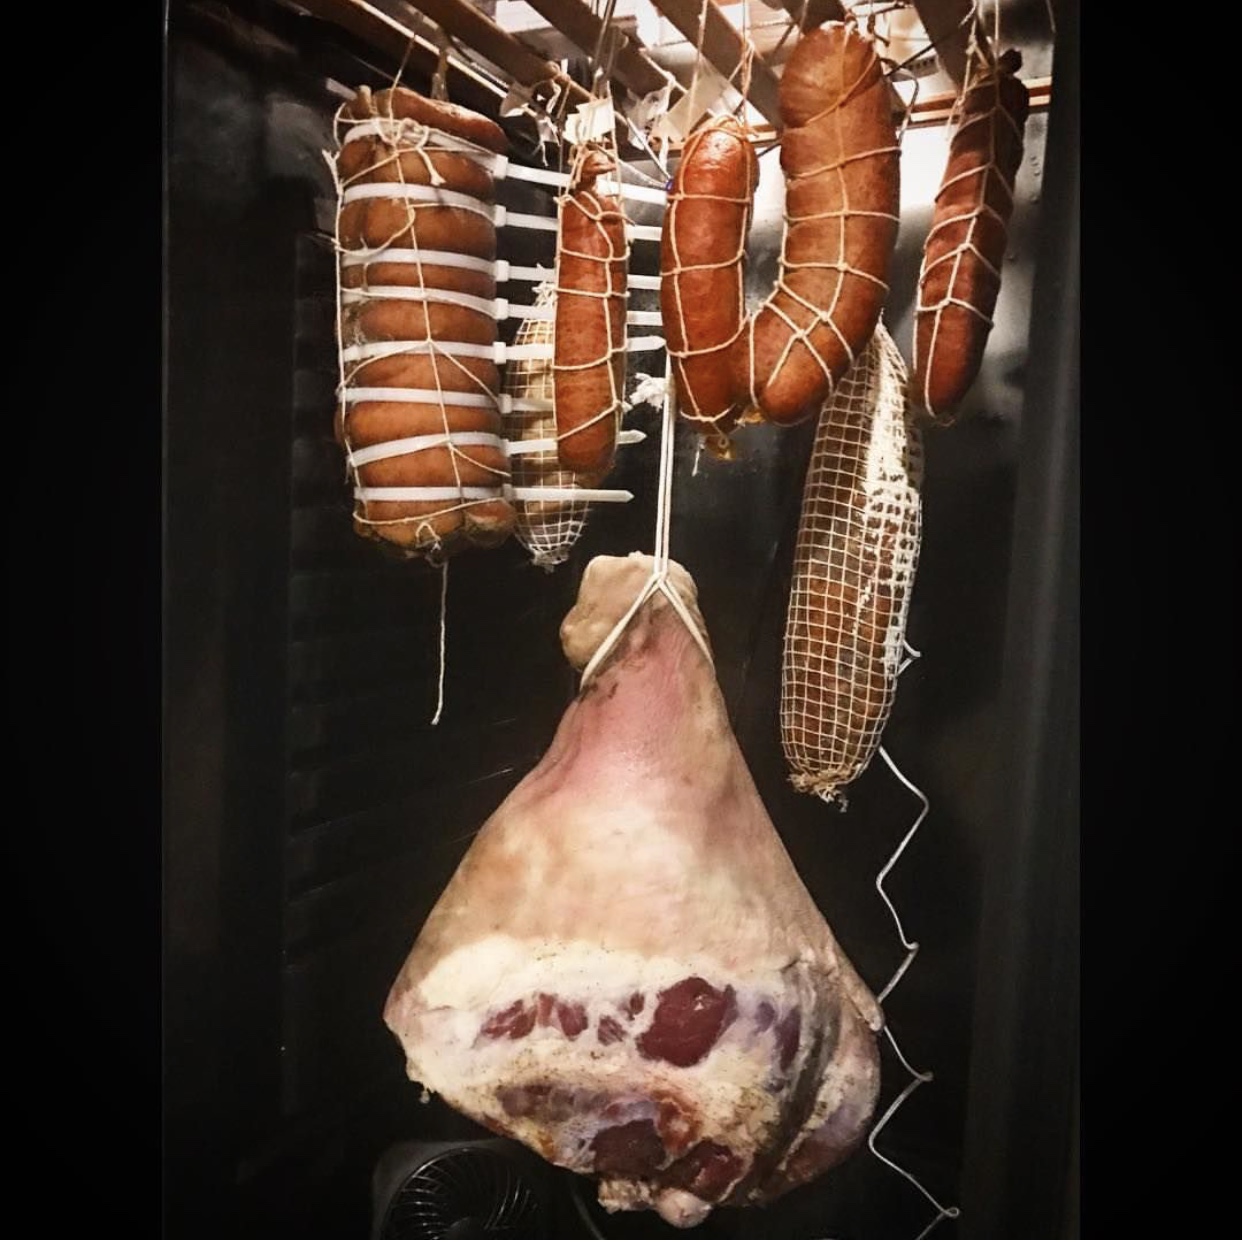
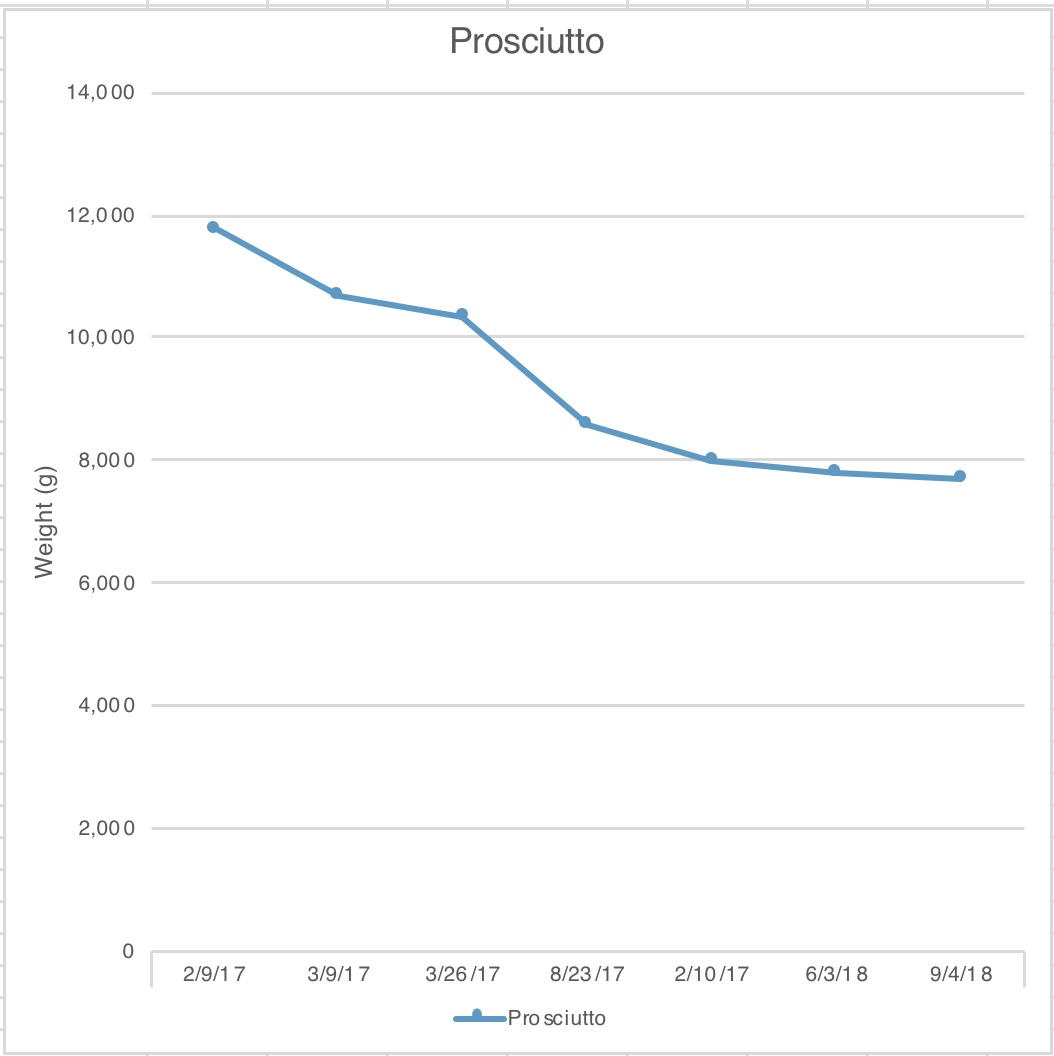
Drying (4C/40F, any RH*, 1-2 months):
The nice thing about using the UMAI dry bags, is that you no longer need to control the humidity of the atmosphere where it will be drying. This means you don’t need a special curing chamber, and can use the regular fridge. That being said, I’ve had a few projects dry out too fast and get some case hardening. Now, when I do an UMAI dry bag project in the regular fridge, I save one of the vegetable drawers for it. I put a drying rack in the drawer to allow for air movement around the piece of meat, and I turn the tab to “high” humidity. Using this method I’ve had great results using these bags in the regular fridge.
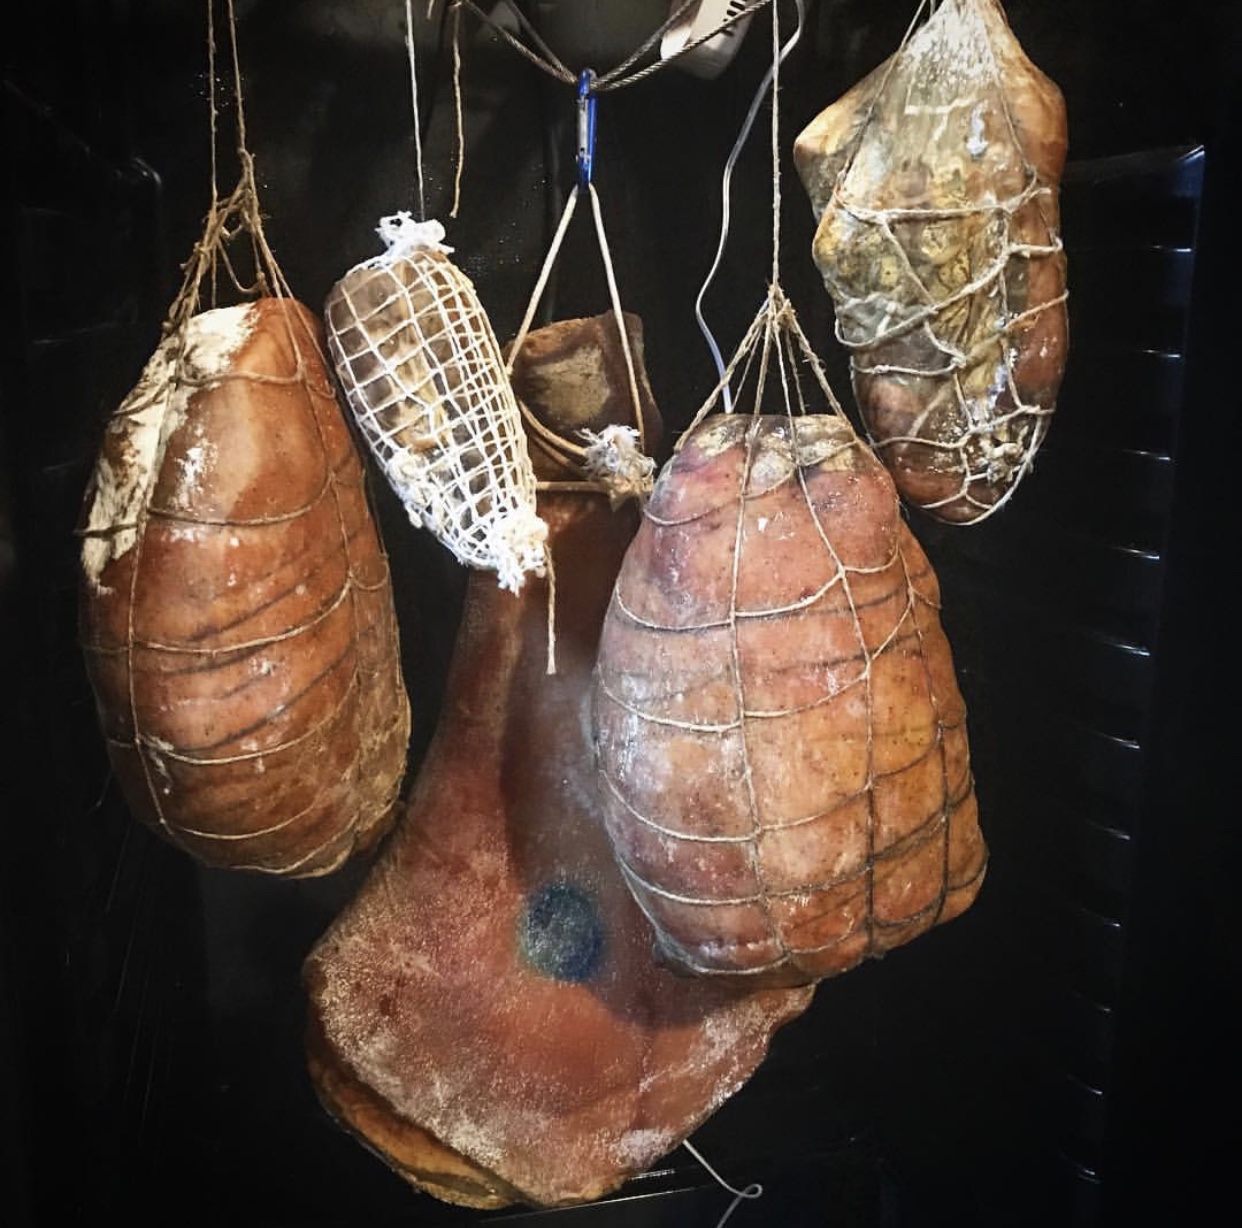
So, once you’ve sealed the duck breast in the UMAI dry bag, place it on a rack in the fridge. As mentioned above, if you can spare a vegetable drawer for it, that would be best.
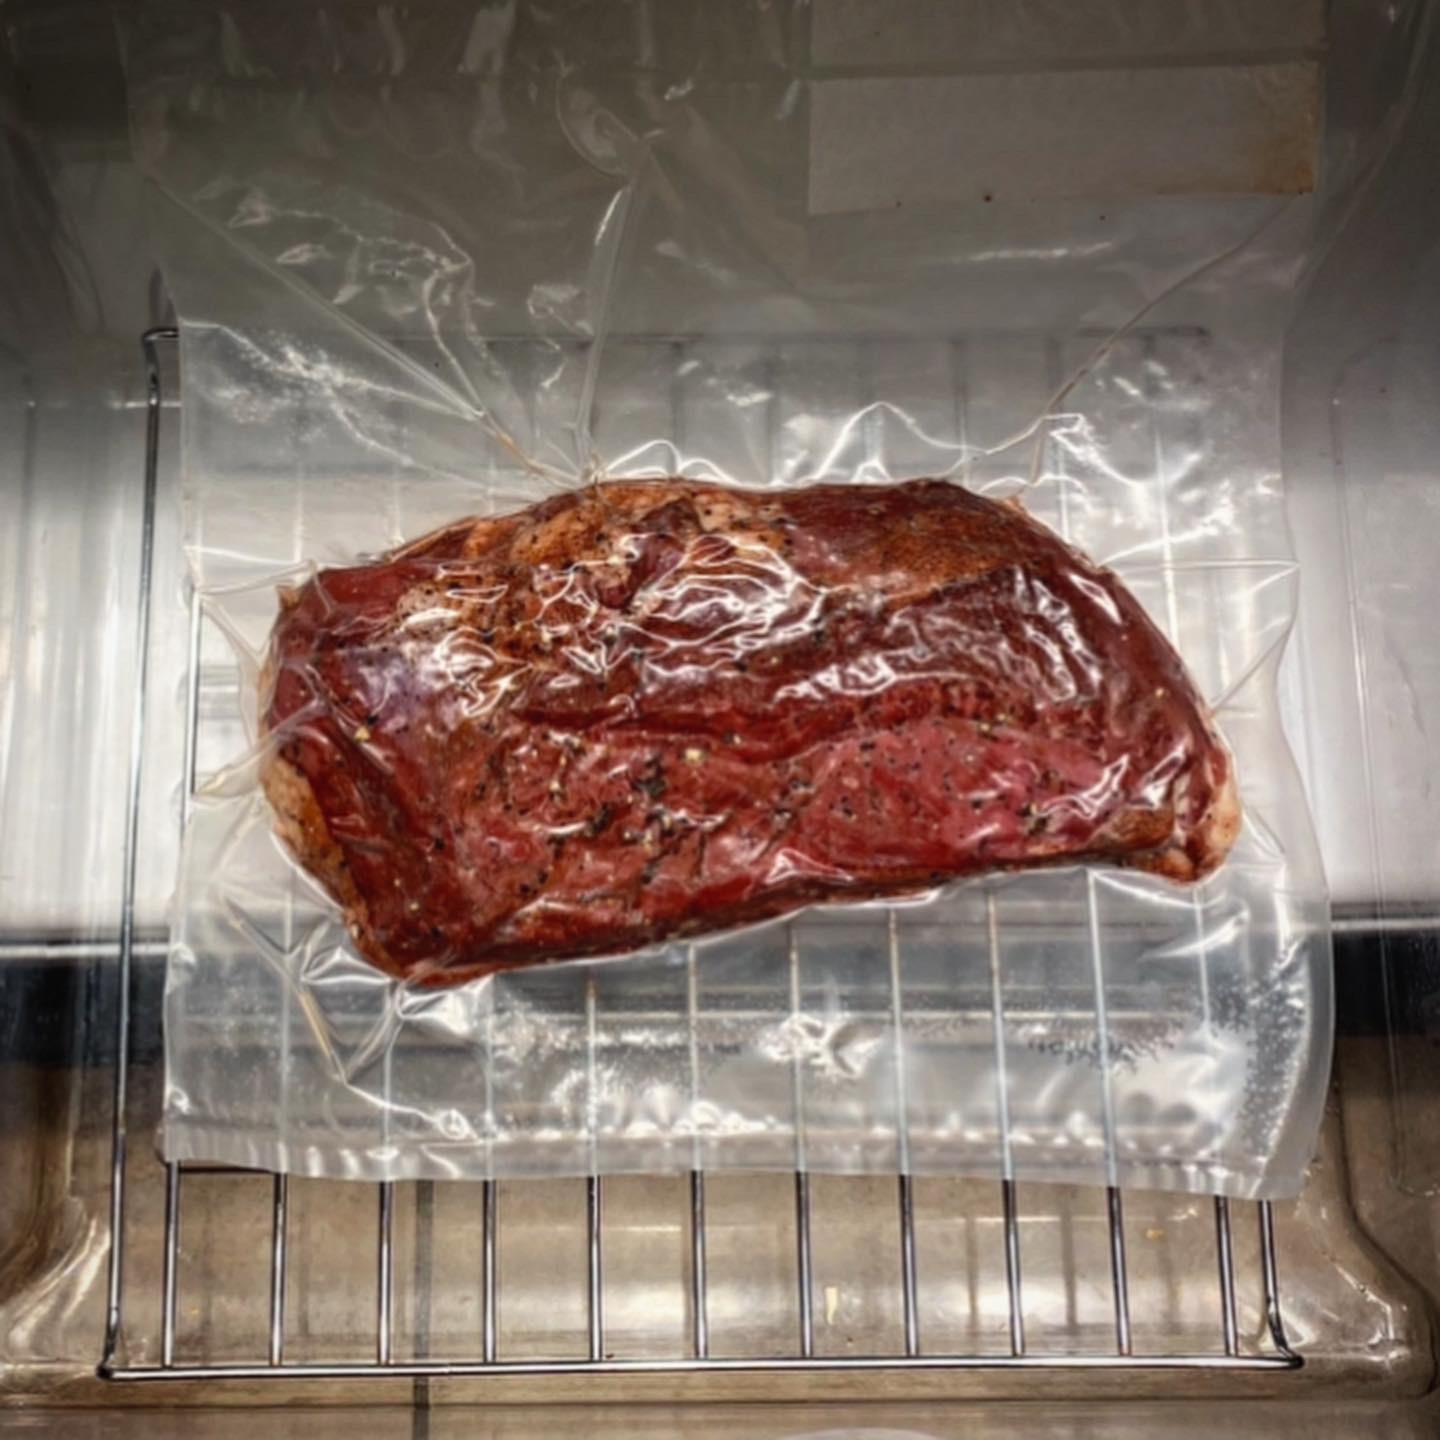
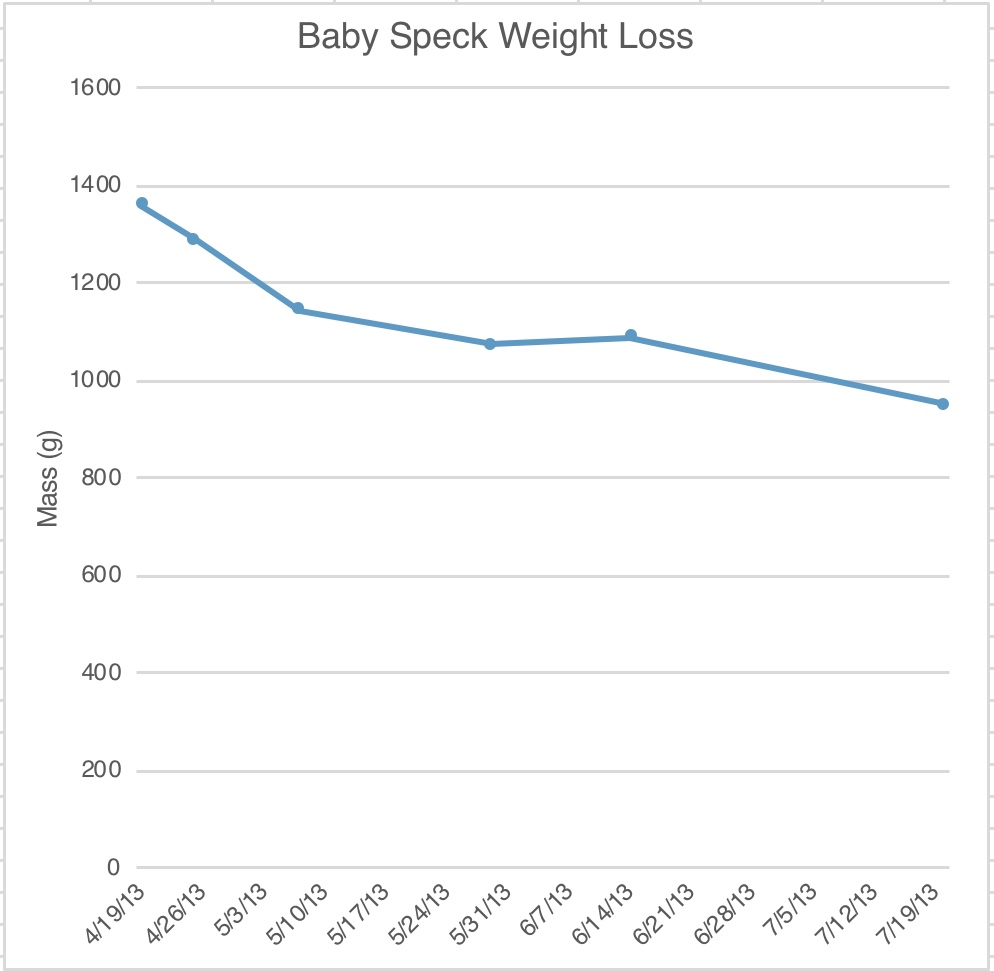
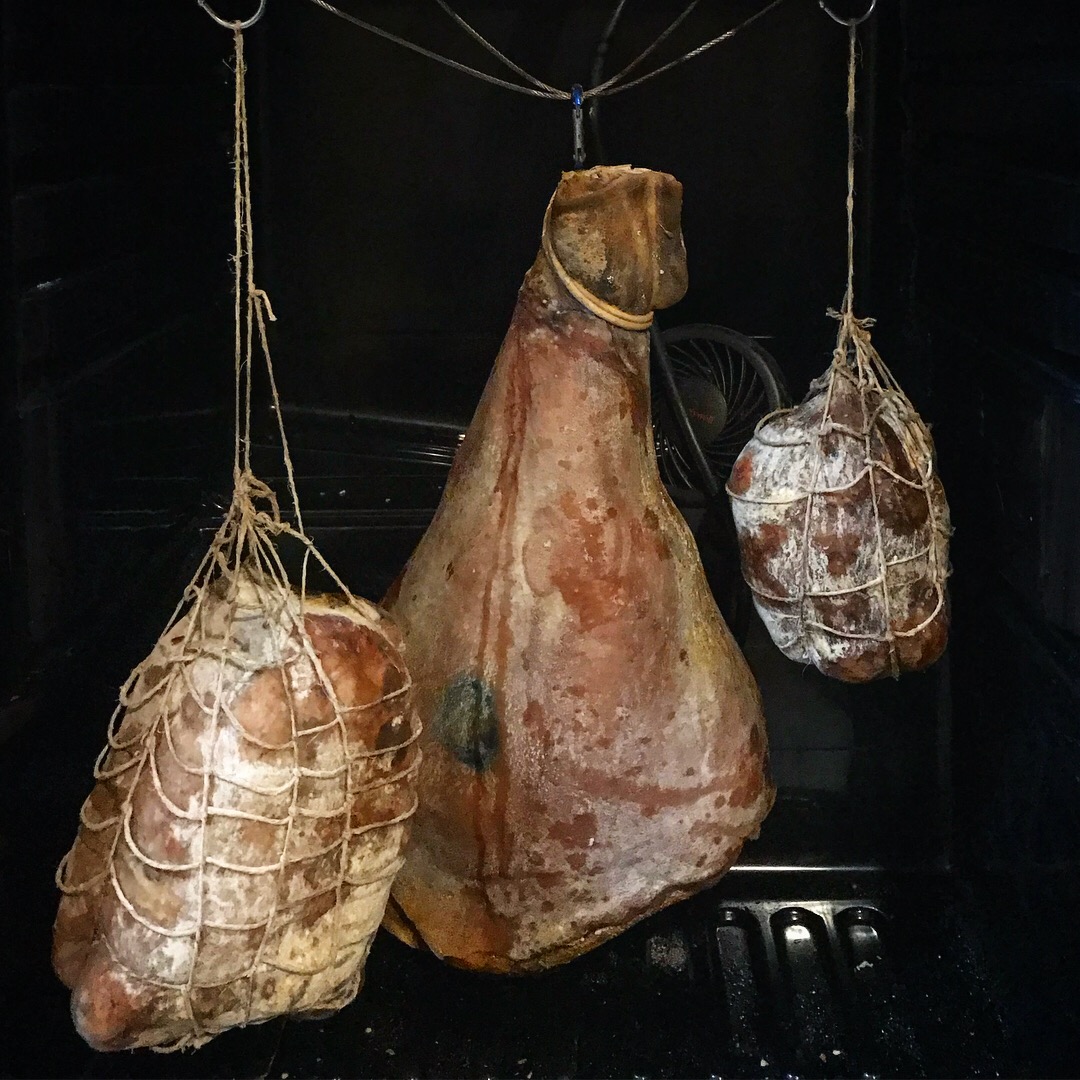
Once it has lost 30-45% of its original weight, according to your tastes, remove it from the fridge. This should take 1-2 months depending on your conditions.
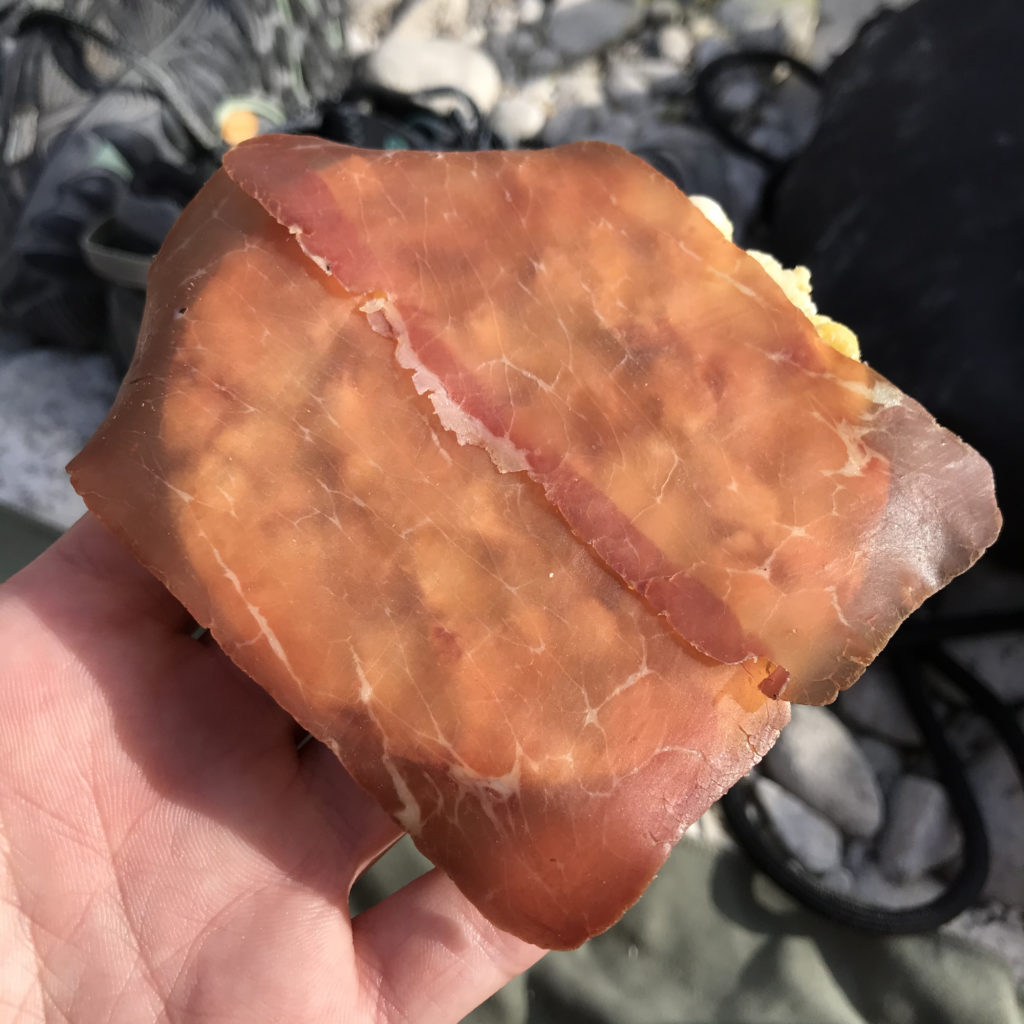
Tasting:
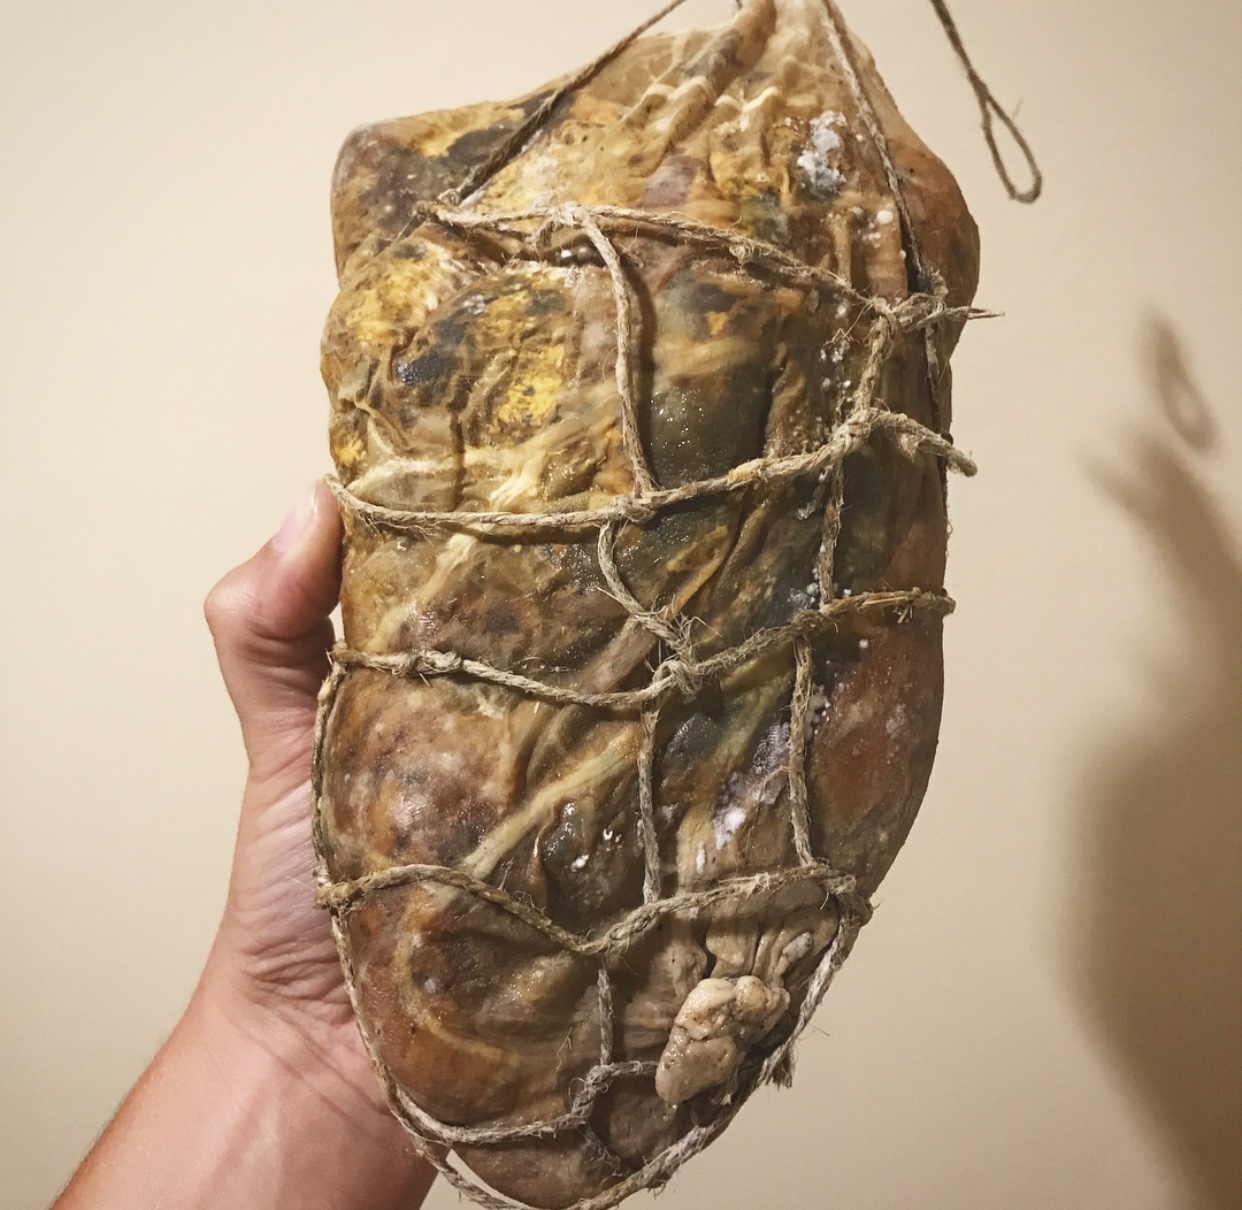
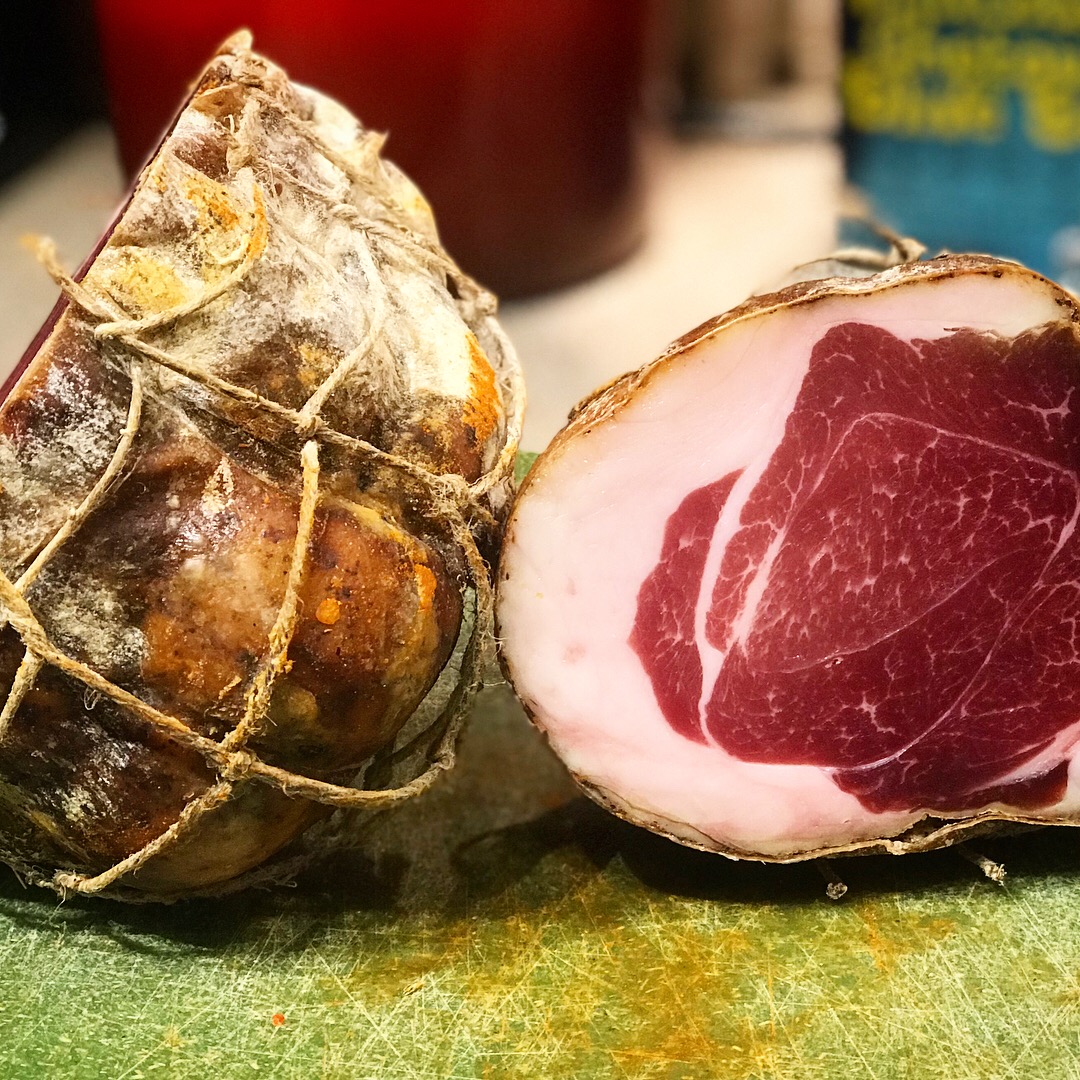
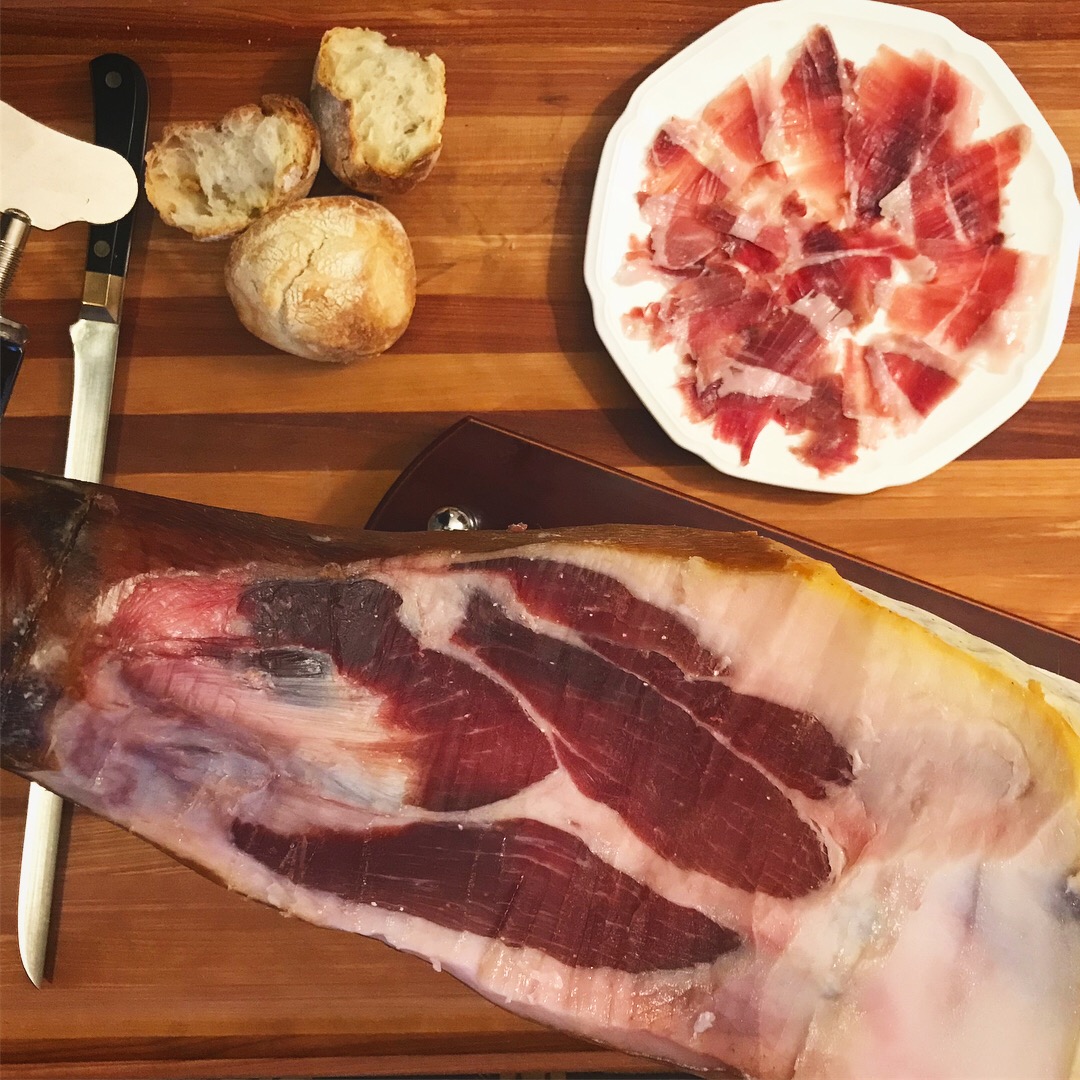
Finally! When the right amount of time has passed, remove the duck breast from the fridge.
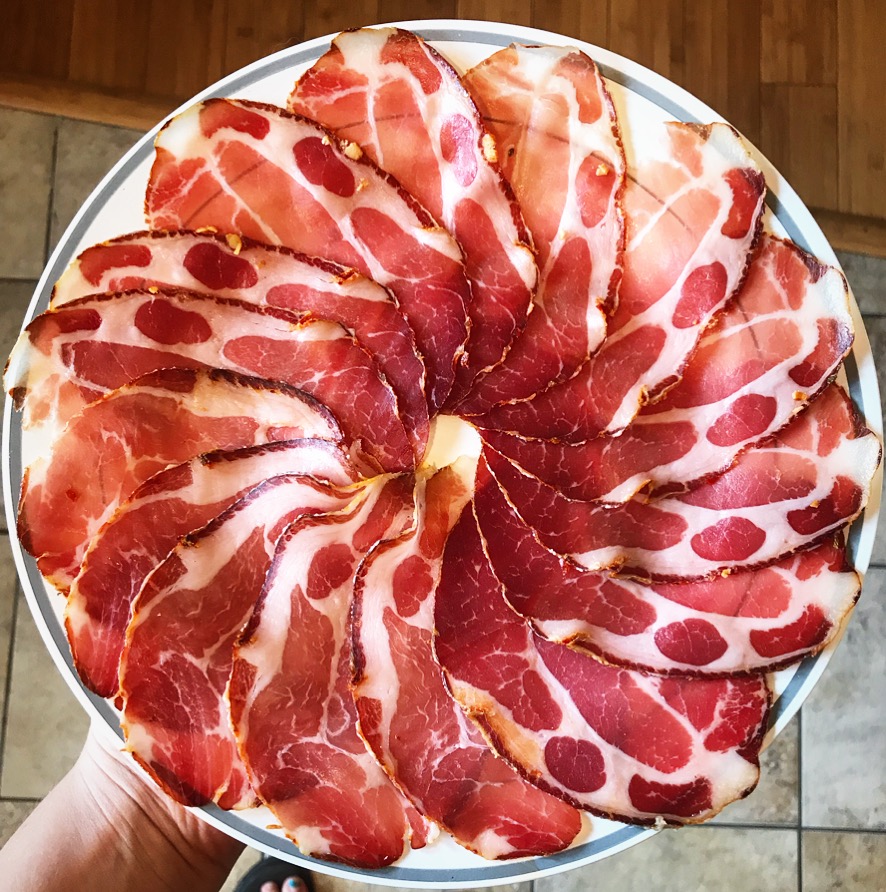
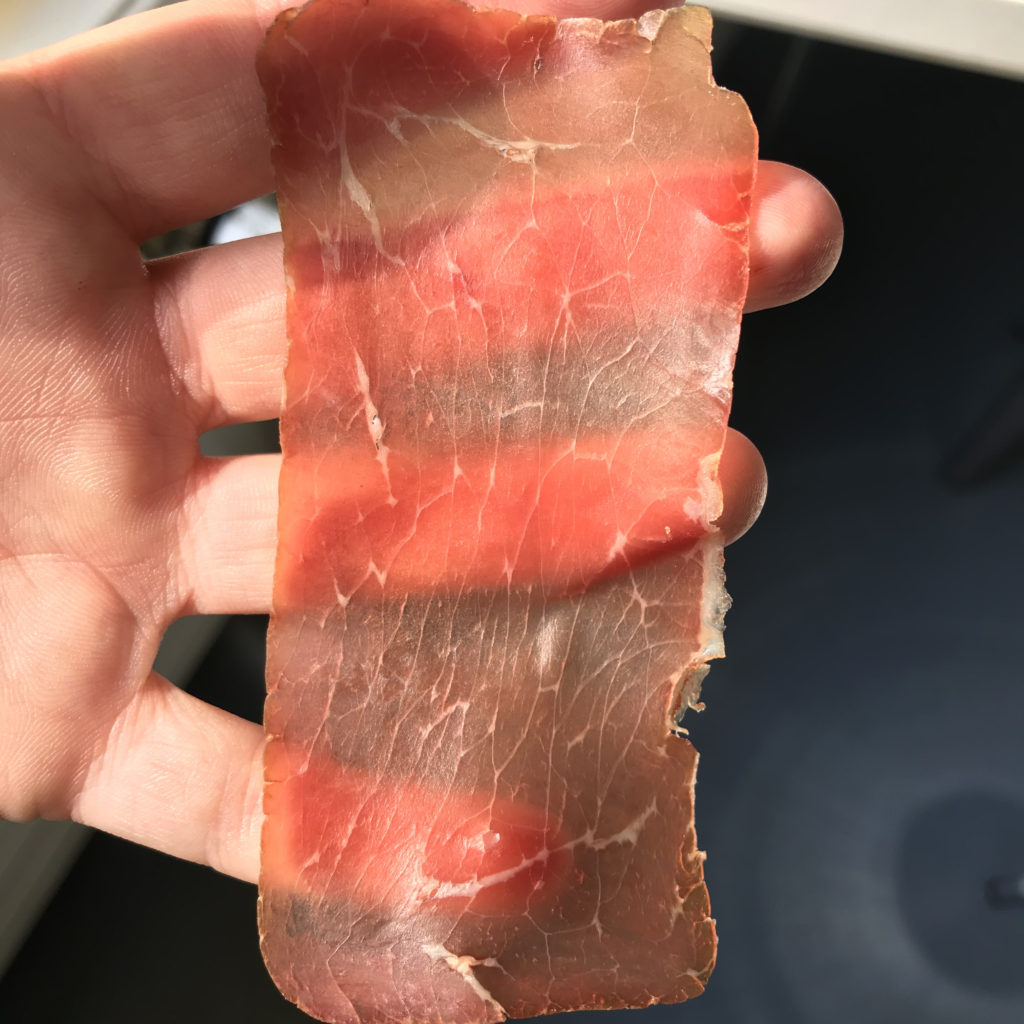
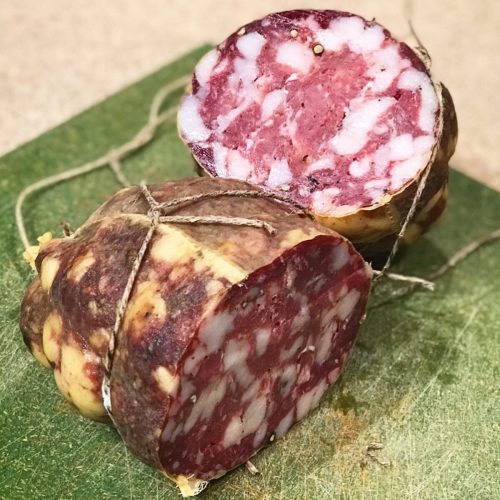
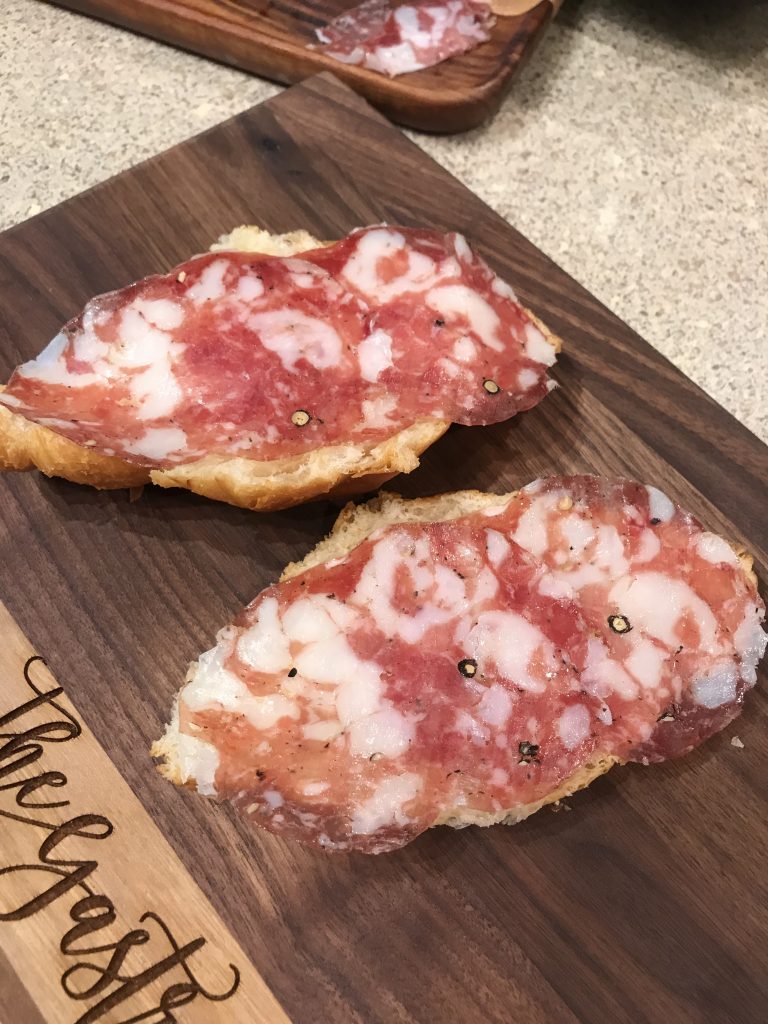
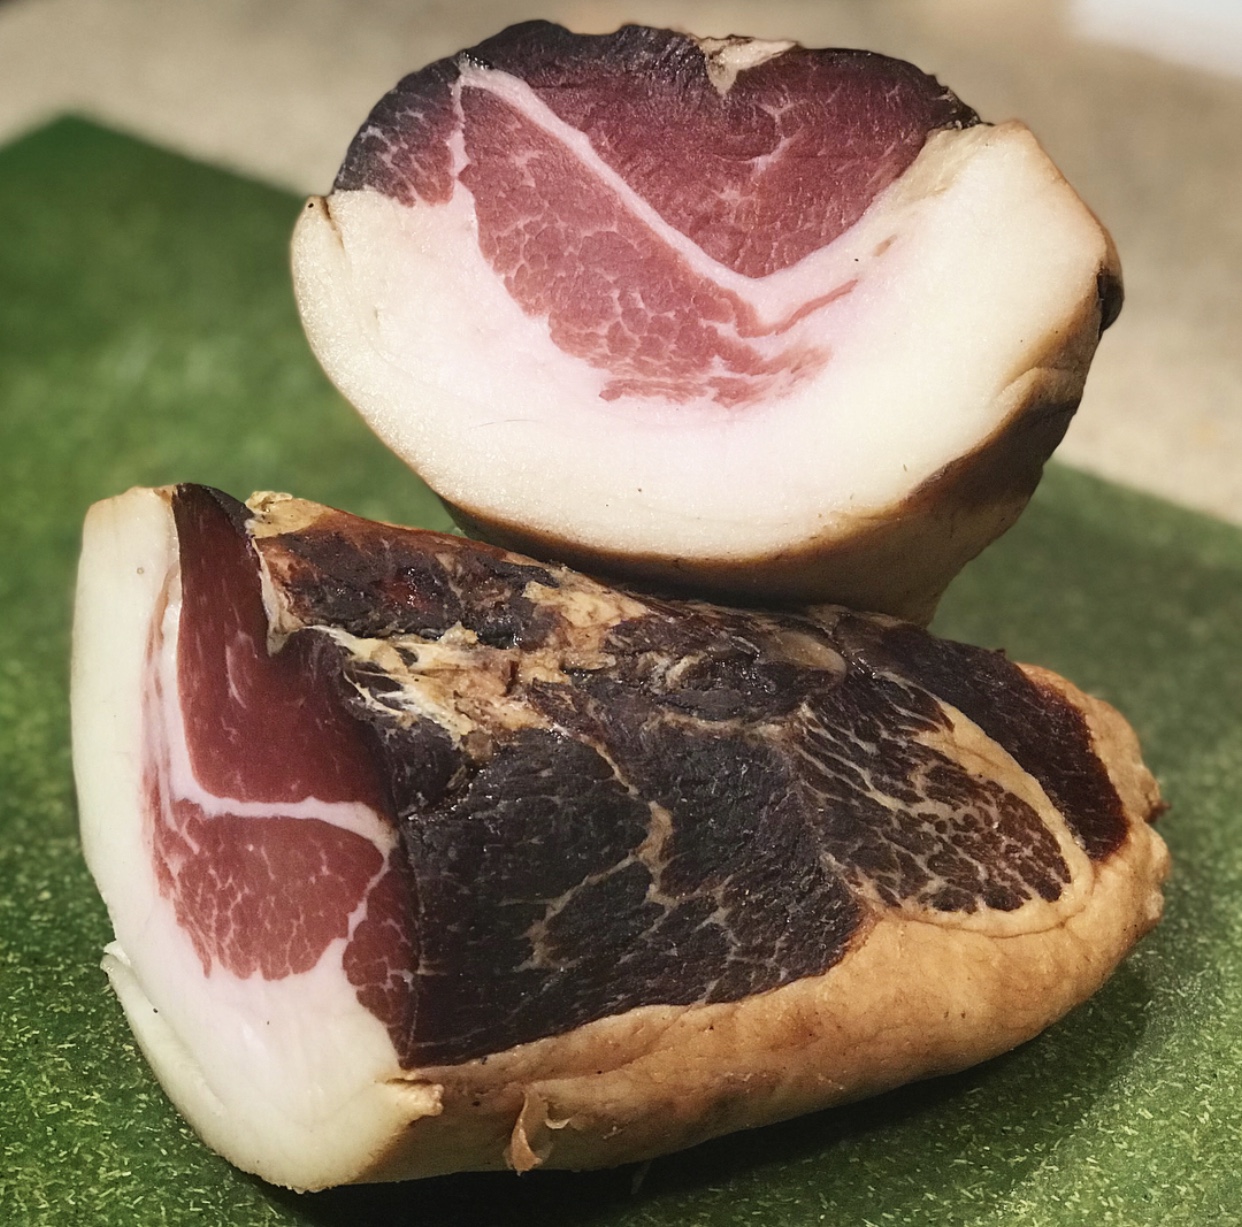
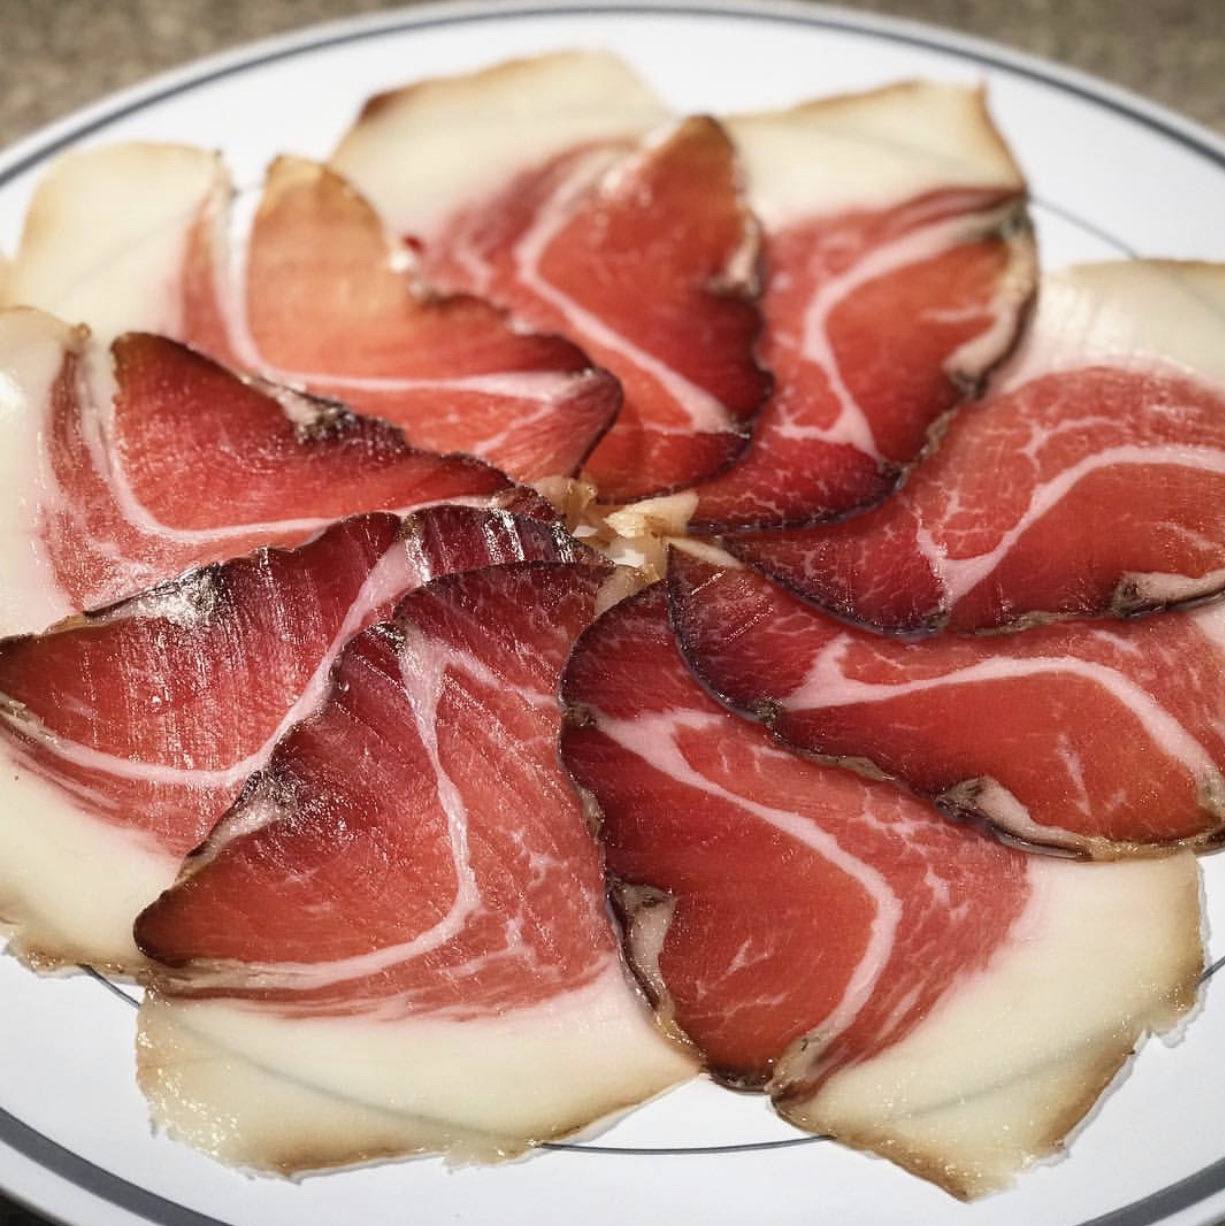
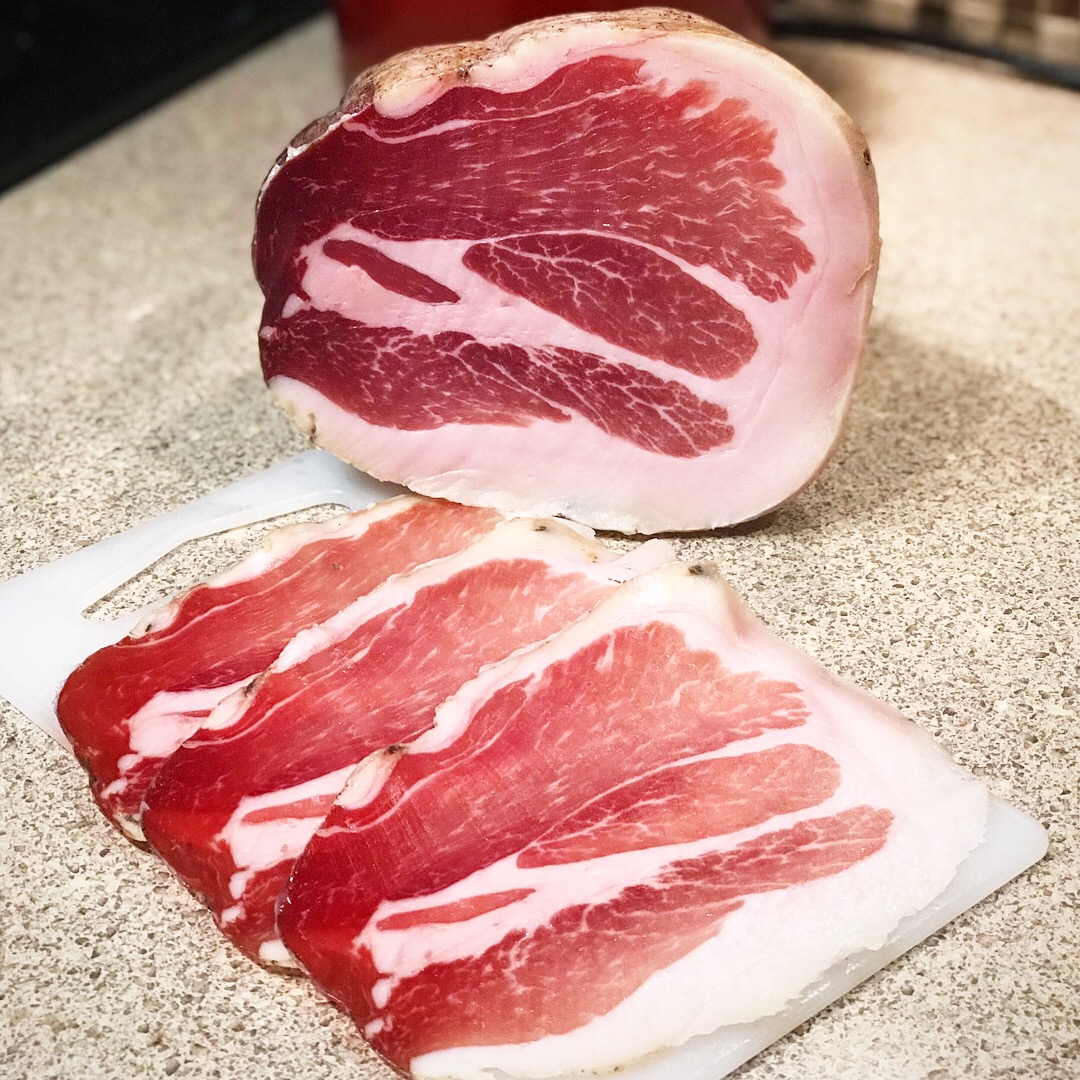
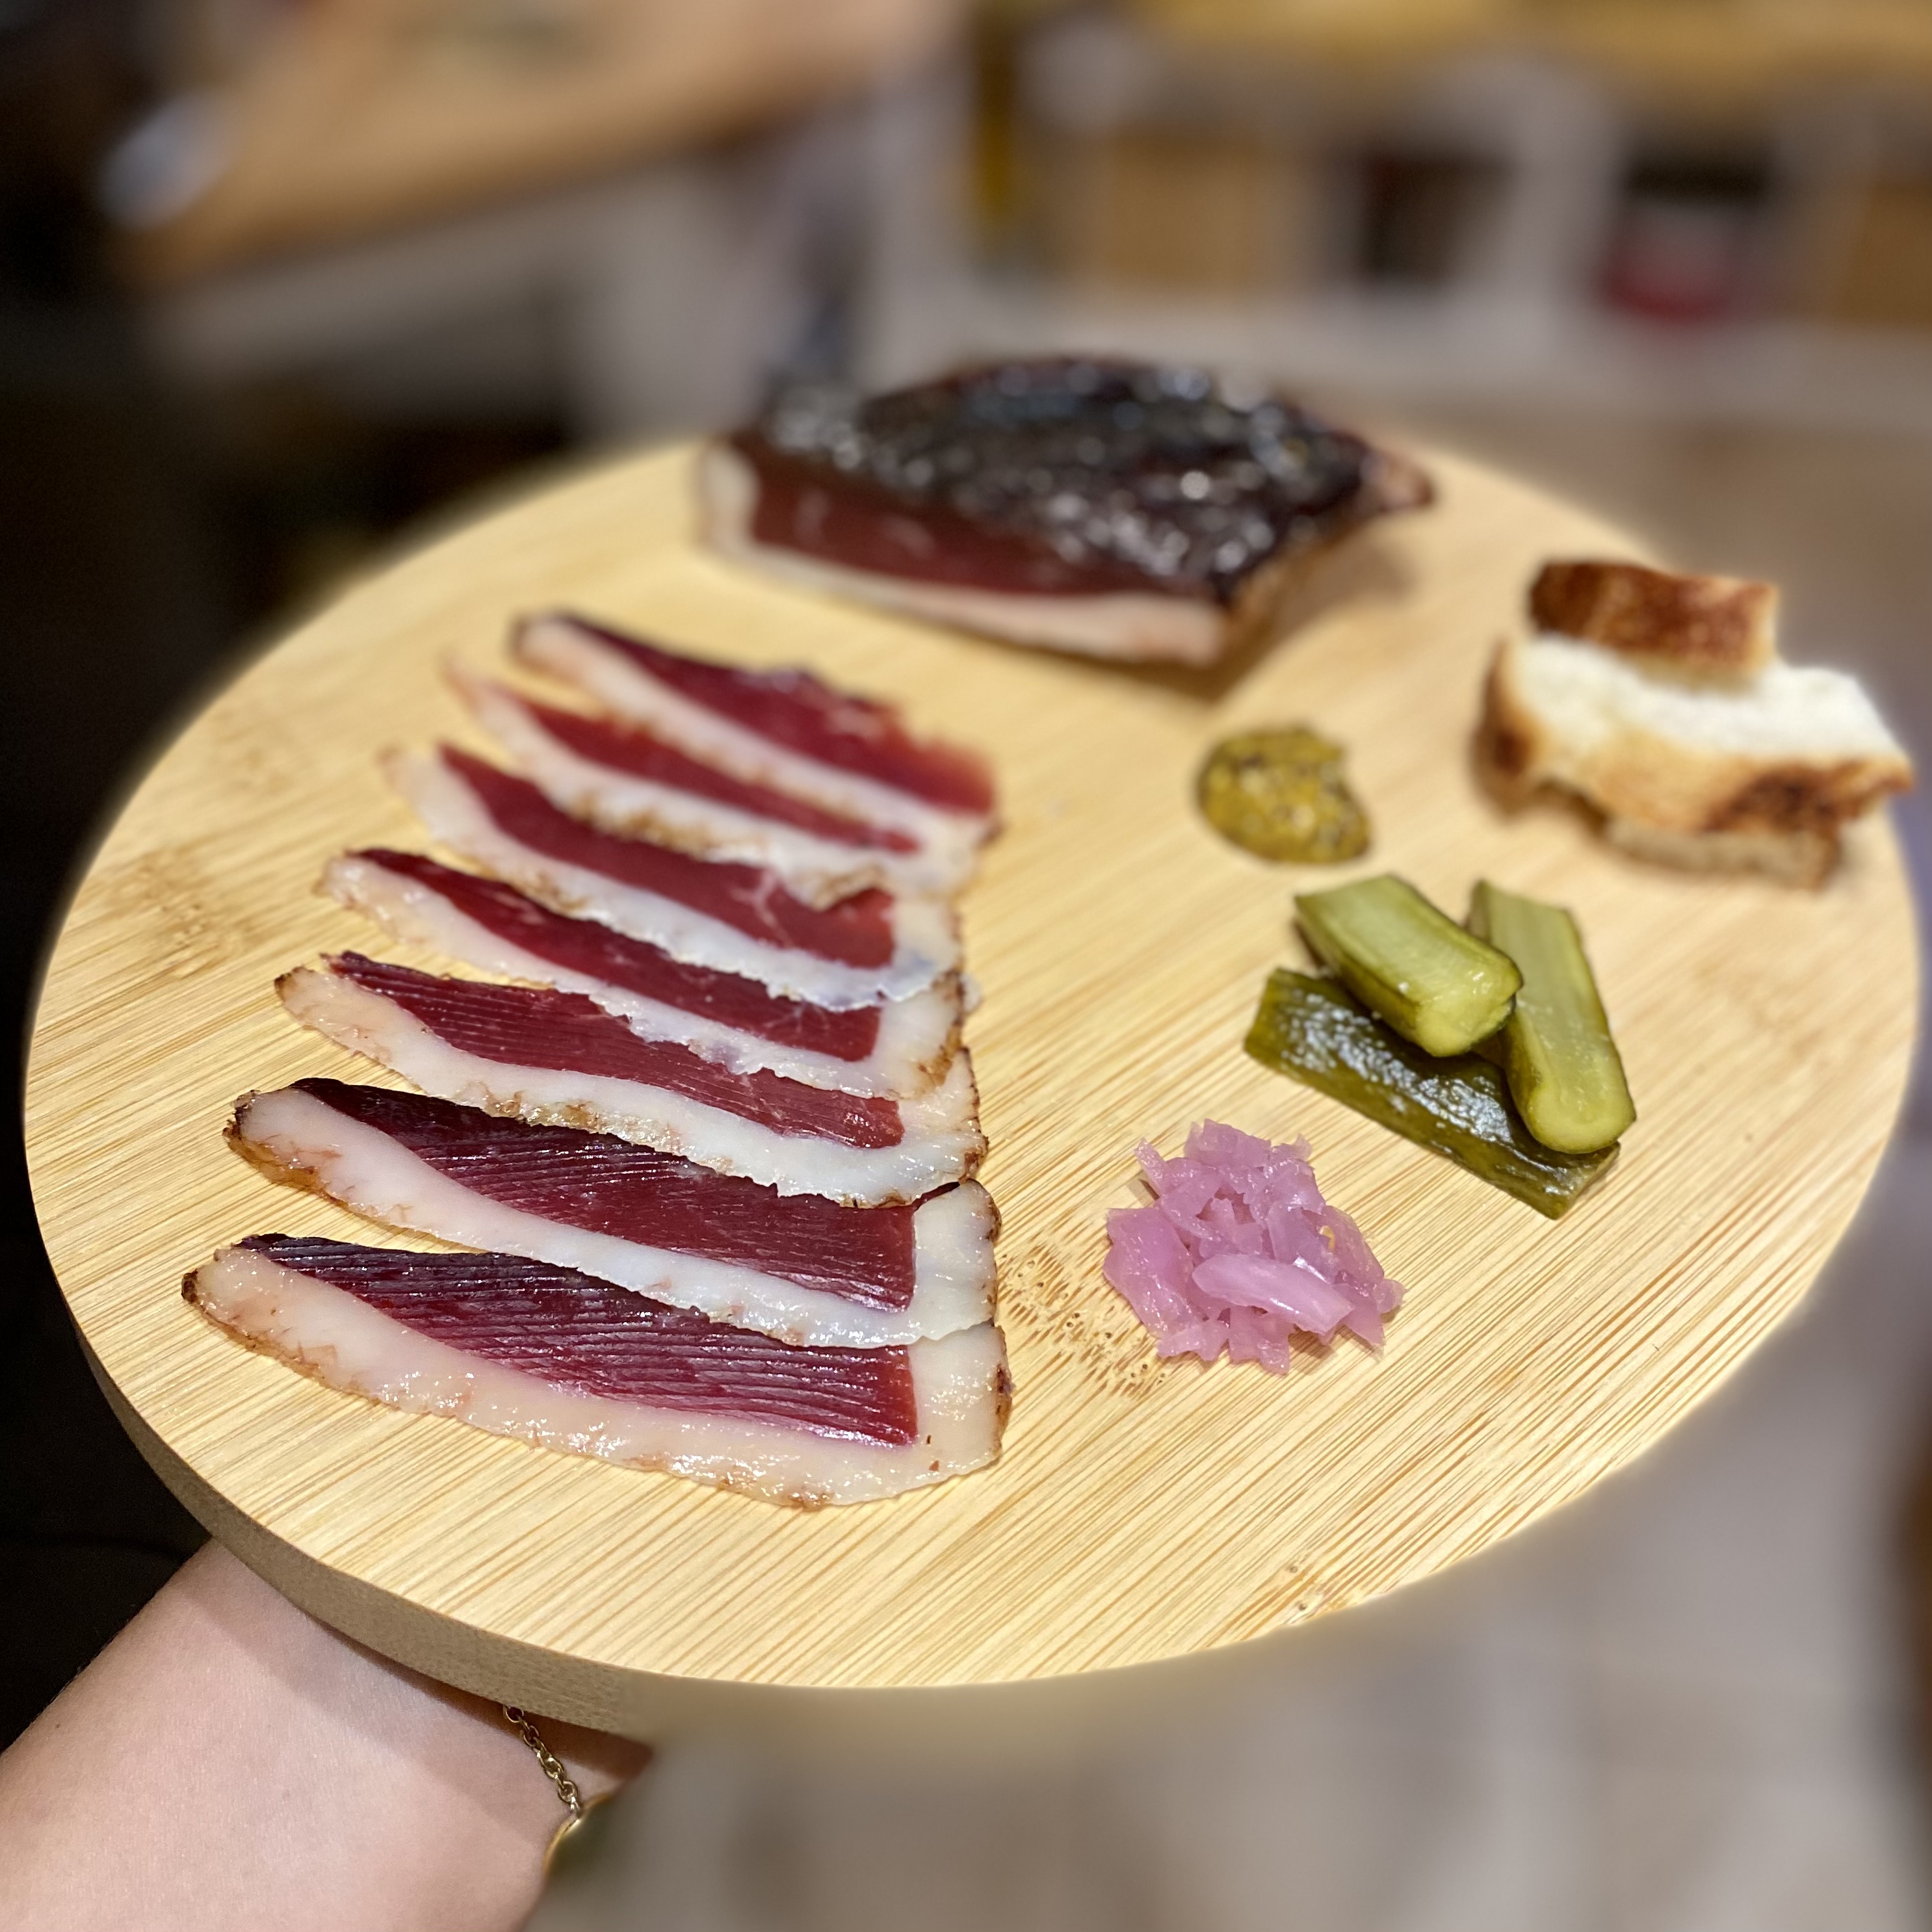
I like to do a red wine rinse at the end for any mold that may have accumulated, which can happen even in the regular fridge, but is less common than in the curing chamber where you usually have inoculated it with mold. After the red wine rinse, pat dry, slice, and enjoy!

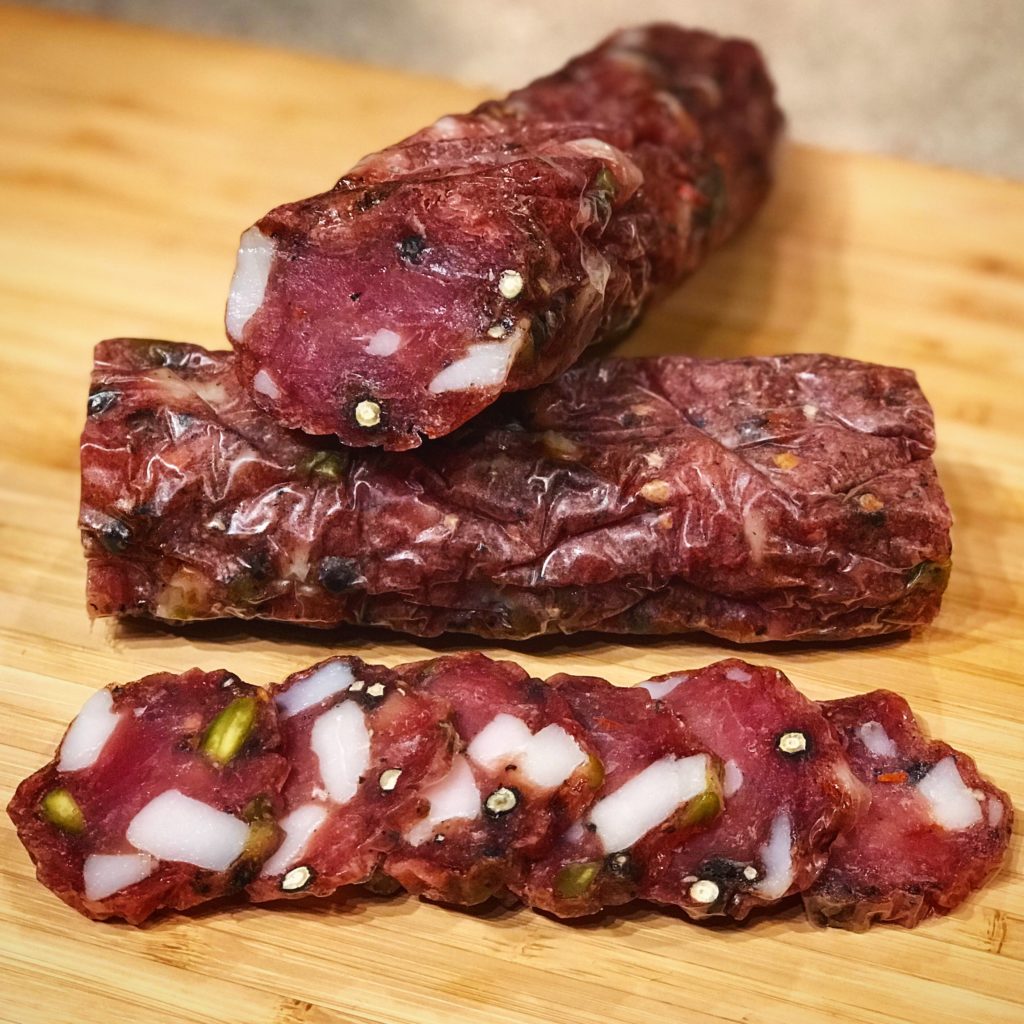
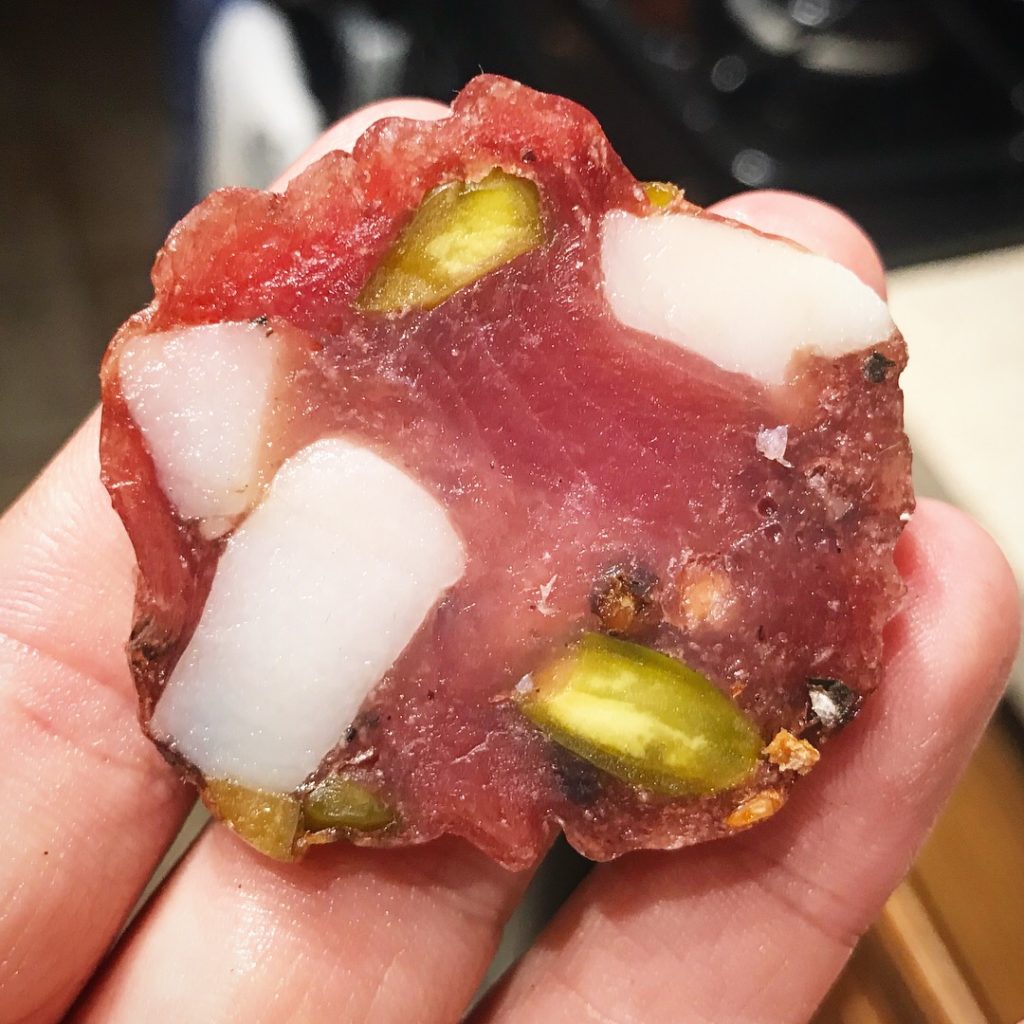
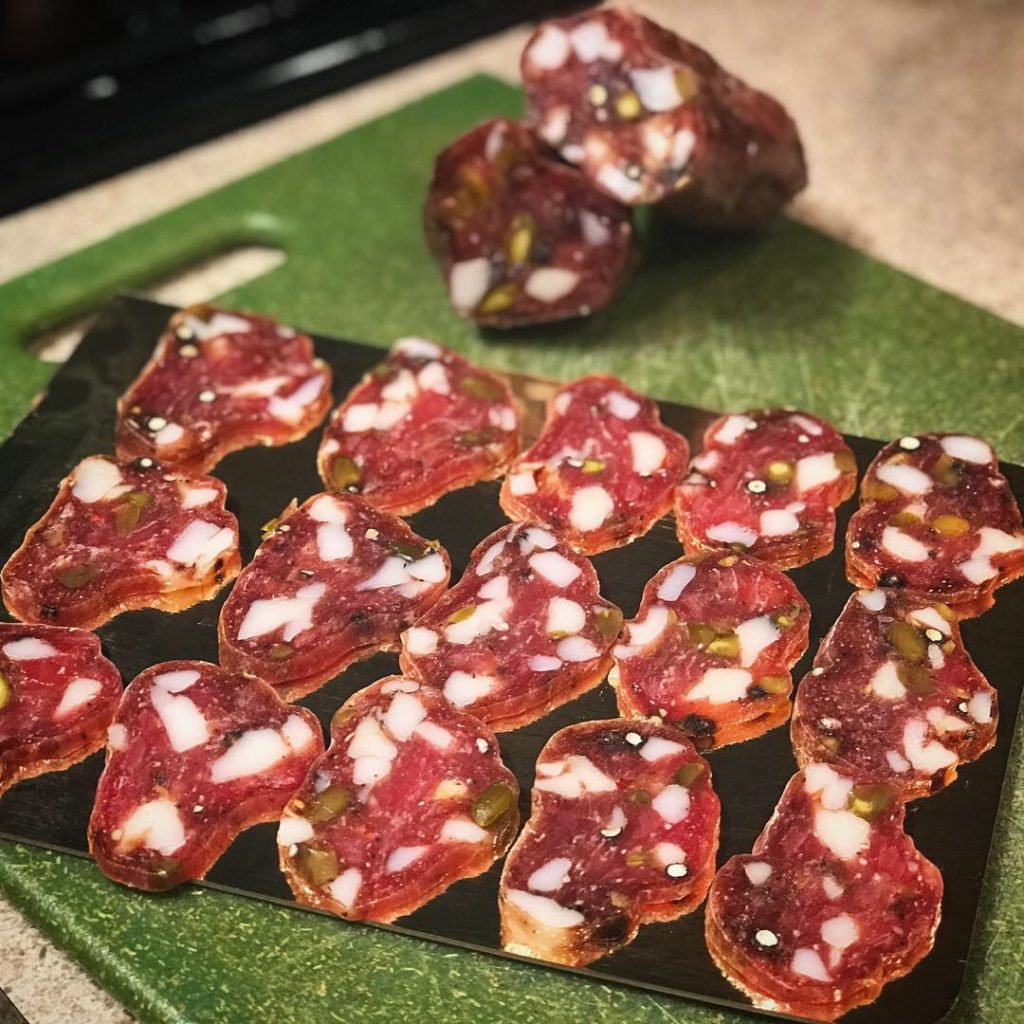
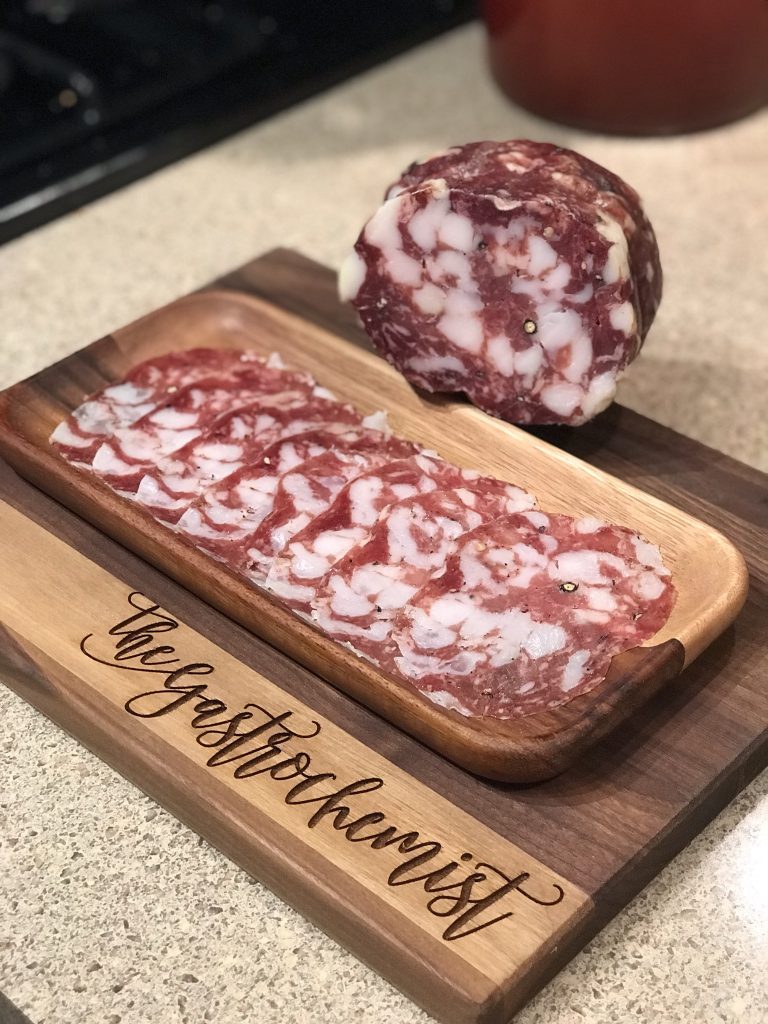
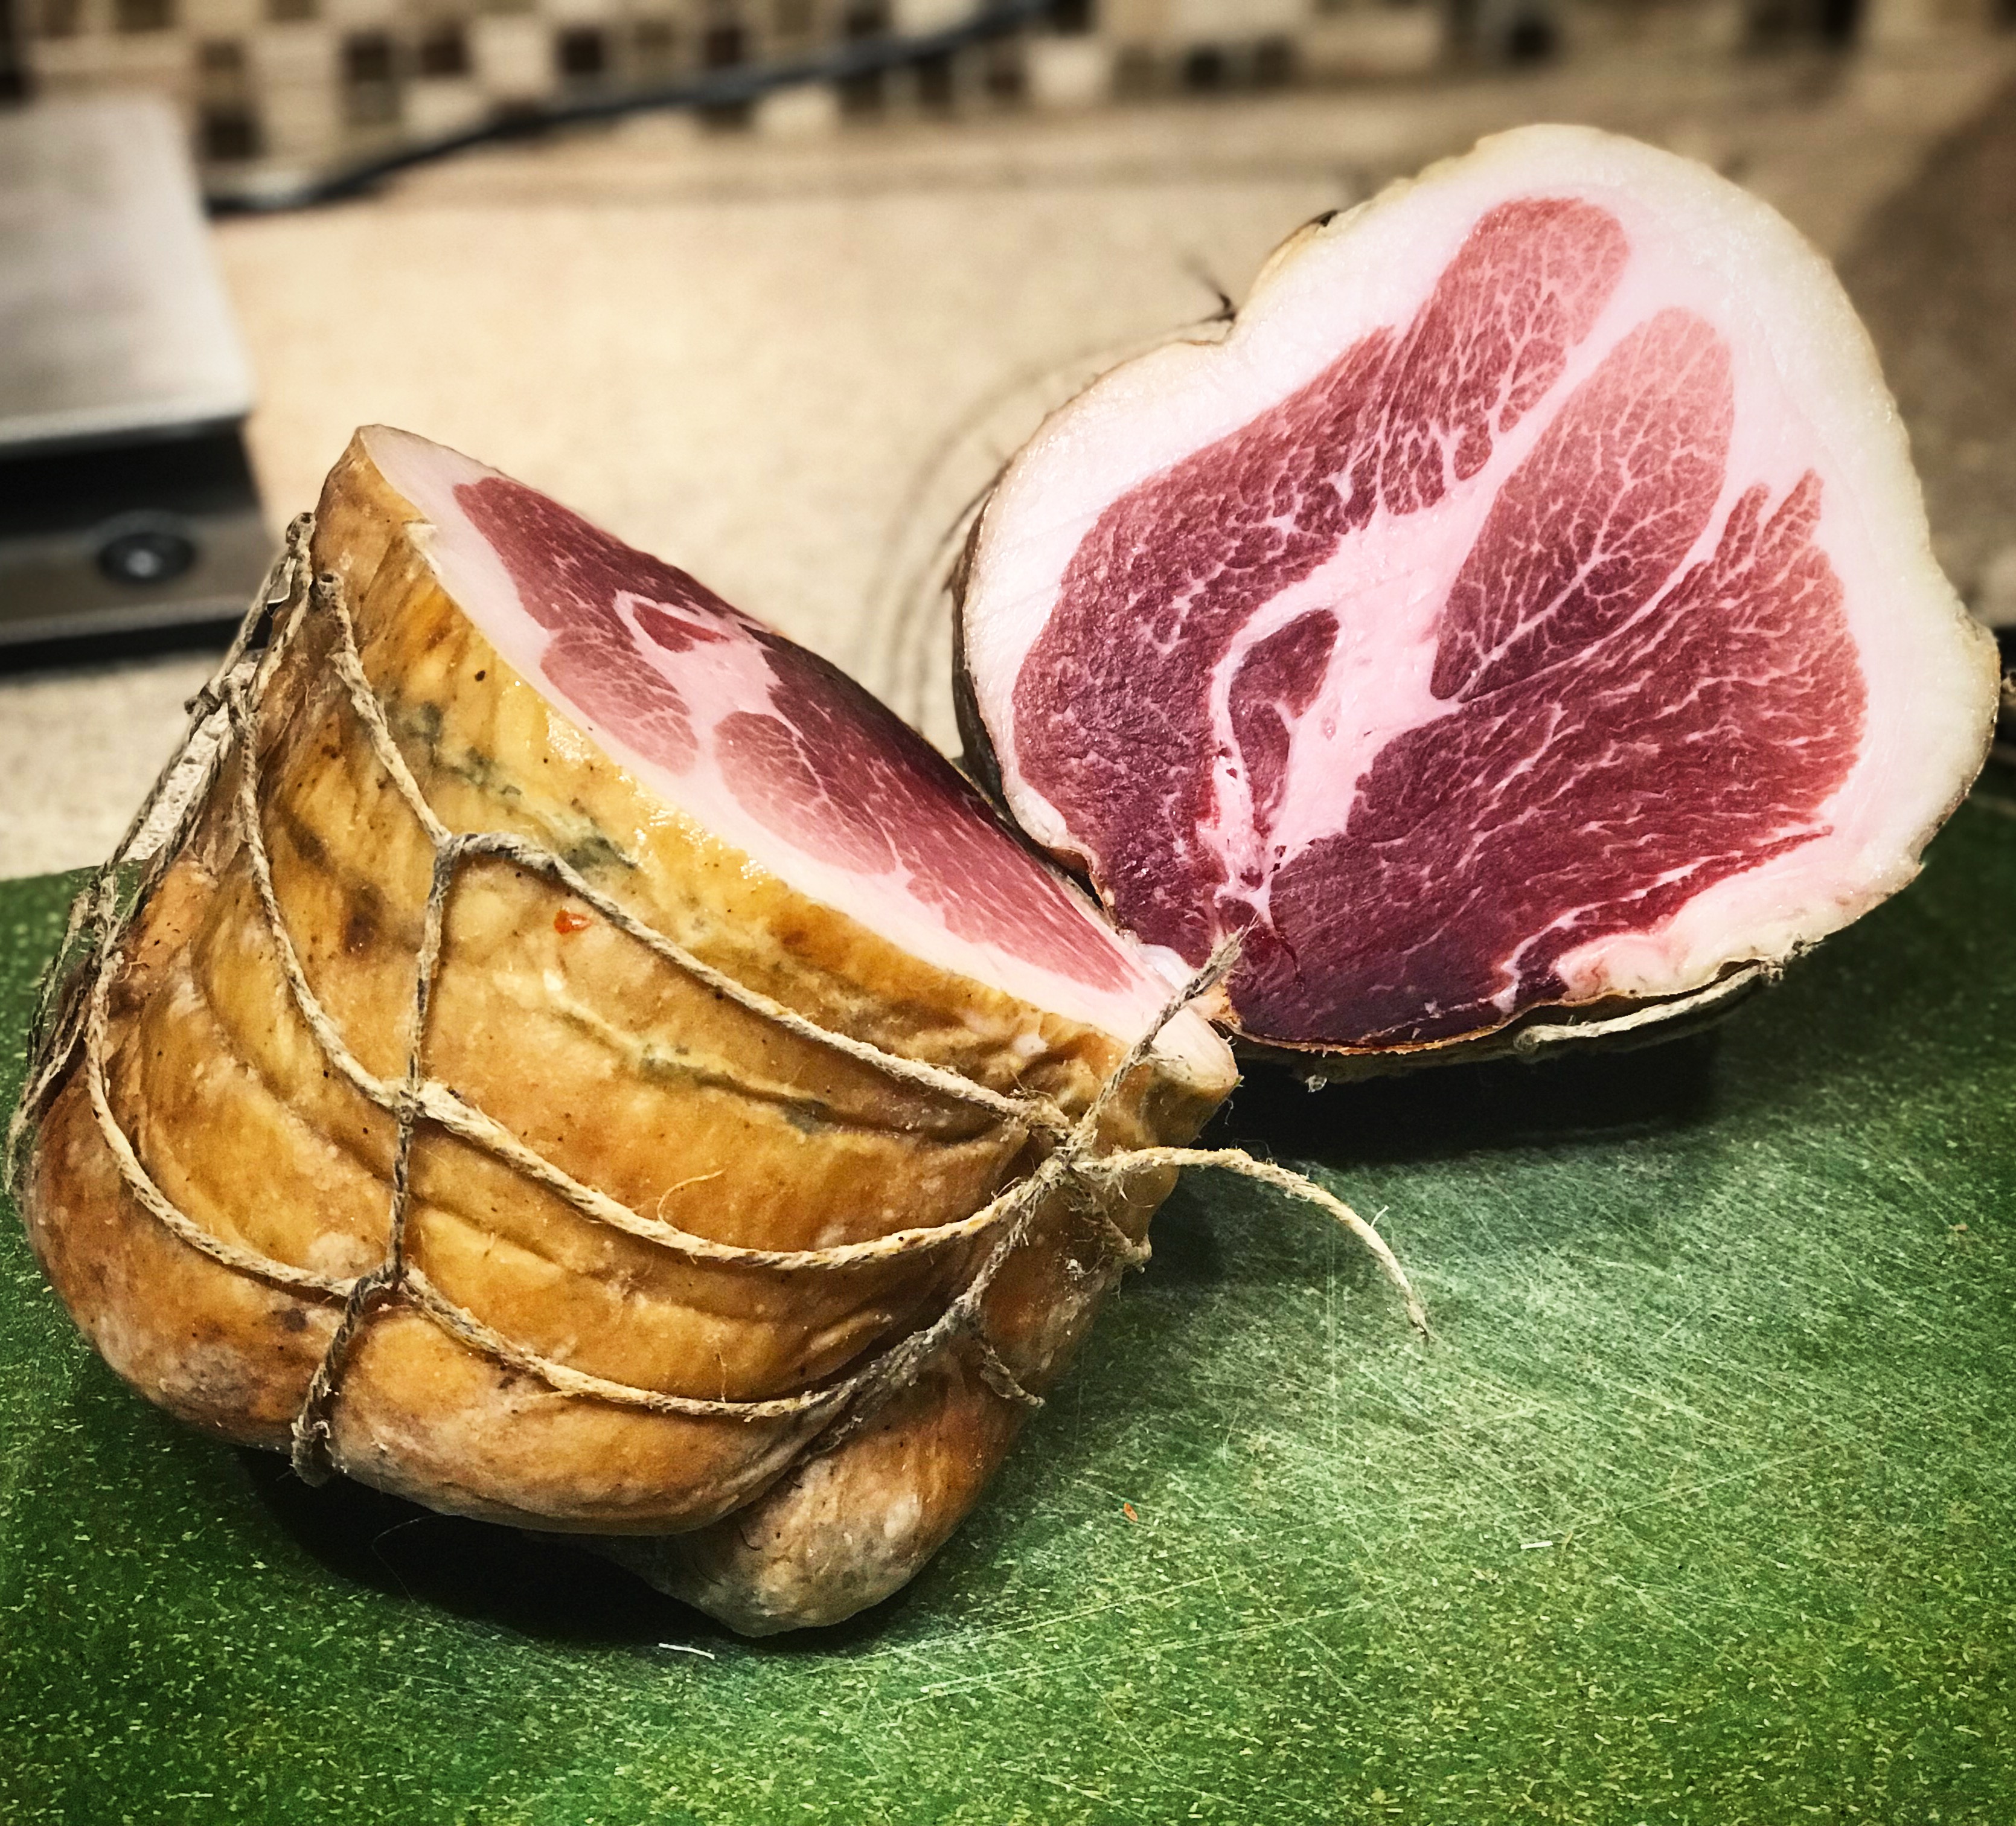
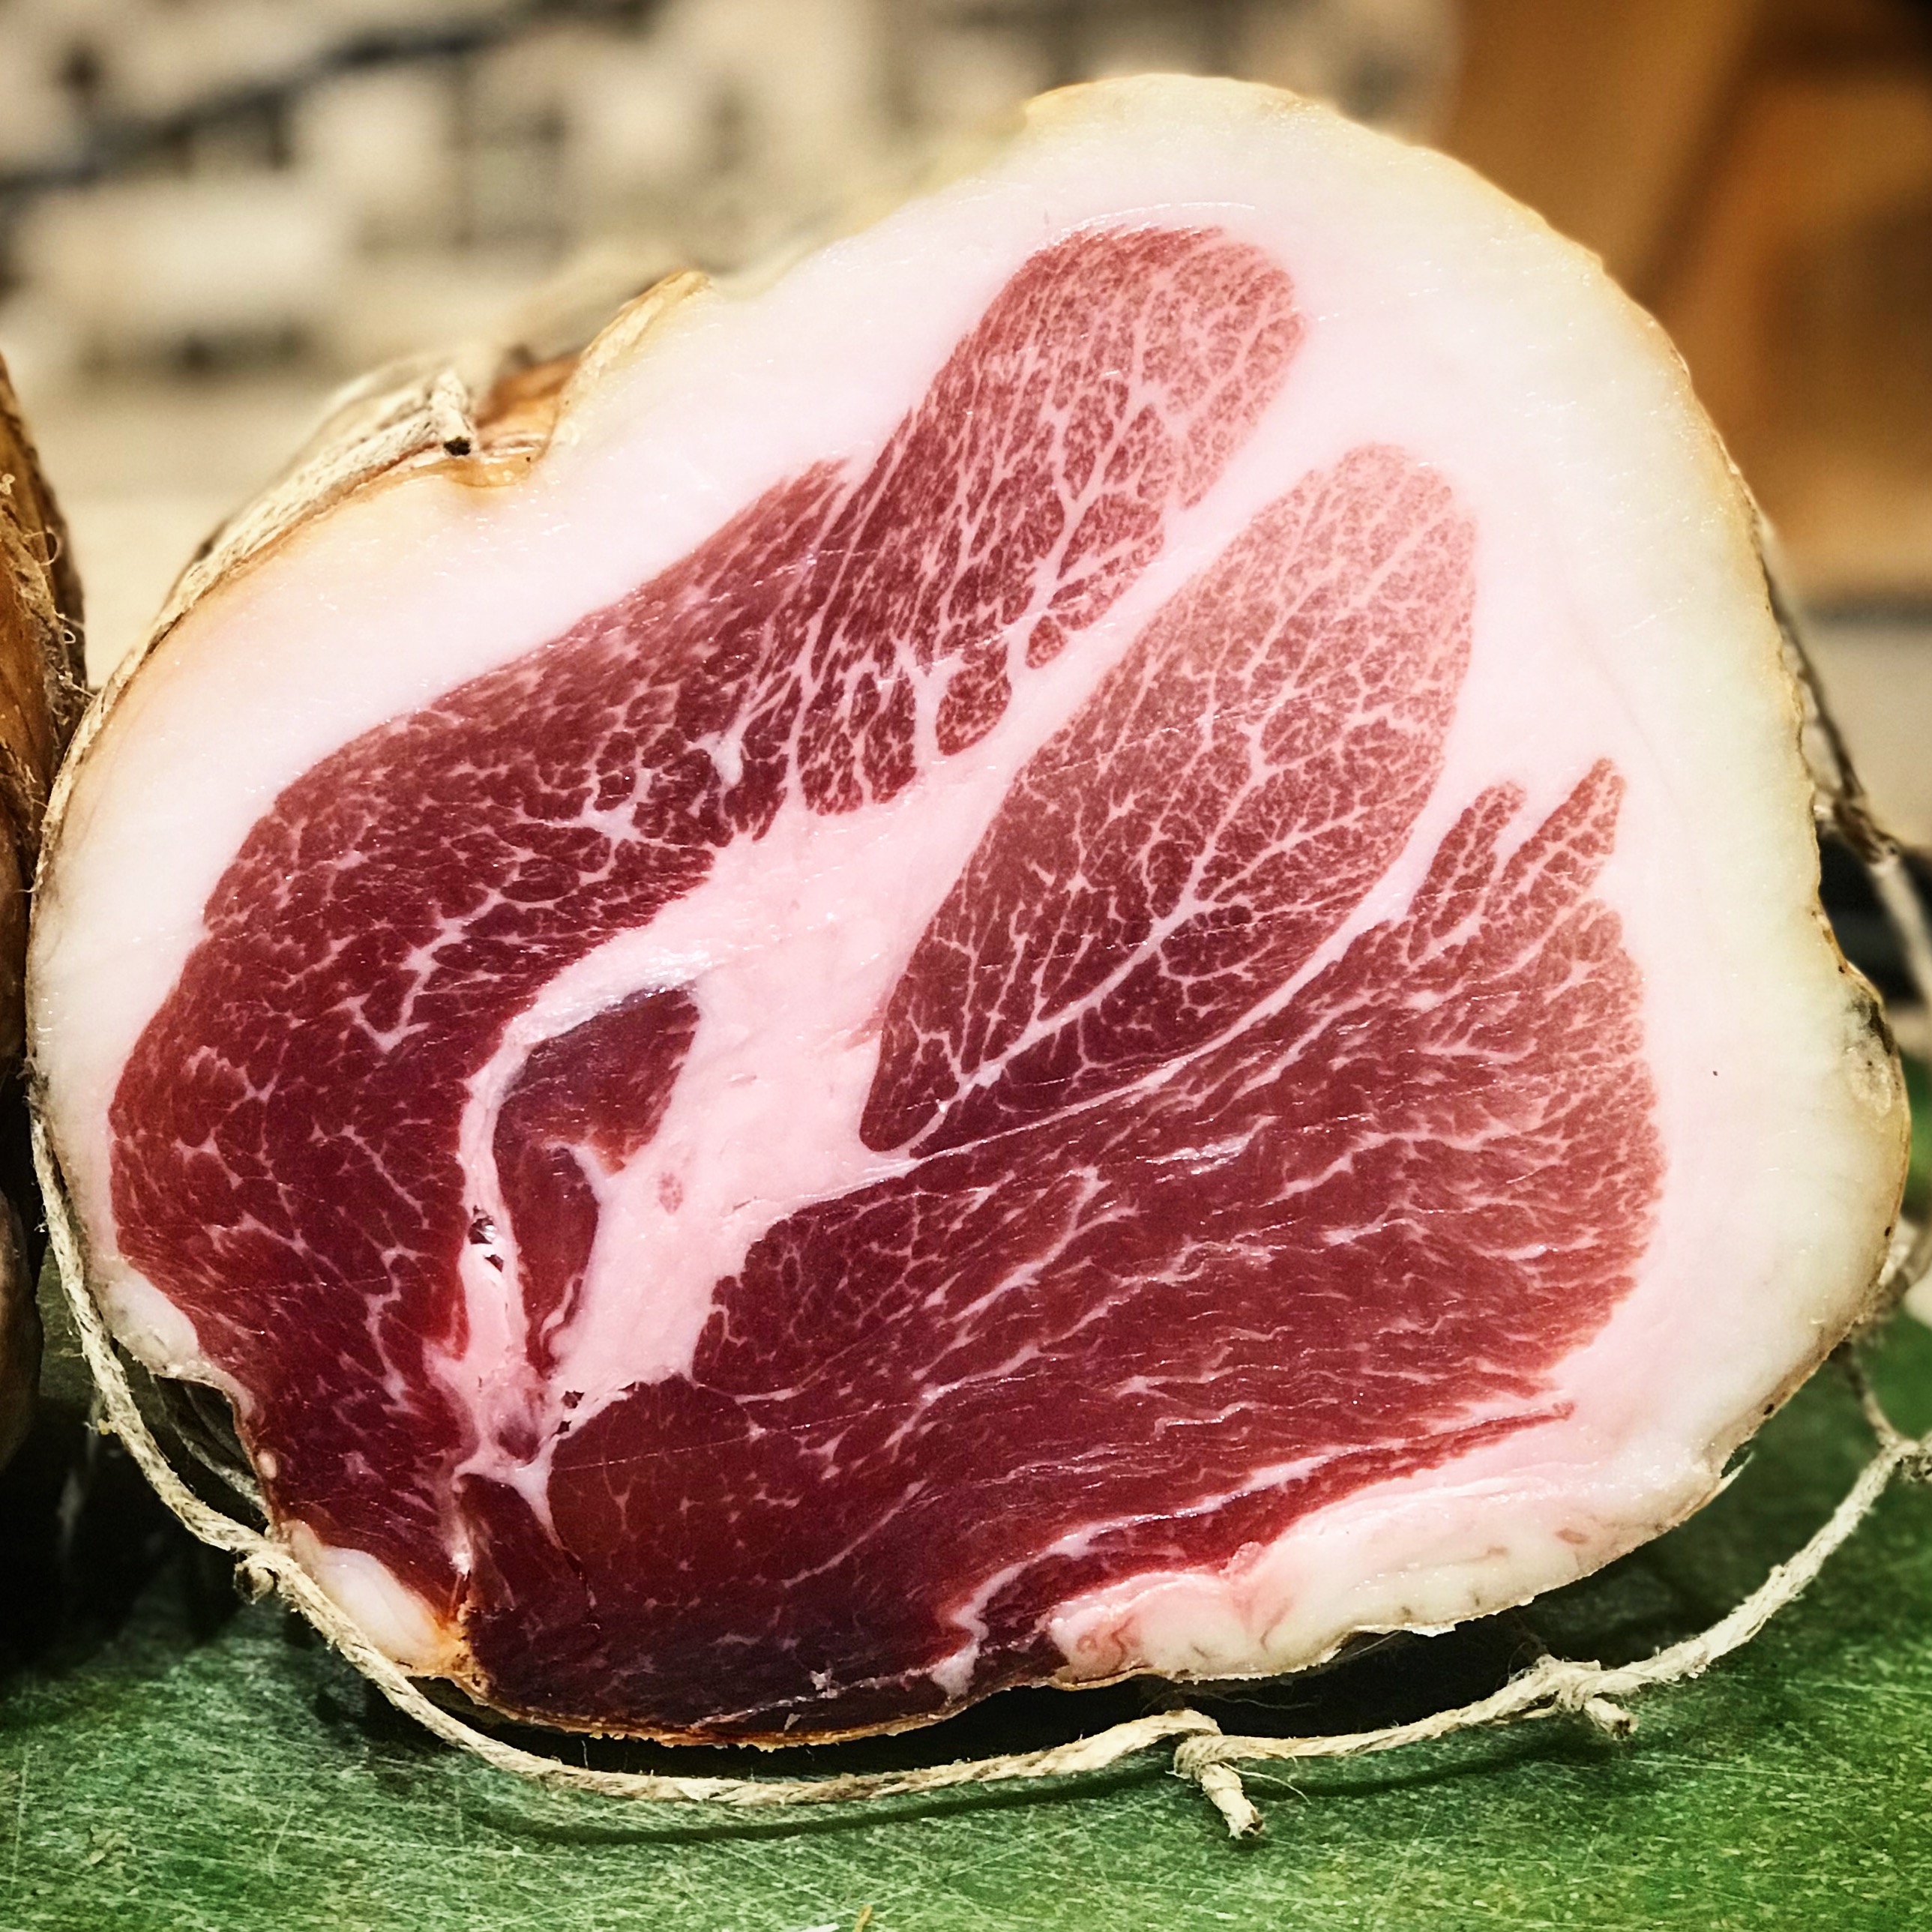
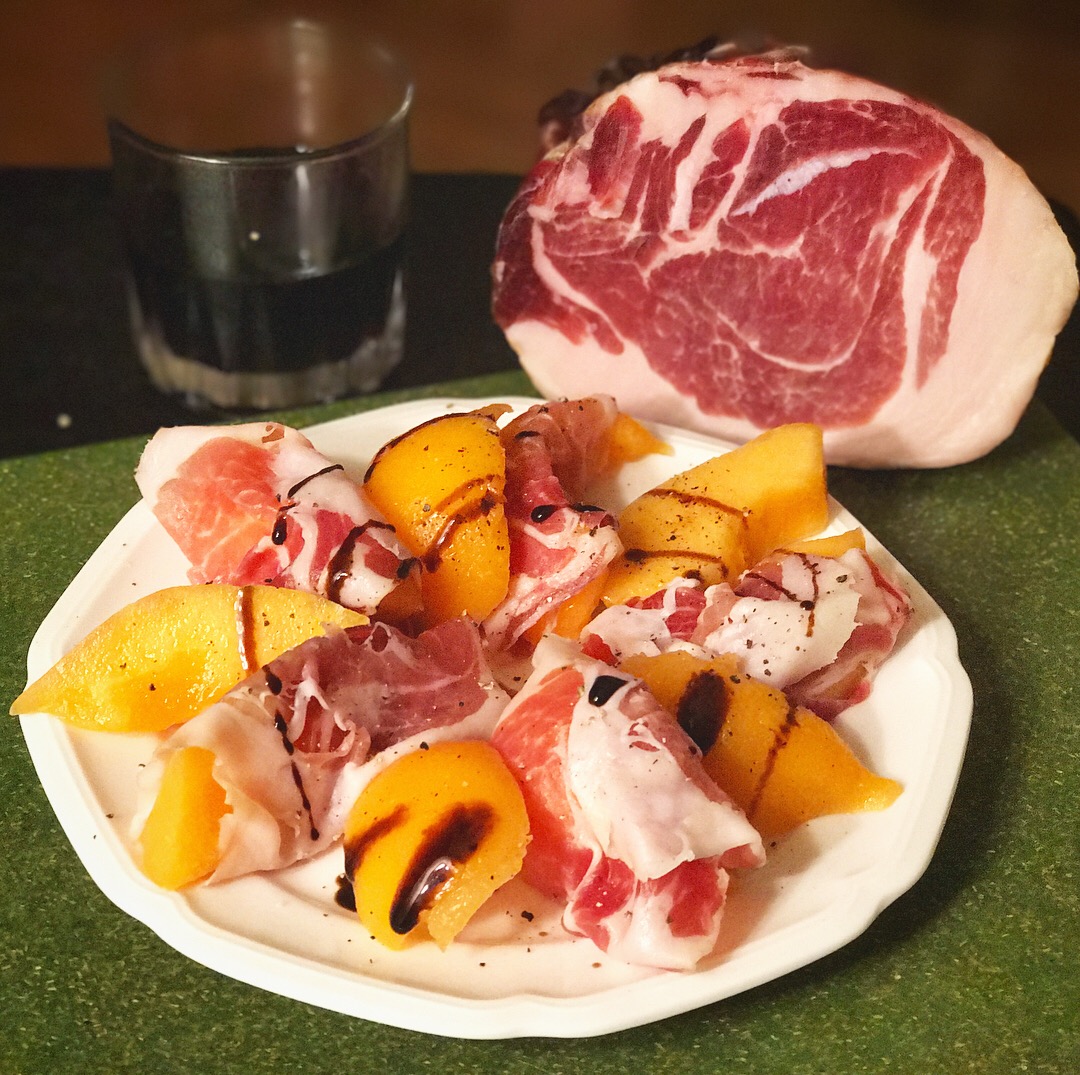
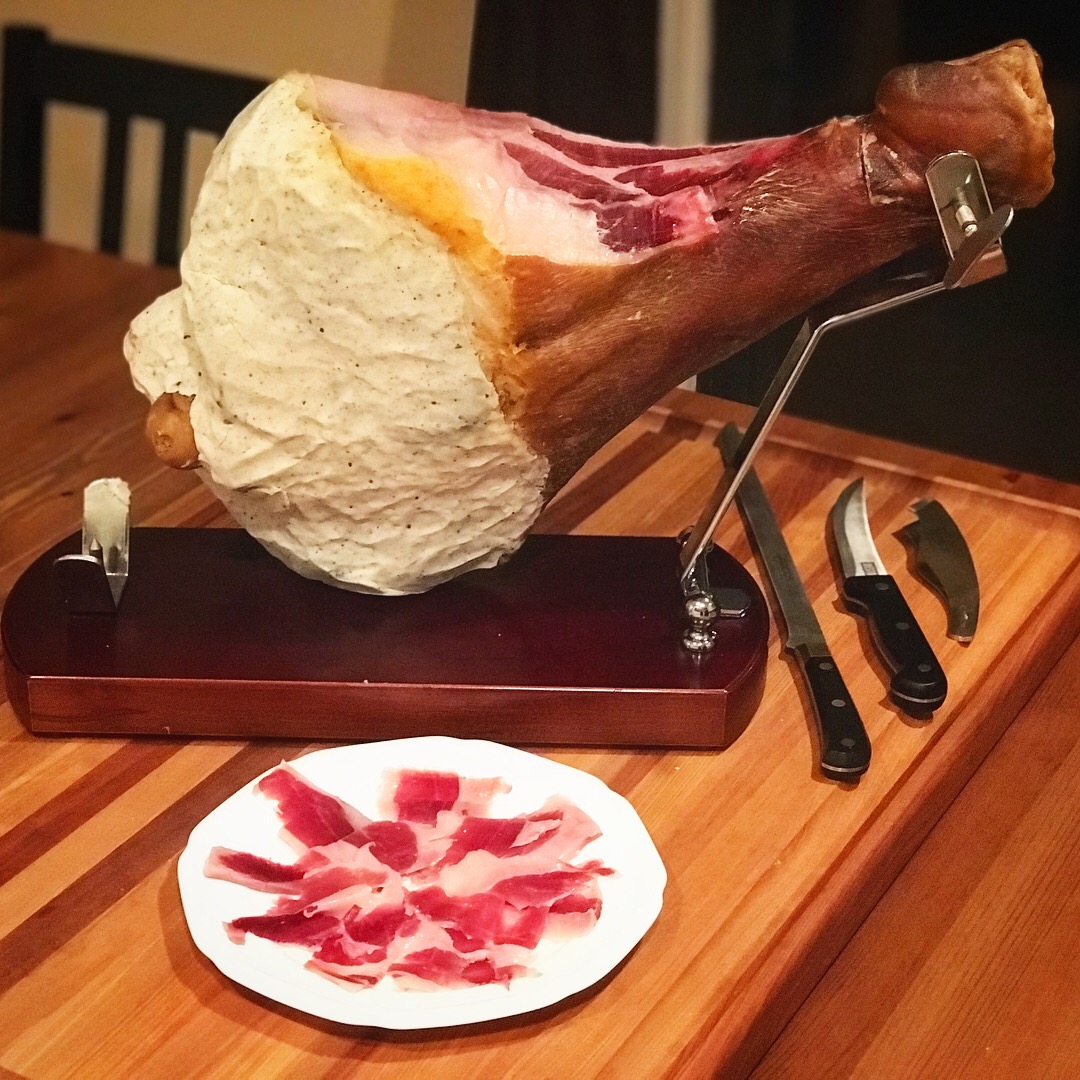
The perfect addition to a charcuterie plate!
Disclaimer: Meat curing is a hobby that comes with inherent risks. We can all do things to limit this risk by educating ourselves about the process and the utilizing the safest known methods to create our products. This website is for educational purposes only, and all experimentation should be done at each individuals own risk.