The Explorations of a Gastrochemist

...because science can be delicious.

  • Beginner’s Guide
  • Wurst Adventure
  • Charcuterie
  • Preservation
  • Science
  • Molecular Gastronomy
  • All Projects
You are here: Home / Archives for diy

Capocollo

January 30, 2017 by AOG Leave a Comment

Coppa. Capocollo. Gabagool. I love how cured meats have so many different and interesting names. The general idea here is that the muscle that runs along the neck of the pork shoulder is dry cured.  This cured meat product is generally called Coppa in northern Italy, and cured in a more northern manner with spices particular to the region. Capocollo is the name in southern Italy, and since “Capo” means the head in Italian, and “collo” means the neck, you can see that the name is descriptor of where the muscle lies. Personally, I find the history of the name gabagool to be the most fascinating. Called gabagool by Italian-Americans, primarily in the state of New Jersey, this is a very cool regionalism. The majority of the immigrants who came to America and settled in New Jersey were from southern Italy and Sicily. Italy has a number of regional dialects/languages, and in the south, there is a pattern of dropping of the last vowel in words and the pronunciation of “c” as “g” (see this fantastic article for more details: http://www.atlasobscura.com/articles/how-capicola-became-gabagool-the-italian-new-jersey-accent-explained). With these linguistic changes, capocollo becomes gabagool. Just because these names are all different, doesn’t mean that any of them are wrong per se, just regional variations.

coopa1


Curing (2 weeks+):

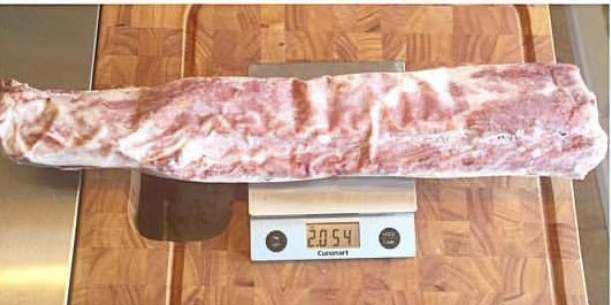
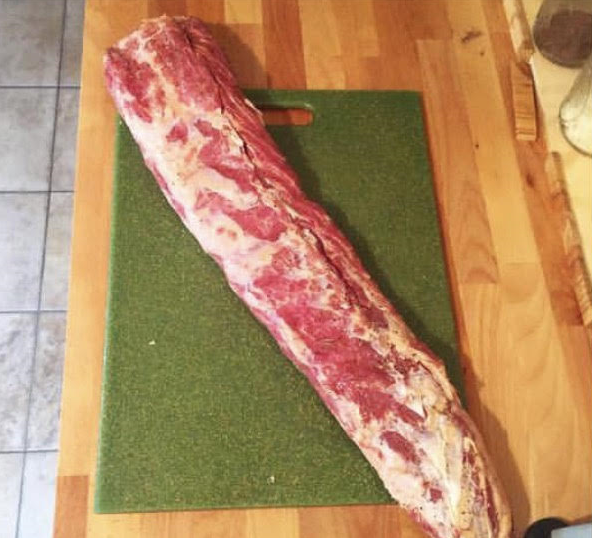
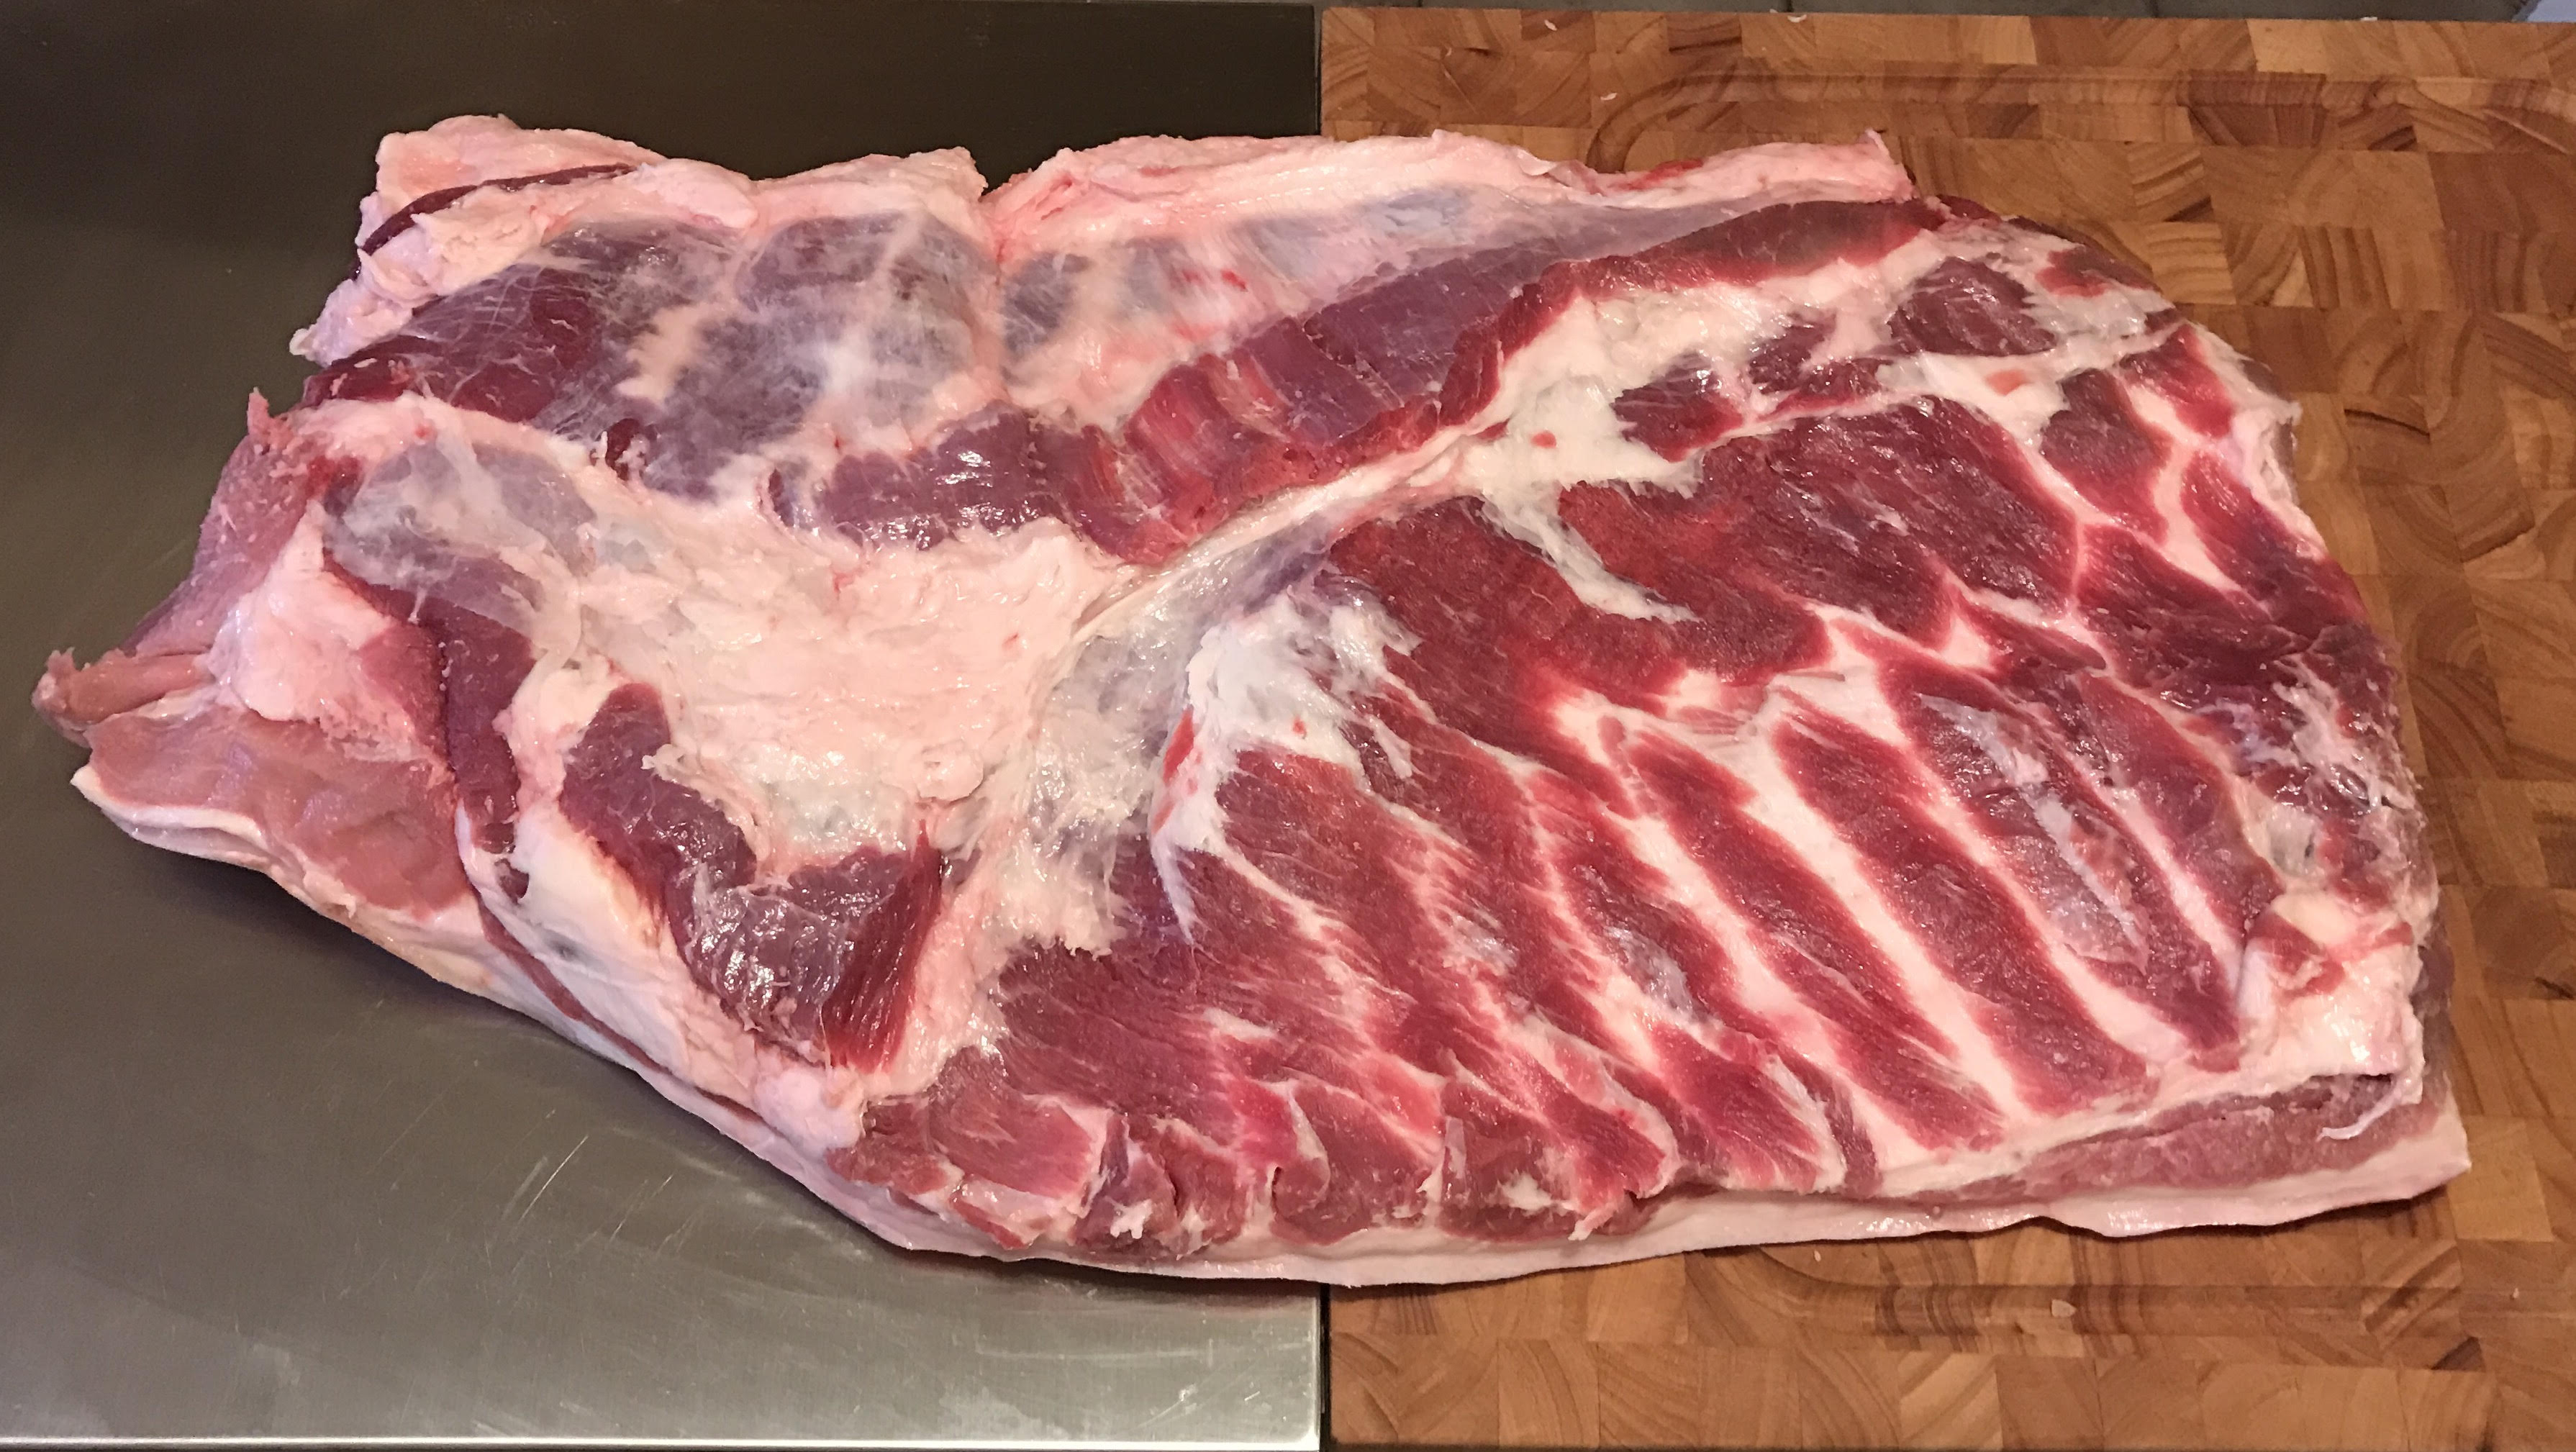
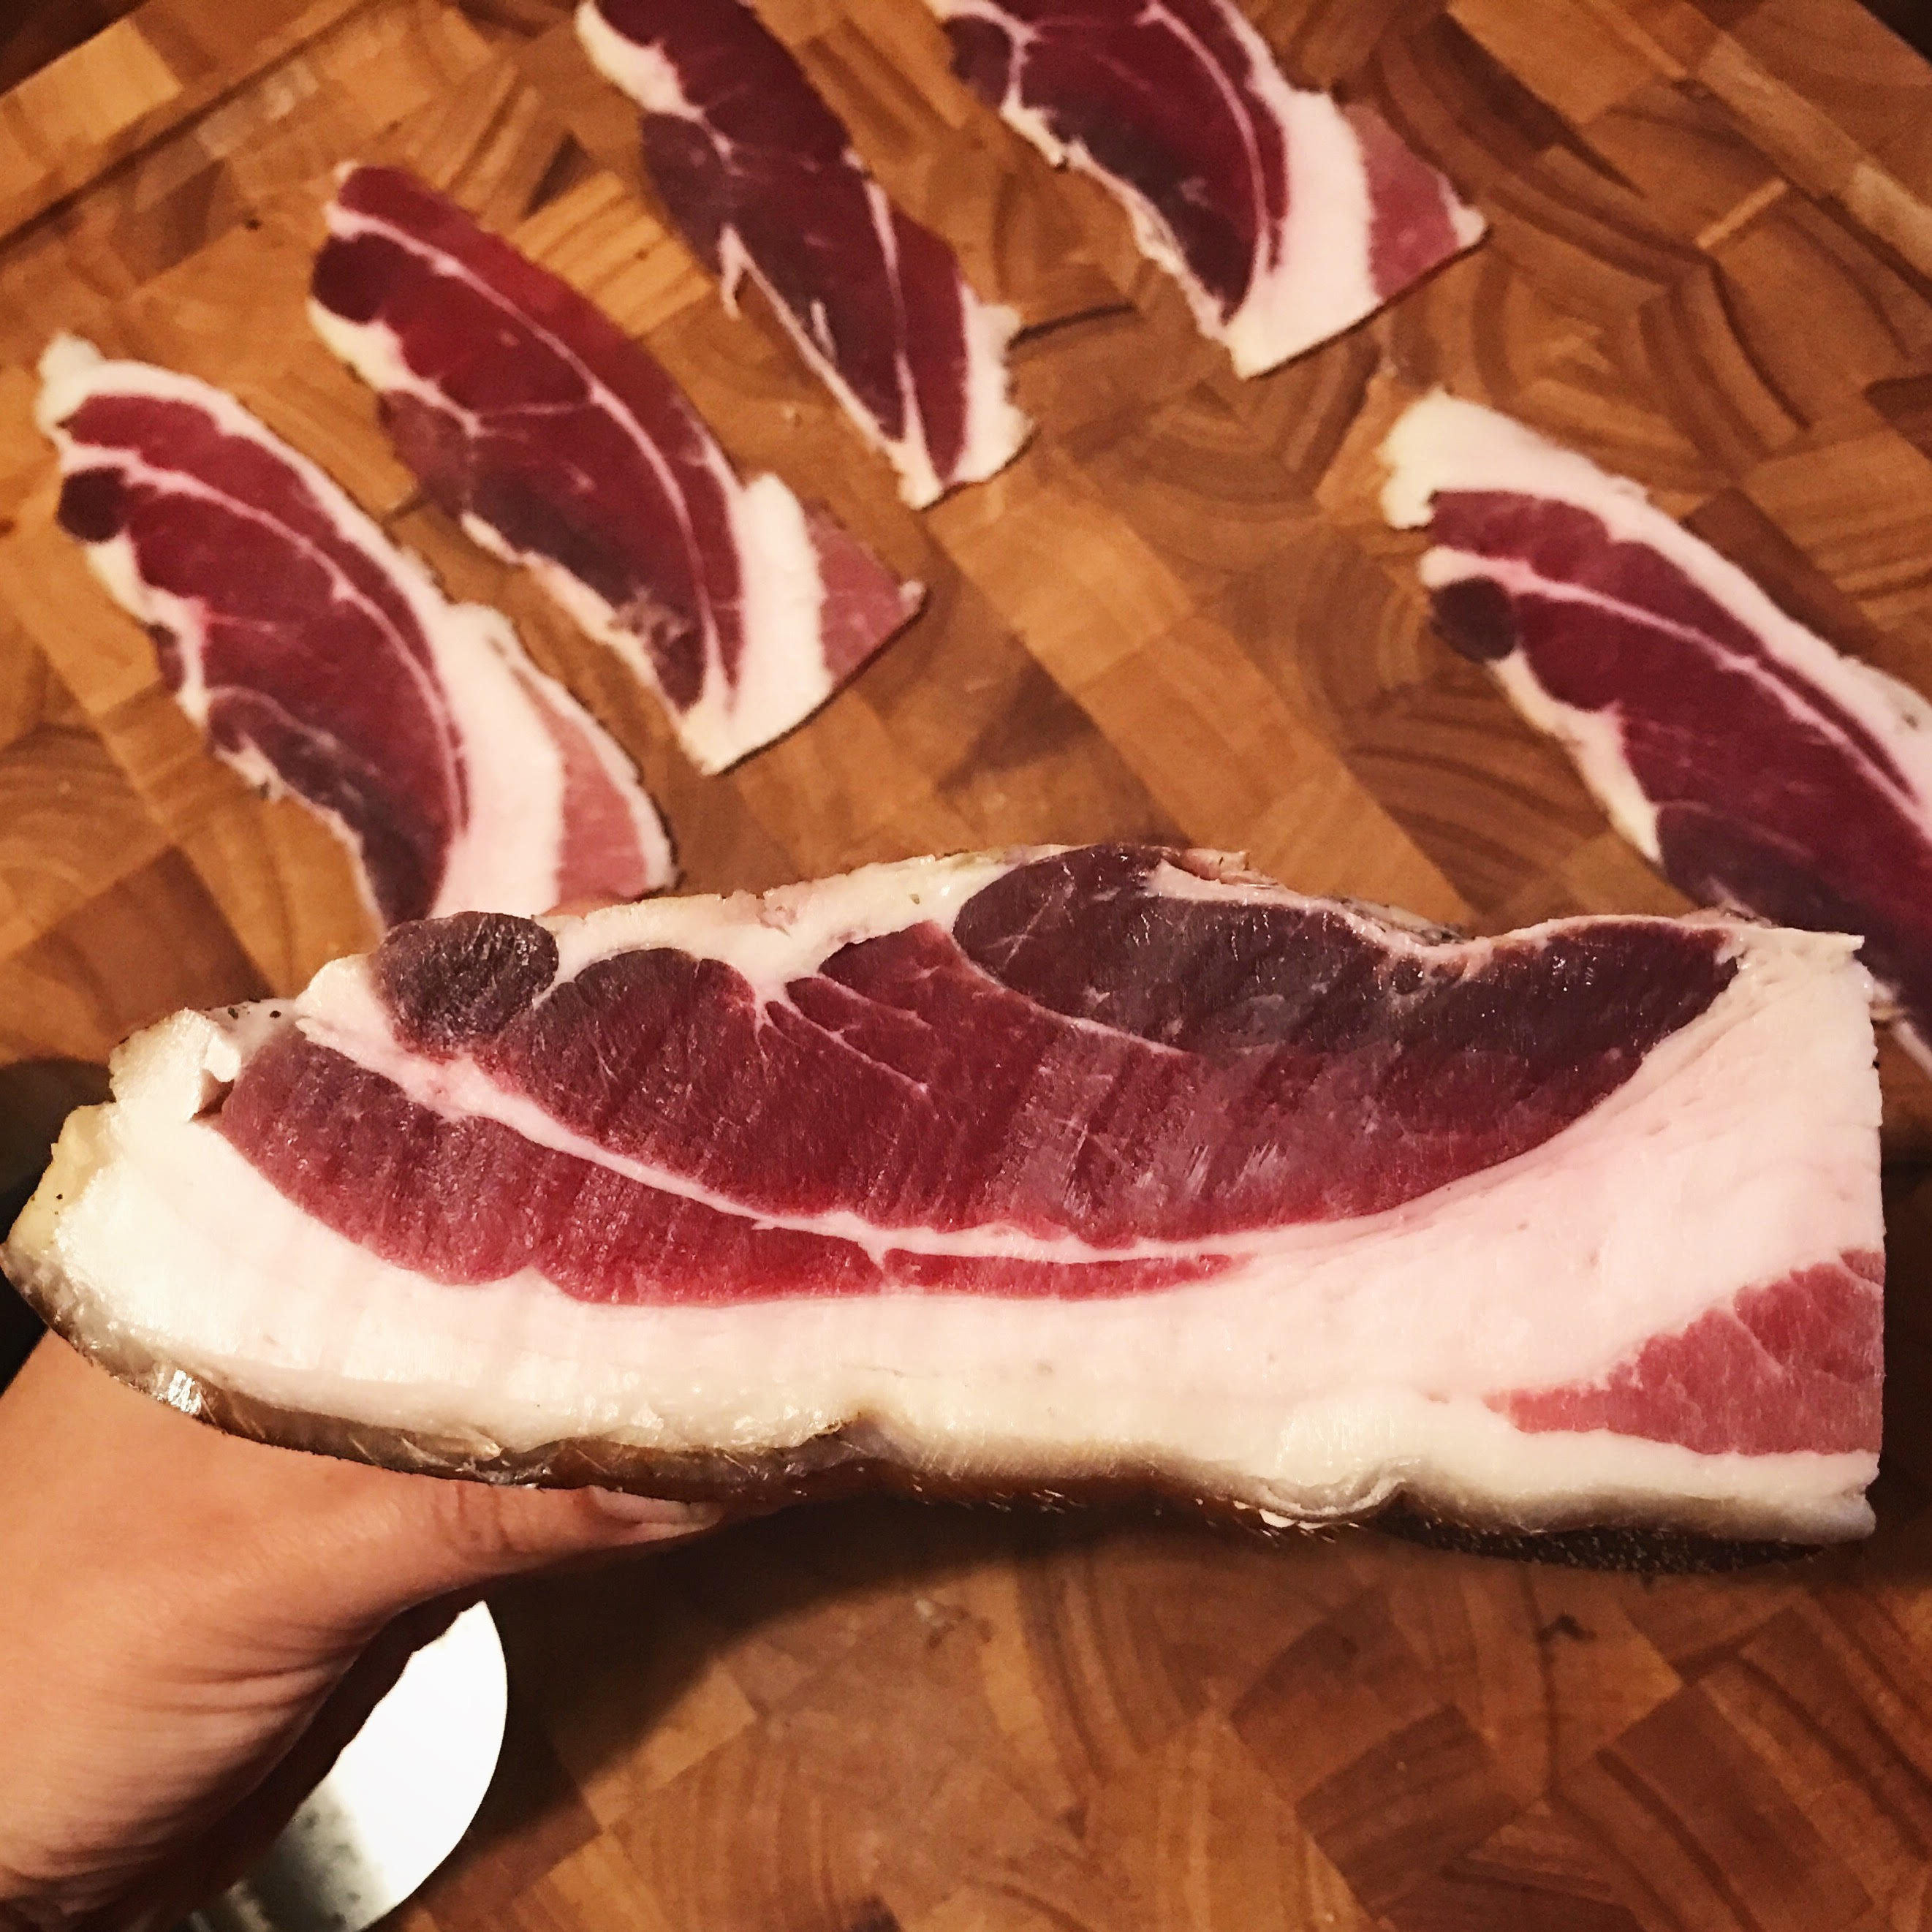
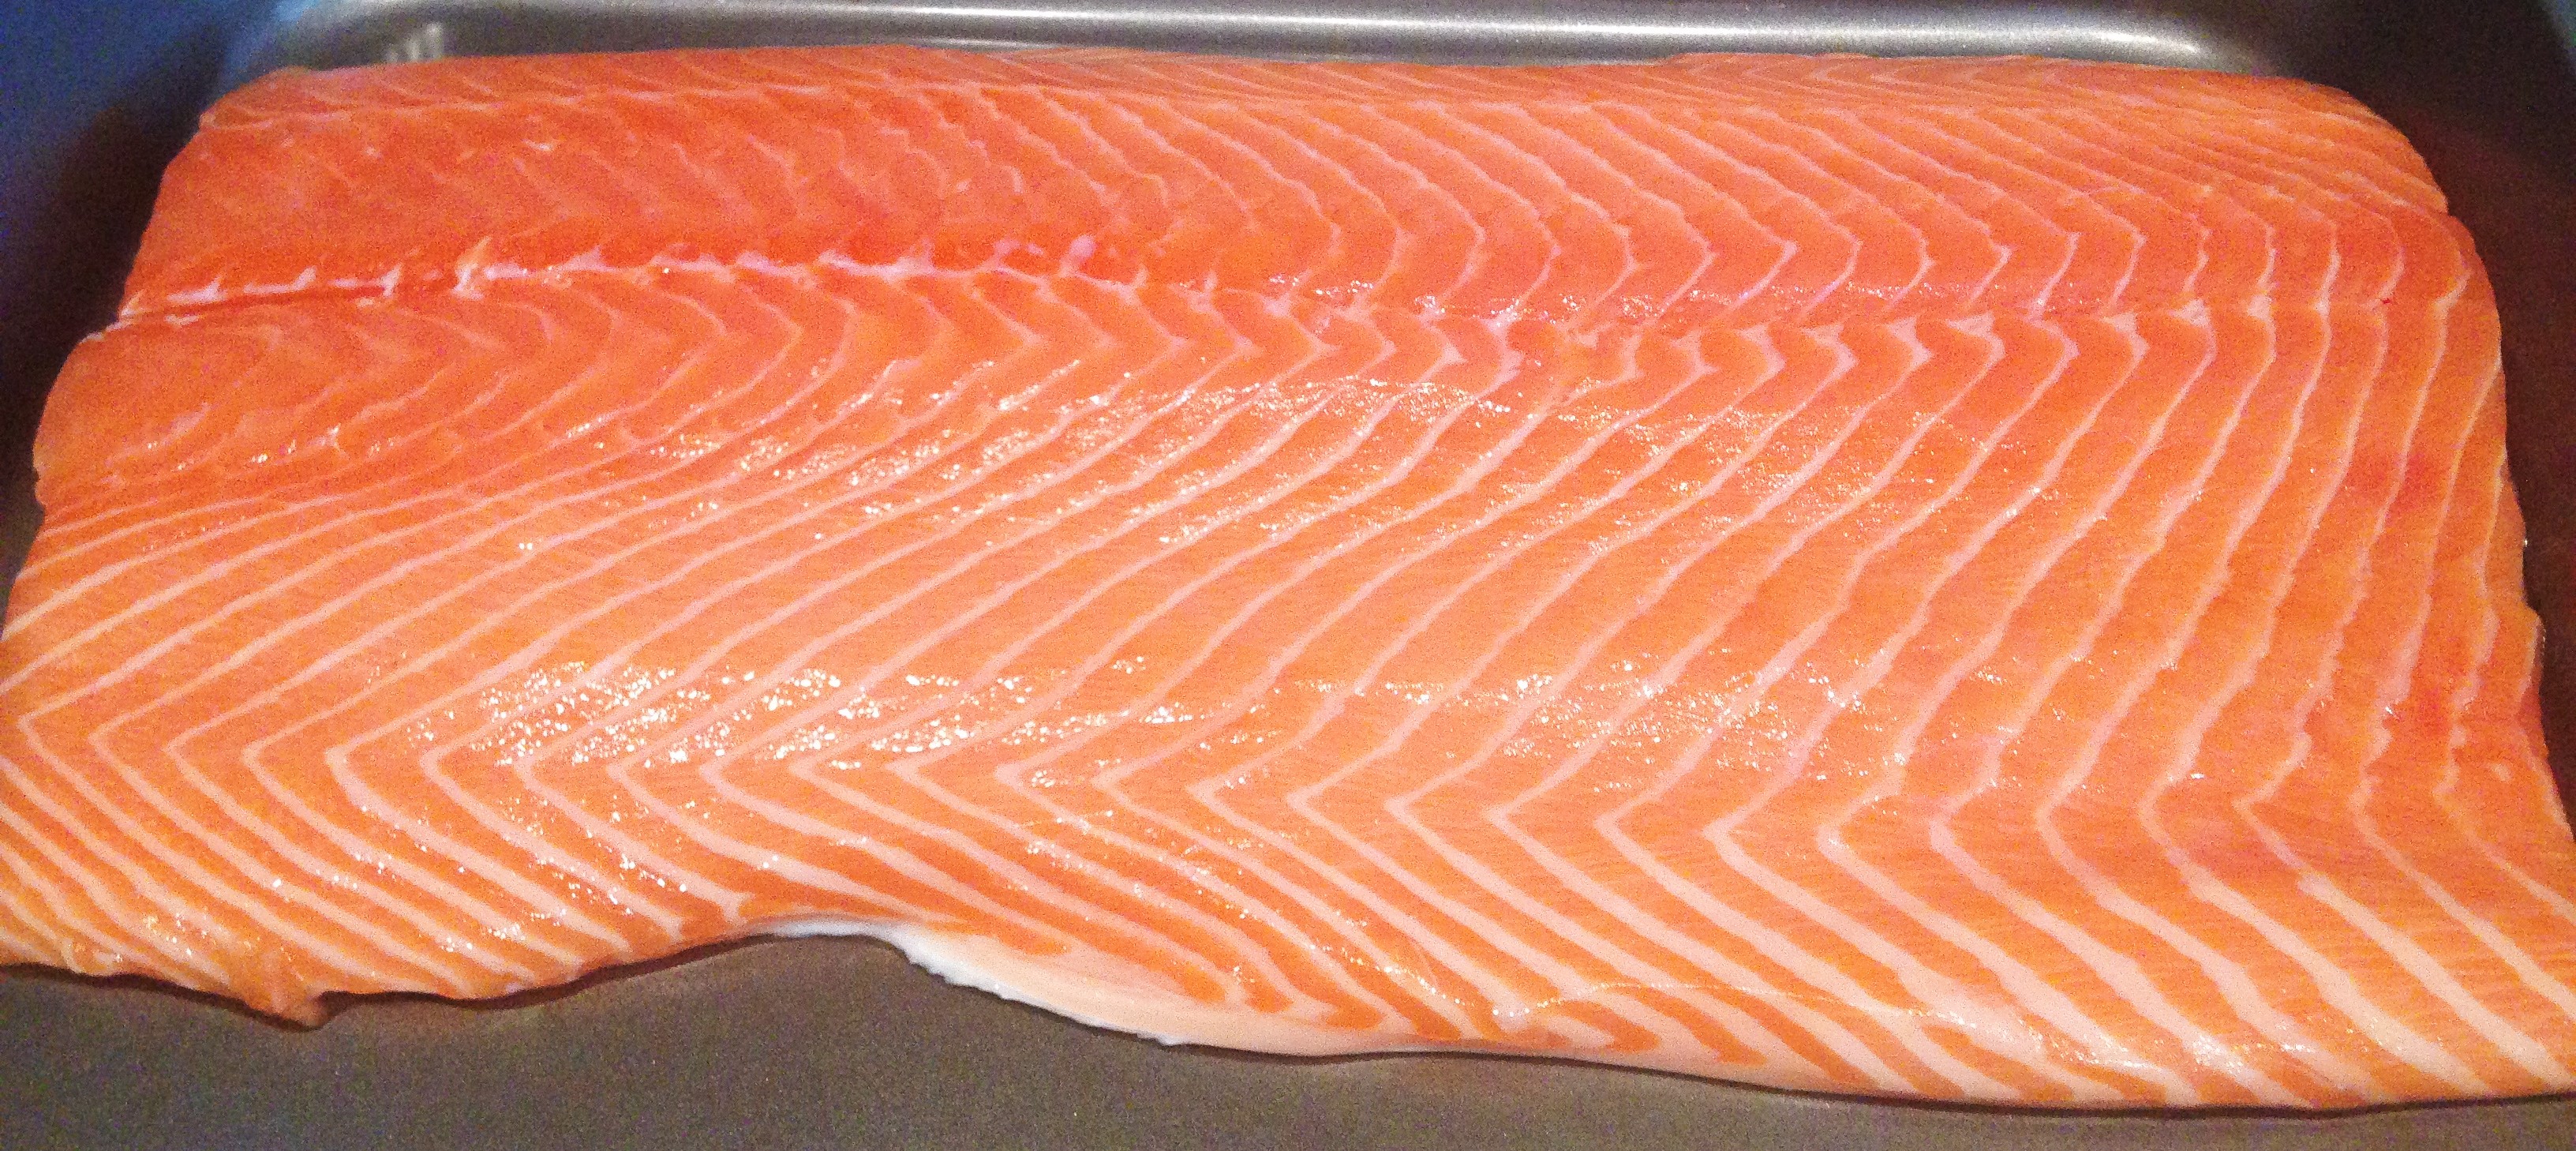
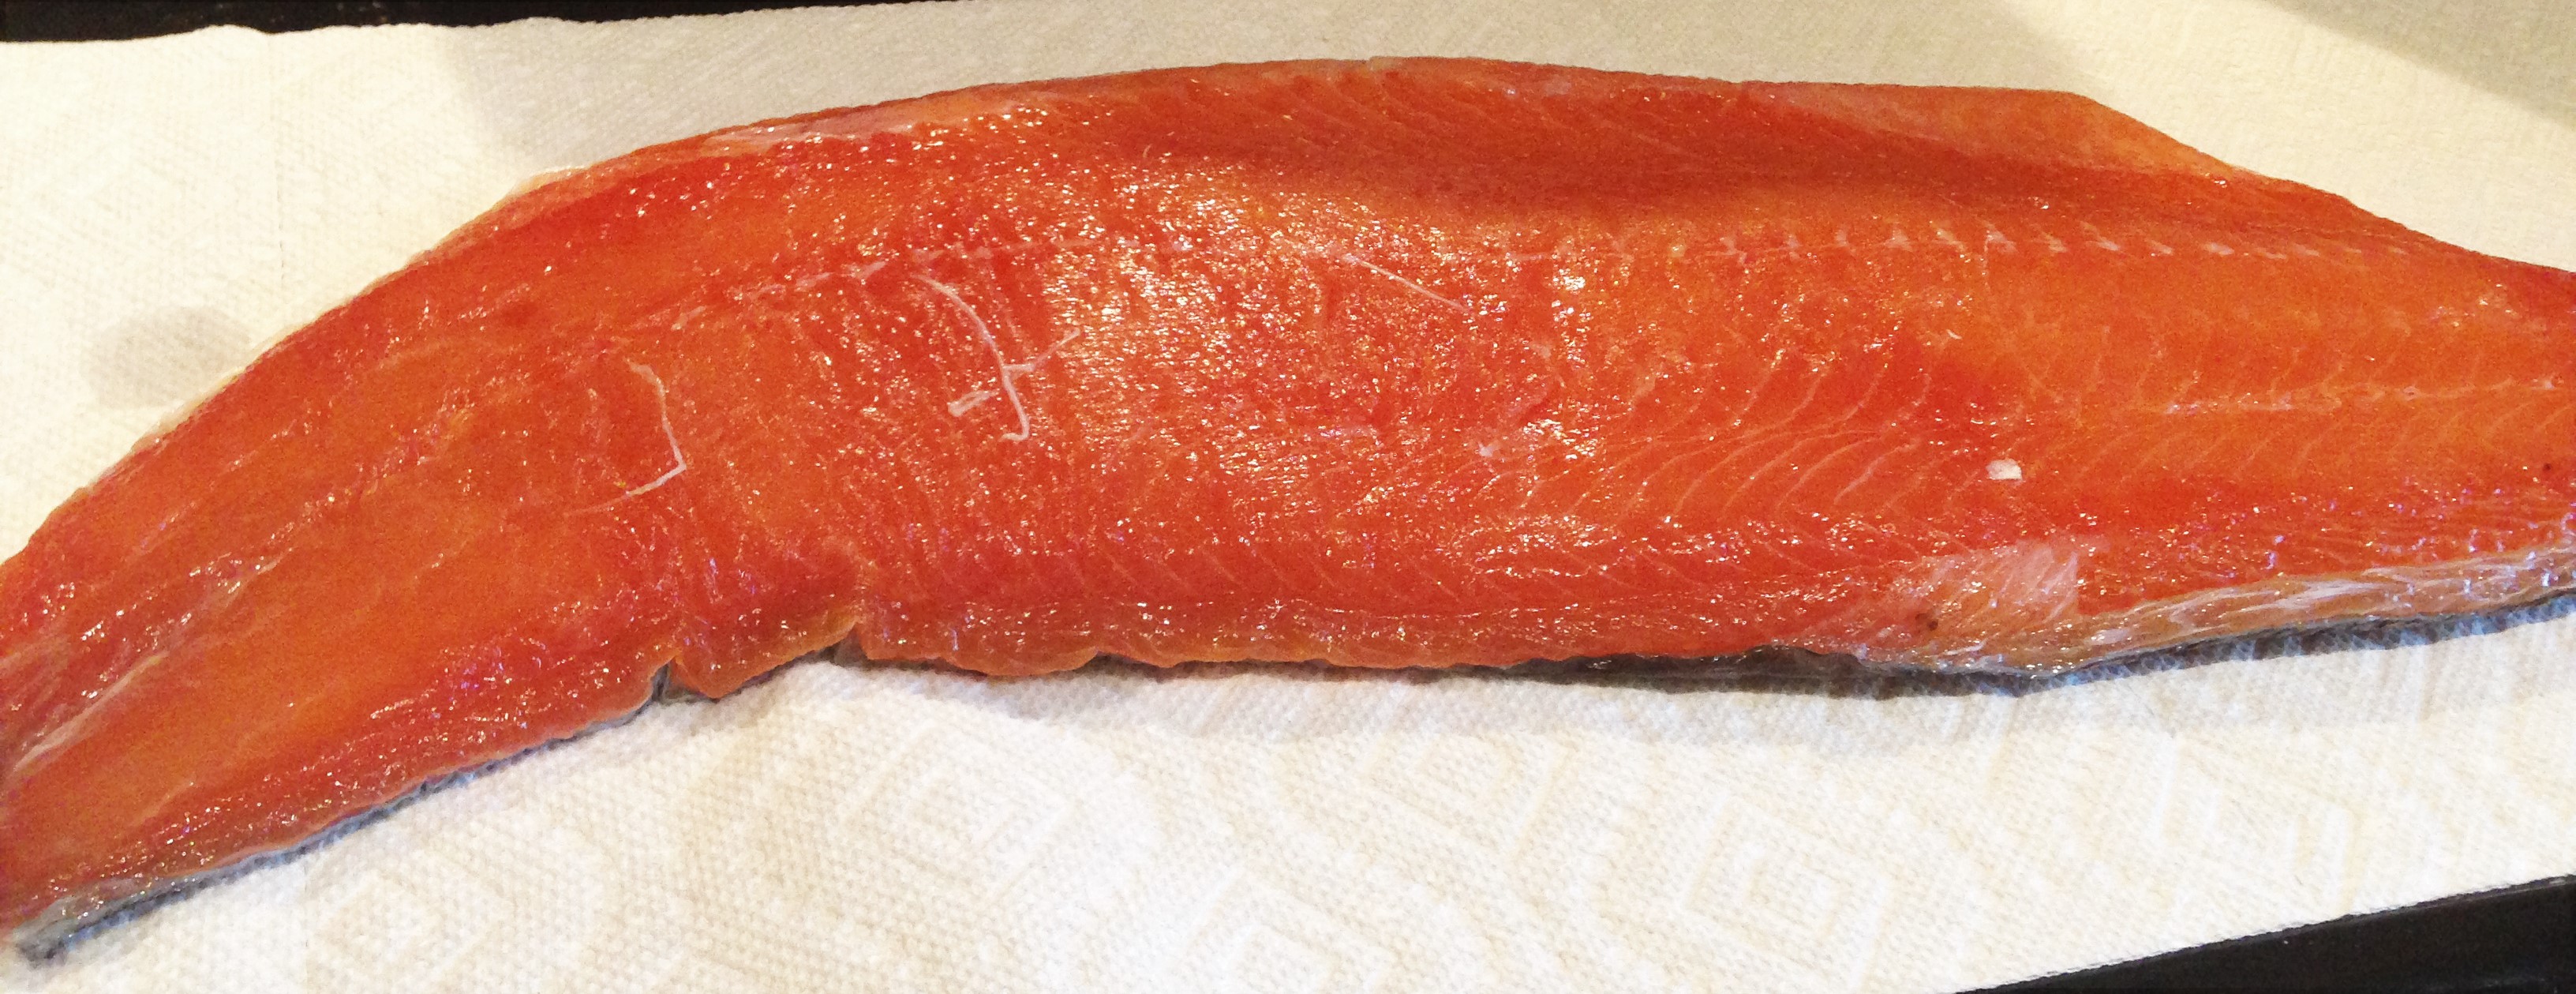
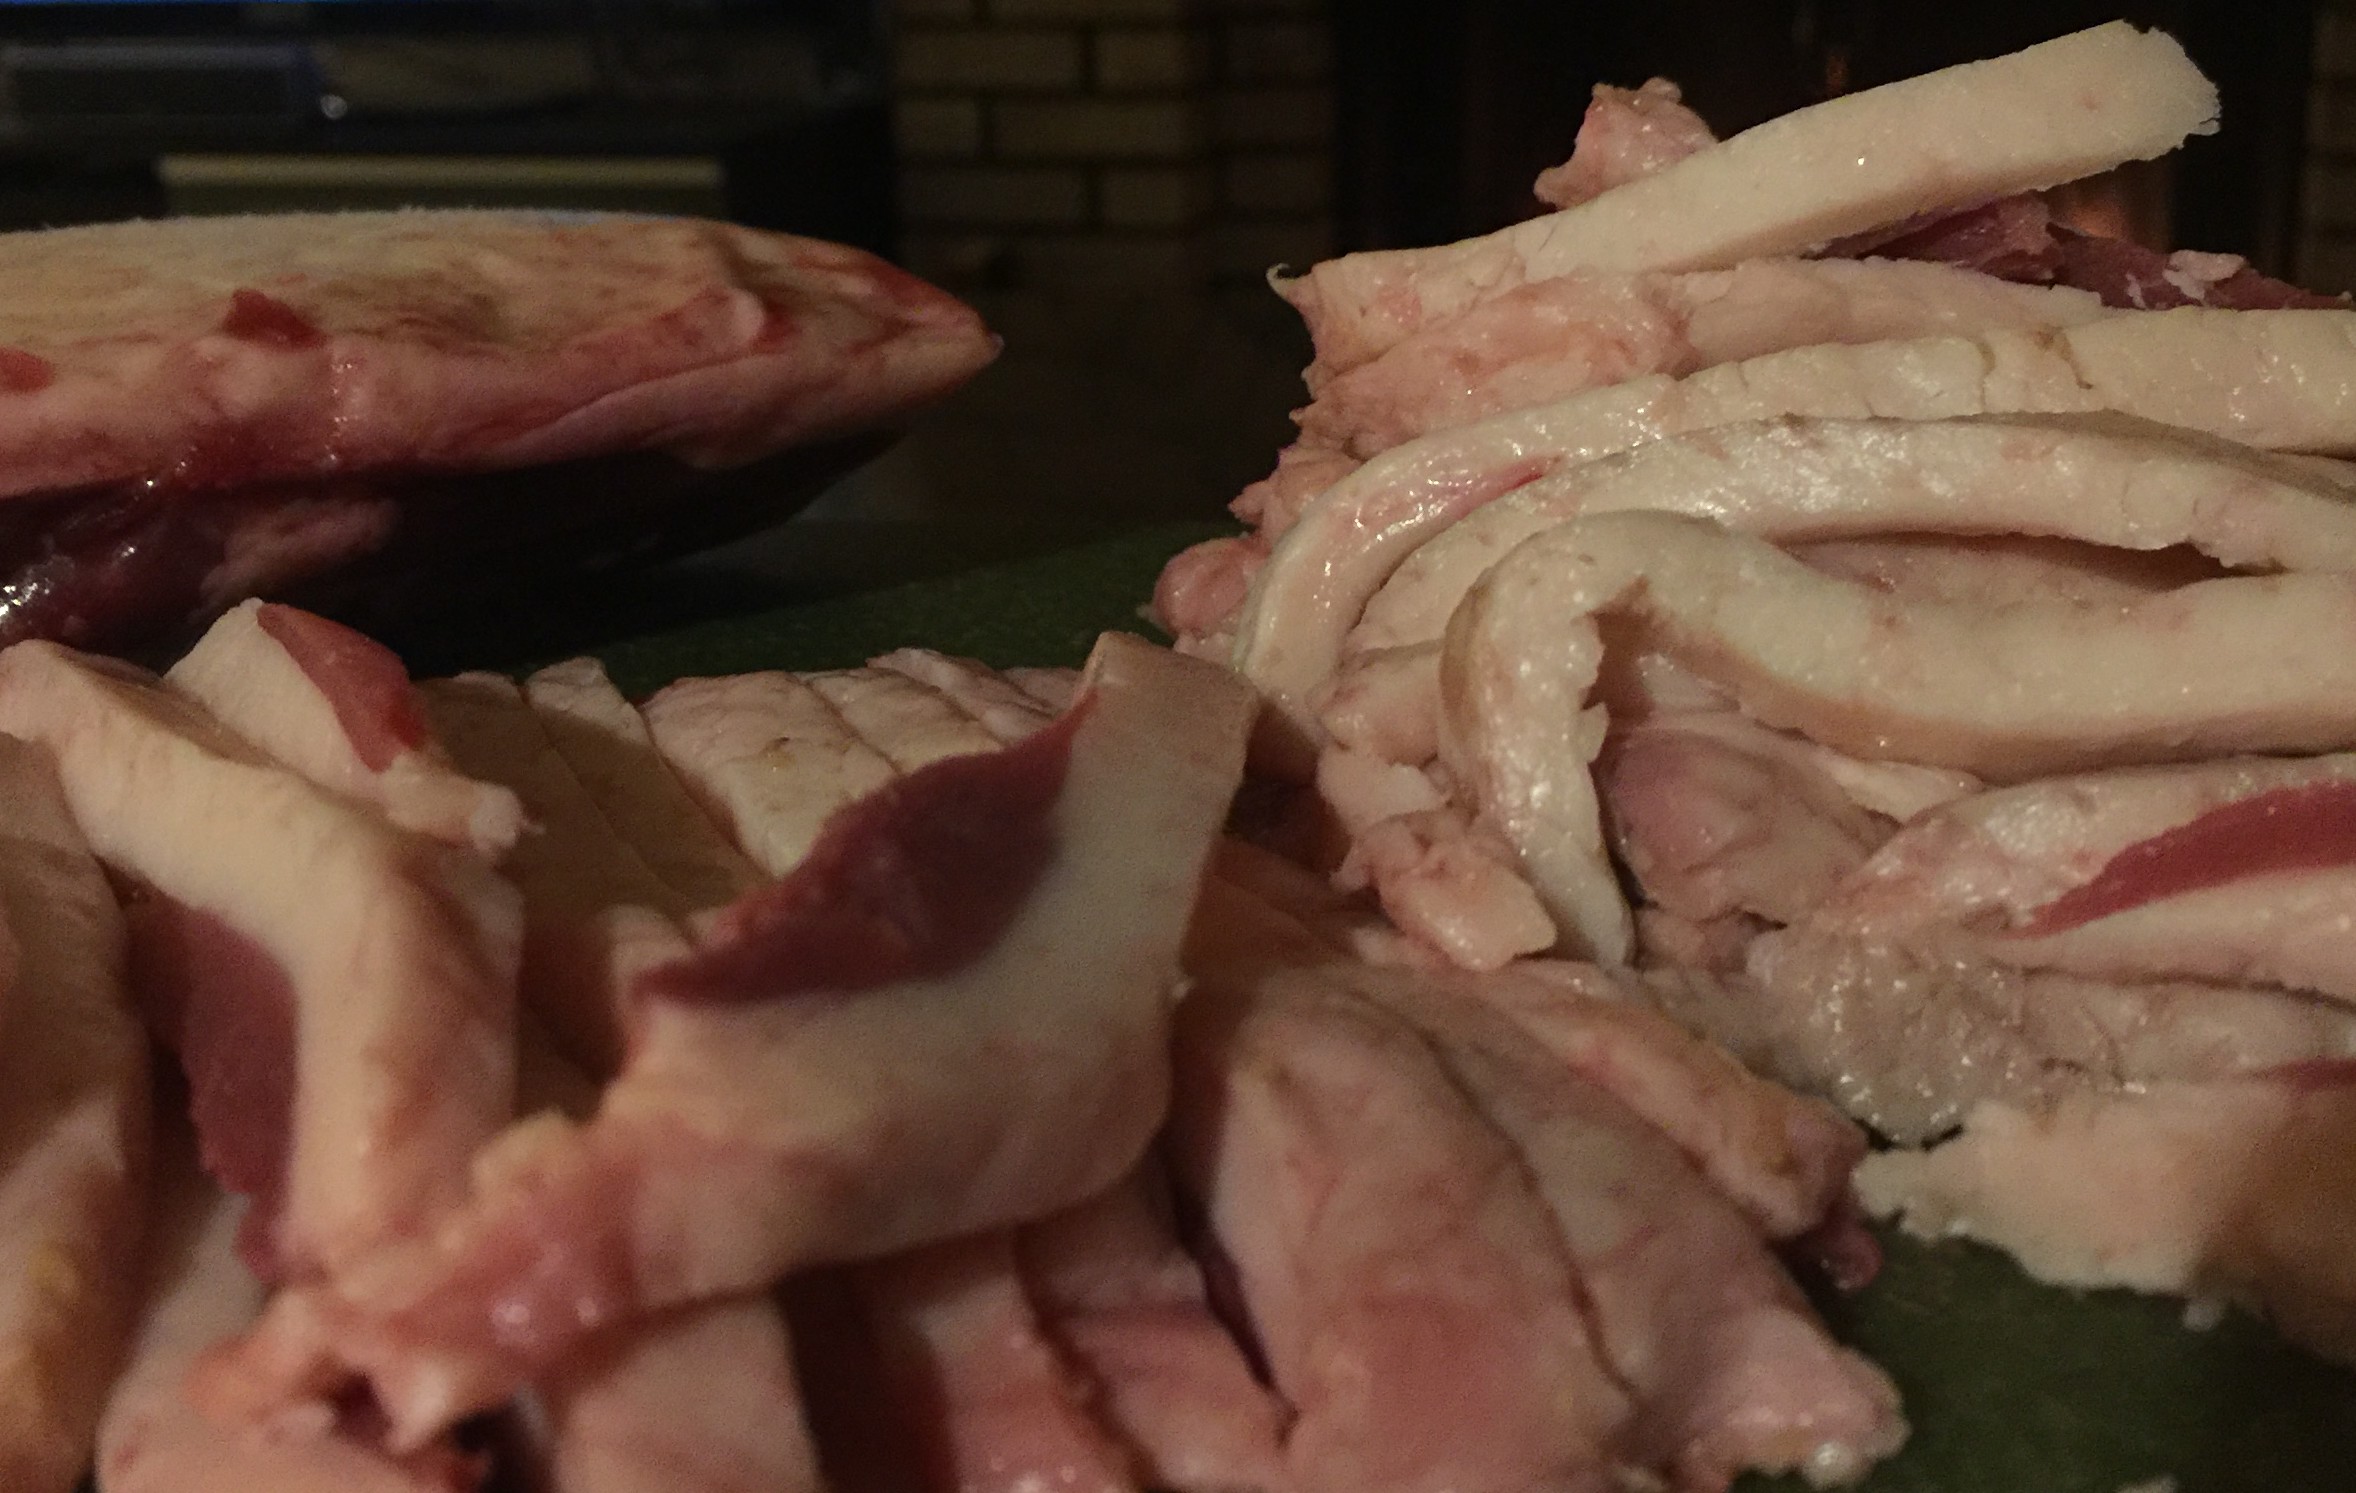
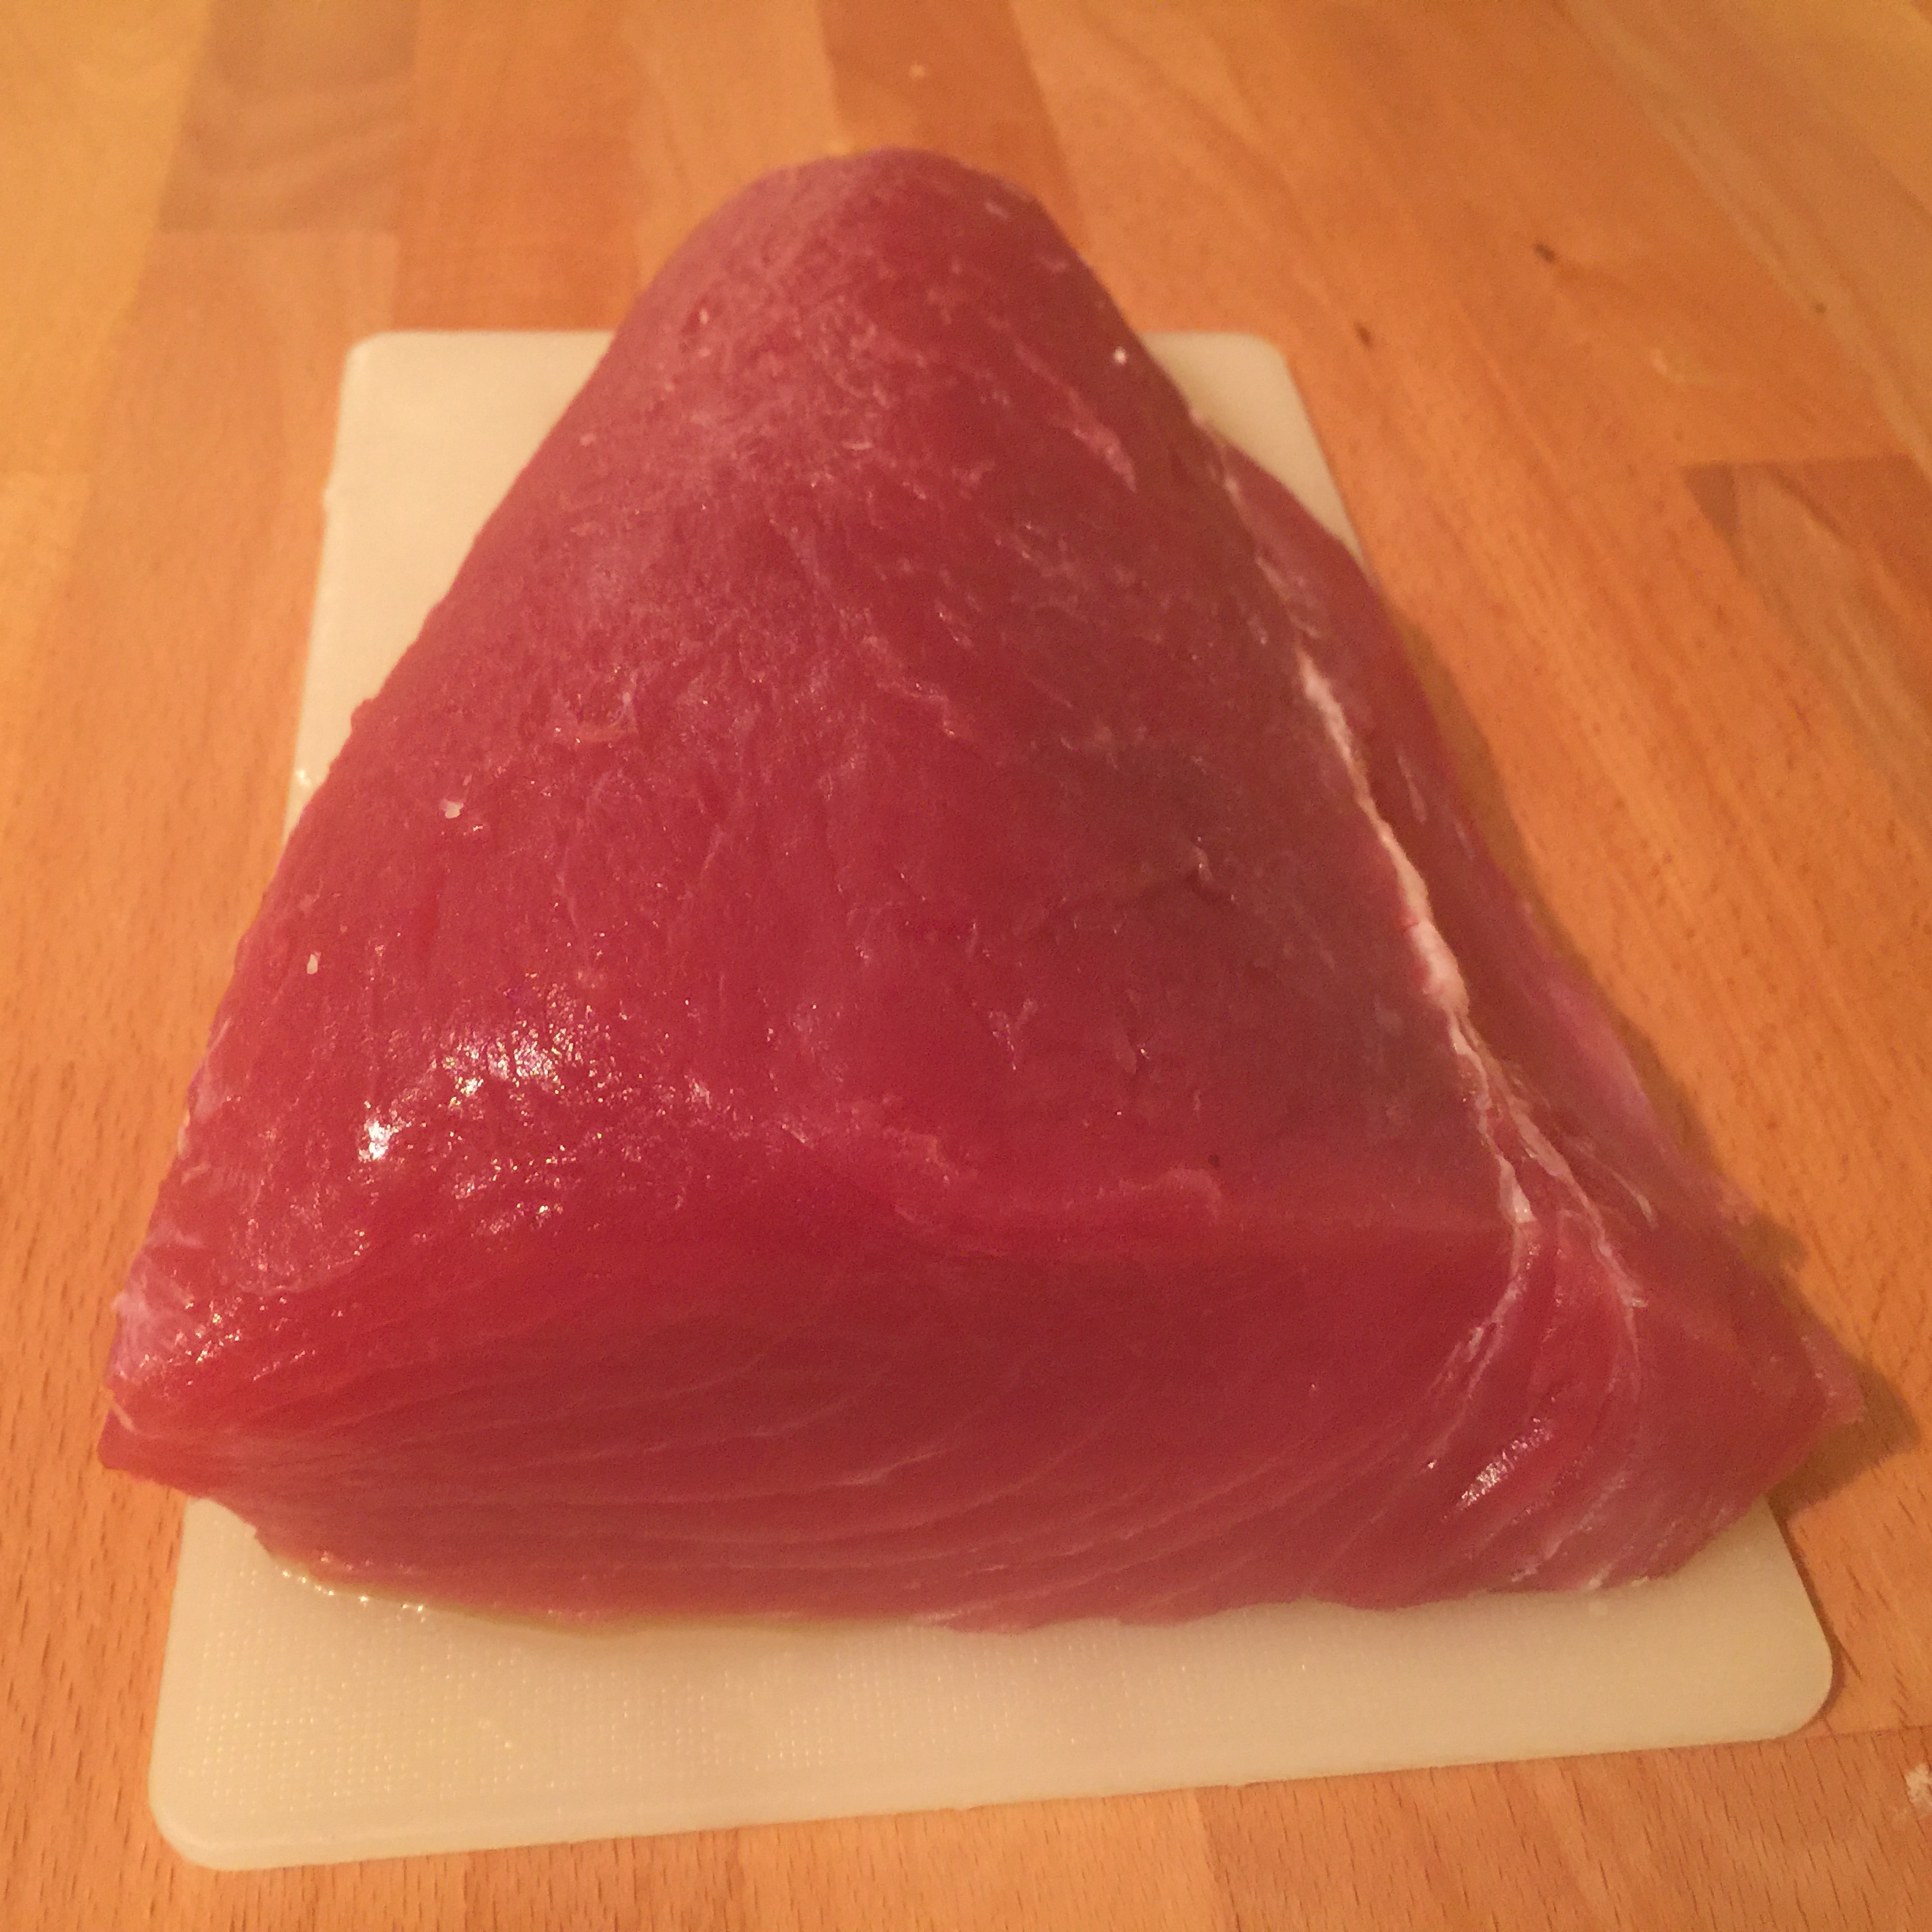
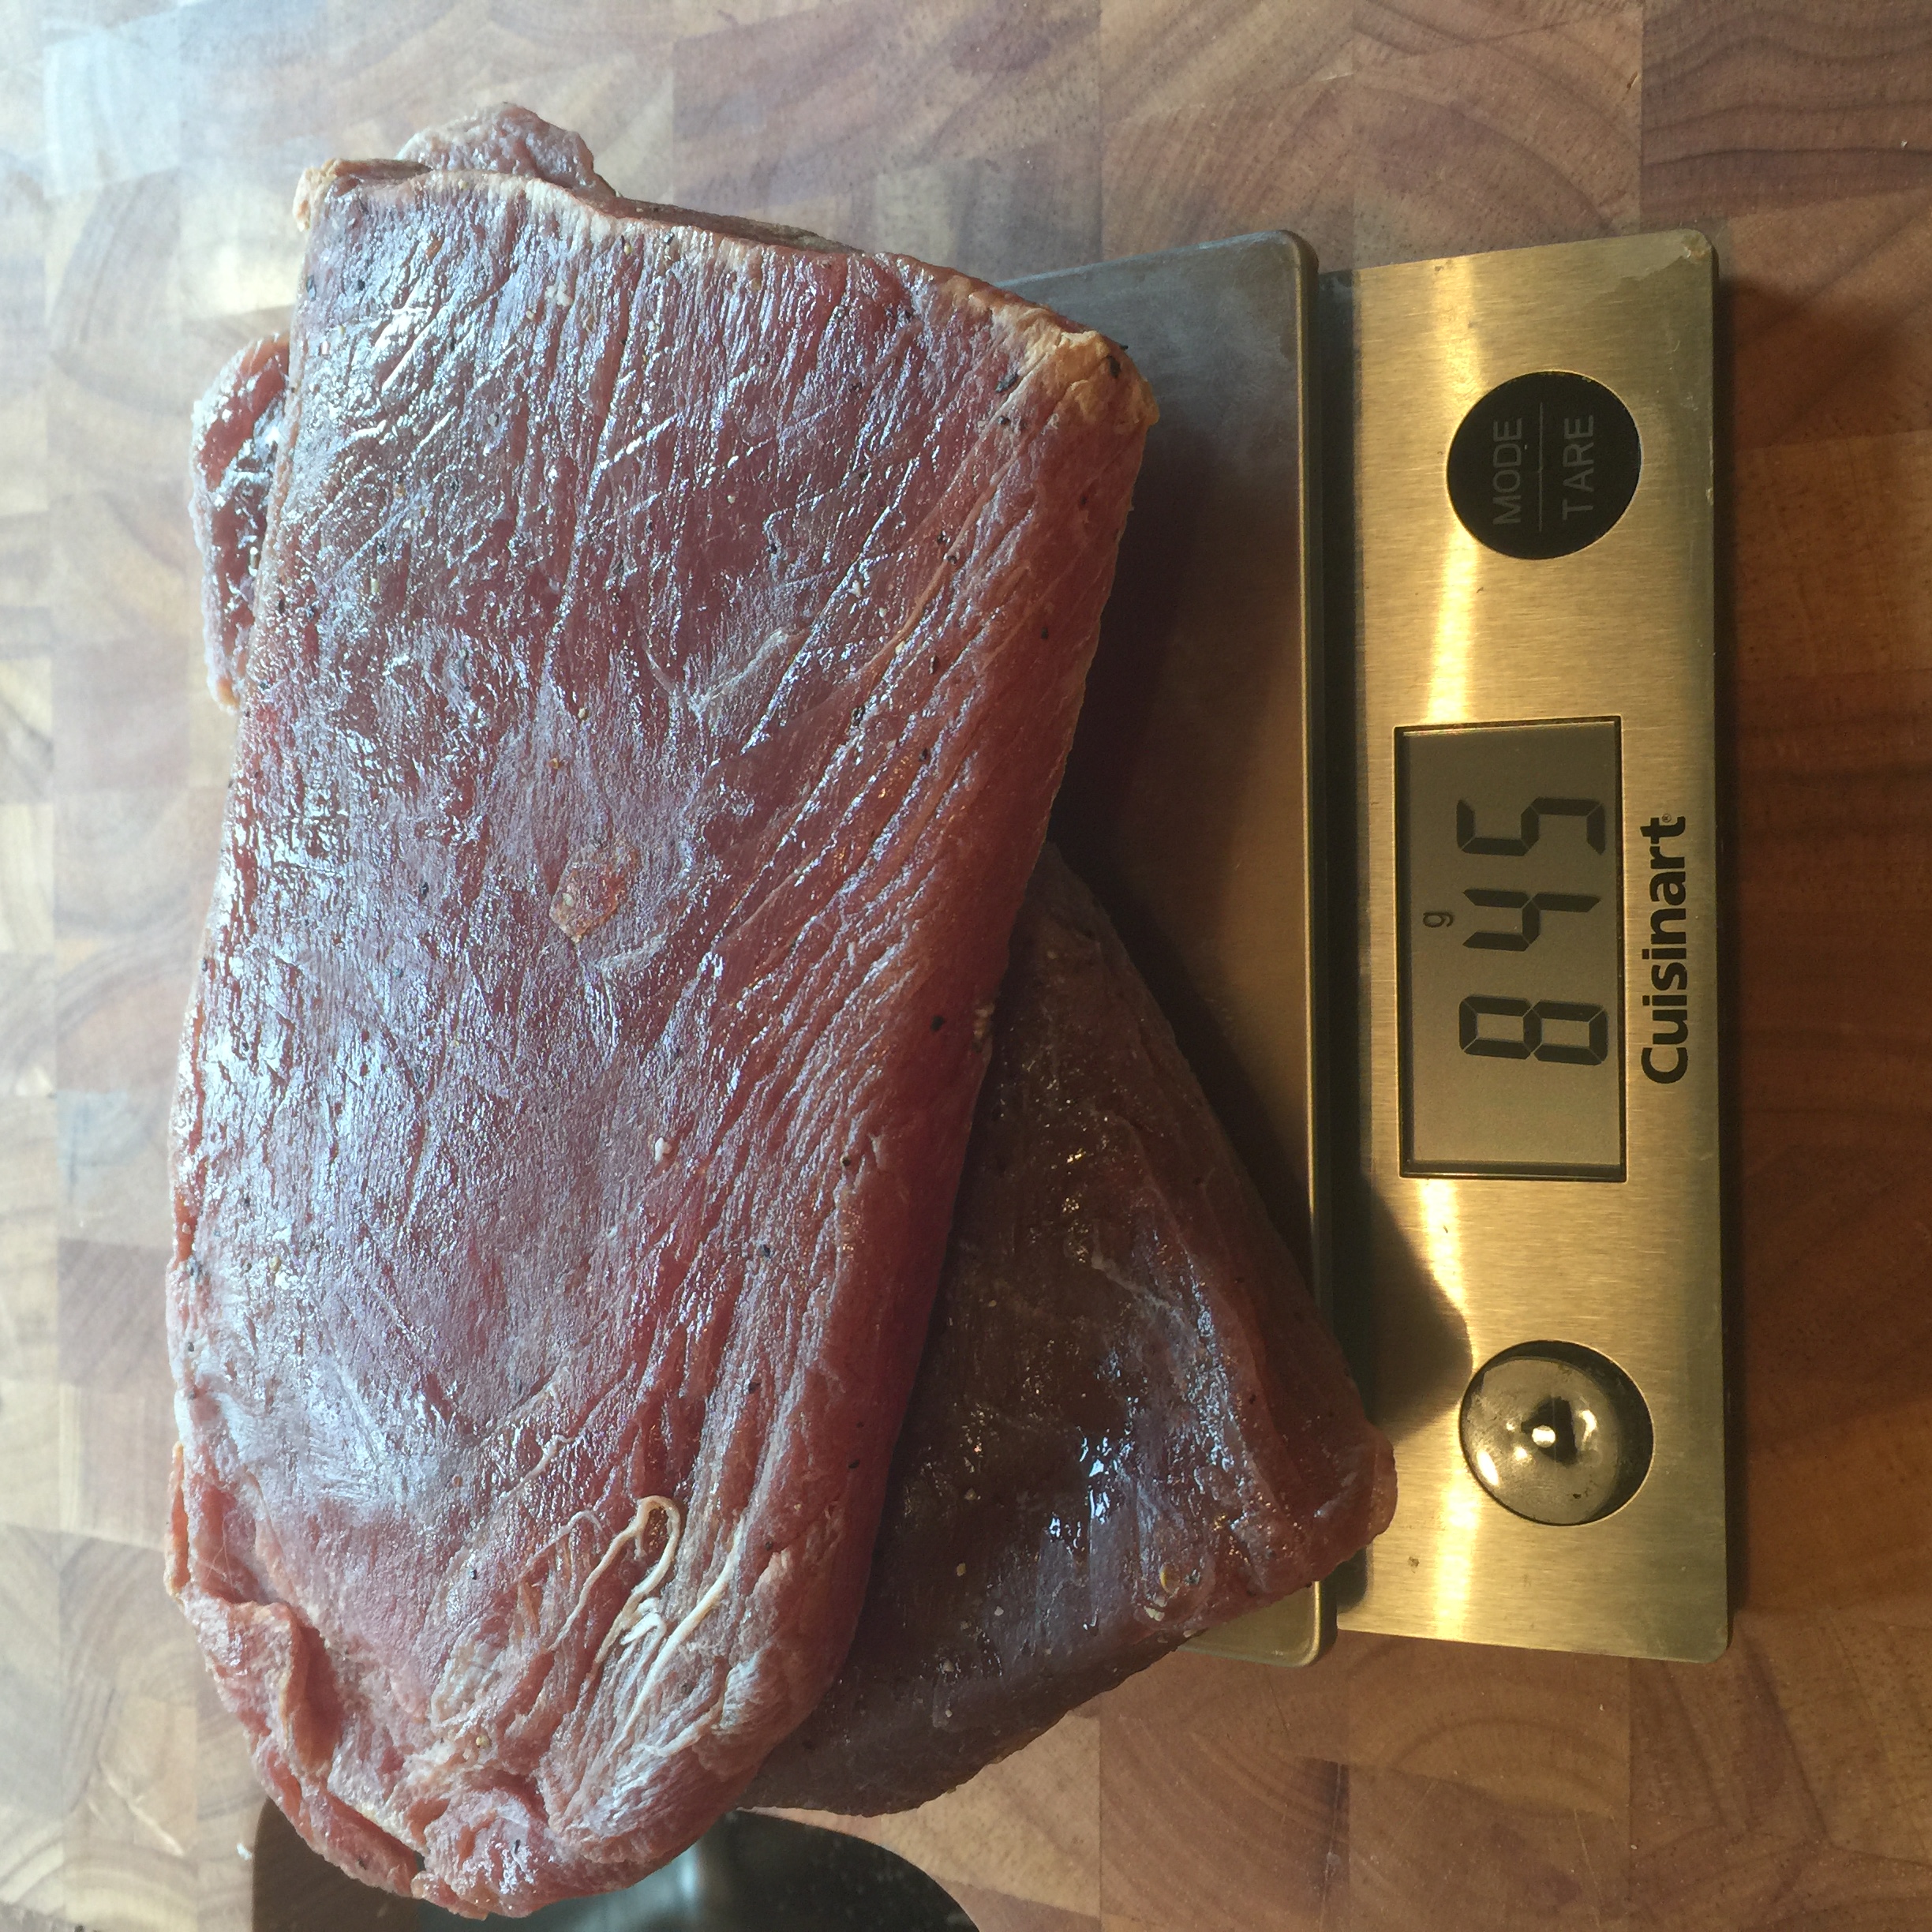
First, you will need to harvest the coppa from the shoulder, or have it butchered for you. In this post, I will be using a beautiful piece of meat from a Mangalitsa pig. These are an Old World breed pig that are indigenous to Hungary. They are well known for the quality and quantity of fat that they have, which makes them a perfect breed to use in meat curing.

image-7325

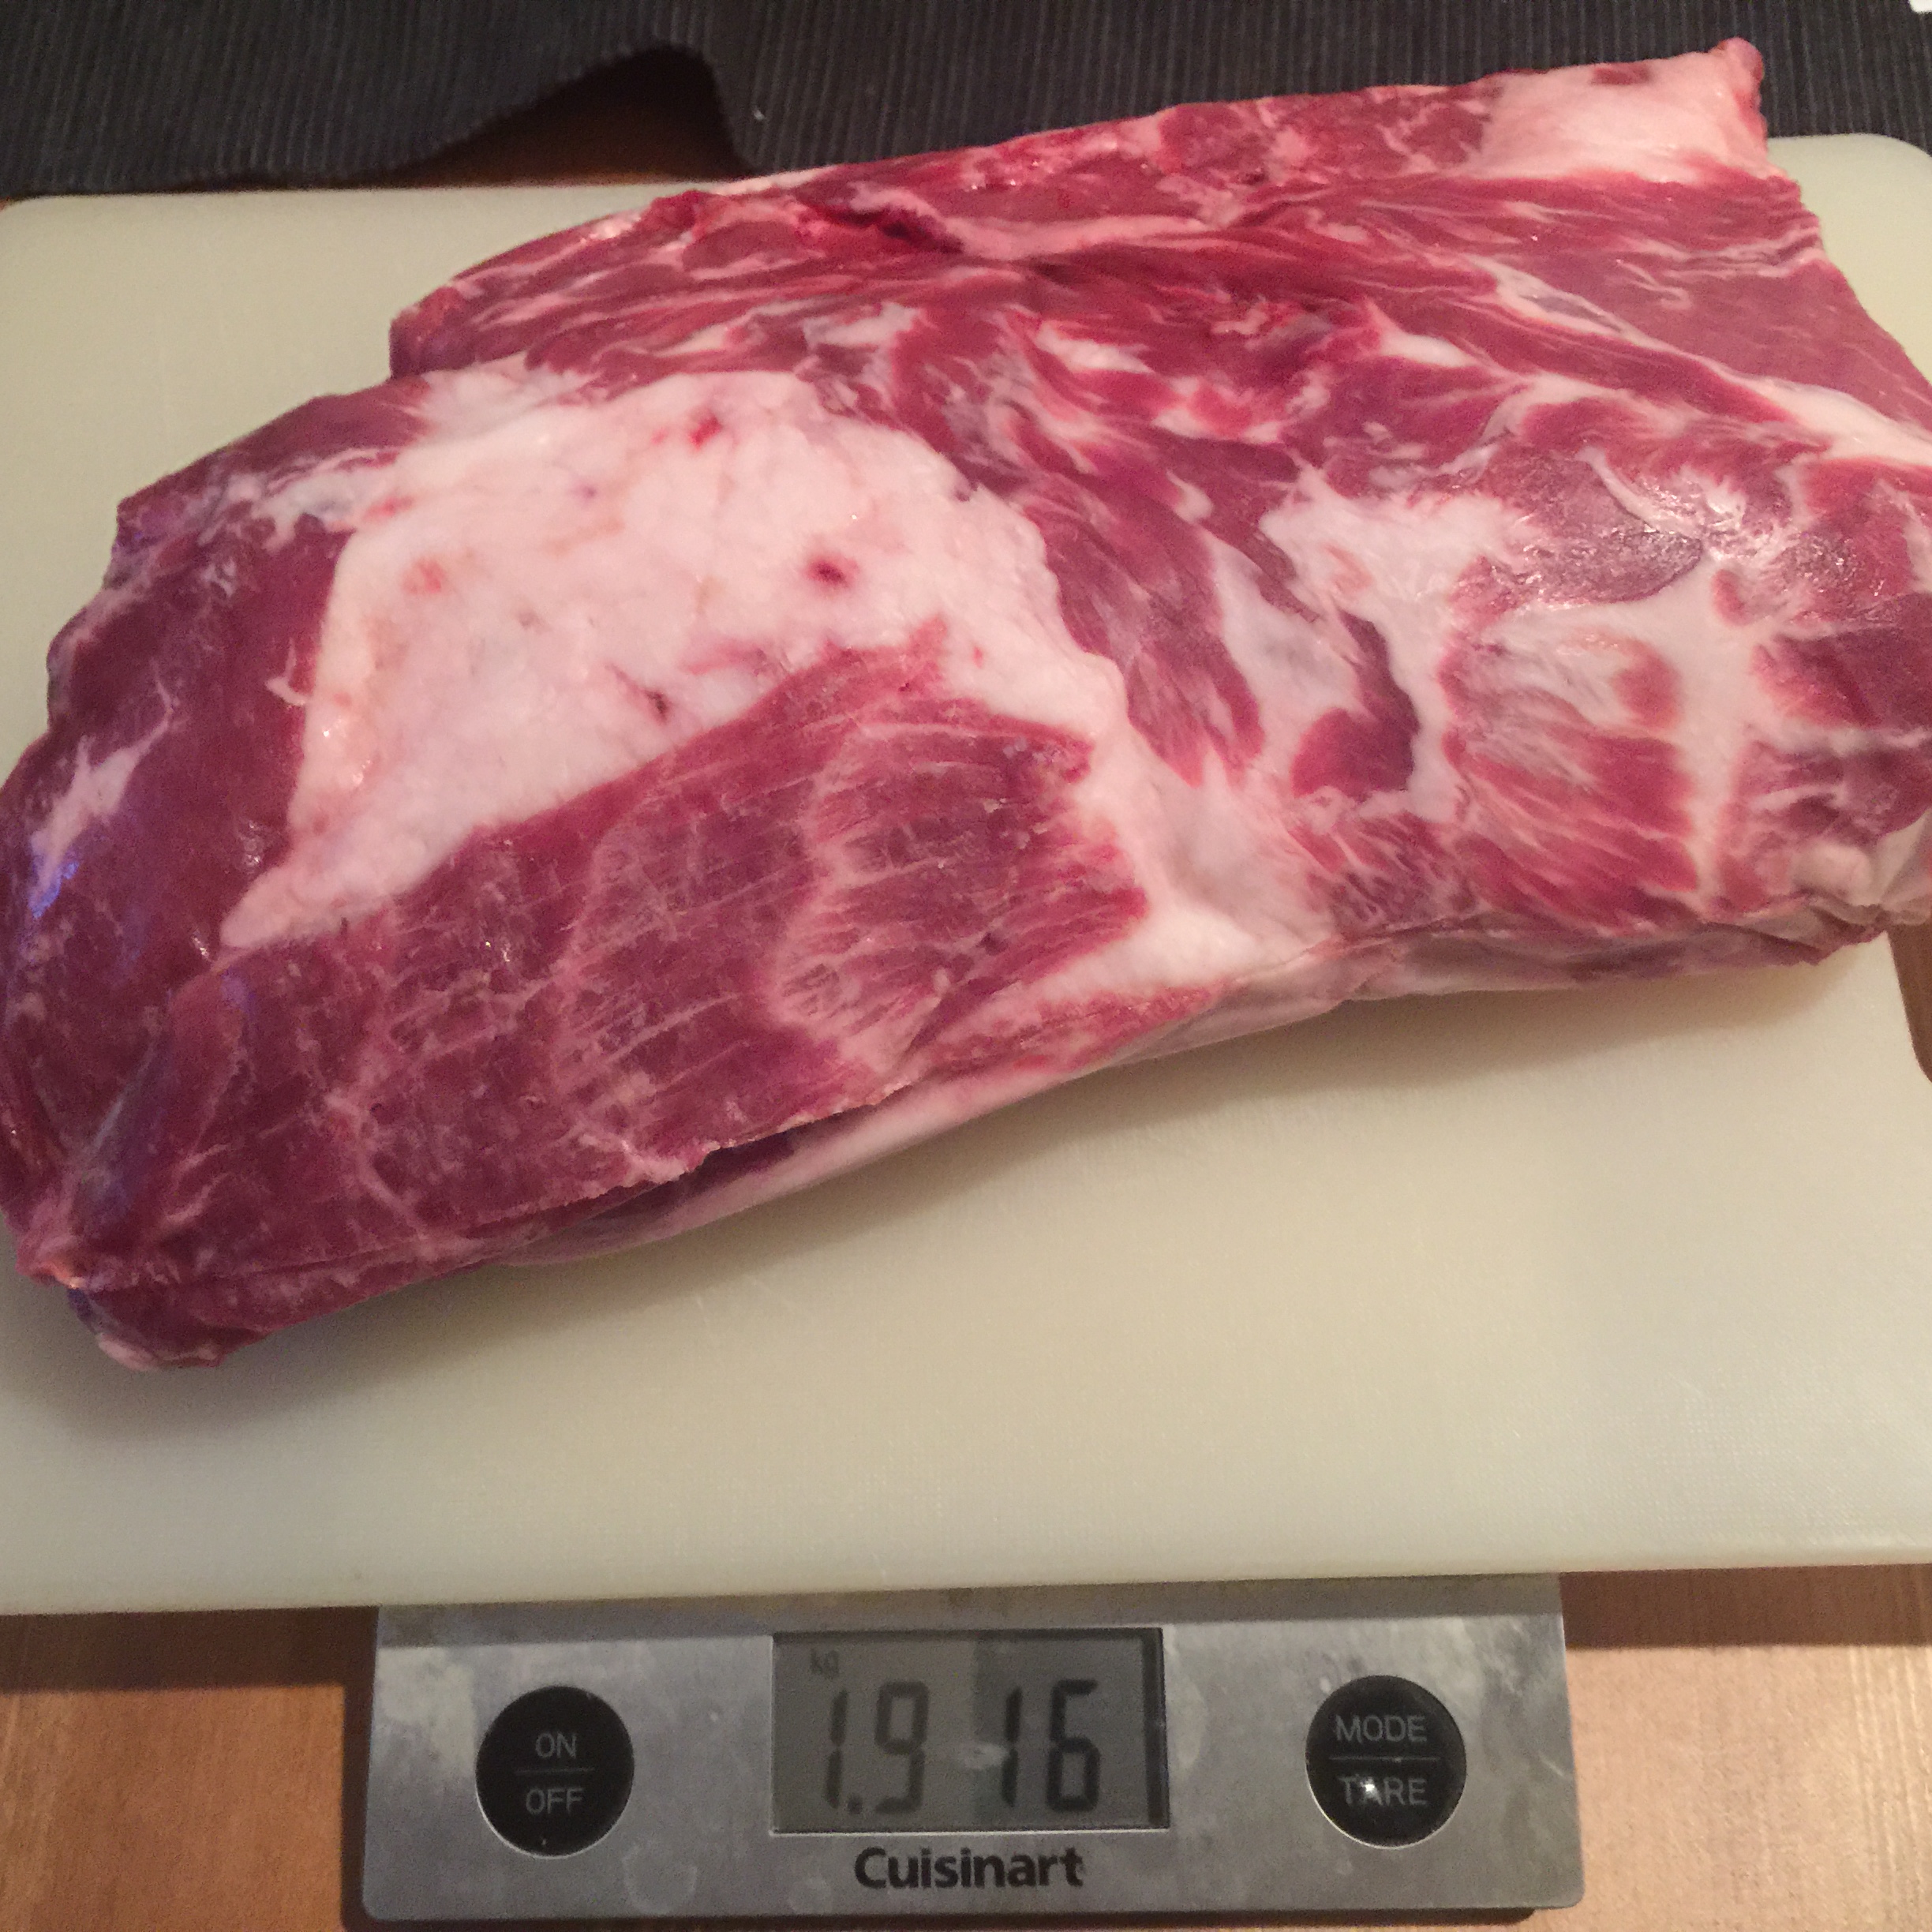
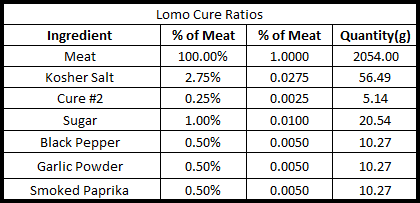
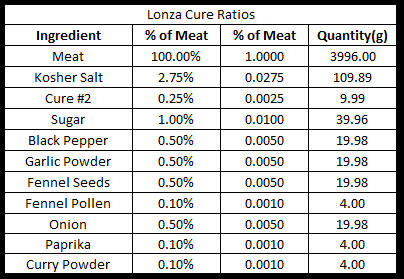
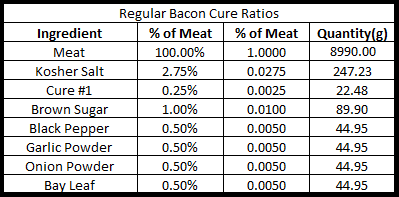
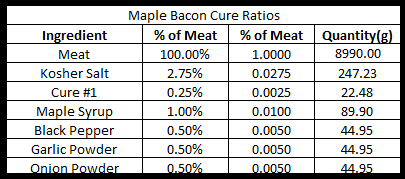
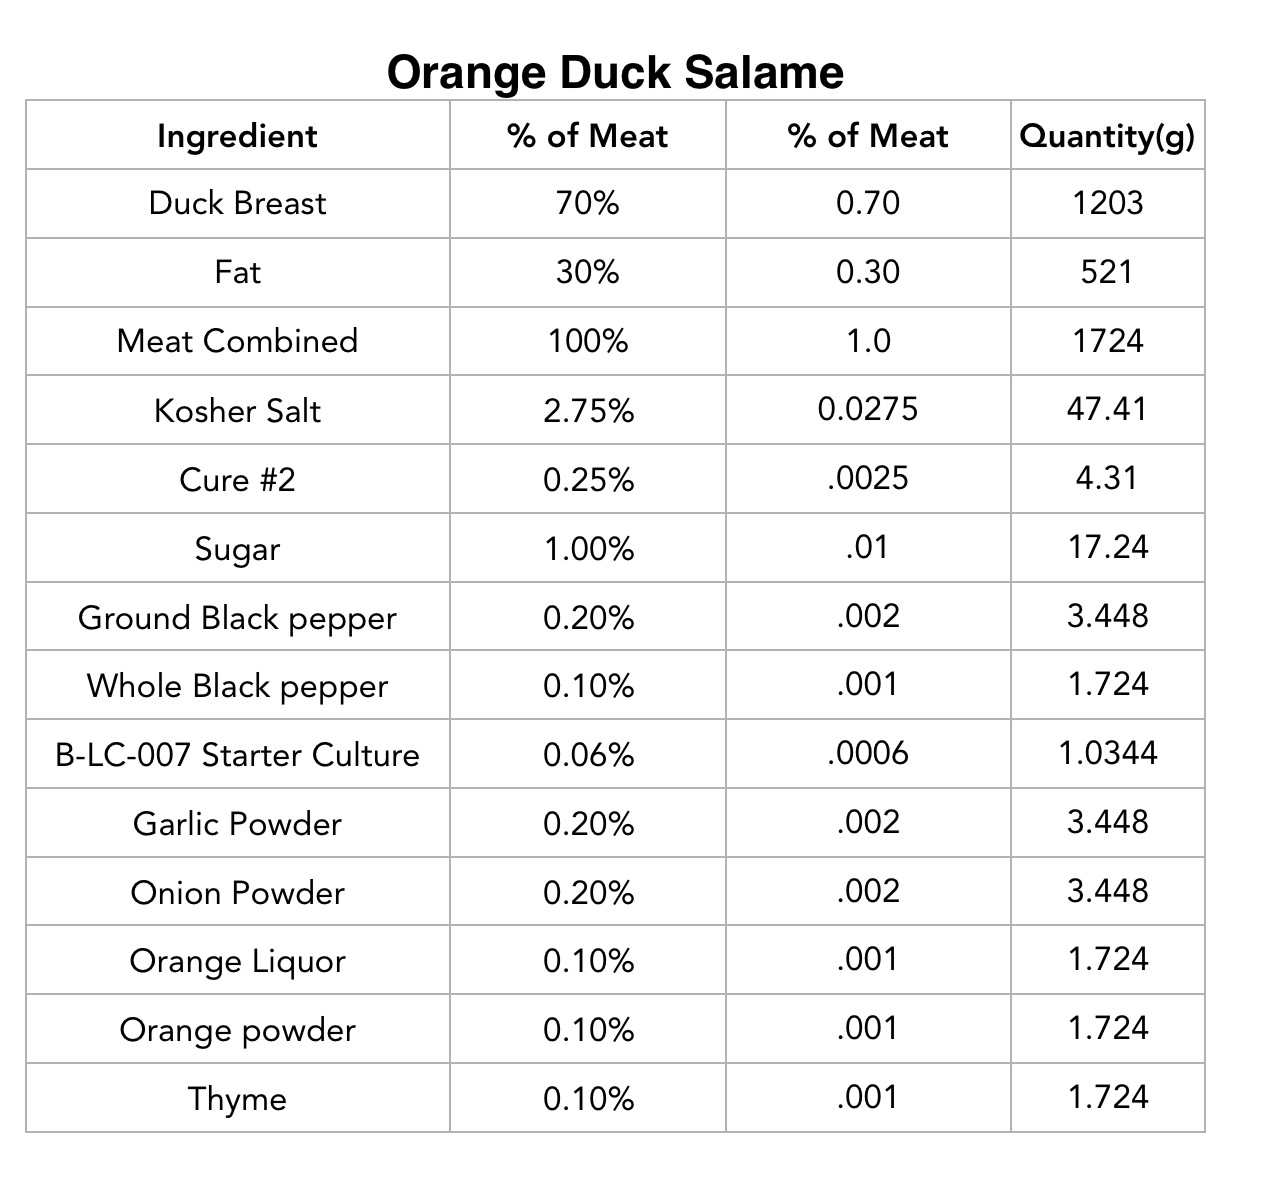
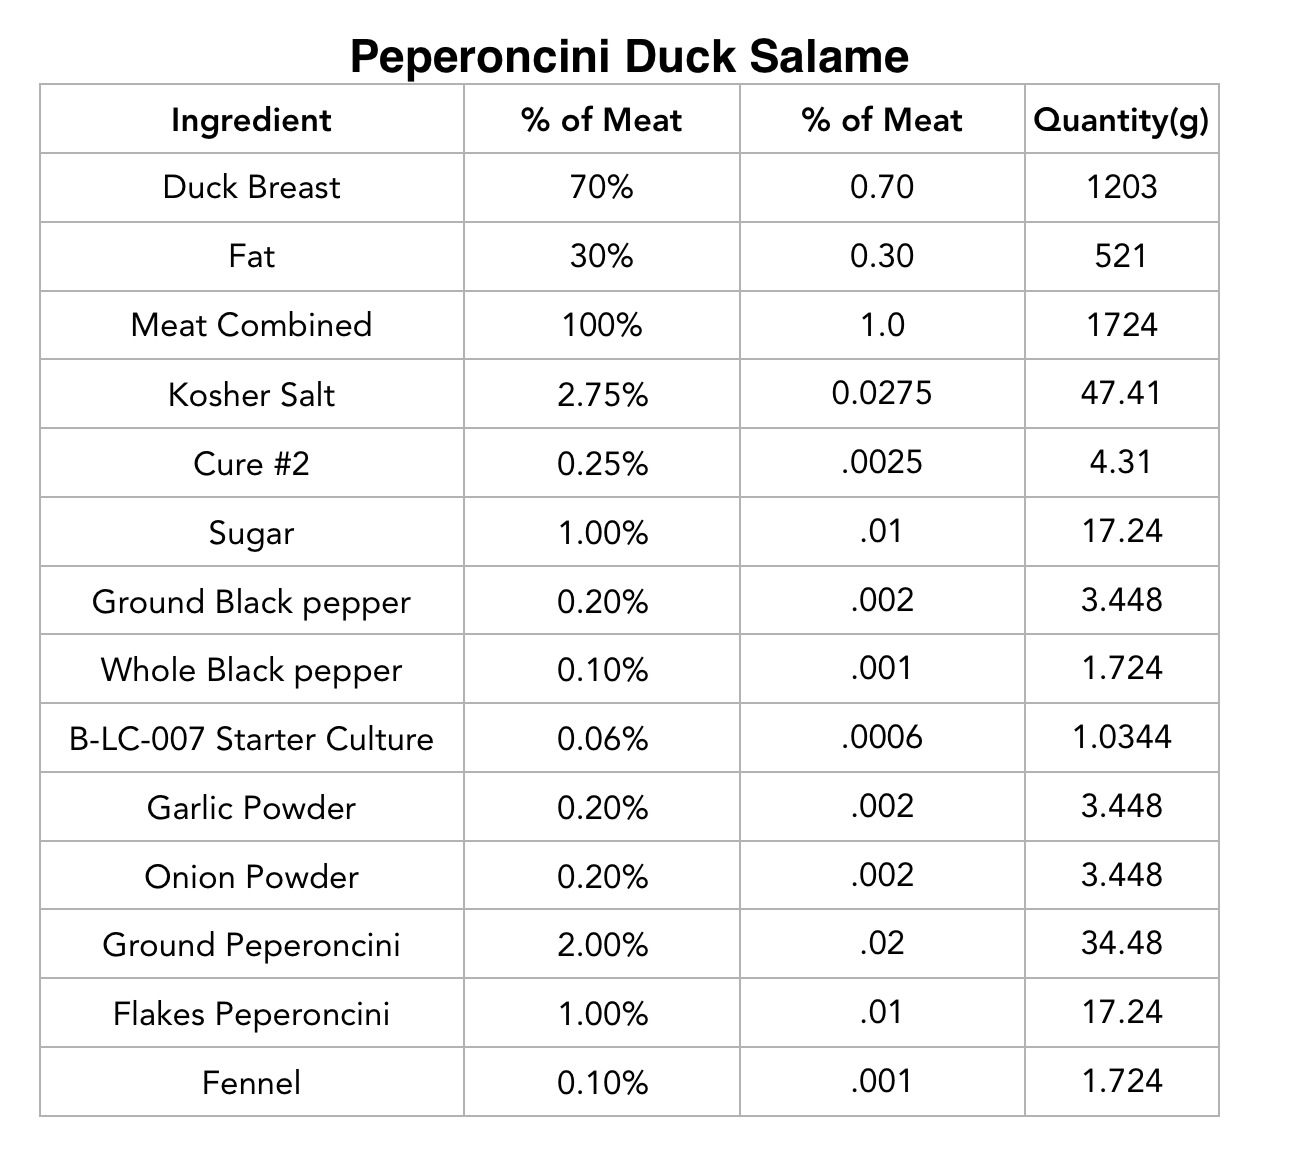
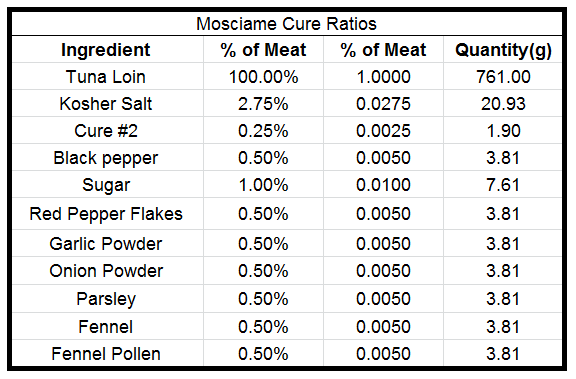
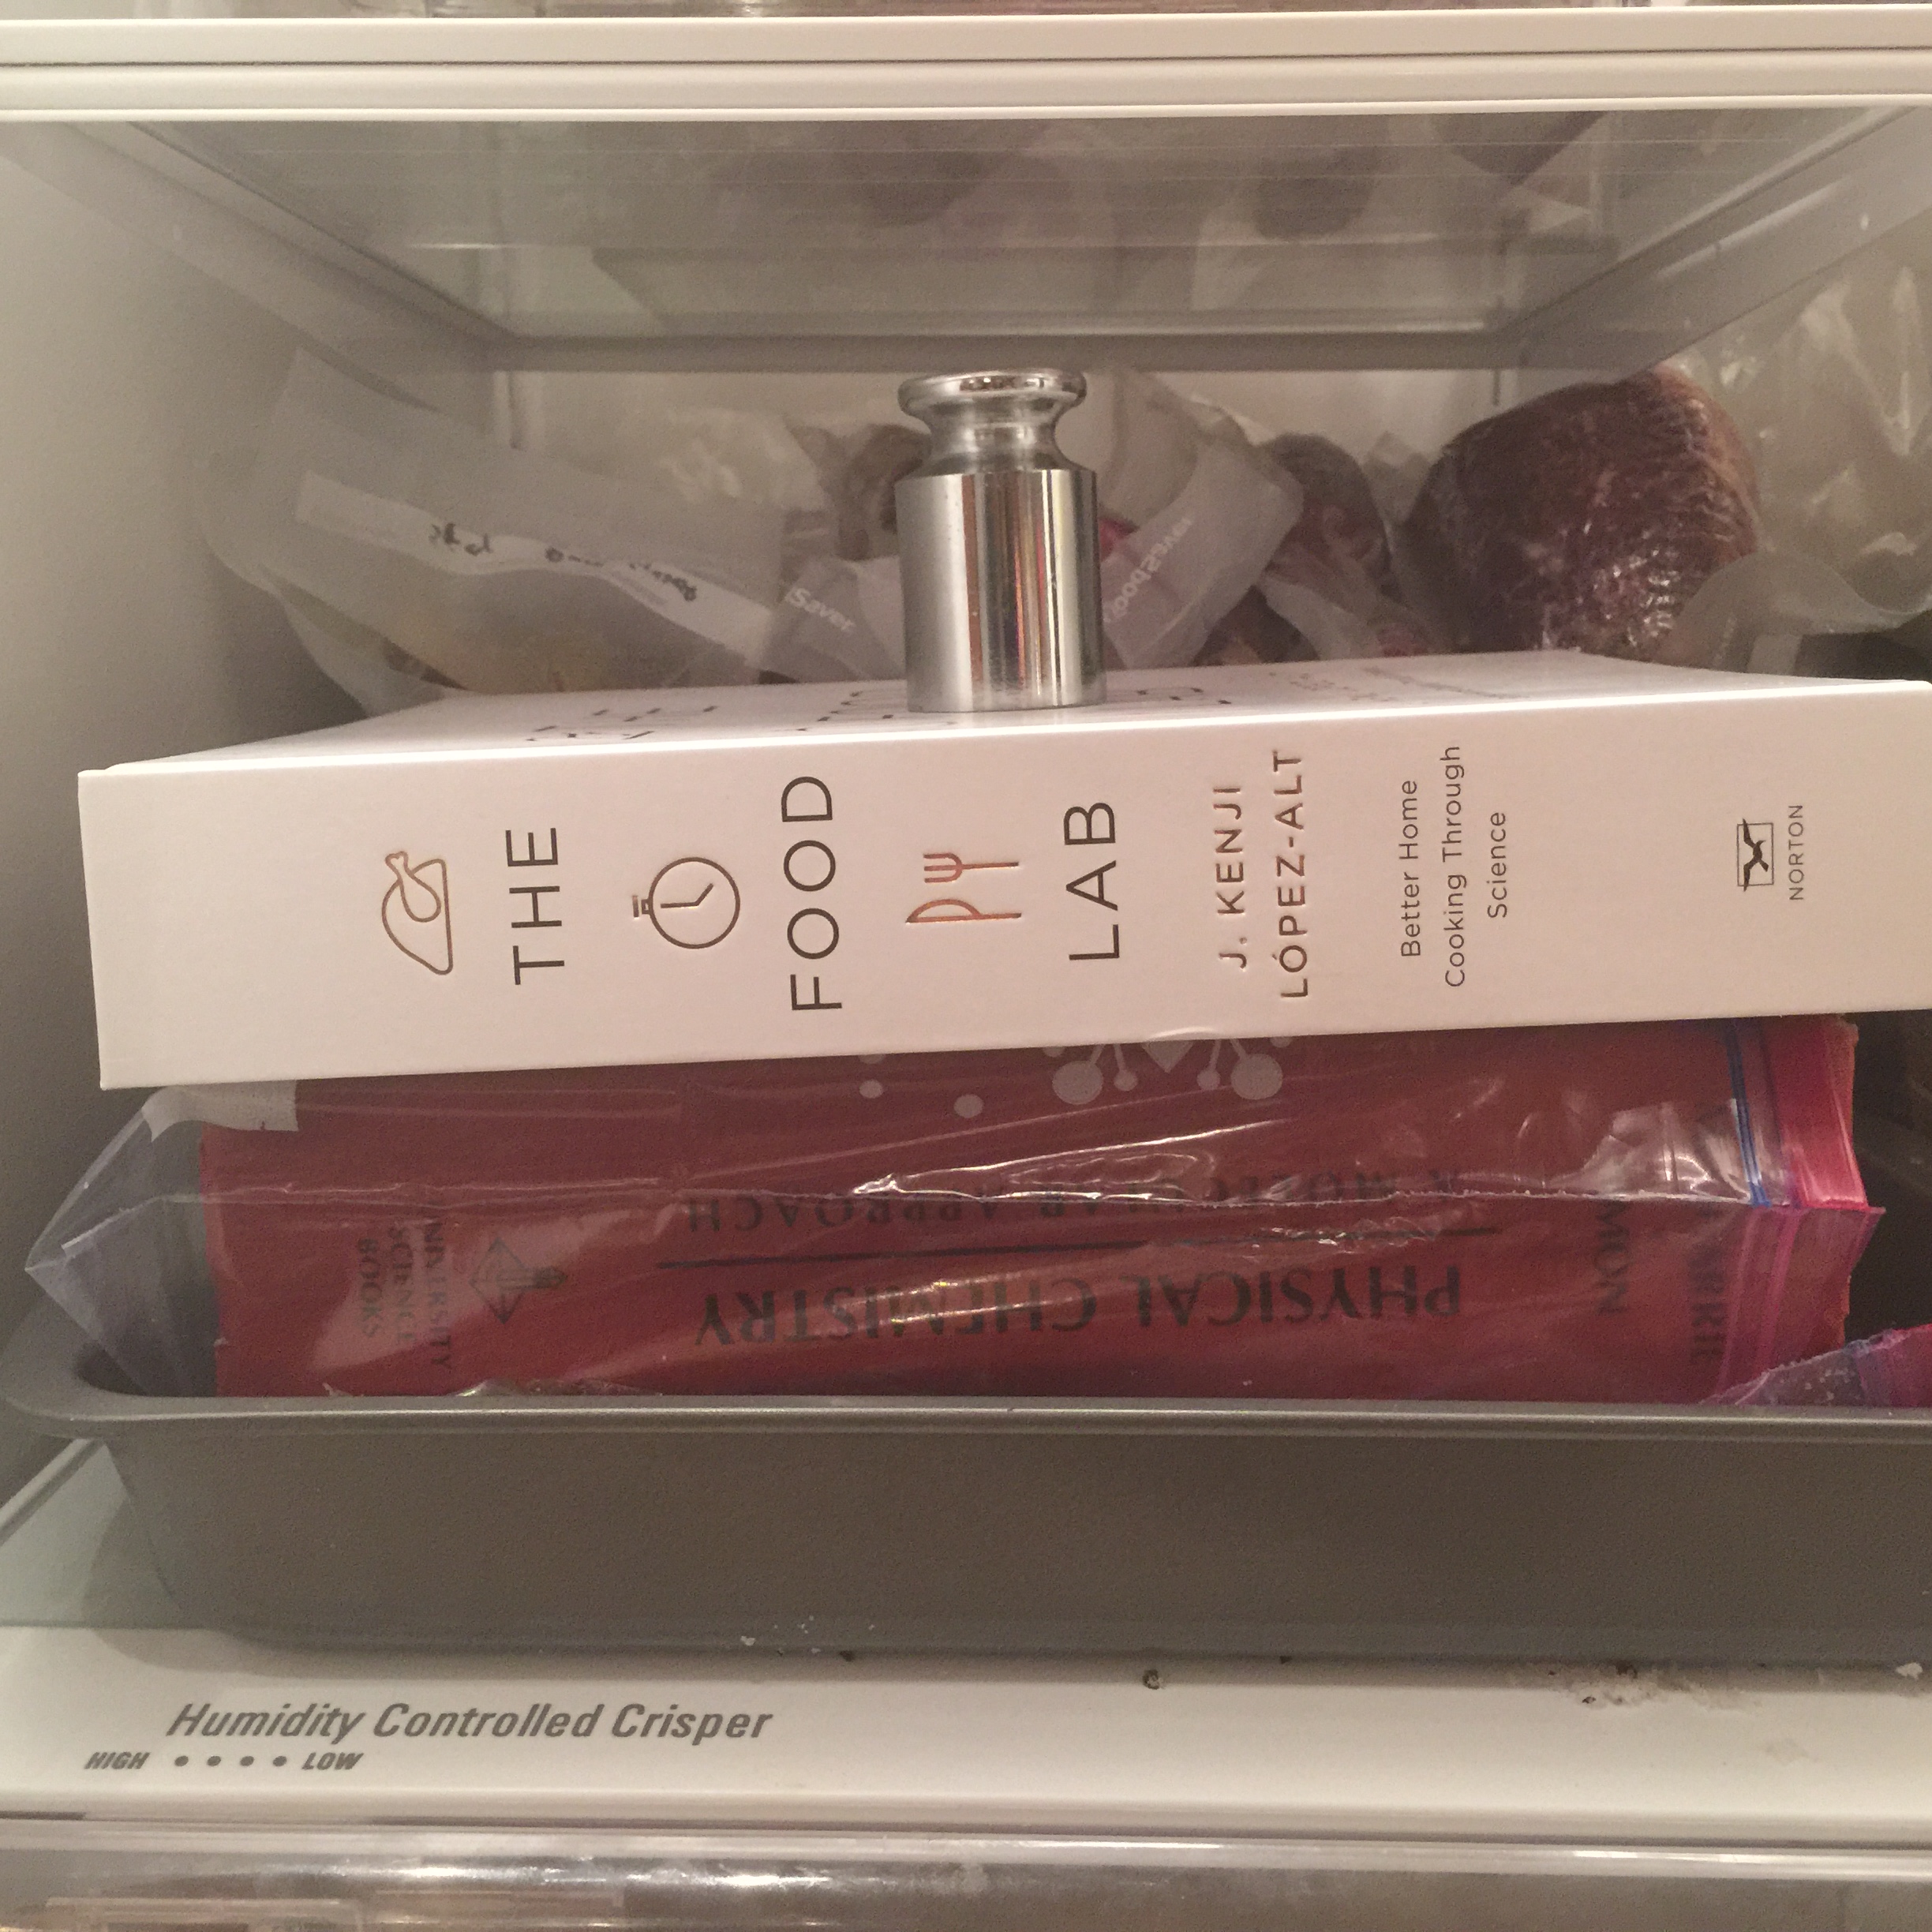
First, I weighed the meat and put the value into my curing spreadsheet.

capocollo cure ratio

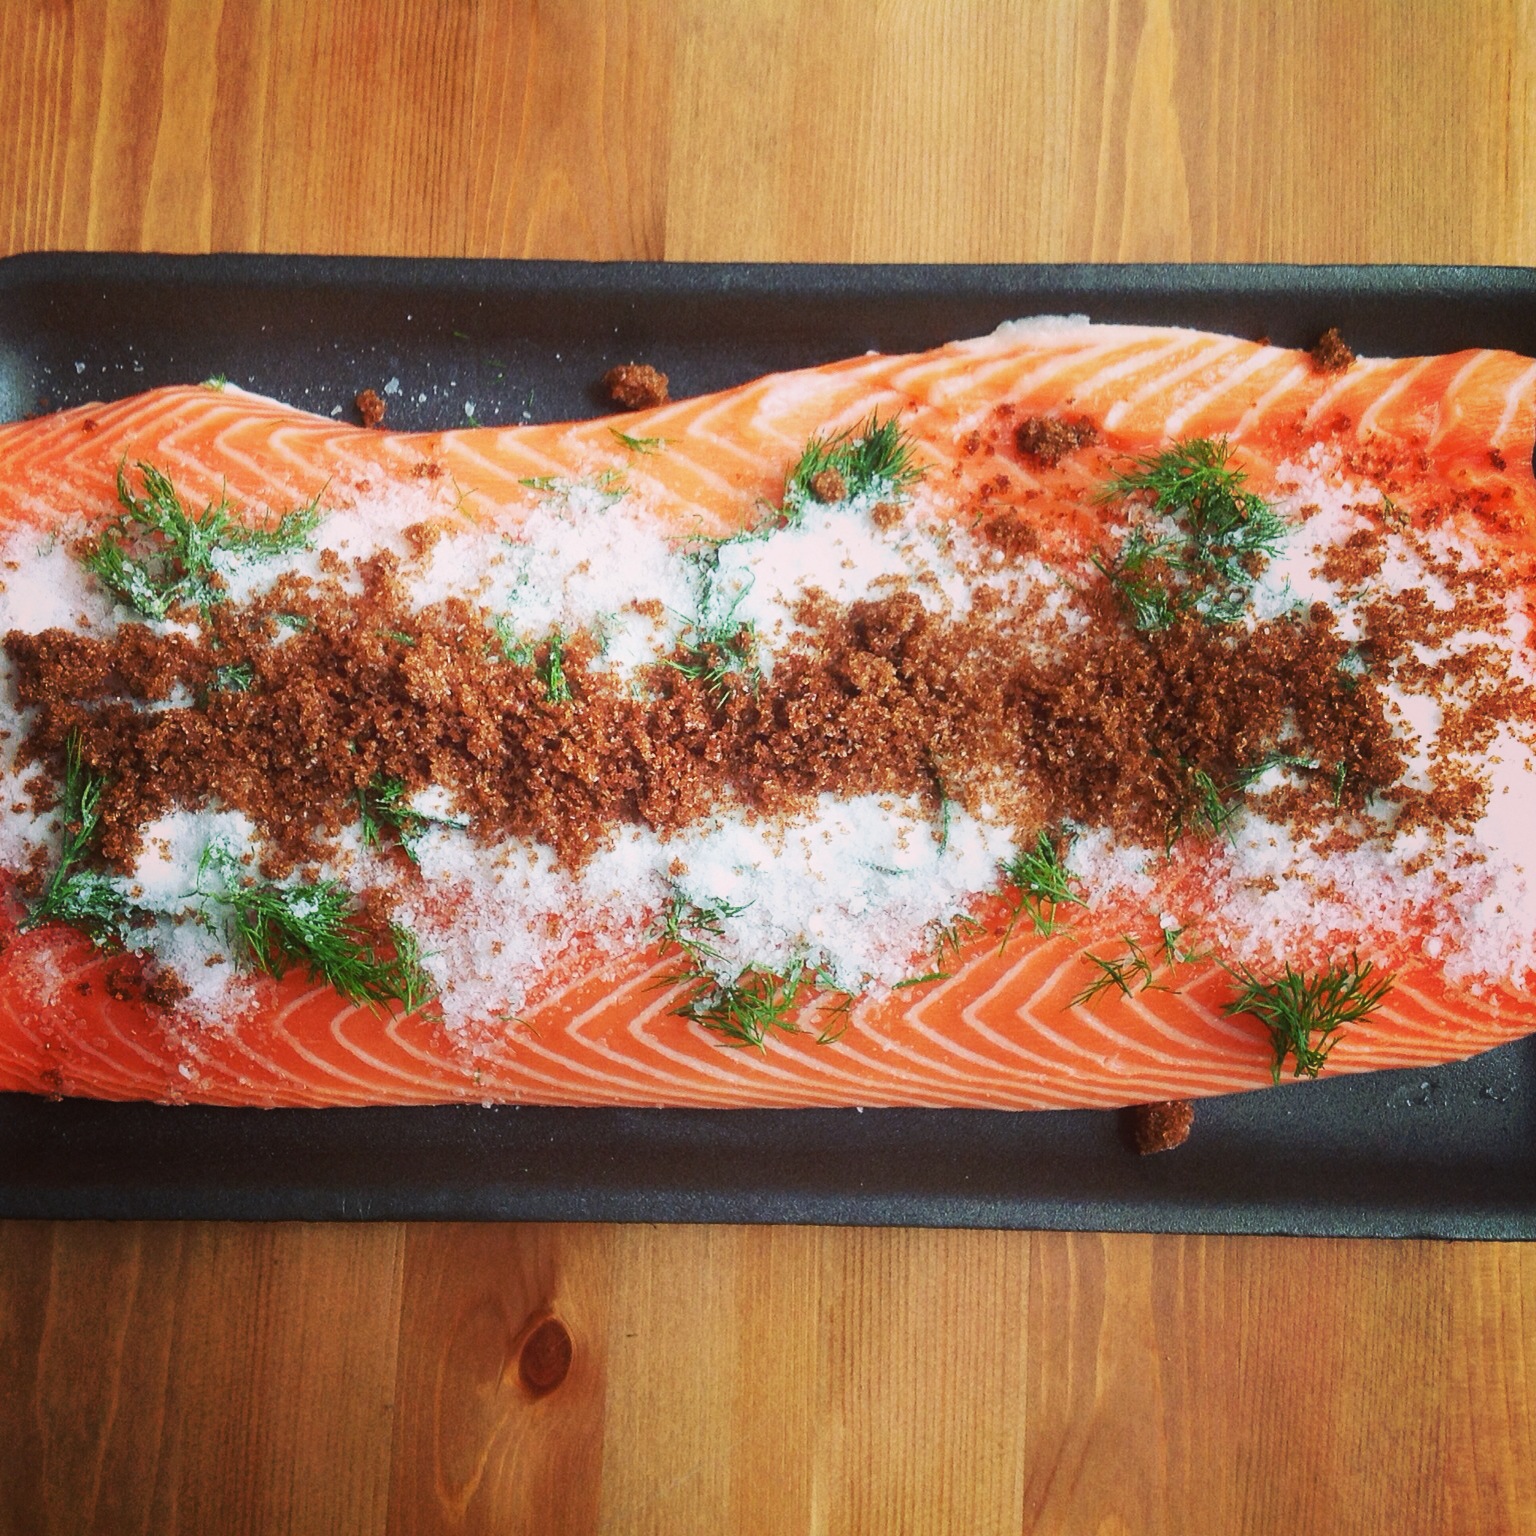
All of the cure ingredients were weighed.

coppacure

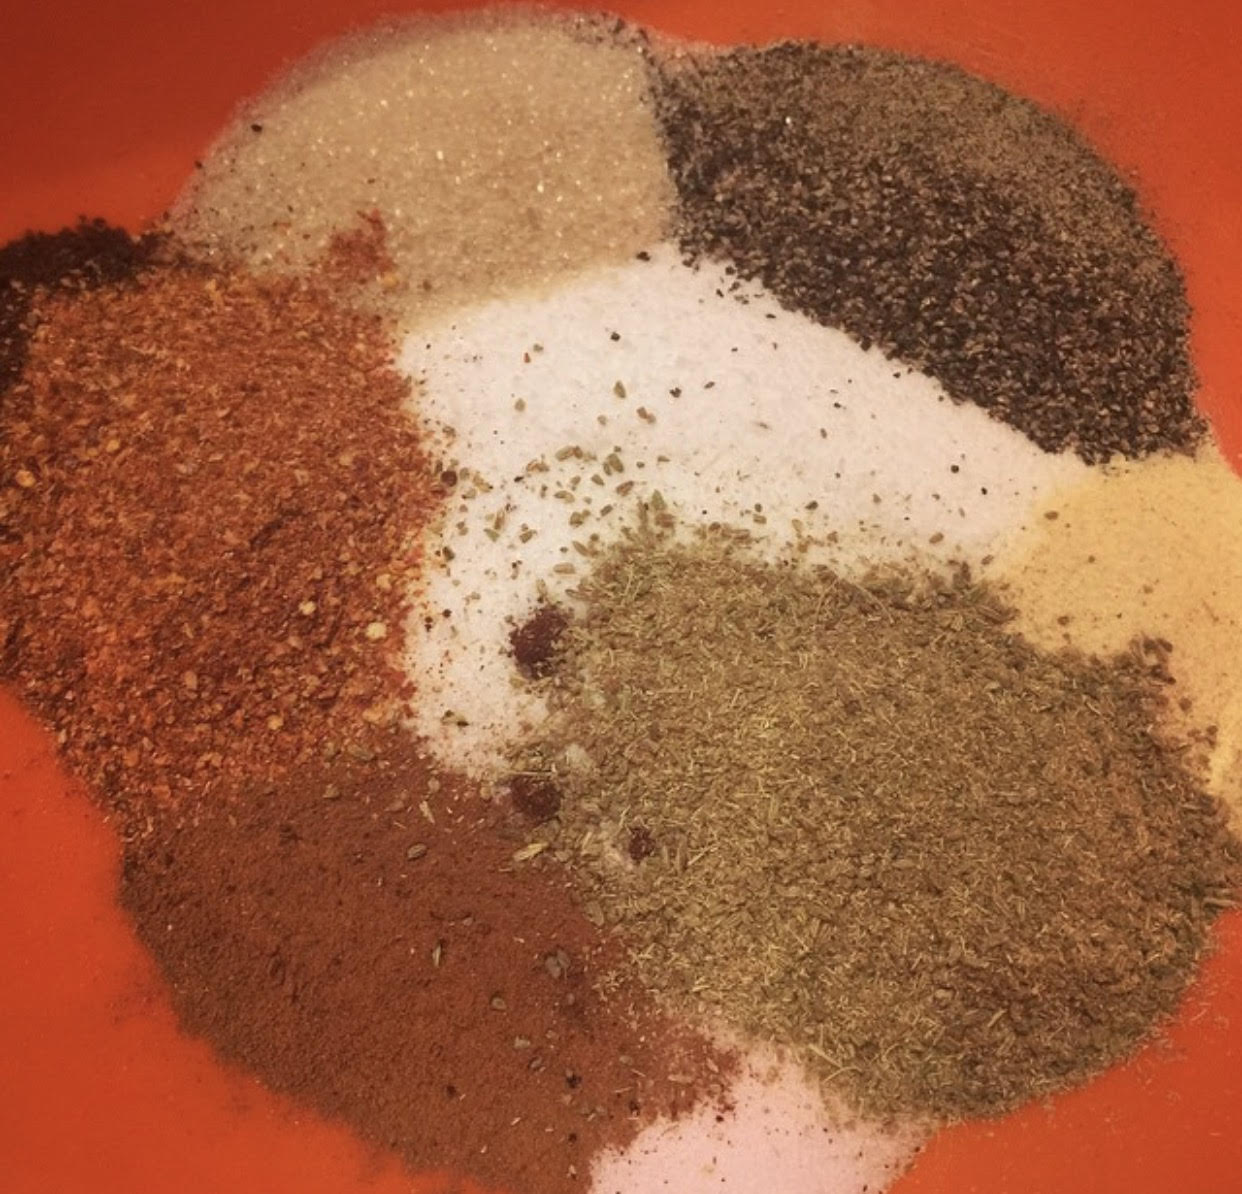
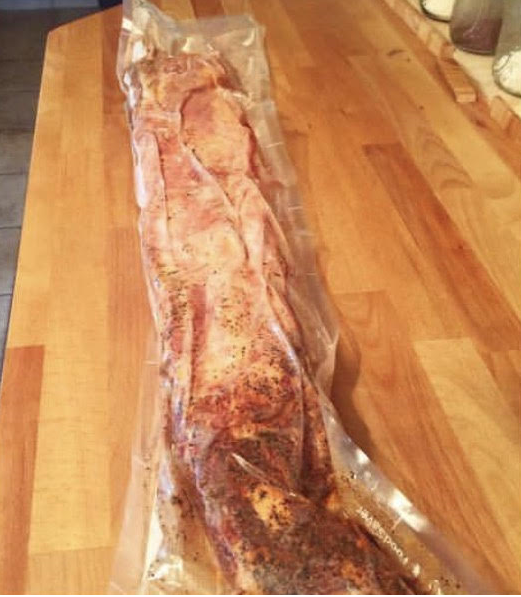
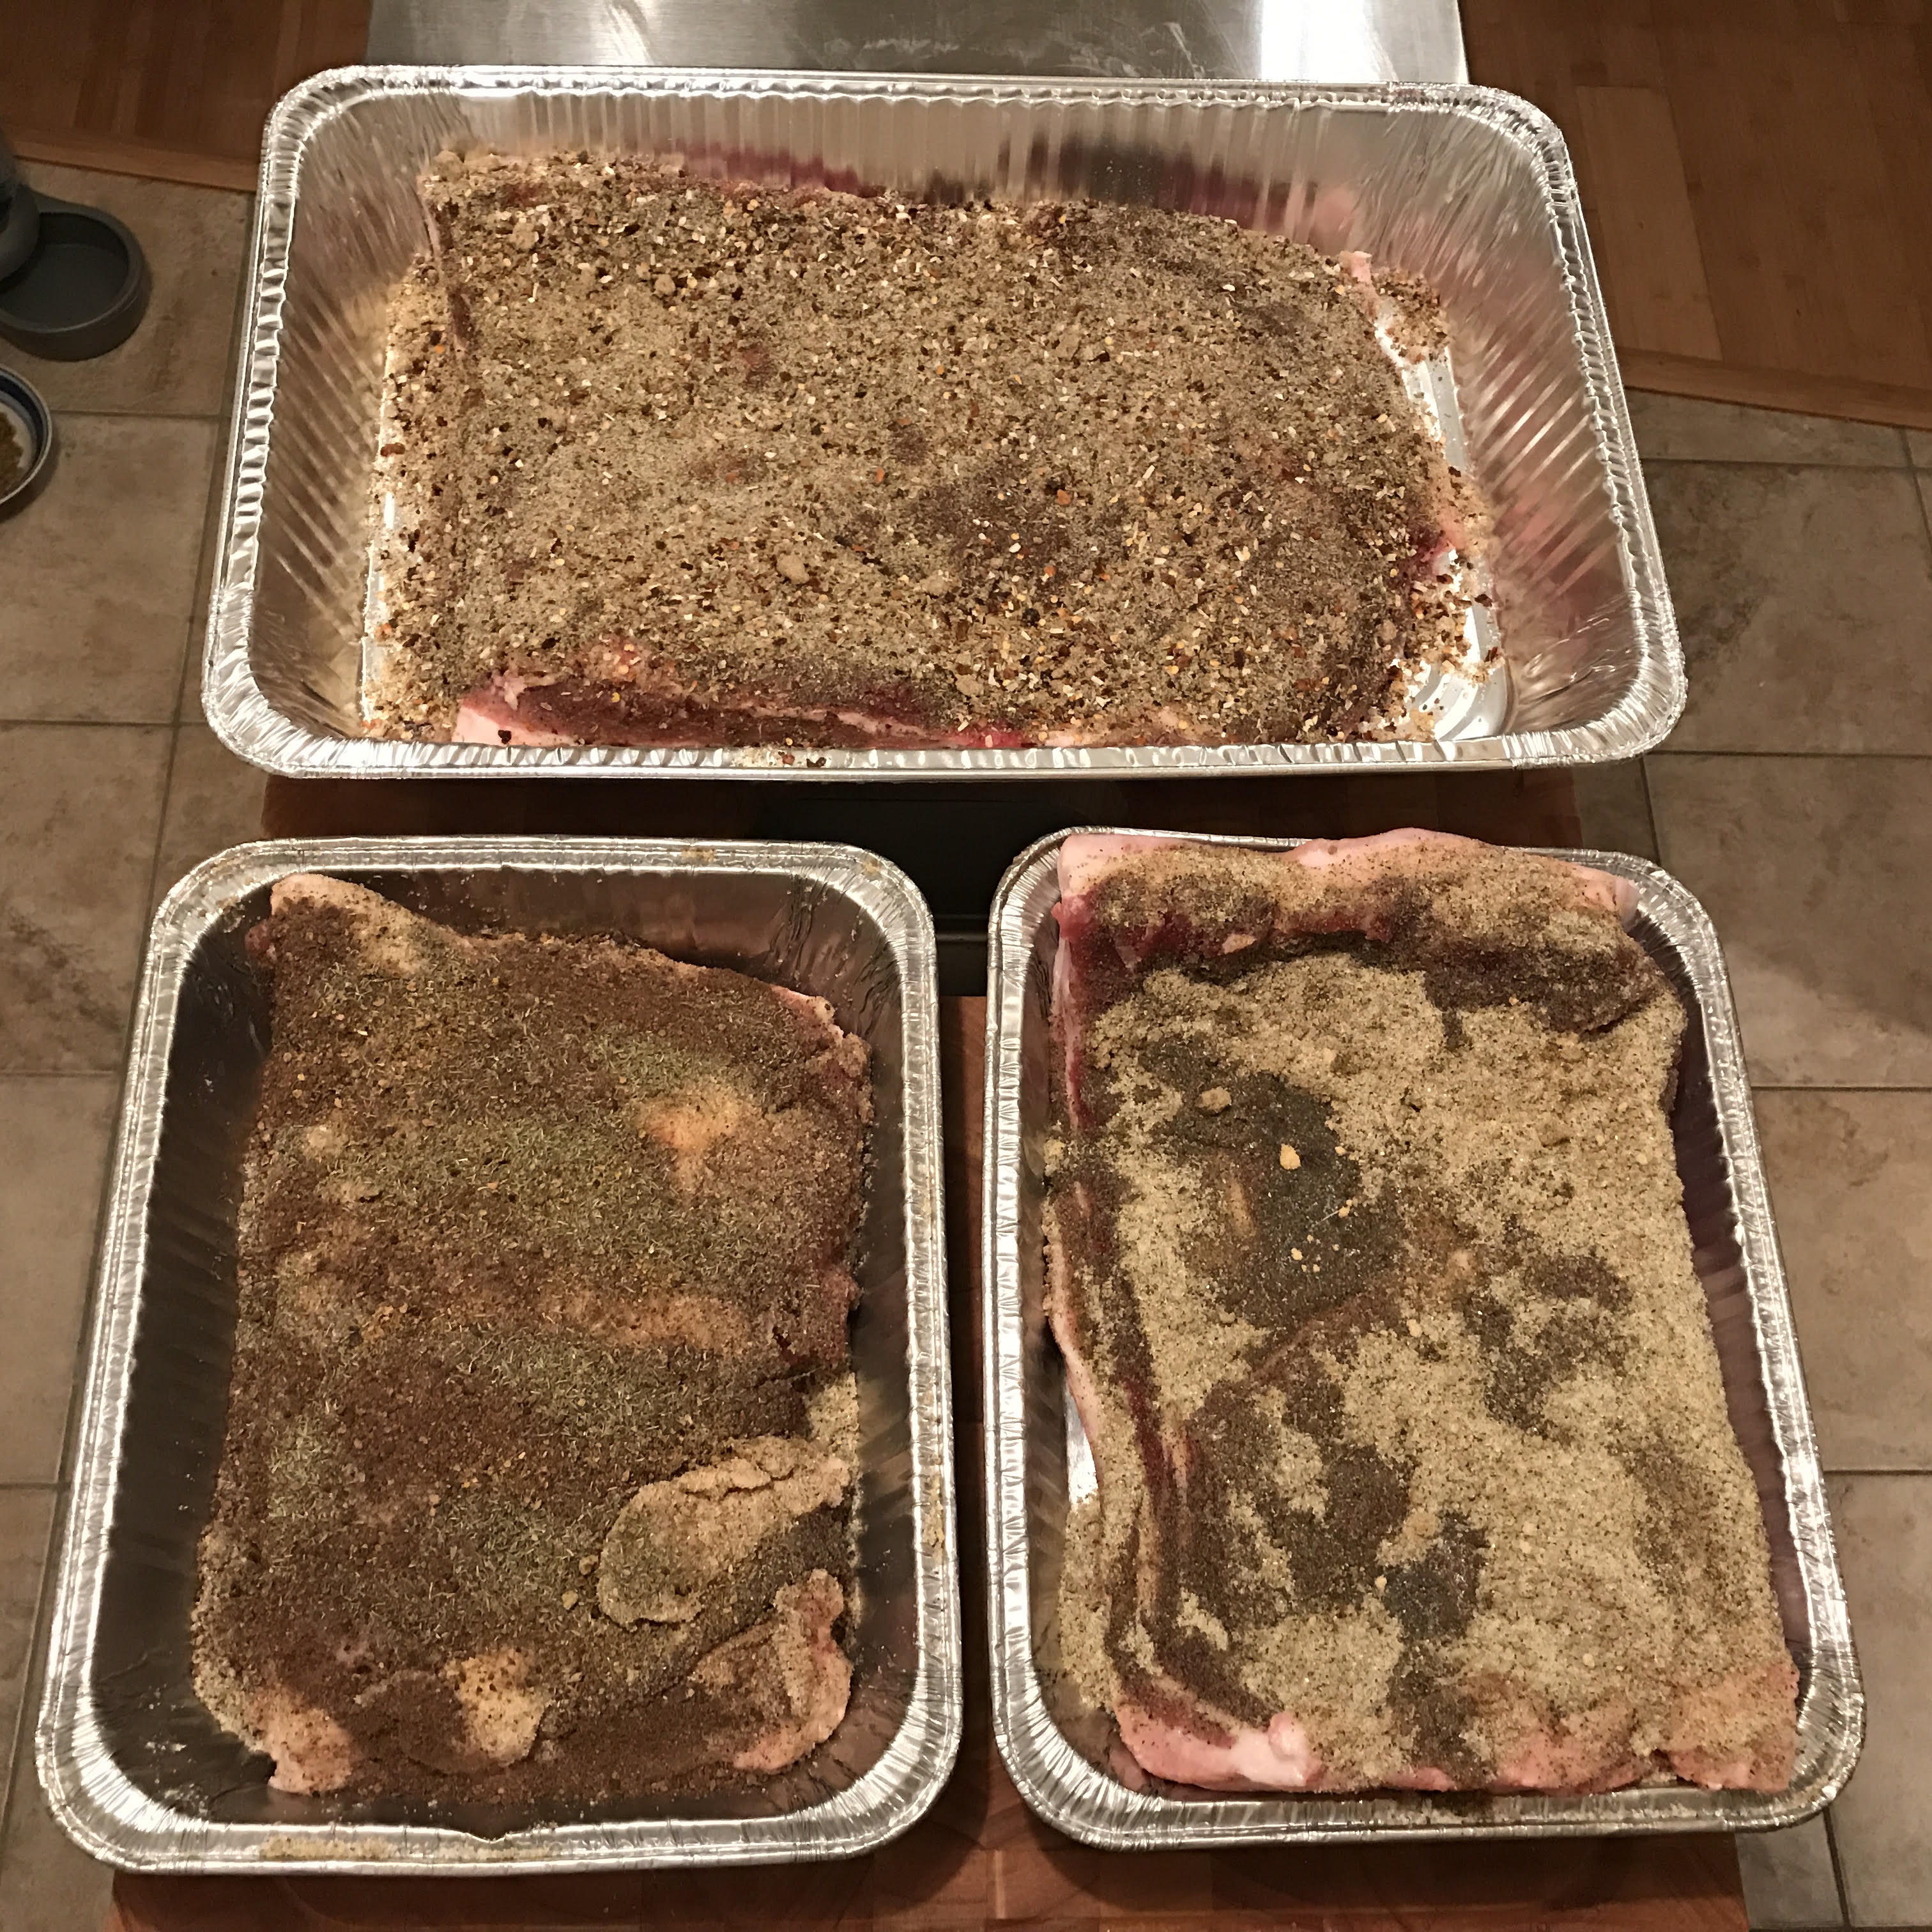
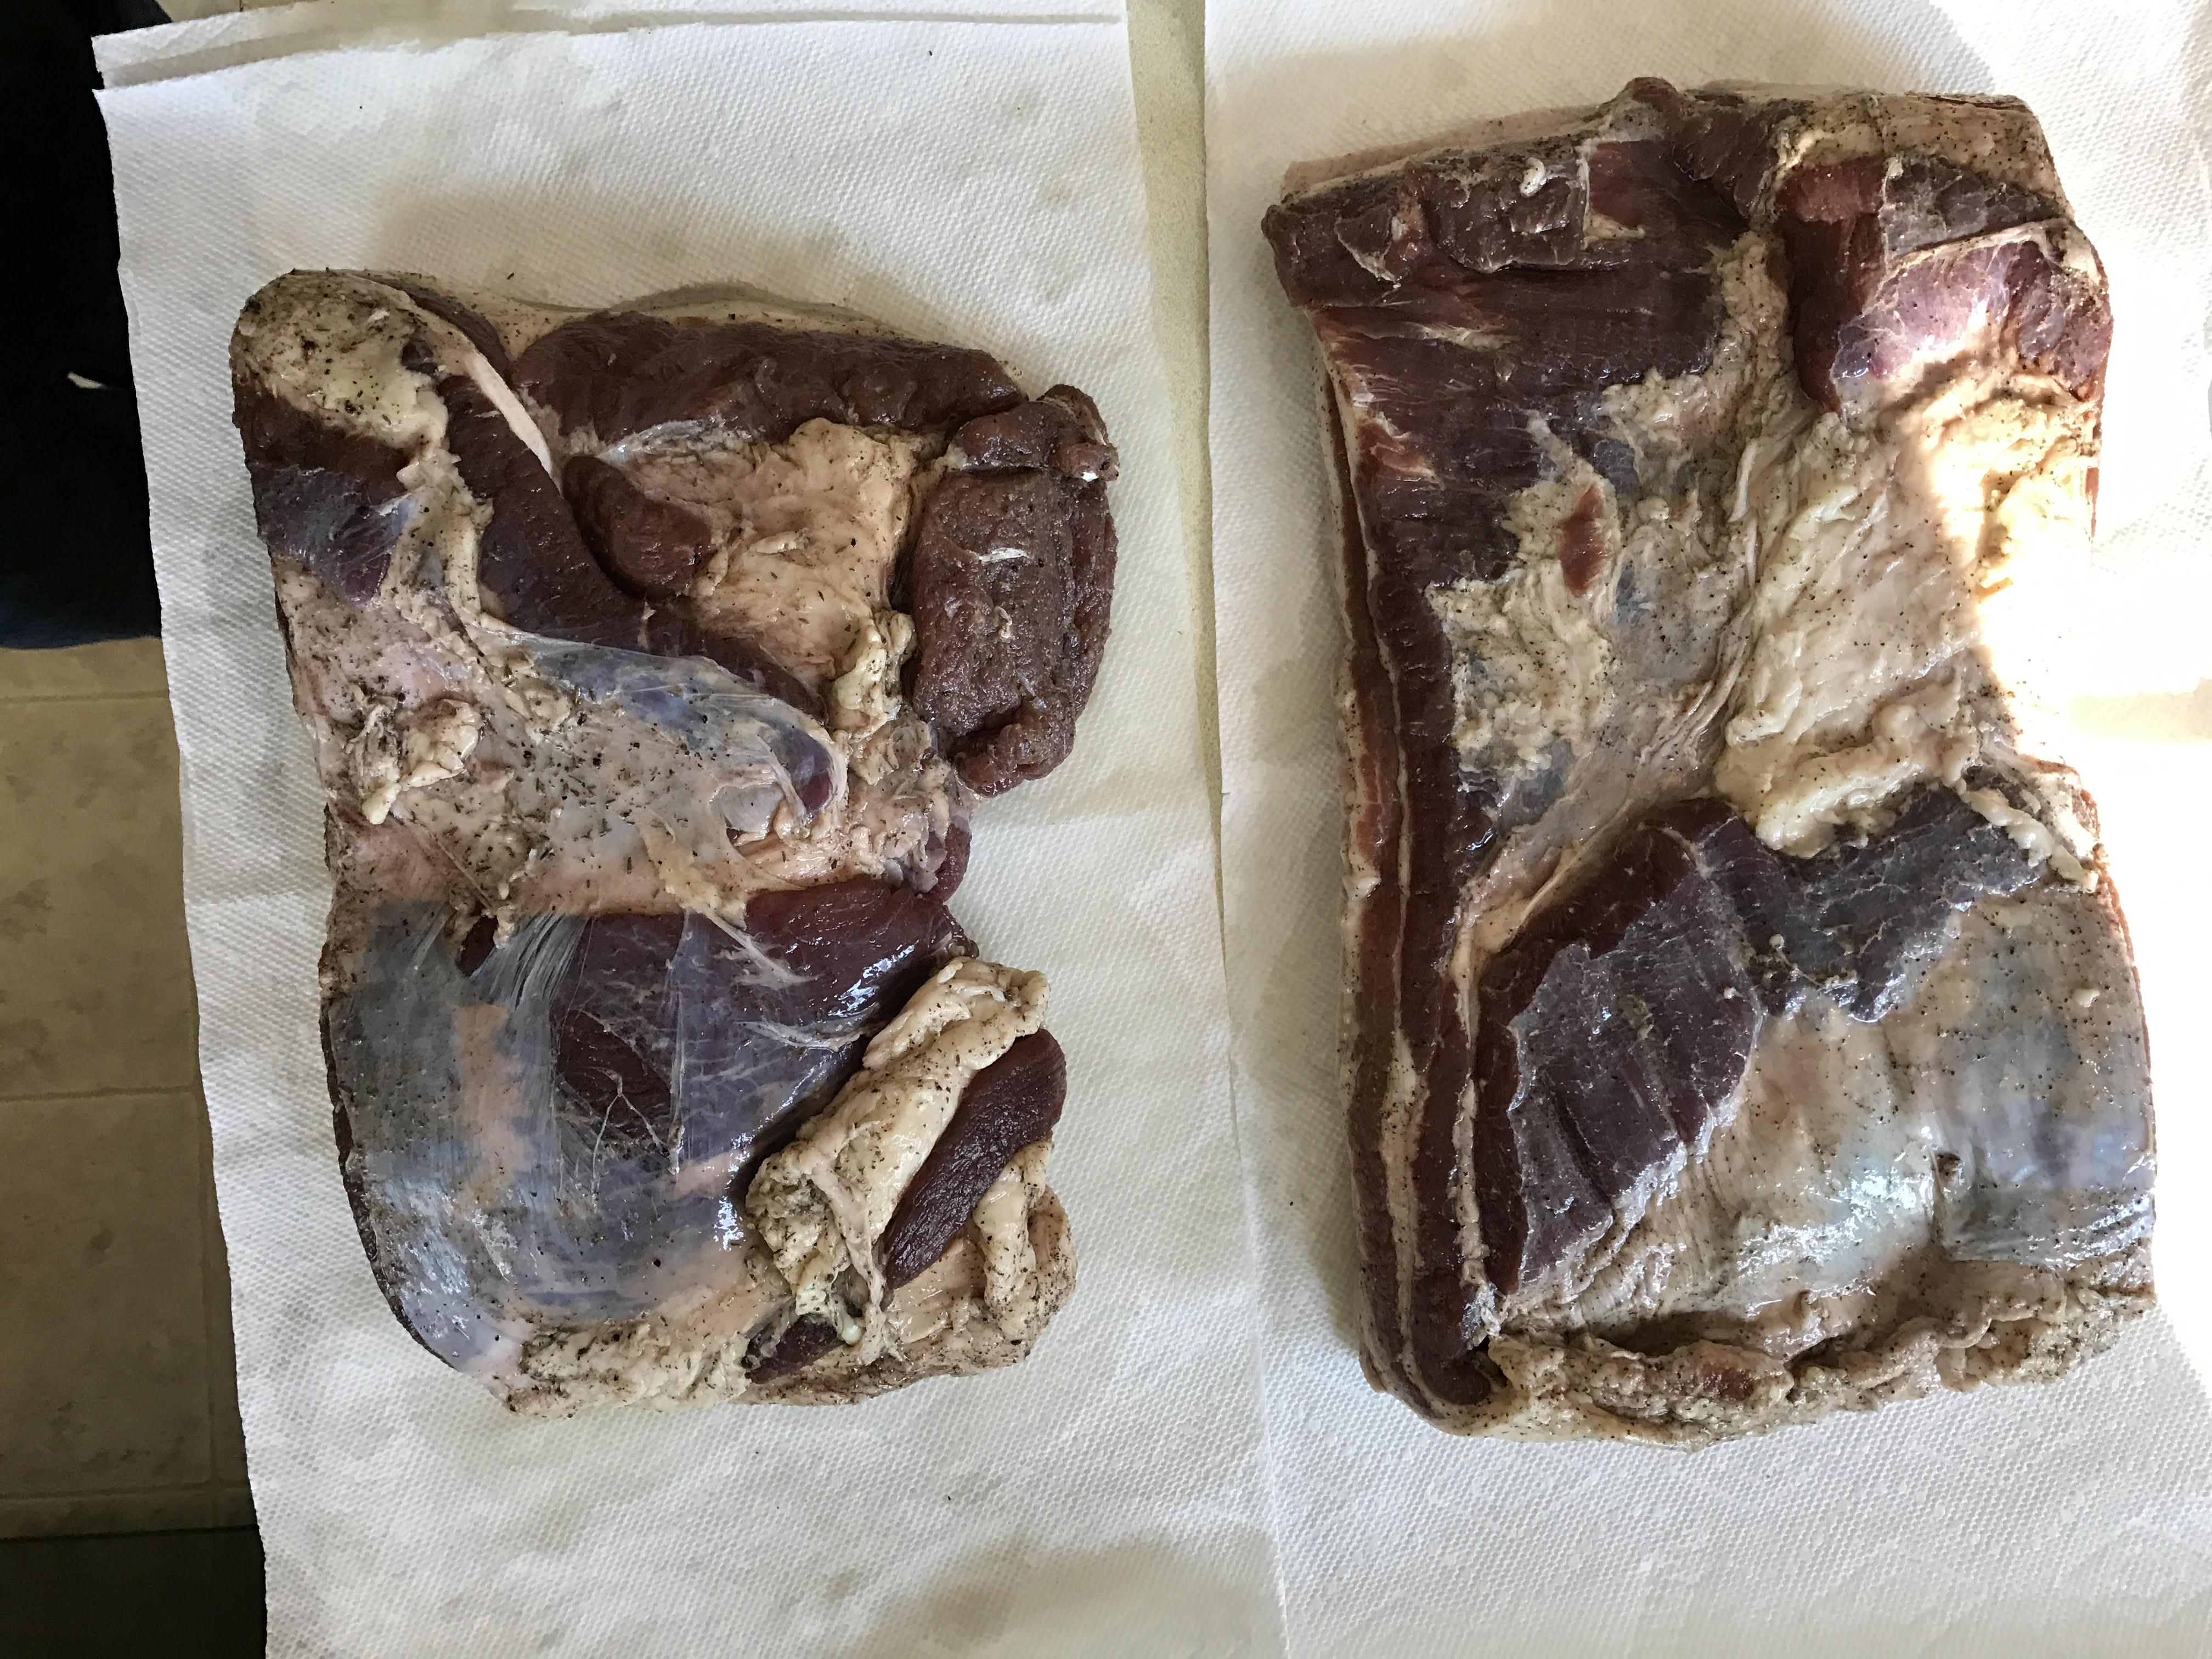
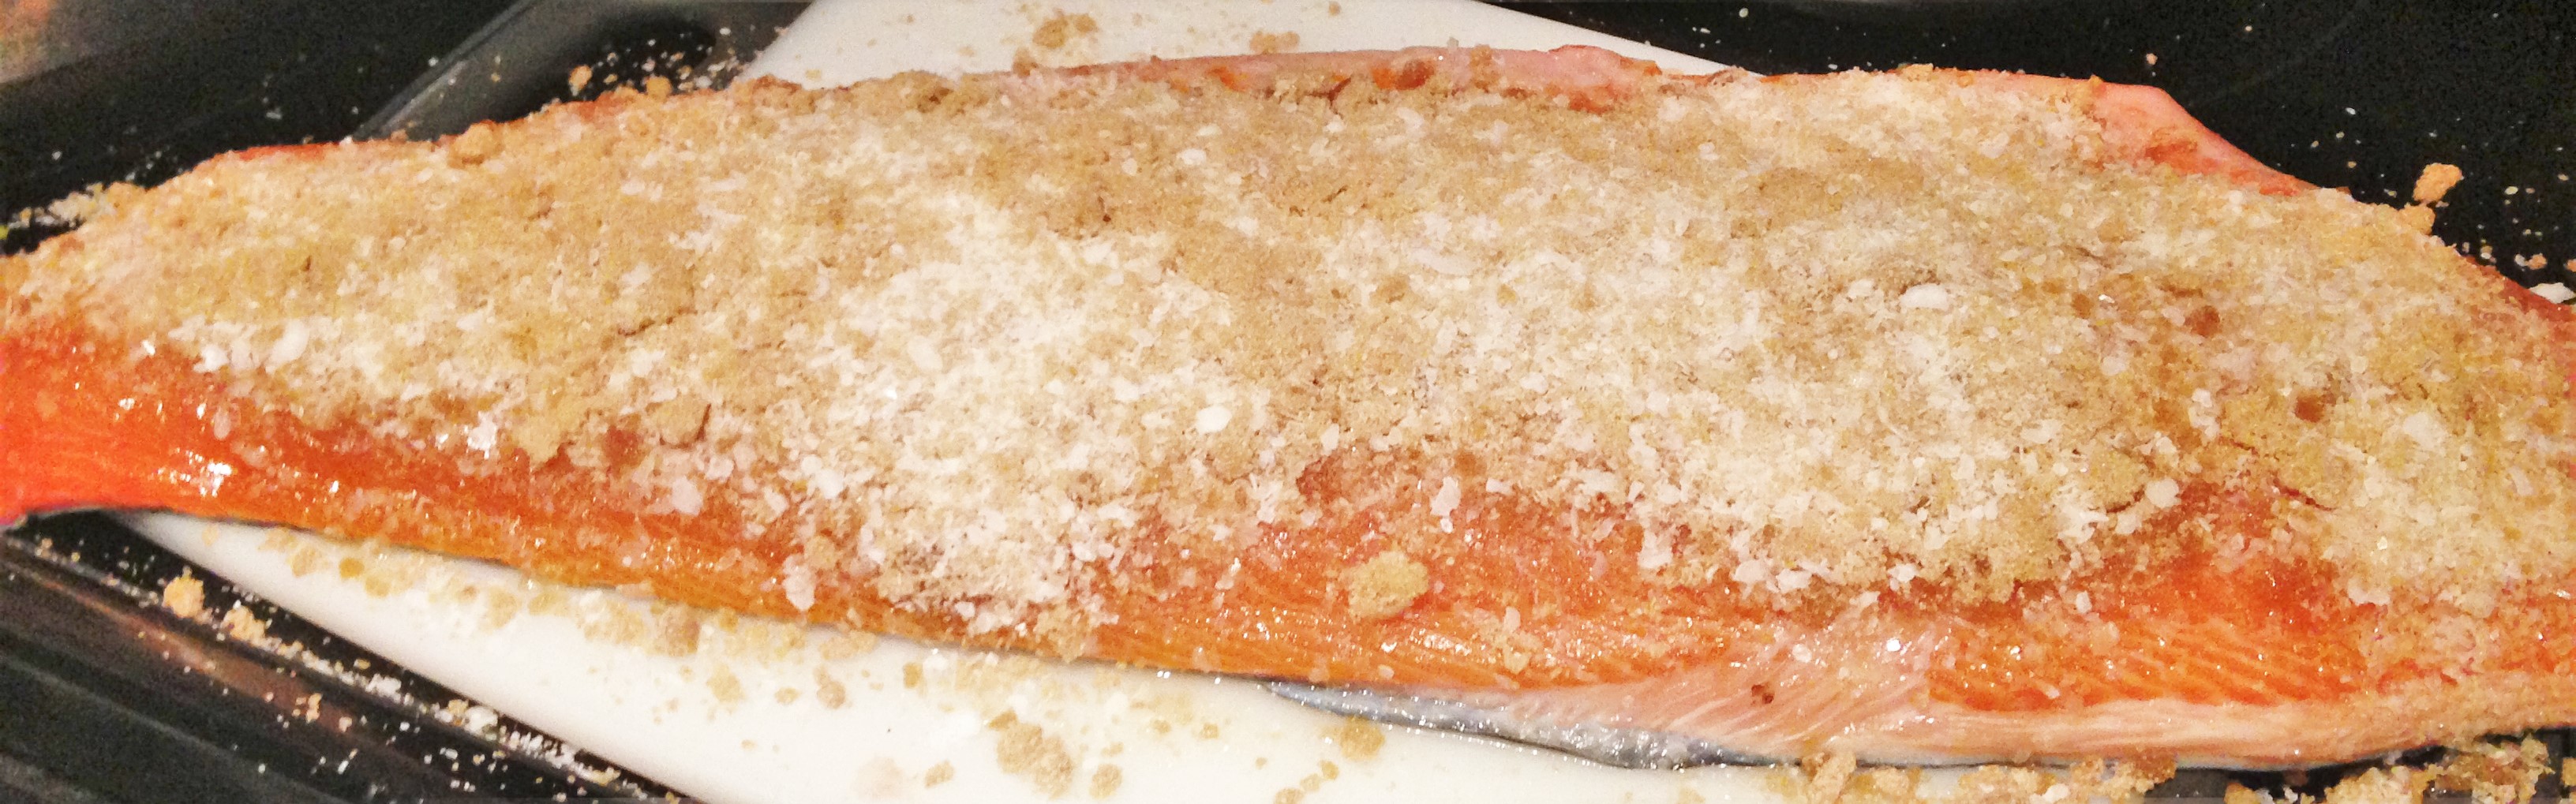
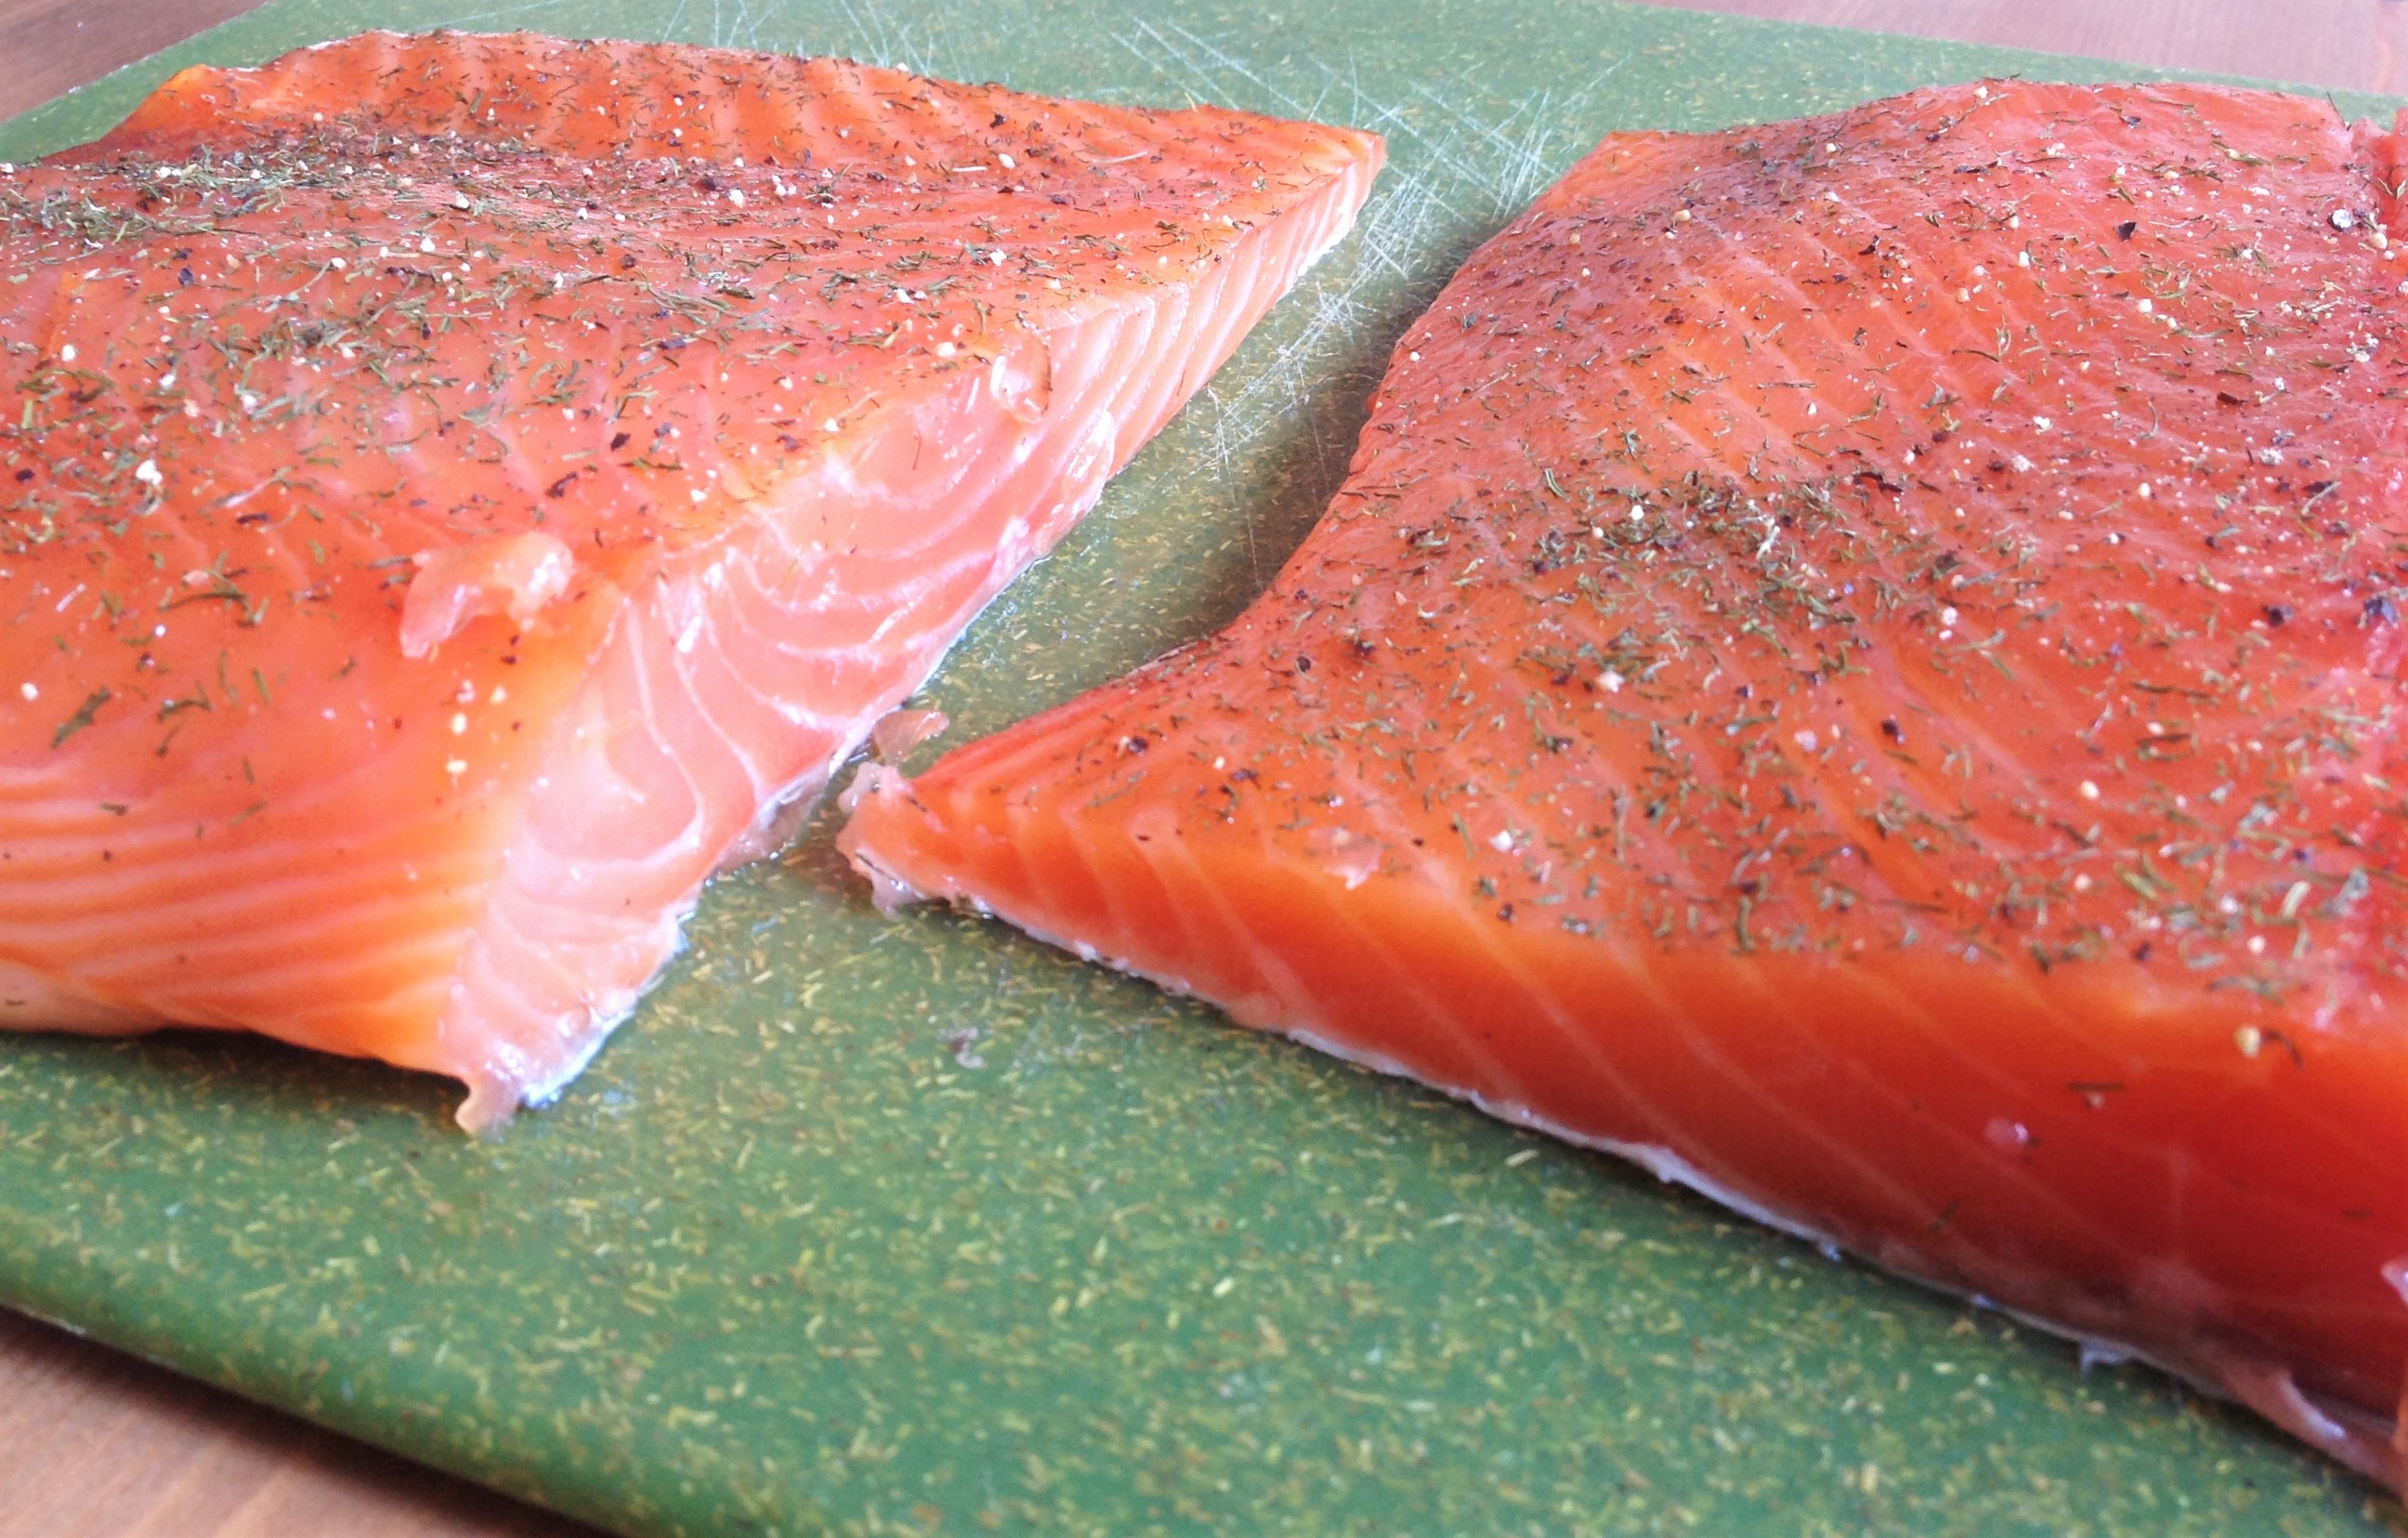
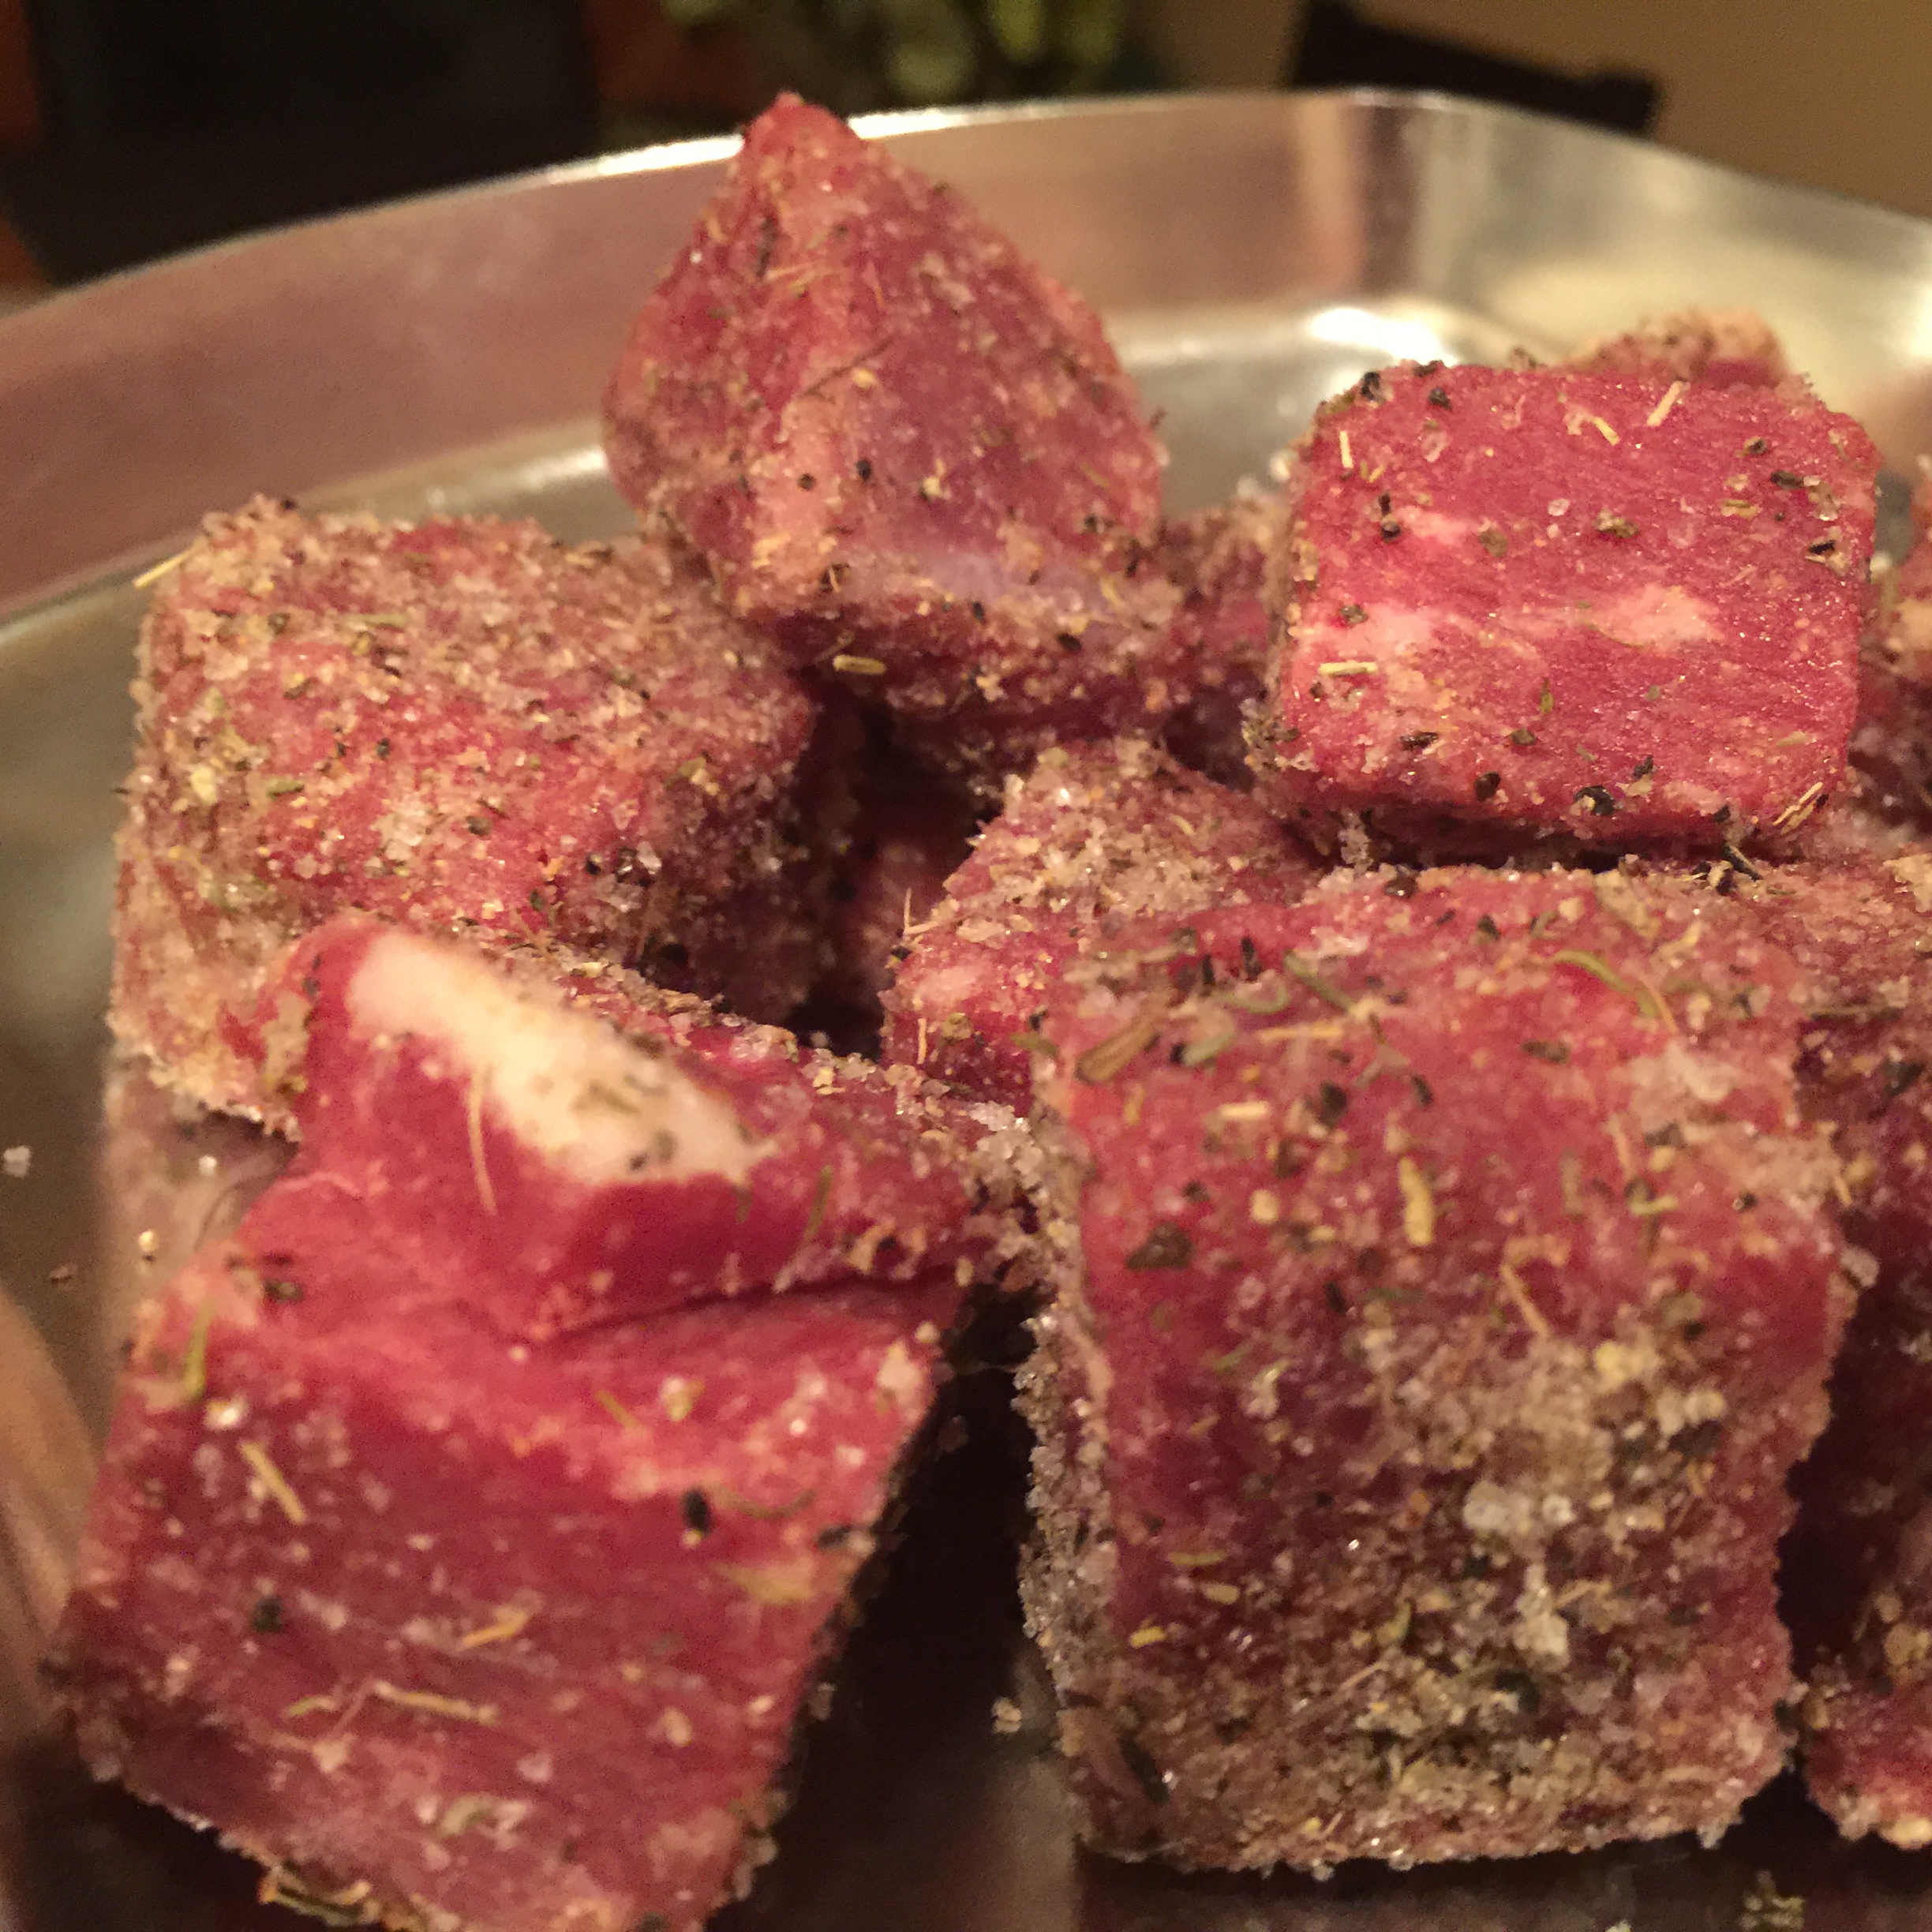
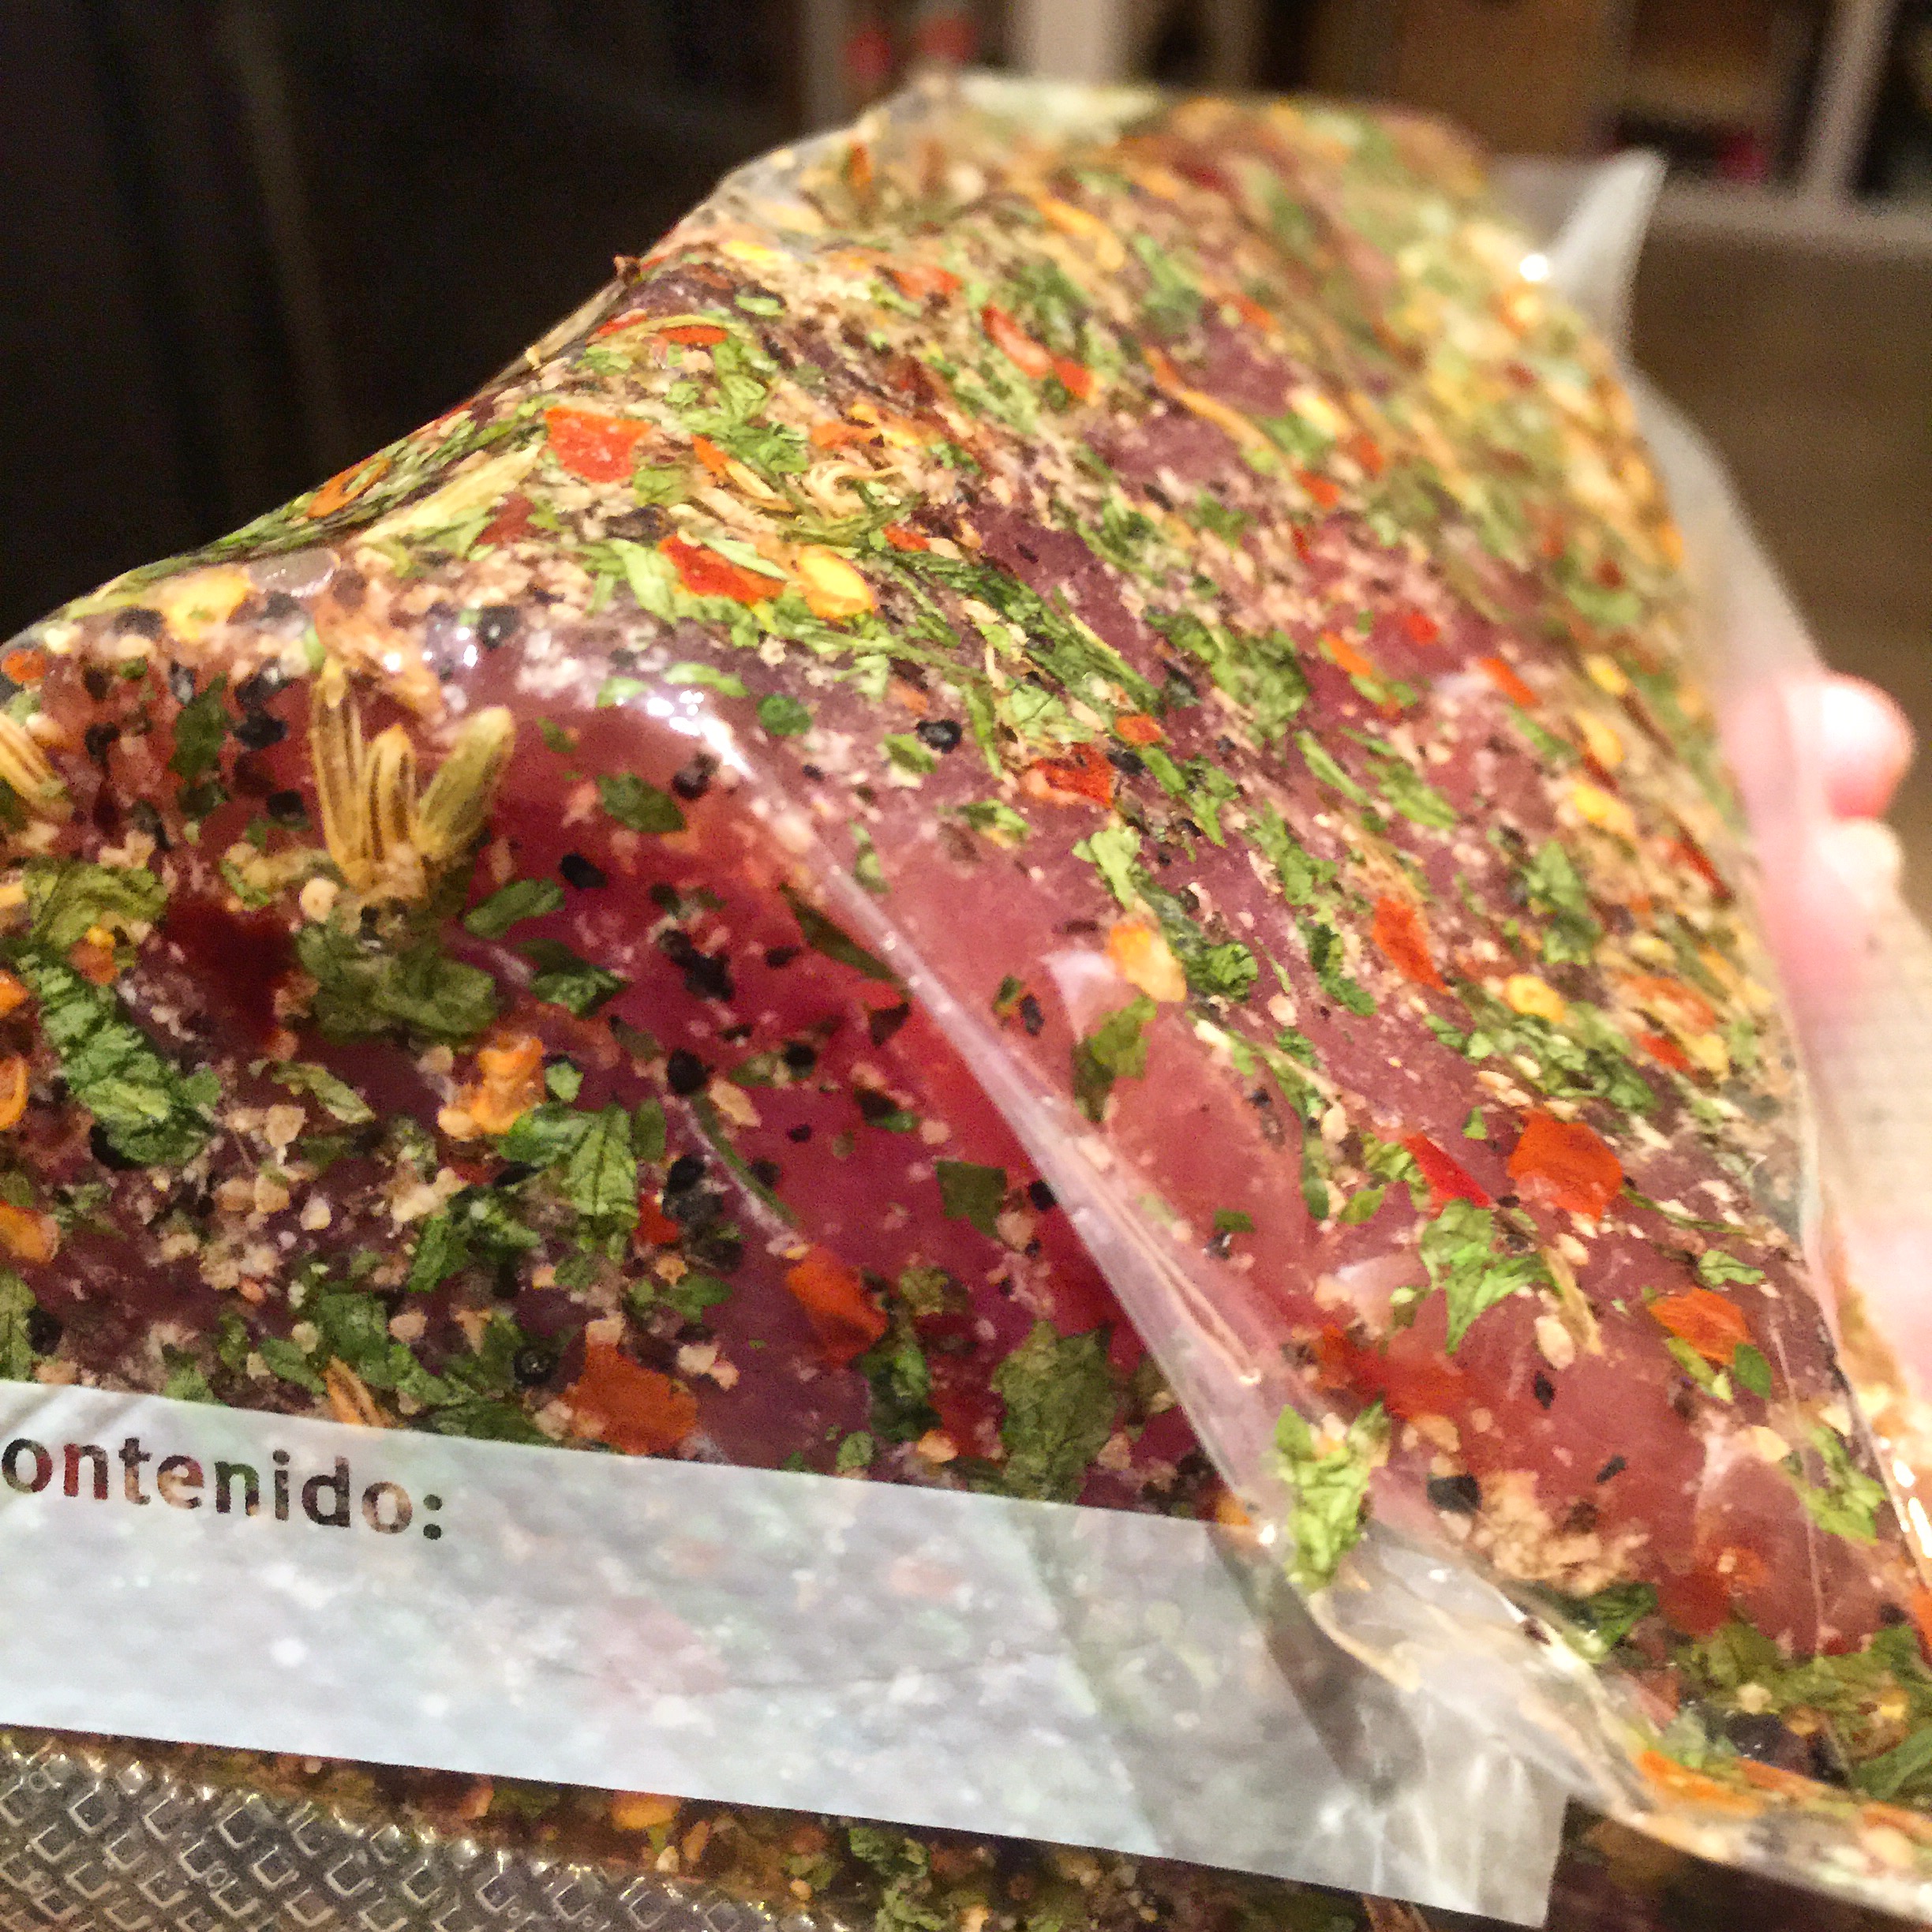
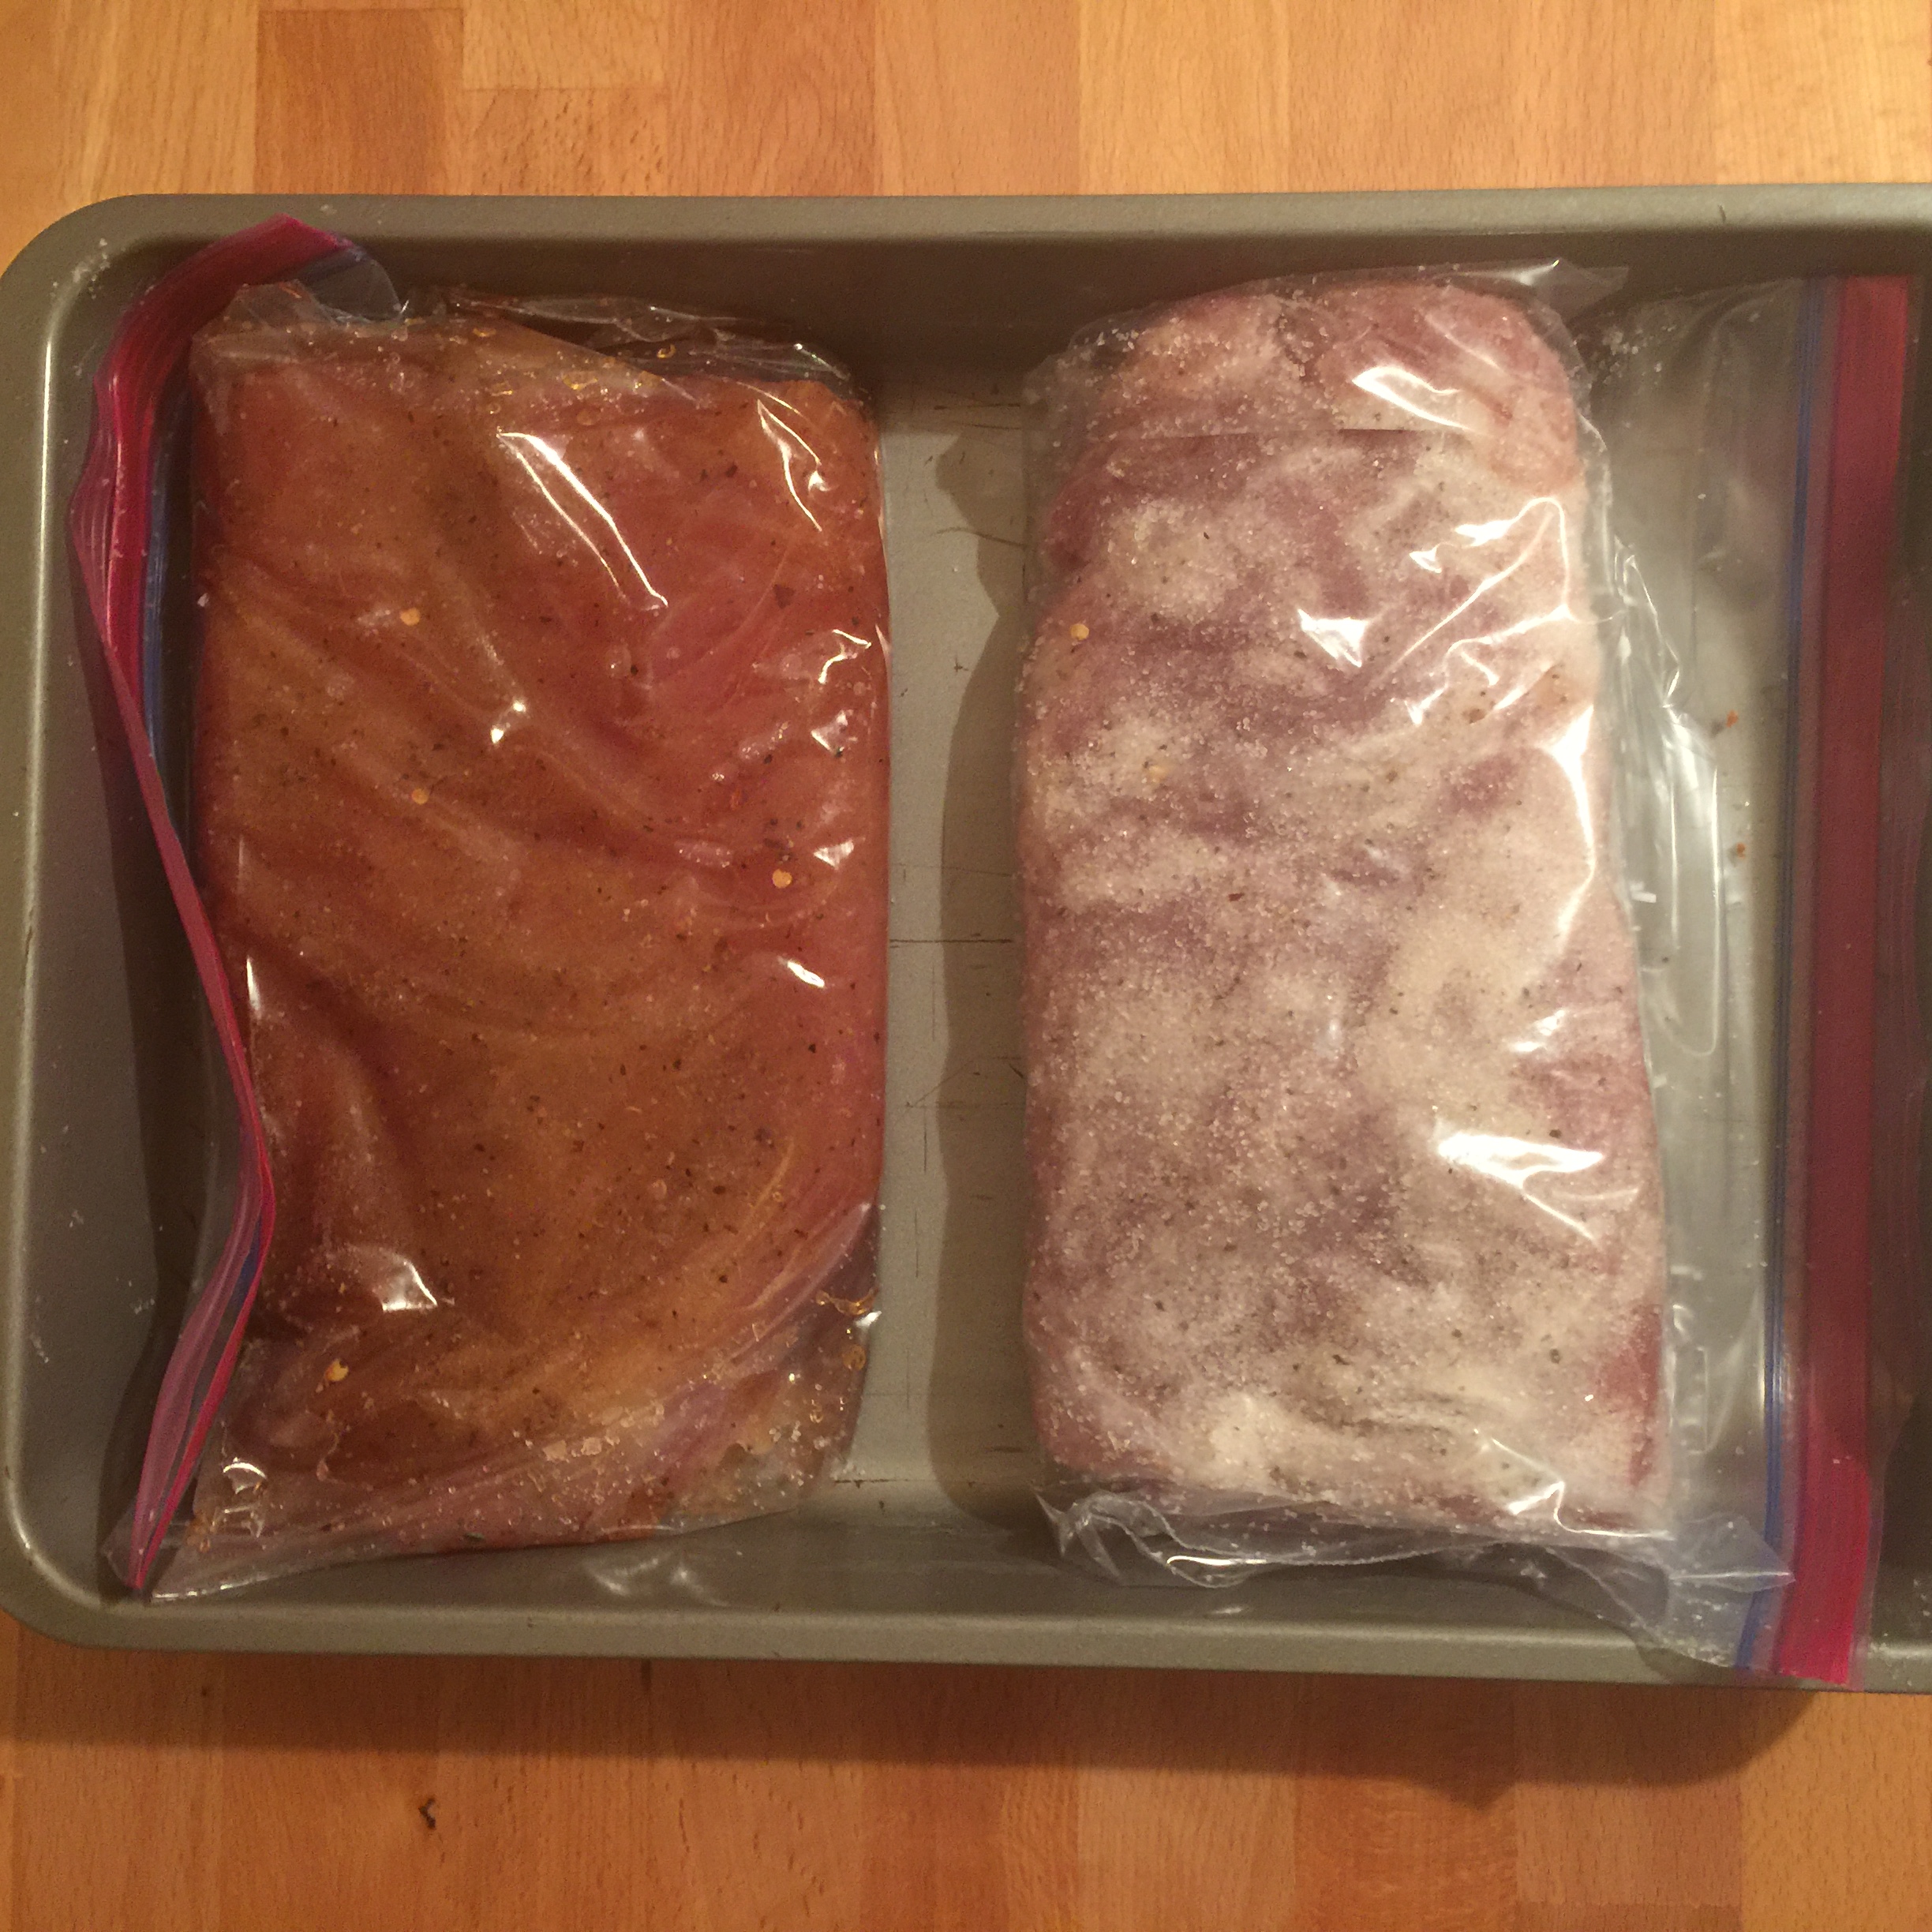
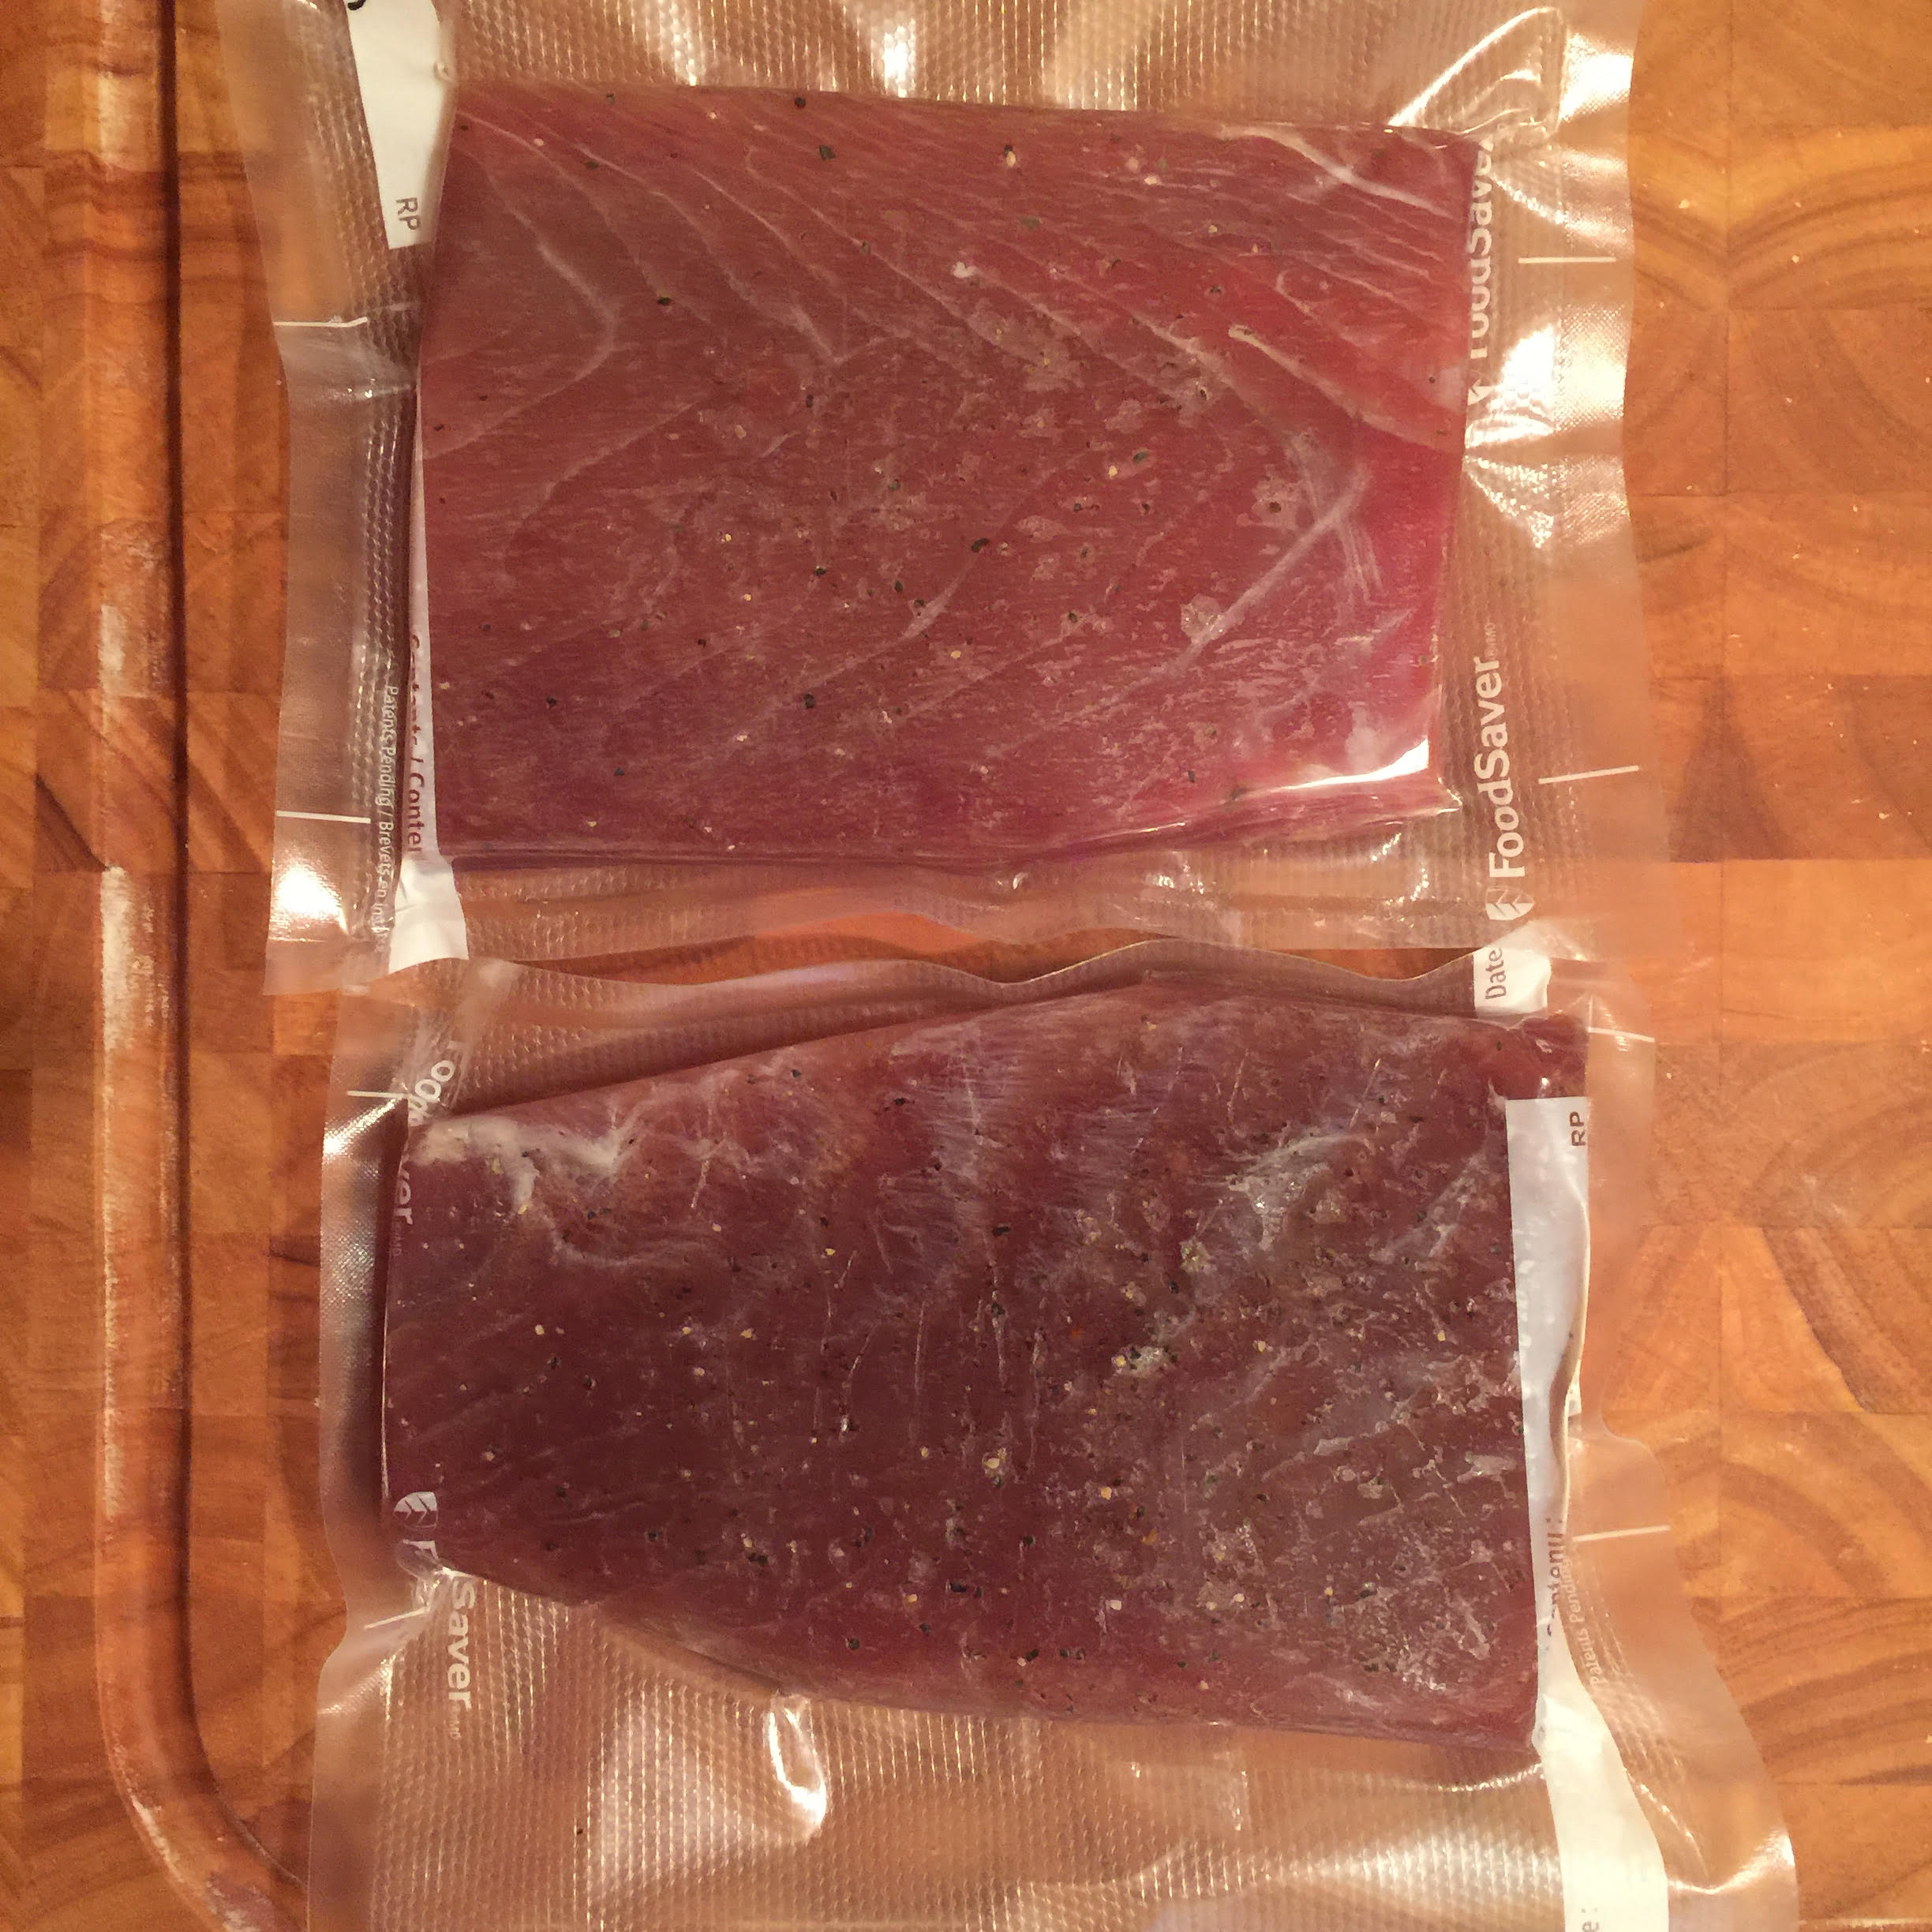
They were then mixed, and spread onto the meat.

image-7399

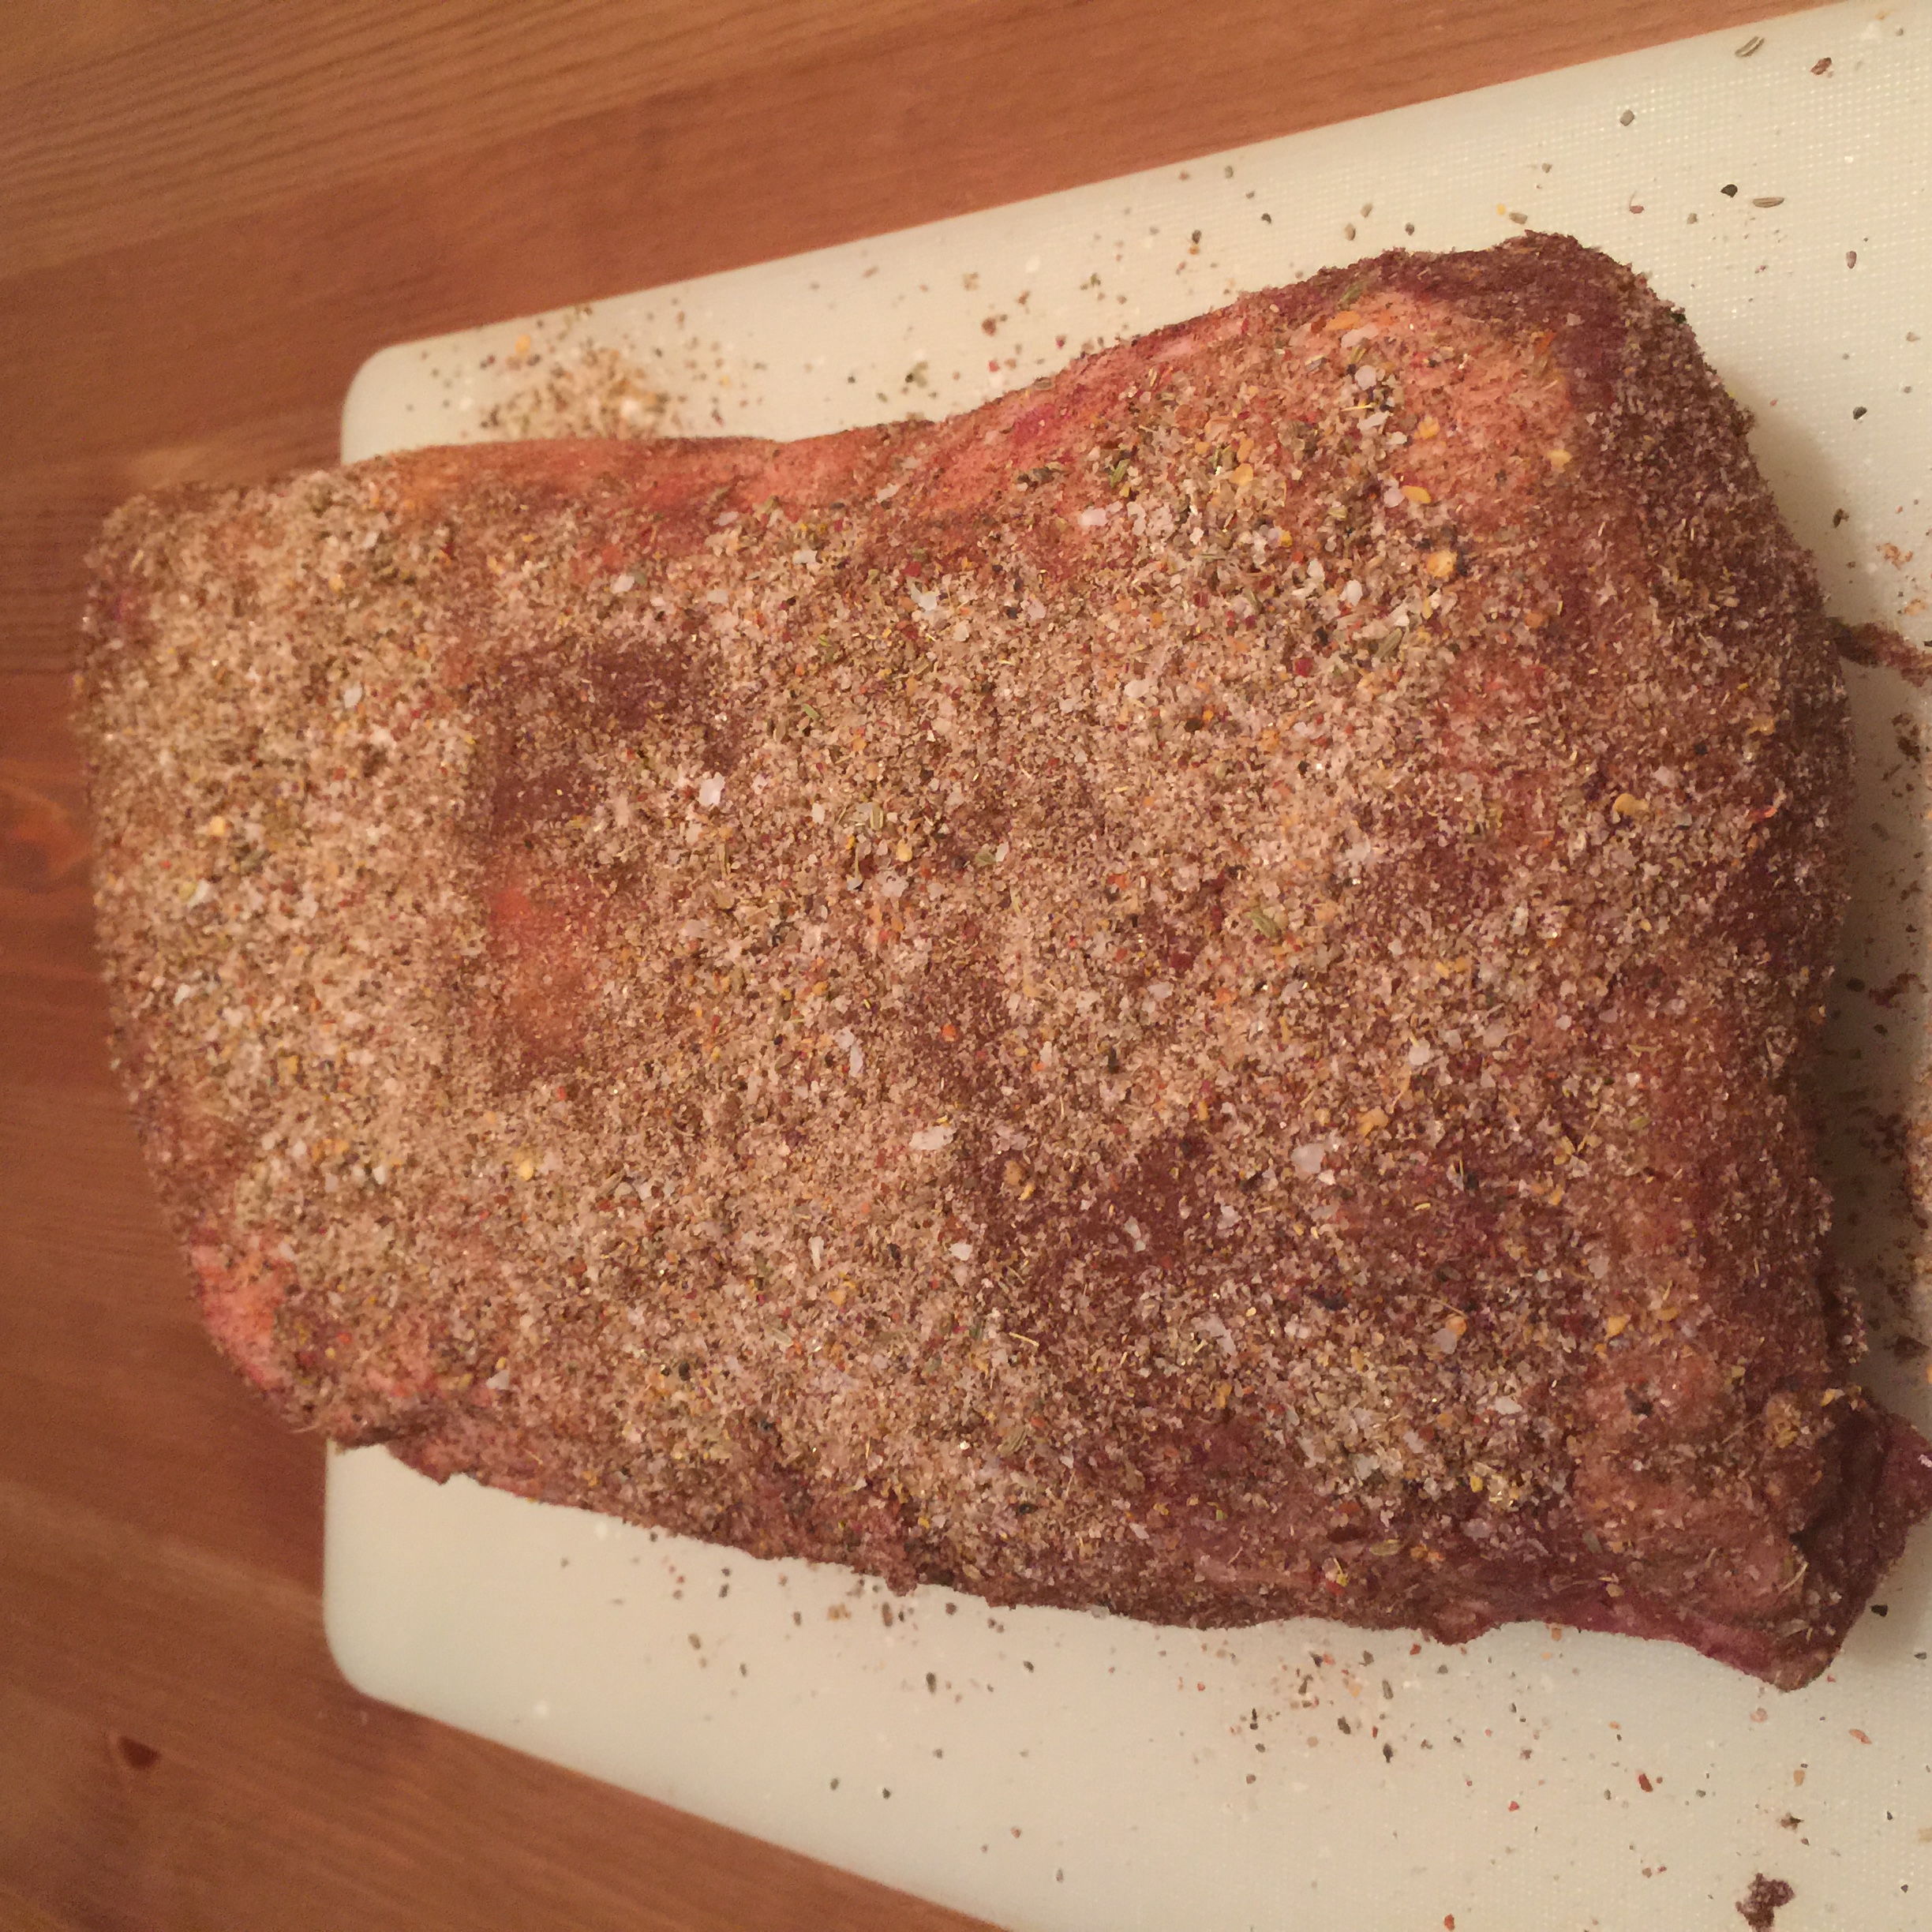
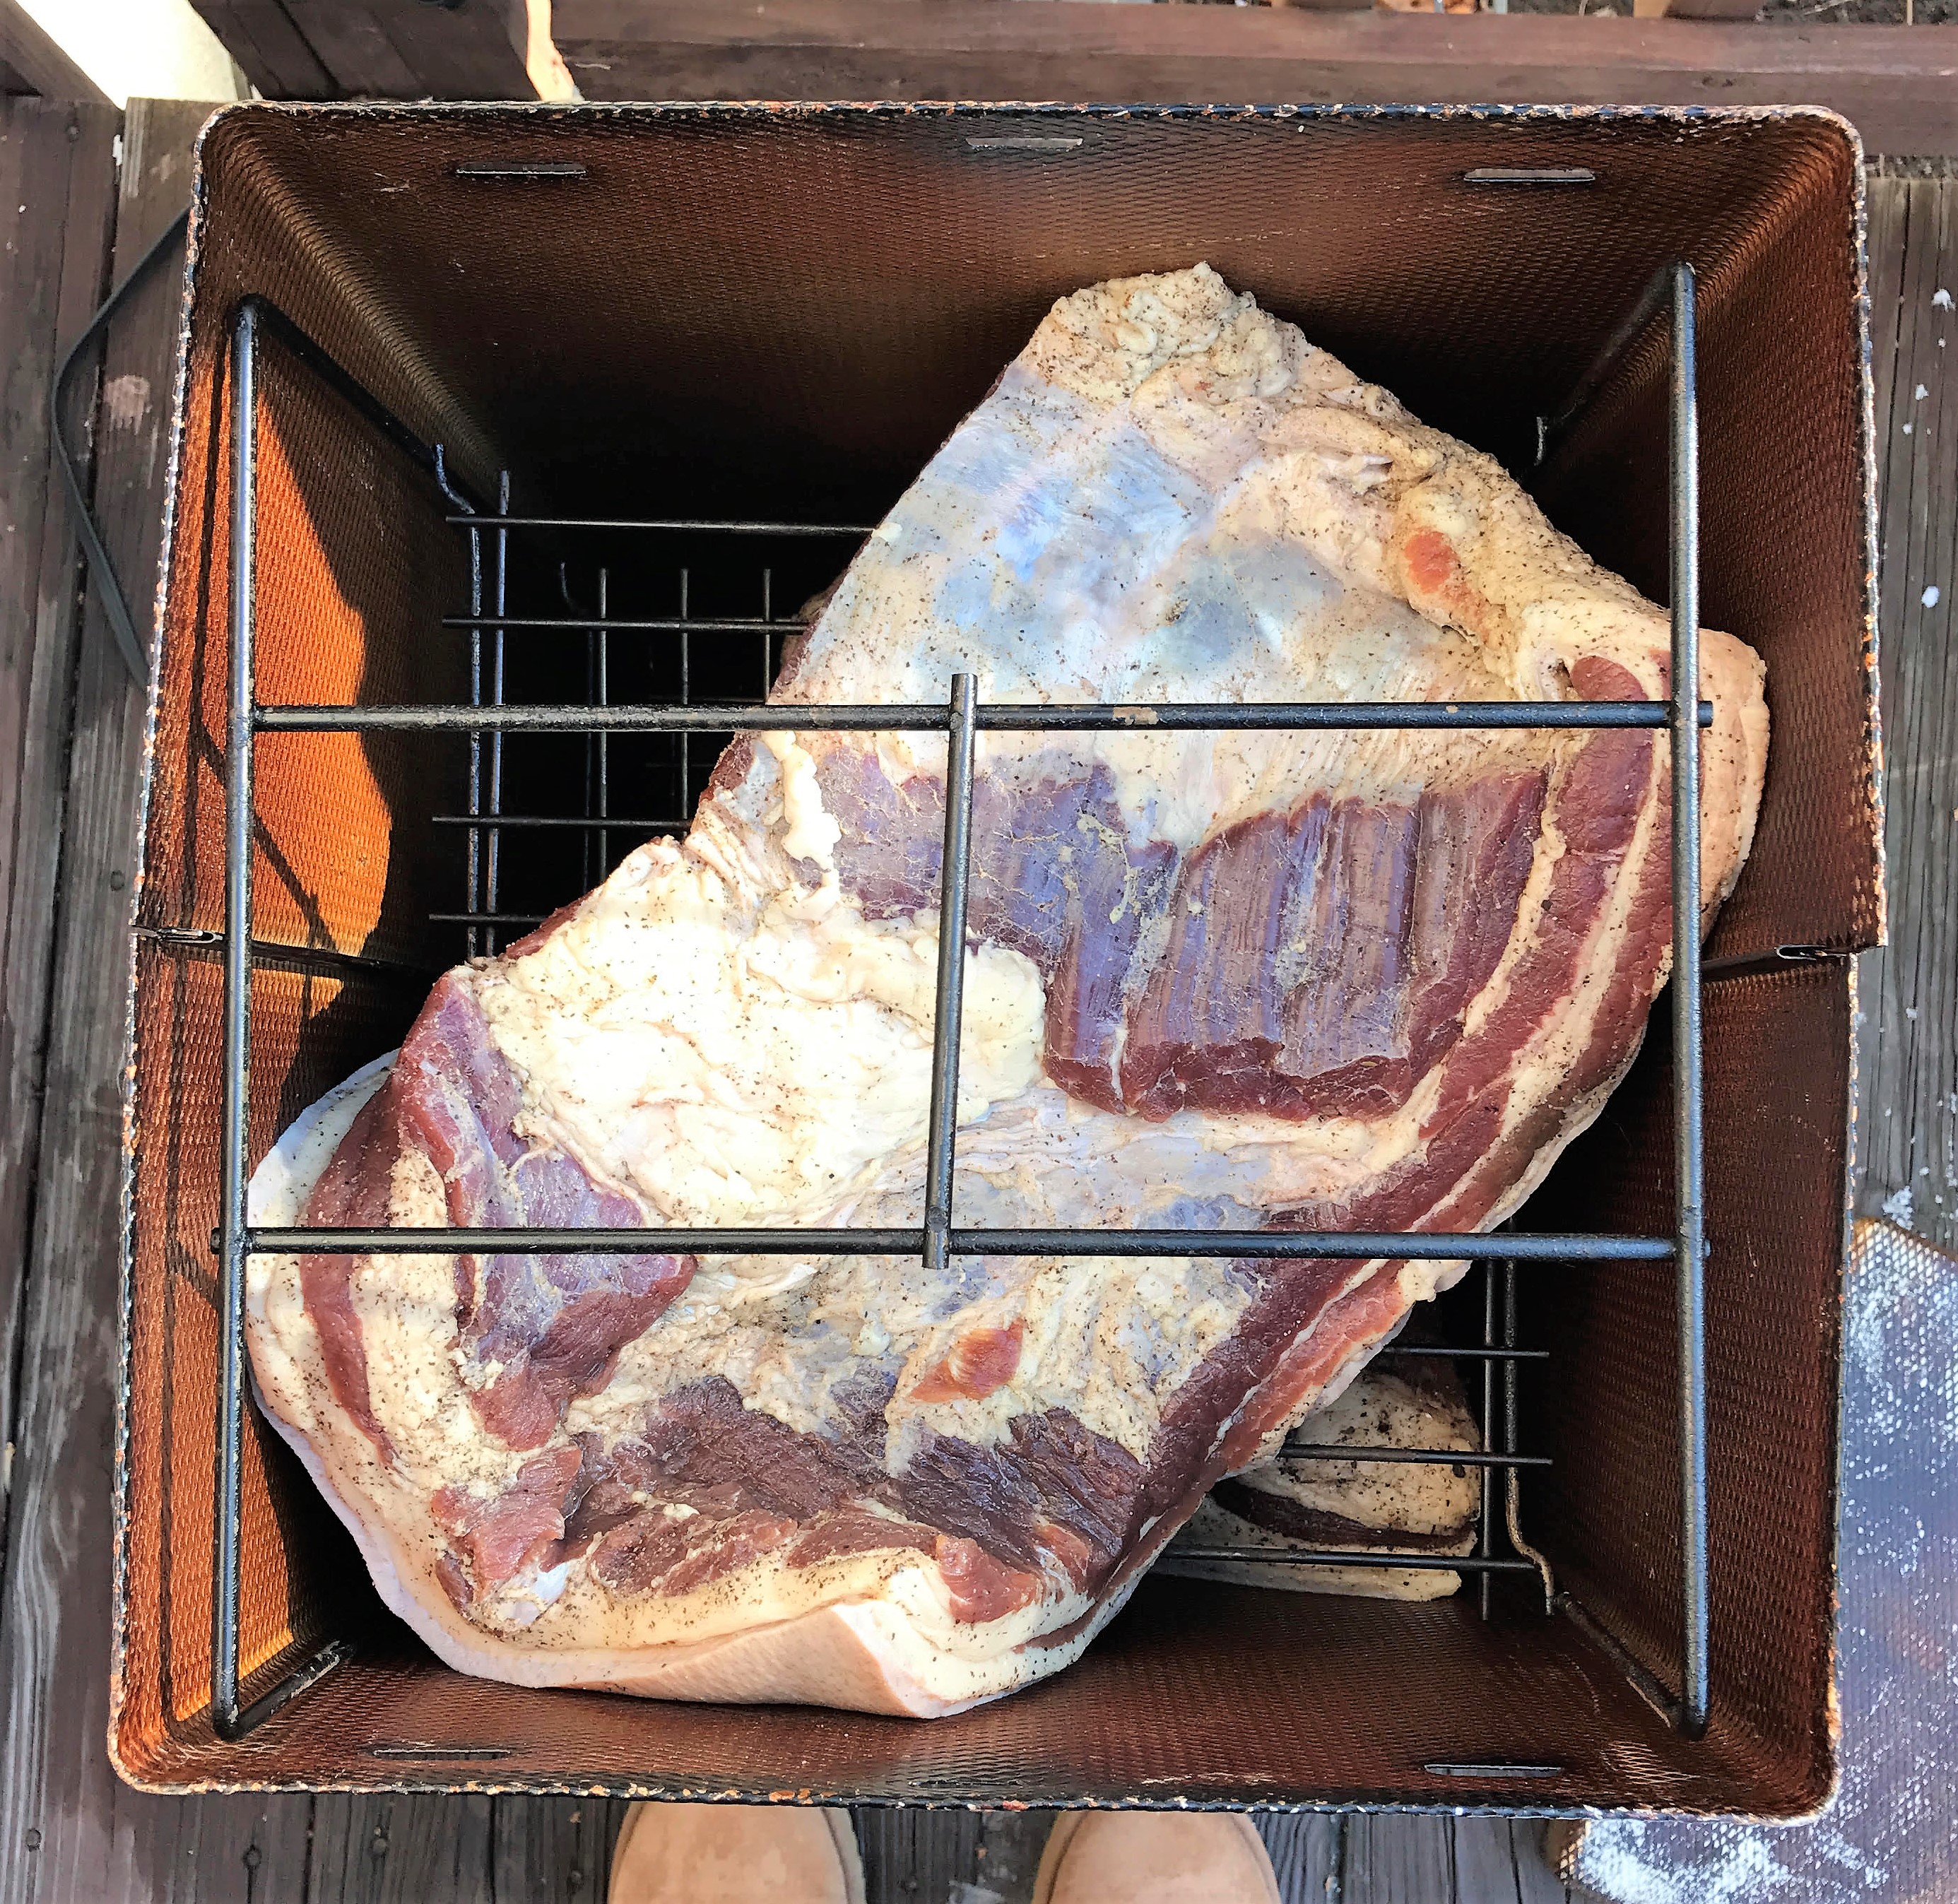
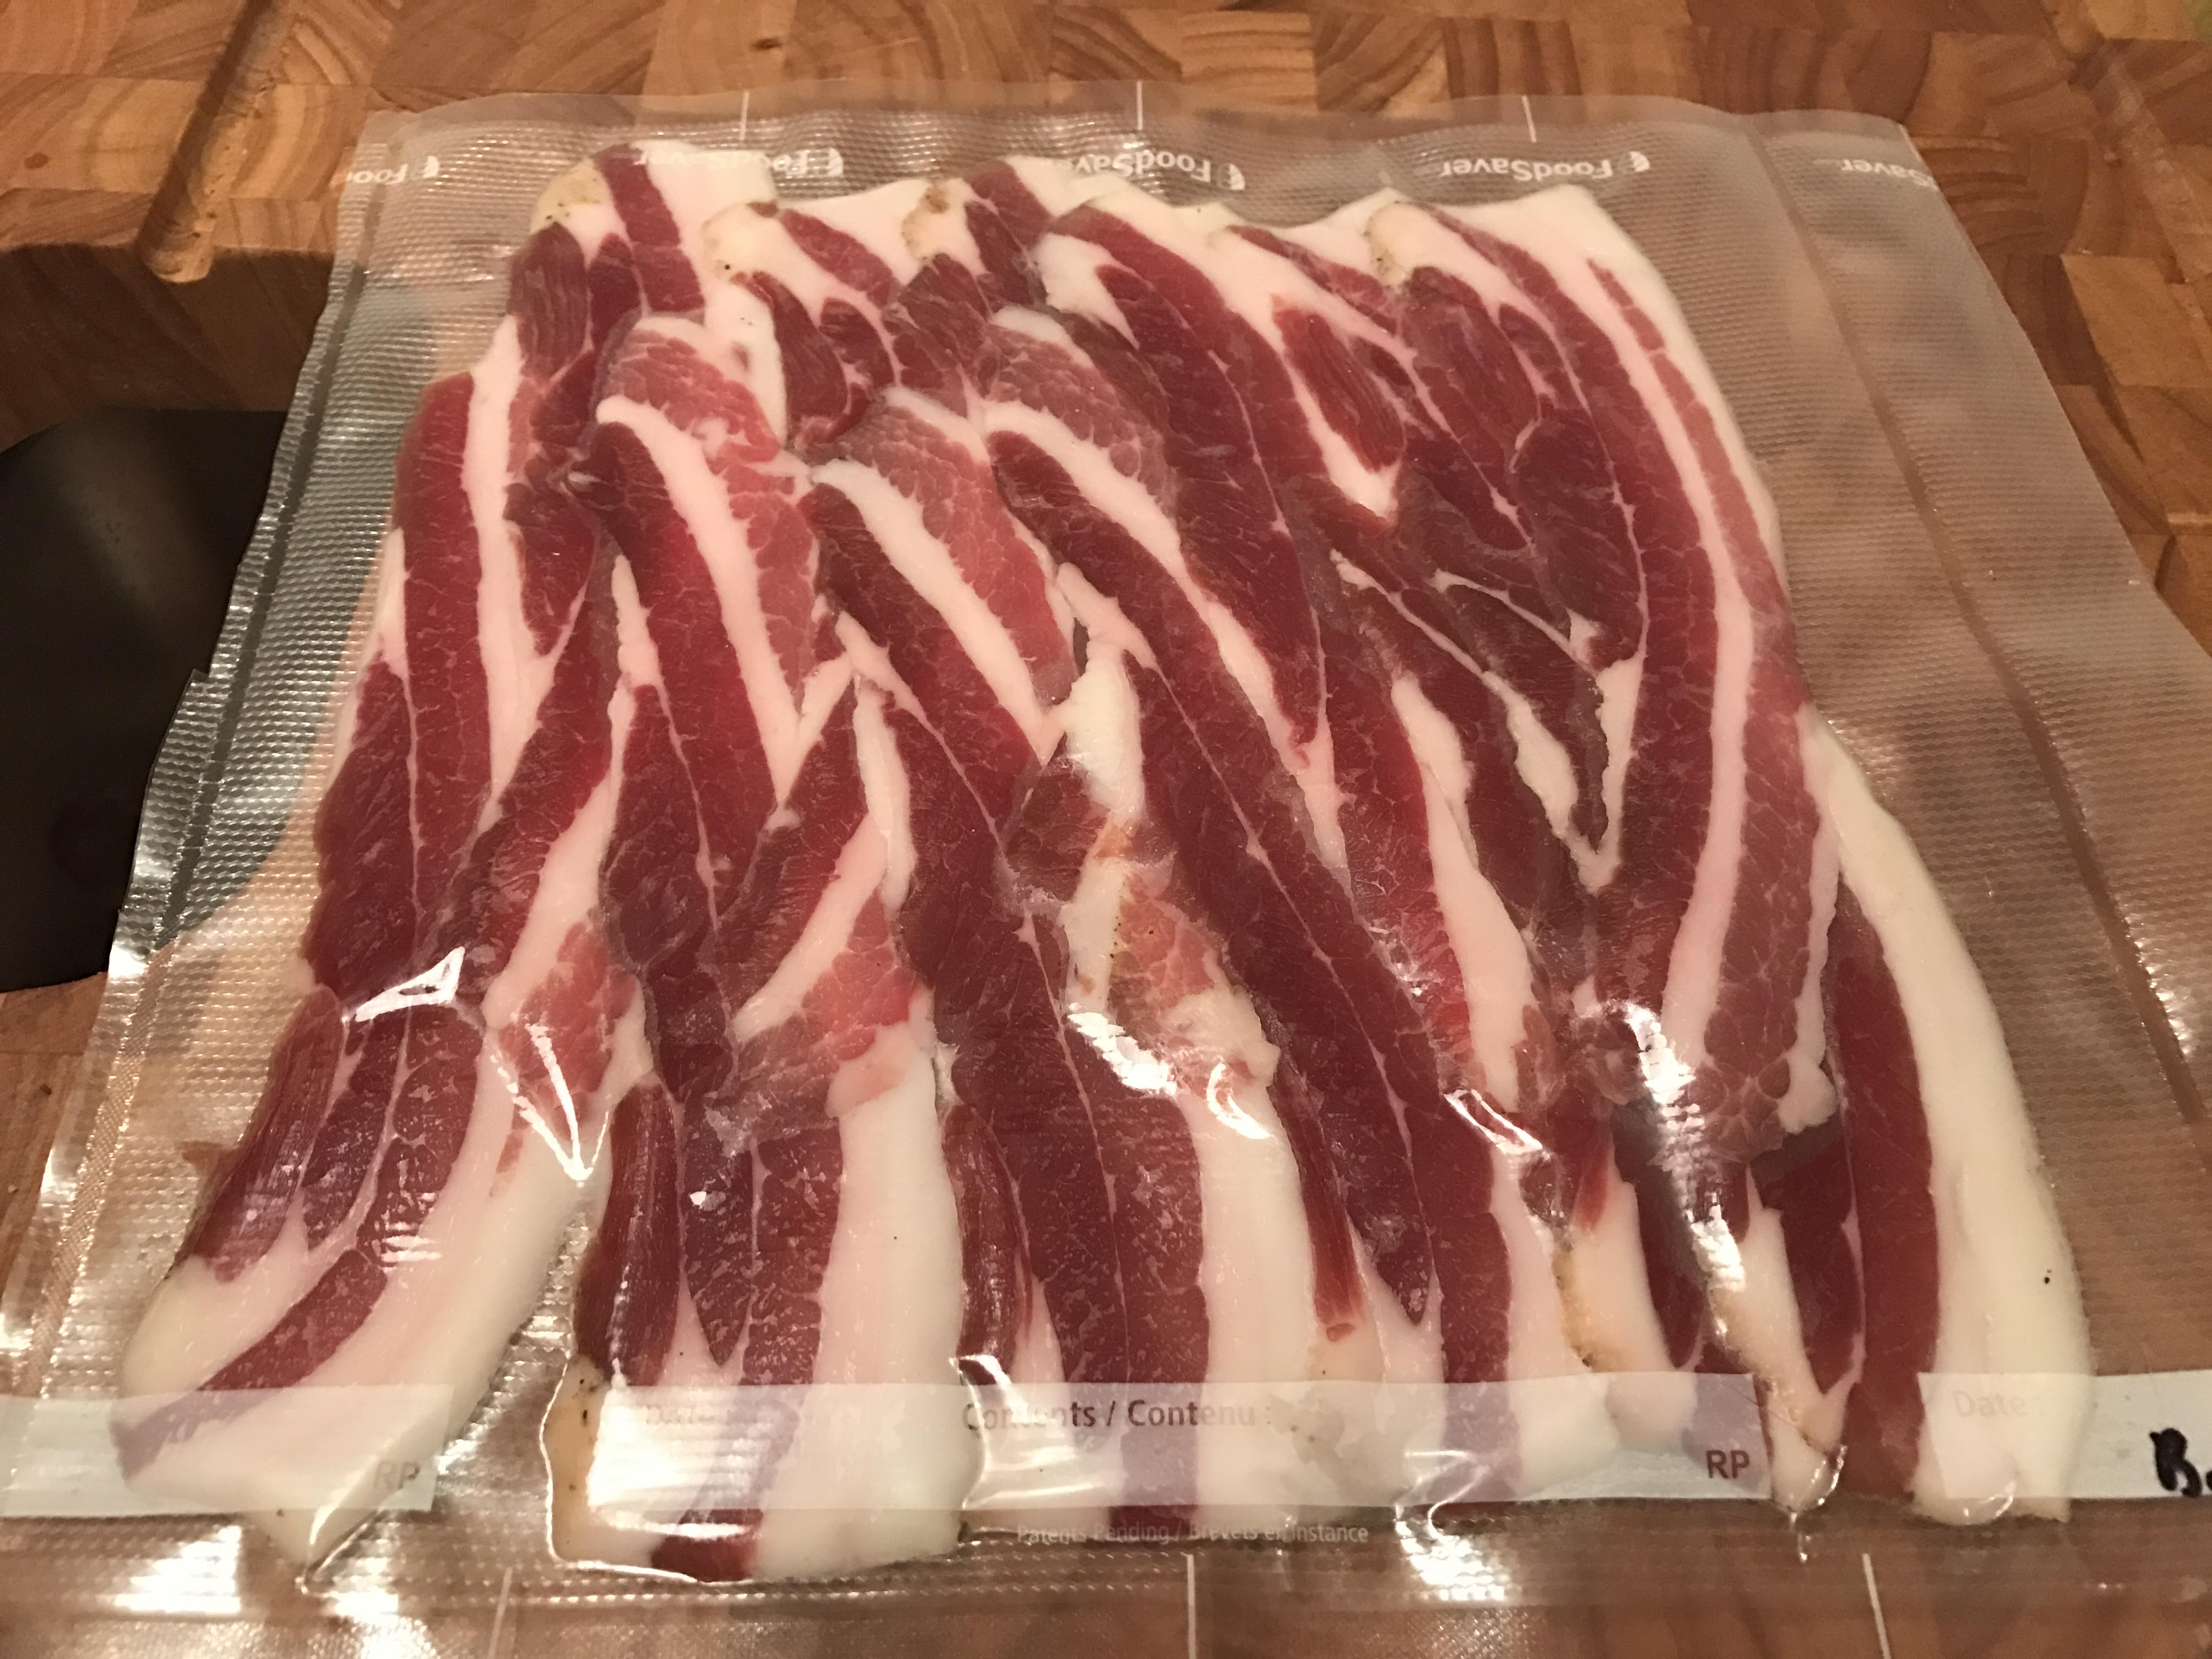
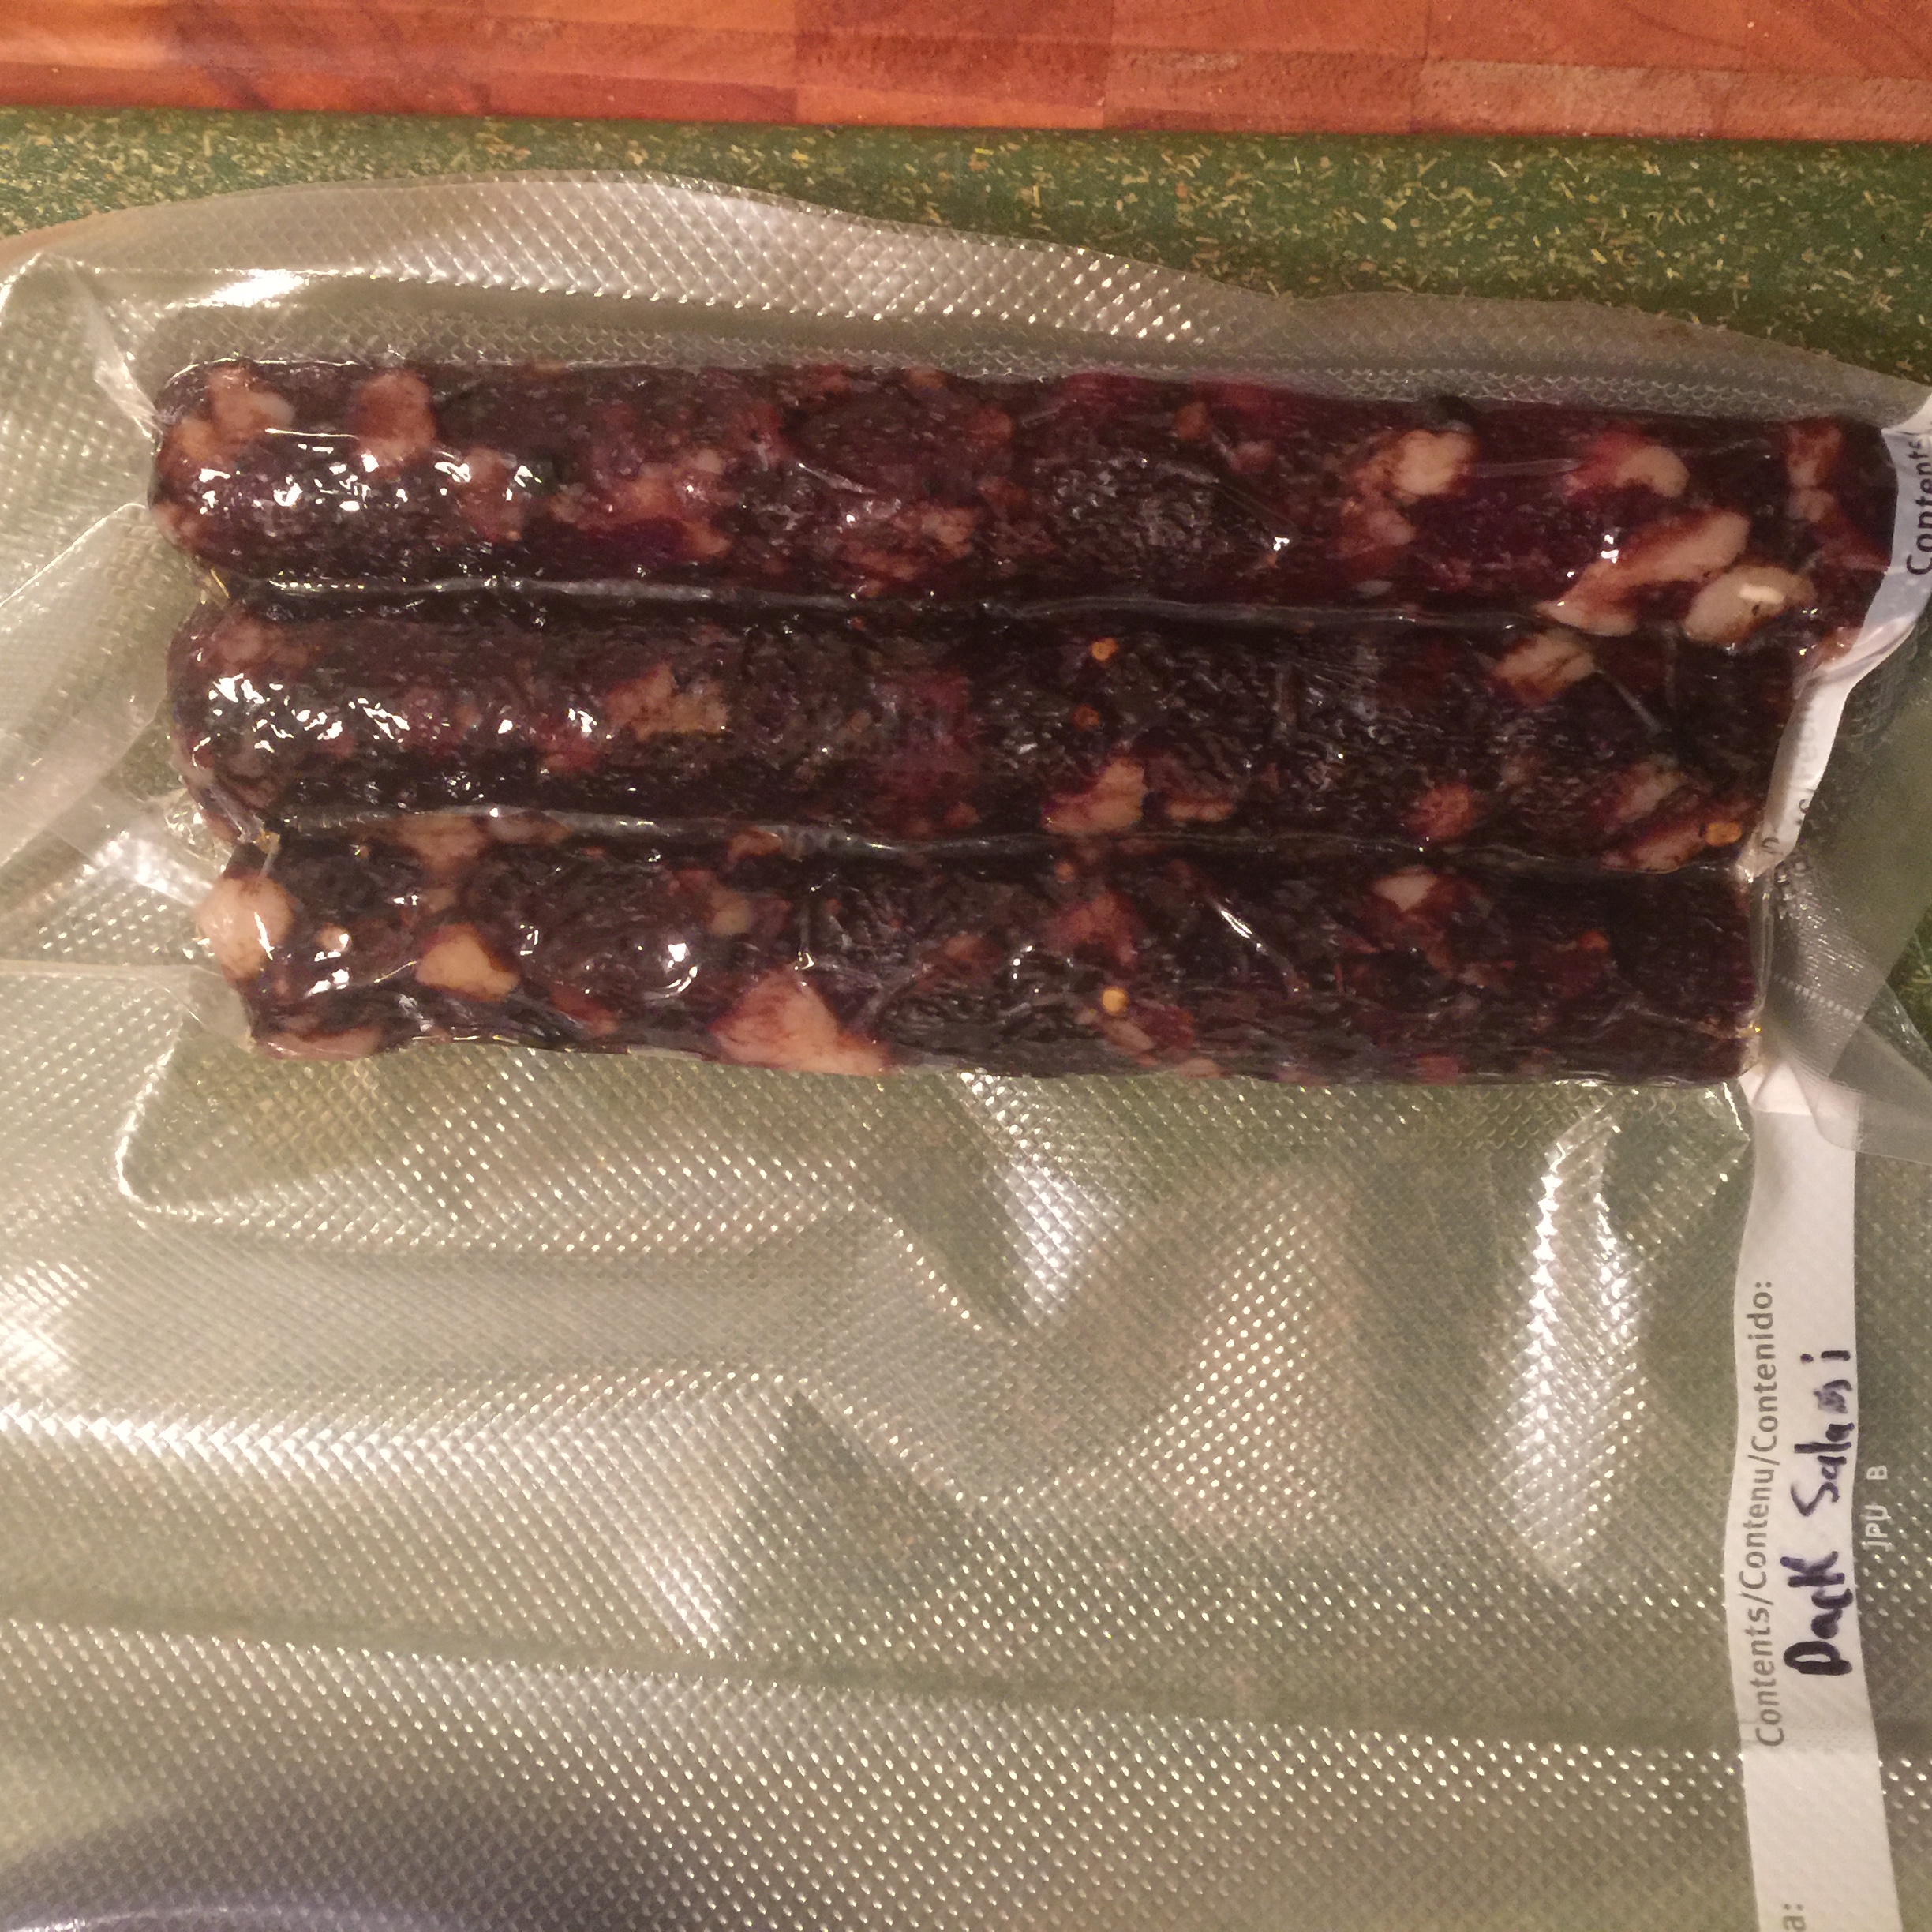
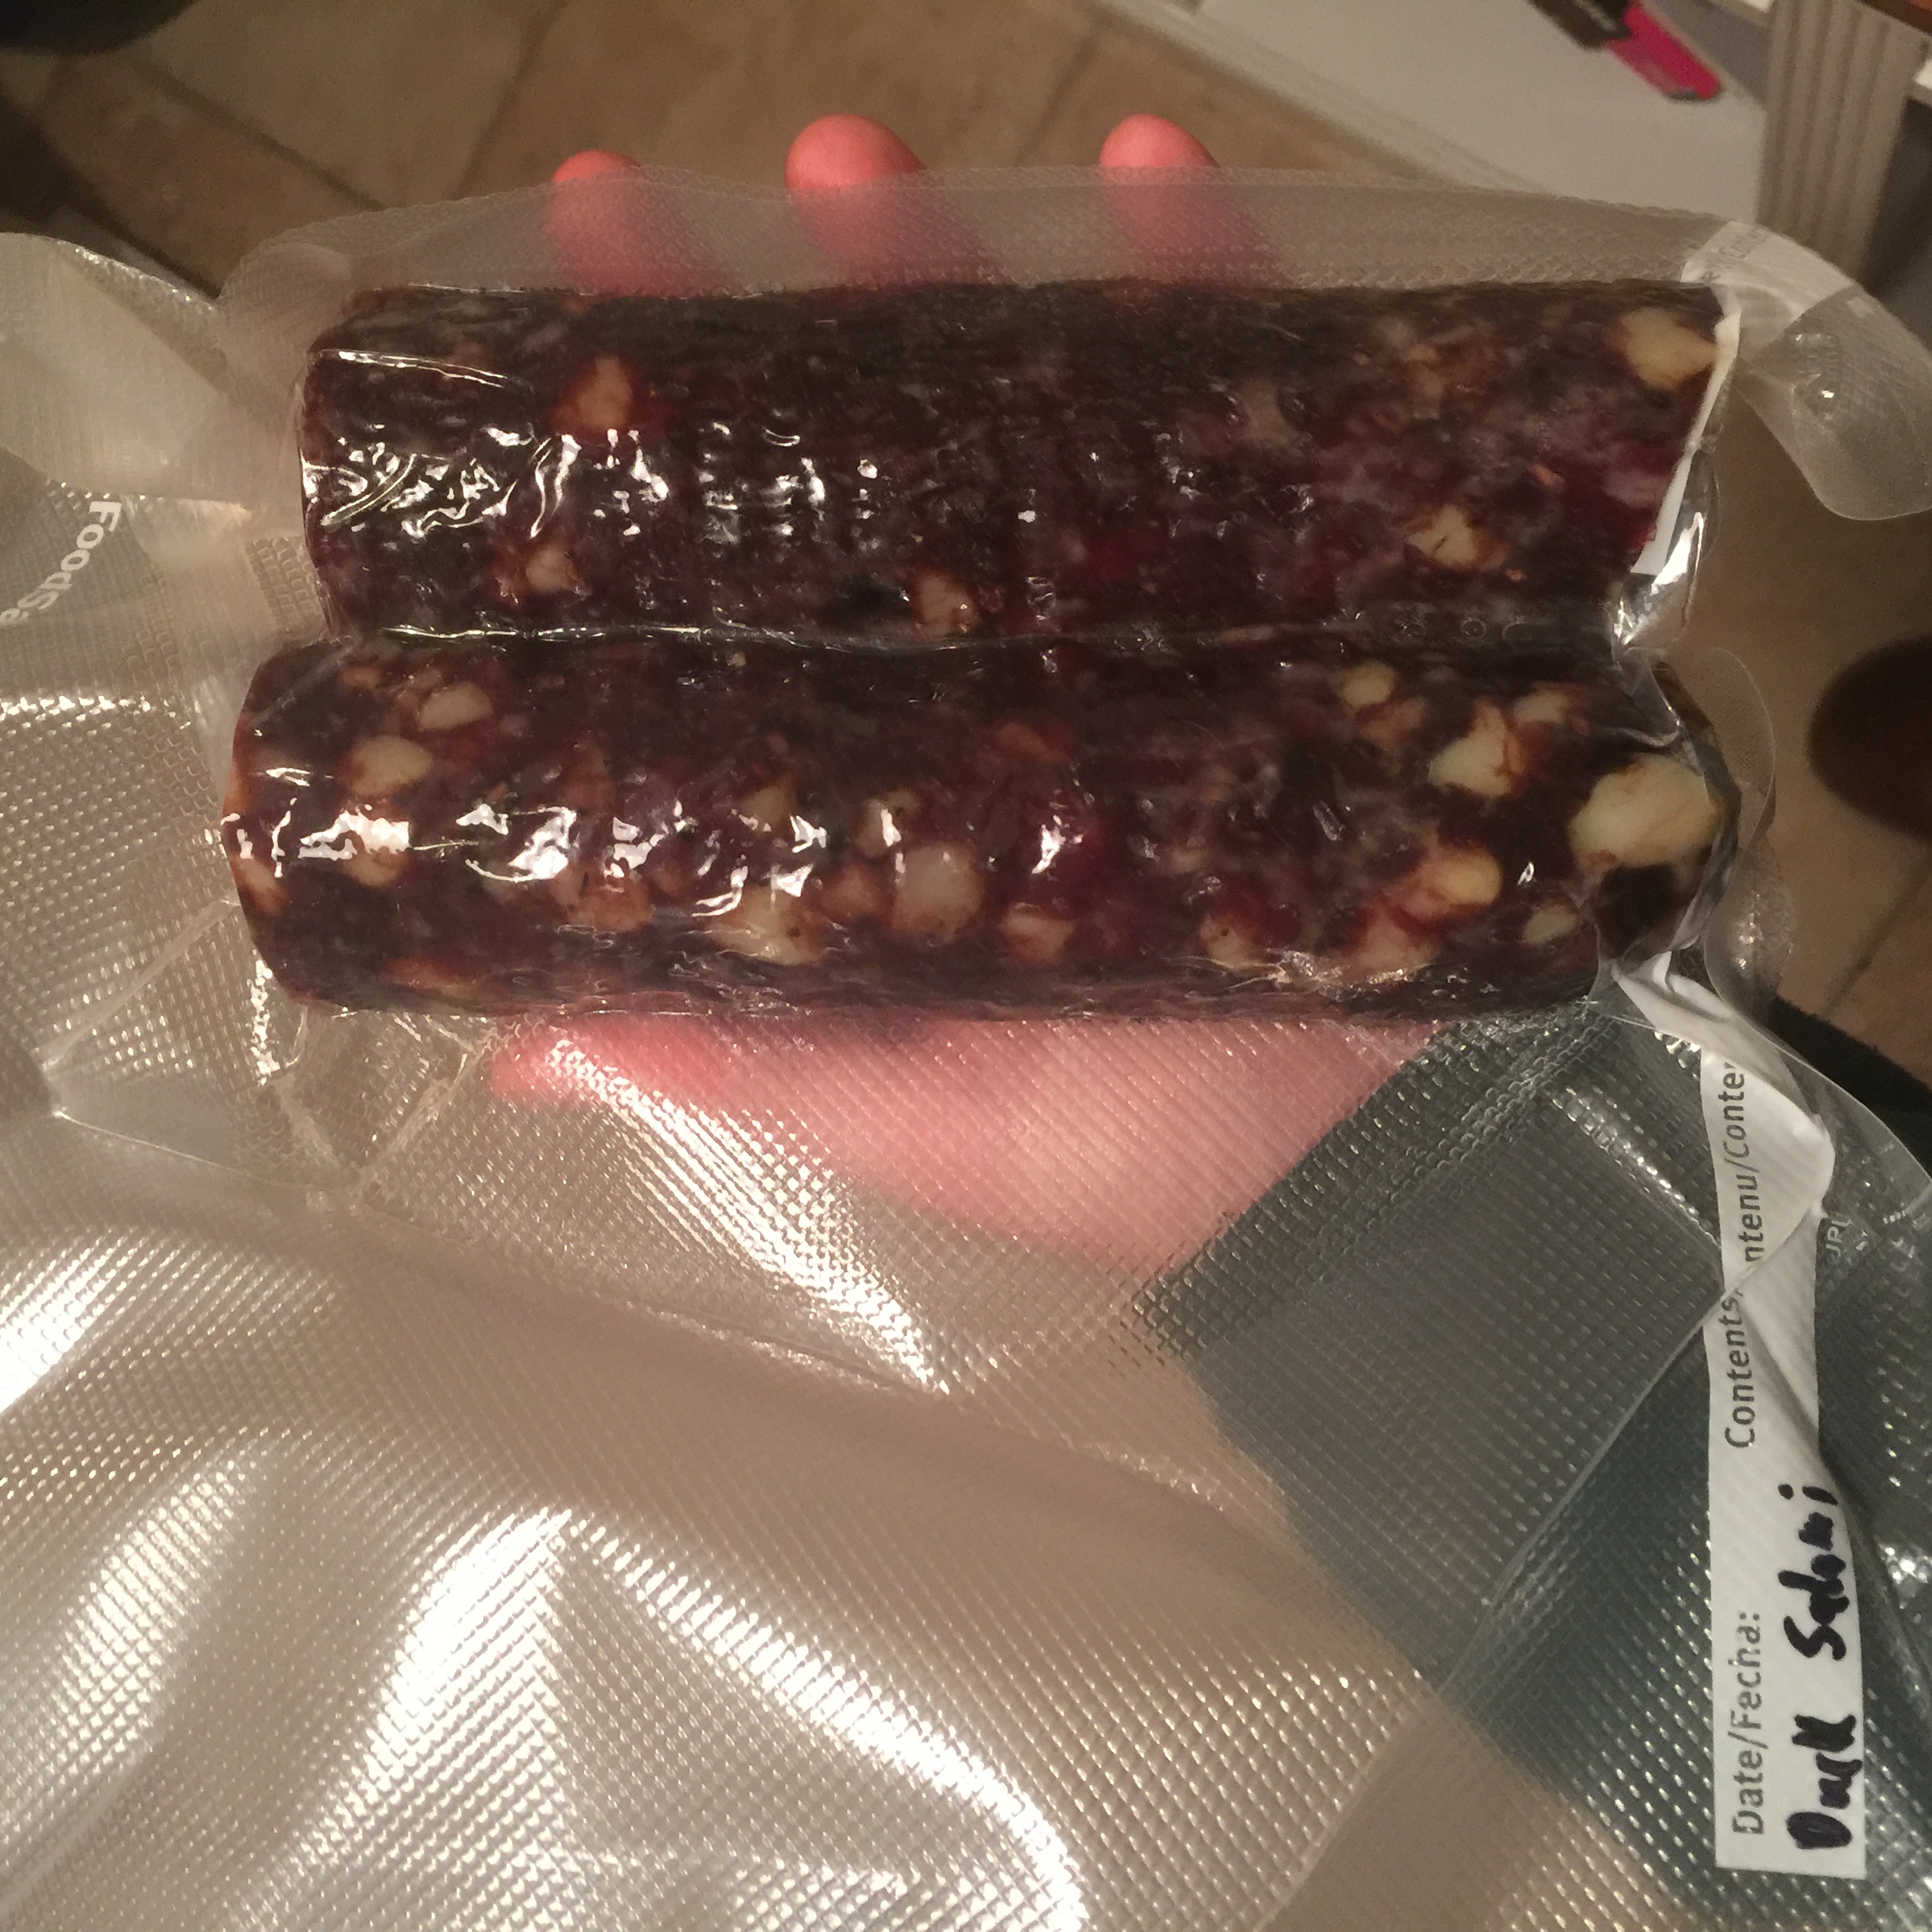
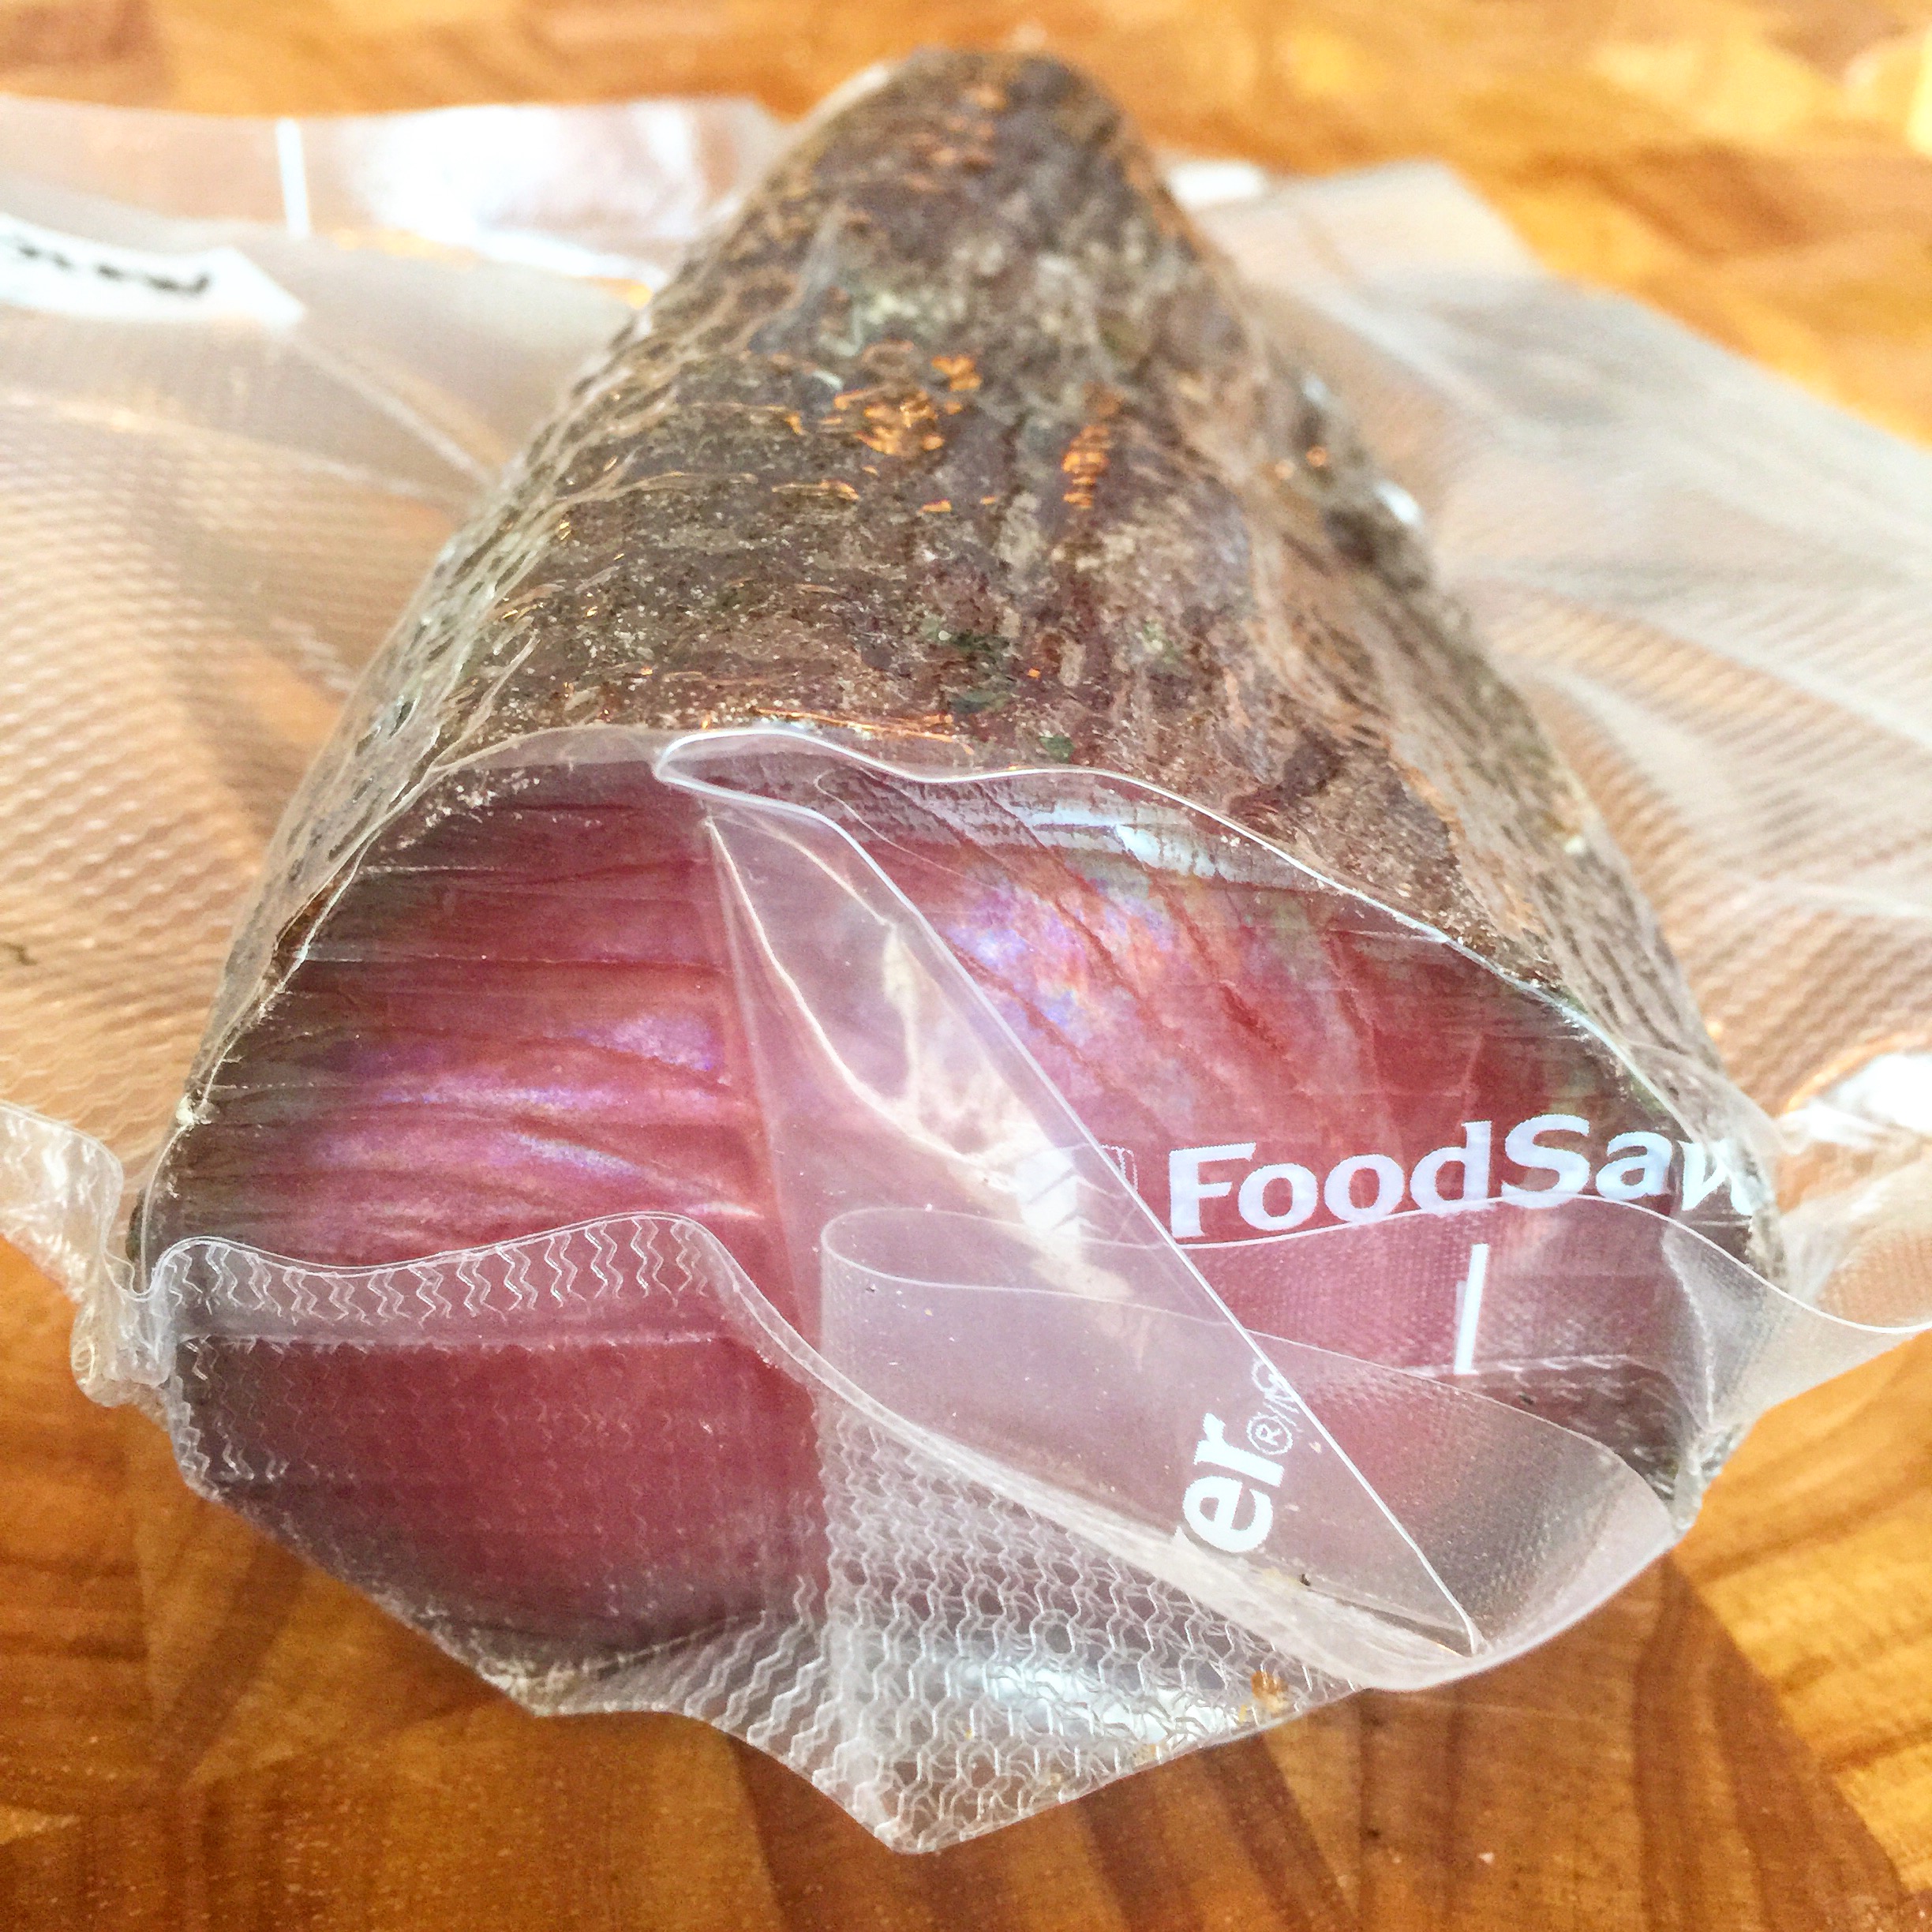
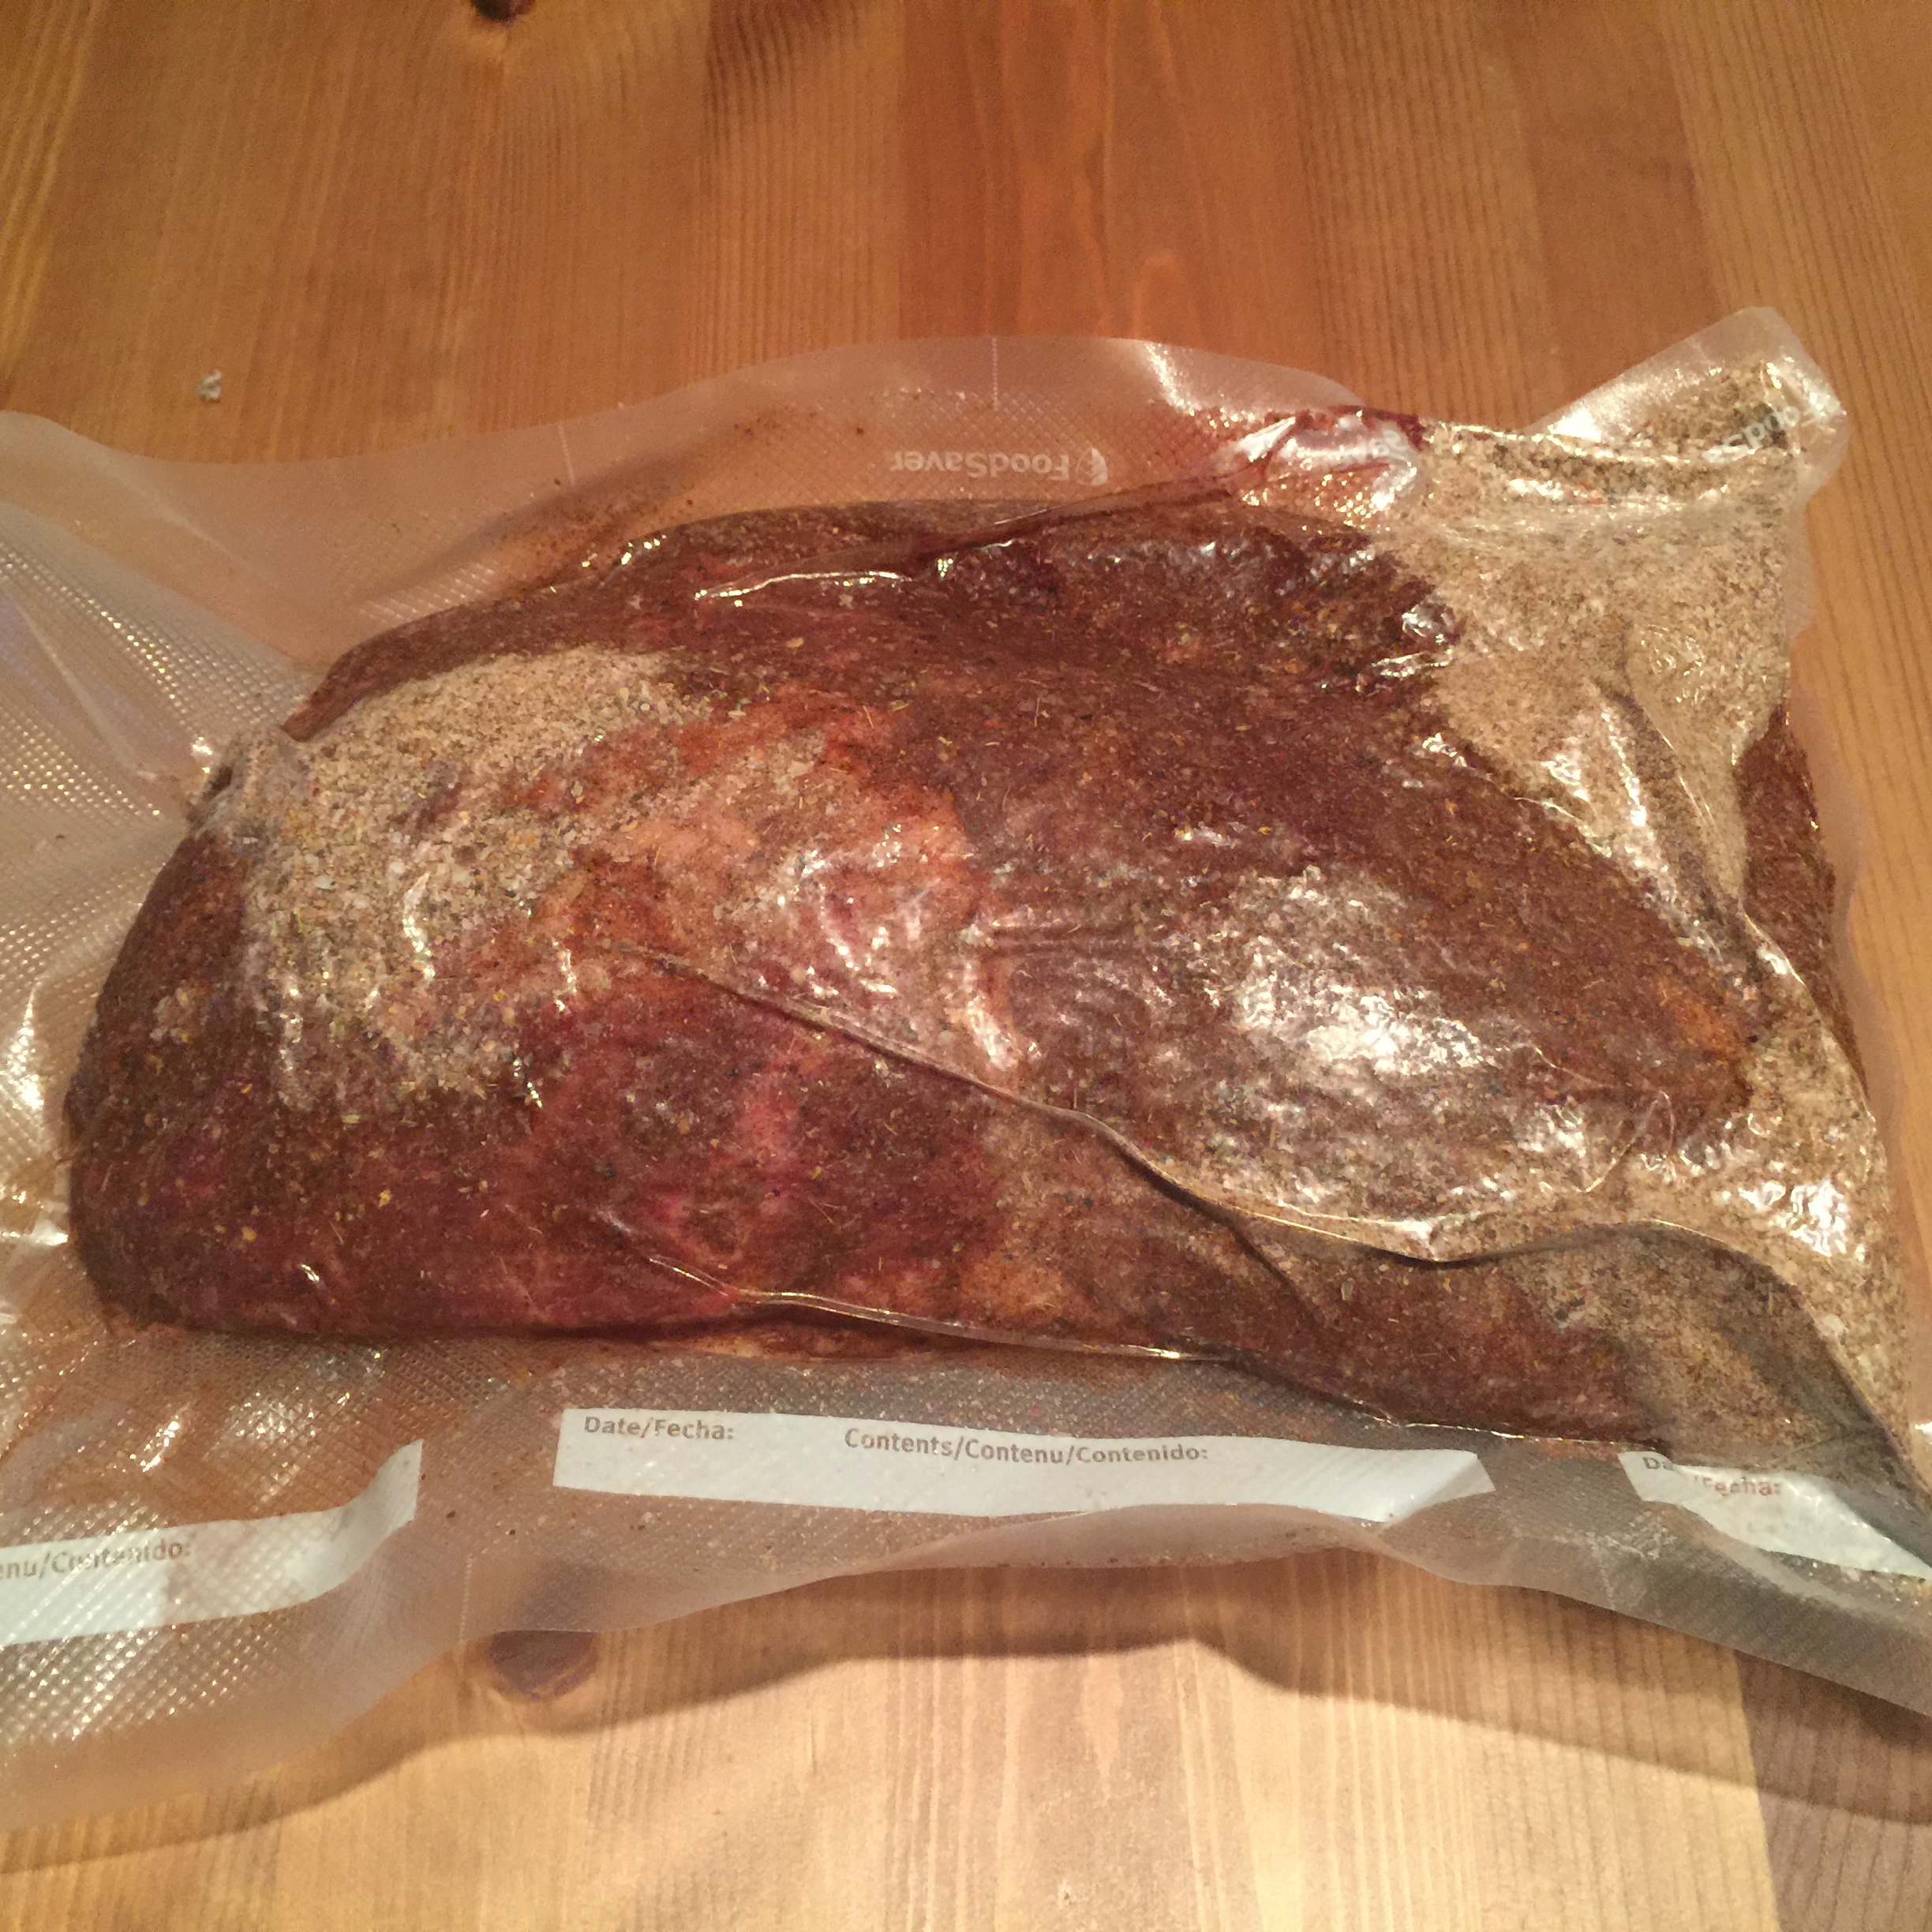
The meat was vacuum sealed with the cure ingredients and allowed to cure in the fridge for 2 weeks.

image-7441


Casing (1 hour+):

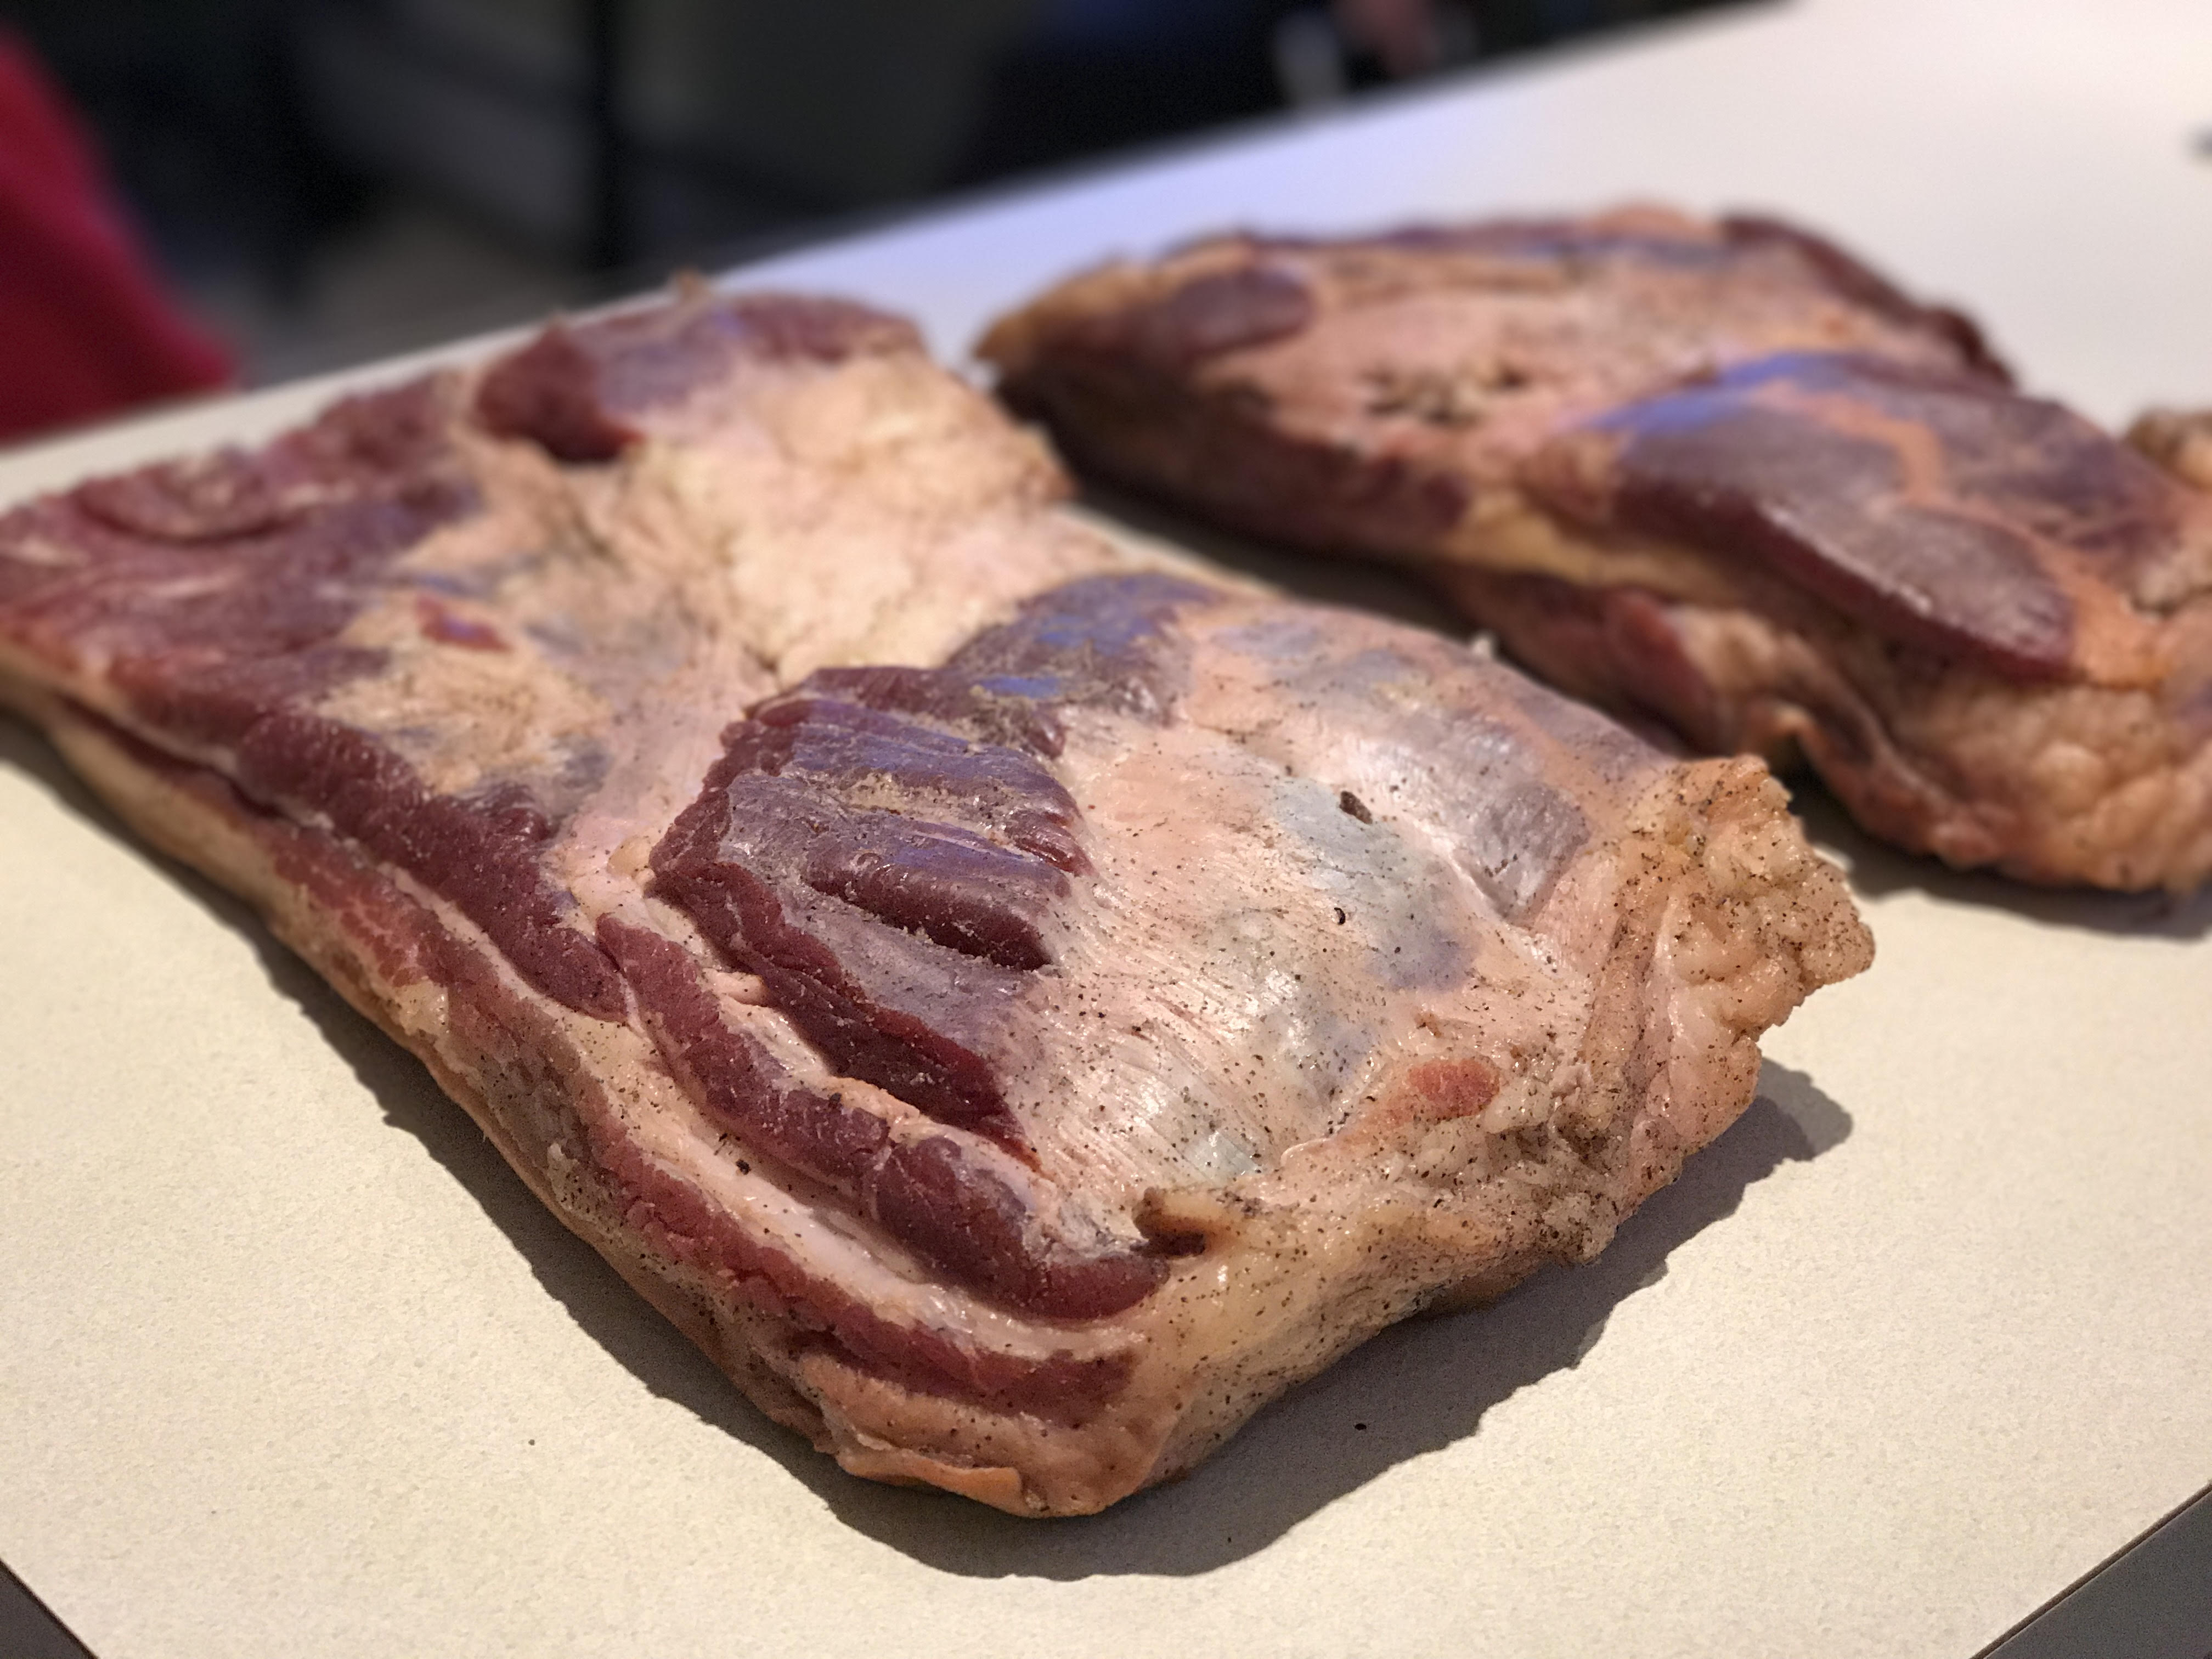
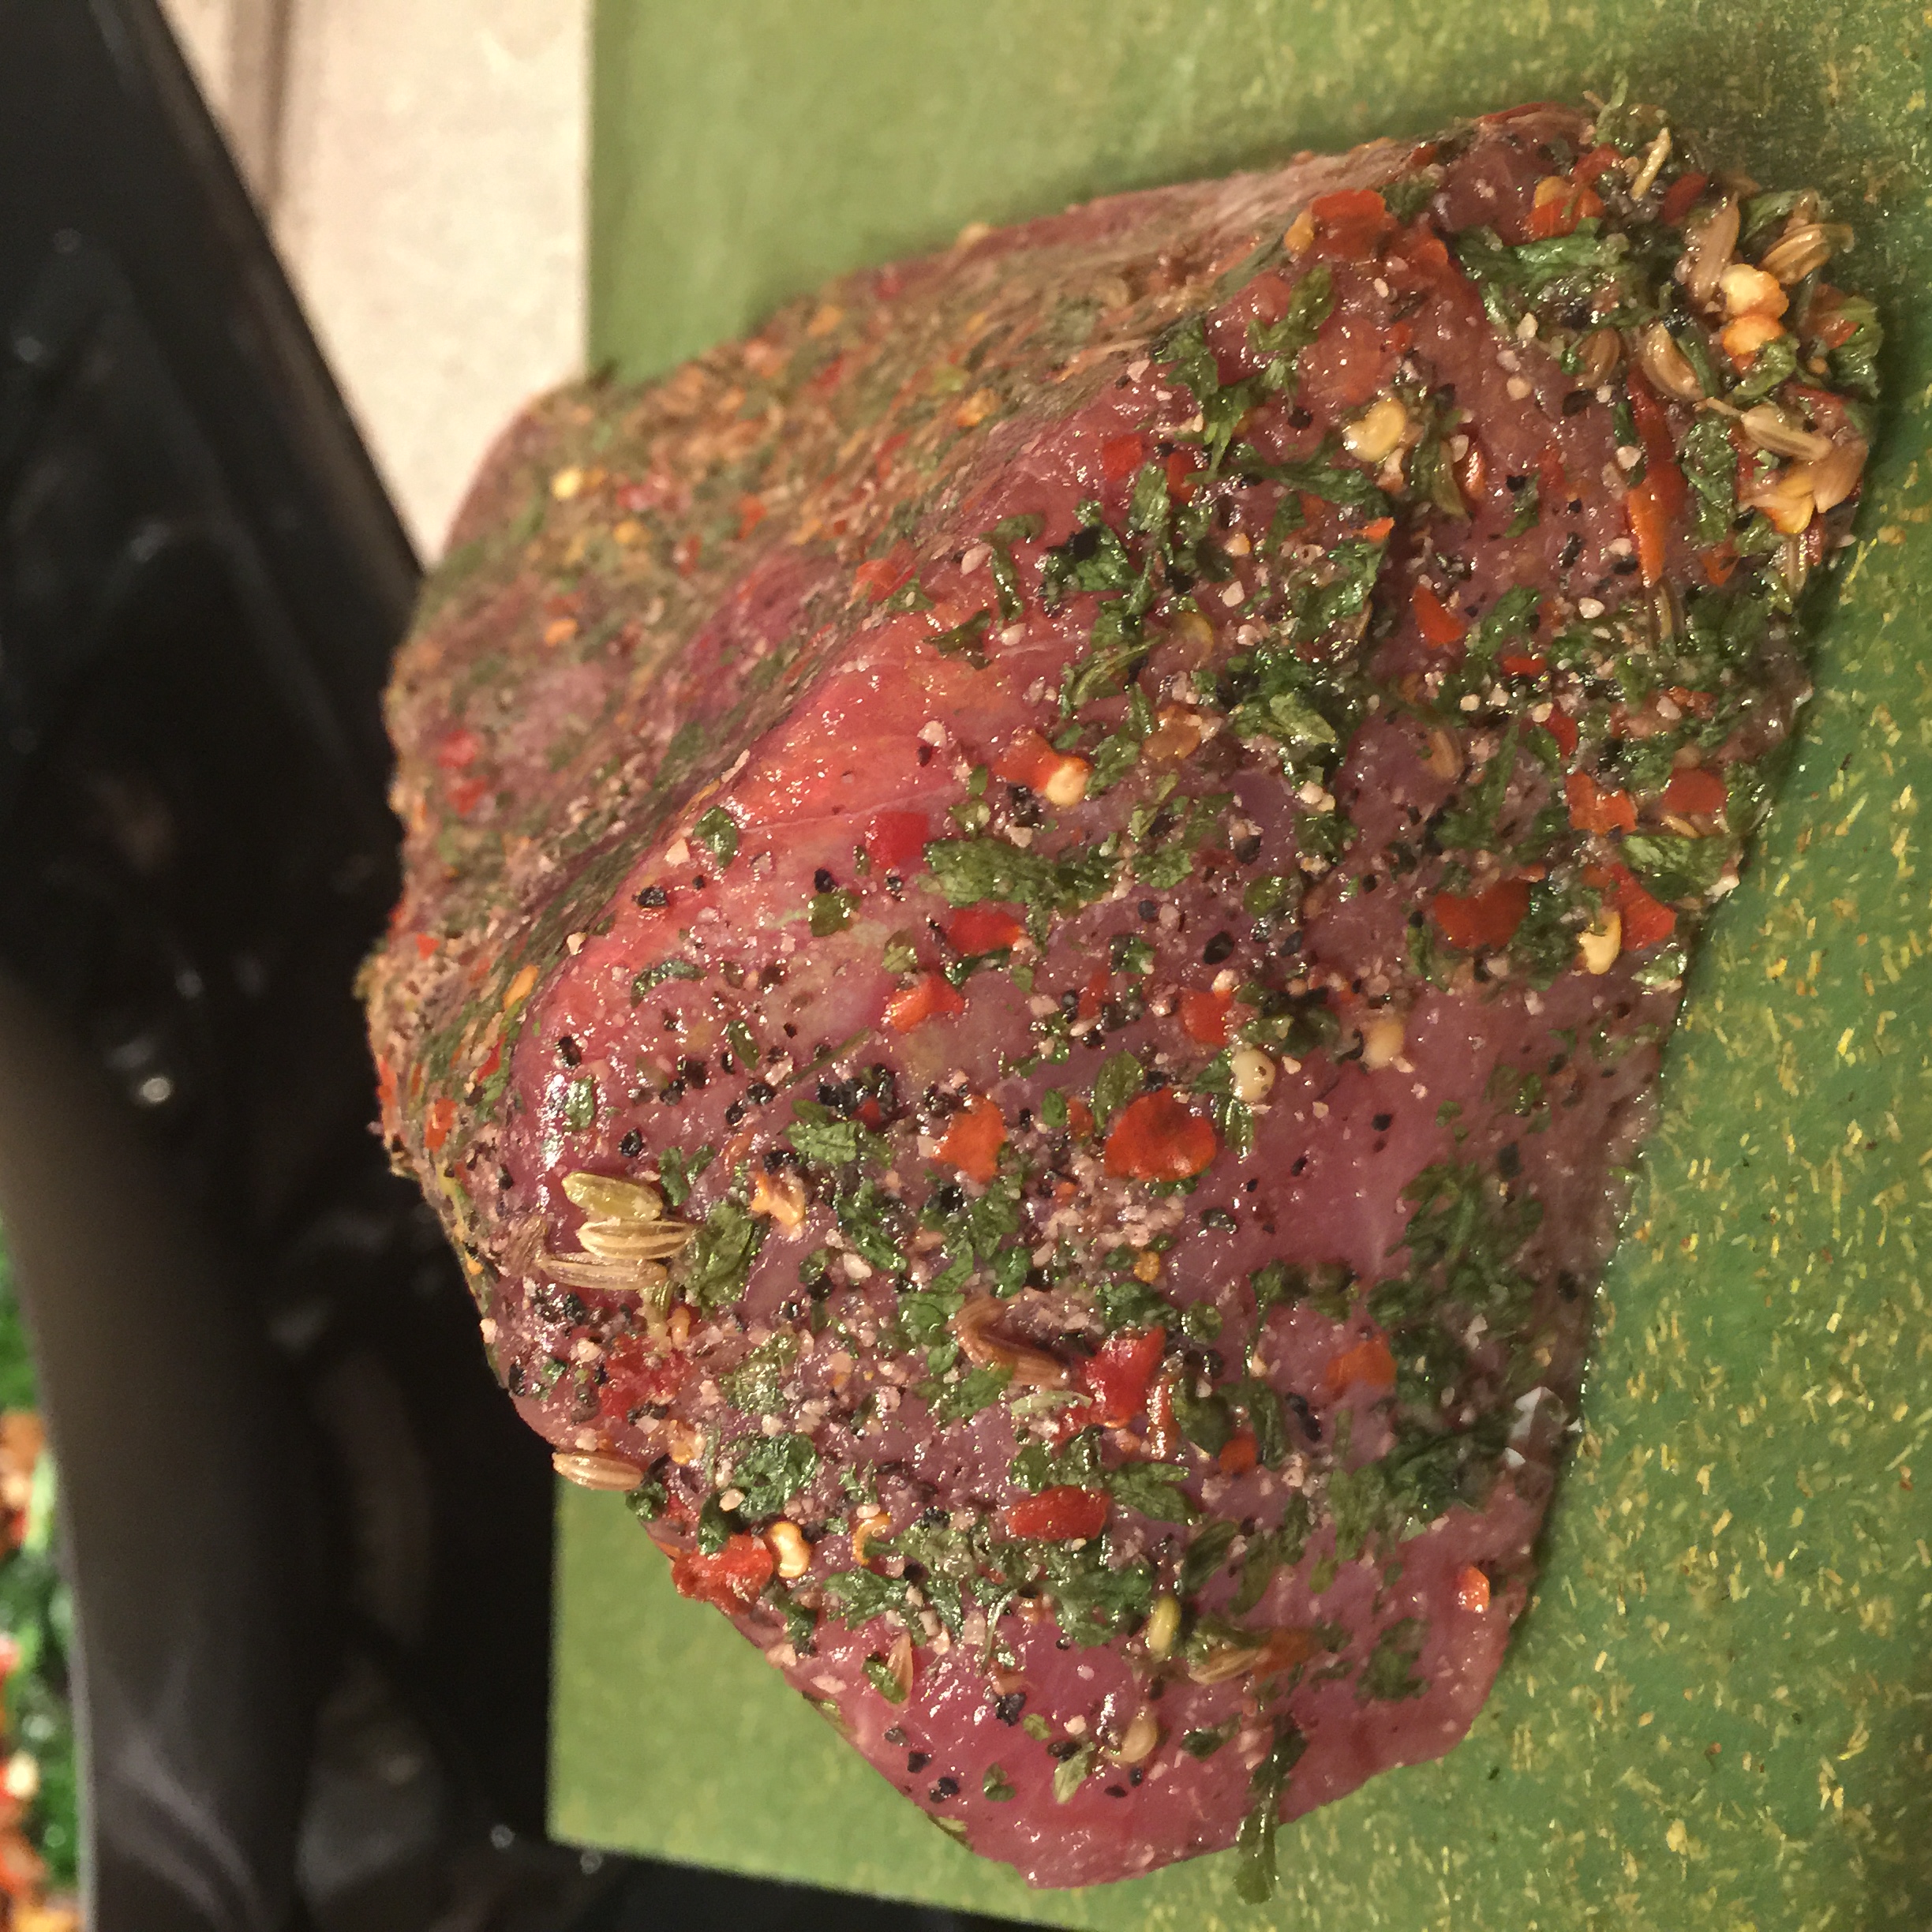
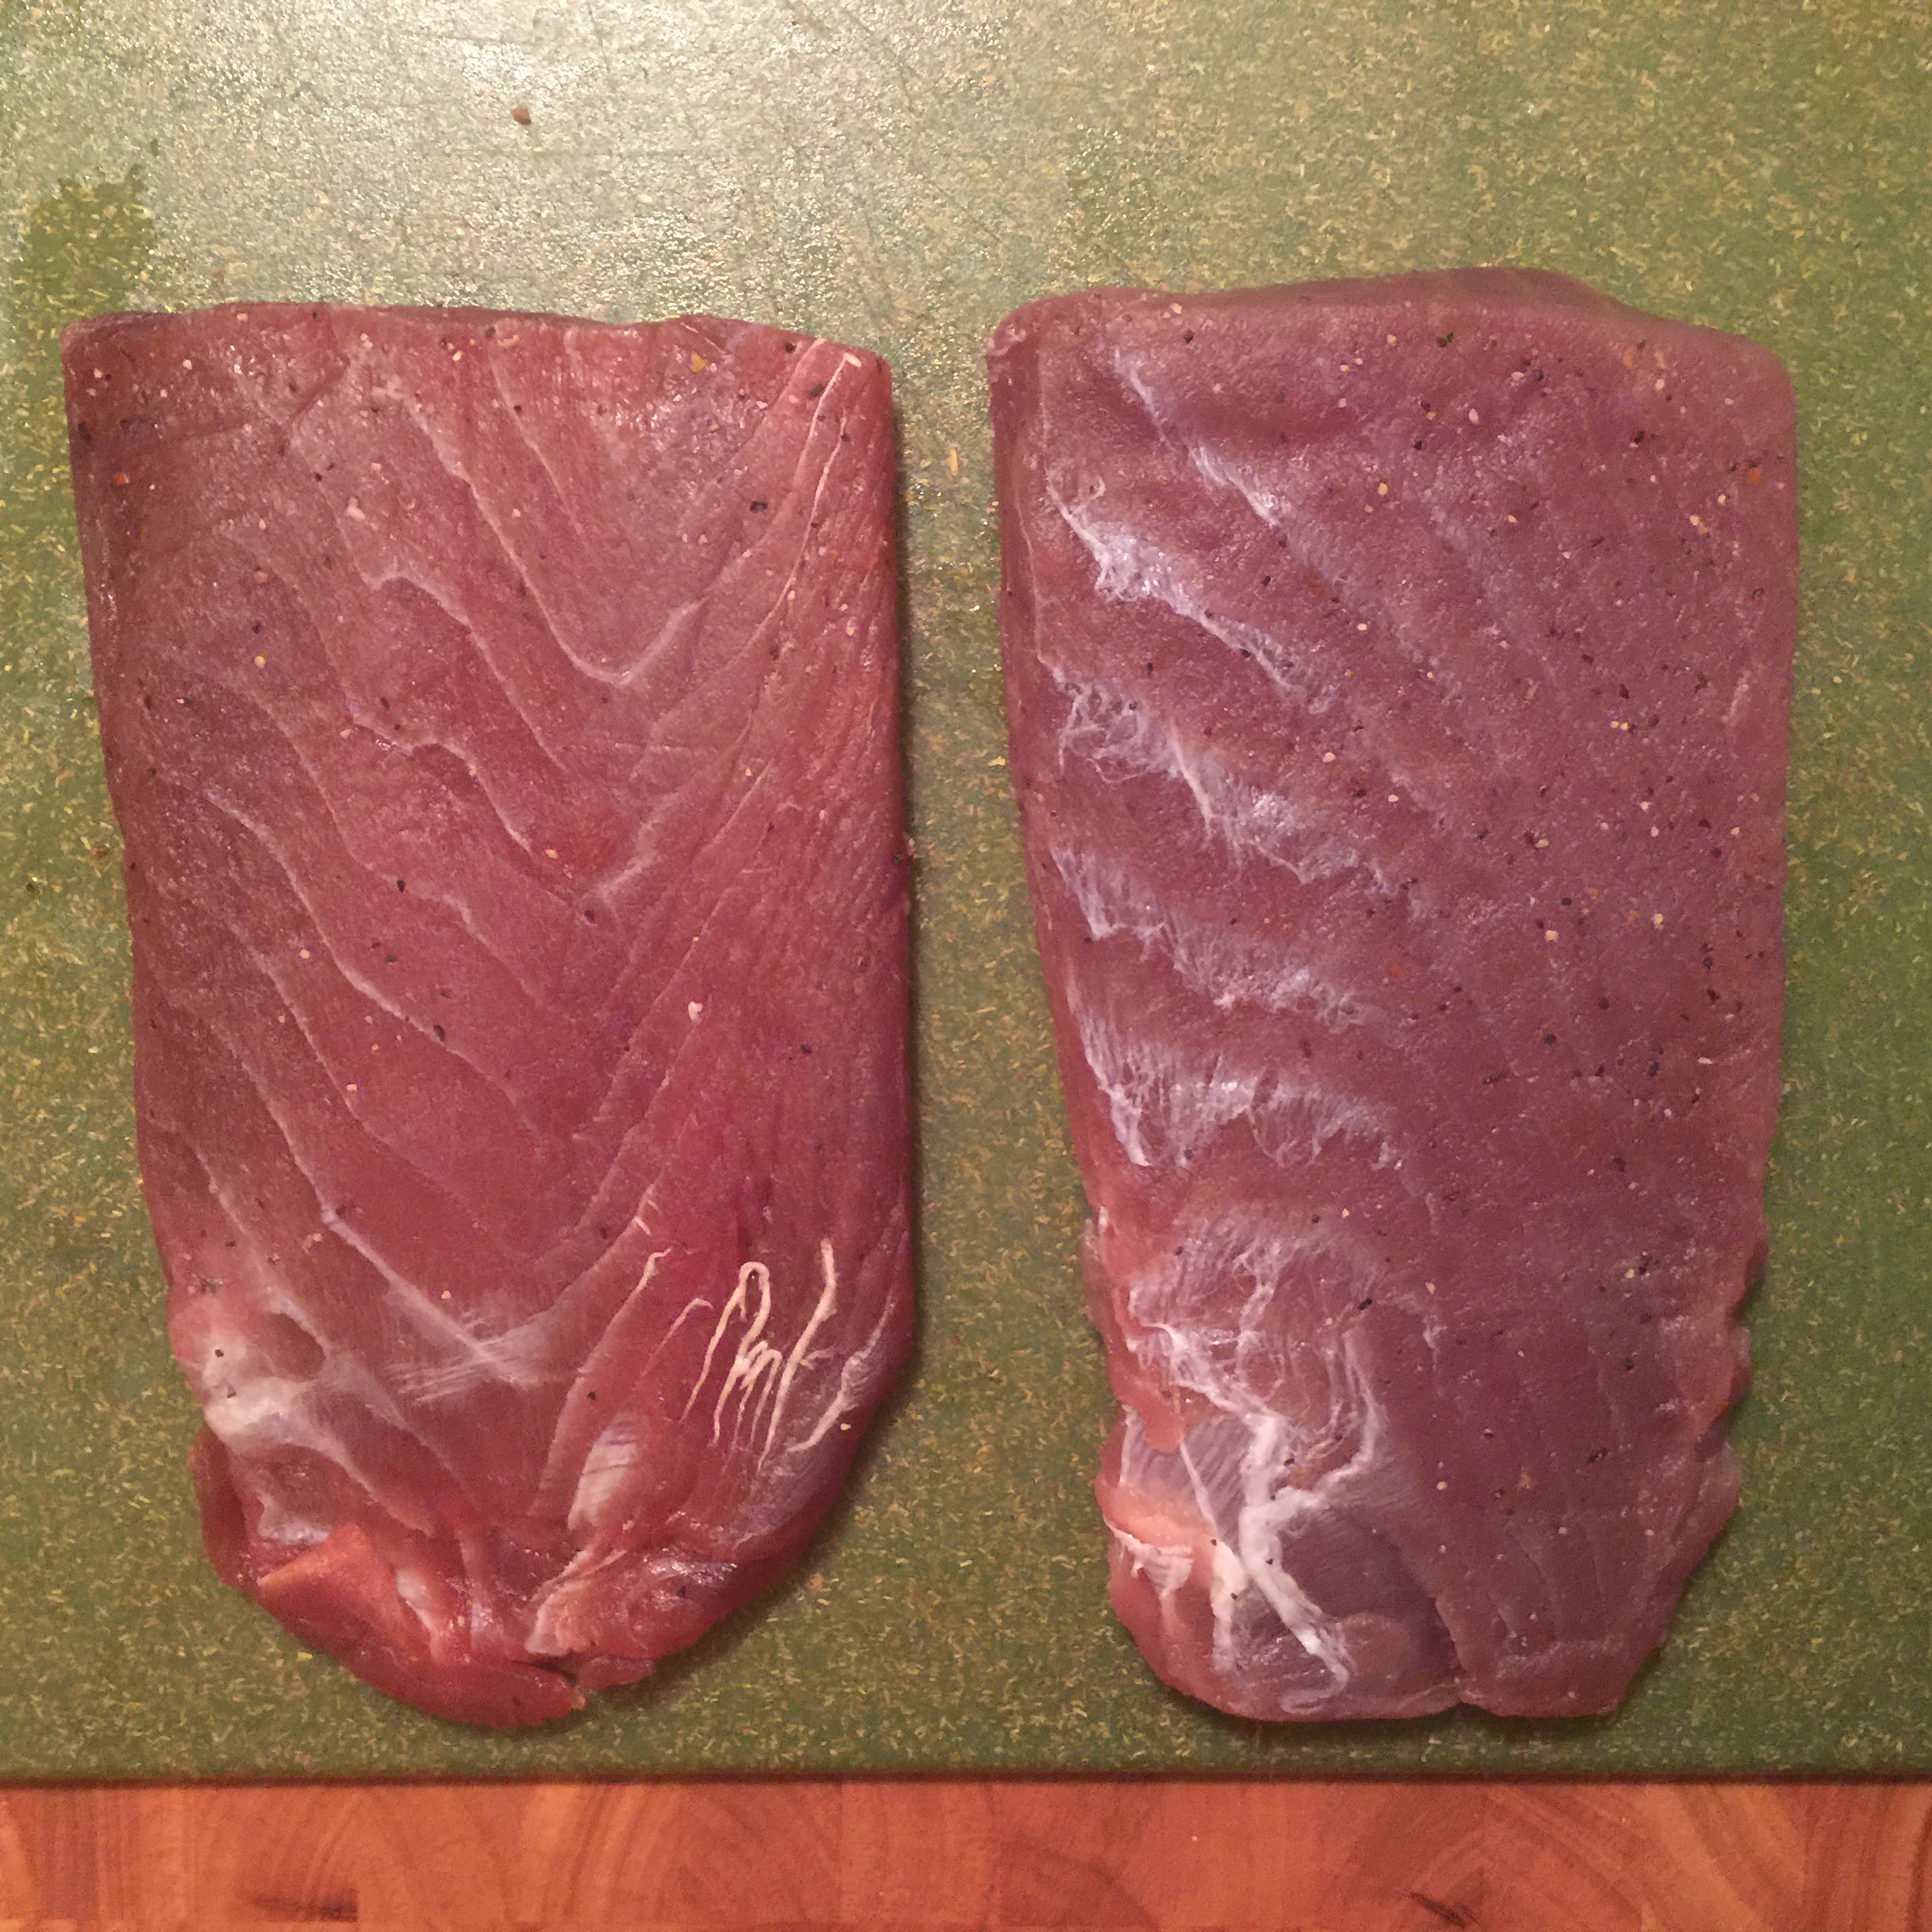
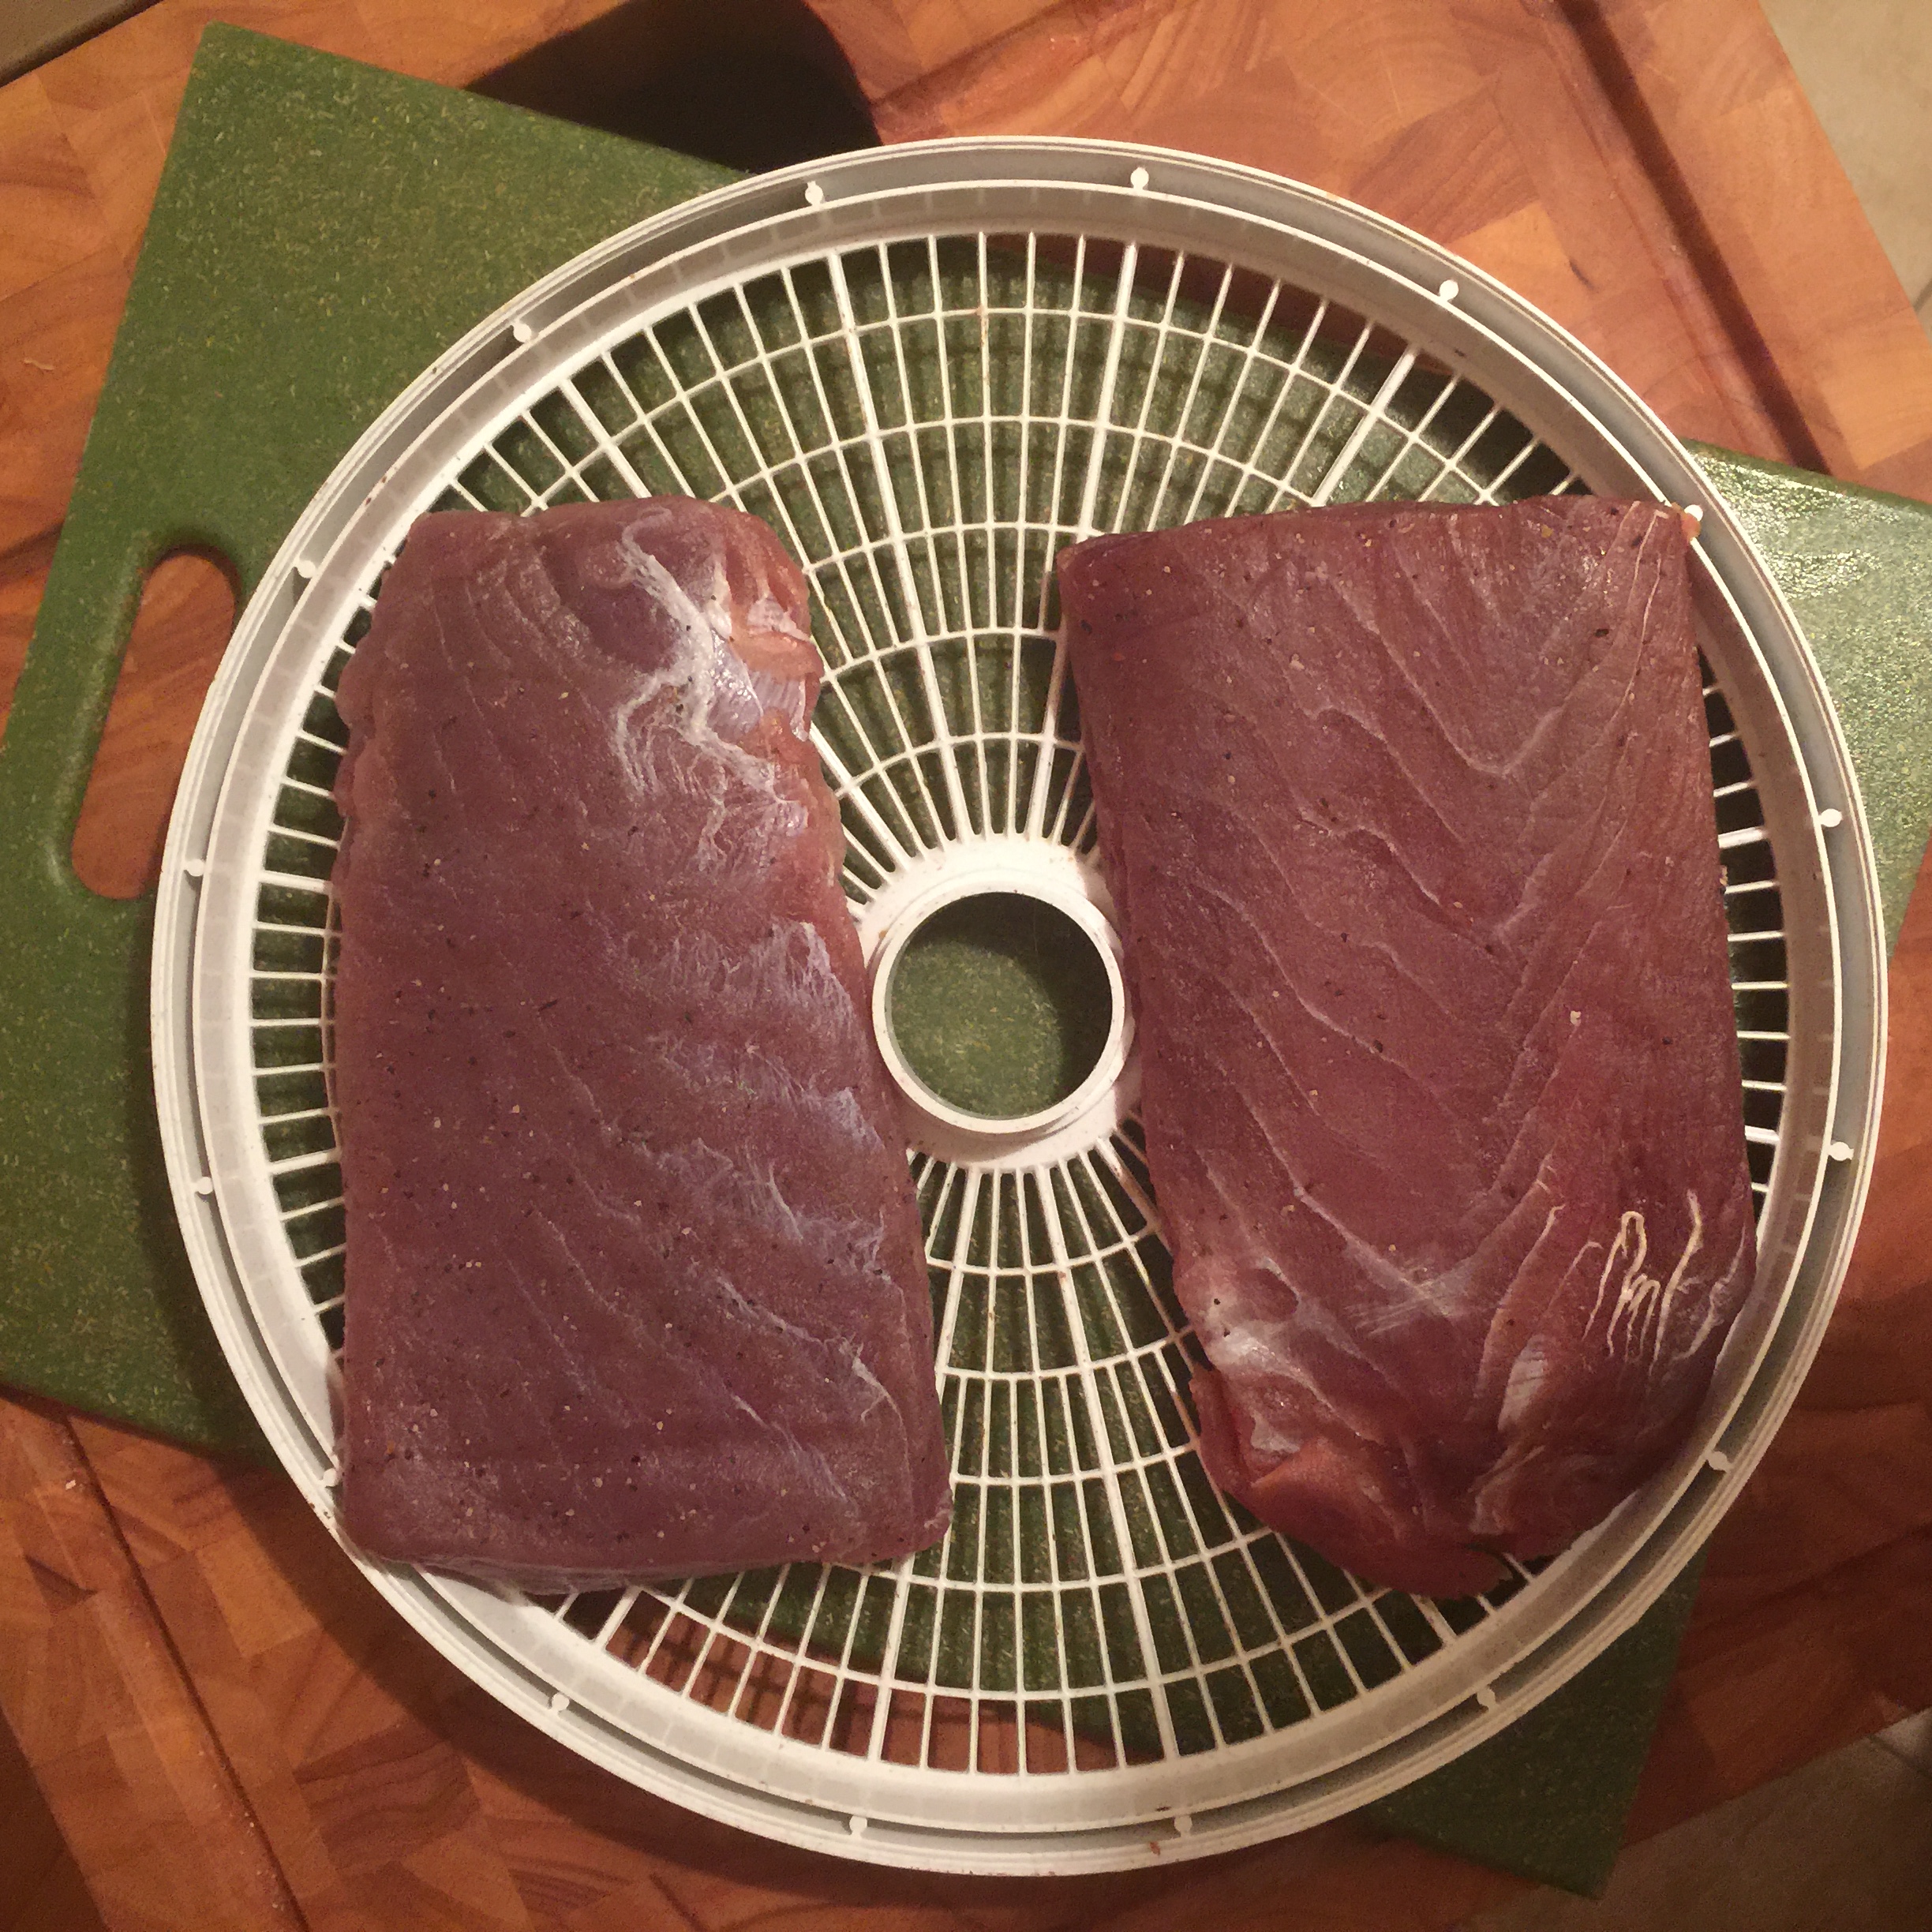
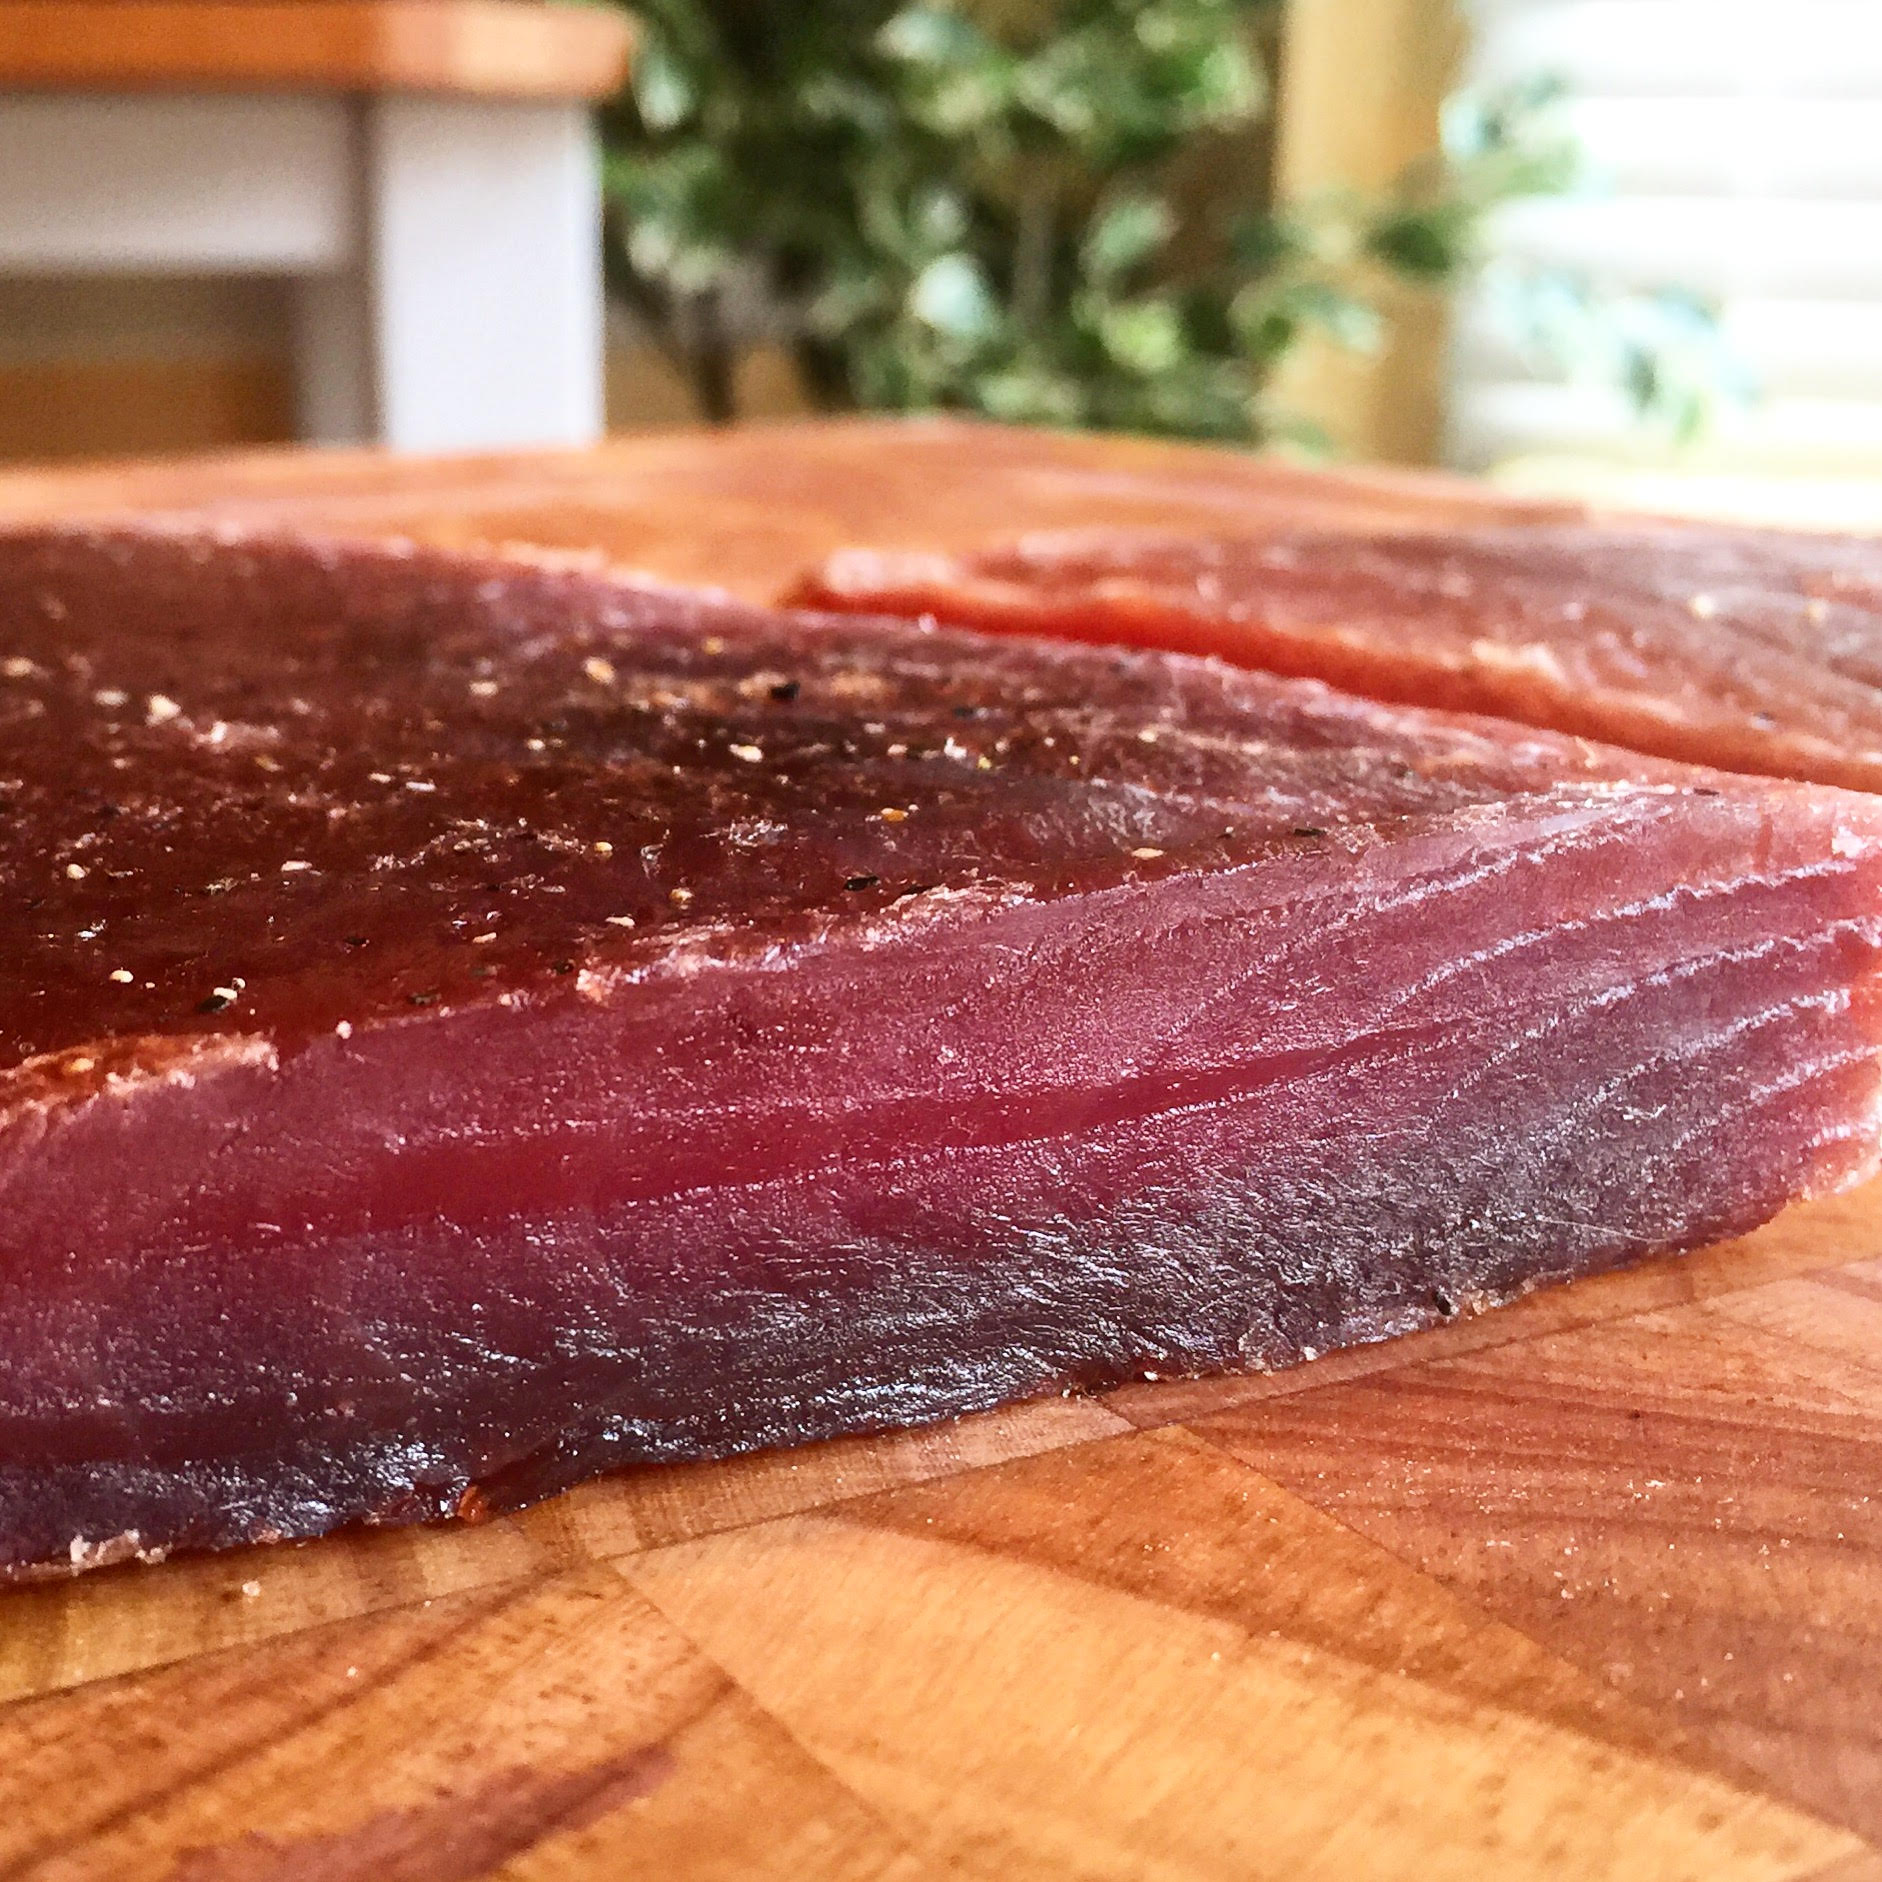
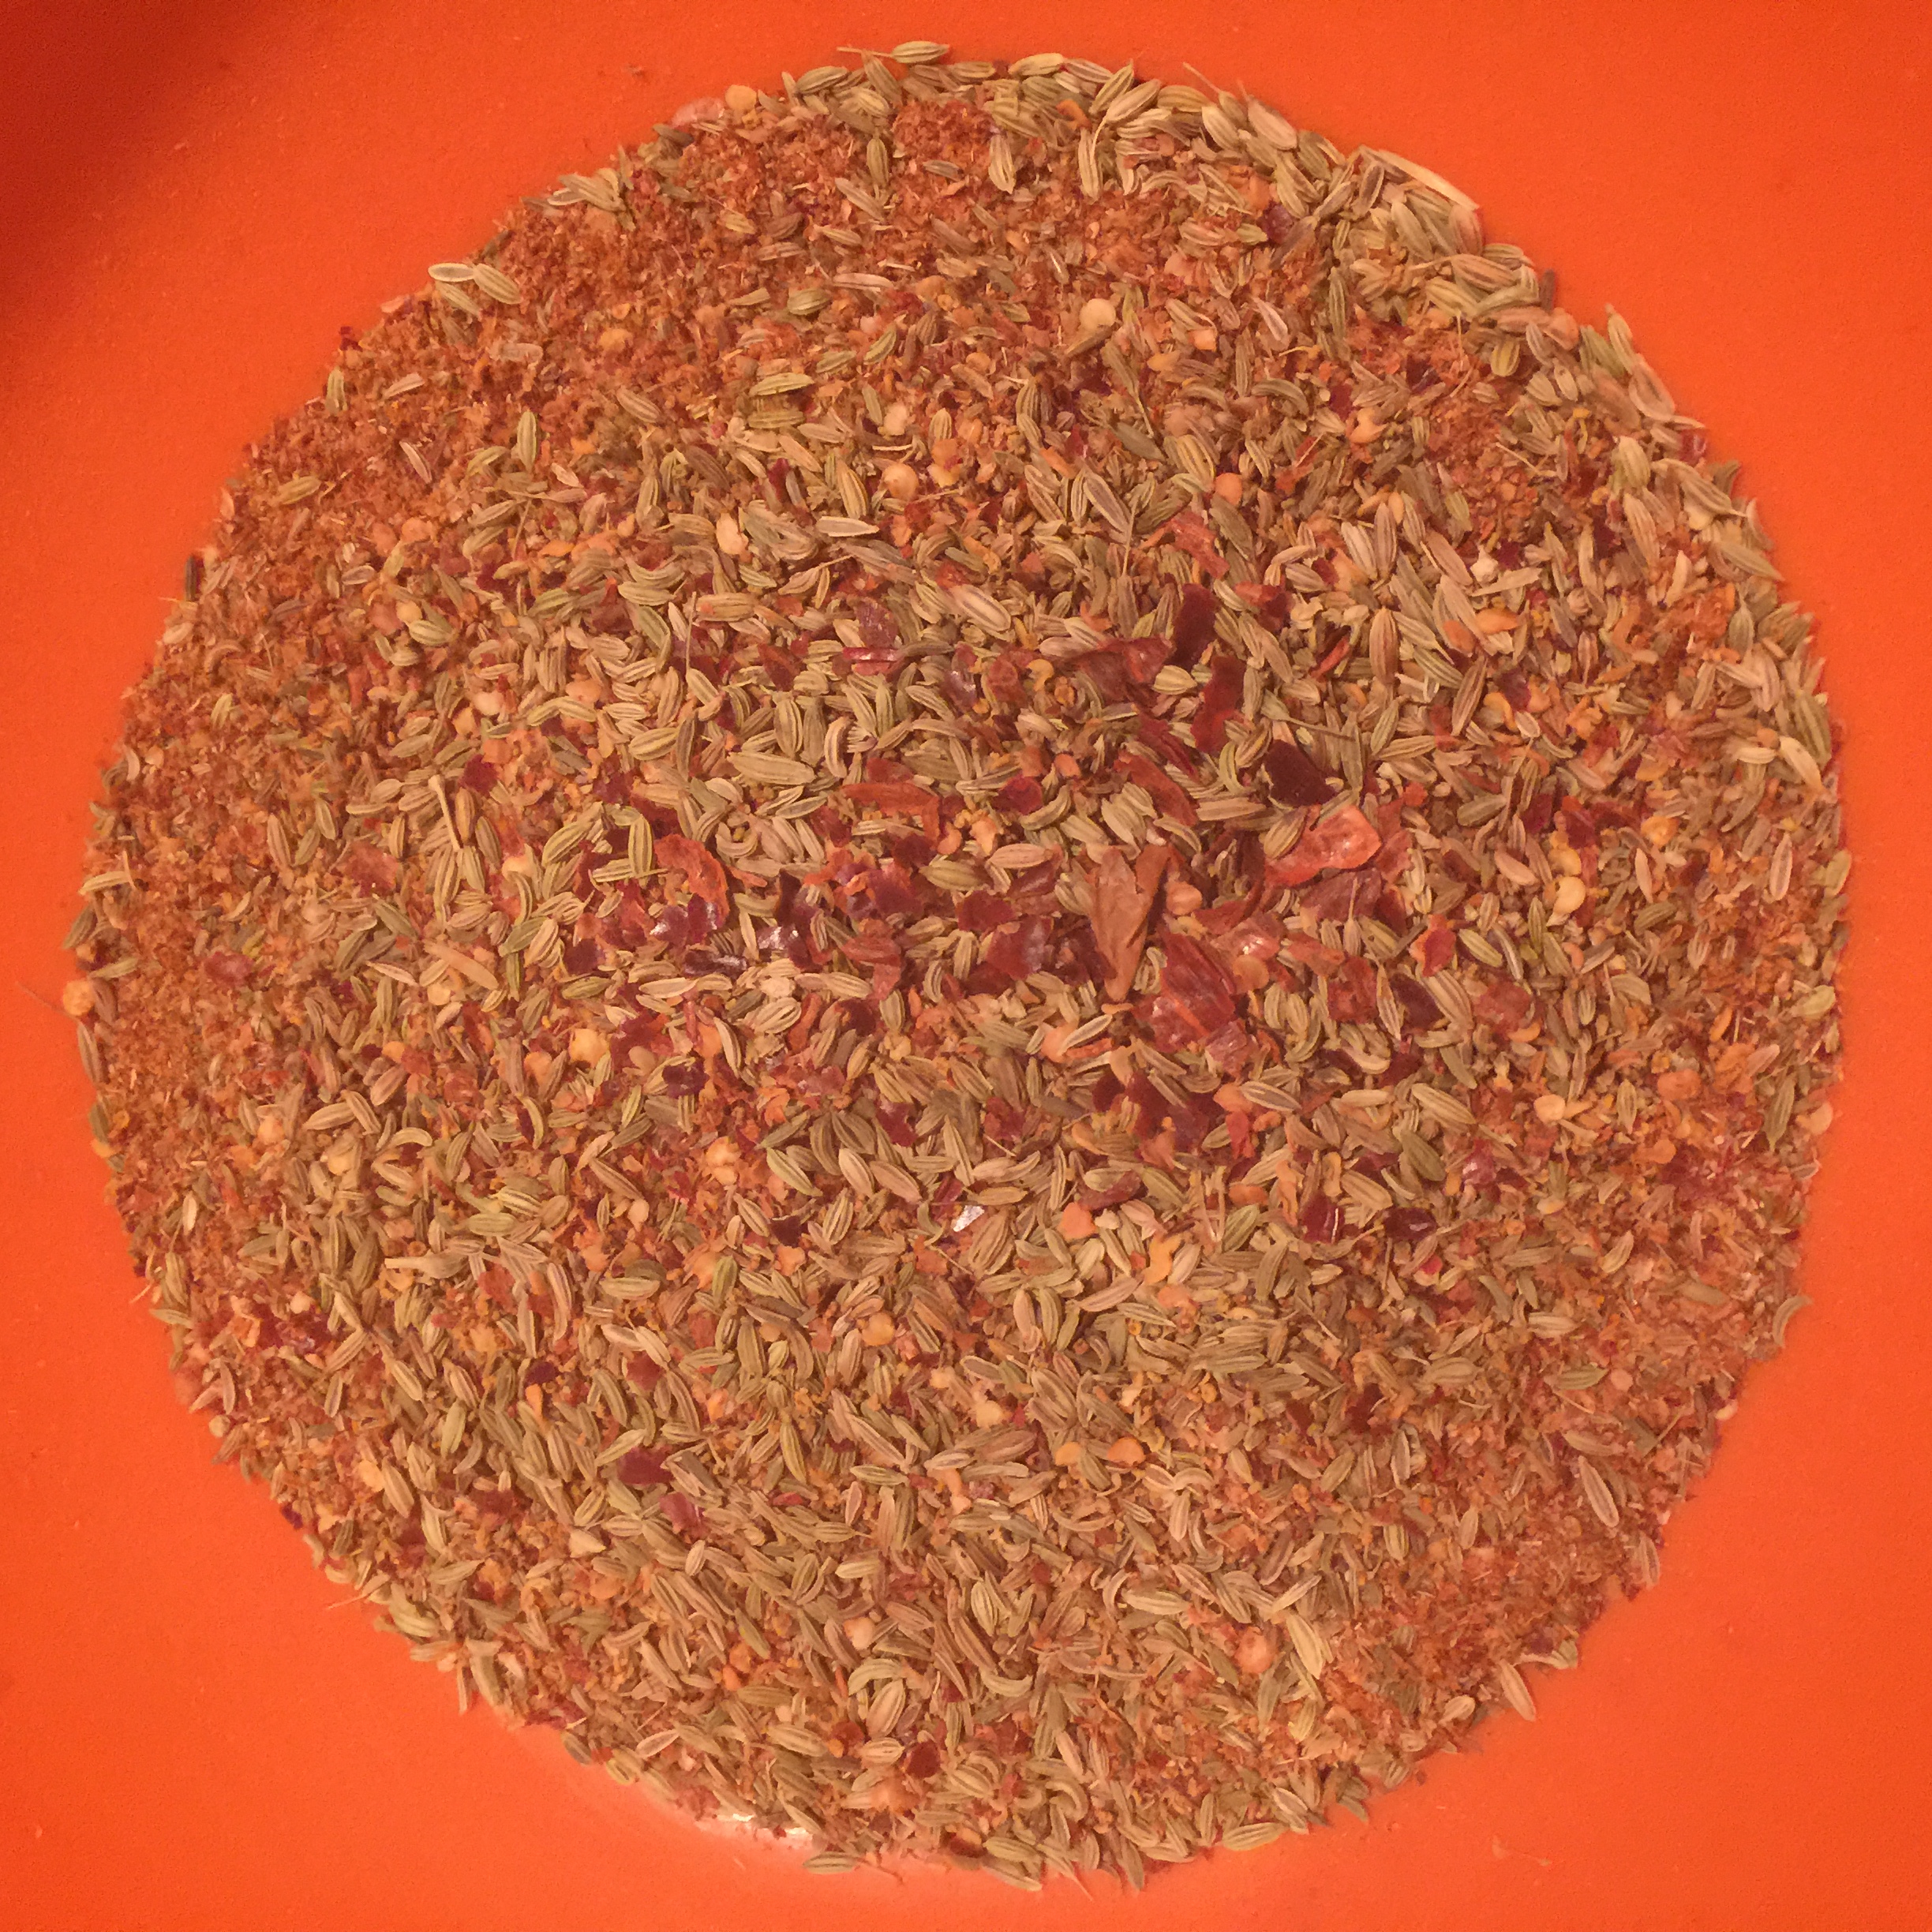
After sitting in the cure for 2 weeks, the meat was rinsed off and patted dry. For this meat, I wanted to leave a coating of toasted fennel and peperoncini around the outside. I mixed these together in a bowl first.

image-7526

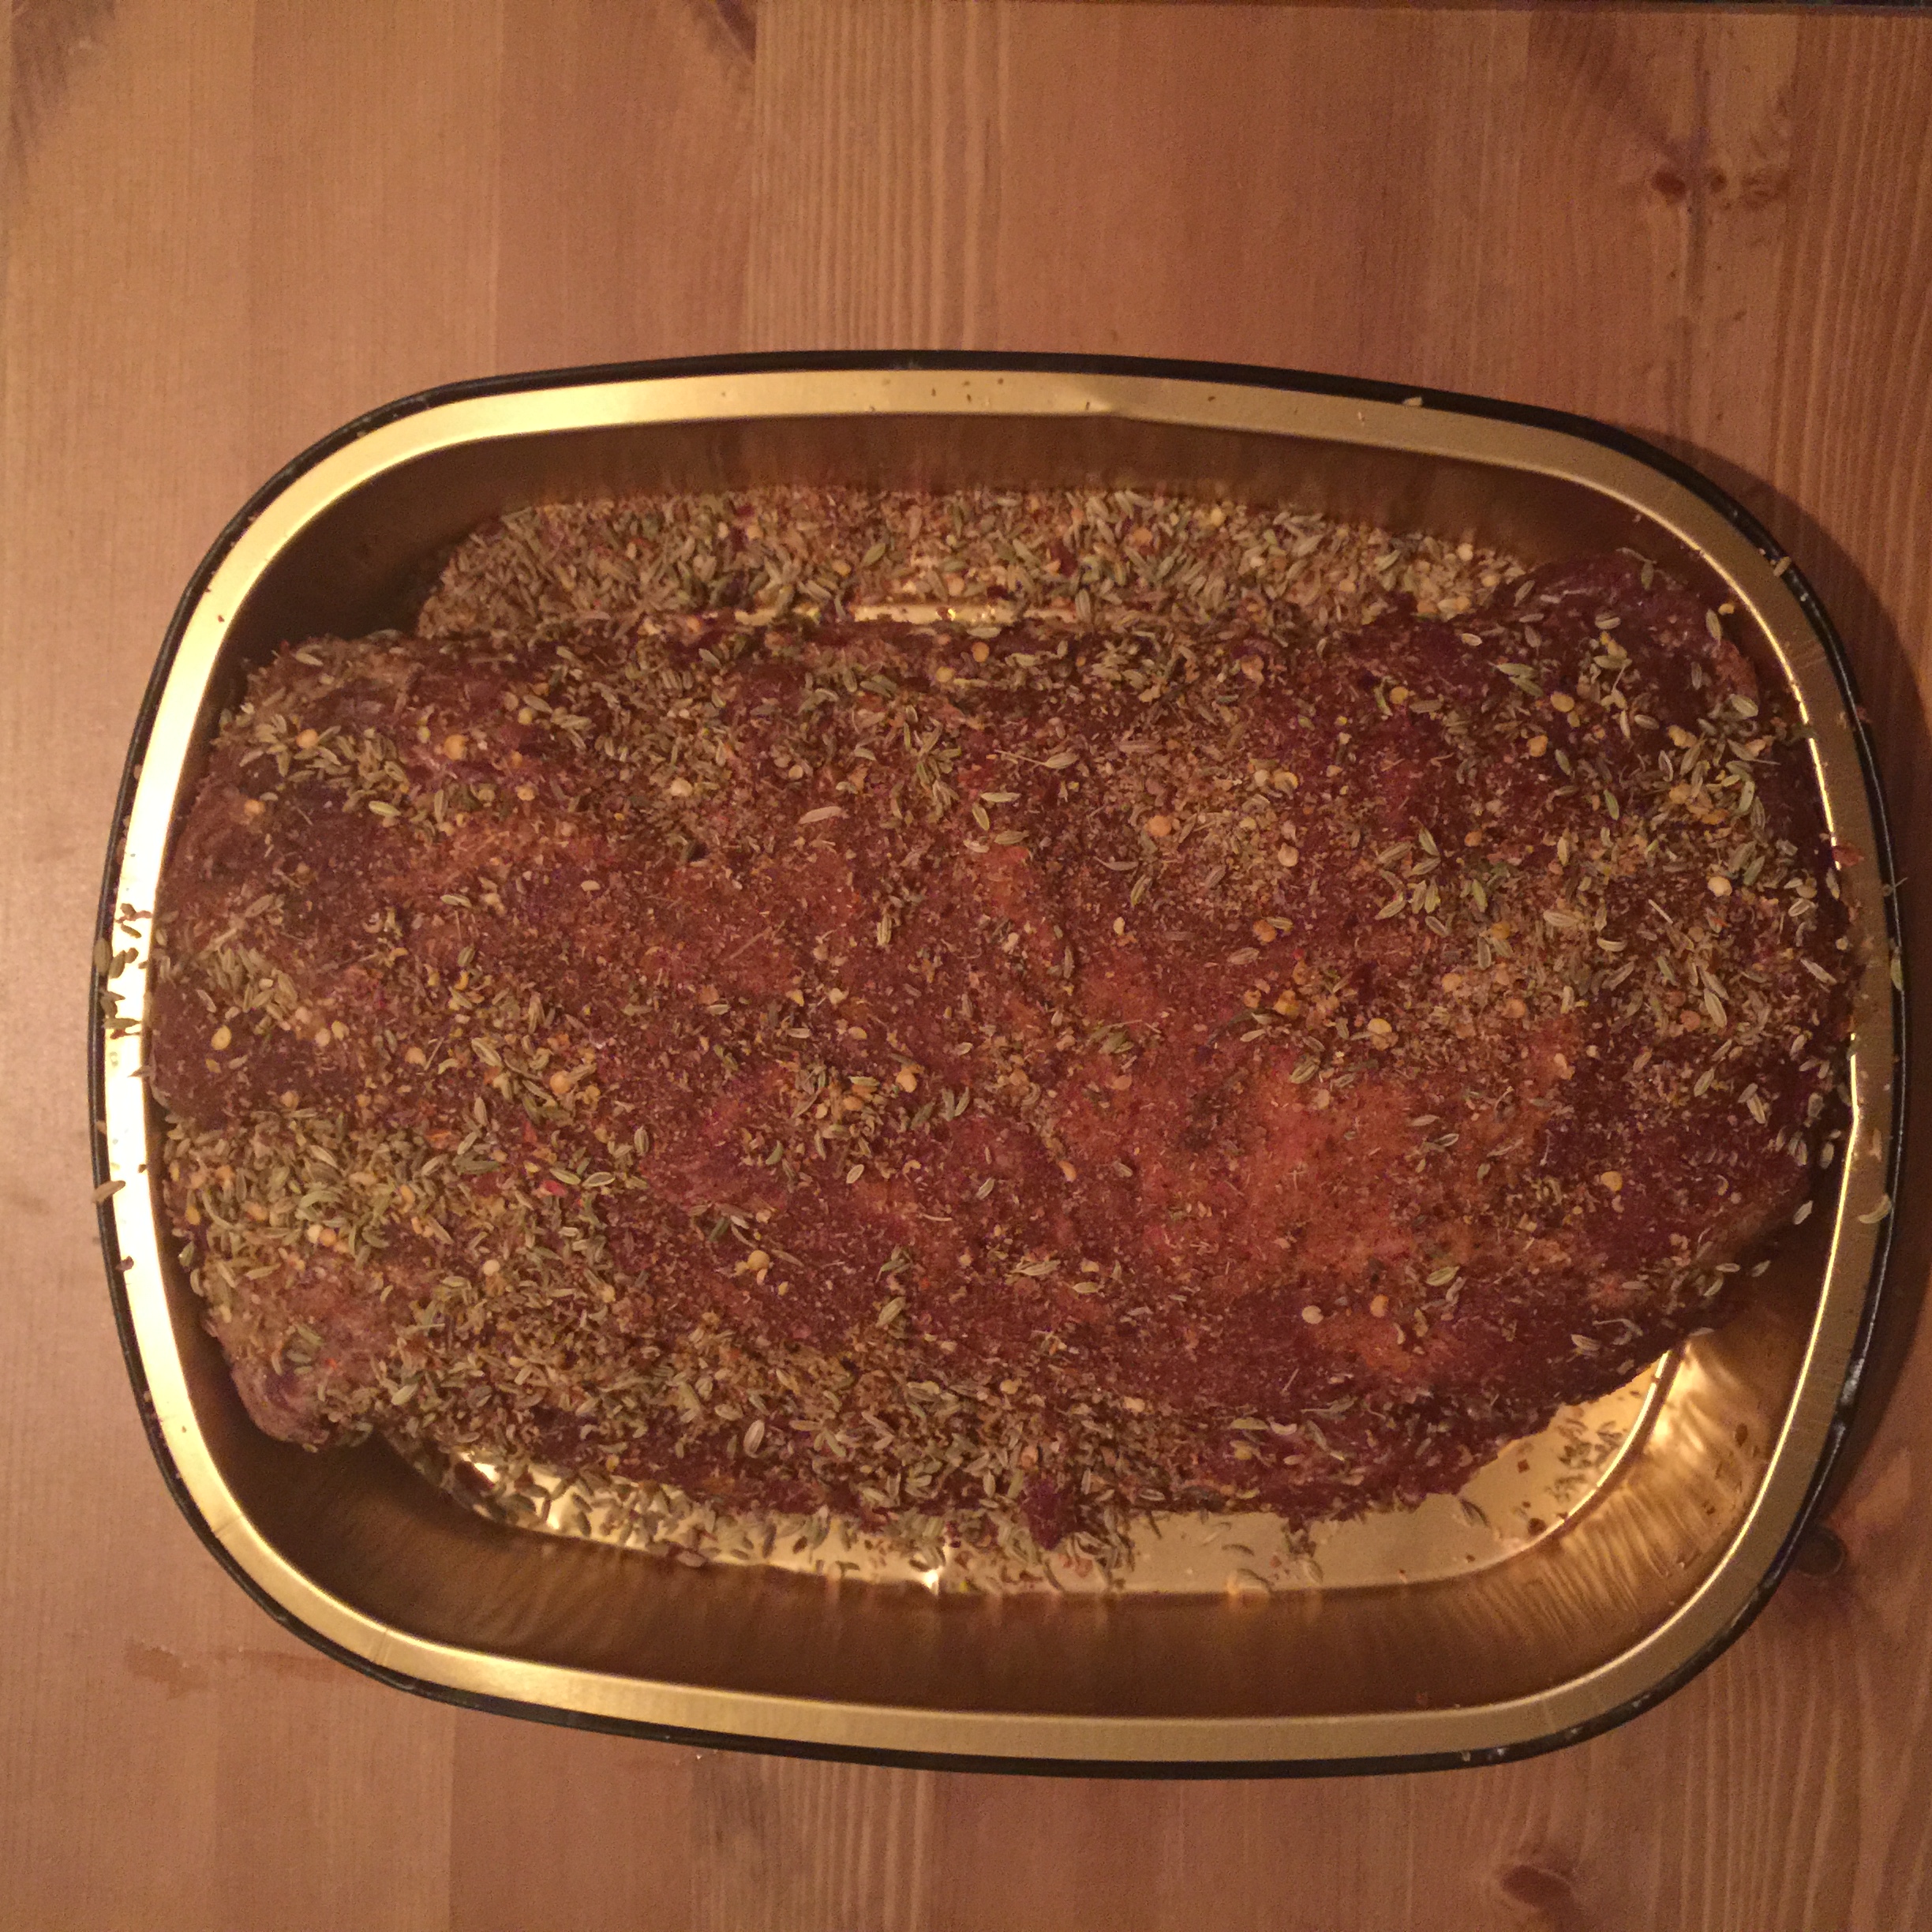
Then, I coated the meat with the spices.

image-7547

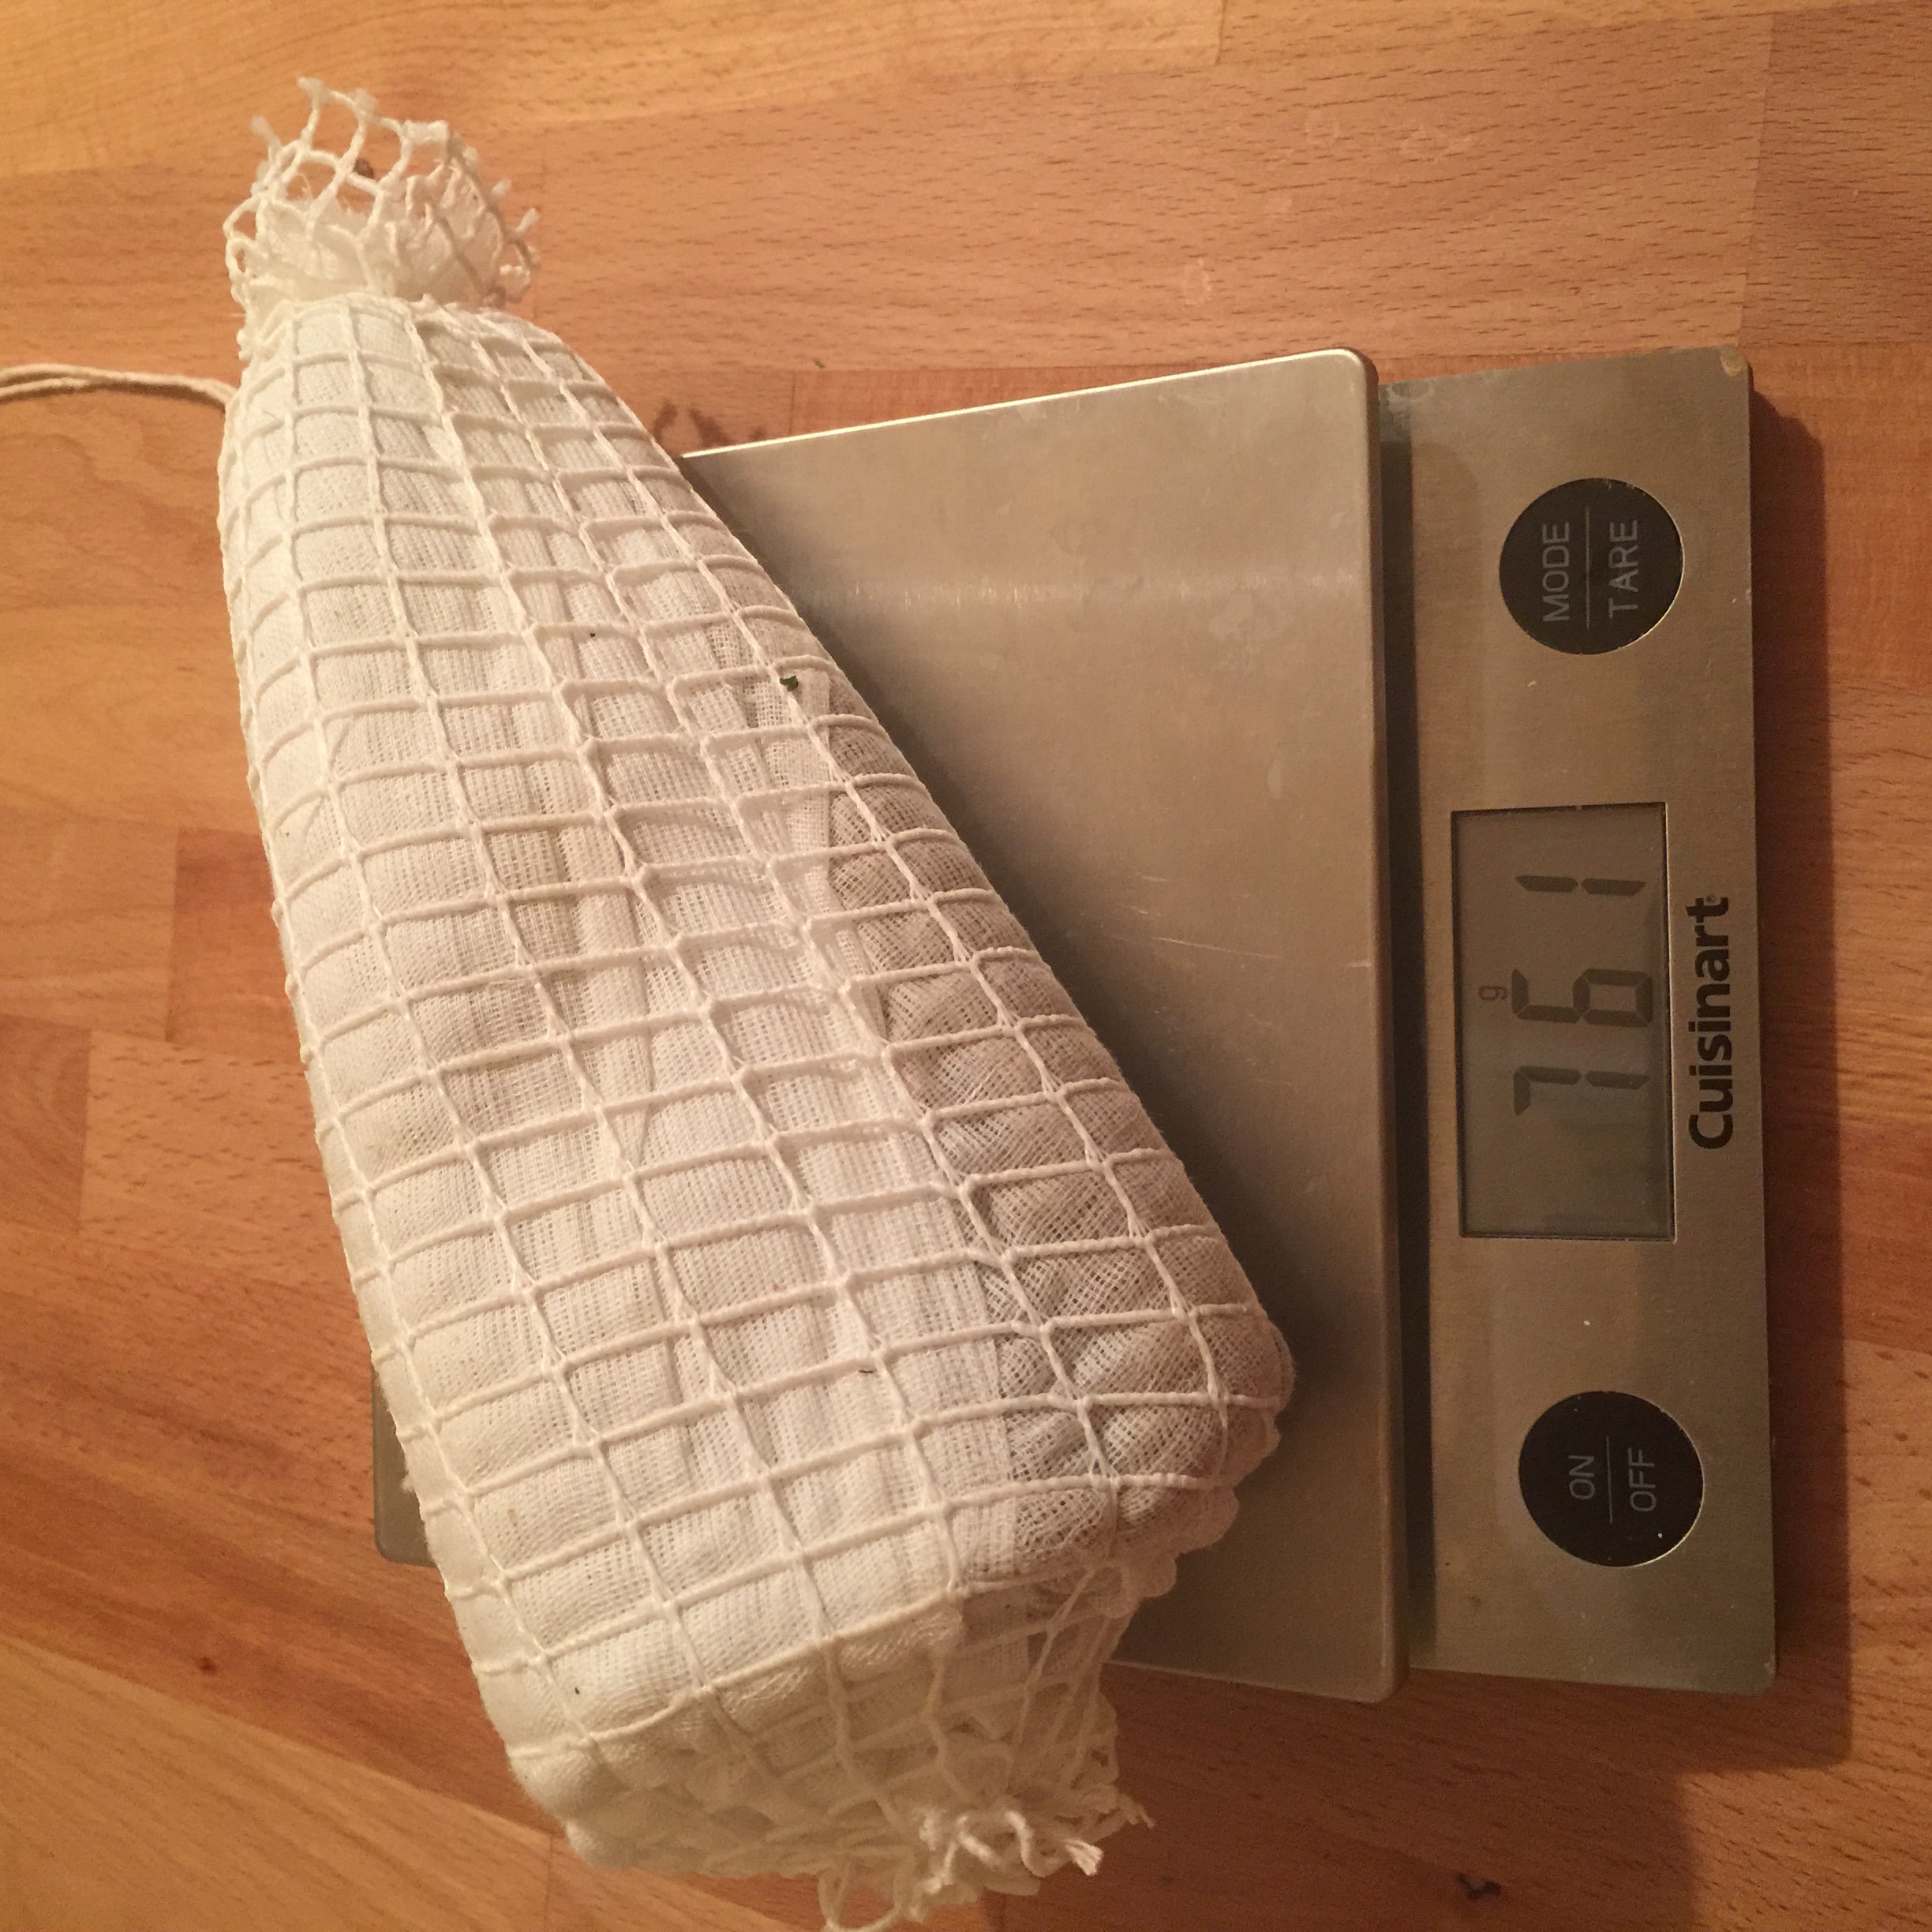
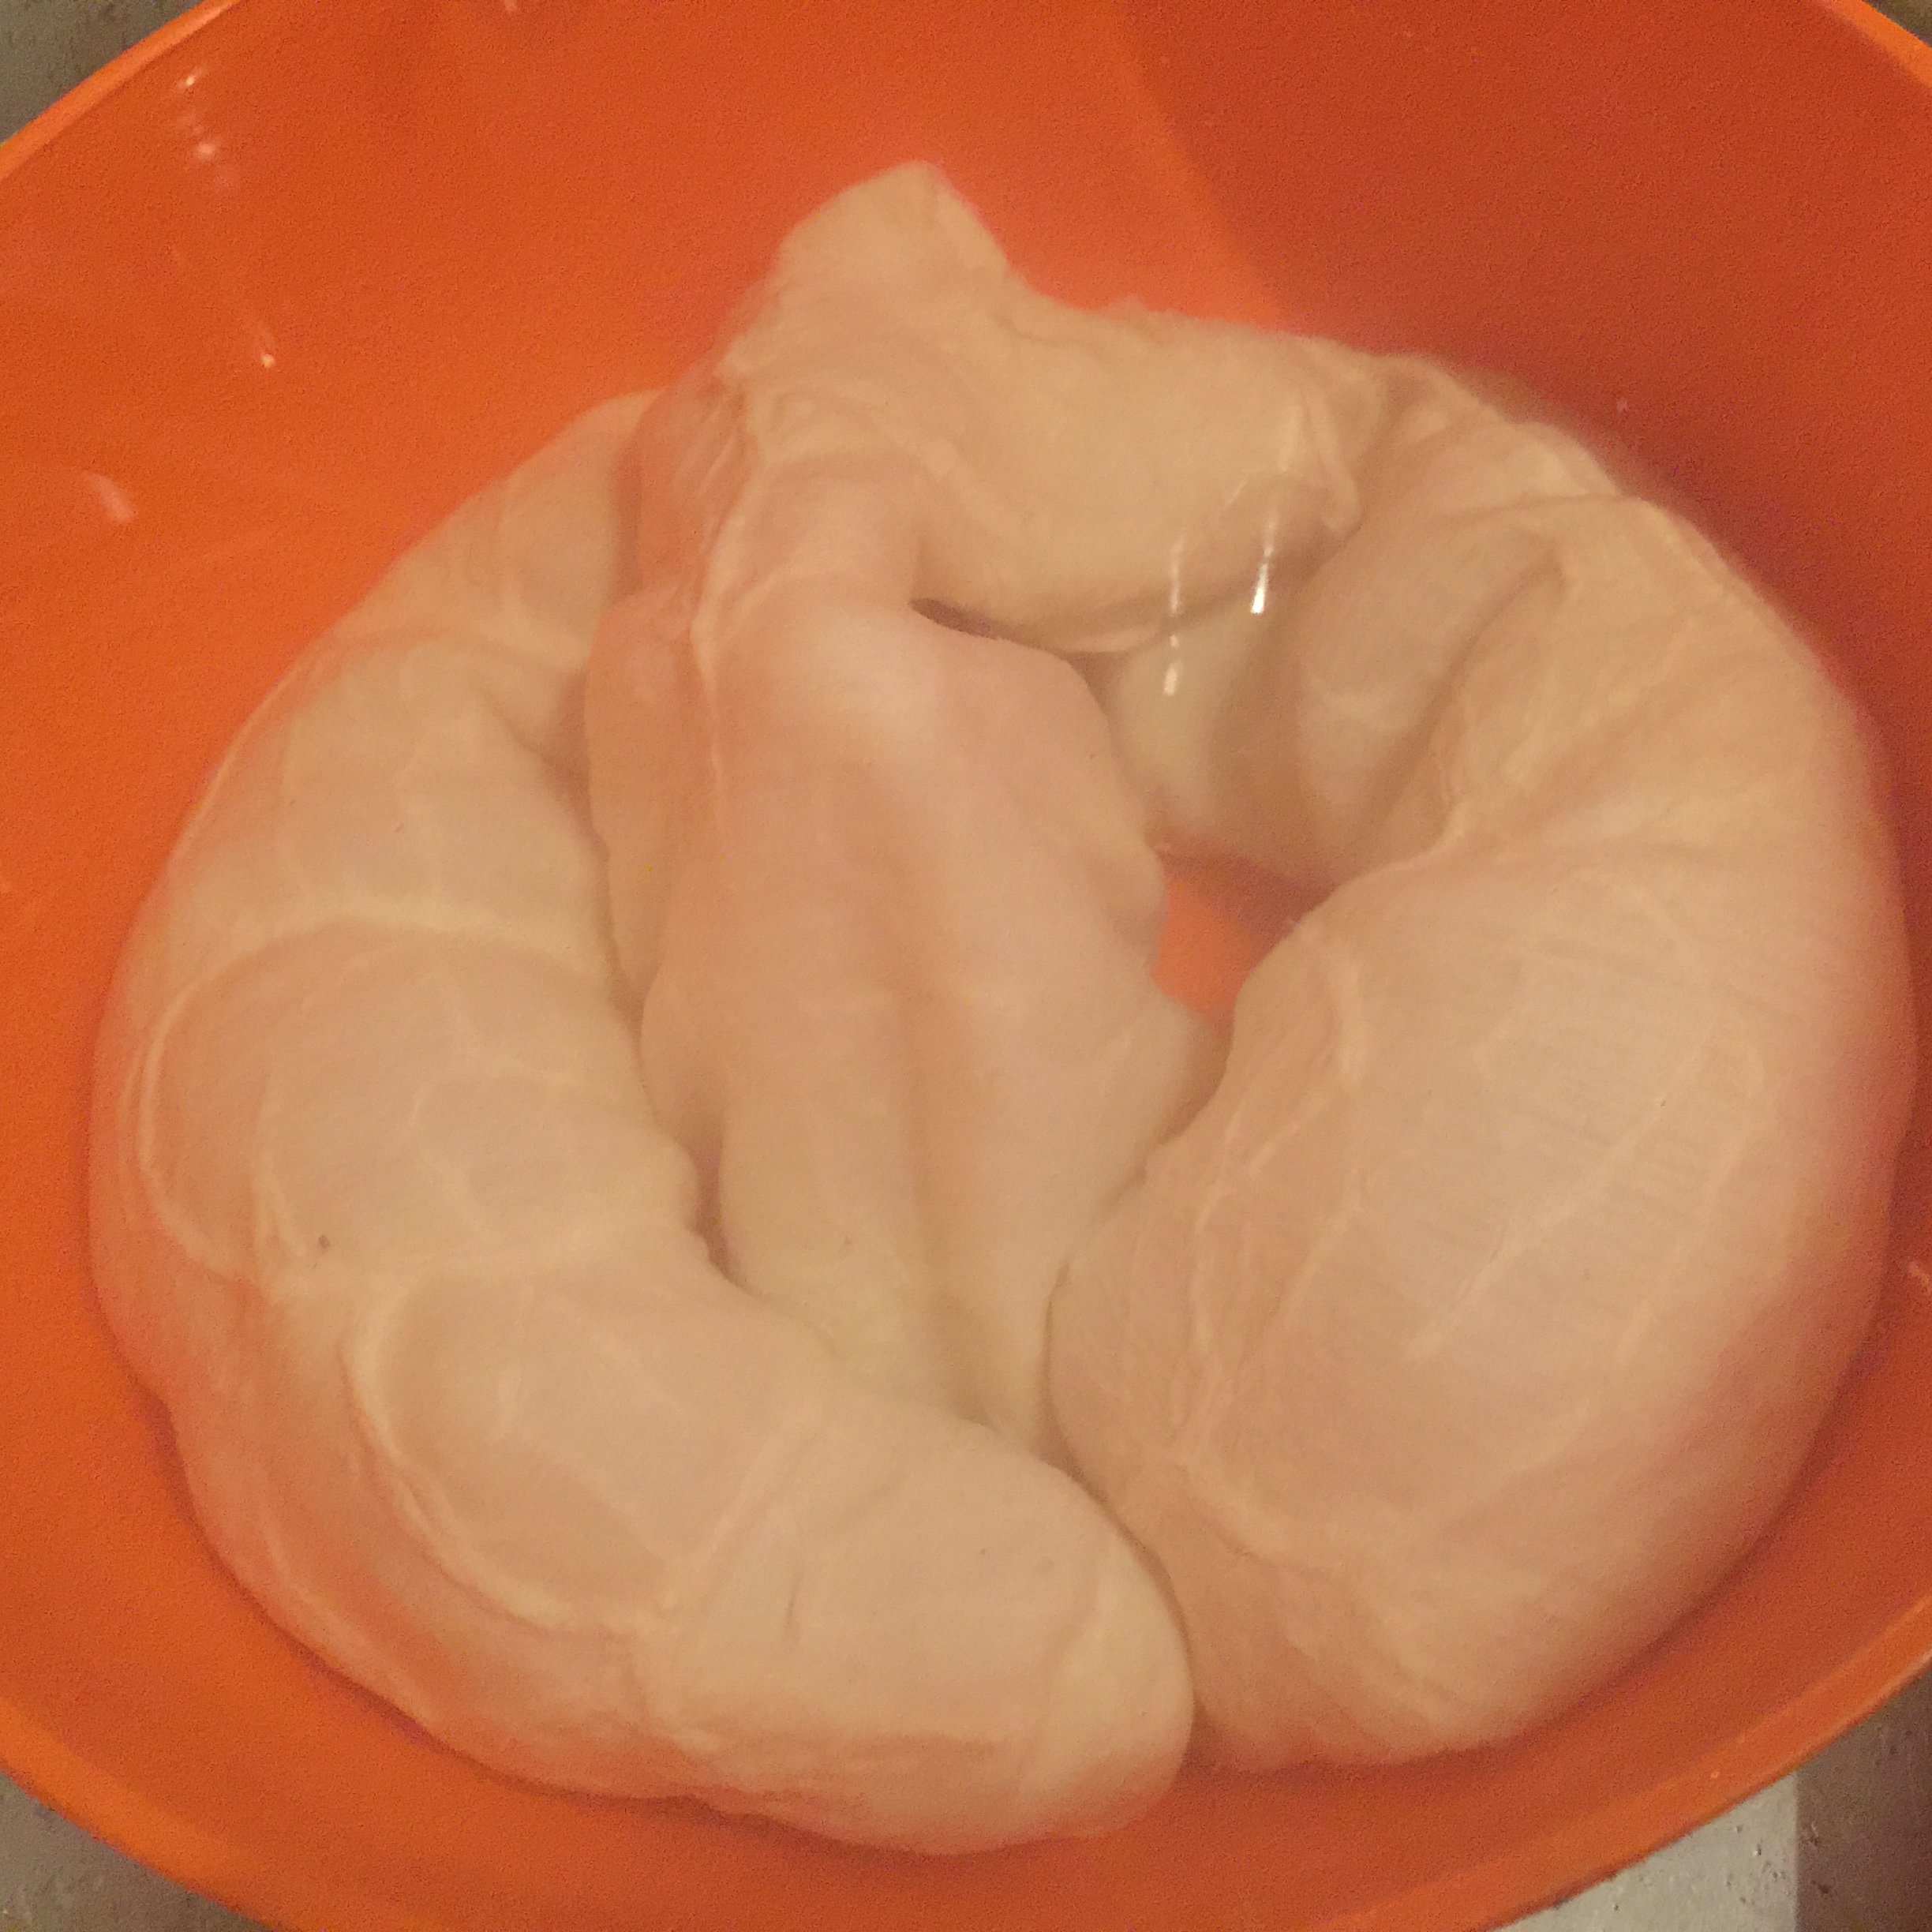
I cased this in a beef bung. In order to do this, I soaked the beef bung in warm water for about an hour before I started.

image-7556

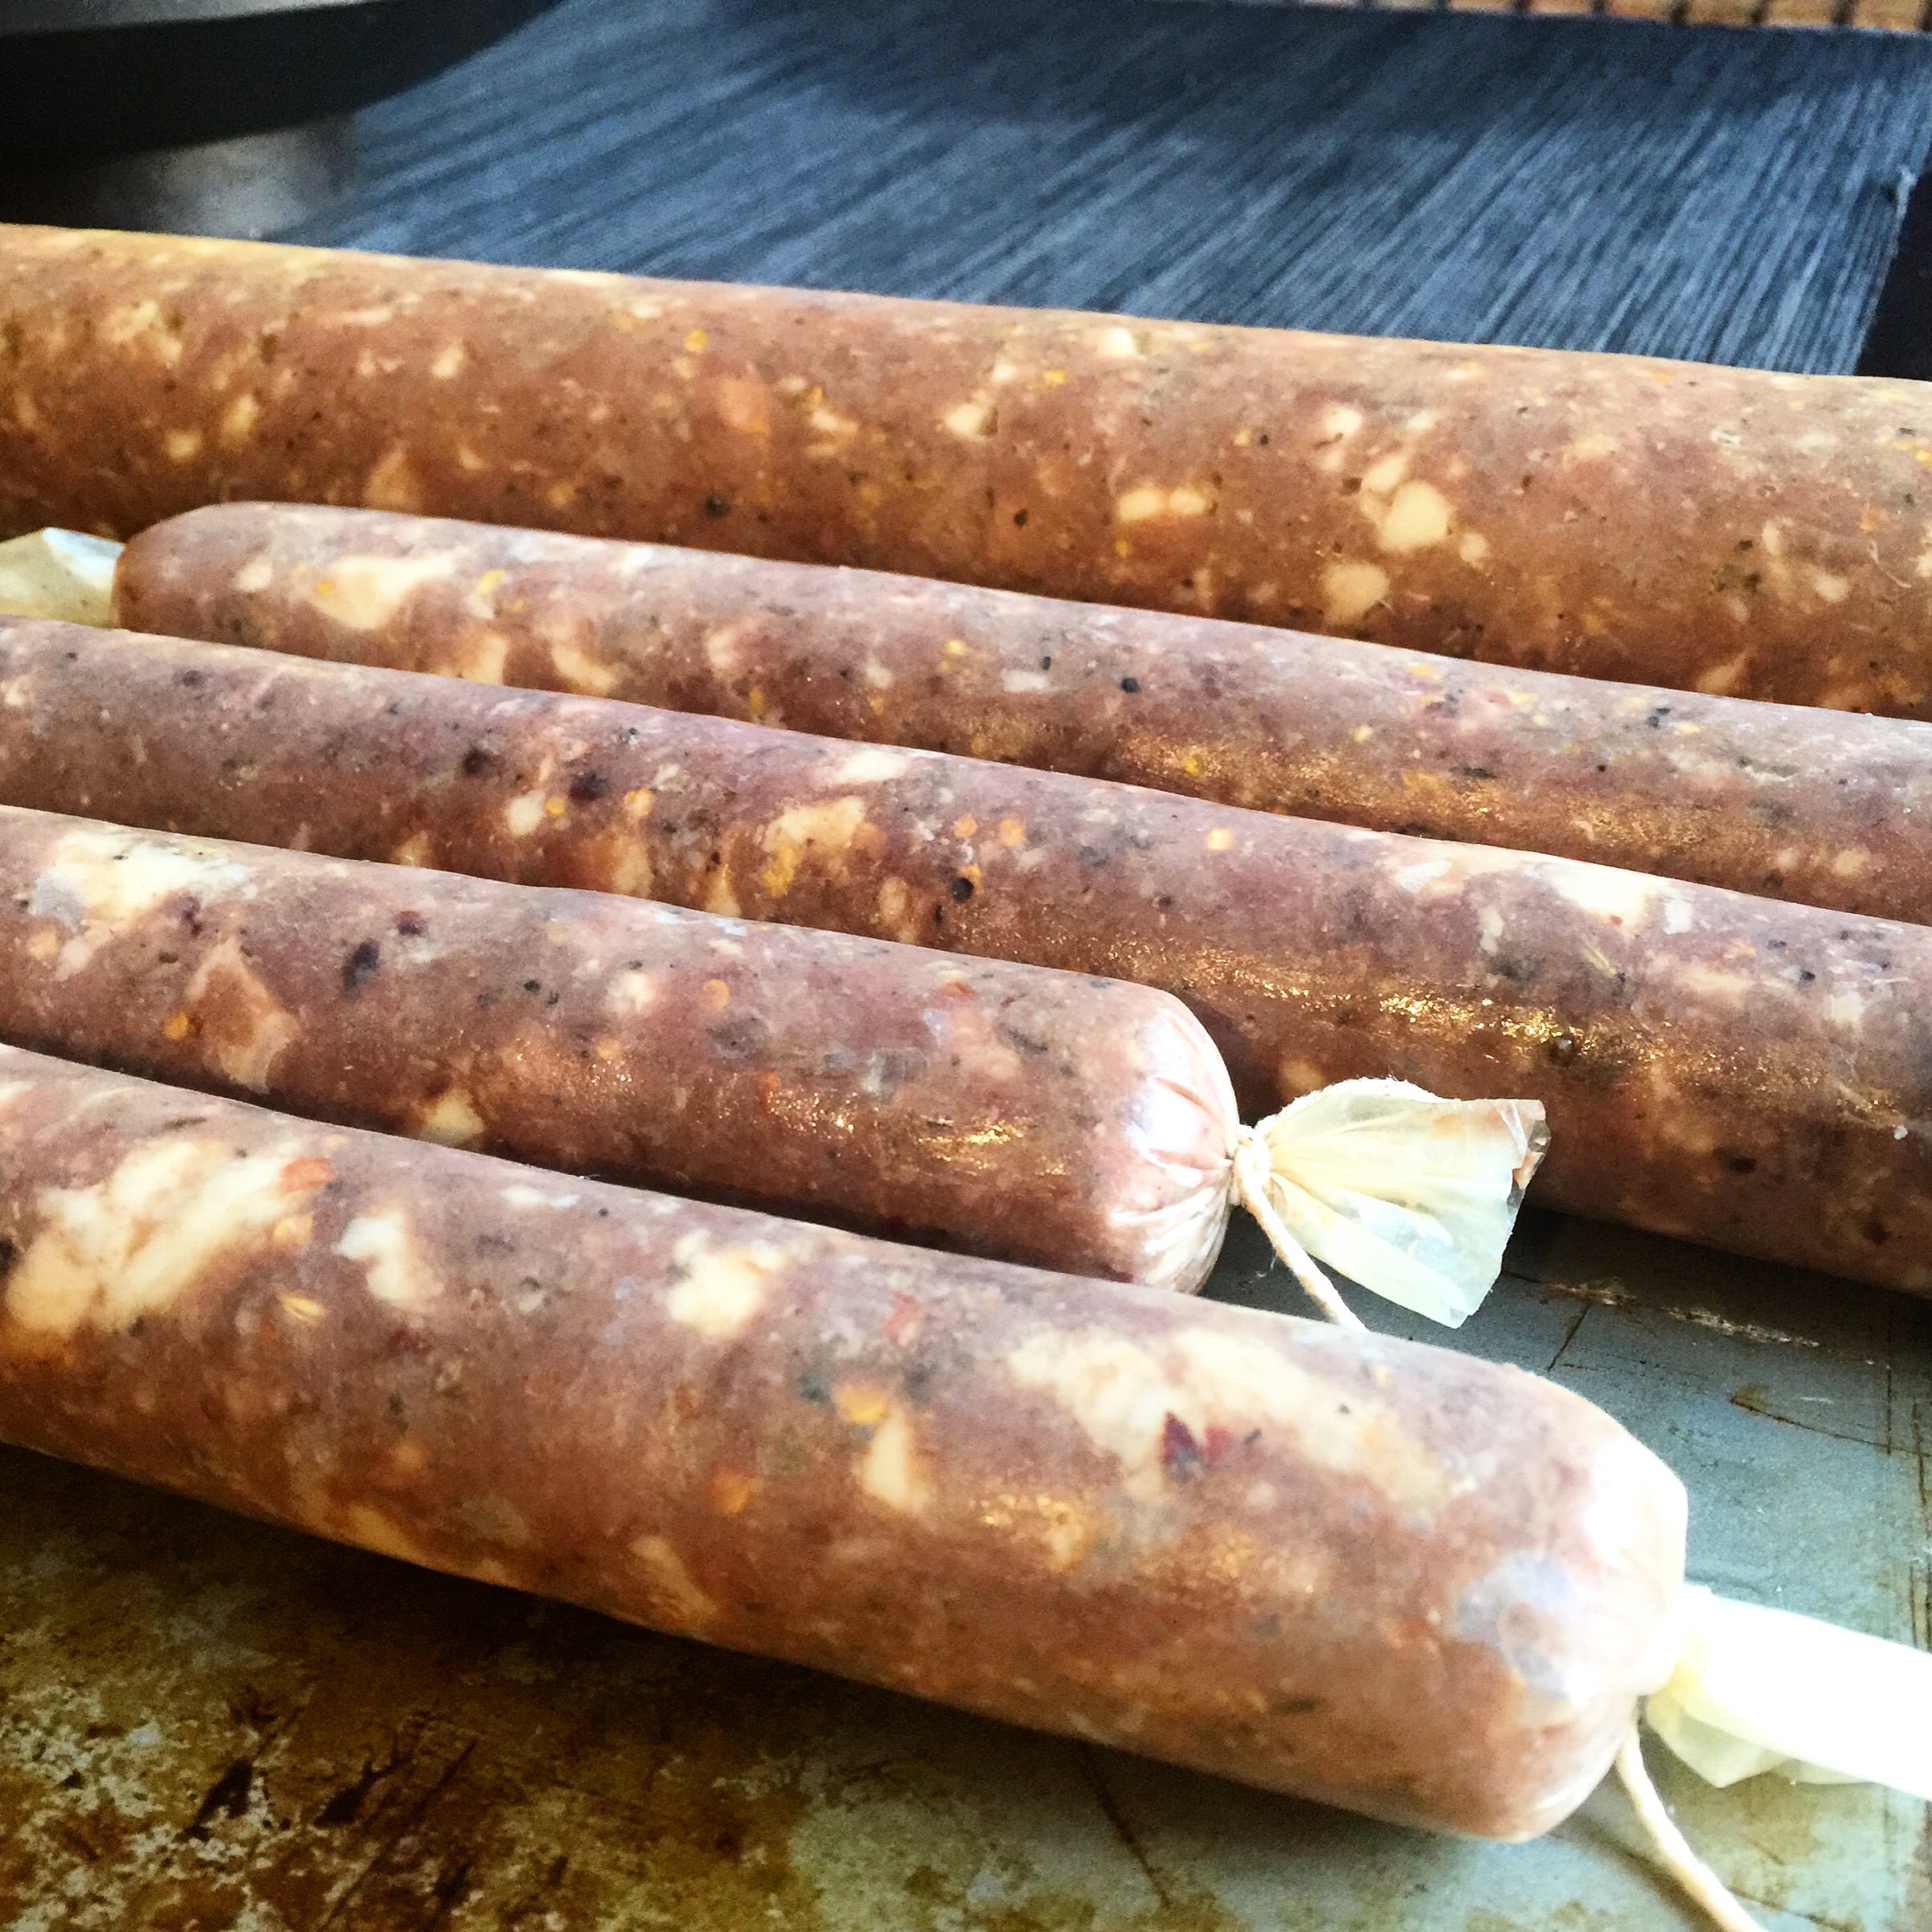
Then I slowly stuffed the meat into the beef bung casing.

image-7570

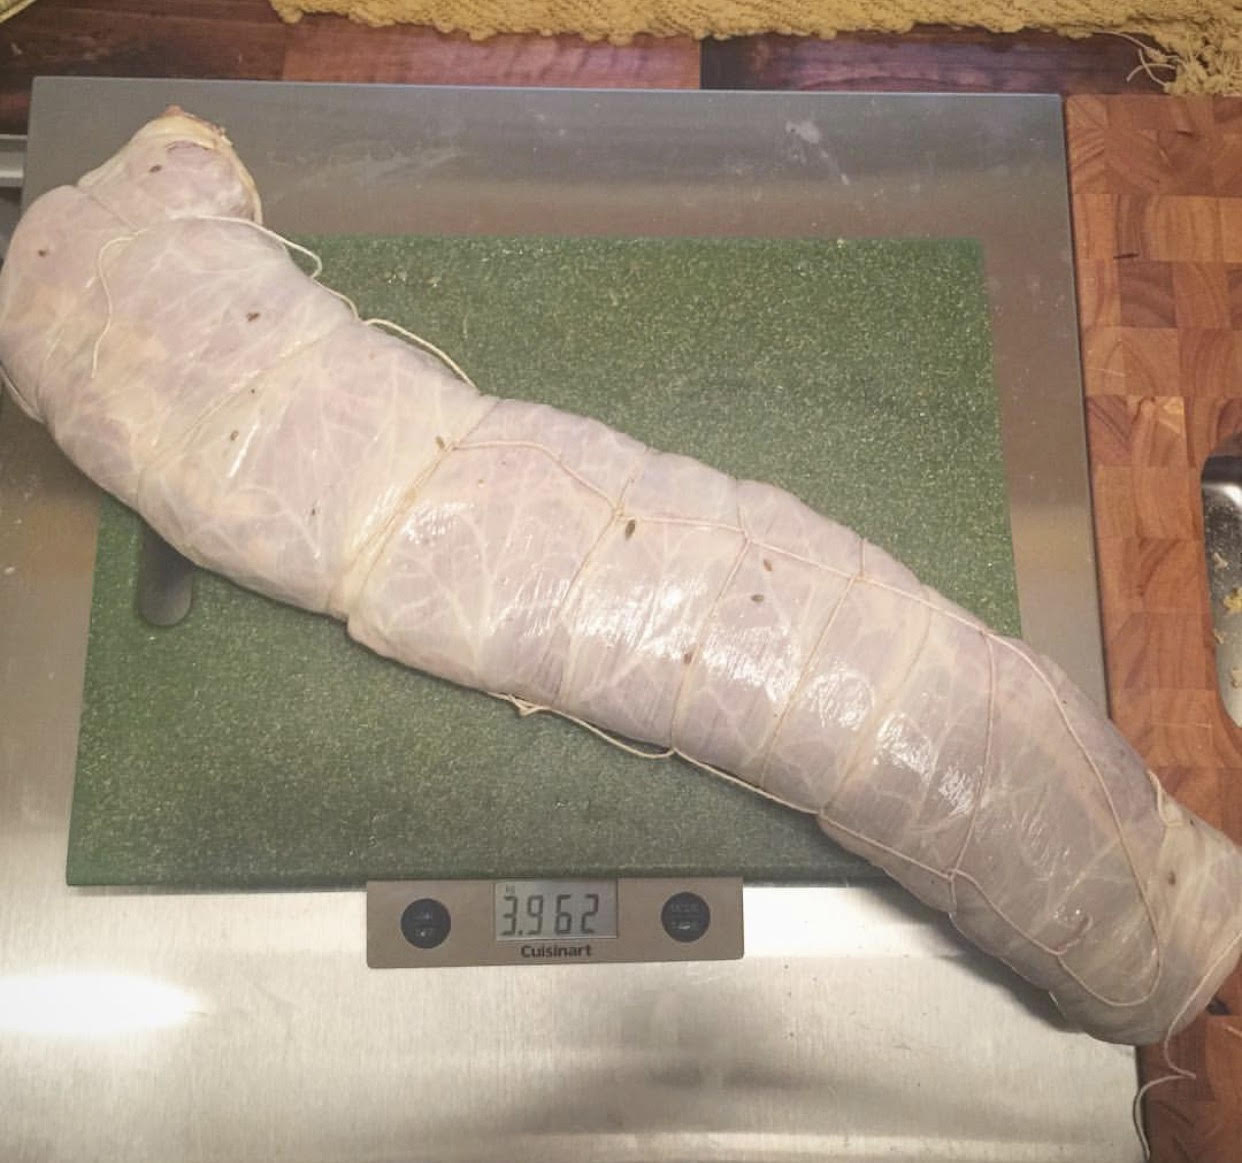
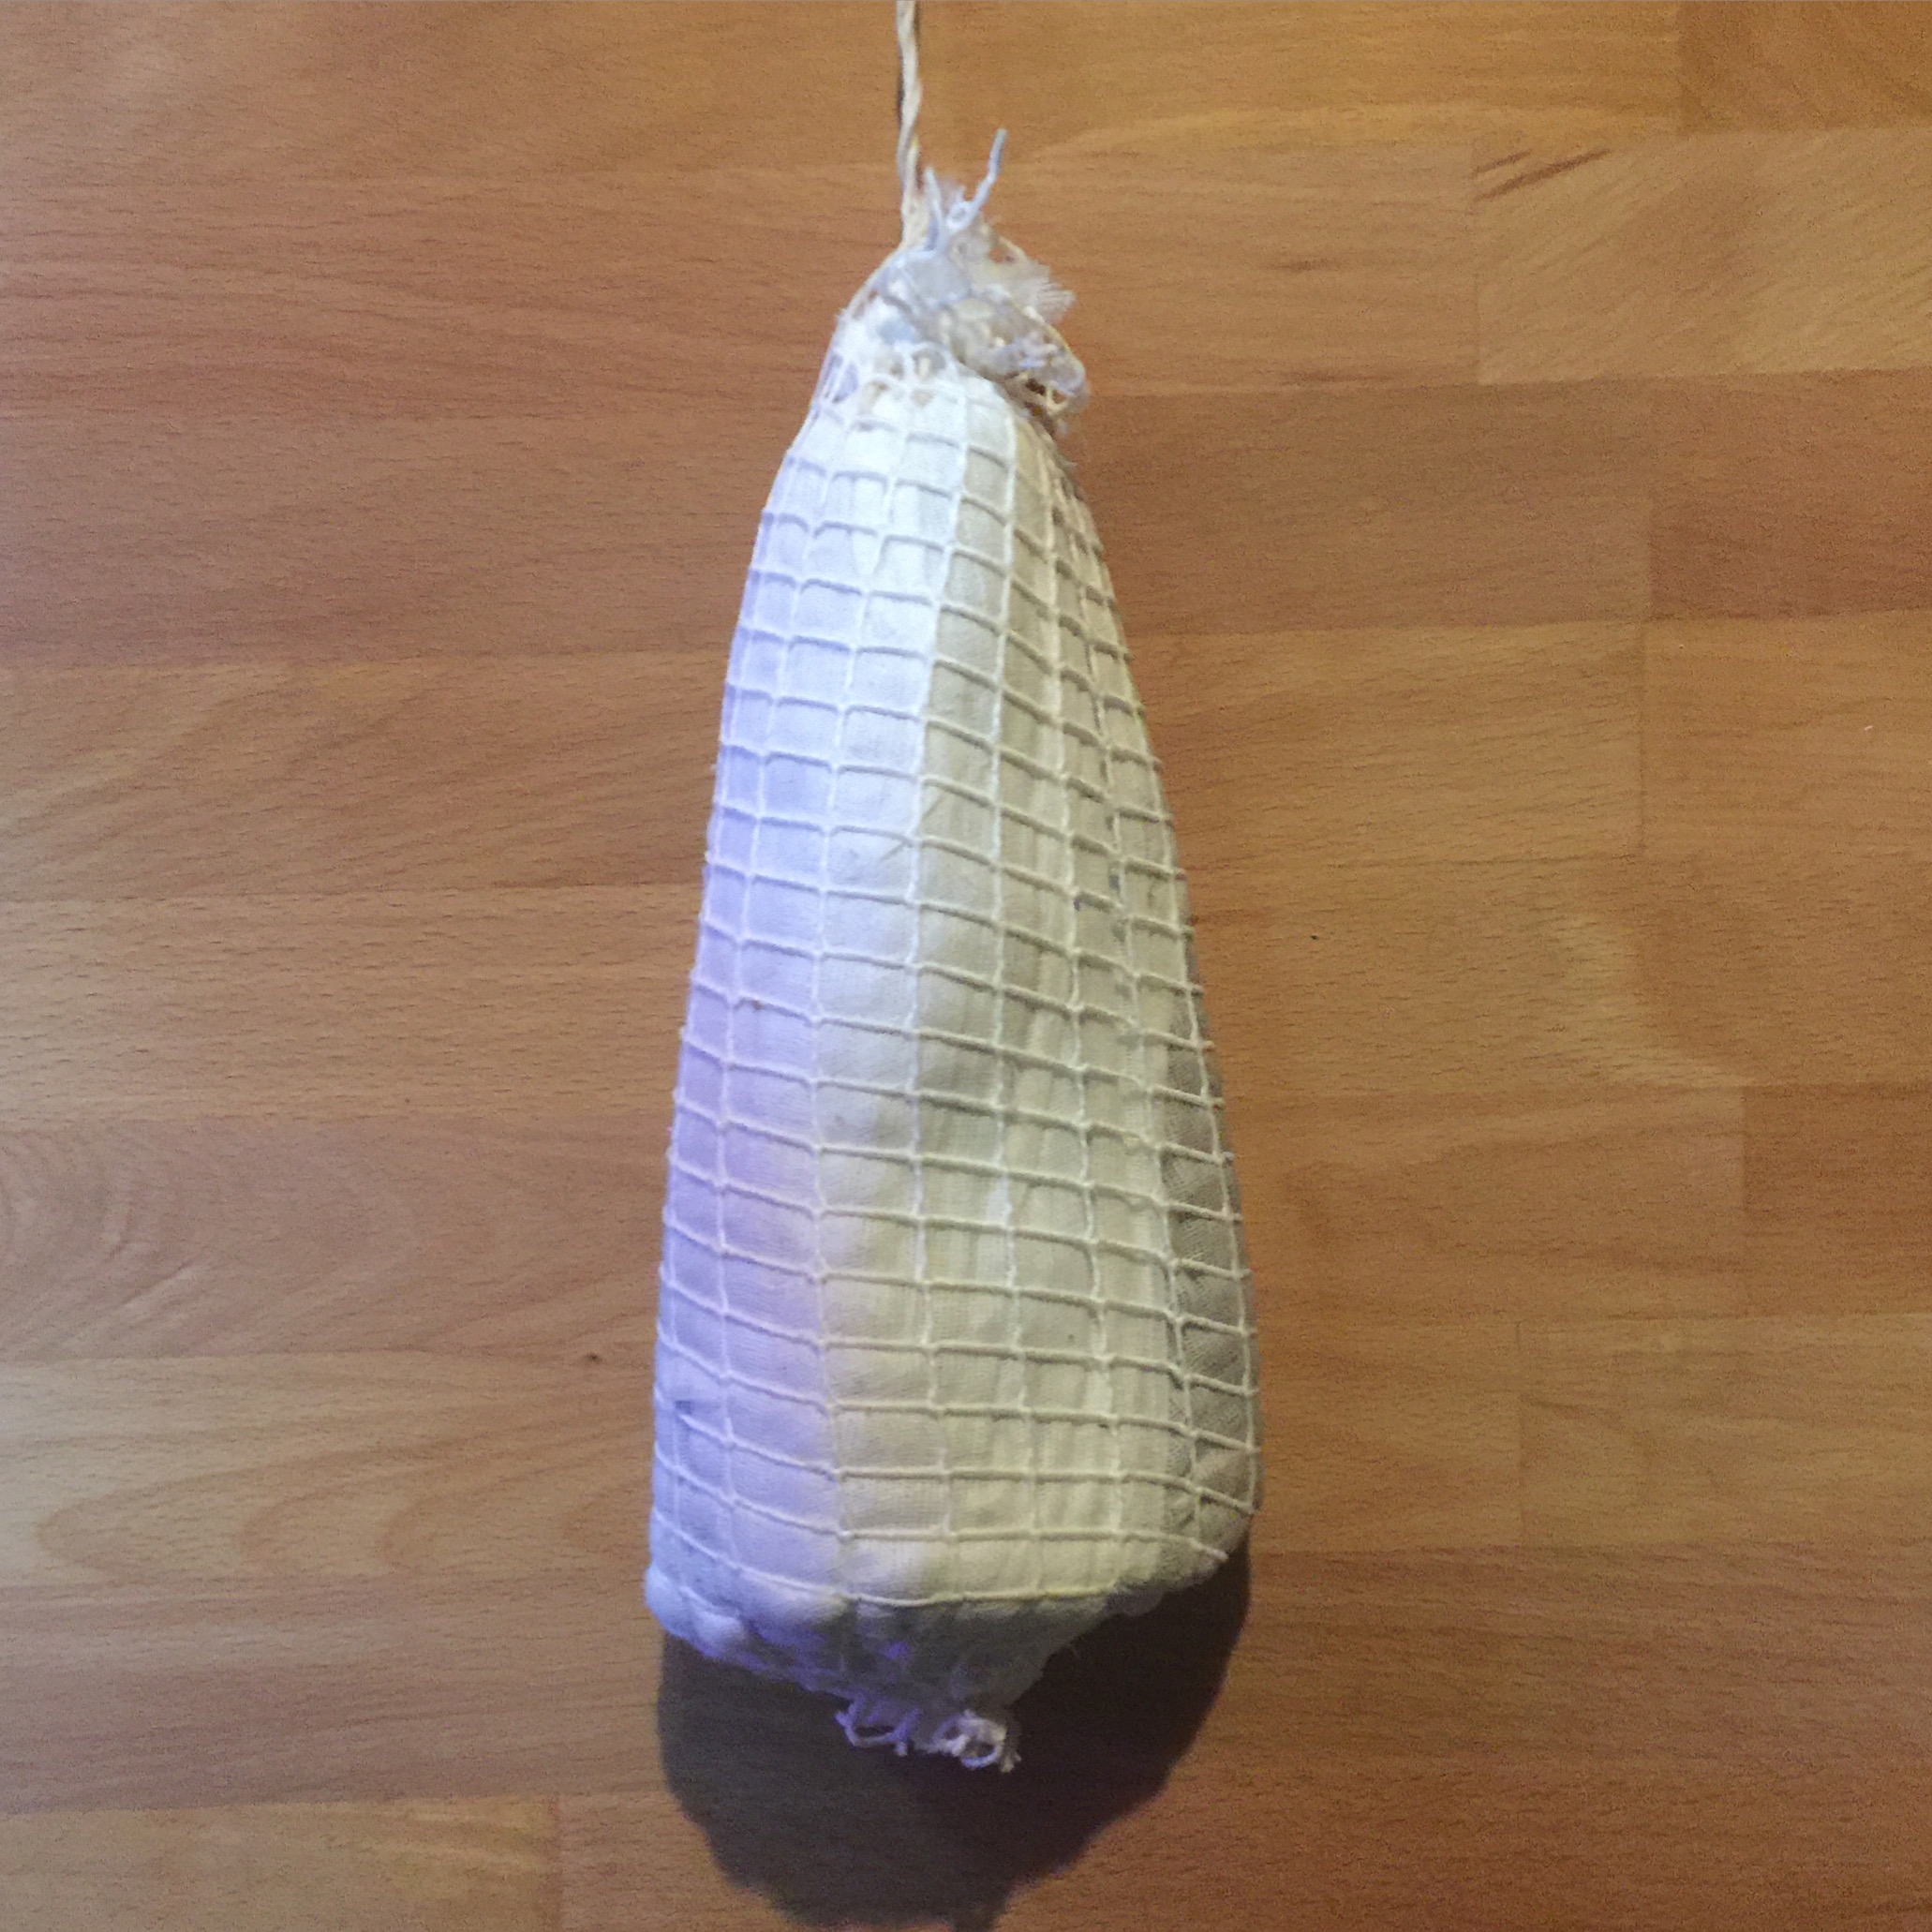
This was finally netted and weighed.

coppa17


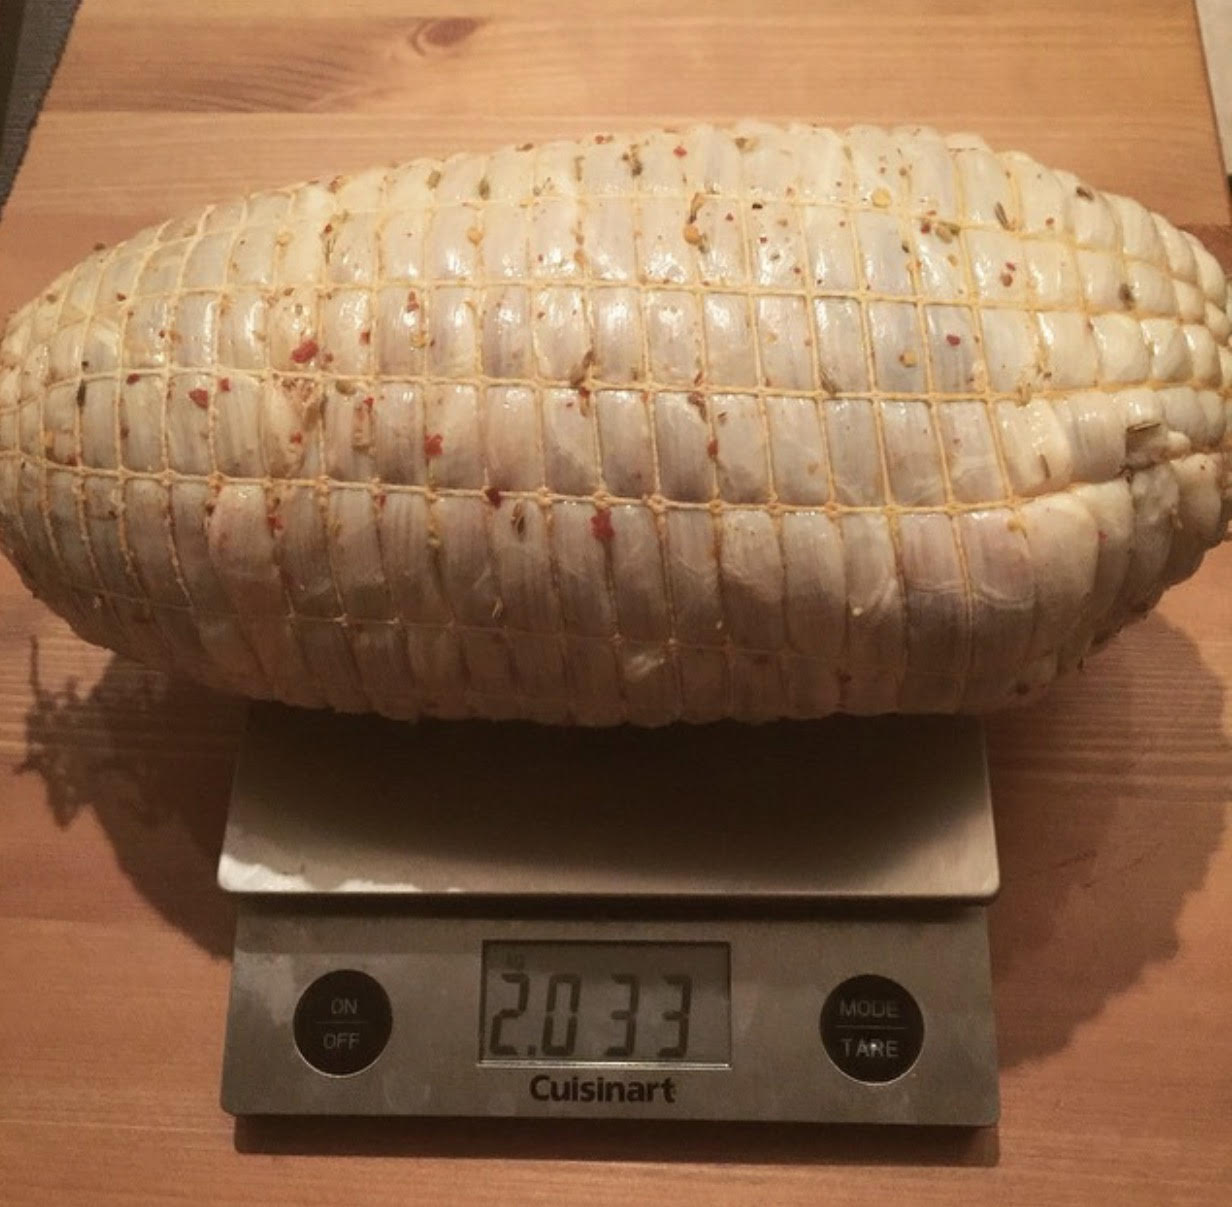
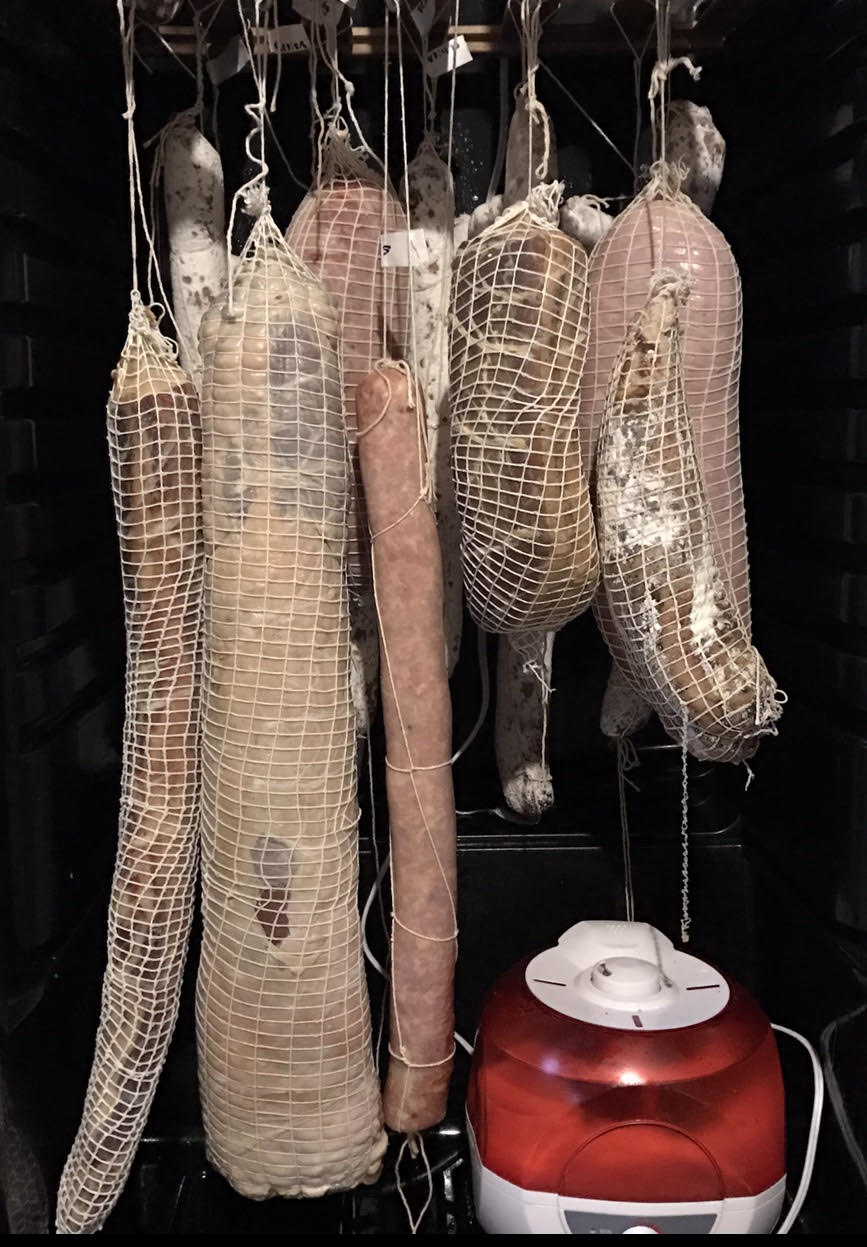
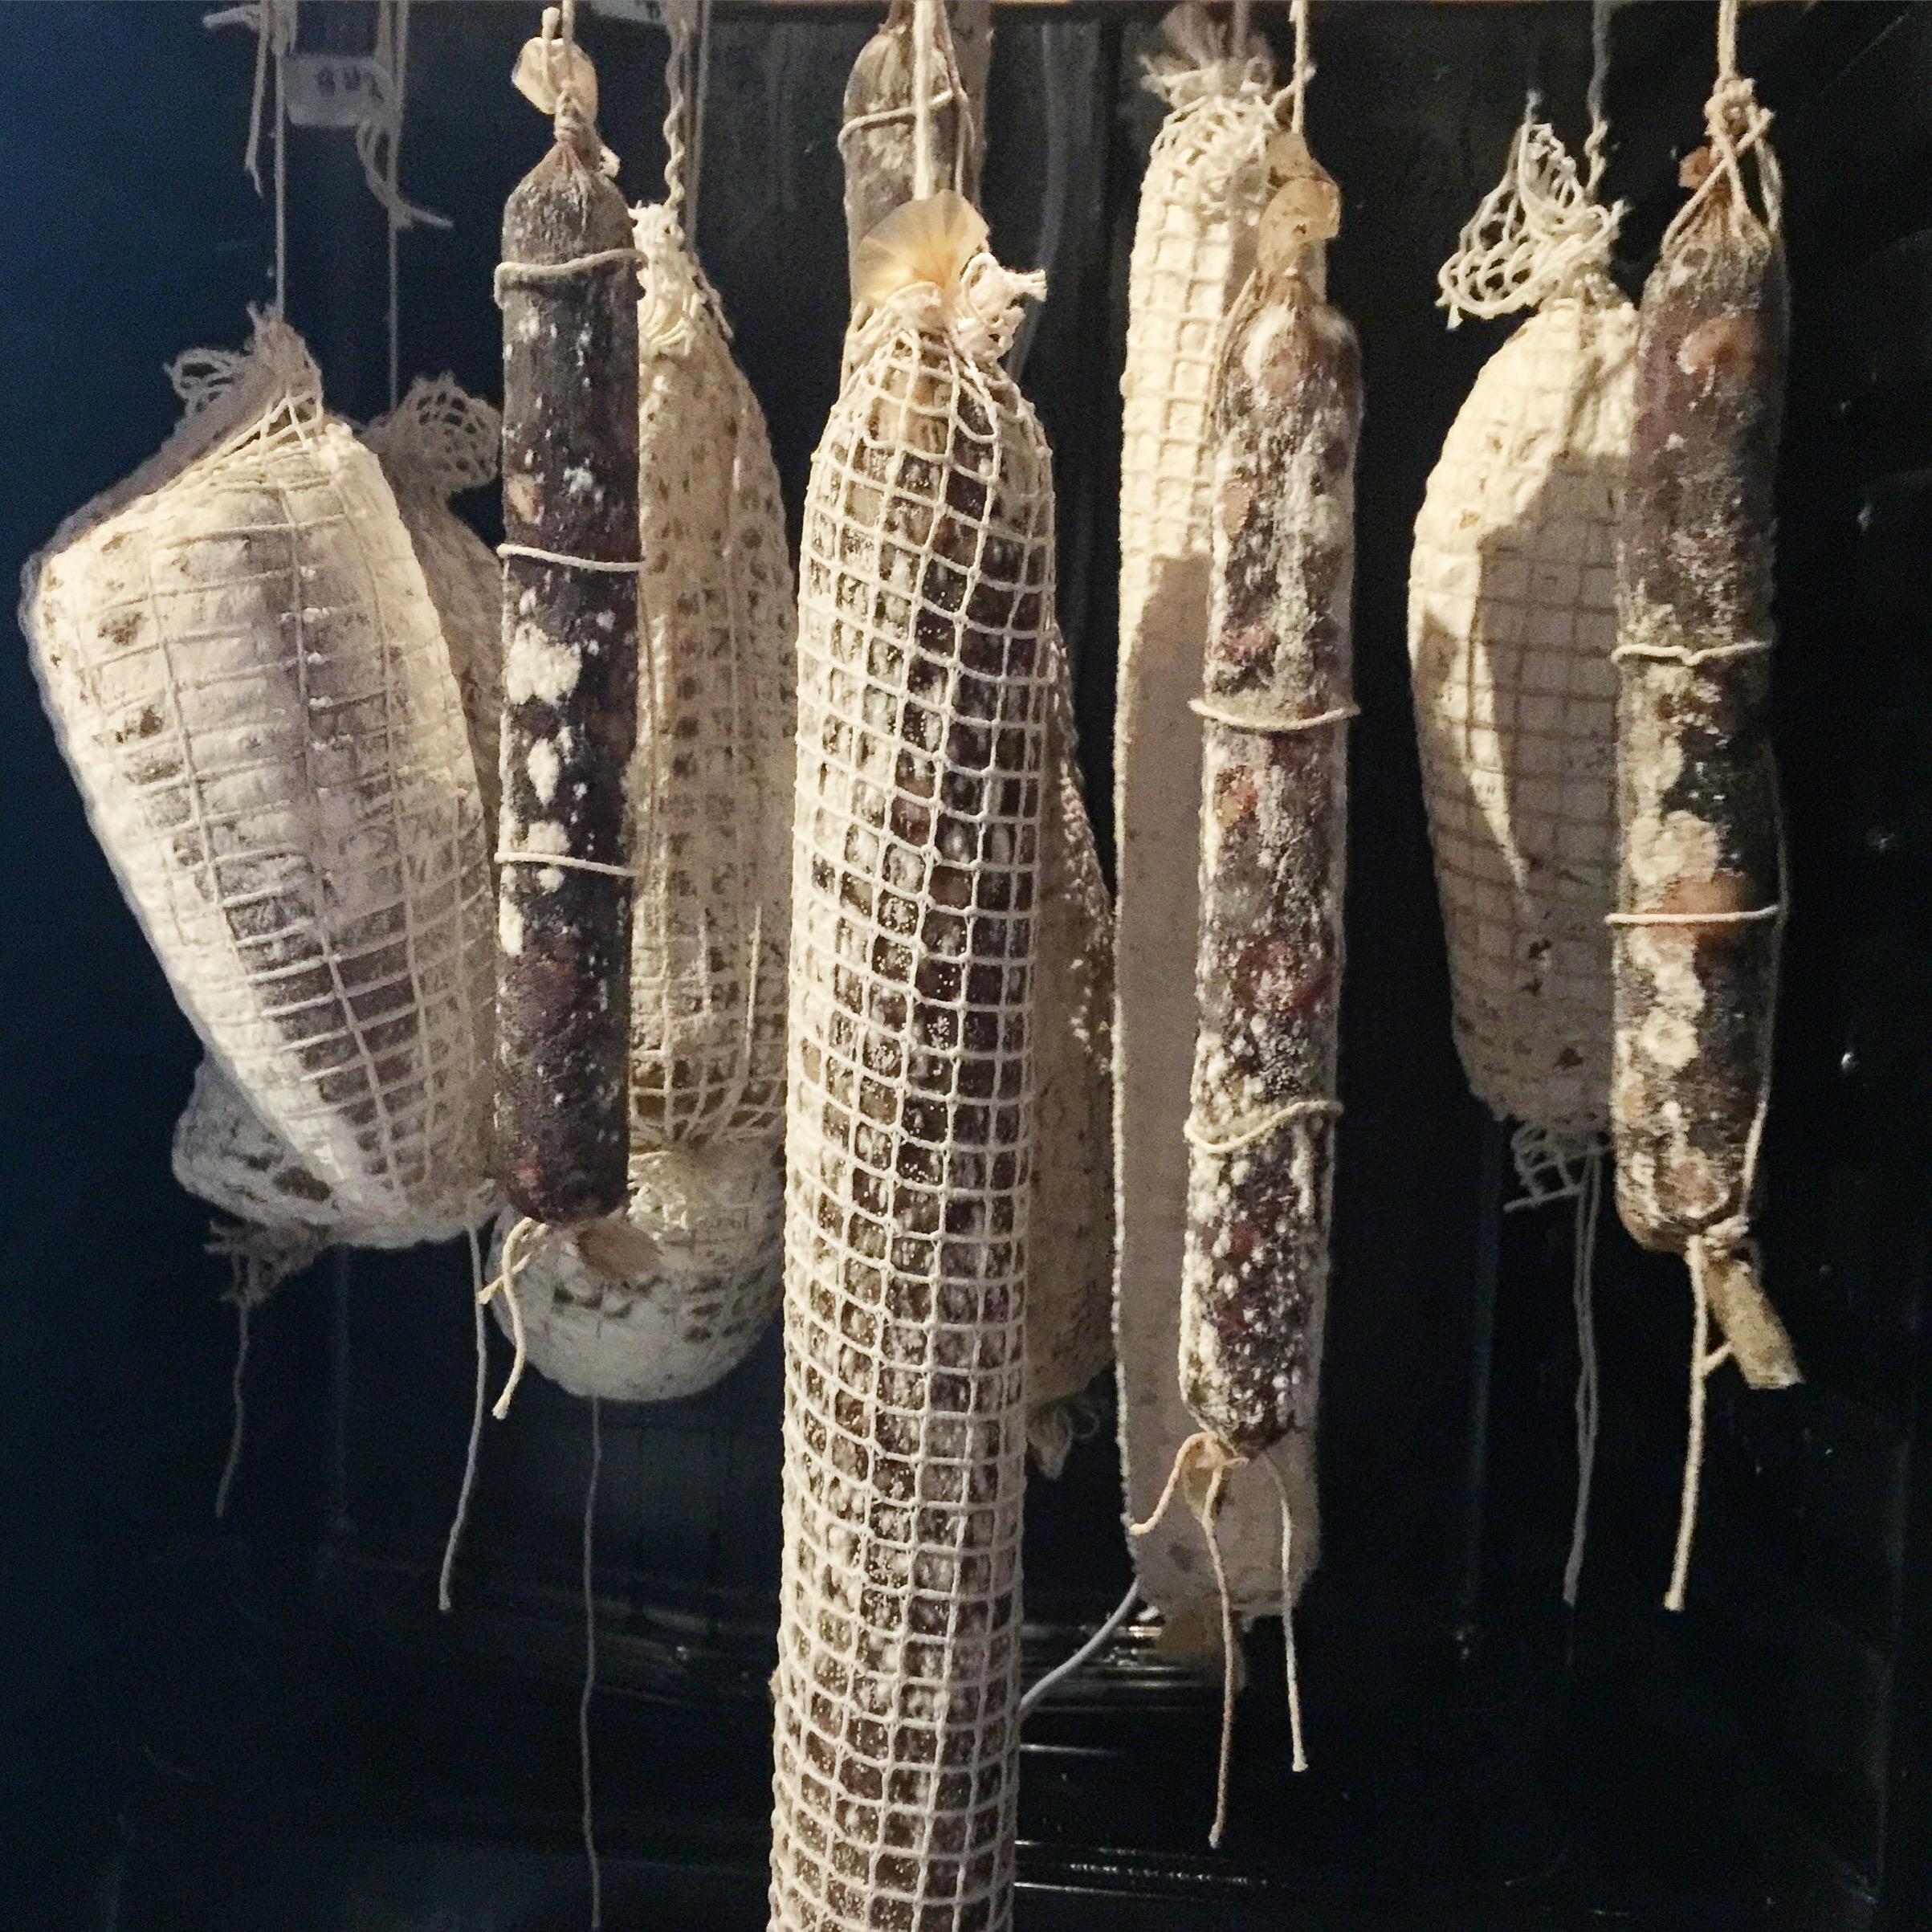
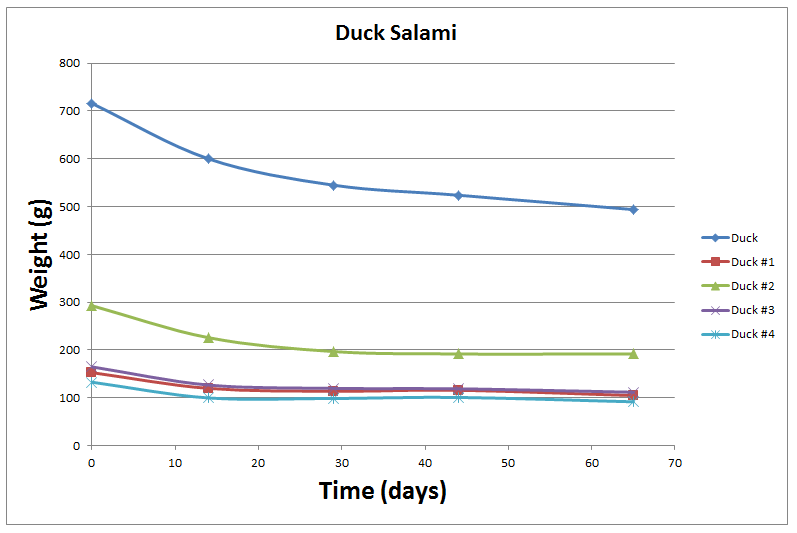
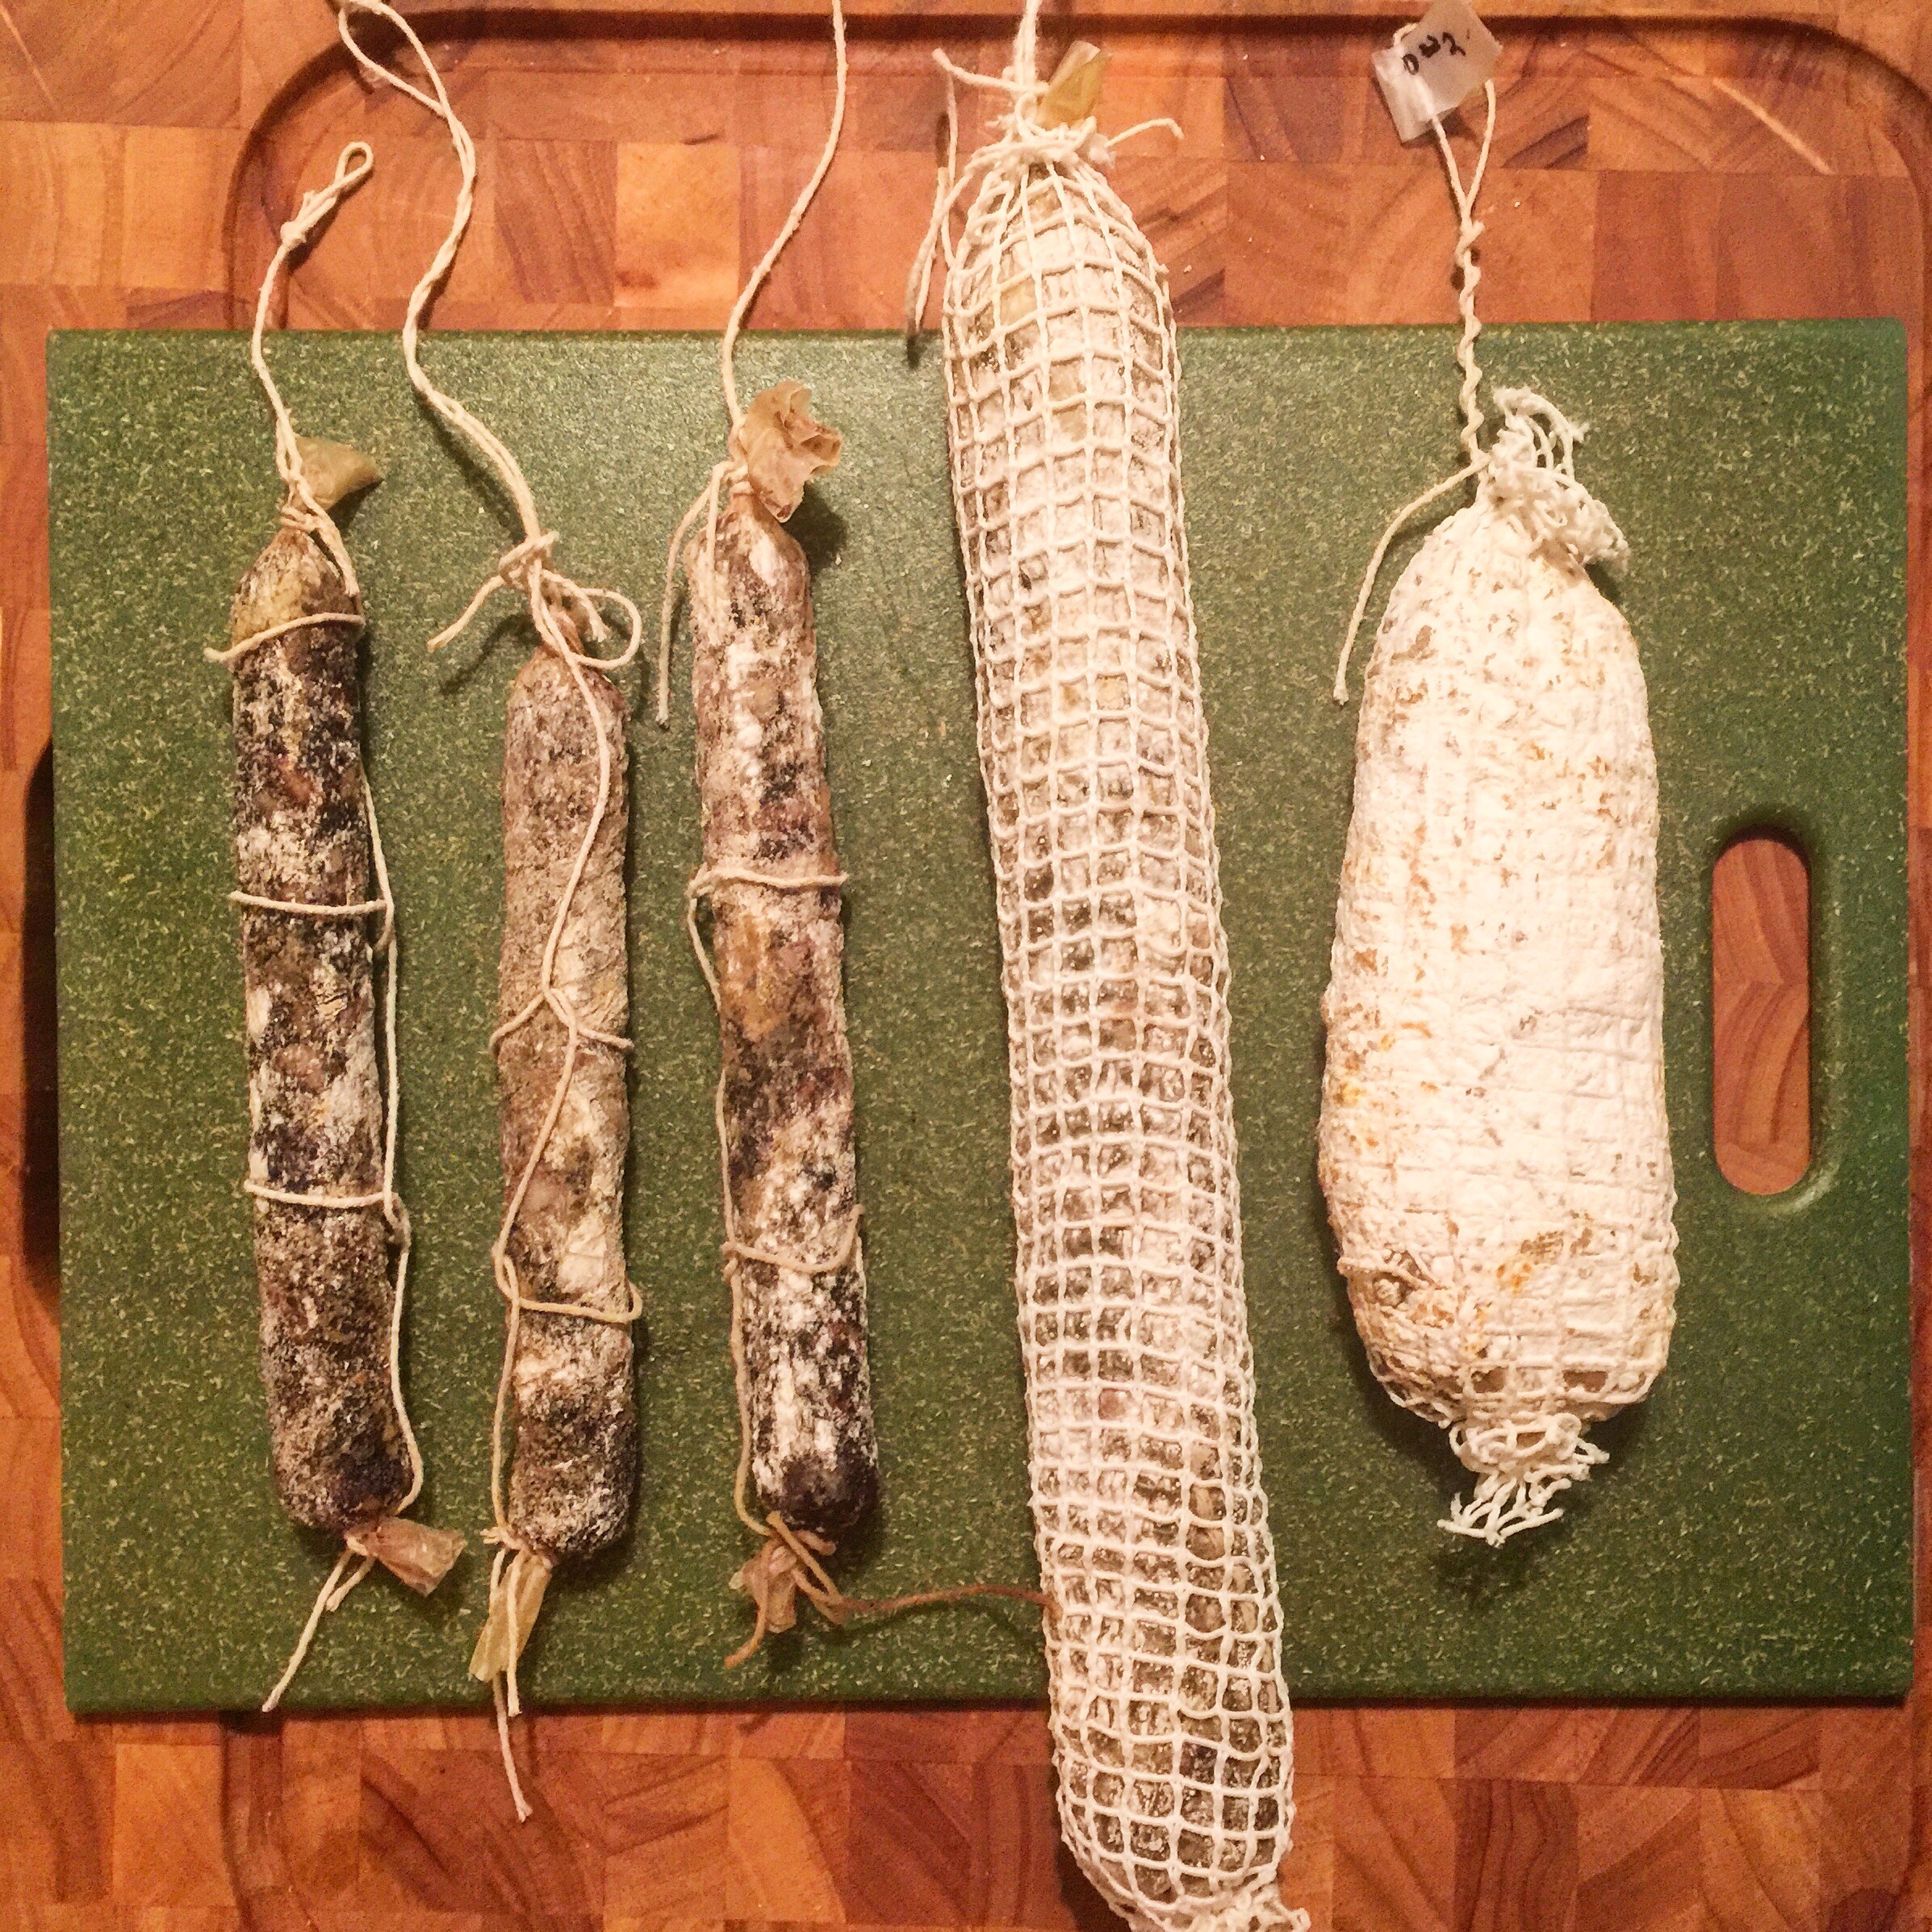
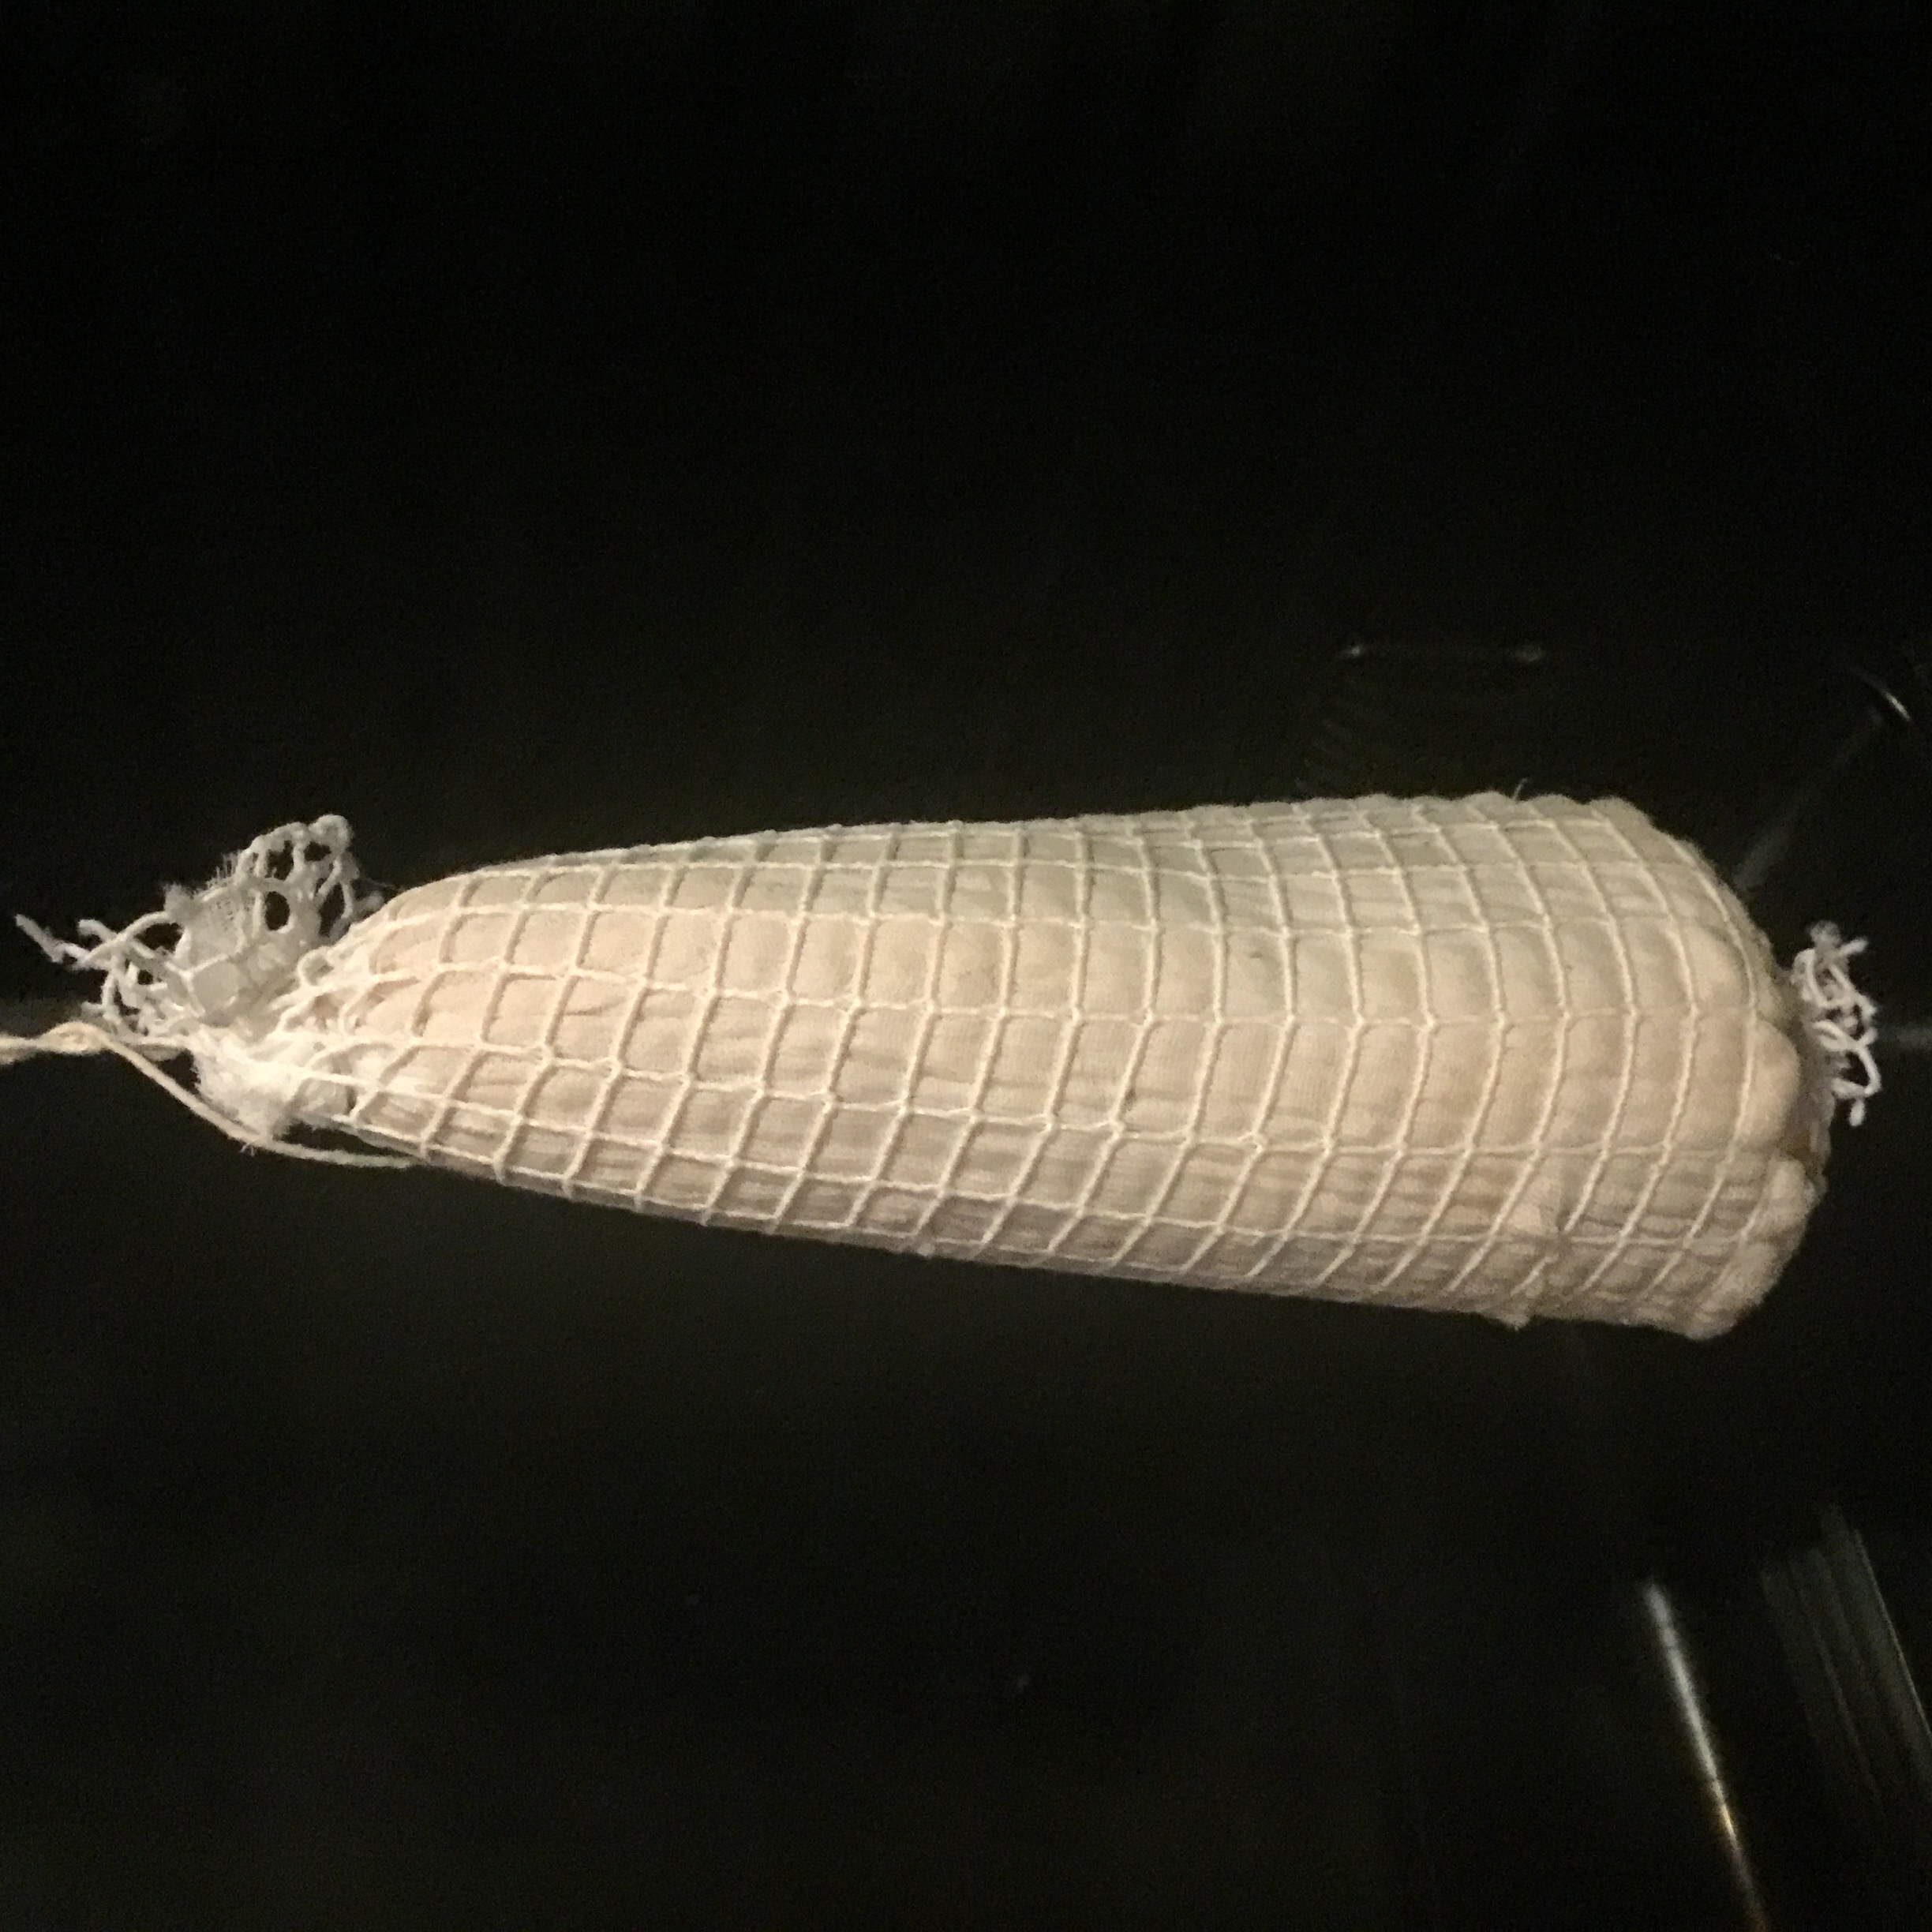
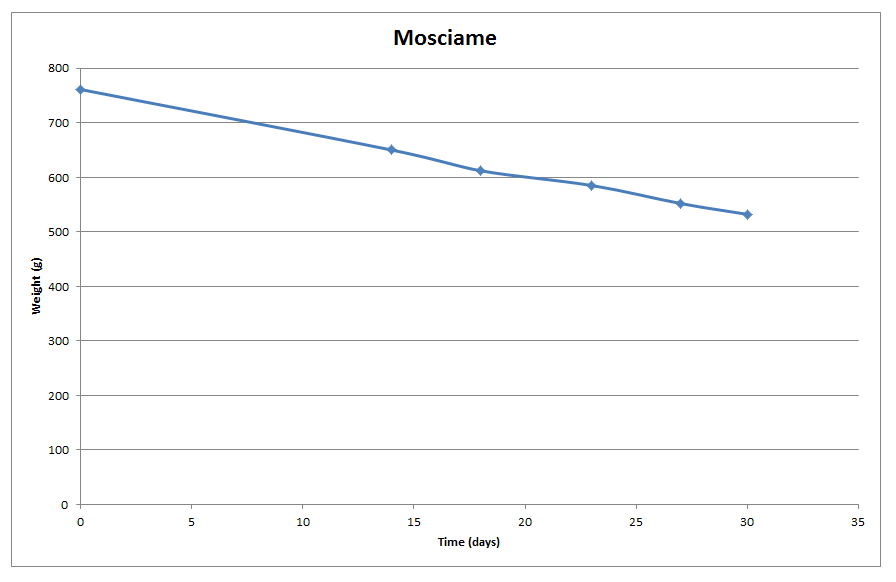
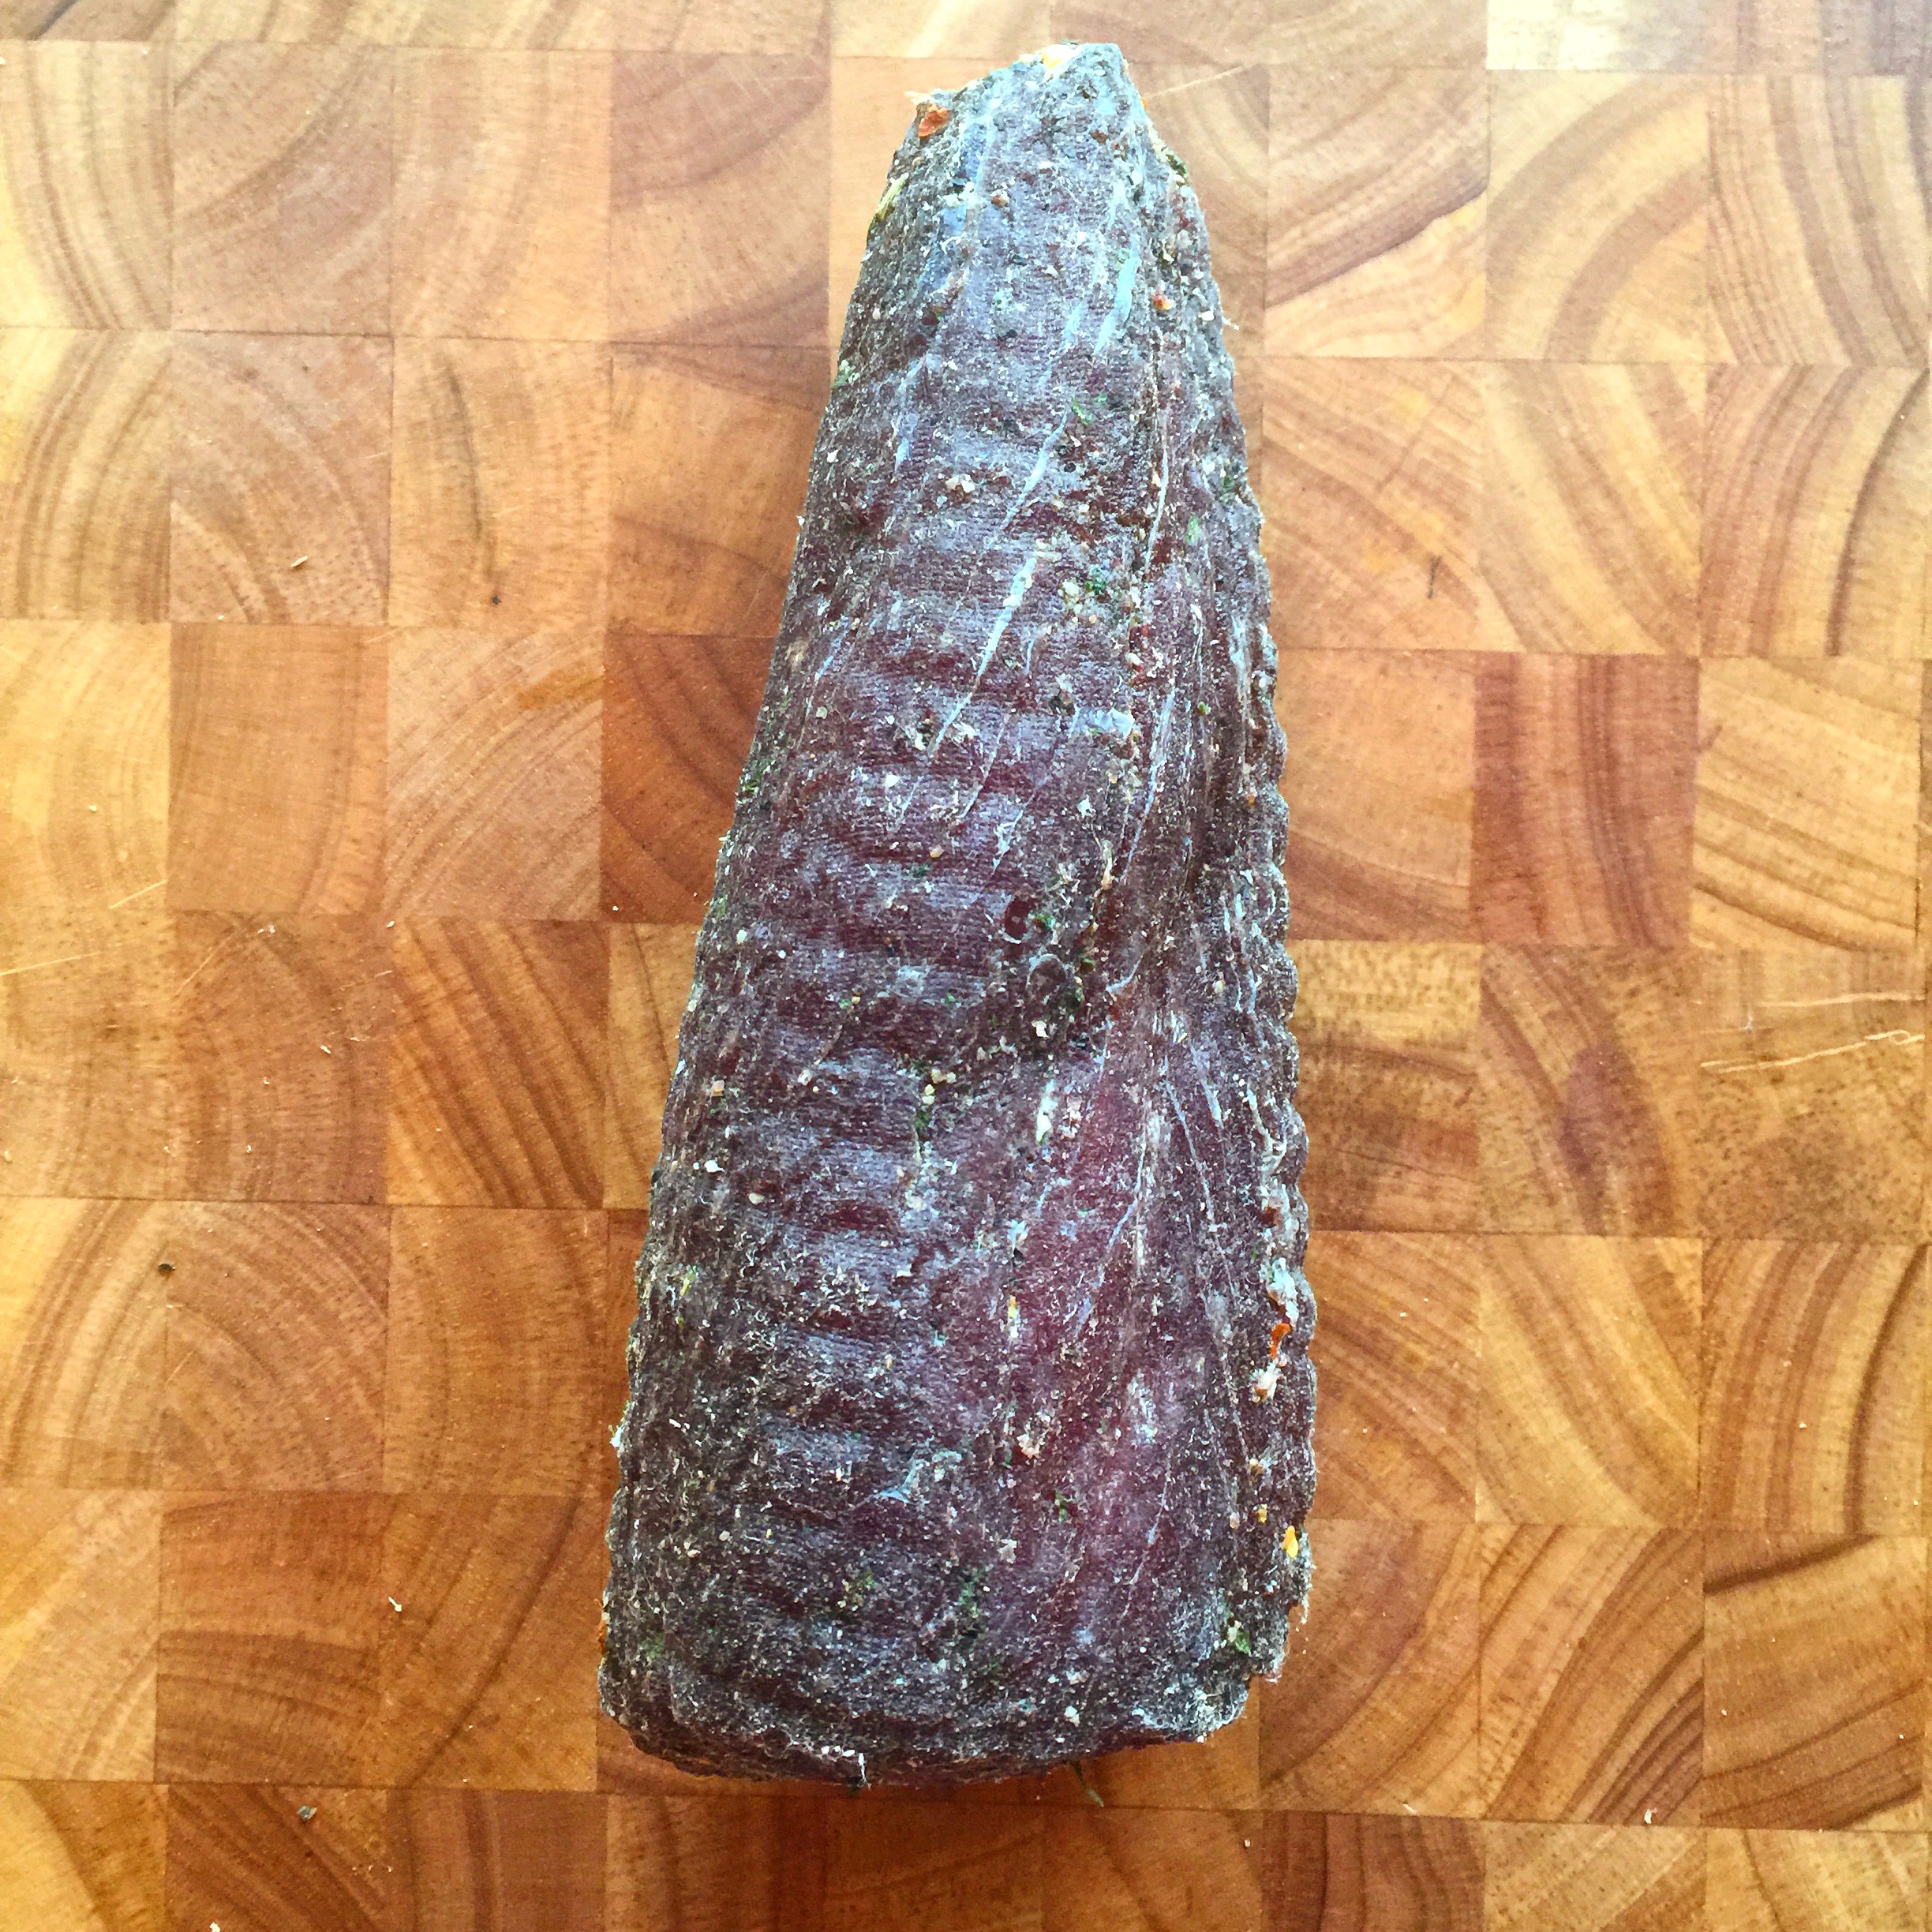
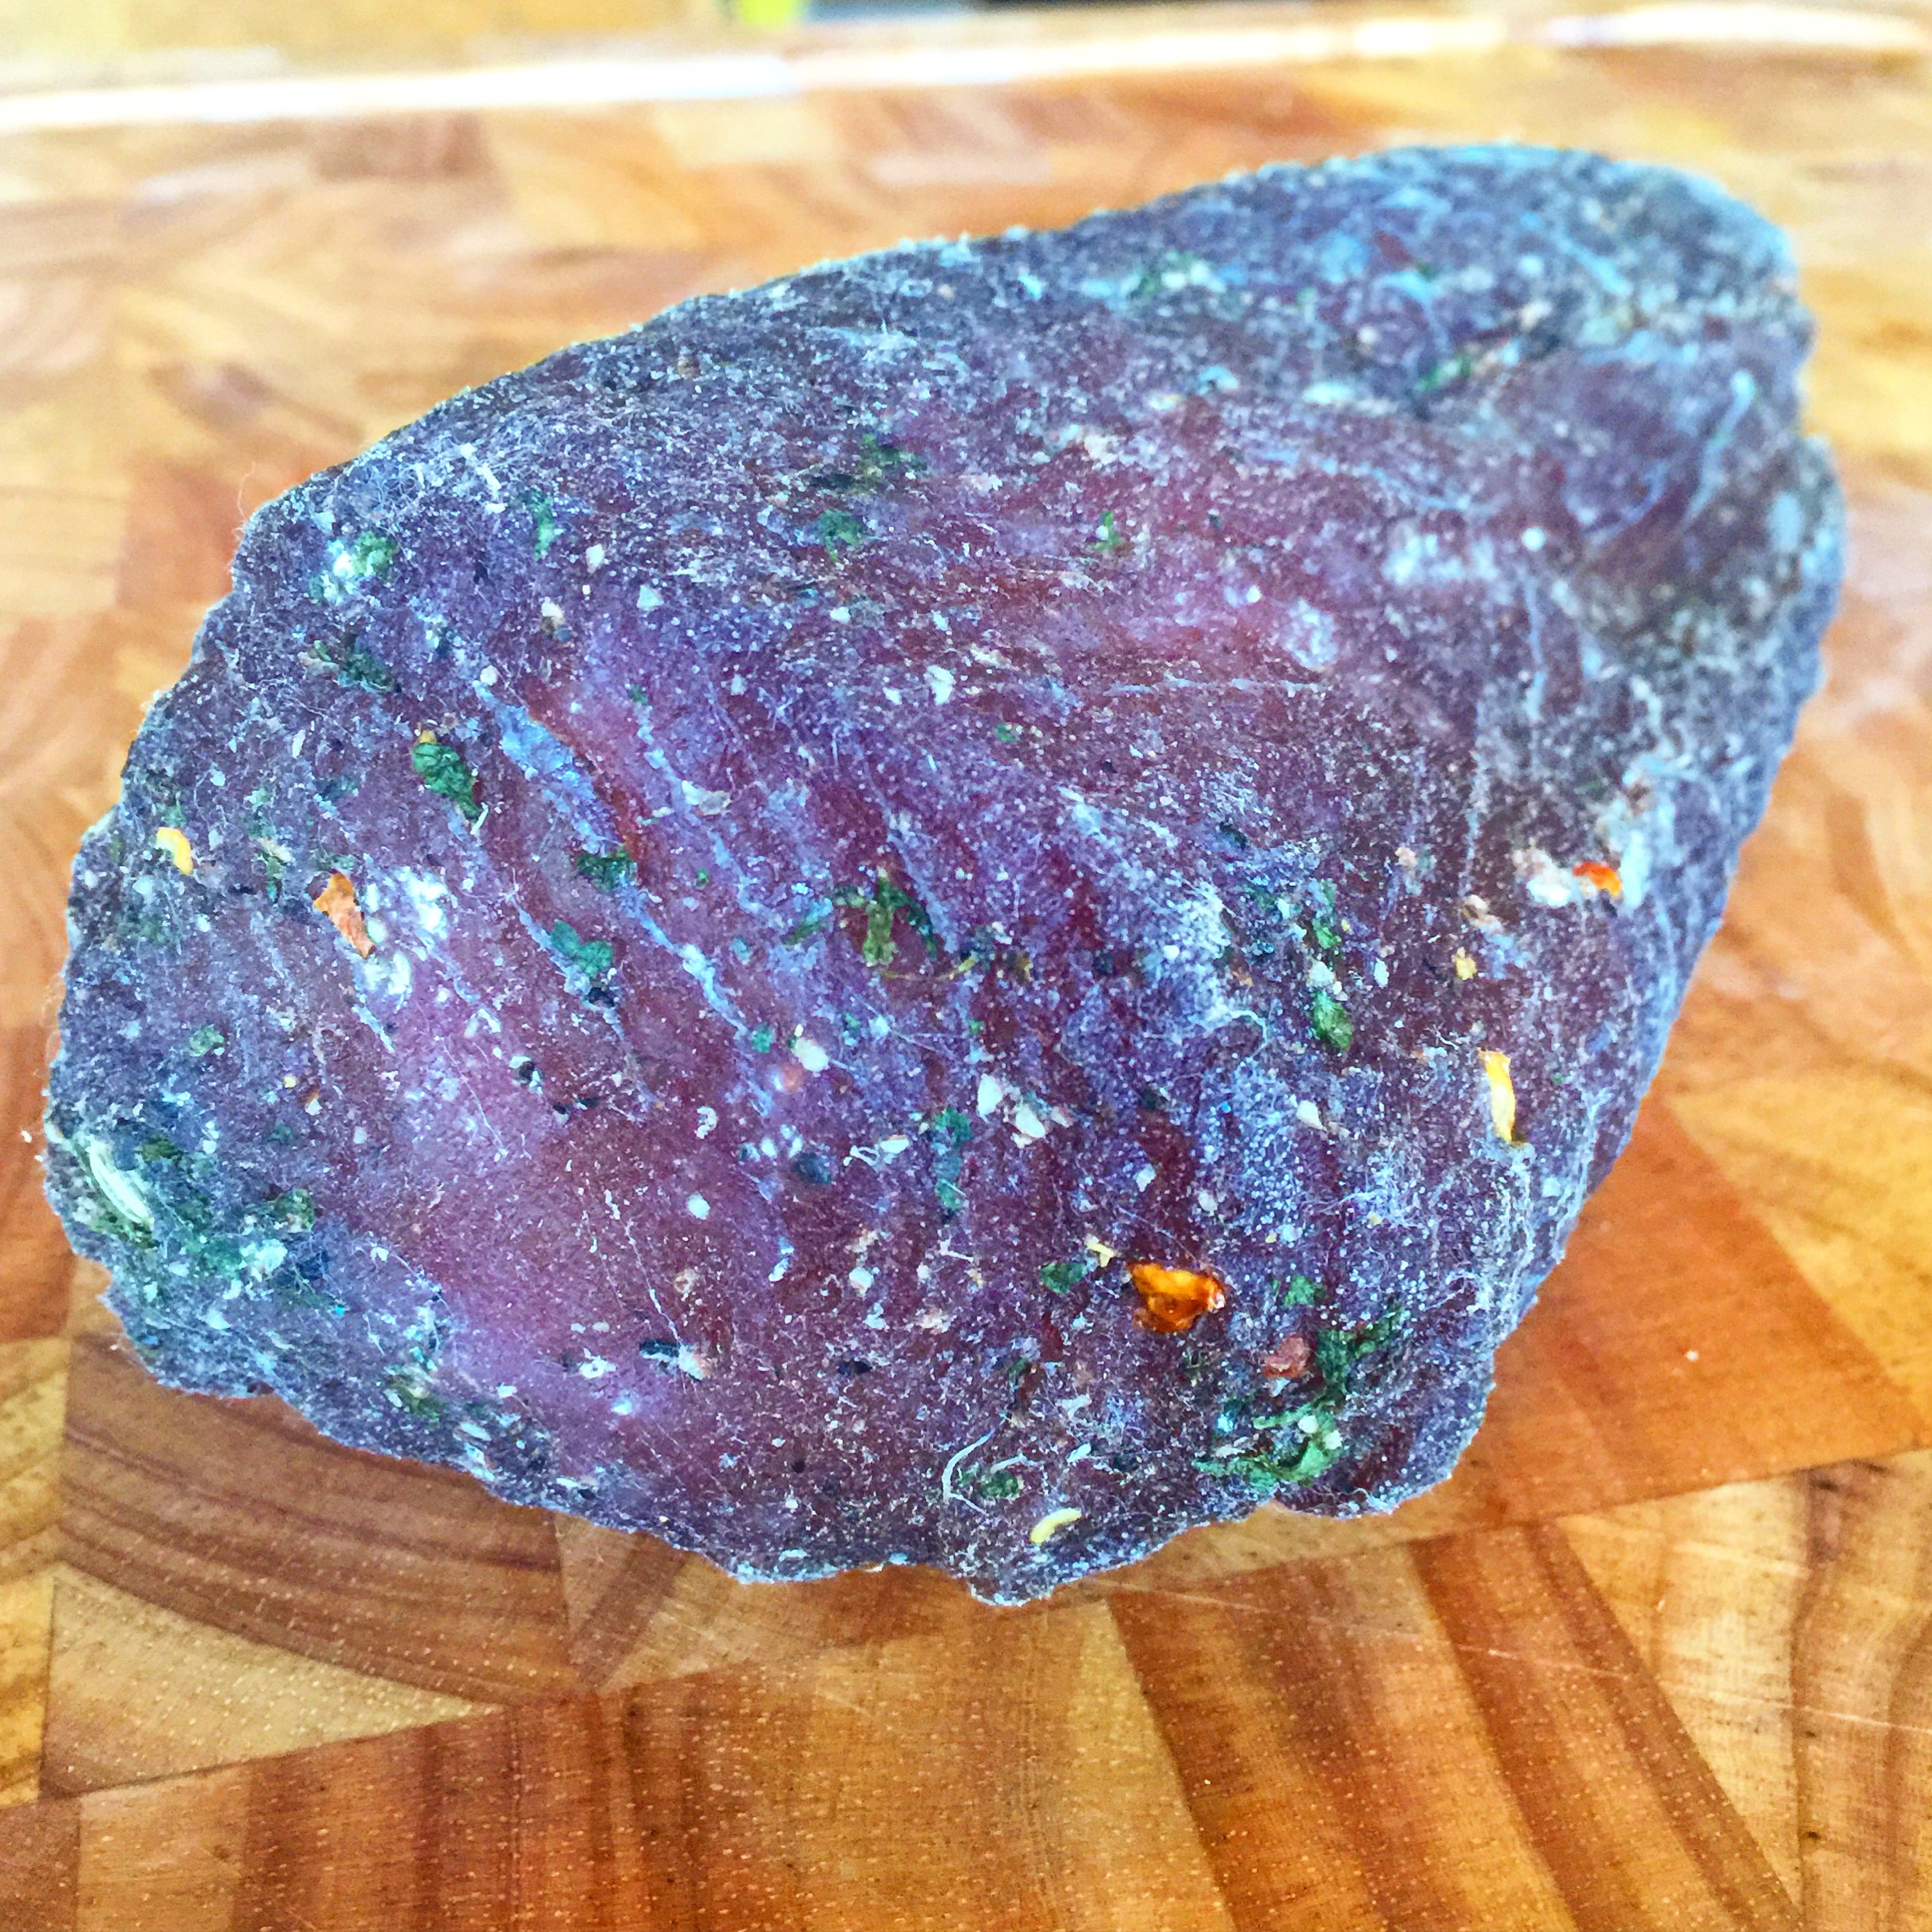
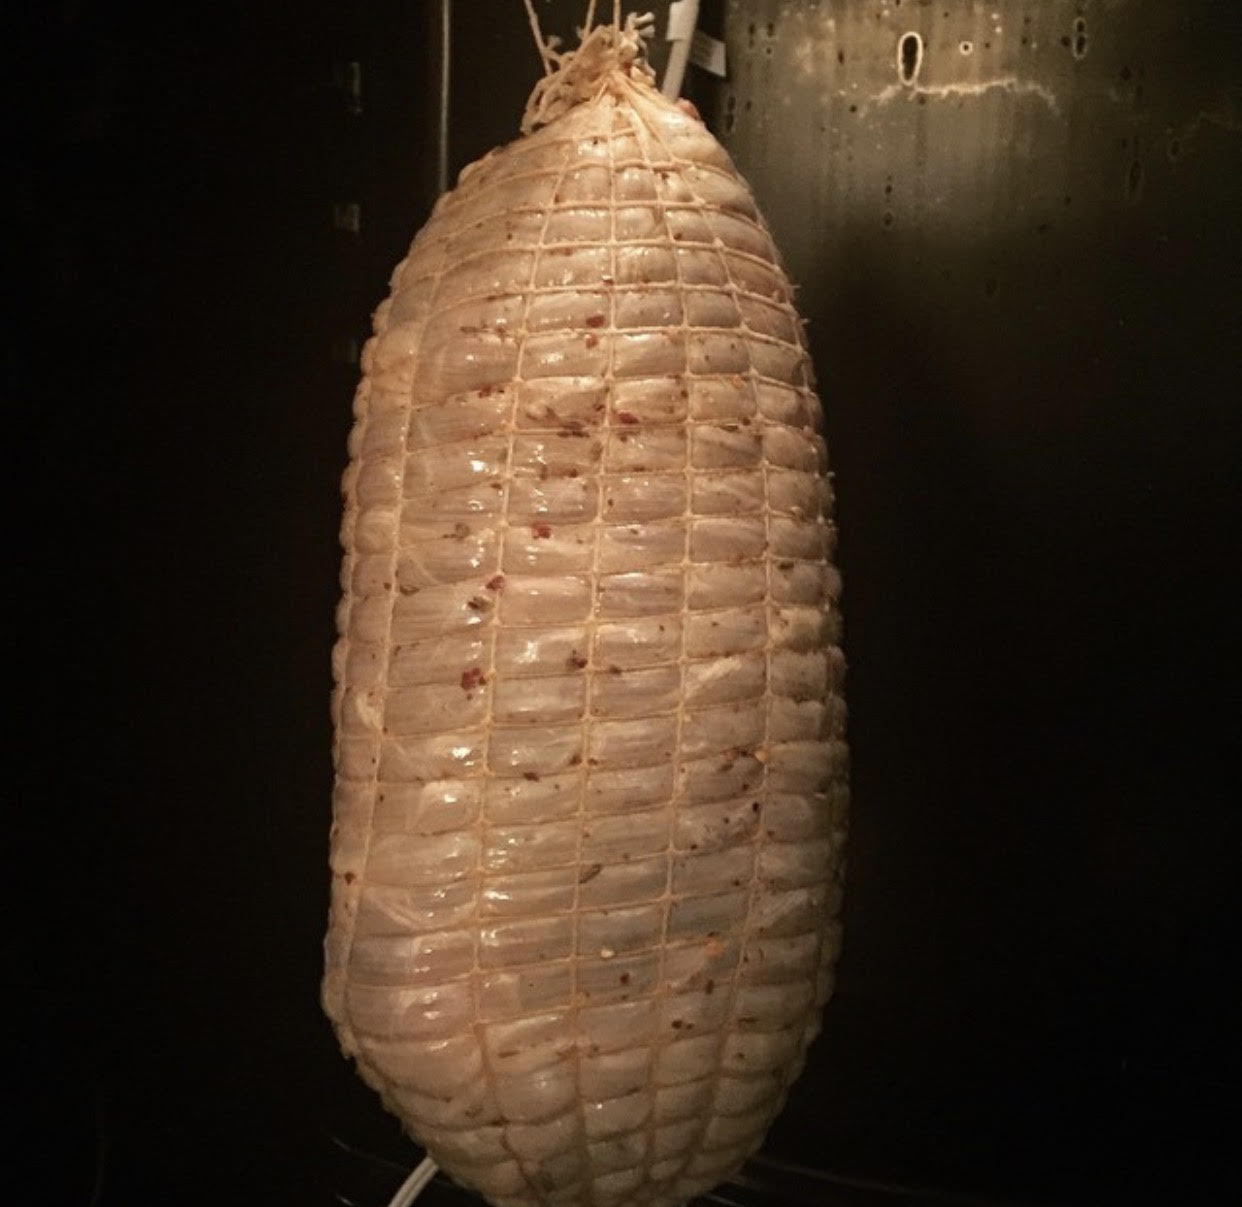
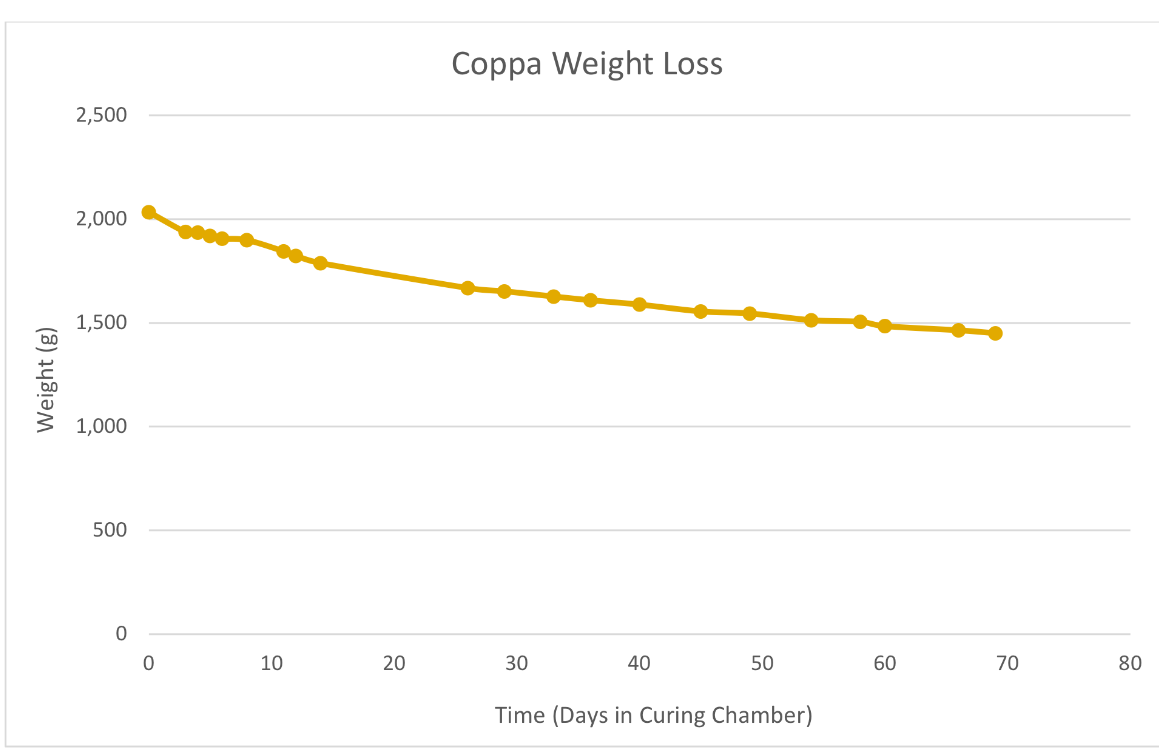
Drying (3 months+): The meat was allowed to hang in the curing chamber for 3 months, and the weight loss was tracked over time.

coppa15

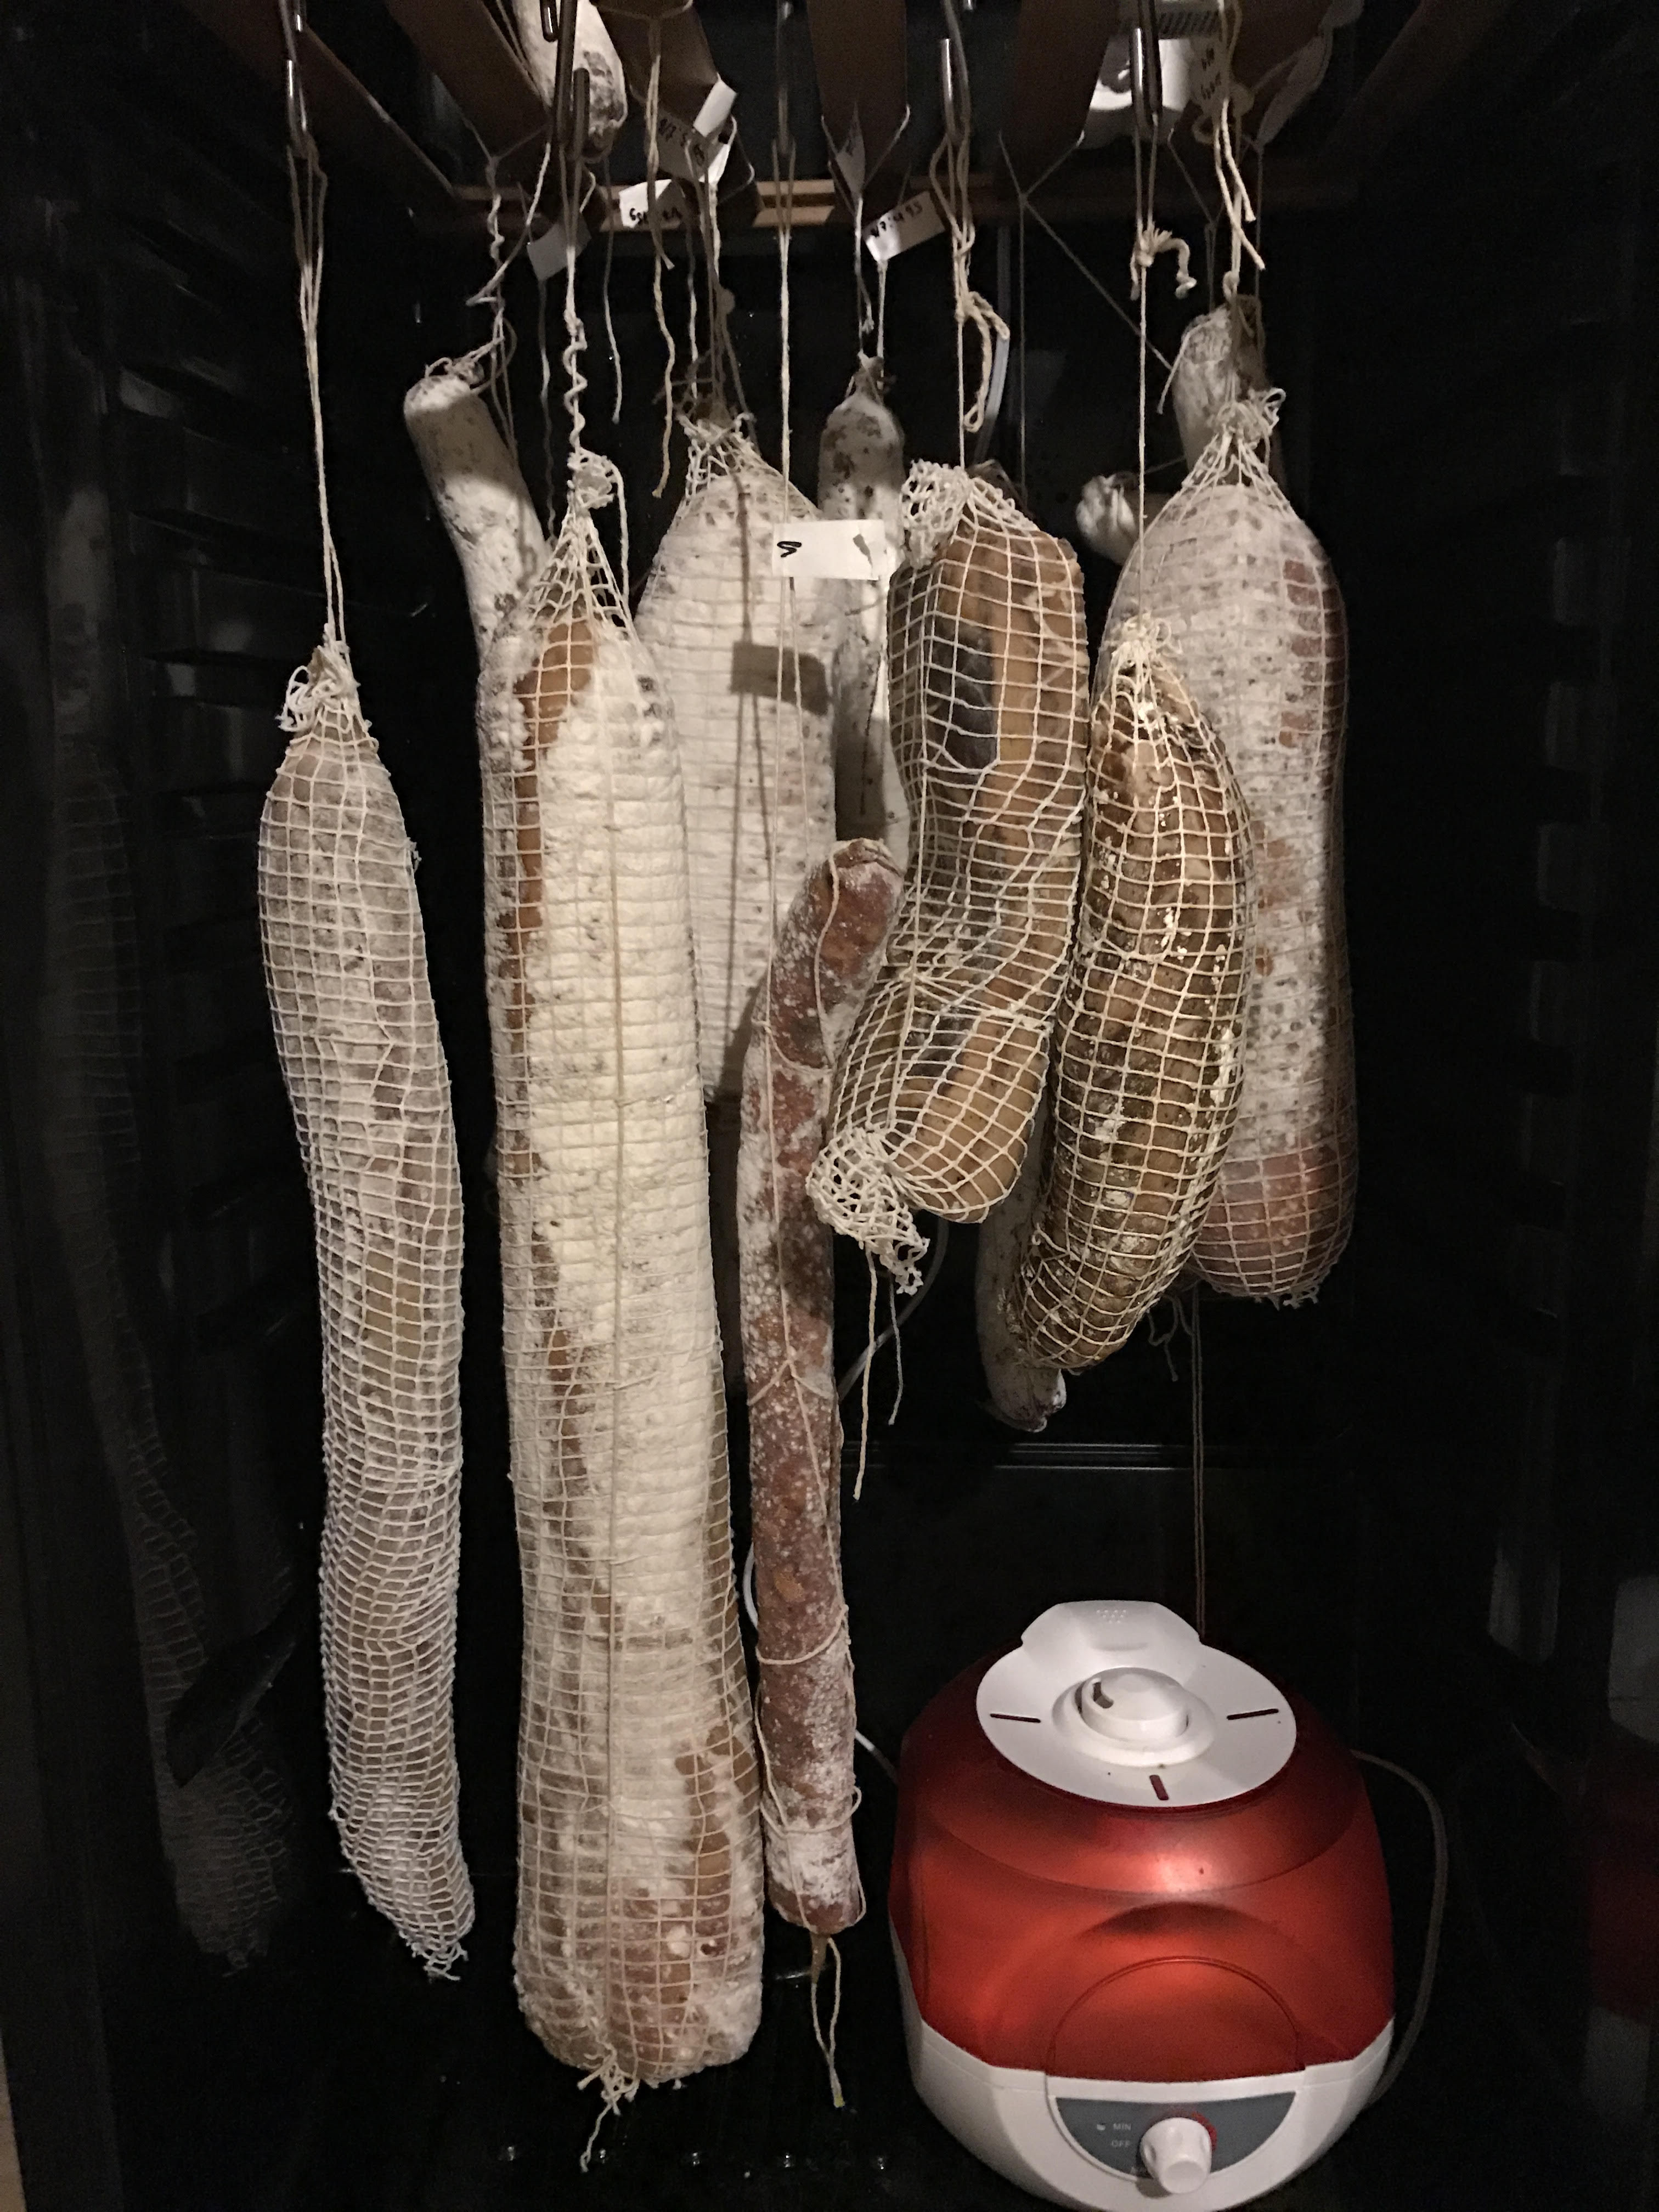
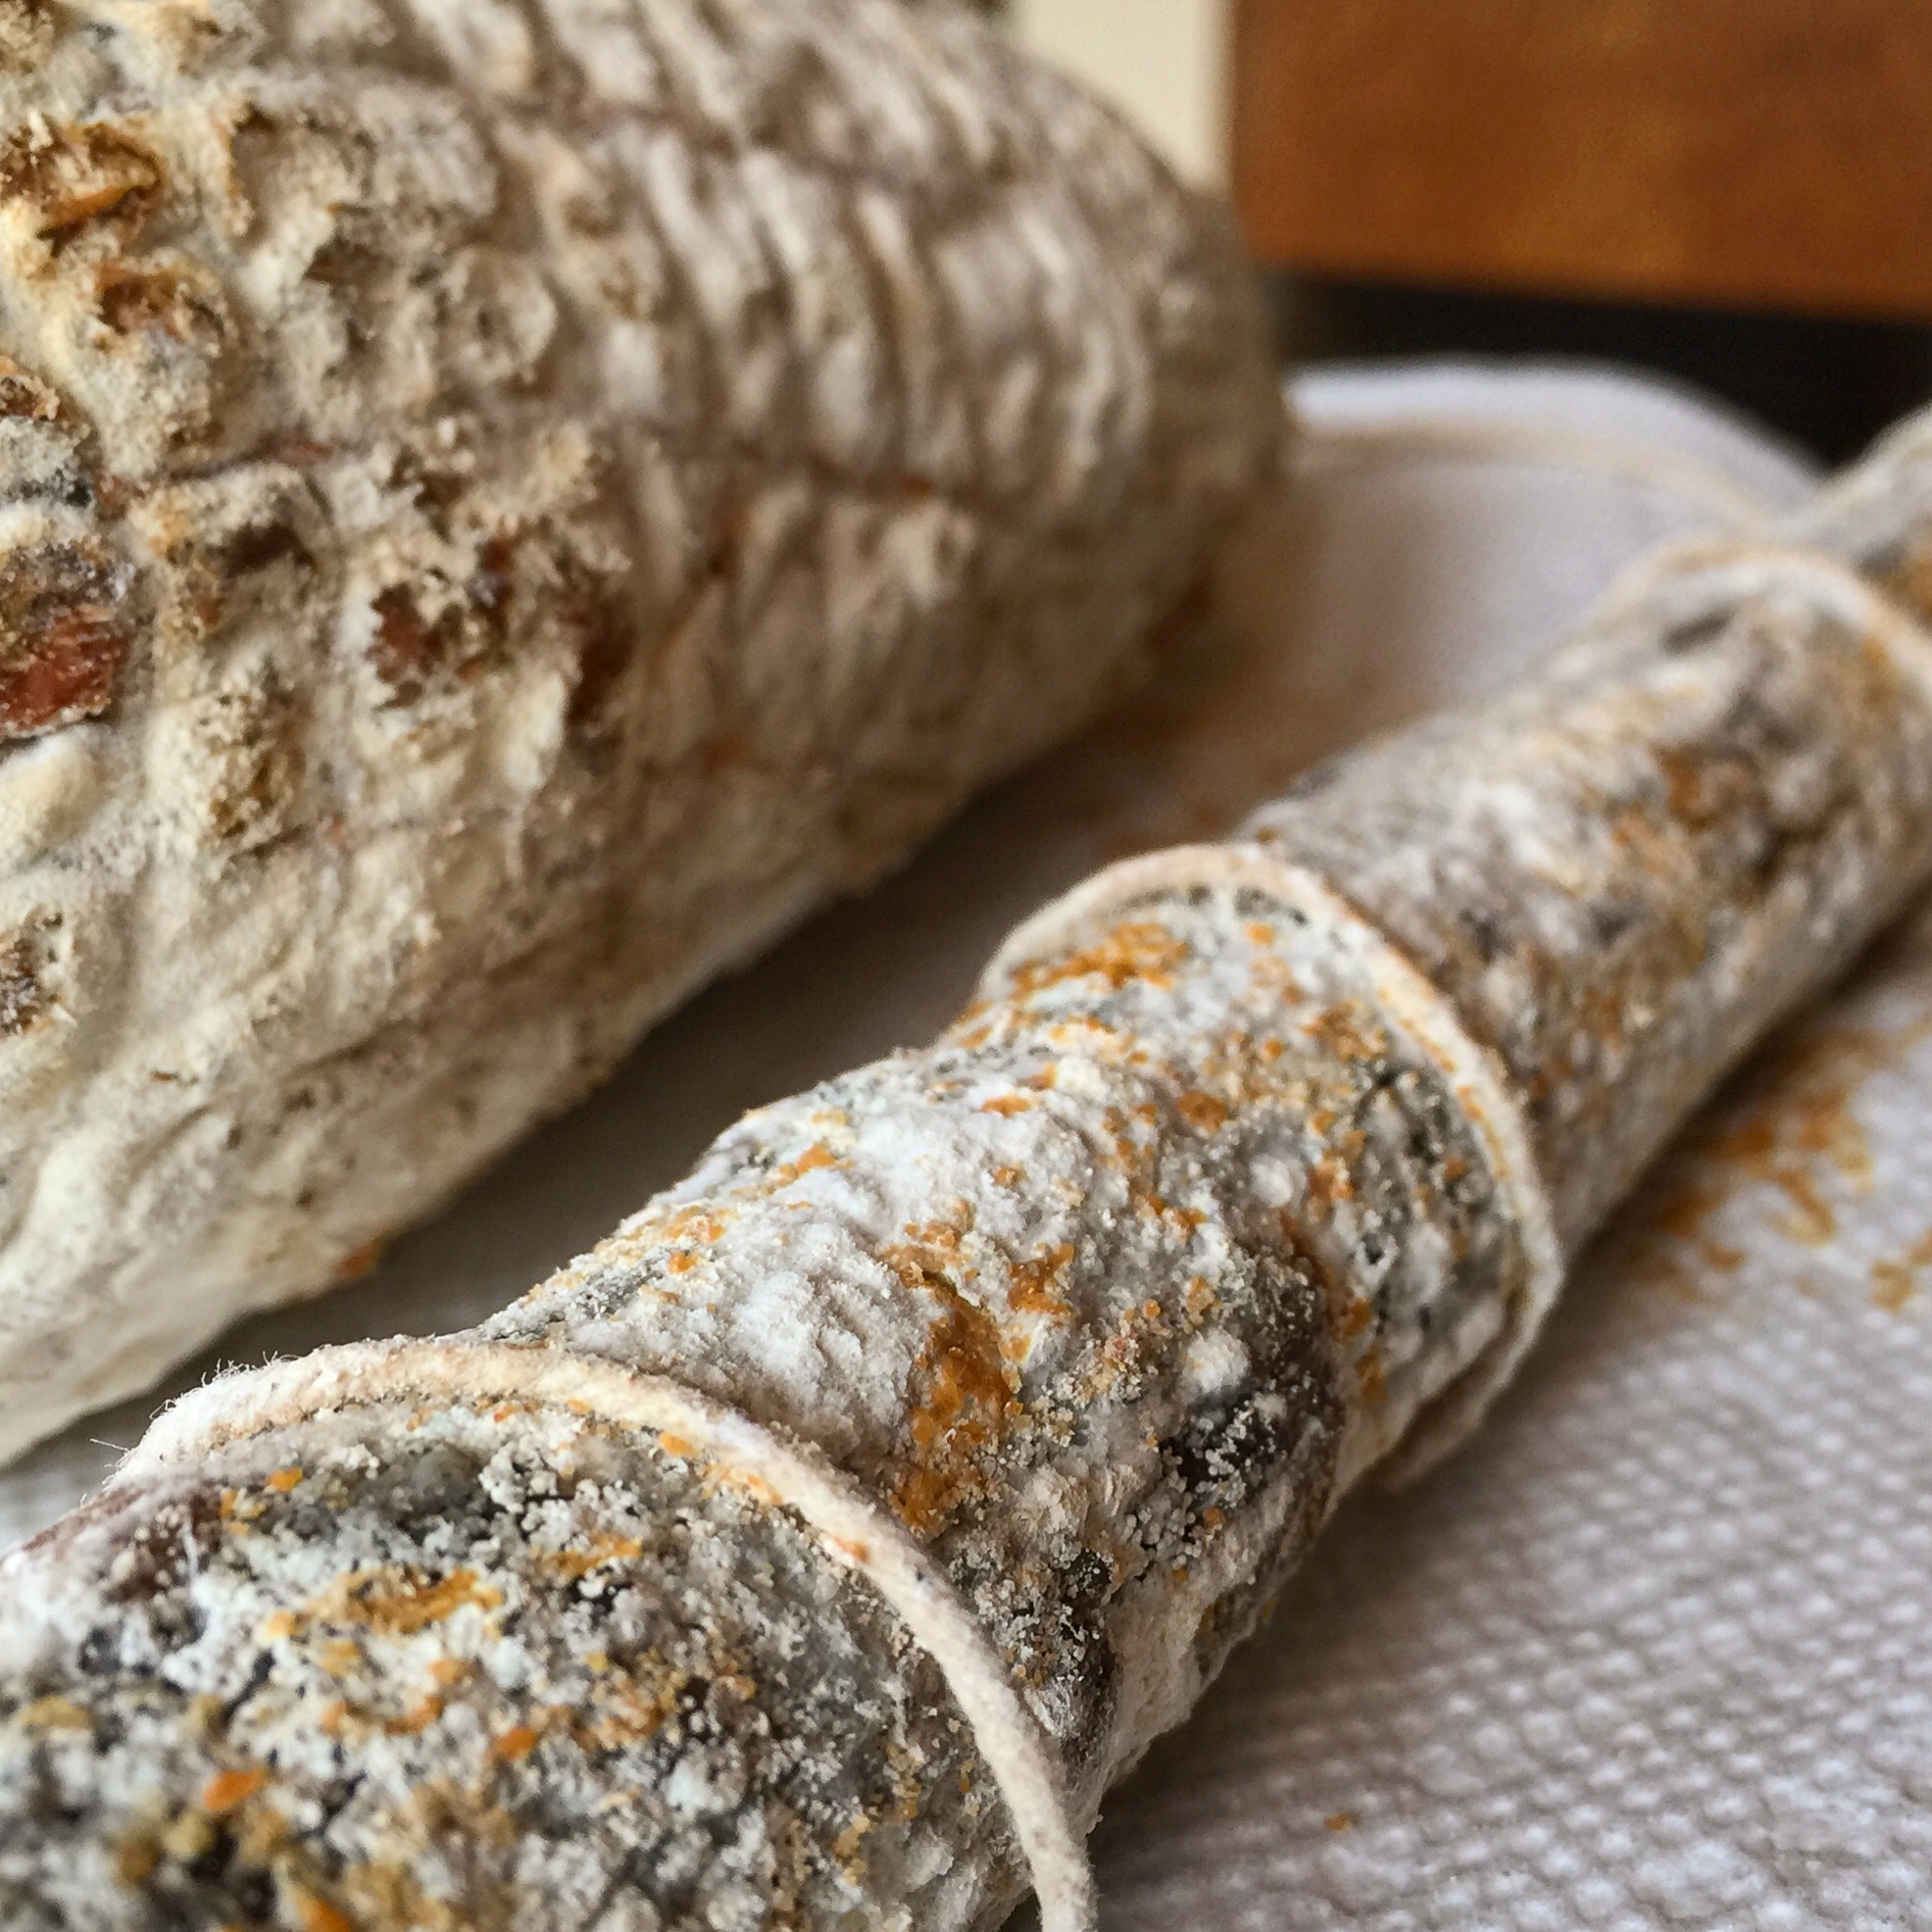
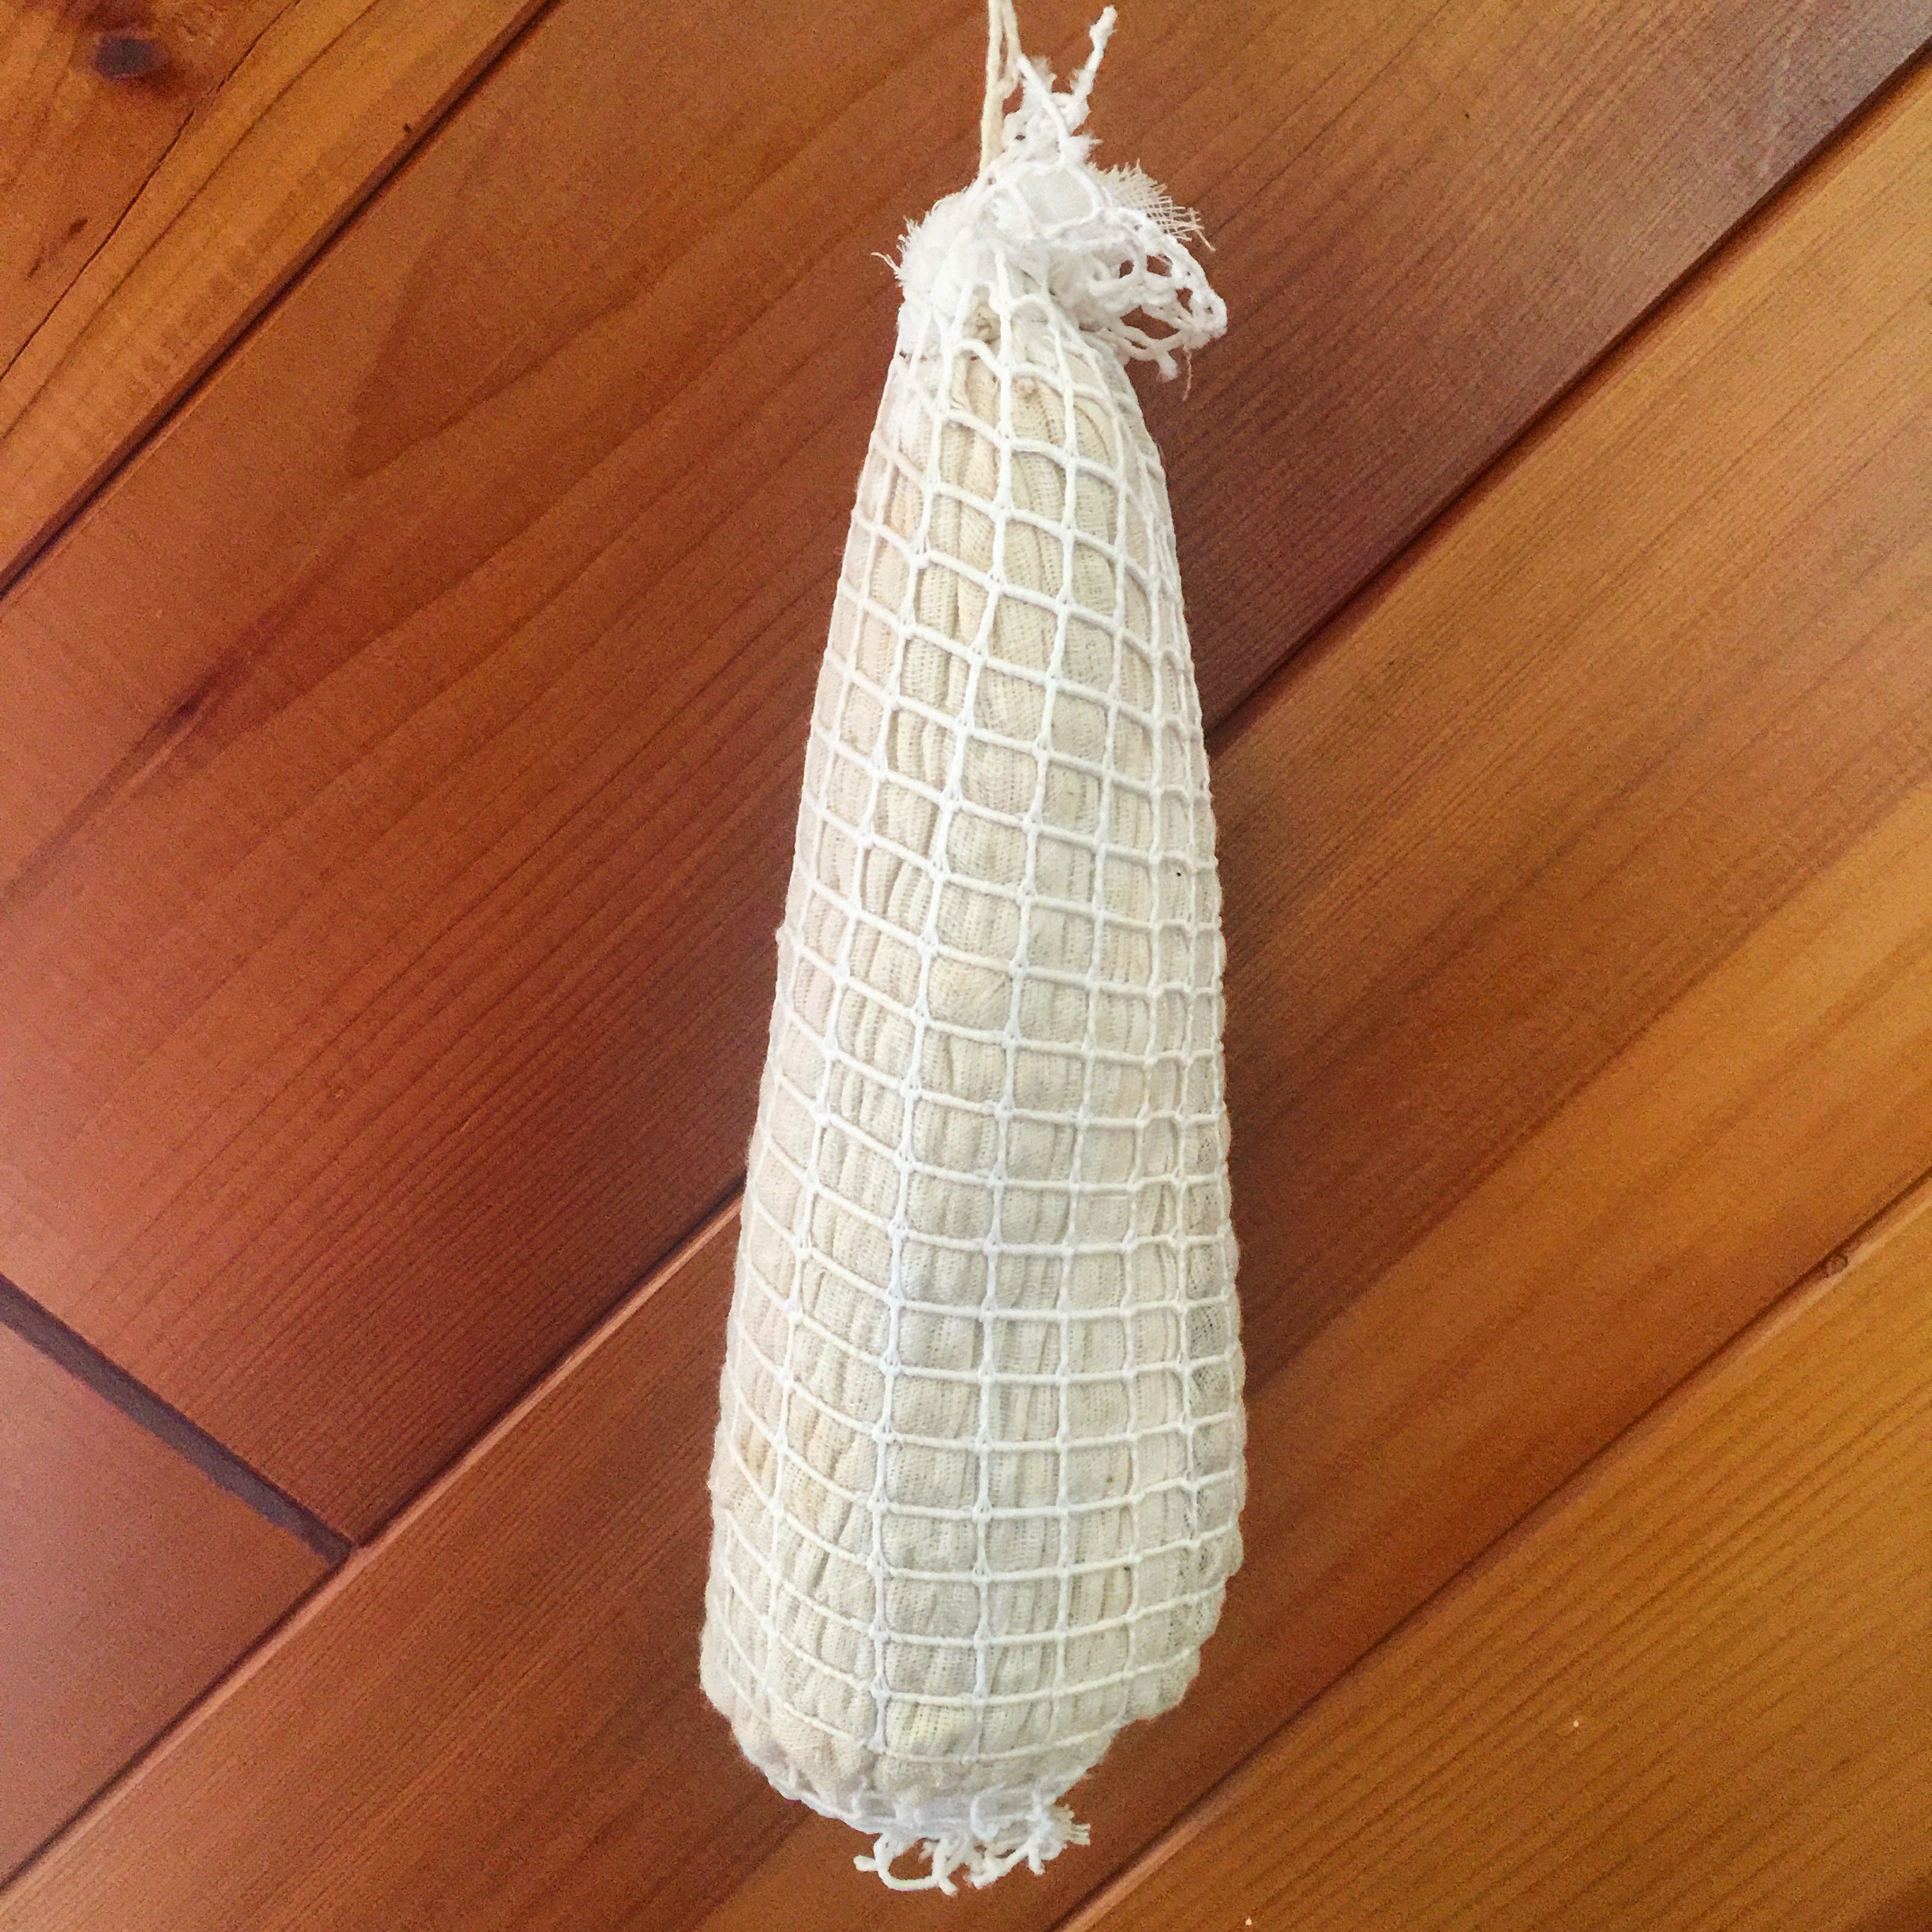
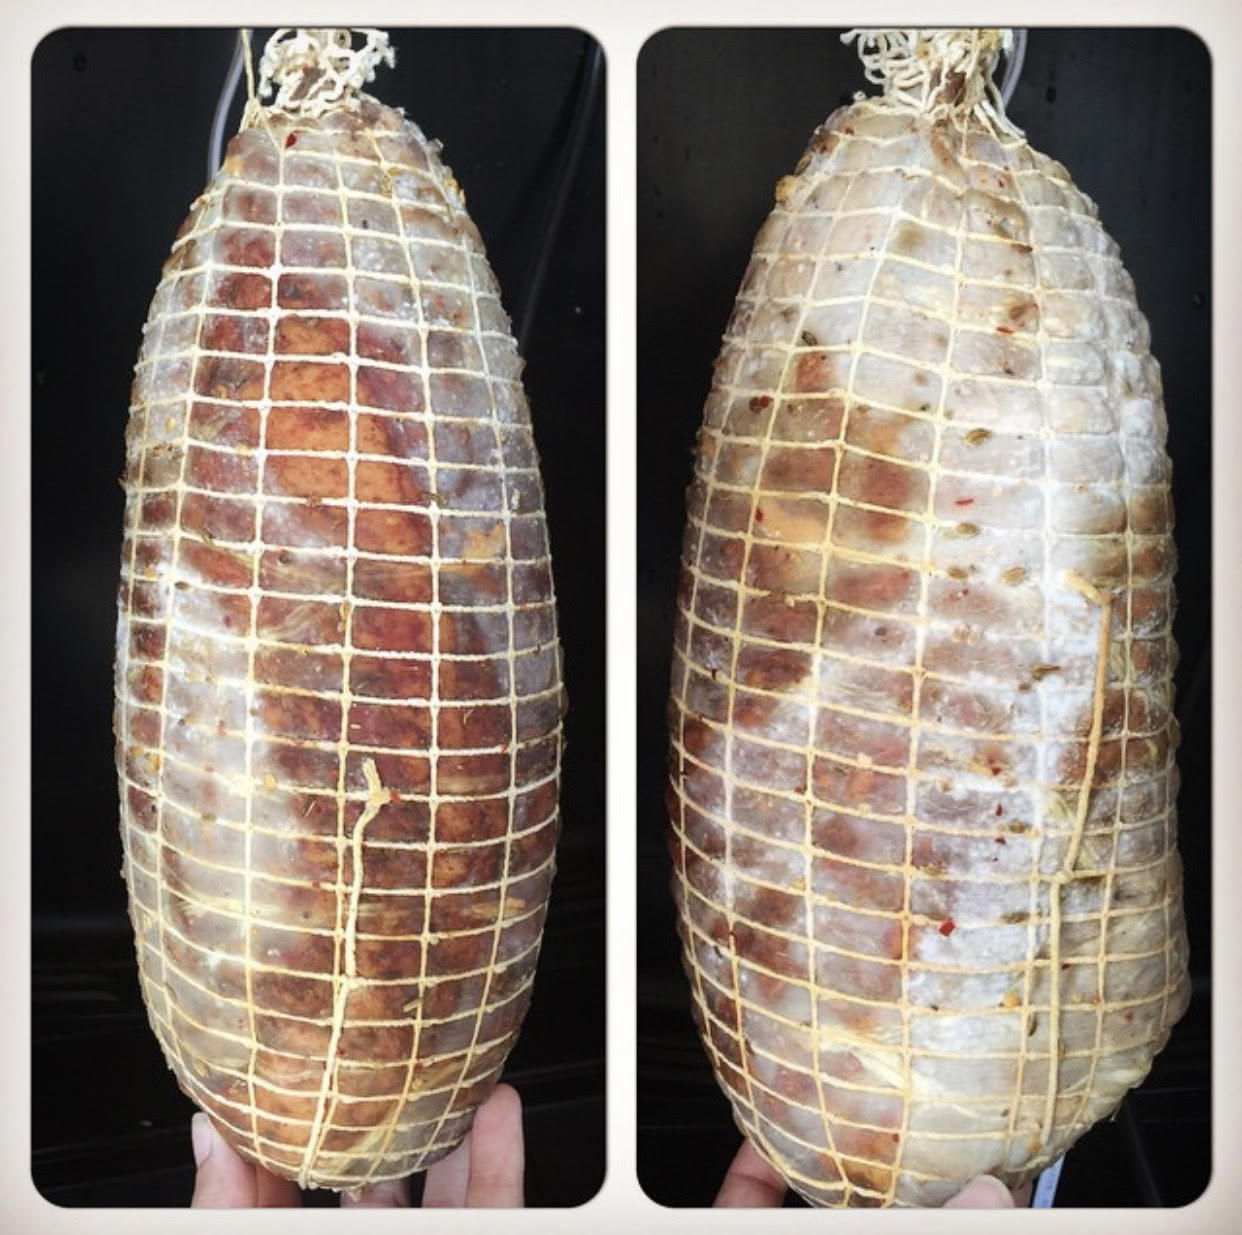
Over time, there was increased beneficial mold growth and weight loss, avoiding areas with high concentration of peperoncini.

coppa14

coppa13

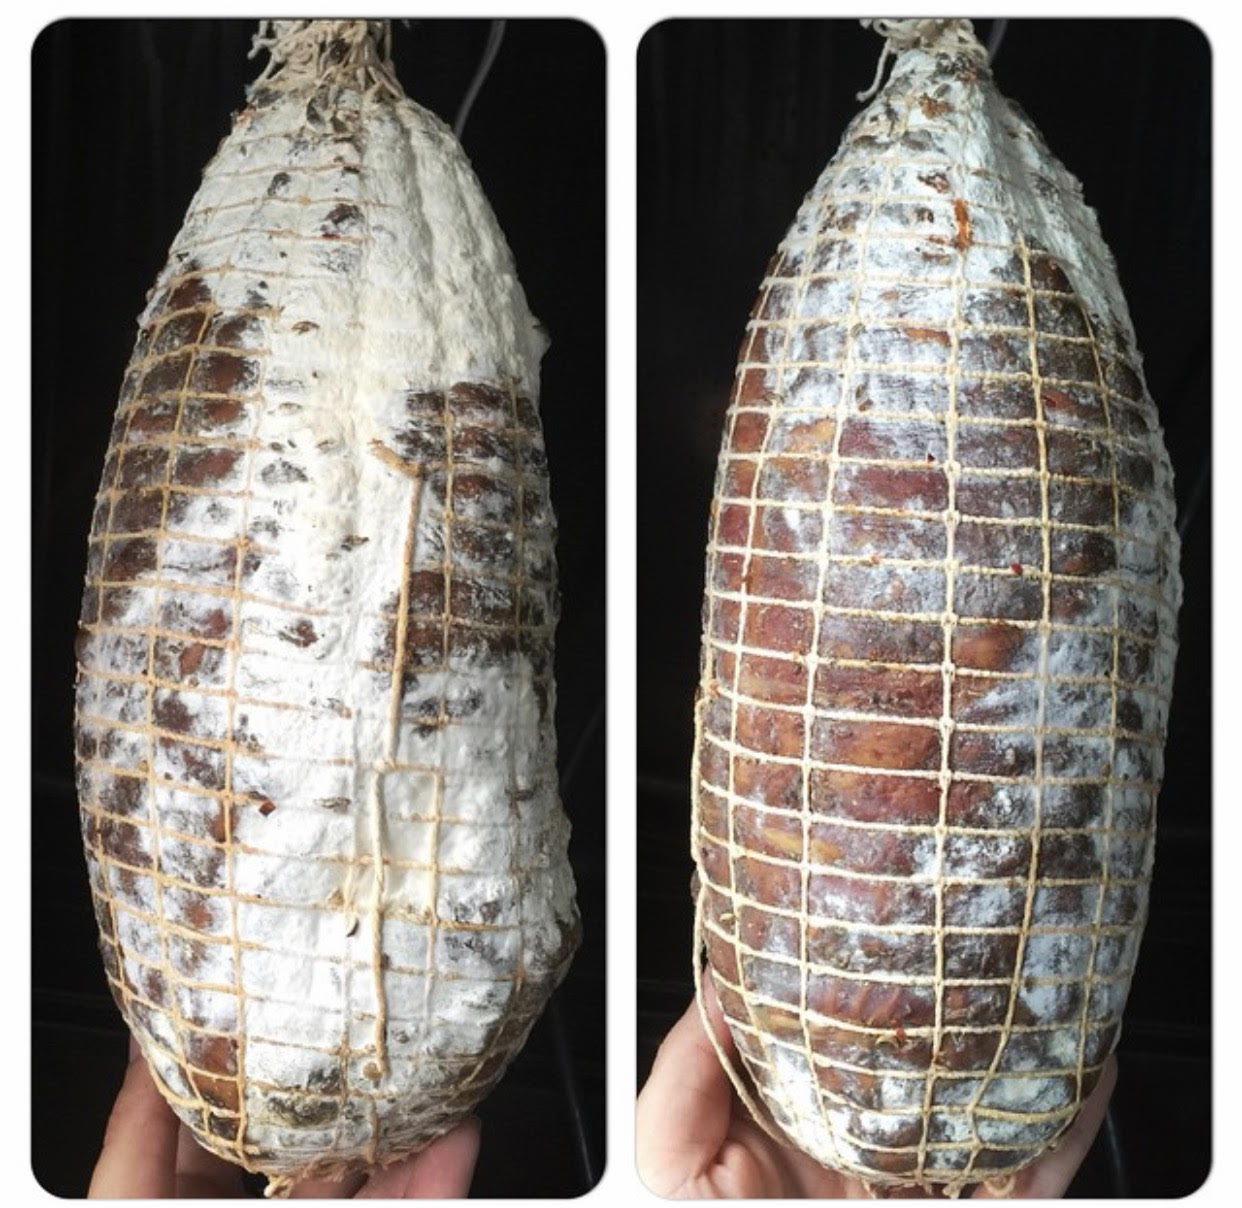
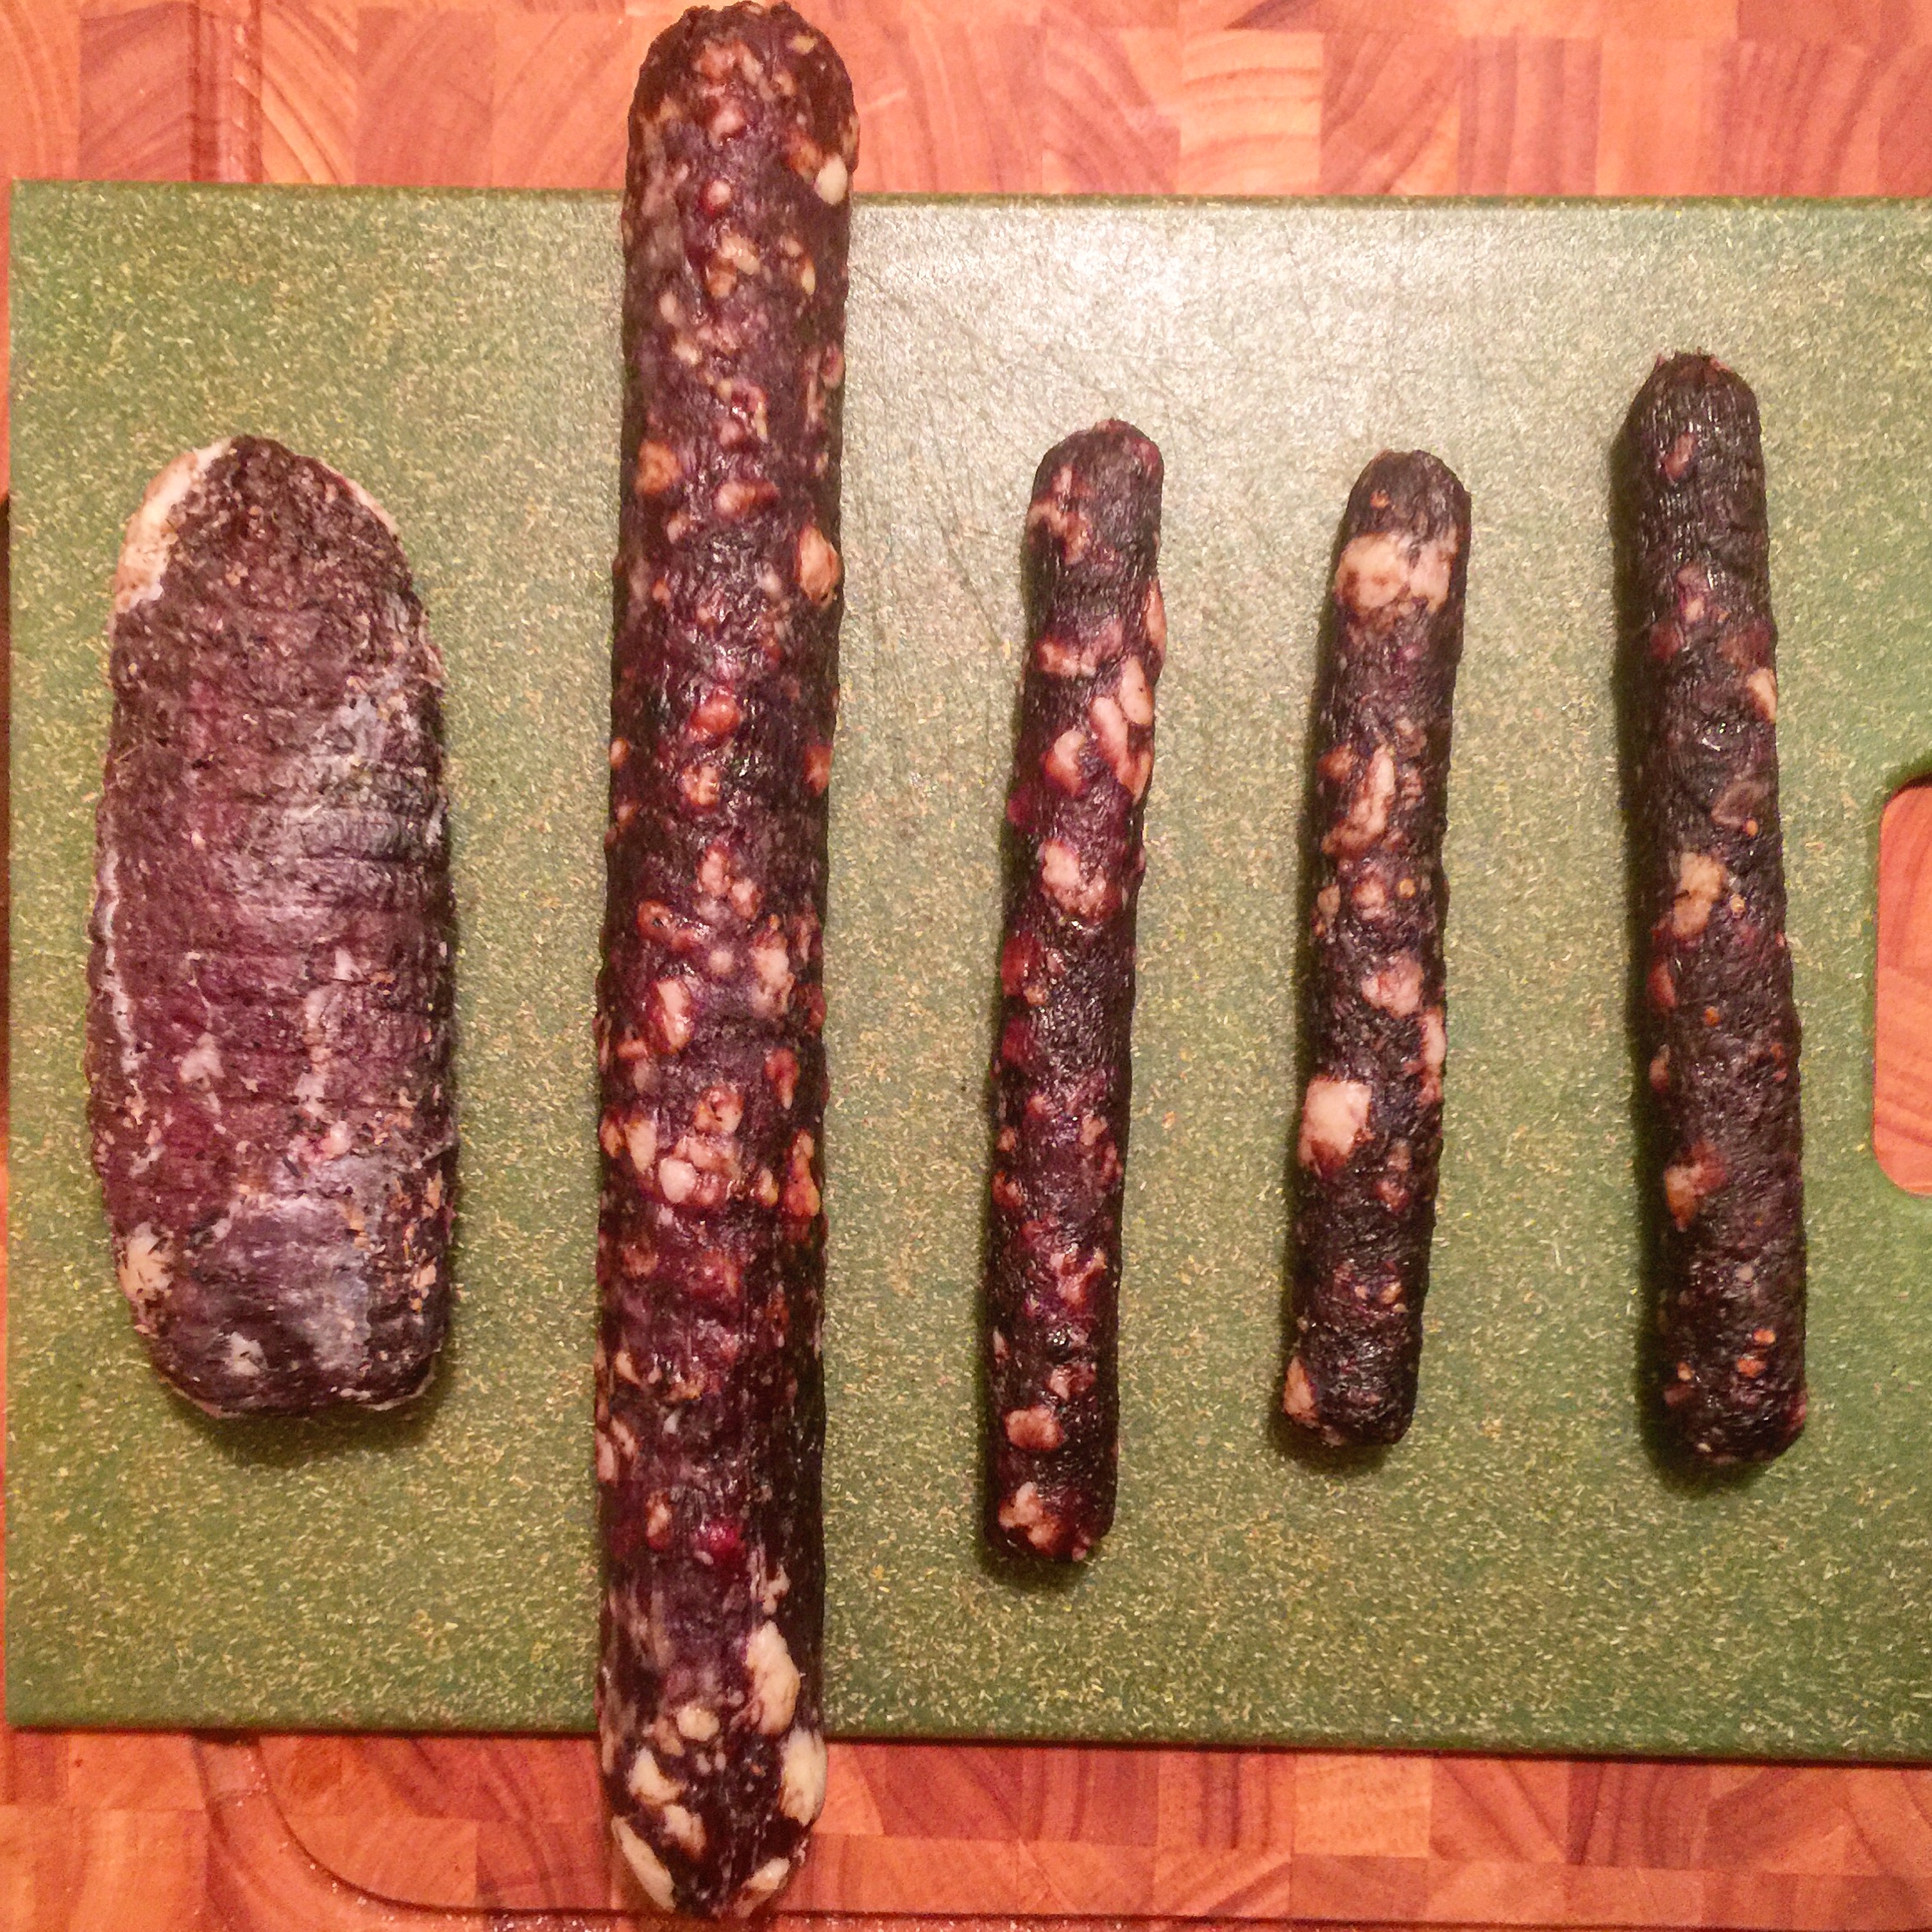
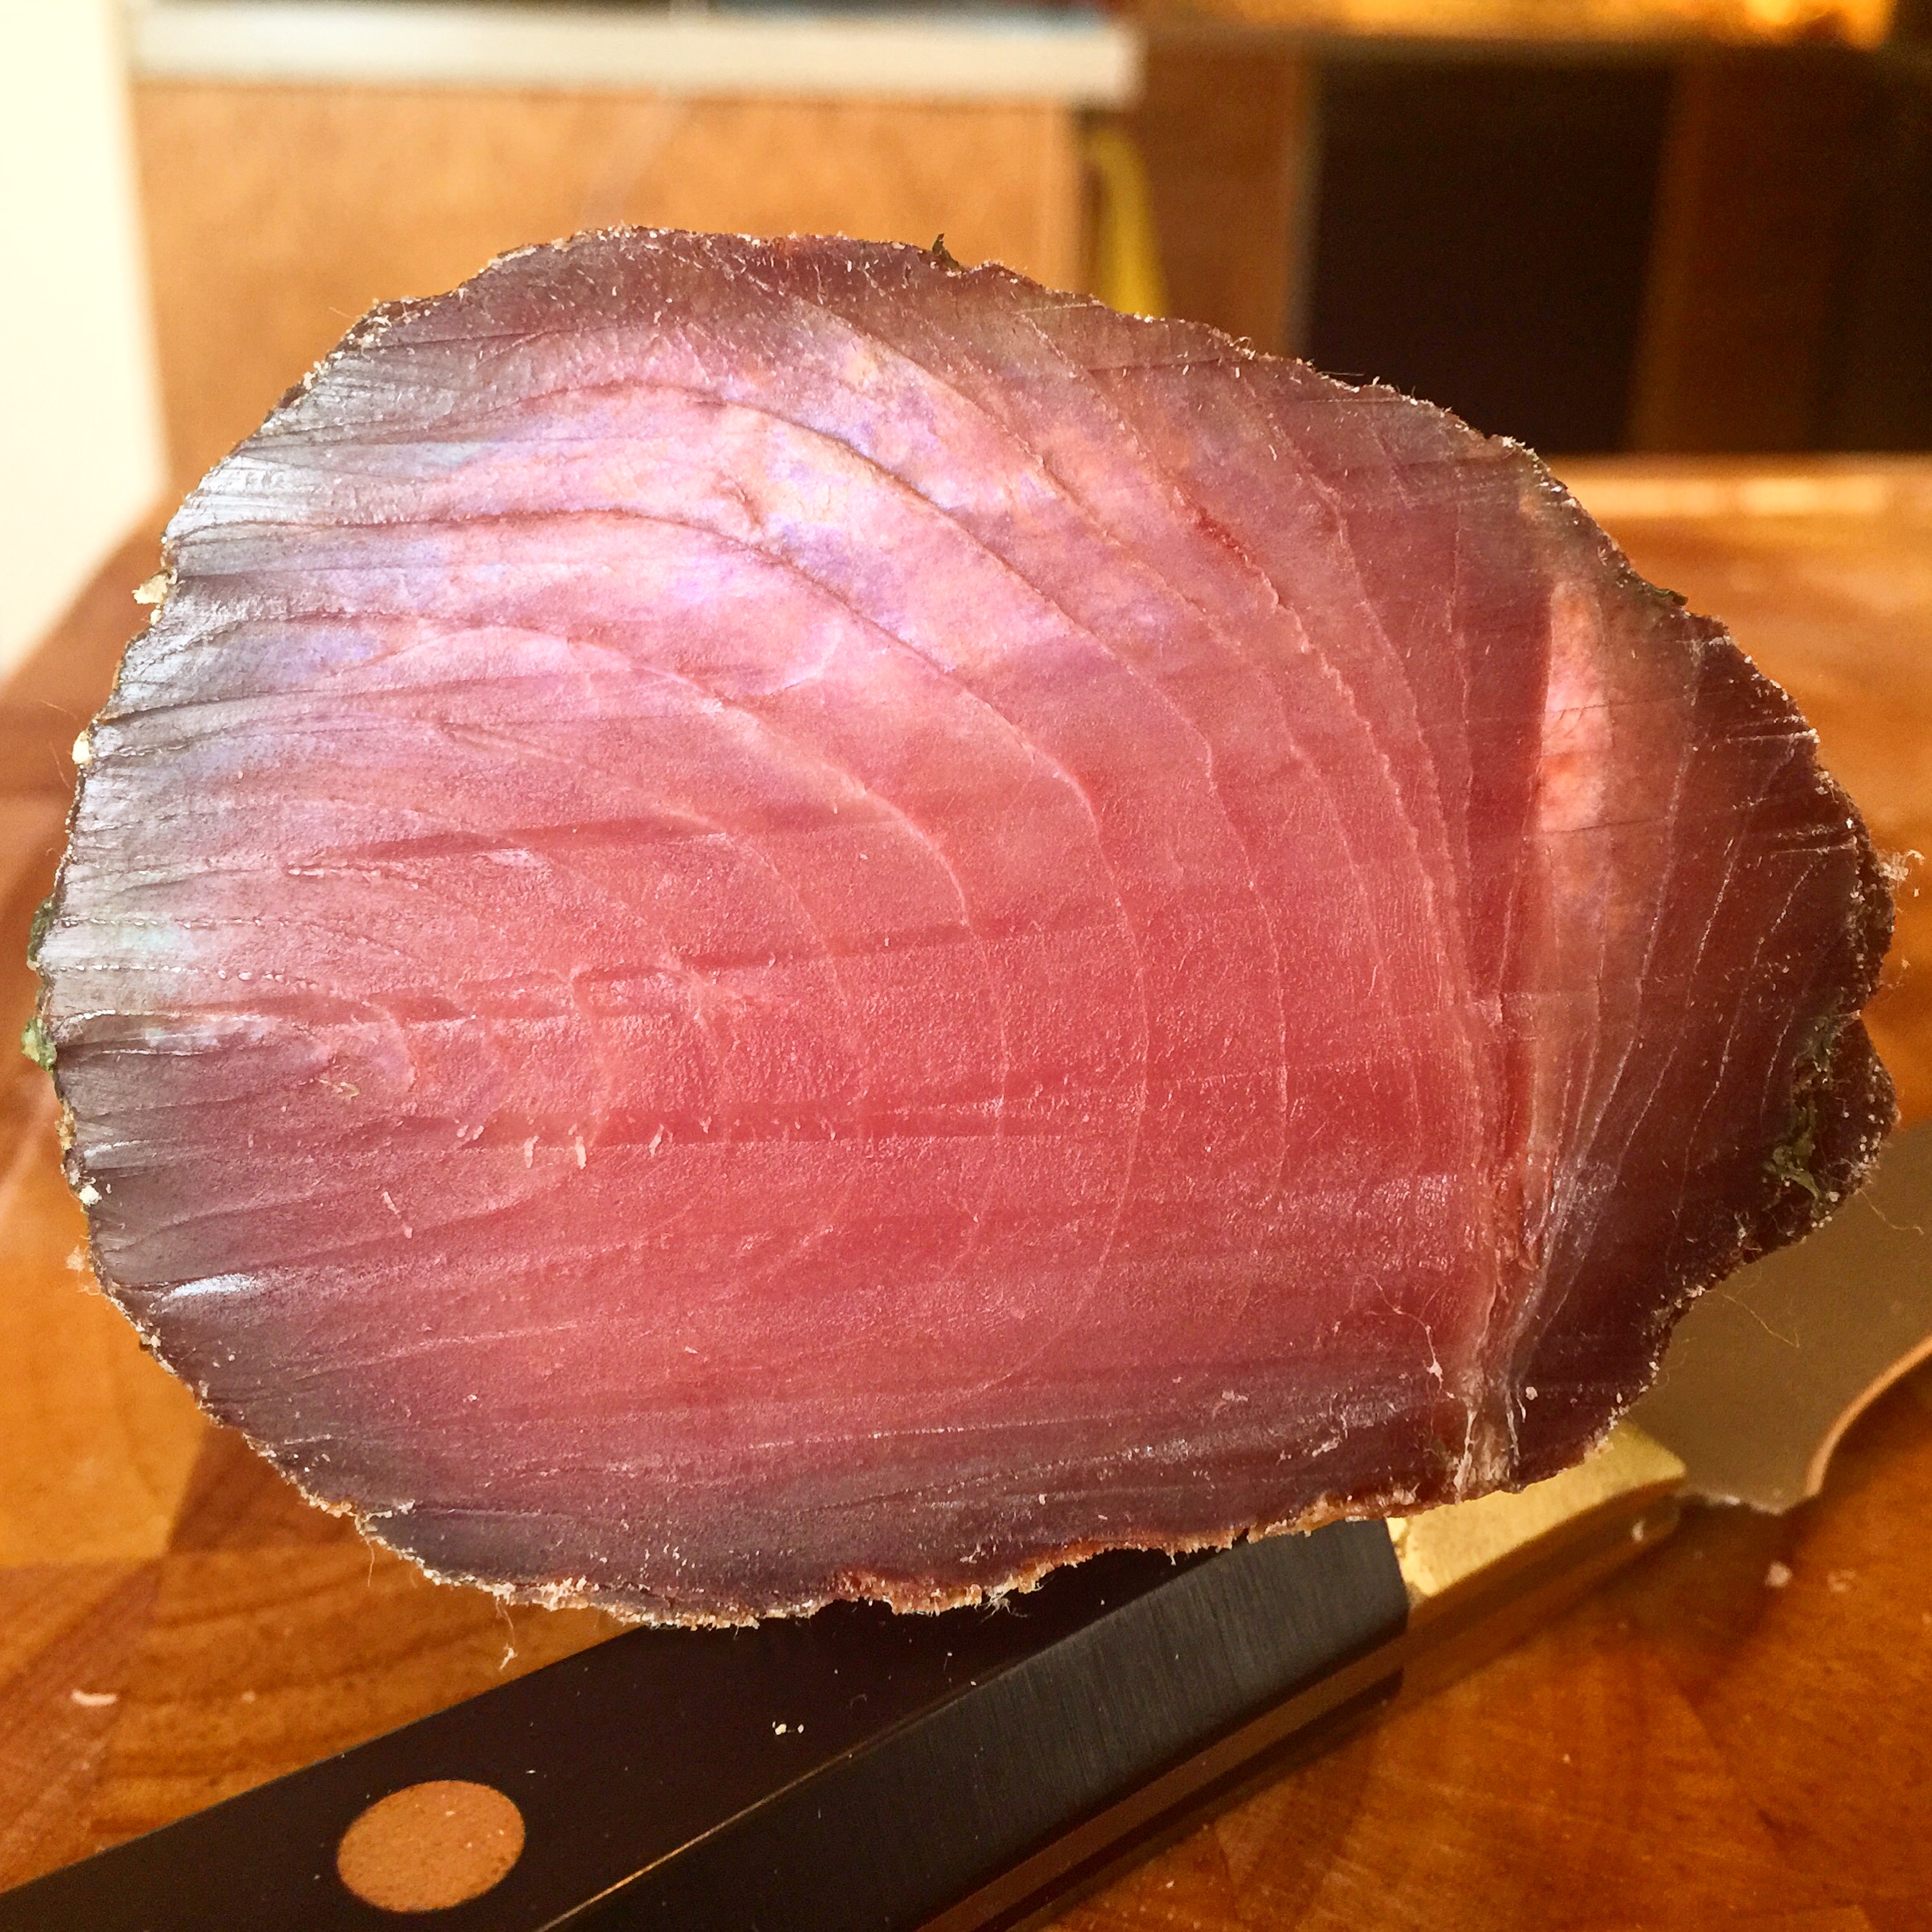
At around 3 months, it reached 30% weight loss, and was pulled from the chamber.
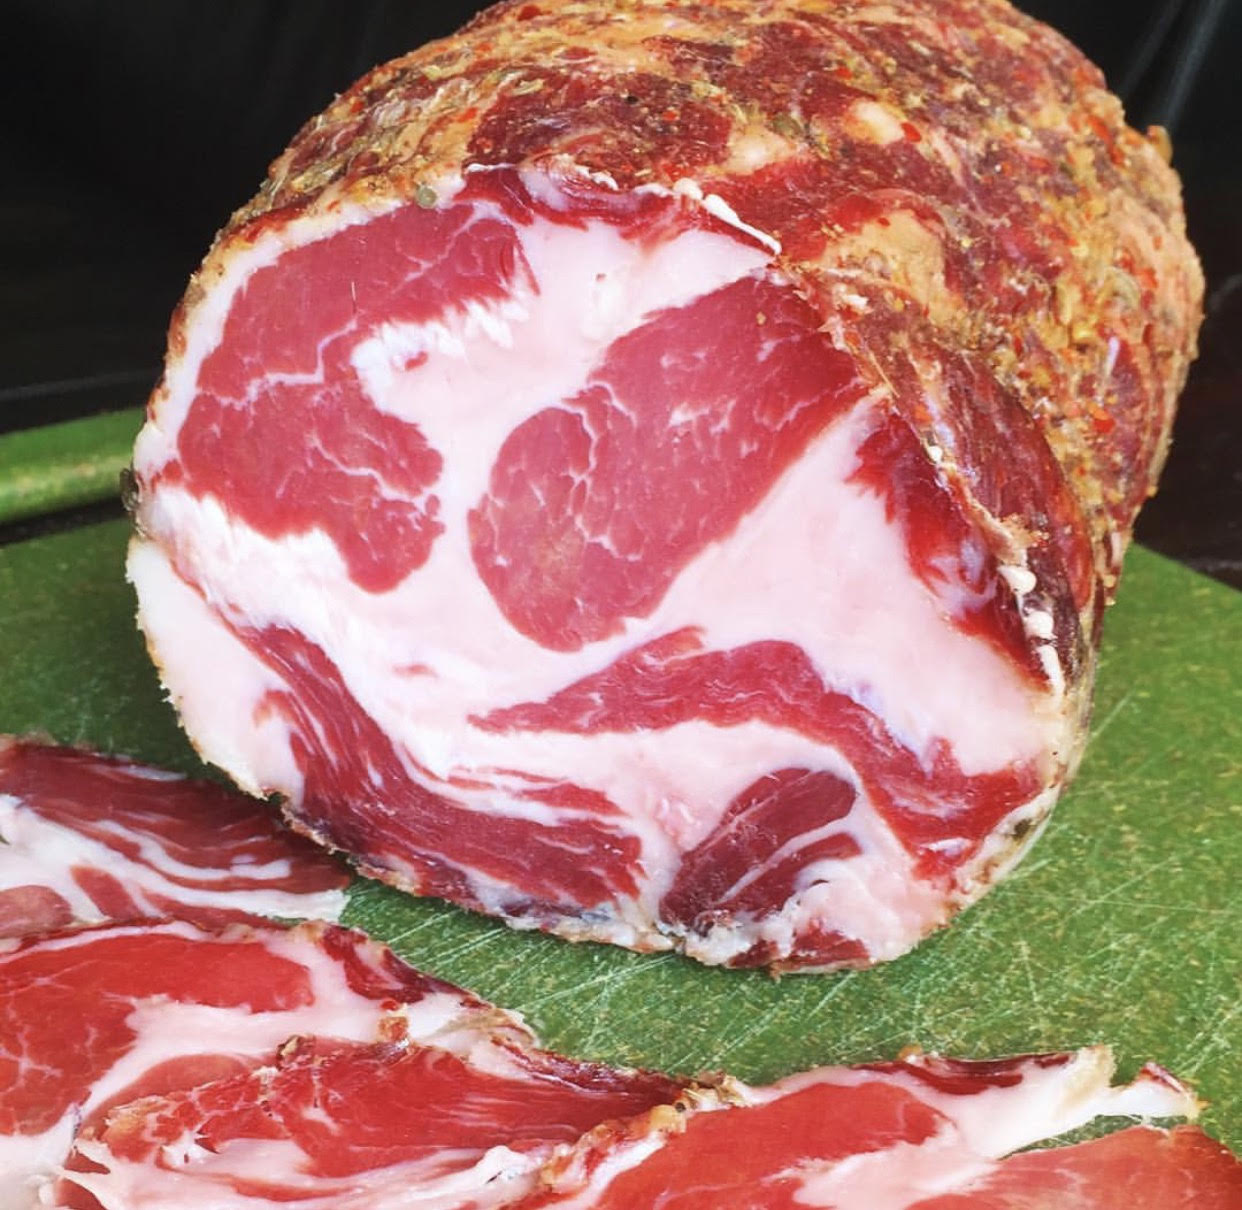
coppaweightloss

—

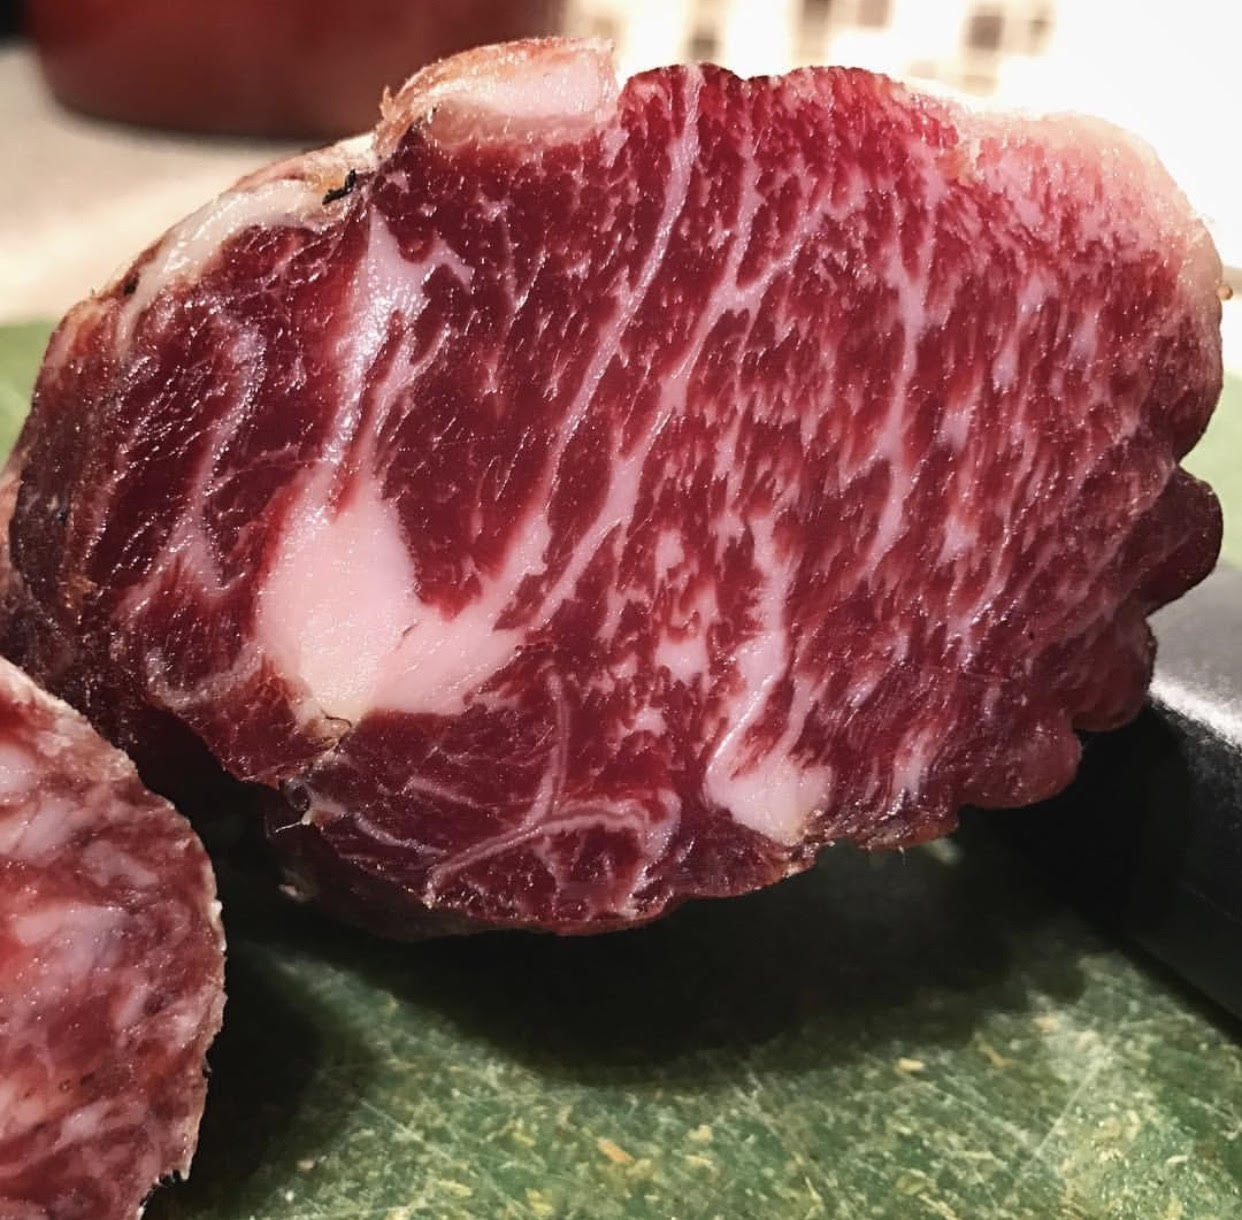
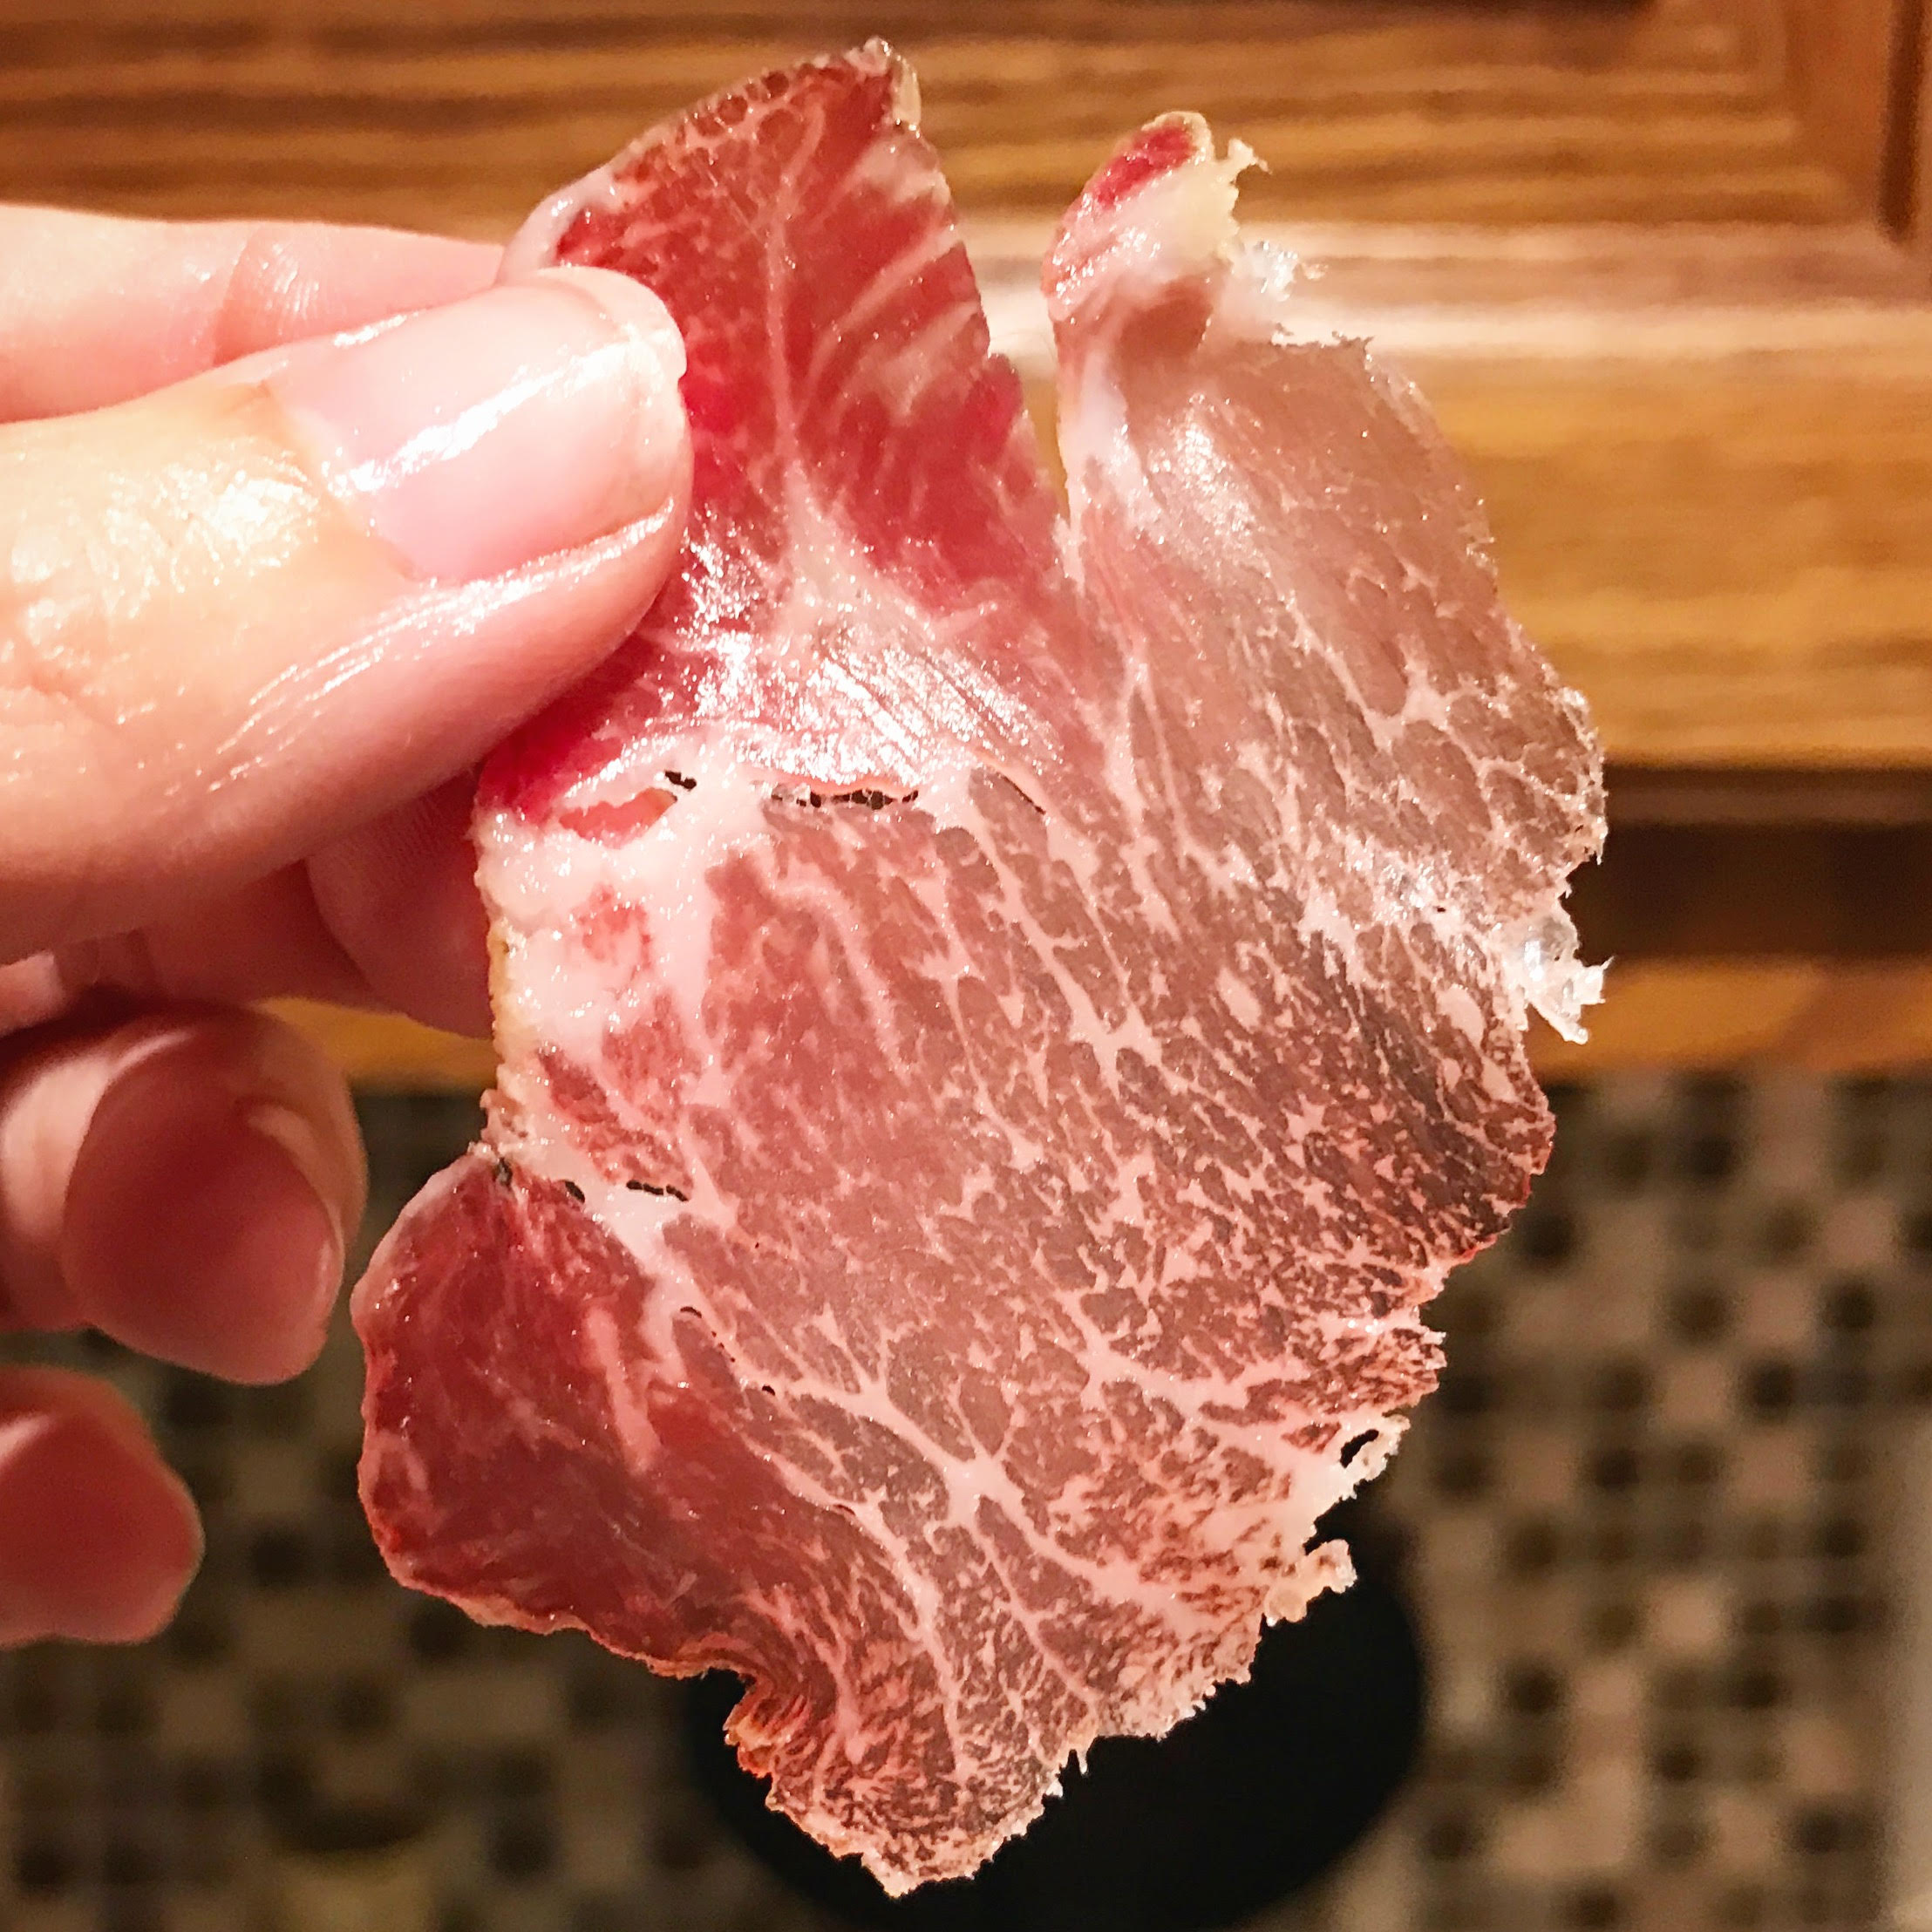
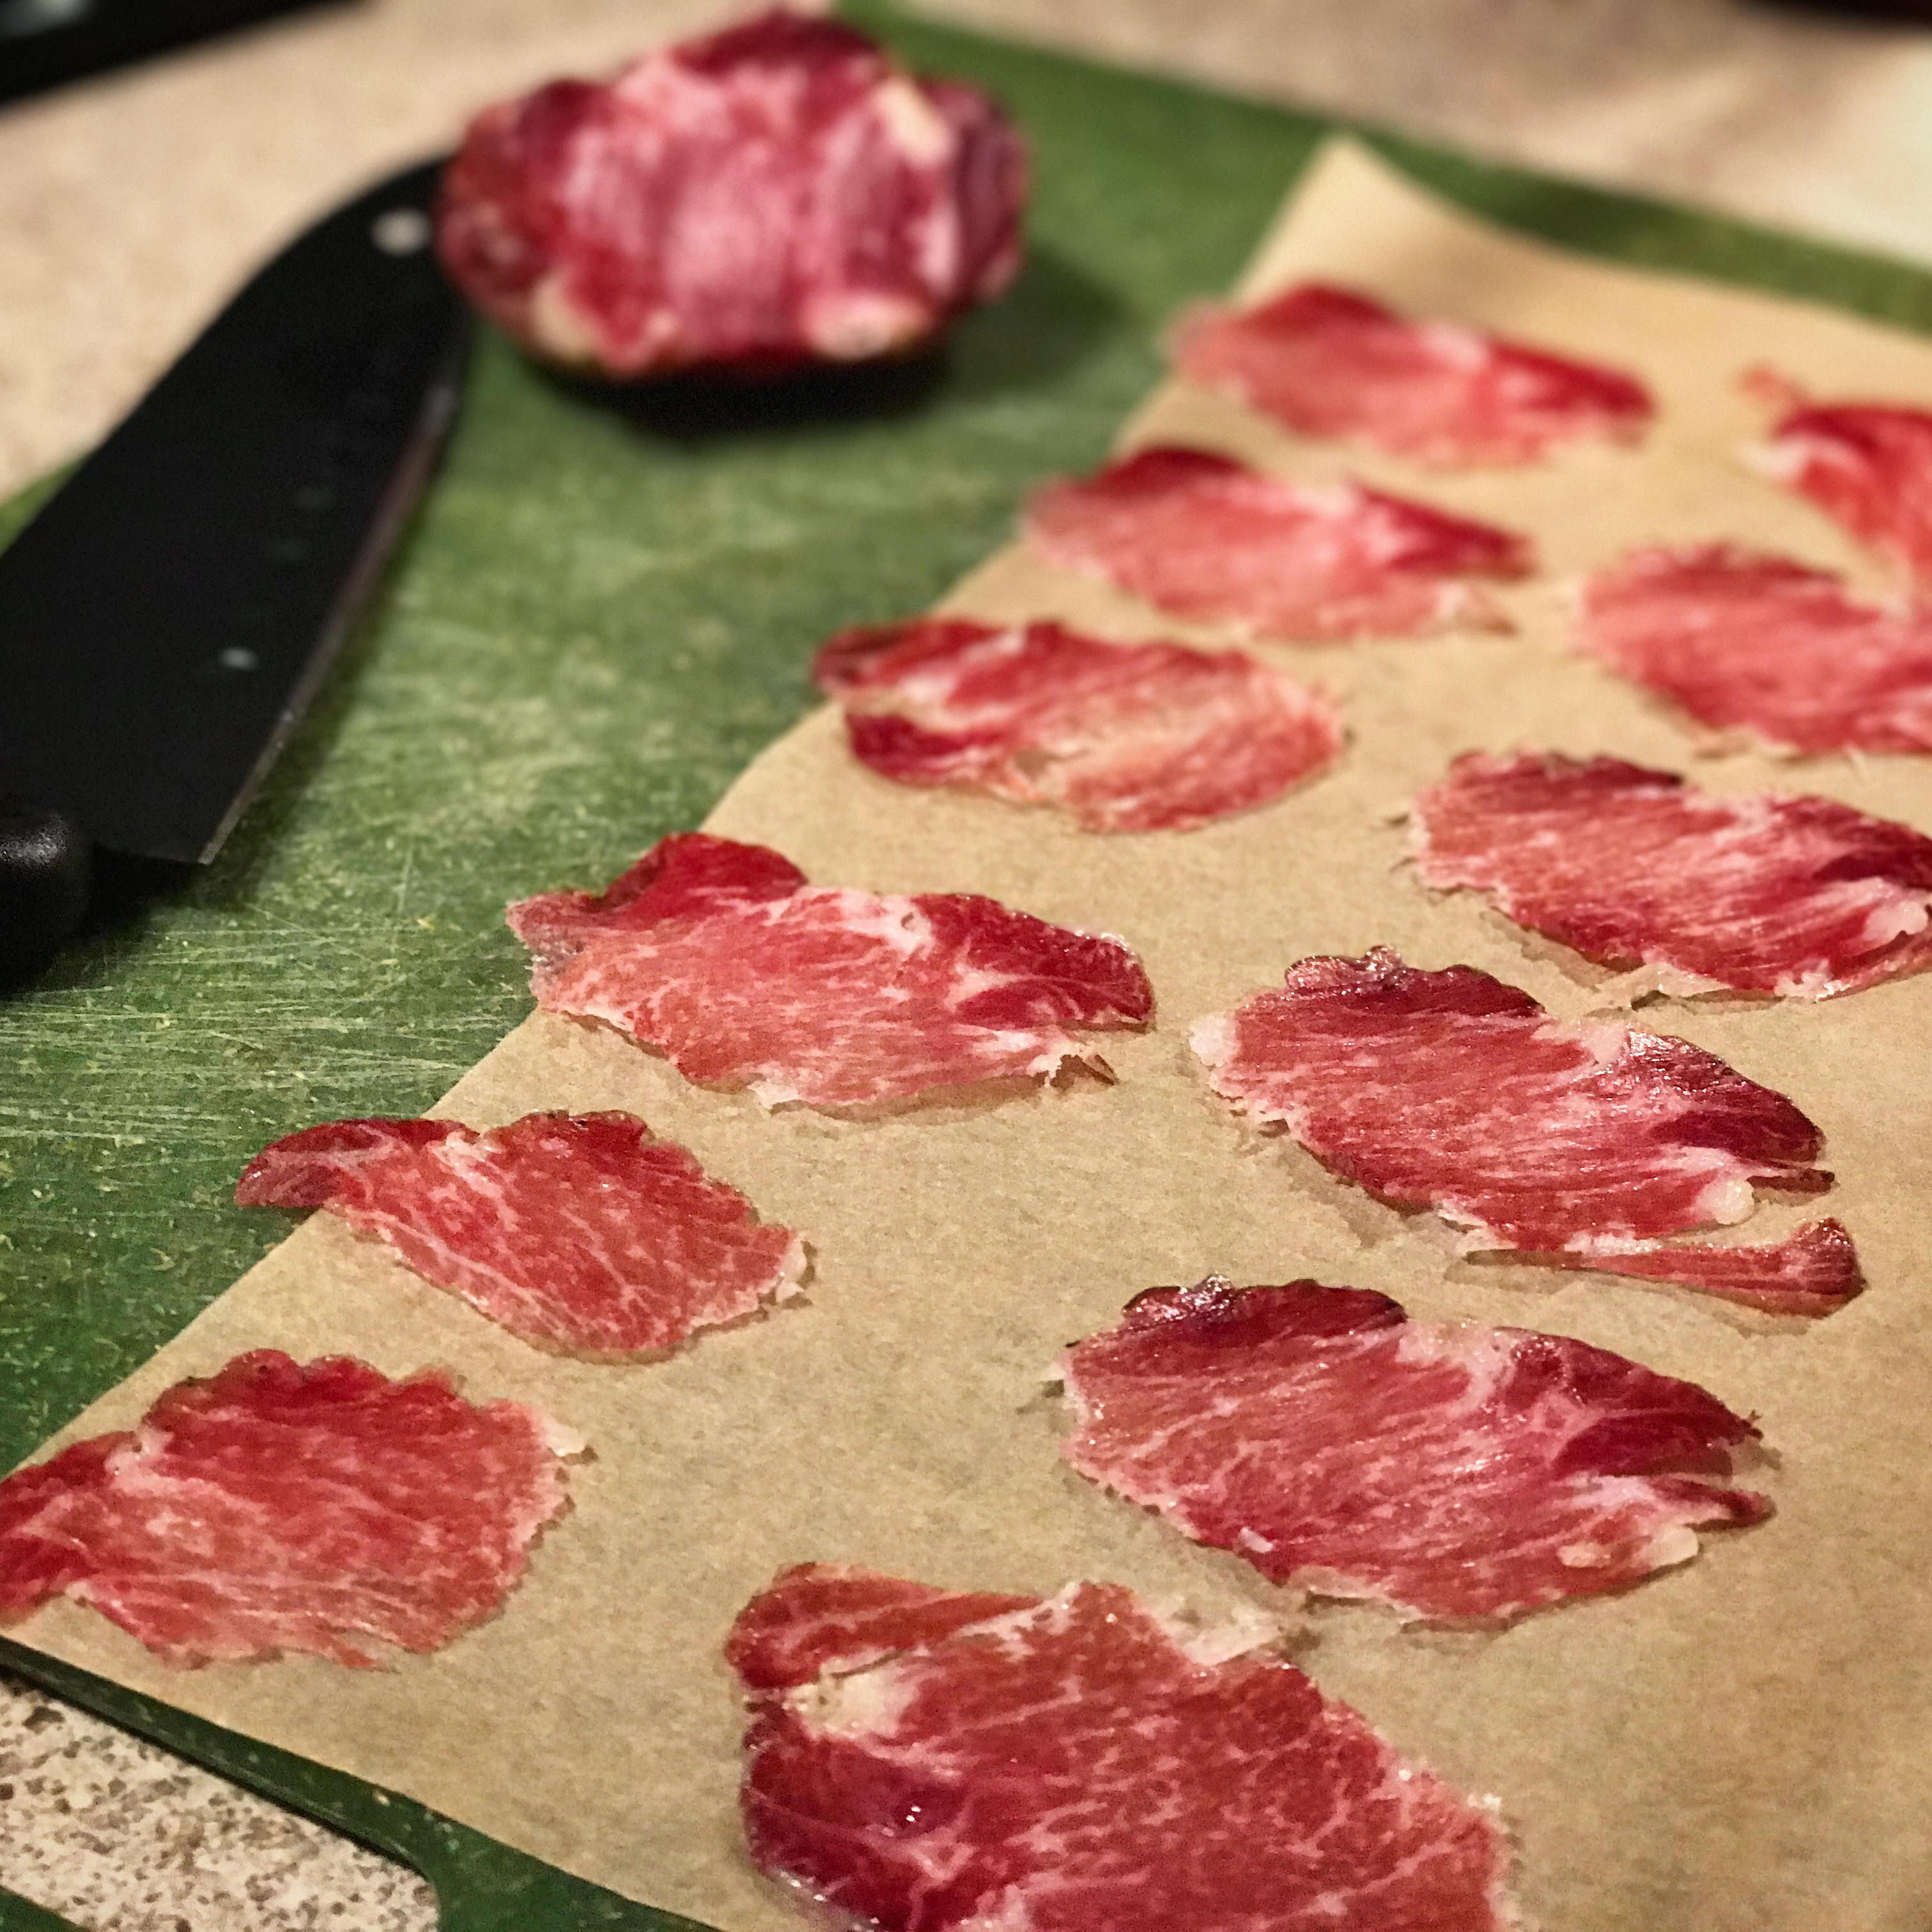
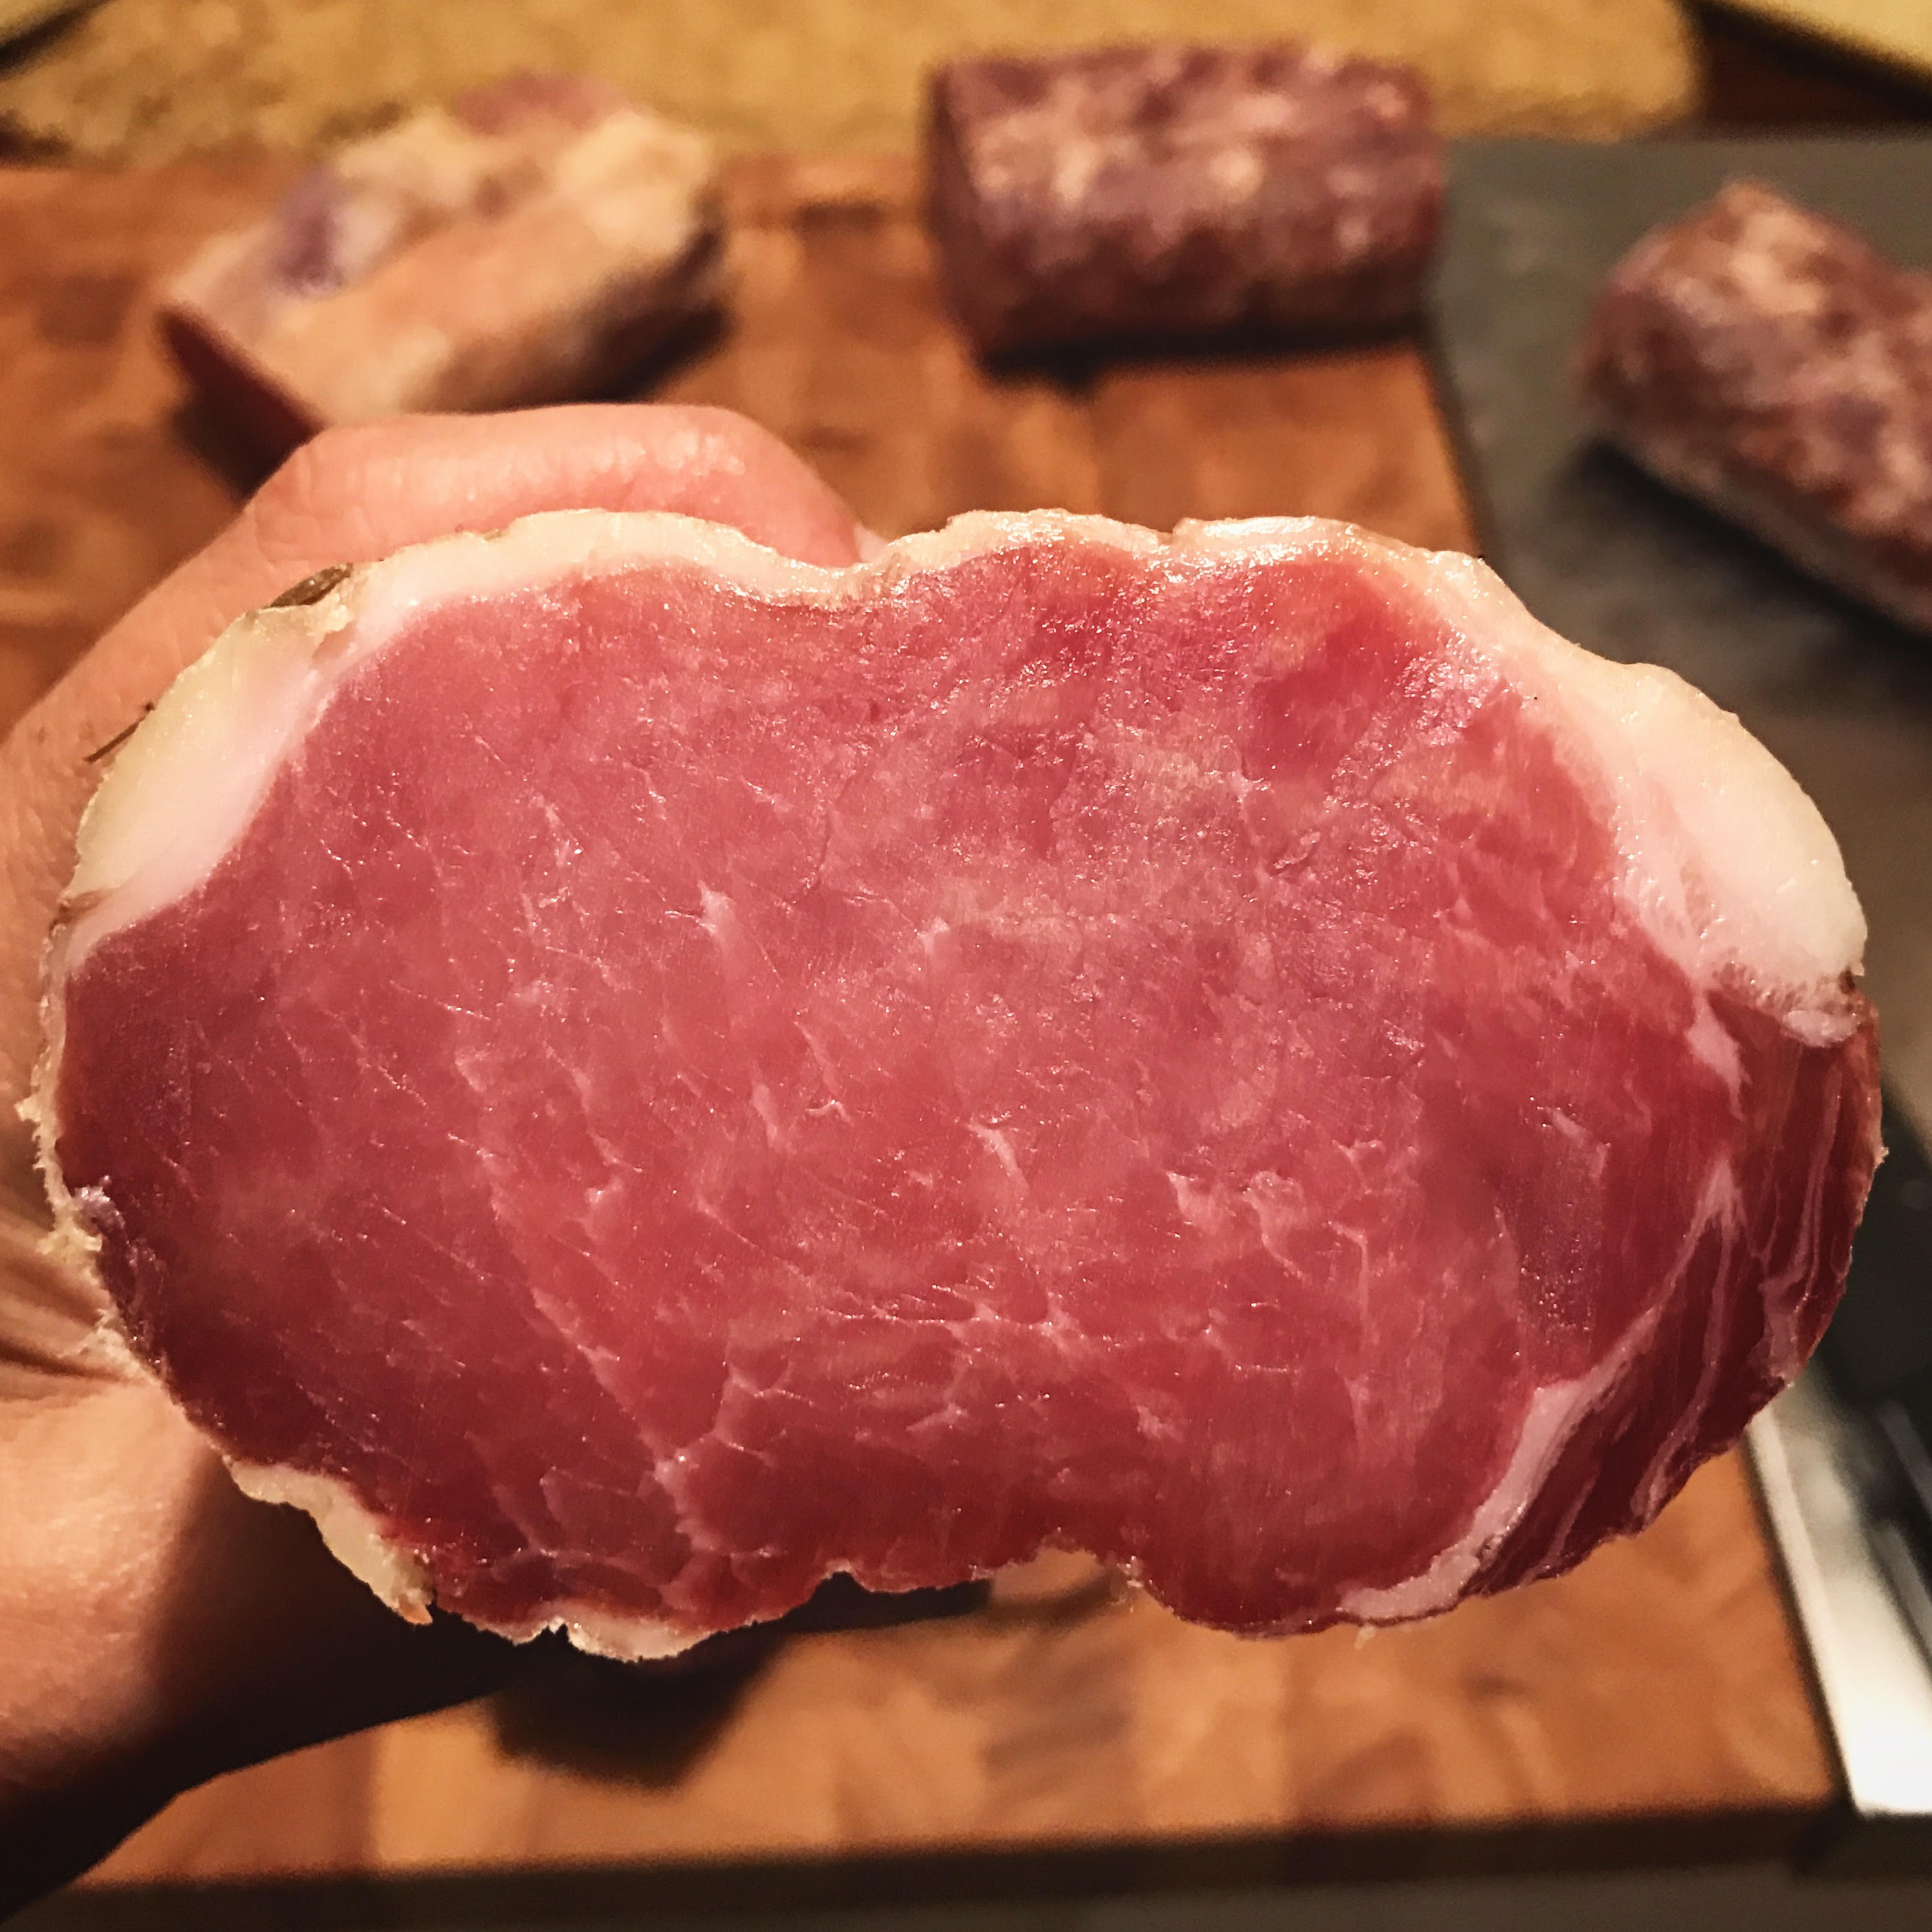
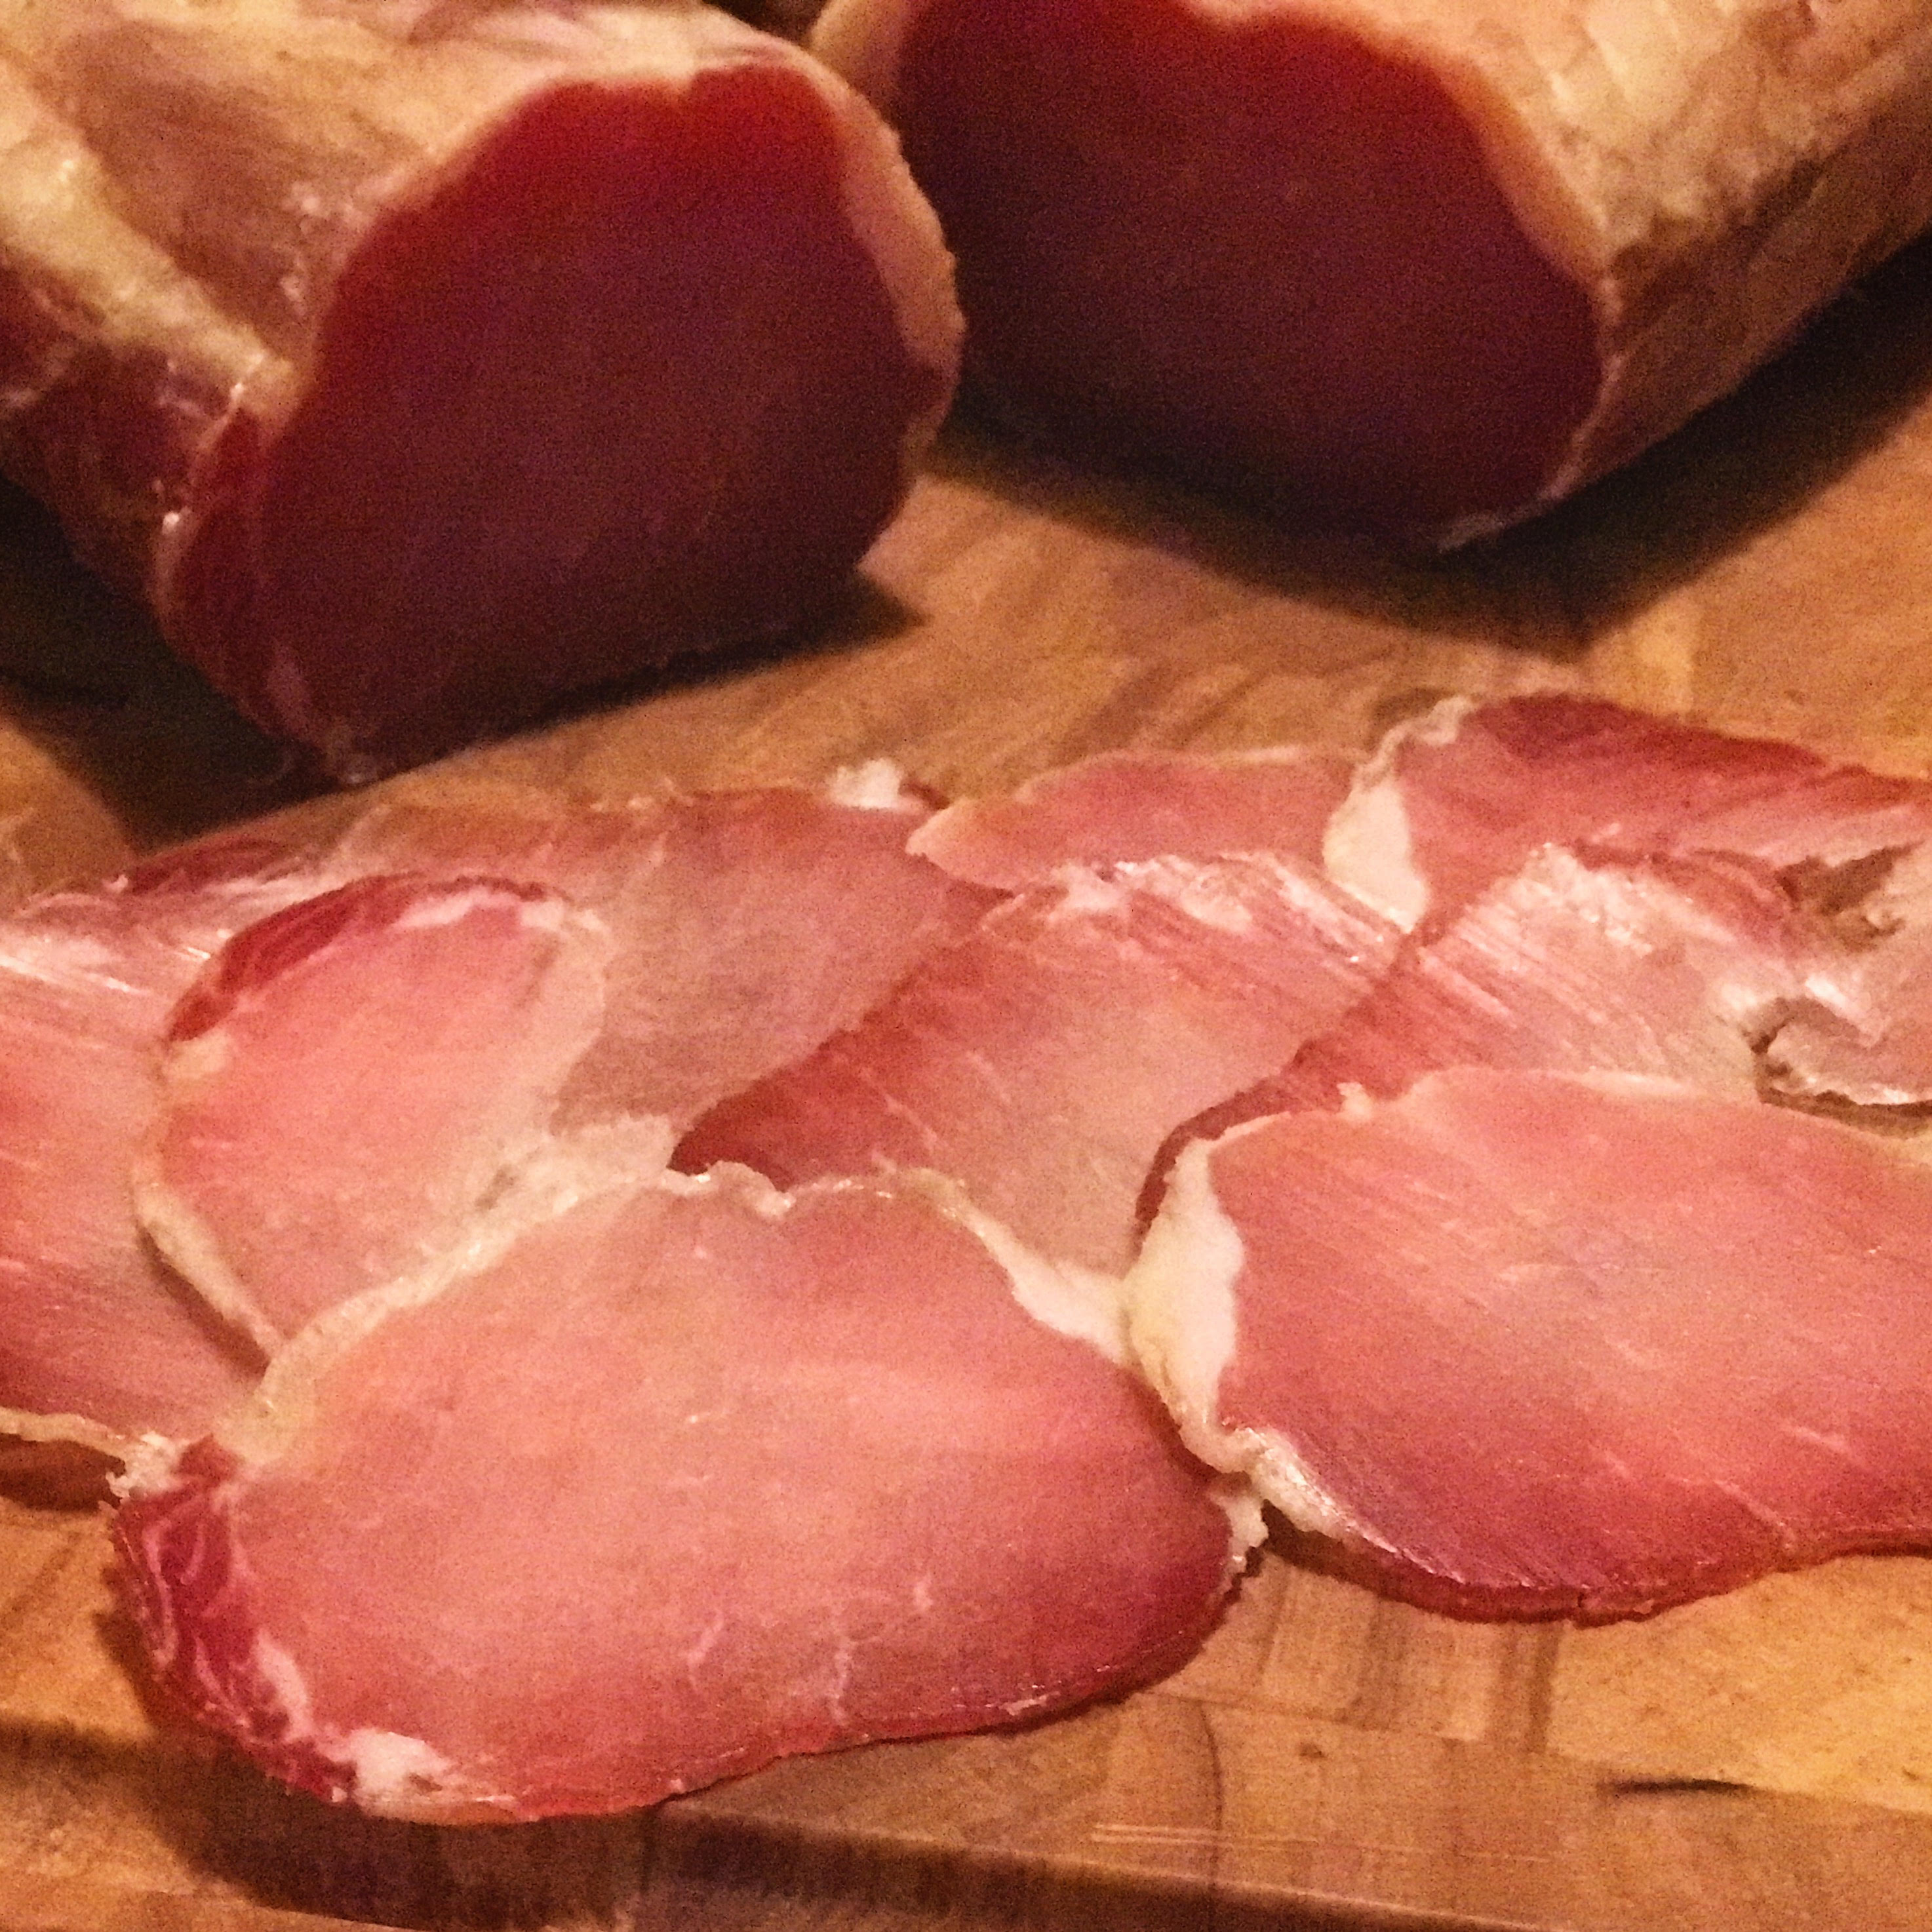
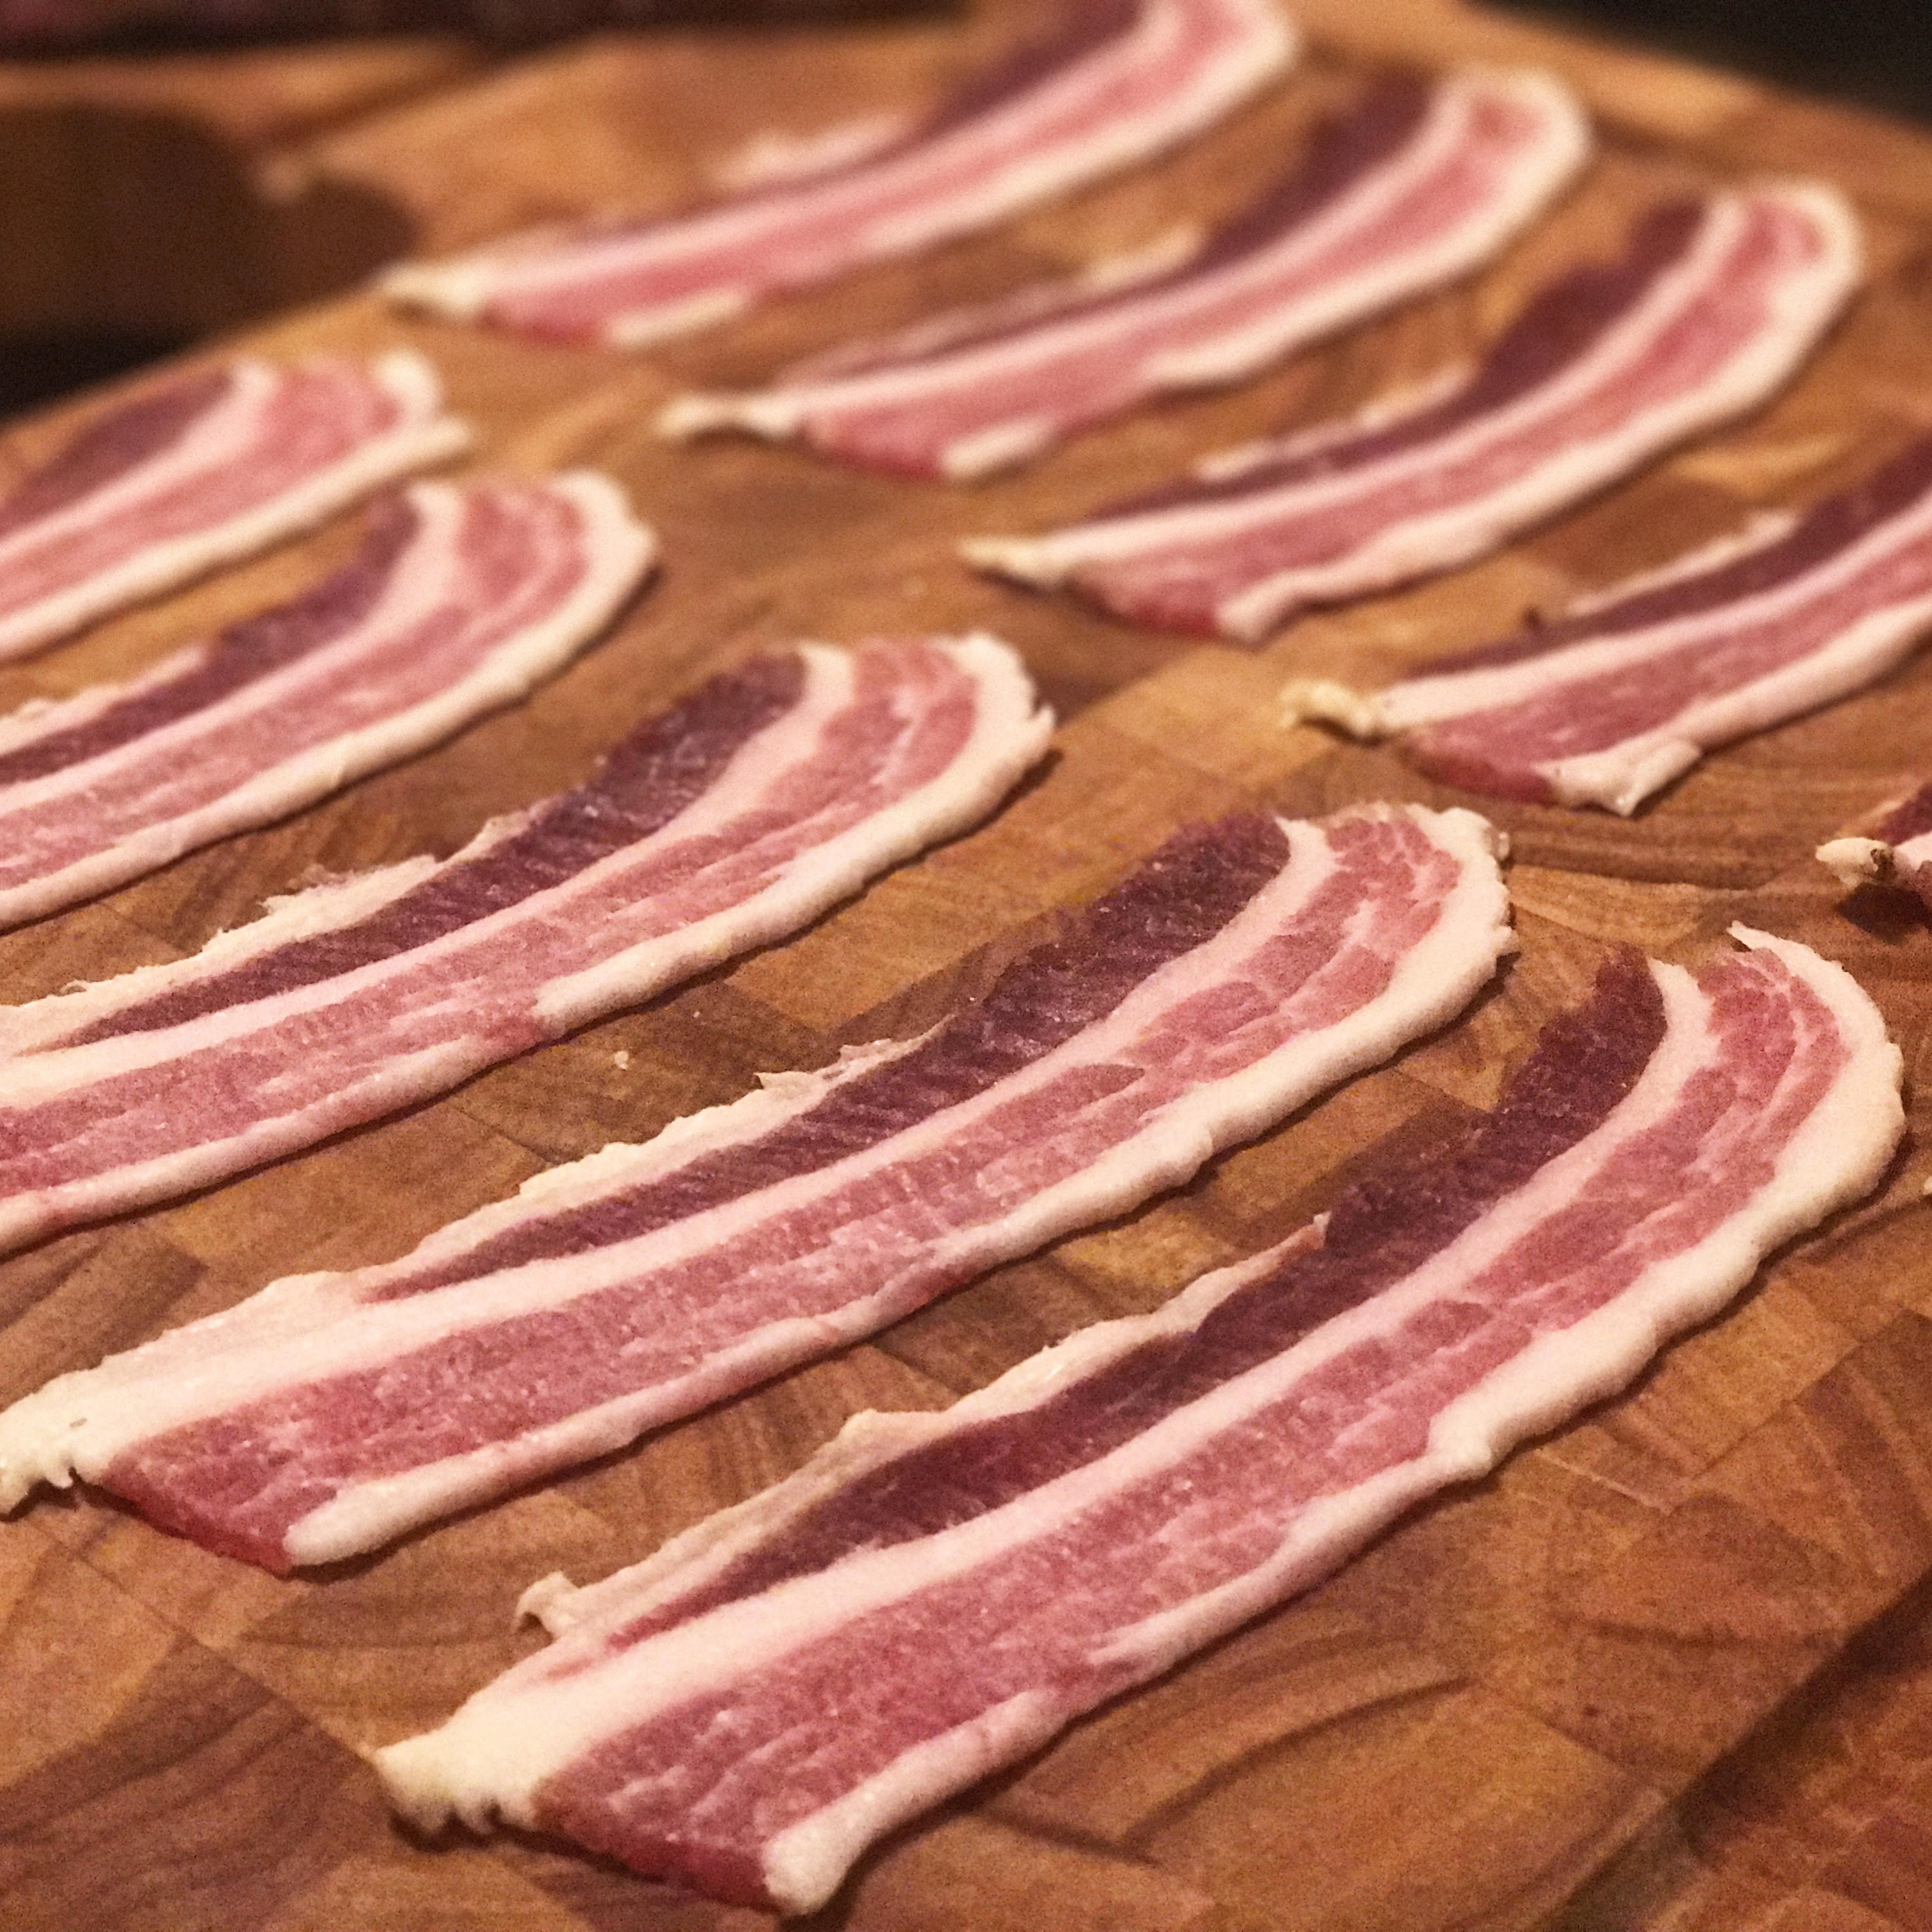
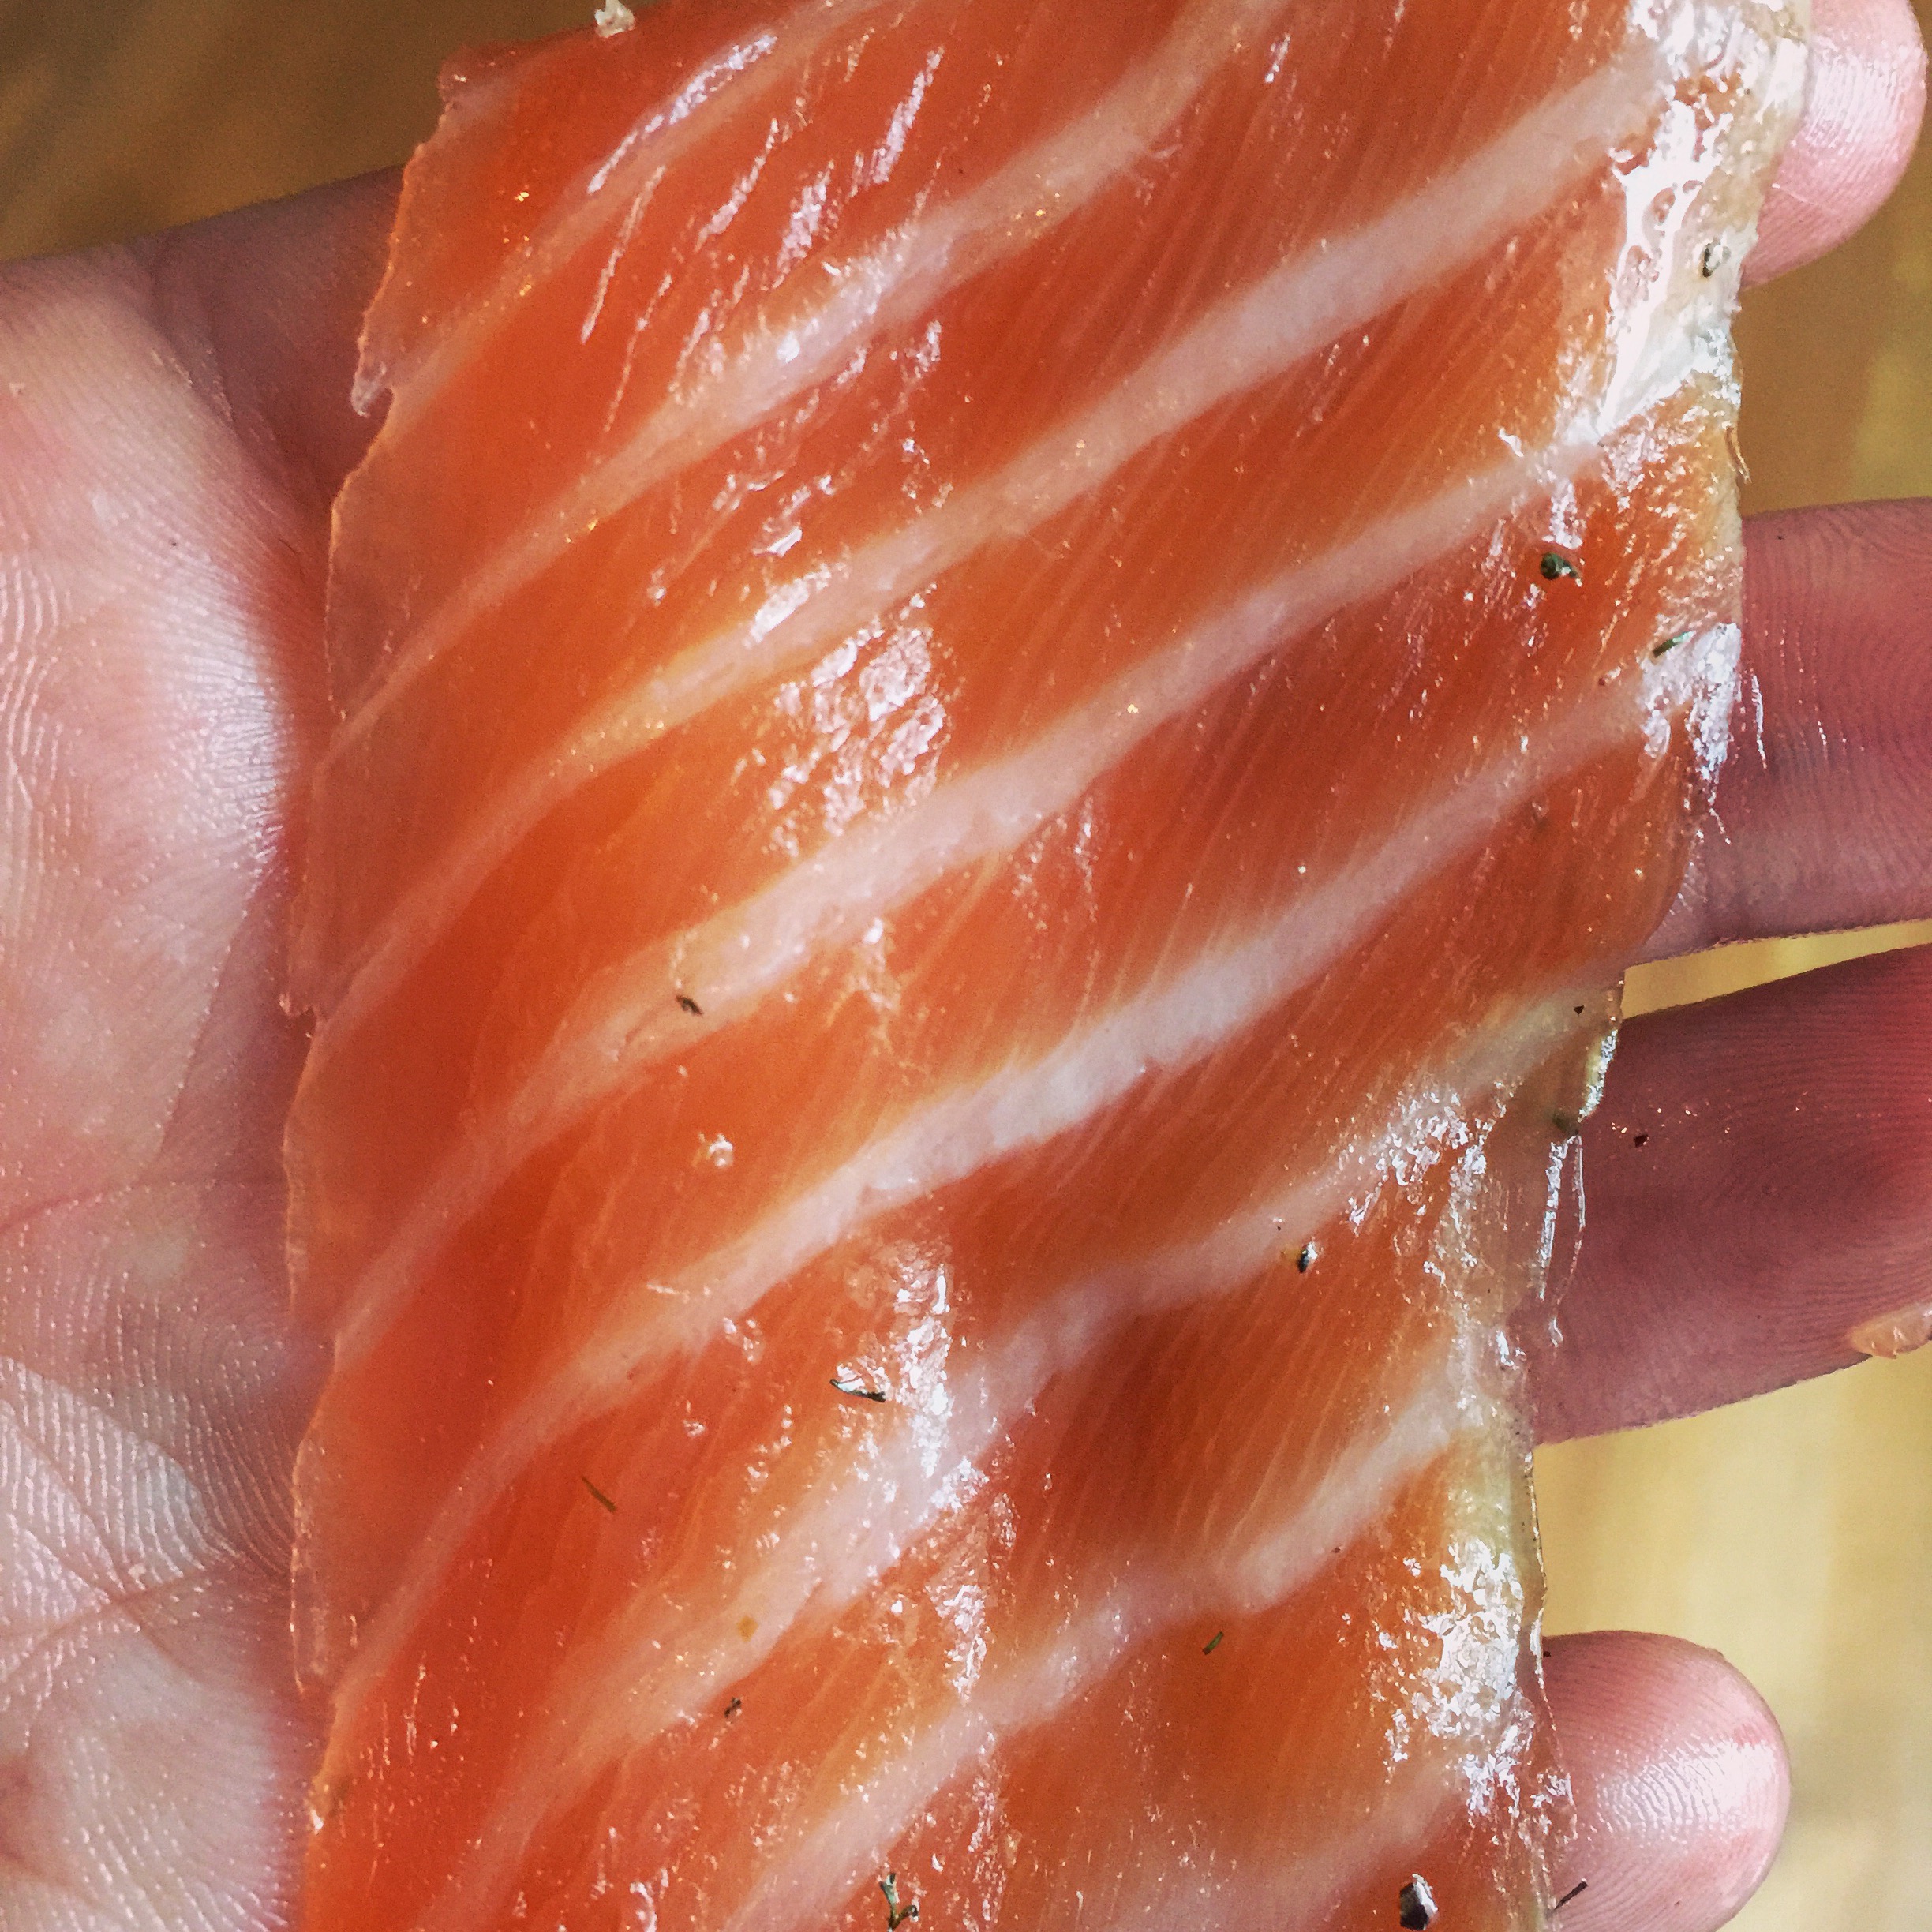
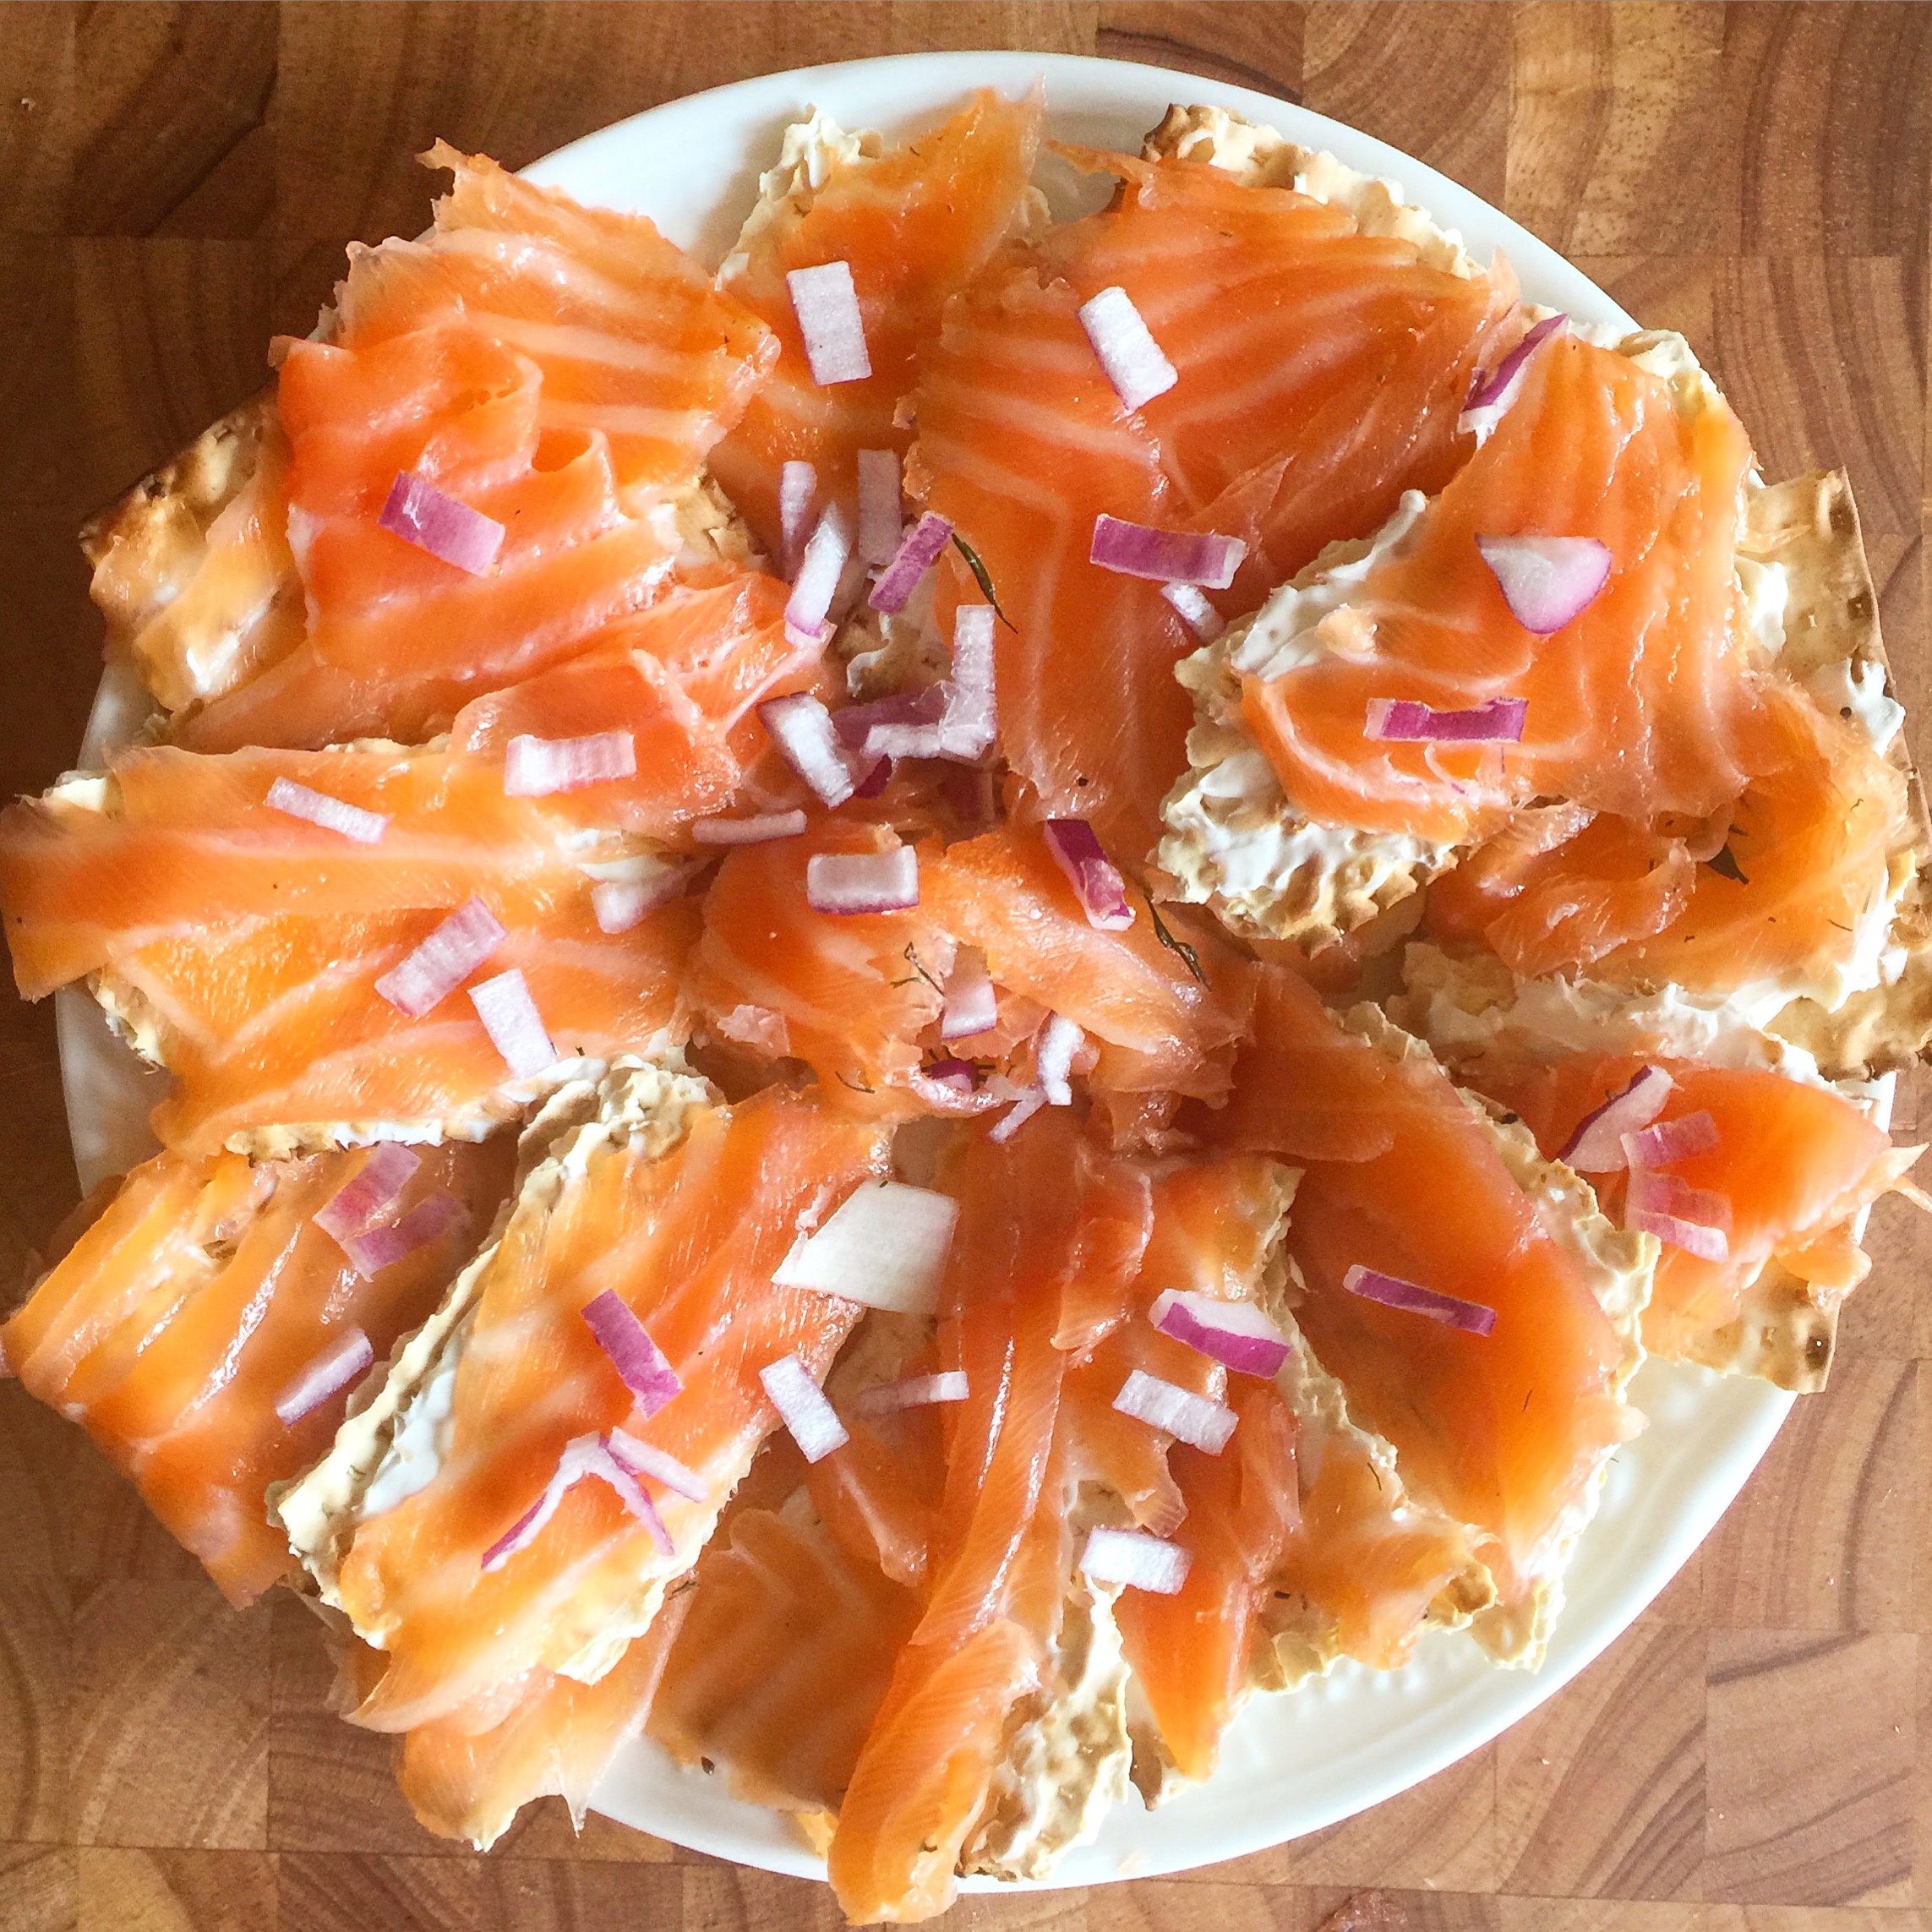
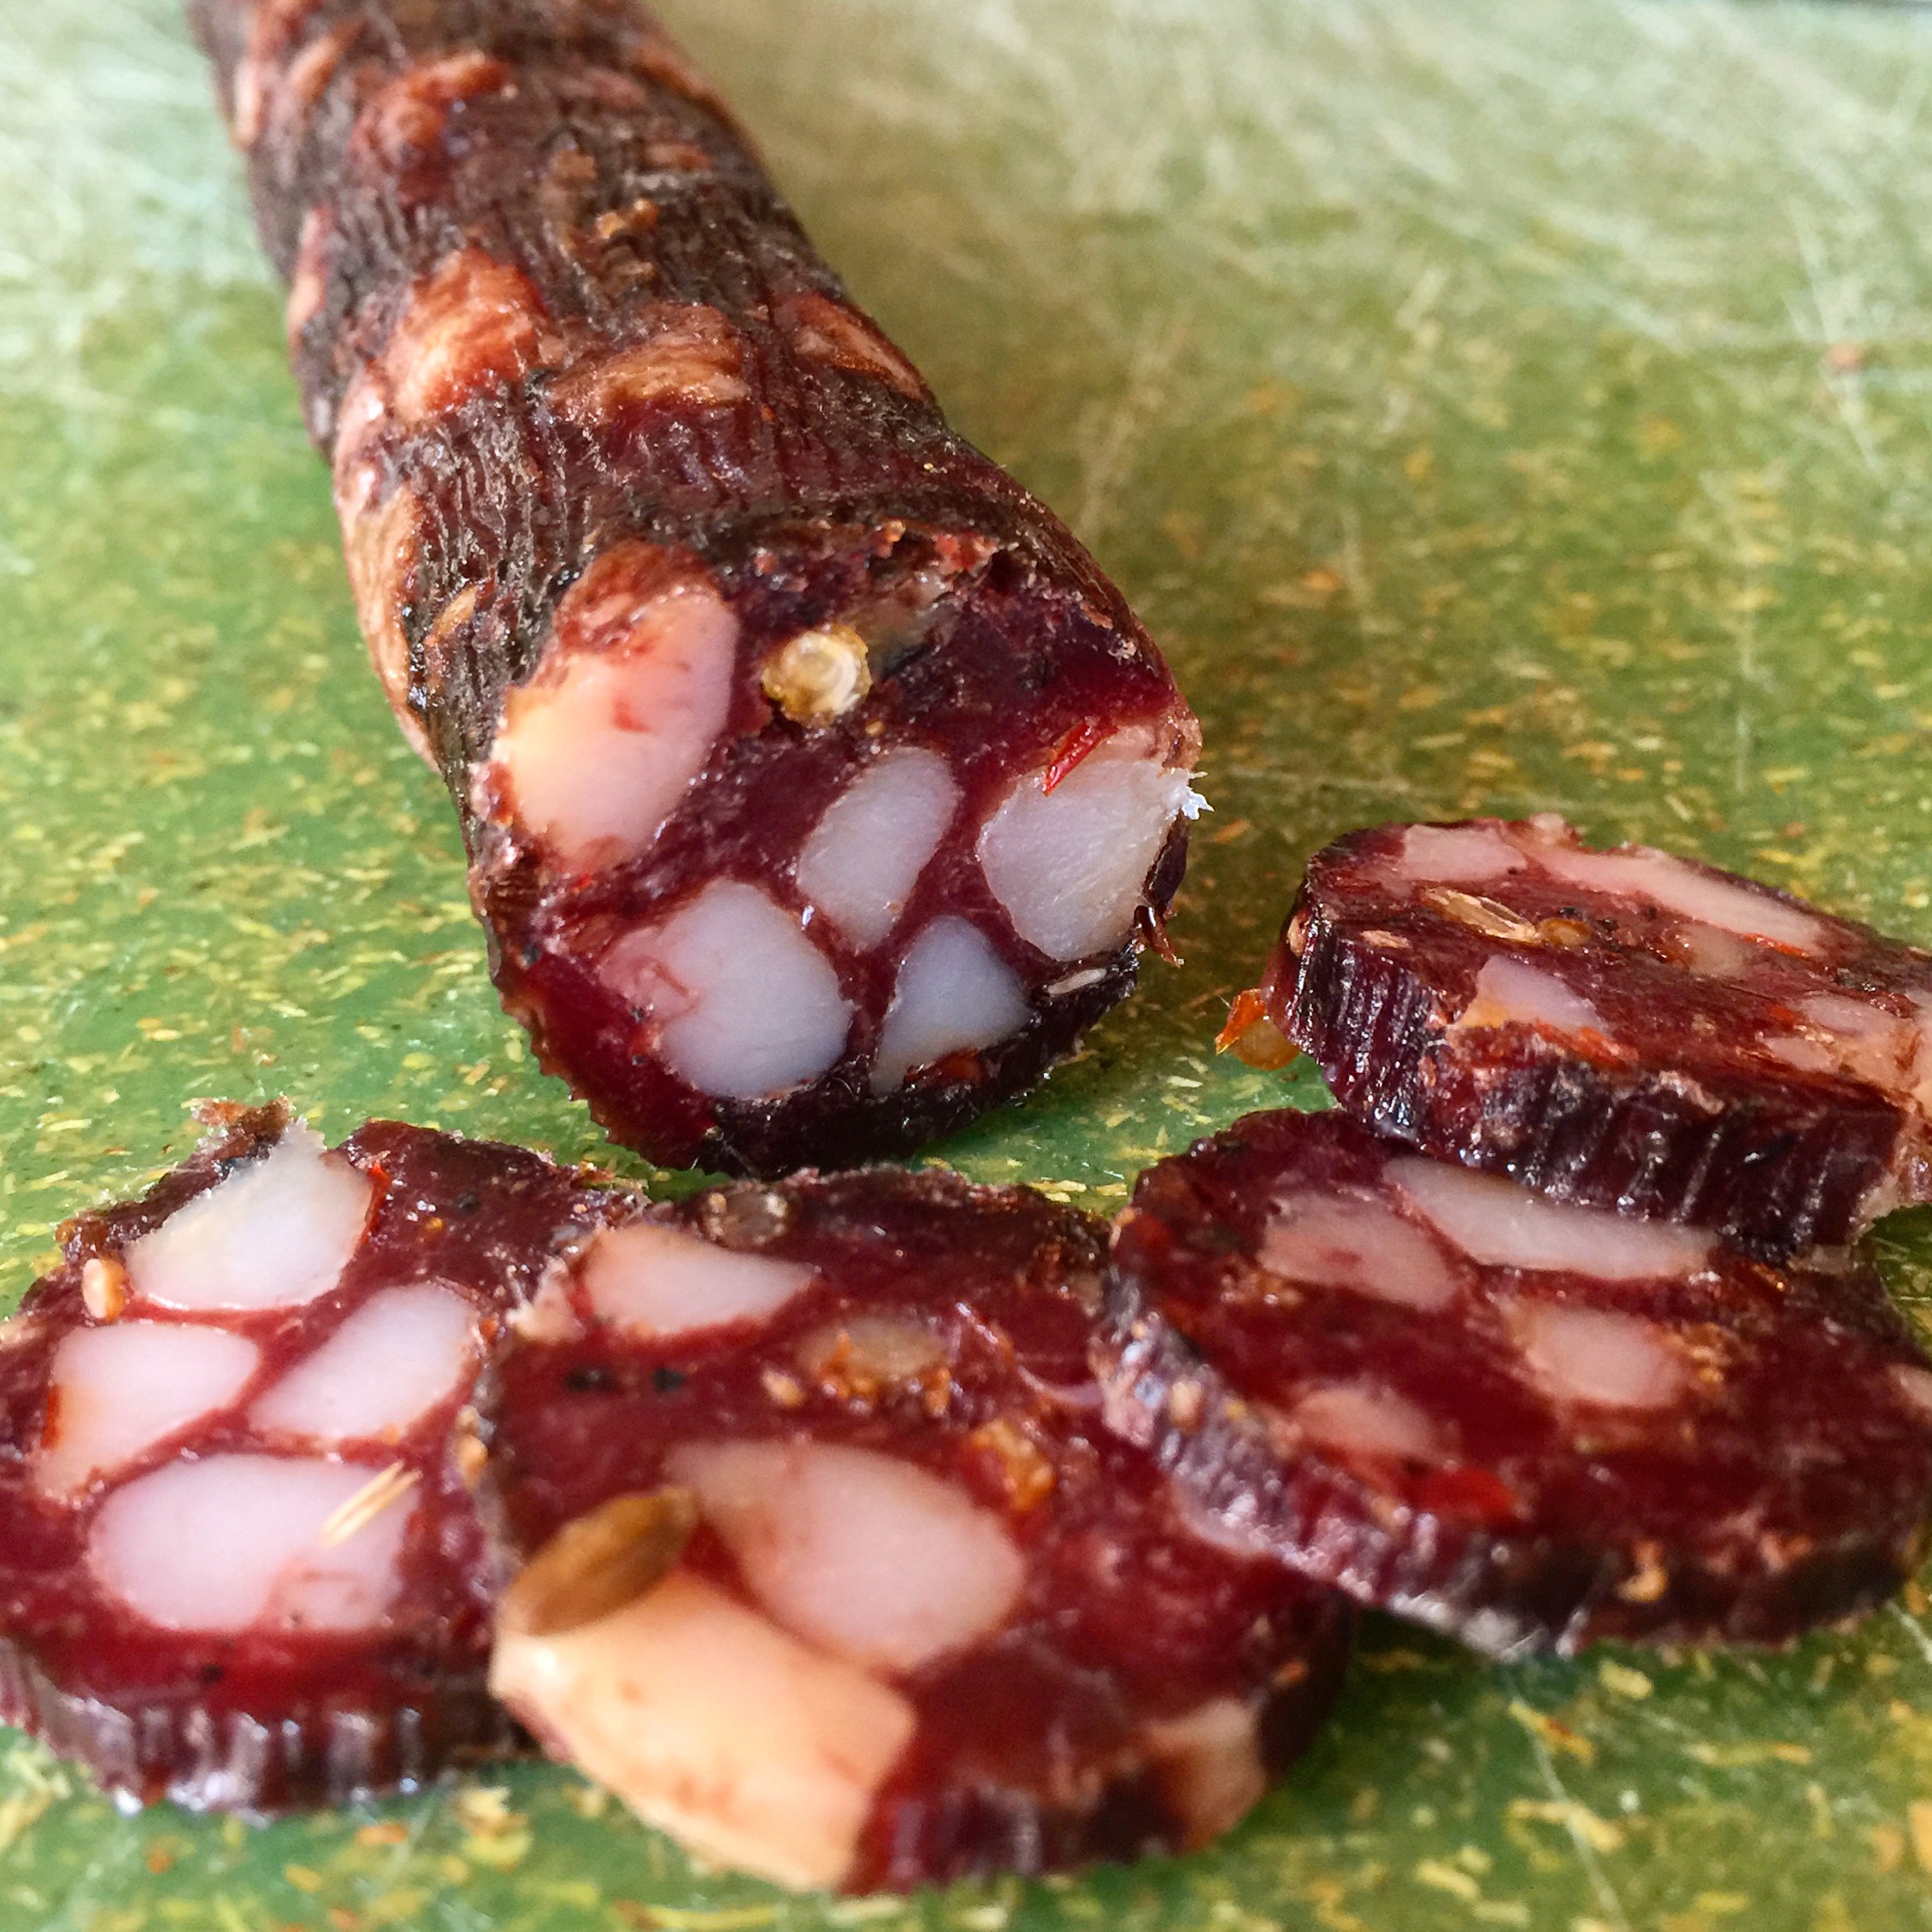
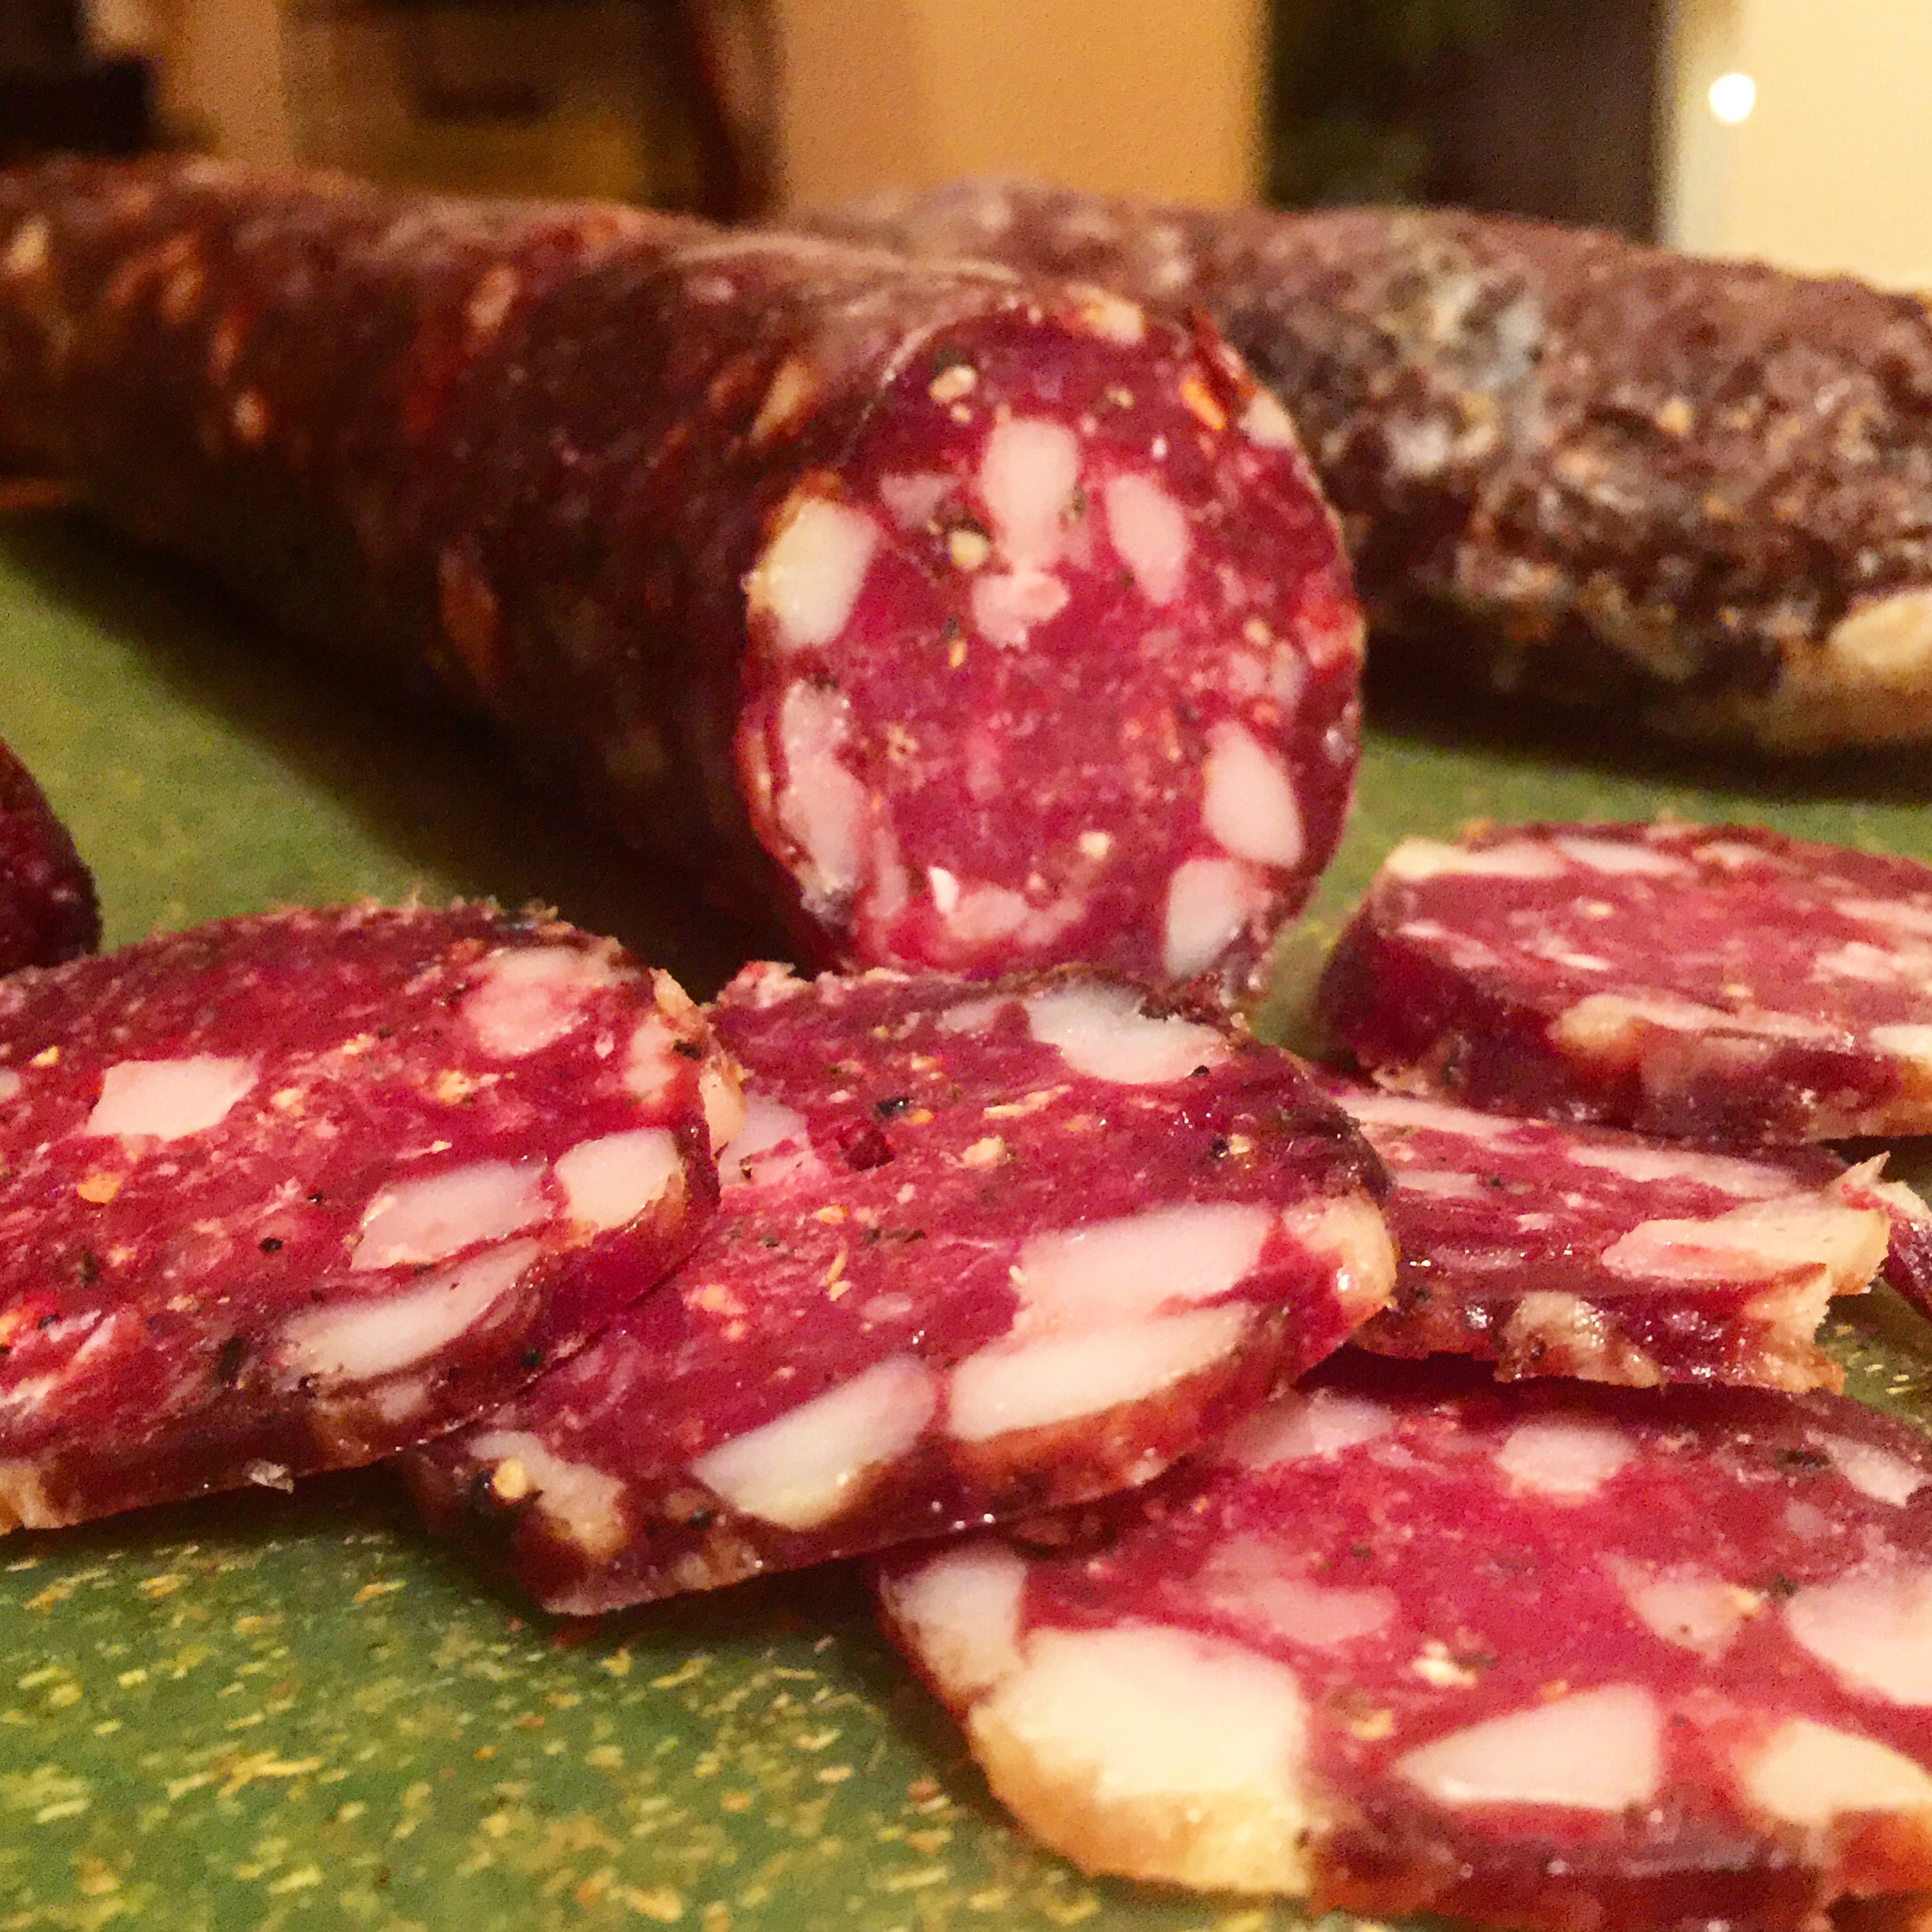
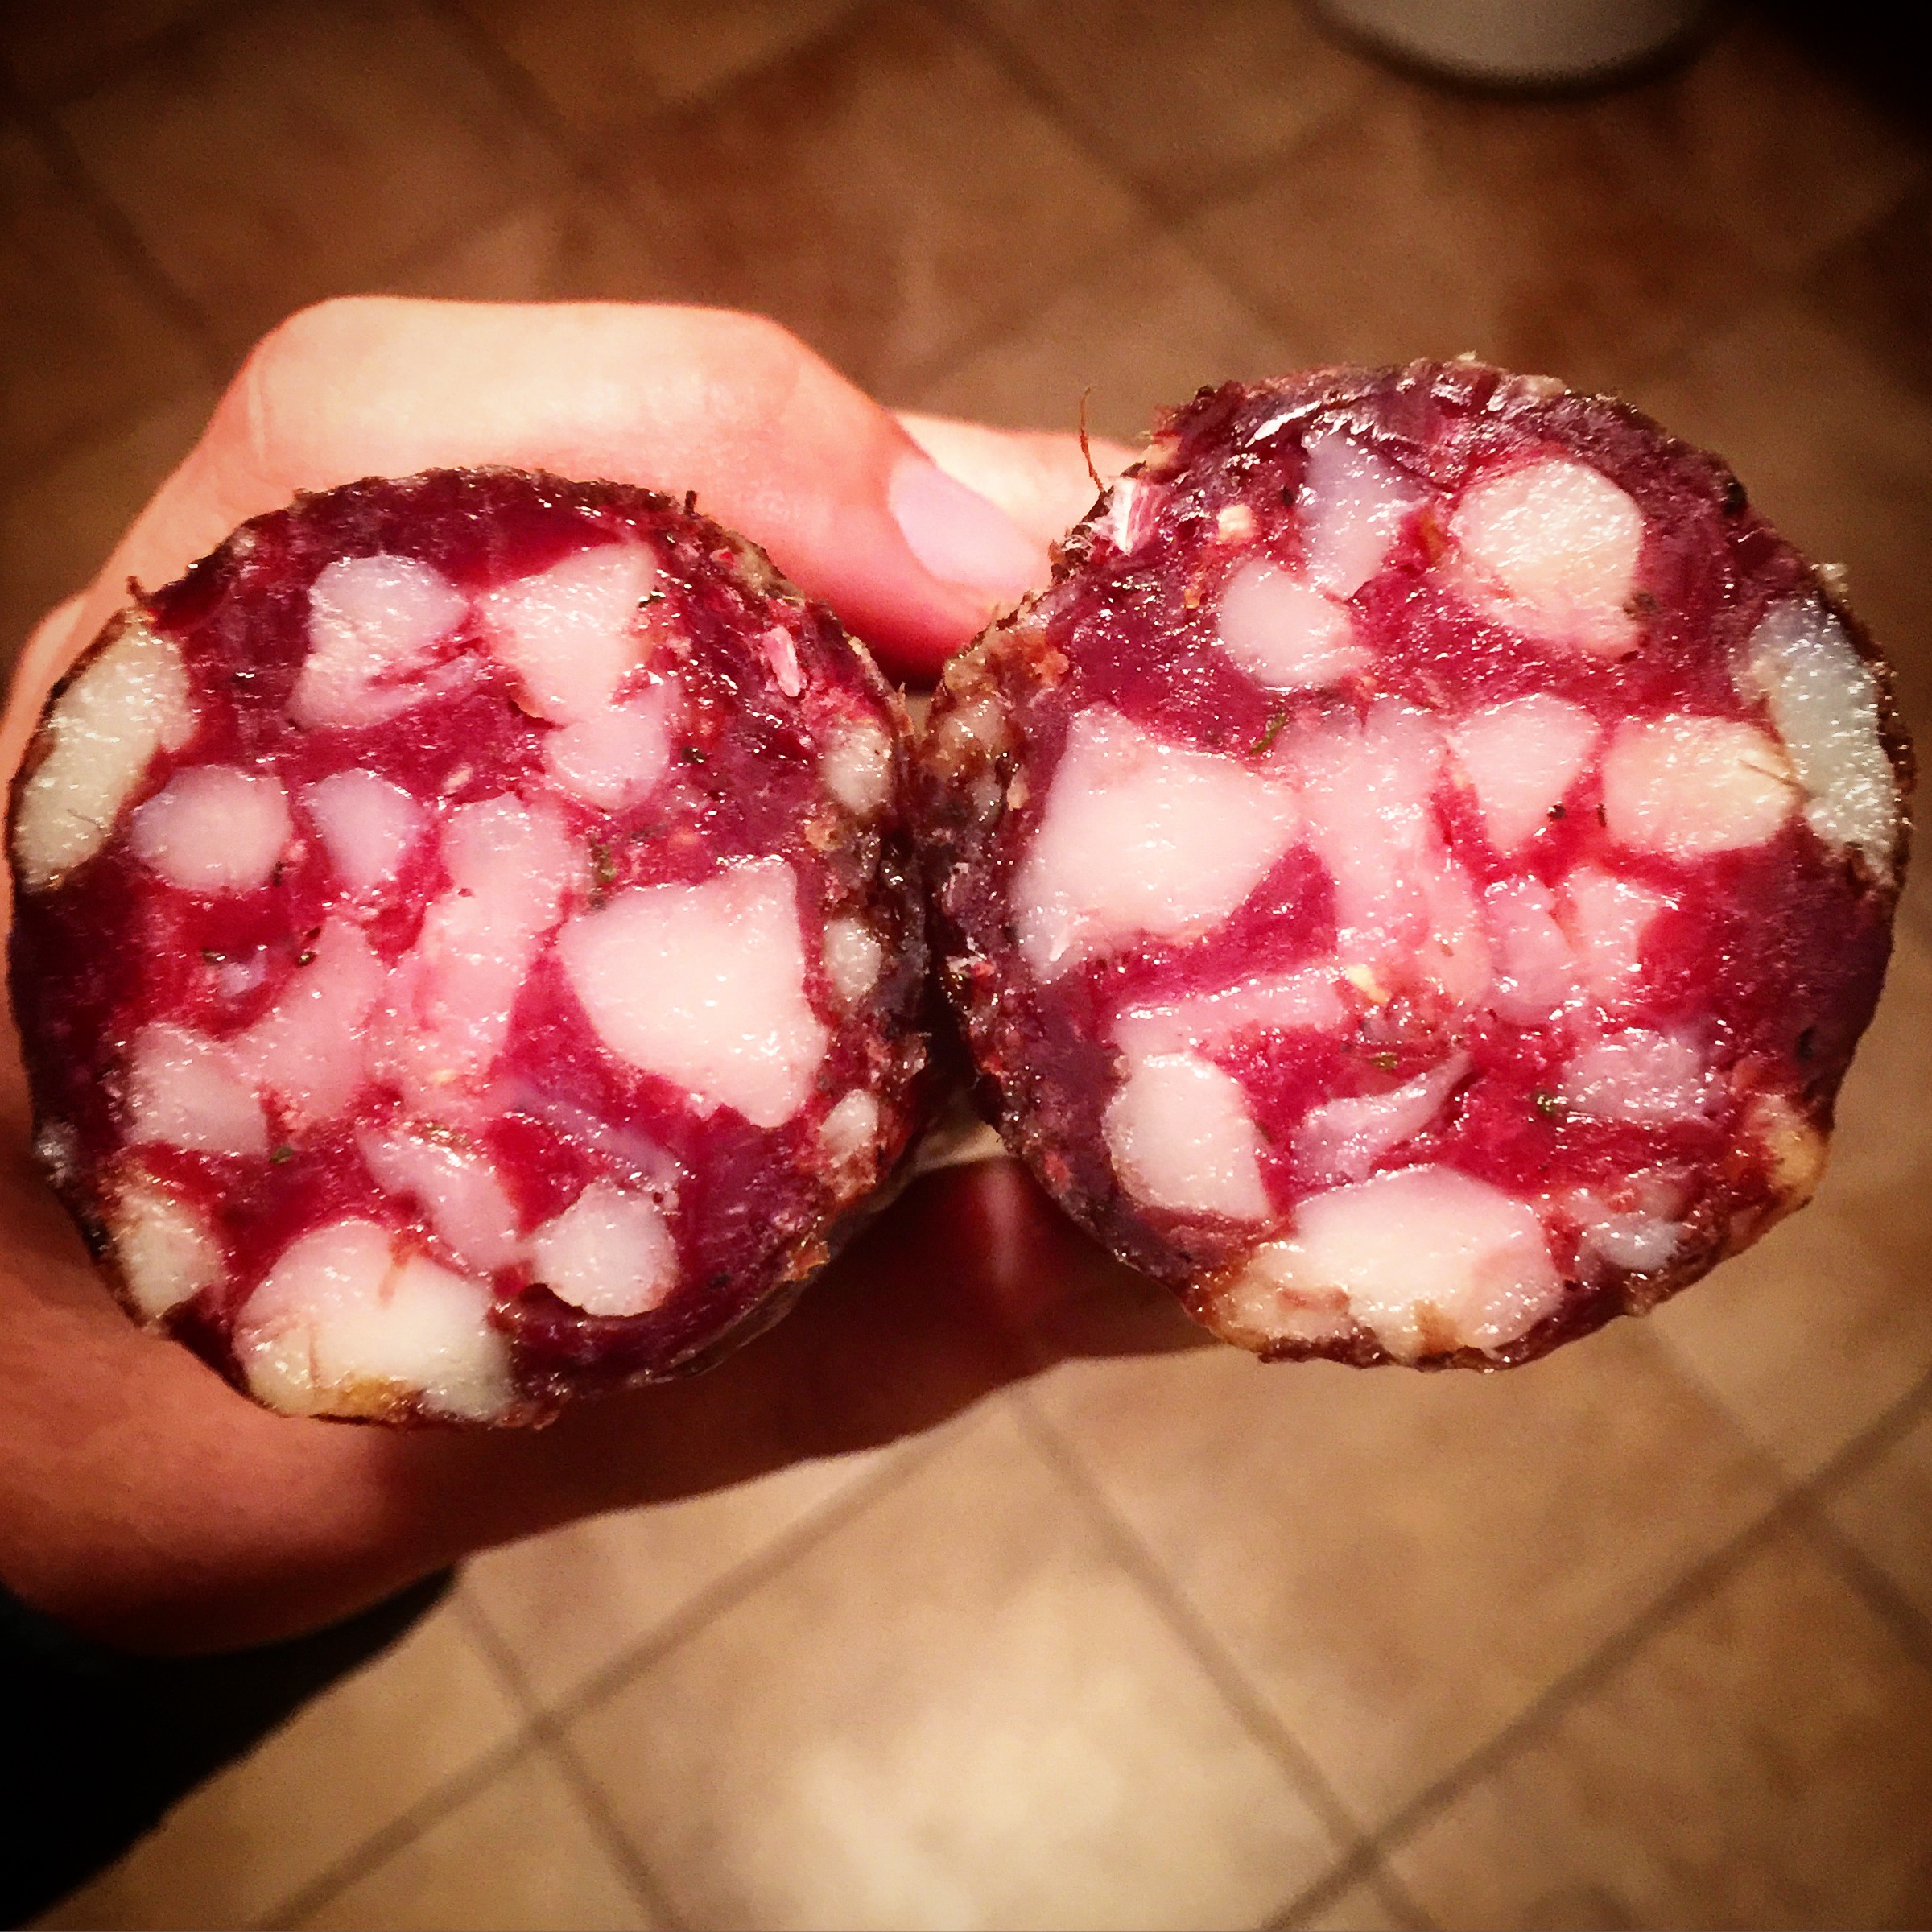
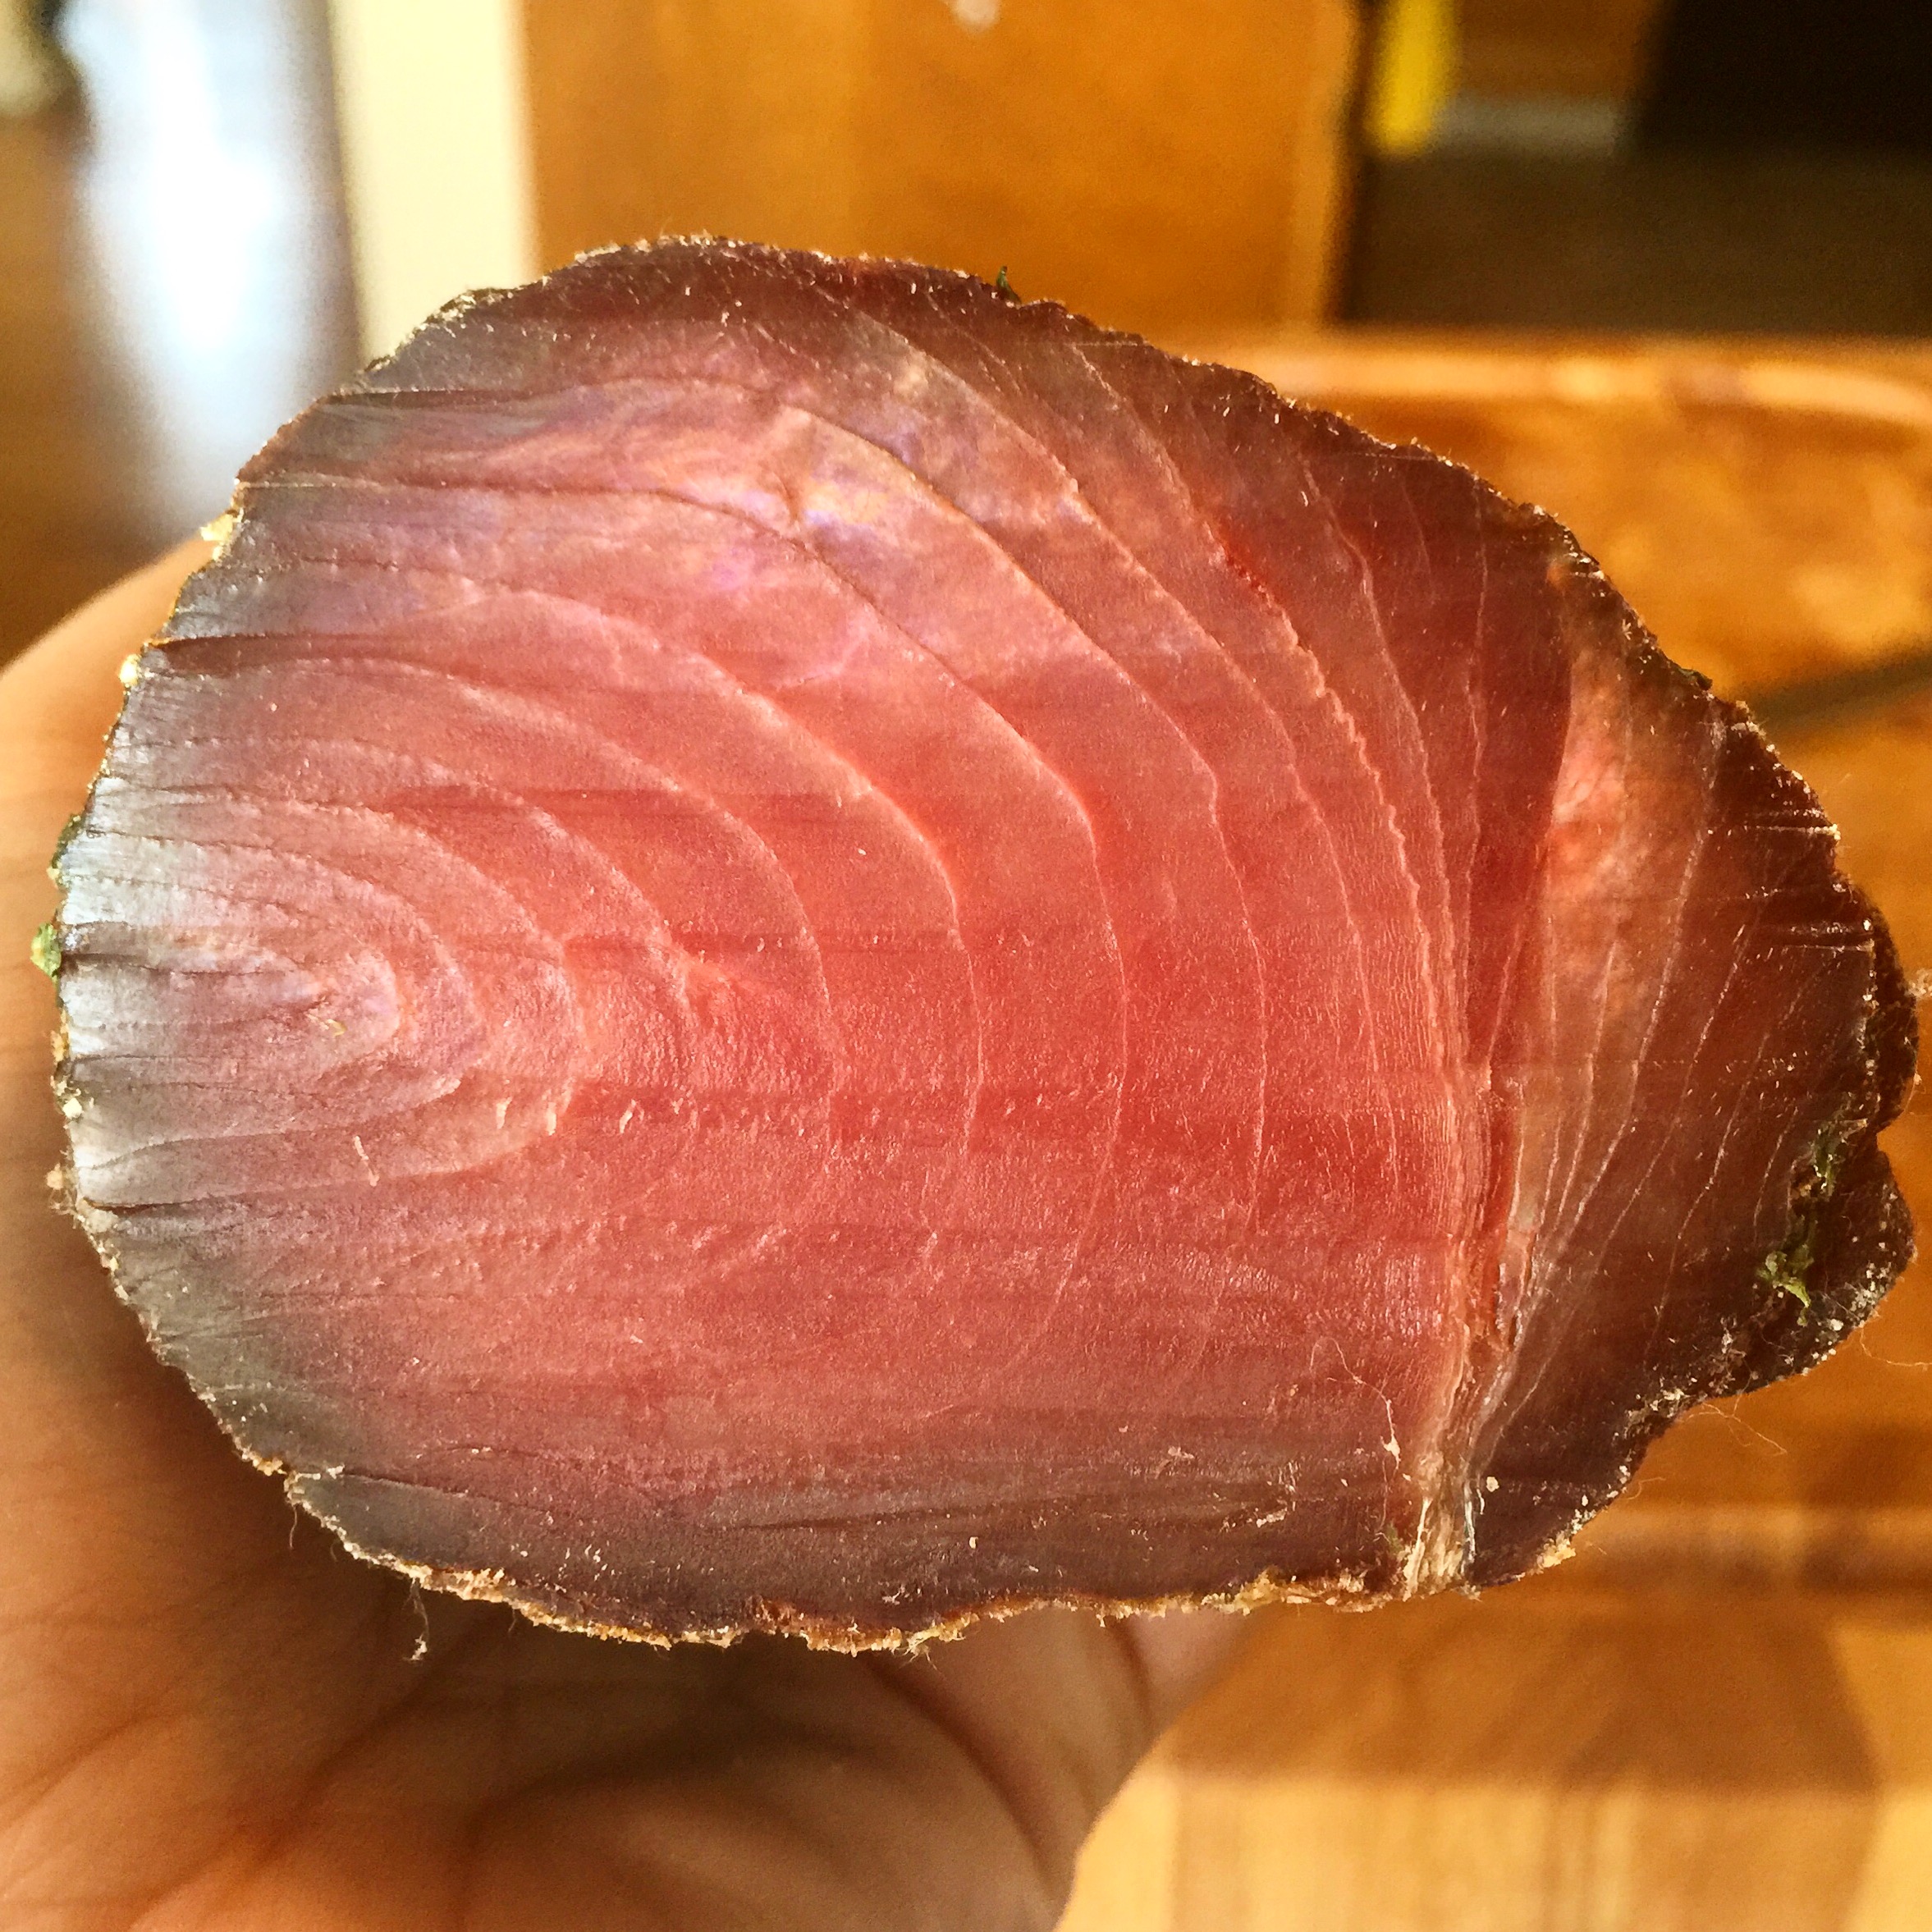
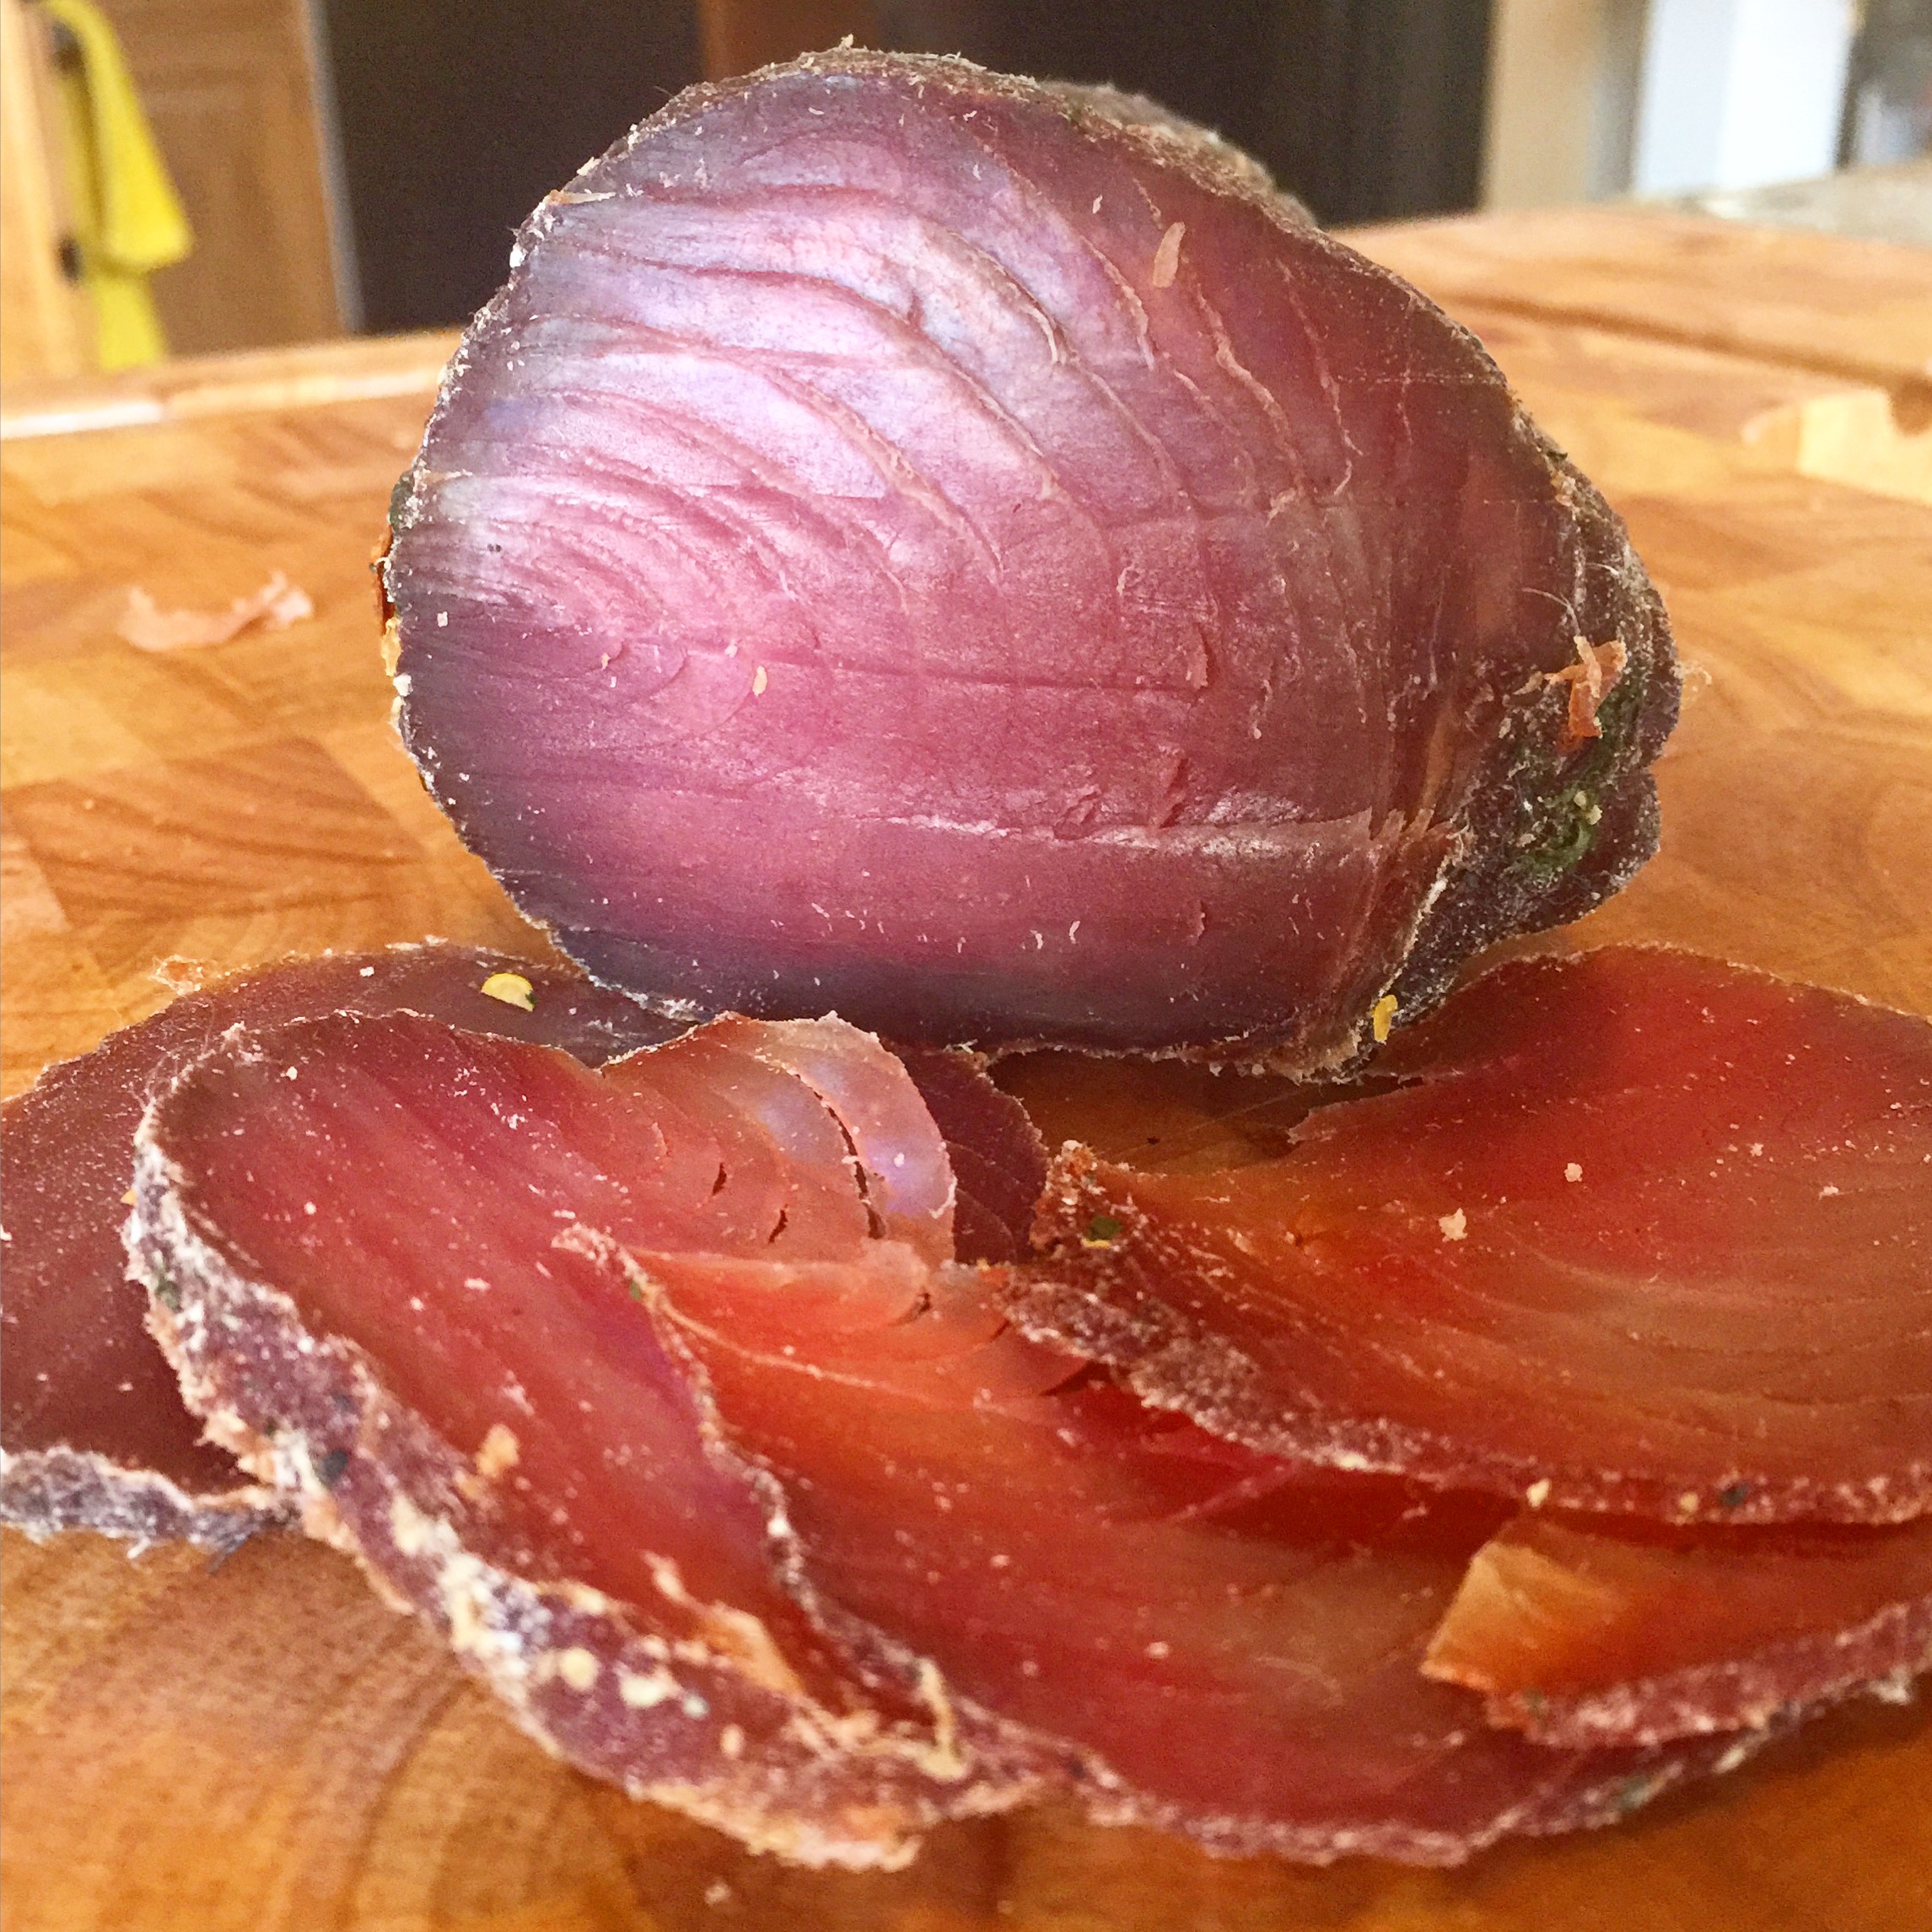
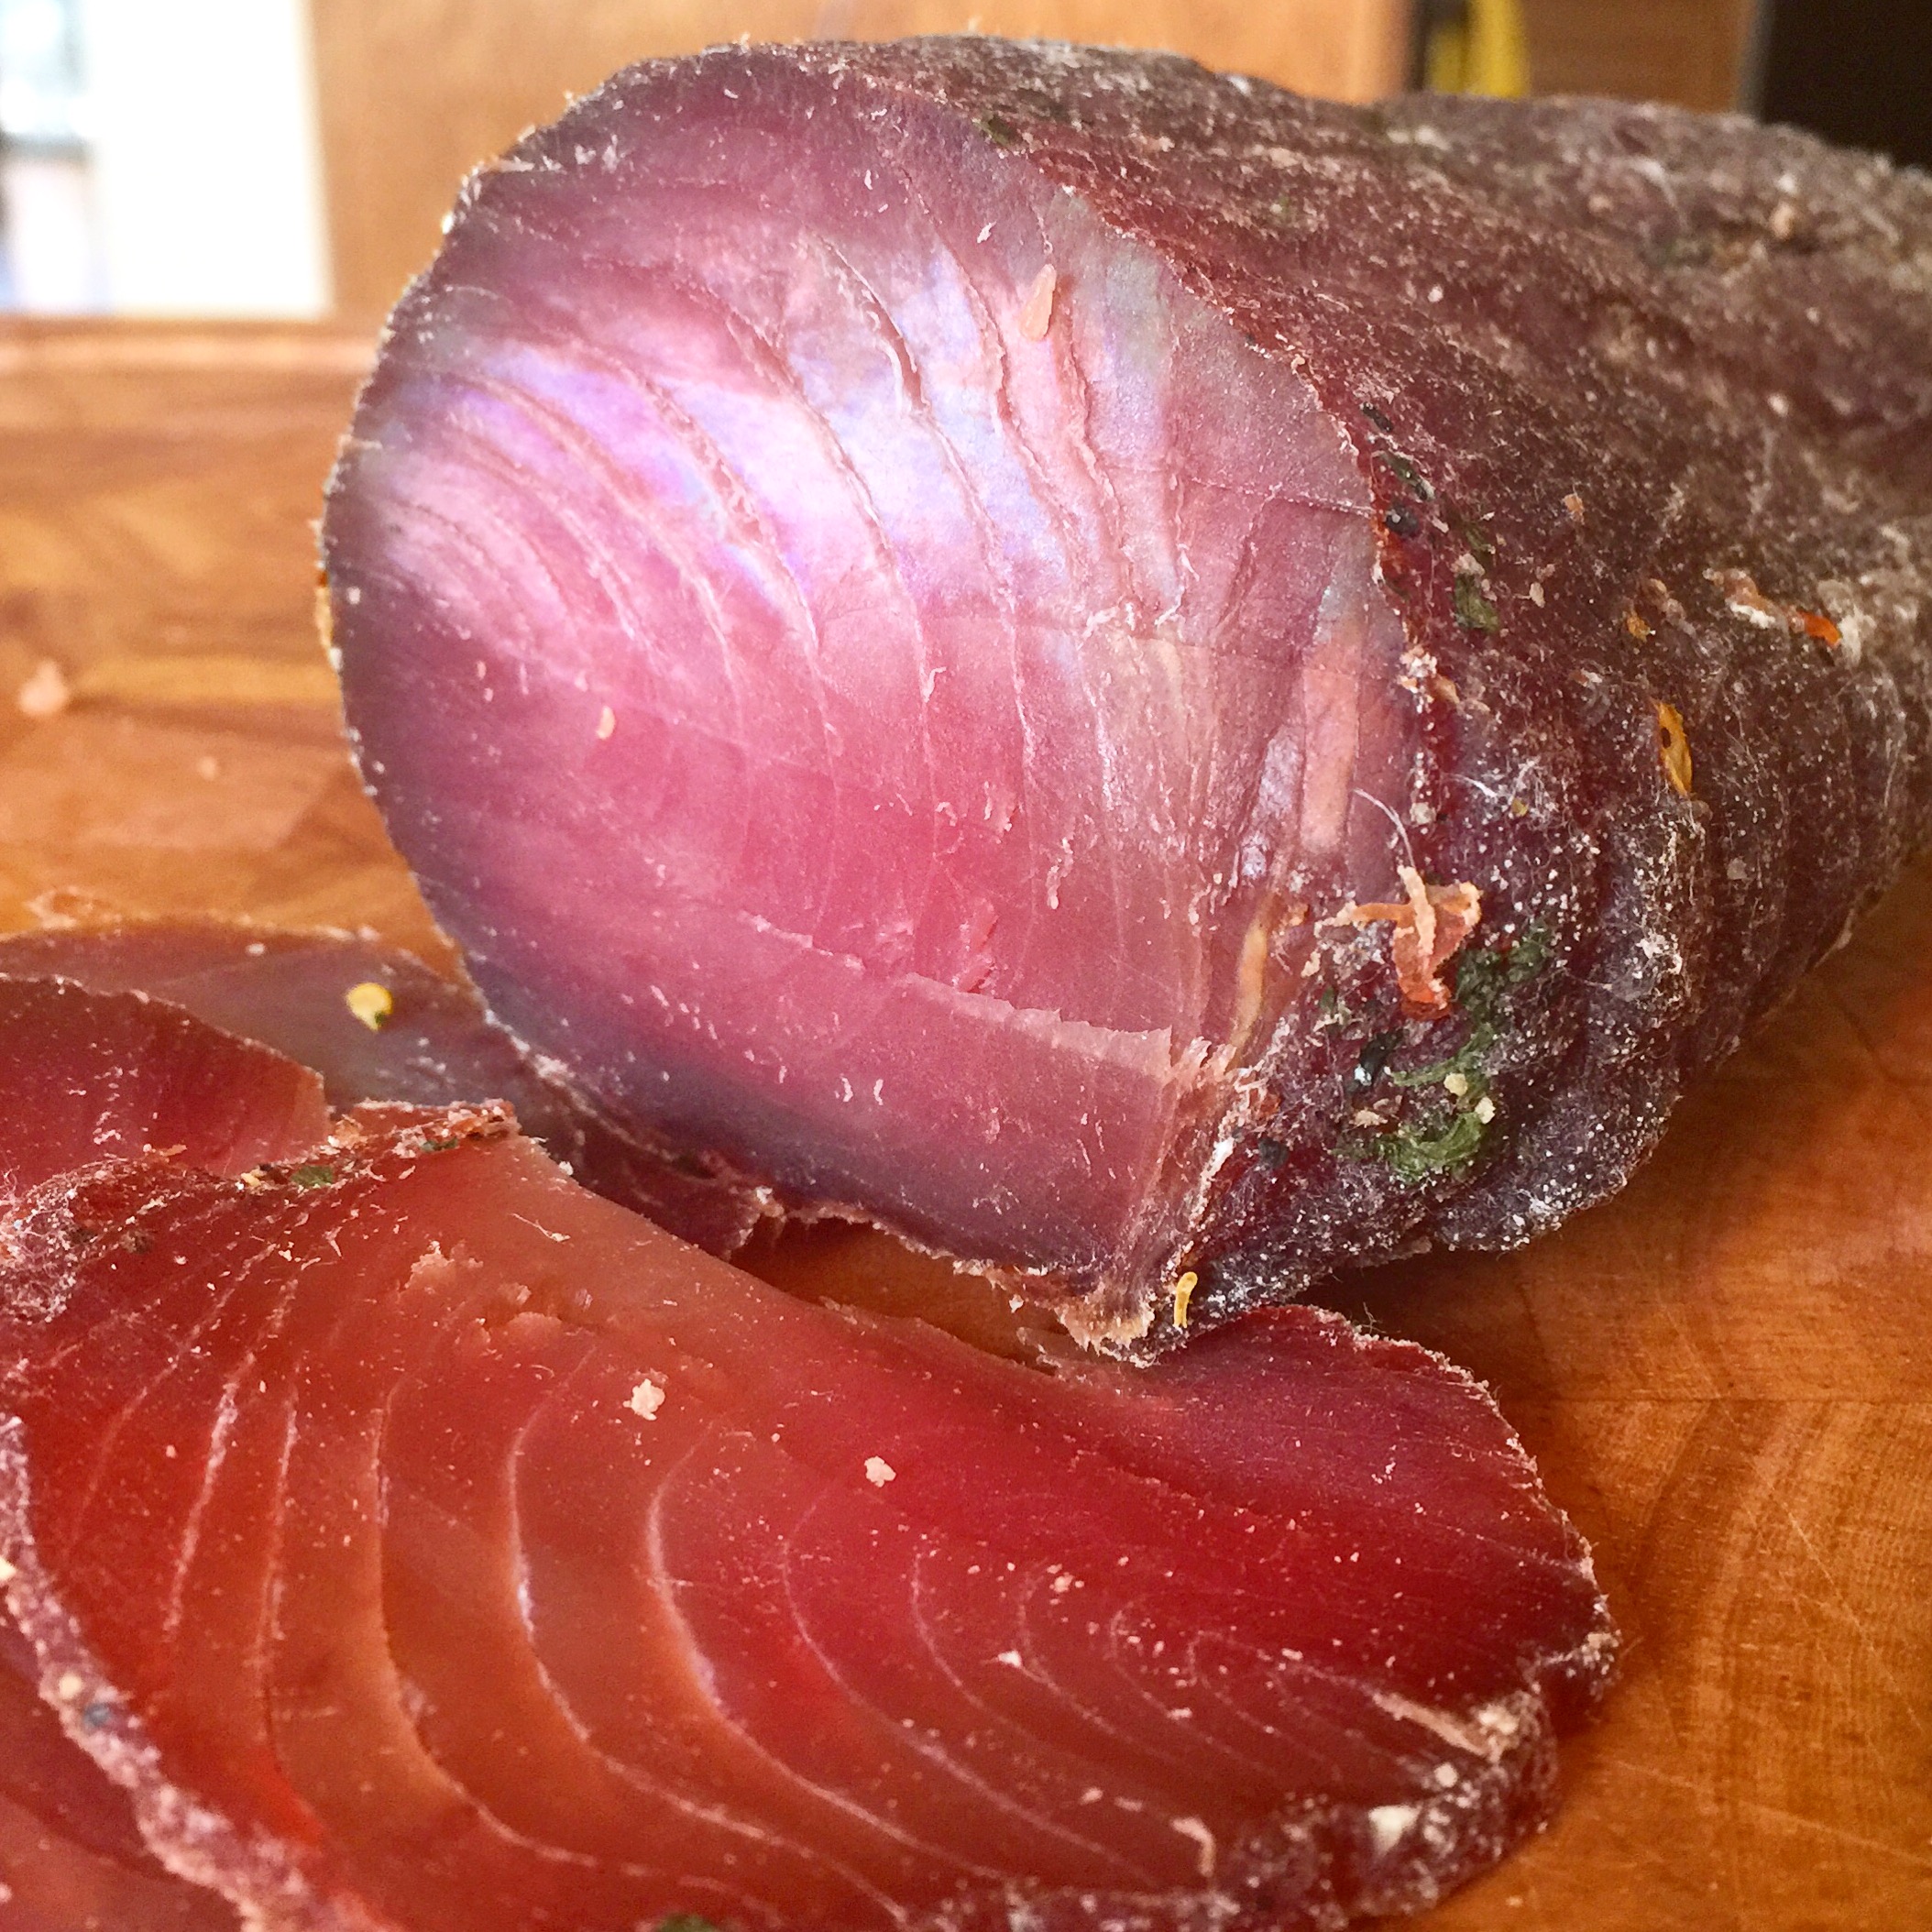
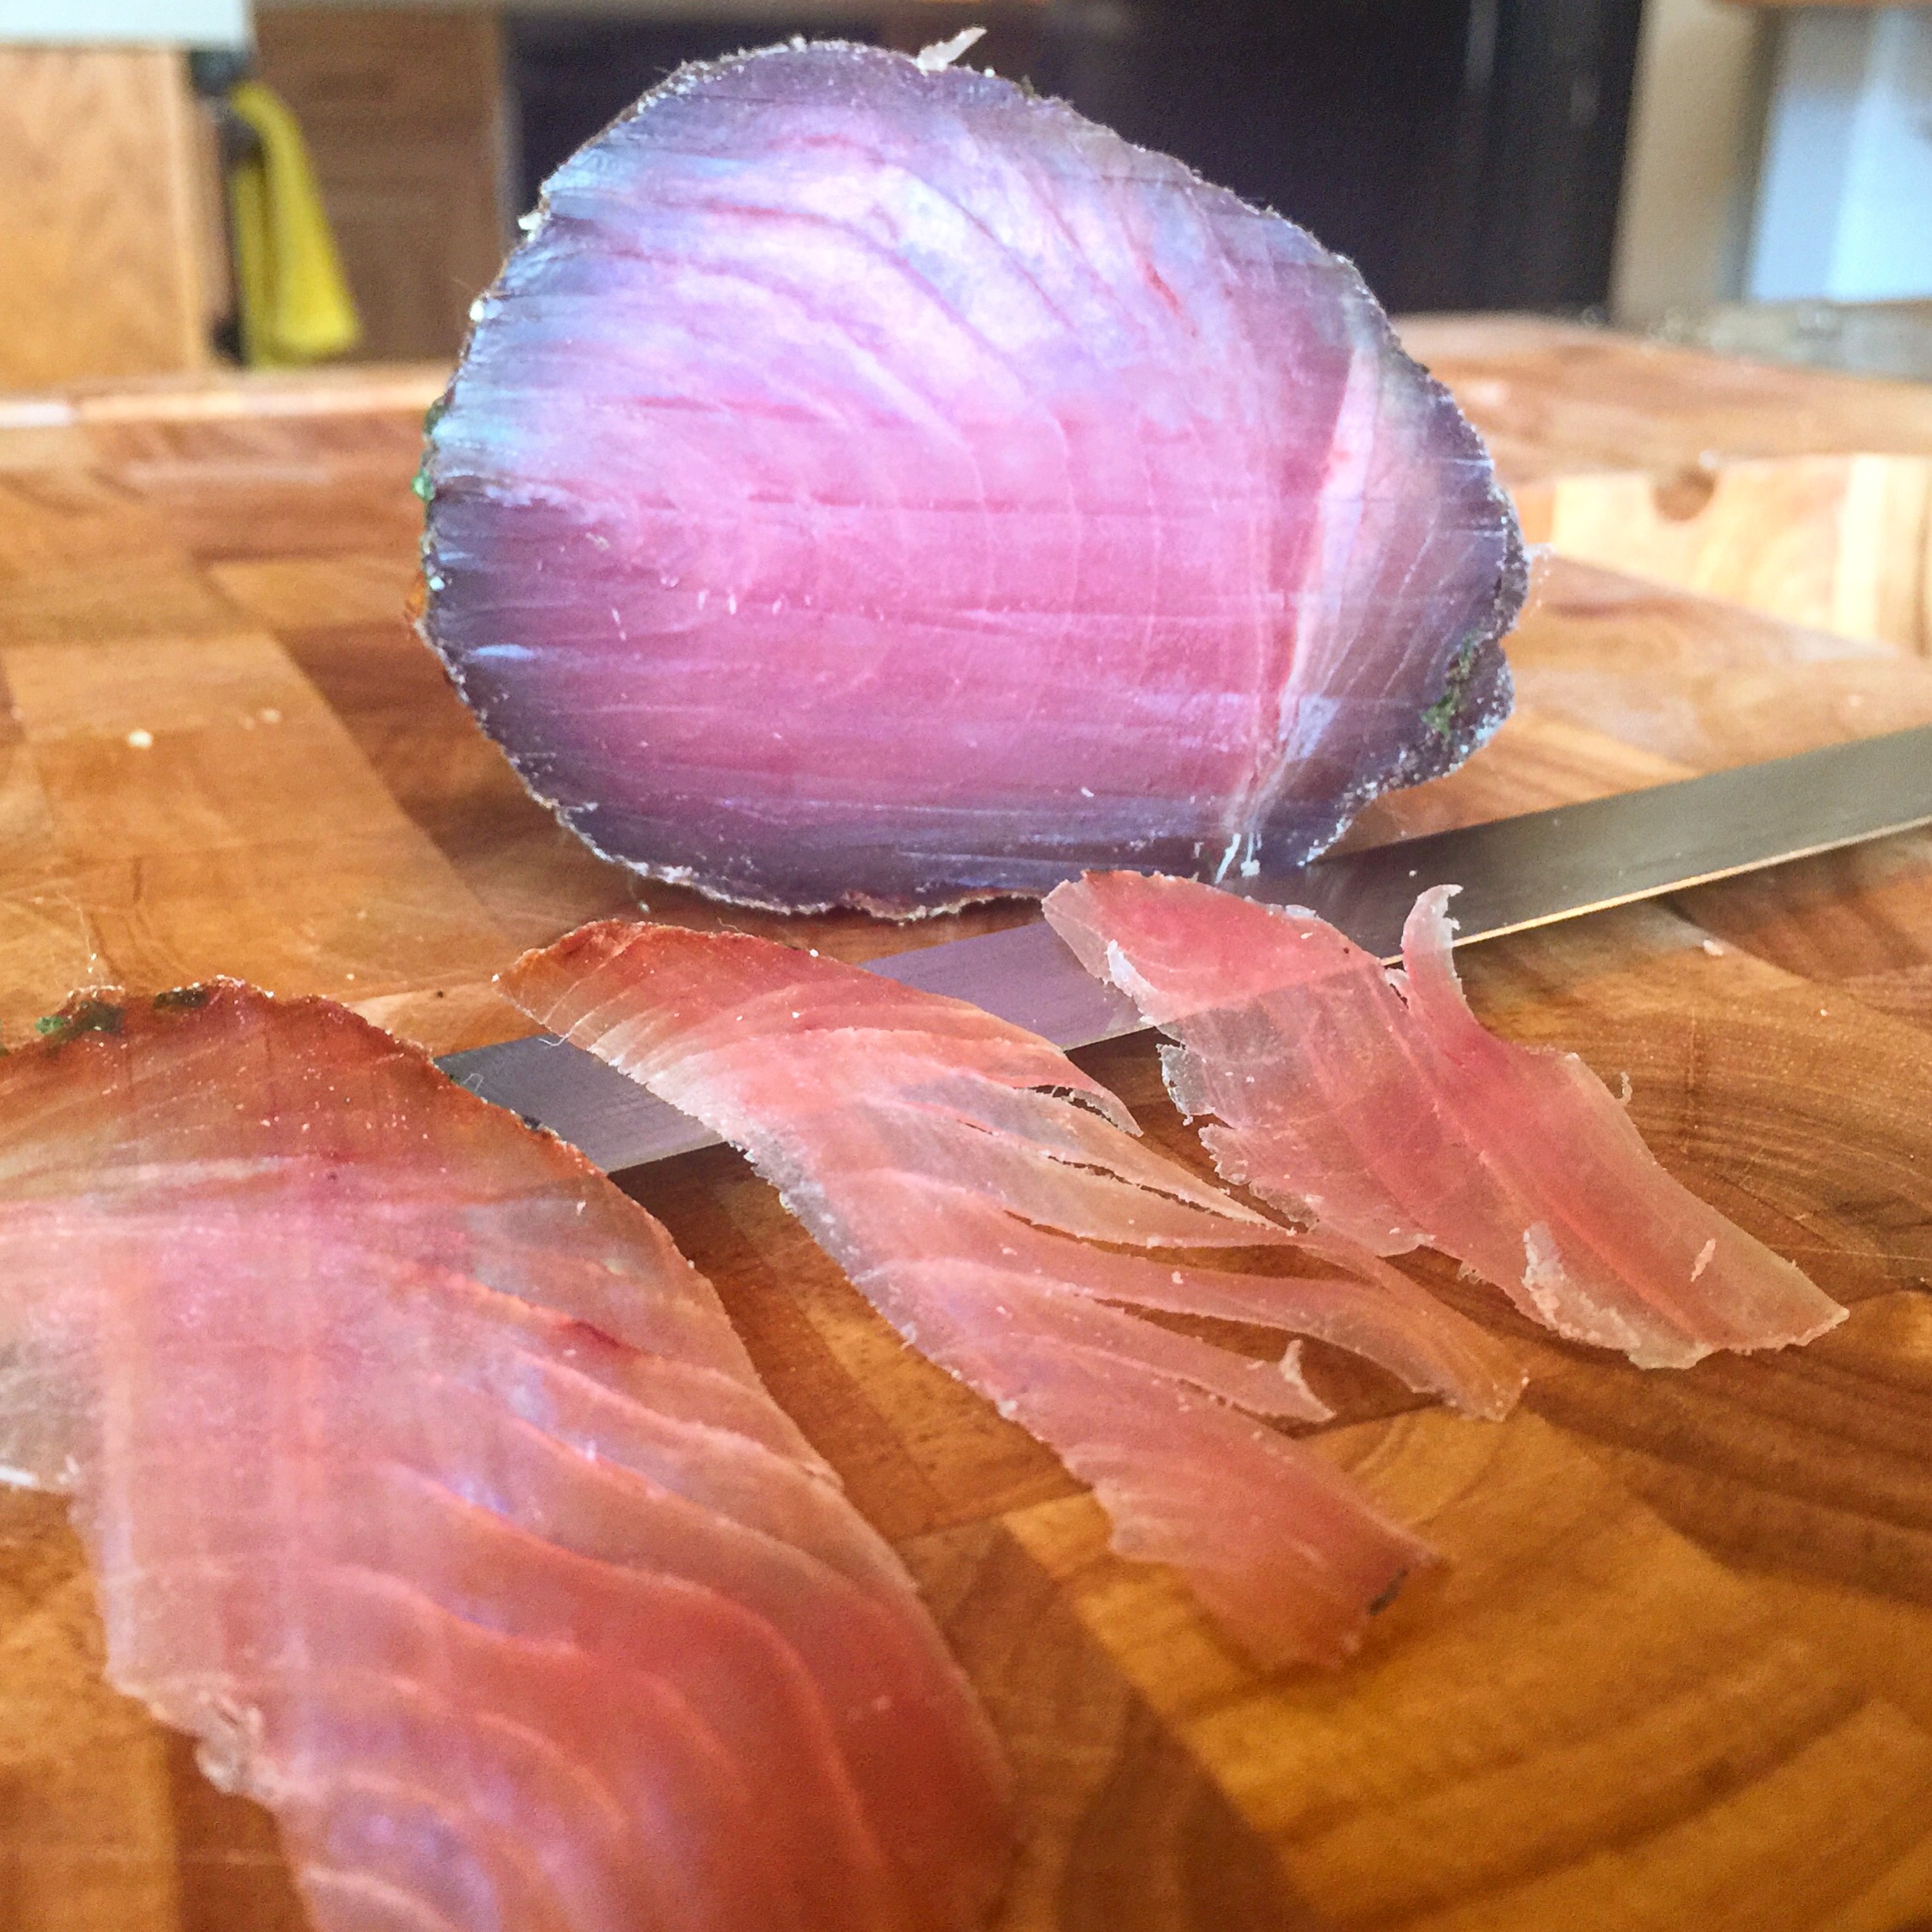
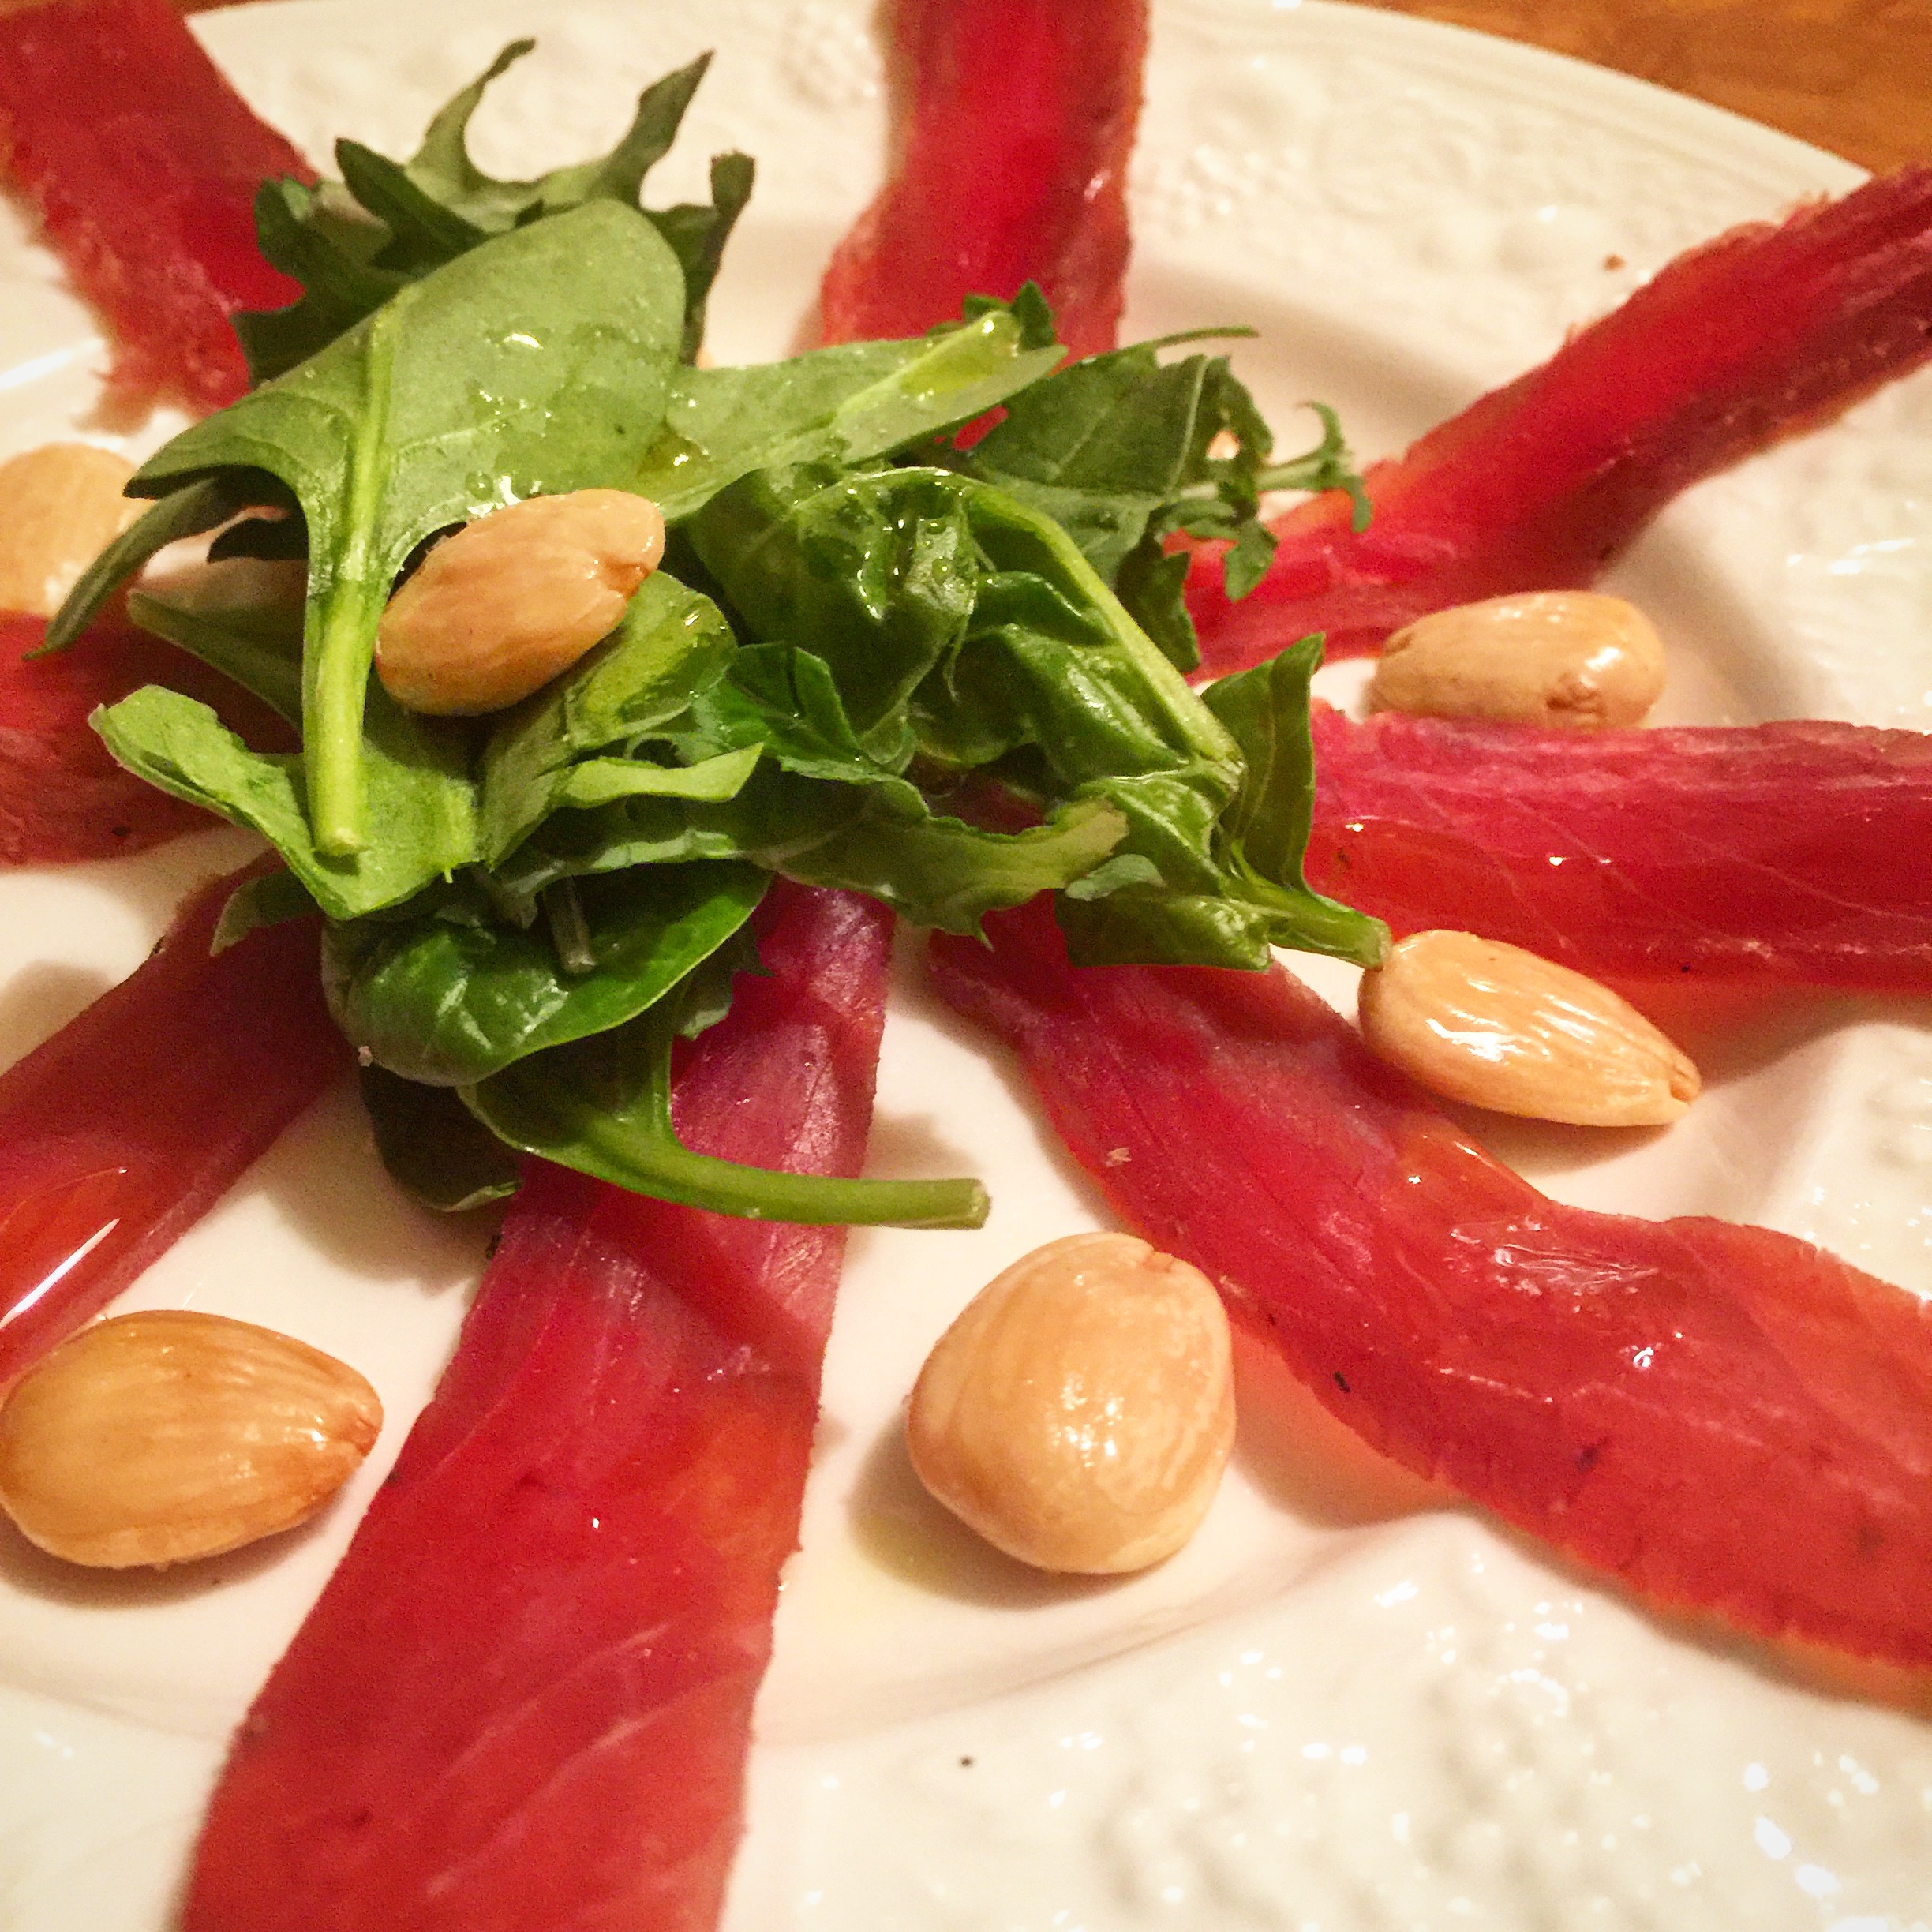
Tasting: When this meat was sliced it looked beautiful! The flavor was a bit over powering at first, but after it was allowed to equalize in the fridge under vacuum seal for a few more months, it was outstanding!

coppa9


Disclaimer: Meat curing is a hobby that comes with inherent risks. We can all do things to limit this risk by educating ourselves about the process and the utilizing the safest known methods to create our products. This website is for educational purposes only, and all experimentation should be done at each individuals own risk.

Filed Under: Charcuterie Tagged With: capocollo, charcuterie, coppa, cured meat, diy, gabagool, homemade

Lomo Ibérico de Bellota

January 25, 2017 by AOG 4 Comments

Lomo ibérico de bellota. The cousin cured meat to the world famous jamón ibérico de bellota. This was a real fun one to make. I was able to get some raw ibérico de bellota pork loin and cure it to make the Spanish style lomo ibérico de bellota. The quality of this meat was evident from the start; even the raw meat itself smelled amazing. After some time in the cure and curing chamber, the result was a fantastic quality cured meat product. If you can get your hands on some raw ibérico de bellota meat to cure, I definitely suggest it.

lomo iberico


Curing (3+ weeks):

First, the ibérico de bellota pork loin was weighed and put into a simple cure.

lomo long iberico

lomo cure ratios

lomo in cure


Casing (1 hour):

After spending some time in the cure (3 months, whoops!), the meat was taken out, rinsed, patted dry, and cased in a beef bung, and netted.

lomo iberico


Drying (6+weeks):

The lomo stayed in the curing chamber until it lost ~30% of its weight. It was pulled and sliced.

lomo5

WOW. The taste of this lomo ibérico de bellota is fantastic. This one is definitely a keeper.

lomo4

lomo8


Disclaimer: Meat curing is a hobby that comes with inherent risks. We can all do things to limit this risk by educating ourselves about the process and the utilizing the safest known methods to create our products. This website is for educational purposes only, and all experimentation should be done at each individuals own risk.

Filed Under: Charcuterie Tagged With: charcuterie, cured meat, diy, ibérico, ibérico de bellota, lomo, Lomo ibérico de bellota, lonza

Lonza

January 24, 2017 by AOG Leave a Comment

Lomo. Lonza. Lonzino. Not a magical spell or the conjugation of a foreign word, but some of the different names that cured pork loin goes by. In this post, I will discuss a basic lonza that I have cured with your regular, run of the mill pork loin from Costco. I used an interesting spice mix which I have used before and really come to like for this type of product. One of the cool things about meat curing is that fantastic starting products yield fantastic end products, but adequate starting predicts still yield great final products. I am a huge fan of buying great quality, responsibly raised meat from local farmers that you know. However, this isn’t always an option, and Costco still has pretty good quality meat that is great for meat curing experiments.


Curing (3+ weeks):

The pork loin was rinsed and dried before the cure was added. It was allowed to cure for 4 weeks in the fridge.

lonza


Casing (1 hour):

The cured pork loin was taken out of the cure after about a month. It was rinsed off and patted dry. It was then cased in a beef bung casing.

cased lomo

After netting, it was hung in the curing chamber and allowed to dry.

curing chamber


Drying (3+ months):

The lonza was allowed to hang in the curing chamber for around 3 months, losing 30% of its total weight.

meats2

At this point, it was removed from the chamber, the casing was removed, and it was sliced open to taste.


Tasting:

Ahh. Fantastic.

unnamed

There is something about dry curing meat that really brings out the best flavors in the meat. Even this meat, from such a common source, is great after its time spent curing and drying. It looks like traditional lonza or lomo meat does, and tastes pretty good. I look forward to making many sandwiches and snacks with this meat.

1


Disclaimer: Meat curing is a hobby that comes with inherent risks. We can all do things to limit this risk by educating ourselves about the process and the utilizing the safest known methods to create our products. This website is for educational purposes only, and all experimentation should be done at each individuals own risk.

Filed Under: Charcuterie Tagged With: charcuterie, cured meat, diy, homemade, lomo, lonza, recipe

Home-cured Bacon

January 19, 2017 by AOG Leave a Comment

Everybody loves bacon these days. Bacon is as hip and cool as mustaches and kale apparently are. There is bacon in Bloody Mary’s, bacon flavored chap-stick, even bacon made wallets. Now, I am all for the propagation of bacon love, but I do have a serious bone to pick with what a lot of these so called bacon lovers are eating; cardboard, bone-dry, lean strips of brown meat with a thin strip of fat. Sad, pathetic, little bacon strips. Not all pork belly is born equal, and not all bacon is the same. I believe that if you’re going to eat something as delicious and maybe not so healthy for you as bacon, you should do it in moderation, and go all in, eating the best, most delicious bacon you can get your hands on. And let’s face facts folks; well-smoked, thick cut, meaty flavor, marbled bacon is rare. And that’s why I’m writing this, and presumably, why you’re here. Making your own bacon is one way to make sure that you are really getting all the enjoyment that you can out of that sodium/fat bullet to your heart. Here, I will discuss my process of making bacon. One of the most important aspects of any meat curing process is obtaining good quality meat from animals that have been raised well. I was fortunate enough to pick up this meat from Ham Sweet Farm, a farm that is committed to raising quality, happy animals. The proof is in the bacon.

bacon 8


Curing (2+ weeks):

The first step is to take a pork belly and cure it in a cure mixture of salt and spices. A lot of people use excess curing for bacon, but I really suggest using equilibrium curing. It results in a much more controlled end product and allows for life to get in the way with no adverse effect on your product. Depending on the thickness of your bacon, it can usually take around 1-3 weeks for the cure to penetrate the meat. I usually put my meat in vacuum sealed bag with the cure in the fridge during this part of the process. There are no downsides to leaving the meat in the cure for a bit longer when you use an equilibrium cure, which is good for me, because I left this meat in the cure for almost 2 months.

bacon 9

I used two different cures for this bacon, a more traditional bacon cure and a maple syrup cure.

bacon1

bacon1maple


Smoking (4+hours)

After the pork belly has been in the cure for an appropriate amount of time, it’s time to smoke it. Some people hot smoke bacon, but I feel like that really ruins the complex flavors you can create in bacon, so I cold smoke my bacon. In cold smoking, you aim to keep the temperature below 90F/32C. This allows for the meat to take on a smoked flavor, without the meat actually cooking.

First, take the pork belly out of the cure, rinse it off in cold water, and dry it off.

bacon 4

Then, place it in a cold smoking set up.

bacon 5b

You can leave it in the smoke for as long as you would like, depending on your flavor preferences. I like the 4-5 hour time span, which allows for a nice complex smoky flavor without being too overpowering.


Equalizing (Overnight):

After the pork belly has been smoked, it is now bacon! However, if you try to slice it and eat it right away, you may find that it isn’t exactly to your taste. You’ll want to let it rest and equalize overnight in the refrigerator so that the smoke flavor can spread throughout the meat.

bacon 6

The next day, you can take the bacon out of the fridge and start to fry it up!

bacon 1

After tasting some, I generally move the whole piece of bacon to the freezer and let it freeze, before using a meat slicer to thick slice it into pieces.

bacon 3

bacon 2

These are then stored in a vacuum sealed bag in the freezer. Great for Sunday morning breakfasts or gifts for family and friends!

bacon 7


Disclaimer: Meat curing is a hobby that comes with inherent risks. We can all do things to limit this risk by educating ourselves about the process and the utilizing the safest known methods to create our products. This website is for educational purposes only, and all experimentation should be done at each individuals own risk.

Filed Under: Charcuterie Tagged With: bacon, charcuterie, cured meat, diy, food, home-cured

Salmon and Tuna Lox with Capers

June 2, 2016 by AOG Leave a Comment

Everyone knows that lox is generally made with salmon. However, after doing some experimenting with mosciame/mojama/tuna prosciutto as discussed in detail in previous posts, I started to wonder why no one ever made tuna lox. People eat raw tuna, they eat cured and aged tuna, but I haven’t ever seen anyone eating just cured tuna, or tuna lox. So, I decided to give it a go.

In addition to generally being made with salmon, lox tends to be adorned with capers after it has been cured, but it is not generally cured with capers. This means the caper flavor never really permeated the flavor of the lox. I decided to experiment with this as well, to see if a caper cure added a beneficial flavor to the lox.

This post will detail my 4 condition lox experiment: control salmon lox, control tuna lox, caper salmon lox, and caper tuna lox.

image(80)


The Fish:

For this experiment, I bought pieces of salmon and sushi grade ahi tuna.

image(66)

image(68)


The Cure:

For the control cure, I used my normal 1:1 ratio of brown sugar:salt.  For the caper cure, I blended salt cured capers and added it to a 1:1 cure of brown sugar:salt.

image(69)


Curing (24 hour):

I let the fish cure for 24 hours in this excess cure in order to maximize the effect of adding the capers. Ideally, it would cure longer to let the caper flavor to permeate the fish better. However, when using an excess cure this is not an option.  In the future, I plan to try this with an equilibrium cure to allow for longer curing times.


Tasting:

The tasting for these experiments was very interesting! The control tuna really took on the sweetness of the cure more than the salmon did. I didn’t expect the control tuna to taste too much different than raw tuna does, but the cure really added a level of complexity. It was really cool to see how the flavor of the salmon and tuna both changed from the simple addition of a cure. In the future, I will be curing more tuna lox as an alternative to the traditional salmon lox!

image(81)

The caper tuna and salmon was a pretty cool experiment as well. The fish really took on a green tinge from the cure which may be a discouraging factor from a restaurant point of view, but from a home curer’s point is more of a point of fascination. The flavor was not as strong as I would have liked, and in the future I think I will repeat this experiment with an equilibrium cure with a longer cure time. Overall though, it had a subtle caper taste that really complimented both the flavor of the tuna and salmon lox. A perfect way to pair the flavor of capers with lox, without the strong flavor that accompanies biting into a caper itself.

image(77)

So, was curing tuna a good idea? Was adding capers to the cure a good idea? YES! Both of these experiments yielded promising results that I was able to enjoy, as well as to confuse friends and family with. Tuna lox, the new food craze of the year. You heard it here first!


Disclaimer: Curing fish is a hobby that comes with inherent risks. We can all do things to limit this risk by educating ourselves about the process and the utilizing the safest known methods to create our products. This website is for educational purposes only, and all experimentation should be done at each individuals own risk.

Filed Under: Charcuterie Tagged With: capers, curing, diy, fish, homemade, lox, salmon, tuna, tuna lox

Quick Lox

June 1, 2016 by AOG Leave a Comment

I have previously written about making Nova lox utilizing a 3 step process: a dry cure (12 hr), a brine (12 hr), and cold smoking (4 hr). You can find the details here: “3 Step Lox”. While I have found that this longer 3 step process yields the best overall final product, it tends to take a good amount of time and effort, and sometimes you just want lox right here, right now. This is my quick and dirty method for making lox. It is one simple step, and results in a pretty delicious final product.

image(37)


The Fish:

Buy (or catch) the freshest, highest quality grade salmon that you can find. I generally buy a large fillet from a local Asian supermarket that is known for their high quality seafood.

image(15)


The Cure:

This method utilizes a simple, excess cure. It is a 1:1 mixture of brown sugar/salt, and you just need enough to simply cover the salmon. I like to use sea salt, but you can use whatever you have on hand. Sometimes, I will add dill to the cure as well.

image(28)


The Curing Process (12-24 hr):

Let the salmon sit in the cure for 12-24 hours. It is important that the brown sugar/salt mixture is in close contact with the fish in this time.

image(5)

I like to vacuum seal the salmon in with the cure to ensure as much contact with as little mess as possible. However, there are many other methods you can use. For example, using plastic wrap to cover the fish and the cure, and placing the cure covered salmon in a Tupperware container with a weight on top works as well.

image(2)

Just be aware that as the curing progresses, the cure will pull water out of the salmon. This can make for a bit of a mess, so make sure you are curing in a deep dish if you are not vacuum sealing your salmon in with the cure.


Post-Cure:

After 12-24 hours, remove the salmon from the cure and rinse it off in cold water.

image(6)
Pat dry, and top with cracked pepper and dill.

image(25)


Tasting:

The salmon can be eaten immediately after it is removed from the cure, but it will get better if it is given some time (2-12 hours) to equalize. Slice thin, and enjoy!

image(36)

image(45)


Storage:

The lox is best eaten fresh, but can be stored in the refrigerator (preferably under vacuum seal) or in the freezer.


Disclaimer: Curing fish is a hobby that comes with inherent risks. We can all do things to limit this risk by educating ourselves about the process and the utilizing the safest known methods to create our products. This website is for educational purposes only, and all experimentation should be done at each individuals own risk.

Filed Under: Charcuterie Tagged With: cured salmon, diy, homemade, house cured, lox, quick lox, salmon

Duck Salami

March 14, 2016 by AOG 13 Comments

Duck salami, or salami d’anatra, is a project that I had been wanting to tackle for a while. Duck salami itself isn’t easy to find commercially, and even the duck salami that is found in stores and restaurants tends to use pork fat. I was looking to create a pork free product, for those who keep kosher or halal, so I debated a number of different sources for fat, before deciding to do a 100% duck salami.

I love duck fat, so the taste of it was a huge pro for me. I also like the way that duck fat melts in your mouth, another pro. My main concern about using duck fat in duck salami was working with the duck fat at room temperature. I have seen a few different values given for the slip melting point of duck fat, but the most consistent value seems to be around 77F/25C. I made sure to do all of my processes at around 70F/21C, worked fast, and I utilized the freezer to make sure everything stayed cold.


Planning Phase:

I bought 4 duck breasts to use for this project. Before I started, I put them in the freezer for an hour or so to get them nice and cold. I cut the fat away from the meat, and I weighed the meat and the fat separately. Ideally there would be a 70% meat to 30% fat ratio, mine was close enough to that, so I just worked with what I had. I decided to try two different cures, one spicy using calabrese peperconcini and one in the style of duck l’orange.

Below are the cure ratios I used:

image image(1)I weighed everything necessary for the cure, and mixed it altogether (with the exception of the starter culture).


Meat Cubing Phase:

After I weighed all of the meat, fat, and cure spices, I was ready to move on. I cubed both the fat and the meat and kept them separate.

In this case, I mixed the cure with the cubed meat. I don’t always do this; sometimes I wait to mix the cure with the ground meat. I haven’t assessed which method is best yet, and both have worked for me.


Meat Grinding Phase:

After I cubed the meat, I put it back in the freezer to let it get colder again. After an hour or so, I was ready to grind the meat. I had decided to use a course ground on the duck meat, and hand cut the duck fat in order to avoid smearing.

image(7)

image(11)

I ran the meat through the meat grinder, and collected it into a bowl at the end. At this point, I had course ground duck meat and hand cut fat.

image(3)

image(2)

I mixed this with the fat that was hand cut. I also dissolved the starter culture in a minimal amount of water and mixed it with the ground meat, hand cut fat, and spice cure.

If you are in need of a break, this is a good point to stop. You can freeze the mixture overnight, and get started again if the morning if need be.


Meat Stuffing Phase:

Once you have your ground meat/fat/cure/spice mixture it is time to stuff it into casings. I used to use the grinder to stuff my salami, but I have since moved to a dedicated stuffer and it is awesome.

image(4)

I only had one wide diameter casing left, and a bunch of small ones. I decided to make the duck l’orange into a larger duck salame, and the spicy calabrese duck salami into numerous smaller duck salami. I soaked the casings to get them ready to use.

I made sure to mix the ingredients together thoroughly. I put the mixture into the stuffer, and got out as much air as possible.

At this point, I picked the casing, tied off one end, and gathered the rest of the casing, pushing it down around the stuffing horn.

I used one hand to steady the casing around the stuffing horn, and another to crank the stuffer. When the salami reached my desired size, I twisted the casing and used butcher string to keep the separation.image(140)

I continued this process until I finished stuffing all of the duck salami mixture. I used a toothpick, to puncture any air holes in the salami at this point.


Fermentation Phase:

Temperature: 75ᵒF/23-24C

Humidity: 80-90% RH (strain dependent)

Time: 48-72 hours (until pH drops to at least 5.3)

Once all the salami was stuffed into casings, it was time to allow the meat to ferment. This is the stage I was most worried about when thinking about using duck fat. Luckily, the starter culture I was using had a relatively low fermentation temperature, and I made sure the temperature didn’t rise about 75 F/23-24C in the fermentation chamber.

At this point, I sprayed the salami with Bactoferm 600, a commercially available form of penicillium nalgiovense.

image(18)

I have attempted to track the fermentation stage using pH monitoring before, but I don’t always do that. This time, I tracked the fermentation stage just by time. After 3 days, I moved on to the drying phase.


Drying Phase:

Temperature: 54F/12C

Humidity: 70% RH

For the drying phase, I set the chamber to its usual settings (55F/70-80% RH). The salami was allowed to dry over time. Usually I allow my salami to go to 40% weight loss, but these plateaued at around 35% weight loss. I attribute this to the higher fat content of these salami. Regardless, they were pulled at around 35% weight loss.

image(20)

Duck Salami Weight Loss


Initial Tasting Phase:

After the duck salami weight loss plateaued, I pulled them from the chamber.

image(26)

After I pulled the duck salami, I removed the casing, and wiped them down with white vinegar. I patted them dry after this.

image(30)

image(34)

I sliced them open. Wow.

The spicy calabrese duck salami was a kick in the mouth. Flavorful and spicy. They were slightly over powering due to the strong heat from the calabrese pepperoncini, but if it’s not spicy, you’re not doing your job right?

image(29)

The salame duck l’orange was amazing. The complex flavors really lent themselves well to the flavor of the duck.

image(37)

After one last look…

image(38)
I took the salami and vacuum sealed them, before putting them in the fridge for long term storage.

image(39)


Disclaimer: Meat curing is a hobby that comes with inherent risks. We can all do things to limit this risk by educating ourselves about the process and the utilizing the safest known methods to create our products. This website is for educational purposes only, and all experimentation should be done at each individuals own risk.


Filed Under: Charcuterie Tagged With: charcuterie, cured meats, diy, duck, duck salami, halal, homemade, kosher, salami, salami d'anatra

Modern Mosciame

March 6, 2016 by AOG Leave a Comment

Mosciame. Mojama. Muxama. That seductive, yet elusive charcuterie product that I have been trying so hard to recreate. The taste of which transports you to sunlight days, with sea salt breezes, where nothing ever seems to be urgent, pressing, or stressful. The pace of modern day life seems to be slowed down by simply a taste of this delicious cured product. Obviously, once the idea of recreating this transportive taste took hold of me, I couldn’t rest until it was done satisfactorily. And finally, I can rest, happy with the success of the process that I will detail here.

IMG_1199

In this post, I will detail my second attempt at making modern style mosciame. You can read about my first attempt at making modern mosciame here. After my first attempt at making modern style mosciame yielded such a strong flavored product, I decided to try to make one that was milder and had more universal appeal. In order to do this, I limited steps that I thought may have increased its strong and earthy flavor. I didn’t use a starter culture in the cure, I used cheesecloth instead of a beef bung for casing, I lowered my RH to 70%, and my temperature to 50 F in order to stimulate more rapid weight loss and to discourage excessive mold growth.


Curing (2 weeks):

The meat was cured using an equilibrium cure for 2 weeks in the normal refrigerator.

Mosciame cure ratio with accurate ratios

image(3)

After this point, the cure was rinsed off and it was patted dry.

image(2)


Casing (1 hour):

The tuna was then cased using cheesecloth.

image(1)


Drying (1 month+, until 30% of weight is lost):

Temperature: 50F/10C, Humidity: 70% RH

image

It was hung in the curing chamber in order to dry.

image(10)

After 30 days, it had lost 30% of its weight and was pulled from the curing chamber.

Mosciame weight loss over time new trialIMG_1188


Tasting:

The mosciame was taken out of its casing, scrubbed clean with white vinegar, and patted dry.

IMG_1189

IMG_1190

I was excited to try this, and boy oh boy, I was not disappointed.

IMG_1204

This mosciame has the complex umami flavor you’d expect of aged tuna, without some of the stronger more yeasty overtones that the first modern mosciame trial had. It seems like one or more of the changes that I made in my protocol made this process work a bit more traditionally and created a product with more universal appeal.

IMG_1194

Sliced thin with my cuchillo jamonero, or my jamón carving knife, this product is amazing.

IMG_1203

It is always nice when one of your experiments works! While I will still sneak slices of my first modern mosciame trial for myself as a treat, I have a feeling that I will be slicing this second modern mosciame product more often for friends and family.

IMG_1200

Stored under vacuum seal for future uses!

IMG_1196


Disclaimer: Curing fish is a hobby that comes with inherent risks. We can all do things to limit this risk by educating ourselves about the process and the utilizing the safest known methods to create our products. This website is for educational purposes only, and all experimentation should be done at each individuals own risk.

Filed Under: Charcuterie Tagged With: atum, atún, charcuterie, diy, homemade, mojama, mosciame, muxama, tonno, tuna

Traditional Modern Mosciame

March 6, 2016 by AOG 2 Comments

There are traditional and more modern ways to create charcuterie products. Traditional methods may rely on the use of caves or more natural spaces that have the ideal humidity and temperature in order to allow the cured products to dry over time. Modern methods tend to use curing chambers to recreate these nature environments. You can see more about curing chamber instructions here and here.

I have previously discussed the history behind making mosciame and my first attempt at doing it in a curing chamber here. I have since perfected this method, as described here.

Here, I will discuss what I call the traditional modern method. Today, amidst concerns of pollution, instead of leaving their meat to air dry outside, some Italians use an oven at around 77-86 F for 4-6 hours to dry the meat. It can be pressed into a uniform shape if desired, and can be stored in olive oil.

I decided to try this method with a beautiful piece of sushi grade tuna.

image


Curing (48 hours):

I cut the piece of tuna in half, and placed them in two different excess cures; simple and soy maple.

image(1)

I allowed the fish to cure for 48 hours while being pressed.

image(2)

After 48 hours, I removed it from the cure and rinsed it off.

image(5)


Drying (7 hours):

Temperature: 35C/95F

I placed it in the dehydrator at 35C for 7 hours.

image(6)

After this time, the mosciame lost ~30% of its initial weight.

image(13)

I removed it from the dehydrator and brushed it with olive oil.

m7


Tasting:

I sliced it thin, and served it two ways:

image(16)

m5

It was awesome. Way better than I expected from a dehydrator method. I am a fan of the slow curing process, but this definitely created a delicious final product that is worth trying if you don’t have access to a curing chamber or want something a bit quicker.

Stored in a vacuum sealed bag, it awaits more tastings in the future.

m4


Disclaimer: Curing fish is a hobby that comes with inherent risks. We can all do things to limit this risk by educating ourselves about the process and the utilizing the safest known methods to create our products. This website is for educational purposes only, and all experimentation should be done at each individuals own risk.

Filed Under: Charcuterie Tagged With: charcuterie, cured meat, diy, homemade, mojama, mosciame, tonno, tuna, tuna prosciutto

Brine Cured Olives

March 4, 2016 by AOG Leave a Comment

Here, I will be writing about the process of making brine cured olives. I previously wrote about the process of making dry salt cured olives. Dry salted cured olives are some of my favorite types of olives, but some people are less partial to them due to their increased bitterness and strong taste compared to their brine cured counterparts. As you can see, there are some distinct differences in brine cured olives (top) and dry salt cured olives (bottom):

image(40)

Here, I will detail the process of using a brine cure to cure olives. This method takes longer than dry salt curing olives, but is able to leach away more of the bitterness. It is a fermentation process, so if you have a fermentation jug or set up, now is a good time to use it. Otherwise, any vessel should do, just make sure to cover the top loosely to avoid contamination with outside sources and to allow for gas release. CO2 will be released during the fermentation process, and can cause problems if not given an outlet.


Method: Similar to the salt cured method, I used black olives. The first step is to sort them for deformities, and wash the pile of good olives, and dry them off.

image(117)

Then, the olives will be stored in an appropriate container. Add a medium strength brine (.75 cups per gallon of cool water) to cover them. I used a fermentation jug, and two mason jars with fermentation air lock set ups.

image(123)

Allow the olives to sit in the initial medium strength brine for 1 week at room temperatures (60-80 F).

After 1 week, pour out the olives and the medium strength brine.

image(26)b

Put the olives back into their containers, and cover the olives in a strong brine (1.5 cups of salt per gallon of cool water).

In the following picture, you can see the color (and bitter compounds) being leached out by the consecutive brine changes. On the left, the olives are in their initial brine solution, on the right, they have had their brine solution changed out. They are noticeably lighter on the right.

image(28)b

Every month, replace the brine solution with a new strong brine solution (1.5 cups of salt per gallon of cool water).

Keep this up until the olives are to your liking. The longer they cure, and the more brine changes that are done, the less bitter that they will be.

After 2-3 months, the olives are generally ready for consumption.


To store the olives: Leave the olives in a cool, dark place in a strong brine to store them (up to 12 months) in an airtight container. I used a mason jar with a vacuum sealed top.

image

To eat the olives: Soak in water over night (optional) to decrease the saltiness of the olives. Toss in olive oils and herbs, and serve at room temperature.

image(1)


Resources:

http://anrcatalog.ucanr.edu/pdf/8267.pdf

Filed Under: Preservation Tagged With: black olives, brine, brine cured, diy, fermentation, homemade, olives

  • « Previous Page
  • 1
  • 2
  • 3
  • 4
  • Next Page »
  • Instagram

Copyright © 2025 · Foodie Pro Theme by Shay Bocks · Built on the Genesis Framework · Powered by WordPress