The Explorations of a Gastrochemist

...because science can be delicious.

  • Beginner’s Guide
  • Wurst Adventure
  • Charcuterie
  • Preservation
  • Science
  • Molecular Gastronomy
  • All Projects
You are here: Home / Archives for diy

Dry Salt Cured Olives

March 3, 2016 by AOG 2 Comments

Have you ever tried a raw olive off of an olive tree? It makes me wonder how anyone ever unlocked the key to these bitter fruits. In the Mediterranean region in particular, olive trees abound. One taste of a raw olive directly off the tree would be enough to set anyone off the fruit entirely. However, at some point in history, it was discovered that it was possible to use salt and brine solutions to store the olive harvest as well as to leach away the bitter compounds, oleuropeins. And so, our love affair with olives and olive oil began.

In the beginning of the season, olives are green. As they spend more time on the tree, they darken and become black. Both green and black olives can be cured.

Olive-Tree

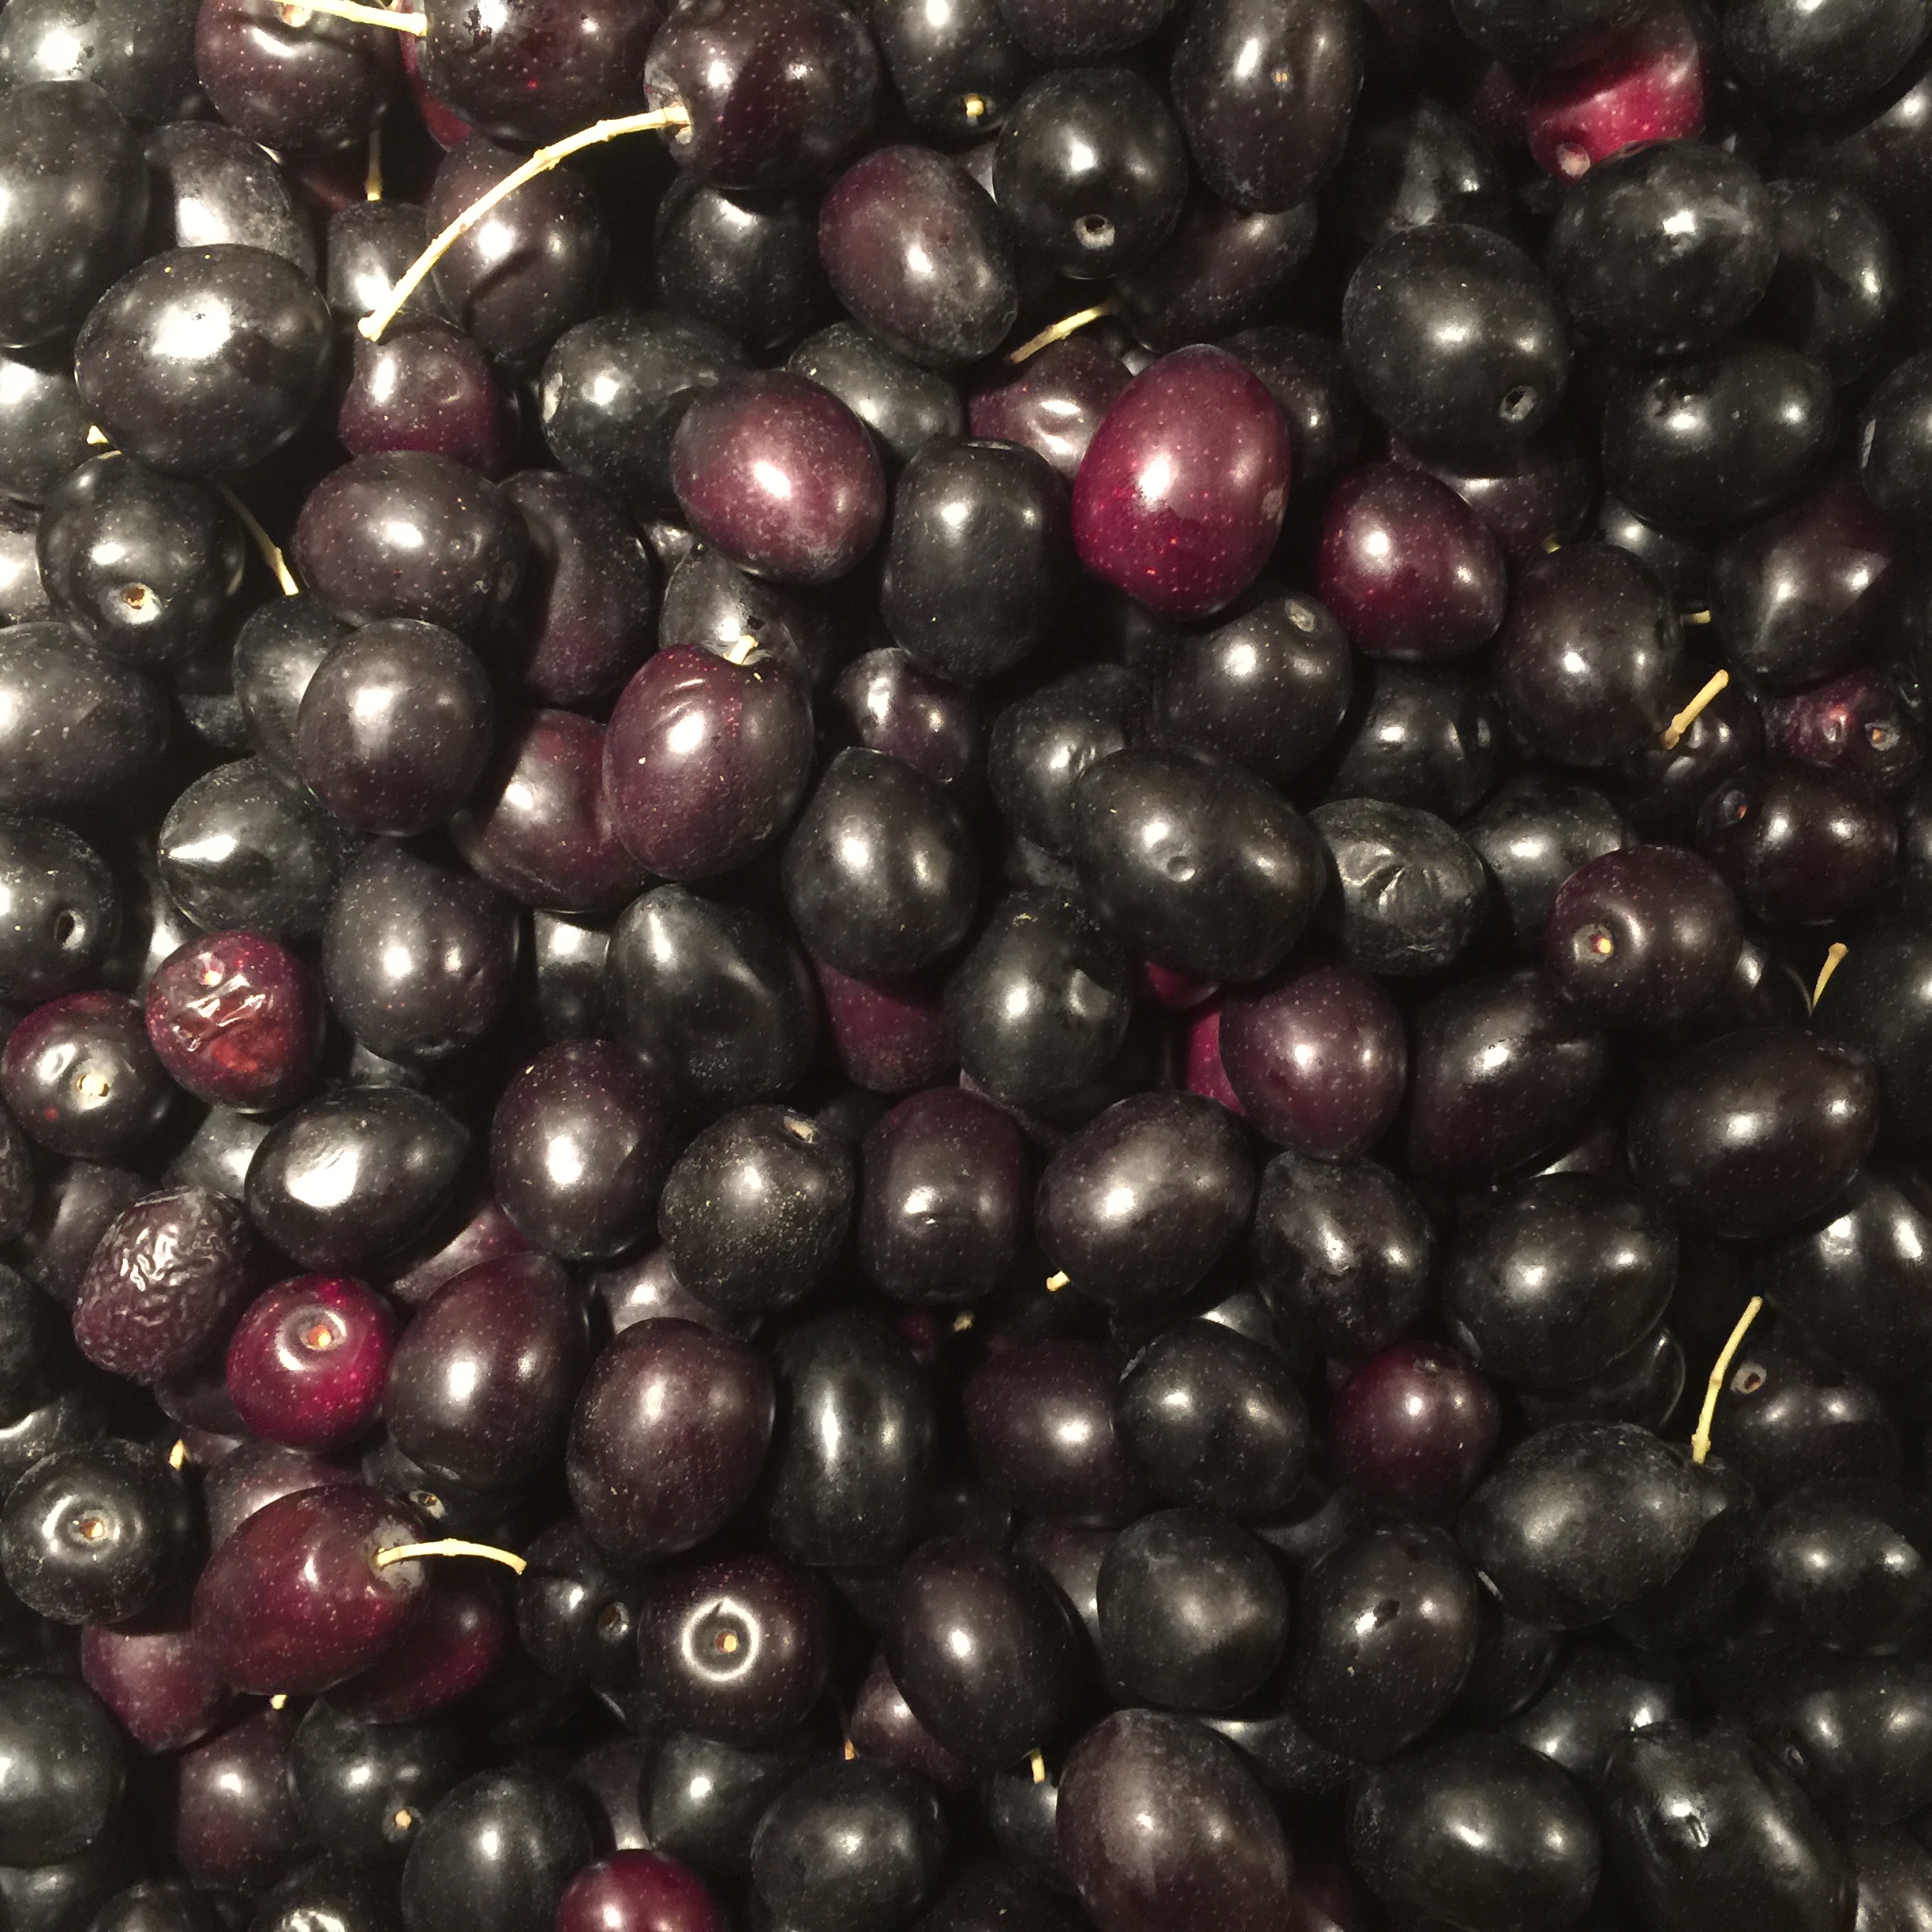
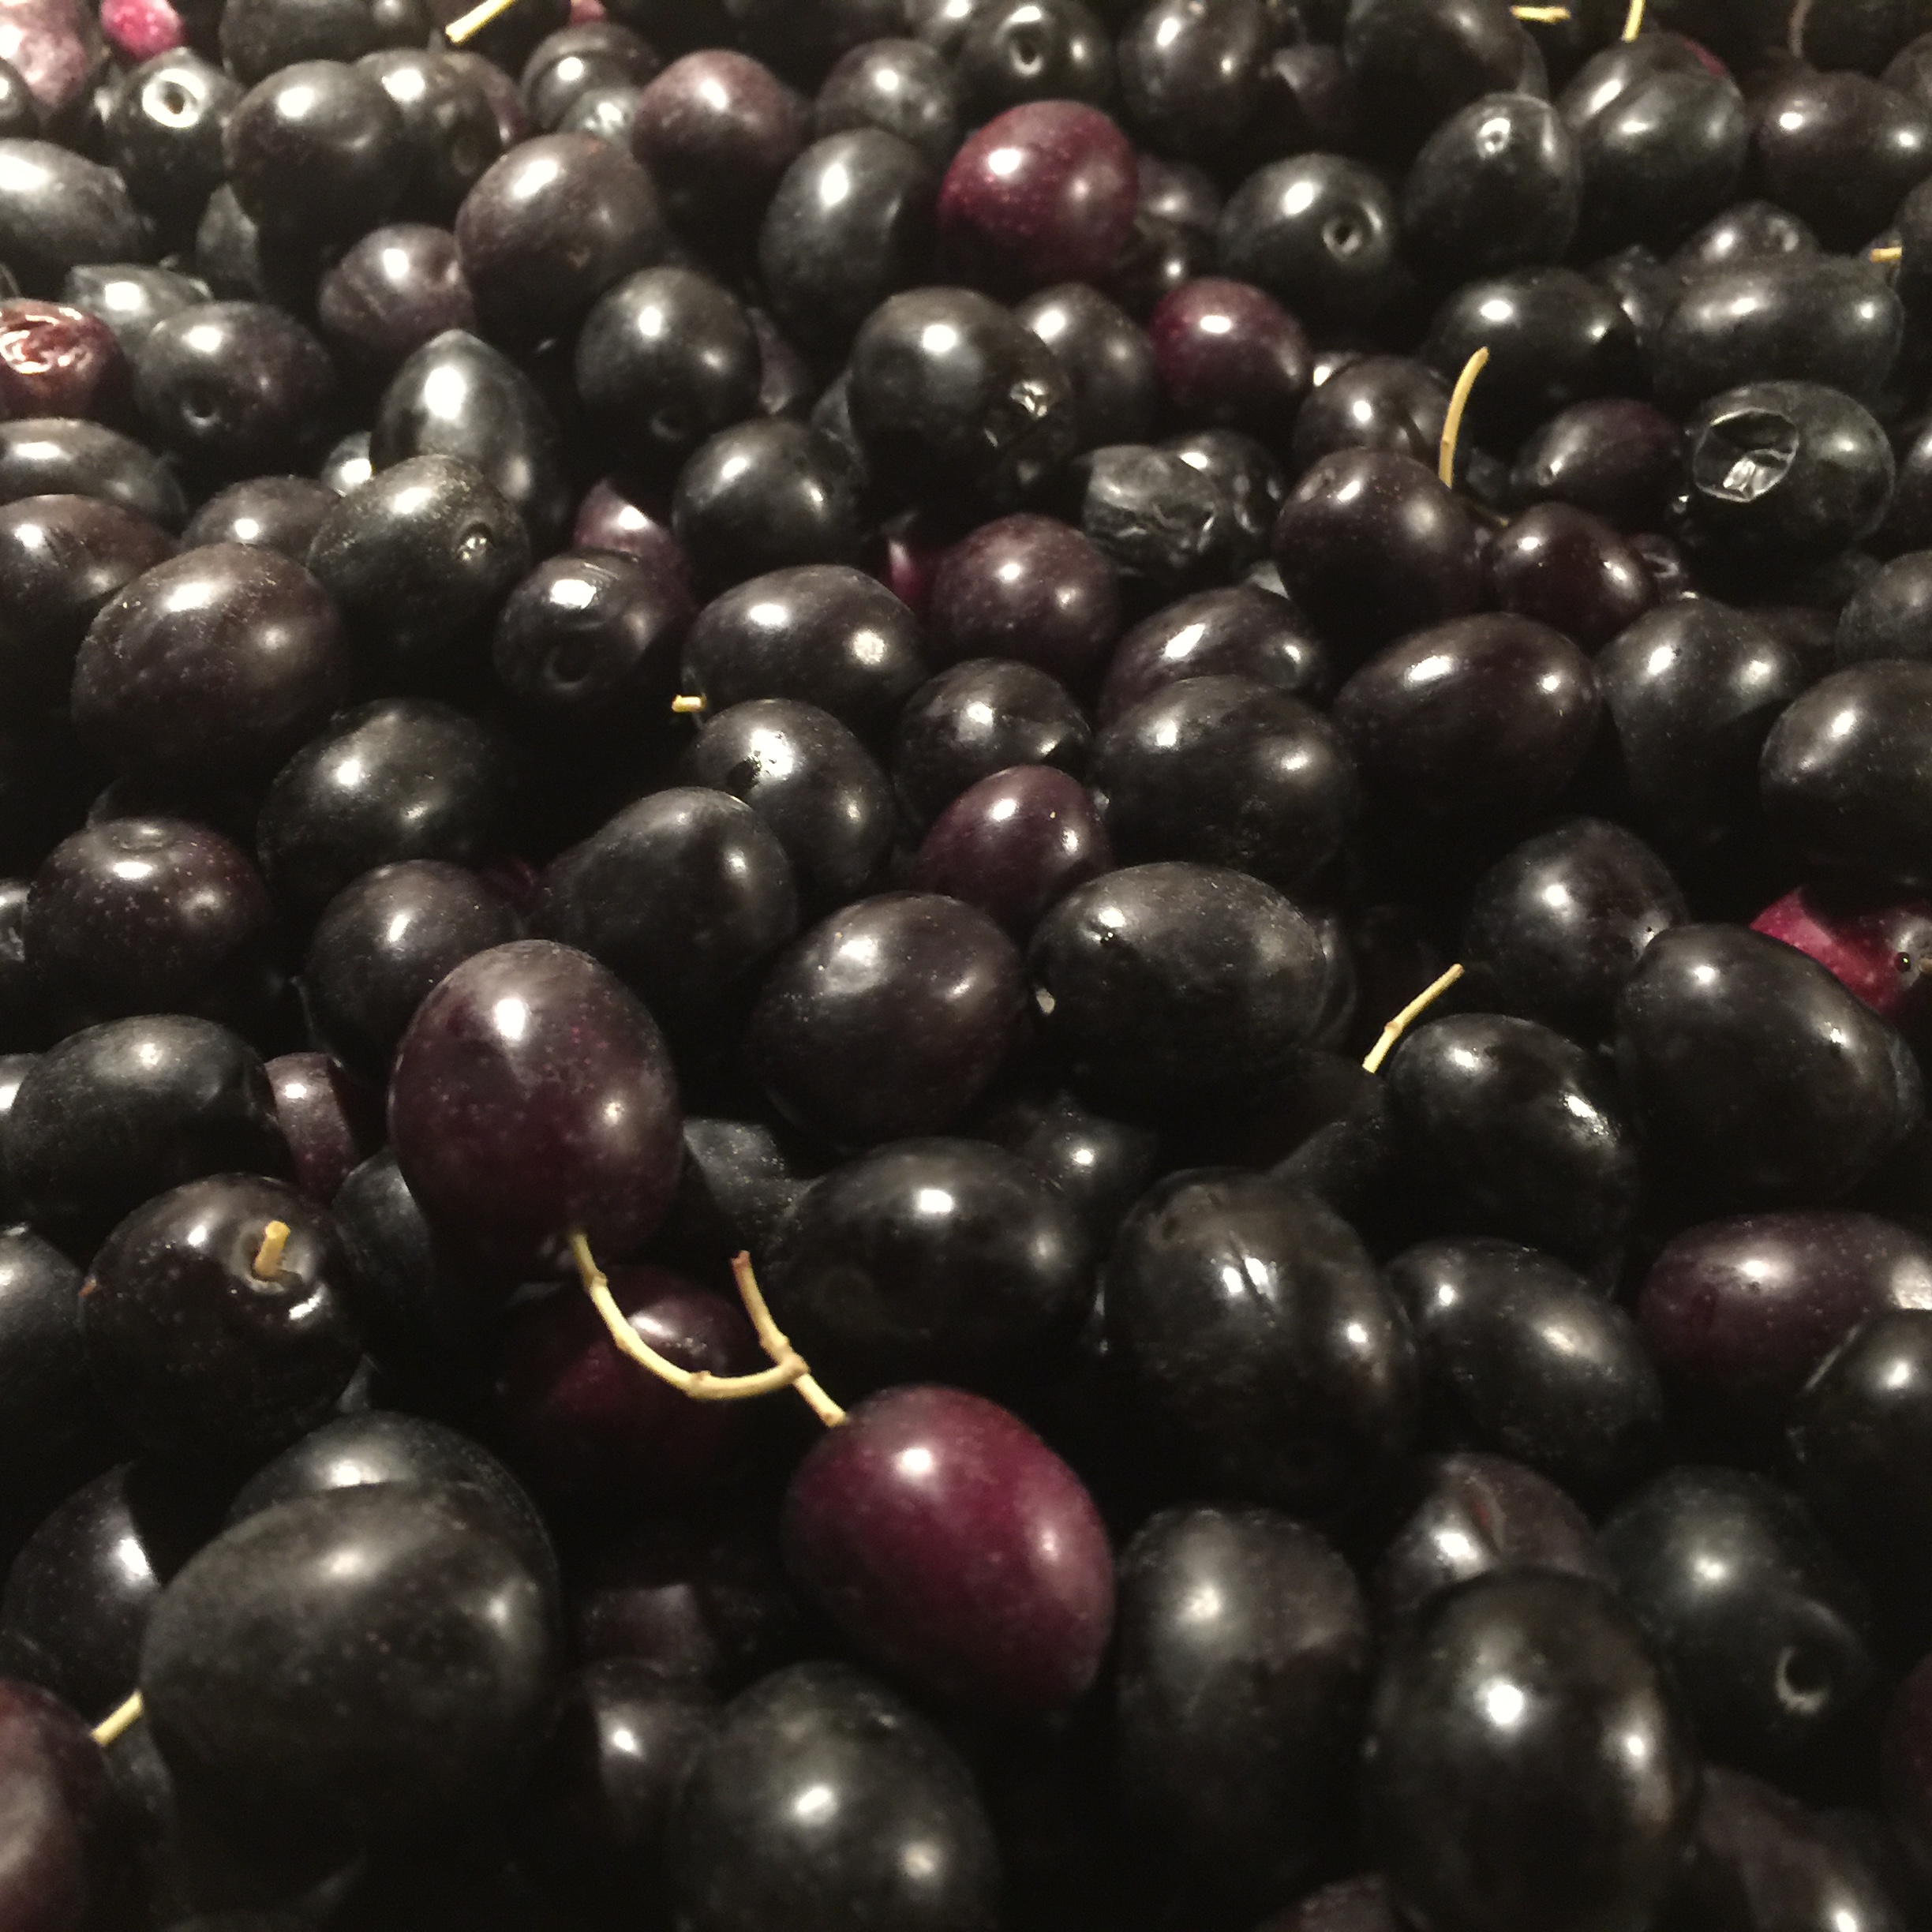
I have been interested in curing my own olives for a while now, but geographically, I don’t have access to olive trees. This year, I placed an order with a farm in California, and received 17 lbs of black olives.

image(116)

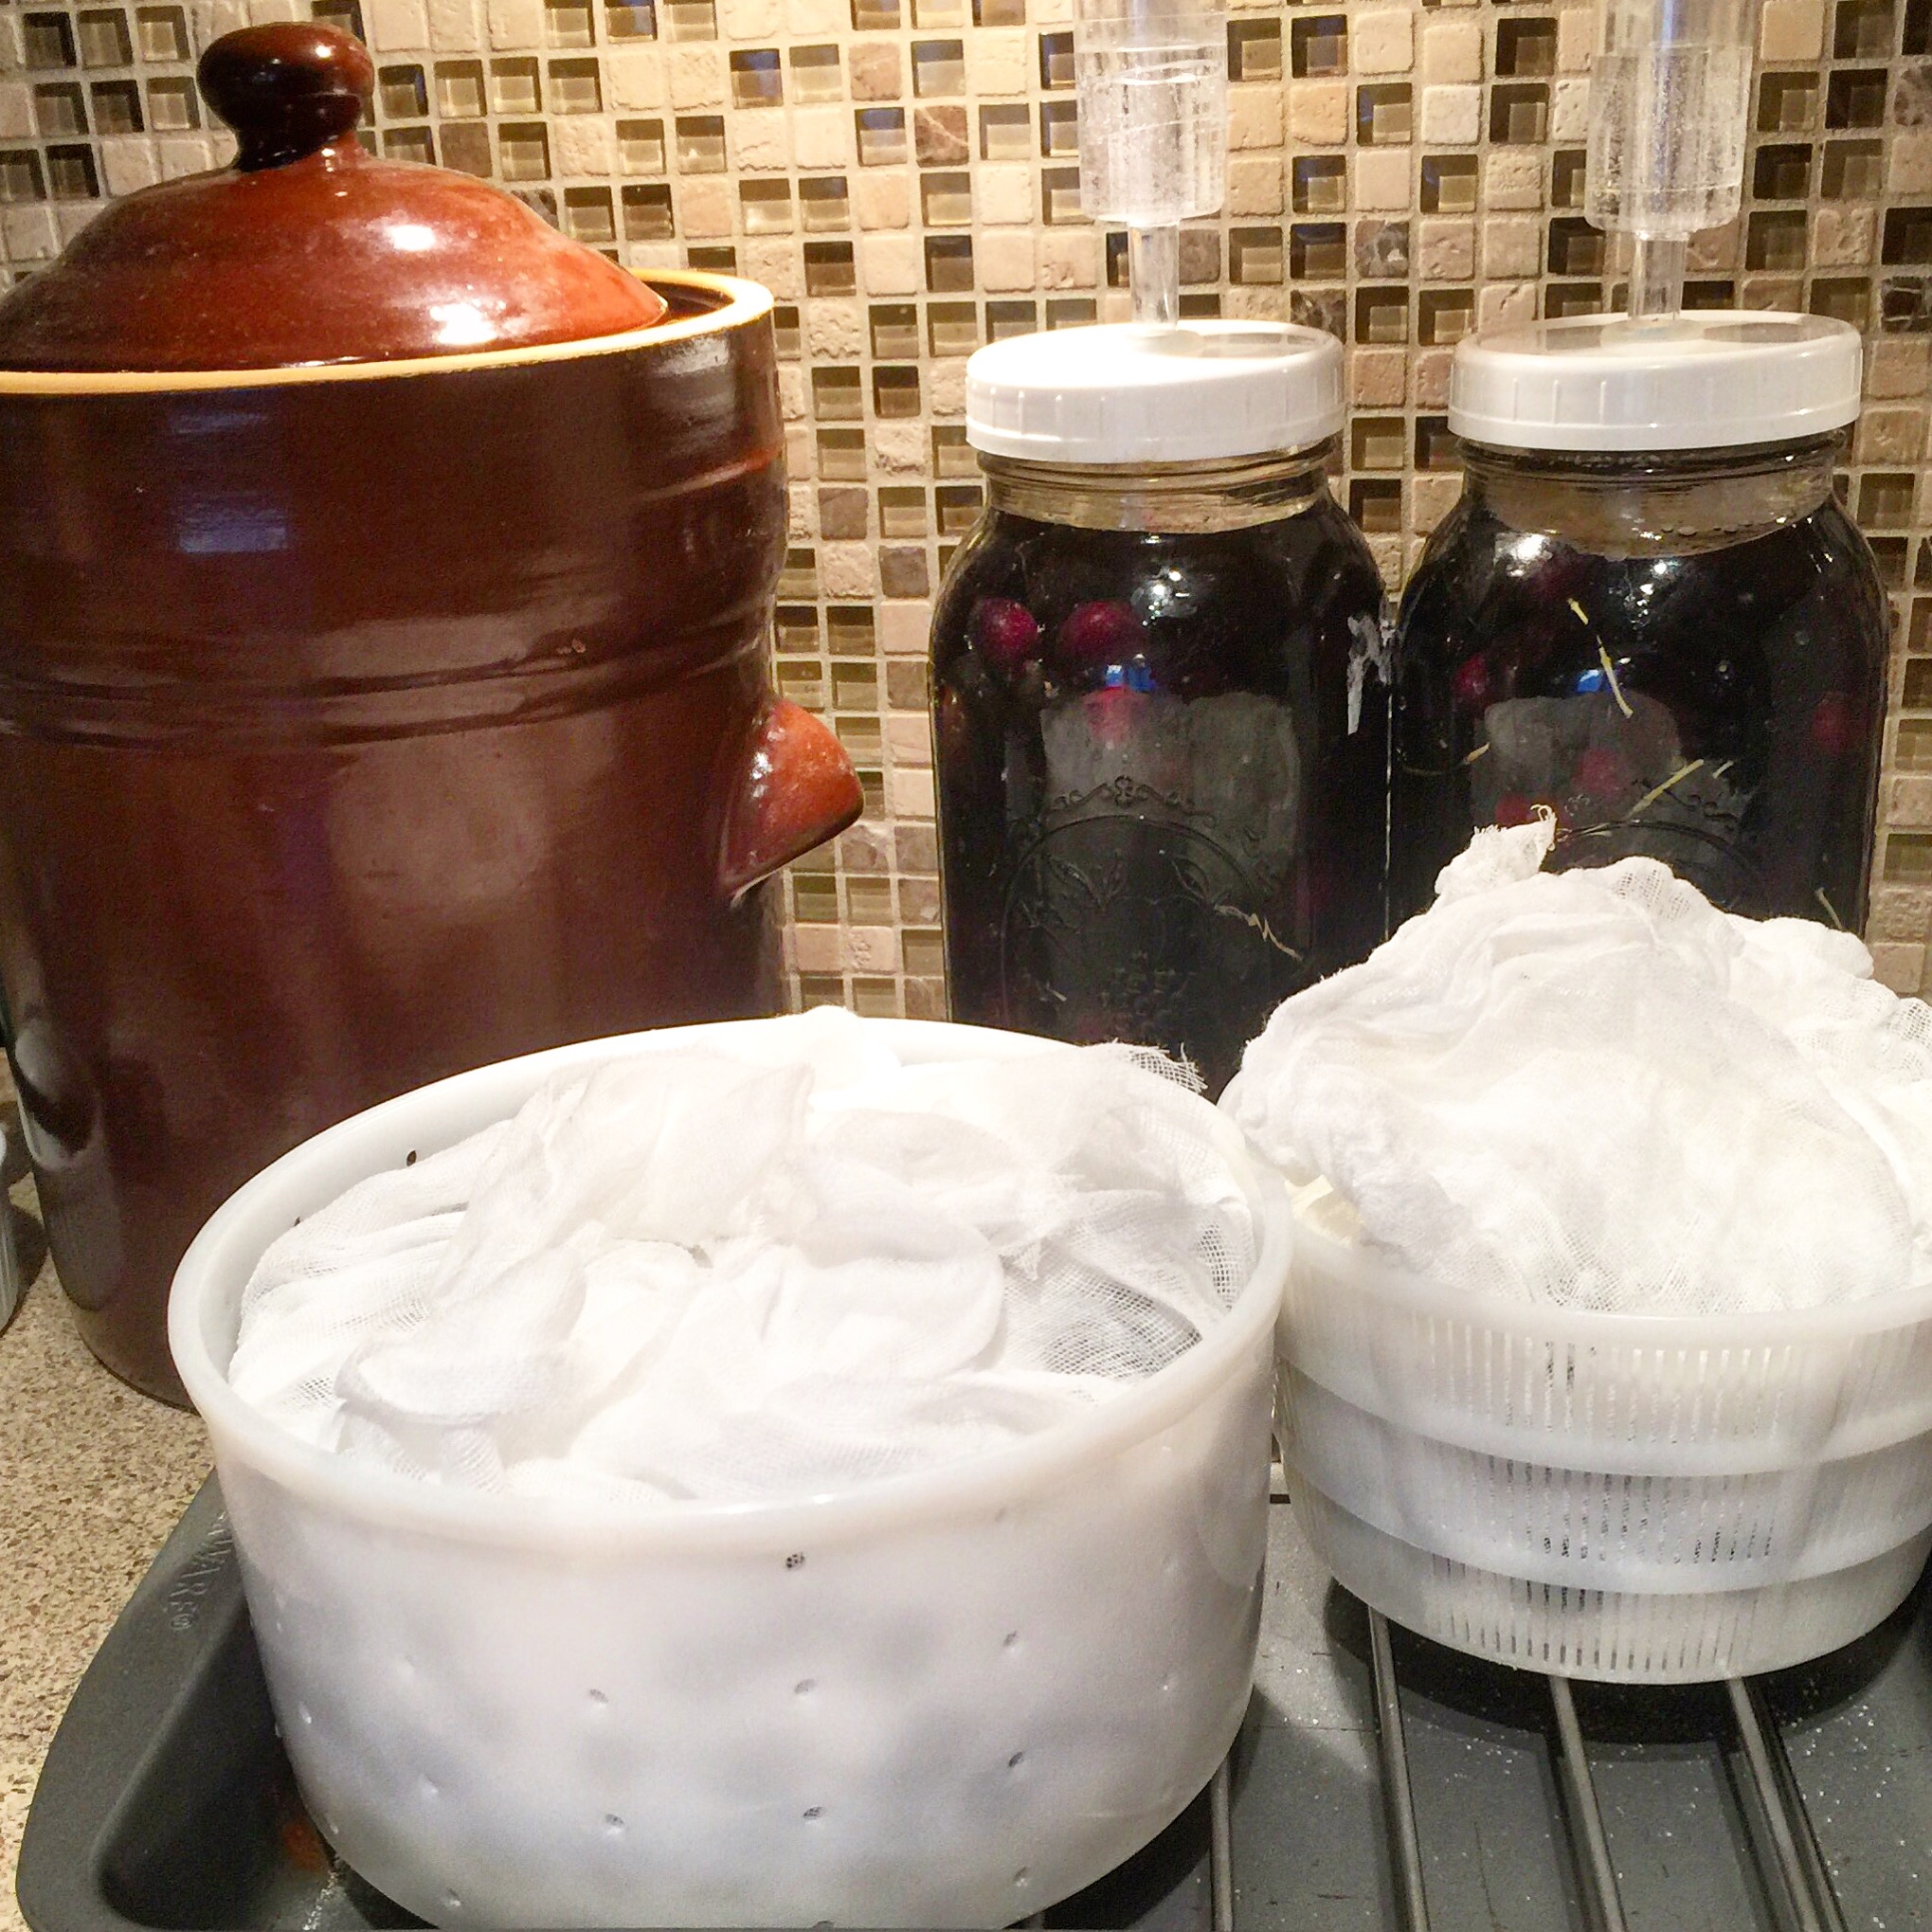
I decided to cure the majority using a brine method, and the rest using a dry salt cured method.


Methods: In this post, I will be discussing the dry salt cured method of preserving olives.

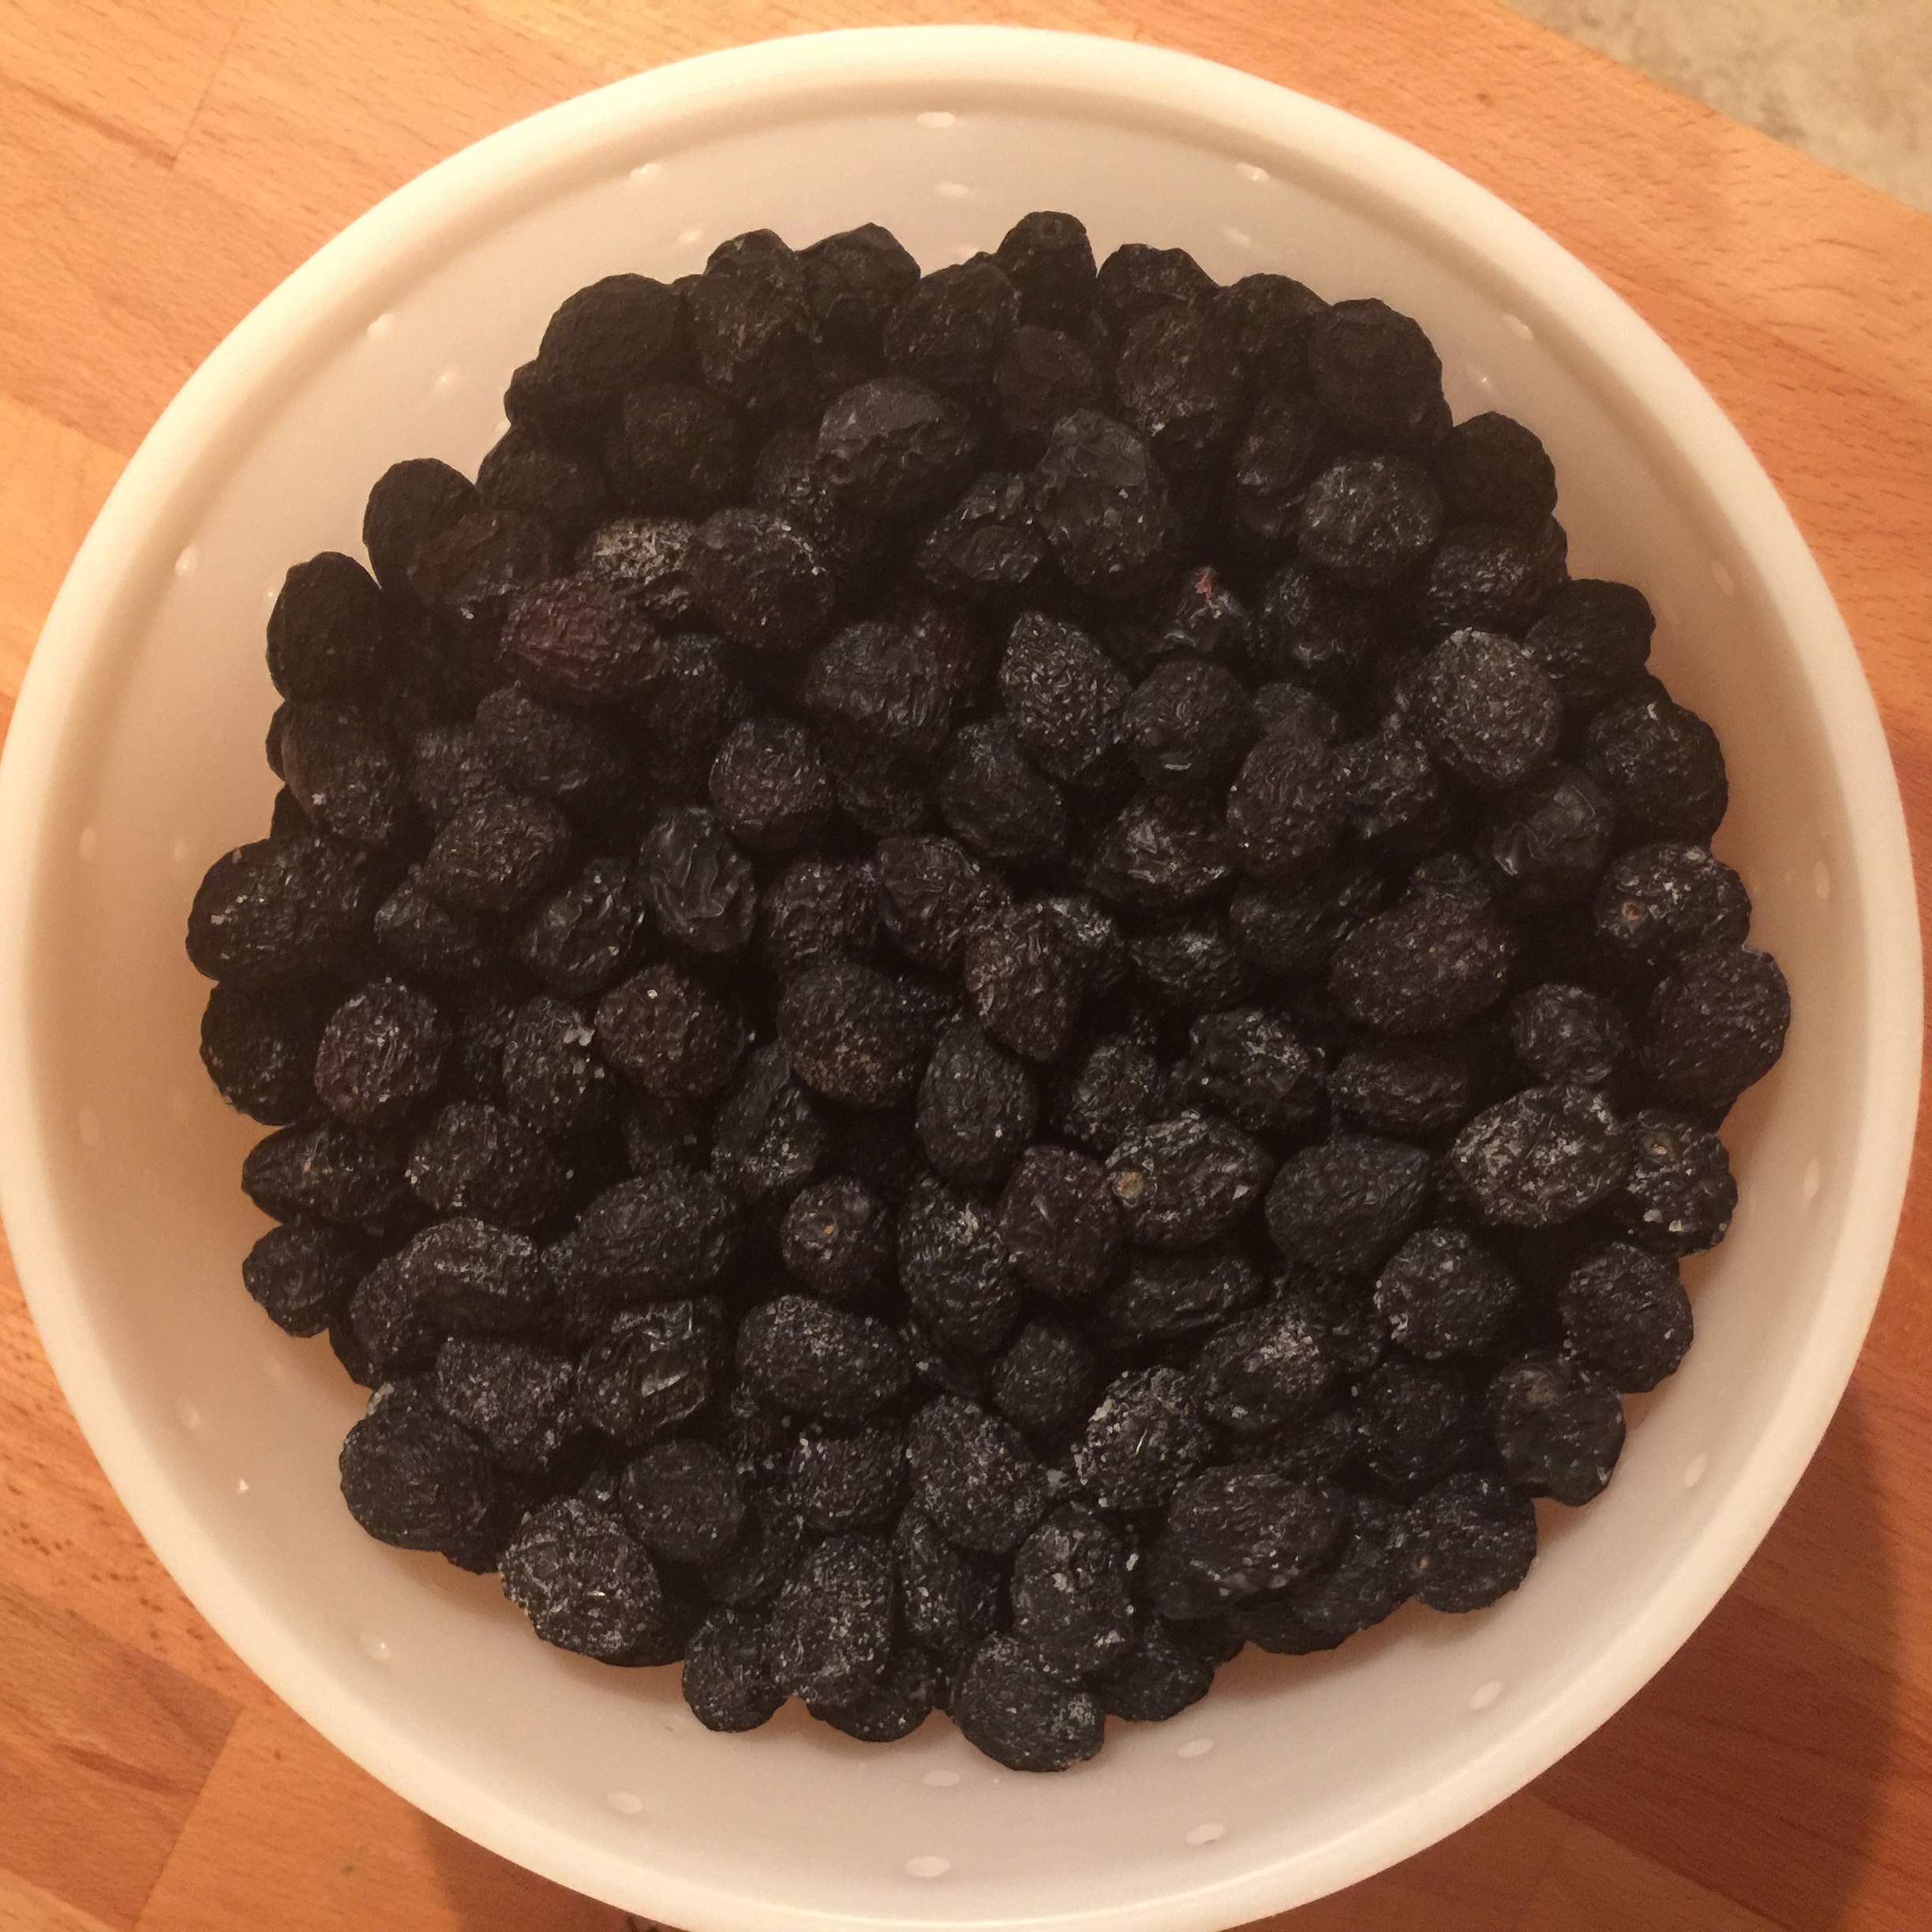
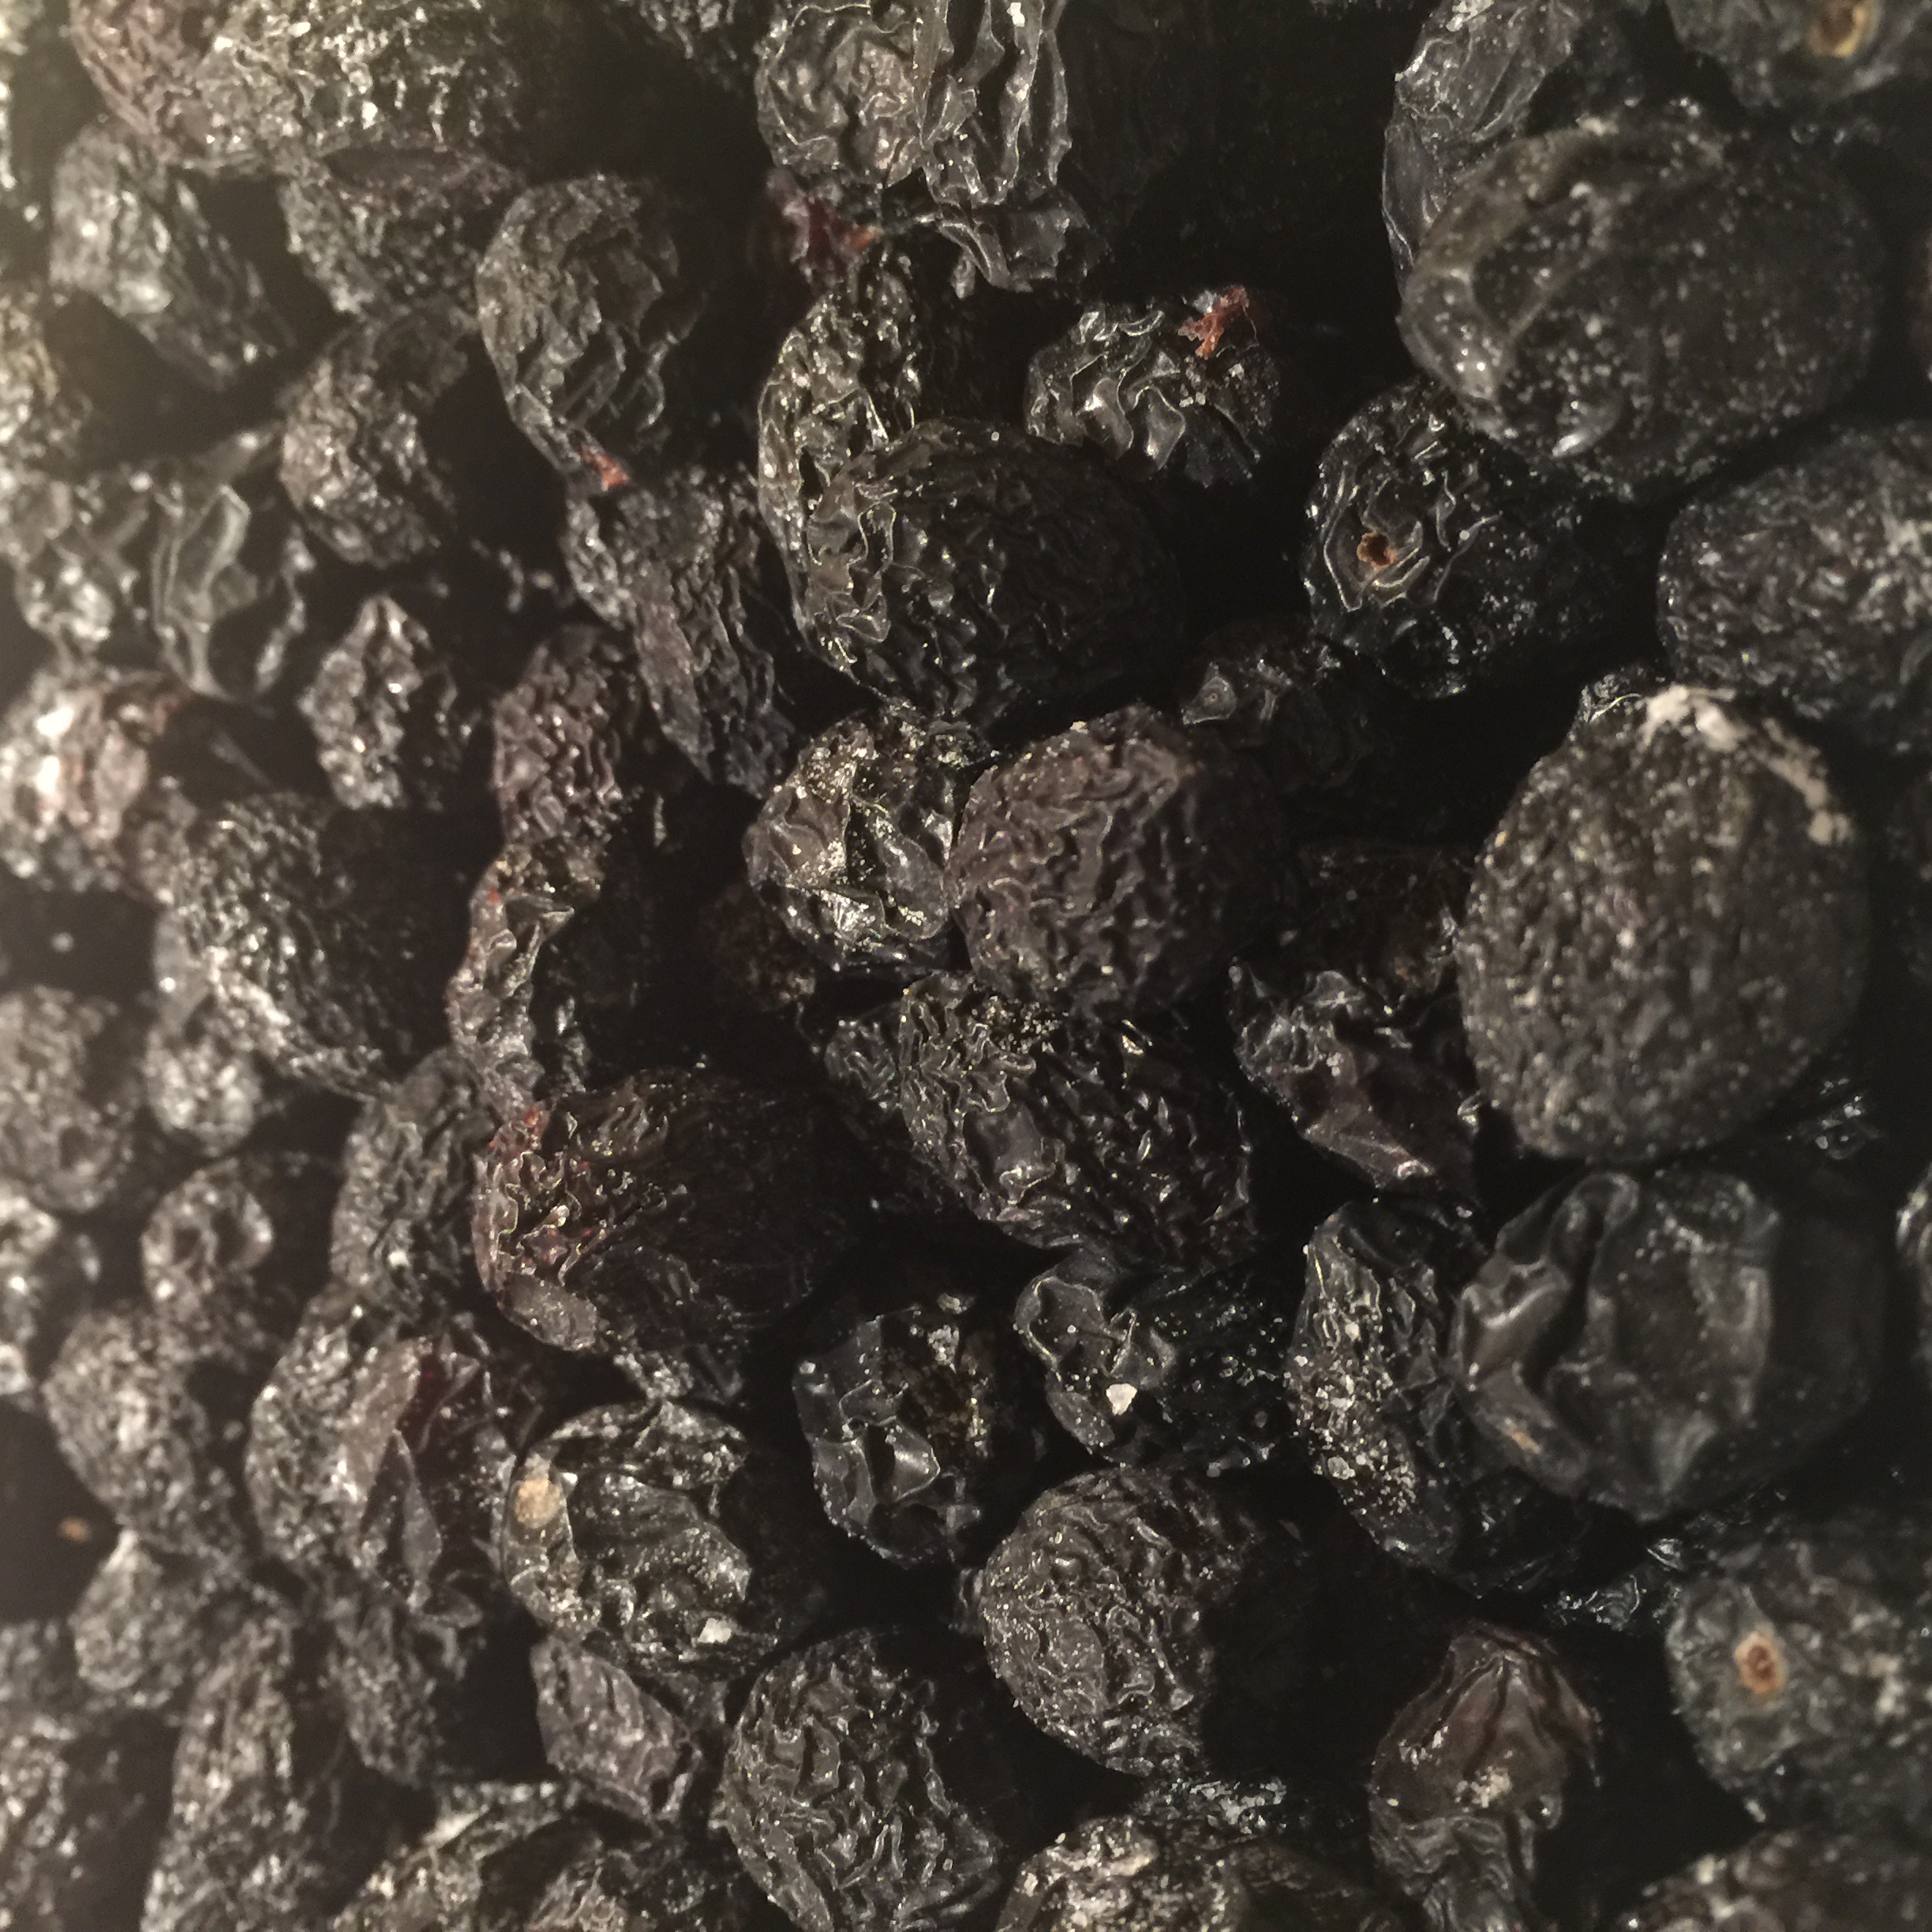
First, you have the raw black olives. You want to sort them for deformities, and wash the pile of good olives, and dry them off.

image(118)

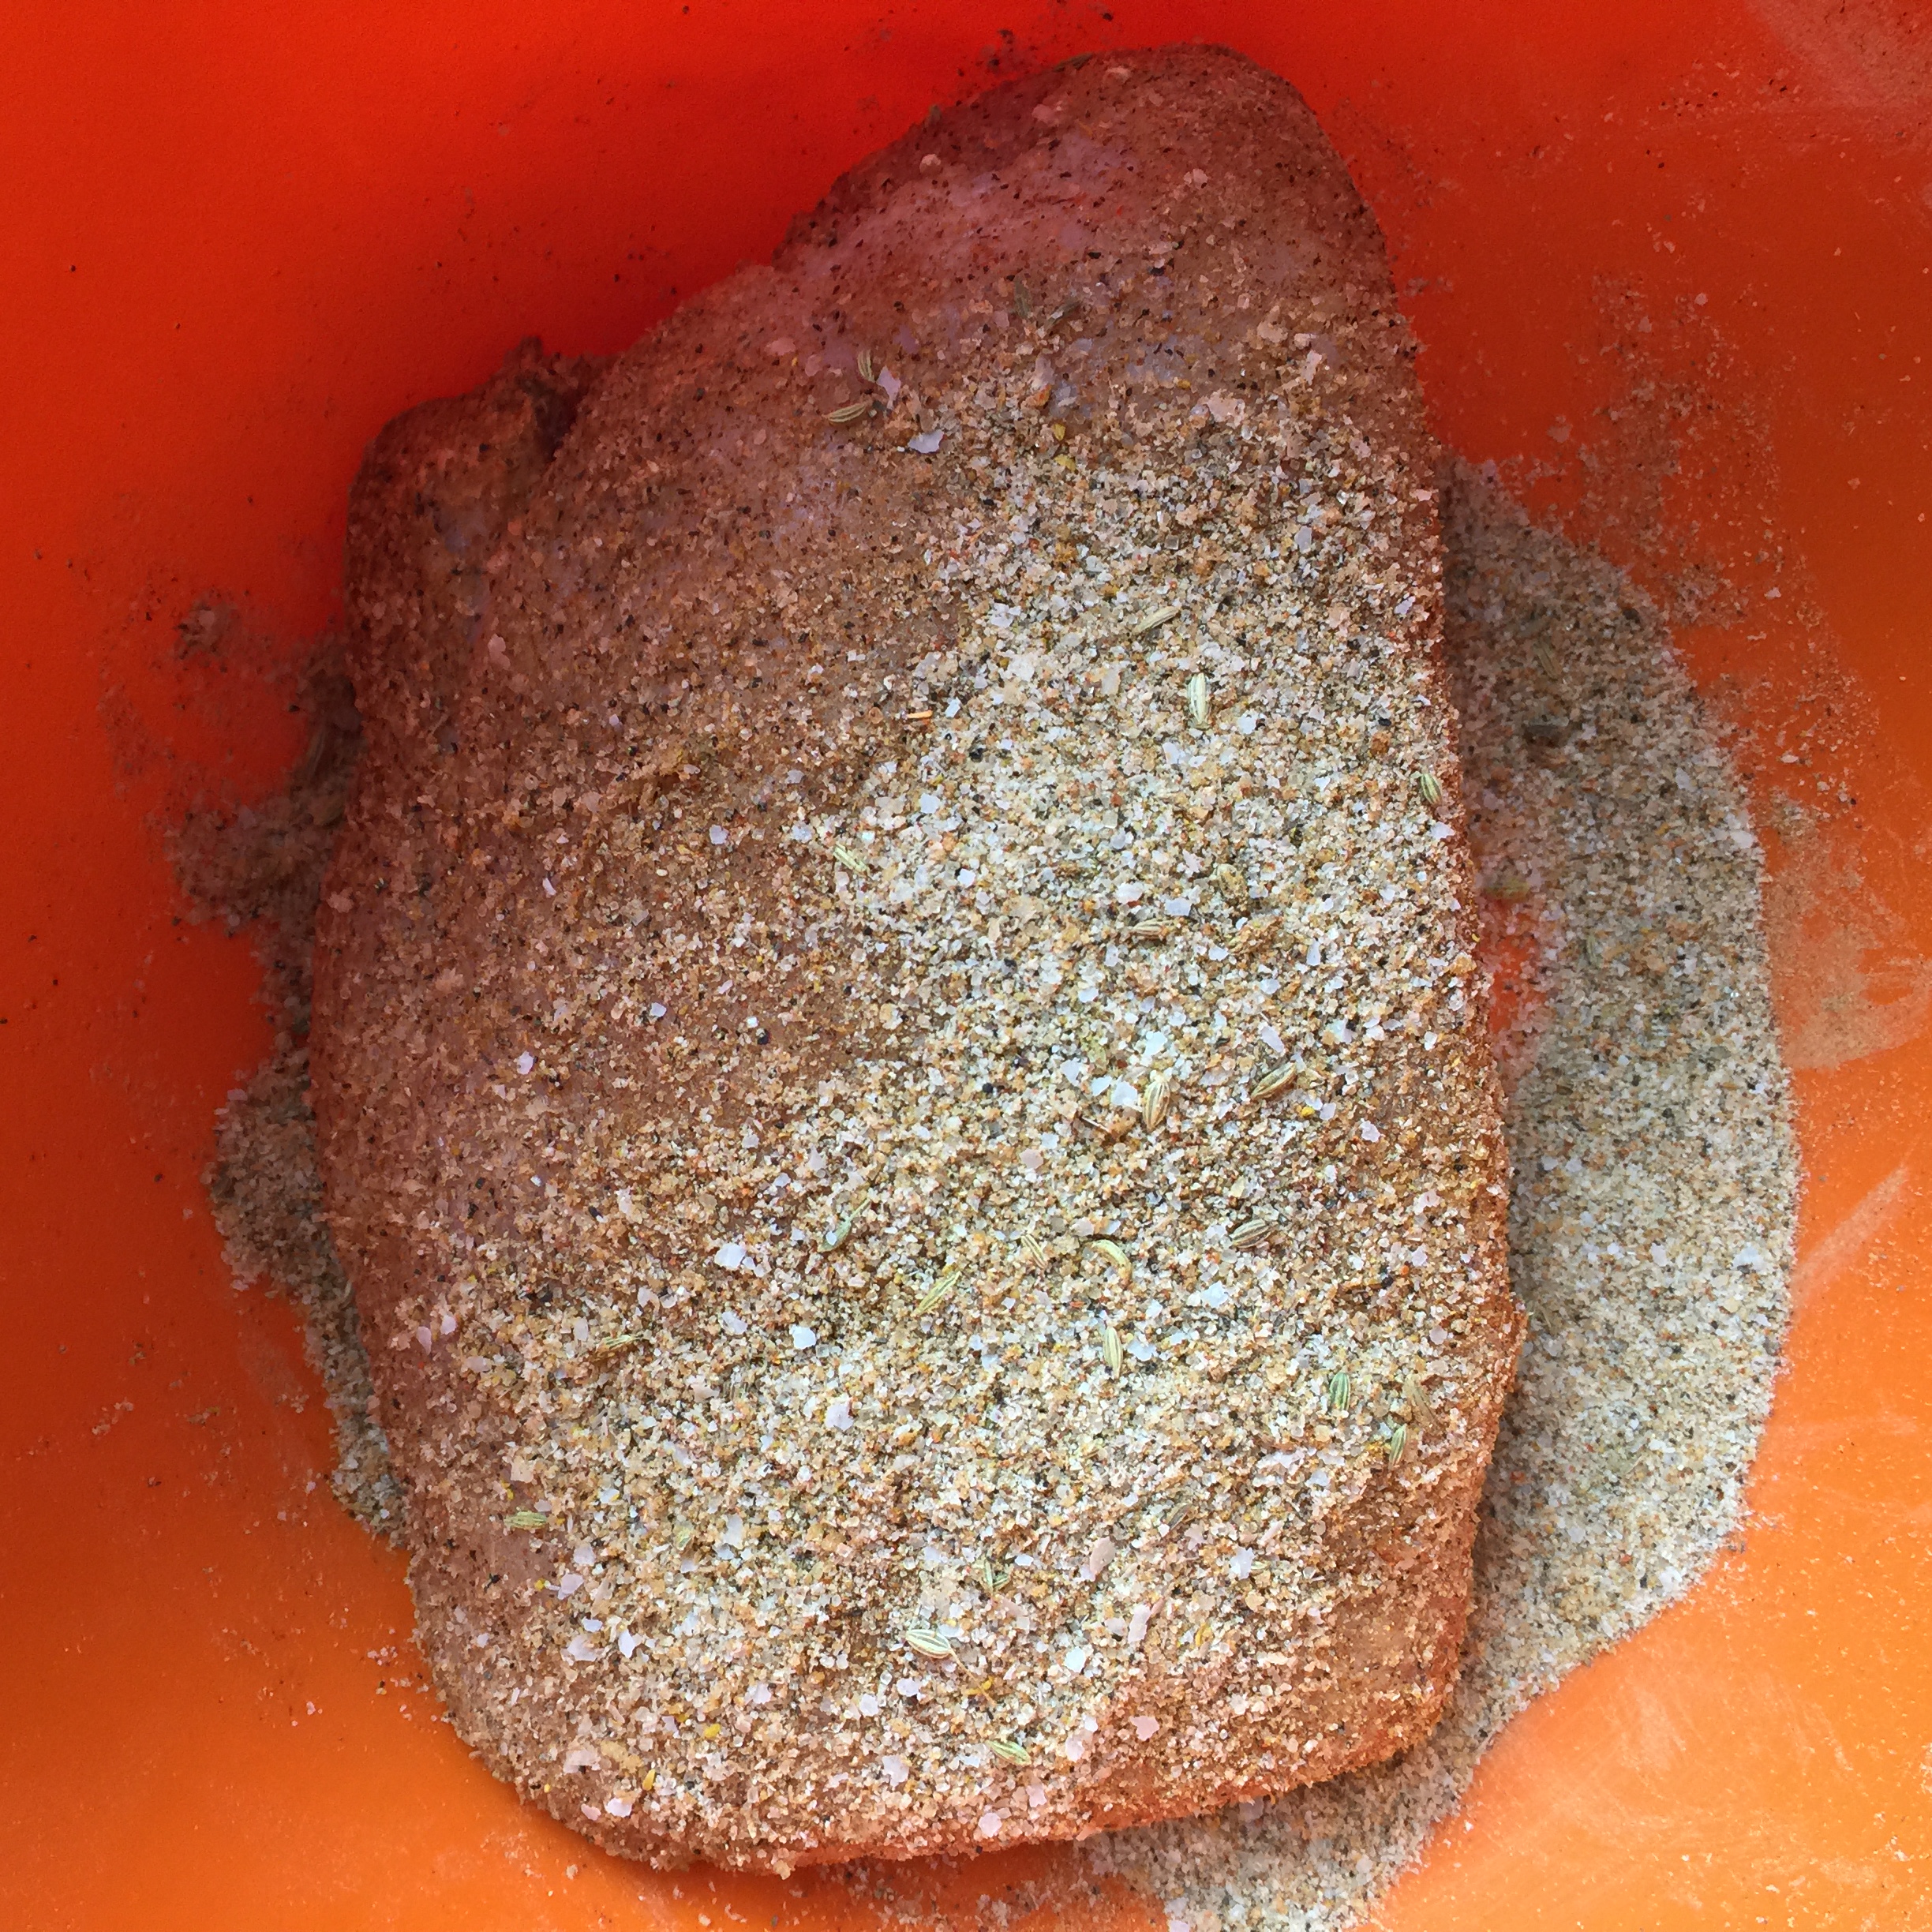
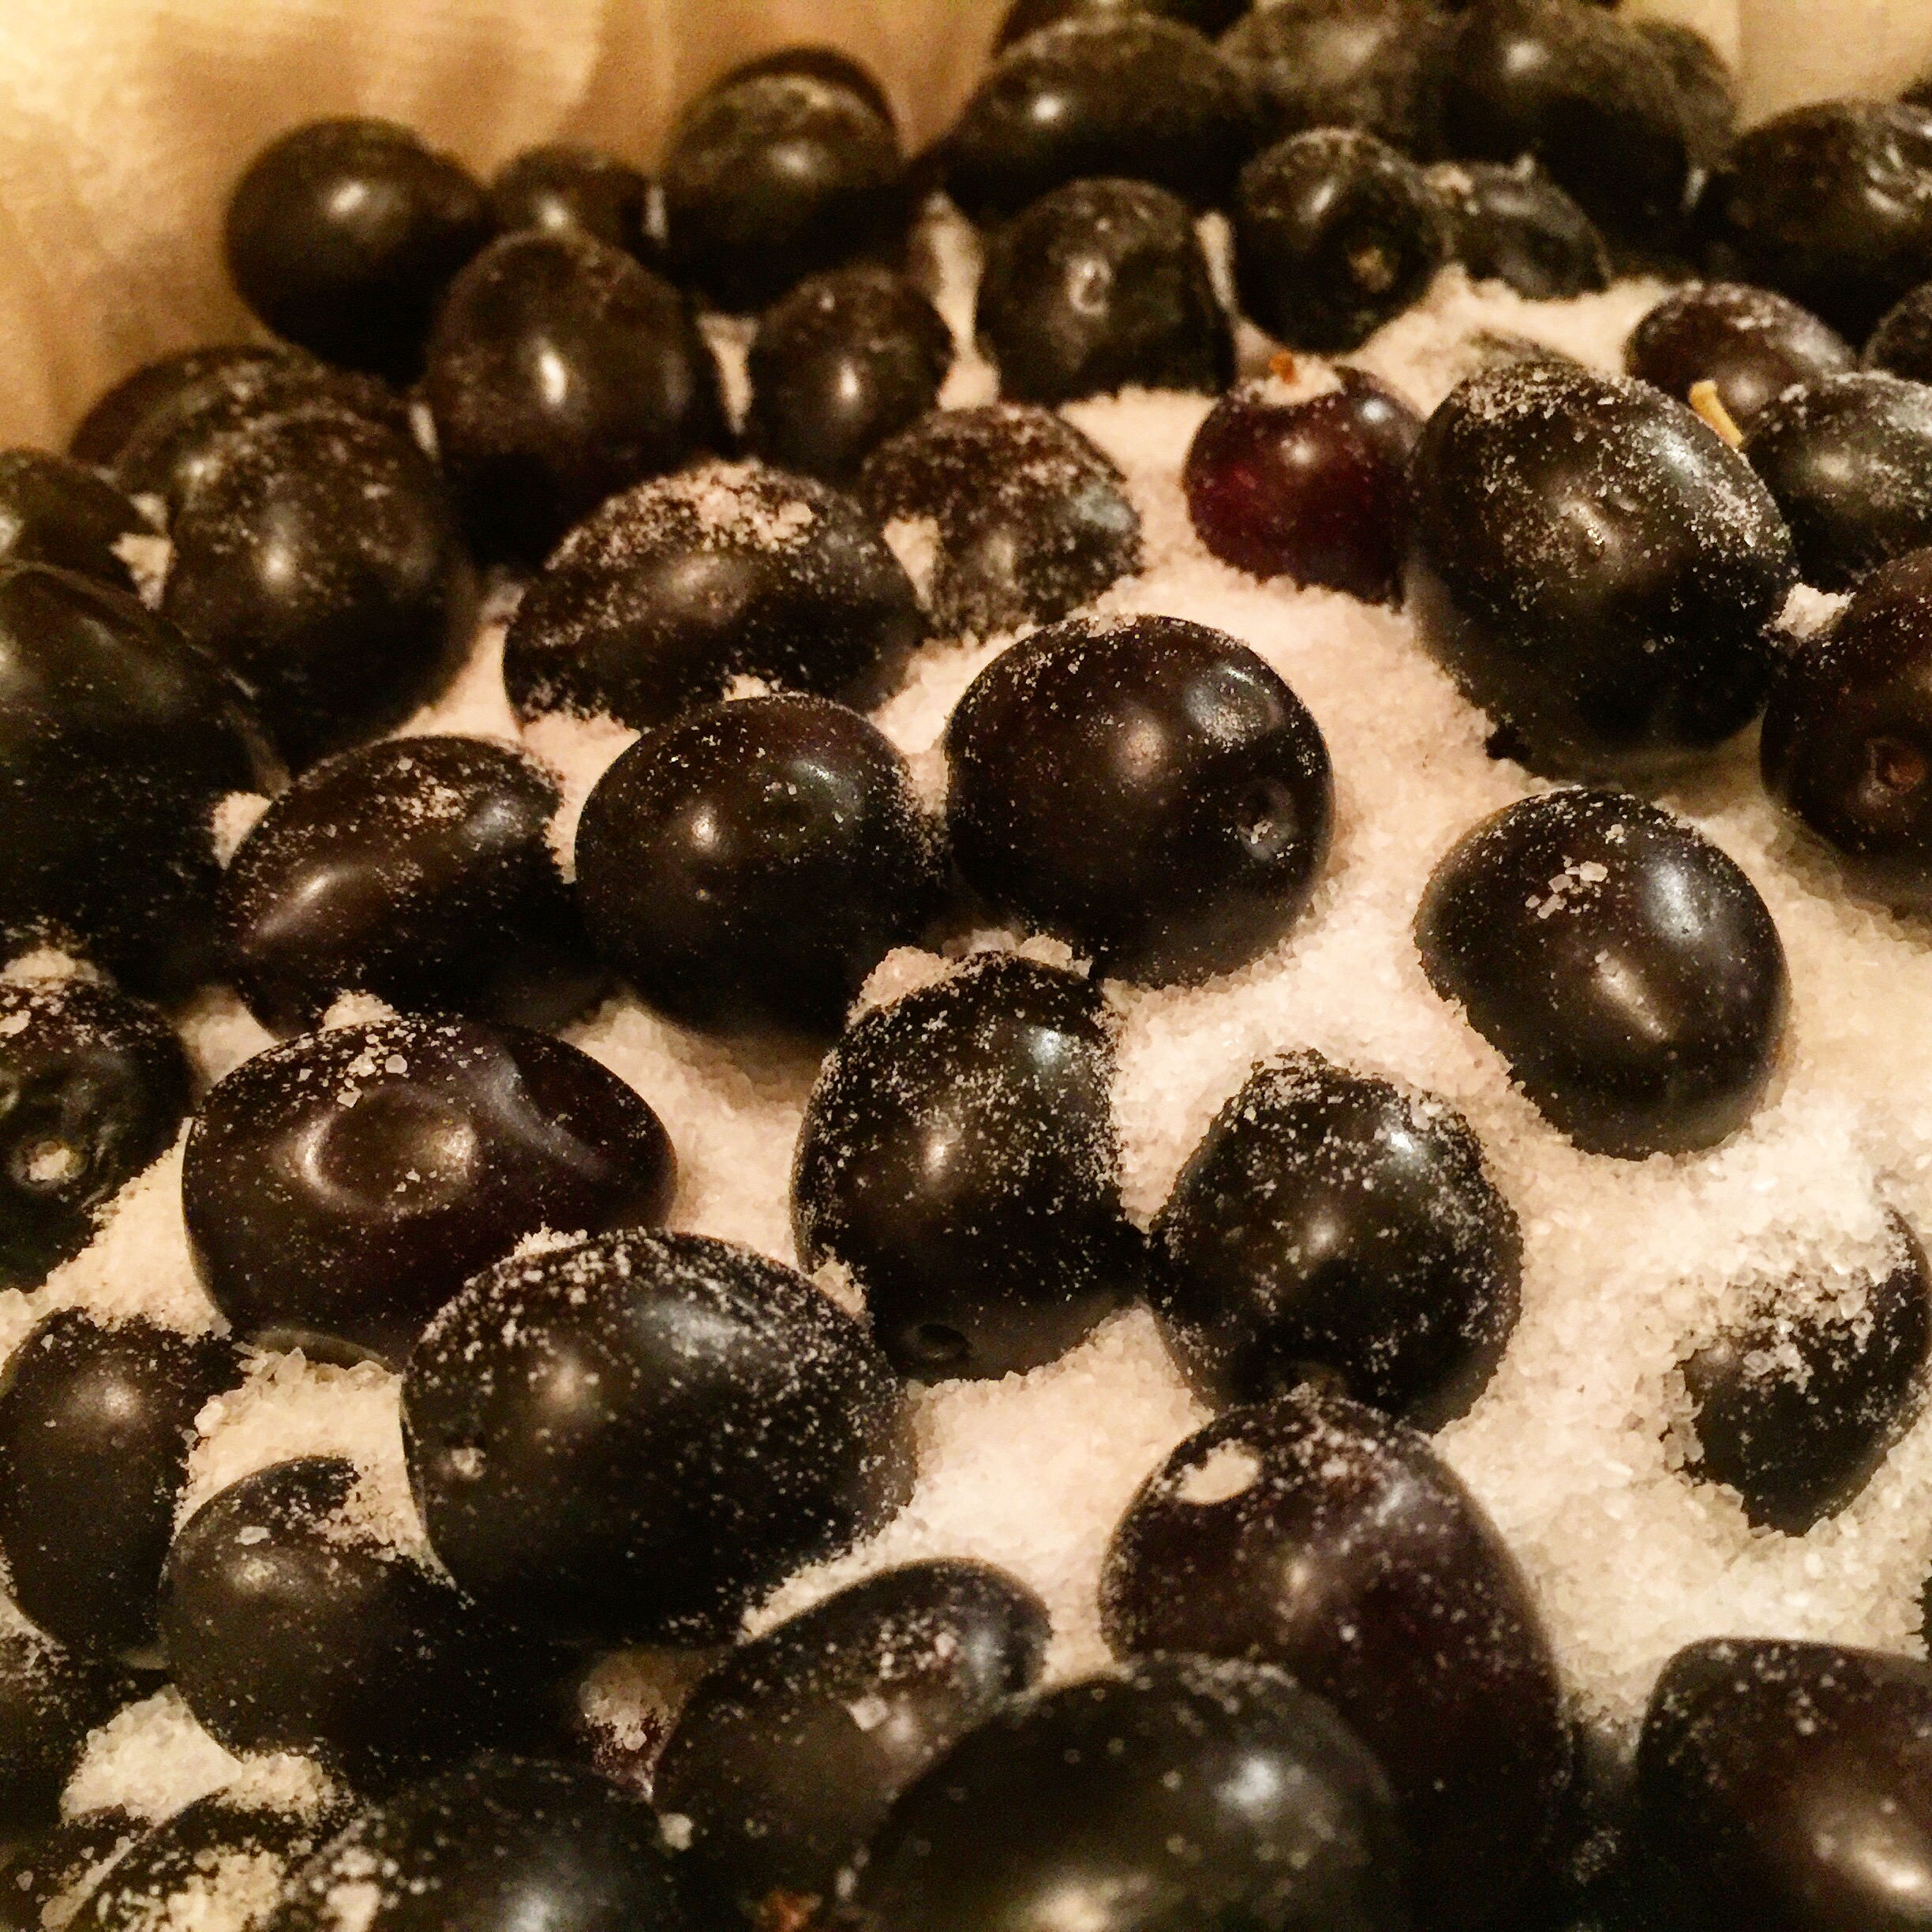
After you have sorted the good olives from the bad olives, weigh the olives that you have. Mix the olives to salt in a 2:1 ratio (aka for 2 lbs for olives, mix in 1 lb of salt). Mix them thoroughly.

Next, you want to set up a container to hold the salt and olives for the next 6-8 weeks at room temperature (60-80 F). I used a cheese mold lined in cheesecloth that worked out well.

image(120)

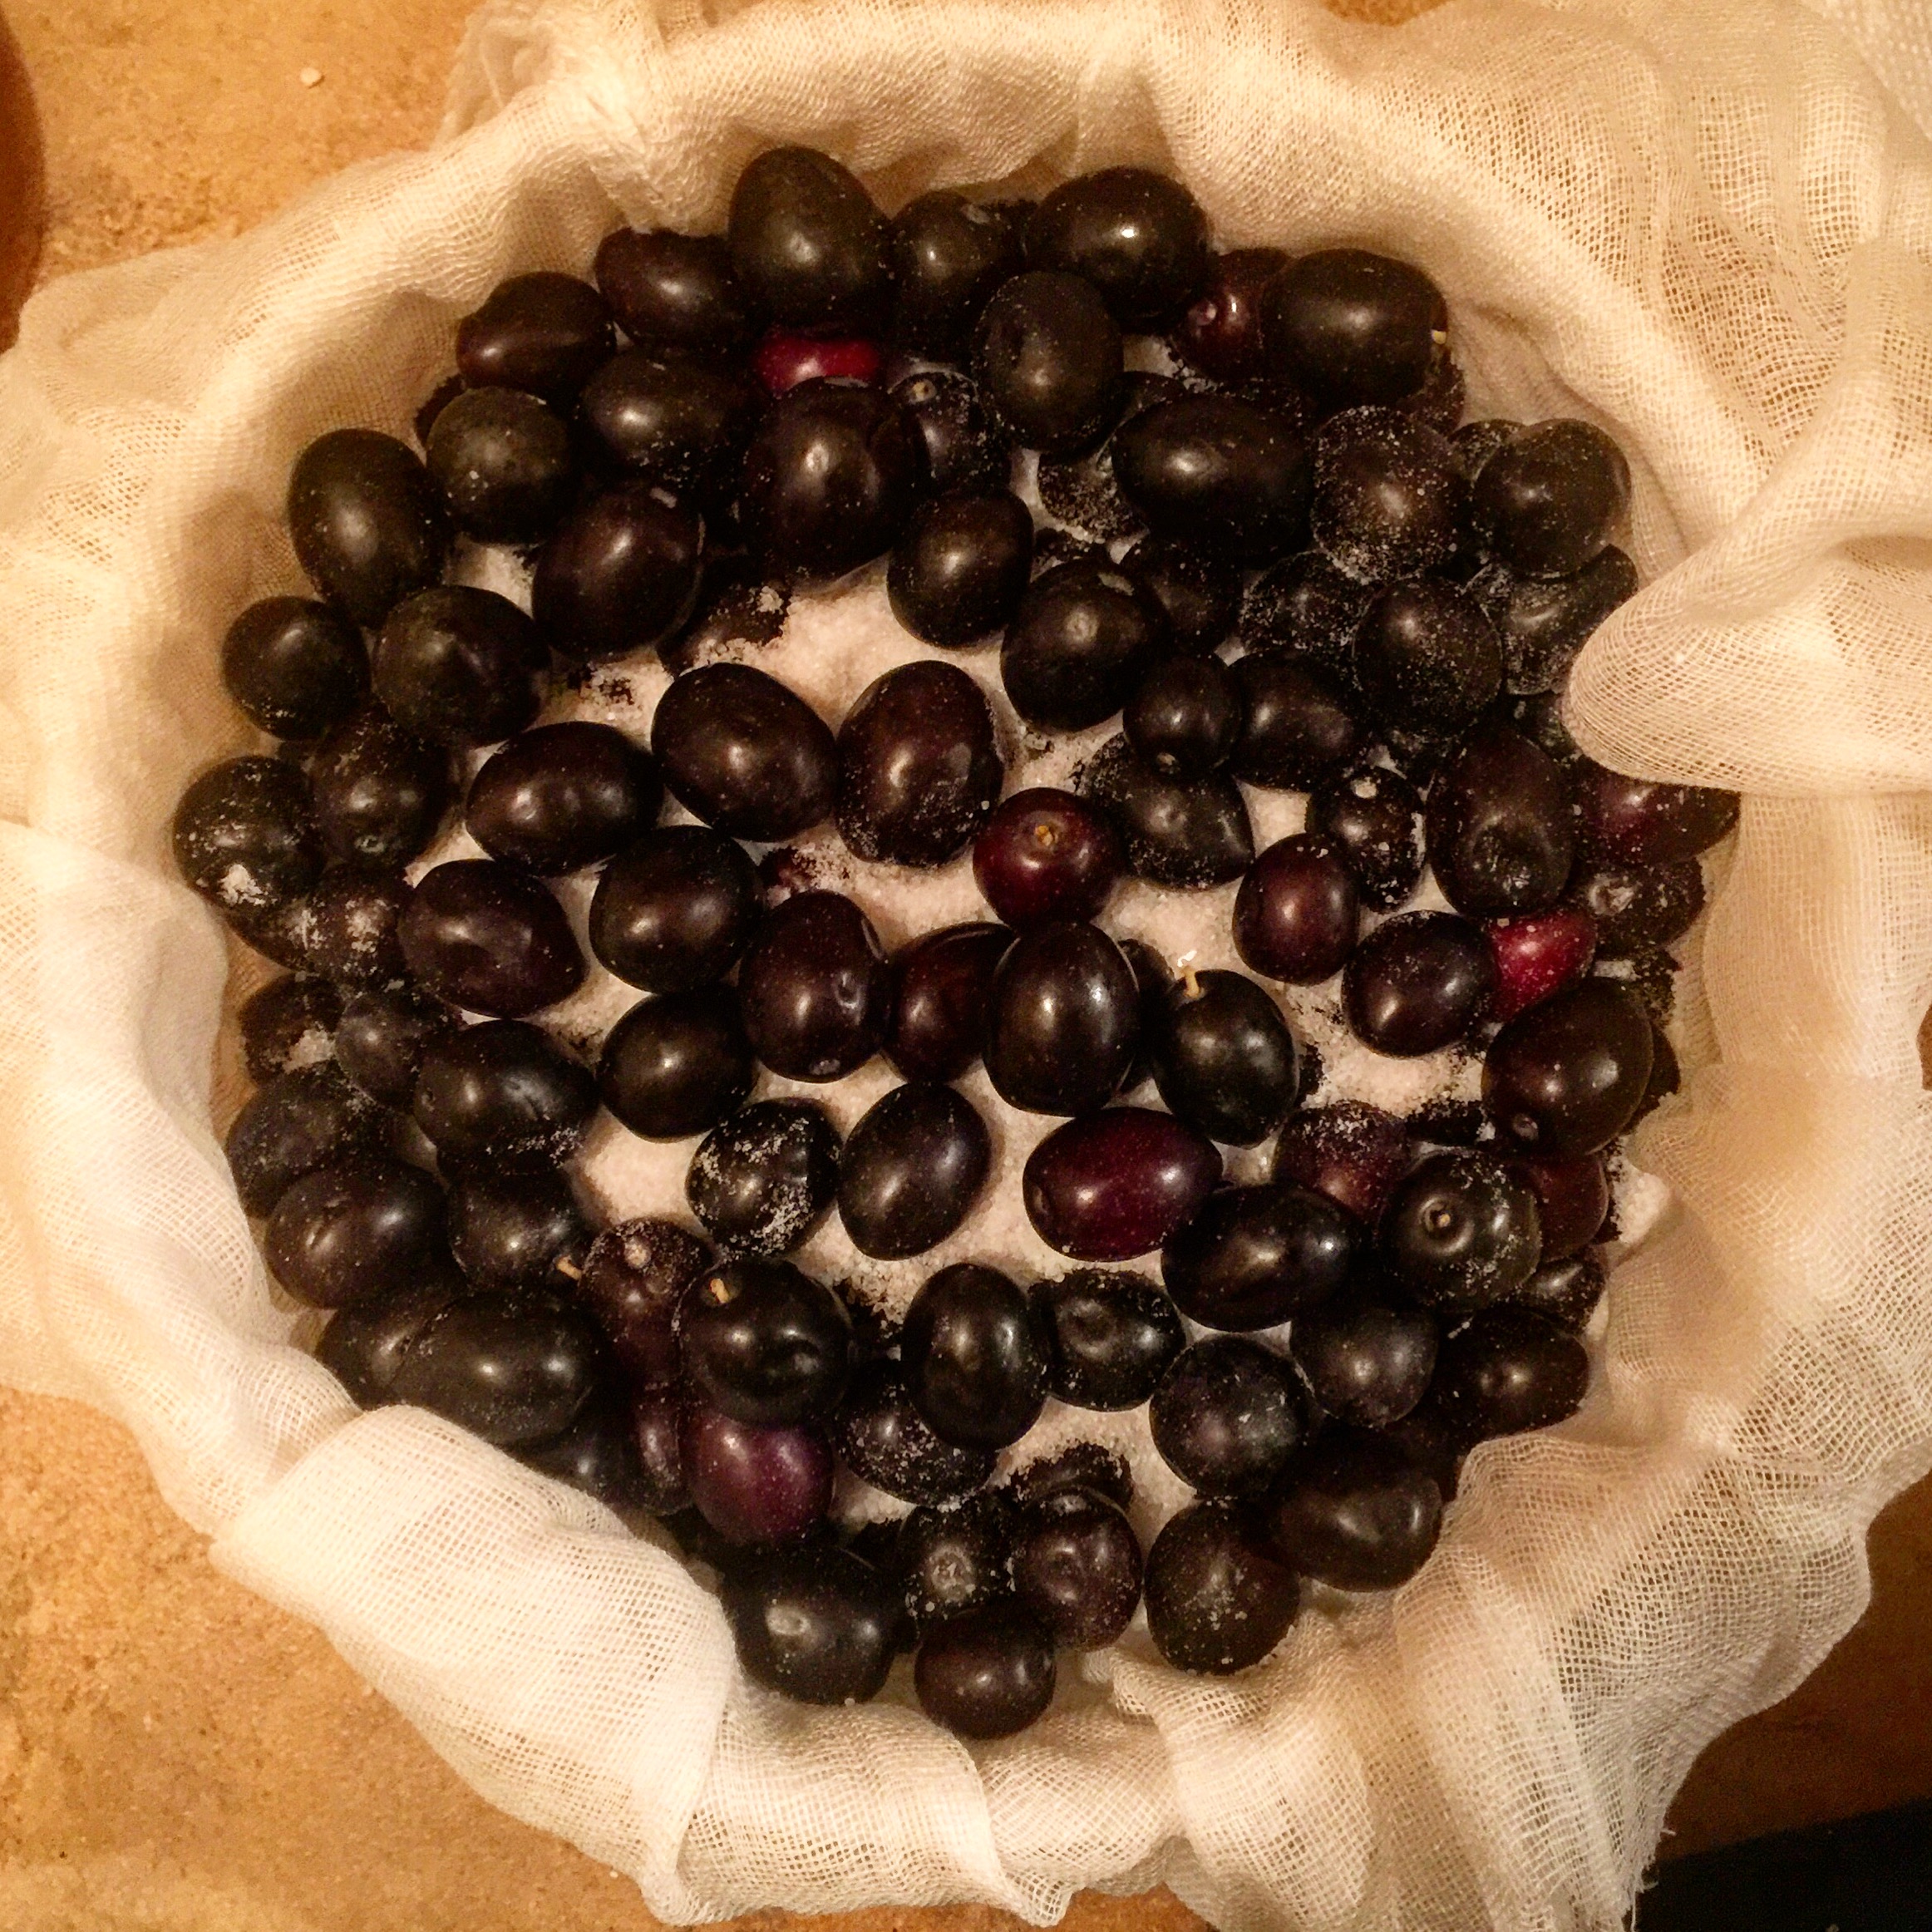
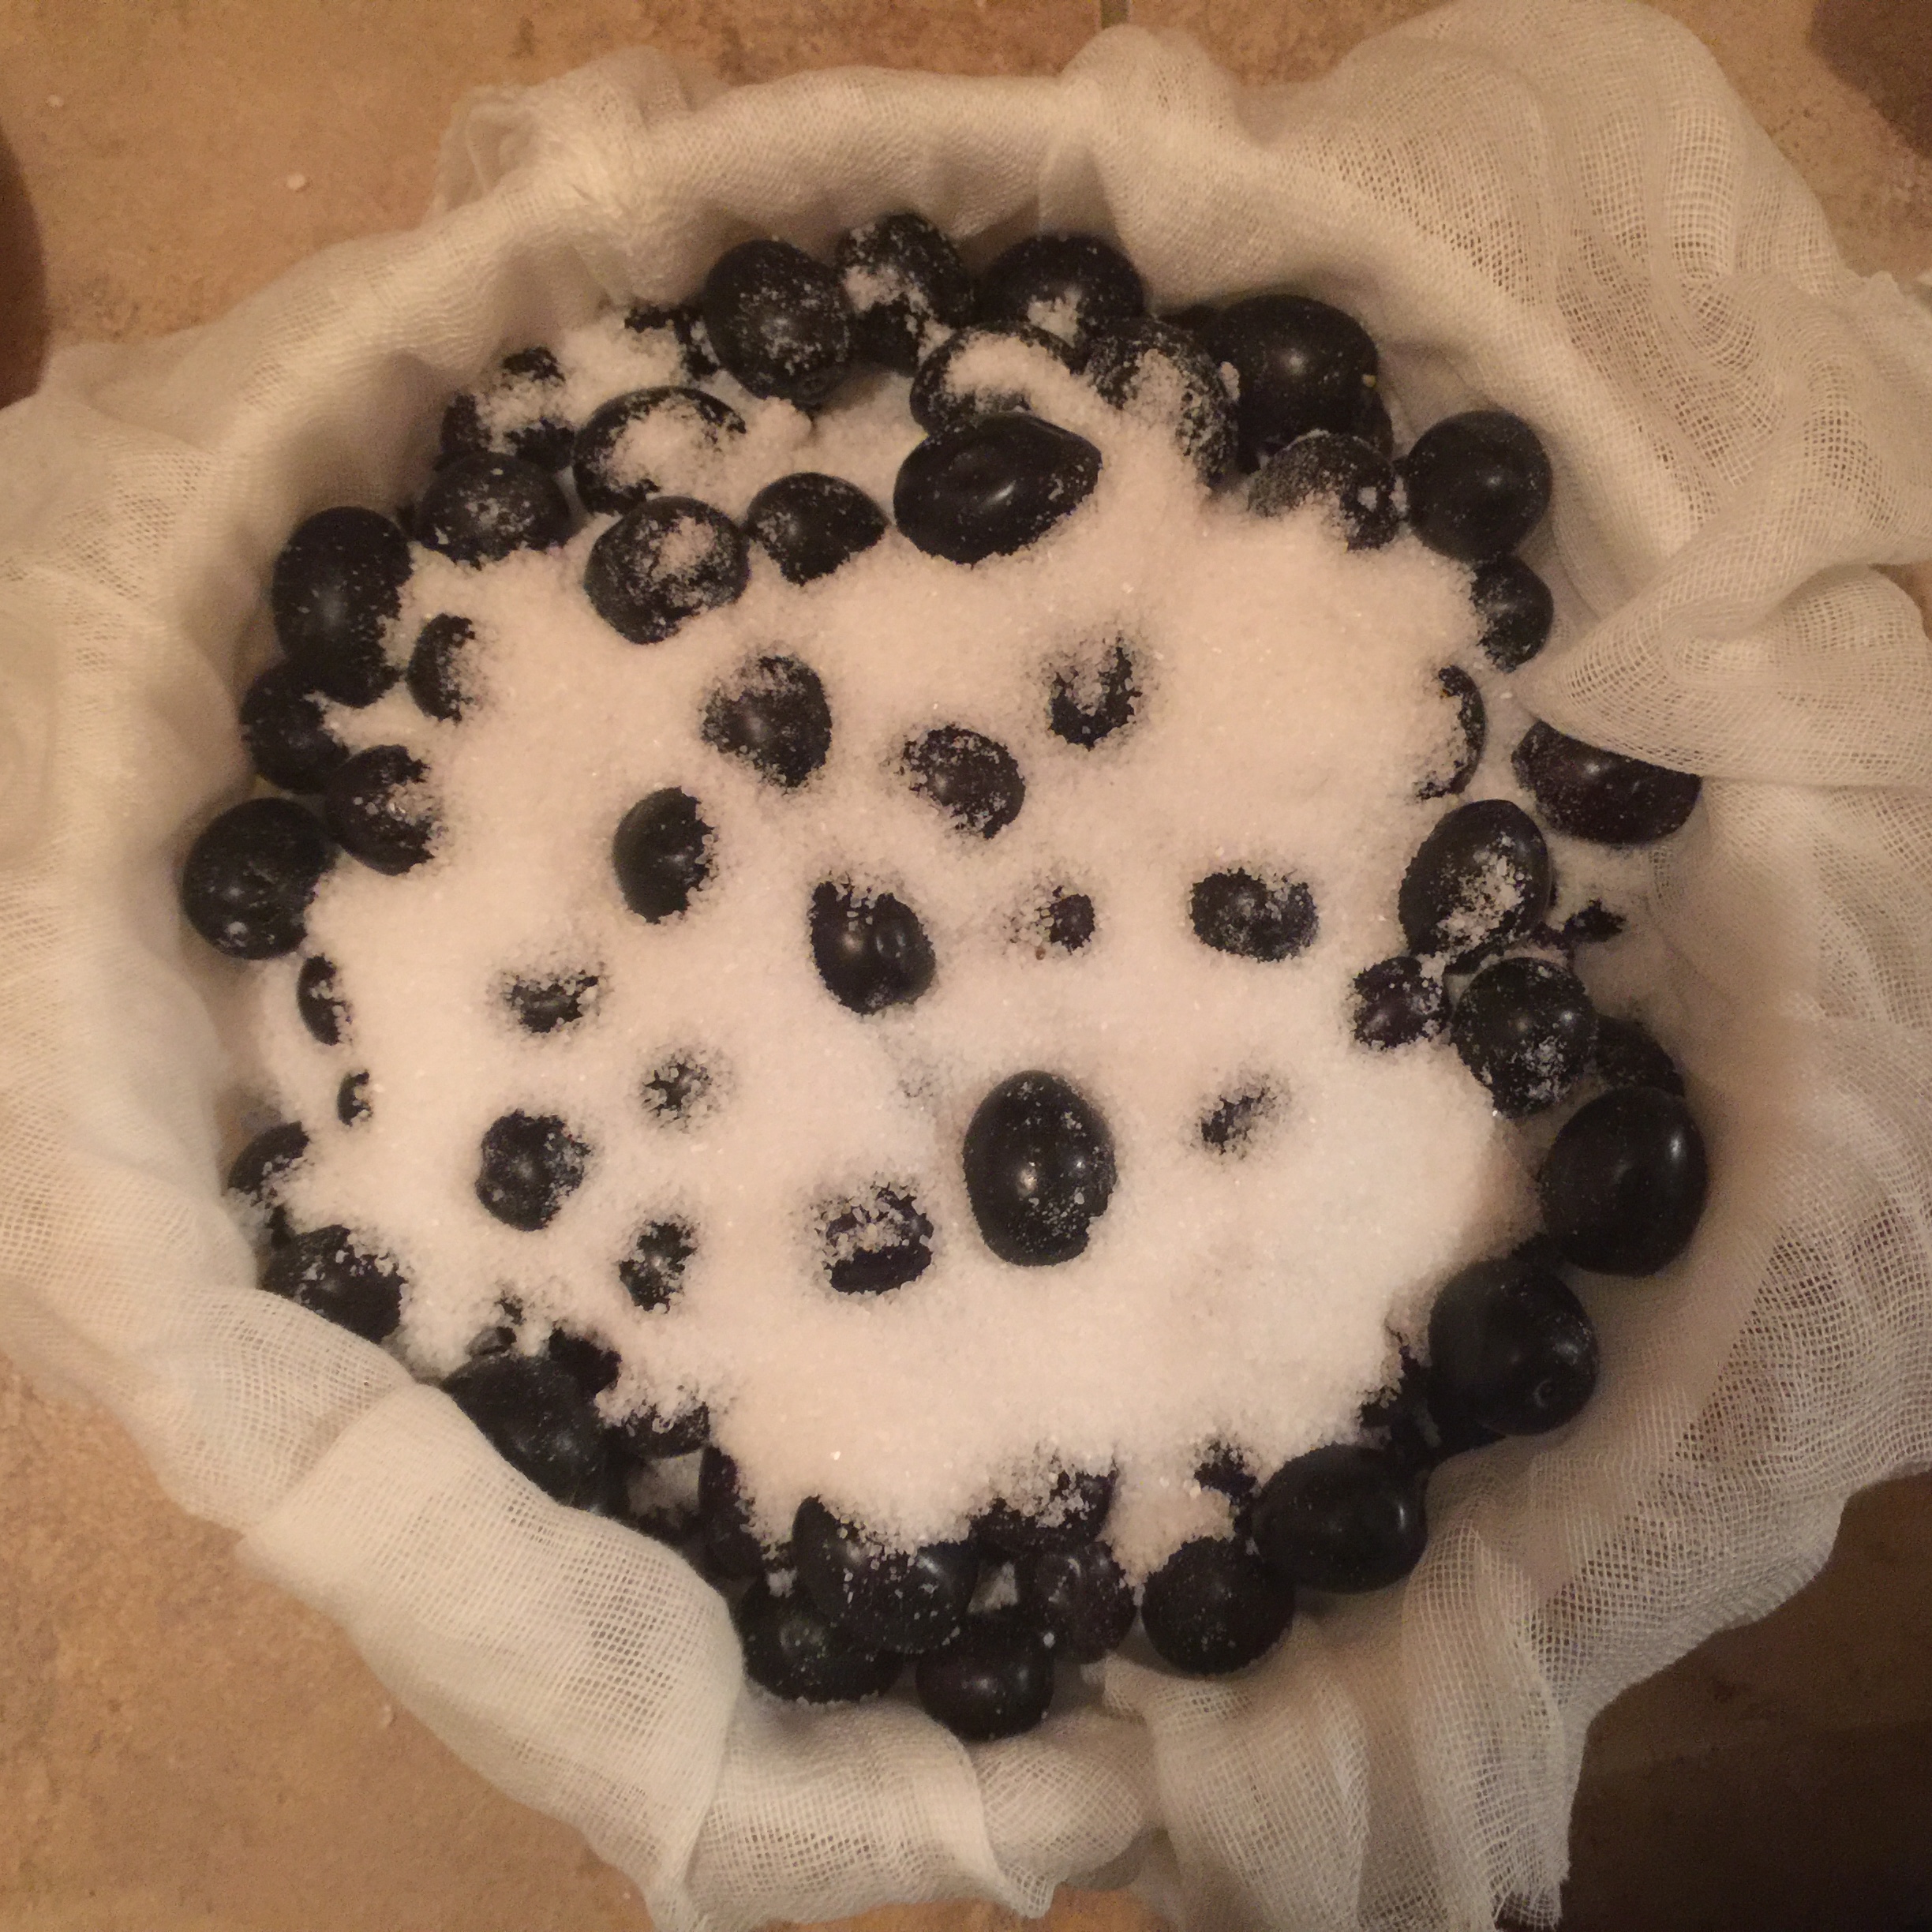
Pour the olives into the container, cover with a new layer of salt, and lay the tails of the cheesecloth over the olive and salt mixture.

image(121)

Once a week, re-mix this mixture by pouring the olives and salt into another container, mixing it around, and pouring it back into the cheesecloth lined cheese mold.

image(122)

After 6-8 weeks, the olives are most likely ready.

image(123)

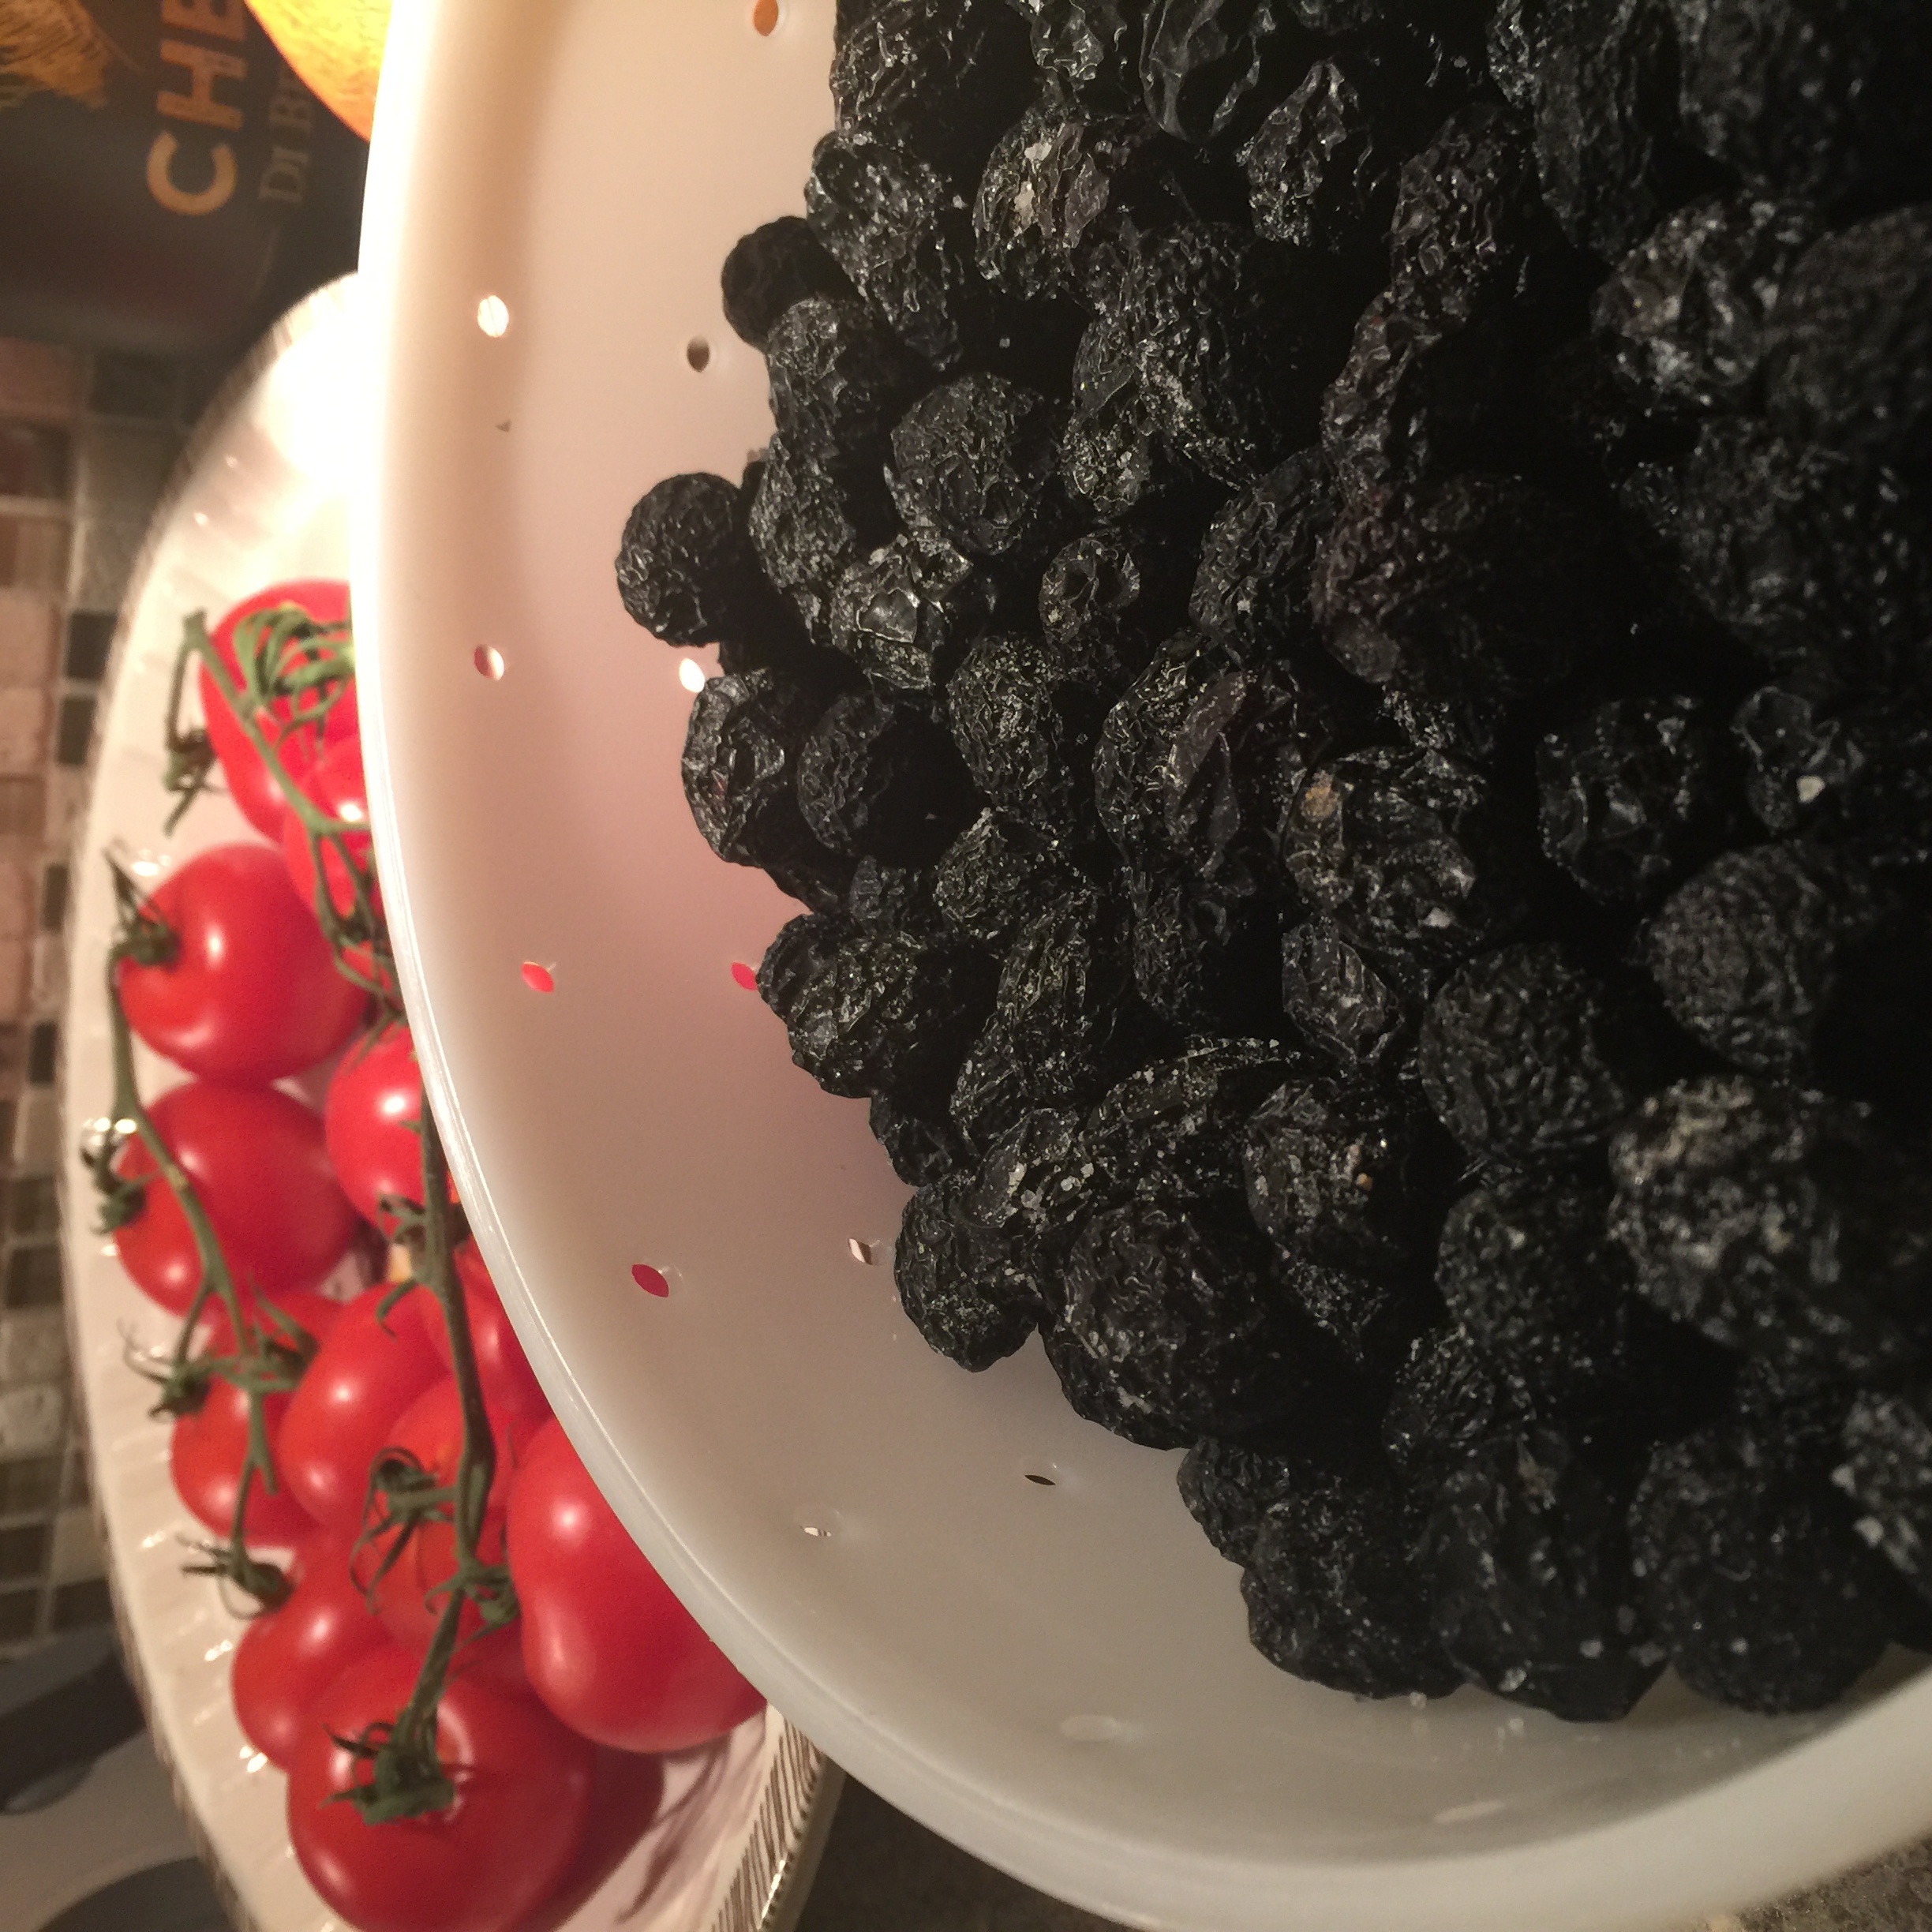
Pour the olives out over a sieve to get rid of the extra salt, and allow them to dry overnight.

image(24)b

image(23)

image(22)


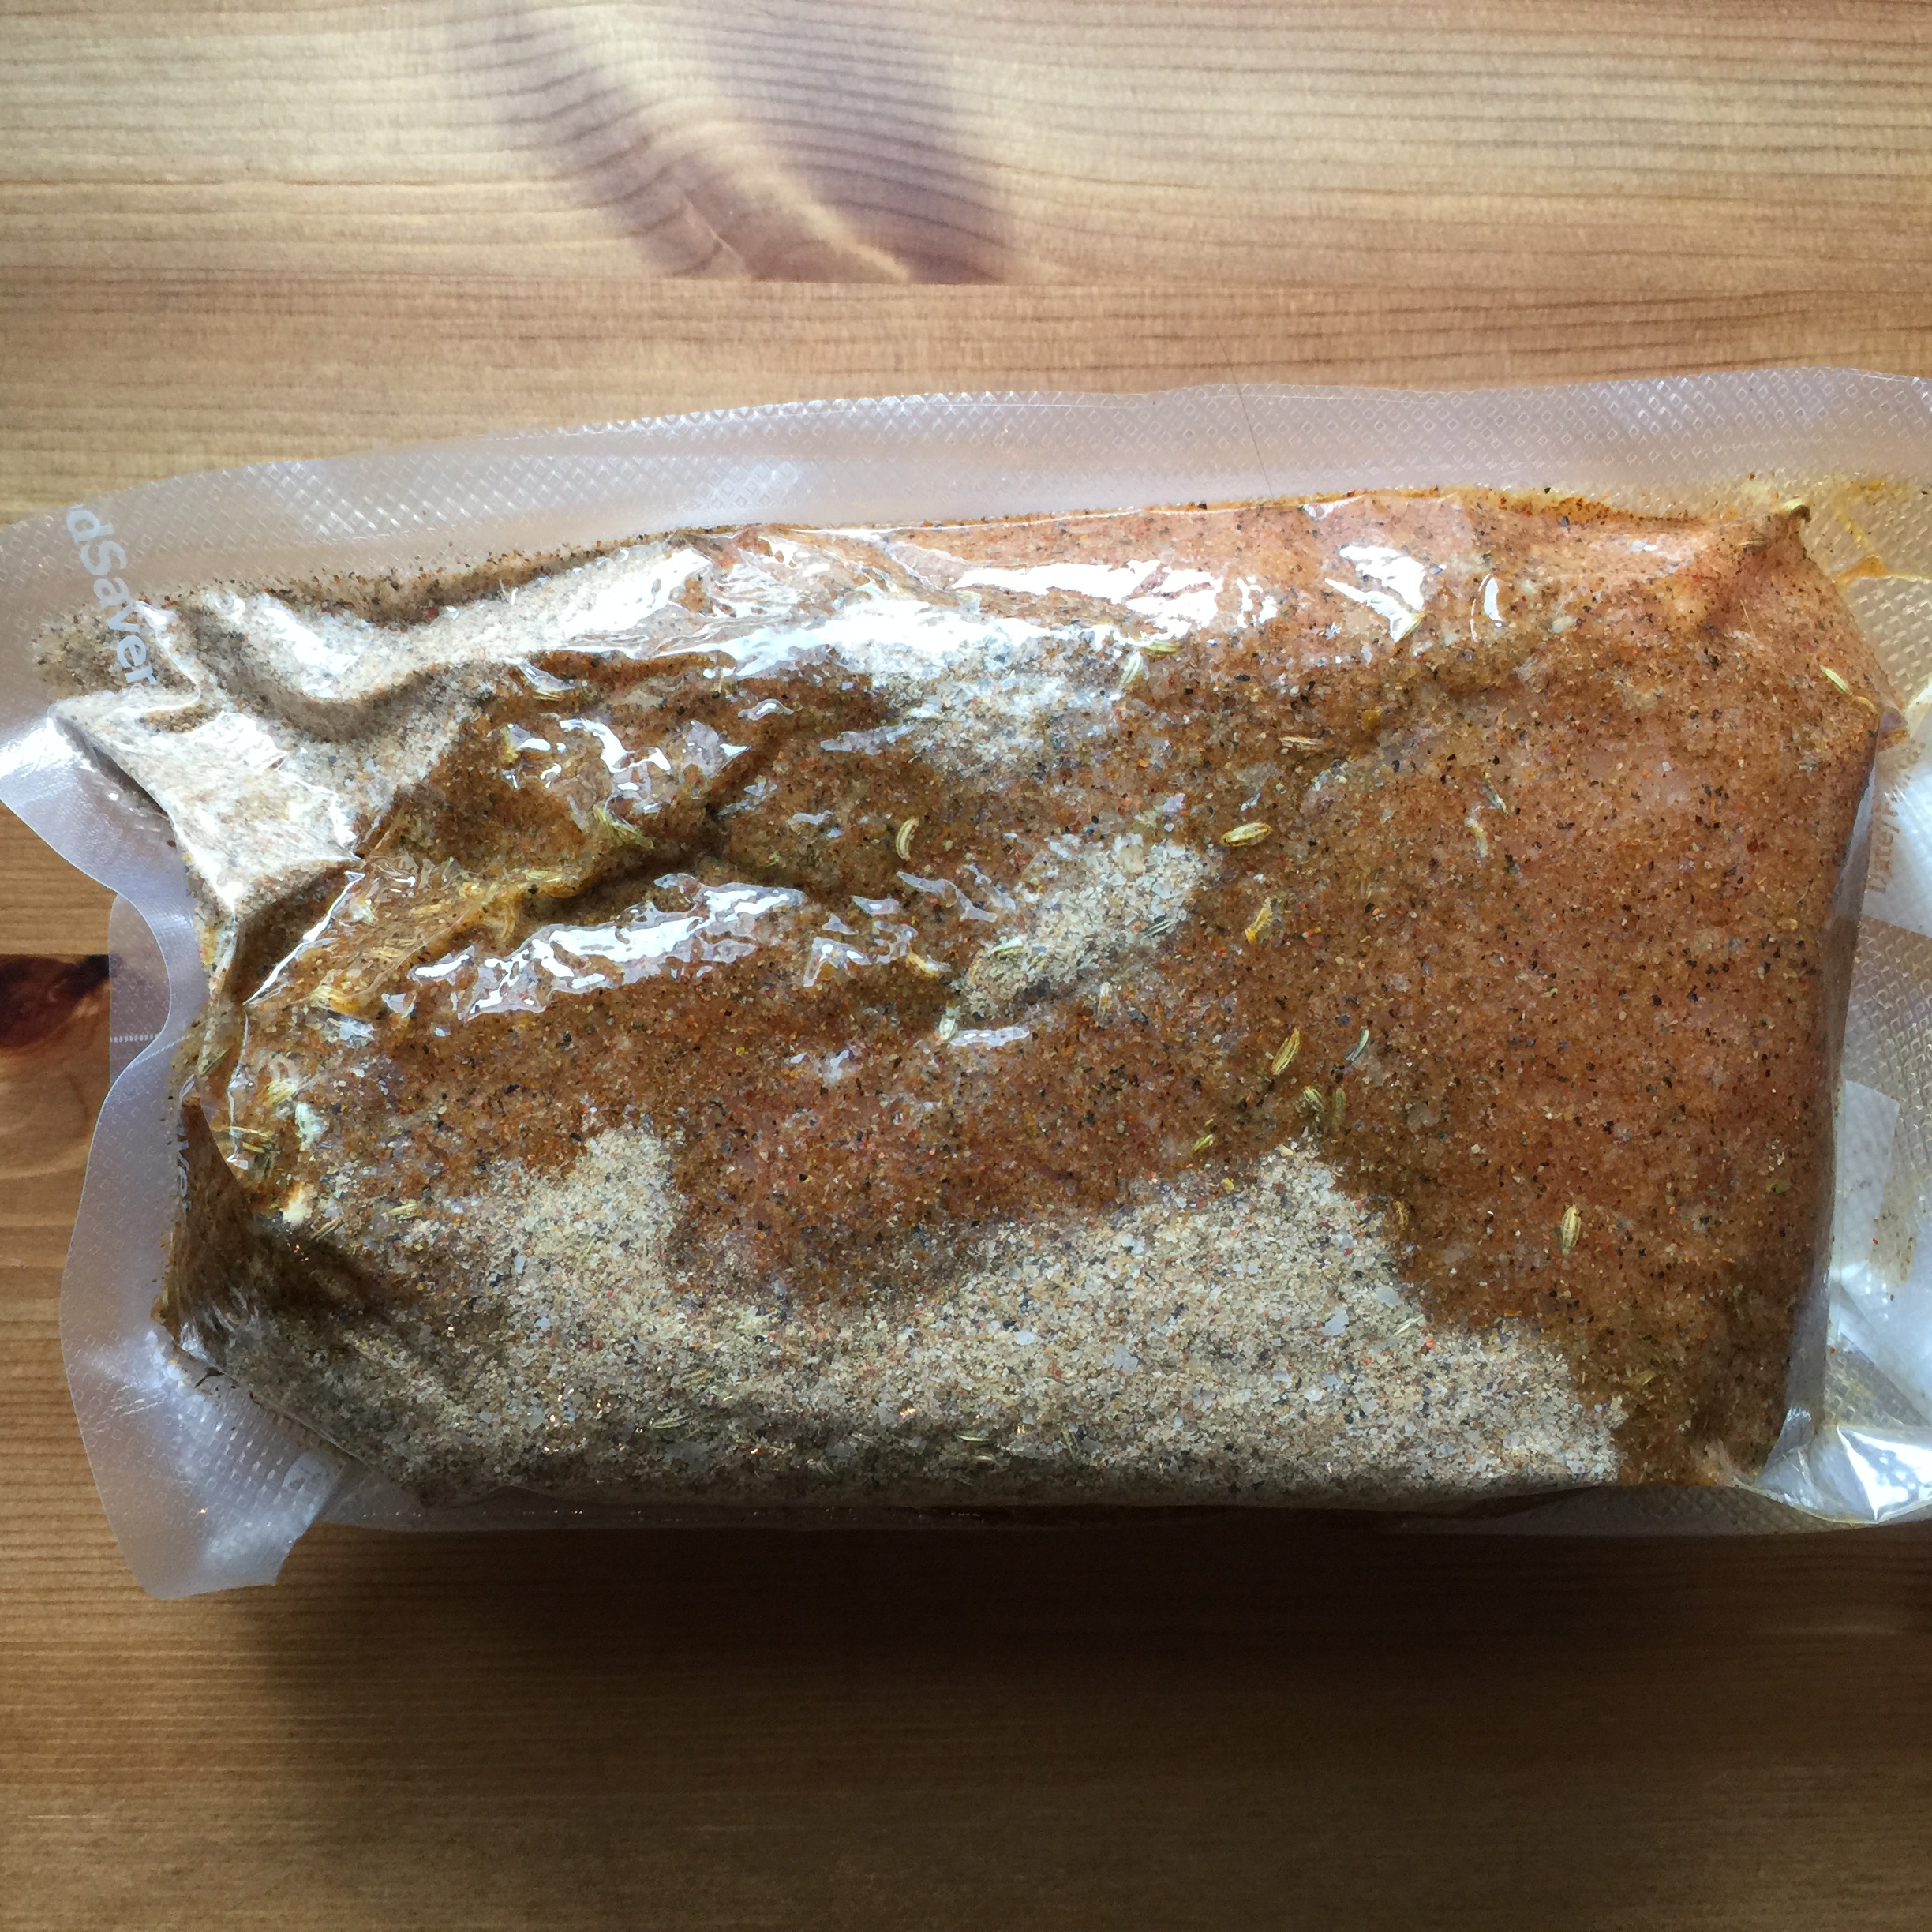
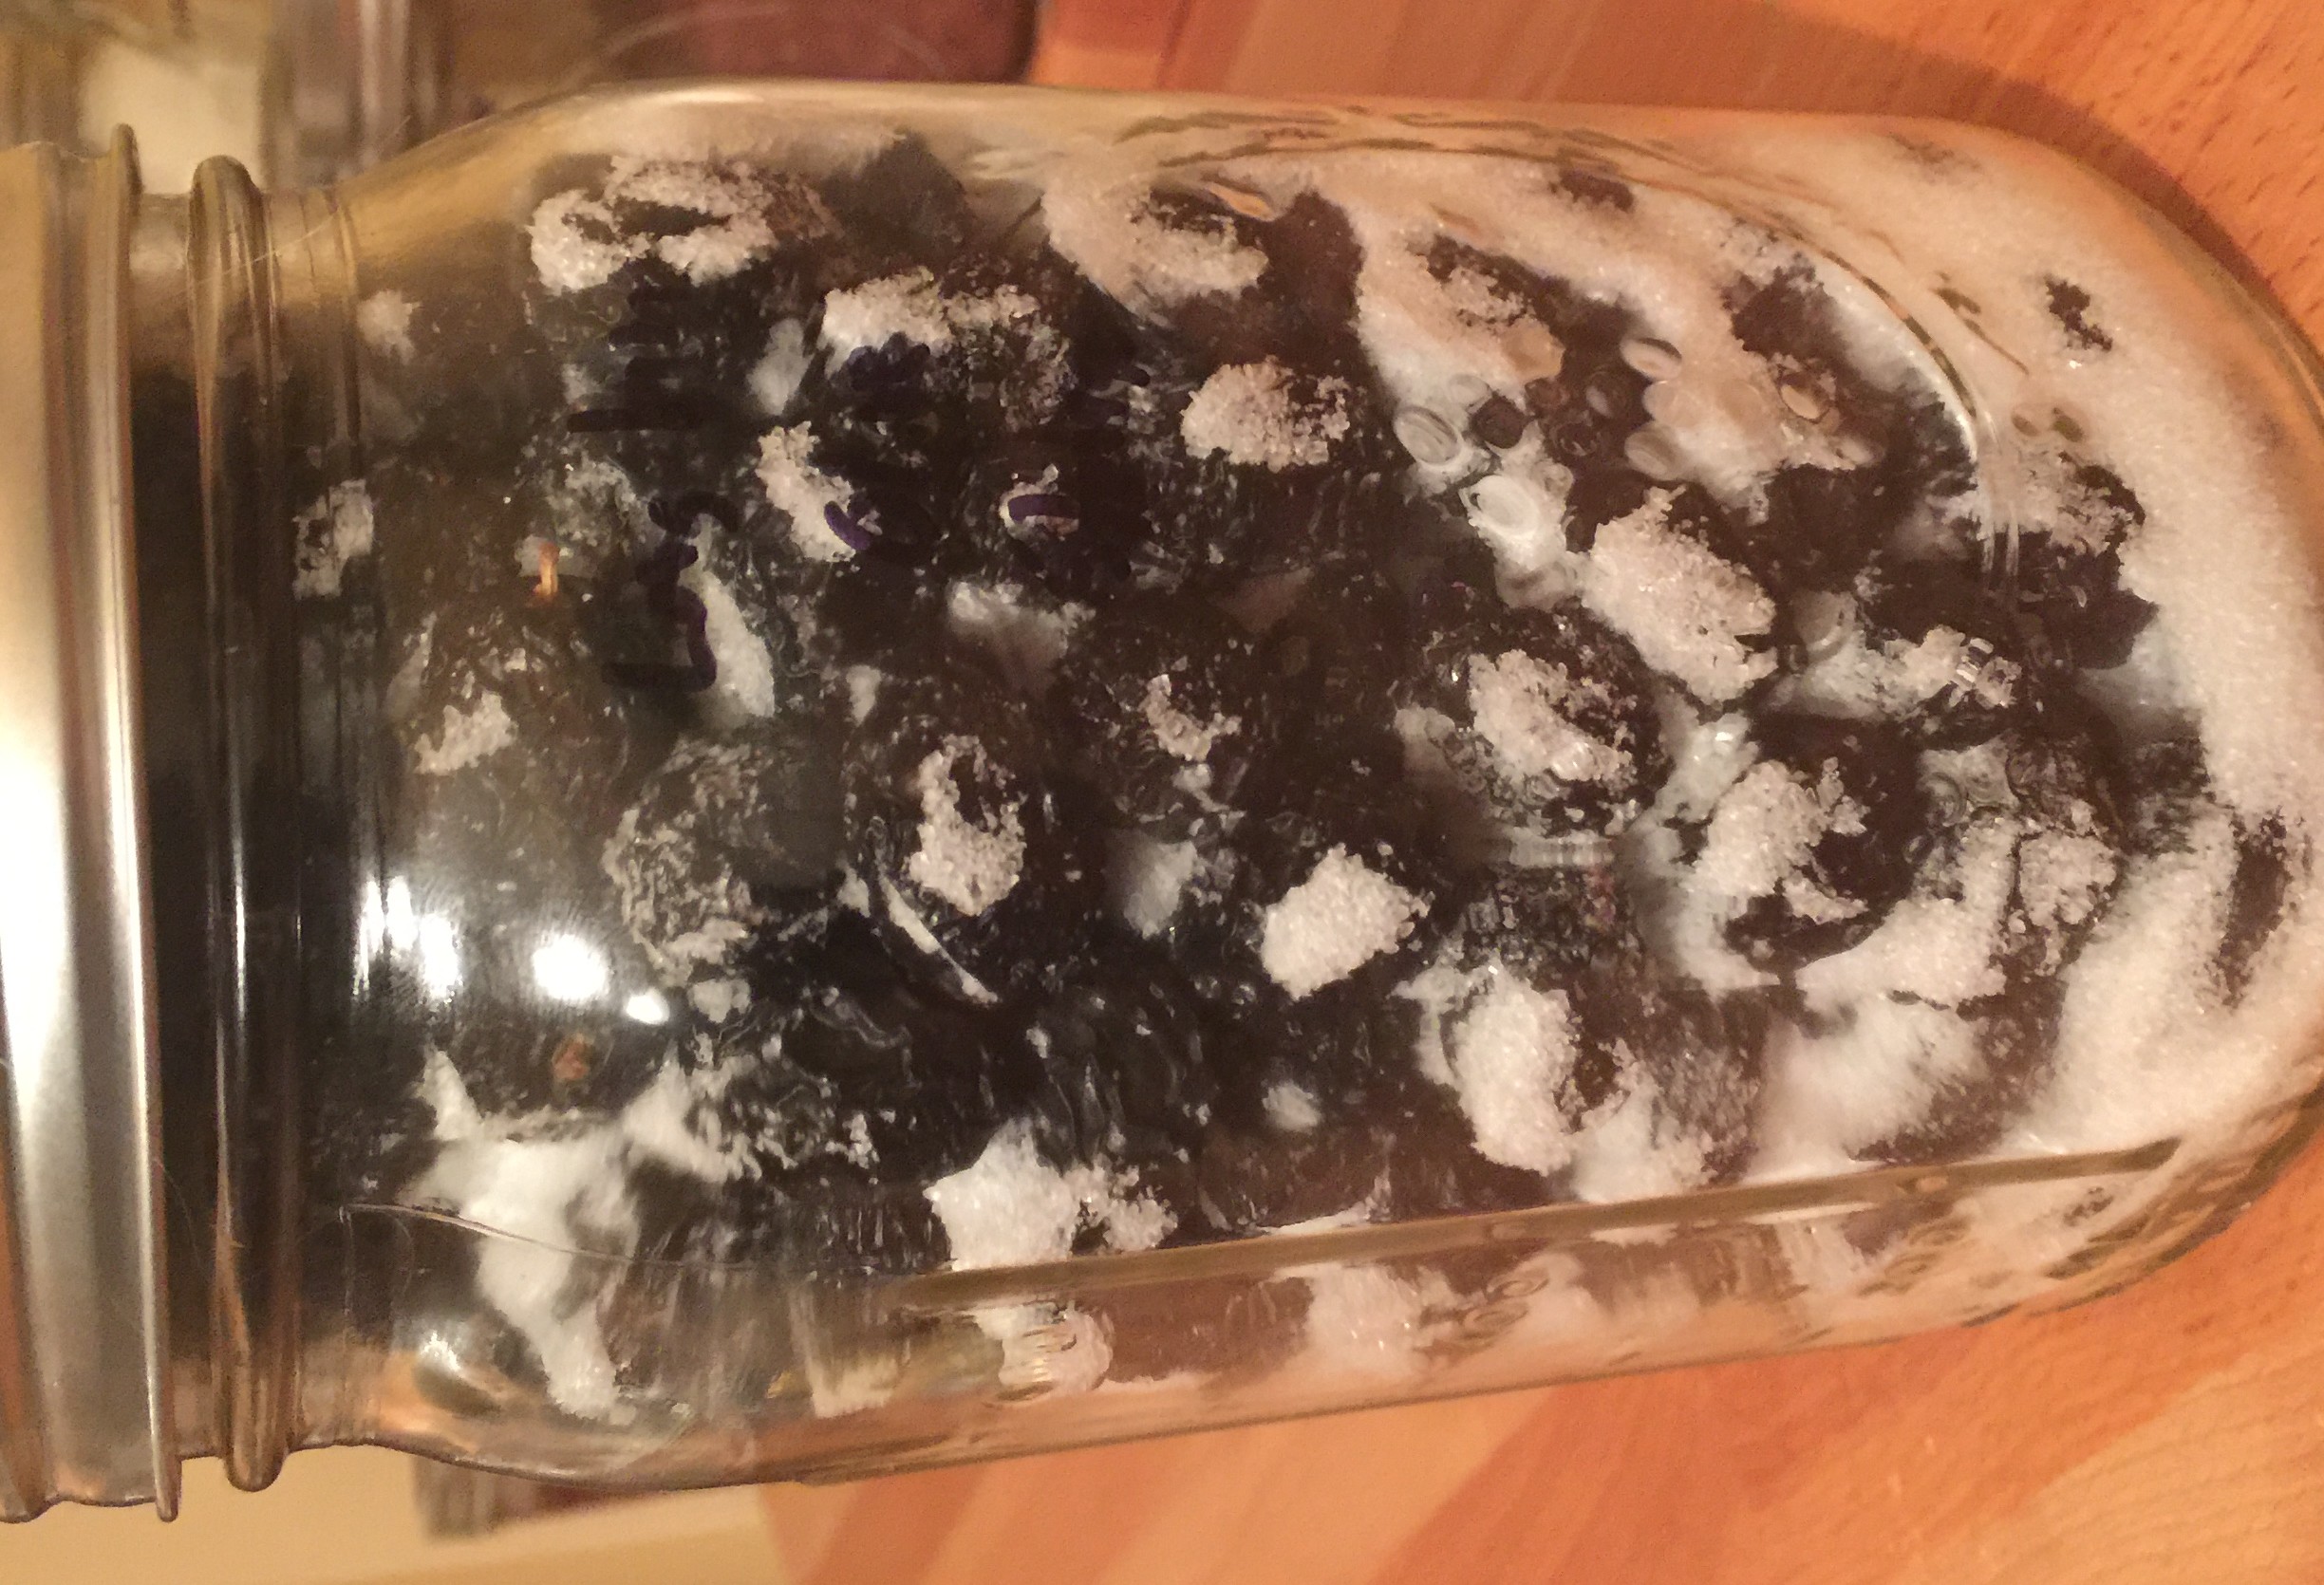
To store the olives: Make a 10:1 ratio of olives to salt (aka 10 lbs of olives to 1 lb of salt). Mix this together, and store in an airtight container at room temperature (use within 1 month), in the refrigerator (use within 6 months), or in the freezer (use within 12 months).

I stored mine in a mason jar that I sealed using a vacuum sealer, and they are now safely stored in the fridge.

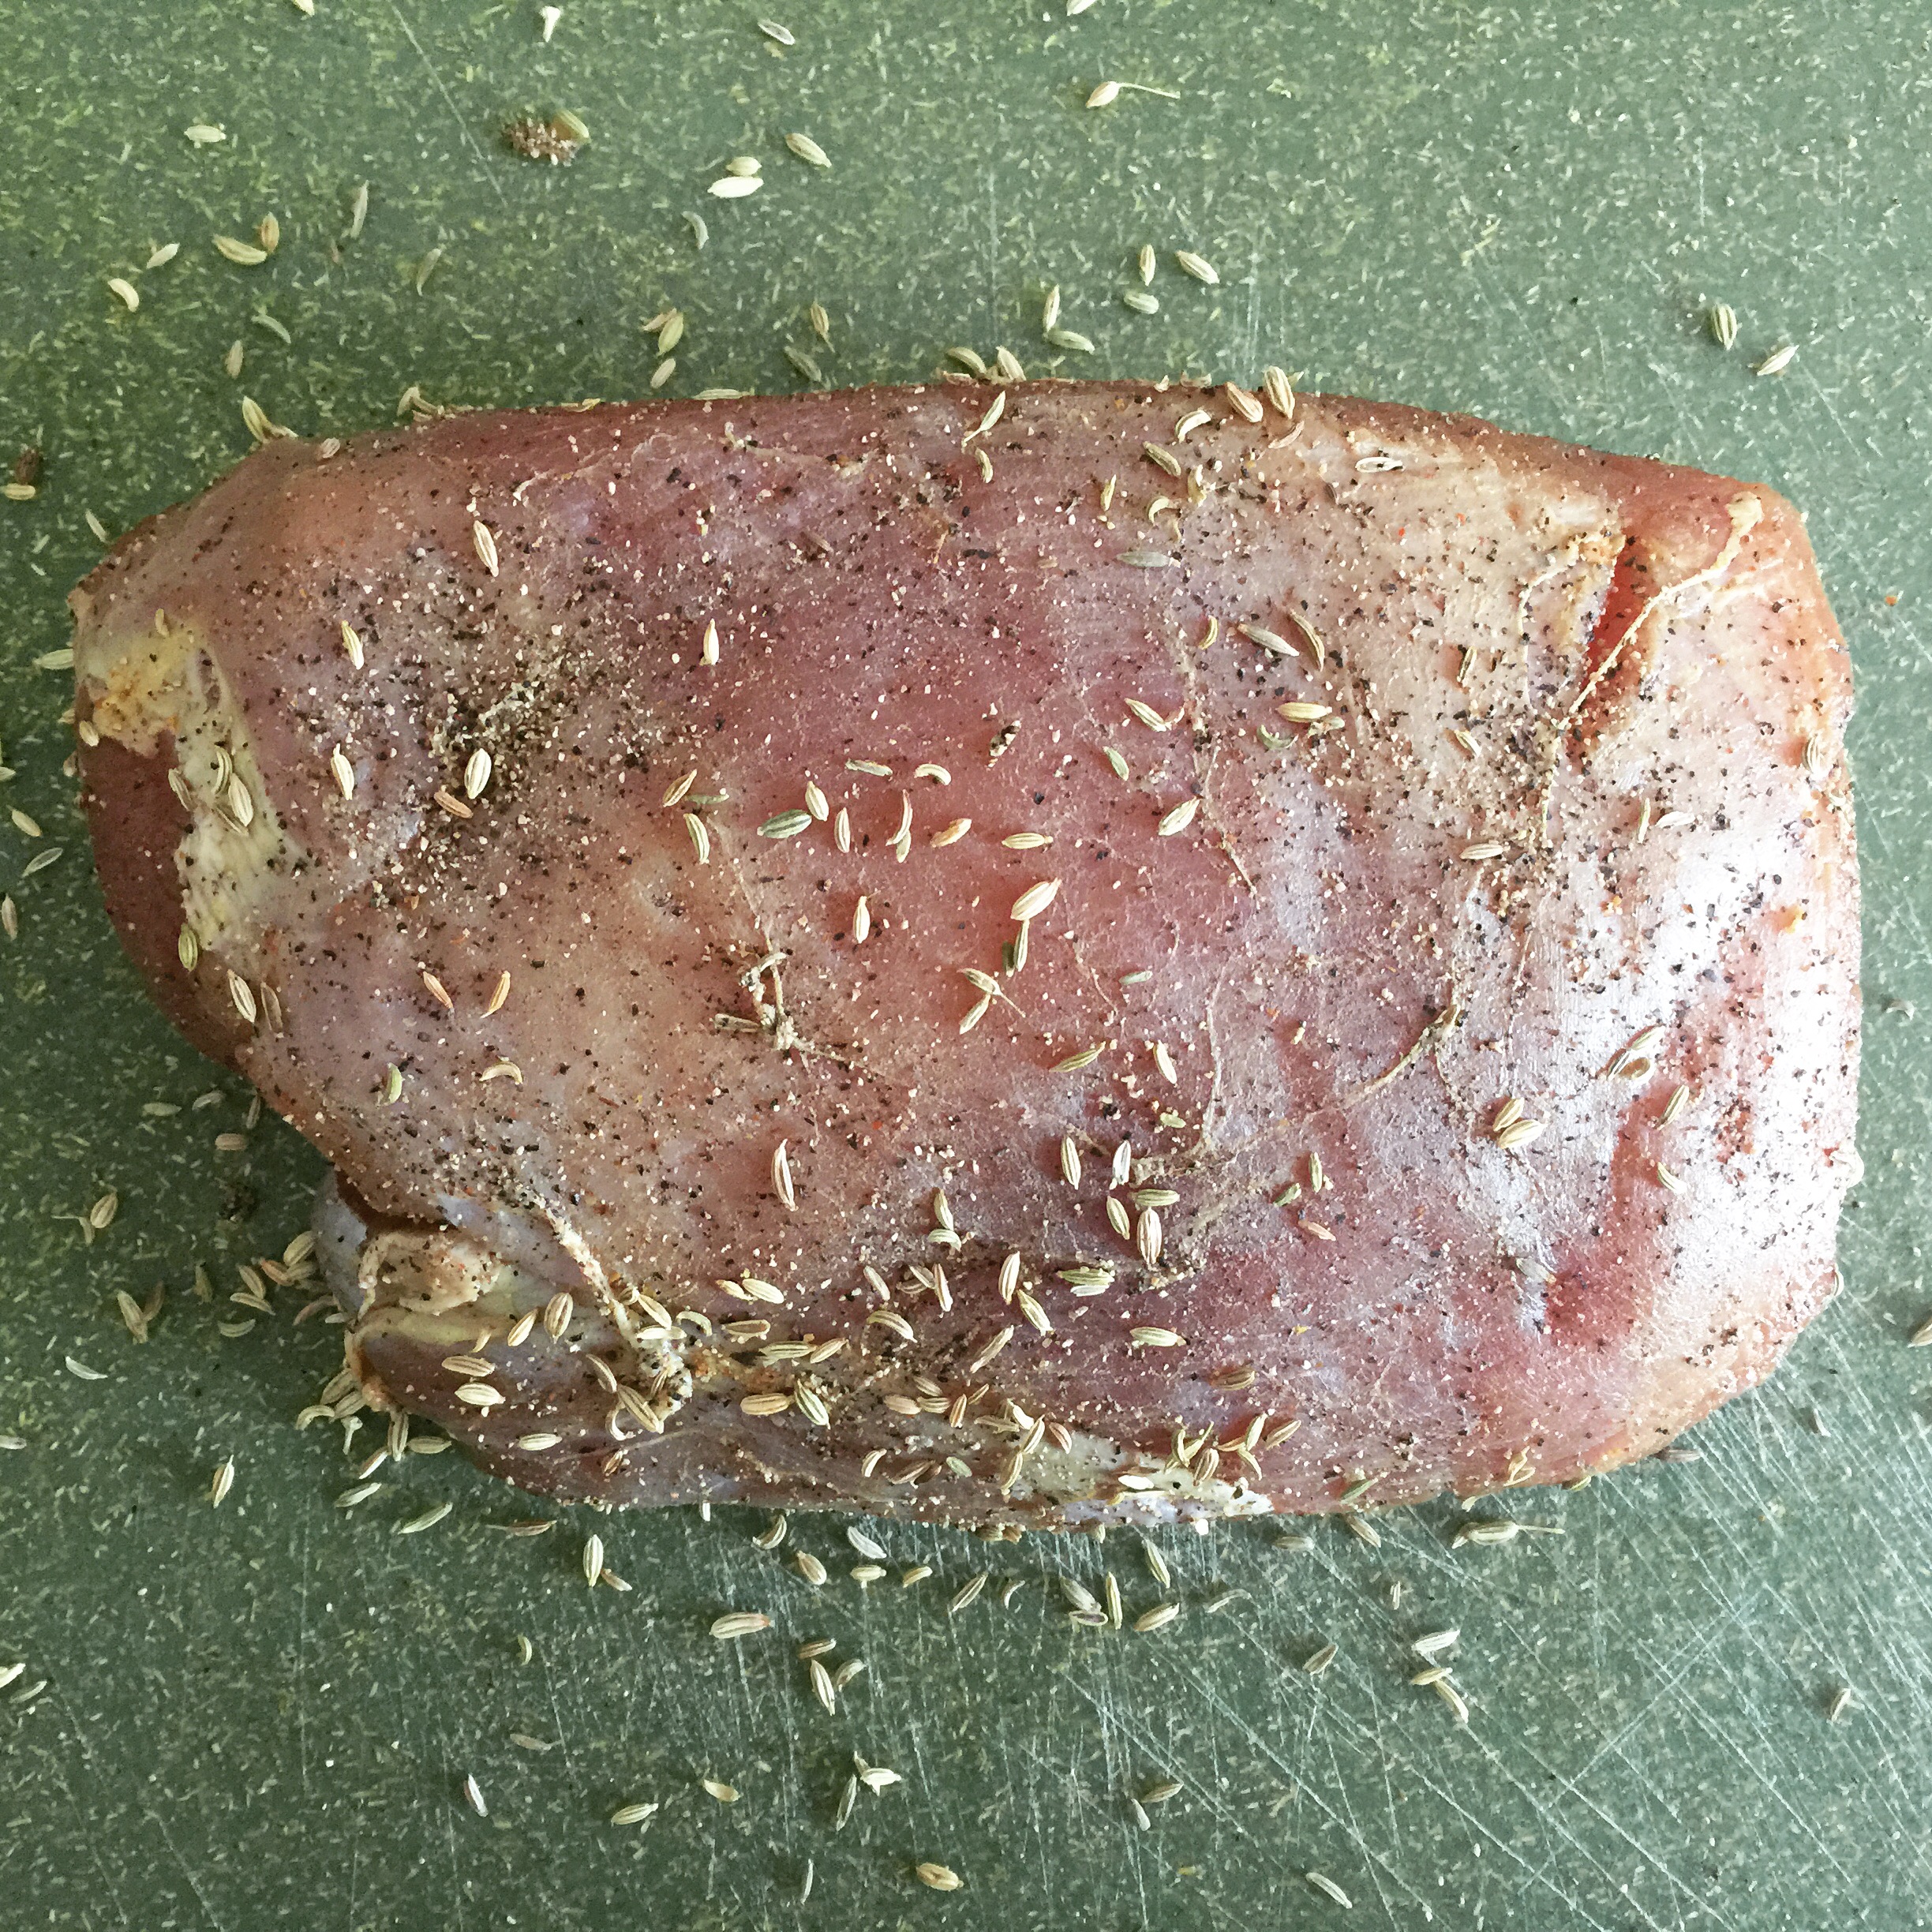
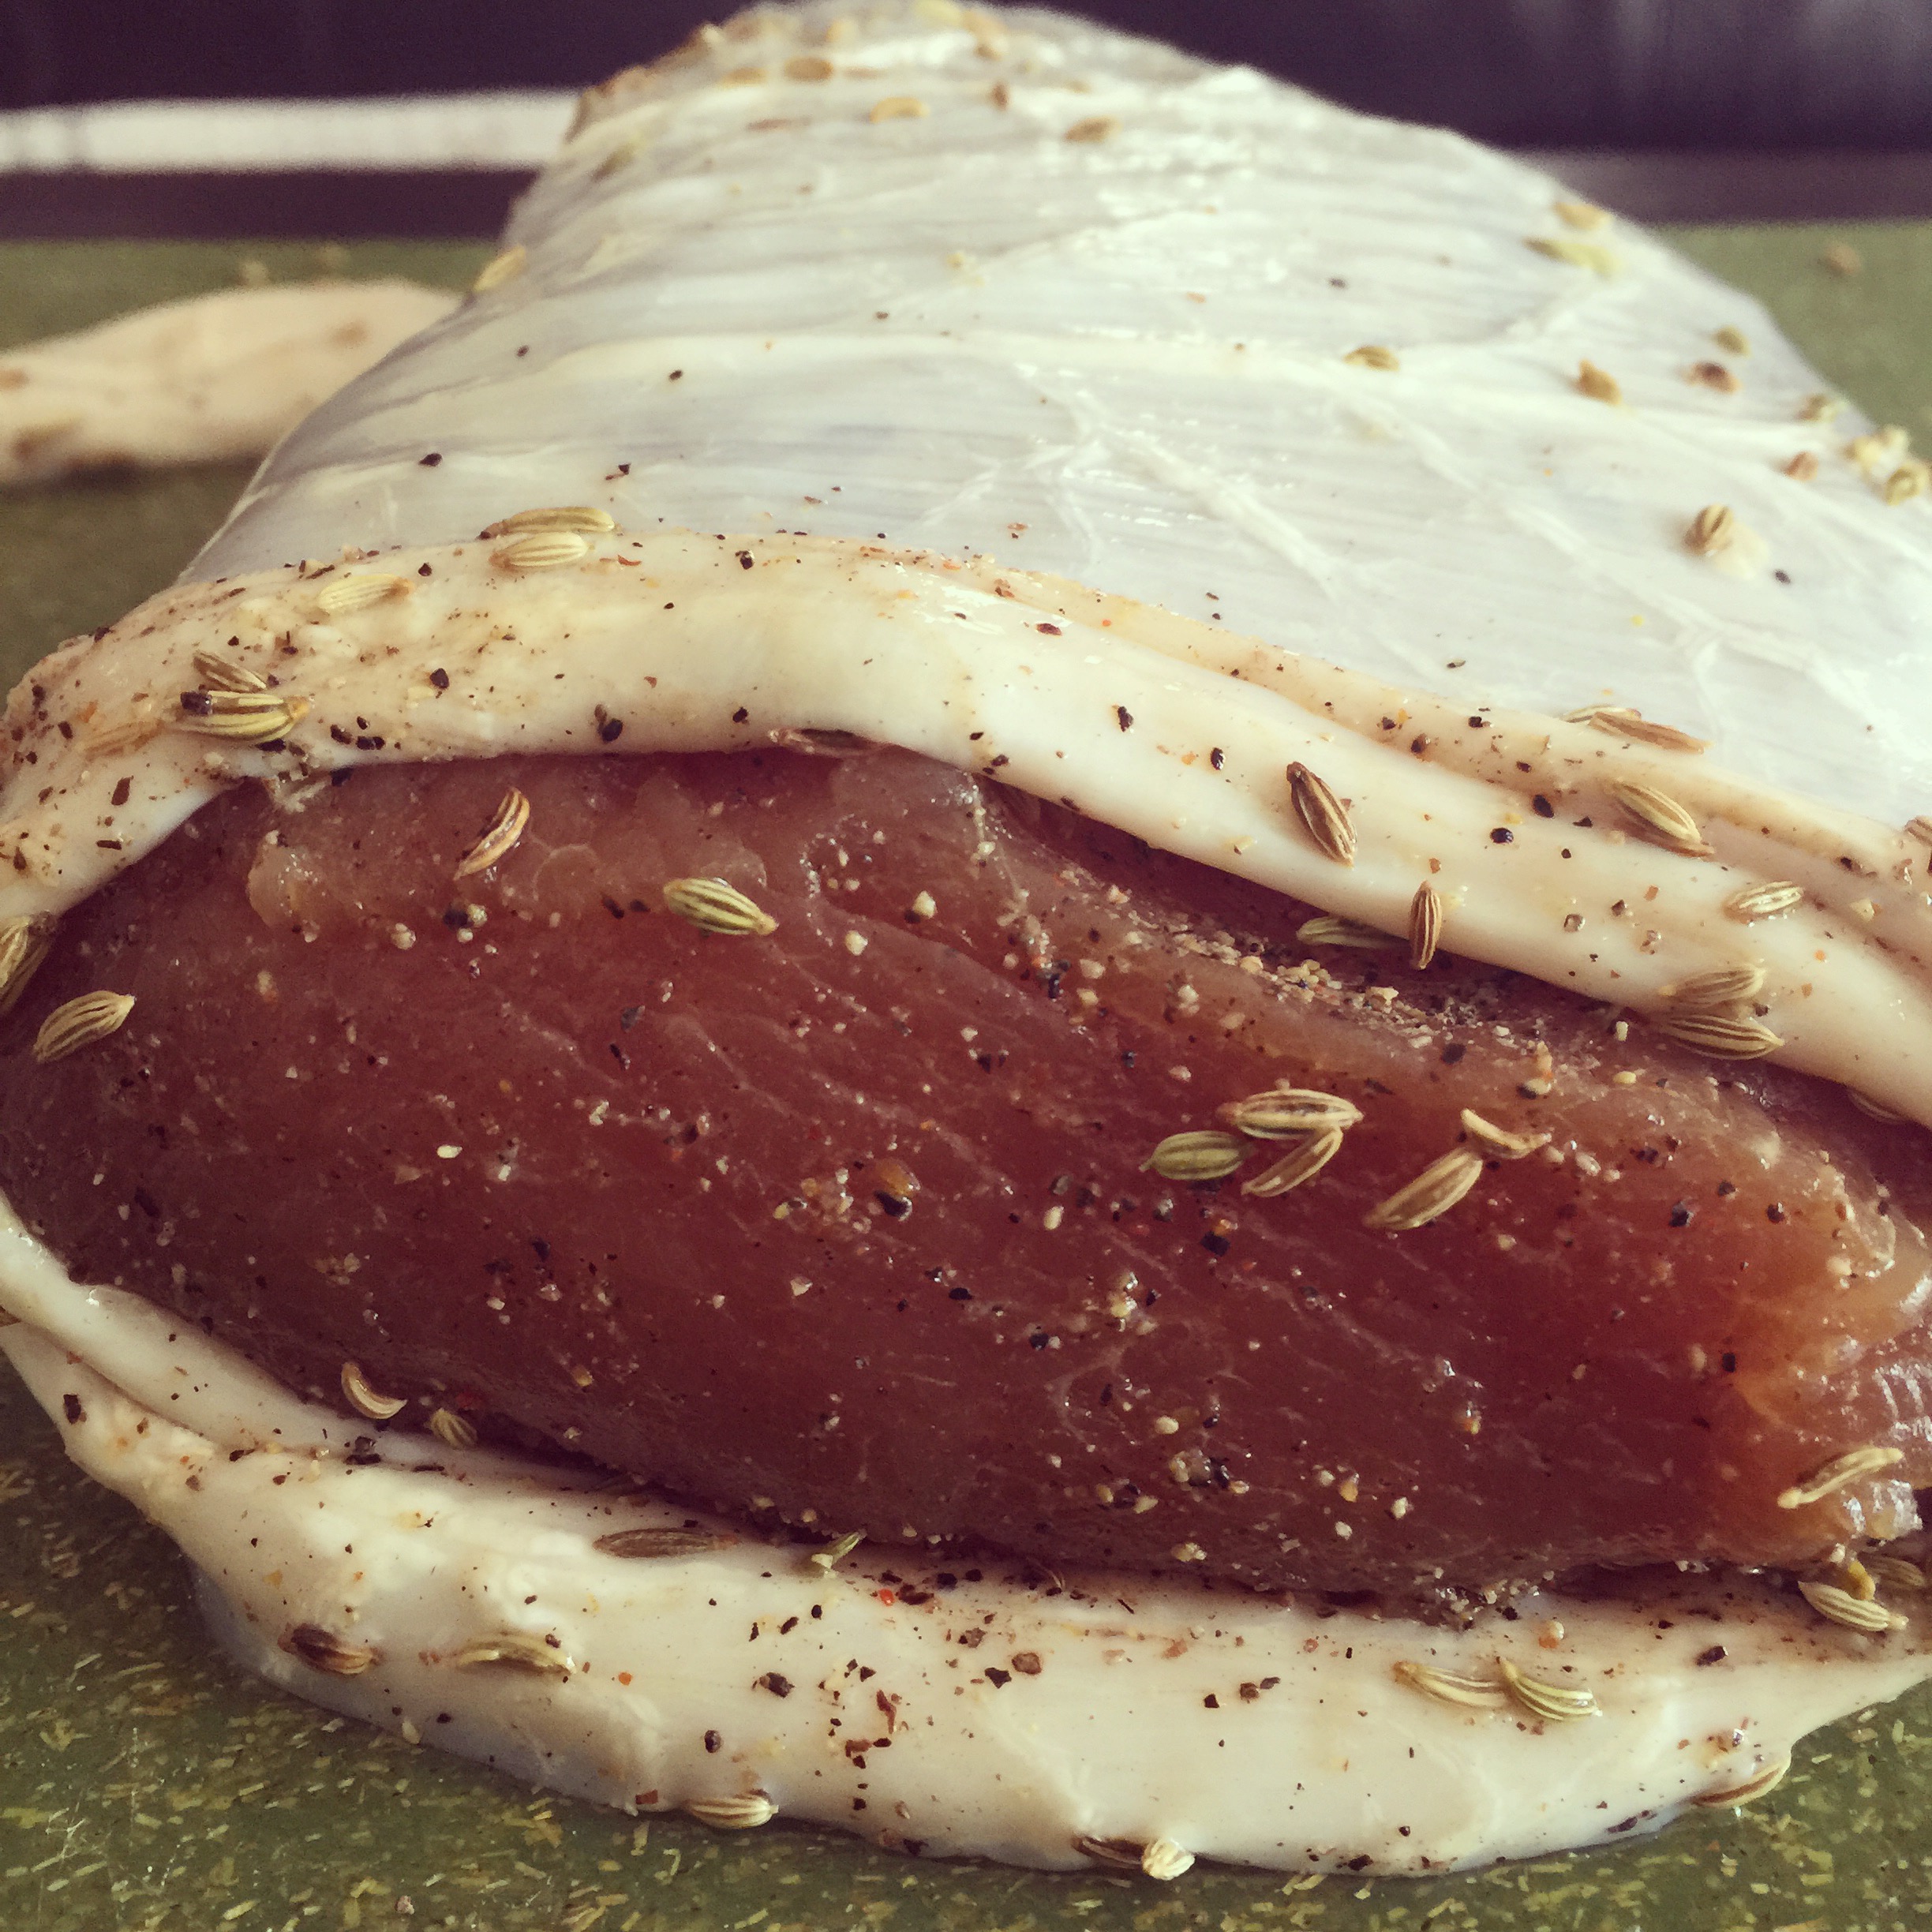
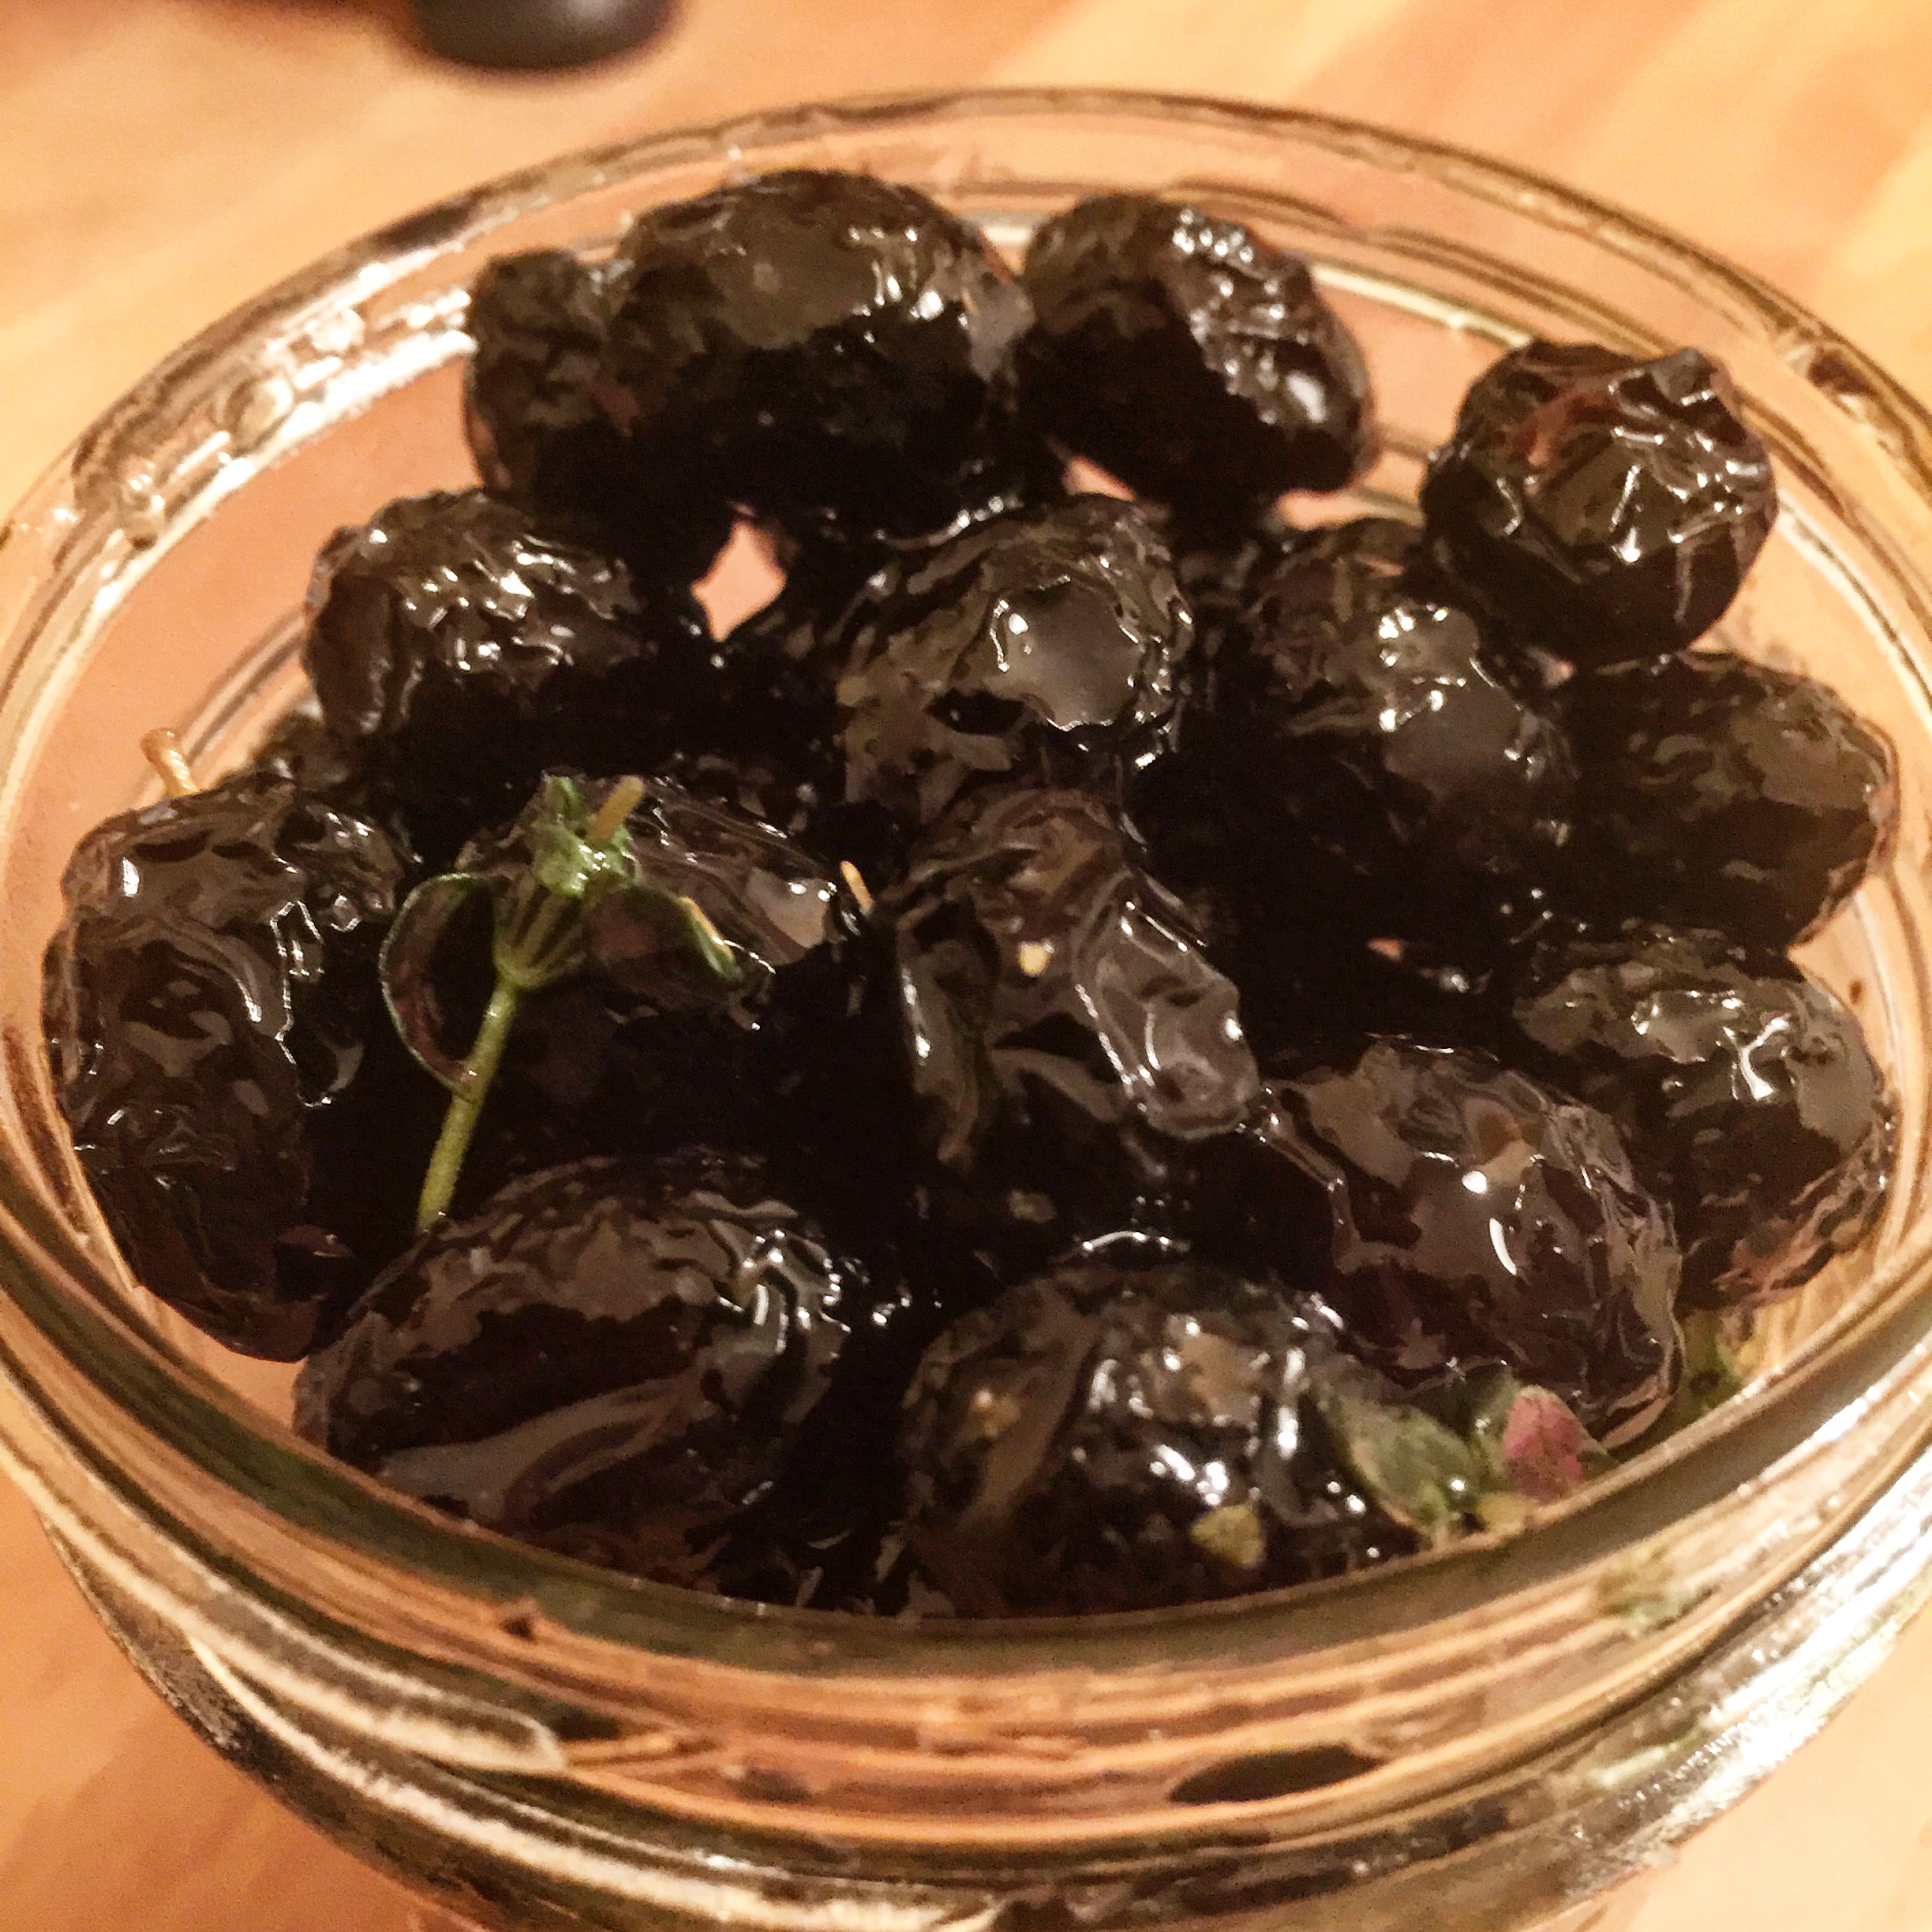
To eat the olives: Take the olives out of storage, and boil them for a few minutes (optional step). Allow them to air dry, and soak them in olive oil with herbs. I have found that they are best if they are allowed to marinate in the olive oil and herbs at least overnight if not longer.

image(27)c


Resources:

http://anrcatalog.ucanr.edu/pdf/8267.pdf


Filed Under: Preservation Tagged With: black olives, curing, diy, fermentation, homemade, olives

Winter Cured Lamb Prosciutto

February 28, 2016 by AOG 8 Comments

As discussed previously, there are a number of ways to make lamb prosciutto. Because lamb prosciutto is made with the leg of a lamb, it has a bone running through it. You can cure the lamb prosciutto with the bone in, or take it out. If you take out the bone, you can either cure the lamb prosciutto in two separate pieces or tie it together tightly to try and get rid of any air pockets from where the bone used to be. I have tried both of these methods which you can see at the following links:

  • Lamb Prosciutto (cured in two separate pieces)
  • Lamb Prosciutto (tied together as a roast, and cured)

I personally liked curing the lamb prosciutto in two pieces. Therefore, I cured my most recent lamb prosciutto in two pieces with two different winter spice cures.

image(10)


Curing (3 weeks):

I used two different spice cures for the two pieces of lamb prosciutto; a traditional lamb cure and a winter spice lamb cure.

lamb prosciutto cure ratios traditional winter lamb prosciutto cure spiced lamb winter 1

I allowed the leg of lamb to cure in their spice cures for 3 weeks under vacuum seal.

image(2)b


Casing (1 hour):

I used beef bung casing to case the meat, and used butcher netting to tie it up and get it ready to hang. After this, I used a toothpick to puncture any air holes that may have been evident and could harbor the growth of bad bacteria.Th meat was weighed, and was ready to go into the curing chamber.

image(48)

image(46)


Drying (1 month+, until 30% of weight is lost):

Temperature: 54F/12C, Humidity: 70-80% RH

After being cased, the lamb prosciutto was put directly into the curing chamber to join the other meats that were hanging.

image

The meat was allowed to lose ~30% of its initial weight, and was pulled from the chamber.

lamb prosciutto weight loss #1 lamb prosciutto weight loss #2


Tasting:

Lamb prosciutto is one of my favorite cured meats. The traditional lamb prosciutto was done first. The first slices into it were heavenly.

image(19)

Later, when both of these were ready, I did a taste test with what I had left of my Arthur Ave lamb prosciutto.

image(16)


image(9)

Great alone, or as I always like to say…meats that cure together, stay together.

lamb prosciutto

Ahhhh….beef bresaola, lamb prosciutto, lamb salami, and duck salami. All out for a day of fun.

image(15)


Disclaimer: Meat curing is a hobby that comes with inherent risks. We can all do things to limit this risk by educating ourselves about the process and the utilizing the safest known methods to create our products. This website is for educational purposes only, and all experimentation should be done at each individuals own risk.


Filed Under: Charcuterie Tagged With: charcuterie, cured meat, diy, lamb, lamb prosciutto

Turkey Bresaola

February 24, 2016 by AOG 1 Comment

So, let’s delve into some lesser known versions of bresaola. Bresaola di tacchino, or turkey breasaola, is a lesser well known cured meat product. I have seen it advertised in Italian as a “healthy” alternative to the traditional cured meats which may be red meat based and have a higher fat content. I don’t know if one could really consider it healthier, not do I really care too much. I believe that in moderation, there is nothing wrong with making and eating cured meats. This is especially true when you make your own and control the quality of meat and levels of salt and nitrates that go into it. My interest in bresaola di tacchino was mostly curiosity driven. I had never tried it before, and was very curious about the flavor that a cured and dried turkey product would have.

Honestly, I don’t like turkey. I think it’s a waste of a meat. Thanksgiving is only redeemed by the Italian food we use to accompany it, and I never would consider adding turkey as a cold cut to any sandwich. Before I made the bresaola di tacchino, turkey bacon was the only turkey product I liked. Fried and crispy, although not the same as regular pork bacon, I was able to see its appeal.

I bought a large turkey breast from Wegmans with the idea in mind to make it into turkey bacon. That never happened, and my smoker situation was up in the air at the time, so after keeping it in the freezer for a couple of months, I decided to pull it out and to try to make the elusive bresaola di tacchino. When I started this project, I had the lowest of low hopes, and just did it, basically to see what would happen.

Best. Decision. Ever.

image(20)


Curing (2 weeks):

The turkey.

image(159)

It was difficult to find much information online about people who have cured their own bresaola di tacchino. I found a few recipes in Italian that were done in very traditional ways, and not ideal for what I wanted to do. So I did what any good experimenter does; I made it up. I tried to create a cure that would complement the turkey, and followed my basic operating procedure.

image(158)

turkey curing ratio

I was slightly worried because turkey is poultry, and I know it can be more prone to carry certain diseases, but I didn’t find too much information on any changes that needed to be made when curing turkey compared to other meats, so I went ahead as usual. I assume that the usual safeguards can help prevent the spread of disease in most cases, but if you plan on doing this yourself, please be sure to do your own research on safety issues and make sure you are comfortable with the risk level.

The bresaola di tacchino was rubbed in the cure spices, and then placed in a vacuum sealed bag in order to cure for 2 weeks.

image(160)

image(161)

After the bresaola di tacchino was cured for 2 weeks, the cure was rinsed off and the turkey patted dry.

image(178)


Casing (1 hour):

I encased the bresaola di tacchino in a beef bung casing and used butcher string to wrap it up. I used a clean toothpick was used to puncture any air holes that may have been evident and could harbor the growth of bad bacteria.

image(179)

image(180)

I didn’t spray this meat with Bactoferm Mold 600 (Penicillium nalgiovense) but I put it in the curing chamber with meats that had been inoculated, so over time the mold jumped onto it. The use of penicillium nalgiovense promotes beneficial mold growth and tends to keep any potentially dangerous mold growths at bay.


Drying (1 month+, until 30% of weight is lost):

Temperature: 54F/12C, Humidity: 70-80% RH

After being cased, the bresaola di tacchino was weighted.

image(181)

It was hung to dry in the curing chamber, set to its usual settings, and its weight lost over time was tracked.

image

It was allowed to lose ~30% of its initial weight, and was pulled from the chamber.

image(1)

turkey weight loss

The bresaola di tacchino was uncased and rinsed down with white vinegar and patted dry.

image(3)


Tasting:

Now. This is where I was surprised. I pulled the bresaola di tacchino, rather unenthusiastically, with a few other experiments I was more excited about to be frank. I sliced them up and offered them around. Unanimously, we ALL decided that was LOVED the bresaola di tacchino. The other meats were good, but this one was FANTASTIC.

image(21)

To this day, I don’t know why this particular product was so good, and it desperately needs to be repeated. The meat quality was great, the spices were right on, and the texture was perfect. If you are looking for a unique curing project, perhaps one that is kosher or halal, this is one you don’t want to miss.

image(13)


image(11)

It also goes perfect on a plate with other cured meats. This charcuterie plate has my homemade turkey bresaola, beef bresaola, duck prosciutto, and lamb prosciutto.

image(4)


Disclaimer: Meat curing is a hobby that comes with inherent risks. We can all do things to limit this risk by educating ourselves about the process and the utilizing the safest known methods to create our products. This website is for educational purposes only, and all experimentation should be done at each individuals own risk.

Filed Under: Charcuterie Tagged With: bresaola, bresaola di tacchino, charcuterie, cured meat, diy, turkey bresaola

Ribeye Bresaola

February 22, 2016 by AOG Leave a Comment

Traditionally, bresaola has been made with lean pieces of beef. This is because with traditional curing methods the beef fat gets oxidized fairly easily and it goes rancid (compared to pork fat, where this process happens much more slowly). Traditional methods didn’t have many ways to reduce this oxidation, so they used beef without much fat for preservations sake.

image

However, using modern methods we can eliminate some of the oxidation that occurs. We use nitrates, refrigeration, and vacuum sealing to limit and slow down the oxidation process.

One method that people use to prevent beef fat oxidation is the addition of vitamin E or α-tocopherol to their products. This can be done by adding α-tocopherol powder or something called rosemary extract, which despite its name, does not give a particularly rosemary-ish flavor to the meat. Vitamin E acts as an antioxidant and can slow down beef fat oxidation. However, I have not tried this method yet. Simply by using my regular modern curing procedure, I have been able to avoid beef fat rancidity.

Being able to prevent beef fat rancidity opens up a whole new world of meat curing. Cuts of beef that are high in fat that have traditionally never been cured are now able to be easily cured and enjoyed. I have been eyeing up the fatty ribeye roast cut for a while, and eventually made the jump to curing it once I found a particularly appealing ribeye roast at my local Costco.

image(28)

The process of making a ribeye bresaola is not very different from my traditional method, but I will detail below the steps that I took.


Curing (3 weeks):

I followed my traditional bresaola recipe for the meat. I have updated the cure information to reflect my currently used ratios.

ribeye bresaola cure ratio

I cured my meat in a ziplock bag due to its larger and bulkier size. In addition, in order to make sure that my equilibrium cure had time to penetrate the entire cut of meat, I extended the time in the cure up to 3 weeks.

image(34)

image(35)


Casing (1 hour):

As I’ve said before, I love using beef bung casings for my whole muscle cured meats.  For this one, we cut open beef middles and used them to wrap the meat. After the ribeye bresaola was cased, we used a toothpick was used to puncture any air holes.


image(66)

image(73)

We used butcher string to tie it up and get it ready to hang. We sprayed it was a solution of Bactoferm Mold 600 (a single strain culture that contains freeze-dried form spores of Penicillium nalgiovense). This promotes beneficial mold growth and tends to keep any potentially dangerous mold growths at bay.


Drying (1 month+, until 30% of weight is lost):

Temperature: 54F/12C, Humidity: 70-80% RH

image(81)

After casing, the ribeye bresaola was put directly into the curing chamber. This one took a little bit longer, which was expected due to its large size and higher fat content. Fat doesn’t lose water weight like muscle meat does, so products with higher fat content tend to lose less weight.

image(105)

Eventually, the meat lost ~30% of its initial weight, and was pulled from the chamber.

image(121)


Tasting:

This end product was an awesome and unique experience. Fat is really an essential part of what makes cured meats taste so good, and this was no exception.

image(167)

Having fat in a beef bresaola product really enhances its flavor and made it a more complex product.

image(177)

Because beef fat has a higher melting point, or slip melting point as the scientific literature refers to it as, it doesn’t melt at room temperature like most pork fat will. I found that leaving the meat out for an hour or so before serving helped to make the fat more delectable, giving it a better mouthfeel. In a future post, I will discuss the melting points of different fats and their pros and cons for different products.

image(205)

Overall, I thought this was a great experiment. I have it stored vacuumed sealed in my fridge, and pull it out for an occasional treat every now and then. If you haven’t done a fatty bresaola yet but have been eyeing up some fattier beef cuts, or have some on hand, go ahead. You might just love it.

image(203)


Disclaimer: Meat curing is a hobby that comes with inherent risks. We can all do things to limit this risk by educating ourselves about the process and the utilizing the safest known methods to create our products. This website is for educational purposes only, and all experimentation should be done at each individuals own risk.

Filed Under: Charcuterie Tagged With: bresaola, charcuterie, diy, meat curing, ribeye, ribeye bresaola

Bresaola

April 1, 2014 by AOG Leave a Comment

After months of planning, we were finally ready to make our bresaola. There are 5 different stages to curing whole muscle meats like bresaola; curing, casing, fermentation, drying, and of course, tasting.  We created a basic timeline for our meat to insure that we would be ready and available to do all the necessary steps at the proper time. So much about curing meat is experience and feel, so as beginners, we did our best to prepare as thoroughly as possible and read up on the process from people who had already done it and chronicled their process.


Total Time: 5 weeks total (approximately)

2 weeks: Curing

48 hours: Fermentation

3+ weeks: Drying

We started the curing process on a Friday, so that in two weeks, when we started the fermentation process,  we could watch over the conditions to make sure the temperature and humidity stayed constant. We let the fermentation process run its course over the weekend, and then began the drying process the following Monday and let the meat dry for 3 weeks (until it lost about 30-40% of its weight).


Curing (2 weeks):

We collected all the materials we needed for the cure and based on a combination of ratios we found (see sources), and we created a spreadsheet letting us know how much of each ingredient to add (based off the mass of the meat itself).

*It should be noted that I have since updated the percentages of salt (2.75%) and cure #2 (0.25%) that I use, and suggest referring to my more recent posts for this information.

On the day we started curing the meat, we left our scale behind, so we only were able to do a rough approximation of the spice cure. In the future, we plan on experimenting with other ingredients and based on the results, changing our initial ratios. Some of the ingredients we plan on adding include cinnamon, bay leaves, coffee and white wine.

In order to make the spice cure, we ground the spices that we didn’t buy pre-ground, and added them all together. We gently rubbed the spices into the meat, and then vacuumed sealed it shut.

We allowed the curing process to go on for about two weeks, leaving the meat in the refrigerator, occasionally flipping it over and gently rubbing the spices in.


Casing (1 hour):

We removed the meat from the vacuumed sealed bag with the spice cure, and rinsed it in cold water while wiping off what remained of the spice cure.

We bought 100 mm collagen casings to stuff the meat into when we hung it, which we soaked in cold water for a few minutes before we attempted stuffing the meat into it. This was a little tight, which was good, but made it moderately difficult to do.

After we stuffed the meat into the collagen casing, we used butcher knots to string up the meat in the casing, and then used a toothpick to poke any air holes and squeeze out any air that remained in the casing.

We then sprayed the meat with the M-EK-4 solution until it was heavily dripping with the mold solution.


Fermentation (48 hours):

Temperature: 69F/20C

Humidity: 80-90% RH

*I have recently stopped using a fermentation stage for whole muscle cures. Refer to my more recent posts for more information on this topic.

After casing, the meat was ready for the fermentation process. The fermentation process is useful to induce the growth of beneficial bacteria and molds. The ideal temperature varies based on the culture that is used. While historically, the caves or rooms that were used to cure meat would already be flush with beneficial molds which would then “jump” onto the sausages and hanging meats, today, the individual with a personal curing chamber has to rely on more direct measures. We ordered a single strain culture of Penicillium nalgiovense, commercially referred to as Bactoferm M-EK-4. We created a 0.5% solution of the fungus, adding 2.0 g of the M-EK-4 to 400g of water. The ideal temperature for this strain is around 69F/20C, so we set the temperature controller in the curing chamber turned fermentation chamber to around 69F/20C. Luckily enough, this was around room temperature anyway, so basically the fridge was off for the entire fermentation stage. On the other hand, high humidity is a necessary in order to have mold growth, as well as to keep the meat from drying out during this process. We aimed for 80-90% RH for this process, and kept an eye on humidity over the weekend.

We hung the meat that had been inoculated with the “good mold” Penicillium nalgiovense in the “fermentation chamber” (i.e. the curing chamber at higher temperature and higher humidity). We hung the meat on S hooks, using the string that we tied the meat up with, and let it stay in the chamber for about 48 hours.

After 48 hours we attempted to check the pH (since it should have been lowered to below 5.1), but since we didn’t have a pH meter and had to rely on pH strips all we knew was that it did indeed become more acidic than a pH of 5, so we moved ahead to the next step, drying.

We didn’t see much mold growth at first, so we were concerned that it wouldn’t grow, but we decided to spray it again and move on with the drying stage, since beneficial mold growth is not a requirement for the bresaola to achieve the required end product.


Drying (3 weeks+):

After the fermentation process was complete, we moved on to the drying process. We changed the refrigerator set point to 54F/12C and the humidity set point to 70% RH. We let the meat hang for about 3 weeks, keeping an eye on the temperature and humidity and watching for mold growth.

Over time, we ended up having a decent mold bloom, of mostly white smooth mold with some green mold spots. Because we were uncertain of what the green mold was, we used white vinegar to clean off the mold bloom.

After 3 weeks, we measured the weight of the meat in order to see if it had lost 30-40% of its weight. It weighed in at 1016g, down from 1551g, or about 35% of its weight. It felt hard to the touch, like any store bought bresaola, so we took a leap of faith and went ahead with the tasting.


Tasting:

We cleaned the outside of the bresaola with white vinegar and water, and removed the  butcher string and the collagen casing. Using a commercial deli slicer, we were able to slice the bresaola as finely as it deserved. After checking for any signs that something went amiss, such as case hardening, or a rancid soft inside with a bad smell, and finding none, we went ahead.

Wow. I had never tasted such a succulent piece of cured meat. This solidified in my mind that curing your own meat is the way to go. We prepared it as simply as possible, tasting it directly off the slicer at first, and later with some olive oil, pepper, and lemon juice.

In the days following, we couldn’t get enough of the delicious bresaola that we had created, and  ate it any way possible. From sandwiches to cheese plates, a little bresaola never goes amiss.  One of my favorite ways to enjoy the bresaola is in a cheese and meat plate with taleggio, an earthy Italian cheese that best pairs with bresaola.

Our experiment was a success! And with the bresaola finished, we are currently looking forward to our next batch of cured meats.


Resources:

http://curedmeats.blogspot.mx/2007/11/bresaola.html

Charcuterie: The Craft of Salting, Smoking, and Curing (November 2005) by Michael Ruhlman, Brian Polcyn


Disclaimer: Meat curing is a hobby that comes with inherent risks. We can all do things to limit this risk by educating ourselves about the process and the utilizing the safest known methods to create our products. This website is for educational purposes only, and all experimentation should be done at each individuals own risk.

Filed Under: Charcuterie Tagged With: bresaola, charcuterie, cured meat, diy

Curing Chamber: Construction

April 1, 2014 by AOG 8 Comments

Construction day was finally upon us! After months of dreaming and planning and buying parts online, we were finally ready.


Step 1 (Air circulation):

Air circulation is vital for curing meats, so we decided to insert a computer fan into the top of the refrigerator door and a hole at the bottom, in order to generate air flow in the chamber. We removed the door of the refrigerator in order to better access what we needed. We measured the area that we needed to cut in order to saw the holes.

The hole at the top was cut for the size of the computer fan, and was square.

The hole at the bottom was circular, in order to insert a piece of PVC pipe into the air outflow hole.

After these holes were cut, the computer fan was inserted into the top square hole and the PVC pipe was inserted into the bottom round hole.

We then added wire mesh and dryer vents to both holes.

At this point, the door was done!


Step 2 (Power):

The next step was to add a power strip to the inside of the fridge. We drilled a hole for the power cord, and then glued an outdoor power box to the side of the fridge.

We screwed on the outer portion of the outlet and it was ready to supply power to the inside of the fridge! We were able to plug the computer fan into the outlet at this point.


Step 3 (Temperature):

The next thing we did was insert the temperature probe. This was done by drilling a small hole and feeding the probe wire through the hole. The probe wire was placed  roughly in the middle of the fridge, while the control box was adhered to the outside side of the fridge and plugged into an external power outlet. The probe wire senses the temperature and sends that information to the control box on the outside of the fridge, which has a control switch for you to control the set point. When the sensor reaches the set point, the fridge turns off/on in order to maintain the proper temperature.


Step 4 (Humidity):

The last step was to get the humidity right. We bought an ultrasonic humidifier that we filled with filtered water. We plugged it into the hygrostat which we then plugged into the outdoor power outlet on the inside of the fridge. The hygrostat monitors the humidity and turns the humidifier on/off as needed.

VOILA! And with that our curing chamber was all set up and ready for its first trial: Bresaola!


Resources:

And, again. Here are the sources that were so useful for our endeavors!

http://curedmeats.blogspot.mx/2007/07/key-equipment-piece-3-curing-chamber.html

http://benstarr.com/blog/how-to-convert-a-refrigerator-for-curing-meat-or-aging-cheese/

http://pickledpig.wordpress.com/2010/09/24/the-curing-chamber/

http://mattikaarts.com/blog/charcuterie/meat-curing-at-home-the-setup/


Disclaimer: All information stated on this website is for information purposes only. The information is not specific advice for any individual. The content of this website should not substitute electricity/engineering/building advice from a professional. If you have a problem, speak to a professional immediately about the issue.

Filed Under: Charcuterie Tagged With: charcuterie, cured meats, curing chamber, diy

Curing Chamber: Instructions

April 1, 2014 by AOG Leave a Comment

And so the adventure begins.  It would be hard to say where the idea of curing our own meats came from originally, but once it was there, it became an obsession that was never far from mind. There are so many appealing aspects to curing your own meat, from the self-sufficiency it affords, to the ability to create un-tasted and commercially non-viable delicacies, to the intellectual challenge of understanding and optimizing the chemistry behind what is going on.

There are many different styles of cured meats, from sausages made from ground meat to prosciuttos made from whole muscles. In addition, there is a wide range of materials and methods that are used: from caves in Tuscany, to refrigerators in New Jersey; from natural bacteria, to Bactoferm M-EK-4, it’s all been done (and if it hasn’t been done yet, you can bet that someone is thinking about trying it as we speak).

Due to our lack of a cave with low temperatures and high humidity, the first step in our journey was to create a curing chamber for our meat. The goal for a curing chamber is to create an environment that has the relatively cool temperatures of  50 F/10 C and the relatively high humidity of 70-80% RH. The best way for us to do this was to outfit an old fridge with all the necessary trappings.

We were able to find a used fridge on Craigslist that was suitable for our purposes, larger than a traditional dorm fridge, but smaller than a regular sized fridge, and lacking a freezer section meaning that we could use all the available space to hang our meat.


There are 4 important aspects you want to be able to control in your curing chamber; air flow, humidity, temperature, and power.

Air Flow: Achieved through inserting a computer fan into the fridge door. Air gets blown out from the fan, which is inserted at the top of the door. Air comes in through the bottom of the door, which has a dryer vent on the inside of the door to block backflow through the same vent. The bottom vent should be covered by wire mesh to prevent rodent/insect entry, while the computer fan should be covered with a dryer vent for the same purpose.

Humidity: Achieved through the use of a humidifier, attached to a hygrostat to regulate the humidity. The RH in a fridge is much lower than needed, so we added an ultrasonic humidifier that needs to be refilled about once every two weeks or so, depending on different factors.

Temperature:Achieved by inserting a temperature sensor into the fridge, and attaching that to an on/off switch for the fridge. The fridge will naturally run colder than the desired 50 F/10C that we want, so the temperature sensor will detect when the fridge is at the correct temperature and switch off power to the fridge.

Power: Power for the internal accessories achieved by mounting an outdoor power strip on the inside door-side side wall of the fridge.


Our finished product looked like this:


Resources:

Of course, we never would have even known where to begin with this construction without the help and guidance of other like-minded bloggers.

http://curedmeats.blogspot.mx/2007/07/key-equipment-piece-3-curing-chamber.html

http://benstarr.com/blog/how-to-convert-a-refrigerator-for-curing-meat-or-aging-cheese/

http://pickledpig.wordpress.com/2010/09/24/the-curing-chamber/

http://mattikaarts.com/blog/charcuterie/meat-curing-at-home-the-setup/


Disclaimer: All information stated on this website is for information purposes only. The information is not specific advice for any individual. The content of this website should not substitute electric/engineering/building advice from a professional. If you have a problem, speak to a professional immediately about the issue.

Filed Under: Charcuterie Tagged With: charcuterie, cured meats, curing chamber, diy

  • « Previous Page
  • 1
  • 2
  • 3
  • 4
  • Instagram

Copyright © 2025 · Foodie Pro Theme by Shay Bocks · Built on the Genesis Framework · Powered by WordPress