Duck salami, or salami d’anatra, is a project that I had been wanting to tackle for a while. Duck salami itself isn’t easy to find commercially, and even the duck salami that is found in stores and restaurants tends to use pork fat. I was looking to create a pork free product, for those who keep kosher or halal, so I debated a number of different sources for fat, before deciding to do a 100% duck salami.
I love duck fat, so the taste of it was a huge pro for me. I also like the way that duck fat melts in your mouth, another pro. My main concern about using duck fat in duck salami was working with the duck fat at room temperature. I have seen a few different values given for the slip melting point of duck fat, but the most consistent value seems to be around 77F/25C. I made sure to do all of my processes at around 70F/21C, worked fast, and I utilized the freezer to make sure everything stayed cold.
Planning Phase:
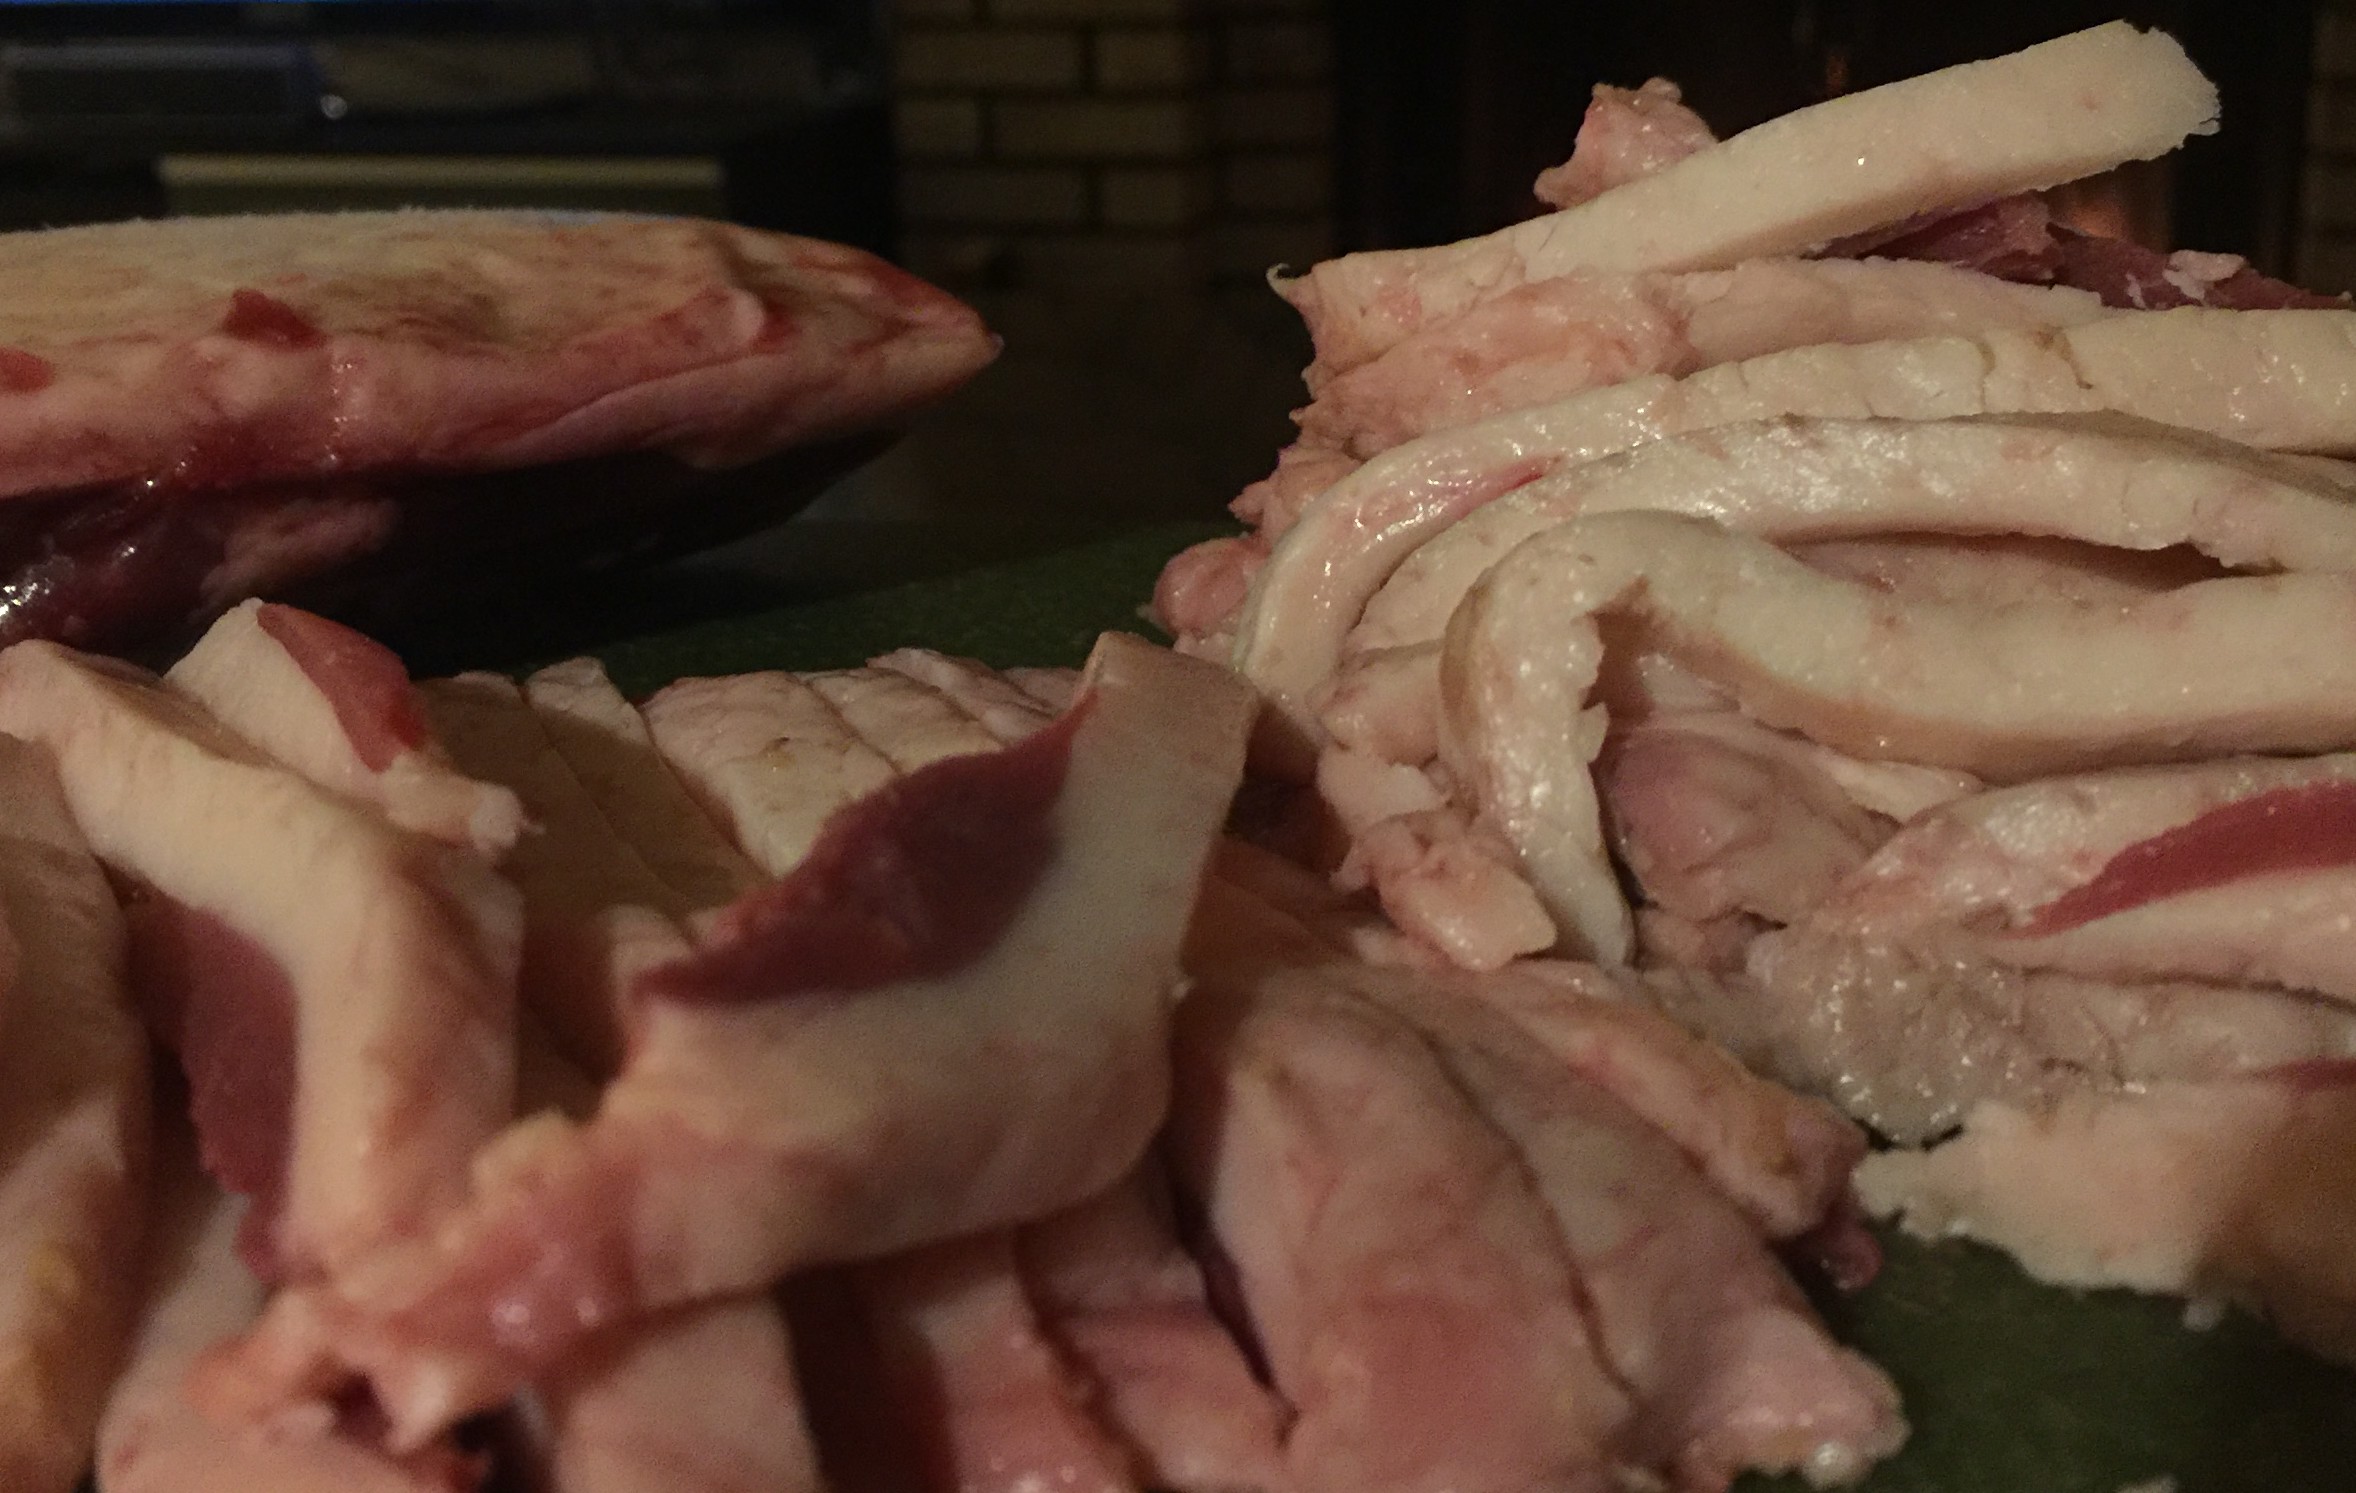
I bought 4 duck breasts to use for this project. Before I started, I put them in the freezer for an hour or so to get them nice and cold. I cut the fat away from the meat, and I weighed the meat and the fat separately. Ideally there would be a 70% meat to 30% fat ratio, mine was close enough to that, so I just worked with what I had. I decided to try two different cures, one spicy using calabrese peperconcini and one in the style of duck l’orange.
Below are the cure ratios I used:

 I weighed everything necessary for the cure, and mixed it altogether (with the exception of the starter culture).
Meat Cubing Phase:
After I weighed all of the meat, fat, and cure spices, I was ready to move on. I cubed both the fat and the meat and kept them separate.
In this case, I mixed the cure with the cubed meat. I don’t always do this; sometimes I wait to mix the cure with the ground meat. I haven’t assessed which method is best yet, and both have worked for me.
Meat Grinding Phase:
After I cubed the meat, I put it back in the freezer to let it get colder again. After an hour or so, I was ready to grind the meat. I had decided to use a course ground on the duck meat, and hand cut the duck fat in order to avoid smearing.
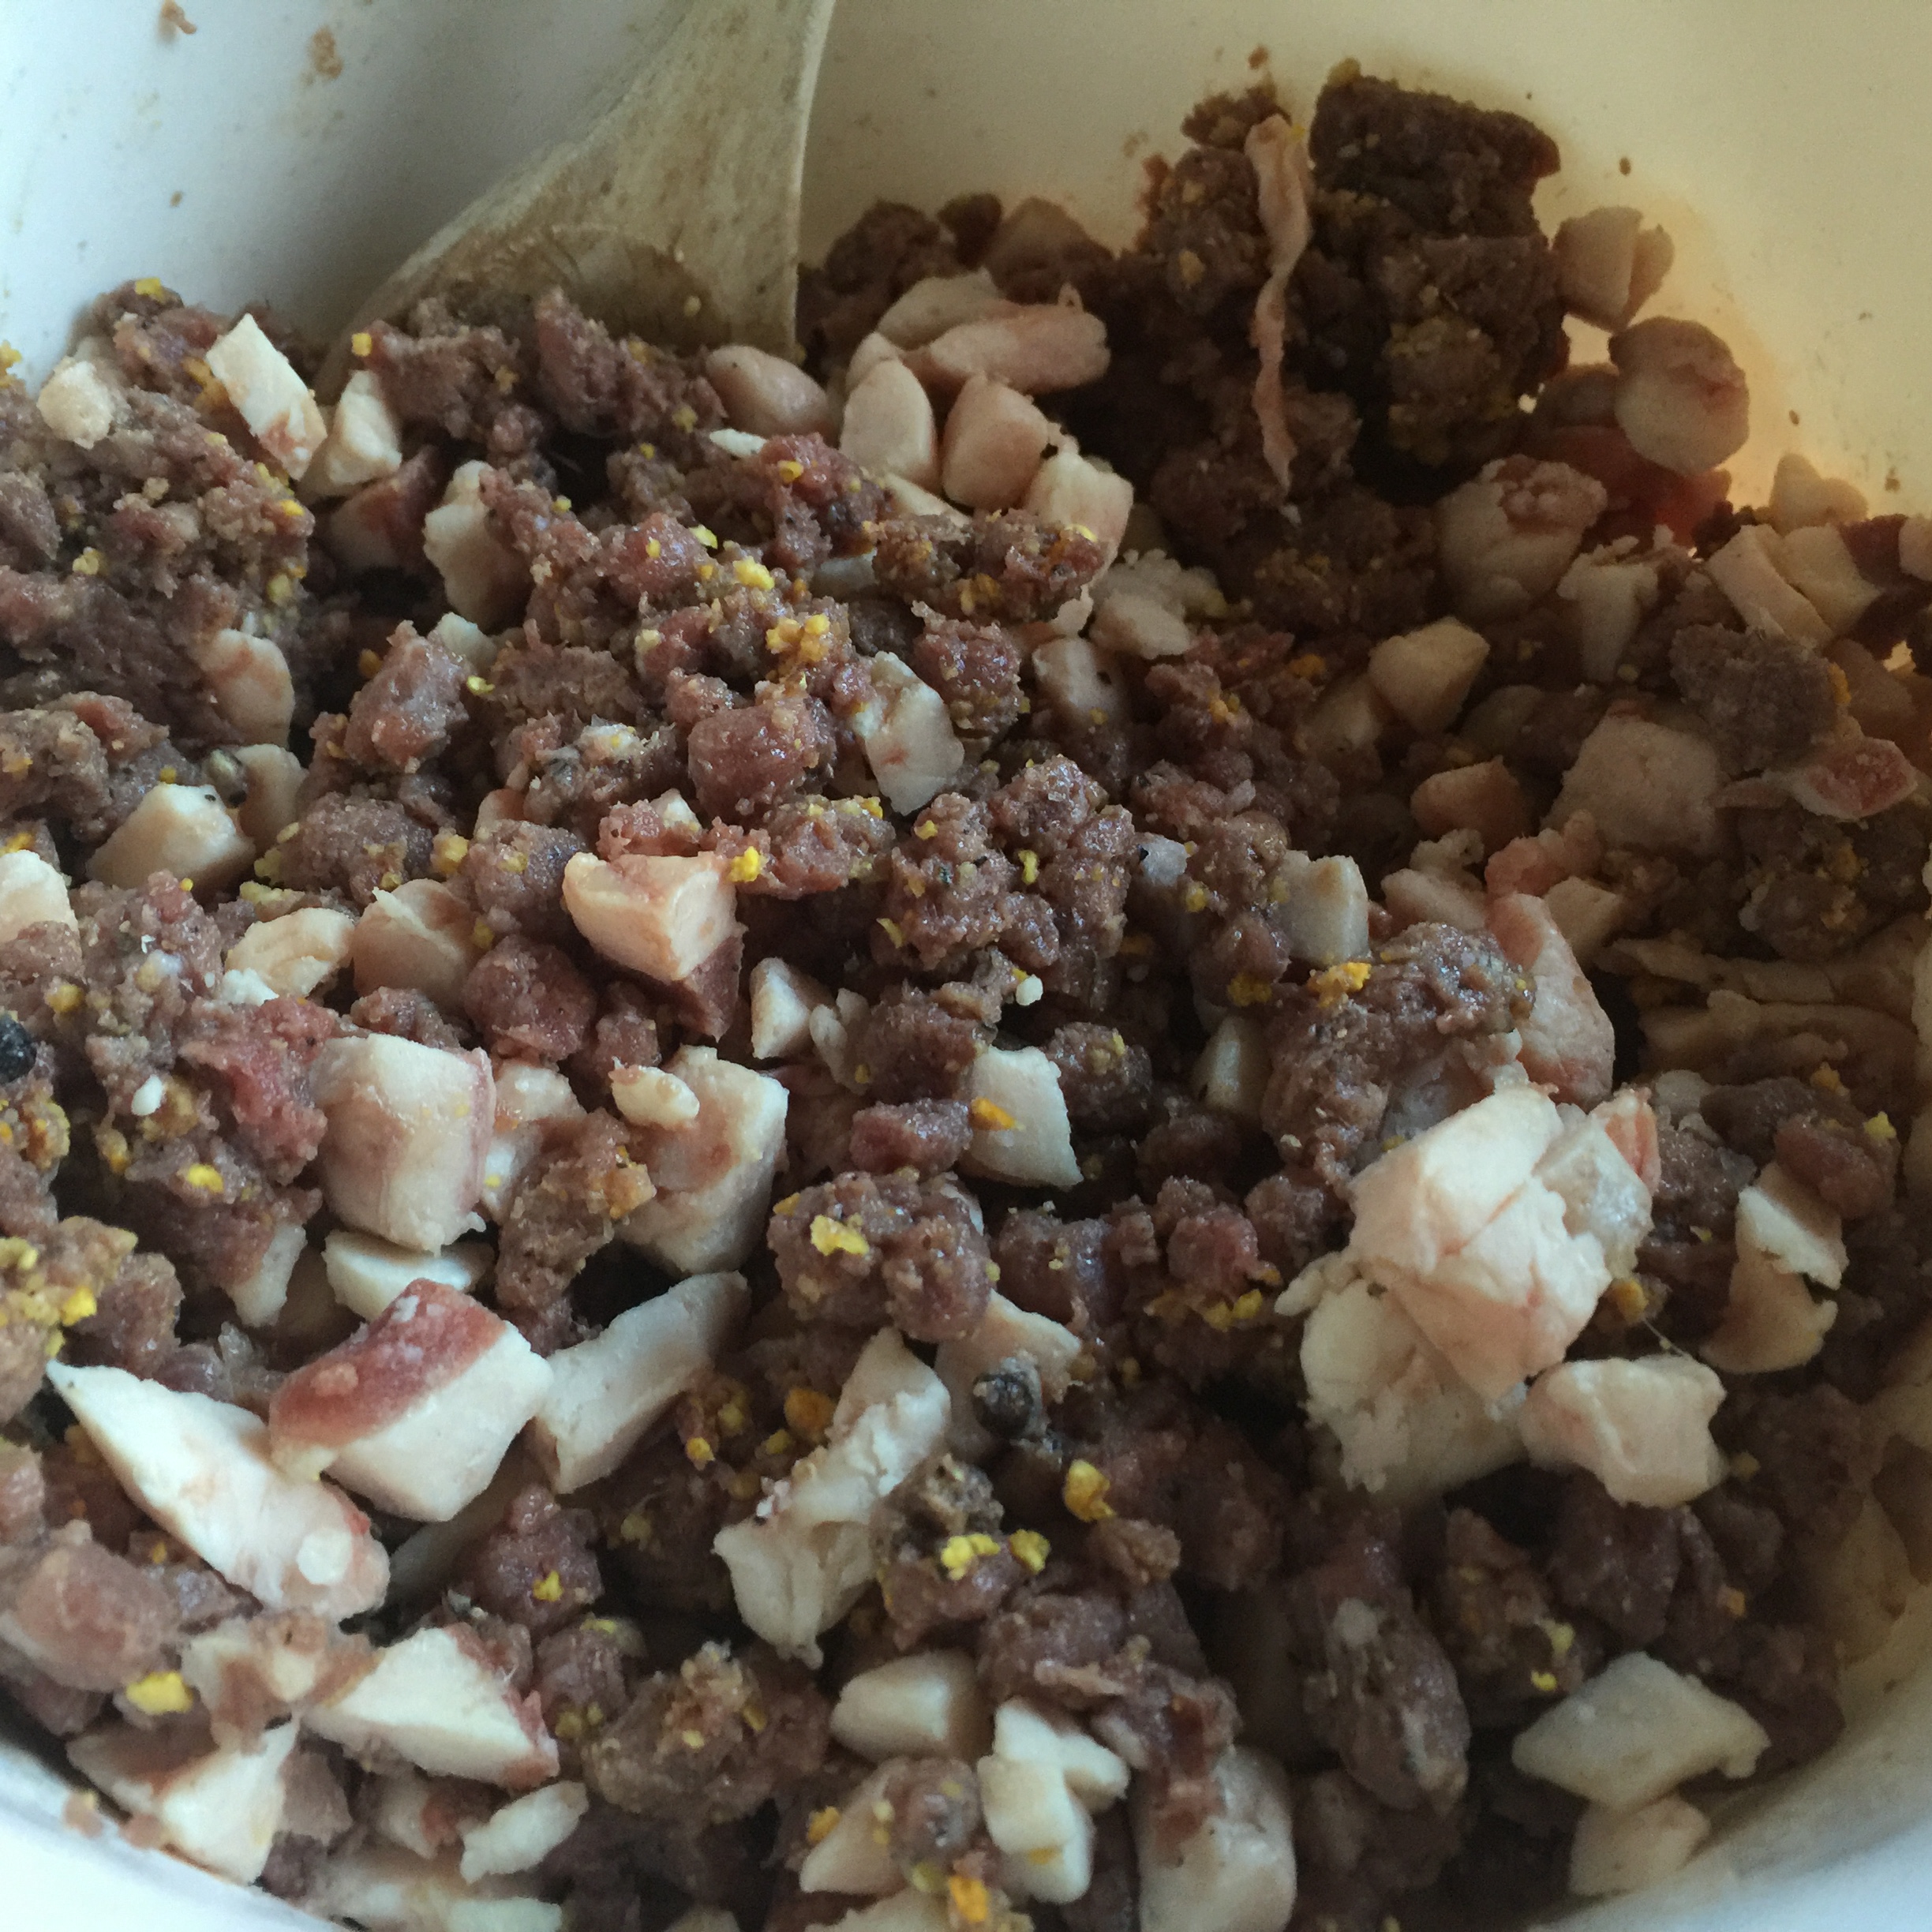
I ran the meat through the meat grinder, and collected it into a bowl at the end. At this point, I had course ground duck meat and hand cut fat.
I mixed this with the fat that was hand cut. I also dissolved the starter culture in a minimal amount of water and mixed it with the ground meat, hand cut fat, and spice cure.
If you are in need of a break, this is a good point to stop. You can freeze the mixture overnight, and get started again if the morning if need be.
Meat Stuffing Phase:
Once you have your ground meat/fat/cure/spice mixture it is time to stuff it into casings. I used to use the grinder to stuff my salami, but I have since moved to a dedicated stuffer and it is awesome.
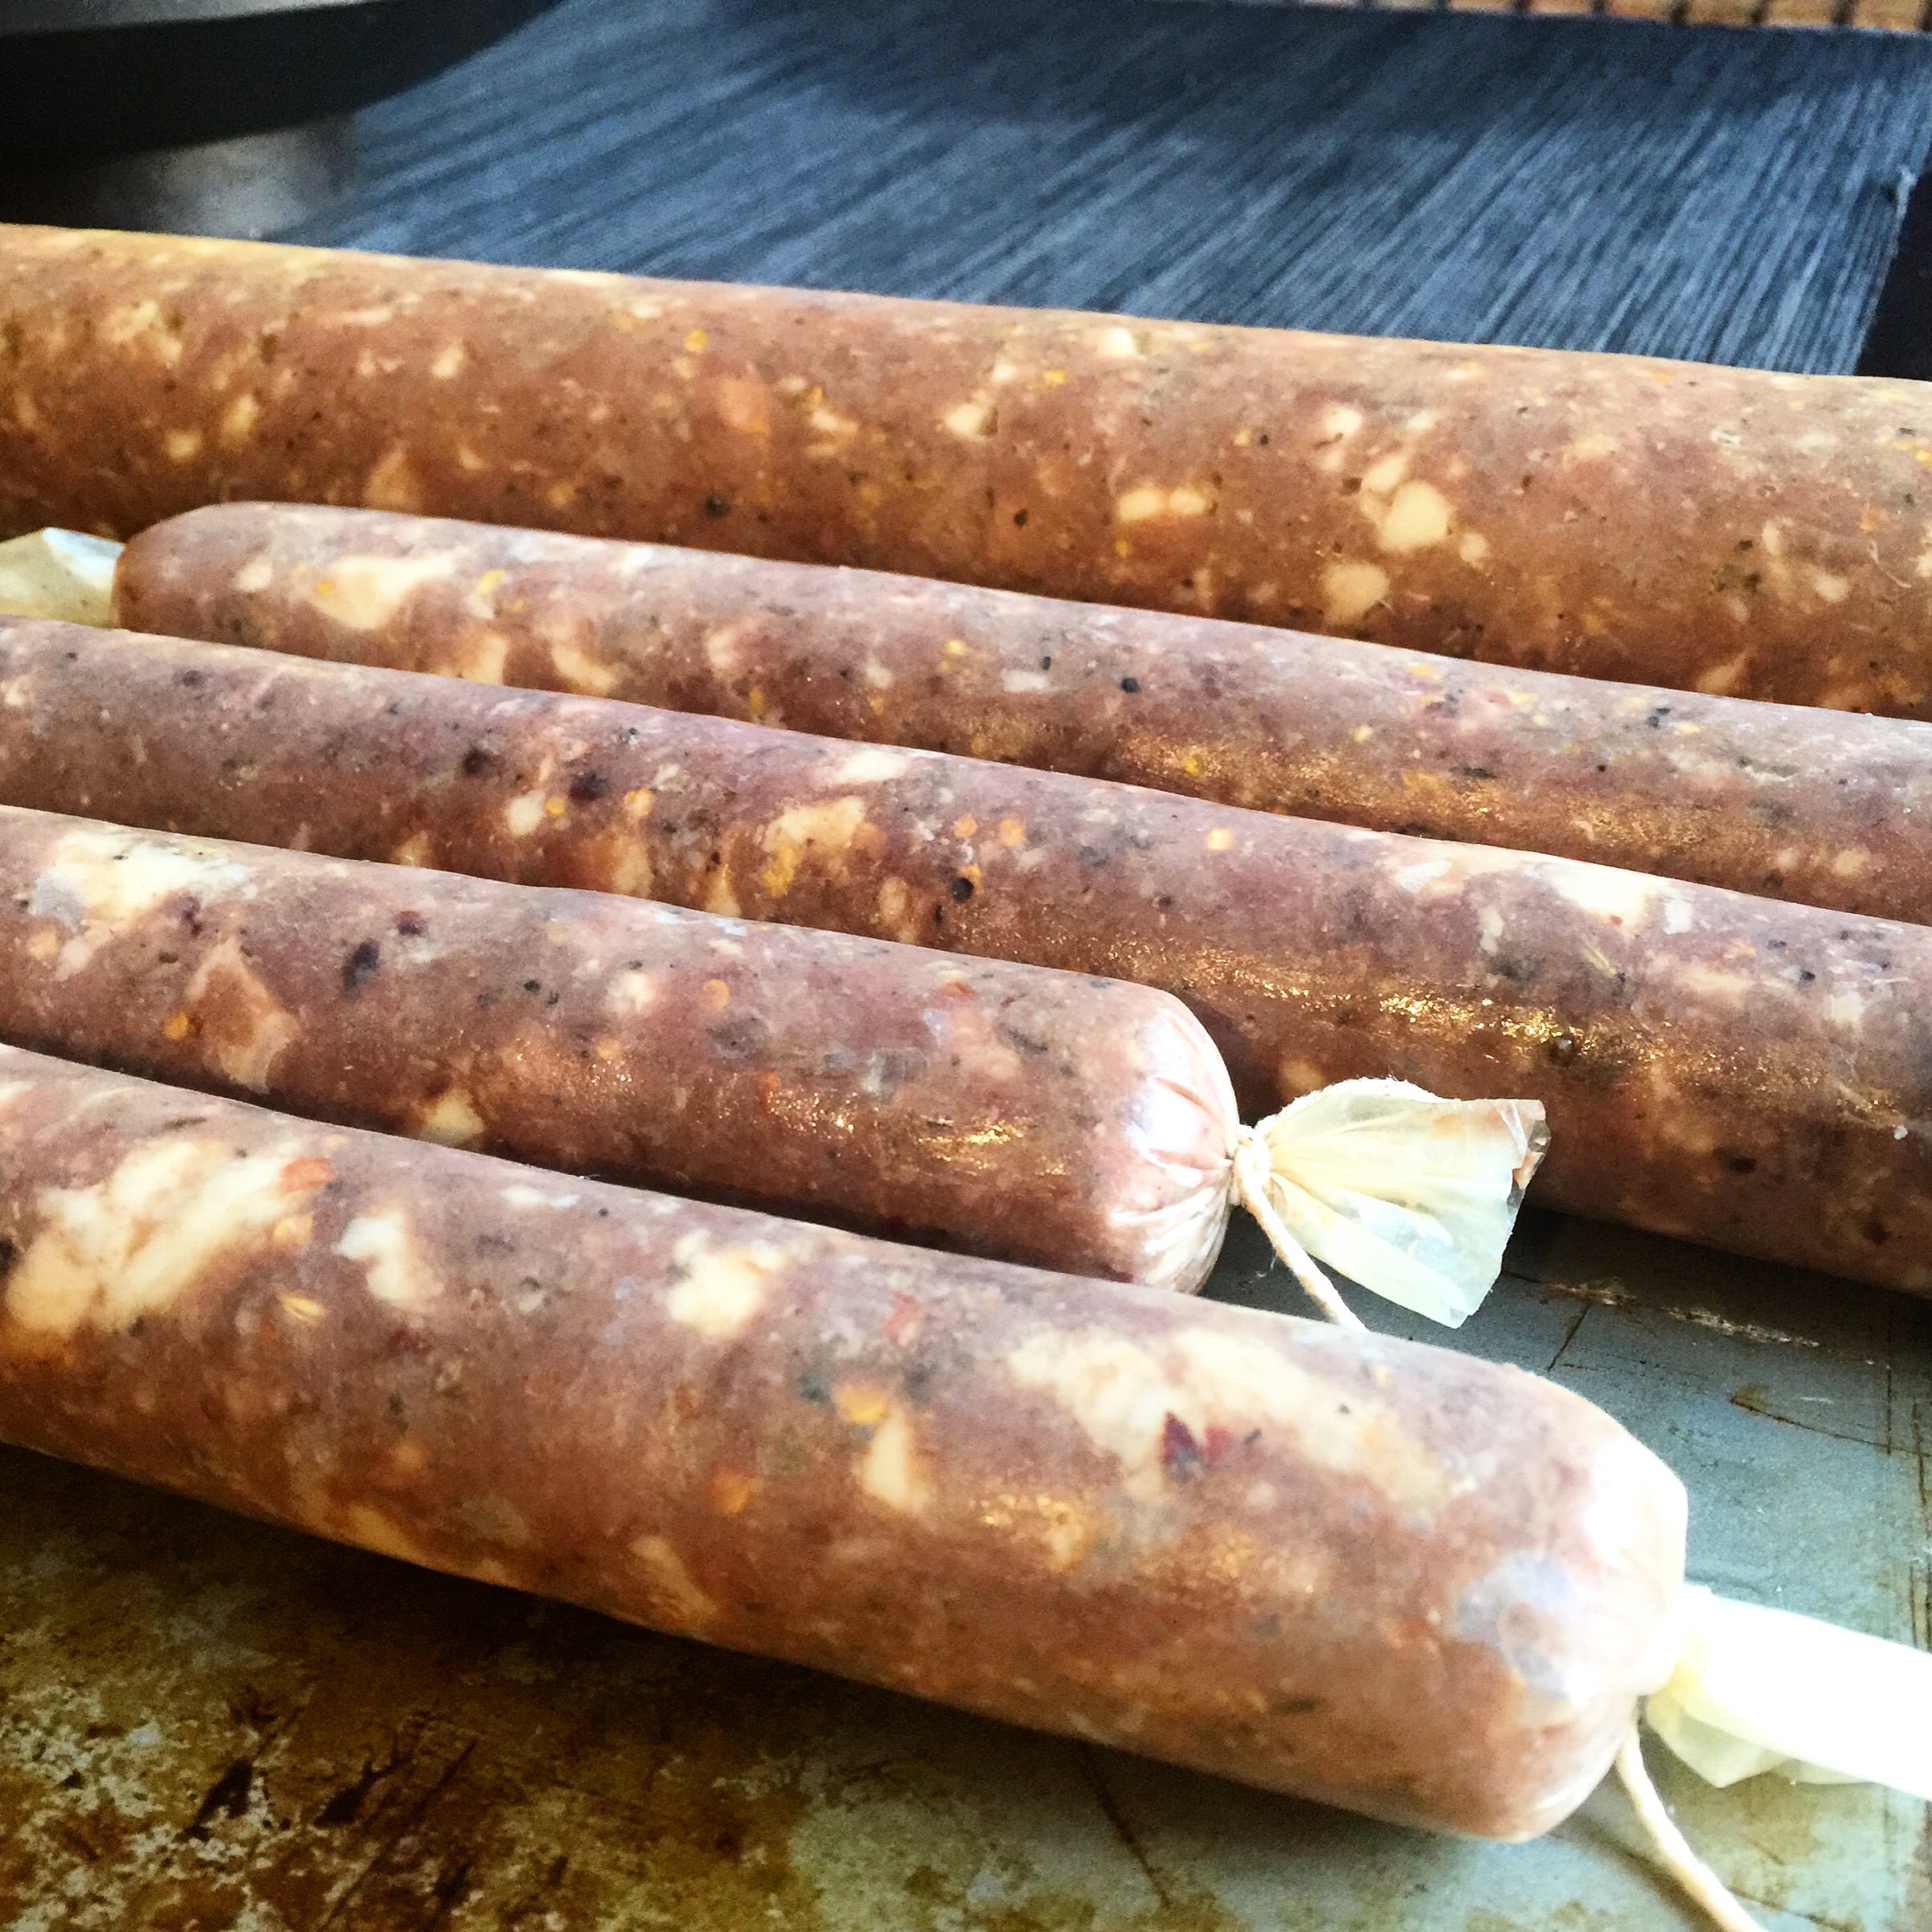
I only had one wide diameter casing left, and a bunch of small ones. I decided to make the duck l’orange into a larger duck salame, and the spicy calabrese duck salami into numerous smaller duck salami. I soaked the casings to get them ready to use.
I made sure to mix the ingredients together thoroughly. I put the mixture into the stuffer, and got out as much air as possible.
At this point, I picked the casing, tied off one end, and gathered the rest of the casing, pushing it down around the stuffing horn.
I used one hand to steady the casing around the stuffing horn, and another to crank the stuffer. When the salami reached my desired size, I twisted the casing and used butcher string to keep the separation.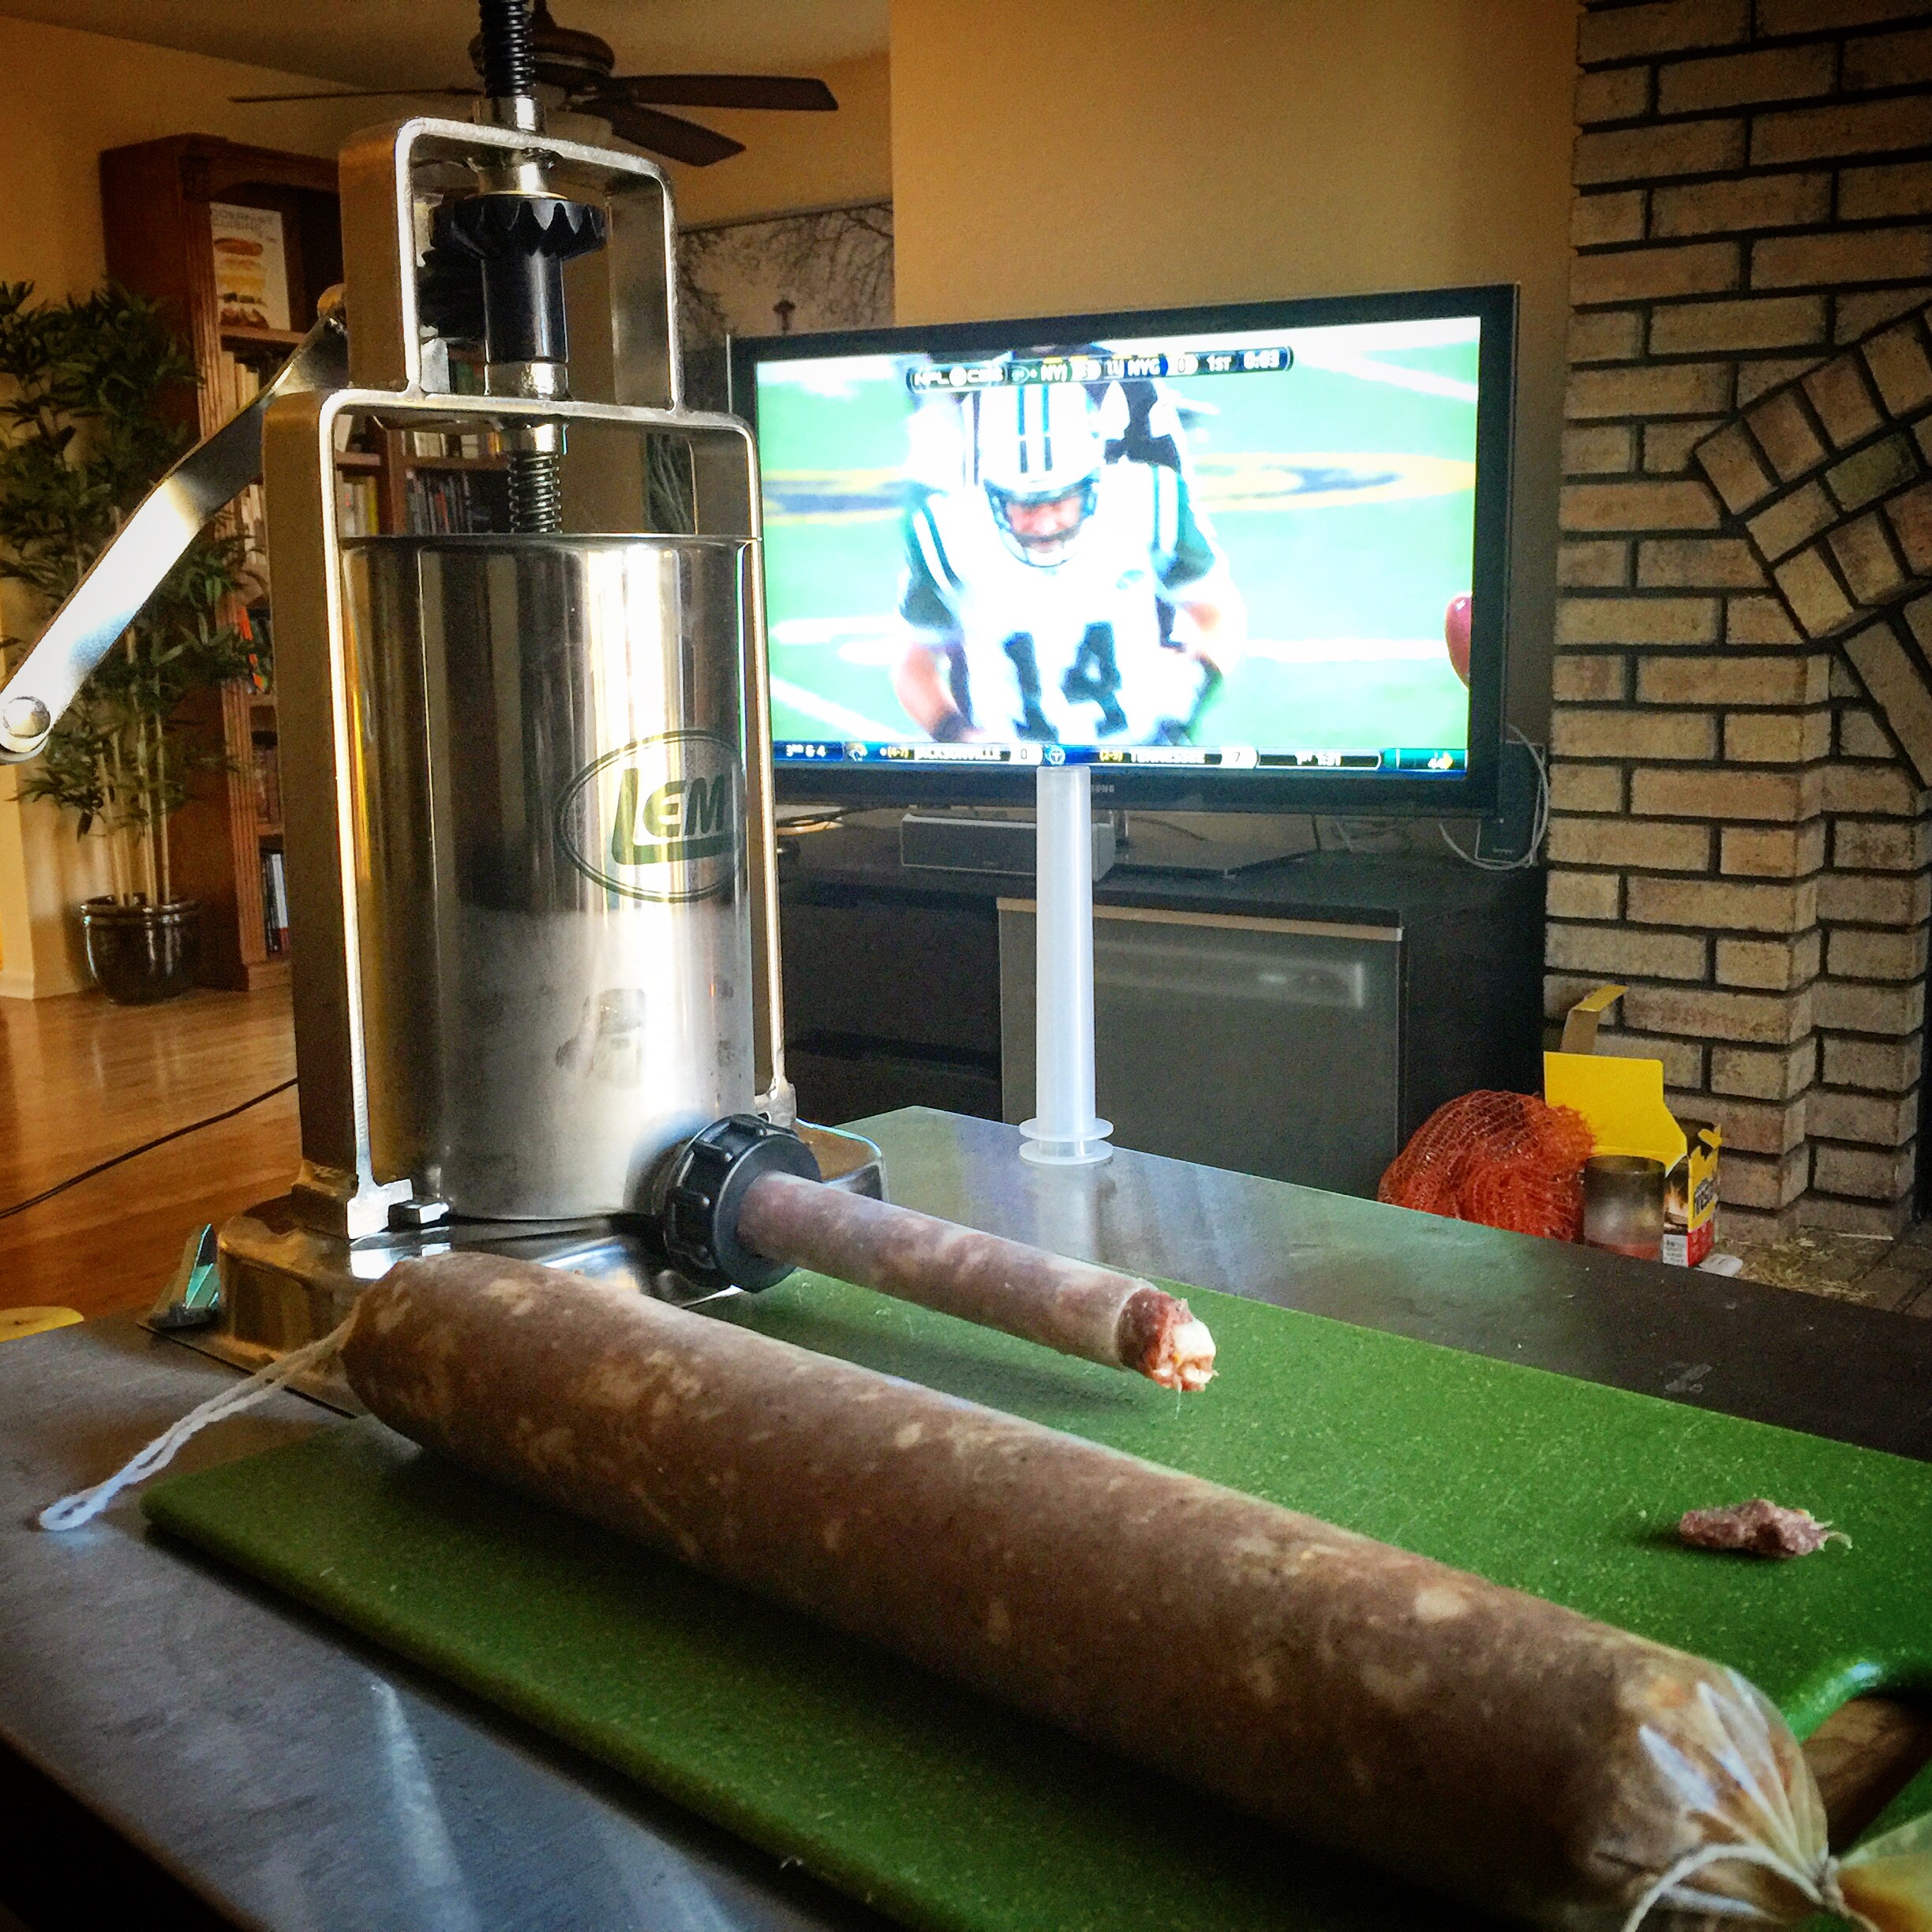
I continued this process until I finished stuffing all of the duck salami mixture. I used a toothpick, to puncture any air holes in the salami at this point.
Fermentation Phase:
Temperature: 75ᵒF/23-24C
Humidity: 80-90% RH (strain dependent)
Time: 48-72 hours (until pH drops to at least 5.3)
Once all the salami was stuffed into casings, it was time to allow the meat to ferment. This is the stage I was most worried about when thinking about using duck fat. Luckily, the starter culture I was using had a relatively low fermentation temperature, and I made sure the temperature didn’t rise about 75 F/23-24C in the fermentation chamber.
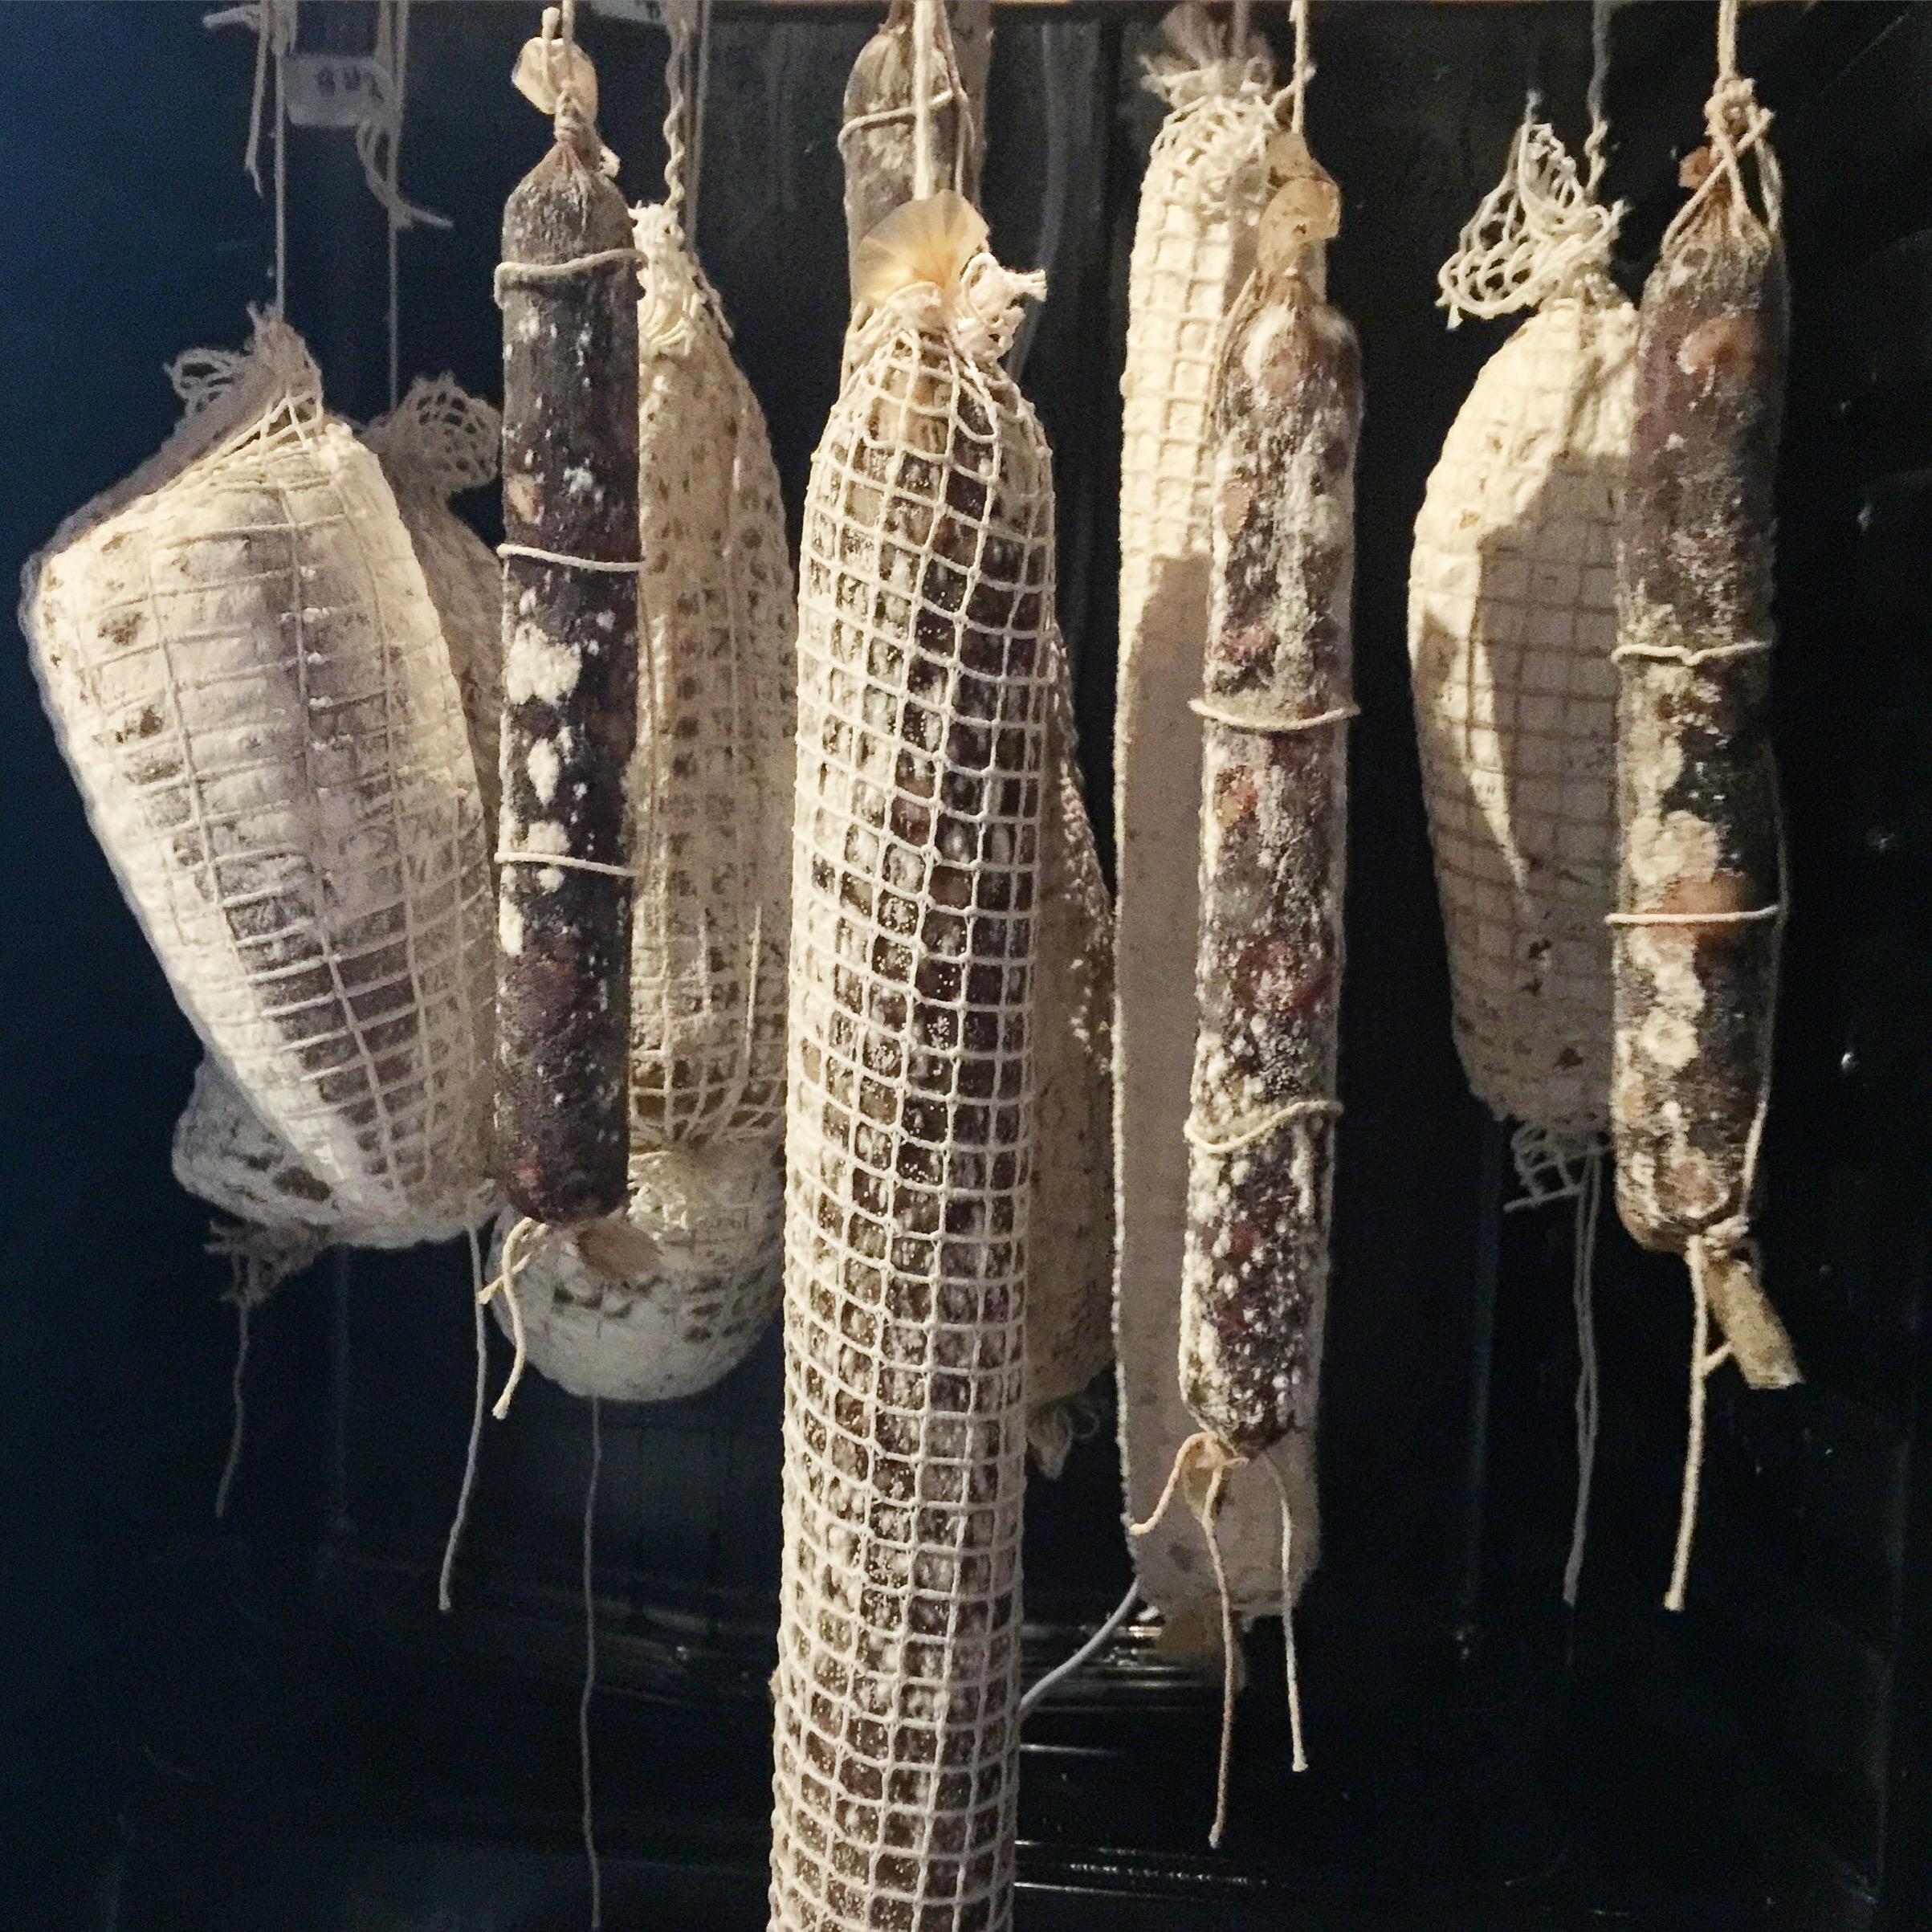
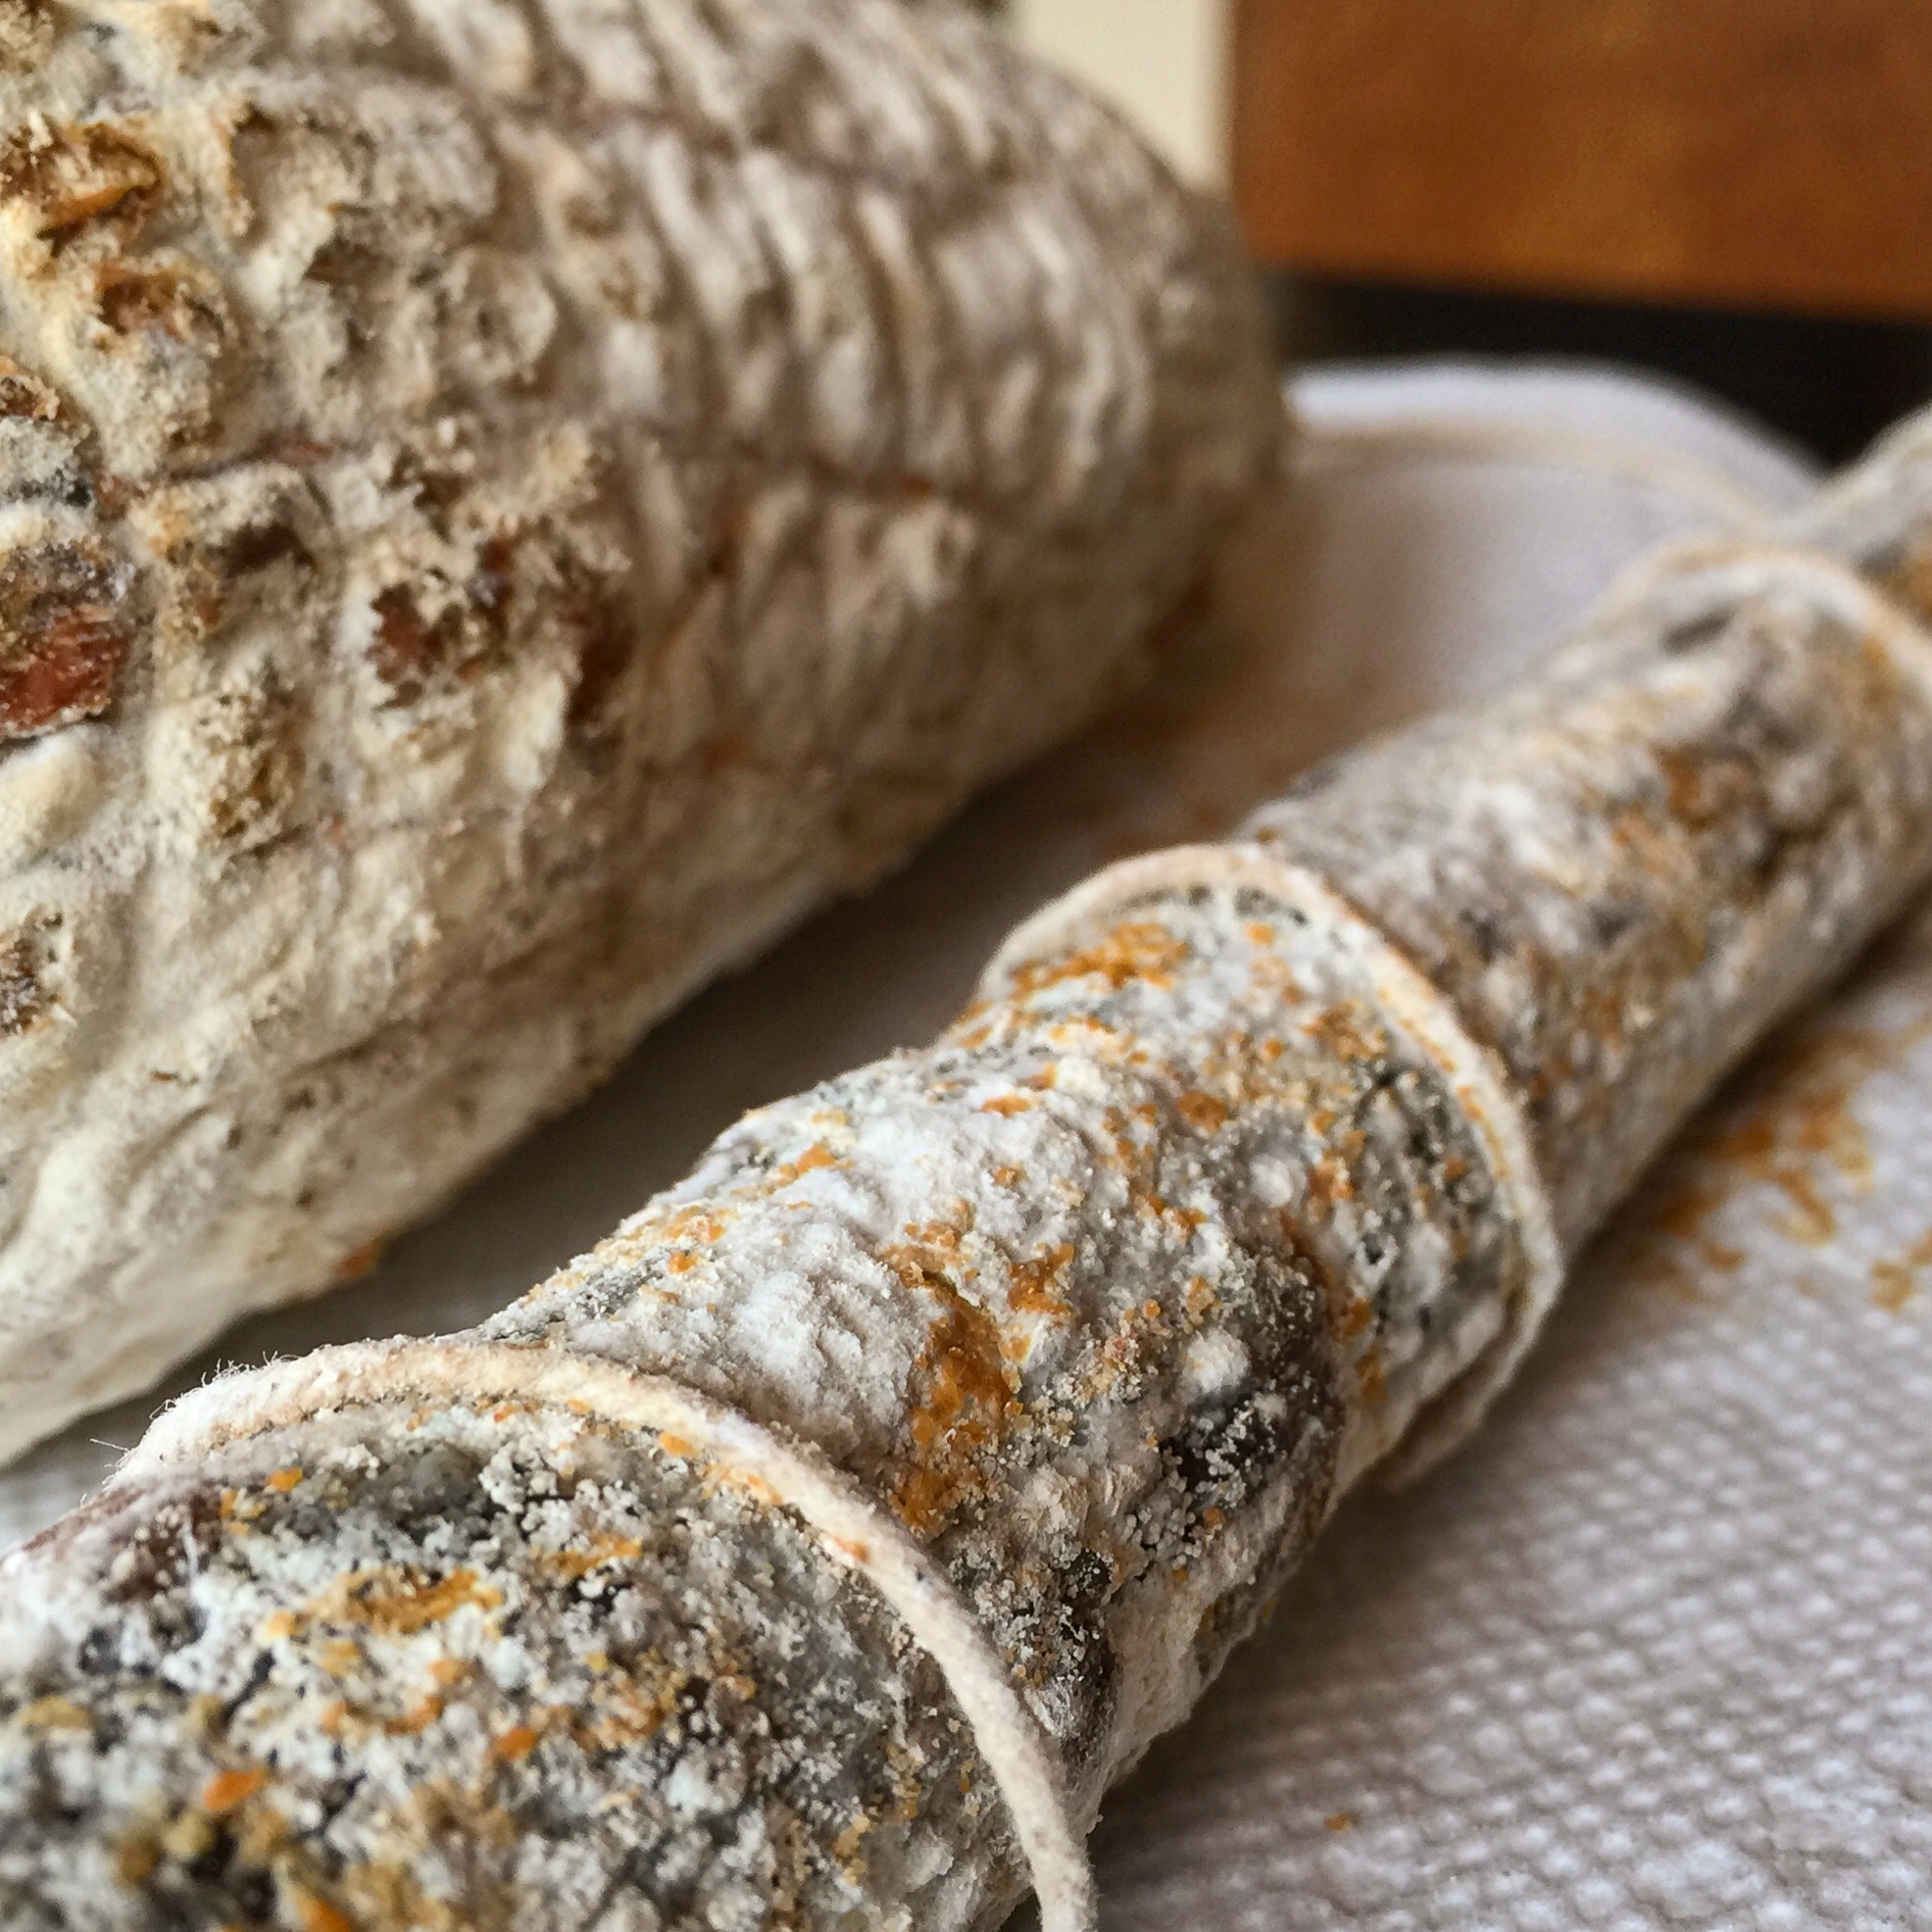
At this point, I sprayed the salami with Bactoferm 600, a commercially available form of penicillium nalgiovense.
I have attempted to track the fermentation stage using pH monitoring before, but I don’t always do that. This time, I tracked the fermentation stage just by time. After 3 days, I moved on to the drying phase.
Drying Phase:
Temperature: 54F/12C
Humidity: 70% RH
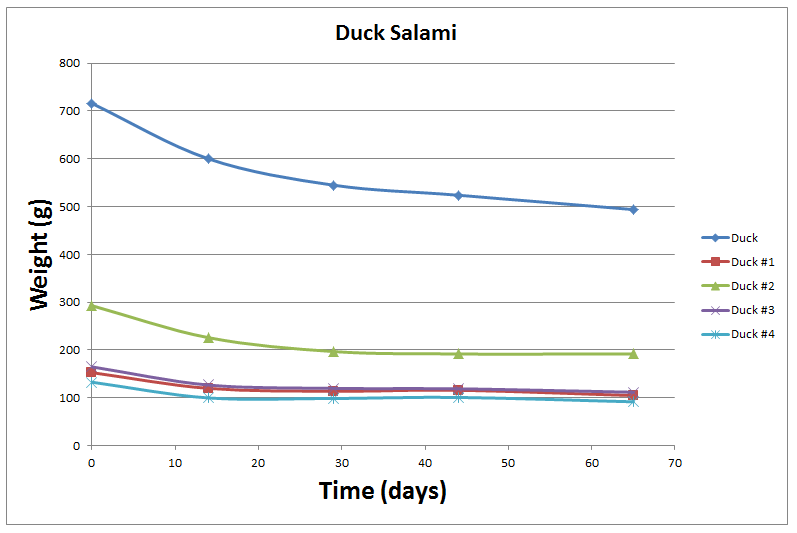
For the drying phase, I set the chamber to its usual settings (55F/70-80% RH). The salami was allowed to dry over time. Usually I allow my salami to go to 40% weight loss, but these plateaued at around 35% weight loss. I attribute this to the higher fat content of these salami. Regardless, they were pulled at around 35% weight loss.
Initial Tasting Phase:
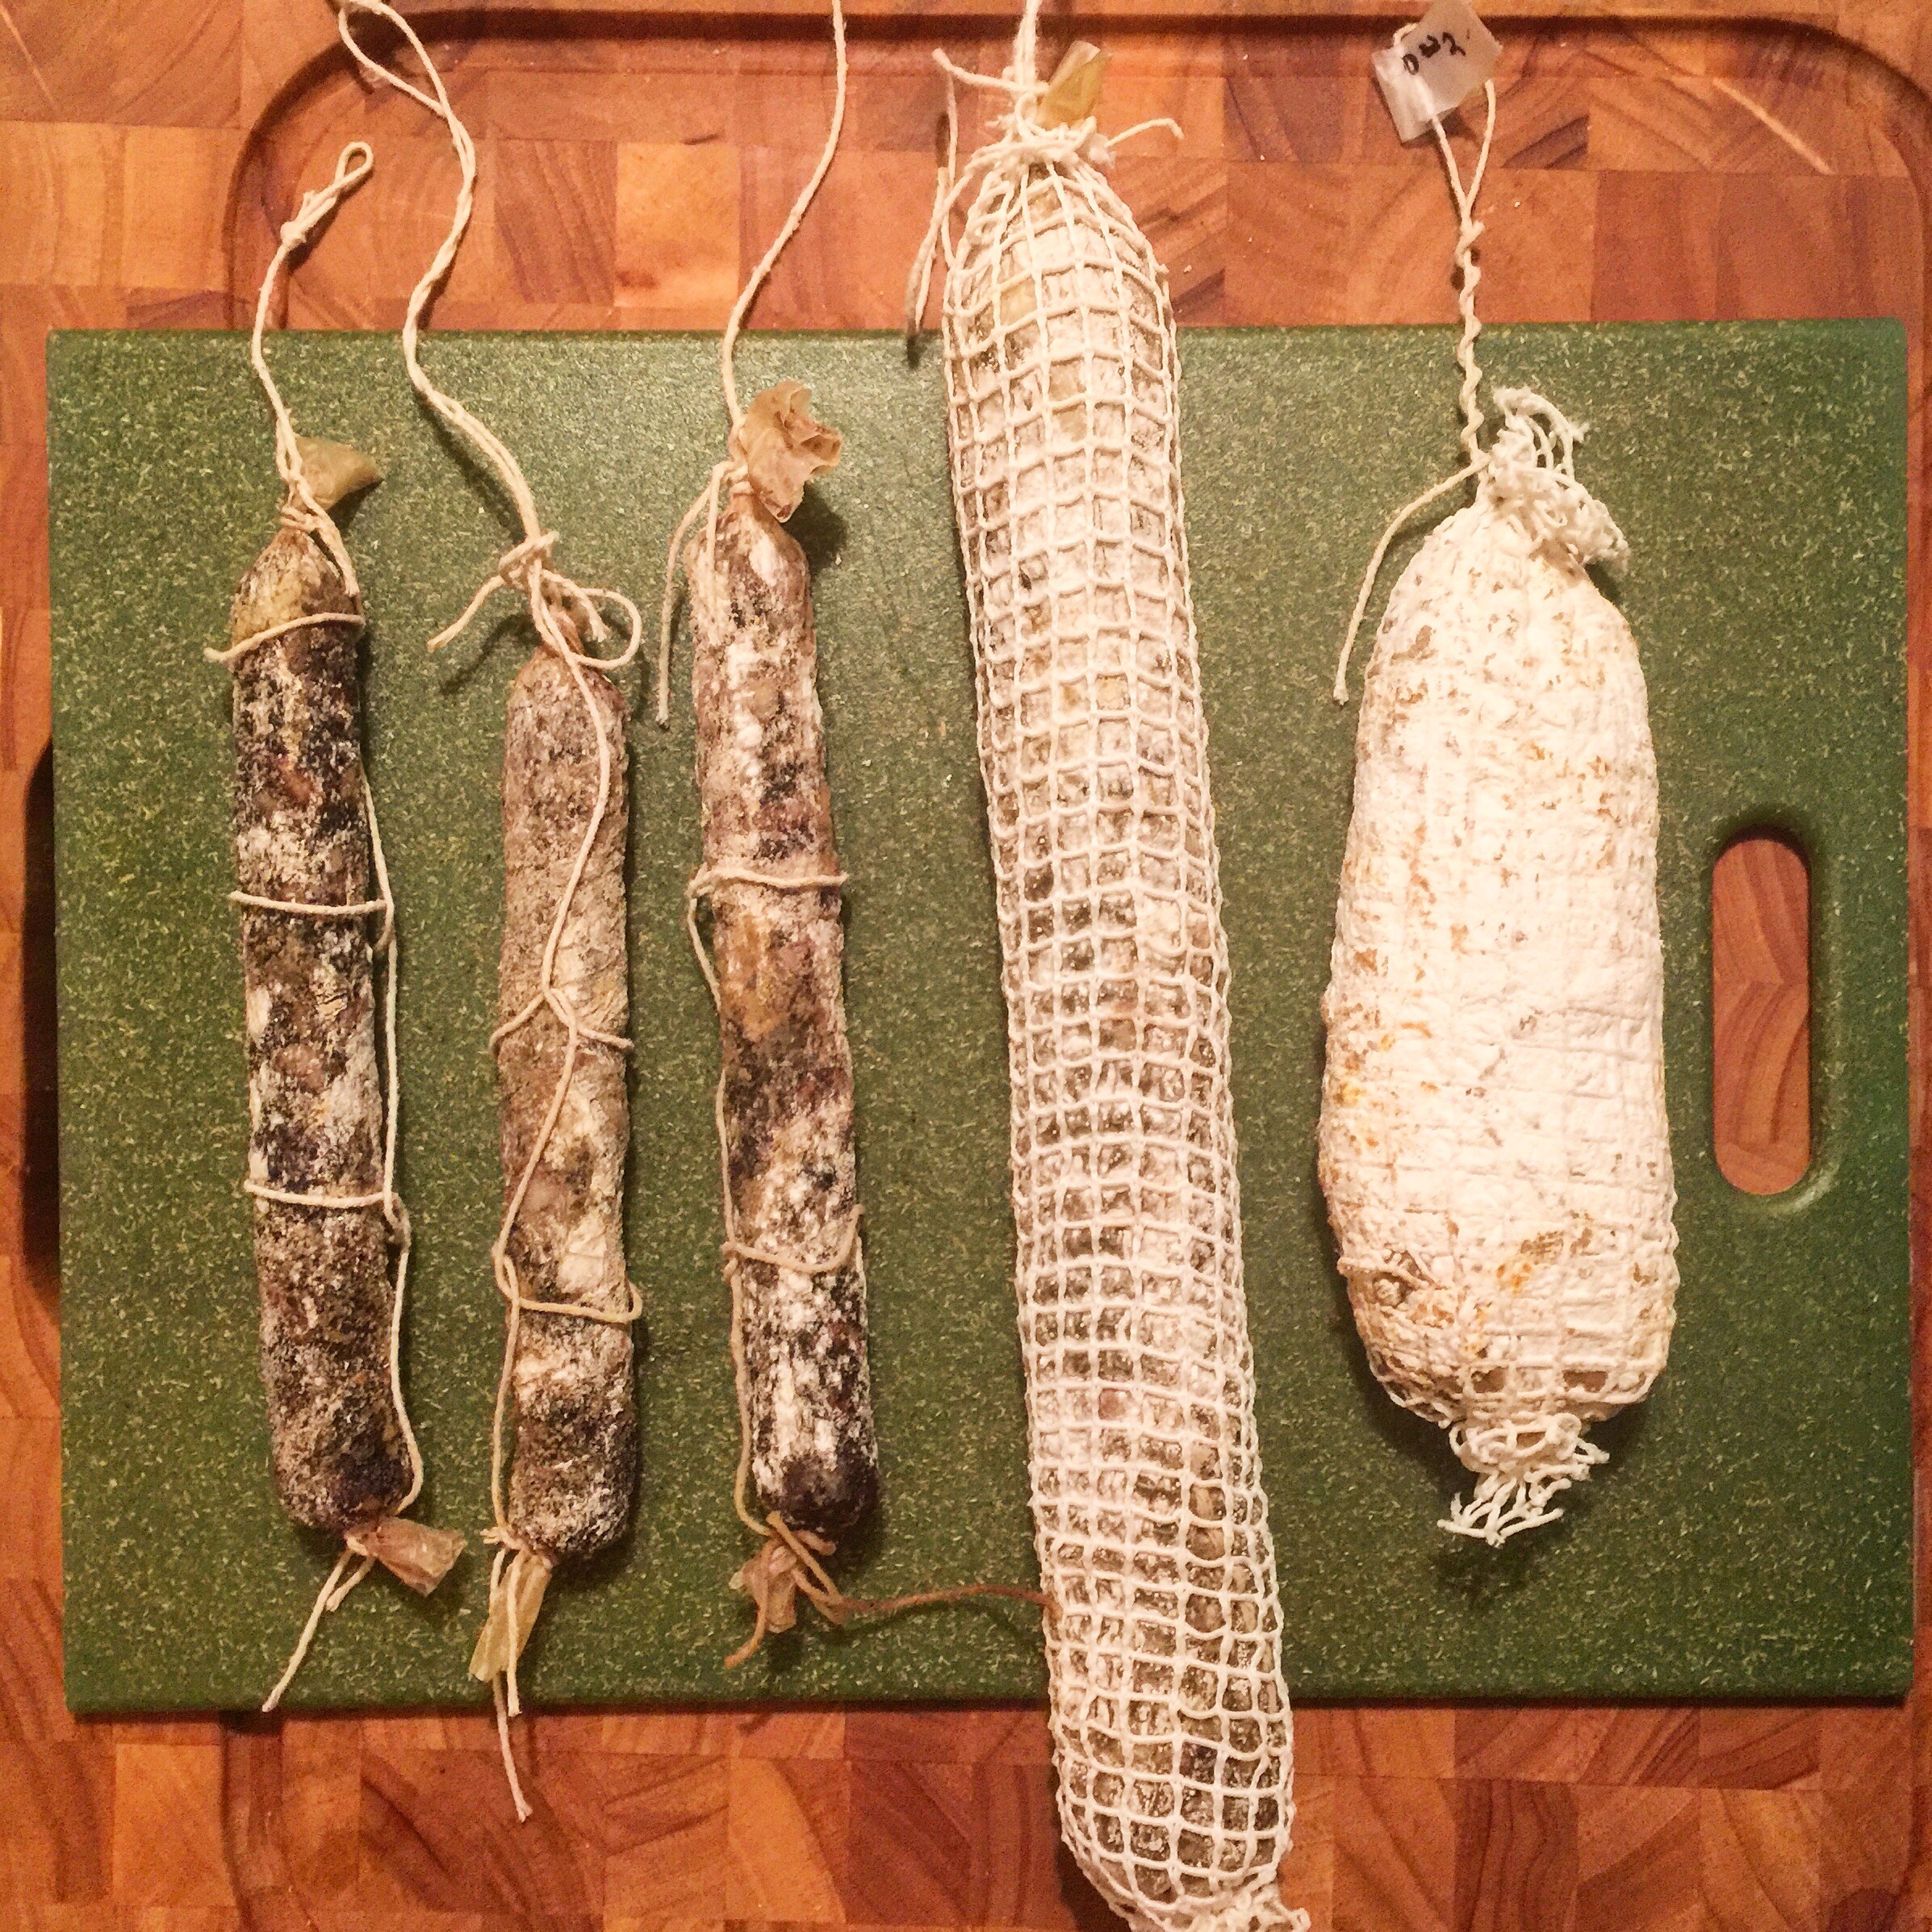
After the duck salami weight loss plateaued, I pulled them from the chamber.
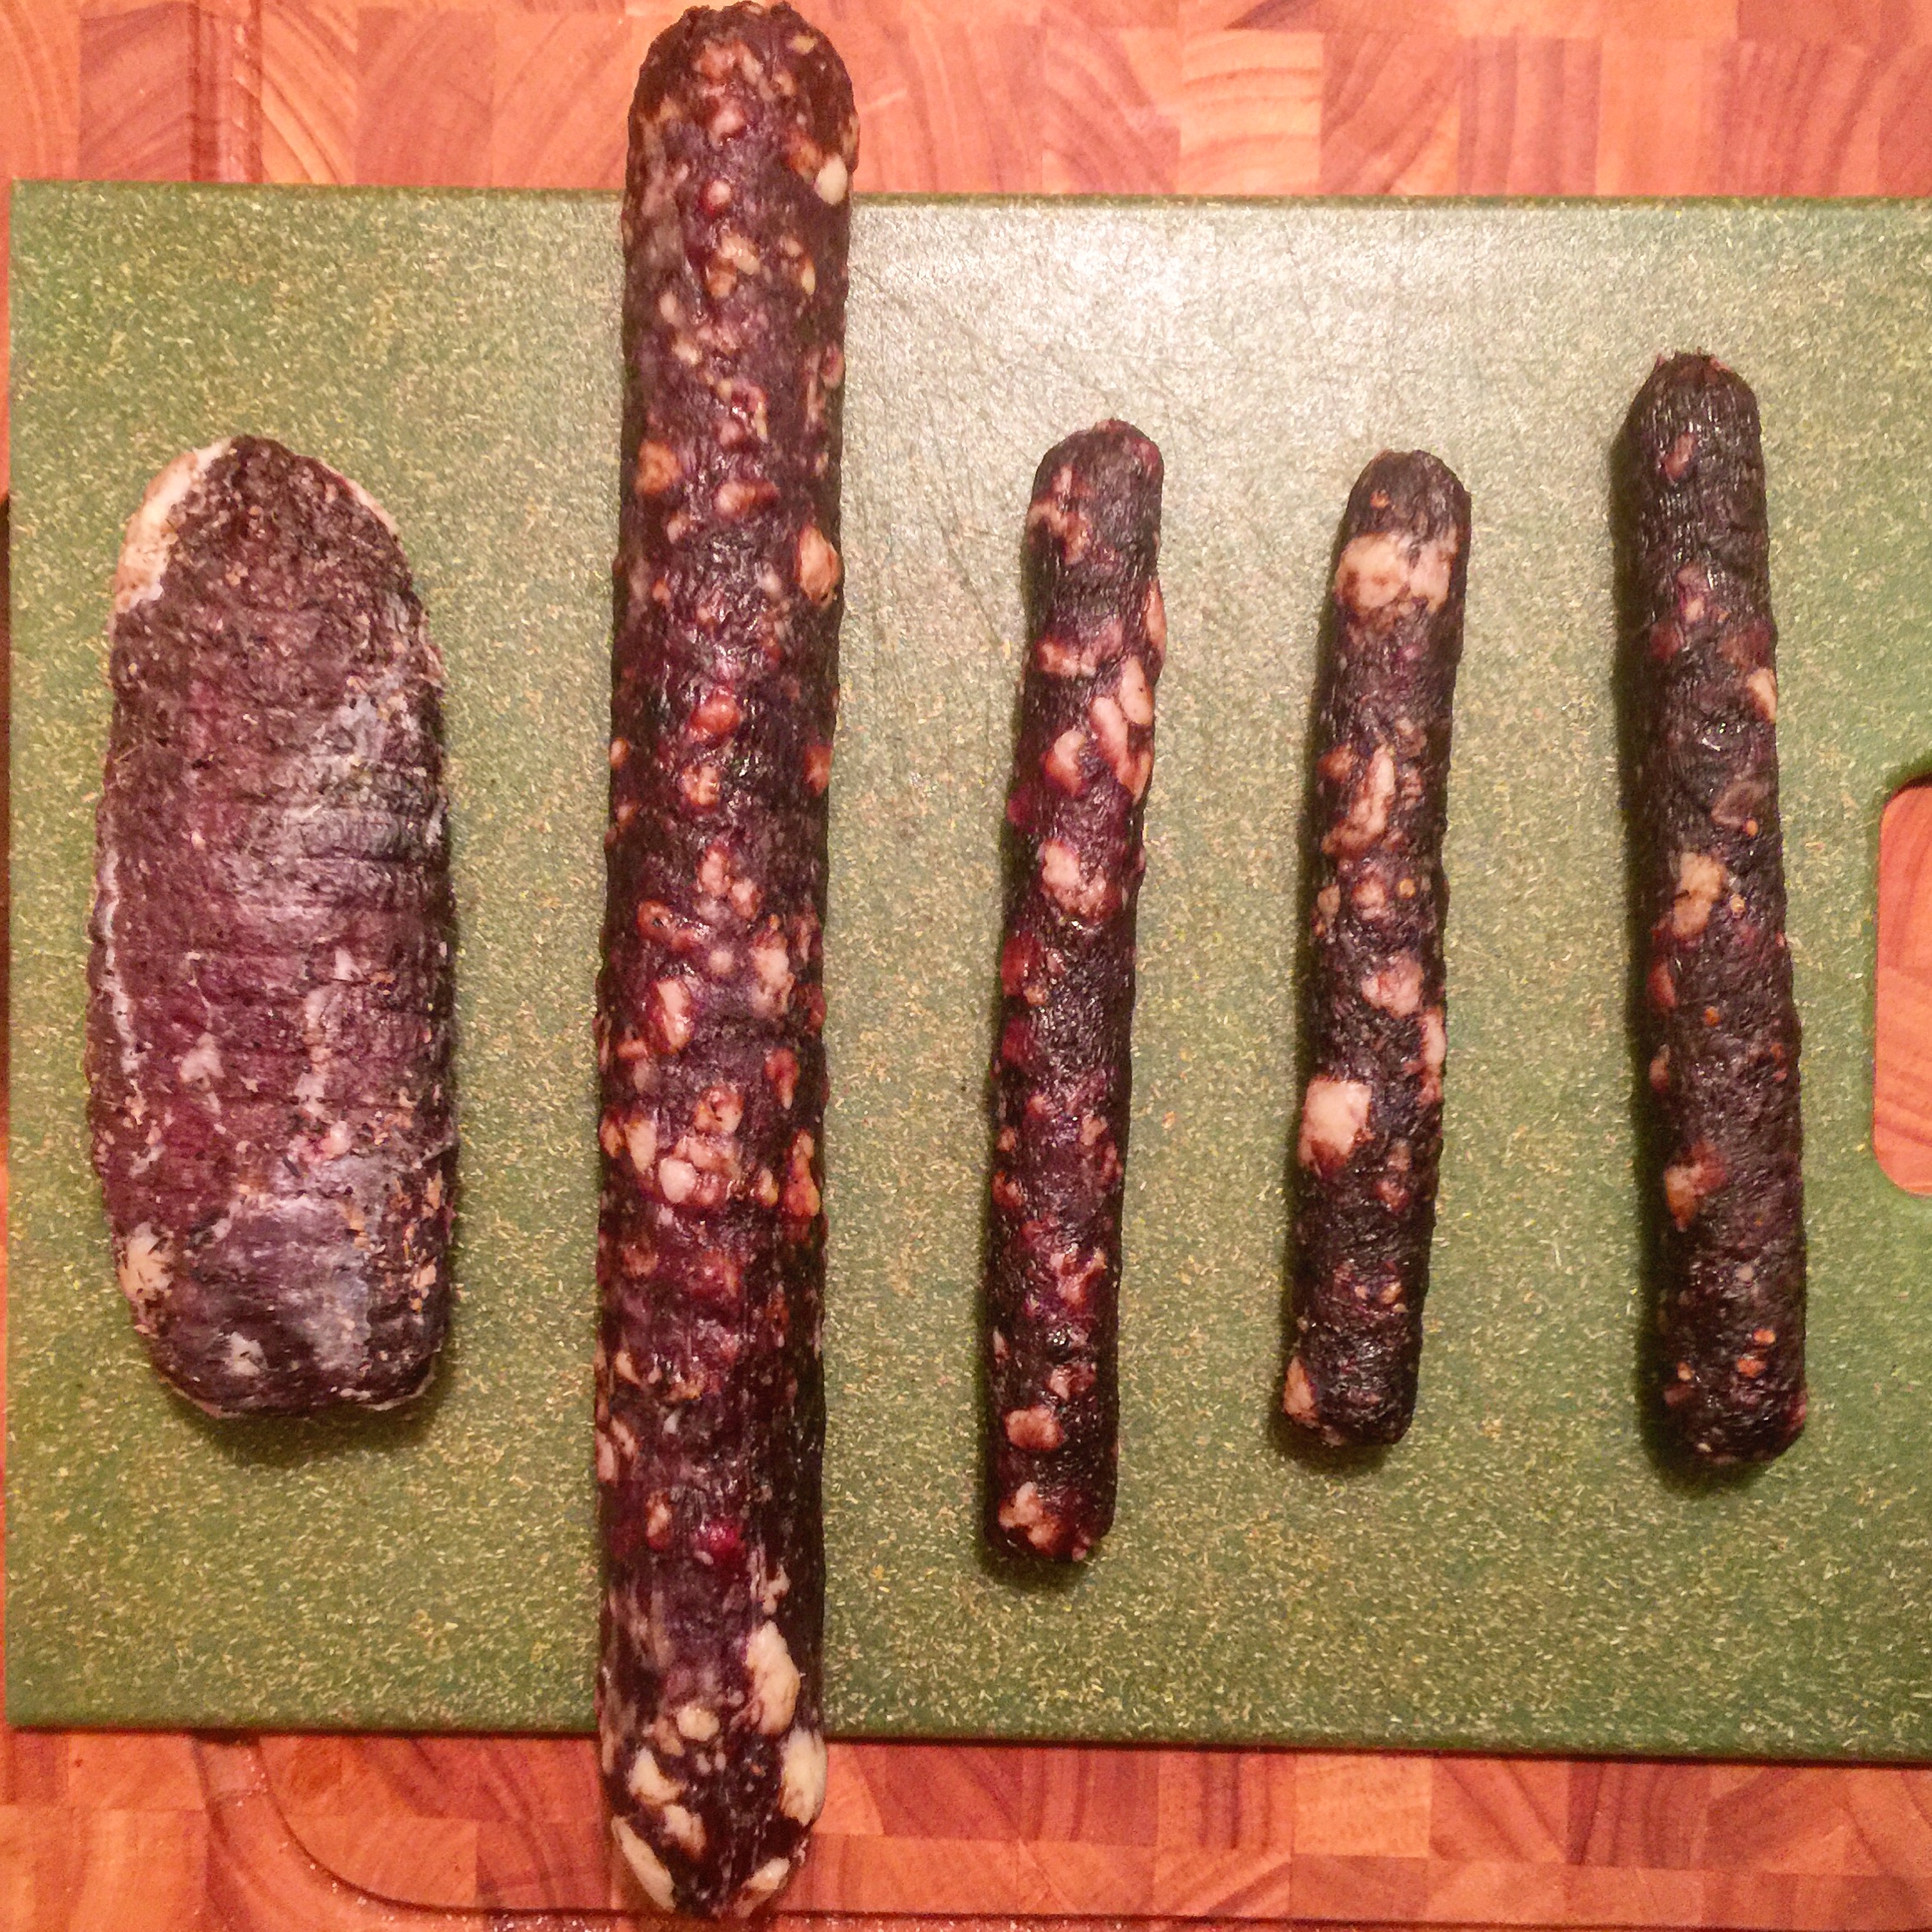
After I pulled the duck salami, I removed the casing, and wiped them down with white vinegar. I patted them dry after this.
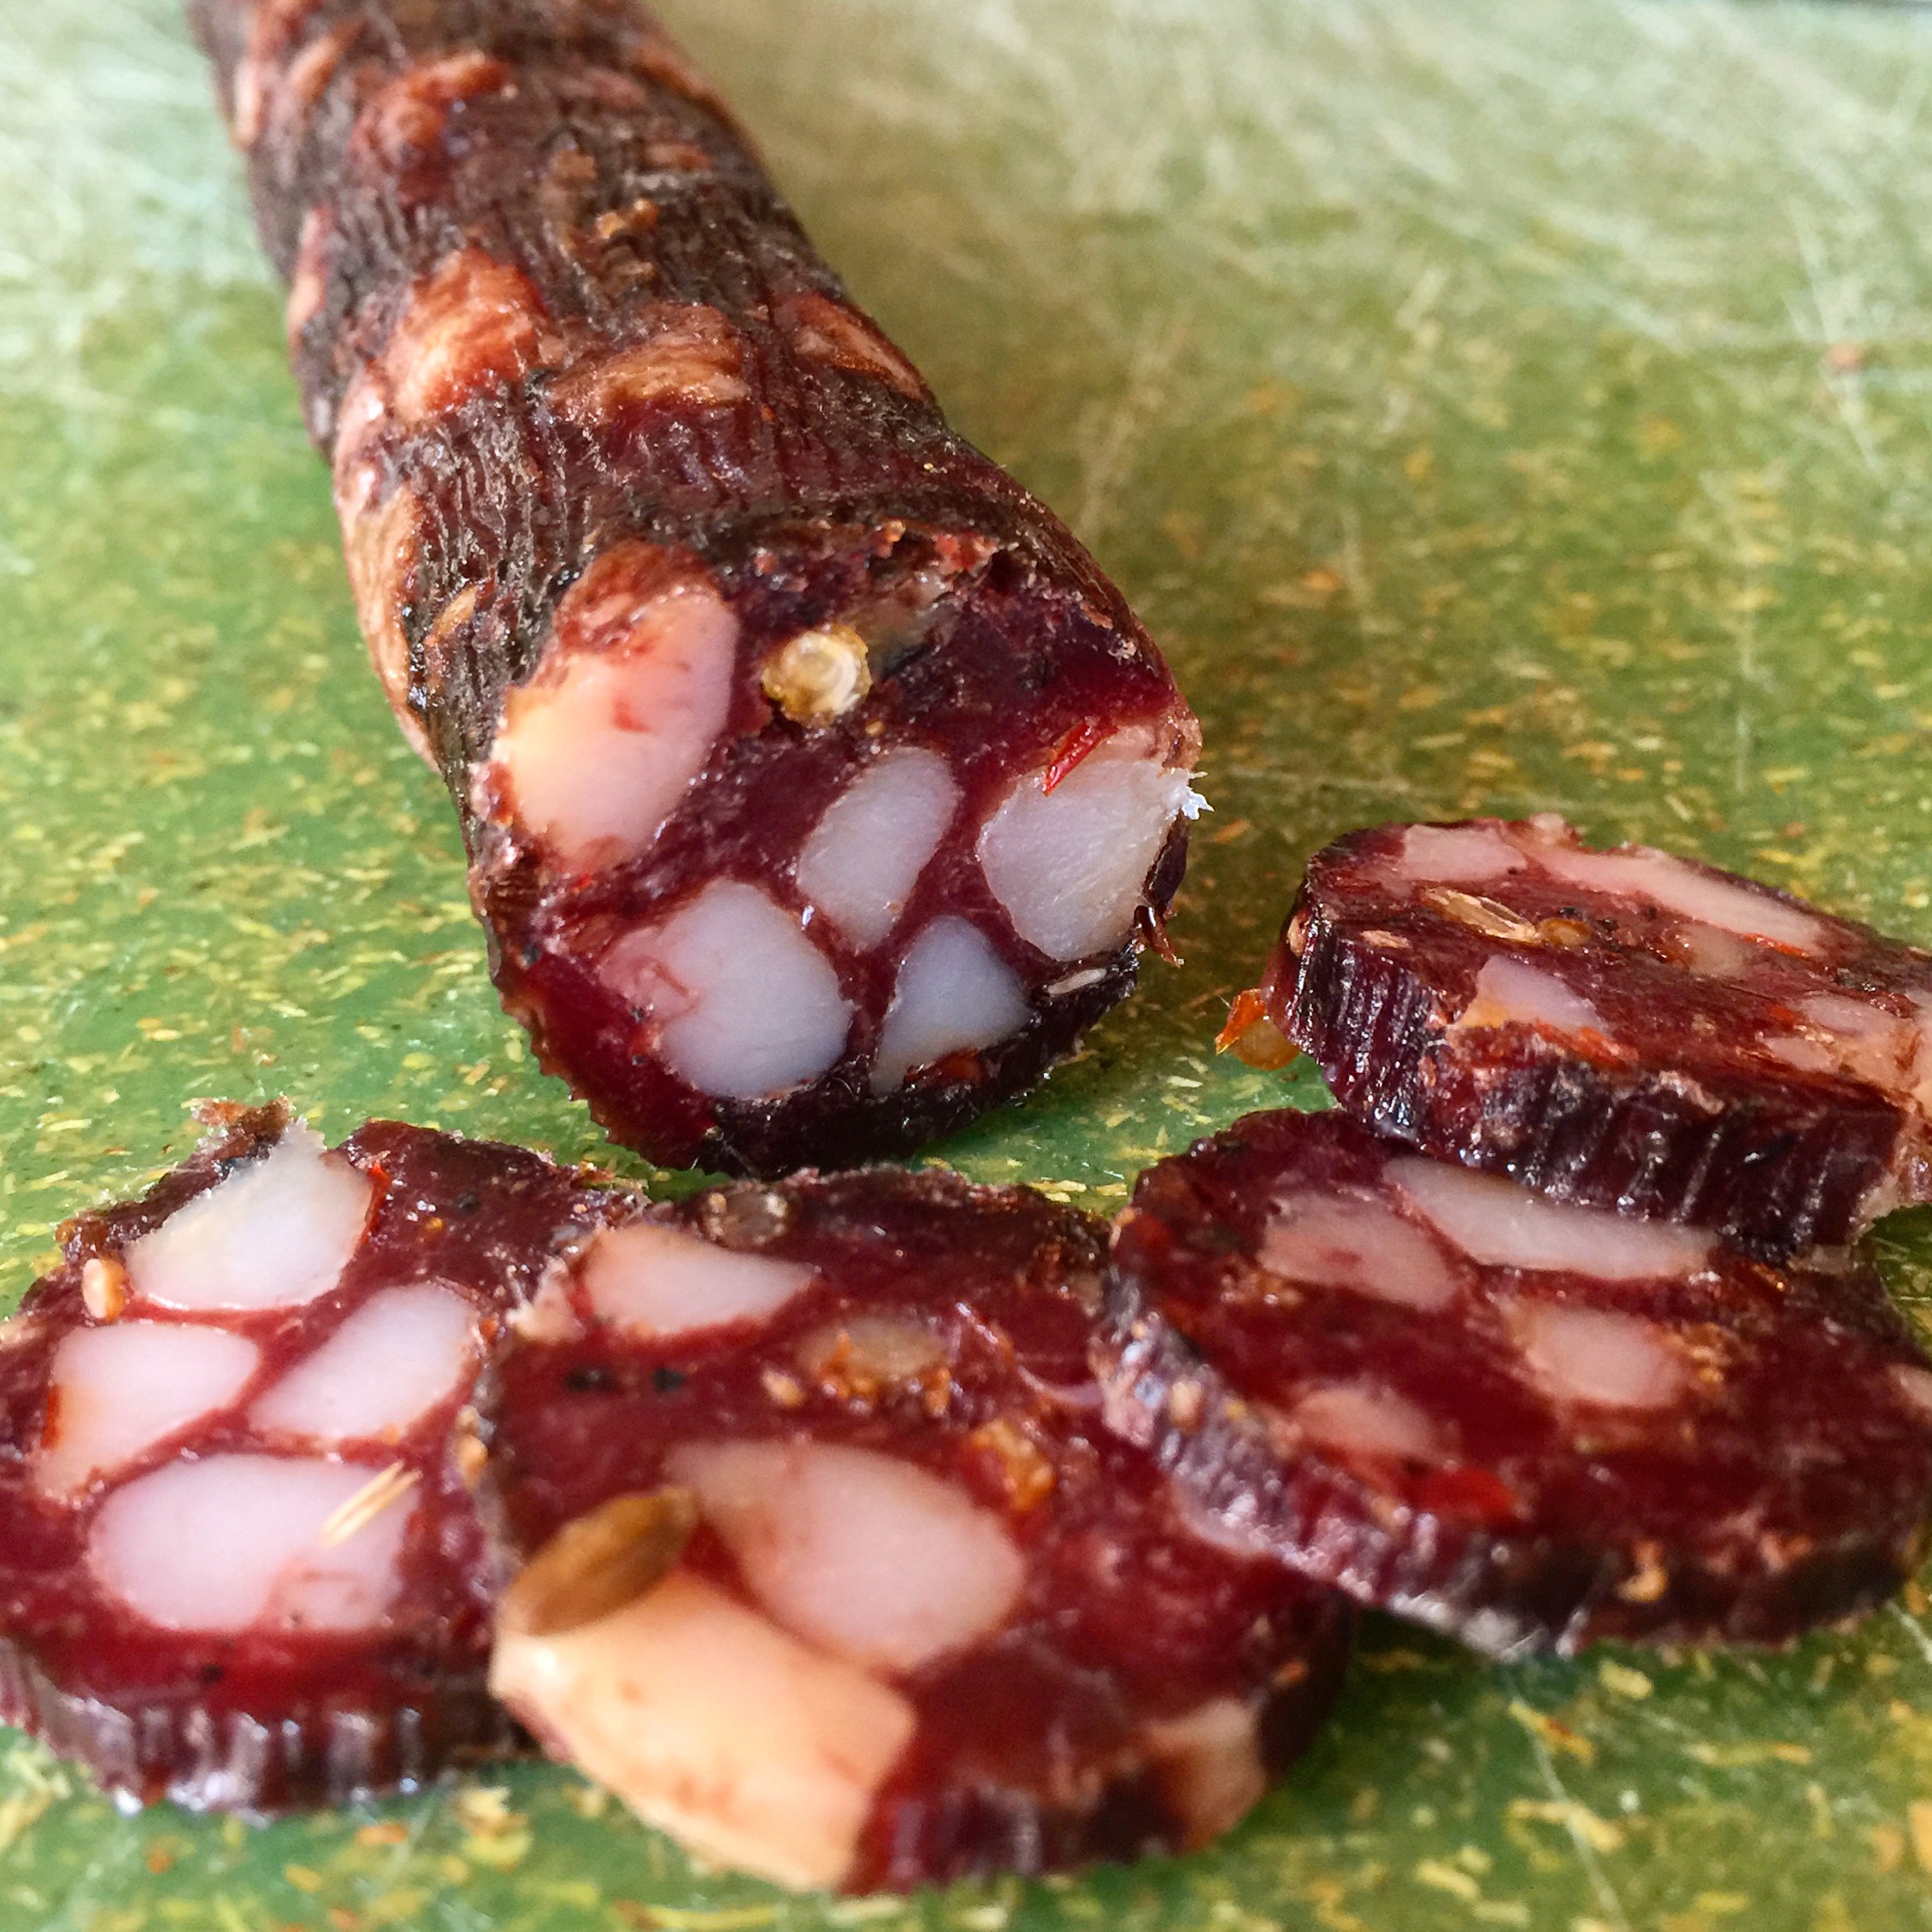
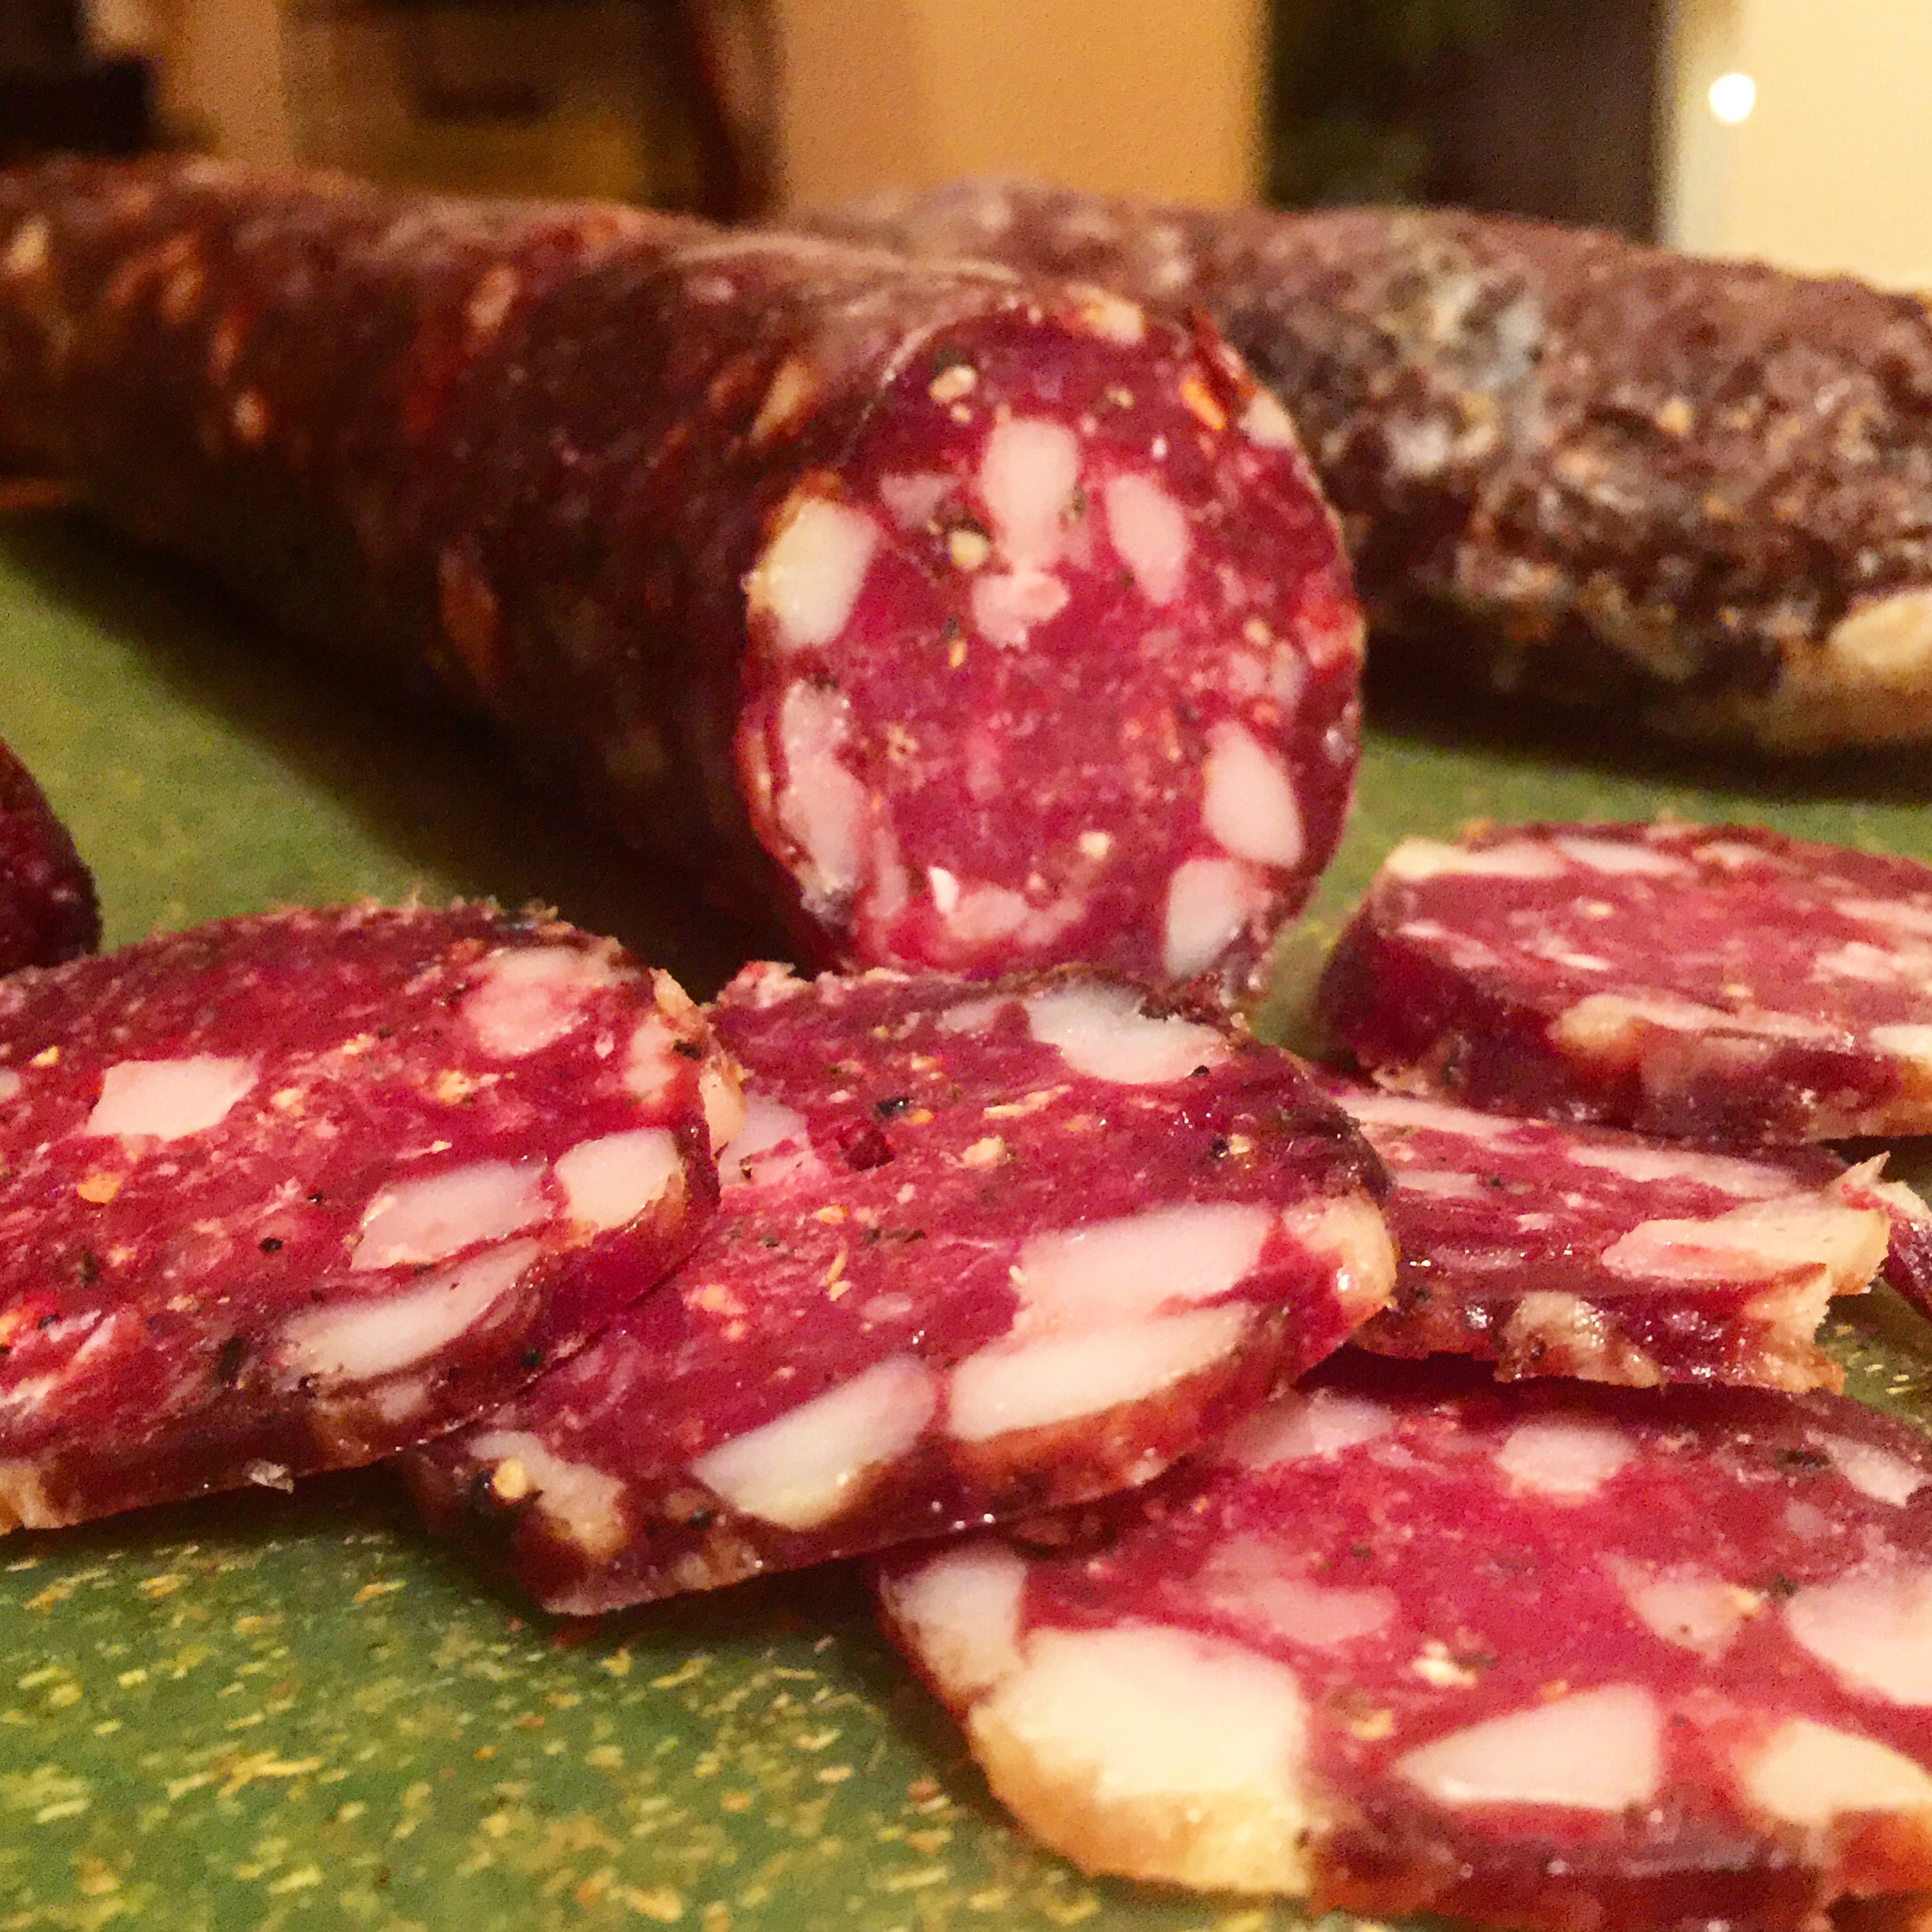
I sliced them open. Wow.
The spicy calabrese duck salami was a kick in the mouth. Flavorful and spicy. They were slightly over powering due to the strong heat from the calabrese pepperoncini, but if it’s not spicy, you’re not doing your job right?
The salame duck l’orange was amazing. The complex flavors really lent themselves well to the flavor of the duck.
After one last look…
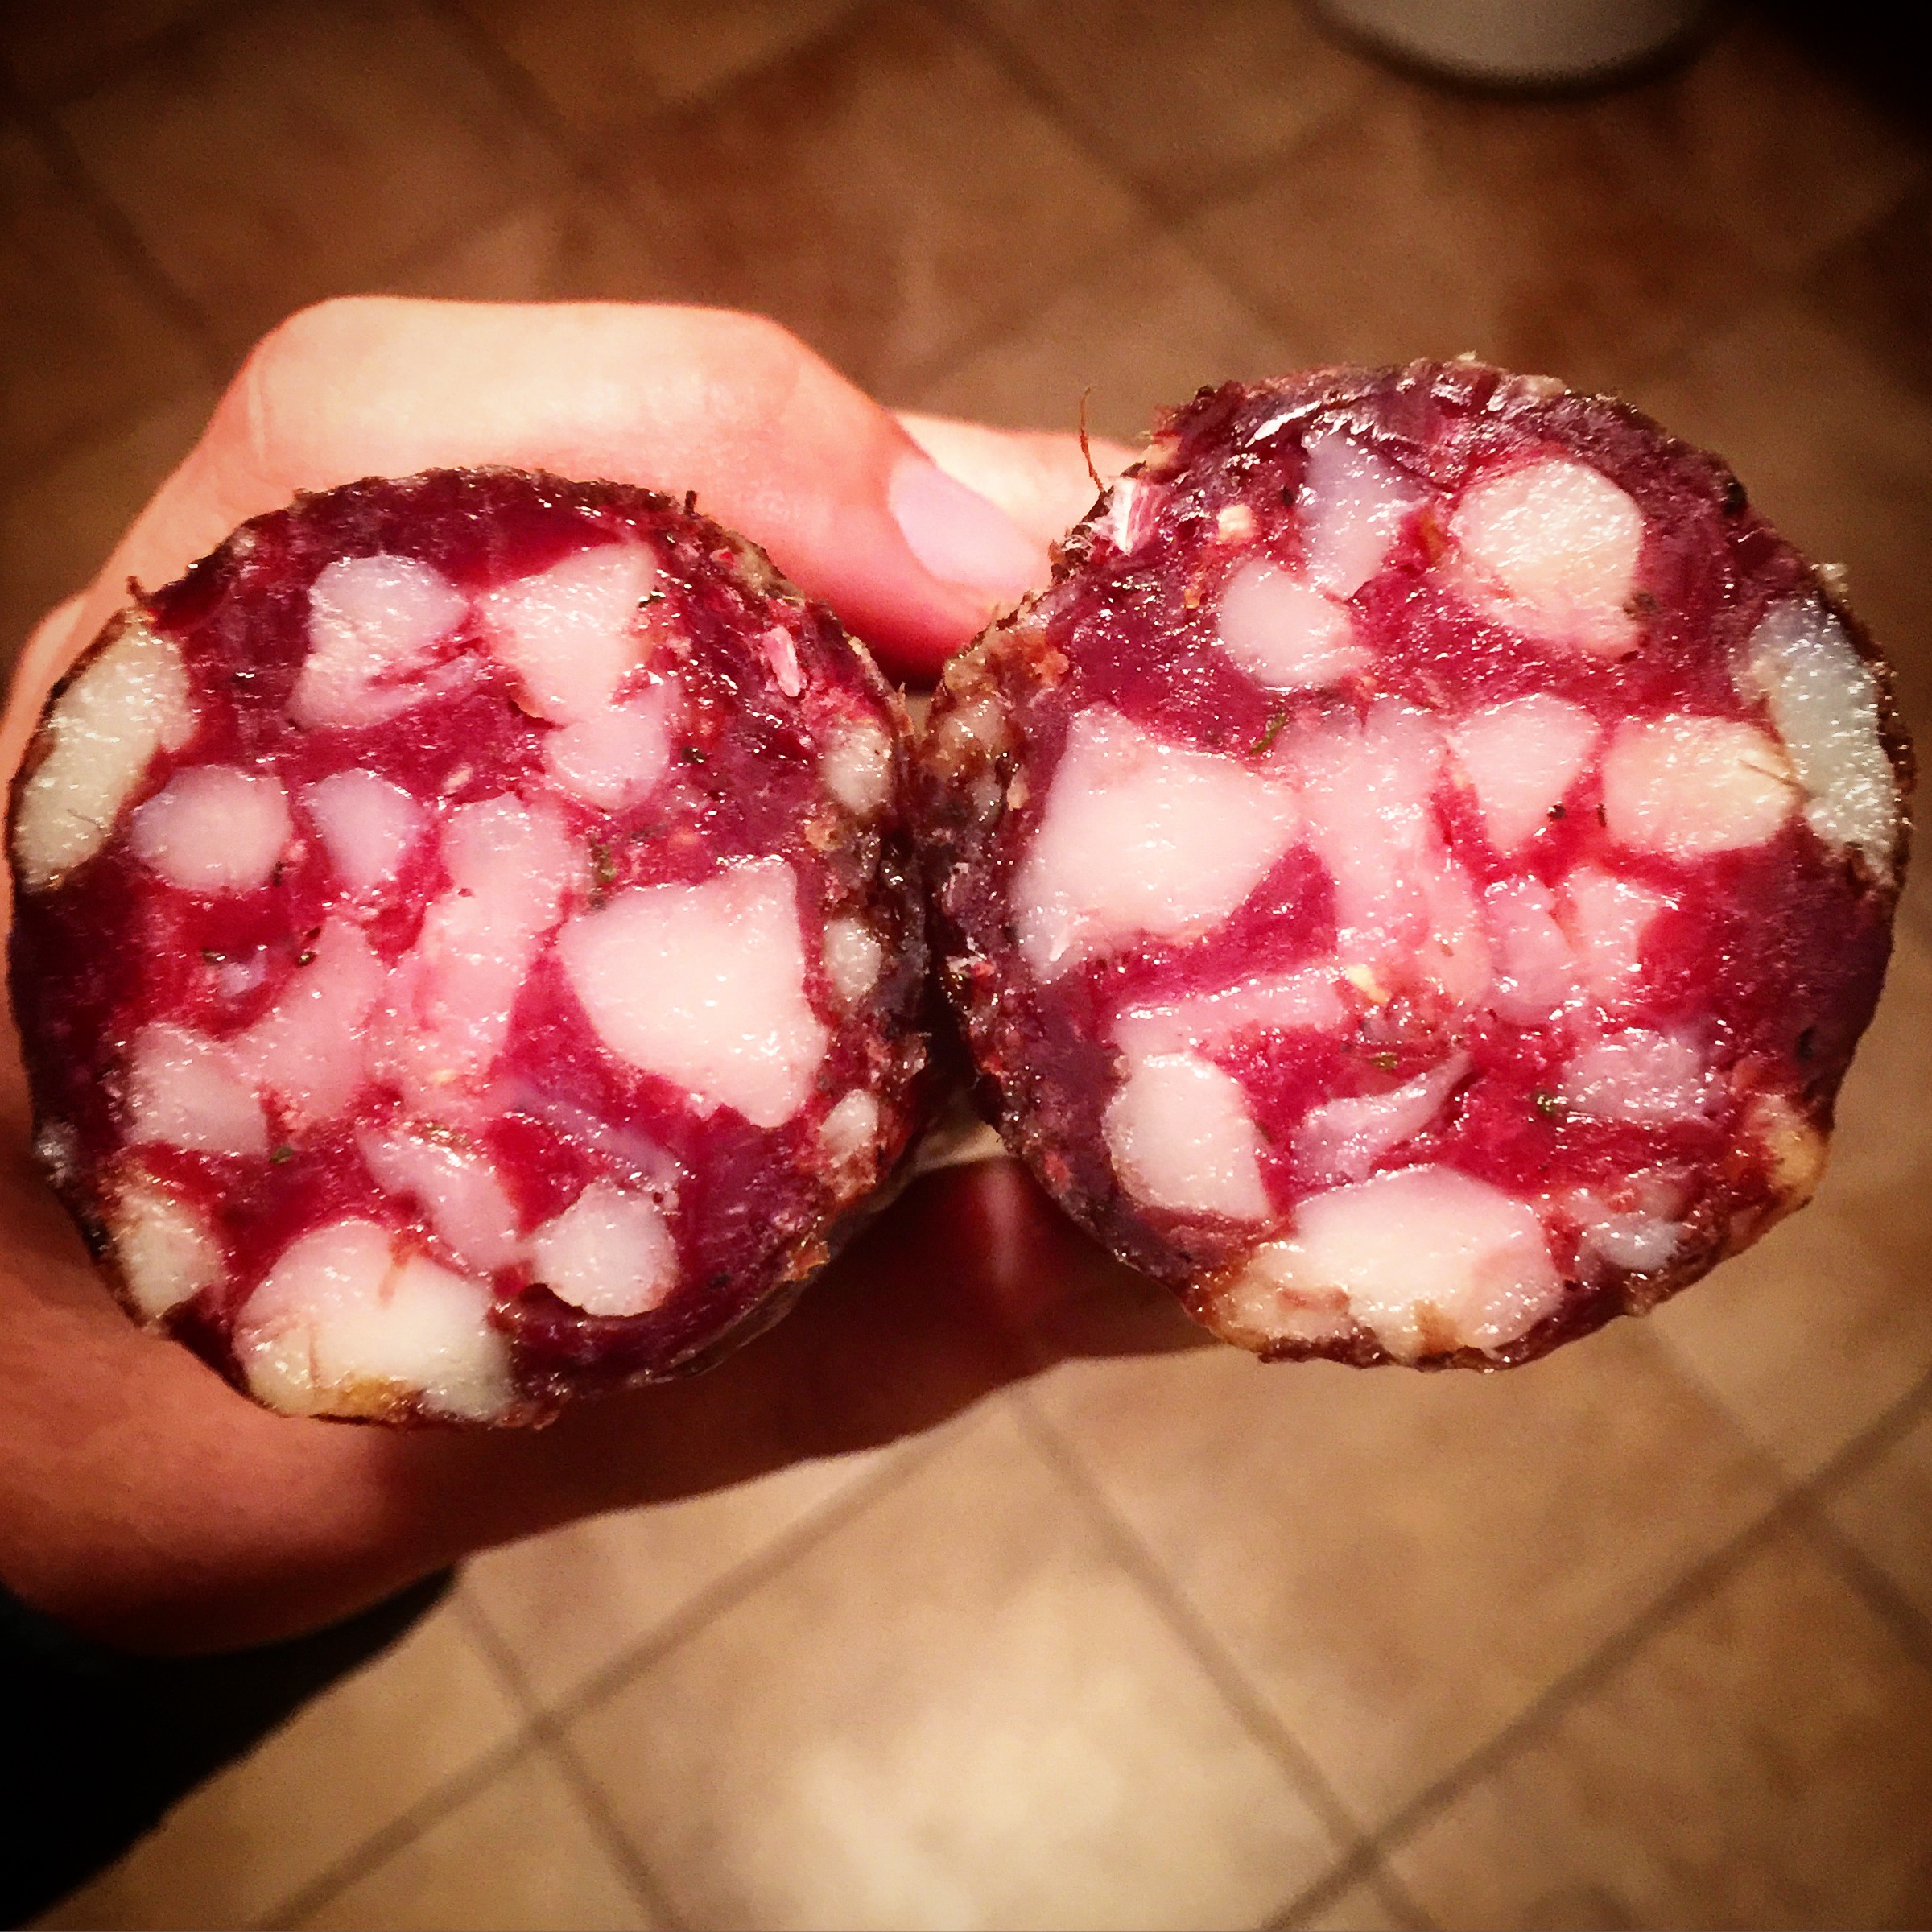
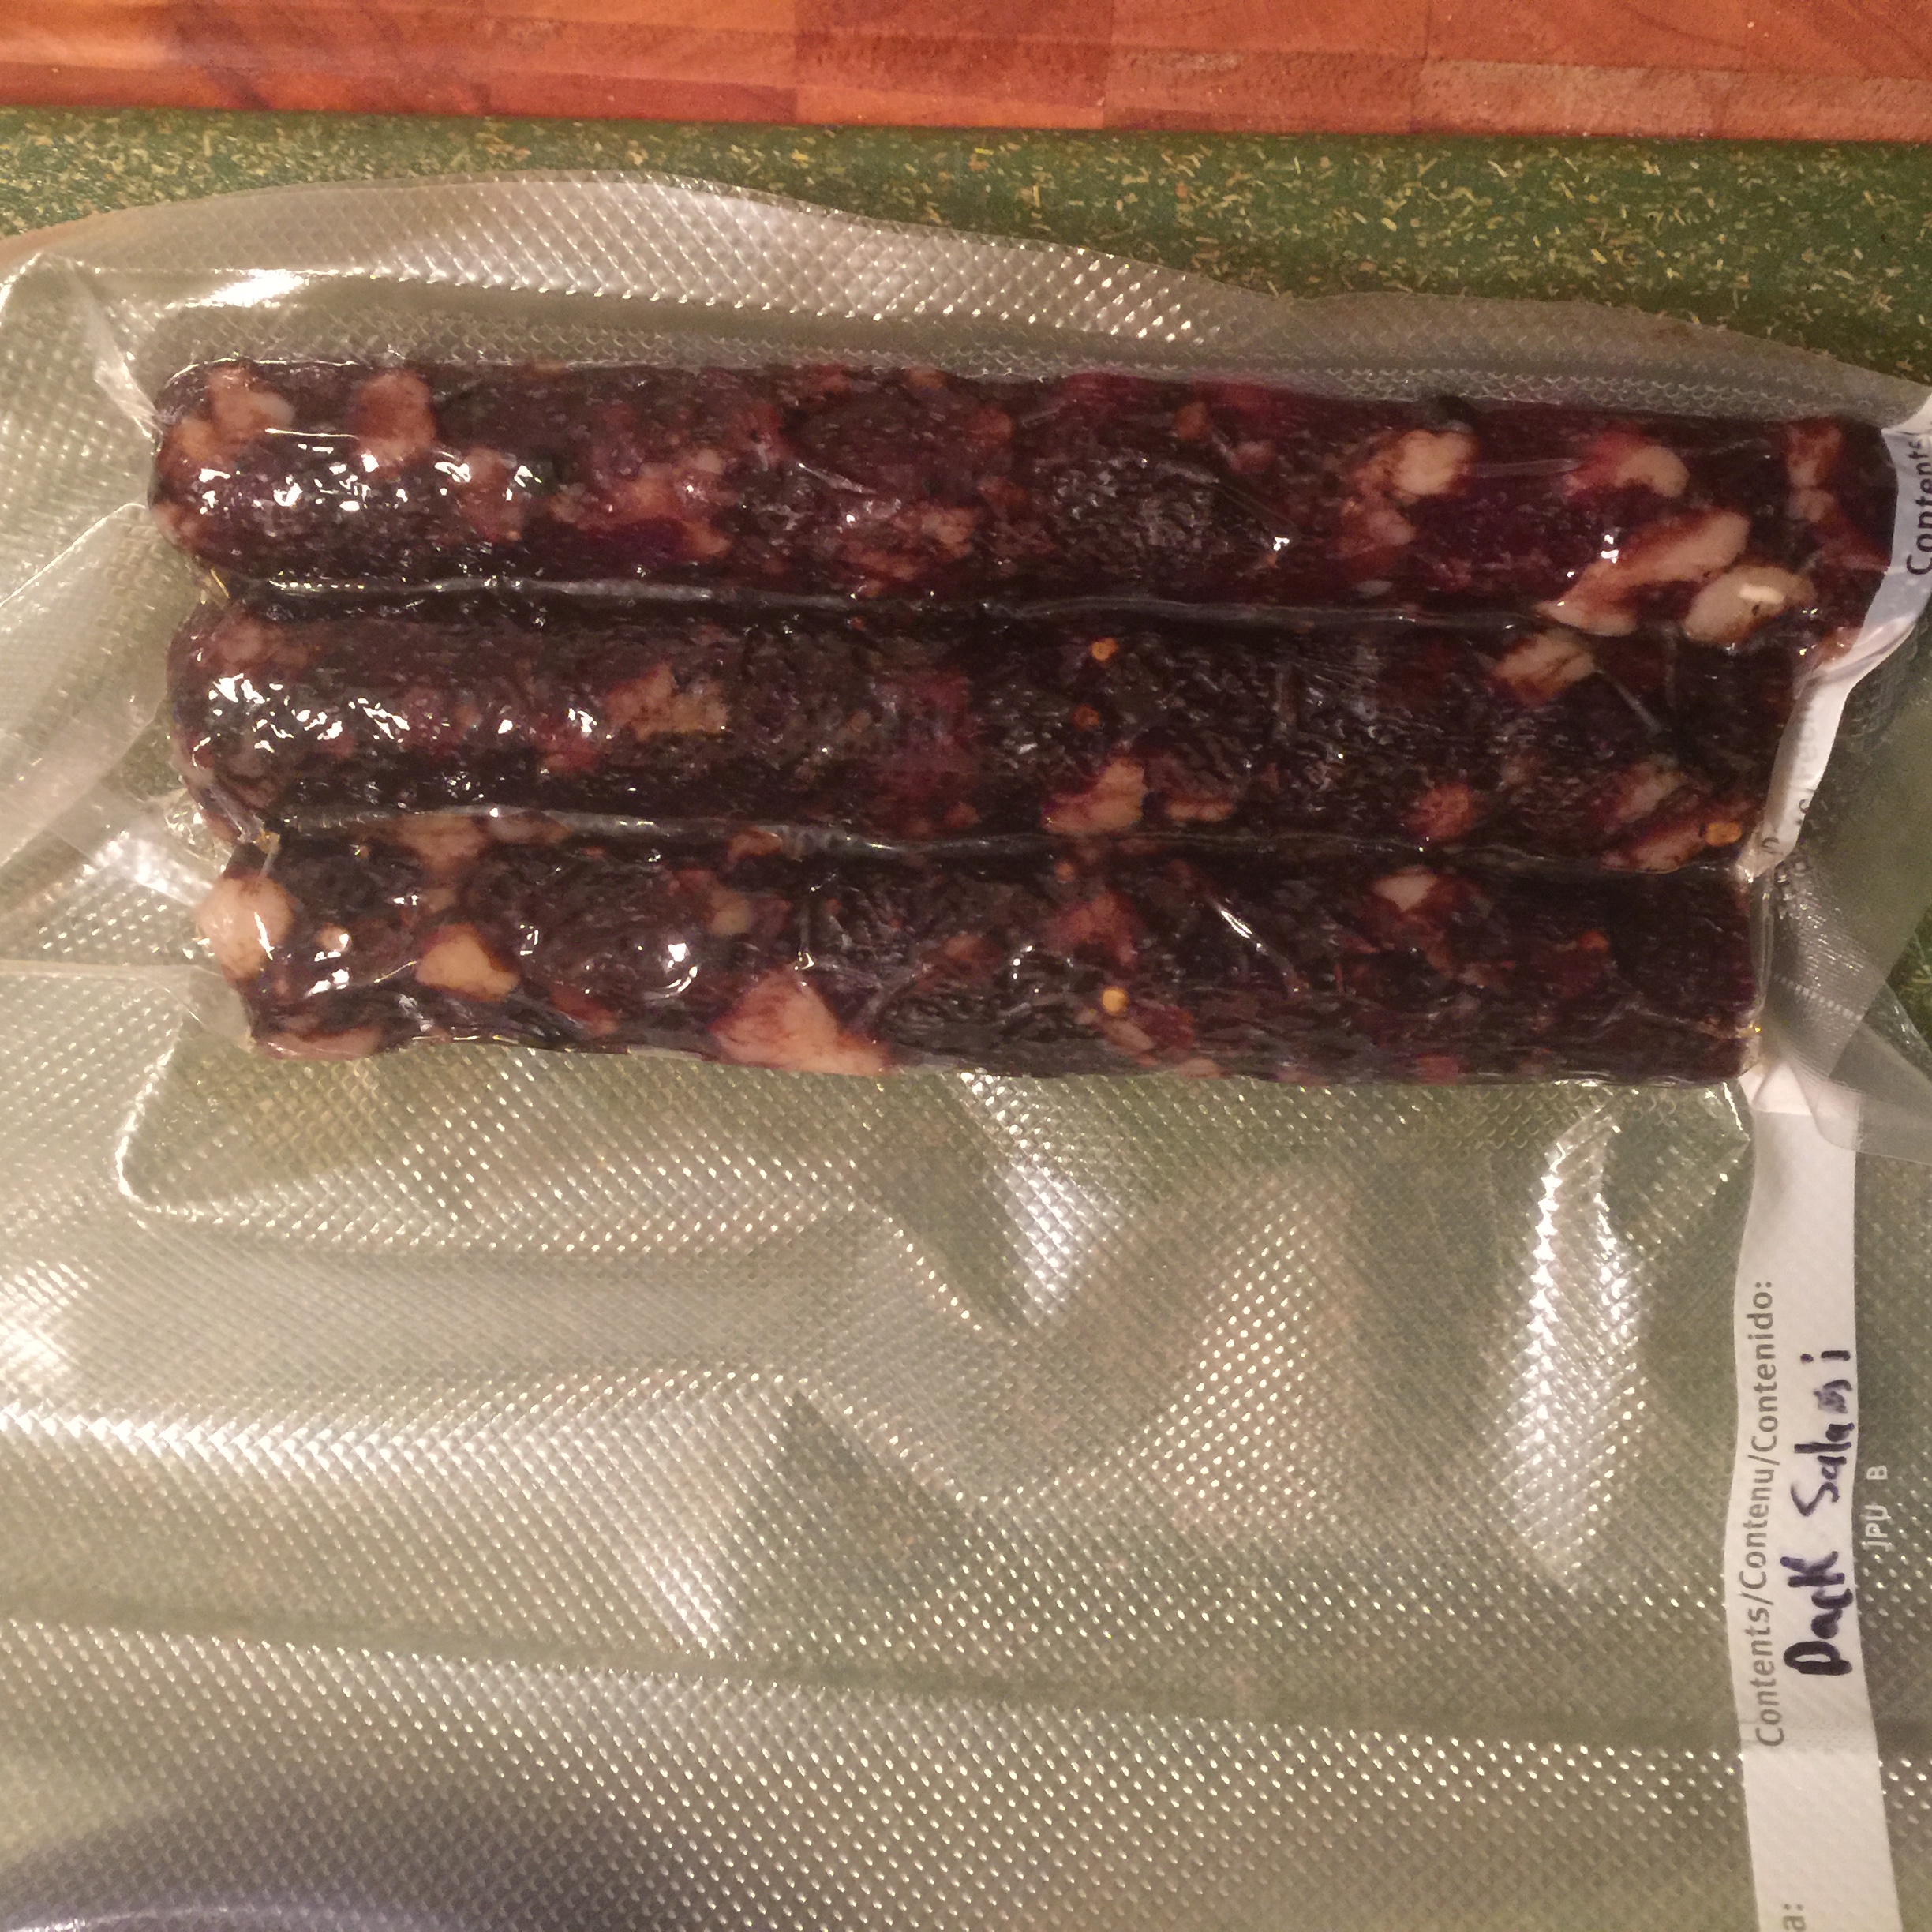
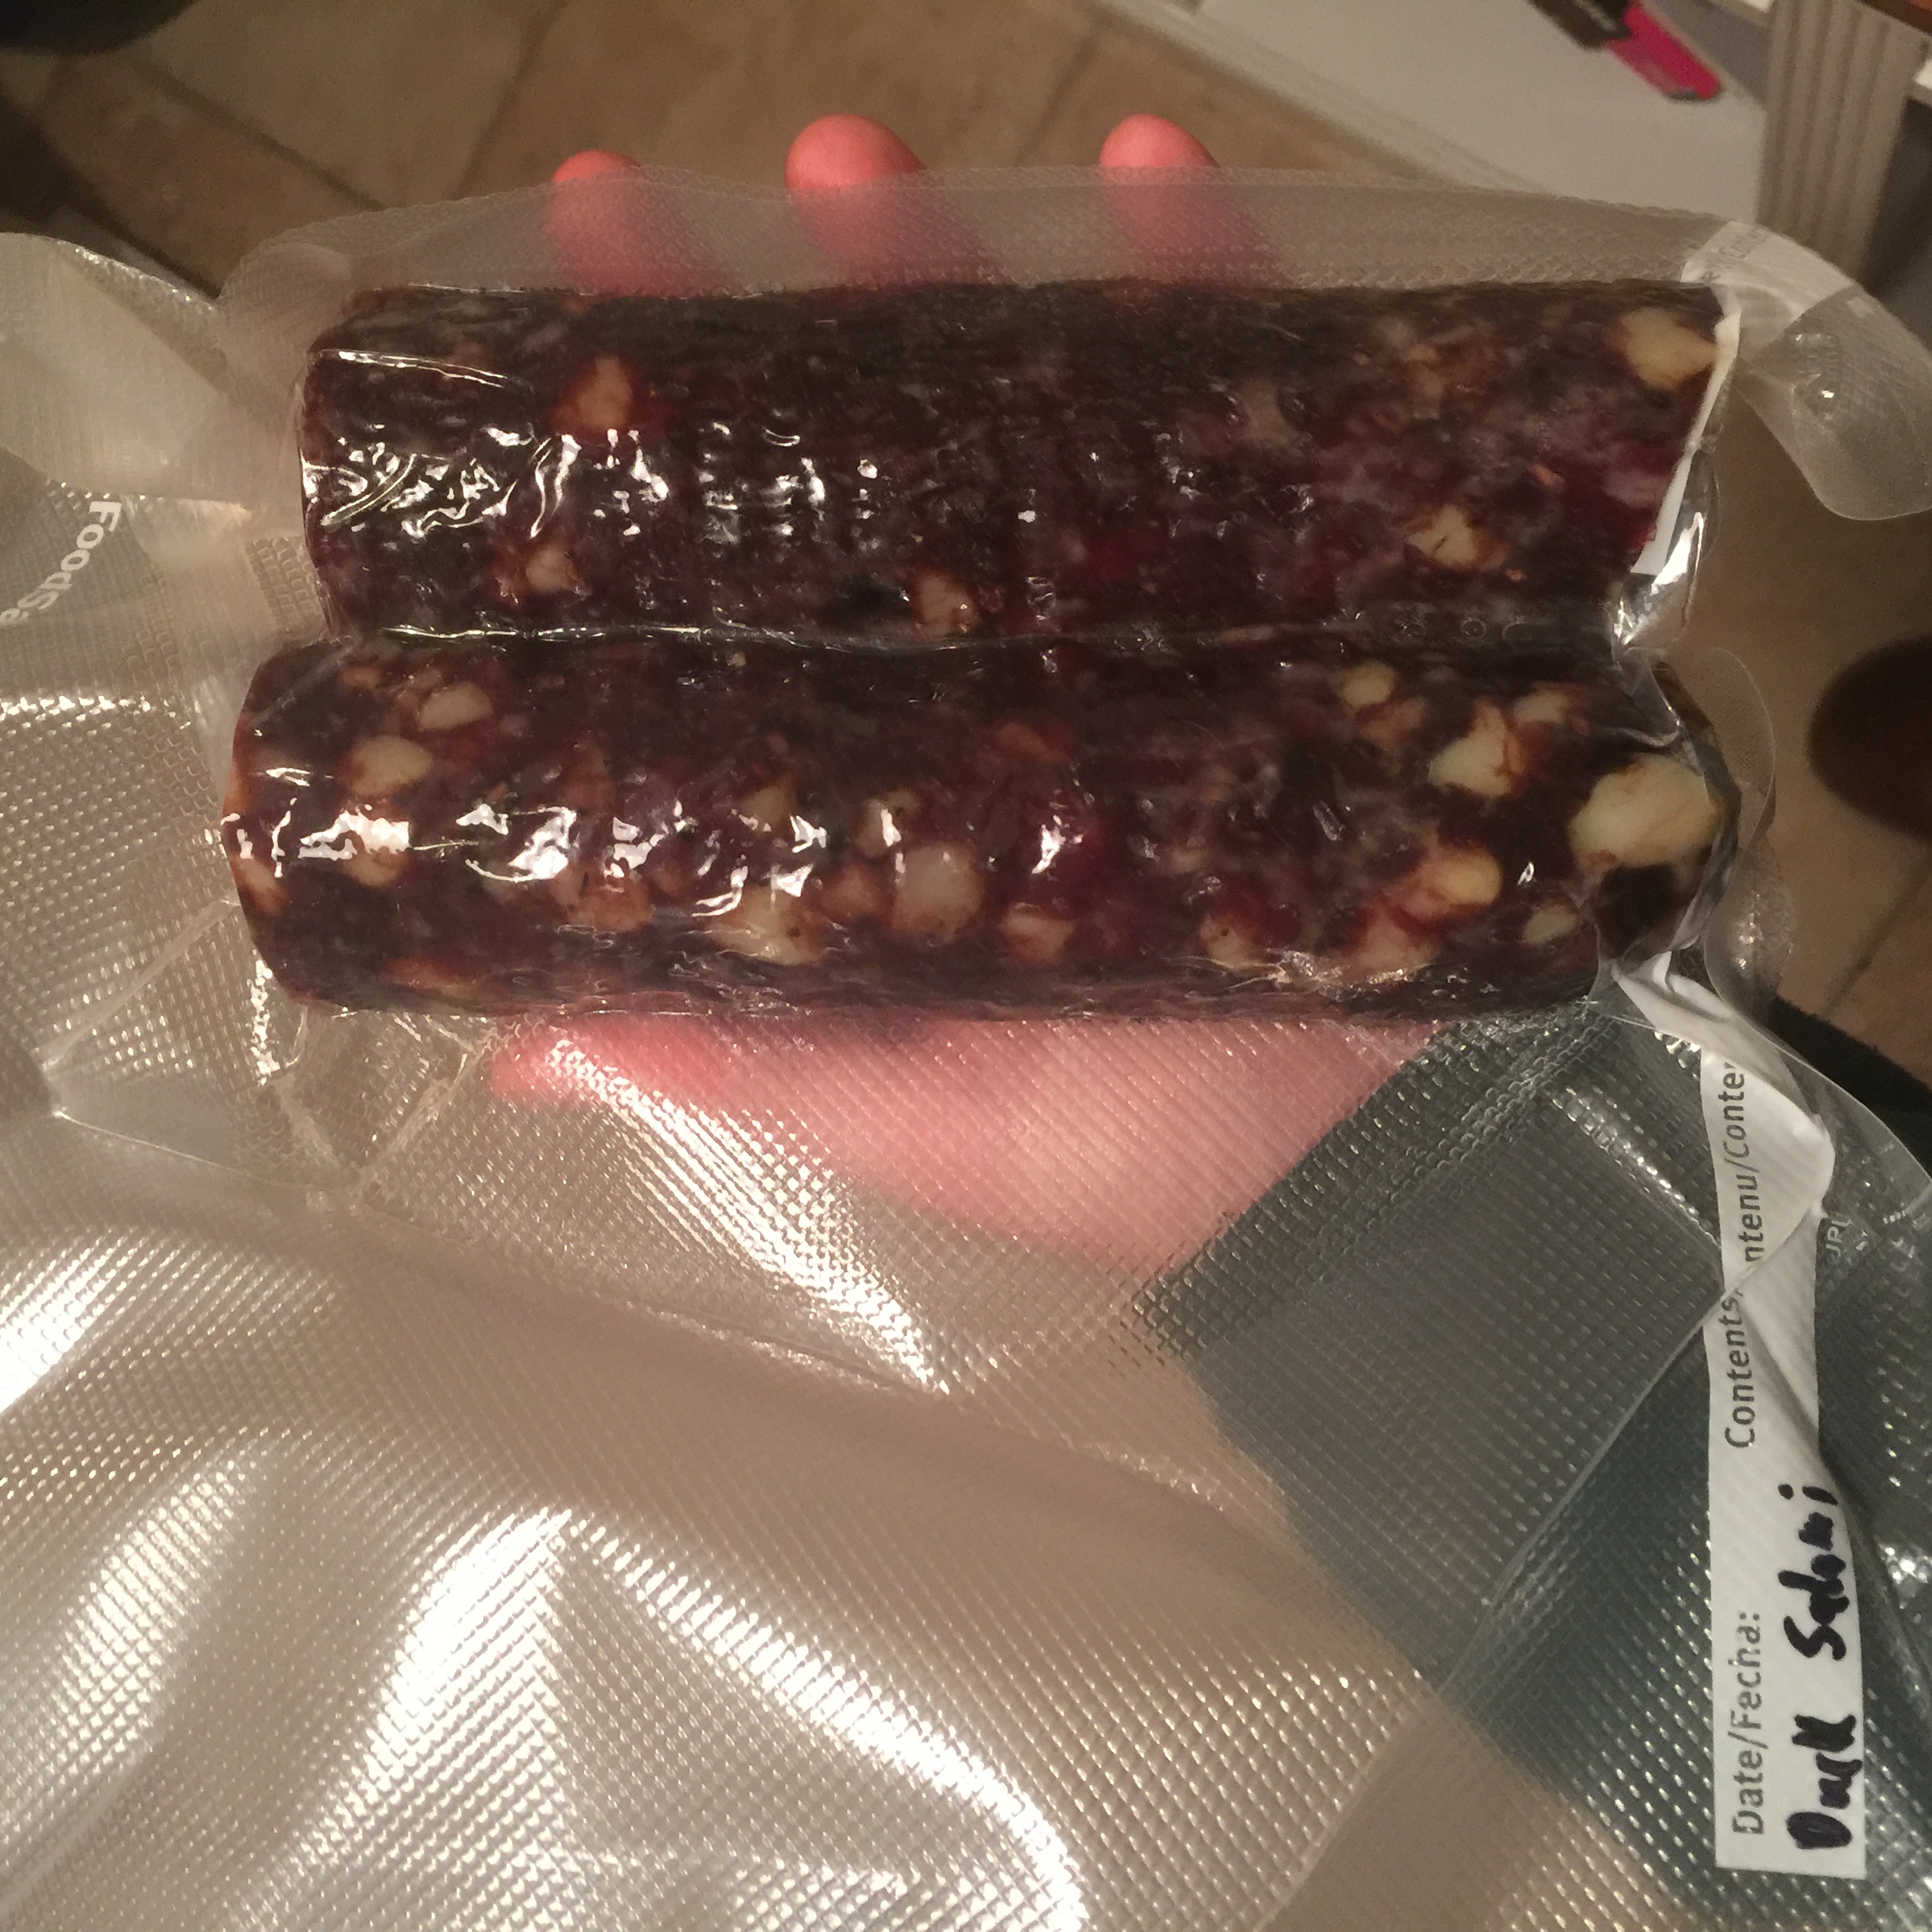
I took the salami and vacuum sealed them, before putting them in the fridge for long term storage.
Disclaimer: Meat curing is a hobby that comes with inherent risks. We can all do things to limit this risk by educating ourselves about the process and the utilizing the safest known methods to create our products. This website is for educational purposes only, and all experimentation should be done at each individuals own risk.
