The Explorations of a Gastrochemist

...because science can be delicious.

  • Beginner’s Guide
  • Wurst Adventure
  • Charcuterie
  • Preservation
  • Science
  • Molecular Gastronomy
  • All Projects
You are here: Home / Archives for homemade

Modern Mosciame

March 6, 2016 by AOG Leave a Comment

Mosciame. Mojama. Muxama. That seductive, yet elusive charcuterie product that I have been trying so hard to recreate. The taste of which transports you to sunlight days, with sea salt breezes, where nothing ever seems to be urgent, pressing, or stressful. The pace of modern day life seems to be slowed down by simply a taste of this delicious cured product. Obviously, once the idea of recreating this transportive taste took hold of me, I couldn’t rest until it was done satisfactorily. And finally, I can rest, happy with the success of the process that I will detail here.

IMG_1199

In this post, I will detail my second attempt at making modern style mosciame. You can read about my first attempt at making modern mosciame here. After my first attempt at making modern style mosciame yielded such a strong flavored product, I decided to try to make one that was milder and had more universal appeal. In order to do this, I limited steps that I thought may have increased its strong and earthy flavor. I didn’t use a starter culture in the cure, I used cheesecloth instead of a beef bung for casing, I lowered my RH to 70%, and my temperature to 50 F in order to stimulate more rapid weight loss and to discourage excessive mold growth.
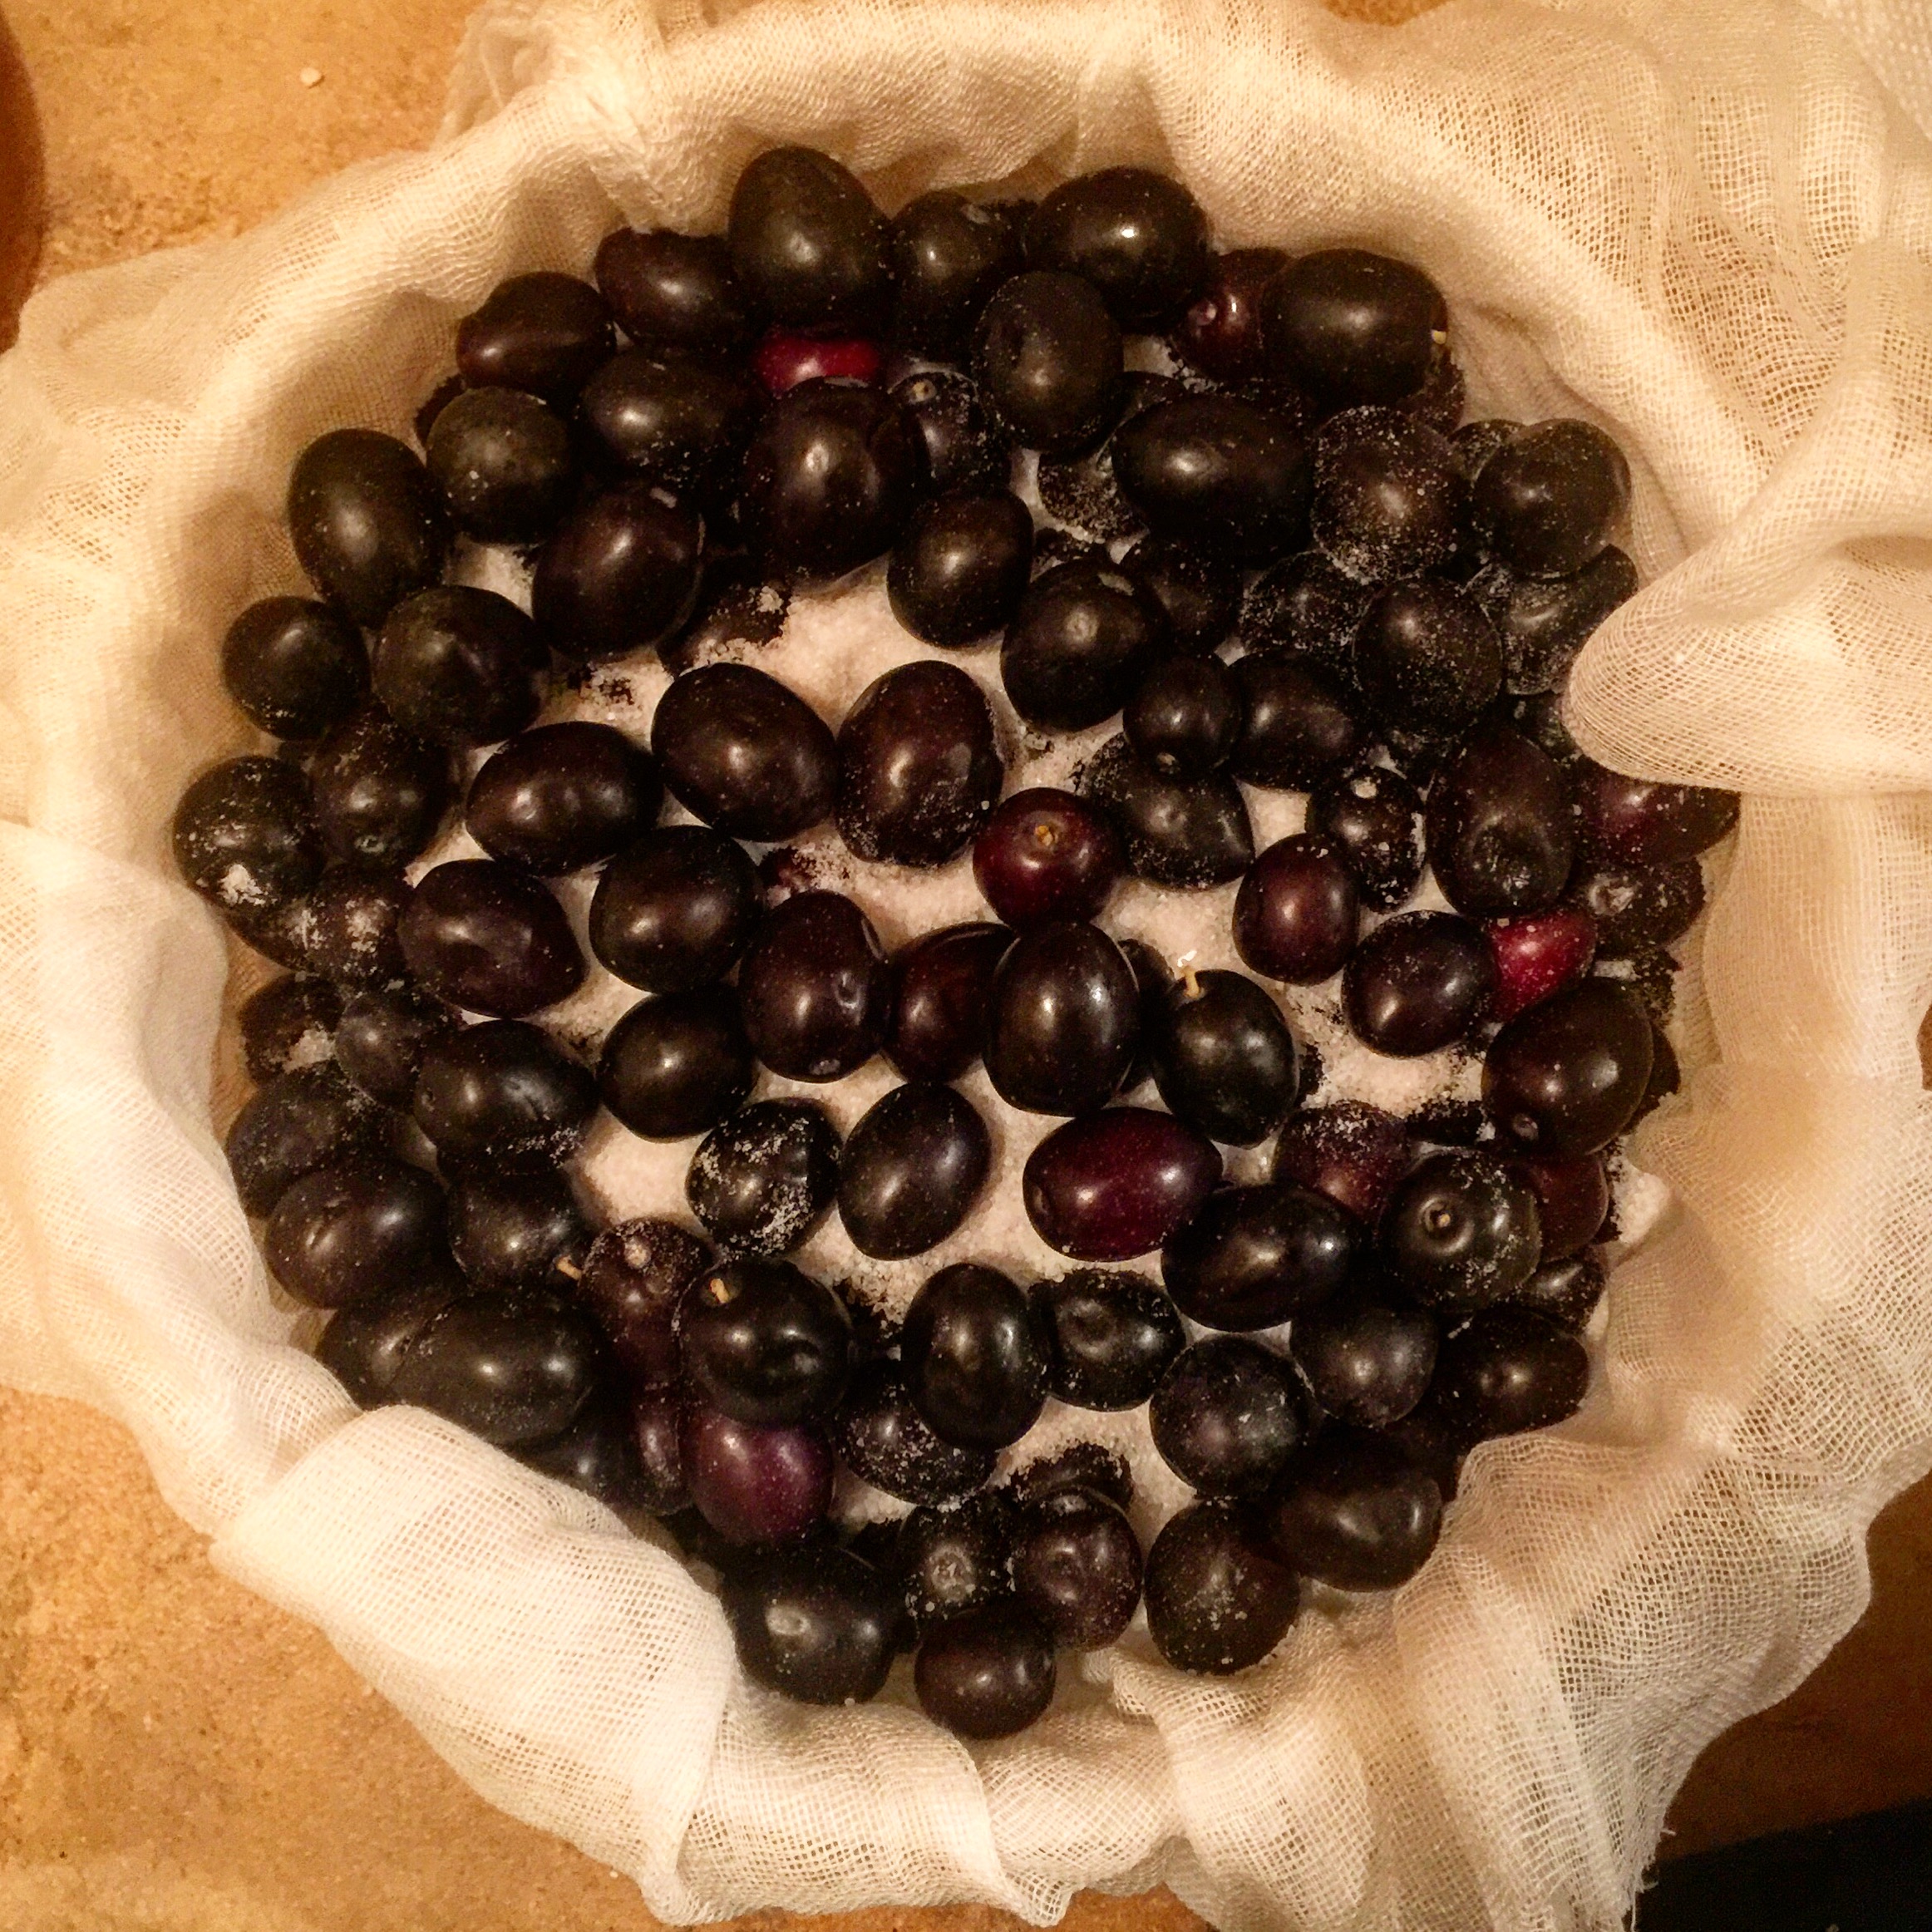
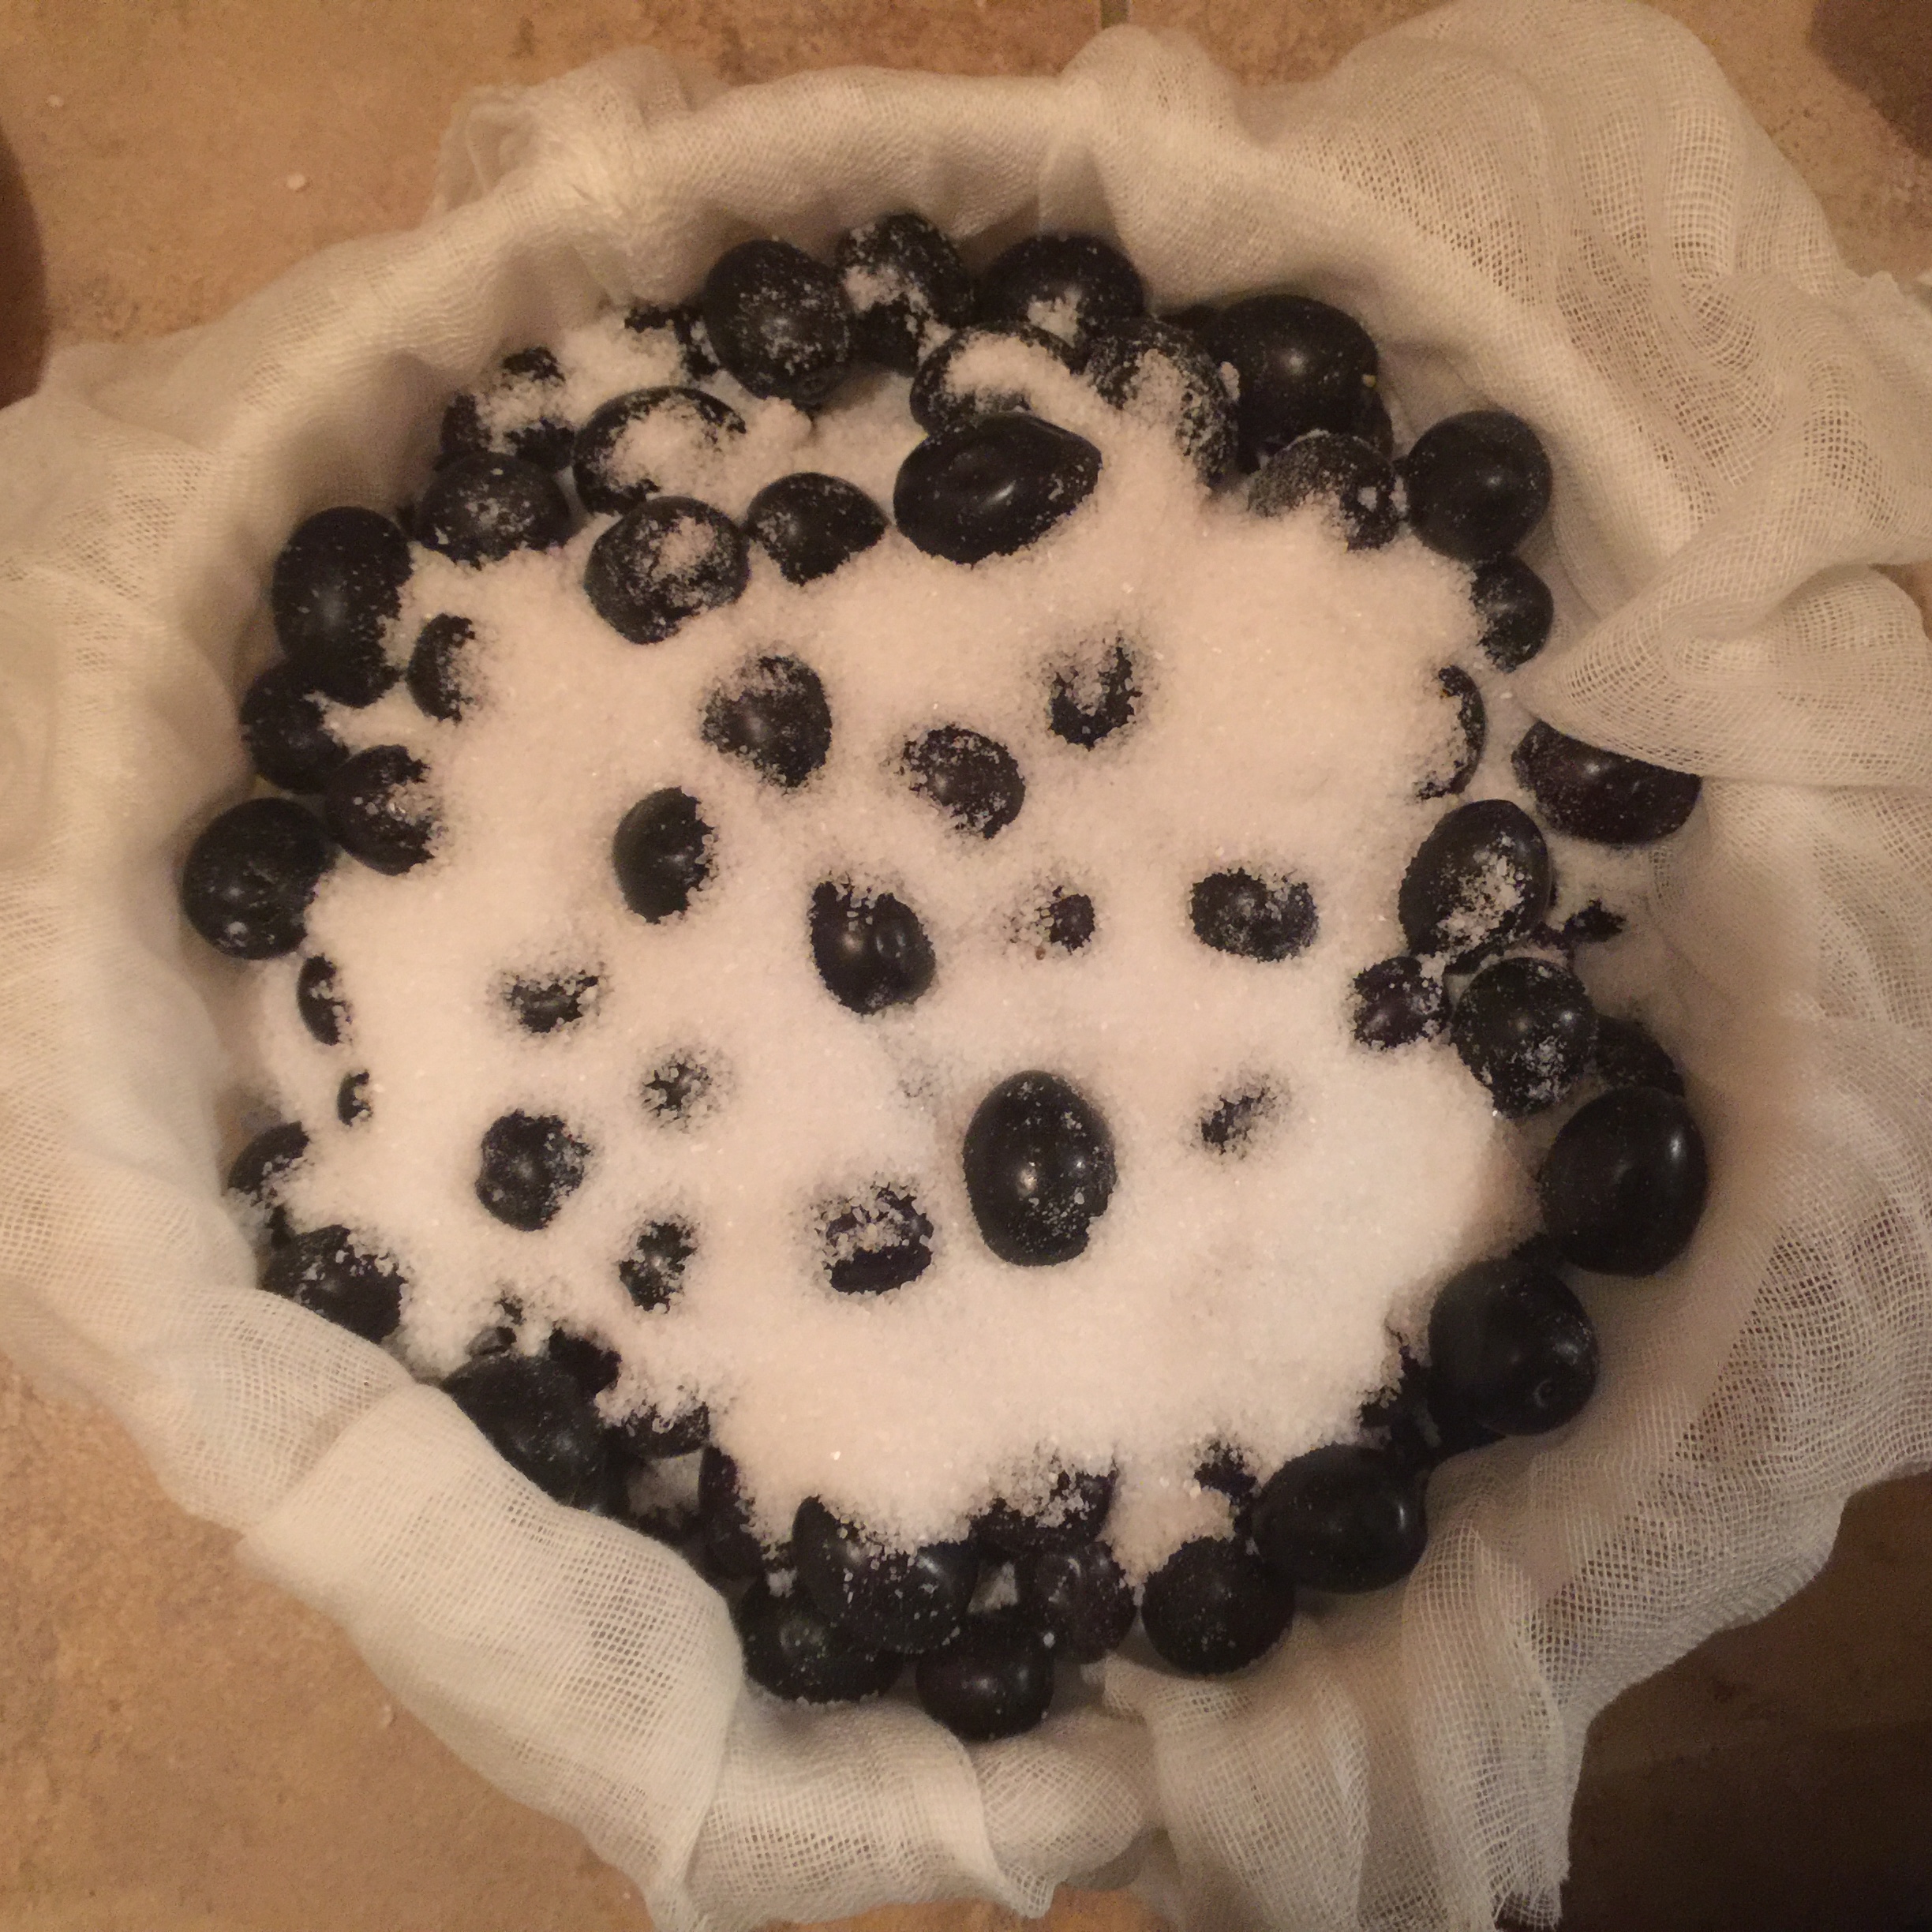
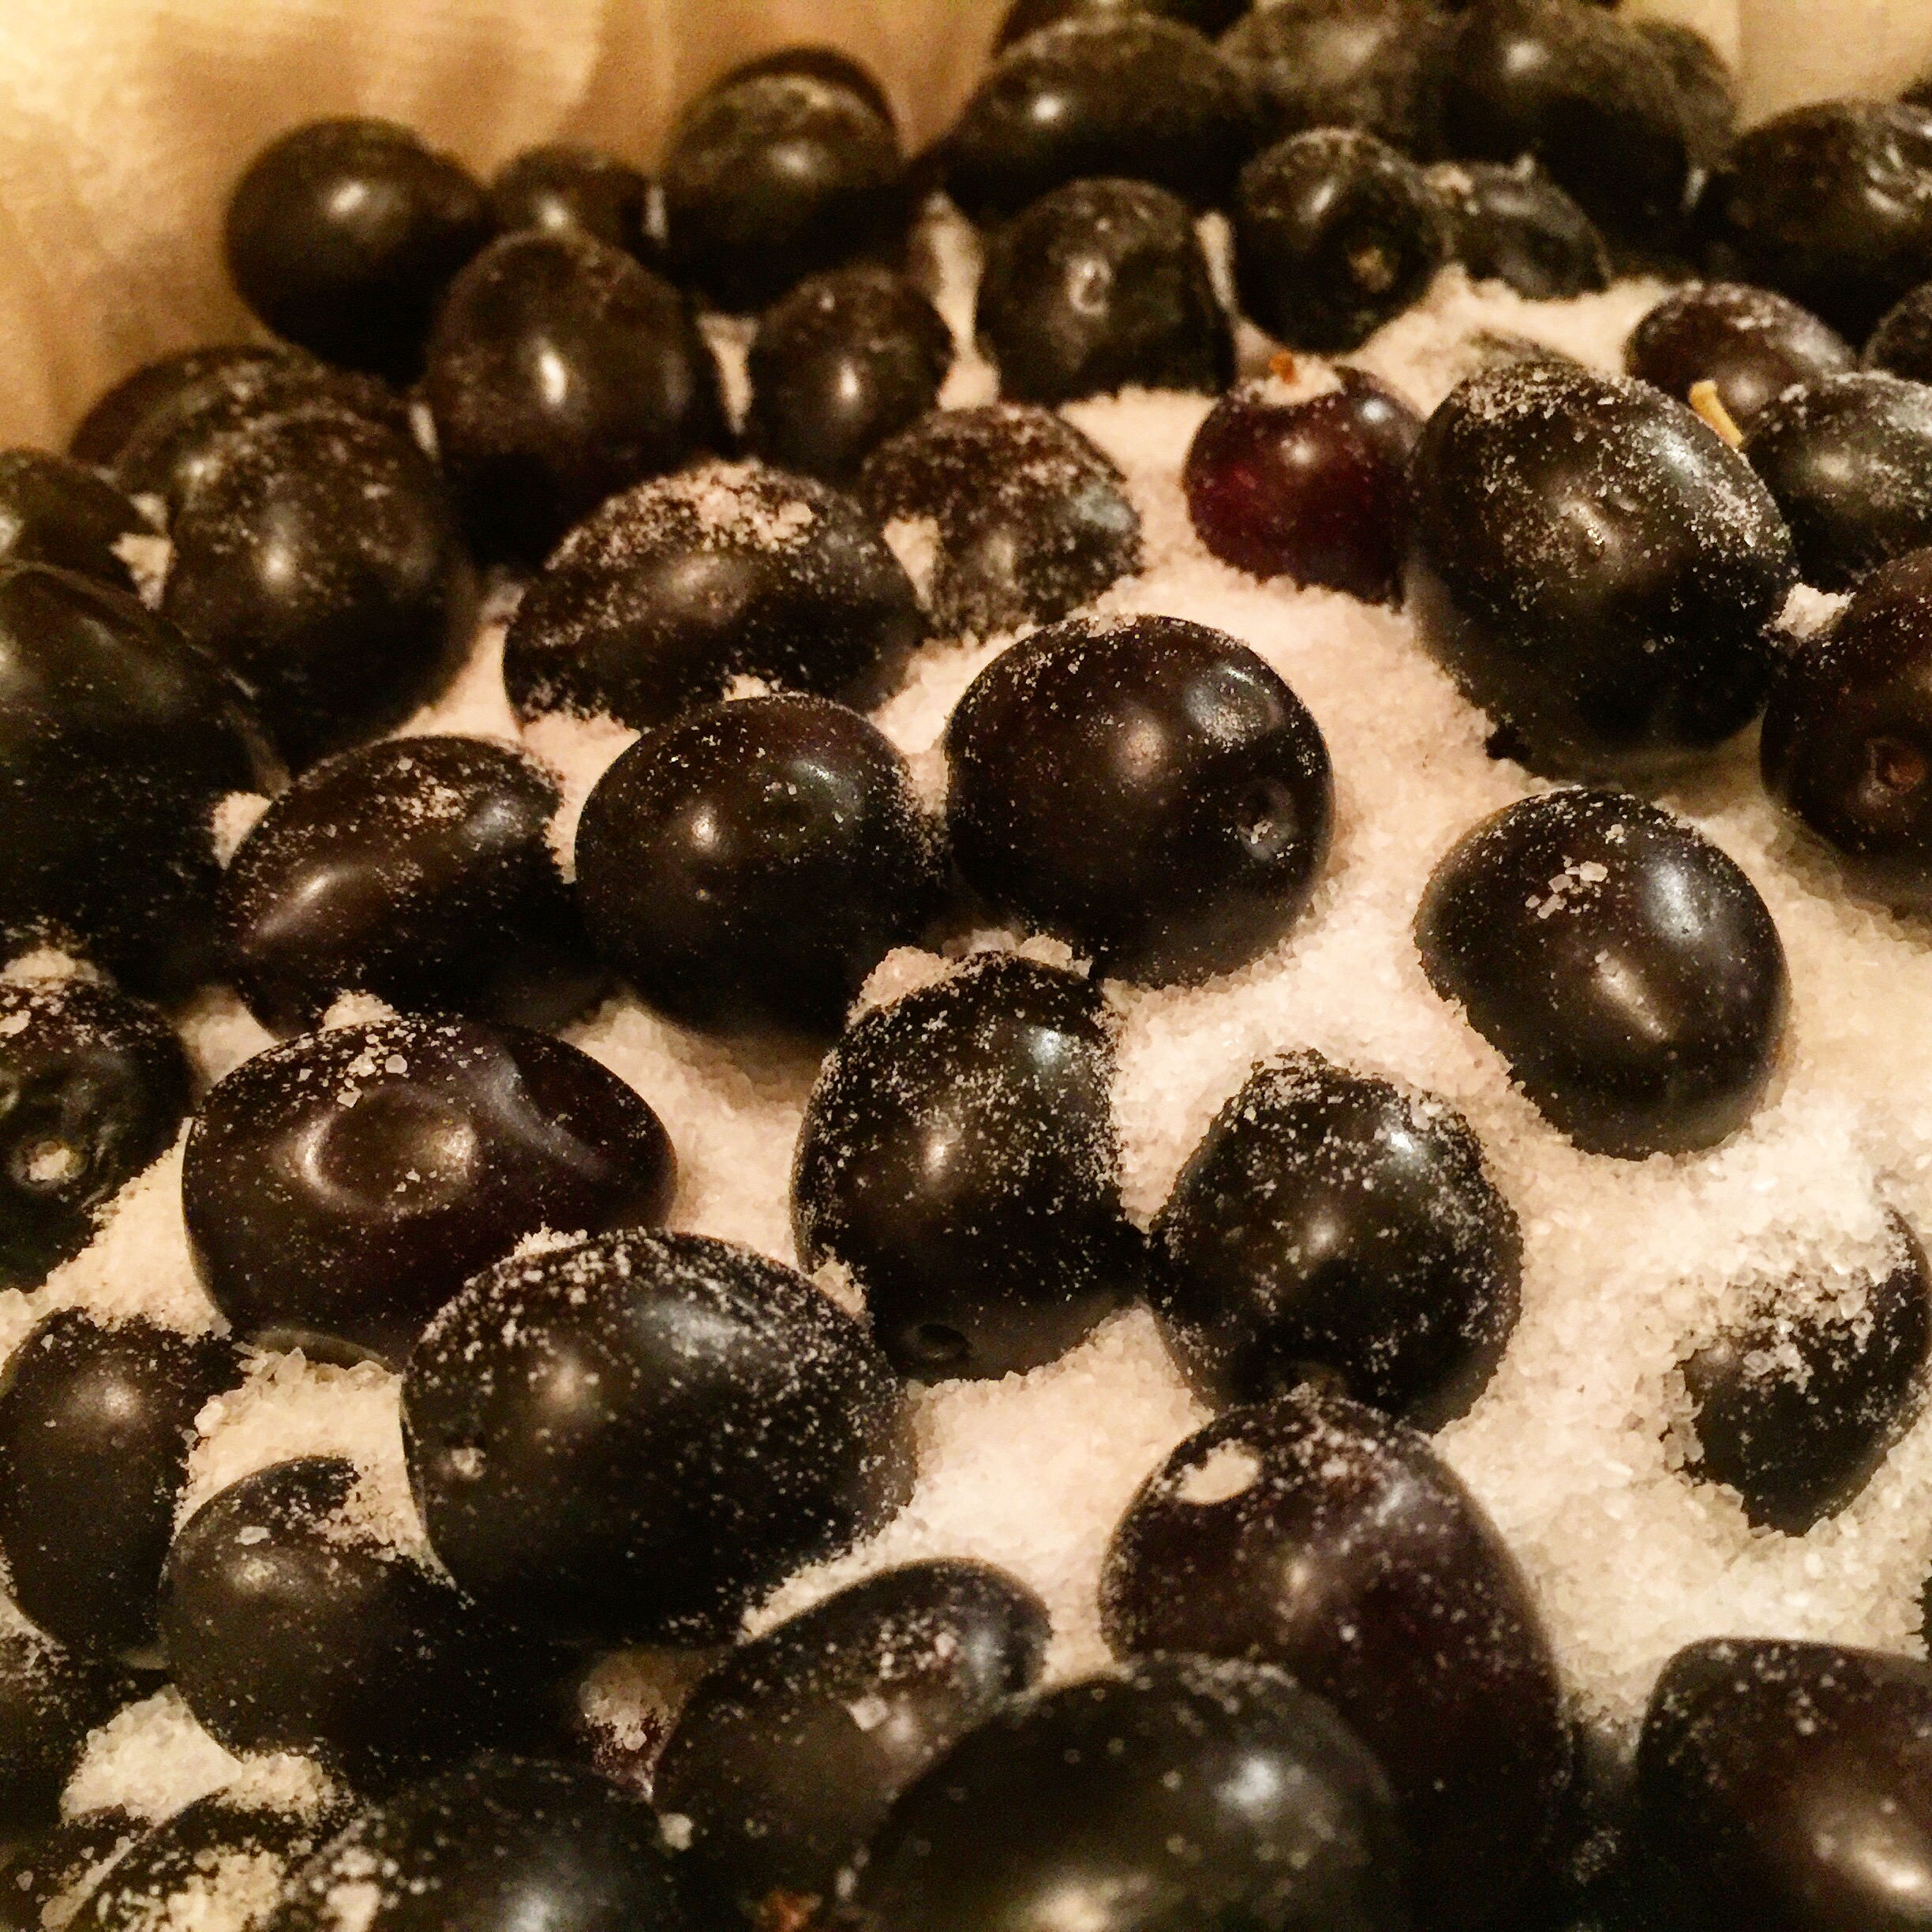
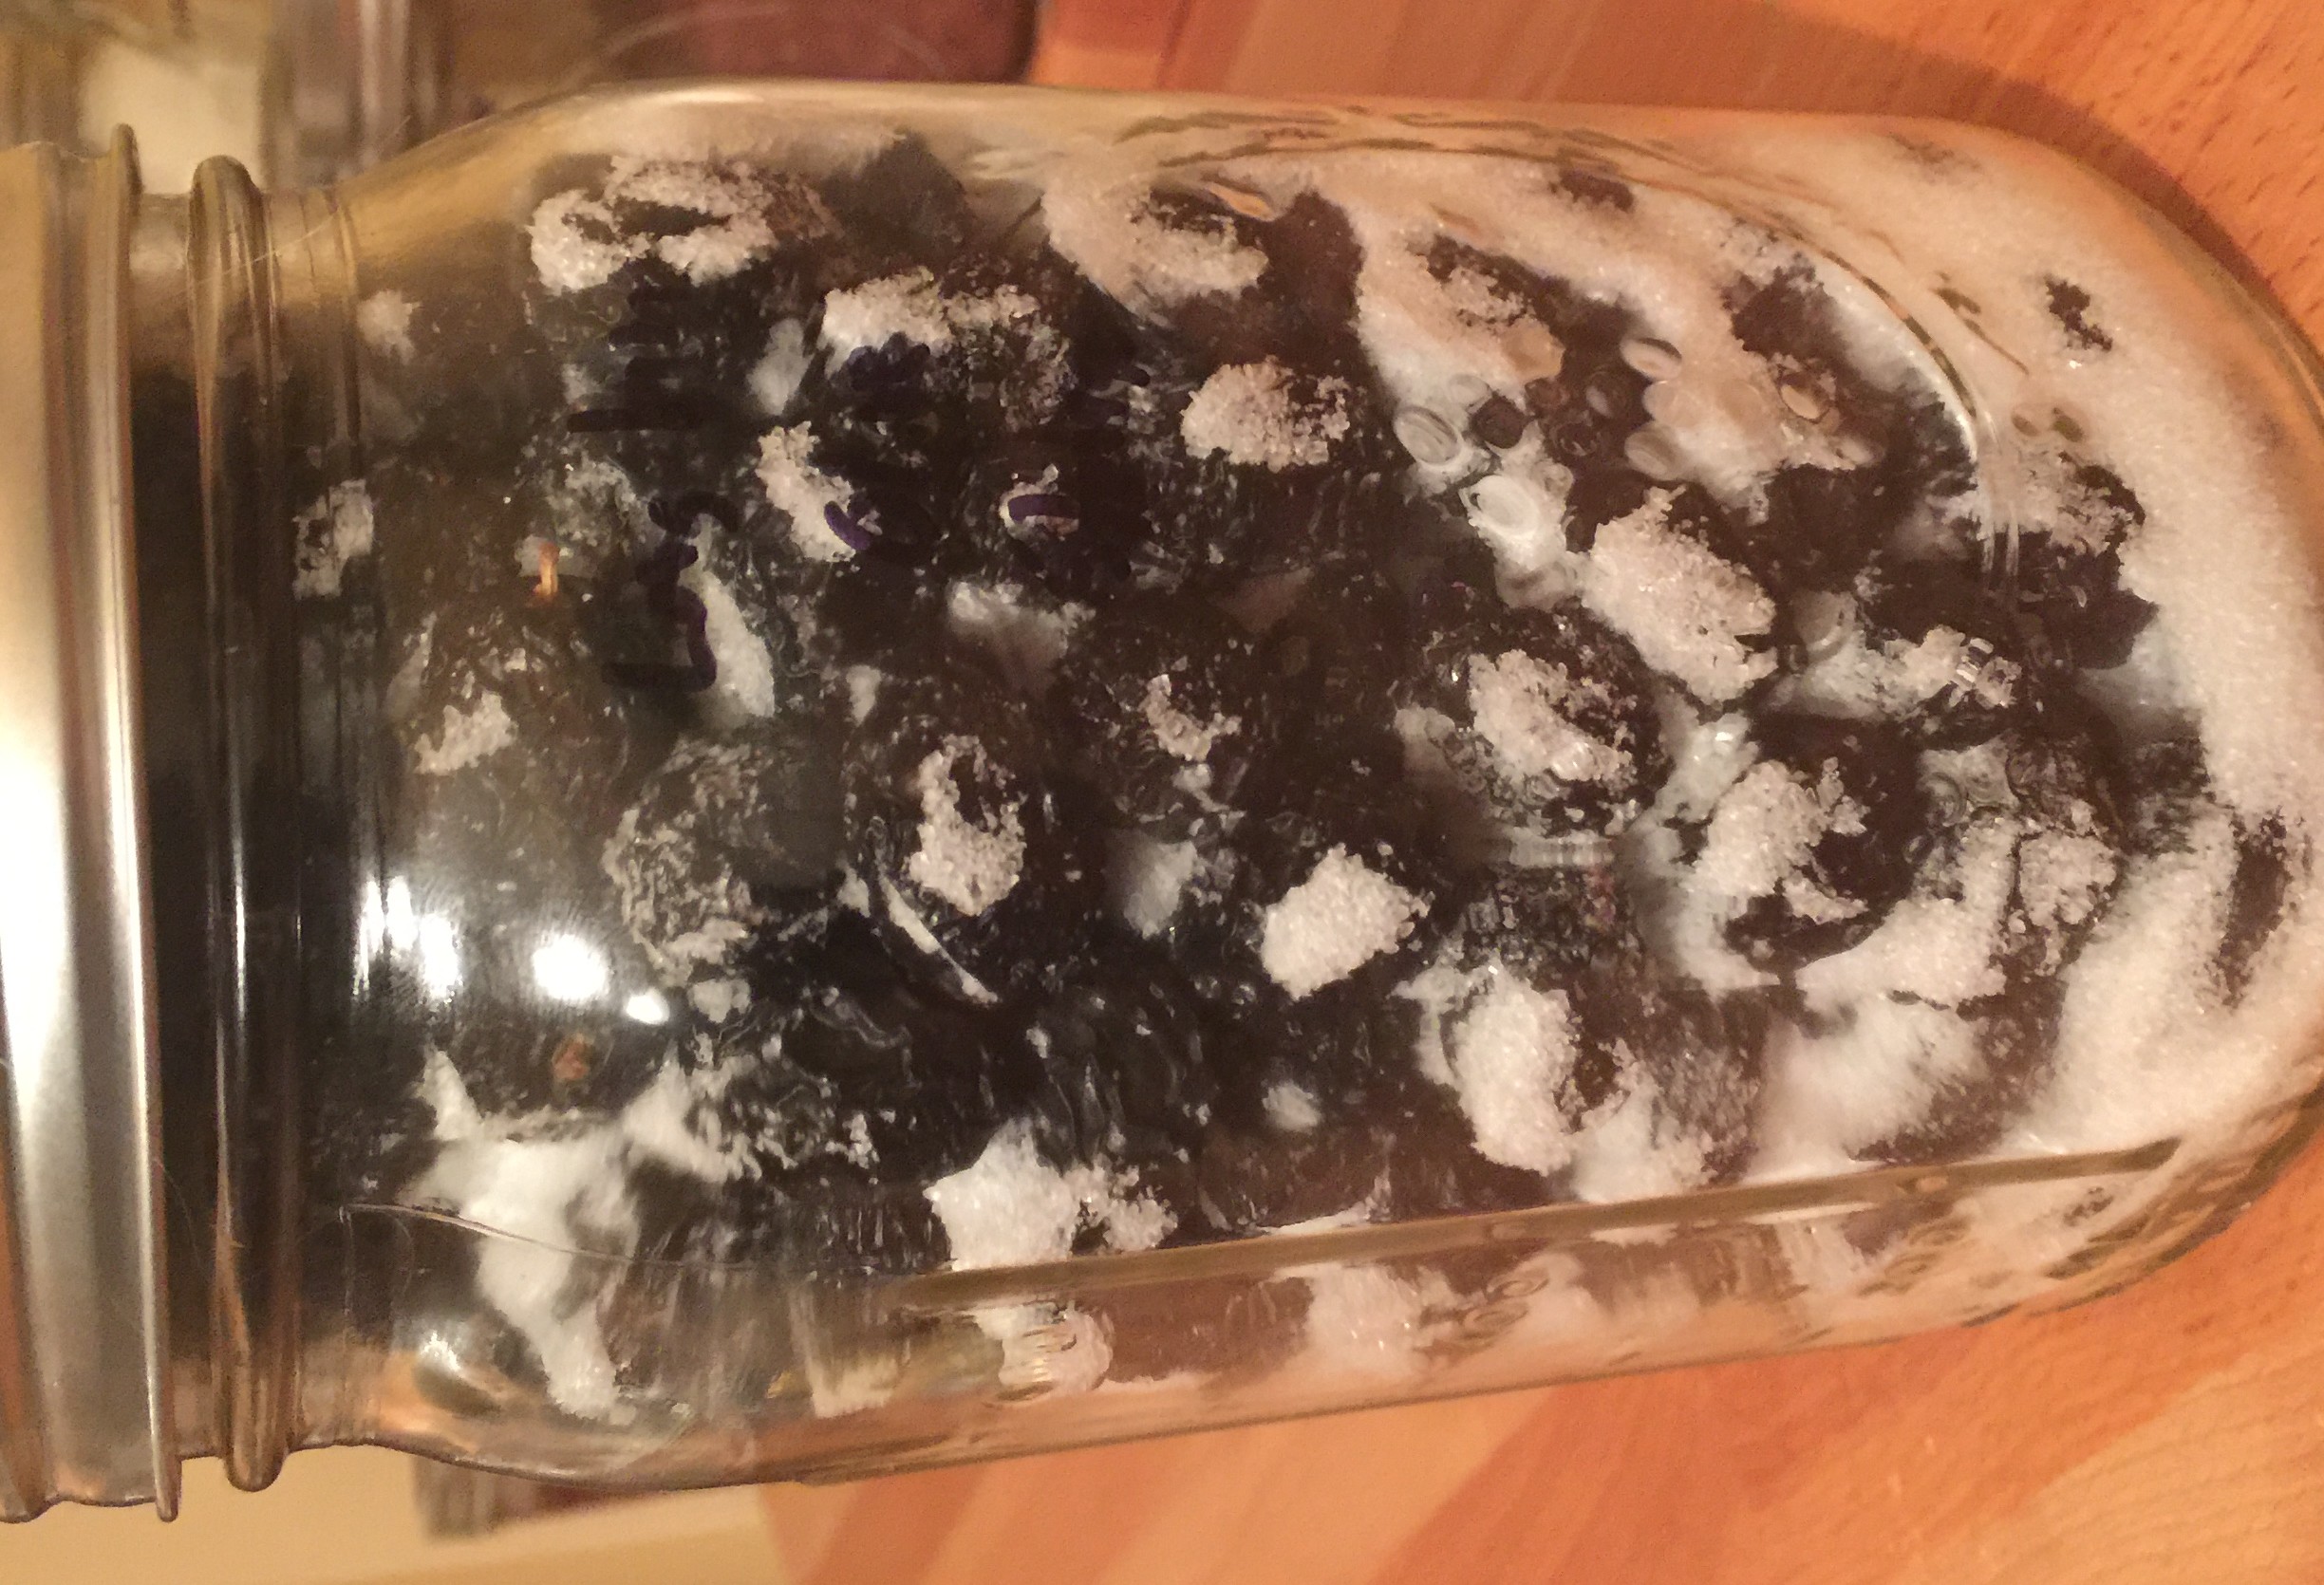
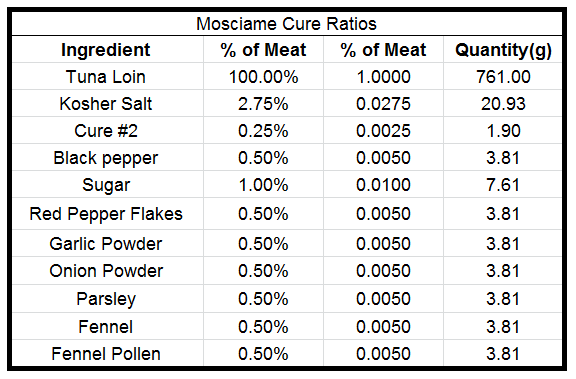

Curing (2 weeks):

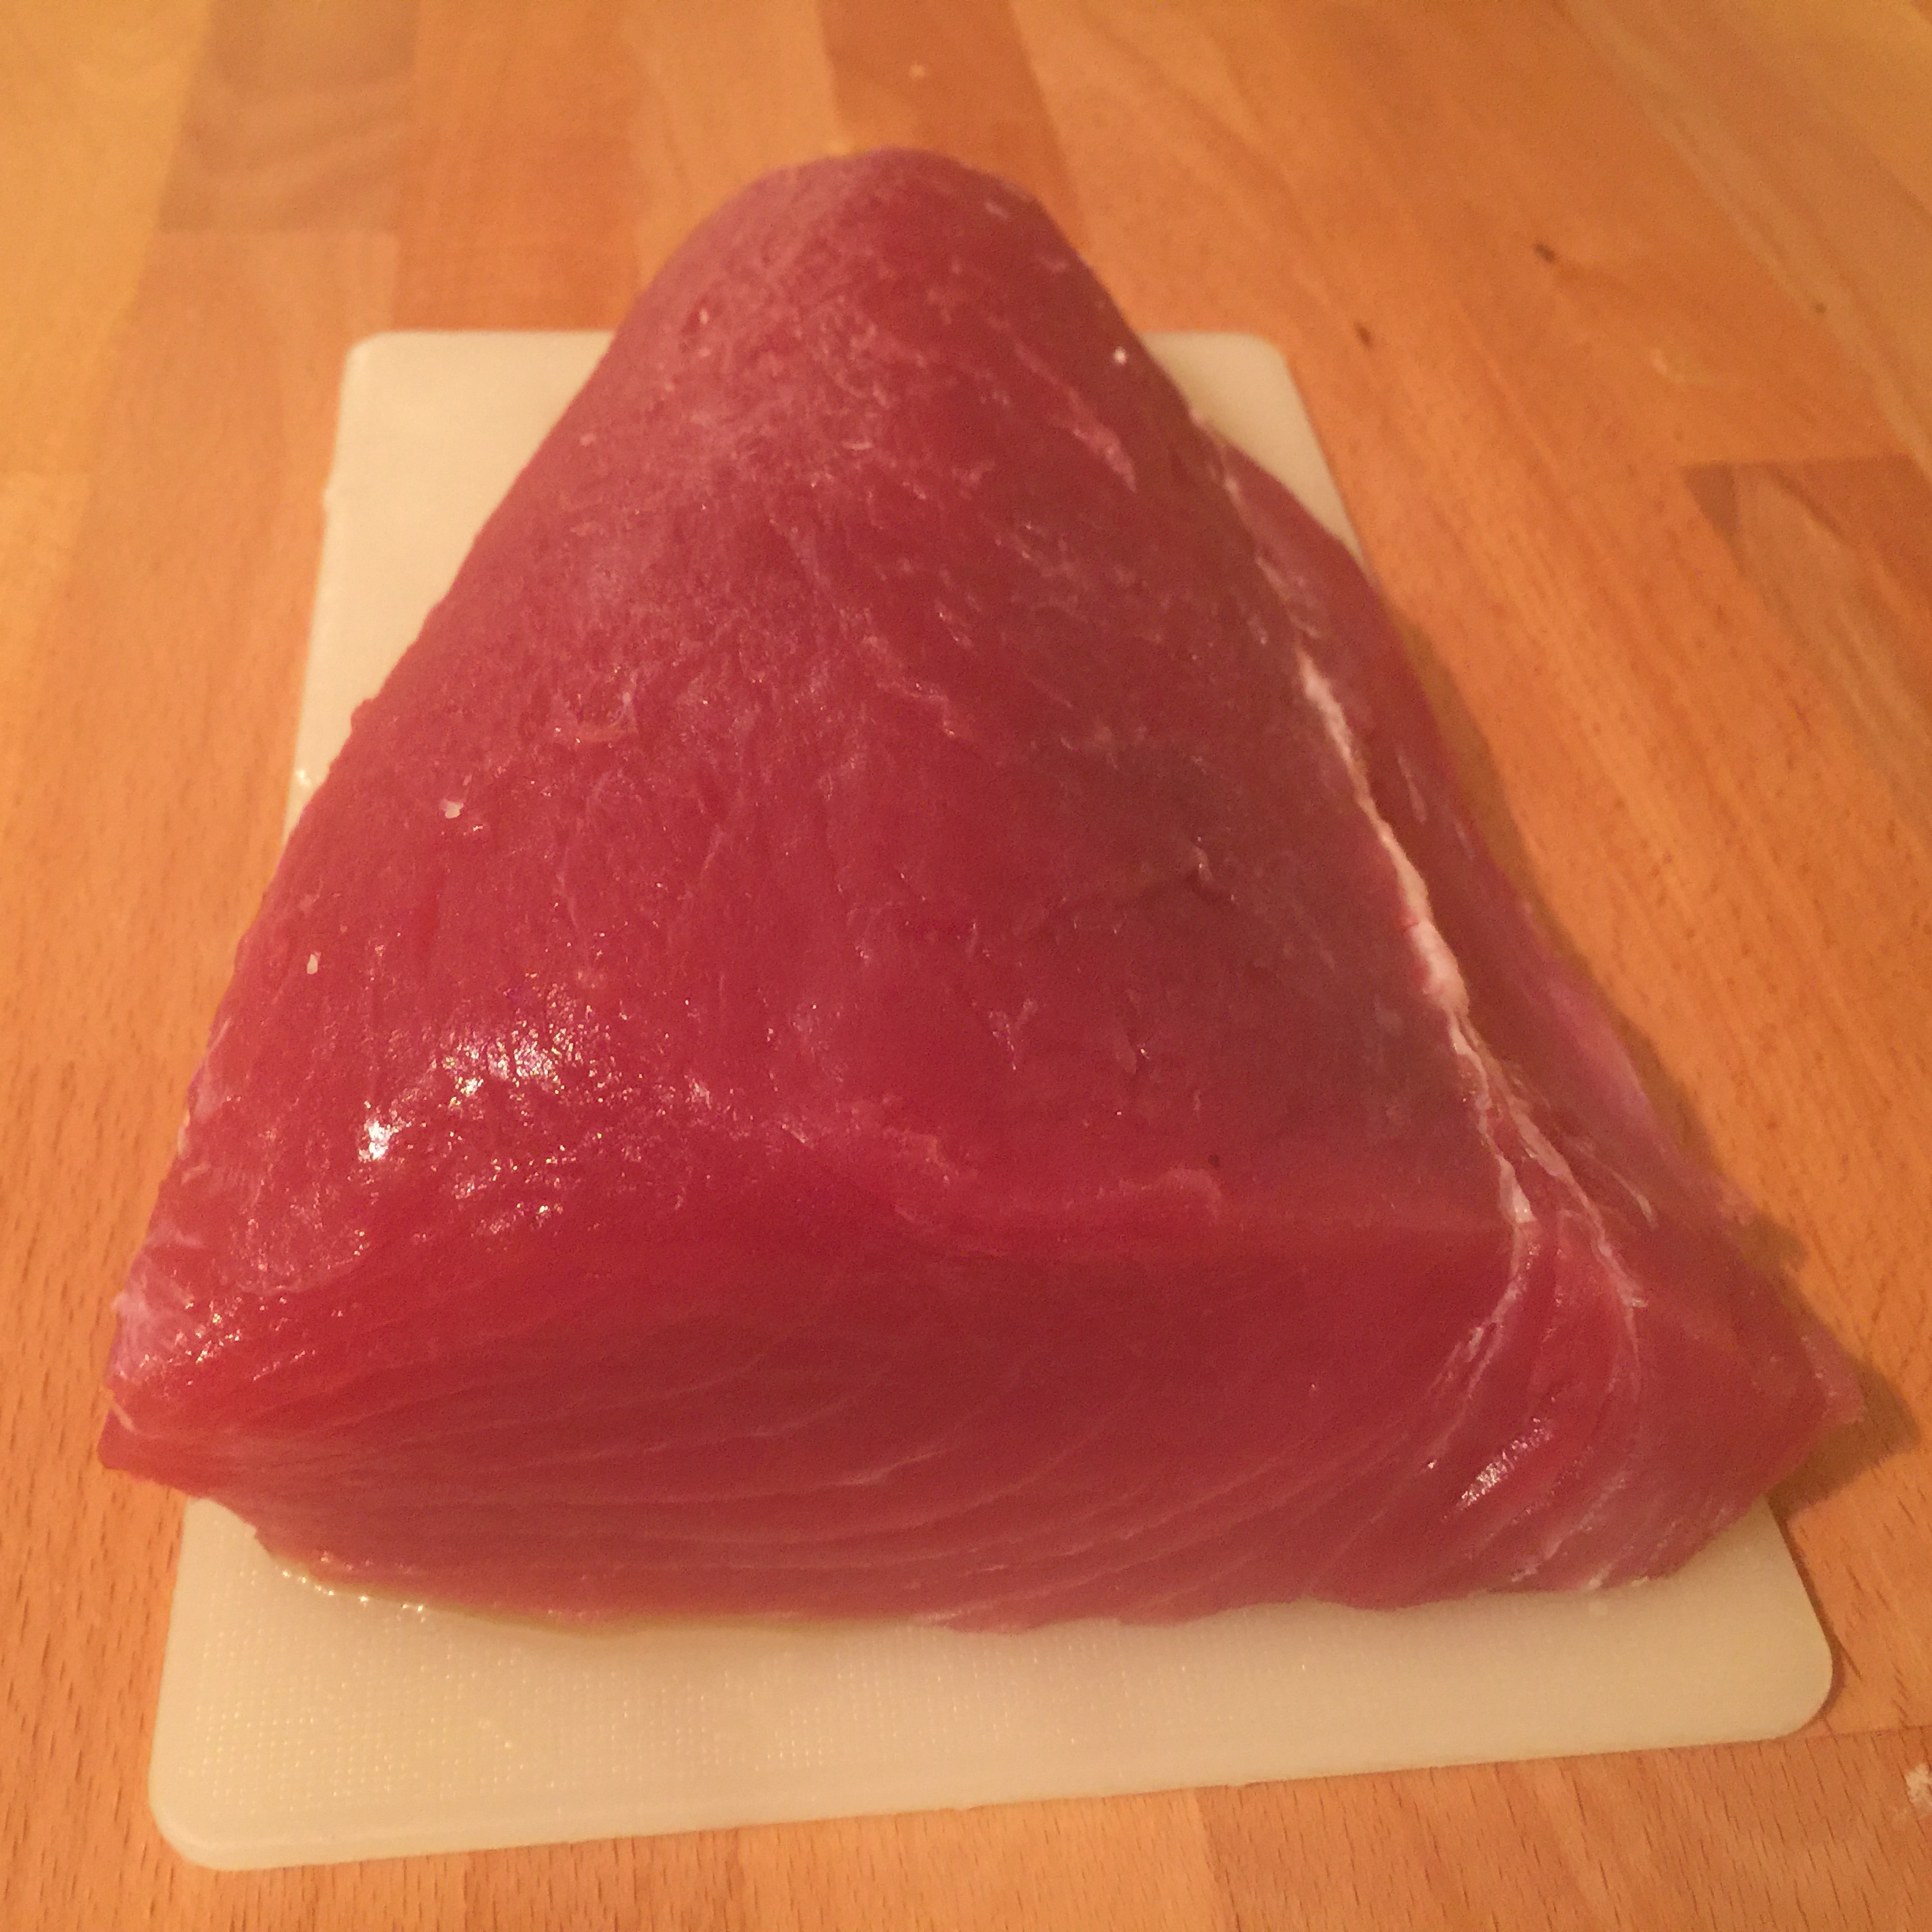
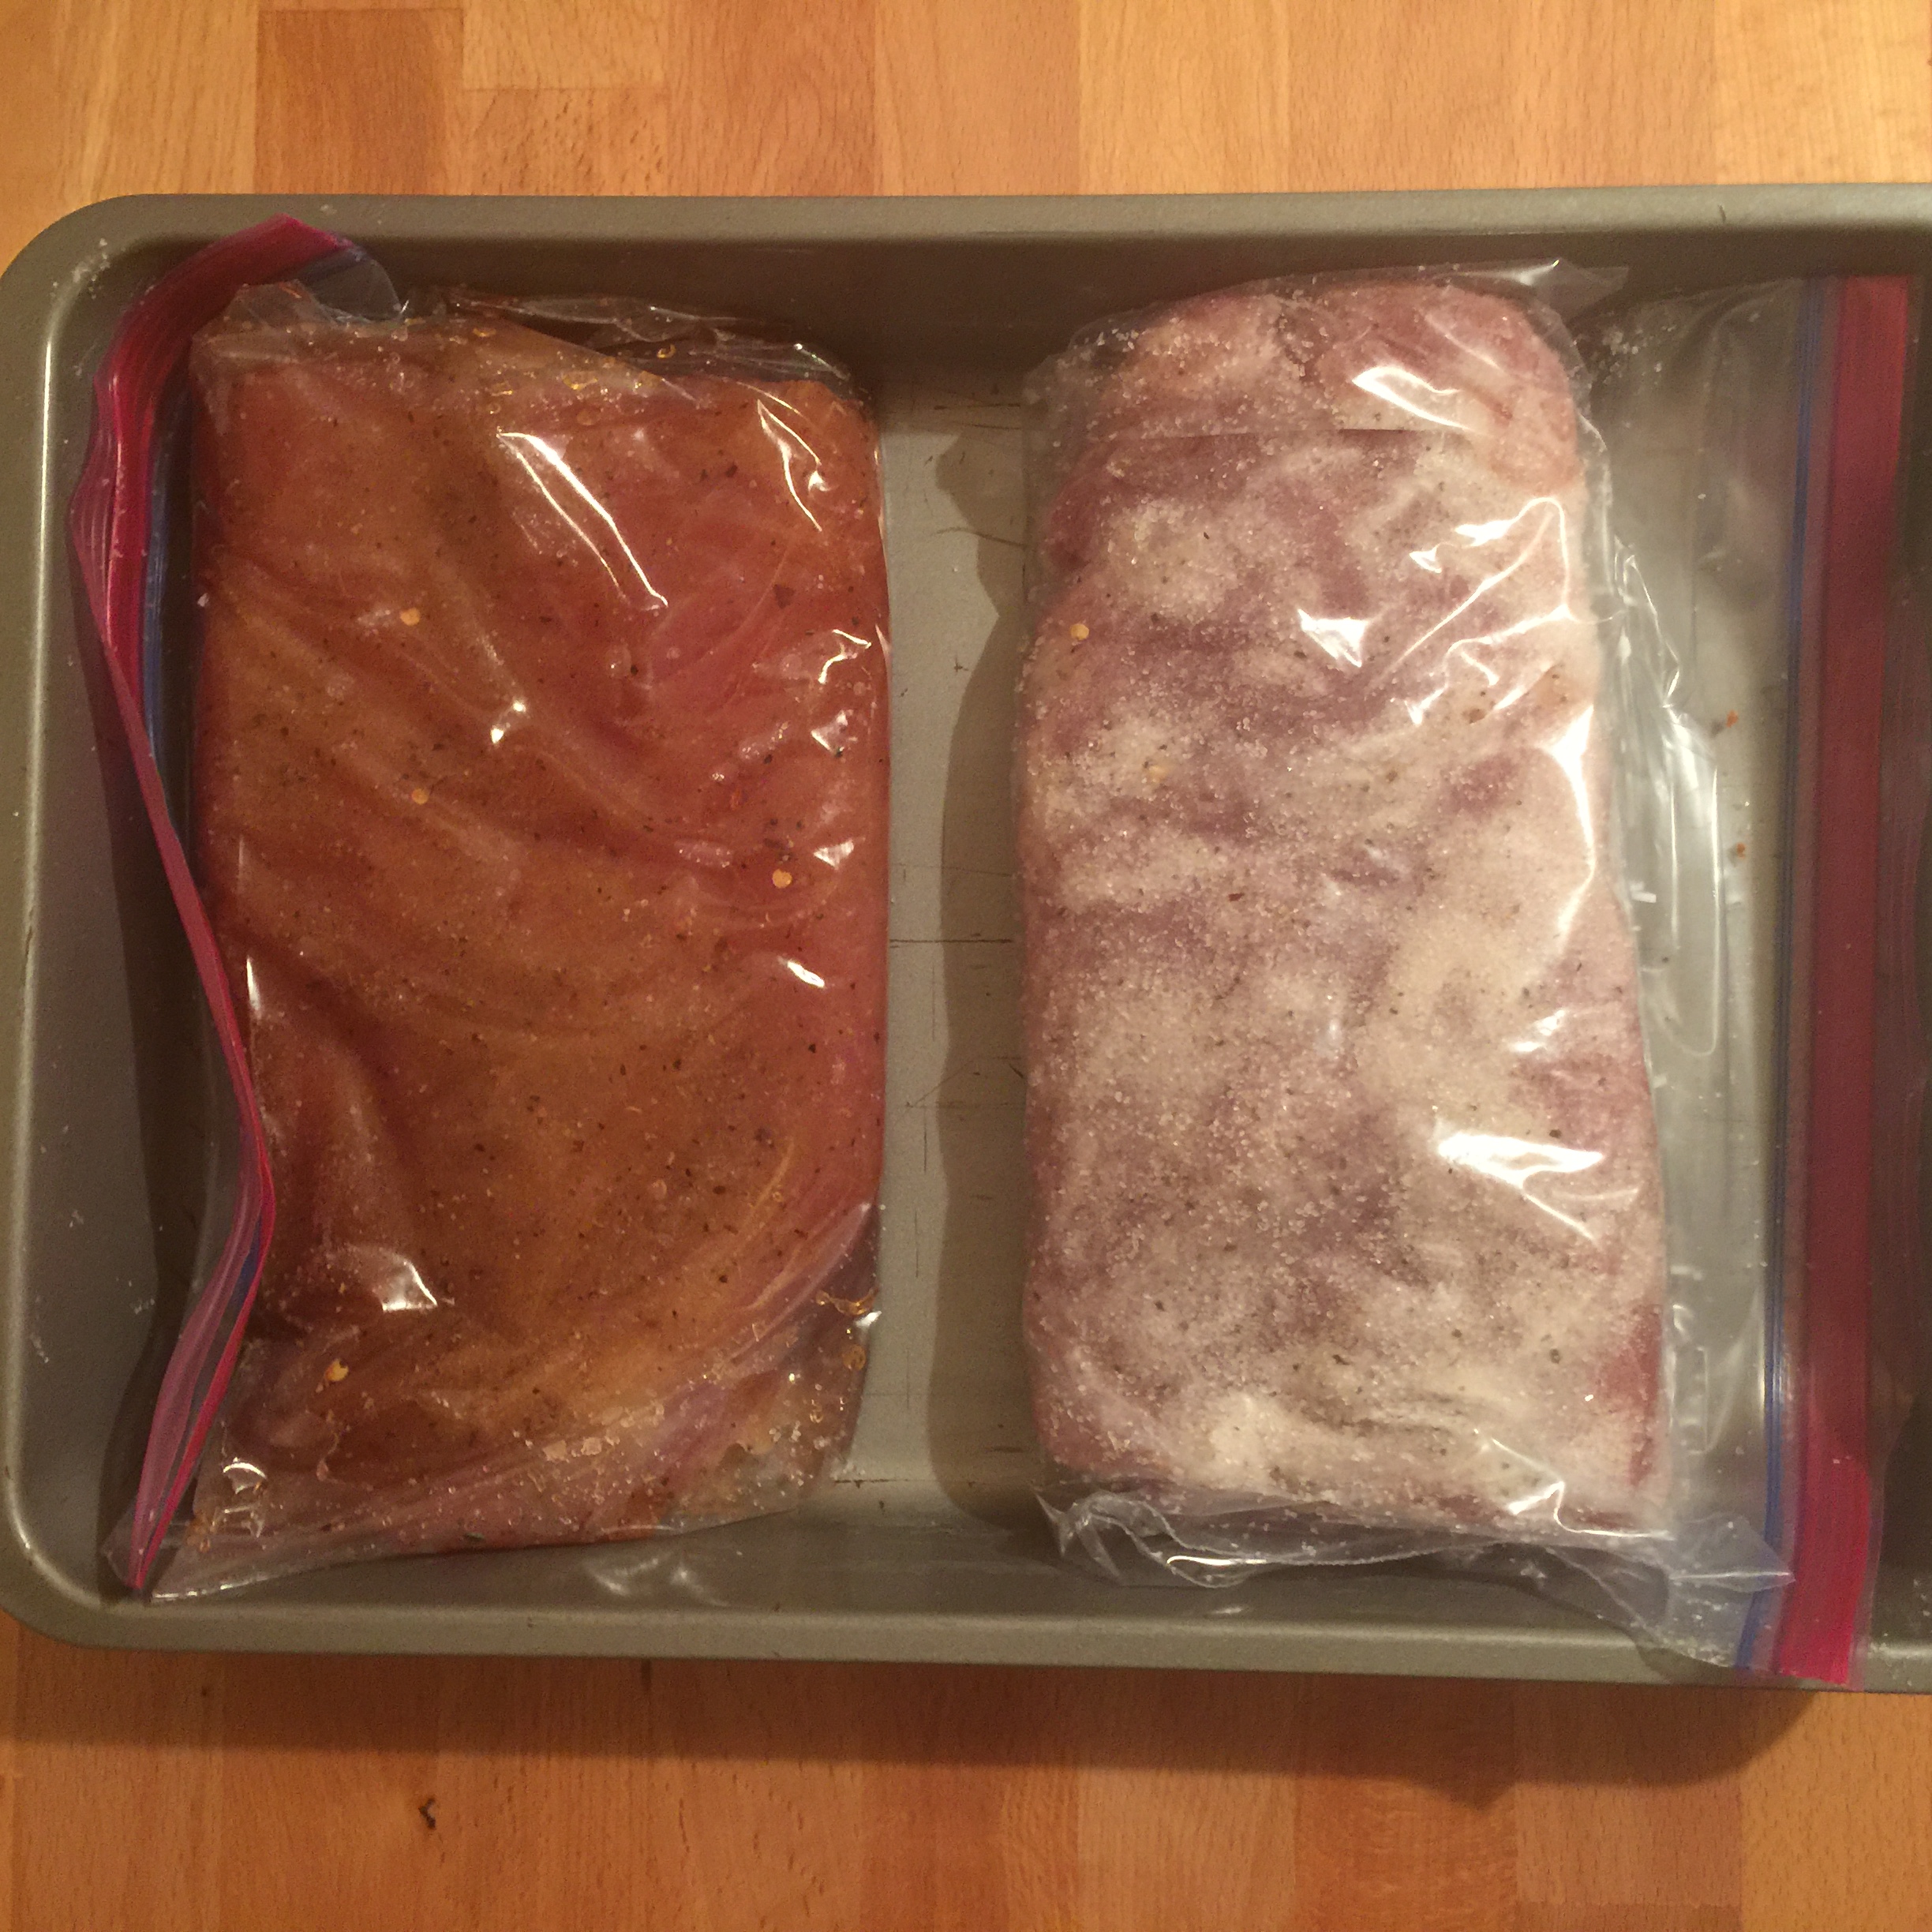
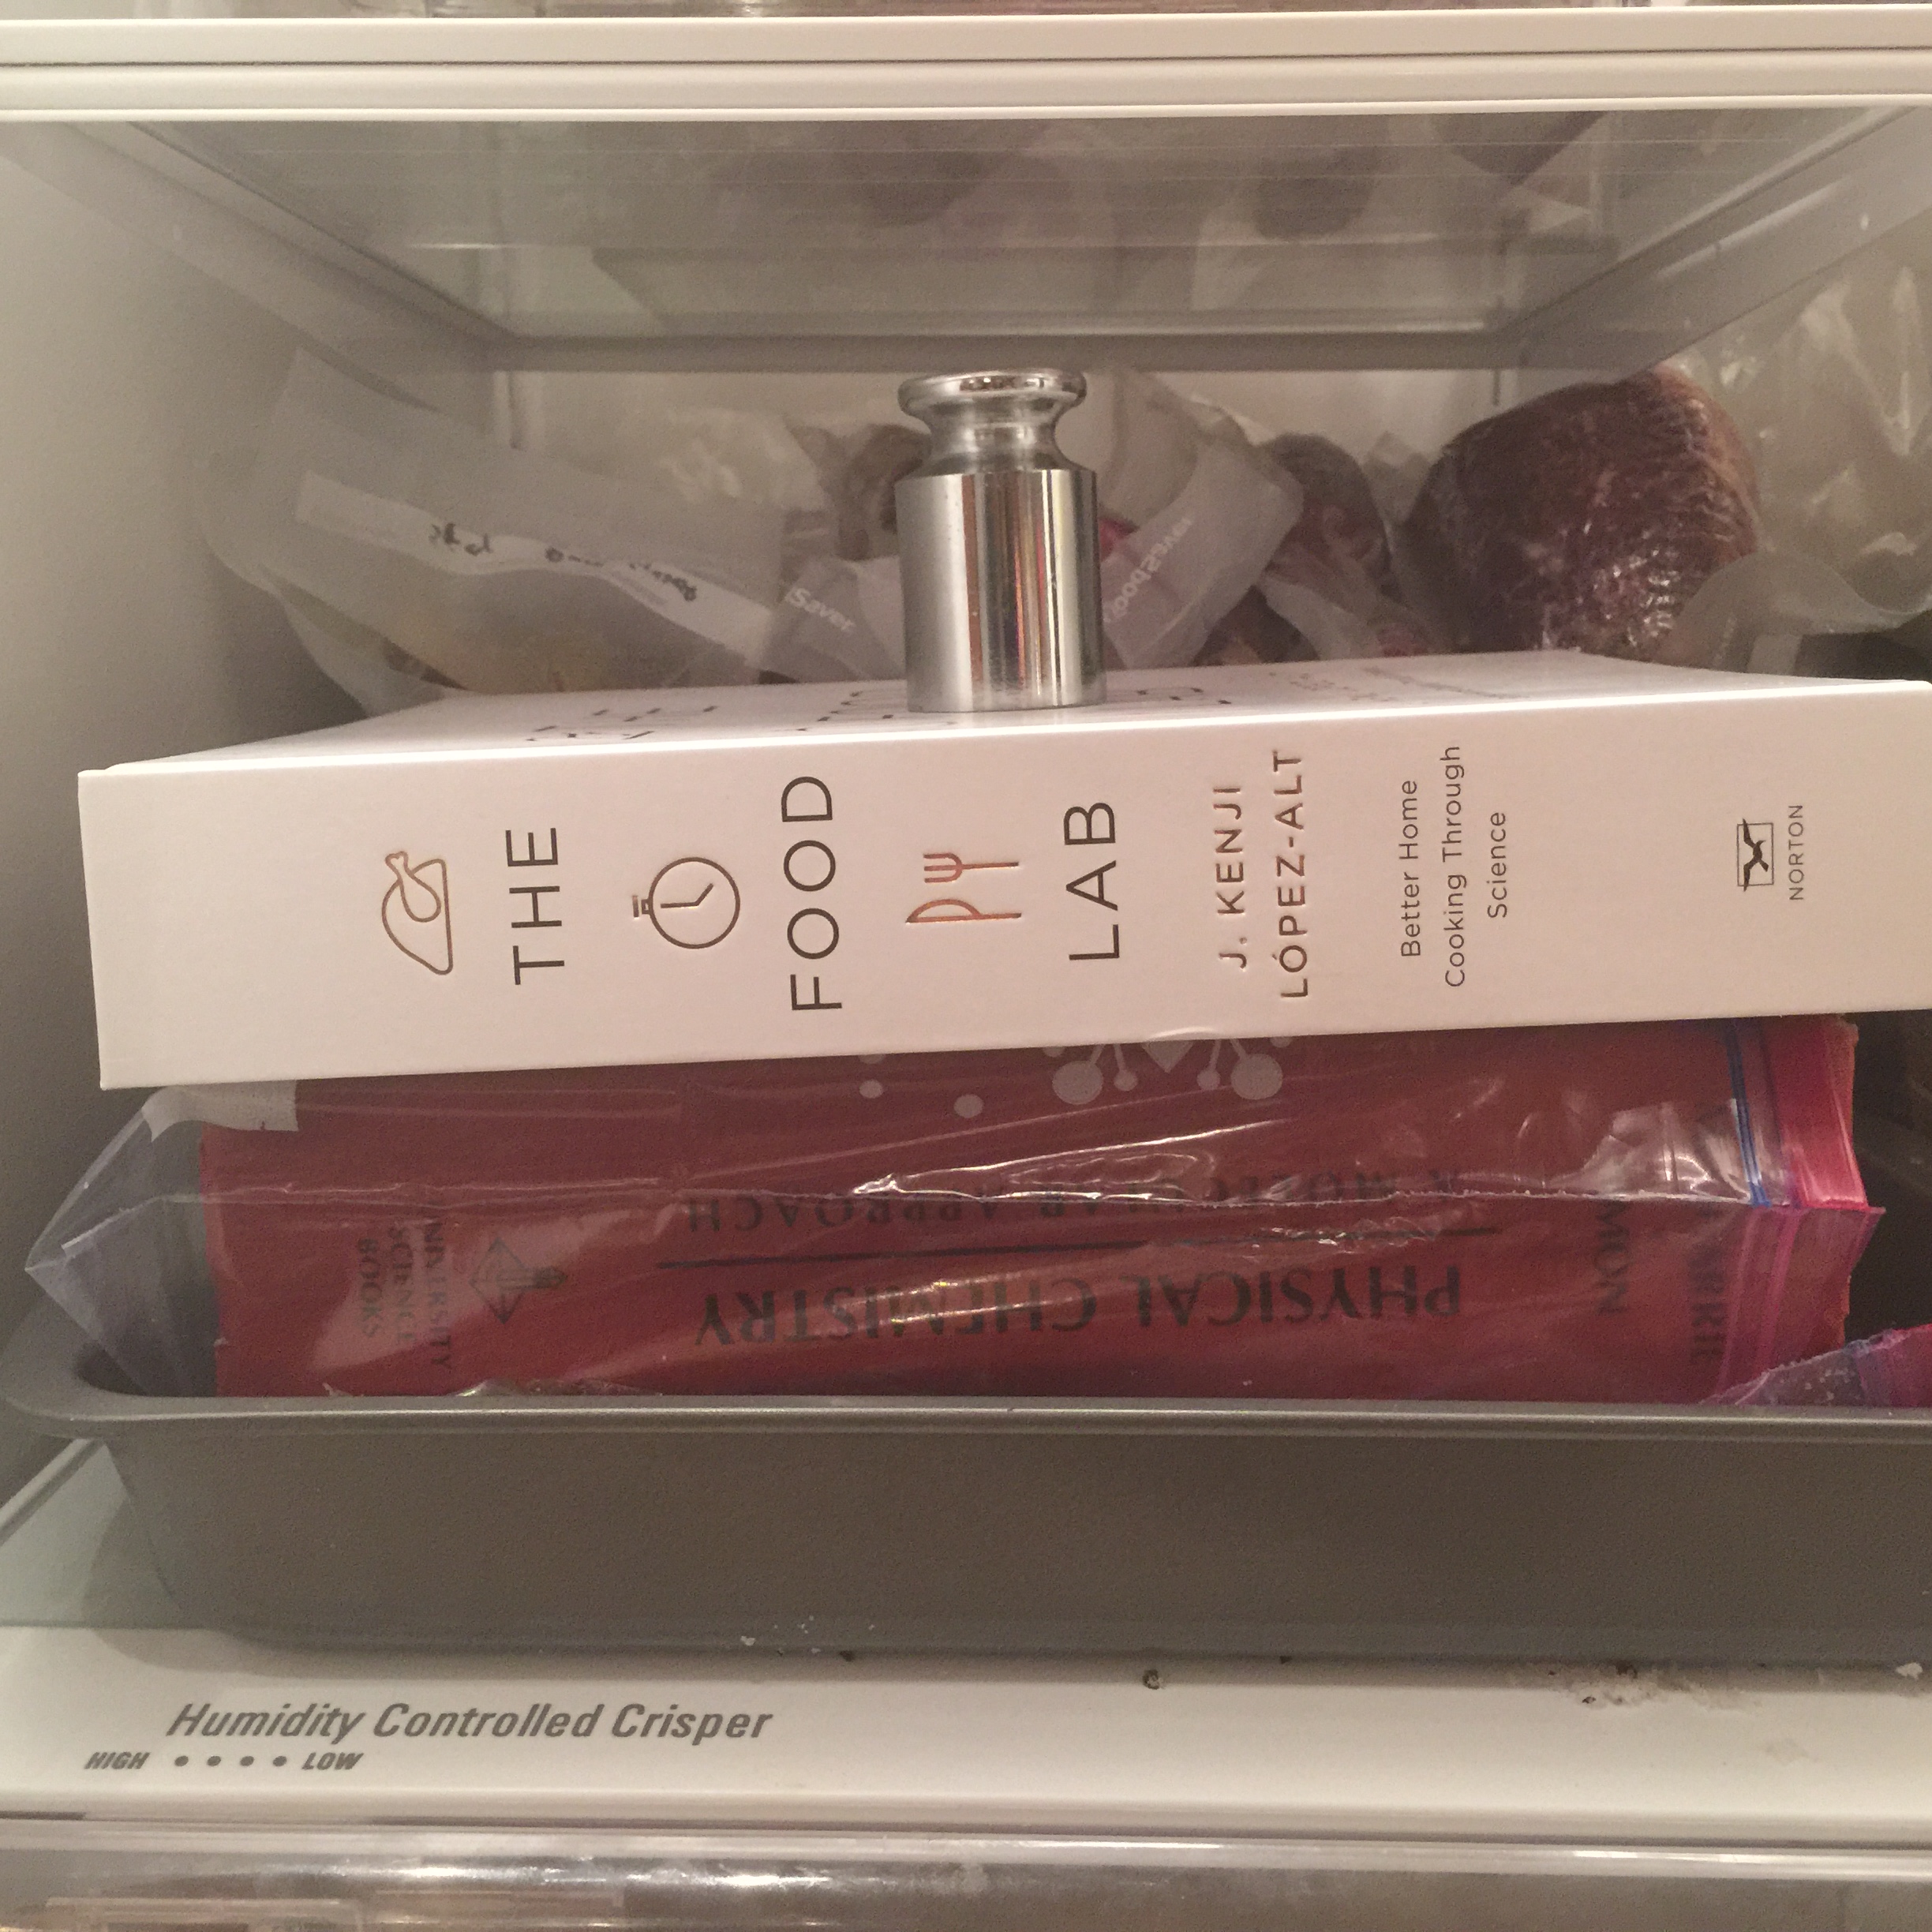
The meat was cured using an equilibrium cure for 2 weeks in the normal refrigerator.

Mosciame cure ratio with accurate ratios

image(3)

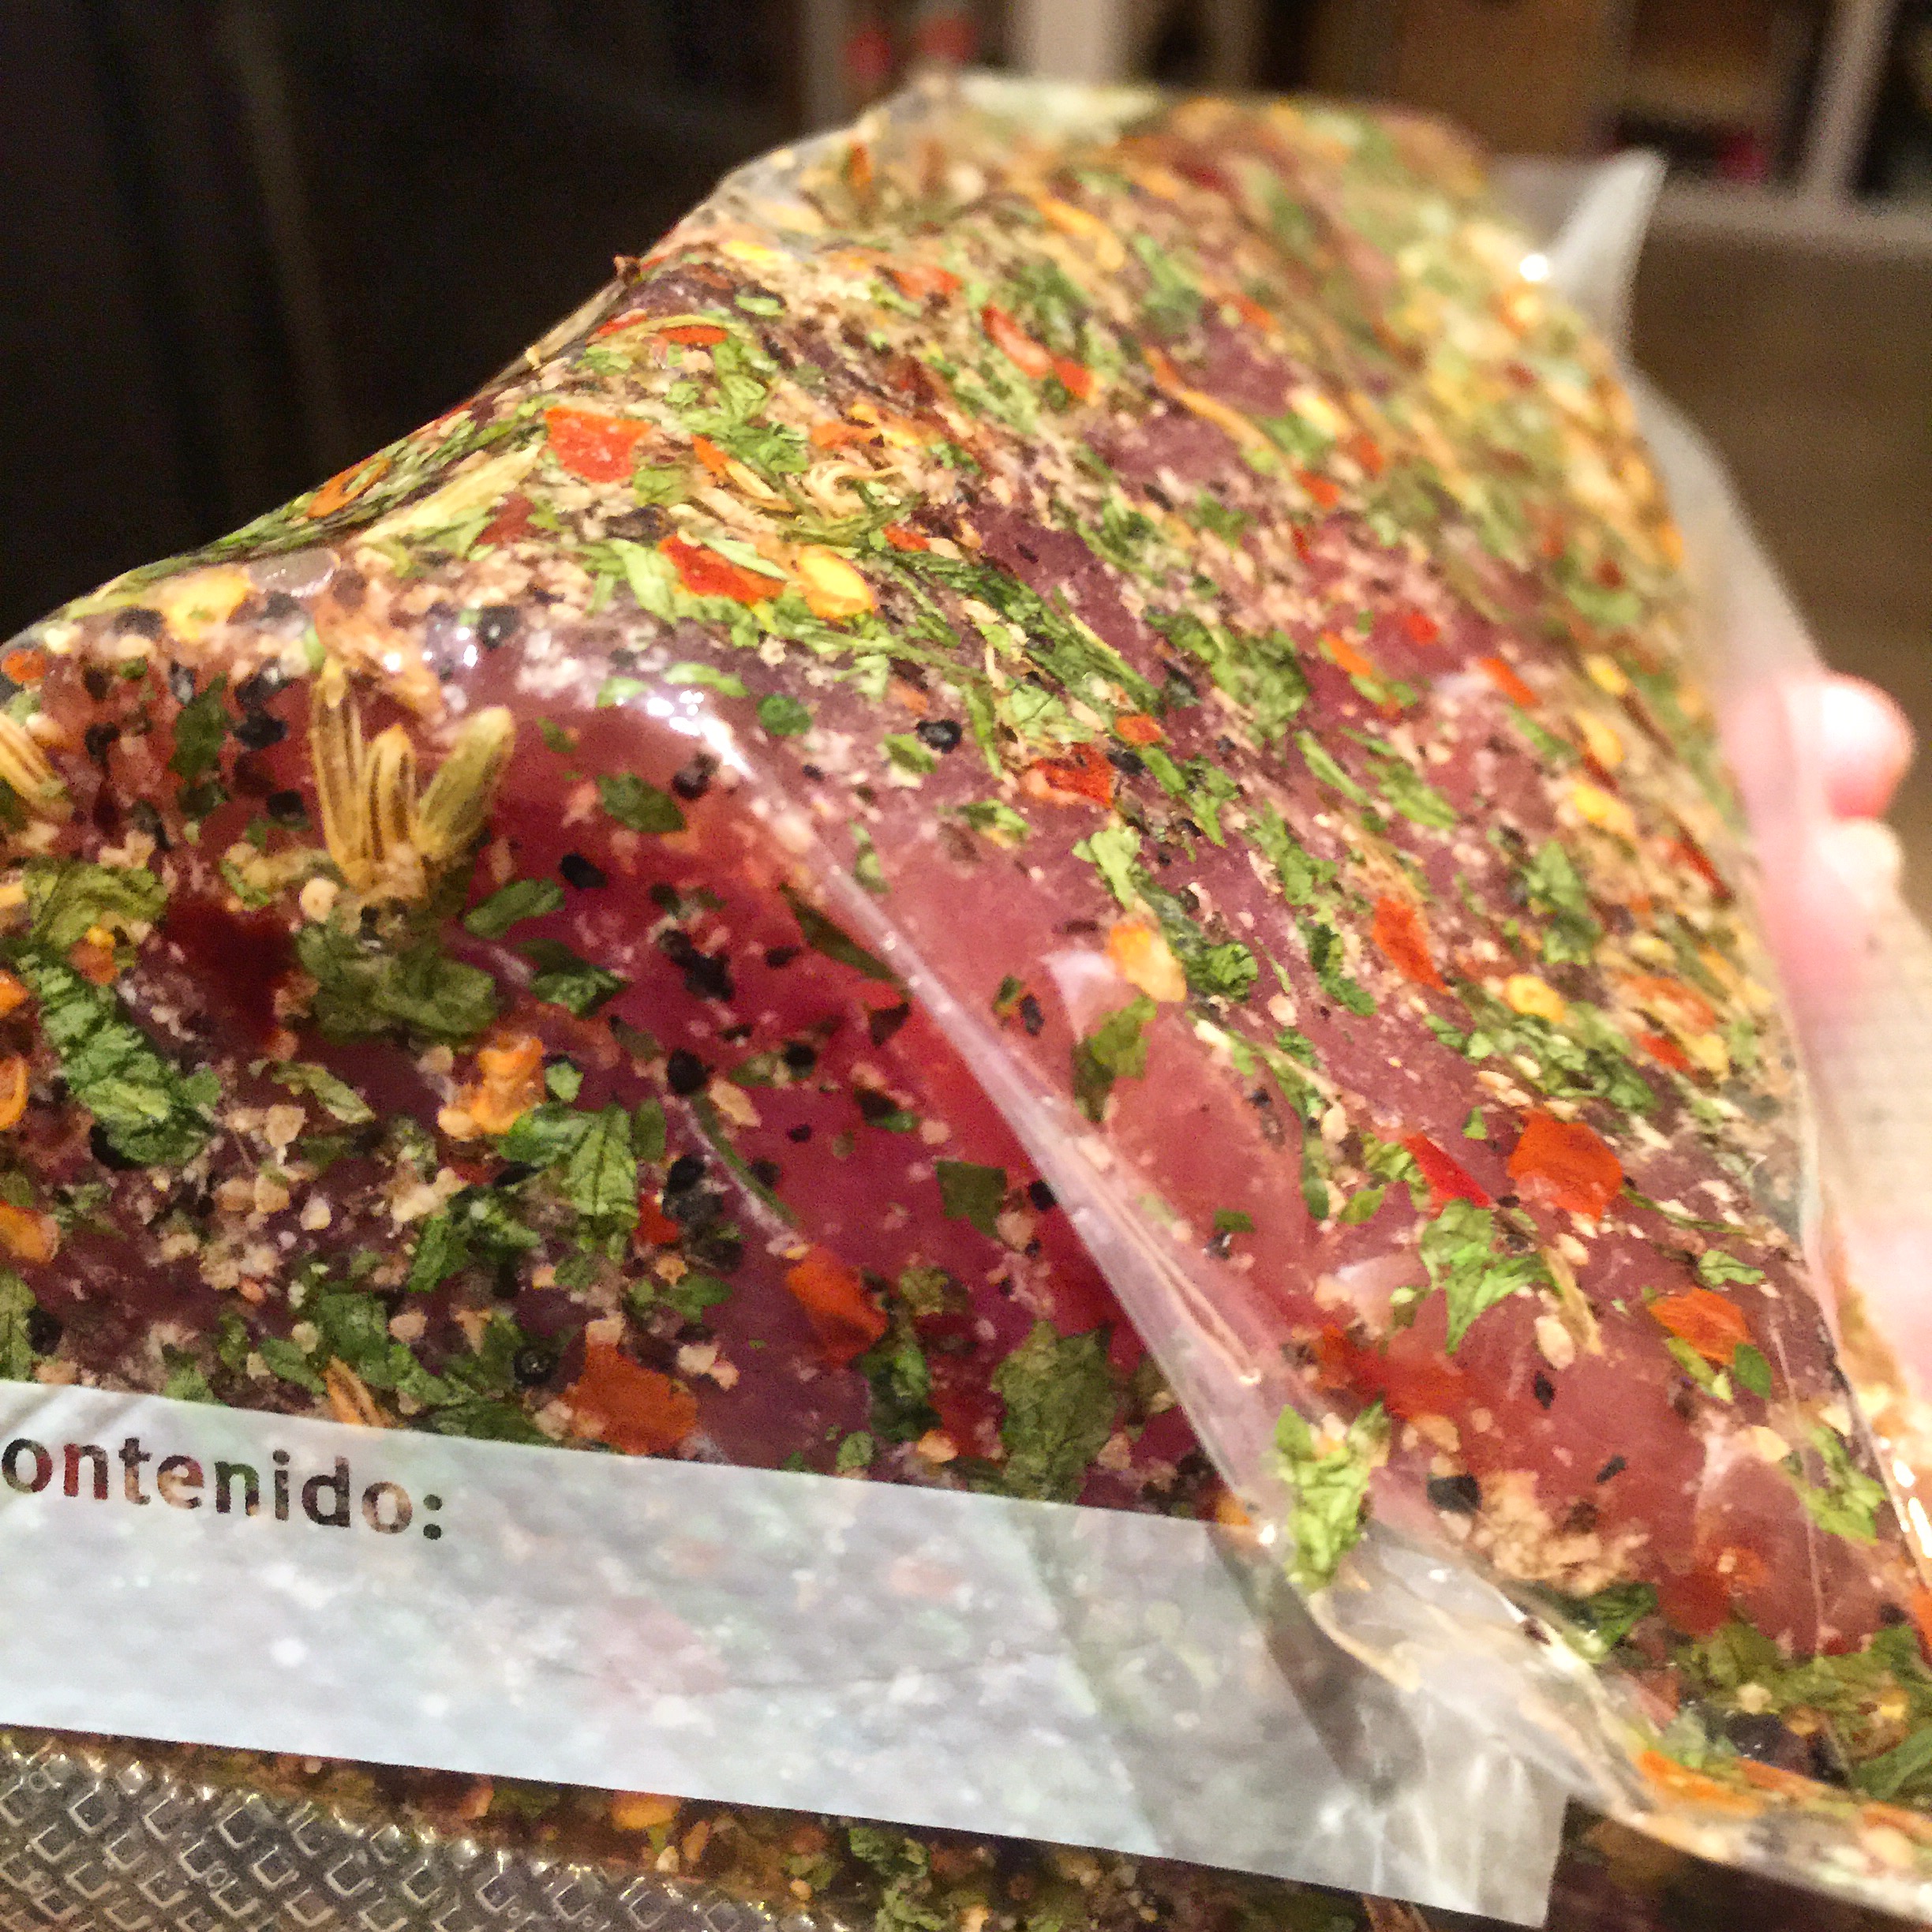
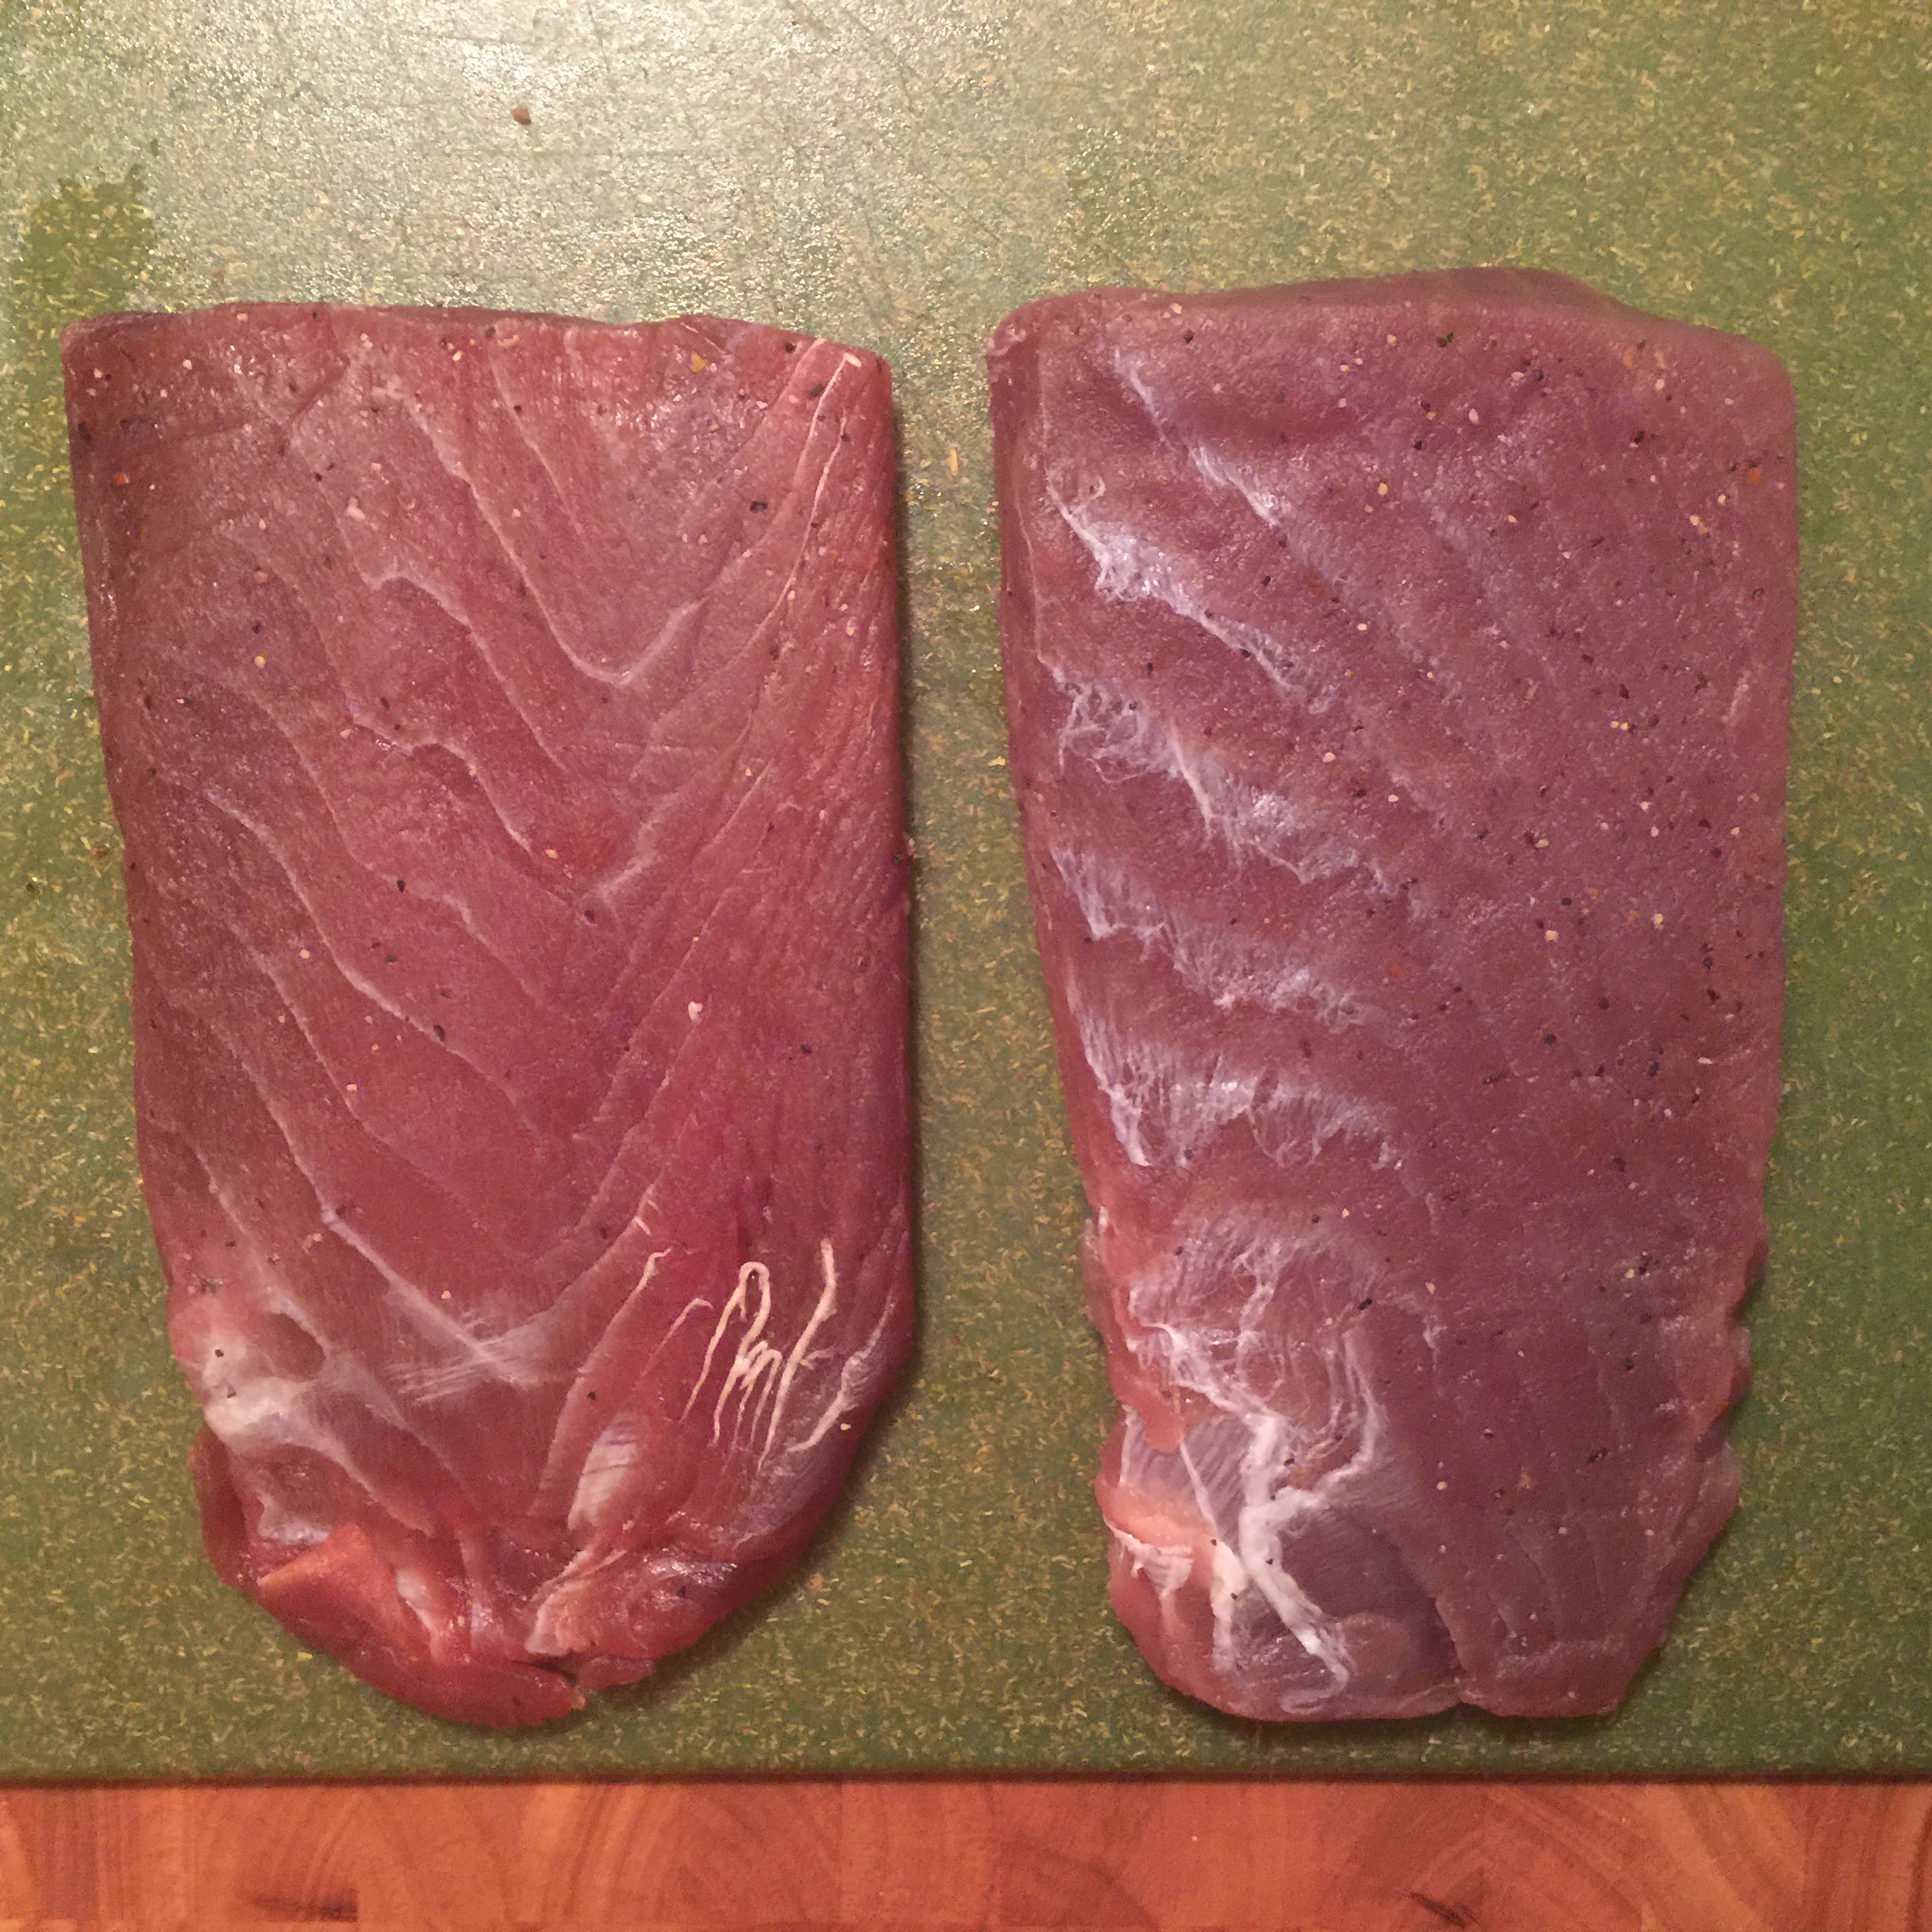
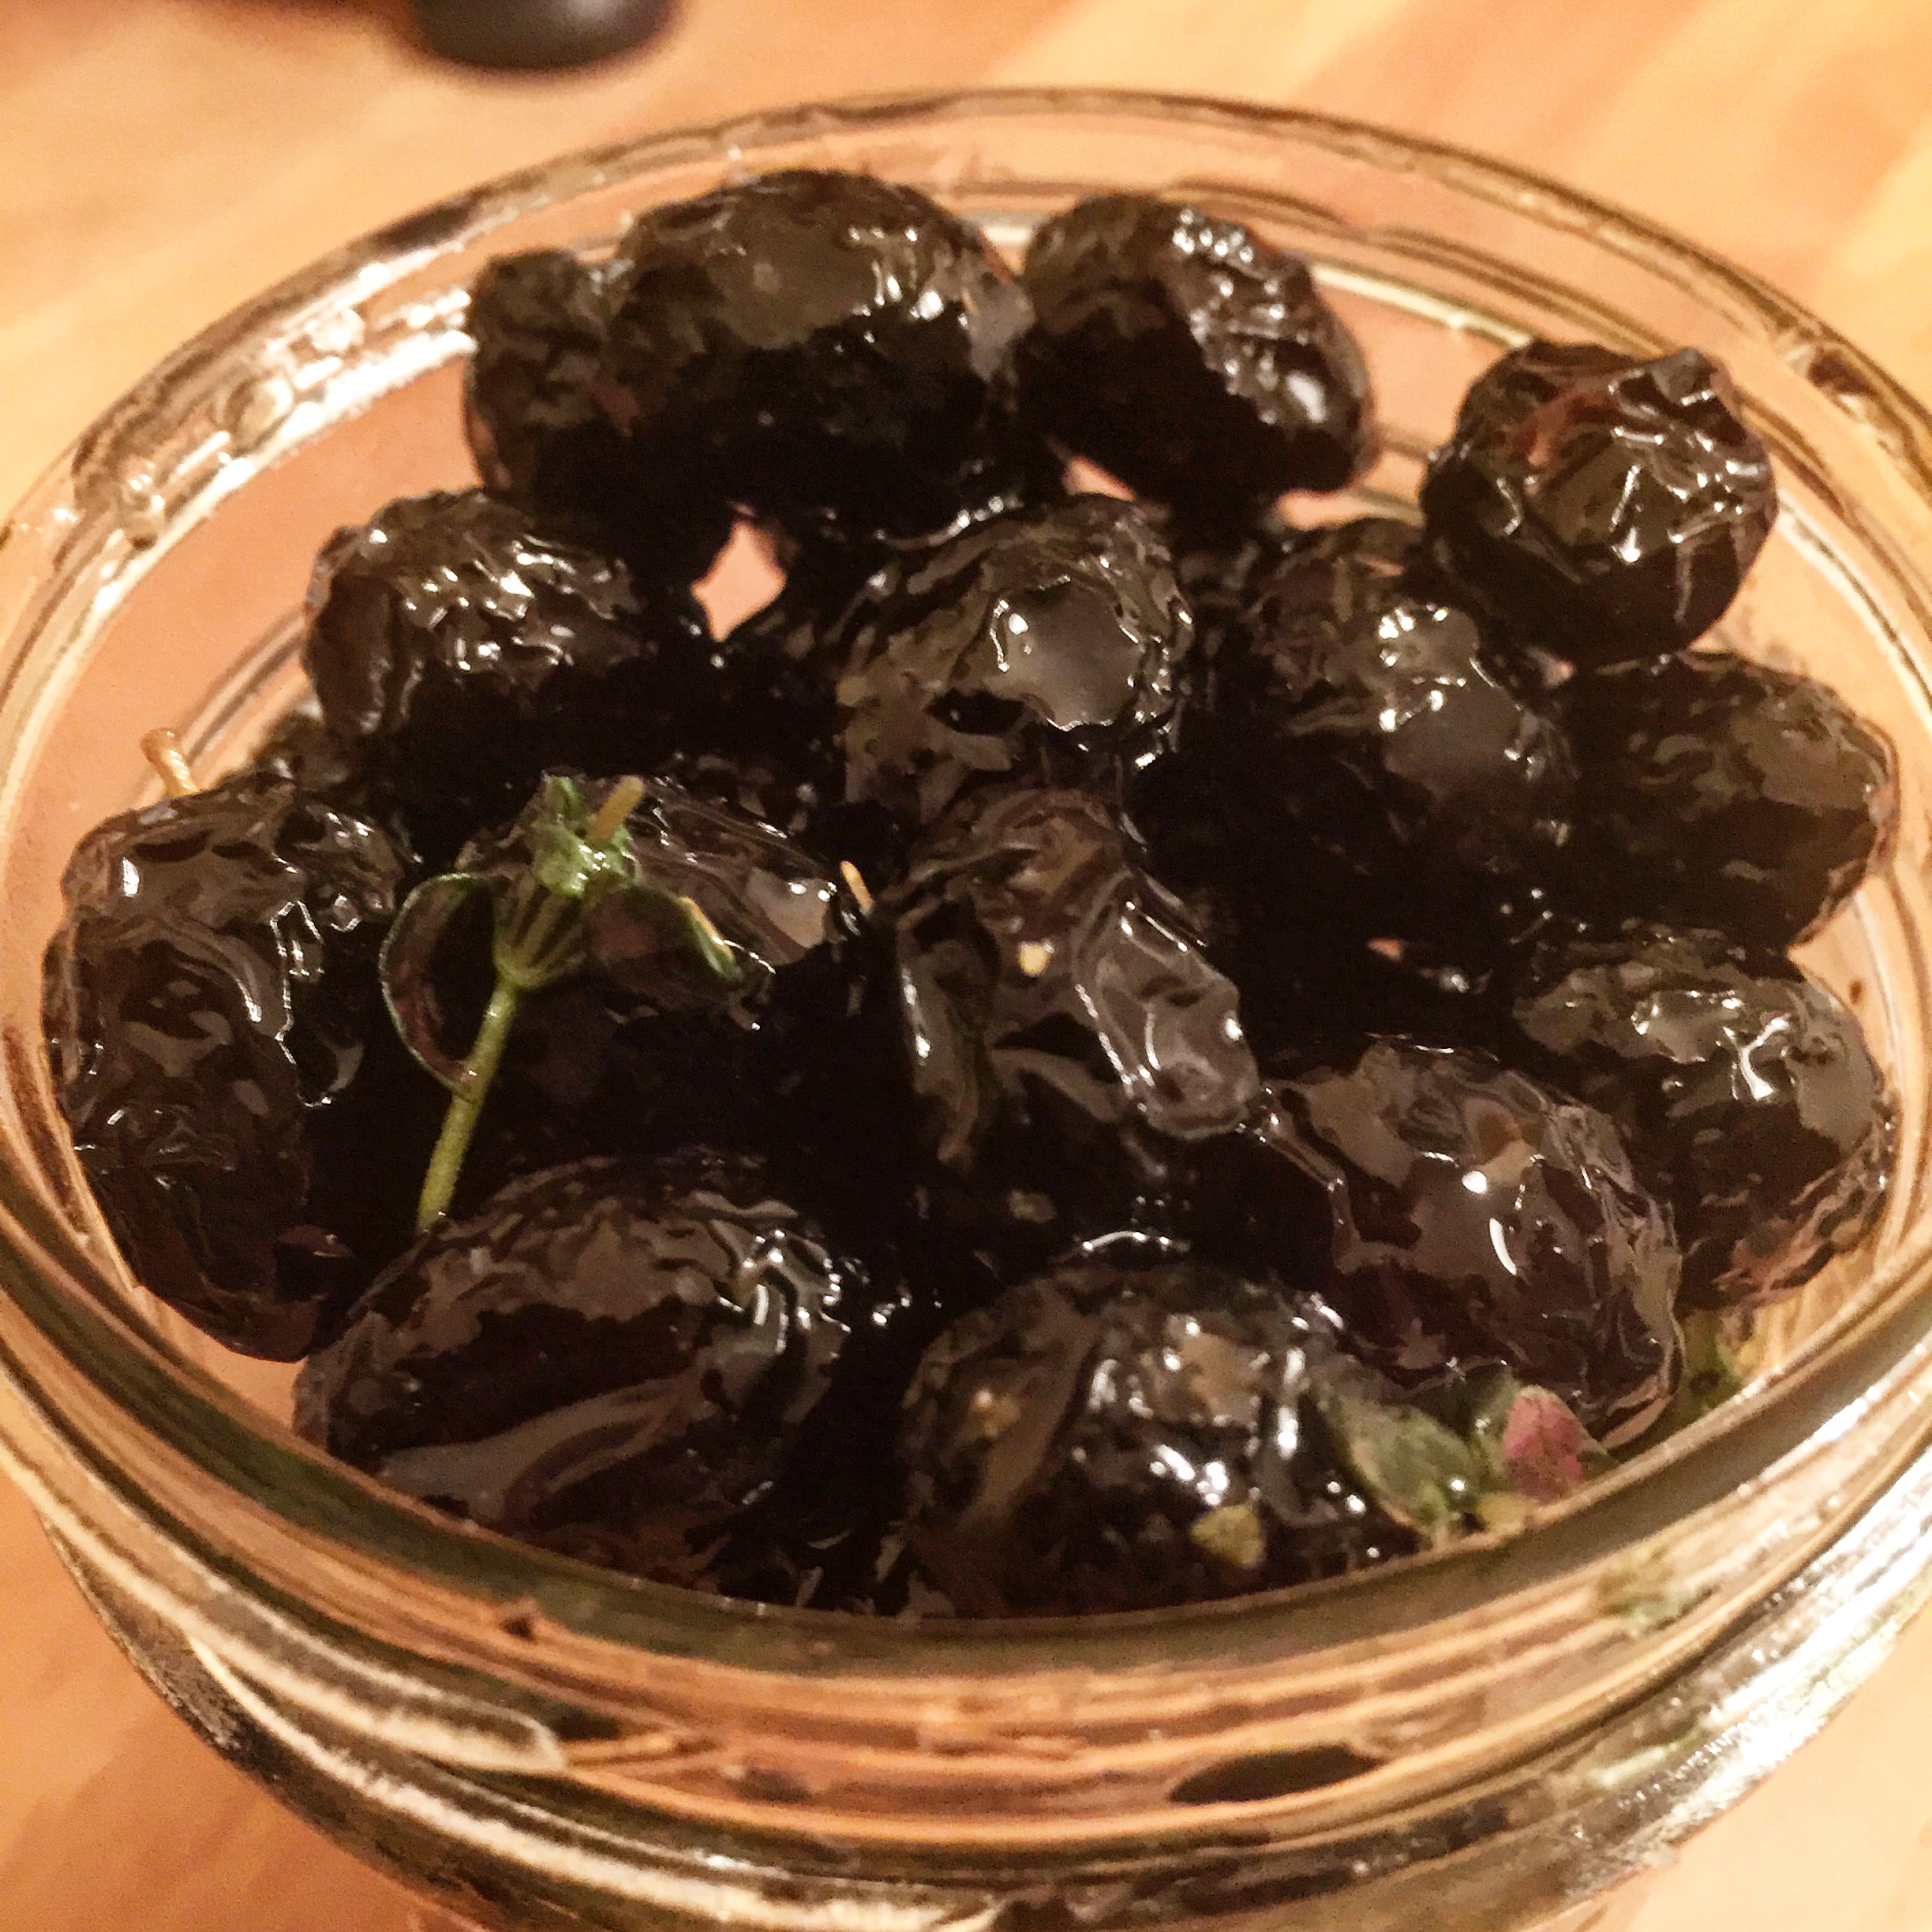
After this point, the cure was rinsed off and it was patted dry.
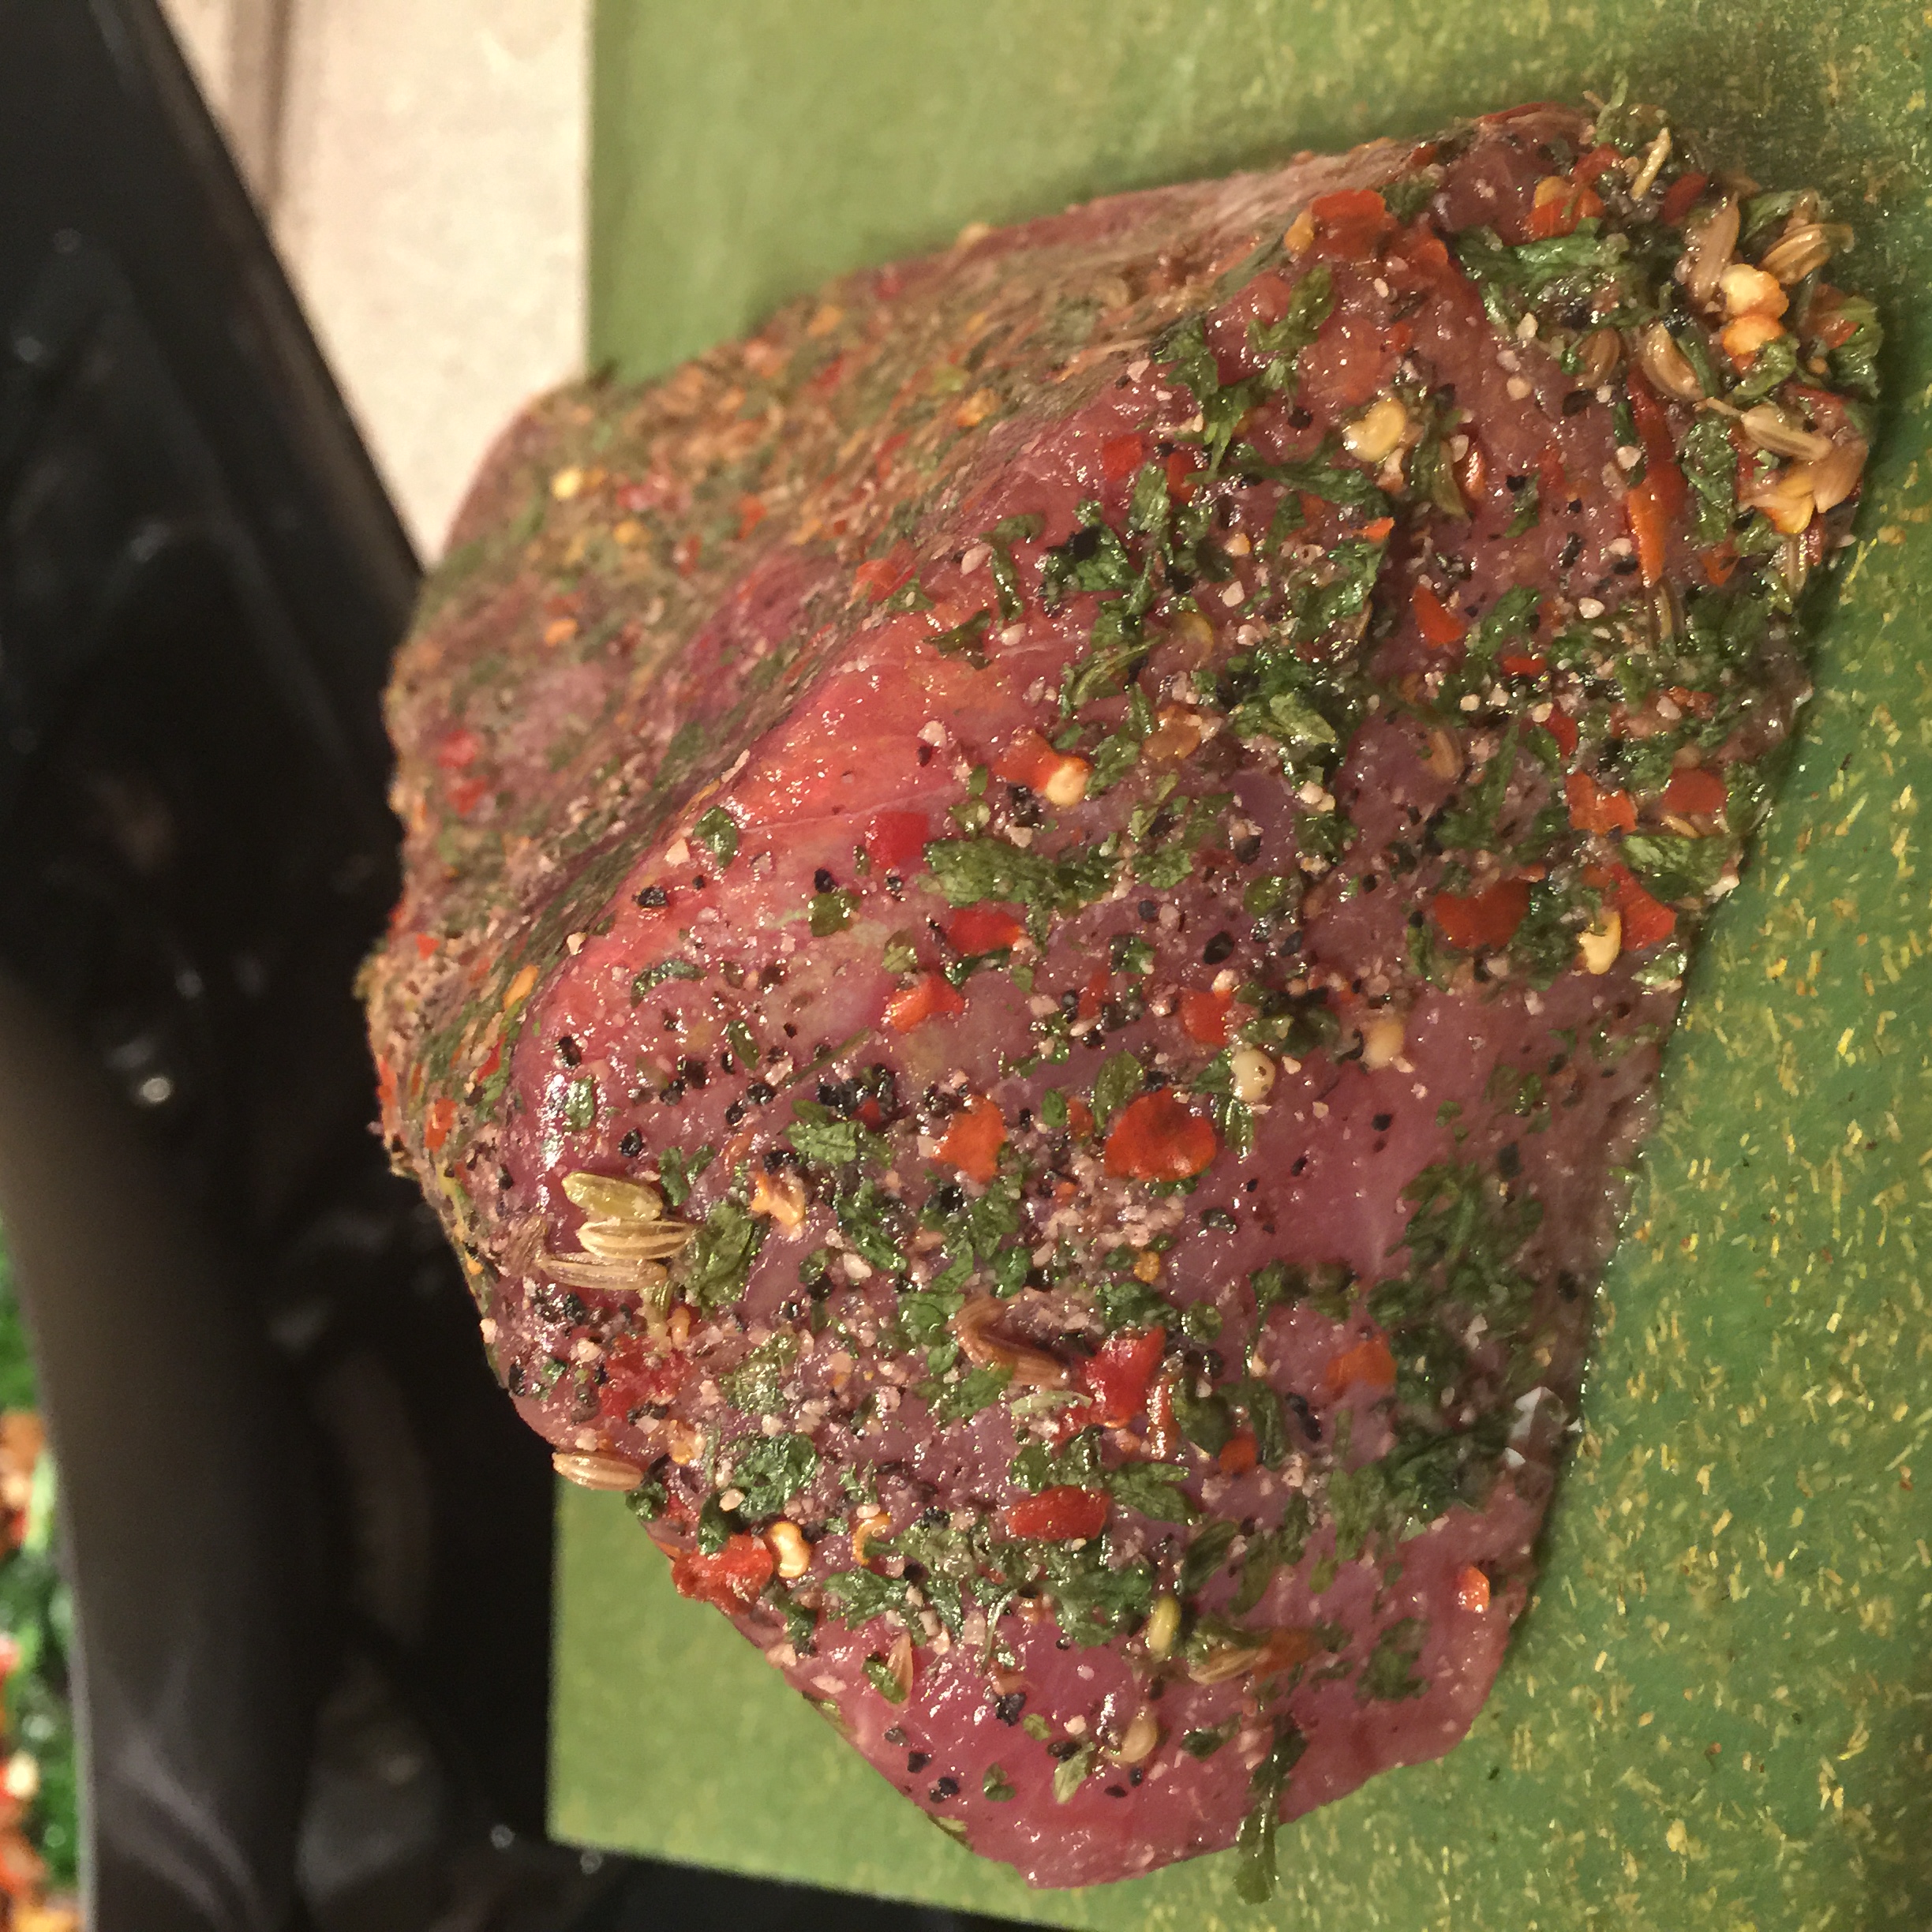
image(2)


Casing (1 hour):

The tuna was then cased using cheesecloth.

image(1)


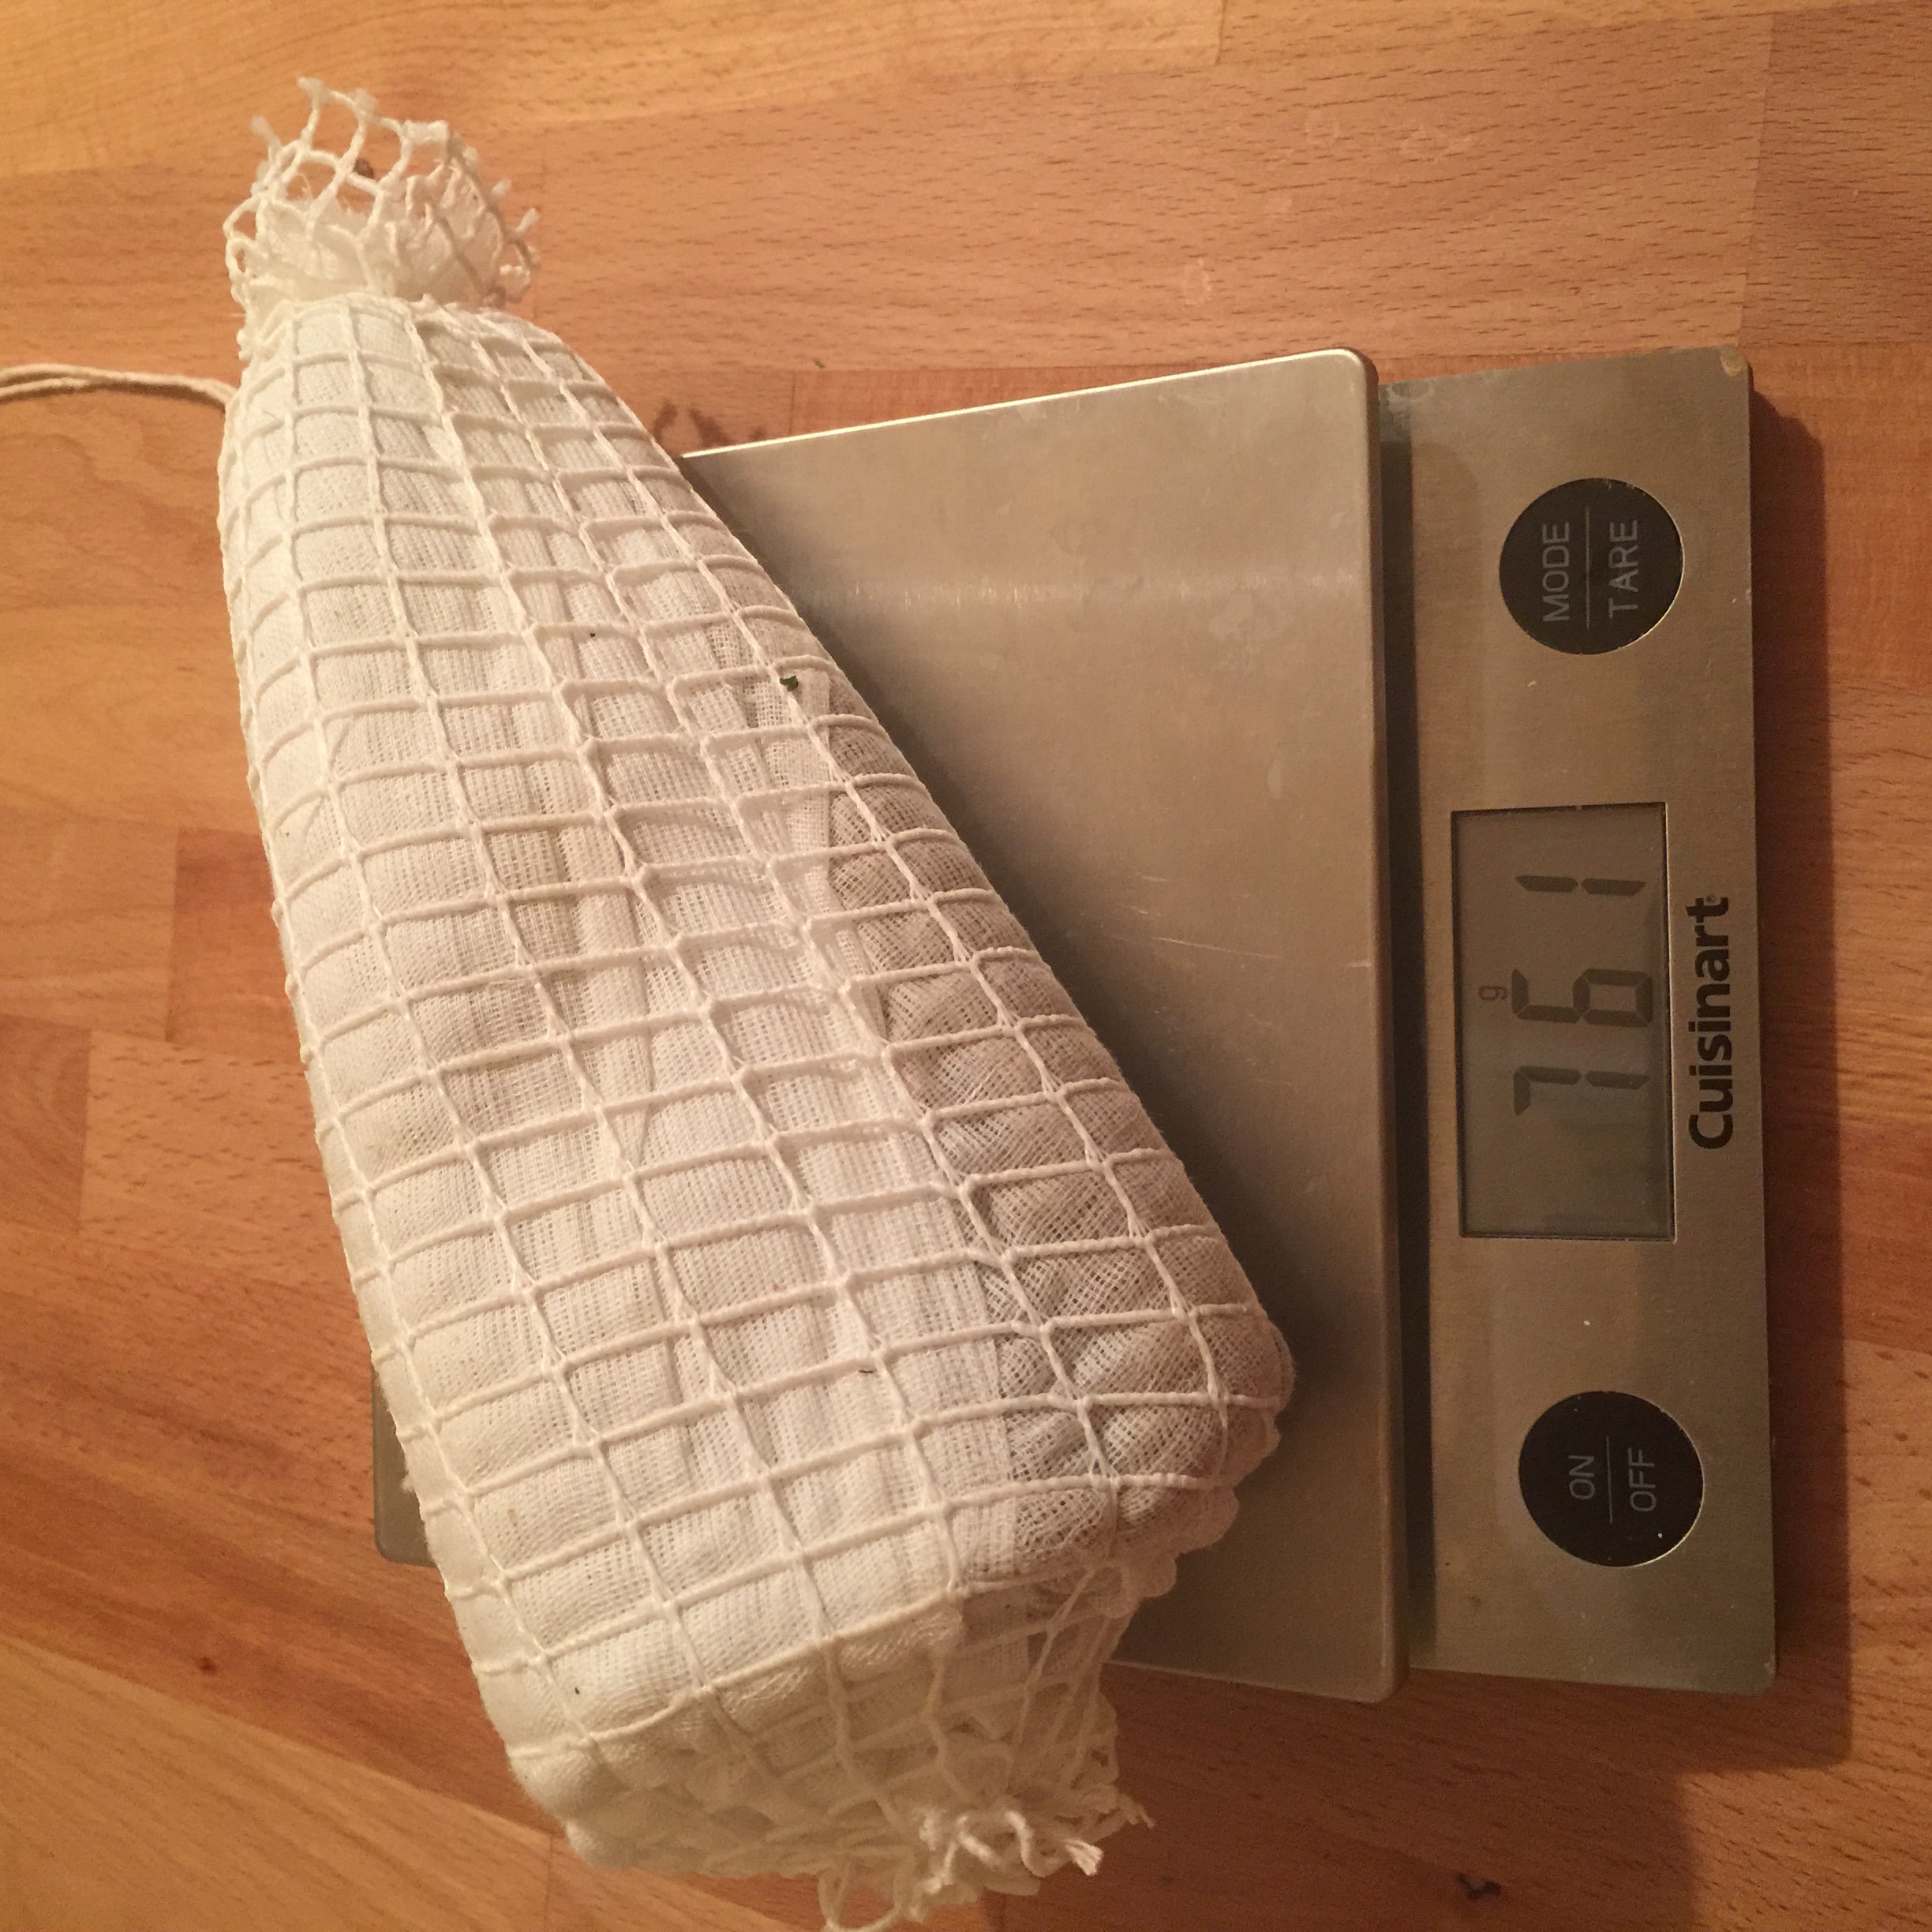
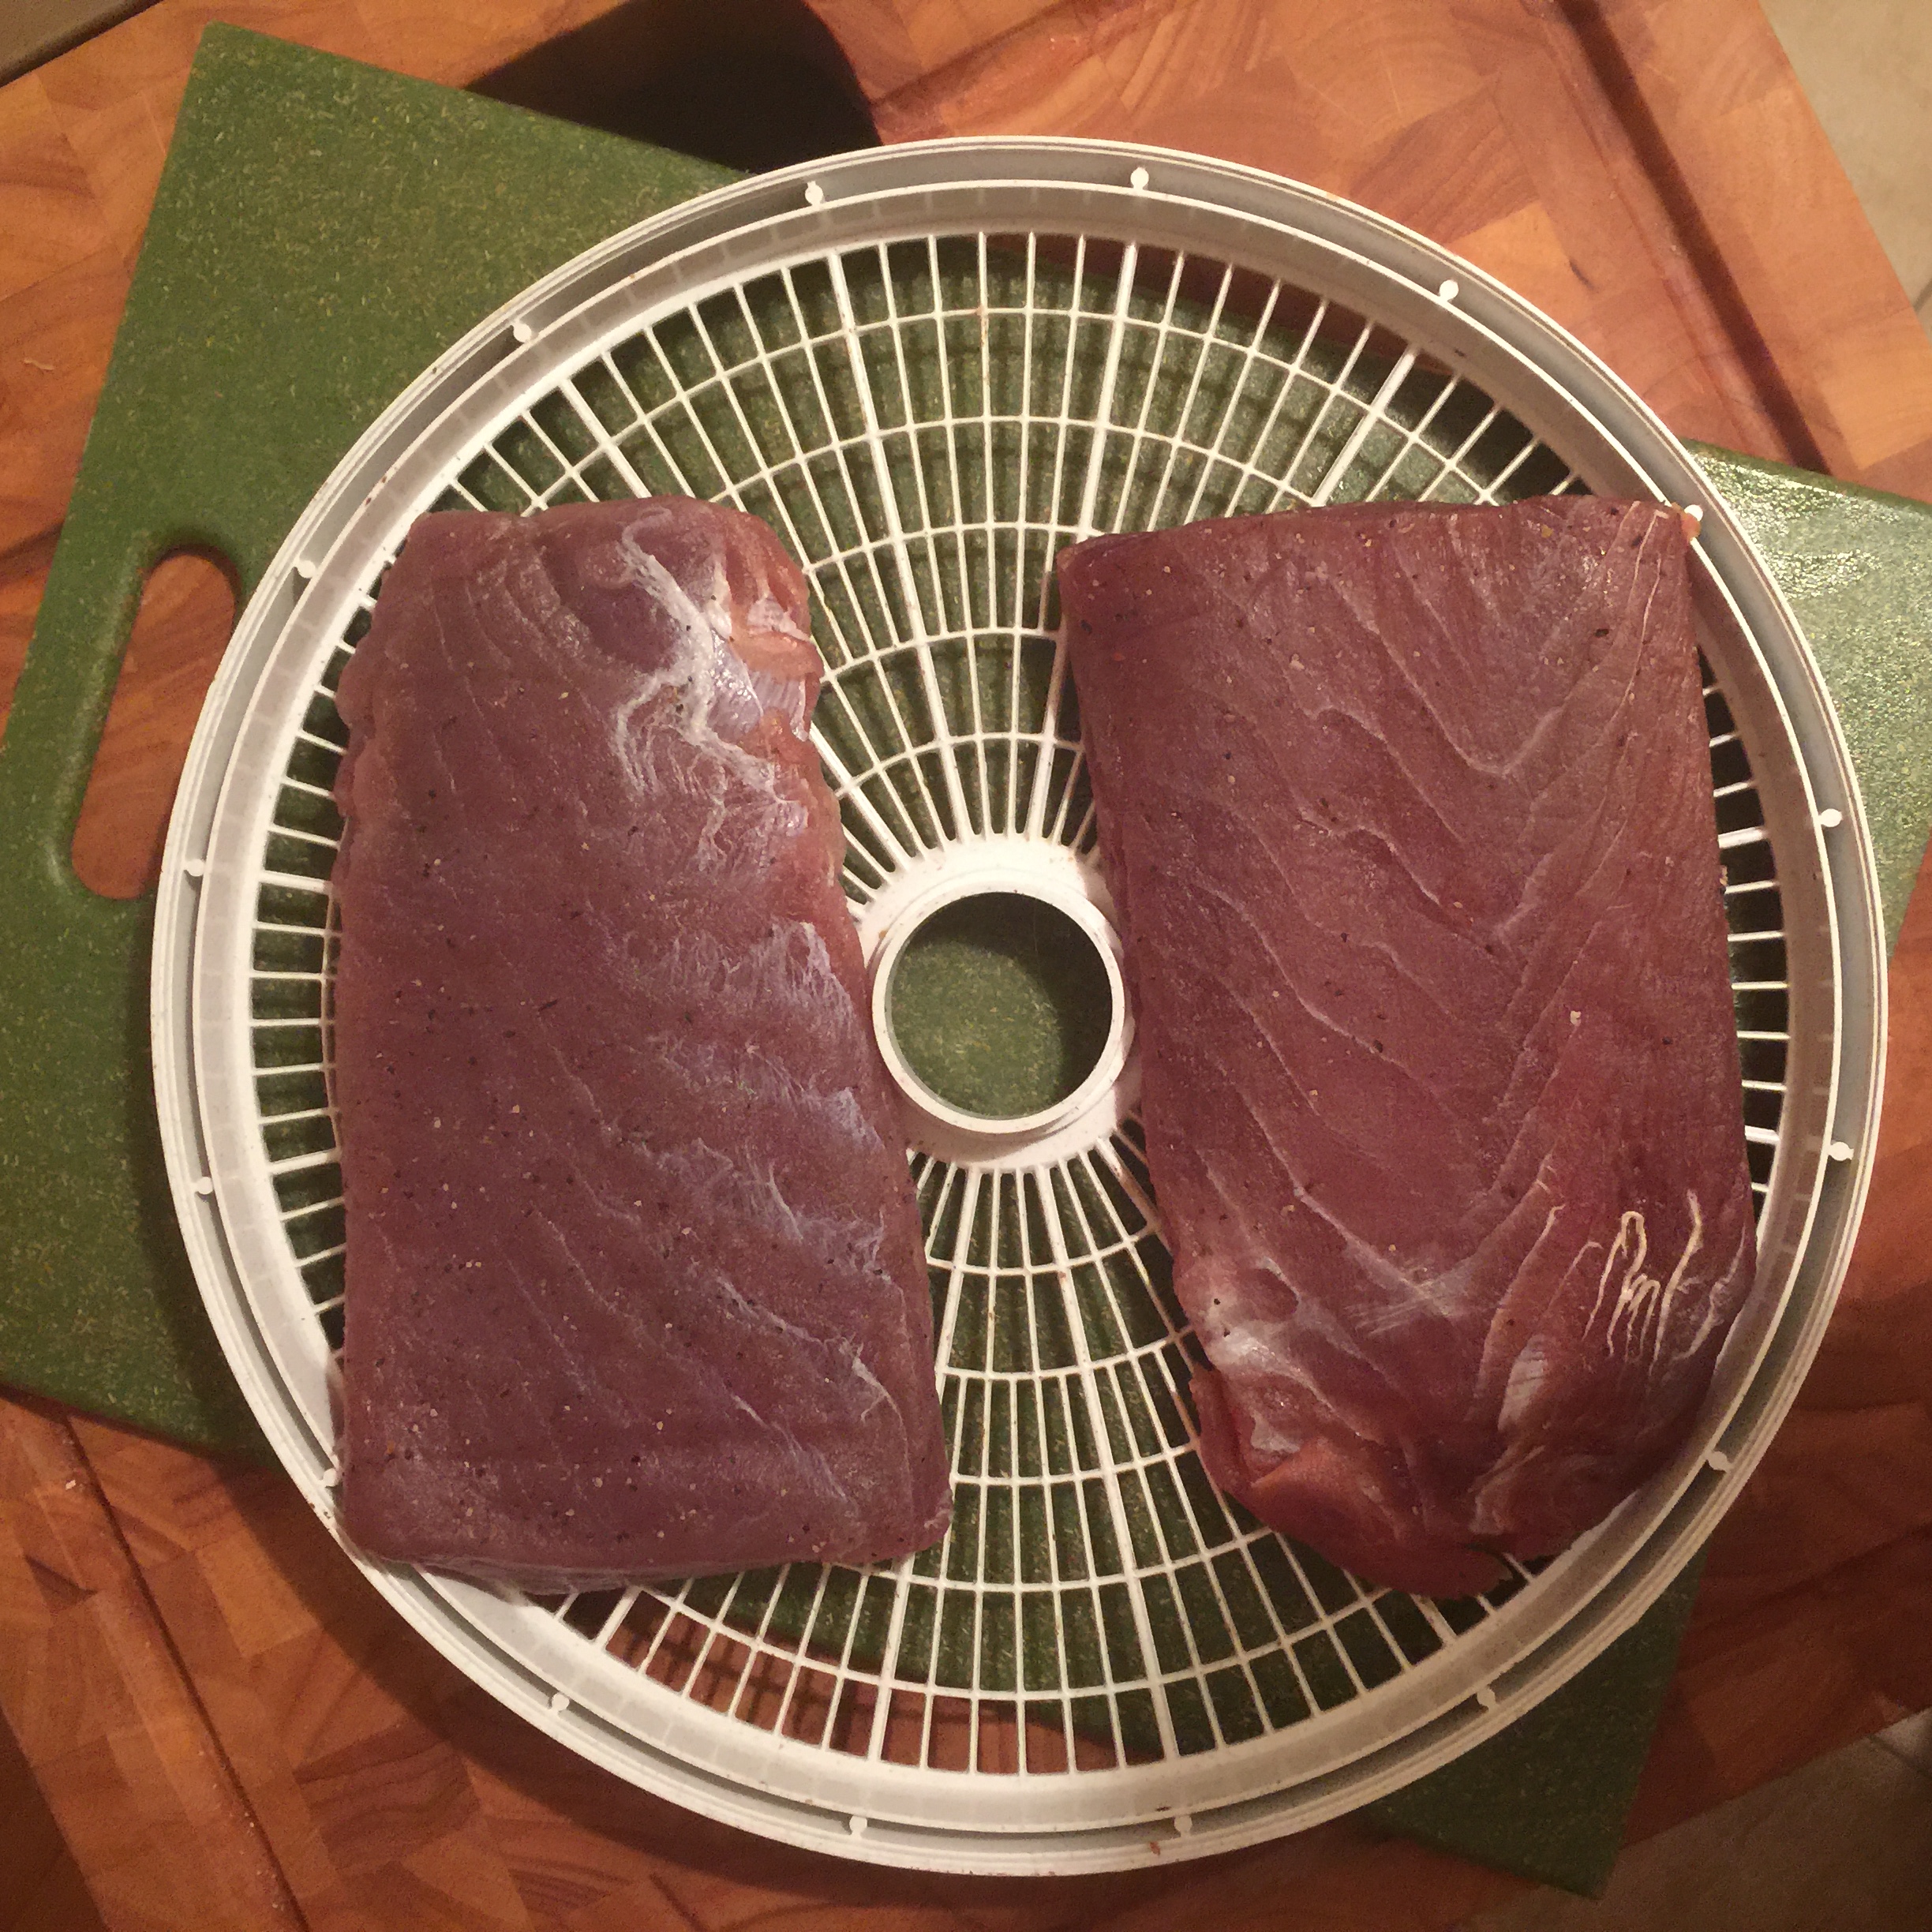
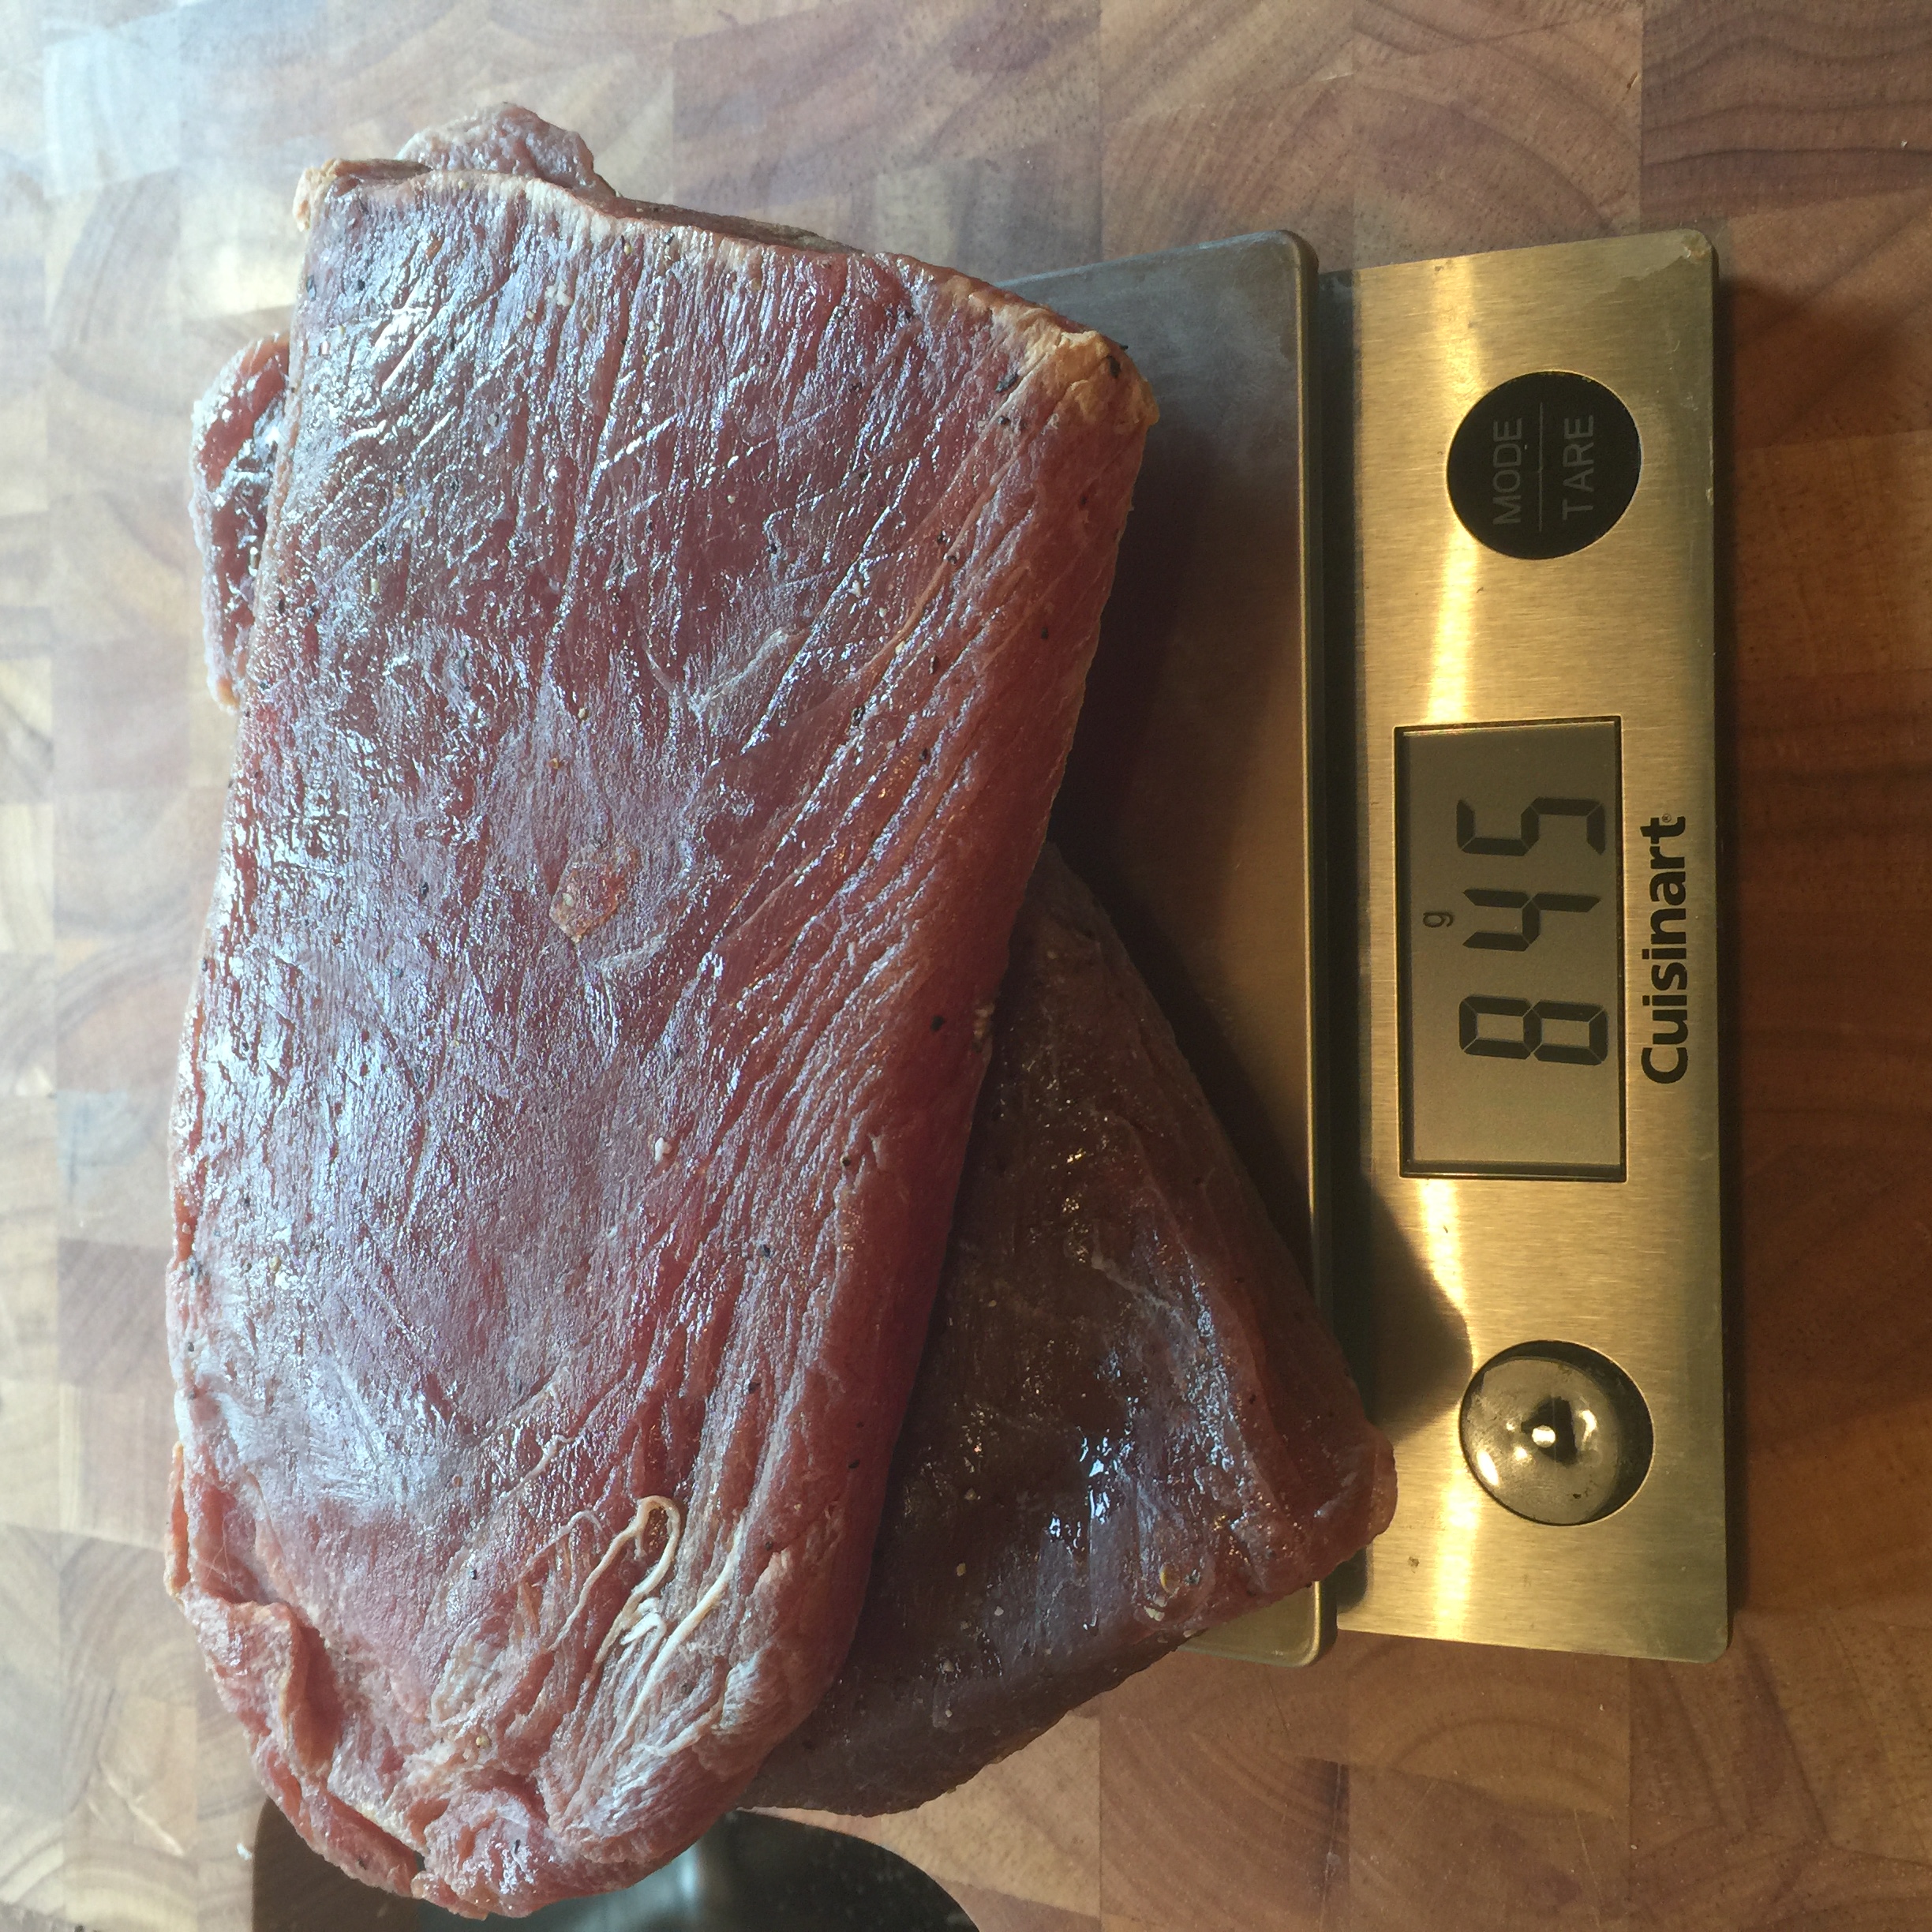
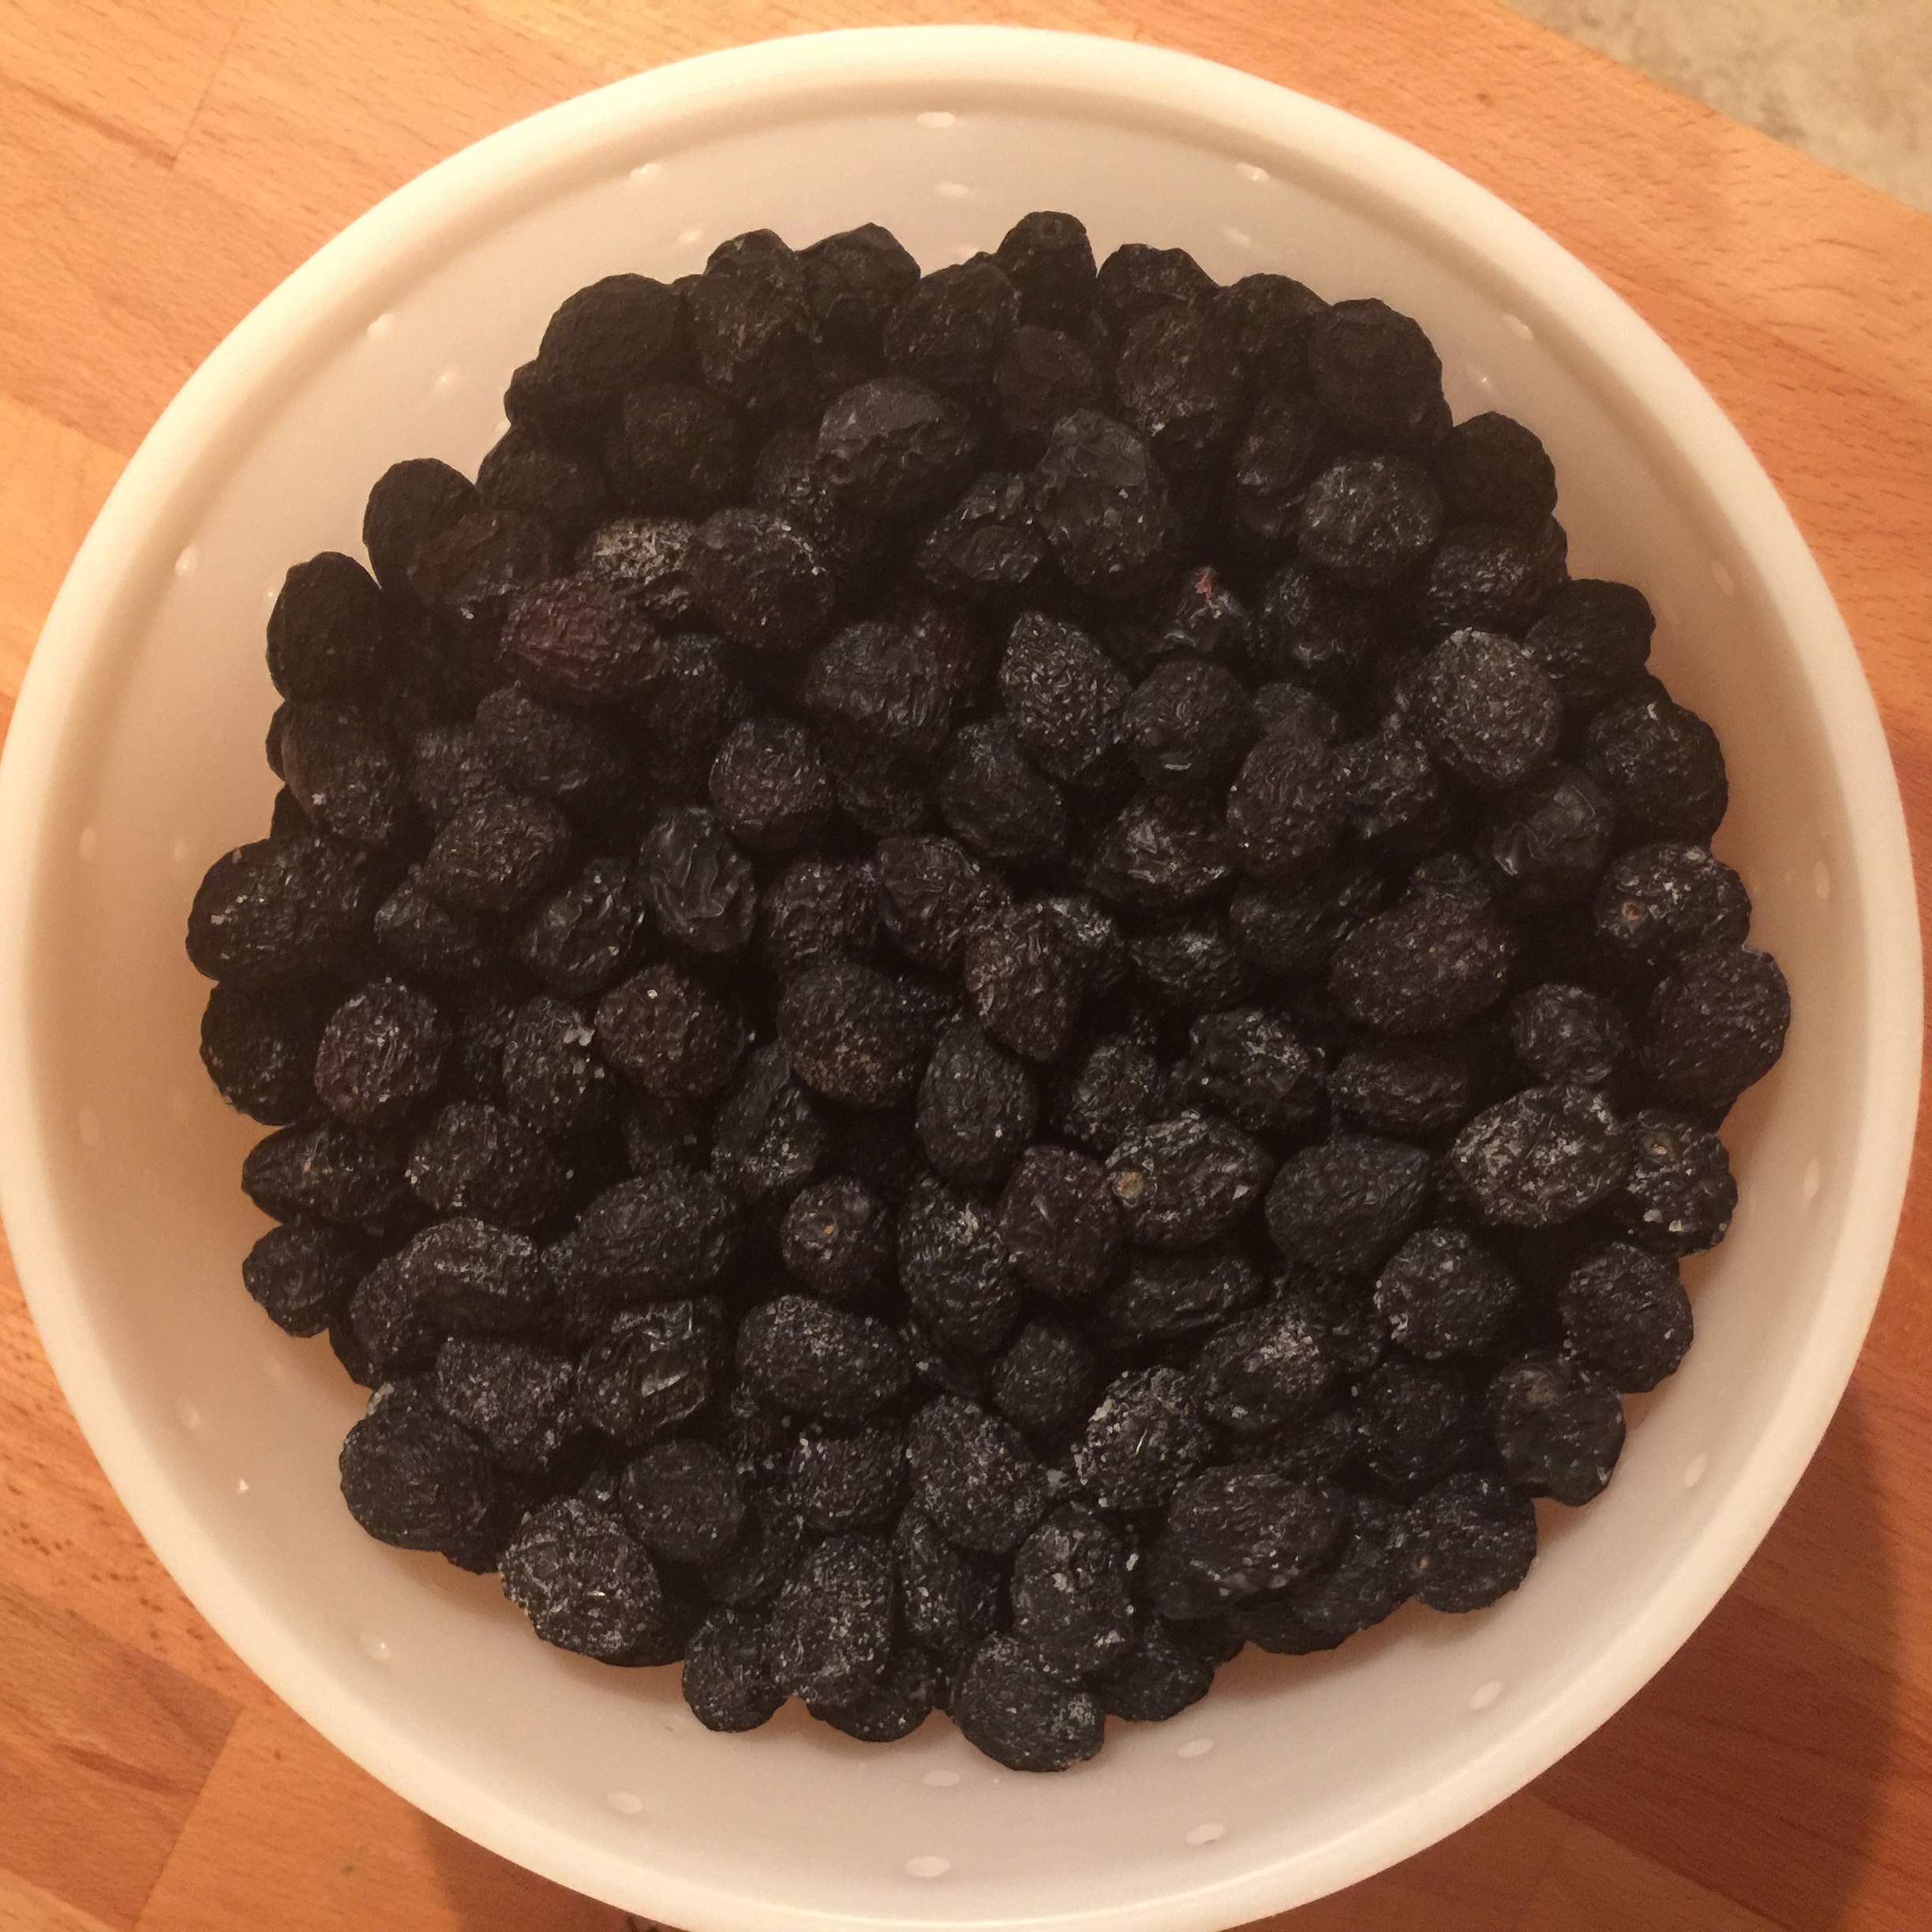
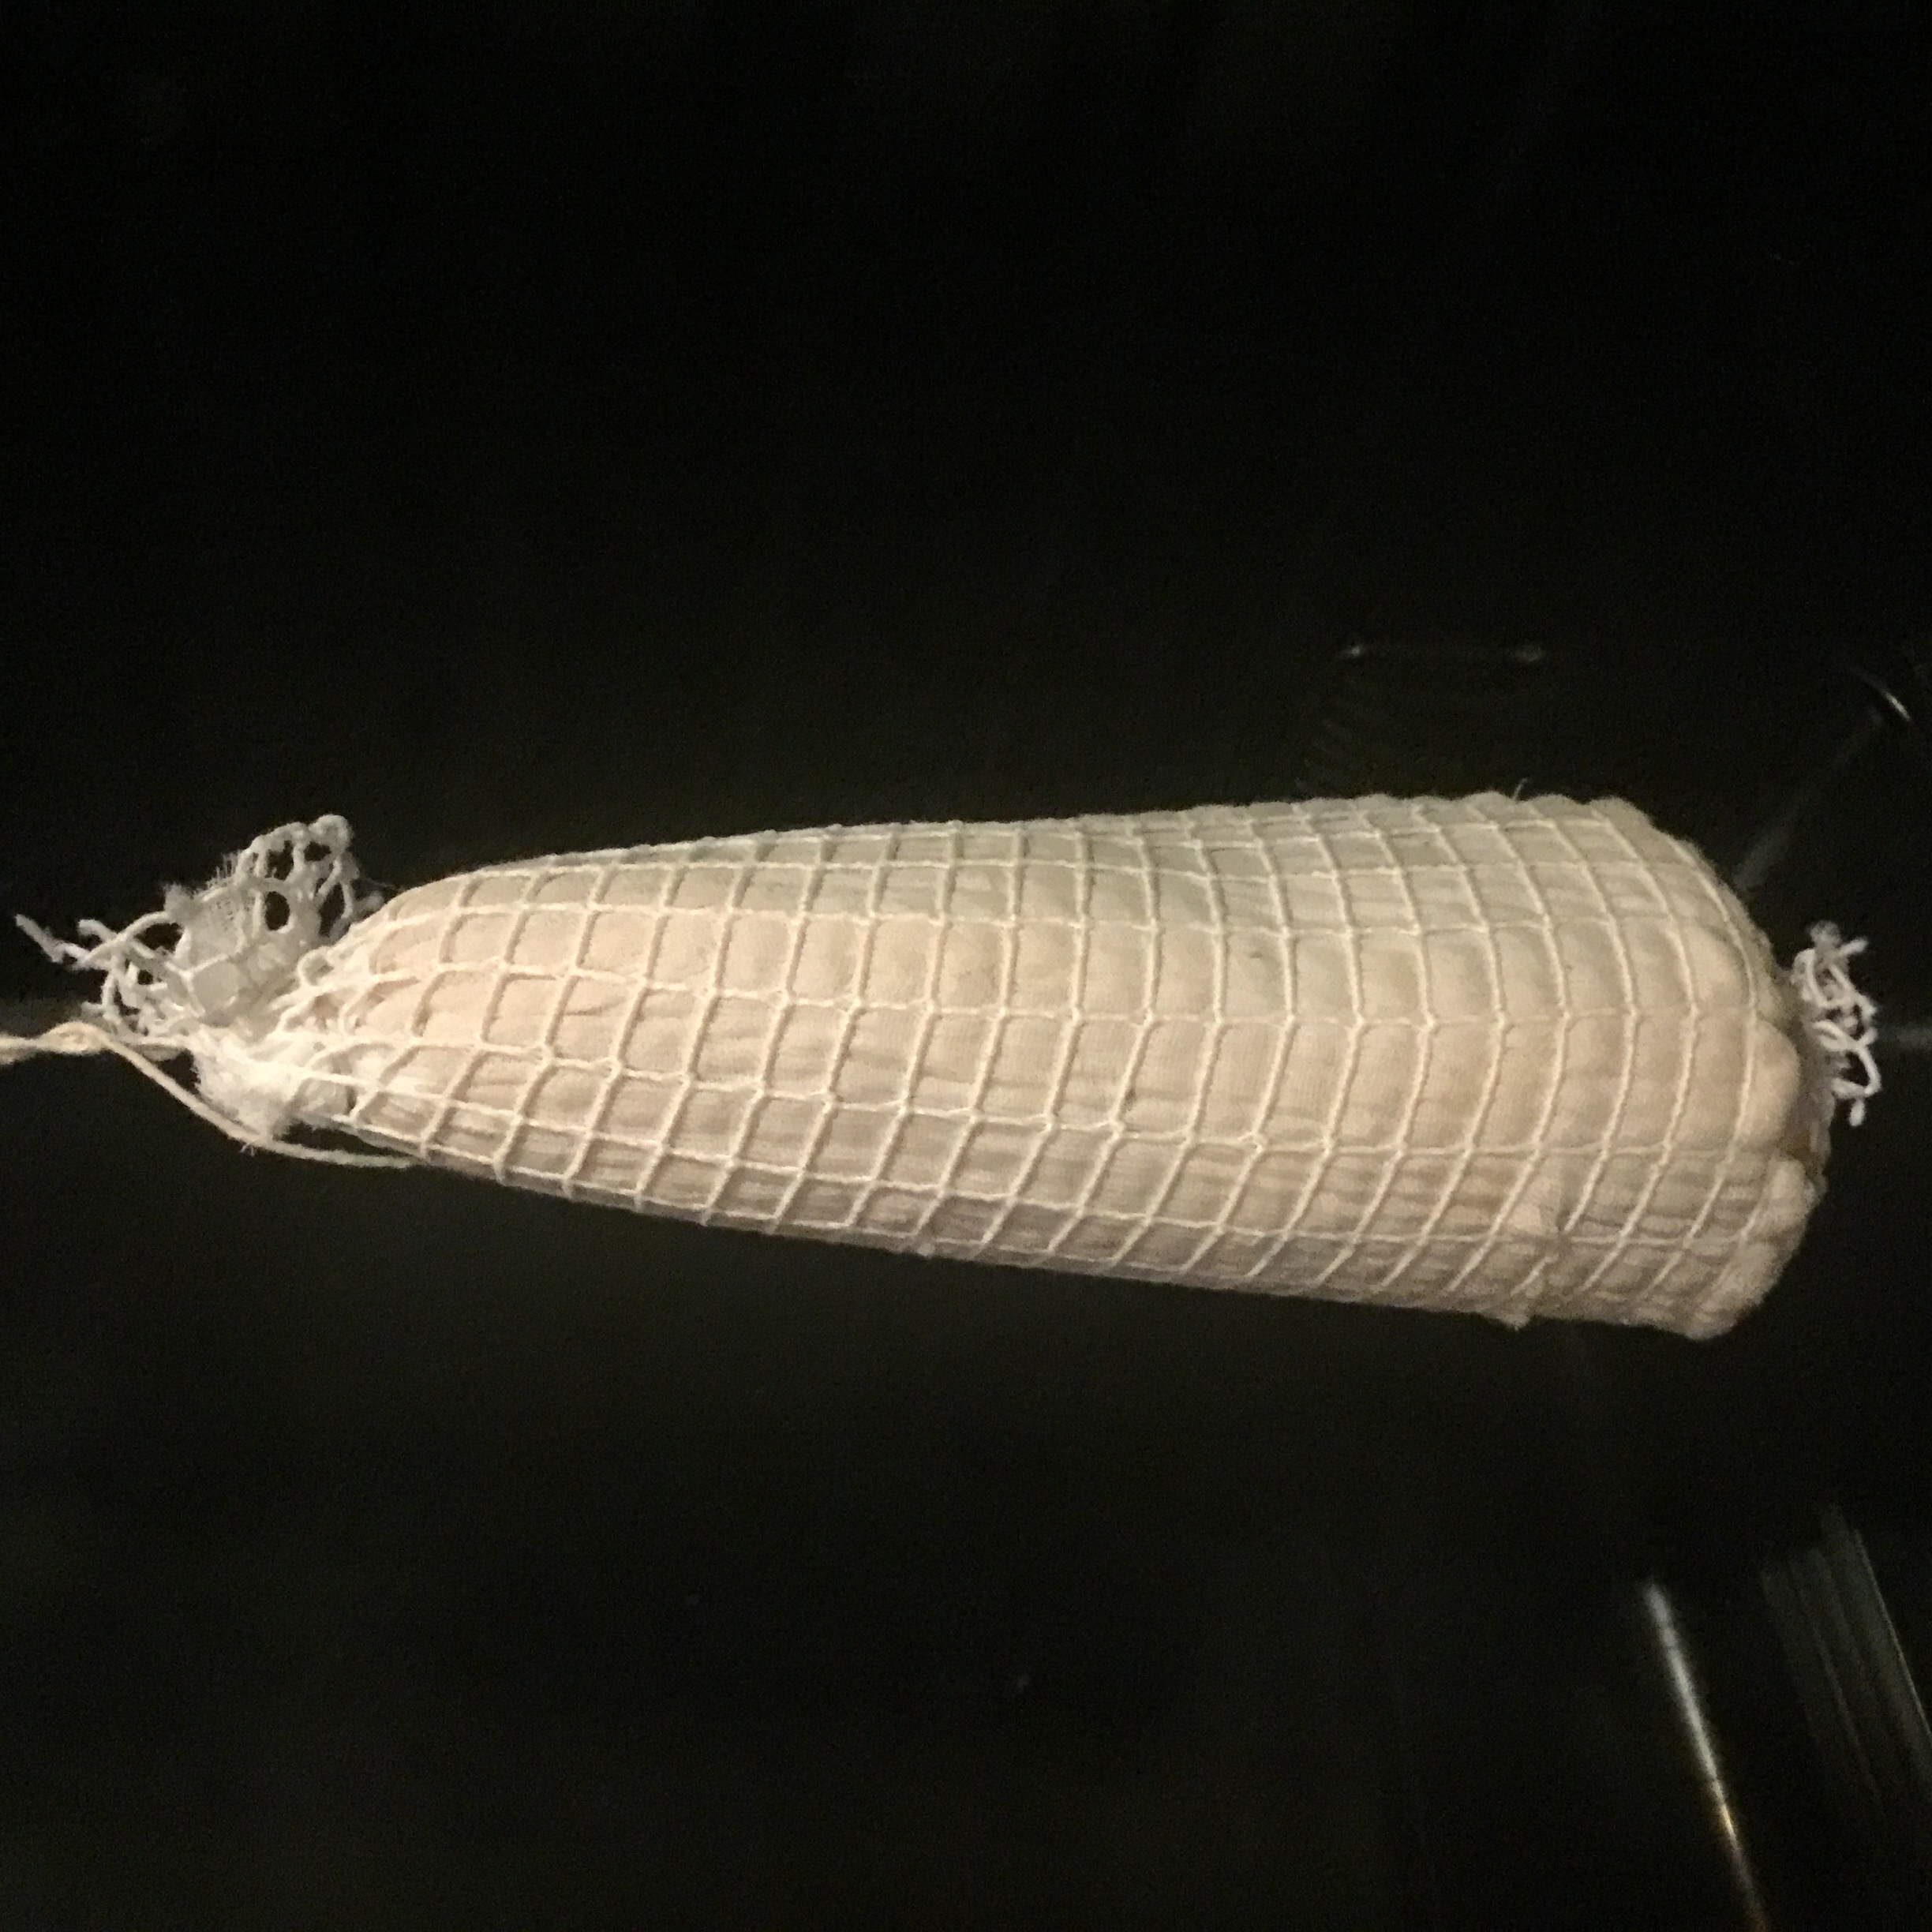
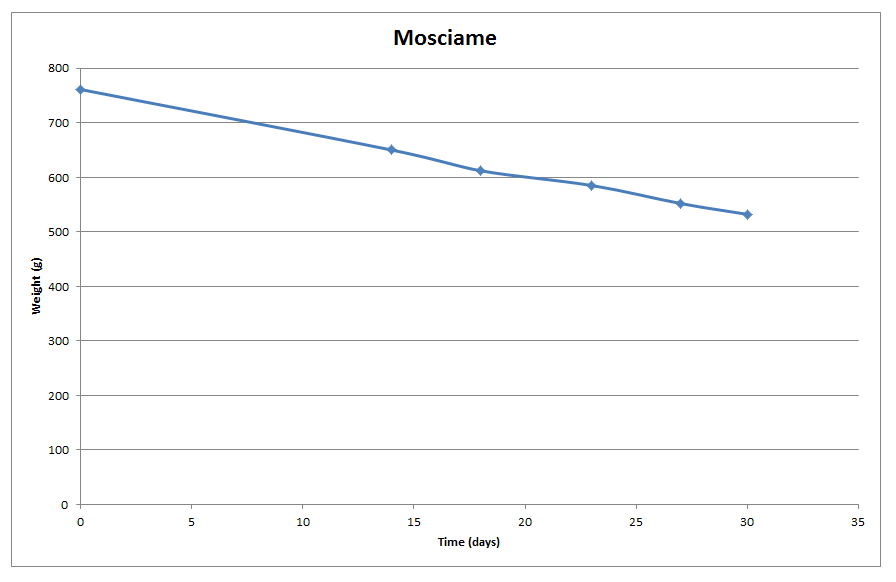
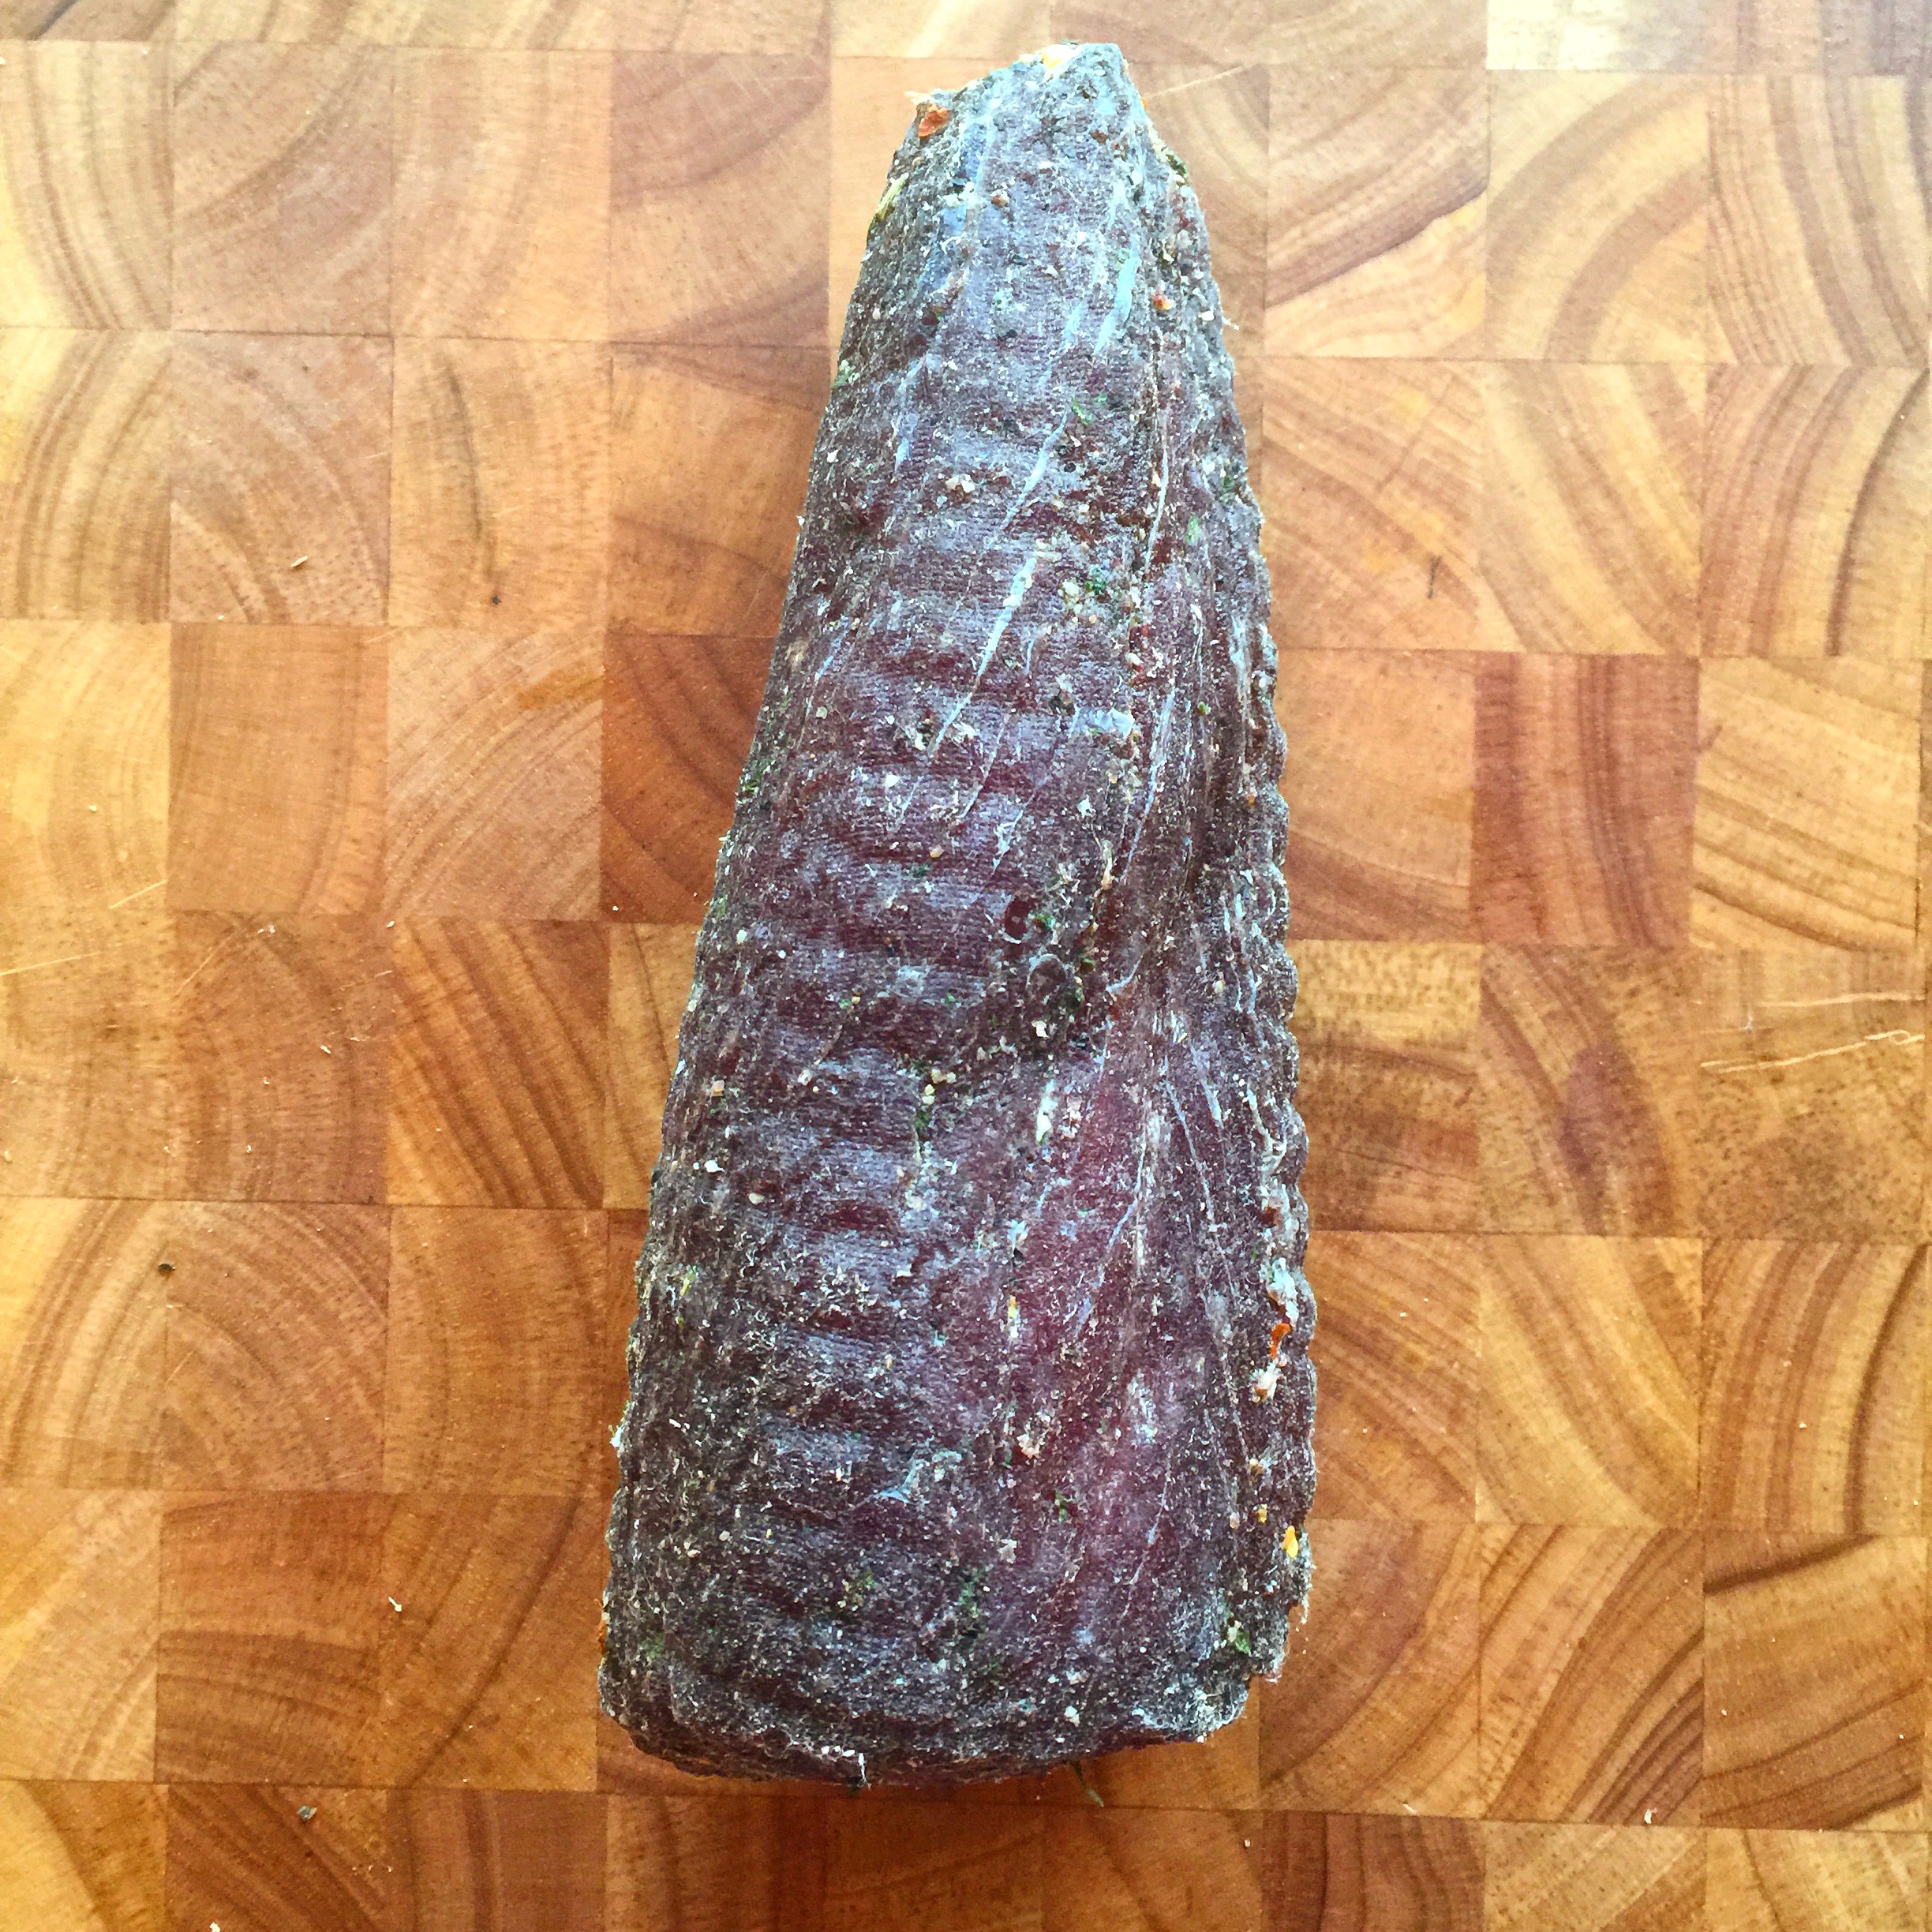
Drying (1 month+, until 30% of weight is lost):

Temperature: 50F/10C, Humidity: 70% RH

image

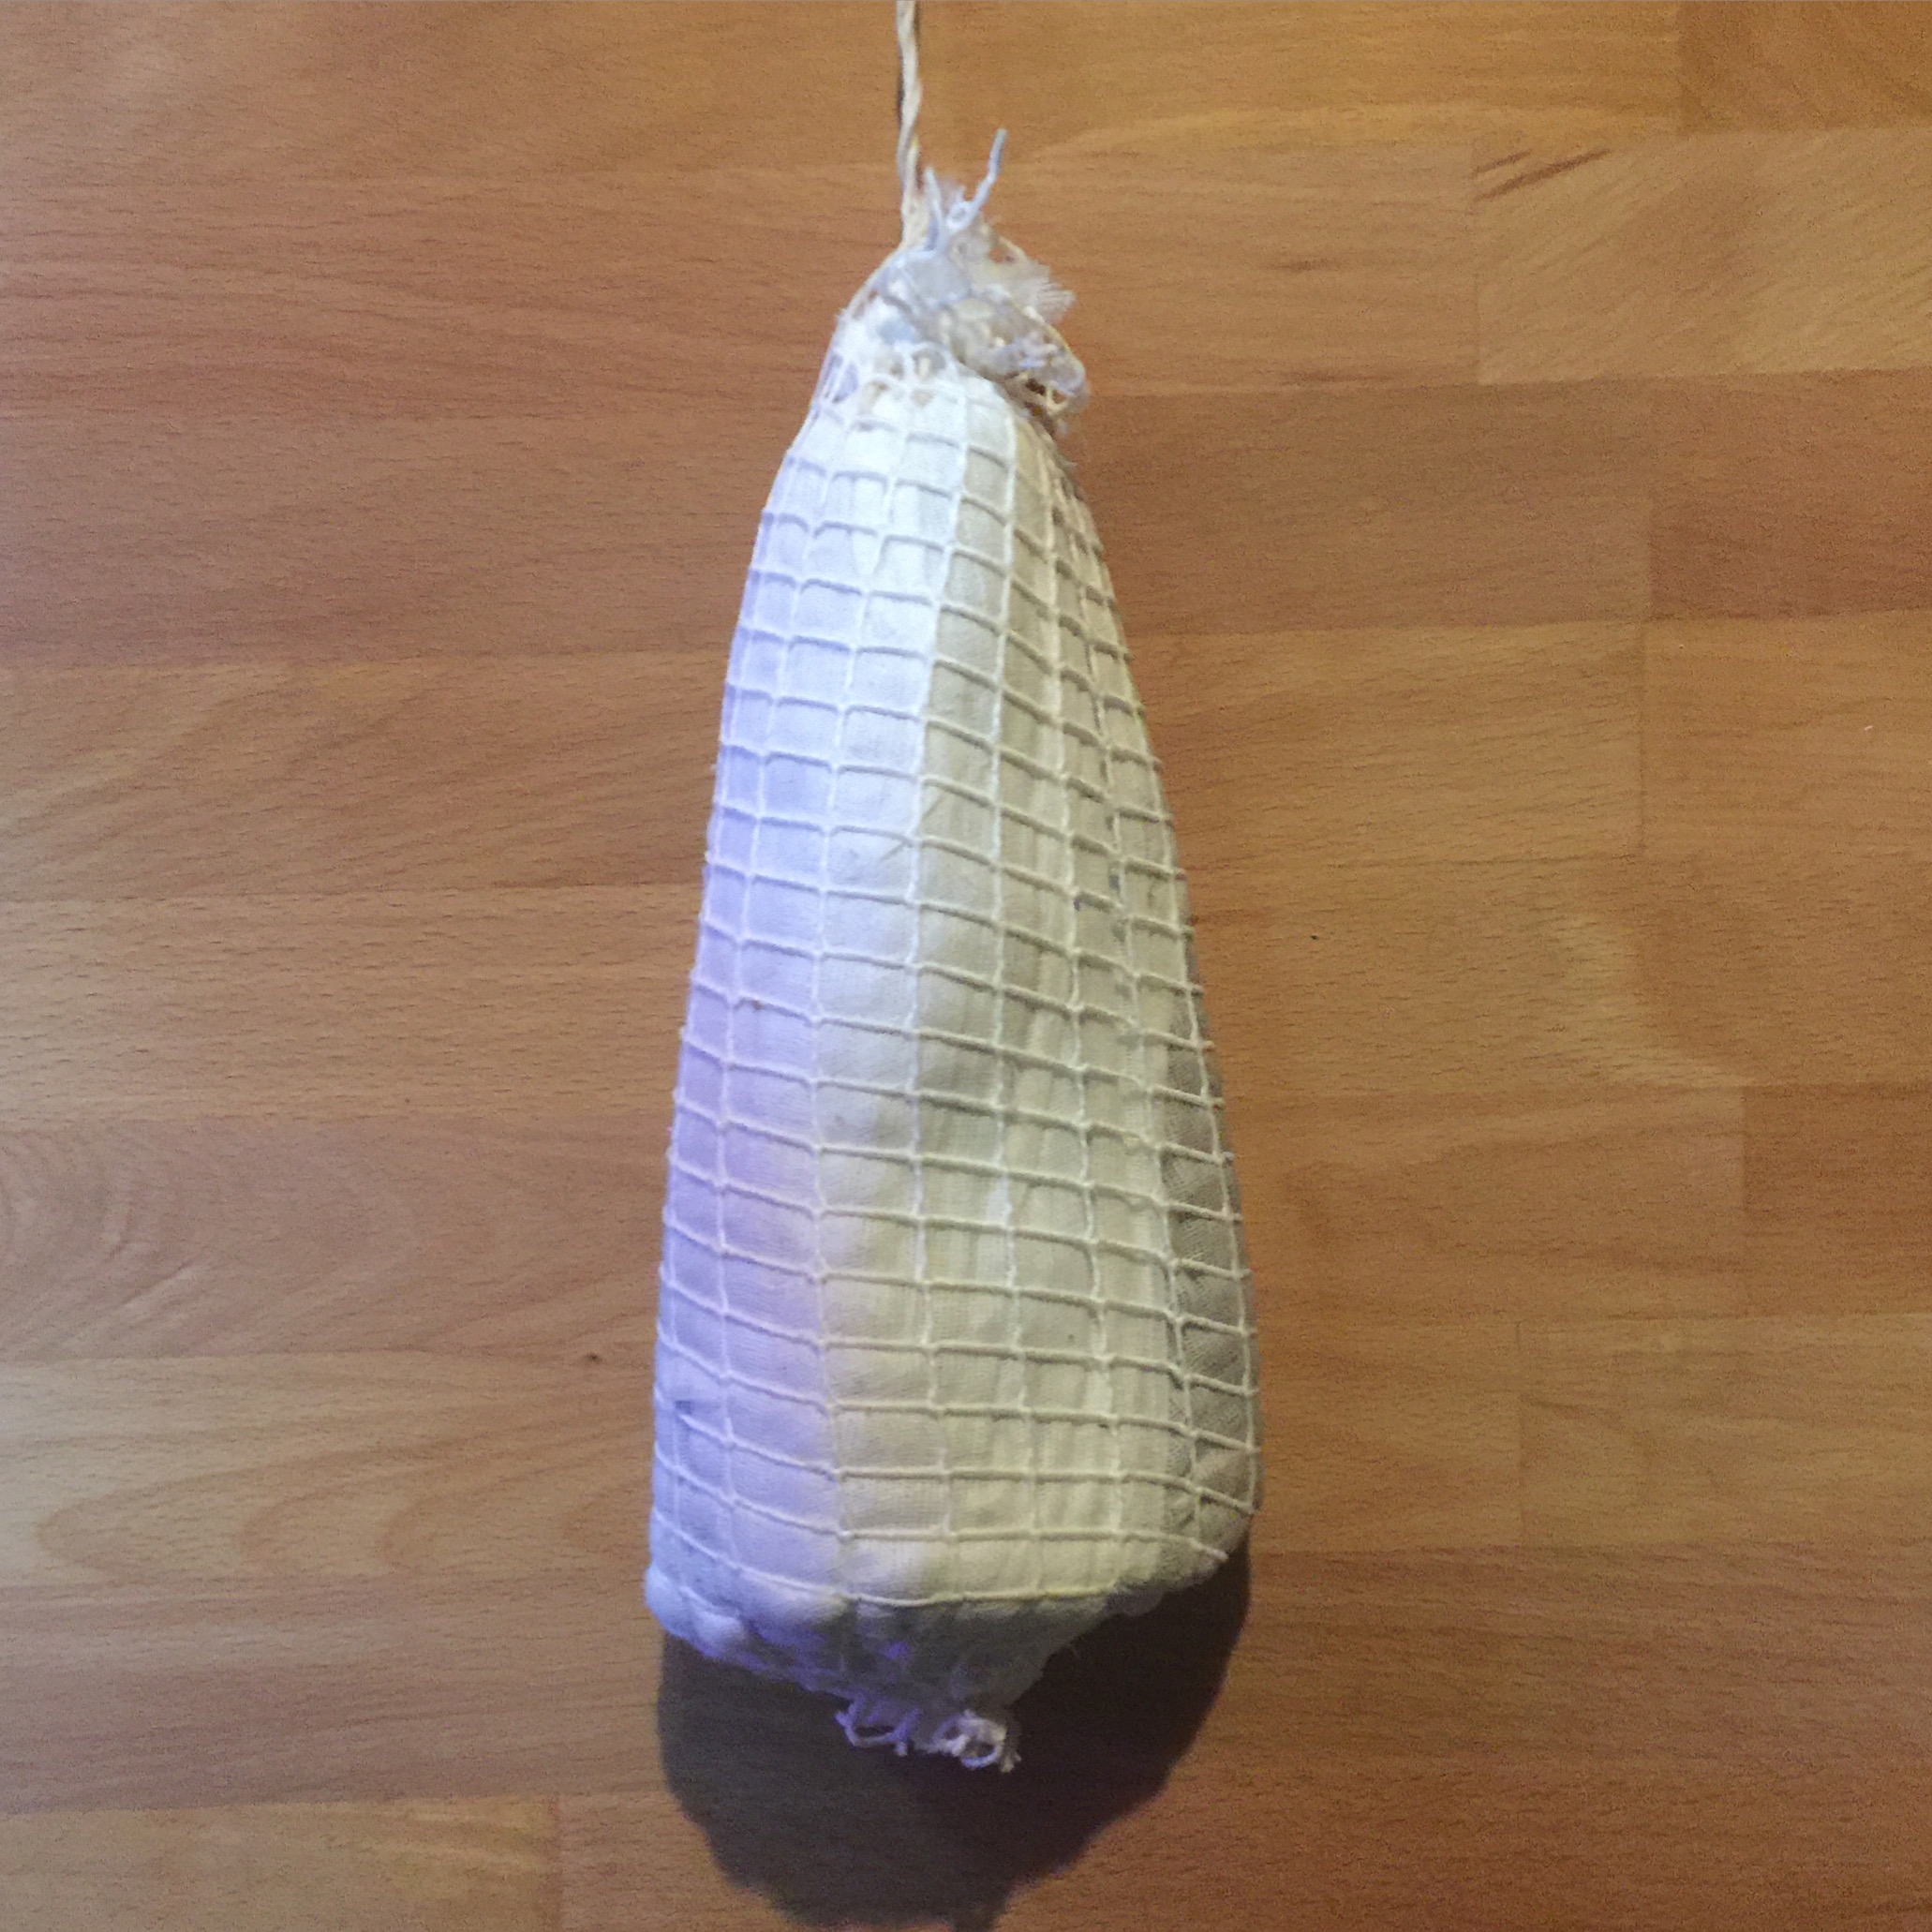
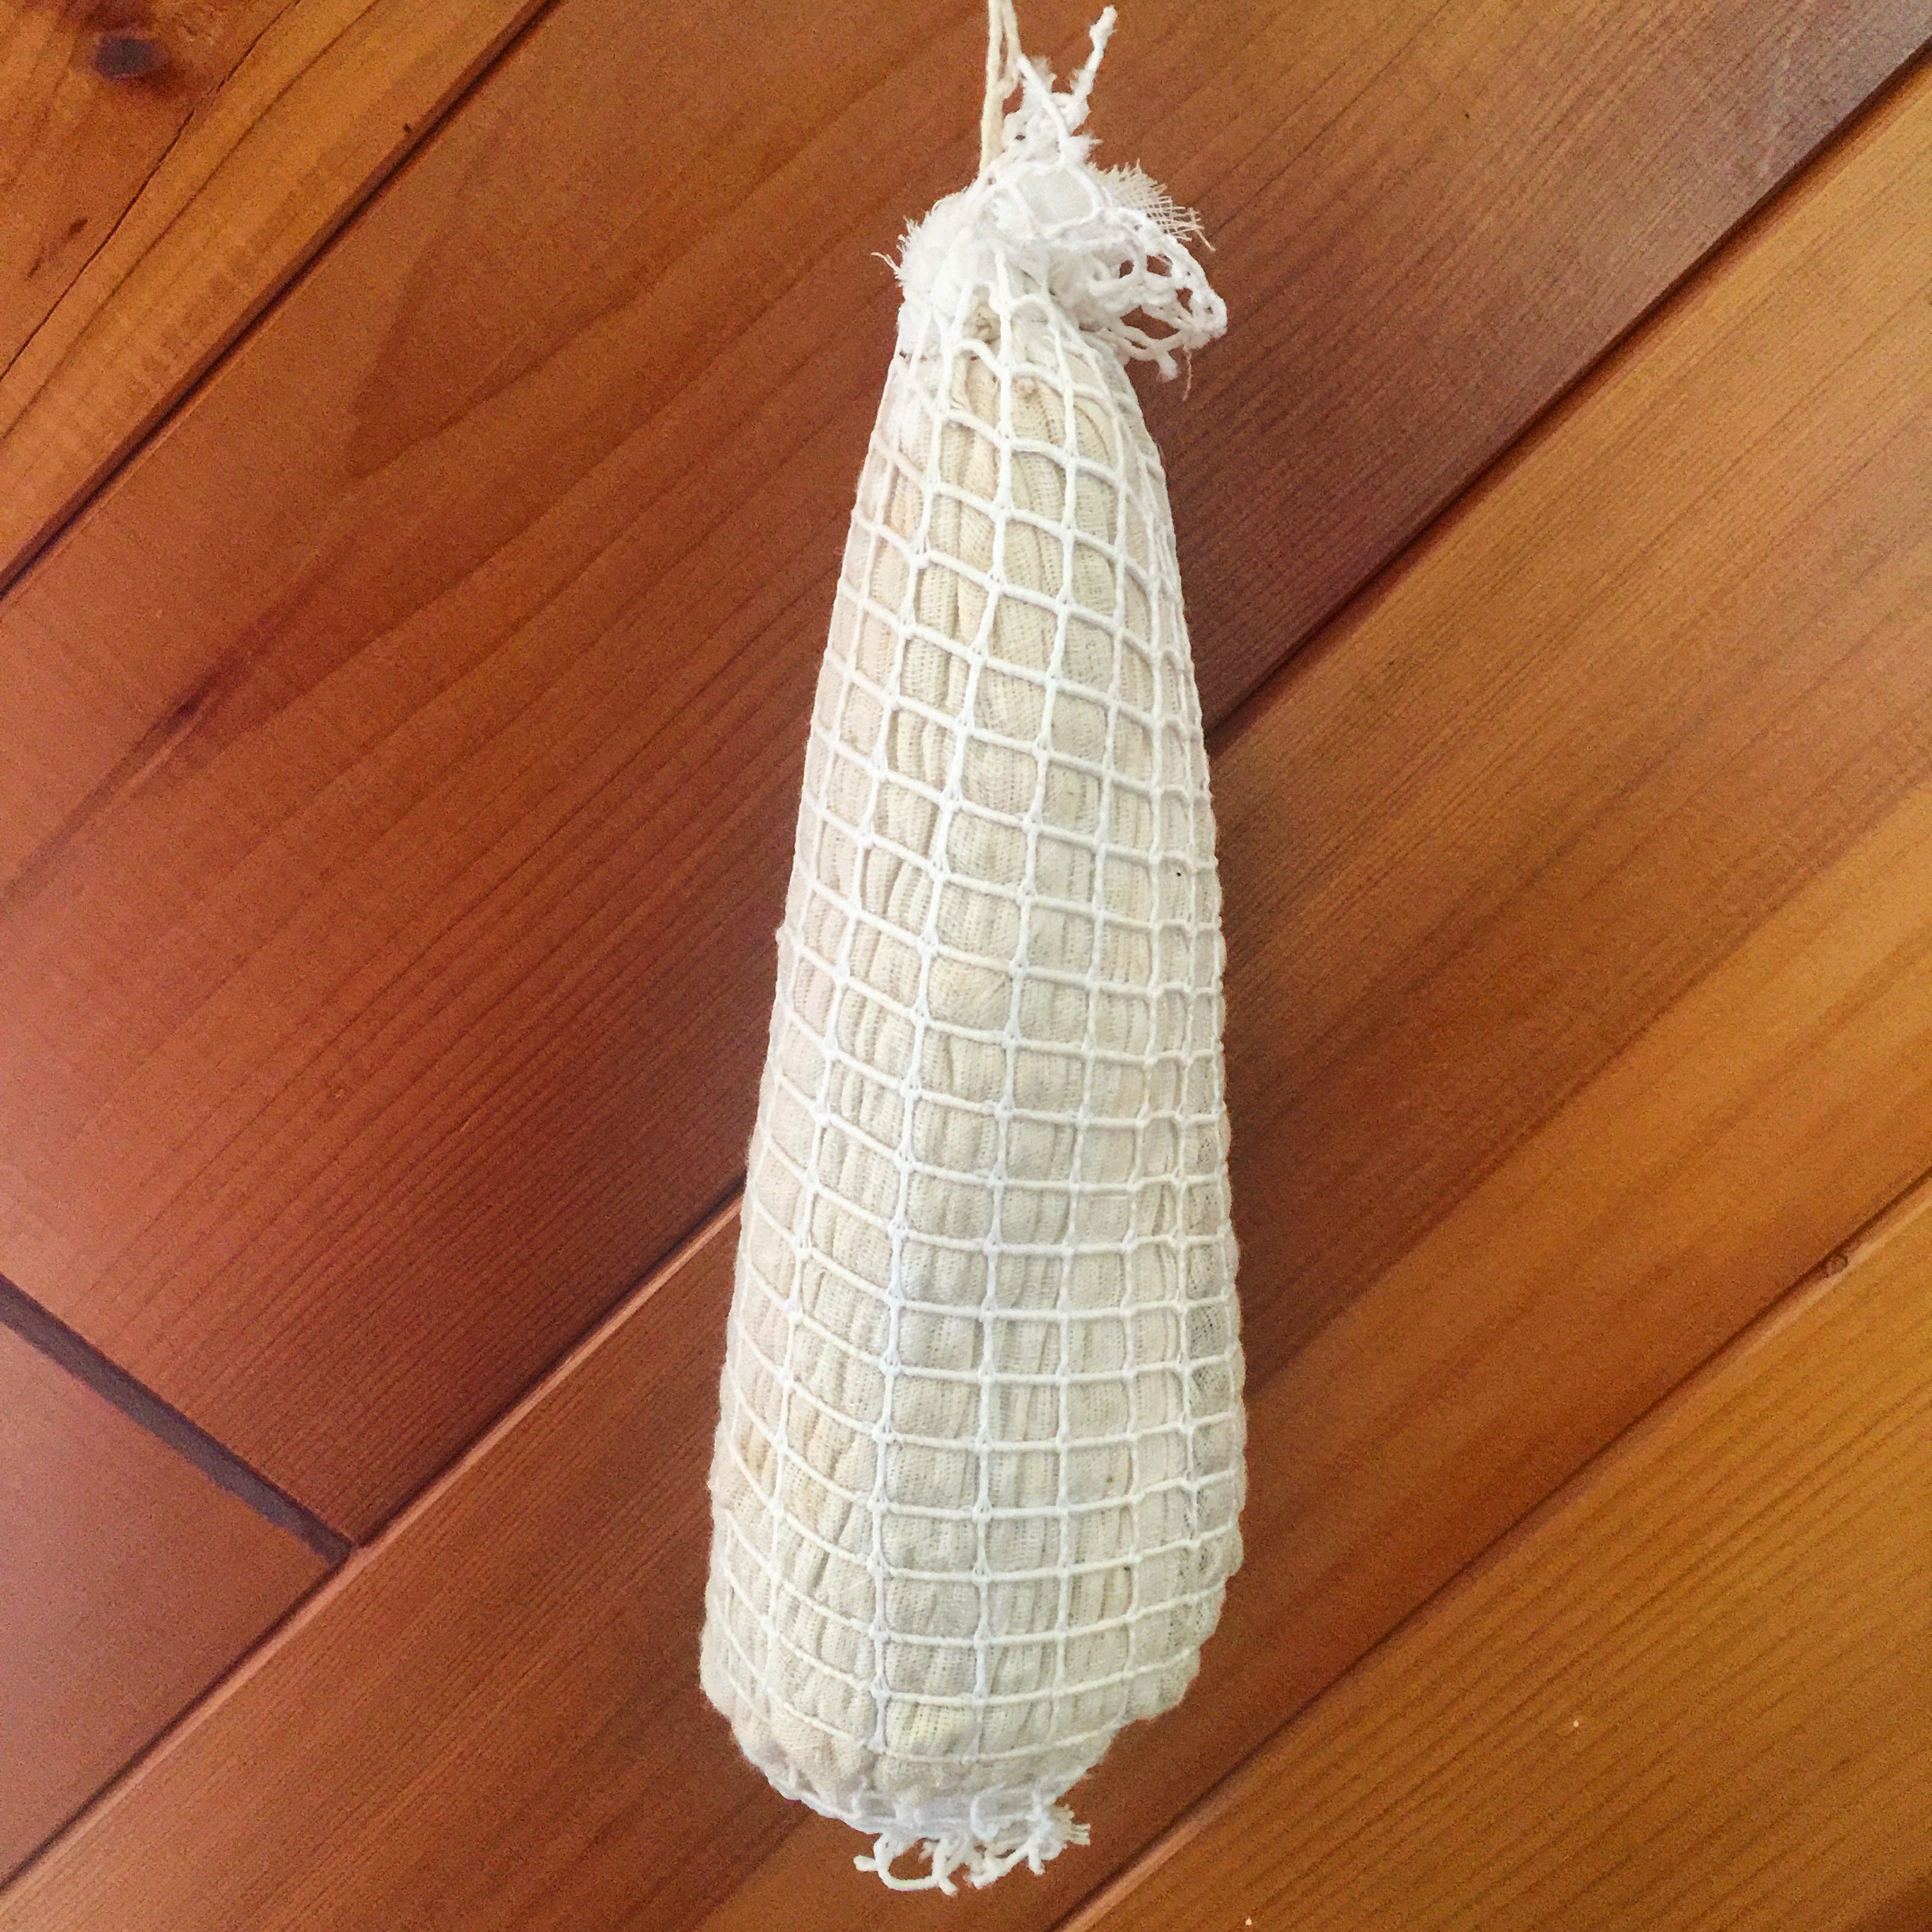
It was hung in the curing chamber in order to dry.

image(10)

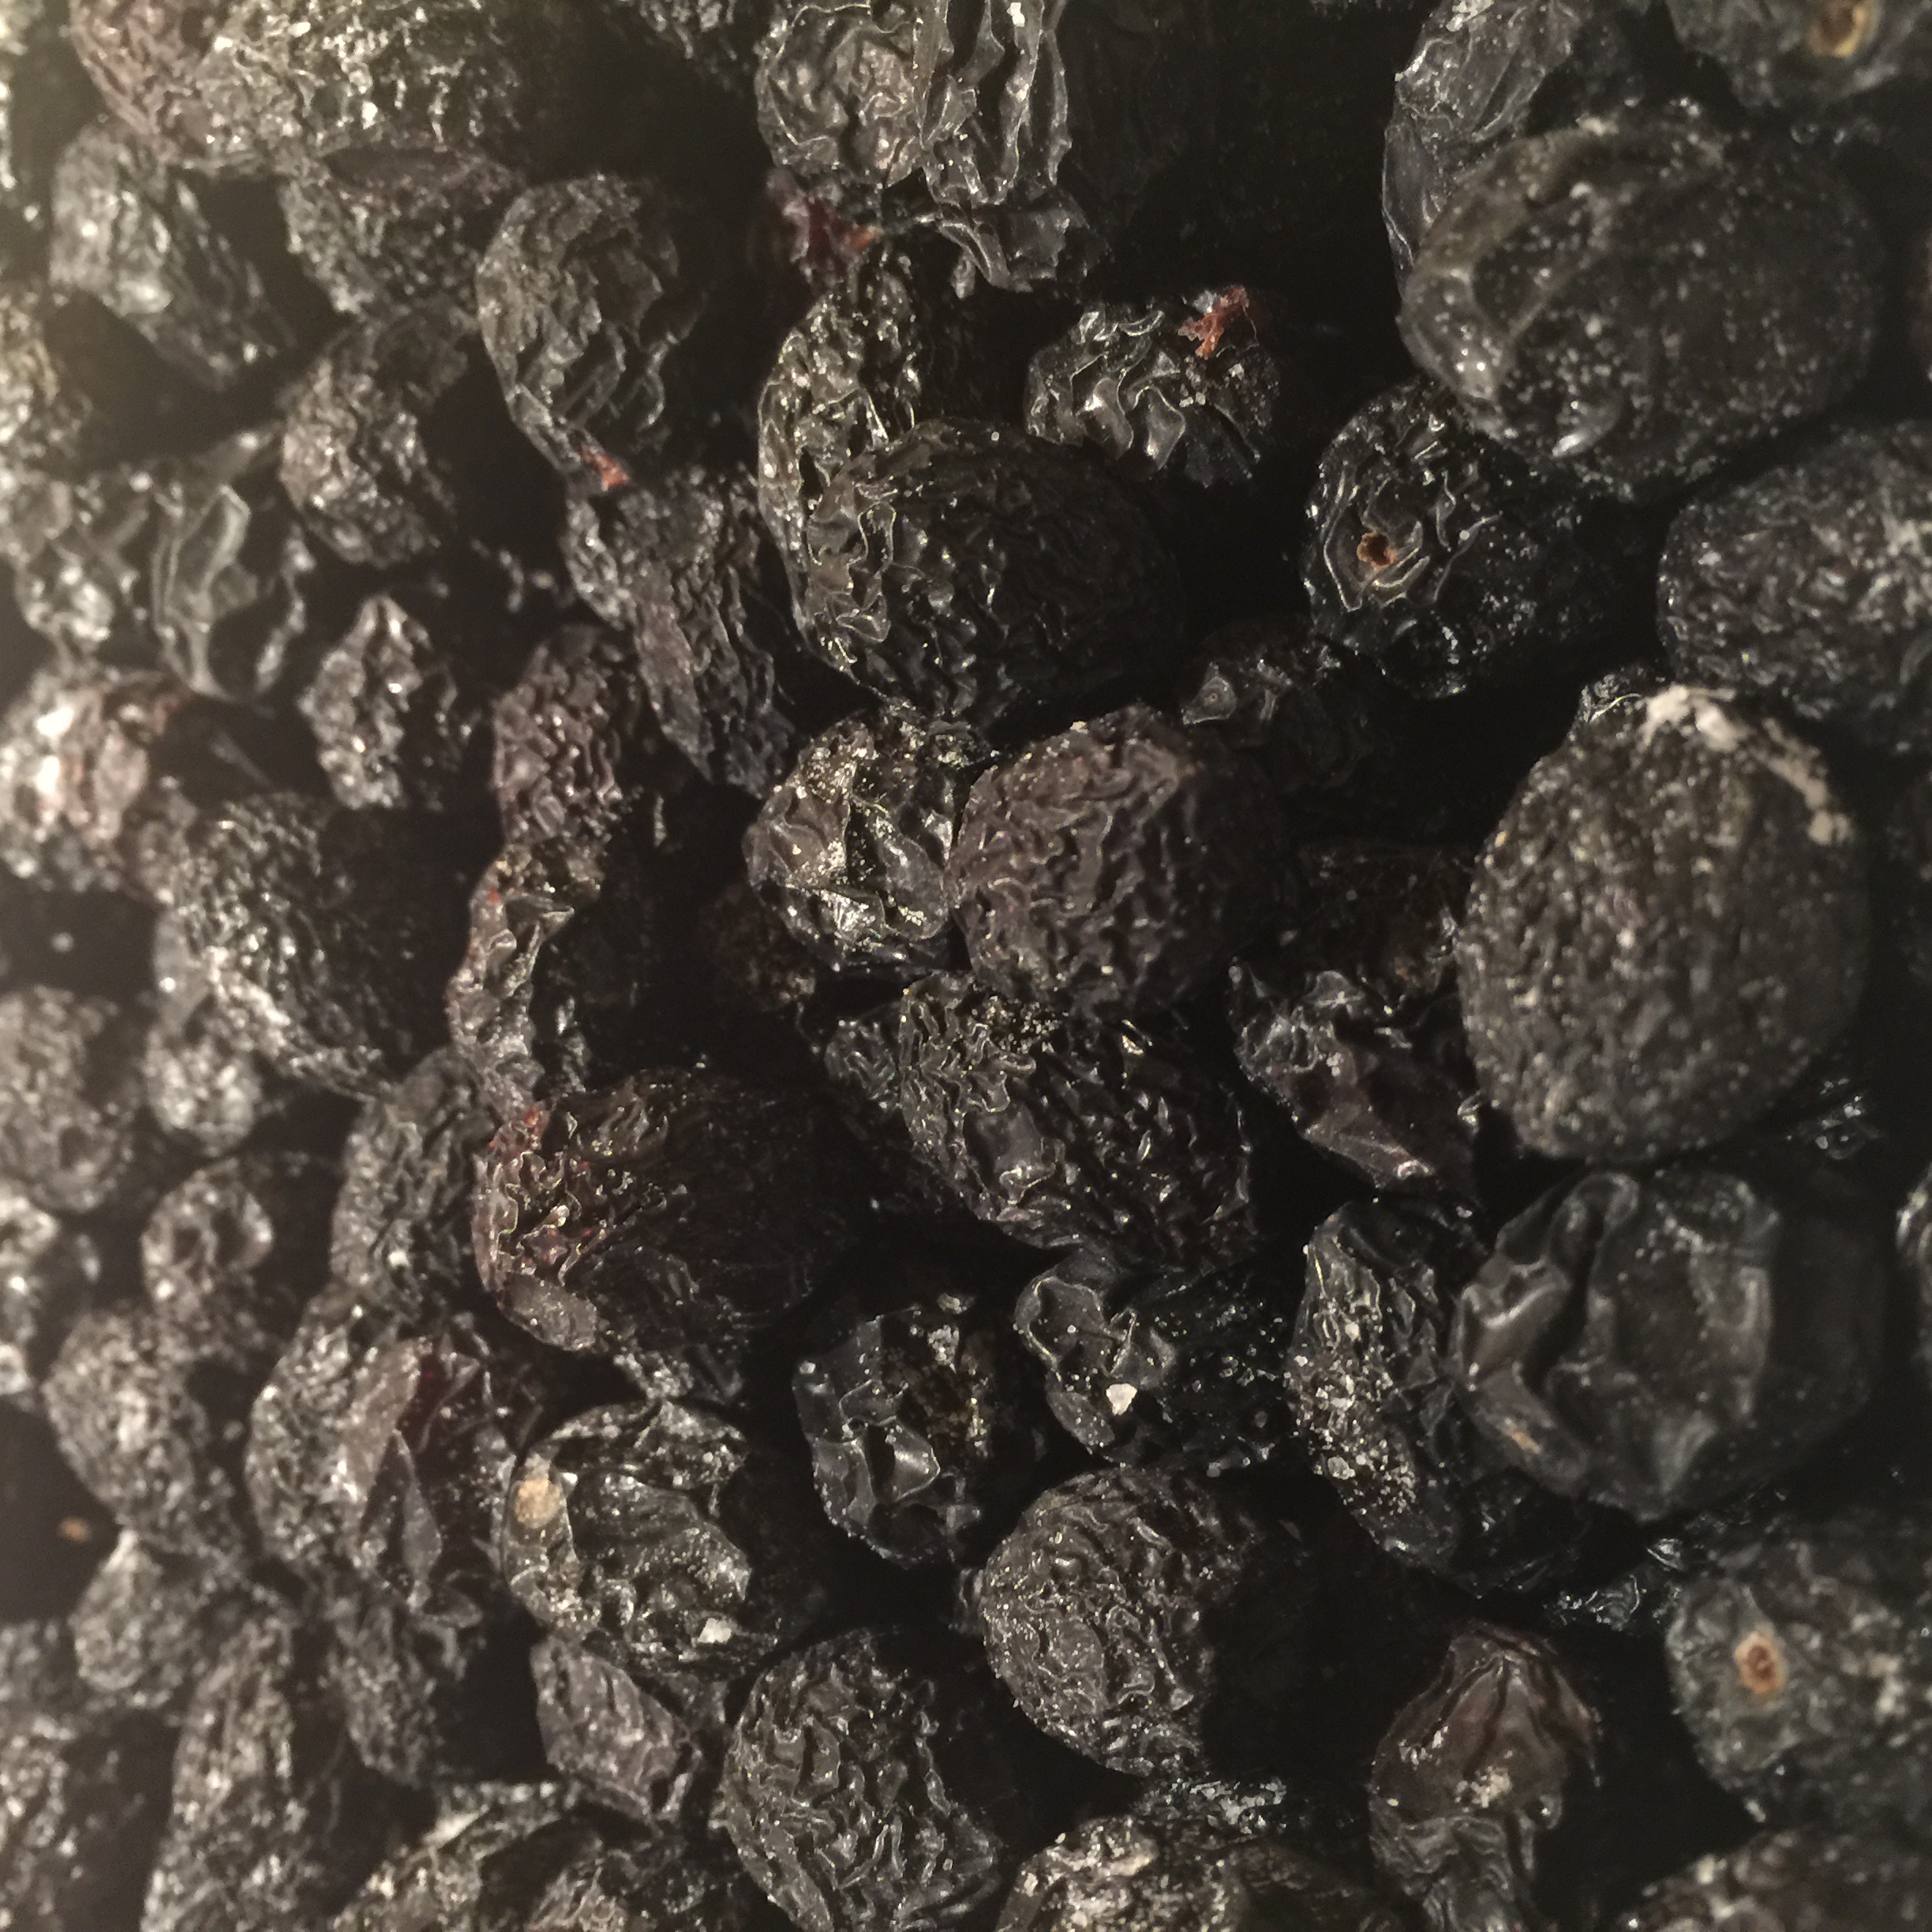
After 30 days, it had lost 30% of its weight and was pulled from the curing chamber.
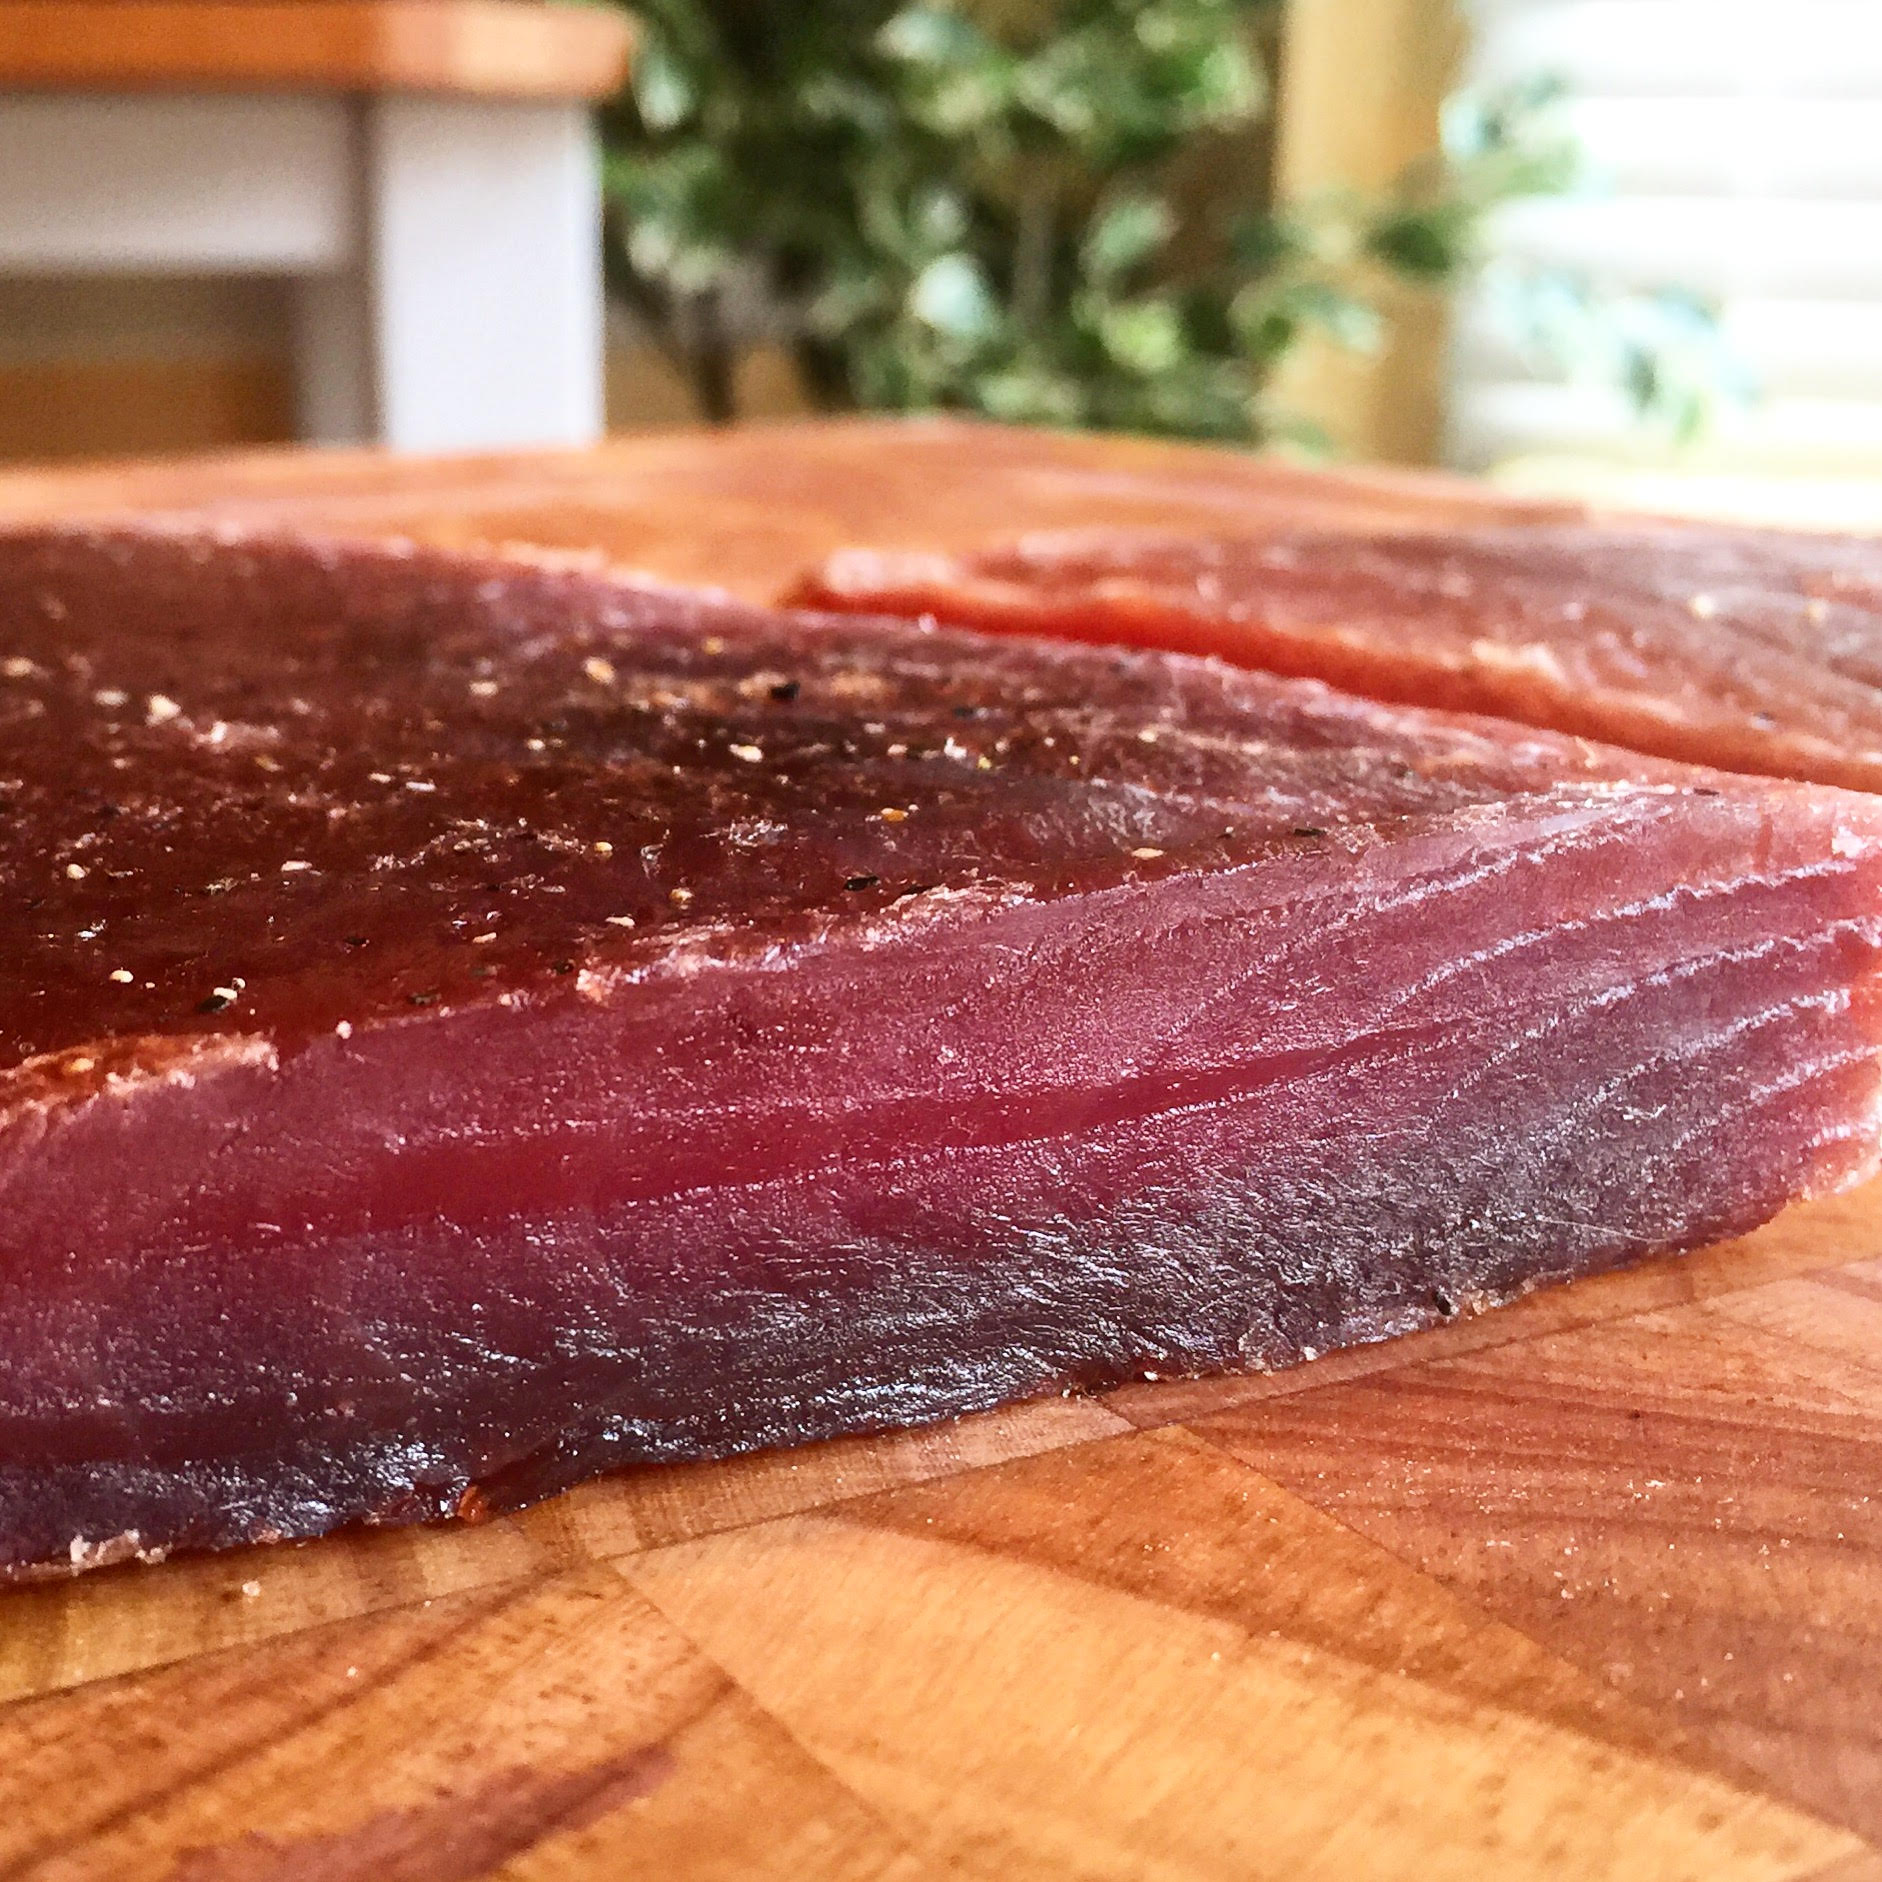
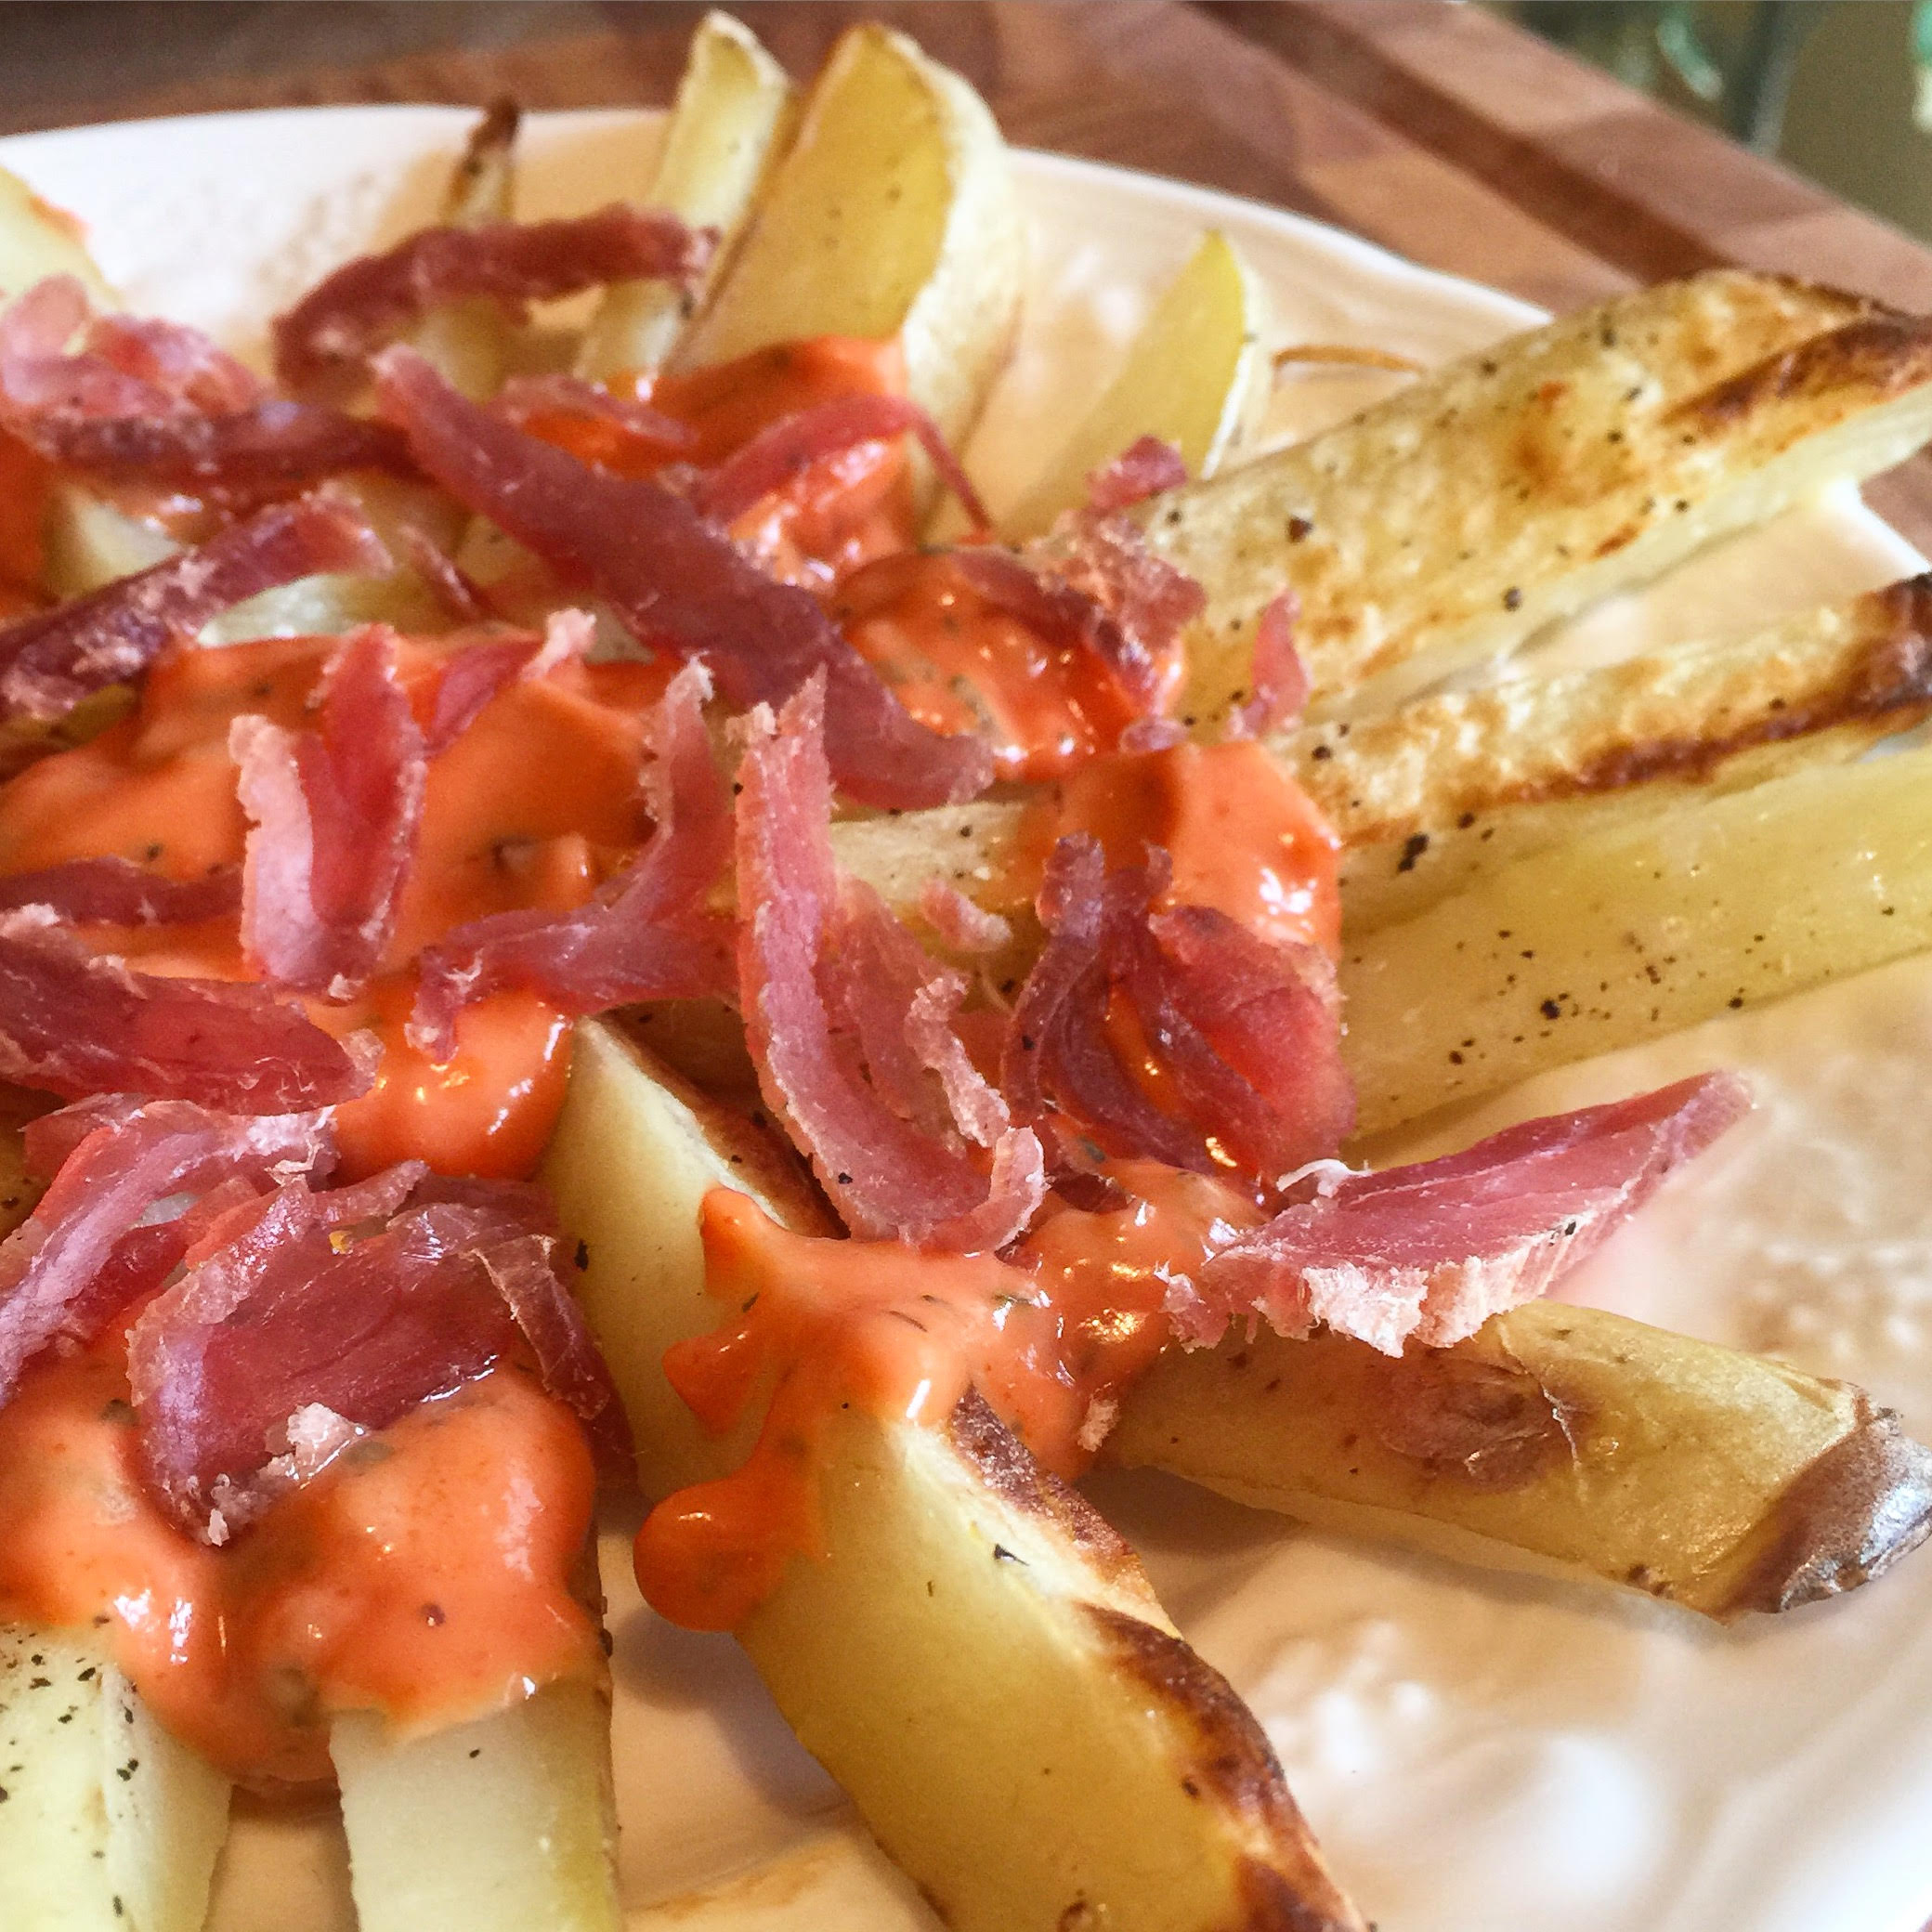
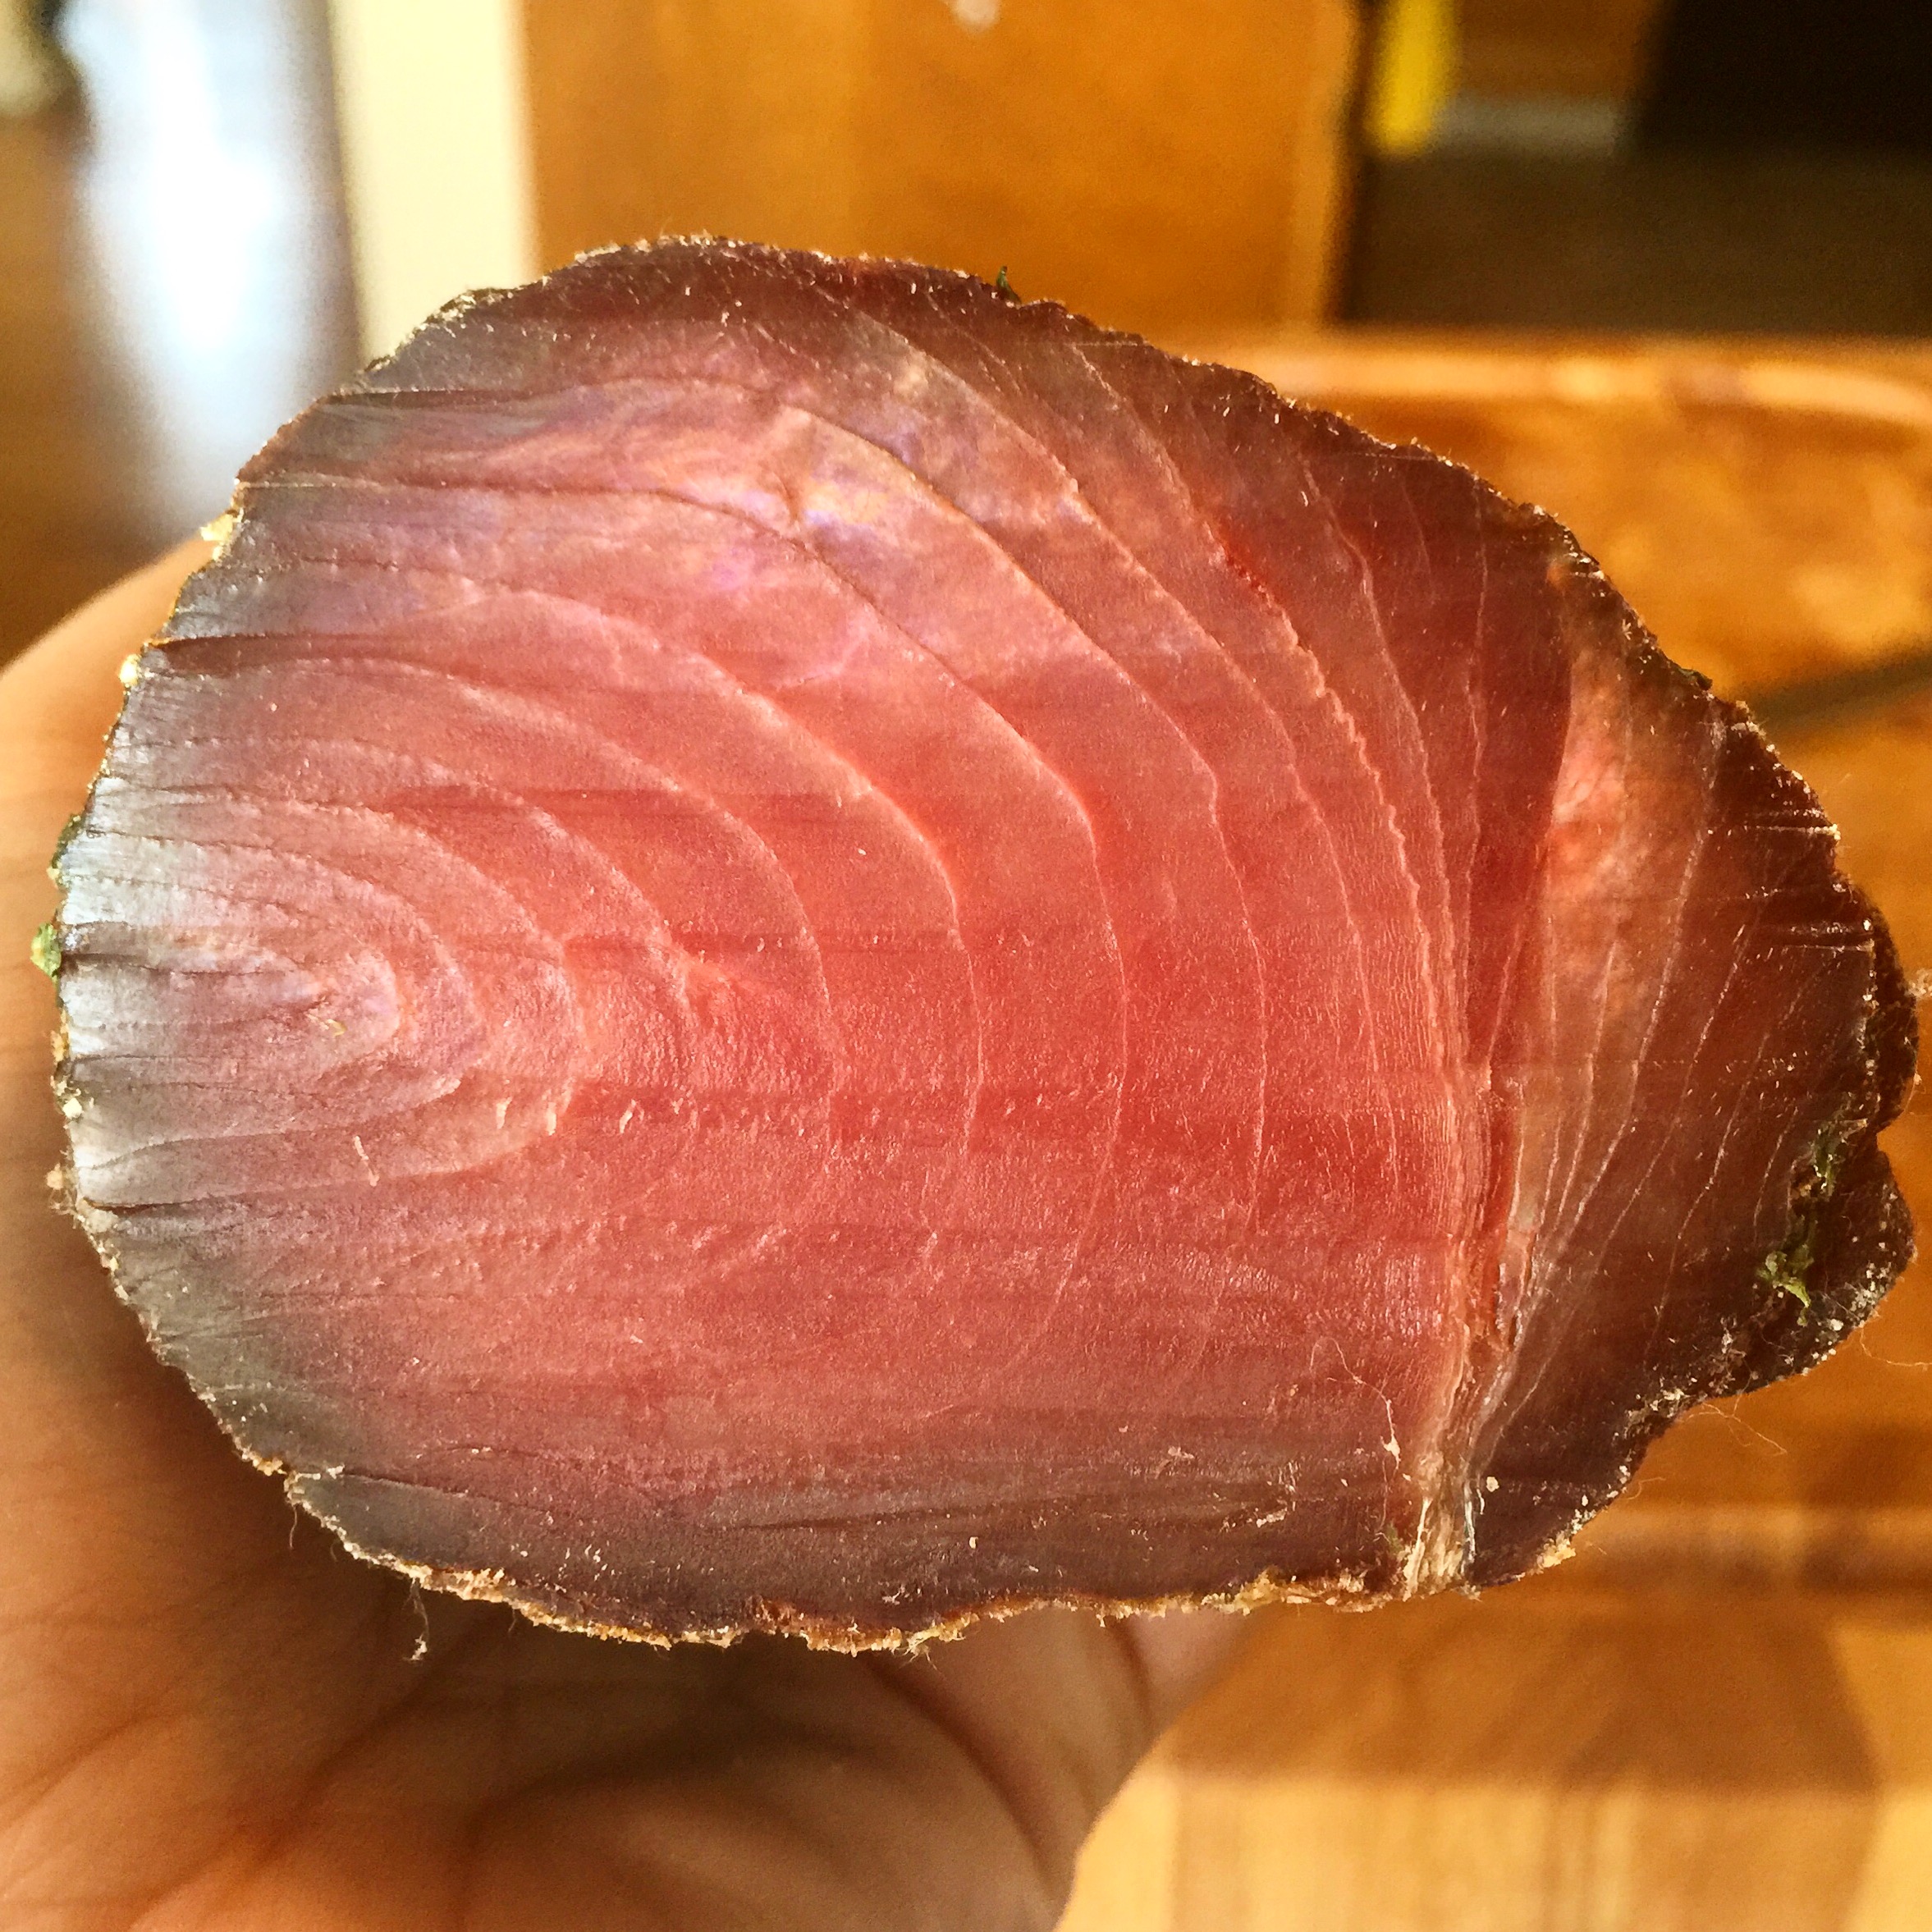
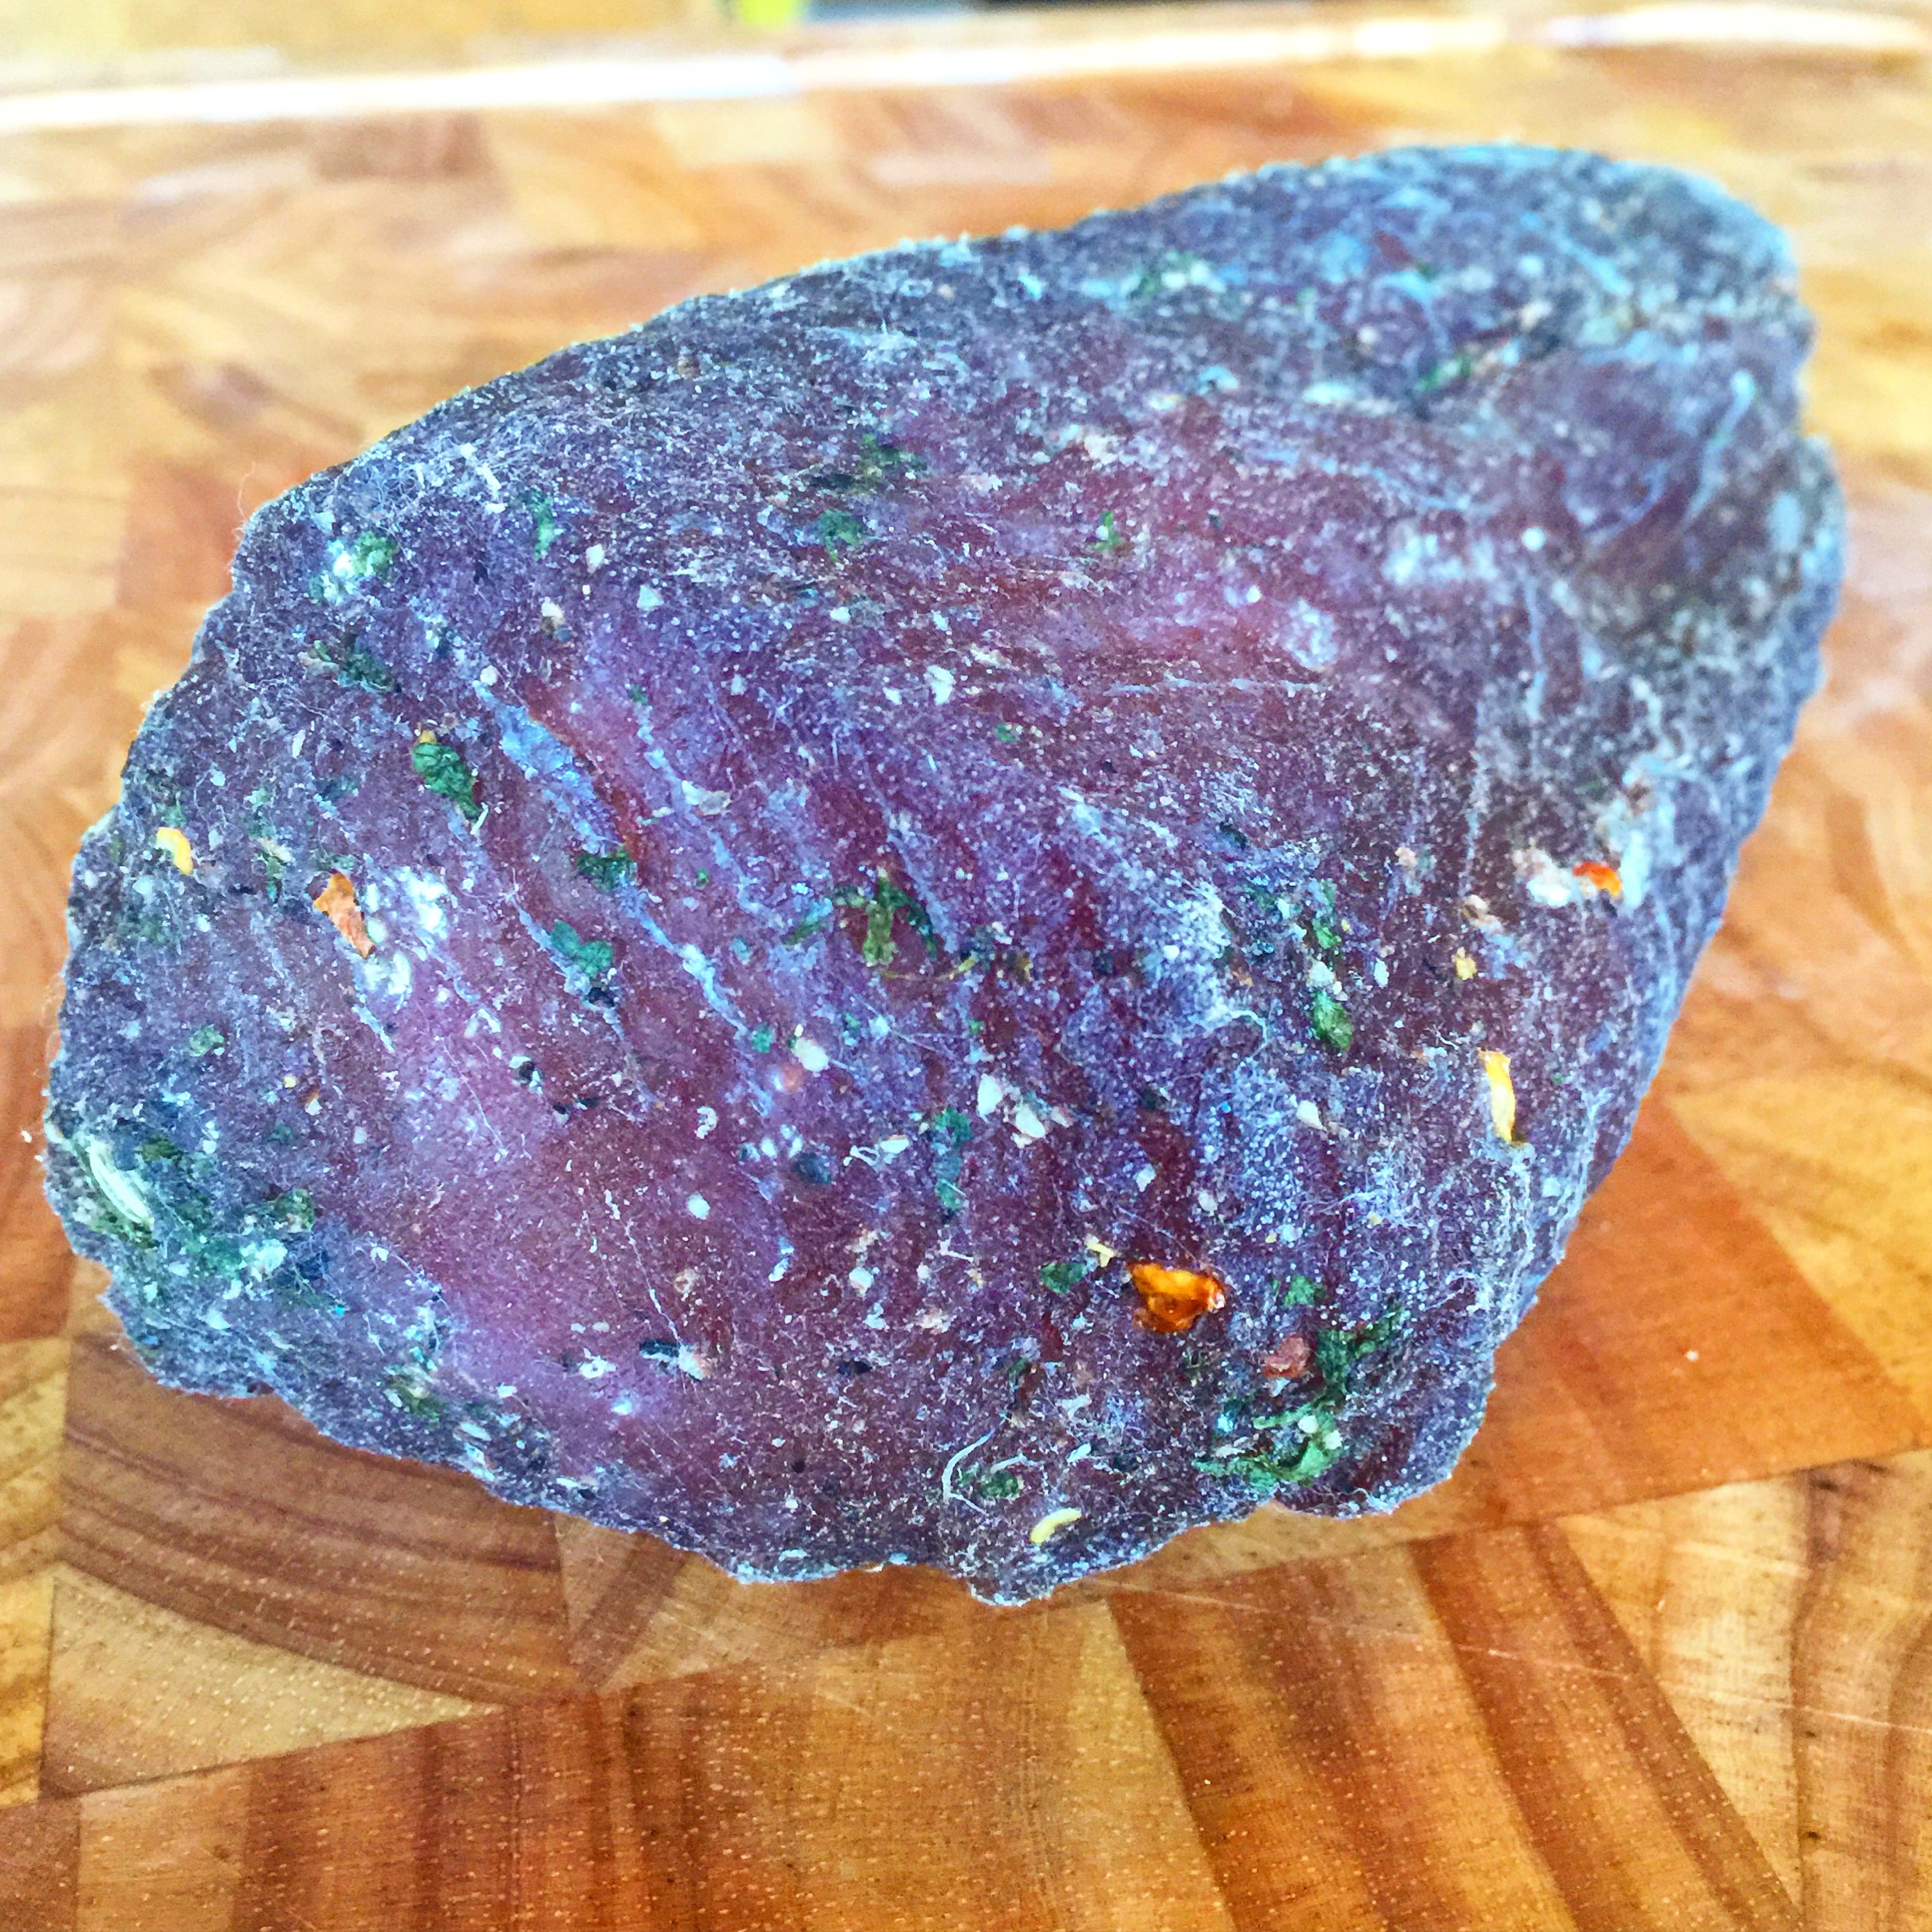
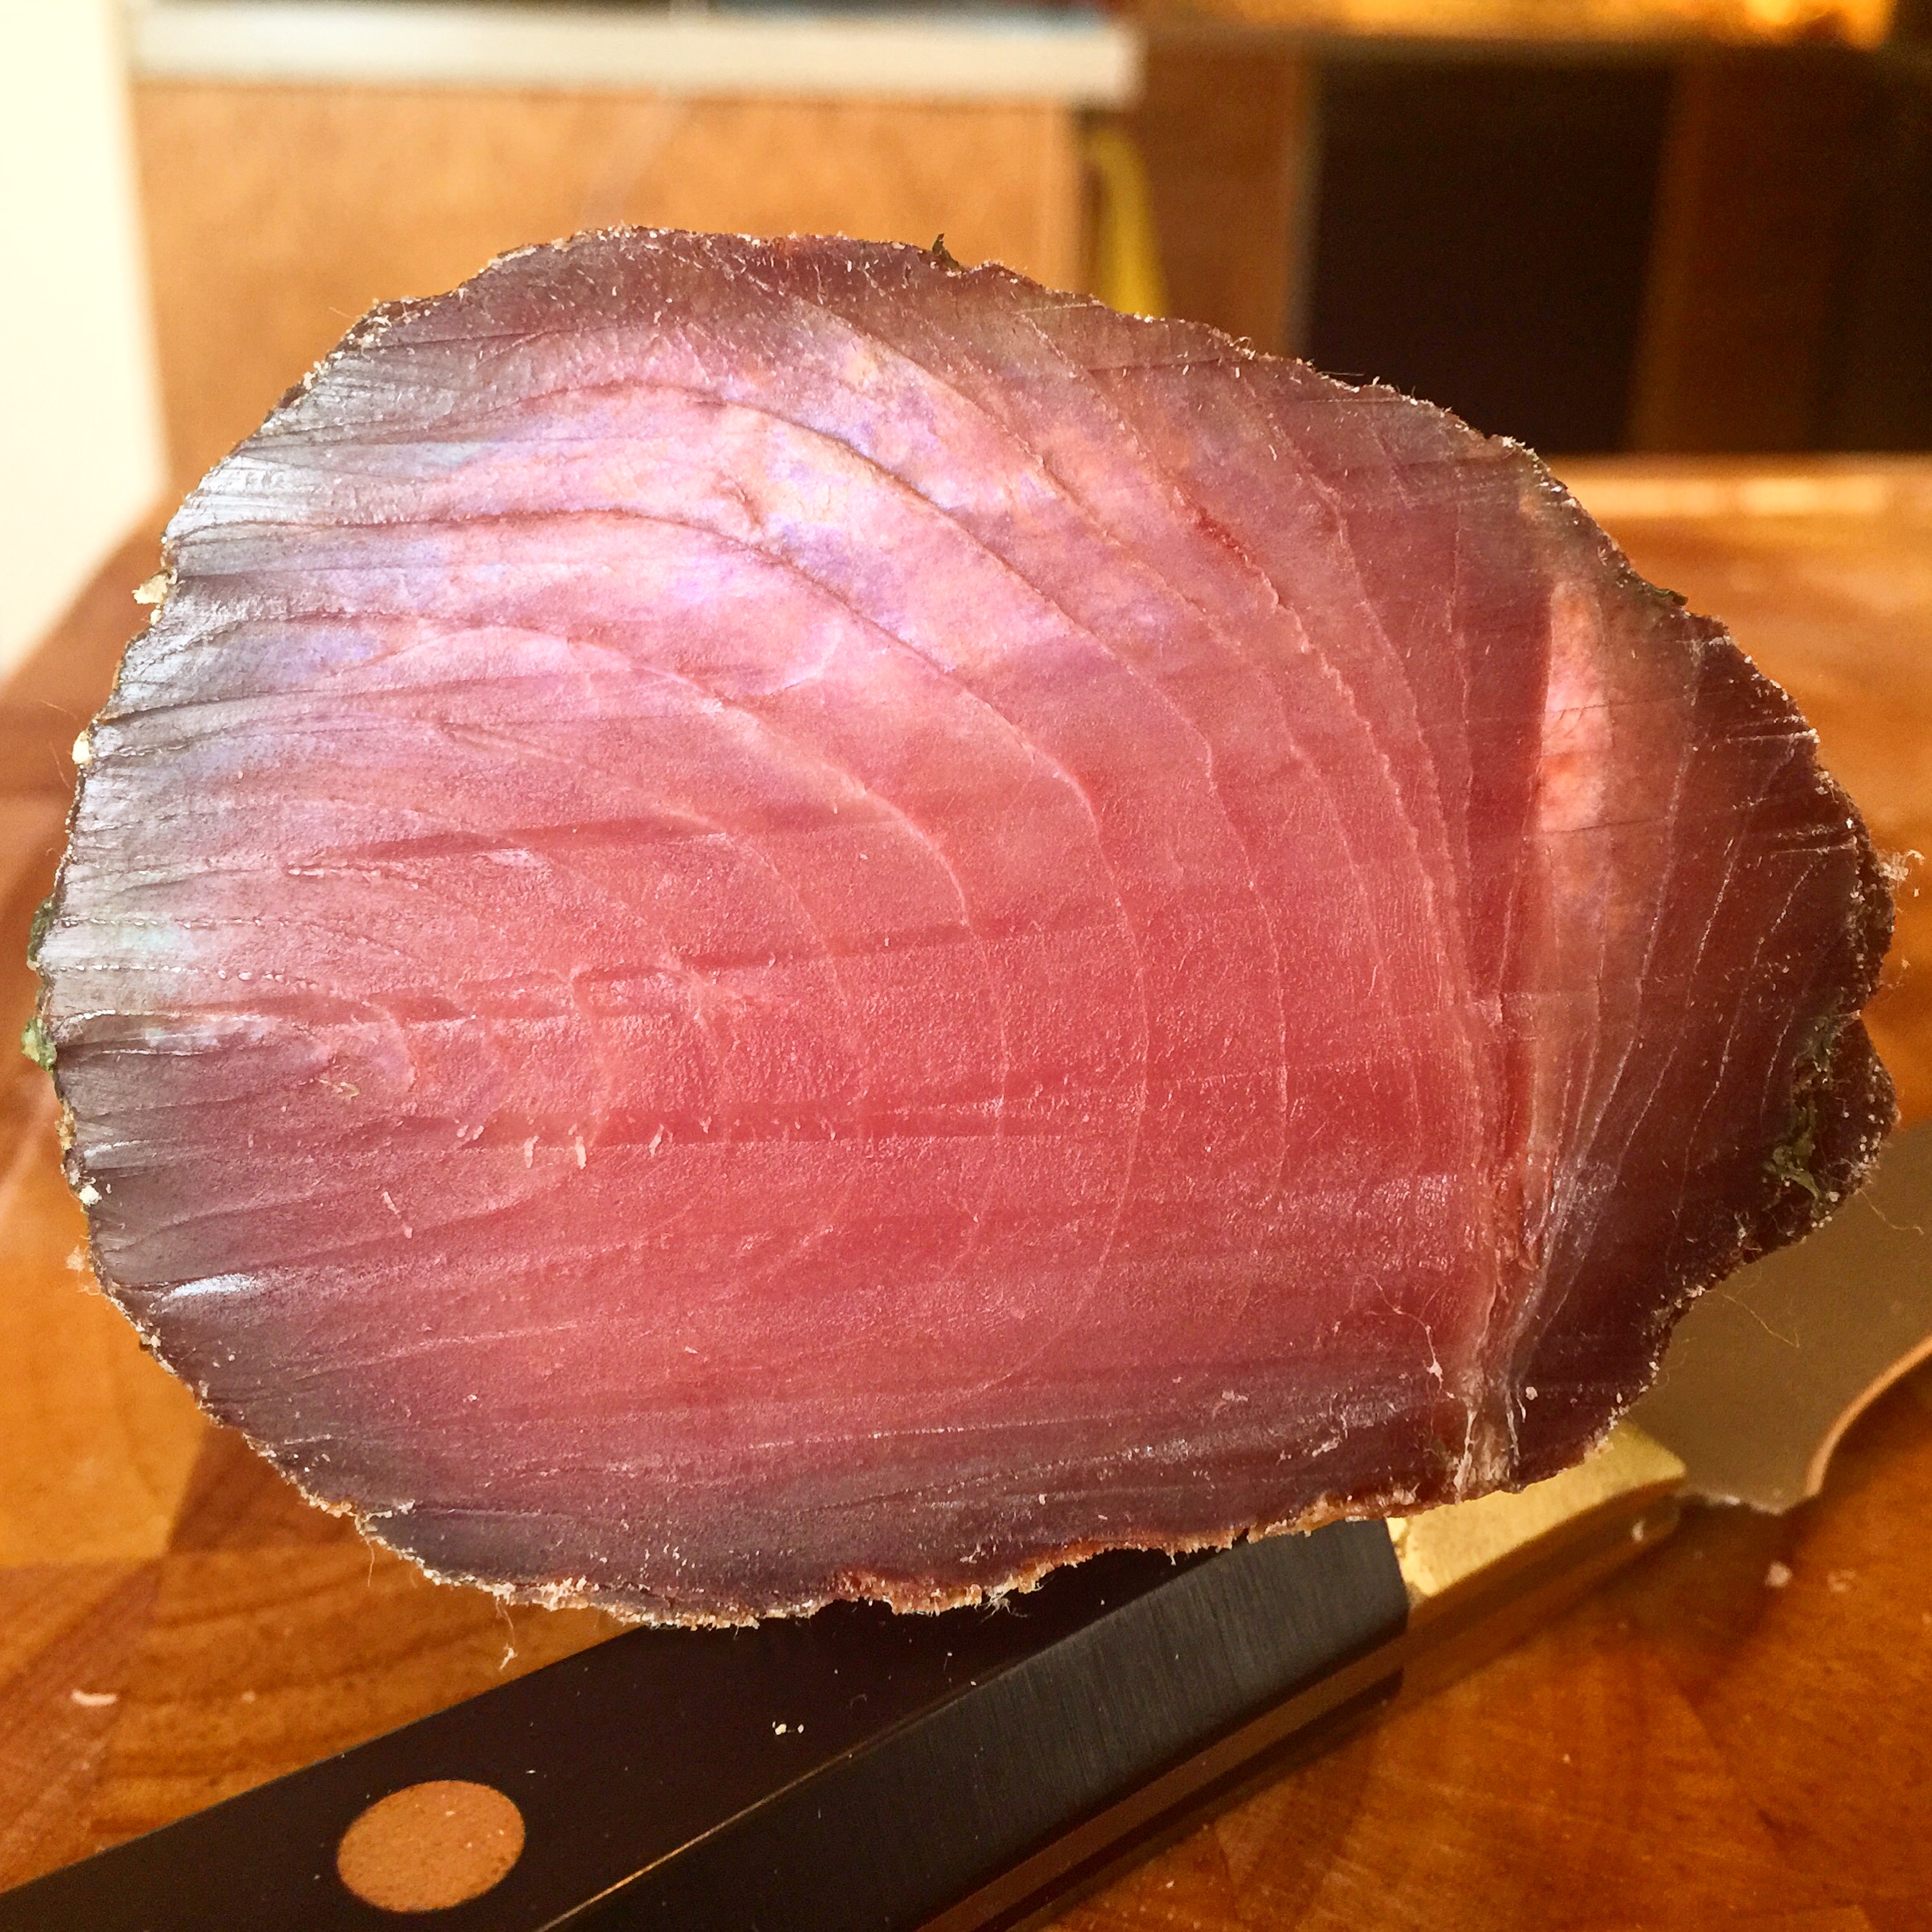
Mosciame weight loss over time new trialIMG_1188


Tasting:

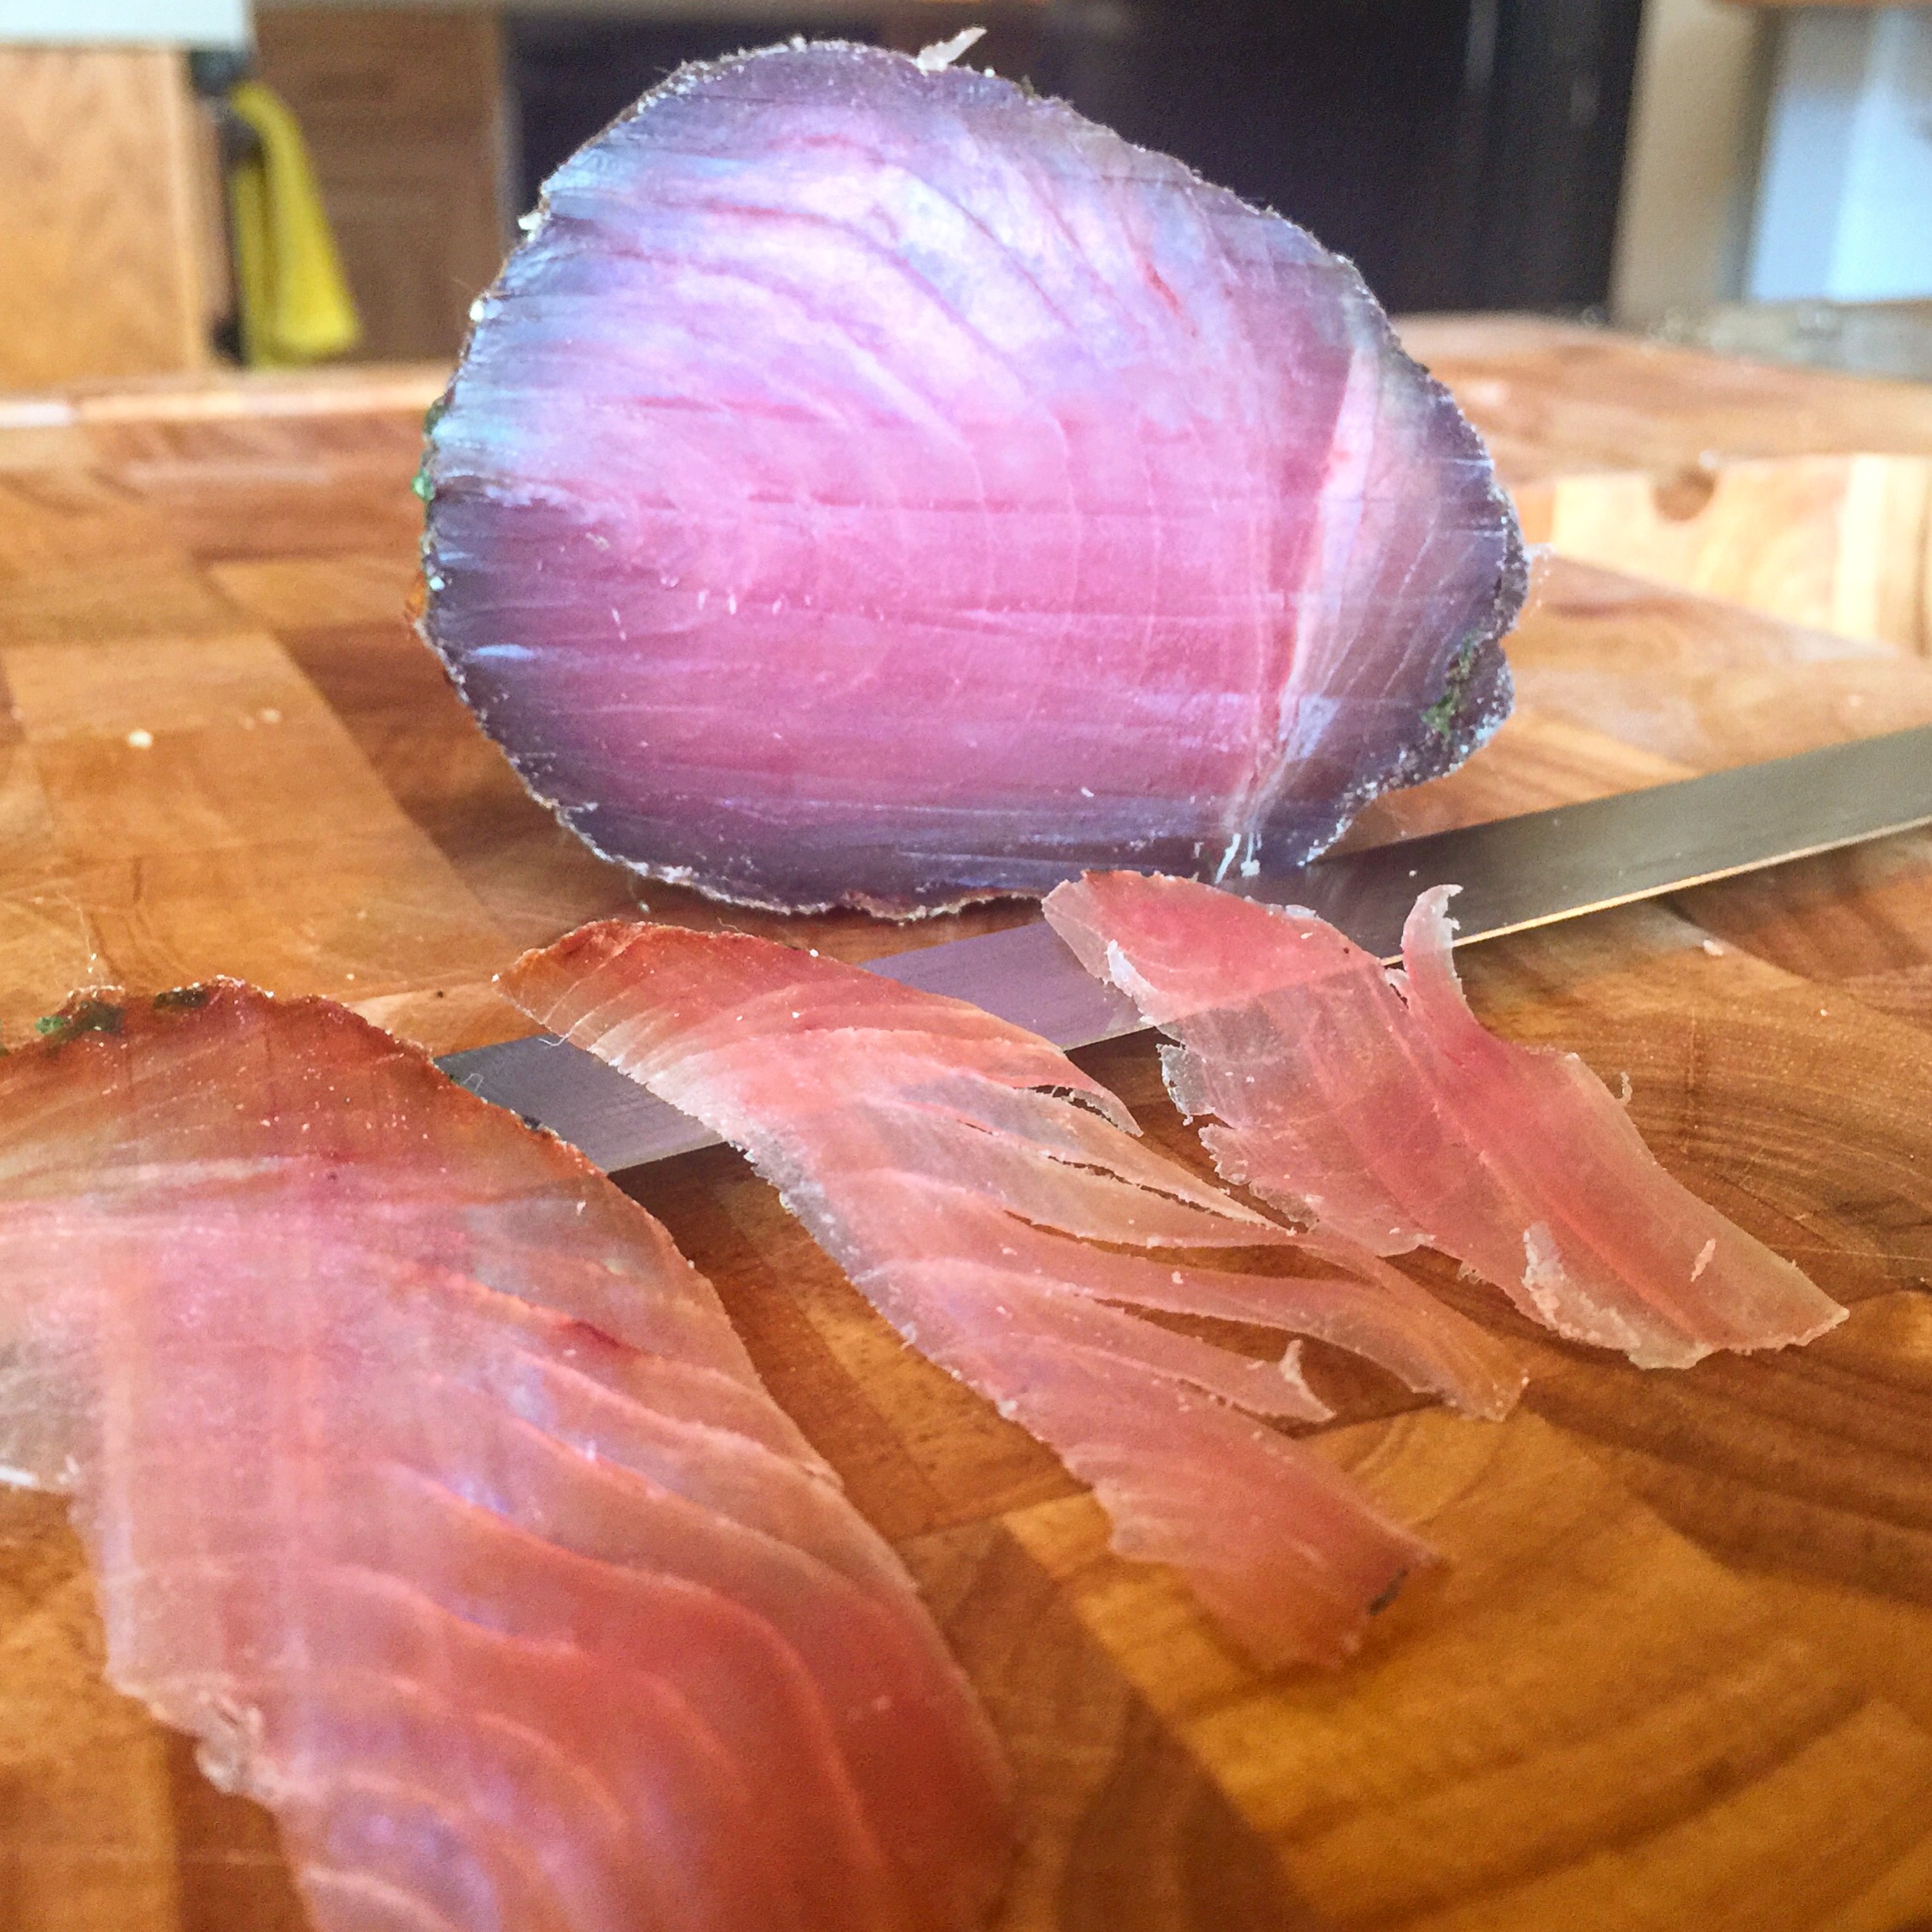
The mosciame was taken out of its casing, scrubbed clean with white vinegar, and patted dry.

IMG_1189

IMG_1190

I was excited to try this, and boy oh boy, I was not disappointed.

IMG_1204

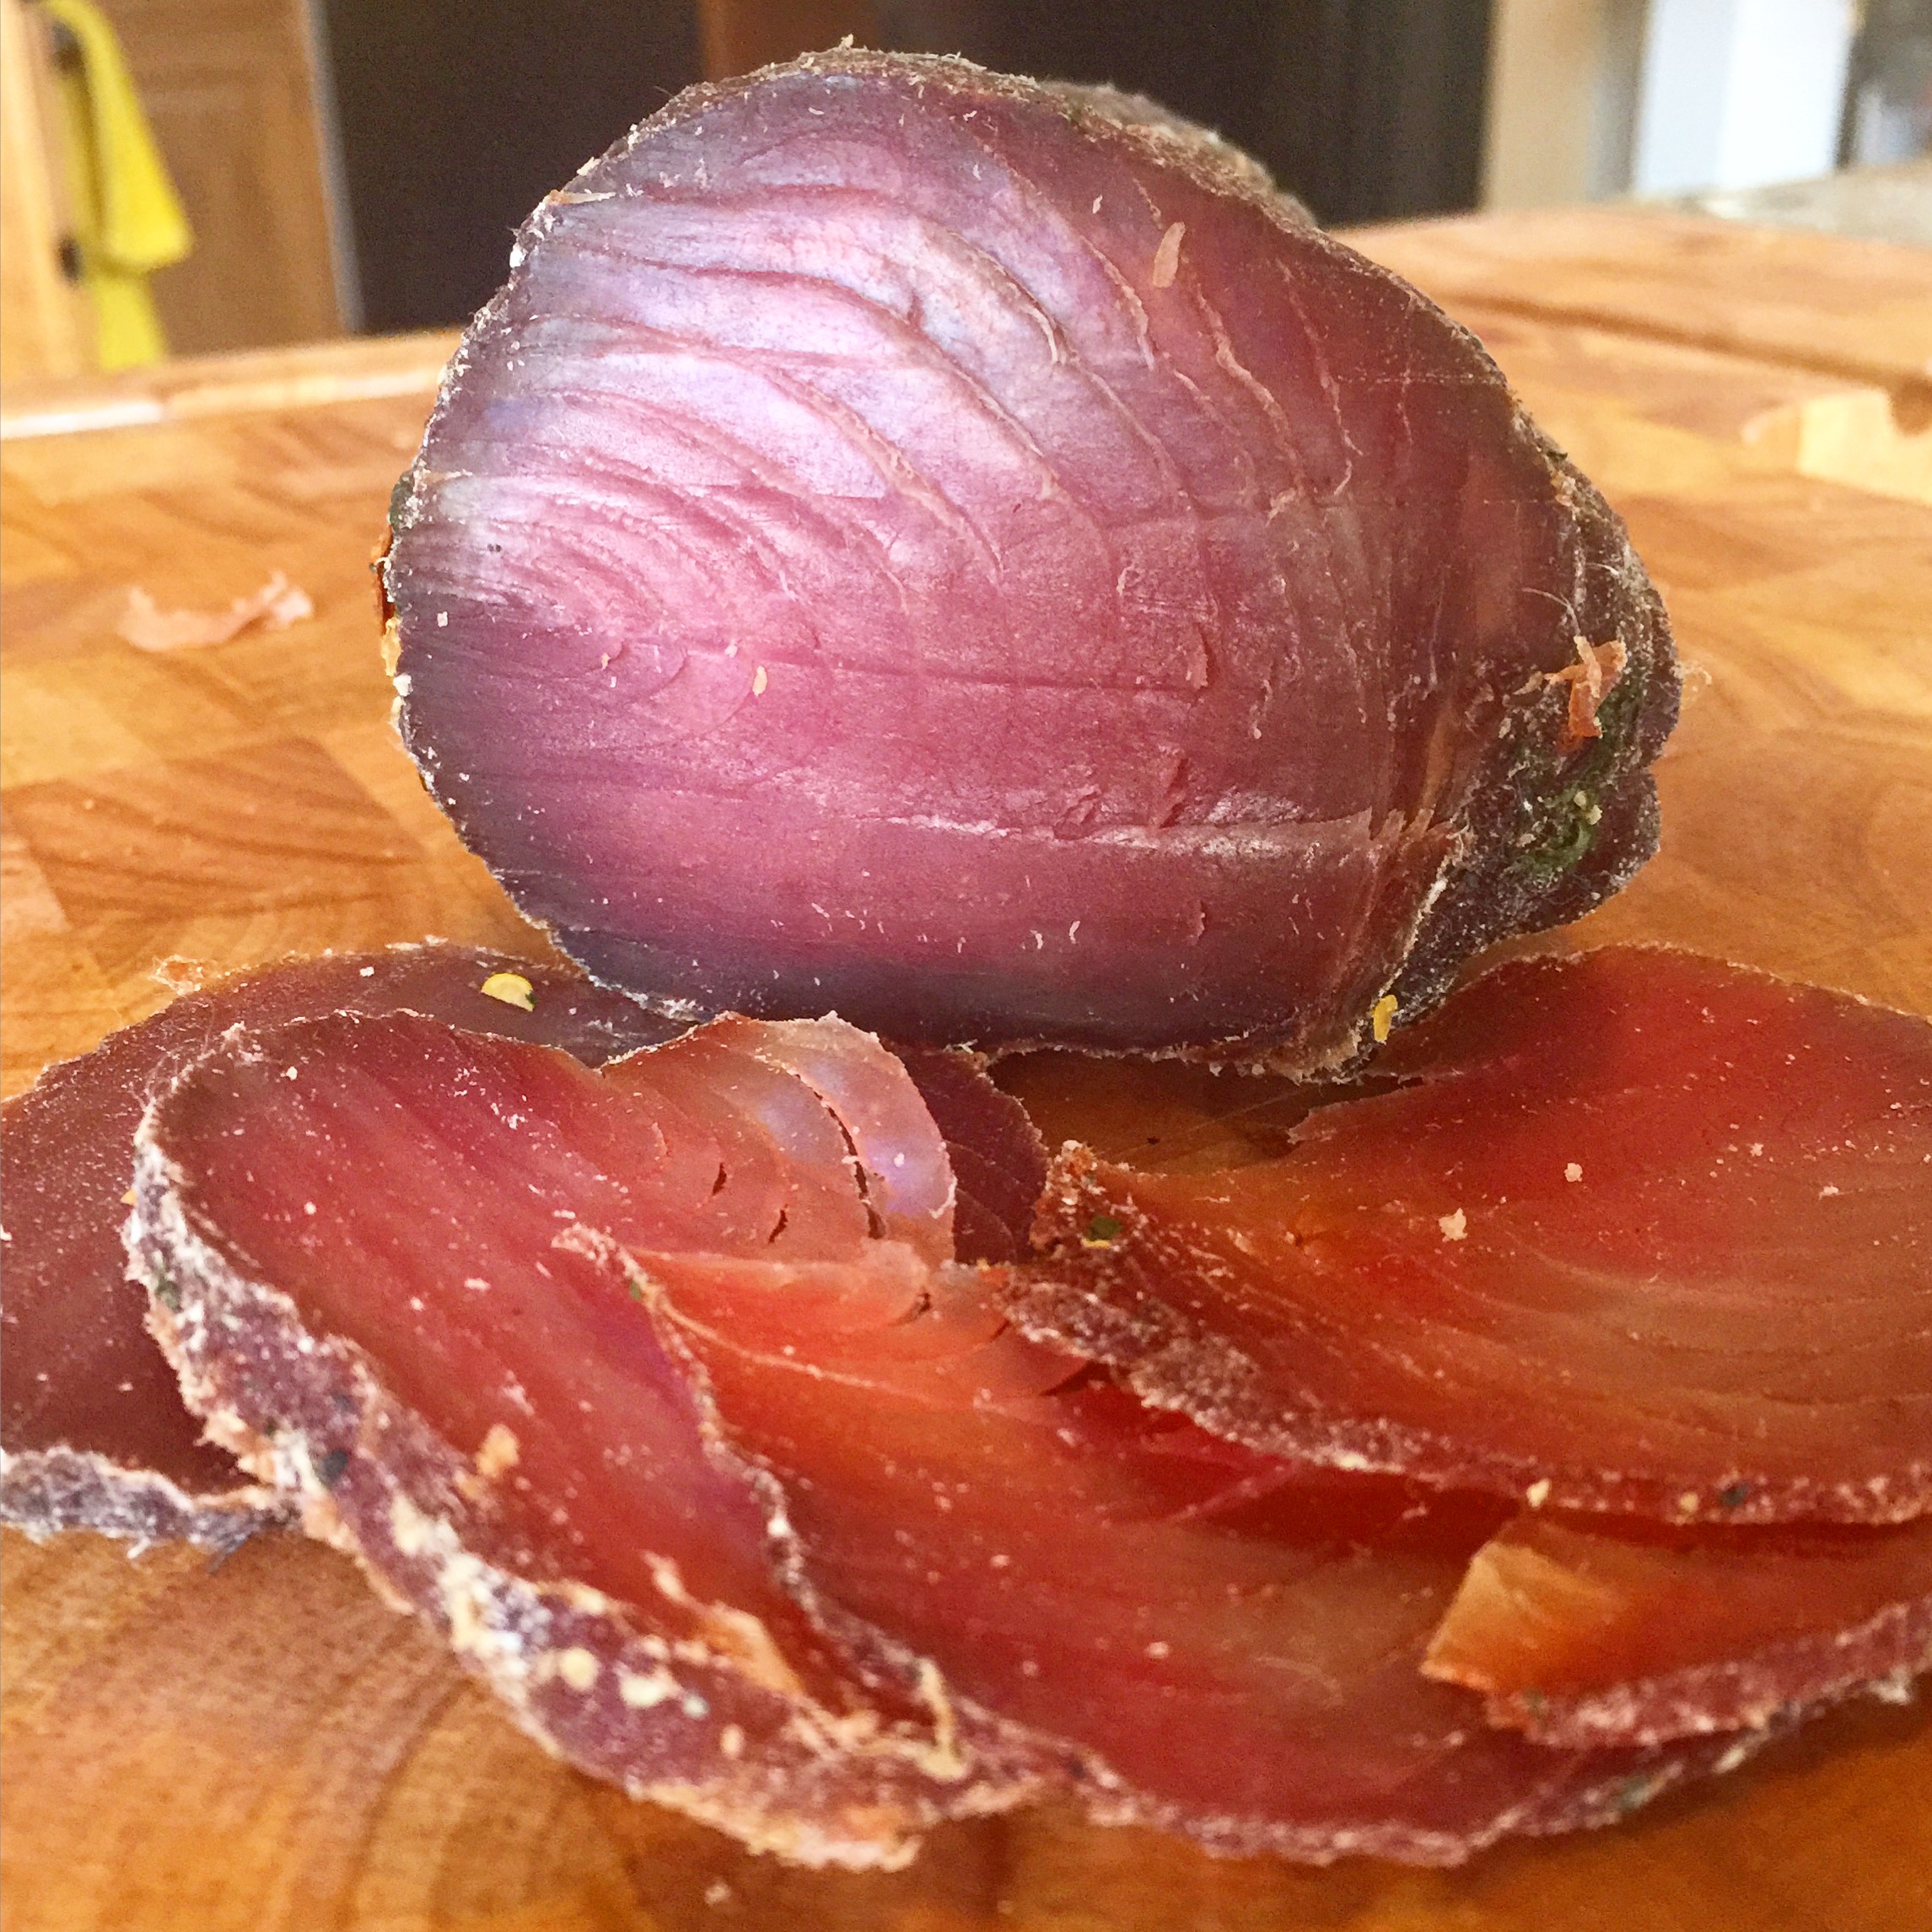
This mosciame has the complex umami flavor you’d expect of aged tuna, without some of the stronger more yeasty overtones that the first modern mosciame trial had. It seems like one or more of the changes that I made in my protocol made this process work a bit more traditionally and created a product with more universal appeal.

IMG_1194

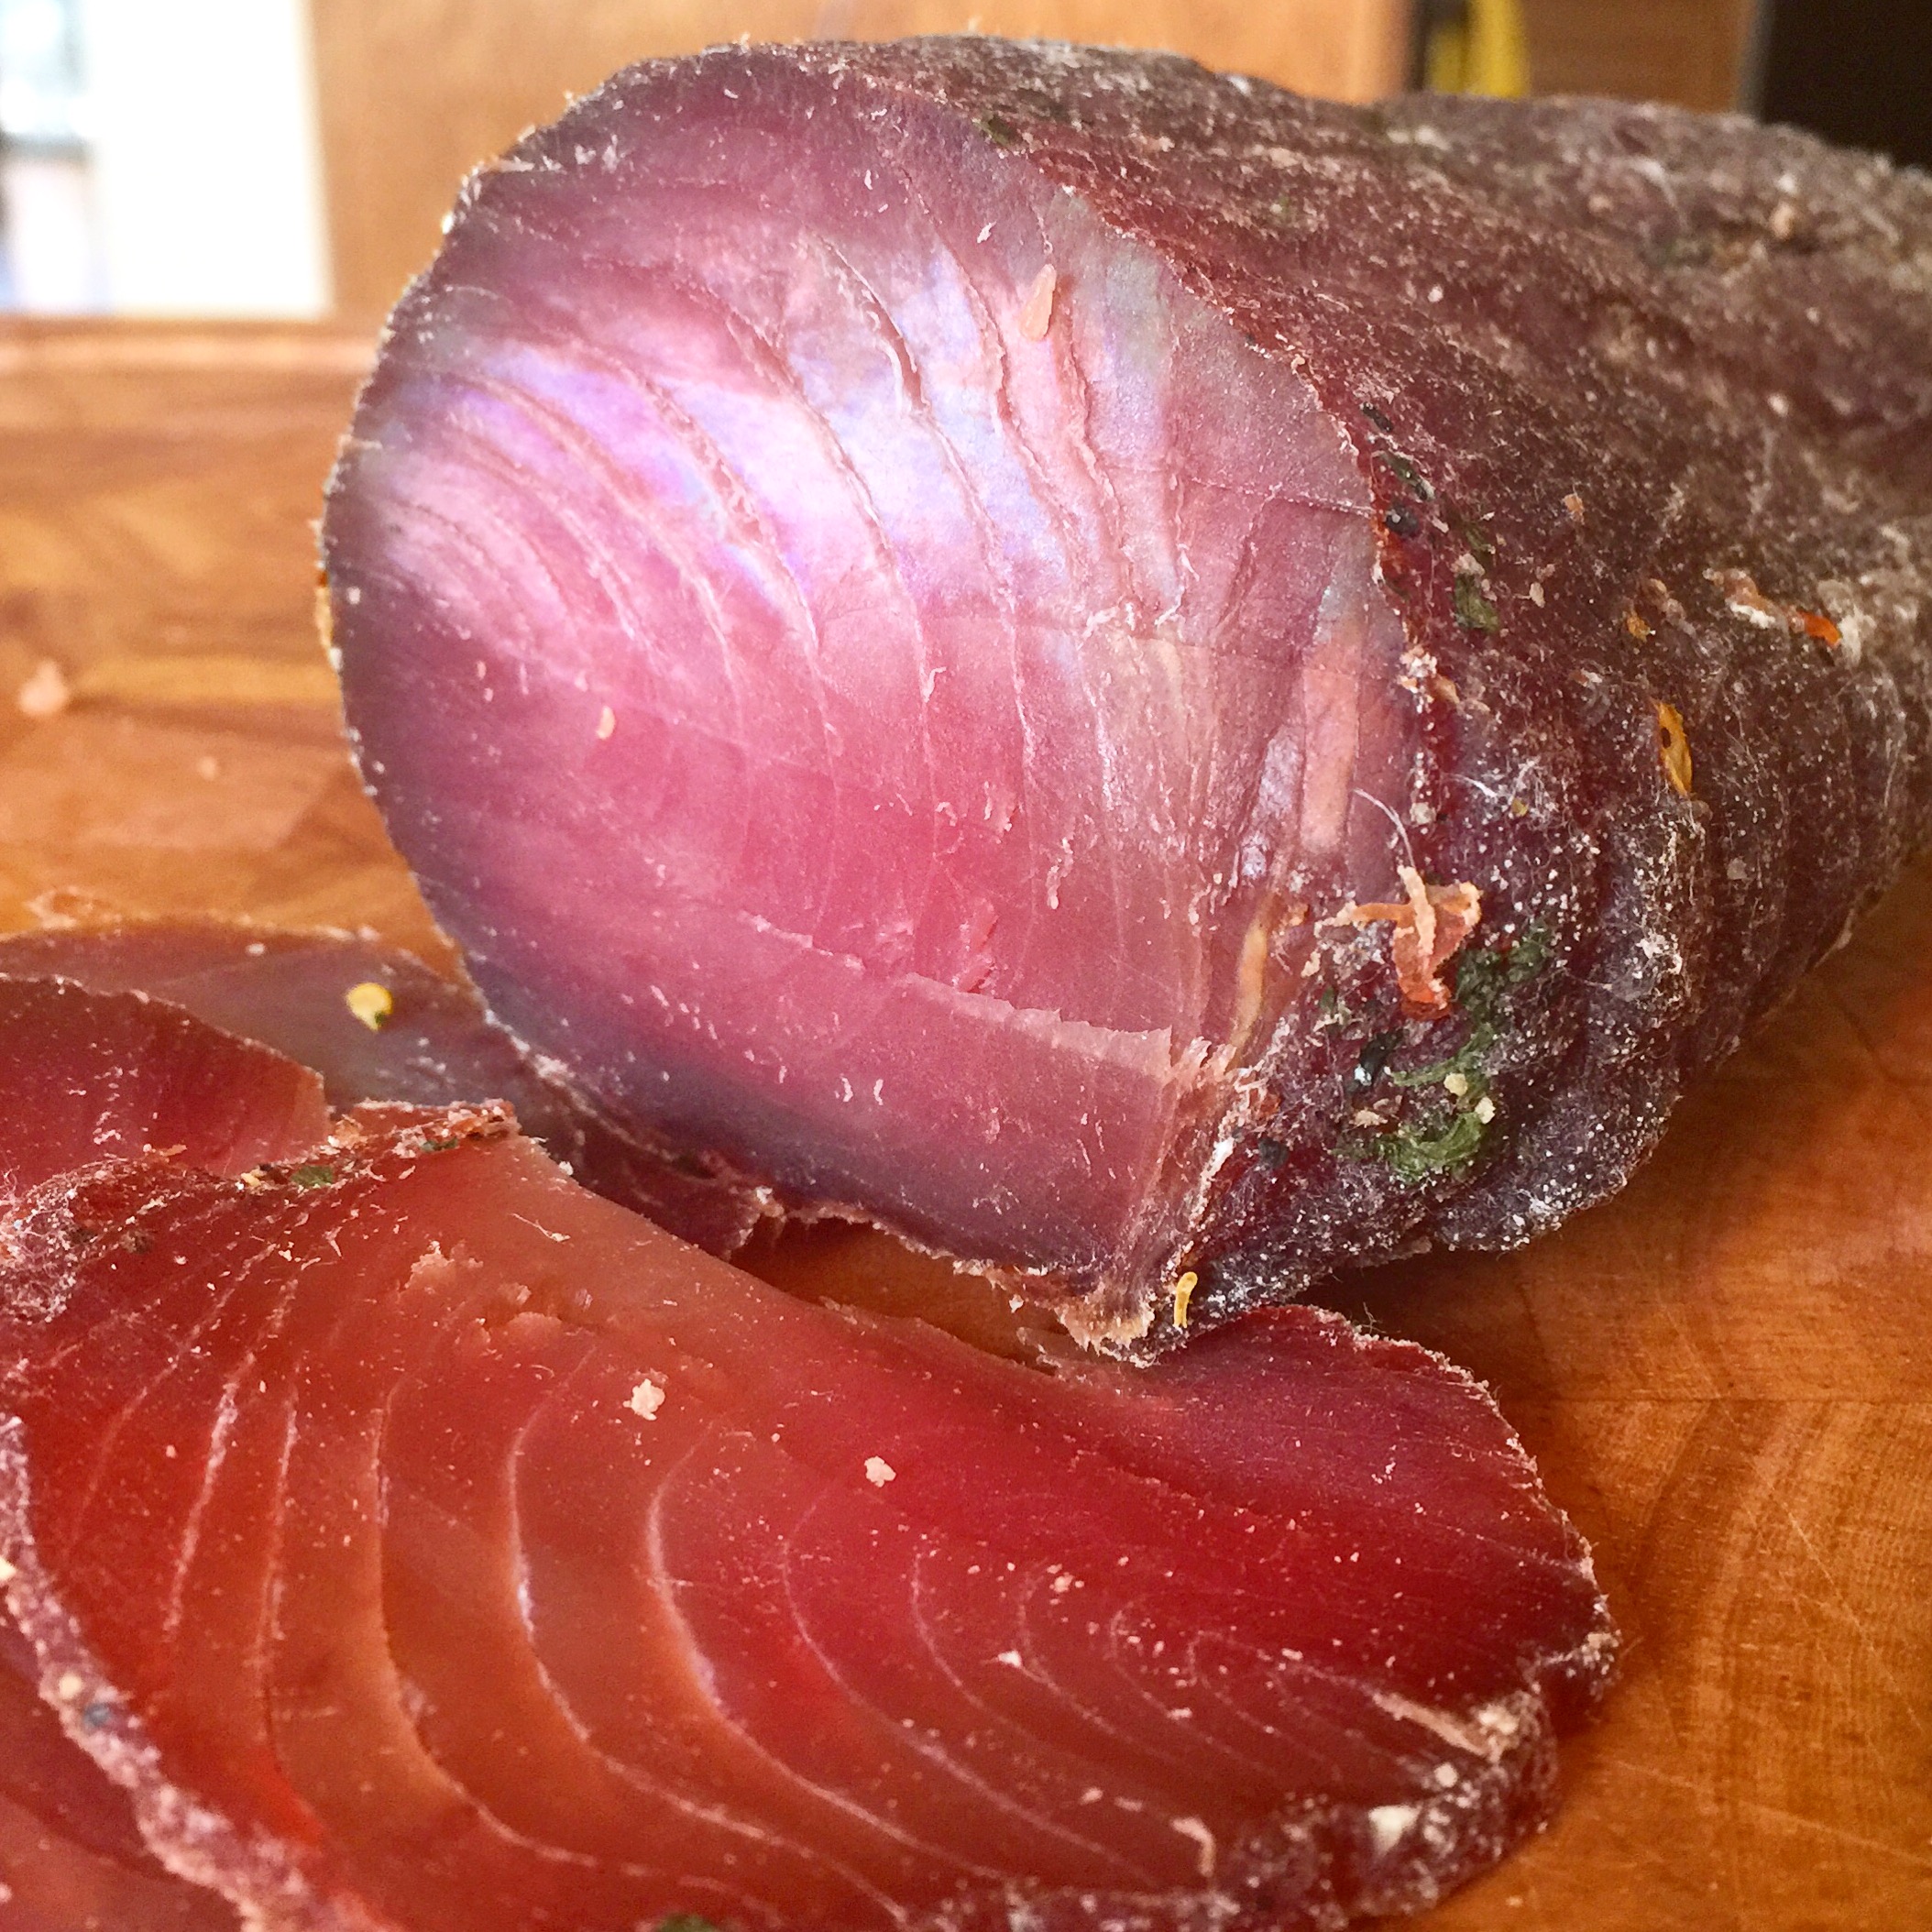
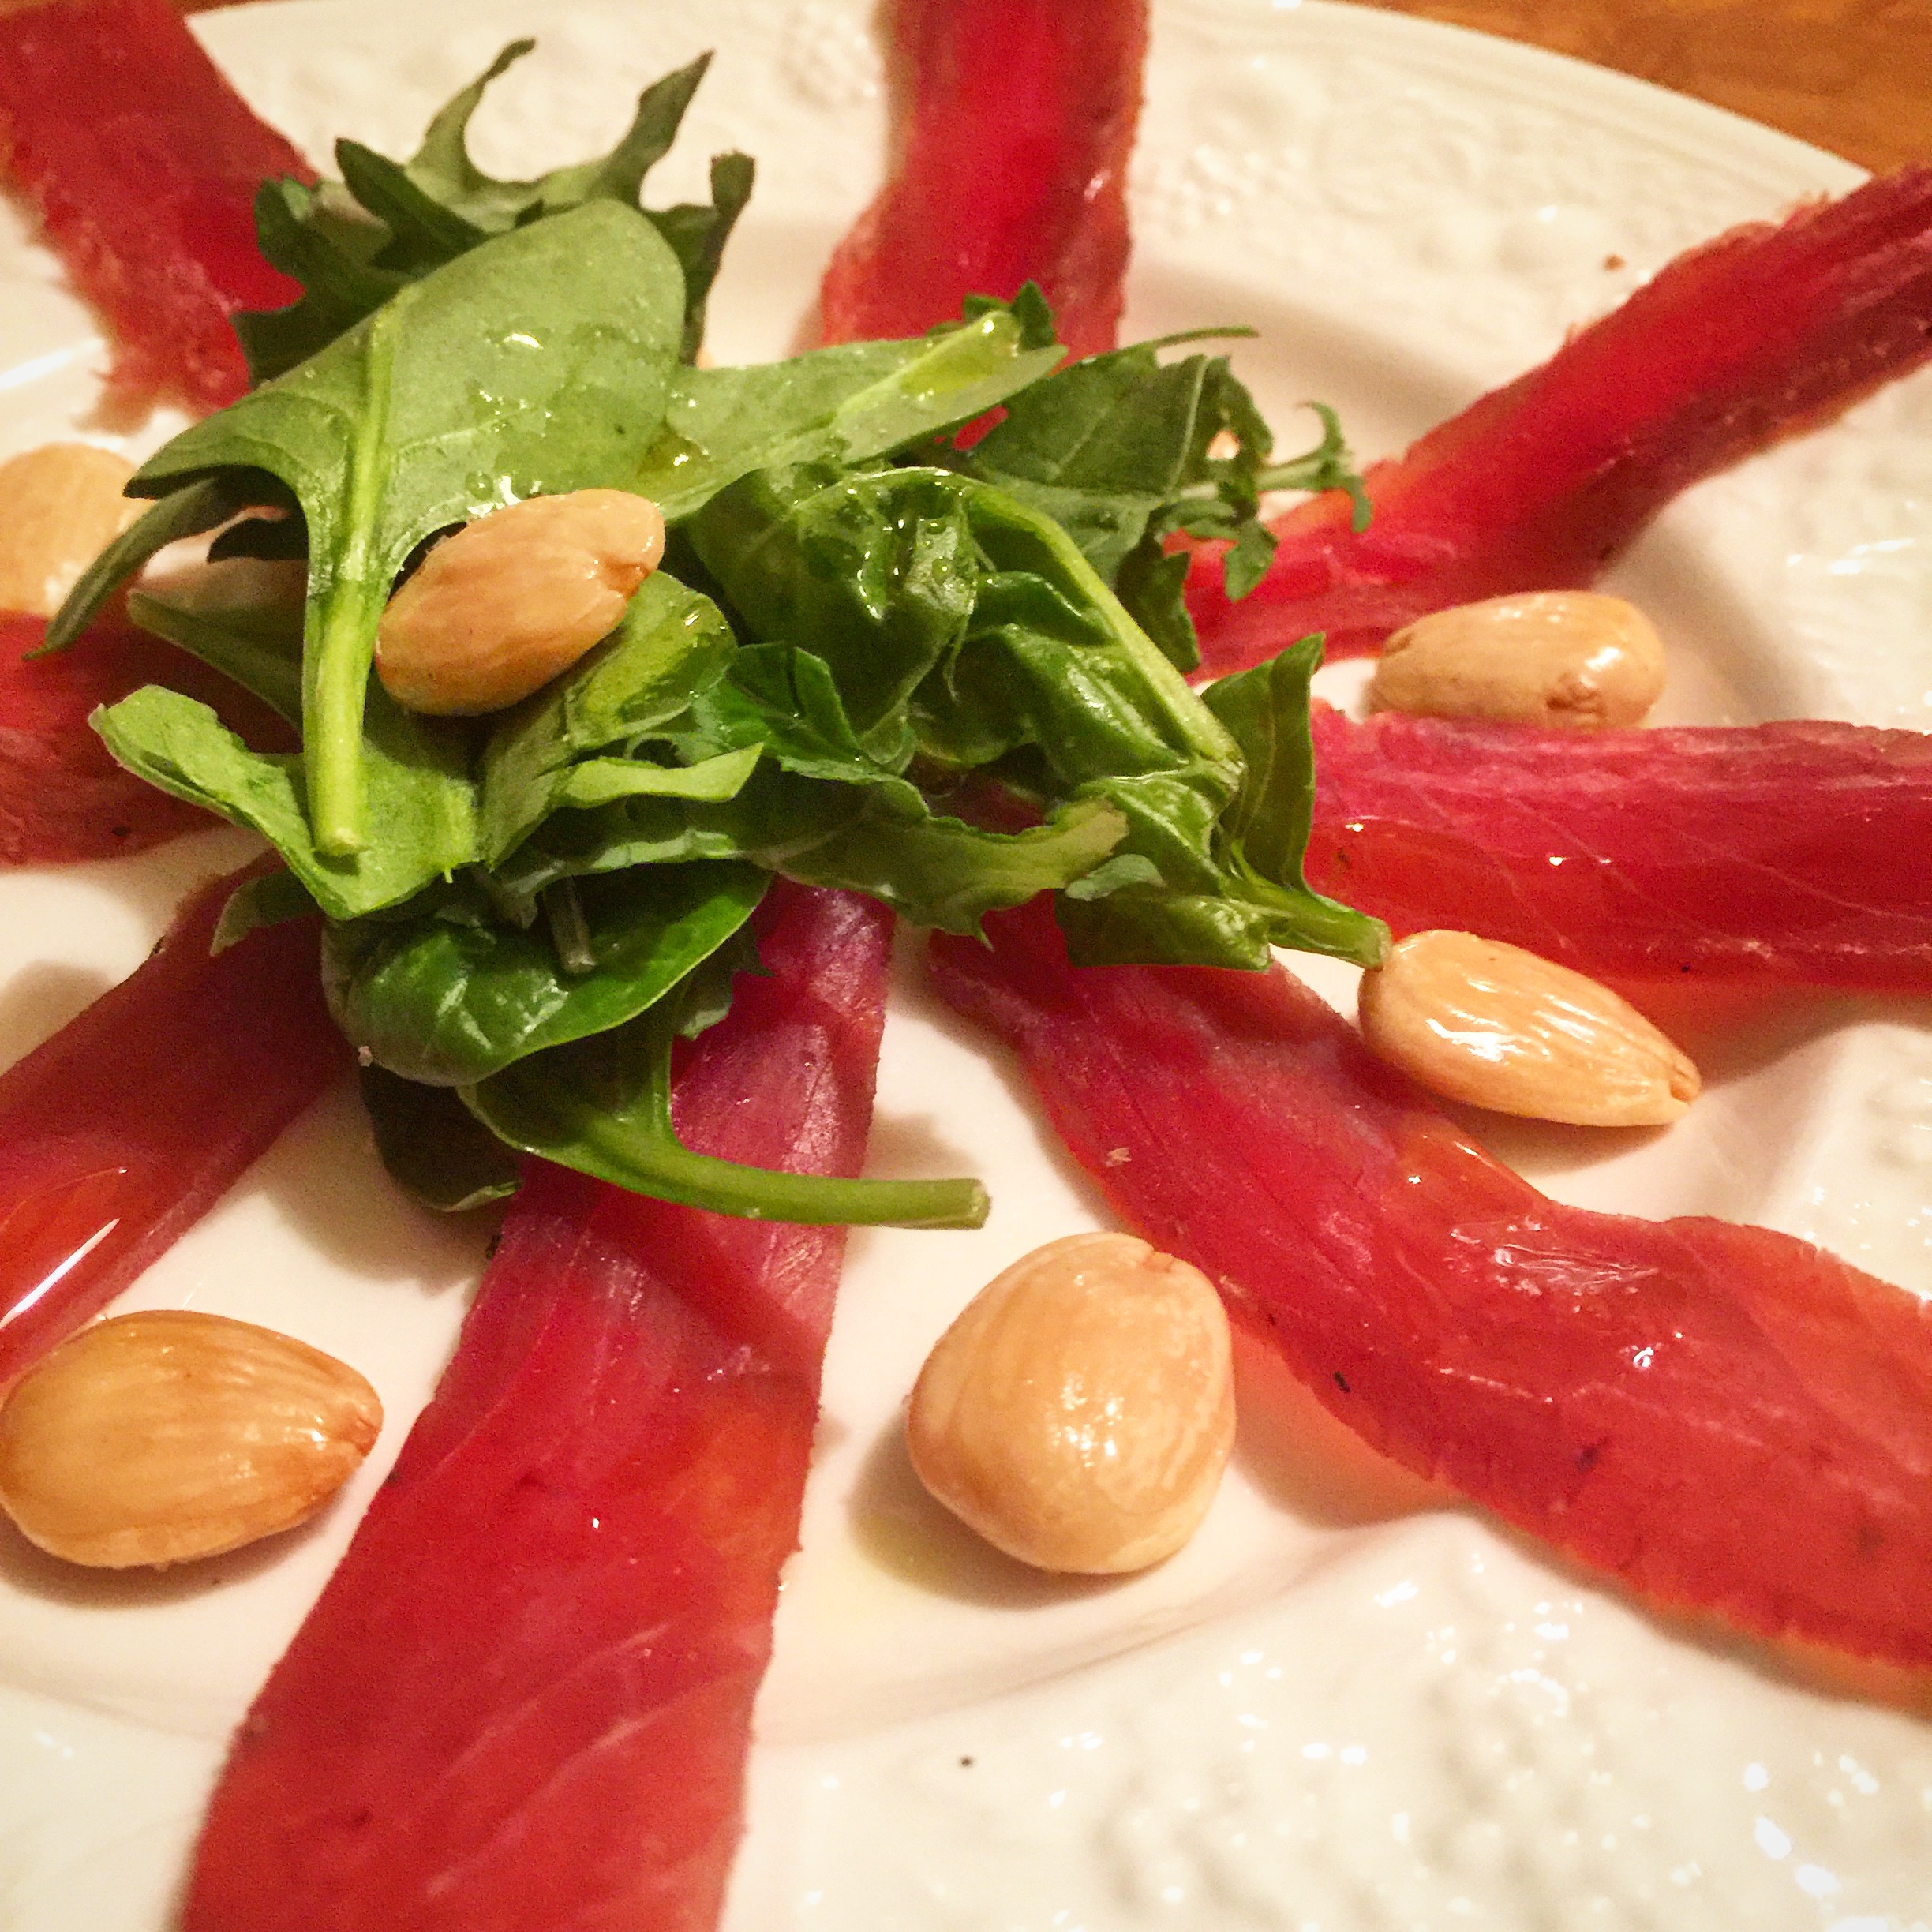
Sliced thin with my cuchillo jamonero, or my jamón carving knife, this product is amazing.

IMG_1203

It is always nice when one of your experiments works! While I will still sneak slices of my first modern mosciame trial for myself as a treat, I have a feeling that I will be slicing this second modern mosciame product more often for friends and family.

IMG_1200

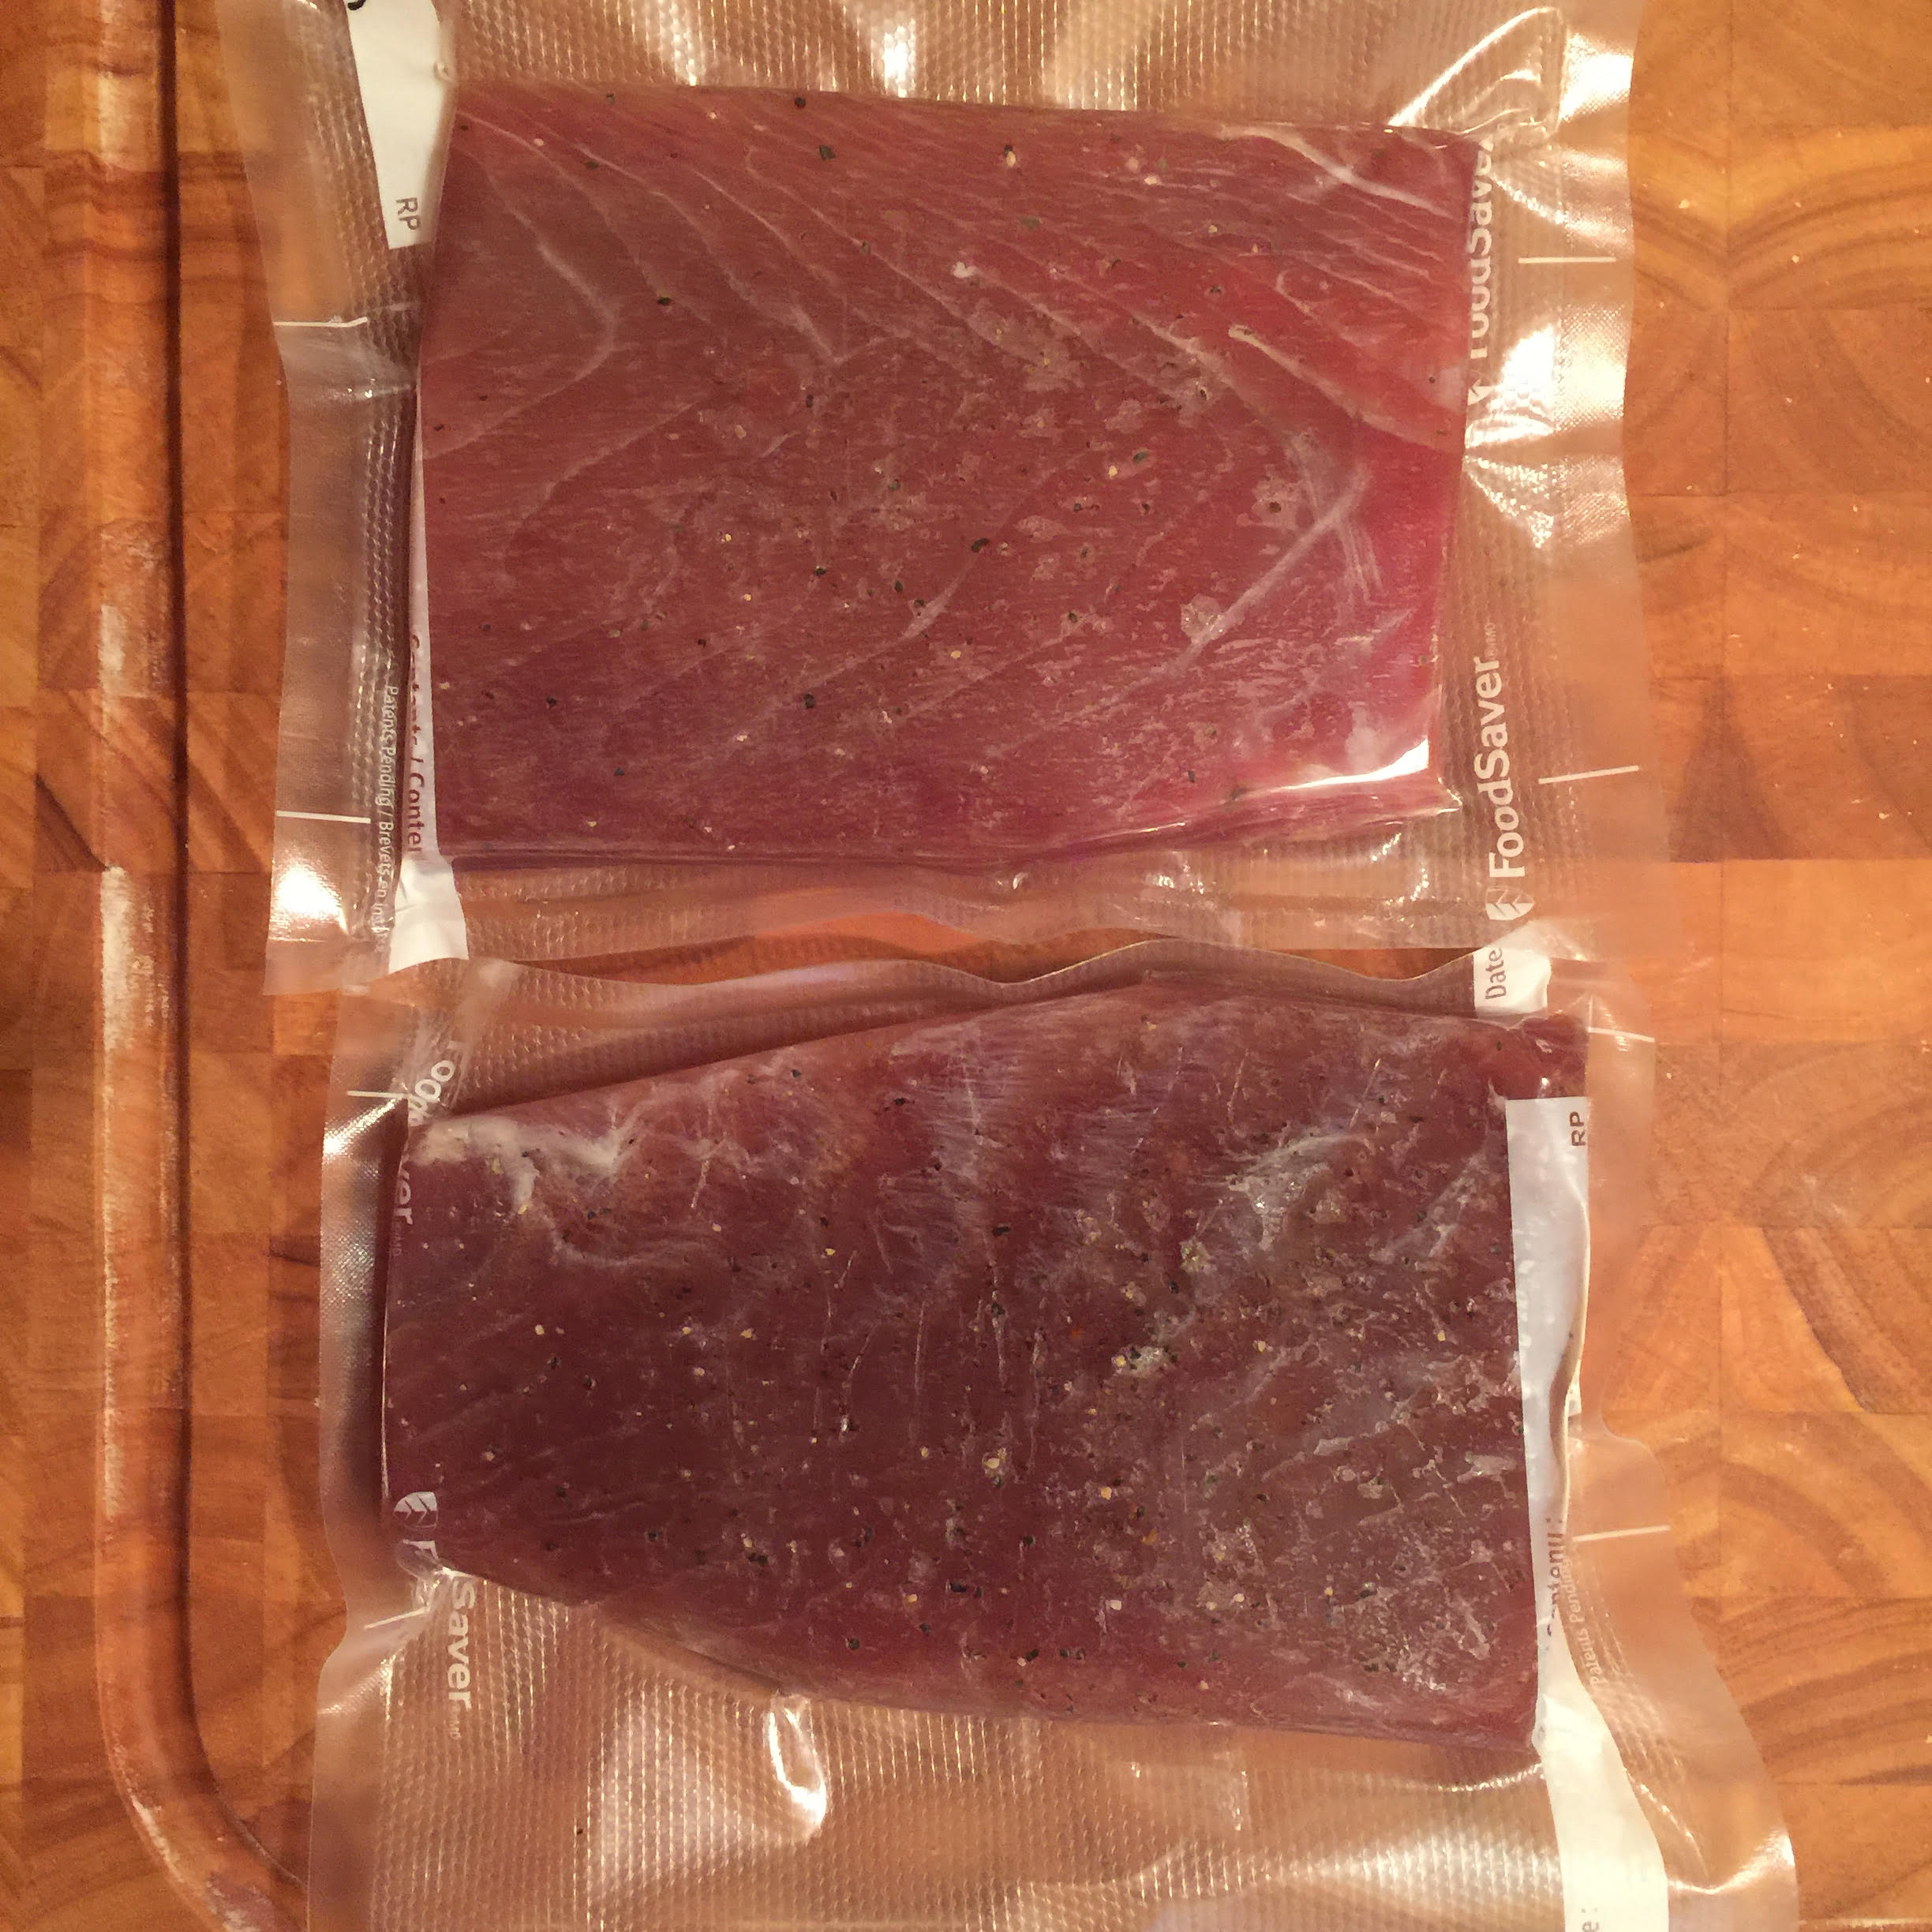
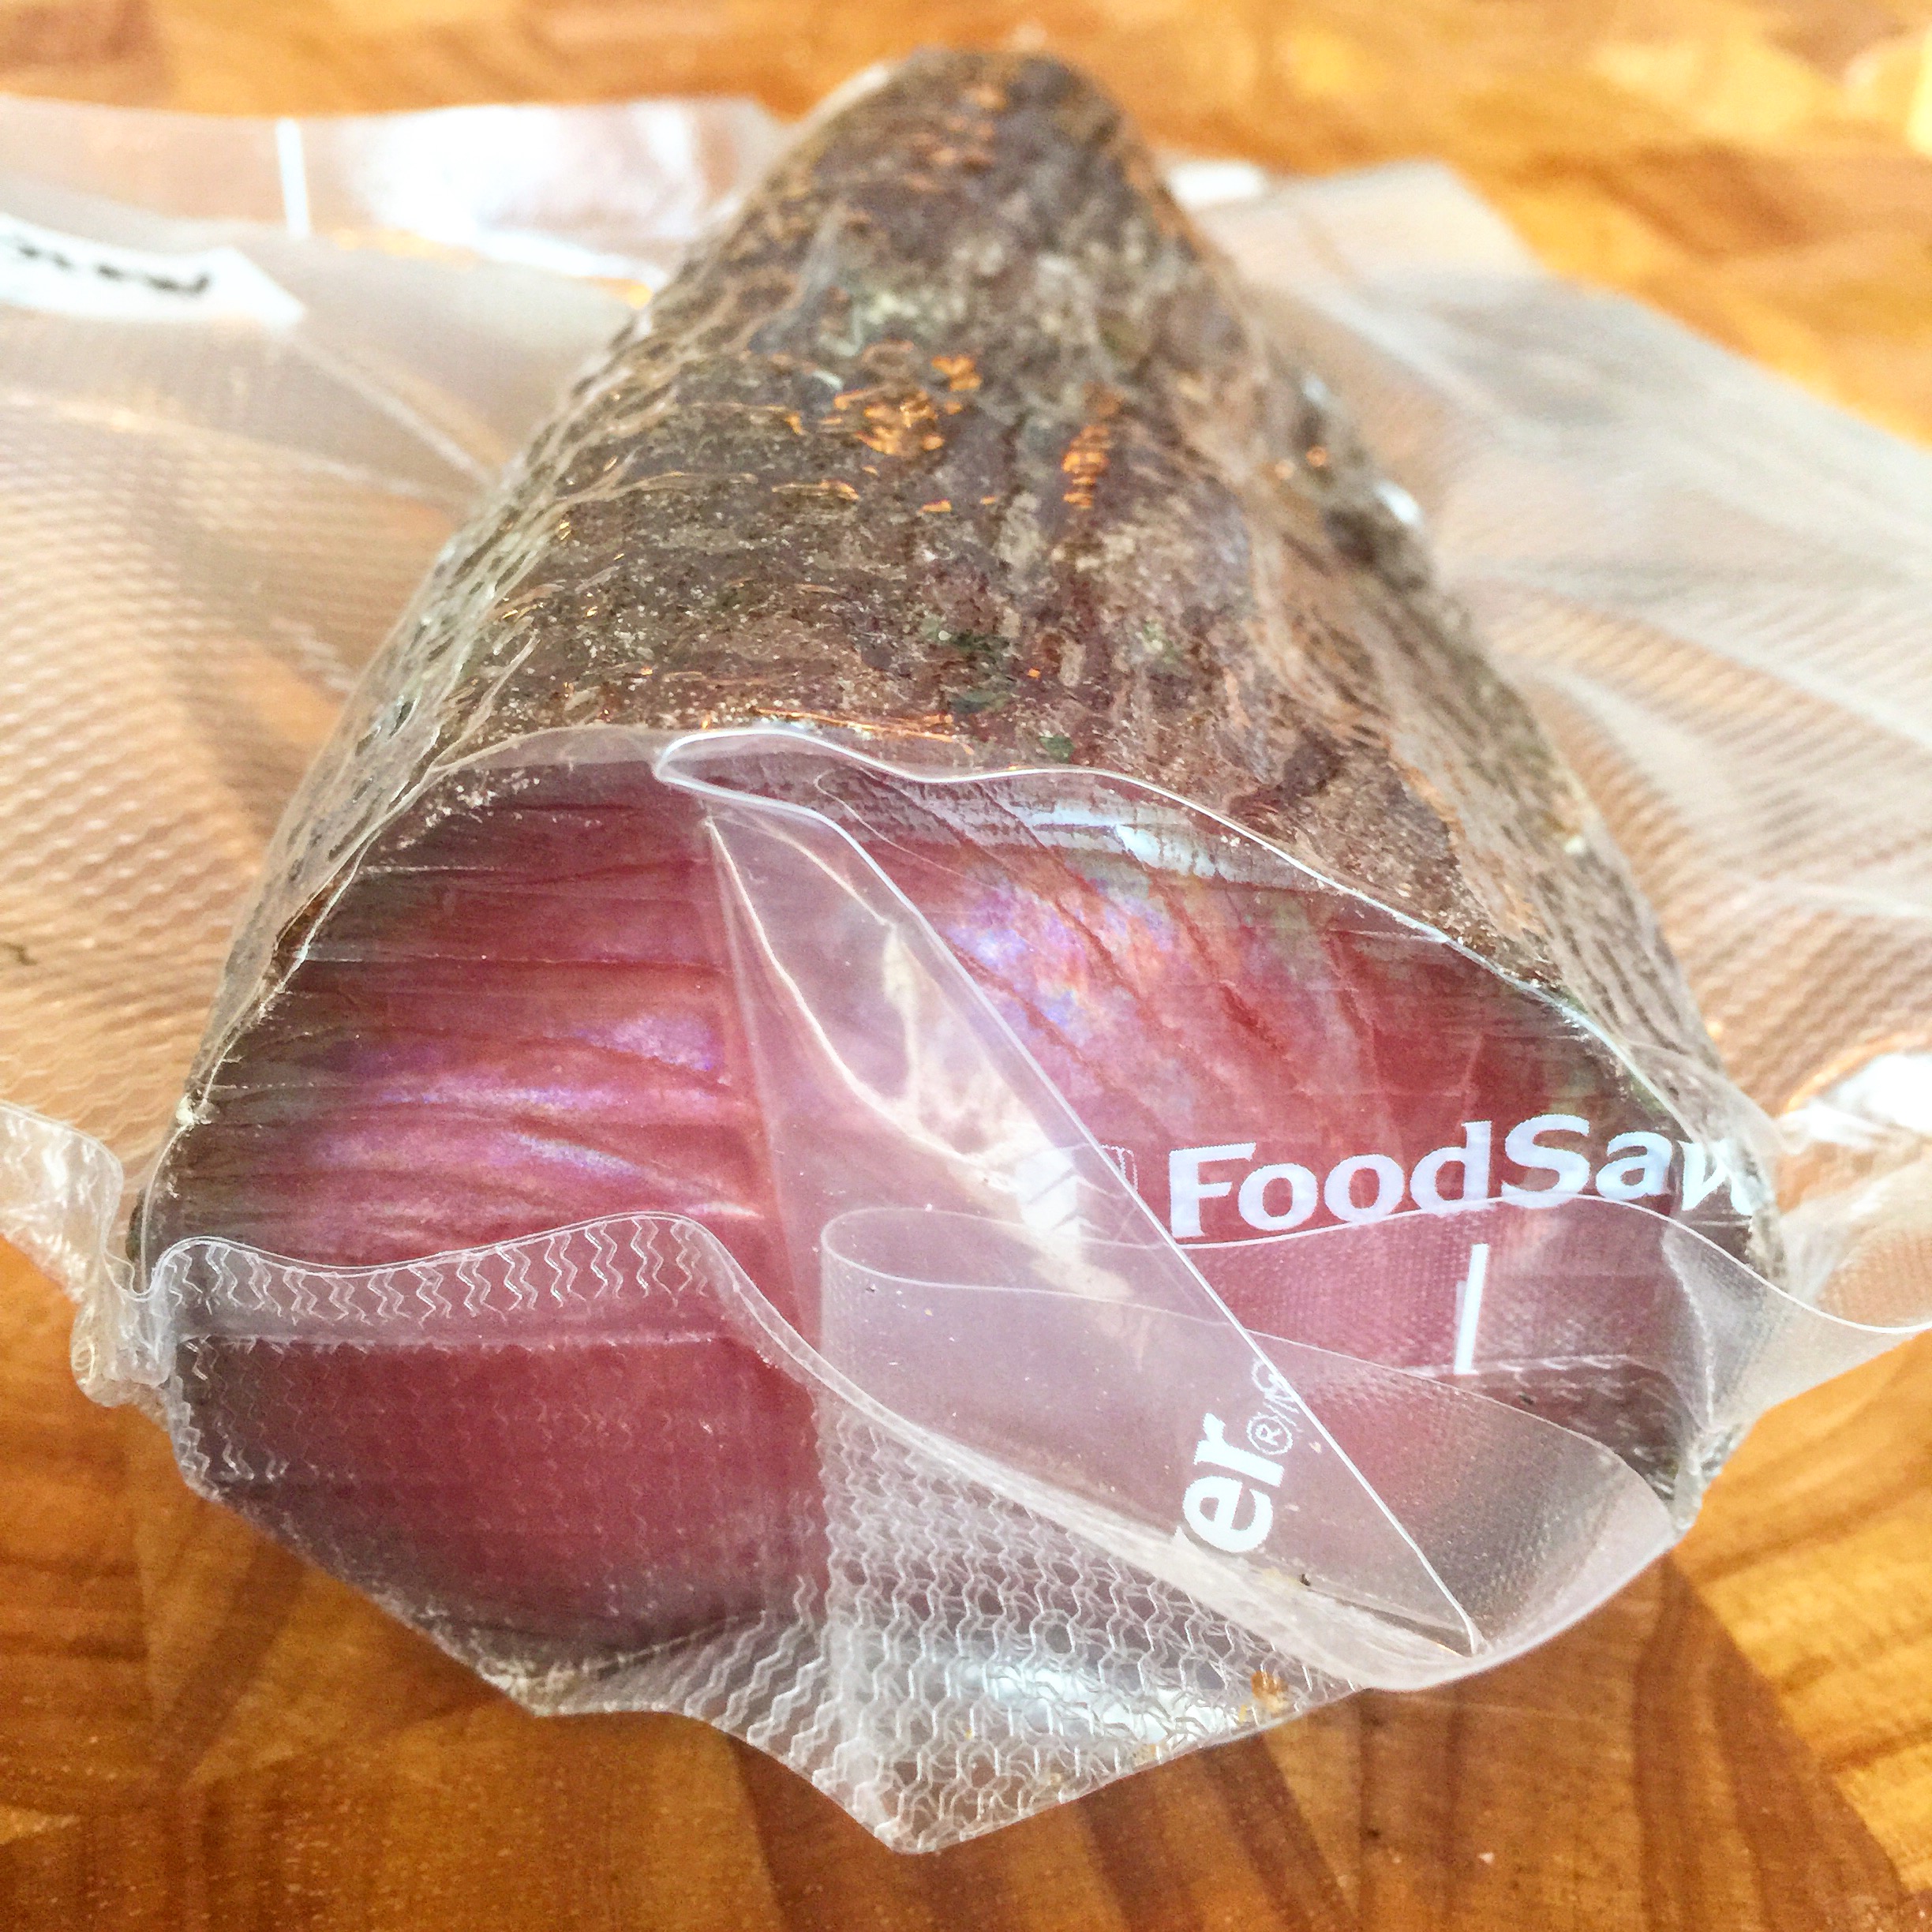
Stored under vacuum seal for future uses!

IMG_1196


Disclaimer: Curing fish is a hobby that comes with inherent risks. We can all do things to limit this risk by educating ourselves about the process and the utilizing the safest known methods to create our products. This website is for educational purposes only, and all experimentation should be done at each individuals own risk.

Filed Under: Charcuterie Tagged With: atum, atún, charcuterie, diy, homemade, mojama, mosciame, muxama, tonno, tuna

Traditional Modern Mosciame

March 6, 2016 by AOG 2 Comments

There are traditional and more modern ways to create charcuterie products. Traditional methods may rely on the use of caves or more natural spaces that have the ideal humidity and temperature in order to allow the cured products to dry over time. Modern methods tend to use curing chambers to recreate these nature environments. You can see more about curing chamber instructions here and here.

I have previously discussed the history behind making mosciame and my first attempt at doing it in a curing chamber here. I have since perfected this method, as described here.

Here, I will discuss what I call the traditional modern method. Today, amidst concerns of pollution, instead of leaving their meat to air dry outside, some Italians use an oven at around 77-86 F for 4-6 hours to dry the meat. It can be pressed into a uniform shape if desired, and can be stored in olive oil.

I decided to try this method with a beautiful piece of sushi grade tuna.

image


Curing (48 hours):

I cut the piece of tuna in half, and placed them in two different excess cures; simple and soy maple.

image(1)

I allowed the fish to cure for 48 hours while being pressed.

image(2)

After 48 hours, I removed it from the cure and rinsed it off.

image(5)


Drying (7 hours):

Temperature: 35C/95F

I placed it in the dehydrator at 35C for 7 hours.

image(6)

After this time, the mosciame lost ~30% of its initial weight.

image(13)

I removed it from the dehydrator and brushed it with olive oil.

m7


Tasting:

I sliced it thin, and served it two ways:

image(16)

m5

It was awesome. Way better than I expected from a dehydrator method. I am a fan of the slow curing process, but this definitely created a delicious final product that is worth trying if you don’t have access to a curing chamber or want something a bit quicker.

Stored in a vacuum sealed bag, it awaits more tastings in the future.

m4


Disclaimer: Curing fish is a hobby that comes with inherent risks. We can all do things to limit this risk by educating ourselves about the process and the utilizing the safest known methods to create our products. This website is for educational purposes only, and all experimentation should be done at each individuals own risk.

Filed Under: Charcuterie Tagged With: charcuterie, cured meat, diy, homemade, mojama, mosciame, tonno, tuna, tuna prosciutto

Brine Cured Olives

March 4, 2016 by AOG Leave a Comment

Here, I will be writing about the process of making brine cured olives. I previously wrote about the process of making dry salt cured olives. Dry salted cured olives are some of my favorite types of olives, but some people are less partial to them due to their increased bitterness and strong taste compared to their brine cured counterparts. As you can see, there are some distinct differences in brine cured olives (top) and dry salt cured olives (bottom):

image(40)

Here, I will detail the process of using a brine cure to cure olives. This method takes longer than dry salt curing olives, but is able to leach away more of the bitterness. It is a fermentation process, so if you have a fermentation jug or set up, now is a good time to use it. Otherwise, any vessel should do, just make sure to cover the top loosely to avoid contamination with outside sources and to allow for gas release. CO2 will be released during the fermentation process, and can cause problems if not given an outlet.


Method: Similar to the salt cured method, I used black olives. The first step is to sort them for deformities, and wash the pile of good olives, and dry them off.

image(117)

Then, the olives will be stored in an appropriate container. Add a medium strength brine (.75 cups per gallon of cool water) to cover them. I used a fermentation jug, and two mason jars with fermentation air lock set ups.

image(123)

Allow the olives to sit in the initial medium strength brine for 1 week at room temperatures (60-80 F).

After 1 week, pour out the olives and the medium strength brine.

image(26)b

Put the olives back into their containers, and cover the olives in a strong brine (1.5 cups of salt per gallon of cool water).

In the following picture, you can see the color (and bitter compounds) being leached out by the consecutive brine changes. On the left, the olives are in their initial brine solution, on the right, they have had their brine solution changed out. They are noticeably lighter on the right.

image(28)b

Every month, replace the brine solution with a new strong brine solution (1.5 cups of salt per gallon of cool water).

Keep this up until the olives are to your liking. The longer they cure, and the more brine changes that are done, the less bitter that they will be.

After 2-3 months, the olives are generally ready for consumption.


To store the olives: Leave the olives in a cool, dark place in a strong brine to store them (up to 12 months) in an airtight container. I used a mason jar with a vacuum sealed top.

image

To eat the olives: Soak in water over night (optional) to decrease the saltiness of the olives. Toss in olive oils and herbs, and serve at room temperature.

image(1)


Resources:

http://anrcatalog.ucanr.edu/pdf/8267.pdf

Filed Under: Preservation Tagged With: black olives, brine, brine cured, diy, fermentation, homemade, olives

Dry Salt Cured Olives

March 3, 2016 by AOG 2 Comments

Have you ever tried a raw olive off of an olive tree? It makes me wonder how anyone ever unlocked the key to these bitter fruits. In the Mediterranean region in particular, olive trees abound. One taste of a raw olive directly off the tree would be enough to set anyone off the fruit entirely. However, at some point in history, it was discovered that it was possible to use salt and brine solutions to store the olive harvest as well as to leach away the bitter compounds, oleuropeins. And so, our love affair with olives and olive oil began.

In the beginning of the season, olives are green. As they spend more time on the tree, they darken and become black. Both green and black olives can be cured.

Olive-Tree

I have been interested in curing my own olives for a while now, but geographically, I don’t have access to olive trees. This year, I placed an order with a farm in California, and received 17 lbs of black olives.

image(116)

I decided to cure the majority using a brine method, and the rest using a dry salt cured method.


Methods: In this post, I will be discussing the dry salt cured method of preserving olives.

First, you have the raw black olives. You want to sort them for deformities, and wash the pile of good olives, and dry them off.

image(118)

After you have sorted the good olives from the bad olives, weigh the olives that you have. Mix the olives to salt in a 2:1 ratio (aka for 2 lbs for olives, mix in 1 lb of salt). Mix them thoroughly.

Next, you want to set up a container to hold the salt and olives for the next 6-8 weeks at room temperature (60-80 F). I used a cheese mold lined in cheesecloth that worked out well.

image(120)

Pour the olives into the container, cover with a new layer of salt, and lay the tails of the cheesecloth over the olive and salt mixture.

image(121)

Once a week, re-mix this mixture by pouring the olives and salt into another container, mixing it around, and pouring it back into the cheesecloth lined cheese mold.

image(122)

After 6-8 weeks, the olives are most likely ready.

image(123)

Pour the olives out over a sieve to get rid of the extra salt, and allow them to dry overnight.

image(24)b

image(23)

image(22)


To store the olives: Make a 10:1 ratio of olives to salt (aka 10 lbs of olives to 1 lb of salt). Mix this together, and store in an airtight container at room temperature (use within 1 month), in the refrigerator (use within 6 months), or in the freezer (use within 12 months).

I stored mine in a mason jar that I sealed using a vacuum sealer, and they are now safely stored in the fridge.

To eat the olives: Take the olives out of storage, and boil them for a few minutes (optional step). Allow them to air dry, and soak them in olive oil with herbs. I have found that they are best if they are allowed to marinate in the olive oil and herbs at least overnight if not longer.

image(27)c


Resources:

http://anrcatalog.ucanr.edu/pdf/8267.pdf


Filed Under: Preservation Tagged With: black olives, curing, diy, fermentation, homemade, olives

  • « Previous Page
  • 1
  • 2
  • 3
  • Instagram

Copyright © 2025 · Foodie Pro Theme by Shay Bocks · Built on the Genesis Framework · Powered by WordPress