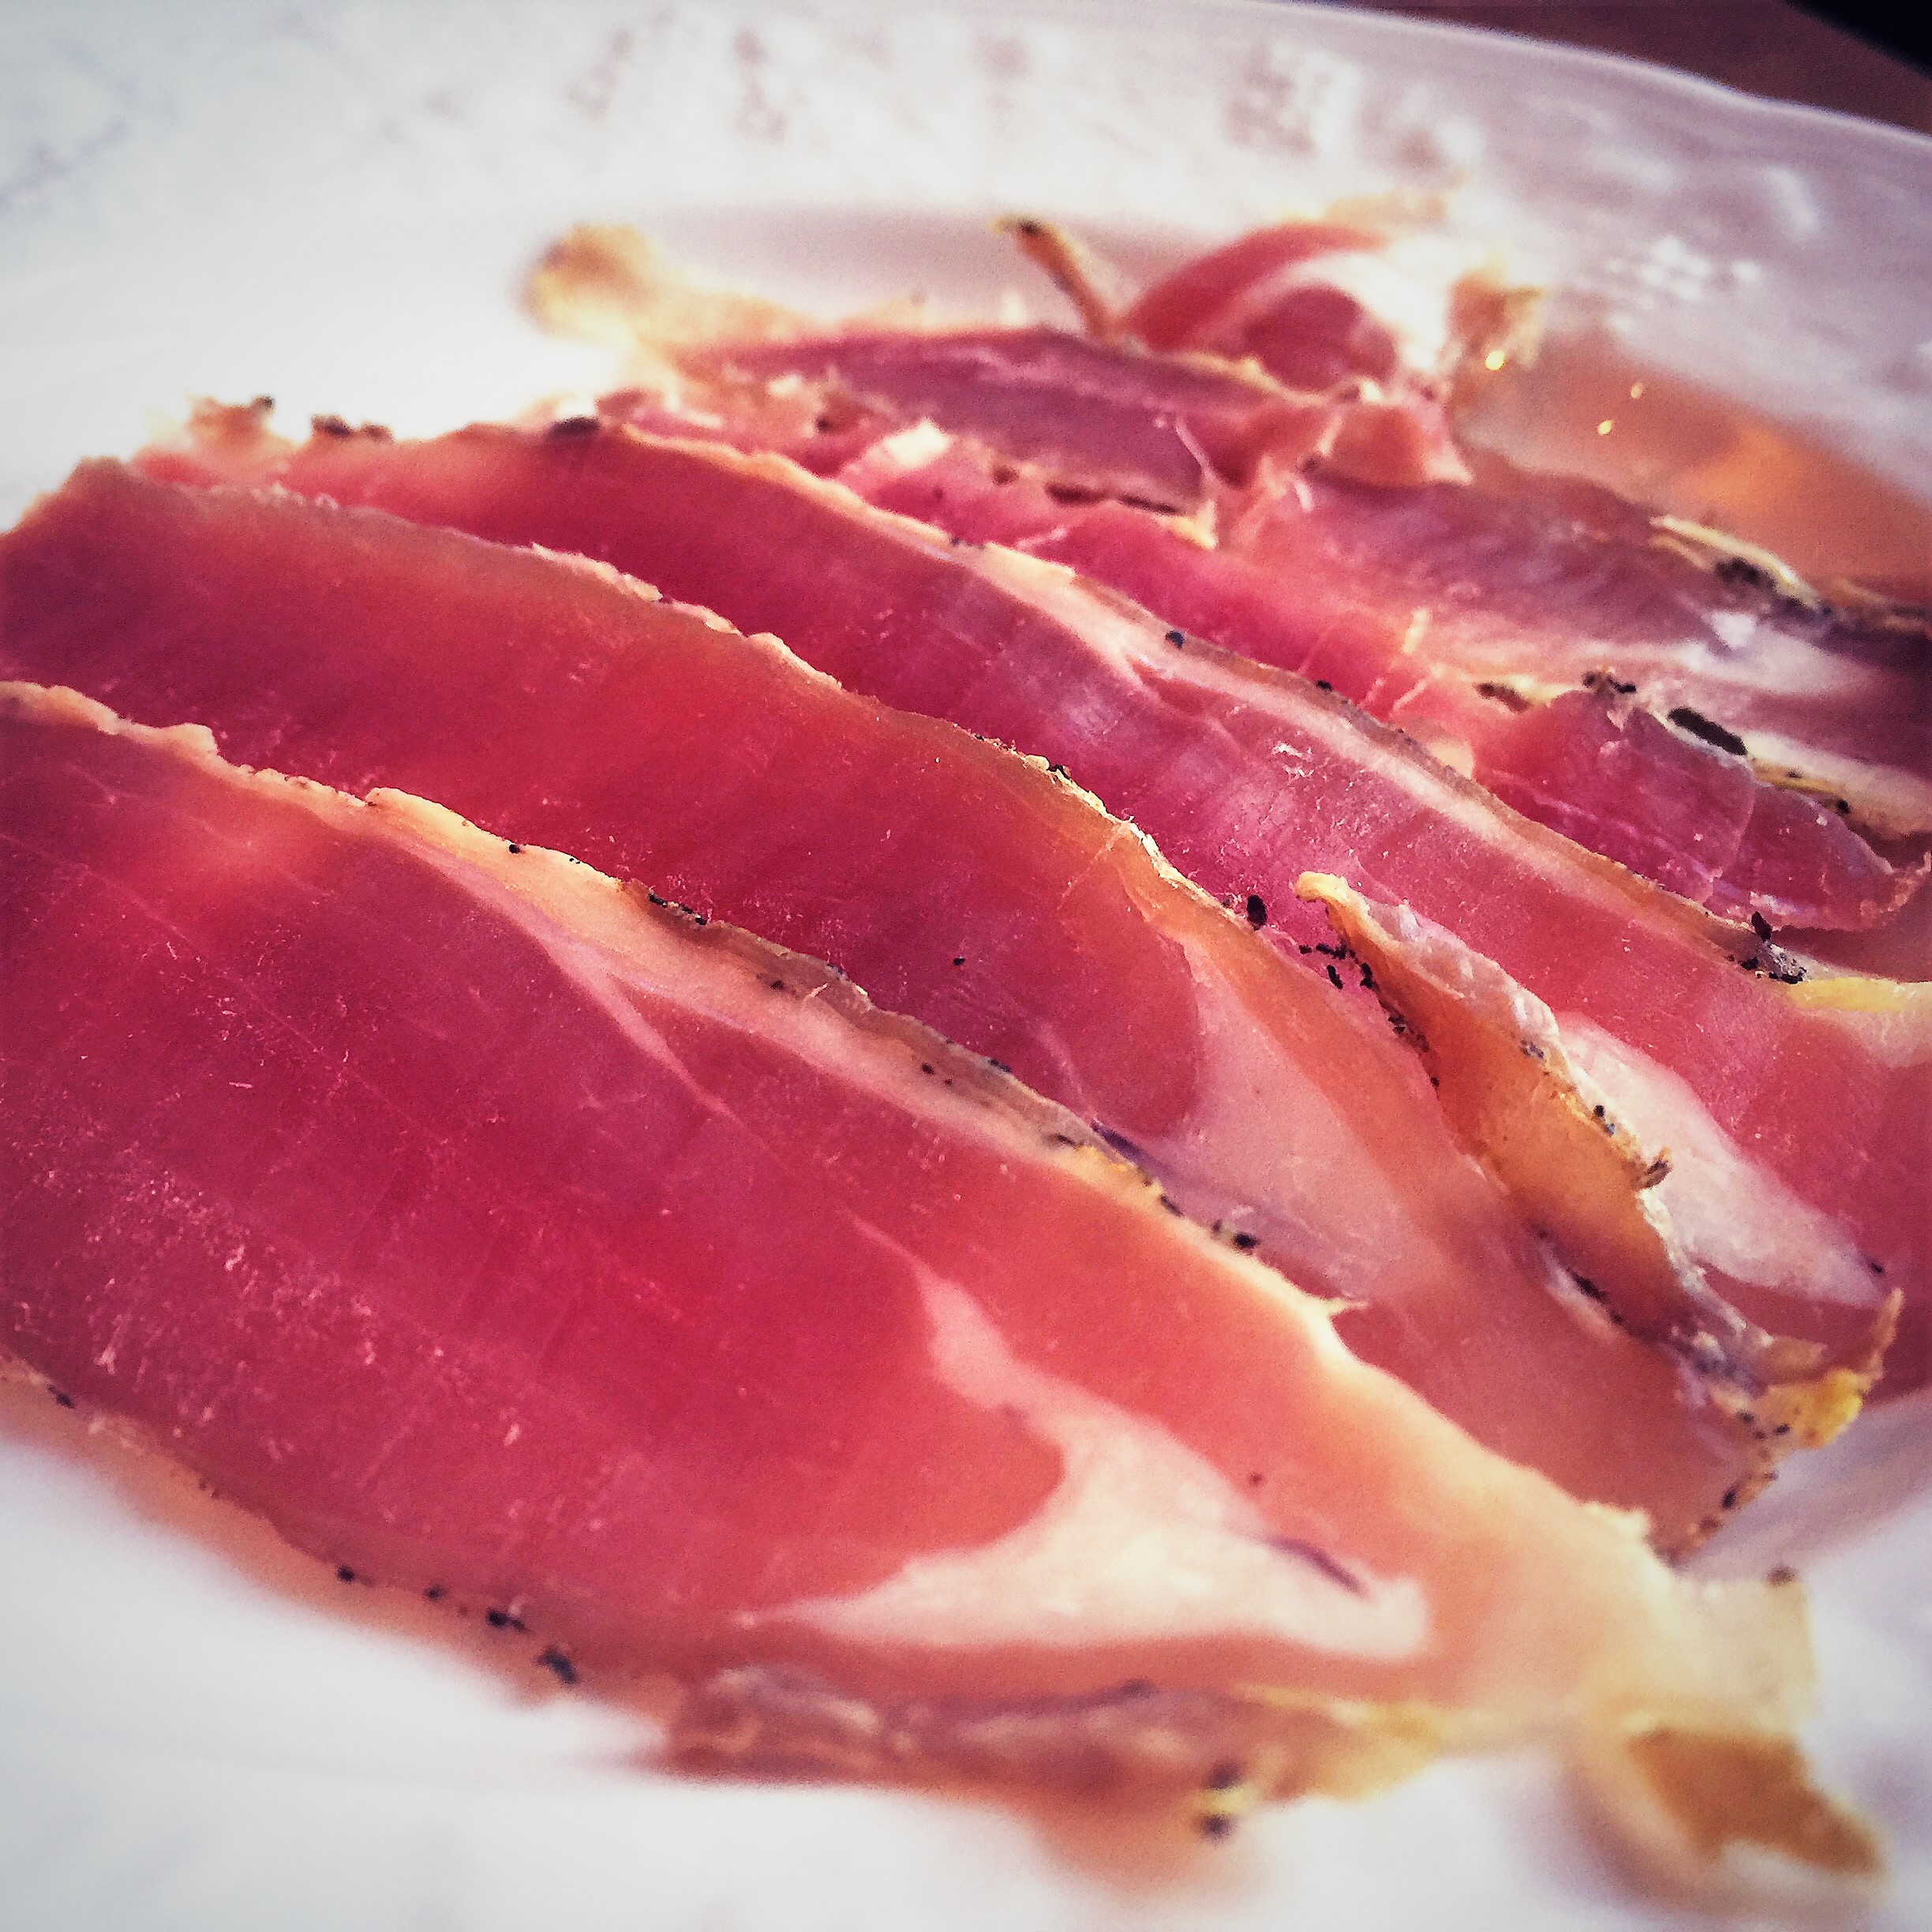
Goat prosciutto caught my eye early on when I was learning the craft of curing meat. Luckily, I have access to a large number of halal butchers, and was able to procure a bone in leg of goat fairly easily. This is the first cured meat product I made that was bone in, and I was excited about the possibility. Because of how lean a leg of goat is, this project is done fairly quickly, so it is a good project if you are looking for one with a quicker turnaround.
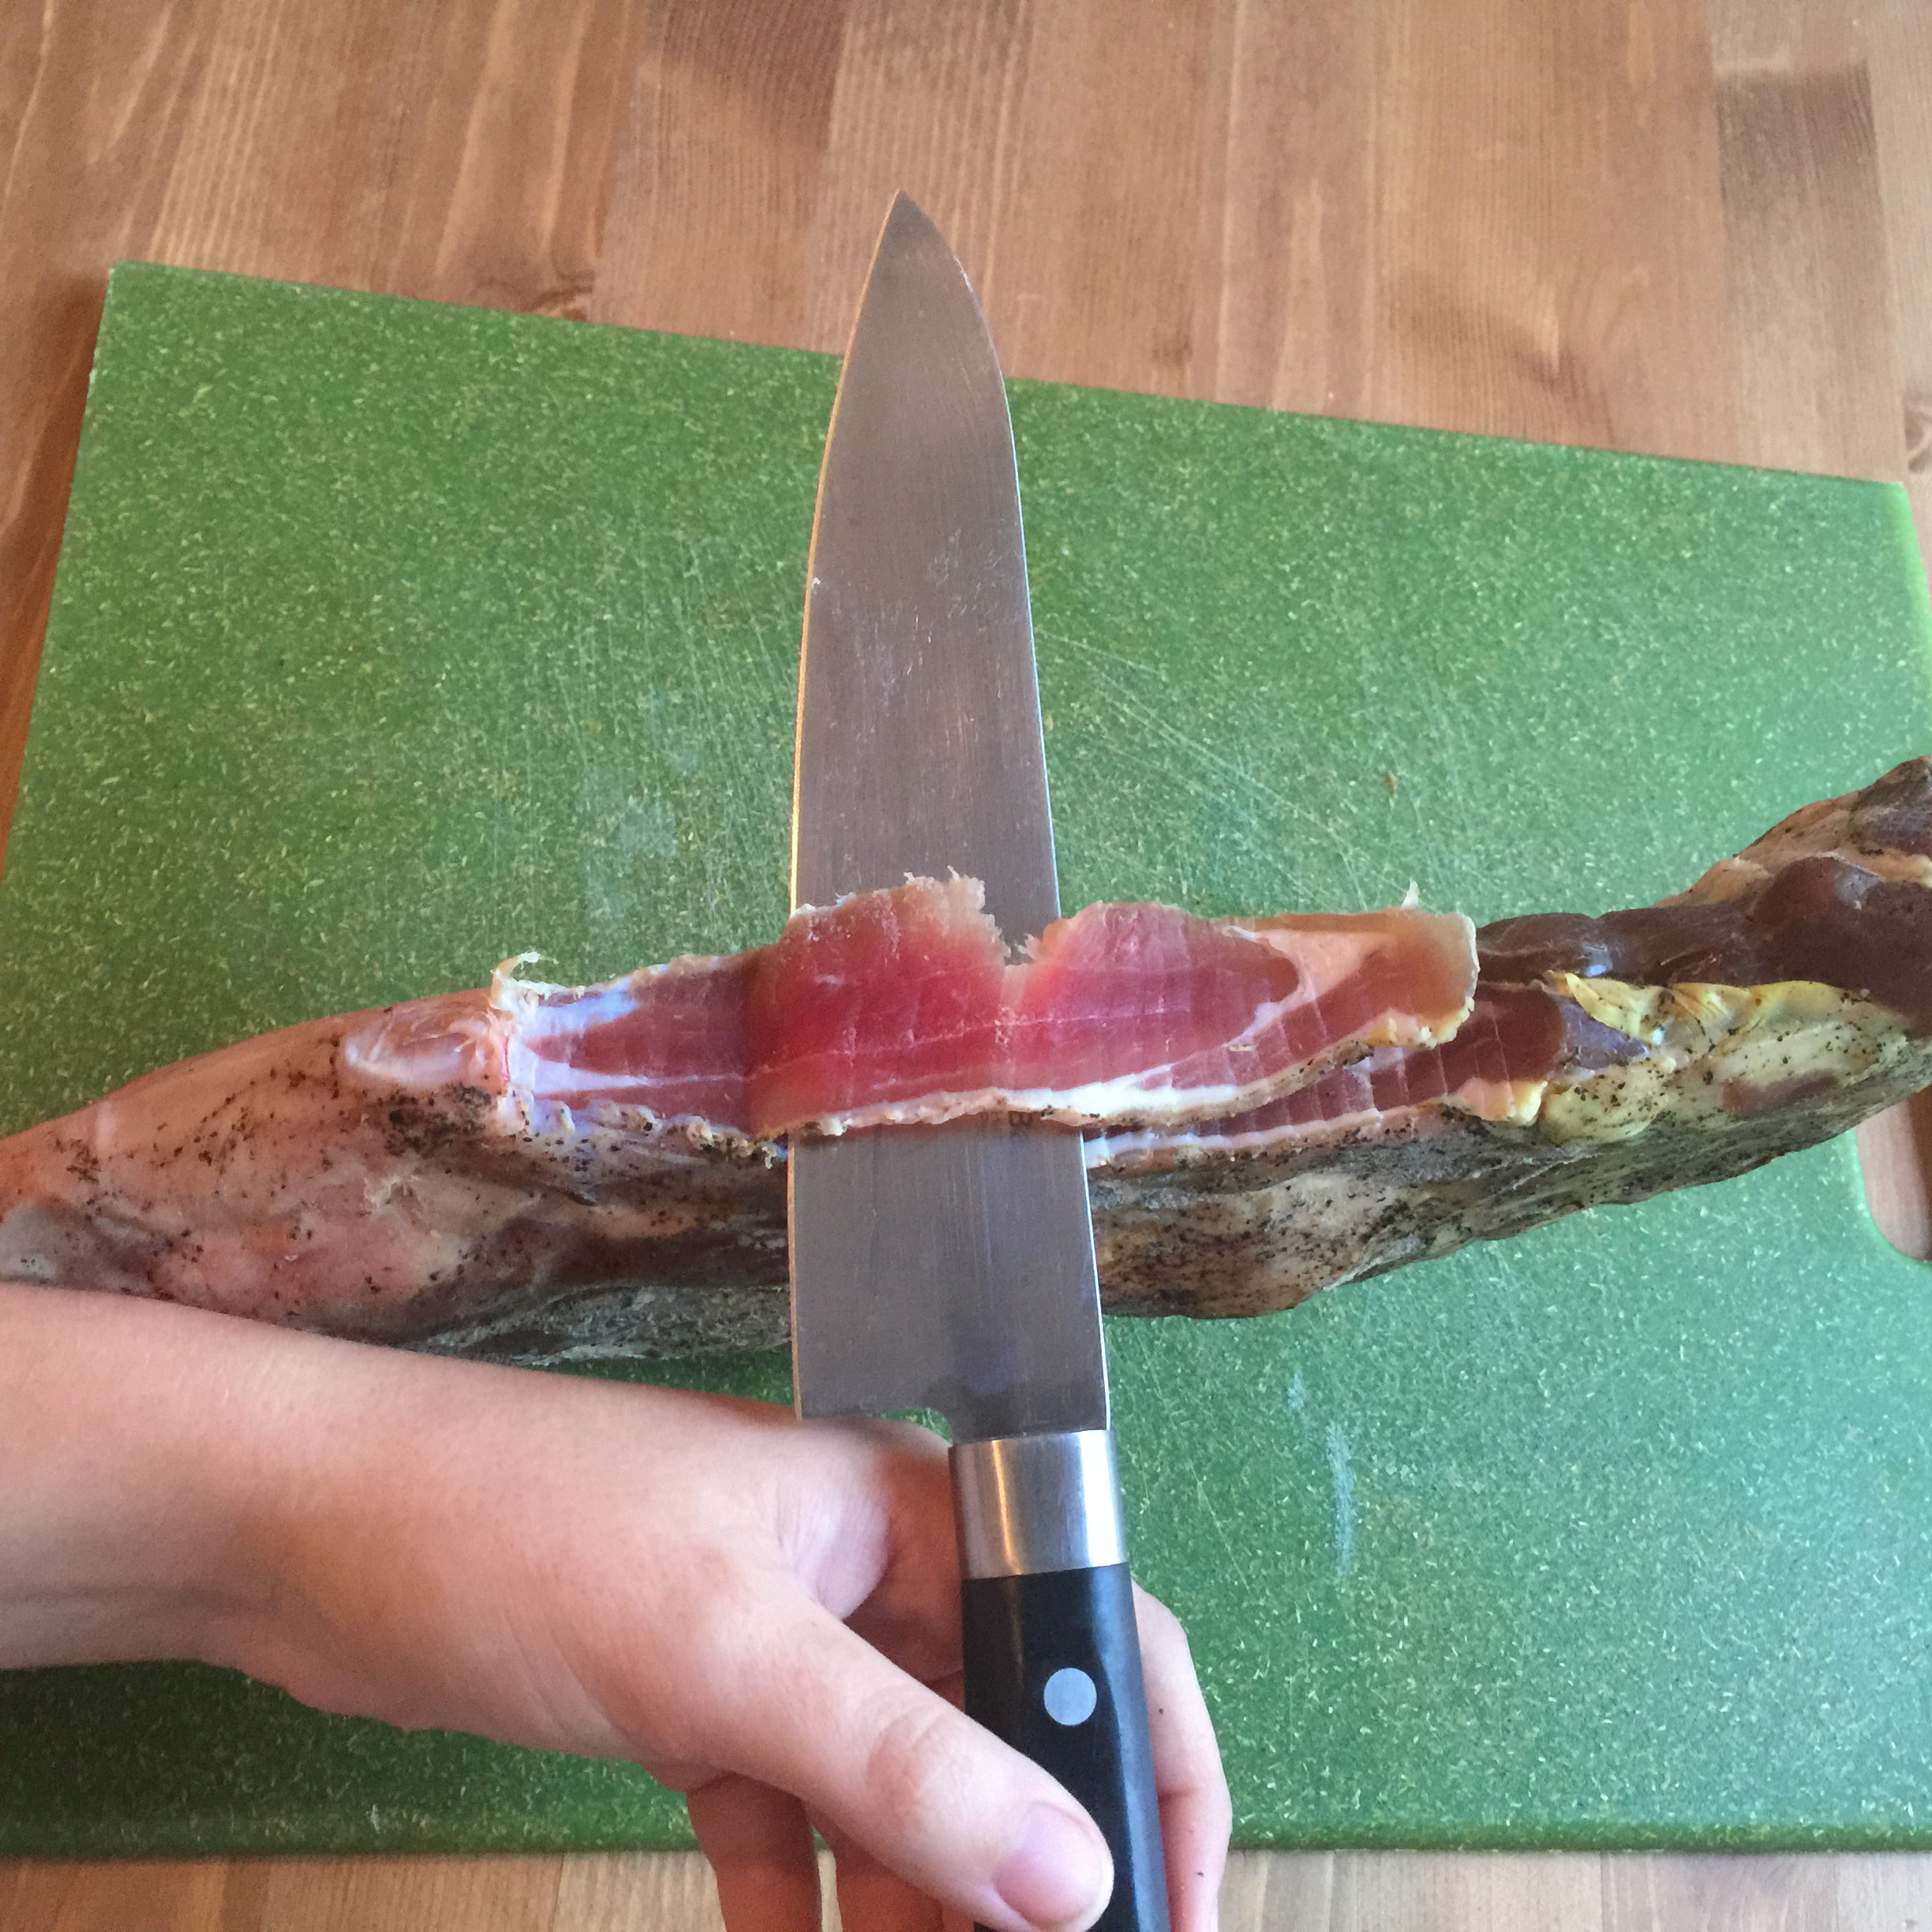
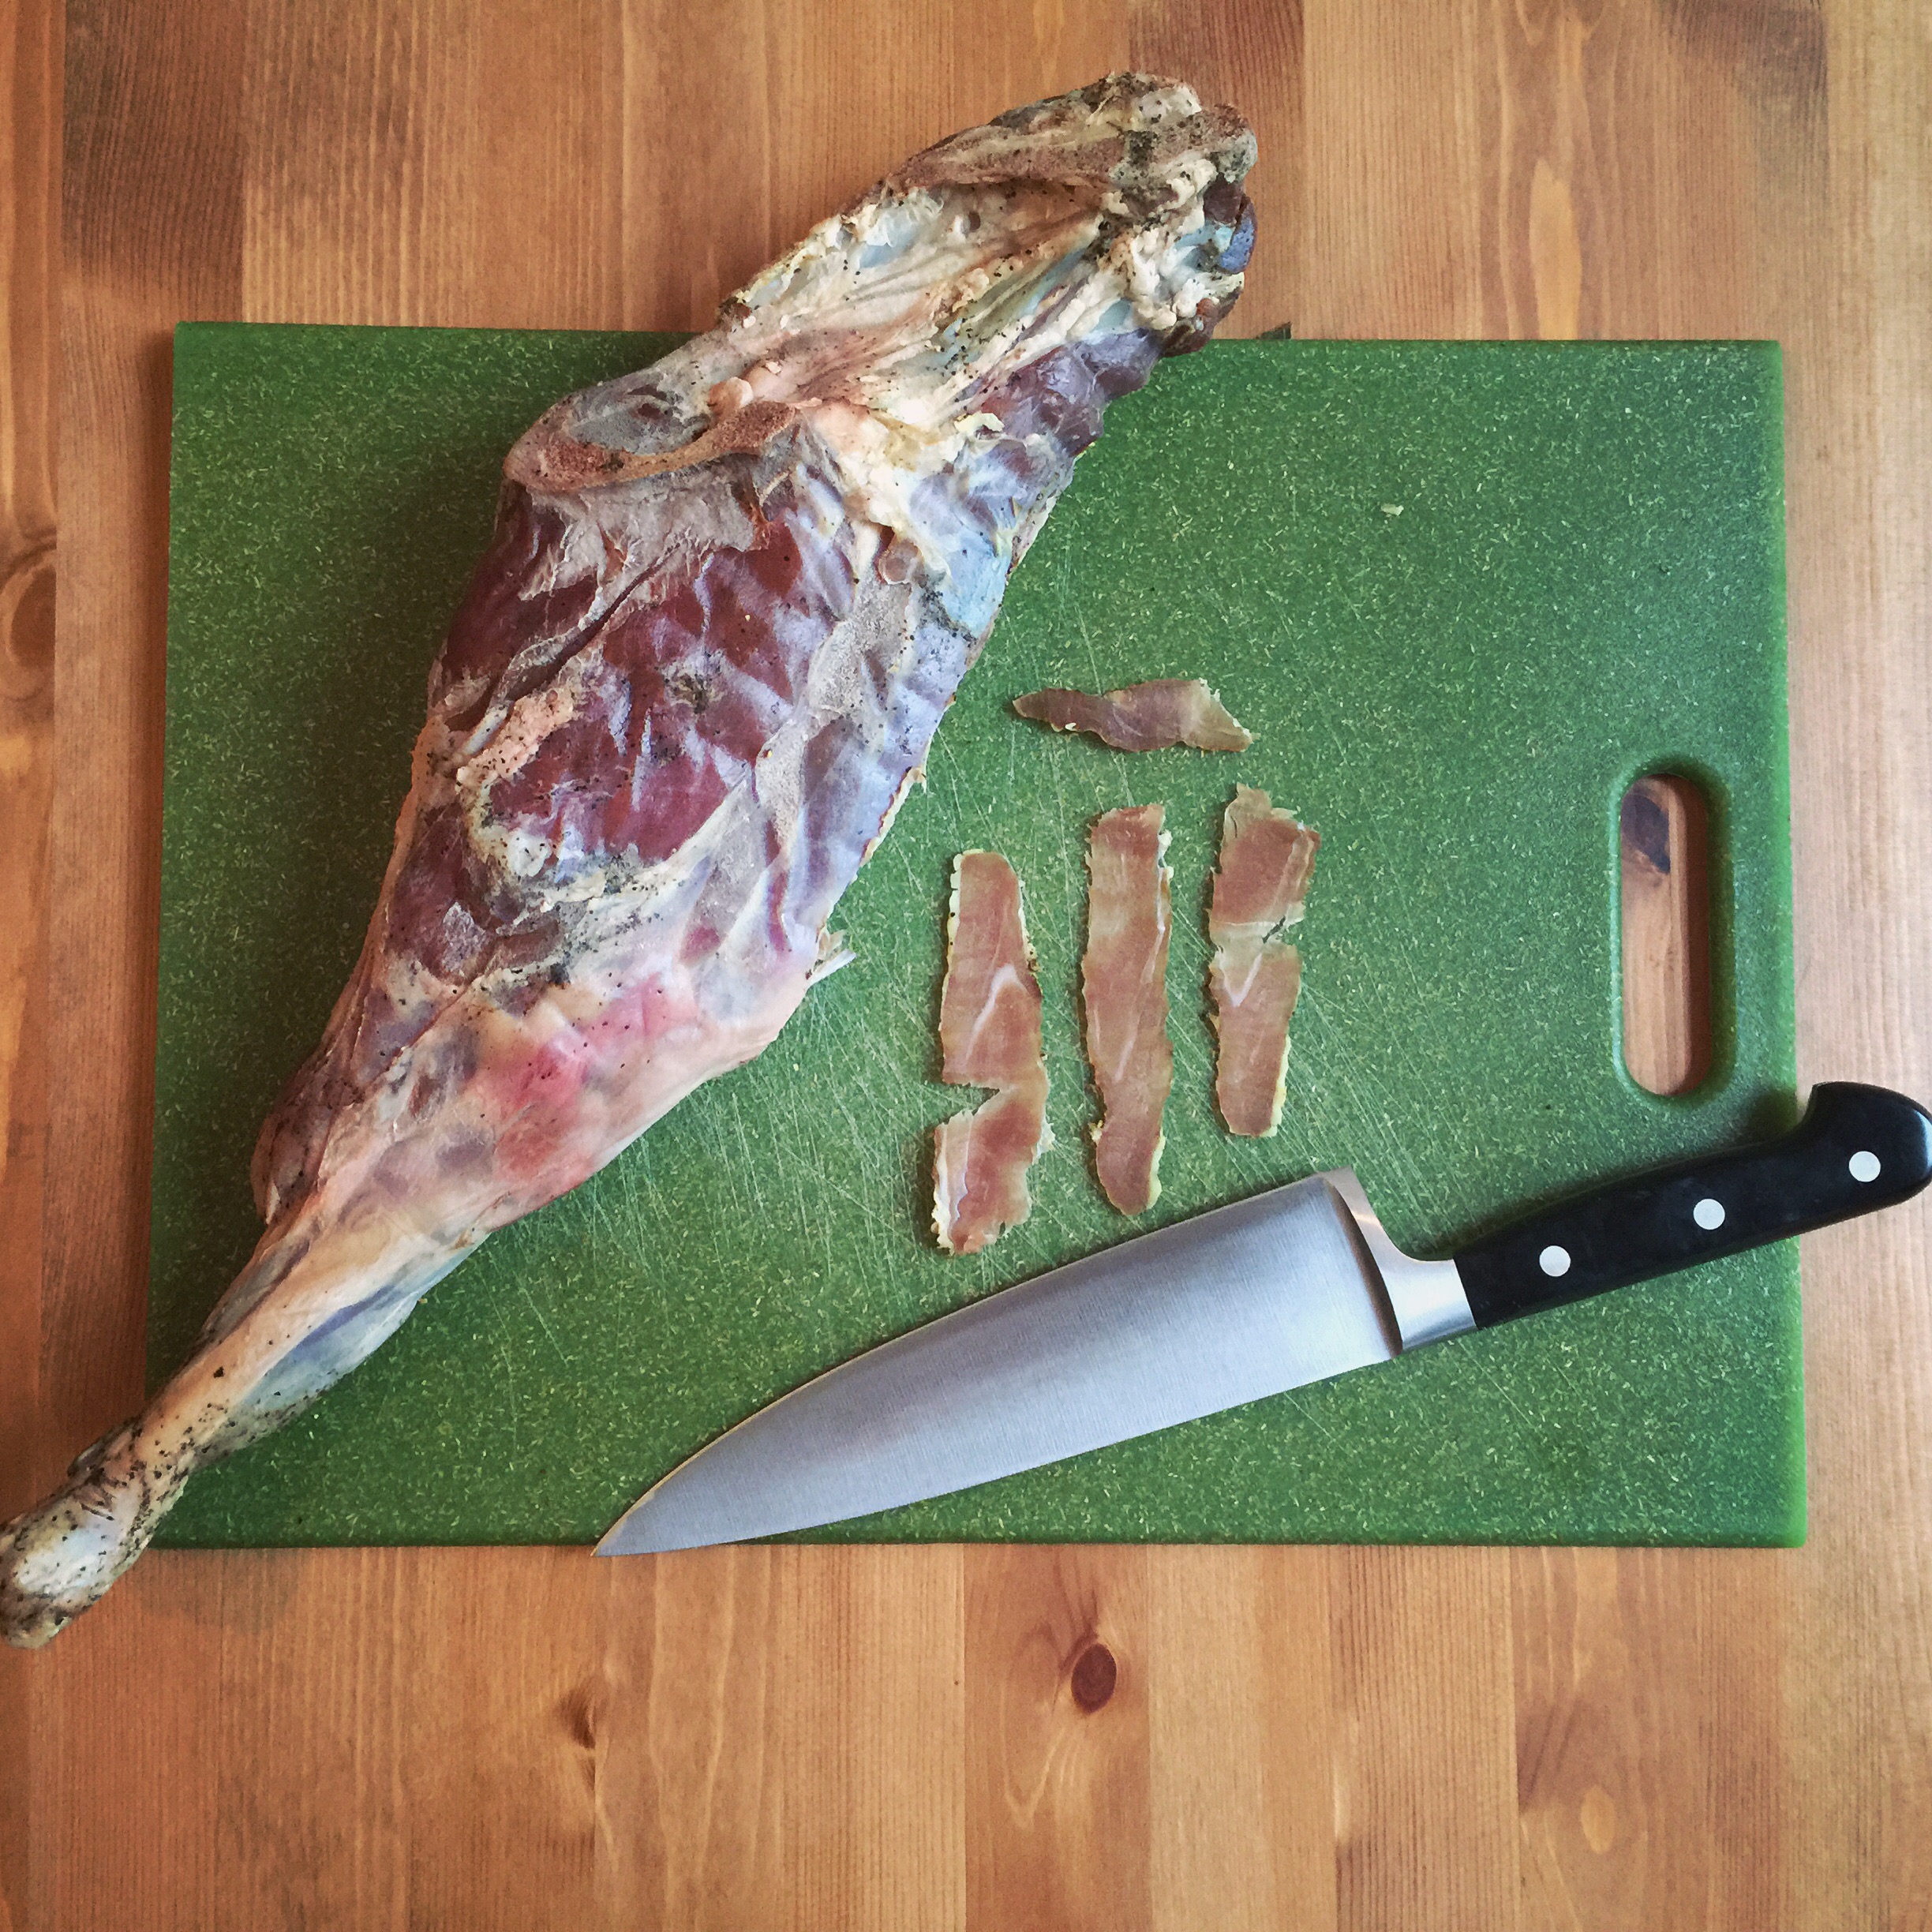
Goat prosciutto is also called violino di capra, occasionally prosciutto di capra, or mocetta (when it is bone out). It gets the name violino di capra because when one is carving the cured meat product, it looks like one is playing the violin (not the easiest process to take a photo of when you are by yourself). Melodious AND tasty, you can’t beat that.
Curing (suggested 2 weeks):
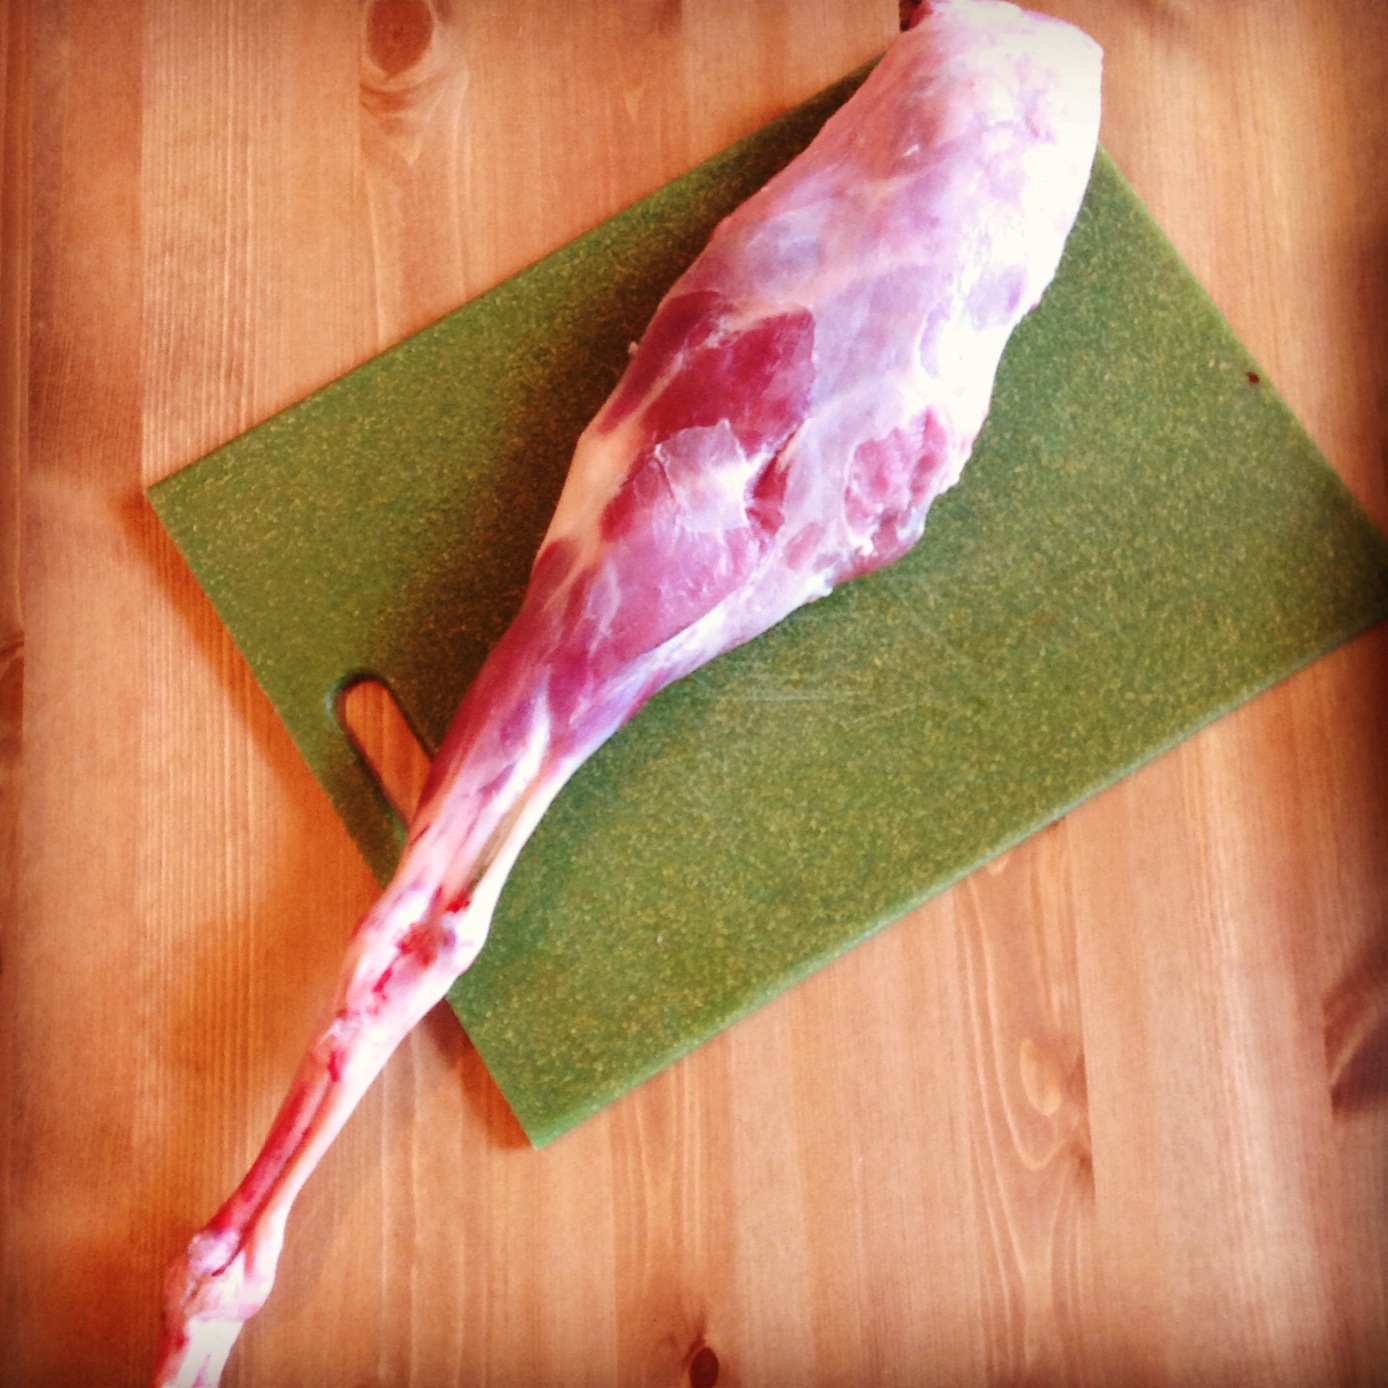
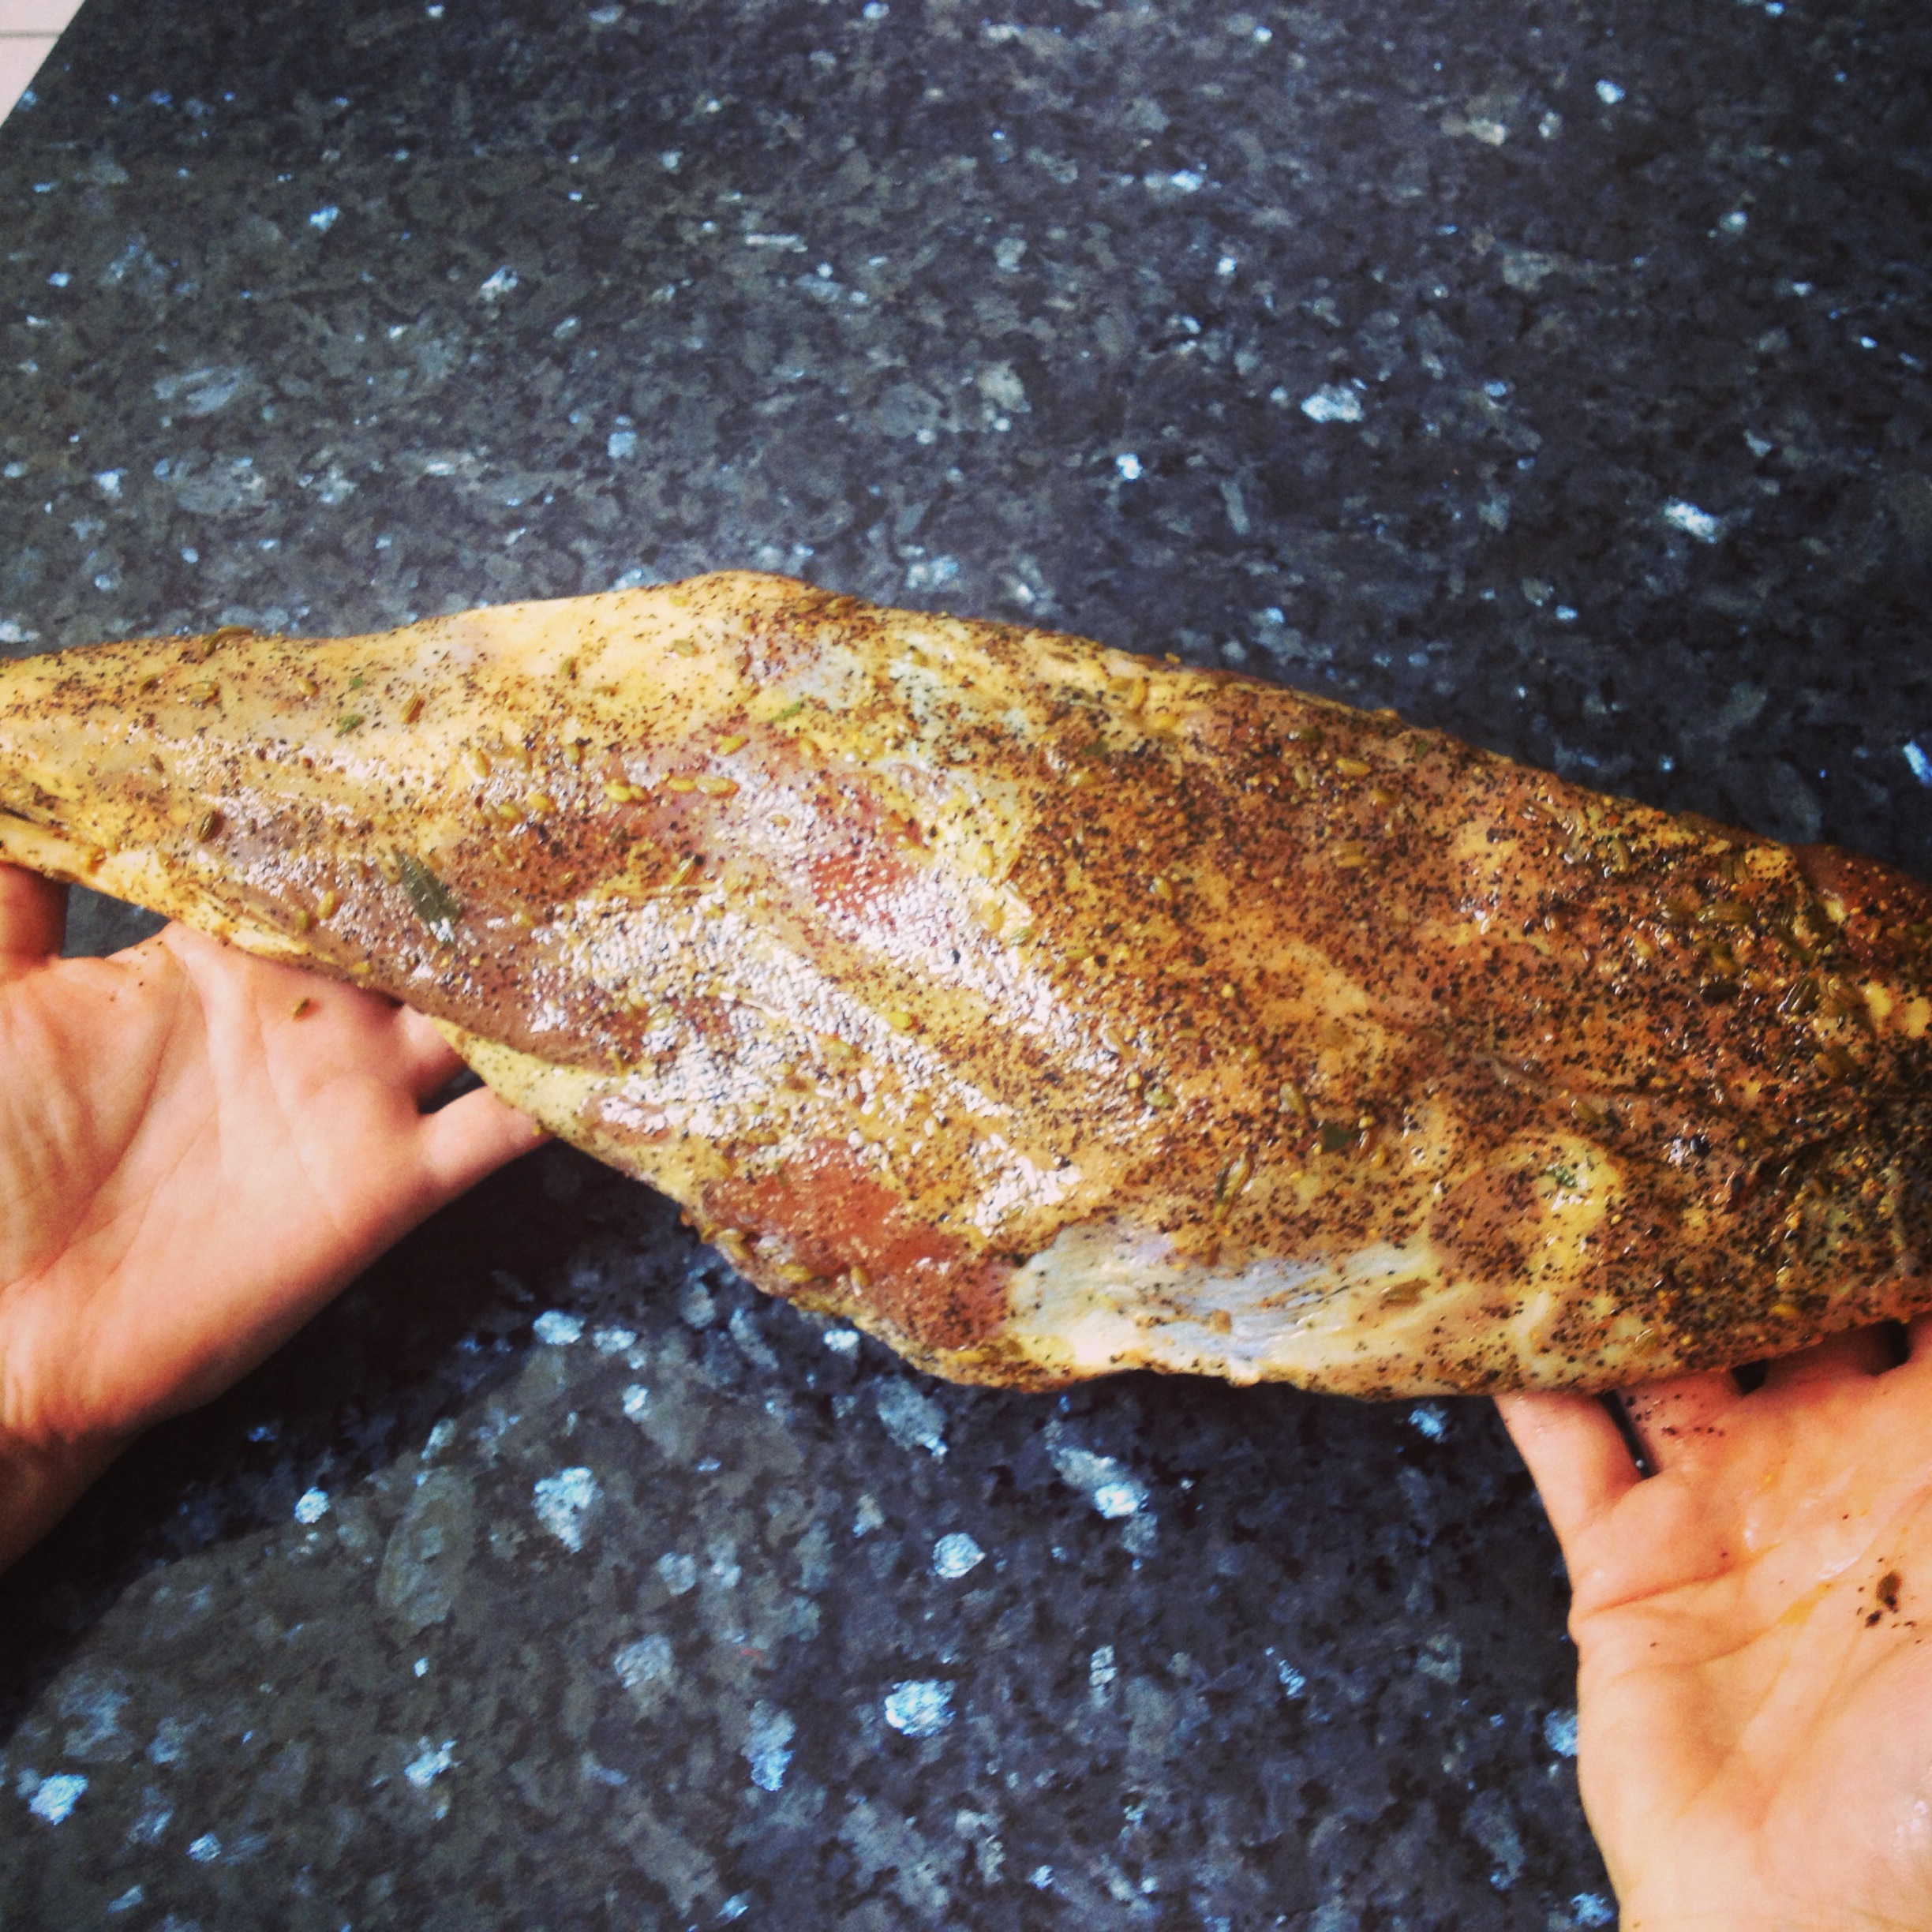
So, this project was a bit of a mess from the start. I bought the goat leg on a bit of a whim because it looked so beautiful that I couldn’t resist.
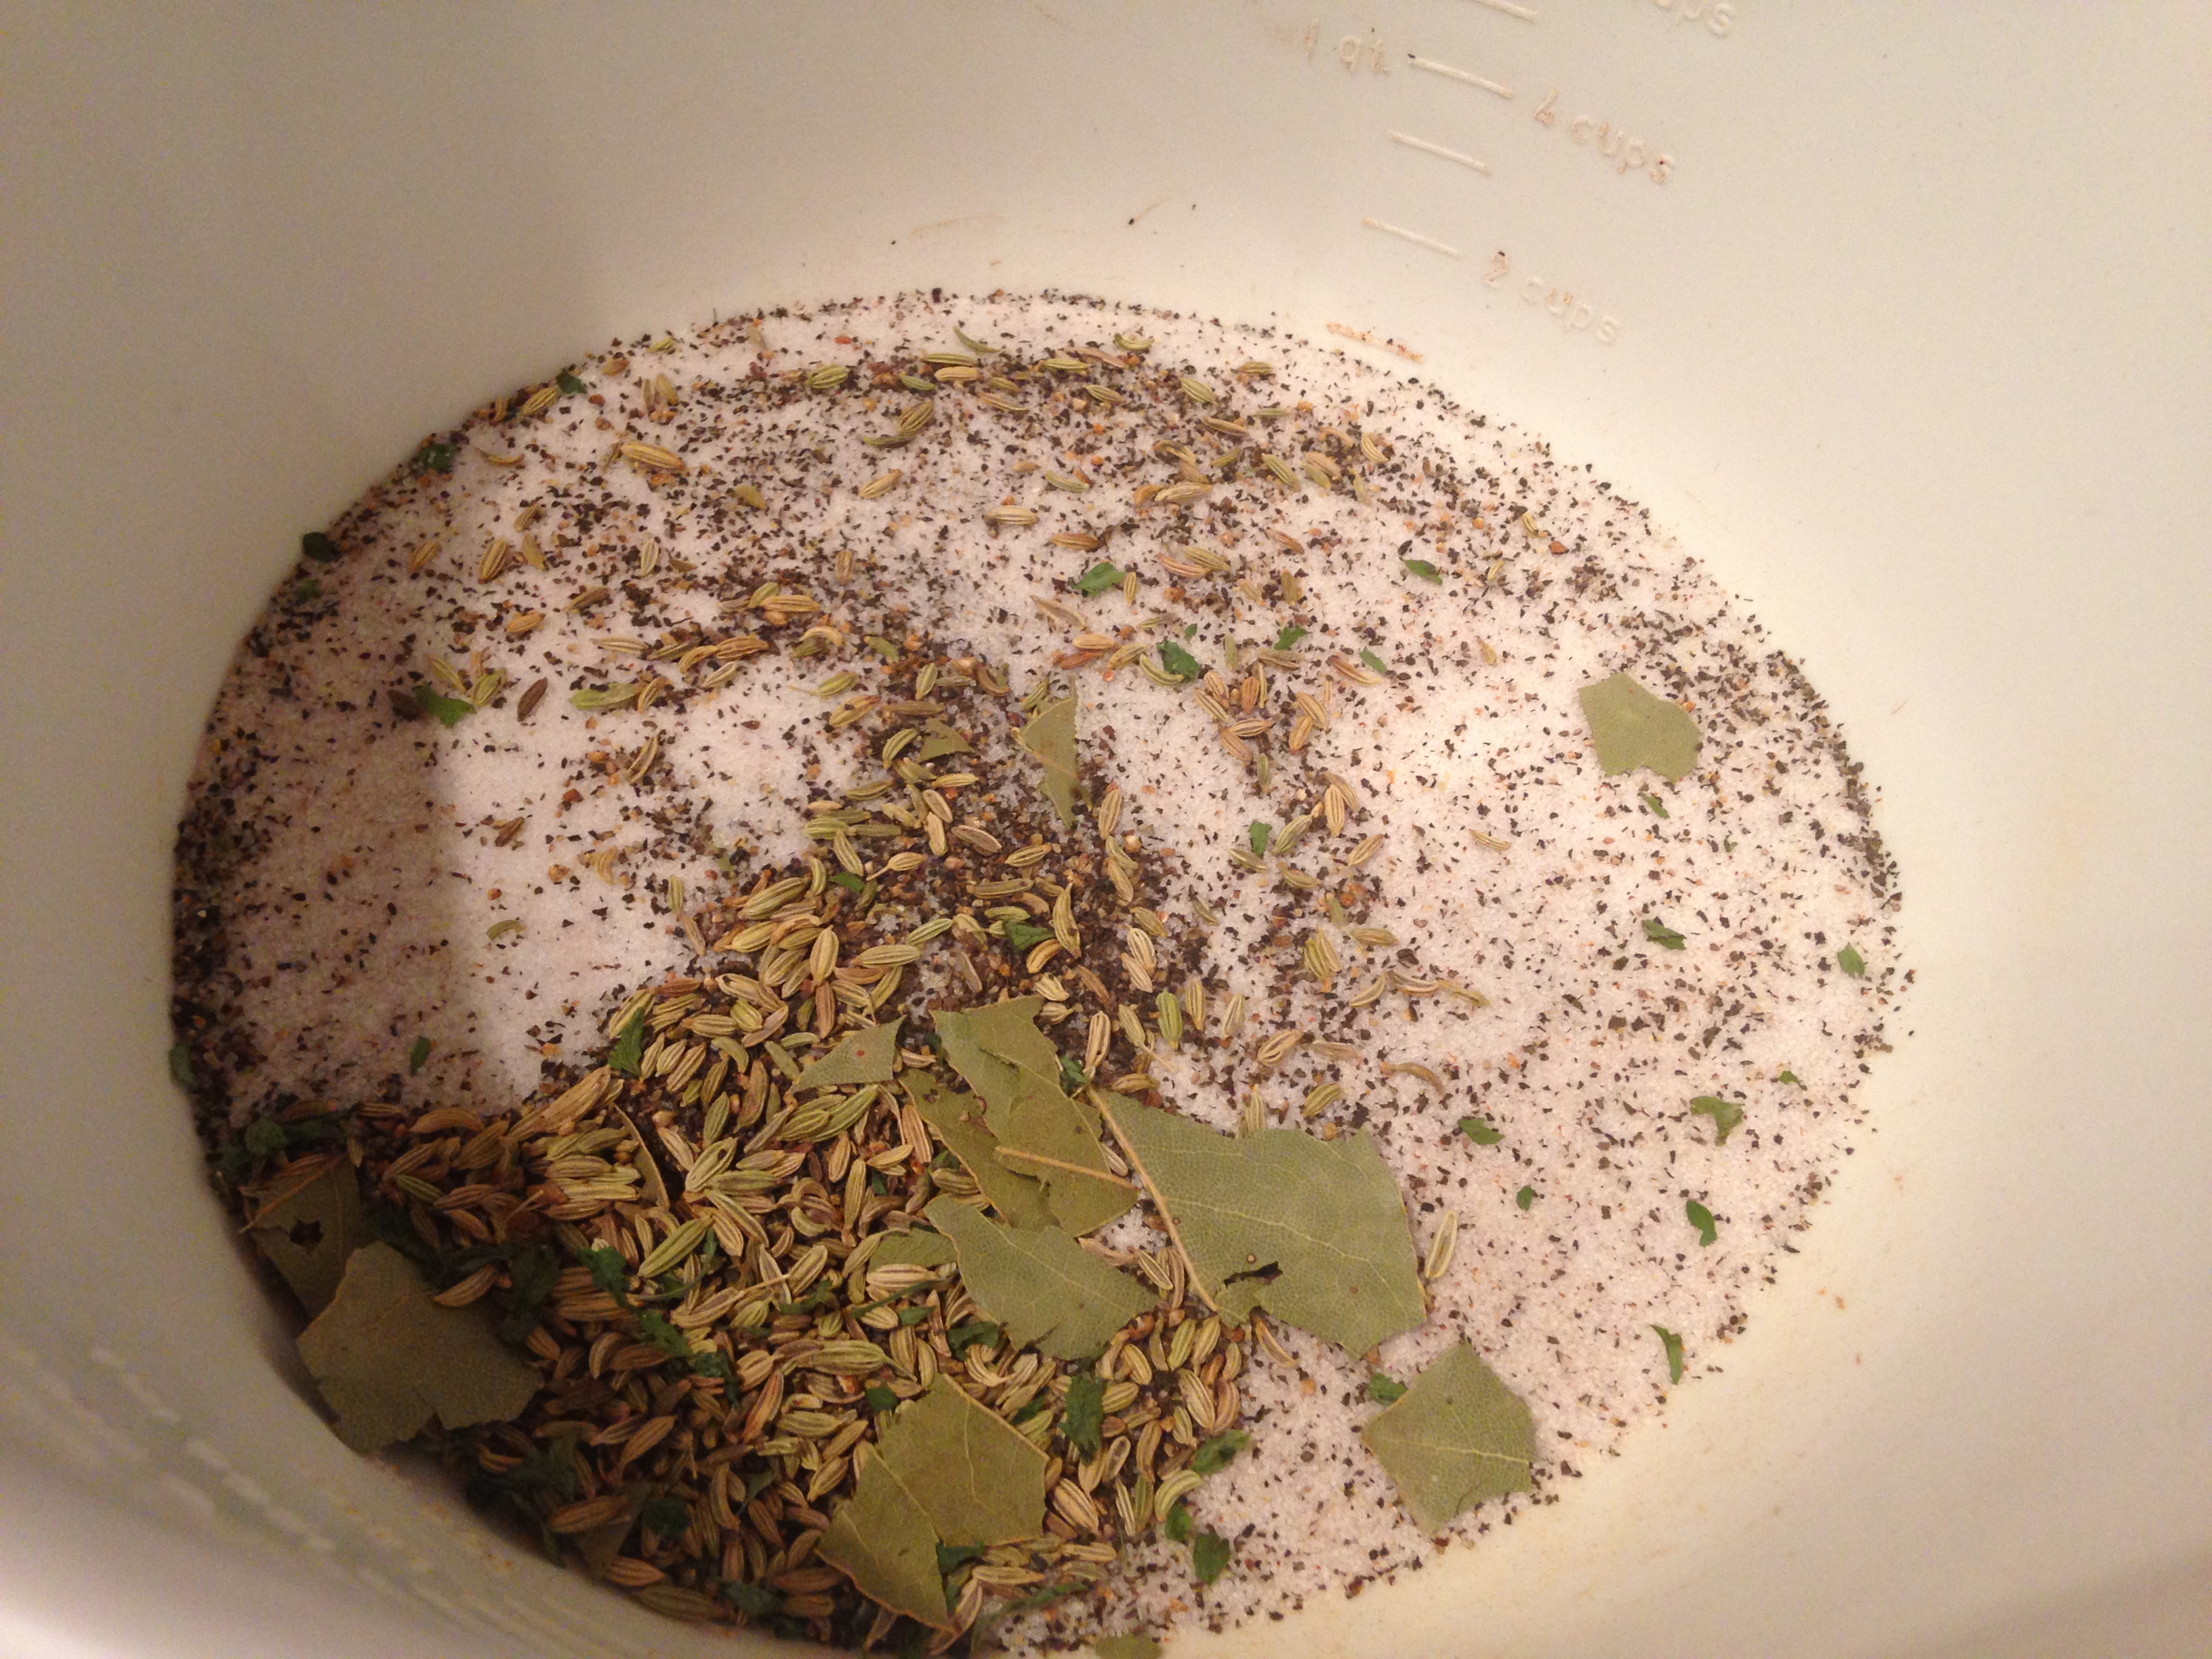
I didn’t have my scale with my at the time, so I couldn’t weigh my ingredients. I also didn’t have some of my critical ingredients, such as nitrates, which I had to add halfway into the curing process. Basically, I picked some spices I thought would go well with goat, measured by eye, and added them to the curing mixture. (See my other for posts for suggested curing ratios to use)
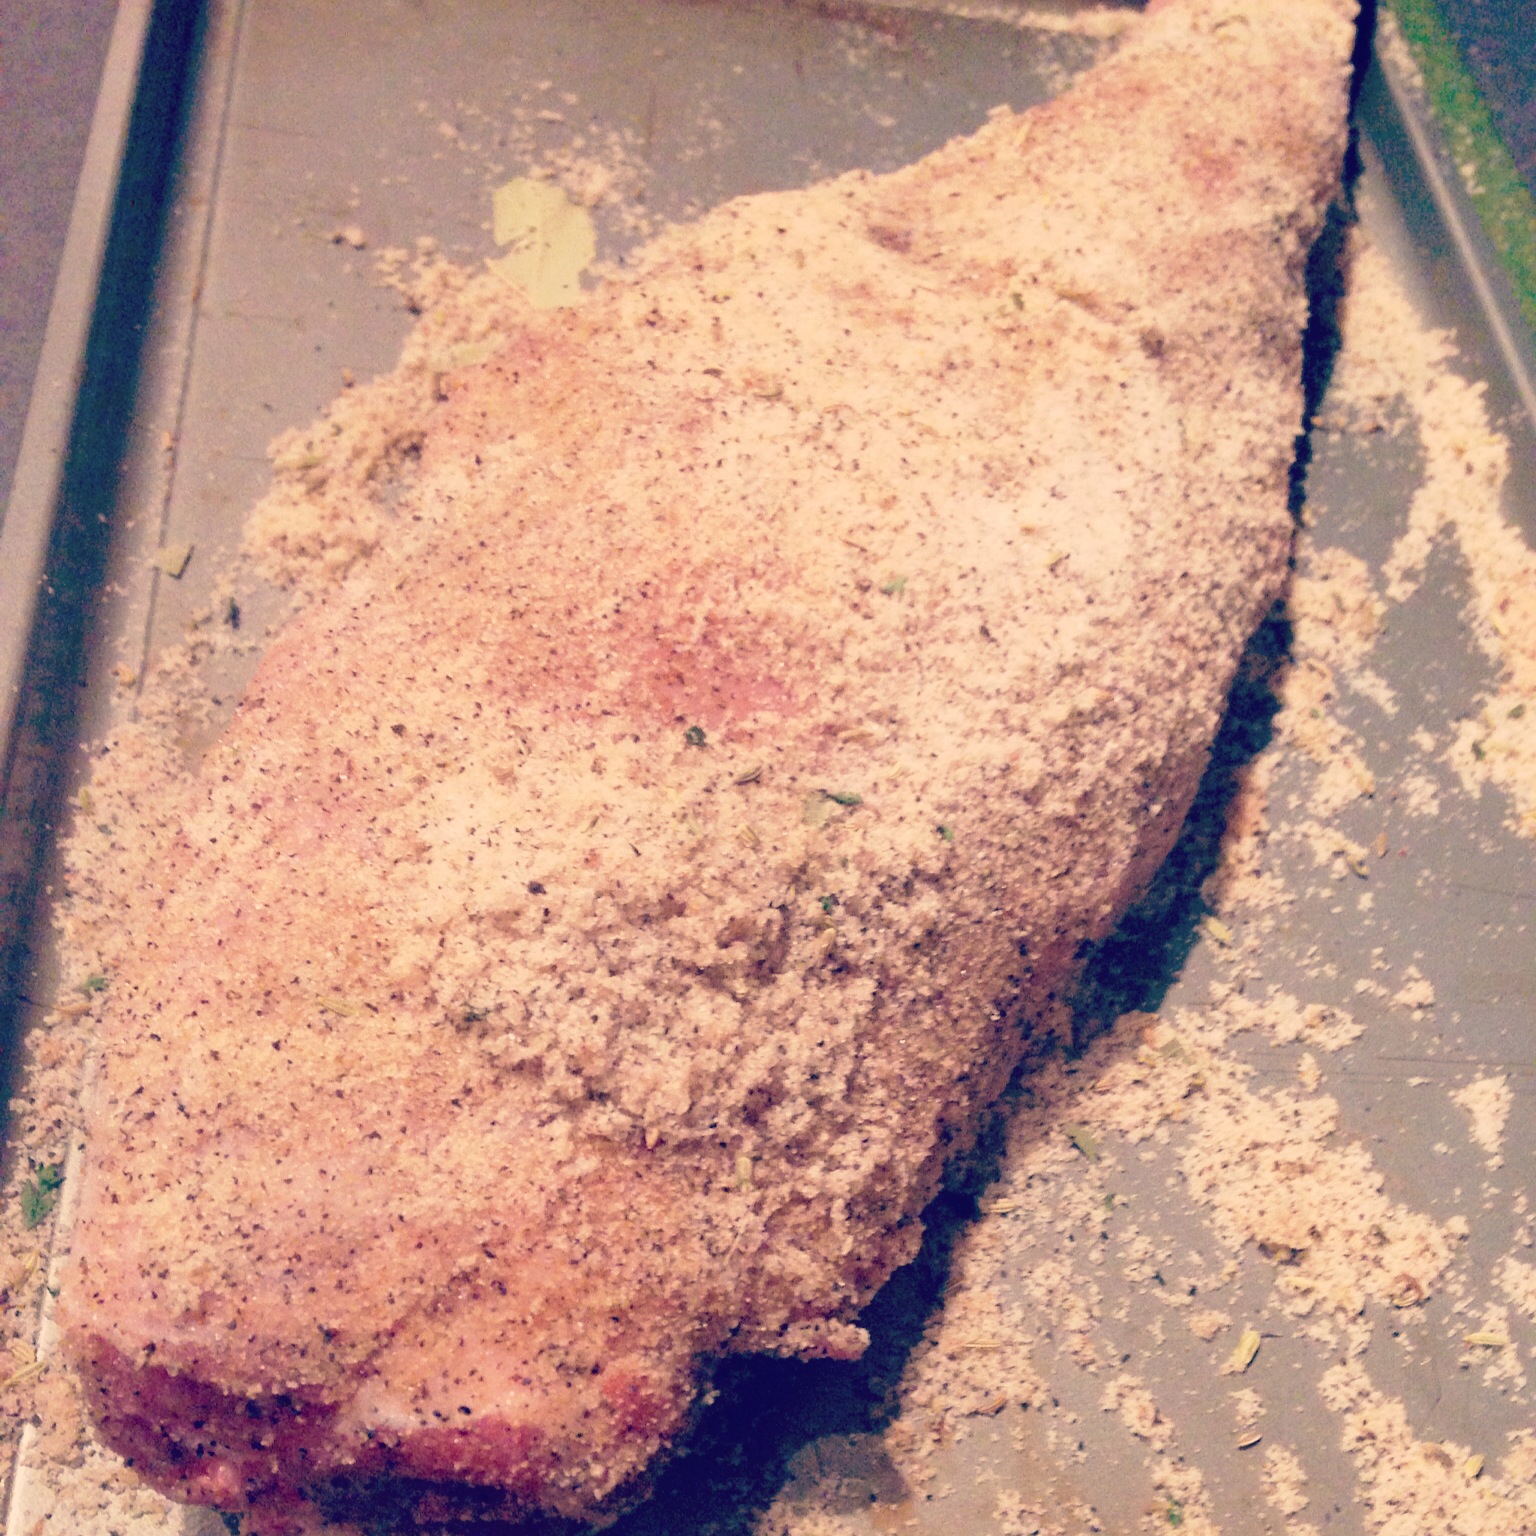
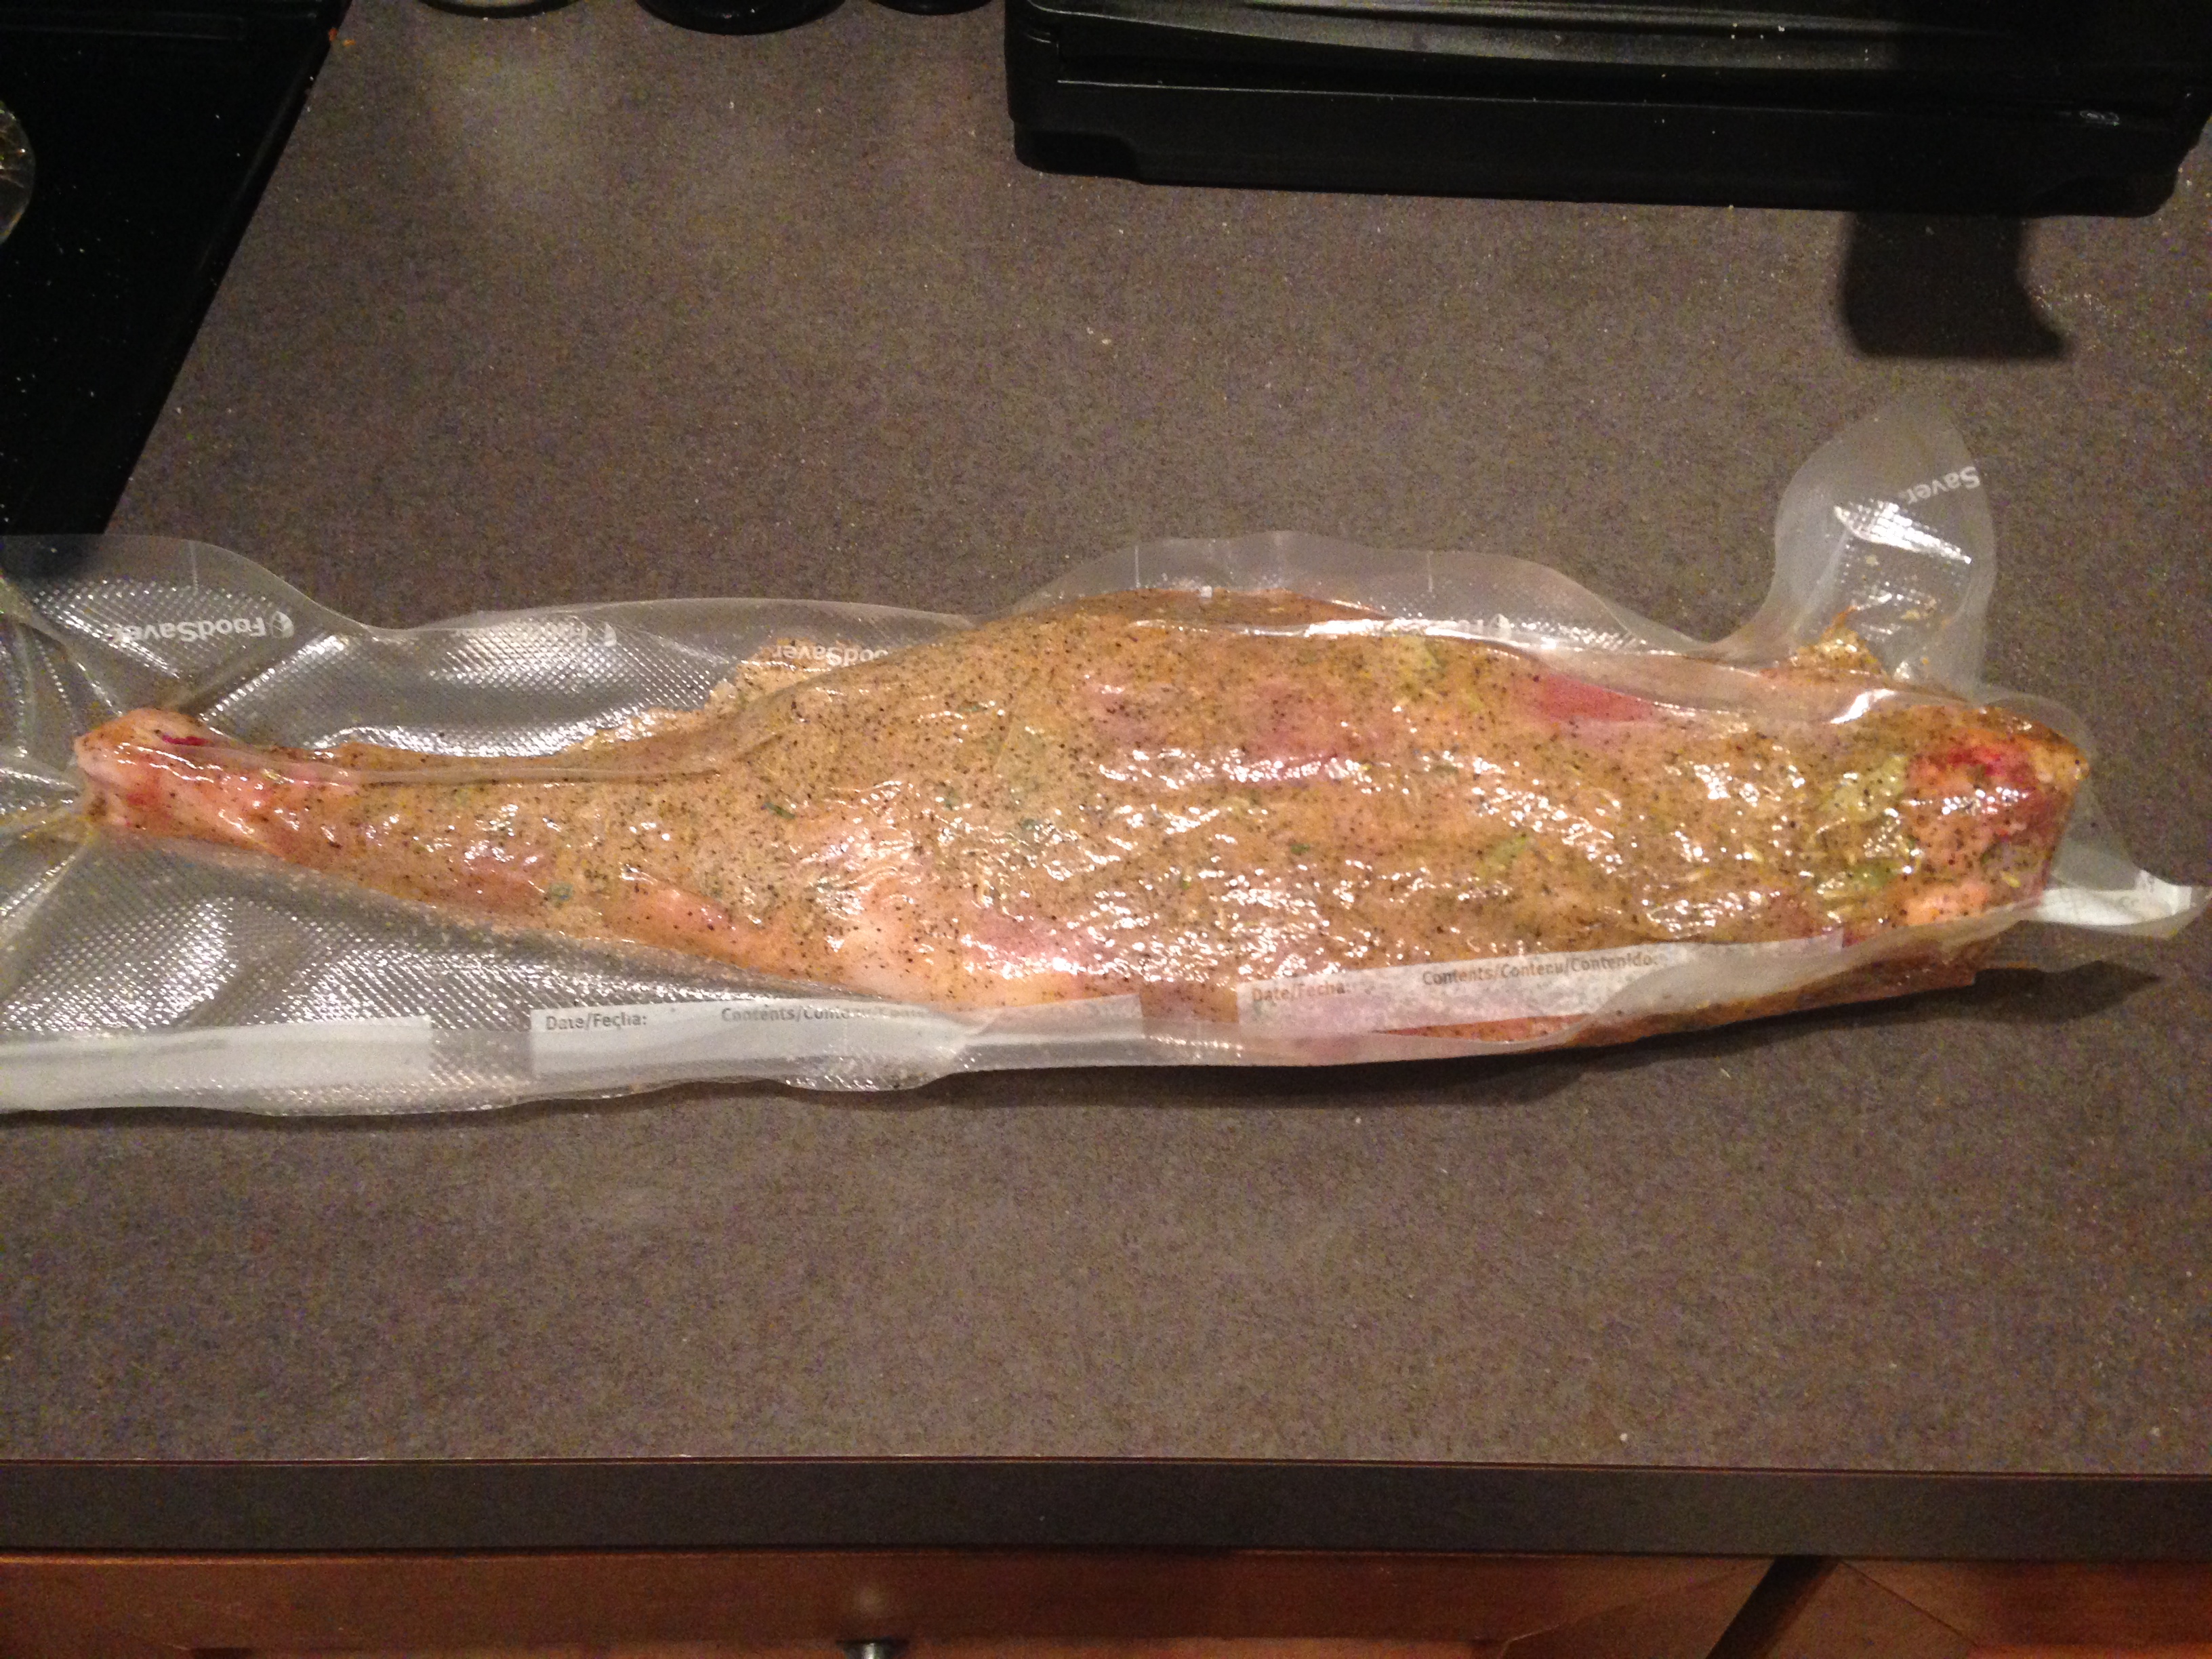
The spice cure was rubbed on the goat leg and it was allowed to cure.
My suggested cure time is 2 weeks, but because I got distracted and busy, this one stayed in the cure about 6 weeks.
Casing (1 hour):
After I remembered the meat was hanging out in my fridge in the cure, I rinsed it off and patted it dry.
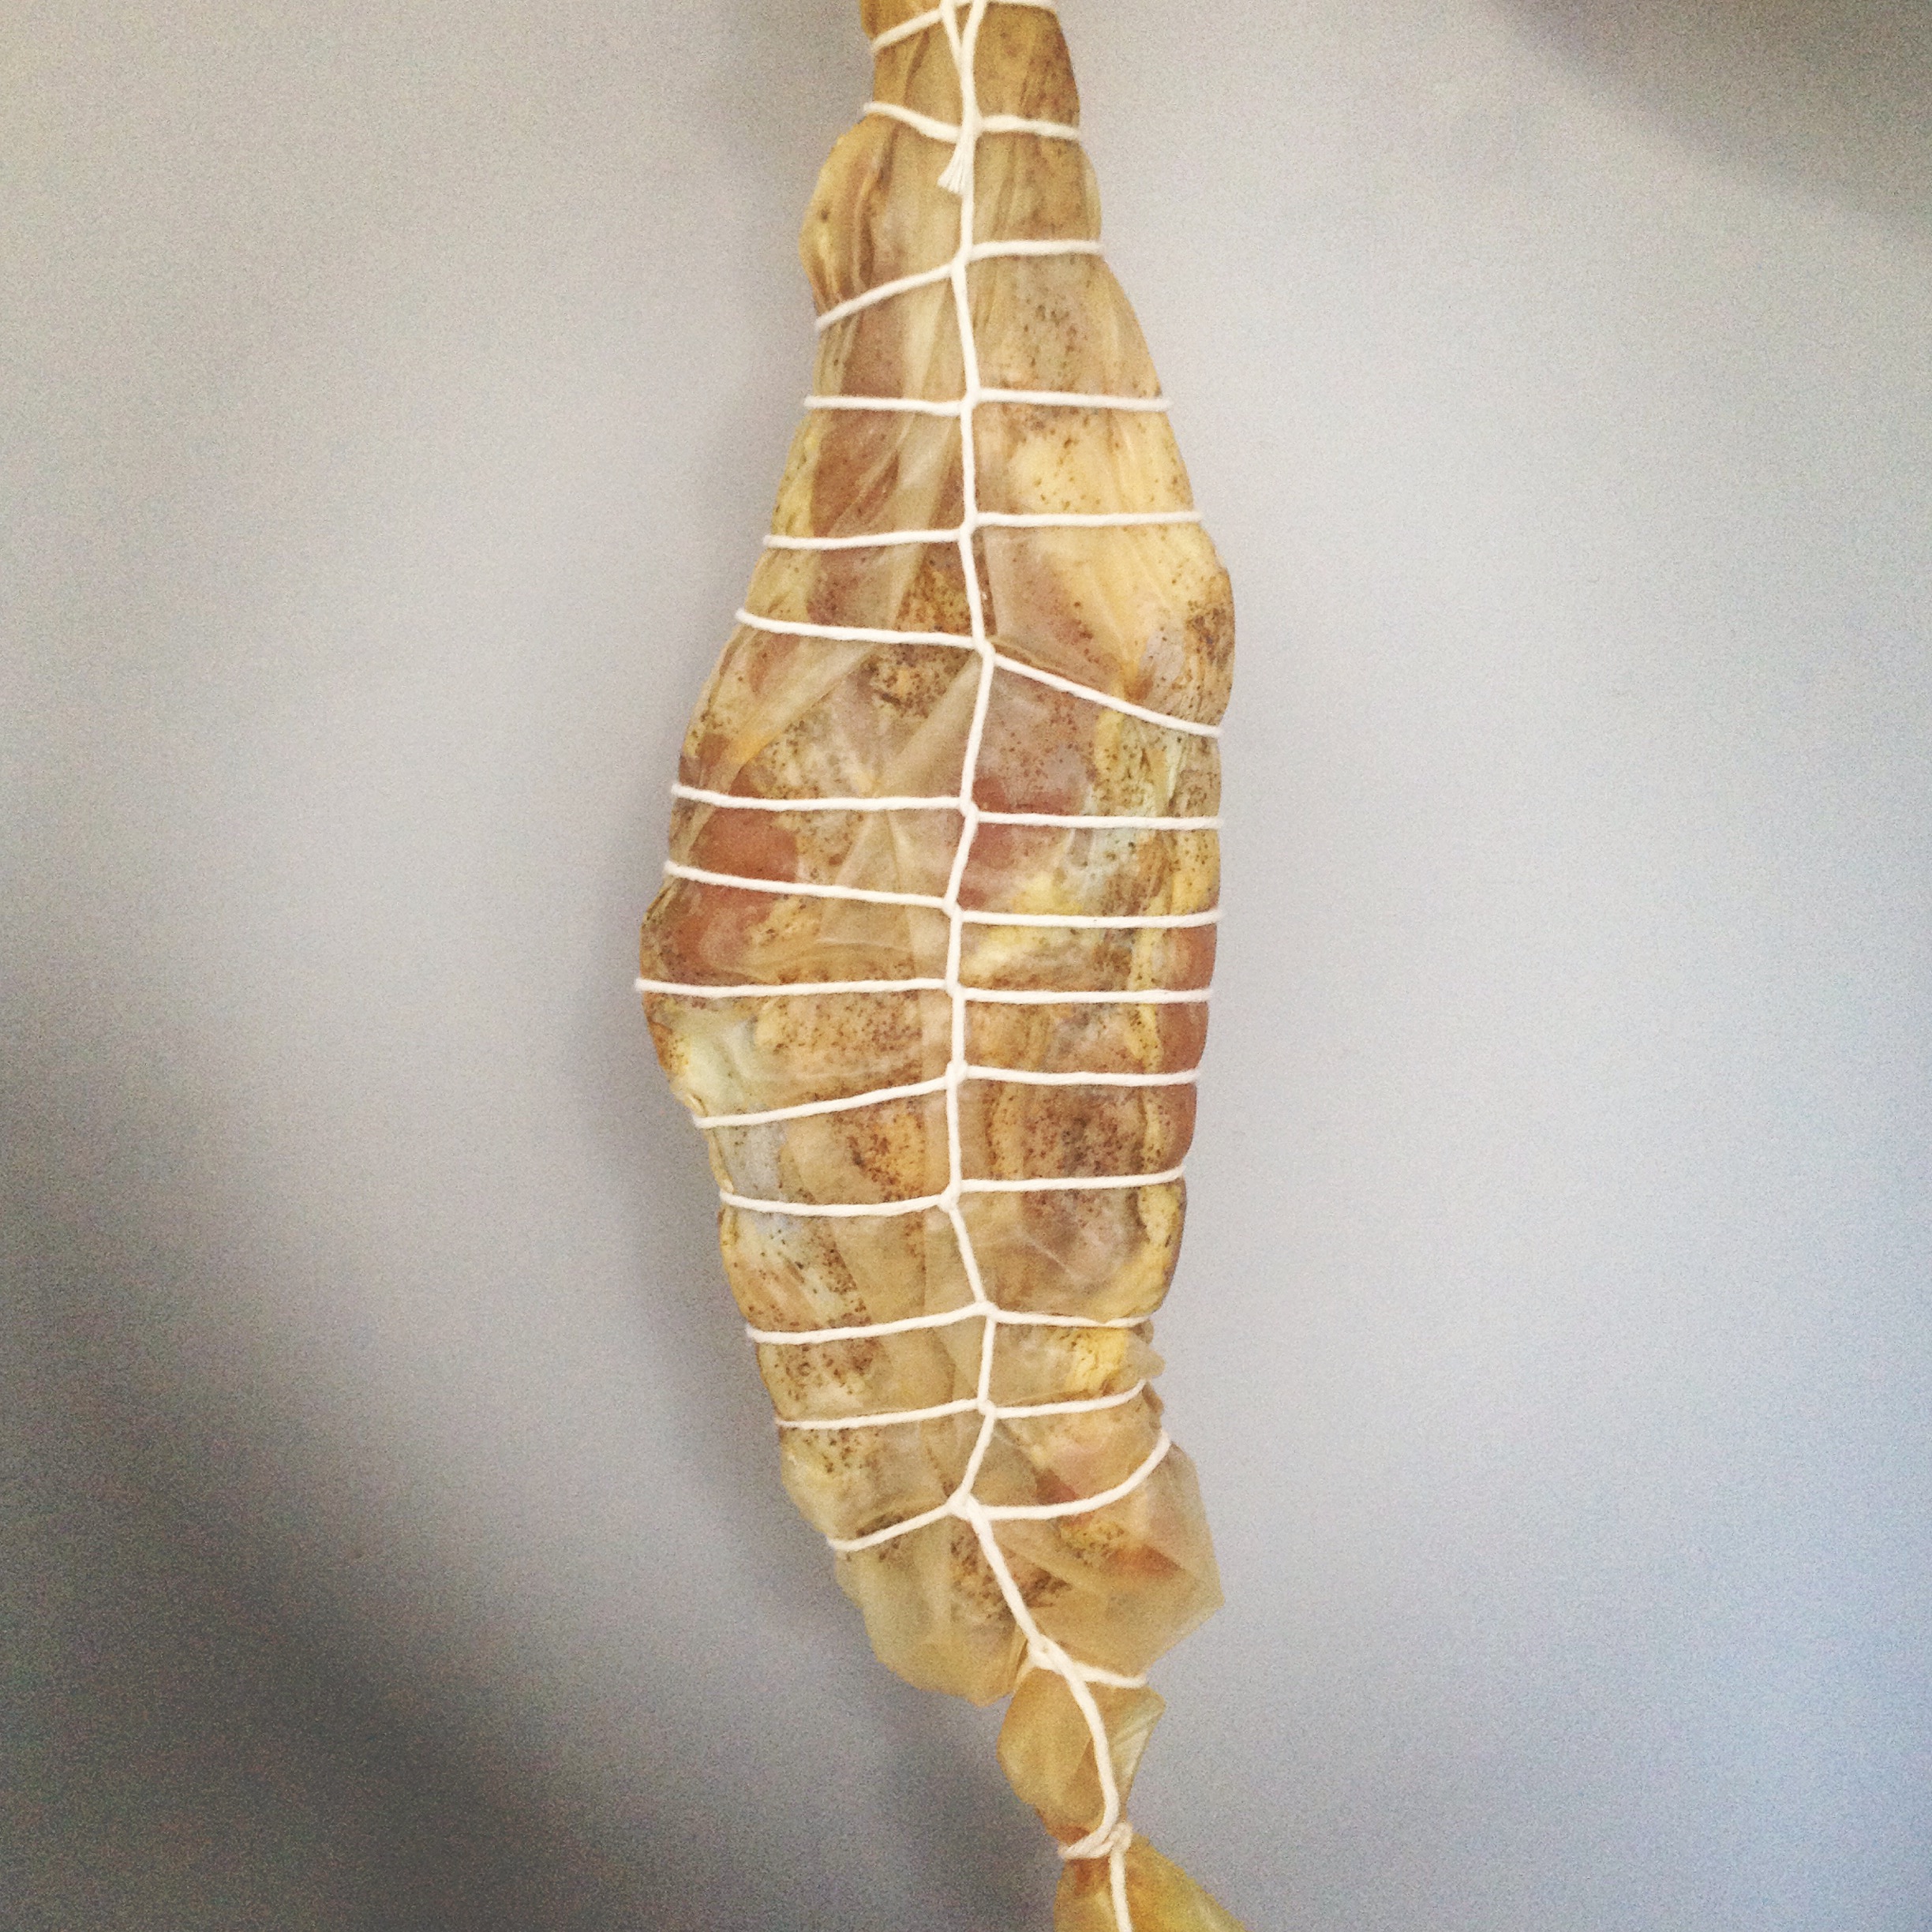
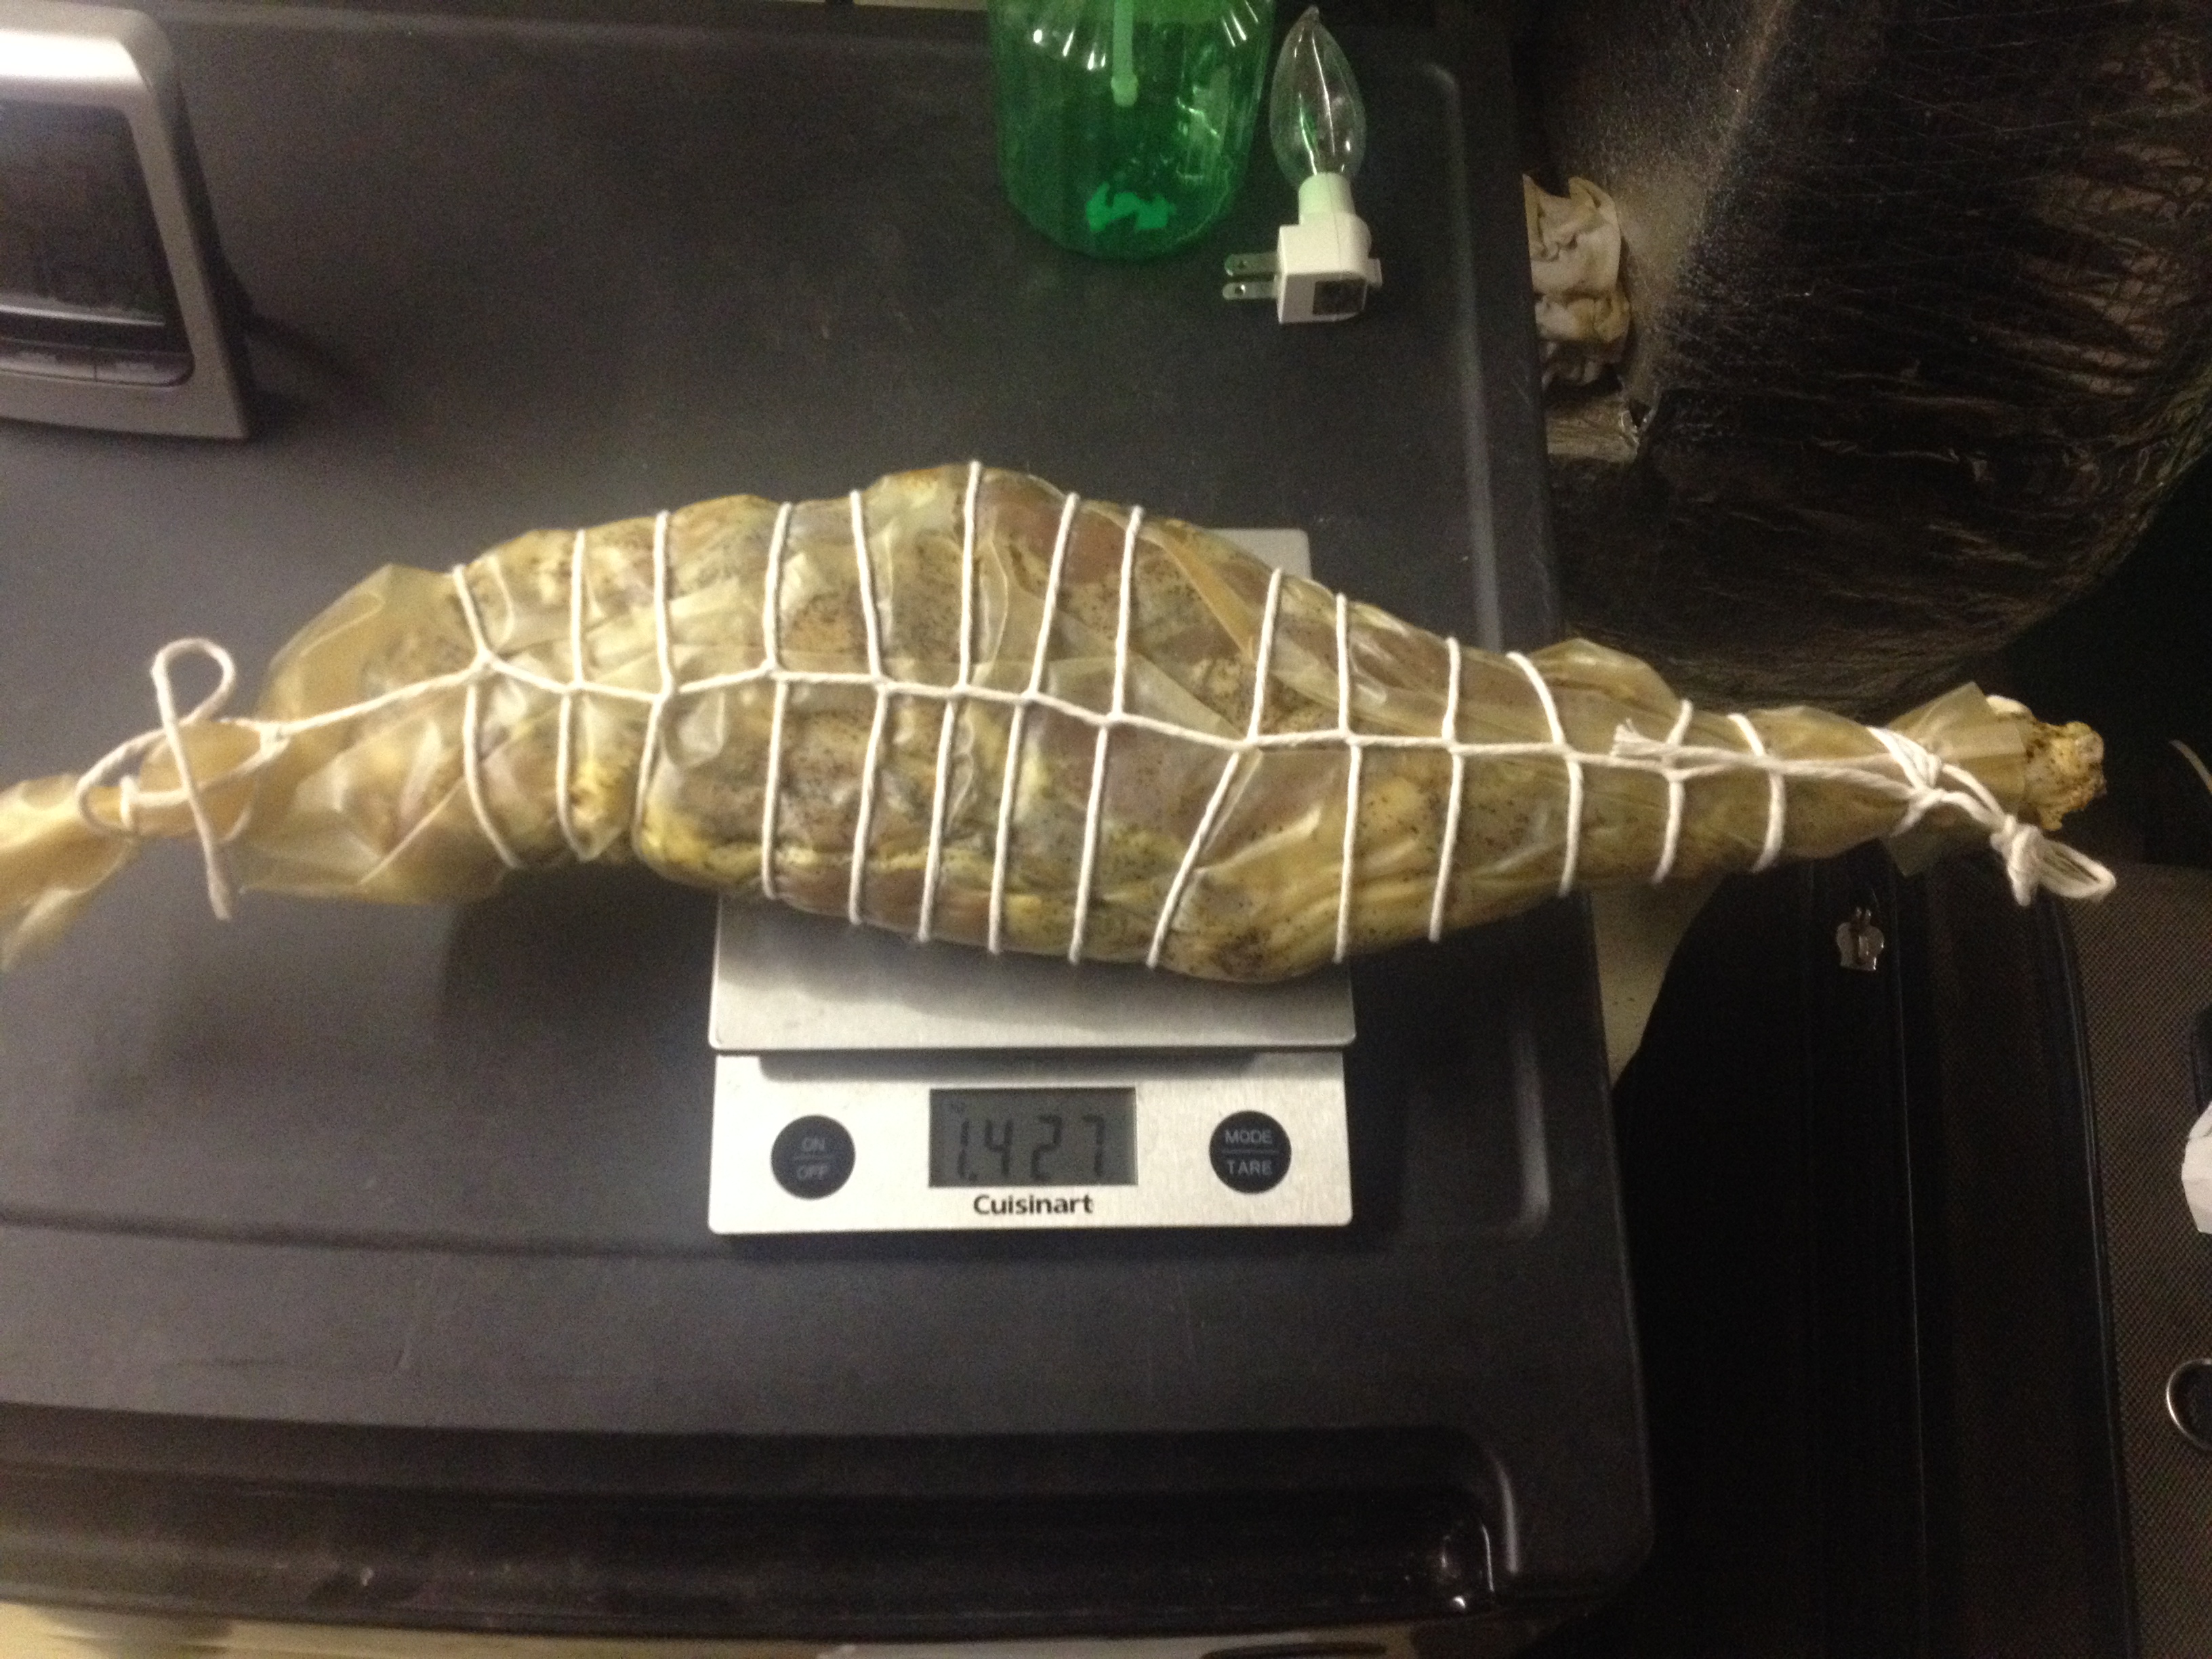
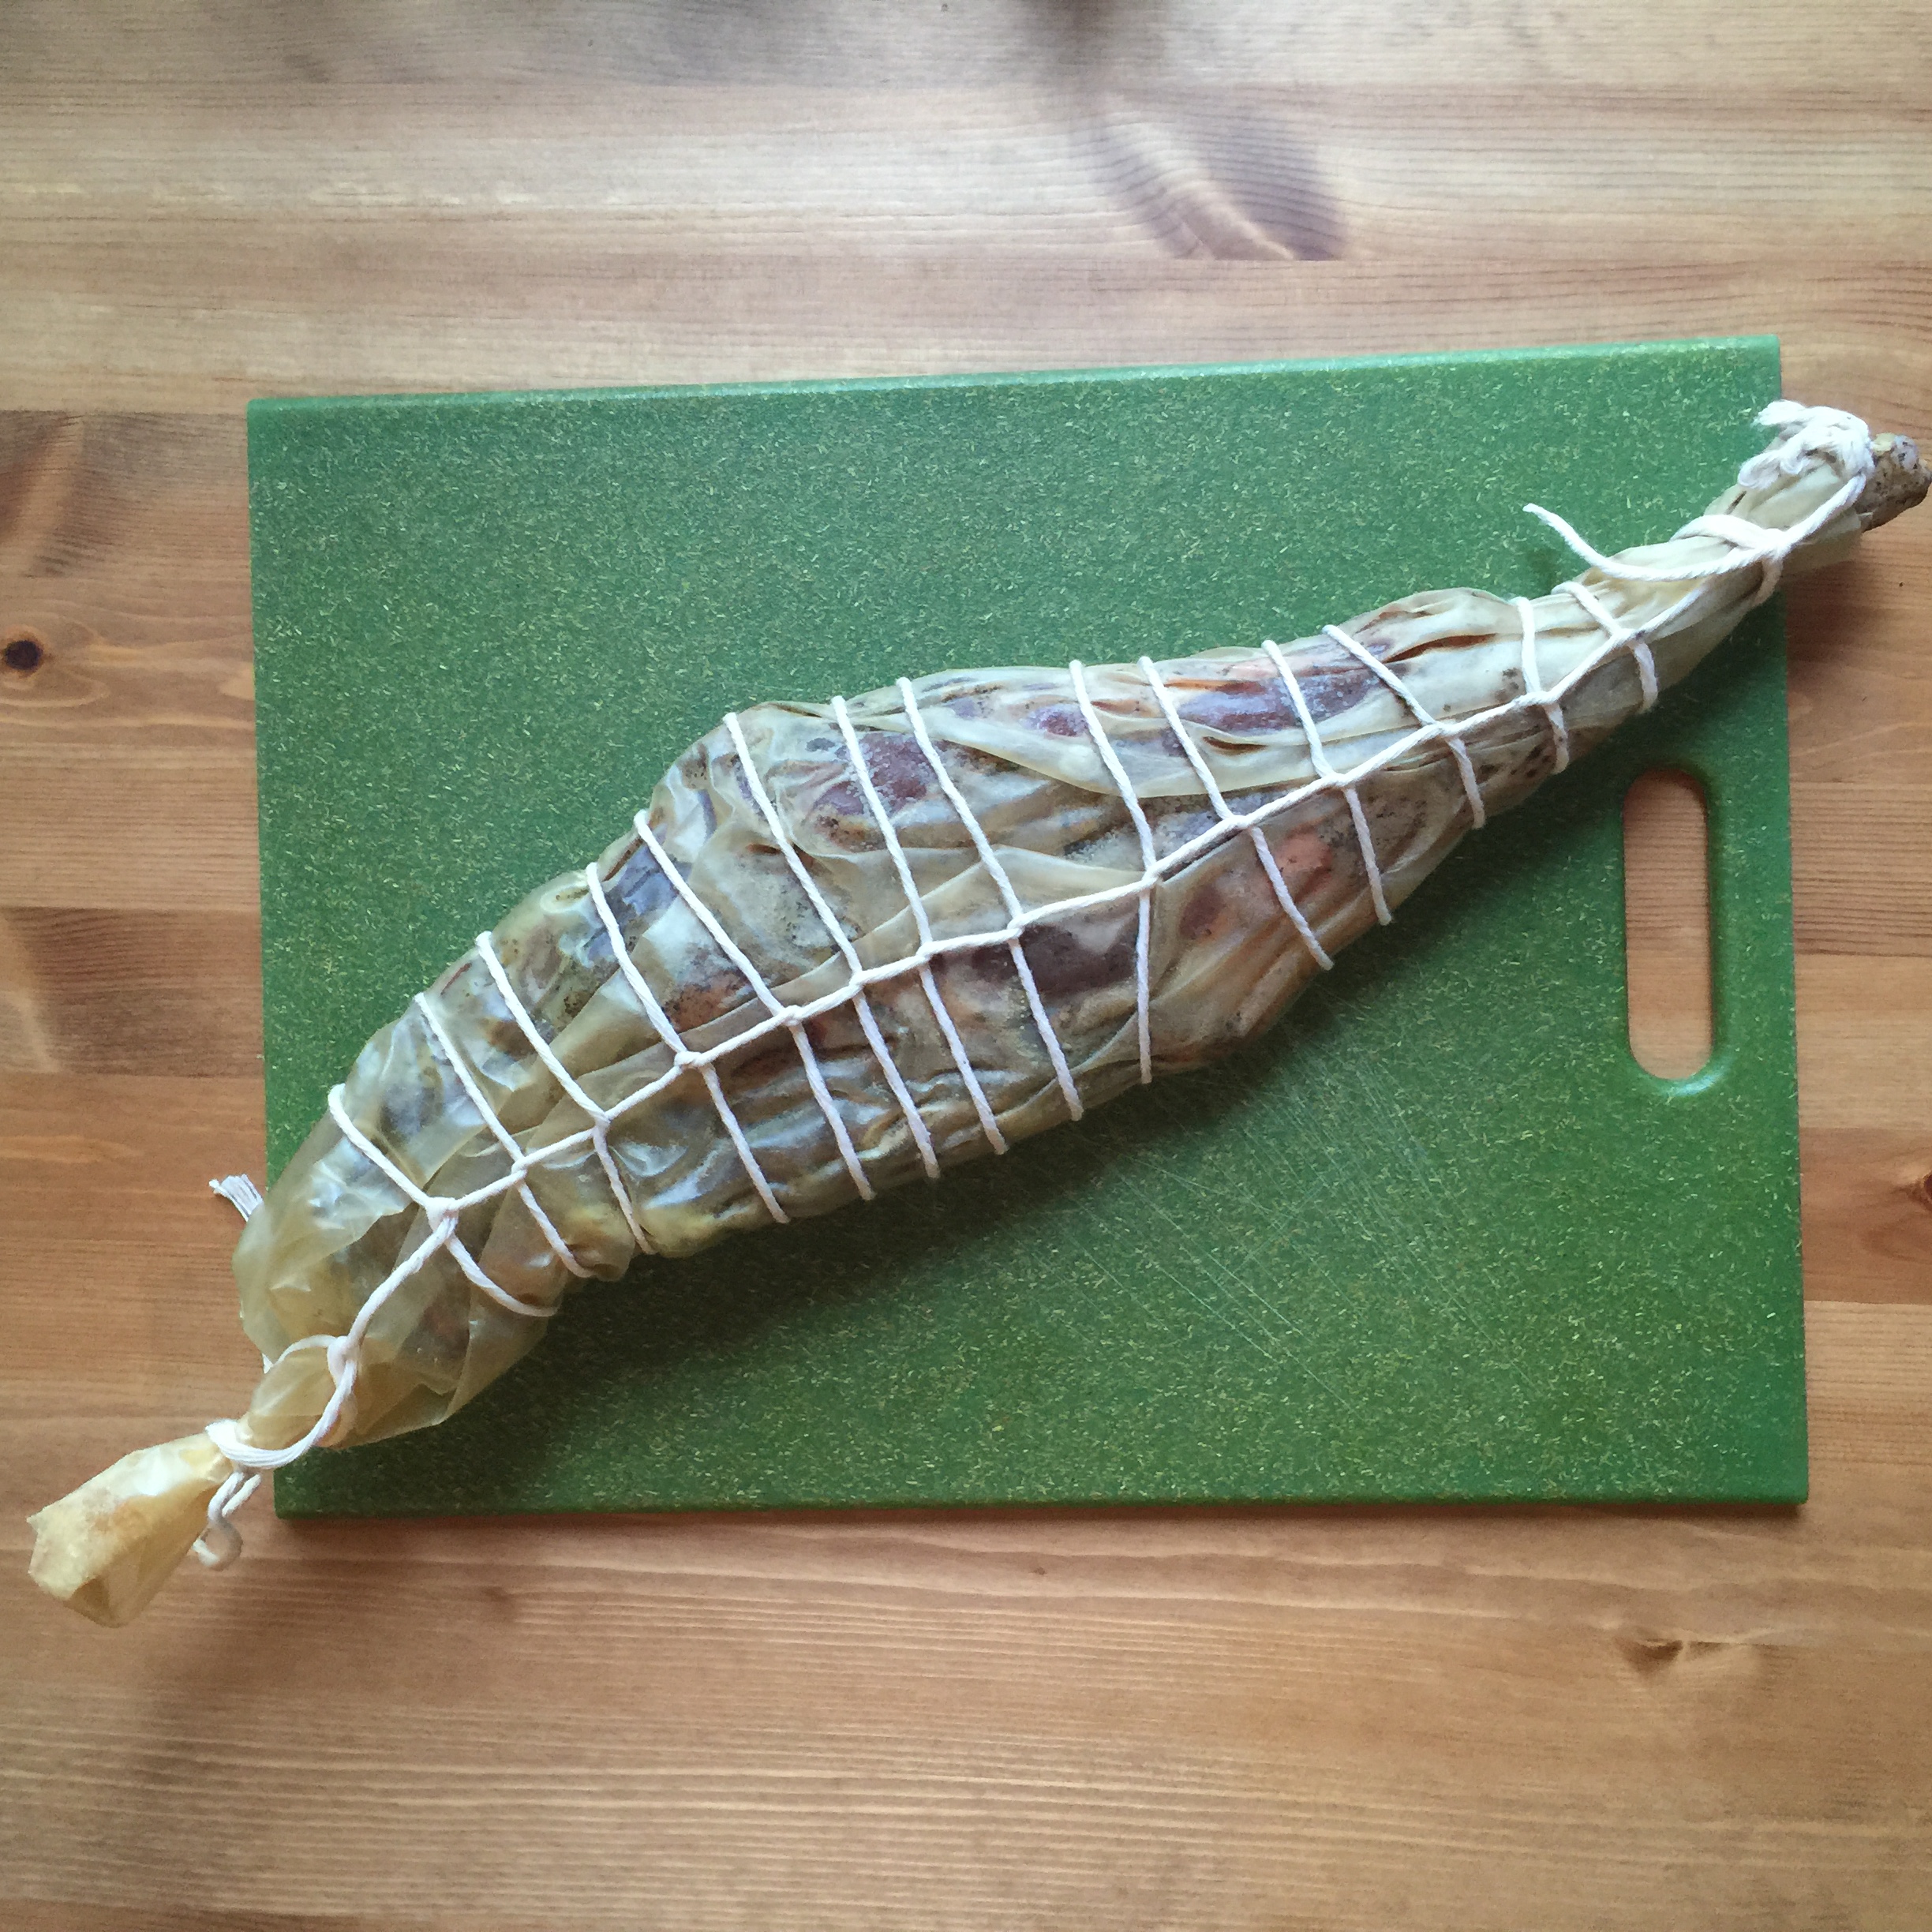
A bone in piece of meat is a difficult one to case. We ended up using a 100 mm collagen casing, which served its purpose.
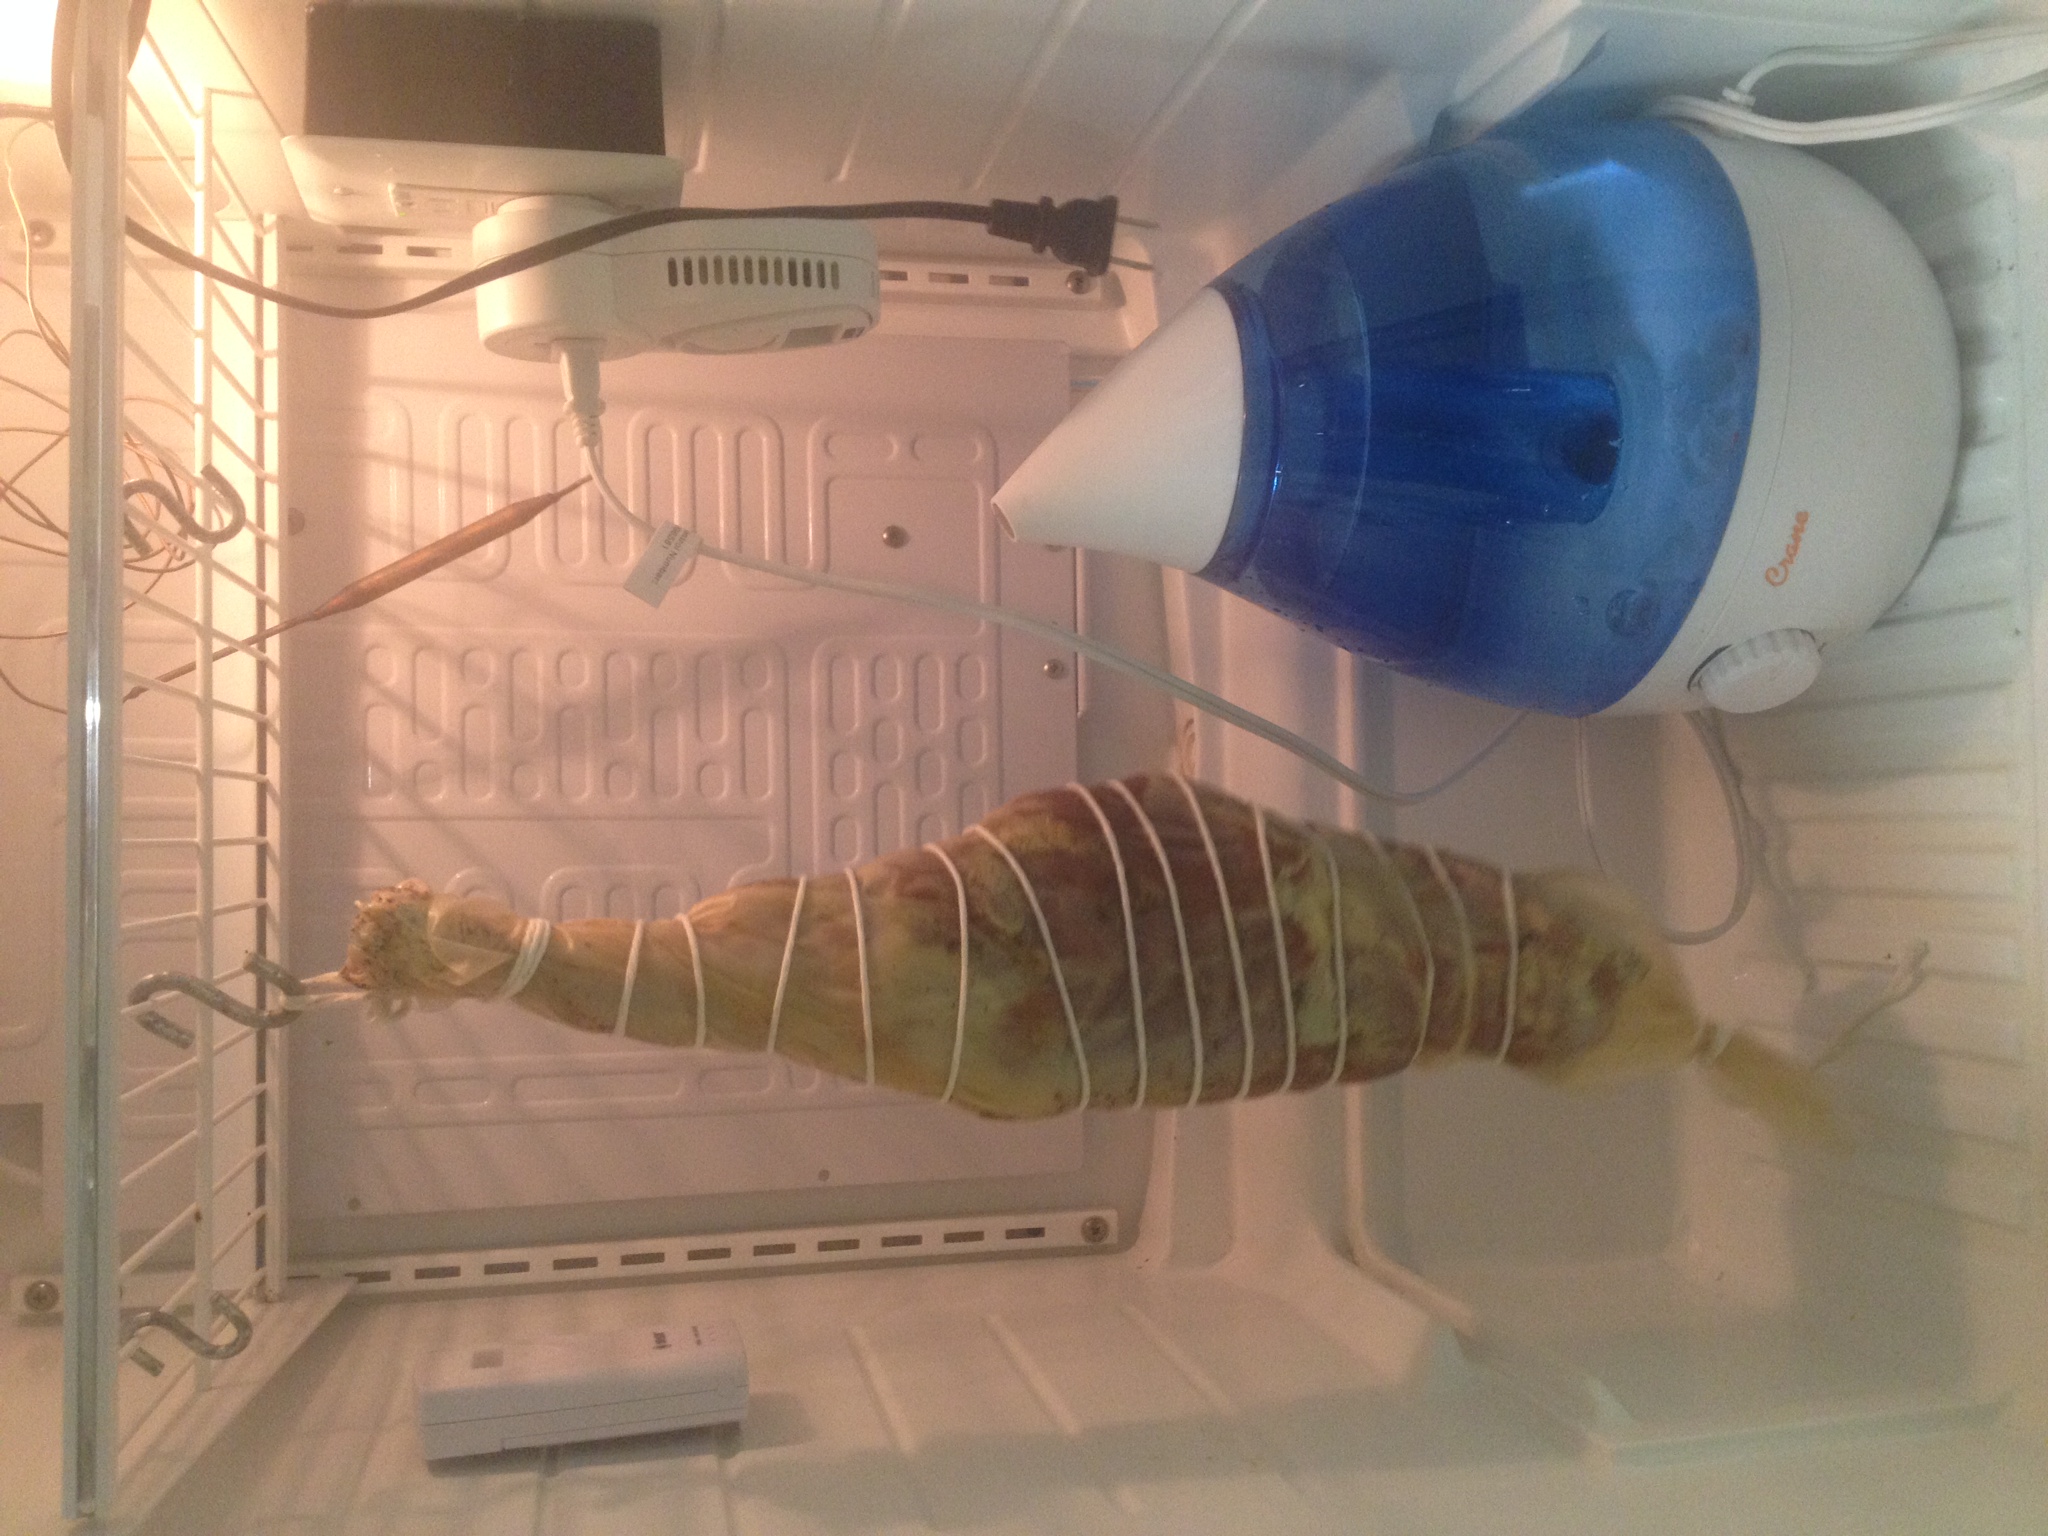
It was tied in butcher string, and hung in the curing chamber to dry.
Drying (1 month+, until 30% of weight is lost):
Temperature: 54F/12C, Humidity: 70-80% RH
The meat was weighed and tracked for weight loss during its time in the curing chamber.
It was allowed to lose ~30% of its initial weight, and was pulled from the chamber.
Tasting:
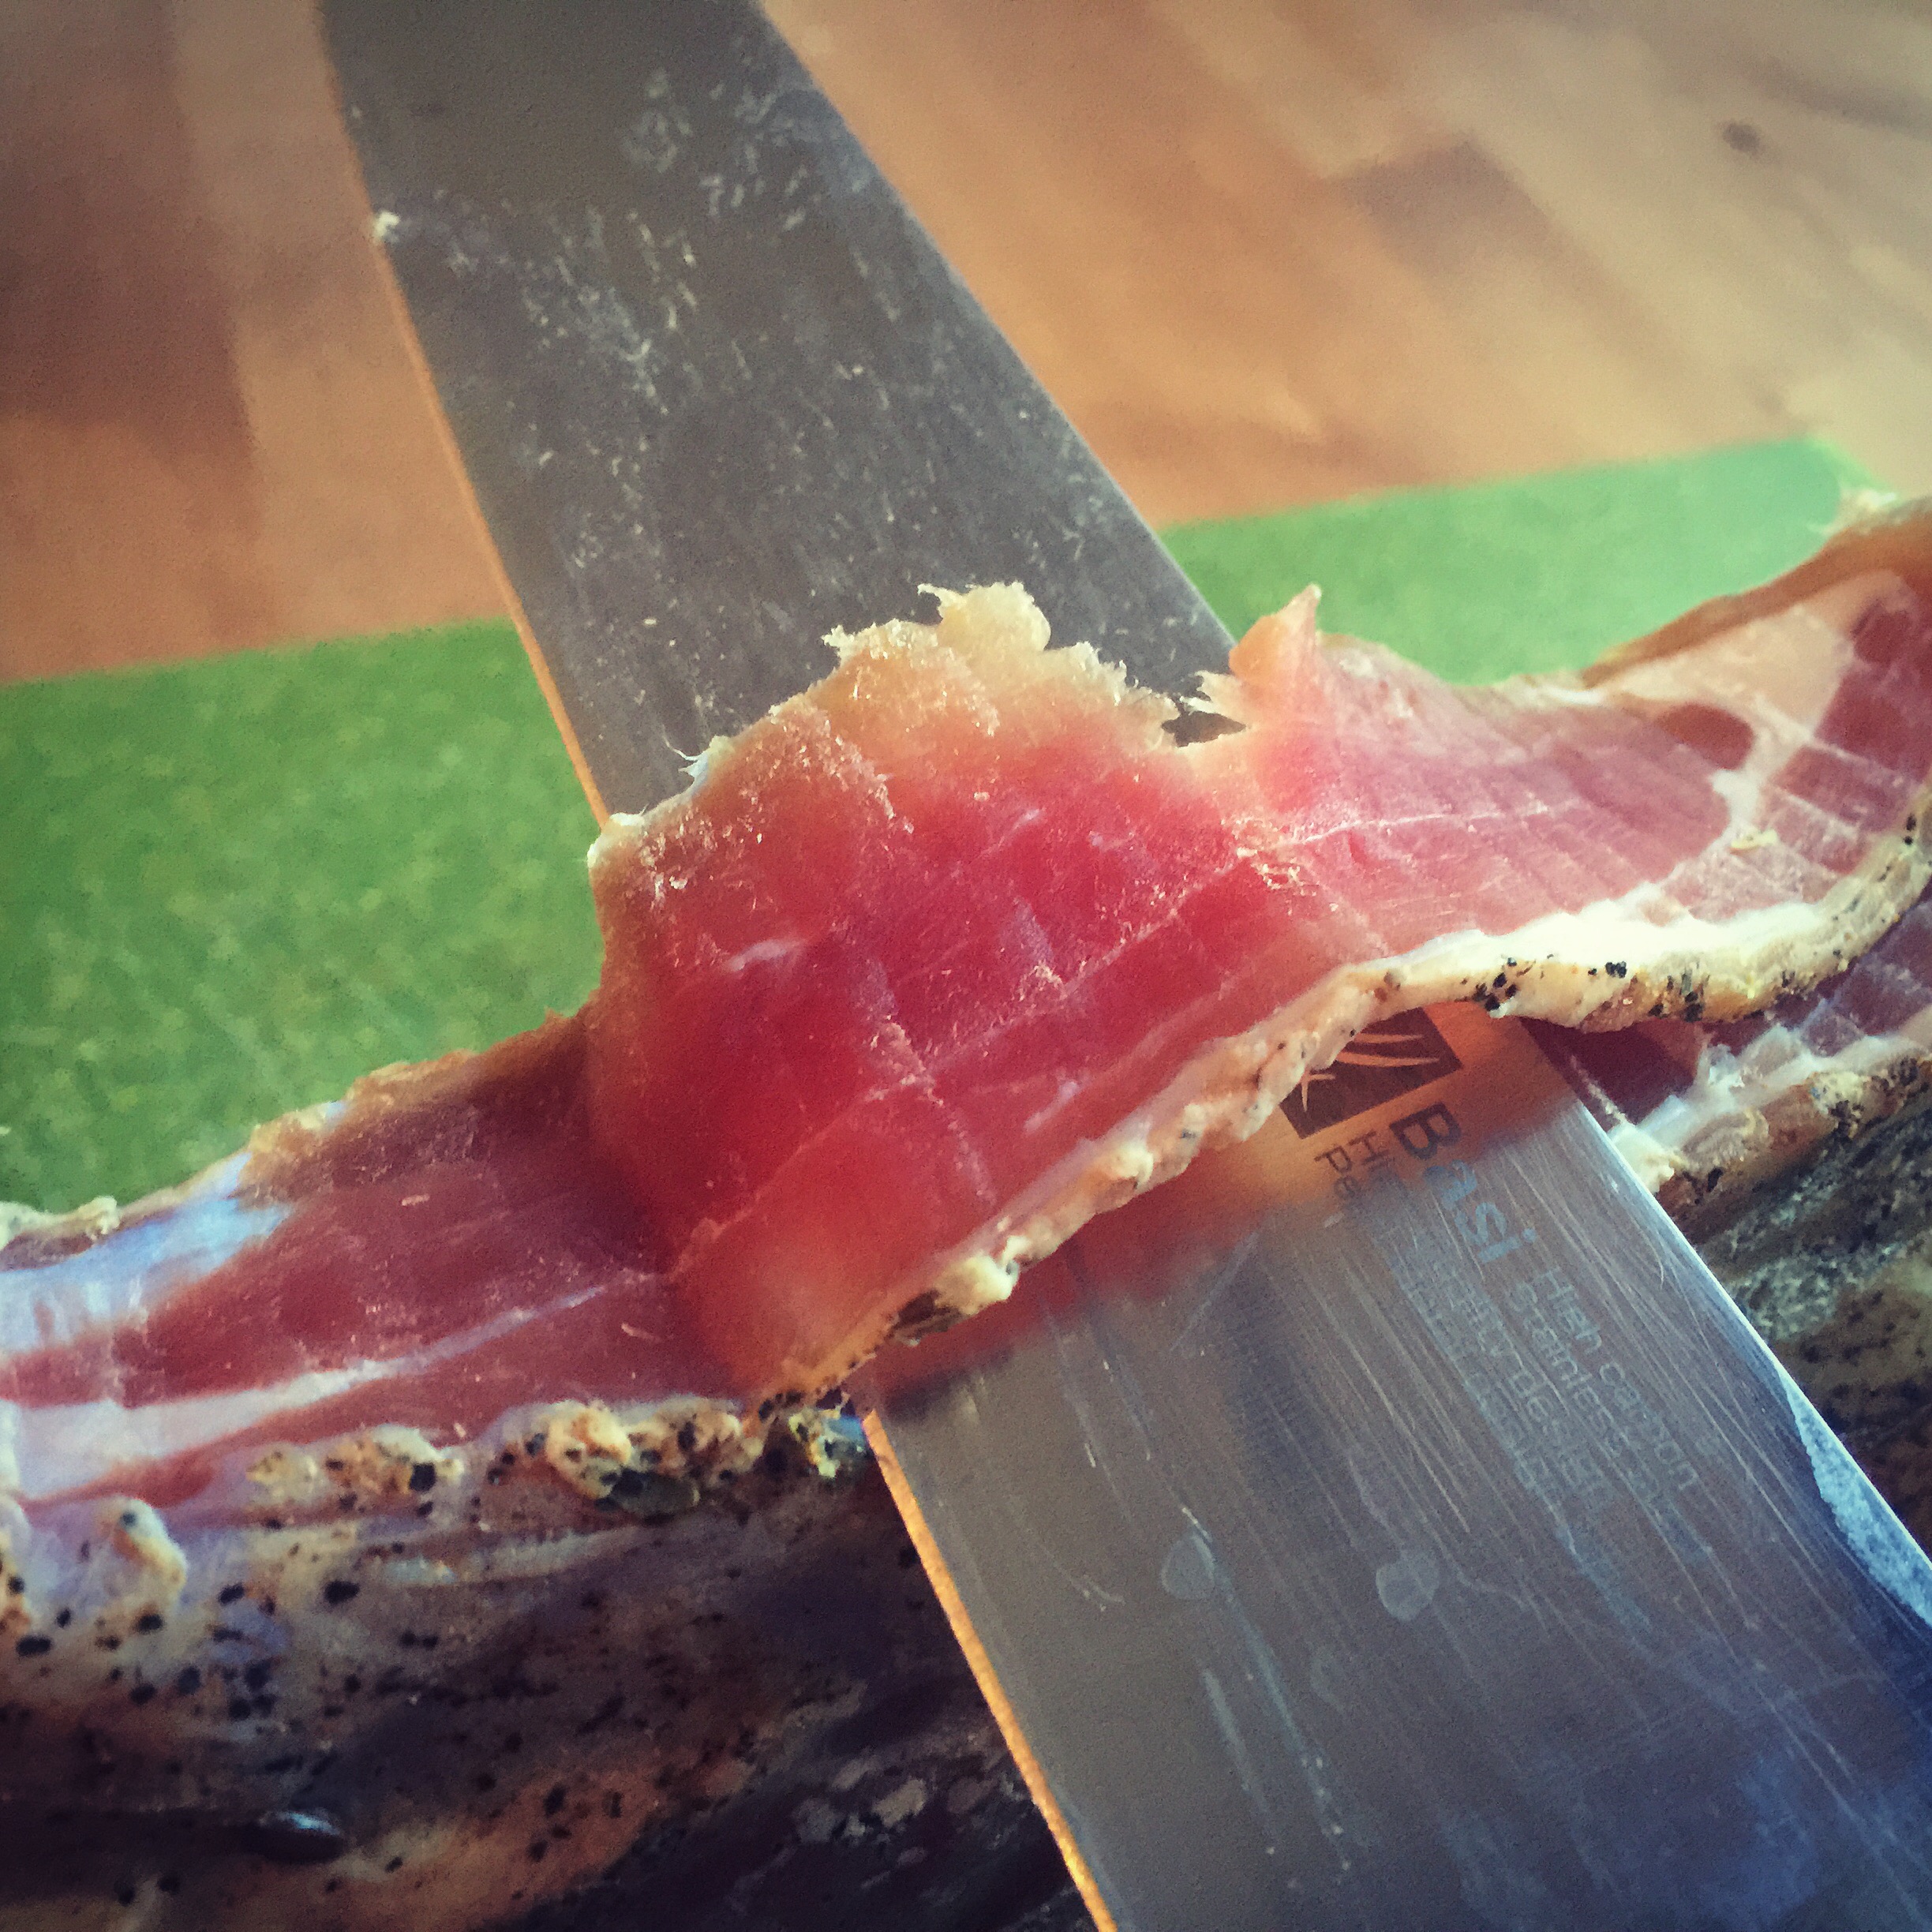
So… my first tasting of this product was, underwhelming. It was overly salted (due to my inexact cure) and didn’t have the beautiful bright red color I expected to see (perhaps due to my late addition of nitrates).
However, after spending a few months under vacuum seal, I tried it again, and the flavor was much improved!
It still was too salty for my taste, but it had a great, strong meaty flavor that came out. It is stored under vacuum seal in my fridge now, taken out for tastings along the way.
My goal is to redo this experiment, with a carefully measured cure, and hopefully create an even better final product.
Disclaimer: Meat curing is a hobby that comes with inherent risks. We can all do things to limit this risk by educating ourselves about the process and the utilizing the safest known methods to create our products. This website is for educational purposes only, and all experimentation should be done at each individuals own risk.
