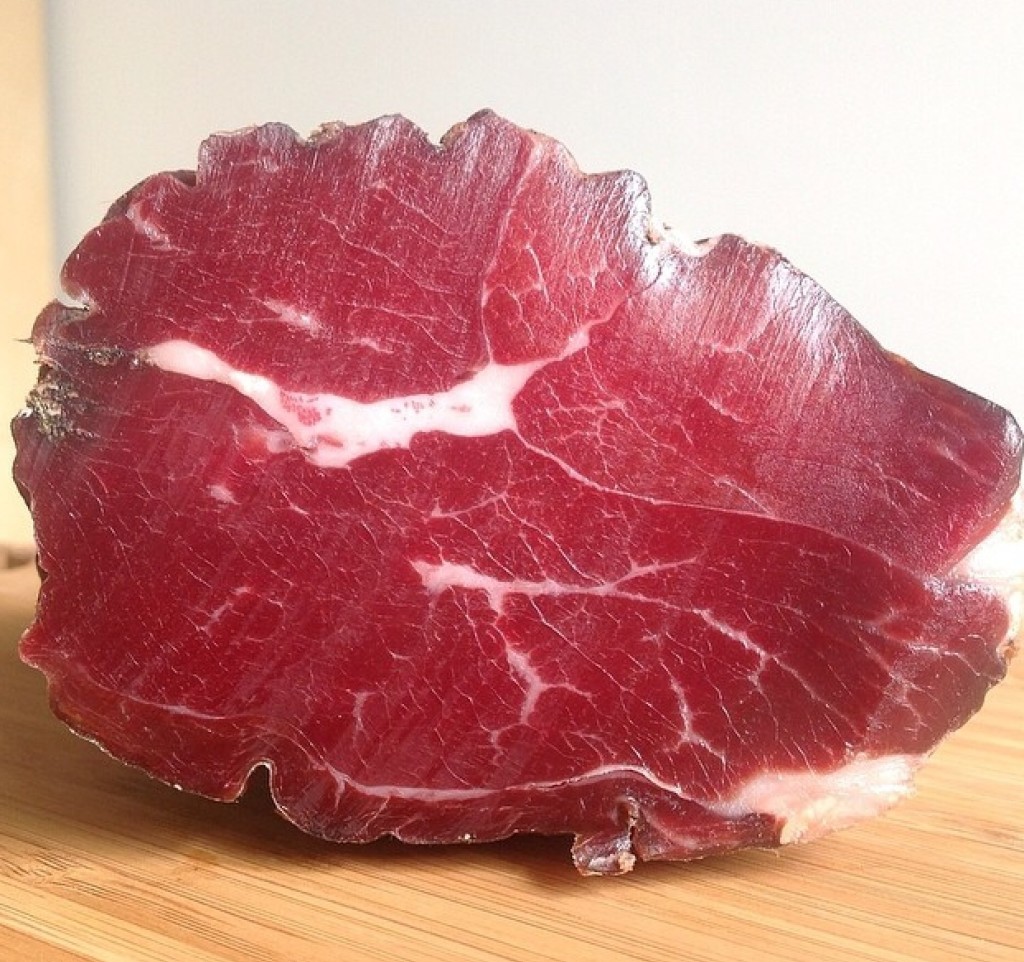
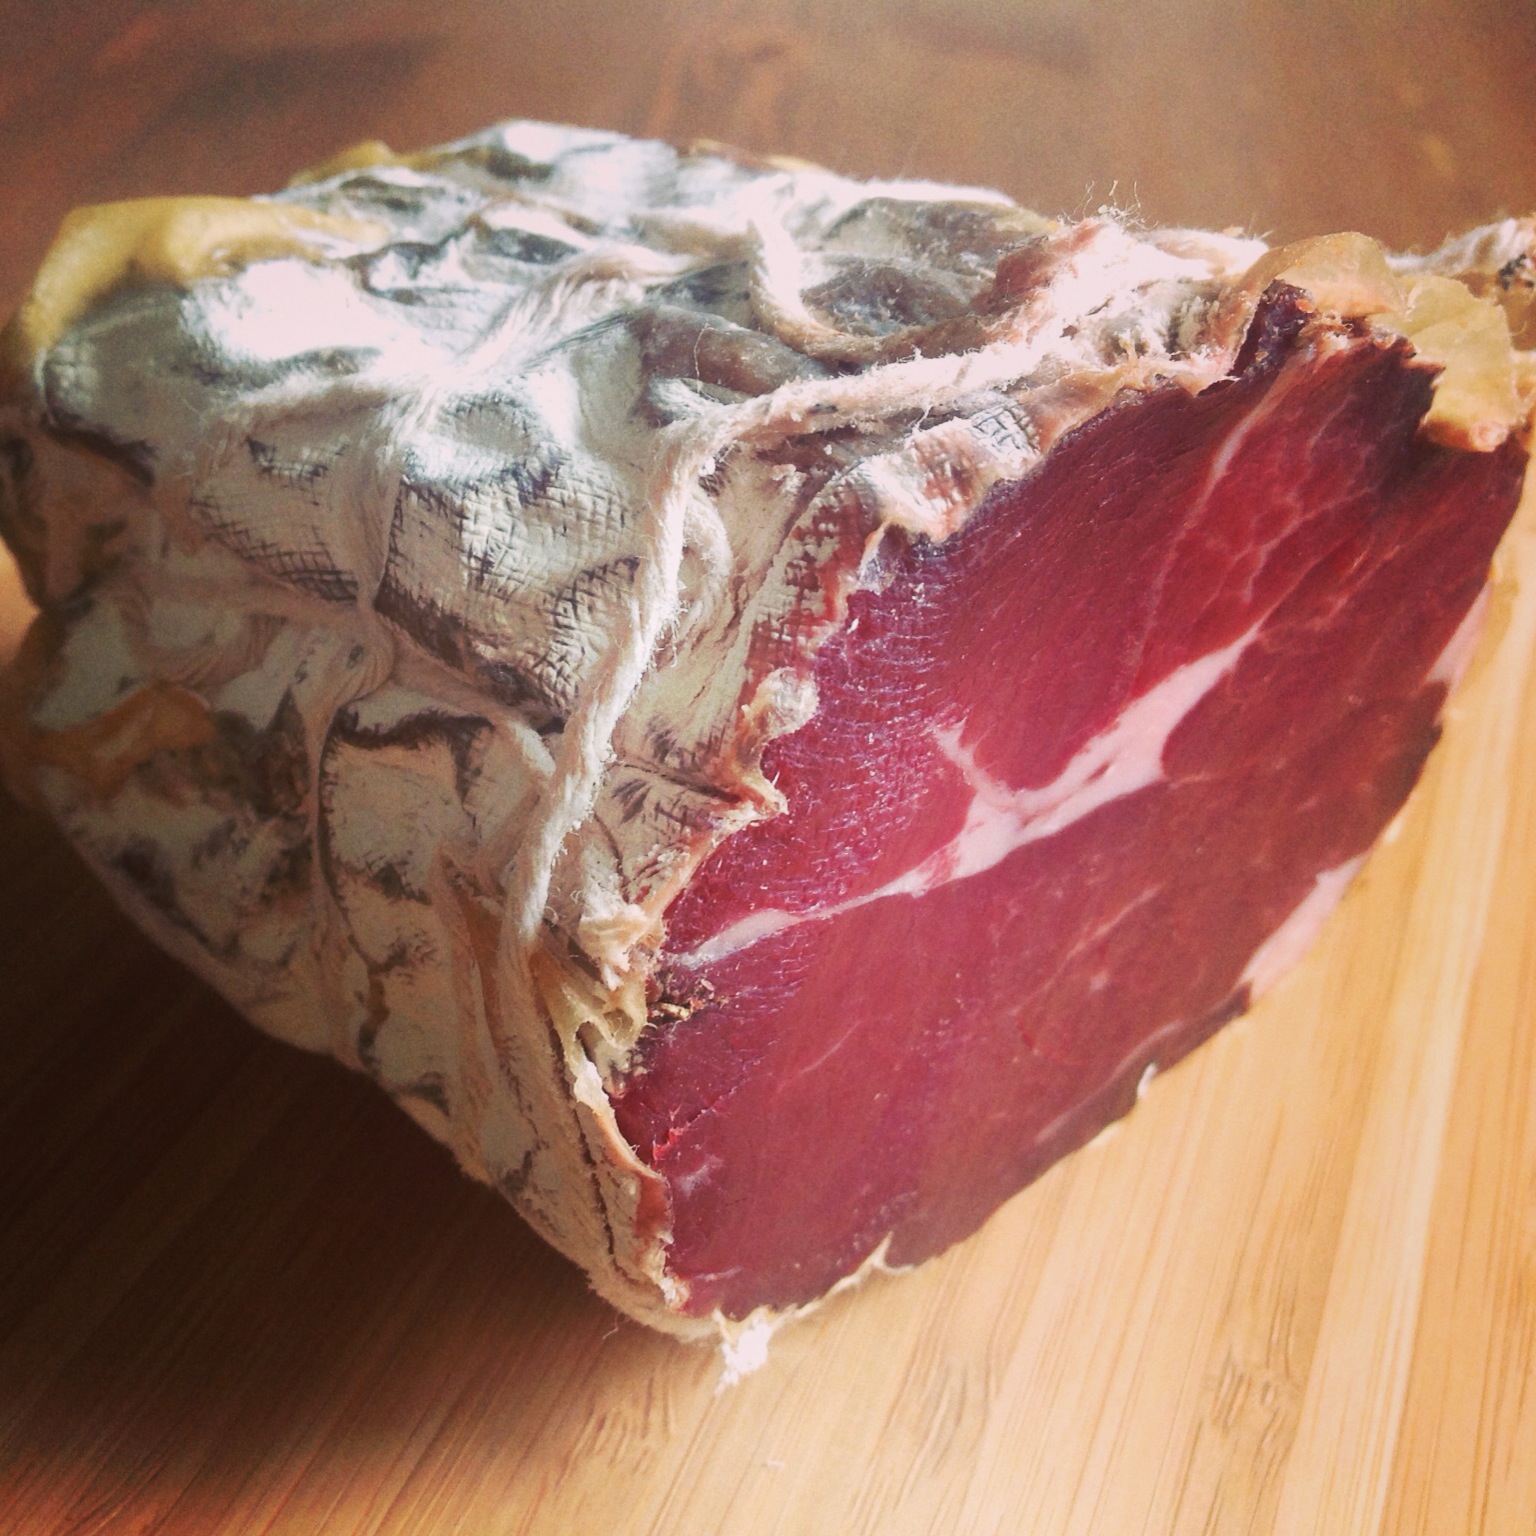
This post is on the making of lamb prosciutto, or prosciutto d’agnello. The term prosciutto usually refers to the cured leg of an animal, whether it be pork or goat or lamb or what have you. Regardless of what you want to call it, it’s delicious, and is a fun project for anyone who is interested in meat curing.
Lamb is one of those meats that its often said you either like or you don’t. I lived my whole life disliking the flavor of lamb, until after a meal at an Indian restaurant it suddenly clicked and I fell in love with it. I think it has a lot to do with the way the lamb is prepared,so my advice to all who say they just “don’t like the flavor of lamb” is to keep trying it prepared in different ways. You’ll never know which one clicks with you.
After experimenting with different style bresaola, we decided it was time to move on to a different type of meat. Which better meat to try than lamb? Lamb prosciutto was one we had tried in restaurants before, and even though I hadn’t loved it, I thought there could be room for experimentation and improvement which turned out to be 100% correct.
The process started with a boneless lamb leg roast purchased from a local grocery store. Although it was actually butchered pretty cleanly, we separated the meat into two pieces to avoid creating troublesome air pockets within the meat and to let it dry faster, since I’m not the most patient of all meat curers.
Curing (3 weeks):
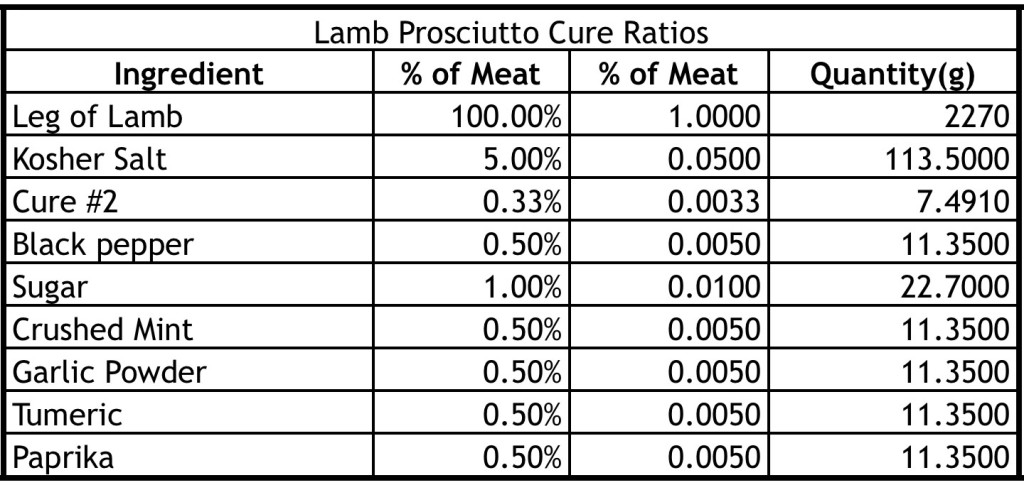
By this time, I’d gotten so familiar with the usual ratios of spices that I did a good amount of ad libbing with the cure. I added some spices that are usually paired with lamb to complement the meat. The basic ratios that I used are in the following chart:
*I have since changed the ratios I use for salt and cure #2. See my most recent posts for the most up to date ratios that I use.
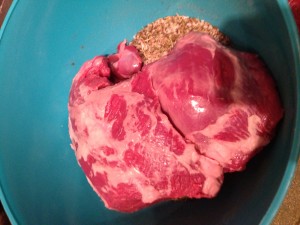
The lamb was mixed with the spices, massaged, and vacuum sealed. It was put in the refrigerator for 3 weeks to cure.
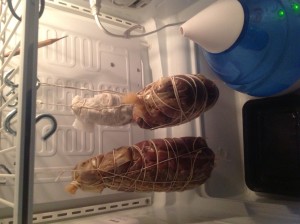
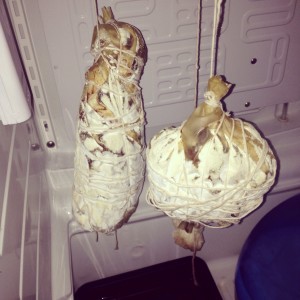
After 3 weeks, the cure was washed away from the lamb using cold water and lamb was dried off. We packaged it usually the available casings that we had, 100 mm collagen casings. After using beef bung, I would probably prefer this method in the future, but collagen was what we had so collagen is what we used. The two pieces of lamb were oddly shaped, and so my barely adequate butcher string technique led to some interesting looking hanging lamb, but hey if it hangs it hangs right?
Fermentation (48 hours):
Temperature: 69F/20C
Humidity: 80-90% RH
*I have since stopped doing a fermentation stage in my whole muscle cures. See my more recent posts for information on this.
There is some debate on the usefulness of a fermentation stage in whole muscle meat curing. We left the lamb hanging in the curing chamber for 48 hours during this stage, after spraying the meat with a 0.5% solution of Penicillium nalgiovense to induce beneficial mold growth.
Ideally at the end of the fermentation stage, you would see a decrease in pH to less than 5.1, letting you know the meat was becoming acidic due to beneficial bacterial activity. Since I don’t currently have a pH meter, and pH strips are moderately useful at best, I’ve gone forward after 48 hours regardless. This drop in pH is much more necessary to check in ground meat salami preparations such as sausage making.
Drying (6-8 weeks):
Temperature: 54F/12C
Humidity: 70% RH
The waiting is the hardest part. At this point, all you can do is wait and monitor weight loss. Keep a careful eye on the temperature and humidity, and when weight loss reaches 30% you are ready! Some may like more weight loss, some may like less, but I’ve settled on 30%. At a weight loss of 30% your meat is definitely not the same meat you put into the curing chamber, but it’s still moist and delicious and when sliced thin is heavenly.
This lamb took somewhere between 6-8 weeks to be ready, the smaller one was ready sooner. This slightly longer time was probably due to the fact that our humidity was on the higher side, but I prefer it that way. Higher humidity means it will take longer for your meat to dry out, and you might need to combat some enemy molds, but you won’t have case hardening or end up with jerky like meat instead of the succulent treasure that is slowly cured and dried charcuterie.
Slice it up and pair it with cheese and other fermented treats and enjoy!
Disclaimer: Meat curing is a hobby that comes with inherent risks. We can all do things to limit this risk by educating ourselves about the process and the utilizing the safest known methods to create our products. This website is for educational purposes only, and all experimentation should be done at each individuals own risk.
