The Explorations of a Gastrochemist

...because science can be delicious.

  • Beginner’s Guide
  • Wurst Adventure
  • Charcuterie
  • Preservation
  • Science
  • Molecular Gastronomy
  • All Projects
You are here: Home / Archives for salmon

Perfect Nova Lox

January 11, 2018 by AOG 8 Comments

Okay. Here it is. The simplest, best way to make real nova lox at home. I’ve made lox a number of different ways throughout the years, many of which have been chronicled here (3-step Lox, Quick Lox, etc…). But I have finally perfected the simple 2 step, equilibrium cured nova lox, and I think it’s a real winner. Try it if you don’t believe me.

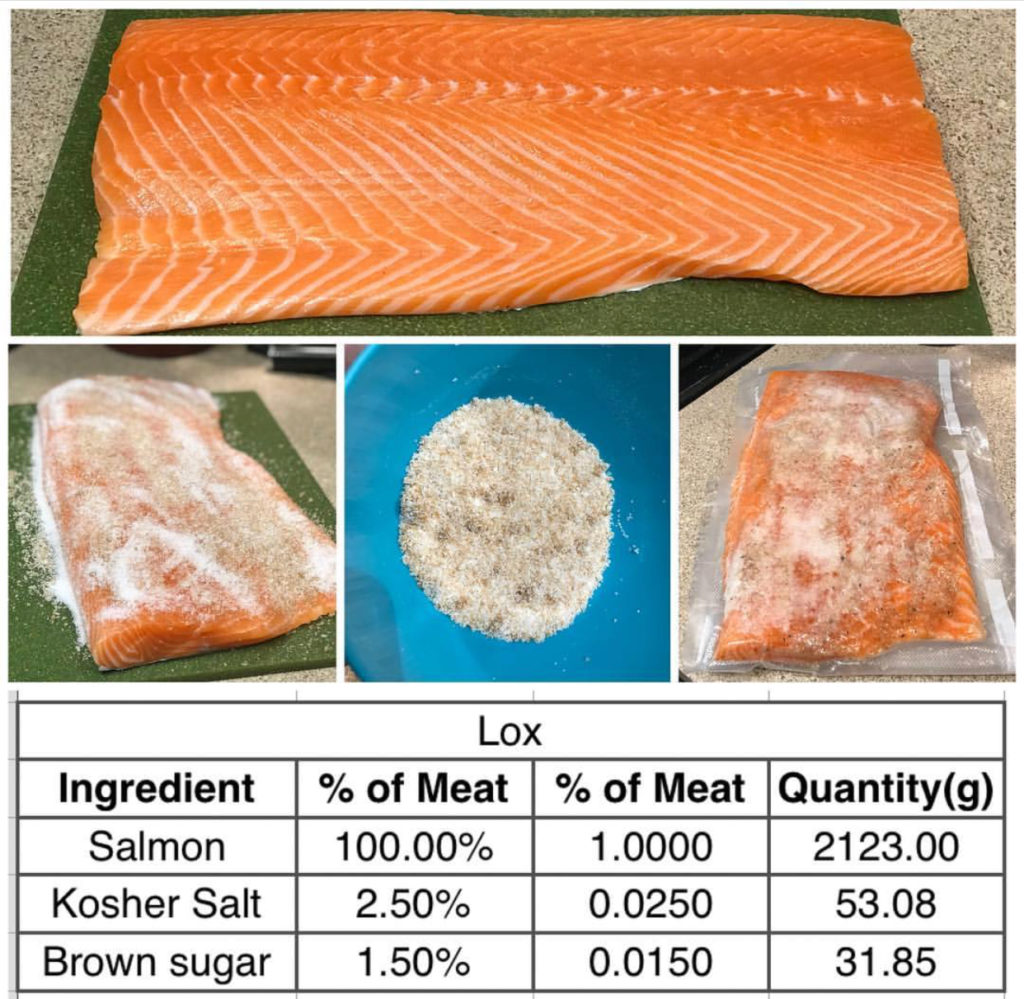
This method uses equilibrium curing (which if you don’t know what I’m saying, read up on it here). This method uses 2.5% salt and 1.5% brown sugar, time, and smoke to create some of the most delectable cured fish you’ve ever tasted. Let’s dive in.

99EFFCF2-5C37-42EE-94A2-564A4A9AFB74


The Fish

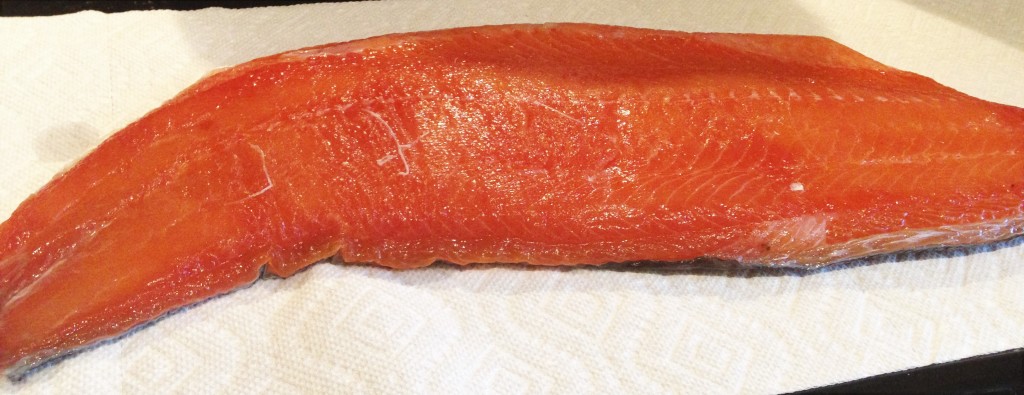
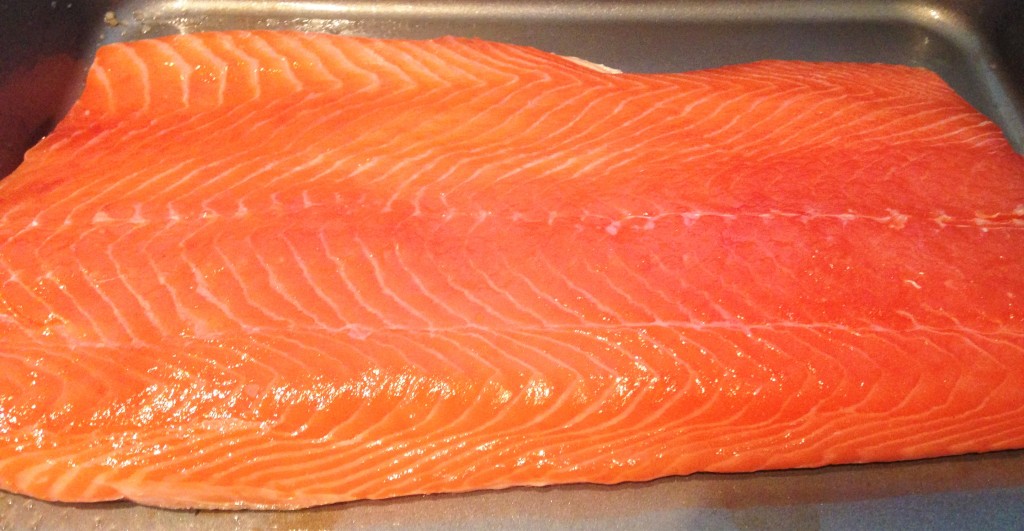
First, you want to find a nice piece of salmon fillet. I get sushi grade salmon from my local Asian food stores, but any good quality salmon should work. You can pick it based on the size you want to cure; if I’m making it for myself I will pick up just a small fillet, whereas if I’m making it for a group of people, I will pick up a whole side of salmon. You can also pick your piece based on whether you prefer the center of the cut or the belly. I prefer the salmon belly meat, so I pick my salmon fillets to maximize the lovely fat streaks found there.

89C0AE09-3291-44BA-8CCF-92D6990E5A22


Step #1: Dry Cure (24-48 hours)

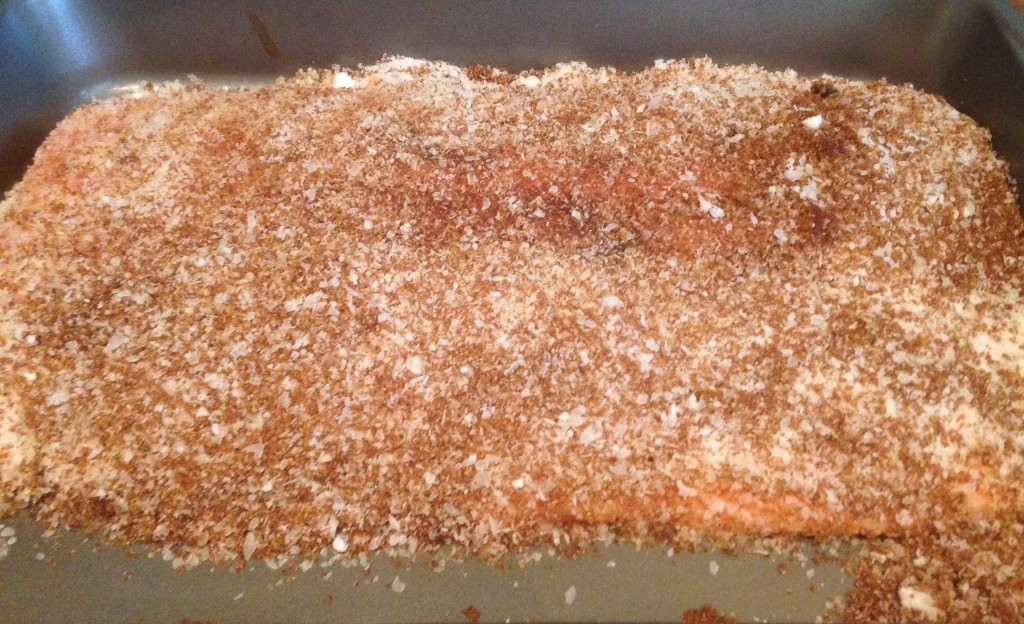
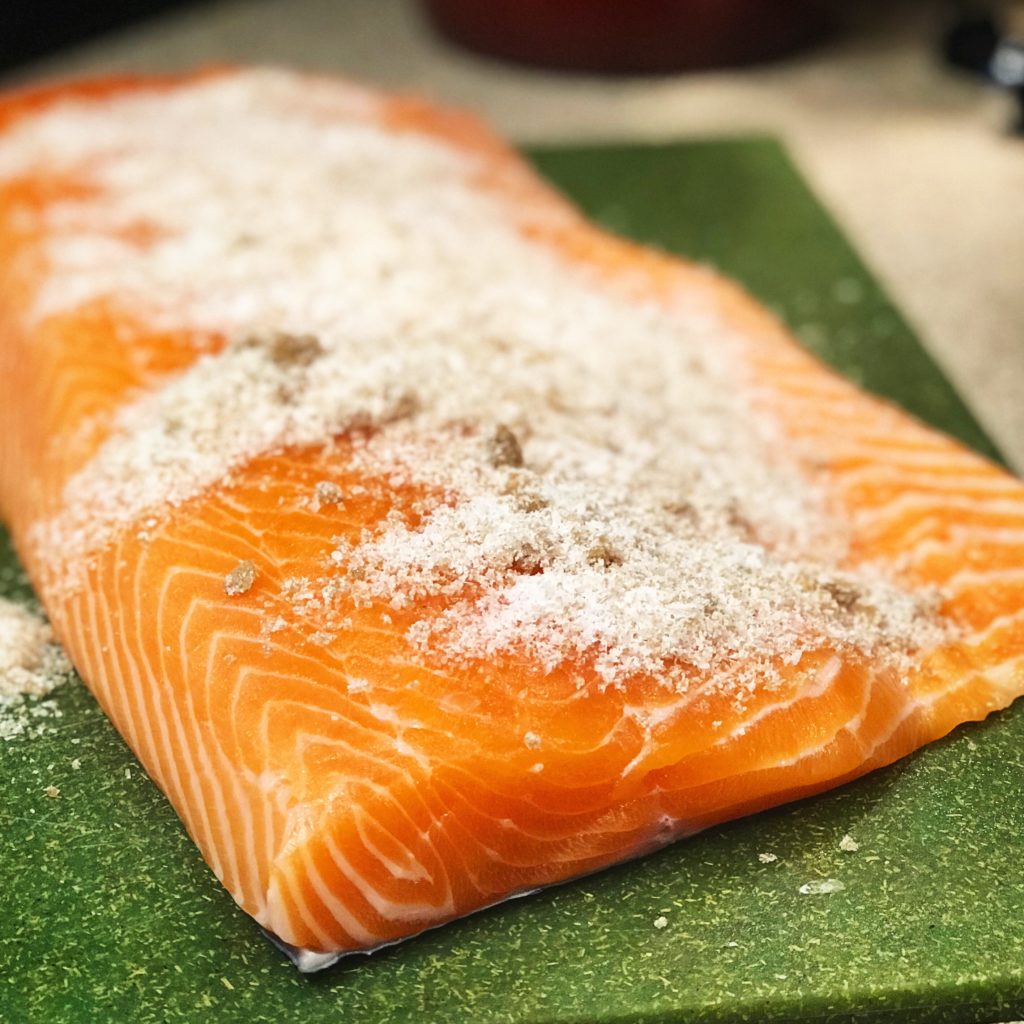
Once you return home with your piece of salmon, rinse it and pat it dry. Weigh the meat and record the weight. This is a simple equilibrium cure with just two ingredients, salt and brown sugar. Weigh out 2.5% salt, and 1.5% brown sugar. Add this to the salmon fillet, ensuring that the entire visible surface is covered. You can do this in any container that fits the salmon, and allows for the cure to stay in contact with the salmon, but I prefer to use vacuum sealed bag to maximize the surface area contact. After you have sealed your container, put it in your fridge and allow it to cure for 24-48 hours.  The beauty of the equilibrium cure is that you cannot over salt your project, so you have a bit more flexibility with time.

9F499272-39B9-4673-B9C7-067321C86272


Step #2: Cold Smoking (4 hours)

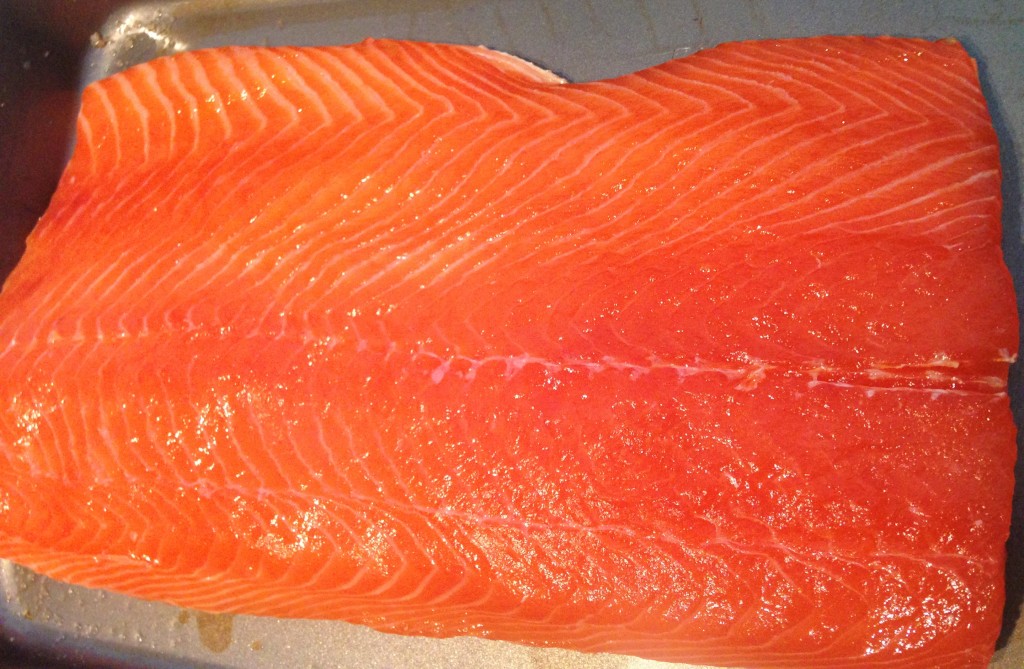
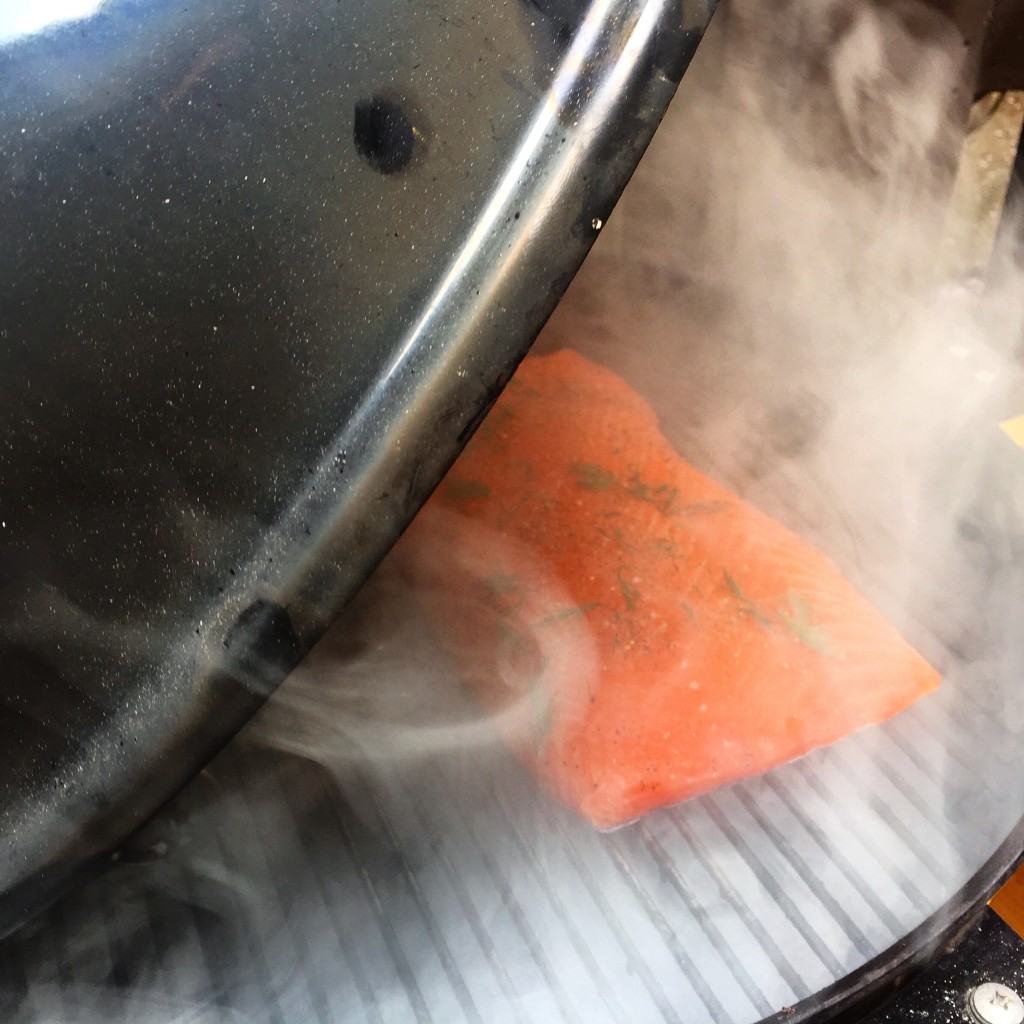
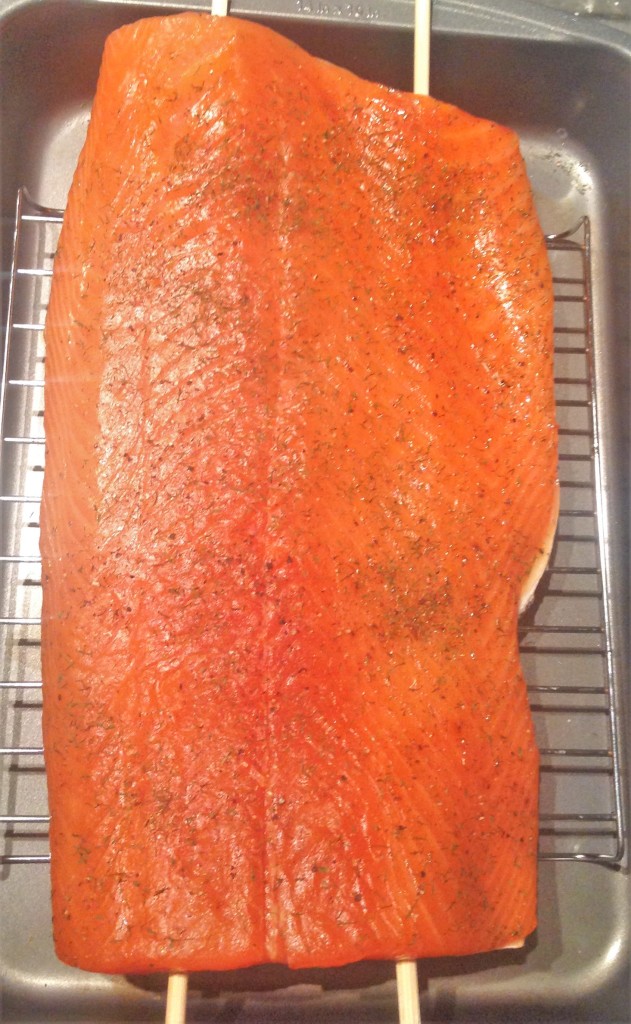
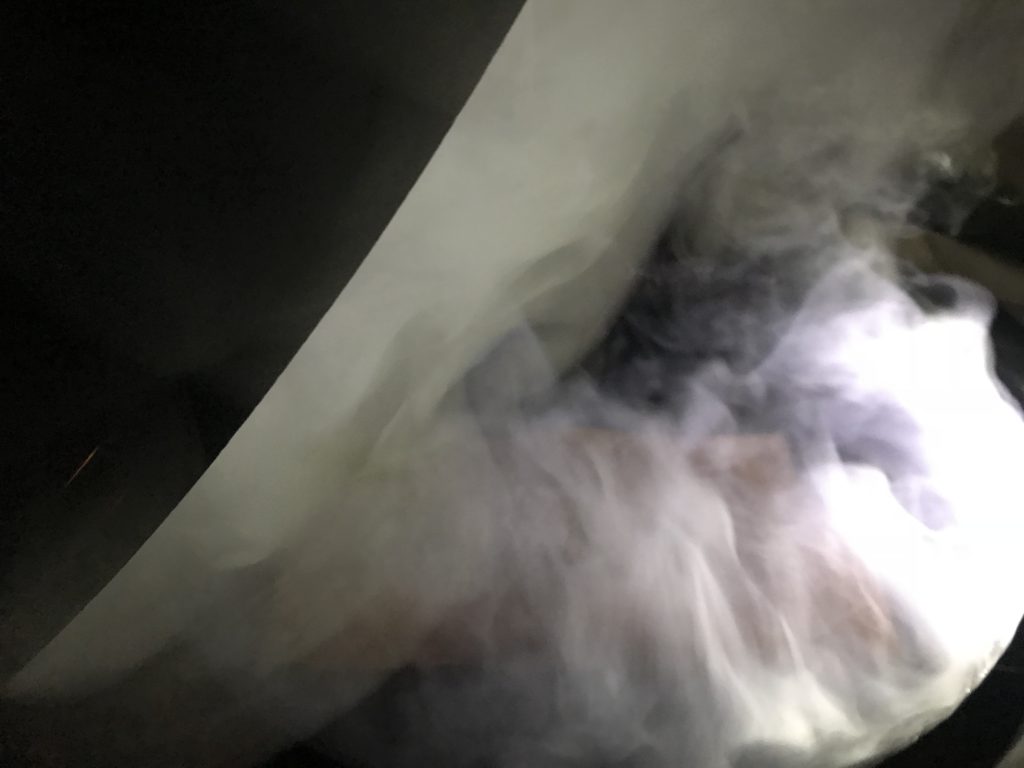
I took my fillet out of the cure after ~24 hours. You want to rinse it off, pat it dry, and move it to a rack for cold smoking. As I’ve mentioned before in my lox posts, if you want to stop at this point, you can. You will have salt cured salmon that is pretty good. But nova lox is cold smoked, so that is the next step in our project. There are a number of ways to create a cold smoking set up. I have used a bunch of different methods, from using a Smoking Gun and a Styrofoam cooler, to using a Little Chief Smoker, to the method I have finally arrived upon that I love, the A-Maze-N Smoker tube inside my Weber grill (although any enclosed space outside would work). The primary goal is to have a continuous source of smoking wood that never reaches more than 90-100 F.

Place the salmon inside your cold smoking set up on a rack to allow air flow. I like a subtle yet undeniably present taste of smoke in my lox, so I cold smoke for ~4 hours. You can adjust this time according to your tastes. I generally use applewood or hickory, but most recently I used beechwood because I had it around for other projects, and it was great, so don’t worry about experimenting with different words for this step.

42064F1E-E0DE-4A9C-B9D6-4BCA609C62AD


Equalization (Overnight)

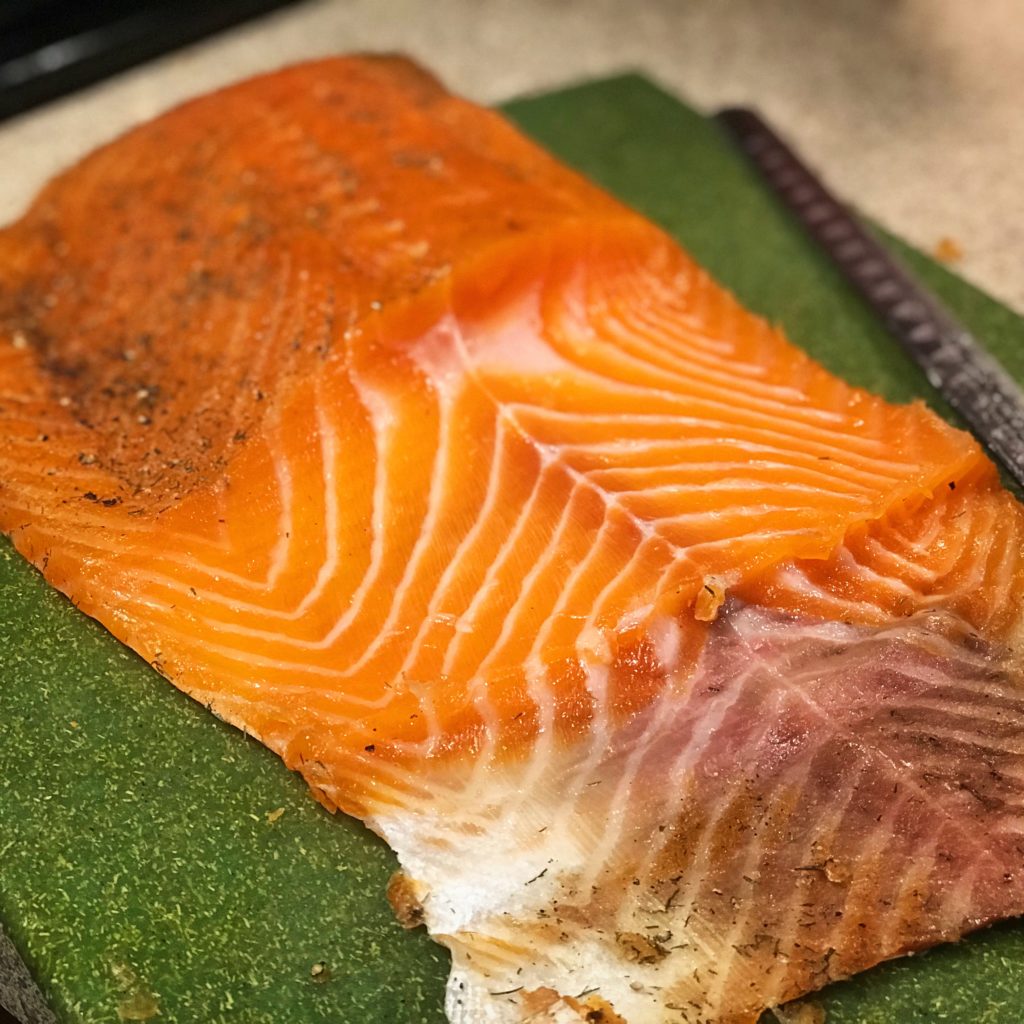
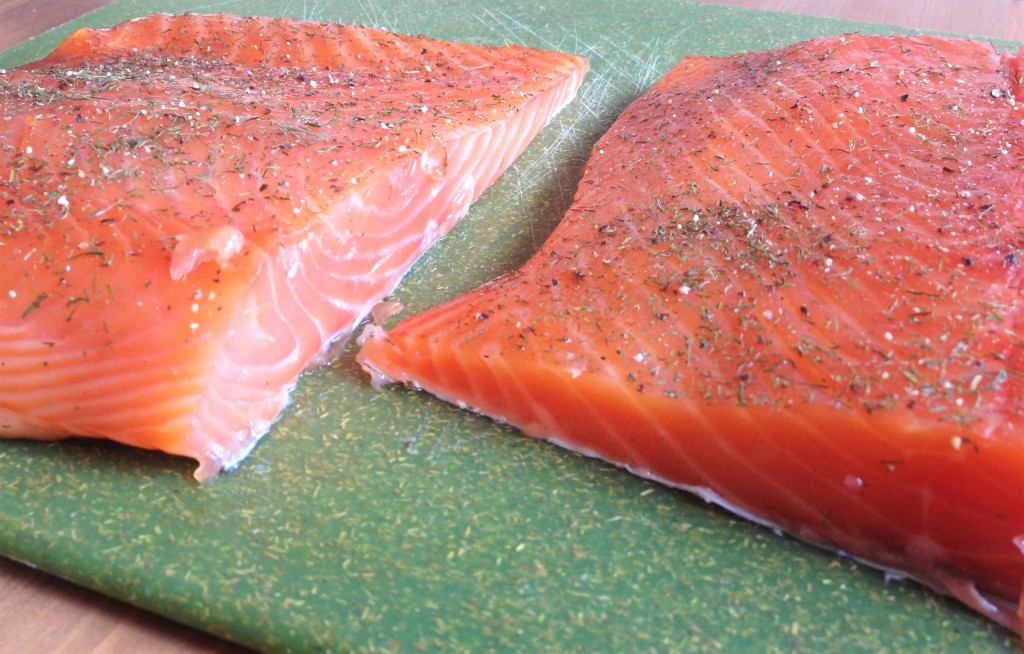
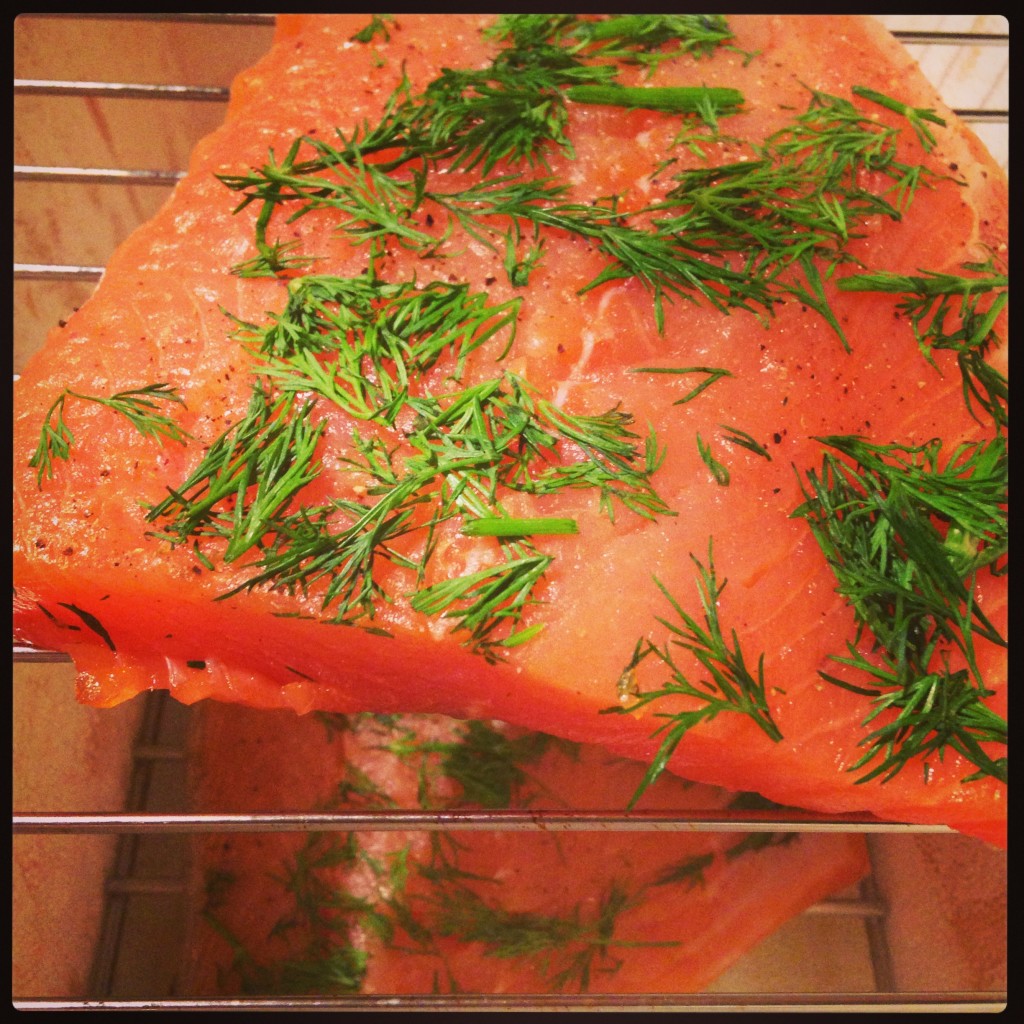
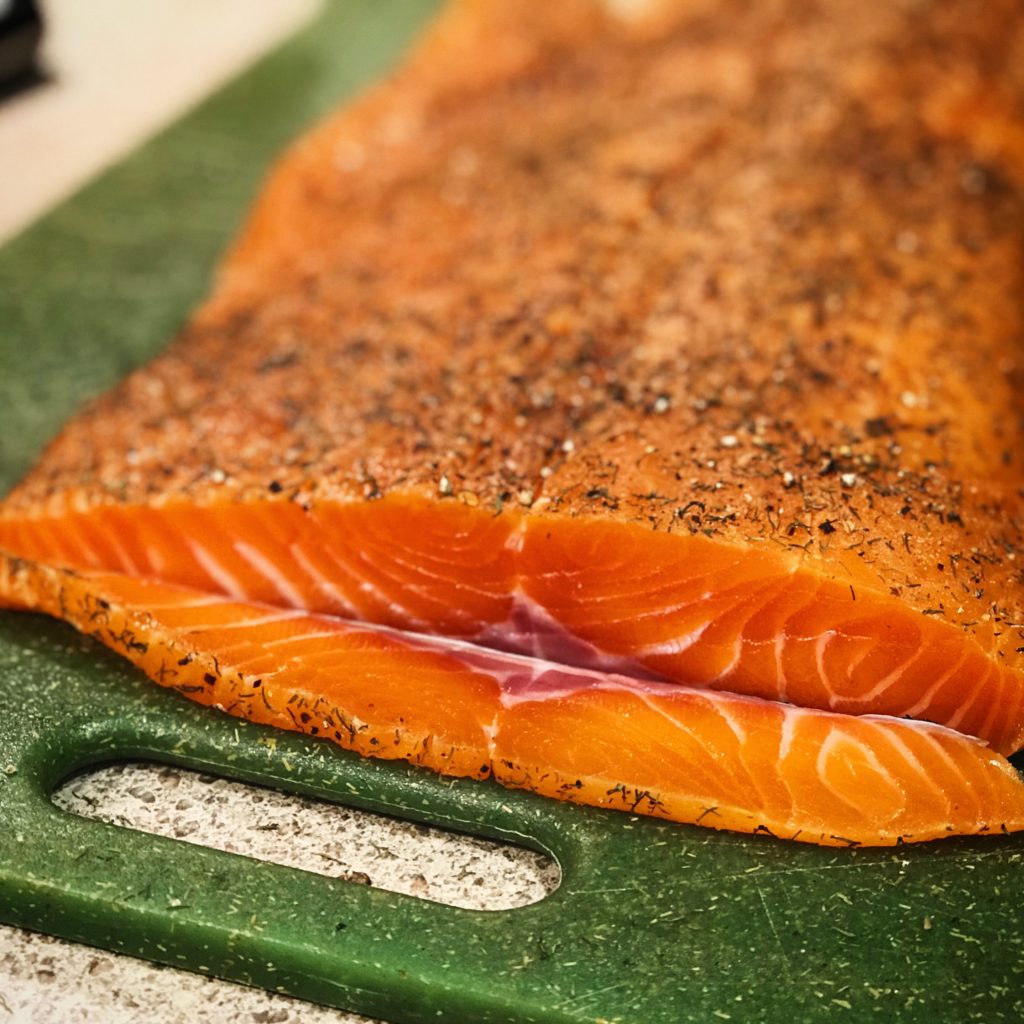
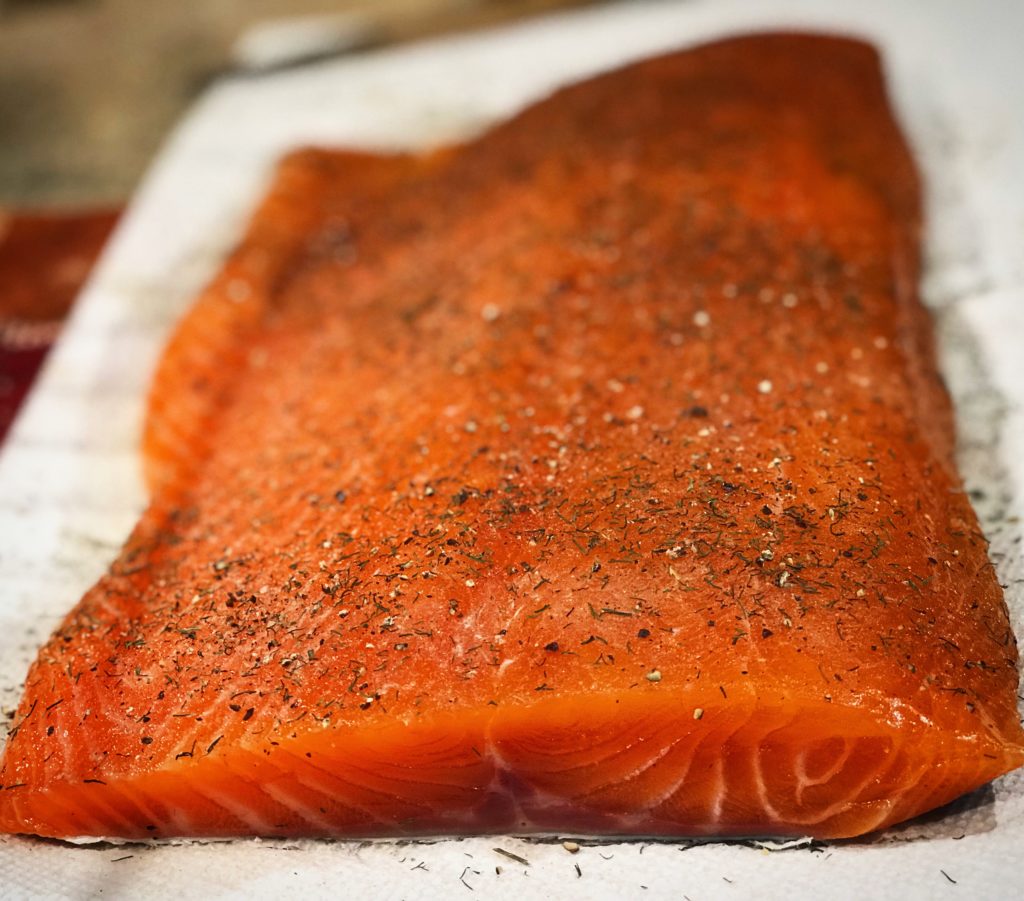
When the cold smoking is done, you want to allow the salmon time to equalize. Sprinkle with pepper and dill if you wish, and leave the salmon on a rack, uncovered in your fridge overnight or for ~8 hours.

B630E7D1-EB52-4F1A-A81E-F6318C74D439


Tasting

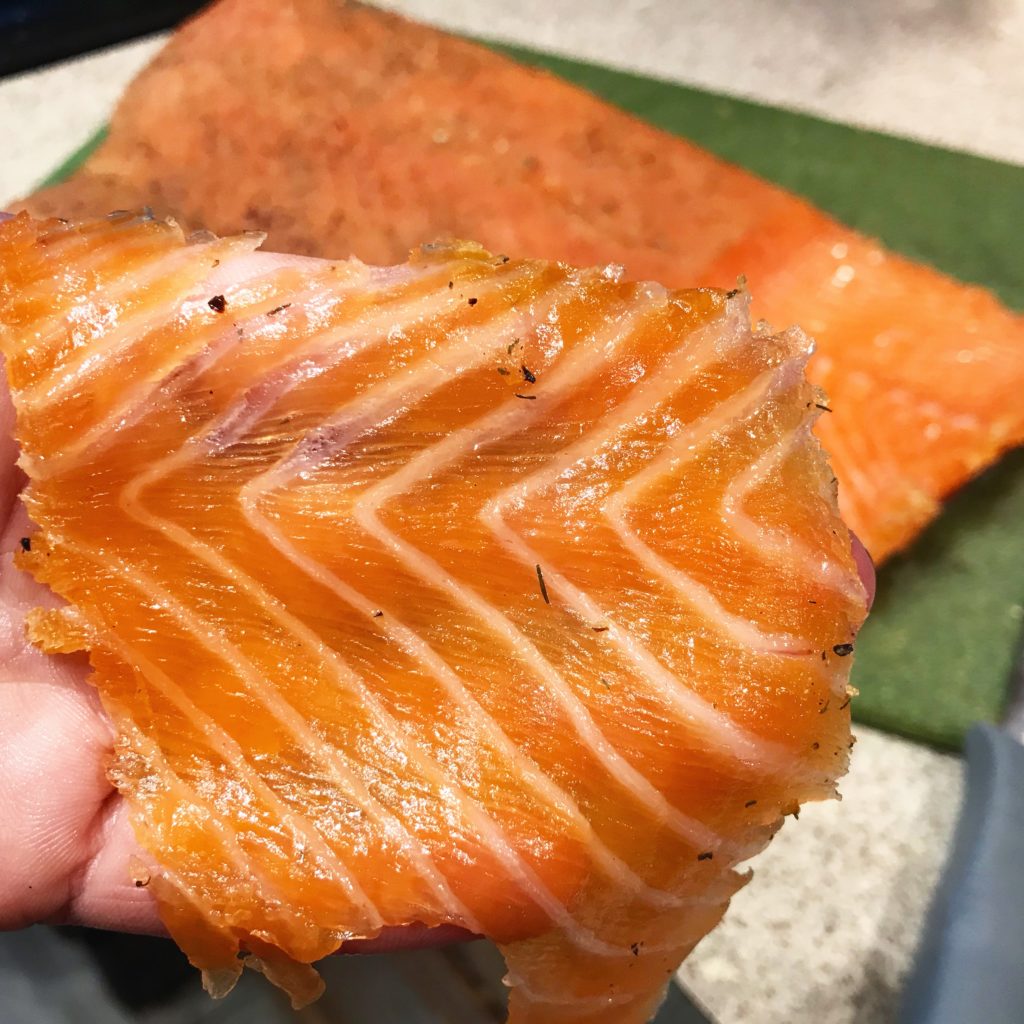
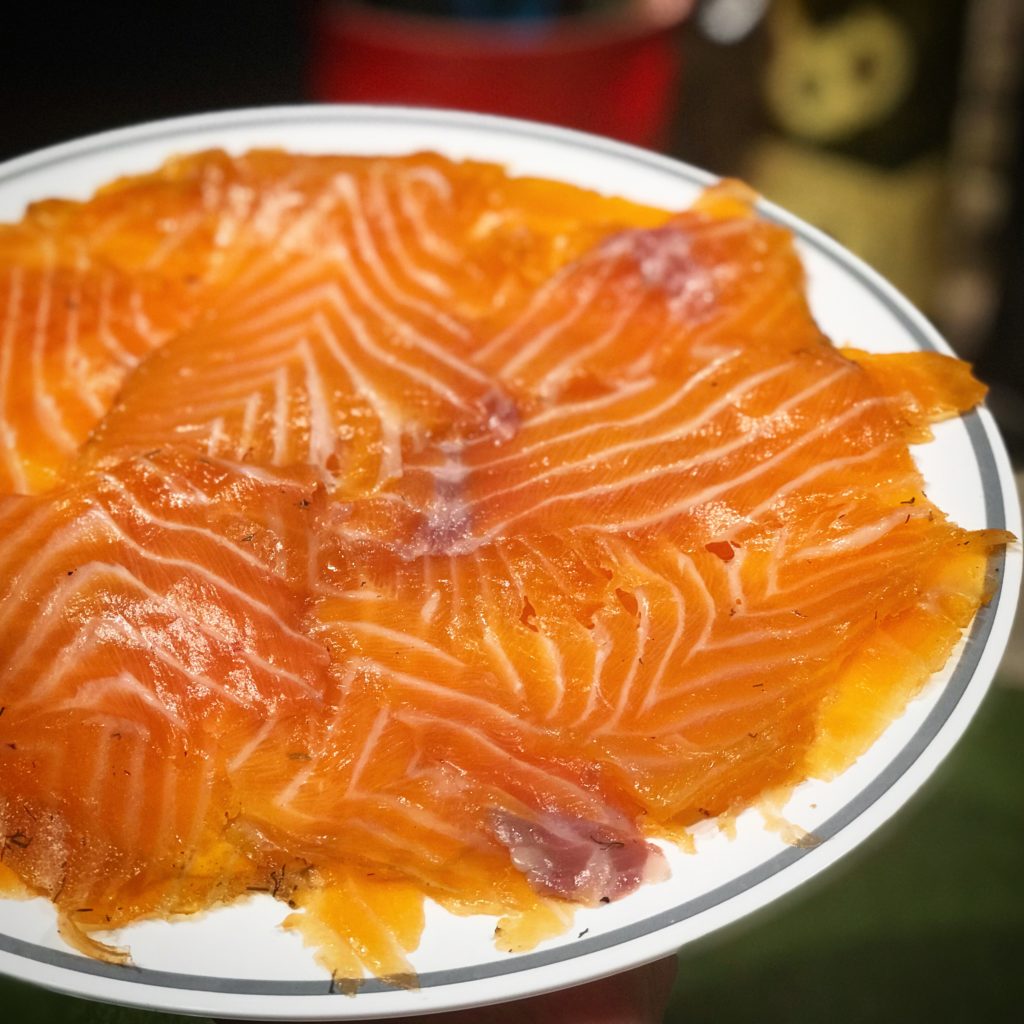
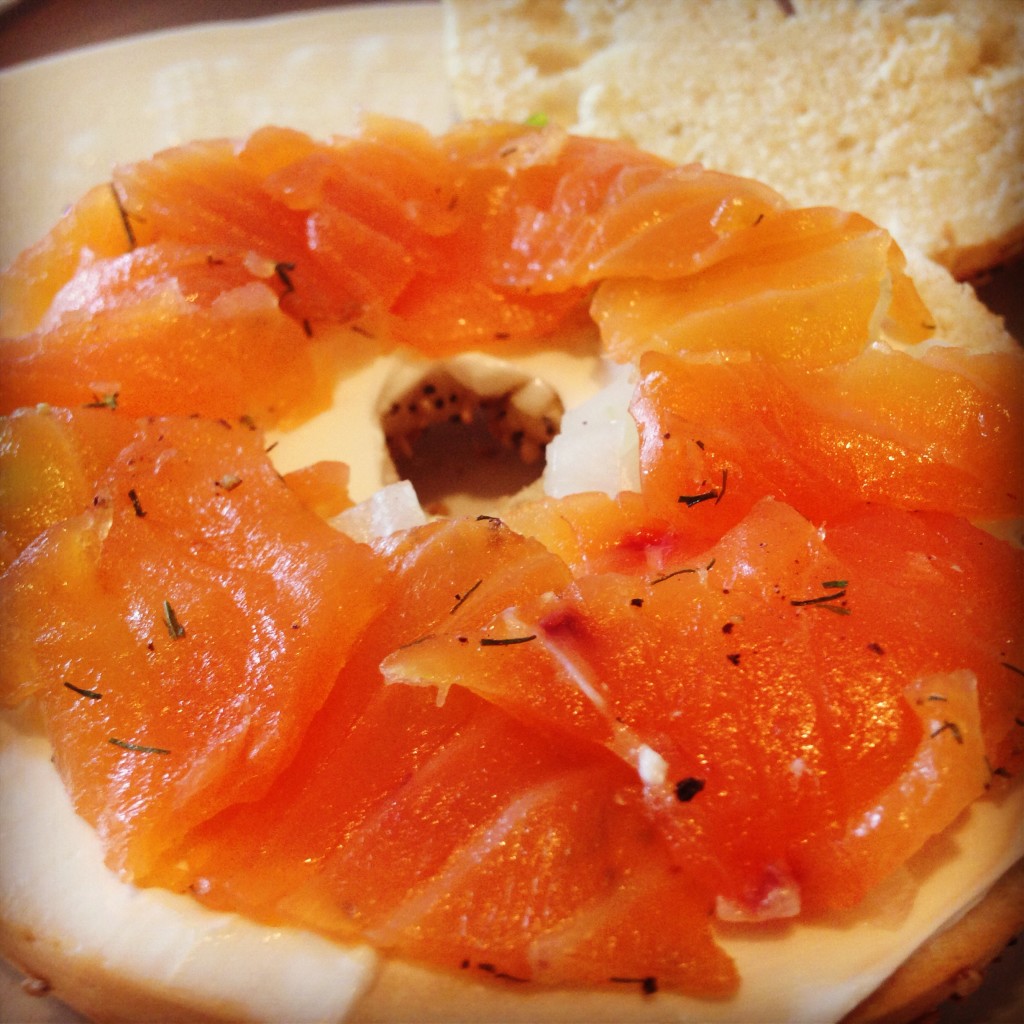
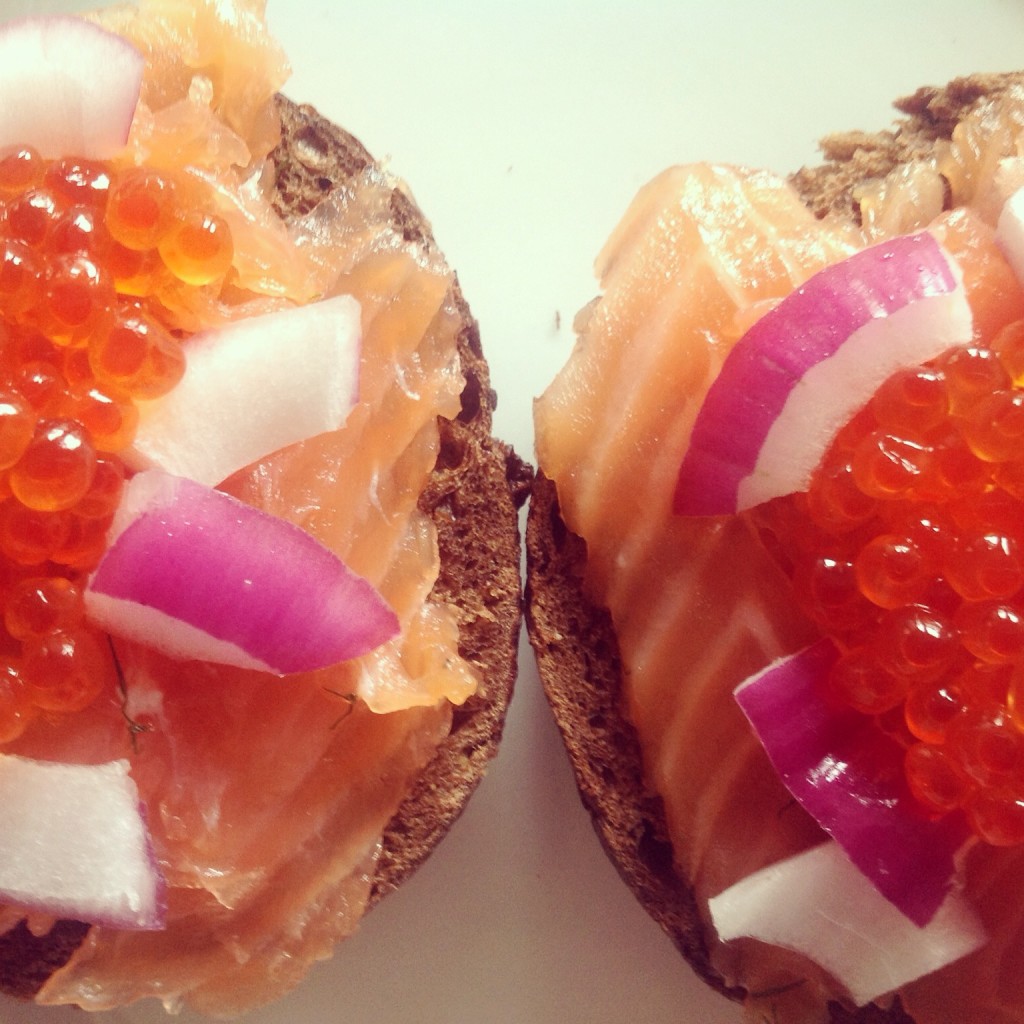
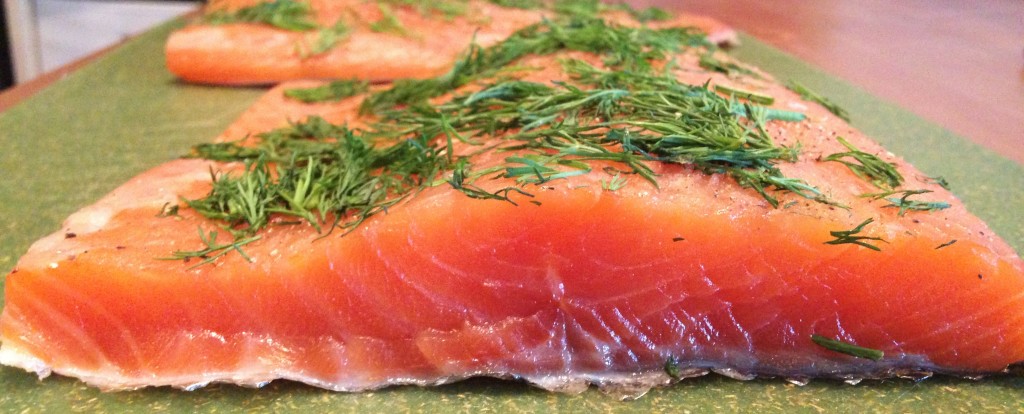
The next morning, you can start to slice up your freshly made nova lox!

5F2C8E77-3584-41F1-8CEF-375CF90844F0

If you find that you are making a lot of home cured lox, you might want to invest in a salmon knife. They’re relatively easy to get online, and making thin slicing of lox a whole lot easier.

28BBF19C-0FFB-4031-B051-77C41706E862

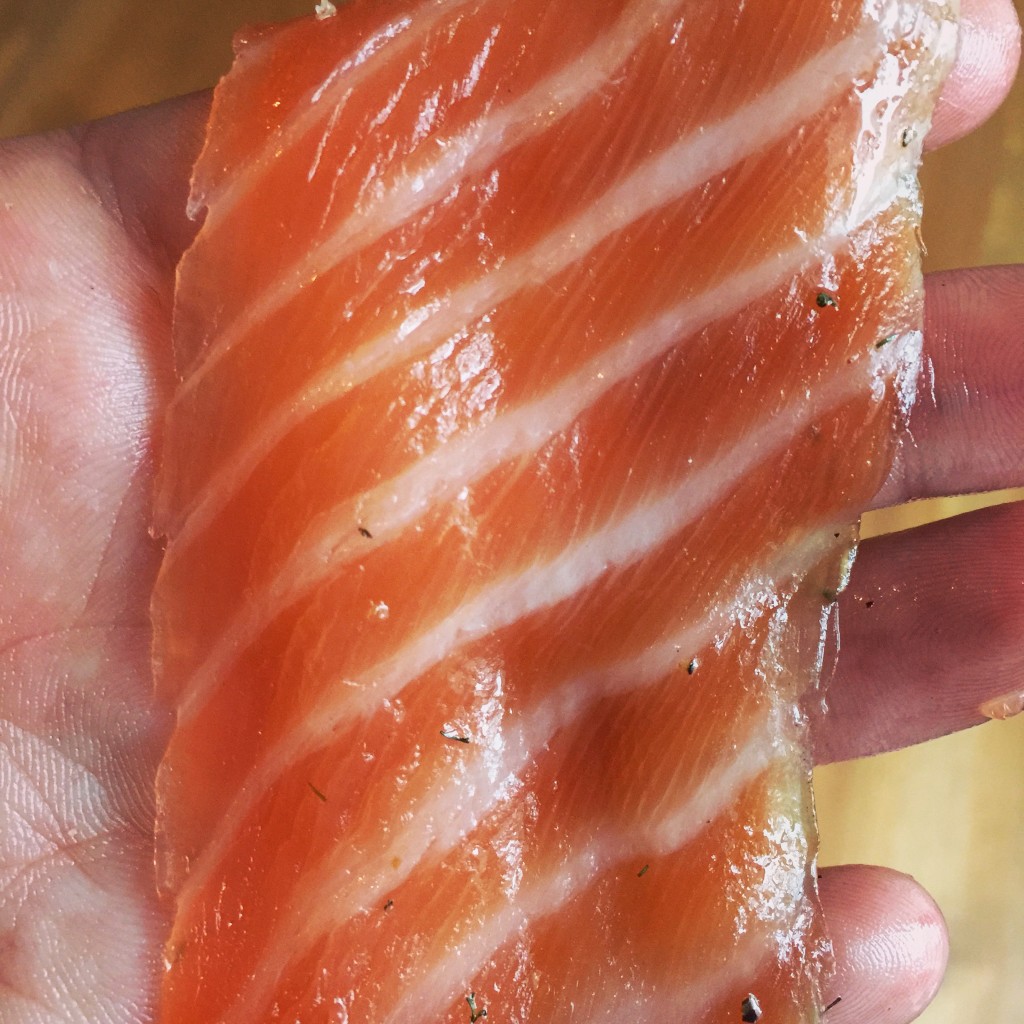
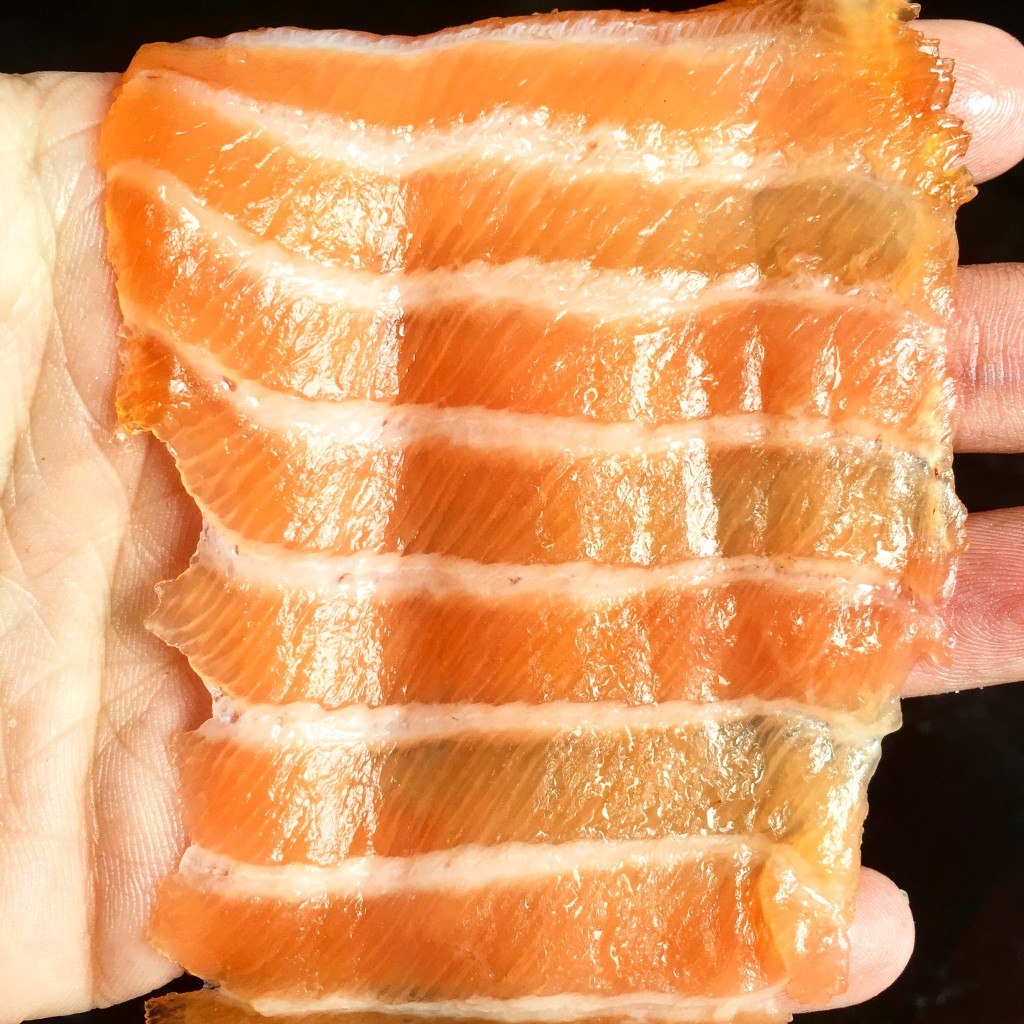
Slice it as thin as you can and you are ready to go!

4D519F0D-519E-4646-804B-B57E027993A3


Storage

You can slice it all in one go, or you can keep it in a vacuum sealed bag and take slices out of it as you wish. I find that when stored like this, it lasts about a week or so.


Disclaimer: Curing fish is a hobby that comes with inherent risks. We can all do things to limit this risk by educating ourselves about the process and the utilizing the safest known methods to create our products. This website is for educational purposes only, and all experimentation should be done at each individuals own risk.
Filed Under: Charcuterie Tagged With: diy, homemade, lox, nova lox, novalox, recipe, salmon

Salmon and Tuna Lox with Capers

June 2, 2016 by AOG Leave a Comment

Everyone knows that lox is generally made with salmon. However, after doing some experimenting with mosciame/mojama/tuna prosciutto as discussed in detail in previous posts, I started to wonder why no one ever made tuna lox. People eat raw tuna, they eat cured and aged tuna, but I haven’t ever seen anyone eating just cured tuna, or tuna lox. So, I decided to give it a go.

In addition to generally being made with salmon, lox tends to be adorned with capers after it has been cured, but it is not generally cured with capers. This means the caper flavor never really permeated the flavor of the lox. I decided to experiment with this as well, to see if a caper cure added a beneficial flavor to the lox.

This post will detail my 4 condition lox experiment: control salmon lox, control tuna lox, caper salmon lox, and caper tuna lox.

image(80)


The Fish:

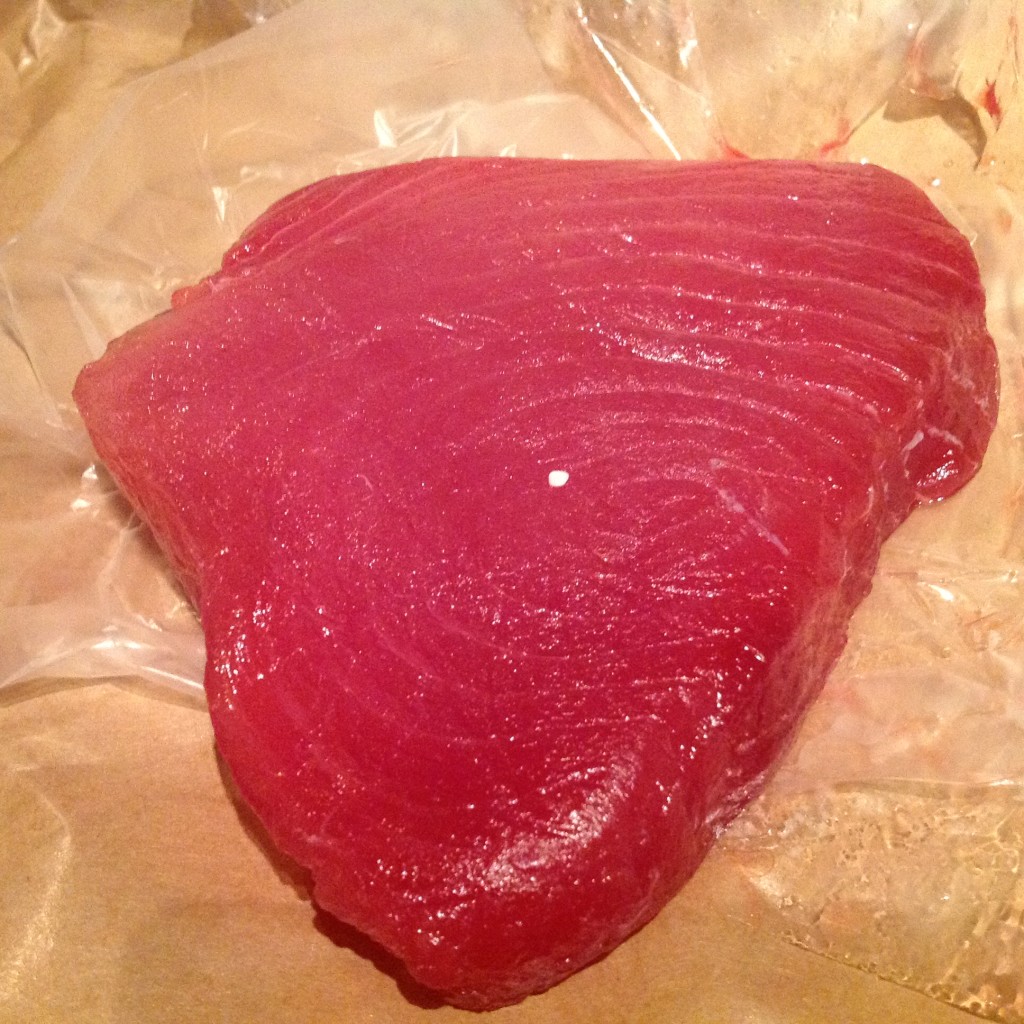
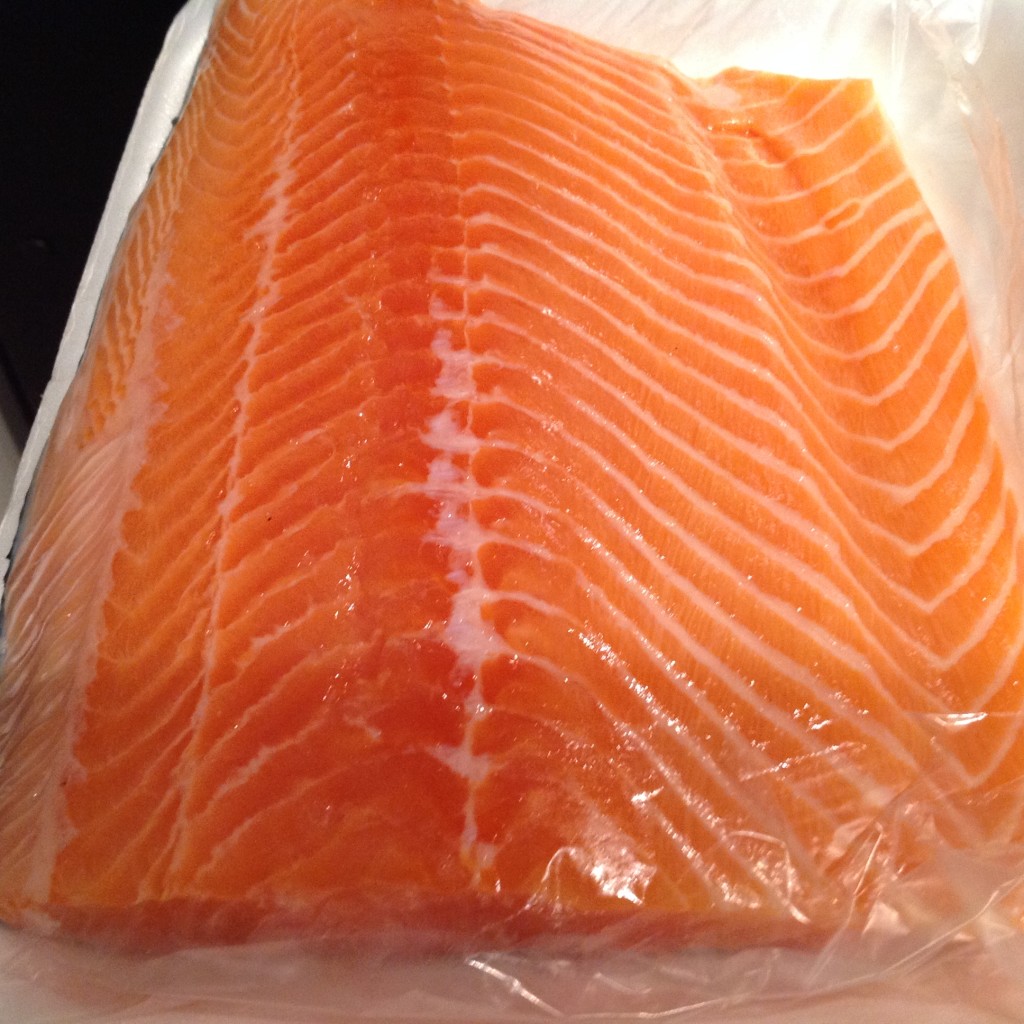
For this experiment, I bought pieces of salmon and sushi grade ahi tuna.

image(66)

image(68)


The Cure:

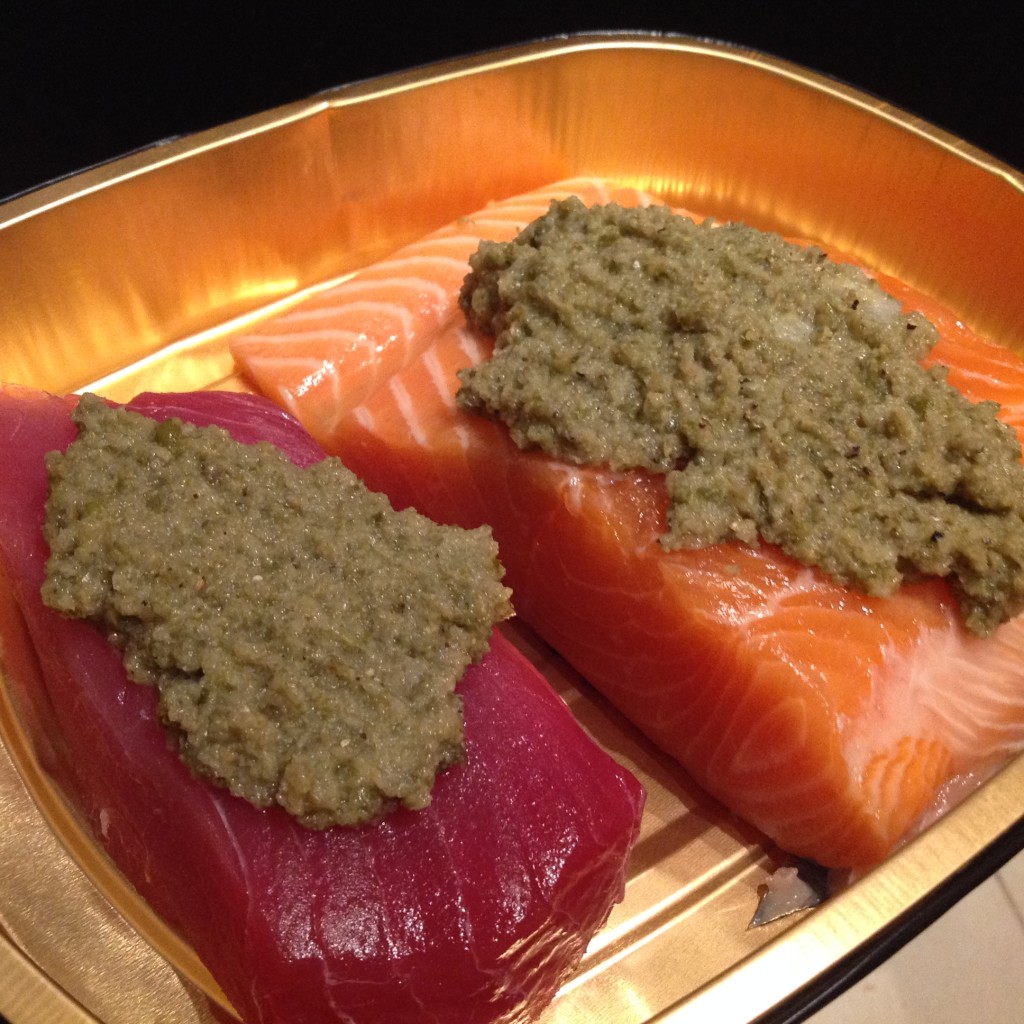
For the control cure, I used my normal 1:1 ratio of brown sugar:salt.  For the caper cure, I blended salt cured capers and added it to a 1:1 cure of brown sugar:salt.

image(69)


Curing (24 hour):

I let the fish cure for 24 hours in this excess cure in order to maximize the effect of adding the capers. Ideally, it would cure longer to let the caper flavor to permeate the fish better. However, when using an excess cure this is not an option.  In the future, I plan to try this with an equilibrium cure to allow for longer curing times.


Tasting:

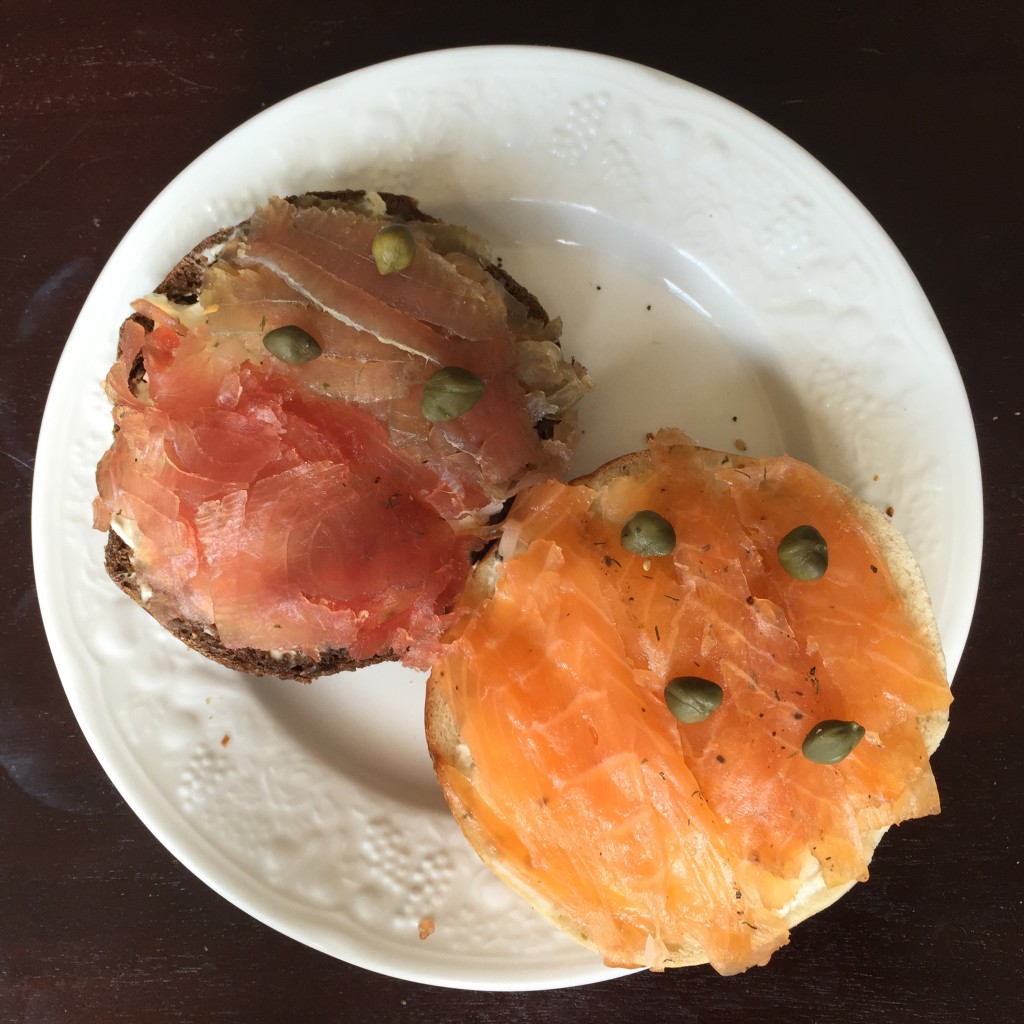
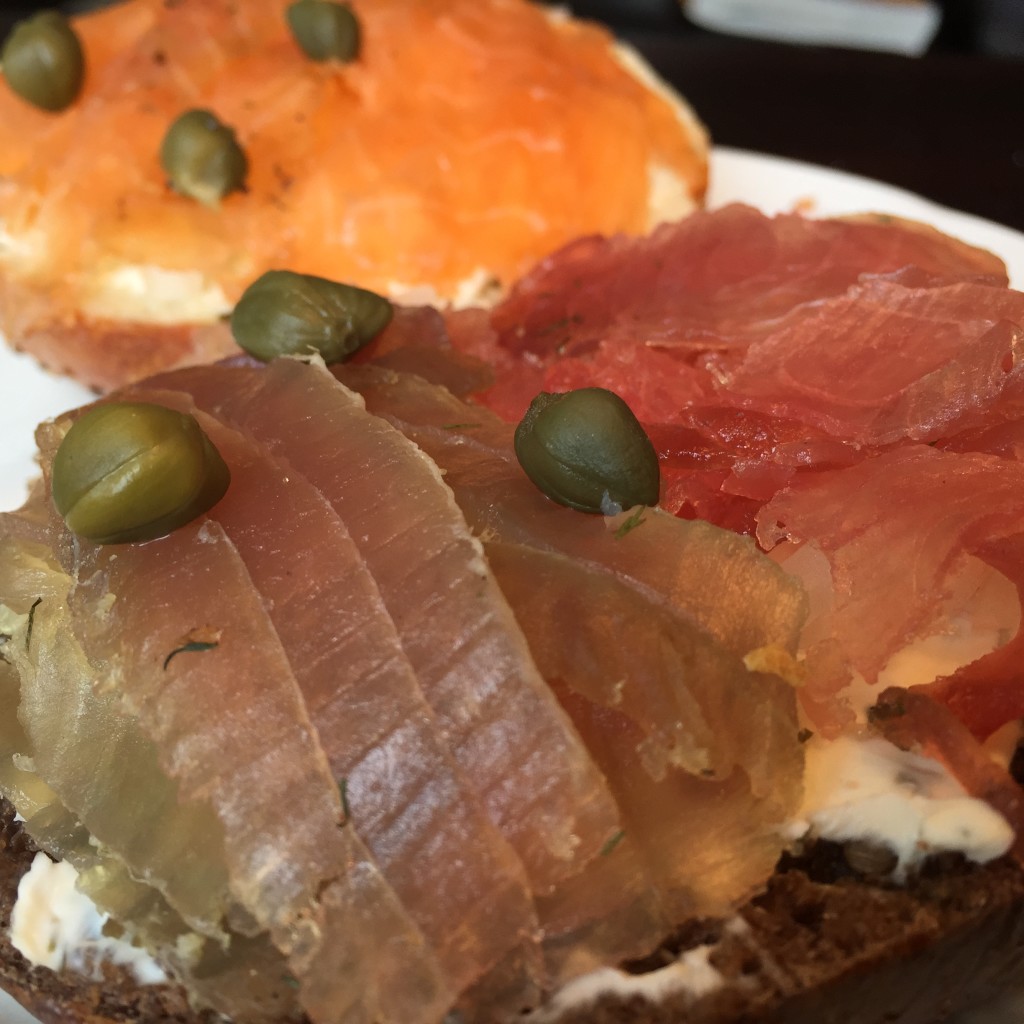
The tasting for these experiments was very interesting! The control tuna really took on the sweetness of the cure more than the salmon did. I didn’t expect the control tuna to taste too much different than raw tuna does, but the cure really added a level of complexity. It was really cool to see how the flavor of the salmon and tuna both changed from the simple addition of a cure. In the future, I will be curing more tuna lox as an alternative to the traditional salmon lox!

image(81)

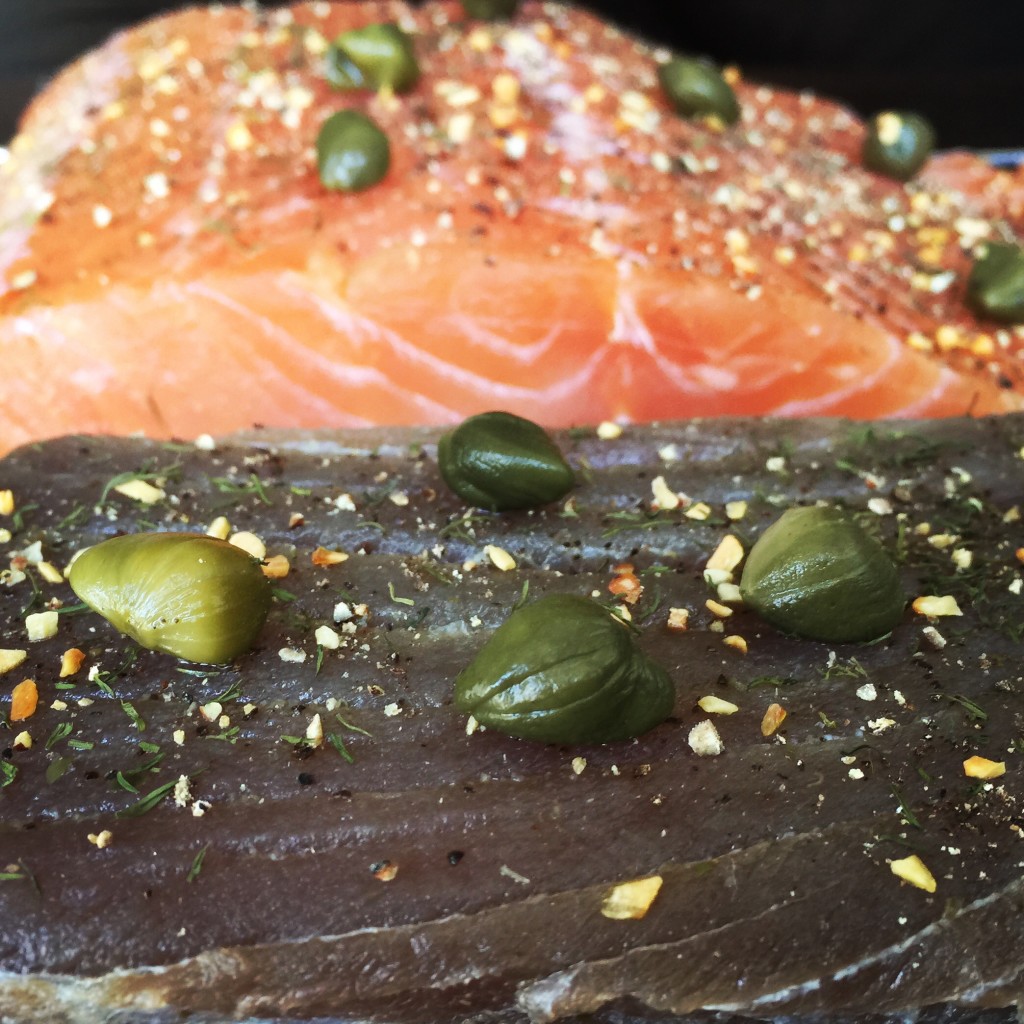
The caper tuna and salmon was a pretty cool experiment as well. The fish really took on a green tinge from the cure which may be a discouraging factor from a restaurant point of view, but from a home curer’s point is more of a point of fascination. The flavor was not as strong as I would have liked, and in the future I think I will repeat this experiment with an equilibrium cure with a longer cure time. Overall though, it had a subtle caper taste that really complimented both the flavor of the tuna and salmon lox. A perfect way to pair the flavor of capers with lox, without the strong flavor that accompanies biting into a caper itself.

image(77)

So, was curing tuna a good idea? Was adding capers to the cure a good idea? YES! Both of these experiments yielded promising results that I was able to enjoy, as well as to confuse friends and family with. Tuna lox, the new food craze of the year. You heard it here first!


Disclaimer: Curing fish is a hobby that comes with inherent risks. We can all do things to limit this risk by educating ourselves about the process and the utilizing the safest known methods to create our products. This website is for educational purposes only, and all experimentation should be done at each individuals own risk.
Filed Under: Charcuterie Tagged With: capers, curing, diy, fish, homemade, lox, salmon, tuna, tuna lox

Quick Lox

June 1, 2016 by AOG Leave a Comment

I have previously written about making Nova lox utilizing a 3 step process: a dry cure (12 hr), a brine (12 hr), and cold smoking (4 hr). You can find the details here: “3 Step Lox”. While I have found that this longer 3 step process yields the best overall final product, it tends to take a good amount of time and effort, and sometimes you just want lox right here, right now. This is my quick and dirty method for making lox. It is one simple step, and results in a pretty delicious final product.

image(37)


The Fish:

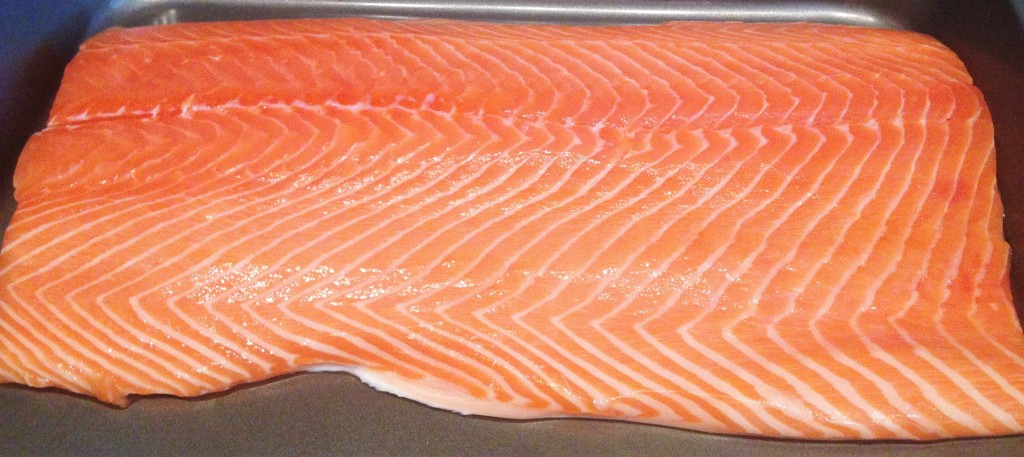
Buy (or catch) the freshest, highest quality grade salmon that you can find. I generally buy a large fillet from a local Asian supermarket that is known for their high quality seafood.

image(15)


The Cure:

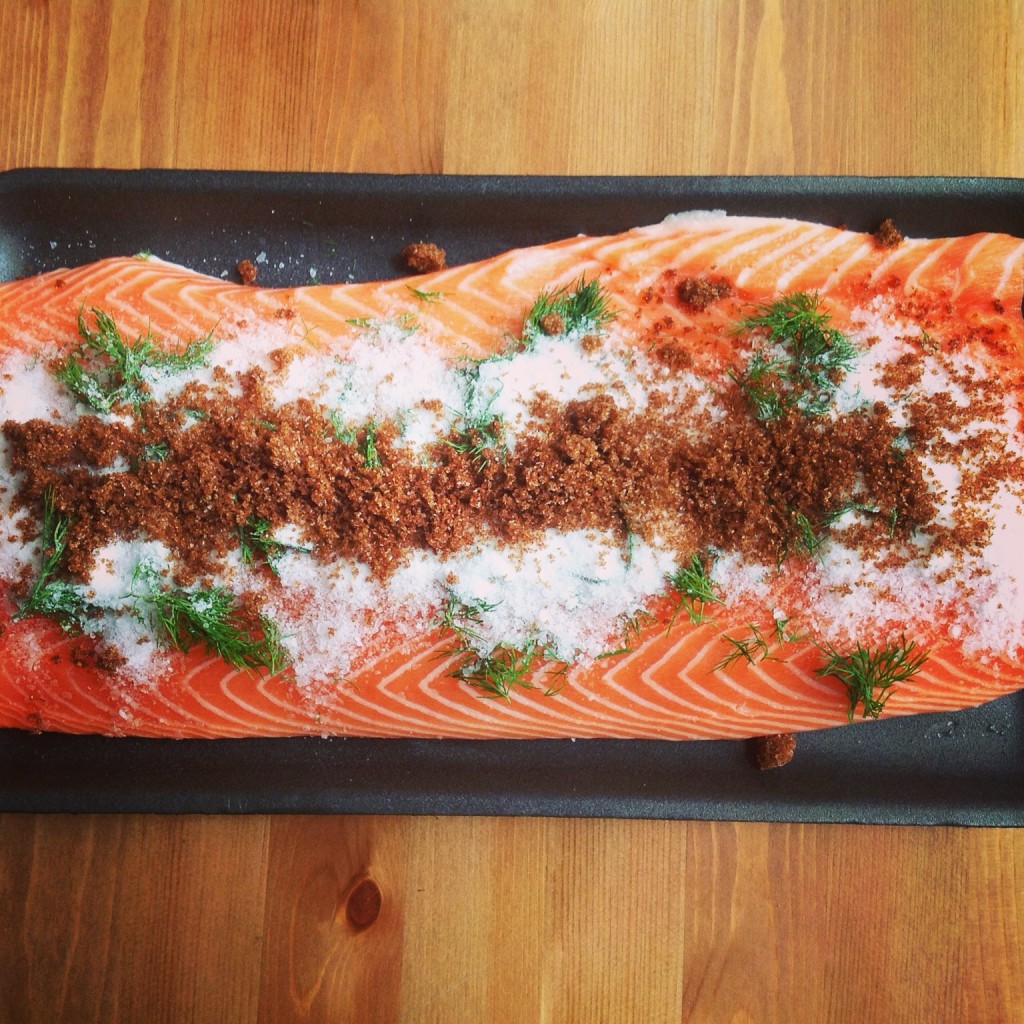
This method utilizes a simple, excess cure. It is a 1:1 mixture of brown sugar/salt, and you just need enough to simply cover the salmon. I like to use sea salt, but you can use whatever you have on hand. Sometimes, I will add dill to the cure as well.

image(28)


The Curing Process (12-24 hr):

Let the salmon sit in the cure for 12-24 hours. It is important that the brown sugar/salt mixture is in close contact with the fish in this time.

image(5)

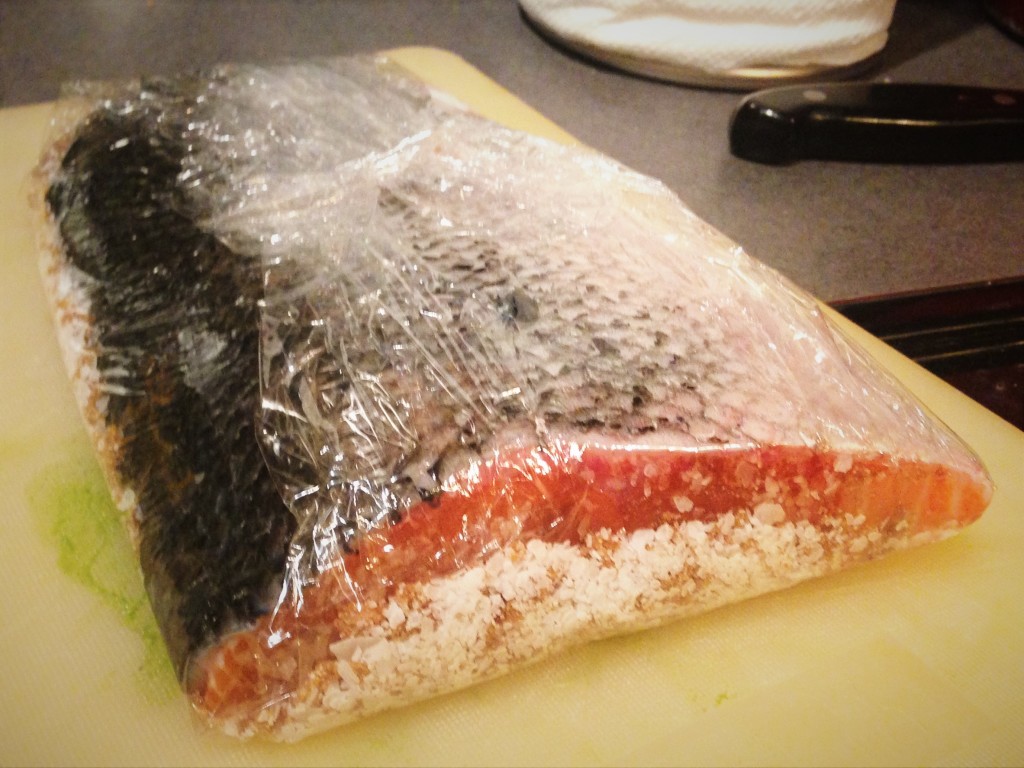
I like to vacuum seal the salmon in with the cure to ensure as much contact with as little mess as possible. However, there are many other methods you can use. For example, using plastic wrap to cover the fish and the cure, and placing the cure covered salmon in a Tupperware container with a weight on top works as well.

image(2)

Just be aware that as the curing progresses, the cure will pull water out of the salmon. This can make for a bit of a mess, so make sure you are curing in a deep dish if you are not vacuum sealing your salmon in with the cure.


Post-Cure:

After 12-24 hours, remove the salmon from the cure and rinse it off in cold water.

image(6)
Pat dry, and top with cracked pepper and dill.

image(25)


Tasting:

The salmon can be eaten immediately after it is removed from the cure, but it will get better if it is given some time (2-12 hours) to equalize. Slice thin, and enjoy!

image(36)

image(45)


Storage:

The lox is best eaten fresh, but can be stored in the refrigerator (preferably under vacuum seal) or in the freezer.


Disclaimer: Curing fish is a hobby that comes with inherent risks. We can all do things to limit this risk by educating ourselves about the process and the utilizing the safest known methods to create our products. This website is for educational purposes only, and all experimentation should be done at each individuals own risk.
Filed Under: Charcuterie Tagged With: cured salmon, diy, homemade, house cured, lox, quick lox, salmon

3 Step Nova Lox

June 21, 2014 by AOG Leave a Comment

Lox. Lox. Lox. Down in my belly. Lox is one of those delicious foods that you can spend a whole life missing out on after one bad experience. My first experience trying lox was at a Bar/Bat Mitzvah reception, where I cautiously loaded it onto a bagel, took a bite, and was less than pleased with the results. It was a good 5 years or so before I tried it again. My next experience was life altering. At least, culinary life changing. The fatty flavor of the salmon, salty without being overpowering, paired with the spice profile of peppercorns and dill was utterly delicious. I think I ate lox for a week straight after that experience. It was another 3 or so years, fed up with the high price of lox and the lottery of whether it would be fresh and delicious or older and less so, when I decided it was high time I learn to make my own lox.

image(3)

Lox is one of those foods that is fascinating to explore the instructions on how to make them because there are so many traditions intertwined with history, that each takes you down a path of exploration that can distract you all day. There are different traditional methods on making lox, as well as new innovations and fusion spice profiles that lead to endless ways to make lox.

image(34)

After doing a good amount of research, I choose a path of doing a less salty cured and smoked Nova lox. Some lox is considered finished after it has been cured for the appropriate amount of time, while others are cold smoked after they are cured. It’s a matter of preference, time, and ability, but the Nova lox I had grown to love so much was cold smoked, so I had to take the extra step. This post will detail what I call my “3 Step Lox.”


The Fish

The first step is to buy or catch a salmon. You will want it filleted in half, with as many of the bones removed as possible. Wild, fresh salmon is the best, but you can work with what’s available.

image(20)


Step #1: Dry Cure (10-12 hours)

The first step is to dry cure the salmon. Using a 1:1 cure of brown sugar and kosher salt, I completely covered the exposed salmon, coating all of the fish except for the skin. After adding the cure, I wrapped the fish in plastic wrap, although any container will really do if you are opposed to the use of plastic. I placed this overnight in the refrigerator, with a weight on top of it (textbooks) to help increase the surface area contact and pressure. The solute particles in the cure act to create an differential gradient, leading to osmosis of water out of the salmon and into the cure, so beware, this will leak into your fridge if you don’t be careful and place it on something that can catch the extra liquid. This is a good sign, and it means you are starting to cure the salmon.

image(17)

Note: Some recipes only use a dry cure for a certain amount of time (the longer, the saltier). Others only use a wet cure. In the days when curing salmon was done due to necessity, the lox was a lot saltier because there was no refrigeration and the salt cure needed to keep the fish edible for longer periods of time. In today’s world, curing salmon is done largely for the culinary pleasure of it. Because of that reason, we can get away with using much less salt/less curing time than traditional recipes call for. In the end, it’s what you prefer and can eat safely.

For the sake of experimentation, I first tried making lox using this 3 step method of a dry cure, a wet cure, and cold smoking. There is room to change any and all of the ratios/times listed here, and I have played around with most parameters. I have found that I prefer the results of this “3 Step Lox” to other methods when I have the time to make it. When I don’t, I make my “Quick Lox.”


Step #2: Wet Cure (10-12 hours)

The salmon is washed in cold water to clean off all of the dry cure. After this, it is submerged in a wet cure (brine) composed of salt and white sugar that are dissolved in water (1 L of water, 70 grams of salt, 4 grams of white sugar- scale up or down based on need). I use a vacuum sealer and associated vacuum sealable bags to submerge the salmon in the brine. This is put in the fridge overnight again.

Note: After the wet cure stage is done, you have cured salmon. The last stage, smoking the salmon, is an additional step that was sometimes done in order to further preserve the fish, being a convenient way to increase its edible lifespan given the ubiquitous nature of fires and therefore smoke in the lives of the earliest lox makers.


image(21)


Step #3: Cold Smoking (4 hours)

Cold smoking is a method of smoking meat, fish, cheese, what have you, without actually cooking it with heat. It is done with temperatures under 90F/32C, which allows the fish to remain “uncooked” while picking up the complex flavors that smoking imparts upon food. There are many many ways to cold smoke, but most require you to be outside and are similar to a grill set up. I have two methods that I use to smoke salmon. My first choice is to use an outdoor cold smoking set up, where I use an A-maze-N tube smoker in a Weber grill, carefully monitoring the temperature level to make sure it never rises too high.

image(48)
If I don’t have easy access to one, I use a jerry-rigged indoor set up, using a Smoking Gun attached to tubing that sends the smoke into a Styrofoam cooler.

image(10)

Before cold smoking the lox, I add simple spices to the cured lox: fresh dill and both black and white peppercorns.  Using my cold smoking set up, I cold smoke the salmon for 4 hours. After this time, I set the salmon on a rack in the fridge and allow it to rest overnight.

image(24)

The next morning, the salmon is cured, smoked, and ready to enjoy!

image(12)

Slice it thin and enjoy!

image(43)
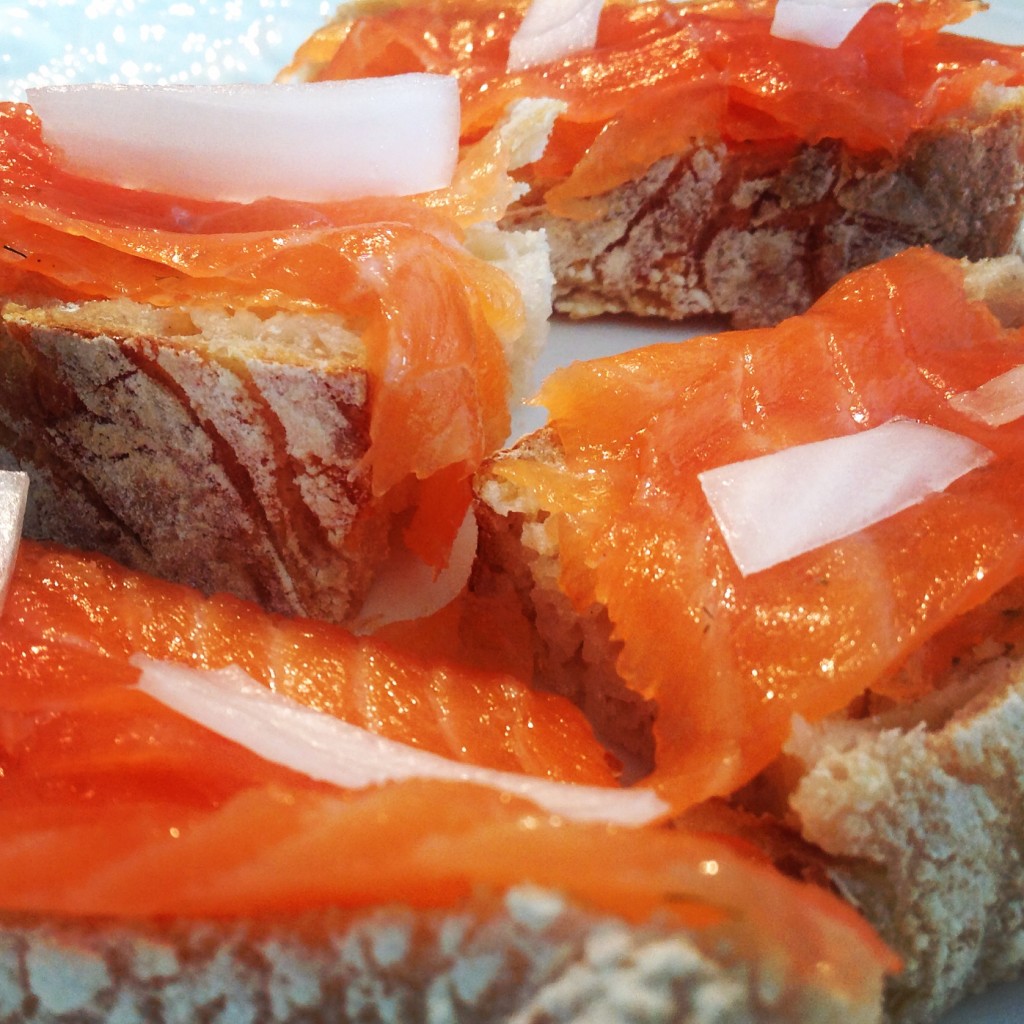
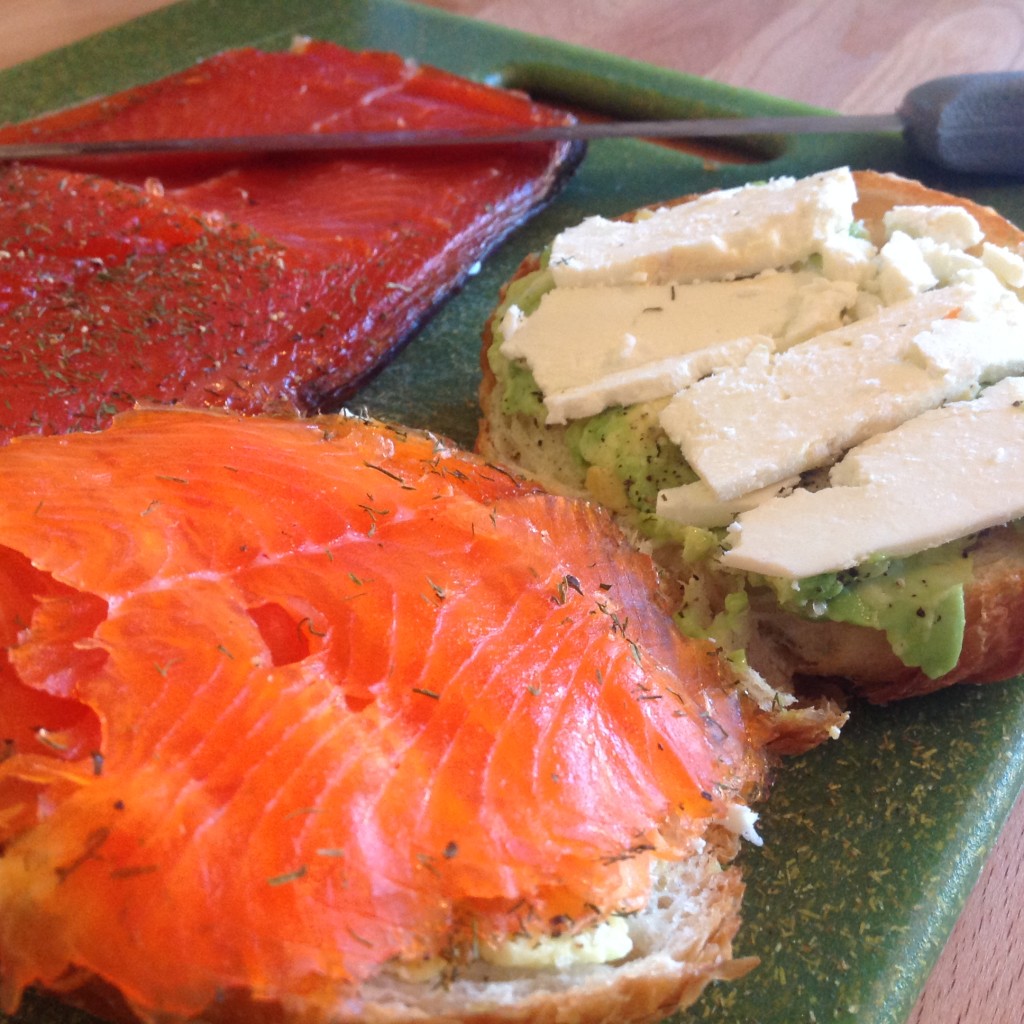
It is great on homemade bread, matzah, bagels, or even just by itself!

image(26)

image(44)


Disclaimer: Curing fish is a hobby that comes with inherent risks. We can all do things to limit this risk by educating ourselves about the process and the utilizing the safest known methods to create our products. This website is for educational purposes only, and all experimentation should be done at each individuals own risk.
Filed Under: Charcuterie Tagged With: charcuterie, cured fish, fish, lox, nova lox, salmon

  • Instagram

Copyright © 2025 · Foodie Pro Theme by Shay Bocks · Built on the Genesis Framework · Powered by WordPress