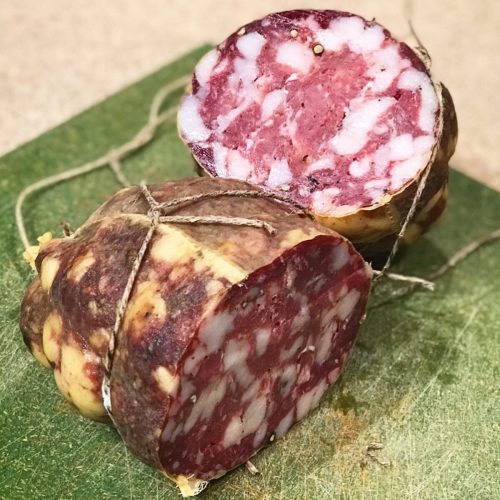
As Halloween has come and passed, the most witchy of all the salami has been on my mind. Strolghino is usually a thin salami that is made using trimmings from the culatello, and eaten after only a few weeks of aging. Its name is thought to derive from the dialect word “strolga” which translates to a word like “witch”. The strolghino is named so for its power of prediction – it is the first indication of how the prized culatello will turn out a year later.
Planning
For this salami, to make it right, you really want to be doing it alongside of making a culatello and fiocco (as discussed here).
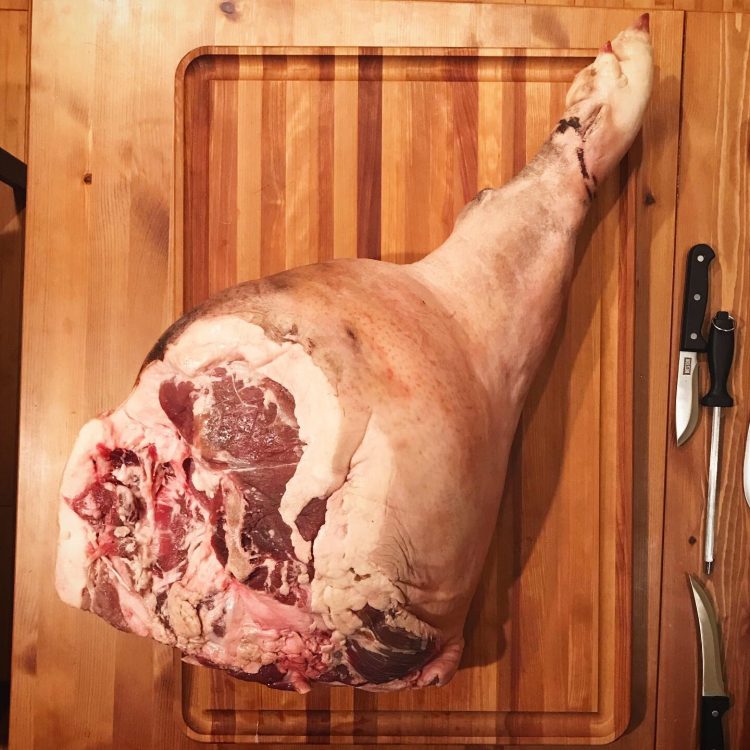
Ideally, you will take the trim left over from the leg in the culatello butchering process and use it to make the strolghino. Separate out the trim into pork 1, pork 2, and fat. For the stronghino, you will use the pork 1 (best quality lean meat with no tendons or fascia) and fat. The pork 2 can be used in any saucisson or sausage that will be cooked.
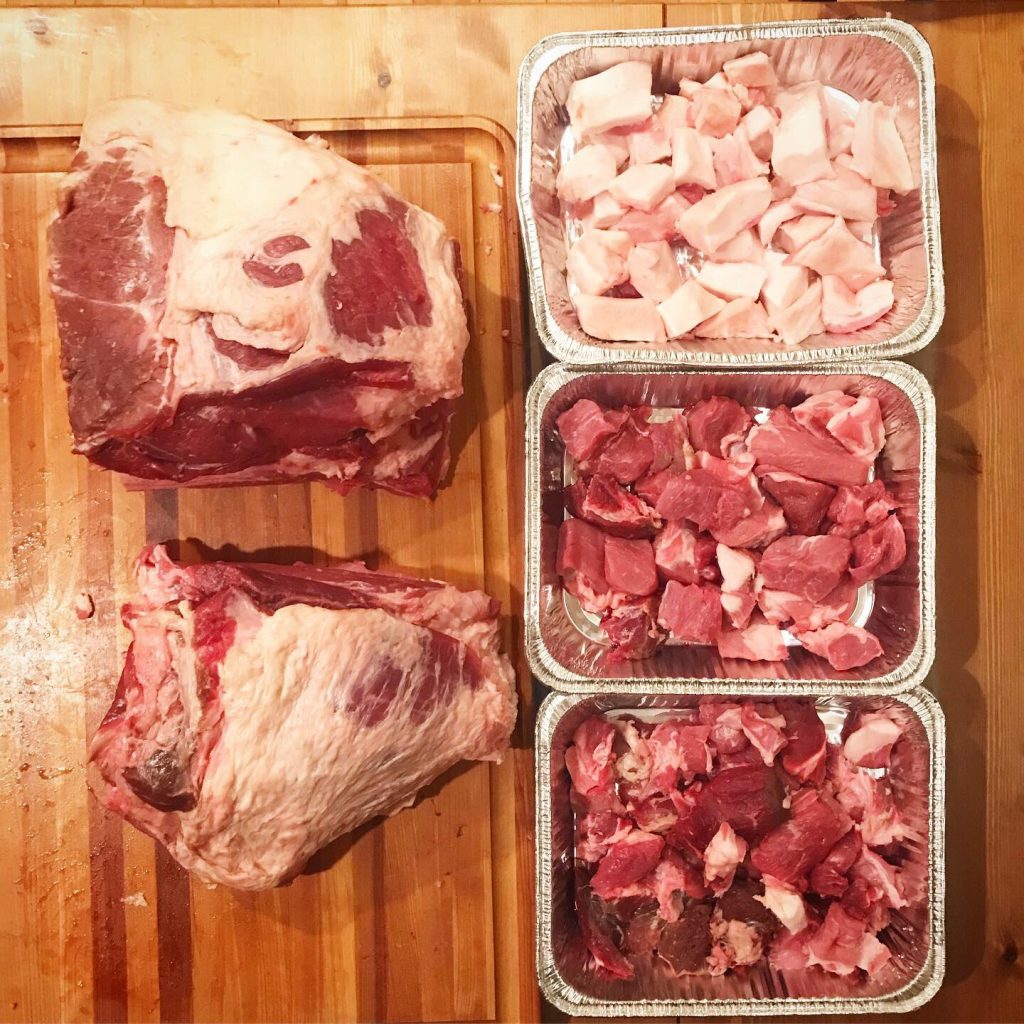
The flavor of meat from this part of the leg can be incredible, so the salami itself doesn’t need much more. Depending on the breed/age/diet of the pig, the leg you are using may have more or less fat. Generally, strolghino is a more lean salami, so you can aim for 15-30% fat for this salami, which is generally achievable just from the trim you will have.
Weigh the lean and fat separately if possible, shooting for 15-30% fat relative to lean, and insert them into the appropriate spaces below on the spreadsheet and it will calculate the necessary amounts of the cure ingredients. (If you have eyeballed the fat/lean ratio, then just insert the total weight into the Meat+Fat cell.)
*Please use common sense. Make sure the spreadsheet is working properly for you and double check any calculations that don’t seem right.
Cubing
After you have planned the ratios for your meat, it’s time to get started. If you’re breaking down a leg, you may have already done this part. If not, it’s time to prepare the meat to be ground. Making sure you keep everything cold (I par freeze my meat beforehand and return it to the freezer when I am done working with it), cube the meat and fat into 1 inch pieces that will fit into your grinder. You can also hand cut your fat if you prefer, if so aim for ¼ inch pieces.
Grinding and Mixing
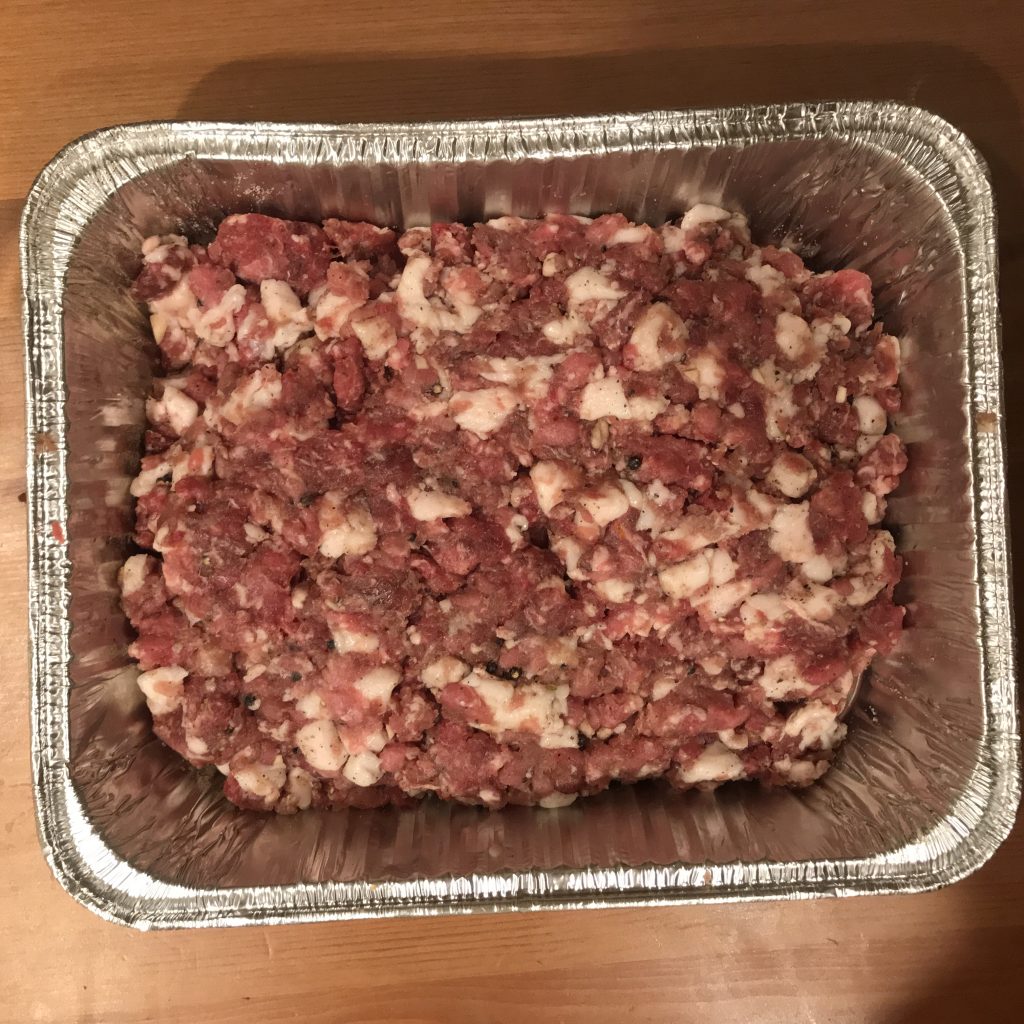
After grinding the meat, making sure to keep it cold throughout the entire process, mix the meat, fat, and spices together to get a nice bind. I used a stand mixer on the slowest setting for this, although you can also do this step by hand. You want to mix it enough to get a good bind, but not so much that it becomes mush.
Grind your meat (and your fat if you are not choosing to hand cut it) while it is still partially frozen to make the process go as smoothly as possible. I ground the meat using a coarse die here, and hand cut the fat. You can mix the spice cure with the cubed meat before you grind it, or with the ground meat afterwards. I generally mix it before hand to get better spice cure distribution.
Stuffing
After the meat has been mixed together, it’s time to stuff it. Strolghino generally uses small diameter casings, since those were the ones that were traditionally ready first, and will result in the quickest drying. Here, I used wider diameter casings because I had them on hand. Feel free to use what you have available, but the smaller diameter casings will be more authentic for this.
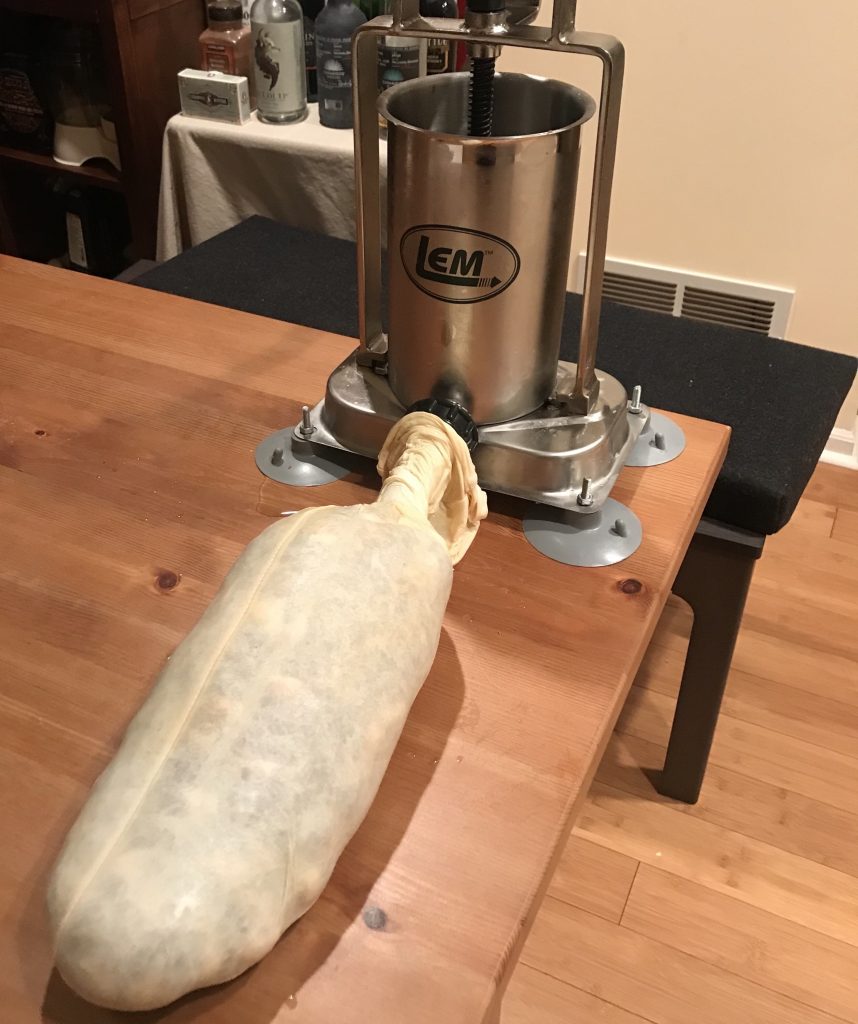
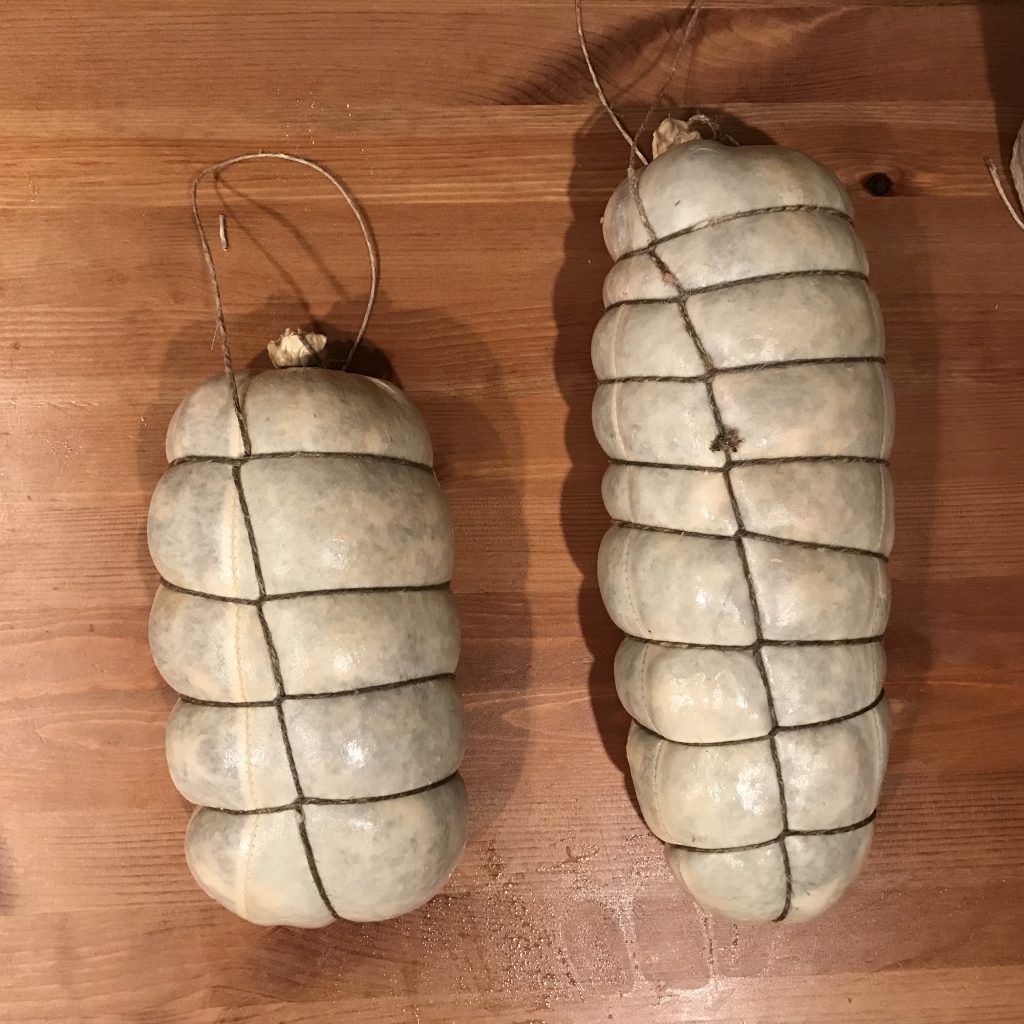
After stuffing the salami, you can either tie it up by hand, or use netting to secure it.
Fermentation
Temperature: 70ᵒF/21C (strain
dependent)
Humidity: 80-90% RH
Time: 48-72 hours (until pH drops to at least 5.3)
After you have stuffed the strolghino into the casings, it’s time for fermentation. The conditions you use for fermentation will depend upon the starter culture strain that you have used. Look it up on the packaging or the website if you’re not sure.
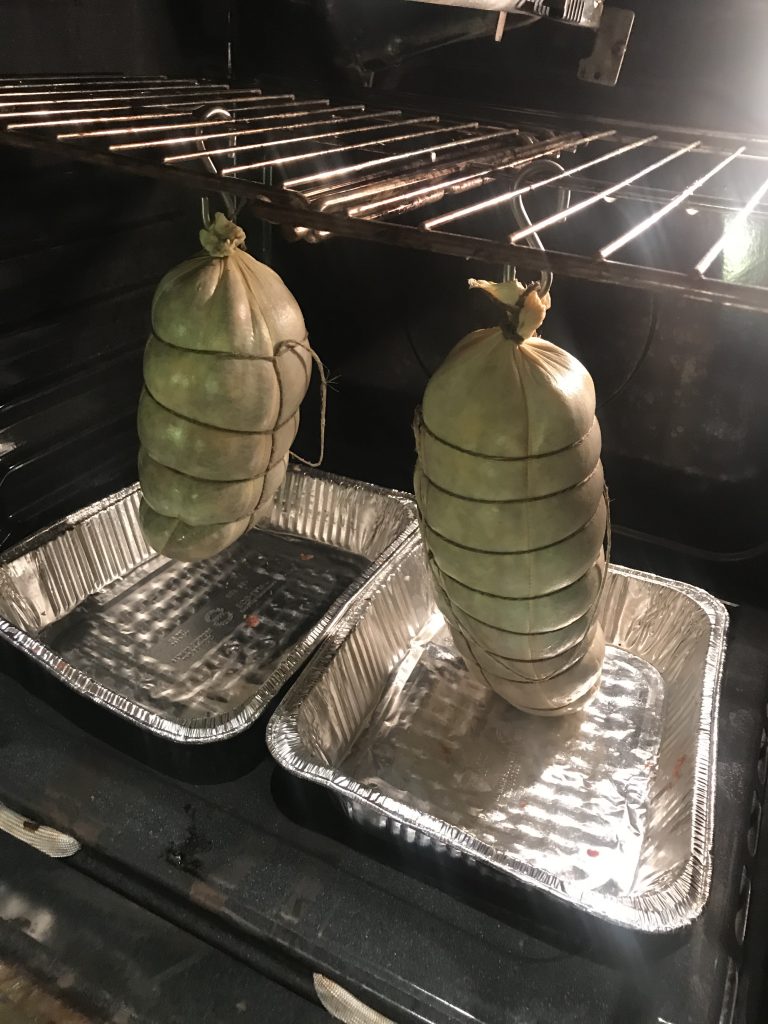
I use B-LC-007, which is a starter culture that requires temperatures of ~70F and a relative humidity ~80-90%. I let the strolghino ferment for ~48 hours, which is about the time it should take to allow the pH to drop into the ideal range. My fermentation chamber is my oven, off, with the light on. This generally gives me the conditions I need.
I don’t currently use a pH meter (they’re relatively expensive), but if you have one, now is the time to use it. Ideally, you want to see the pH drop to around 5.3. In this step, you need to balance the safety concerns (ideally a fast pH drop with American style fast acidifying starter culture) and flavor concerns (ideally a gradual pH drop with European style starter culture). I find the traditional European methods work well for me, but everyone should take into consideration their own concerns when doing this.
Drying
Temperature: 54F/12C
Humidity: 70% RH
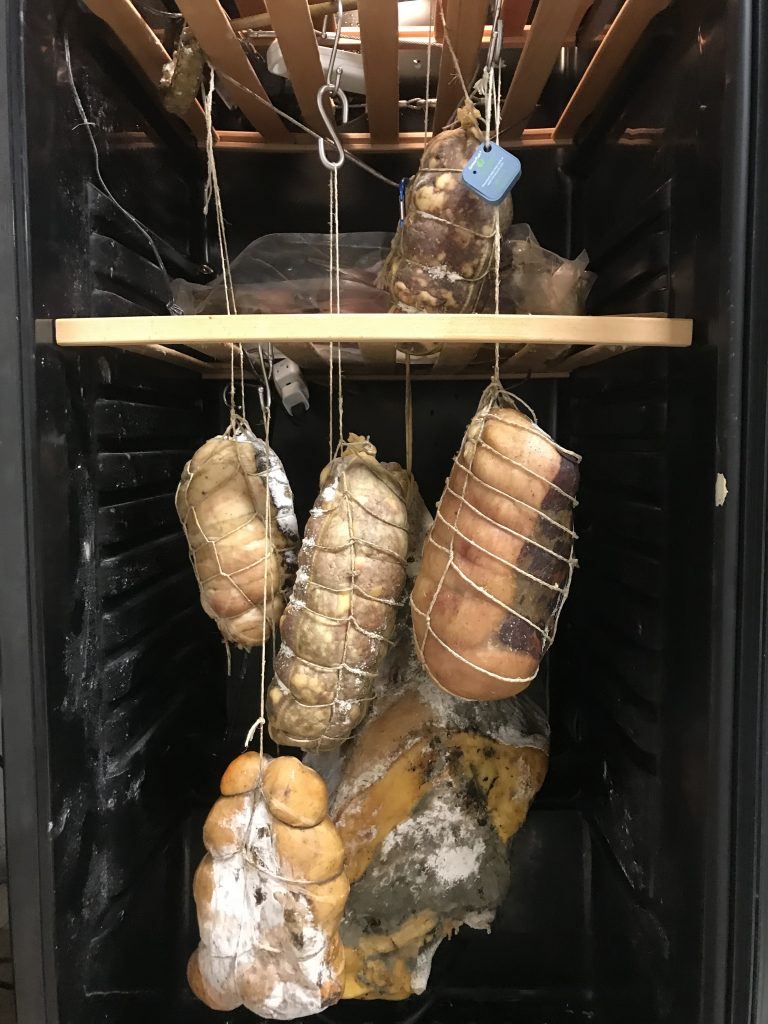
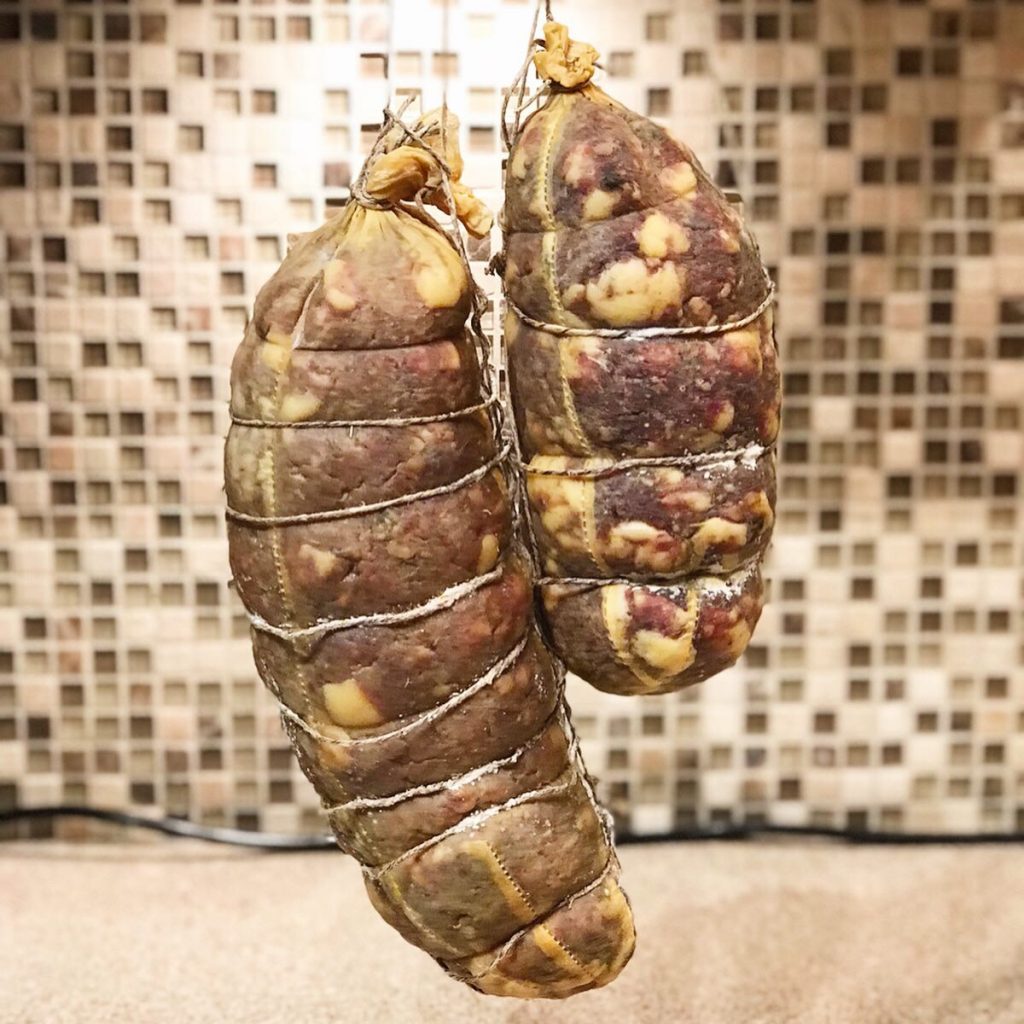
After the meat has undergone fermentation, it’s time to let it dry. The strolghino is traditionally only dried around 20 days when in is cased in the traditional small diameter casings. Because I used wider diameter casings, I knew it would not achieve the same level of water loss in that time. So, I hung it in my curing chamber in the usual conditions, ~55F/70%RH, until it lost ~25-30% if its initial weight, which took ~2 months.
Tasting
Ahh. The best part. The tasting. The key to a good strolghino is to use good quality meat and let the quality of the meat shine through by using a simple spice cure. I made this with trimmings from a sow leg from Ham Sweet Farm, and the quality pork flavor shines through. One of my all-time favorites.
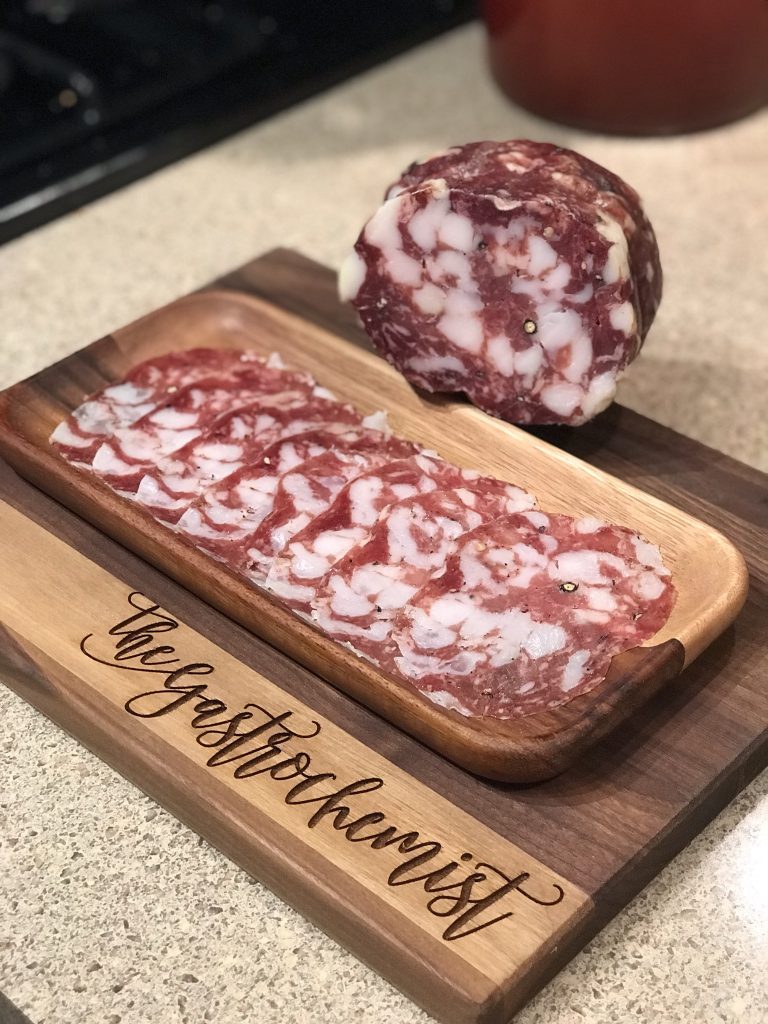
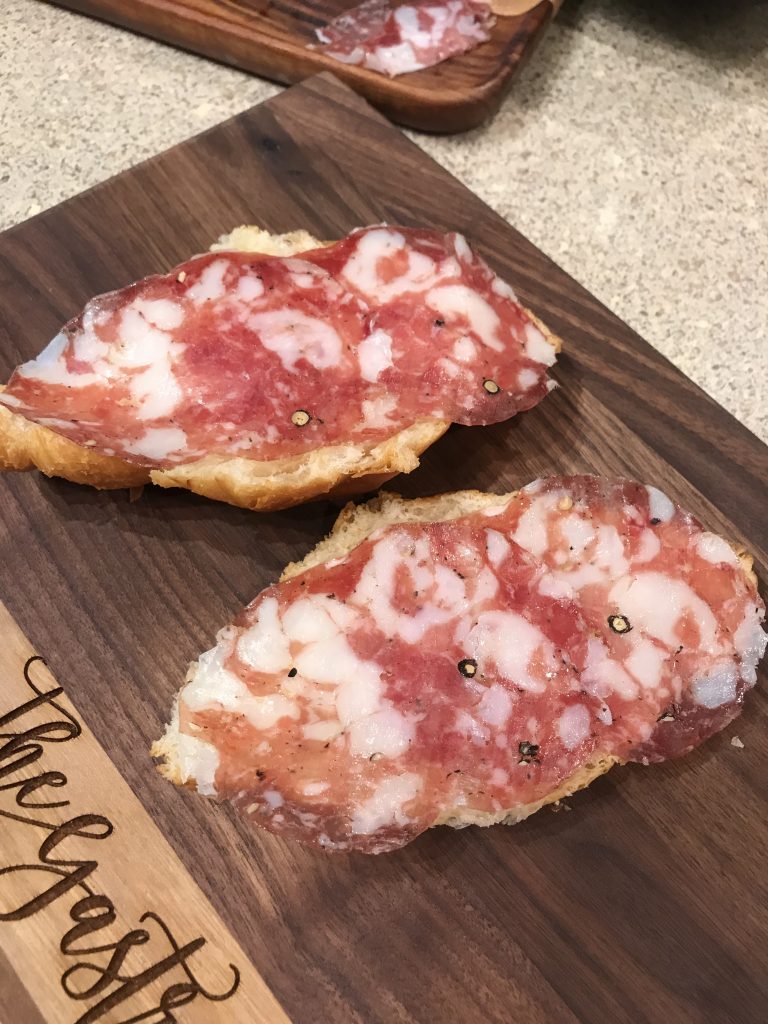
Served well on bread.
Disclaimer: Meat curing is a hobby that comes with inherent risks. We can all do things to limit this risk by educating ourselves about the process and the utilizing the safest known methods to create our products. This website is for educational purposes only, and all experimentation should be done at each individuals own risk.