The Explorations of a Gastrochemist

...because science can be delicious.

  • Beginner’s Guide
  • Wurst Adventure
  • Charcuterie
  • Preservation
  • Science
  • Molecular Gastronomy
  • All Projects
You are here: Home / Archives for Molecular Gastronomy

Perfect Mac and Cheese

May 27, 2013 by AOG 2 Comments

I was on a mission to create the perfect mac and cheese. Mac and cheese is a staple food, one that should be quick to make, and full of flavor. Unfortunately, many homemade cheese sauces leave much lacking. I have never been a fan of adding flour to a sauce, feeling that it gives a tasteless and unnaturally heavy quality to a dish. After going to a talk by Nathan Myhrvold and buying his book, Modernist Cuisine at Home, I was intrigued by his method and the science behind it.

Background

Basically, cheese sauces traditionally use cheese, butter, milk, and flour in order to create a heavy sauce.  This is done so that the cheese doesn’t separate out into its component parts. However, this method tends to make the sauce less flavorful and more clunky than smooth . Luckily, there is a solution.

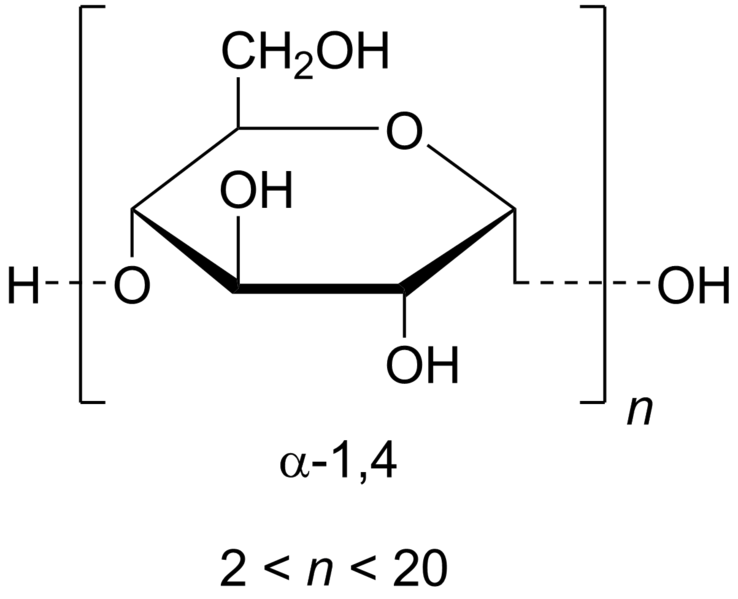
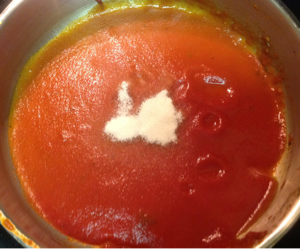
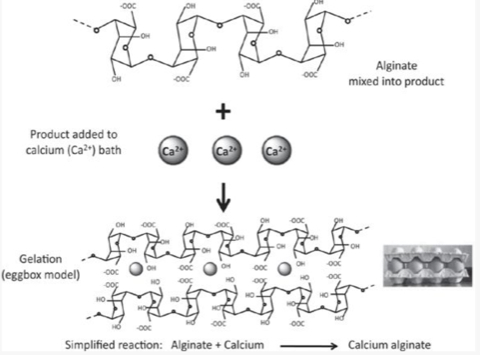
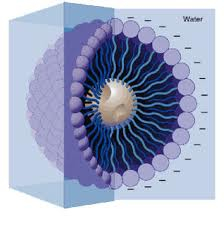
Cheese has both water and oil components, which tend to separate, especially when heat is added. The solution to this is to add a component that can bind them together, and help to create an emulsion. One possibility for this is to use sodium citrate, which has components which can bind to both water and oil. This makes for a cheese sauce which is both strong and delicious.

Materials

2 grams sodium citrate (dissolved in about 100 grams  of water)

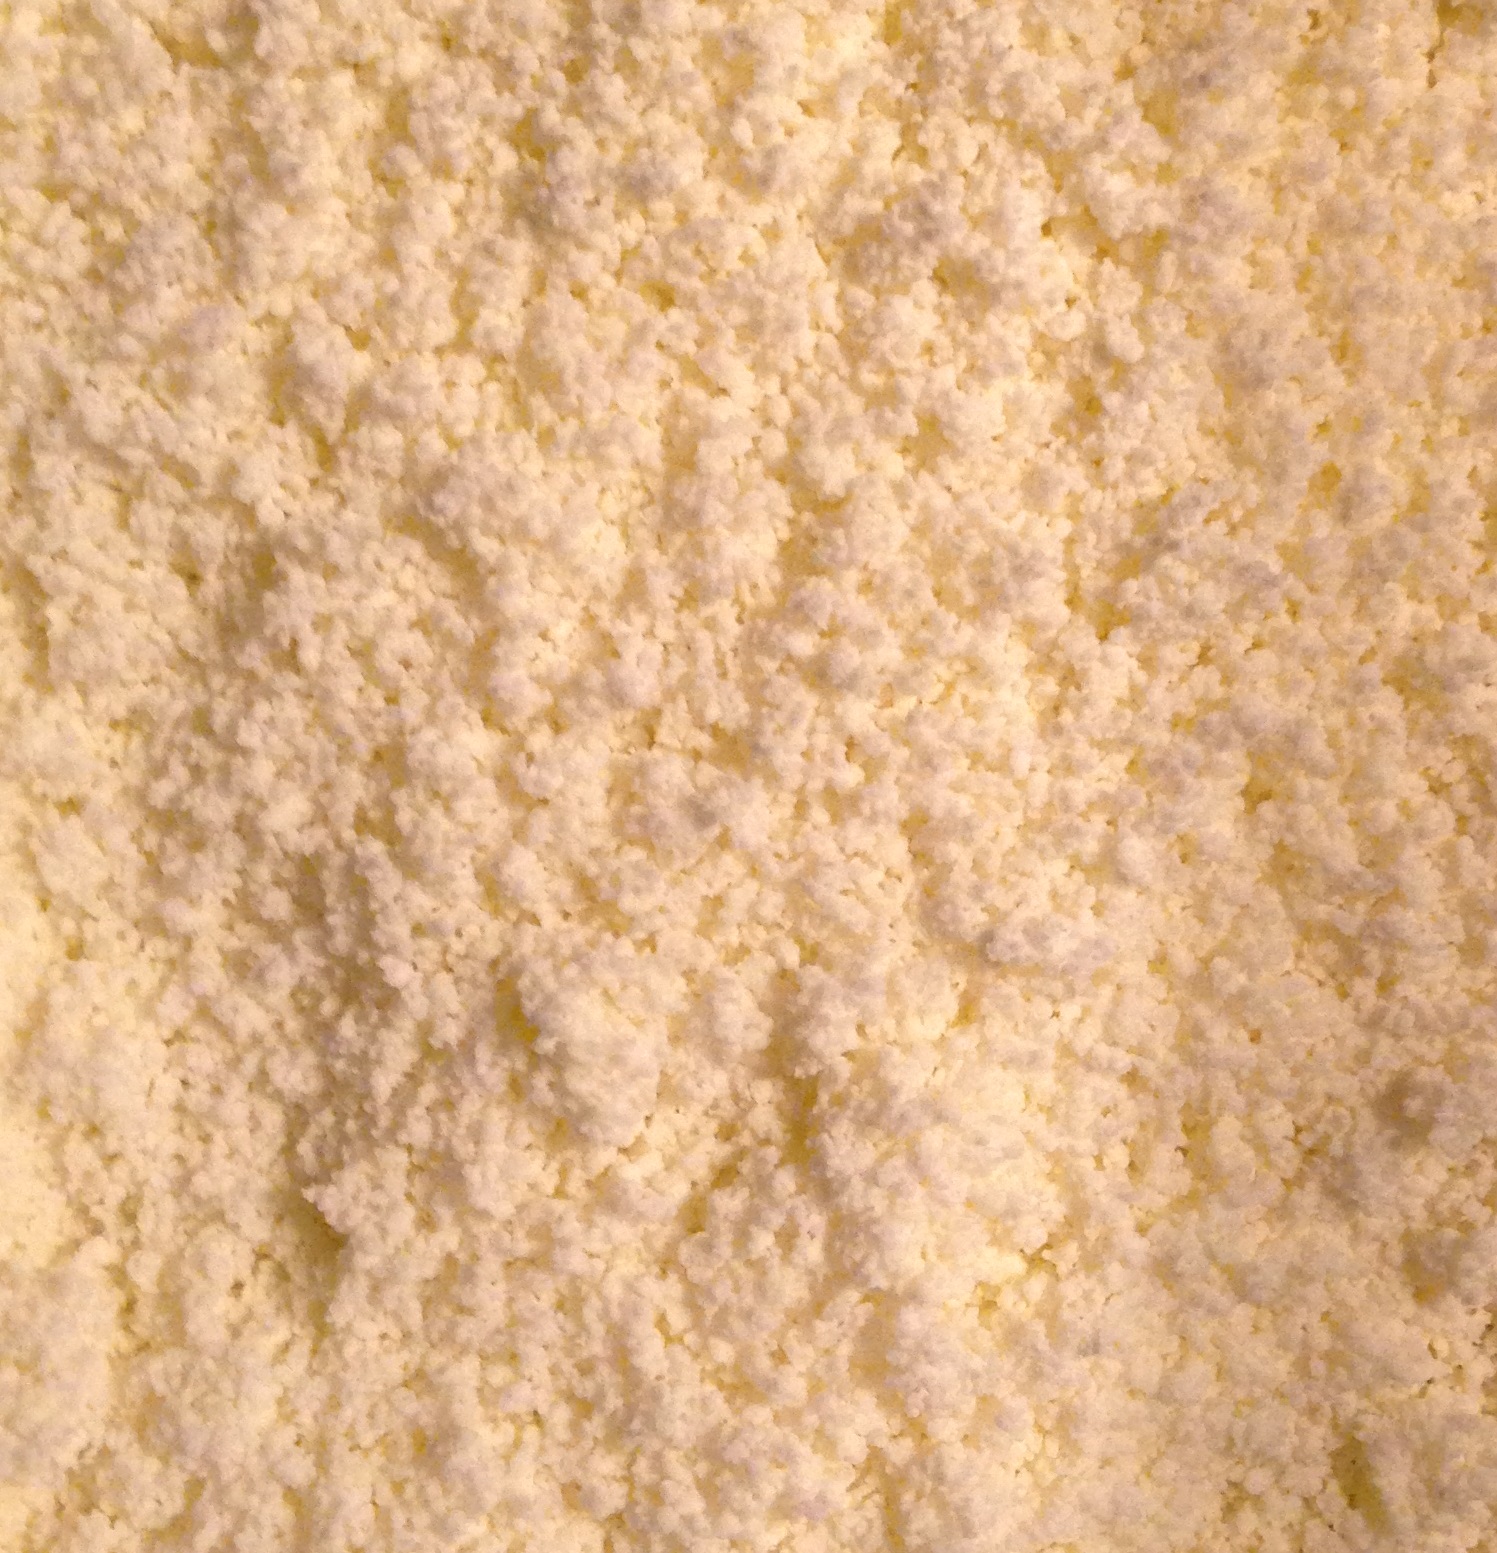
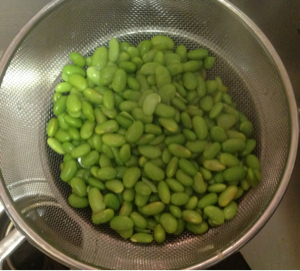
50 grams of grated cheese

Methods

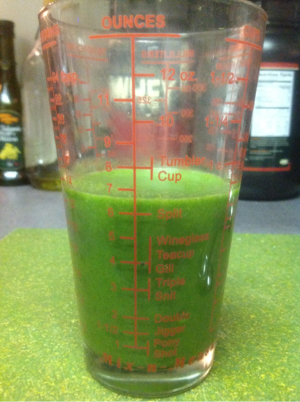
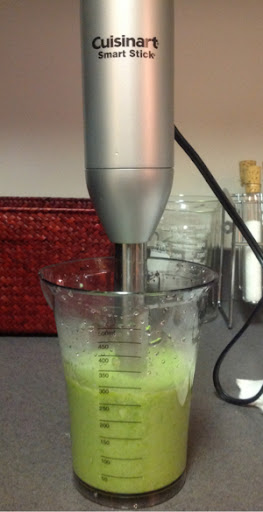
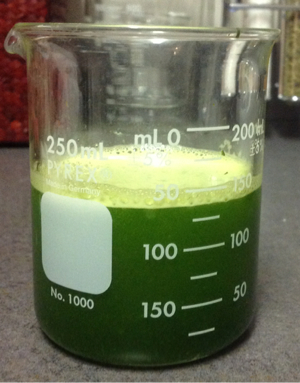
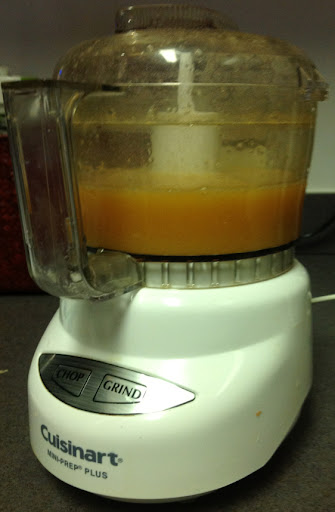
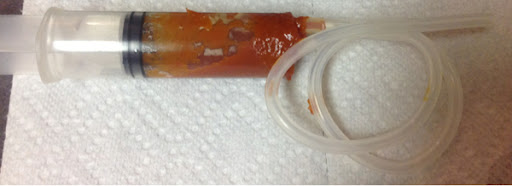
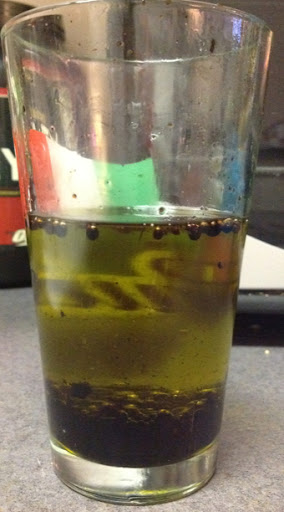
First, heat up the 100 grams of water and dissolve the 2 grams of sodium citrate in the water. When the sodium citrate is all dissolved, add in the grated cheese slowly. When the cheese is all melted, use an immersion blender to create a smooth sauce.

iphone 12_23_12 3046

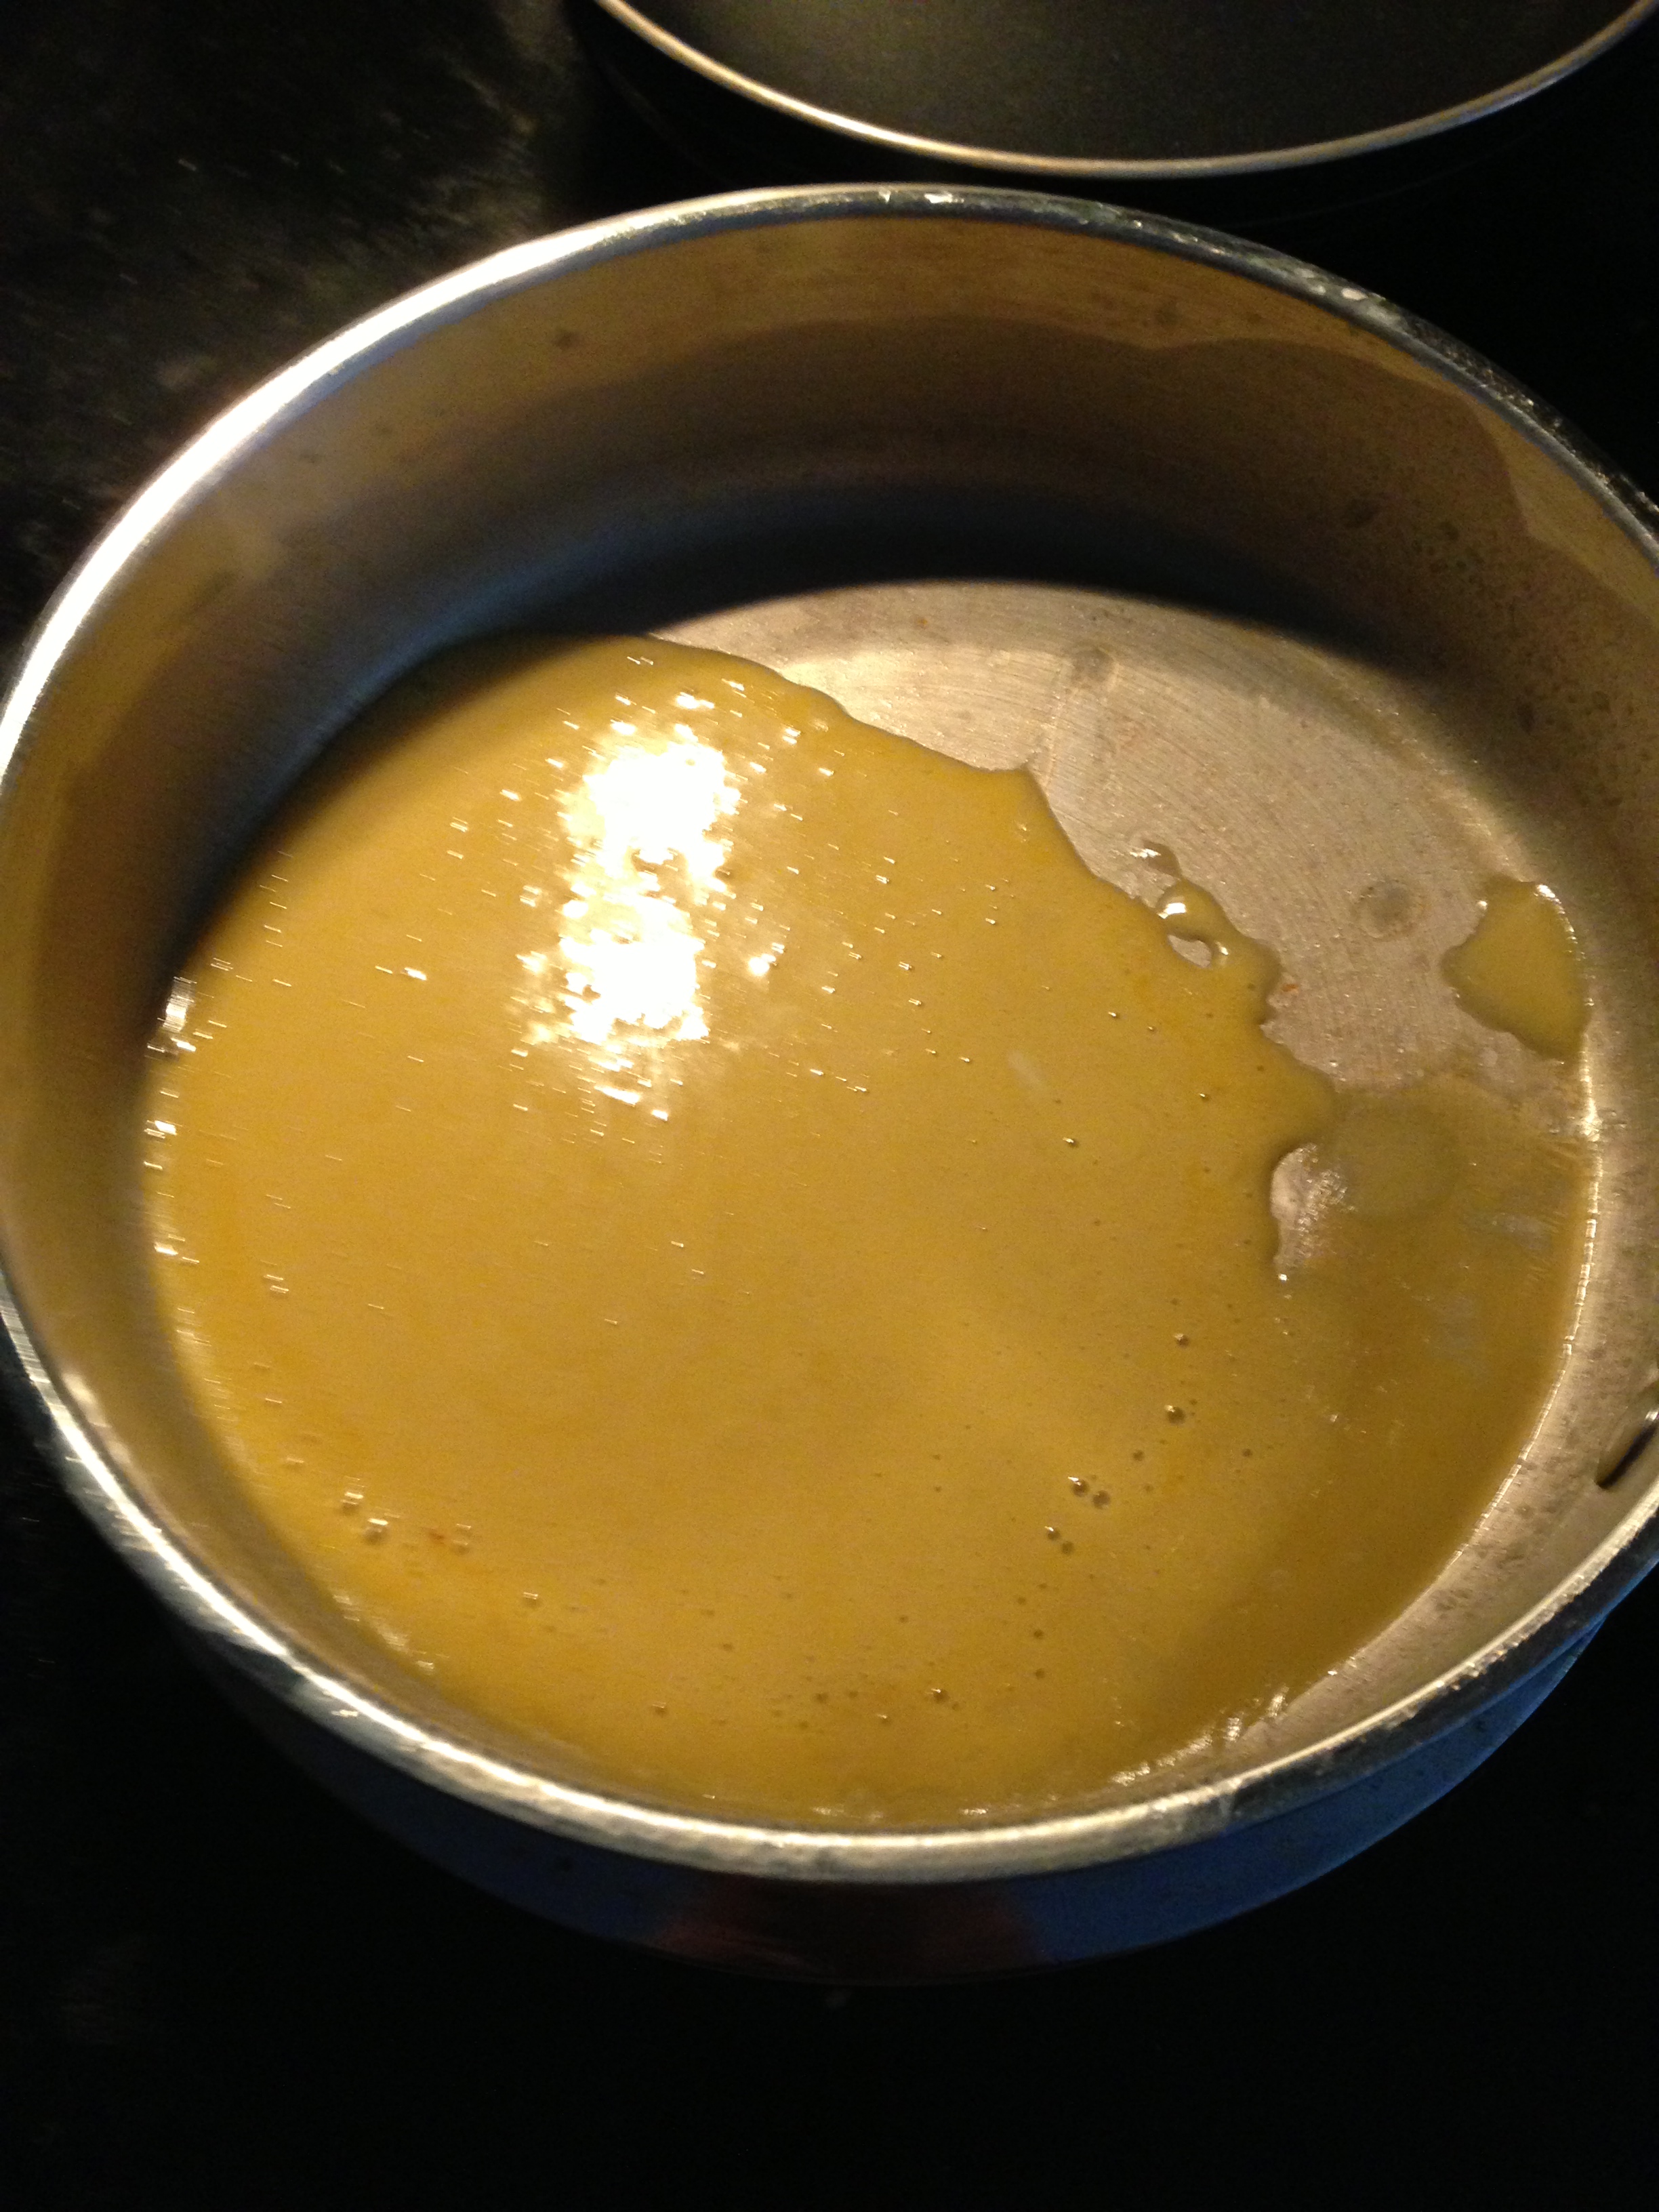
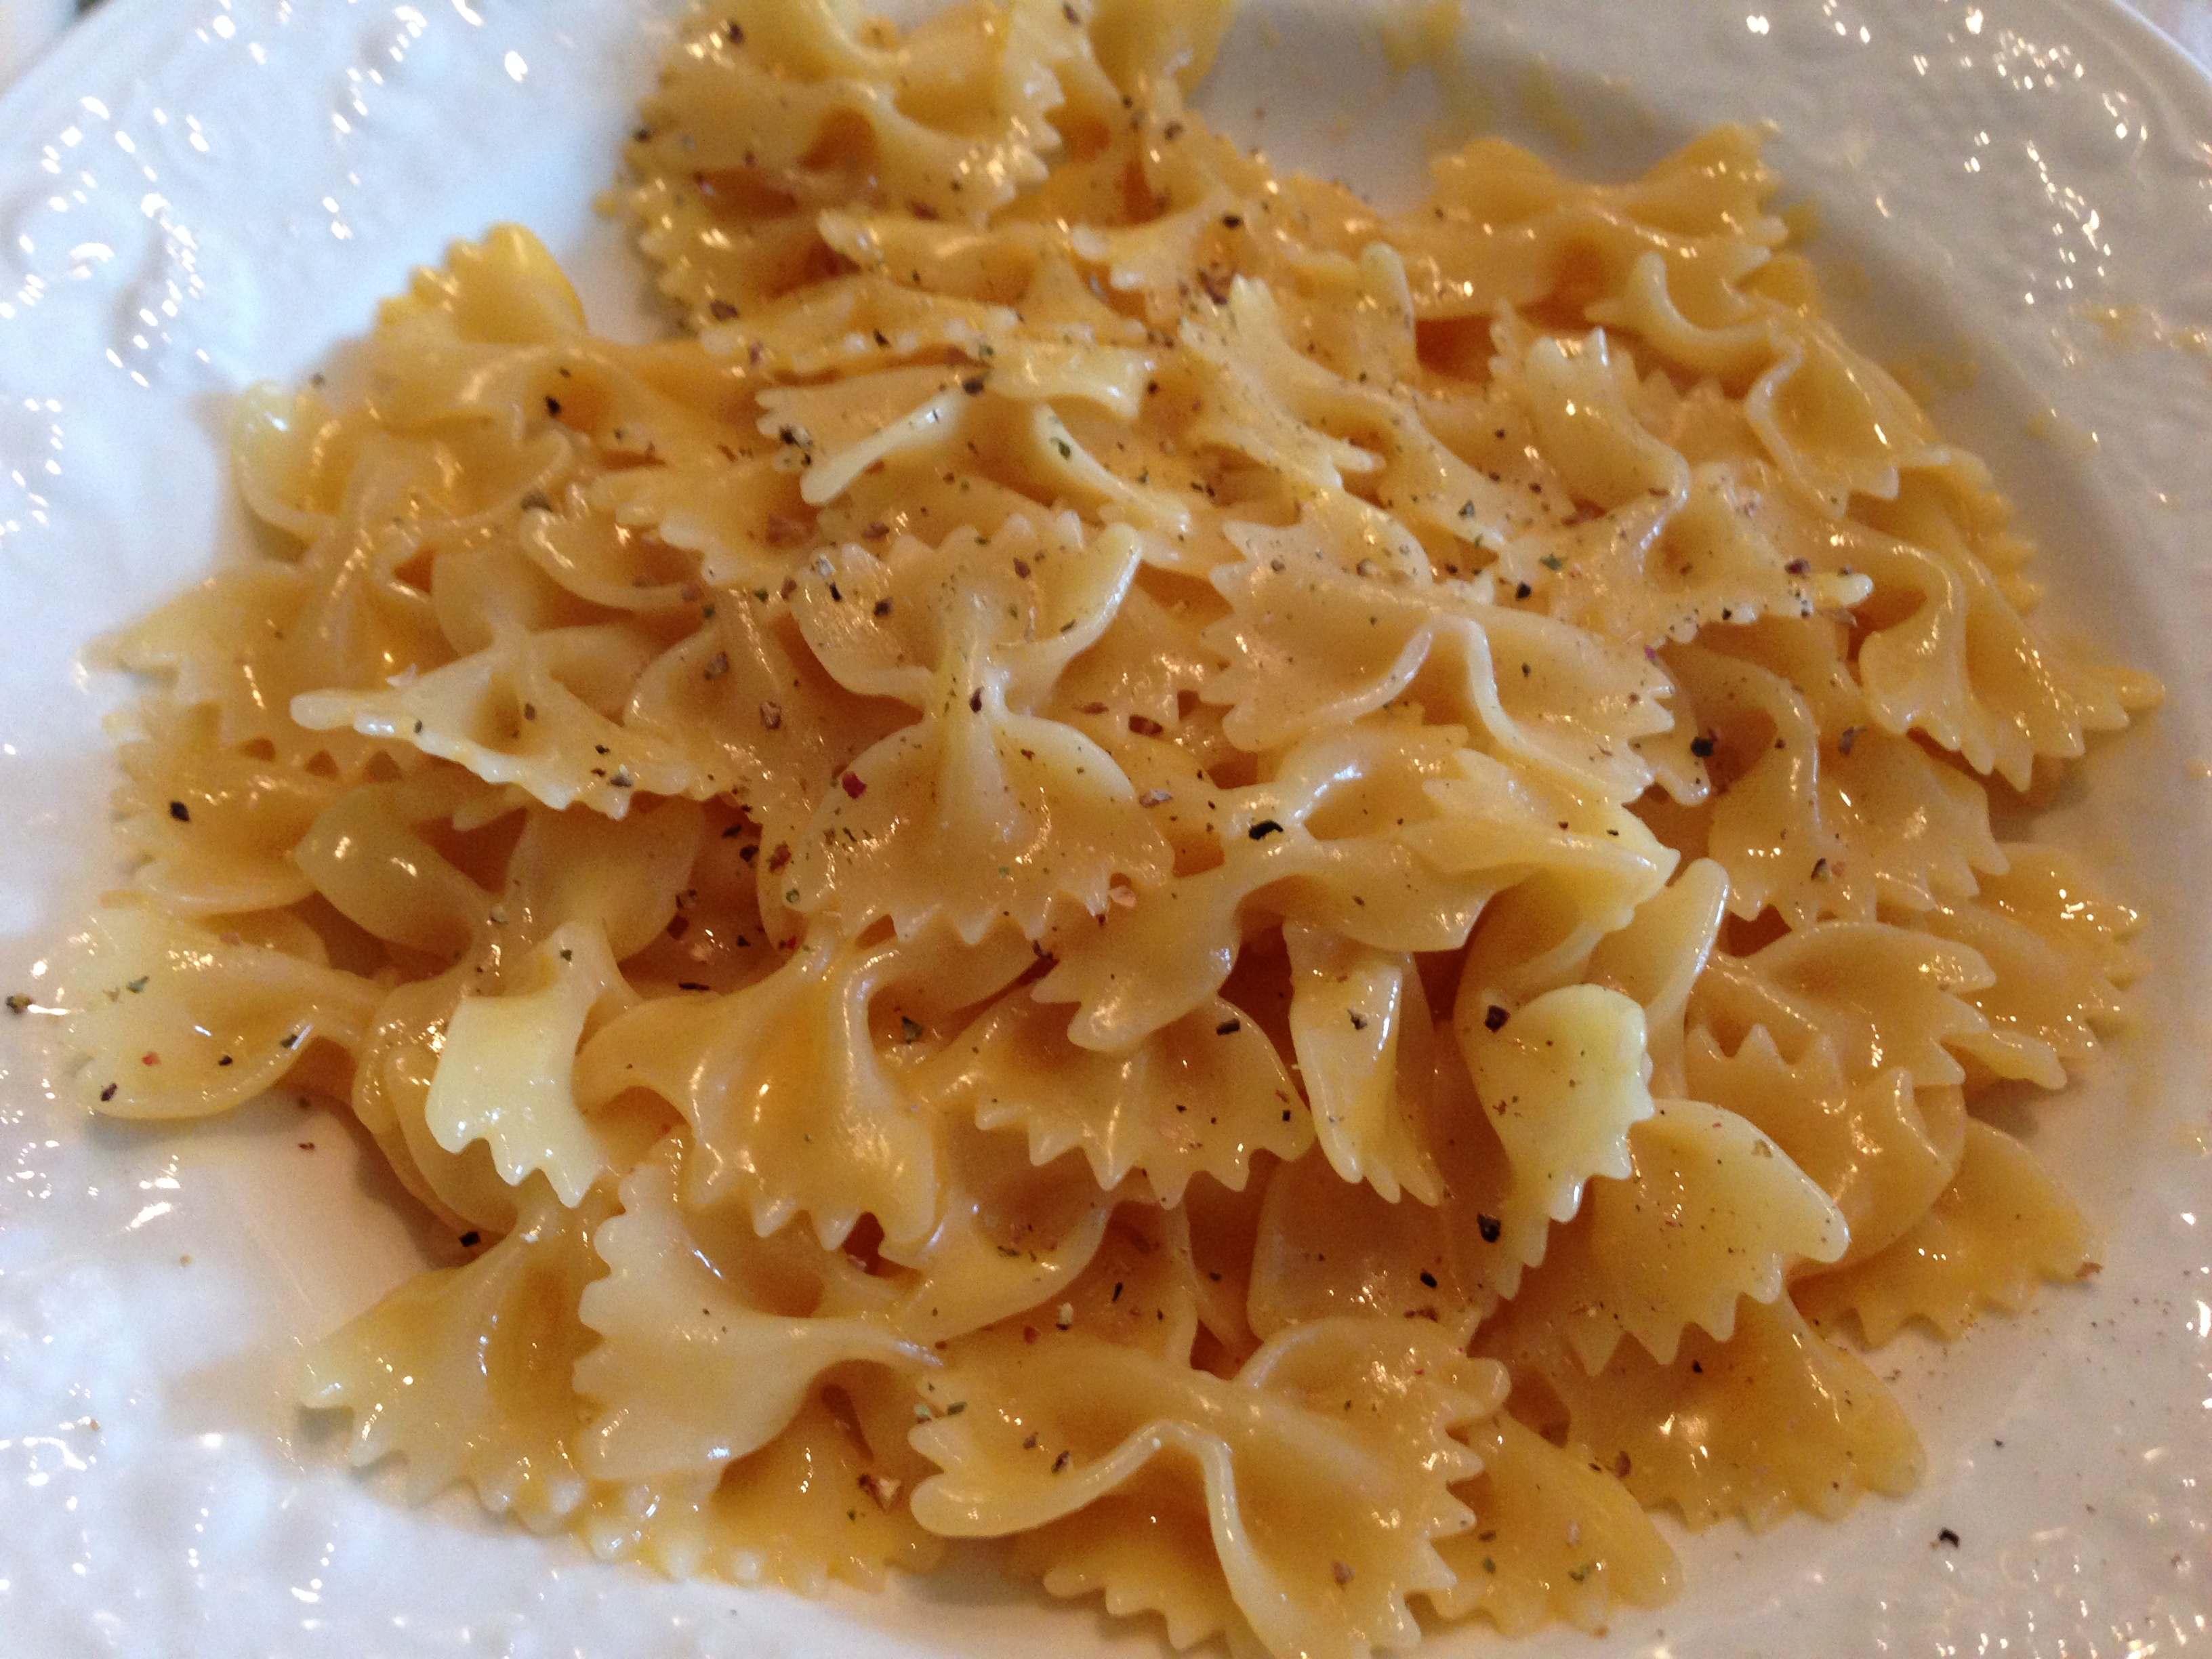
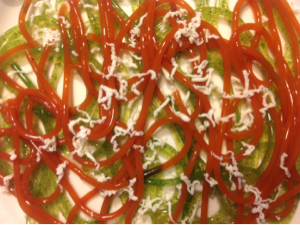
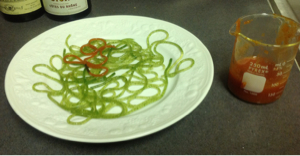
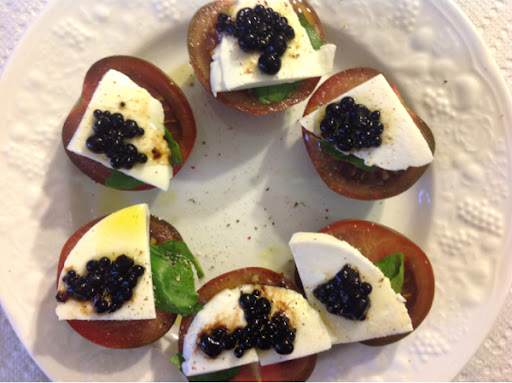
Finally, pour the sauce on to the awaiting boiled and drained pasta, and enjoy!


iphone 12_23_12 3052


Sources:

Science helps craft the perfect mac and cheese

Filed Under: Molecular Gastronomy

Powered Olive Oil

May 27, 2013 by AOG Leave a Comment

Making powder out of a liquid is one of the cooler things to see happen before your very eyes. One interesting way to do this is to use tapioca maltodextrin.

738px-Maltodextrin


Tapioca maltodextrin is a polysaccharide that consists of anywhere from 2 to 20 D-glucose linked together. It is a very lightweight power, with virtually no taste, and is used as a thickening agent in many different food items, including beer. Its unique structure allows it to microscopically encapsulate fat when it comes into contact with it. When this fat starts off as a liquid, a macroscopic transformation occurs, and the fat goes from a liquid to a powder.

Olive oil is a high fat content liquid that is fun to try this with. Olive oil powder can be sprinkled on salads or on tomatoes and mozzarella, or any dish that is improved with olive oil. The surprising taste when the power turns to liquid in your mouth is amazing!

Olive Oil Powdered-cropped

Sources

http://en.wikipedia.org/wiki/Maltodextrin

http://www.molecularrecipes.com/transformation/olive-oil-powder/


Filed Under: Molecular Gastronomy

The Trial and Error of Making Liquid Spherical Ravioli

January 7, 2013 by AOG Leave a Comment

As any scientist will tell you, experiments fail more than they succeed. In fact, if you just looked at the amount of time scientists spent on failed experiments compared to successful experiments, you might be tempted to conclude that the real task that scientists  are paid for is to fail. However, this failure is necessary. What leaps forward would we make by just repeating old experiments over and over again to prove we could? It’s in the taking of old experiments, analyzing the mechanism, and postulating the results with new compounds and setups that creates leaps forward.

I had done some reading about the making of liquid spherical pea ravioli (Molecular Recipes), but not being a large fan of peas, I decided to try and make some adjustments to the recipe. I wanted to make spherical spinach ravioli.

                                            Attempt 1:

As usual, I started by making the calcium lactate bath and storing it in the refrigerator. I then started with fresh baby spinach, and used the food processor to chop it up.

I ended with ~6 ounces of chopped spinach.

Using a mini blender, I mixed ~8 ounces of water with ~ 2 g of sodium alginate. I heated the water-sodium alginate mixture on the stove while stirring to create a clear viscous liquid.


I added the chopped spinach to this mixture and allowed it to simmer on the stove top for a while. When I removed it, I used the blender once more, and ended up with less  than 7 ounces.


The last step was to filter the mixture through a sieve.

This was when I realized I might have a problem. The liquid was too viscous to be easily strained with the strainer I own. After waiting about a half and hour and seeing no filtration occurring, I decided to hope for the best and go on to the next step.

Using the spoons that came in my Molecular Gastronomy kit, I went ahead and spooned out tablespoons of the spinach-sodium alginate mixture into the calcium bath. The results were less than ideal. Blobs that were mildly reminiscent of spheres formed, however they collapsed into a mushy runny liquid as soon as removed from the calcium bath.  Even when allowed to “cook” in the calcium bath for up to 15 minutes, this occurred.

So, my first experiment with liquid spherical ravioli failed. I had many factors to consider, and came up with a few things that I believe were factors in the failure. The most important of these were the viscosity and the pH.

As discussed previously, sodium alginate creates a gel upon contact with calcium (Ca2+). However, this only occurs with contact, so the outside of a sodium alginate droplet or sphere will create an alginate-Ca2+ gel matrix, while the inside, which is free from calcium contact, remains liquid (at least for a bit). This is the mechanism for how a liquid center sphere is created.

However, alginate only forms a gel with Ca2+ when it has a negatively charged oxygen atom free to bind with the positively charged Ca2+. This is the case when it is in the Na+ Alginate- form. However, when introduced to an environment where the pH is low (acidic), there is a preponderance of H+ around. This favors the reaction of sodium alginate –> alginic acid. Alginic acid not only doesn’t have a negative charge, allowing it to bond to the Ca2+, but it forms a solid itself. This means the solution will start to gel by itself. This can happen if you mix an acidic food with sodium alginate. (Note: you can also see premature gelling if the water used to create the sodium alginate mixture is tap water and not filtered due to calcium in the water supply.)   It is therefore important to monitor the pH of the foods used when using sodium alginate calcium mediated gelling.

There are many food pH charts available online where one can check the pH of the food they are using. After checking one, I learnt that spinach has a high (basic) pH. This is referred to as alkaline (Food pH Chart). It’s possible that being alkaline somehow affected solution and led to decreased gelling action, but not due to the above acidic-mediated disruption pathway. It is possible that perhaps the alkaline spinach bonded to the positive Ca2+ and disrupted the matrix of alginate-Ca2+ that usually forms. Without being sure of the exact mechanism, my suggested remedies to this problem would be to add an acidic compound that would even out the pH, using pH strips to test for the solution pH. The best solution would be to use an acidic compound that would also be complementary in flavor to the spinach.

The other issue, and in my mind probably the bigger issue, was the viscosity of the solution. The less viscous the alginate solution is, the greater the effect the liquid center has. In addition to this, viscosity can effect a reaction and the physical properties of  its product.

In this case, the fact that the spinach “soup” wouldn’t strain was probably a sign.  Although the desired viscosity for the solution/bath is more/less, there is such thing as too viscous. (10 Tips) Although I cannot be sure, I imagine the viscosity of the spinach-alginate solution as well as the lack of uniformity may have led to uneven alginate distribution, creating a dense sphere when in the bath that could not hold together out of it. To fix this issue, next time I would create a spinach soup that is blended to the point of being creamy, and with a higher water content in order to make it less viscous.

                                                 Attempt 2:

A few days later, I was thinking about my last failed experiment and feeling a little bummed out. I decided to try it again, this time using the tips I had troubleshooted from my last attempt. I still was opposed to using peas, but decided to try with edamame.

Using edamame would help both of the issues I had. Edamame is mildly alkaline compared to the more strongly alkaline spinach. In addition, blending peas tends to make a more uniform solution.

After making the calcium bath, I boiled the edamame for about 10-15 minutes. After they were soft, I took them out of the boiling water. Using an immersion blender, I blended them to create a uniform edamame blend.


Separately, I added 2 g of sodium alginate to 400 mL of water. Using an immersion blender, I combined the two. I then allowed it to heat on the stove top, until it became a clear solution.

 ———–> 

To this, I added the edamame and again combined them using an immersion blender to create an edamame-sodium alginate solution. The final step was to pass the solution through a sieve.

With everything ready, I got the calcium bath out of the refrigerator and began to try my second attempt at spherical liquid ravioli.

Yatta! The result was liquid spherical edamame ravioli. Although this attempt was also slightly viscous, the result was much more successful than attempt #1.

Resources:

Molecular Recipes: http://www.molecularrecipes.com/spherification/liquid-pea-ravioli/

Food pH Chart: http://www.greathealth247.com/ph-acid-alkaline-food-chart.html

10 Tips: http://www.molecularrecipes.com/spherification/10-tips-create-perfect-sphere/

Filed Under: Molecular Gastronomy

The Perfecting of the Piquant Pasta

January 7, 2013 by AOG Leave a Comment

My first attempt at making tomato-agar pasta went well, but I made a note of some of the things I wanted to change the next time around. The pasta broke easily, so increasing the % of agar was a must. I also didn’t end up with a large amount of pasta, and what I did end up with was very viscous (difficult to pick up in the syringe, leading to air bubbles and therefore breaks in the pasta strands), so I fixed this by adding water to the strained tomato soup. I also wanted to make the dish slightly more interesting, so I decided to create a dish of tomato-agar pasta combined with arugula-agar pasta.

I started with the arugula pasta this time. I was more laissez faire with the amounts this time around as I was getting more comfortable with eying up the necessary textures and consistencies.  I added handfuls of arugula and water to a blender, and blended them until they were as fine a paste as I could make them. I added salt to season the pasta, and ran the mixture through a sieve. I added 2g of agar to this fine mixture, heated it while stirring, and ended up with an arugula-agar mixture of 150 mL.
With 150 mL of the arugula-agar mixture, I was ready to go. The next step was to full up a syringe with the mixture, inject it into the PVC tubes, immerse them in cold water for ~3 minutes, and use an air-filled syringe to eject the noodles.

While I was doing this, I got the tomato-agar mixture ready. I did this by straining tomato soup, and adding water and agar to the mixture while heating.

I ended up with about 100 mL of the tomato-agar mixture, and began to make tomato-agar noodles when I was done with the arugula noodles.


I continued this until I had a plate full of arugula and tomato agar pasta. I grated fresh mozzarella and fresh pepper over the plate, and voila! An amazing plate of pasta consisting purely of tomato and arugula.

Filed Under: Molecular Gastronomy

Spherification of Melon

January 7, 2013 by AOG 4 Comments

Nothing is better than a delicious tapa. There are many different traditional tapas from different regions of Spain. If we look beyond Spain, we can find traditional food pairings from other cuisines, such as Italy. Cured meats paired with fruit is a dish found in many different cultures, for good reasons. It is delicious. One of the things I like best about molecular gastronomy is playing with traditional food pairings in new and unexpected ways.

In Italy, prosciutto e melone is a well known pairing. As a fan of the Spanish jamón serrano, I often keep some in stock. For this experiment, I decided to play with this pairing. I made spherical melon “caviar” served on jamón serrano as a tapa.


Background:

Science is the pursuit of knowledge that is approached from a systematic methodology that is ever questioning, criticizing, and incorporating. It takes theories based on facts that it came up with yesterday, dissects those decisions, and creates newer and more accurate theories. These theories will inevitably undergo the same evolution when tomorrow’s scientists realize what dunces we are today. However, it takes the semi-accurate discoveries and theories of the past to build upon the more right theories of today (Grobstein).

The scientific method can, and should, be applied gastronomy. It is not to say that food creations of the past are outdated, quite the opposite in fact. They are well established models for a reason. We are able to build upon what those before us have created, and create something new. This process is similar to Picasso studying the masters at the Prado, deconstructing their creations, and creating his own masterpieces. That is the goal of molecular gastronomy; to understand food at its core, to deconstruct it, and then create our own masterpieces that surprise and delight.

Picasso

There are both simple experimentations and more complex ones. One of the more complex and important experiments in gastronomy was the discovery that Chef Auguste Escoffier made with his use of chemistry (whether he knew it or not) to create veal stock using pan deglazing, and the subsequent introduction of umami to the western palate. (NPR)

A simple experimentation is the utilization of spherification to create foods with new texture compositions. However, it is not to be overlooked. It is one of the ways that molecular gastronomy can take traditional dishes and play with the textures and therefore tastes of the plate.

Spherification is a method that utilizes the chemistry of gelling agents. I’ve discussed agar-agar before, but this method uses sodium alginate. Sodium alginate is a gelling agent, which like agar, is extracted from seaweed. This method creates spherification via a calcium mediated gelling mechanism.

First, the sodium alginate is dissolved in a solution of what the spheres will be made out of. Then, a calcium bath is made by dissolving either calcium chloride or calcium lactate in water.  A syringe is loaded with the sodium alginate solution, and droplets are released into the calcium bath.

When the droplets make contact with the calcium bath, the outermost layer gels. This is due to calcium-mediated gelling. Calcium is a divalent ion that acts like a bridge between alginate chains. When the sodium alginate solution comes in contact with the calcium bath, the negative polymeric alginate chains are attracted to the positive calcium ions. They fit together in an “egg box configuration.” These polymer chains continue to form on the area that is in contact with the calcium bath until an outer layer gel has formed. The result is a gelled outer layer with a liquid center. (Kitchen as Laboratory)


Experiment:
The traditional dish I decided to play with was the pairing of cured meat with melon. Traditionally an Italian dish, prosciutto e melone, can be made just as well (if not better) with the Spanish cured ham, jamón Serrano.

Before I started with anything, I prepared the calcium bath that would be used later. To do this, I dissolved 5 g of calcium lactate in 500 g (18 oz) of water.  Once the calcium lactate is dissolved, this bath was put in the refrigerator to cool while the rest was being prepared.

The first step was to take a melon, and chop it into smaller pieces.

                       
These pieces were then put in a small blender and smoothed into a puree. The puree was passed through a strainer to create a fine melon juice, and measured at 8.5 Oz.
Then, 8 Oz (~150 g) of strained melon juice was added to 2 g sodium alginate and the mixture was blended until the sodium alginate was completely dissolved.

Then it was time to start! The calcium bath was removed from the fridge, and the syringe was filled with the melon-sodium alginate mixture.

Droplets were released from above the calcium bath and allowed to solidify for ~2 minutes in the bath.

                    
They were removed from the bath using a slotted spoon and gently rinsed with water to remove any traces of calcium.

Tasting:

The melon spheres were plated on top of delicious jamón Serrano, creating a delightful tapa of complementary flavors that literally explode in your mouth. This was a delightful play on the usual dish, and the perfect accompaniment to any meat and cheese platter. The spherification of fruit; definitely something you are going to want to try to complement any favorite cured meat or cheese.


Resources:

Grobstein: http://serendip.brynmawr.edu/local/grobstein.html

Picasso: http://en.wikipedia.org/wiki/Pablo_Picasso

Picasso Meninas: http://en.wikipedia.org/wiki/Las_Meninas_(Picasso)

Las Meninas: http://en.wikipedia.org/wiki/Las_Meninas

NPR: http://www.npr.org/templates/story/story.php?storyId=15819485

Molecular Recipes: http://www.molecularrecipes.com/spherification/melon-cantaloupe-caviar/

Kitchen as Laboratory: The Kitchen as Laboratory: Reflections on the Science of Food and Cooking, Edited by Cesar Vega, Job Ubbink, and Erik van der Linden

Filed Under: Molecular Gastronomy Tagged With: alginate, caviar, melon, melone, molecular gastronomy, prosciutto, spherification

Tomato-agar Spaghetti

January 7, 2013 by AOG Leave a Comment

It’s every kid’s favorite food. Why can’t it be every adult’s? With the use of agar, noodles don’t need to be the boring pasta we grew up with. Instead of just flour, noodles can be made with almost any conceivable food. Favorite food mushrooms? Spinach? Peas? Throw out the flour and grab a handful of your favorite food and some agar.

As demonstrated previously, tomatoes have been my favorite food. Therefore, I decided to start my experimentation with them. I liked the idea of taking traditional pasta and tomato sauce and cutting out the middle man.

To make tomato spaghetti, you need a couple items that most kitchens aren’t equipped with, a syringe and tight fitting PVC tubes.
The first step is to create a soup of what you want to make the pasta out of. Make it just as flavorful as you would make soup, and salt it slightly more than you normally would. I made tomato soup from fresh tomatoes, tomato paste, chicken broth, and a number of spices. I let it stay on medium heat for ~30 minutes. When it was ready to be served as soup, it was done.
The next step is to strain it. I discarded the chunky parts that were left in the strainer, so that only a fine tomato liquid was left. Then I measured 5.5 Oz (~150 g) of the filtered tomato soup. I placed in in a pan with 2.5 g of Agar. This was heated up to boiling and mixed thoroughly for 5-10 minutes.
When I was sure the agar was dissolved and uniformly distributed, I turned off the heat but allowed the pan to sit on the burner. If you remember from “Balsamic Vinegar Caviar” agar relaxes at higher temperatures, and begins to solidify and form a matrix at lower temperatures. This chemical process is what we are taking advantage of.
We begin by filling up the syringe with the hot tomato/agar soup. In this stage, the agar is relaxed and incorporated uniformly throughout the tomato soup. It should be a smooth liquid. The syringe is then attached to the end of a PVC tube. The PVC tubes can be curled around the fist for easier handling if desired.
When the entire PVC tube is filled with the hot tomato/agar soup, it is submerged in cold water. It is allowed to sit submerged for ~5 minutes or less, until it sets. This is the point where the agar is solidifying. Remember that at decreased temperatures, the agar forms double helix strands that then bind to other agar double helix strands, forming a matrix and trapping the other materials. This is how the tomato agar spaghetti is formed. What once was a hot tomato/agar soup has now become a cold matrix that have formed in the shape of the container they were in when the agar solidified, otherwise known as our tomato agar spaghetti.
                            
The last step is the hardest. Now that we have formed our spaghetti, we need to get them out of the tubes. The best way to do this is to fill up the syringe with either air or cold water, and push the spaghetti out of the tube. Be careful not to push too quickly, or the noodles may break.

And that’s it. Spaghetti made fun by the science of agar!
Resources:

http://www.molecularrecipes.com/gelification/tomato-agar-spaghetti/

http://www.molecularrecipes.com/gelification/agar-agar-spaghetti/

Filed Under: Molecular Gastronomy

Spherification to Create Balsamic Vinegar Caviar

January 7, 2013 by AOG Leave a Comment

A traditional italian appetizer is caprese, or tomato, mozzarella, and basil. There are many ways to make caprese, but the theme is generally the same. Why not have some fun with the dish?

The result of my experiment: Caprese with balsamic vinegar caviar.
What exactly is balsamic vinegar caviar, you might ask. Basically, balsamic vinegar in orbs that appear to the unknowing eye to look like caviar. The better question is, “What interesting chemistry is going on to create this?”

Vinegar is hydrophilic, meaning that it is made up of particles that are “water loving.” This is different from oil, which is hydrophobic, or “water hating.” Most people have seen this before when adding vinegar to olive oil. The two are immiscible, and will stay separate from each other.  The lowest energy way for a droplet of vinegar in olive oil to do this is to form a sphere.
On a similar note, many people are familiar with the phrase “micelle”. It is the spherical shape that forms when a molecule has both hydrophilic and hydrophobic parts. It is based on the fact that chemically, “like favors like.” The hydrophilic parts will arrange themselves on the outside of the micelle where they can interact with the hydrophilic solvent (aka water). This will shield the hydrophobic parts, which can then have favorable interactions in the center of the sphere. This can be seen in molecules which have both “water-liking” and “water-hating” parts, such as in detergents or soap.
Using this knowledge, we can approximate what is happening on a chemical level when we make balsamic vinegar caviar.

Vinegar is made of mostly water and acetic acid.


Olive oil on the other hand is made up of triglyceride esters.
When vinegar is dropped into olive oil, it tends to stay together. It does this (not consciously but because it is lower energy) to decease the surface area that it shares with olive oil, and thereby lowering the amount of unfavorable interactions and increasing the favorable ones.

All of this is simple kitchen chemistry. But it gets more interesting when you throw in Agar. Agar, or Agar-agar as it is also known, is a combination of agarose and agaropectin.
Agar has very interesting chemical properties, which is why it has been used historically as a gelling agent. One of the cooler aspects of agar, is that it exhibits hysteresis. As defined by Wikipedia, hysteresis is, “The dependence of a system not only on its current environment but also on its past environment. This dependence arises because the system can be in more than one internal state. To predict its future development, either its internal state or its history must be known.” (Wikipedia)

What this means for agar is that once it is set as a gel, it takes a much higher temperature to convert the gel back to a liquid. Agar will melt at 185°F / 85°C. It will begin to solidify in the range of 90–104°F / 32–40°C. When agar melts, it is in a higher energy state. This allows it to relax into a single stranded molecule. When it cools down, these single stranded start form double helix structures. The ends of the double helix structures will bind together, creating a mesh matrix of agar.  (Cooking for Geeks)

The agar allows for the spheres of vinegar that naturally form due to hydrophobic-hydrophilic interactions to solidify in this state. This creates a state of perpetual bliss, so to speak.

So, getting back to our balsamic vinegar caviar. To get prepared, a glass of olive oil should be put in the freezer for about 30 minutes. Then, the vinegar (around 100g/7 Oz)  needs to be heated up to boiling. The agar (2 g) is added. The solution is mixed and allowed to cool down to 50-55 ˚C/120-130 ˚F. Once the vinegar solution is cooled down to about 50 ˚C, we’re ready to go.

Take the cold glass of olive oil out. Fill up a syringe with the vinegar-agar solution. Slowly drop droplets of the vinegar-agar into the olive oil. Droplets should form and solidify. Collect them with a slotted spoon from the bottom of the glass, wash in water, and enjoy!
Sources:

Wikipedia: Acetic Acid, Agar, Triglyceride Esters, Olive oil and Vinegar, Hysteresis

Molecular Recipes: http://www.molecularrecipes.com/gelification/balsamic-vinegar-pearls/

Micelle Image: http://dma980.com/phpSitemapNG/micelle-phospholipid

Cooking for Geeks: http://static.cookingforgeeks.com/press/press-kits/cooking-for-geeks-p310-311-agar.pdf

Filed Under: Molecular Gastronomy

Nitrogen Cavitation for Rapid Steak Marination

January 7, 2013 by AOG Leave a Comment

We’ve all been there. It’s approaching 6 pm, and all you want is a nice juicy steak. However, the lack of foresight means no steak has been happily marinating overnight. Some steak purists might be okay with throwing an un-marinated steak on the grill, but for me, that’s not gonna cut it. Here’s where nitrogen cavitation comes in handy.

The method of nitrogen cavitation (as discussed previously to create infused vodka) can be used to rapidly marinate meat. All you need to do is create your favorite marinade, throw it in your nitrogen bomb with your steak, and presto! Deliciously marinated steak!

To try out this method I decided to use two of my favorite marinades. The result was a battle of east versus west. The western “Italian” style marinade squaring off against the eastern “Asian” style marinade.

For my Italian style marinade I prepared pressed garlic, fresh rosemary, thyme, extra virgin olive oil, and fig balsamic vinegar.
For my Asian style marinade I prepared grated ginger, soy sauce, chili oil, and rice vinegar.
East versus West marinades:
I sliced the steak to insure better flavor absorption.
After that, I added the steak and the marinade to the bomb and was left with two delicious looking marinated raw steaks.
 Vs.
 
After that, it was time to cook the steak!

In the end, the battle of east versus west was won…by me. Both turned out great and tasted like they had been marinated overnight, not for 5 minutes.

  Vs.  


Filed Under: Molecular Gastronomy

Nitrogen Cavitation to Infuse Vodka

January 6, 2013 by AOG Leave a Comment

Nitrogen cavitation is a scientific method used to disrupt the structure of cells. However, it can also be used for more sybaritic applications. In cooking, nitrogen cavitation can be used to infuse the flavor of aromatic compounds into another food or liquid. Think infused vodkas or rapid-marinated steak.  In science labs nitrogen cavitation is done in what is termed a nitrogen bomb. For food, an easy and relatively cheap substitute is a whipped cream whipper and N2O chargers.

Although plenty of scientific articles explain how nitrogen cavitation works, not very many food articles do. Therefore, I’ve copied the way that a scientific article explains the process (slightly different than how most cooks will want to go about the process) for a more thorough understanding of the process.

“Cell disruption by nitrogen cavitation is based on rapid decompression of a cell suspension from within a pressure vessel. Nitrogen is dissolved in the cell suspension under high pressure within the cavitation chamber, or bomb. The cell suspension is then released dropwise through outflow tubing as the pressure is released. The nitrogen comes out of solution, forming bubbles that expand and rupture the cells. Shear stress also contributes to cell disruption, as bubbles stream through the solution, bathing the cells. The density of the bubbles is related to the amount of nitrogen dissolved in the solution, which is directly dependent on the pressure at which the chamber is equilibrated.” (Gottlieb et al 2000)

What does this mean in terms of cooking? What this is saying, in short, is that a chef can take a mixture of ingredients and place them inside a chamber. Think basil and vodka, chicken and marinade, and the like. Then, nitrogen gas (or nitrous oxide in the case of most chefs) will be released from a tank of some sort into the container. This will create a highly pressurized system in which the nitrogen gas is dissolved in the suspension of ingredients. When the pressure in the system is released, the nitrogen gas leaves the system, disrupting the cells. This creates an “infusion” of various ingredients into the desired food or drink.

My first attempt at nitrogen cavitation was to create infused vodka. After waiting a few weeks for my iSi Easy Whip Cream Whipper and iSi N20 Cream Whipper Chargers to arrive, I was understandably excited at their delivery. I went to the supermarket and bought a bunch of flavorful items I wanted to have my vodka flavored with.

In order to impart maximum flavor into the vodka, you want to increase the surface area of the ingredients being added. This can be done by chopping them up finely by hand or by blender.

The first ingredients that I decided to chop up were some of my favorite herbs—basil and mint:

  ——->   

  ——>     

I then decided to try spicy flavors. I diced some jalapeño and habanero peppers next:


Other flavors that I experimented with were grated ginger, olives, mango, blackberries (put in the blender for increased surface area), and last but not least, bacon:

All of these ingredients were prepared and placed in bowls while I thought about complementary pairings. I ended up with the following combinations: Jalapeno-habanero-ginger-olive vodka, mint-mango vodka, basil-blackberry vodka, and bacon vodka.

After this, it was show time. The ingredients in each drink were added to the container. The amount of vodka added to the system varied, roughly proportional to how much space the ingredients themselves took up. Amounts varied from 100 mL to 200 mL.

When the ingredients and vodka were all in the “bomb,” the top was screwed on. The N2O gas charger was screwed into the system until a hissing noise indicted that the gas was released into the container. The system was shaken a few times and allowed to sit from 1-5 minutes. At the end of this “rest” time, the gas was vented. The container was then opened and the ingredients caught in a strainer as the vodka was allowed to collect.

Jalapeno-habanero-ginger-olive vodka:
Mint-mango vodka:
Basil-blackberry vodka:

Bacon vodka:

And as simply as that, a delicious array of vodkas were made!

Sources:

Roberta A. Gottlieb, Souichi Adachi, [20] Nitrogen cavitation for cell disruption to obtain mitochondria from cultured cells, In: John C. Reed, Editor(s), Methods in Enzymology, Academic Press, 2000, Volume 322, Pages 213-221, ISSN 0076-6879, ISBN 9780121822231, 10.1016/S0076-6879(00)22022-3. (http://www.sciencedirect.com/science/article/pii/S0076687900220223)

Filed Under: Molecular Gastronomy

  • Instagram

Copyright © 2025 · Foodie Pro Theme by Shay Bocks · Built on the Genesis Framework · Powered by WordPress